
Is there anything as exciting as cutting off? Oh sure, there will be some errors to mend. And only wet finishing will reveal the true nature of the cloth. But after investing hours and hours at the loom, cutting the fabric off is a celebration. This is the moment when the work of this weaver’s hands is finally revealed!
While admiring and examining the fabric as it comes off the loom, I am already moving onto the next step–finishing. Here are a few of my regular practices.
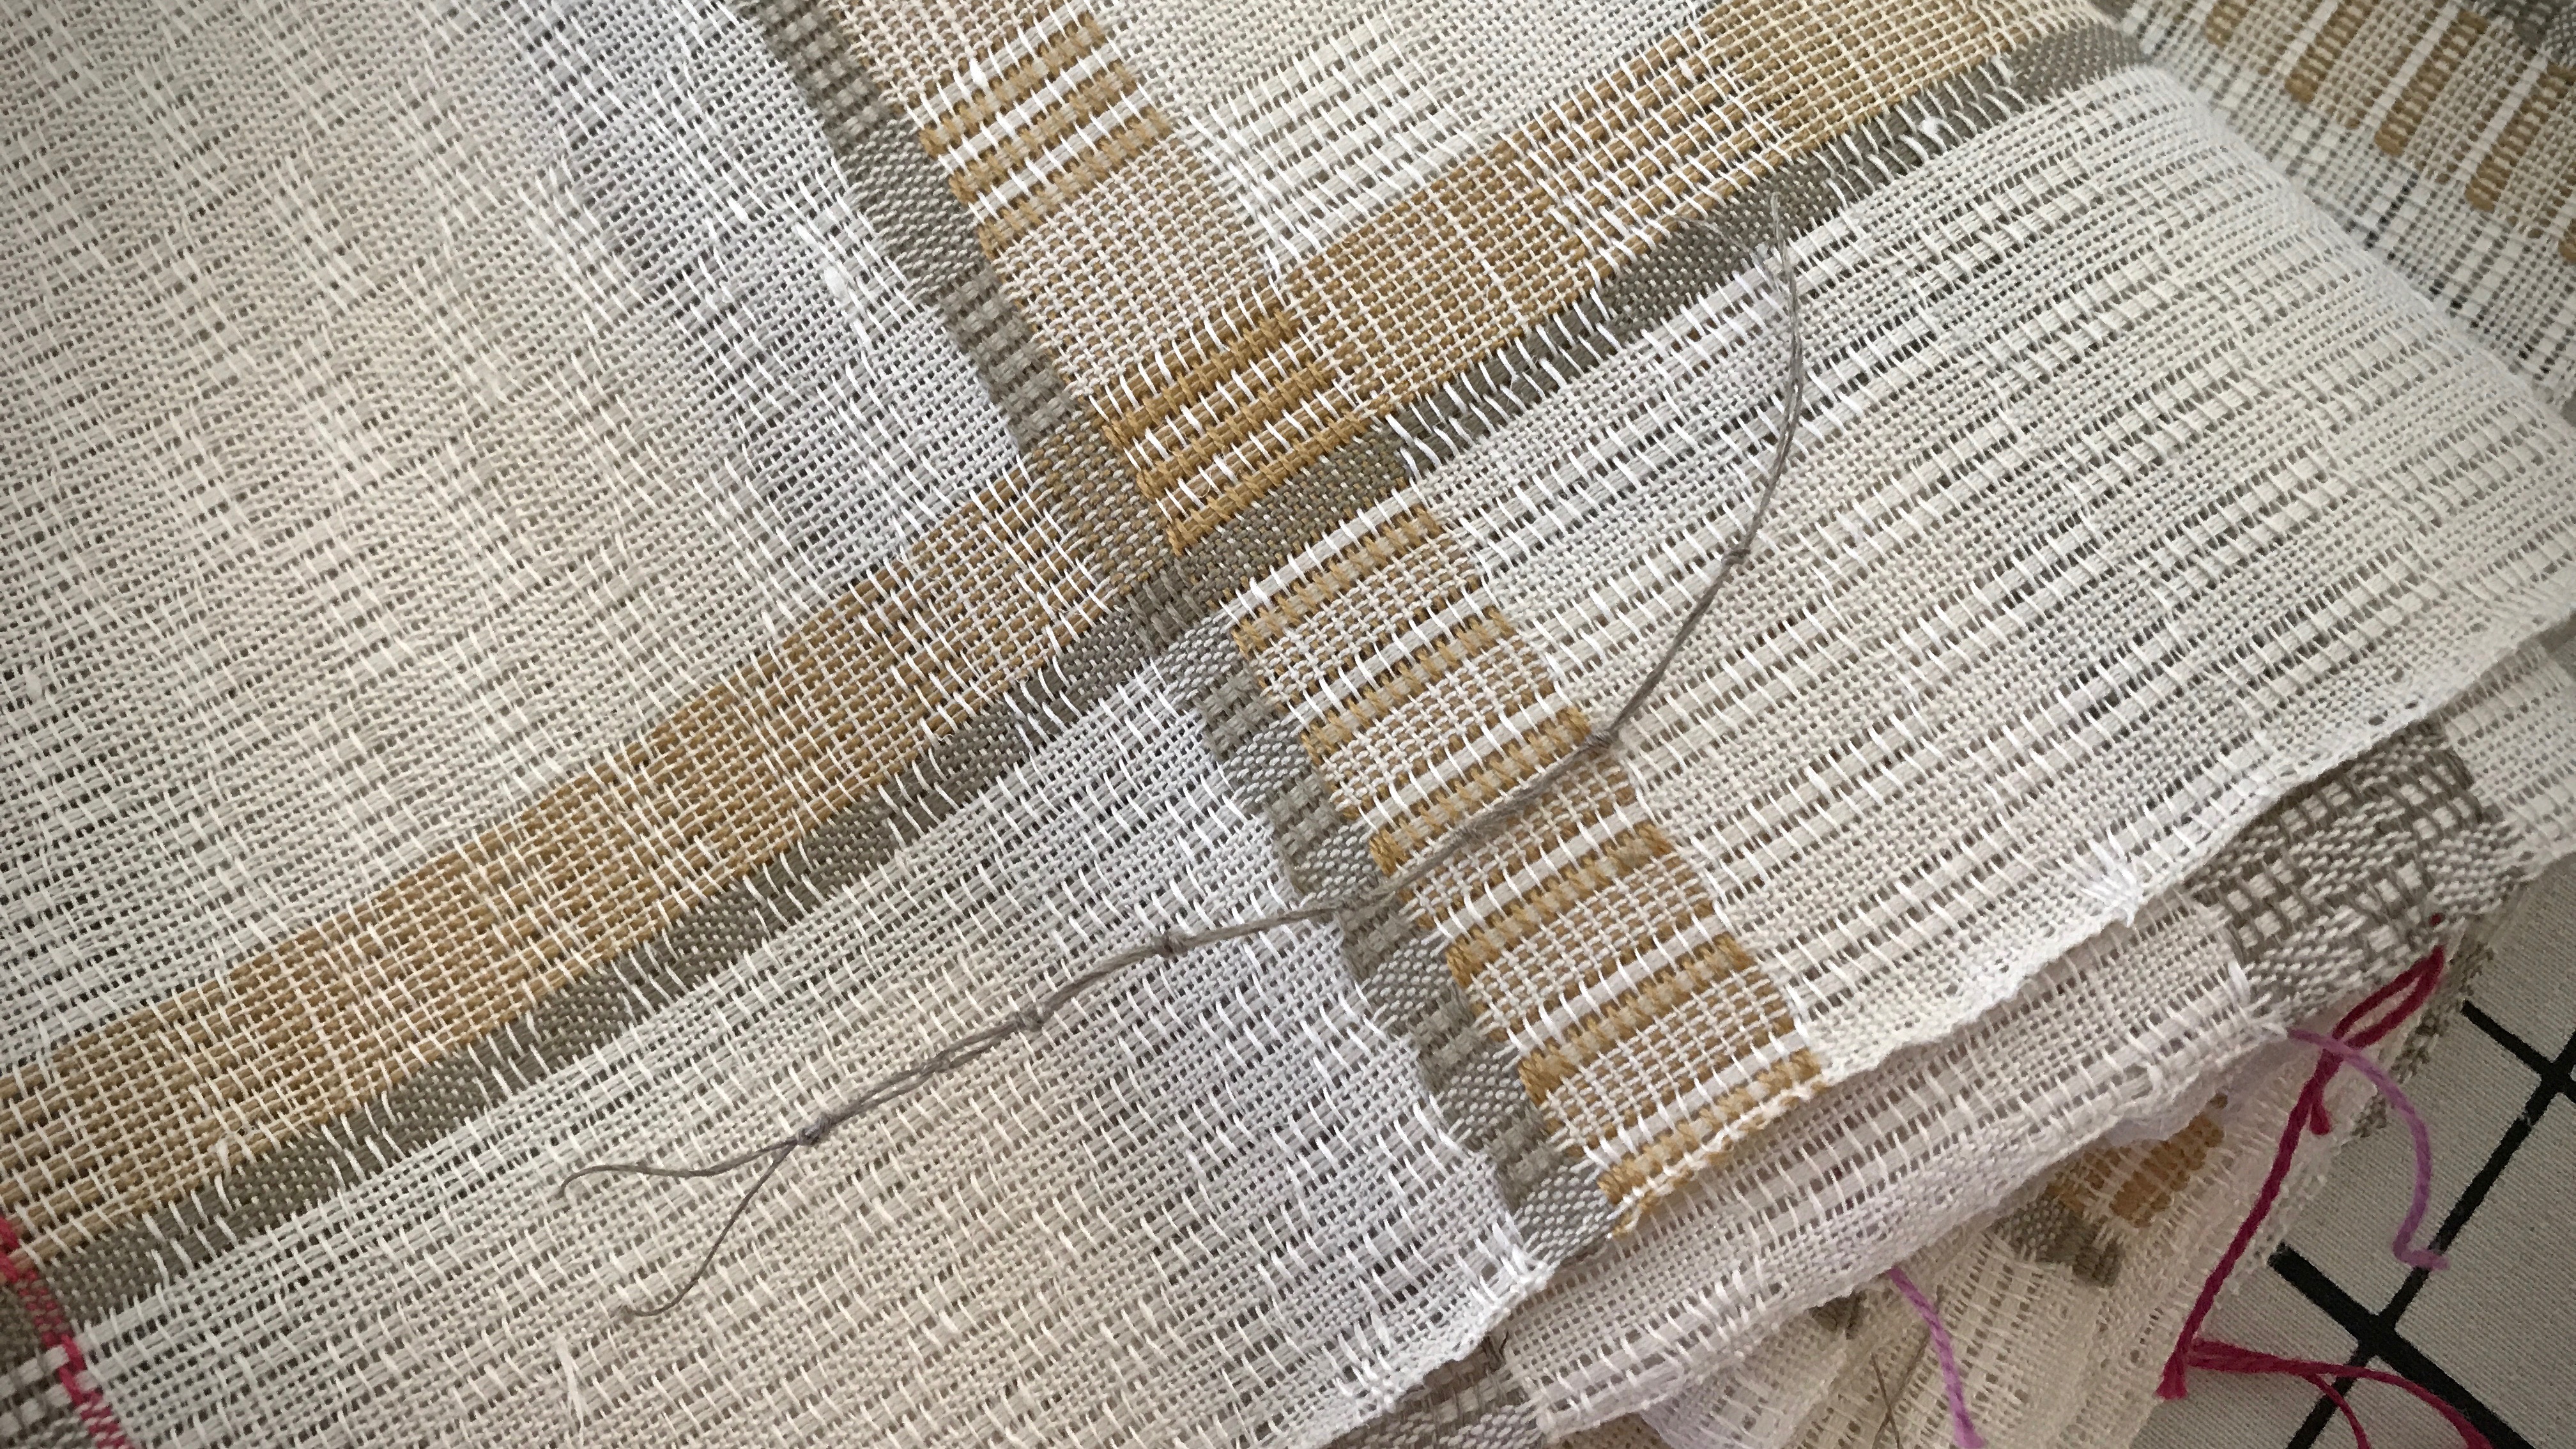
- Thread-mark the right side of the fabric on each sample and individual piece before completely removing the fabric from the loom. This removes guesswork later. Thread a blunt-tip needle with 6 – 8″ of warp or weft thread, and make a 1/2″ stitch through the fabric. Leaving a loose loop, tie the ends of the thread together in a square knot on the right side of the fabric.
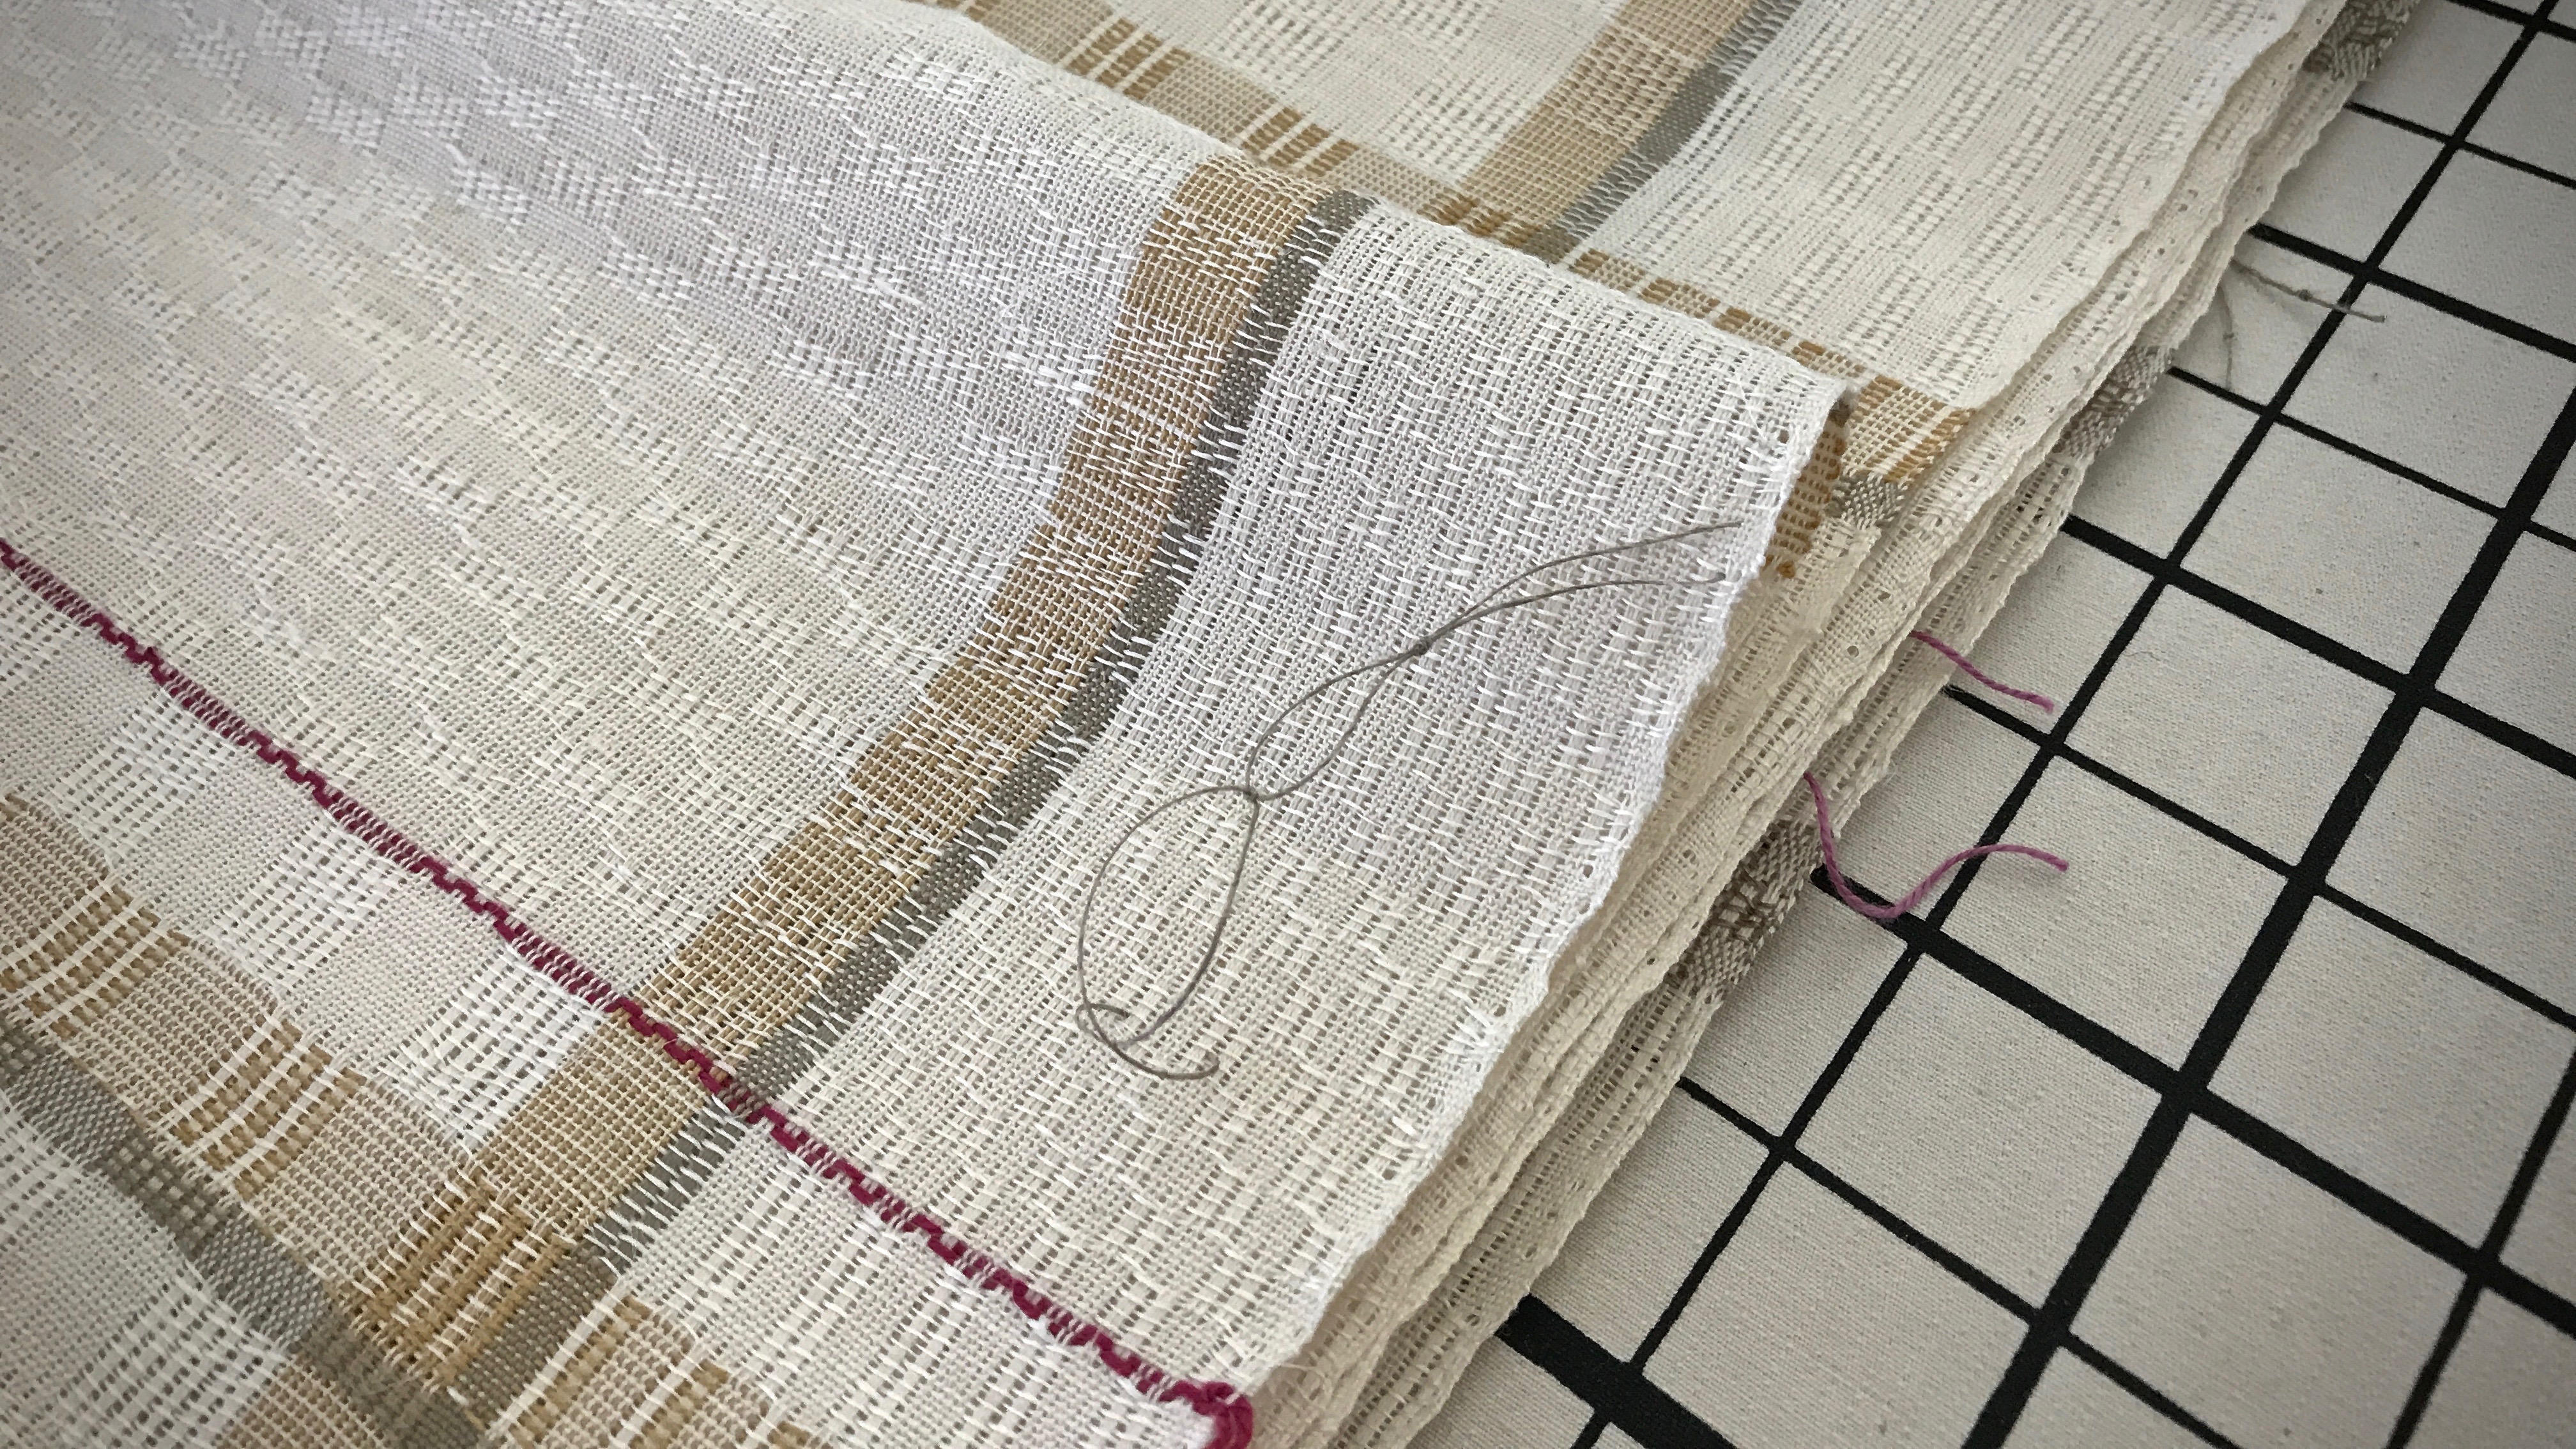
- Tie sequential knots in the thread marks. e.g., First towel has one knot, second towel has 2 knots, etc. This enables accurate record-keeping measurements before and after wet finishing for individual items.
- Cut pieces apart before washing.
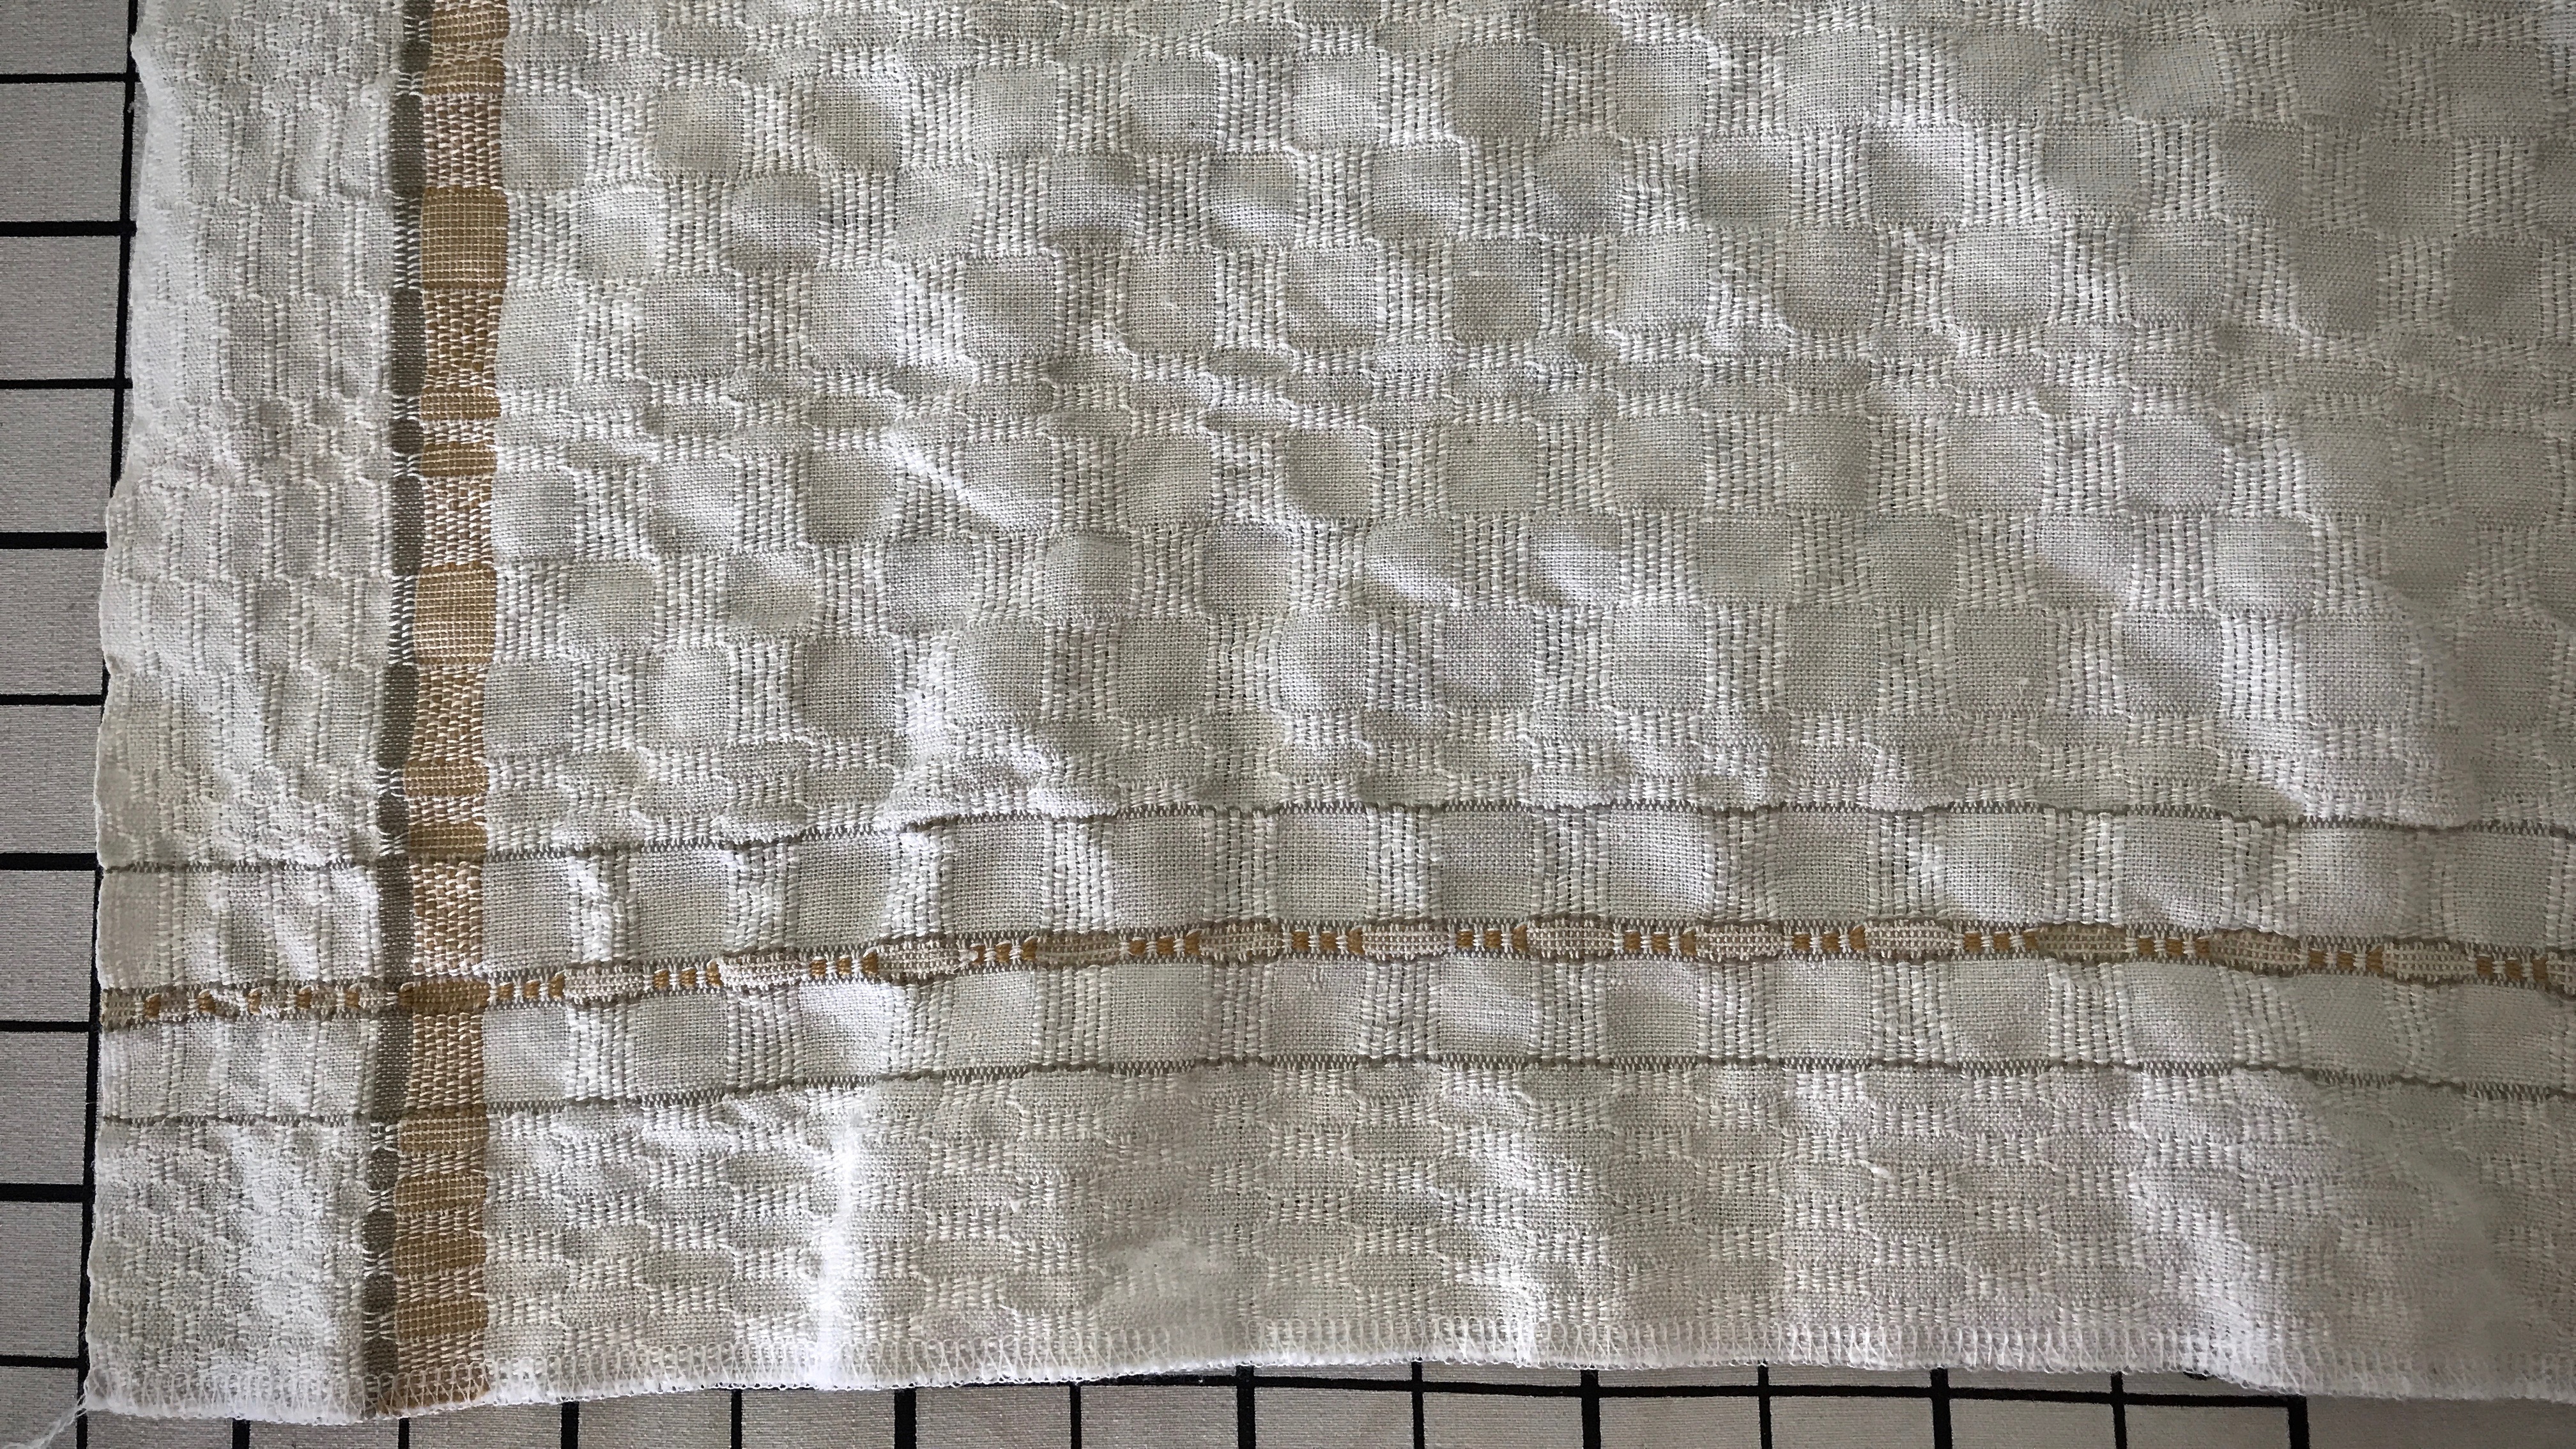
1. Two weft picks have been woven for each cutting line. The two threads make an easy guide path for the scissors.
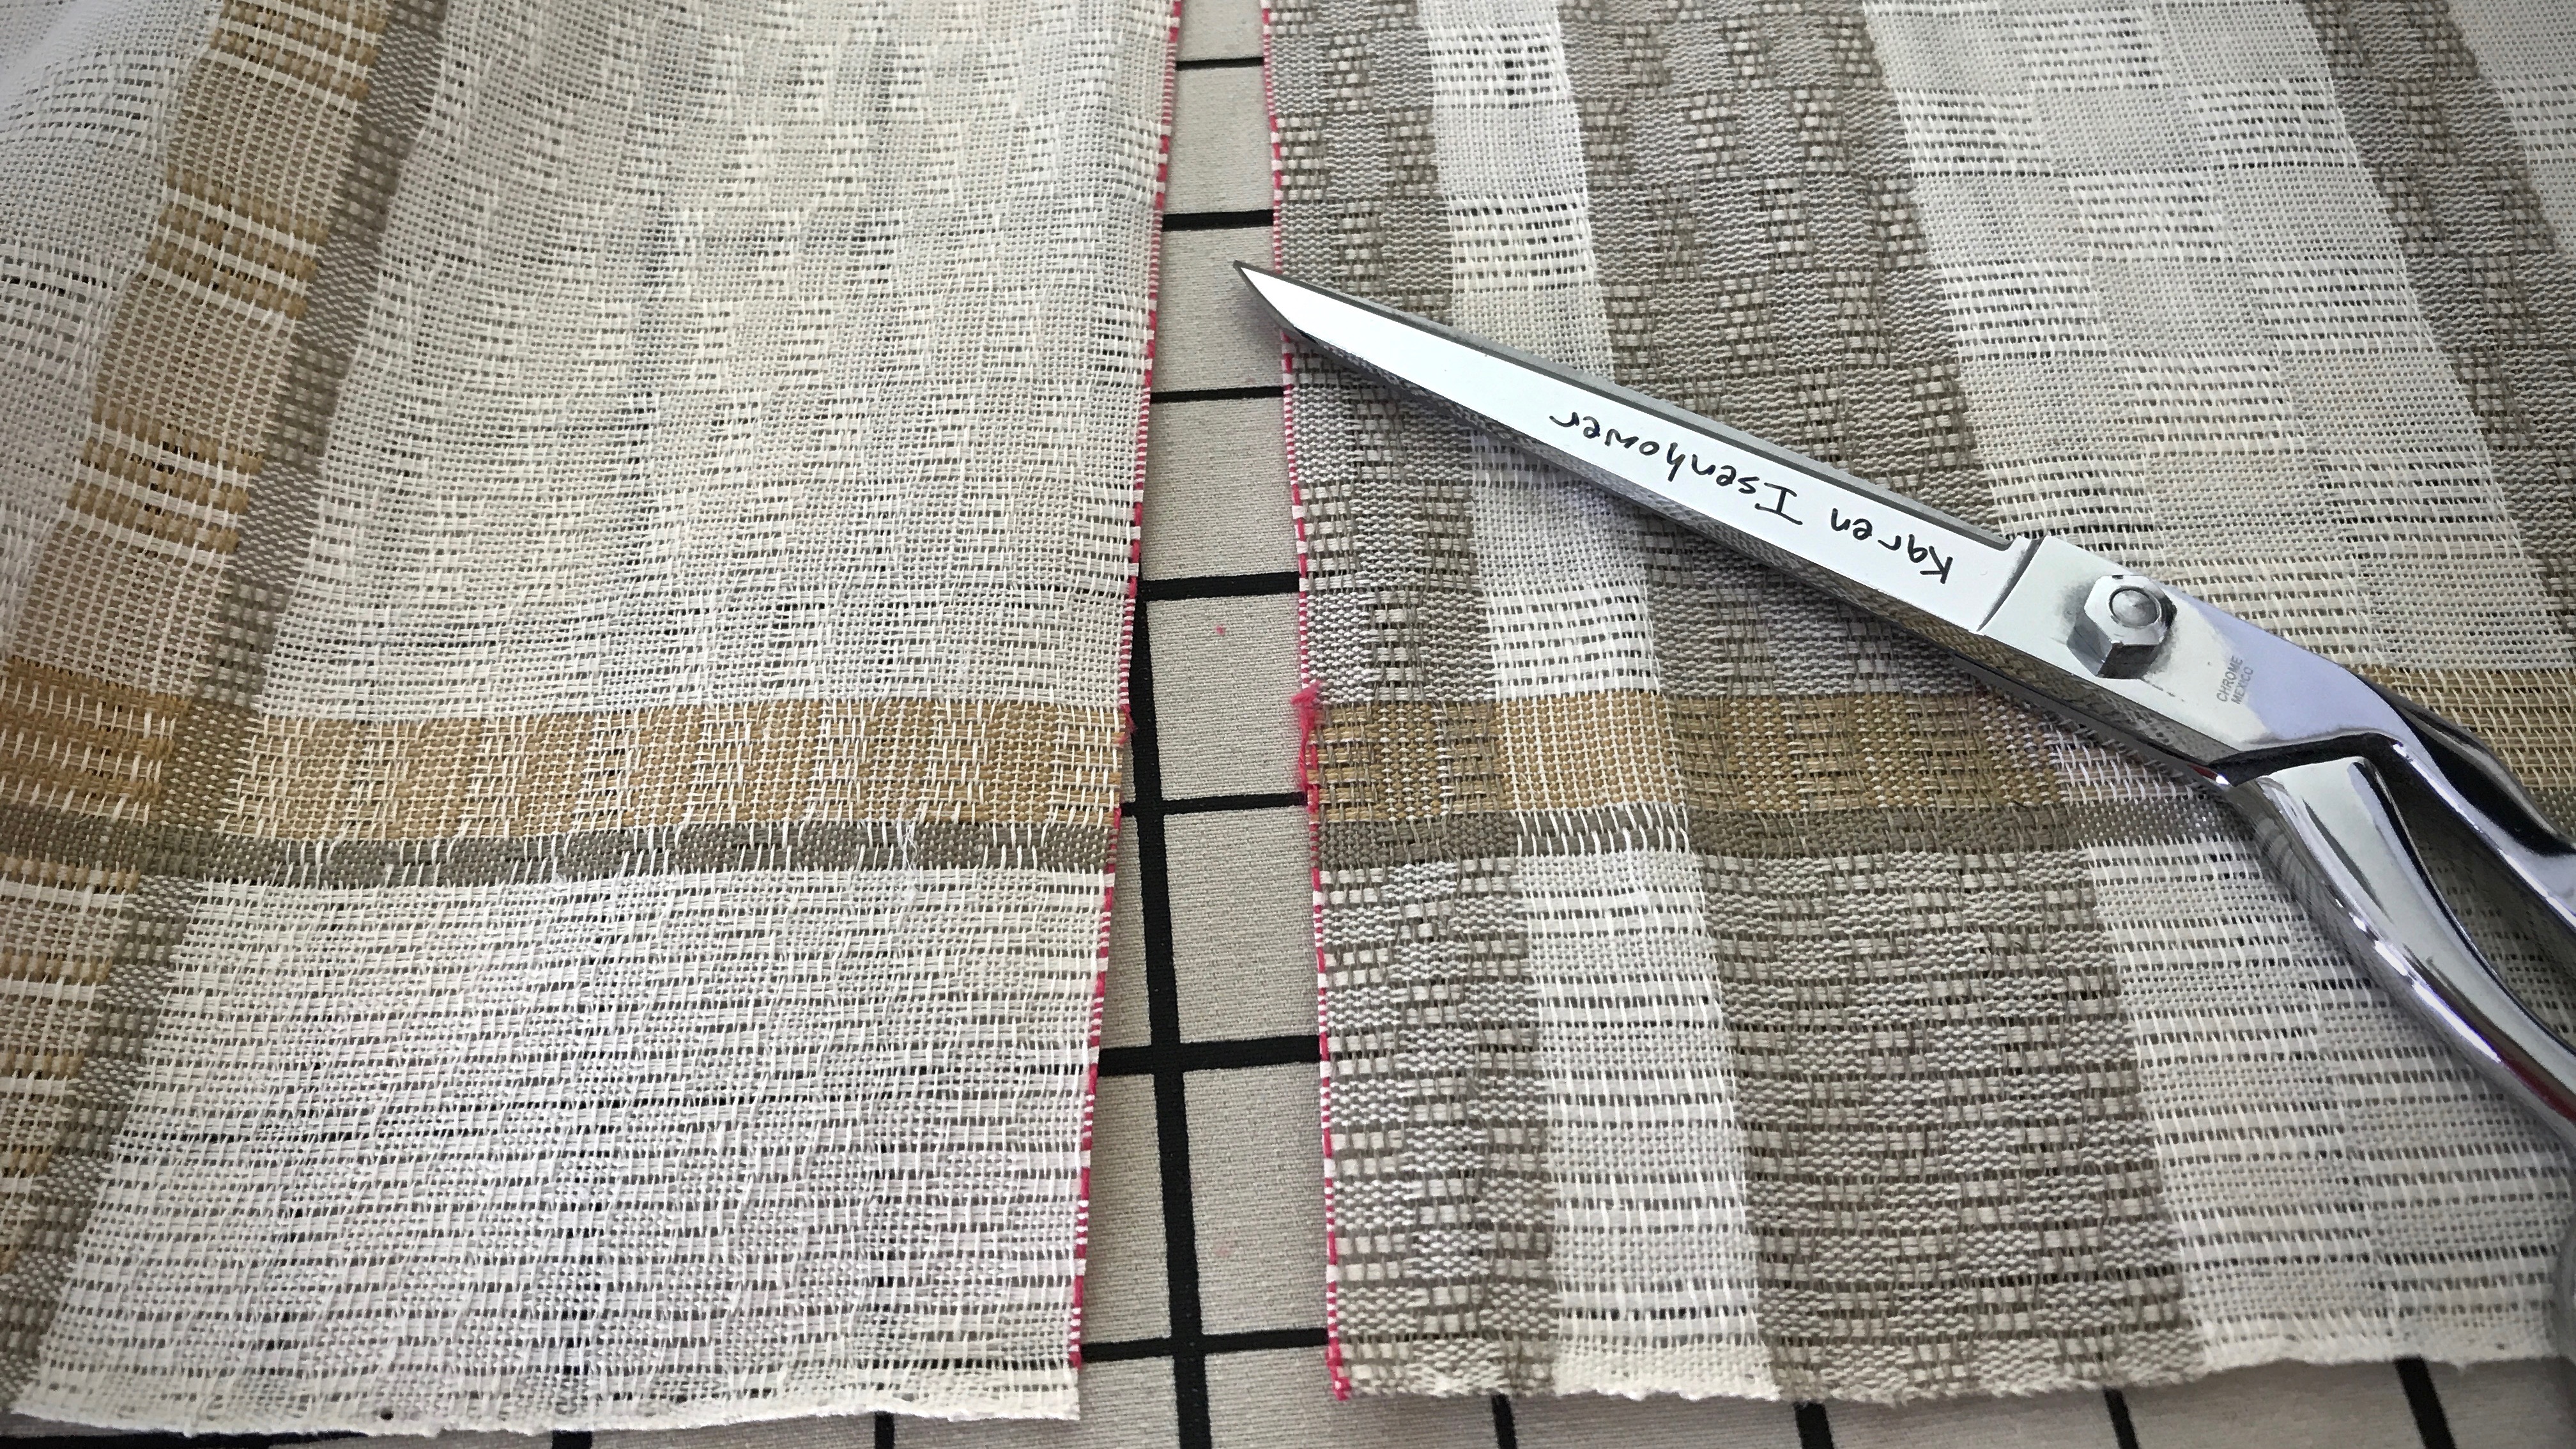
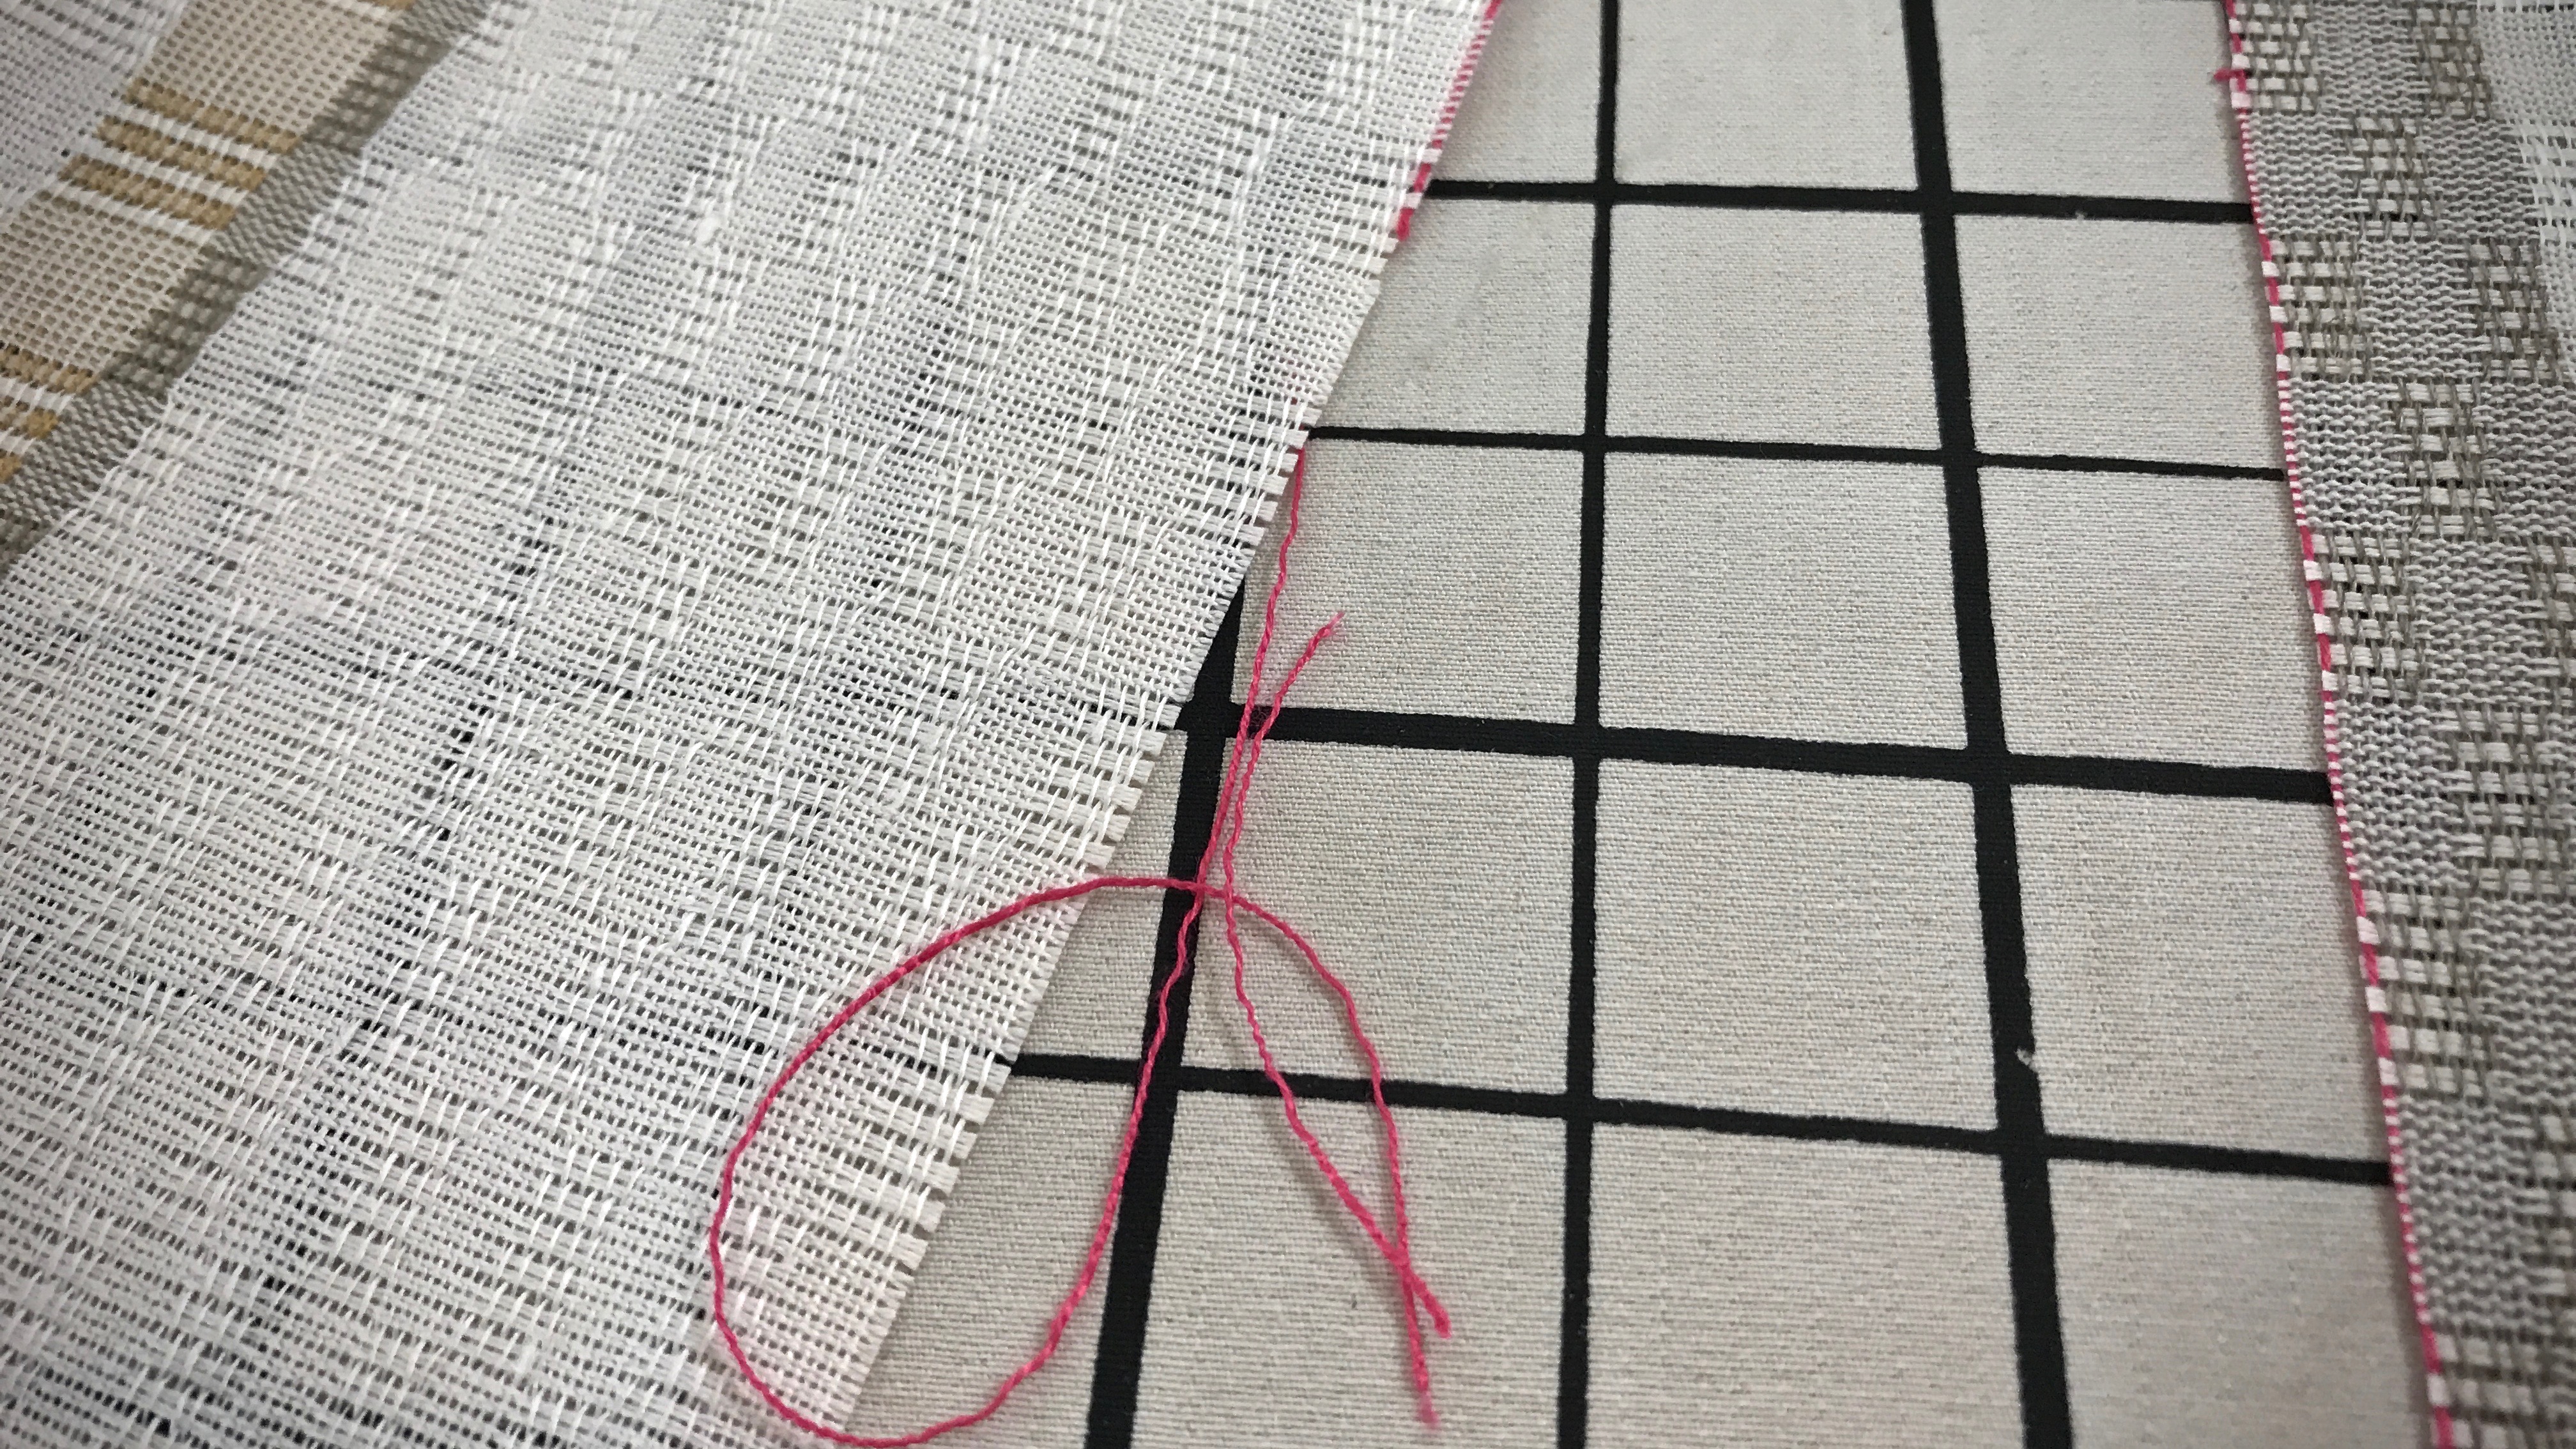
2. Use the same cutting-line color for every project (I use red, unless red is one of the weft colors in the project). This helps prevent accidental cutting at weft design stripes in the piece (which I did once –Oops!– before establishing this rule).
3. Pull out the cutting-line threads. Any remaining thread residue is easily removed with a lint roller.
- Finish the cut edges with an overlock stitch on a serger or with a zigzag stitch (preferably a three-stitch zigzag, according to my friend, Elisabeth) on a sewing machine.

Humans are not finished until they are loved. Love is patience and kindness at the core. We want to be on the receiving end of that, don’t we? We all need someone to love us–to carry our burdens, to believe us, to hope the best for us, to endure with us. It’s in the finishing that we discover the value, the corrections needed, and the beauty that has been woven in. This is the love of God to us. This is the finishing work of Jesus Christ, and his love in us.
May you have many cutting-off celebrations.
With love,
Karen
PS It’s good to be back with you! I hope you had a pleasant and weaving-full July.