Wild Turkey and More

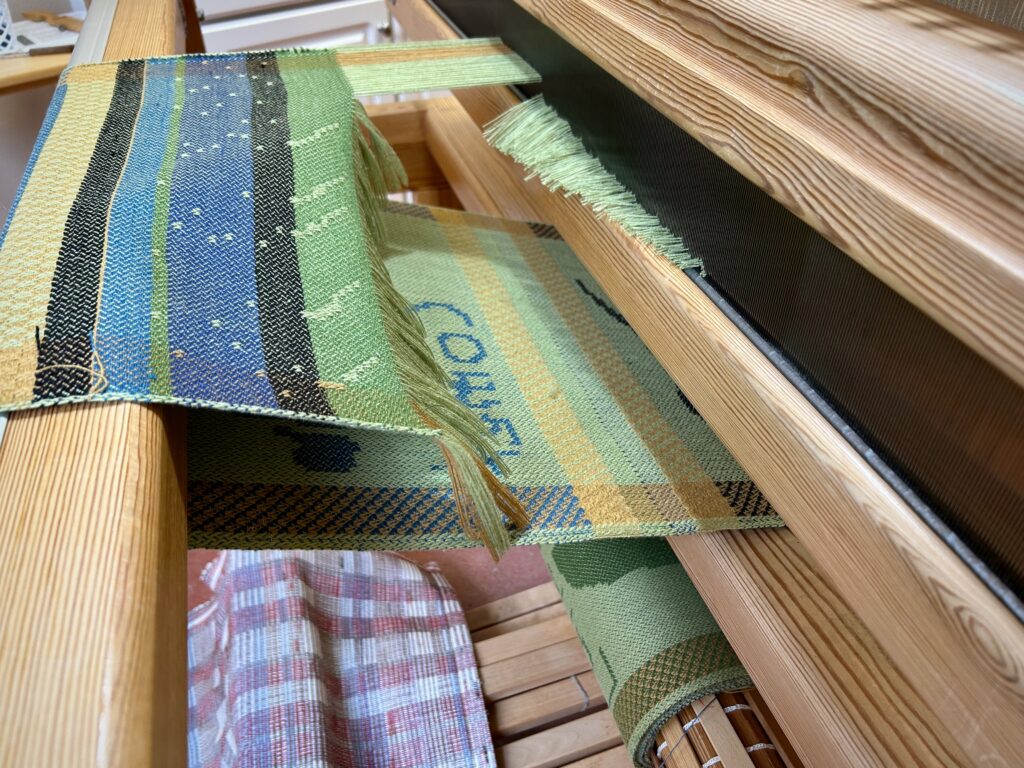
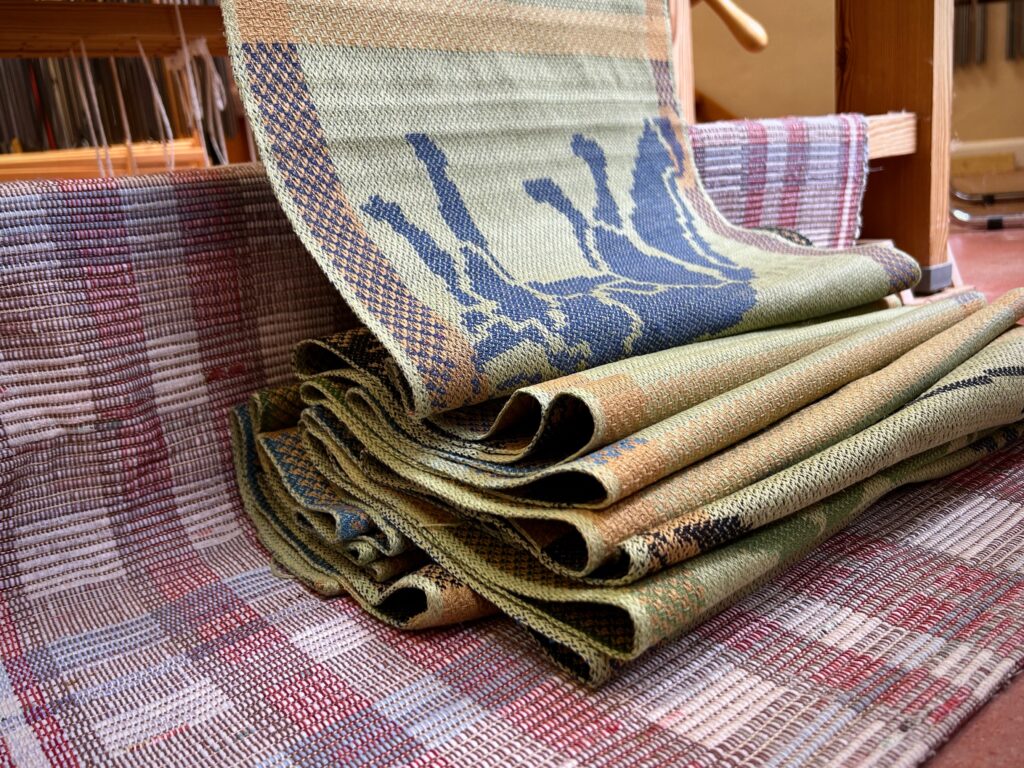
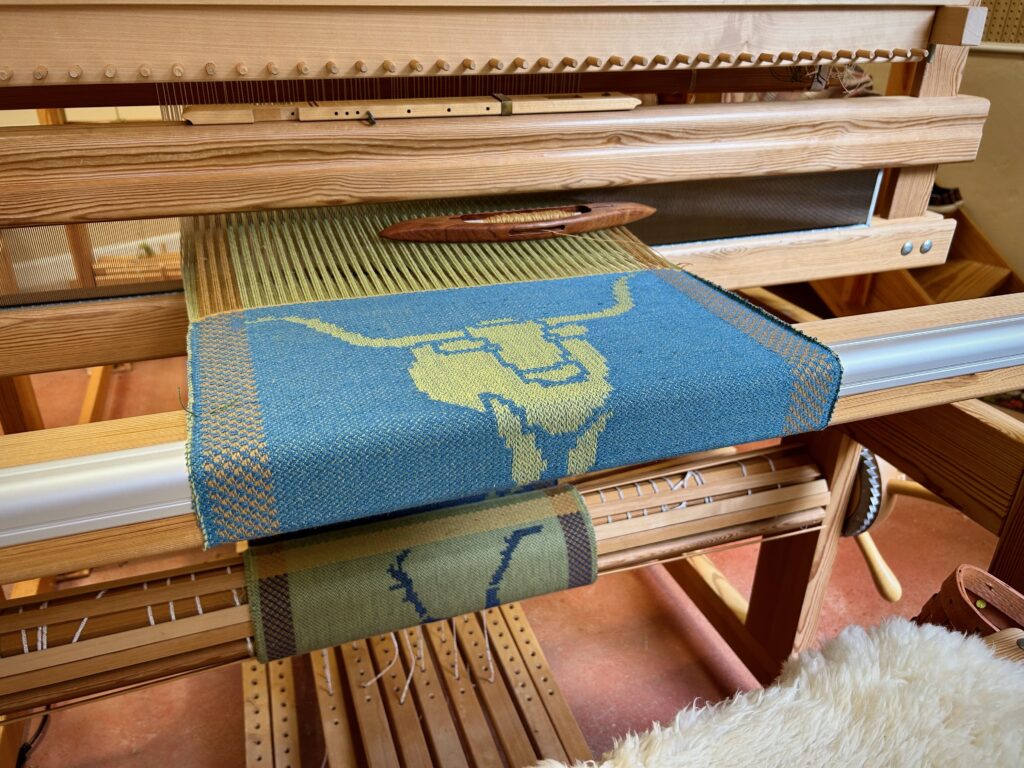
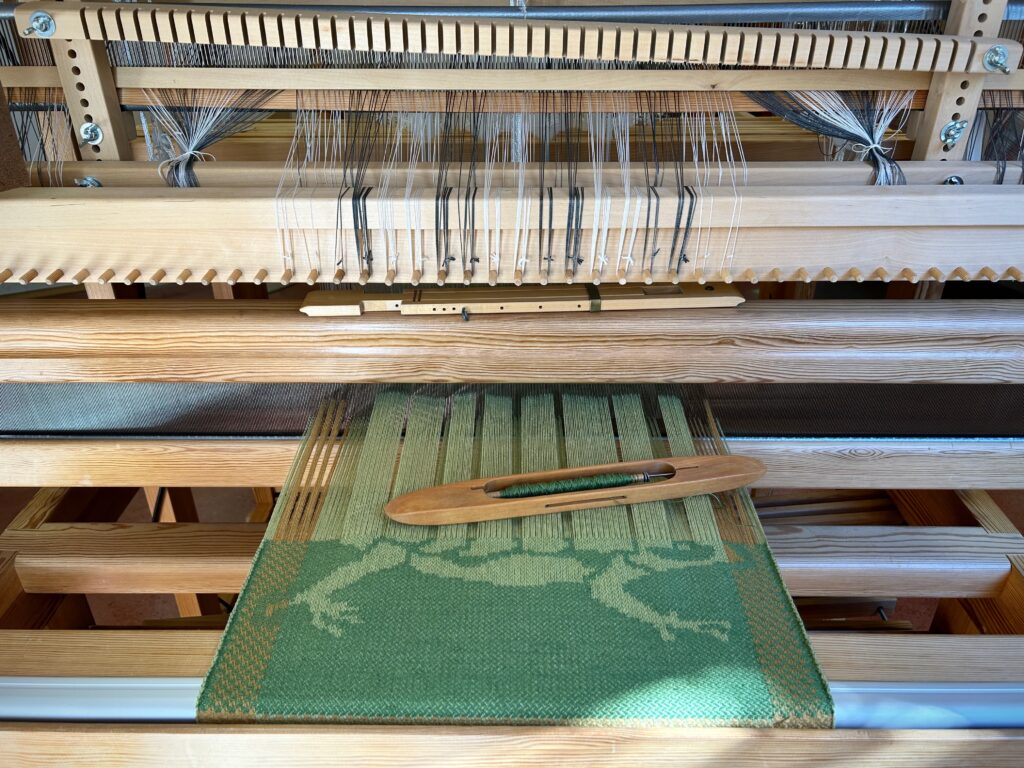
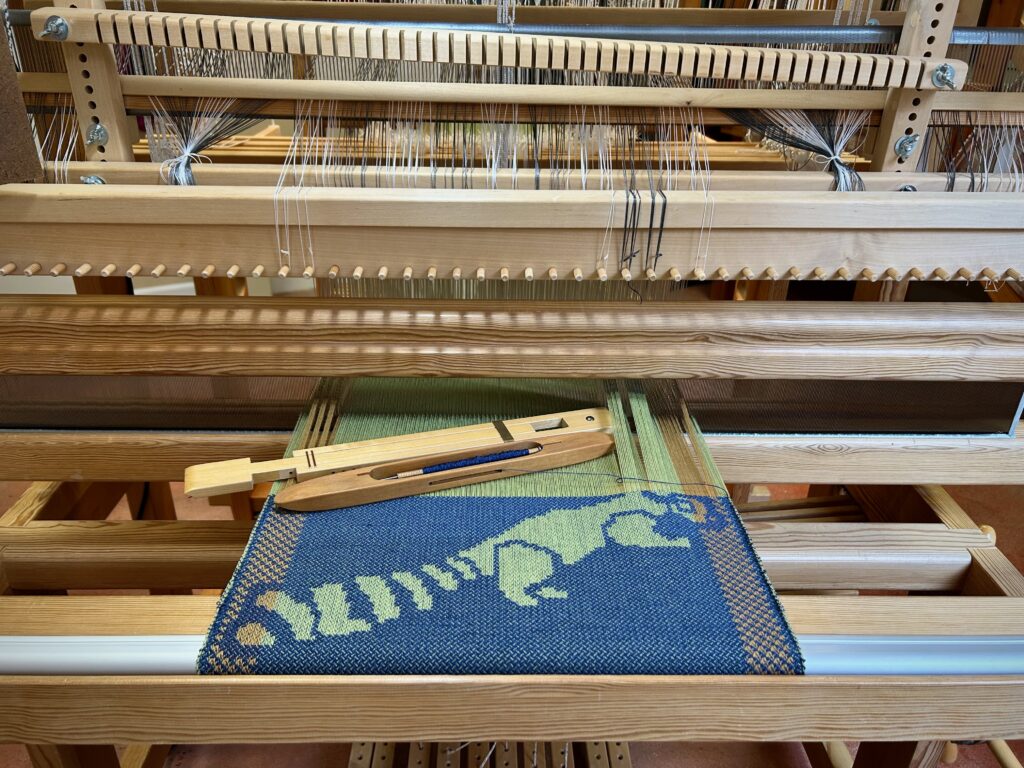
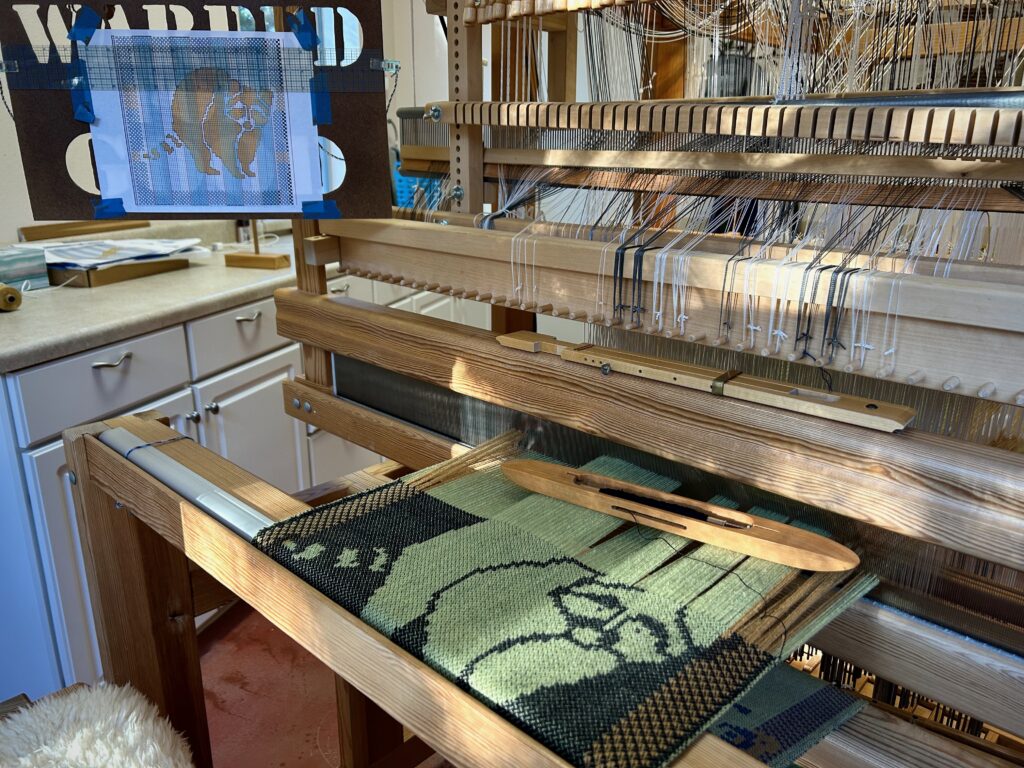
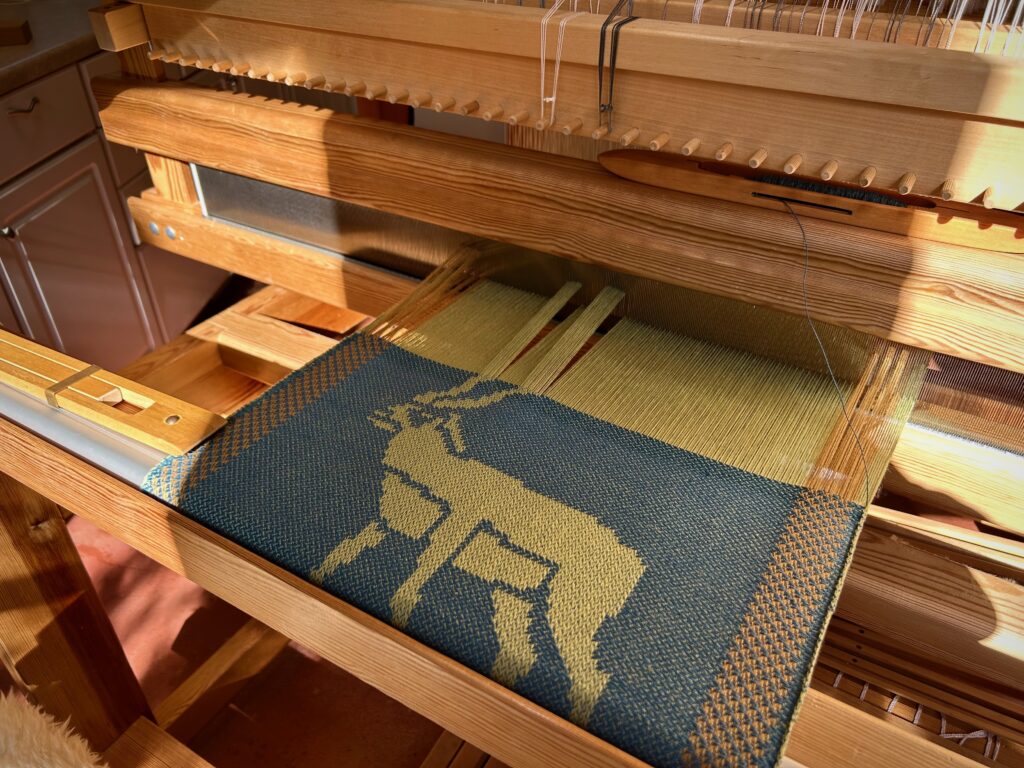
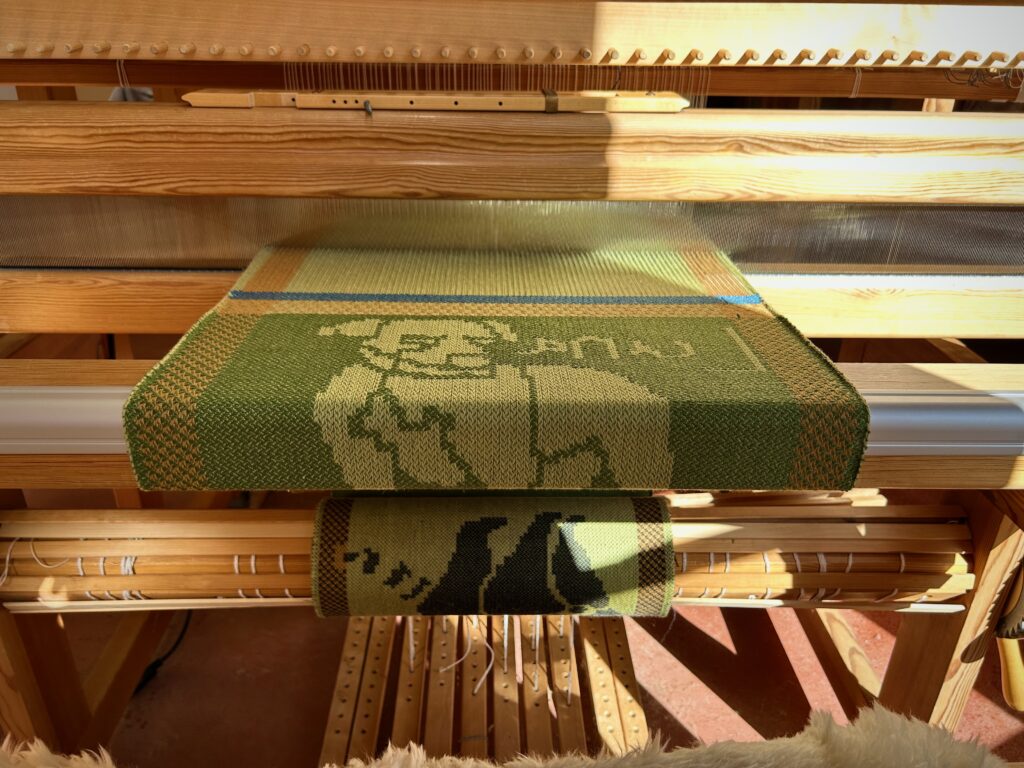
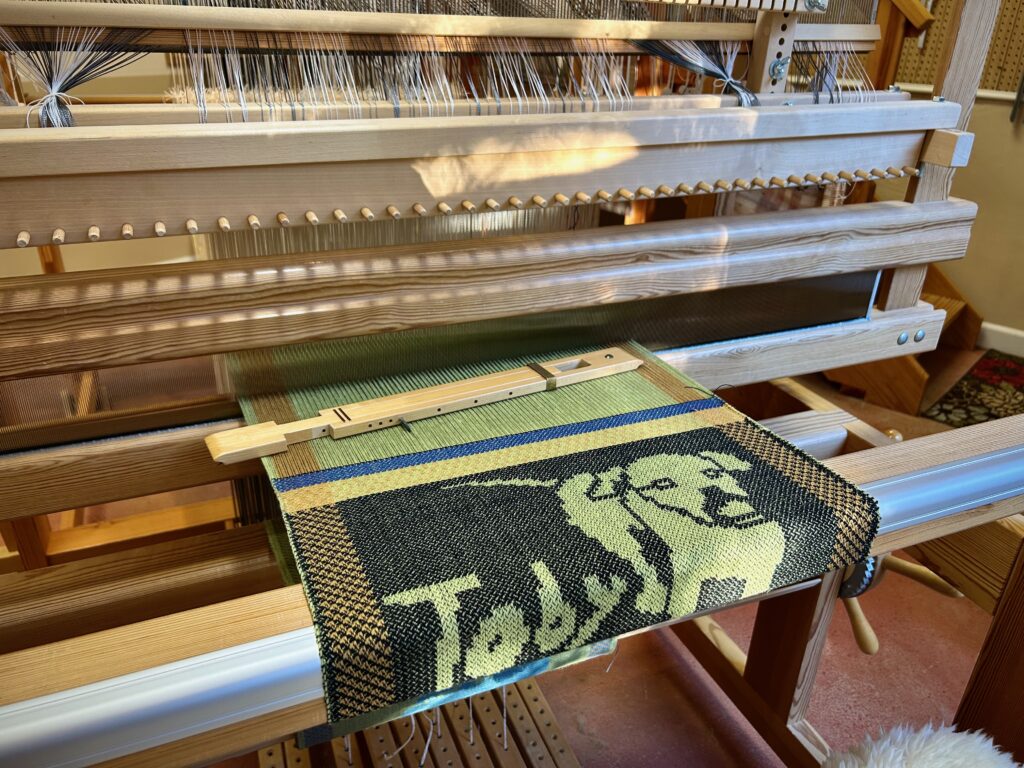
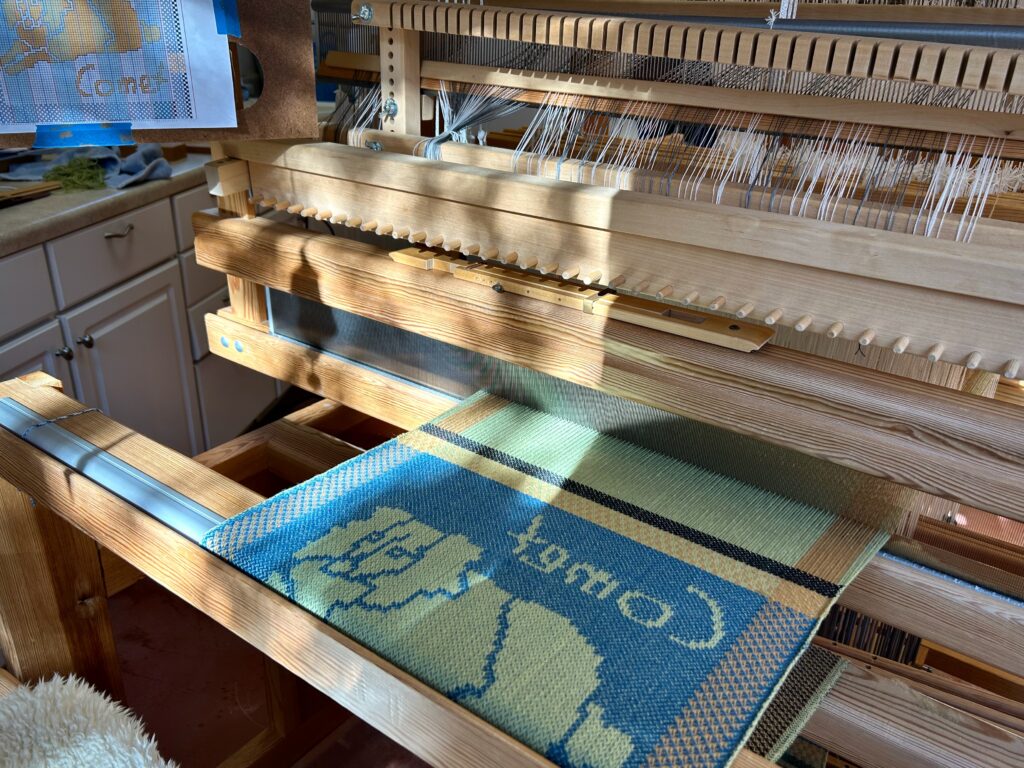
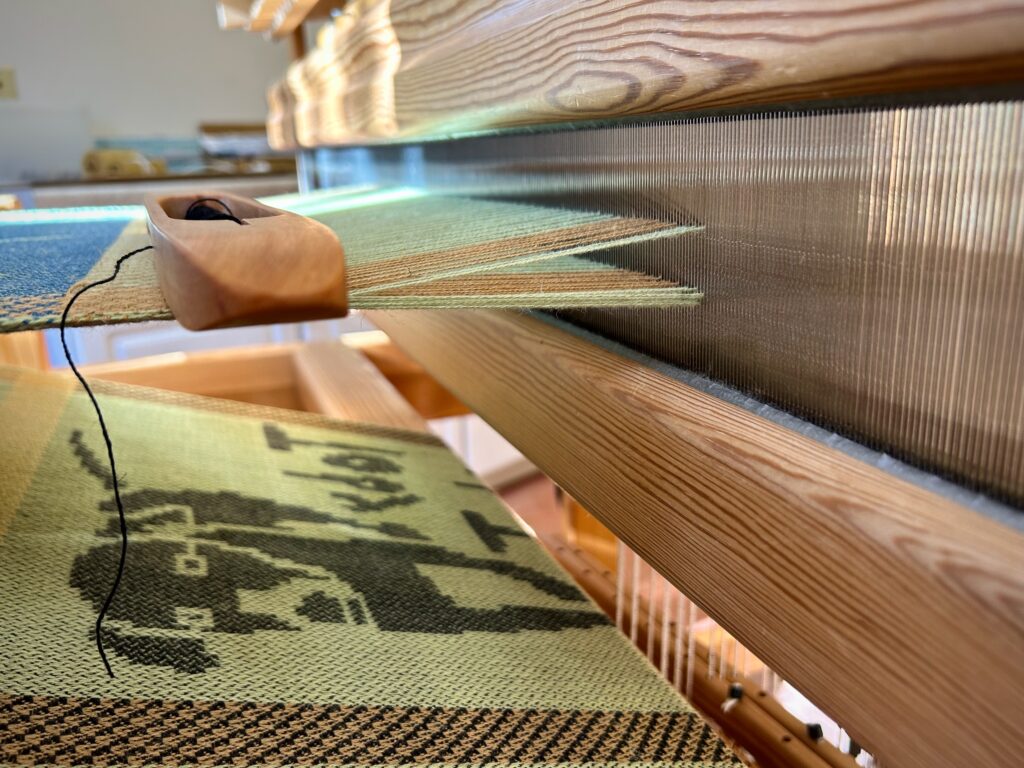
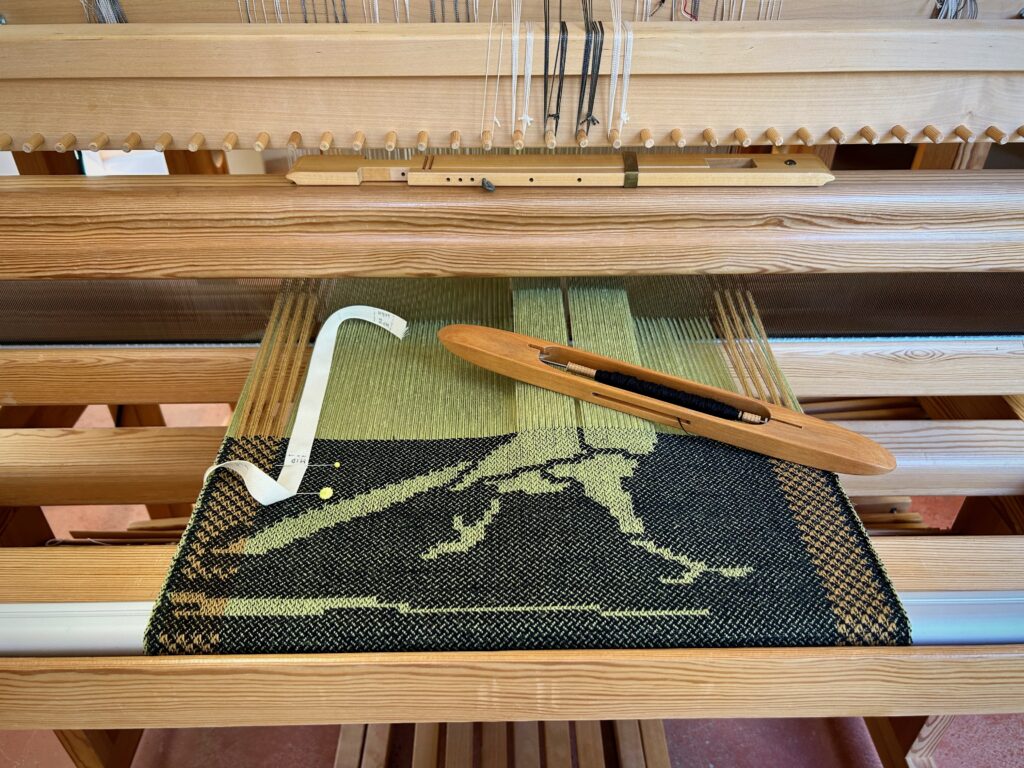
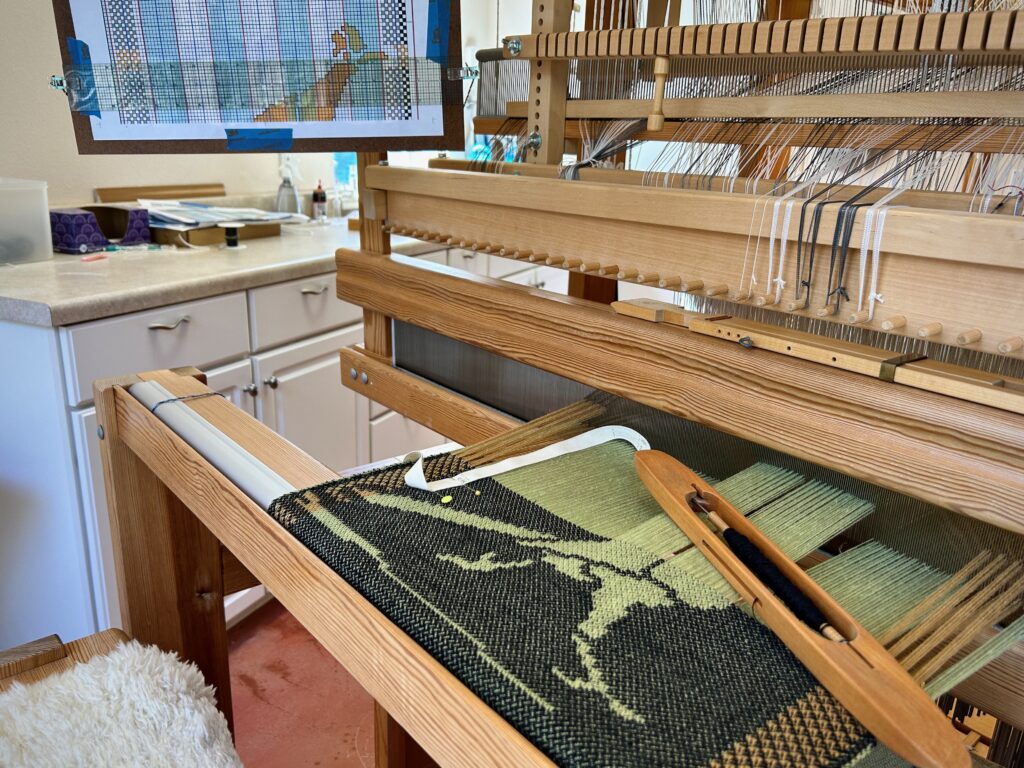
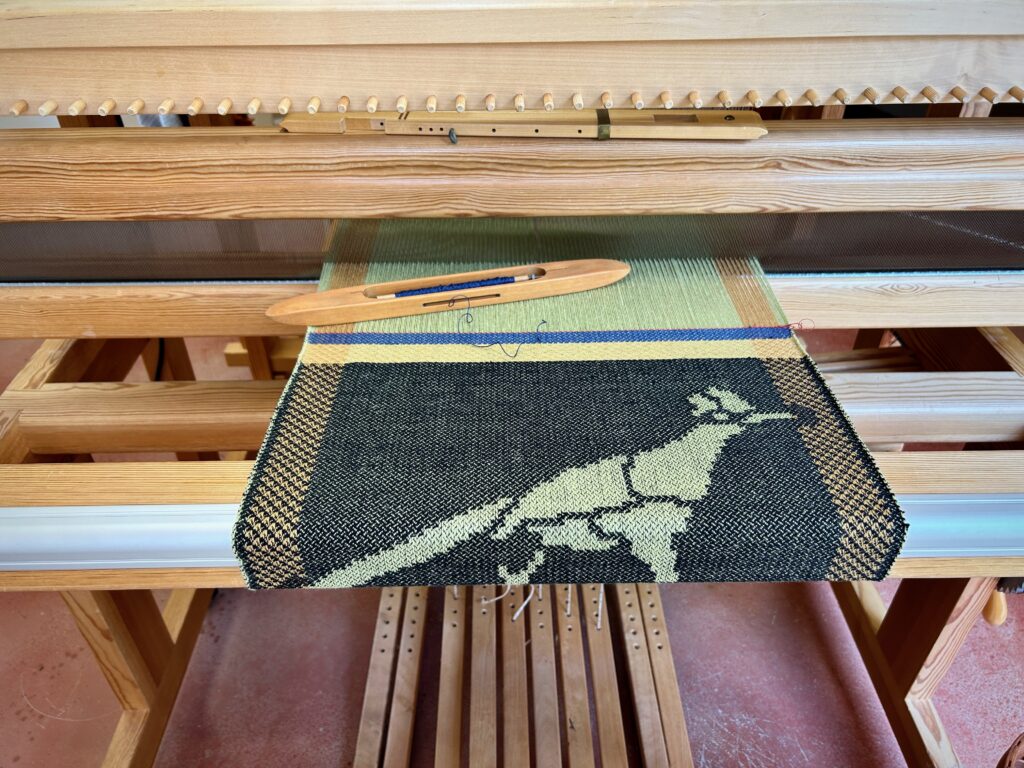
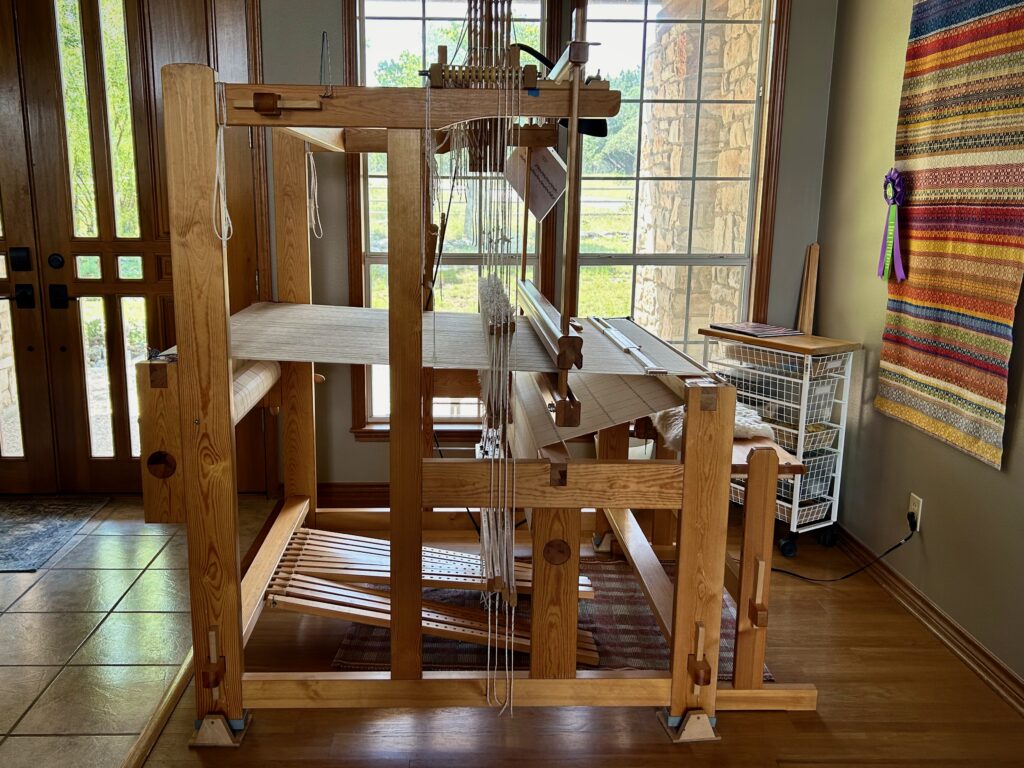
Three looms are active right now. The drawloom has the napkin project, with a wild turkey on this one.

Wild turkey feet and legs weave up quickly. There are only a few single unit draw cords to pull at a time, plus one pattern shaft draw handle for the side borders.
Wild turkey feathers require many more single unit draw cords. Even the borders at this place in the pattern are done with single units. The cast shadow on the loom from the bell that hangs in the window makes a funny face at this time of day. Could be a silly turkey face? 🙂

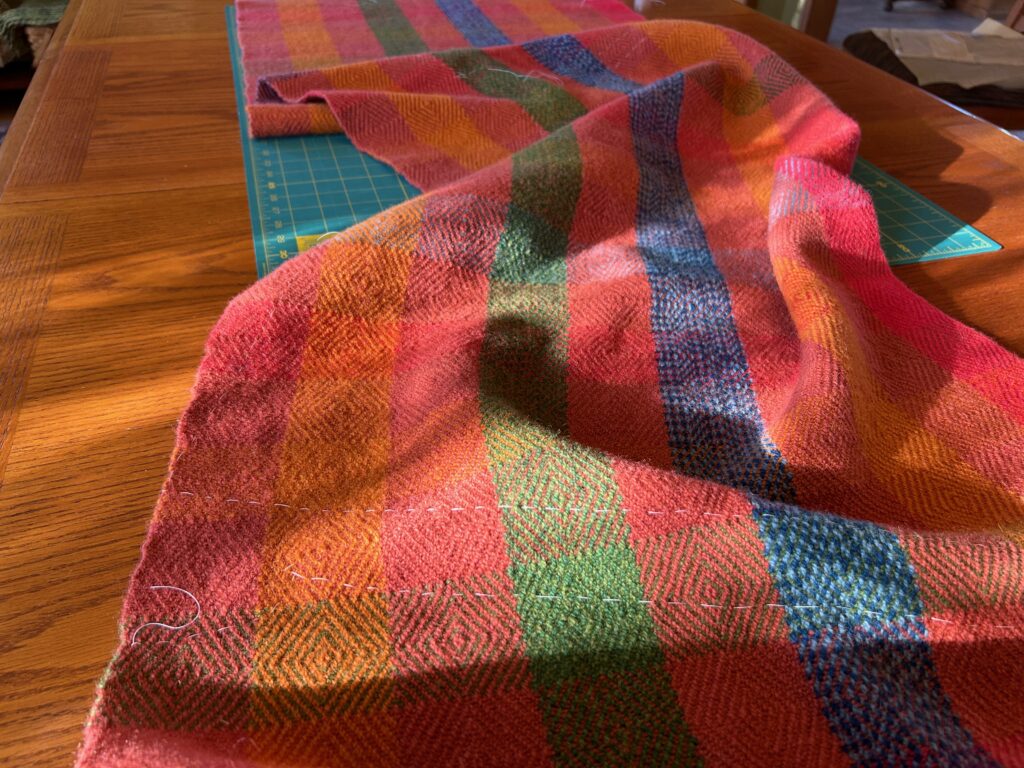
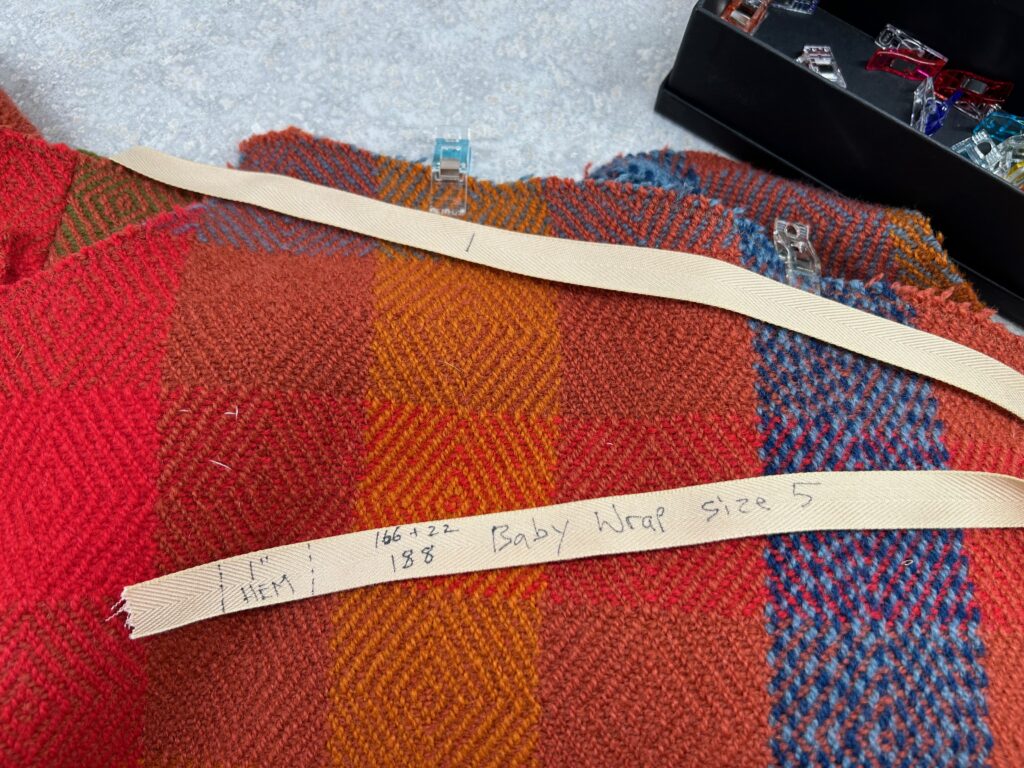
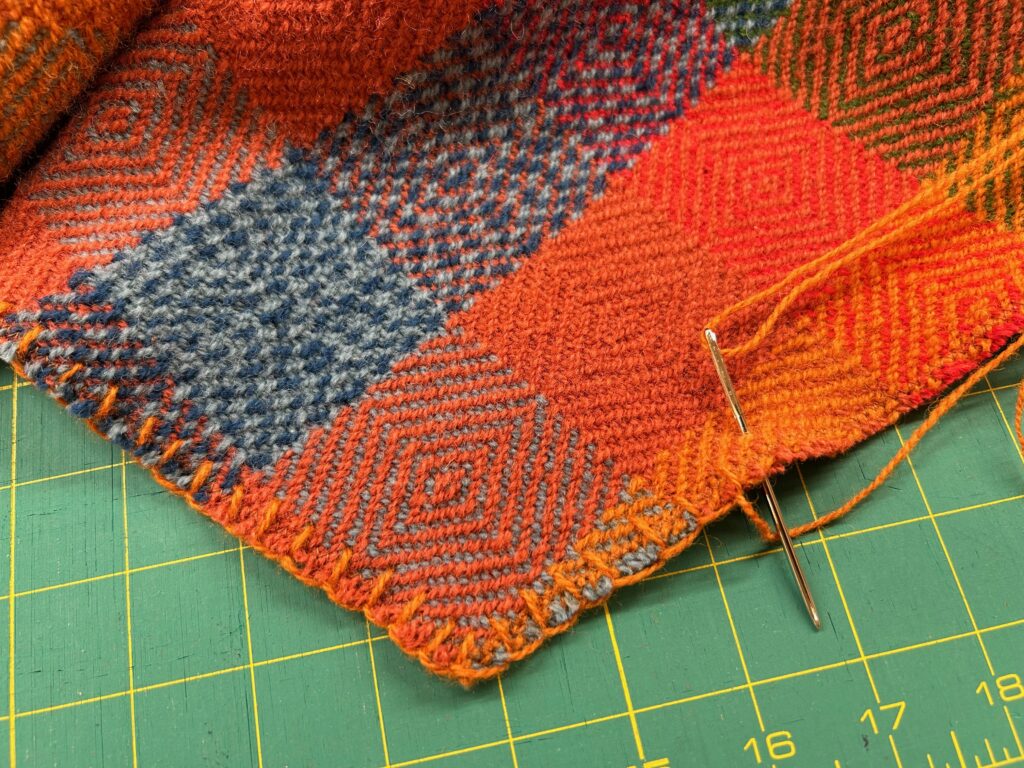
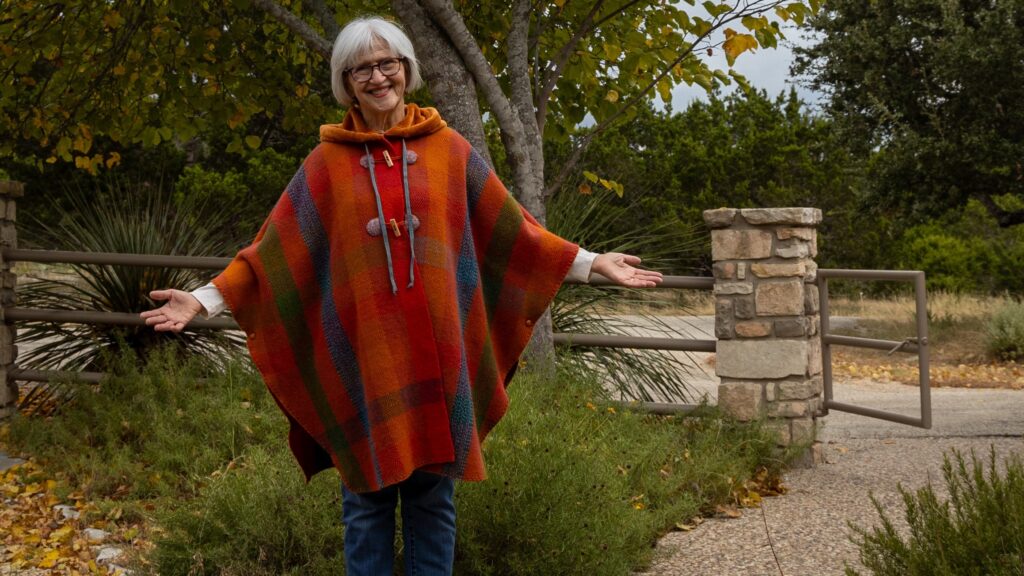
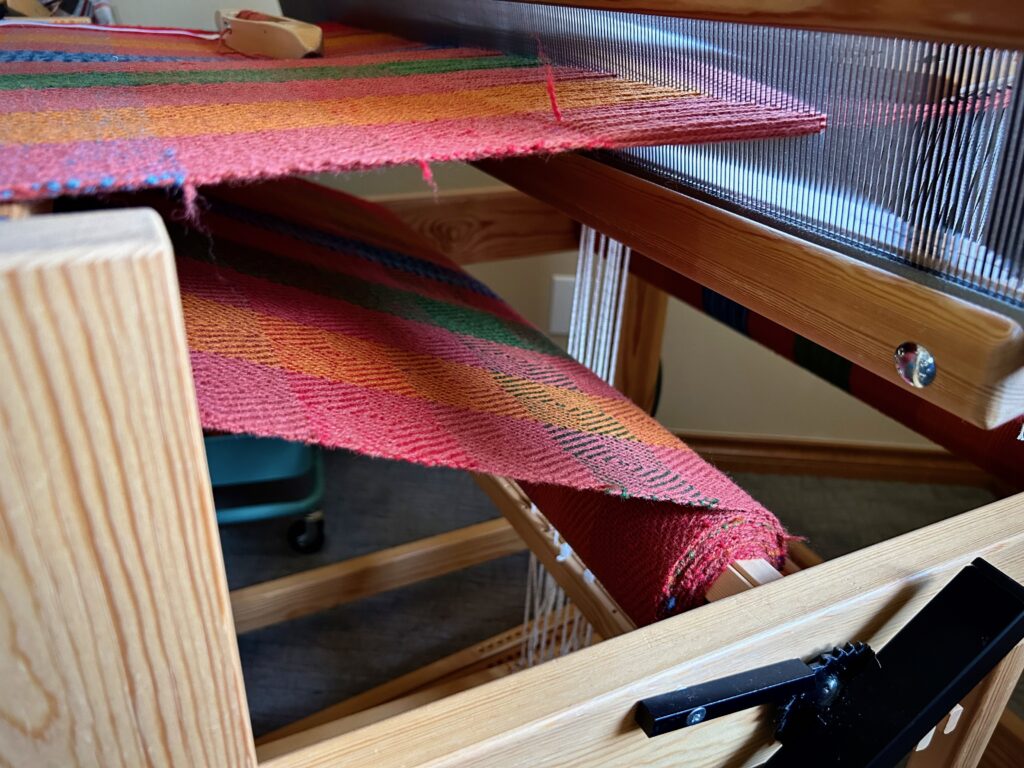
The Julia has the wool goose-eye twill fabric that I plan to use for making myself a simple winter cape. Next winter should be here soon enough.

Wool cape fabric in goose-eye twill.

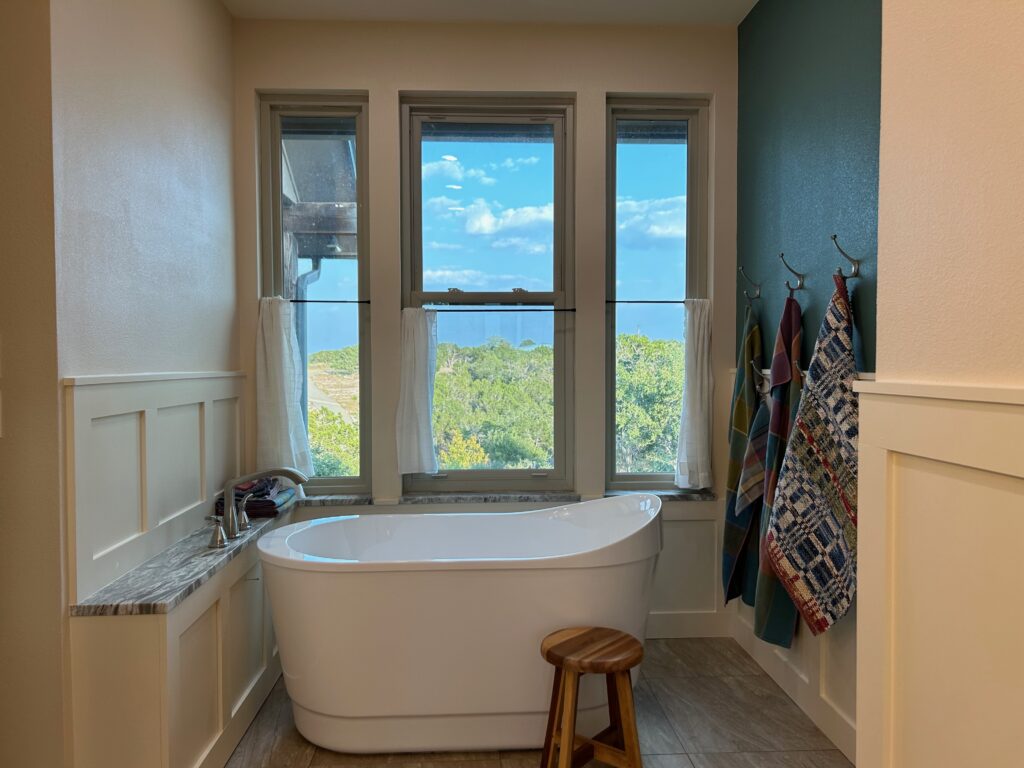
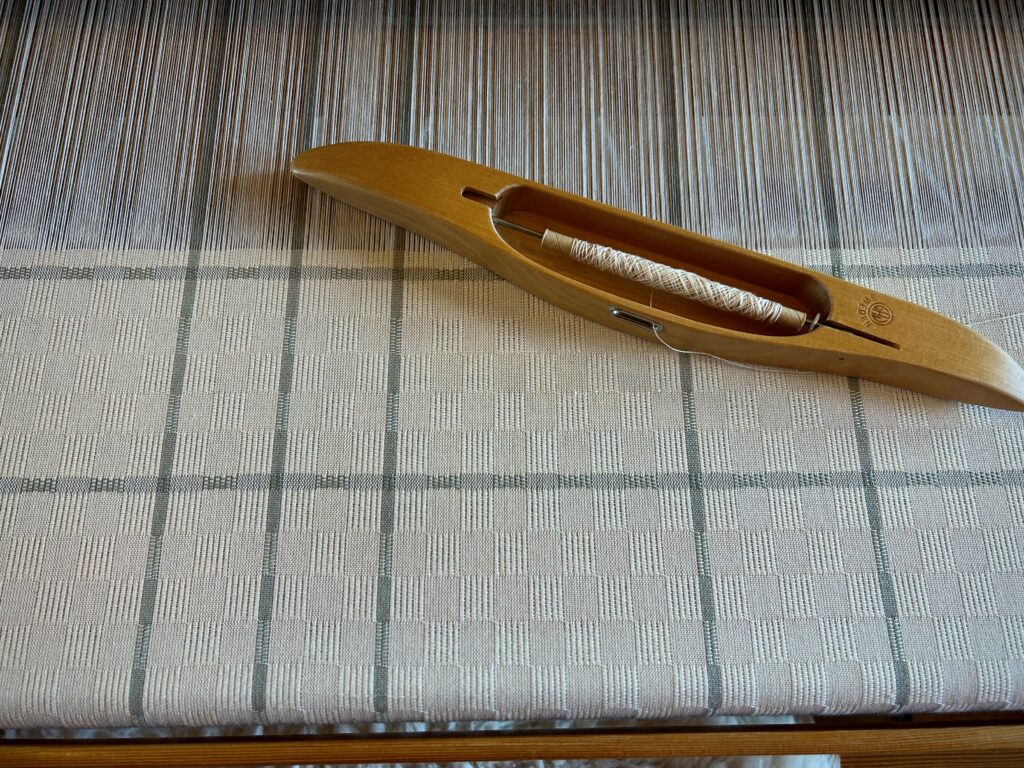
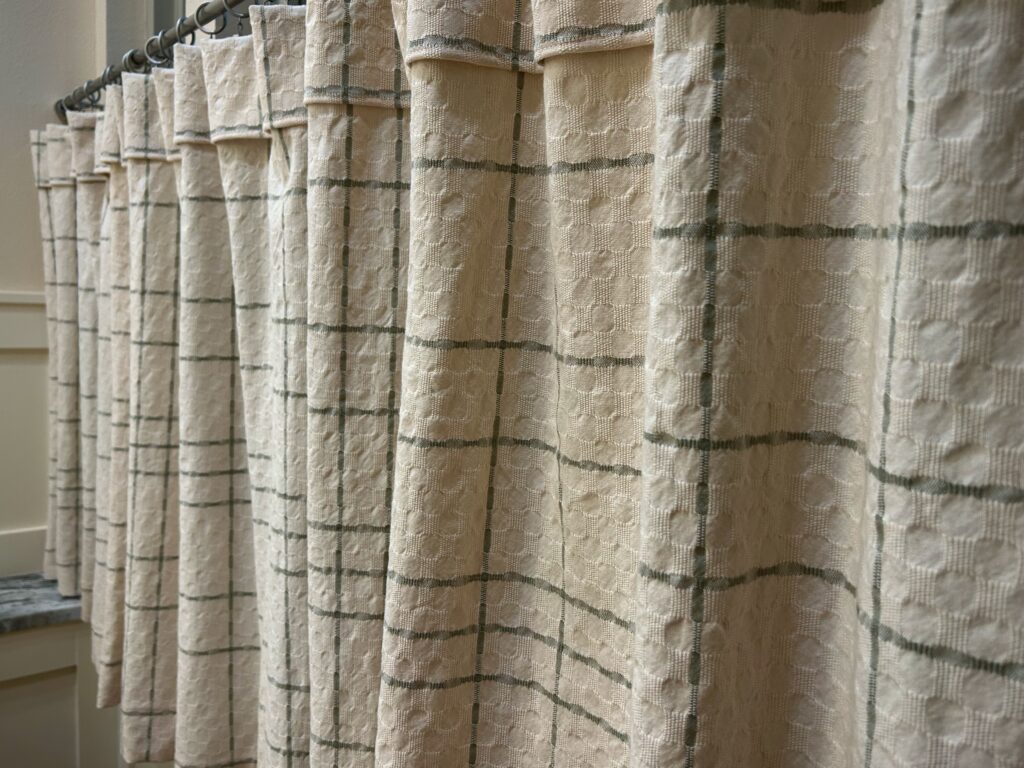
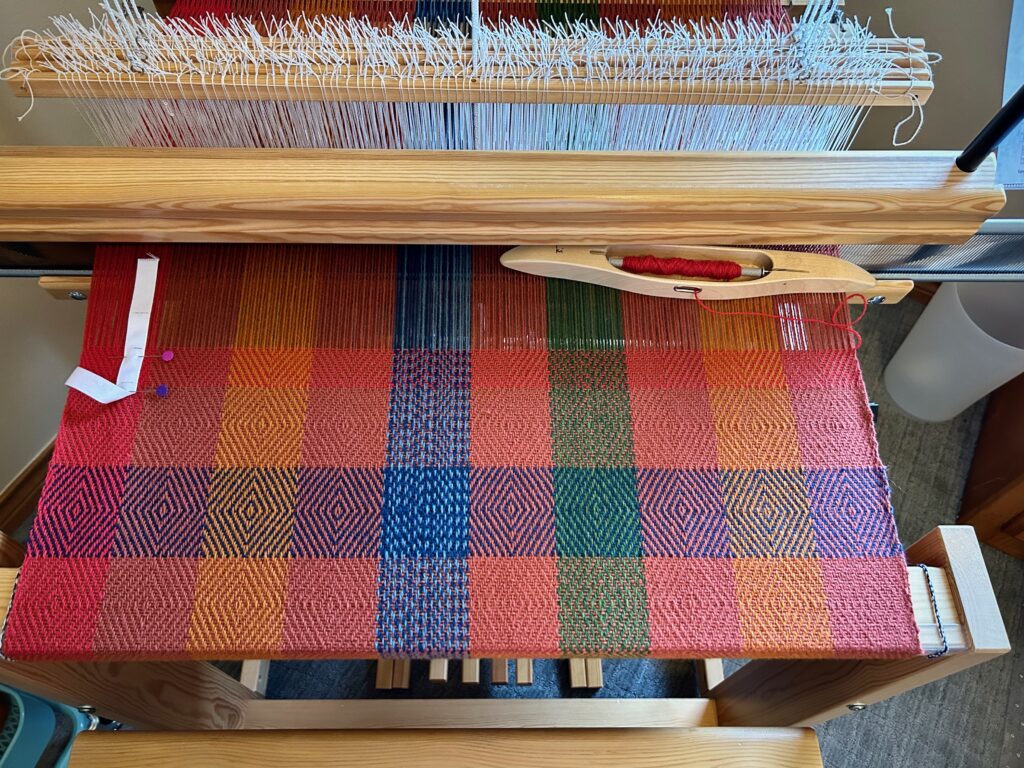
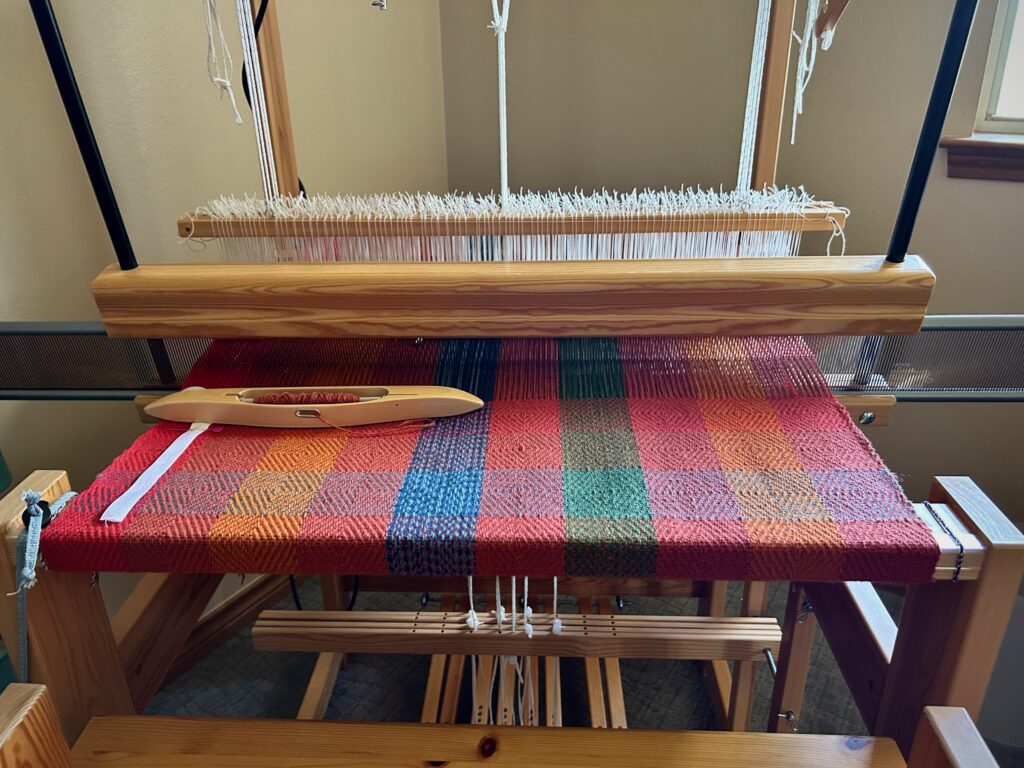
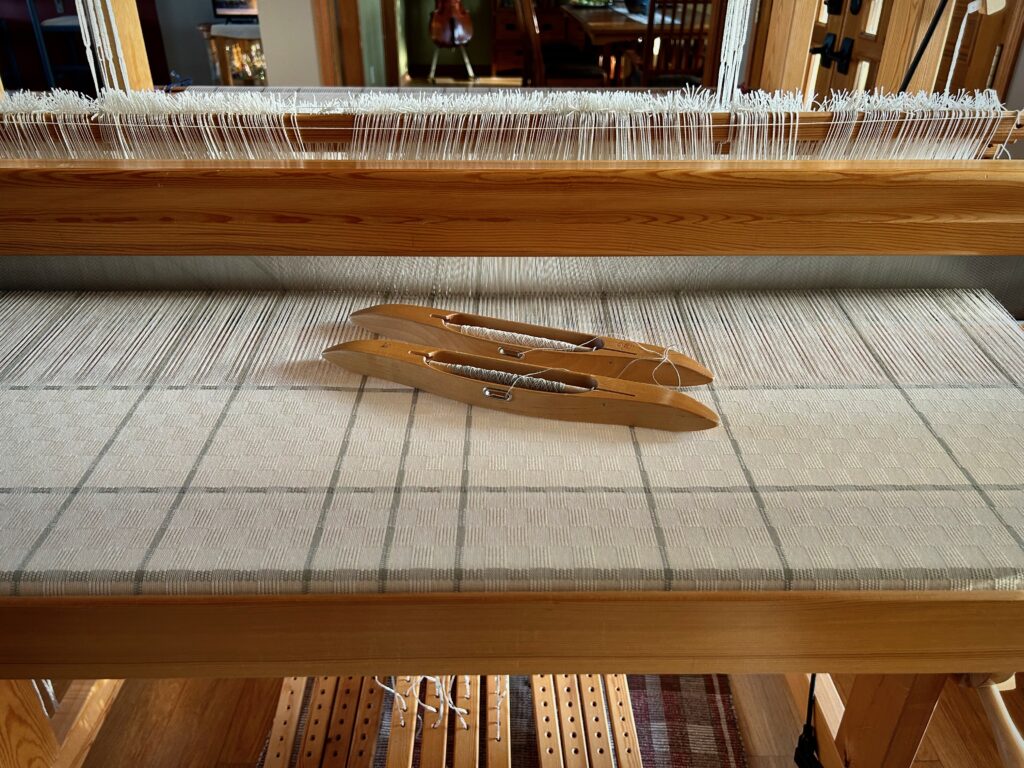
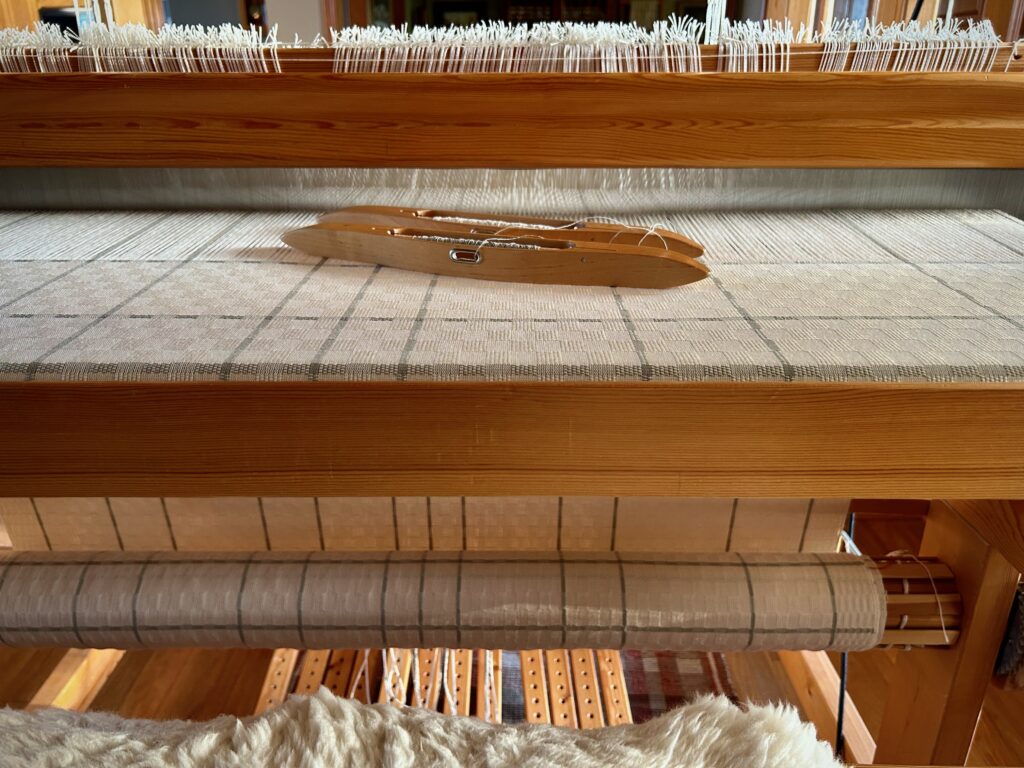
Last but not the least at all is the Glimåkra Standard with curtains for our remodeled bathroom. This is a big project and I will be weaving on this for a while. M’s and O’s is enjoyable to weave. I like the counting for the squares and stripes, and the trading off of feet that this project gives me.

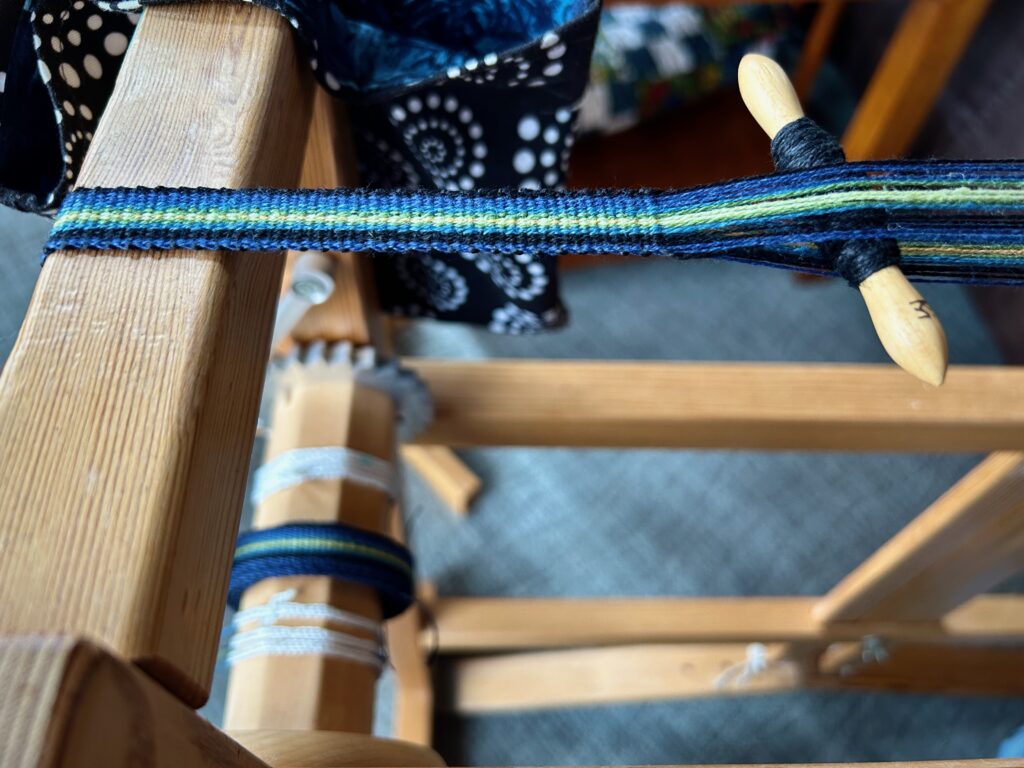
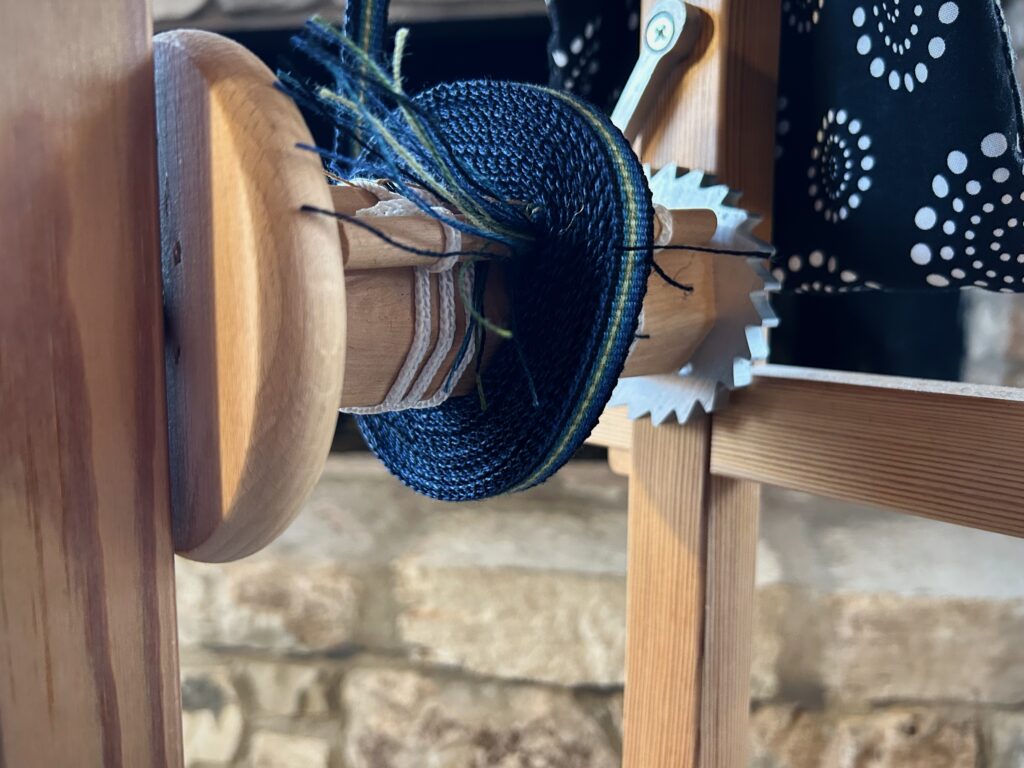
Curtain fabric in M’s and O’s is winding up on the cloth beam.

Happy Weaving,

Karen

Goose-Eye Squares in Wool

I like goose-eye twill. Do you? I’ve woven it in throws, towels, and rag rugs. I am not sure why this is such a pleasing pattern to me. Maybe because it speaks of classic simplicity.

Brage wool yarn is threaded in the heddles for goose-eye twill.
Testing the pattern. I want the goose-eye diamond to be “square,” so I will weave further to get a consistent beat. Then I will count how many rows it takes to make the diamonds “square.”

I have woven goose-eye twill with and without floating selvedges. This time is without. The advantage is that I can get a cleaner edge without floating selvedges. The disadvantage is that I can get messier edges without floating selvedges. It takes me a little practice to get the selvedges just right, catching some of the outer warp ends. After I get it down, the selvedges will be pretty tidy.

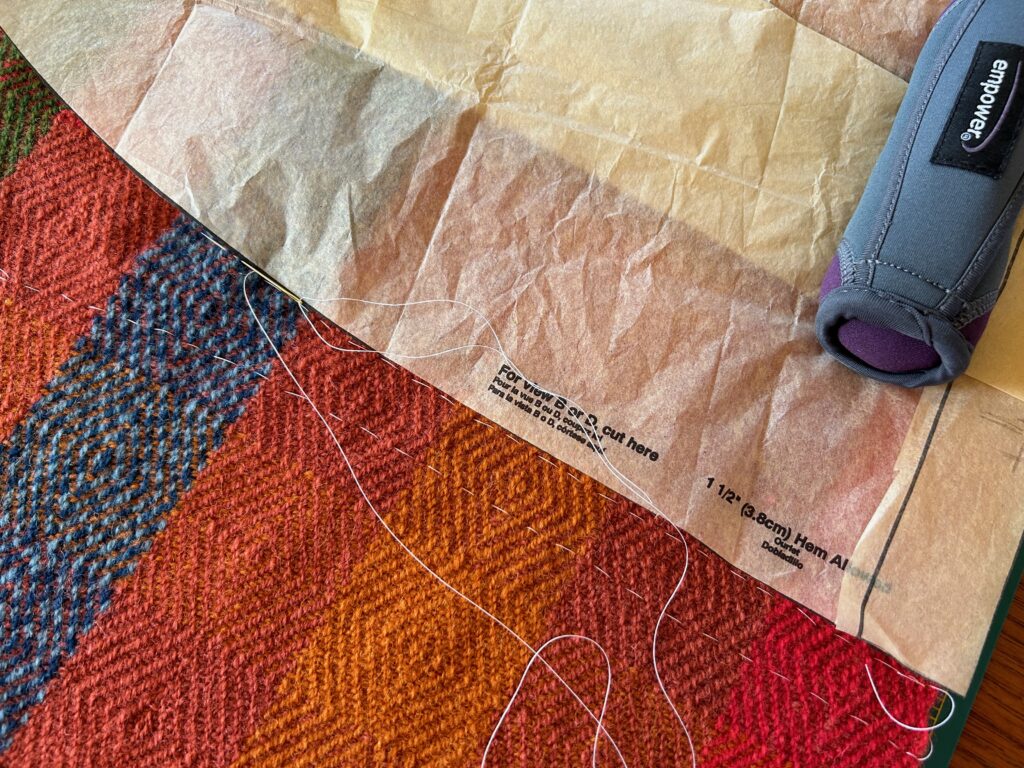
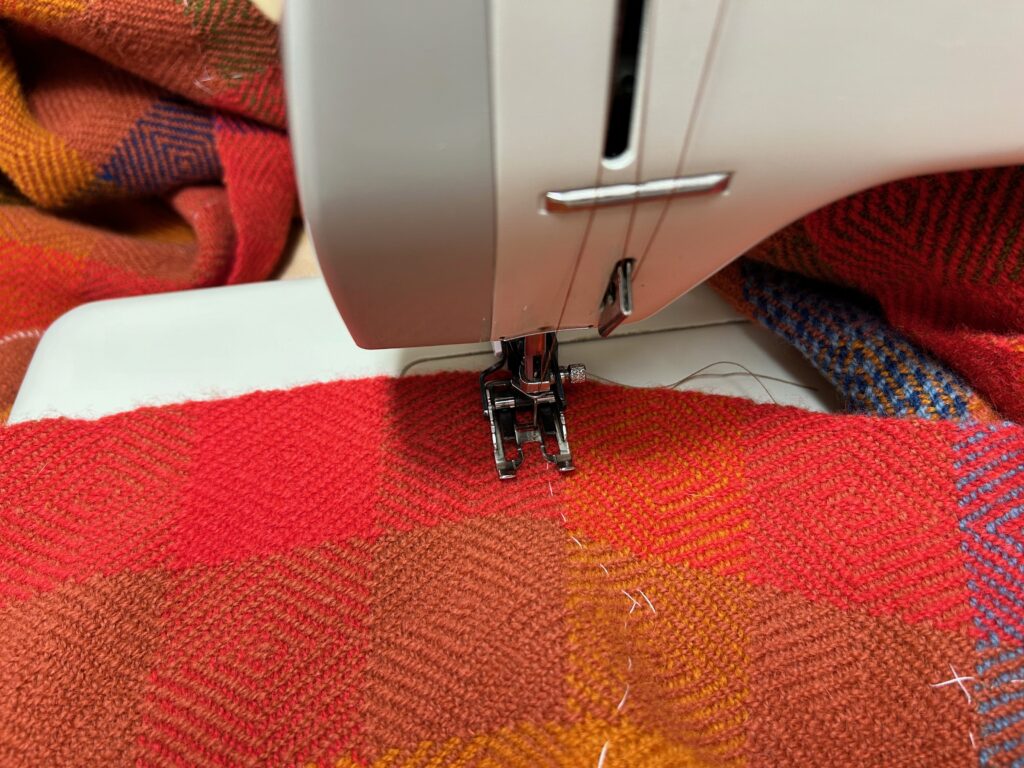
Squares of goose eyes make the overall pattern for this fabric that I hope to make into a small cape for myself. I am using yarn that I had on my shelf. The blue warp stripe is a little too loud for me, but it is what it is, so I’m going to make it work.

Persistence means you keep working at it until it works. And you overlook things (like the blue warp stripe) that it’s too late to change, and make the best of it. Persistence is a virtue when we persist with right things. Persist in faith. Persist in love. And always, persist in hope. Jesus waits for those who persist in leaning on him. Let’s lean in a little closer.

With faith, love, and hope,

Karen

How Much Further Can I Weave With a Longer Quill?

How much more thread will a 13cm quill hold than an 11cm quill? In other words, how much further can I weave with the longer quill? I decided to do a simple test to find out. Which size quill should I use for the rest of this project?

Red threads give me precise start and stop points for measuring how far I could weave with one quill. I will pull the red threads out when I cut the fabric from the loom.

First, I mark the beginning of the 11cm quill with a short red thread woven through a few ends on the same row as the first row of weft from that quill. I weave off the thread from that quill and weave in another short red thread on the final row of the quill, putting the second red thread directly above the first red thread. Now, I can measure the distance that the quill’s weft covered the warp, minus the gray weft stripe. I repeat the test with another quill so I can average the difference, if any. I find that both quills cover exactly 6 cm of warp. How’s that for consistency in winding my quills?

I started with 11cm quills because that is the size that fits the shuttle I wanted to use.

Time to test the 13cm quill. I do this exactly the same way, including the repeat test. The result? The 13cm quill covers 7.2 cm of warp. So there is 1.2 cm difference between the shorter quill and the longer quill.

Each quill measured twice. This view is from below the breast beam since I forgot to take a photo before I advanced the warp. This perspective also gives a view of more of the M’s and O’s cloth and the potential for specially-made curtains.

I have a total of 8.6 meters to weave on this curtain fabric (about 1.5 meters already woven). That means winding about 143 quills (11cm), or 119 quills (13cm). Not much difference, really. Still, I’m in favor of winding 24 fewer quills of 24/2 cotton. Aren’t you?

May the math work in your favor.

Happy Weaving, Karen
Extraordinary Animals on the Drawloom

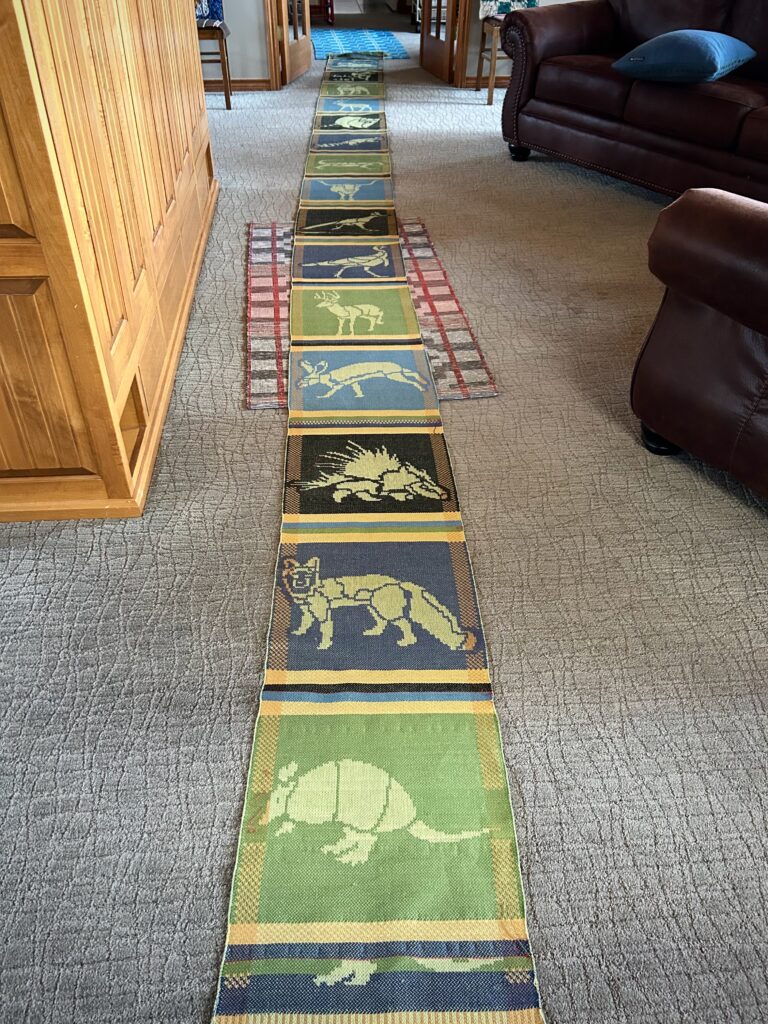
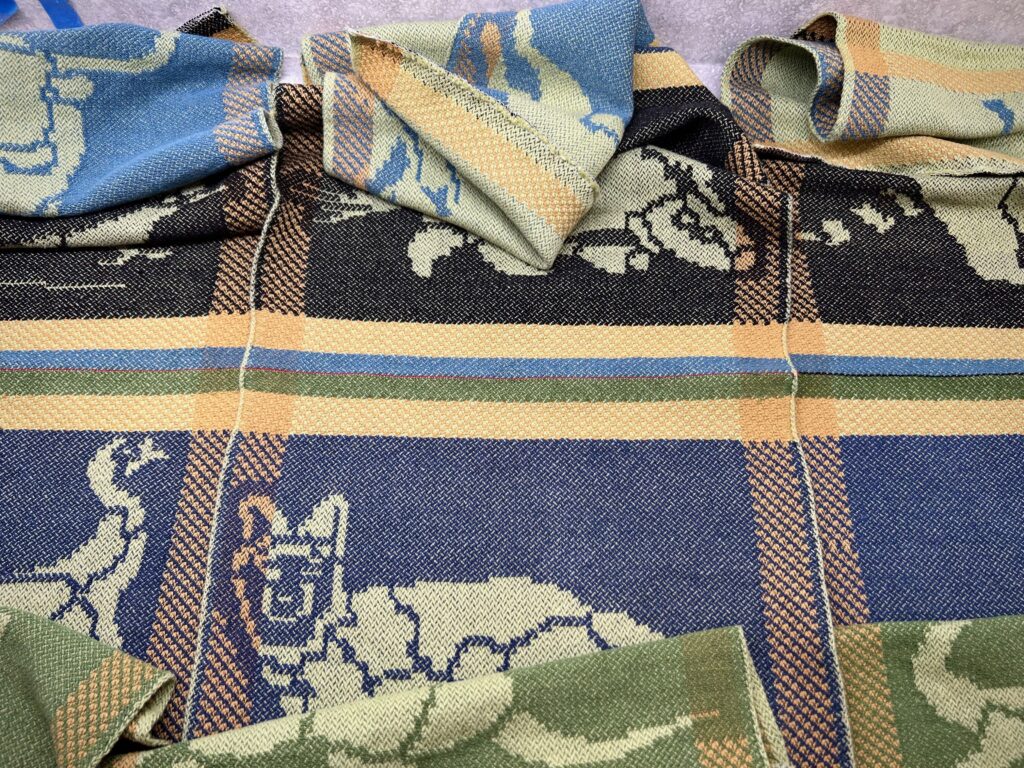
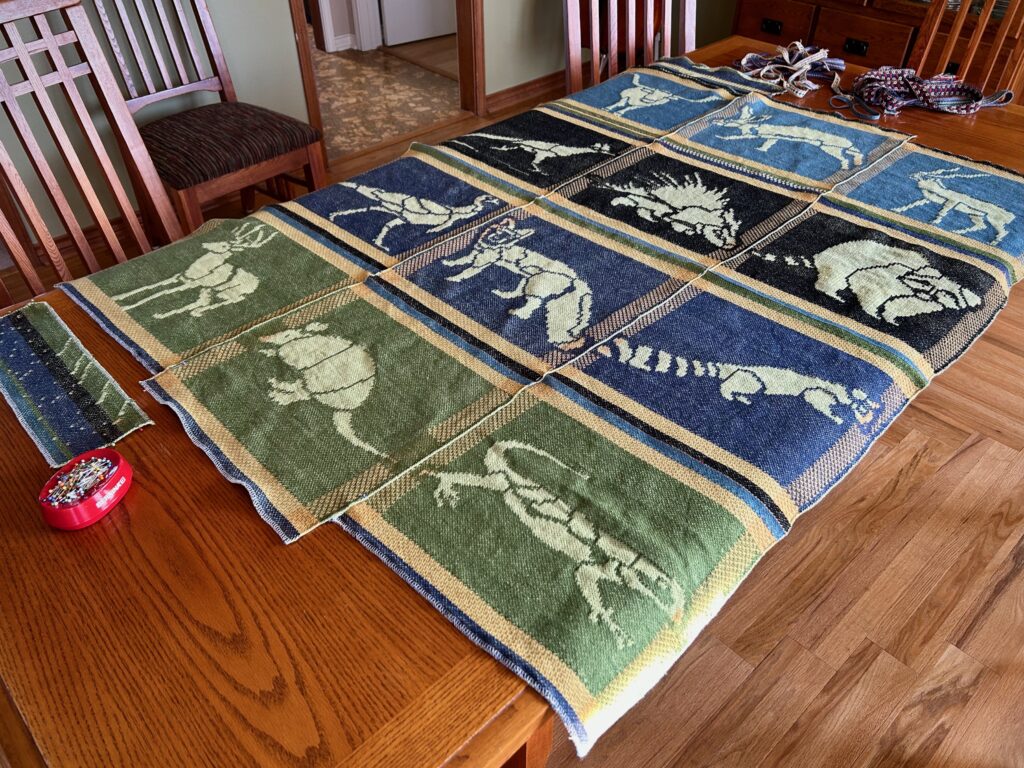
Armadillo, fox, porcupine, jackrabbit, and deer are leading the critter parade. The twelve napkins will include the most common, the most interesting, and the most unusual animals that visit our backyard here in Texas Hill Country. The white-tailed deer are the most common, by far.

Feet first. The white-tailed buck is taller than he is wide, so his feet touch the bottom border. Pulled single-unit draw cords are seen on the hook bar pegs above the beater.
Just past the midway mark on this napkin, as seen on the measuring ribbon pinned on the side.
Having a large chart beside the loom helps me keep track of each row as the weaving progresses. One pattern shaft draw handle is pulled, which forms the pattern on the side borders. The single unit draw cords form the center image.

This white-tailed buck is one that Steve photographed on our property. I use Affinity Designer on my computer to turn a photo into a silhouette that I can use for my drawloom chart. It is a thrill to see the image emerge in the threads on the loom. From animal in our yard, to photo, to graphic chart, to threads on the loom! The common is made extraordinary.

The draw handles are pulled for the checkerboard pattern that goes across the bottom and top borders of the napkin.
Antlers of the buck reach nearly to the top border. Hem area is teal blue.
Before the buck, there is the jackrabbit. And before the jackrabbit is the porcupine. And the fox and armadillo before that are in hibernation on the cloth beam.

Even more extraordinary is what our Lord Jesus does with a common human like you or me who puts faith in him. As you look at the threads on his loom, you begin to see that it is his image being woven in you.

May your days be extraordinary.

Happy New Year,
Karen

Big Squishy Warp Chains for Christmas

Merry Christmas! Julia is getting dressed with 7/2 Brage wool for a lovely goose-eye twill. Warp chains like this are big and squishy, just begging to be hugged.

Winding the first of two warp bouts.
Thick and fluffy warp chain of 7/2 Brage wool.
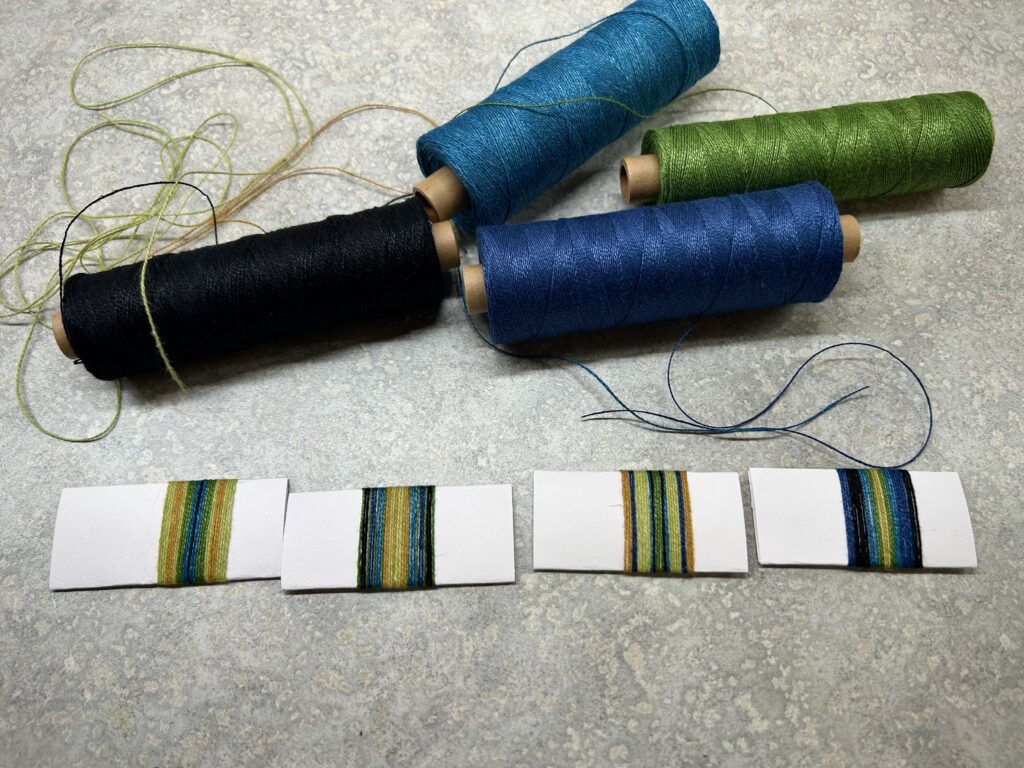
Getting ready to beam the warp. Wool in five colors for goose-eye twill.
Getting things ready to spread the warp and then beam it on.

This project is going nearly full width on this 70 cm Glimåkra Julia countermarch loom. My warping slats are exactly 67 cm. (I should have measured the warping slats before I started.) At 65.7 cm weaving width I’m asking for trouble. You can see the problem, right? Those ends can slip right off the edge of the warping slats on the warp beam. I got ‘er beamed, though, with the help of a friend. Hallelujah! The warp ends all ended up in the right place at the right time.

Successfully beamed, with less than a centimeter to spare on each end of the warping slats.
Threading the heddles is a restful, enjoyable part of dressing the loom, especially with wool this soft and squishy.

If we mortals celebrate such earthly victories, imagine the hallelujah’s that all heaven expressed when the Son of God came down to us in the right place at precisely the right time as baby Jesus. That manger in a stable in Bethlehem was not a centimeter nor a millisecond off. This was God’s plan from the beginning to come in person to bring back to himself all who would receive his offer of lasting grace. Hallelujah! The angel chorus rings out, “Glory to God in highest heaven, and peace on earth to those with whom God is pleased.”

May you see the Christmas story in a meaningful way.

Have a truly blessed Christmas,
Karen