Armadillo Leads Critter Parade on the Drawloom

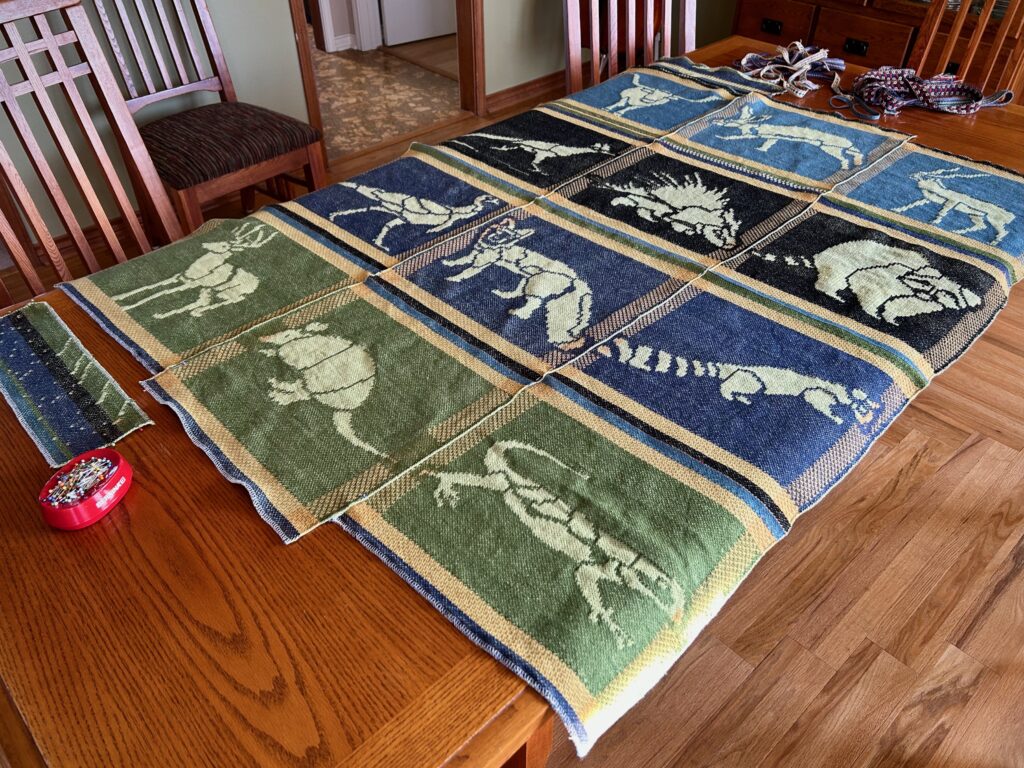
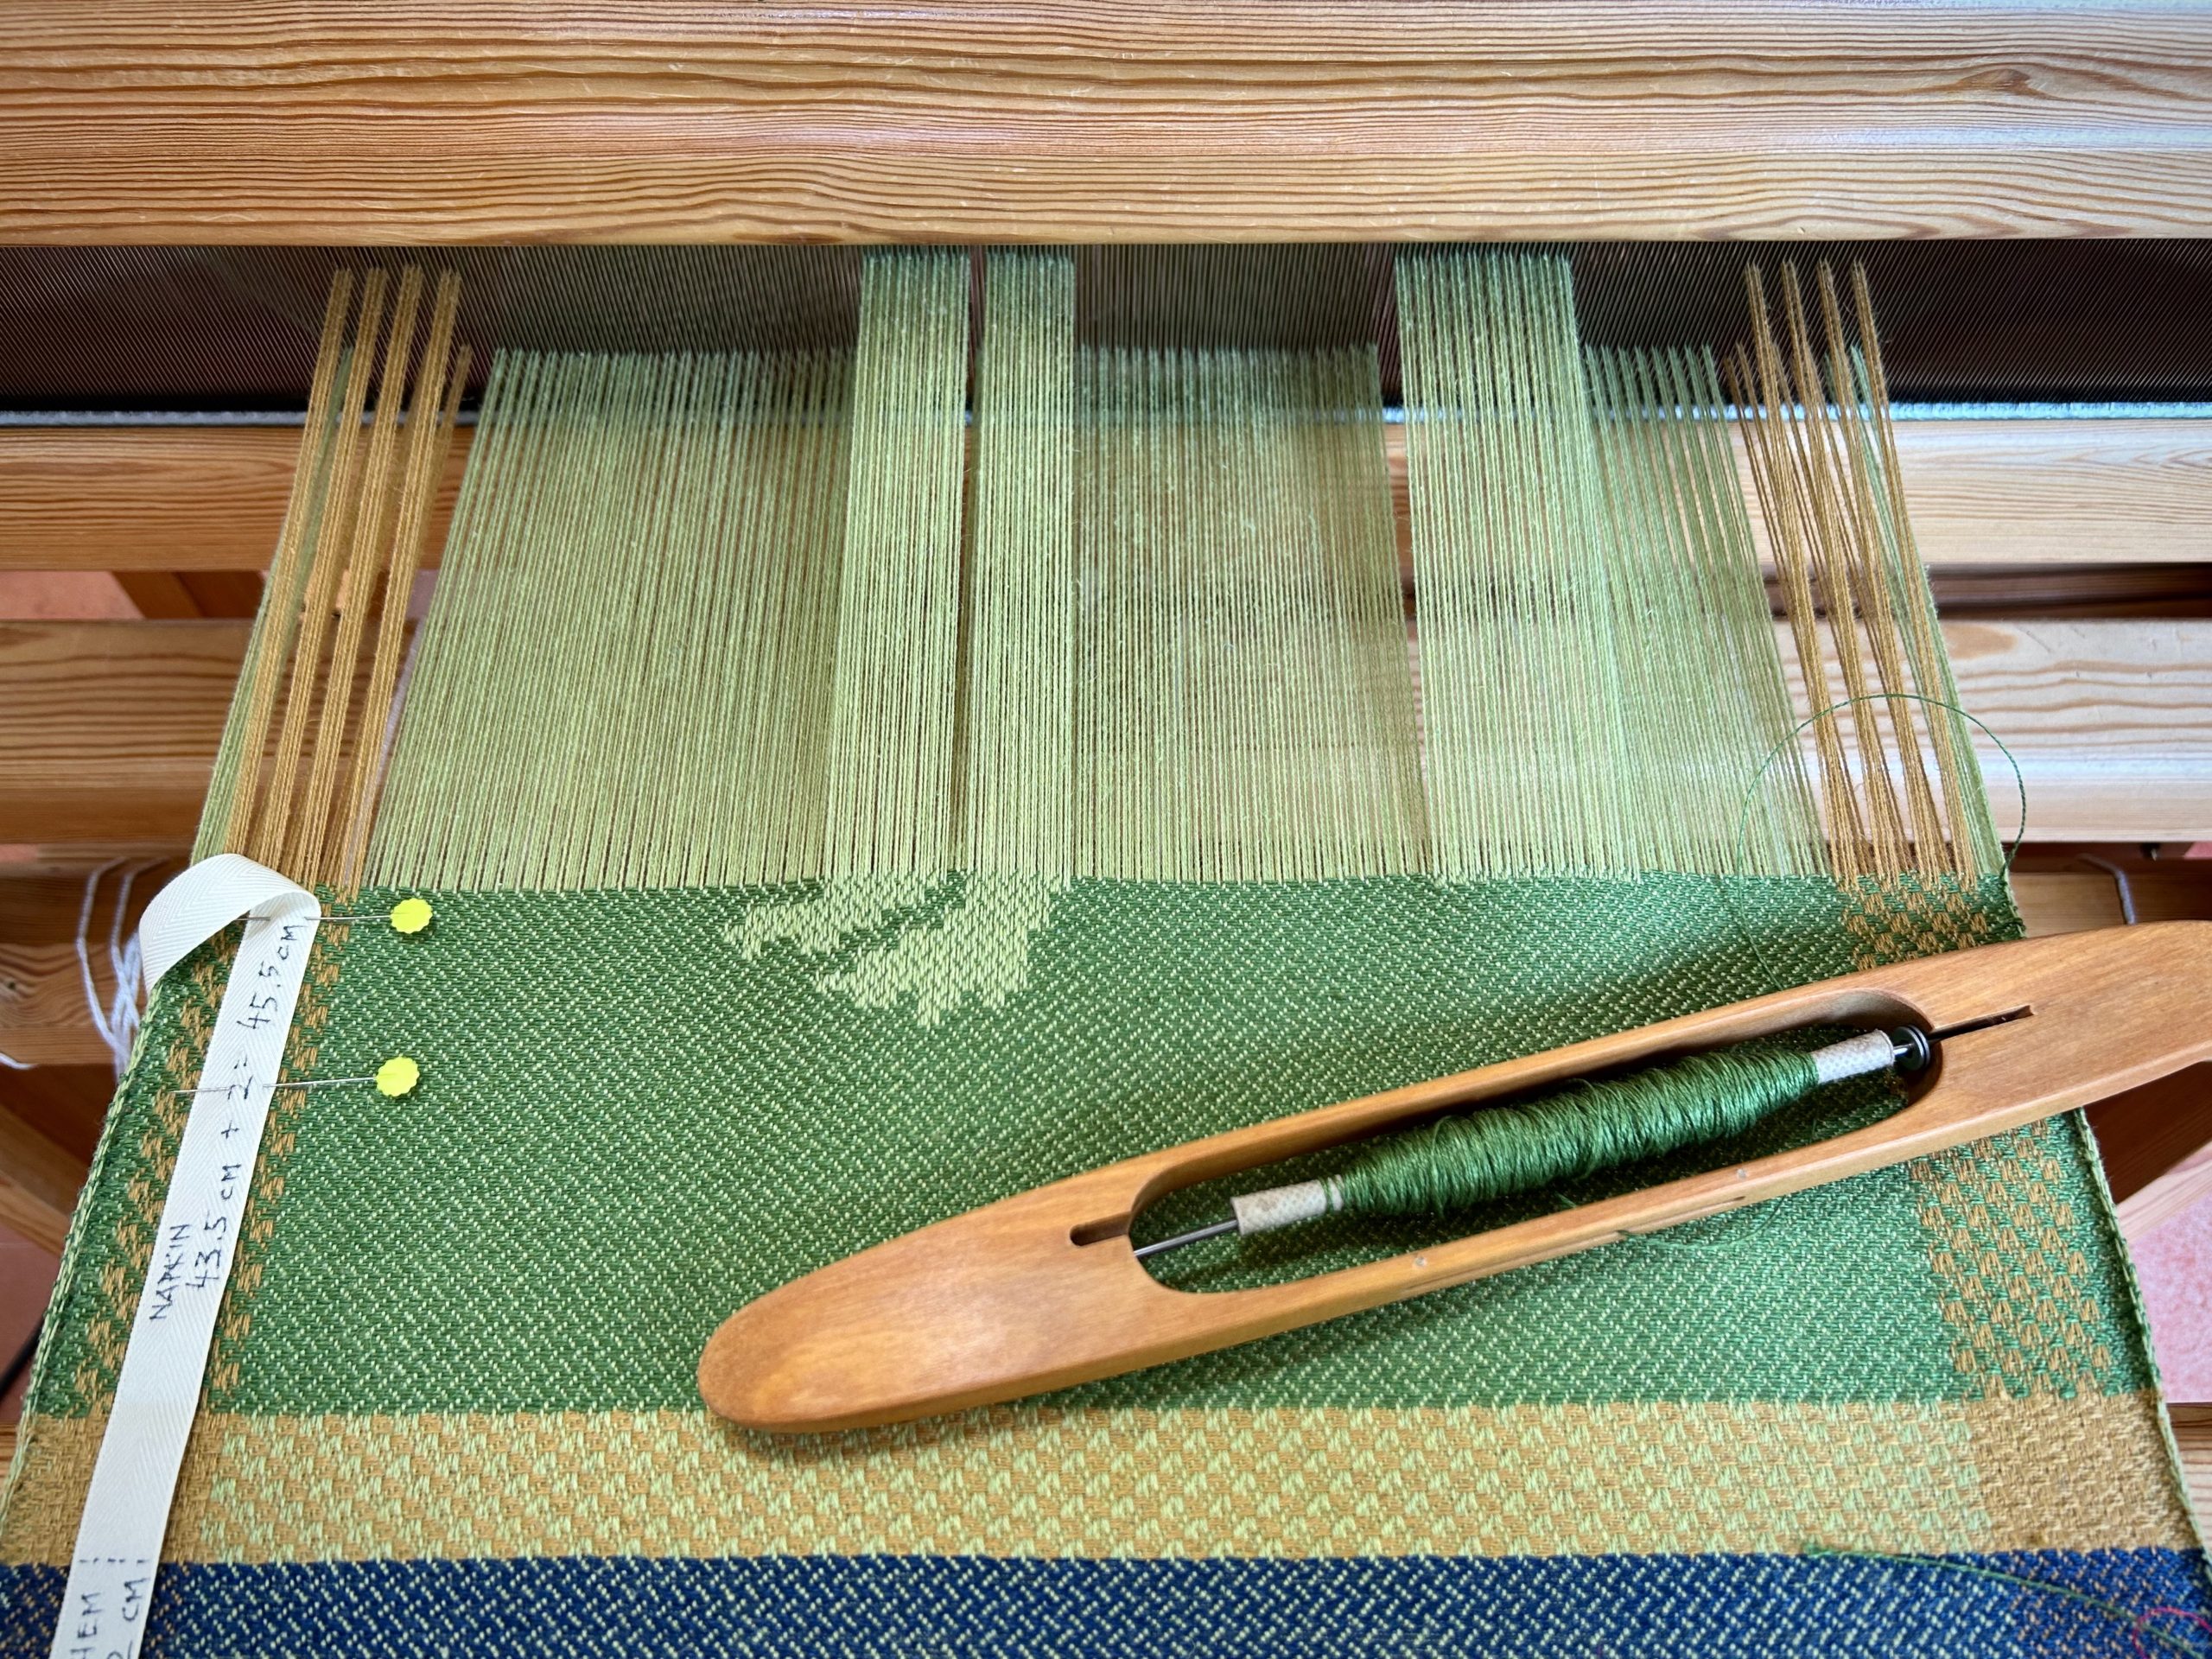
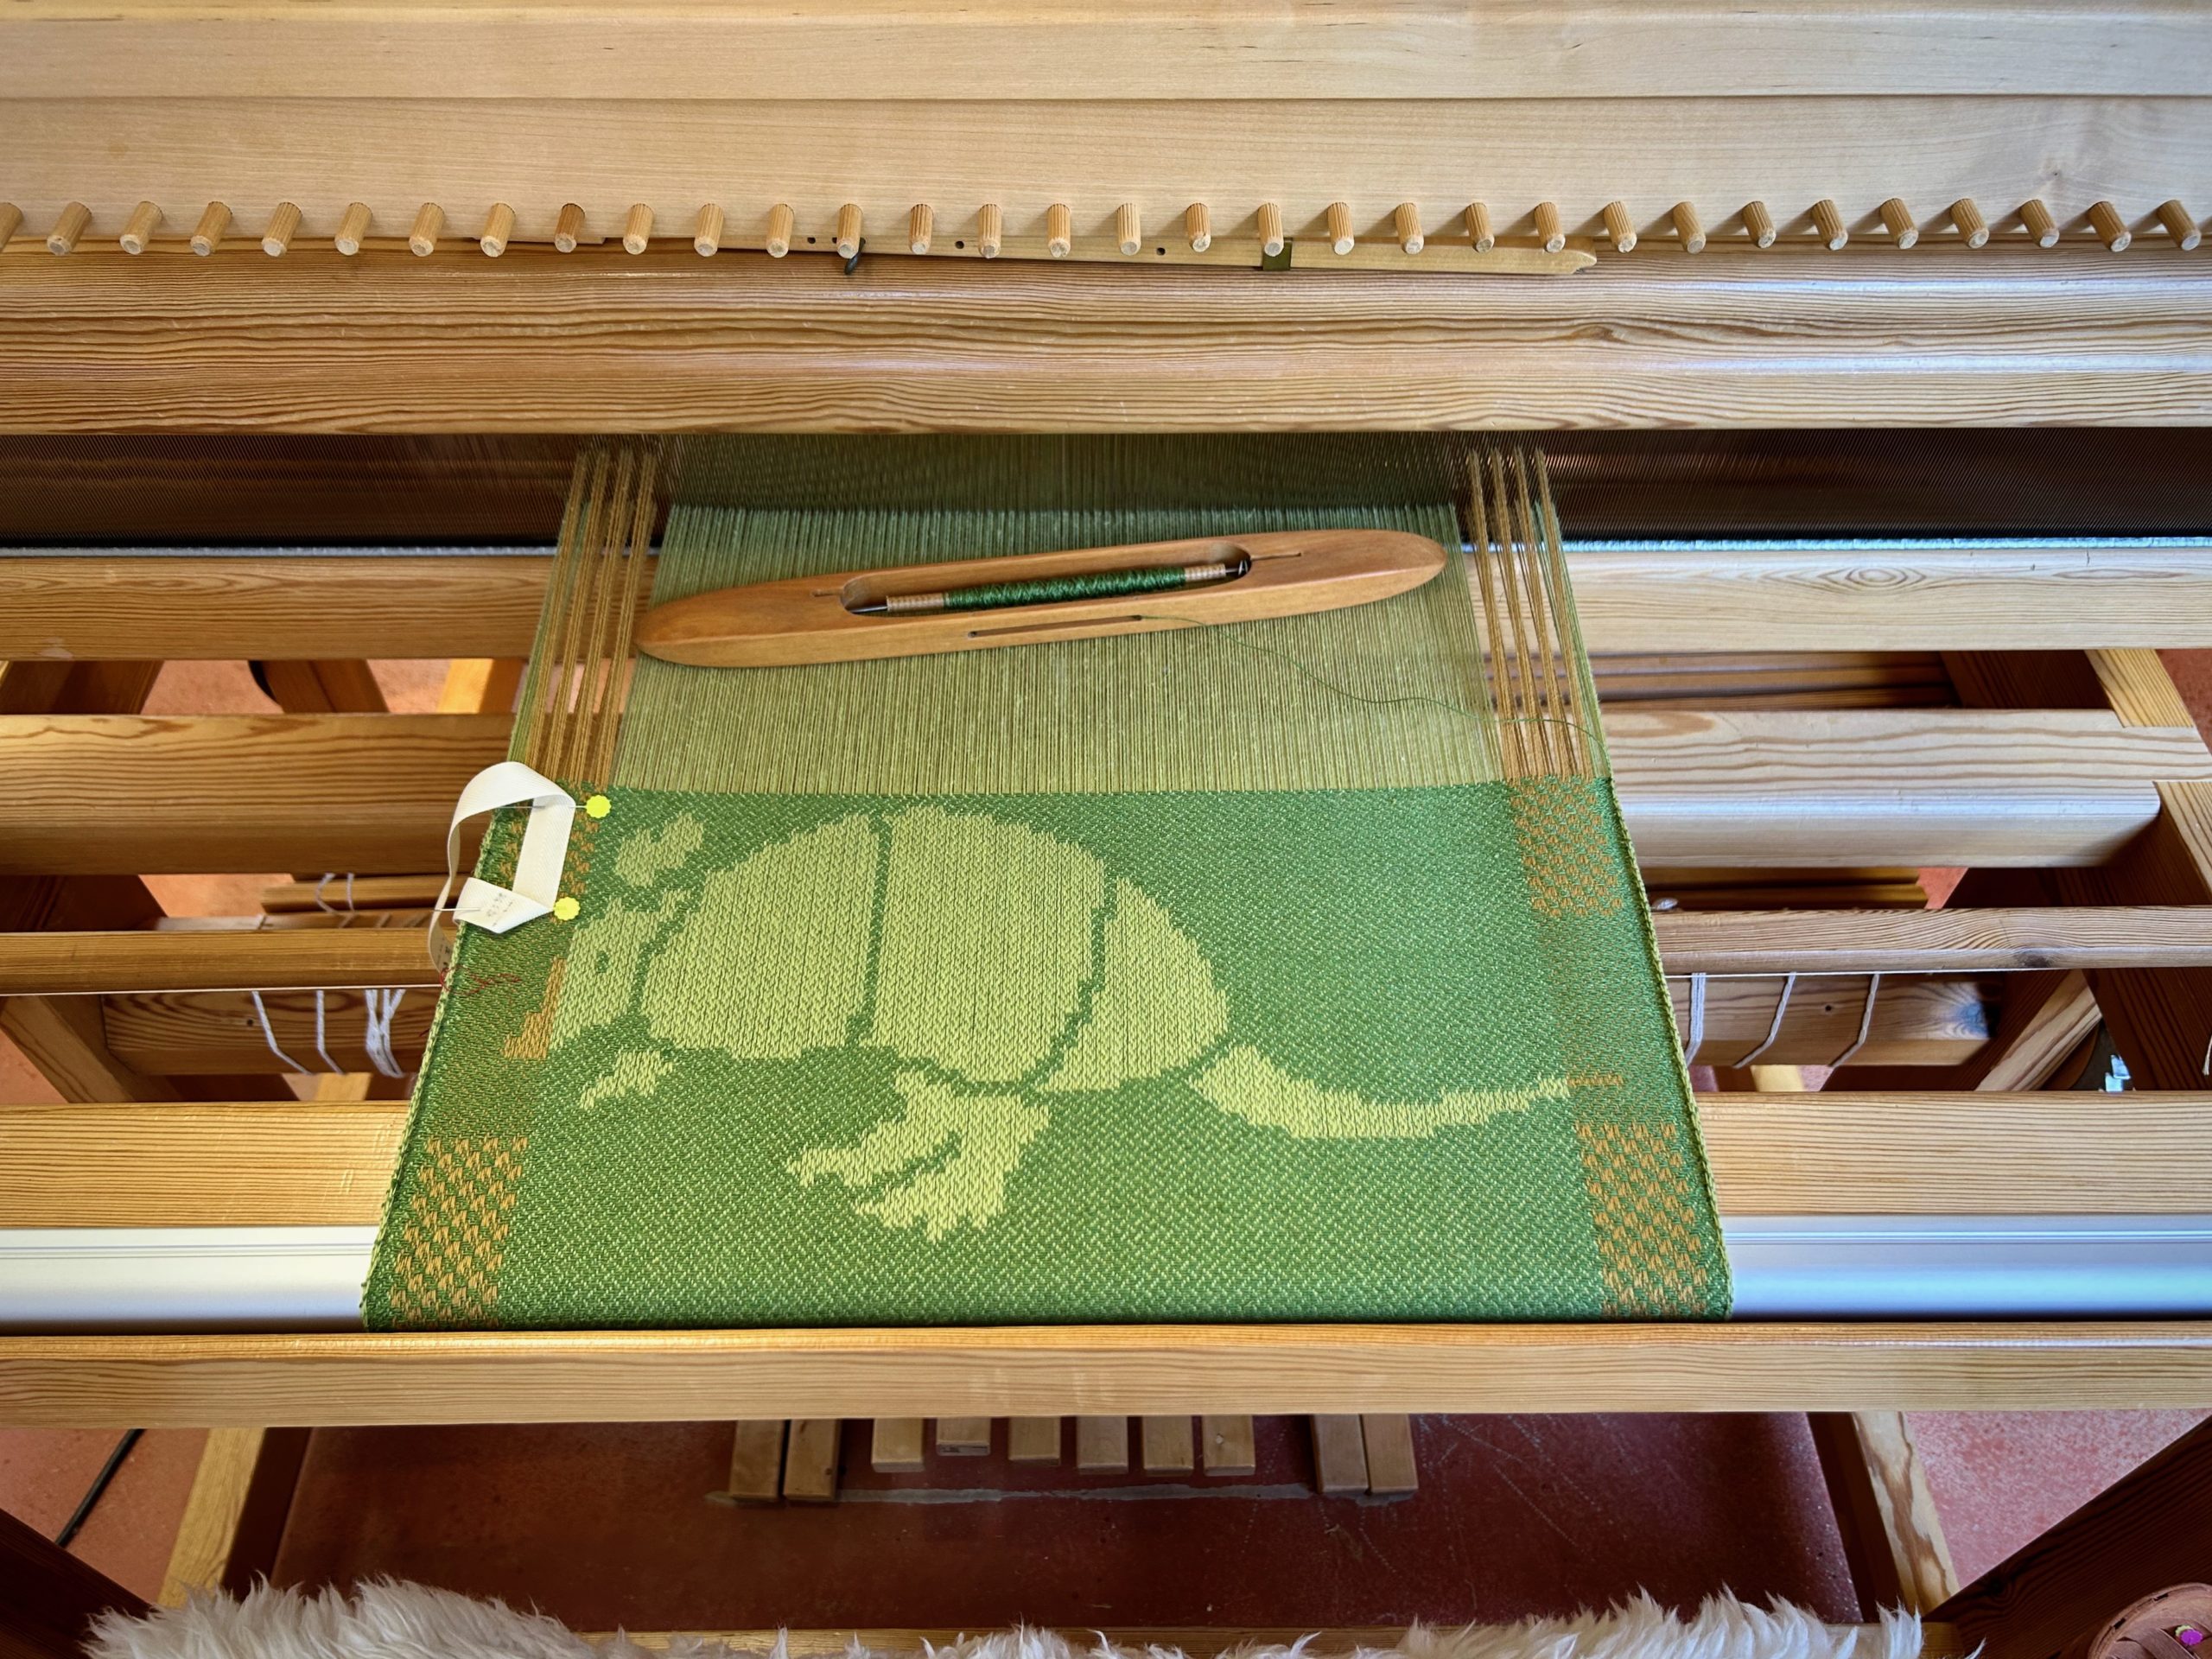
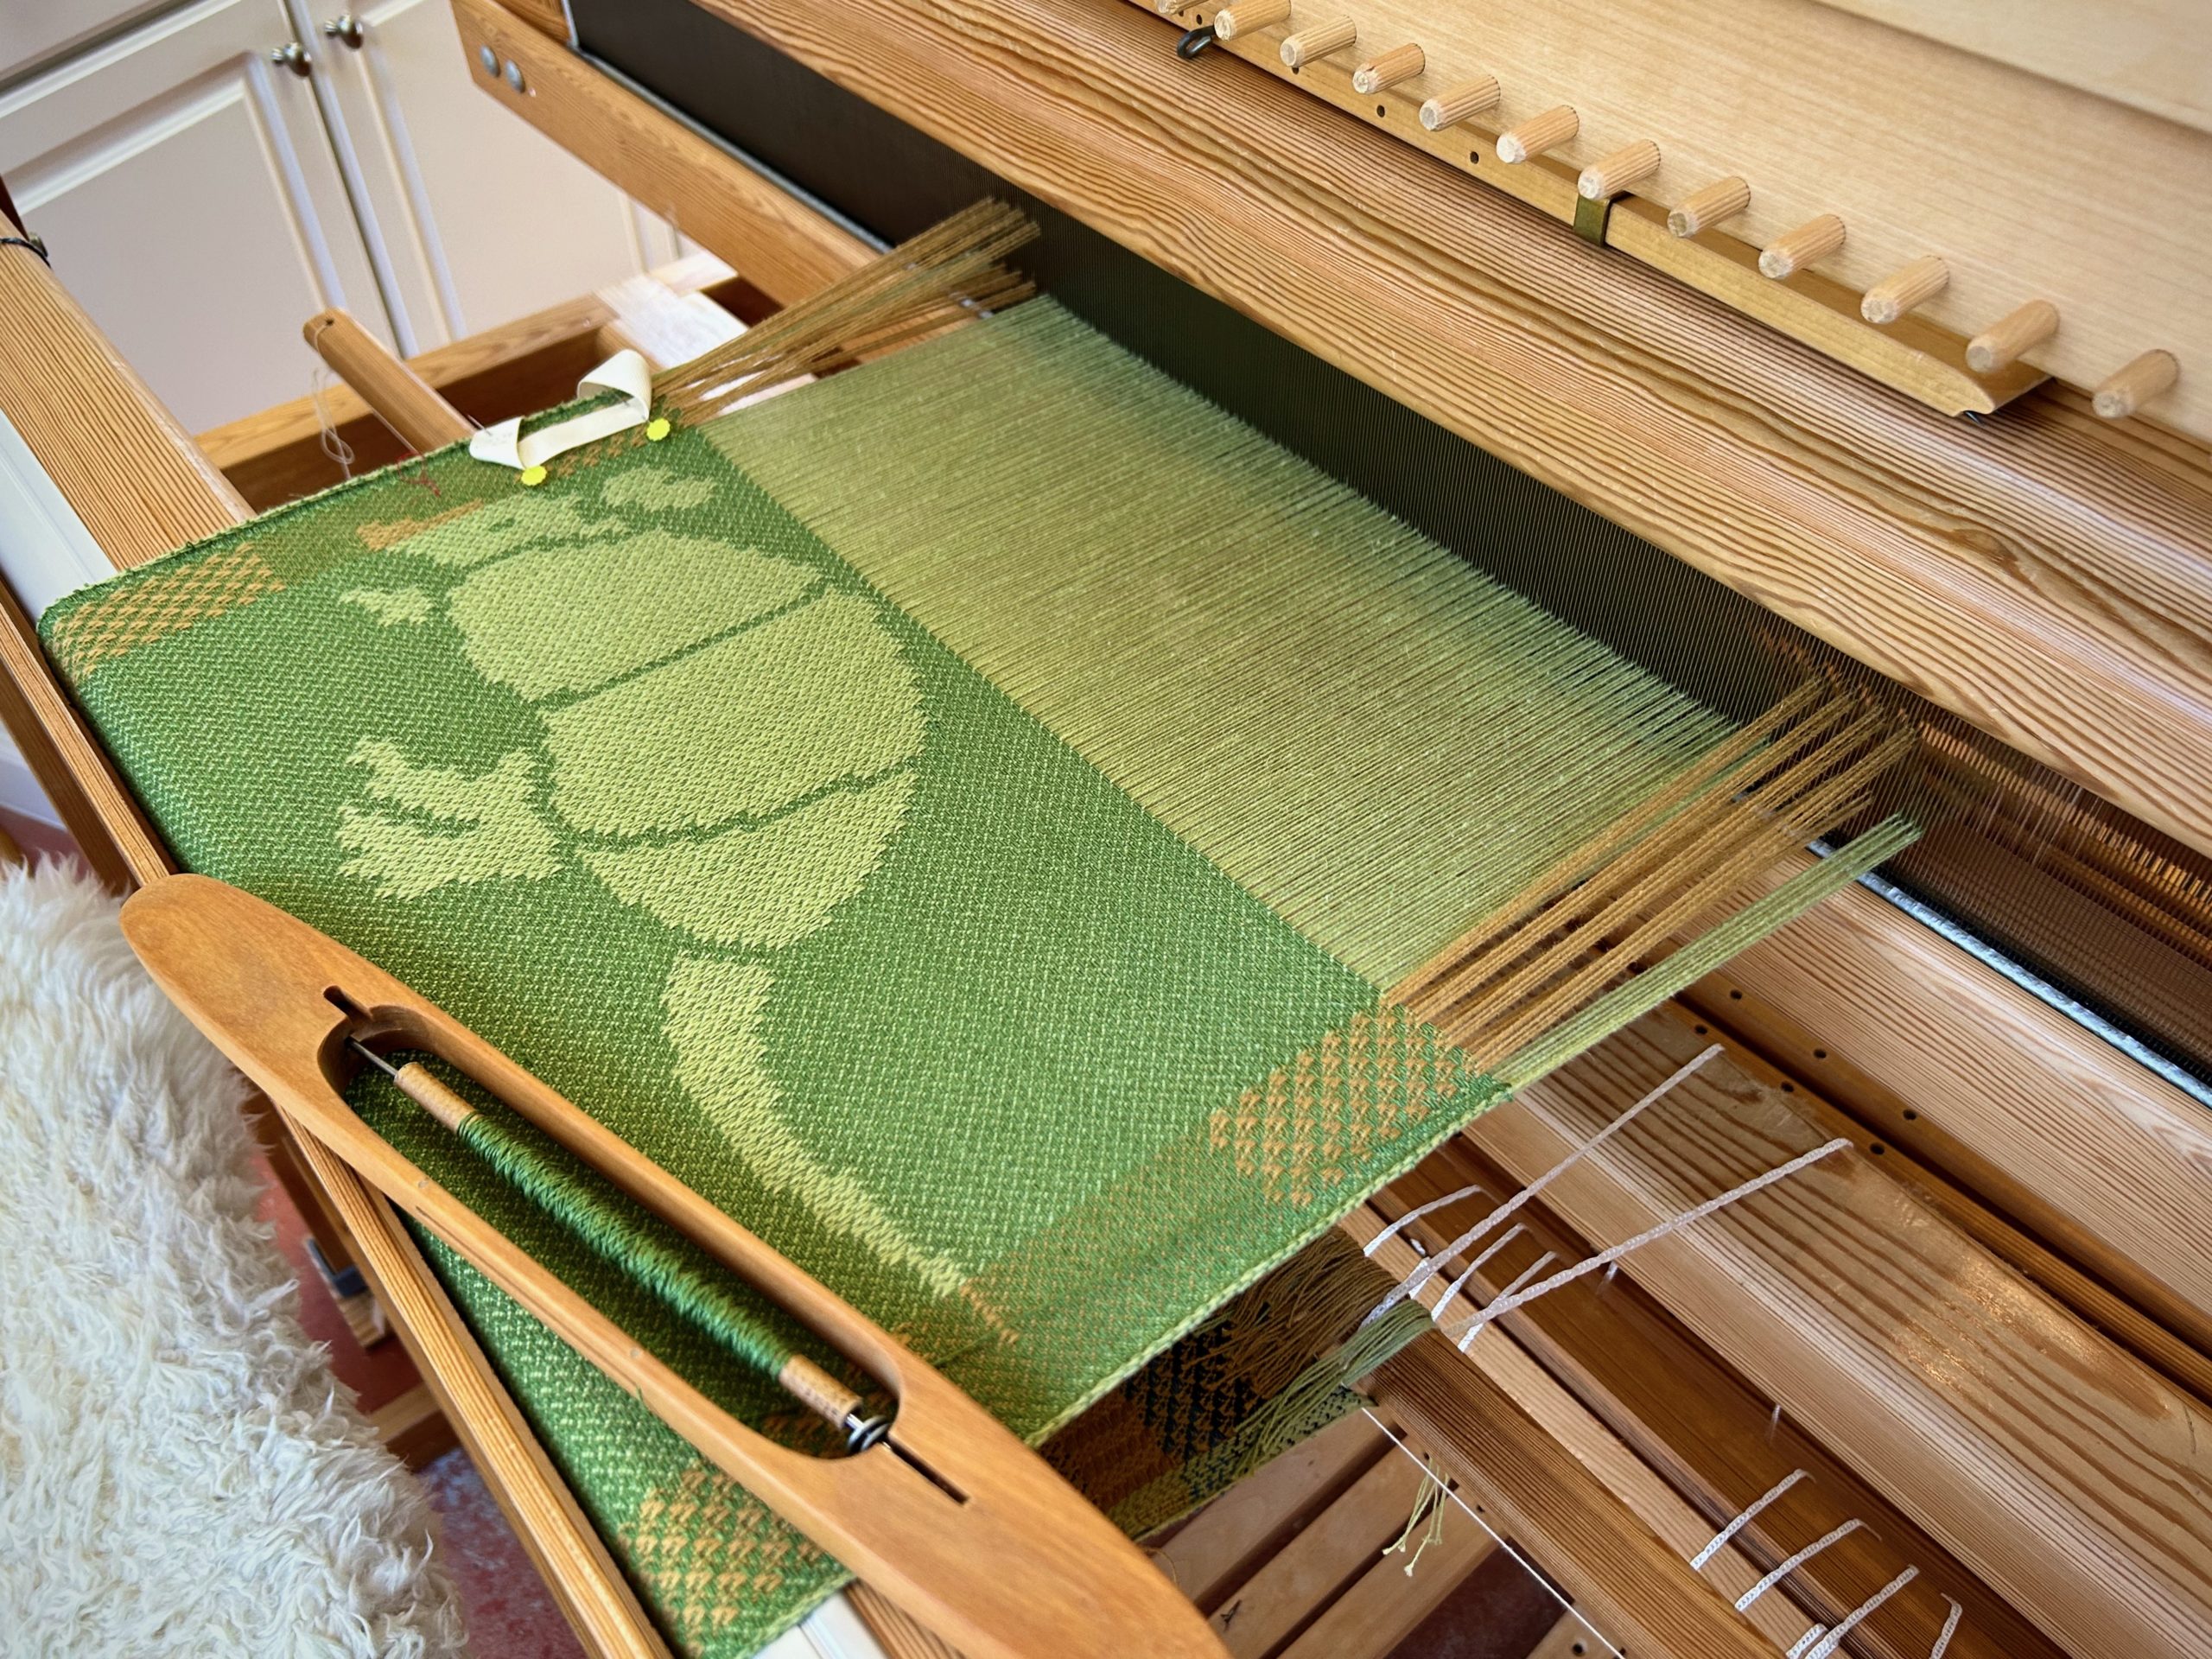
My husband and I coined the word “lapkin” when our children were young. Lap + napkin = lapkin. We wanted our children to learn the courtesy of placing a napkin on their lap when they were seated for a meal. “Lapkin check!” was a fun game we made of it. The armadillo on the drawloom is a lapkin, if I ever saw one. This thirsty cloth will soak up any drips and spills, smeary hands, or messy mouths that come in contact with it.

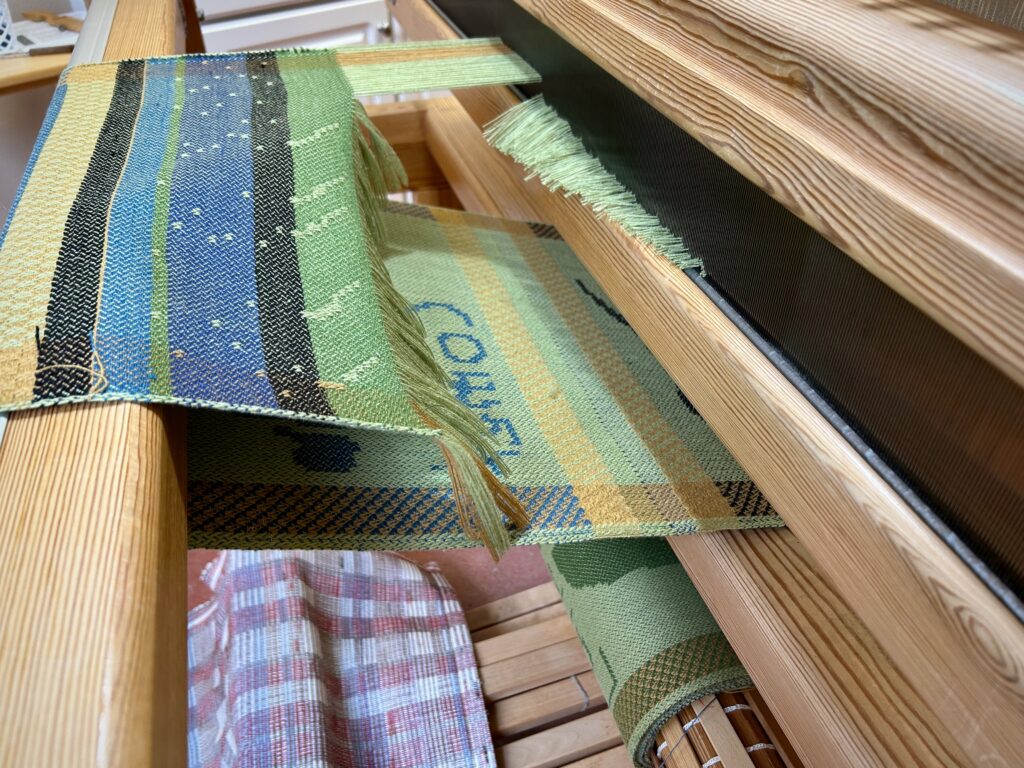
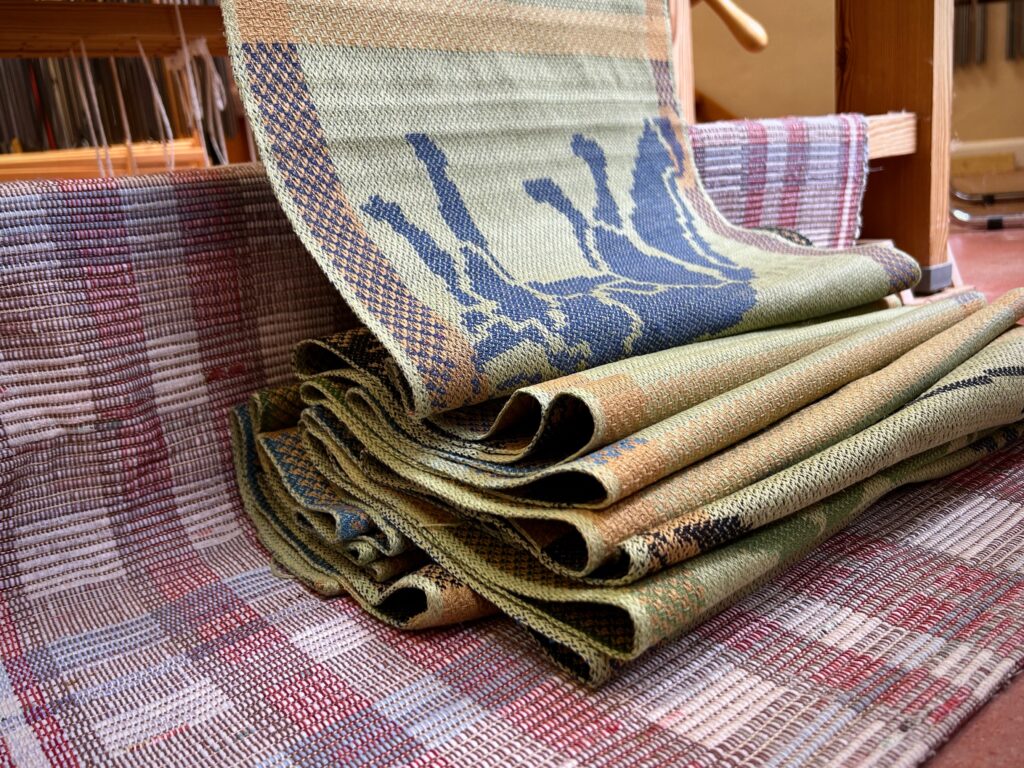
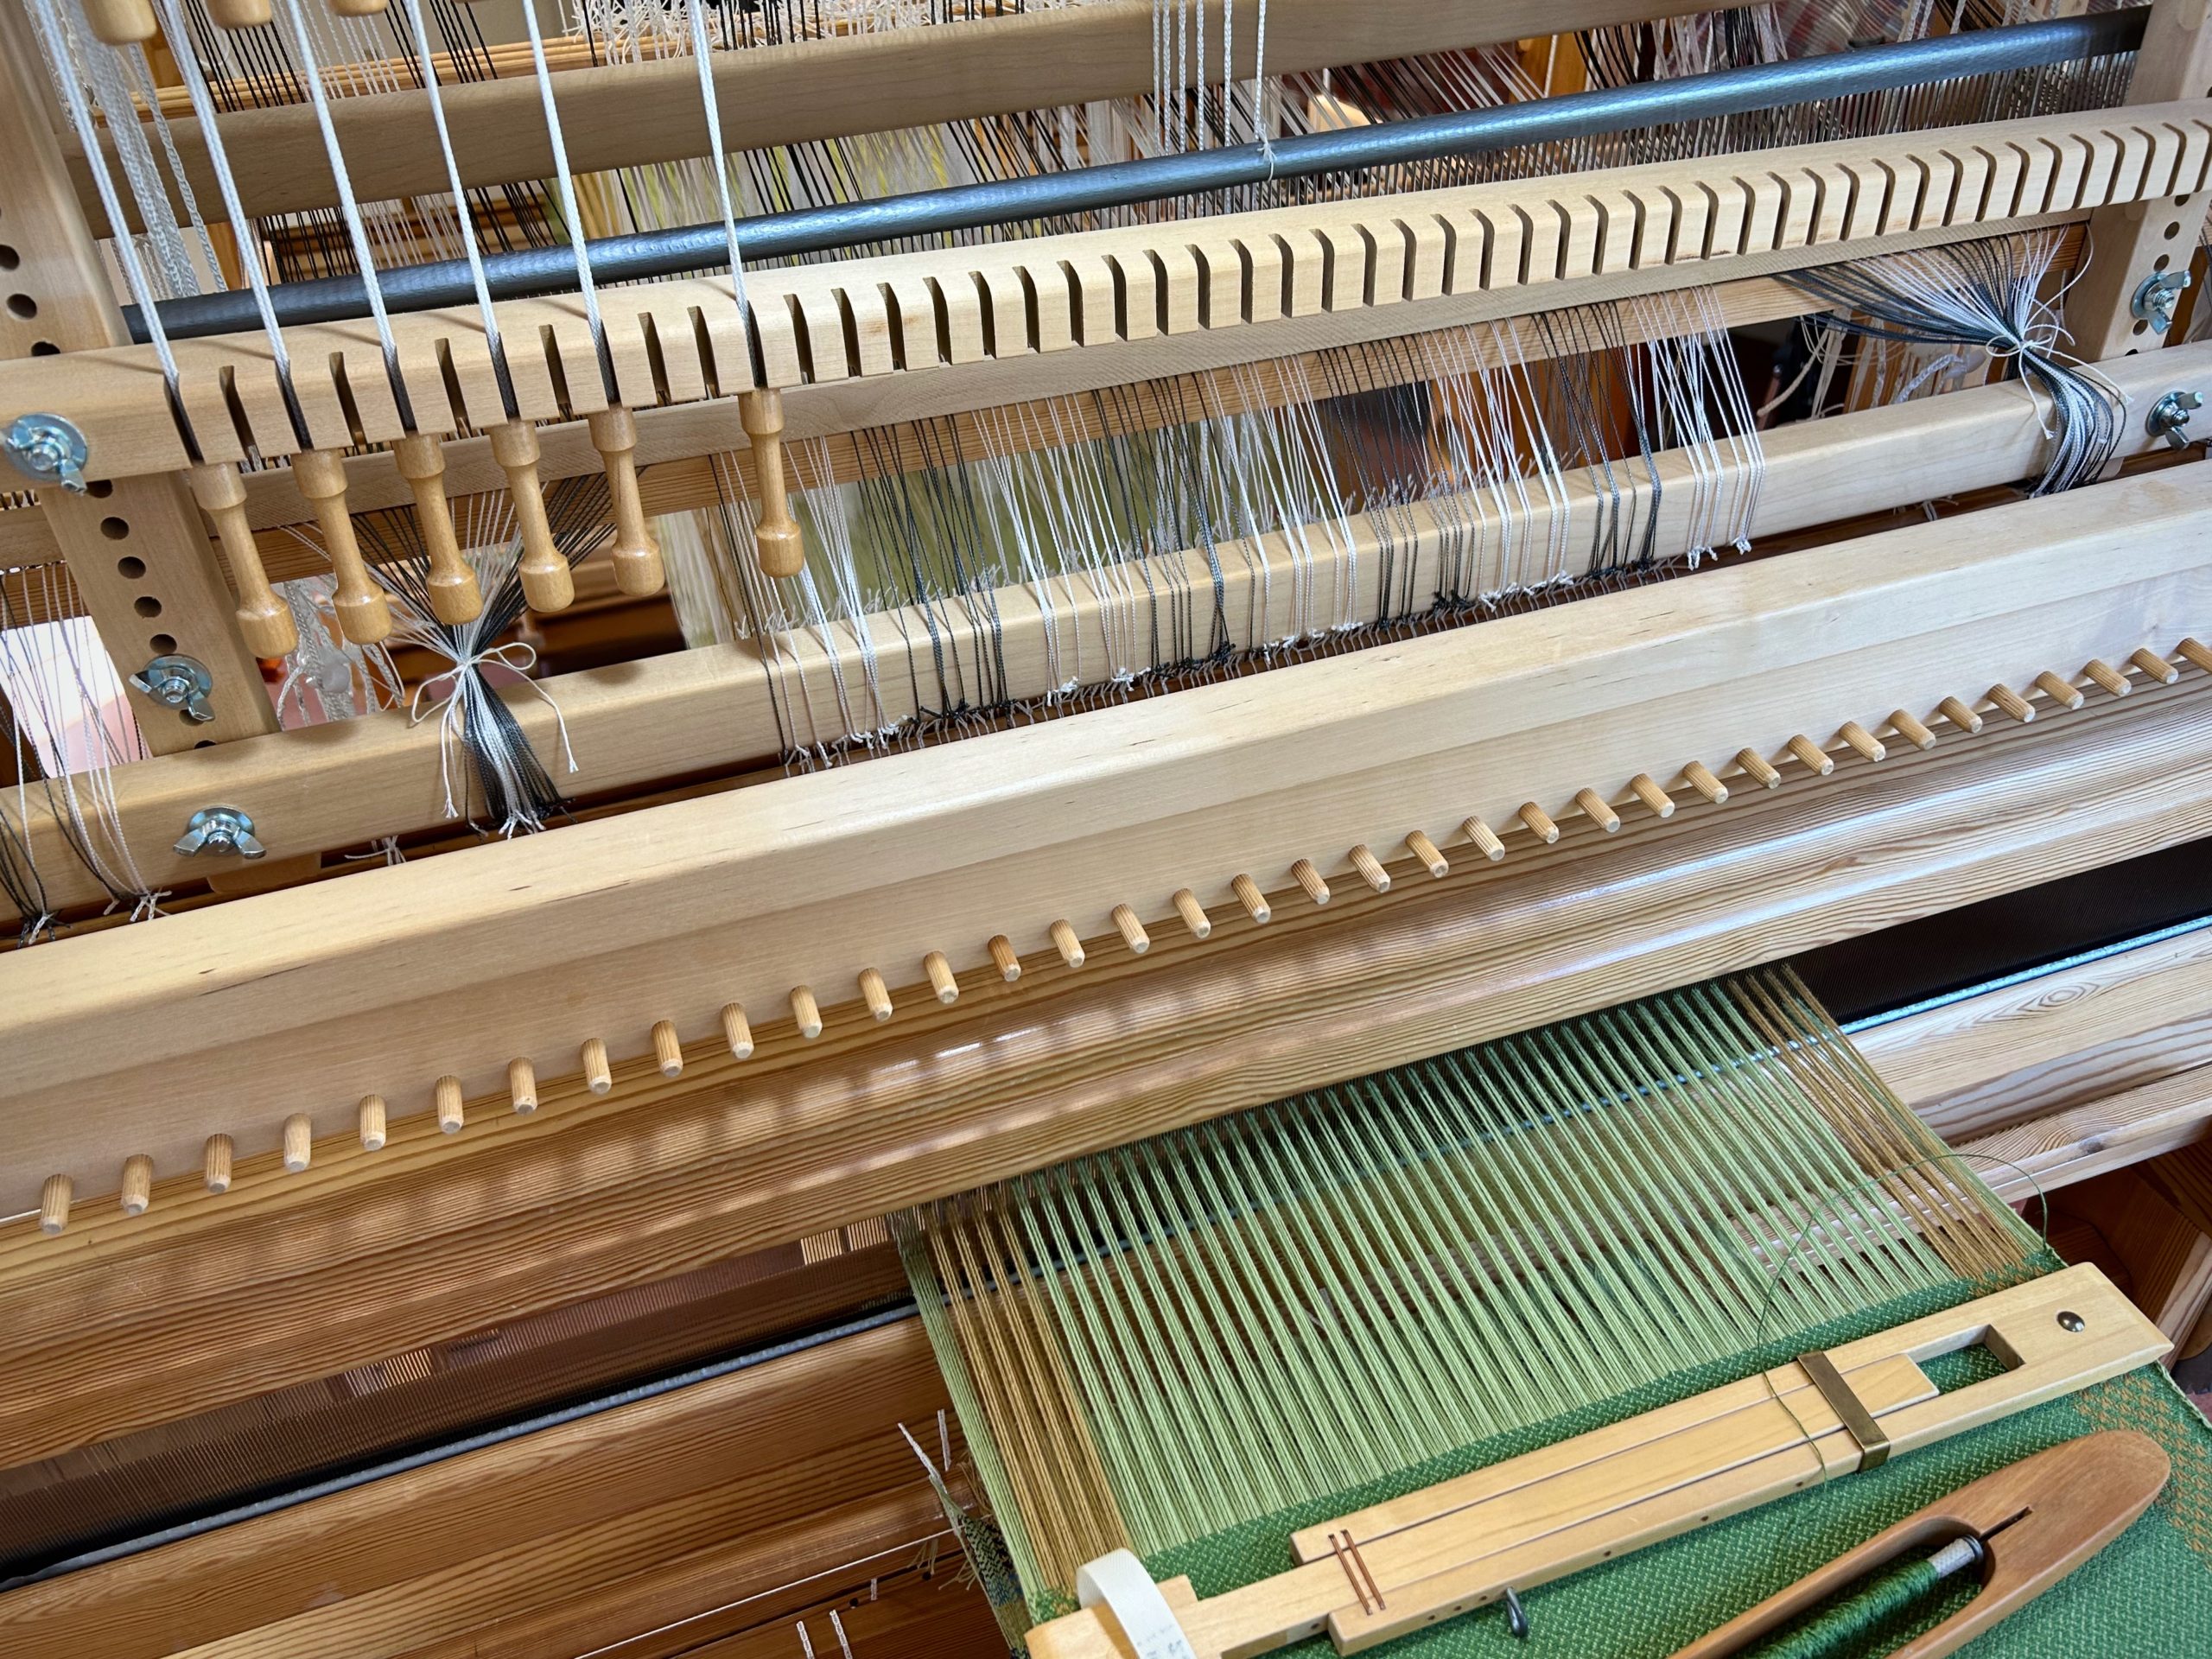
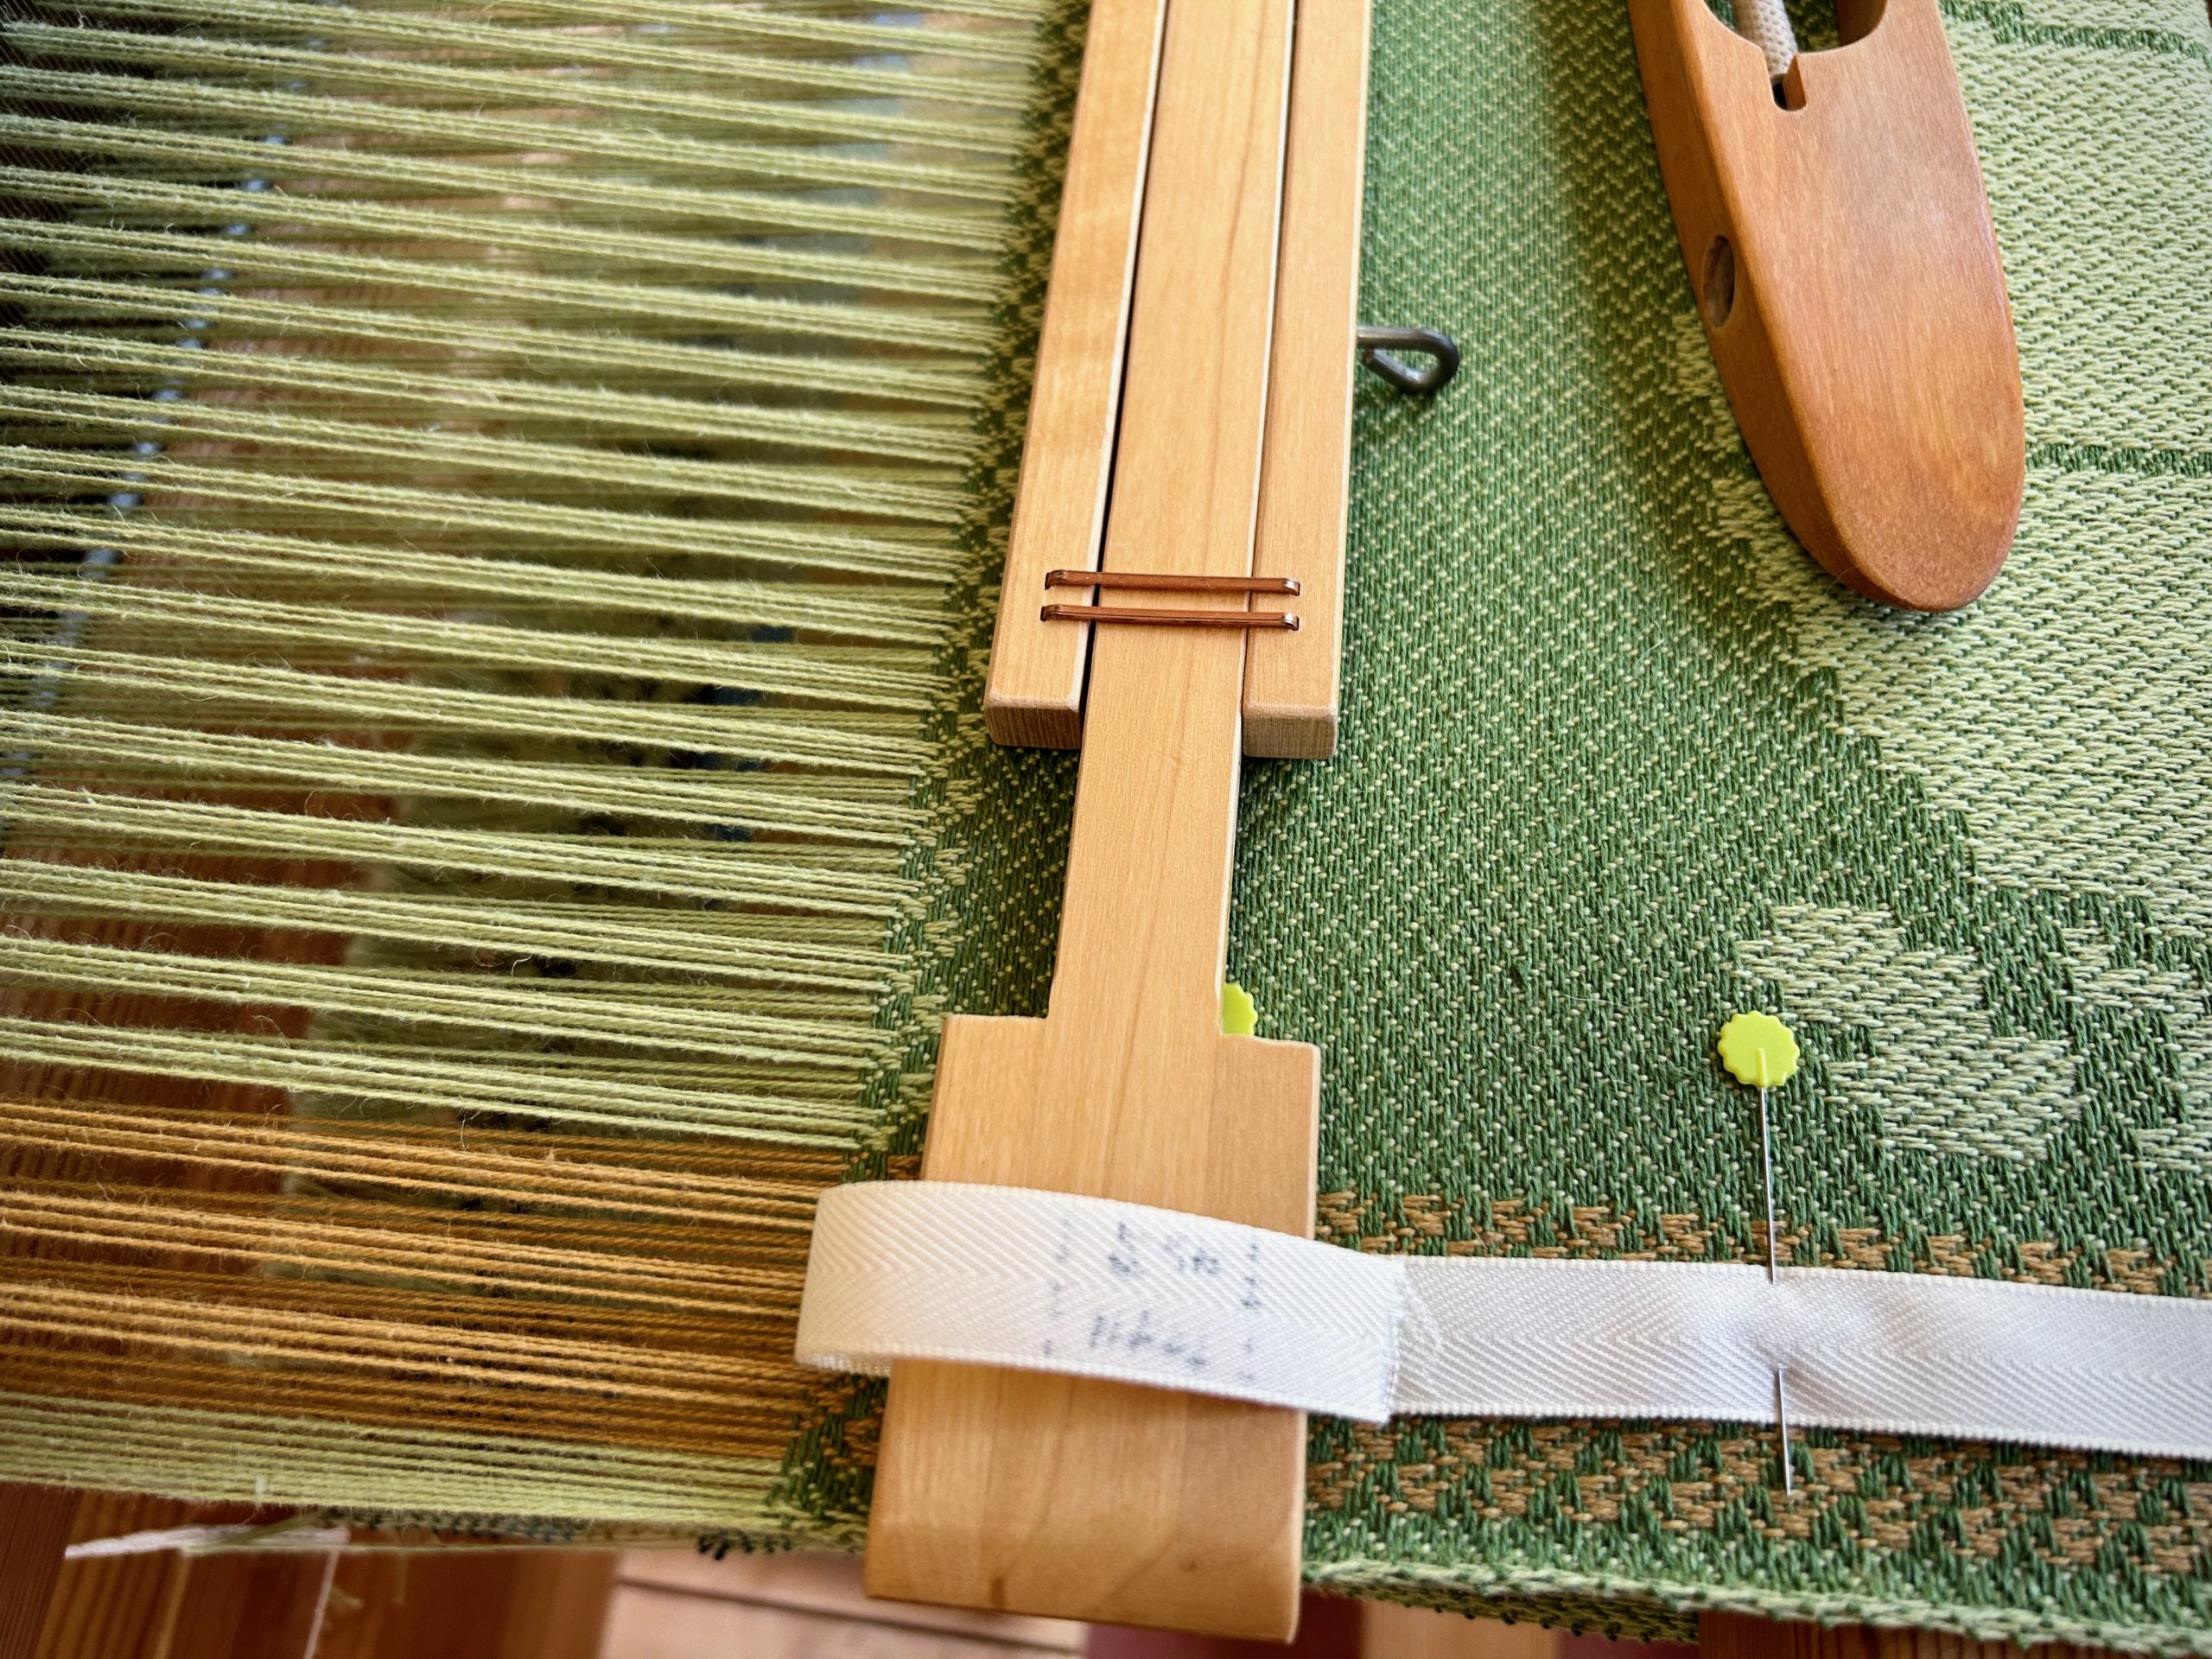
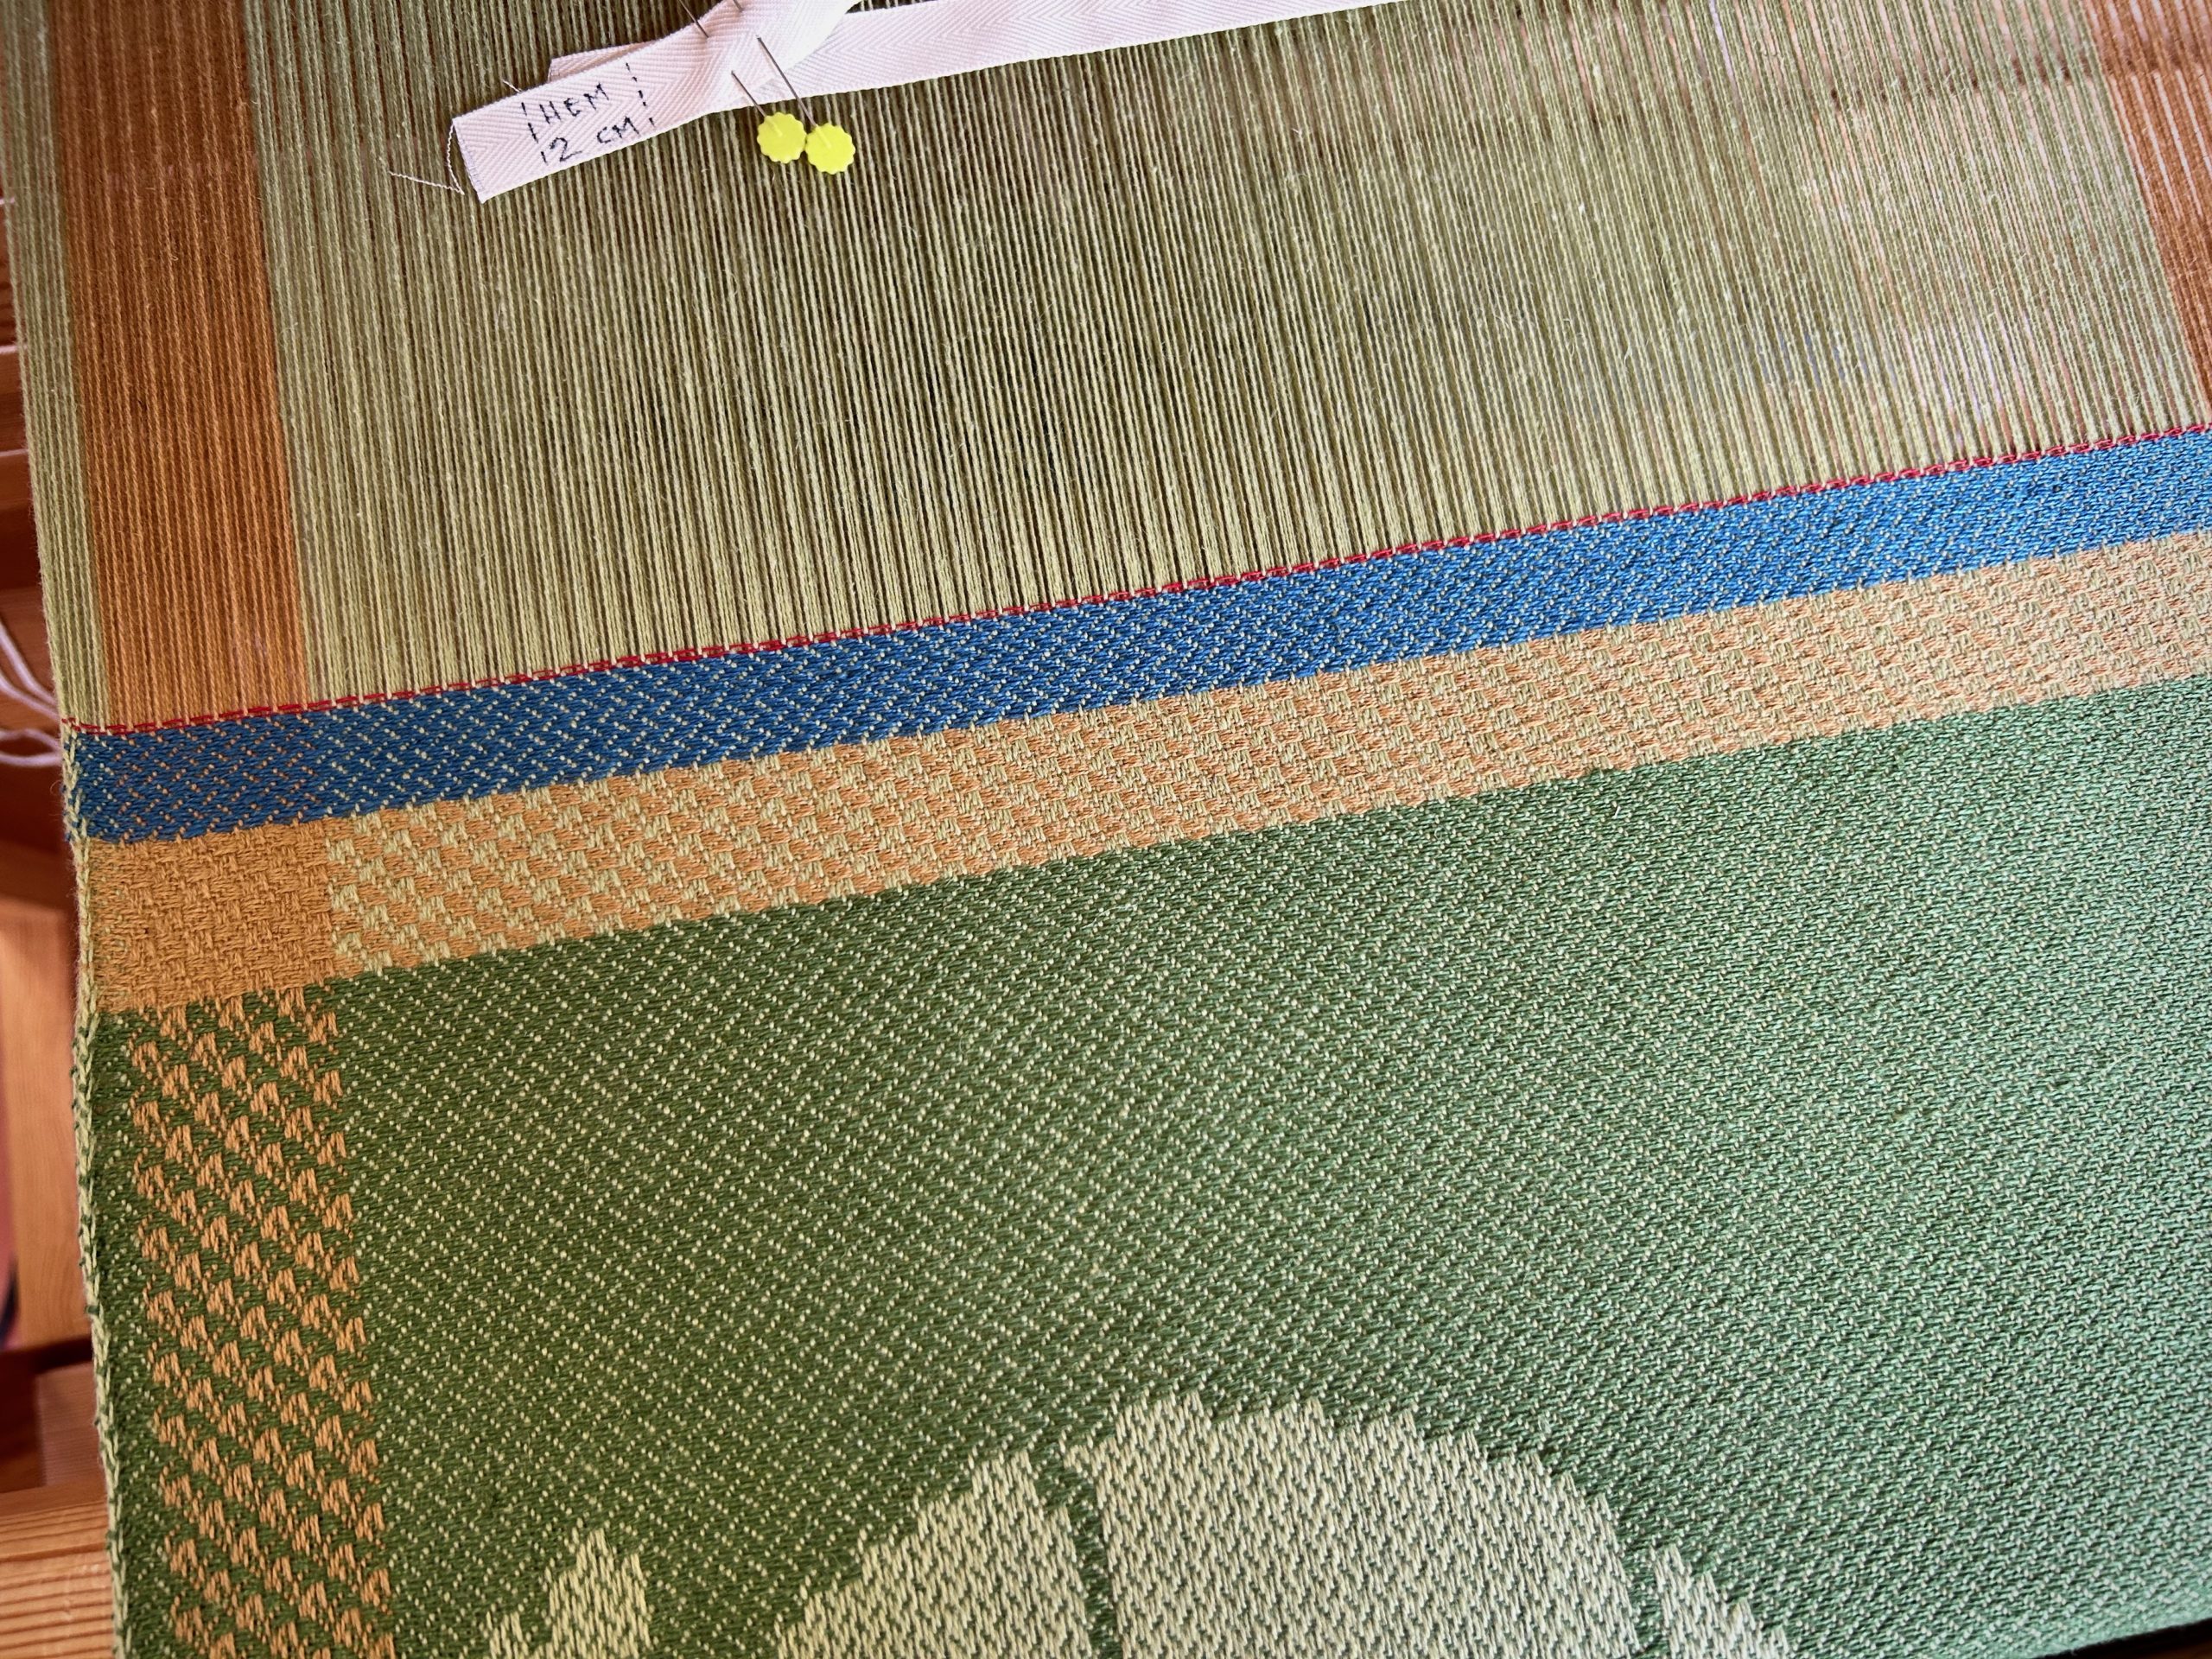
Napkin starts with a dark blue hem and gold checkerboard border. I like this view which makes it look like the armadillo feet have really long legs. Single unit draw cords are pulled (drawn) to raise warp ends that form the pattern in the cloth.
Armadillo reaches into one border with its snout, and into the other border with its tail.

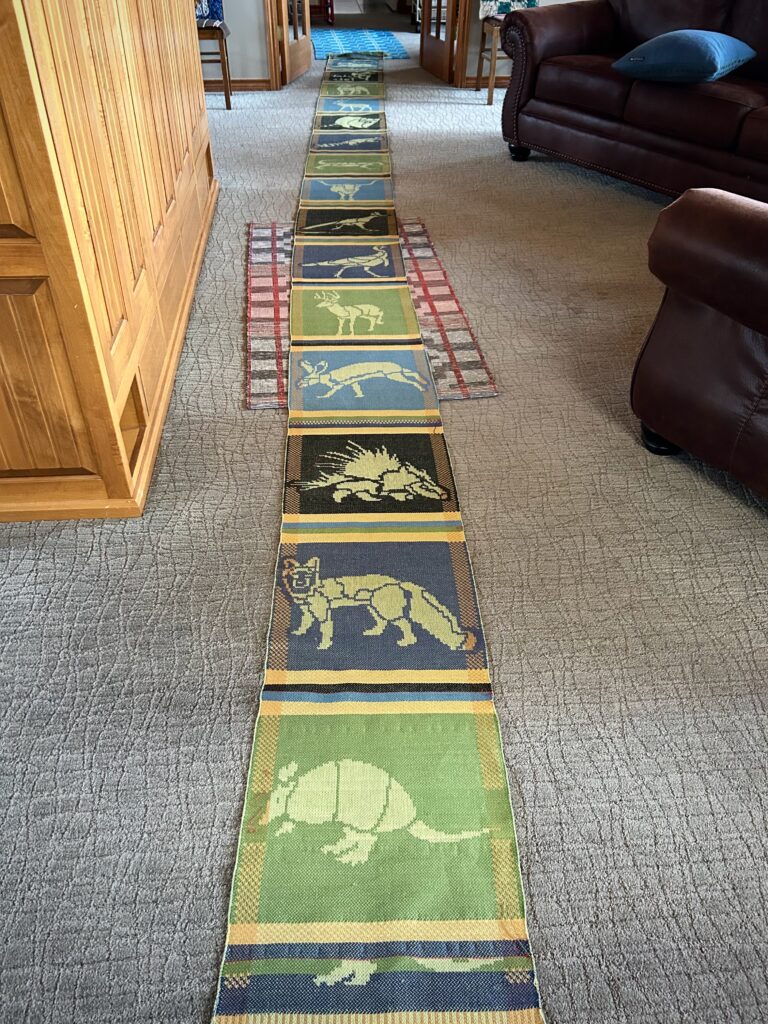
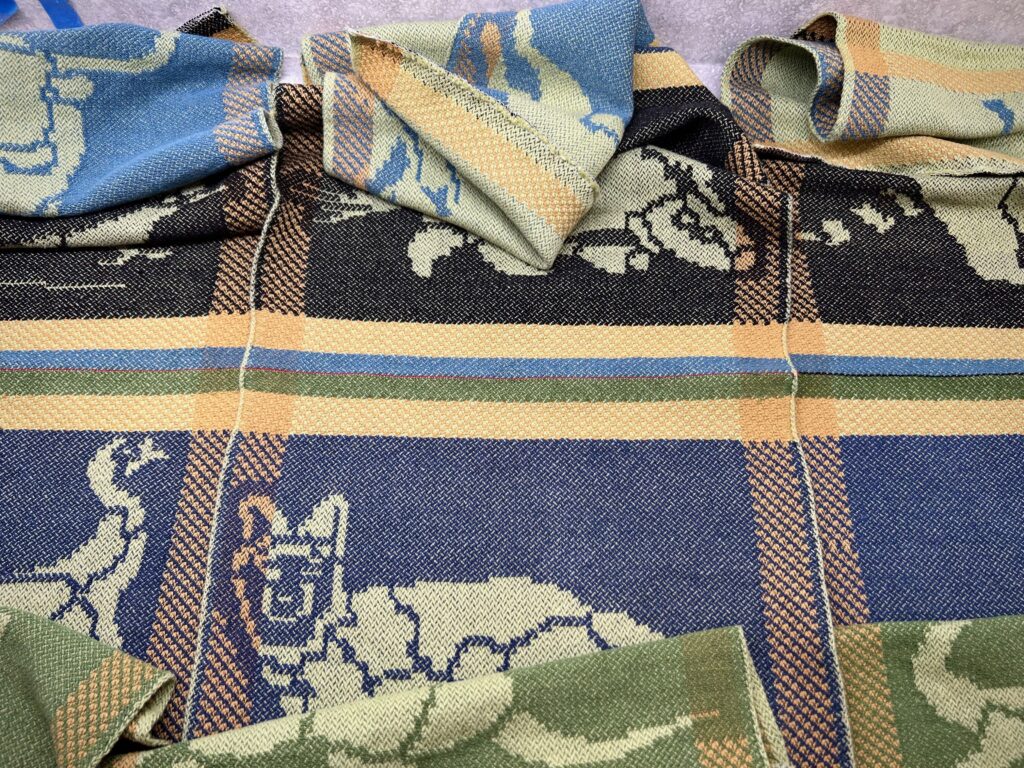
Armadillo is the first of a dozen critters that will parade across this loom. Armadillo napkin is the only one of its kind. I’m certain of that. (Fox is up next.)

Simple checkerboard side borders give a fun outline to every napkin.
Just a few pattern shafts (six draw handles) are needed for making the horizontal checkerboard border across the width of the napkins.
Six-shaft broken twill makes an interesting all-over pattern in the cloth.
Teal blue hem ends the Armadillo napkin. Red picks serve as a dividing/cutting line. Fox is next!

Lapkins give us a discreet way to stay tidy at the table. Armadillo, however, doesn’t intend to stay discreet. I’m pretty certain of that, too.

May your courtesy lessons be fun.

Happy weaving.
Karen

Handwoven Napkins for Real People

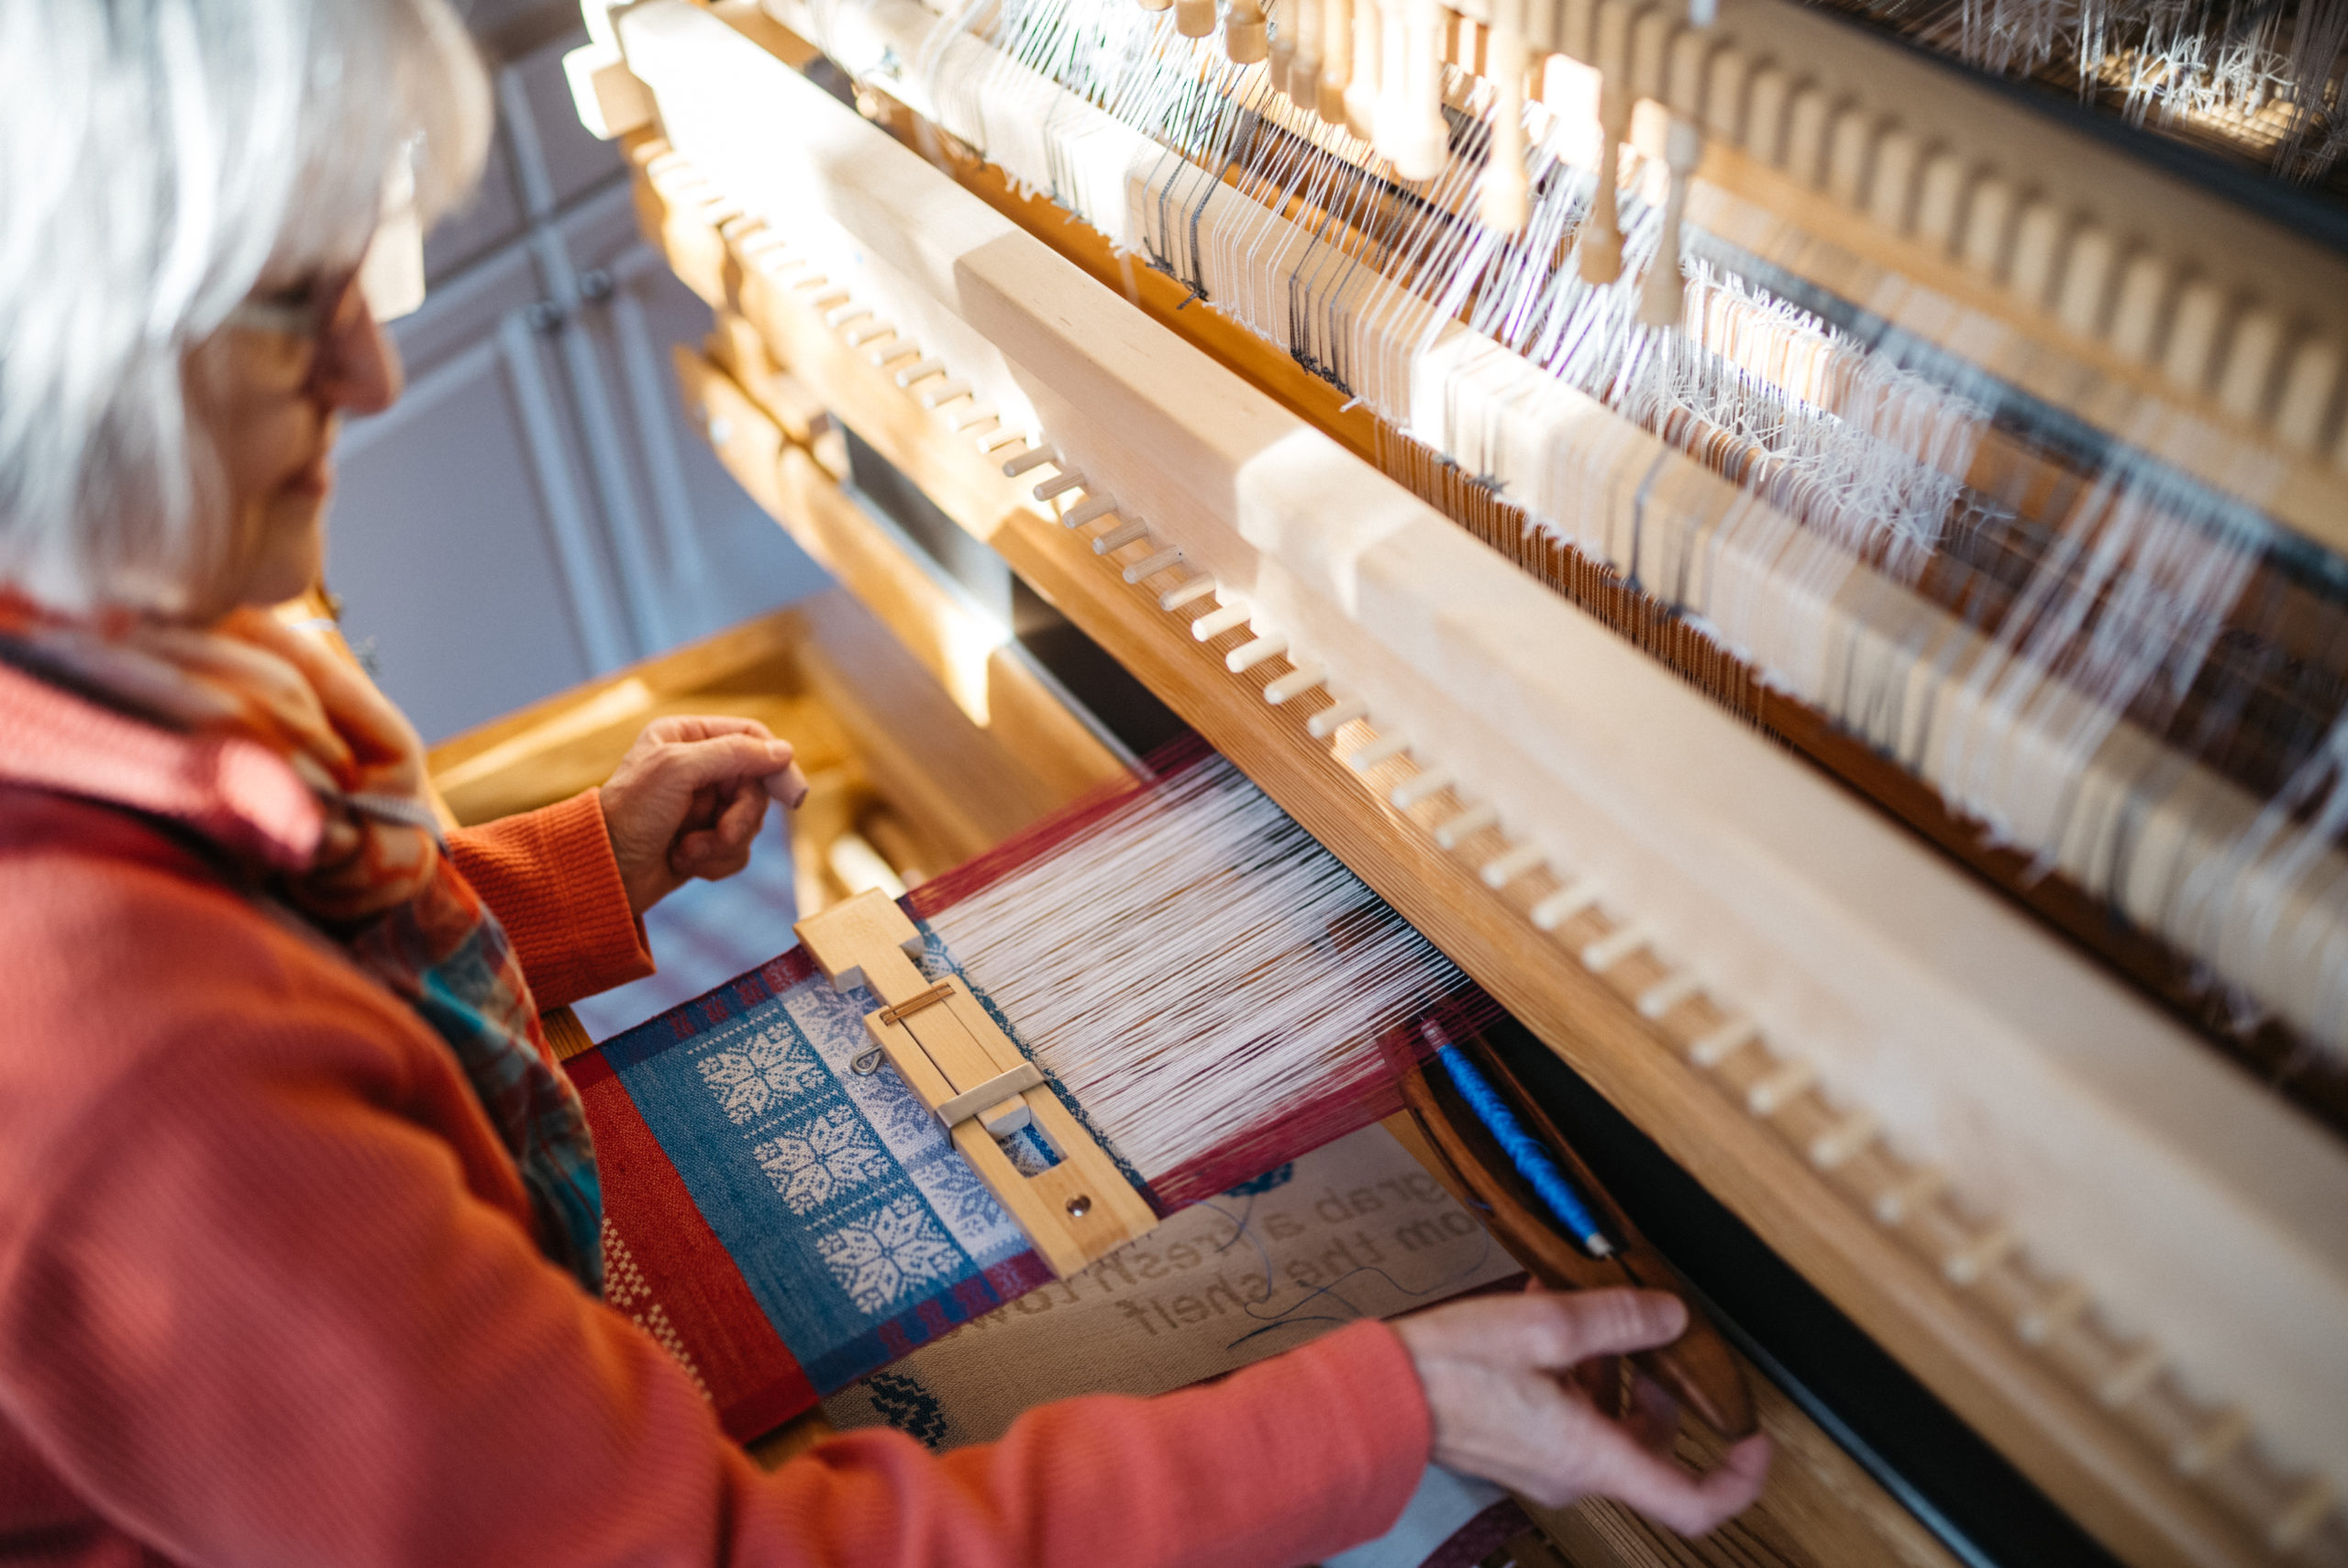
I have never woven napkins because napkins that are used get soiled. Why spend time weaving something you have to be so careful about? That is about to change. I am dressing the drawloom for napkins!

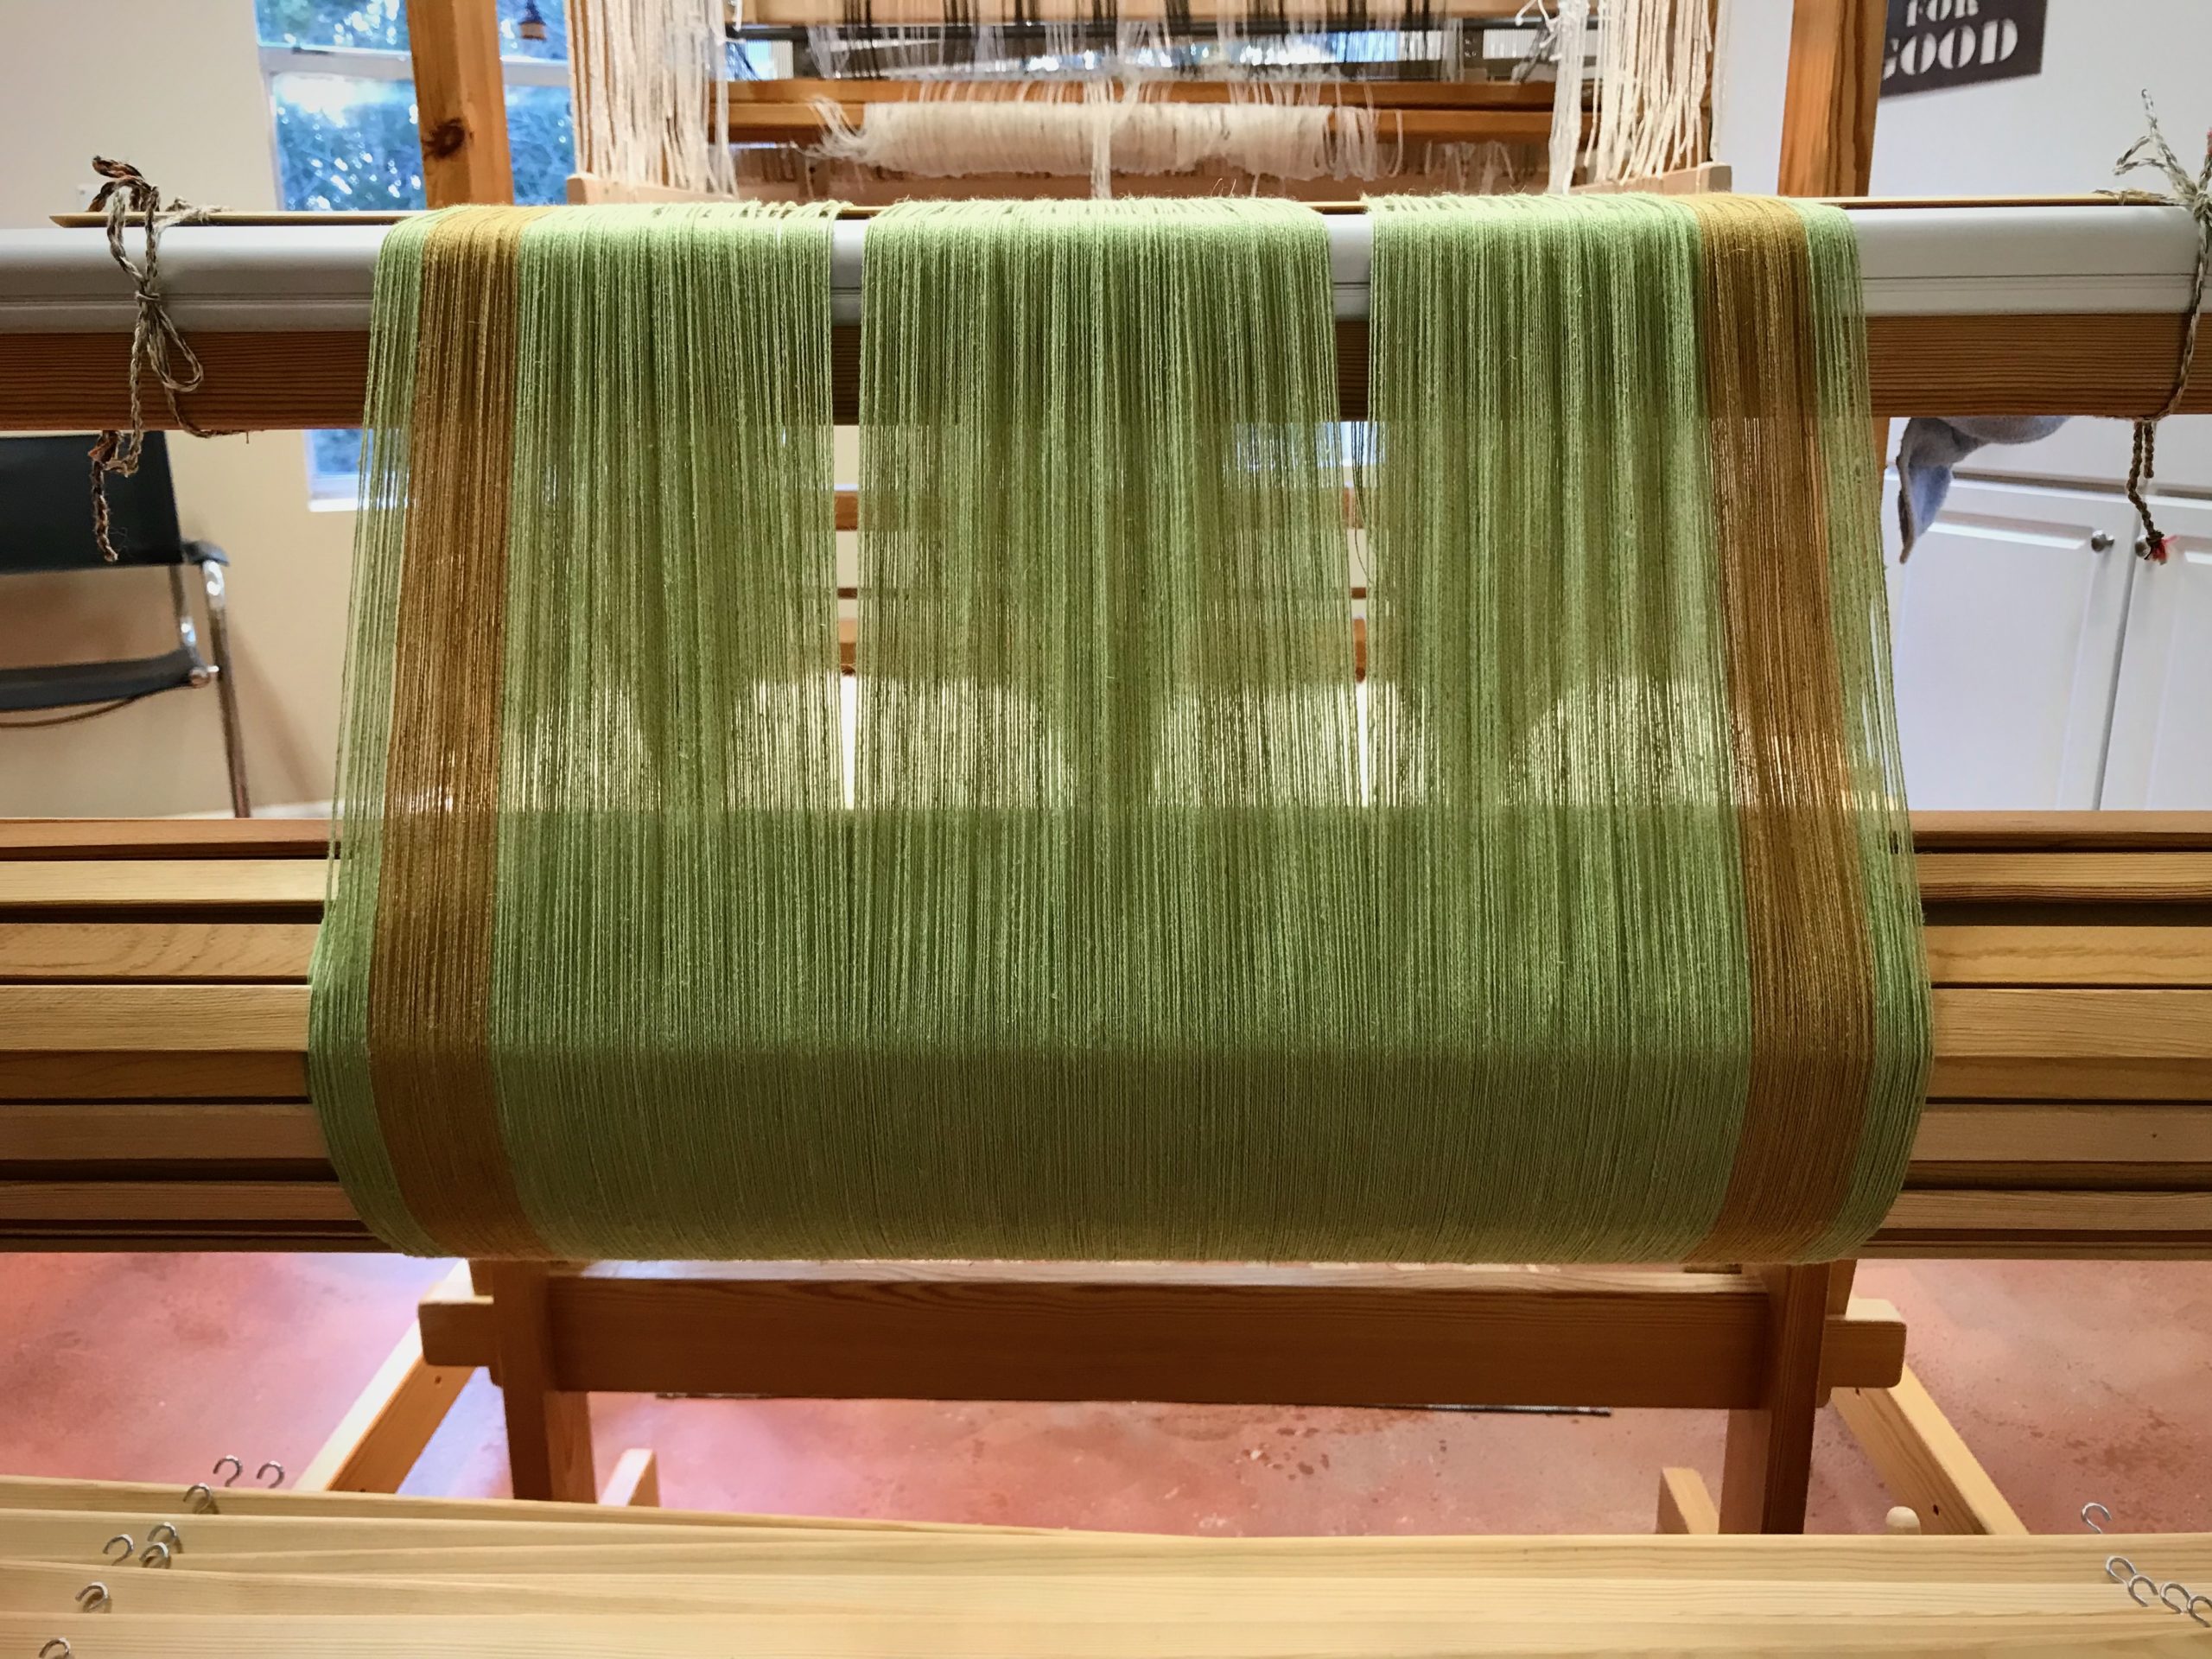
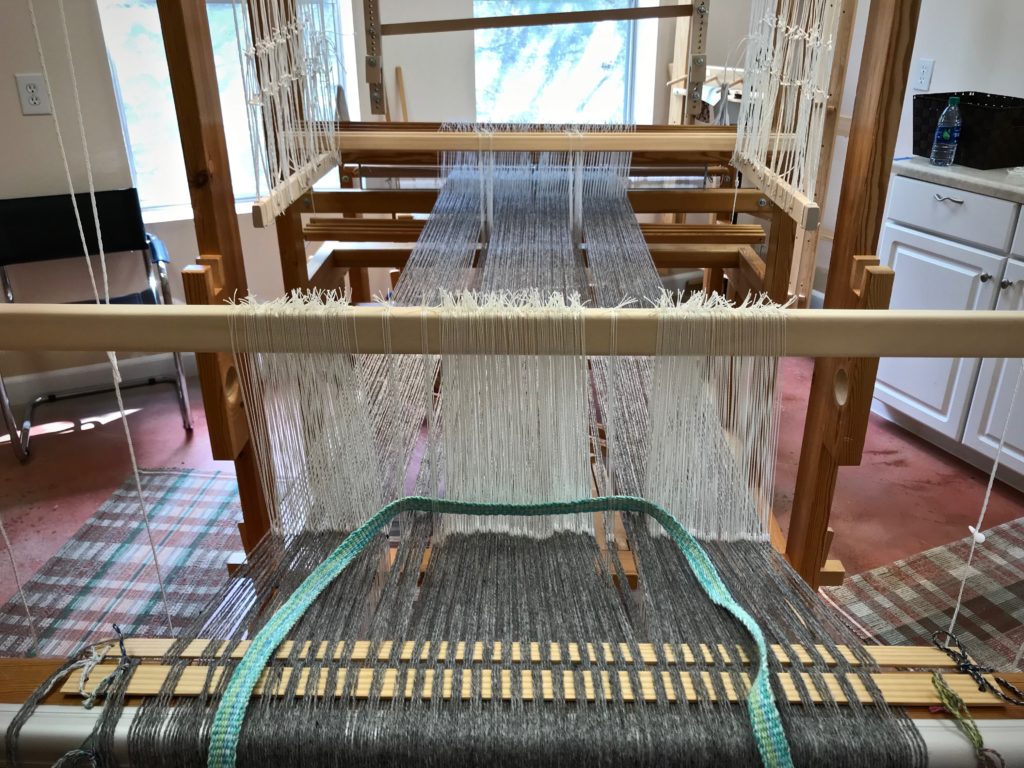
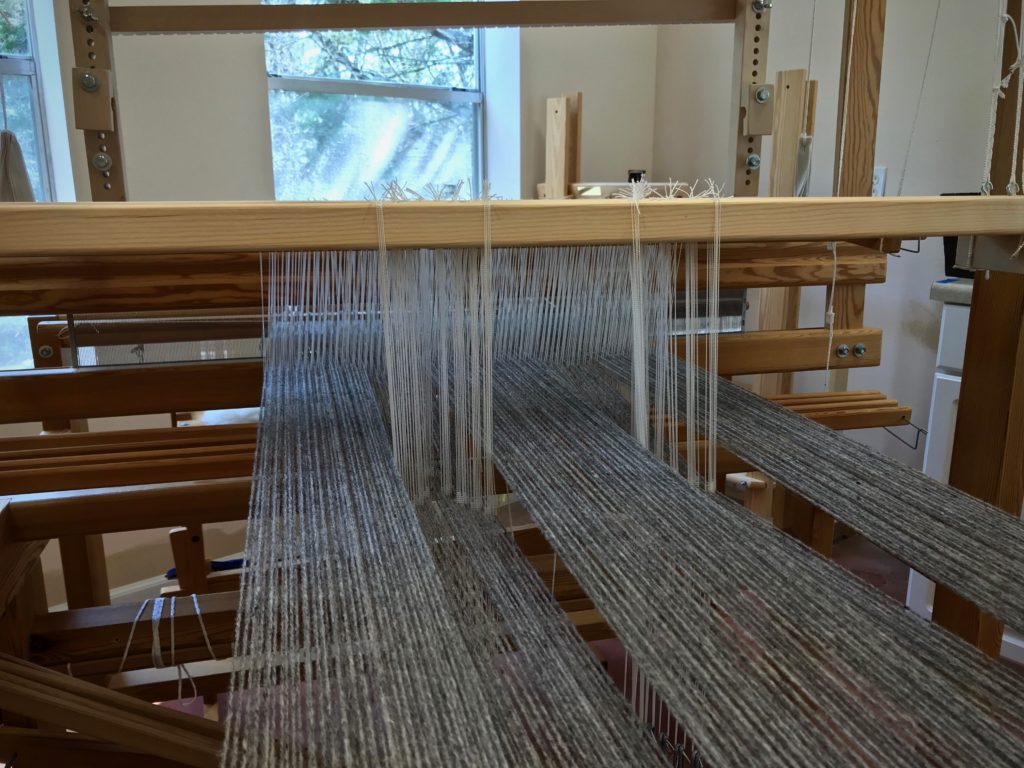
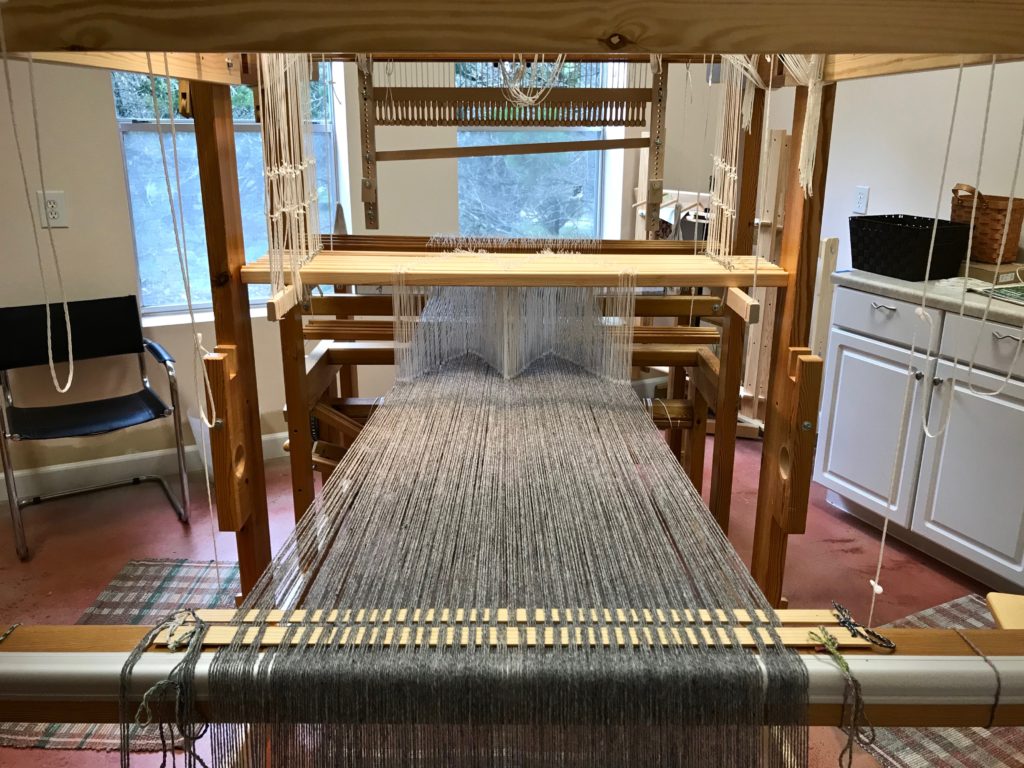
Drawloom 22/2 cottolin warp is beamed.

The napkins I have in mind are family-friendly napkins for all ages. They will get soiled, of course. They are made with grandchildren in mind–Cottolin warp and linen weft. I have a fun design for each napkin. And we’ll be ready to wipe any messy mouth. Napkins are made to get soiled.

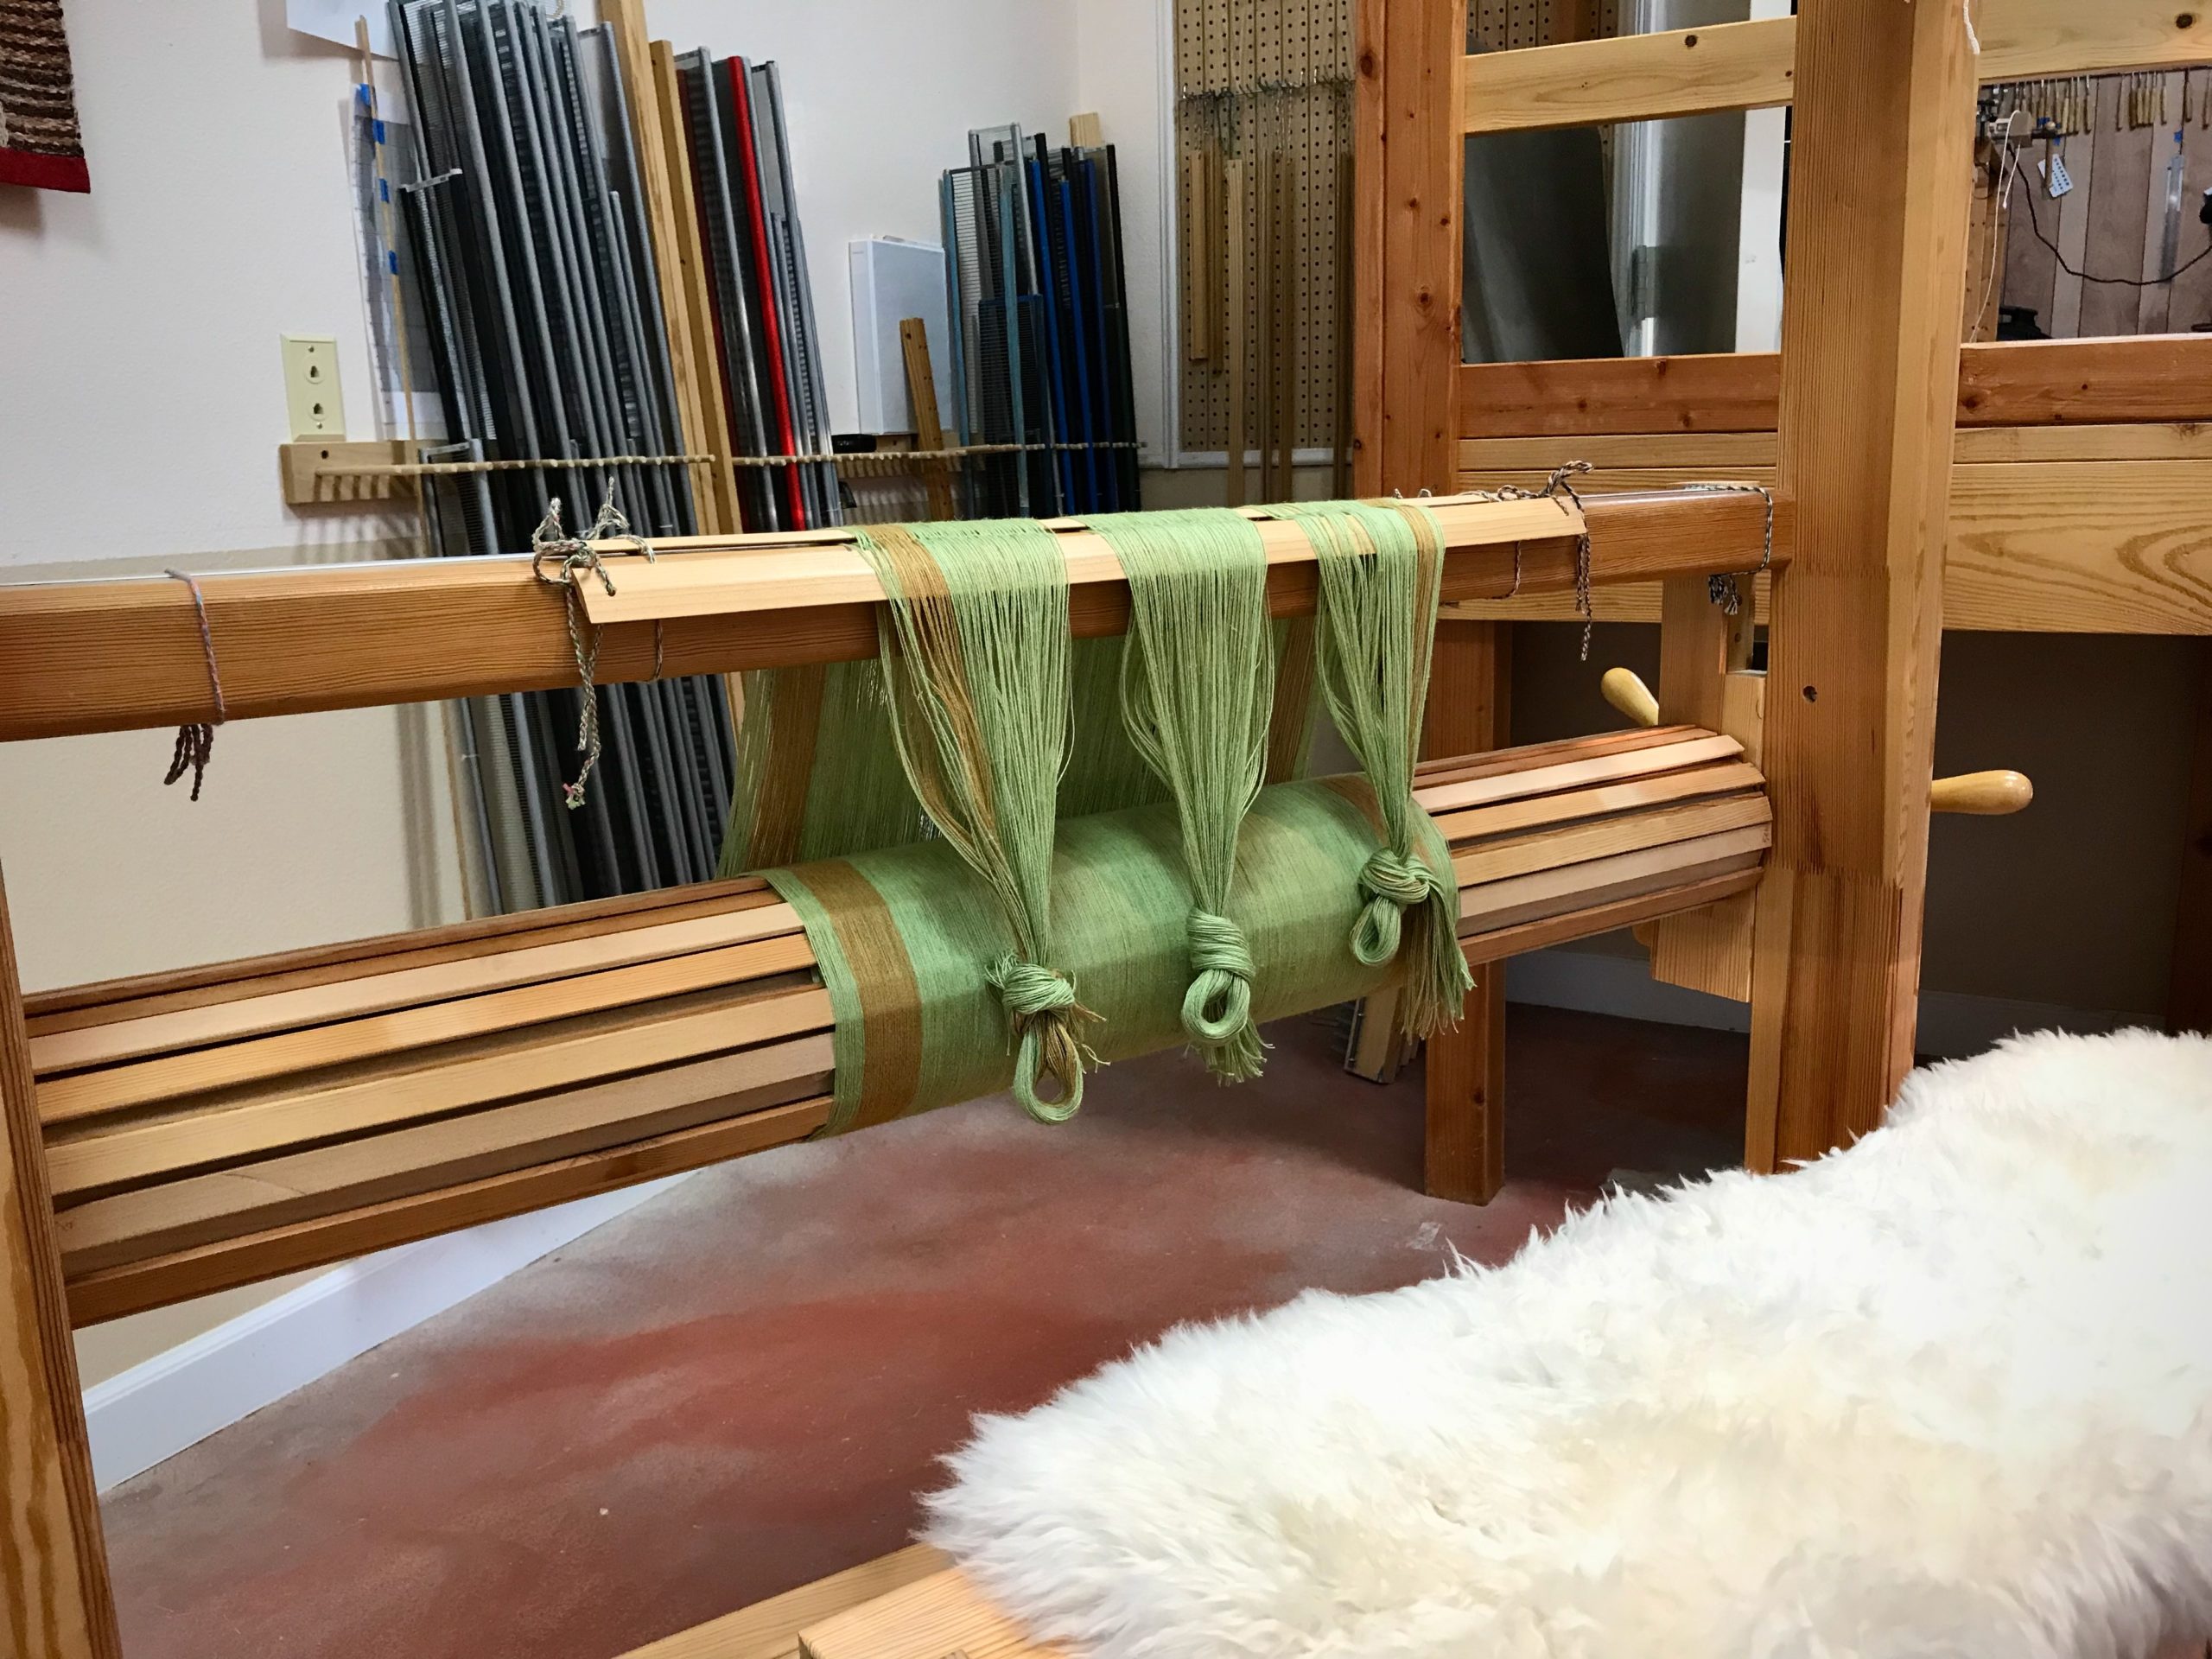
Next step is to tie ends into threading groups to prepare for threading.

Wisdom is marked by a sense of calm. There is no dread of something ruining the day. If a little (or big) person soils a napkin, so be it. That will just serve to add a bit of history to the cloth. With a little wisdom, I’ll remain undisturbed.

May you listen to wisdom.

Happy weaving,
Karen

Process Review: Combination Drawloom as a Playground

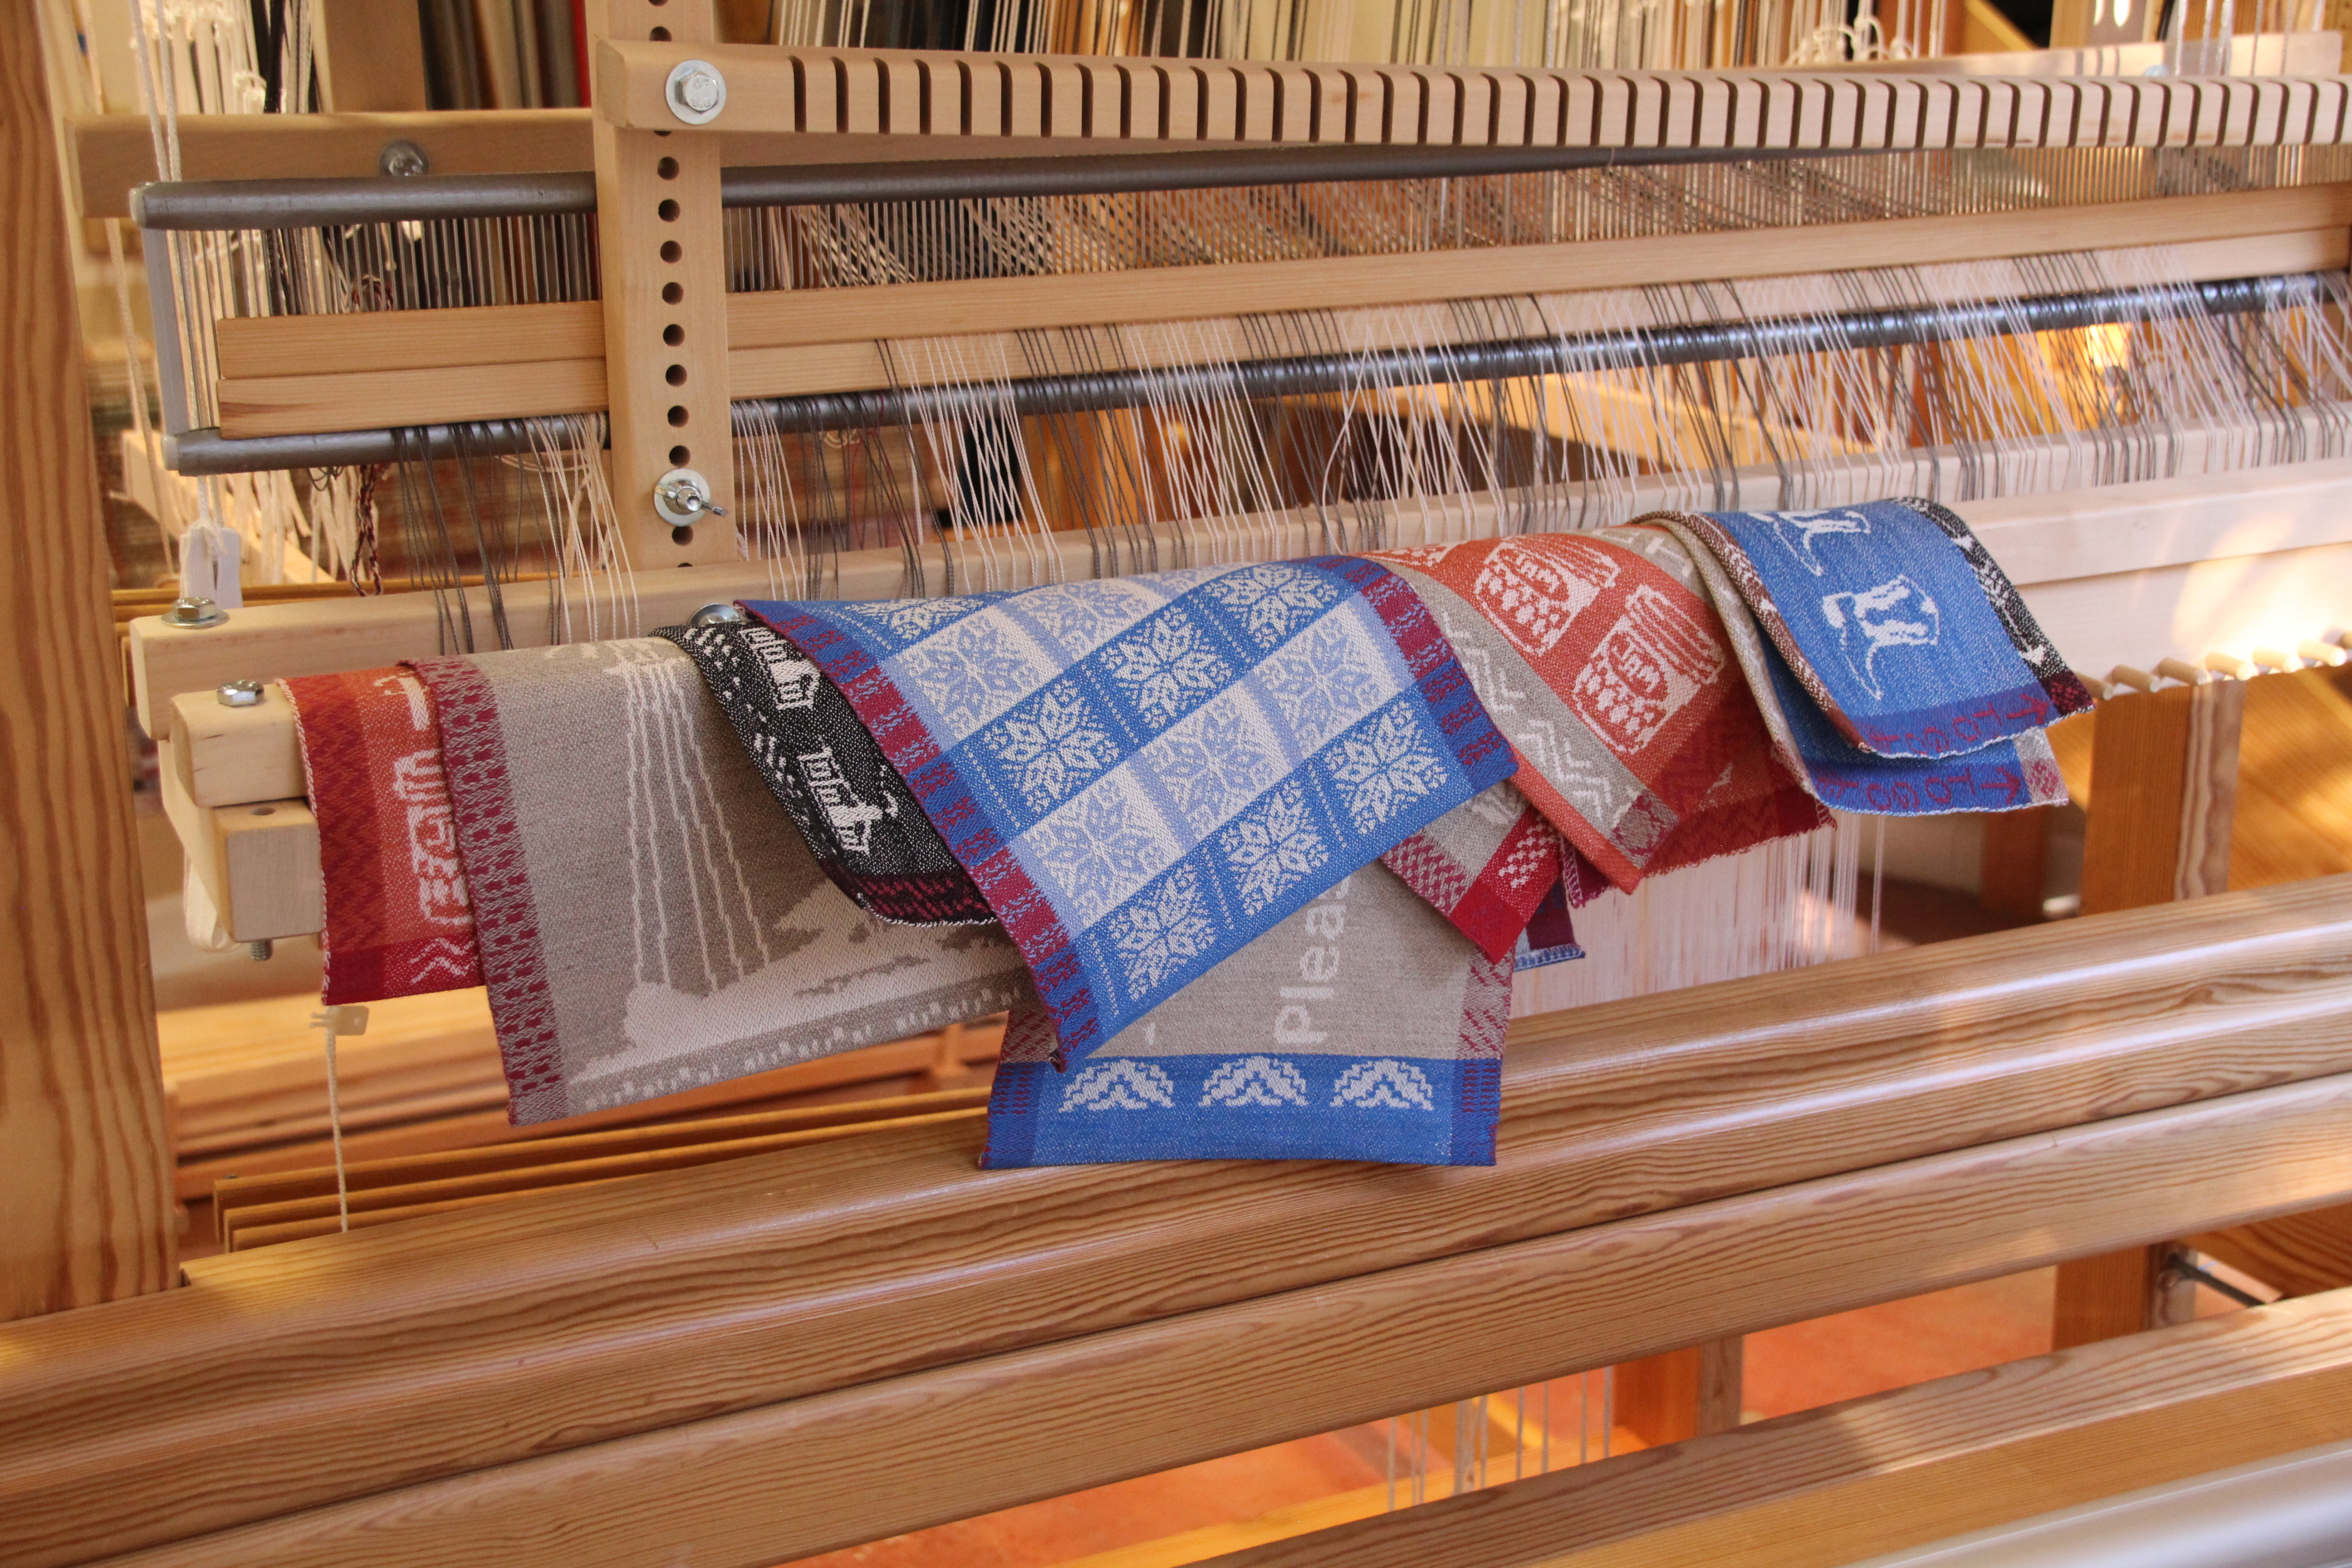
Aside from the two taildragger banners, the sign for our guest powder room, and the Christmas snowflake hanging, these are test pieces and samples. The combination drawloom is a playground for design ideas. Test pieces and samples are not meant for display. I do want them to be seen on occasion, however. (See Time Lapse: Windmill and Taildragger on the Drawloom.)

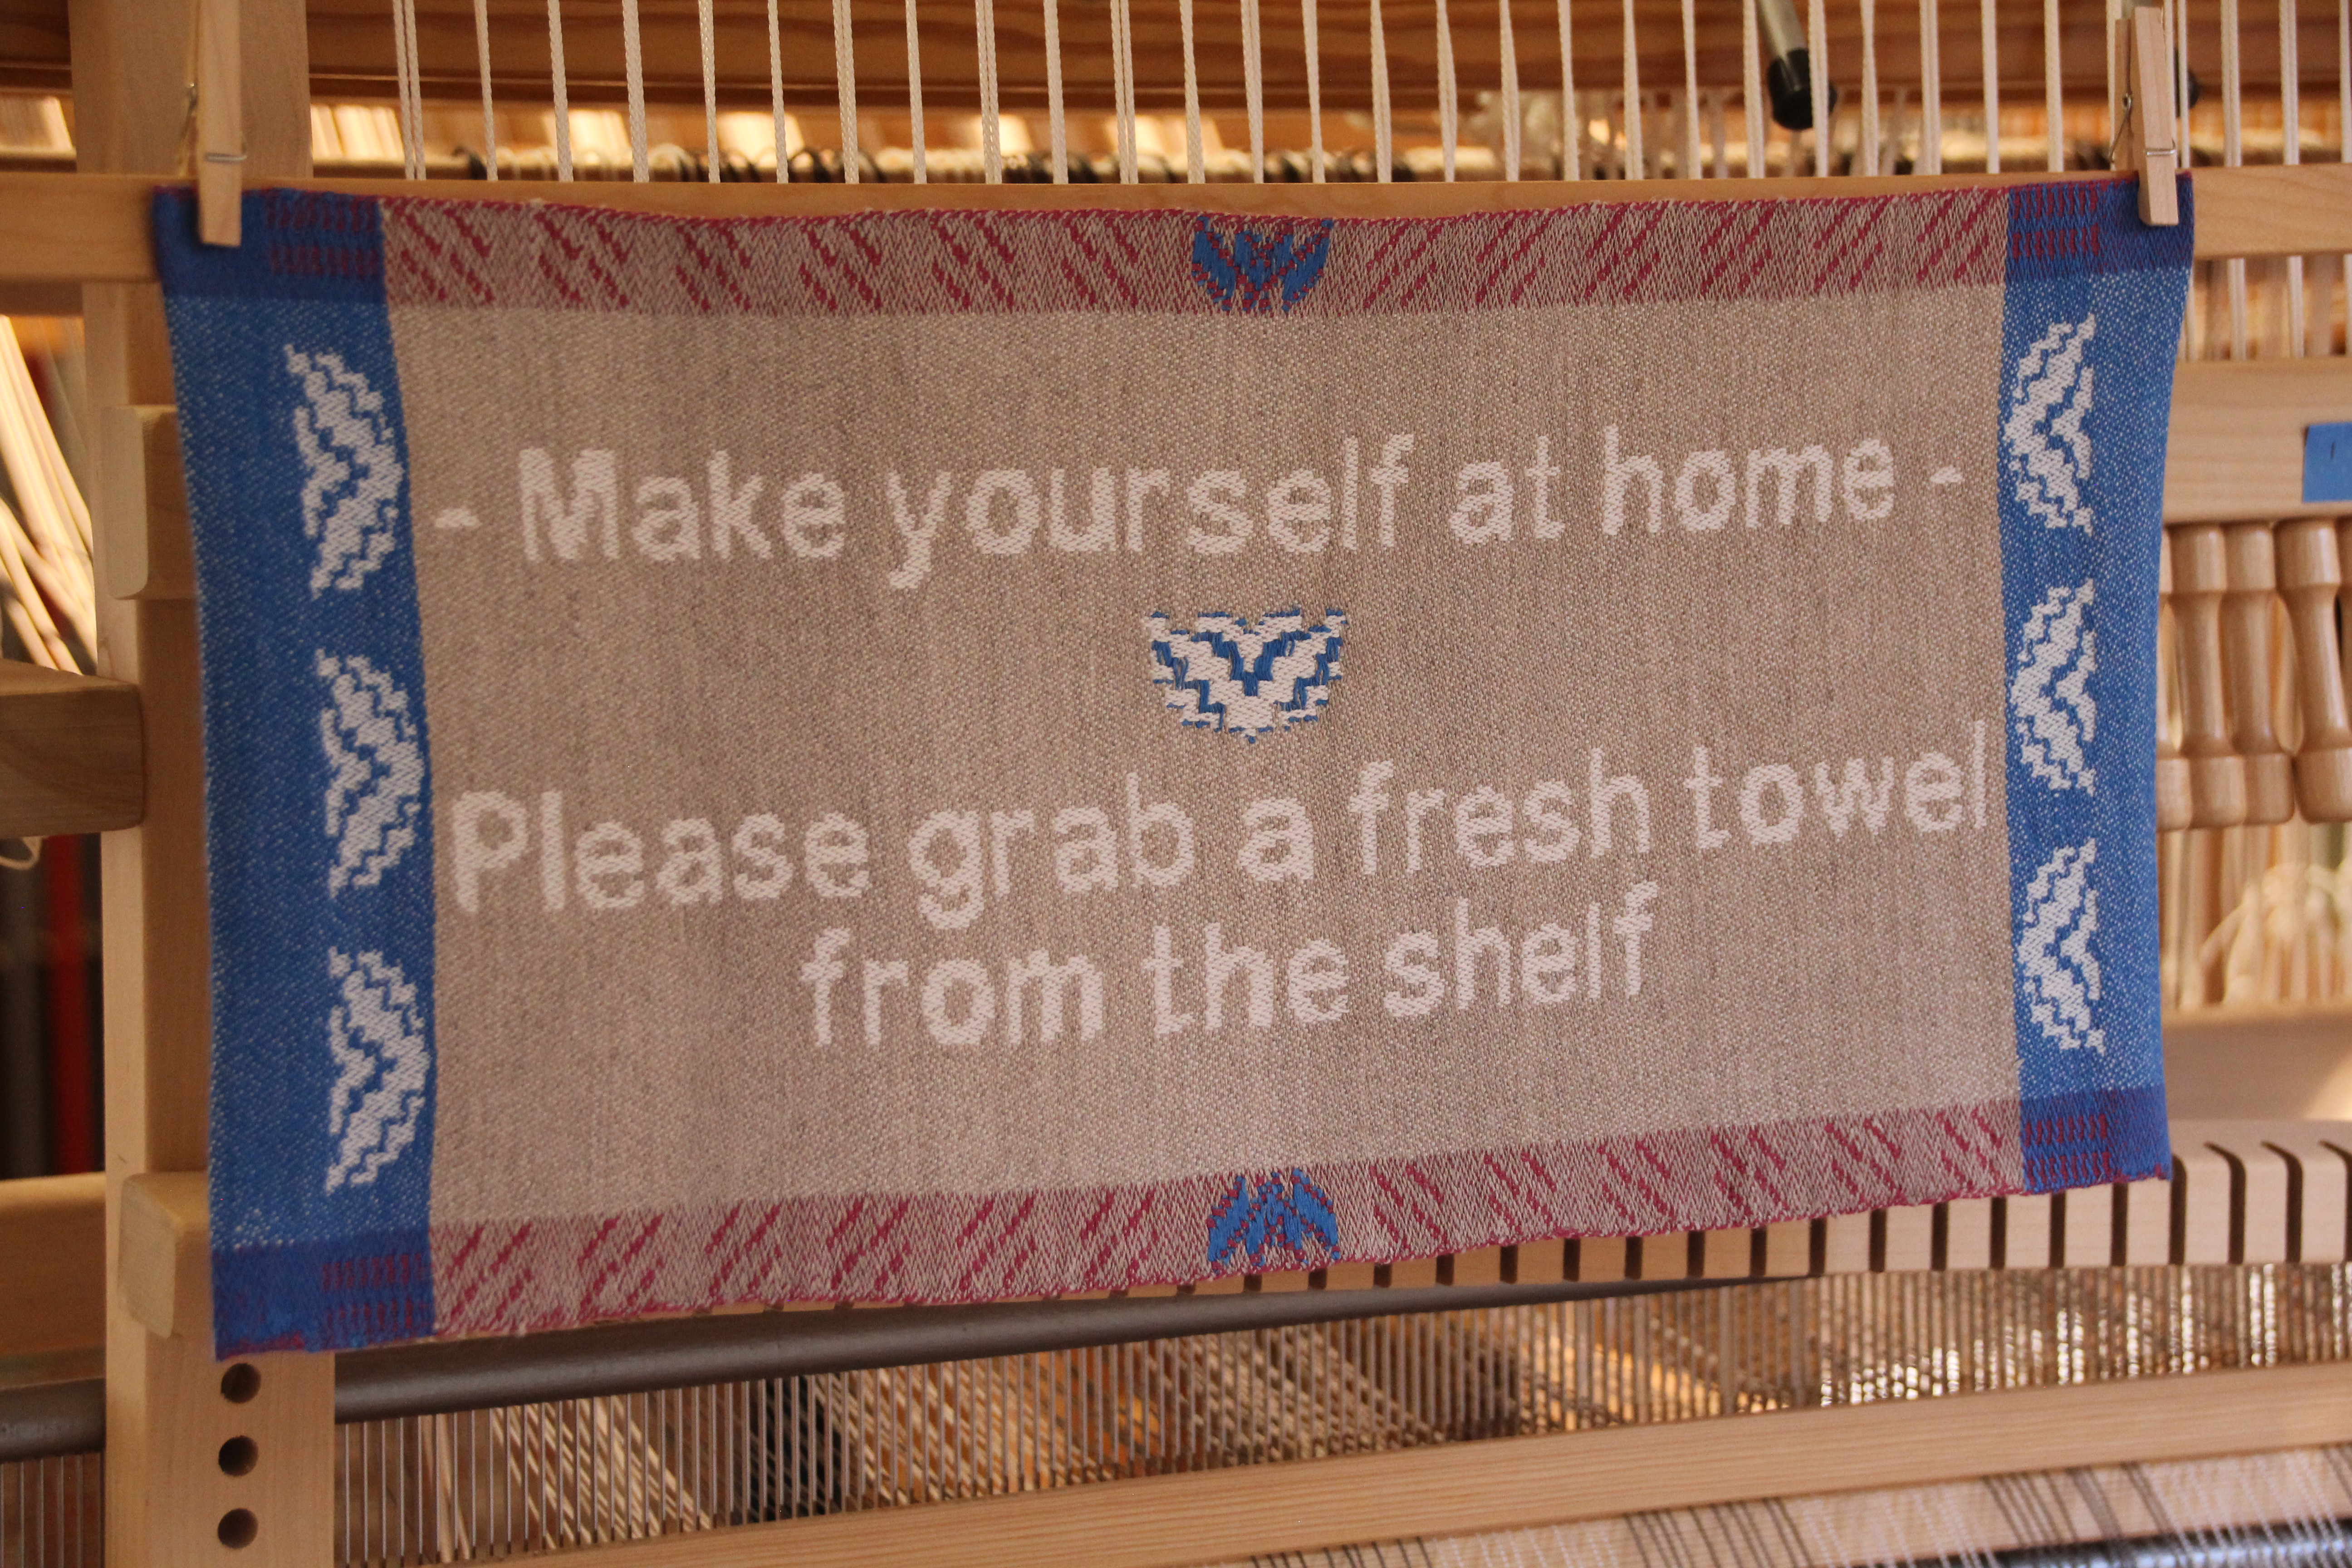
Drawloom sign for the powder room.
This is a sign to hang in our guest powder room near a stack of handwoven hand towels.
Shaft drawloom snowflakes/stars.
Snowflakes on the drawloom.

In the September, 2004 issue of Complex Weavers Journal, Jette Vandermeiden wrote about weaving small serviettes to place between her good dishes so they don’t scratch each other. That sparked the idea for me to use my learning experience with the Myrehed combination drawloom attachment to make these small pieces of cloth. The various designs will bring delight as they are uncovered, one by one, when we set the table in our home with the good dishes.

Fun with the Myrehed combo drawloom.
Drawloom playground results using the Myrehed combination attachment.

Enjoy this review of the process of setting up and weaving on this playground.

May you have not-so-hidden treasures in your home.

Cheerful Weaving,
Karen

Process Review: Dressing the Drawloom the Second Time

Dressing the drawloom the second time is easier than the first time. No slip ups or confusion. Just smoothly moving from one step to the next. (Read to the end to see what to expect for July.)

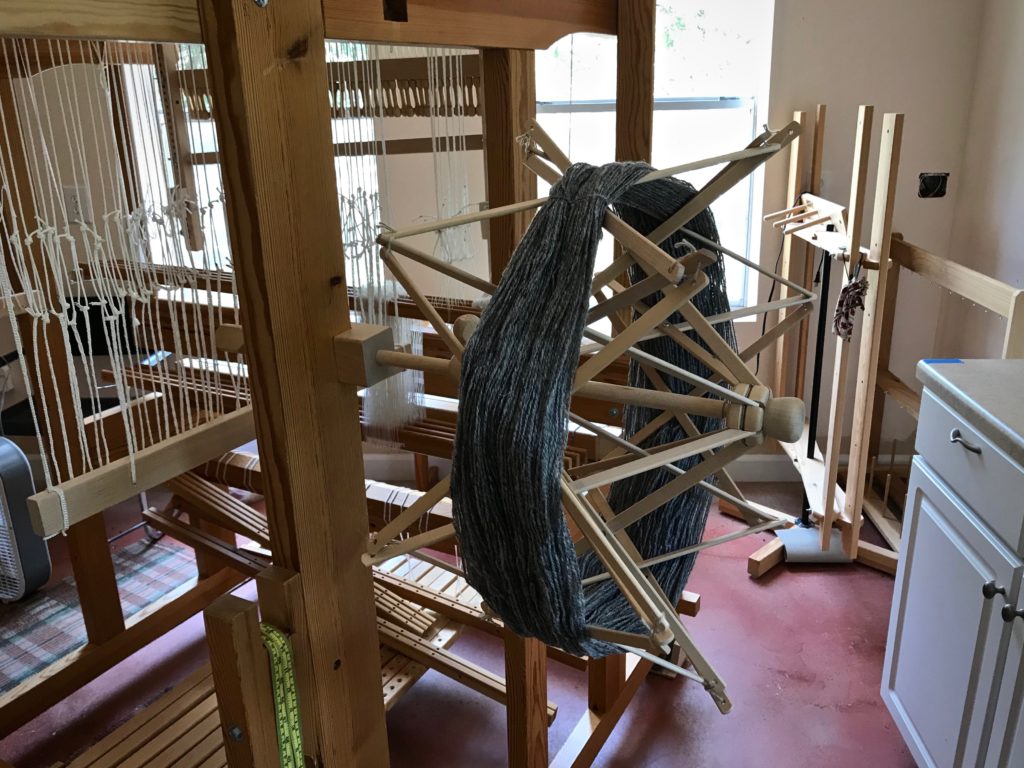
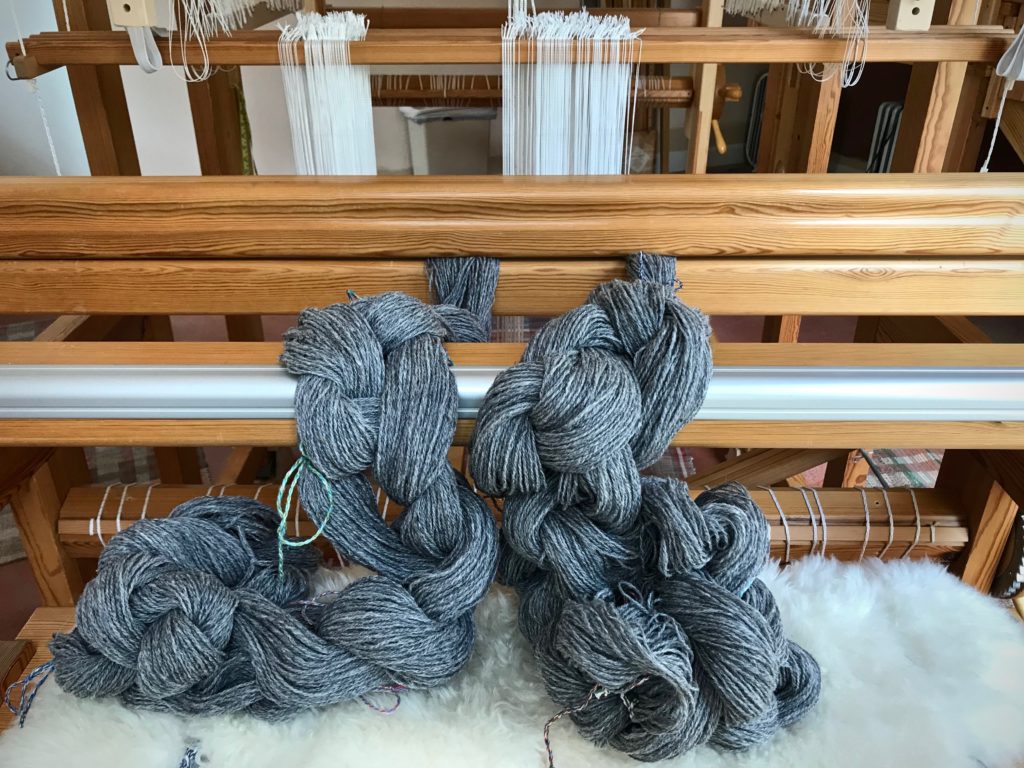
Winding skeins of wool yarn into balls.

With my first drawloom warp the most challenging part was distributing the pattern shafts. (See Q and A with Joanne Hall and Drawloom Dressing.) This time something clicked and the light bulb turned on. Instead of blindly following steps, I now understand what I am doing, and why. And I am having fun in the process!

Winding warp on the warping reel.
Winding the warp on the warping reel, making two bouts.
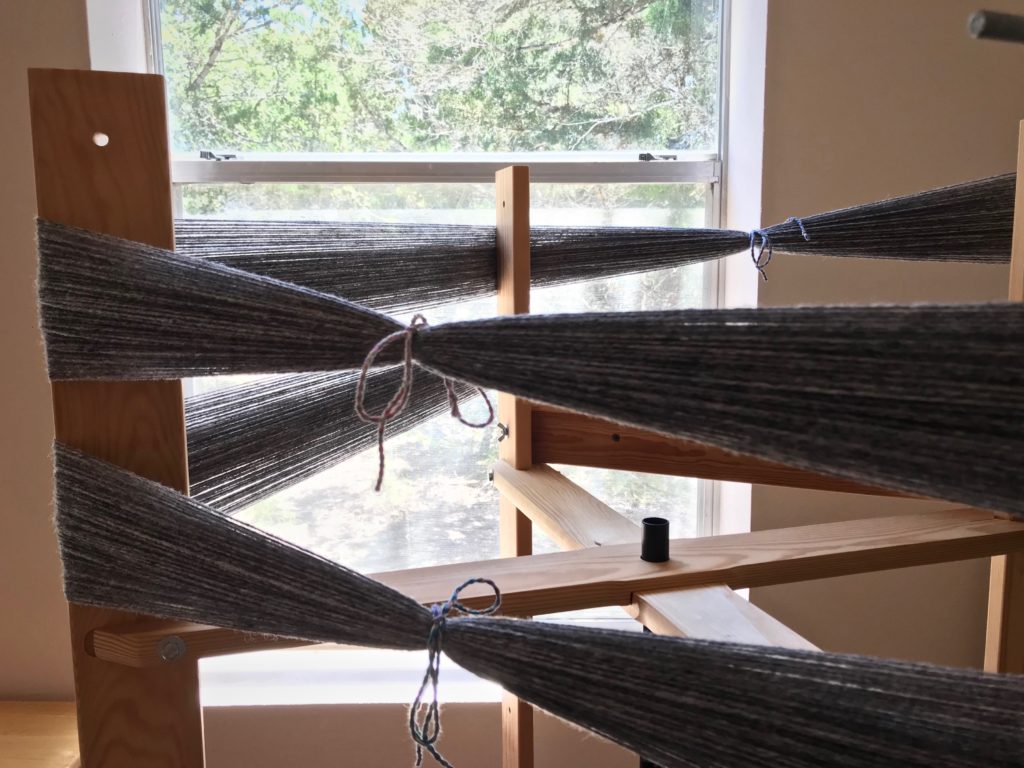
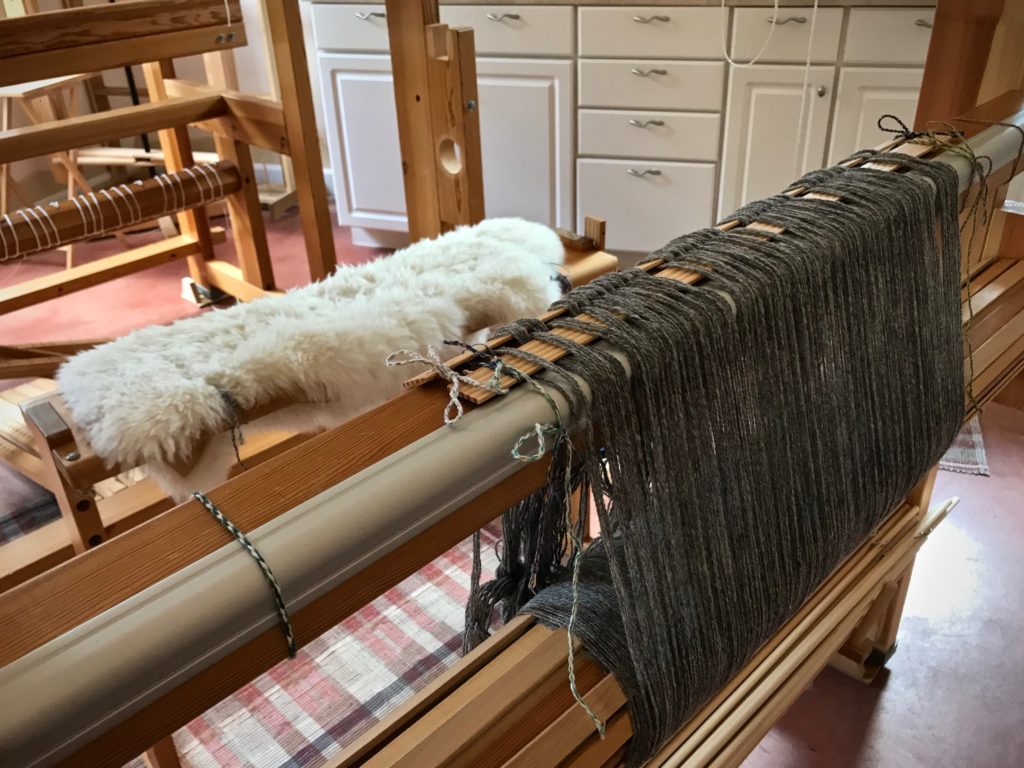
Big fat wool warp chains.
Warp chains of 6/2 Tuna wool, ready to dress the loom.
Ready to thread pattern heddles.
After beaming the warp, the loom bench is moved to the back of the loom for threading heddles. Pattern heddles first, and then, ground heddles.
Sleying the reed on the drawloom.
With the reed sleyed, it’s time to return the ground shafts to the front of the loom and put the reed in the beater.
Leveling string is doing its job!
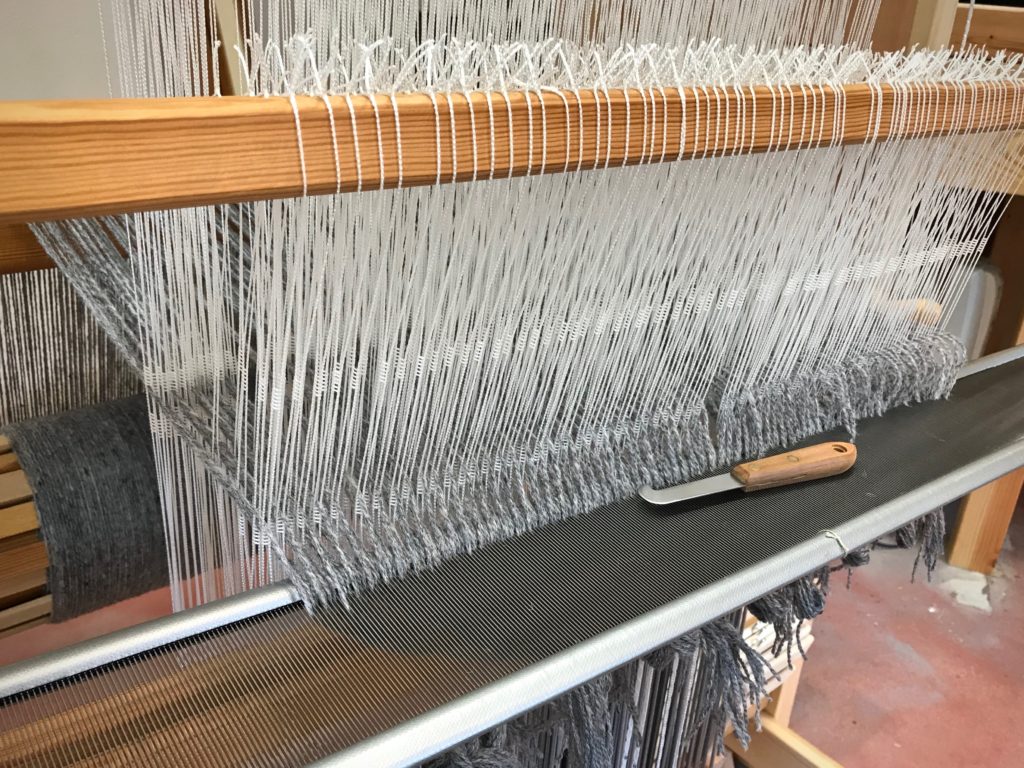
Warp is tied on, and the leveling string is doing its job.
Distributing pattern shafts on the drawloom.
Inkle band serves to separate pattern heddles as I distribute the pattern shafts.
Adding pattern shafts to the drawloom.
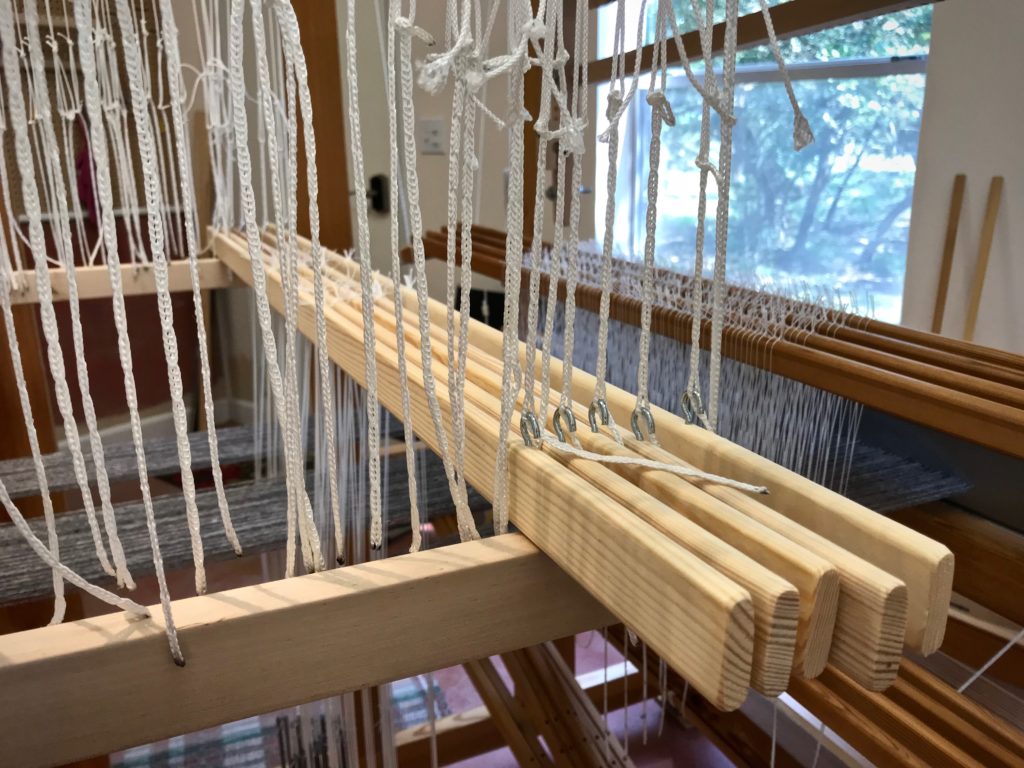
Pattern shafts are resting nicely on the pattern shaft holders. Their little hooks grab the Texsolv that connects them to the draw cords and handles.
Dressing the drawloom!
Pointed threading can be seen in the arrangement of the heddles on the pattern shafts.
Dressing the drawloom!
Drawloom setup is complete except for tying up the treadles. Treadle tie-ups on a drawloom are refreshingly simple.
Testing pattern sheds on the drawloom.
Testing pattern sheds by pulling some of the draw handles. After a few small adjustments, she’s ready to weave!
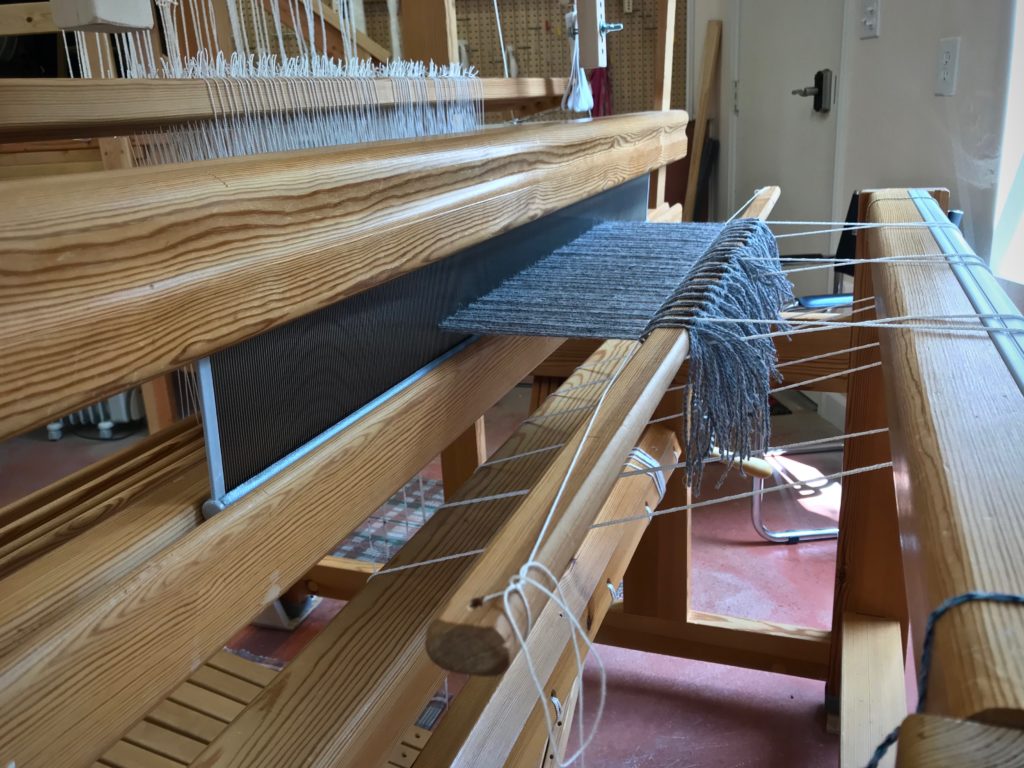
Wool on the drawloom.
First sample. 6/2 Tuna wool warp and weft, 4-shaft broken twill on the ground shafts, sett is 5.5 ends per cm, 16 pattern shafts with 1 extra shaft for the edges.

Friends, It’s that time again, when Warped for Good is put on pause for the month of July.

Thank you for sharing in this journey with me!

What’s on my looms: I am near the end of the blue double weave blanket on the Standard, and I am planning a new pictorial tapestry for that loom. The drawloom is dressed and in motion. And the Ideal loom is still sitting ready for rosepath rag rugs. Also, Steve and I have a Casita trip planned that will include some leisurely backstrap band weaving.

What’s on your loom right now? Share with us in the comments.

See you the first Tuesday of August! (In the meantime catch me over on Instagram @celloweaver.)

May your second times be better than your first times.

Keep on Weaving,
Karen

Process Review: First Drawloom Warp

There are two questions I hear most often. 1. How long did it take? 2. What is it going to be? These are hard questions to answer. I admit that I stumble around to find satisfying answers. 1. How long? Hours and hours. 2. Cloth. It is going to be cloth. What will the cloth be used for? I don’t know. But when I need a little something with a pretty design, I’ll know where to find it. There are two finished pieces, though, from this first drawloom warp: the Heart-Shaped Baskets table runner (adapted from a pattern in Damask and Opphämta, by Lillemor Johansson), and a small opphämta table topper that I designed on the loom. The rest are samplers, experiments, tests, and just plain fun making-of-cloth. Oh, and I wondered if I could take the thrums and make a square braid…just for the fun of it.

First warp on my drawloom. Success!
Opphämta piece on the left, with Fårö wool pattern weft. Heart-Shaped Baskets runner on the right, with red 16/2 cotton pattern weft. Ten pattern shafts.

I will let the pictures tell the story of this first drawloom warp.

May you have plenty of things to make just for fun.

Happy Weaving,
Karen