Drawloom Porcupine in Four Hours

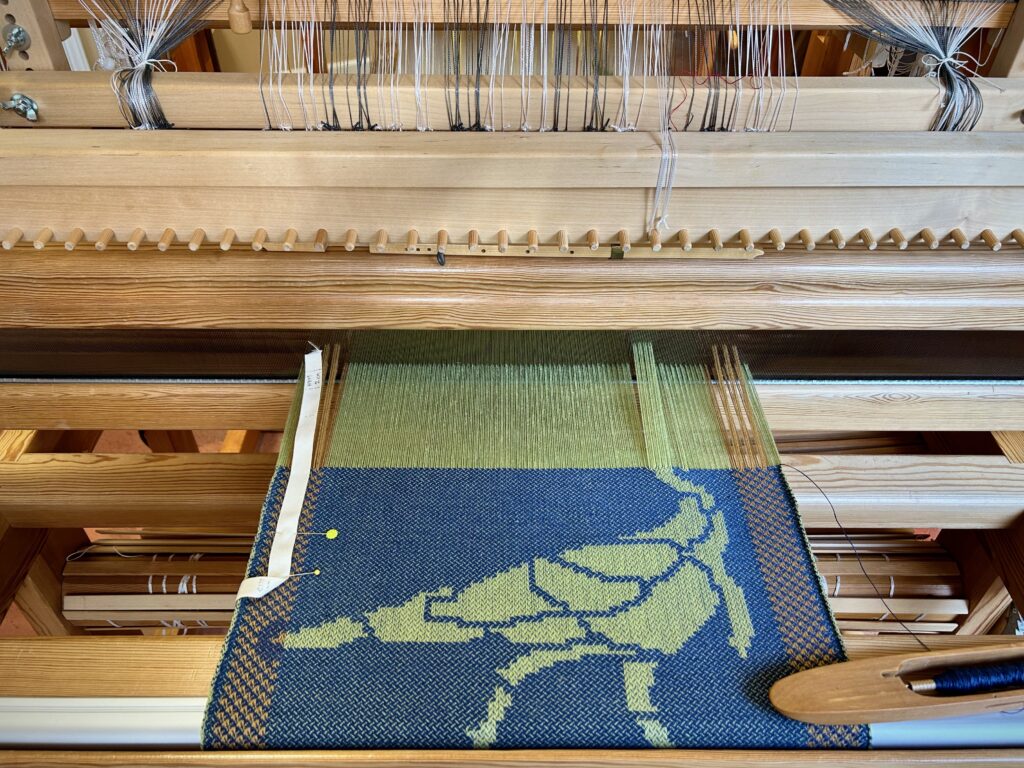
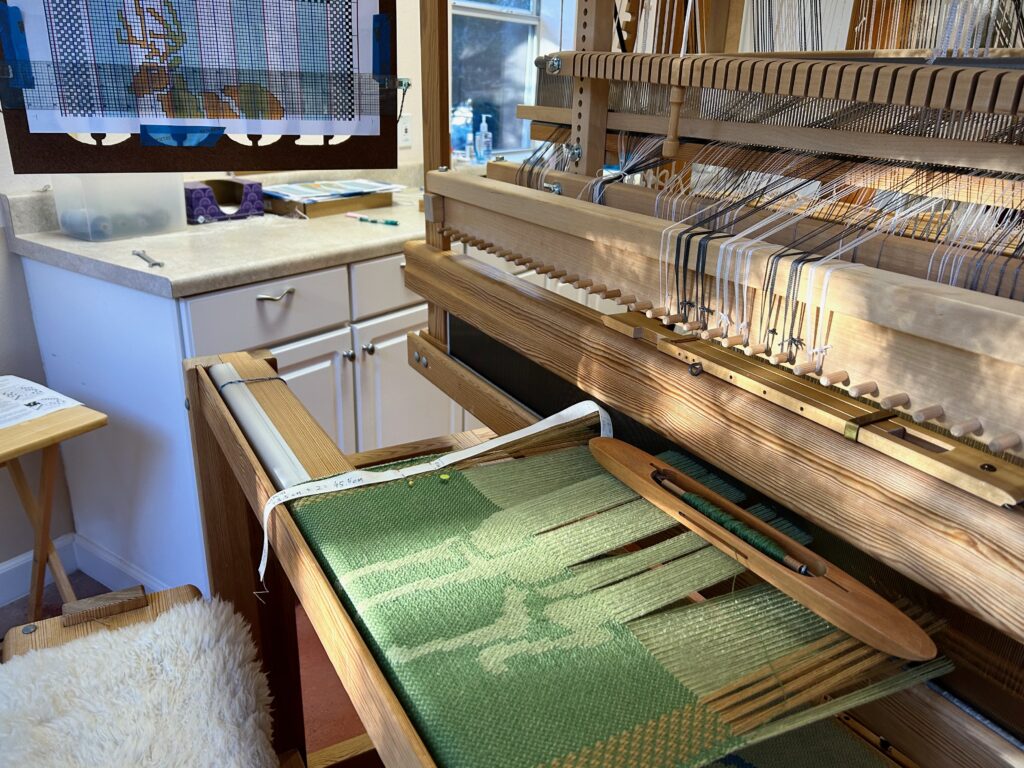
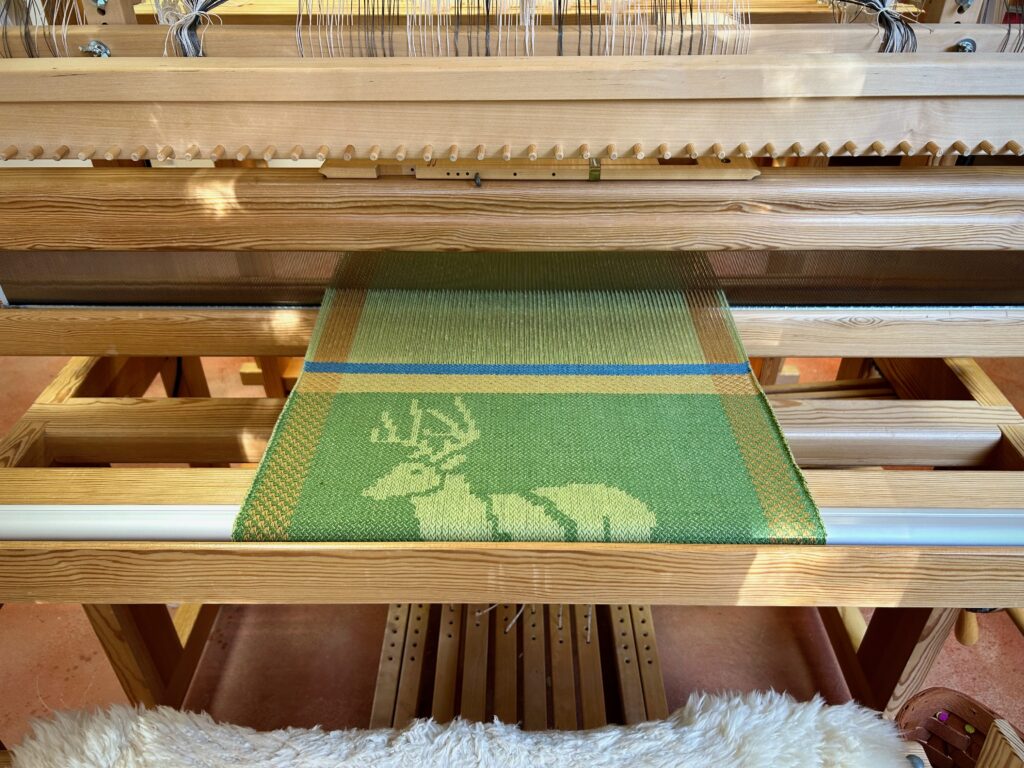
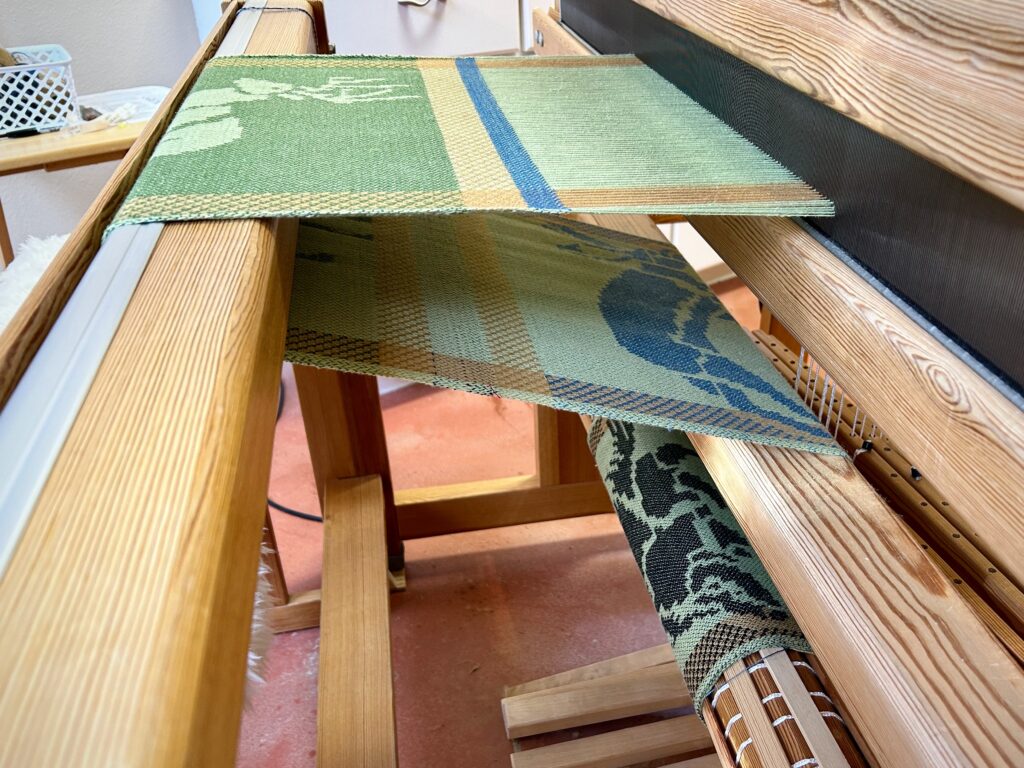
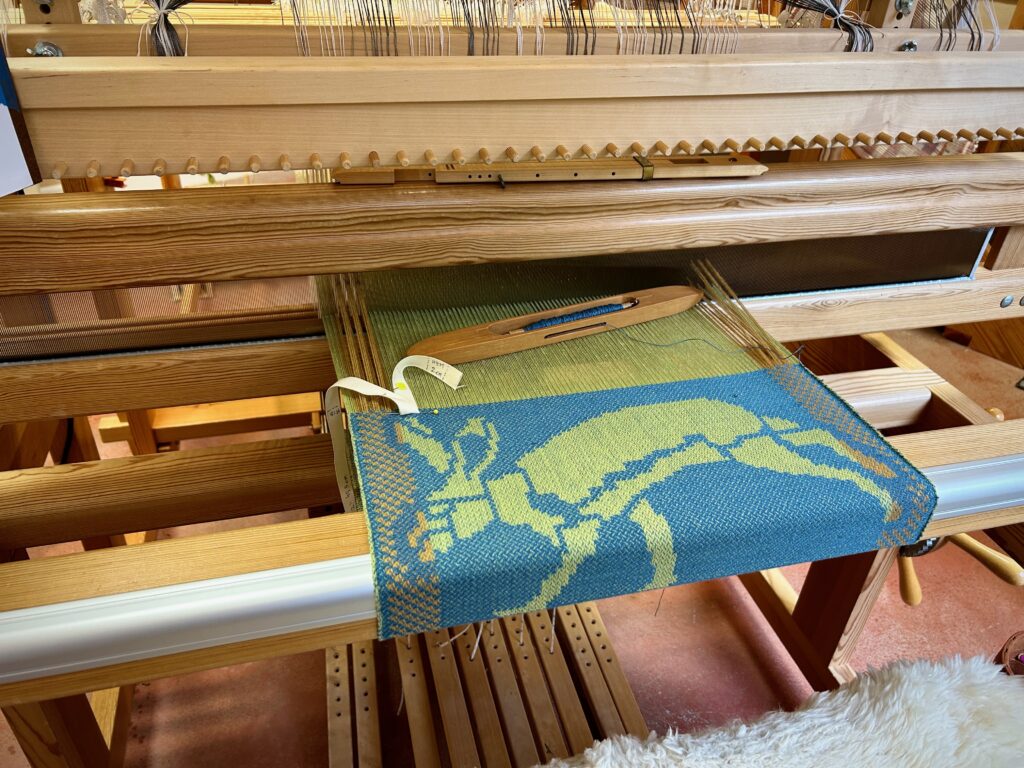
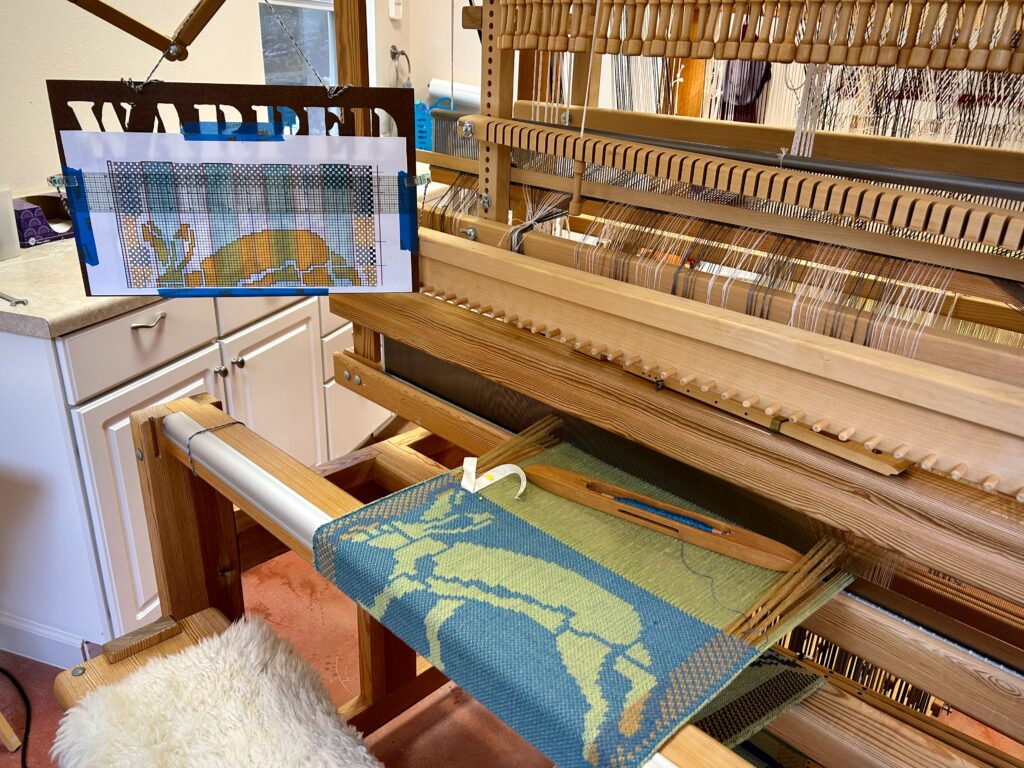
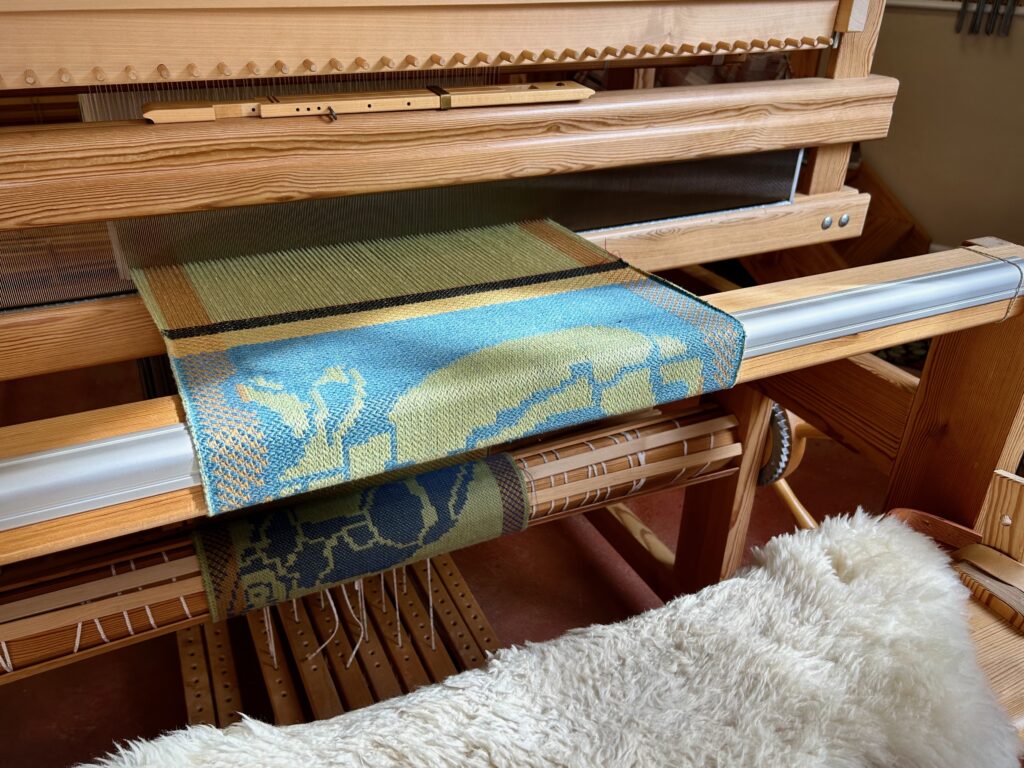
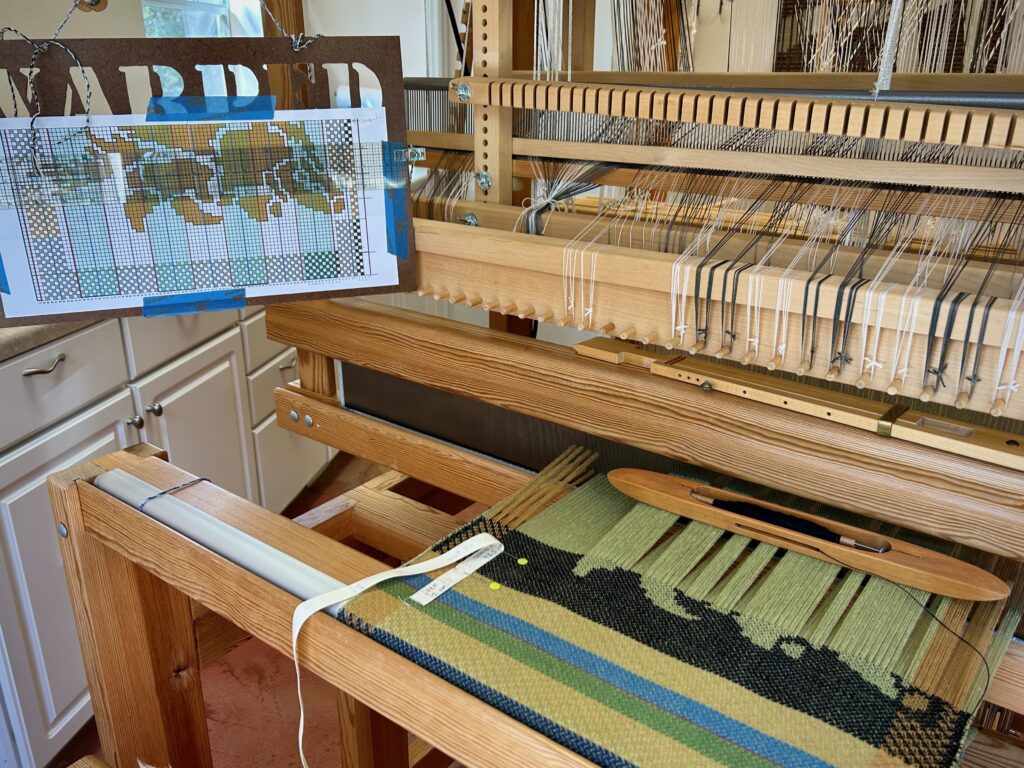
After only four hours at the drawloom I have a porcupine! That’s an hour a day, four days in a row.
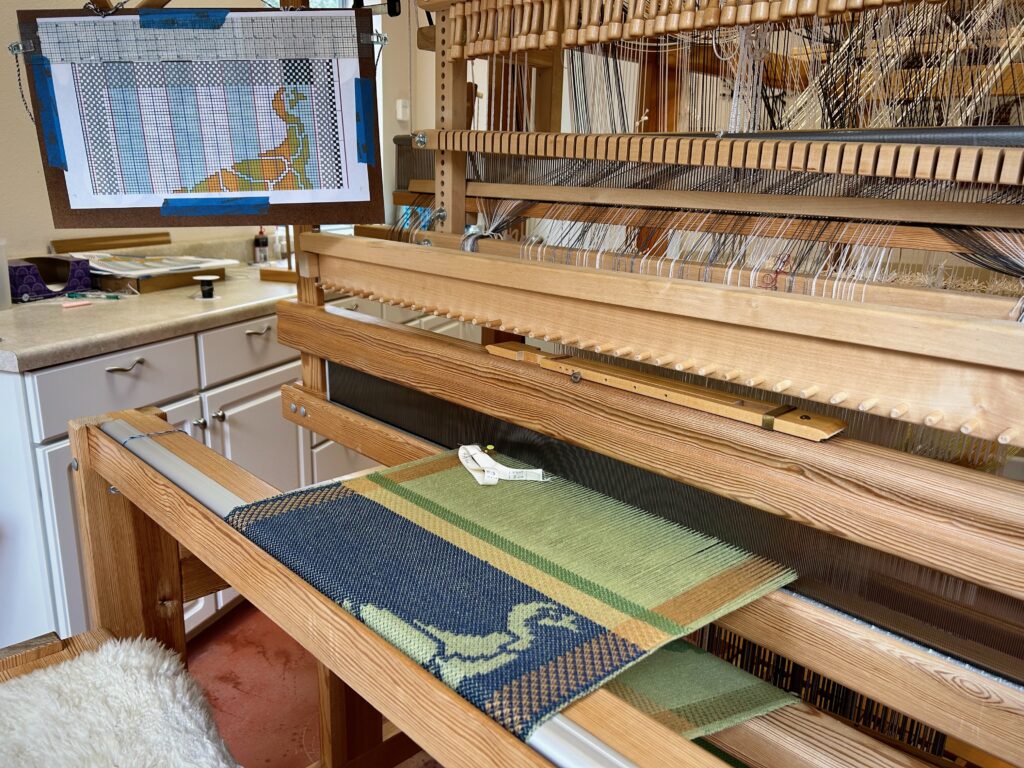
I enjoy the design-making process. It is rewarding to work out the details on the computer. The next reward is to see the printed version ready to take to the drawloom. When I first see the feet of the critter woven on the loom, I do a happy dance. And now that the porcupine is moving on around the breast beam, this feeling of accomplishment is the greatest reward. Nine more critter napkins to go, with many more rewards. Jackrabbit is next!

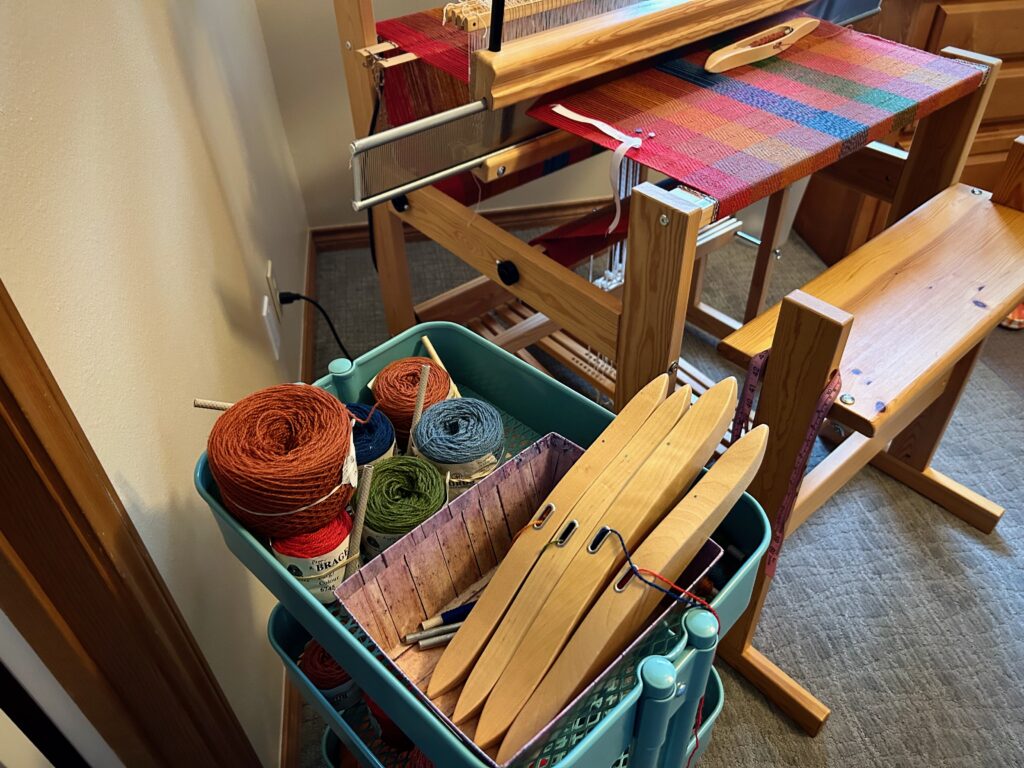
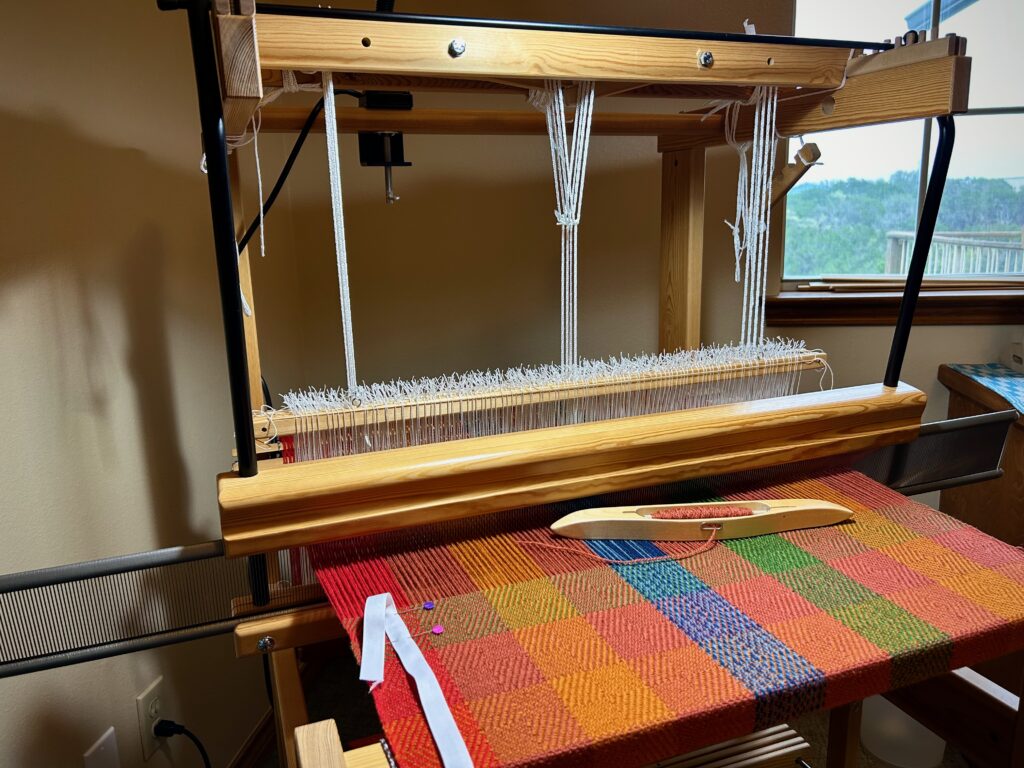
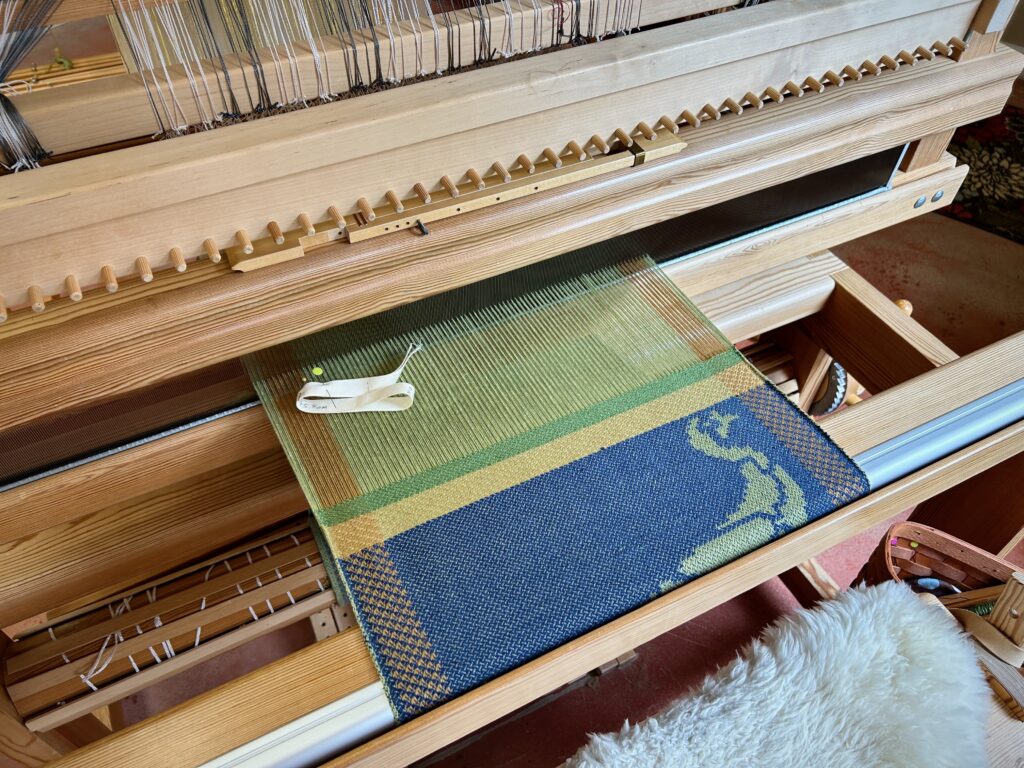
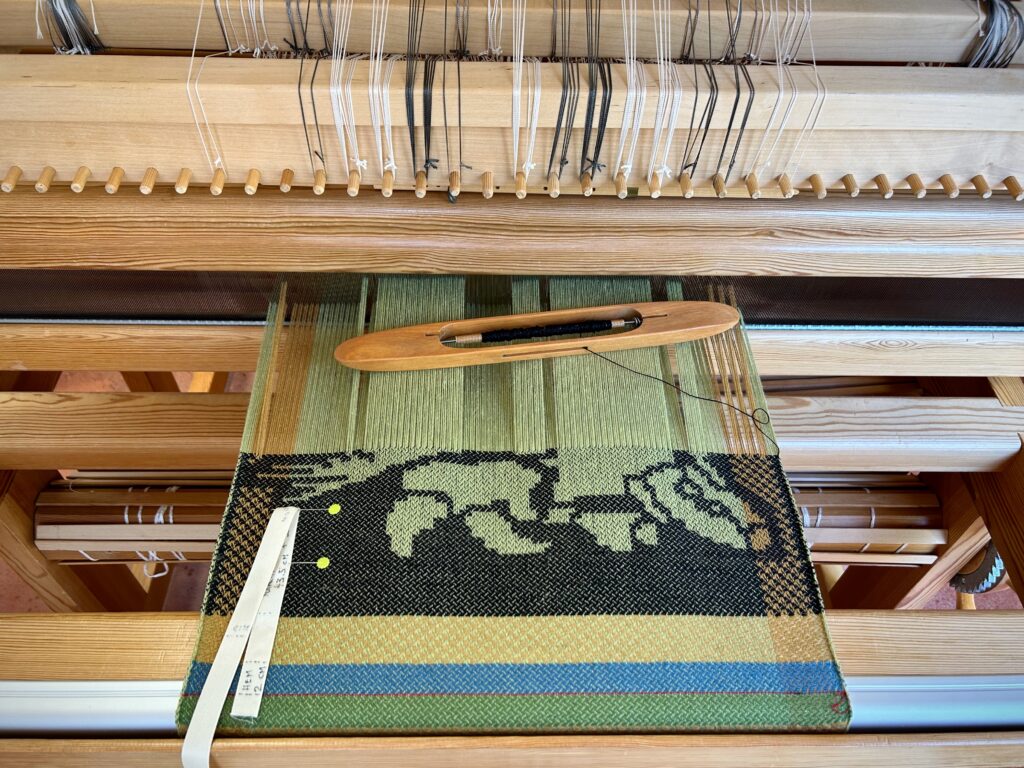
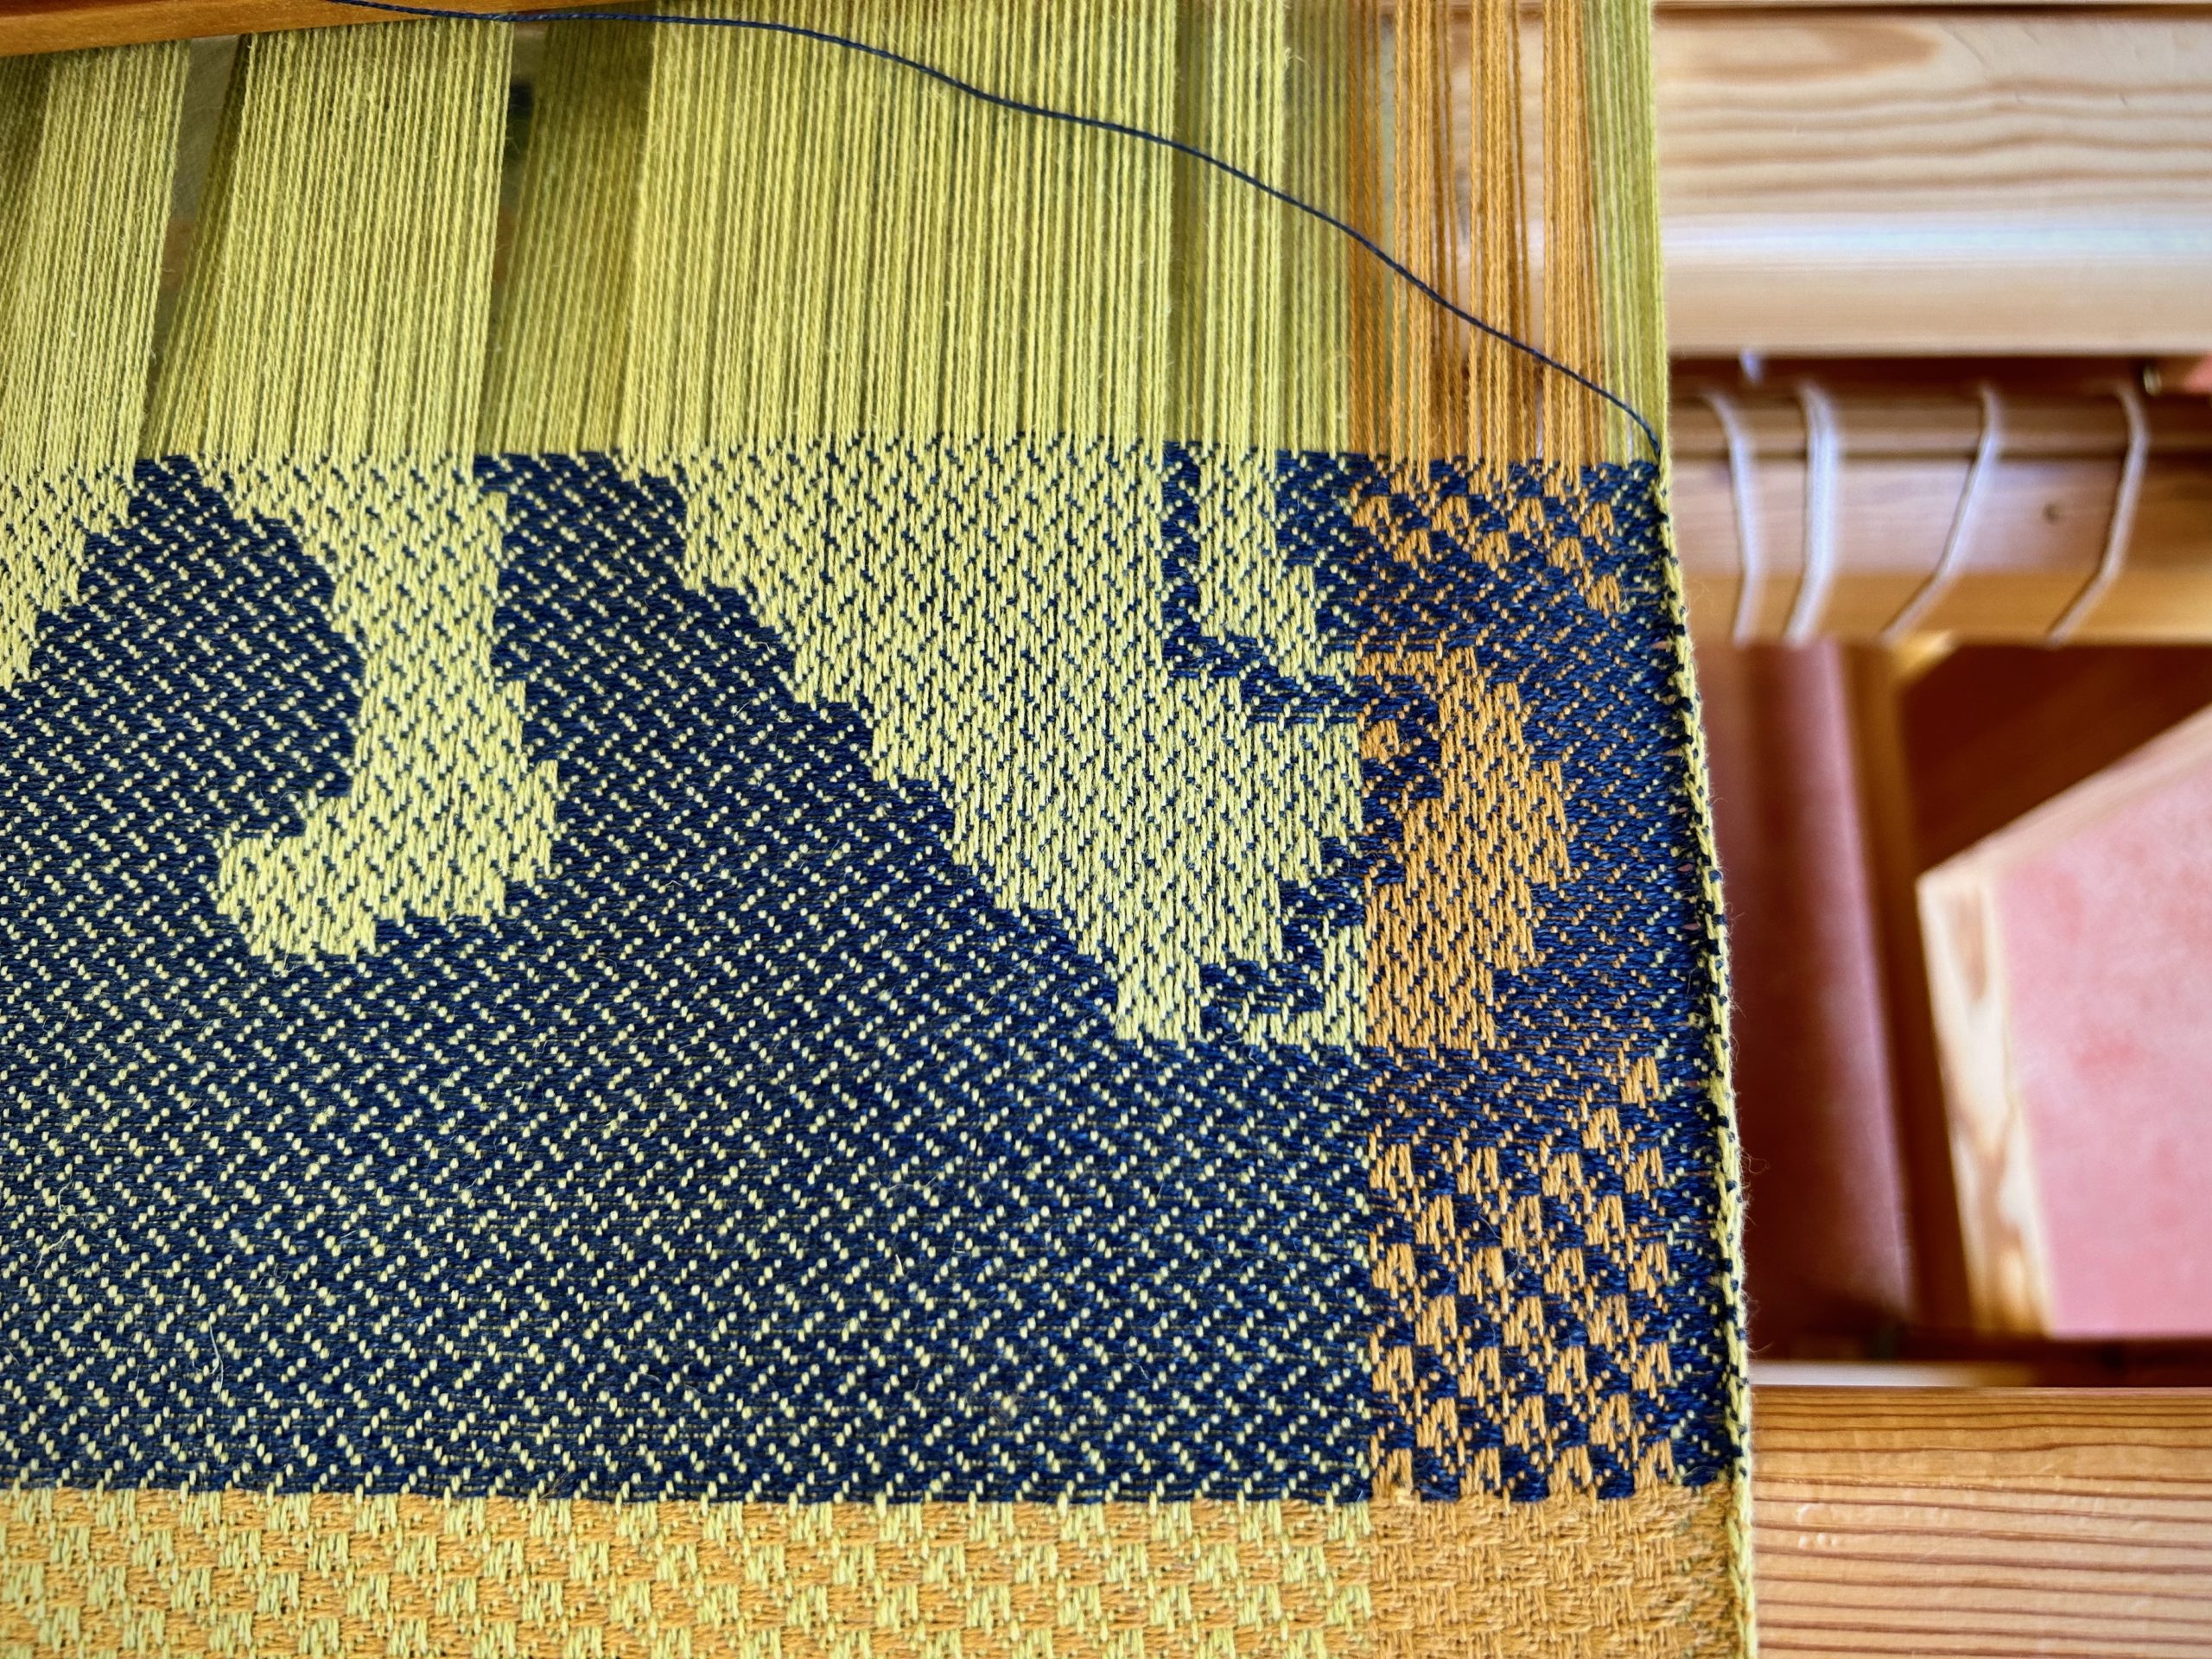
Day 1: Teal hem, gold border, black background, and porcupine feet! Happy Dance!
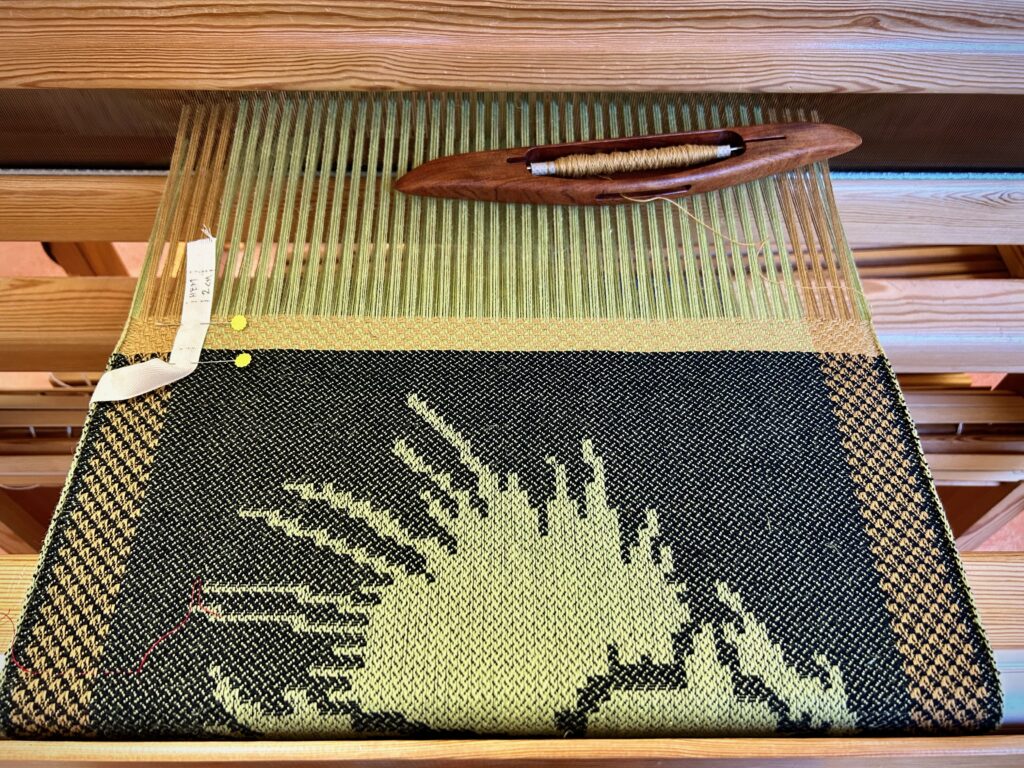
Day 2: Porcupine snout and tail reach into border areas. I use single units in irregular border areas like these, instead of the simpler pattern shafts that I use for the rest of the border areas.
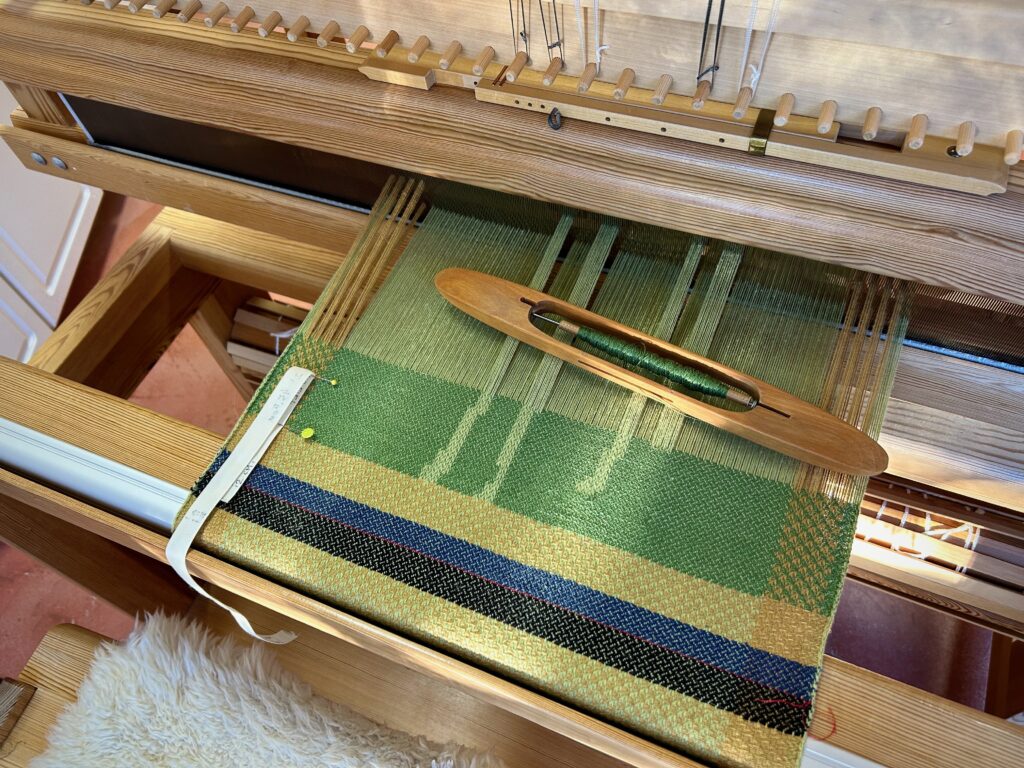
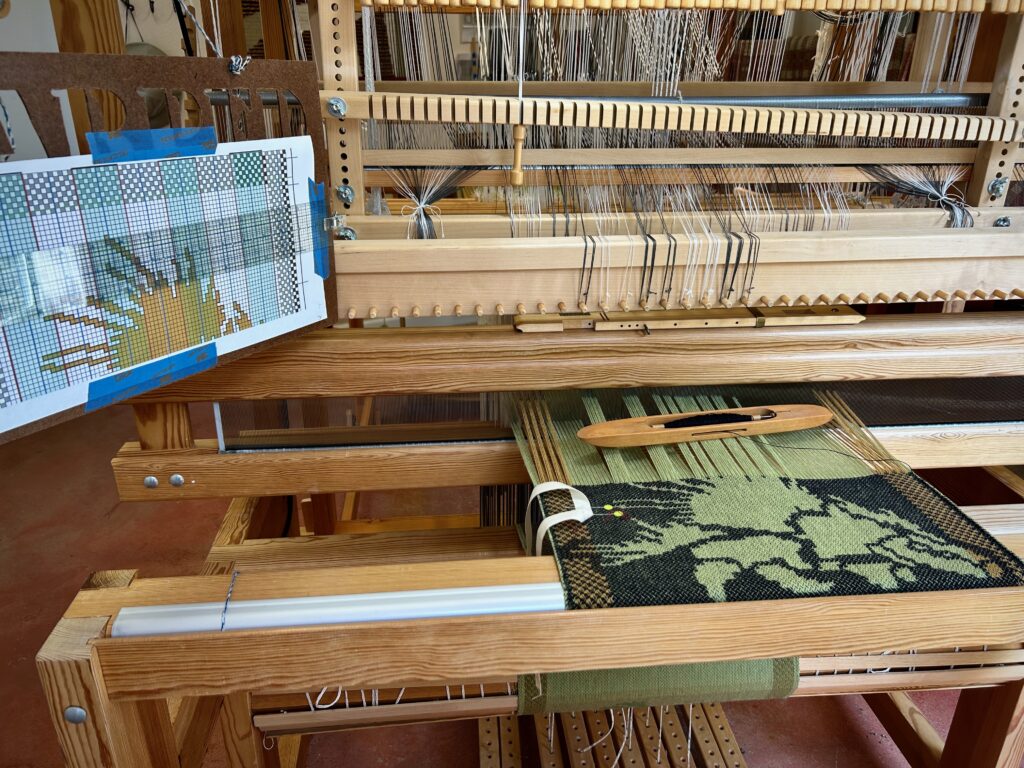
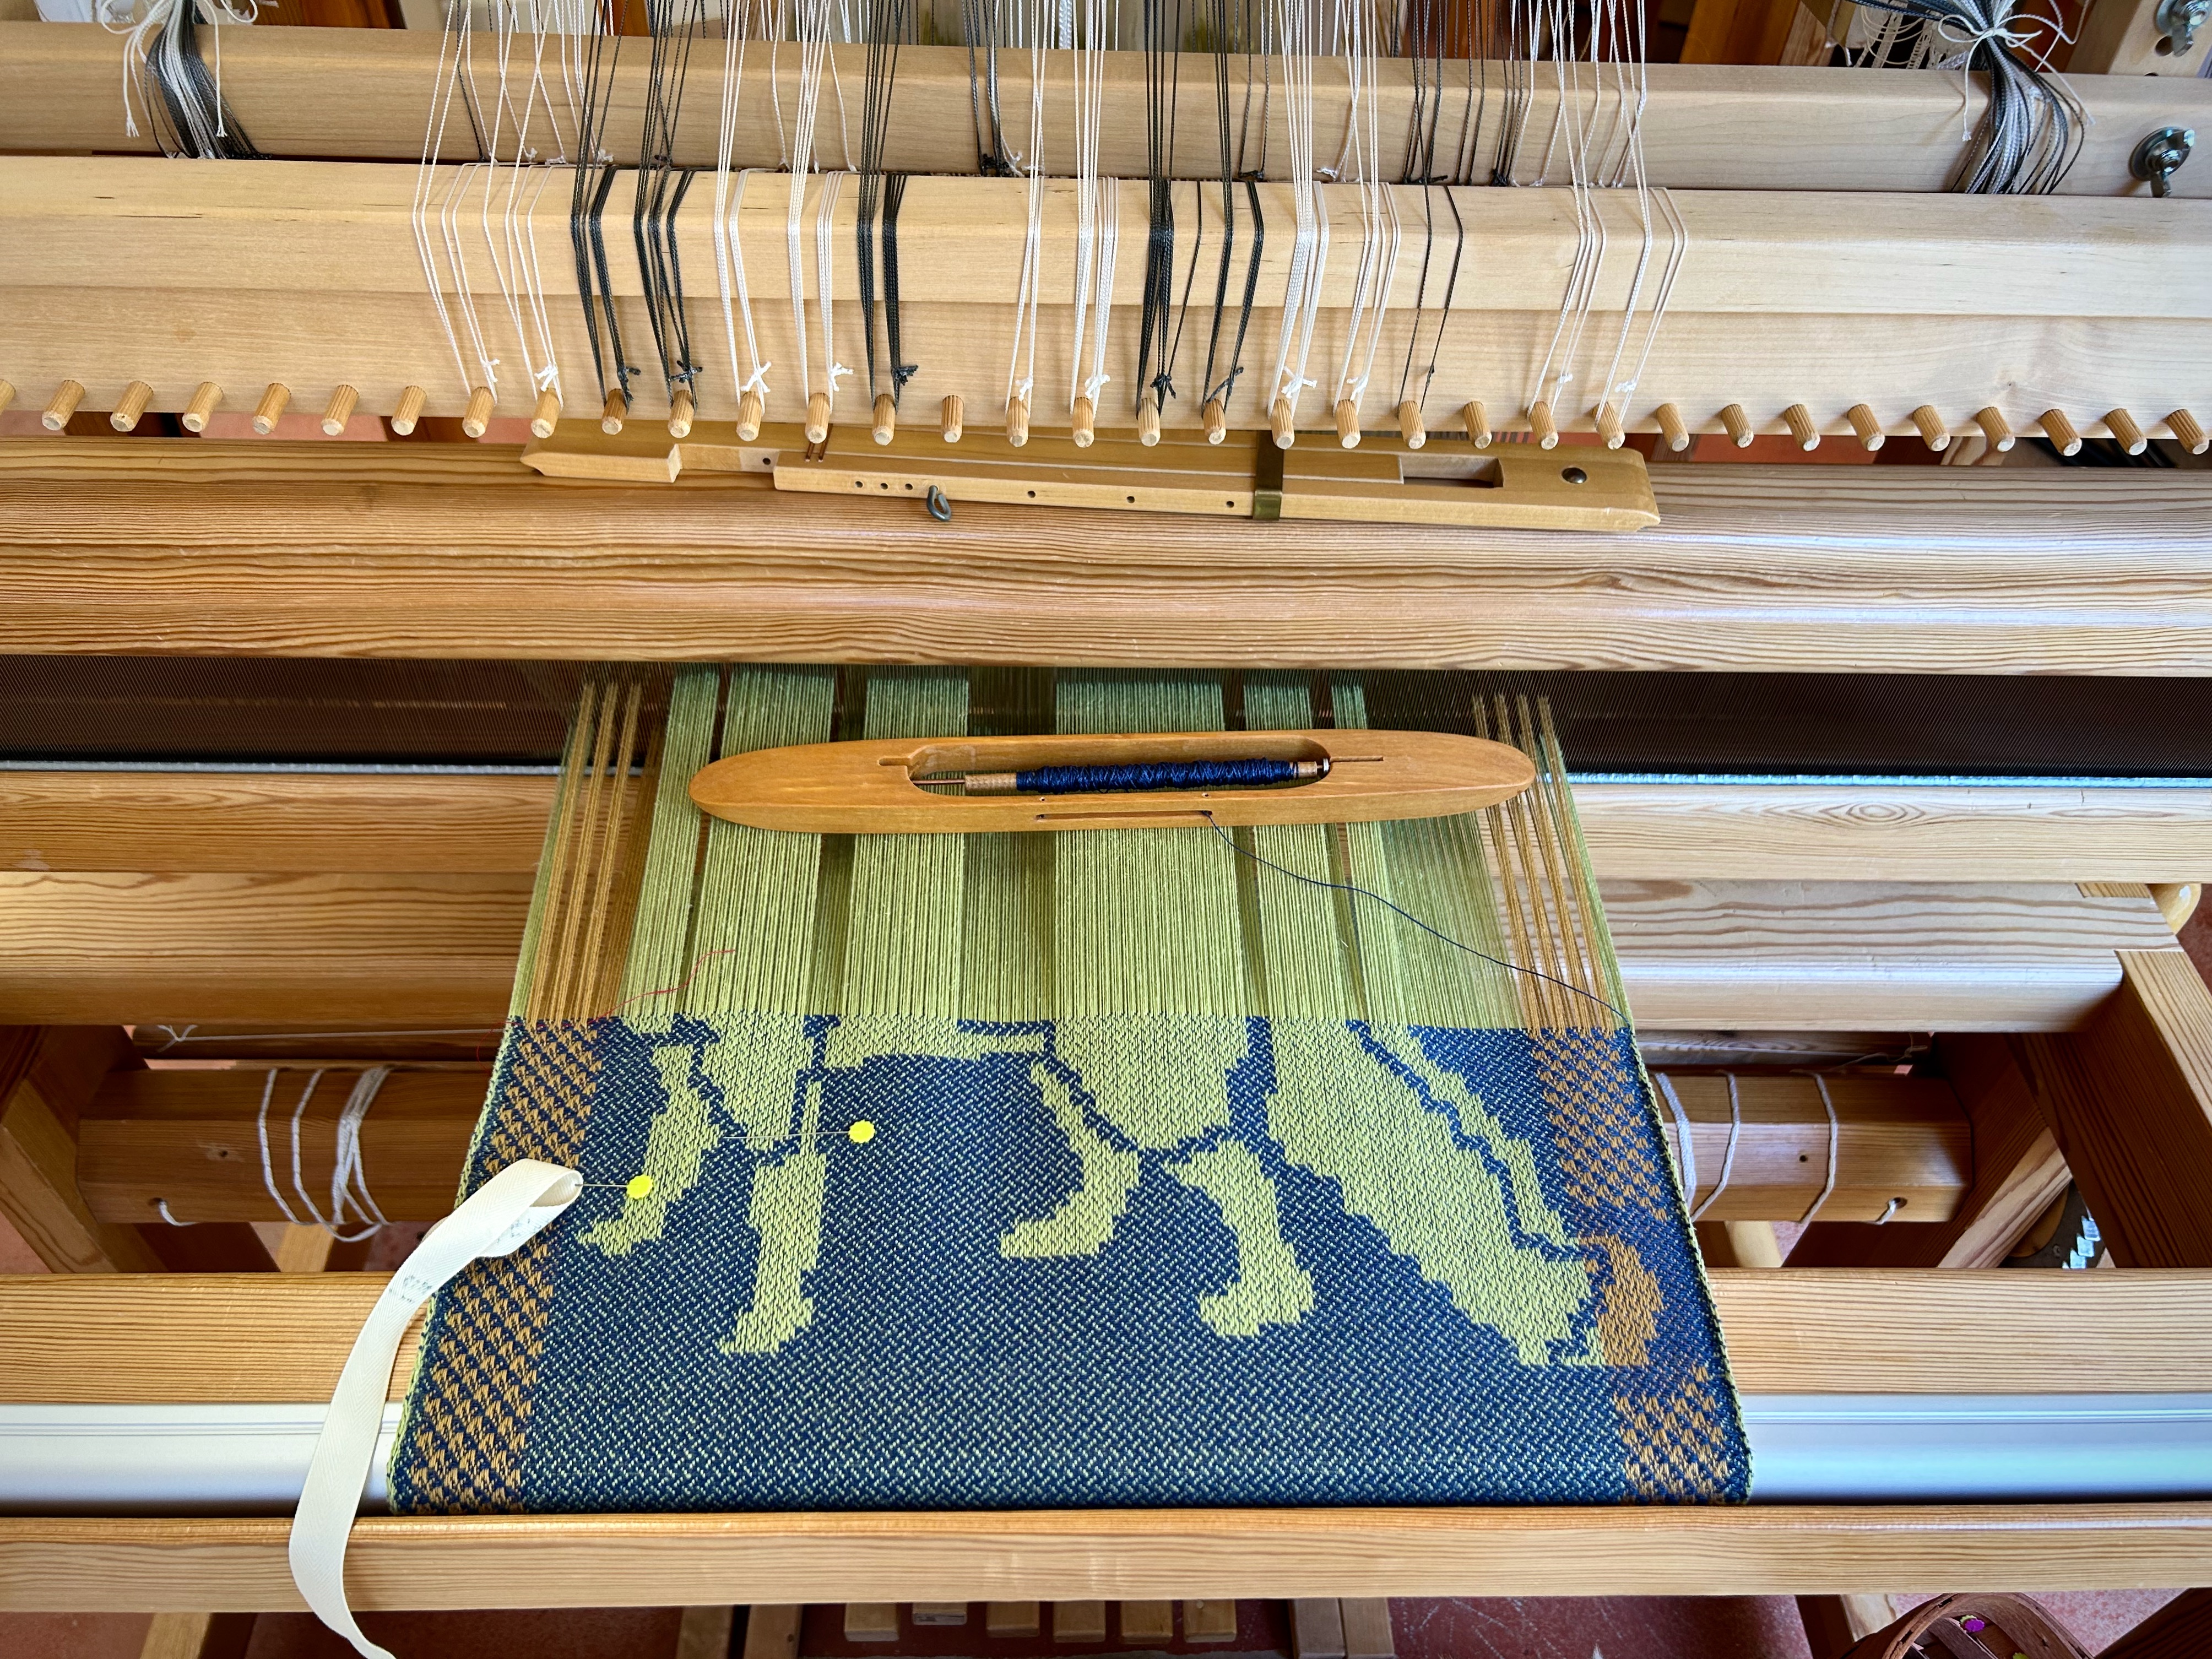
Day 3: Second half of the porcupine is mostly the quills on its back. This is easy single-unit draw cords in combination with simple pattern shaft draw handles for the side borders. (Only 2 draw handles are needed for the side borders.)
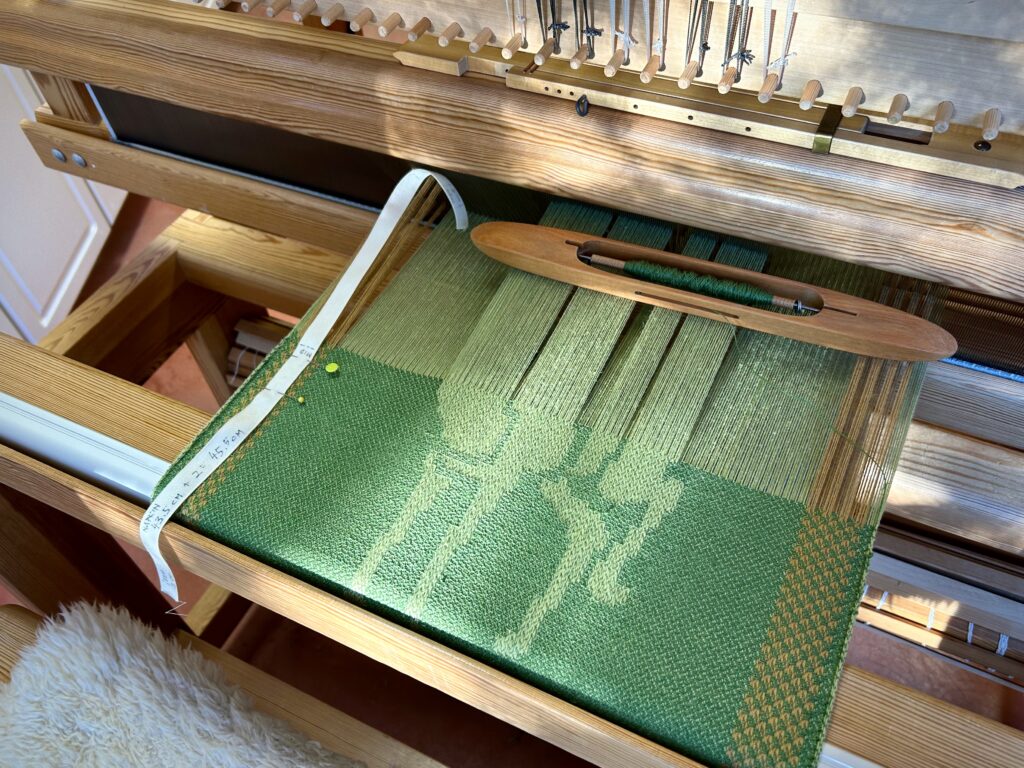
Day 4: Finish up the top of the porcupine, the black background, the gold border, and then a blue hem area (not shown). Now I’m hopping off to design the jackrabbit.

Look for daily rewards. What rewards are you seeing lately?

May you be richly rewarded every day.

Happy weaving,
Karen

Fox on the Drawloom Is Simply Complex

Gray Fox is showing his stride. That bushy tail is impressive. On the drawloom I get to determine exactly where that tail will swish. Where the tail crosses into the side border, I switch from pulling one pattern shaft draw handle to pulling individual single unit draw cords. That’s where the complexity of the combination drawloom really shines. It gives me extraordinary flexibility for weaving the designs I have in mind.

Hem area is black. Wide gold checked border goes across the bottom and top of the napkin, and up both sides.
Pattern shafts hold the units needed for the horizontal and vertical borders. The vertical border checks are produced with just two pattern shafts. Where the vertical border is interrupted, I am able to choose the single units needed to fill the pattern. (This also means that I use single units directly across on the left border, too.)
Just past midway on this napkin.

In some ways I think of the drawloom as a tool of simplicity. Despite the countless cords and shafts, every piece has a simple purpose. Each single unit draw cord, for example, simply lifts a single unit of 6 threads. That’s all it does. Complexity is a matter of perspective.

May you enjoy the simple things you find in complexity.

All the best,
Karen

Armadillo Leads Critter Parade on the Drawloom

My husband and I coined the word “lapkin” when our children were young. Lap + napkin = lapkin. We wanted our children to learn the courtesy of placing a napkin on their lap when they were seated for a meal. “Lapkin check!” was a fun game we made of it. The armadillo on the drawloom is a lapkin, if I ever saw one. This thirsty cloth will soak up any drips and spills, smeary hands, or messy mouths that come in contact with it.

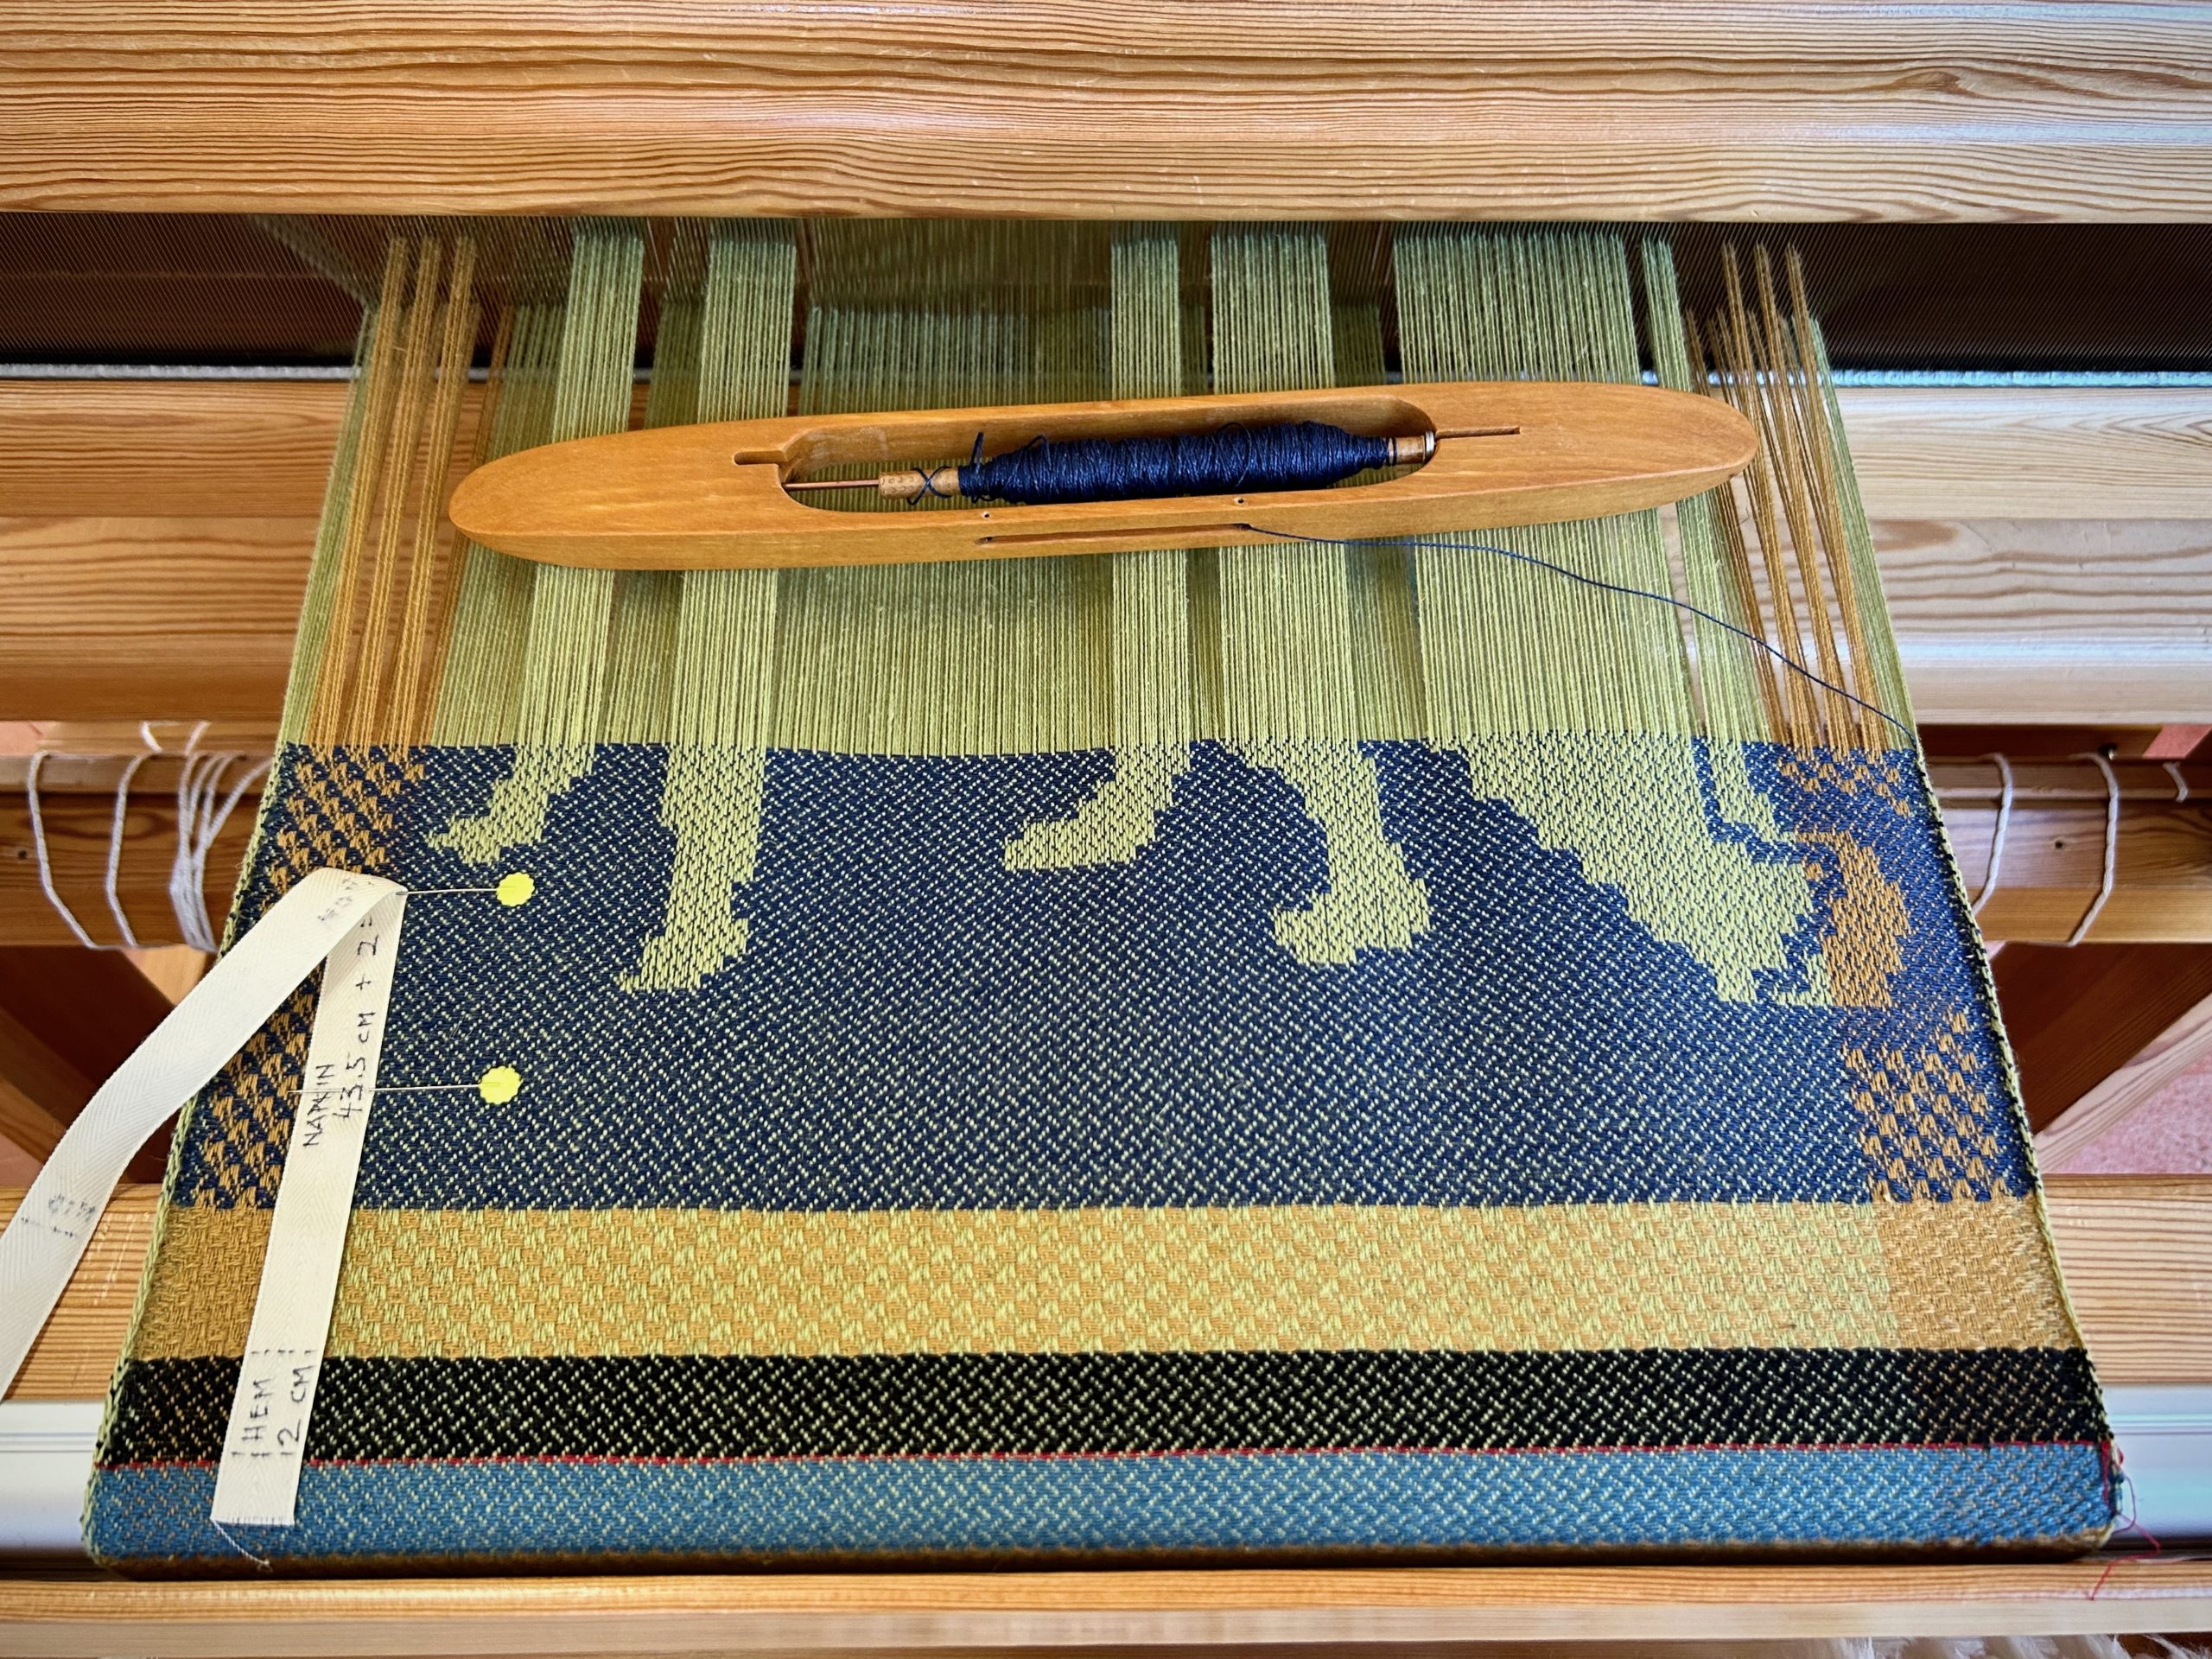
Napkin starts with a dark blue hem and gold checkerboard border. I like this view which makes it look like the armadillo feet have really long legs. Single unit draw cords are pulled (drawn) to raise warp ends that form the pattern in the cloth.
Armadillo reaches into one border with its snout, and into the other border with its tail.

Armadillo is the first of a dozen critters that will parade across this loom. Armadillo napkin is the only one of its kind. I’m certain of that. (Fox is up next.)

Simple checkerboard side borders give a fun outline to every napkin.
Just a few pattern shafts (six draw handles) are needed for making the horizontal checkerboard border across the width of the napkins.
Six-shaft broken twill makes an interesting all-over pattern in the cloth.
Teal blue hem ends the Armadillo napkin. Red picks serve as a dividing/cutting line. Fox is next!

Lapkins give us a discreet way to stay tidy at the table. Armadillo, however, doesn’t intend to stay discreet. I’m pretty certain of that, too.

May your courtesy lessons be fun.

Happy weaving.
Karen

Ninety-One Draw Cords

Ninety-one pattern units are matched up with single-unit draw cords.

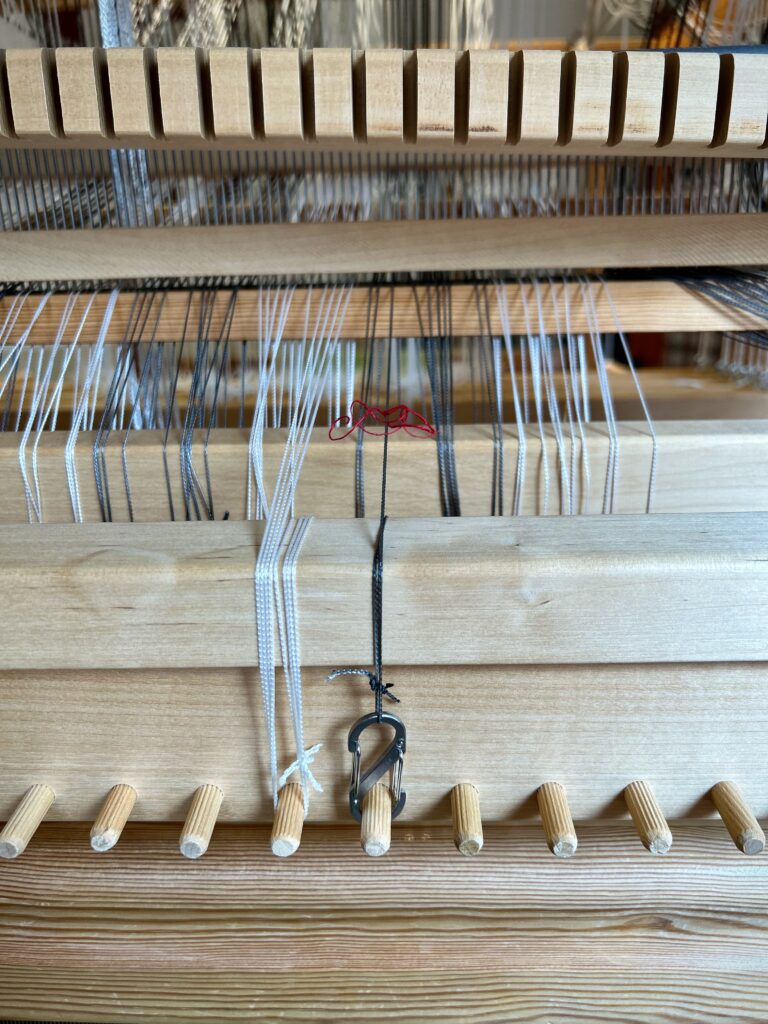
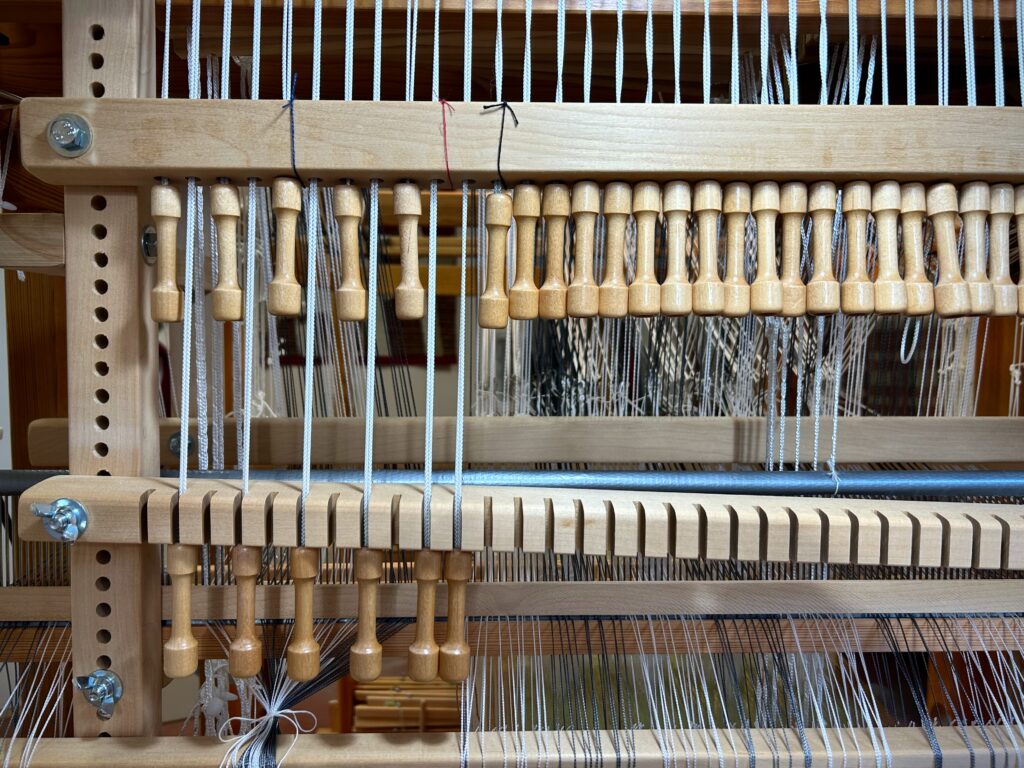
Combination drawloom. Pattern heddles hang on the heddling bars in units of 6 threads each. Each pattern unit is attached to an overhead single-unit draw cord with a lift heddle attached to a small metal clip. I use the clips so that I can leave the single-unit draw cords on the loom all the time, instead of removing and adding them for each project.

I’m one step closer to weaving these critter napkins. All the pattern heddles are hanging from the heddling bars in front of the back beam. I use little metal clips on lift heddles to attach each 6-thread unit to the single-unit draw cords. The next activity is distributing the pattern shafts—only thirteen this time, including the X shaft.

I hope you can overlook my “drawloom speak,” and just dream with me about the woven critters that will show up here soon!

May you keep getting ready for your next adventure.

All the best,
Karen

Snowflakes Made of Thread

This is the fourth and final towel in my Snowflake series. Right now in Texas hill country it is extremely hot and dry, so these few gentle snowflakes are a welcome sight, even if only made of thread. We look forward to cooler days and moisture from the heavens.

Concluding the lower border of the towel. Warp is 16/2 cotton. Weft is half-bleached 16/1 line linen, except for the wide blue border, which is 16/2 line linen, and narrow 16/1 linen red stripe.

This Myrehed combination drawloom attachment functions as a thread lifter. When I pull a draw handle for a pattern shaft, a series of thread units are raised. When I pull a draw cord for a single unit, one unit of threads is raised. I am using 45 pattern shafts for the repeated snowflake border designs on these towels. The center area of each towel has small and large snowflake designs at varying intervals. These irregular designs are created using 148 single units. It’s because of all those lifted warp ends that we can create woven snowflakes.

Temple in position. Three pulled draw handles lift thread units at the side borders. Several pulled single-unit draw cords (black cords and white cords) lift single units for an off-center large snowflake design.
Lifted warp ends.

We expect to have worries in this life. Daily needs come as repeated patterns. Other disturbances come at irregular intervals. Worry is eliminated in God’s kingdom. God’s kingdom has a worry lifter–Jesus. He invites us to give him our worries and trust him to care for us. Imagine the one-of-a-kind design that emerges when worries are lifted!

May your worries fade away.

In living hope,
Karen,