Extraordinary Animals on the Drawloom

Armadillo, fox, porcupine, jackrabbit, and deer are leading the critter parade. The twelve napkins will include the most common, the most interesting, and the most unusual animals that visit our backyard here in Texas Hill Country. The white-tailed deer are the most common, by far.

Feet first. The white-tailed buck is taller than he is wide, so his feet touch the bottom border. Pulled single-unit draw cords are seen on the hook bar pegs above the beater.
Just past the midway mark on this napkin, as seen on the measuring ribbon pinned on the side.
Having a large chart beside the loom helps me keep track of each row as the weaving progresses. One pattern shaft draw handle is pulled, which forms the pattern on the side borders. The single unit draw cords form the center image.

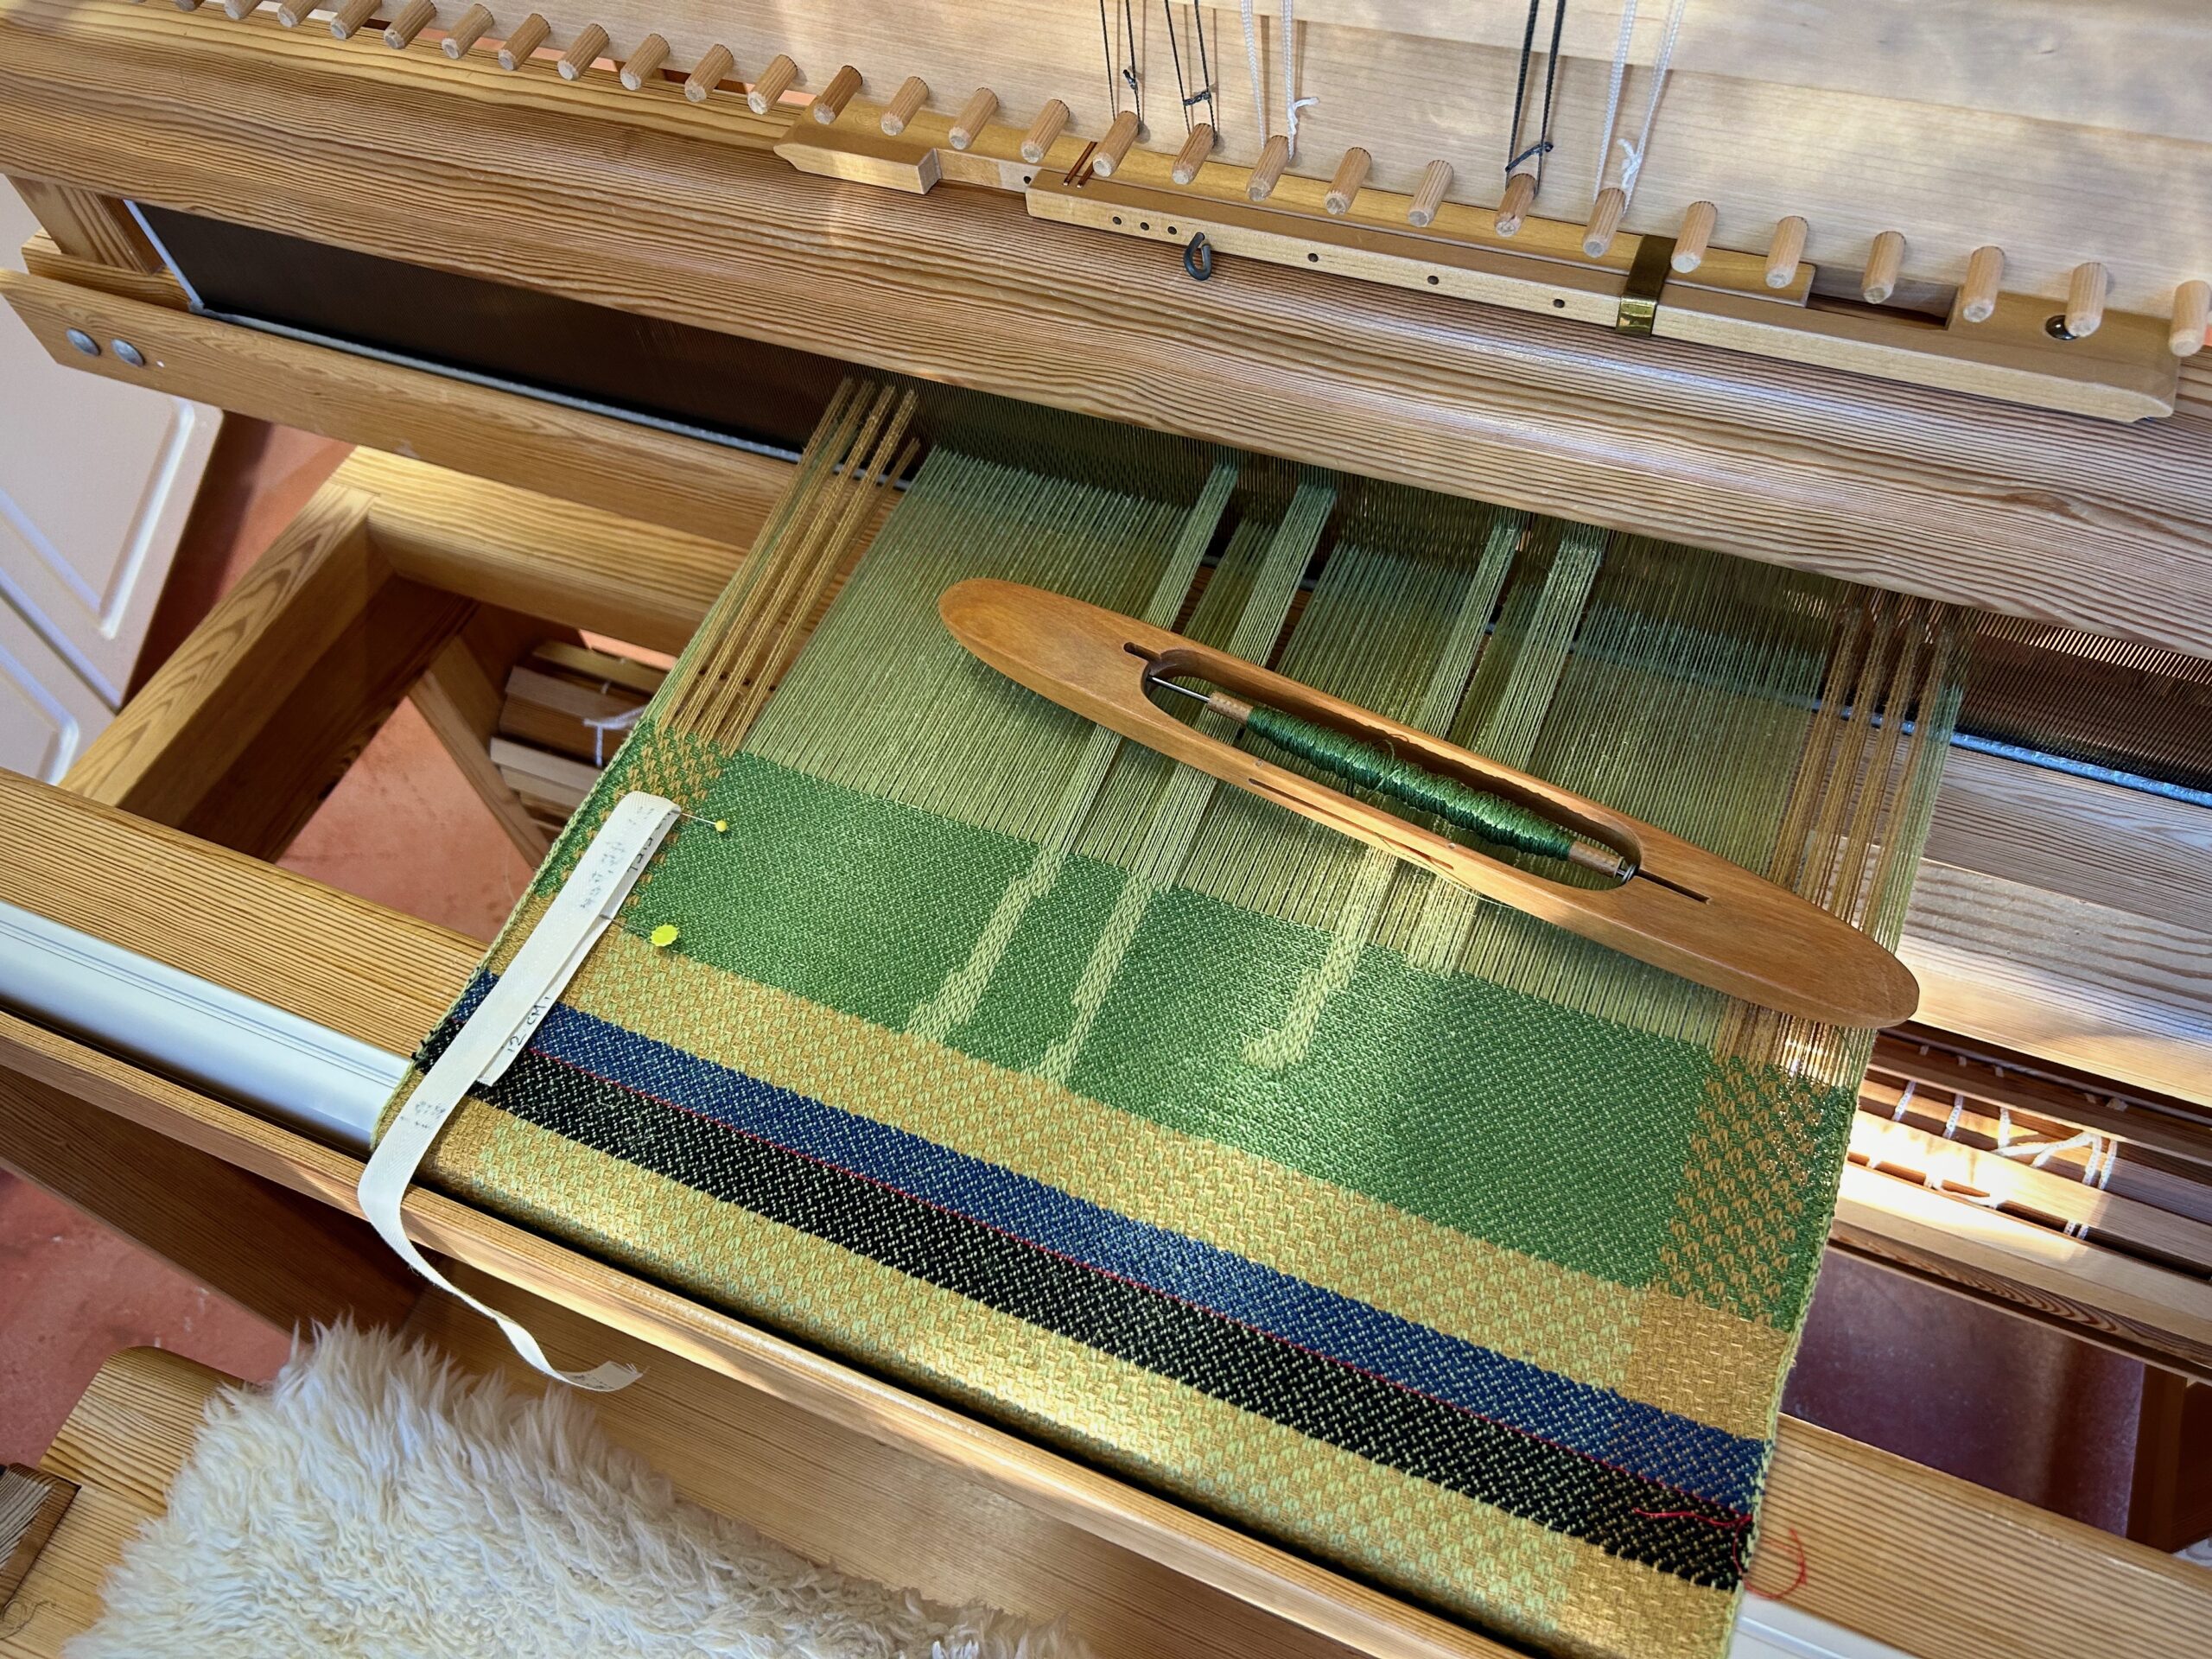
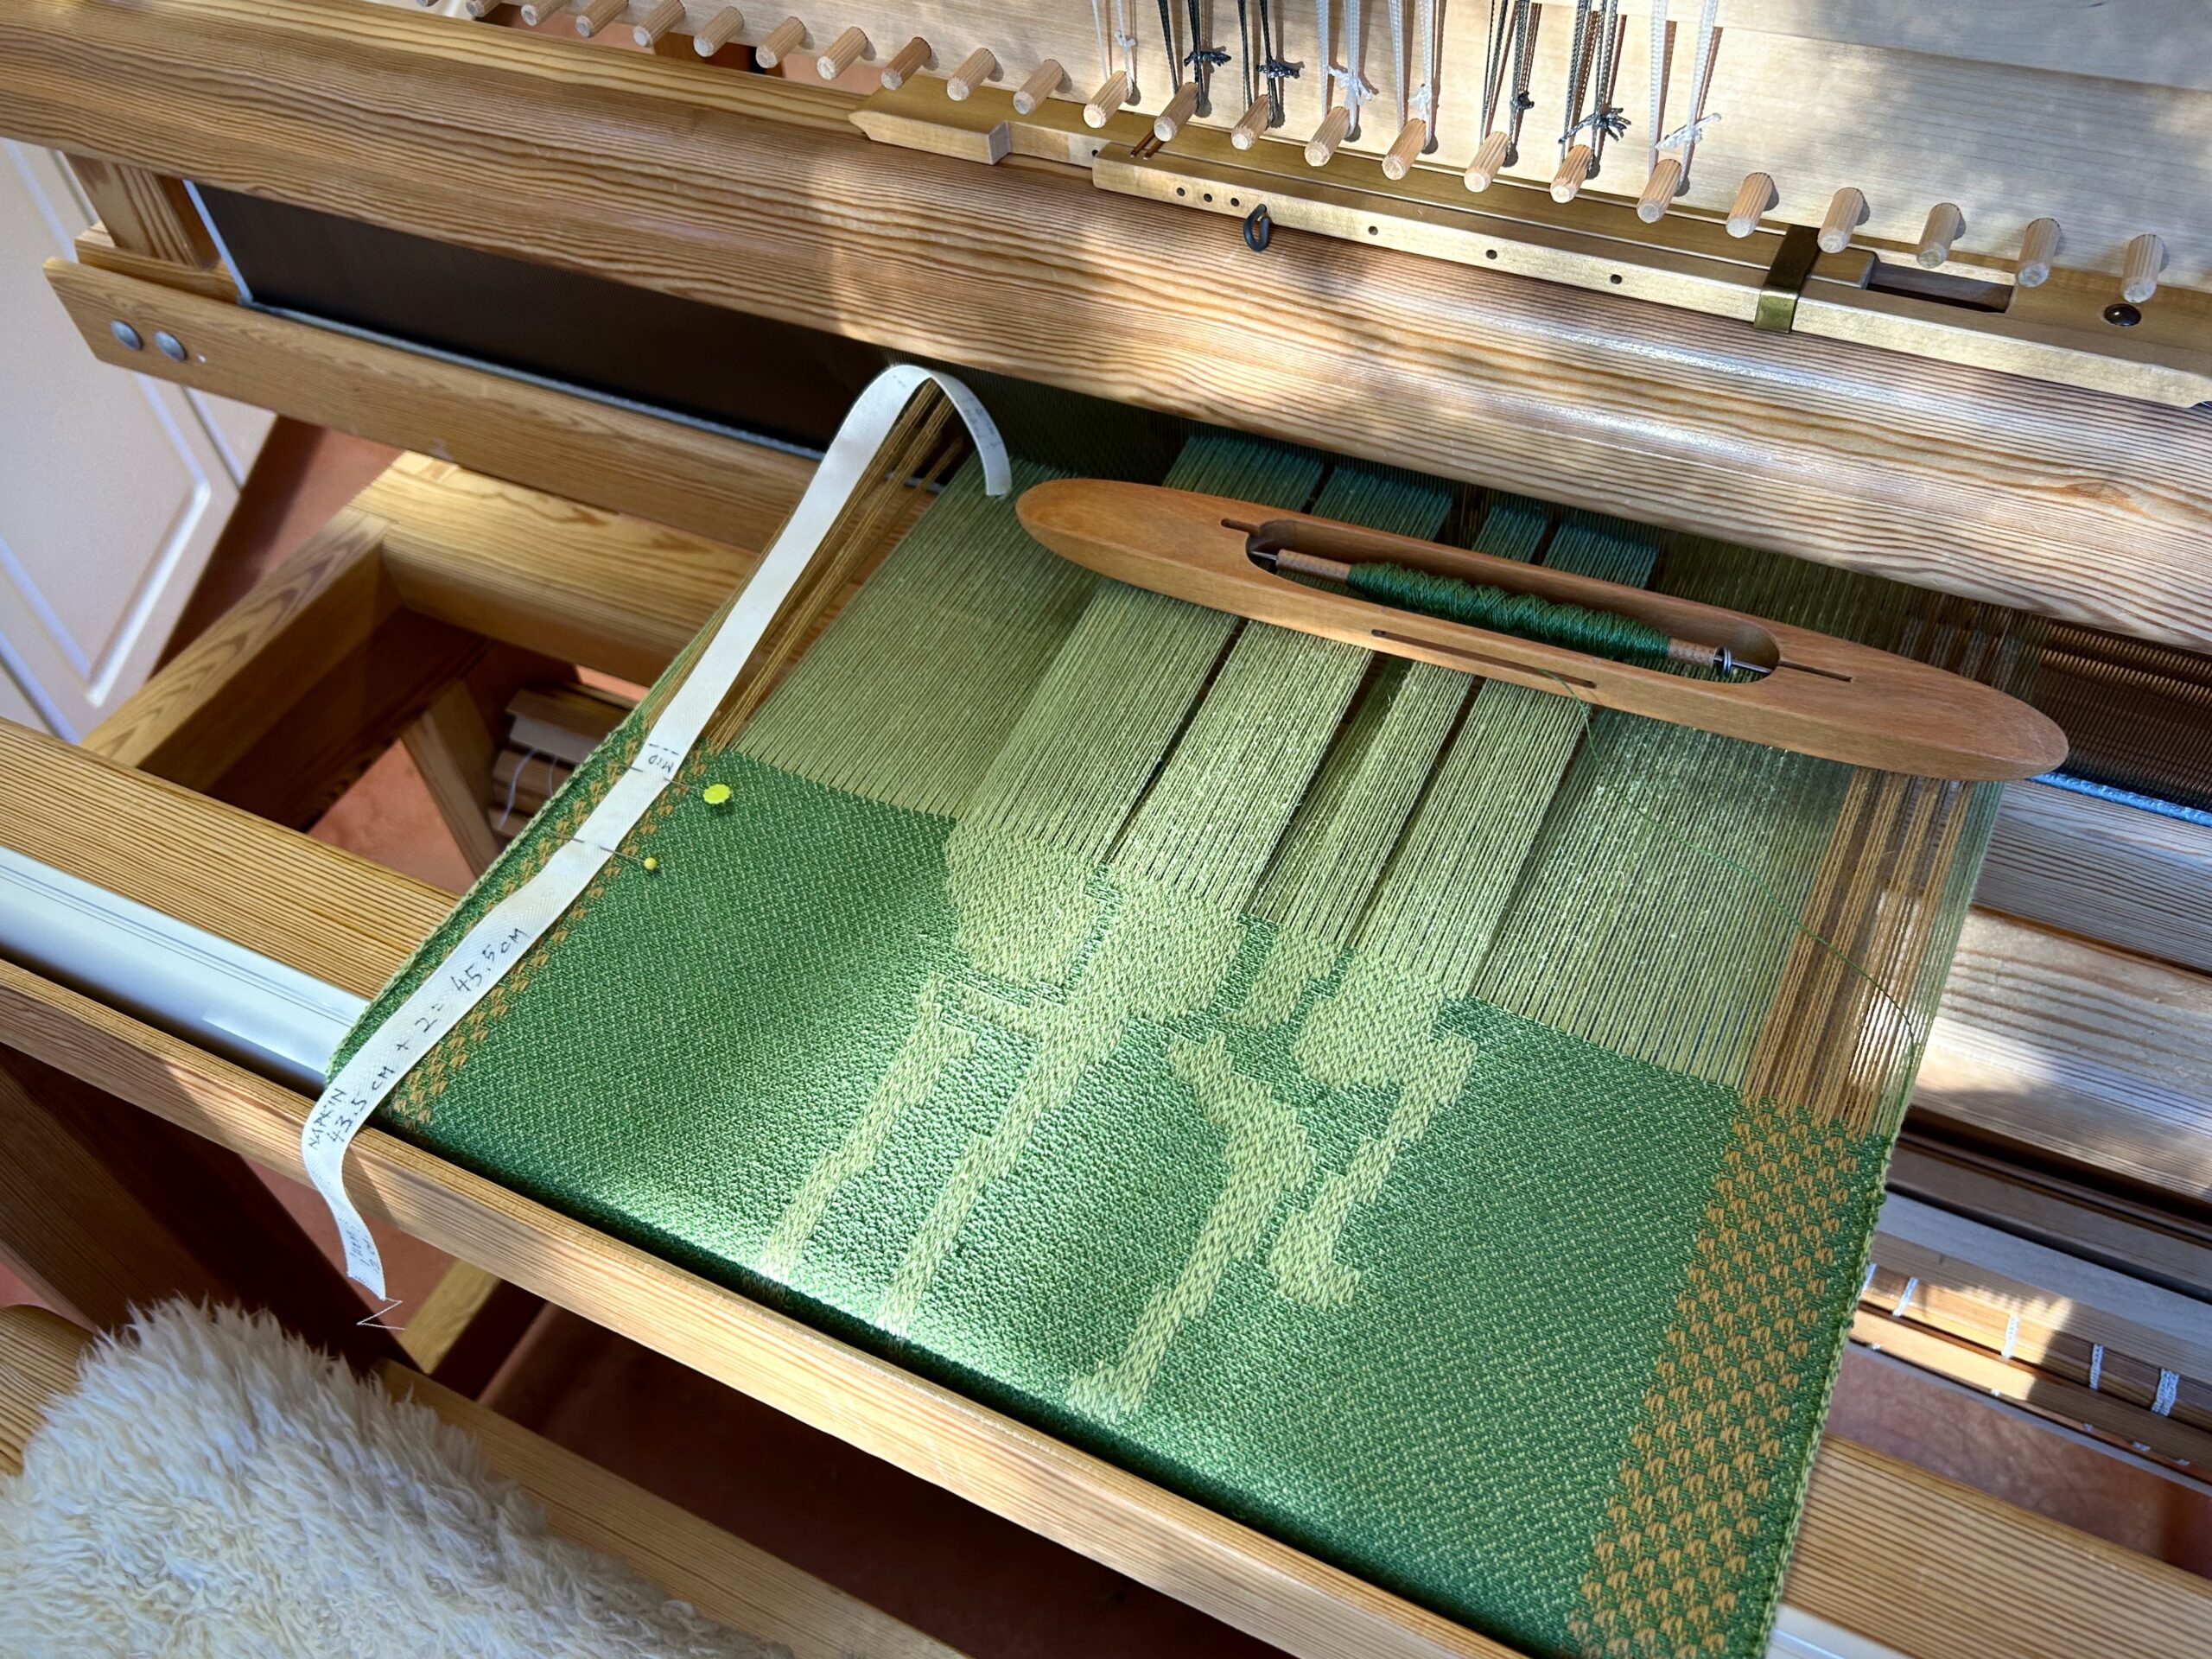
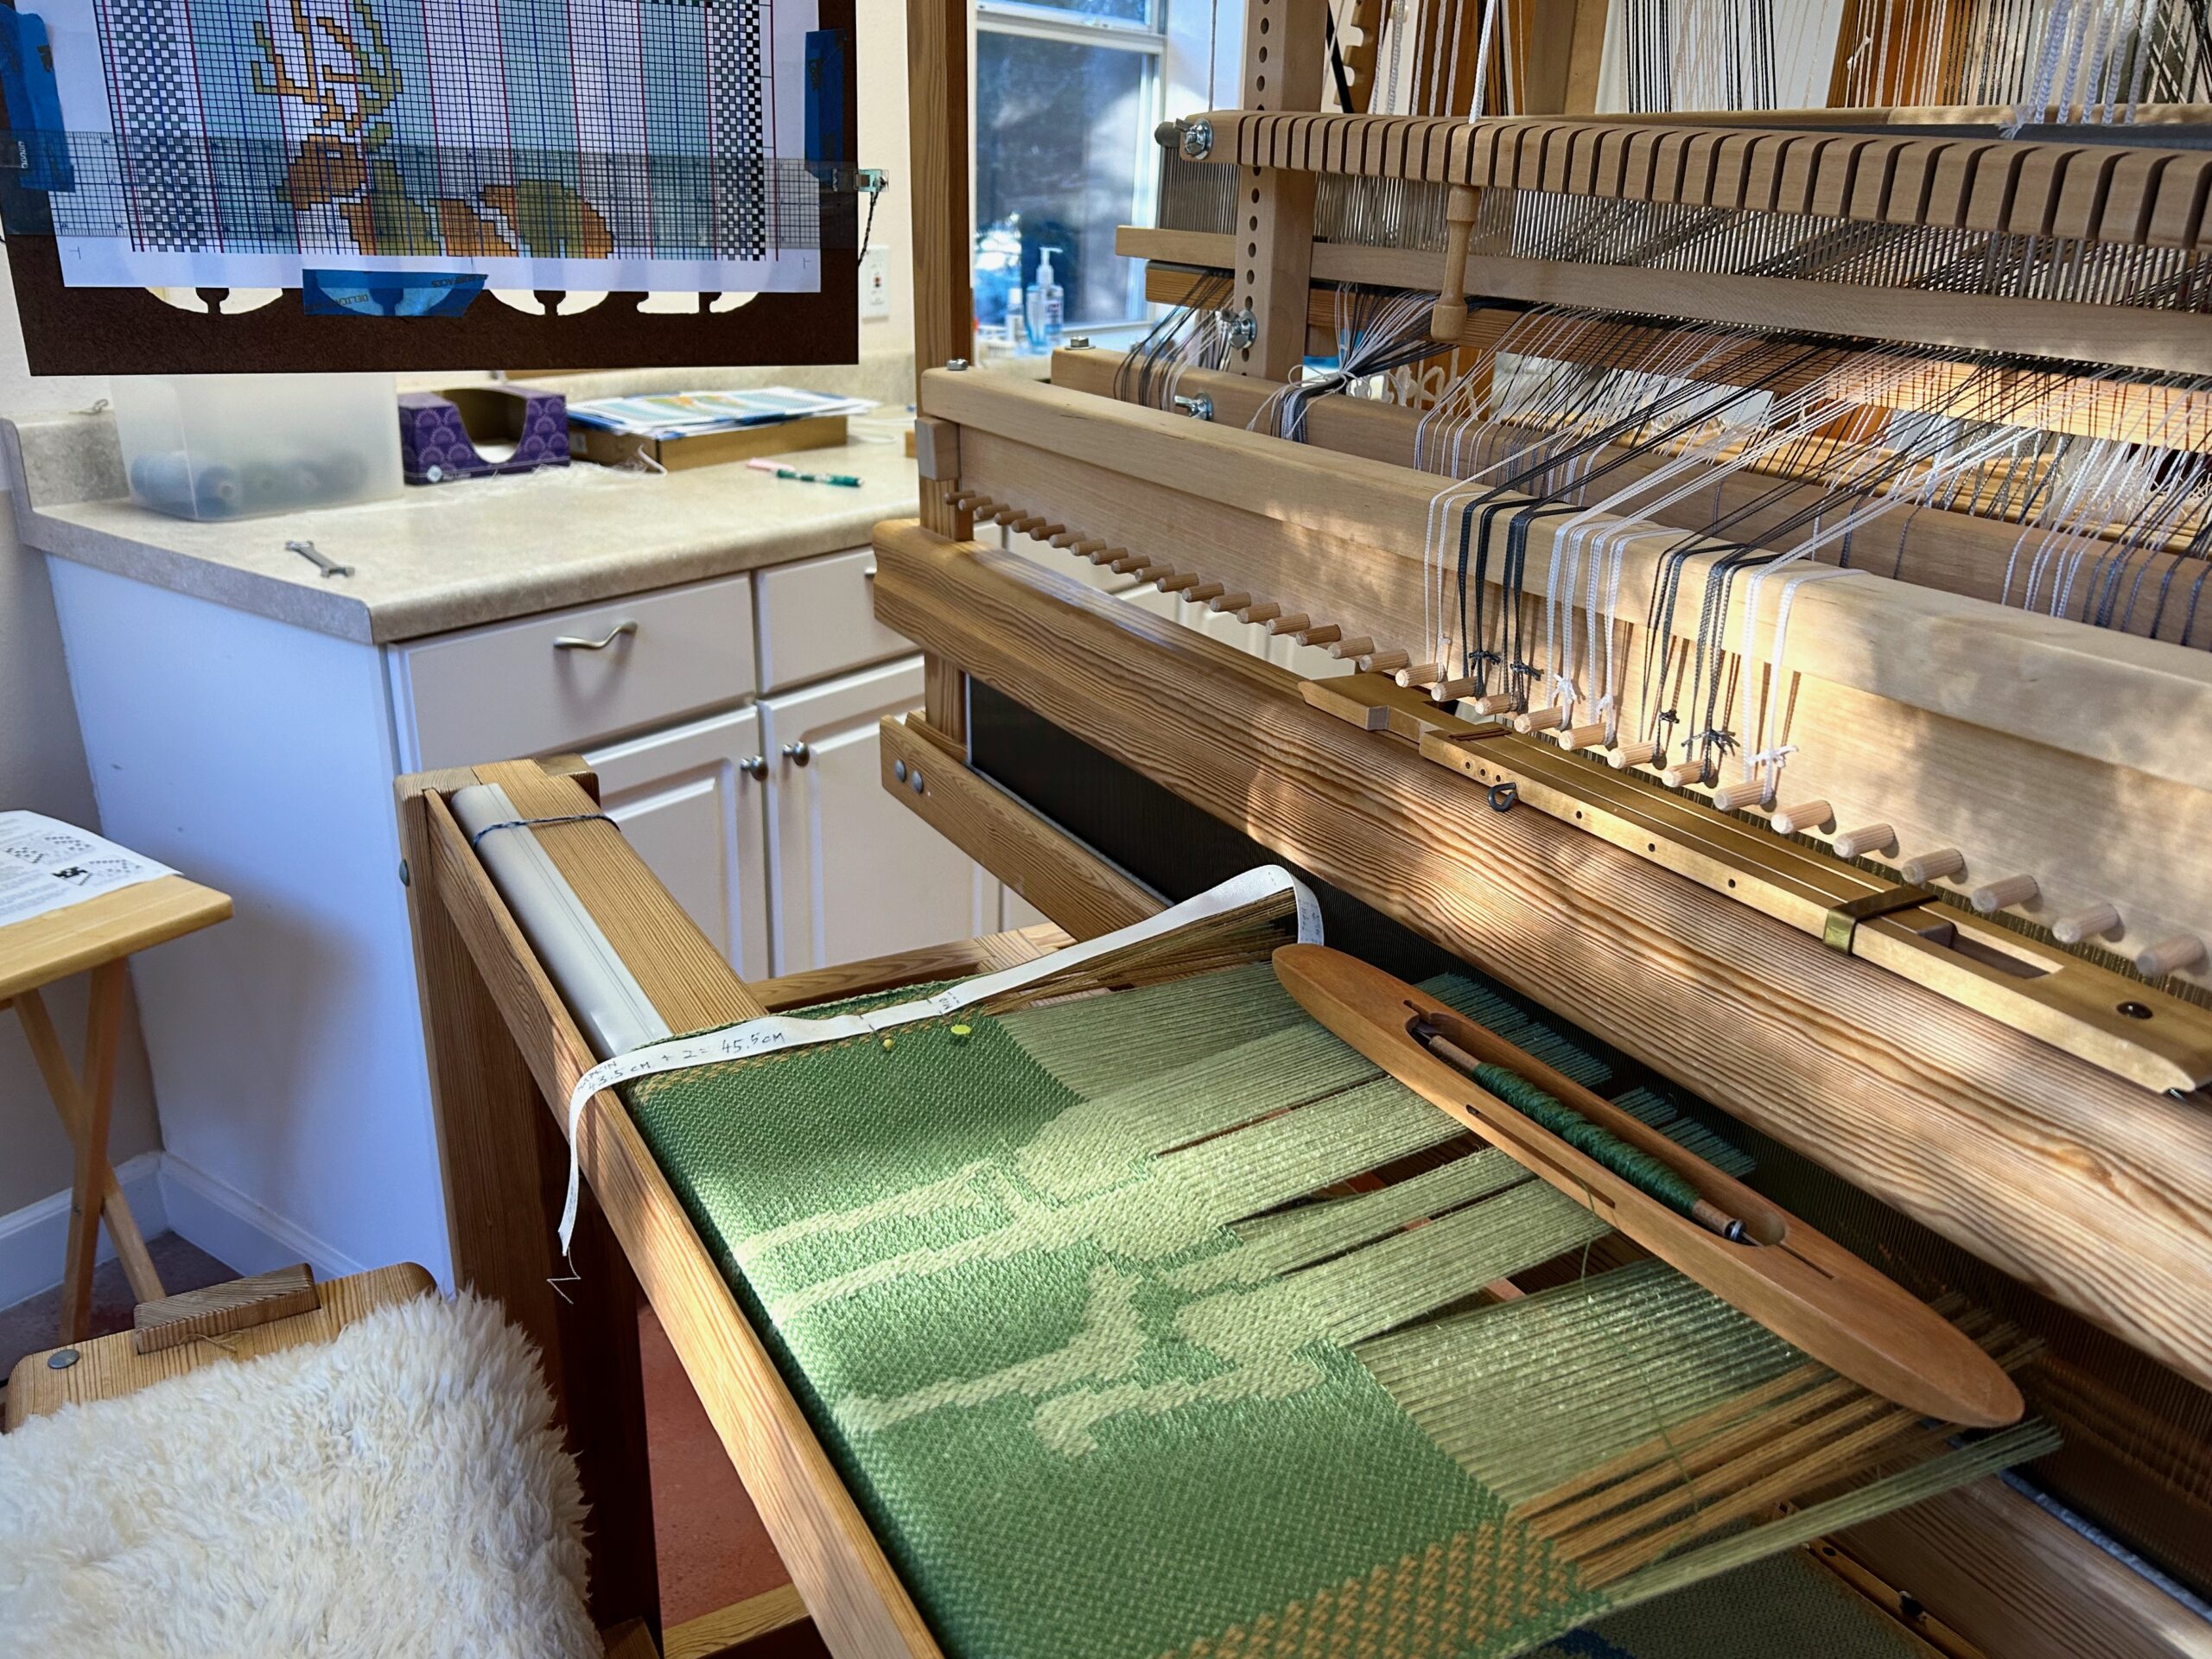
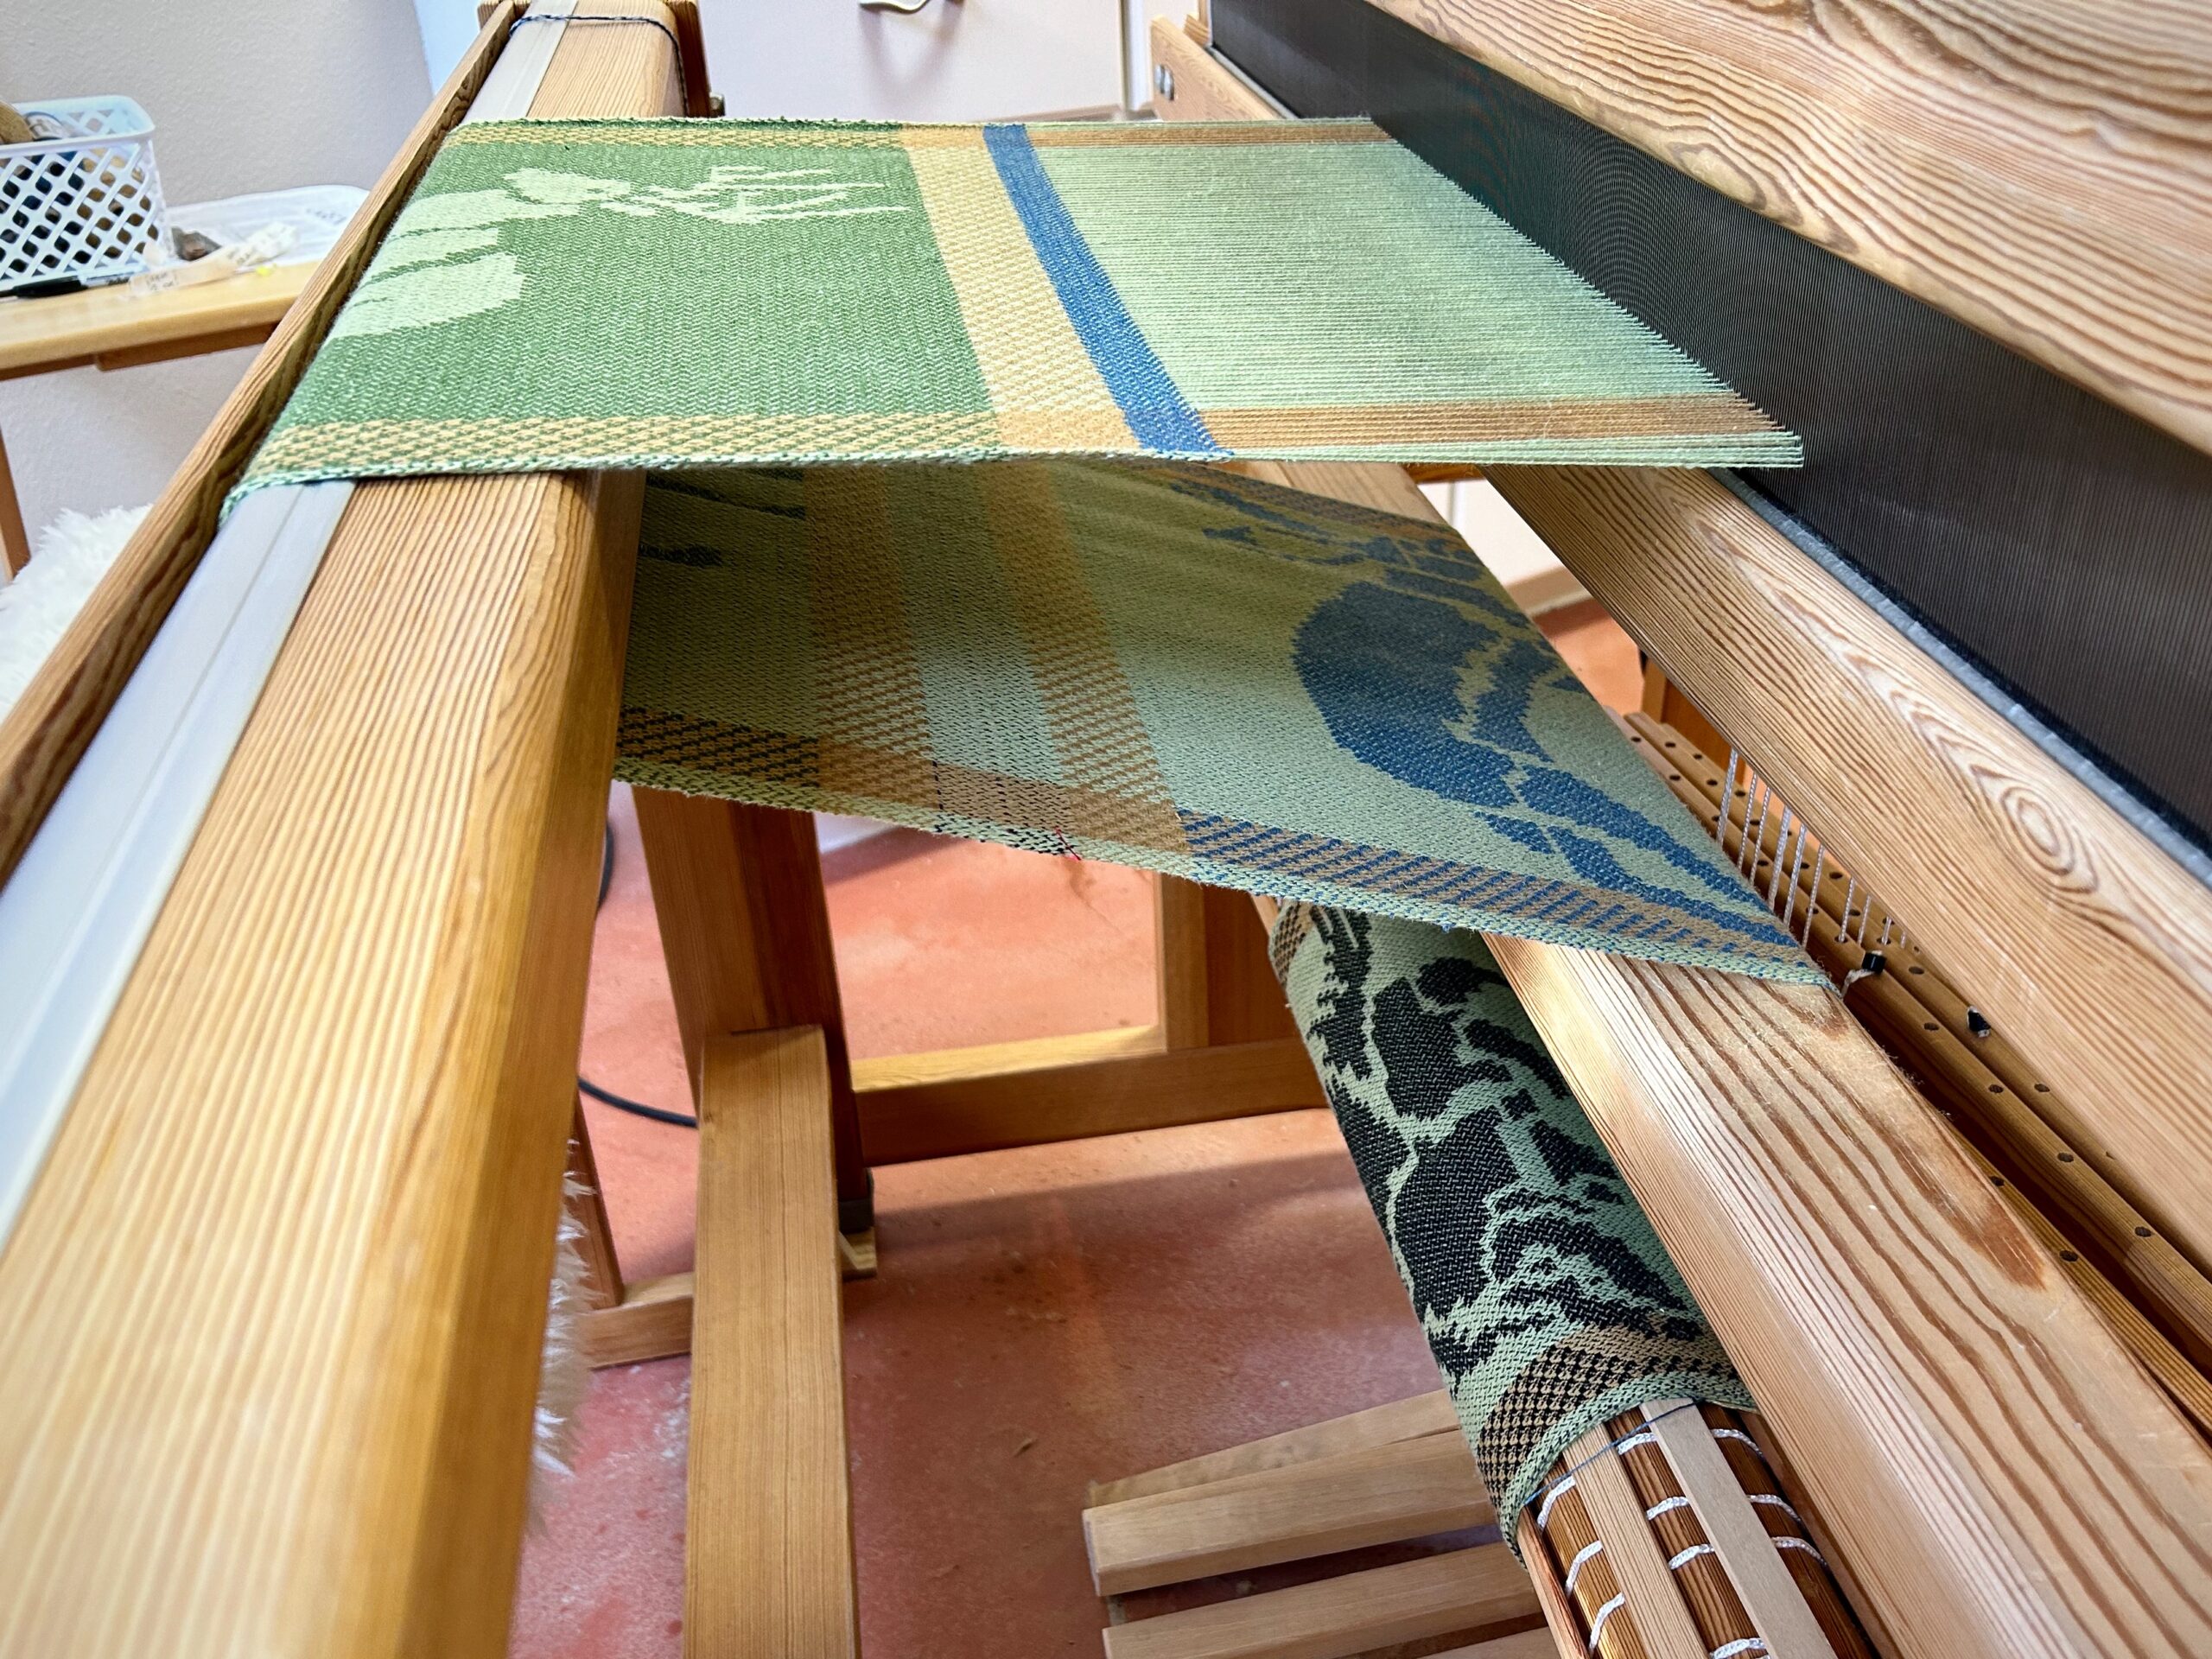
This white-tailed buck is one that Steve photographed on our property. I use Affinity Designer on my computer to turn a photo into a silhouette that I can use for my drawloom chart. It is a thrill to see the image emerge in the threads on the loom. From animal in our yard, to photo, to graphic chart, to threads on the loom! The common is made extraordinary.

The draw handles are pulled for the checkerboard pattern that goes across the bottom and top borders of the napkin.
Antlers of the buck reach nearly to the top border. Hem area is teal blue.
Before the buck, there is the jackrabbit. And before the jackrabbit is the porcupine. And the fox and armadillo before that are in hibernation on the cloth beam.

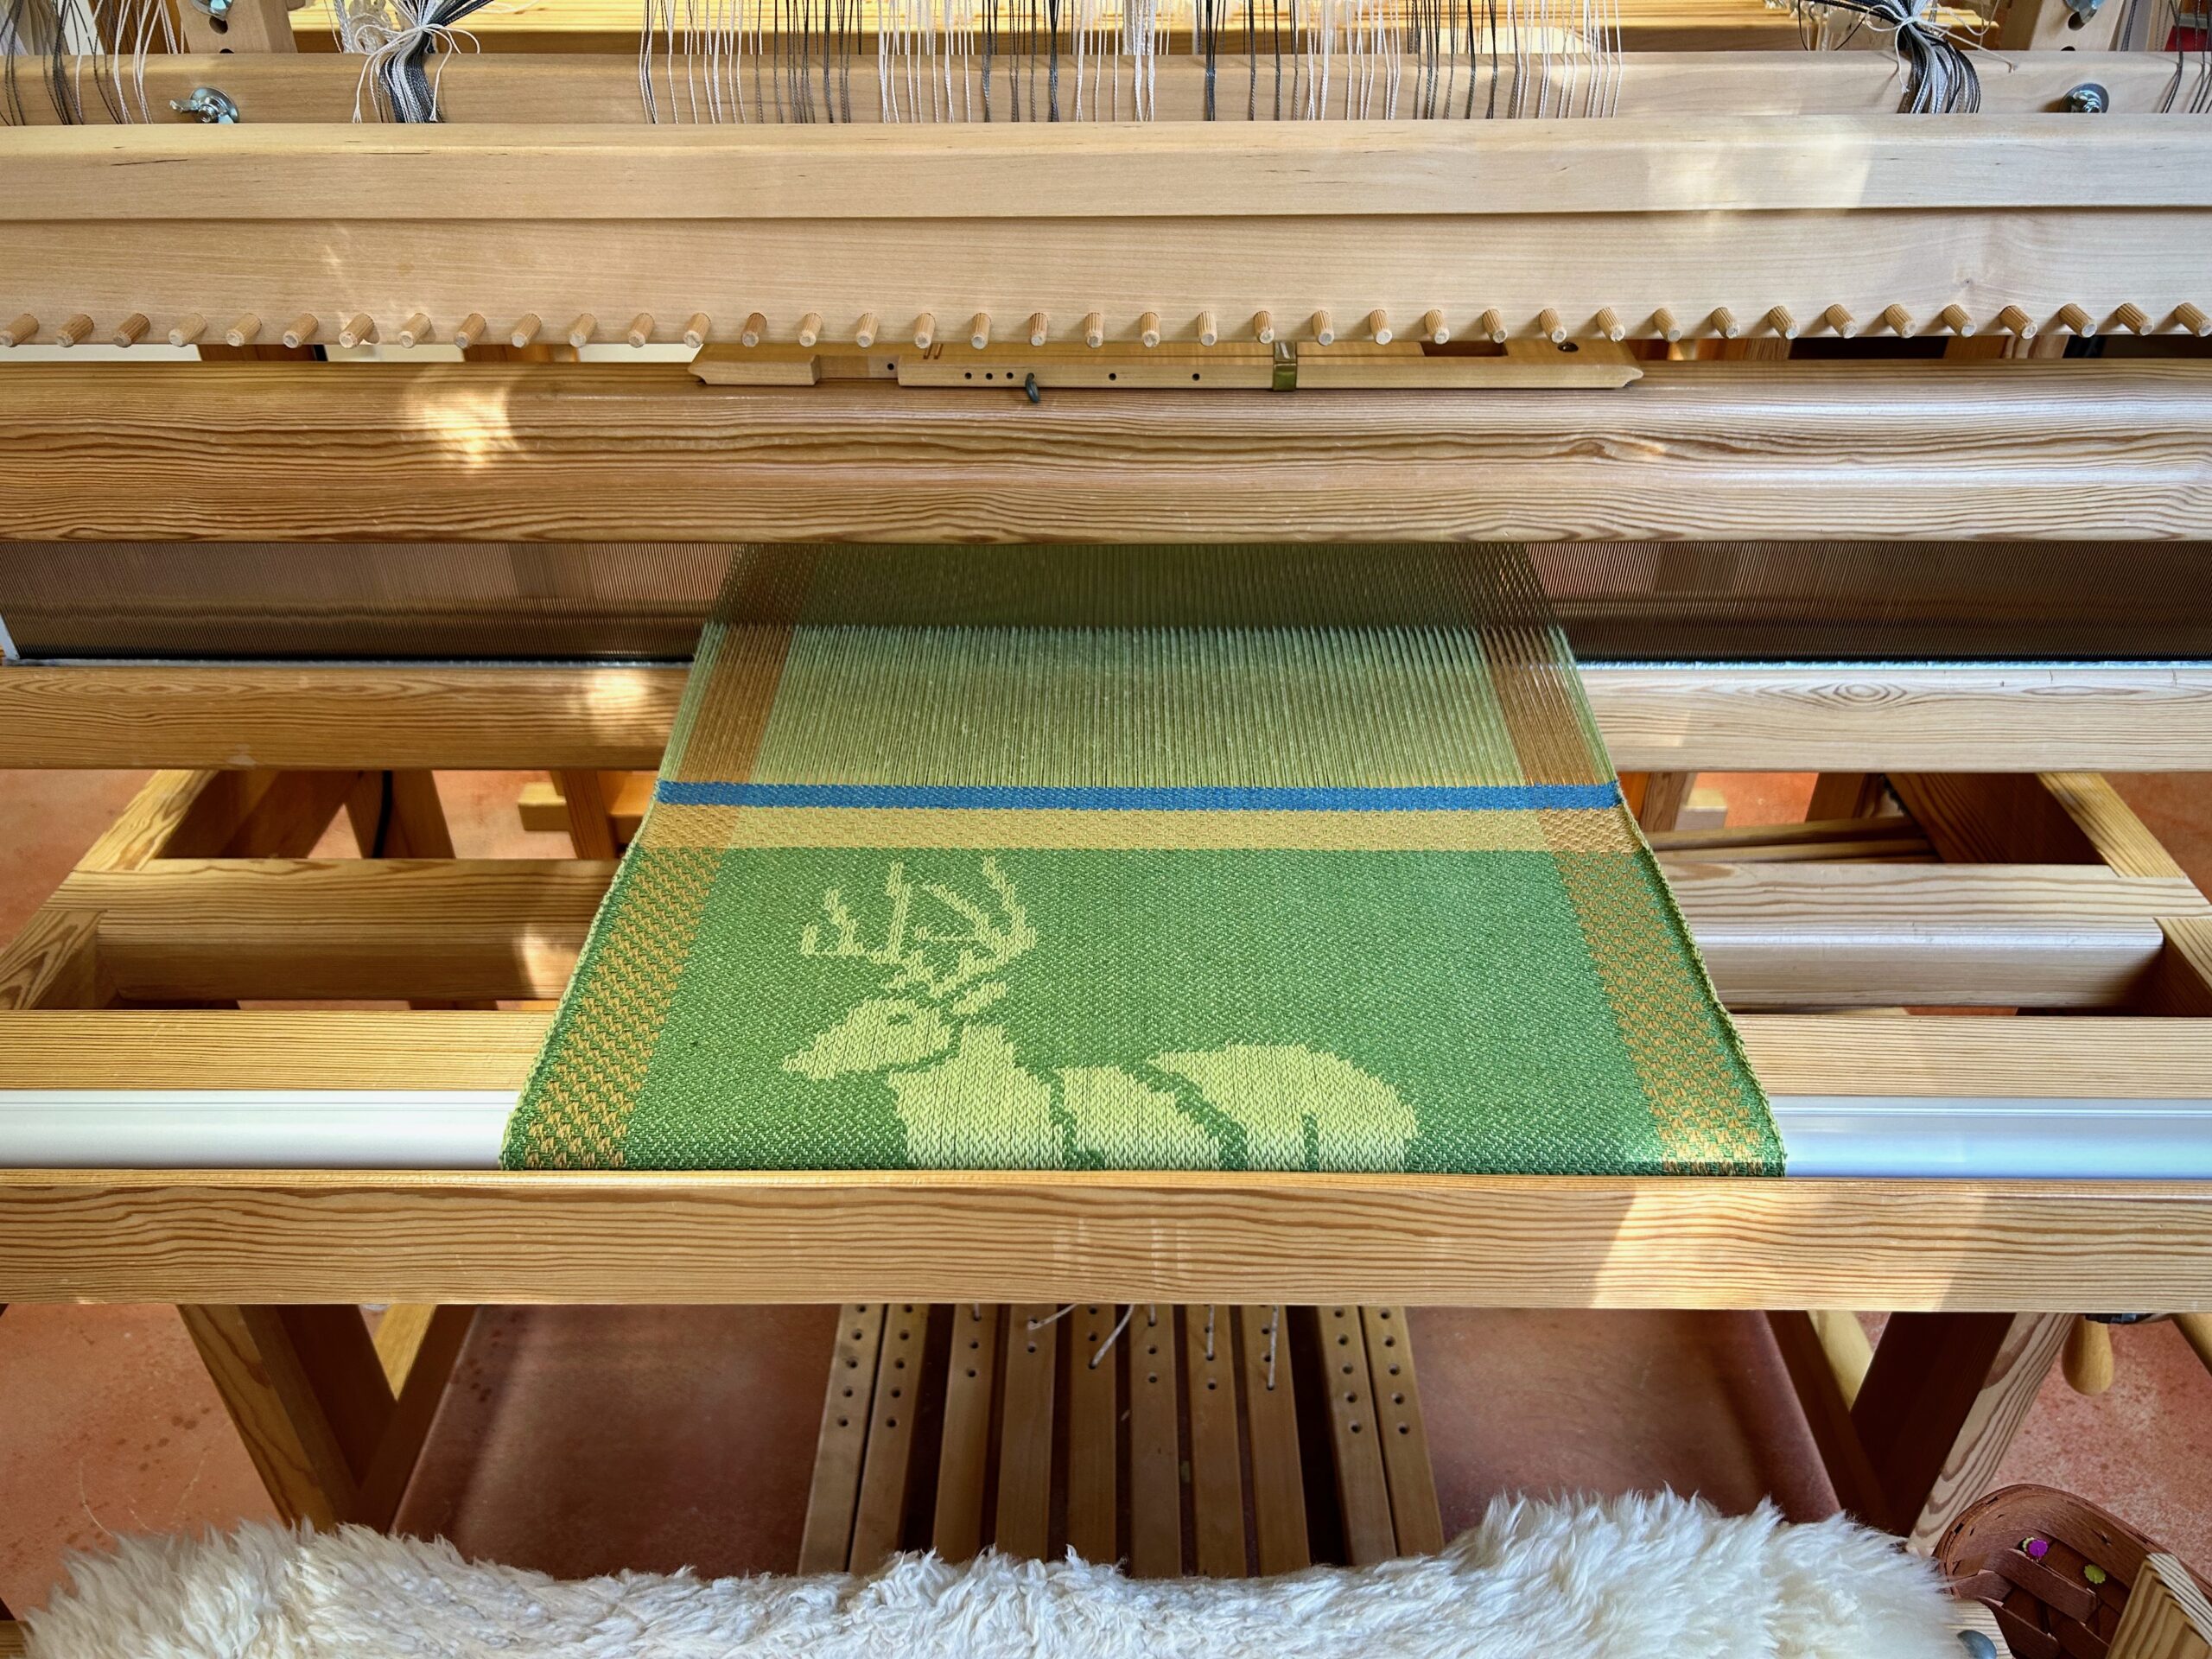
Even more extraordinary is what our Lord Jesus does with a common human like you or me who puts faith in him. As you look at the threads on his loom, you begin to see that it is his image being woven in you.

May your days be extraordinary.

Happy New Year,
Karen

What Will You Finish Weaving this Year?

I am this close to the end of the rug… This series of double-binding rag rugs has been super fun! The question is: What’s next? I think I can squeeze out one more (short) rug on the warp after this one. Will I be able to do the final cutting off before the year’s end? I’m going to try! But then, what after that? I have some ideas… Perhaps I’ll start a new pictorial tapestry on this Ideal.

Measurement tape shows how close this rug is to its final picks.
View under the breast beam shows the rug being rolled up on the cloth beam.
I never cease to be amazed at the possibilities of a weave structure as simple as four-shaft double binding.

We are this close to the end of the year. Is there a project you still hope to complete before this year’s end? Share what it is in the comments.

May you enjoy every moment.

Happy Weaving,
Karen

Tried and True: Measurement Tape

You can measure what you are weaving. A set of towels will all be the same length. A table runner will fit the table as planned. A rug will be the right size for the designated floor space. All it takes is a dependable way to measure. (Thanks to Elisabeth S. for writing me, “I’d love to have a better way to measure my work as I’m weaving it.”)

Dependable way to measure on the loom!

Measurement Tape (accompanying video below)

Supplies:

  • Calculator
  • Project notes
  • 5/8” polyester twill tape
  • Fine point indelible marker
  • Tape measure
  • 2 flat-head straight pins

Make Calculations

  • Determine the finished length.
    • Consider the Golden Ratio, 1:6.
    • Consider where the finished textile will be placed.
  • Estimate take-up and shrinkage.
  • Include these measurements in your project notes.

Prepare a Measurement Tape

  • Draw the beginning line about 2 cm from the end of the tape. If there is a hem, draw a second line to mark the hem’s length.
  • Write the item description on the tape.
  • Write ” ___ (finished length) + ___ (take-up and shrinkage) = ___ (total length)” on the tape.
  • Measure the total length from the first line (or from the hem) on the tape. Draw a line at the end (add hem, if needed).
  • Cut the tape about 2 cm after the ending line.
  • Find the middle of the tape. Draw a line and write “MID”.
How to measure your weaving on the loom.
Place the first line of the measurement tape directly over the beginning picks of the woven article.

Prepare a Half Measurement Tape

  • Do the same as for a full-length measurement tape, except divide the total length measurement in half. Draw a line on the tape at the halfway point. Write “MID” before the line.
  • Cut the tape about 2 cm after the MID line.

Weave and Measure (Always with the warp under tension)

  • Use two straight pins to pin the measurement tape to the weaving near one selvedge. Place the beginning line of the tape directly over the beginning of the woven article.
  • As weaving progresses, remove the pin closest to the breast beam. Leapfrog over the remaining pin. Reinsert the removed pin through the tape near the fell line.
Using a measurement tape for weaving consistent lengths.
Move one pin at a time. I usually move the pin right before I advance the warp.
  • If using a half measurement tape, weave past the MID line. Mark the spot with a pin. Remove the measurement tape. Turn the tape and pin into place to weave the second half.
How to make a half measurement tape.
When you reach the MID line on a half measurement tape, keep the measurement tape in place until you have woven a few more centimeters.
How to make and use a Measurement Tape for weaving accurate lengths.
Place one pin through the cloth, pointing to the MID line. Then, it’s safe to remove the measurement tape and turn it around. Go your merry way, weaving the second half of the Monksbelt runner, or whatever you have on your loom.

Here’s a demonstration of making and using a measurement tape:

(For a previous discussion of this topic, see Tools Day: Measured Weaving.)

Since you can measure what you are weaving, do relax and enjoy the ride.

May you reach the mid point at just the right time.

Happy Weaving,
Karen