When we renovated our master bathroom last year, I told Steve I would look for some curtains to hang on the windows that would complement the room. He said, “Why don’t you make some handwoven curtains?” So, I did.

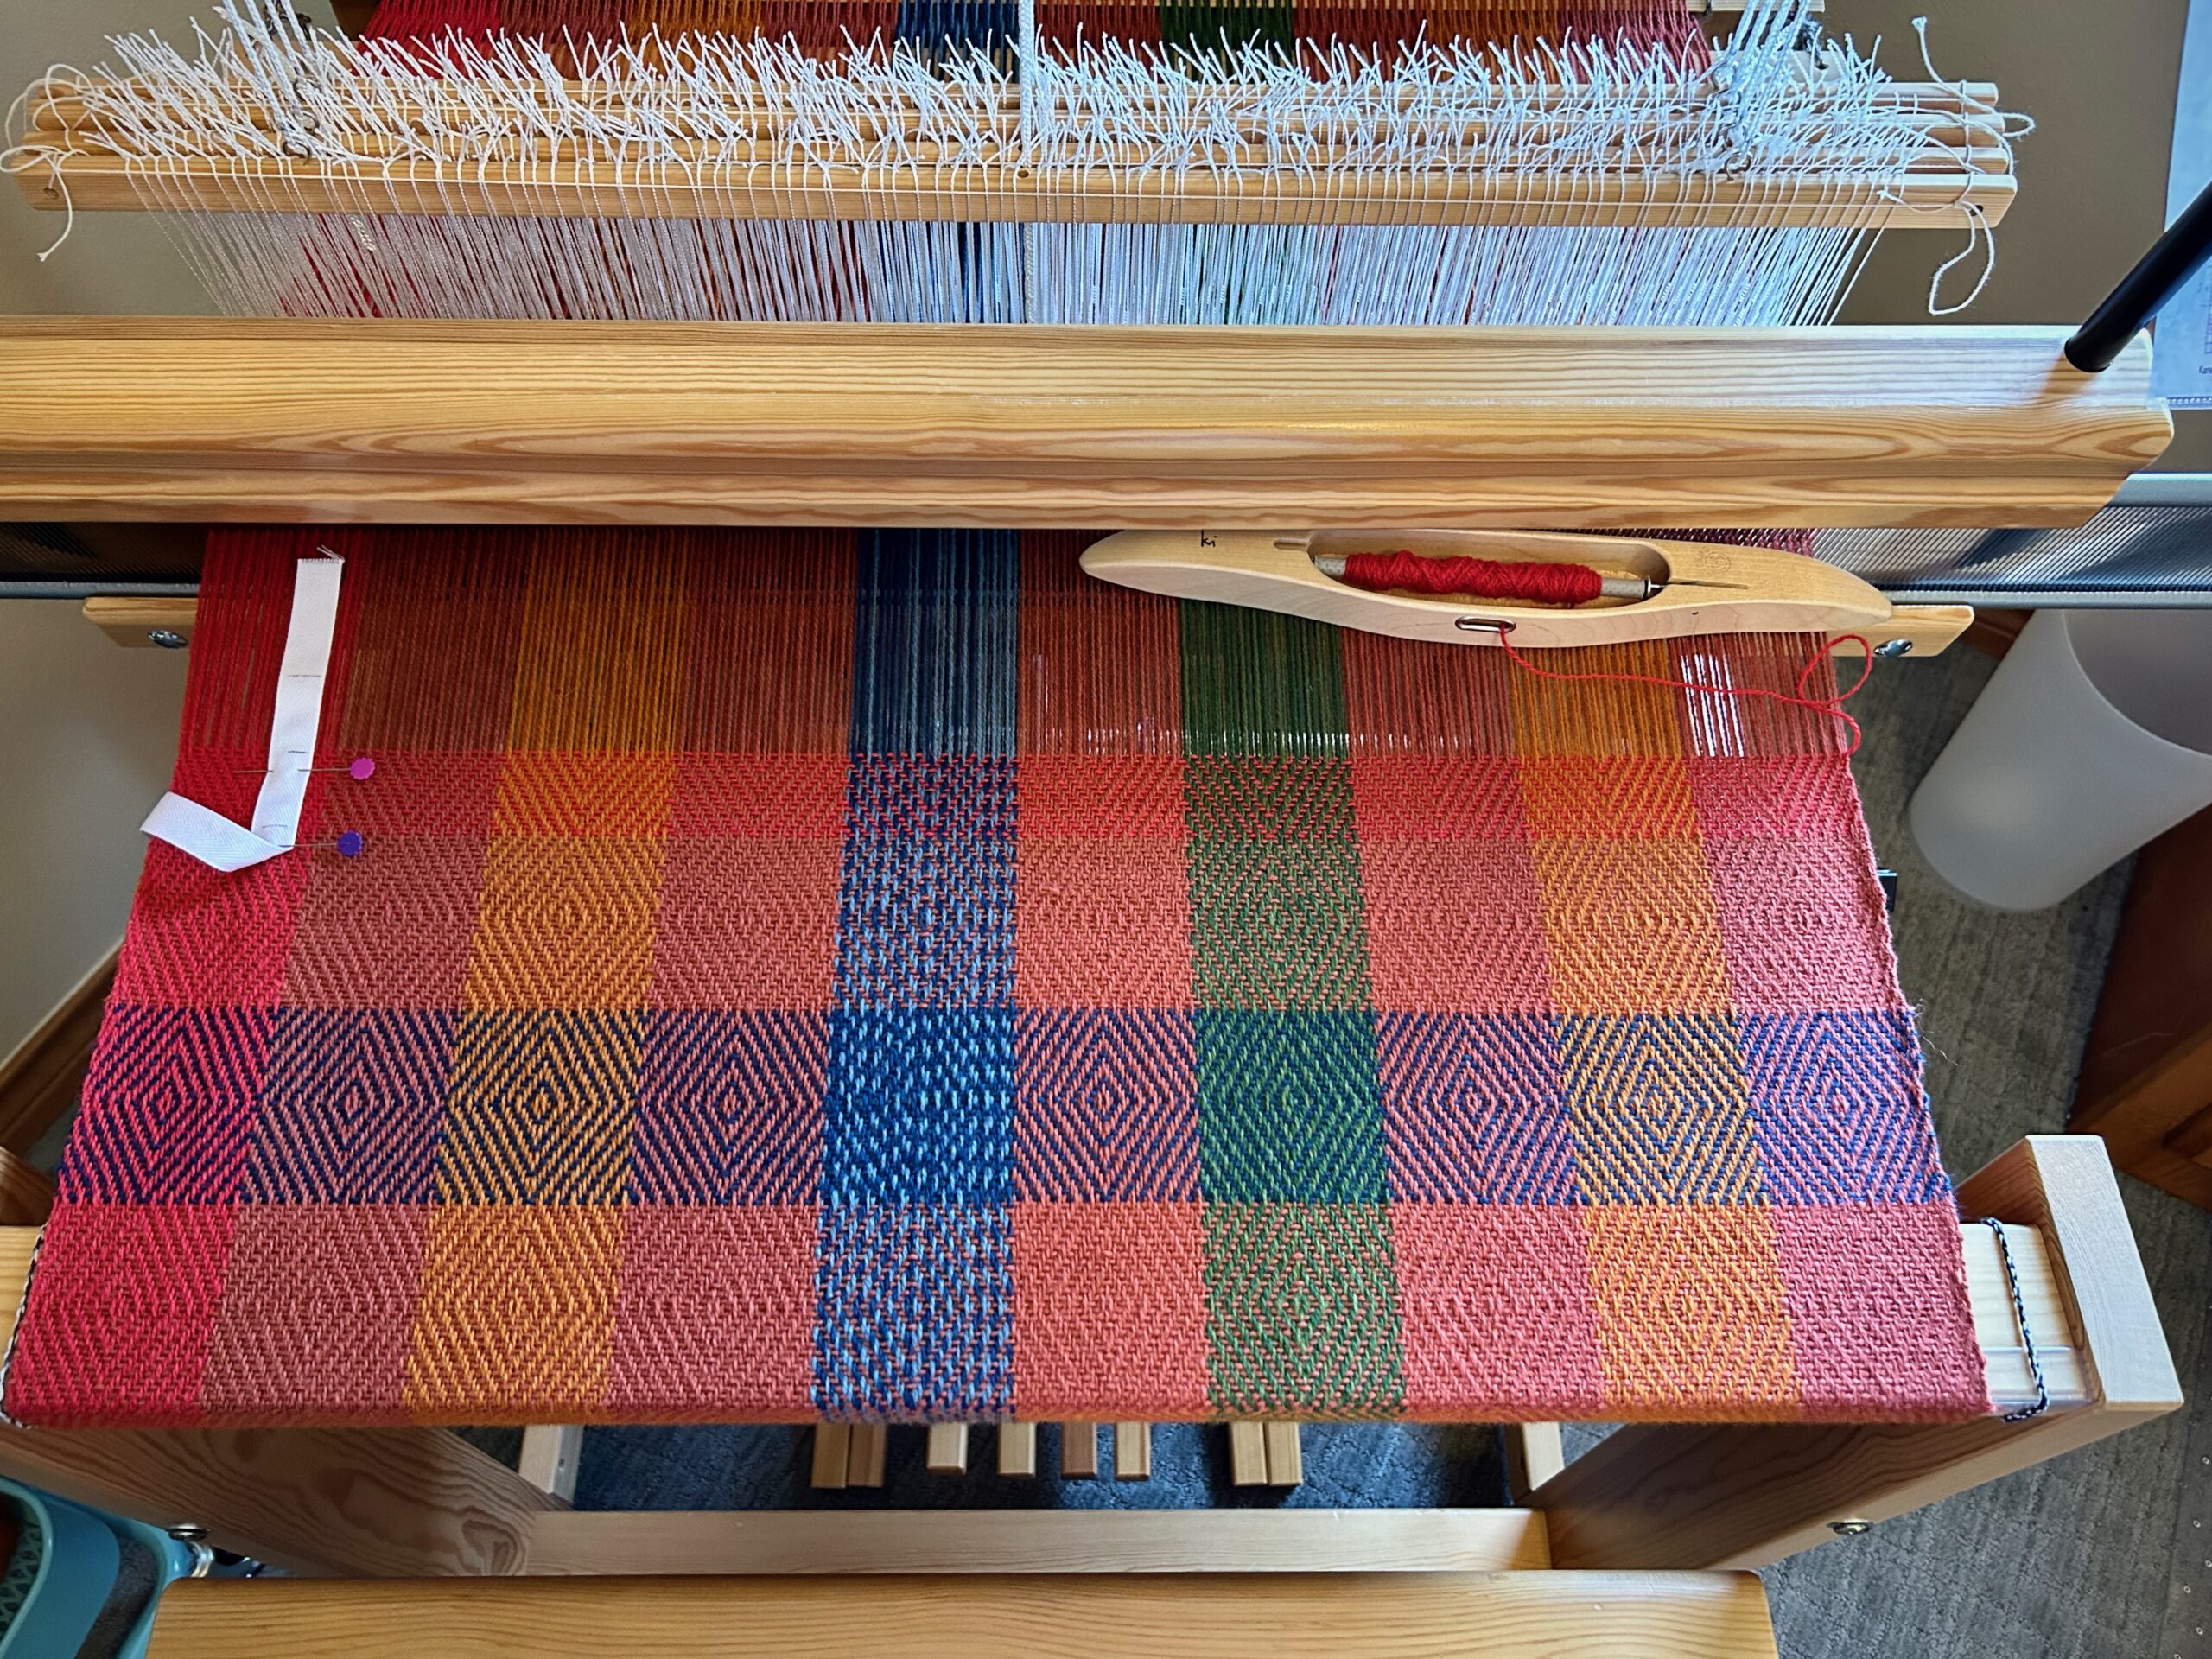
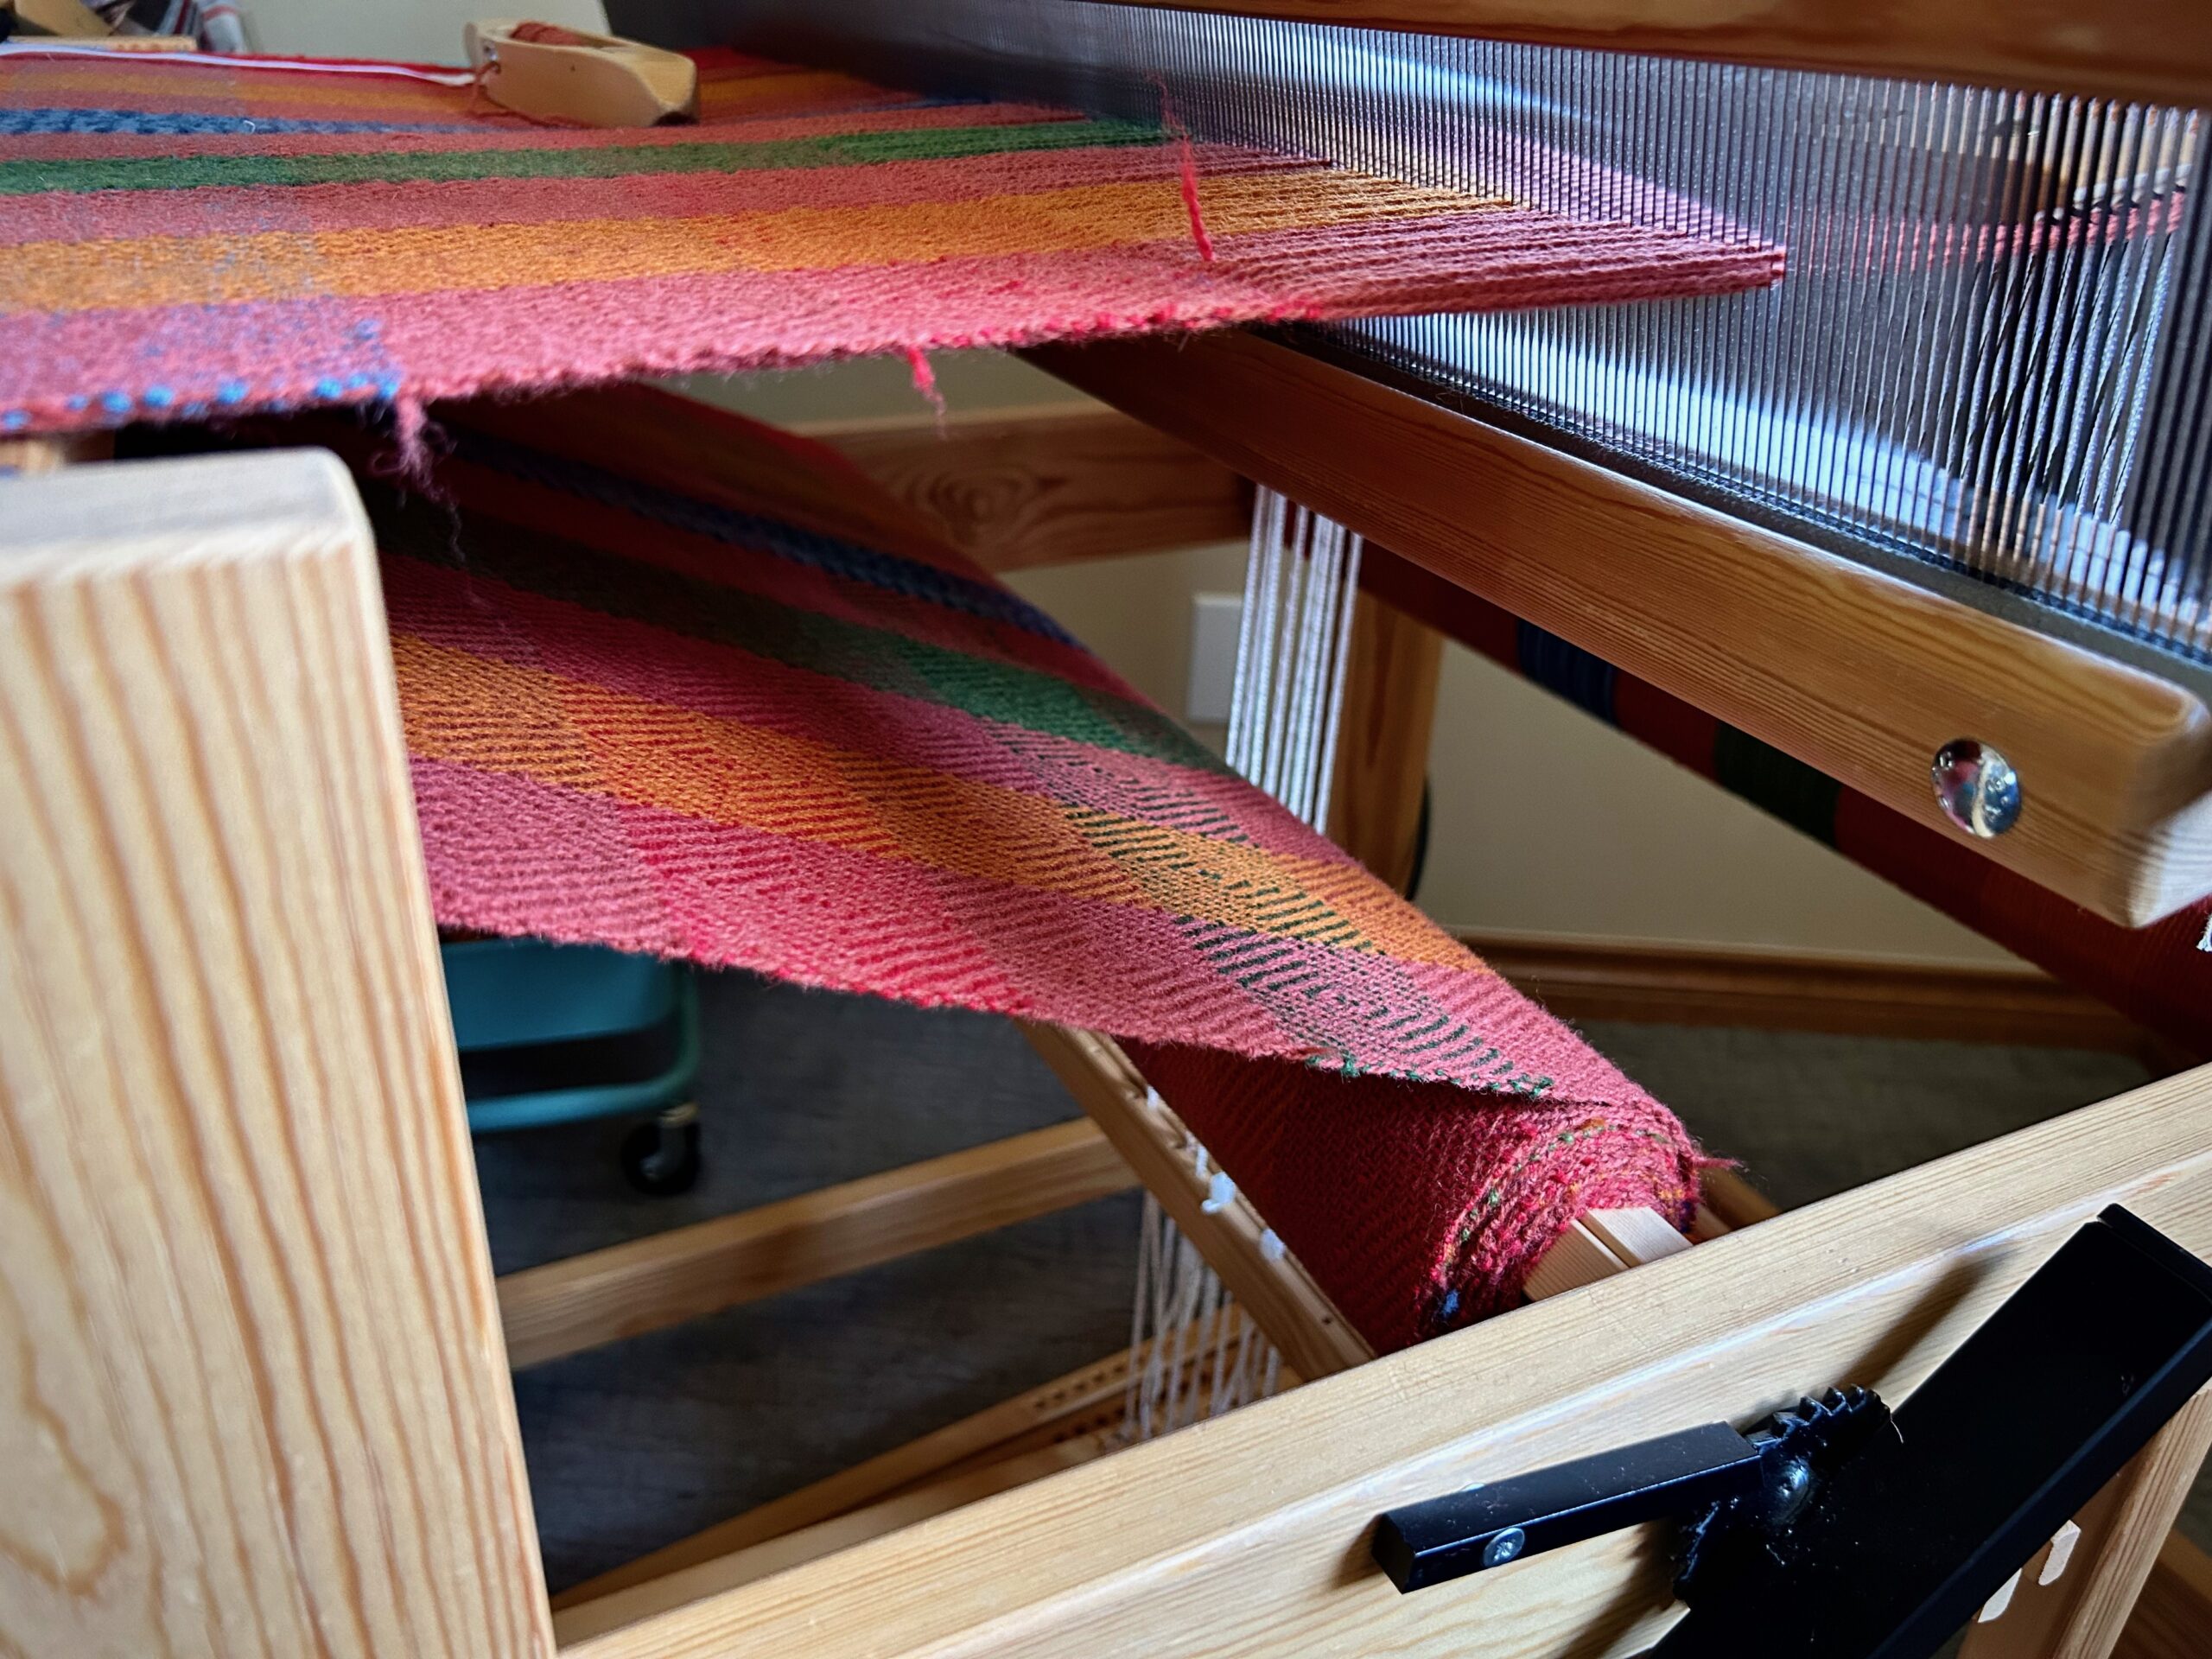
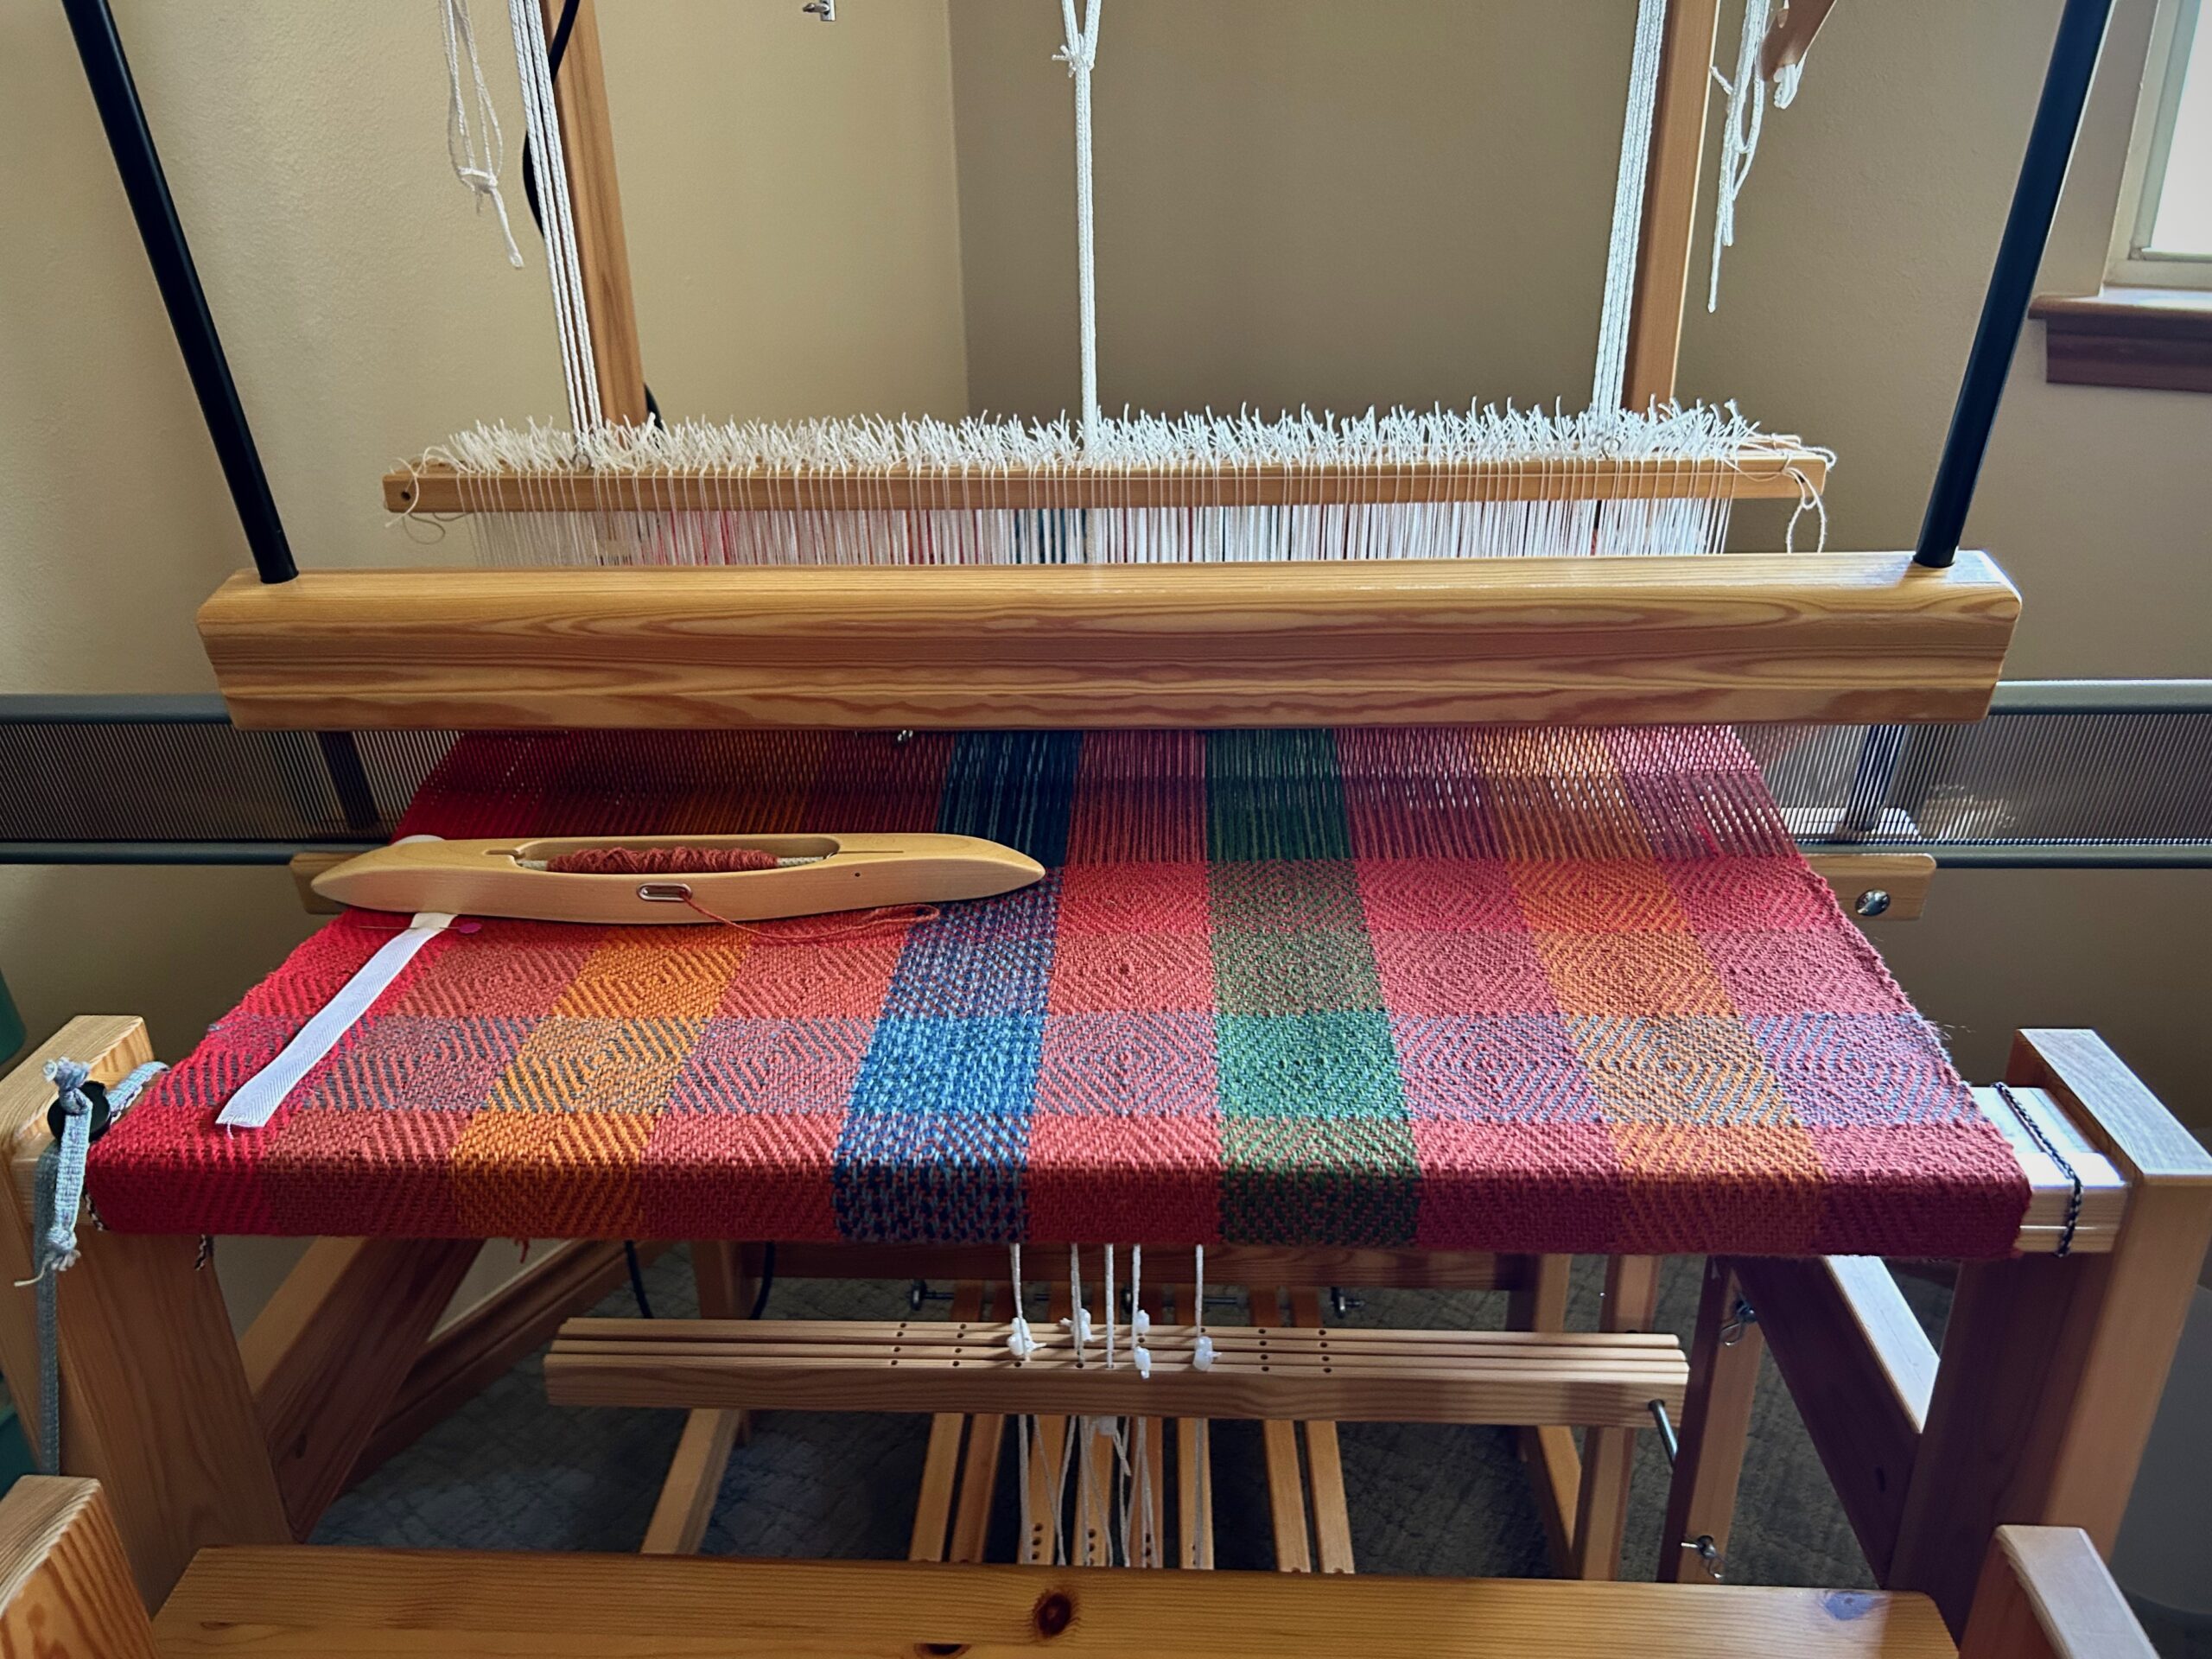
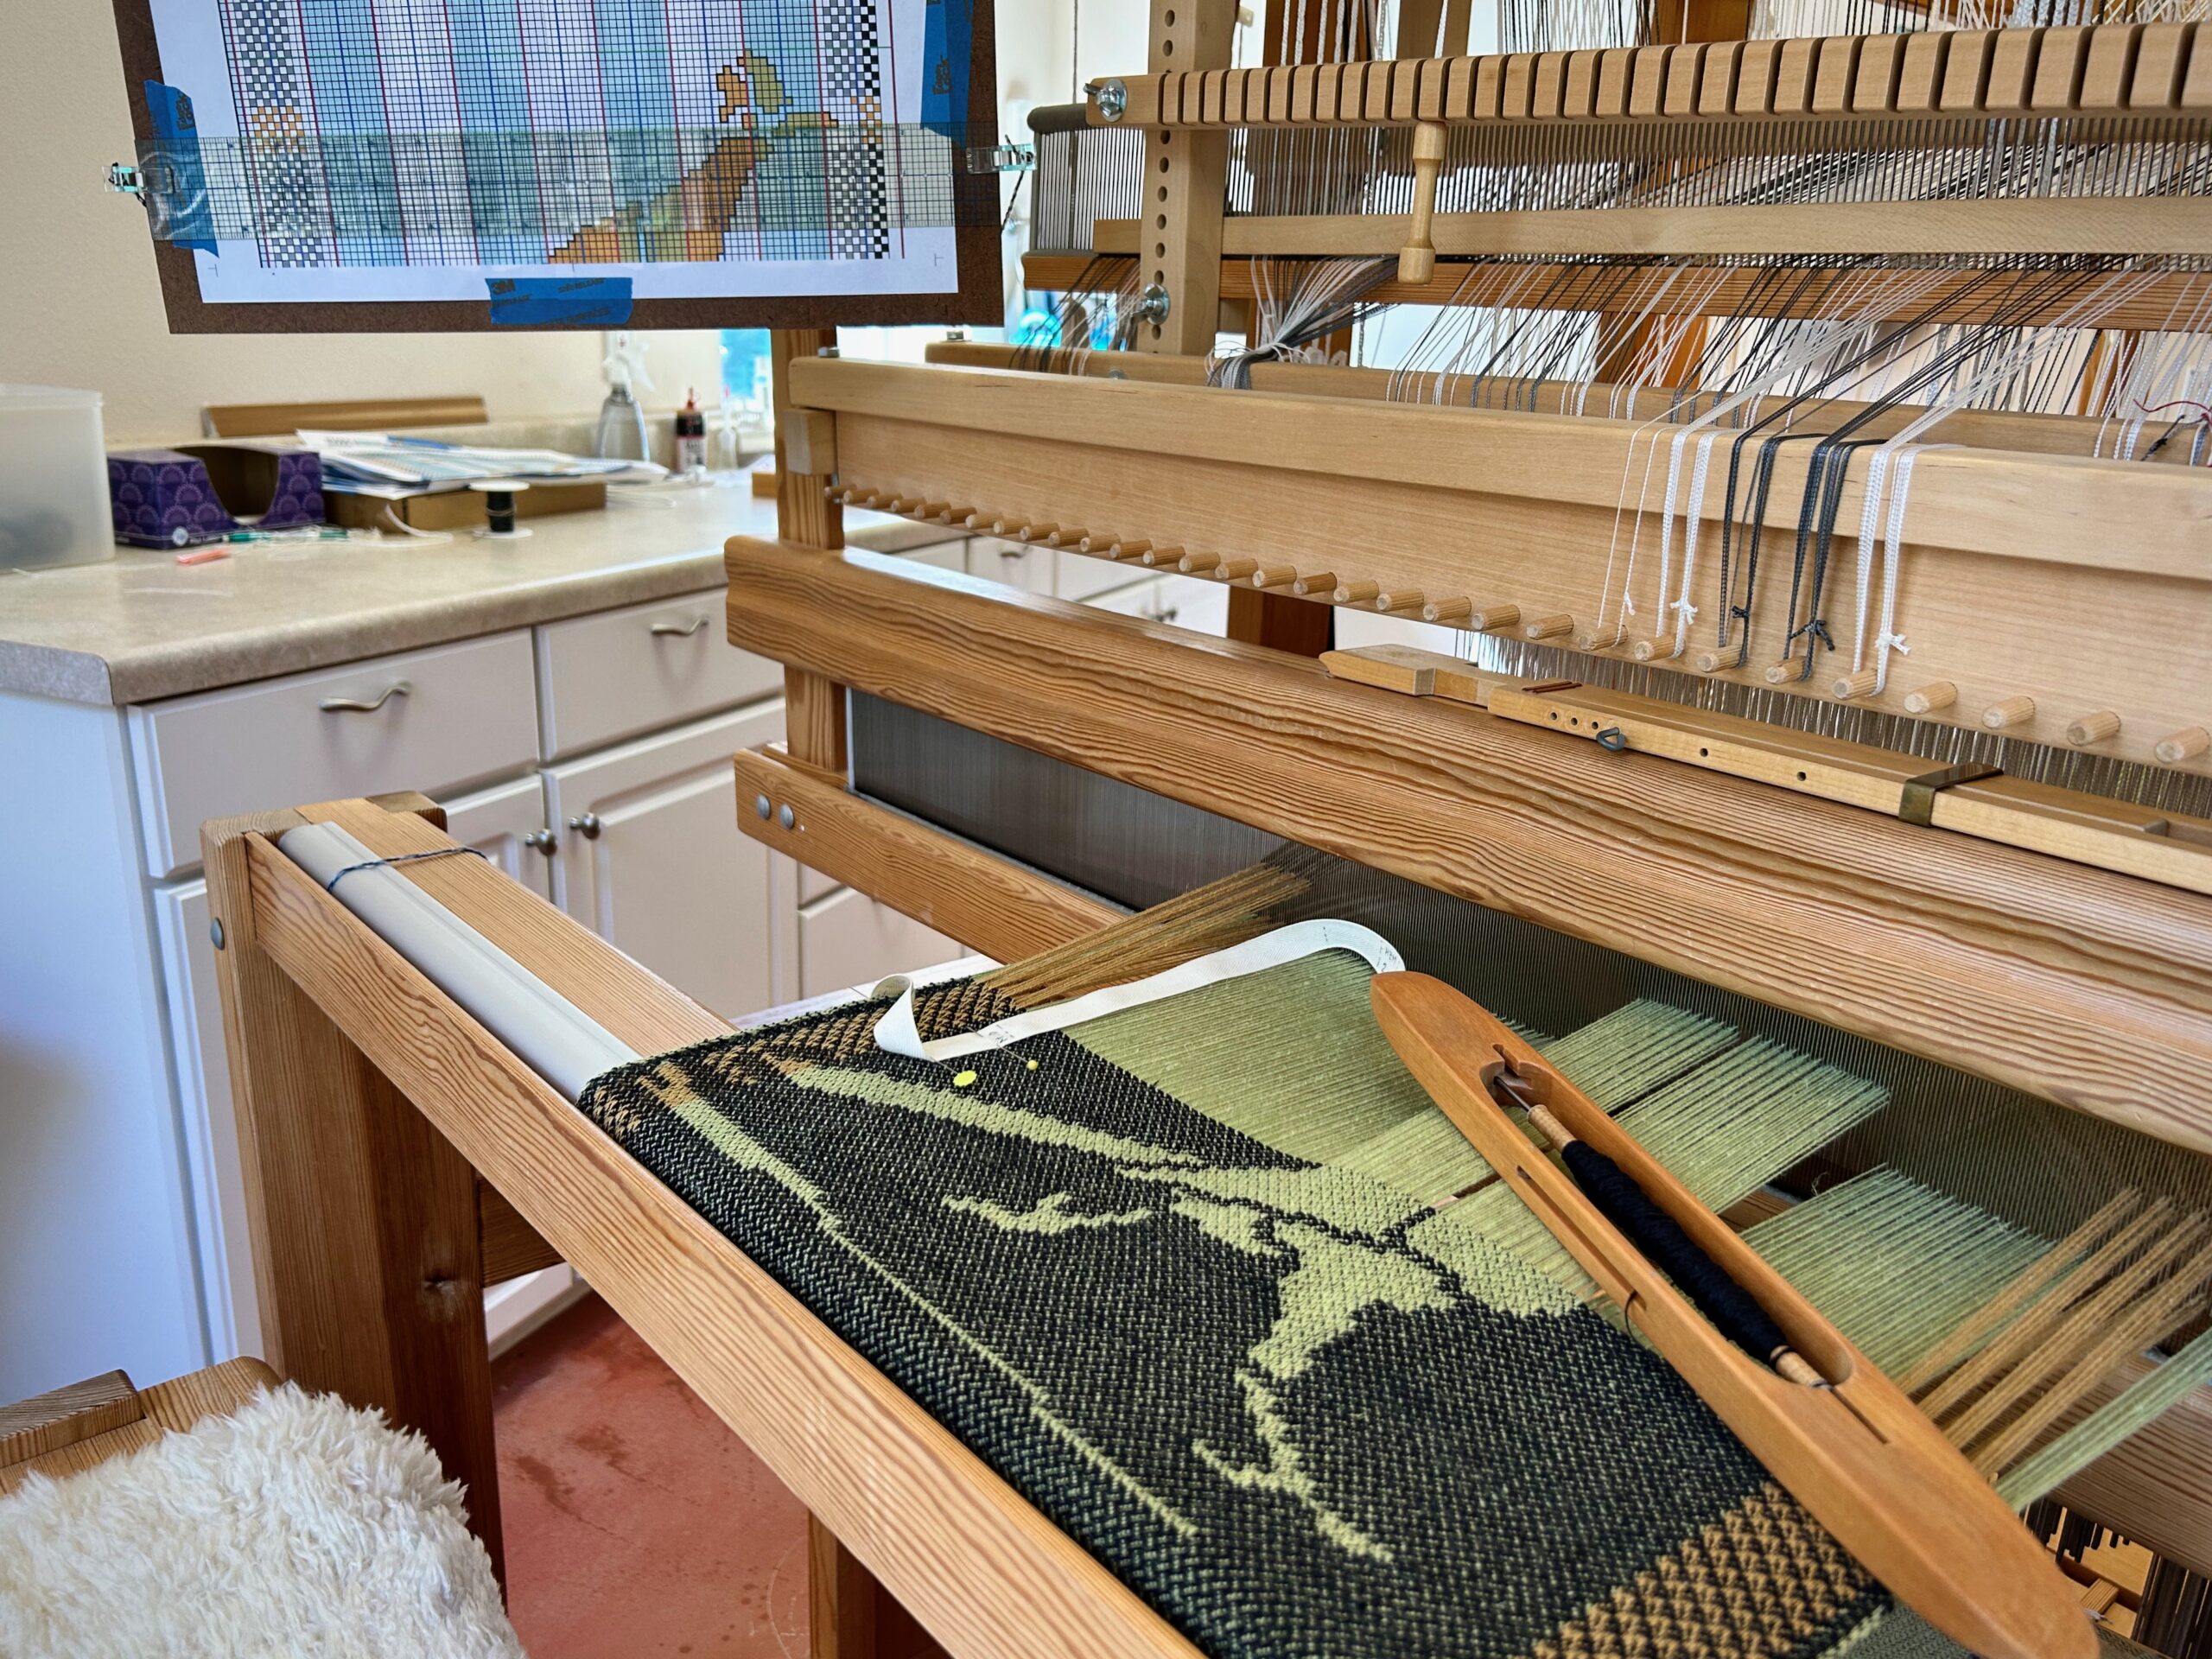
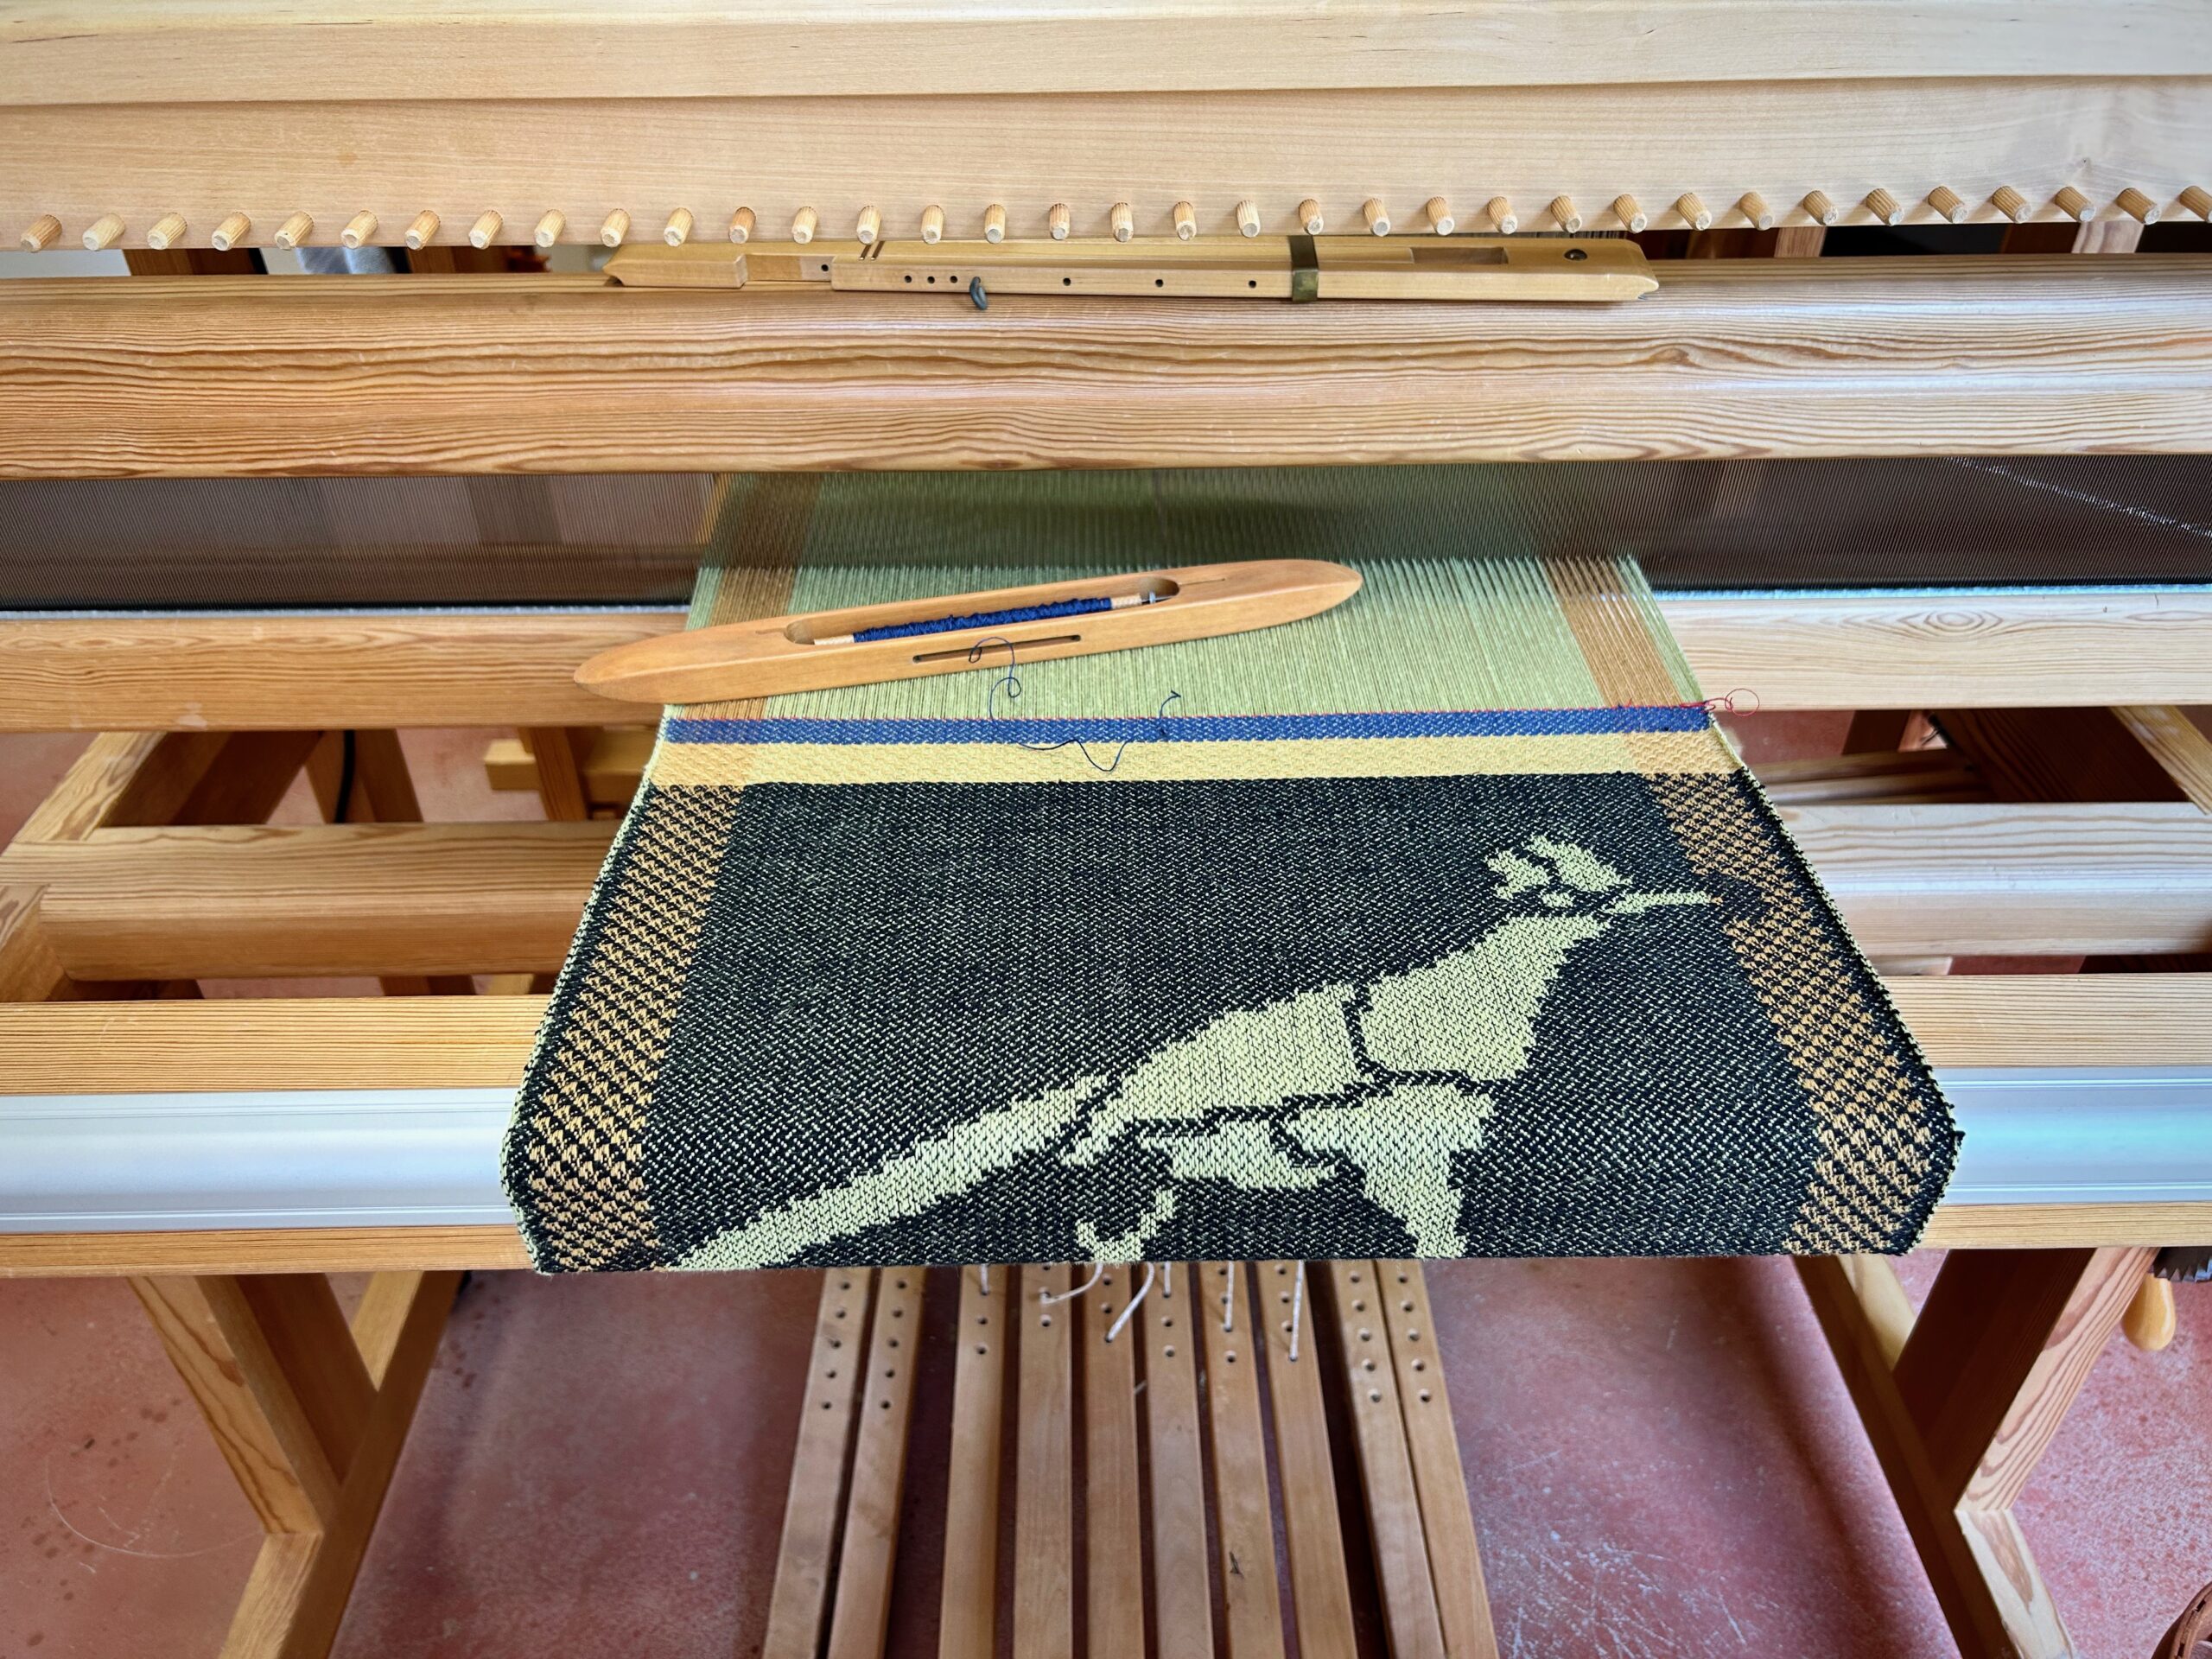
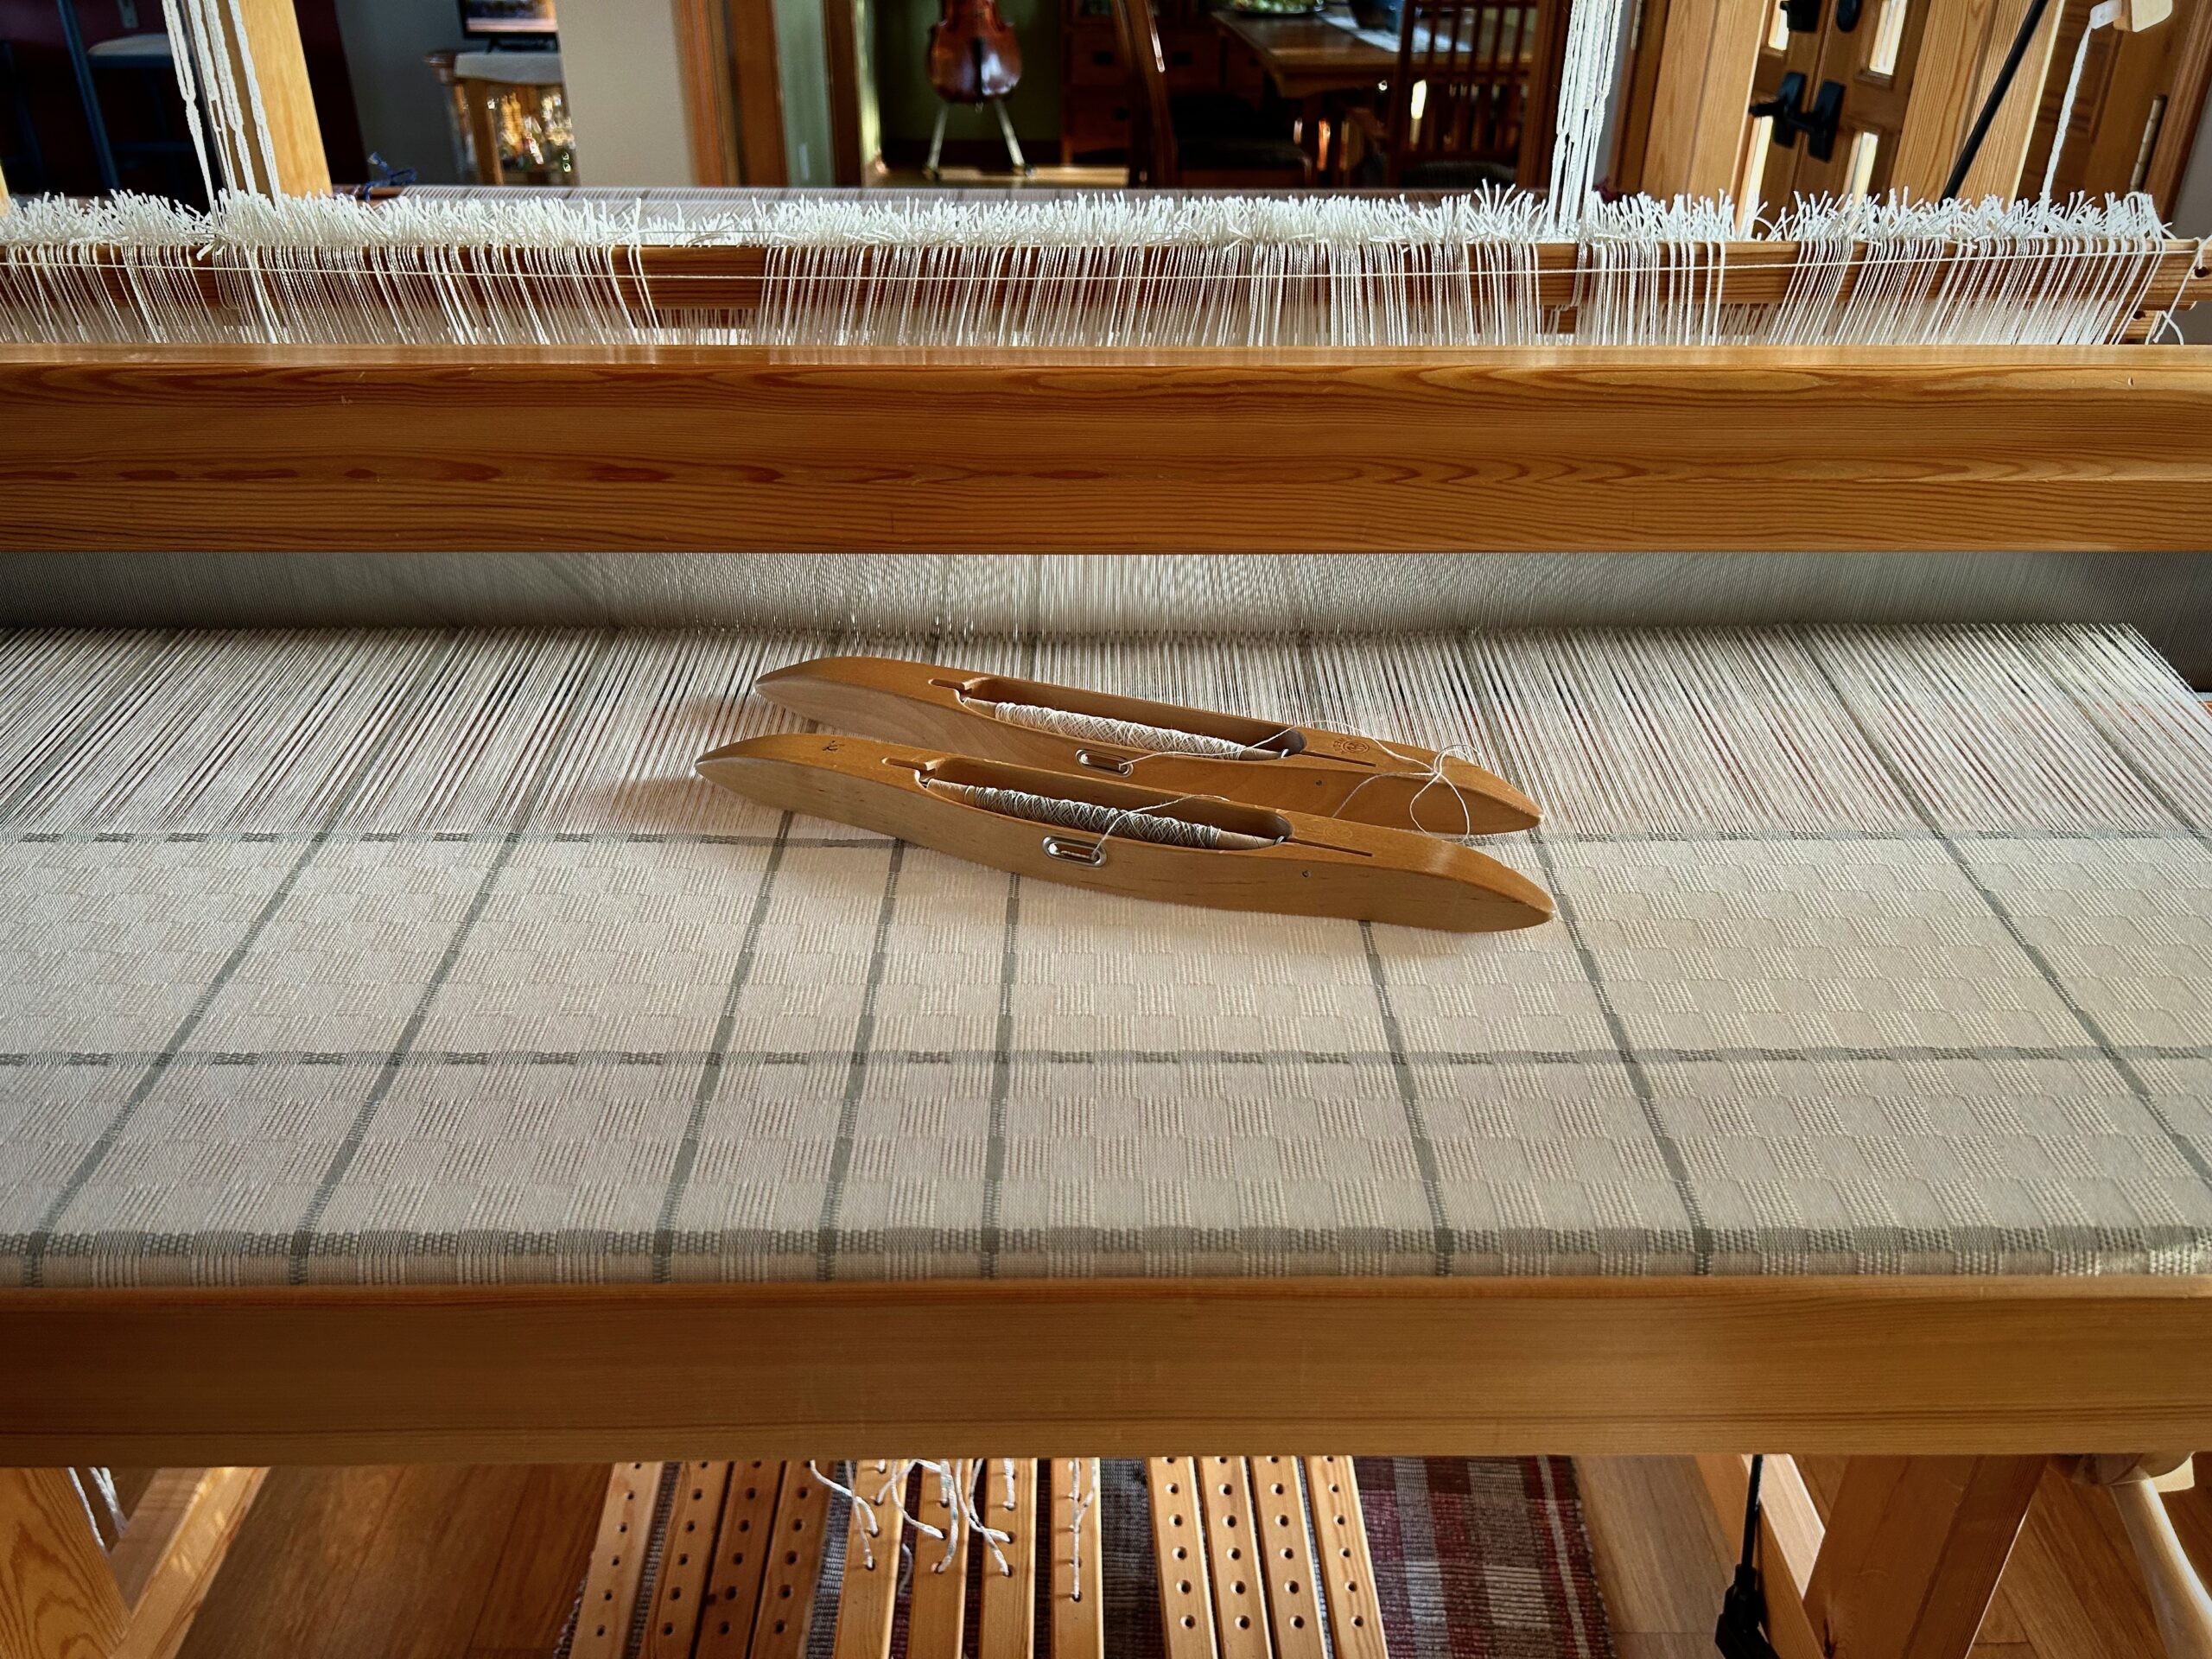
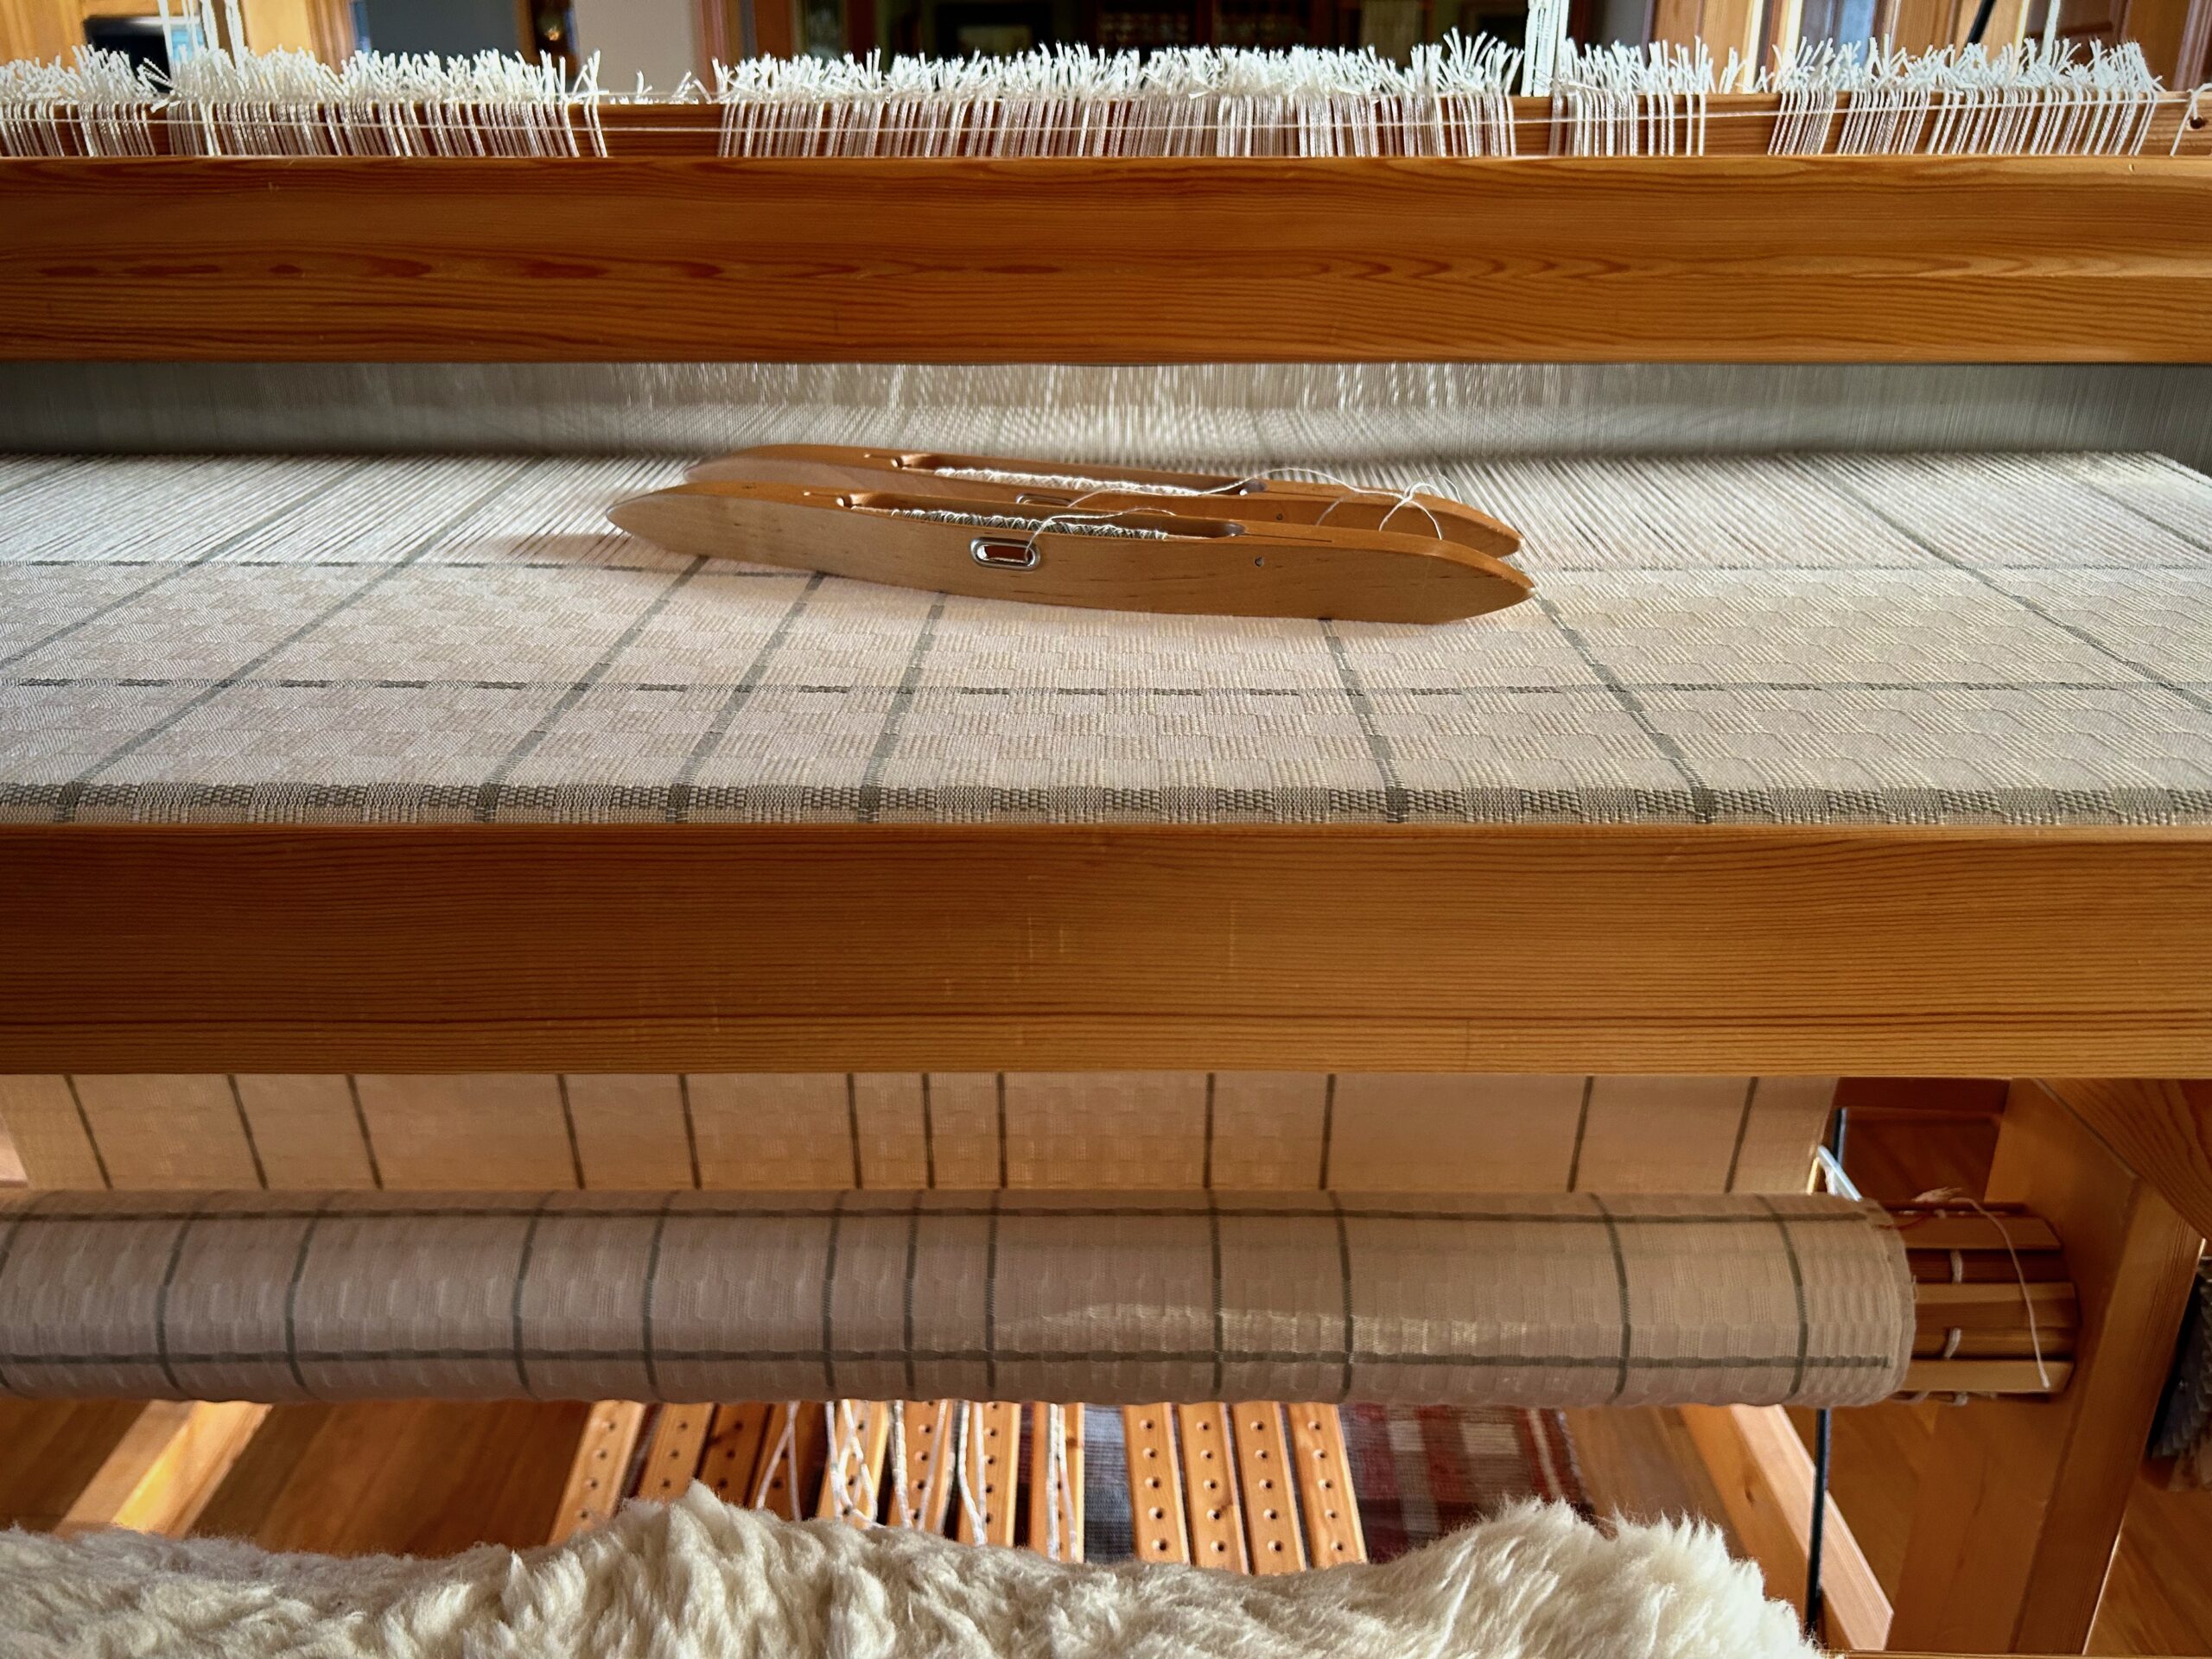
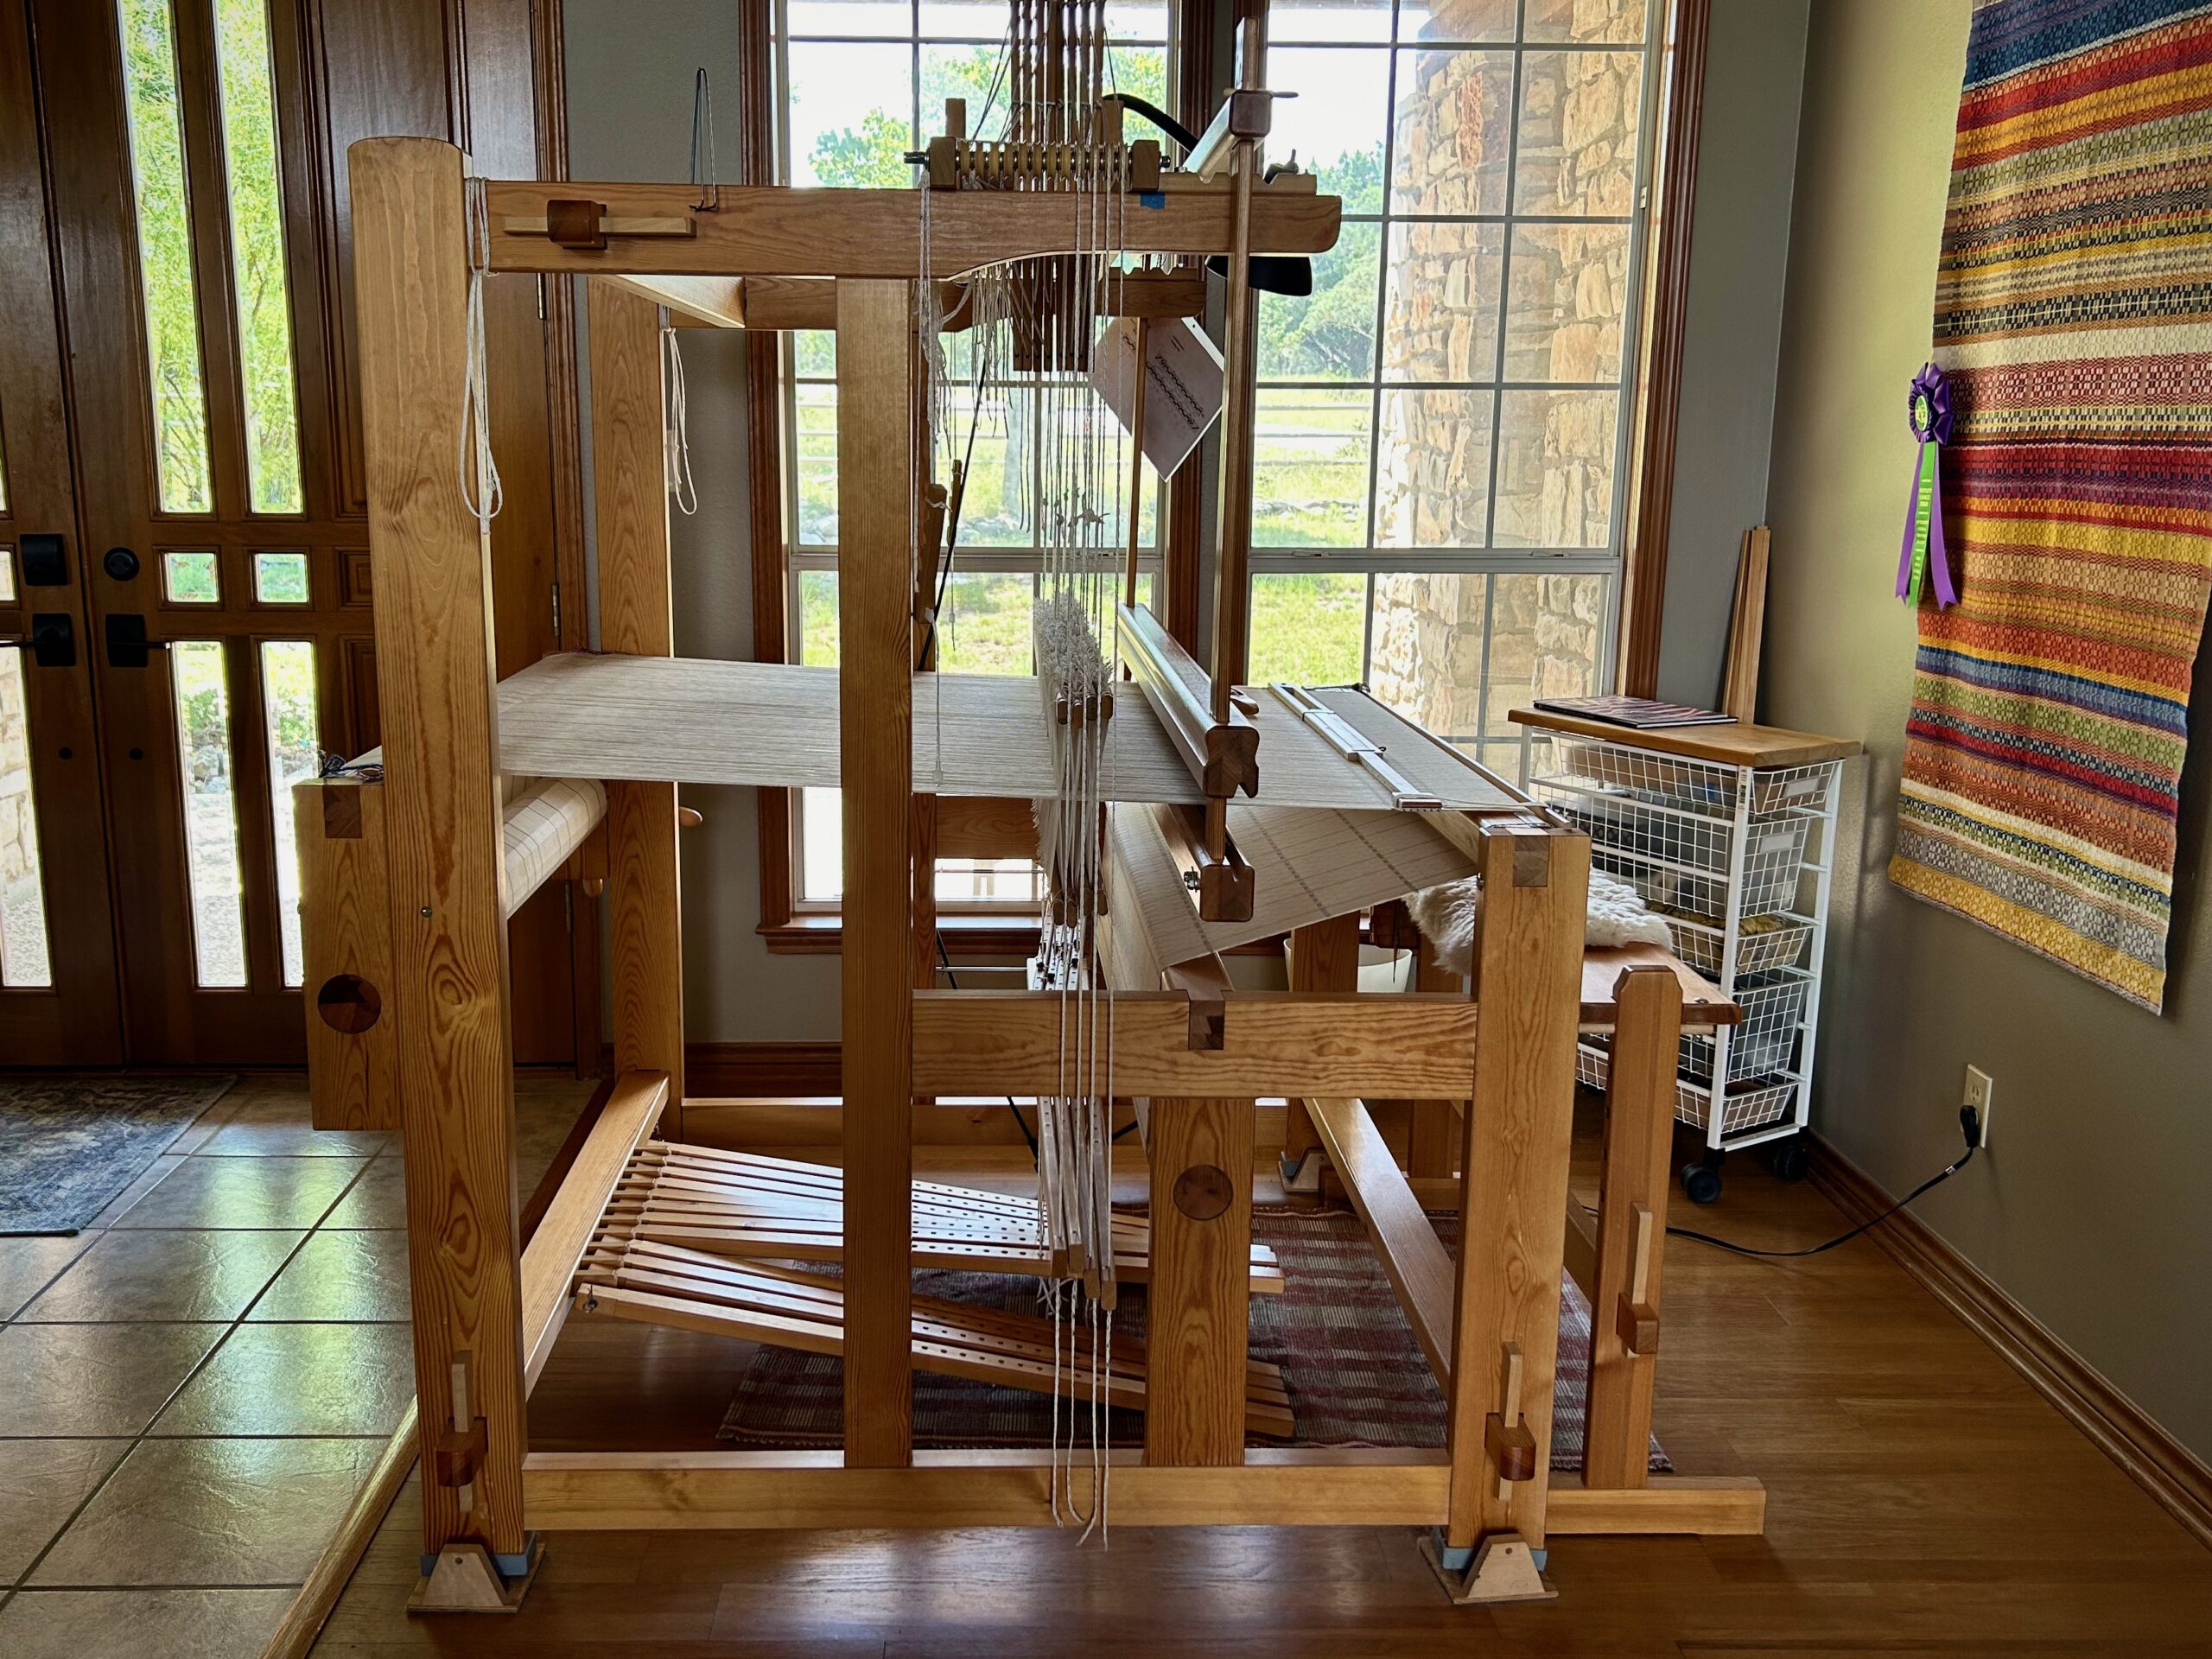
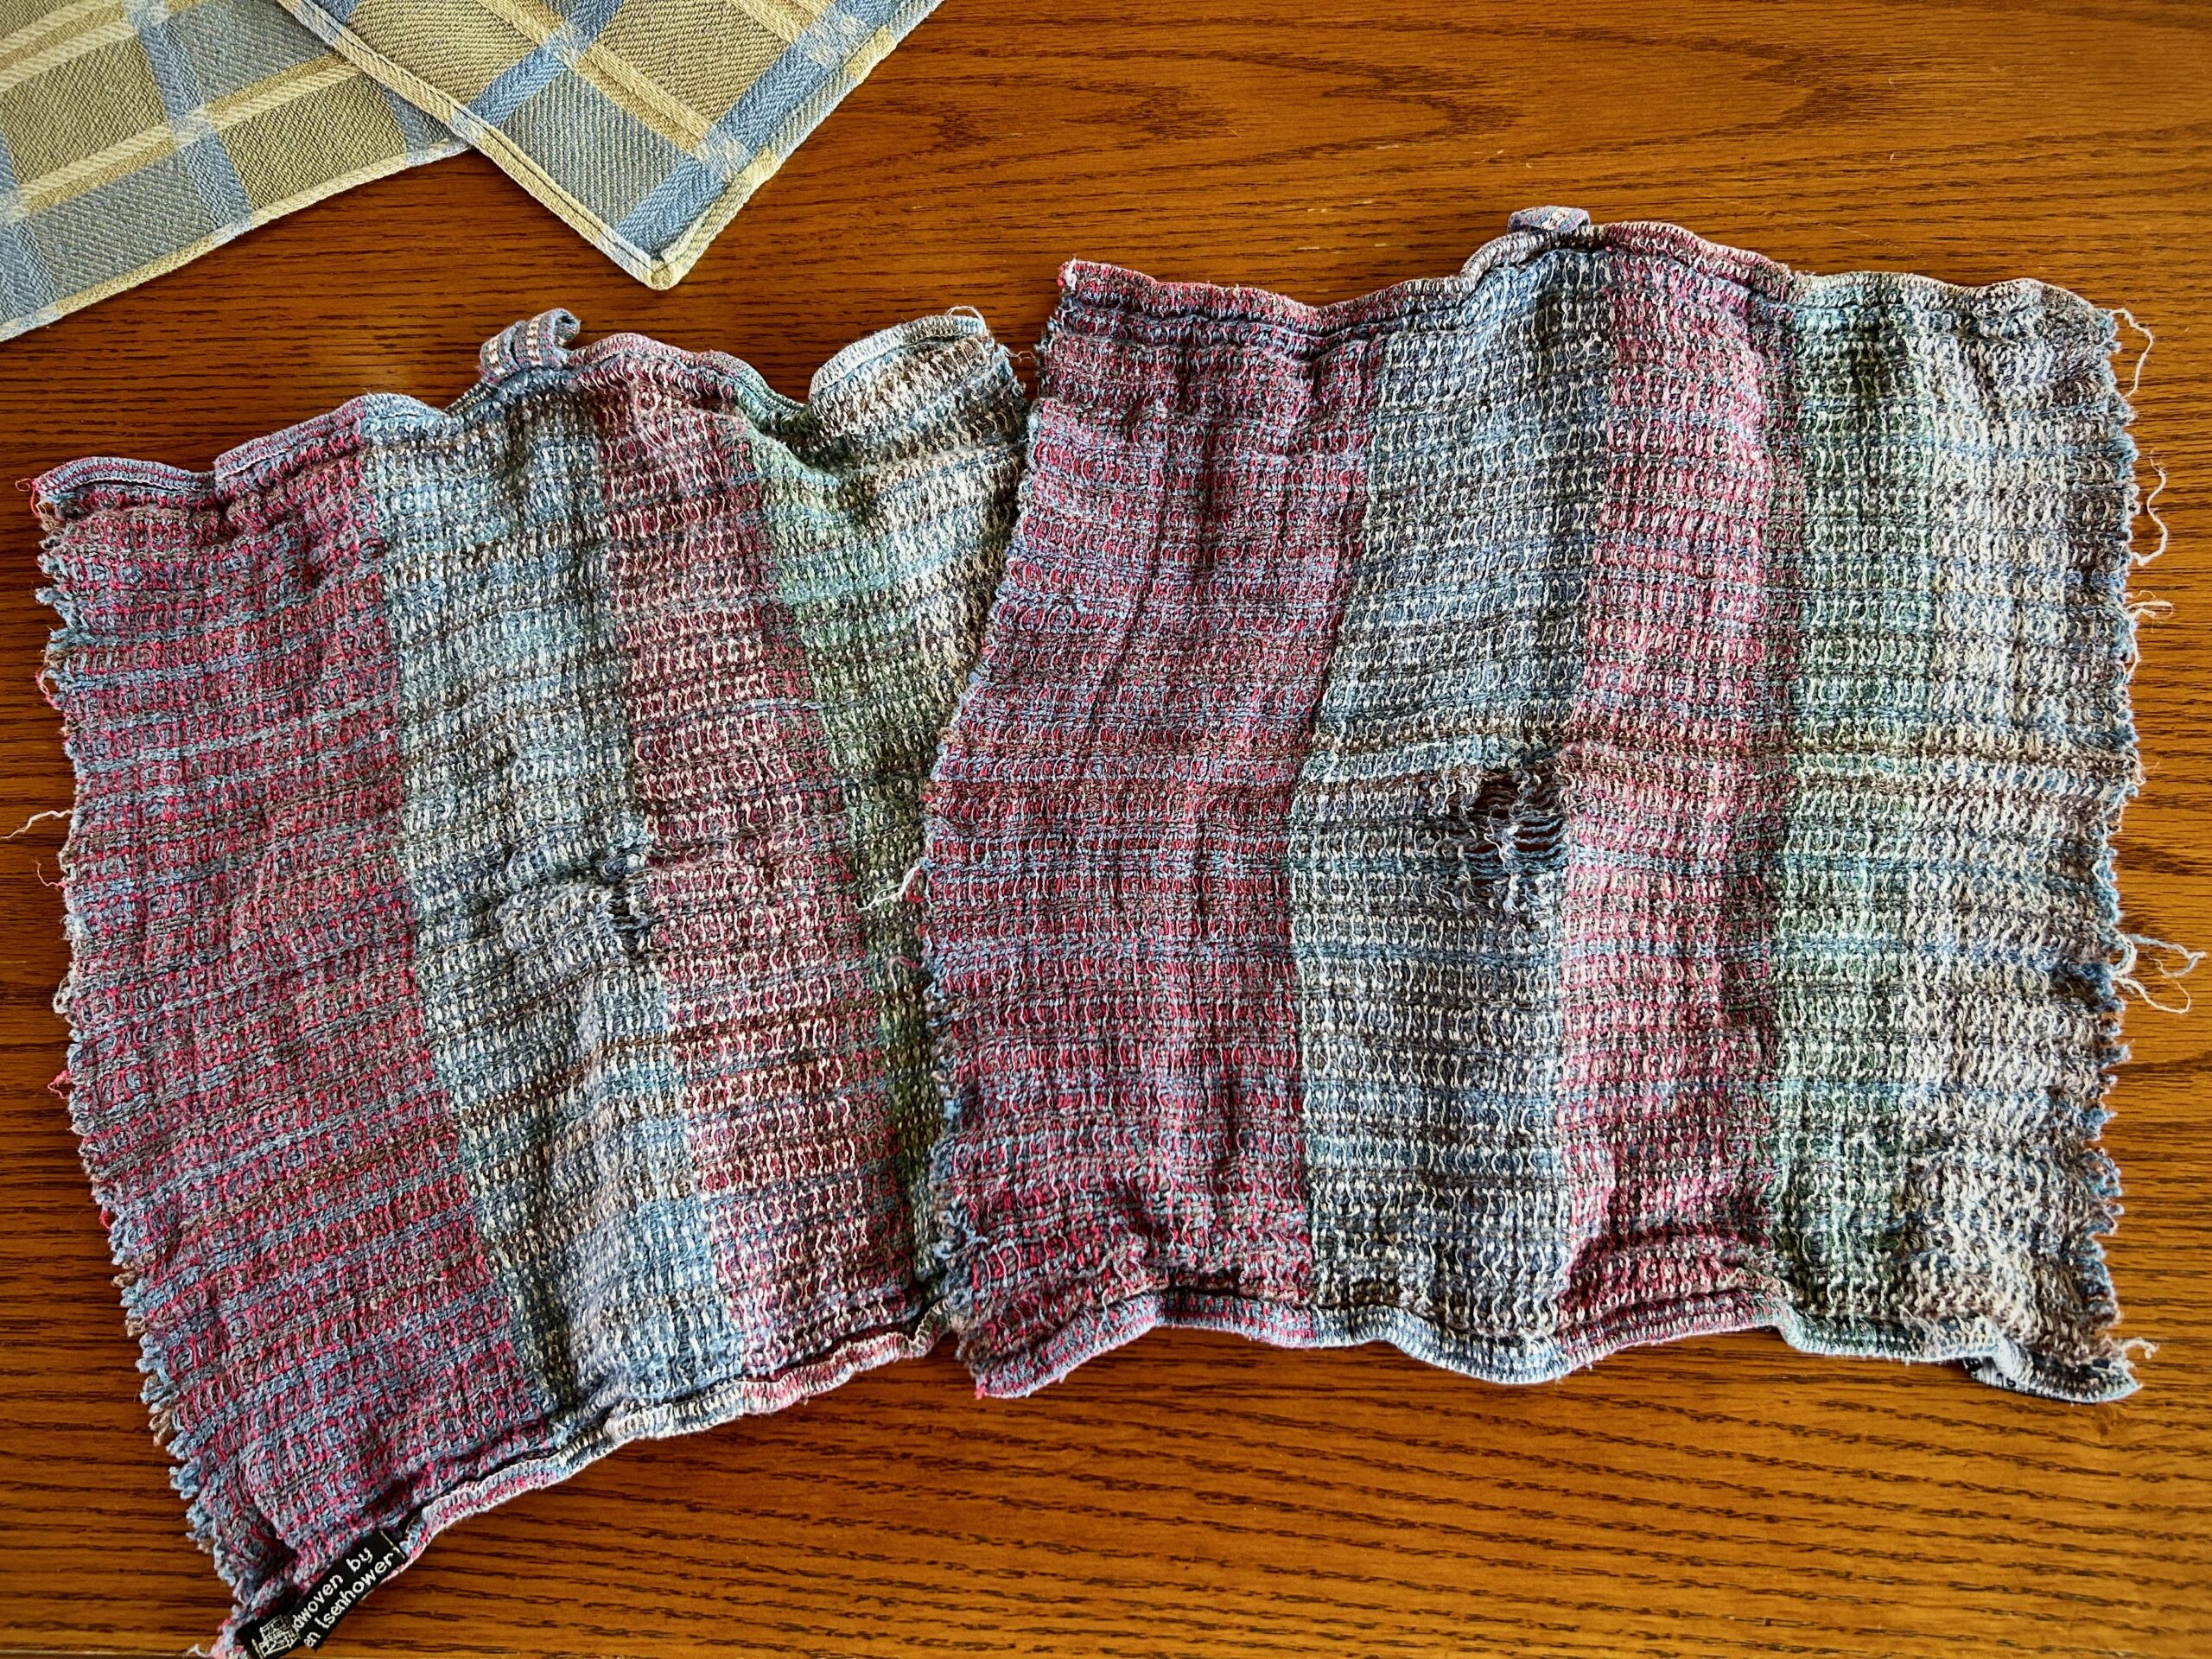
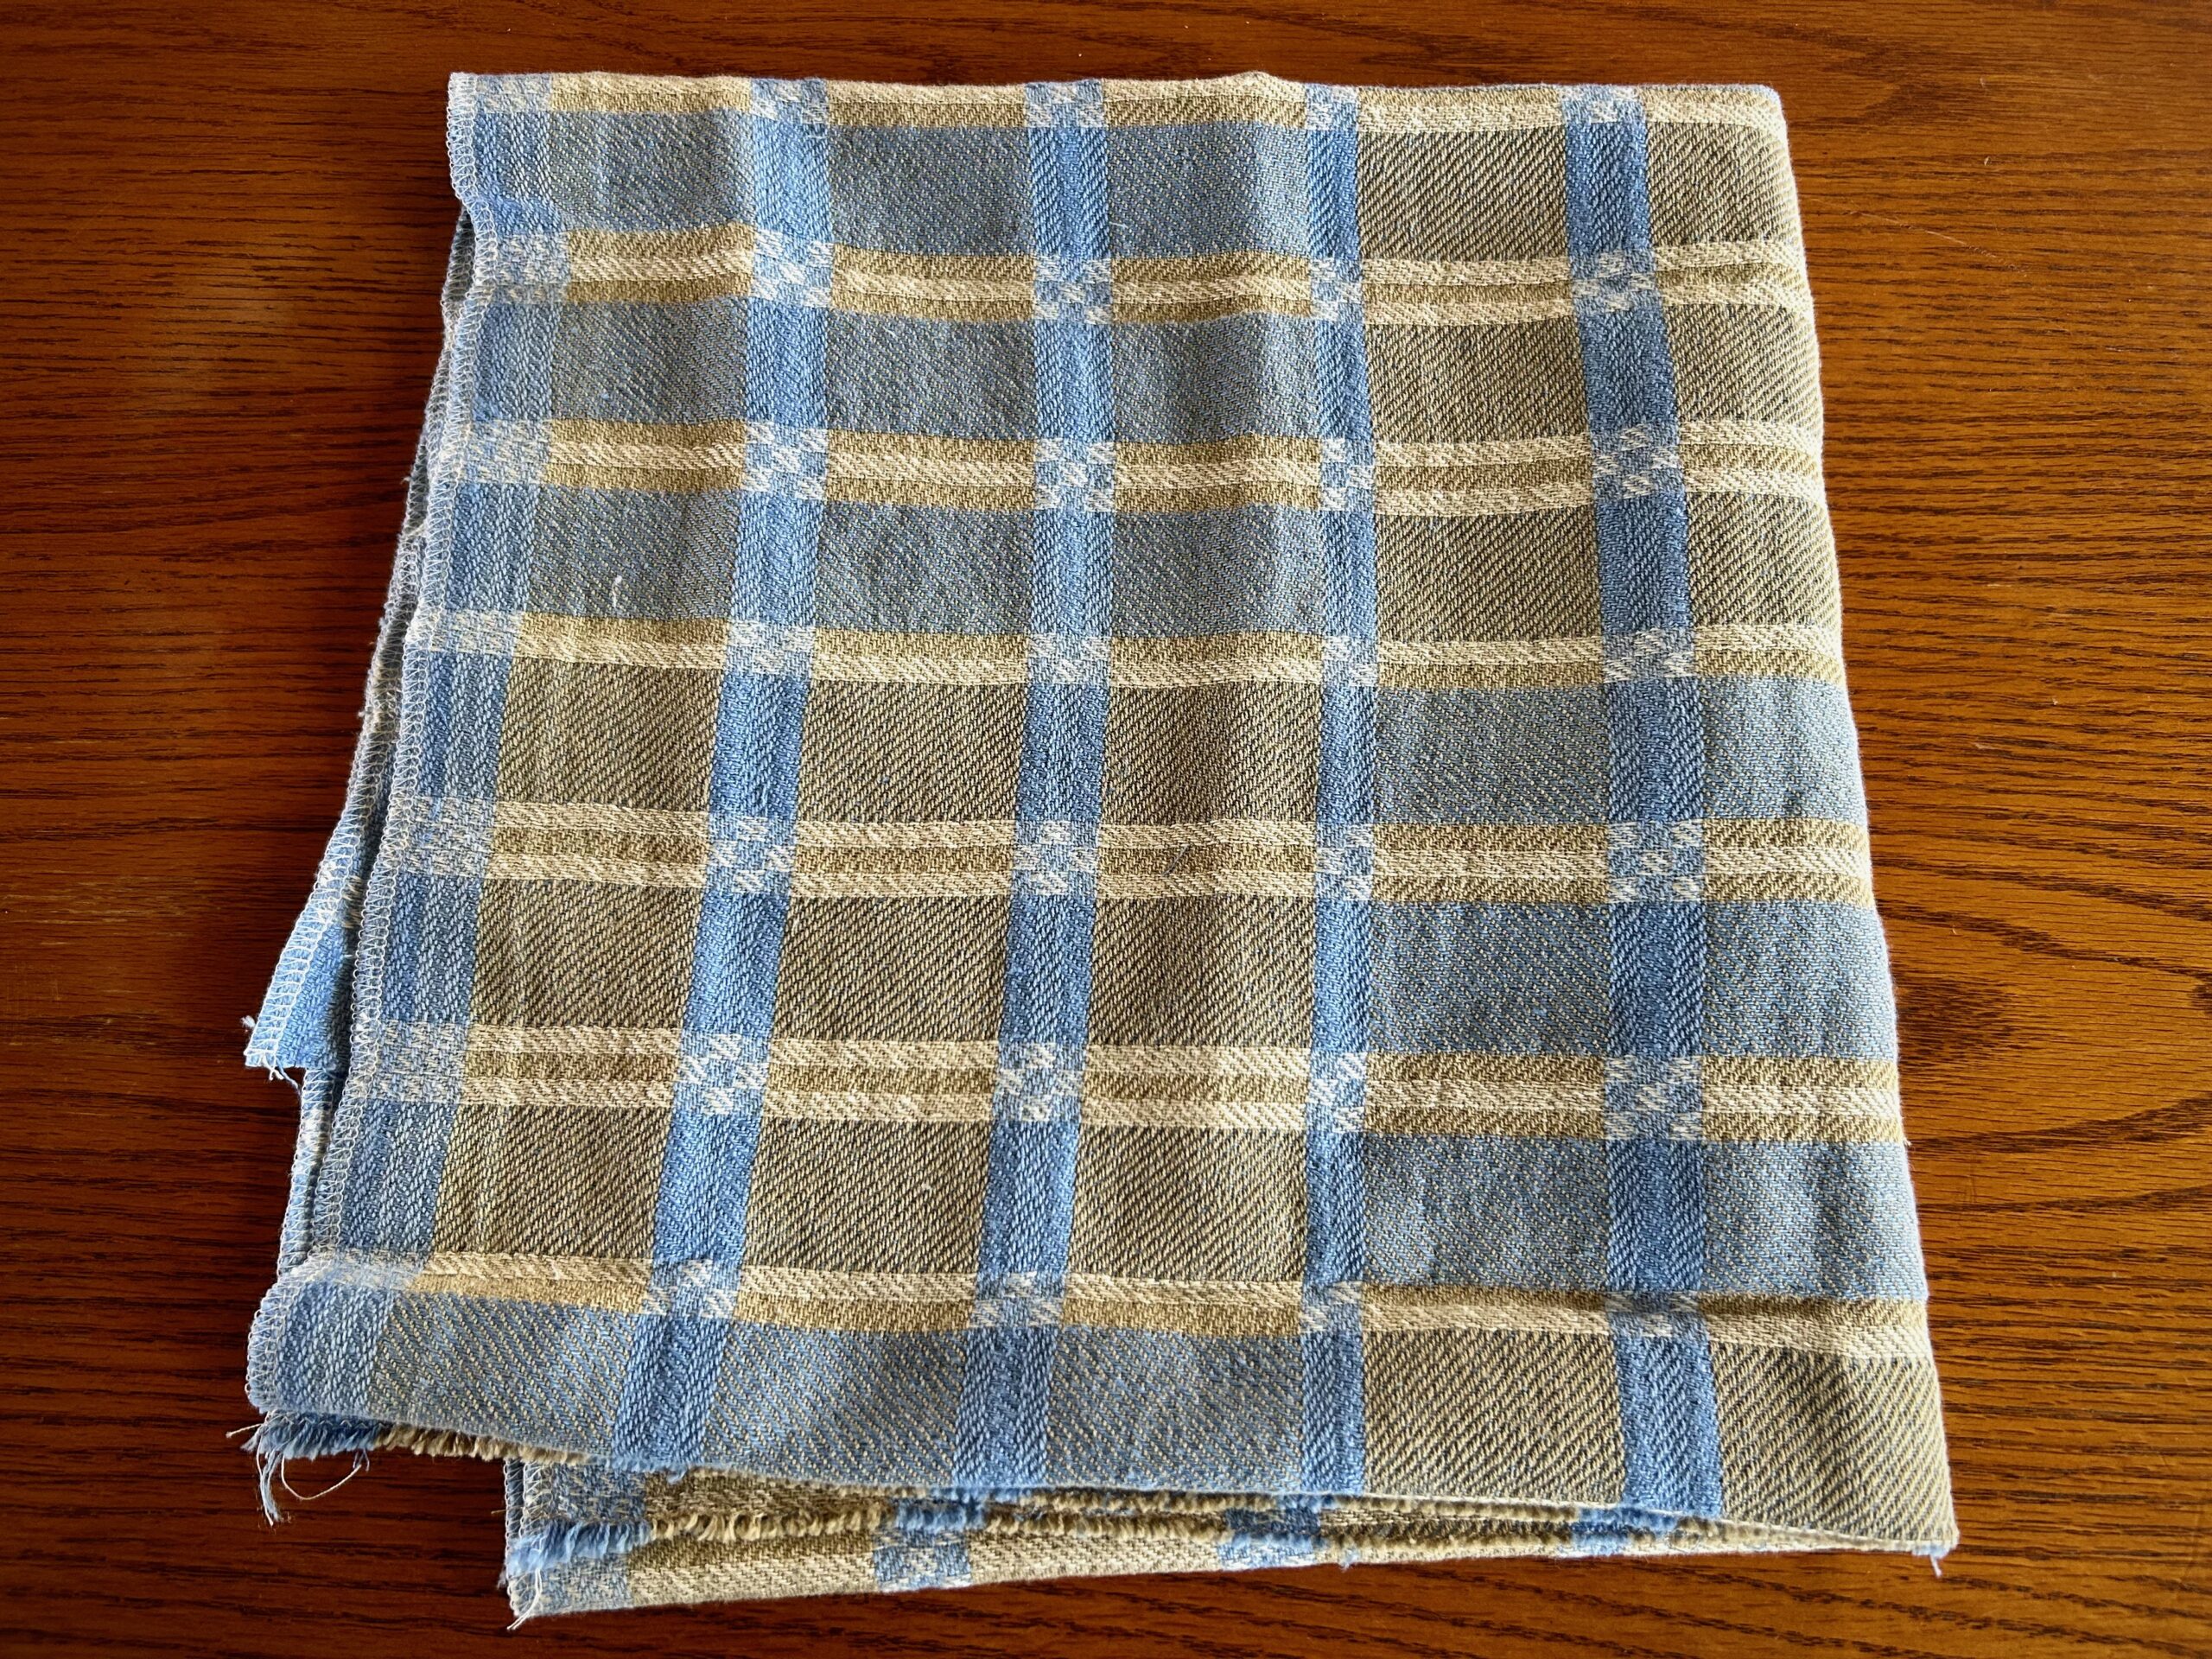
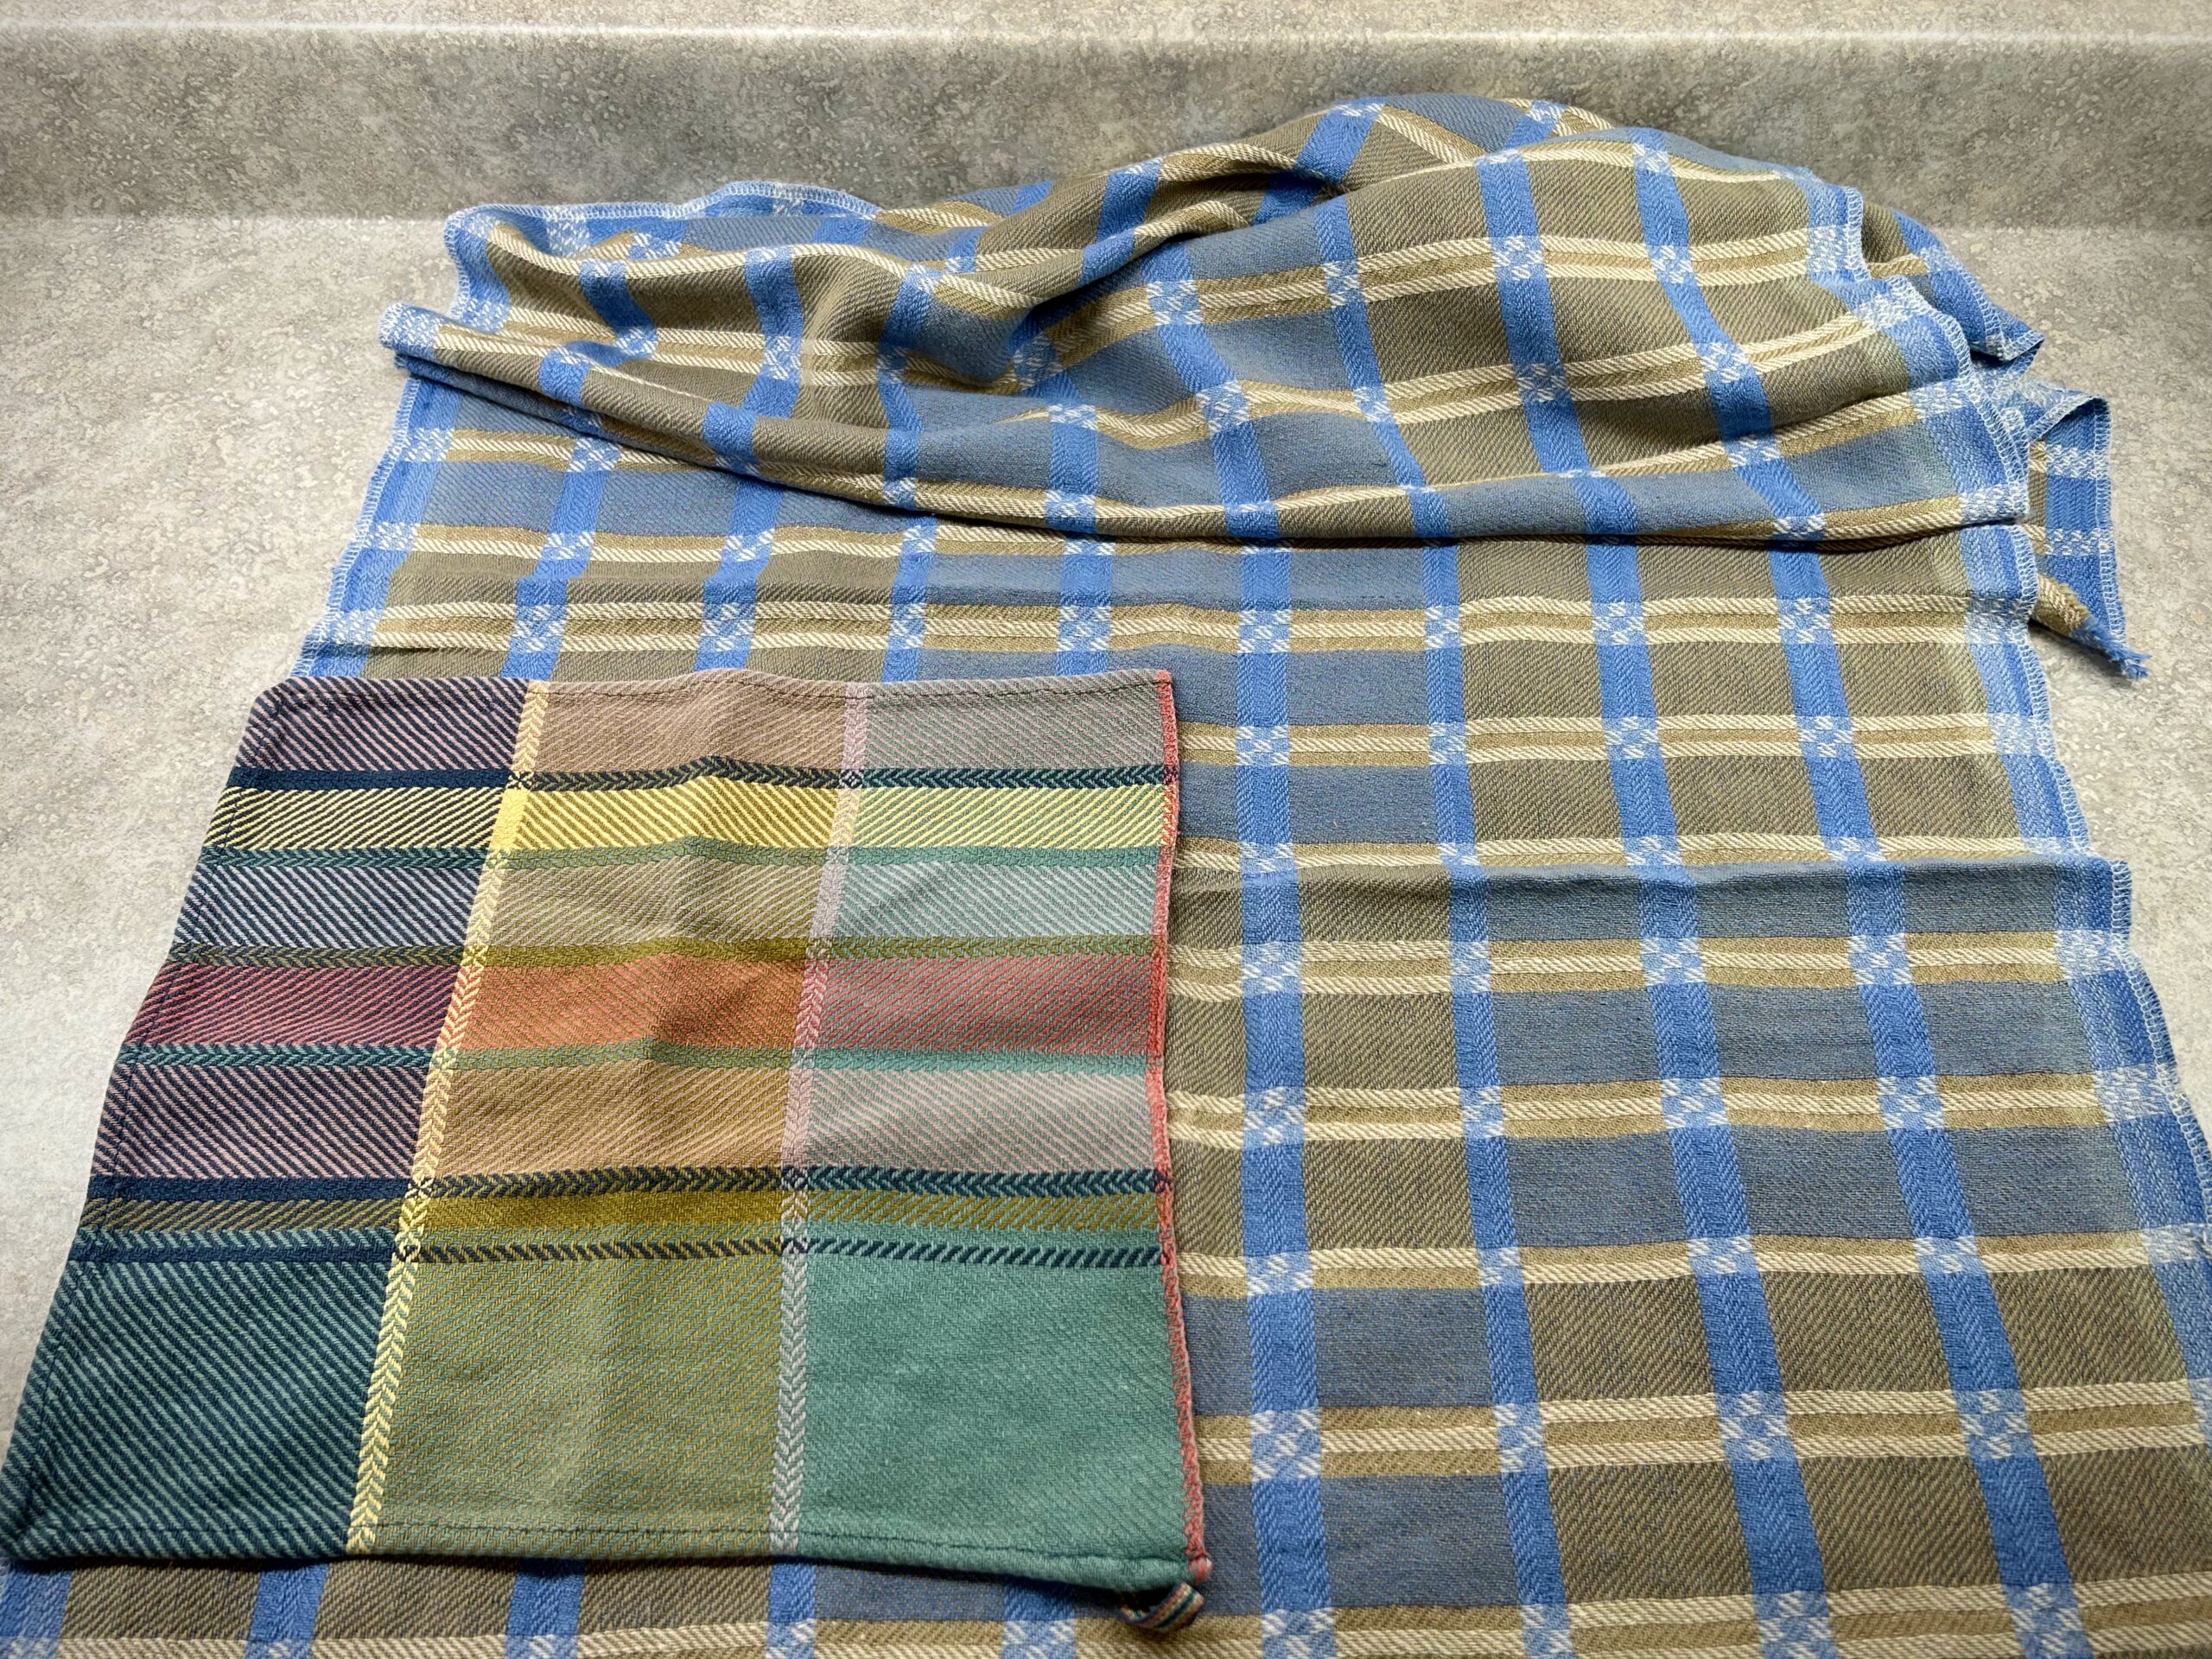
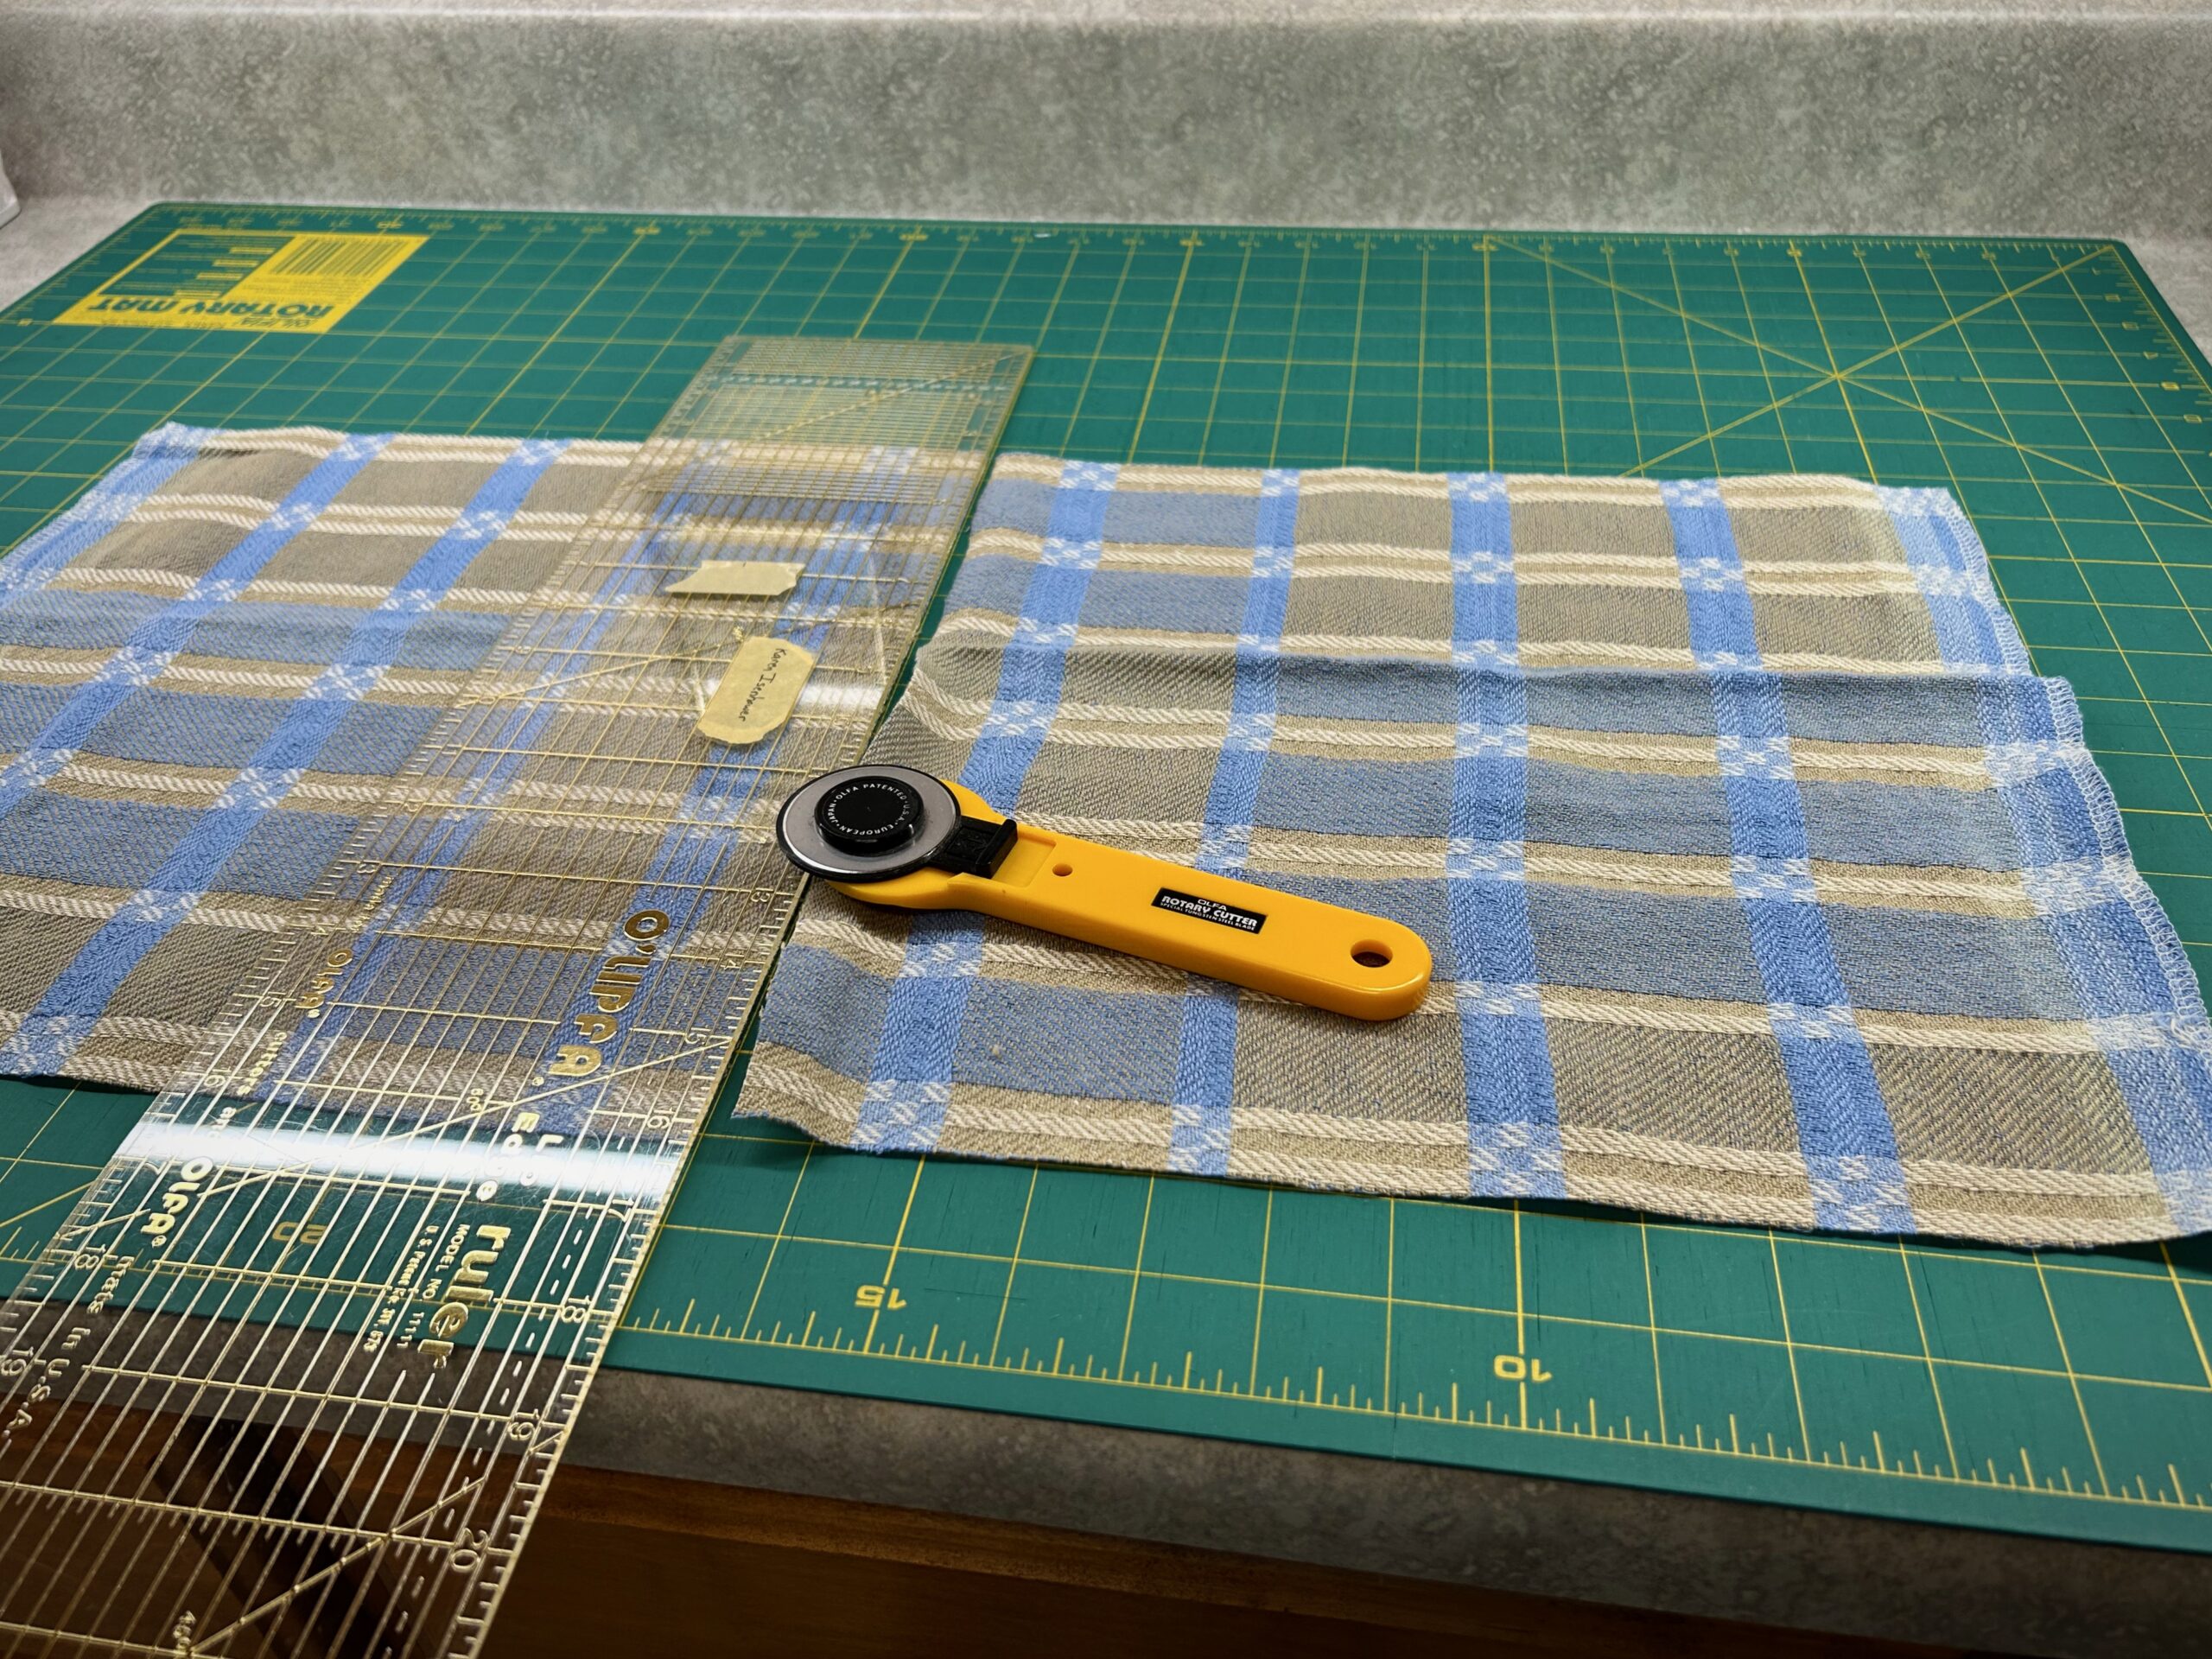
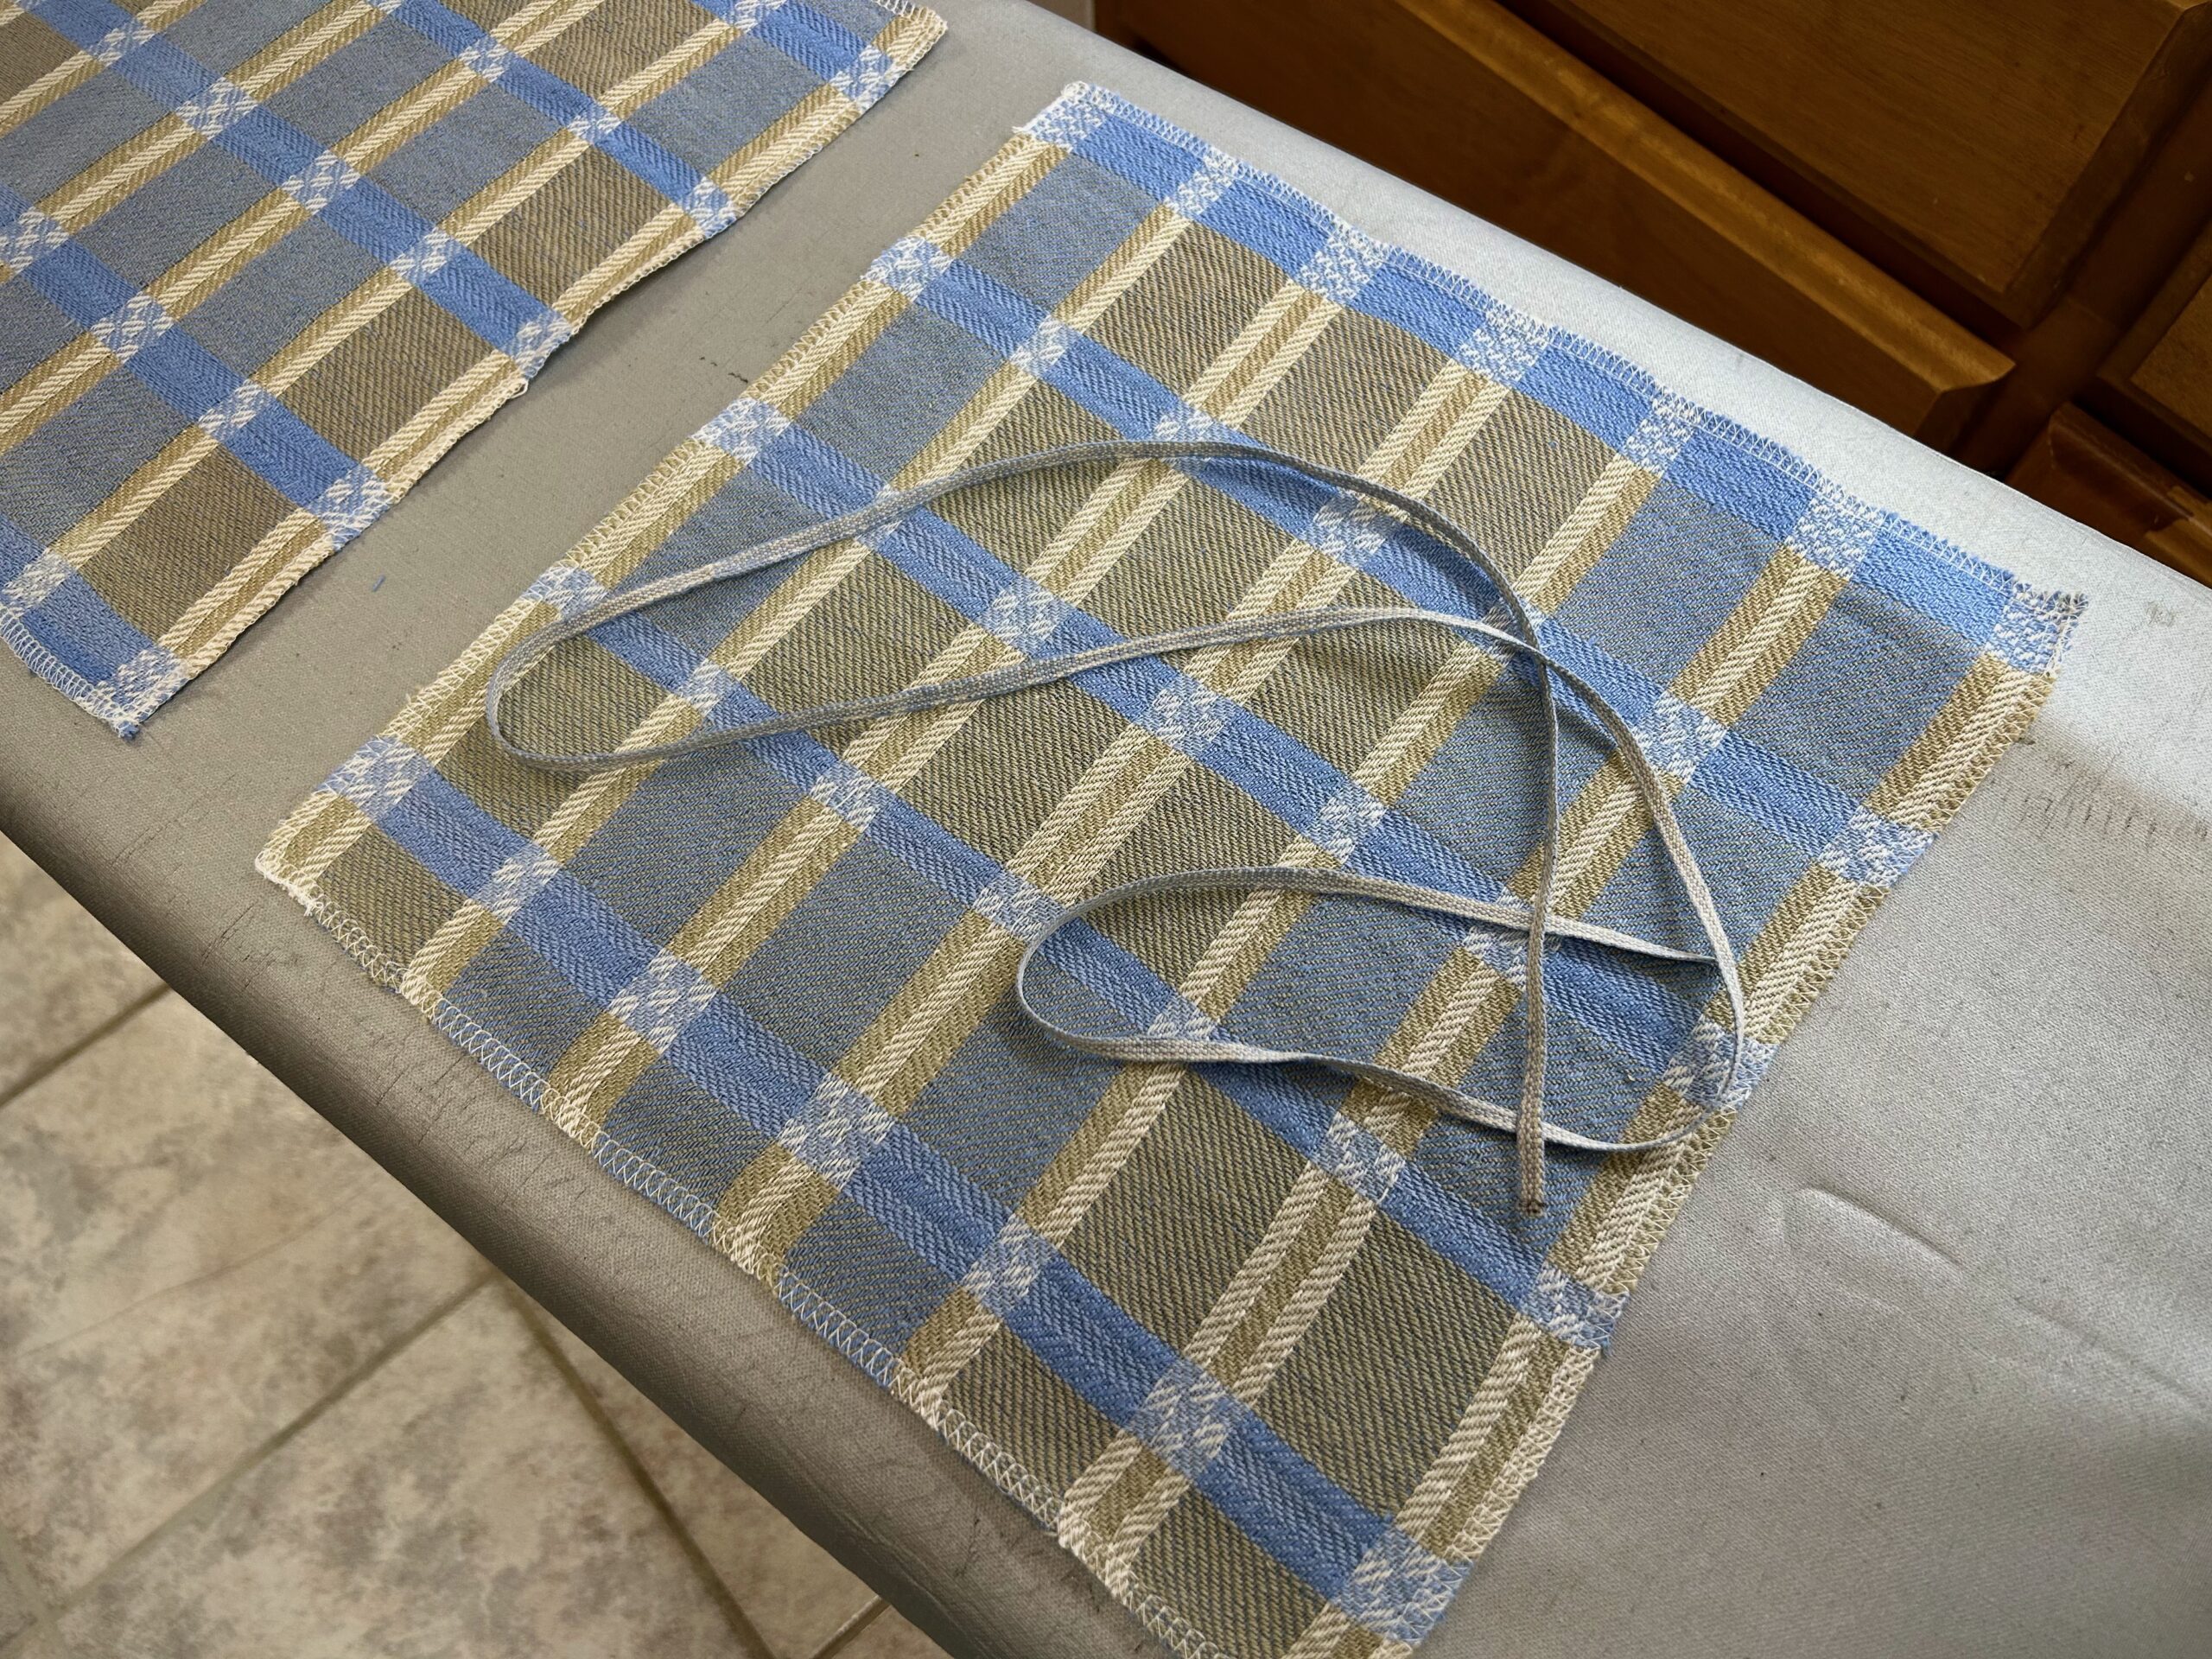
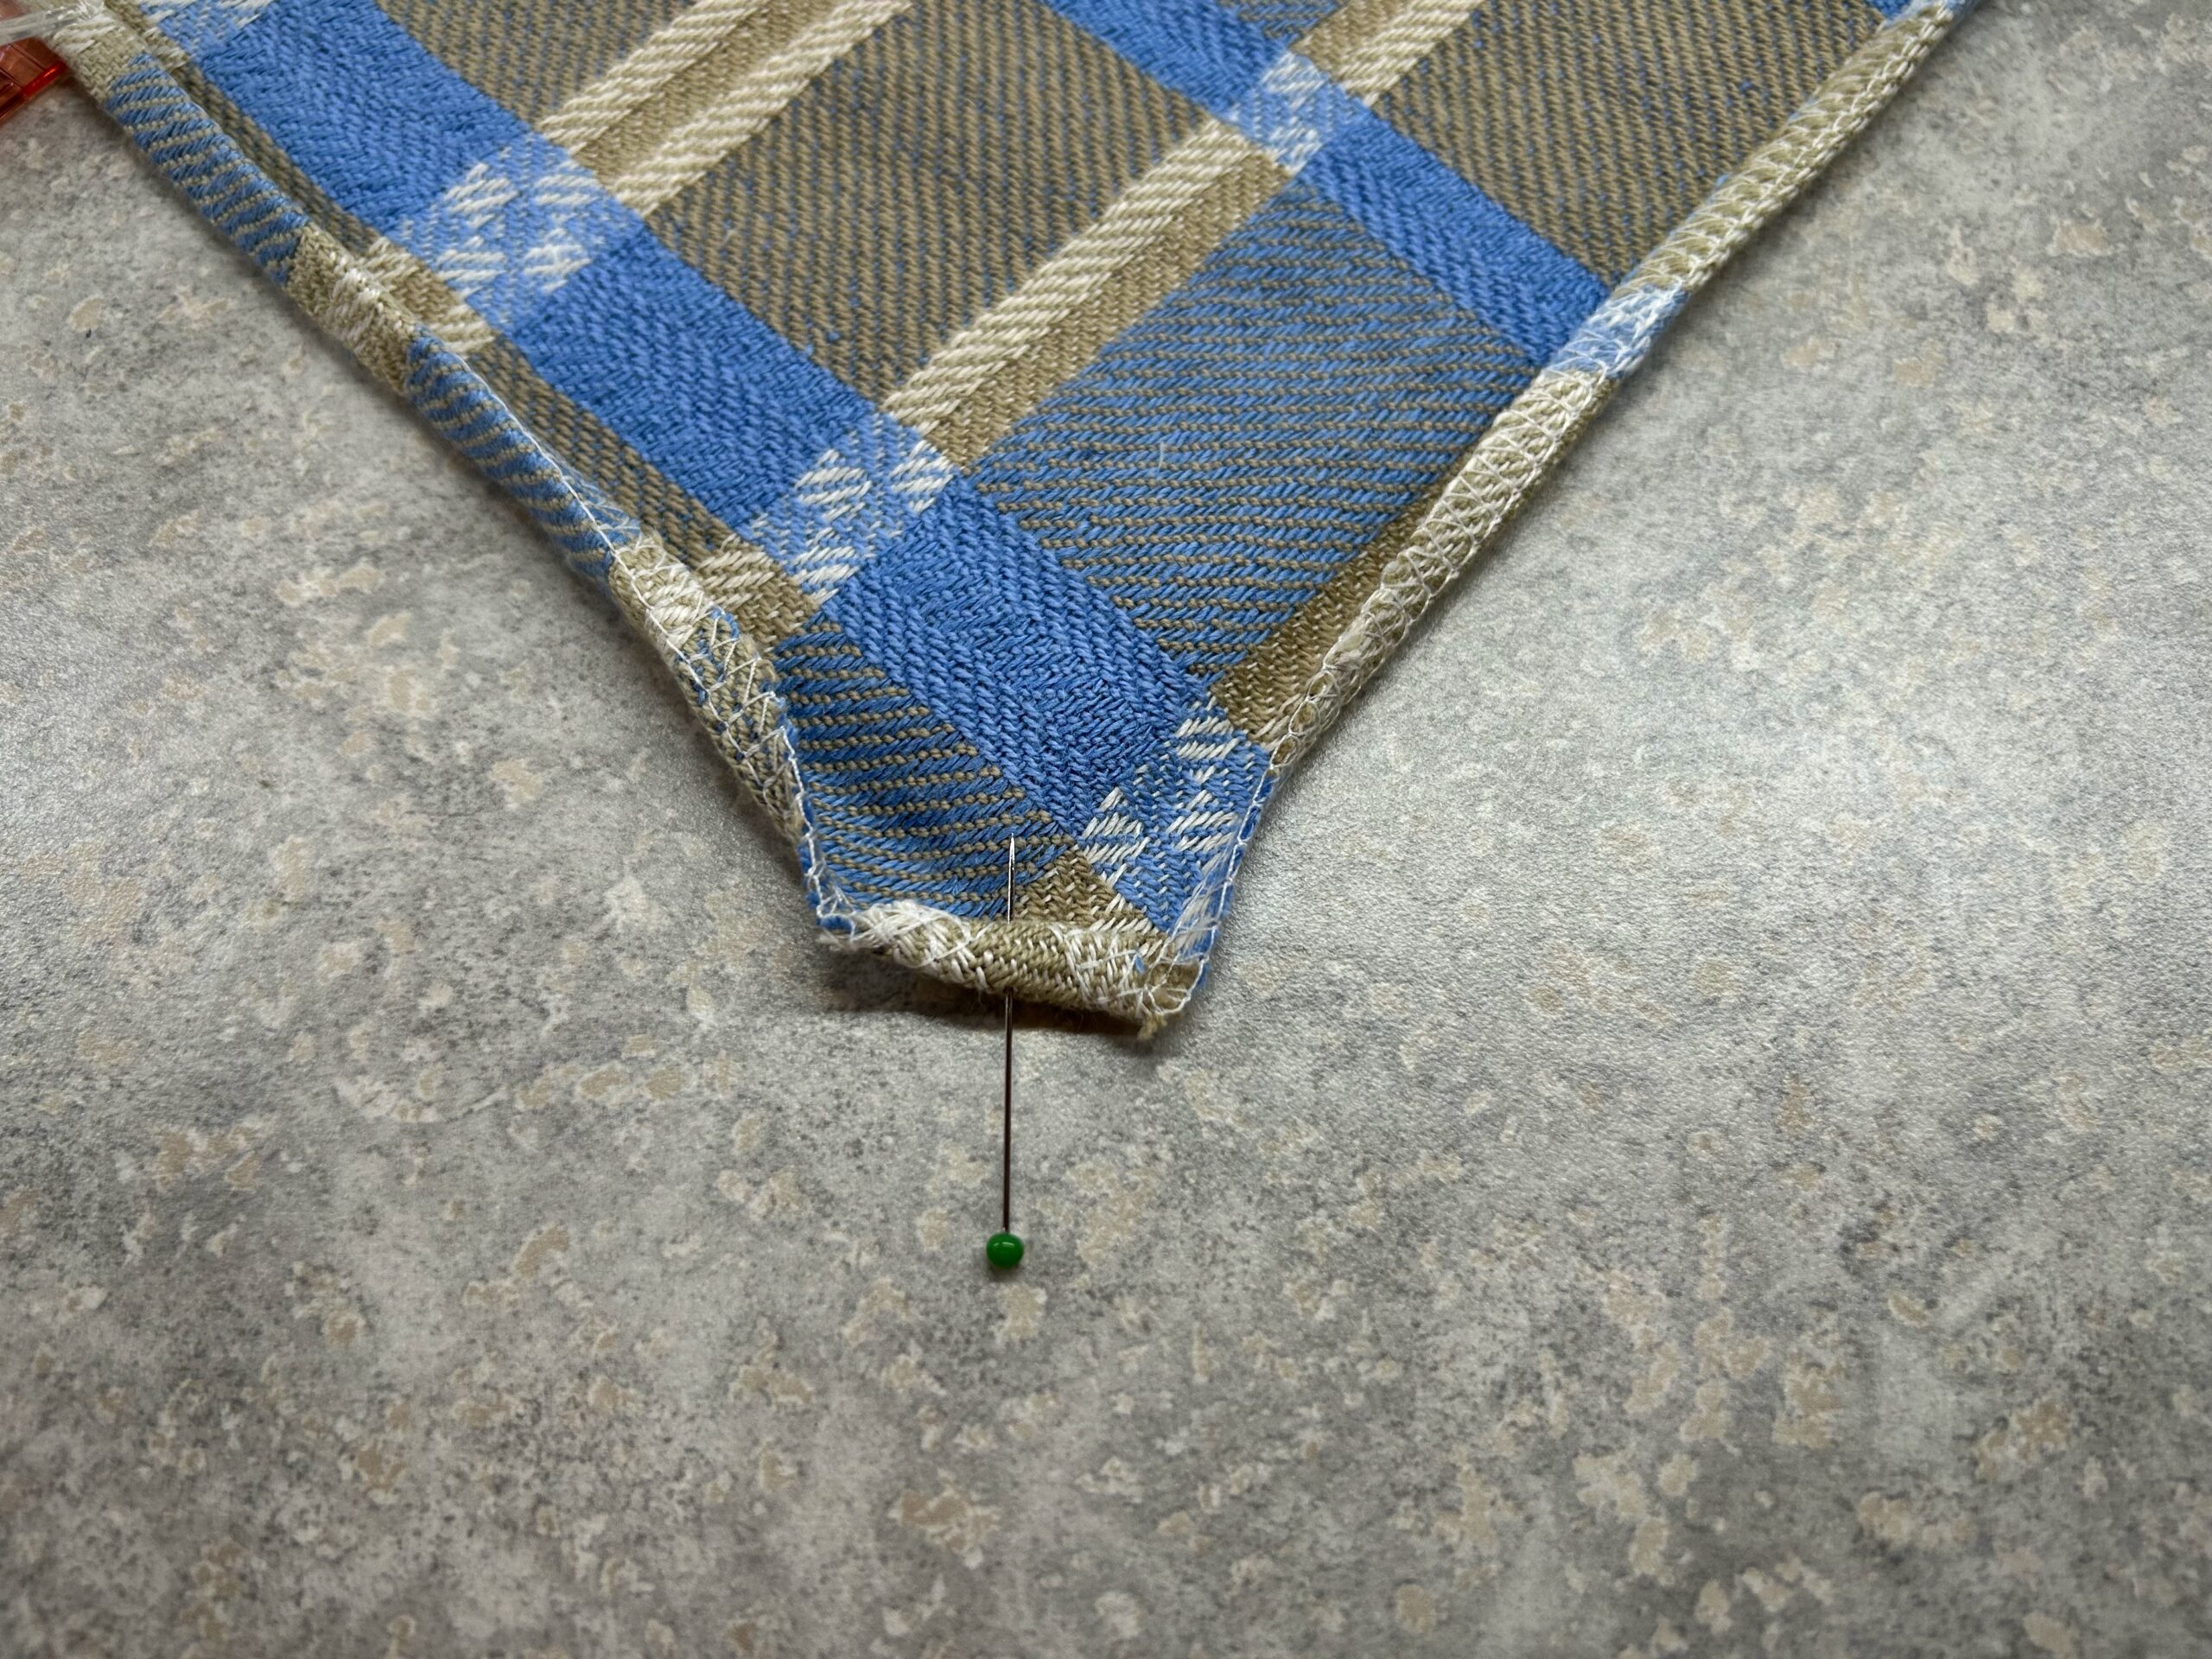
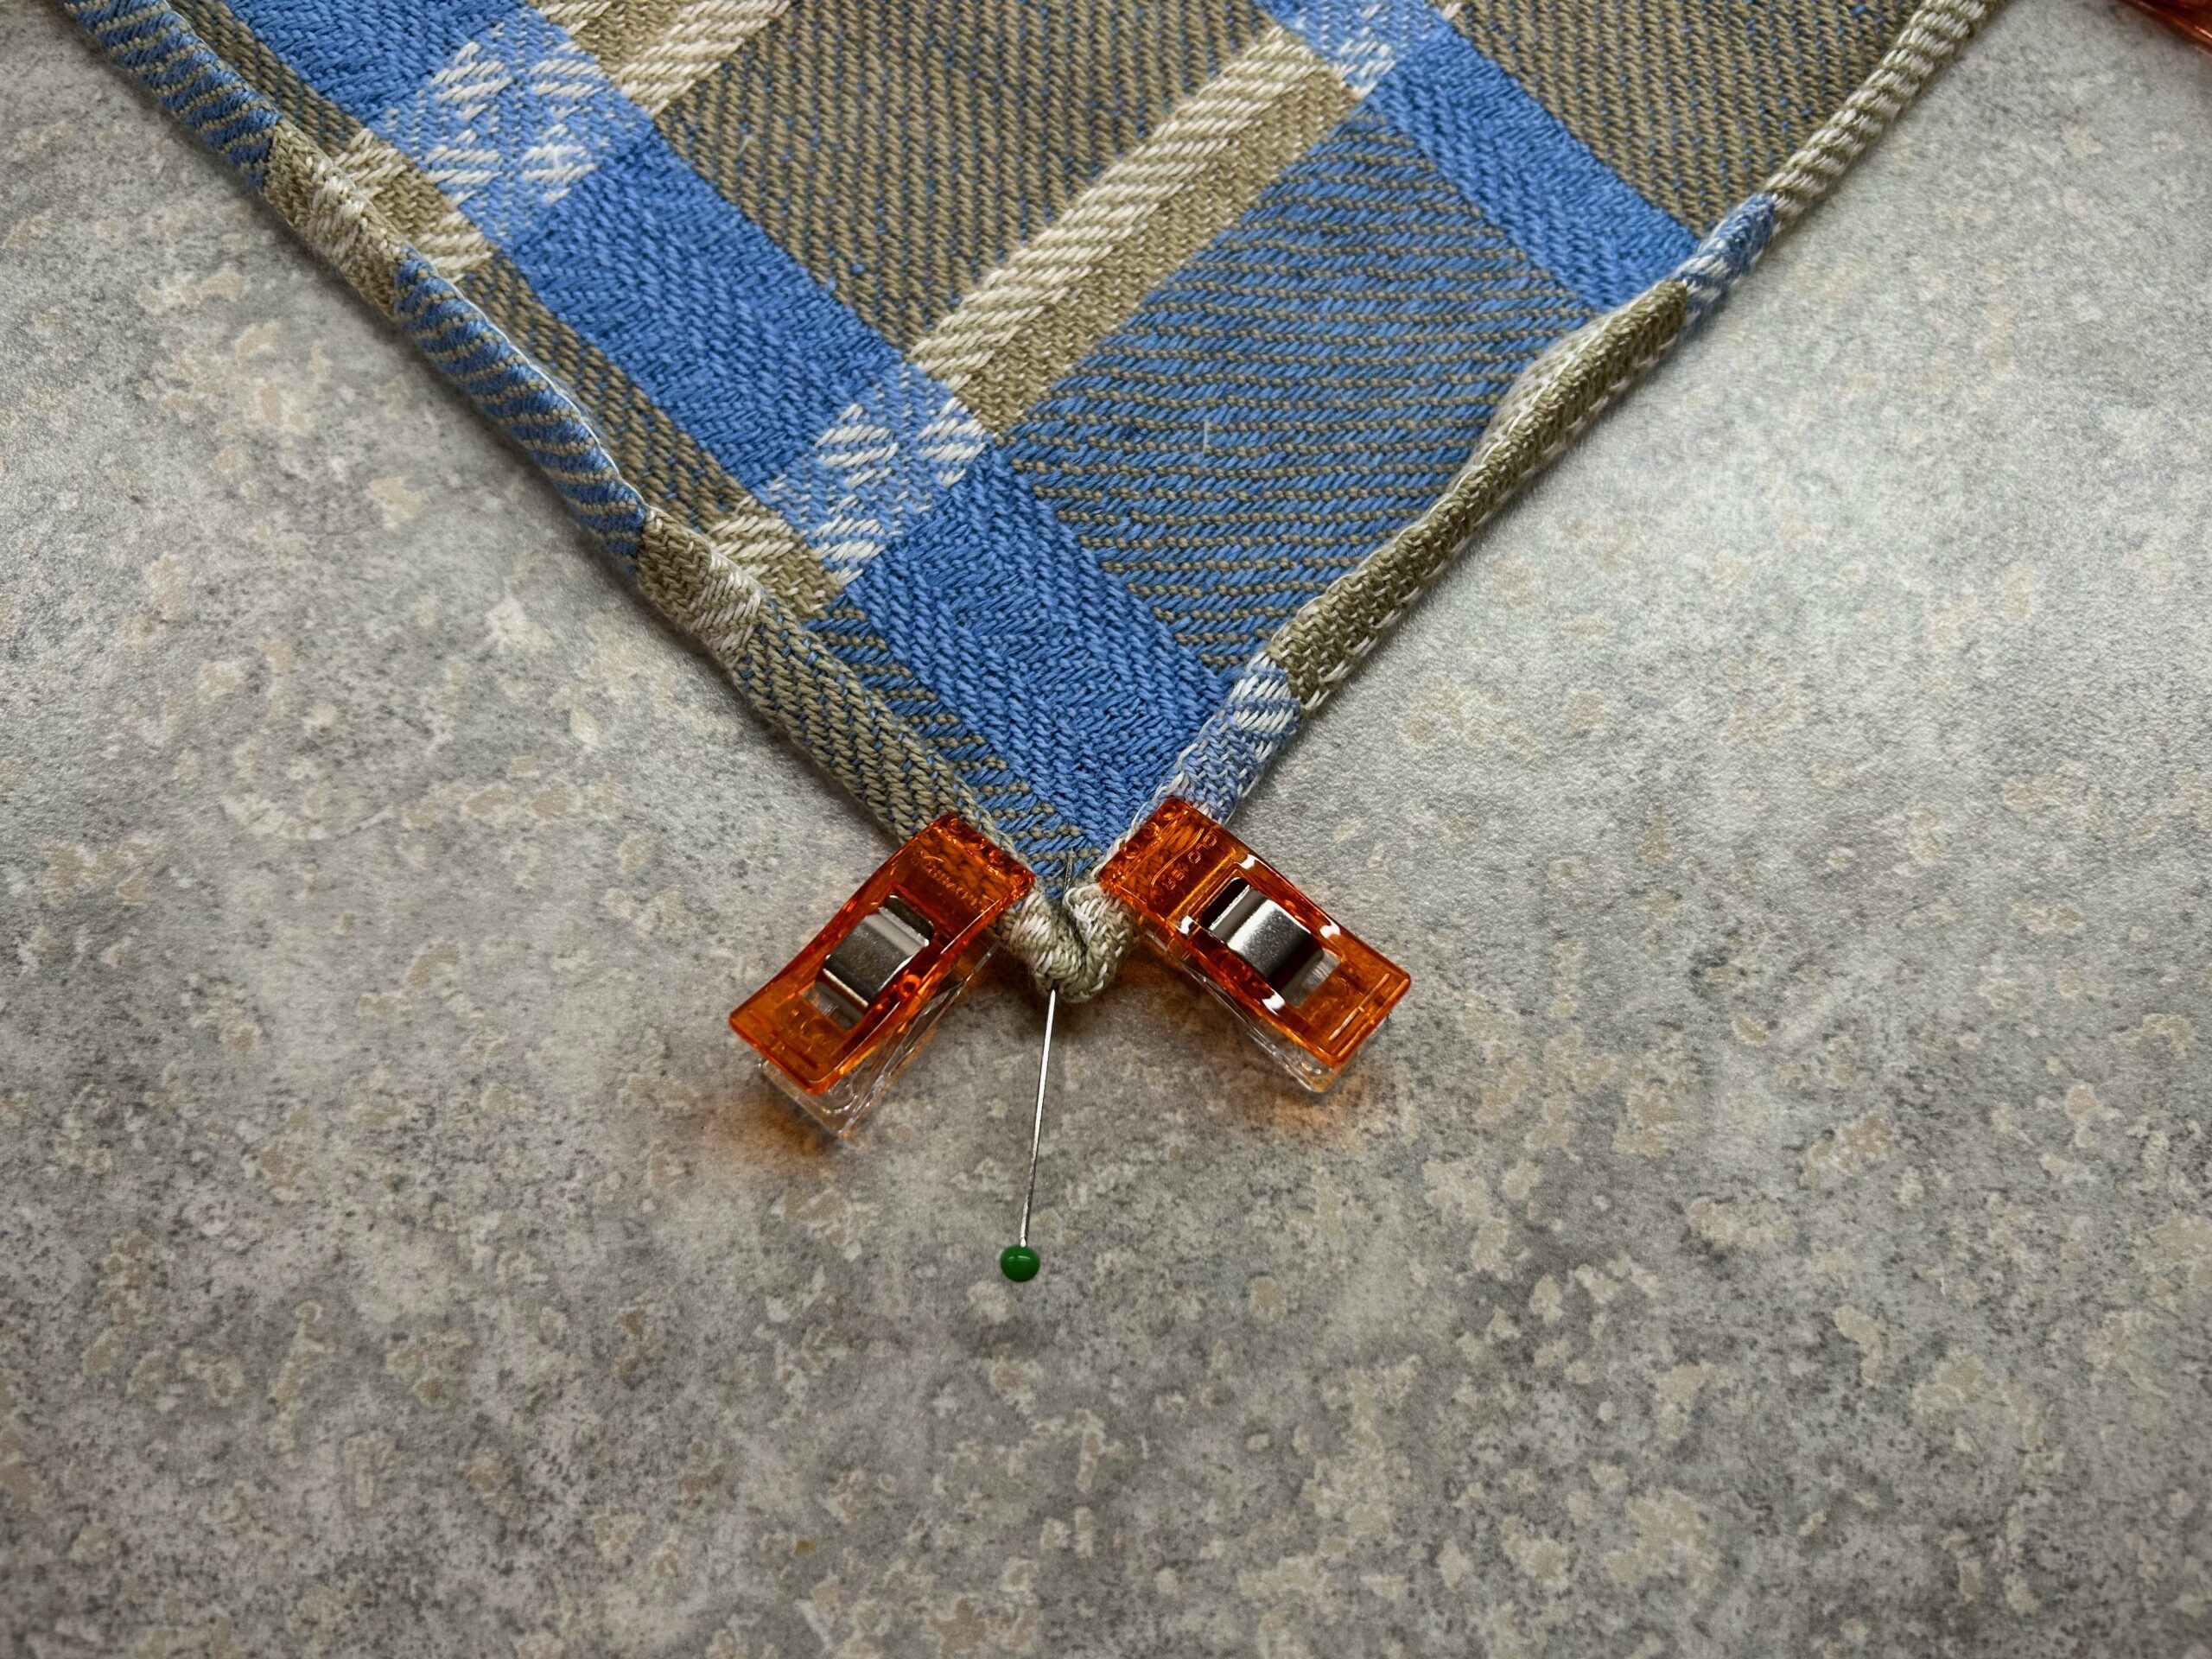
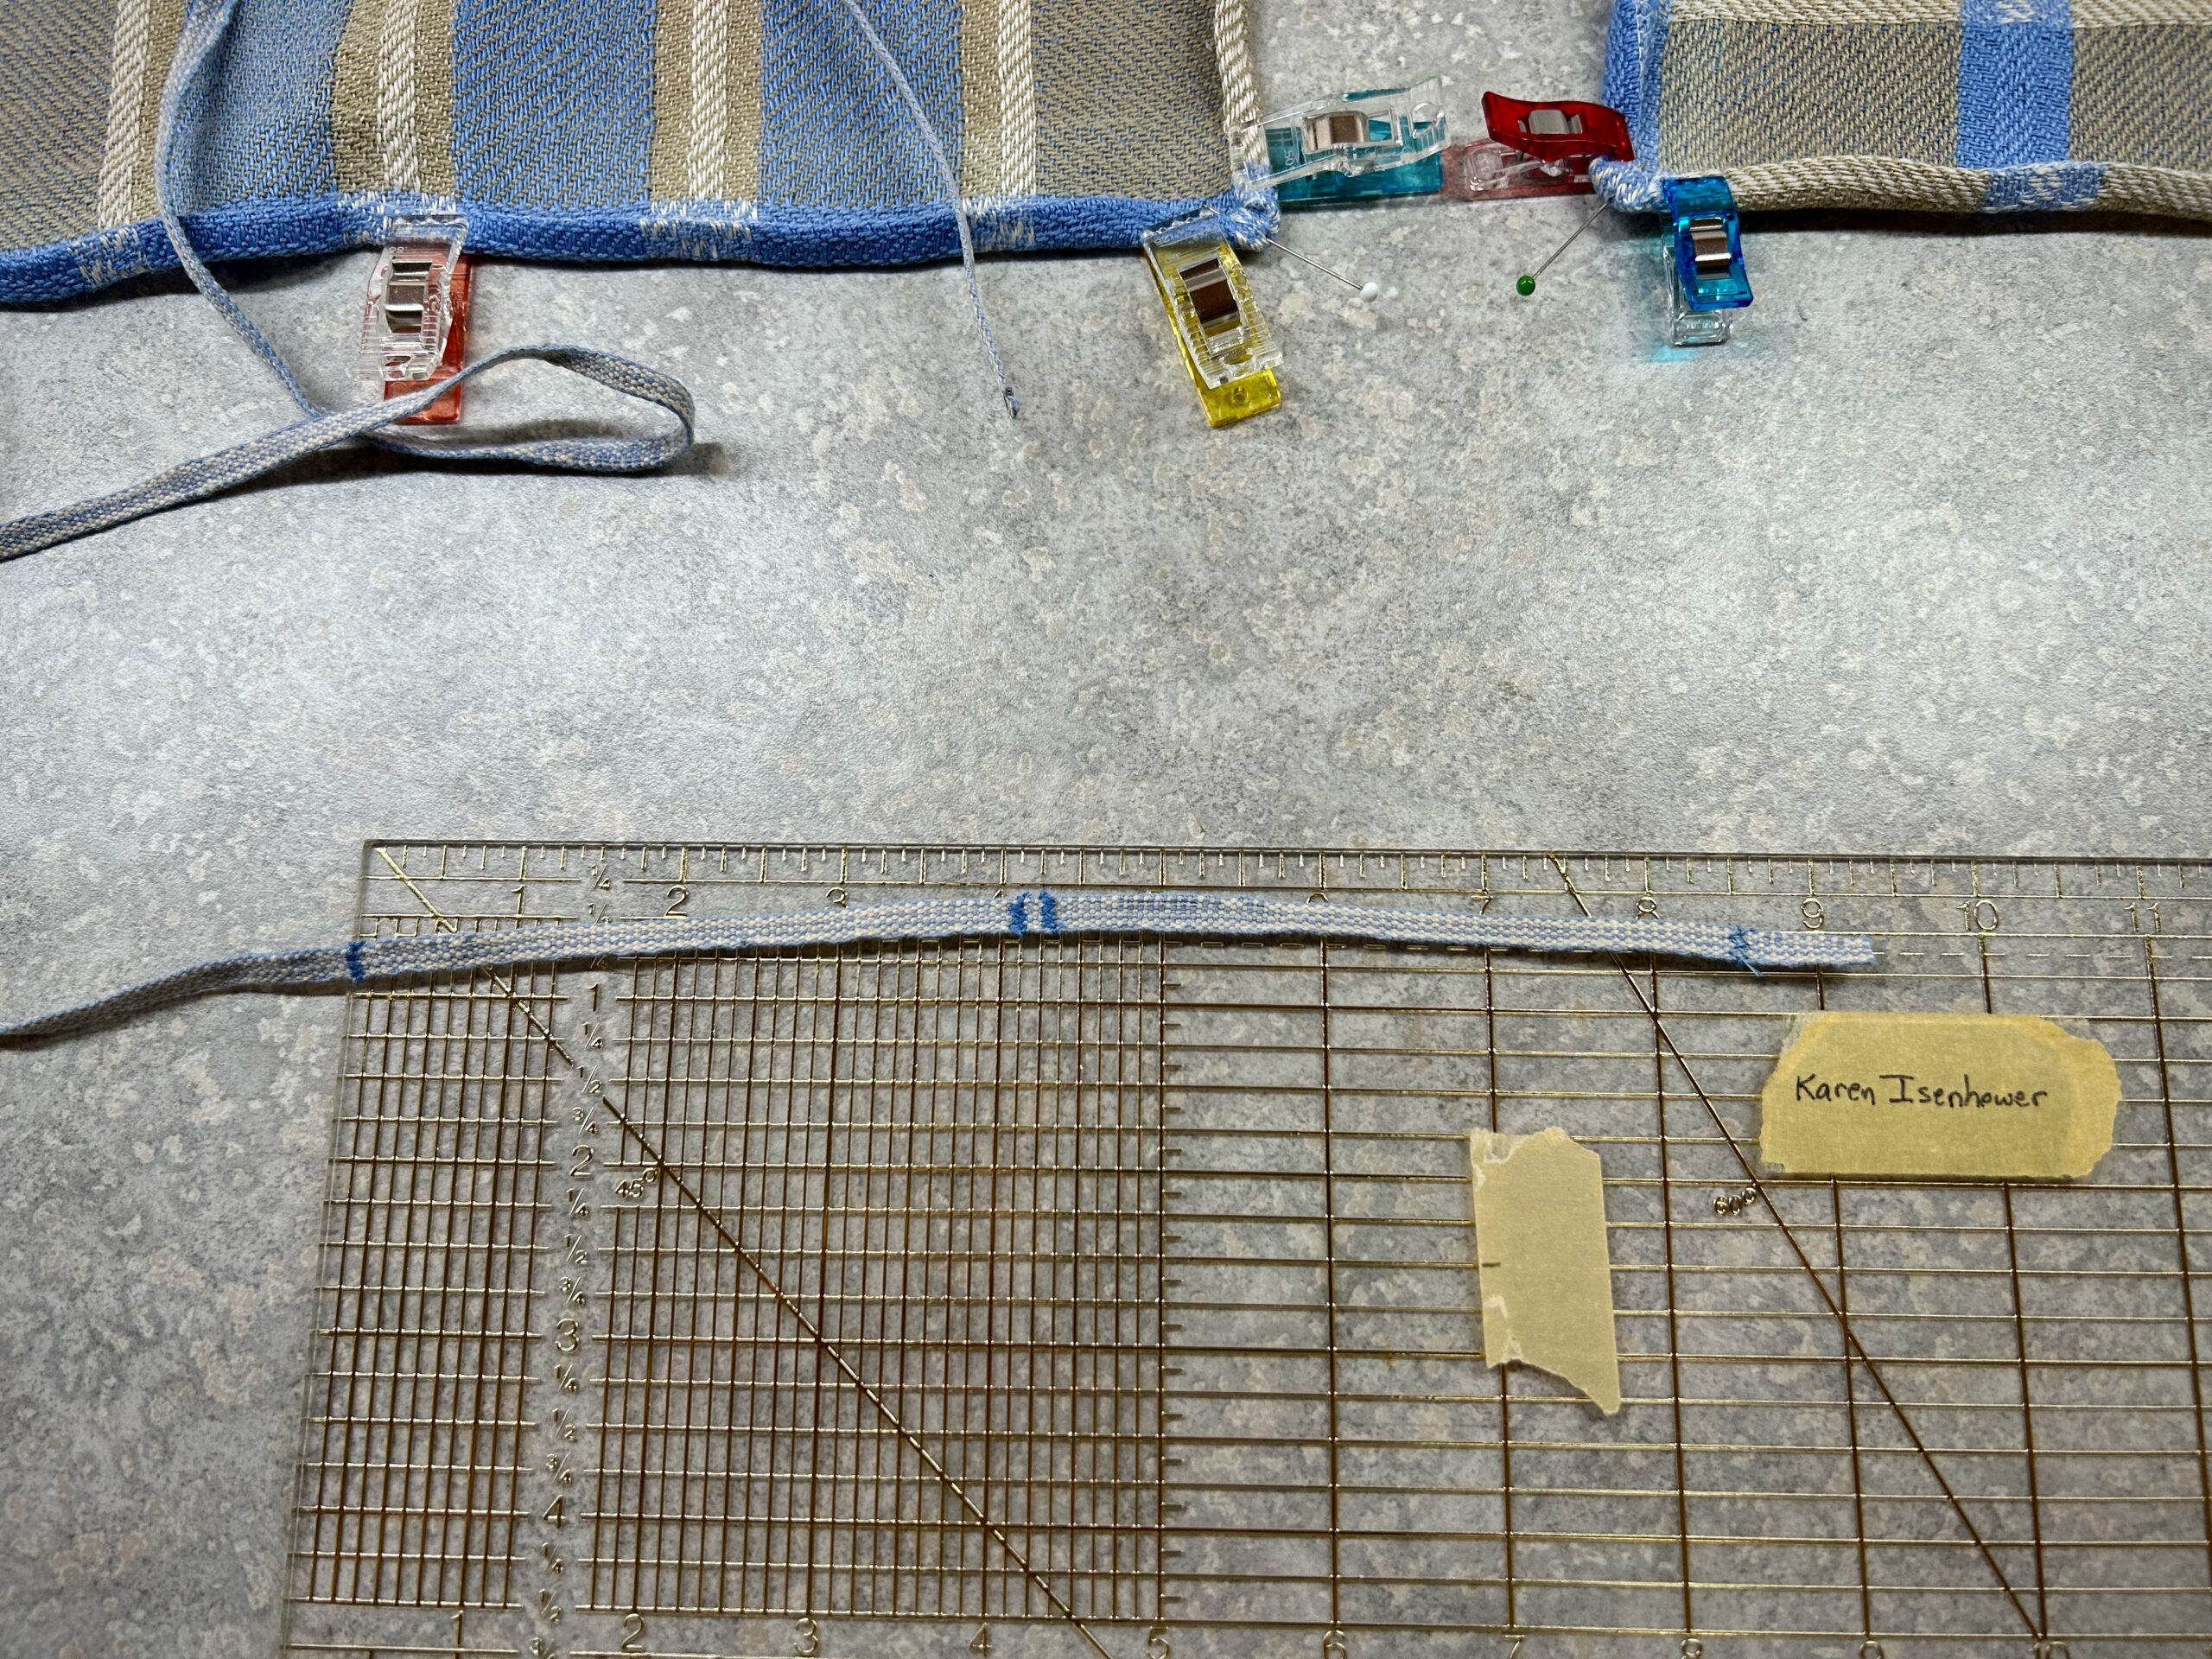
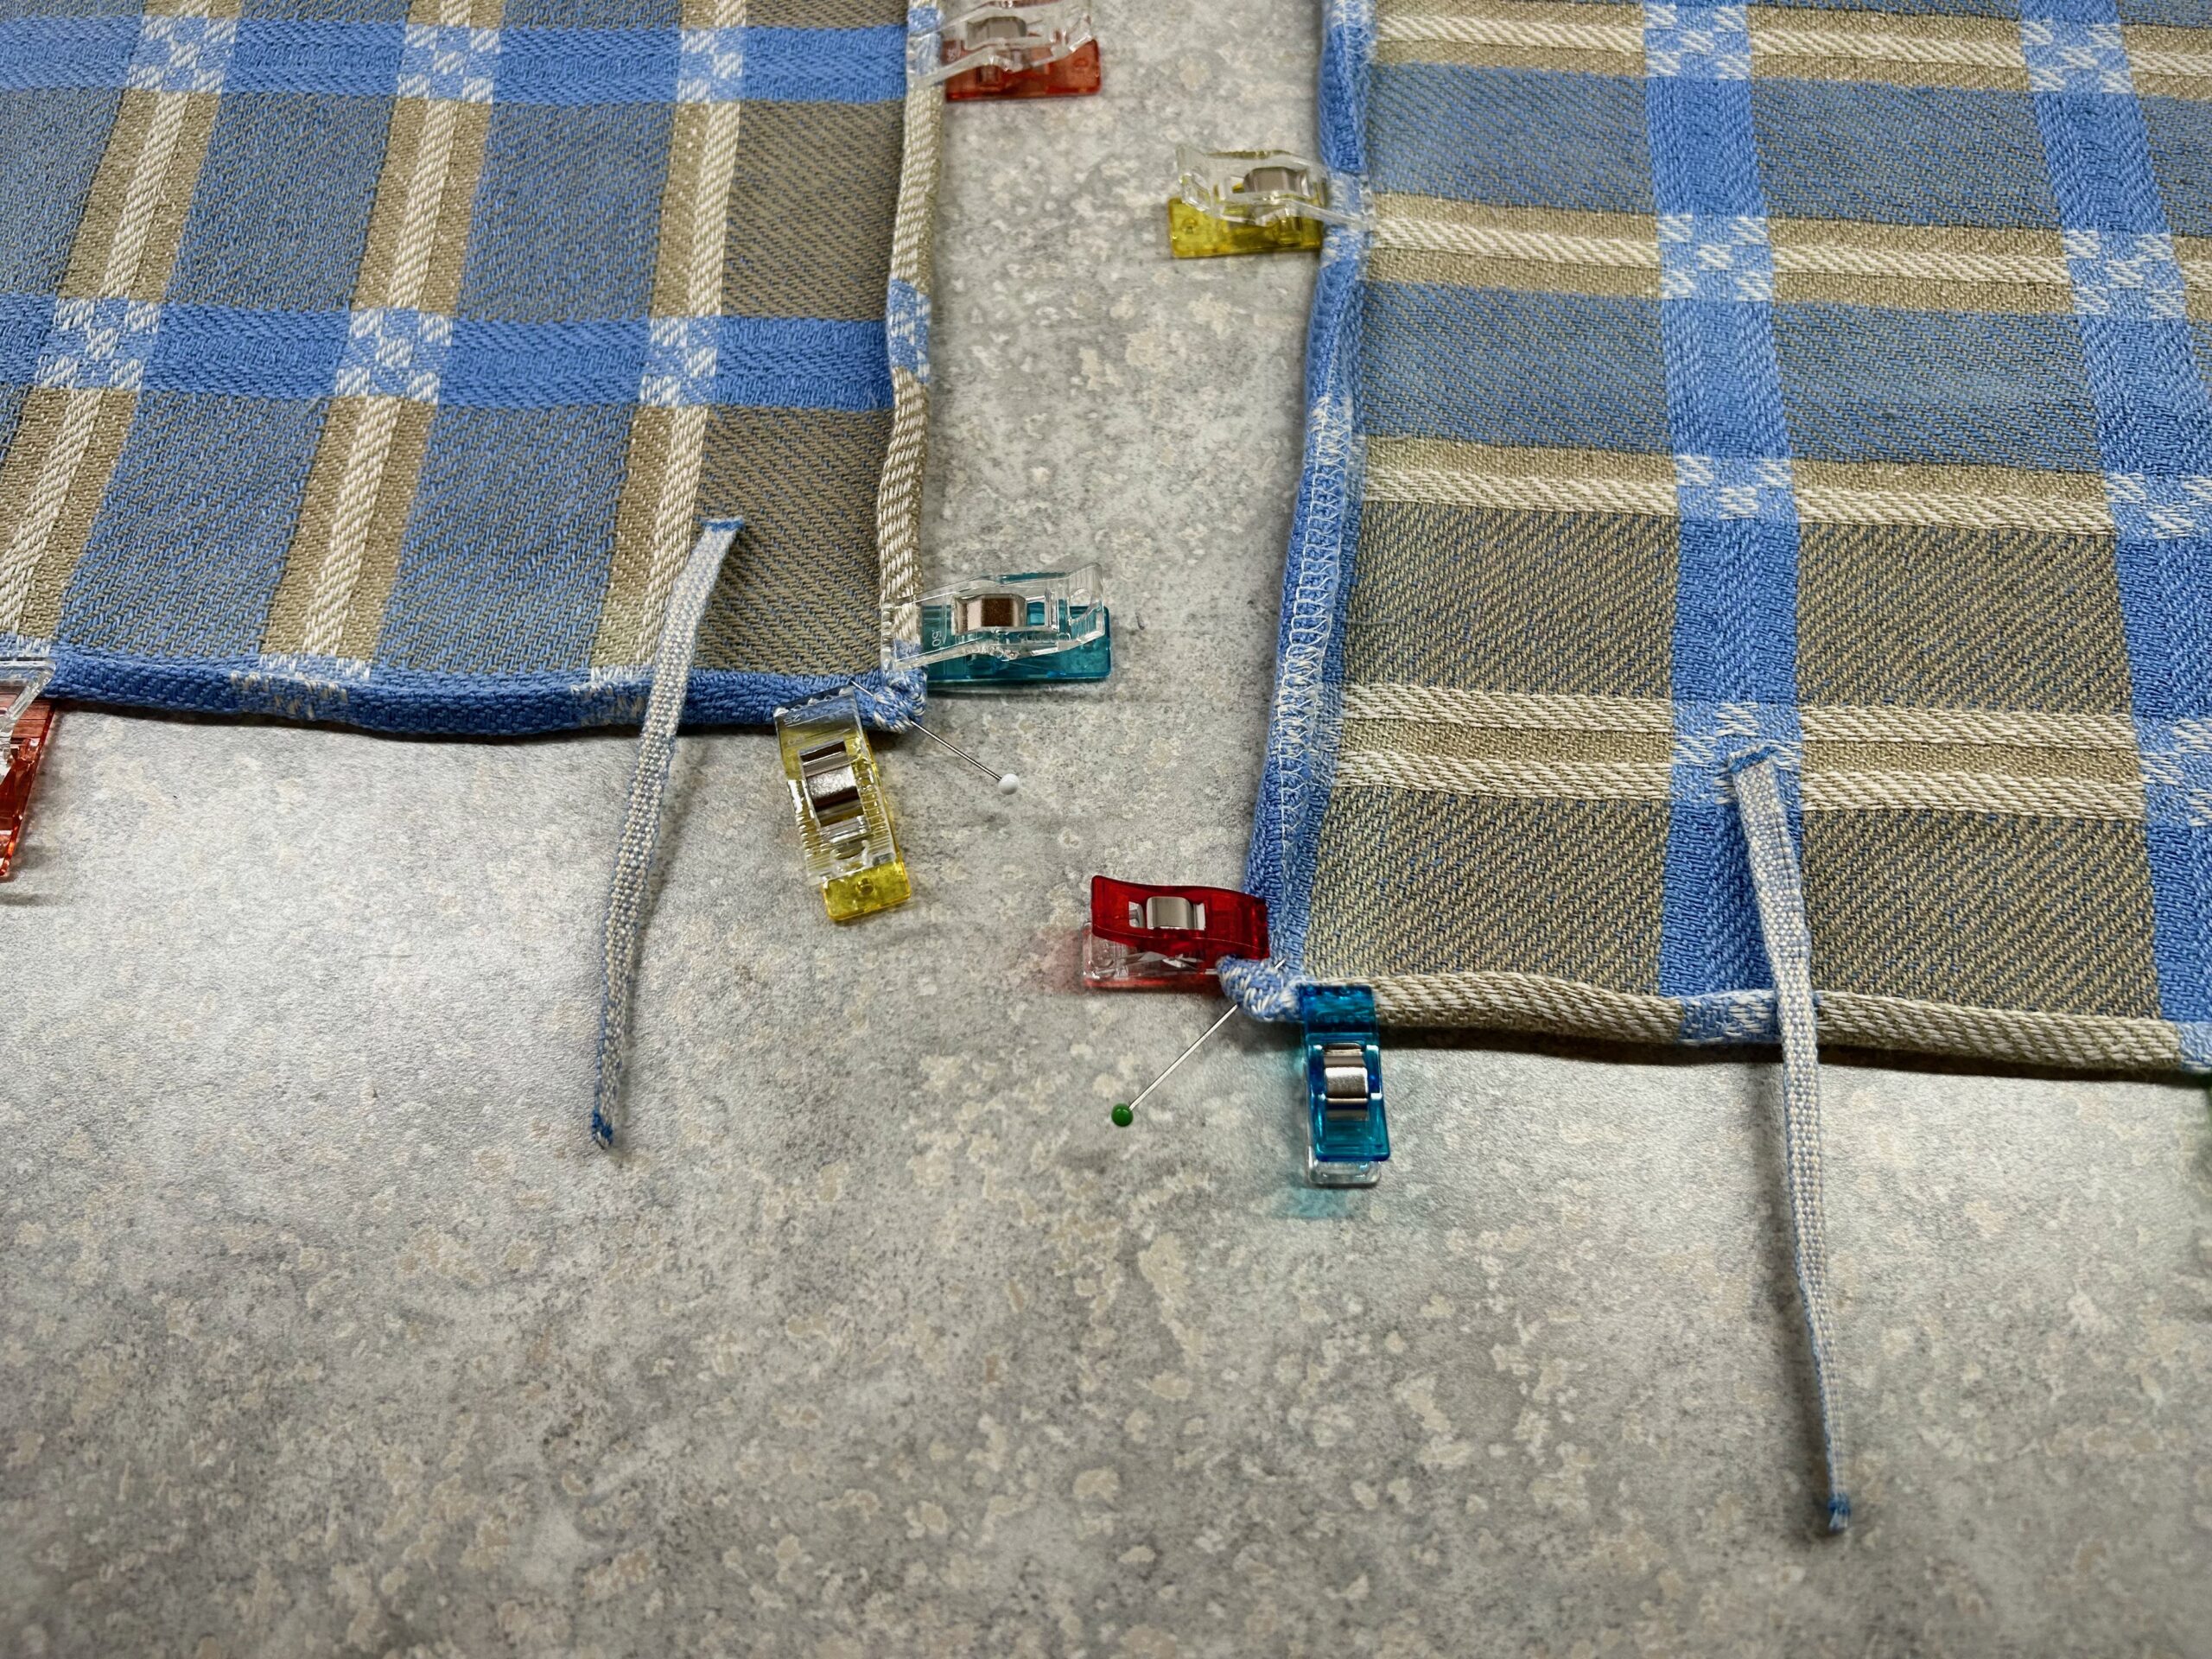
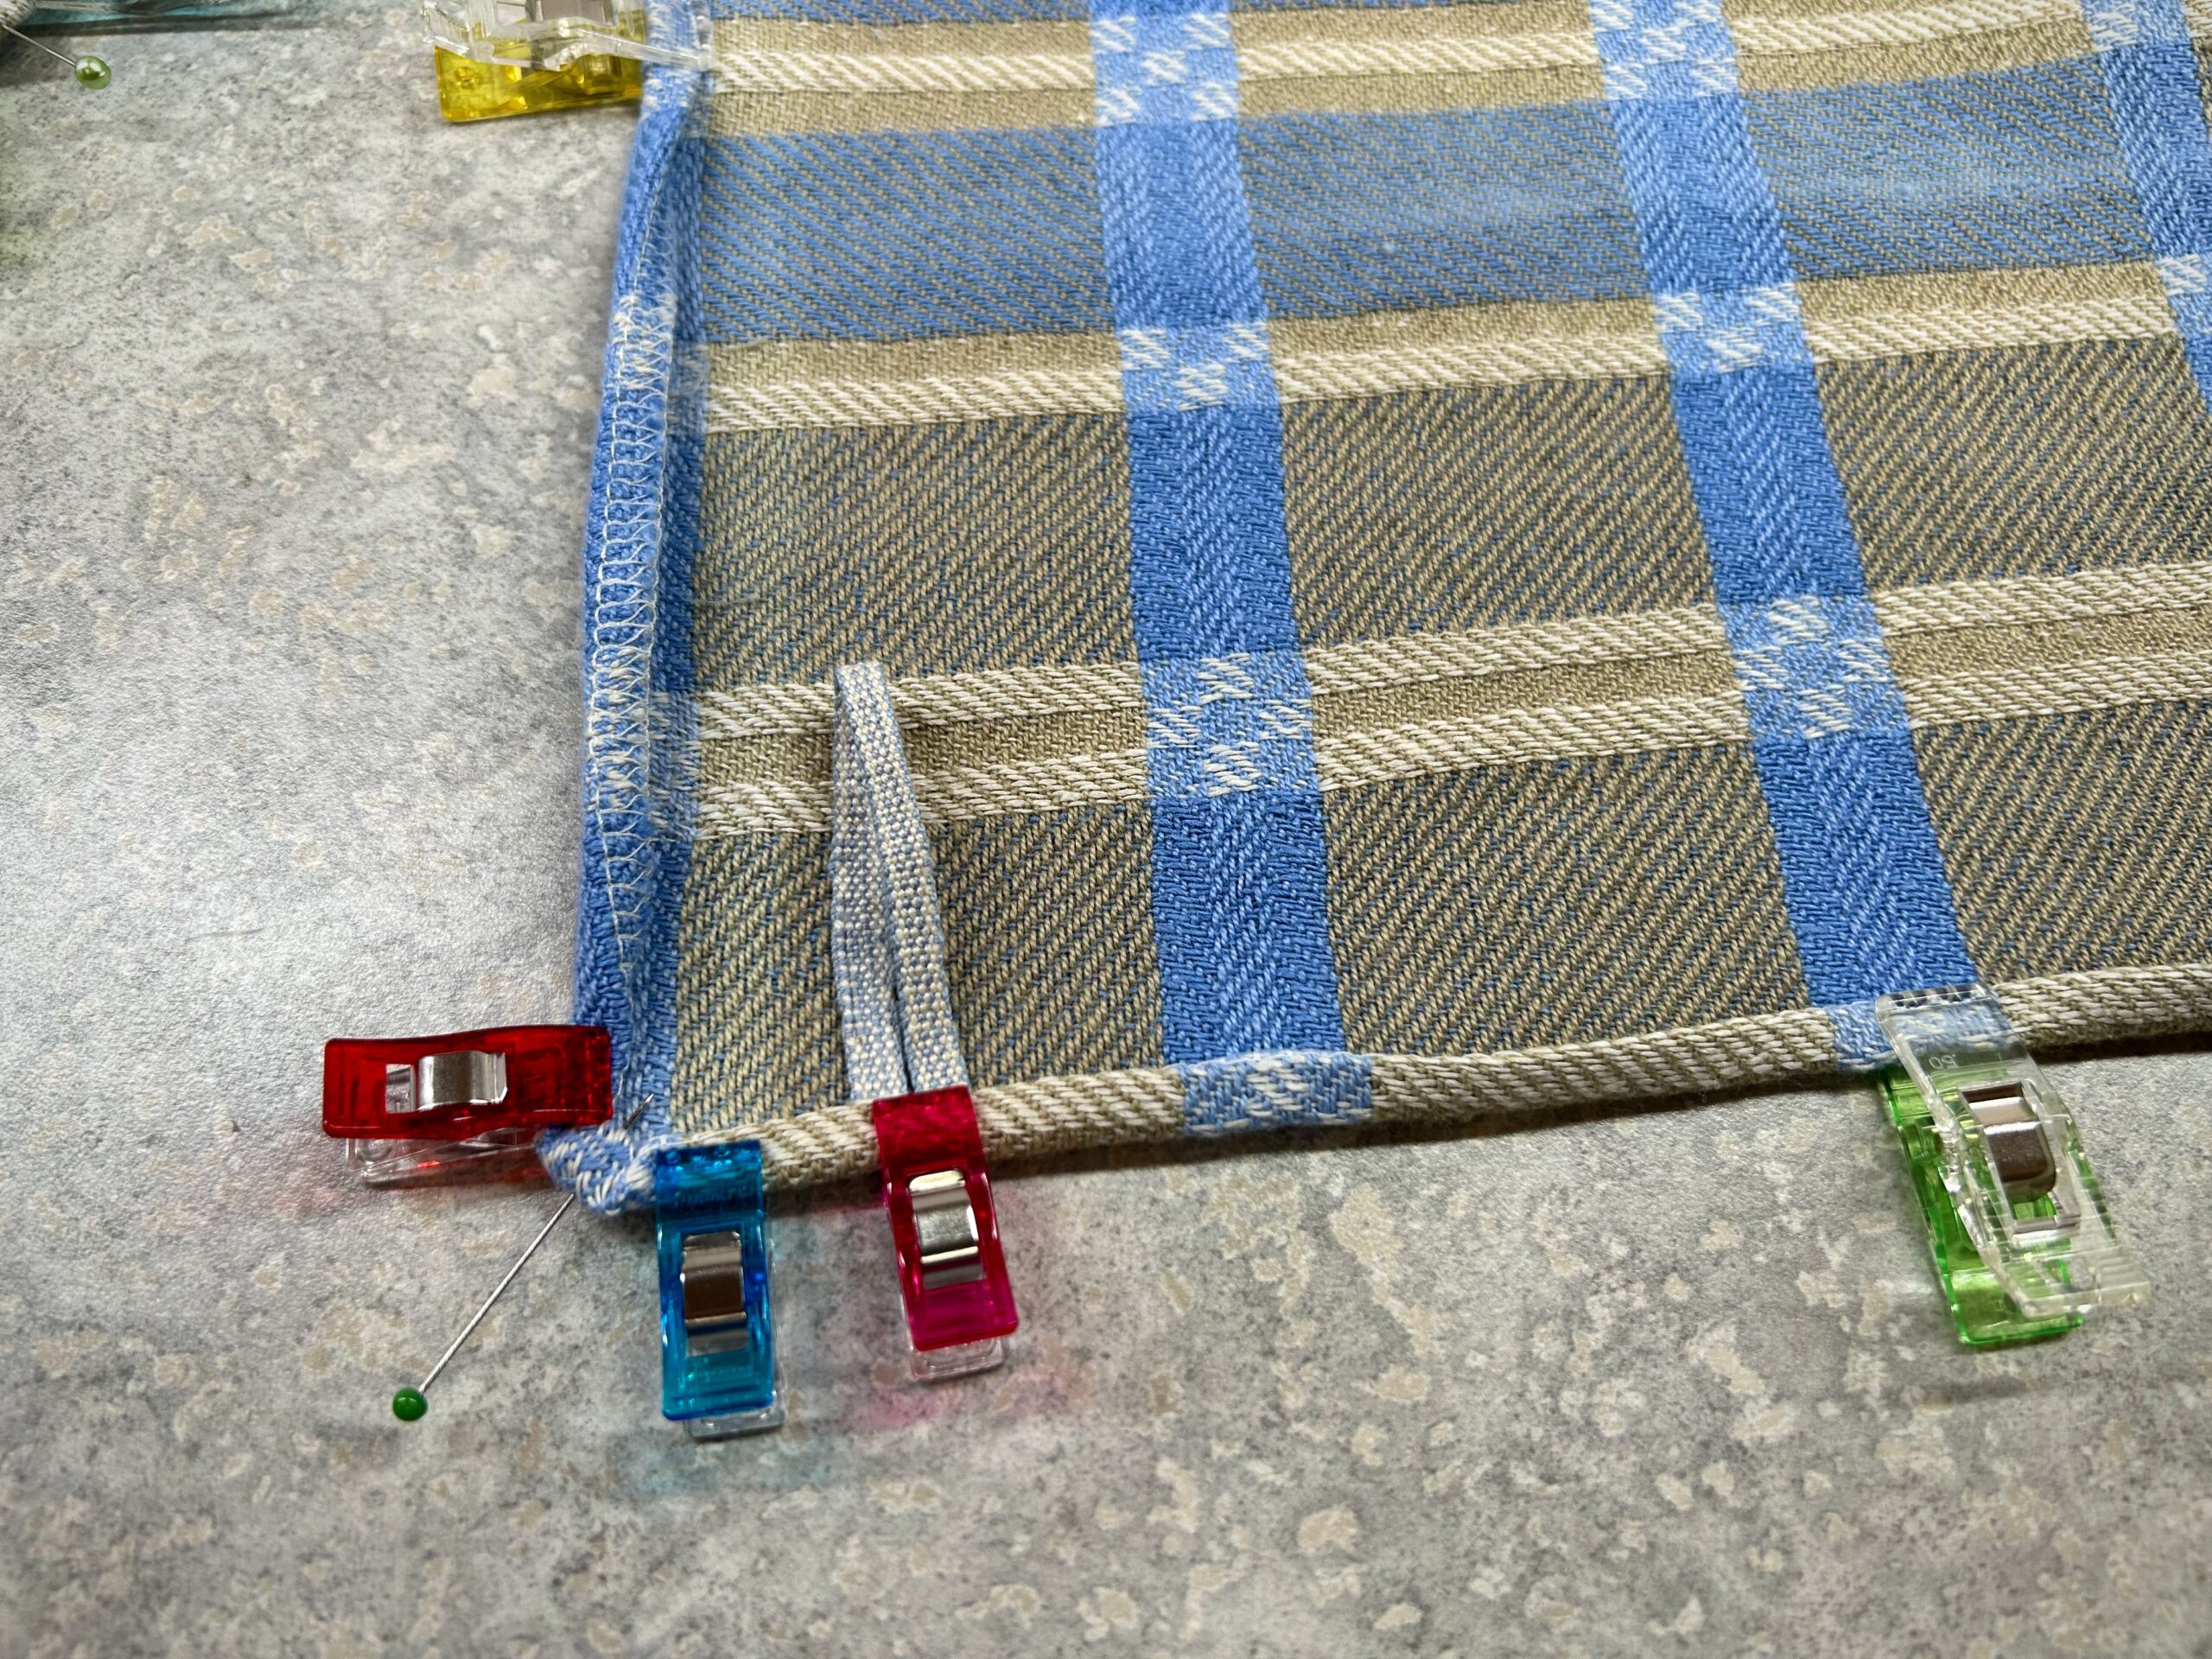
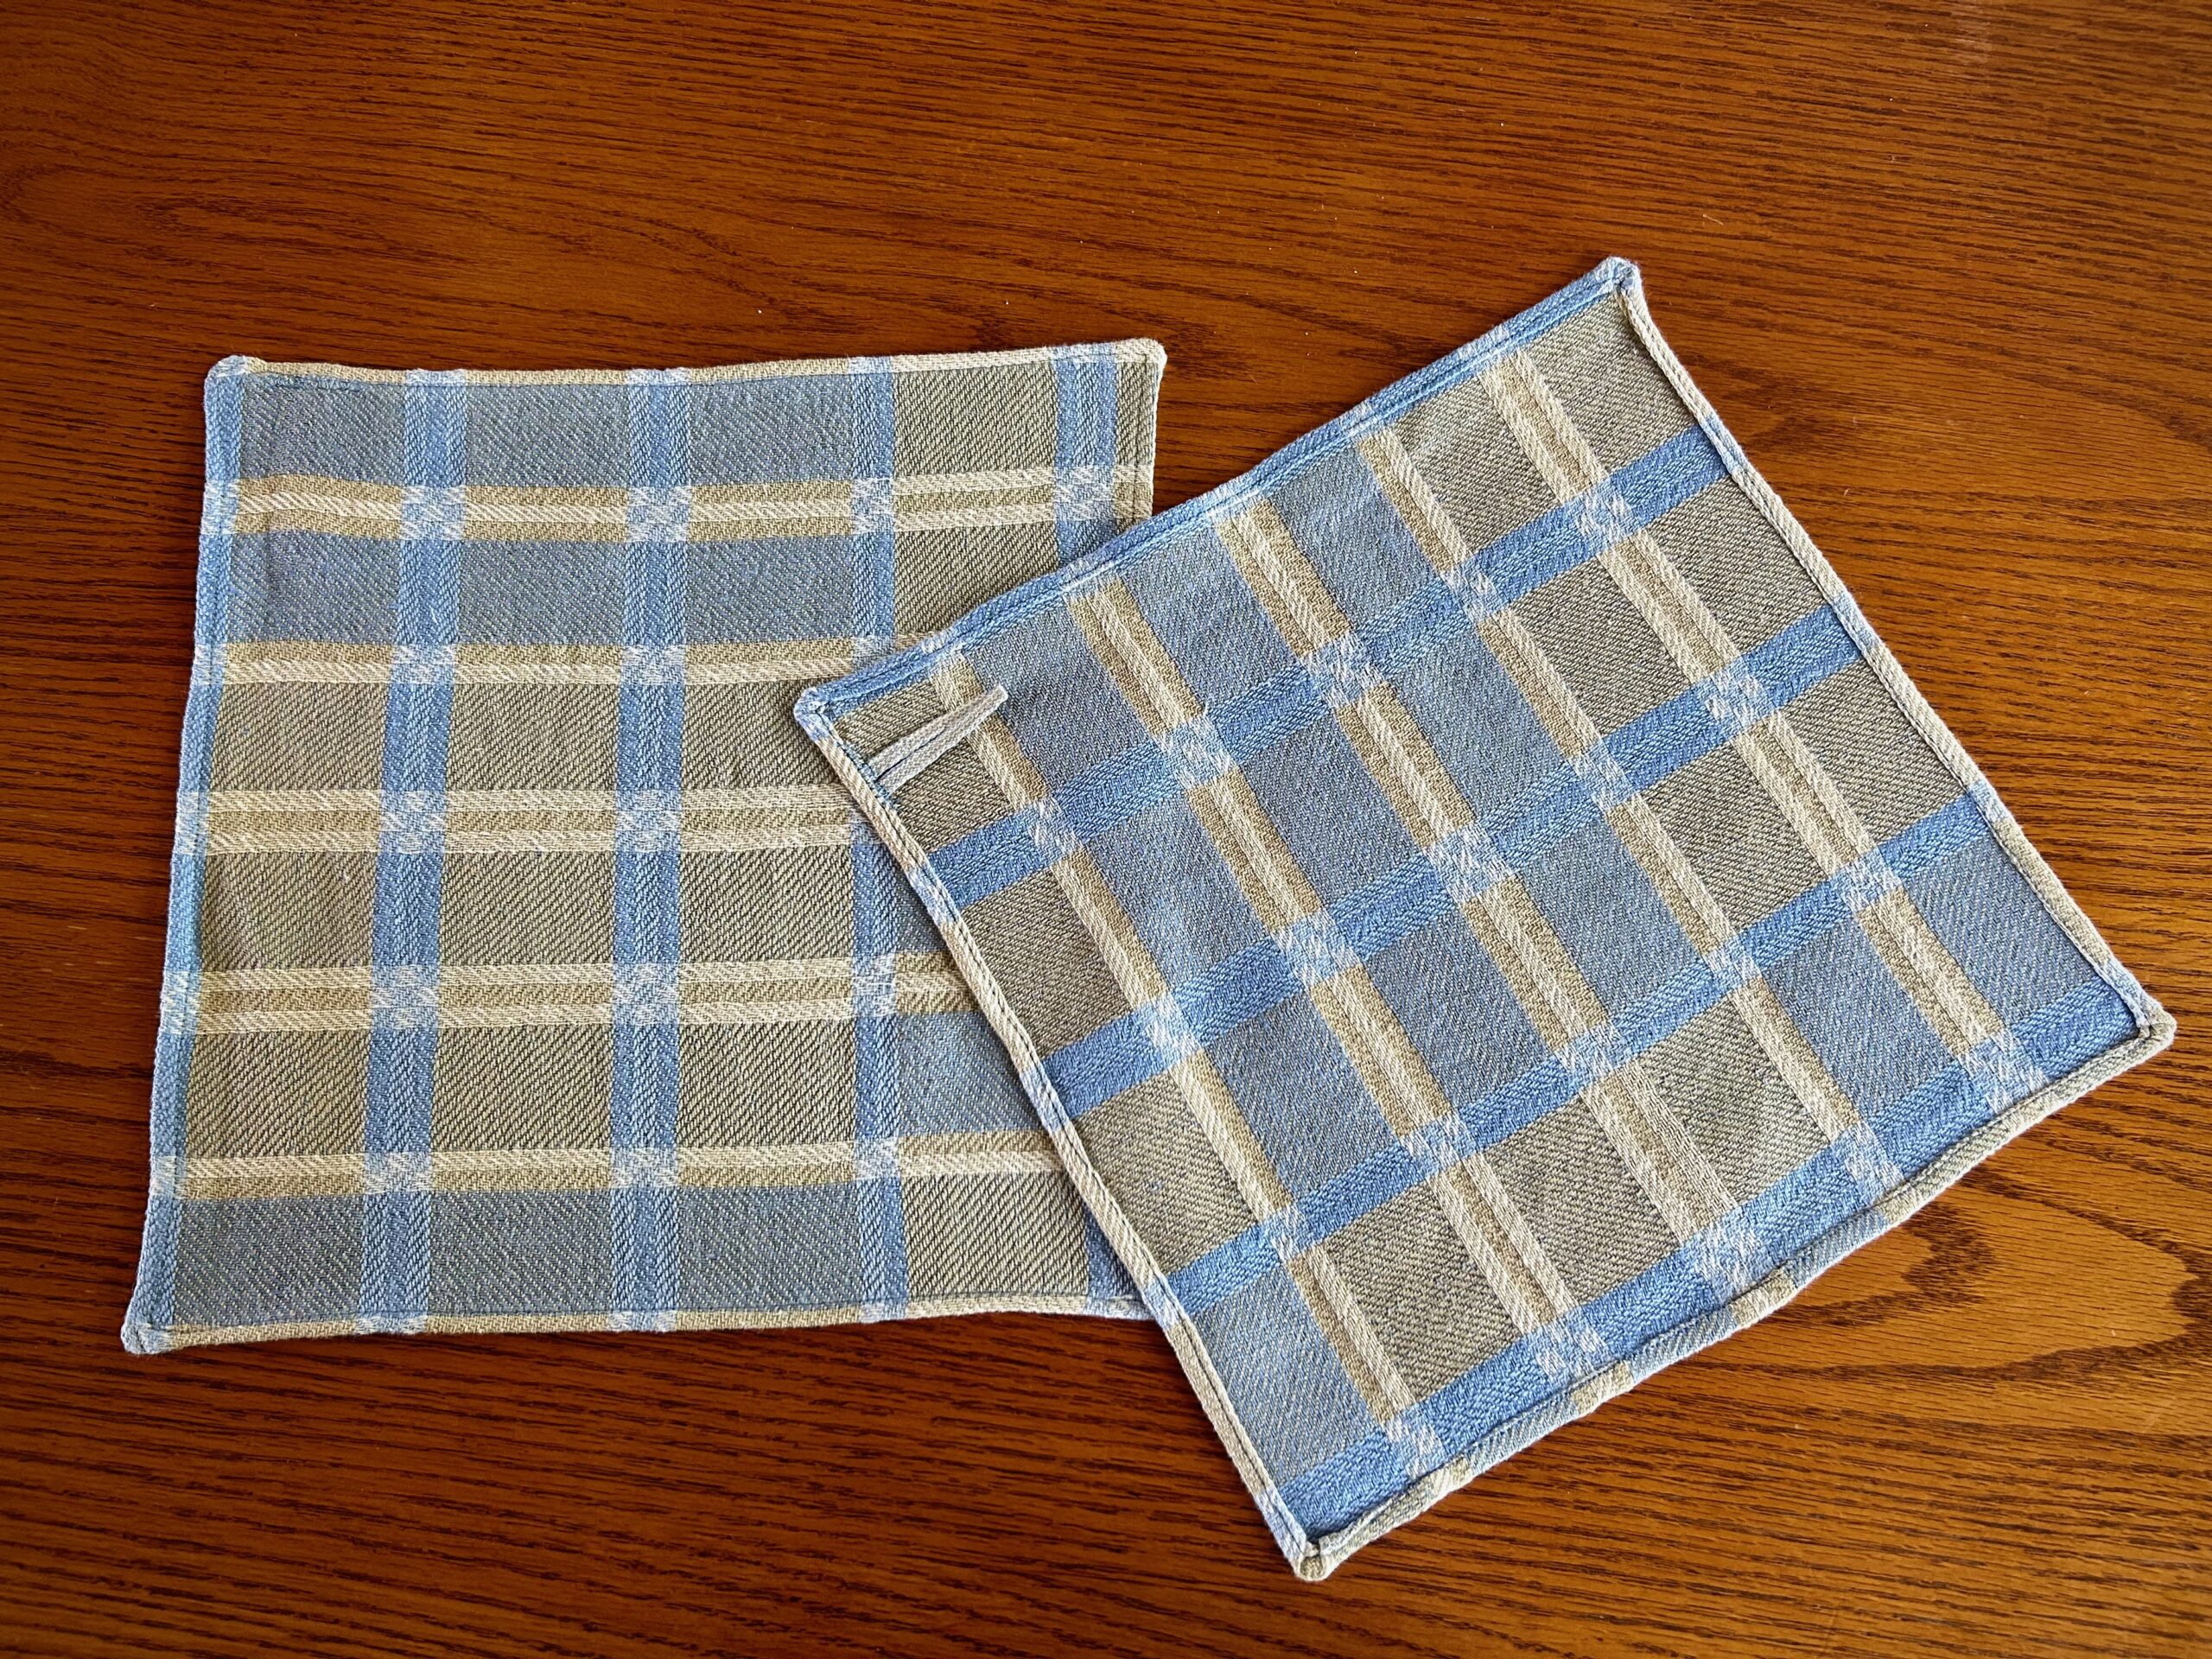
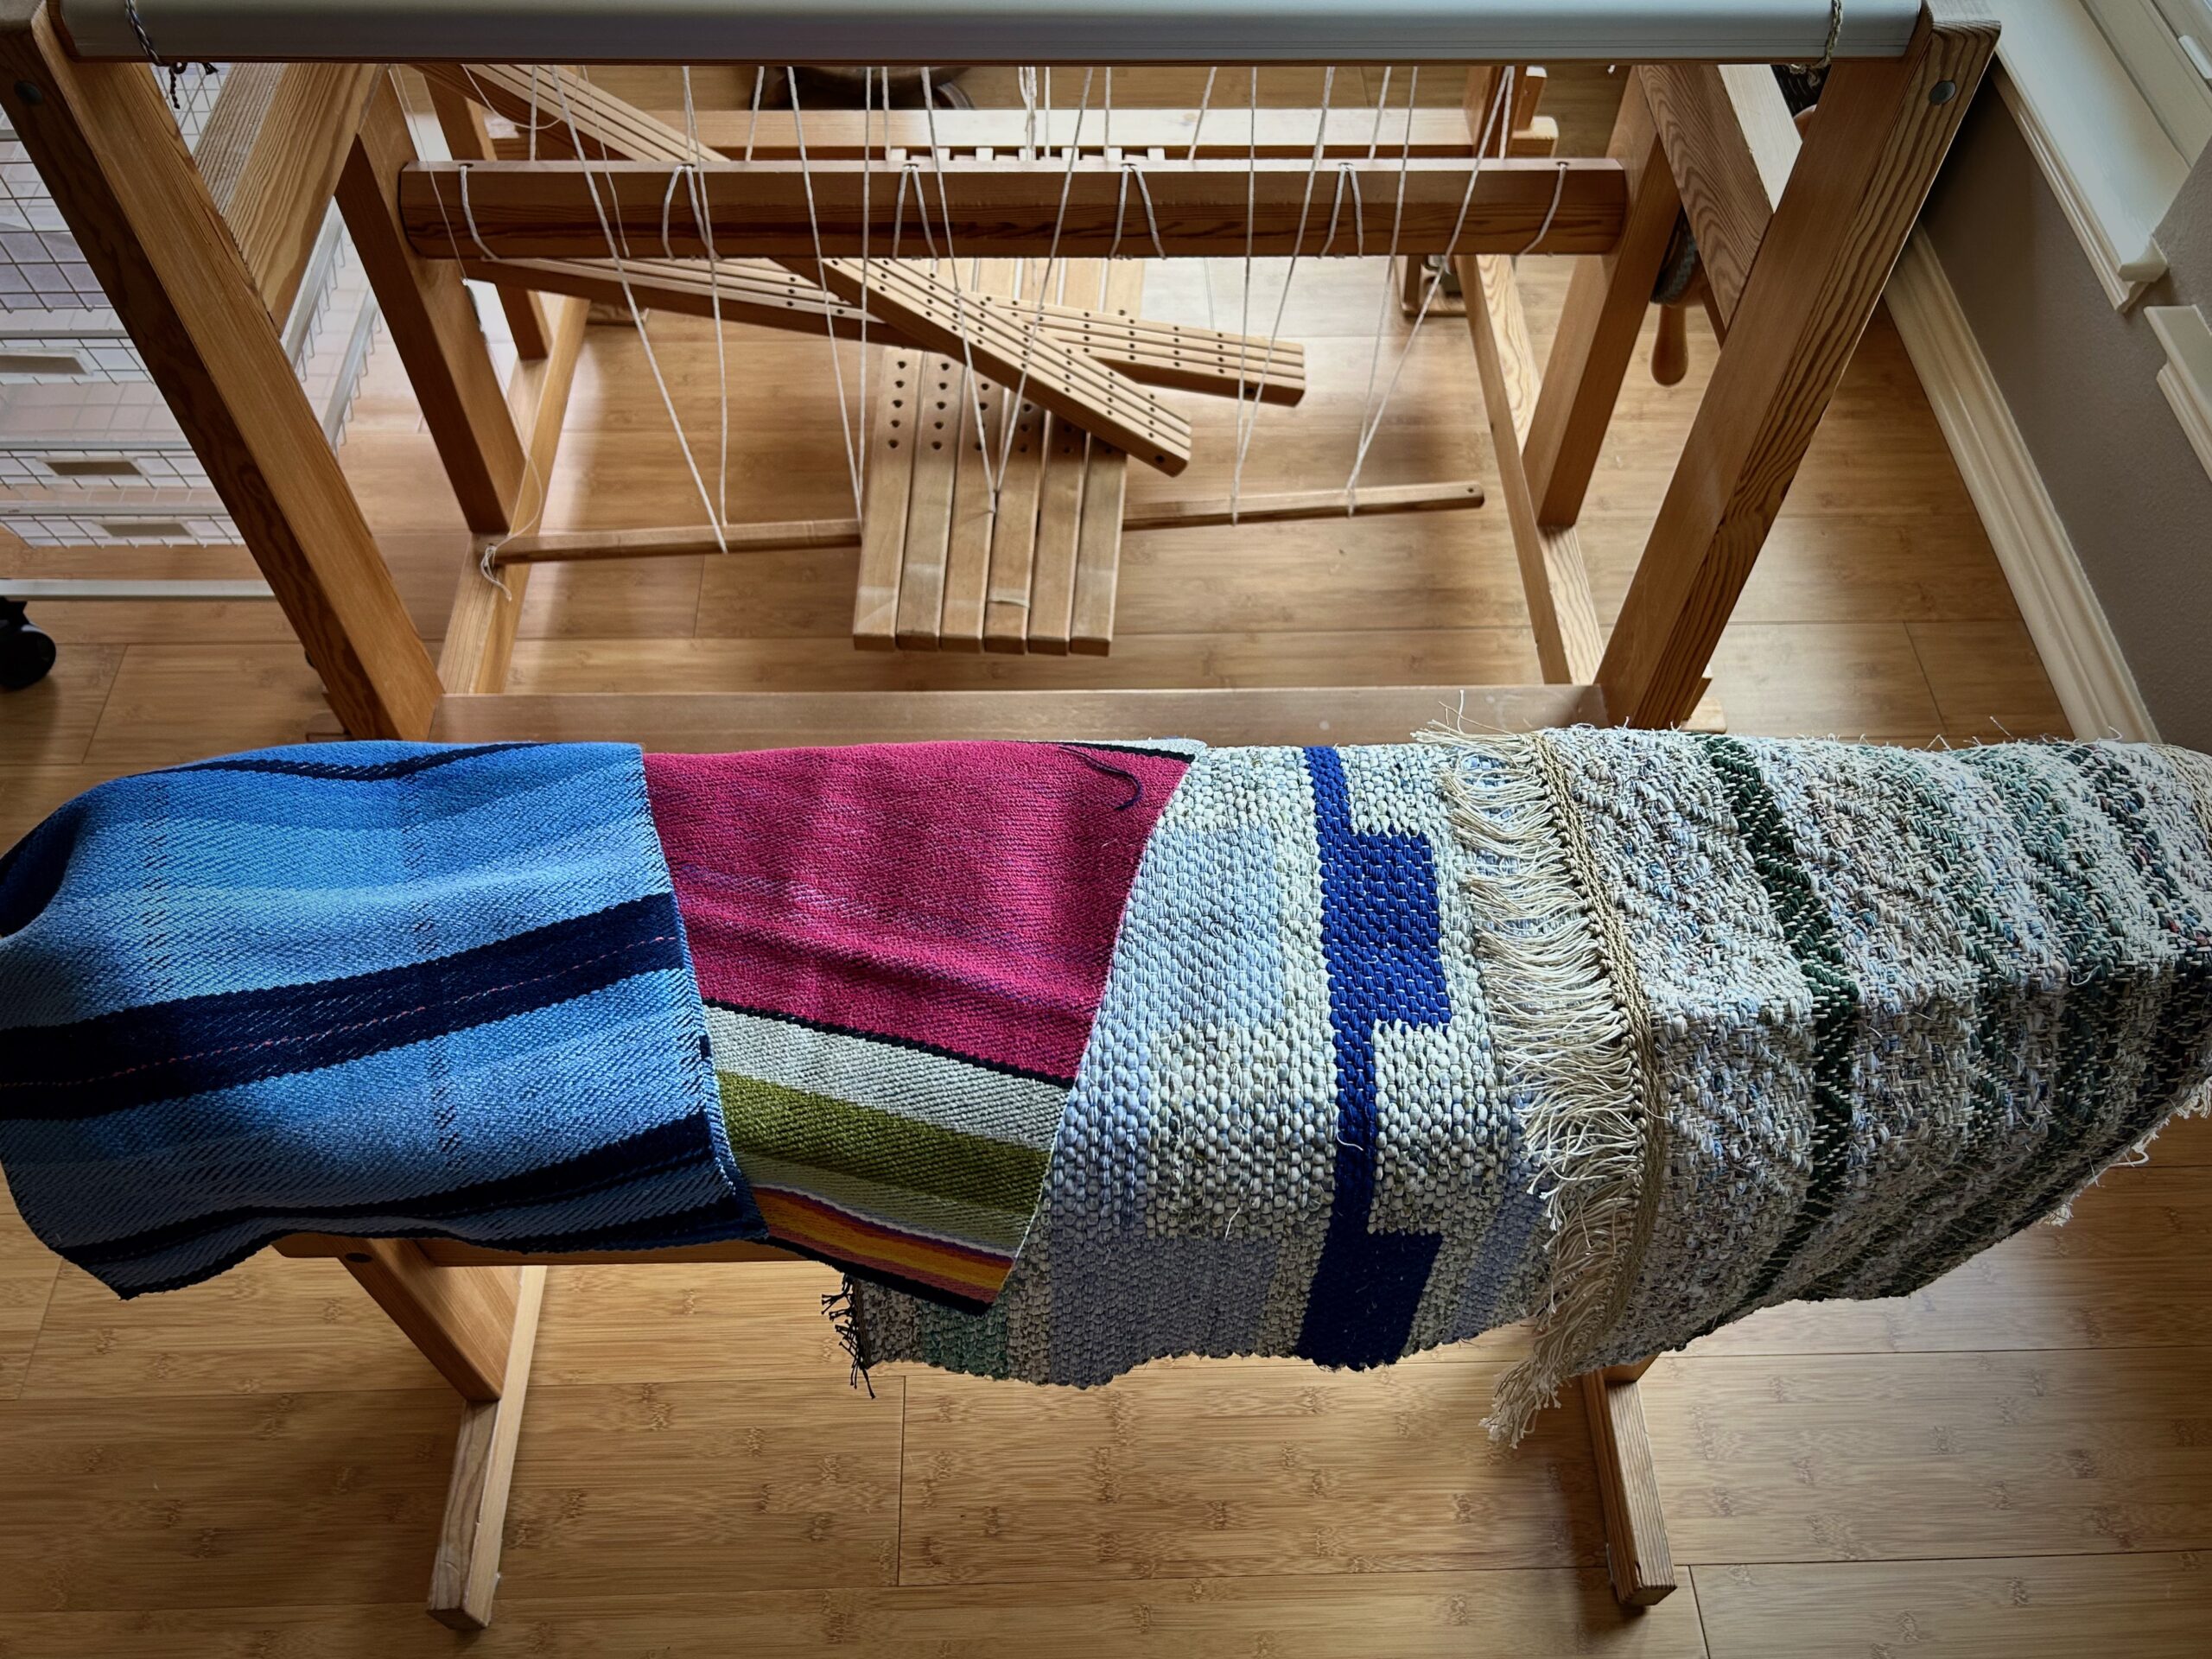
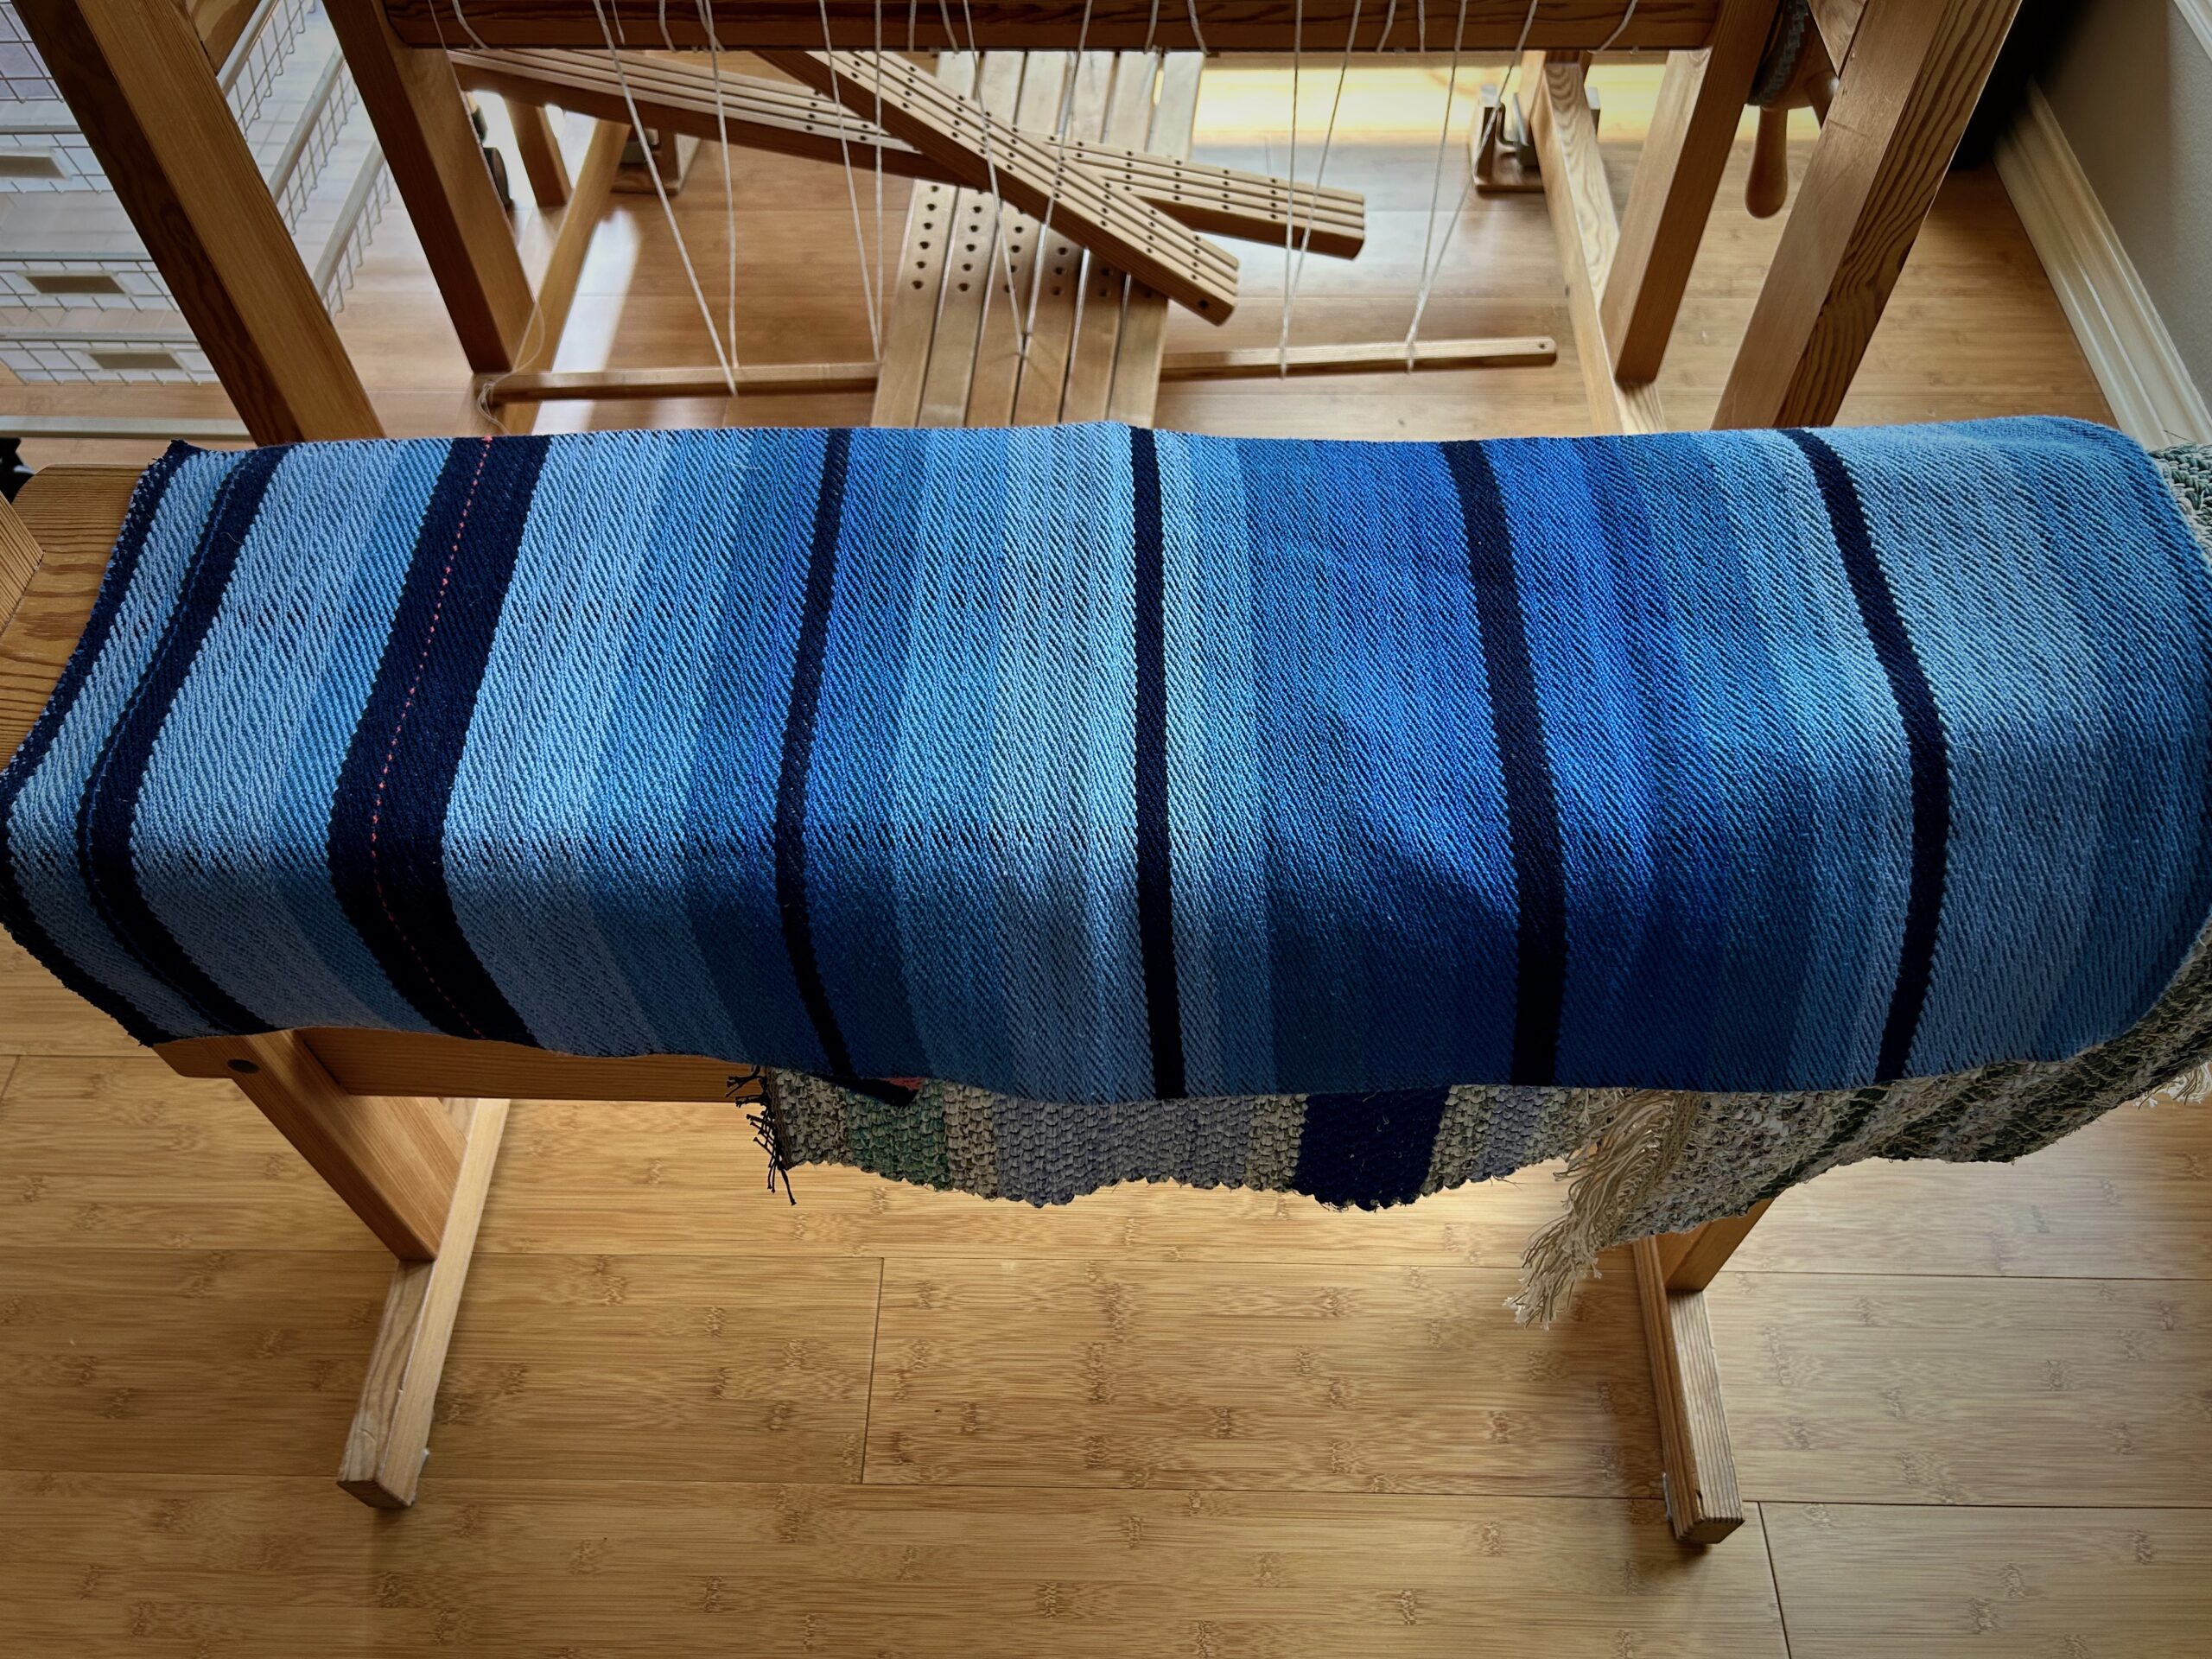
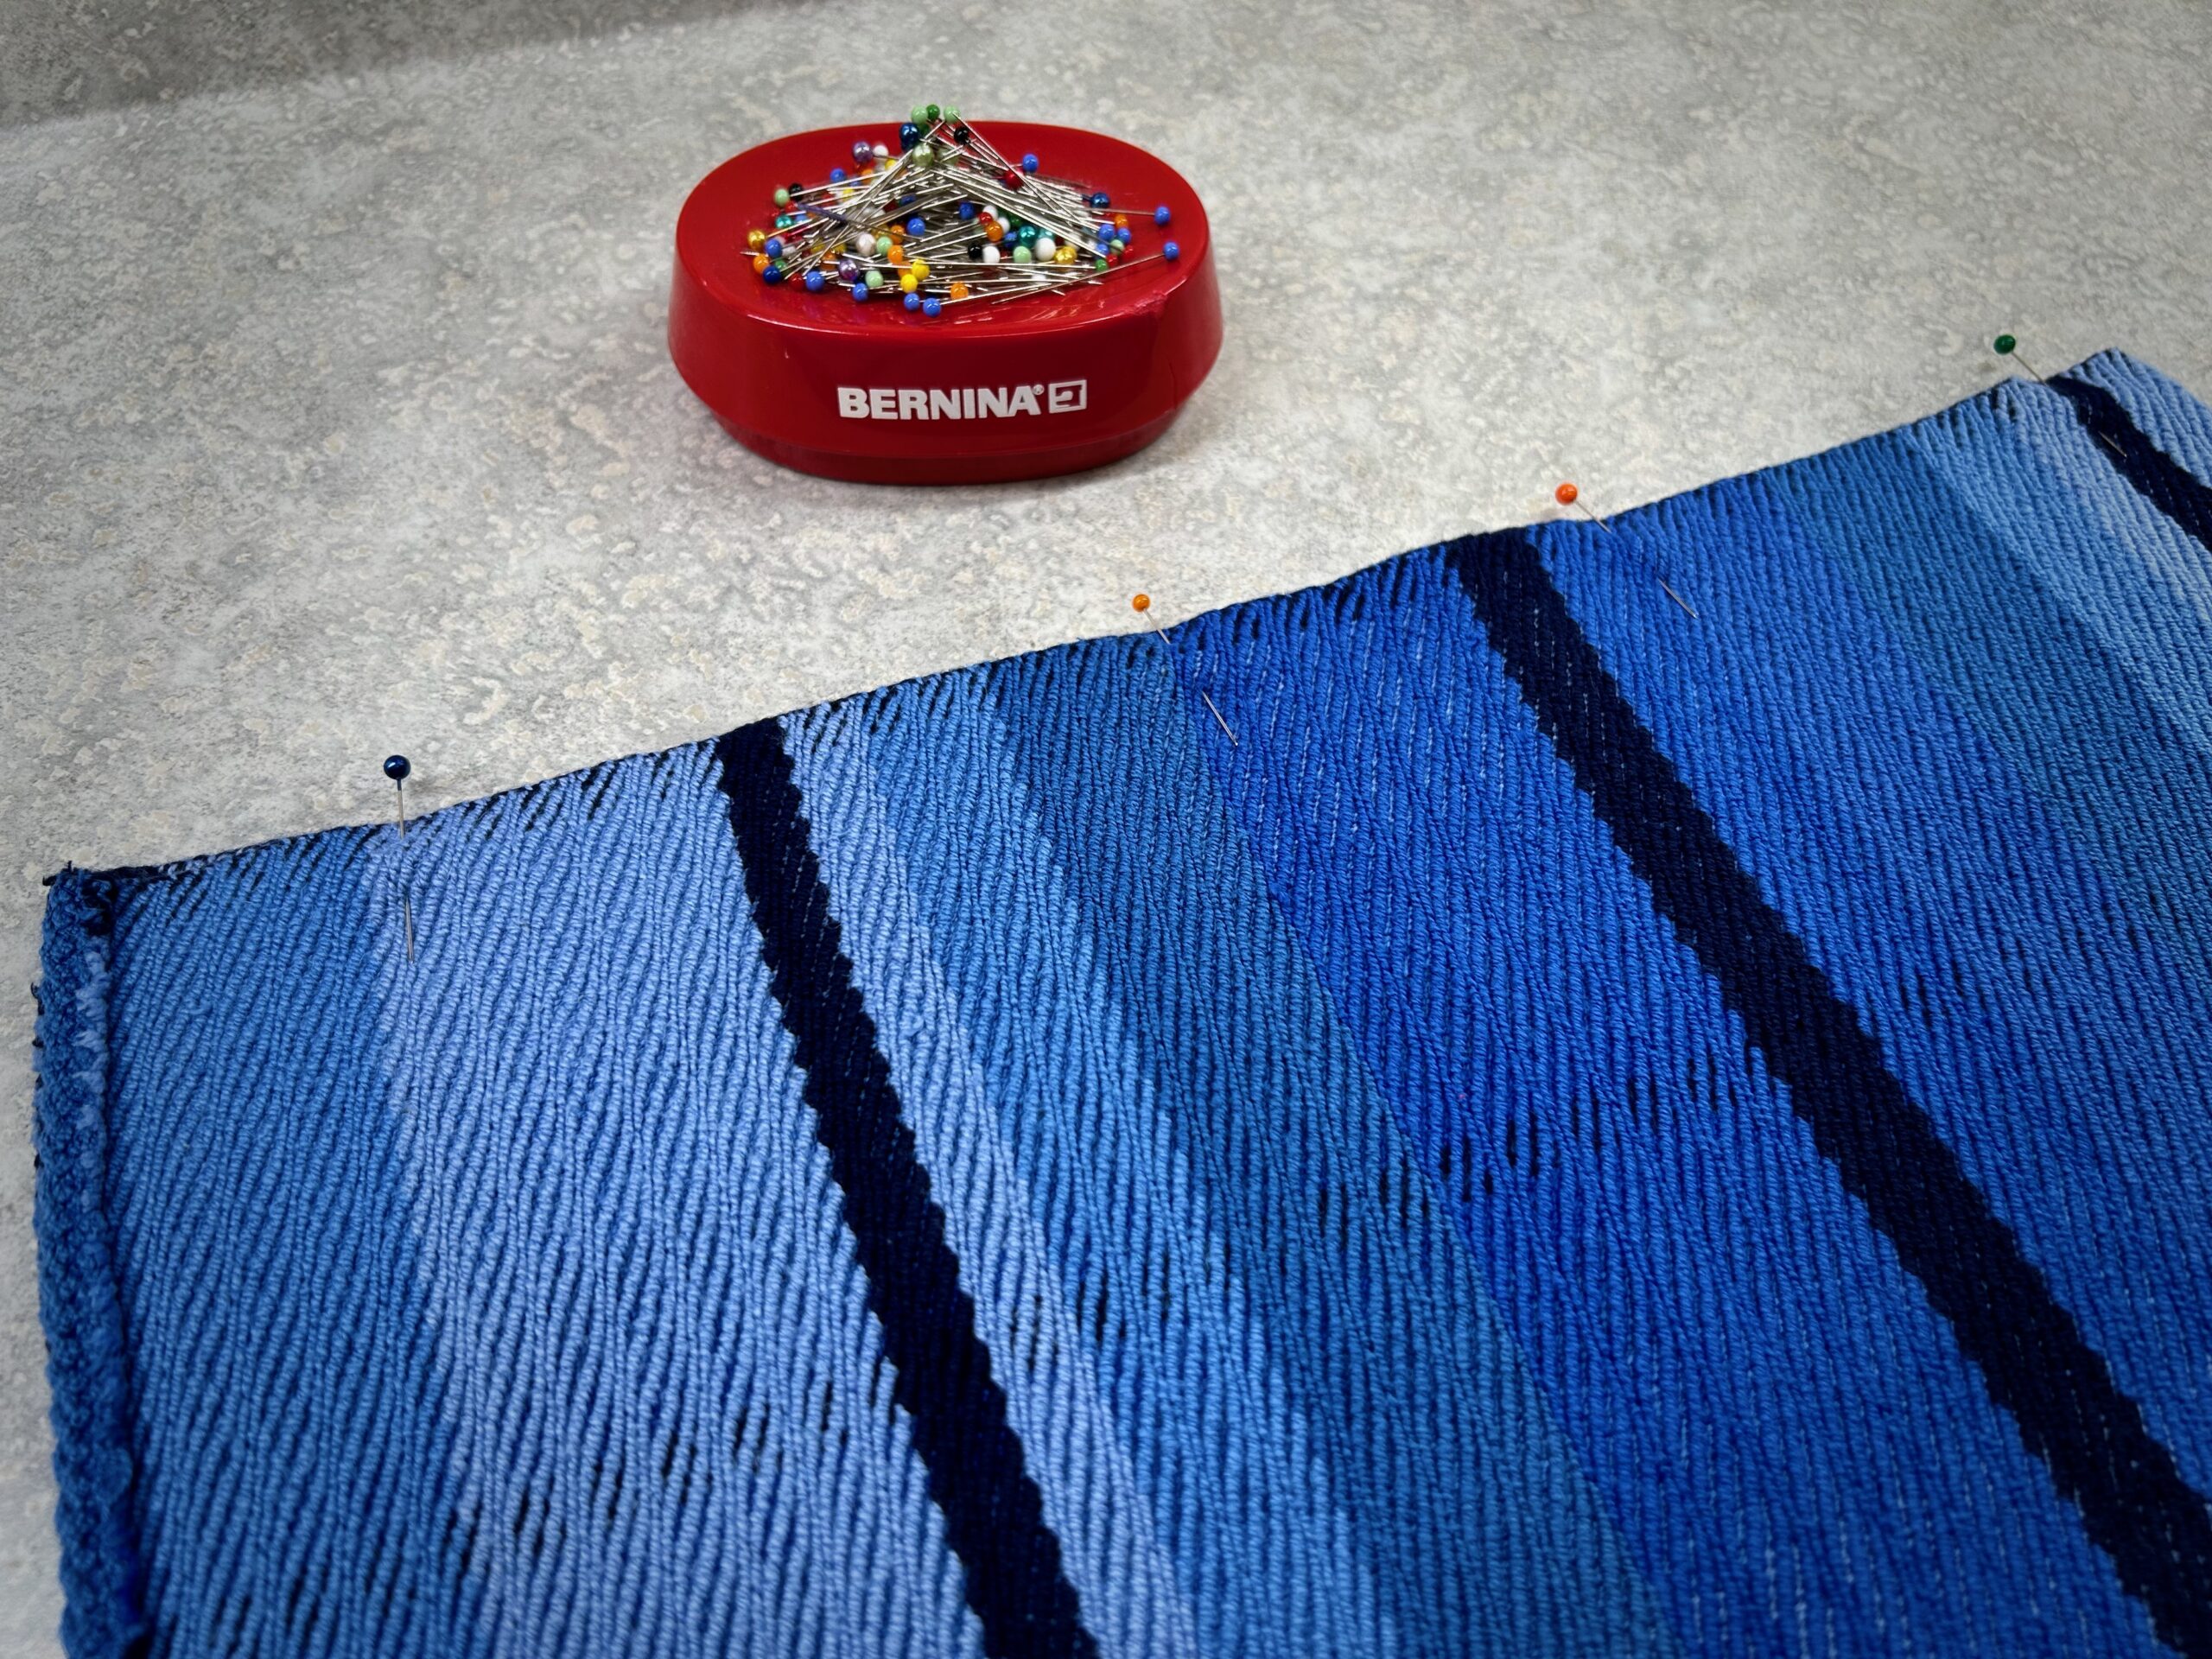
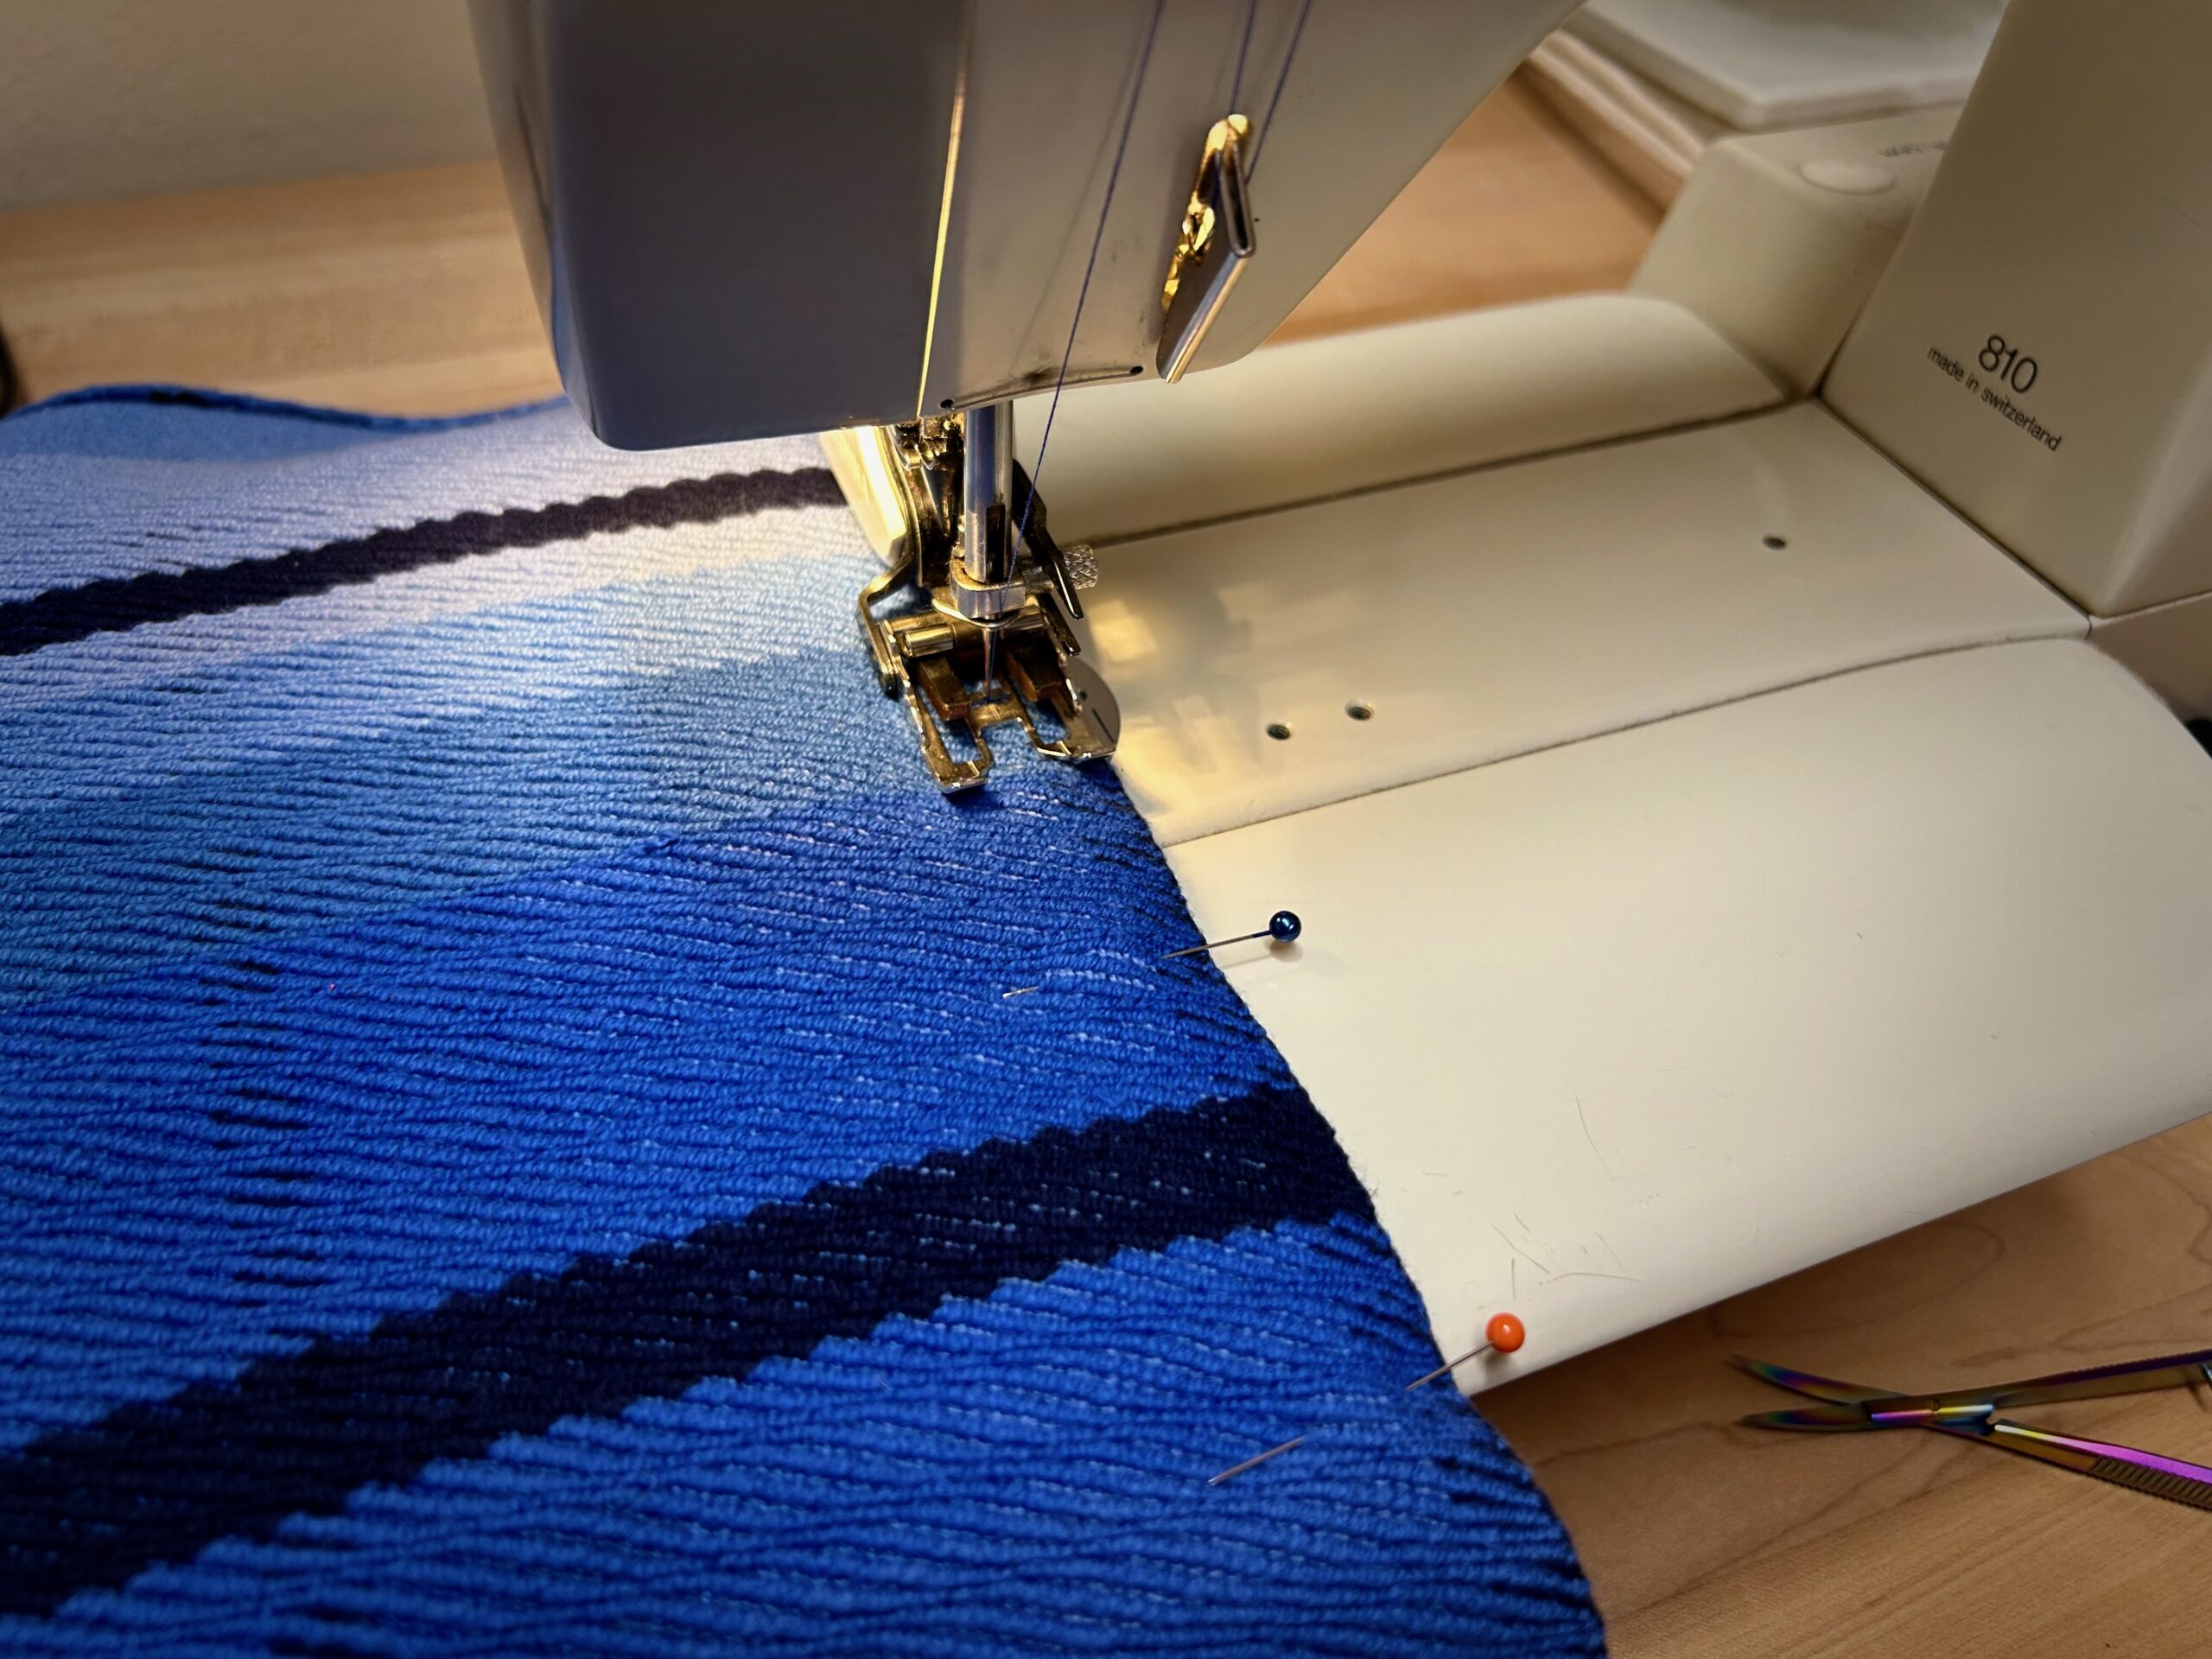
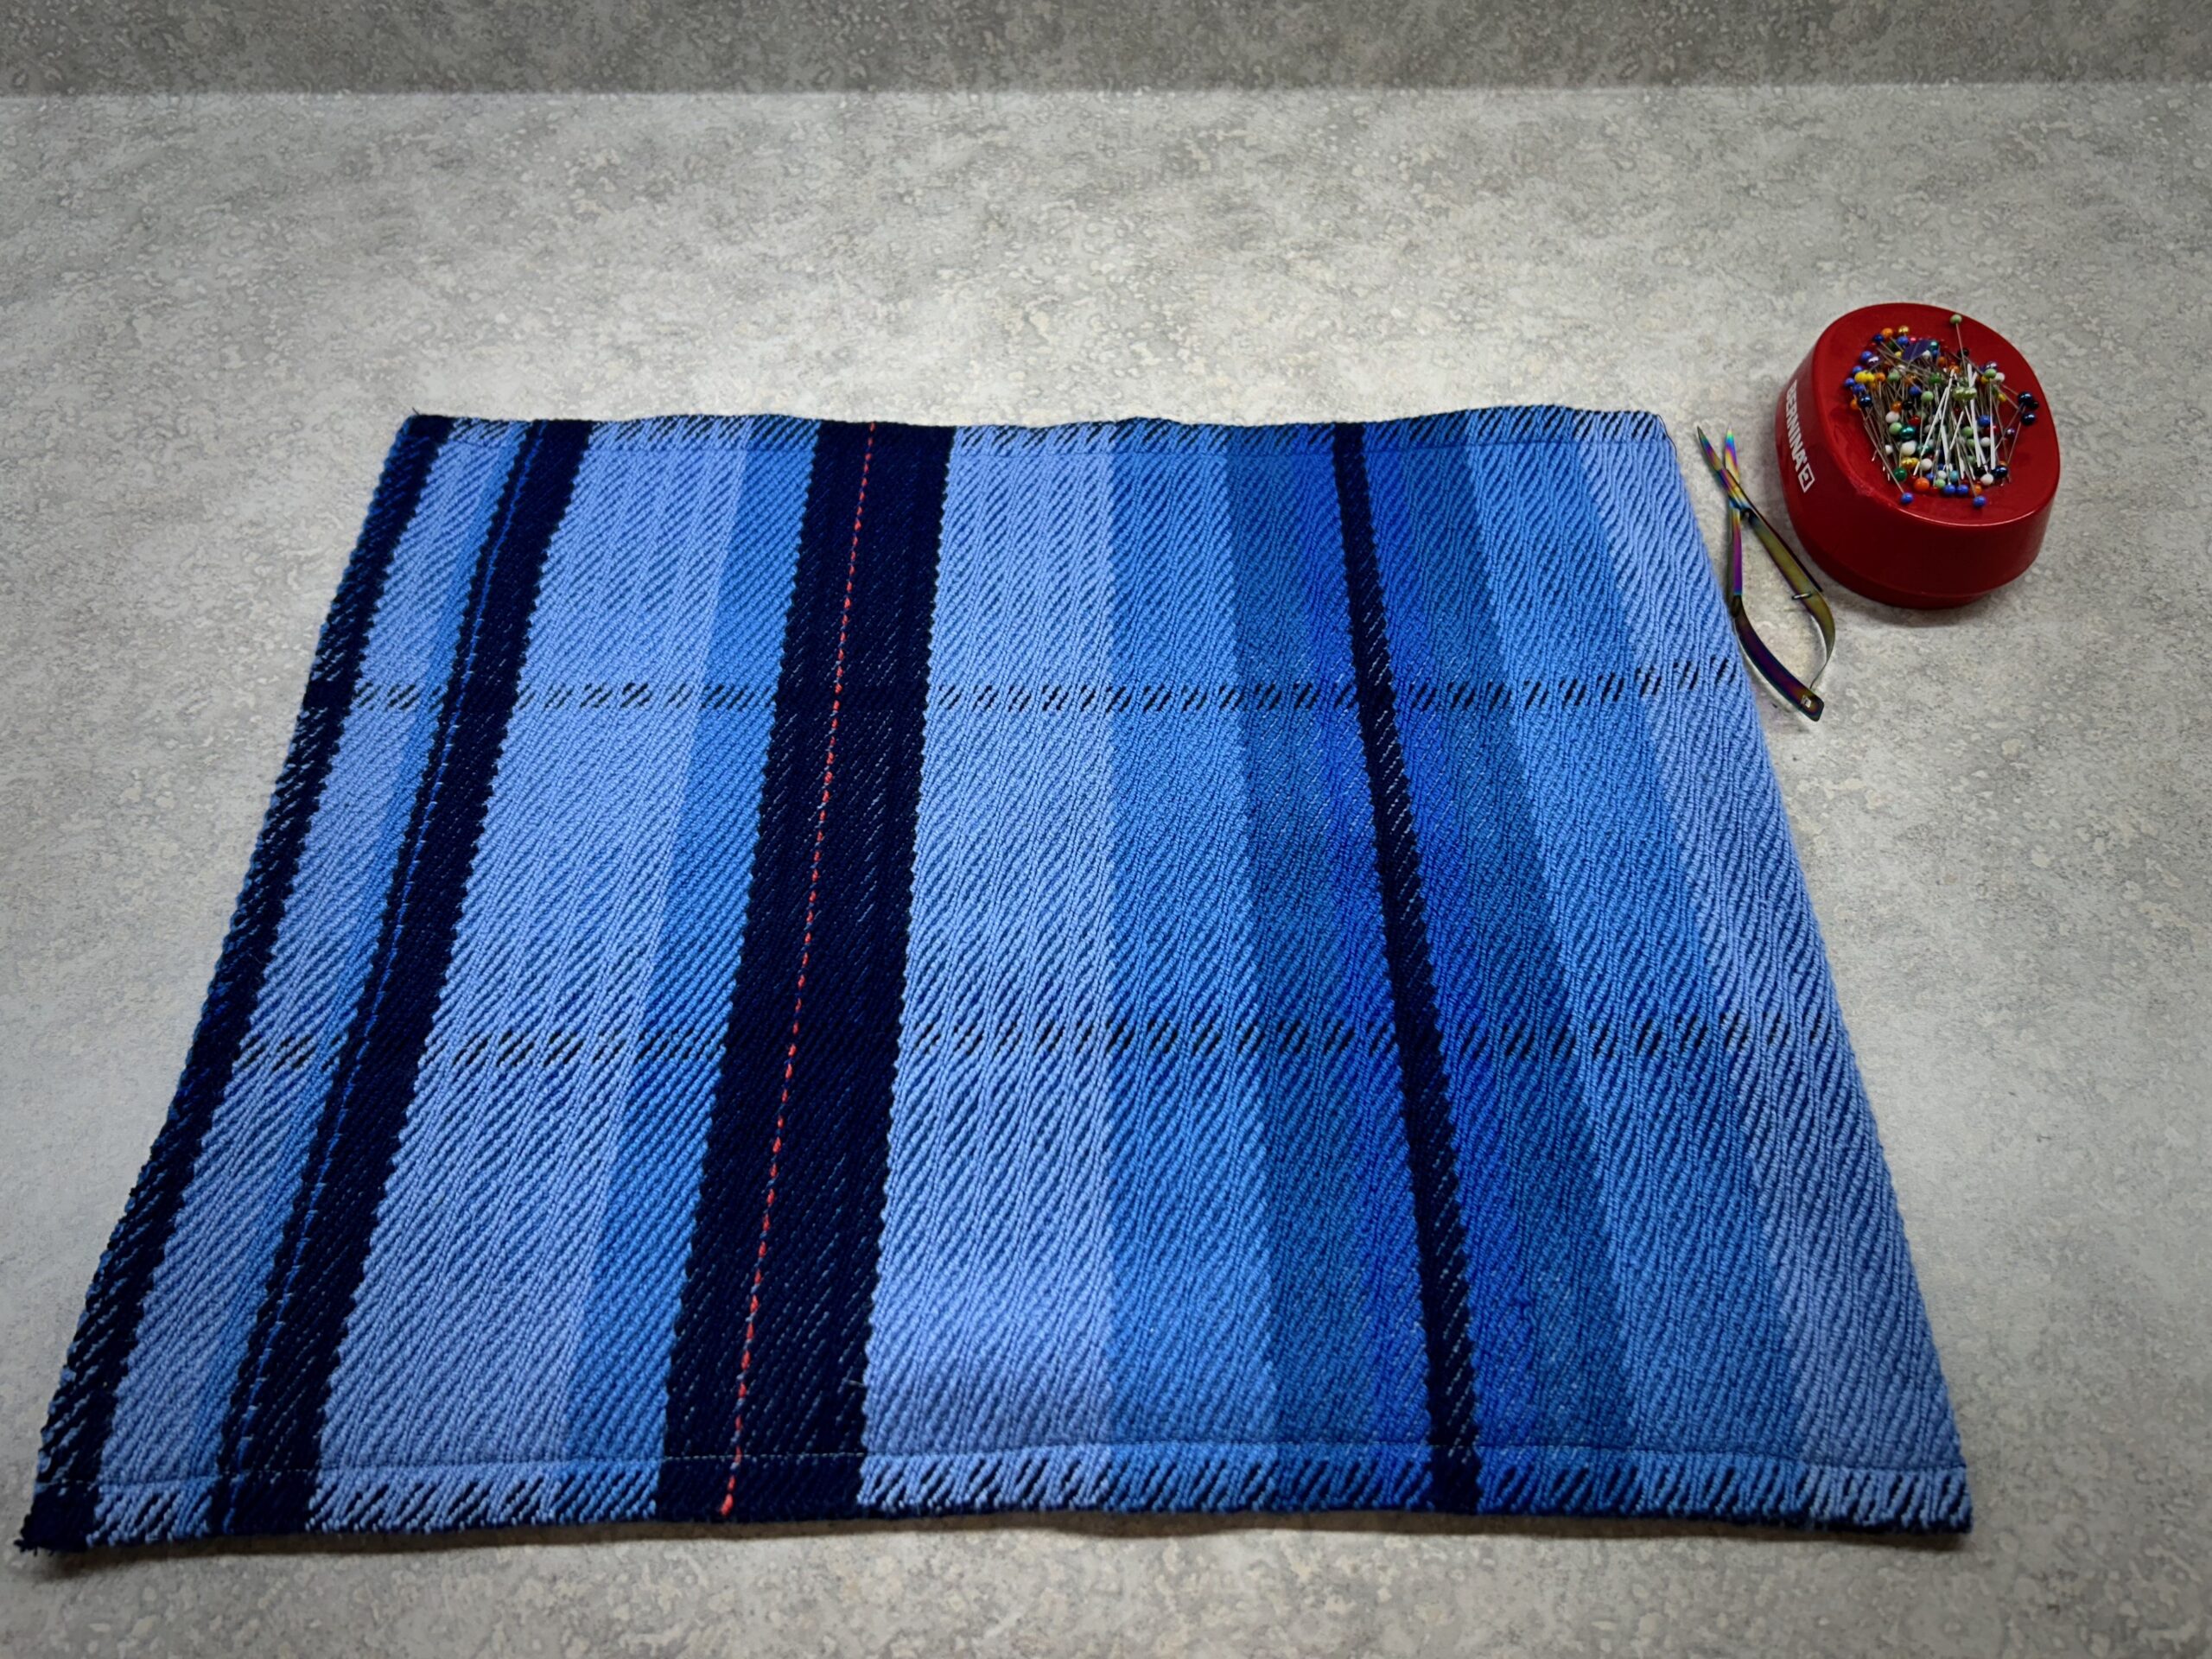
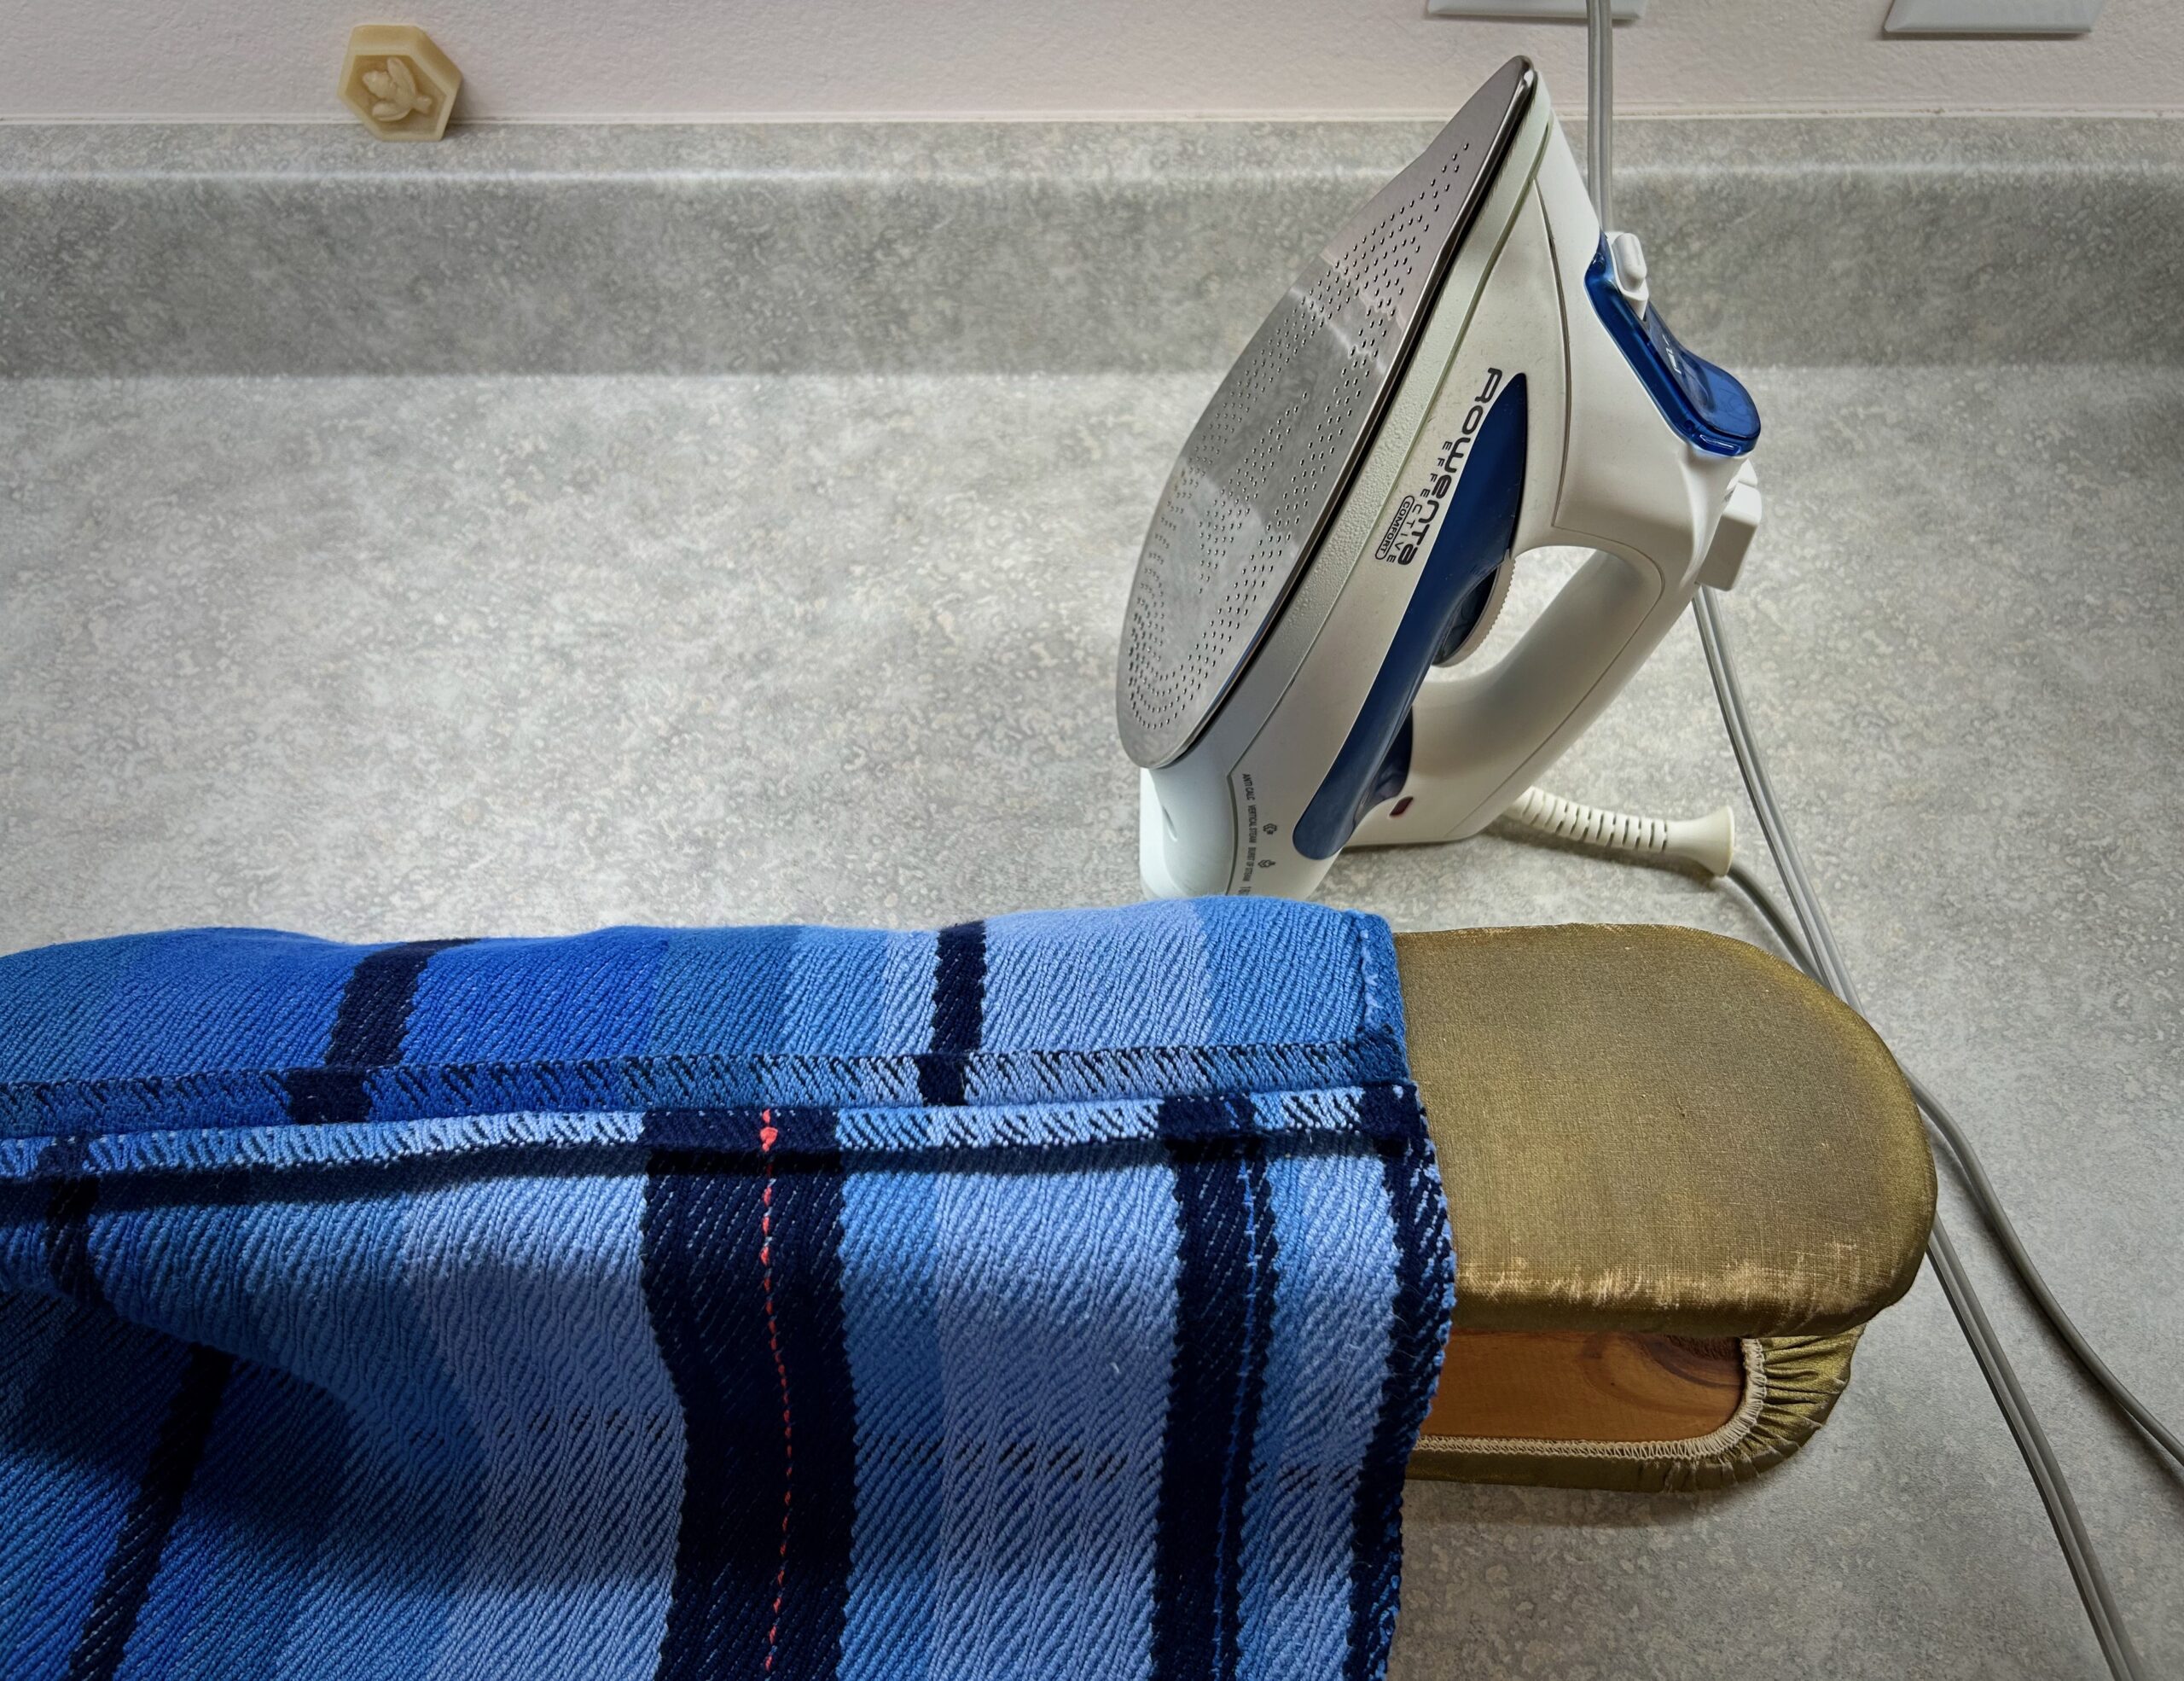
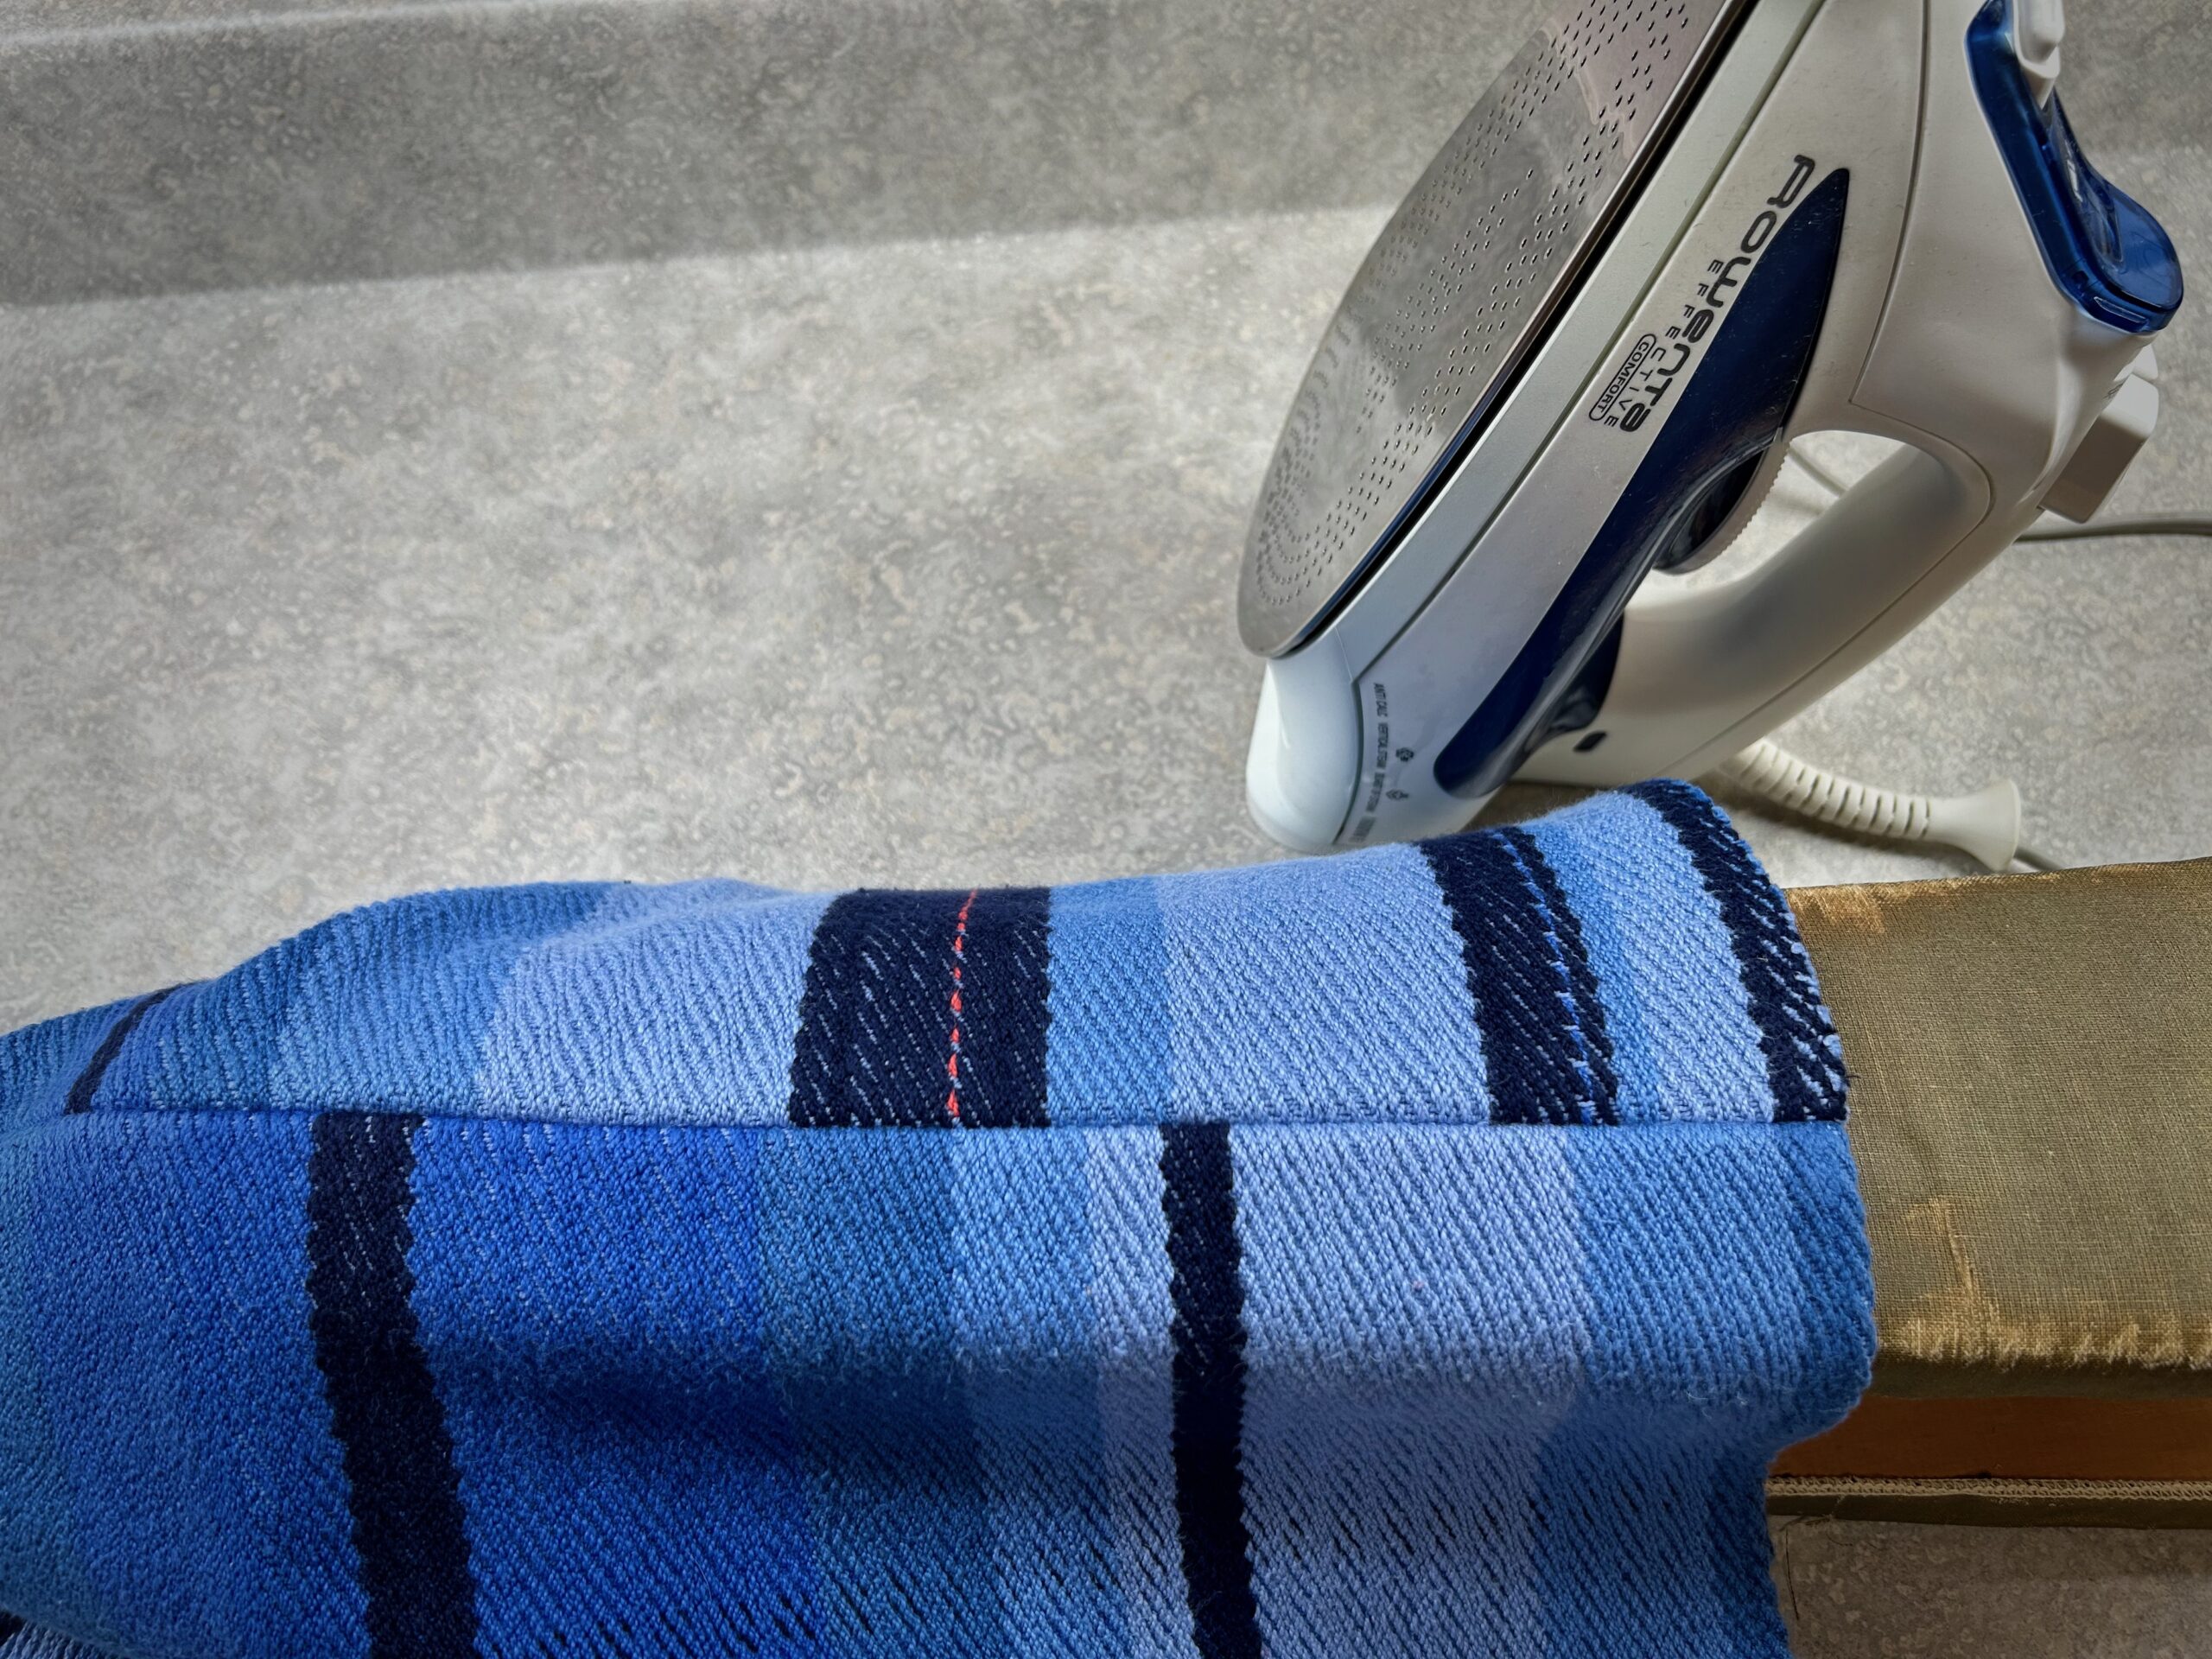
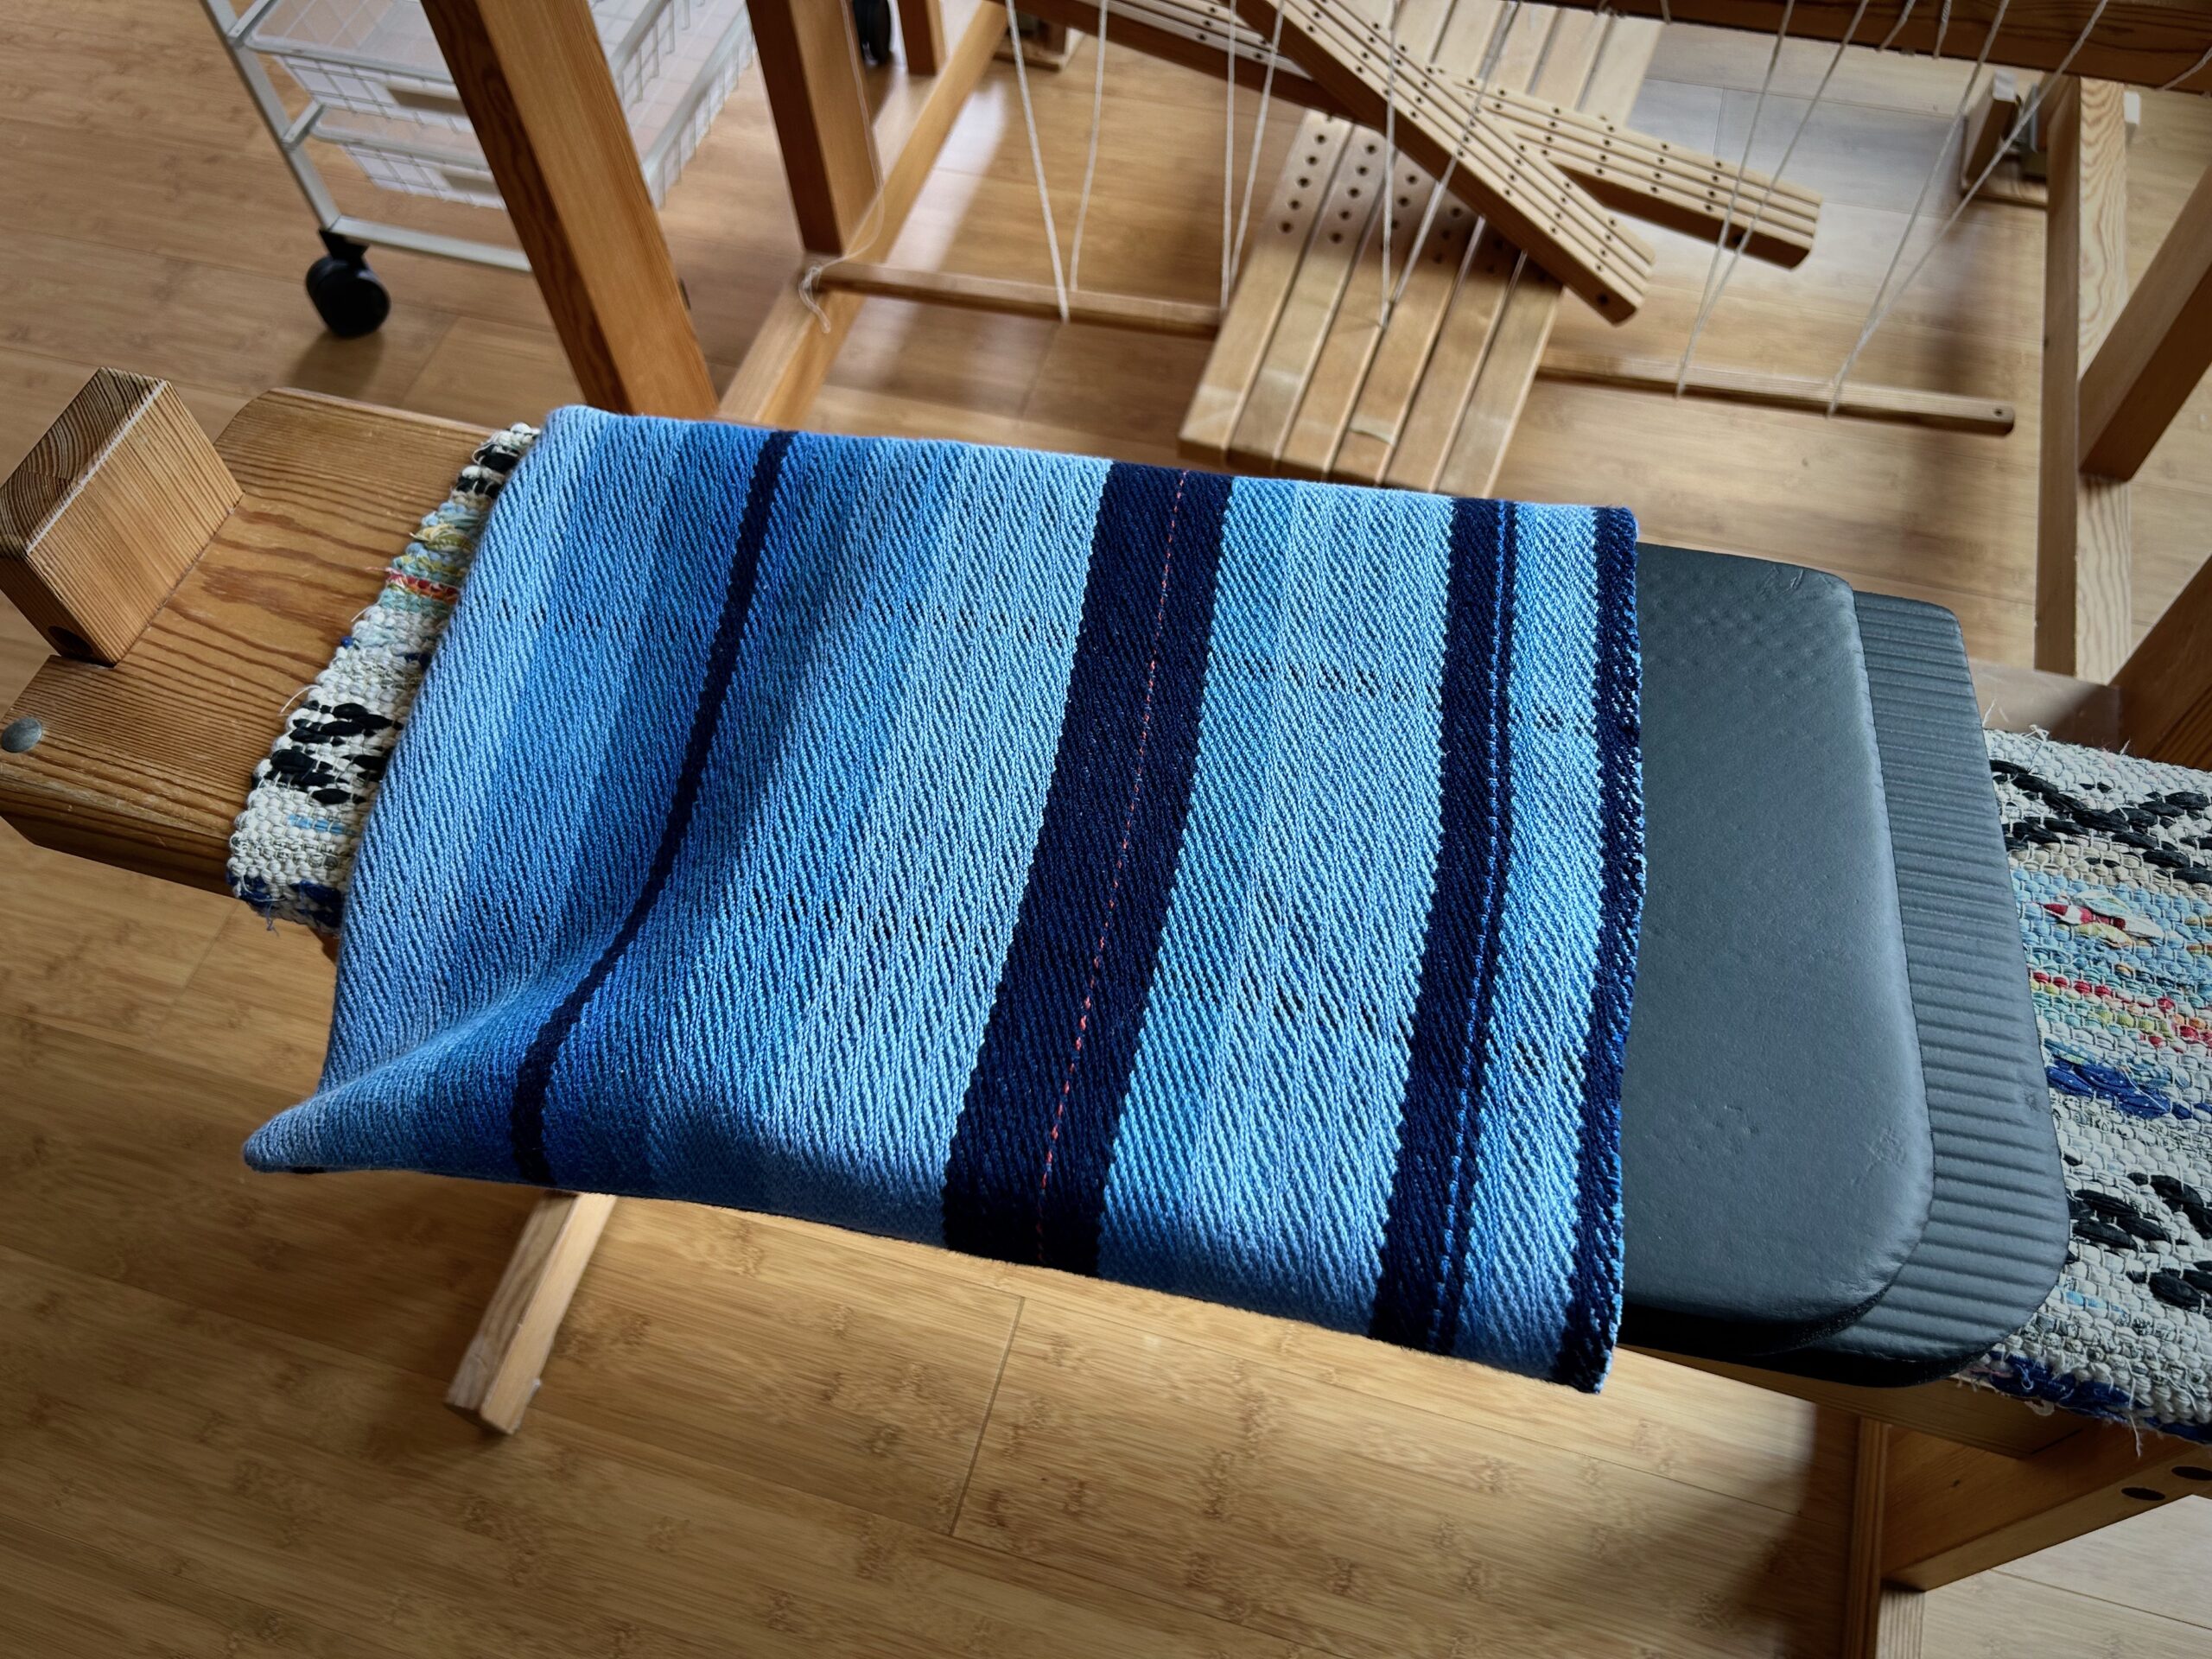
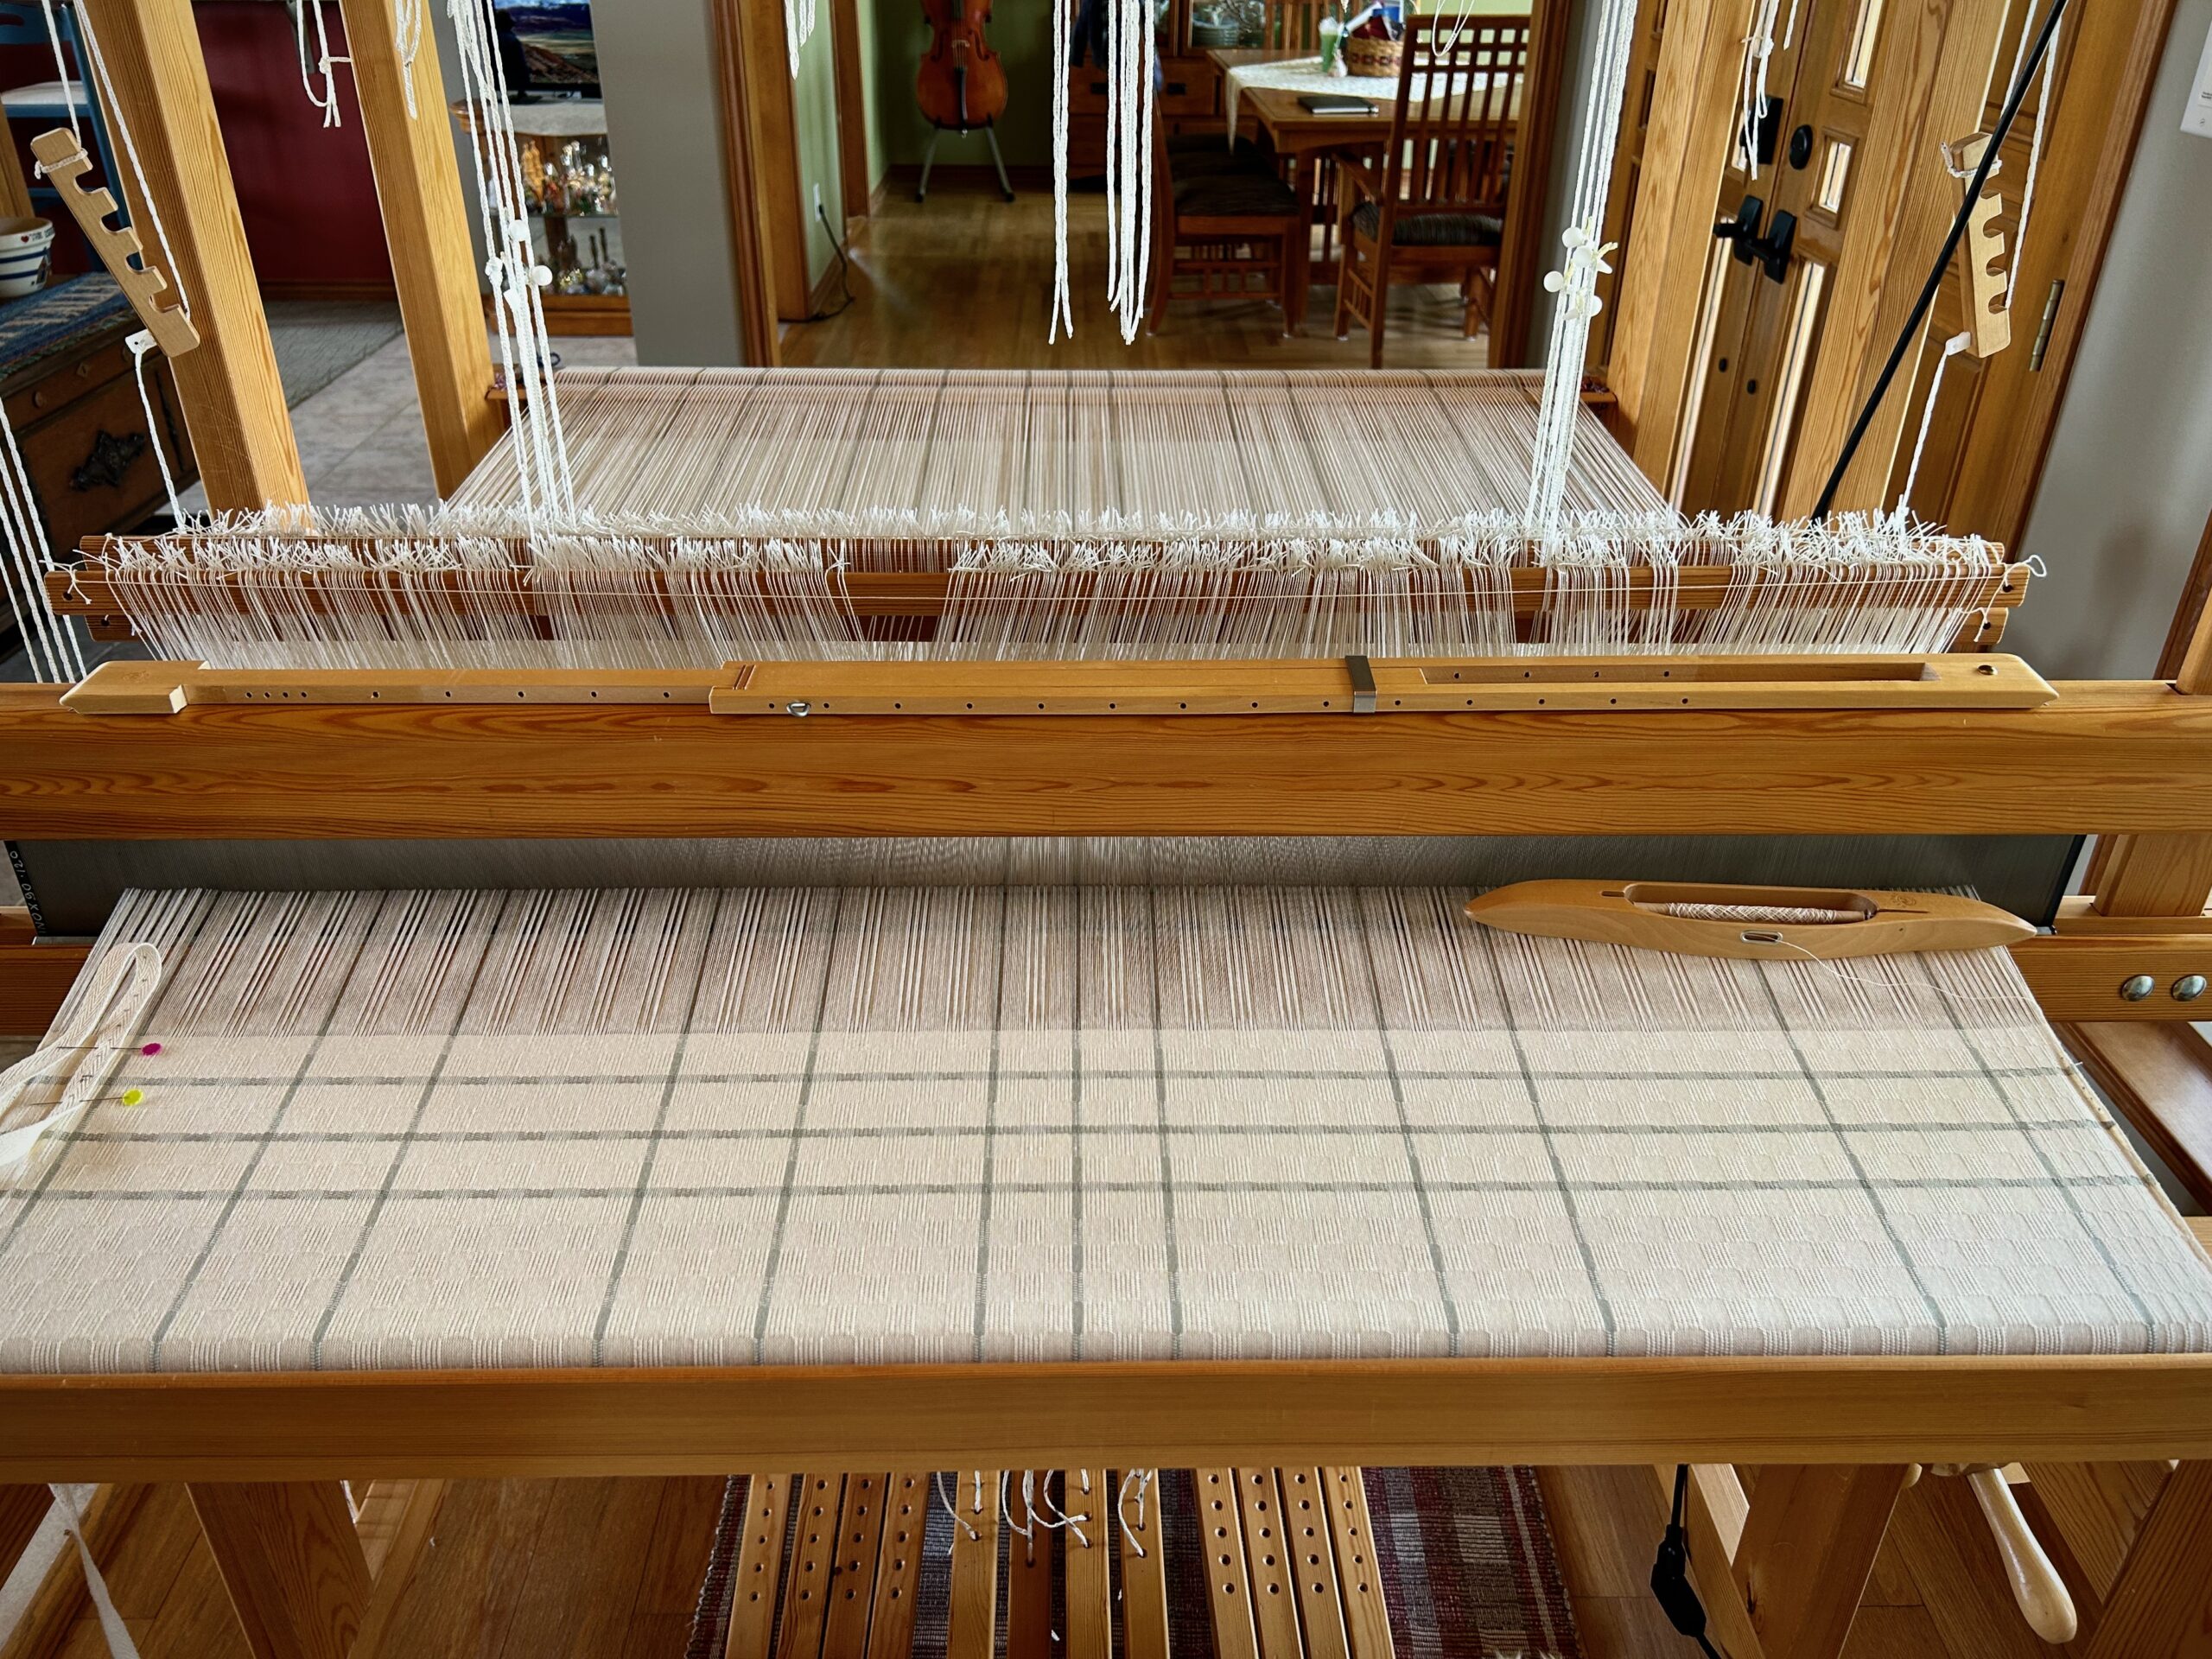
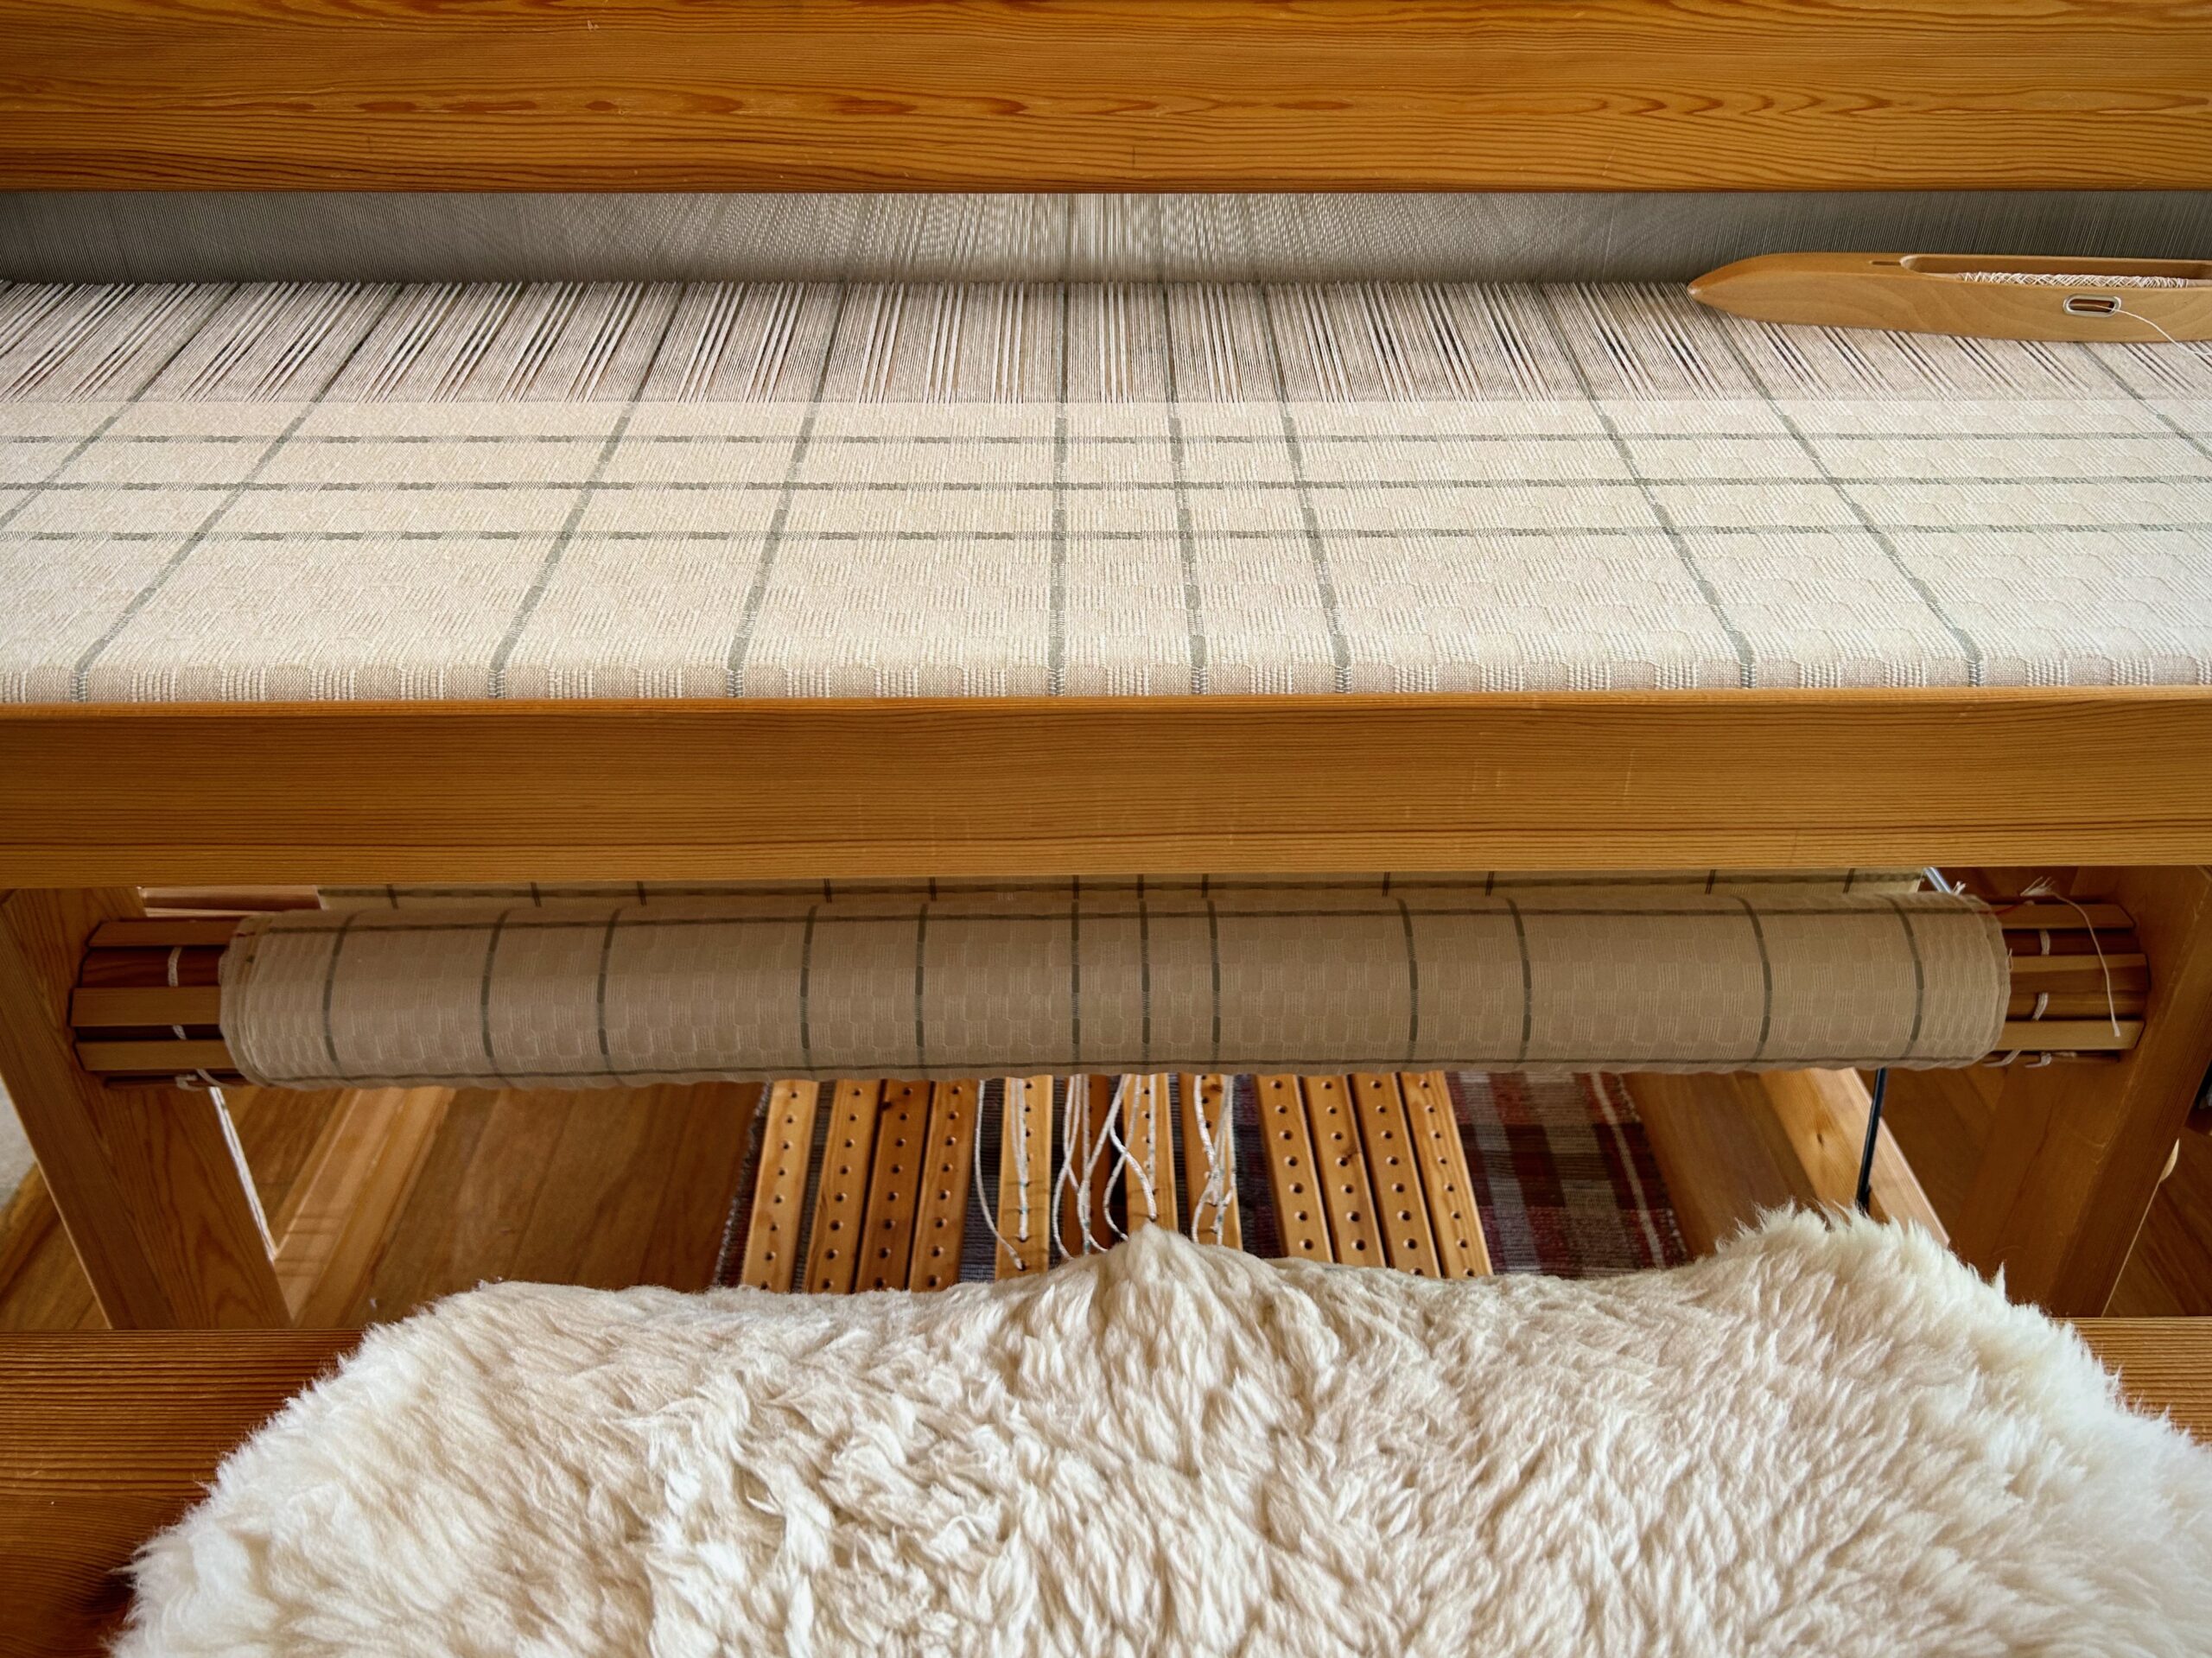
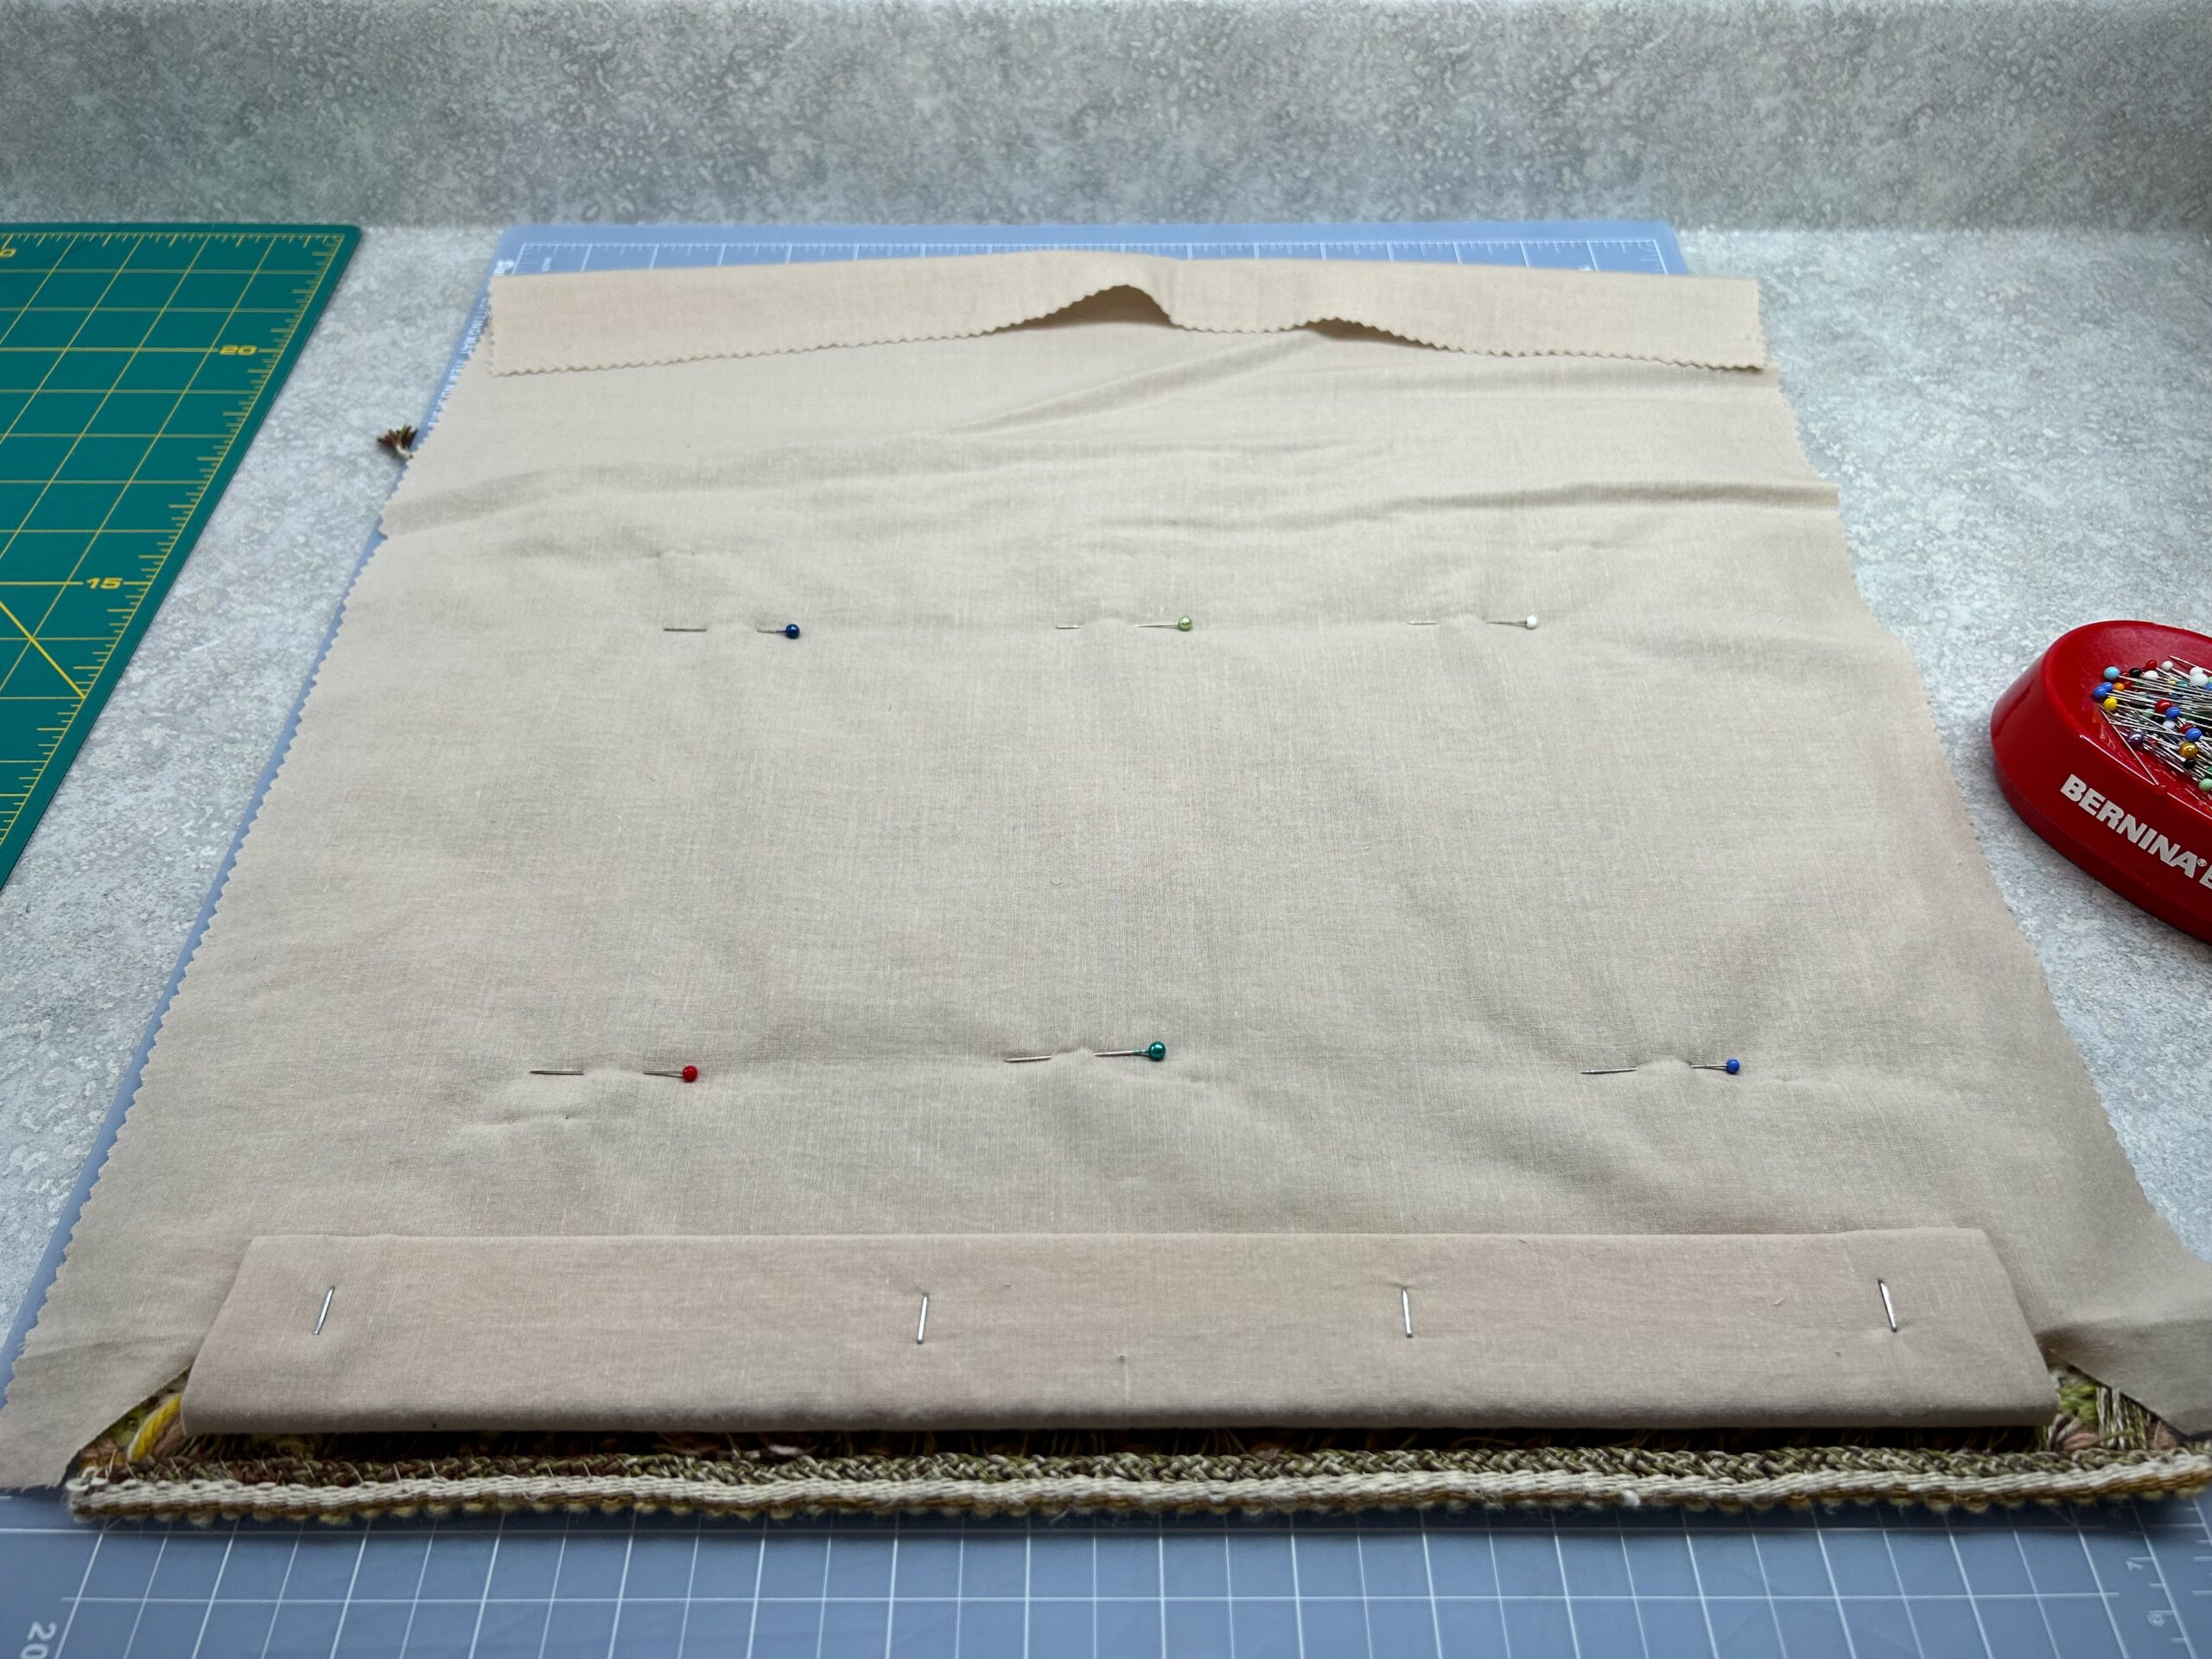
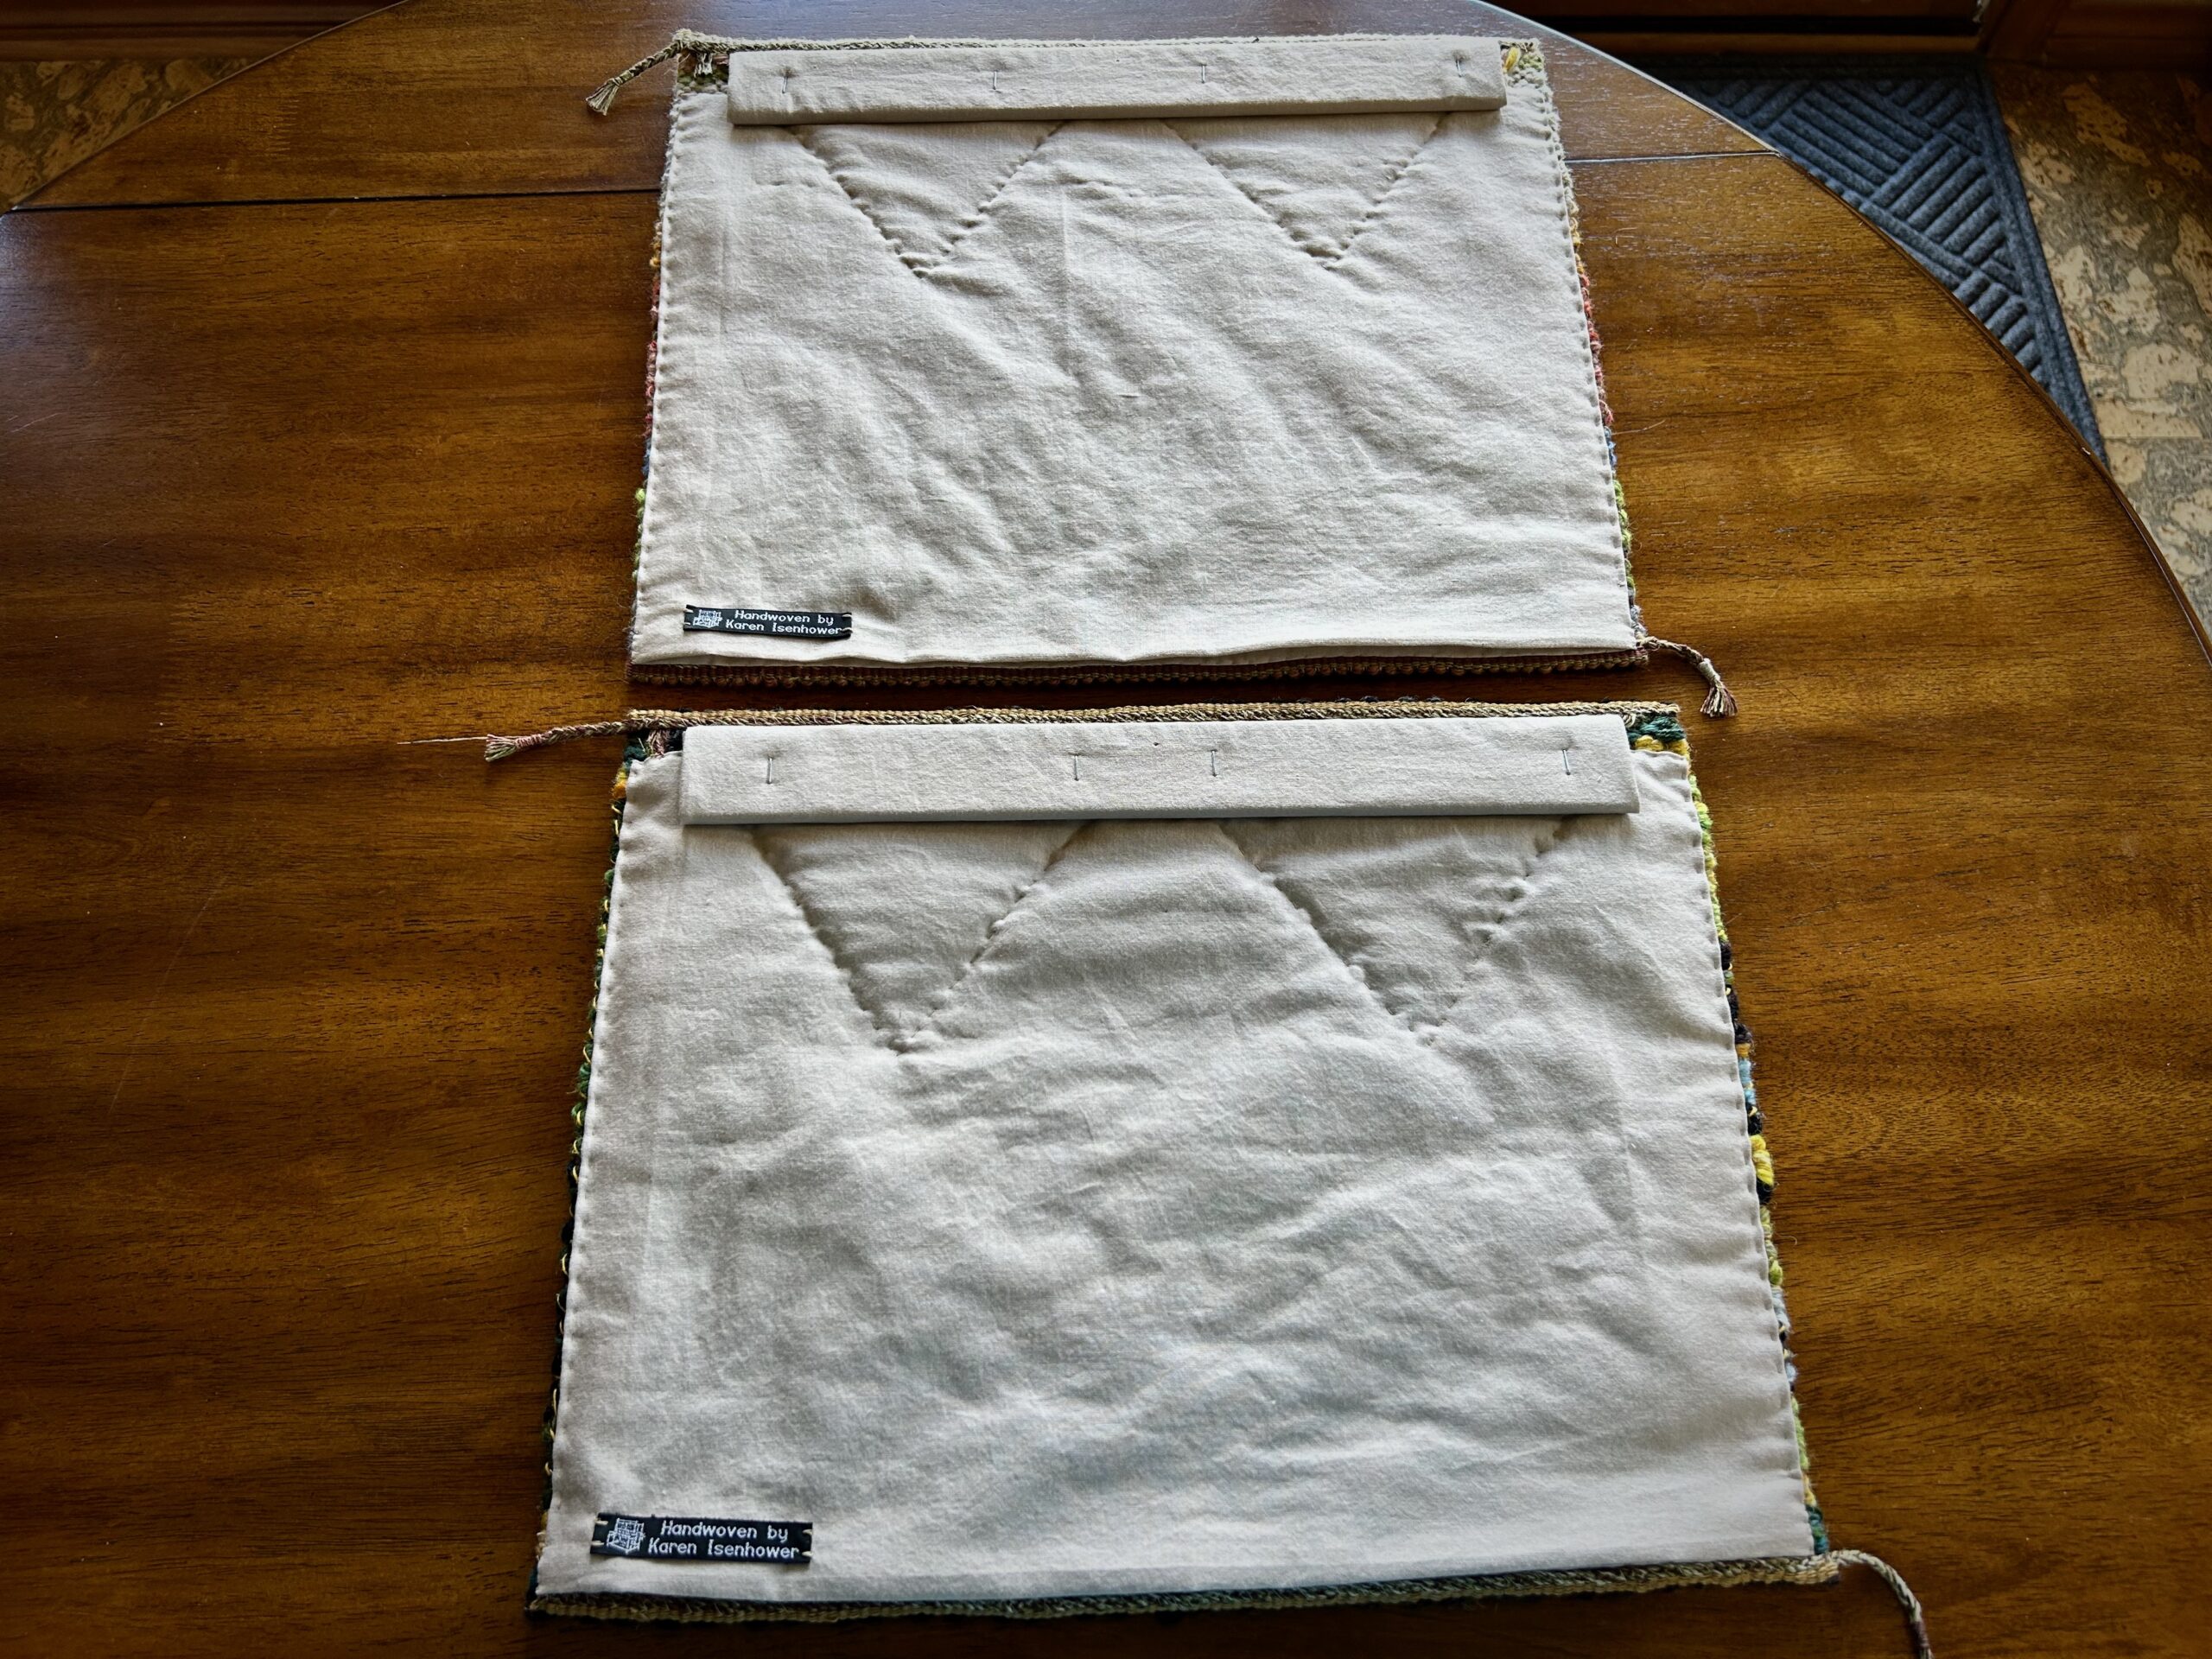
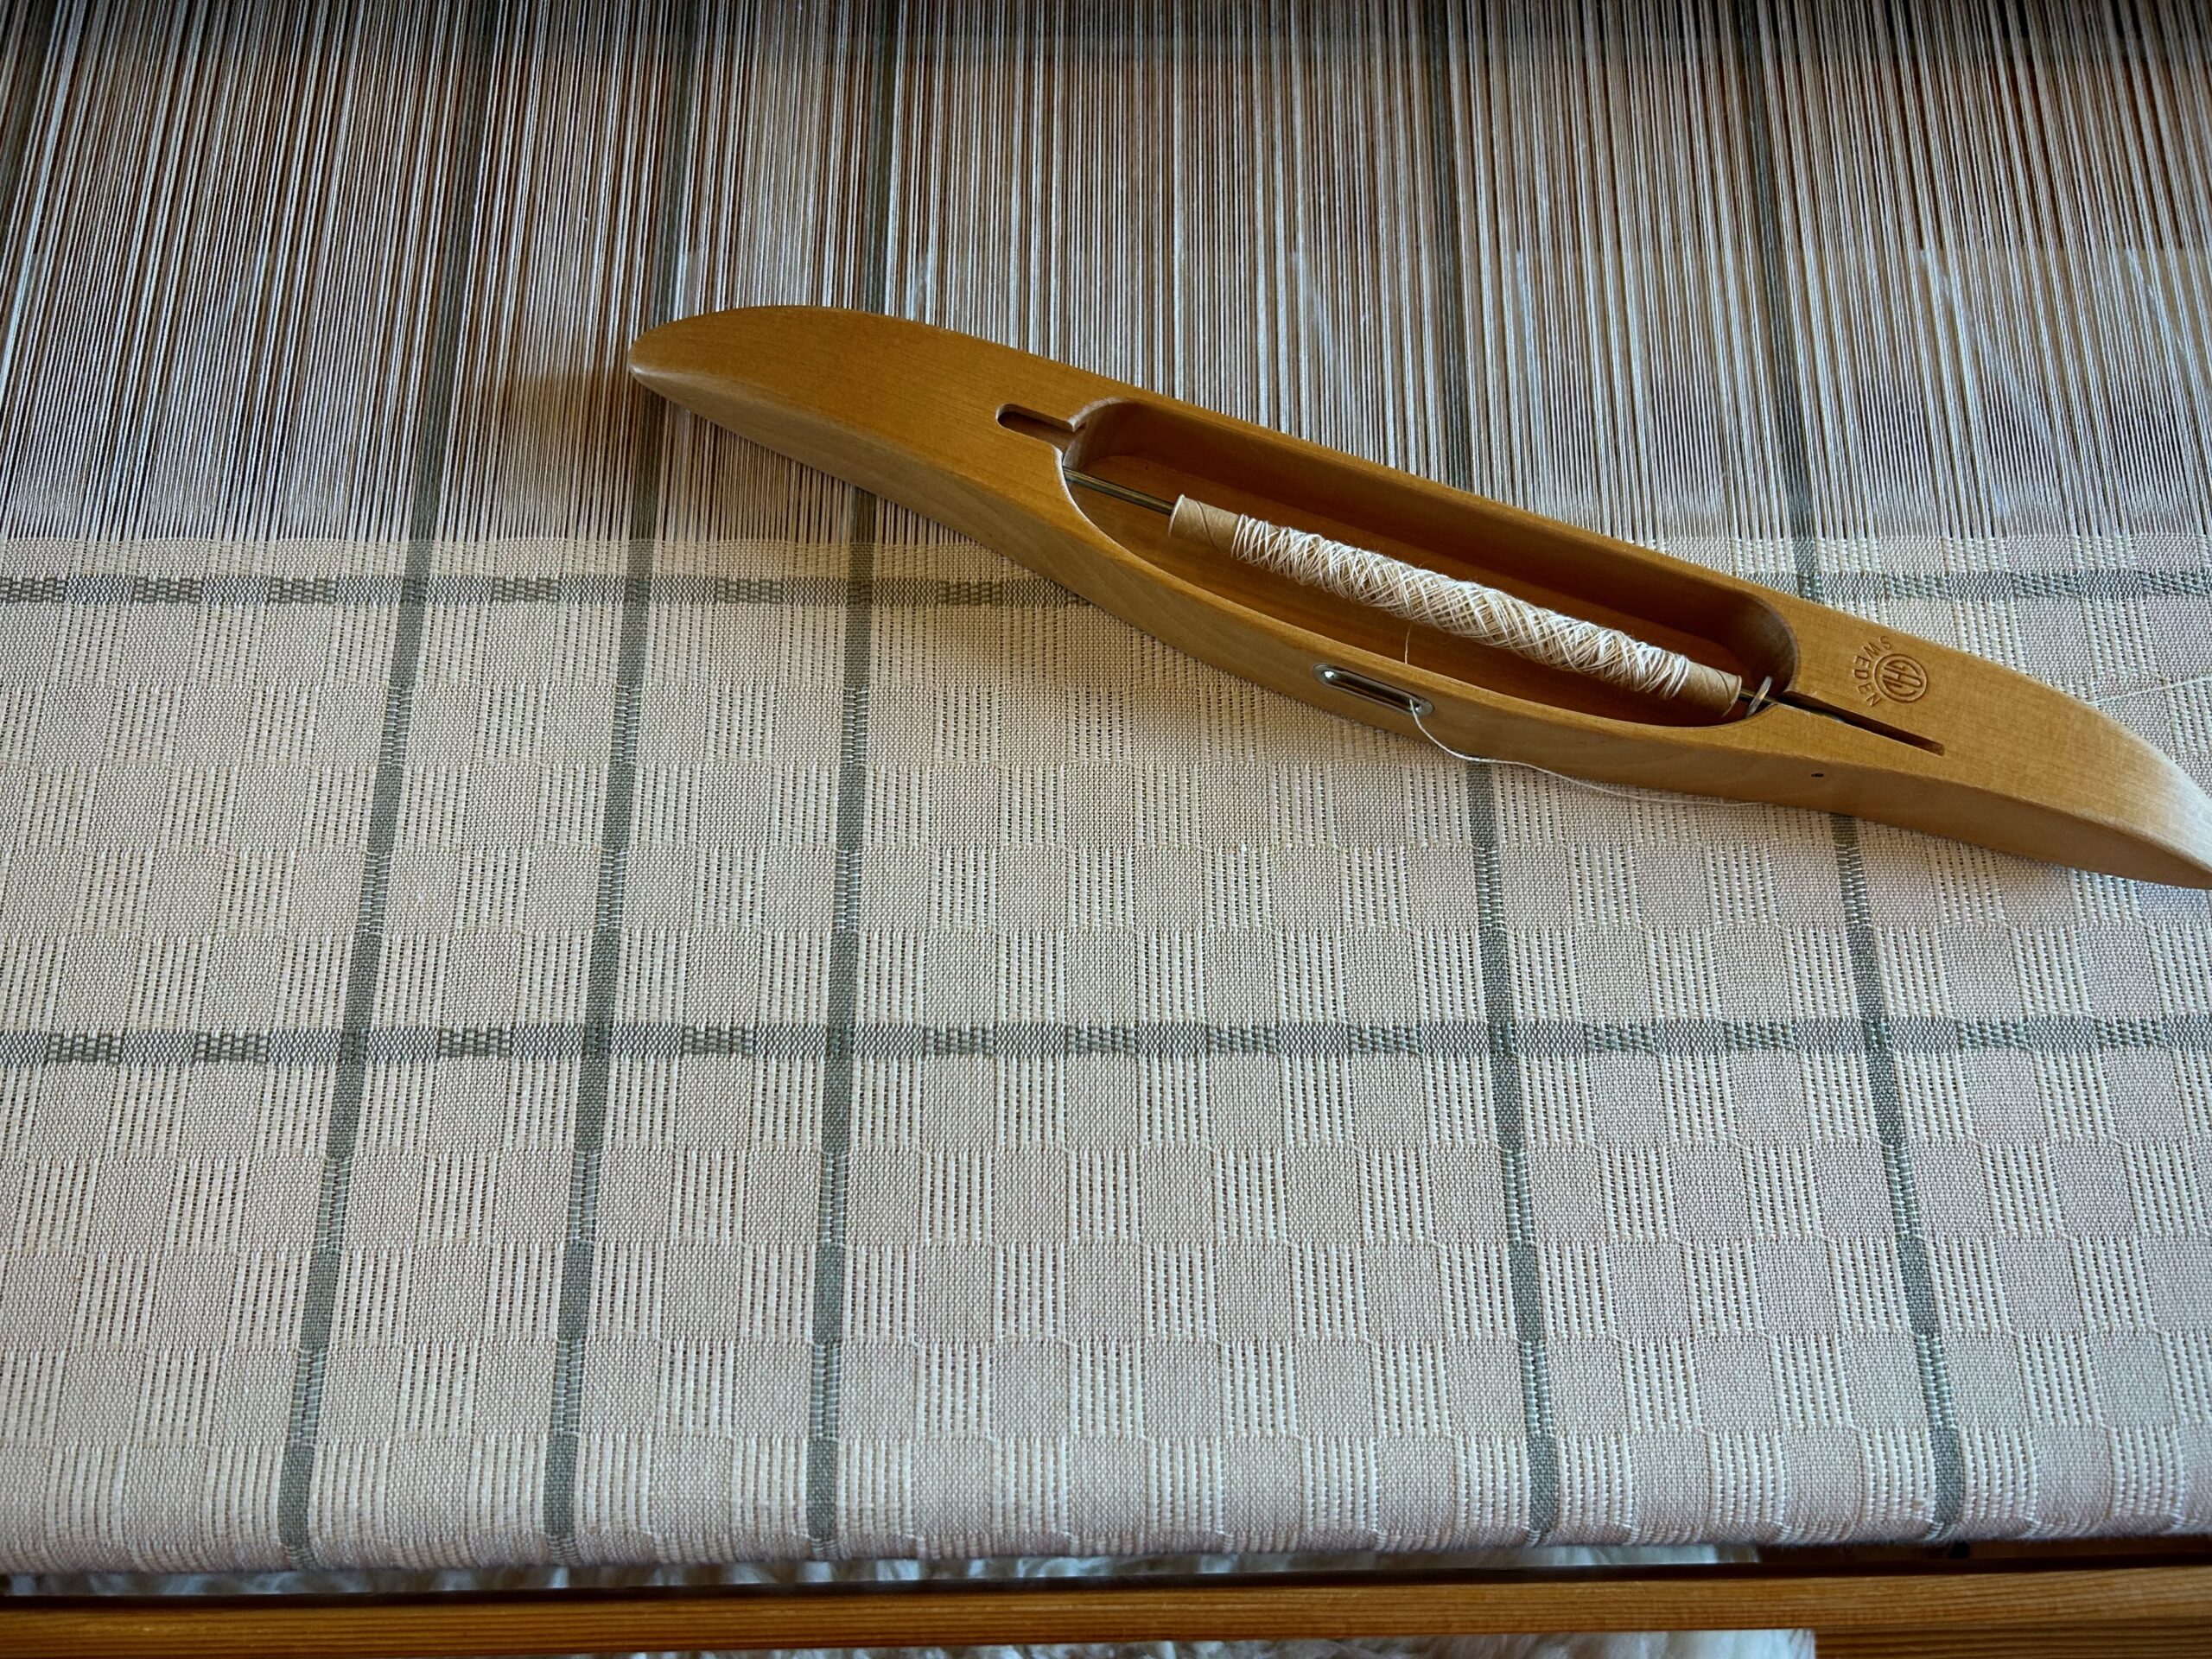
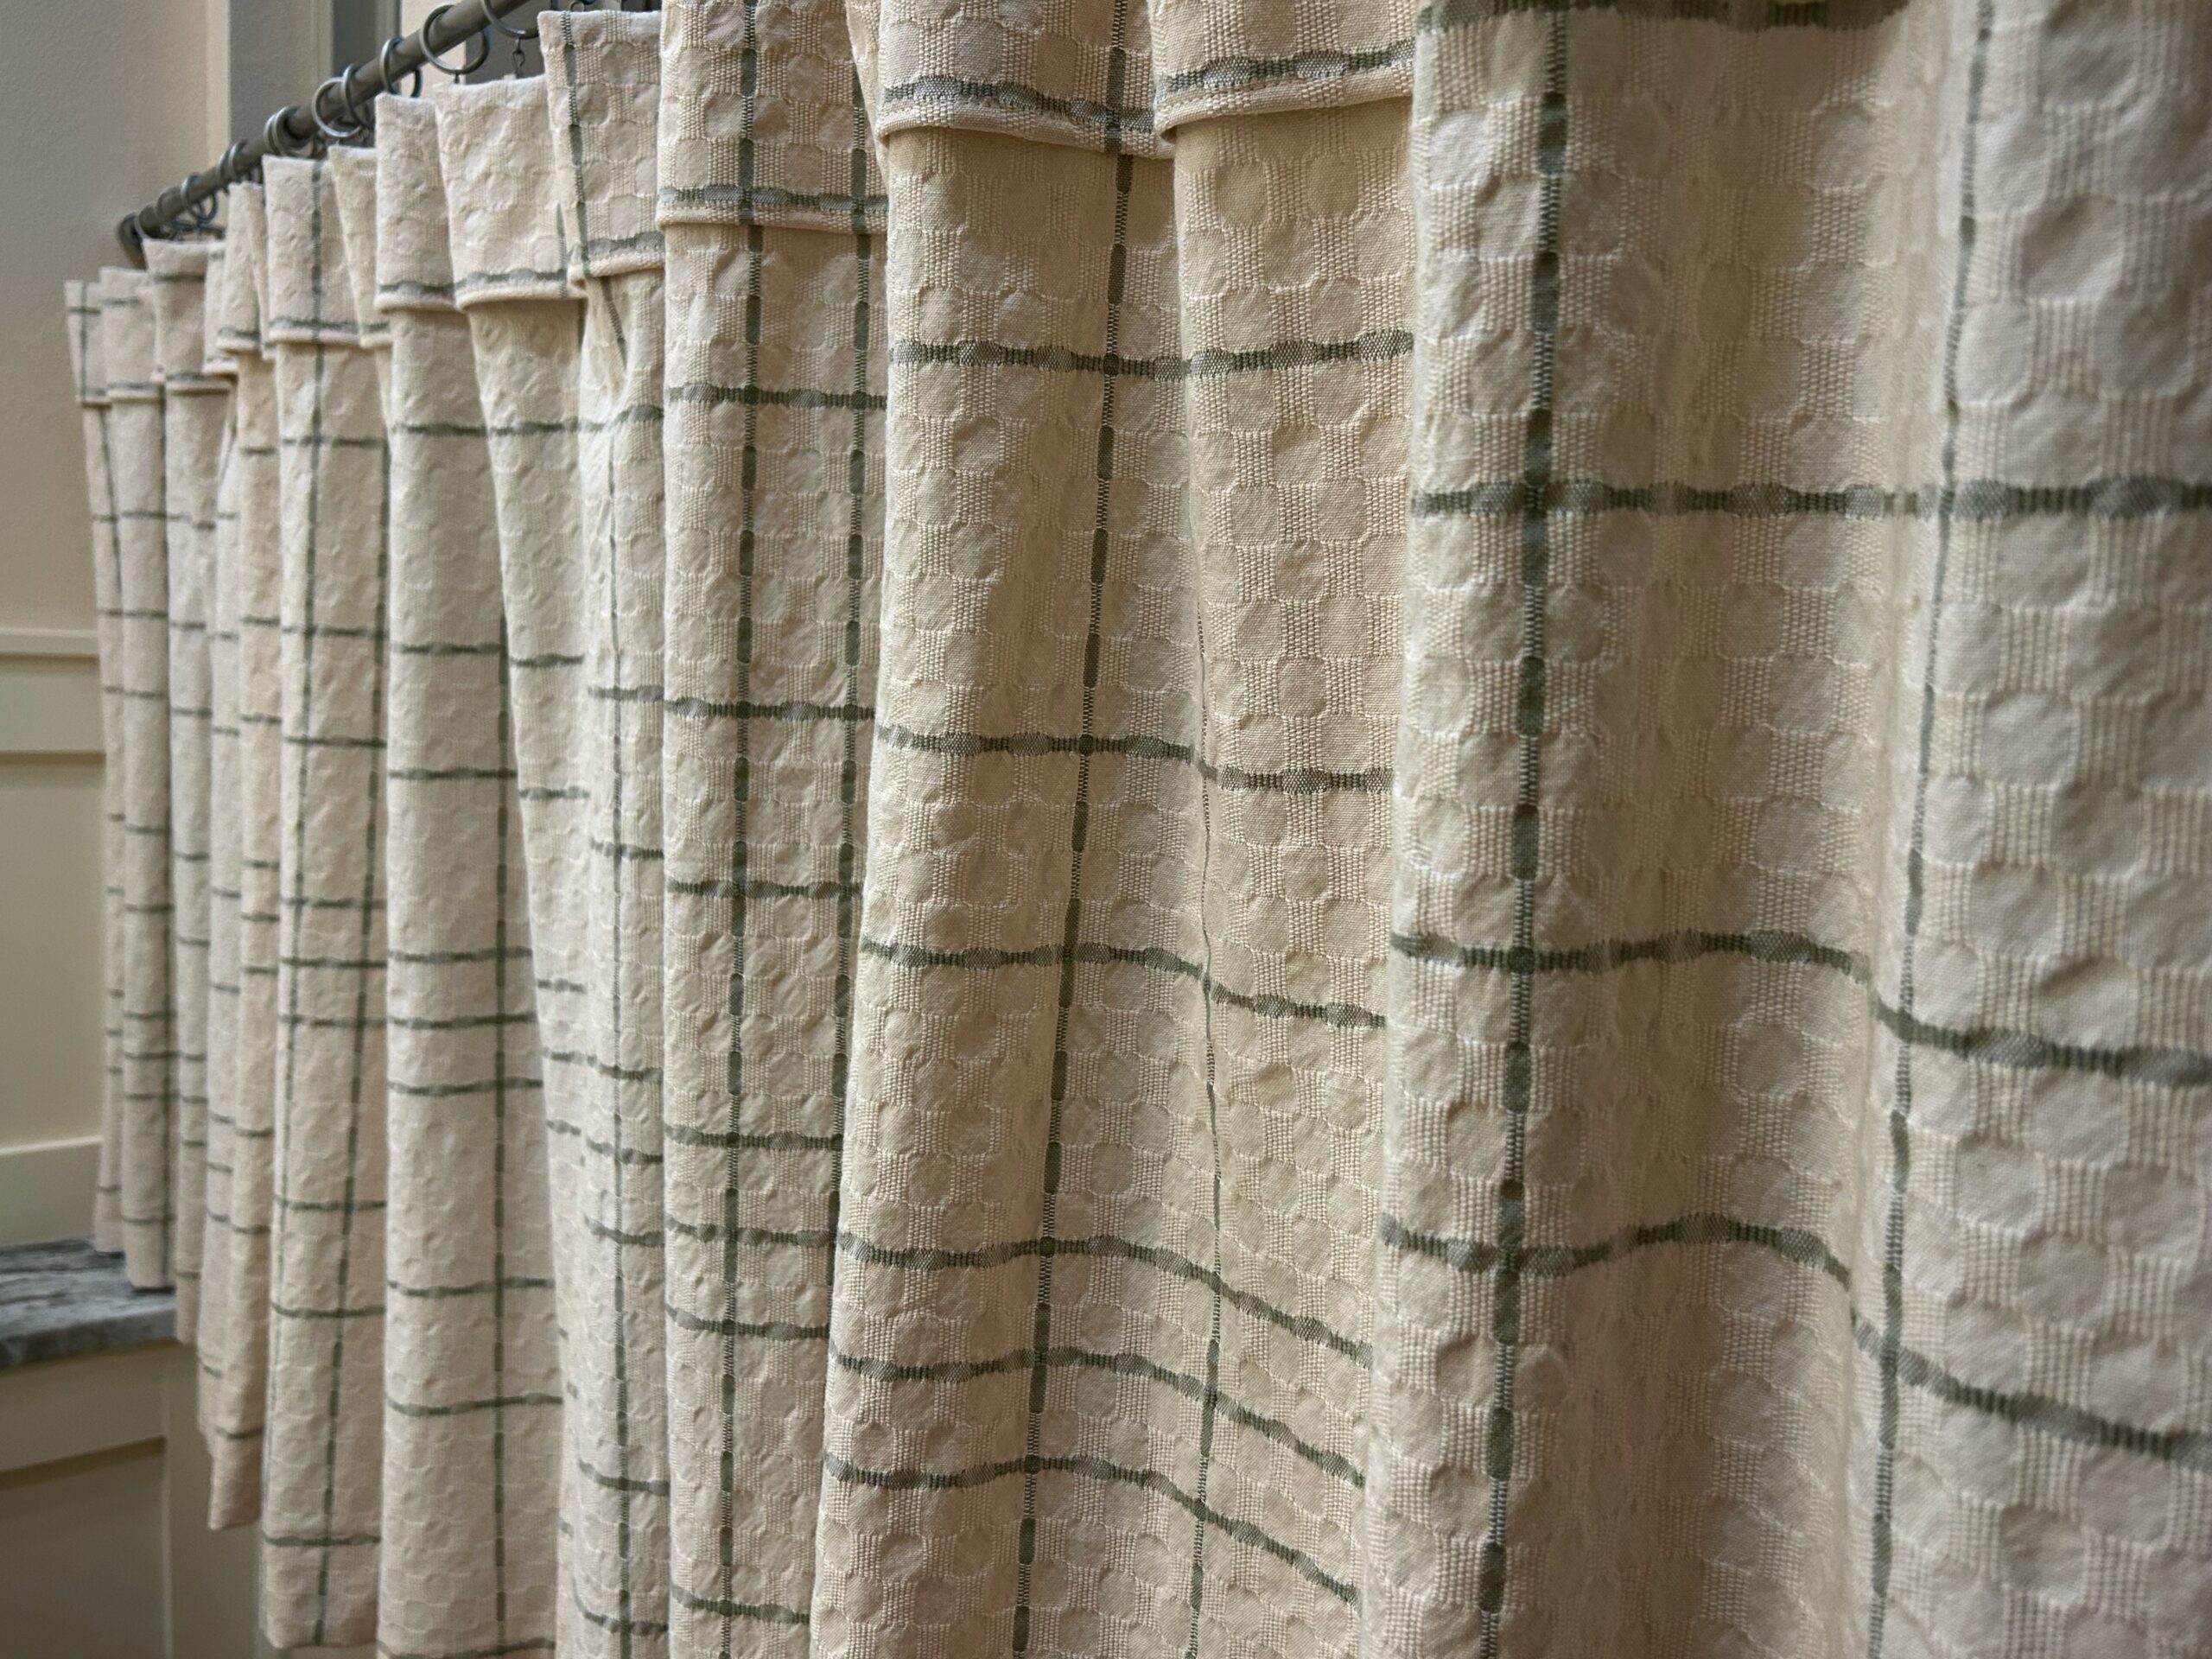
This is a beautiful way to close out the year. New handwoven curtains custom-made for these windows! 24/2 cotton warp and weft, with 16/2 cotton accent stripes. M’s and O’s in four shafts. I wish I had counted how many quills I wound. It seems like thousands. Steve did a rough calculation of how many times I stretched my arms a very wide stretch to send the shuttle back and forth. Something like 7,000+ times.
I hope you are getting ready for Christmas like we are. Christmas reminds me that there is a bigger story than my twelve-month curtains. I get immersed in a project and look ahead to the joy of seeing it come off the loom. The Christmas story is that God’s Son Jesus Christ humbled Himself to come to us as a baby, to grow into a man who would give His life away. Jesus was looking ahead to the joy of seeing us come into harmony with God. Merry Christ-mas to all.
Here is a short slide show video of the process of weaving these curtains, from start to finish. Enjoy!
God’s blessings to you,
Karen
The lyrics to the background music in the video:
Come, Thou Long Expected Jesus
by Charles Wesley (1744)
1. Come, Thou long expected Jesus,
born to set Thy people free;
from our fears and sins release us,
let us find our rest in Thee.
Israel’s strength and consolation,
hope of all the earth Thou art;
dear desire of every nation,
joy of every longing heart.
2. Born Thy people to deliver,
born a child and yet a King,
born to reign in us forever,
now Thy gracious kingdom bring.
By Thine own eternal Spirit
rule in all our hearts alone;
by Thine all-sufficient merit,
raise us to Thy glorious throne.