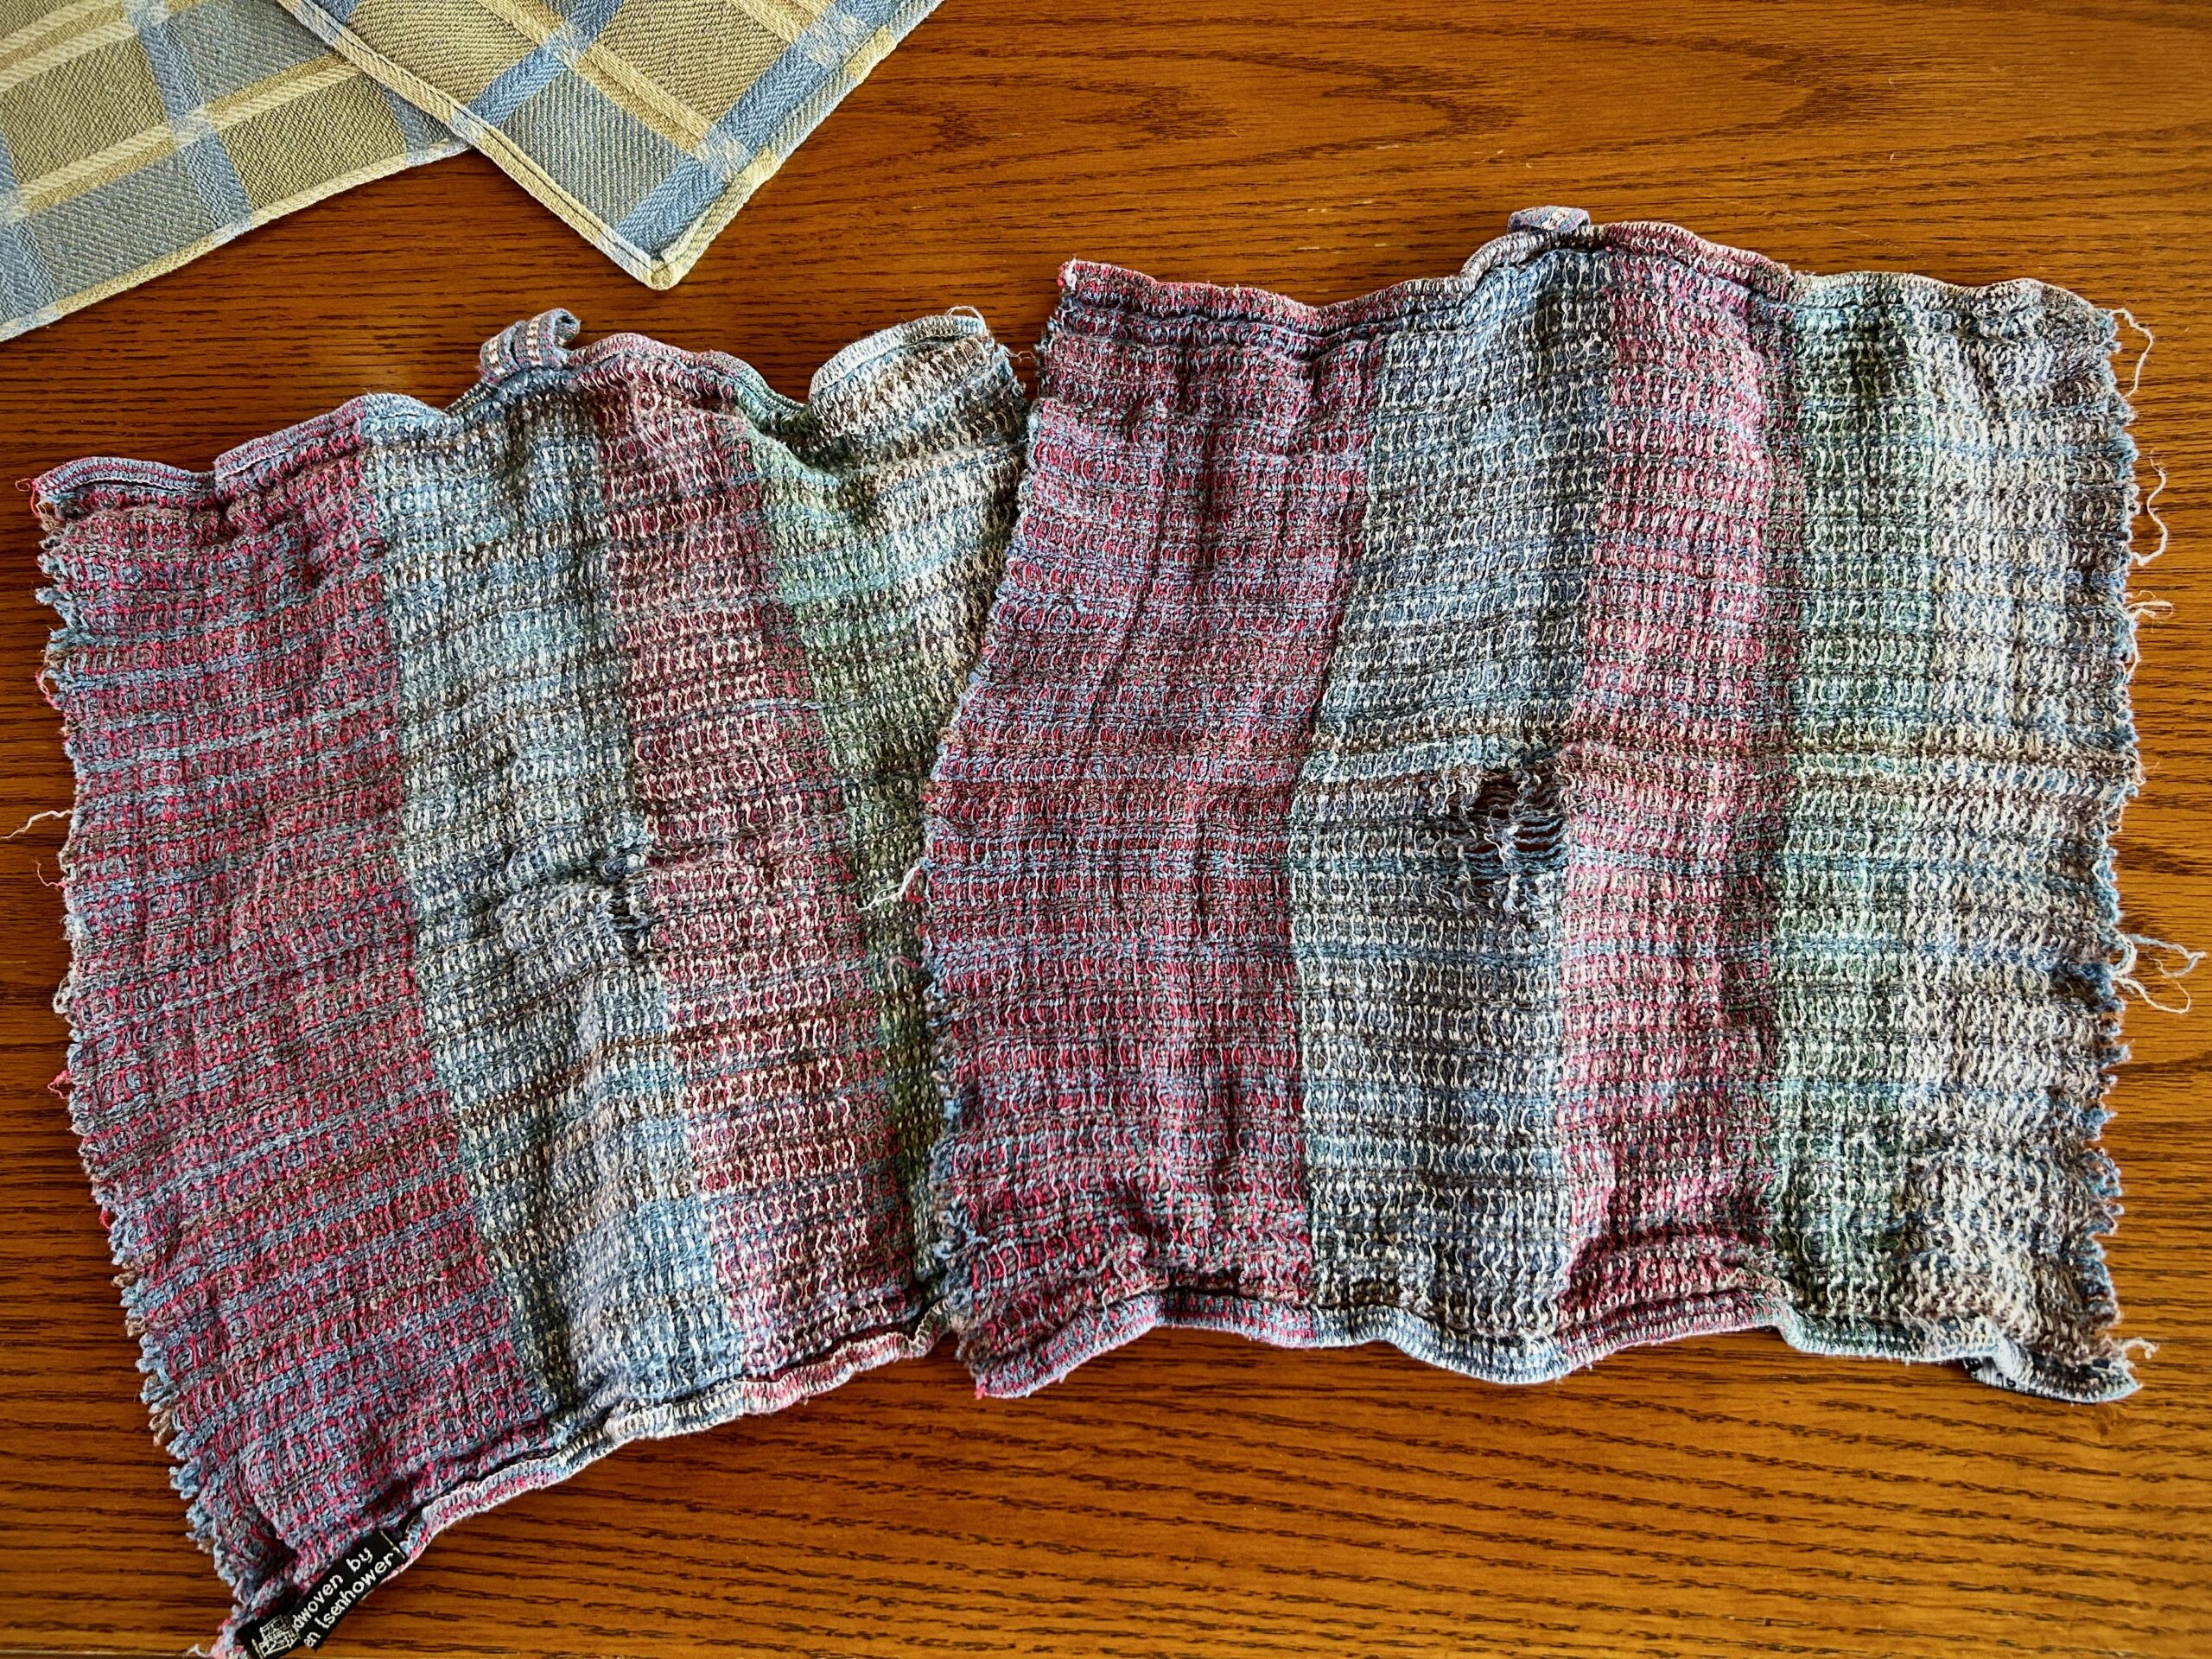
My looms are all occupied, so it will be a while before I can weave some new wash cloths. In the meantime, I am making “new” wash cloths to replace the ones that we have used so much that we’ve worn holes in them. The pictures tell the rest of the story.
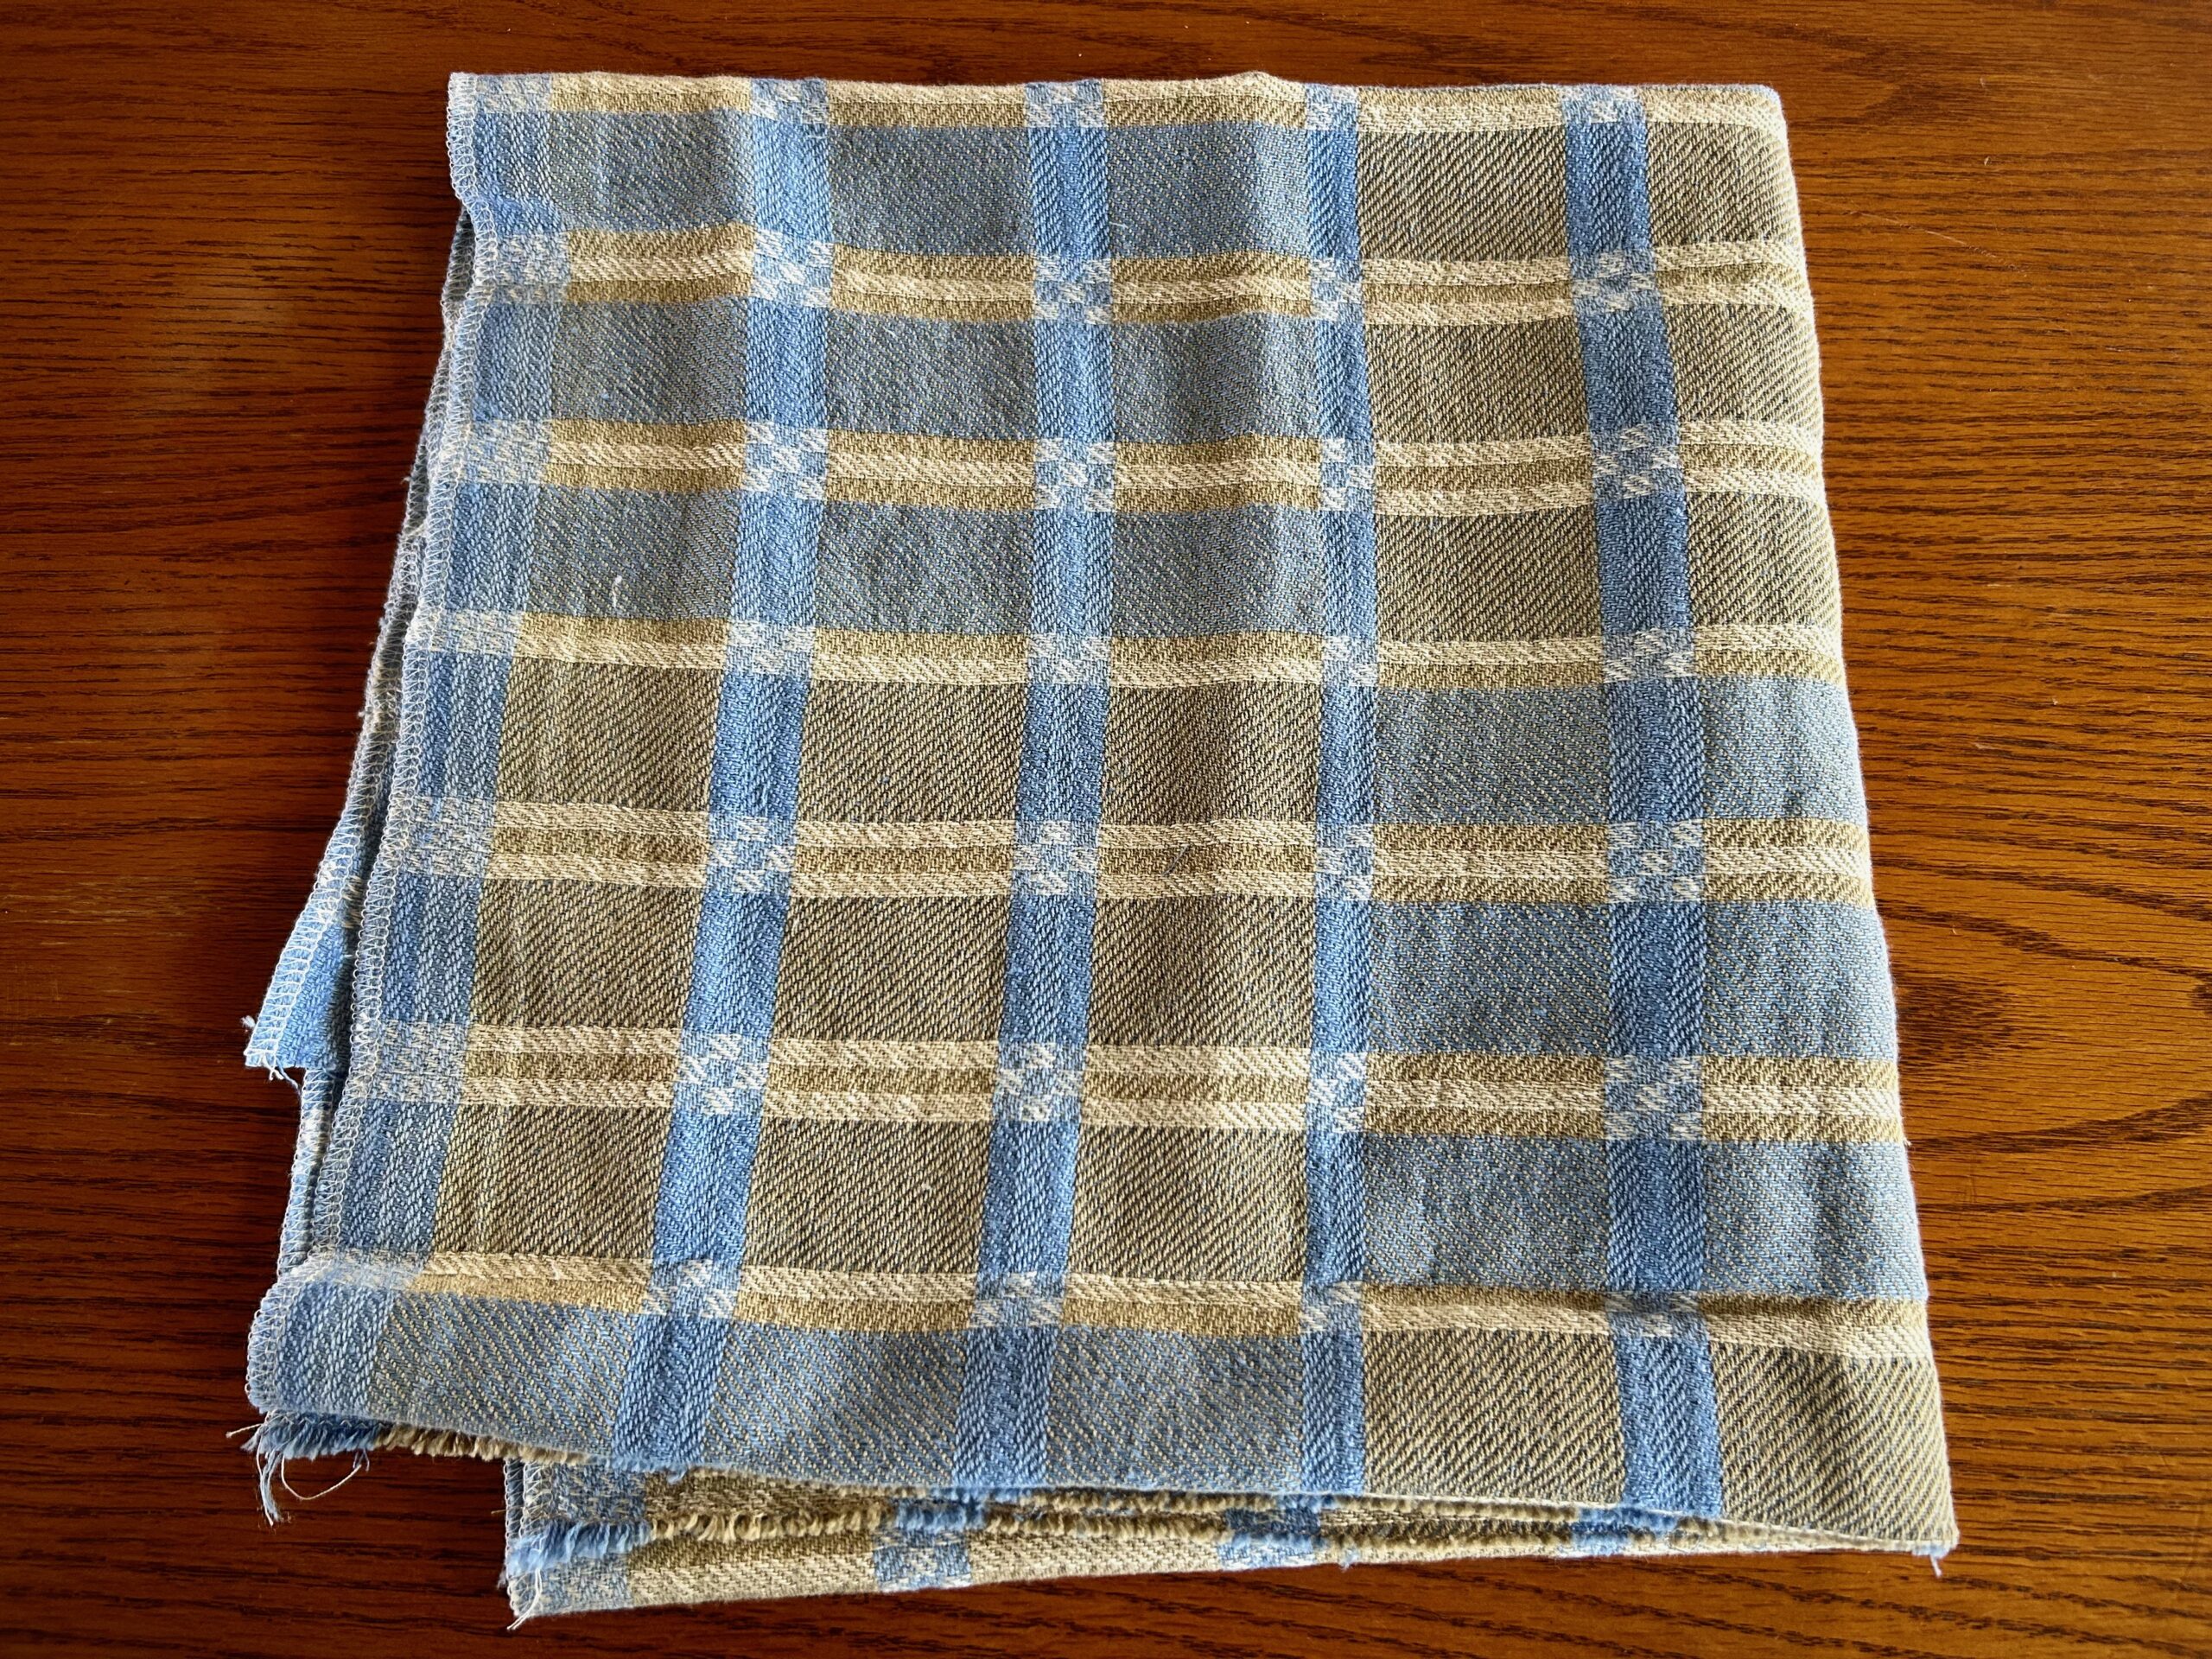
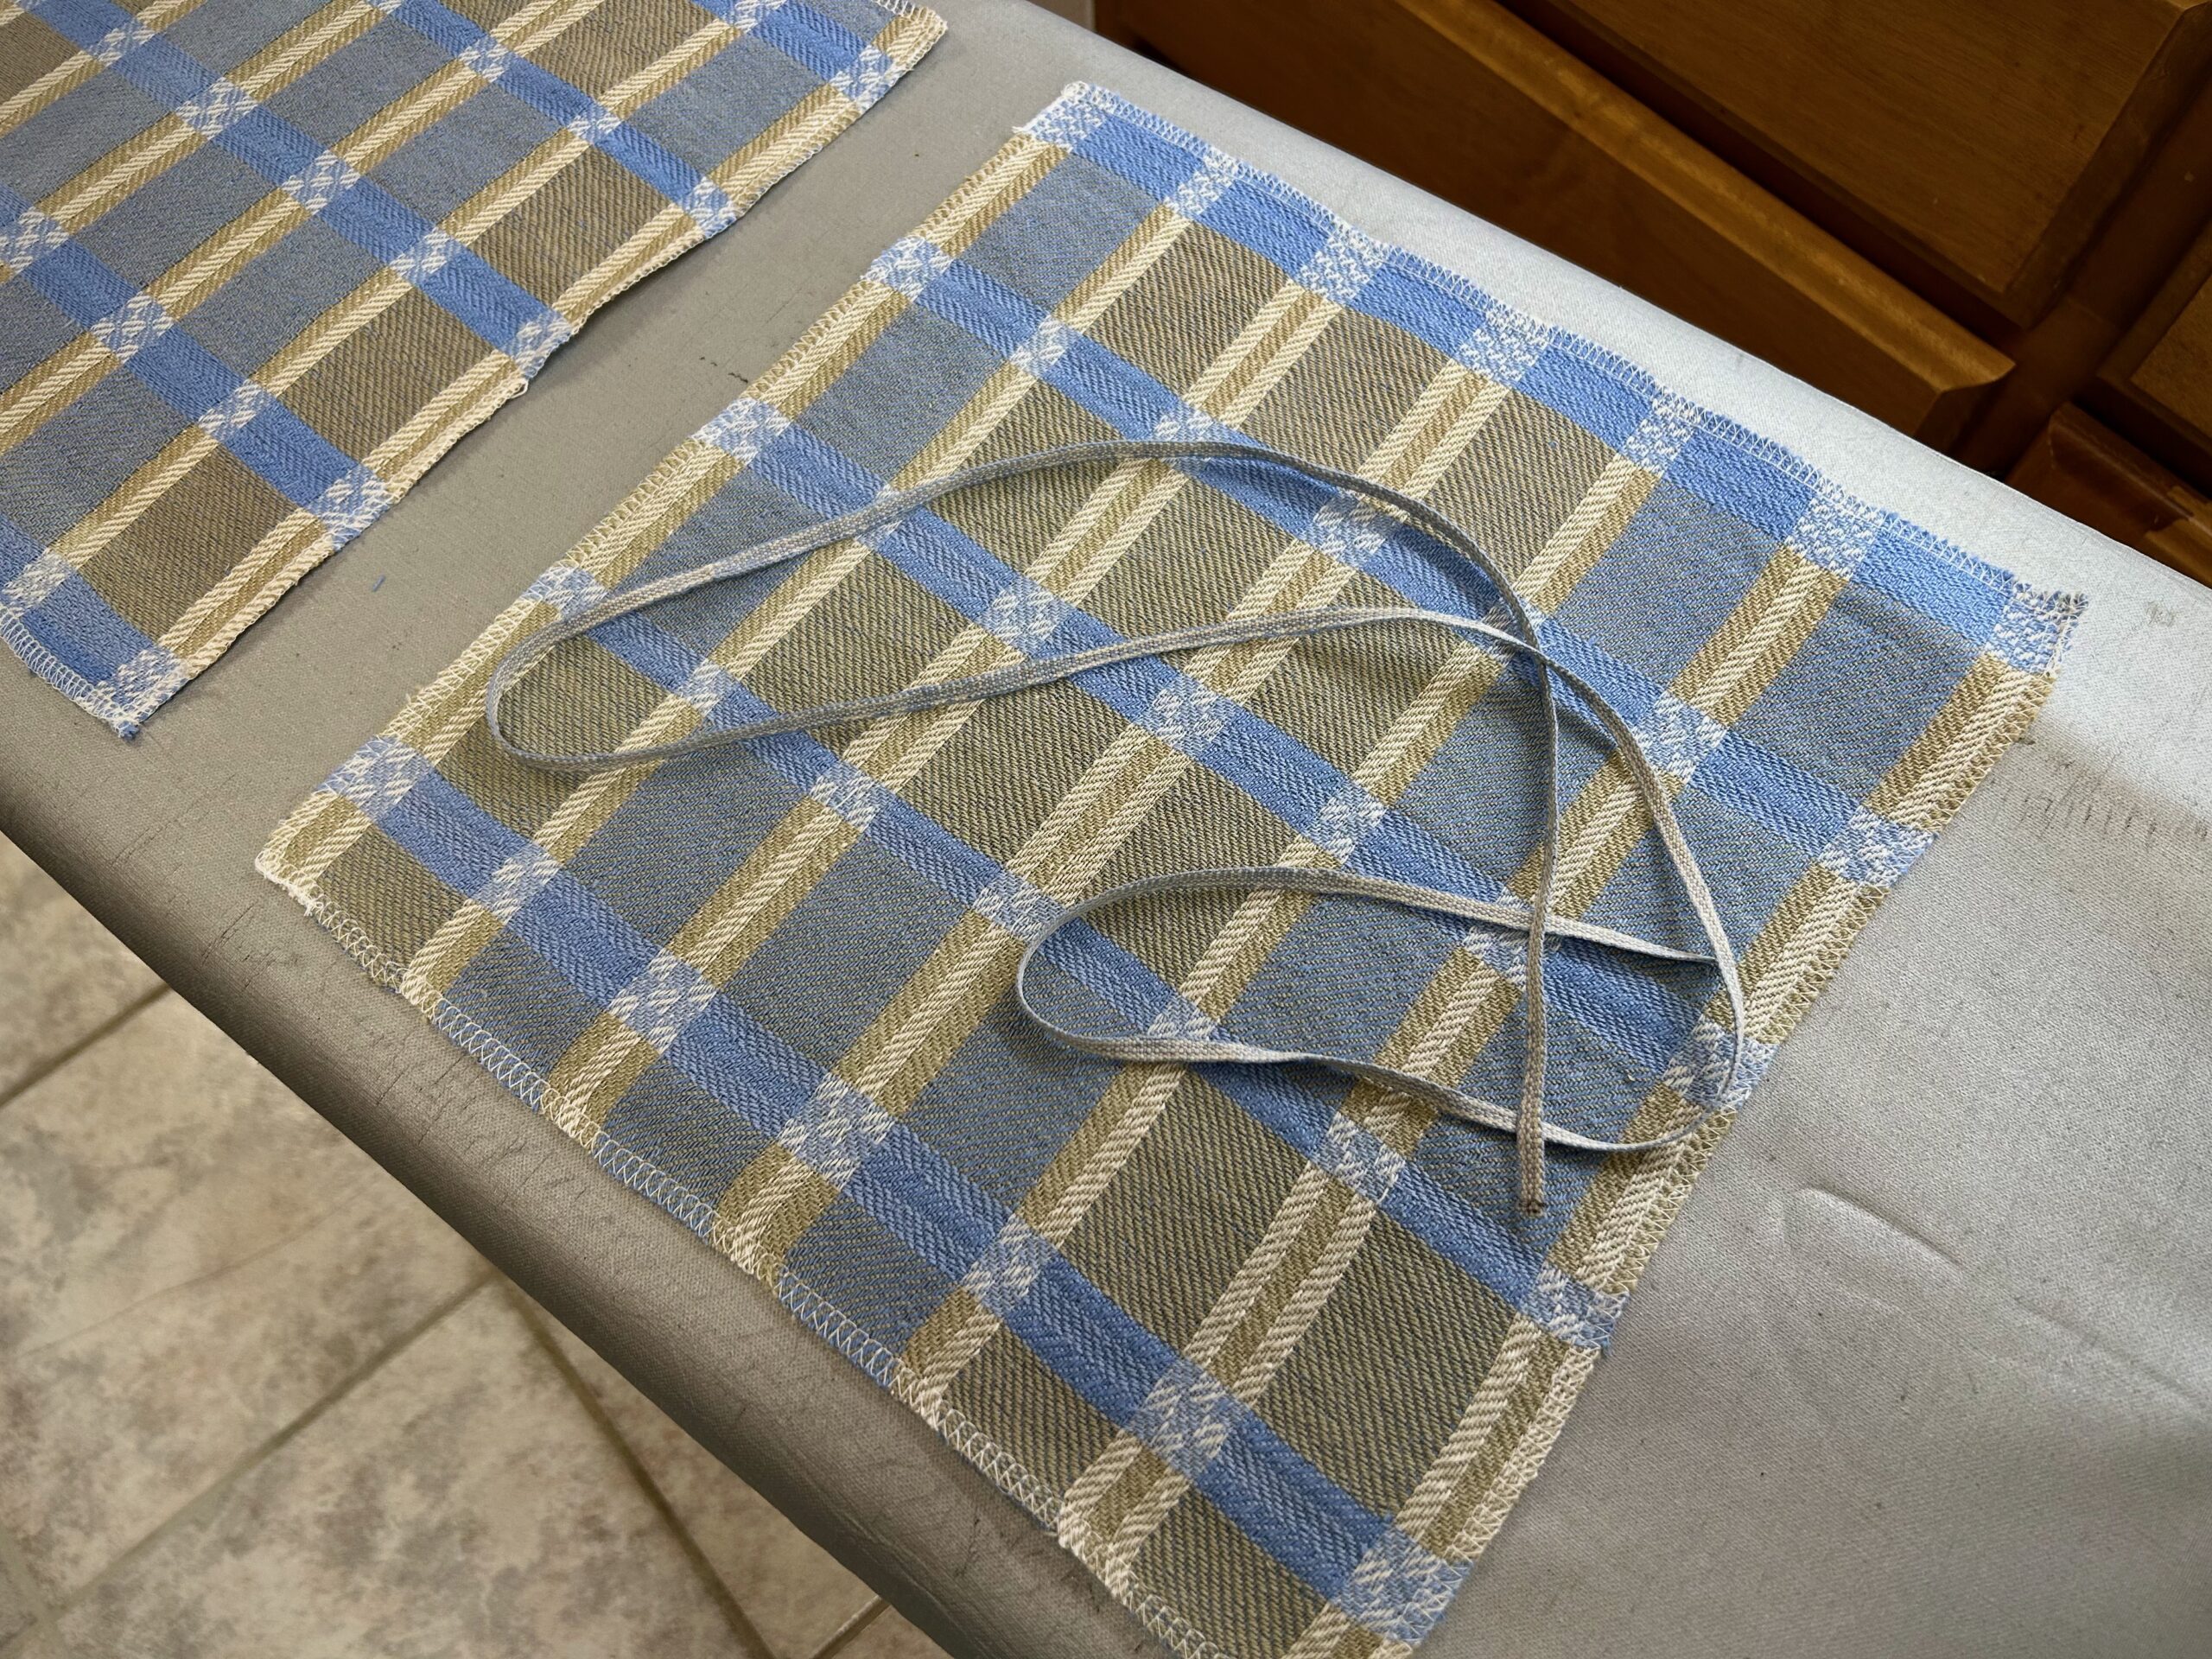
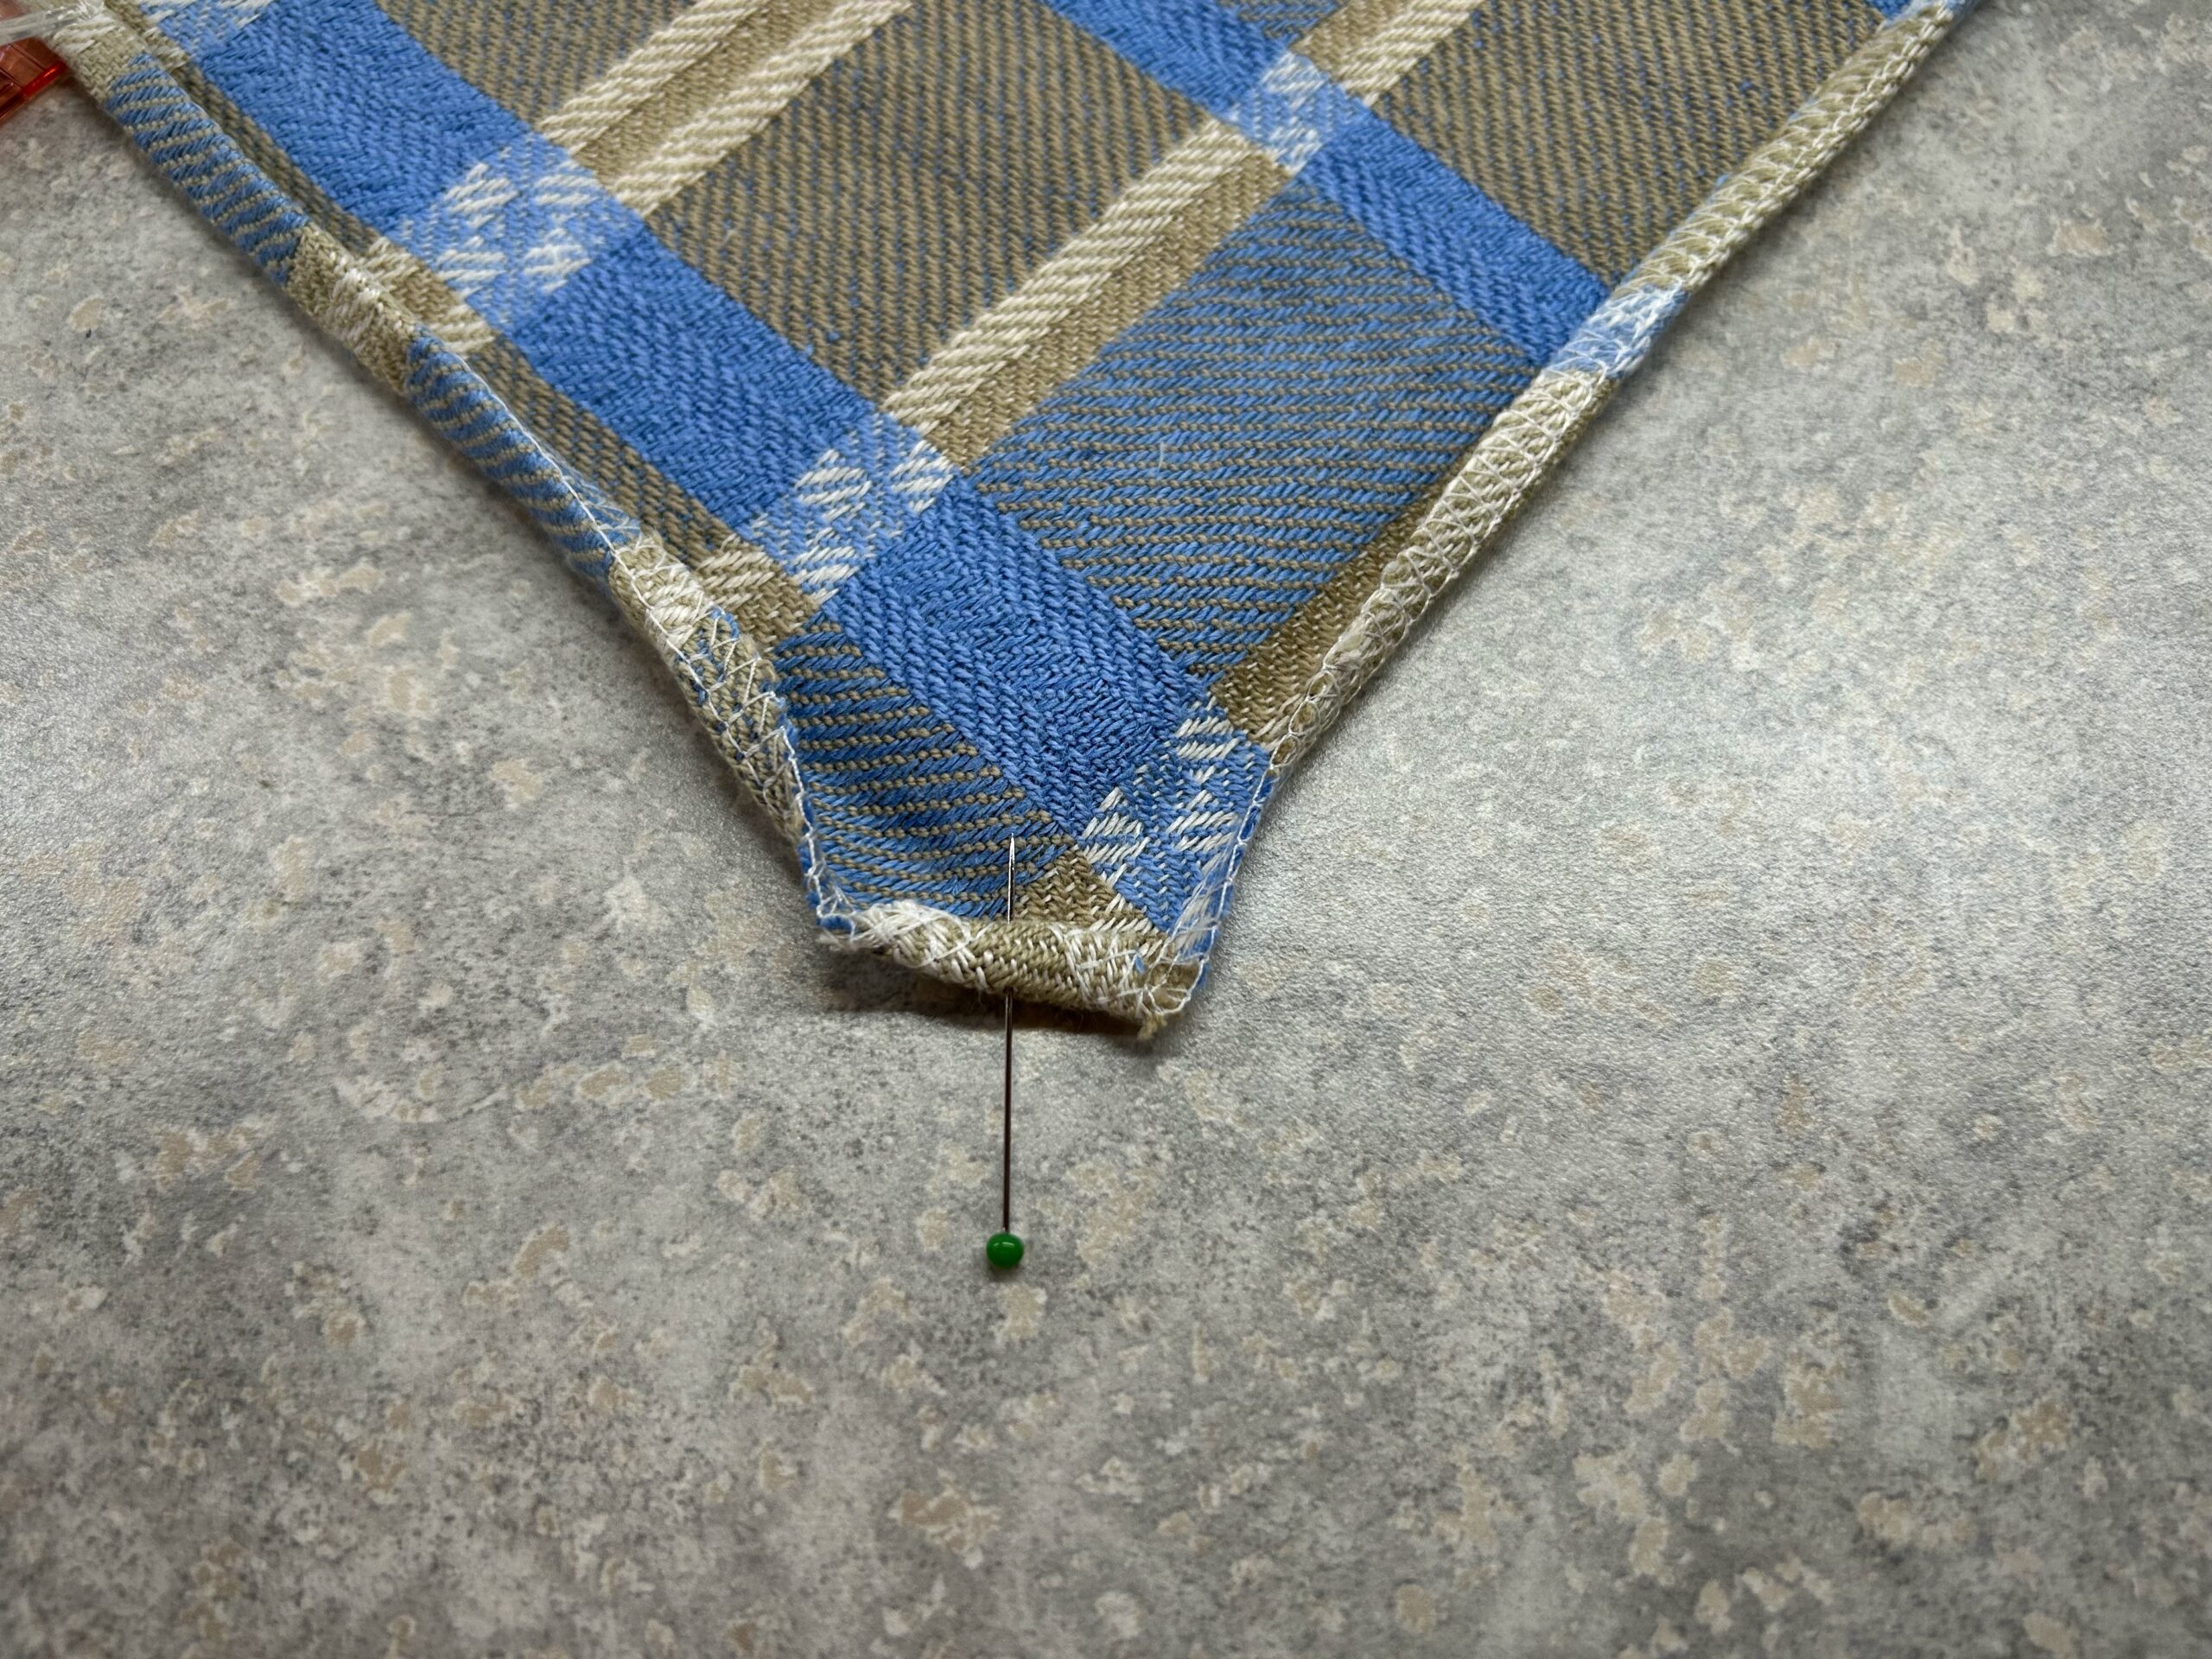
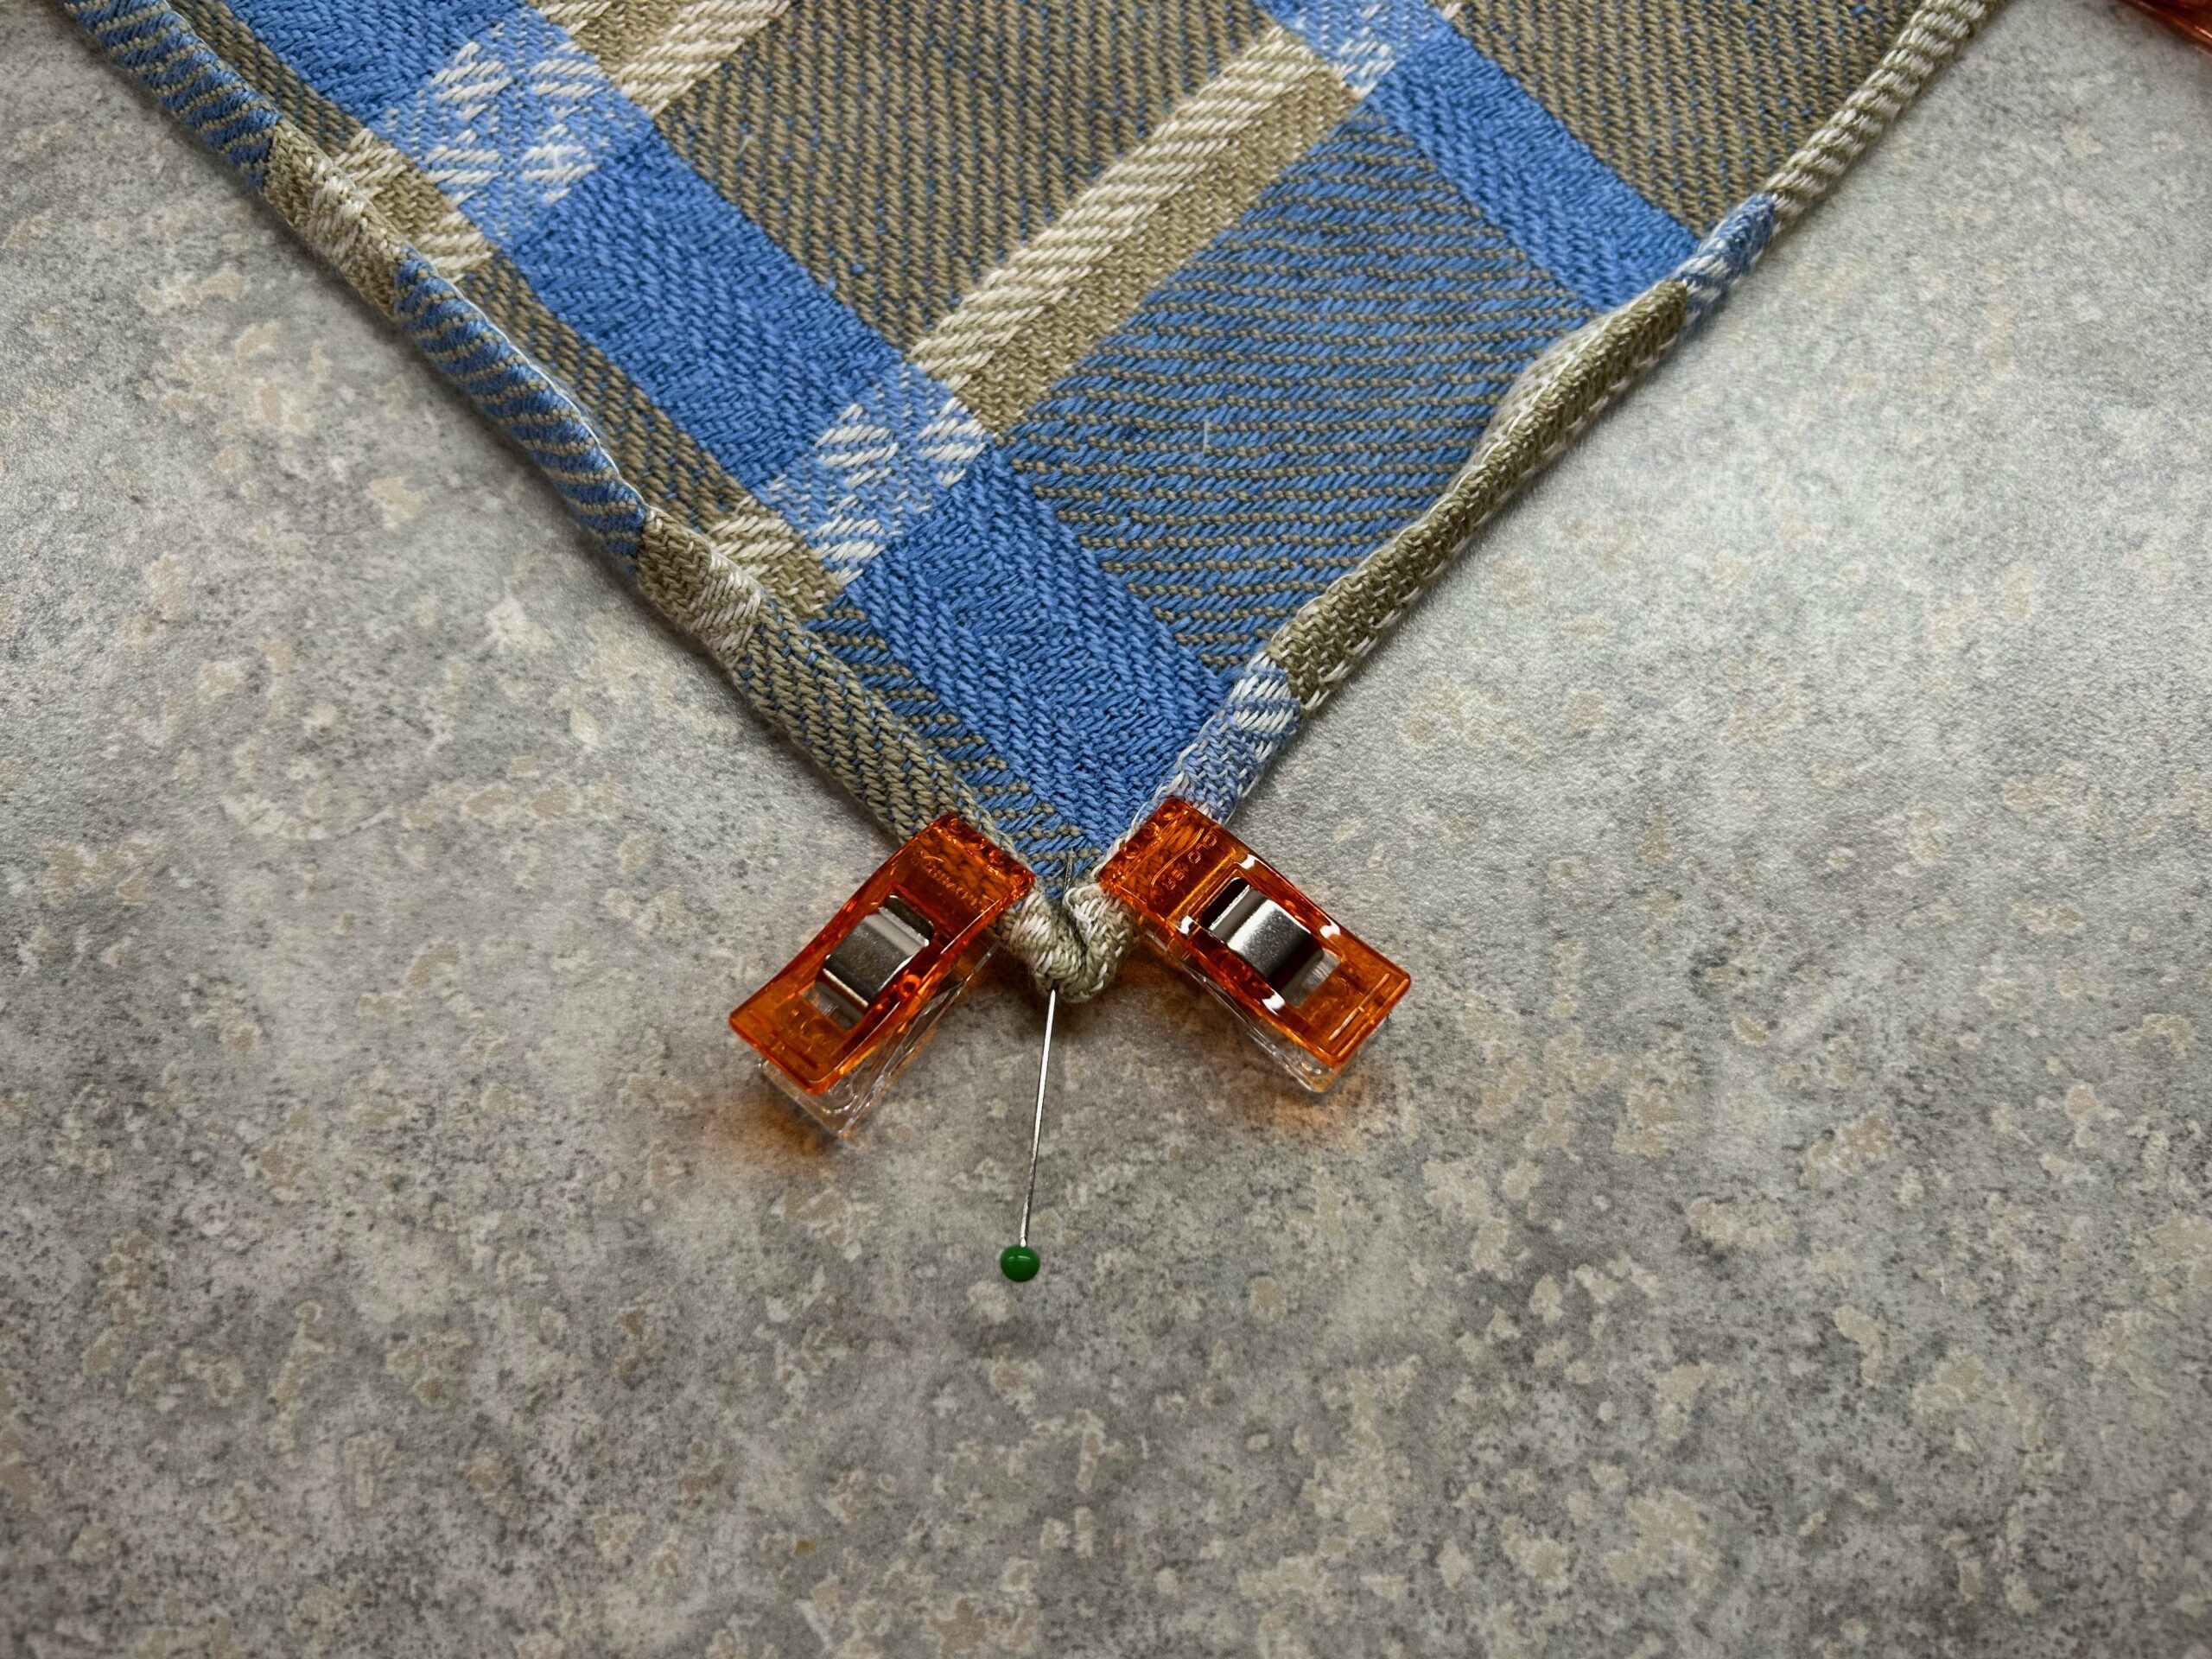
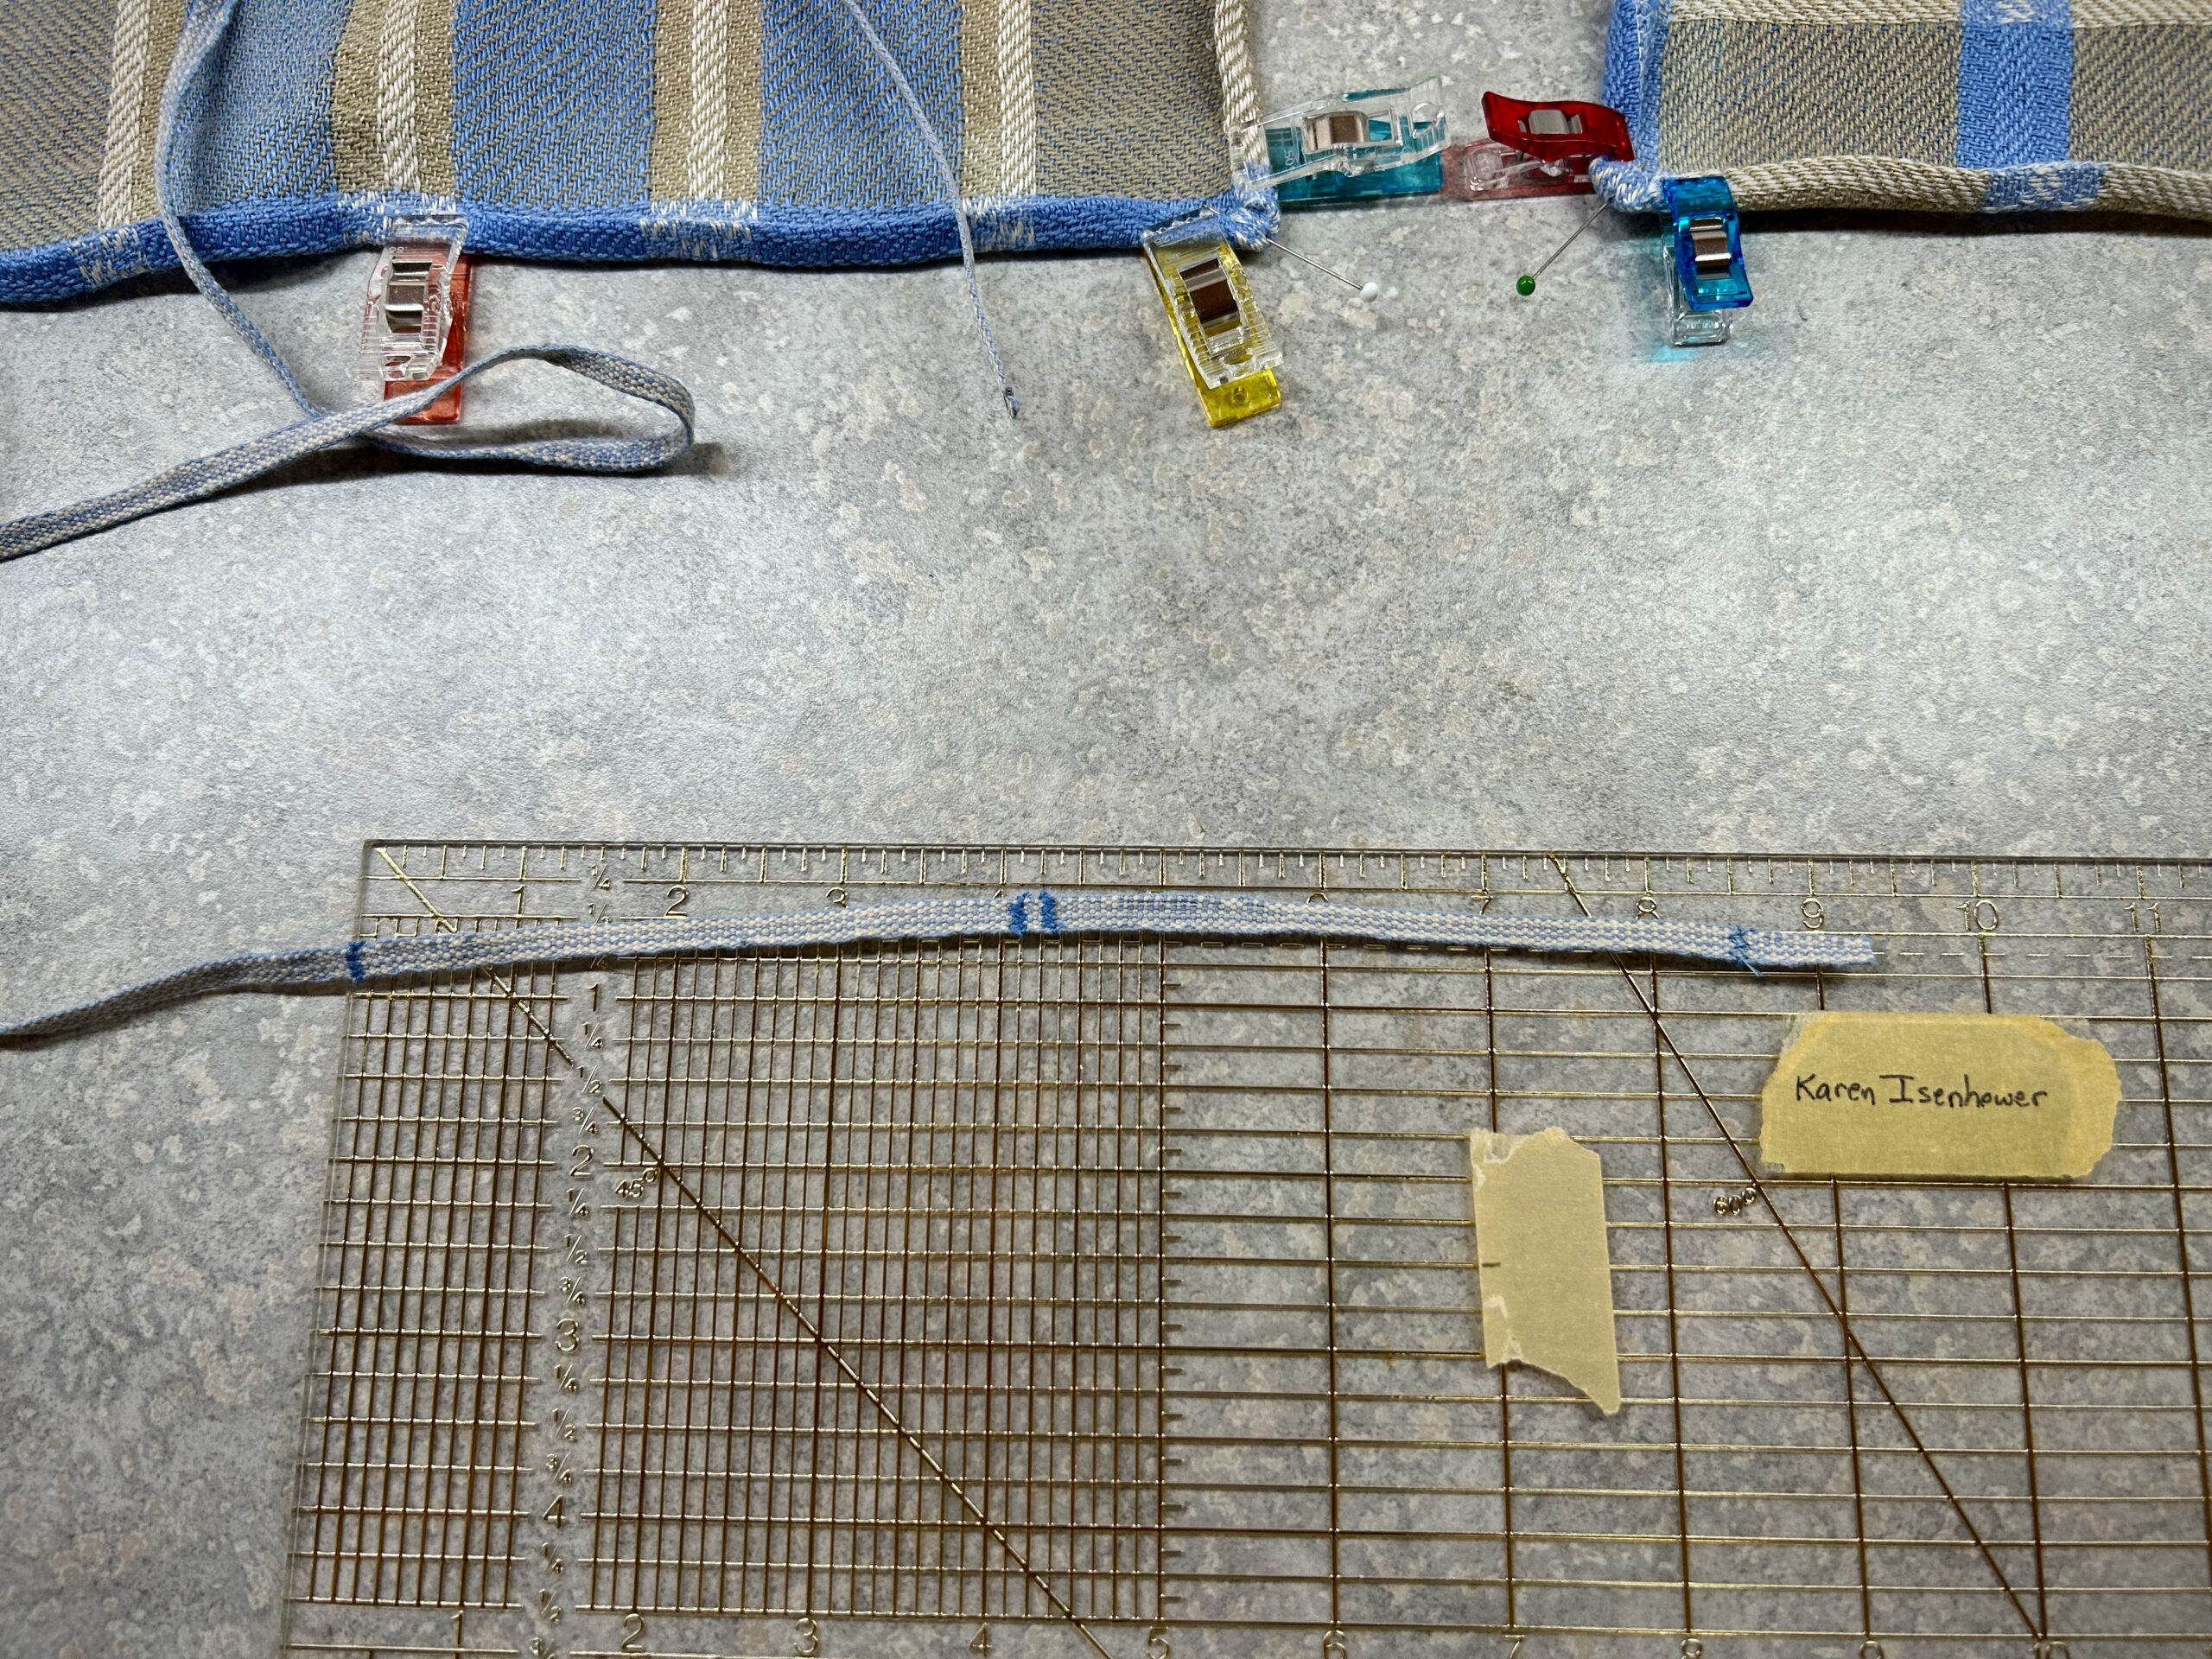
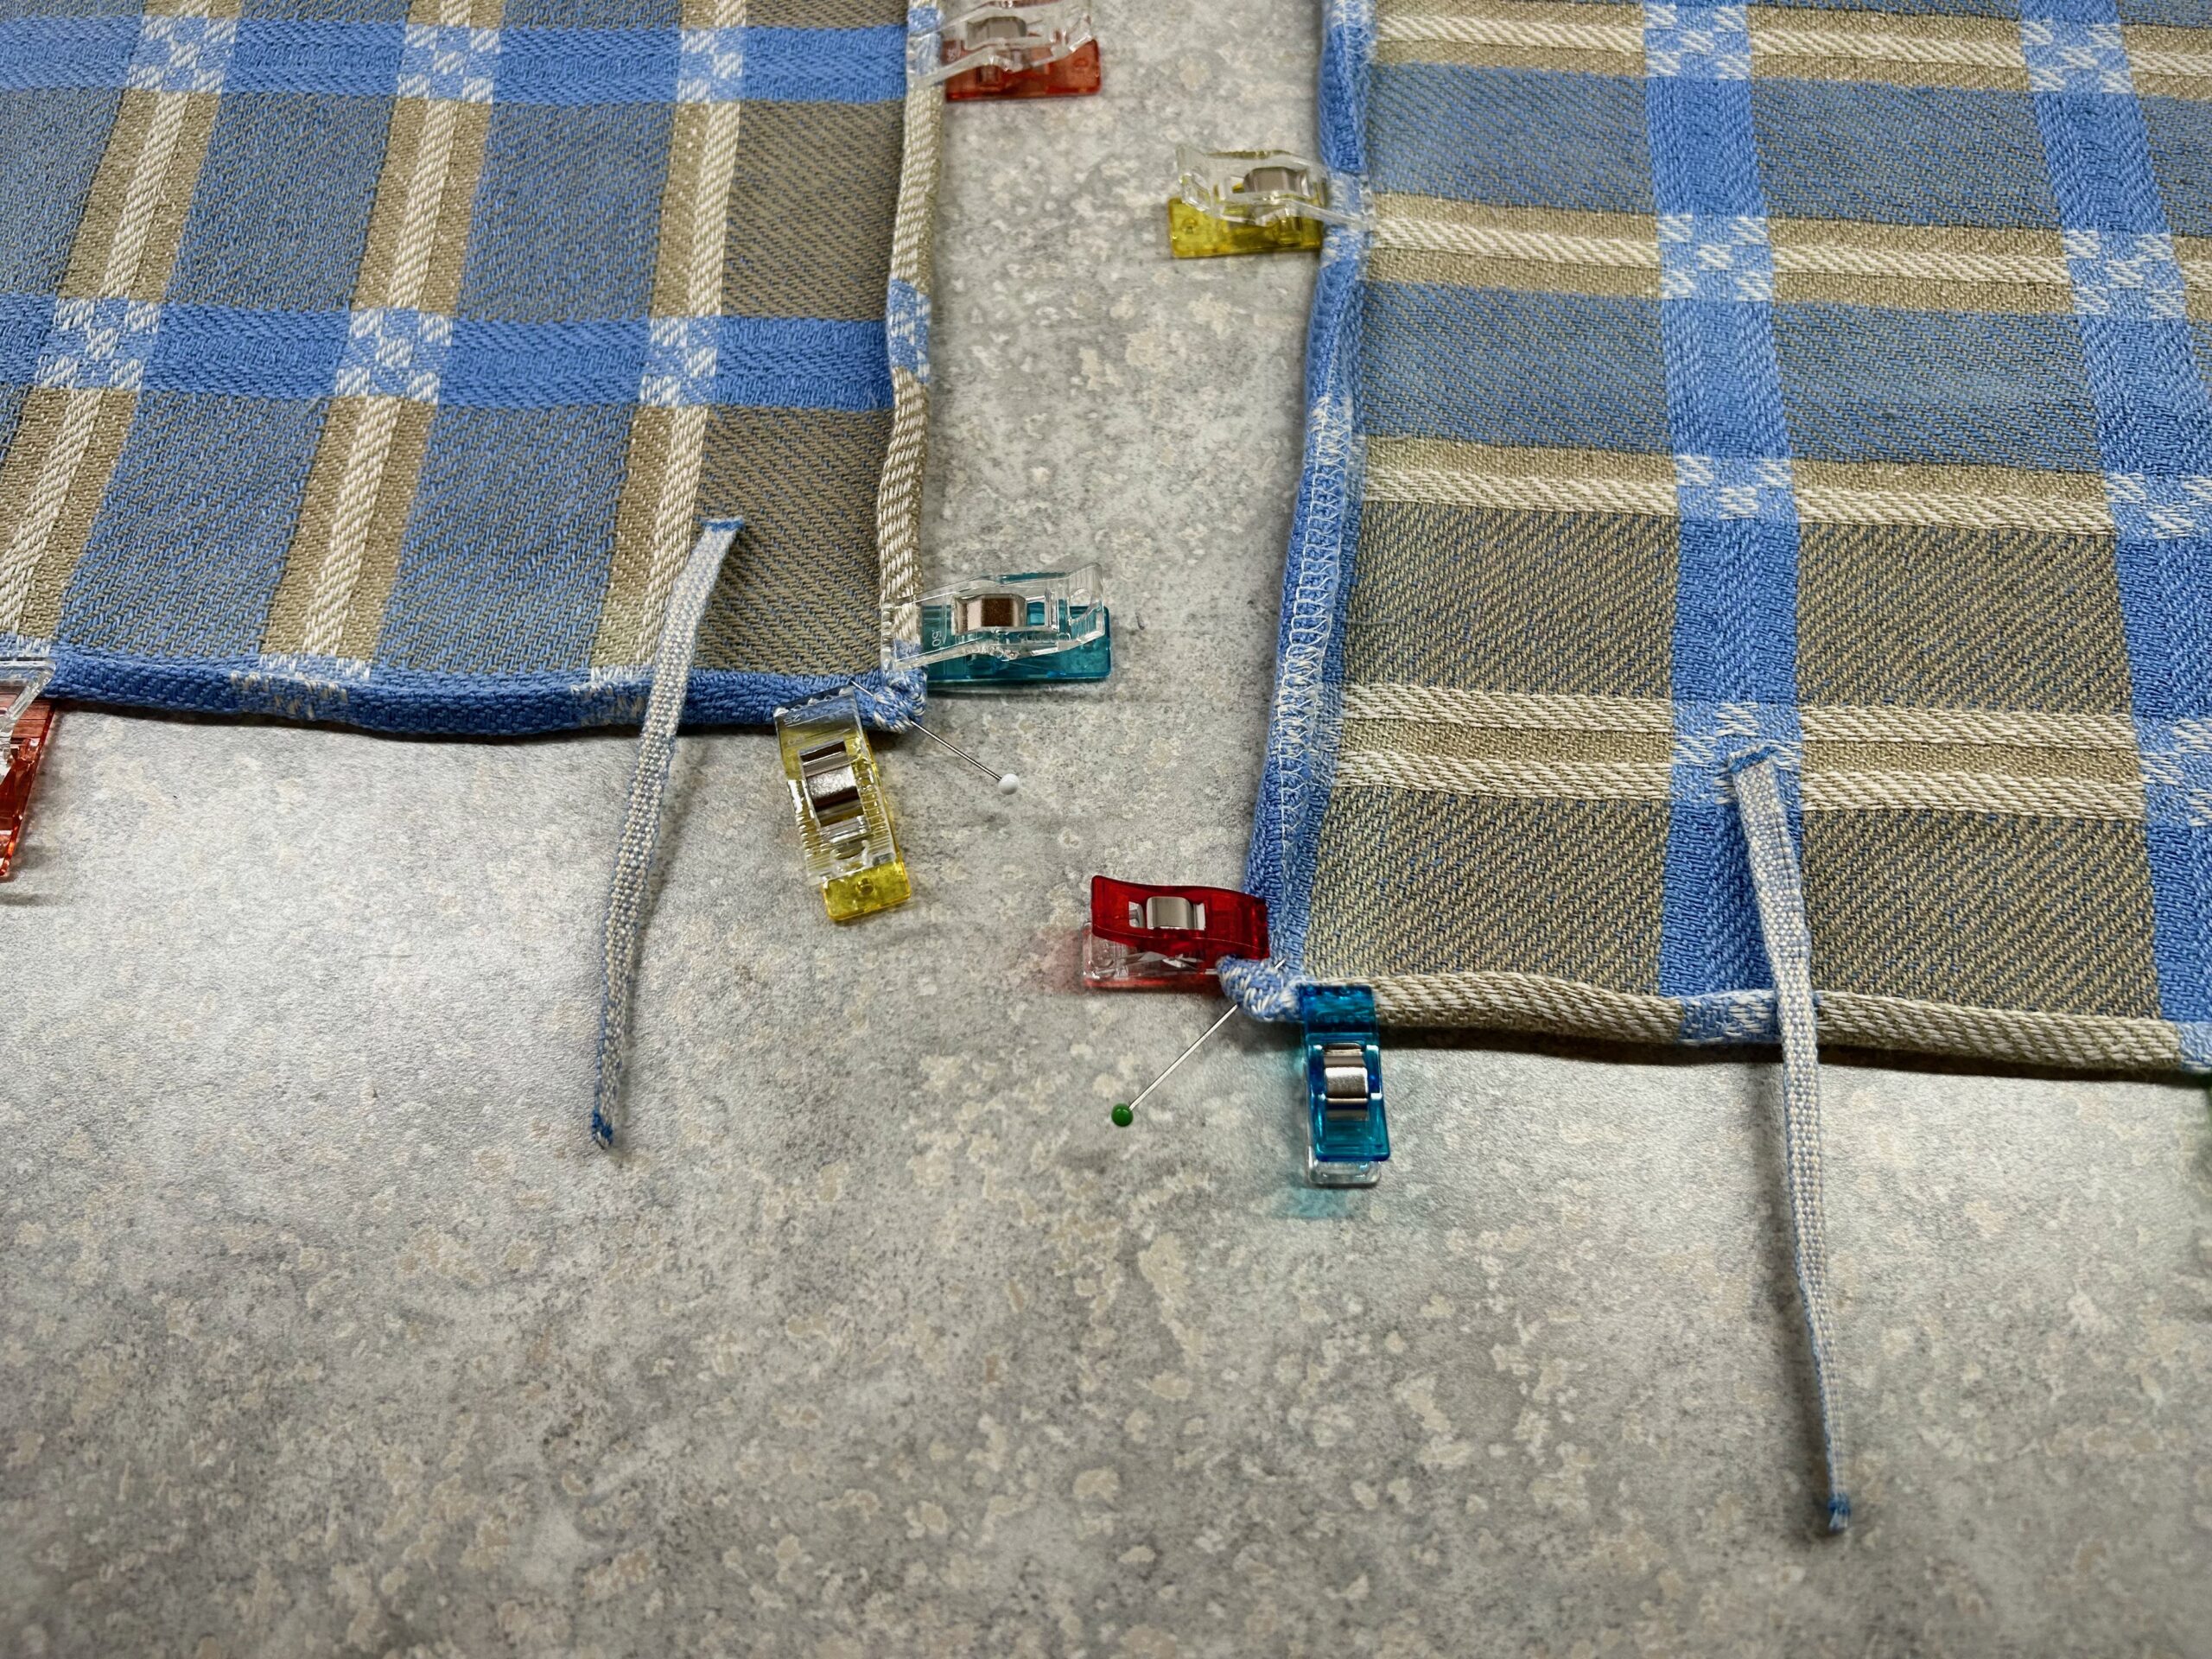
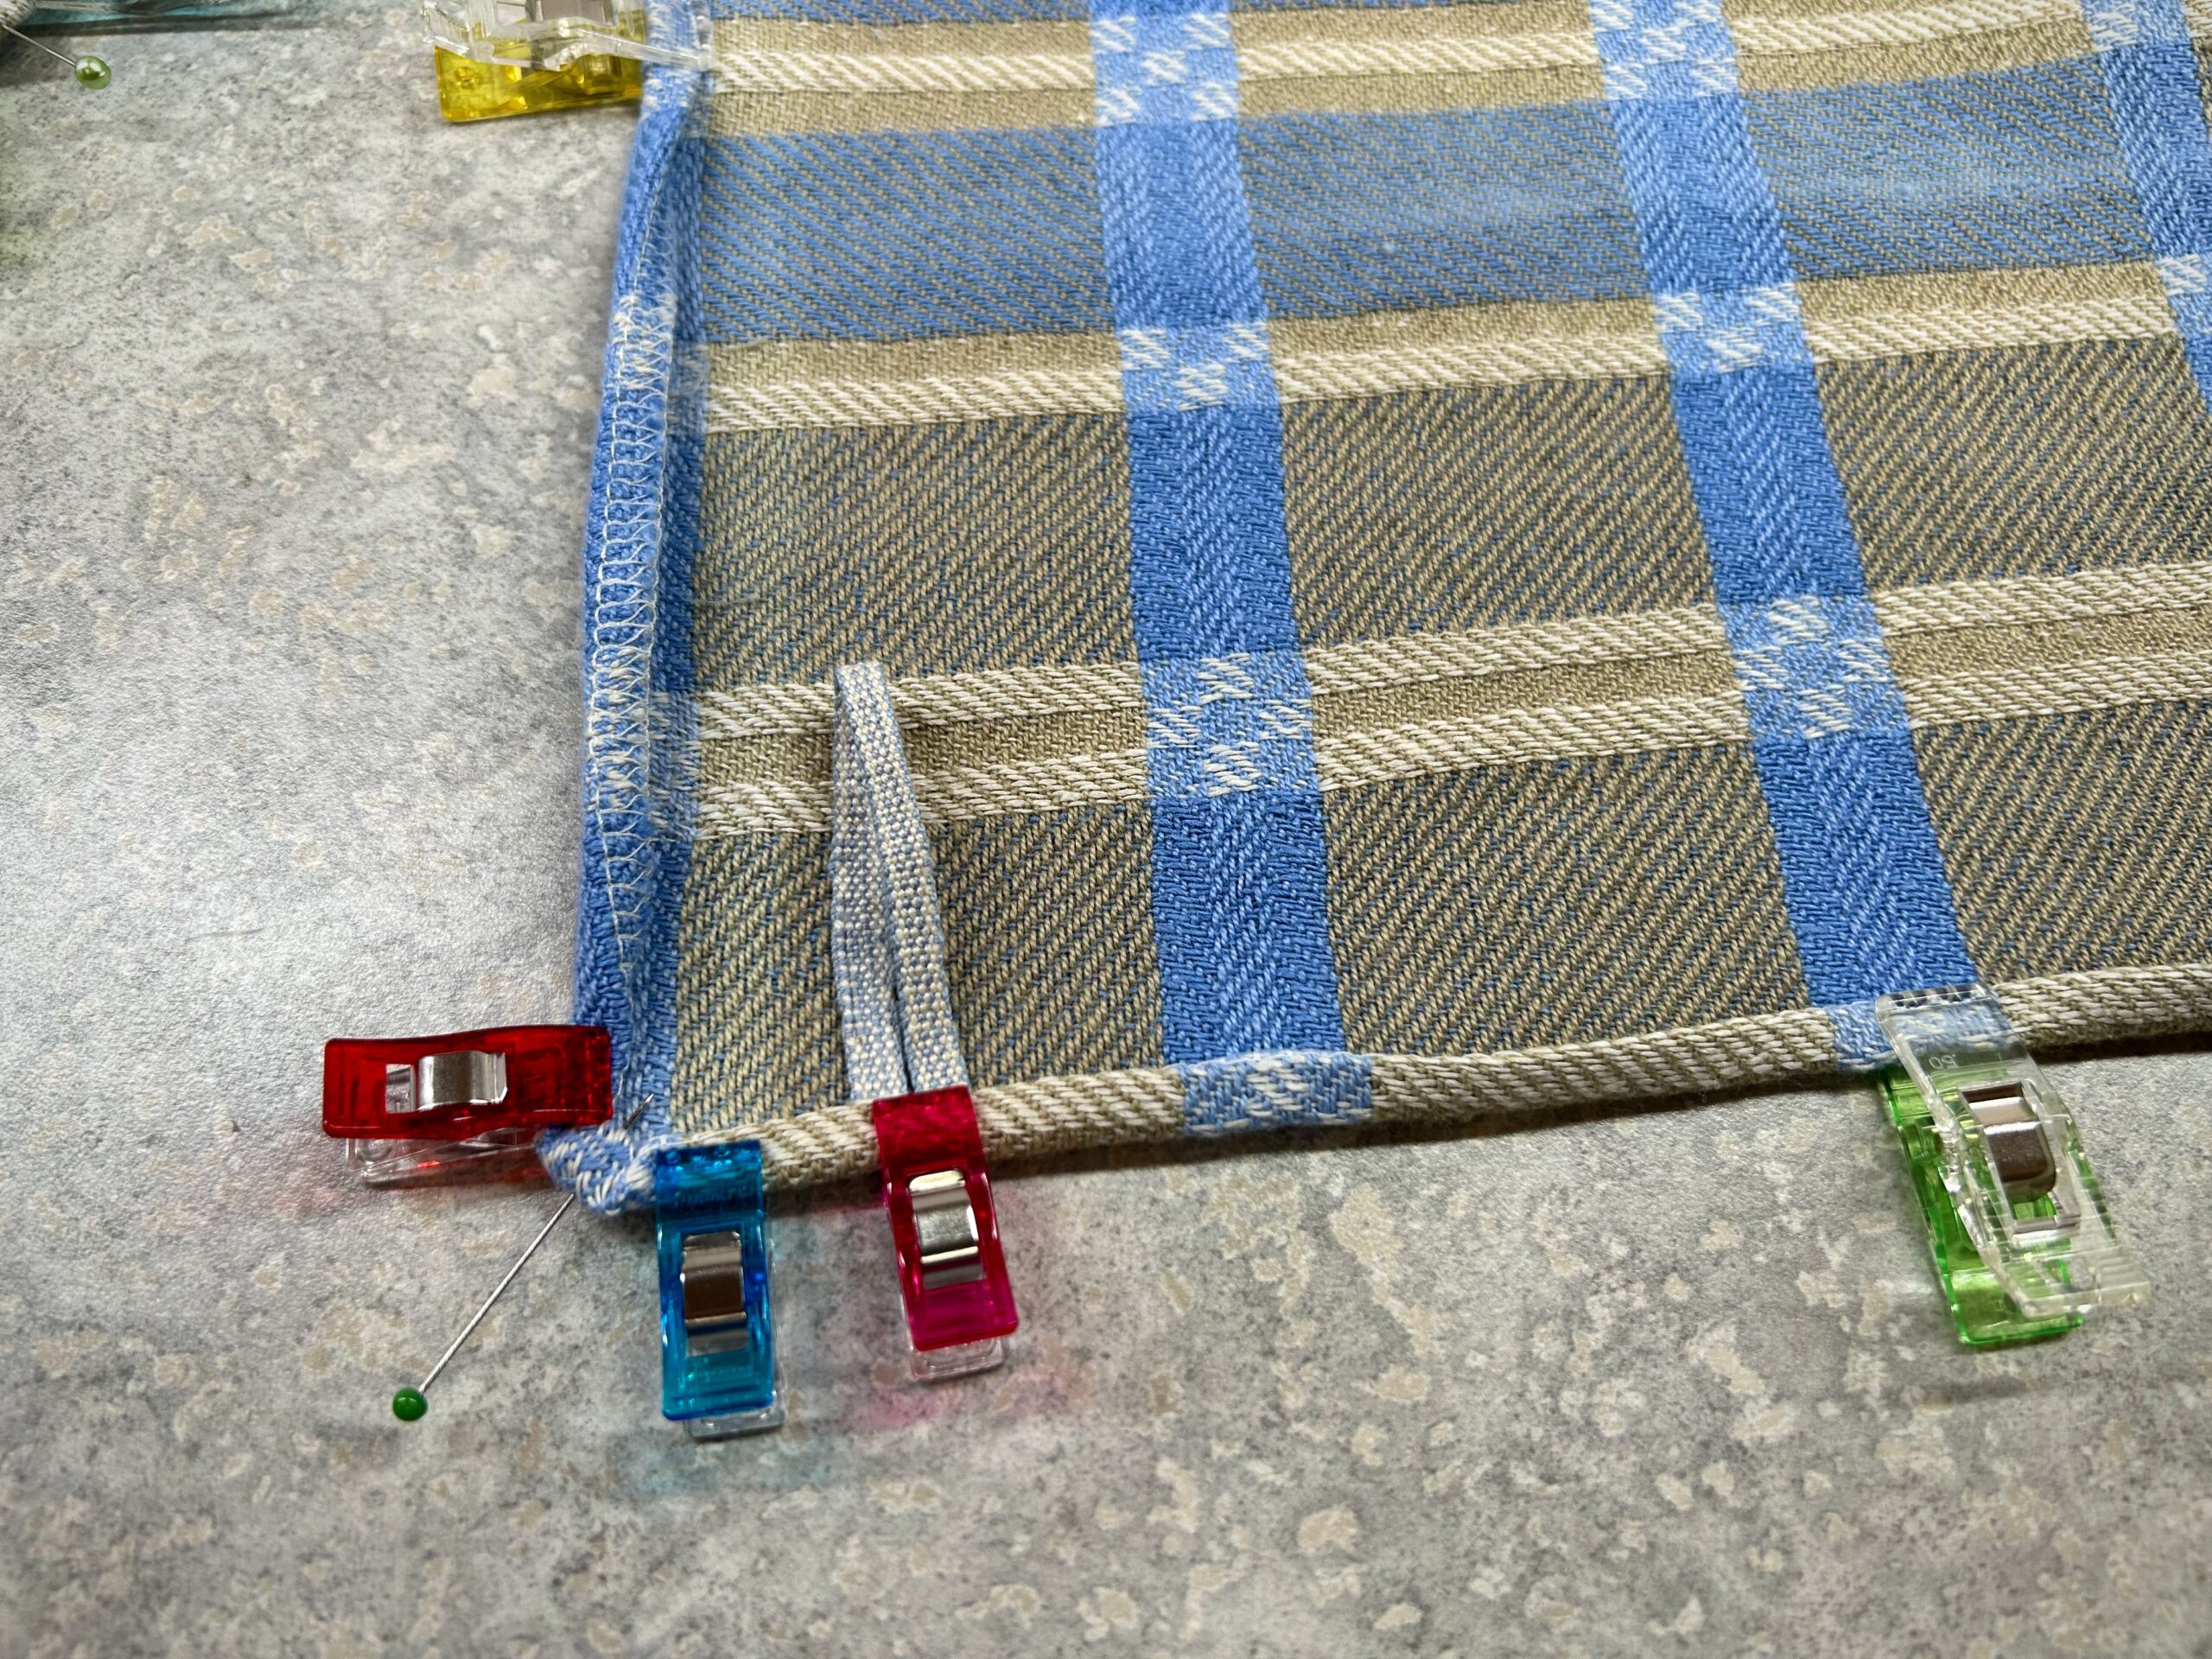
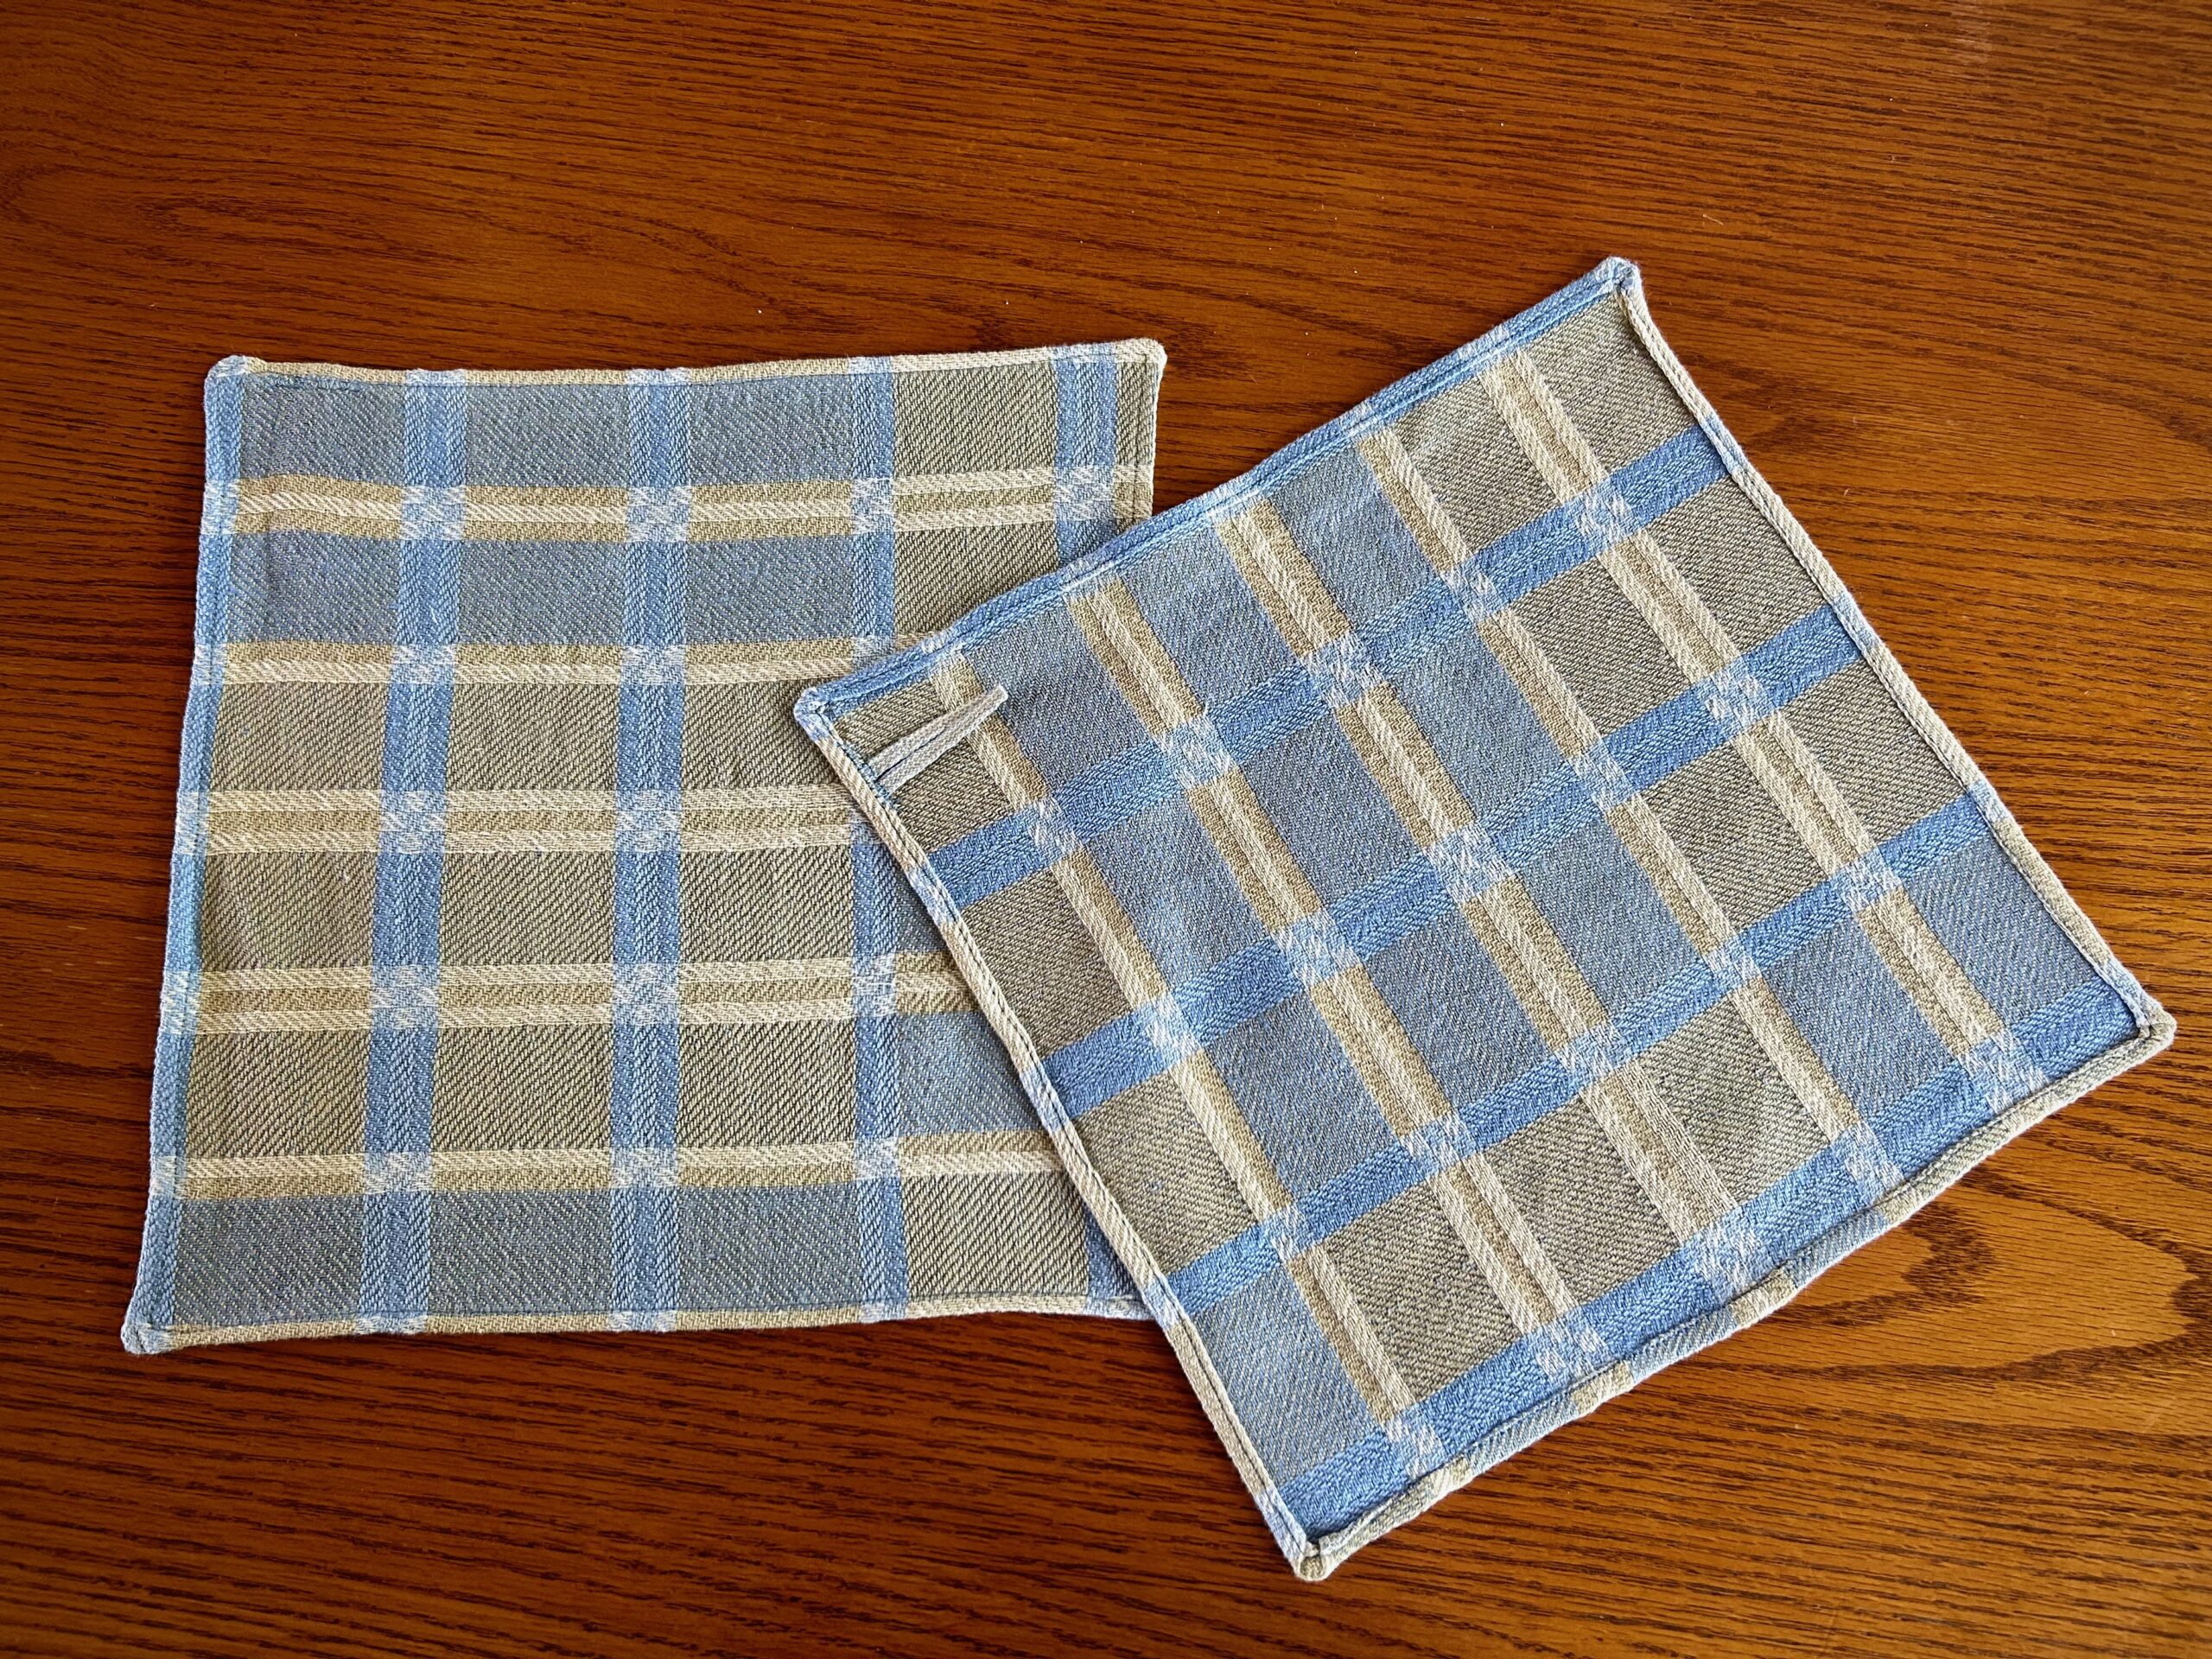
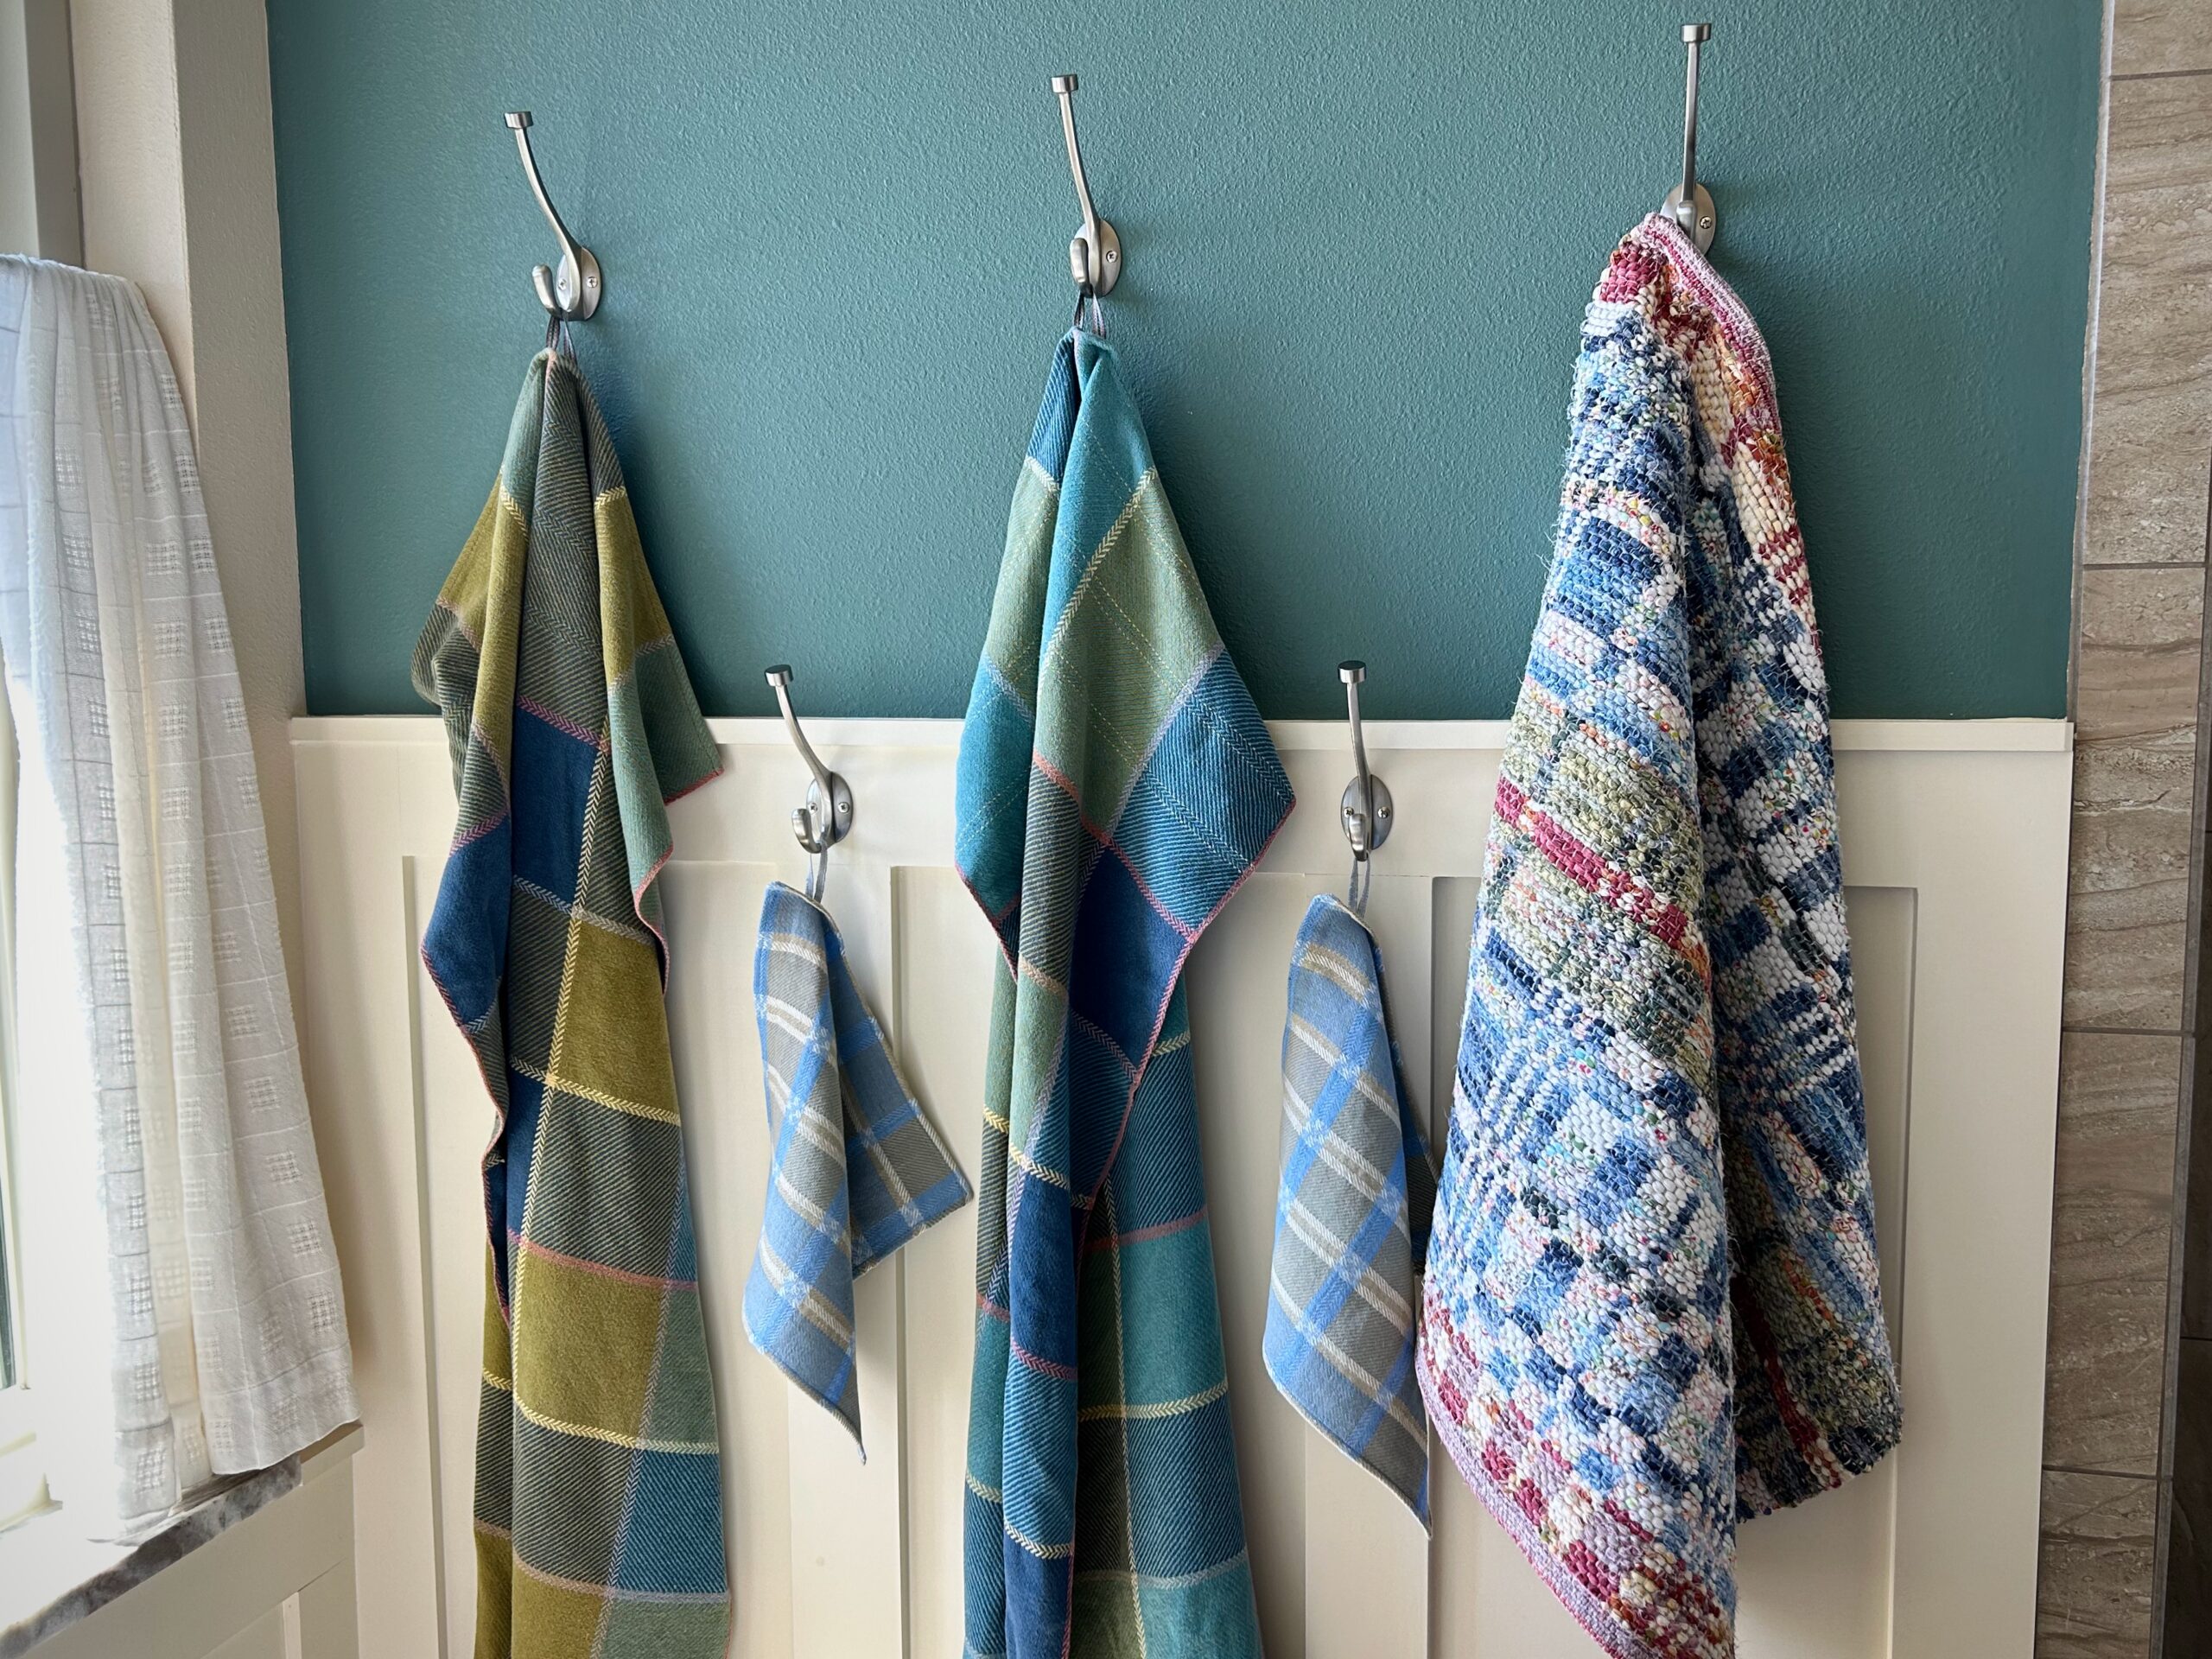
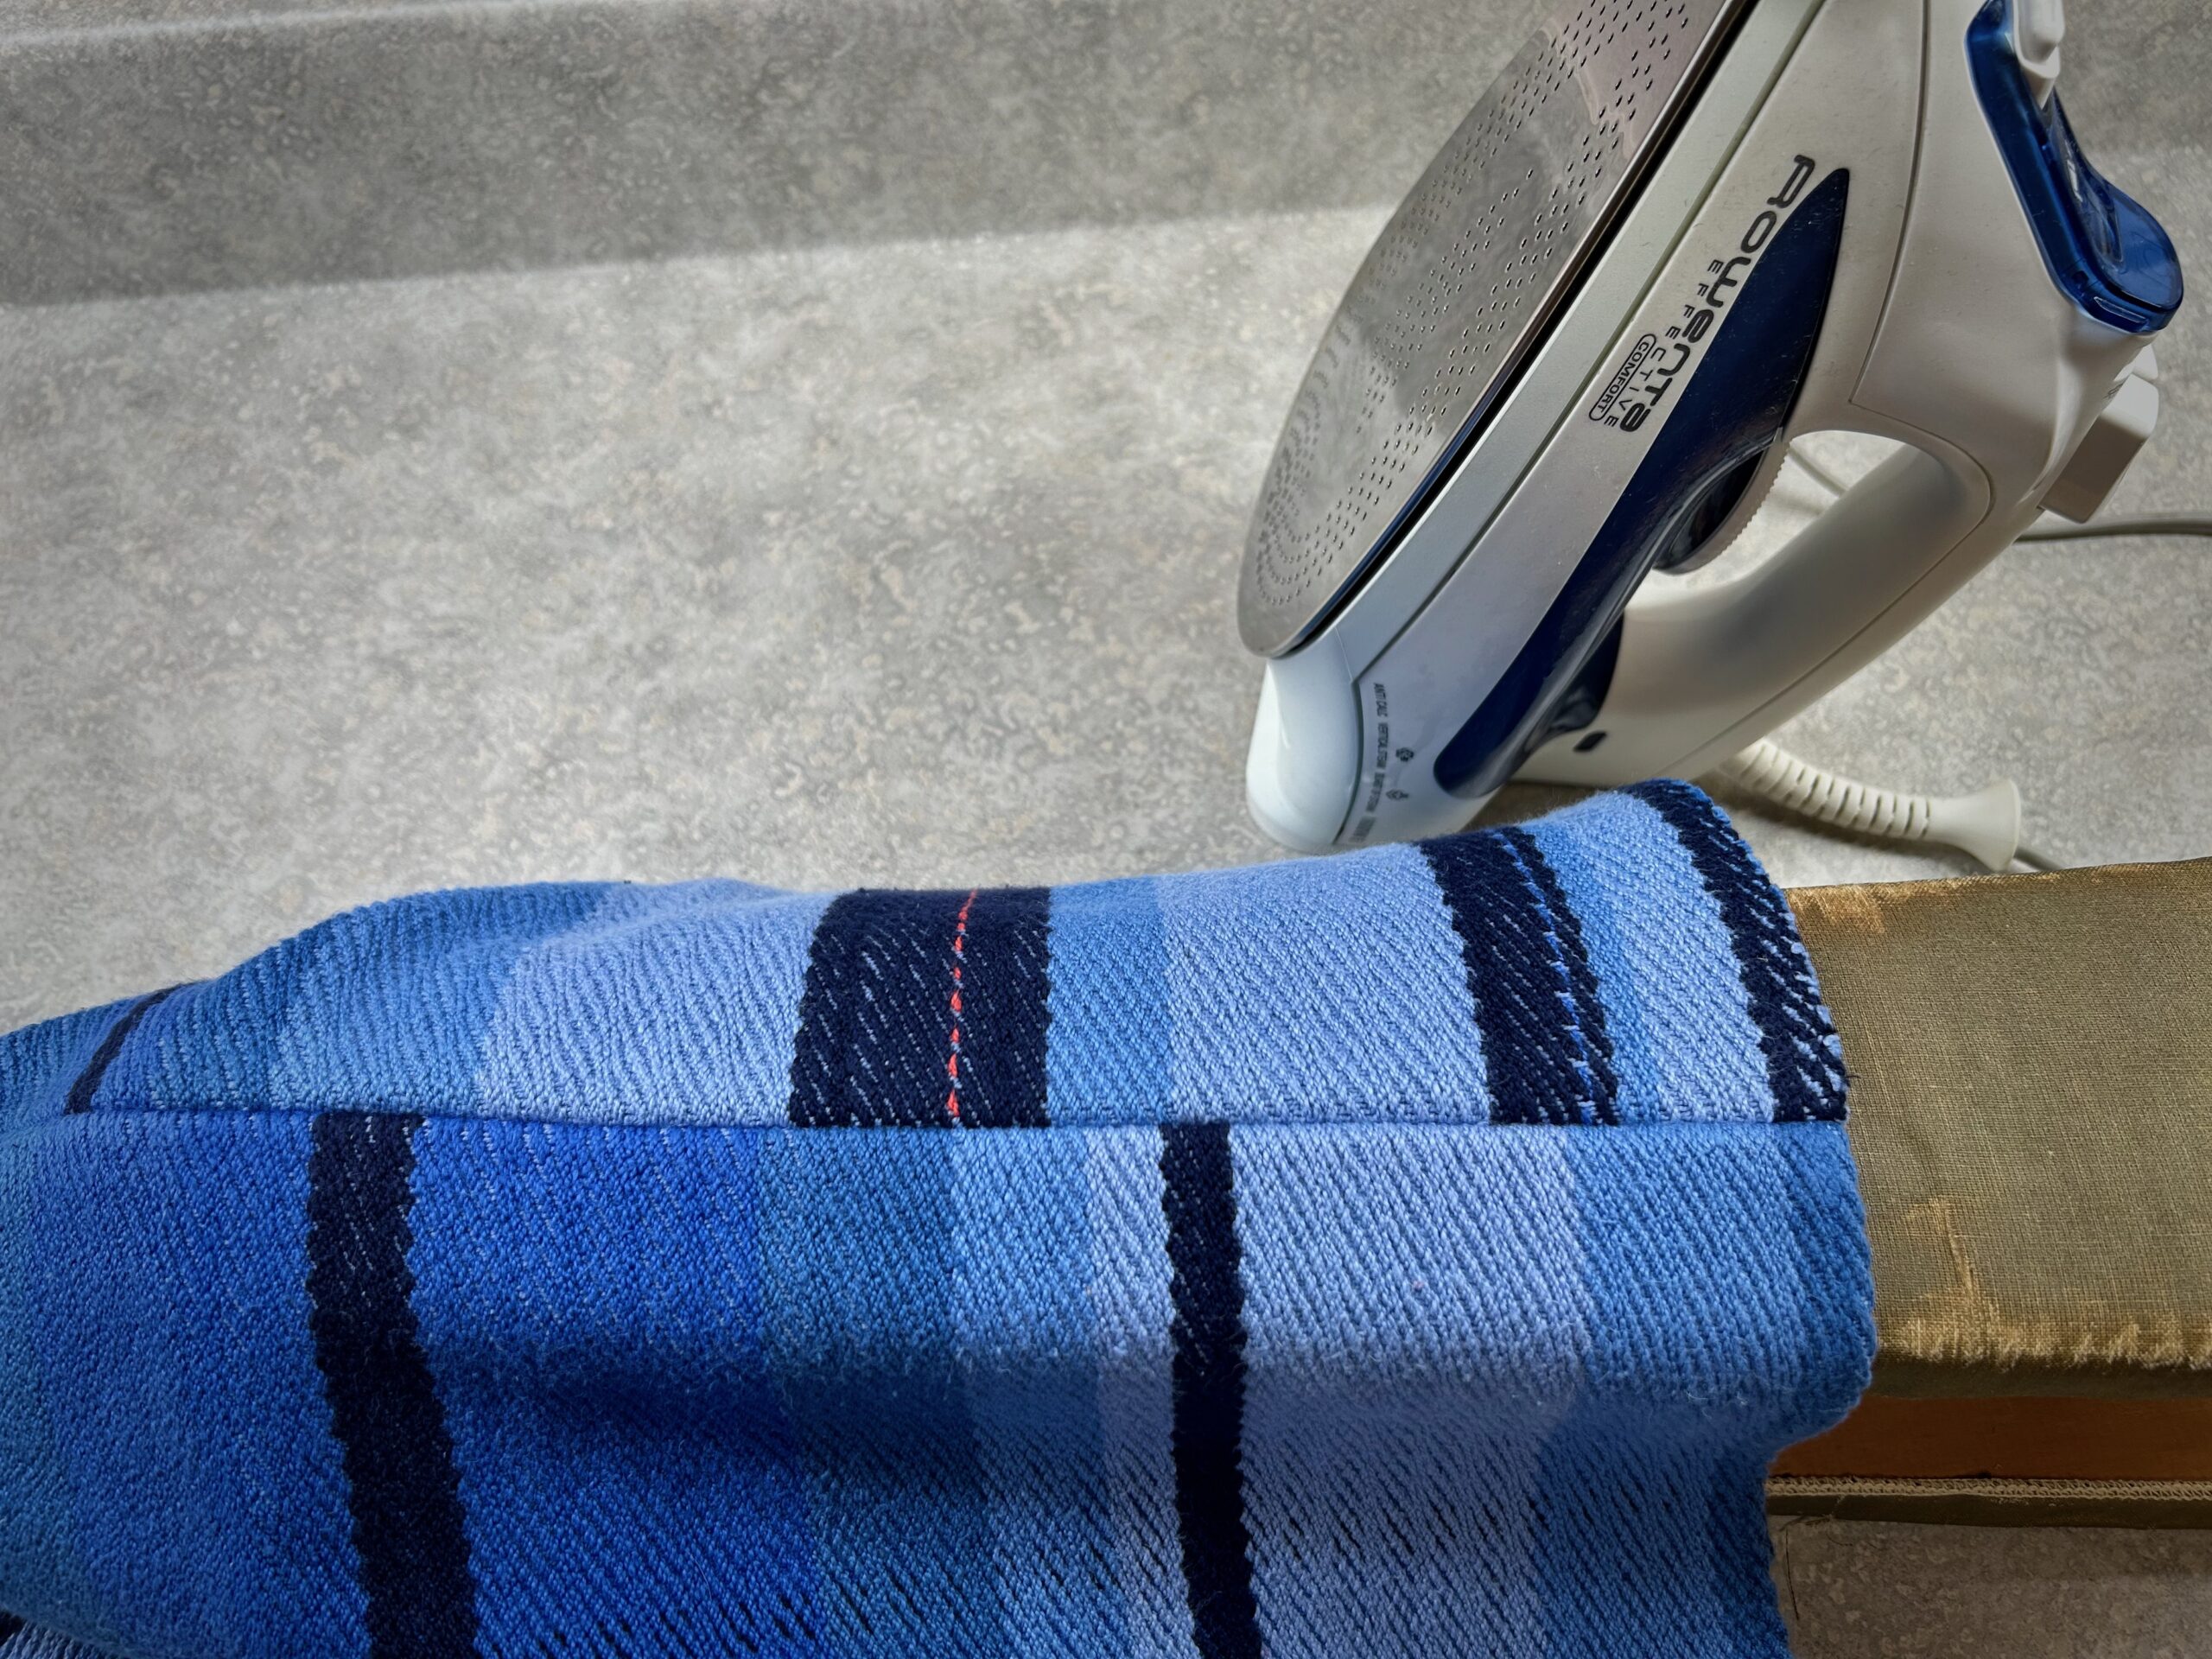
Linen wash cloths have been well loved and well used. Evidently, it is past time to make replacements. These will go in my remnants box and one day I’ll find a use for the parts that haven’t frayed.Cotton warp, linen weft. This two-blocktwill was one of the first projects I ever wove on my beloved Glimåkra Standard first floor loom. I designed this fabric to make a Roman shade for our previous home. Parts of it are faded, but it is still beautiful, useable fabric. Perfect for a set of “new” washcloths.For simplicity, I am using another washcloth to measure the size to cut for the “new” washcloths.Cutting to size, taking into account seams on all four sides.I probably should have pressed before cutting, but I didn’t think of it until now. The long narrow woven band was used for the pull cord on the Roman shades in our previous home. Perfect to pair with these washcloths for the hanging tabs.First step for the mitered corners is to fold in the corner twice, and pin into place.Second step for the mitered corners is to fold in the side hems twice and use quilters clips to hold in place.Approximately 4 inches for each hanging tab. I zigzag the ends and then cut them apart.Then I plan where the hanging tabs will go, testing how the cloth will hang.Clip the hanging tabs into place.Stitch the seams. At the mitered corner, I would like to have about four hands as I remove clips and hold things in place while I walk the presser foot around the corner. Whew!Nearly perfect! Nobody needs to know these are secondhand Roman-shade wash cloths.The new wash cloths are right at home between the other handwoven goods hanging on the bathroom wall.
I always put on more warp than I need for a project. That end of the warp is where I play, experiment, and try out crazy ideas, not to mention try to use up the thread from as many quills as possible. Or, for rag rugs, I try to use up as much of the weft fabric strips as I can. I have containers for those odd pieces (remnants). That is where I look when I want to make something.
Rag rug “scrap” became a seat cushion last year for me to use in the car.Two cut-to-fit kneeling pads go in the cushion cover. I added handwoven bands for ties. The ties don’t stay tied, and they aren’t really needed. I let them hang as if they are chunky fringe.
The seat cushion I made for myself last year works great. Now I want to make a seat cushion for me to use in the other car. Time to get out that container of “scraps.”
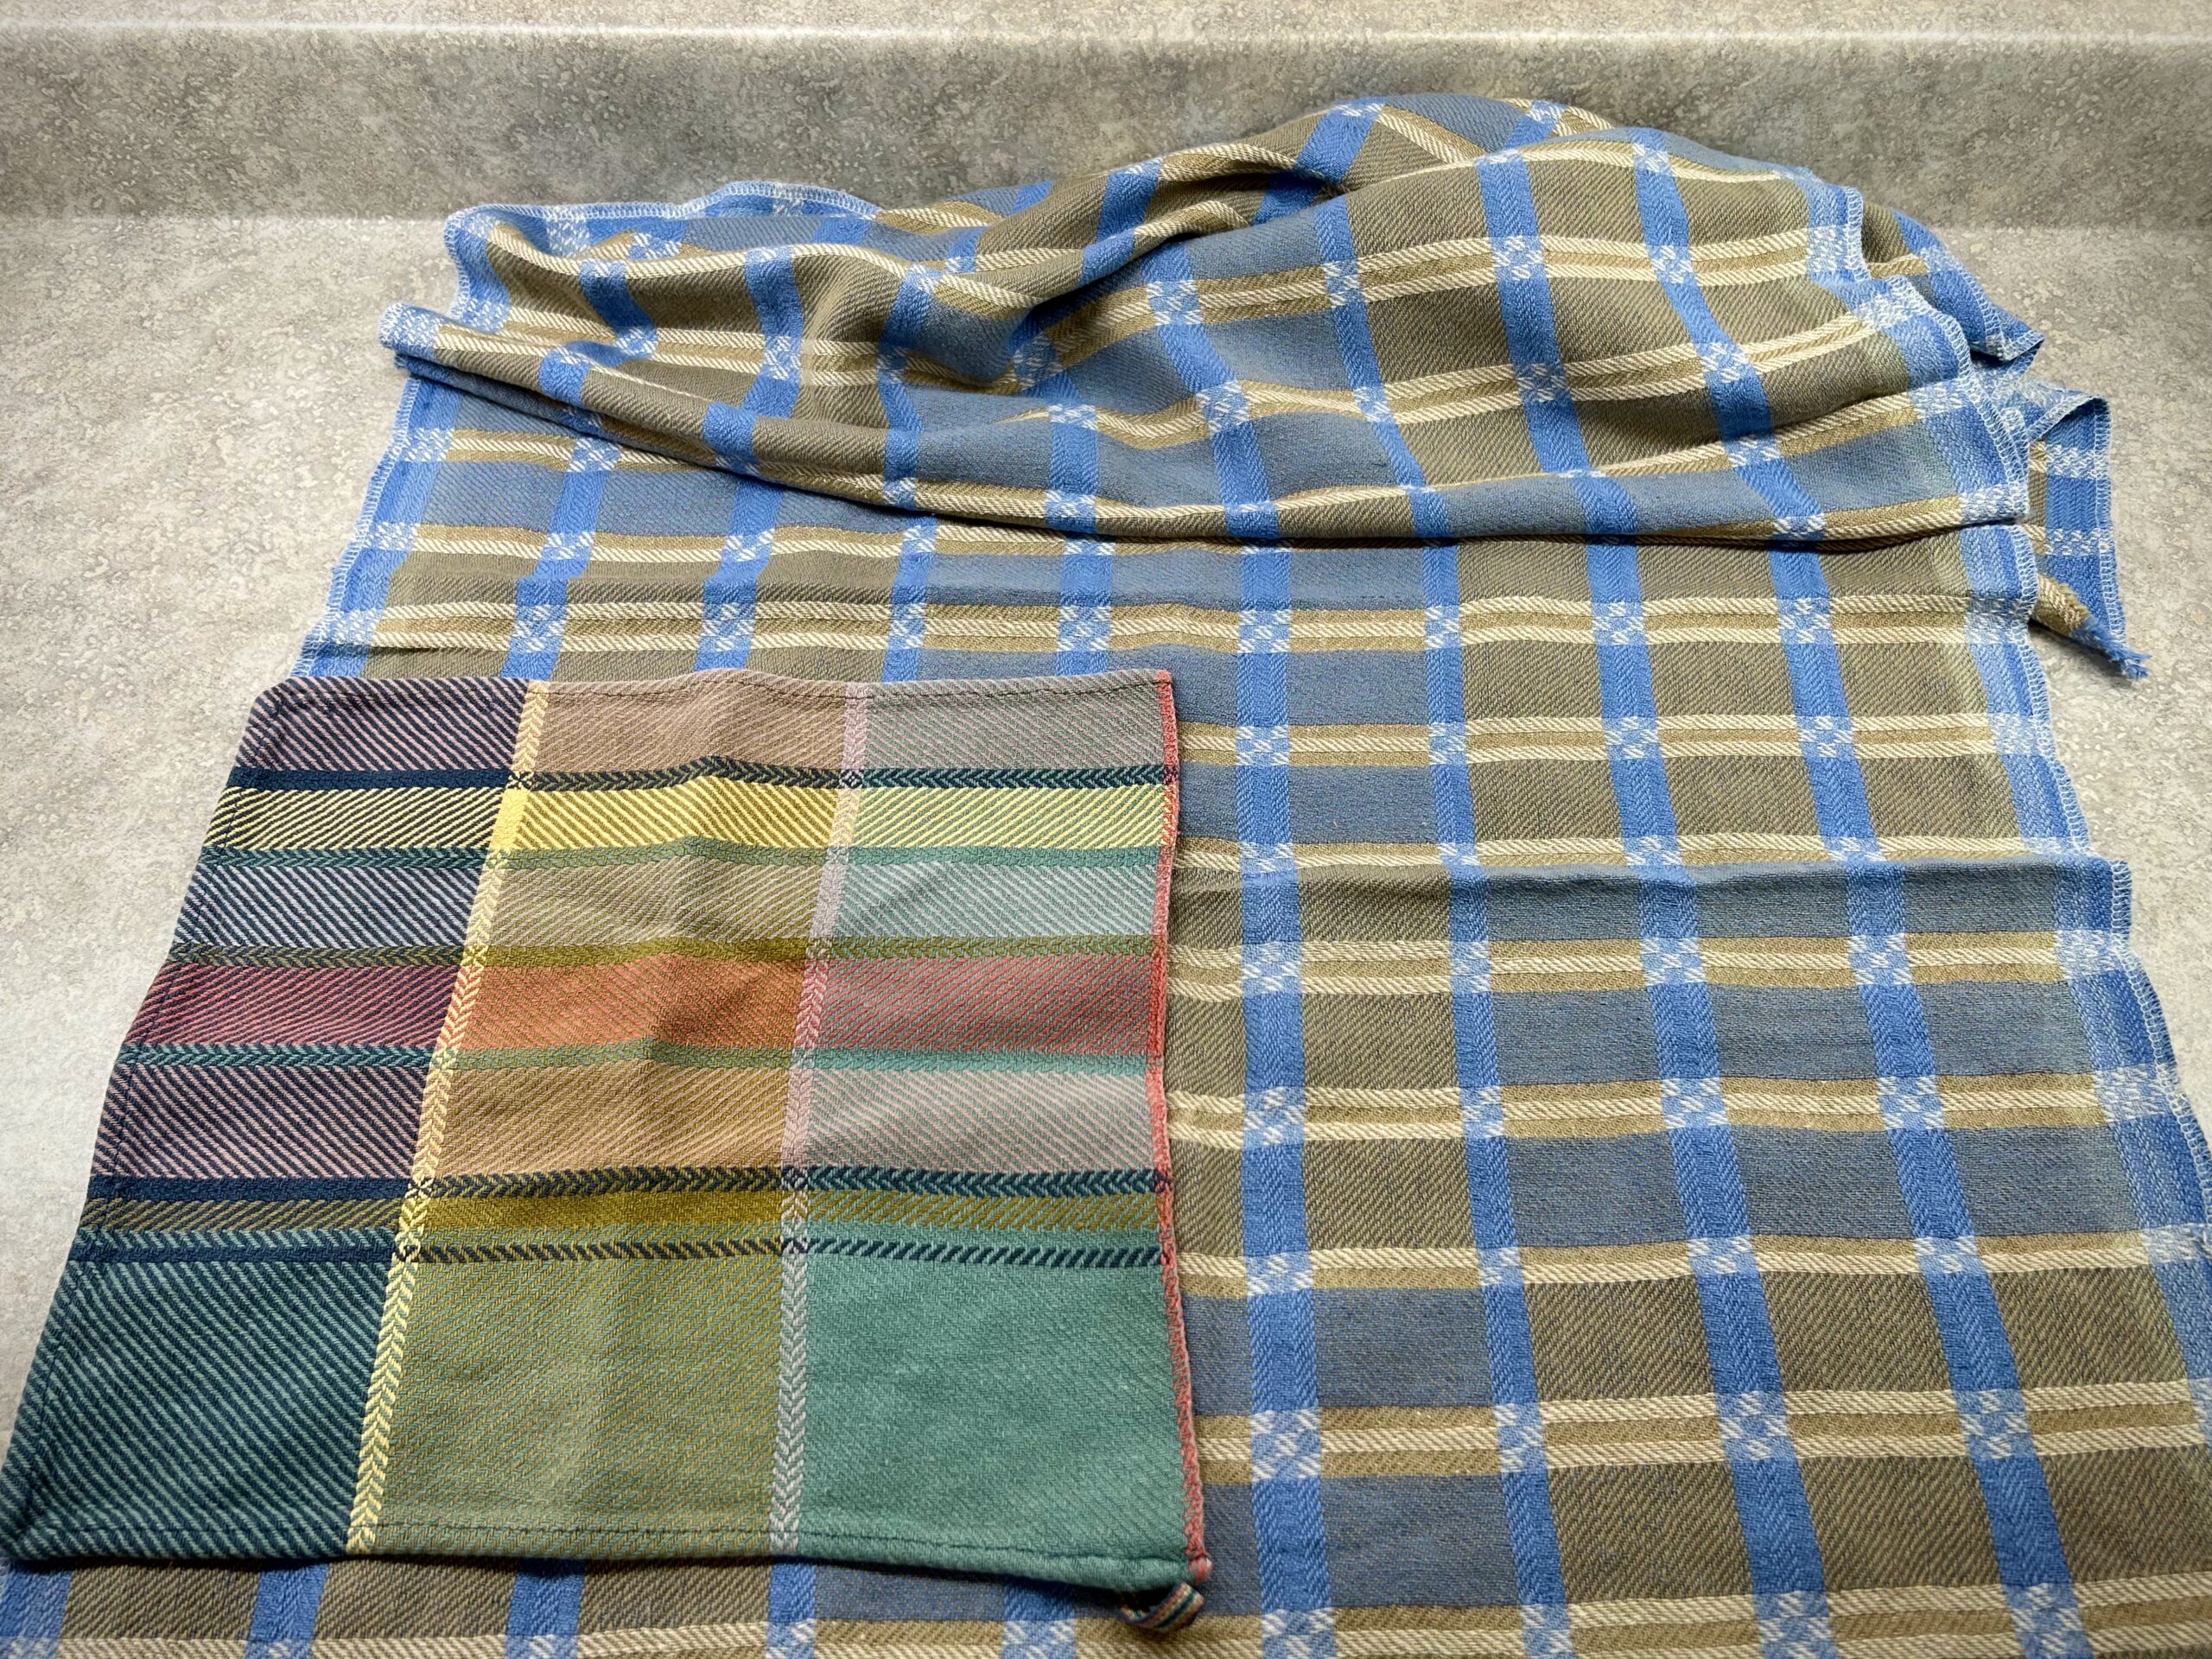
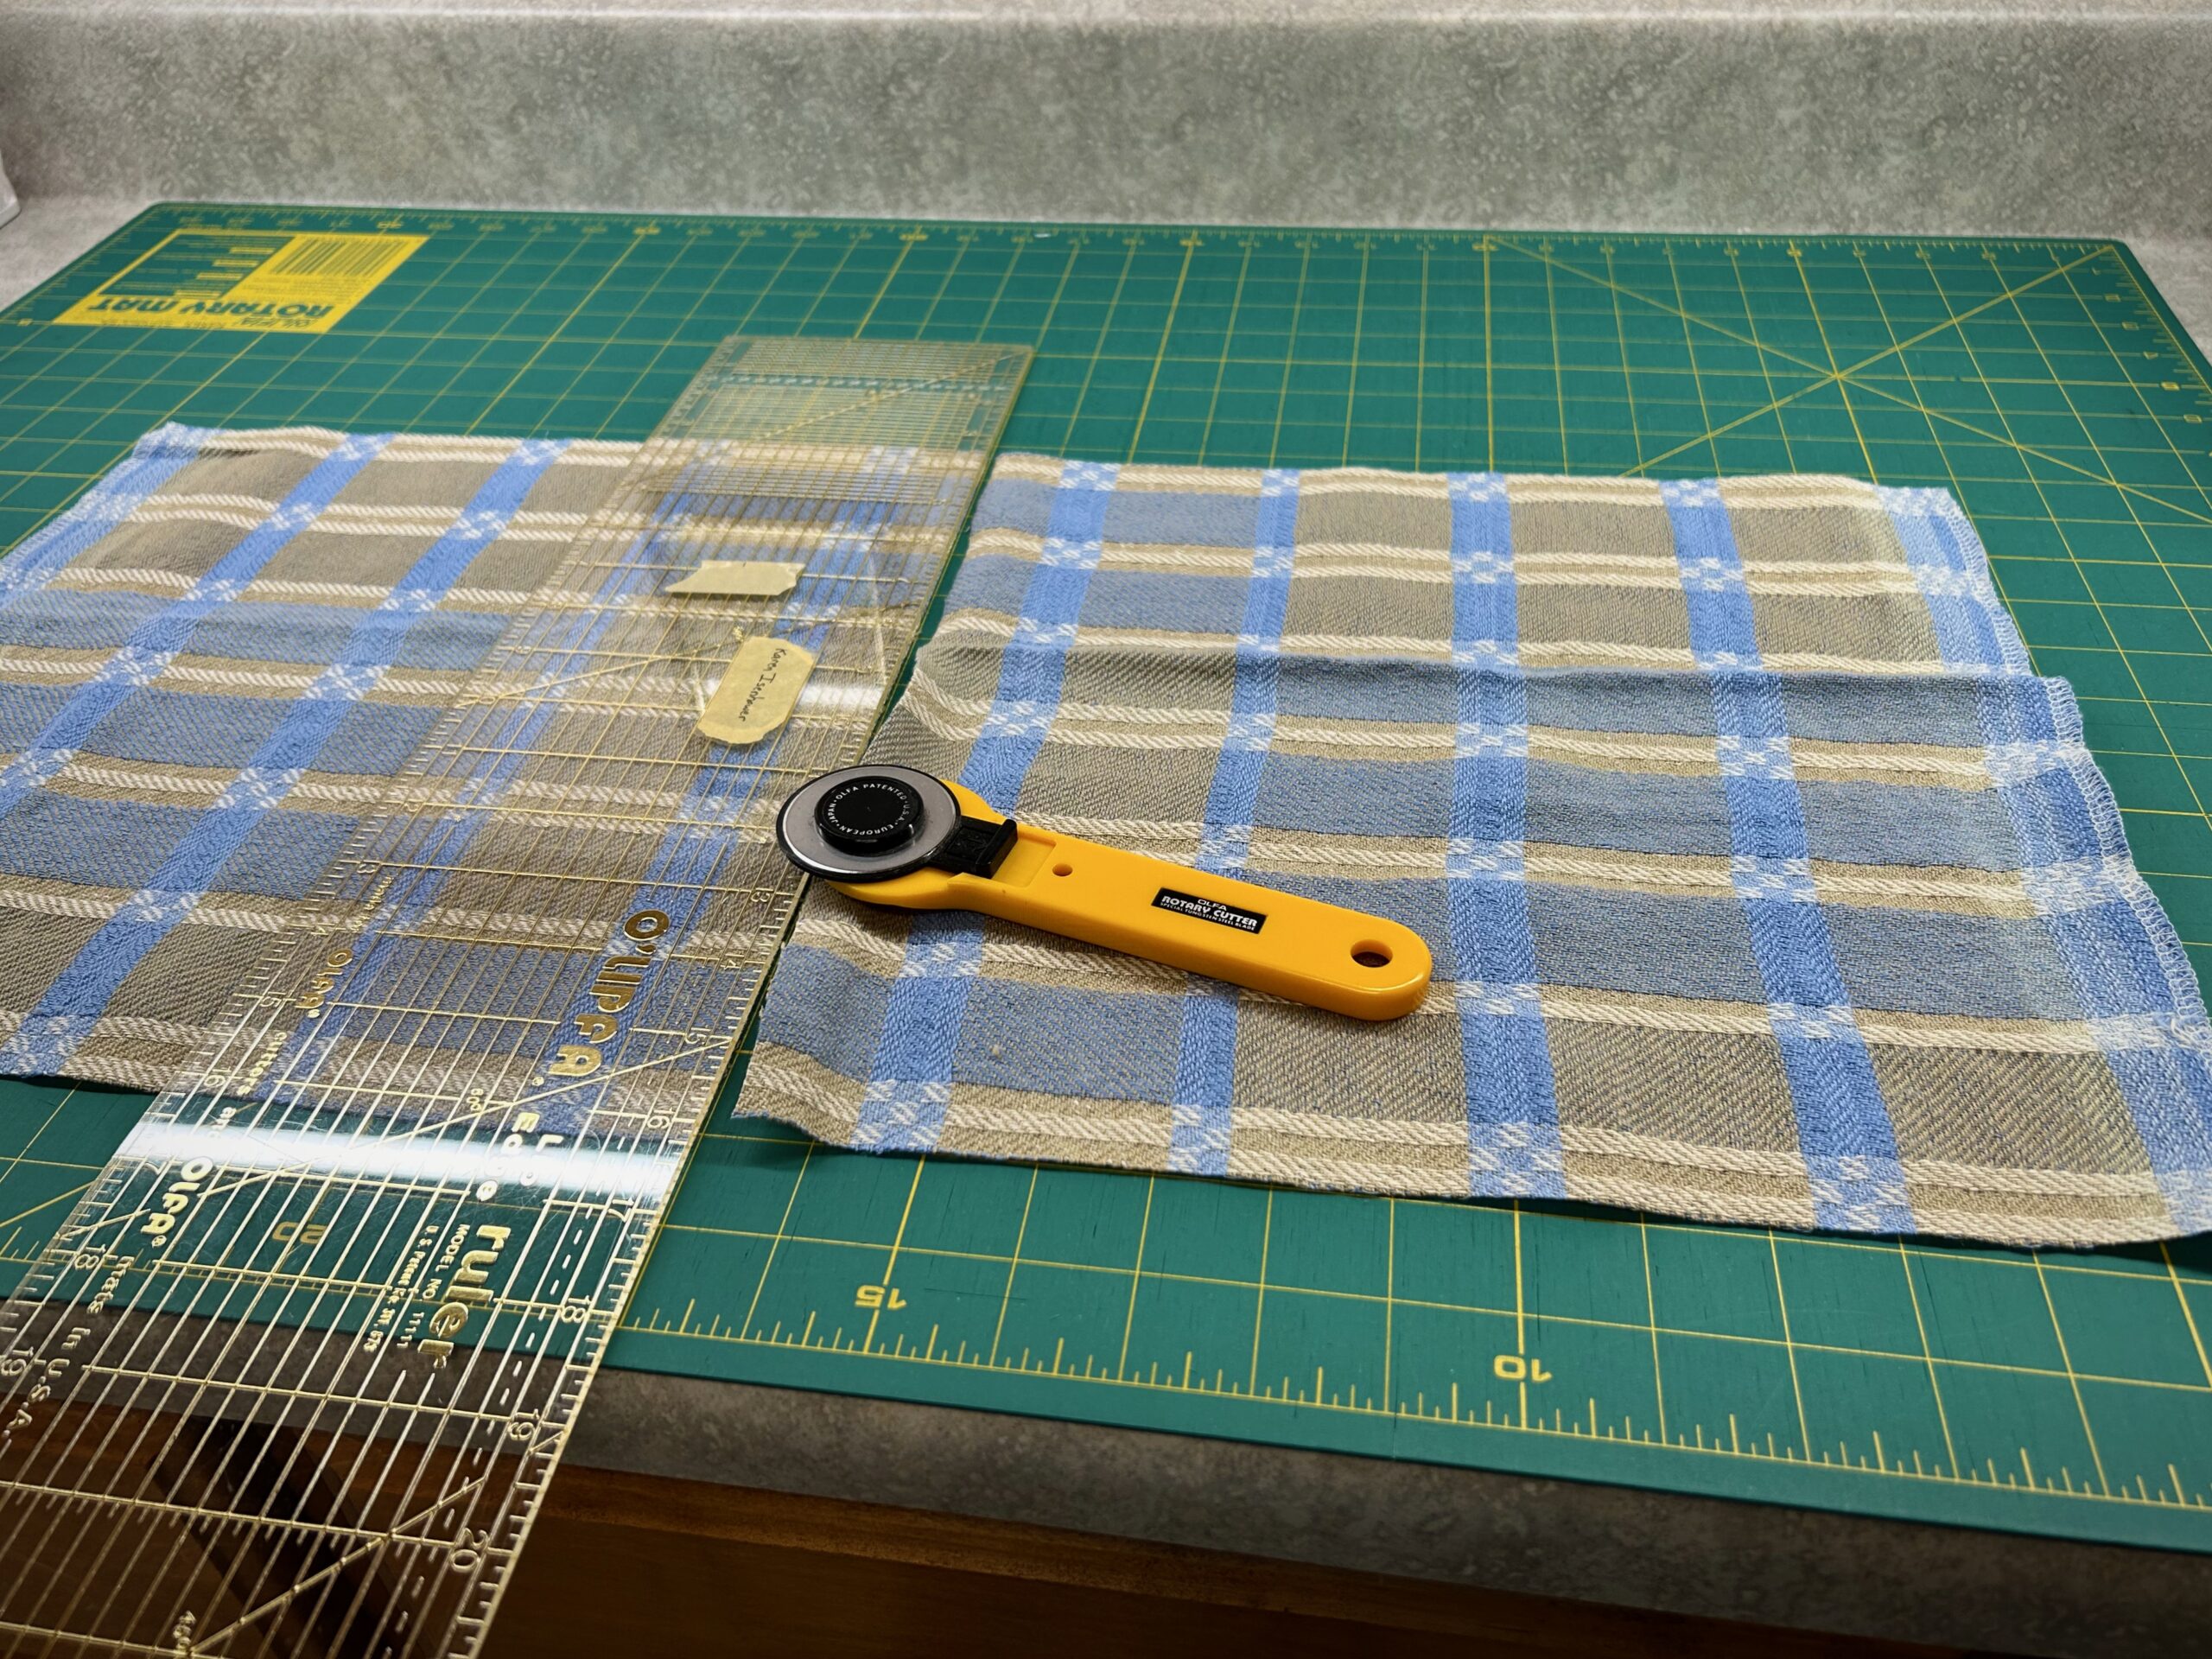
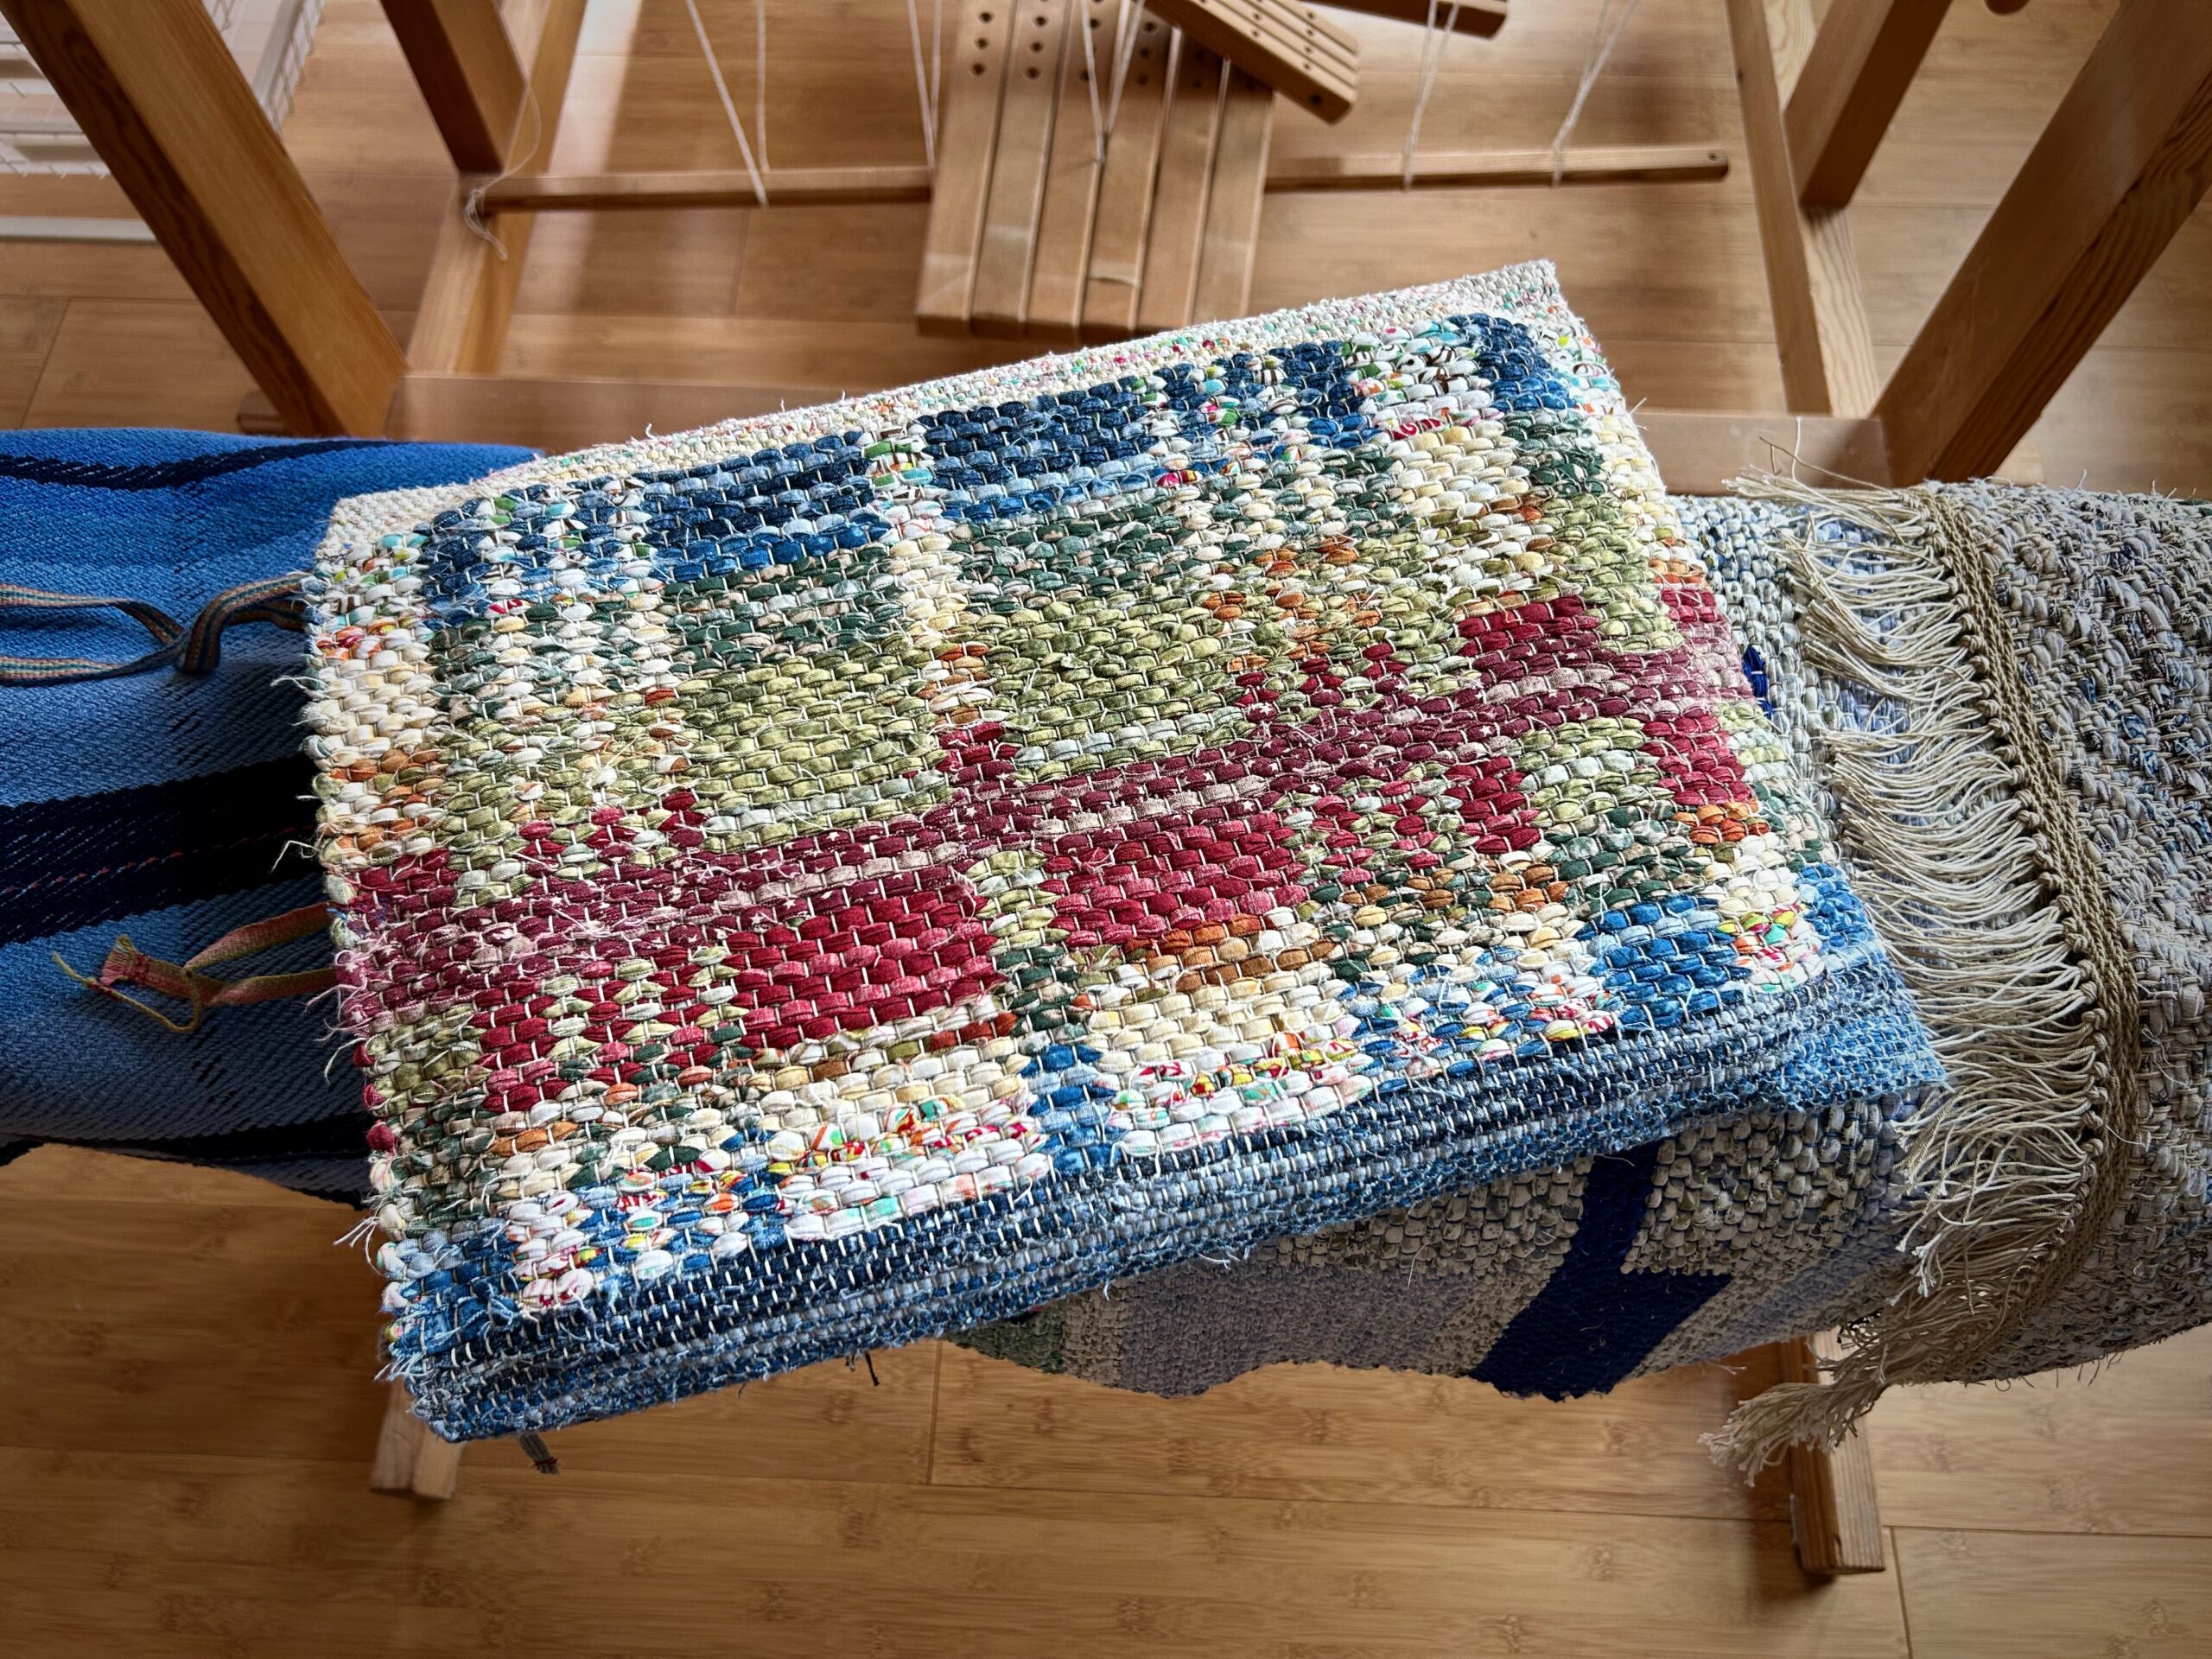
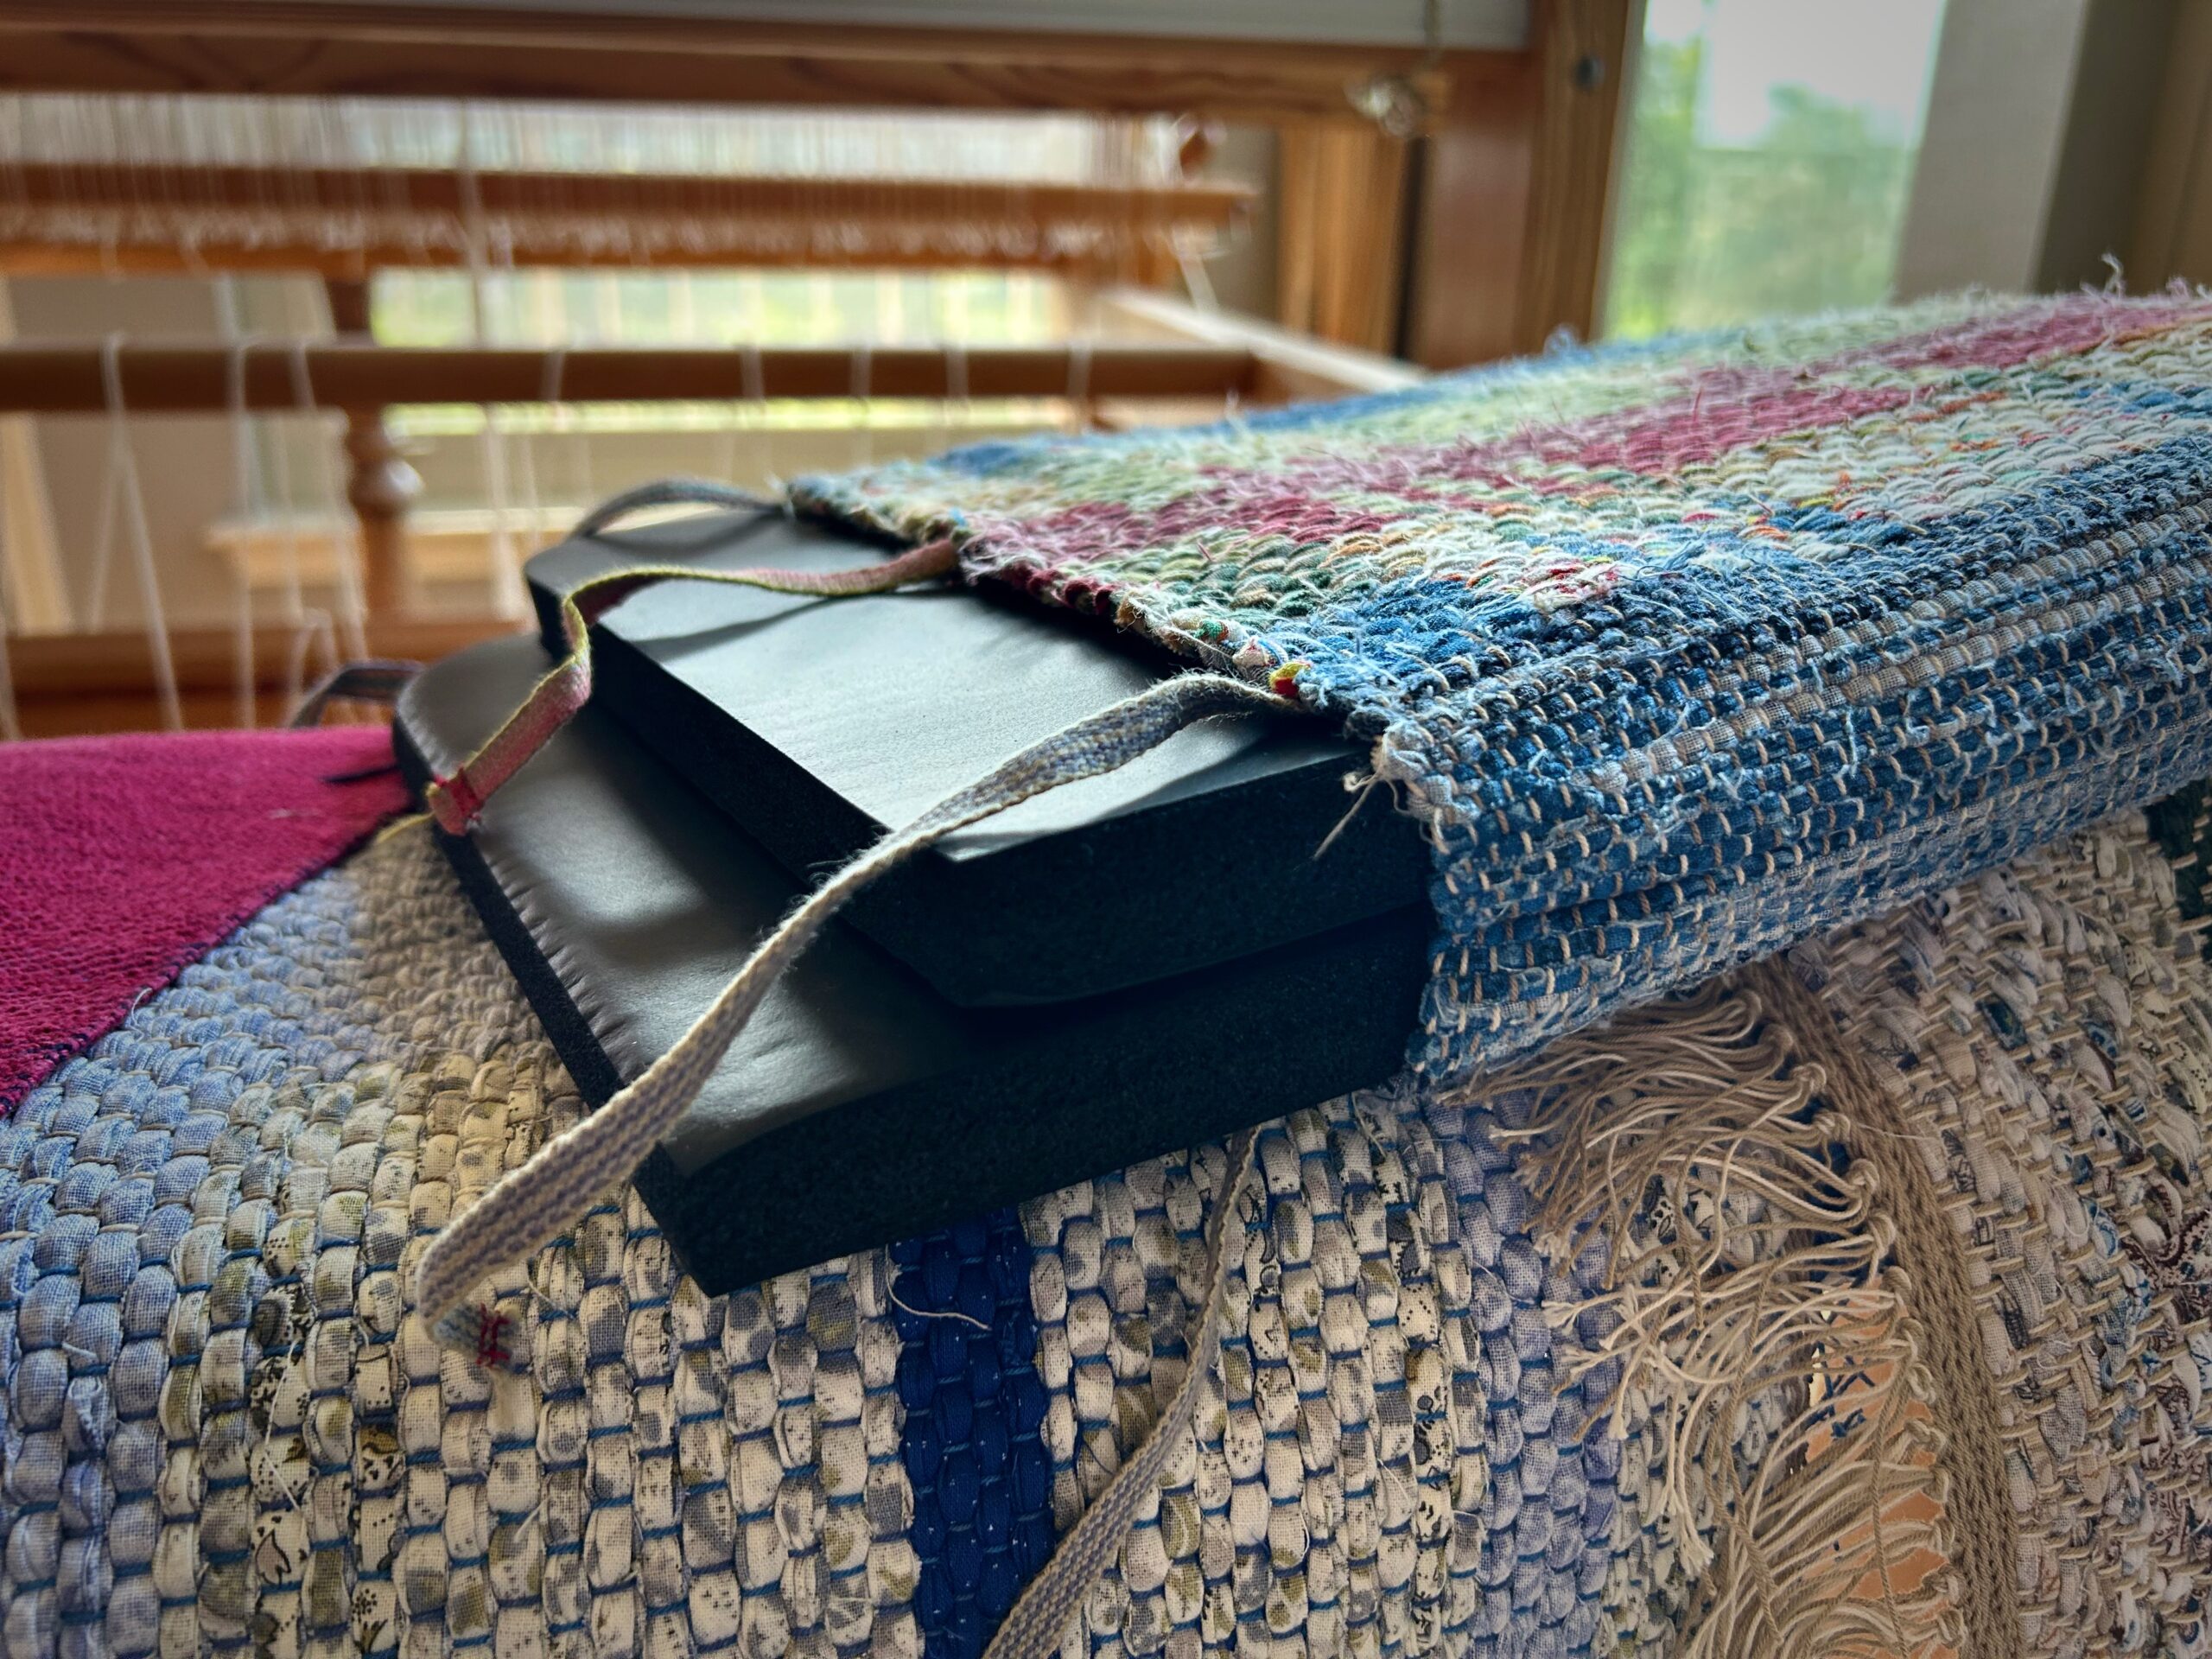
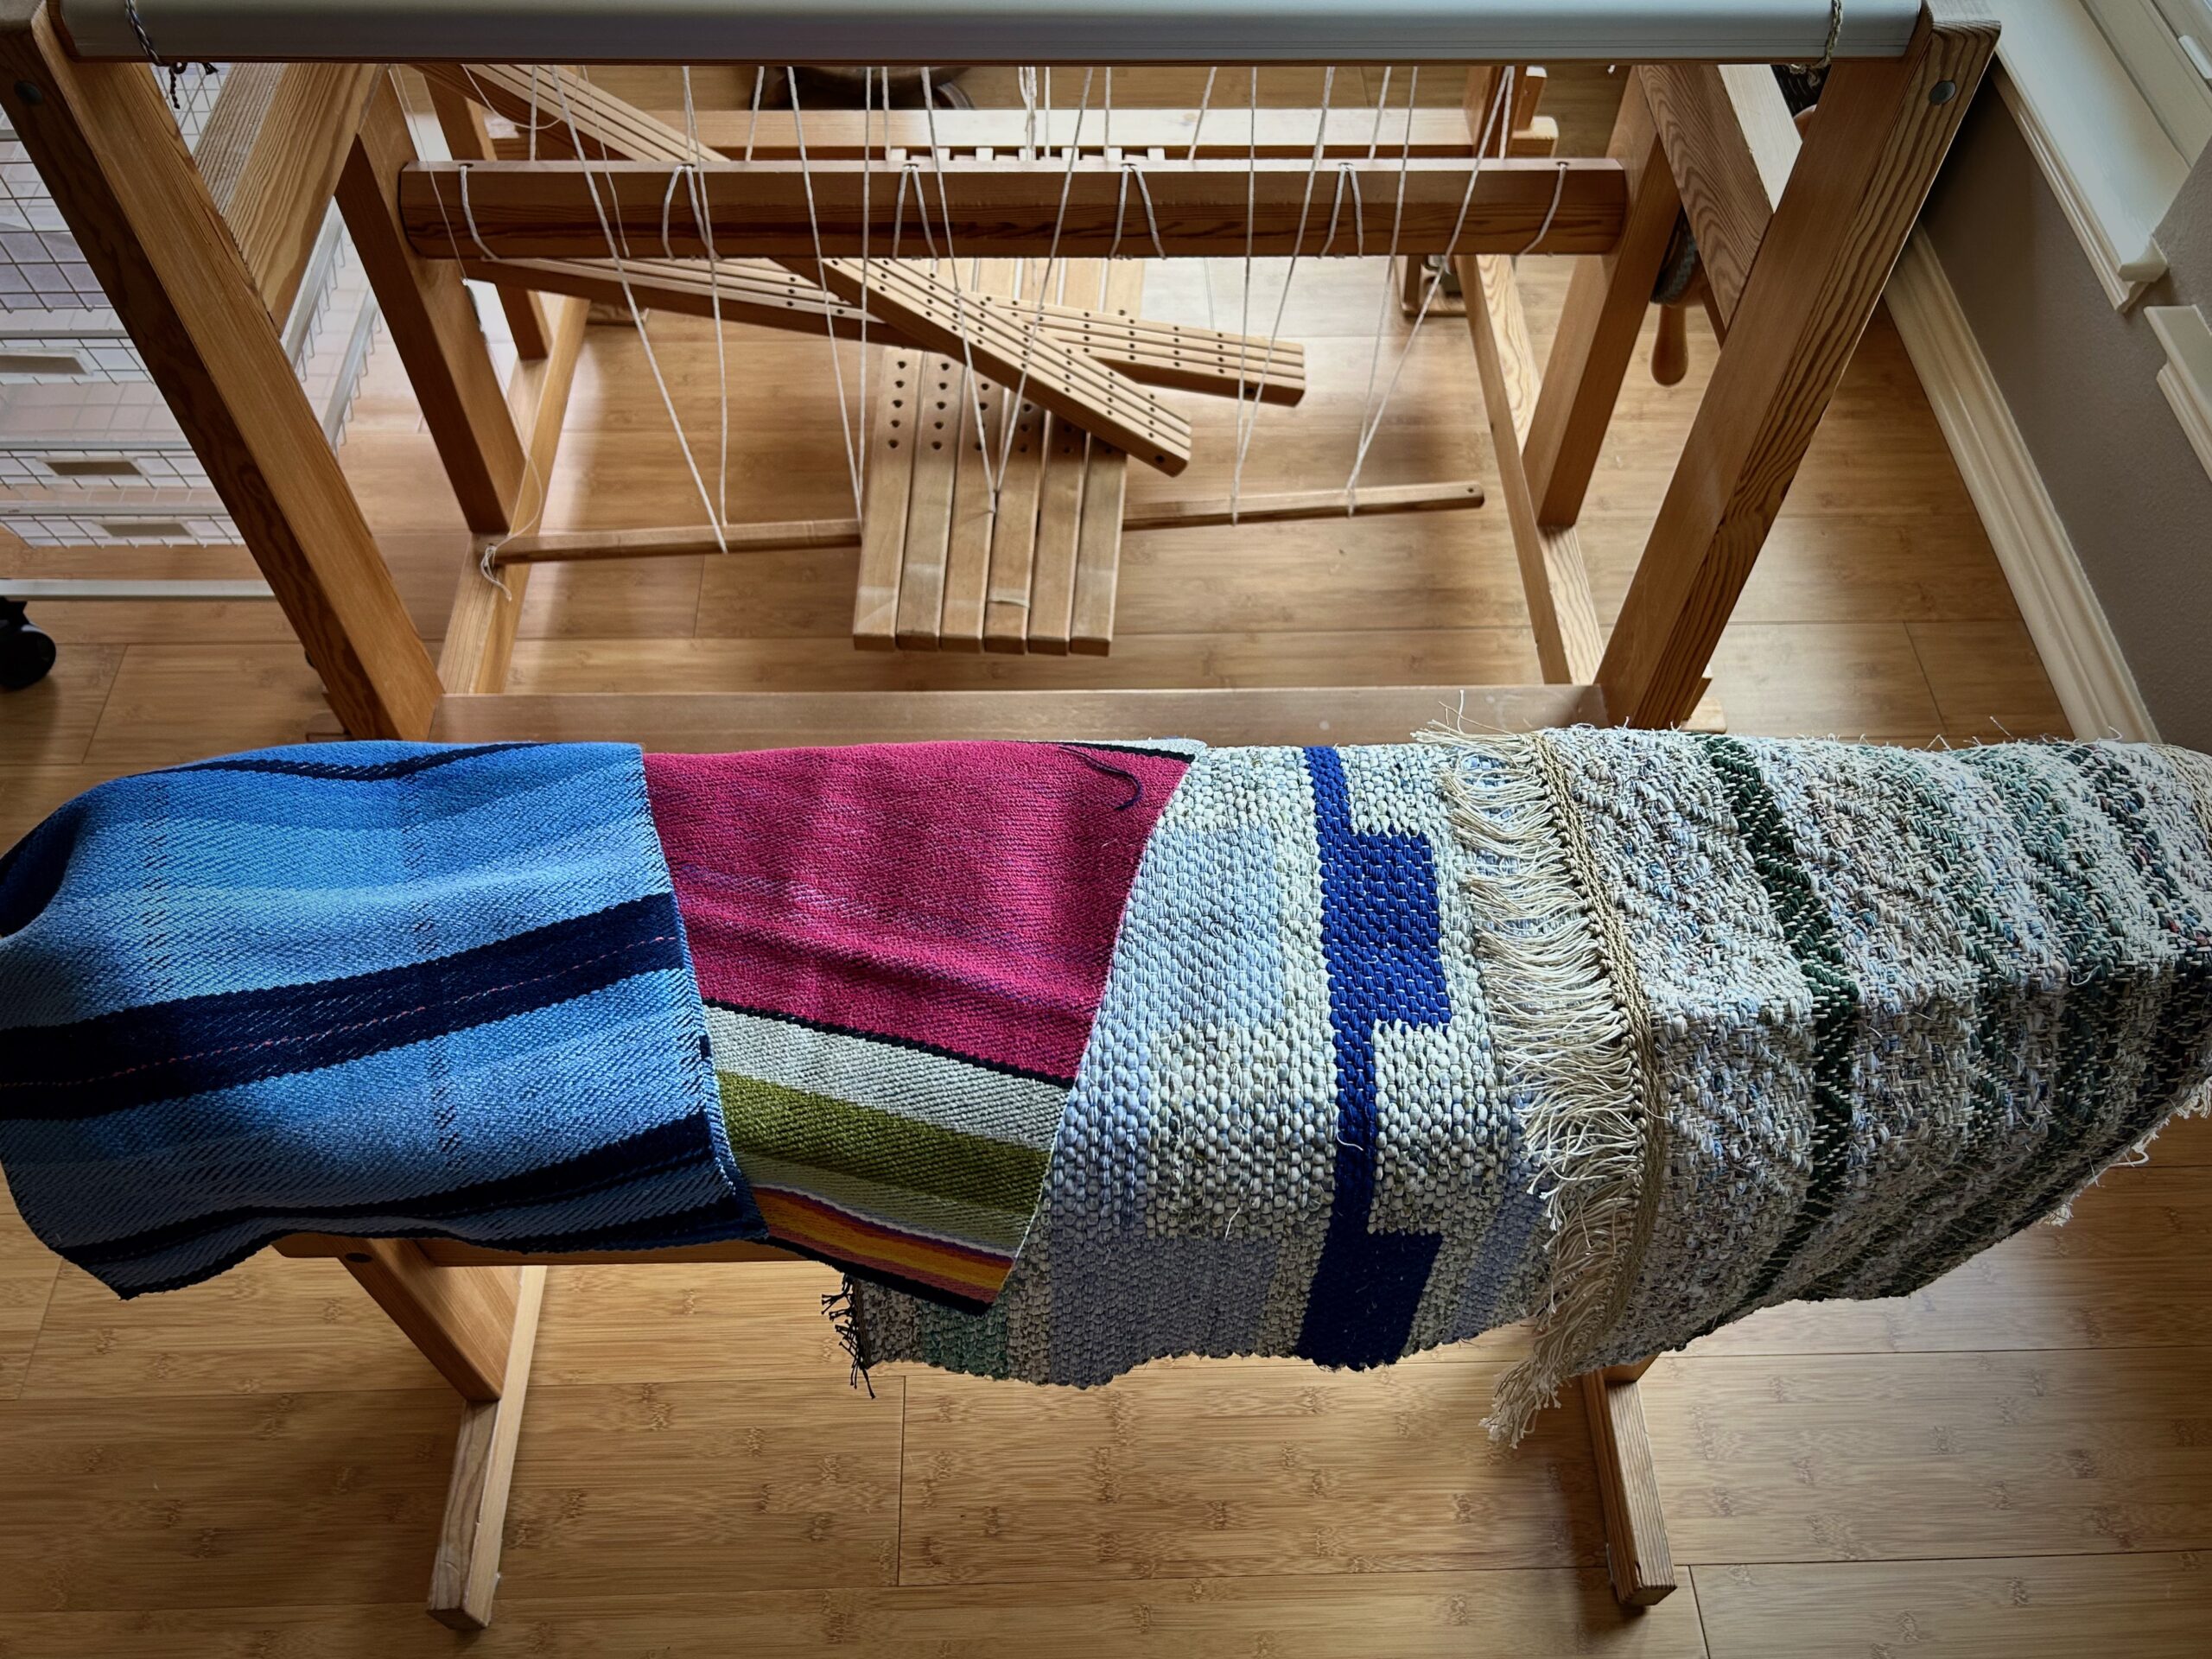
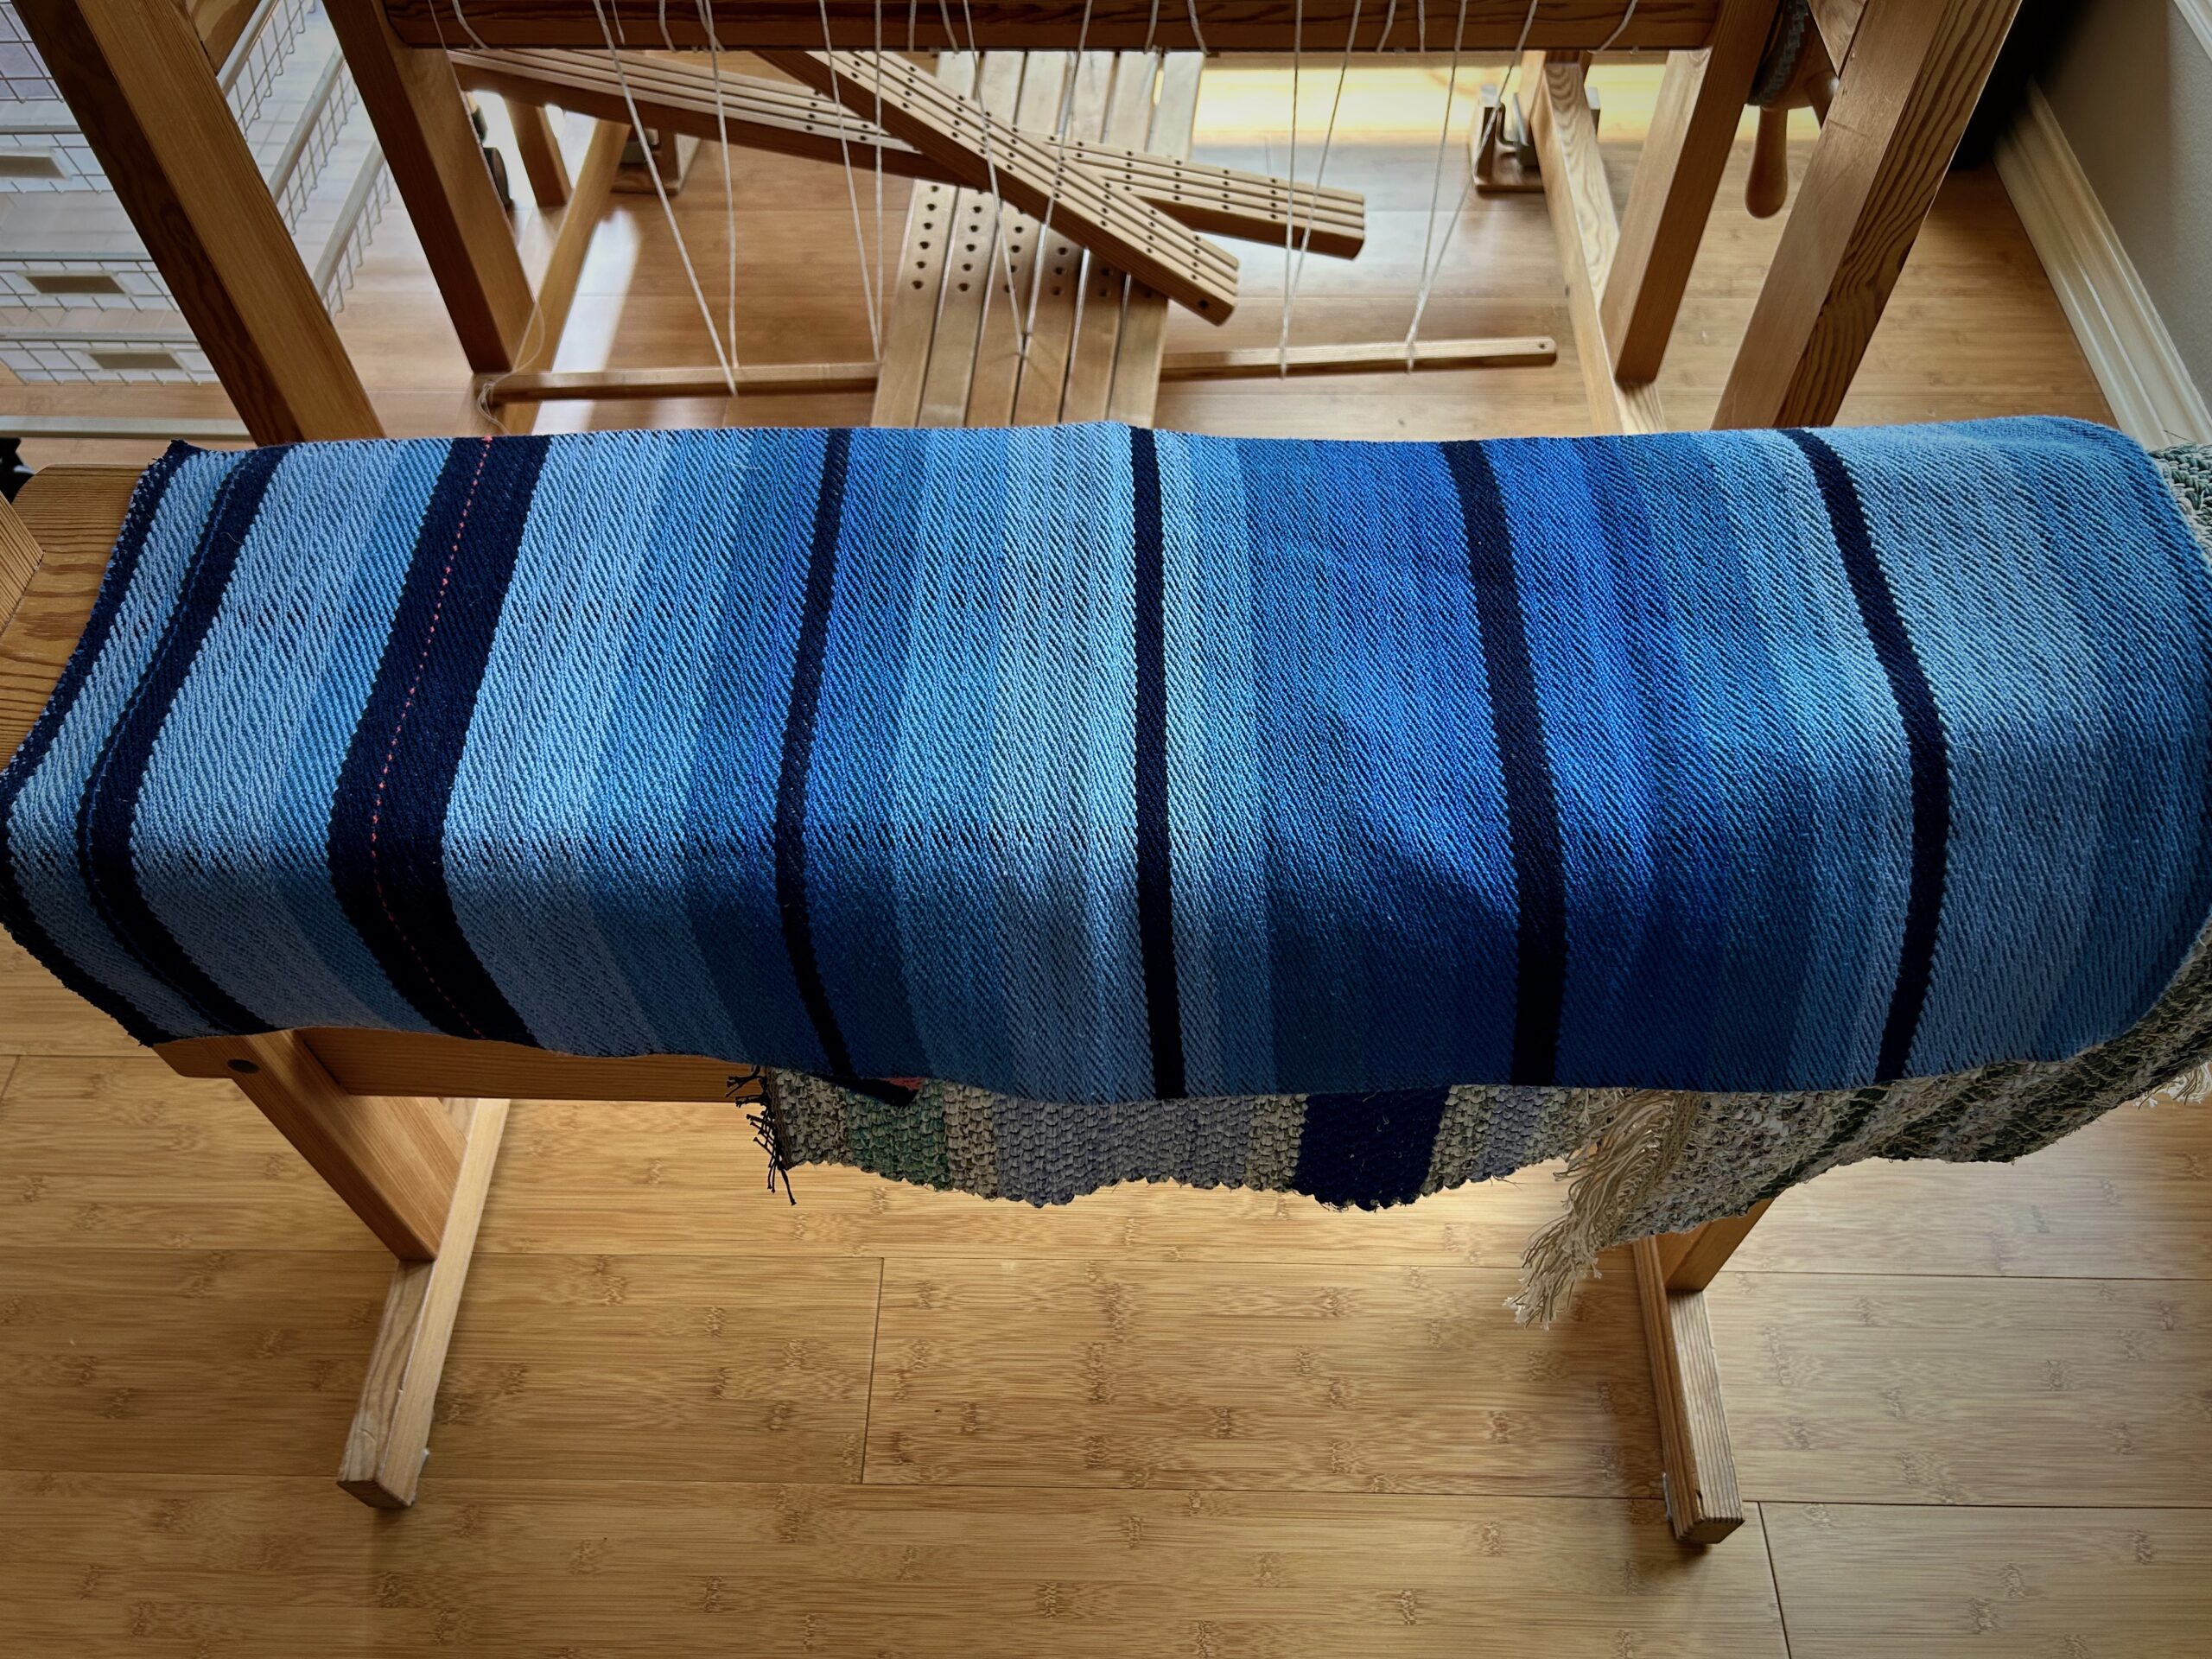
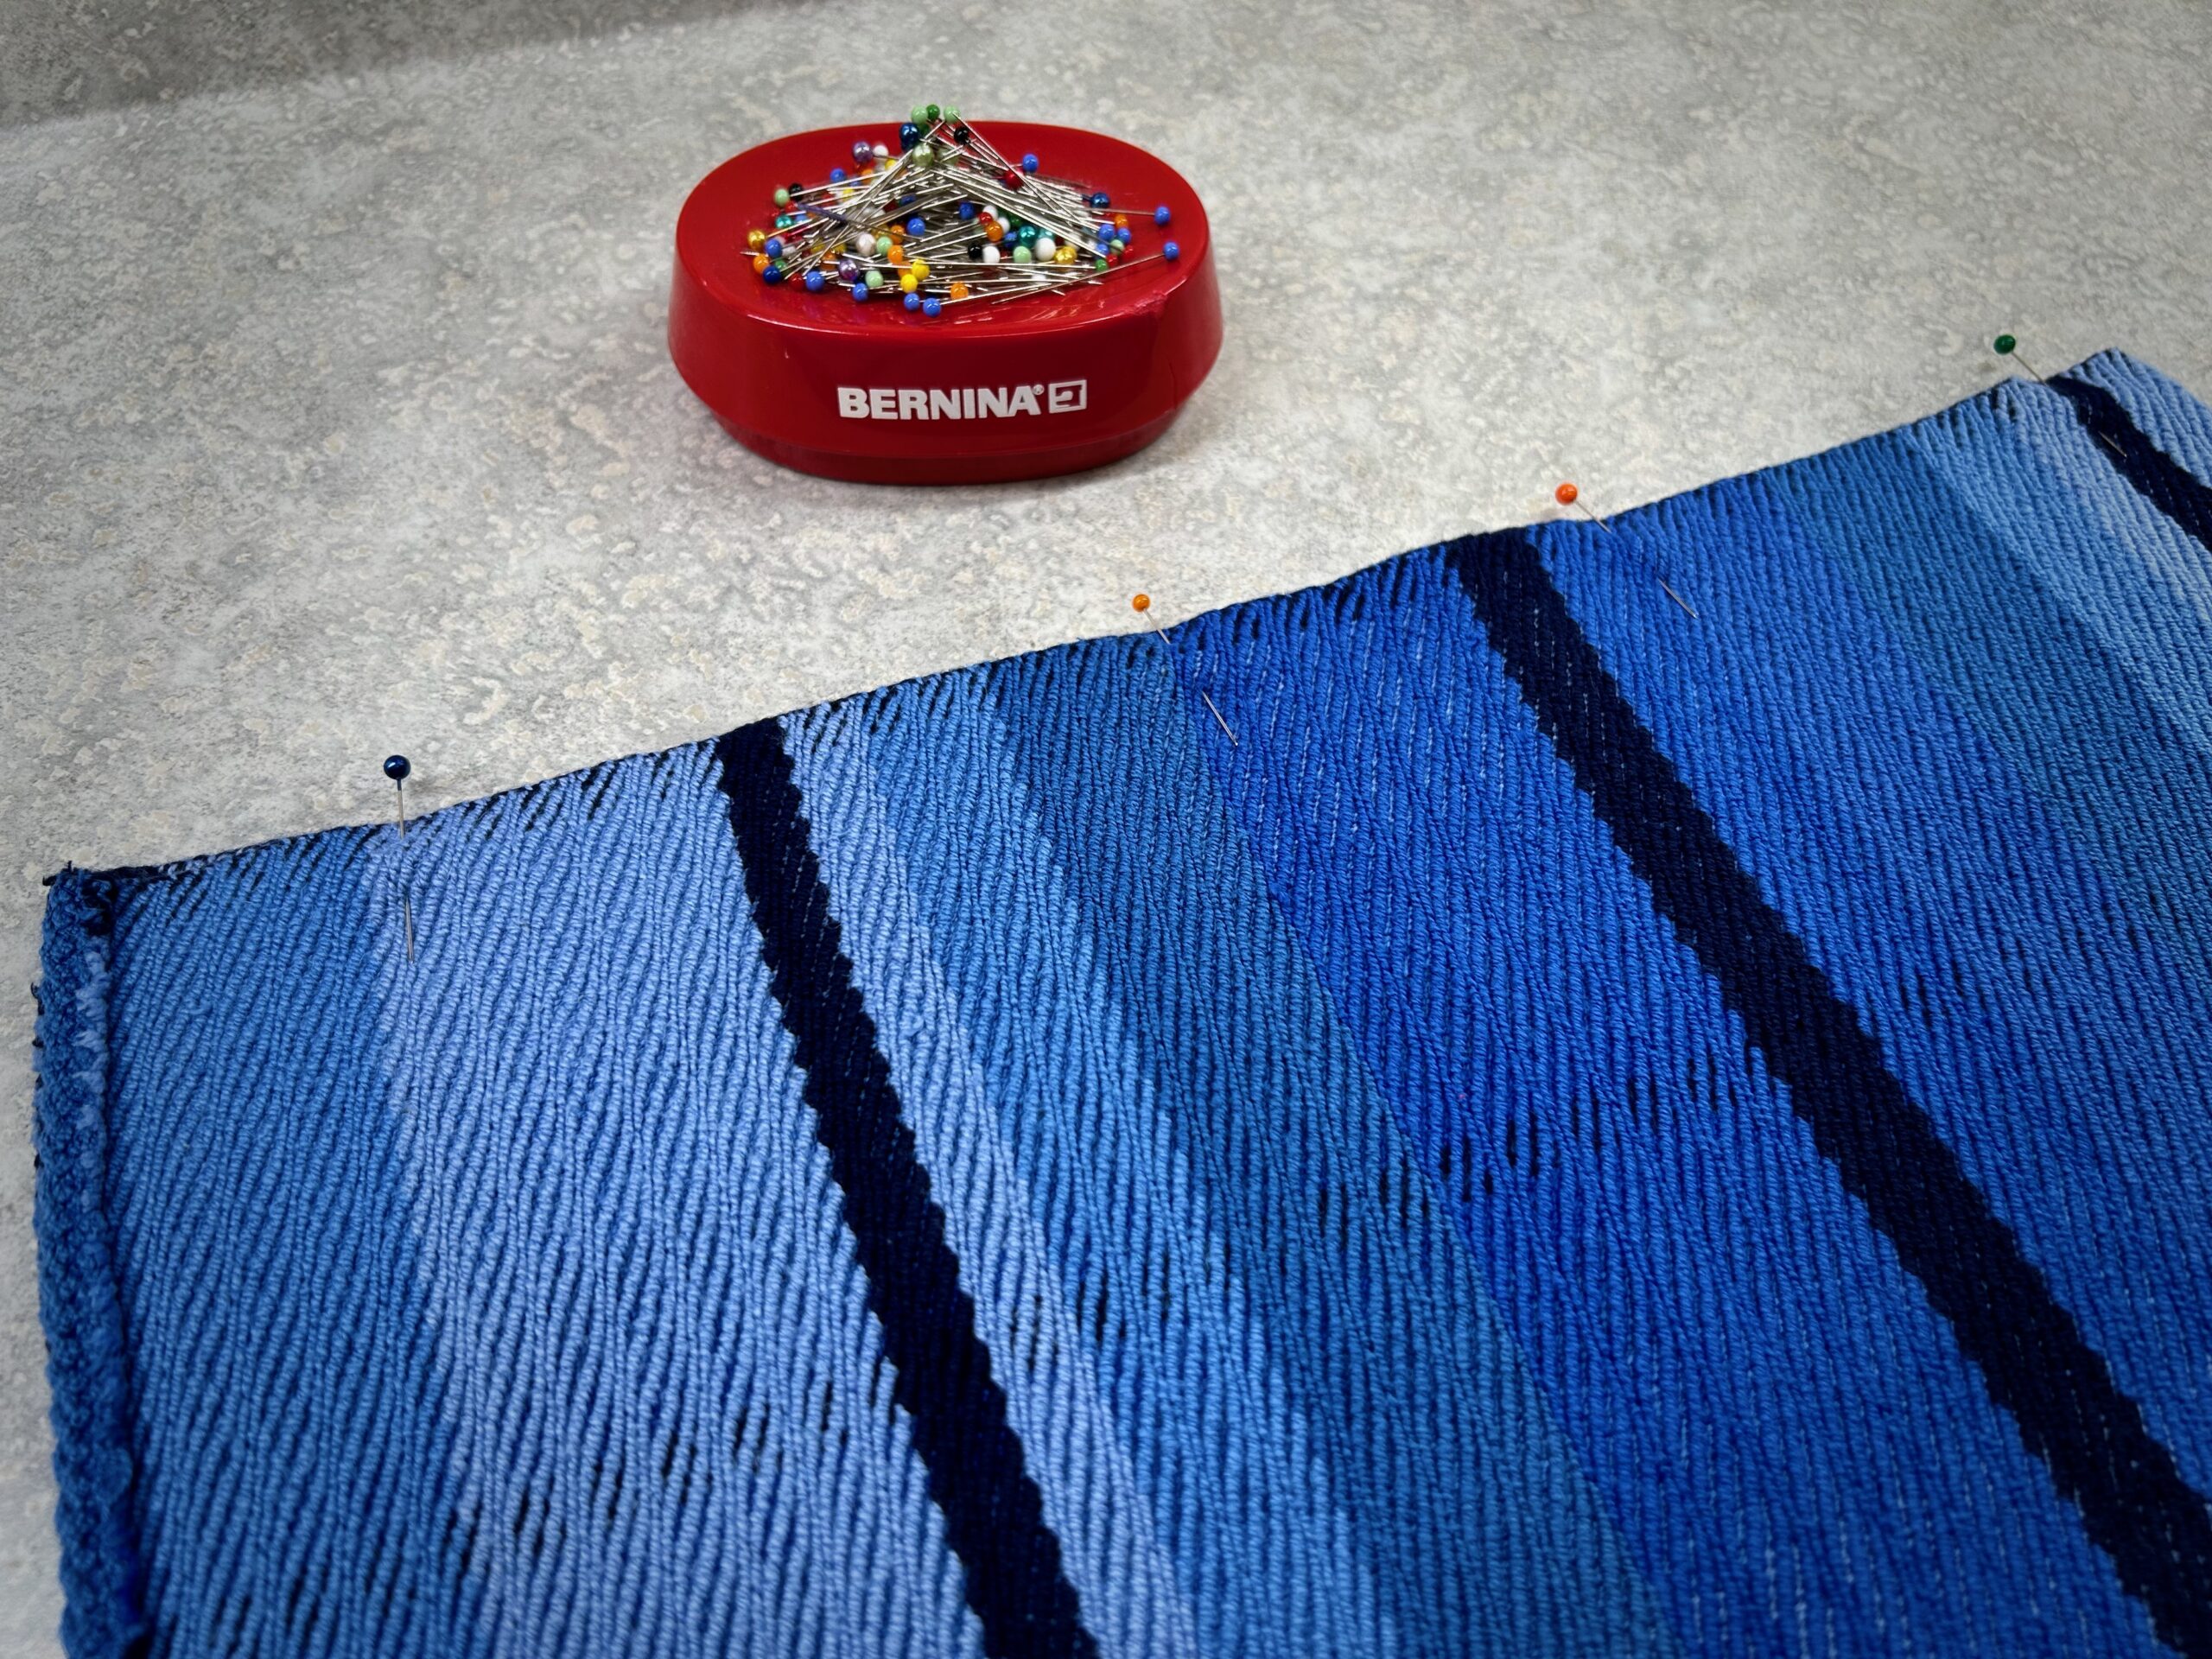
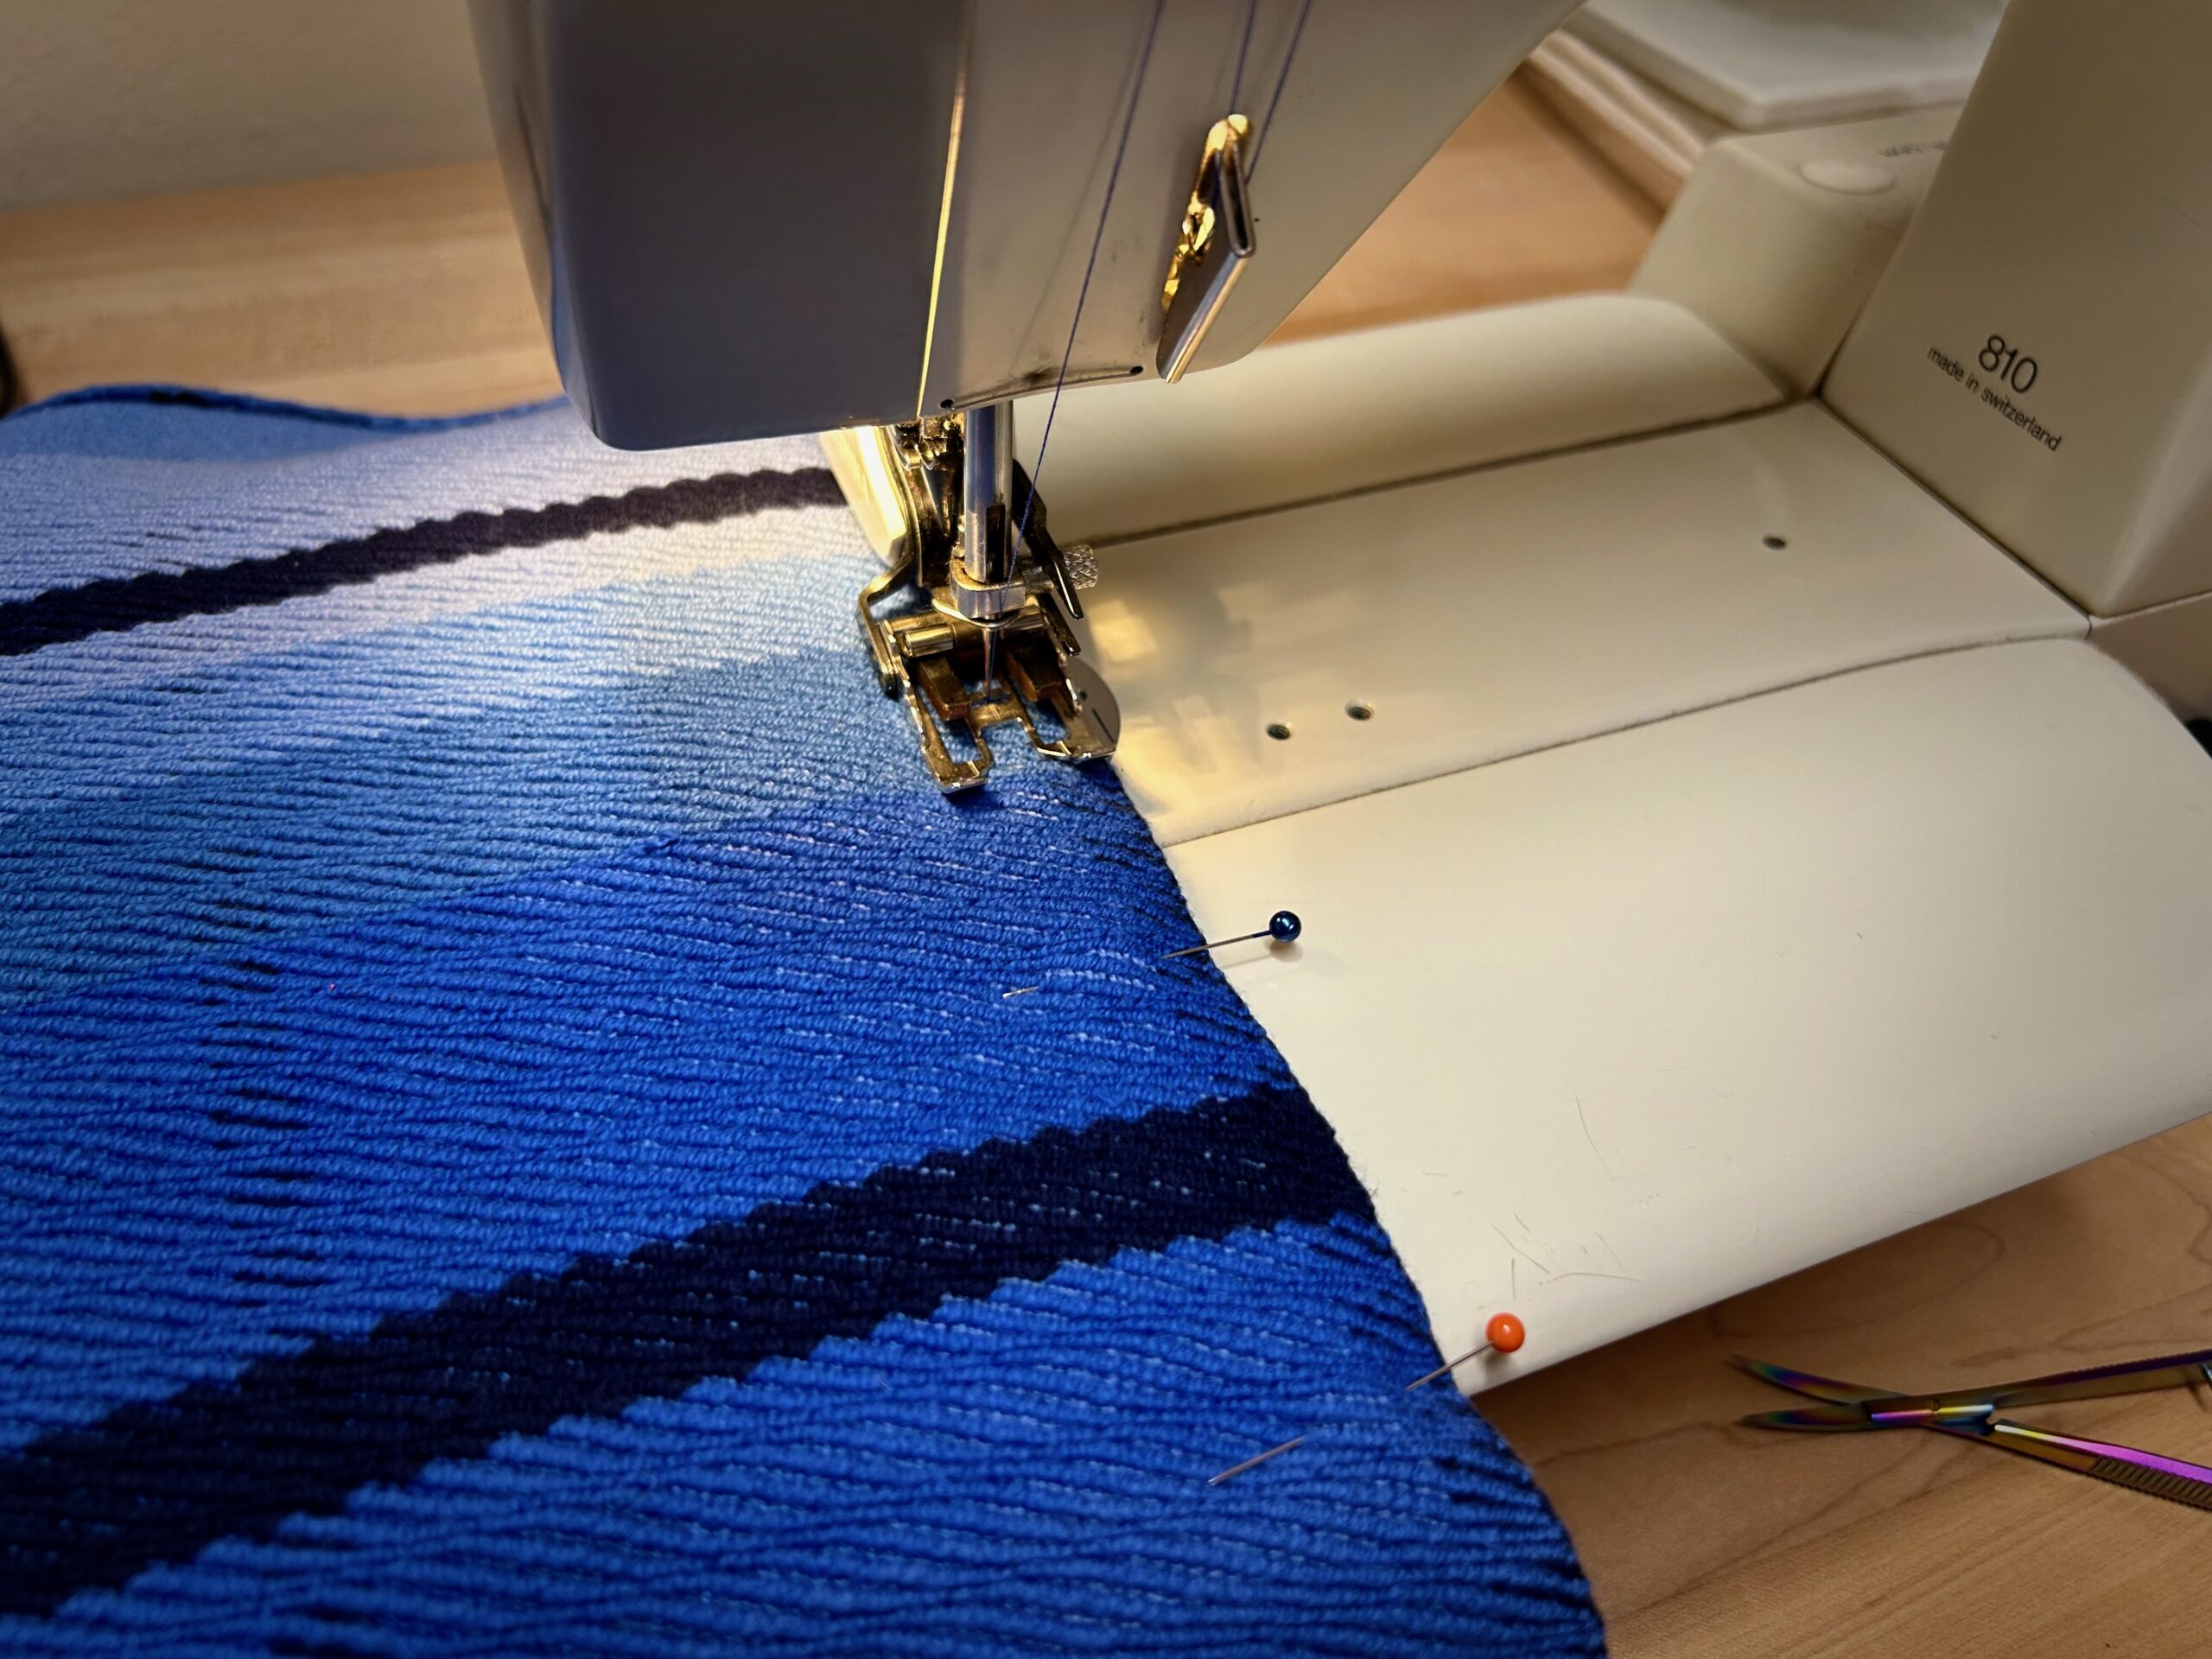
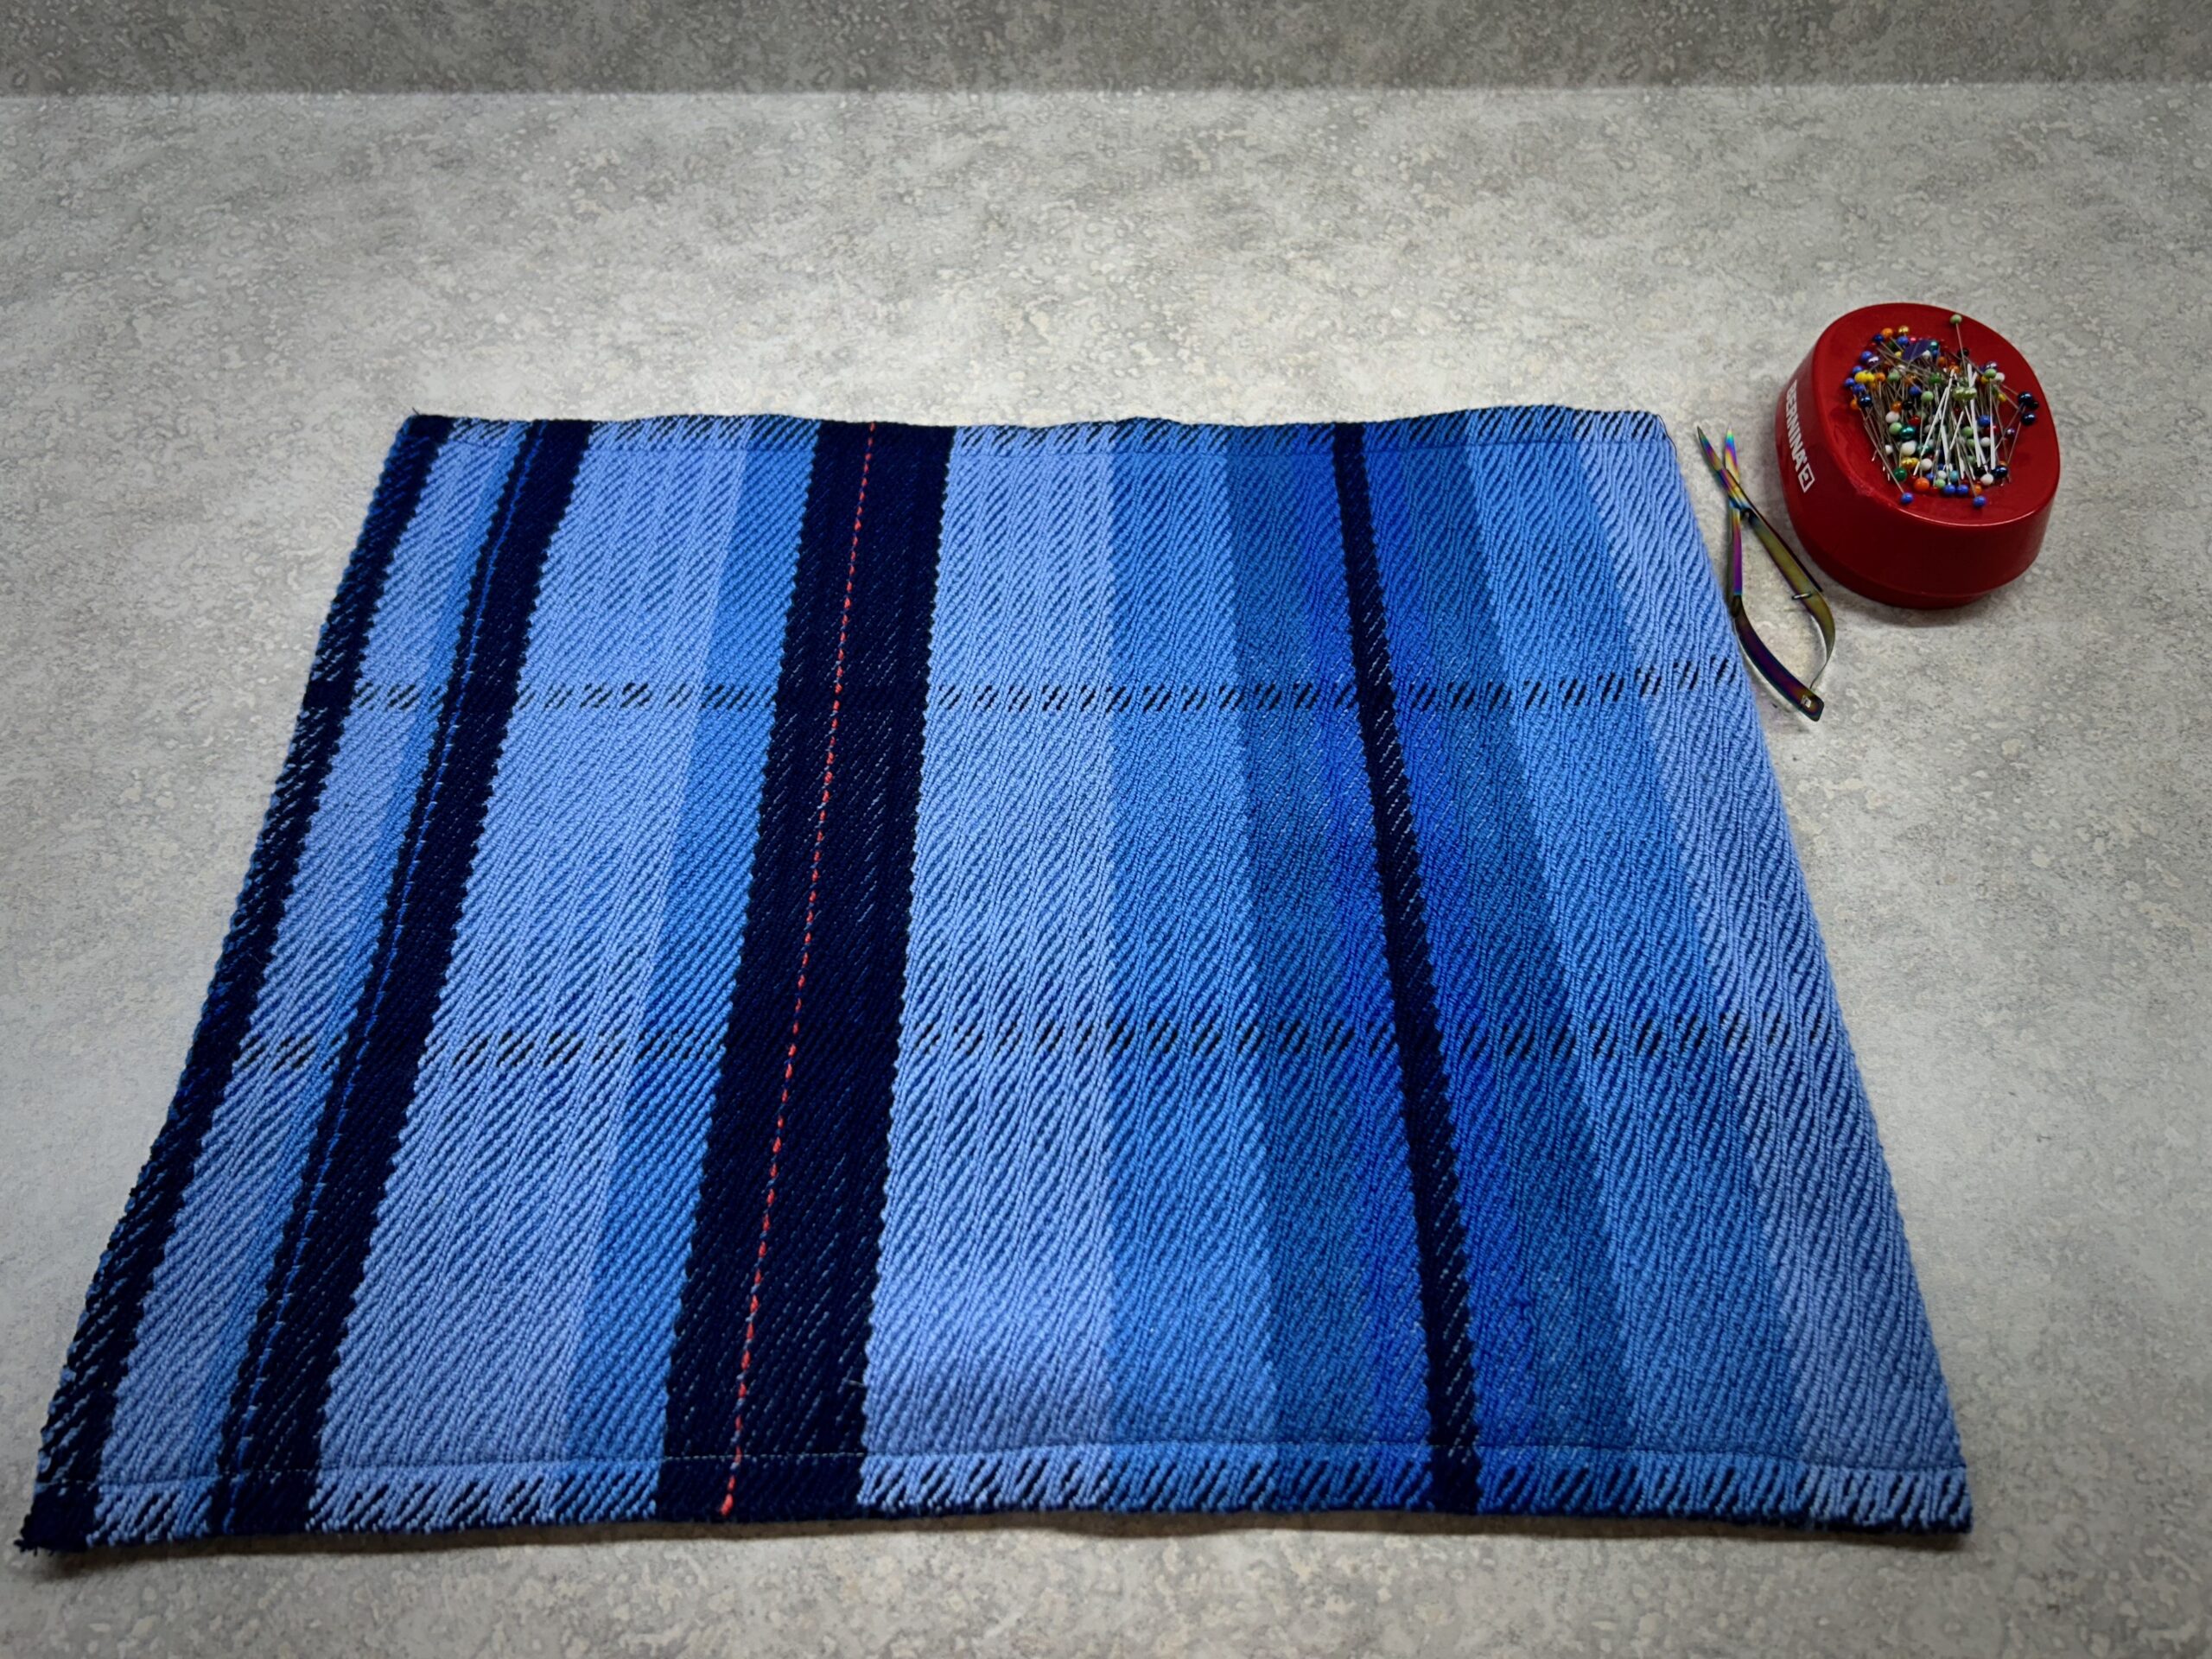
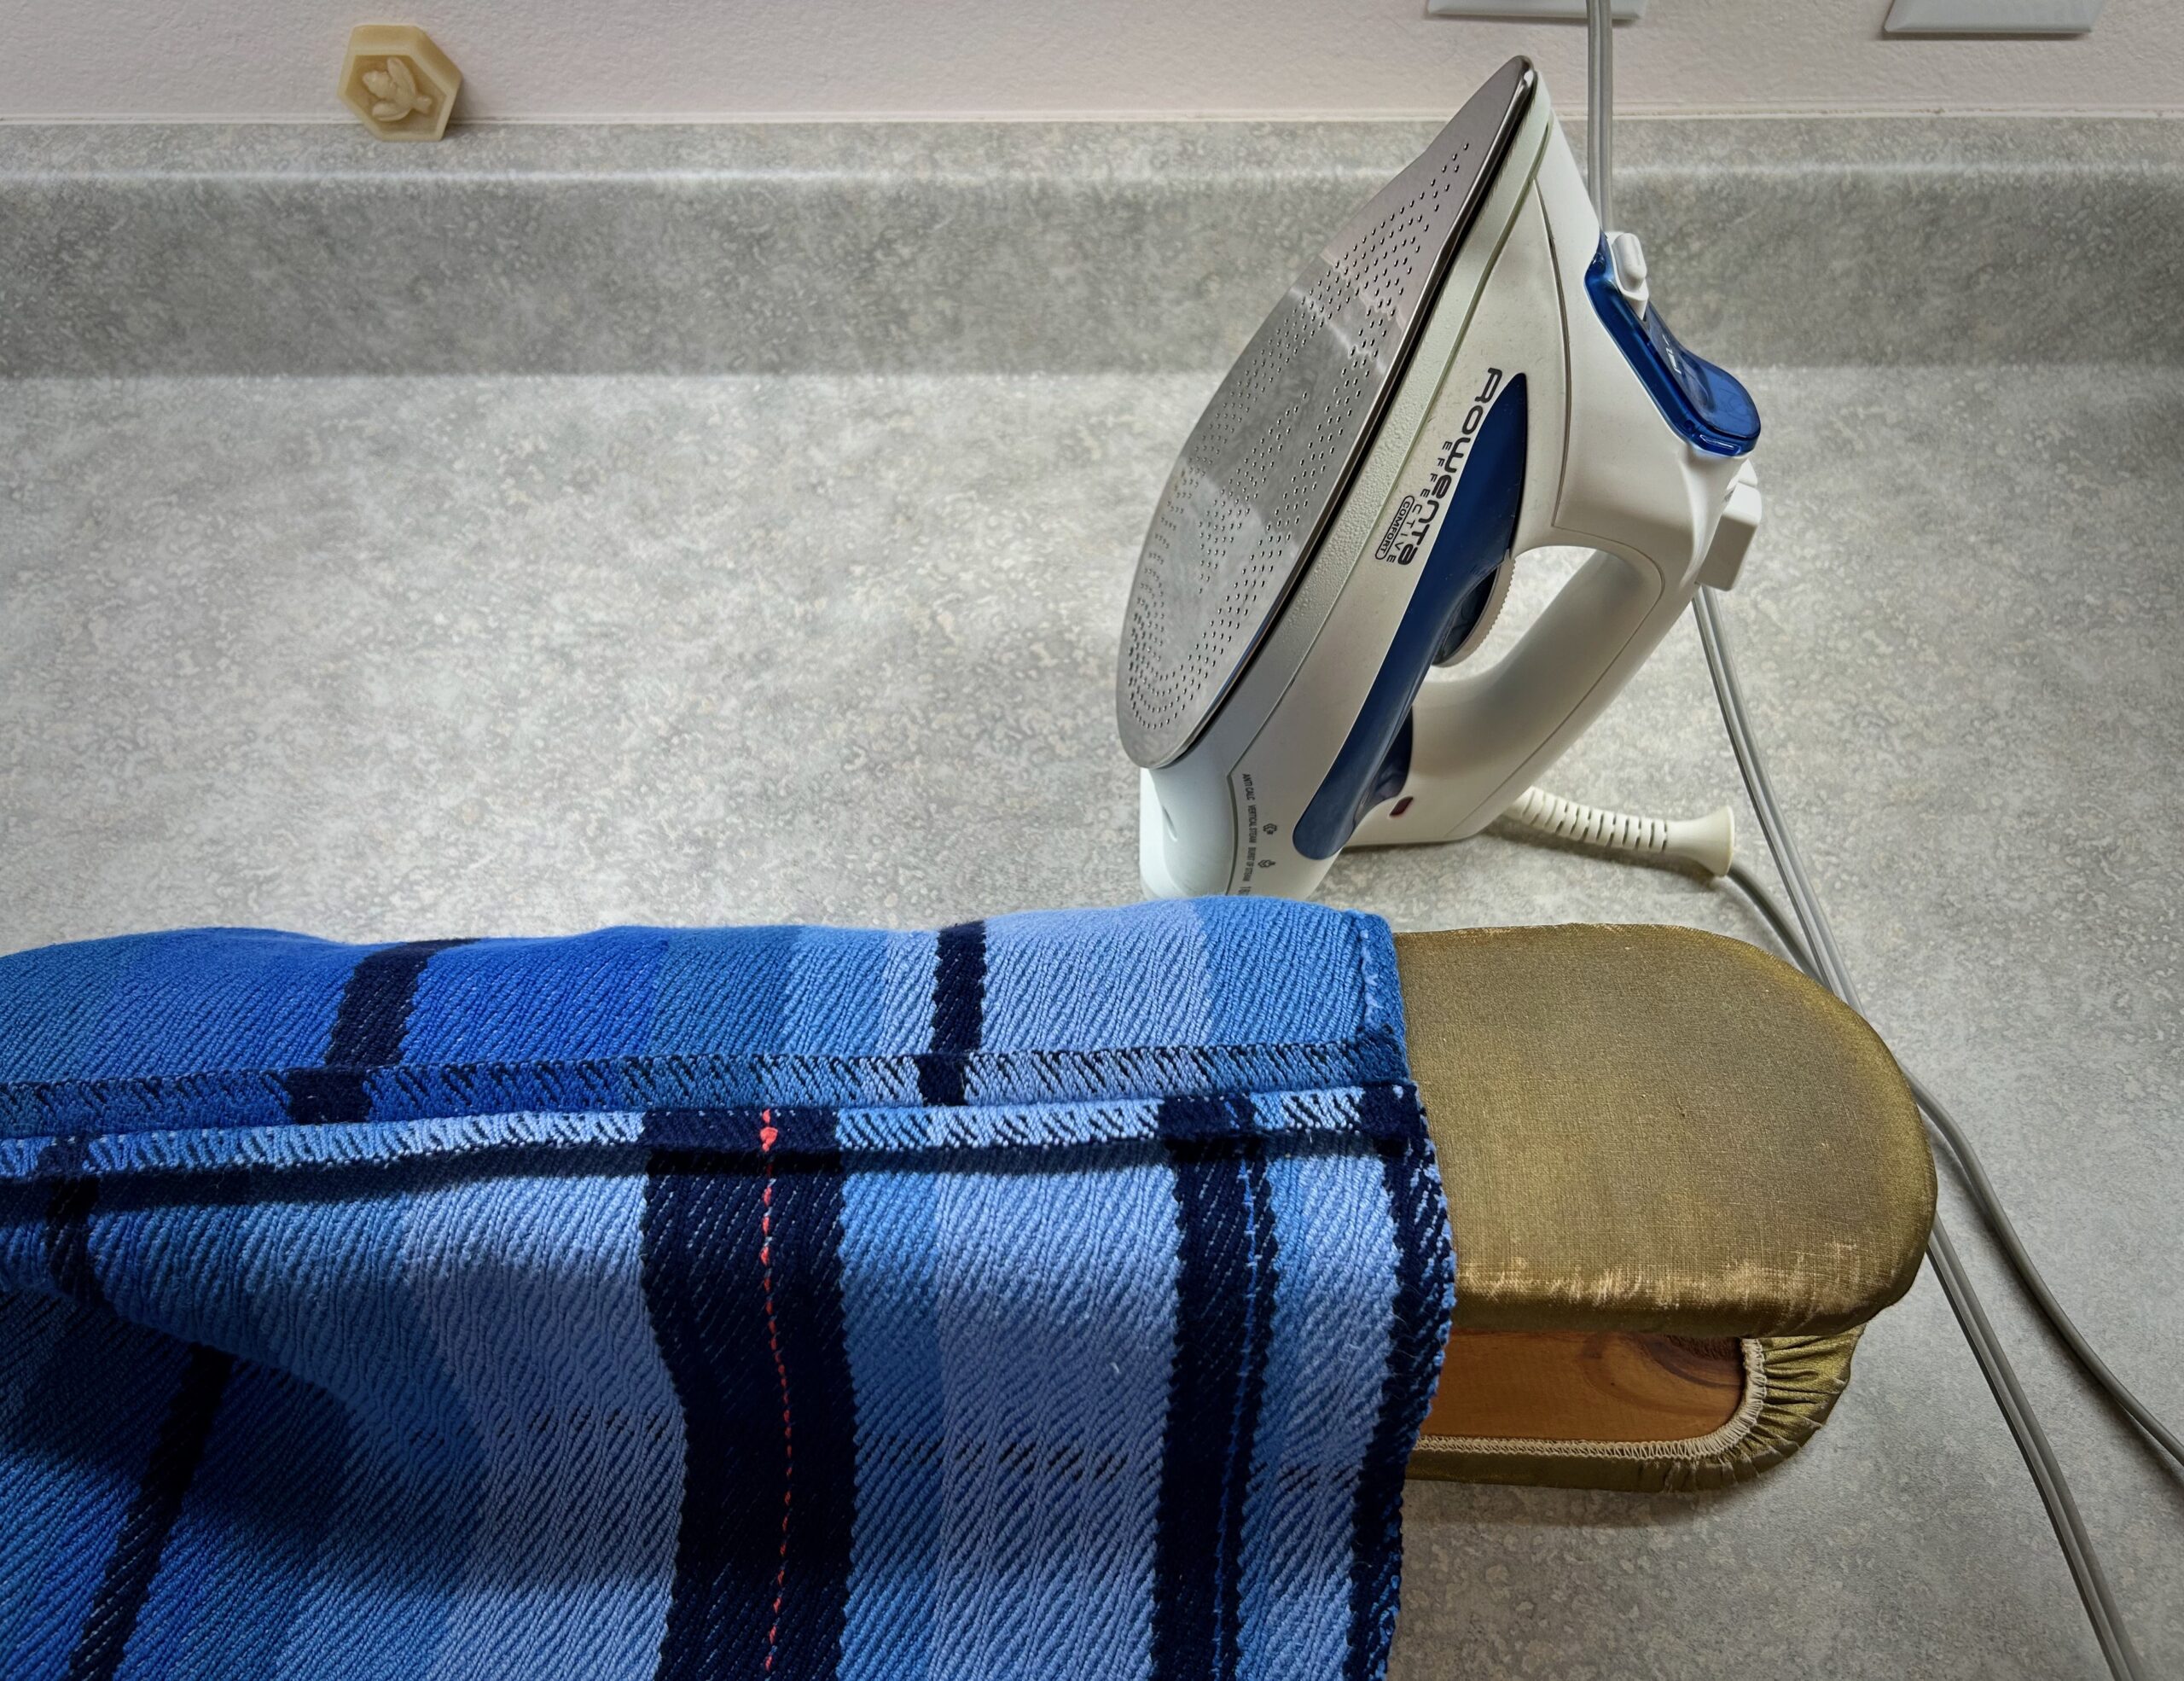
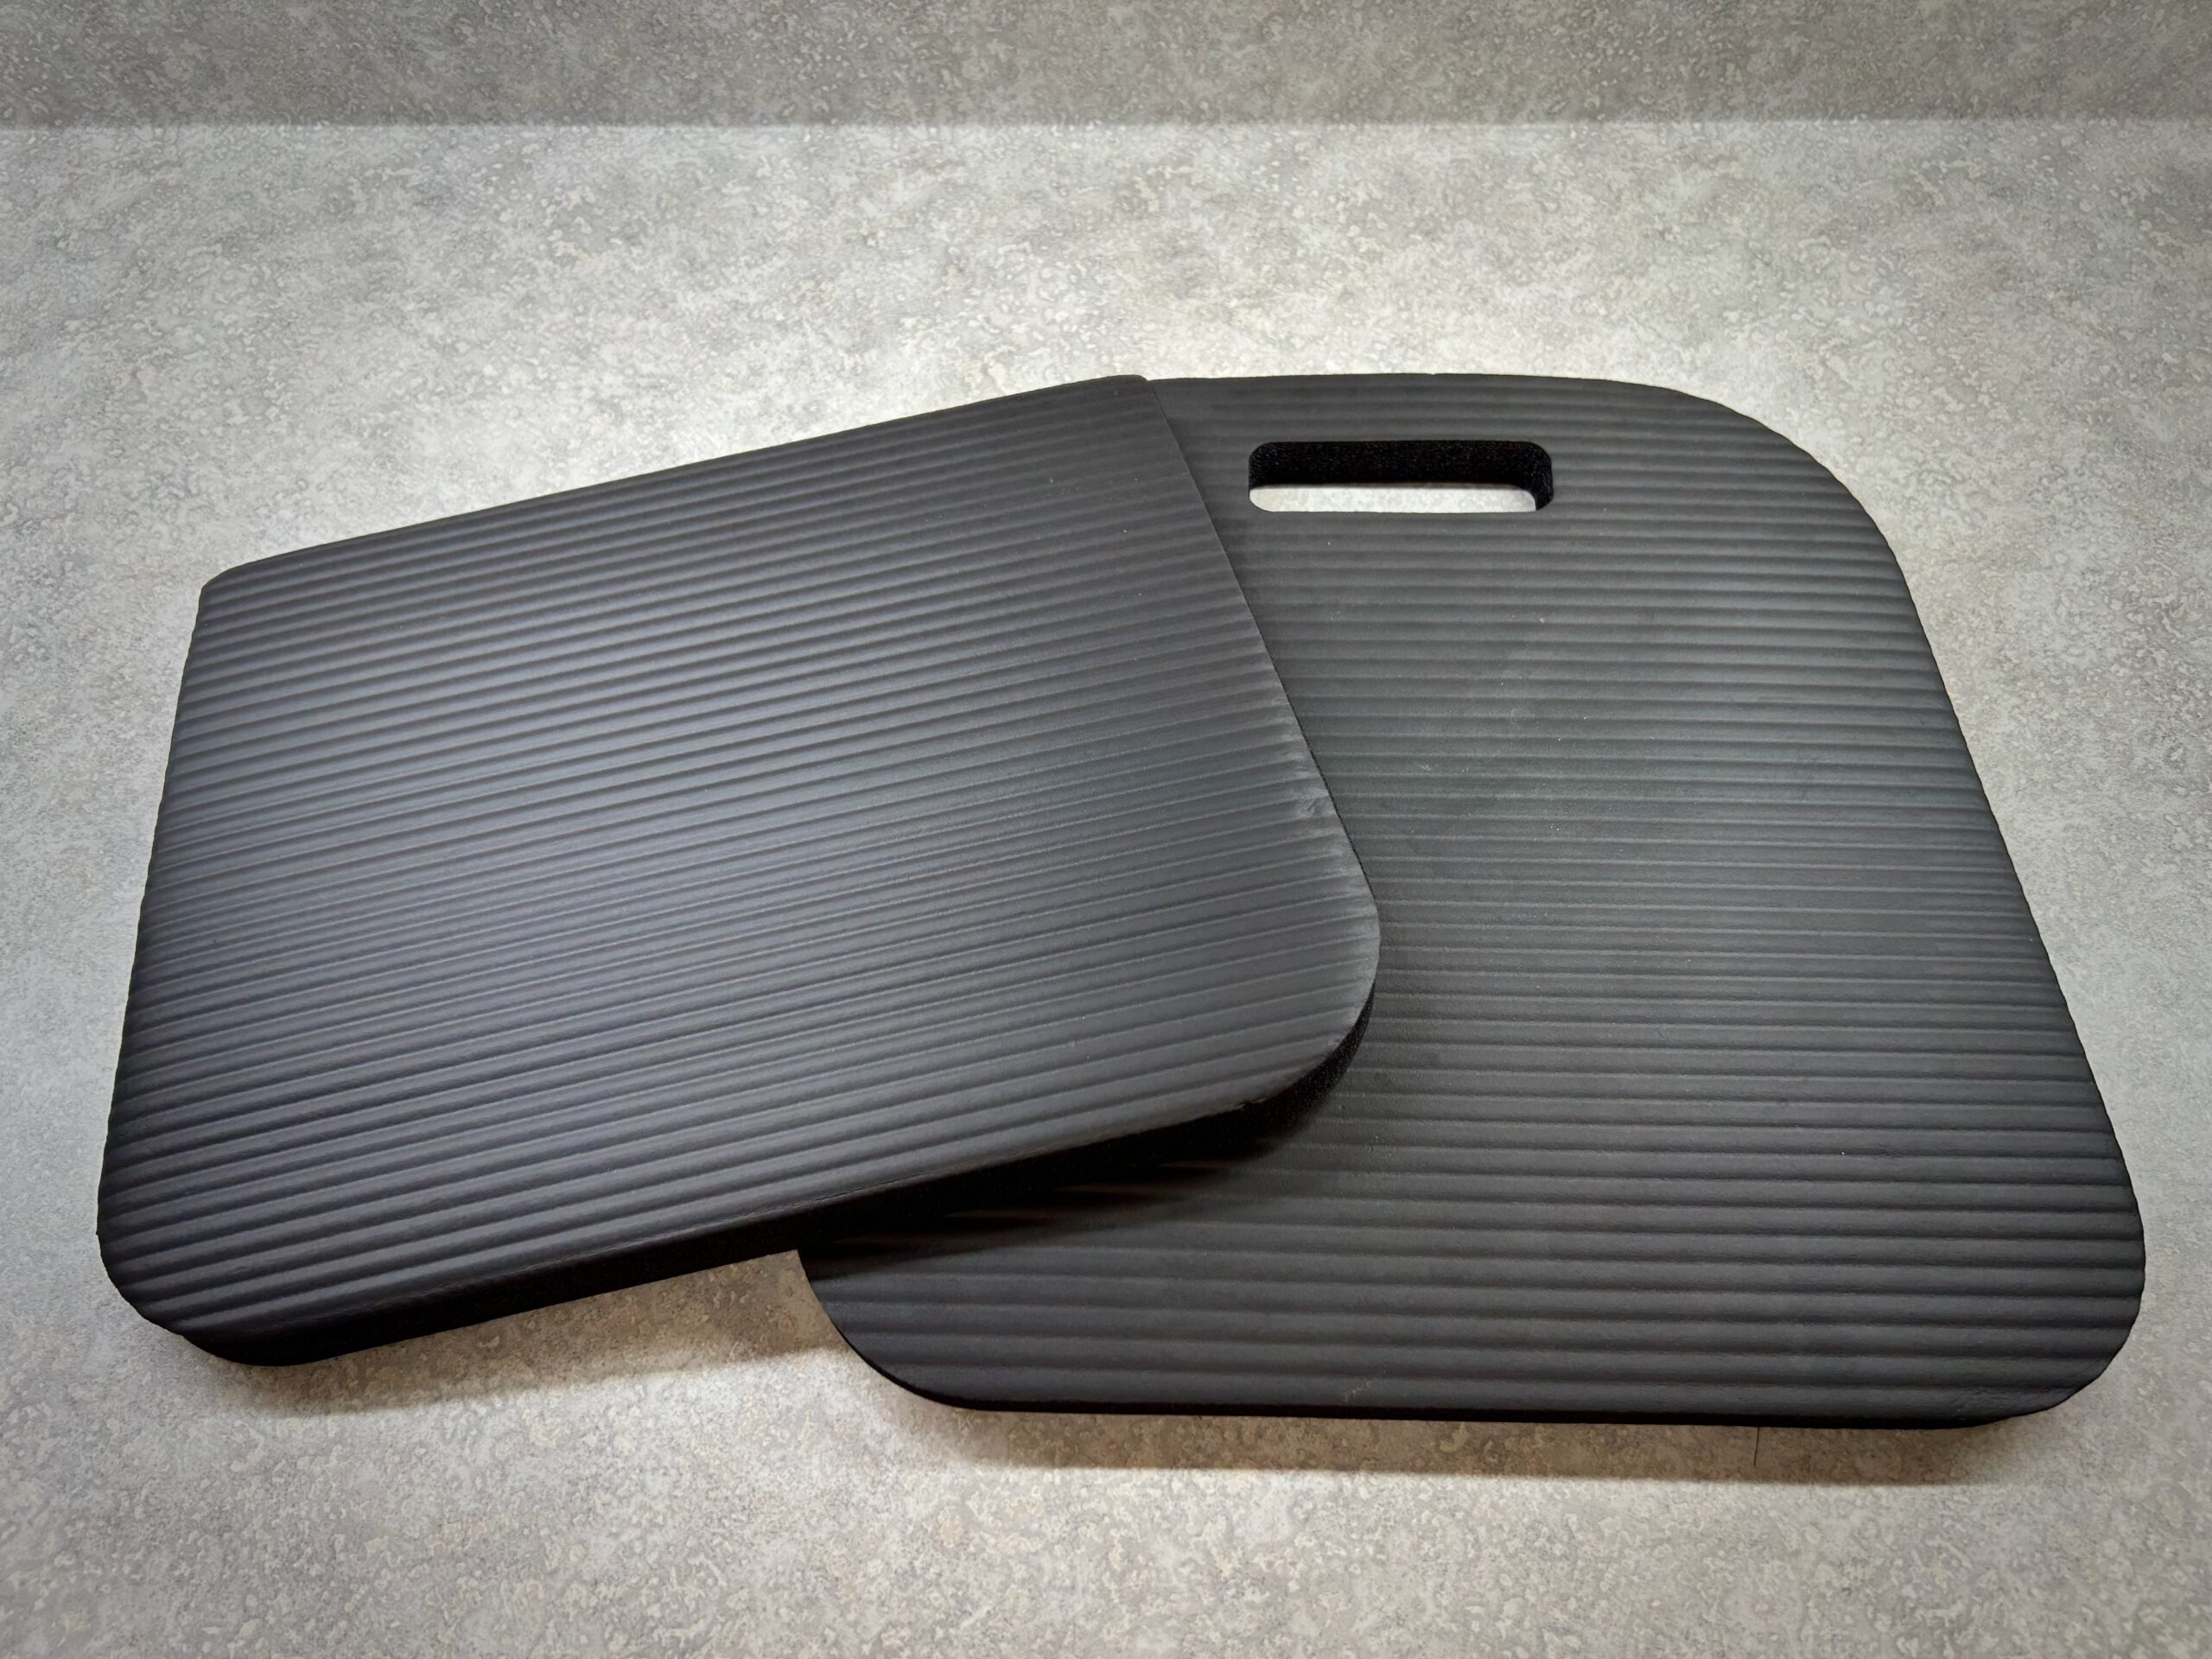
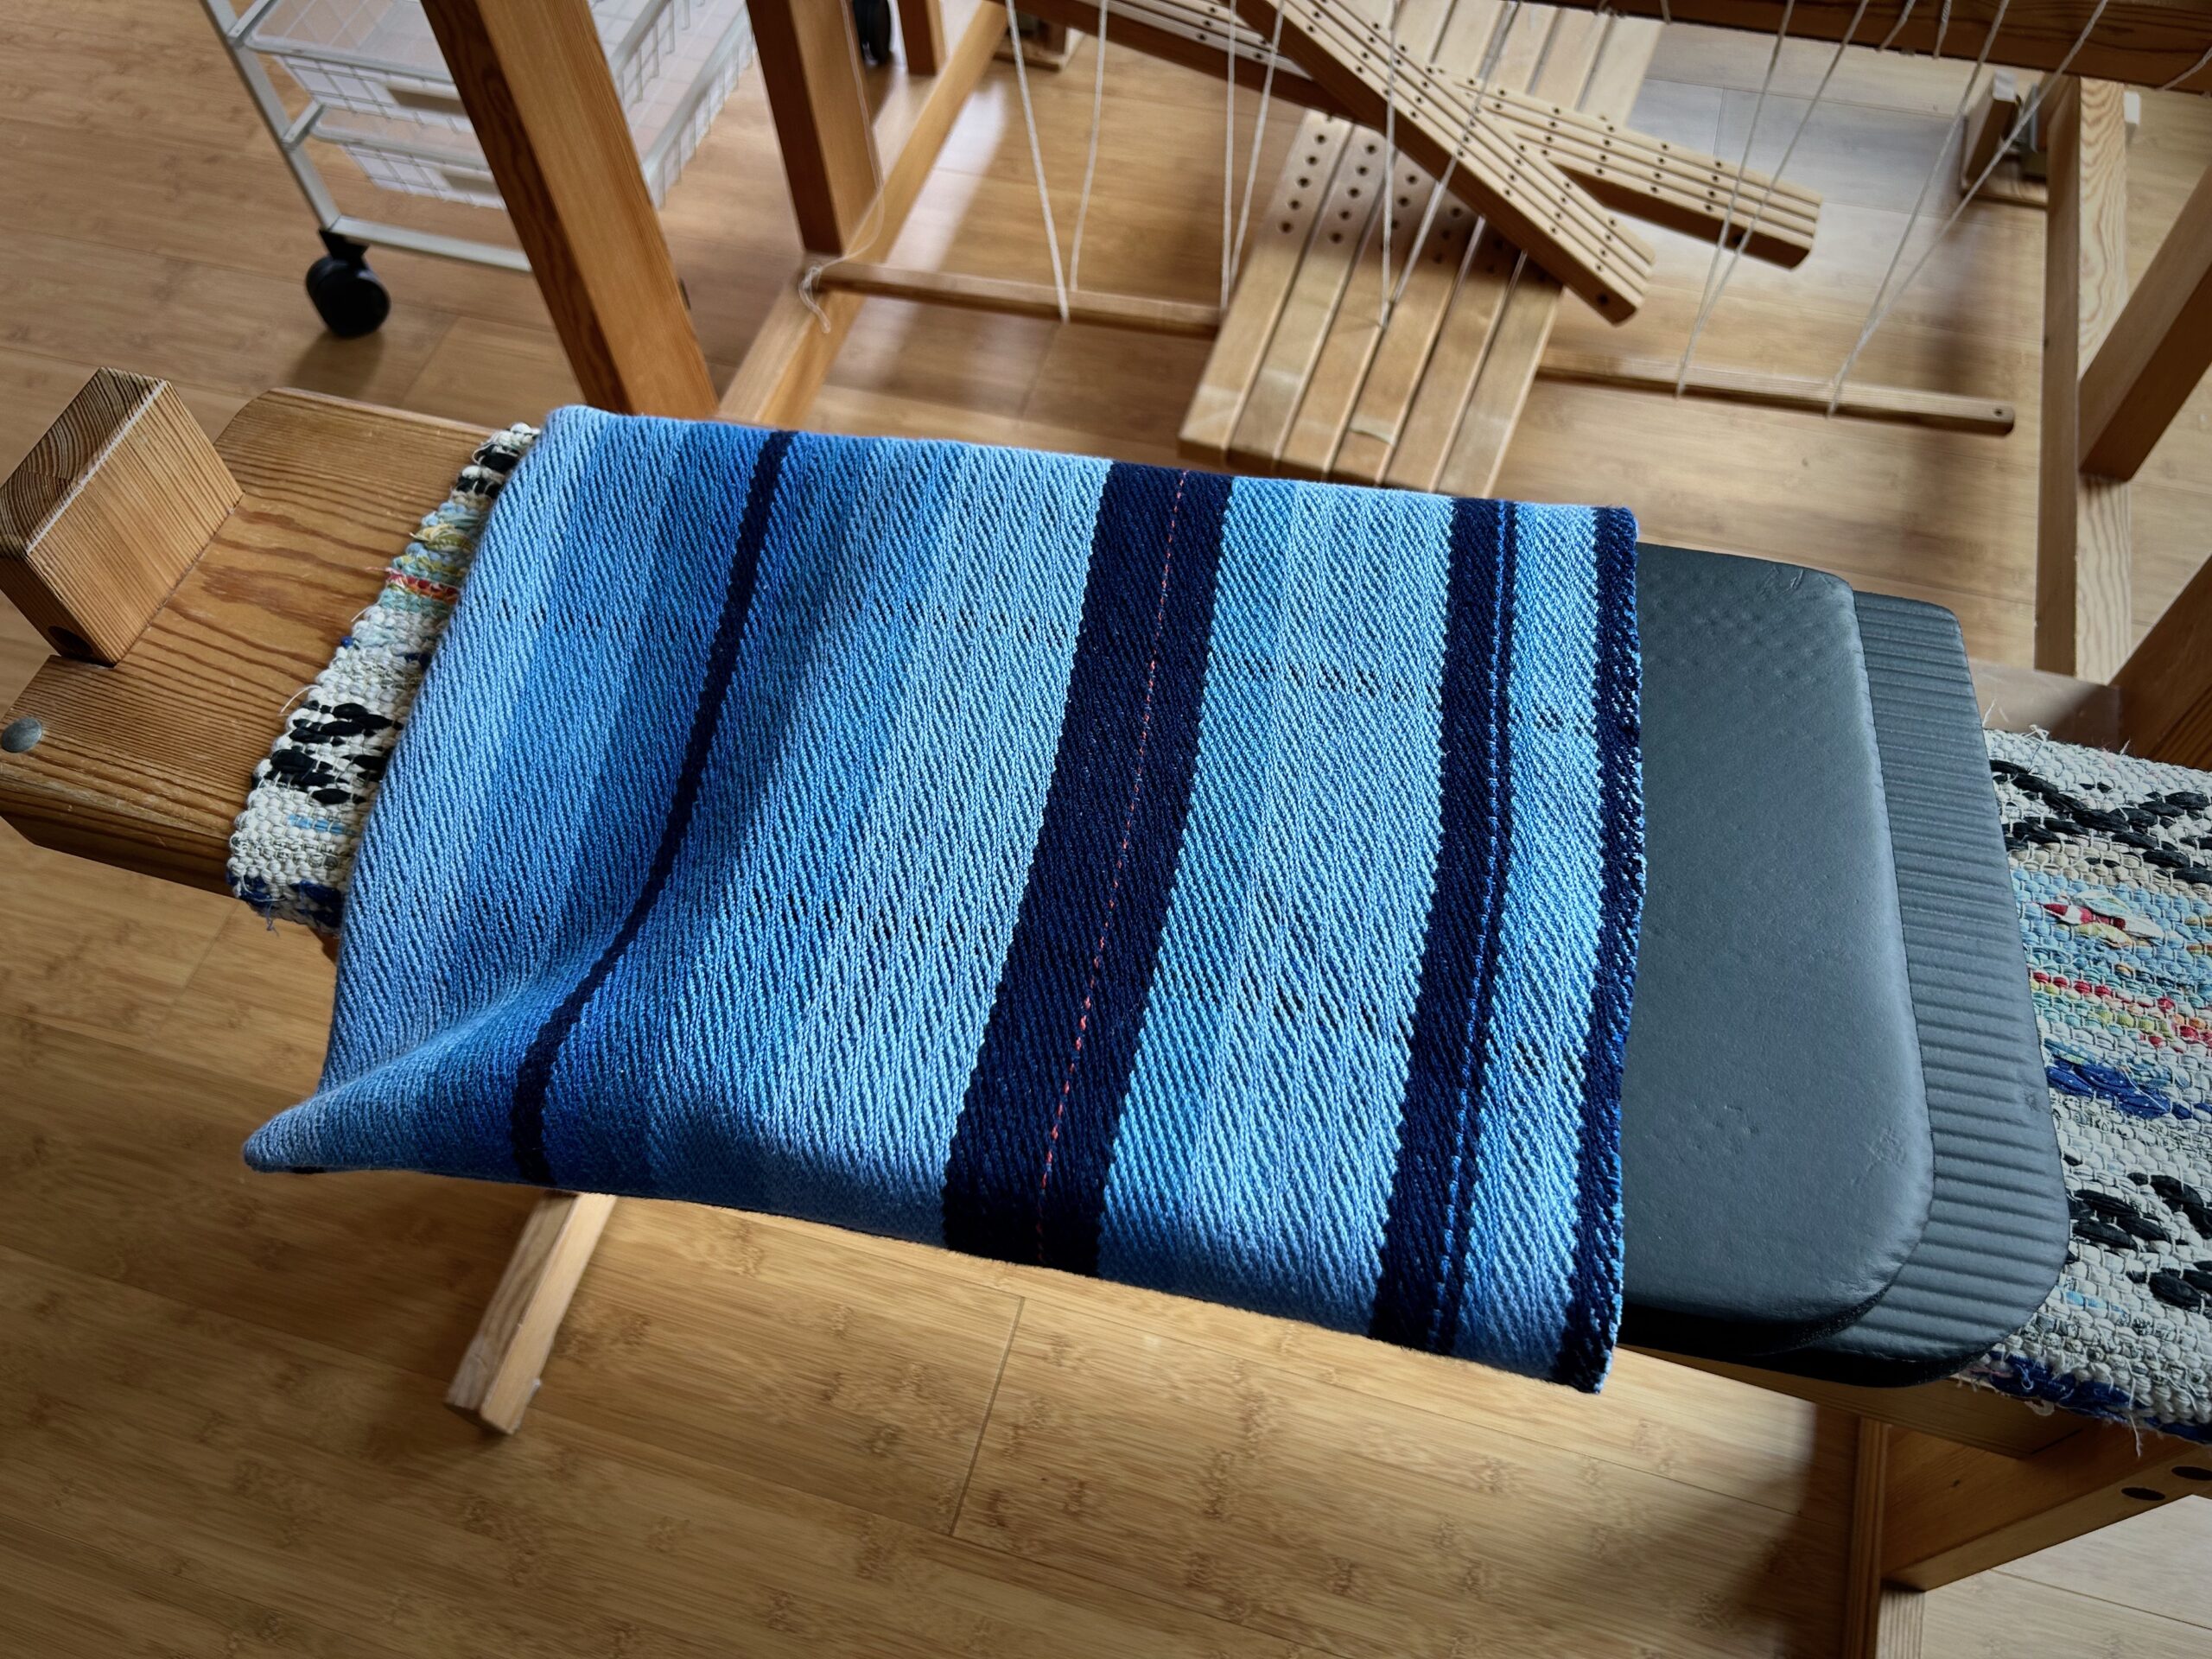
I find four potential “scraps” to use for another cushion cover. The rag rug pieces aren’t quite big enough, but would work if I added some fabric to them. The colorful magenta and stripes piece would work as a top, with some other fabric for the bottom.Blue striped eight-shafttwill in 8/2 cotton is just right! This is fabric I wove a few years ago for chair covers for my mother-in-law. It has a good weight to it, with quite a bit of give. And the blues are very pretty!I am folding the piece in half lengthwise. This fabric has a pretty strong bias pull, so it makes sense to pin the seam before sewing.Walking foot on my sewing machine makes all the difference, especially with this bias-strong fabric. The walking foot helps keep the two layers of fabric together, instead of the top layer stretching ahead of the bottom layer.Two simple seams, and I’m finished with sewing! I am leaving the end open so it is super easy to add or subtract the fillers for the cushion. No ties this time.Press the seams open.Press the seams from the right side. Nothing matches at the seams because this long piece was made with intentionally irregular stripes.Two kneeling pads are cut to fit. They will go inside the cushion cover. This gives me a good firm cushion to elevate my sitting position in the car. There is enough room in the cusion cover that I can add a little more height, or I can remove one of the kneeling pads for a lower sitting position.Two kneeling pads go in.Ready to Go!
Less than thirty minutes for this project, from selecting the fabric to inserting the pads. That’s exactly why I always put on extra warp! You never know when you will need an odd piece of handwoven something…
Handwoven remnants (aka scraps) do not get thrown away. Every scrap is good for something. Some scraps are so unusual it takes an extra dose of creativity to find a use for them.
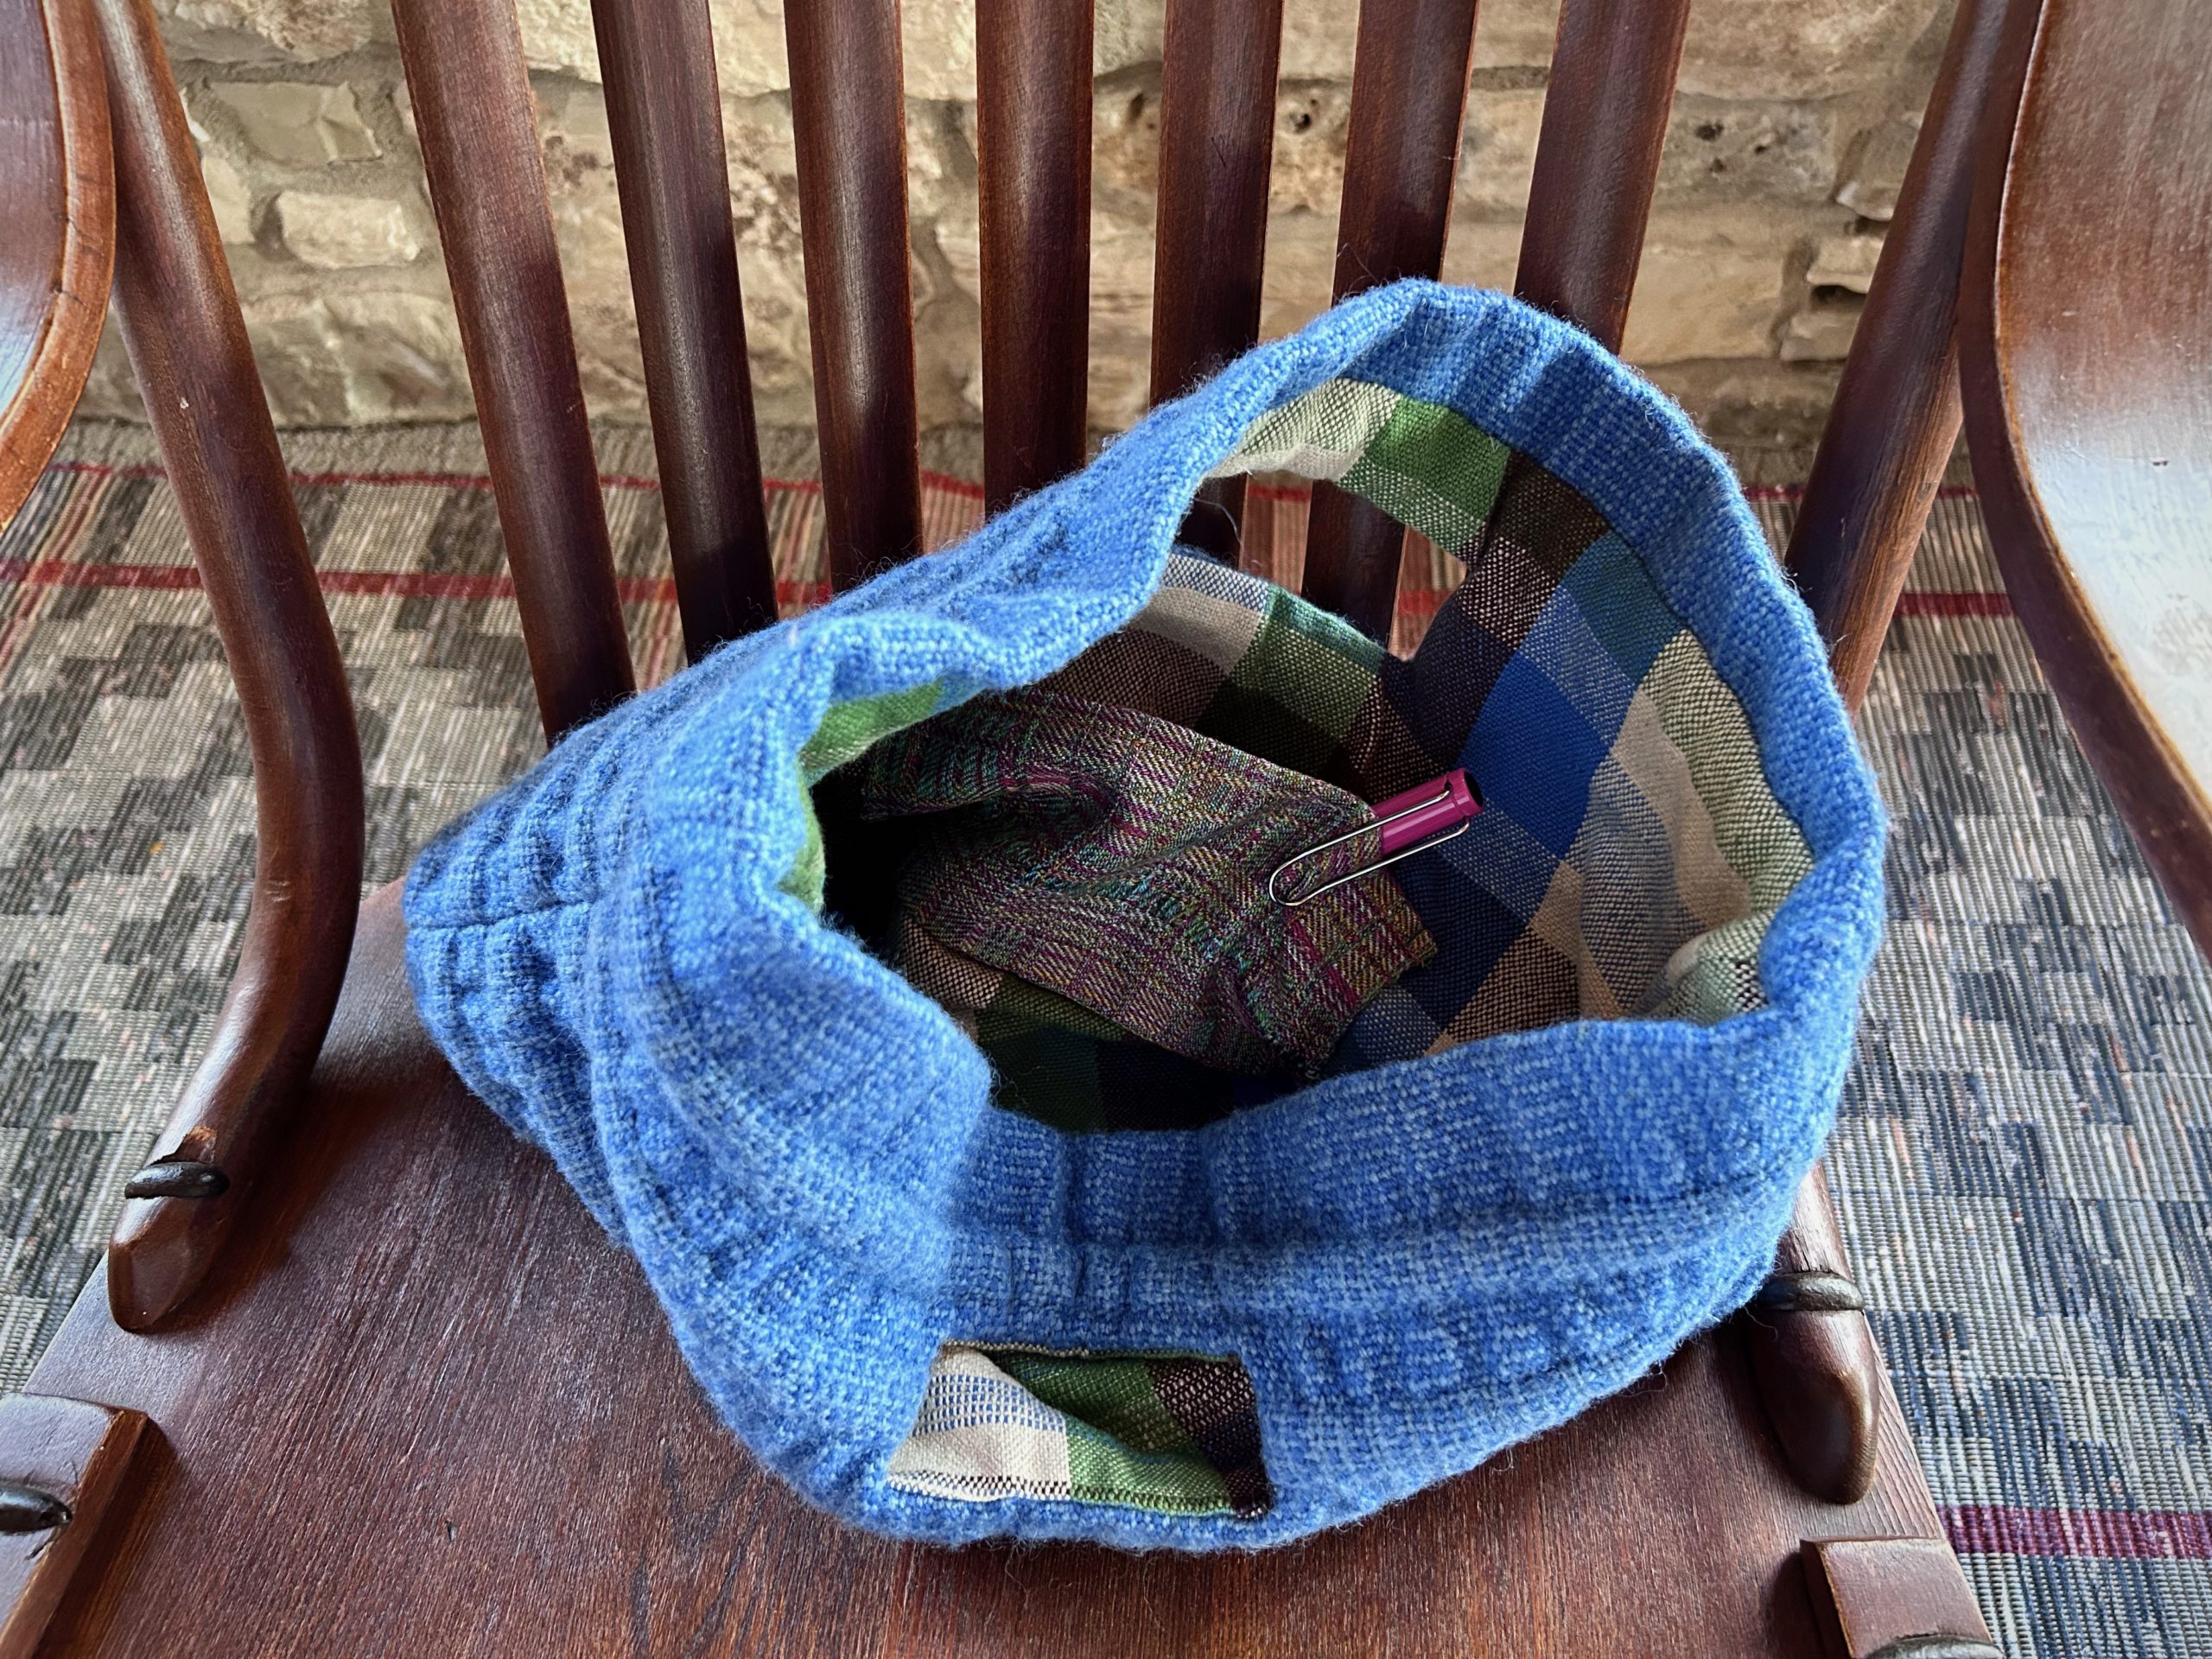
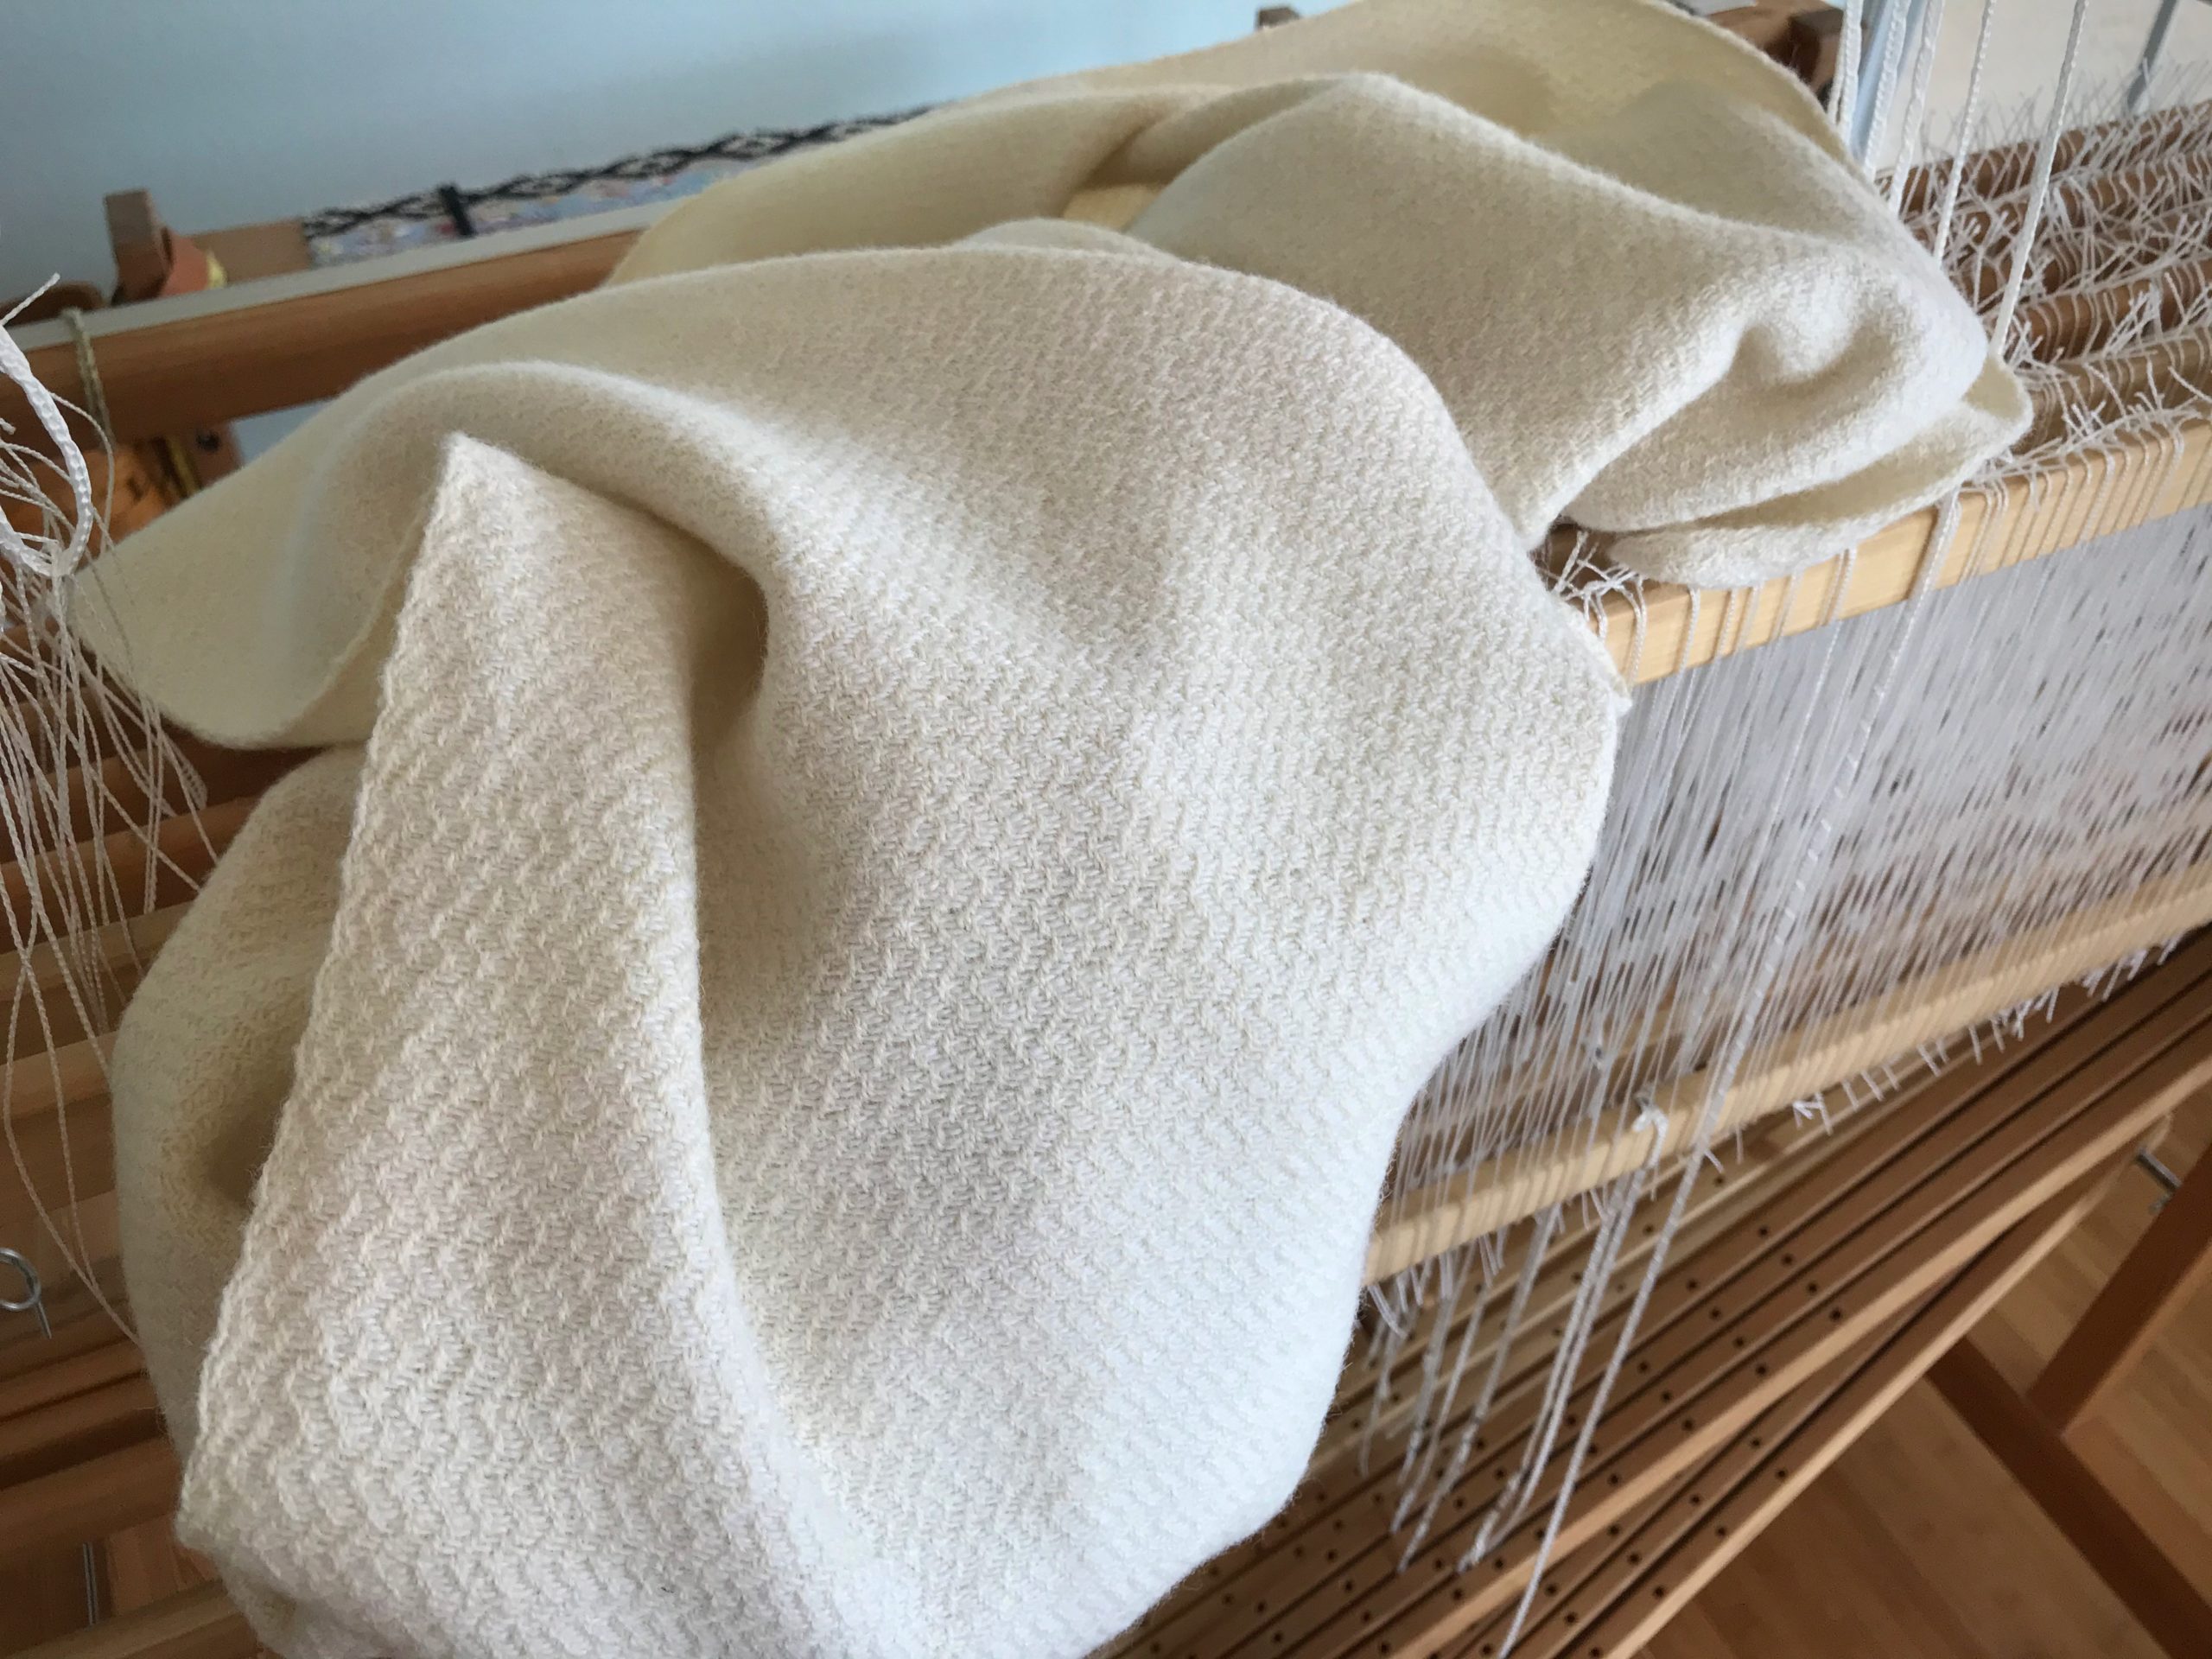
Simple rectangular handbag made from weft-cord handwoven fabric. The cording produces ridges. Ruffled gathers form in between the rows of ridges. 6/2 Tuna wool for warp and plain weave weft. I used a bulky single-ply wool for the cording.
This remnant of blue wool fabric is something I wove a few years ago during my Big Book of Weaving adventure. This structure uses a weft-cord technique, which creates interesting ridges in the fabric. The original project is a simple handbag. The remaining fabric has been buried in a box of remnants. Until now.
Handwoven remnants from previous projects are used for the lining and pocket in the handbag.
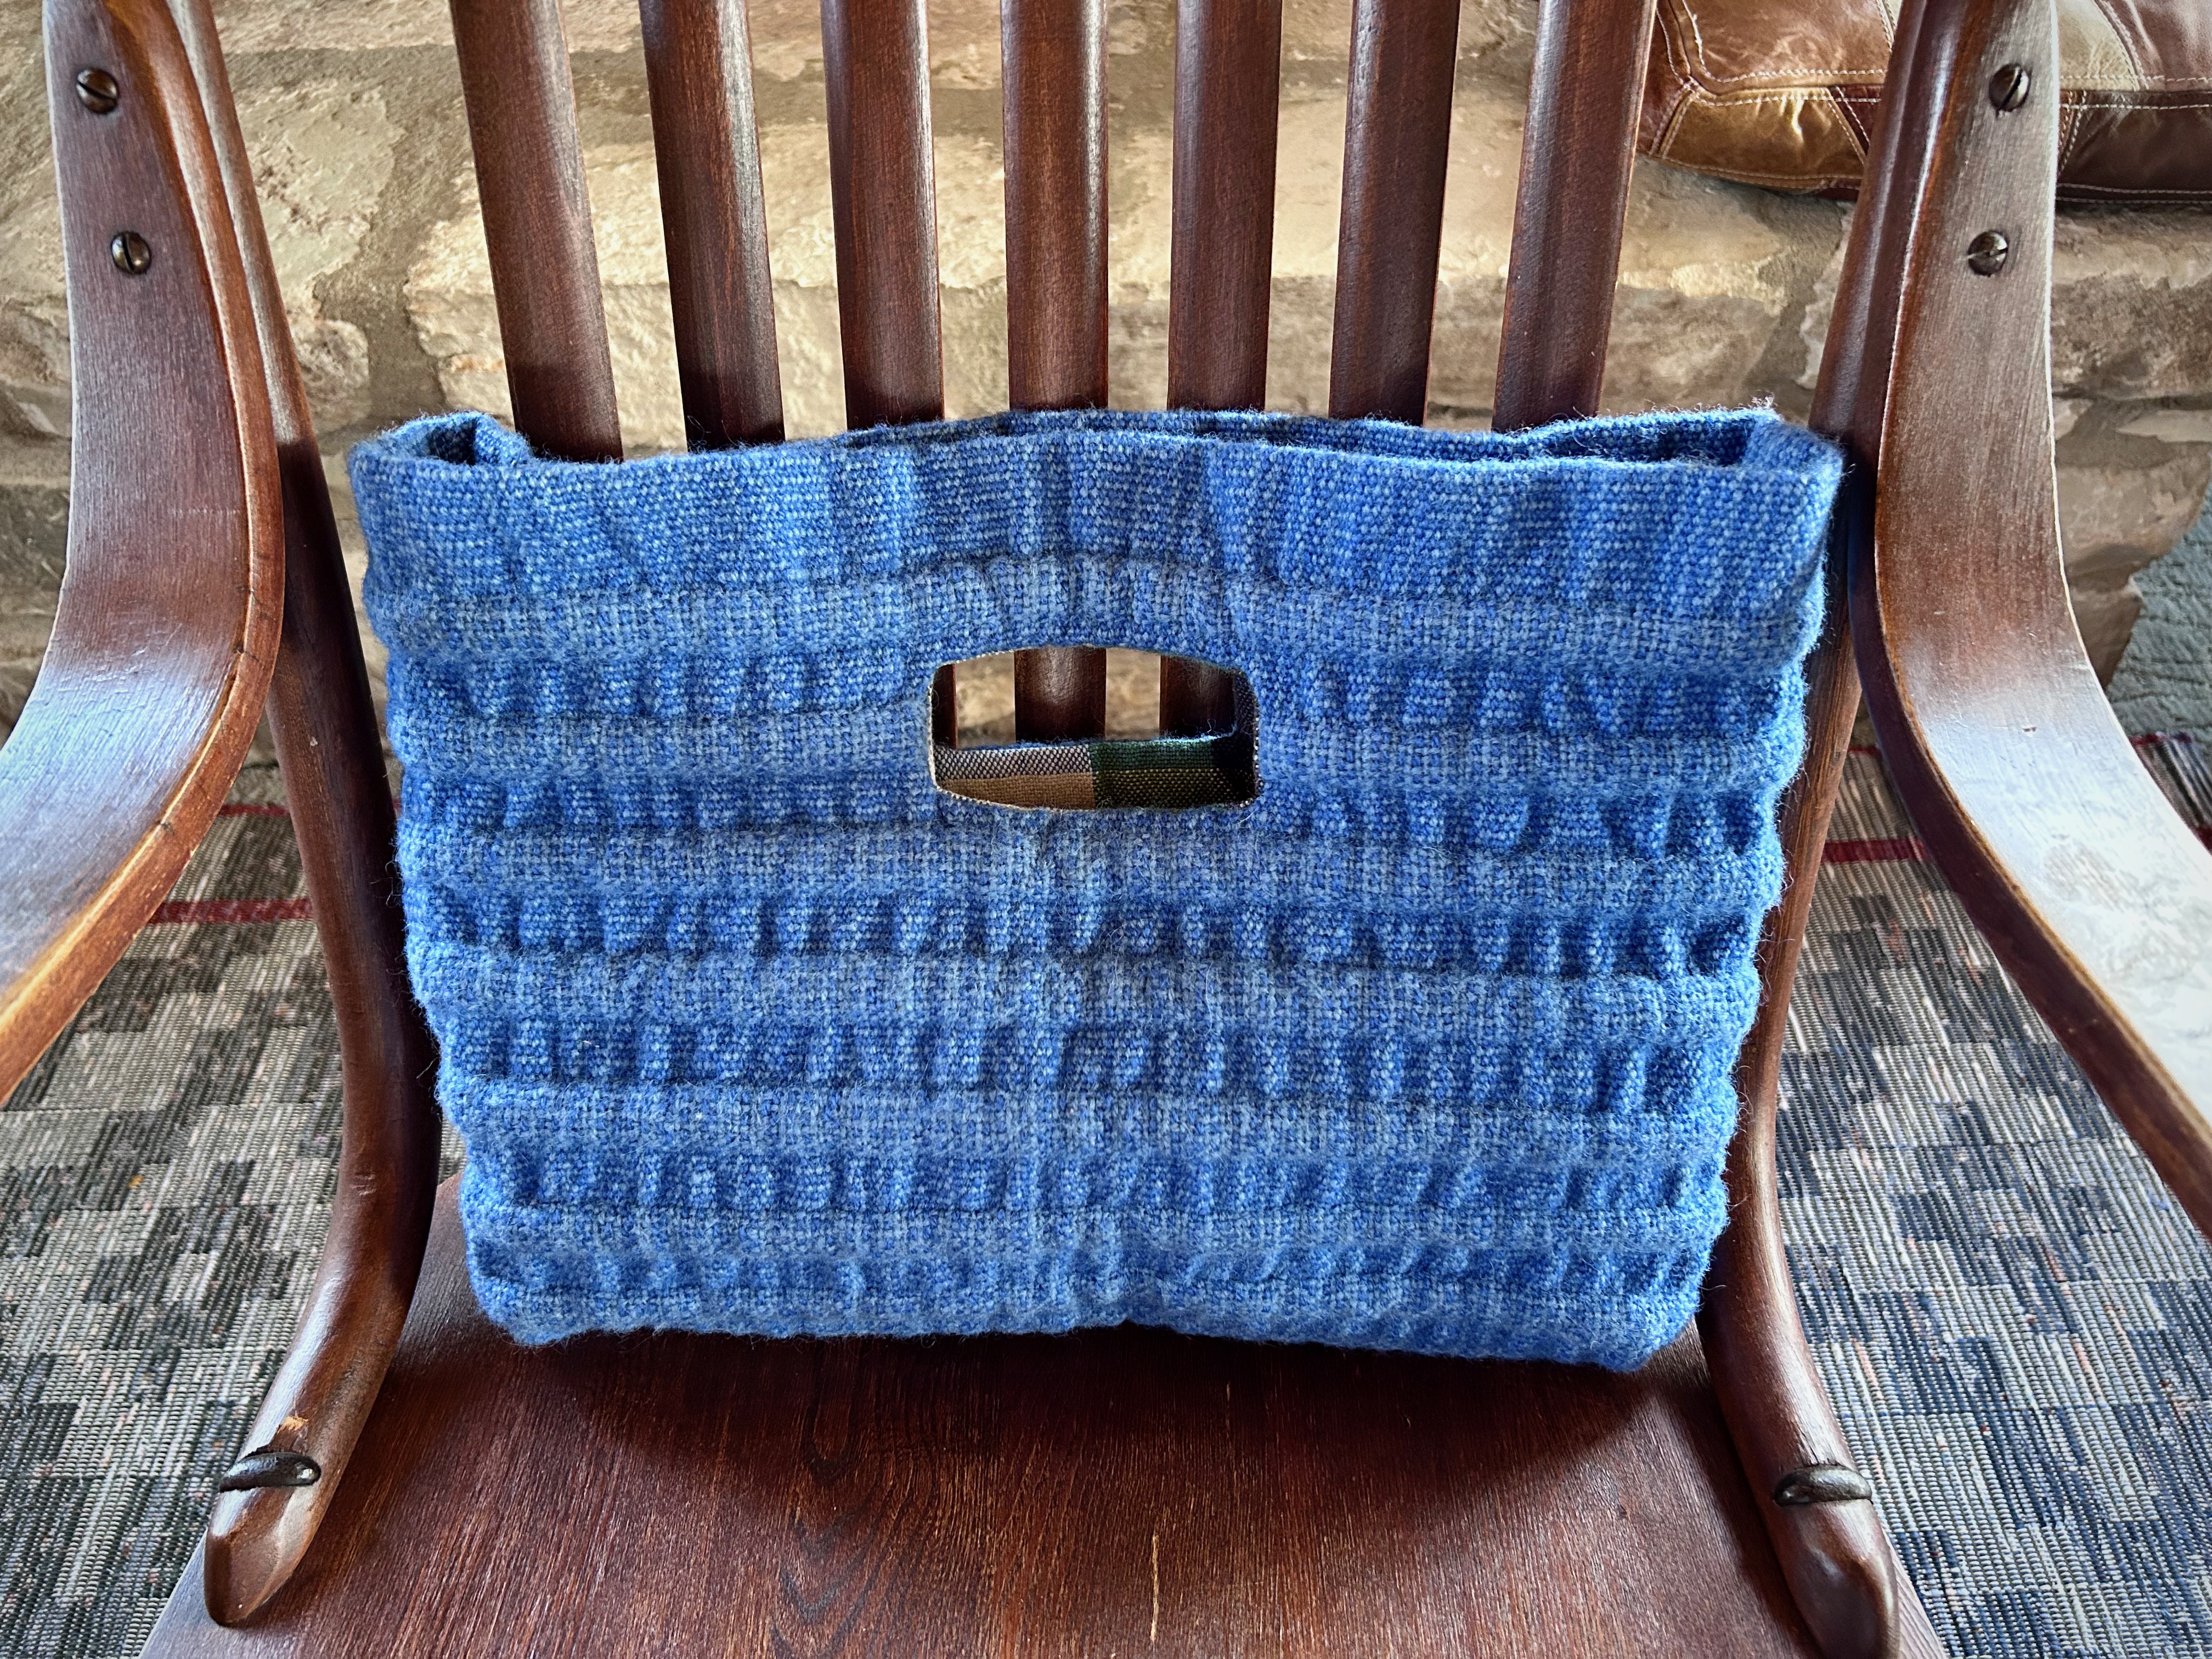
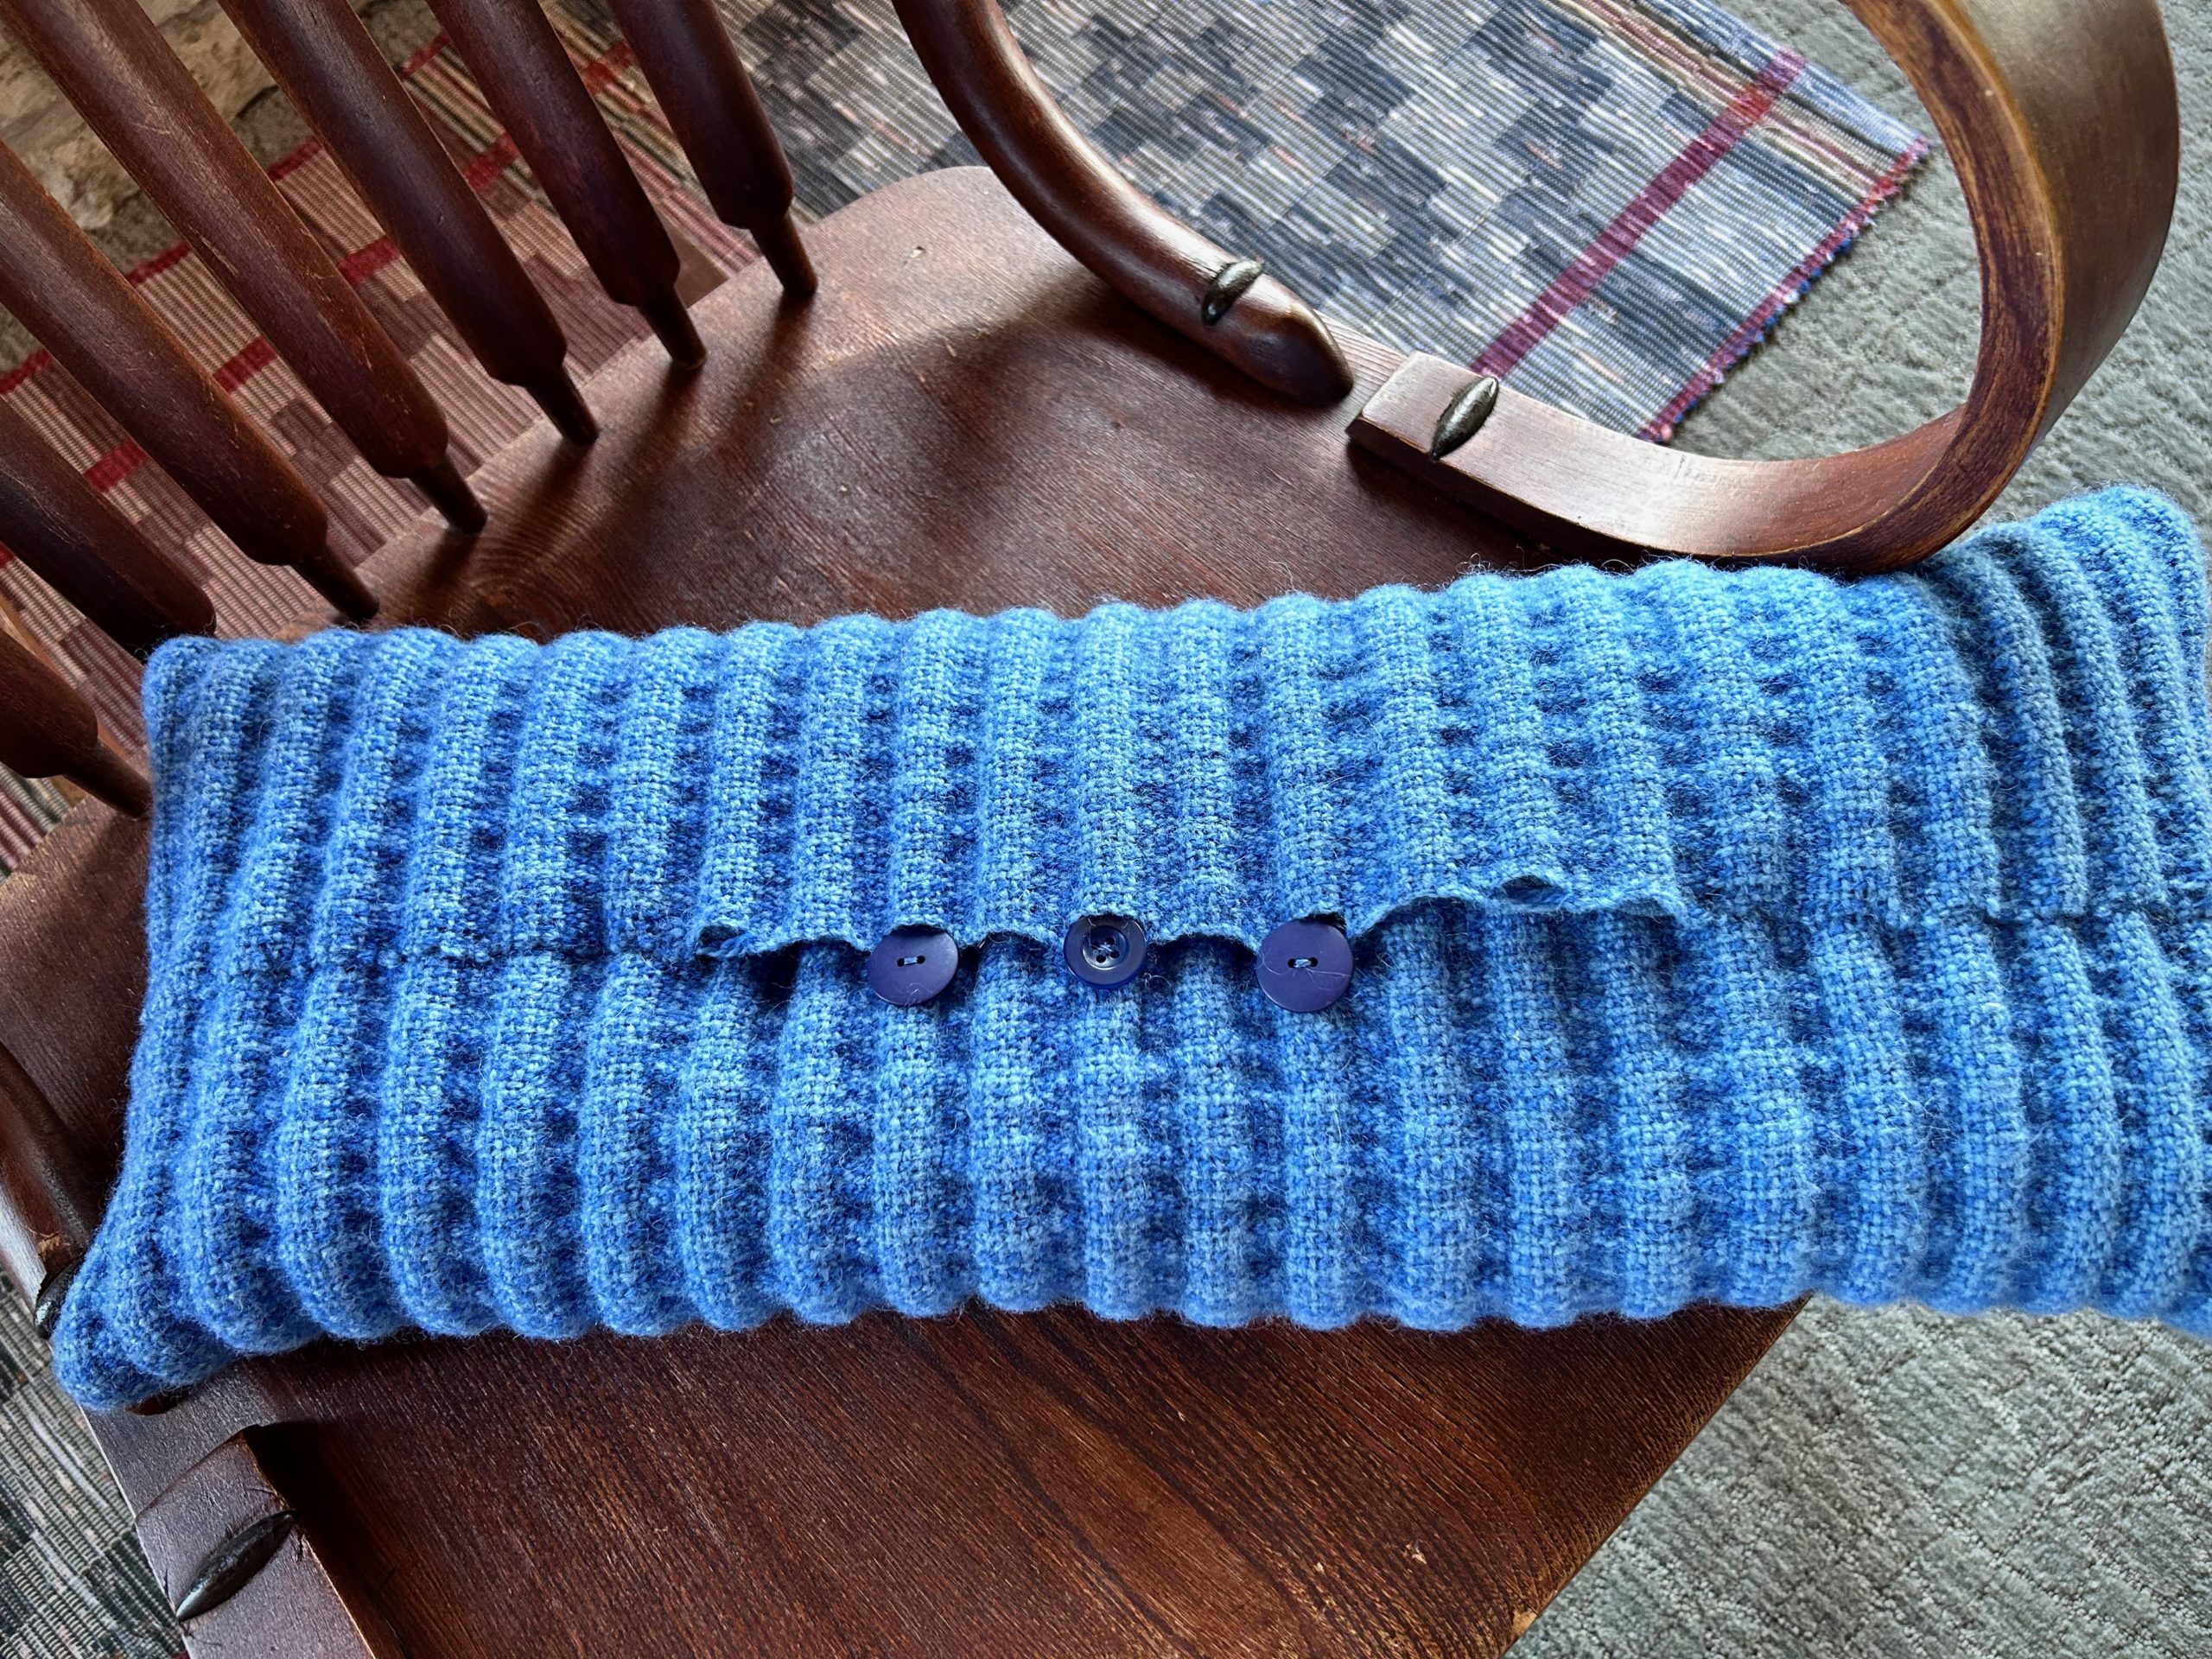
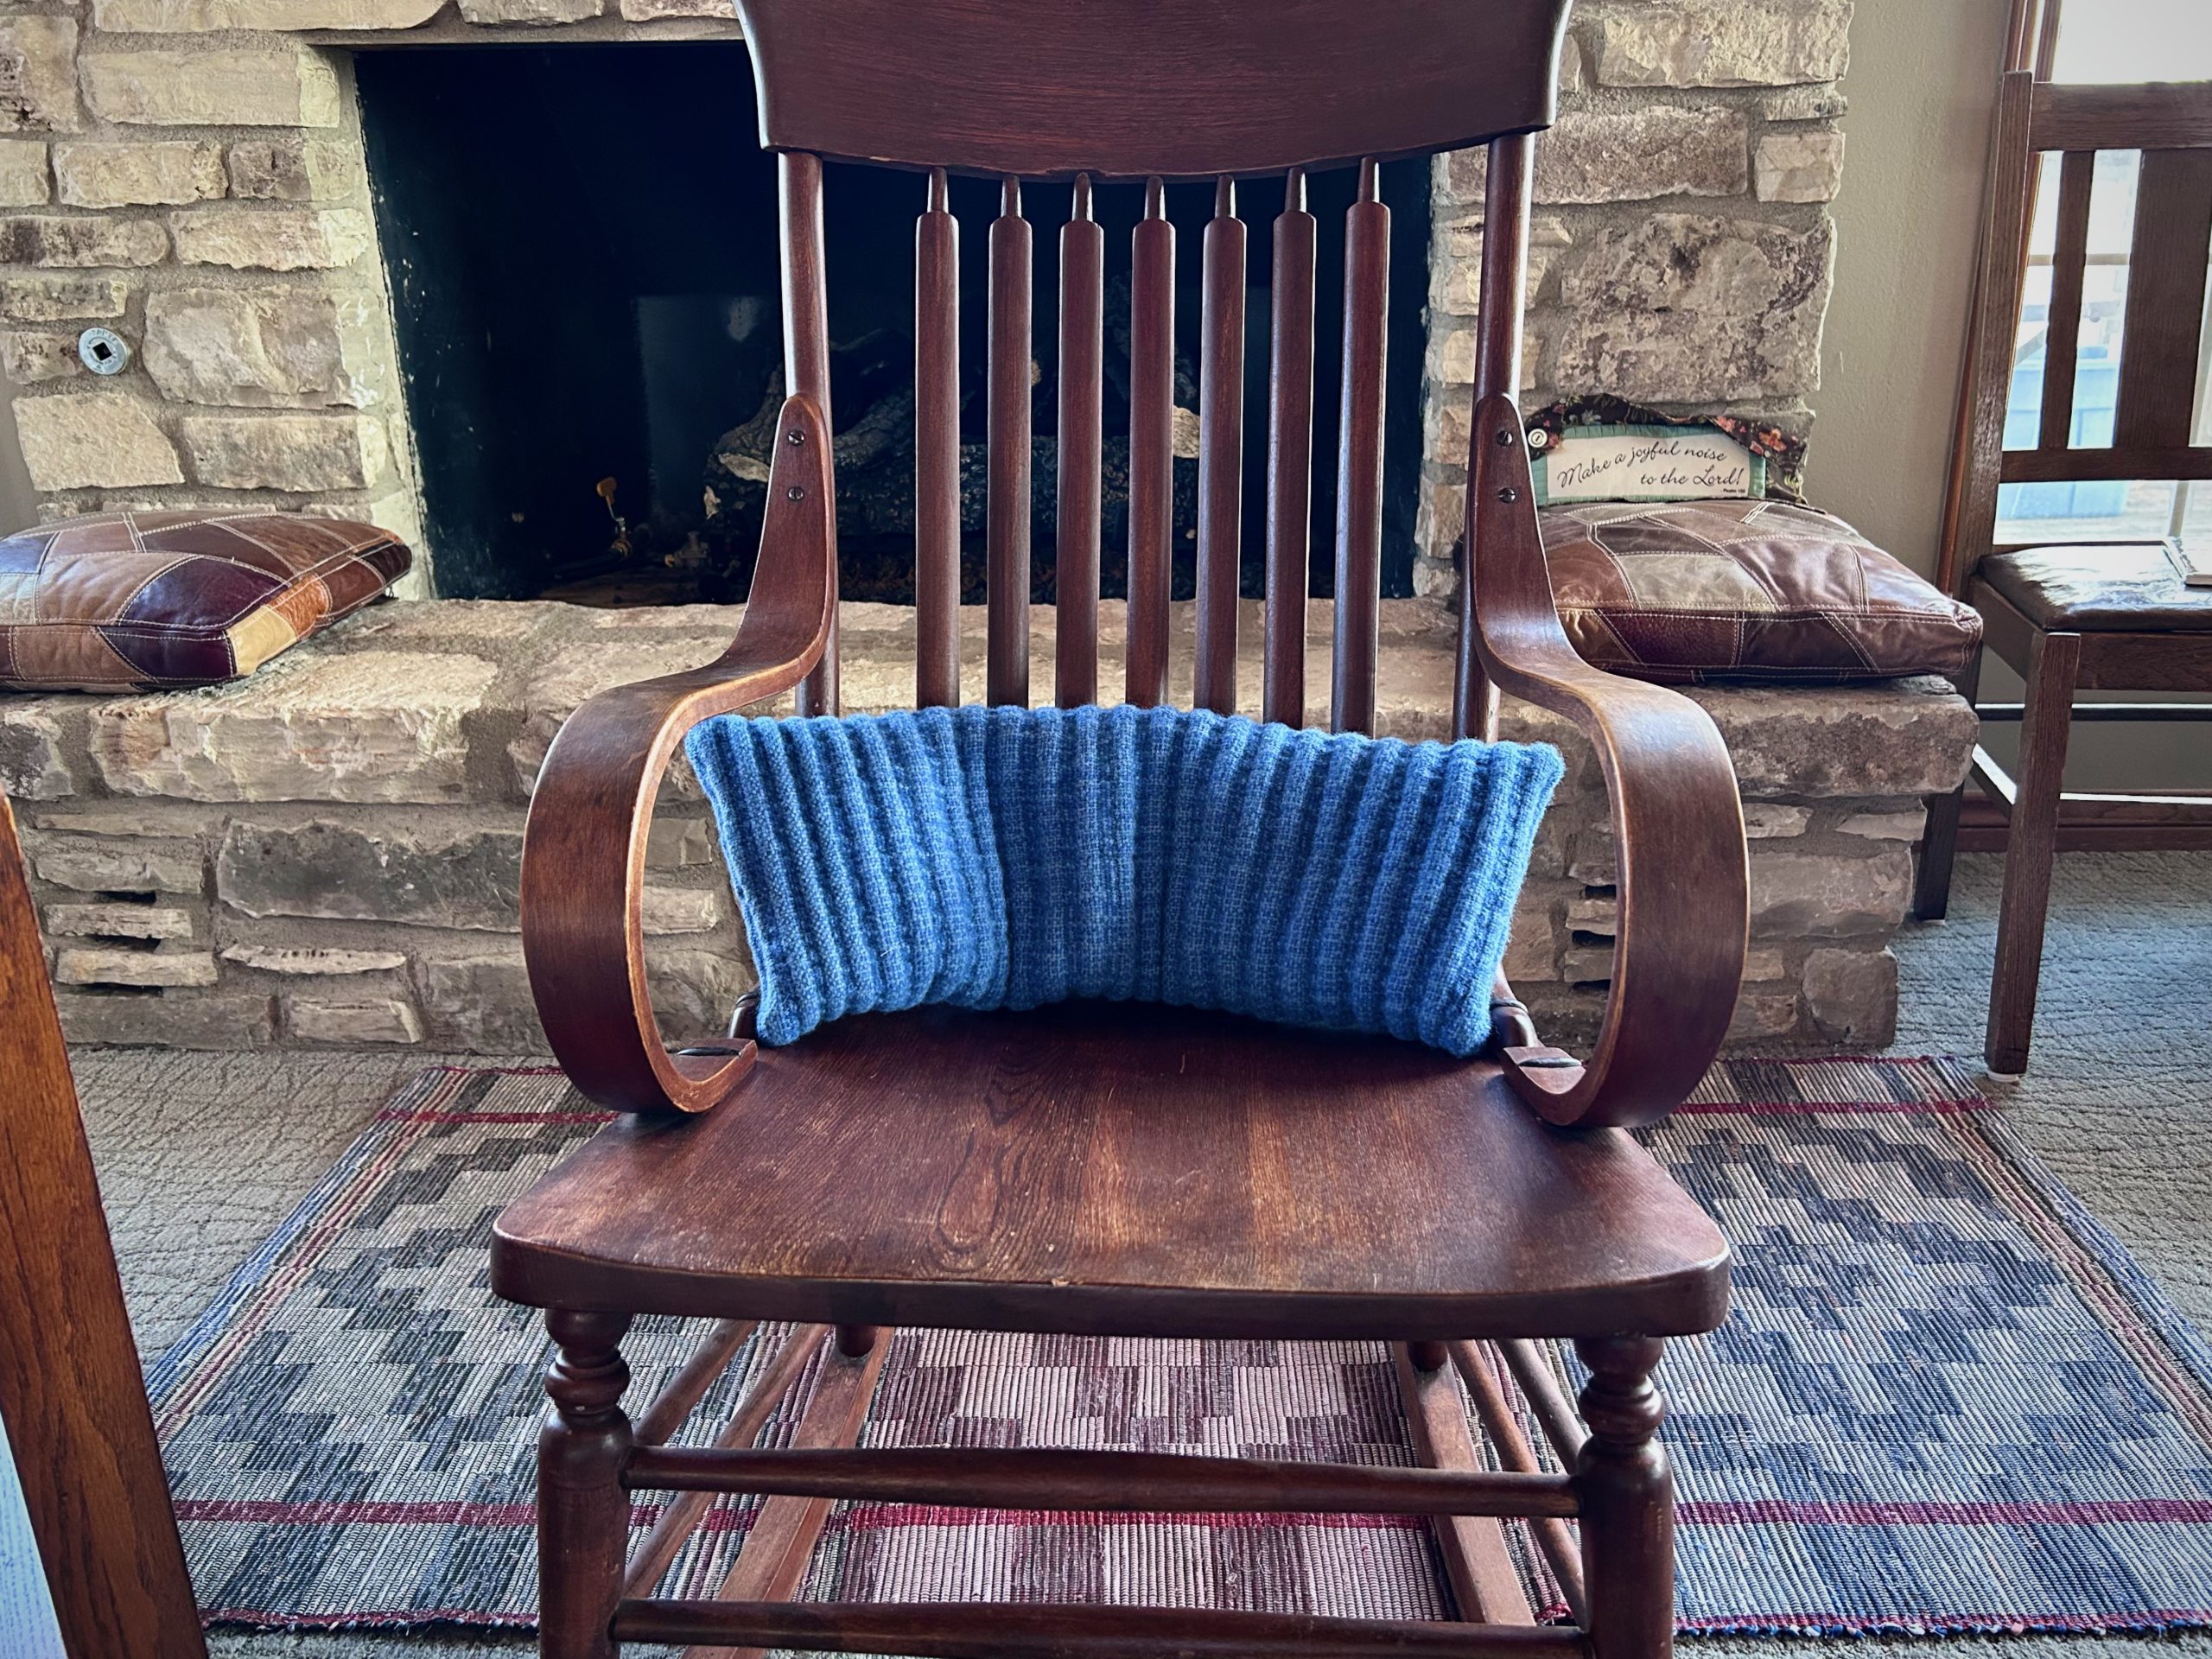
I had a great idea to make a bench cushion for my Julia loom from this unusual remnant. Guess what? All those ridges are not so comfortable to sit on (fortunately, I tested it first). My next idea, though, is a success! The blue bumpy scrap makes a nice lumbar pillow, adding special comfort to the rocking chair that belonged to my great grandmother.
Remnant is folded over and hand-stitched, leaving an opening in the center for a muslin pillow insert that I made to fit. The weft-cord weaving produces natural loops at the selvedges, which I am using to my advantage here. Three buttons from my button box are used for closure in conjunction with the selvedge loops.Buttons to the back, the wide and narrow pillow works beautifully for lumbar support in my great grandmother’s rocking chair.
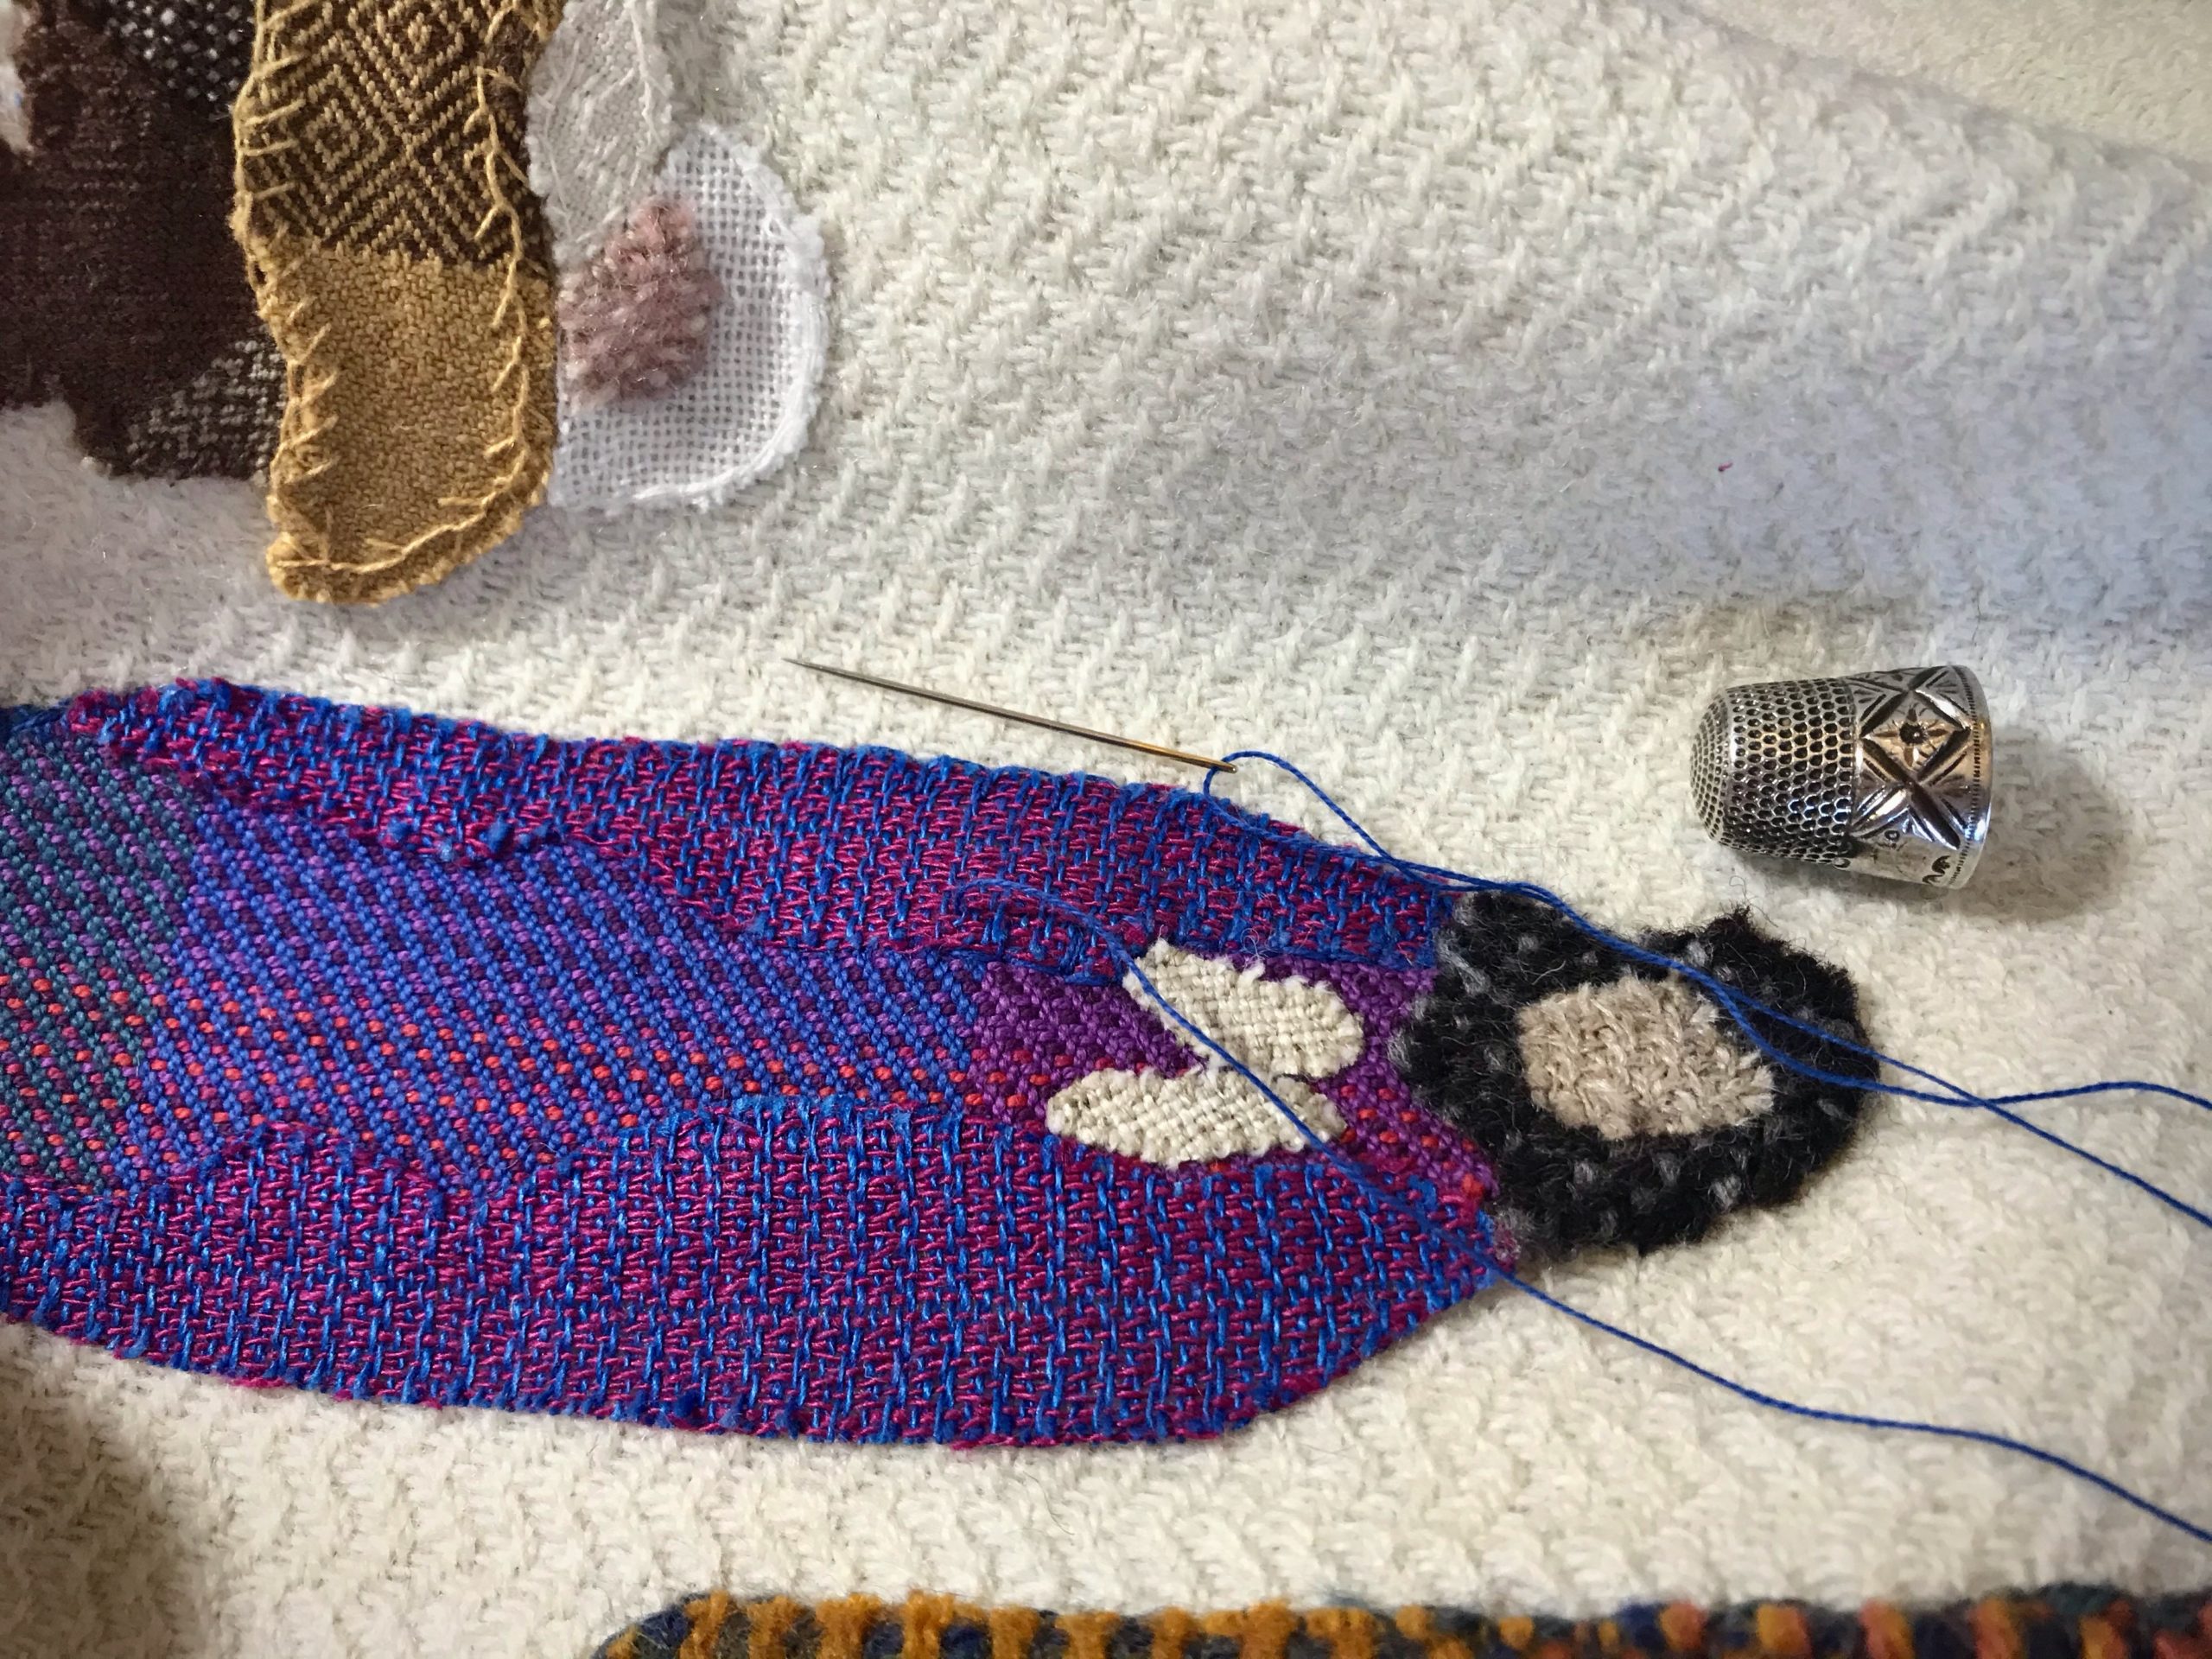
Our family celebrated a birth-day last week. Meet baby Isaac, our ninth grandchild! Also, this week, I am finishing up the pictorial scene of another celebrated birth-day. Each appliqué piece is stitched to the background, using various threads, needles, and simple embroidery stitches to help convey the details of this humble historical event.
Welcome to our family, baby Isaac.
Many firsts are represented in these handwoven scraps. My first floor loom project, first handwoven curtains, first 8-shaft weave, first linen warp, first drawloom piece, etc. There are some special family memories here, too—wedding gifts, baby wrap, housewarming… Humble beginnings and handwoven treasures generated by love.
Birth is a picture of the fullness of God’s grace. The birth of our ninth grandchild is as glorious as the birth of the first. Each new child brings yet-unwrapped gifts. The birth of baby Jesus is a picture of the fullness of God’s grace brought within reach of all. His humble beginnings, with manger bed and young parents, animals and stars watching—all so wondrous to ponder. Christ Jesus came into the world, to be wrapped in scraps of cloth! We are still unwrapping the gifts he brought to us from heaven—forgiveness, peace, and enduring joy. God with us, Immanuel.
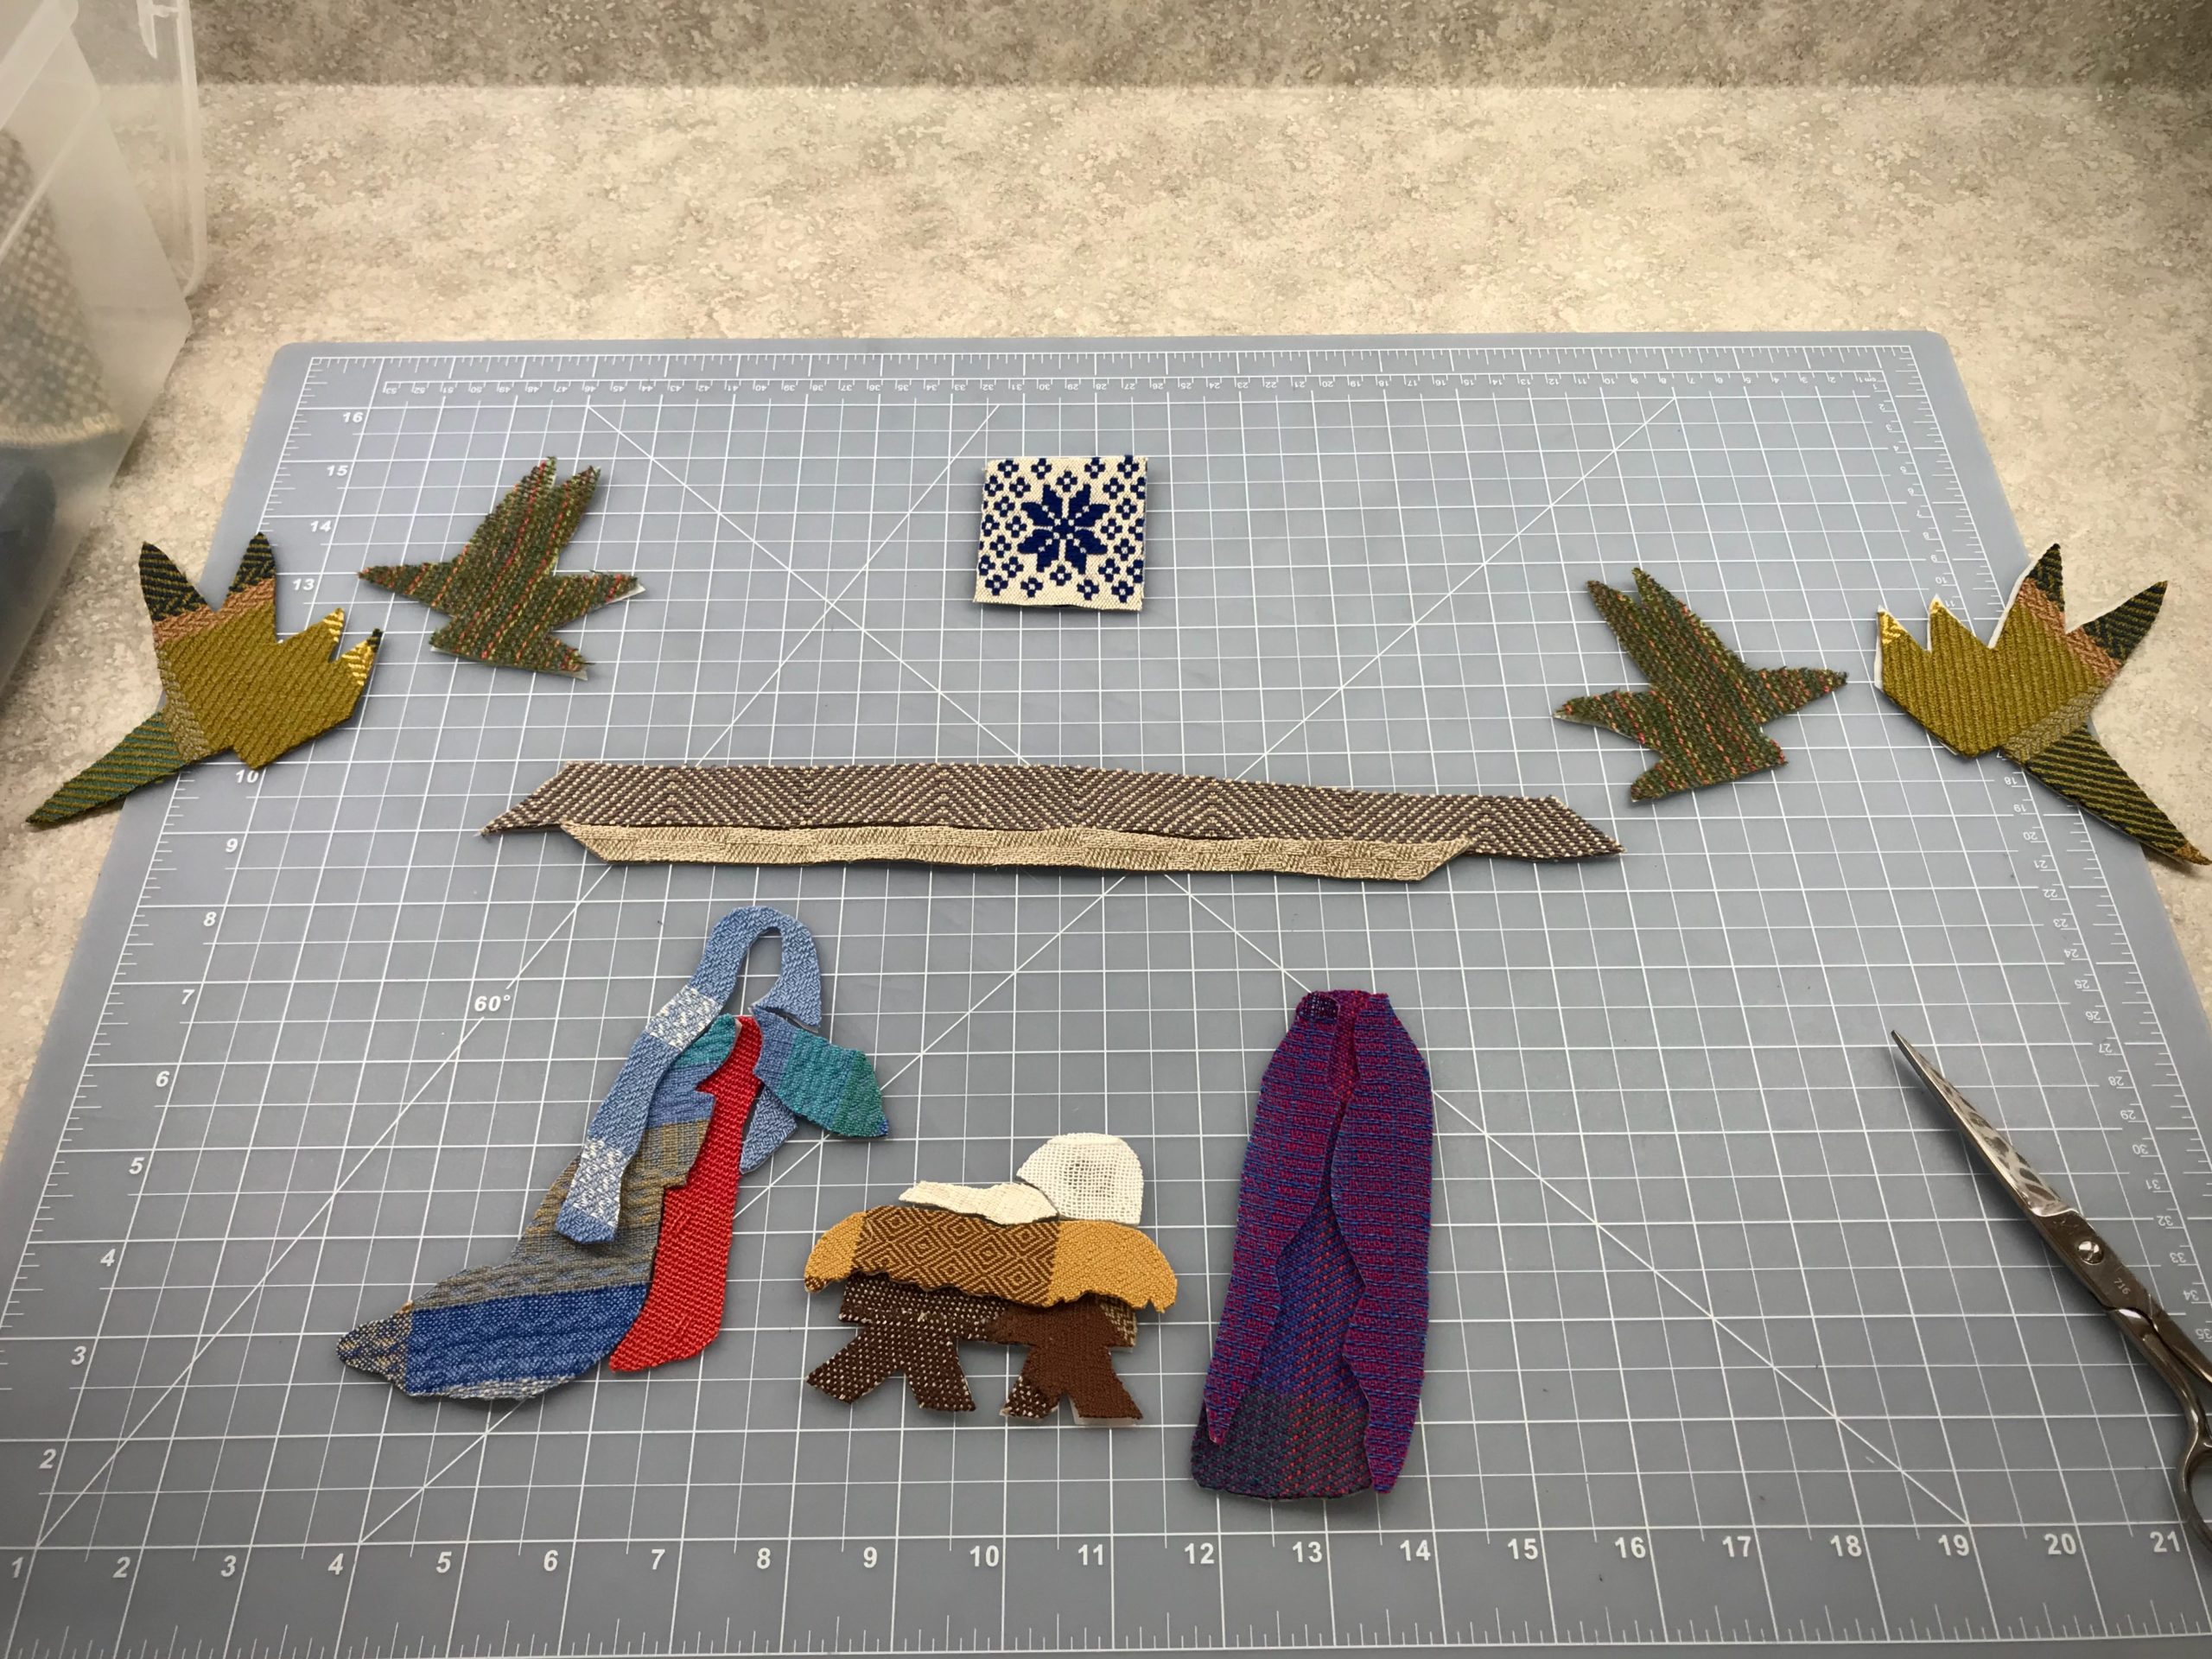
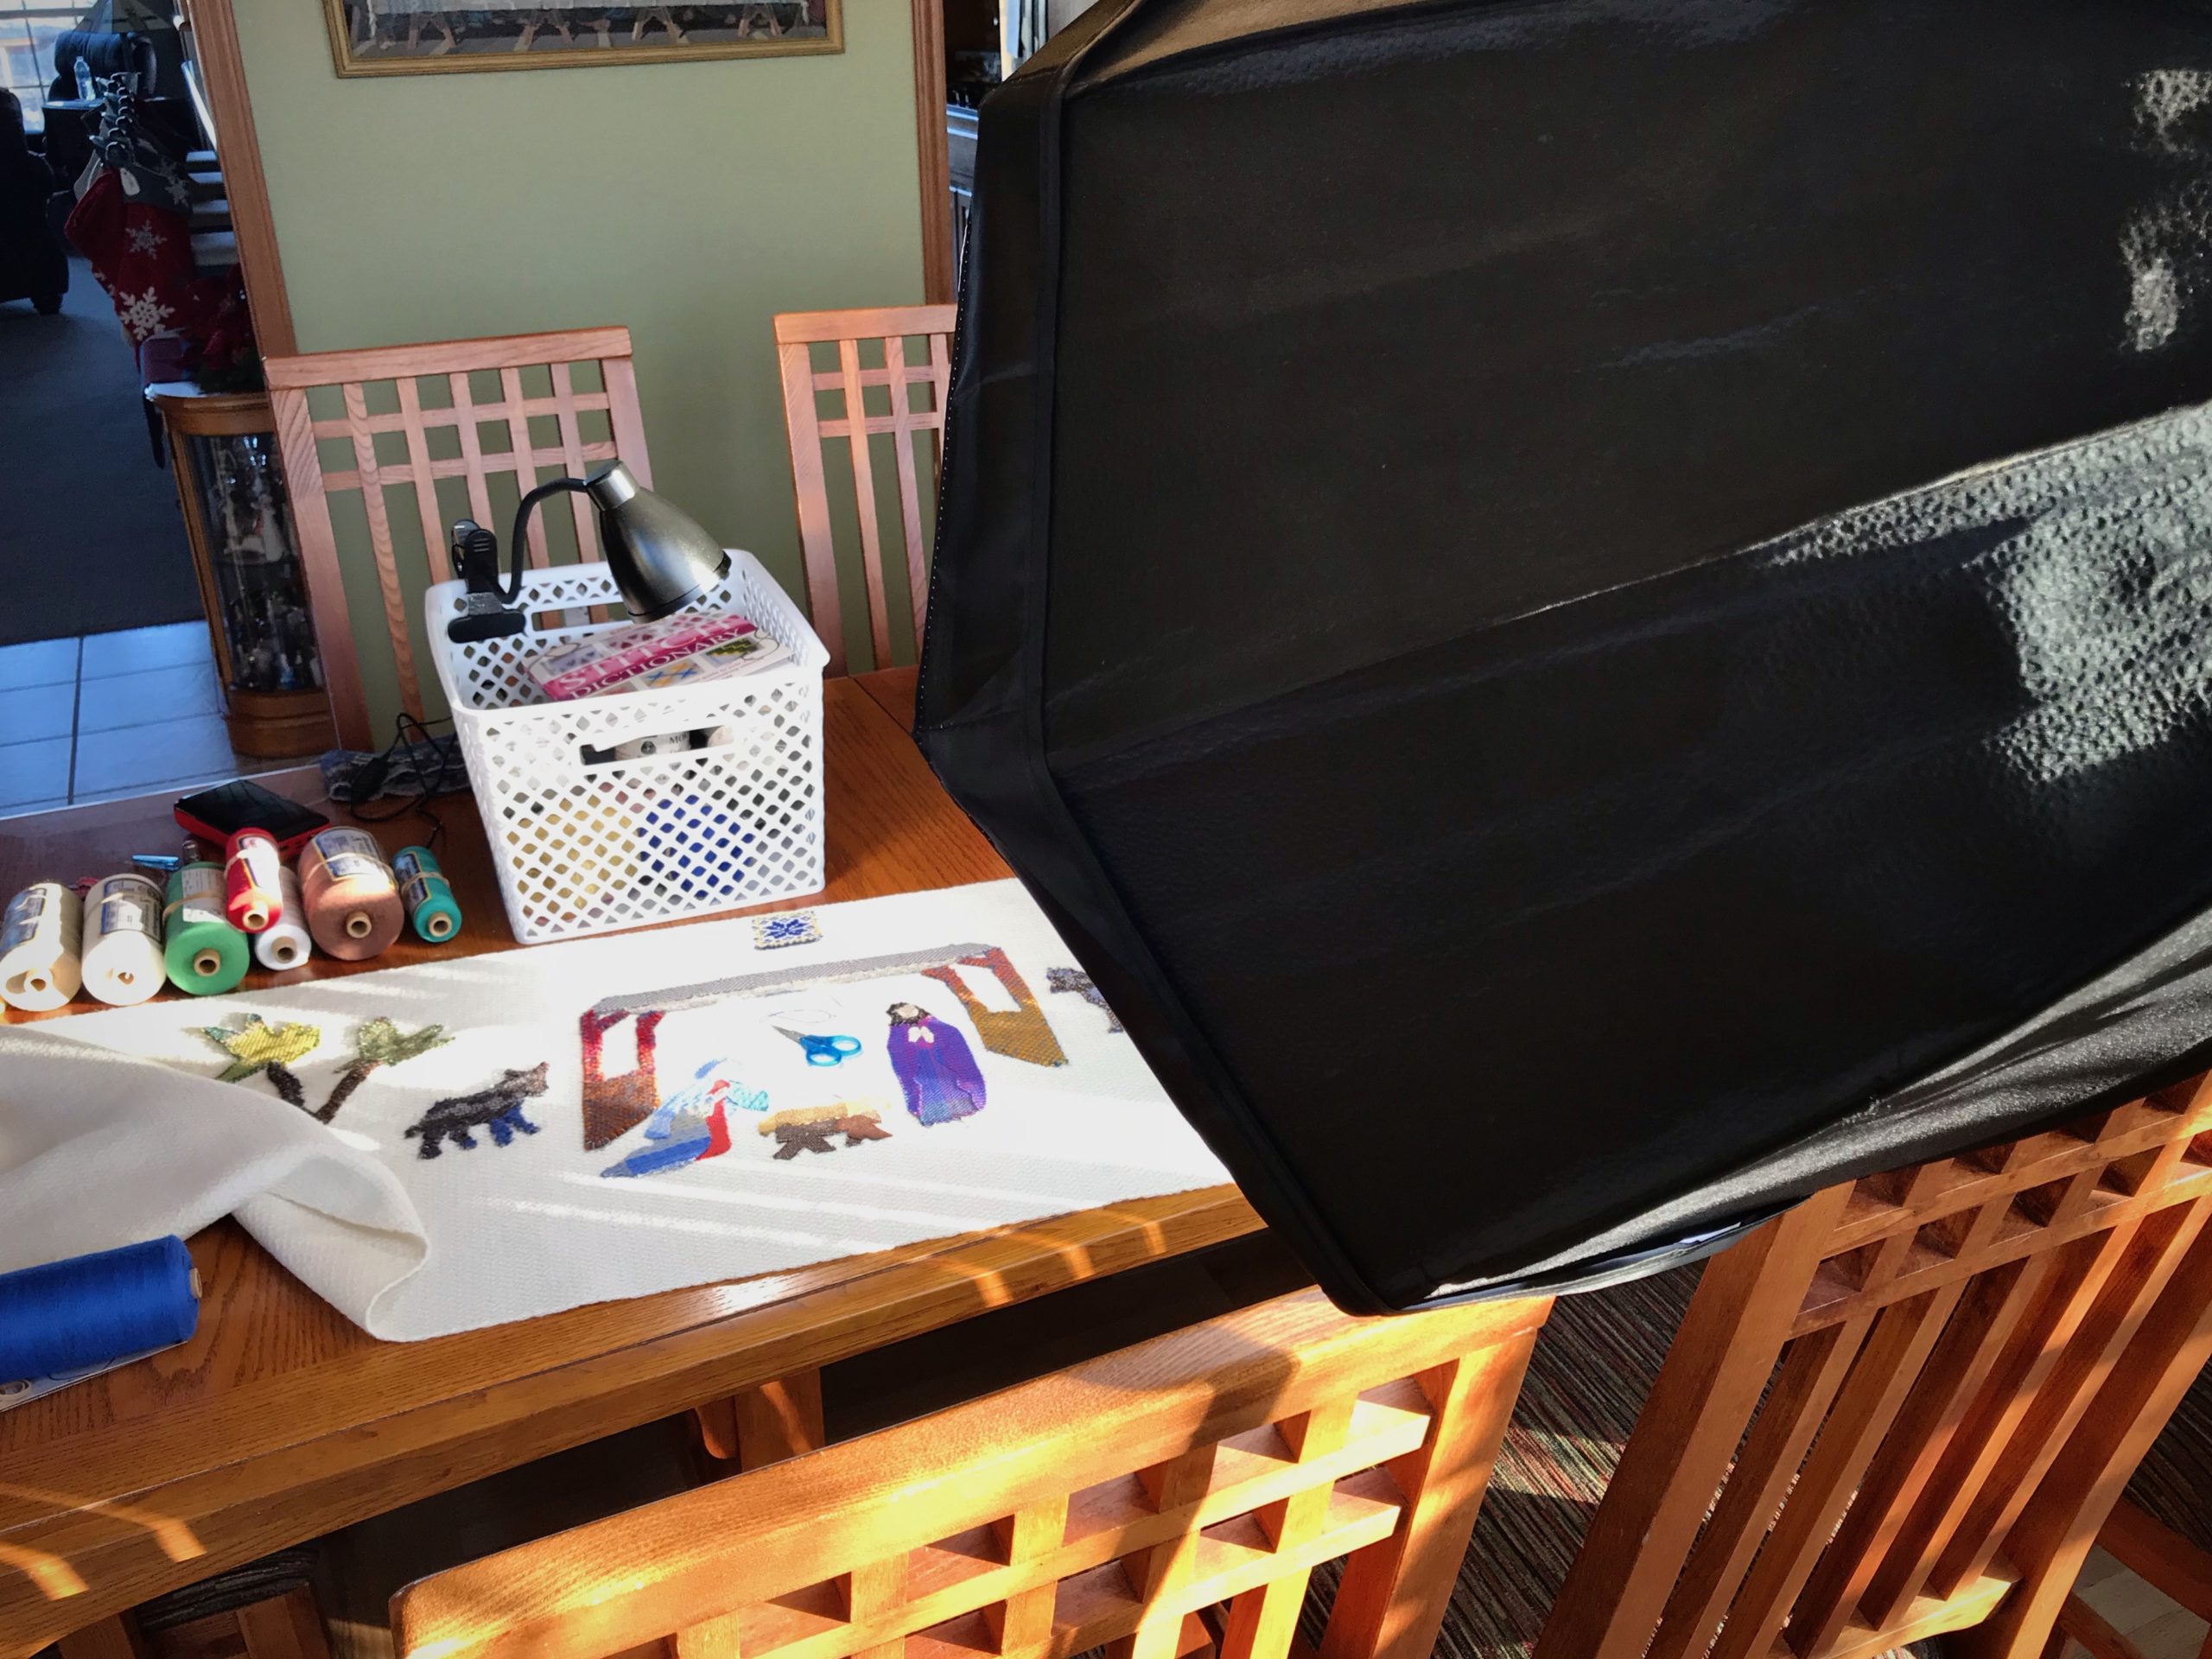
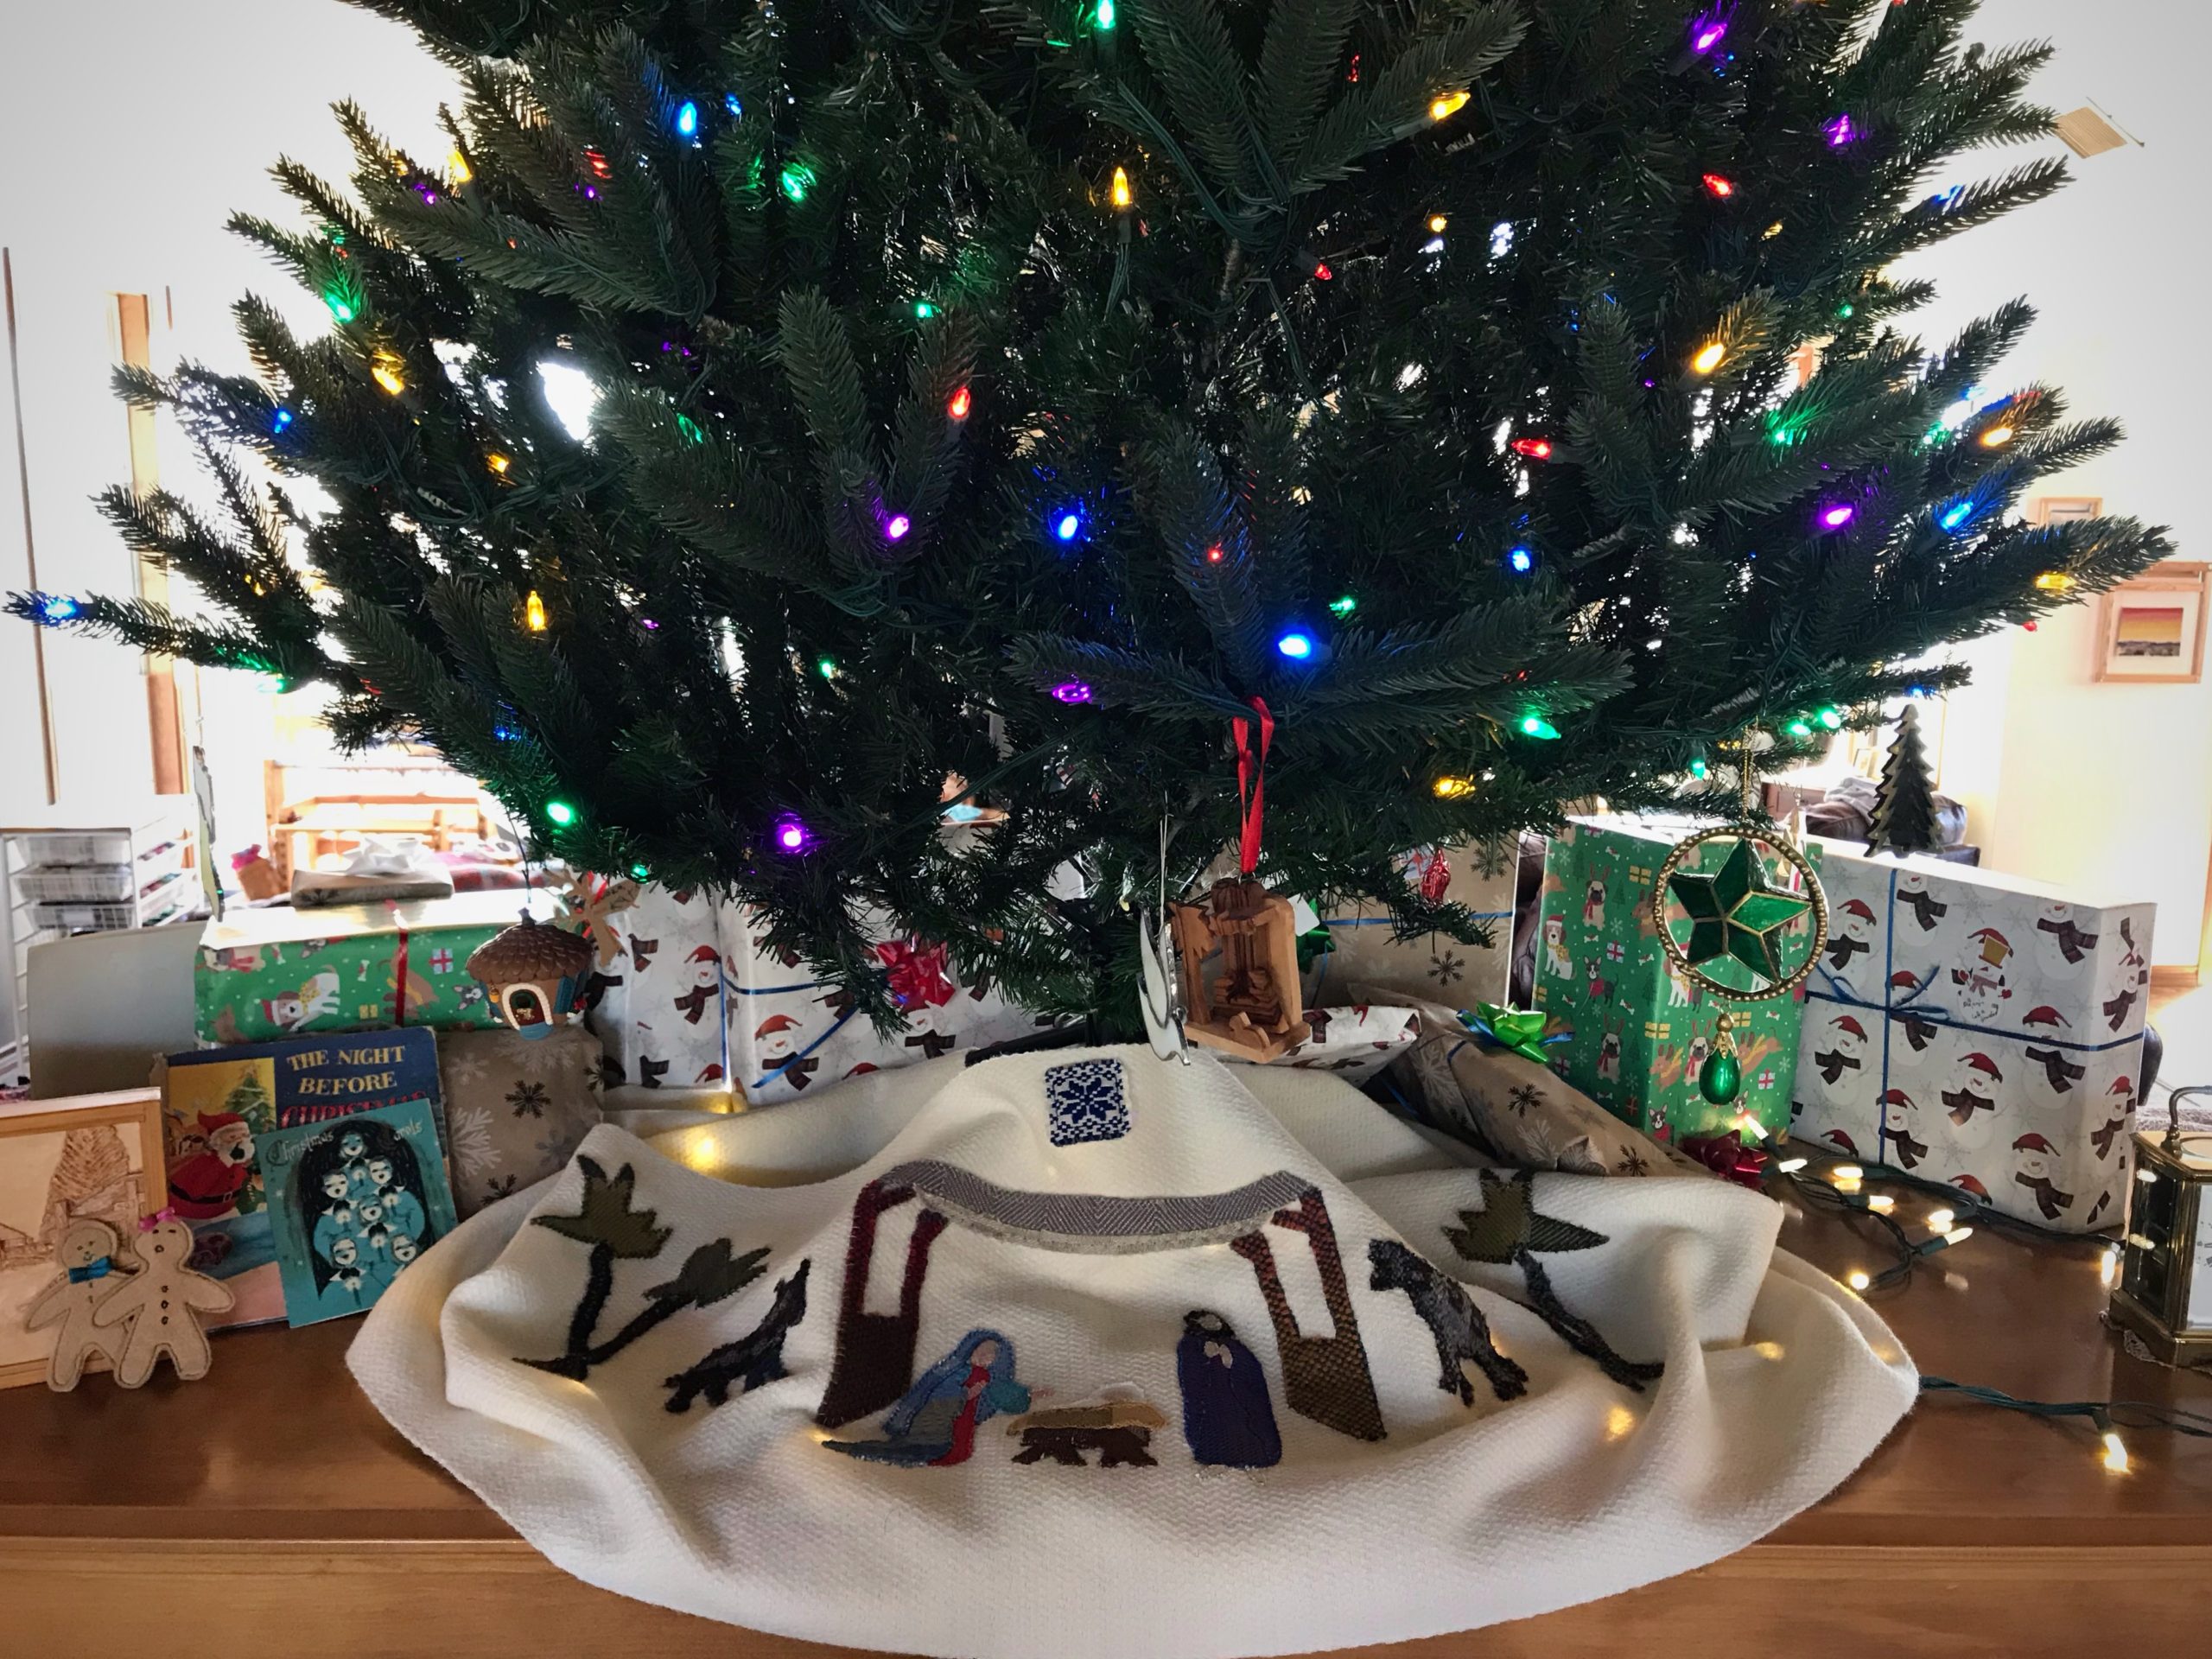
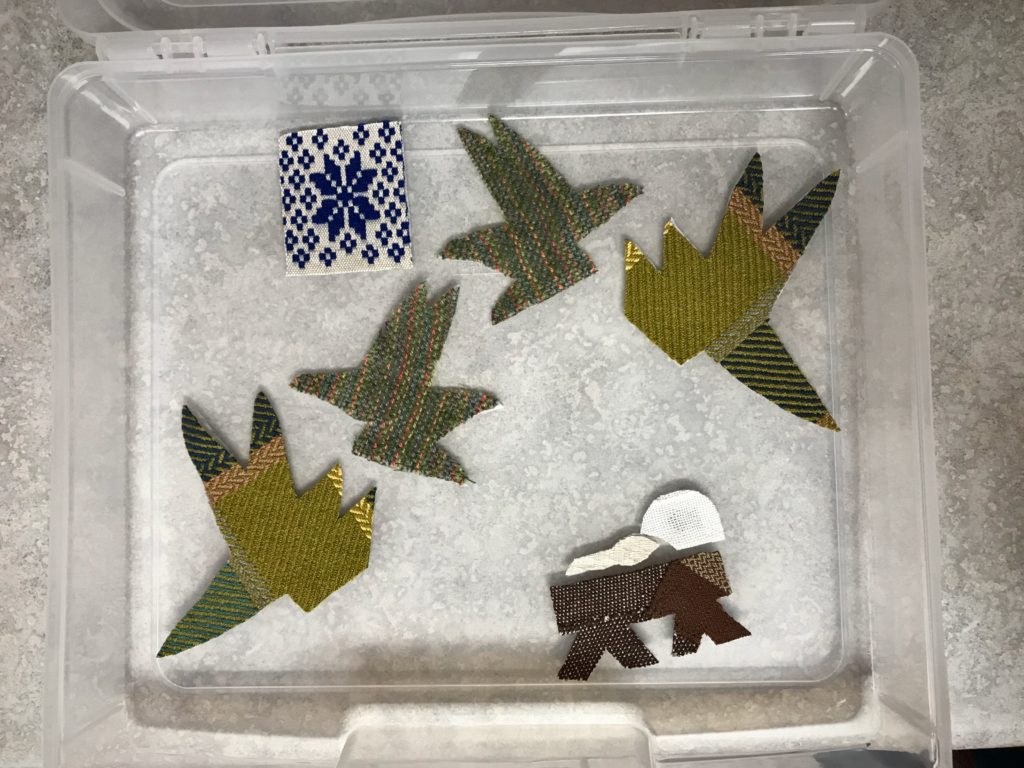
This is the Christmas-tree-skirt project. I wove 3 1/2 meters of background fabric with 8/1 Möbellåtta warp and 6/1 Fårö wool weft. Now, having sorted through all my handwoven remnants, big and small, I have colors and textures for telling the Nativity story in appliqué. My friend with appliqué experience has advised me on materials and technique, for which I am enormously grateful.
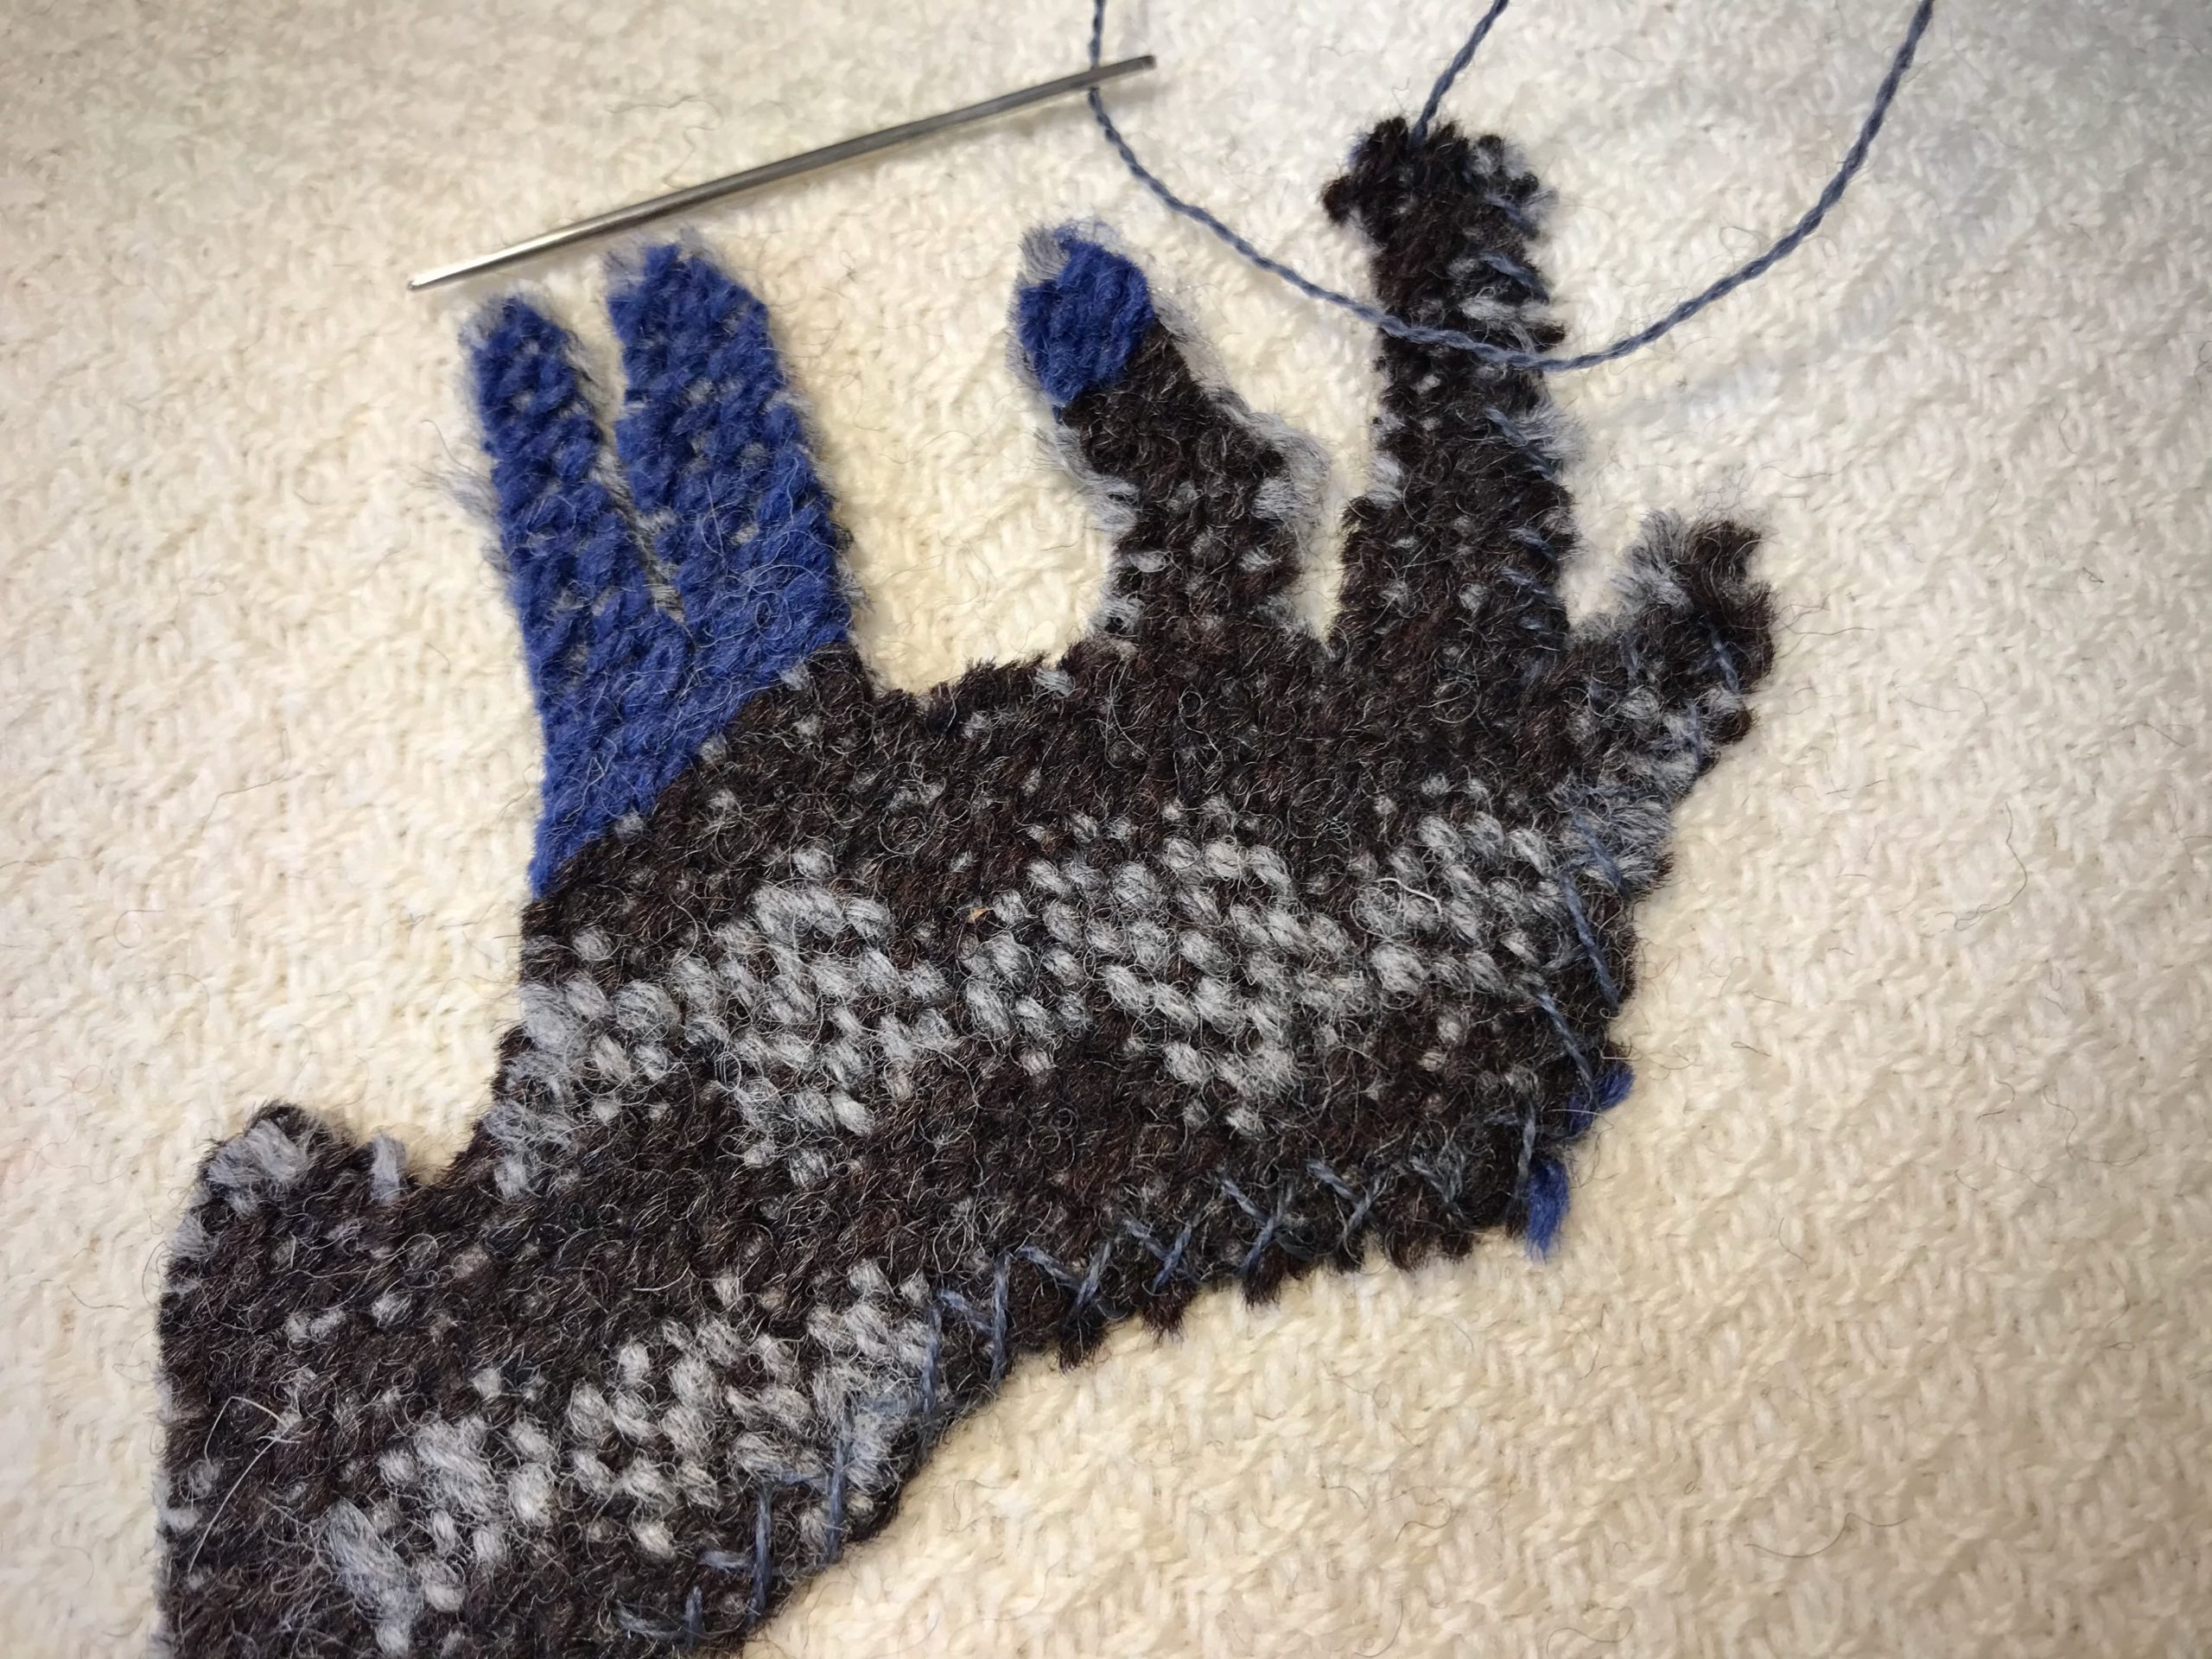
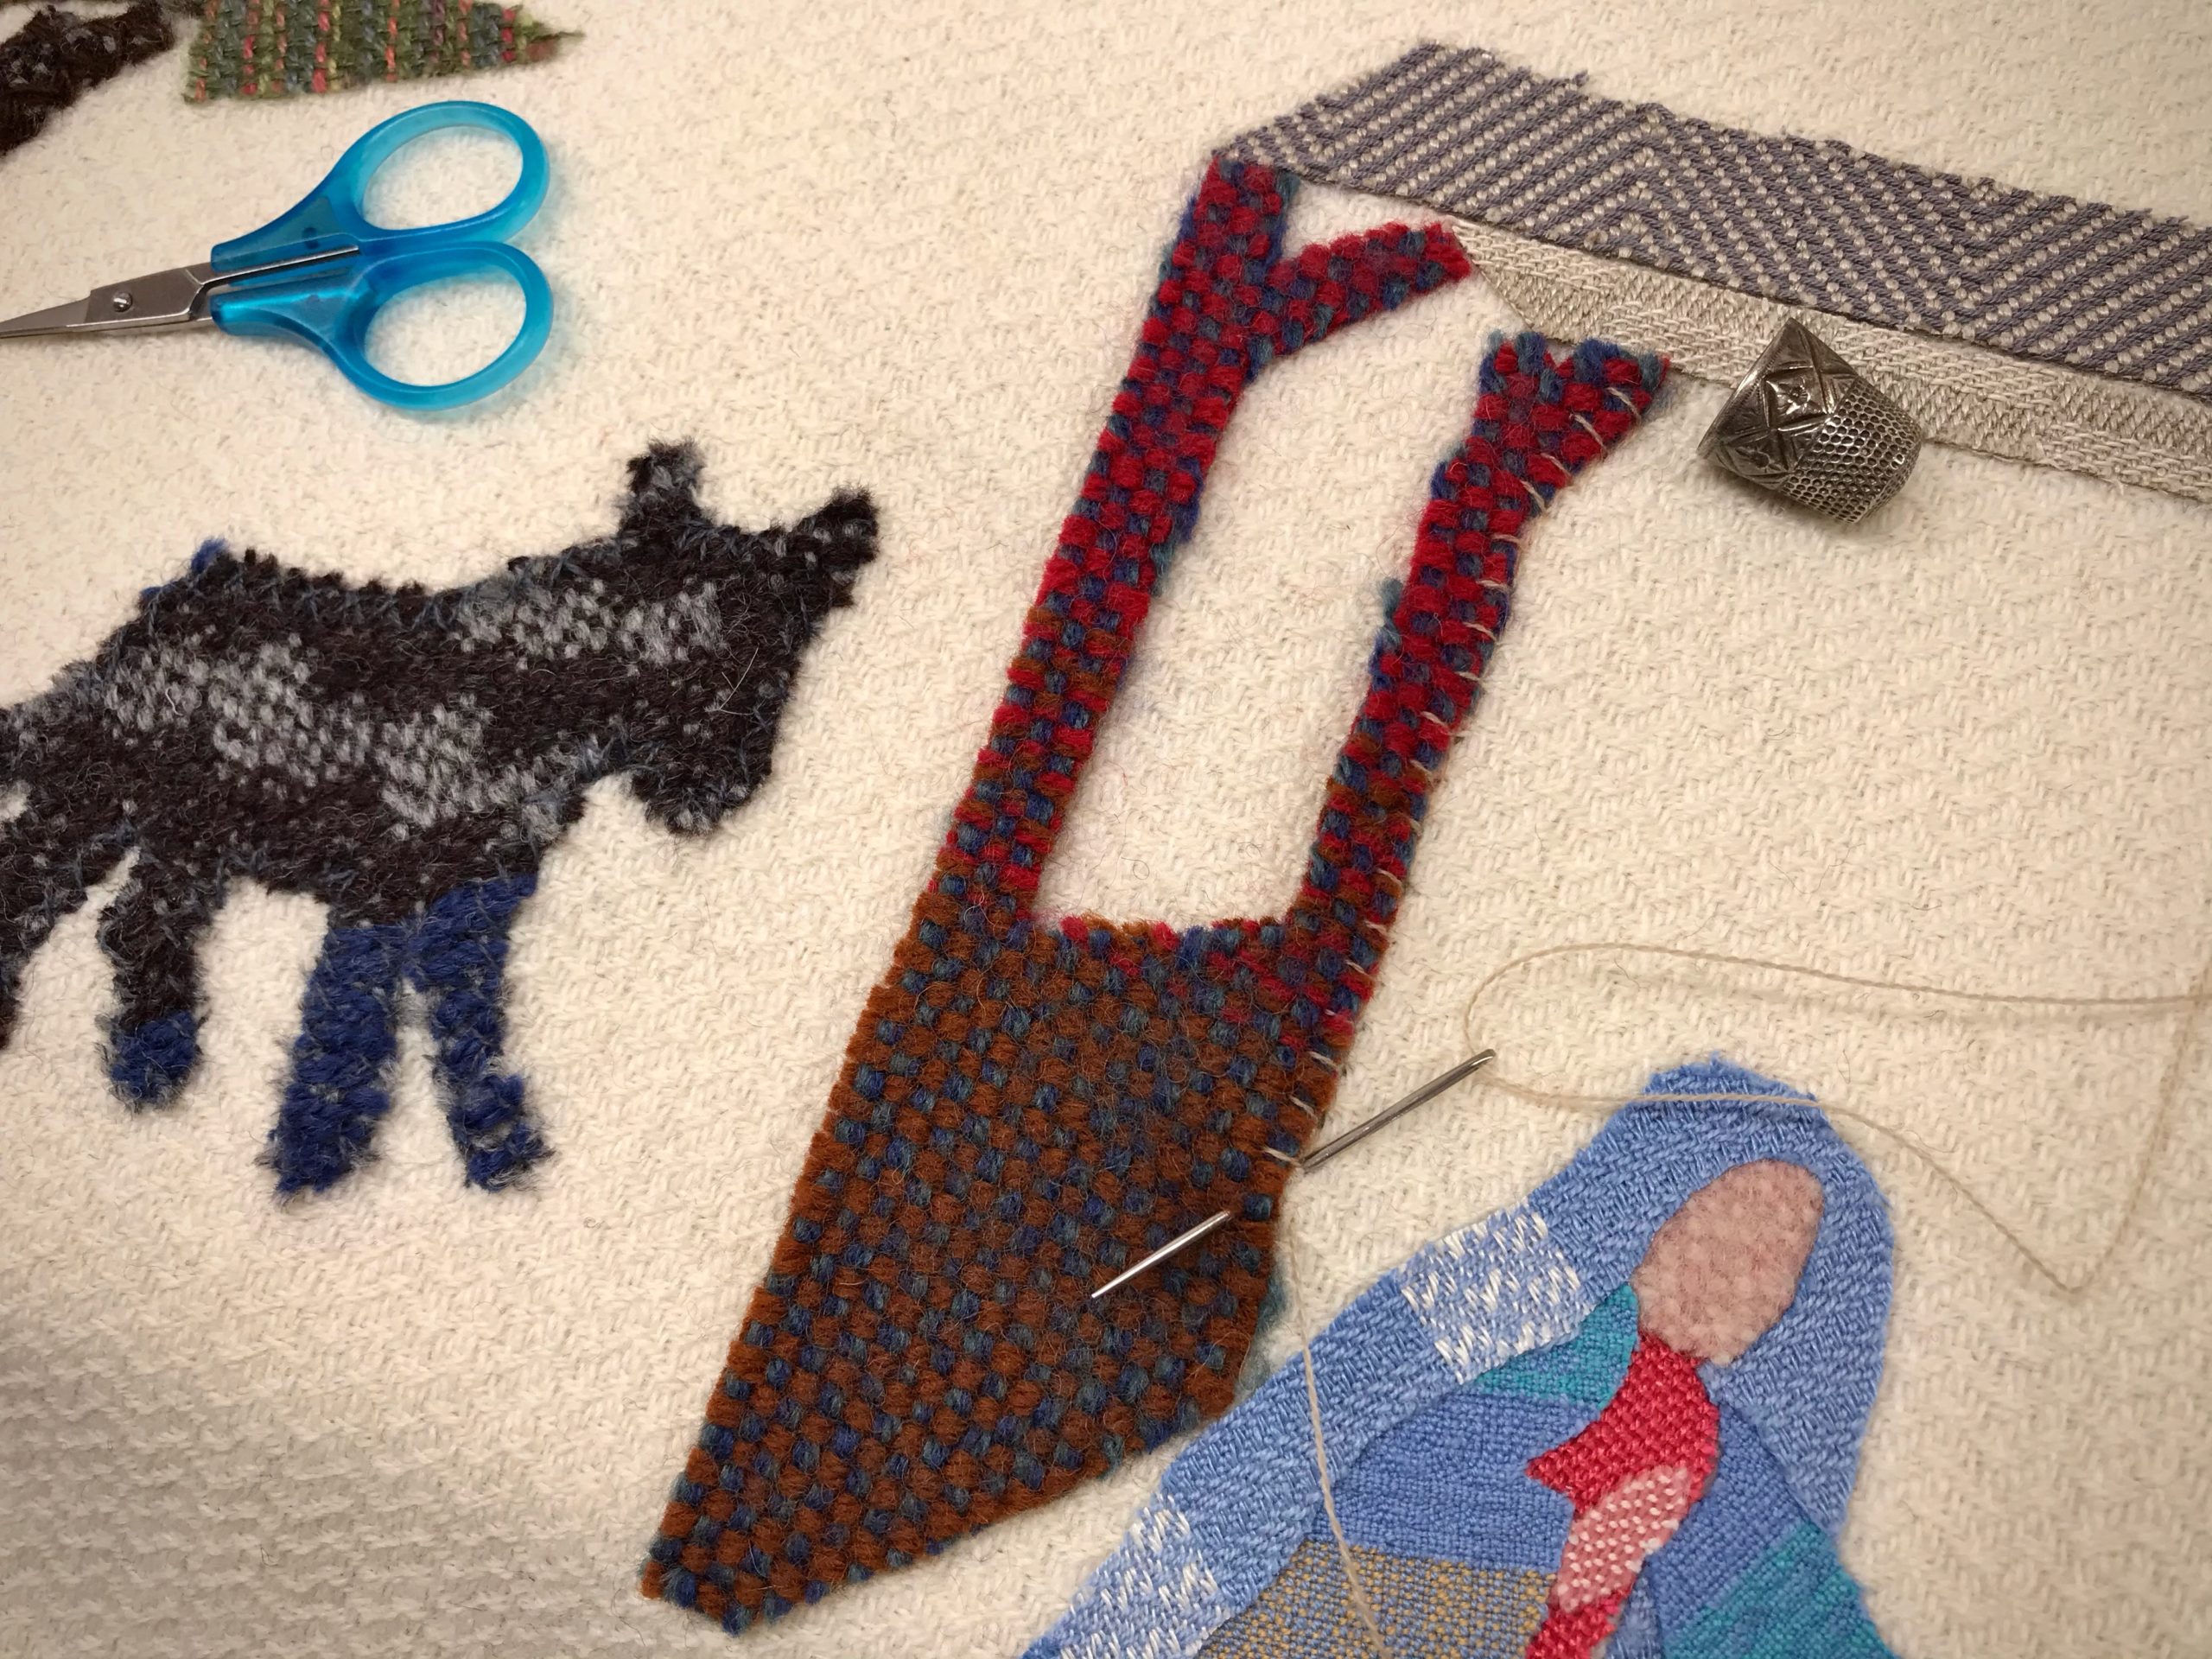
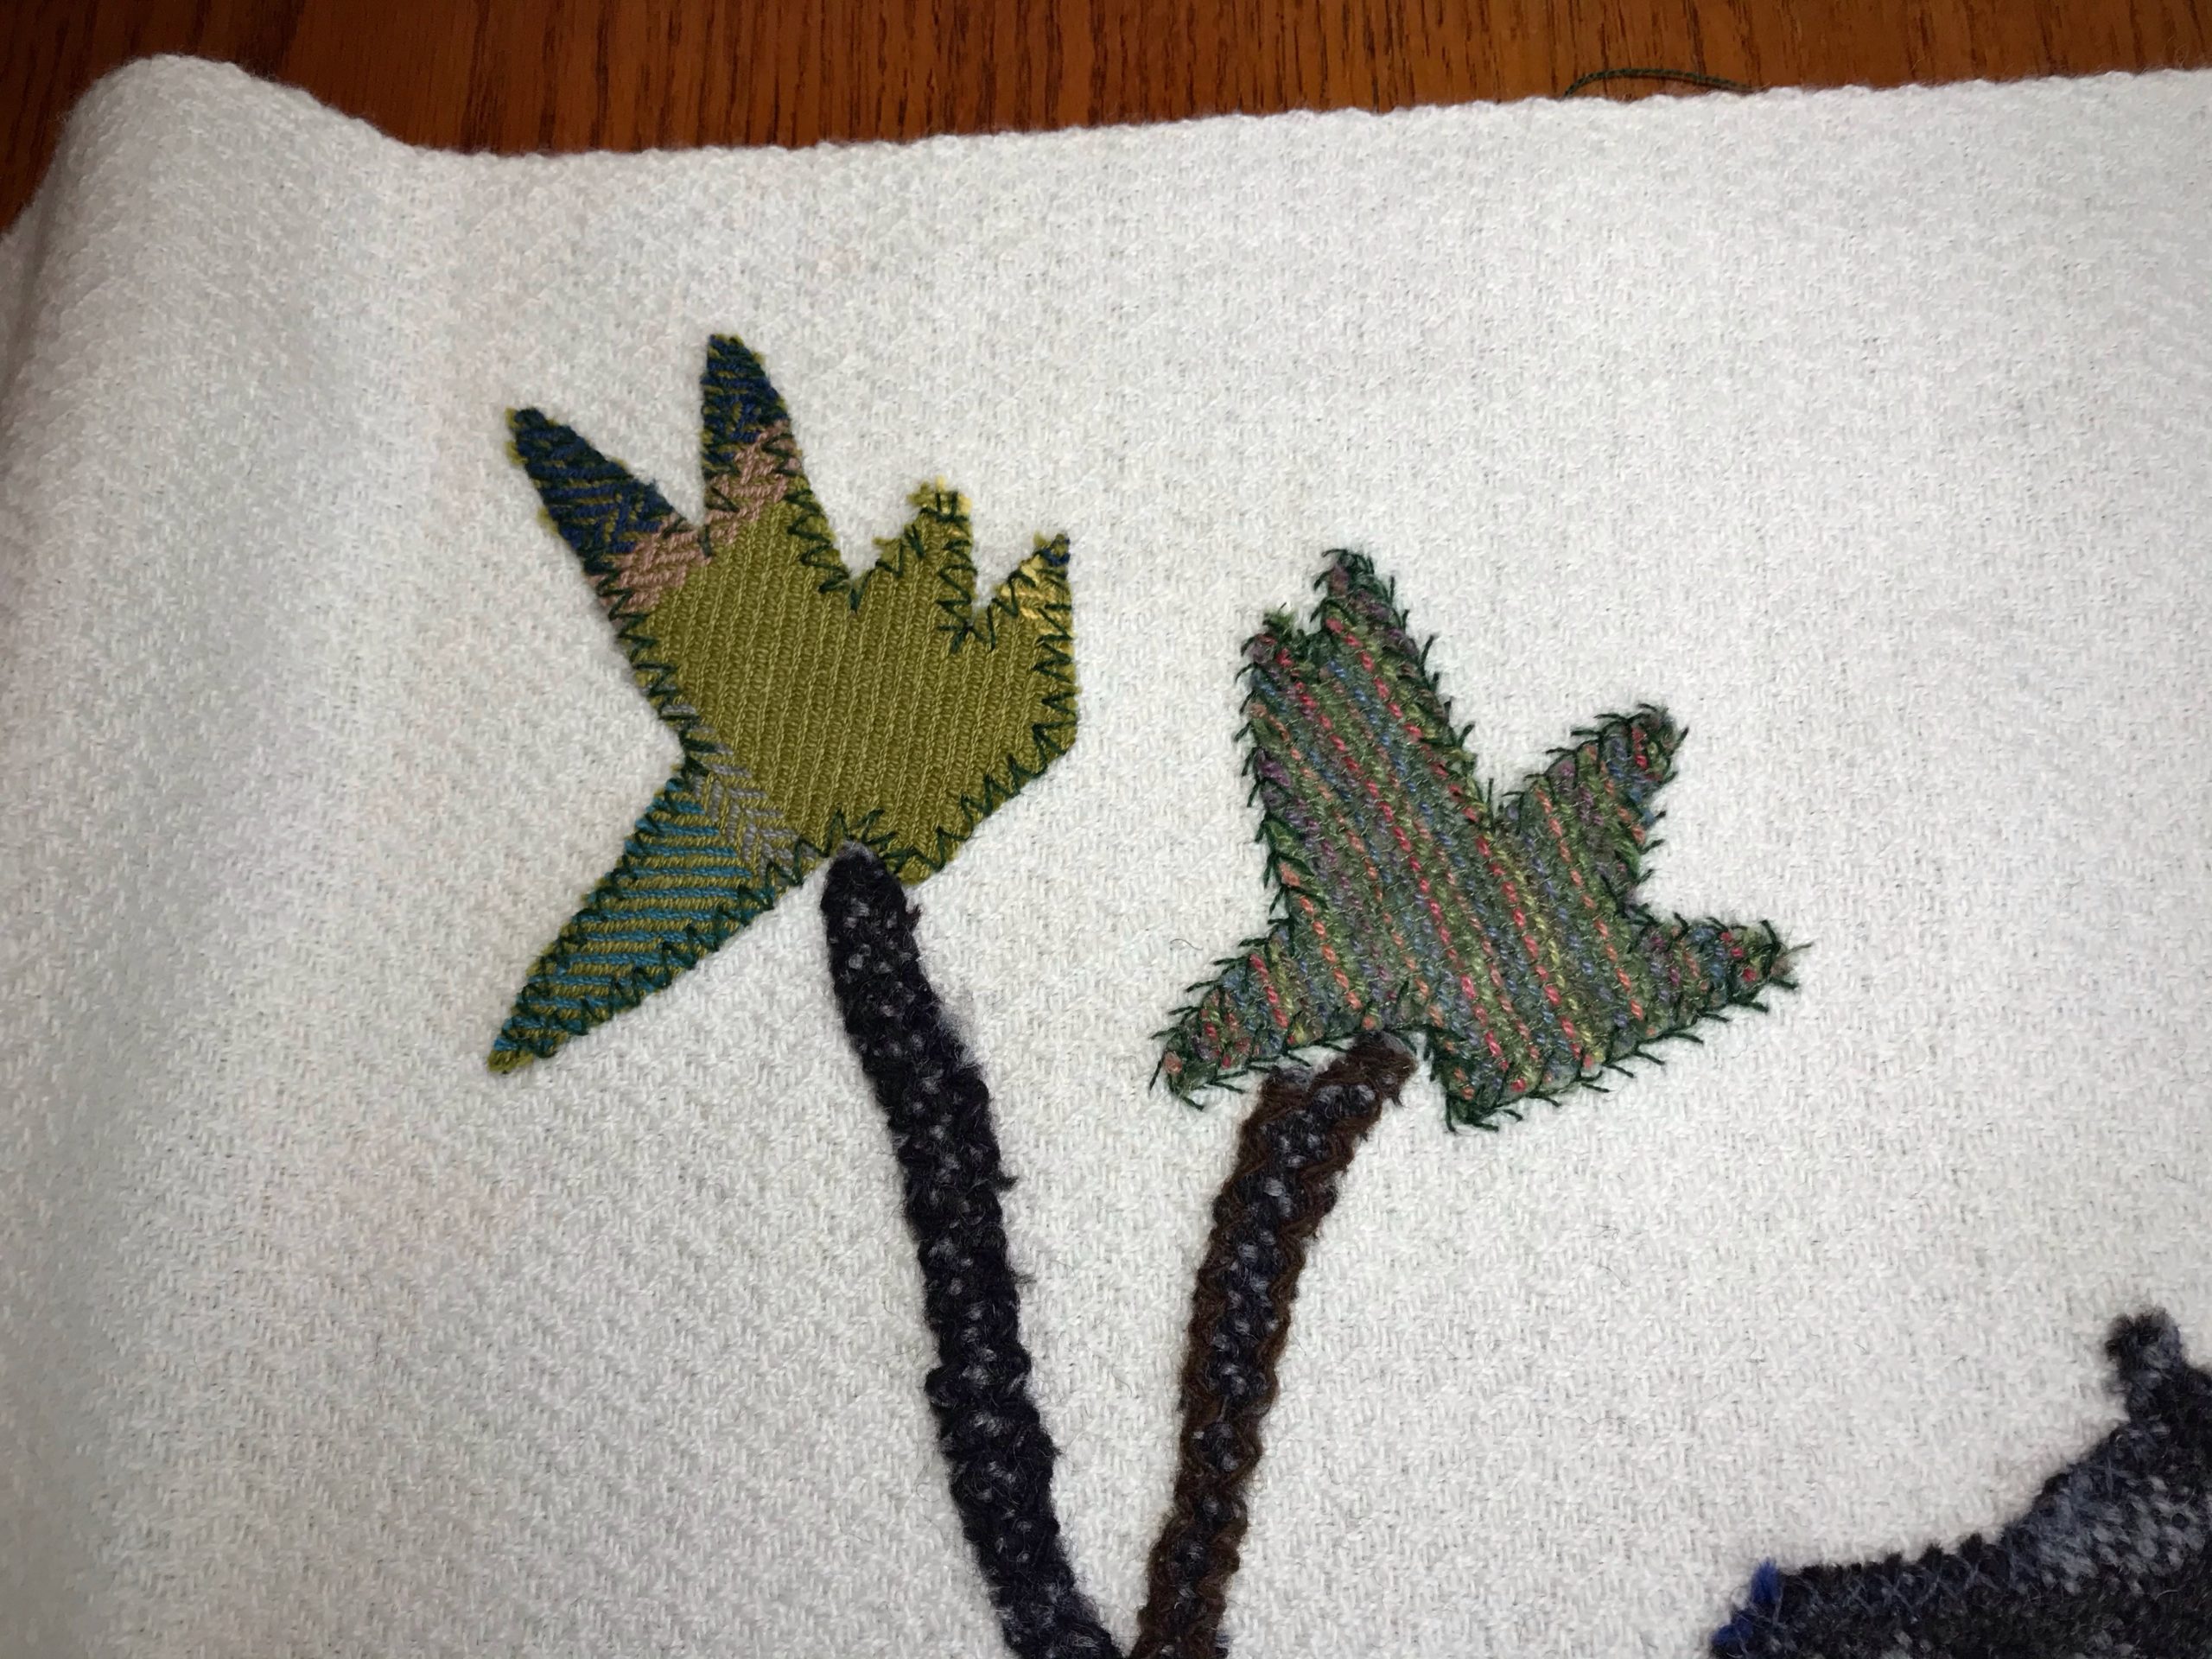
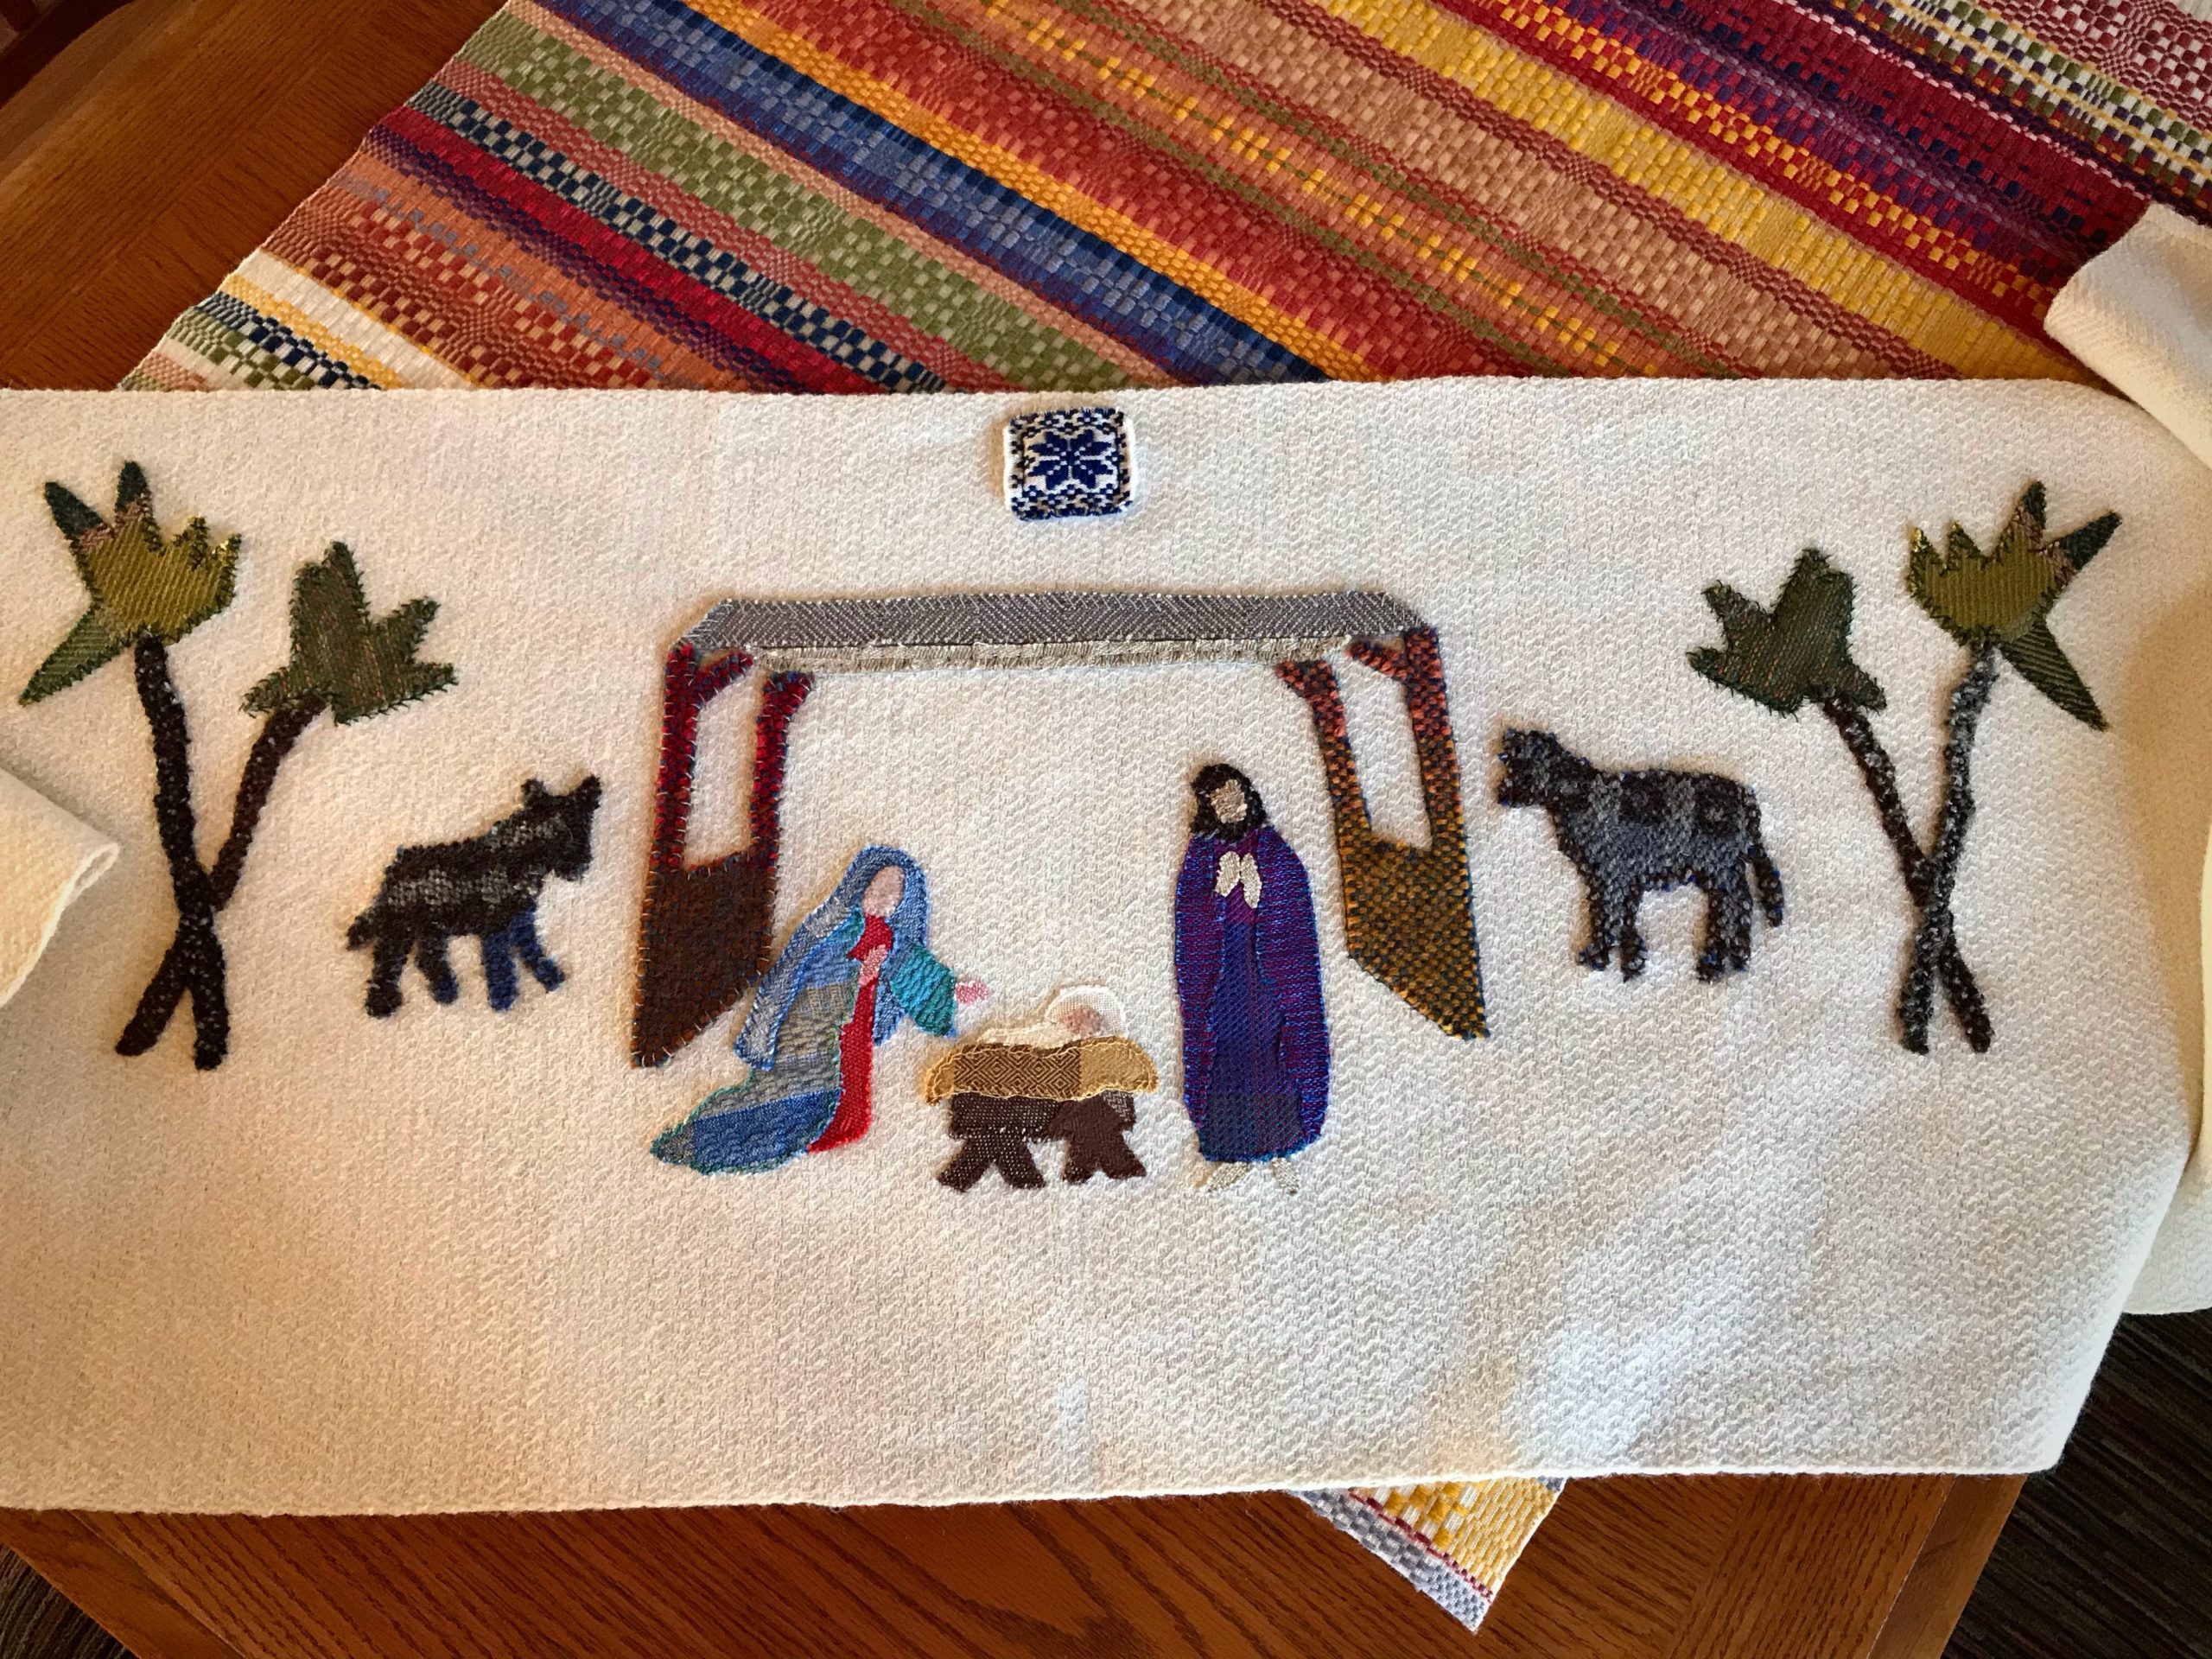
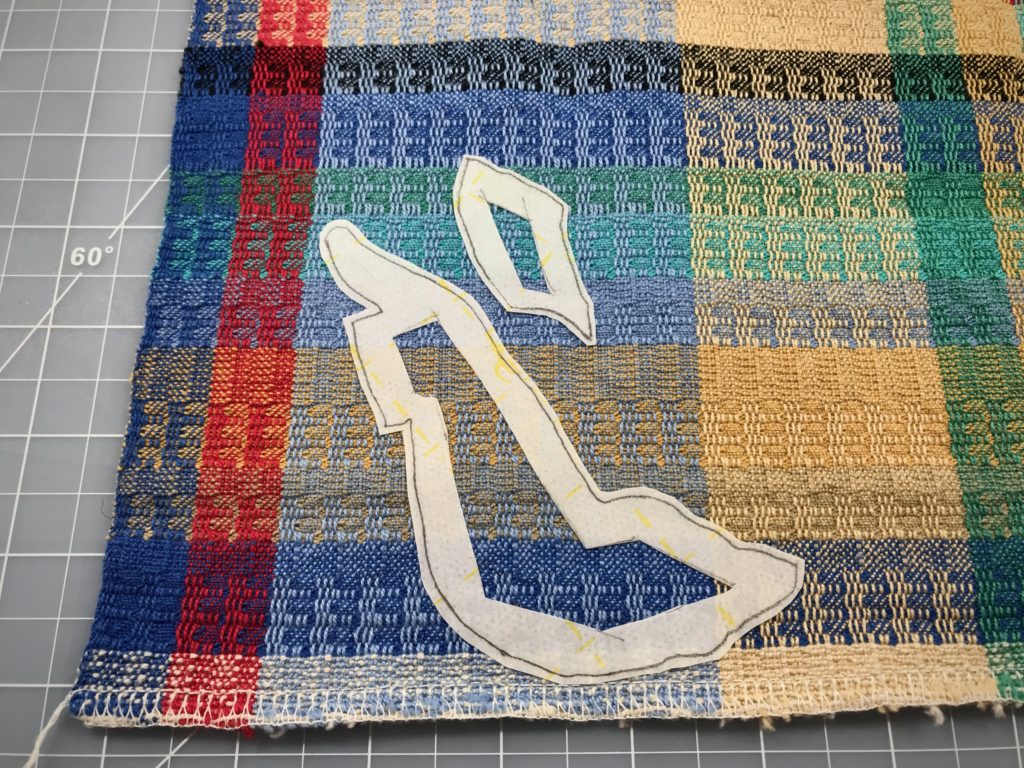
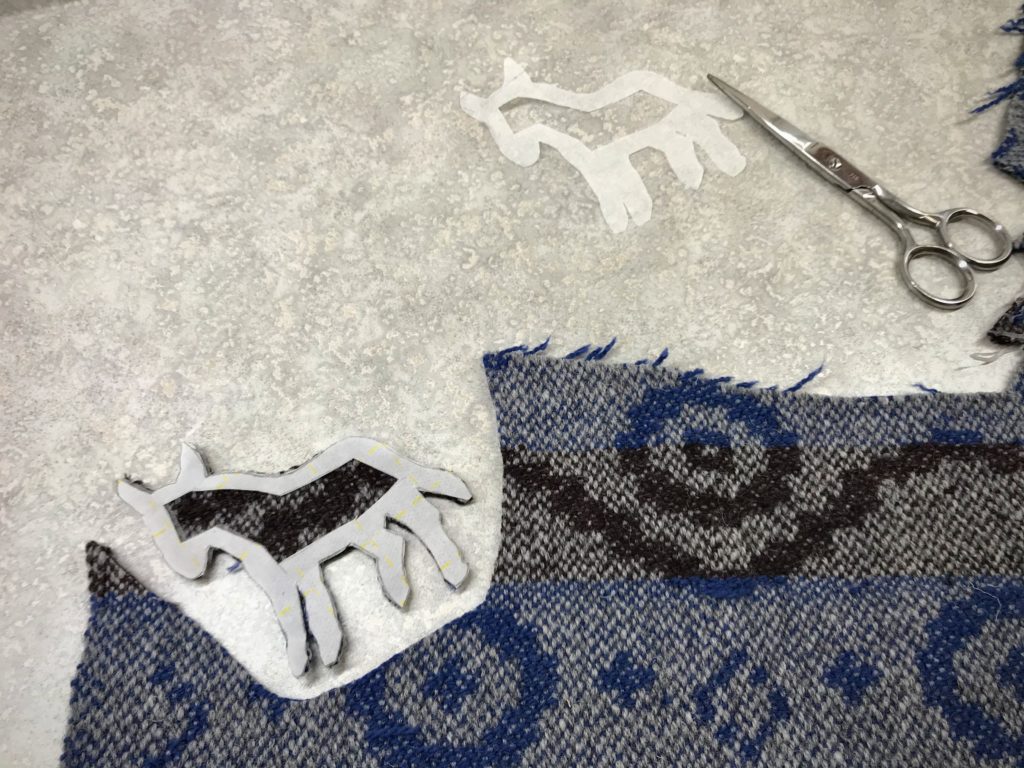
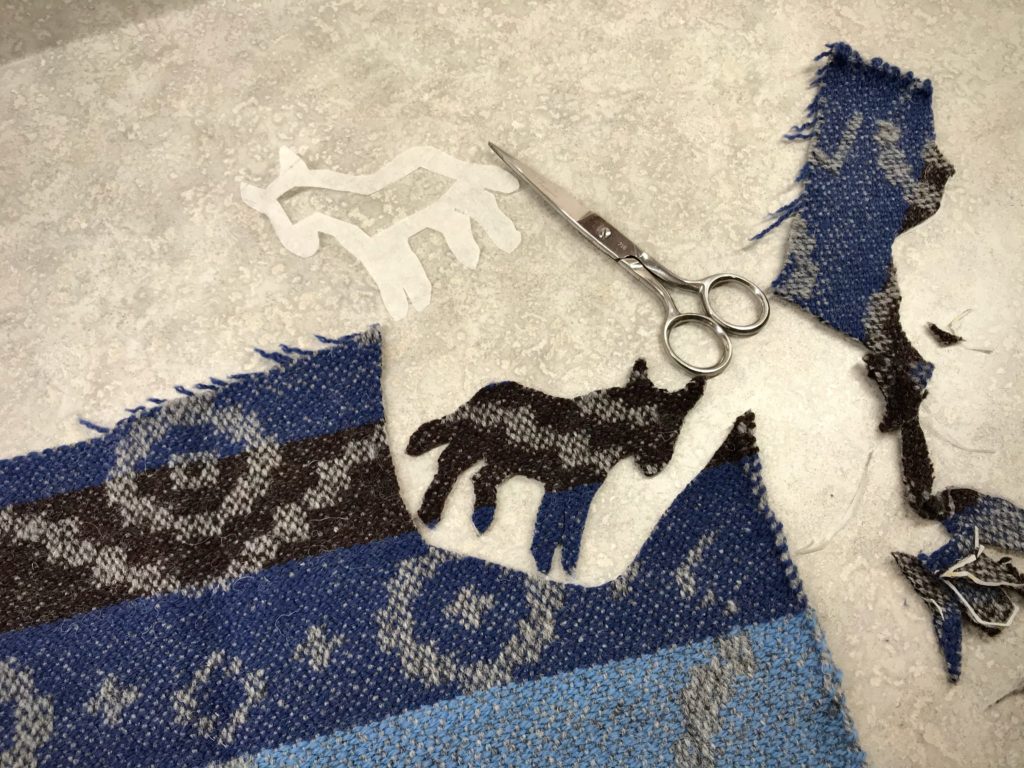
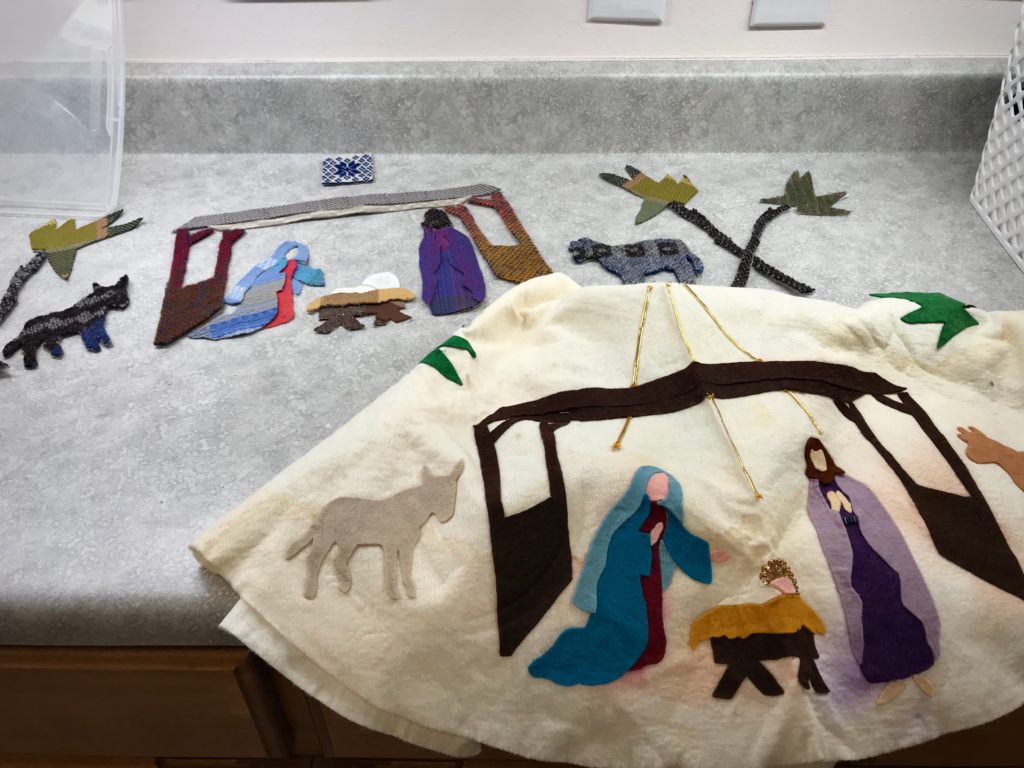
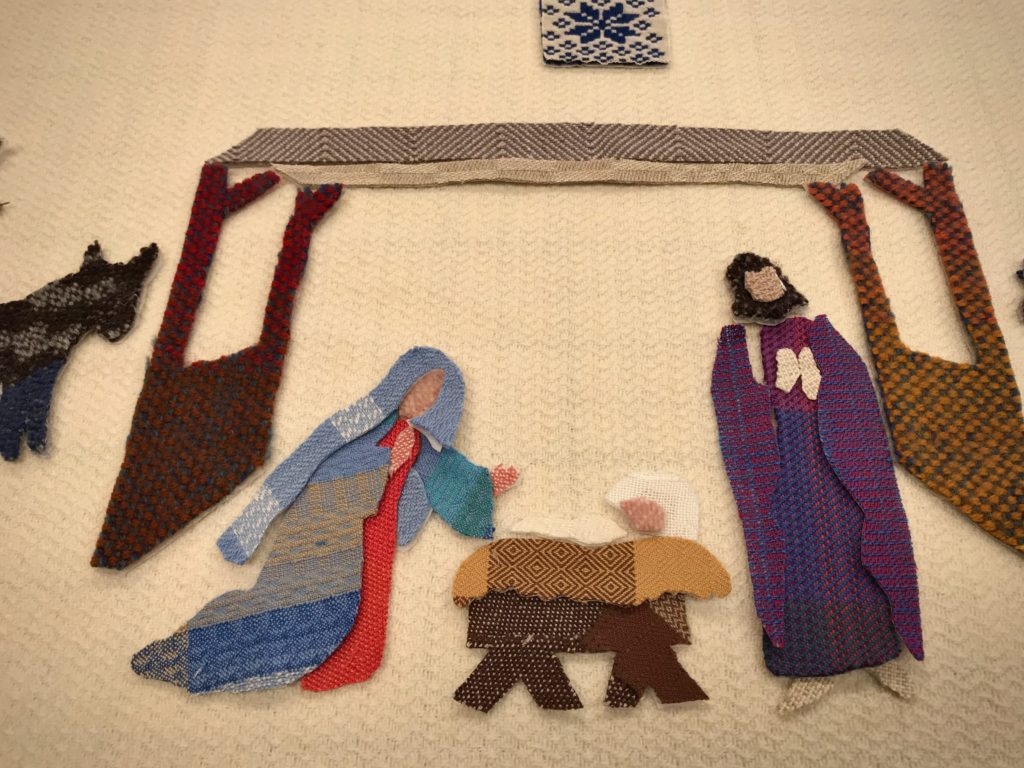
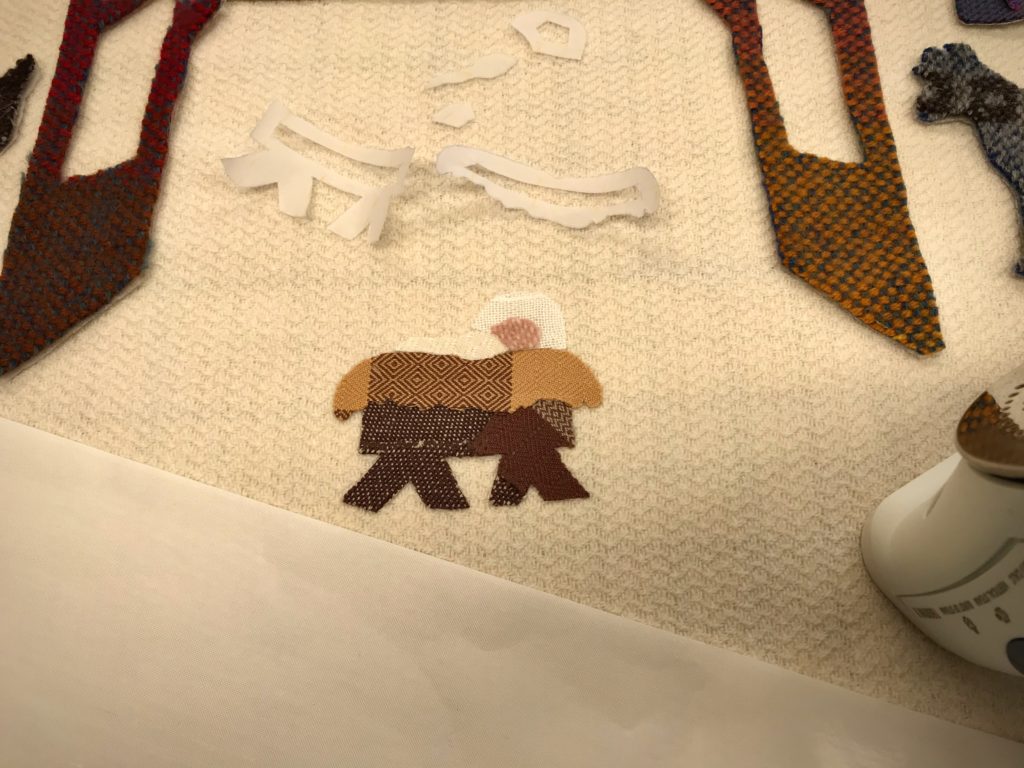
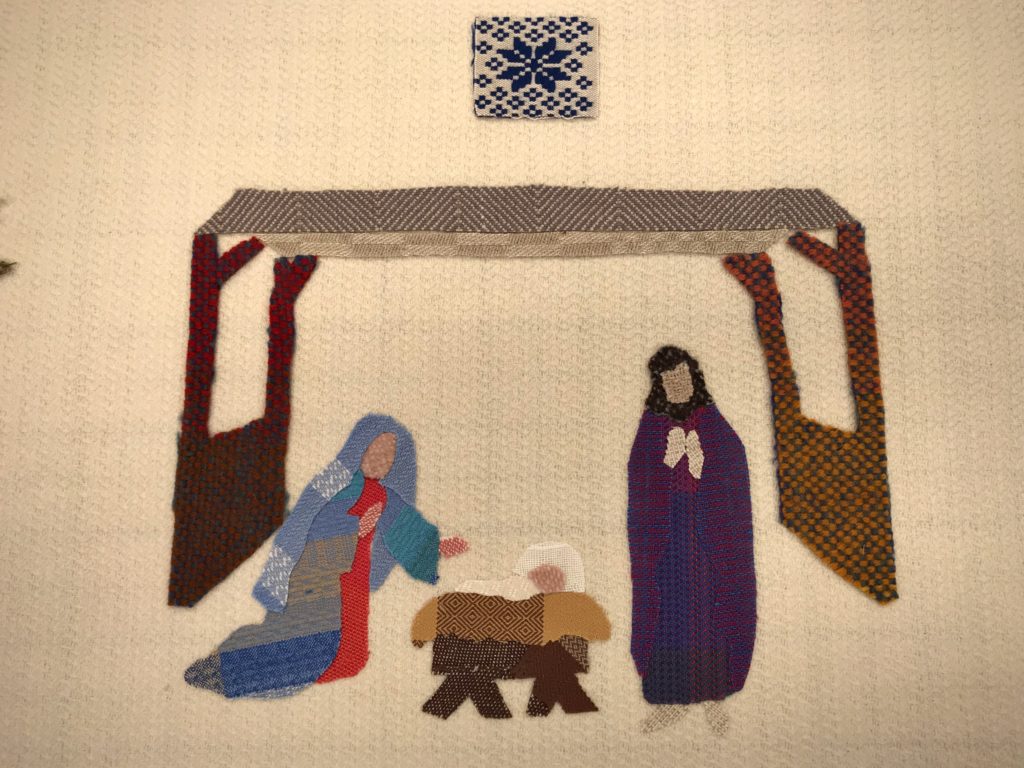
Remnant from the warp for towels I wove for my daughter becomes part of Mary’s garment.Donkey shape is cut from remnants from my wool vest project on the drawloom. Paper is on both sides of the double-sided fusible product. One side is peeled off to adhere the fusible to the back of the appliqué piece. (Always remember to draw the reverse side of the image onto the paper on the fusible.)Appliqué piece is face up, ready to be fused to the background. Blue star is from opphämta on the drawloom. Green palm trees are from a long-ago rigid heddle scarf and from a warp of cottolin towels. Manger is pieced from some of my earliest floor loom fabrics. Swaddling cloth is fine cotton M’s and O’s. Baby’s halo is from Swedish lace curtain fabric. Every piece of fabric has a story.
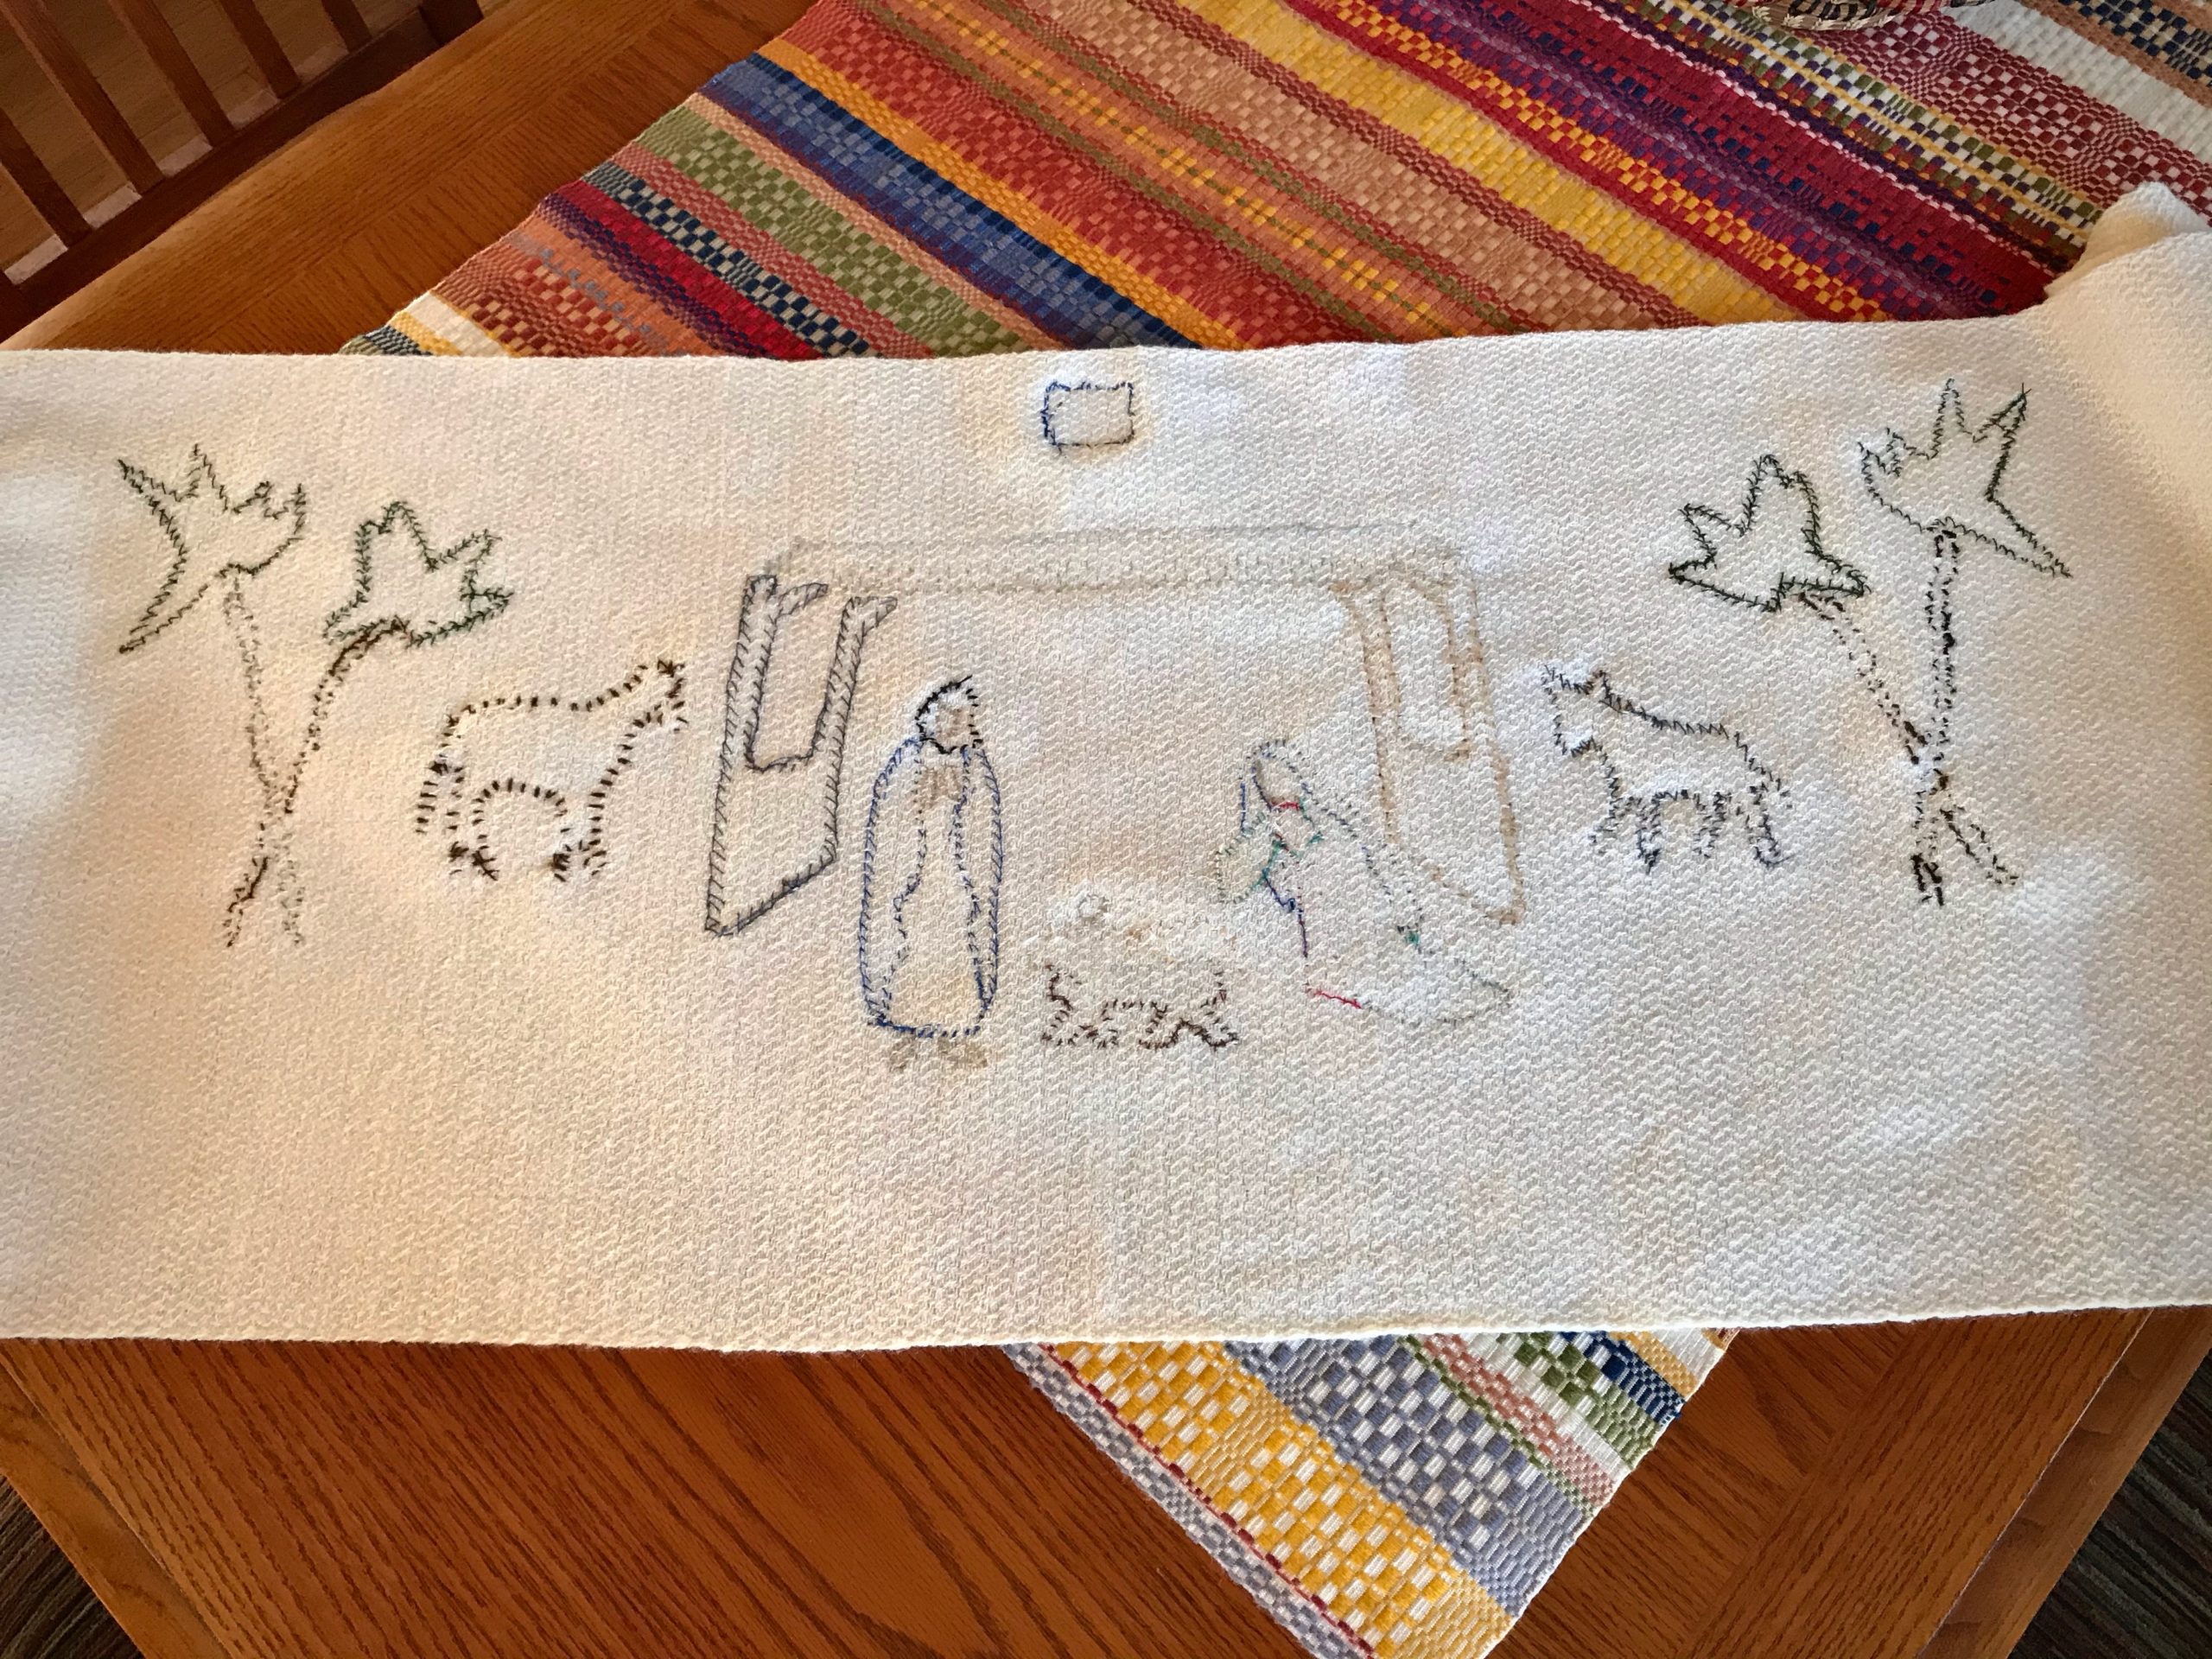
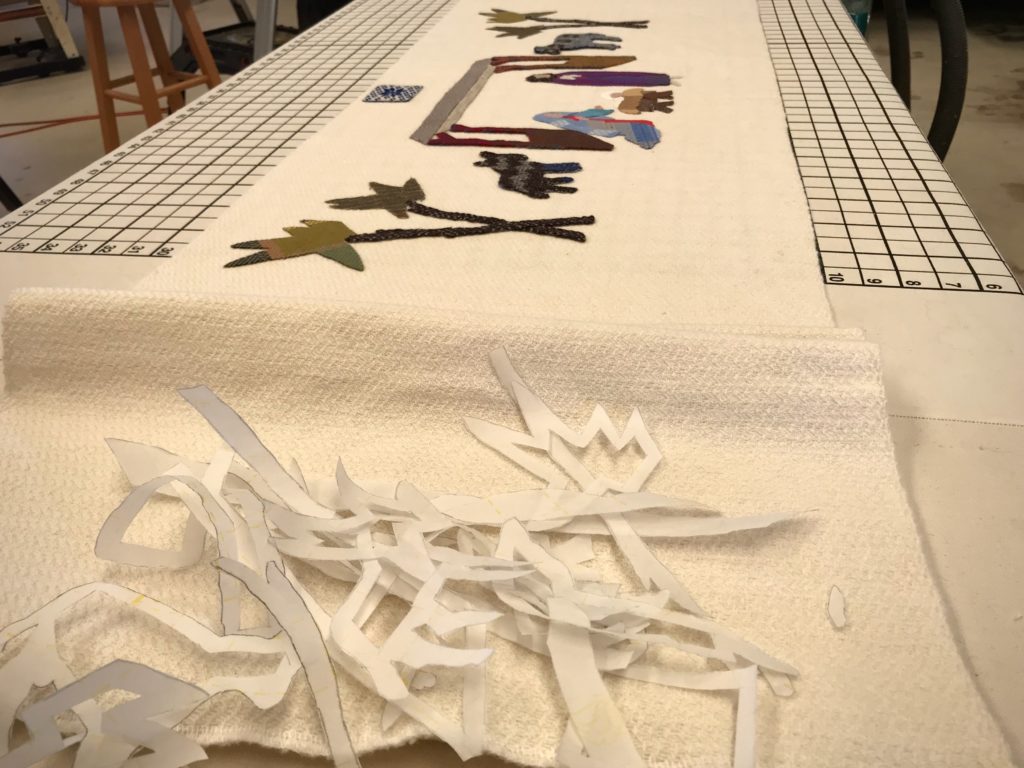
Using a double-sided fusible product, I carefully cut out each shape. After laying all the pieces out in the proper arrangement, I fuse them, layer by layer, to the background fabric. The Nativity narrative is formed, piece by piece. I still have handwoven remnants to add to the lower edge, and embroidery to stitch around some of the appliqué shapes. I’m hopeful to complete all of it before Christmas.
This is the felt tree skirt I saw every year around our family’s Christmas tree when I was a girl.Planning the arrangement of the appliqué pieces onto the background fabric.I start by fusing the manger into place because the head of baby Jesus is at the very center of the whole length of cloth.Wide variety of handwoven fabrics tell the Nativity story. Threads of linen, cotton, wool, and bamboo.Scraps of paper backing indicate that all the pieces have been fused into place. Next, embroidery and other handwork, while considering the meaning of Christmas.
My remnant scene tells the story of God with us. The holy babe in a pieced-together manger reminds us that God loved us by sending Jesus to our worry-ridden world. Worries are the little things and big things that we would like to control, but can’t. Can we add one moment to our lifespan by worrying? Trust in Jesus replaces worry because it puts control back in the right hands.