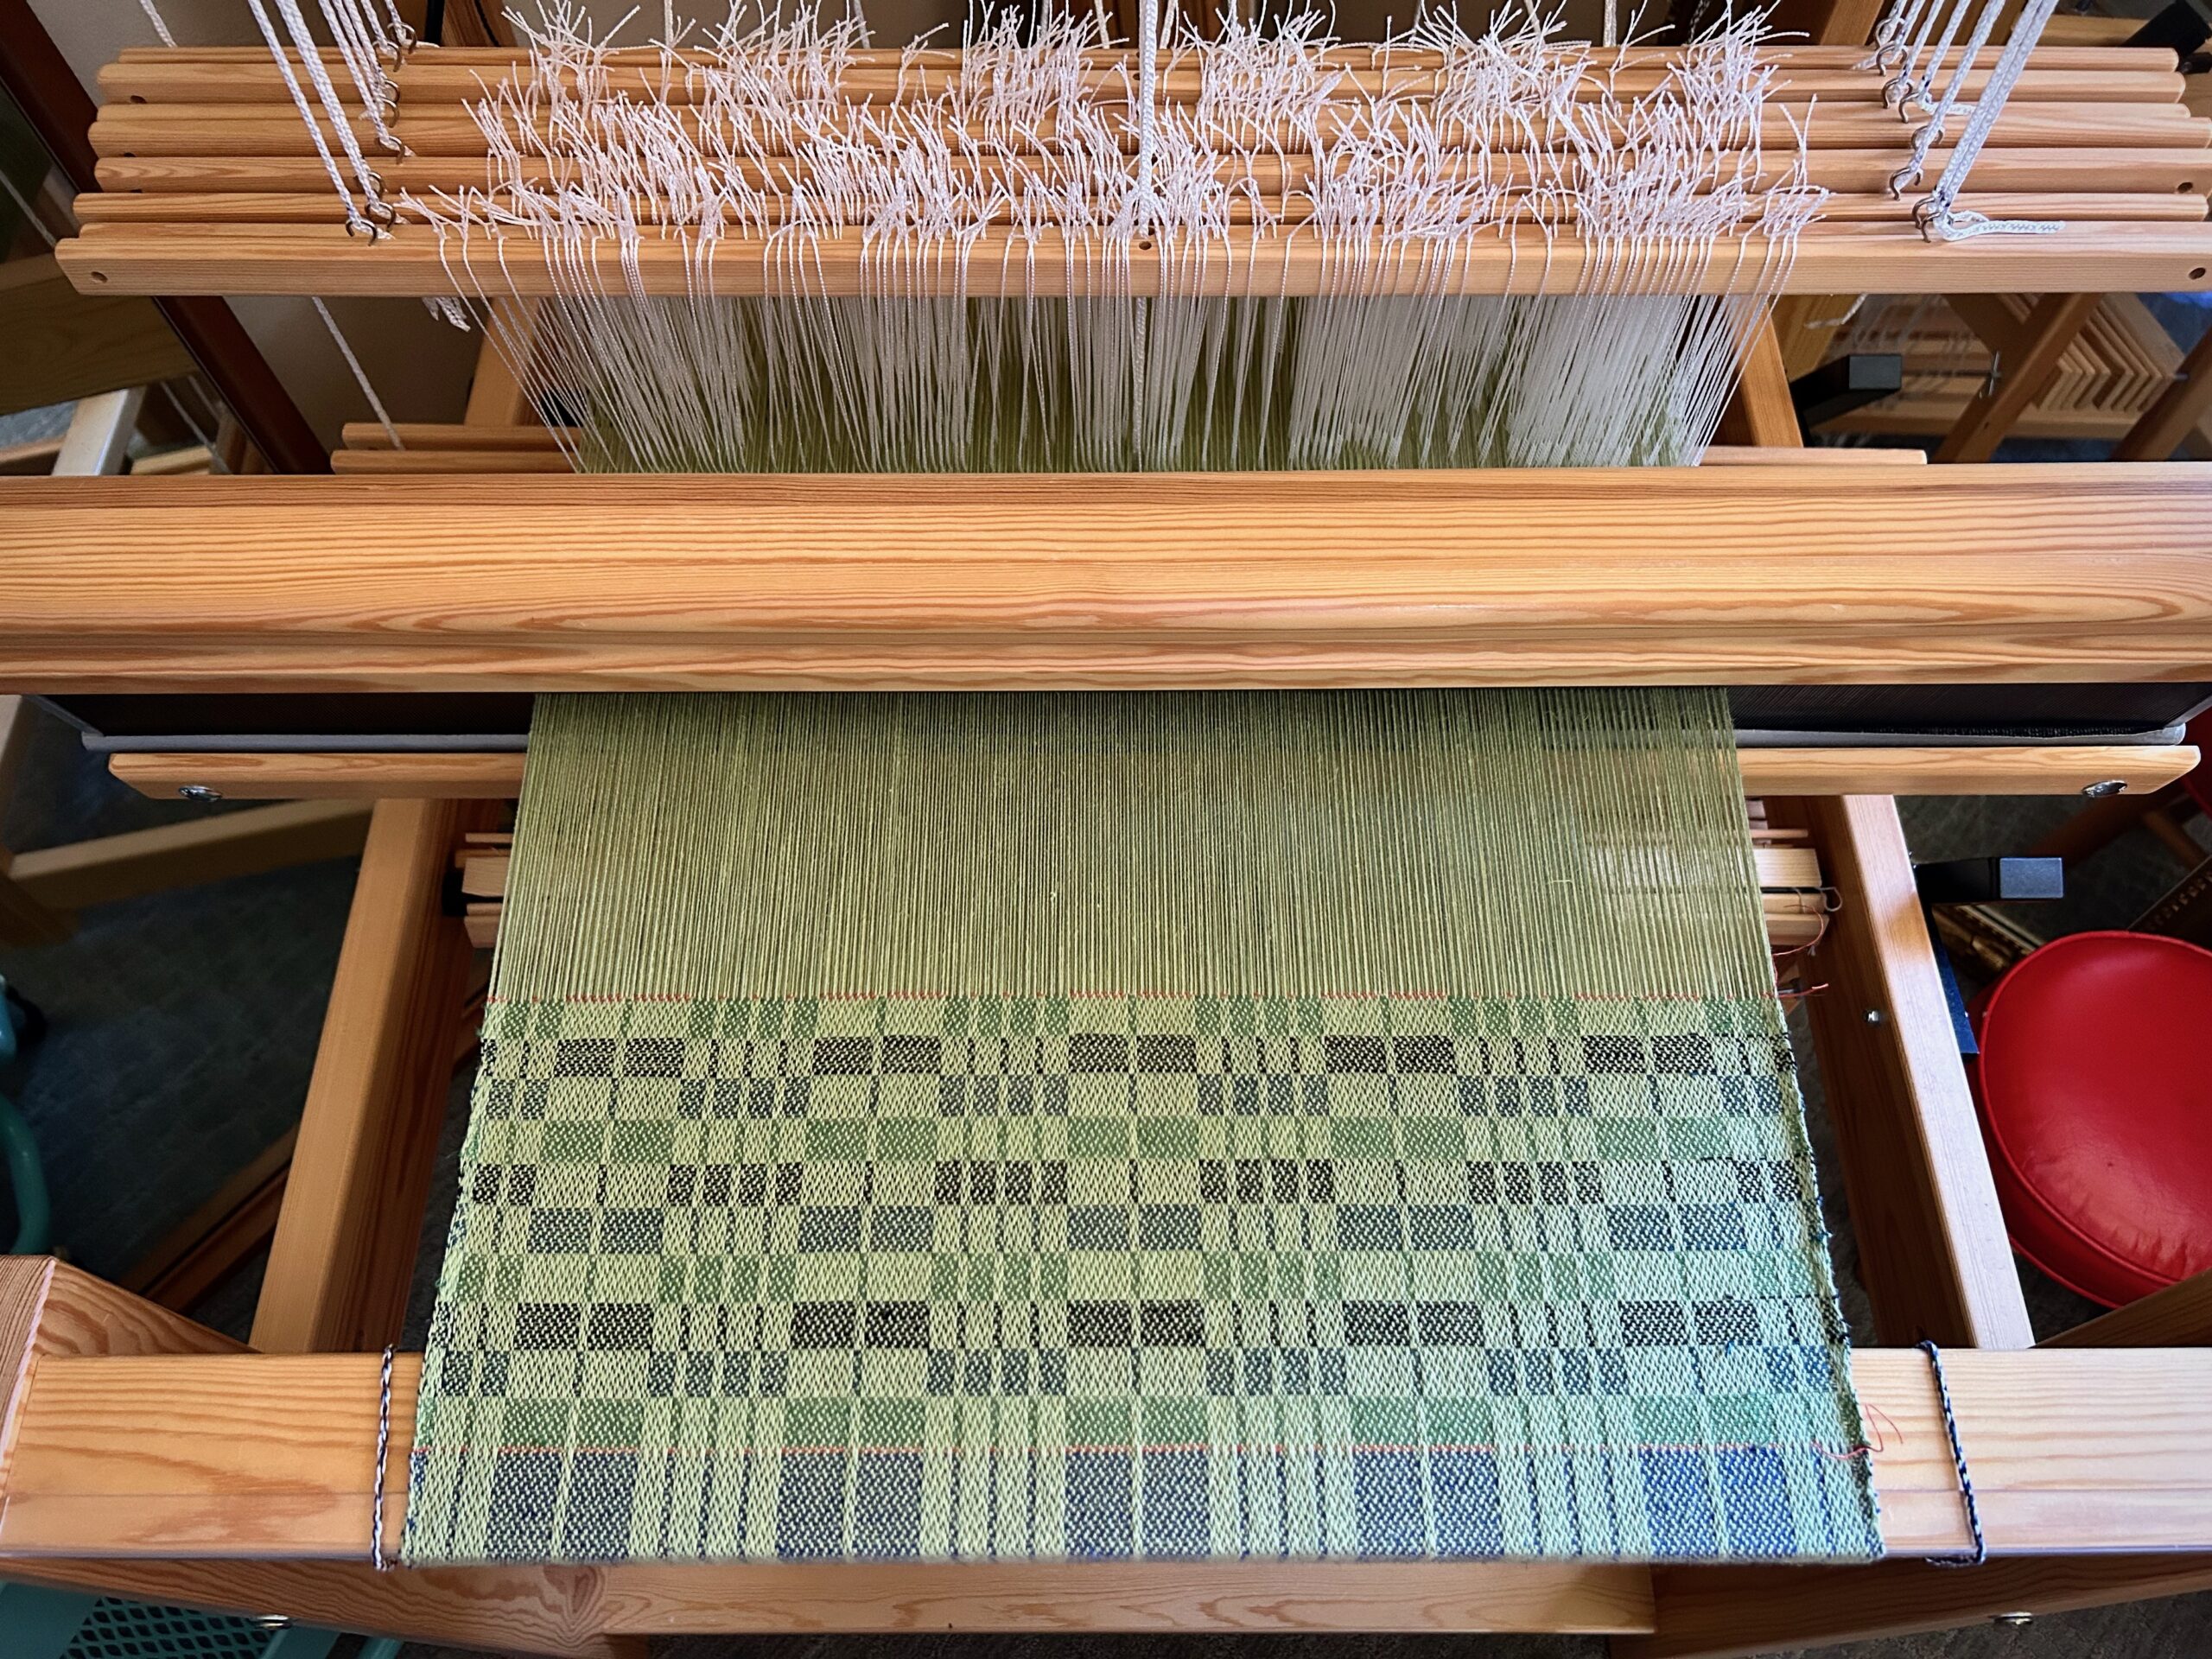
Thank you for following along on this lengthy Critter Napkins project. Twelve critter napkins on the combination drawloom. These are hefty napkins with children in mind. Since showing you the roadrunner a few months ago, I have been busy weaving more critters. I have woven the final five, plus three bonus animals…
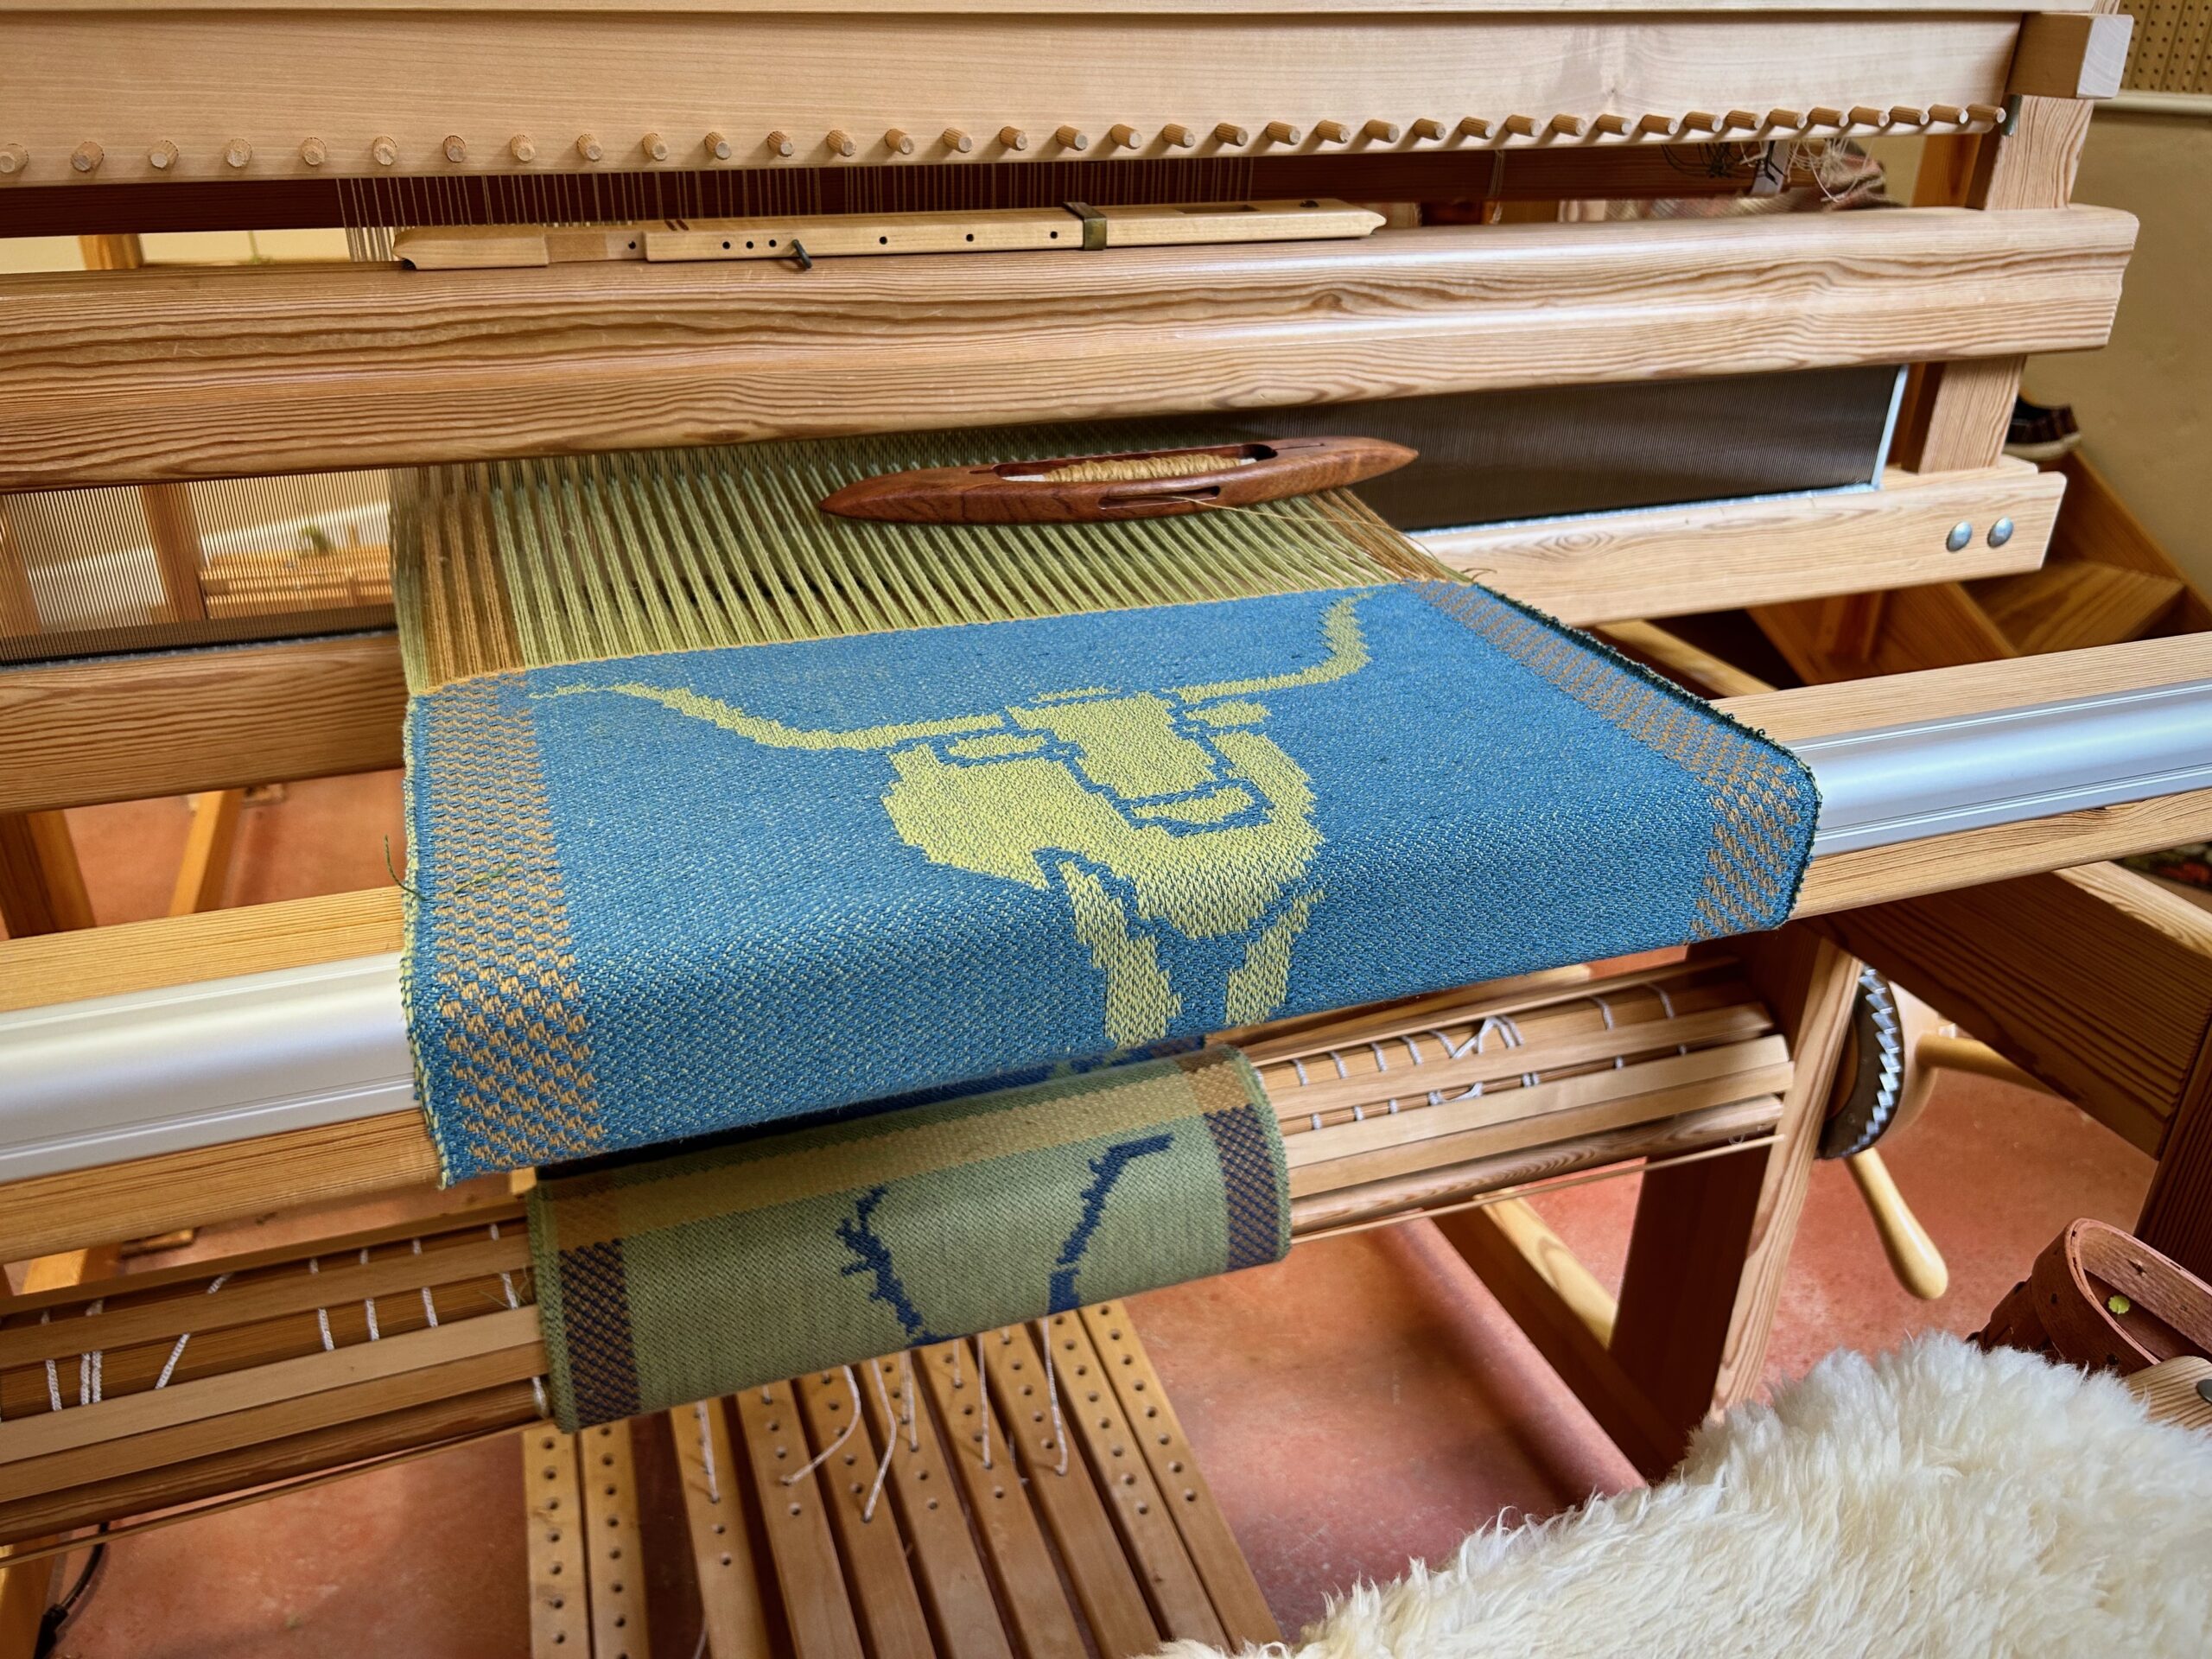
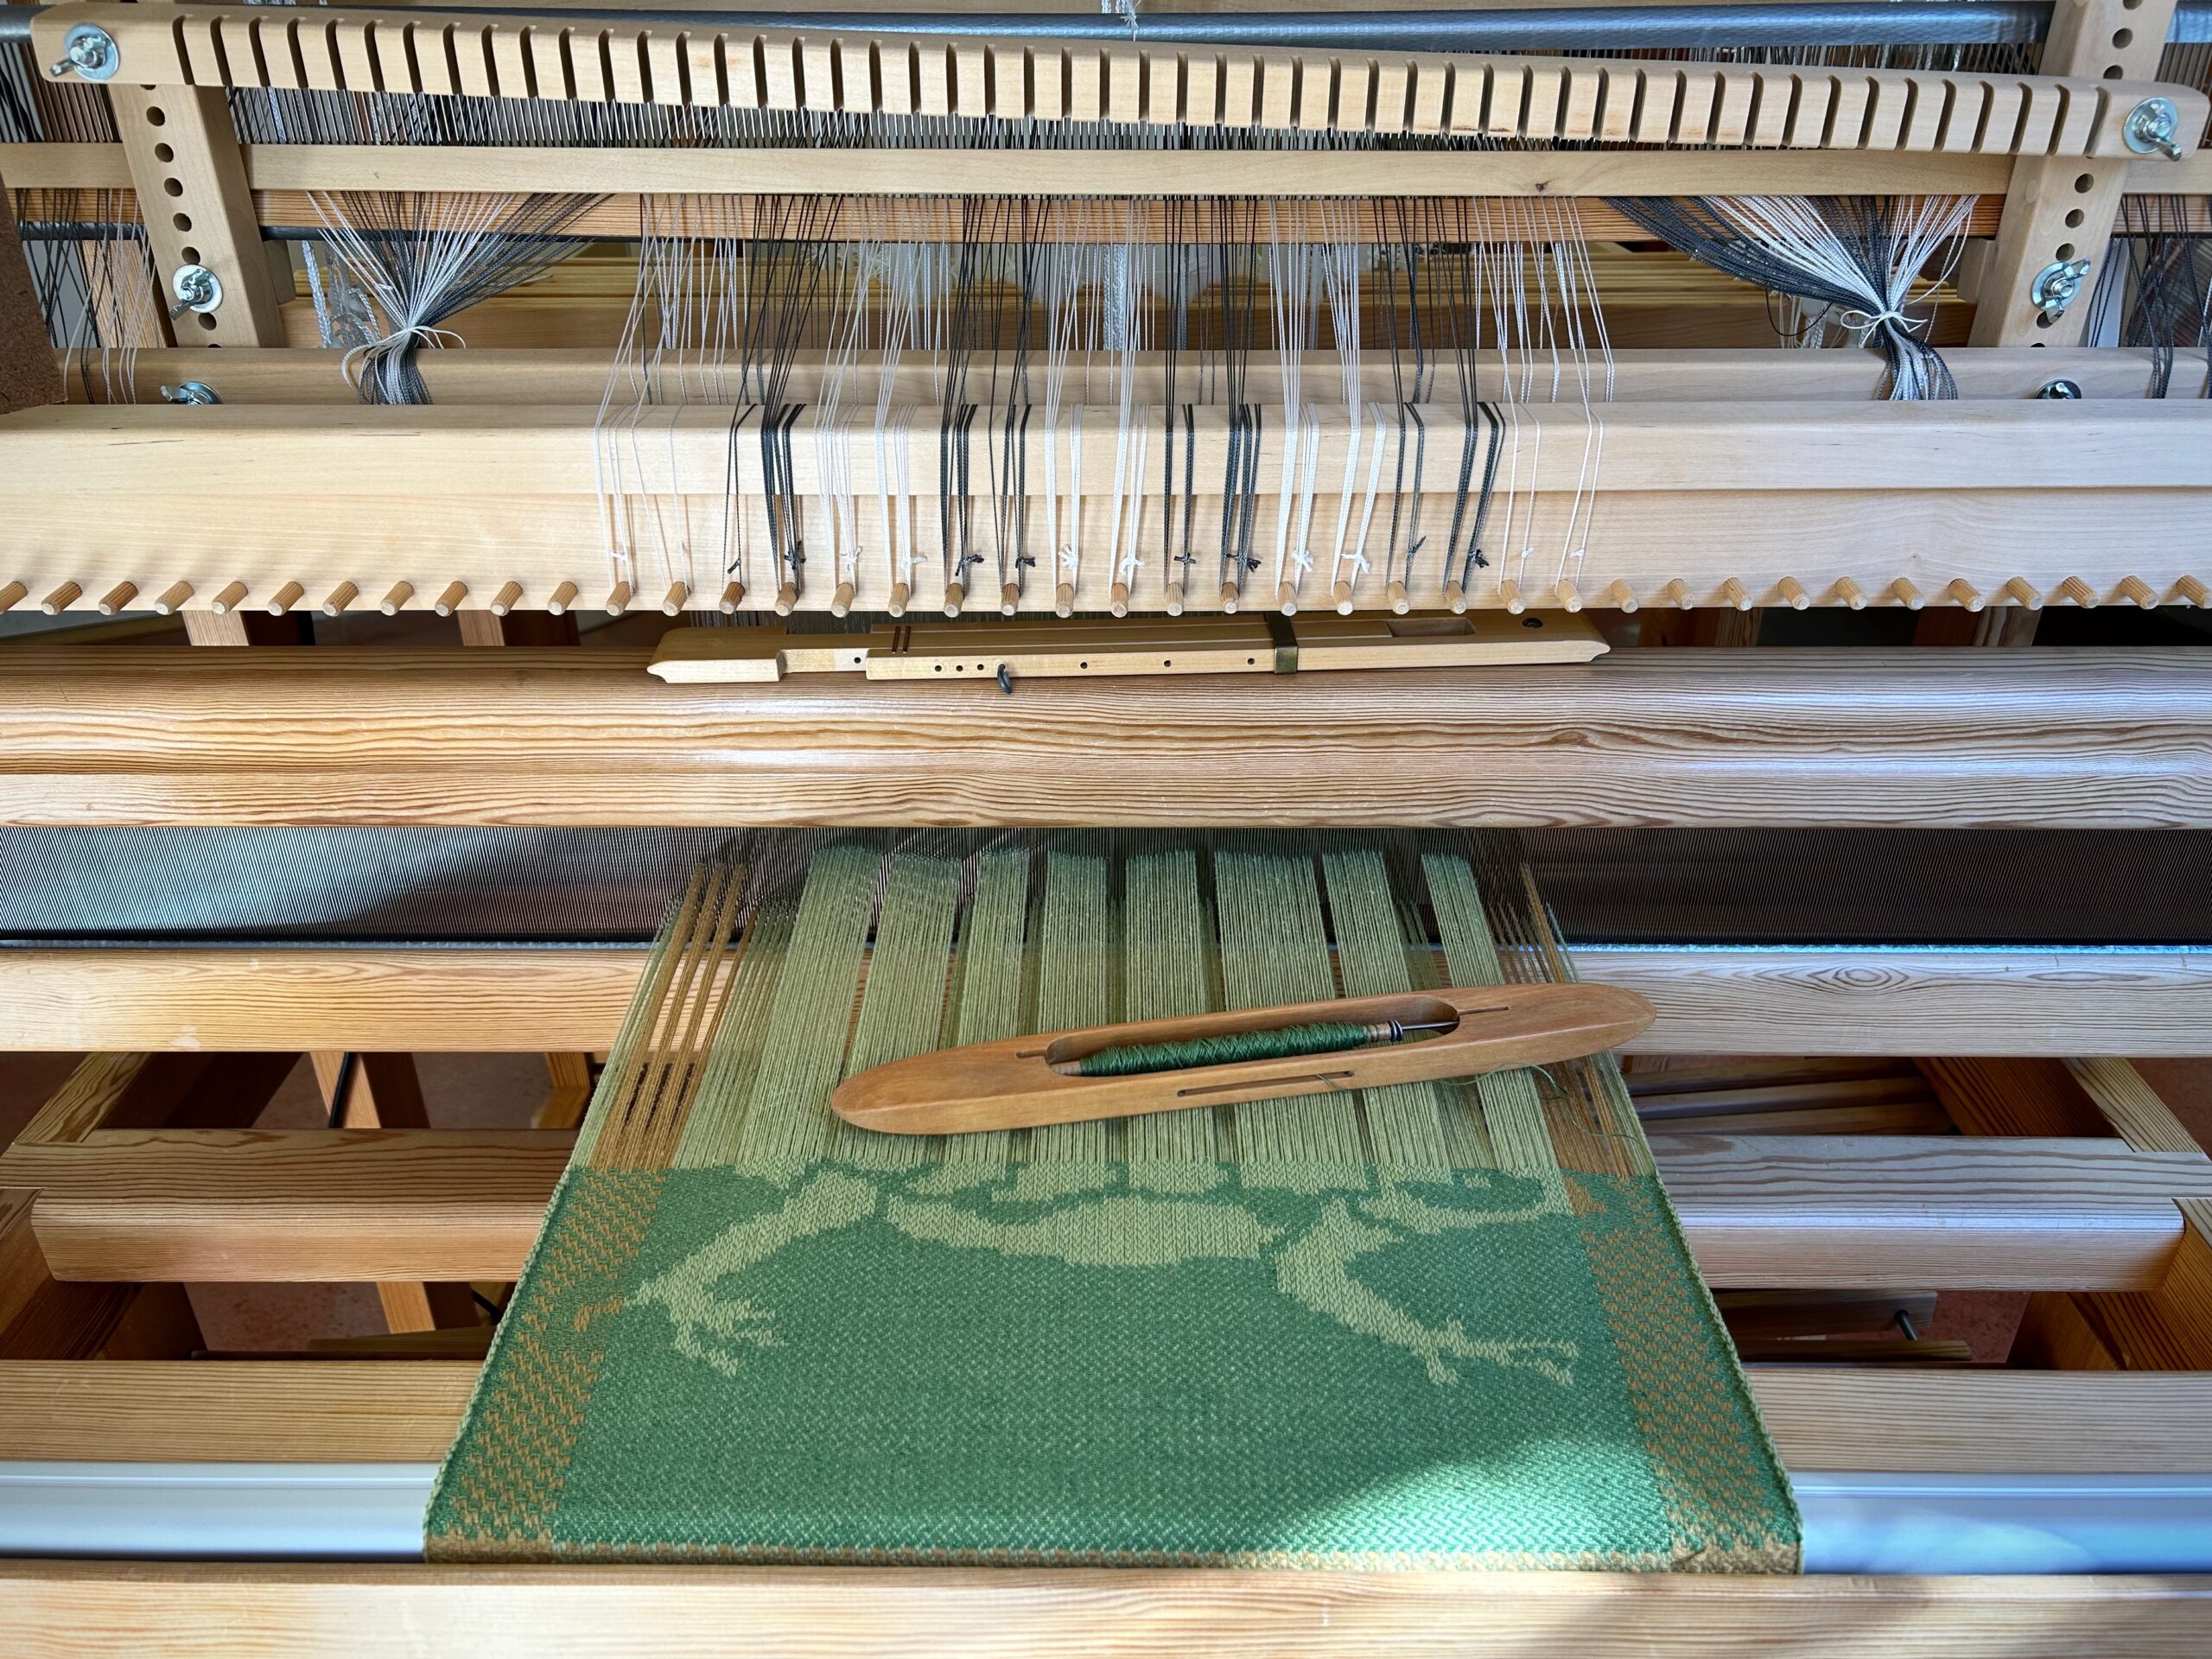
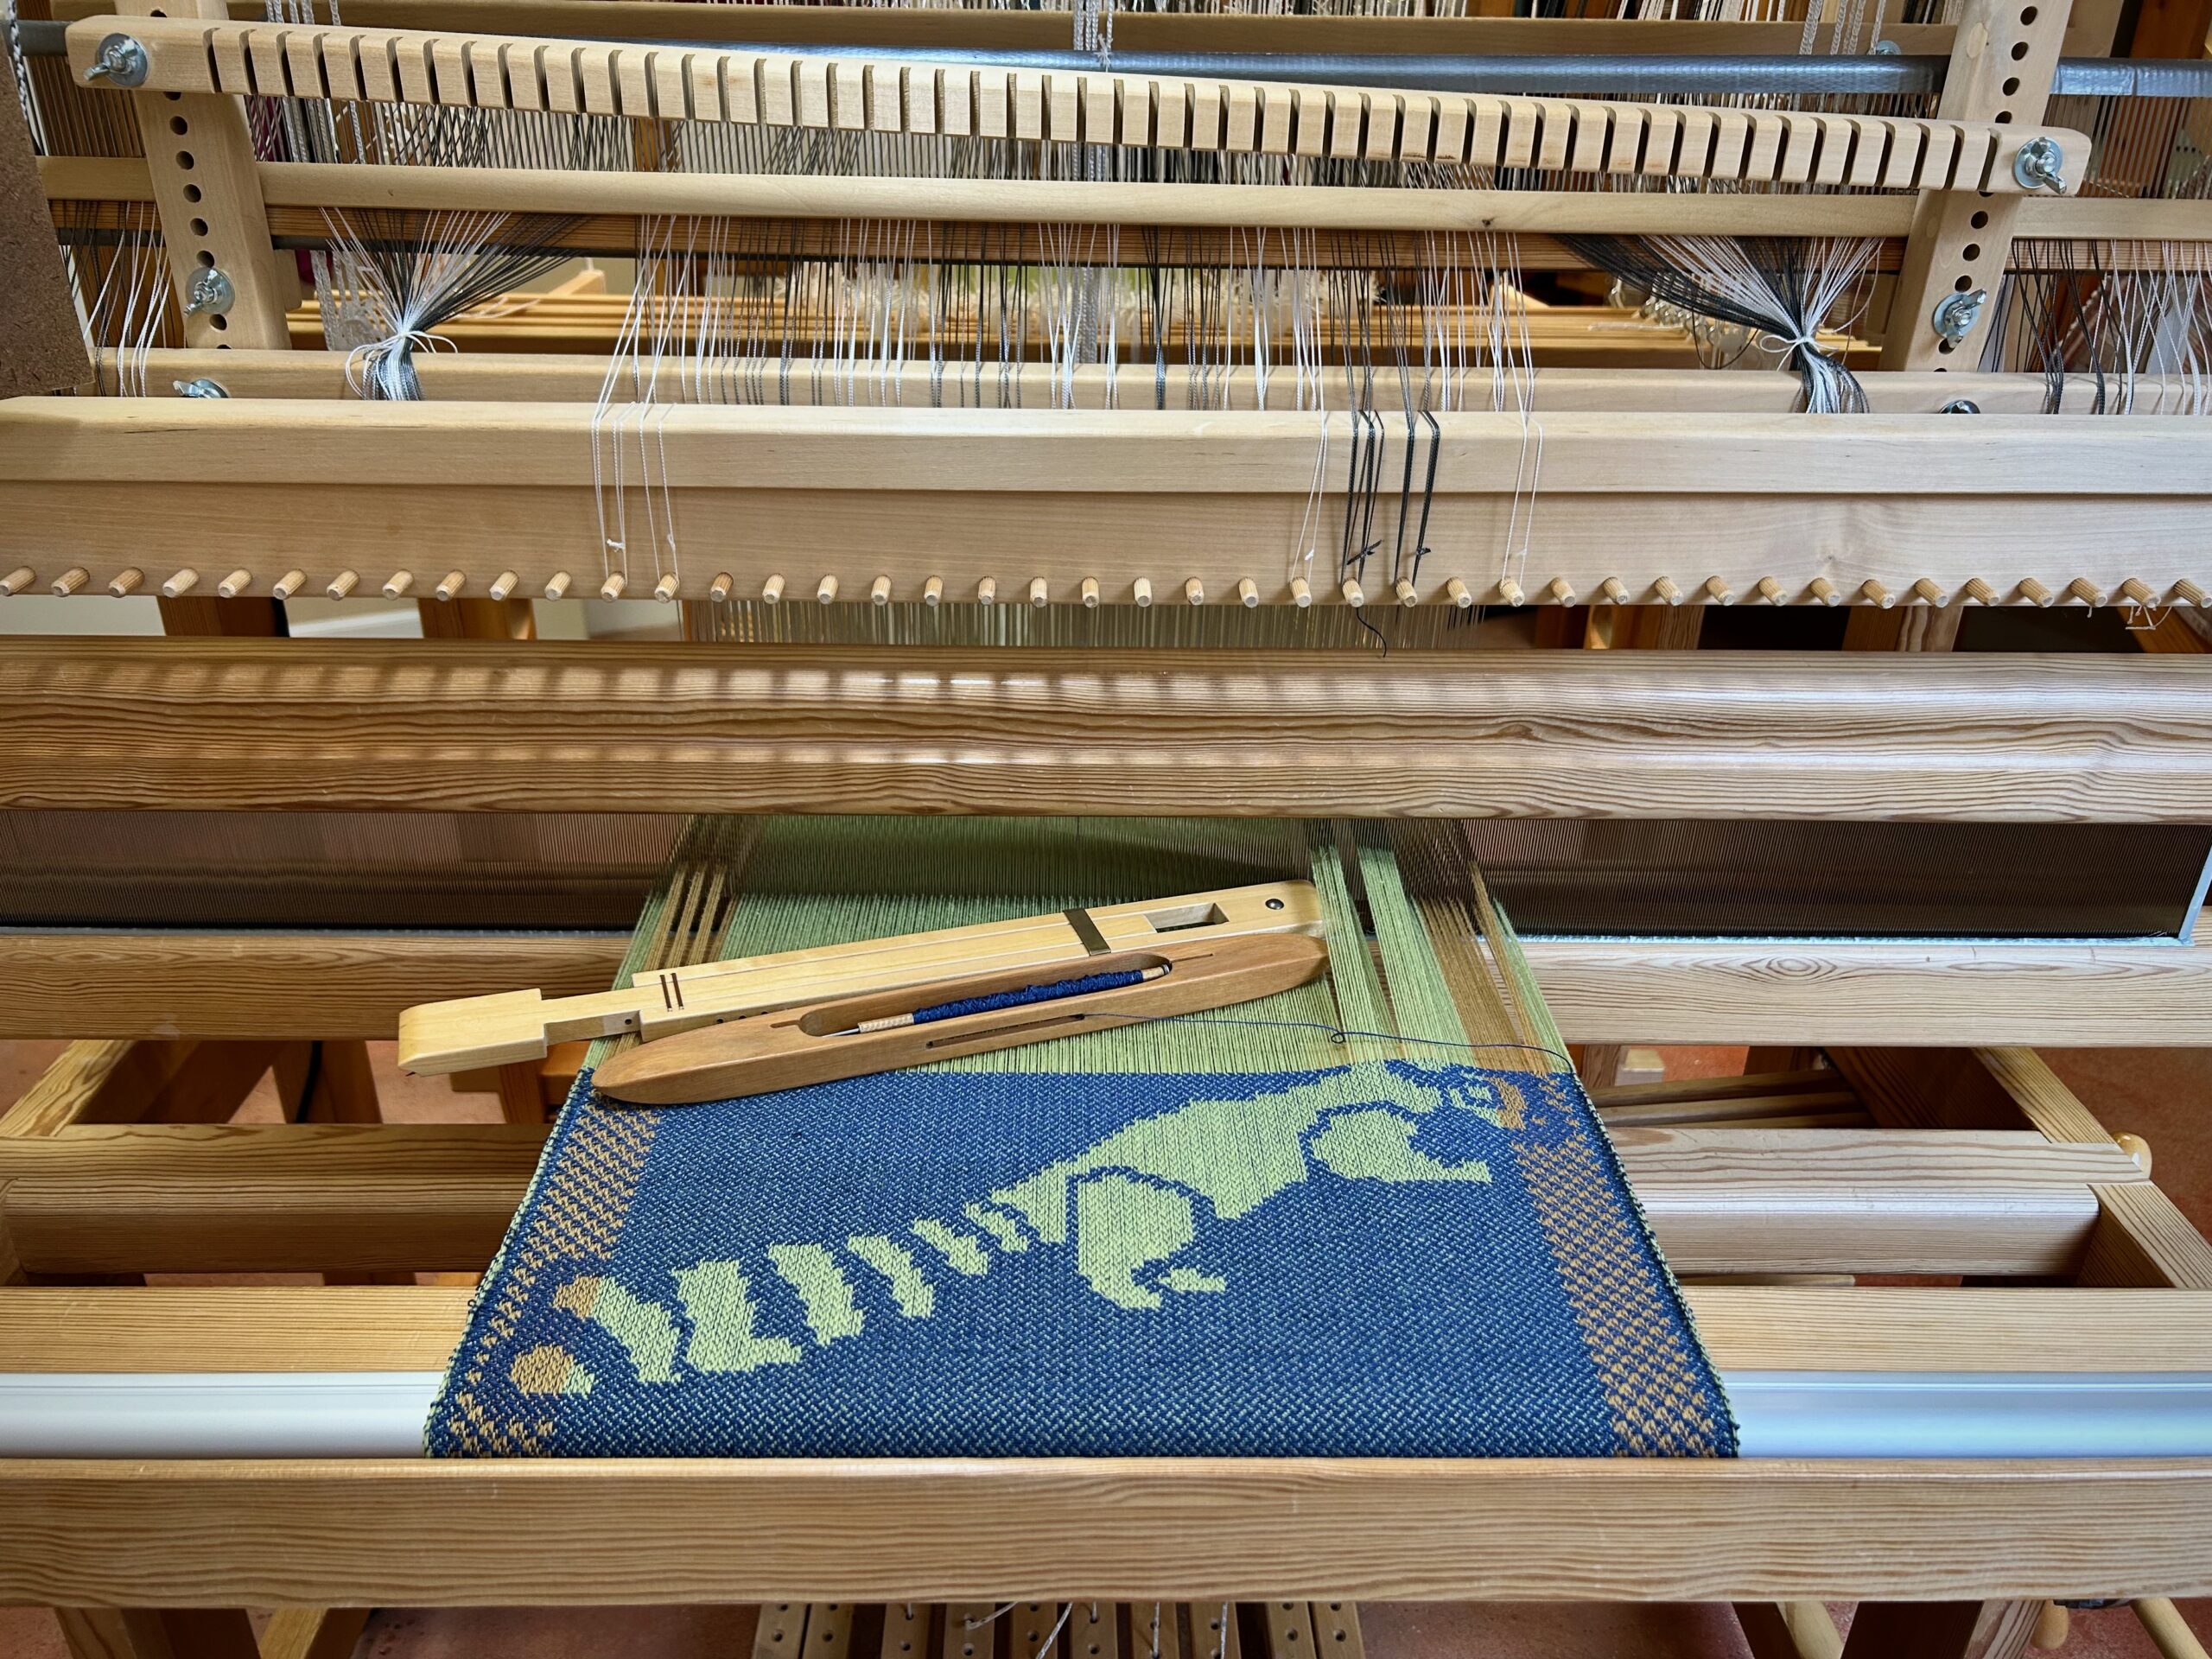
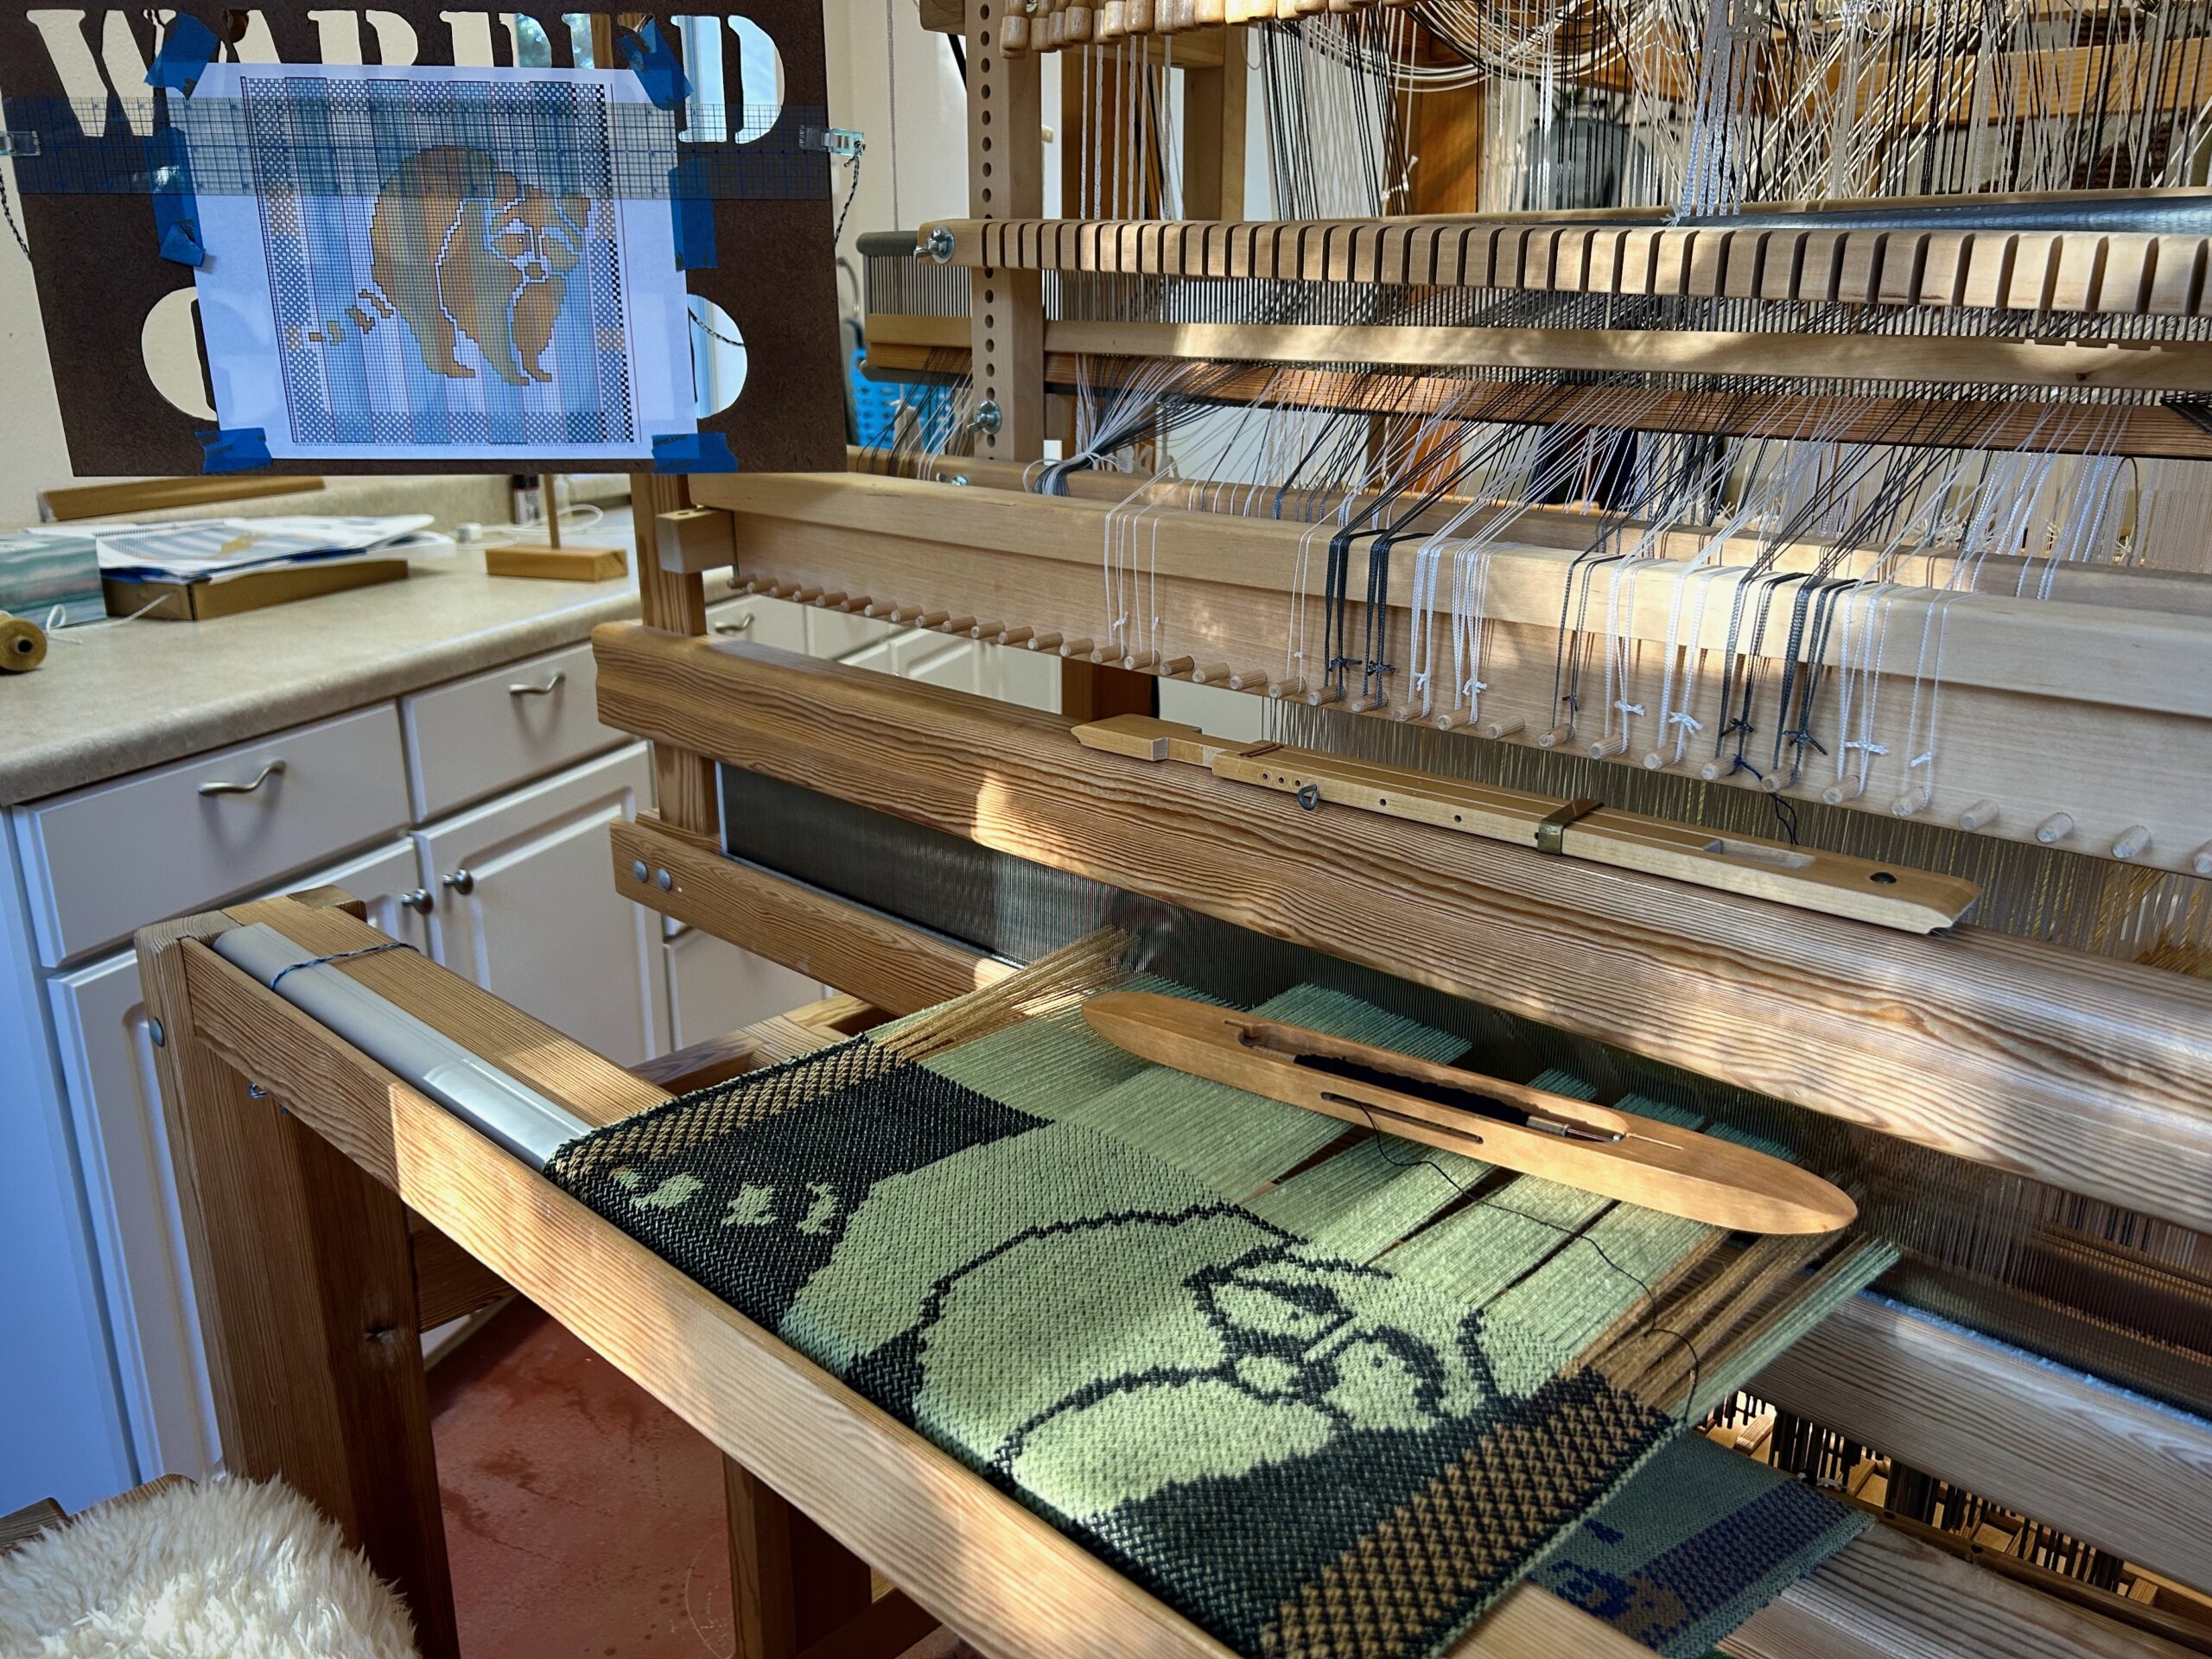
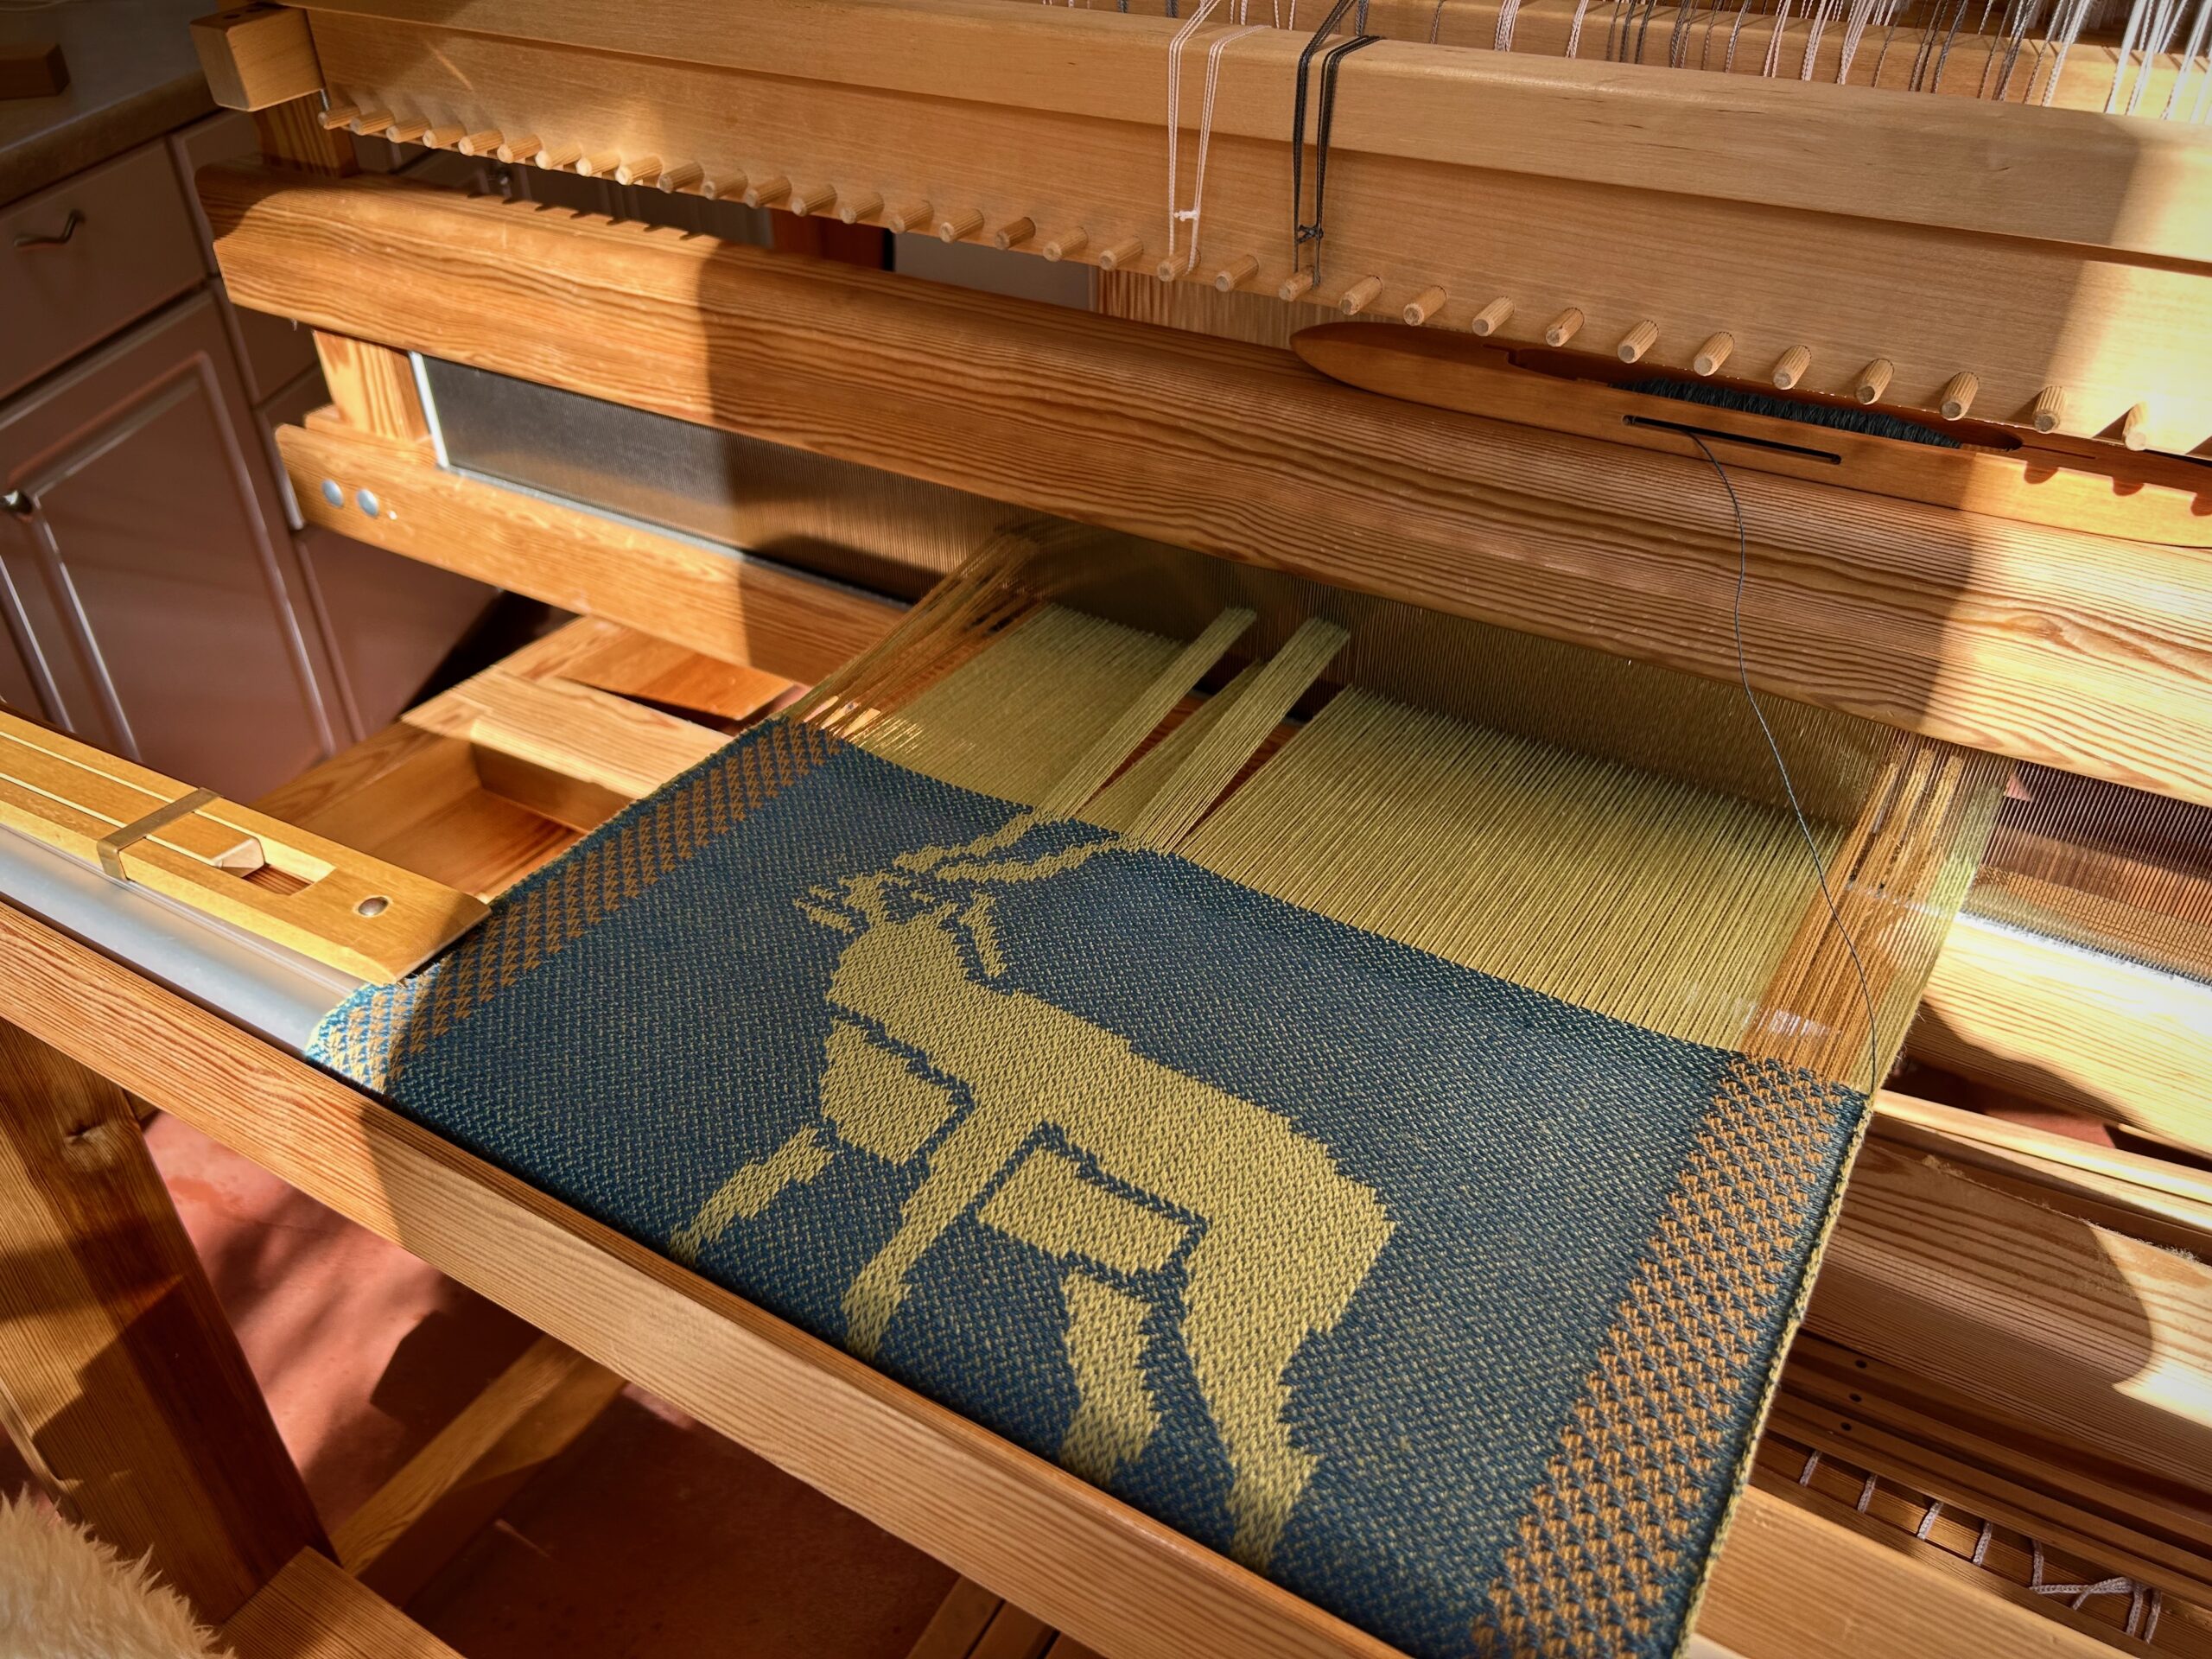
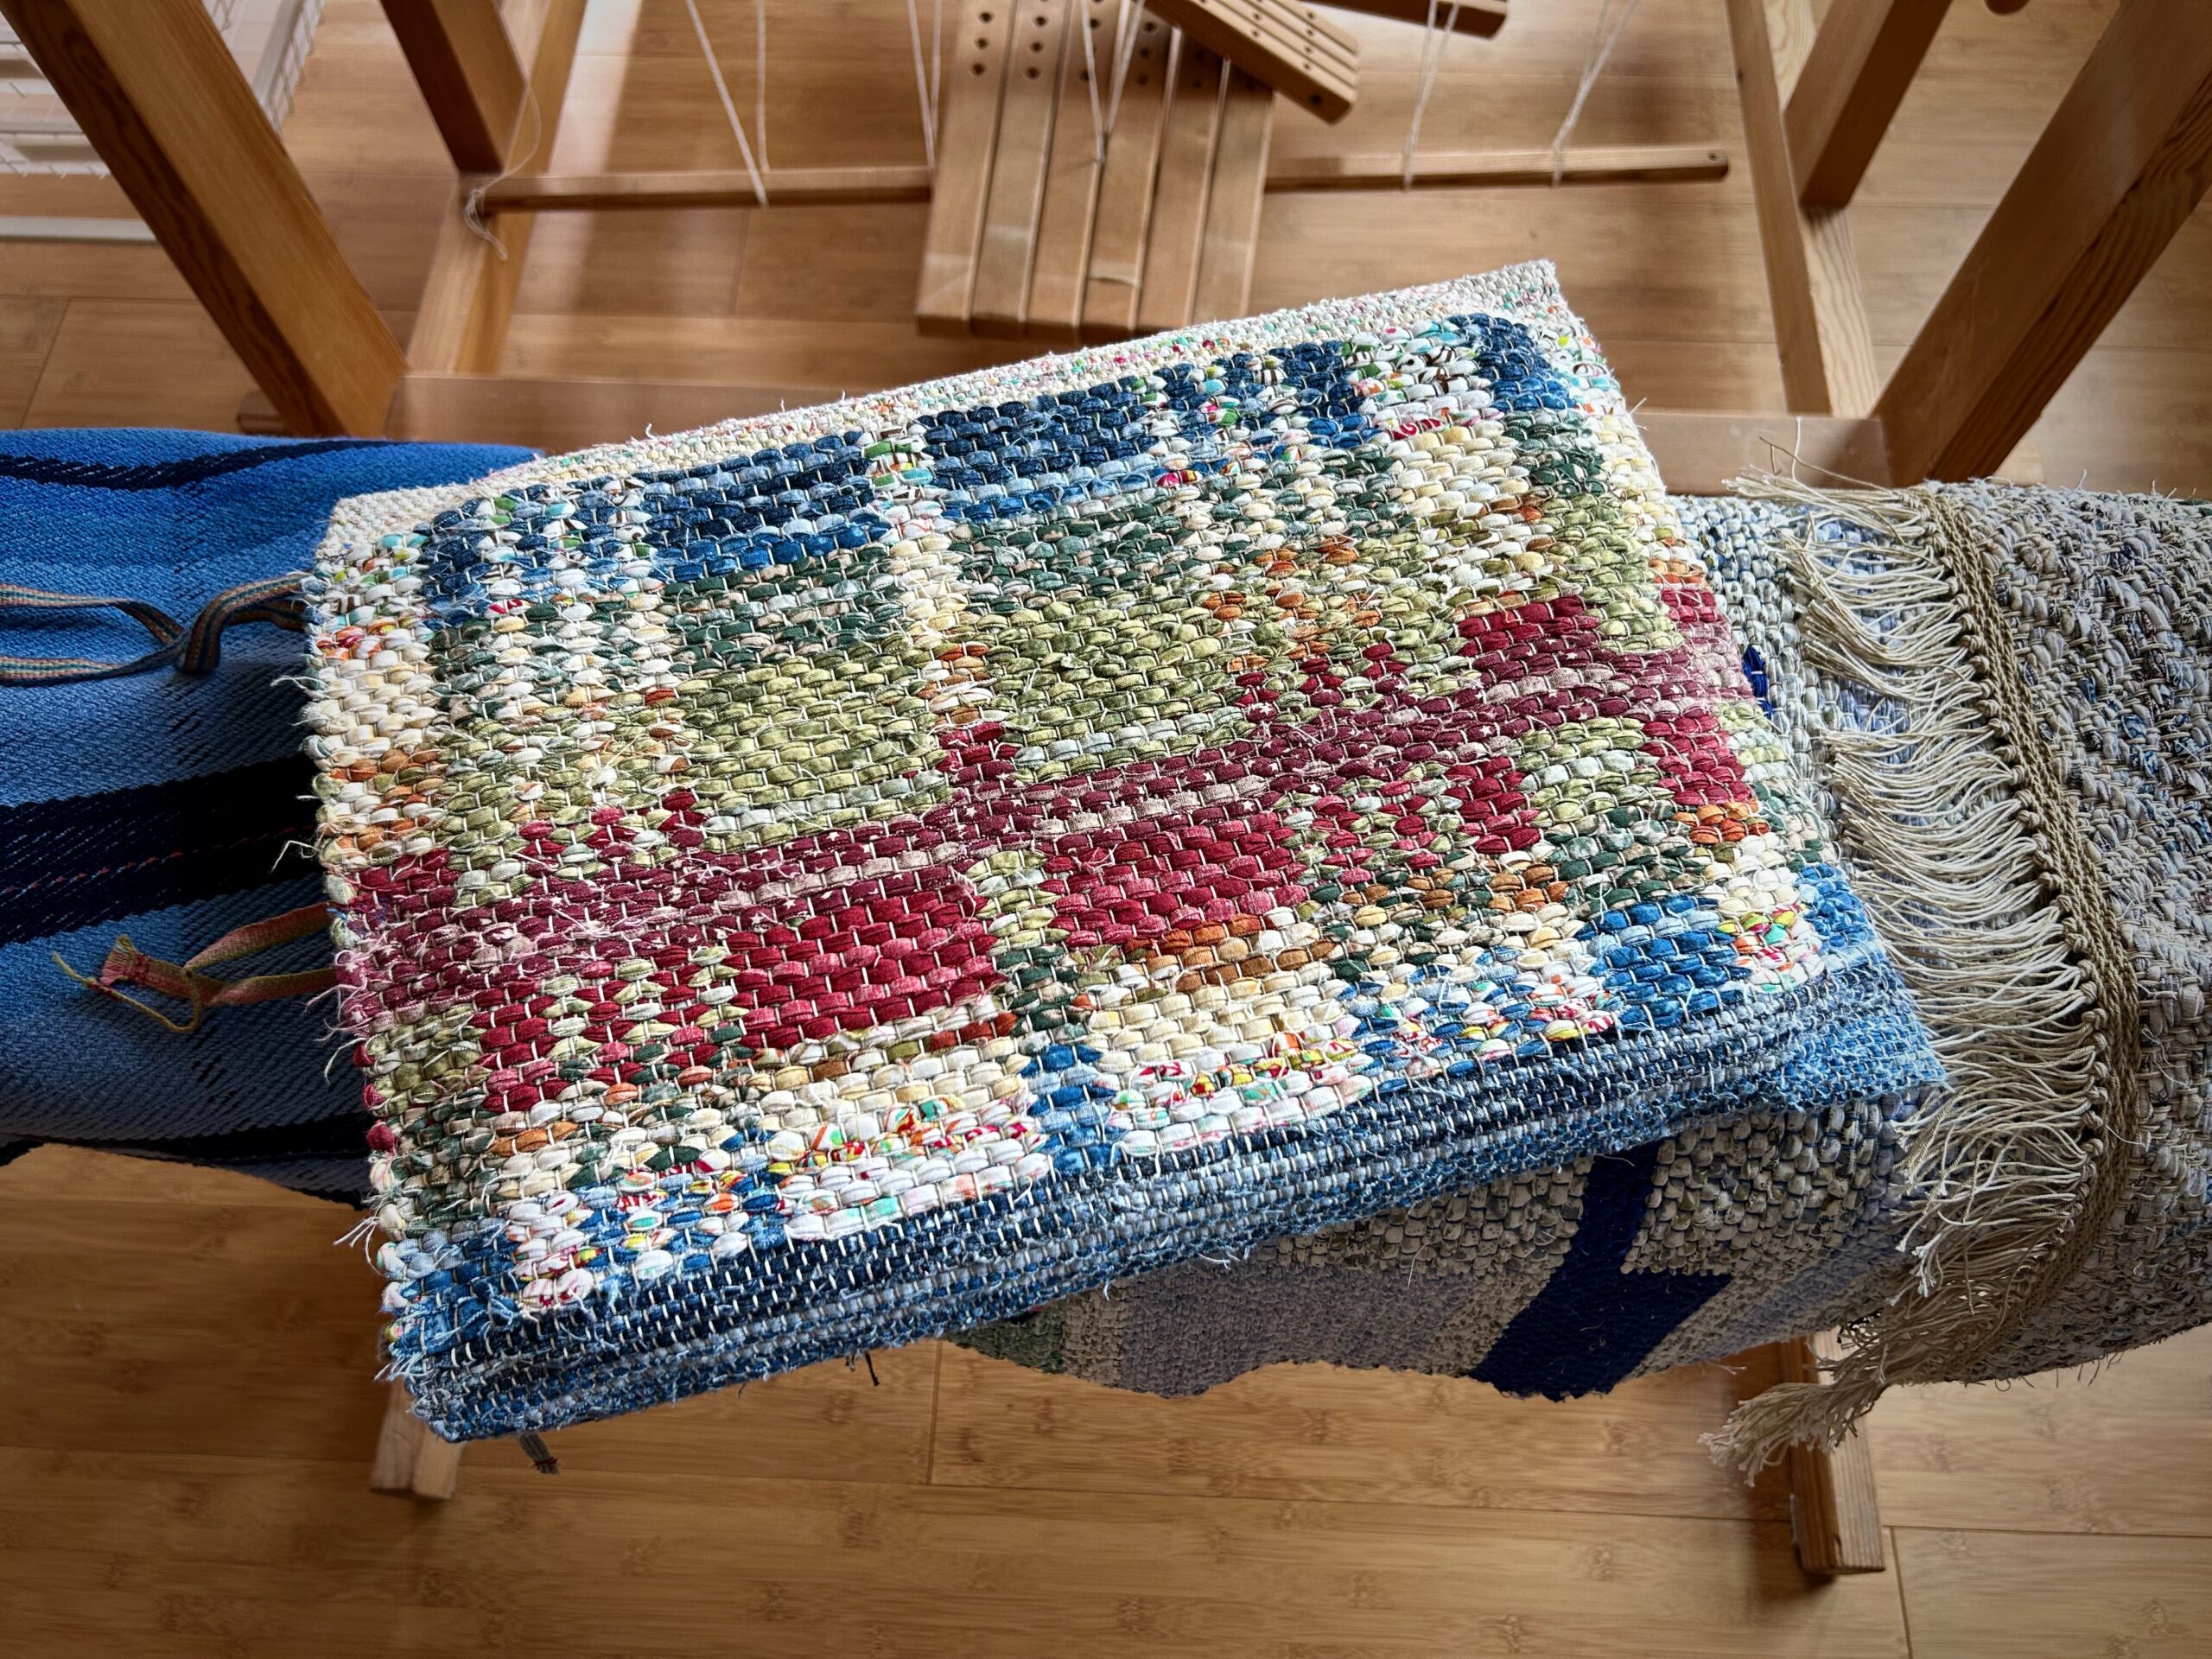
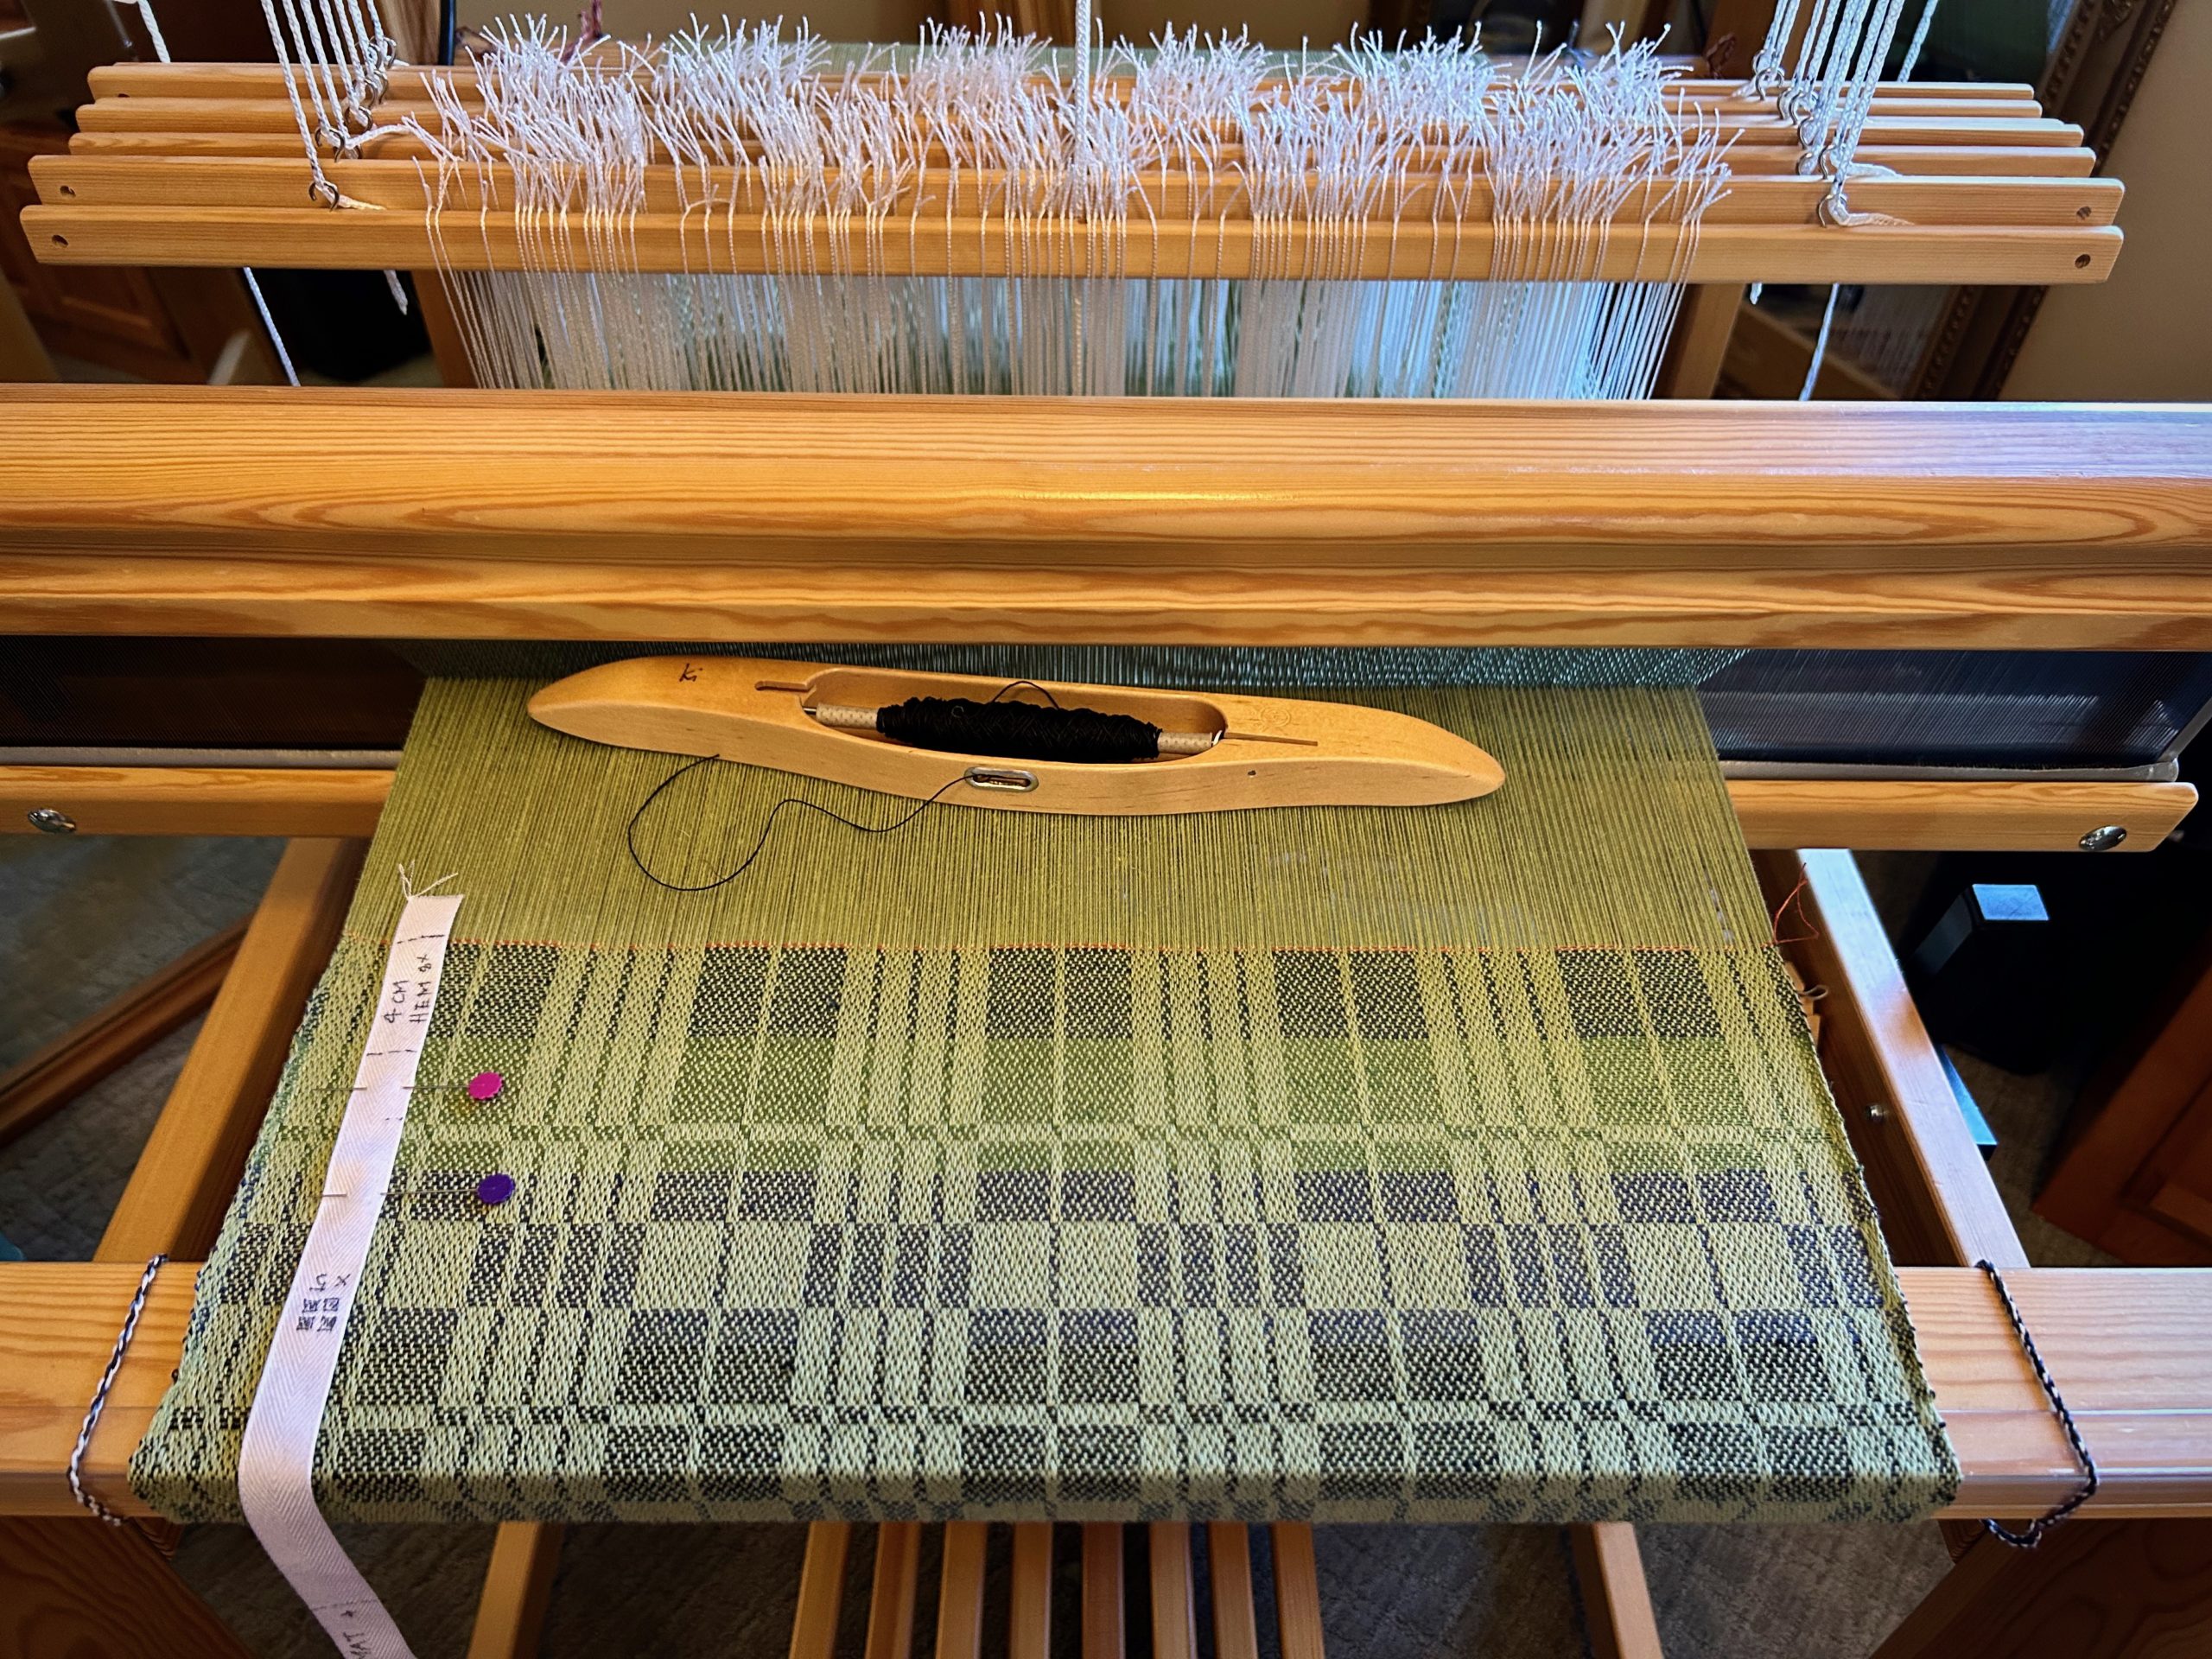
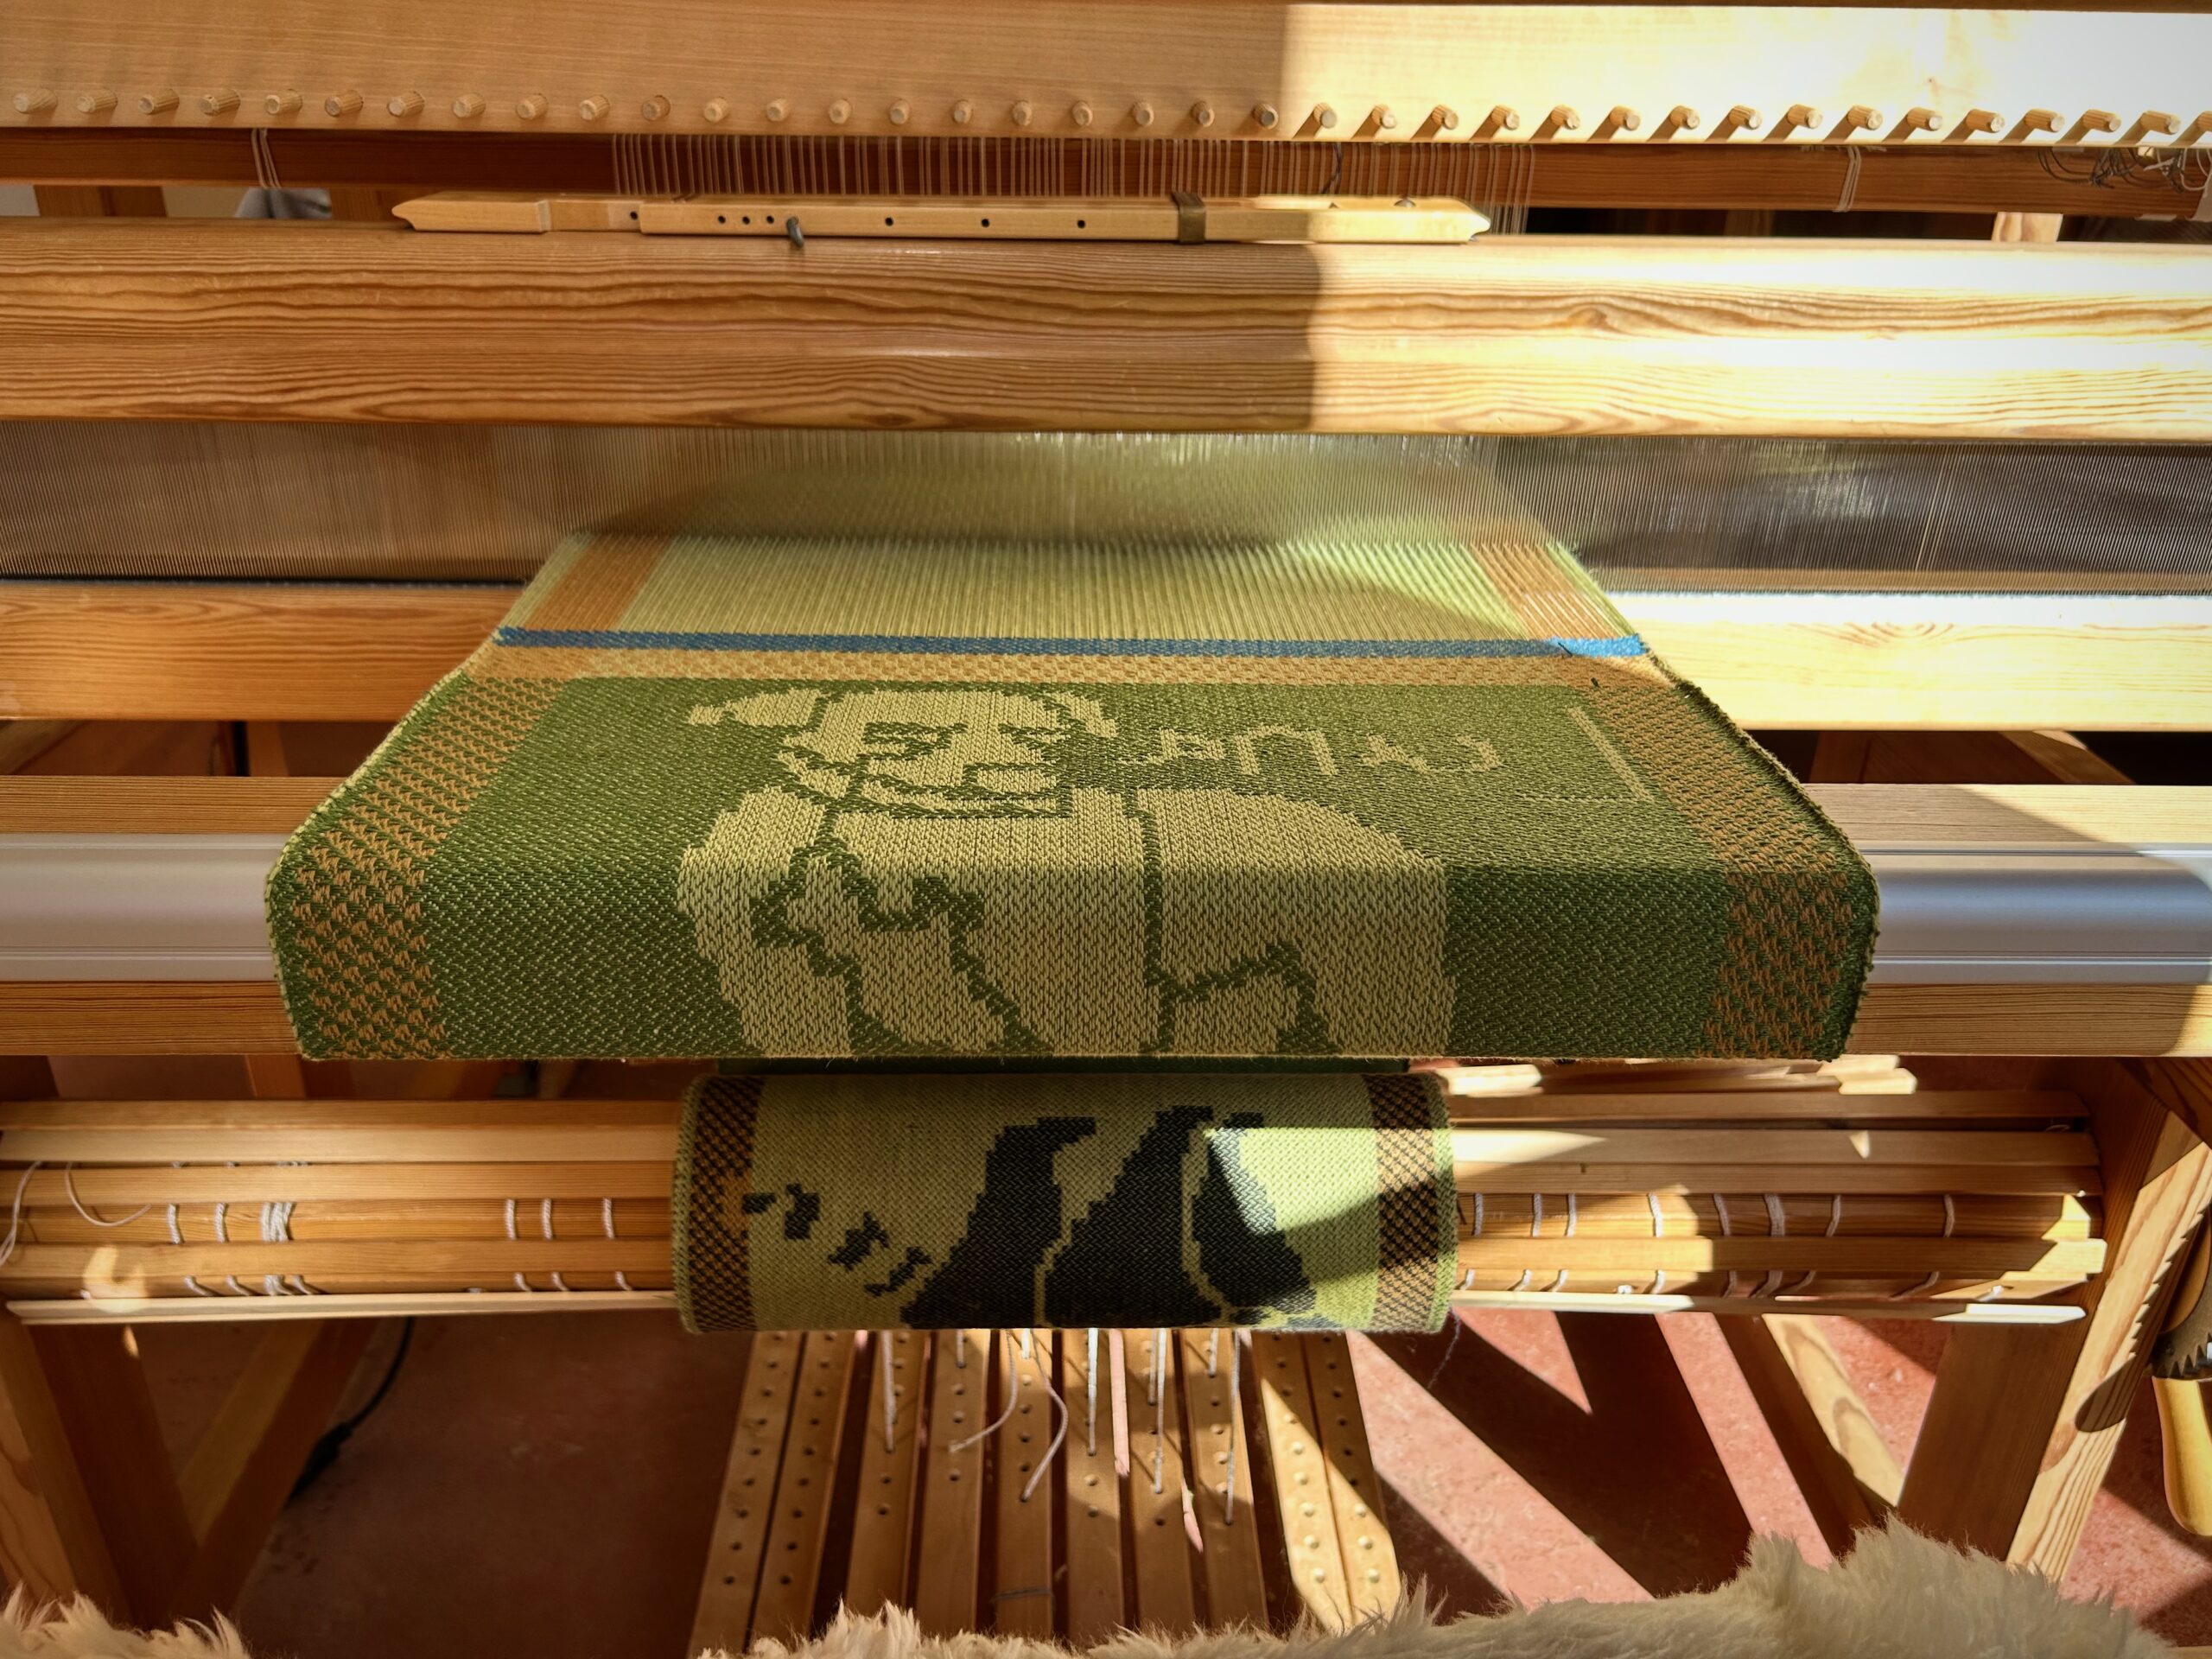
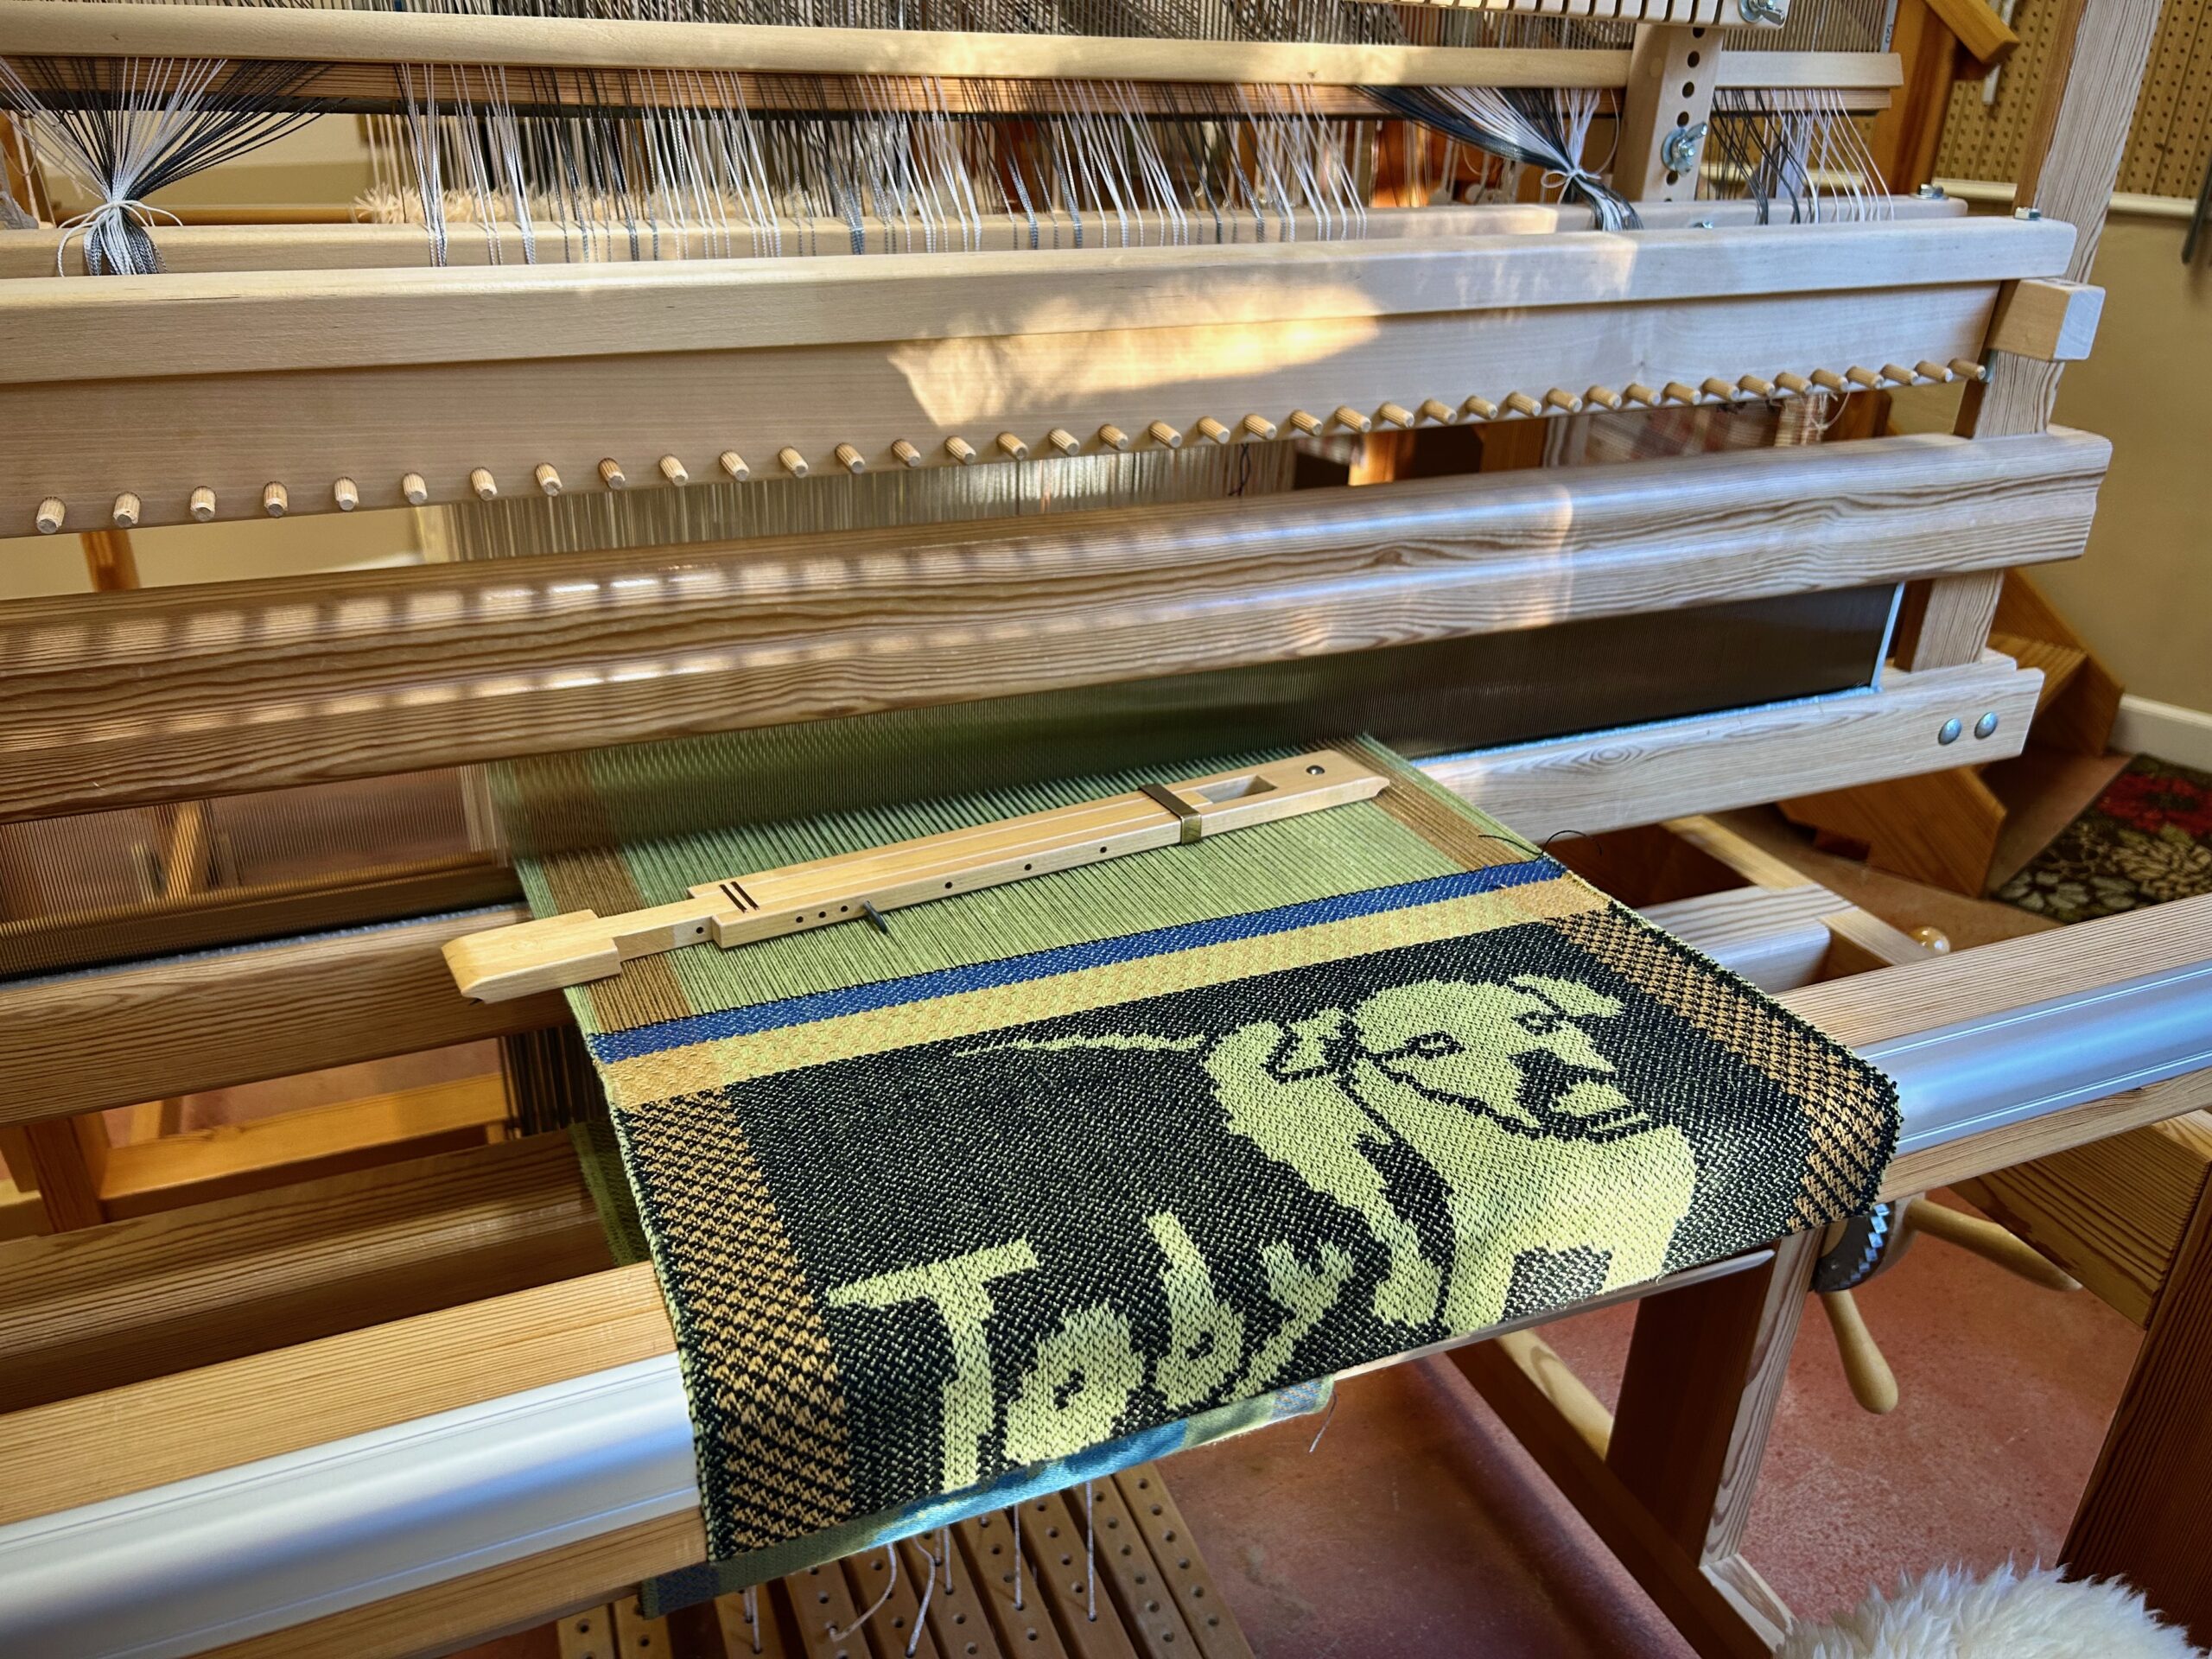
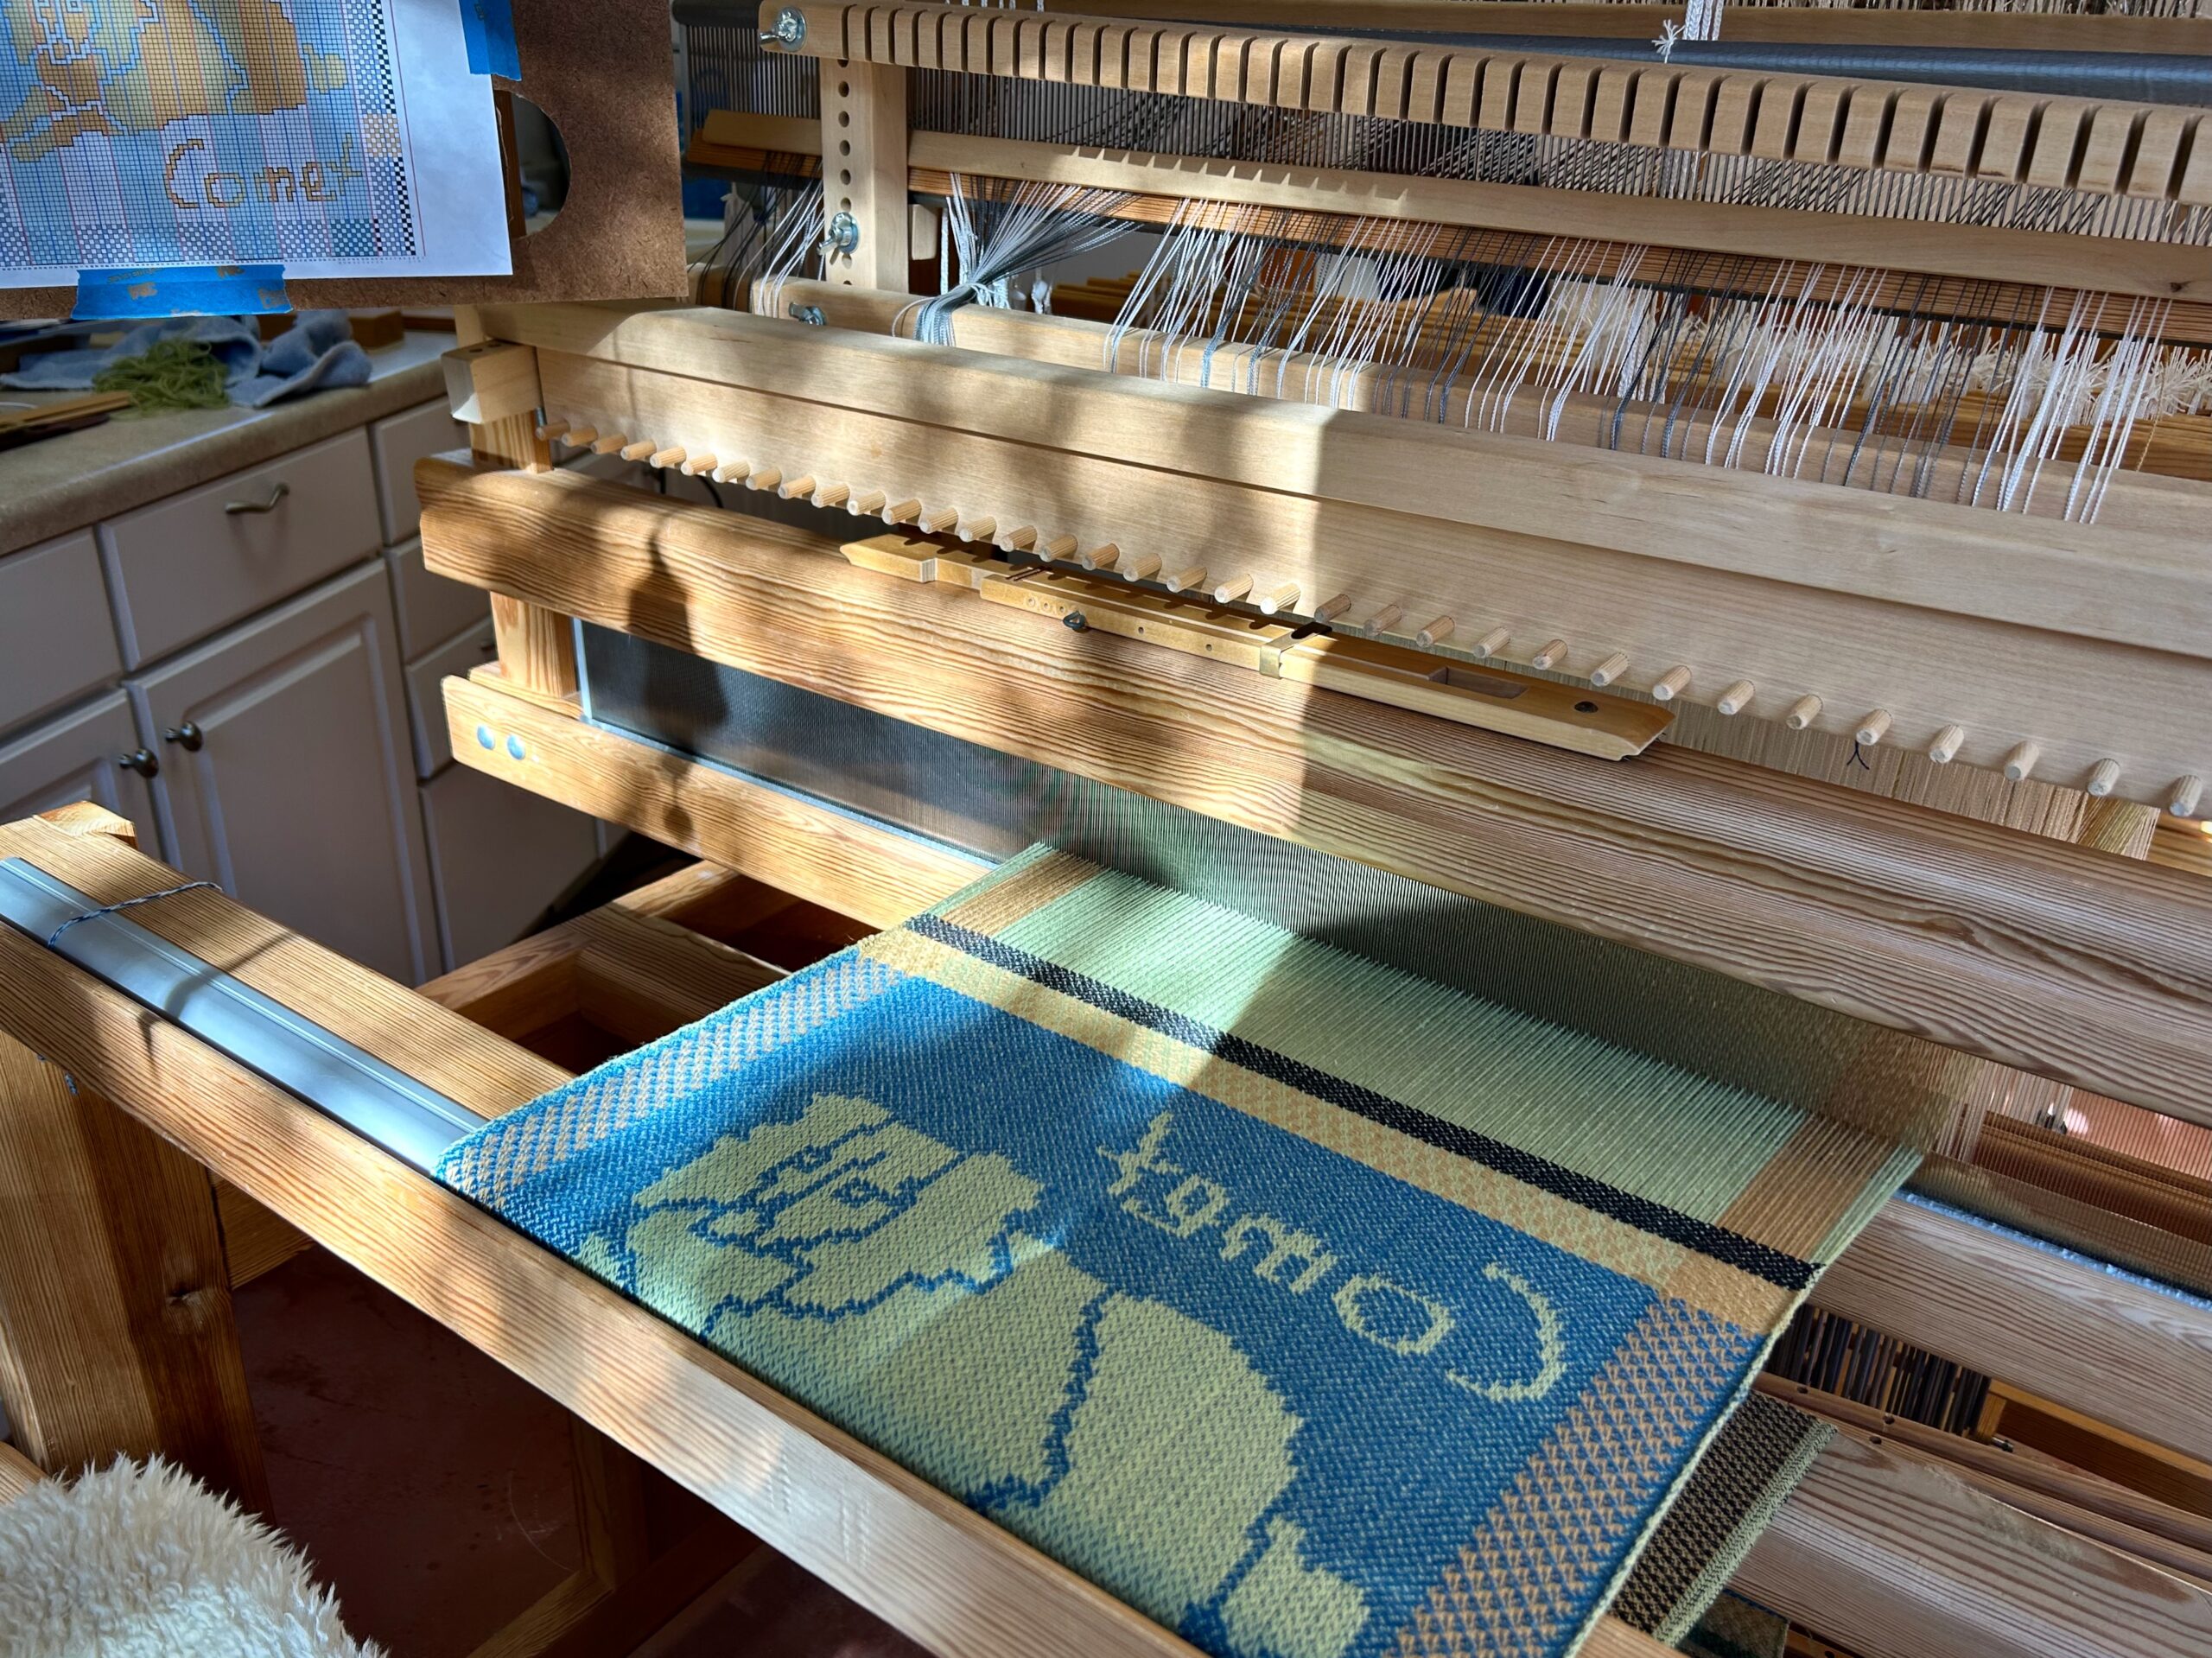
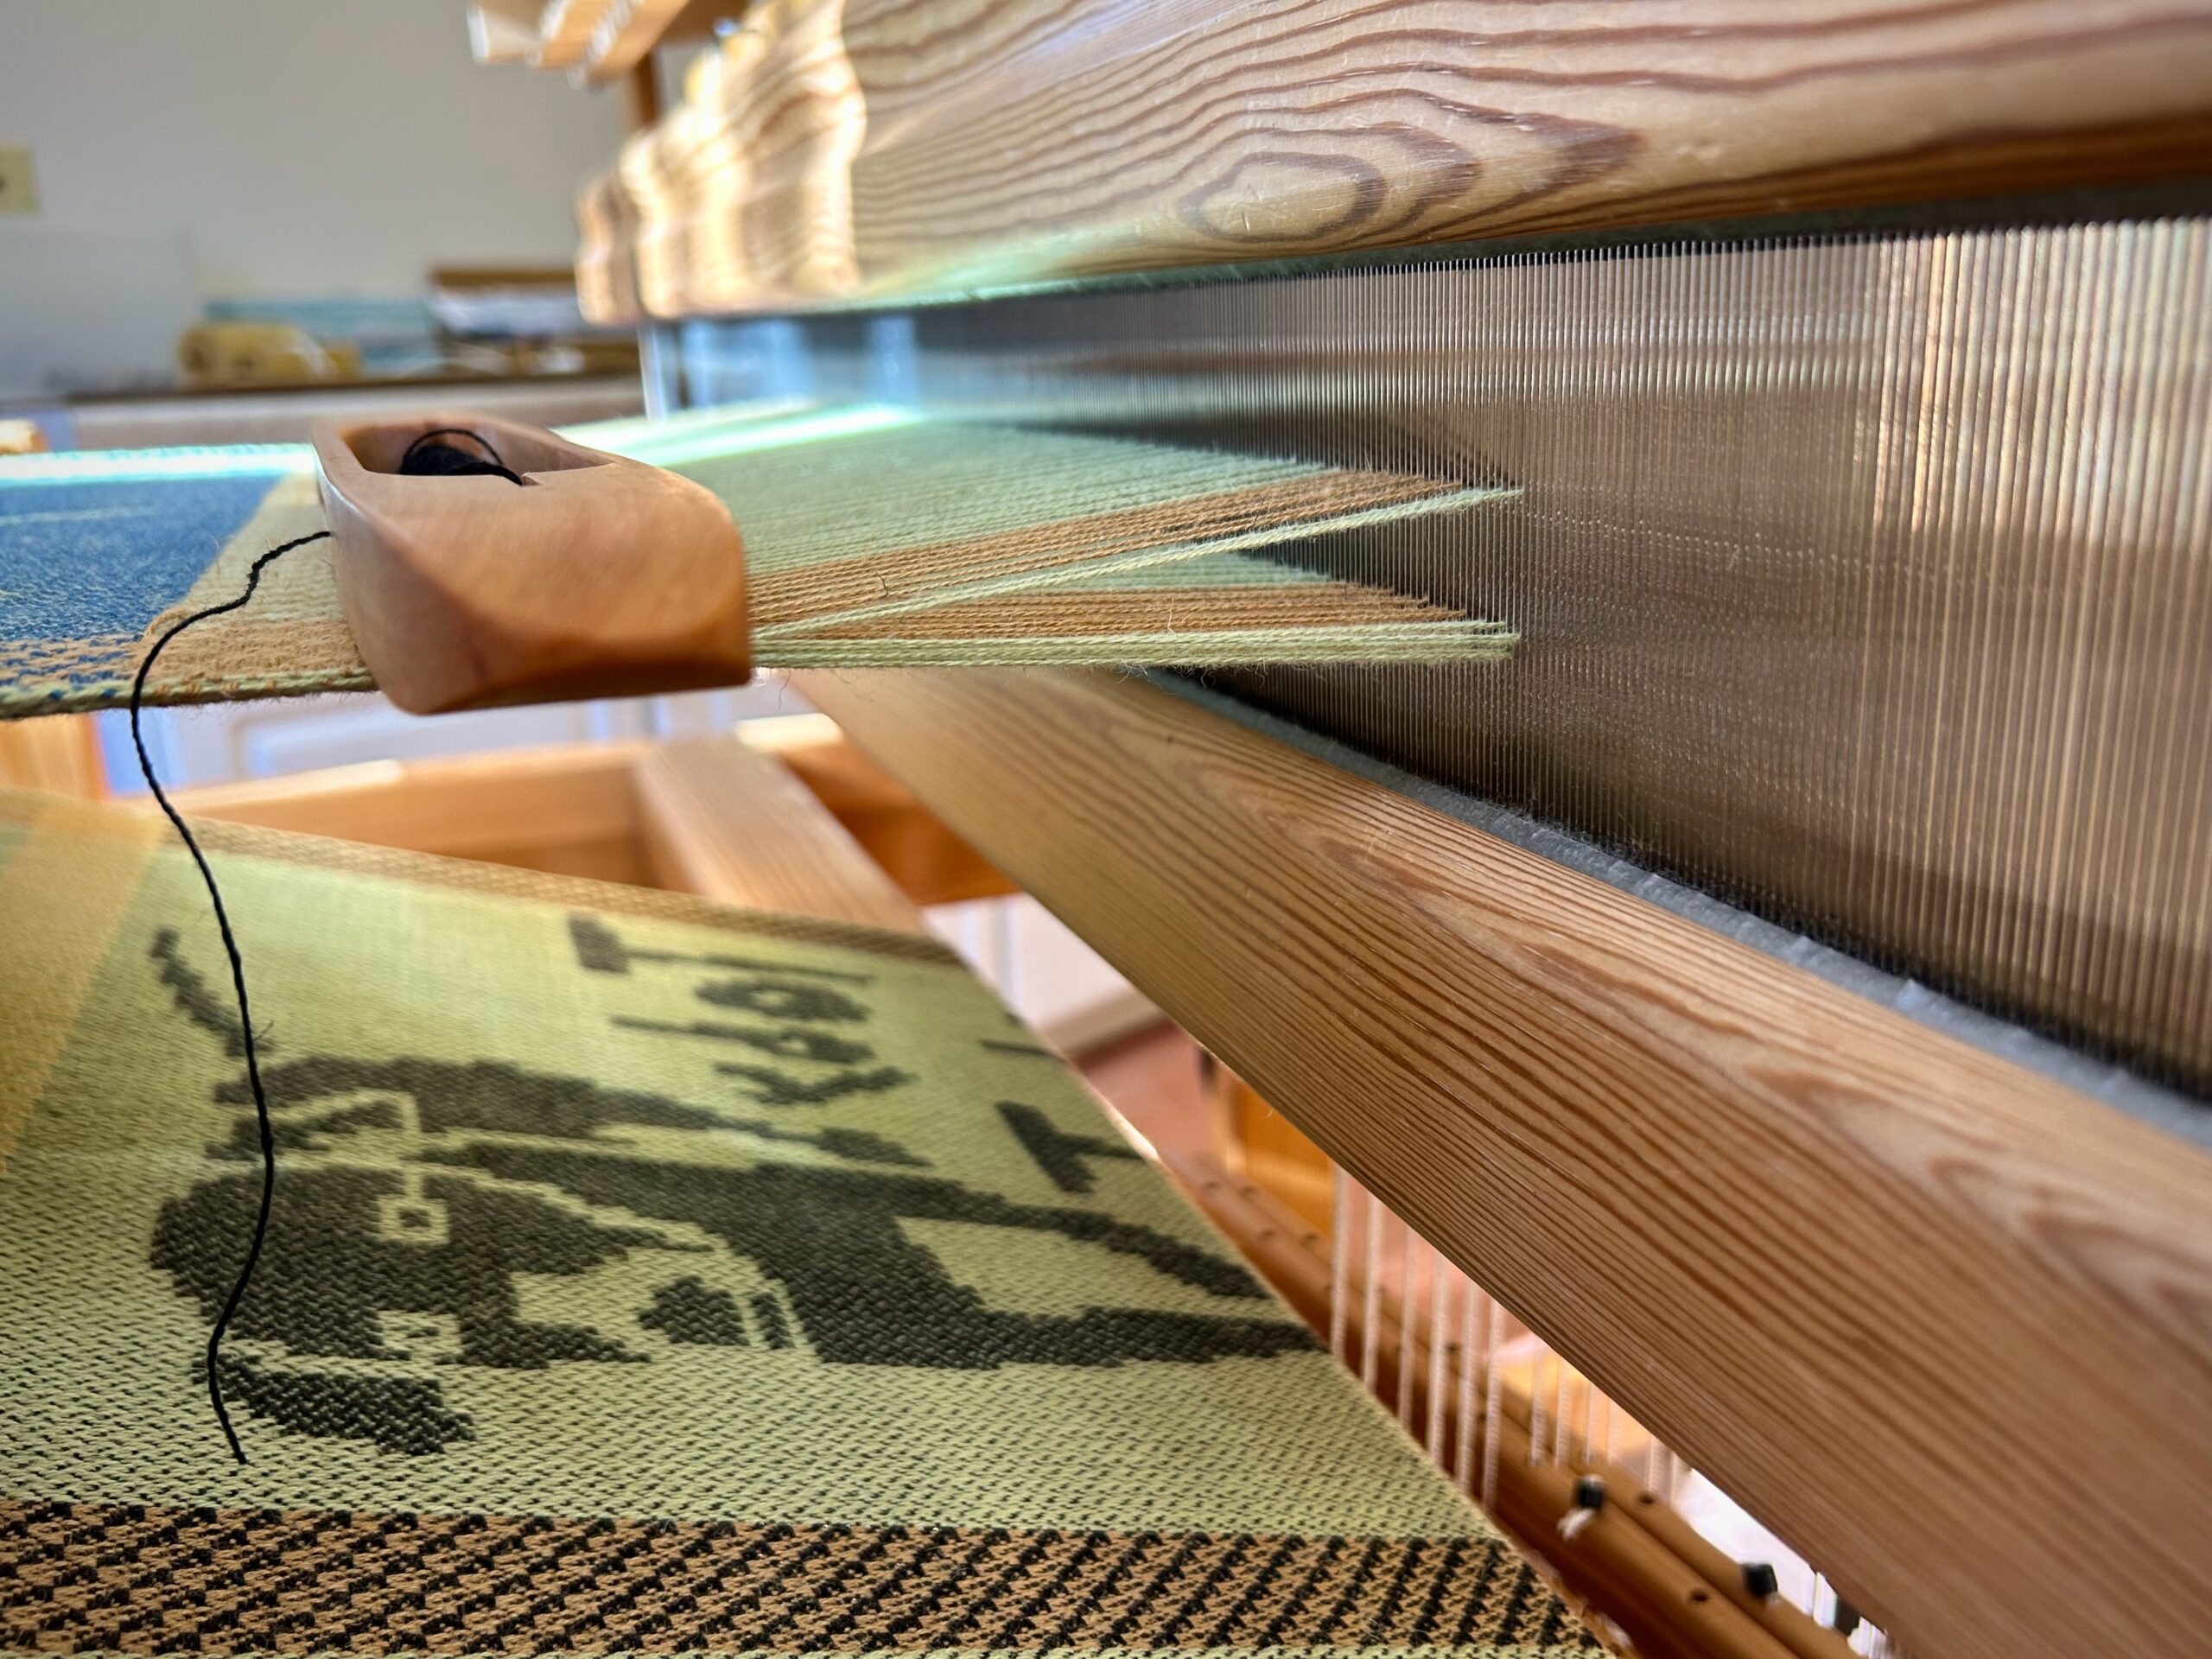
I have some warp left. I am pretty sure it is enough to weave one or two more napkins. But can I squeeze out three more? Maybe… I want to try. Luna, Toby, and Comet are the family dogs of our three children’s families. Perfect subjects for finishing out this warp.
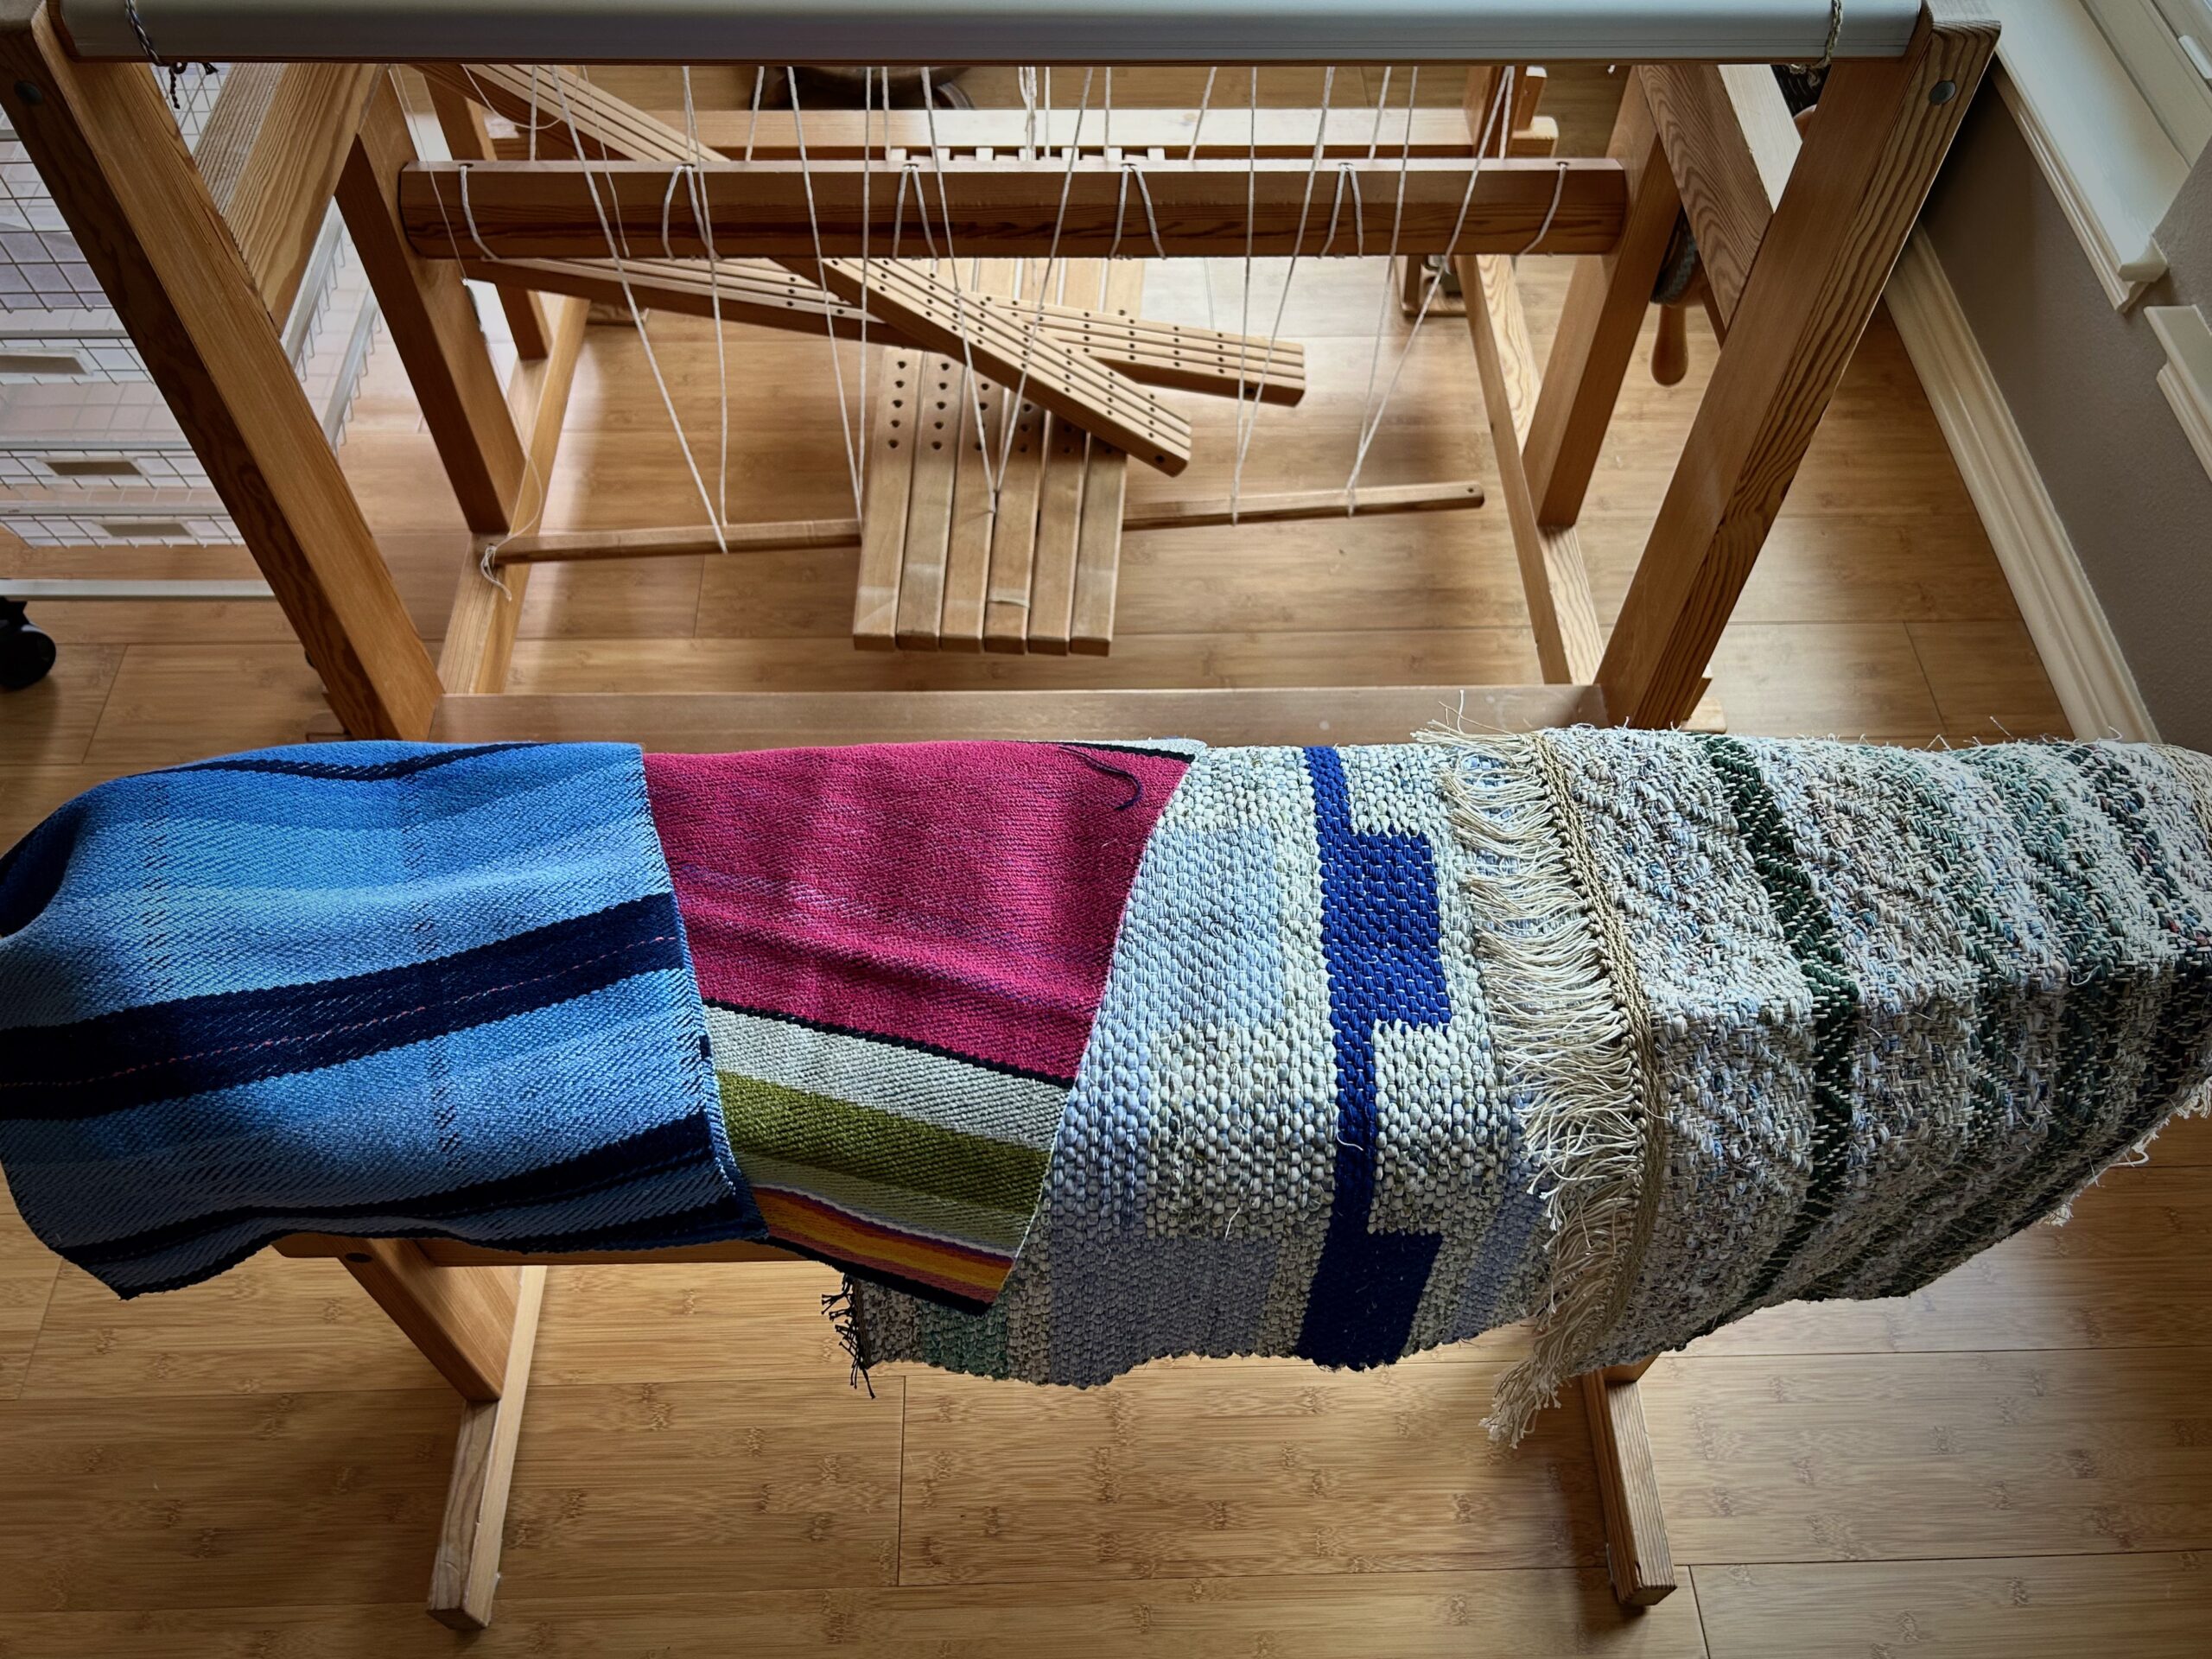
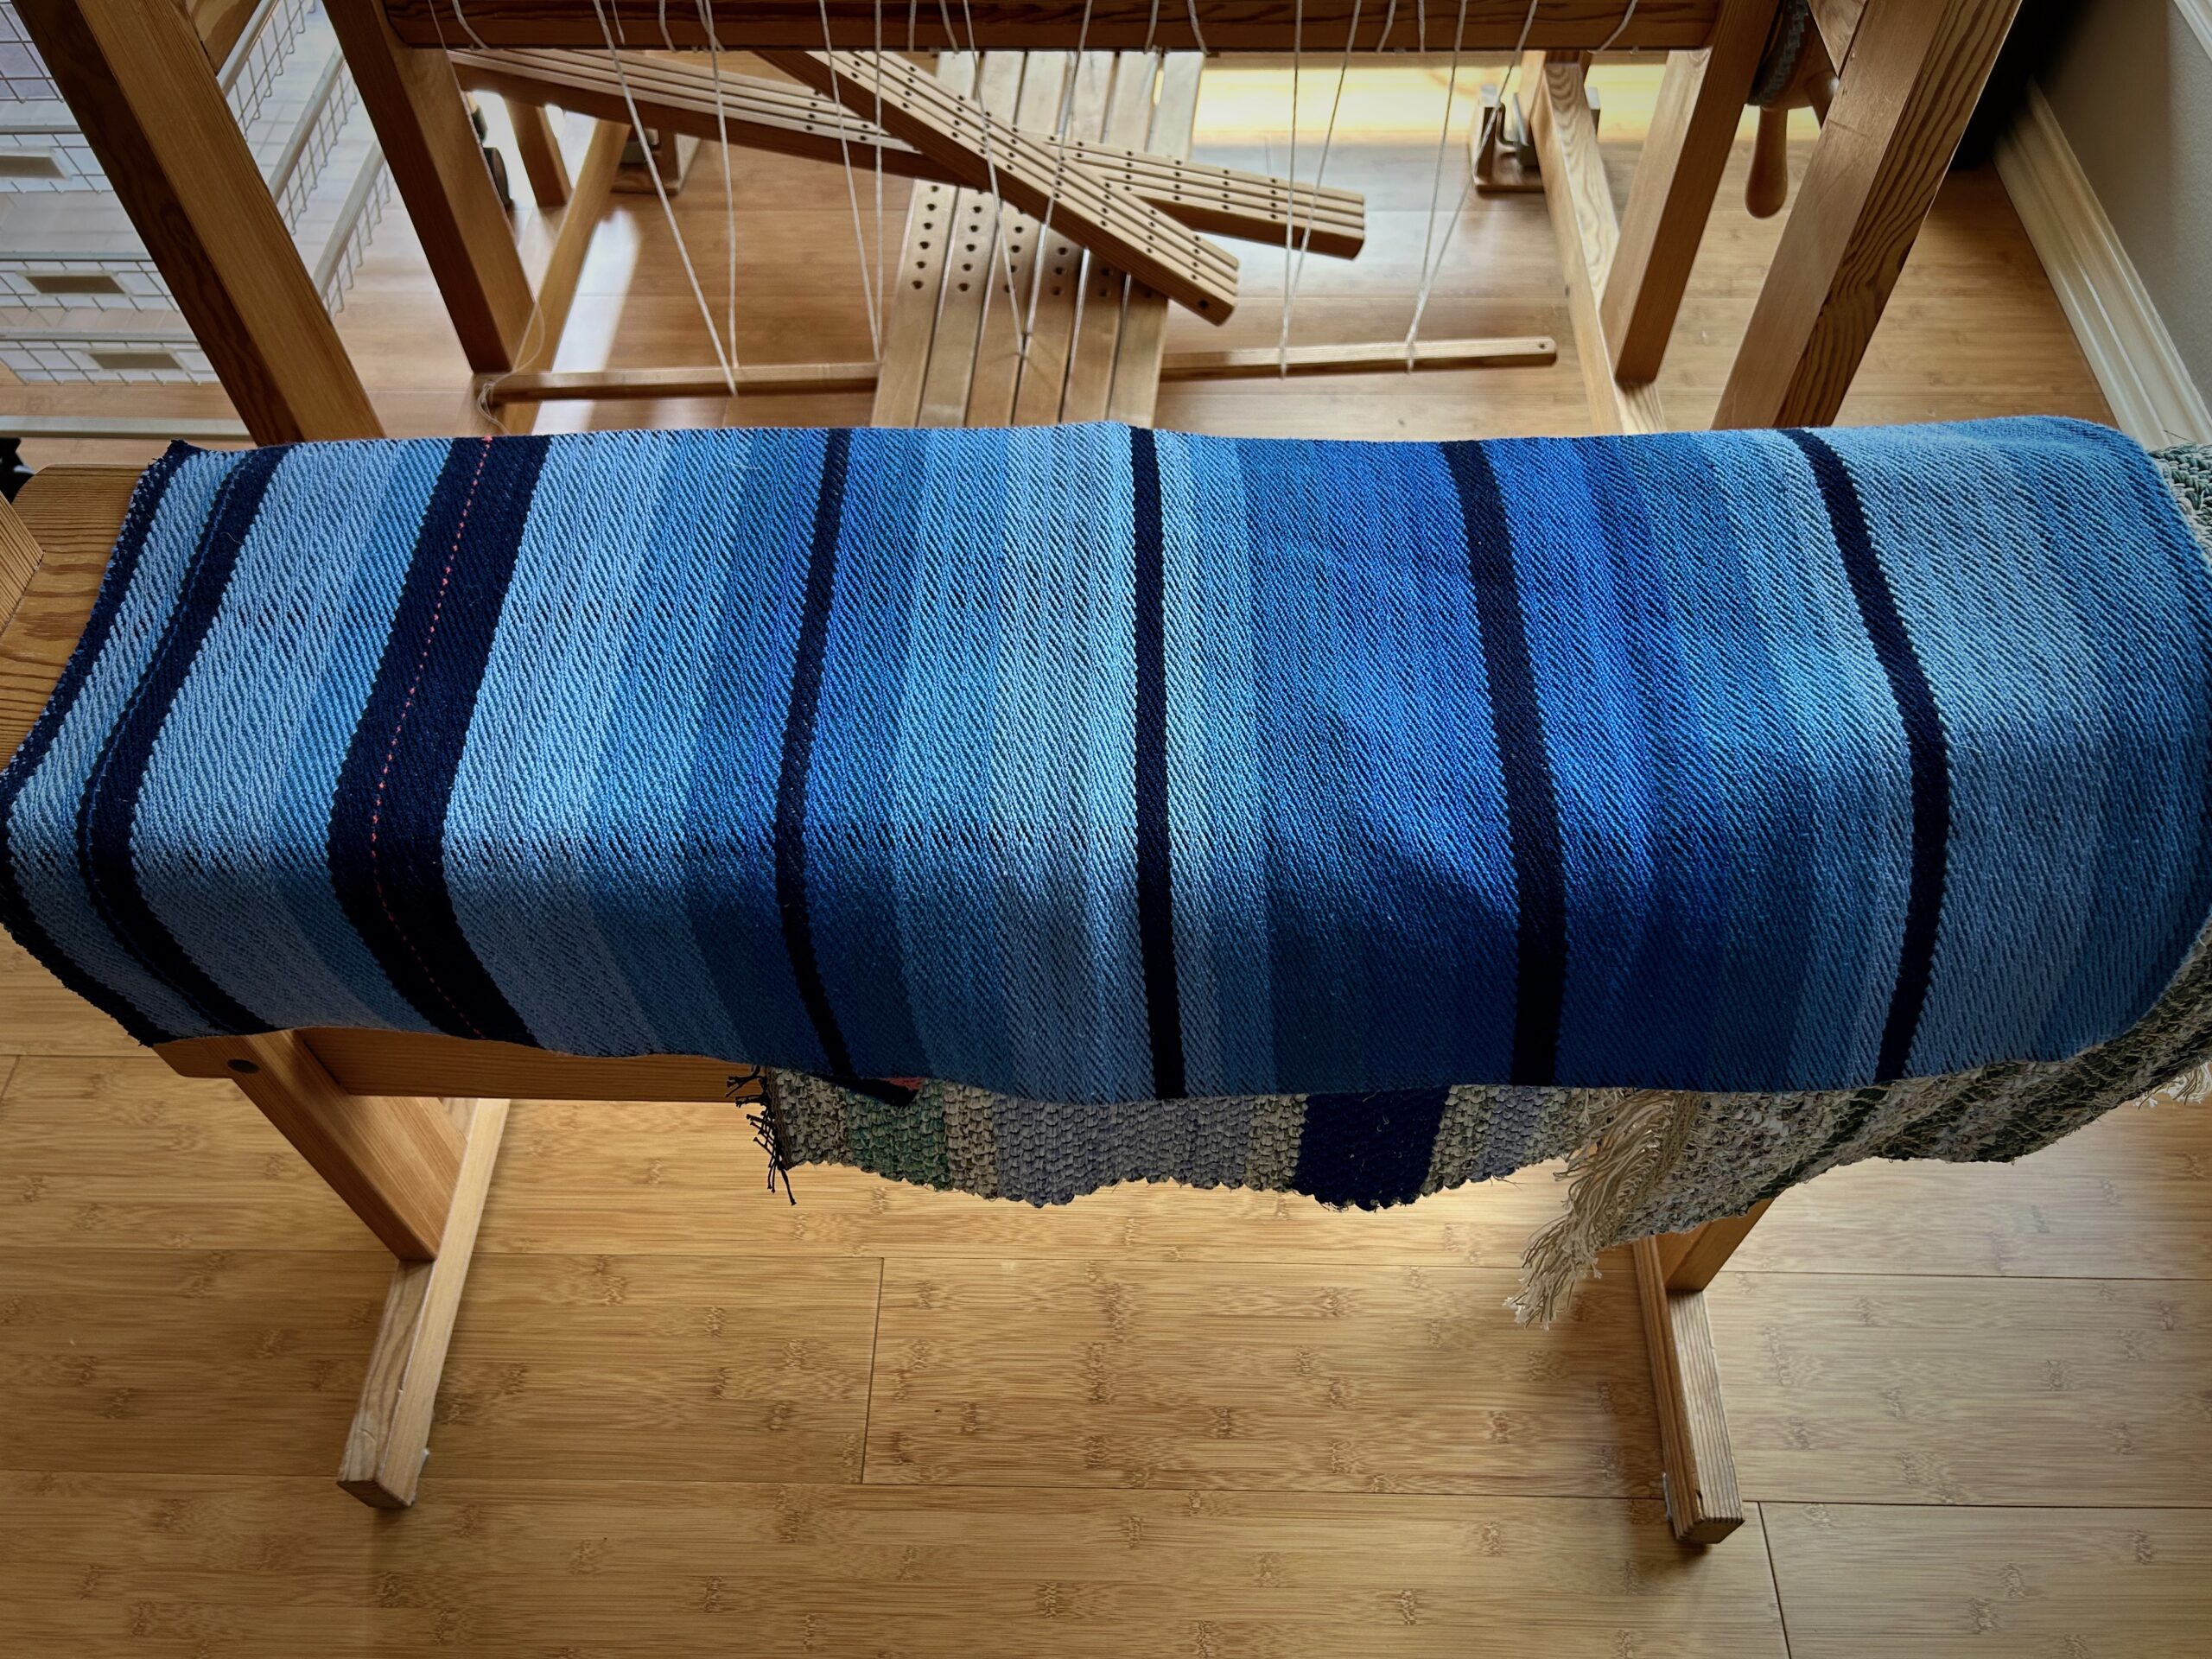
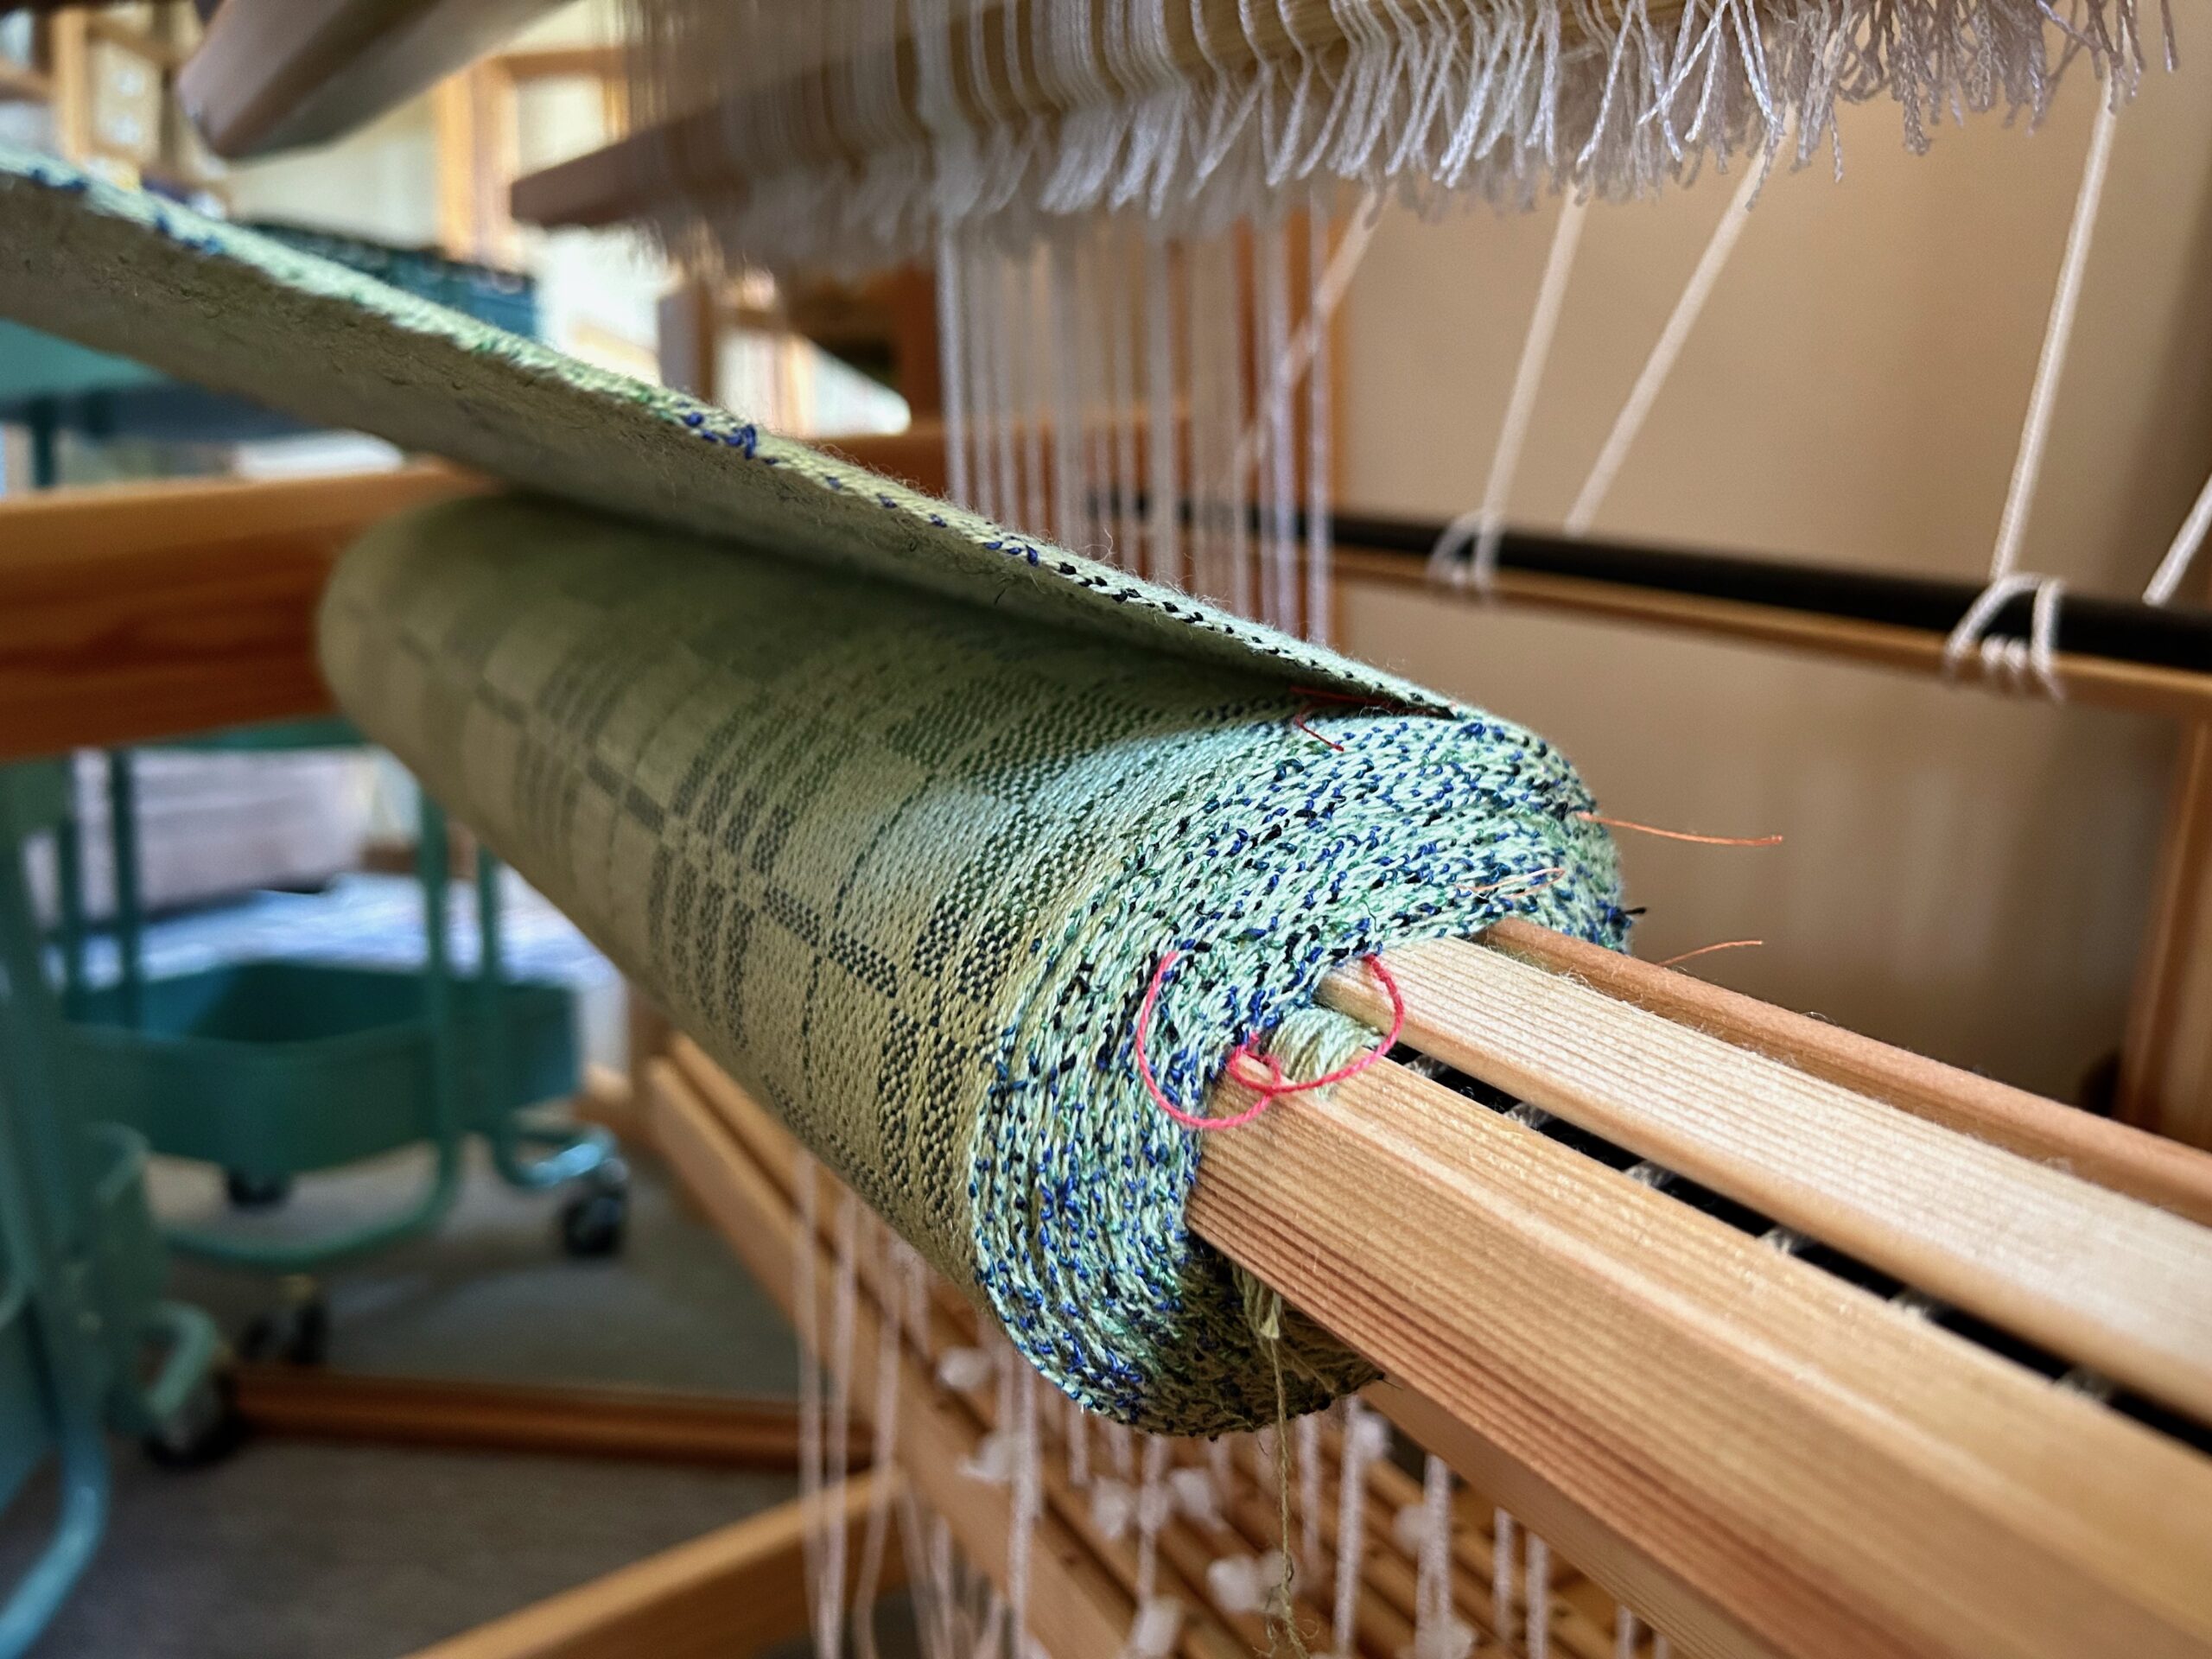
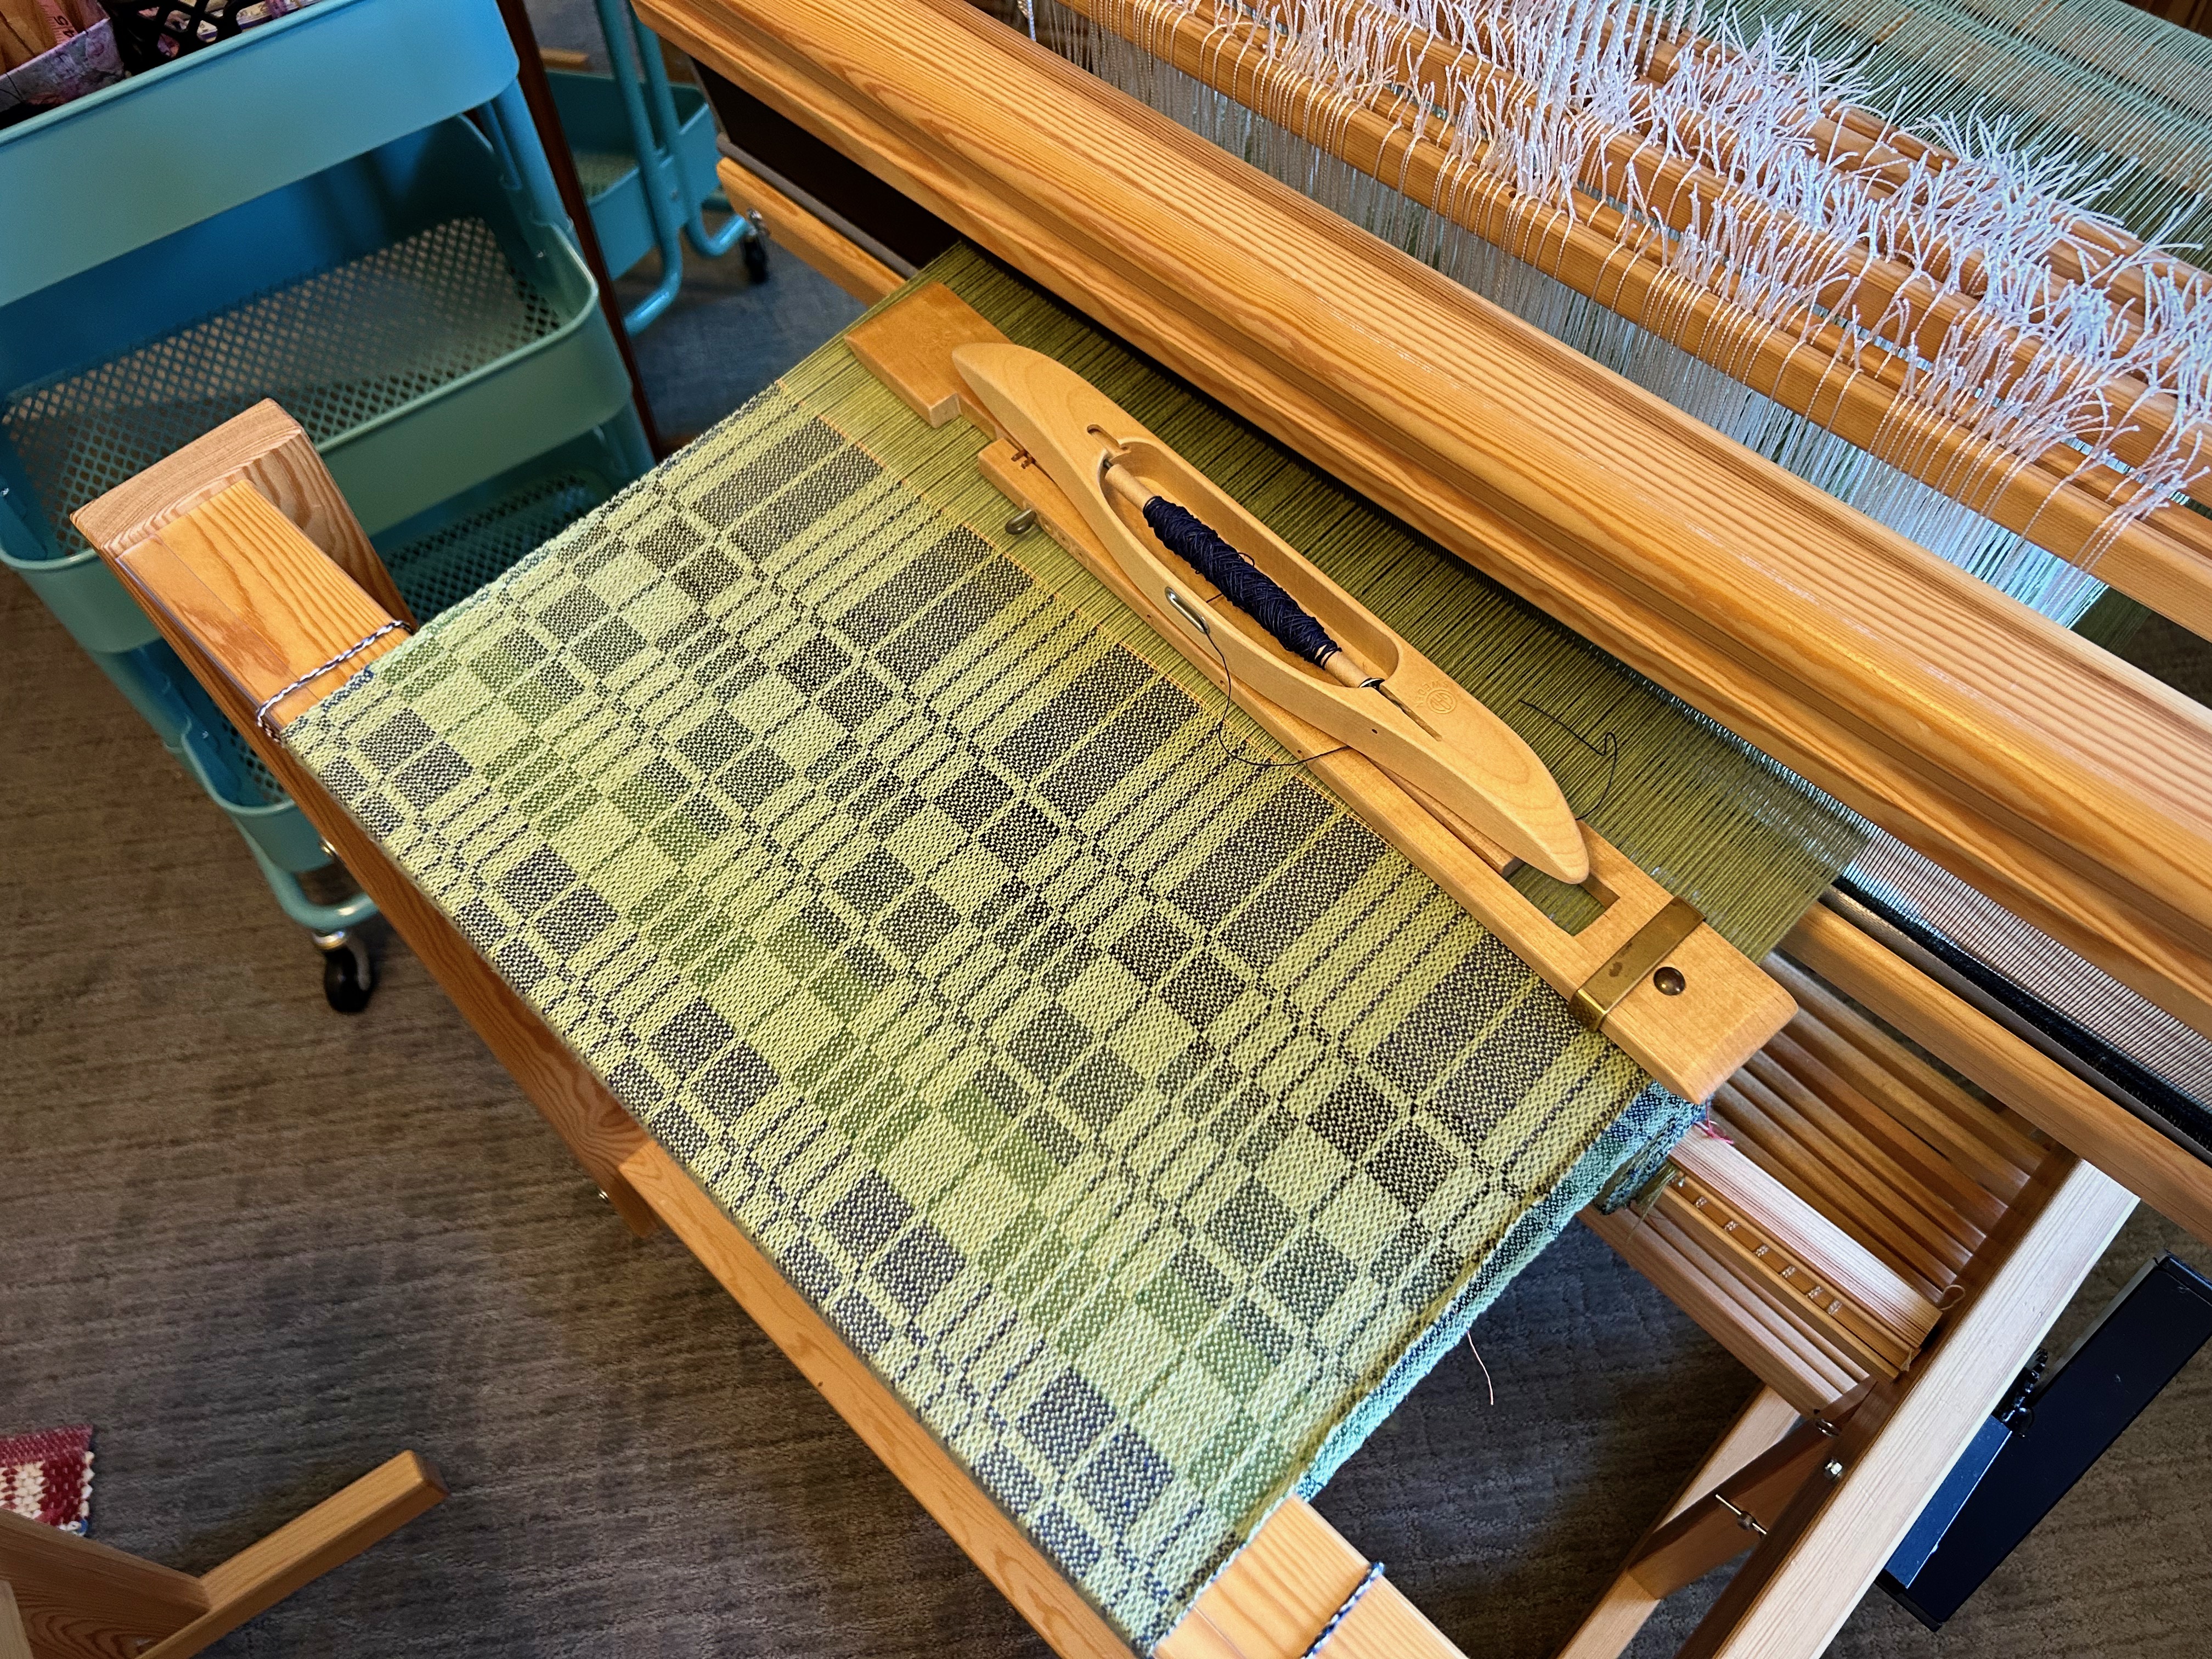
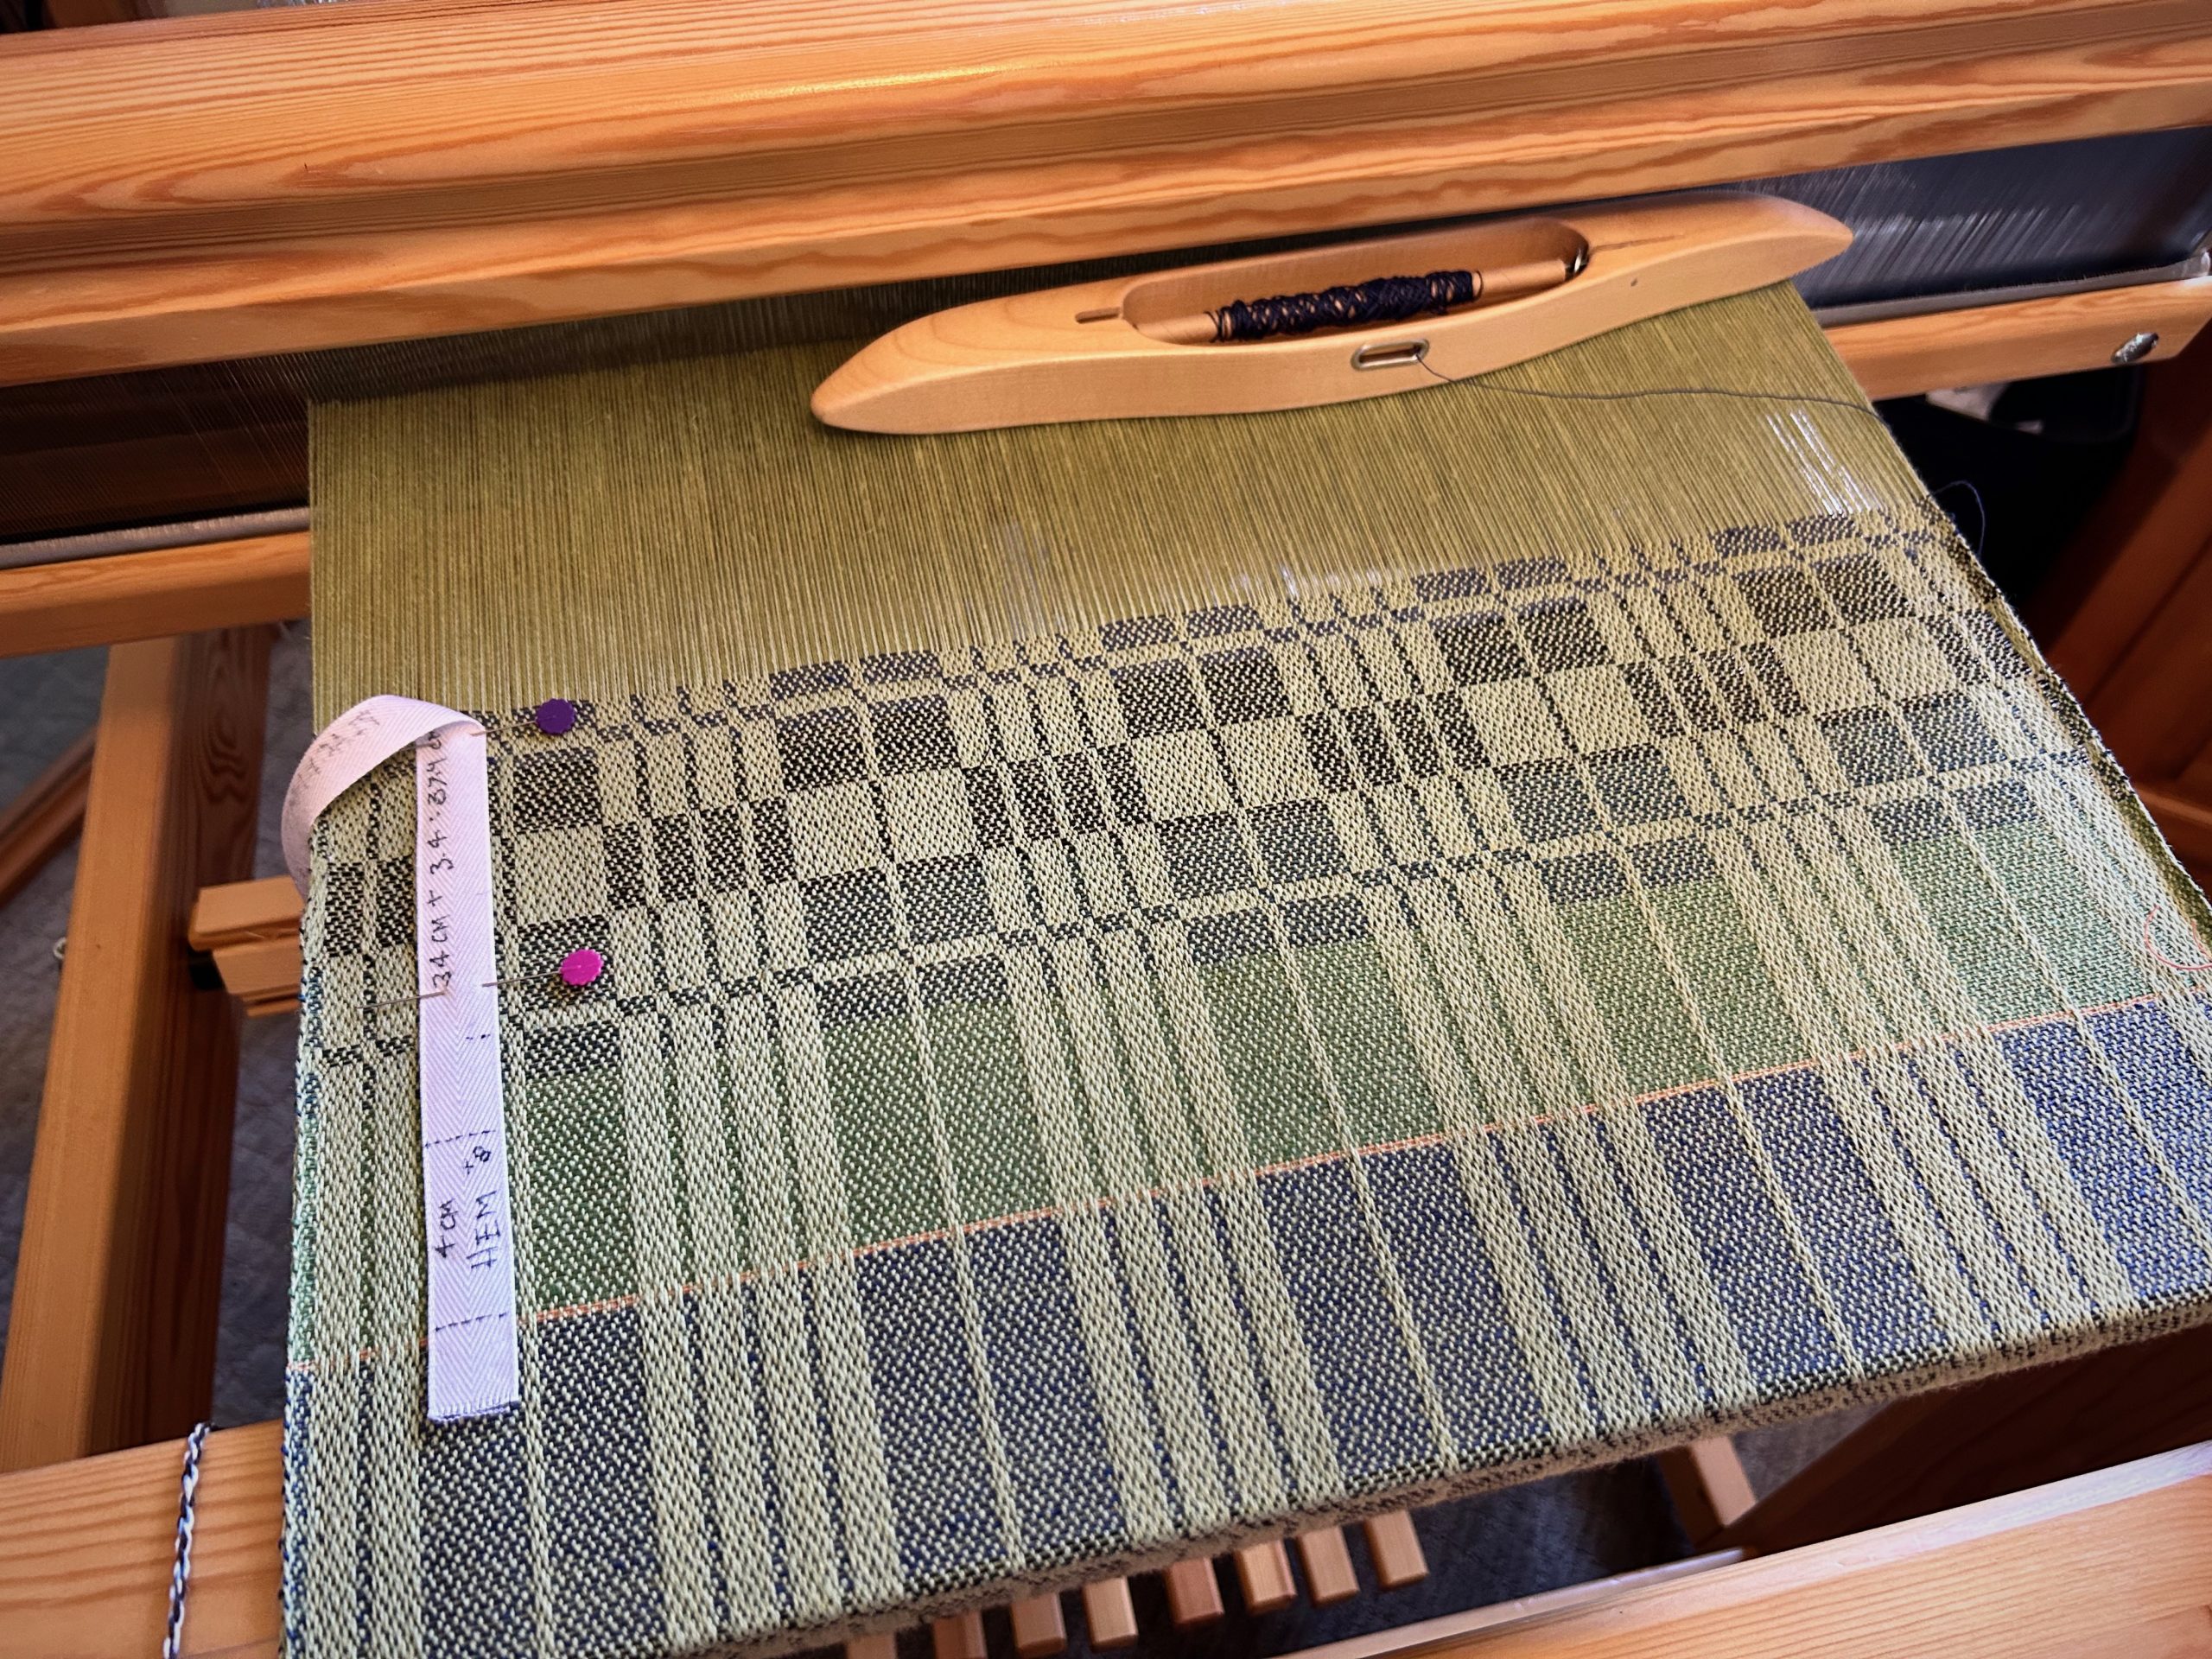
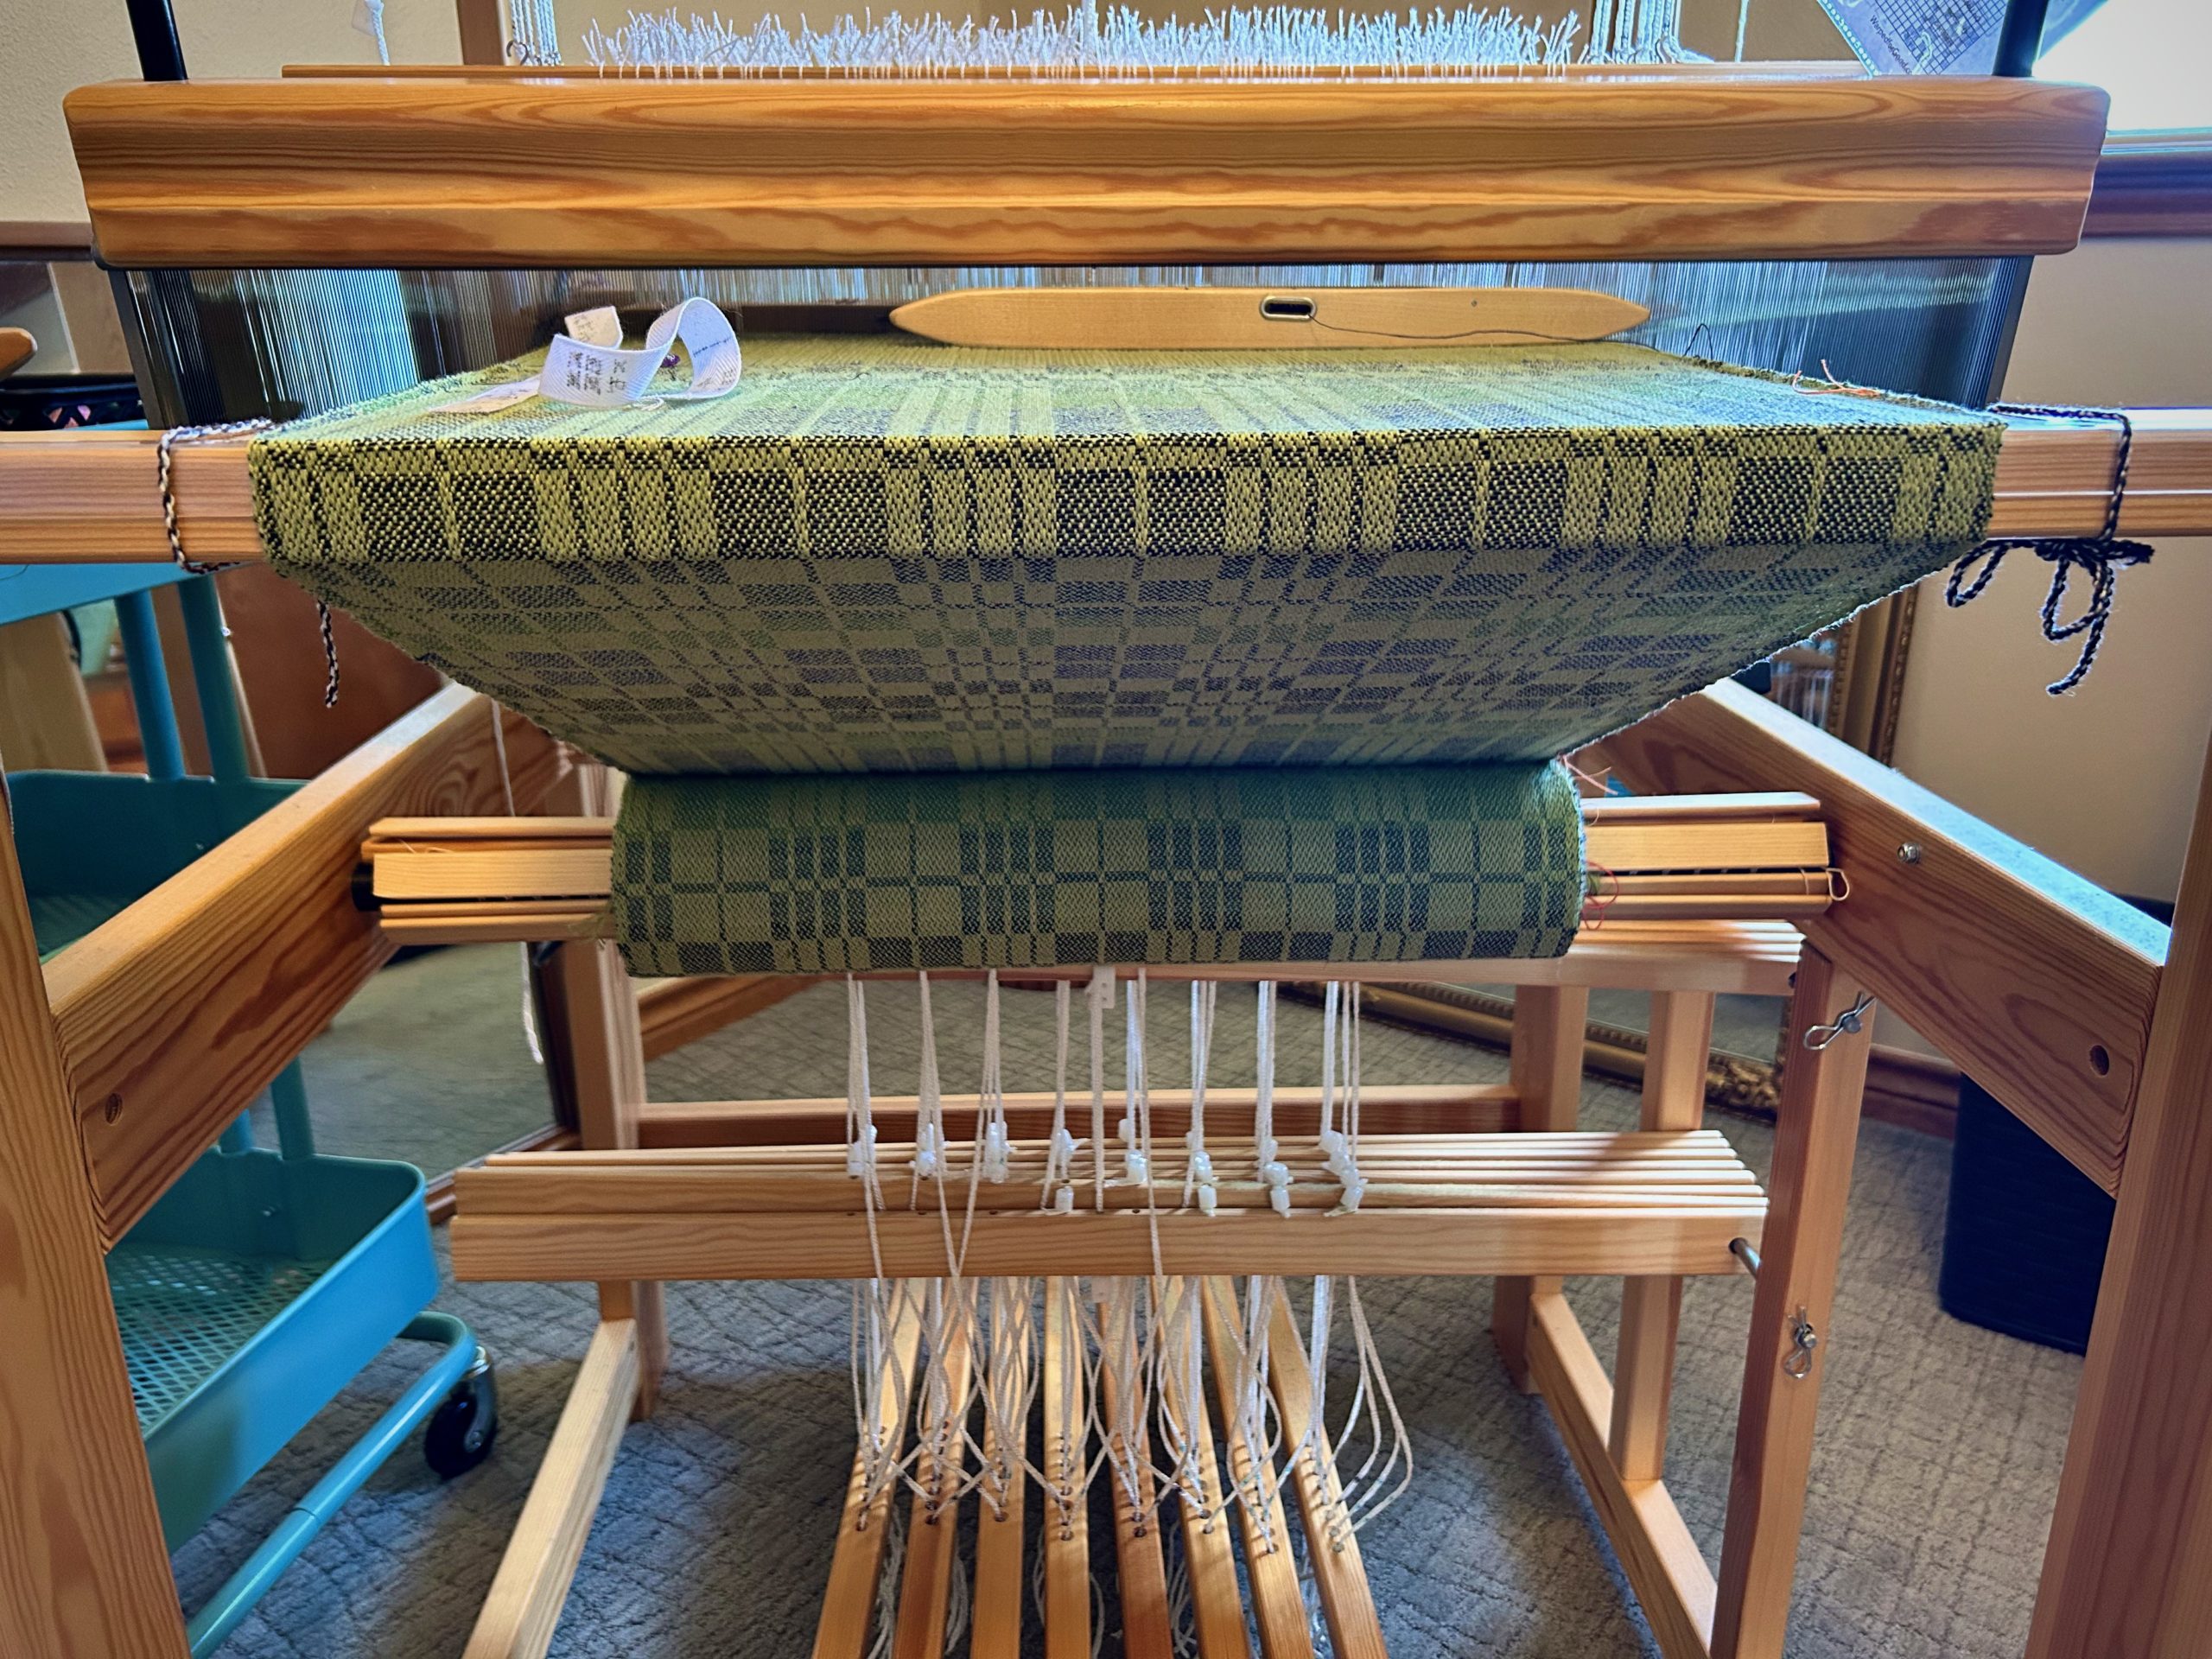
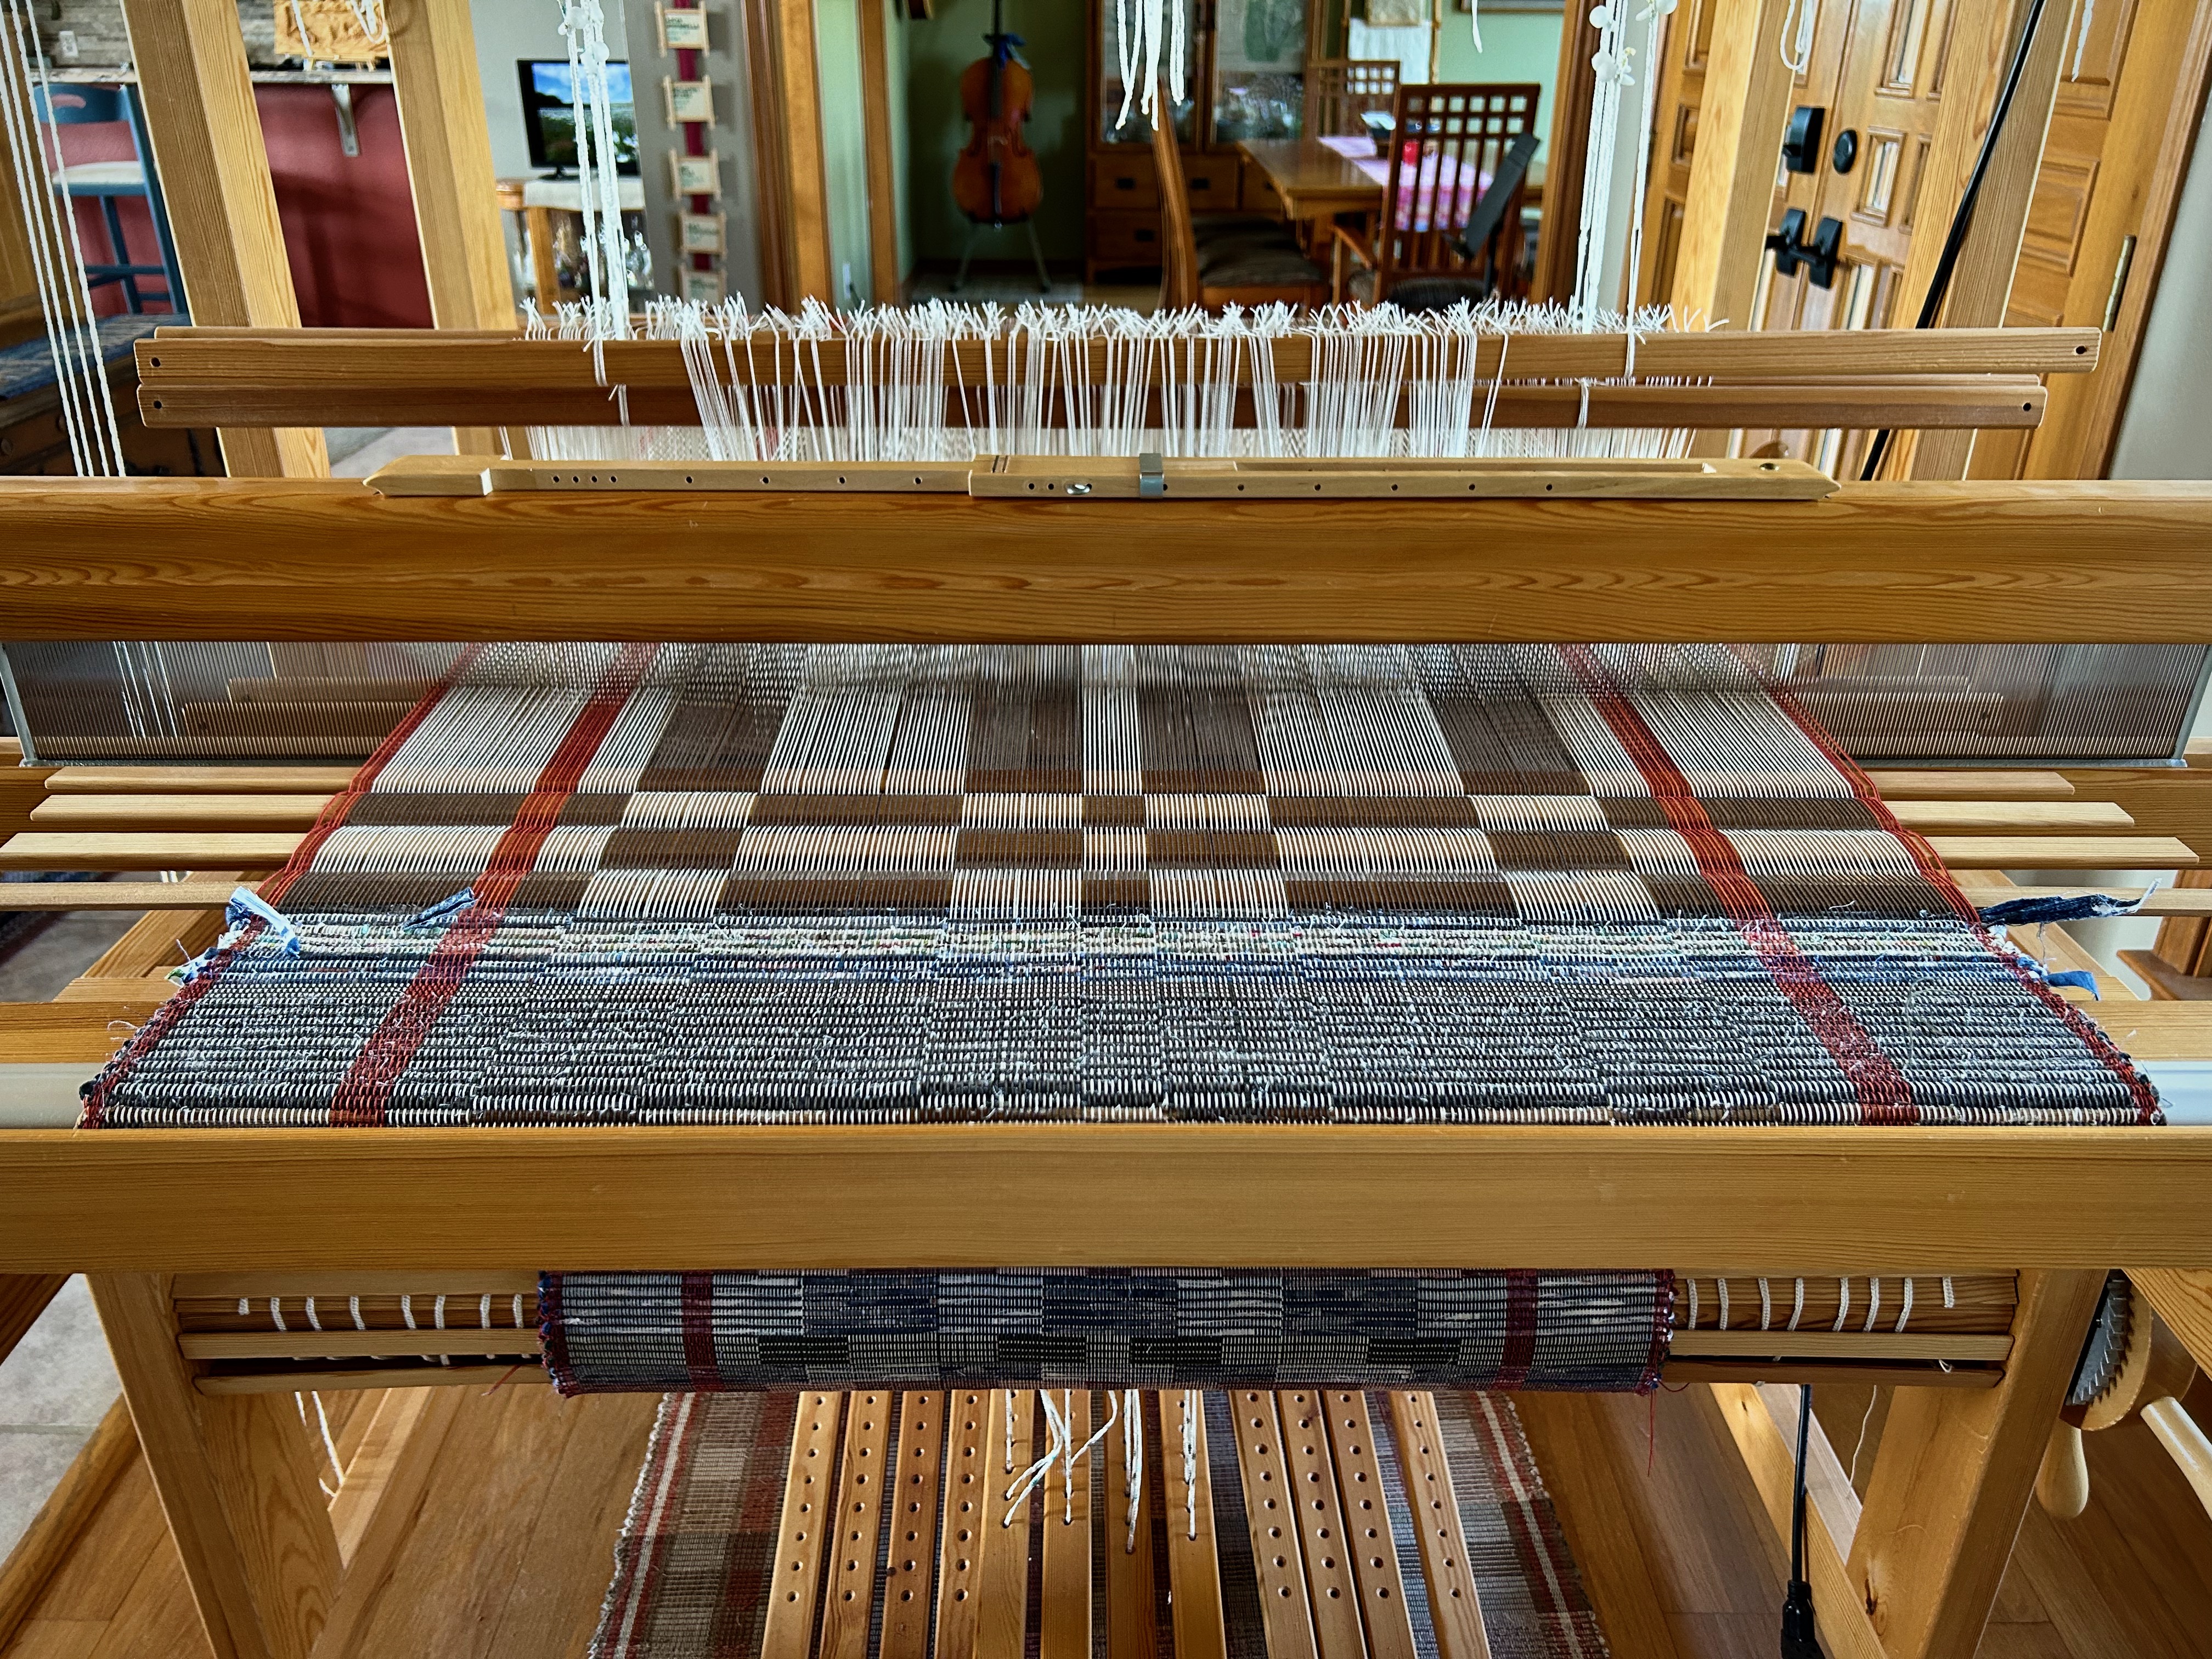
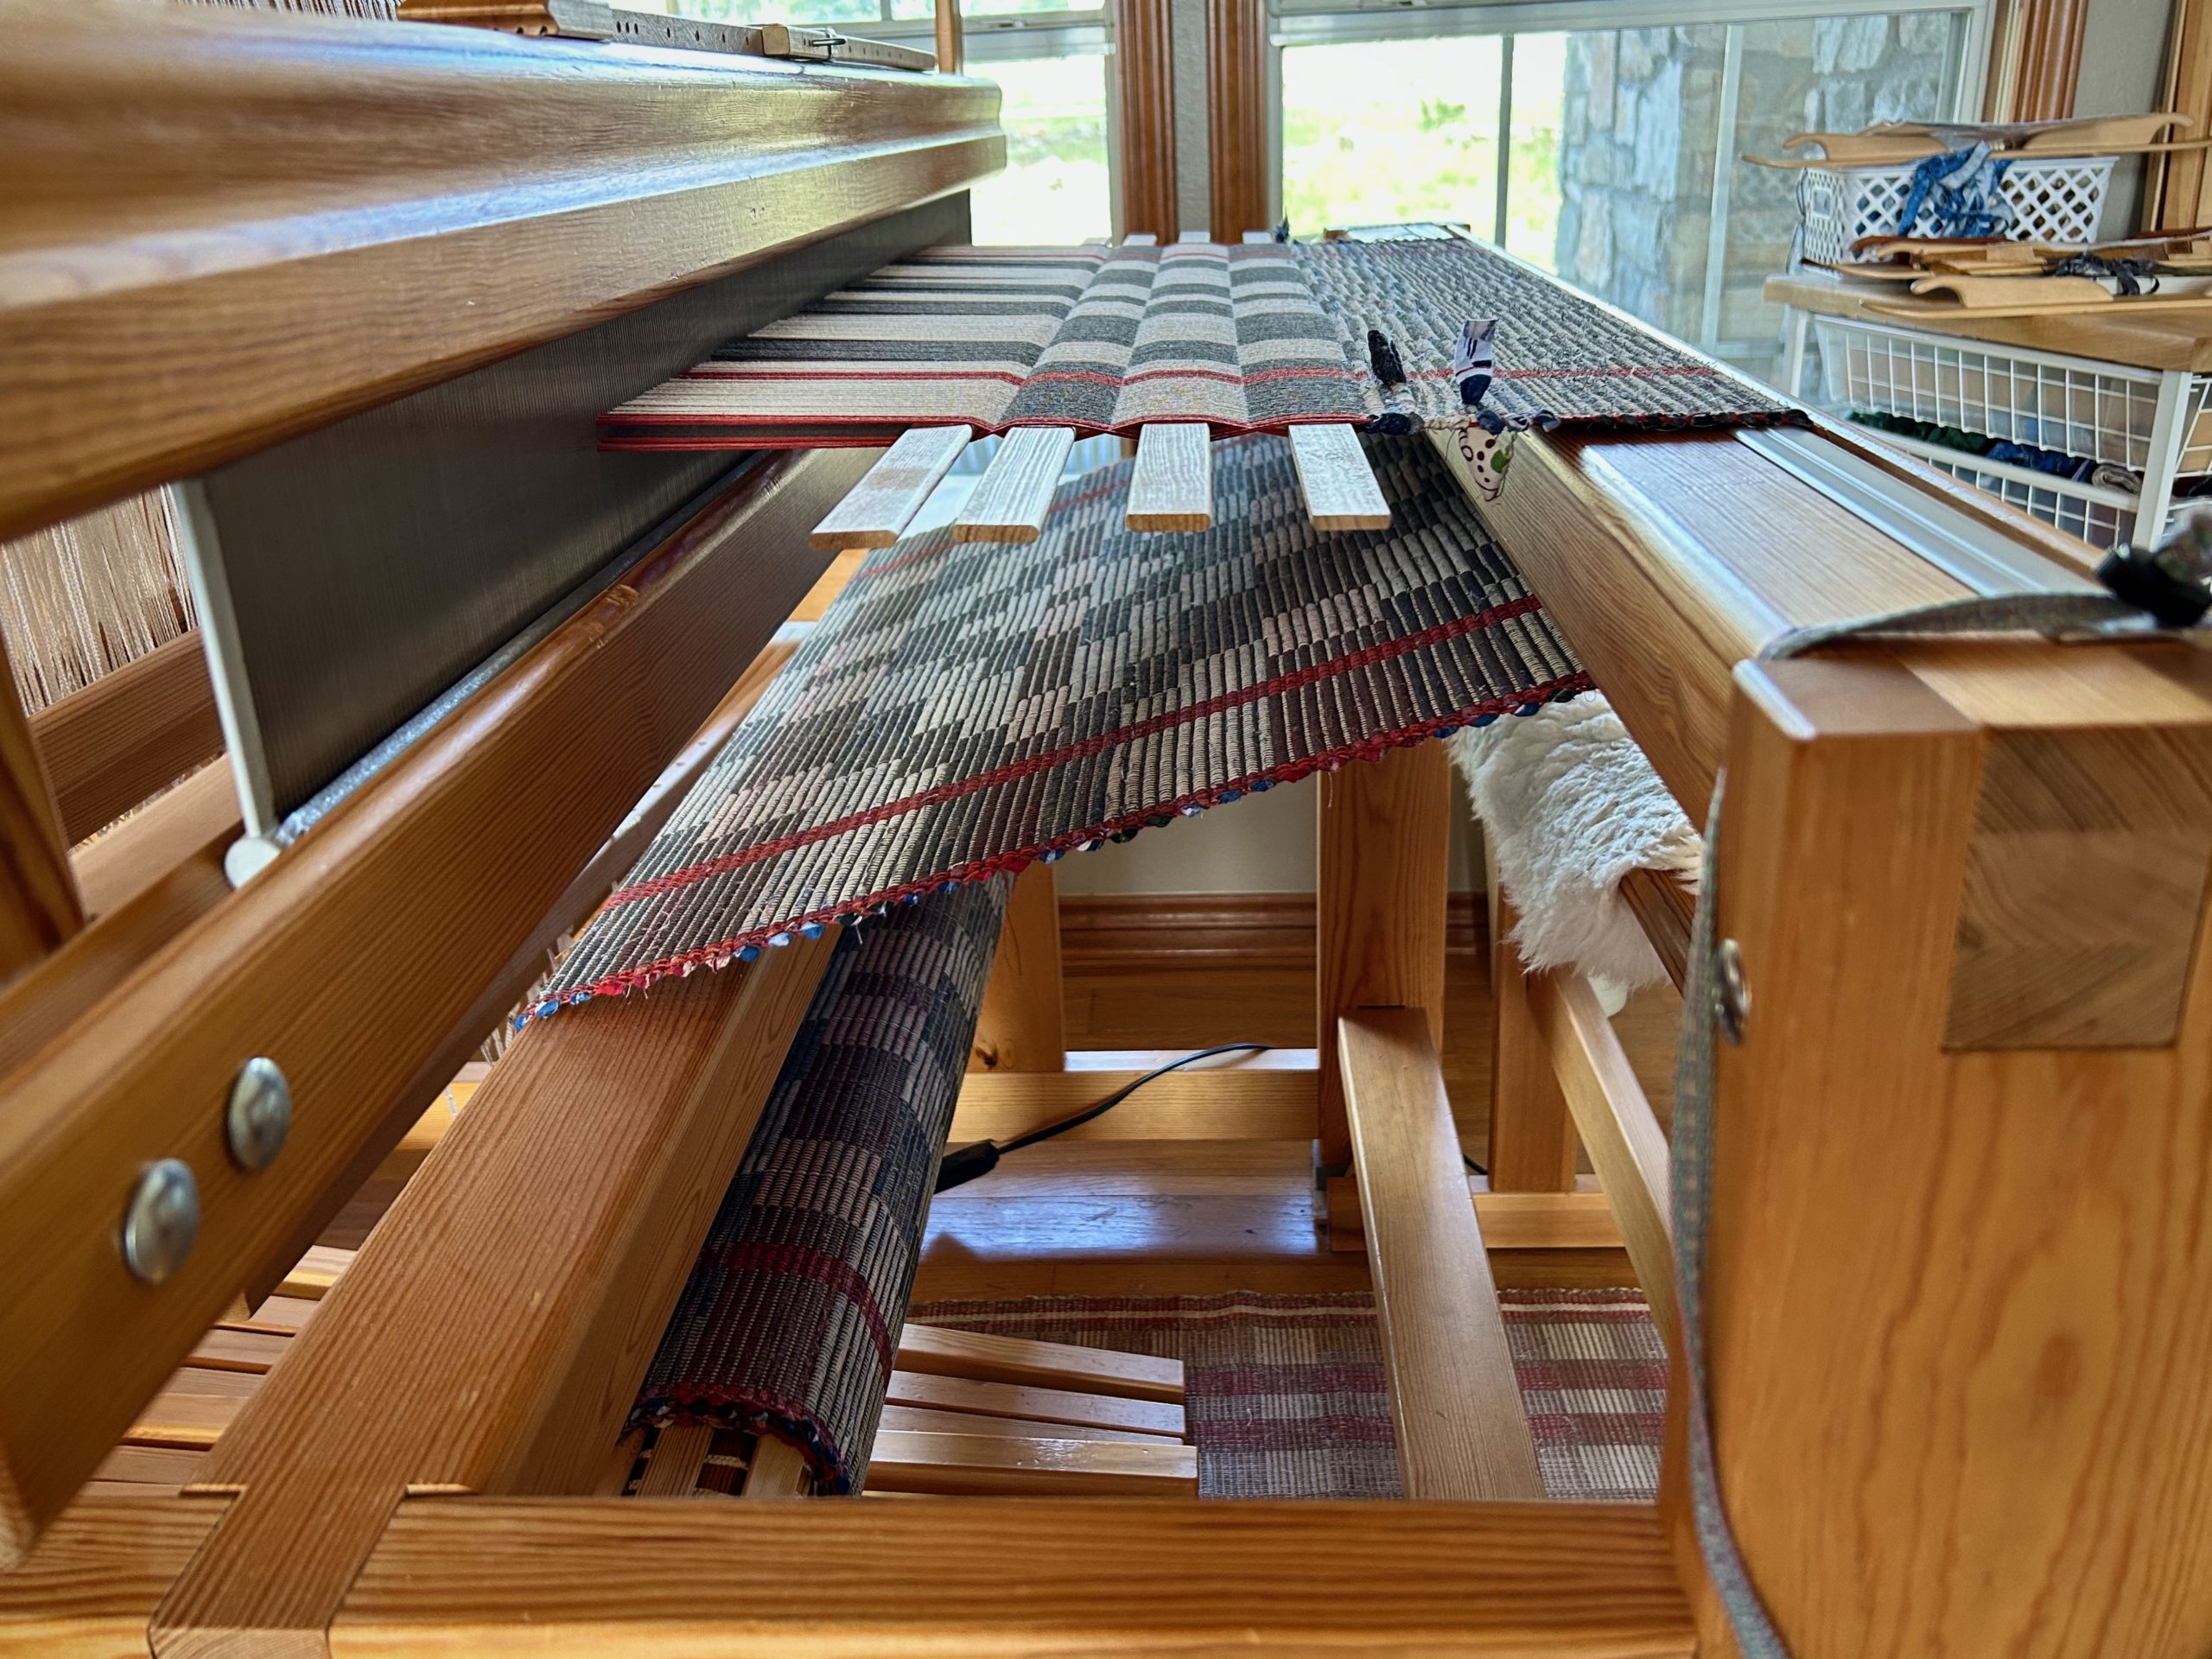
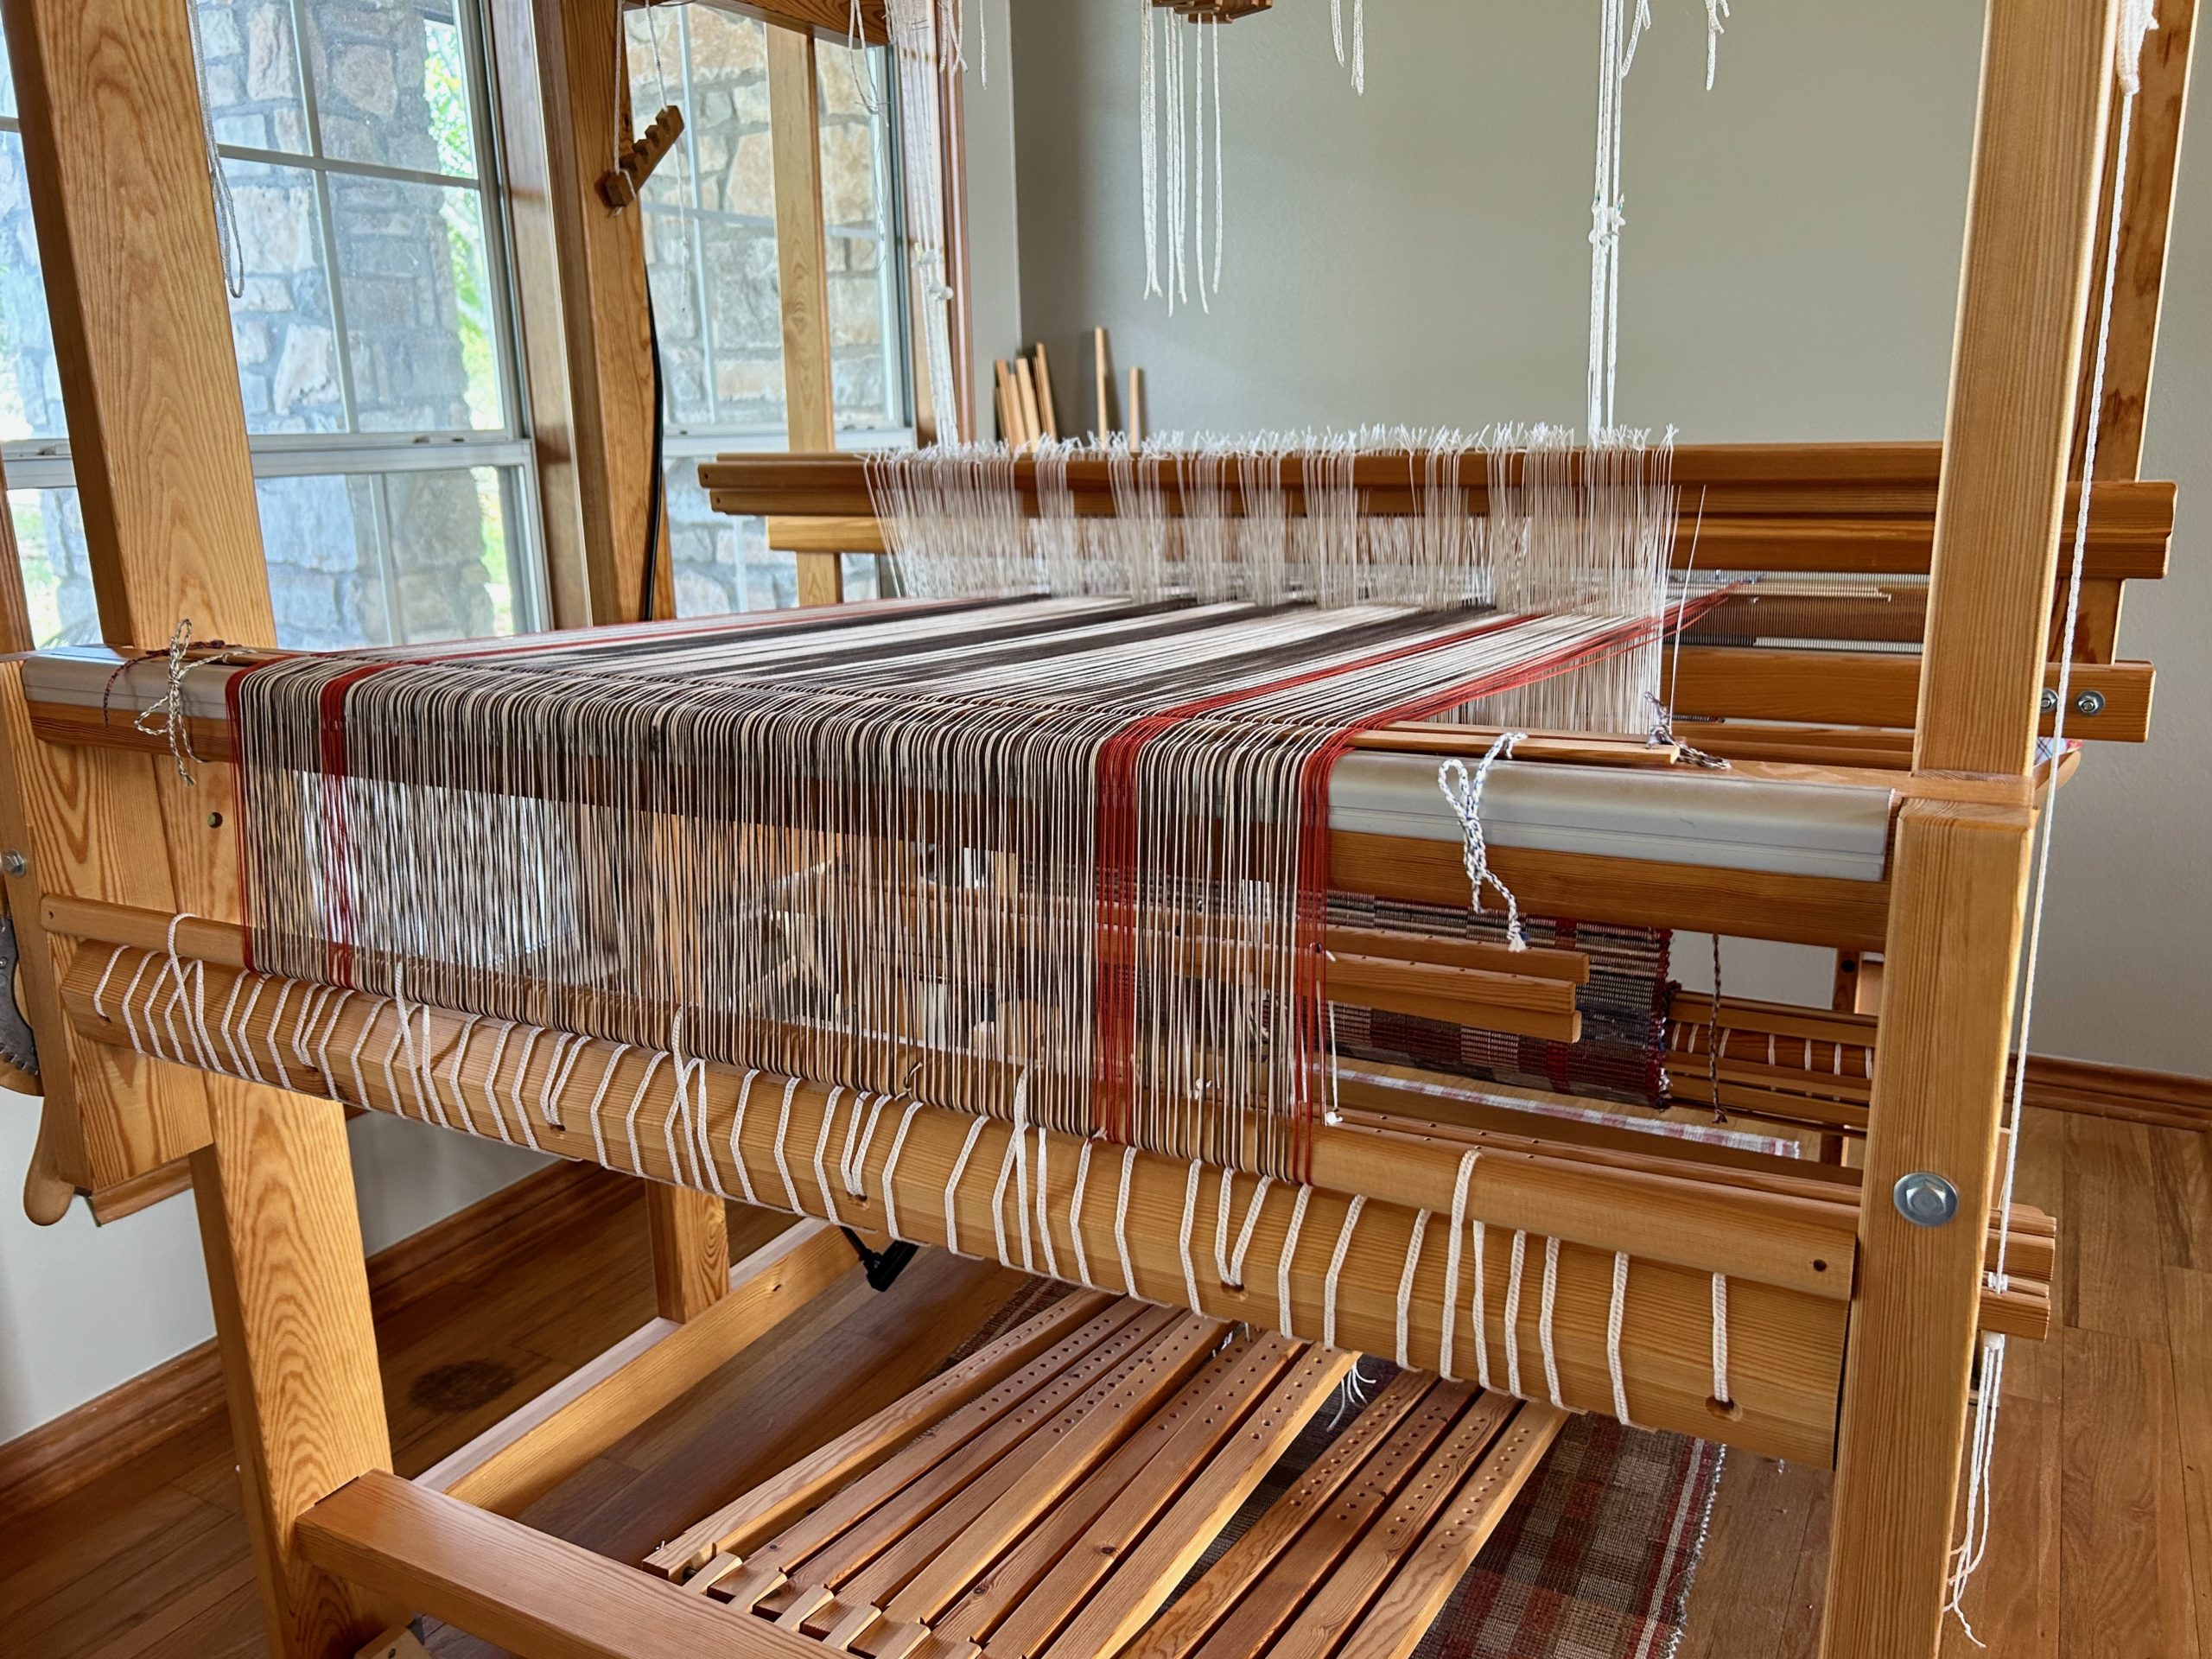
Weaving the first two dogs, no problem. But as the back tie-on bar moves closer to the front every time I advance the warp, I begin to wonder if I’ve made a big mistake. The shed is decreasing. The children and grandchildren are all expecting their dogs to be woven. I can’t do two dogs, and not the third. Will I have to tie on warp to finish? Will I have to use a shed stick to open each shed? Or, use a stick shuttle to finish?
It is a true blessing from the Lord to be given a skill to develop, and to be able to use that skill. When I face a challenge in weaving, I know there is a way through it, and I have the skill to work it out. God made a way for each of us to finish well all the way to the end of our life, not through our own skill, but through faith in Jesus Christ. Our warp will be cut from the loom at just the right time. When that time comes, those who are in Jesus Christ will enjoy what we’ve been made for–to be with our Master Weaver forever. I imagine He will handle each woven cloth with delight as it comes off the loom, as a weaver does who has invested everything into the threads that were woven.
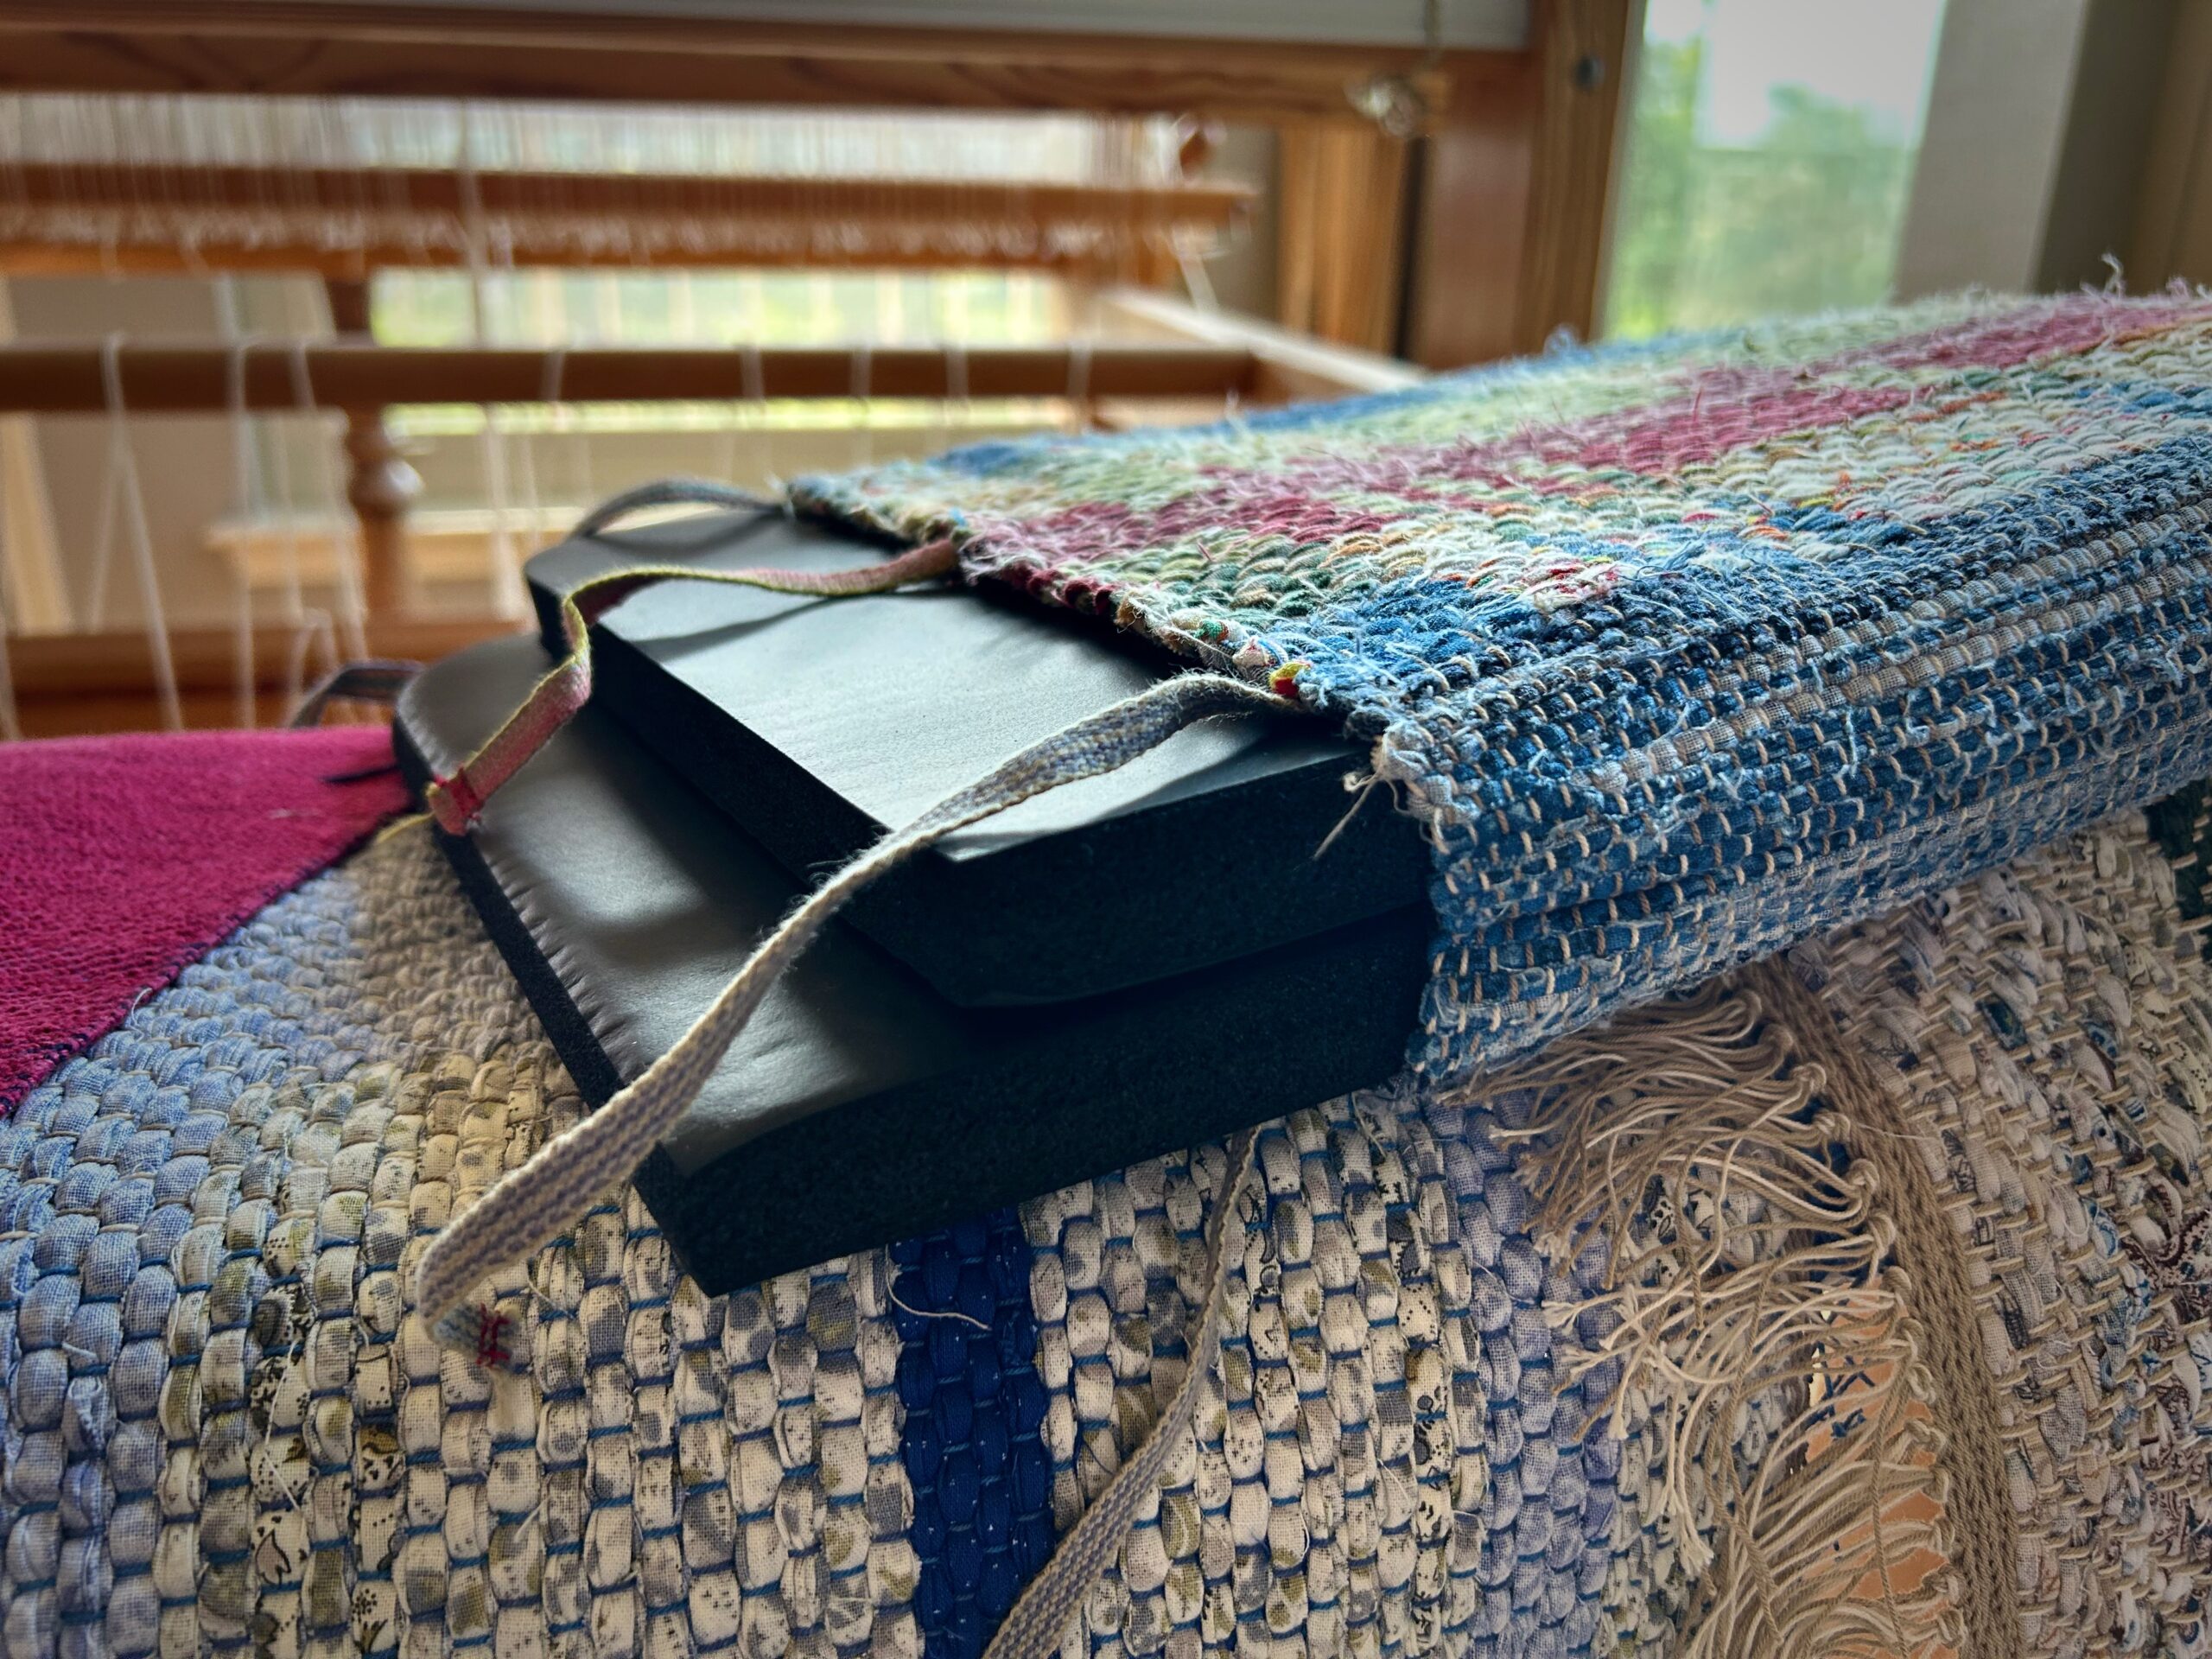
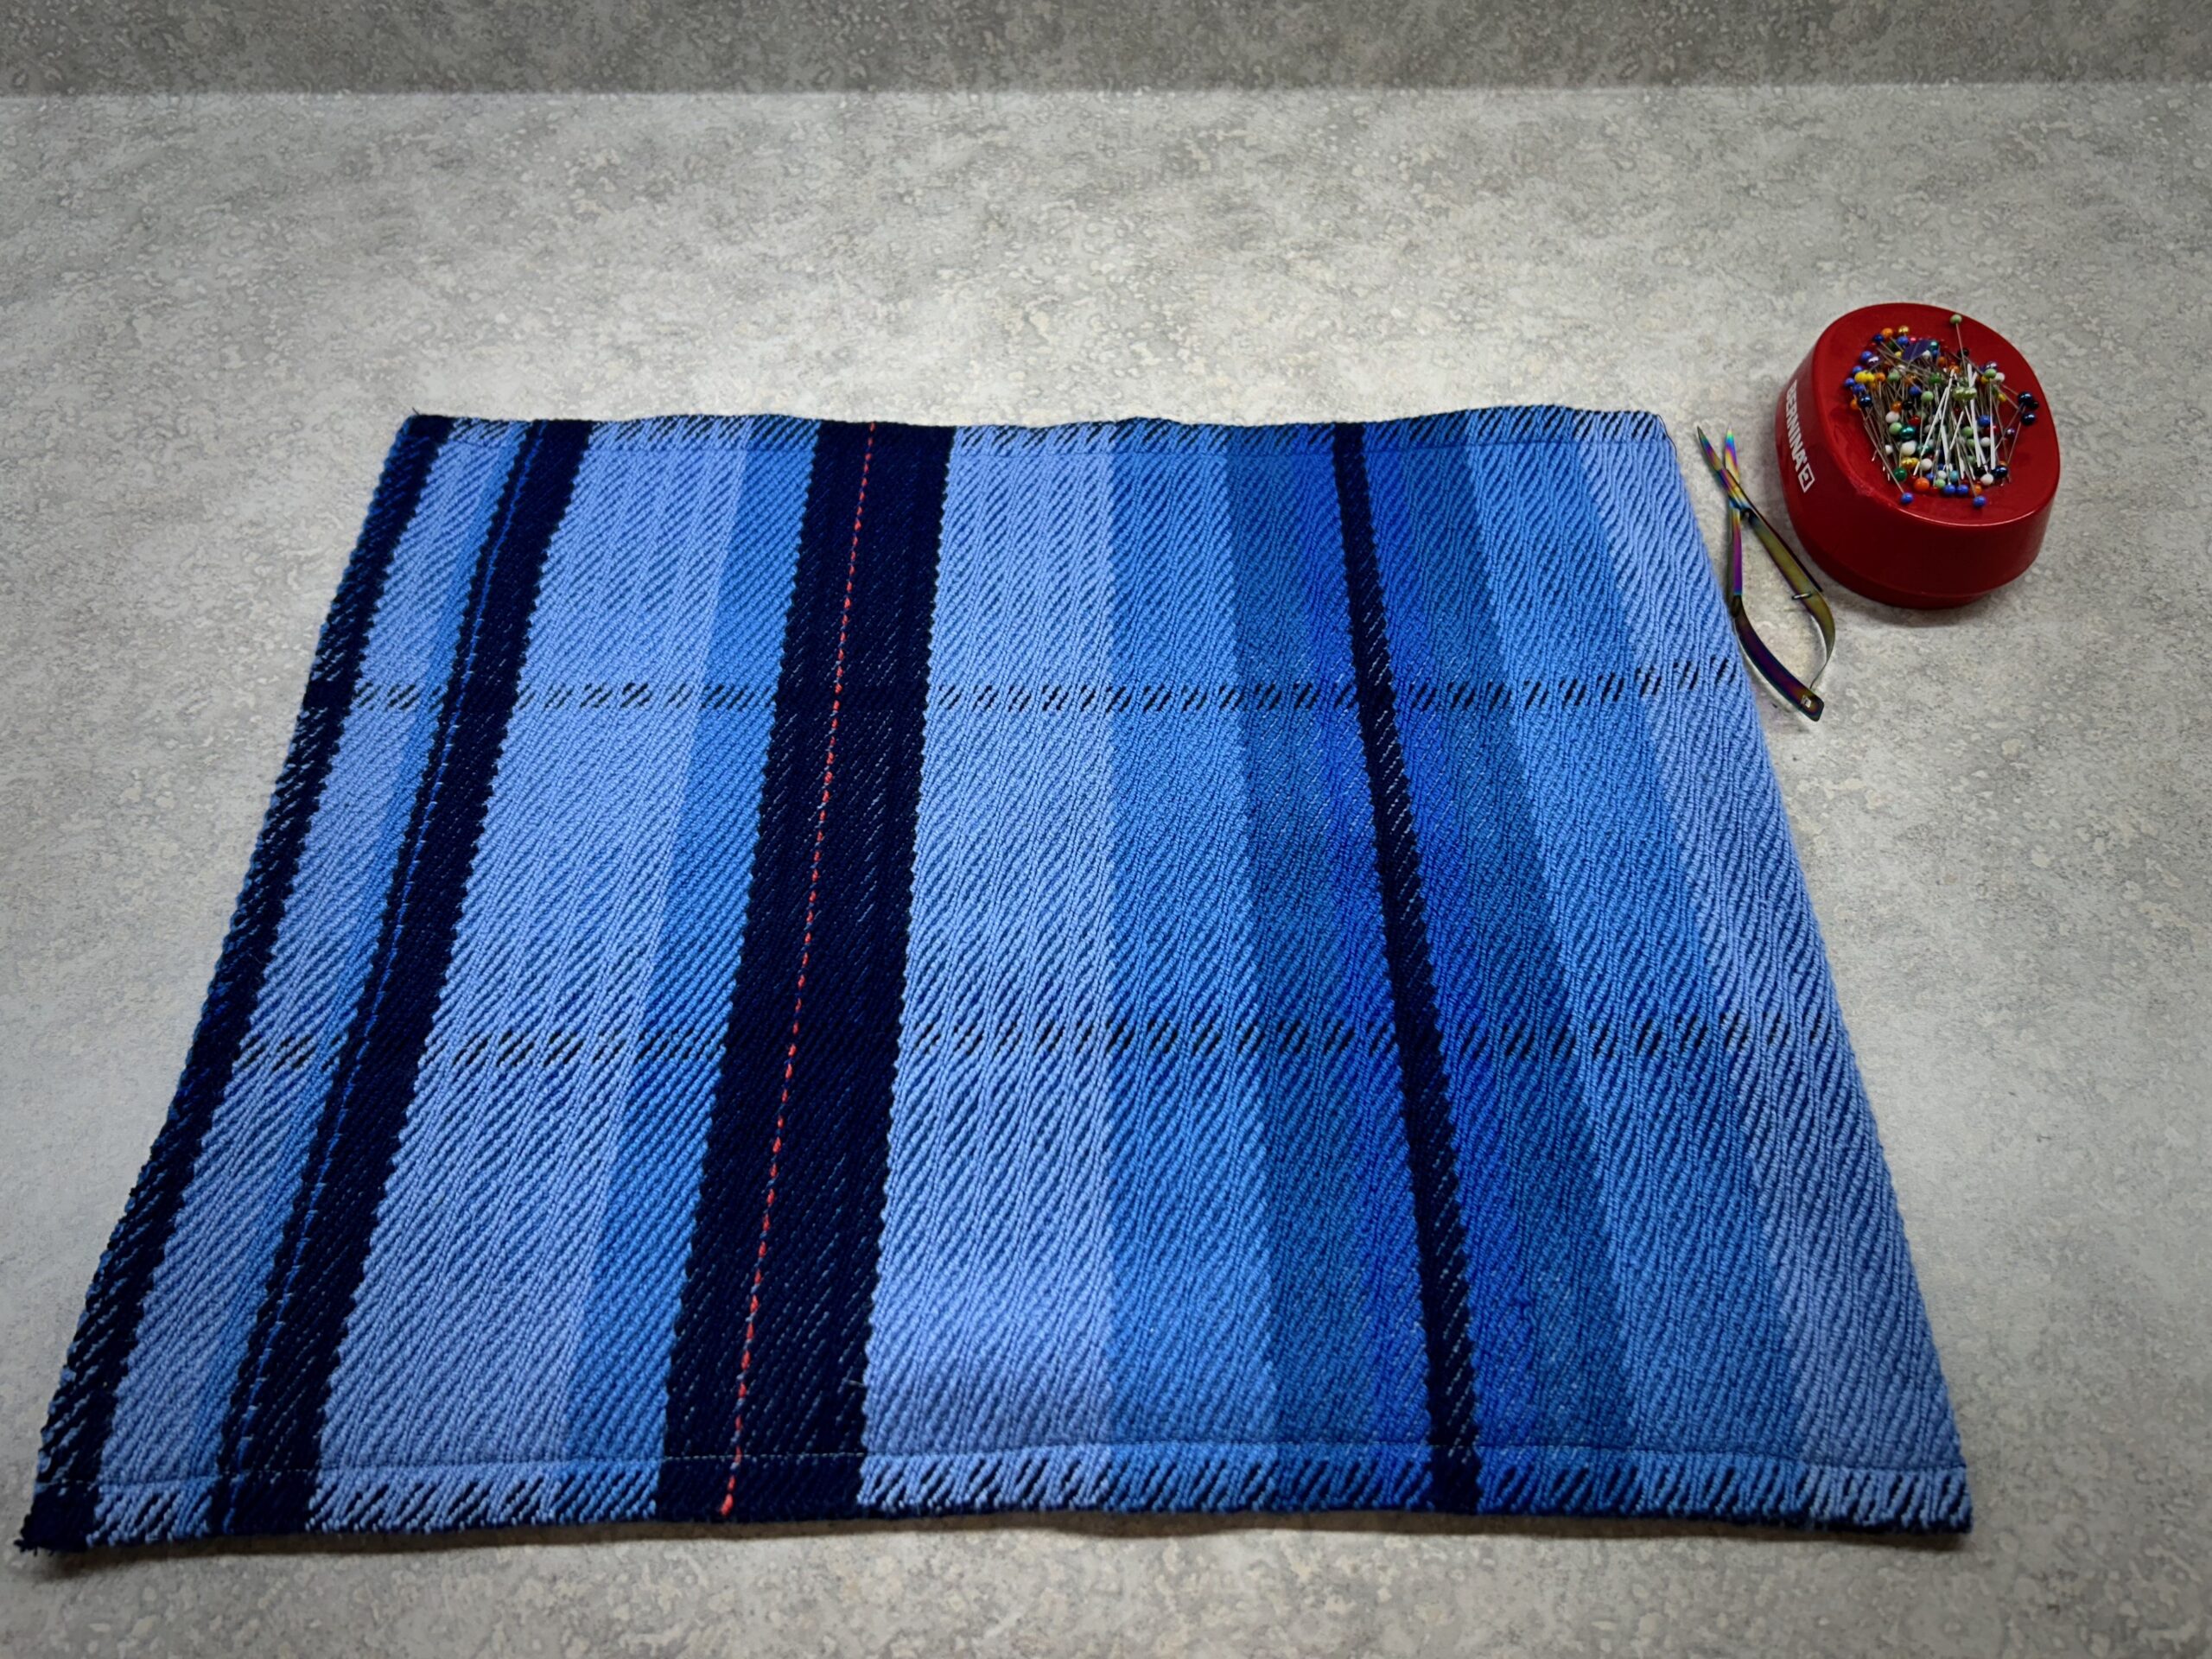
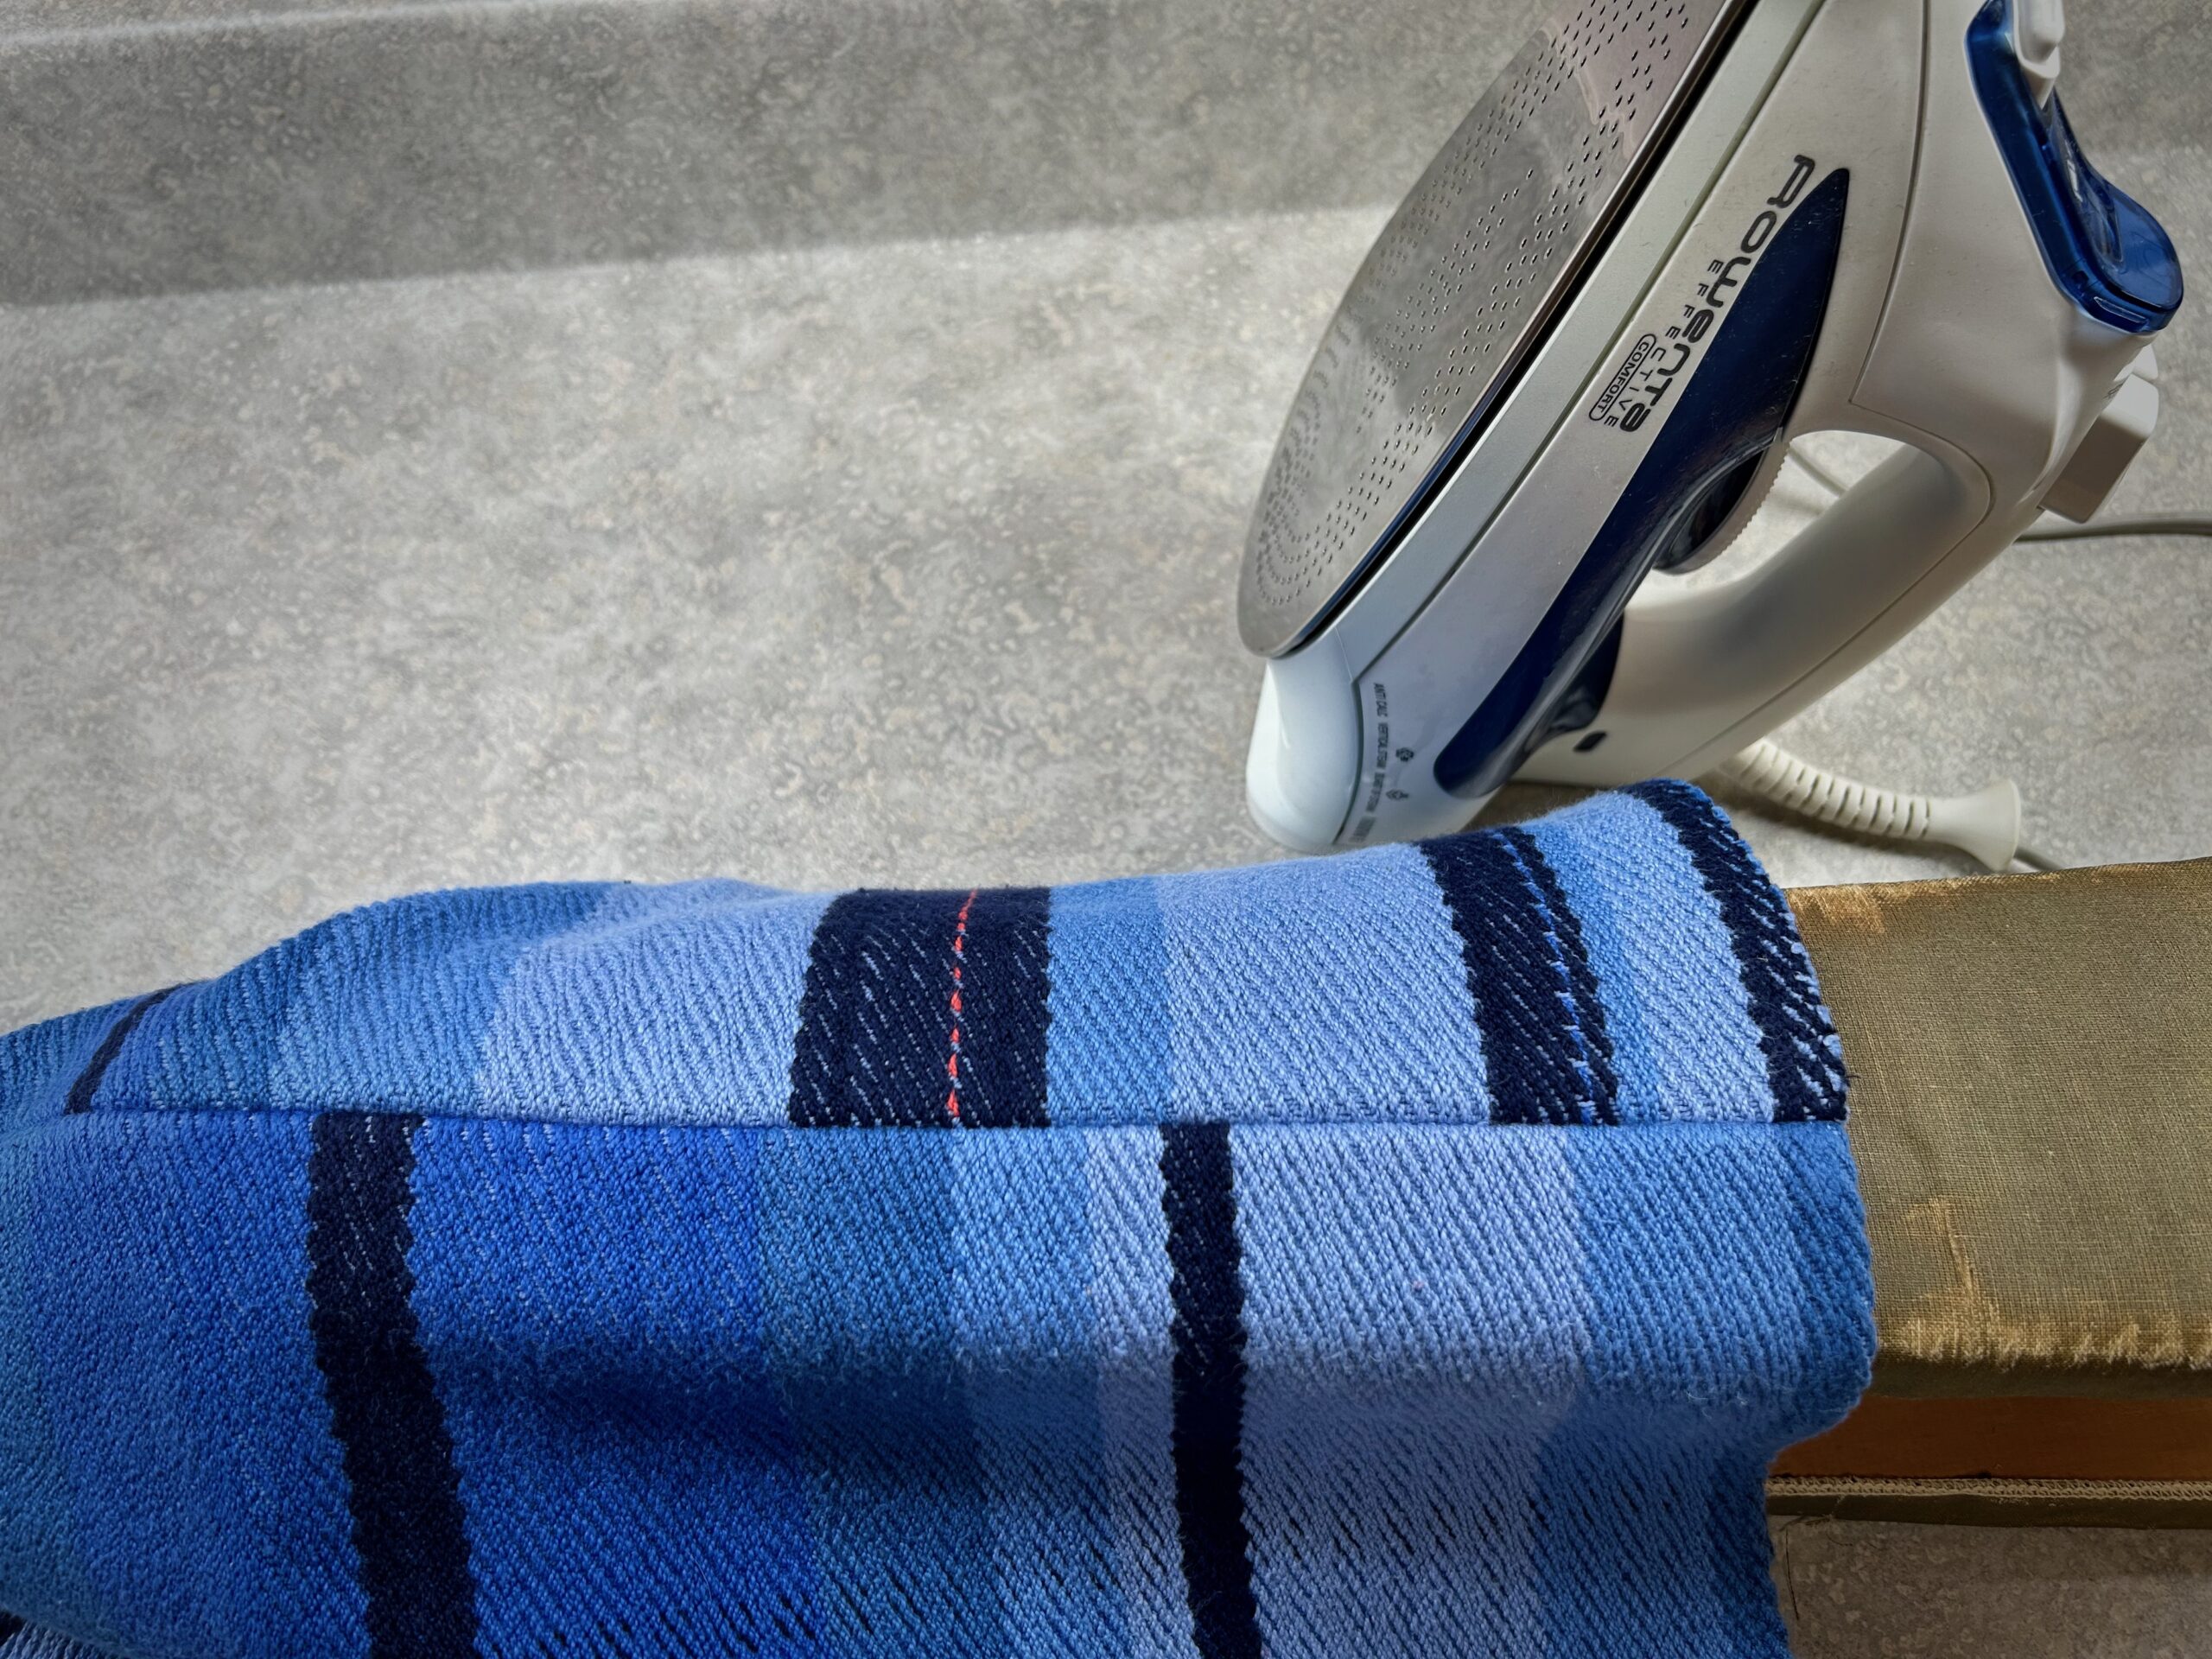
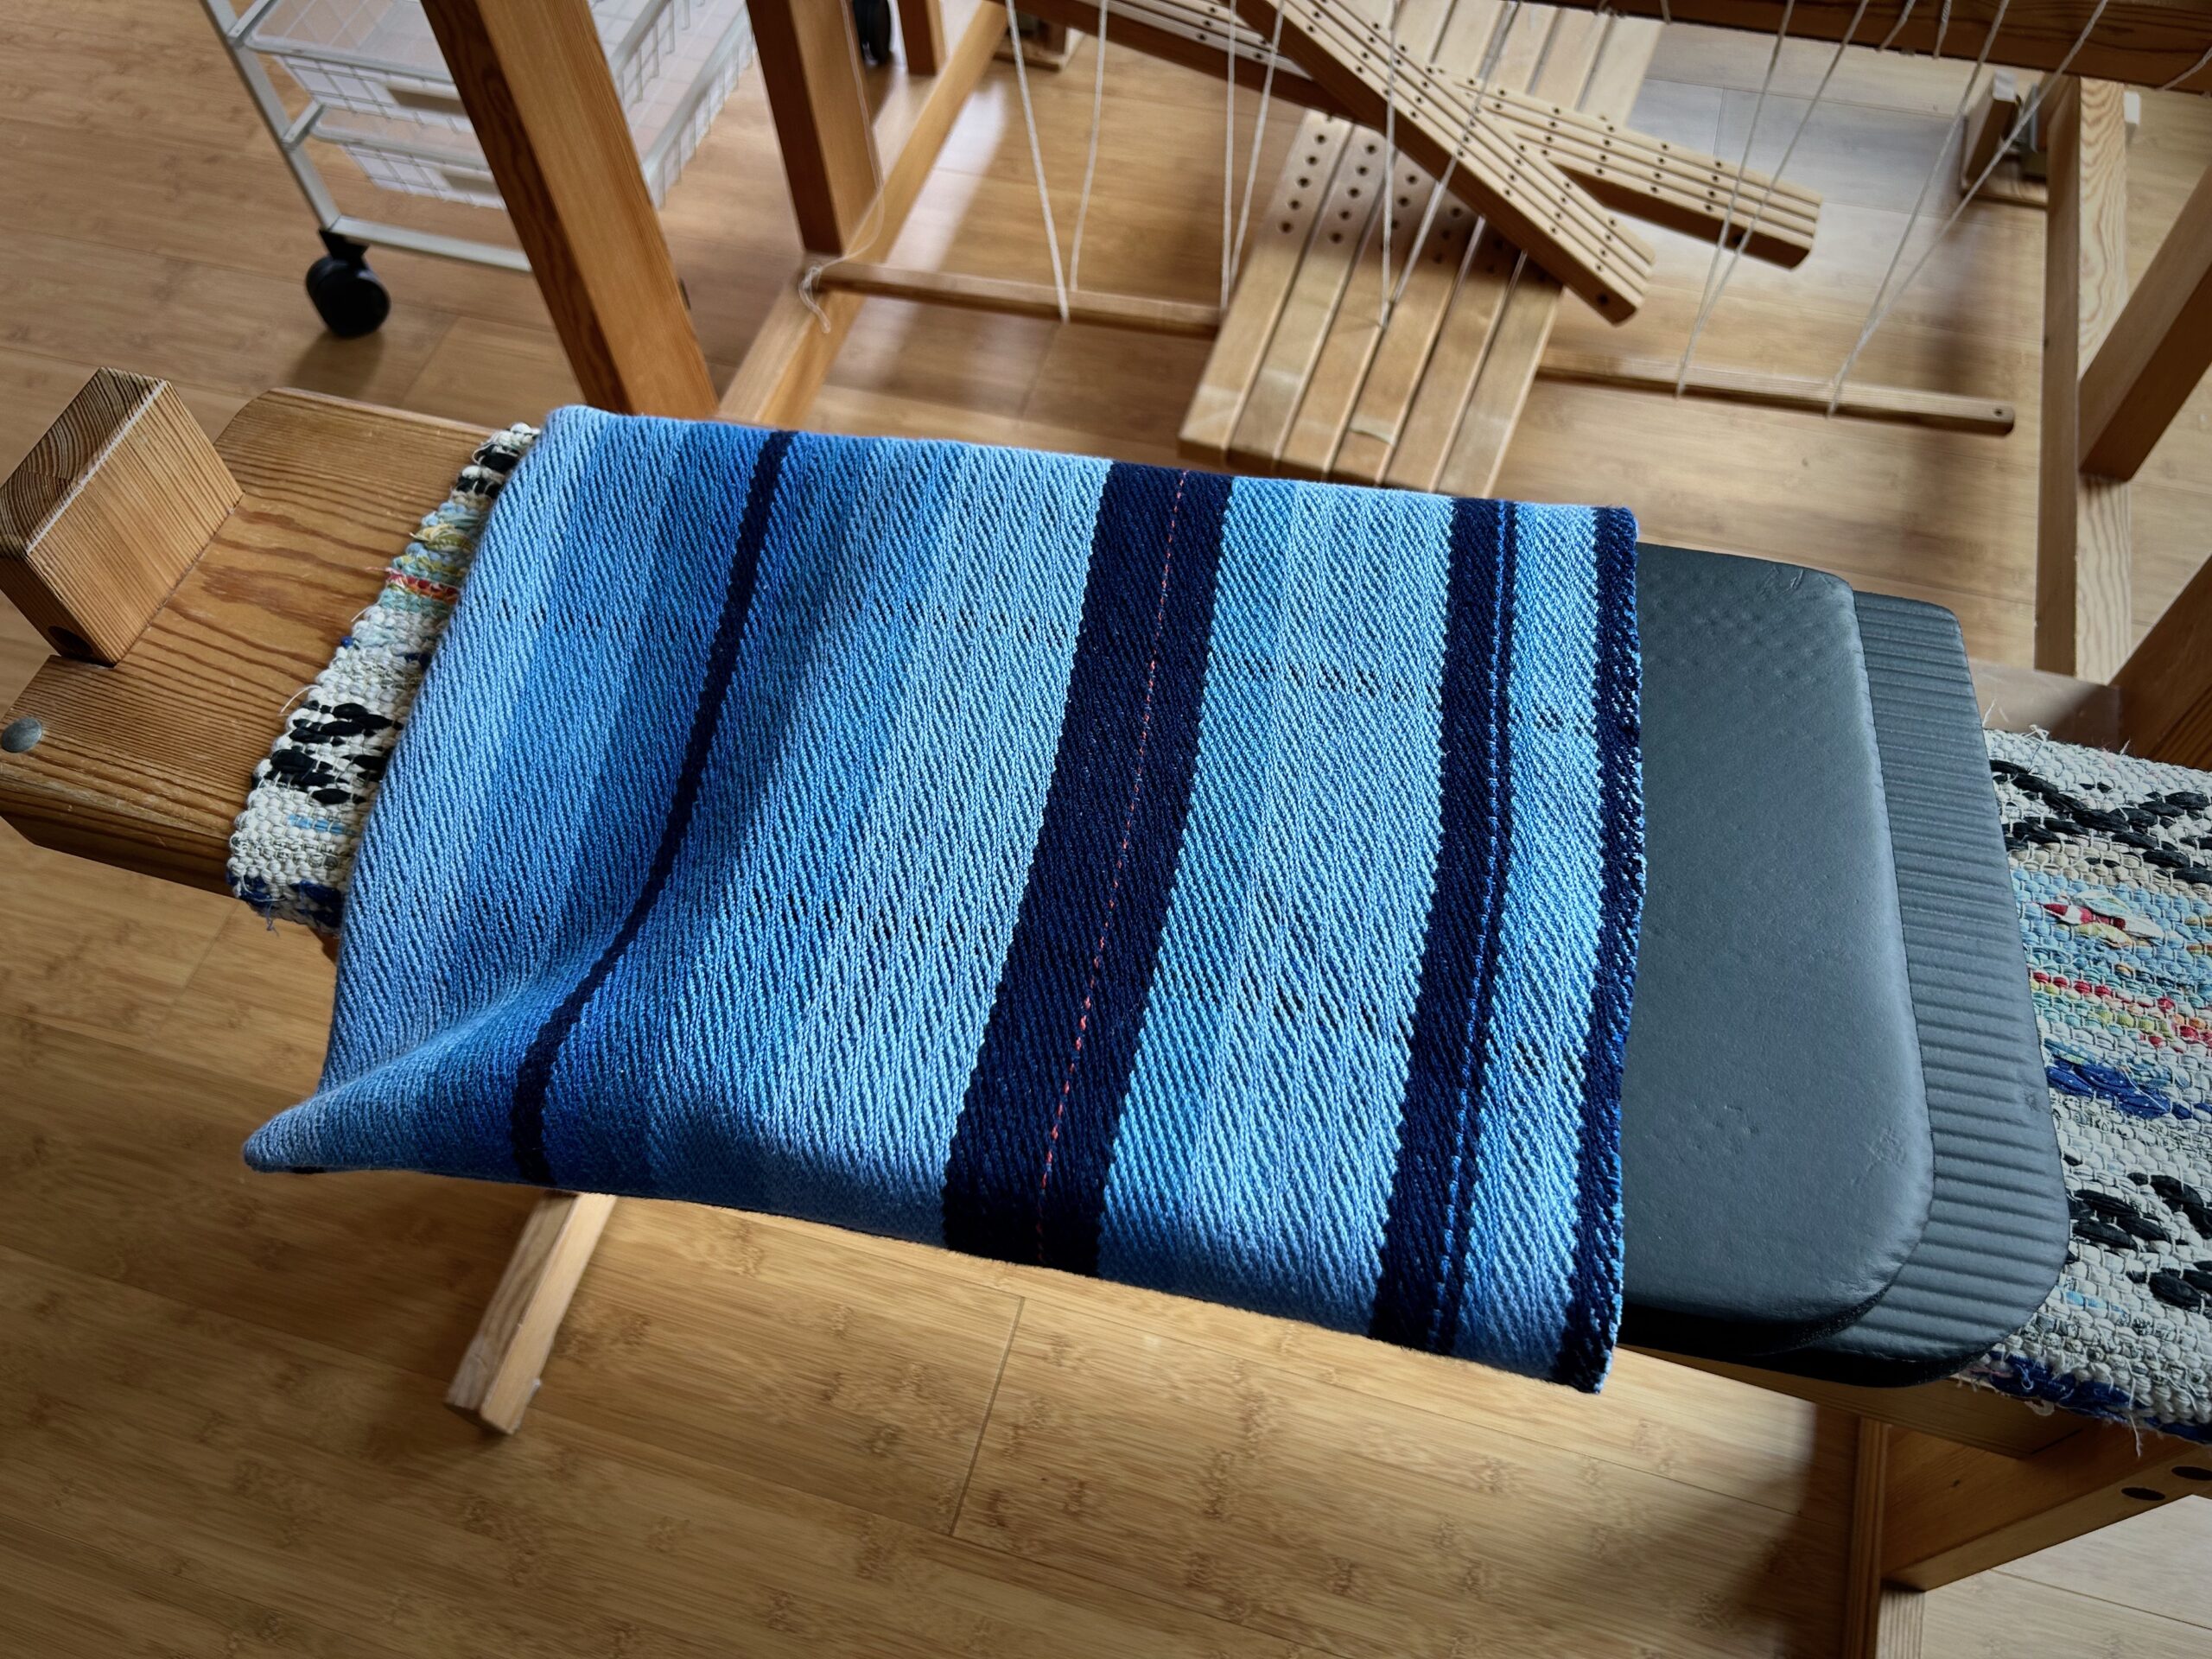
Here are the bonus animals–the family dog of each of our three children’s families. I asked the oldest child in the family to write the dog’s name, which I then converted into weaveable letters. I placed the dog’s name frontwards and backwards, so it can be read from either side of the cloth. I was able to reach the end of weaveable warp without using any extreme measures. Joy!
Please watch for my February 1st post. I will give you a complete rundown on all the finished and hemmed critter napkins.
~ February 1st will be the last scheduled blog post for Warped for Good. ~
I am still weaving, so I intend to share what’s going on with my looms here on Warped for Good, but in a spontaneous manner instead of a scheduled post on each first day of the month.
Grateful to have you here,
Karen