What Will You Finish Weaving this Year?

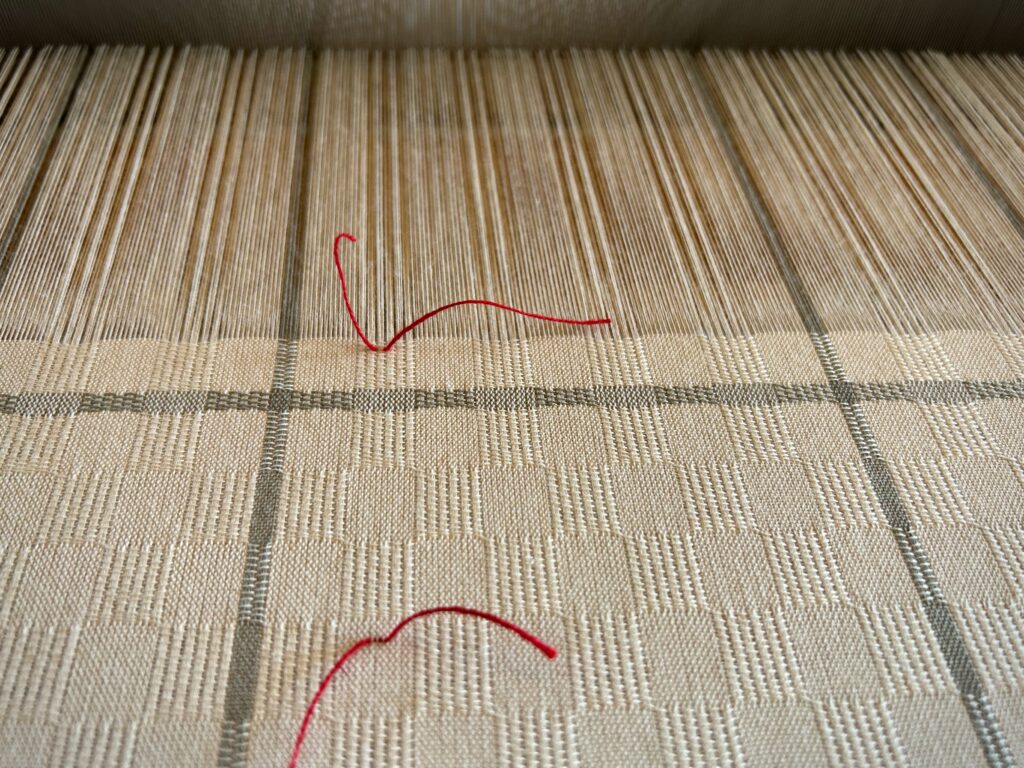
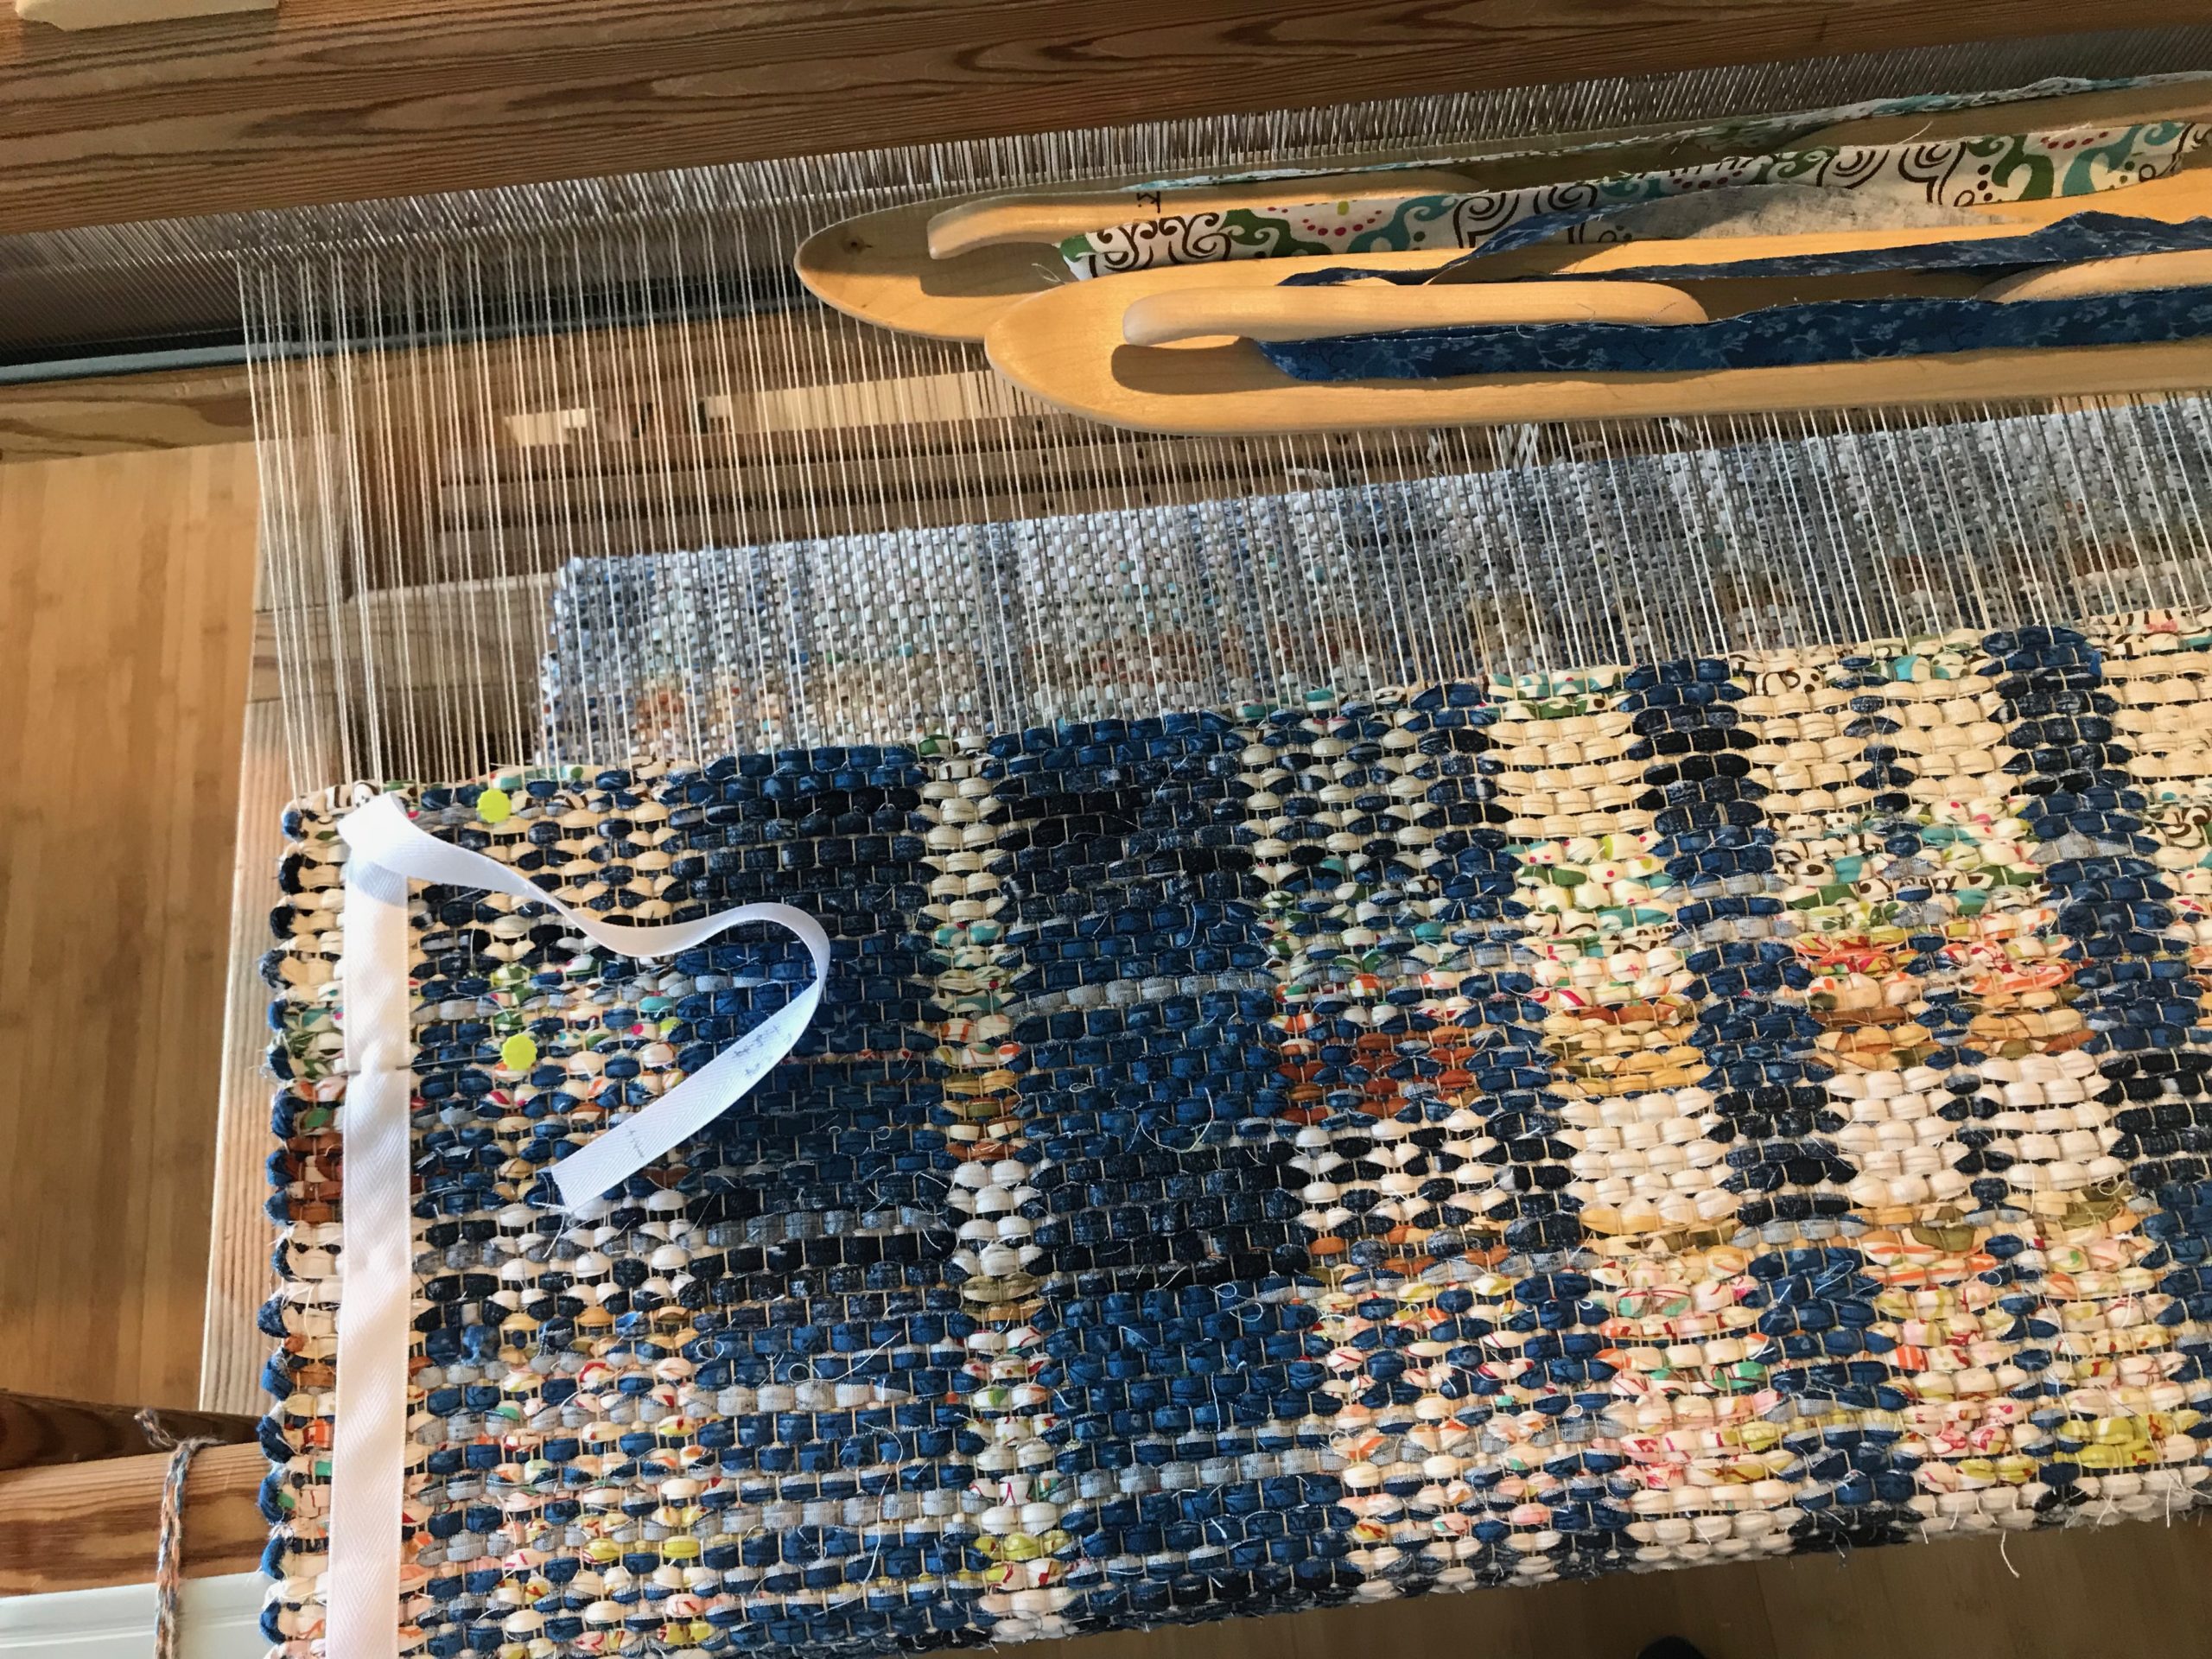
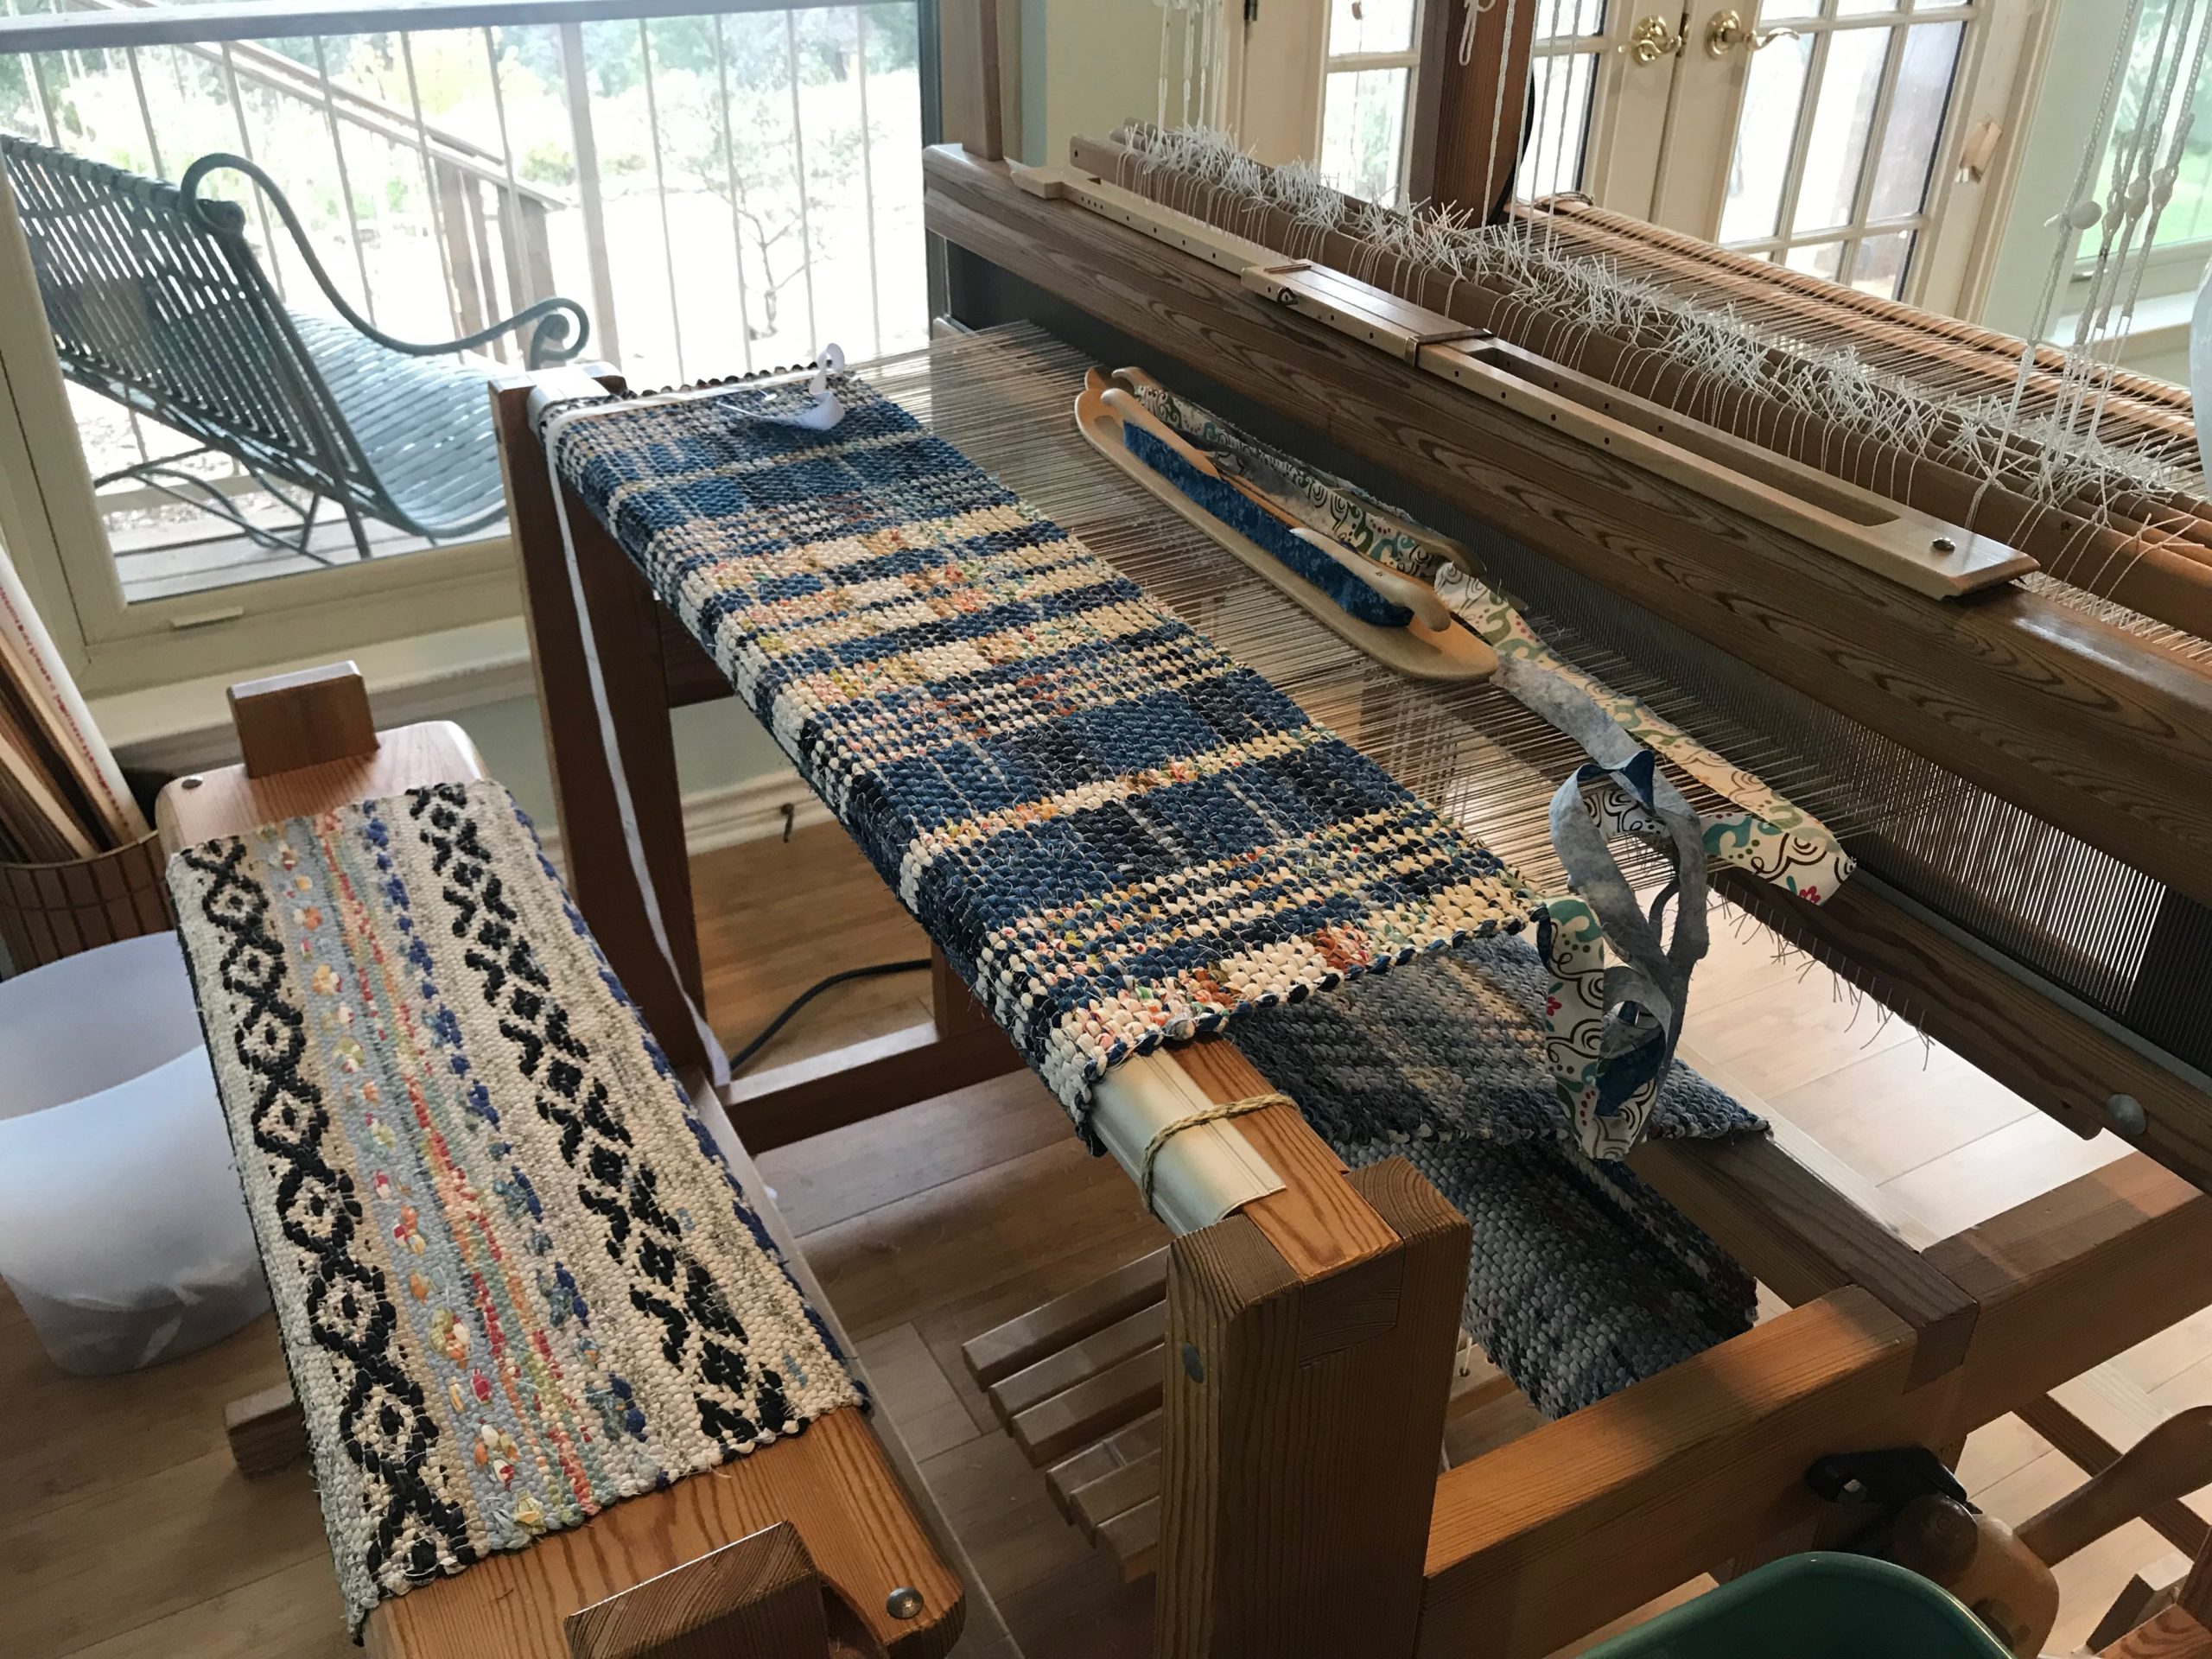
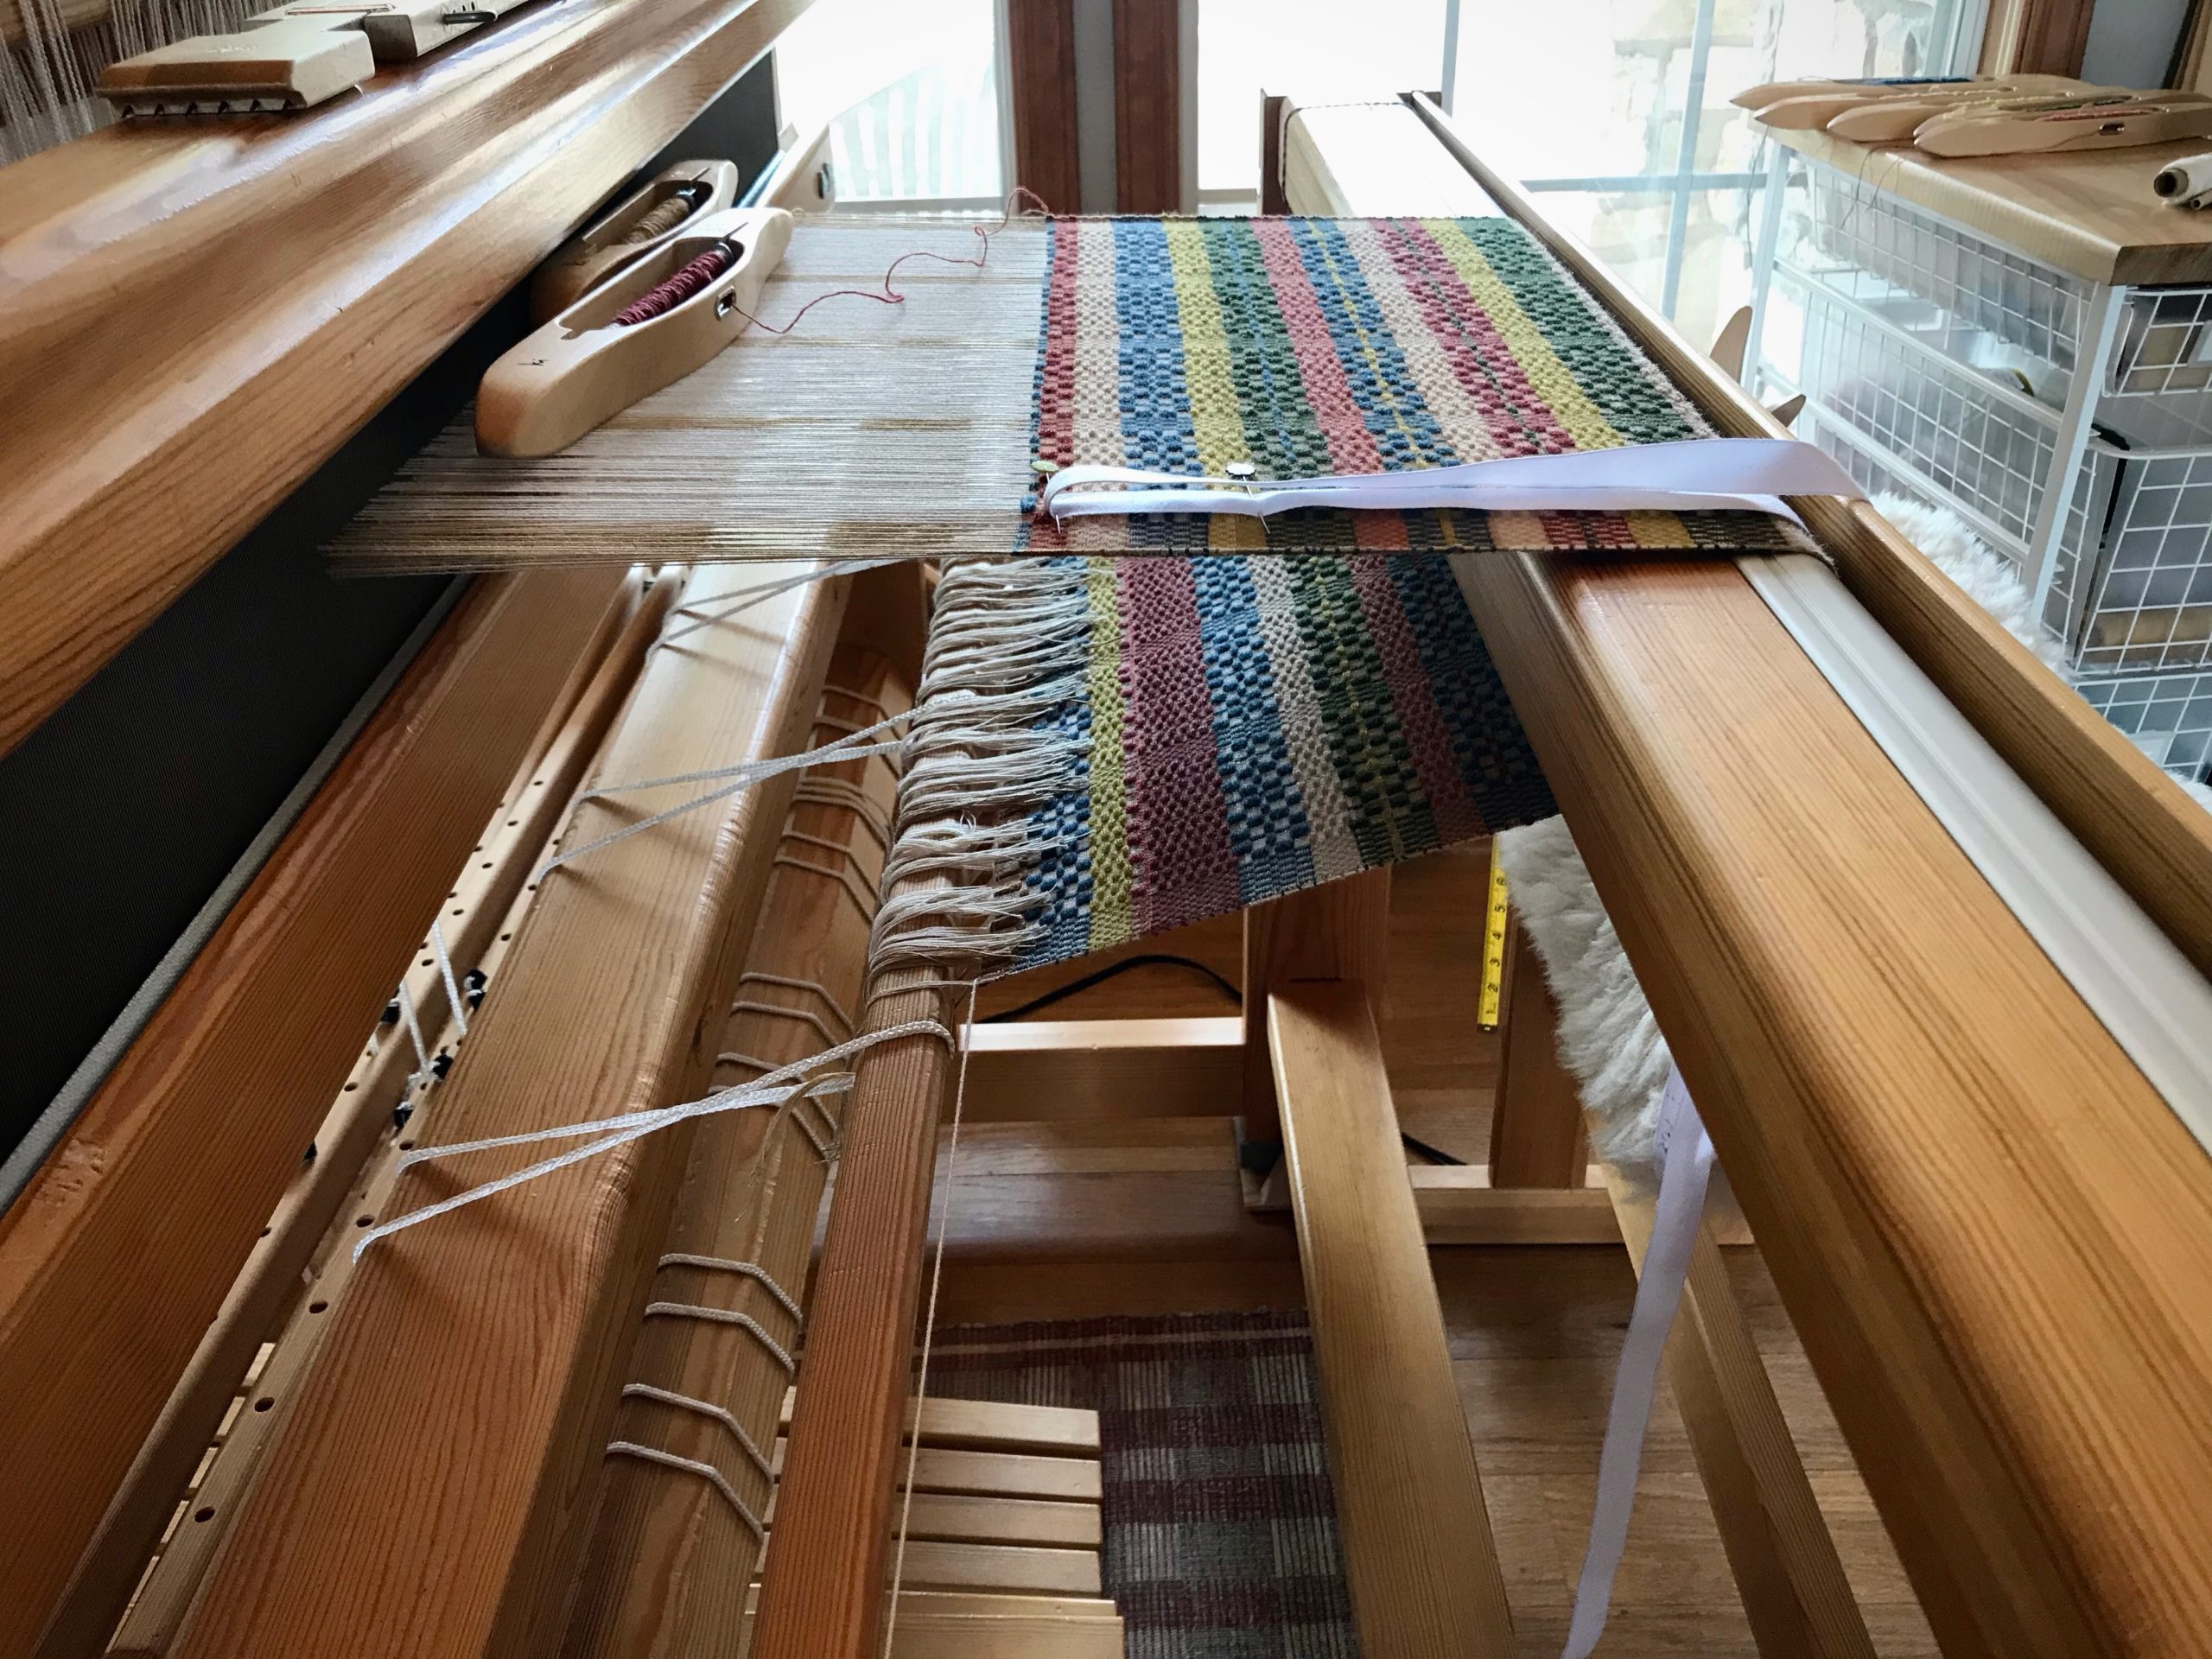
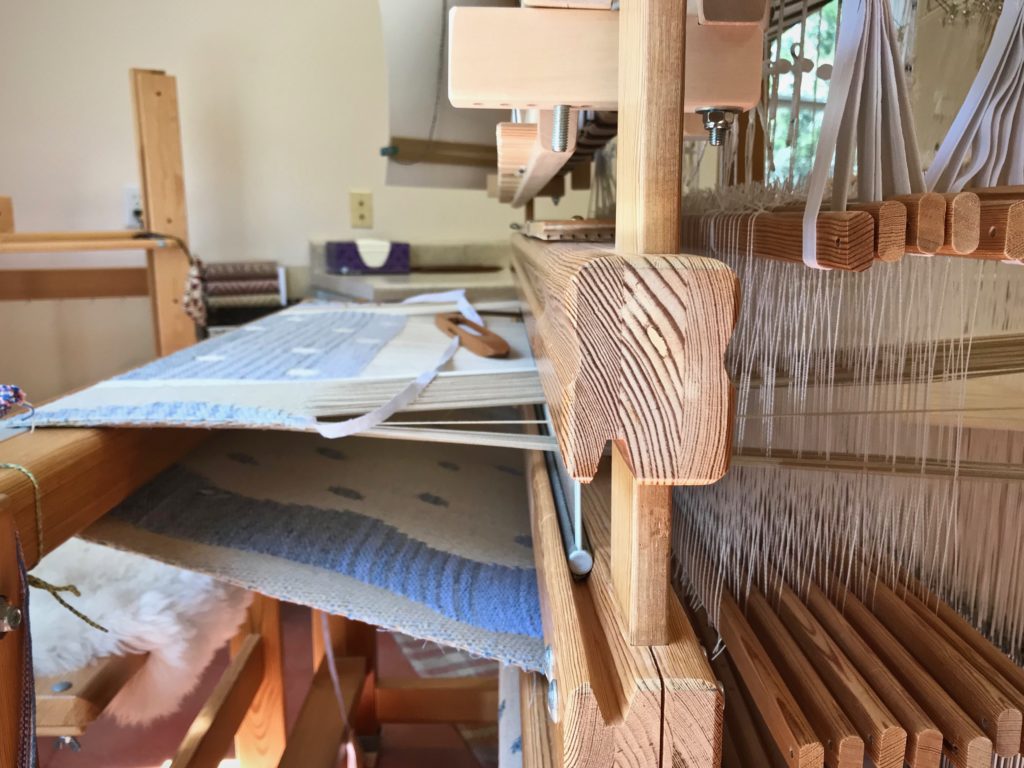
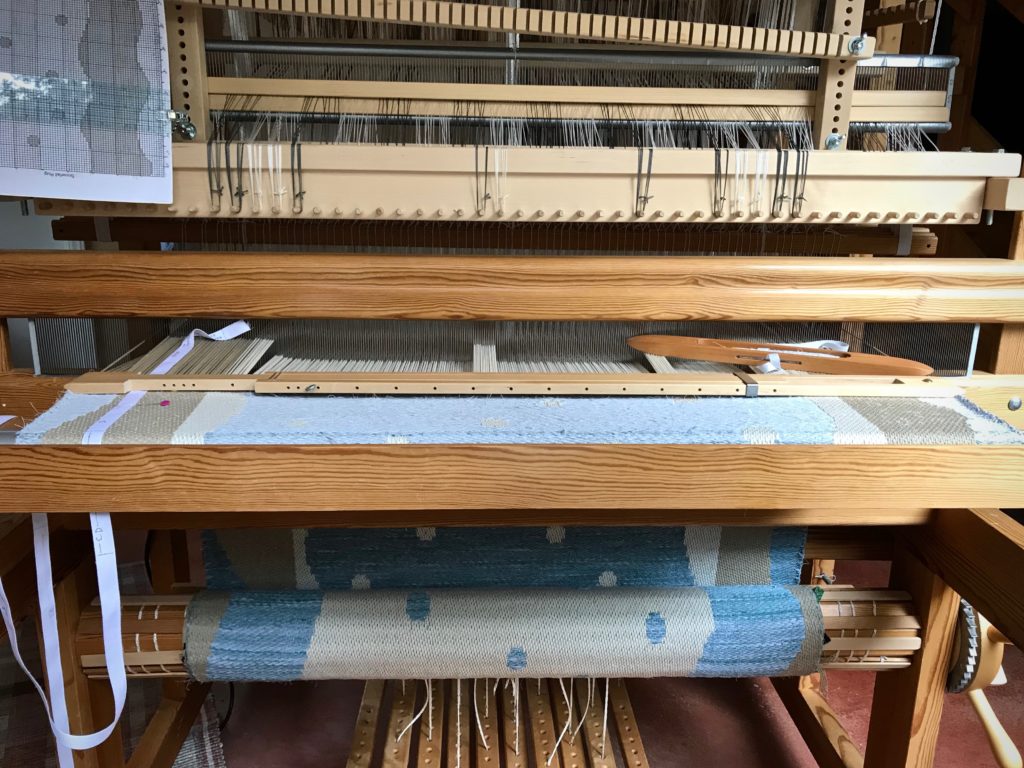
I am this close to the end of the rug… This series of double-binding rag rugs has been super fun! The question is: What’s next? I think I can squeeze out one more (short) rug on the warp after this one. Will I be able to do the final cutting off before the year’s end? I’m going to try! But then, what after that? I have some ideas… Perhaps I’ll start a new pictorial tapestry on this Ideal.

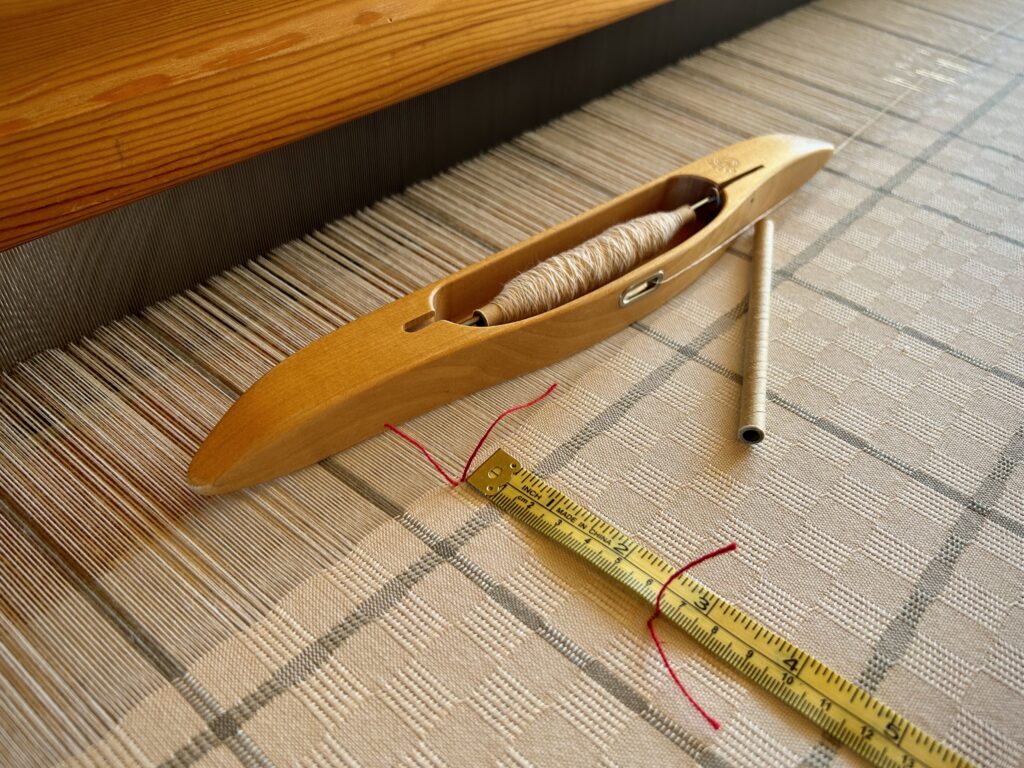
Measurement tape shows how close this rug is to its final picks.
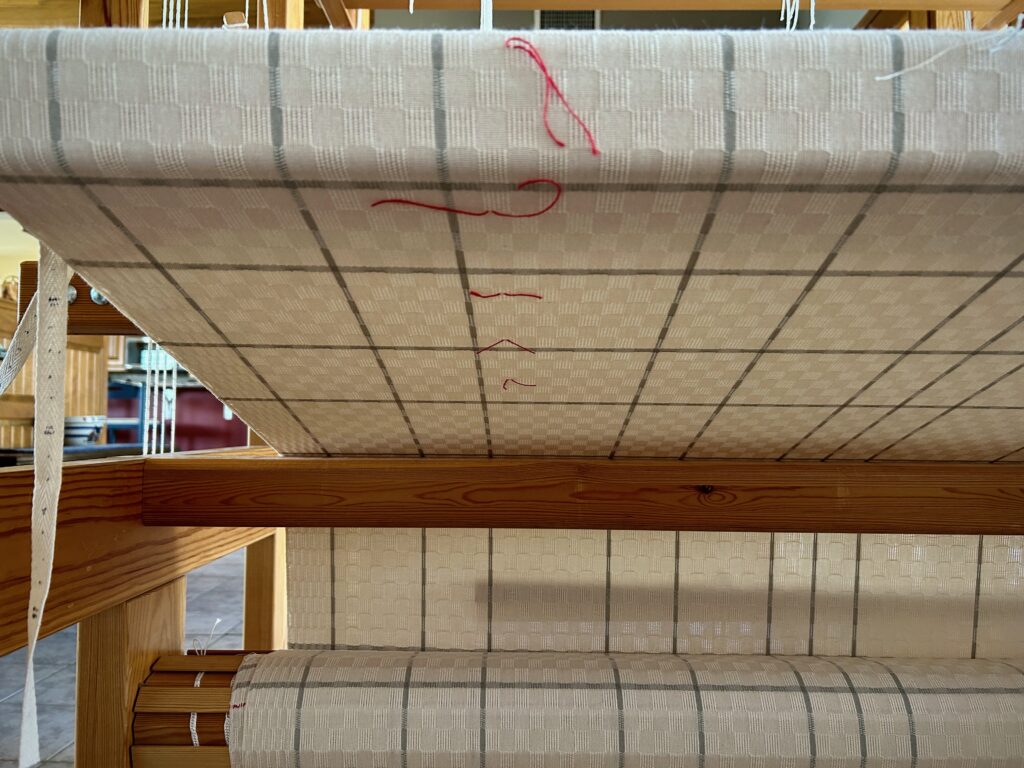
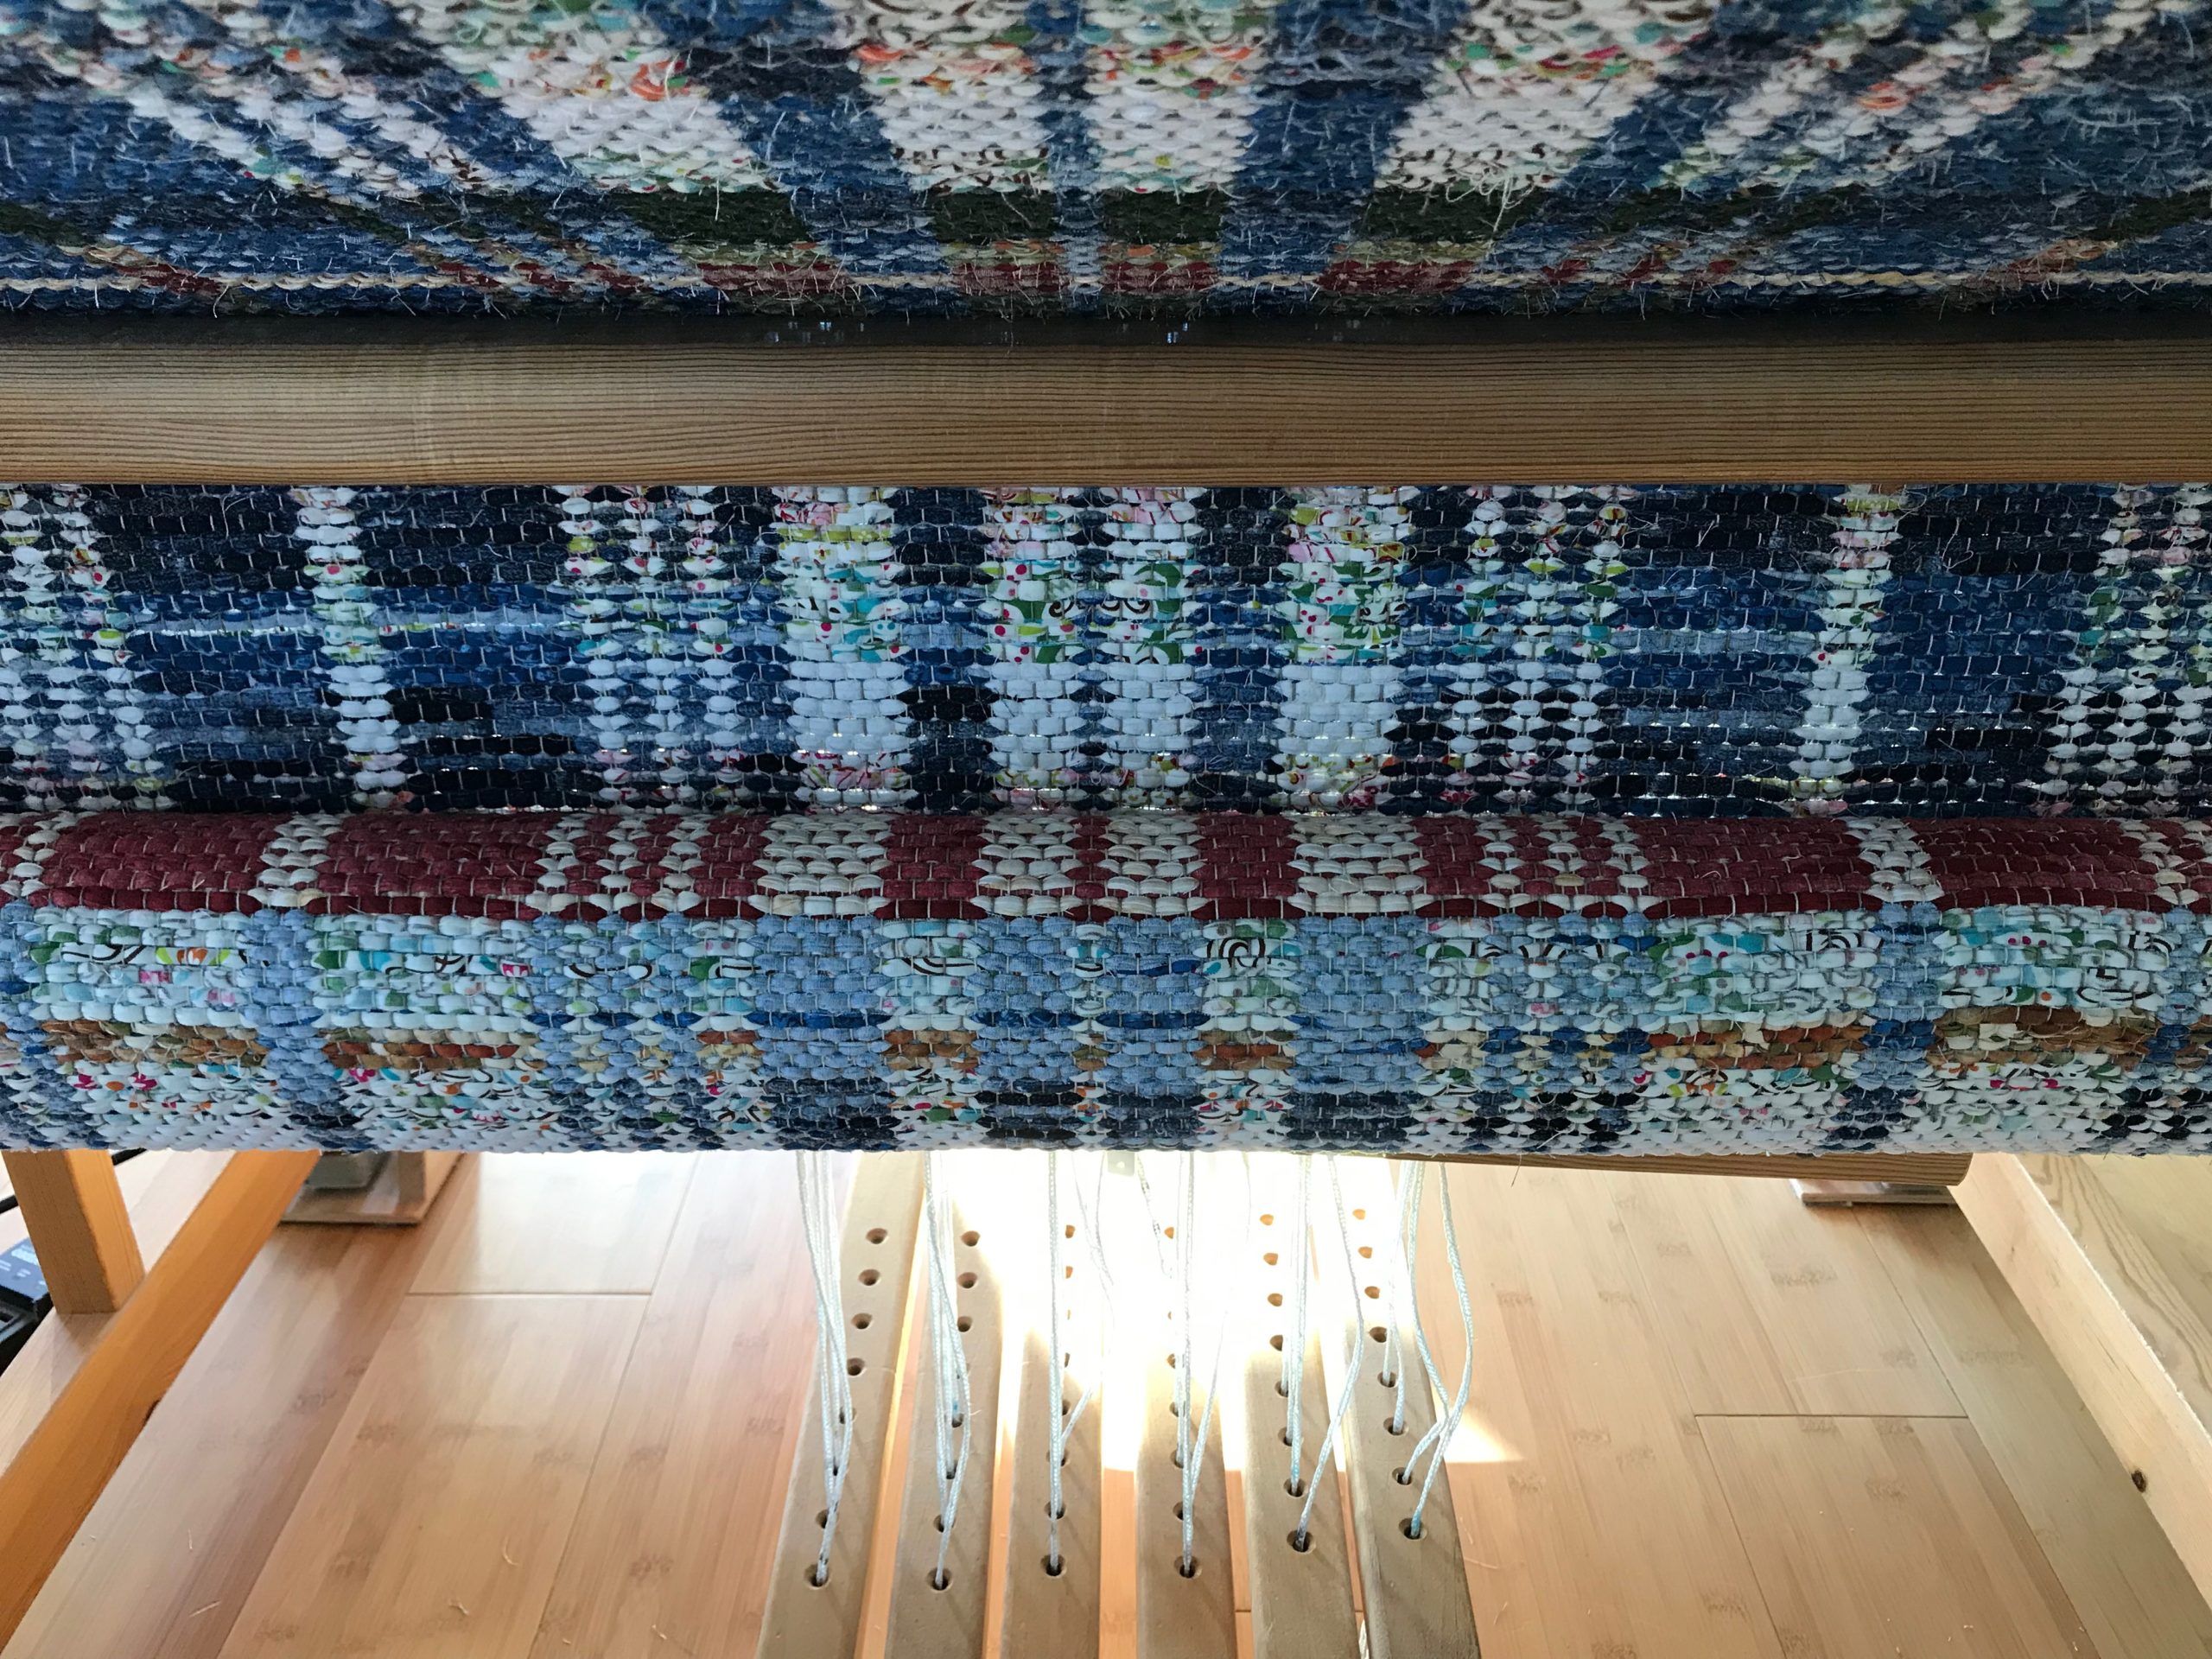
View under the breast beam shows the rug being rolled up on the cloth beam.
I never cease to be amazed at the possibilities of a weave structure as simple as four-shaft double binding.

We are this close to the end of the year. Is there a project you still hope to complete before this year’s end? Share what it is in the comments.

May you enjoy every moment.

Happy Weaving,
Karen

One-Repetition Rag Rug

I want to weave two floor runners for a specific location in our home. I could do some figuring and guessing. Instead, I am weaving one repetition of this spaced rep rag rug. Now, I have a reference point. All I have to do is measure and see how many repetitions to weave for the length I need. Measuring removes the guesswork. Let the runners begin!

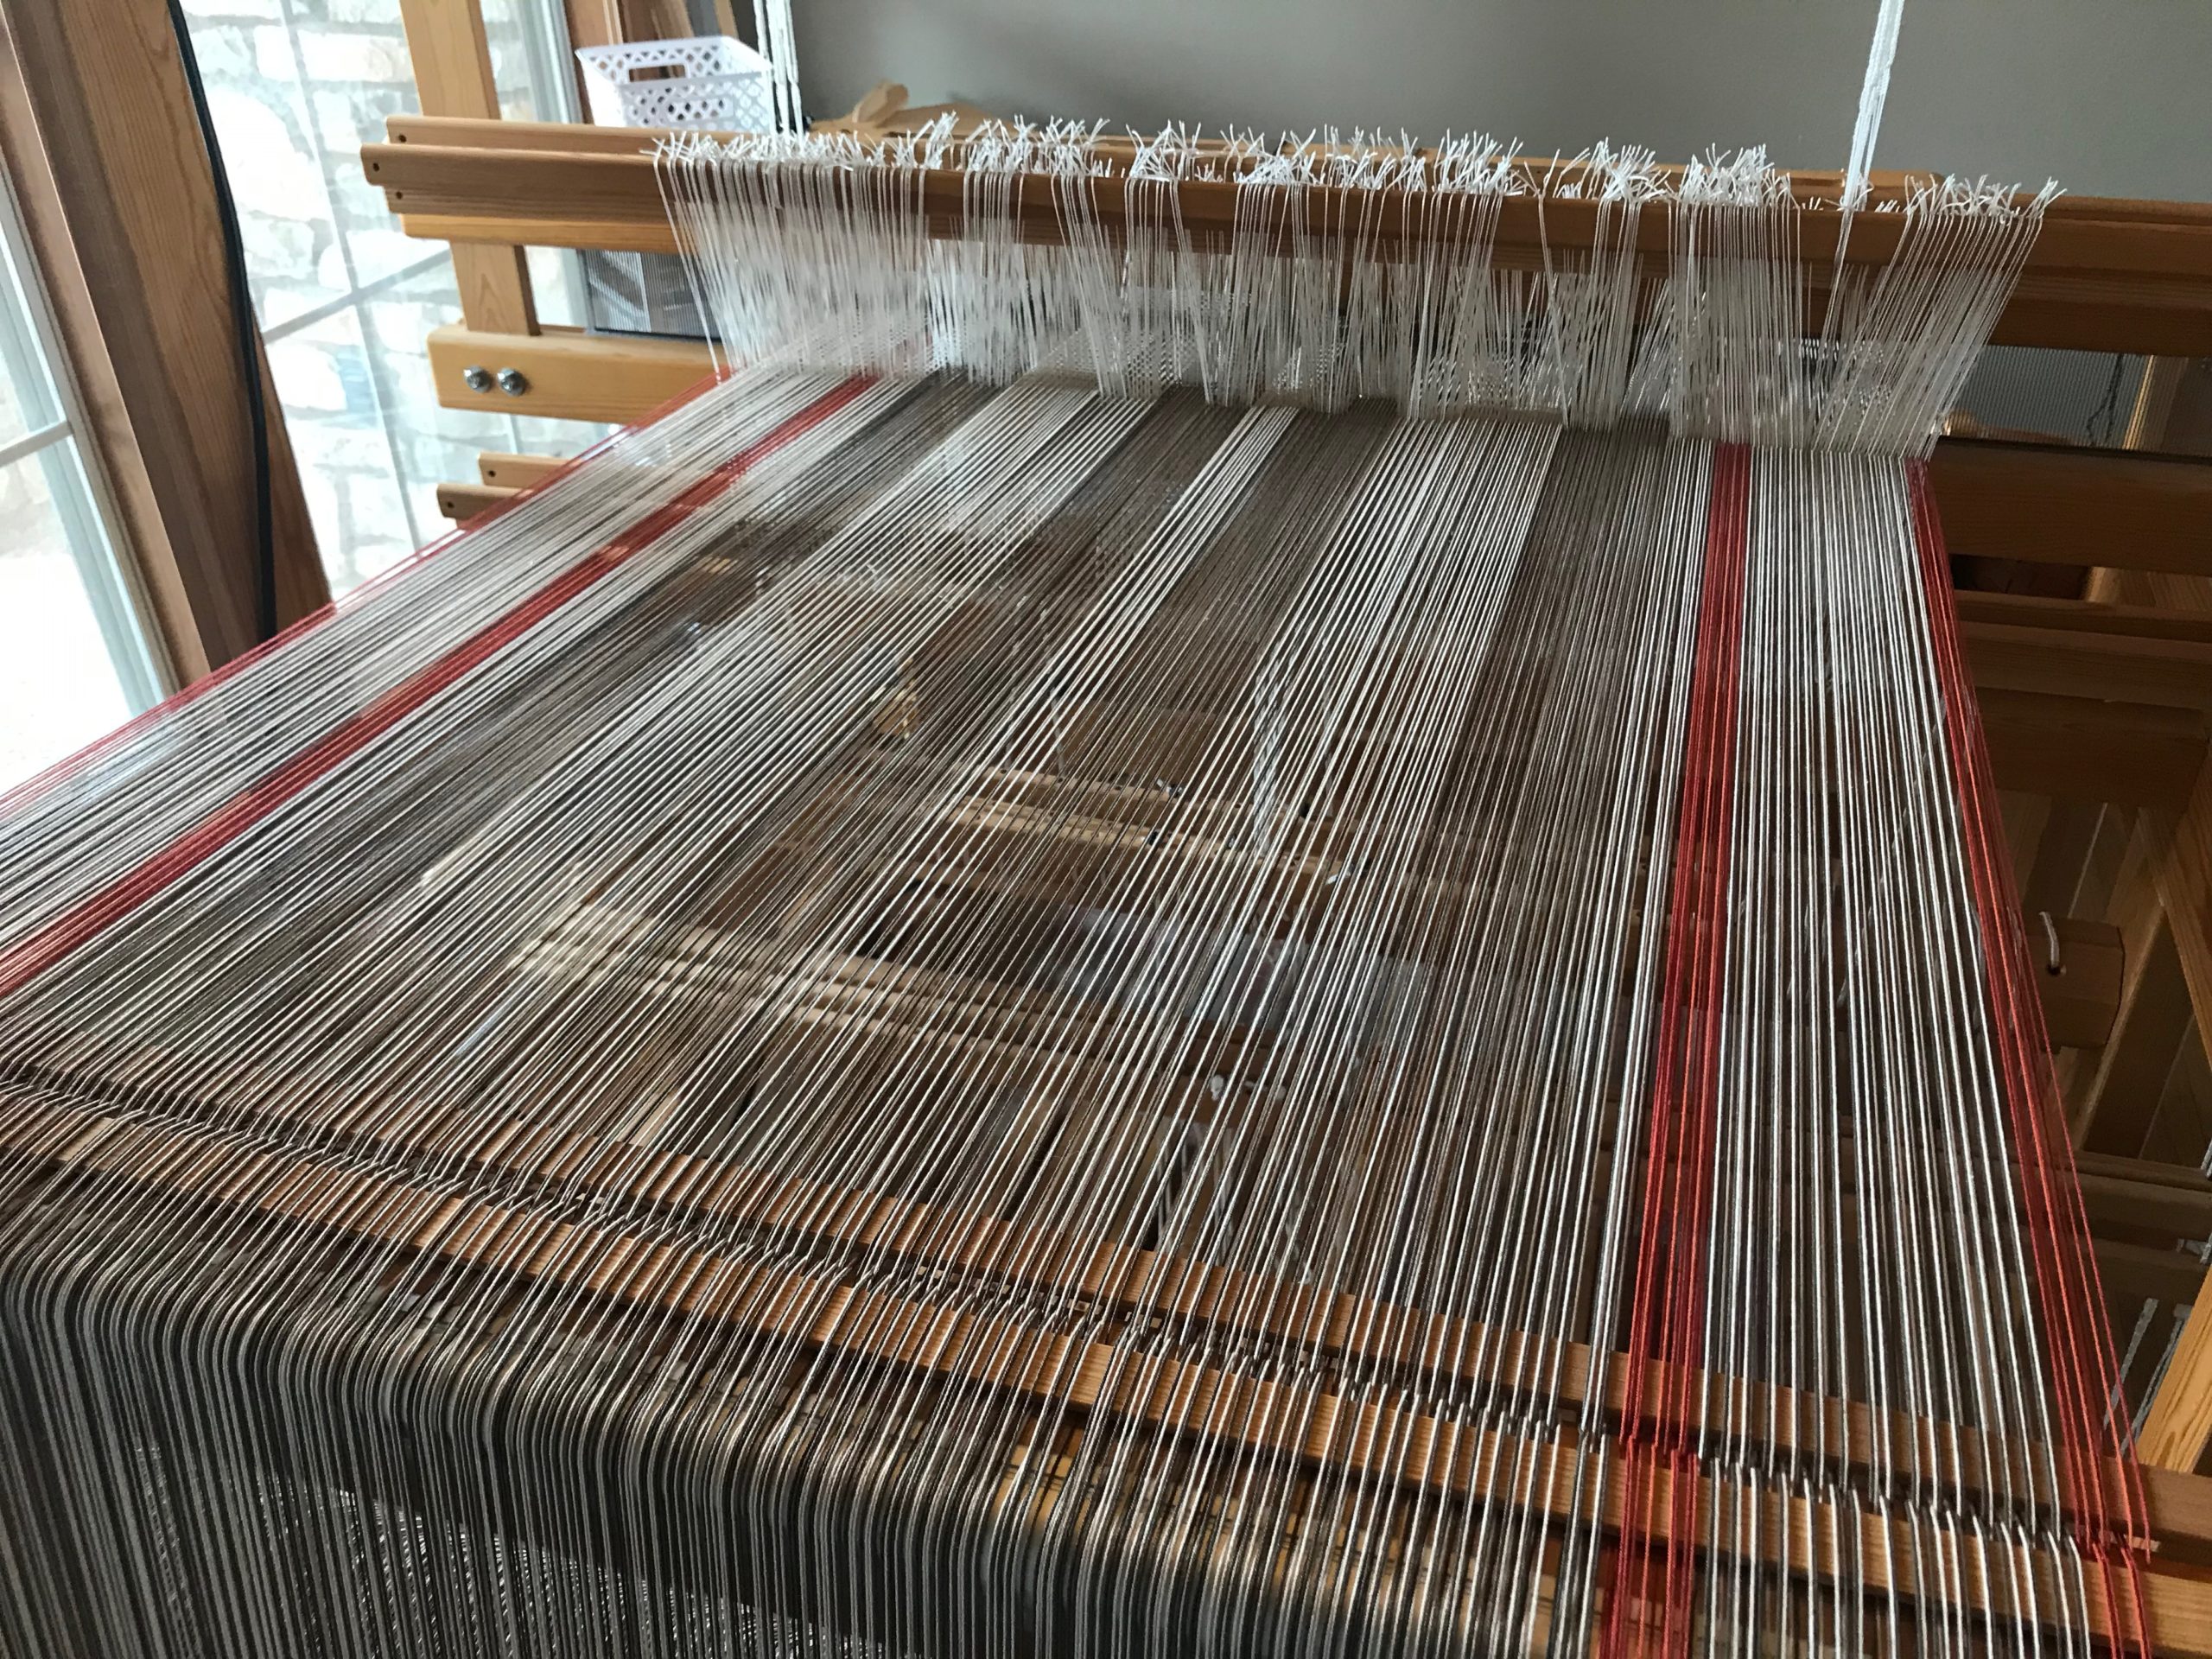
Spaced rep rug warp, right before cutting off the preliminary sample.
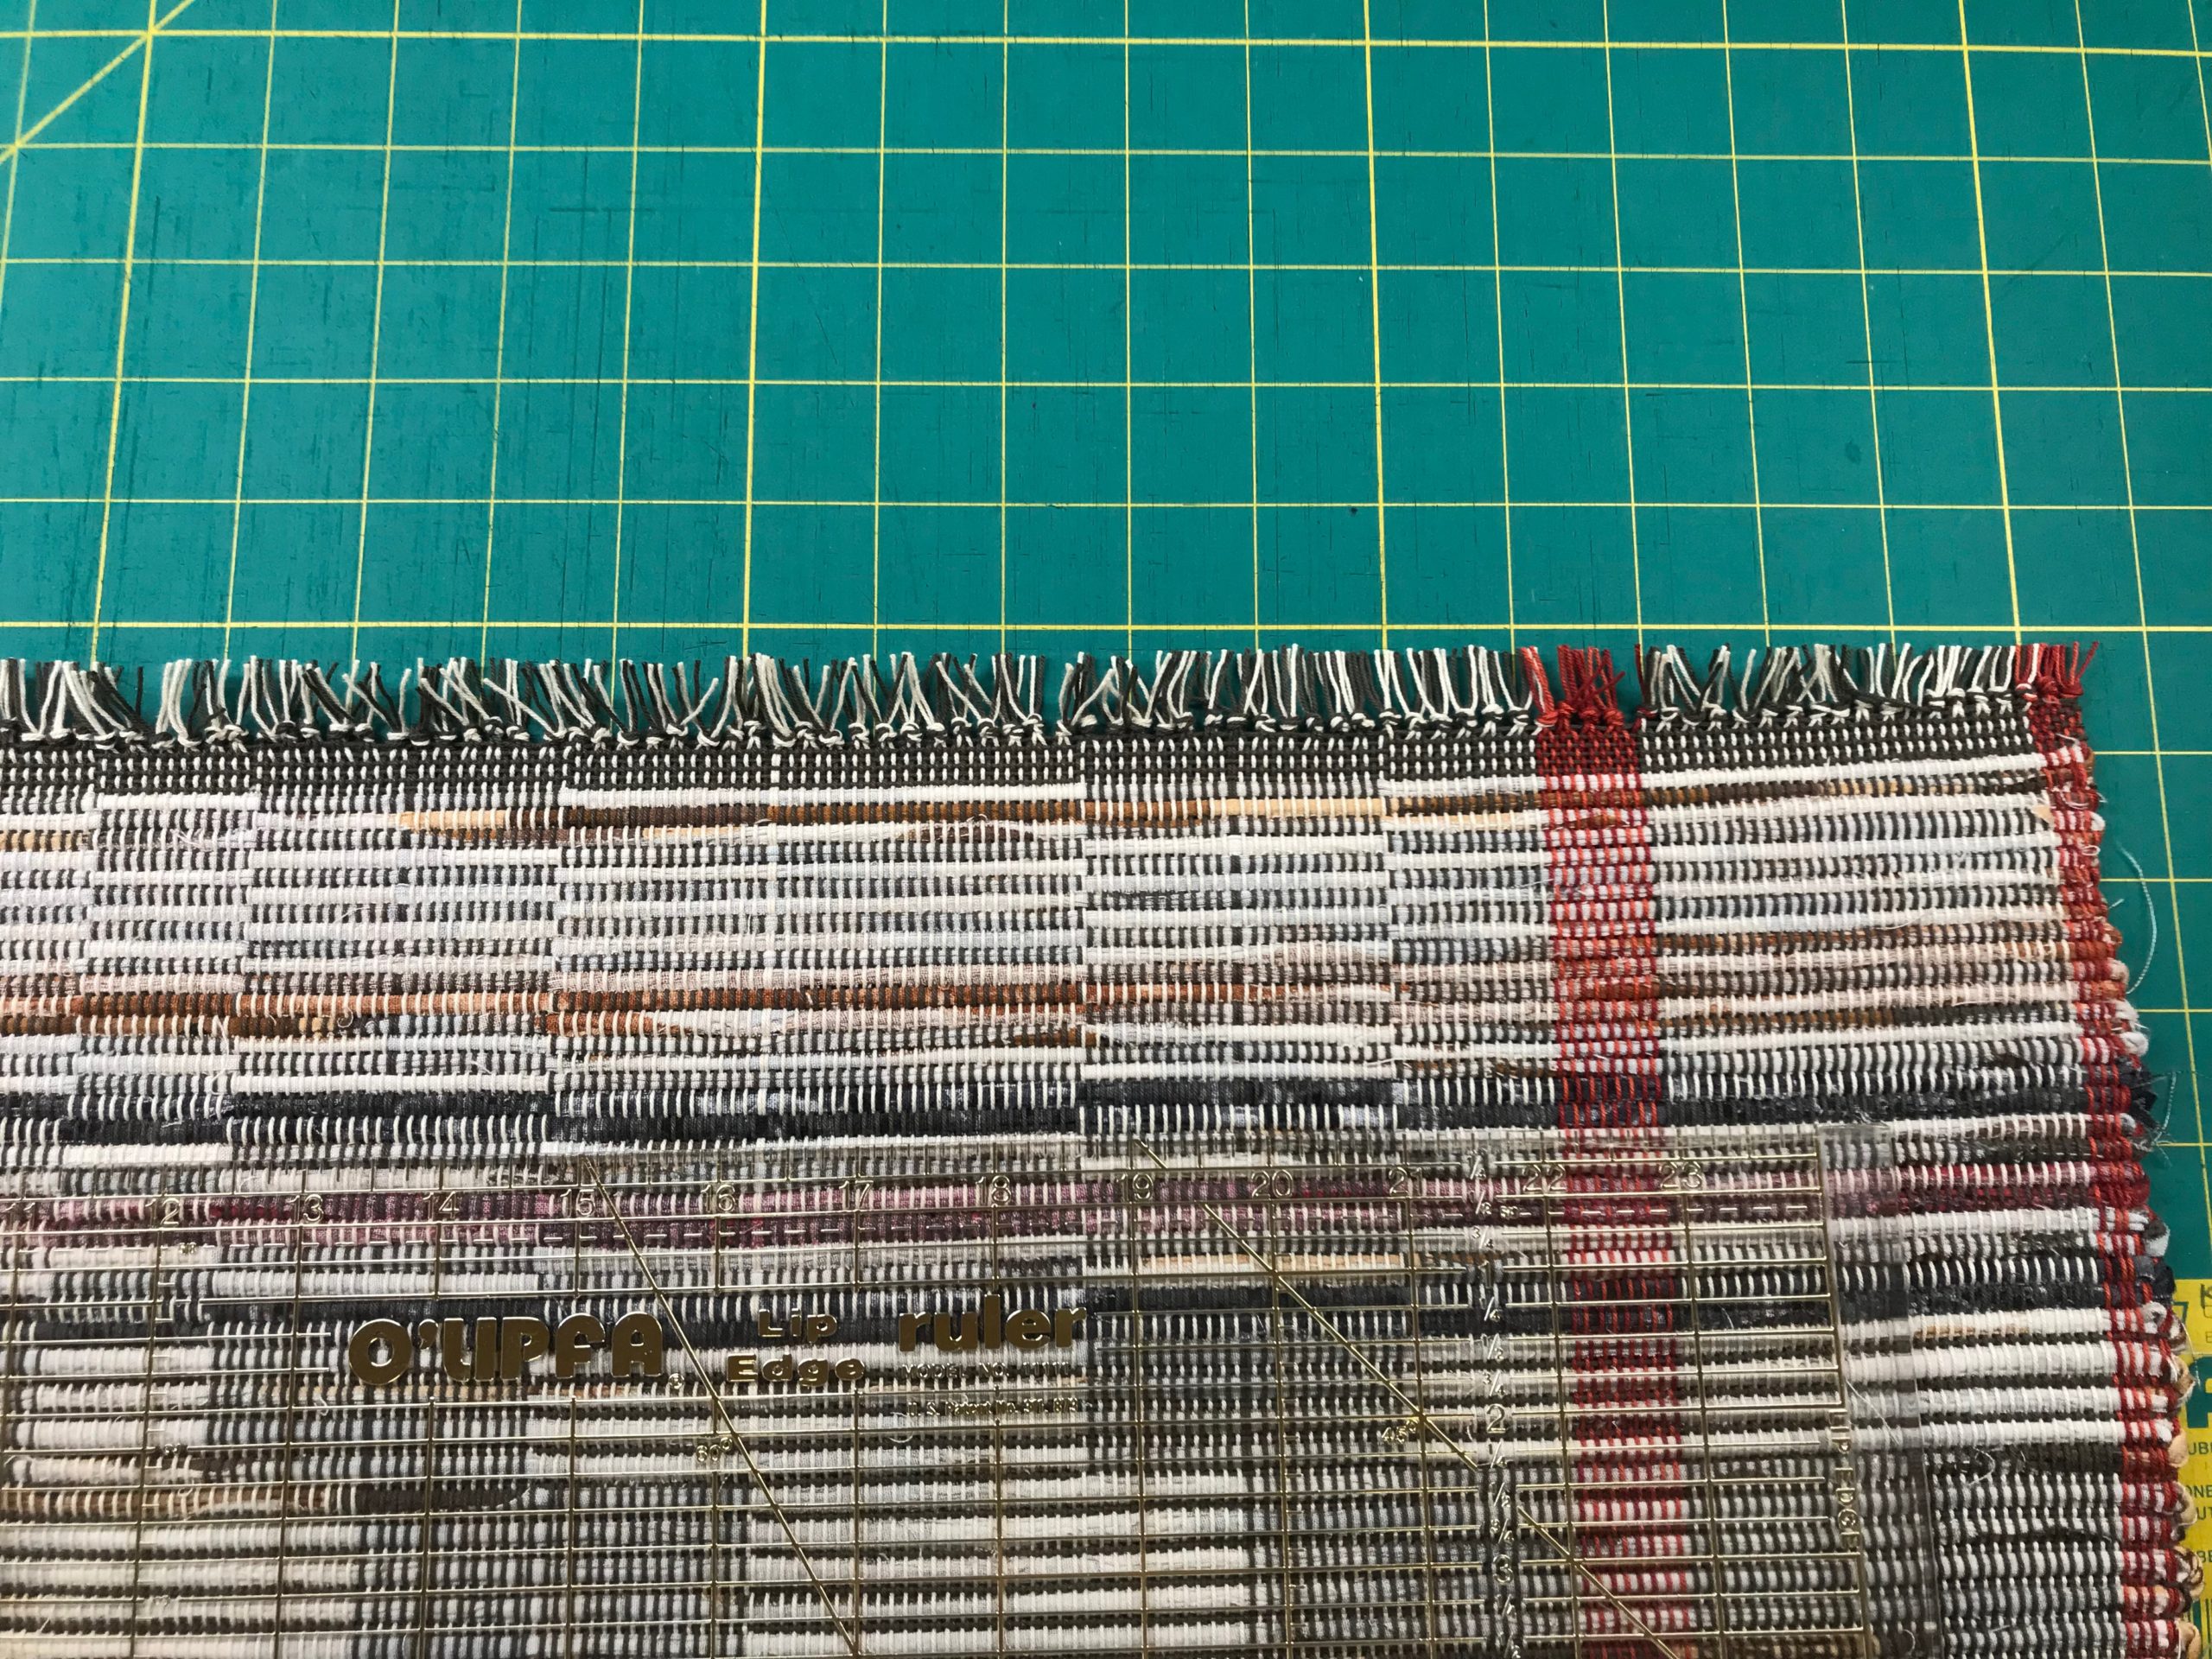
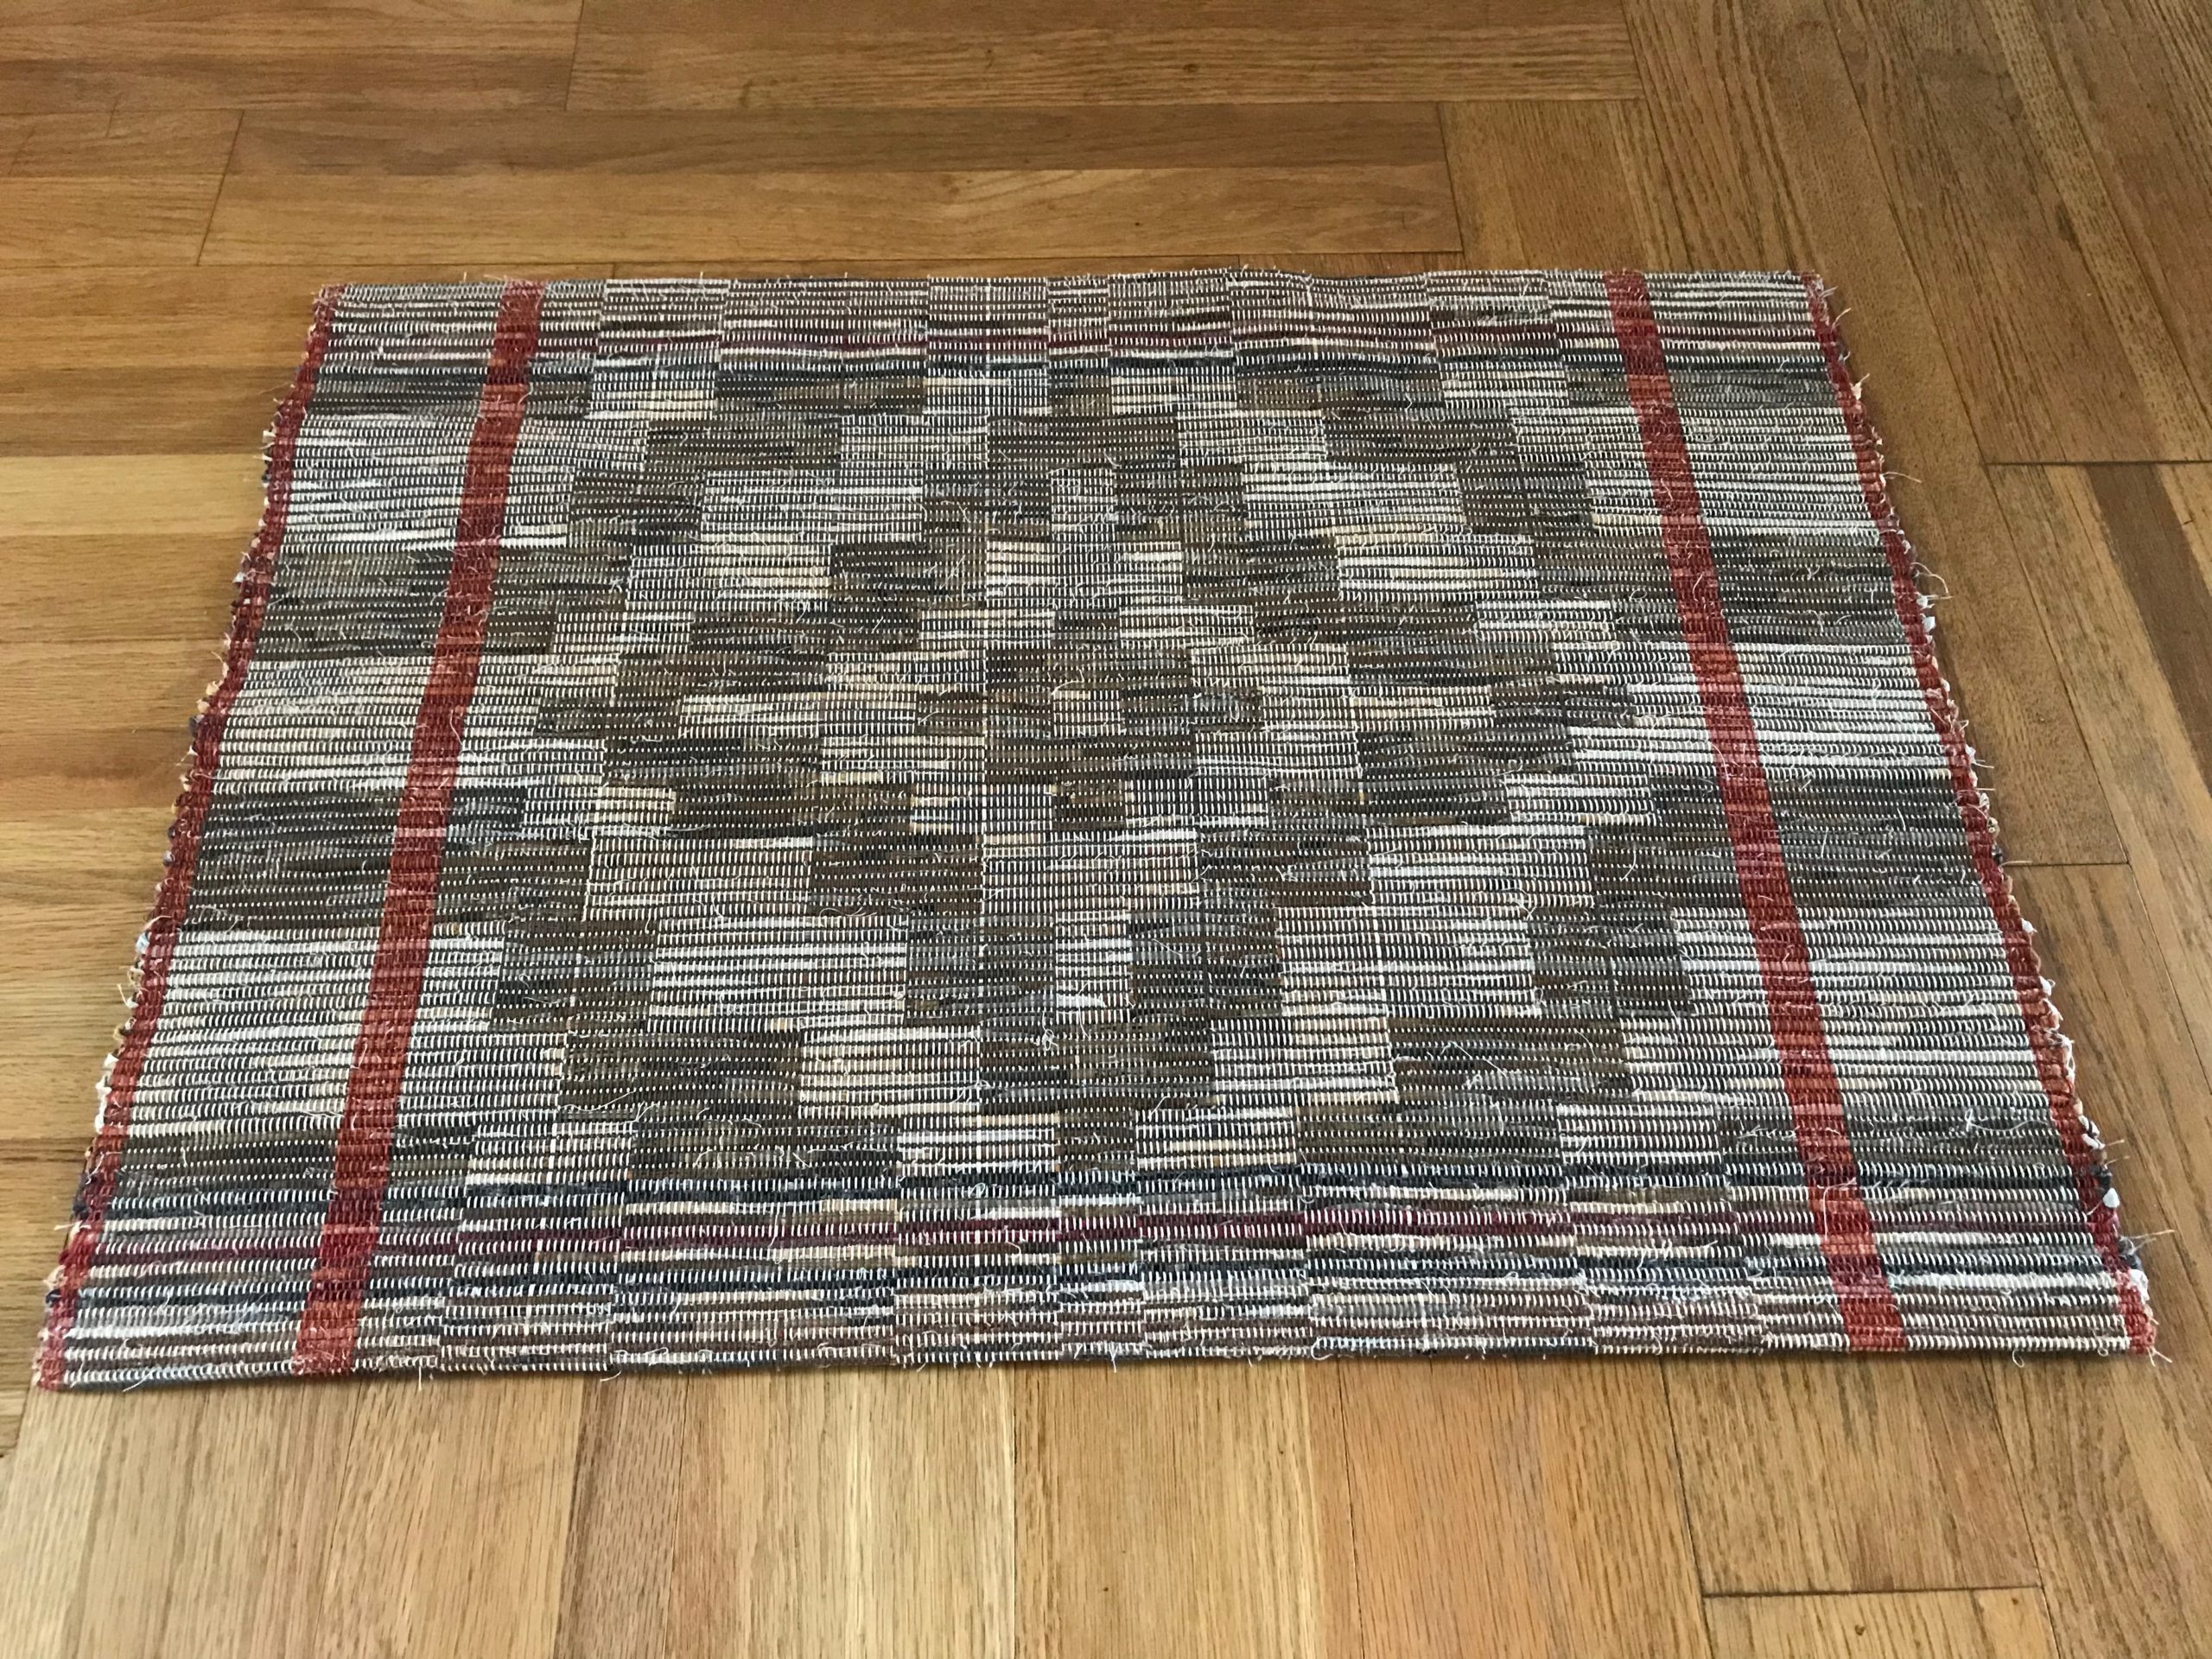
Rug is ready to be hemmed.
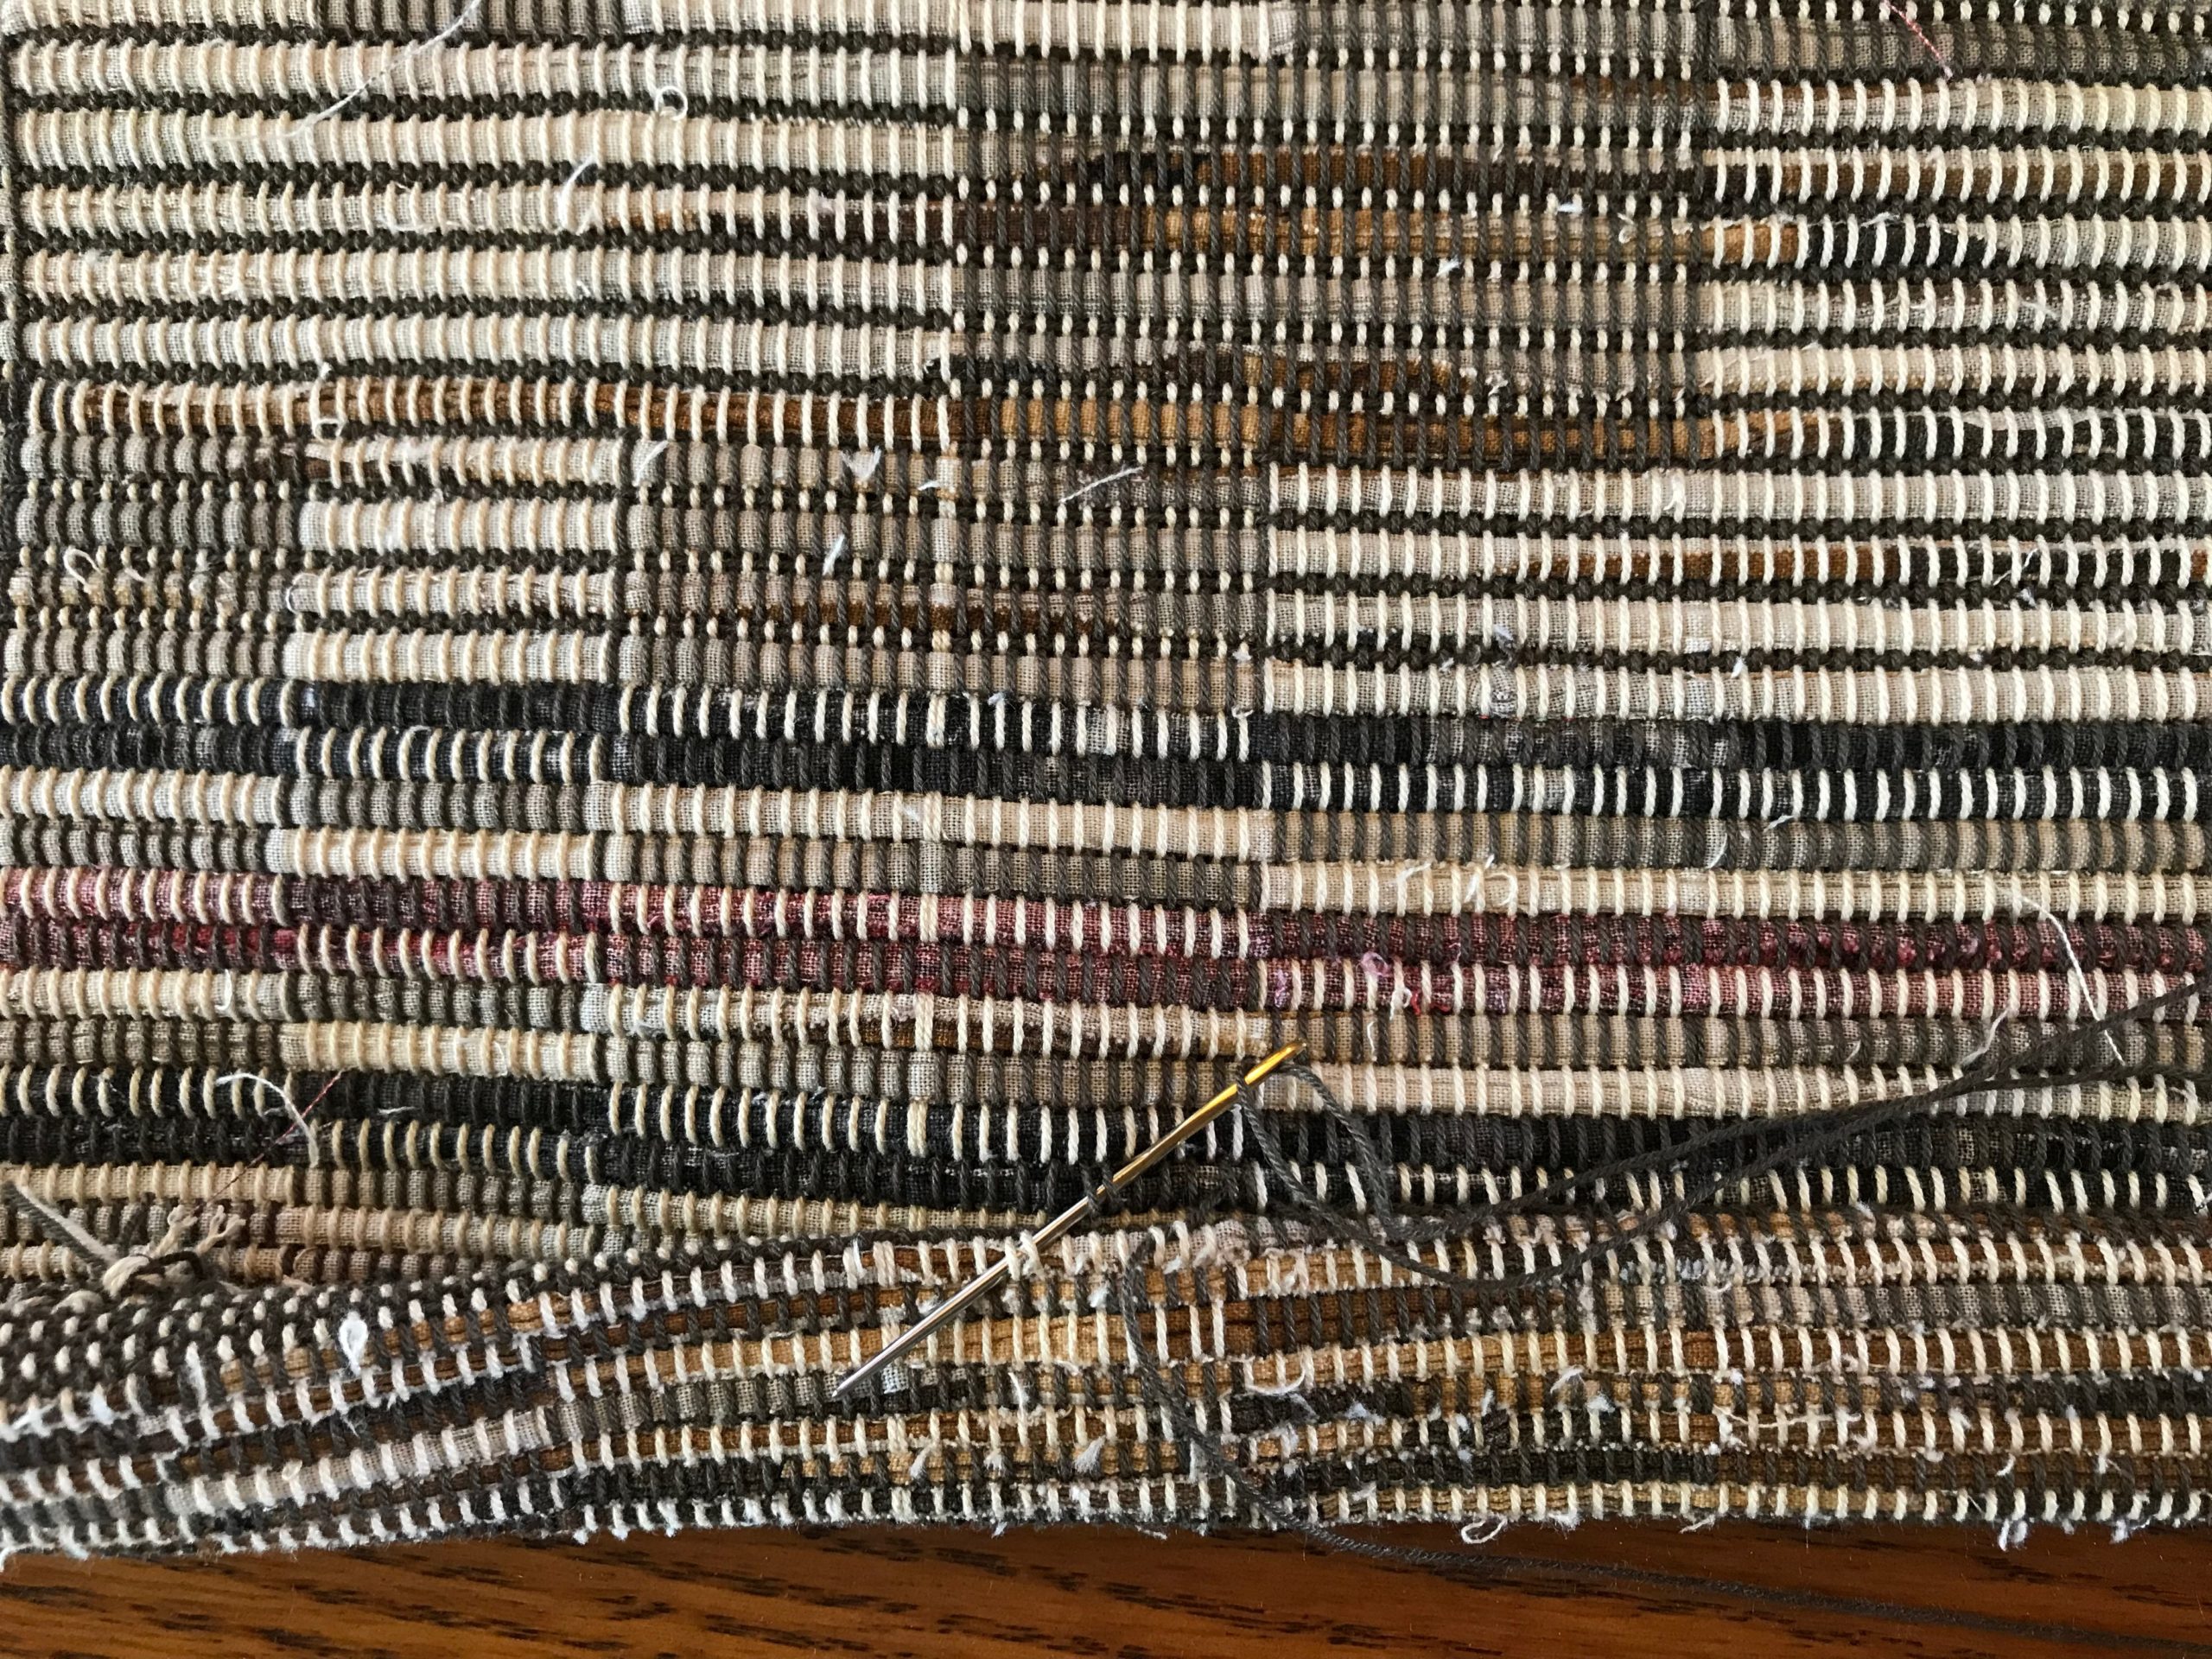
Hand hemming the rug with 12/6 cotton warp thread.
Finished!

May you remove the guesswork where possible.

Happy Weaving,
Karen

Tried and True: Measurement Tape

You can measure what you are weaving. A set of towels will all be the same length. A table runner will fit the table as planned. A rug will be the right size for the designated floor space. All it takes is a dependable way to measure. (Thanks to Elisabeth S. for writing me, “I’d love to have a better way to measure my work as I’m weaving it.”)

Dependable way to measure on the loom!

Measurement Tape (accompanying video below)

Supplies:

  • Calculator
  • Project notes
  • 5/8” polyester twill tape
  • Fine point indelible marker
  • Tape measure
  • 2 flat-head straight pins

Make Calculations

  • Determine the finished length.
    • Consider the Golden Ratio, 1:6.
    • Consider where the finished textile will be placed.
  • Estimate take-up and shrinkage.
  • Include these measurements in your project notes.

Prepare a Measurement Tape

  • Draw the beginning line about 2 cm from the end of the tape. If there is a hem, draw a second line to mark the hem’s length.
  • Write the item description on the tape.
  • Write ” ___ (finished length) + ___ (take-up and shrinkage) = ___ (total length)” on the tape.
  • Measure the total length from the first line (or from the hem) on the tape. Draw a line at the end (add hem, if needed).
  • Cut the tape about 2 cm after the ending line.
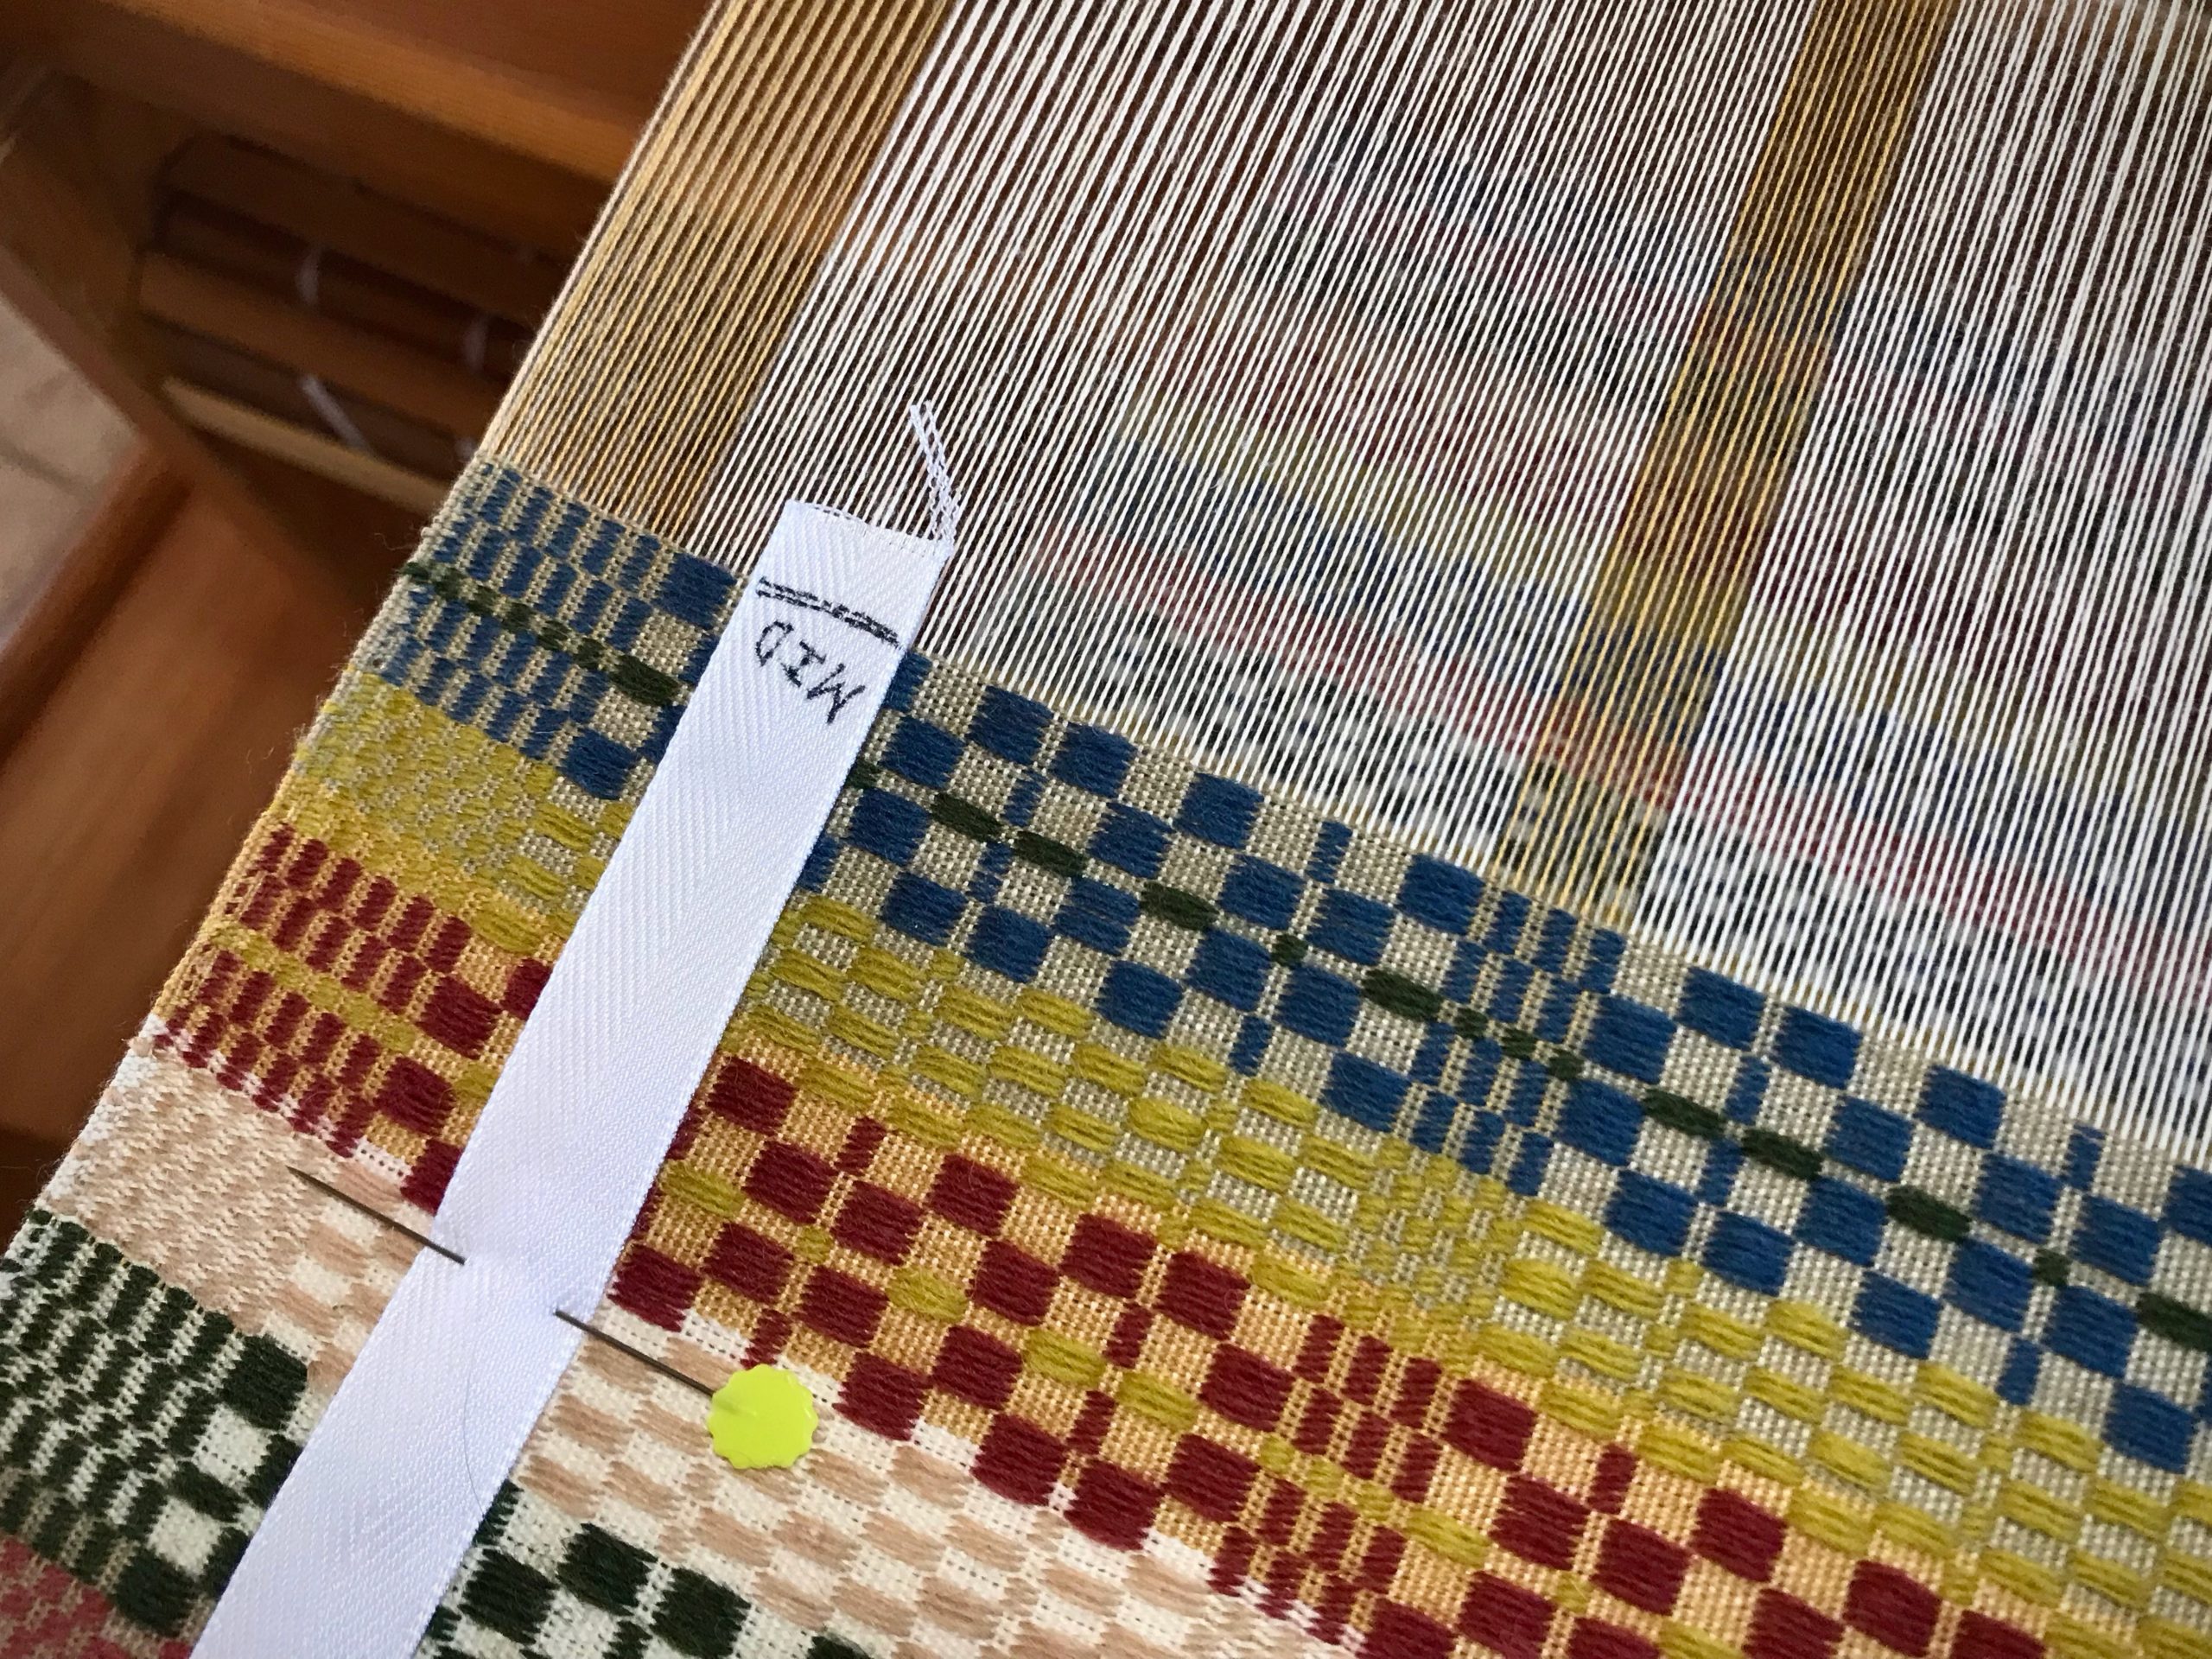
  • Find the middle of the tape. Draw a line and write “MID”.
How to measure your weaving on the loom.
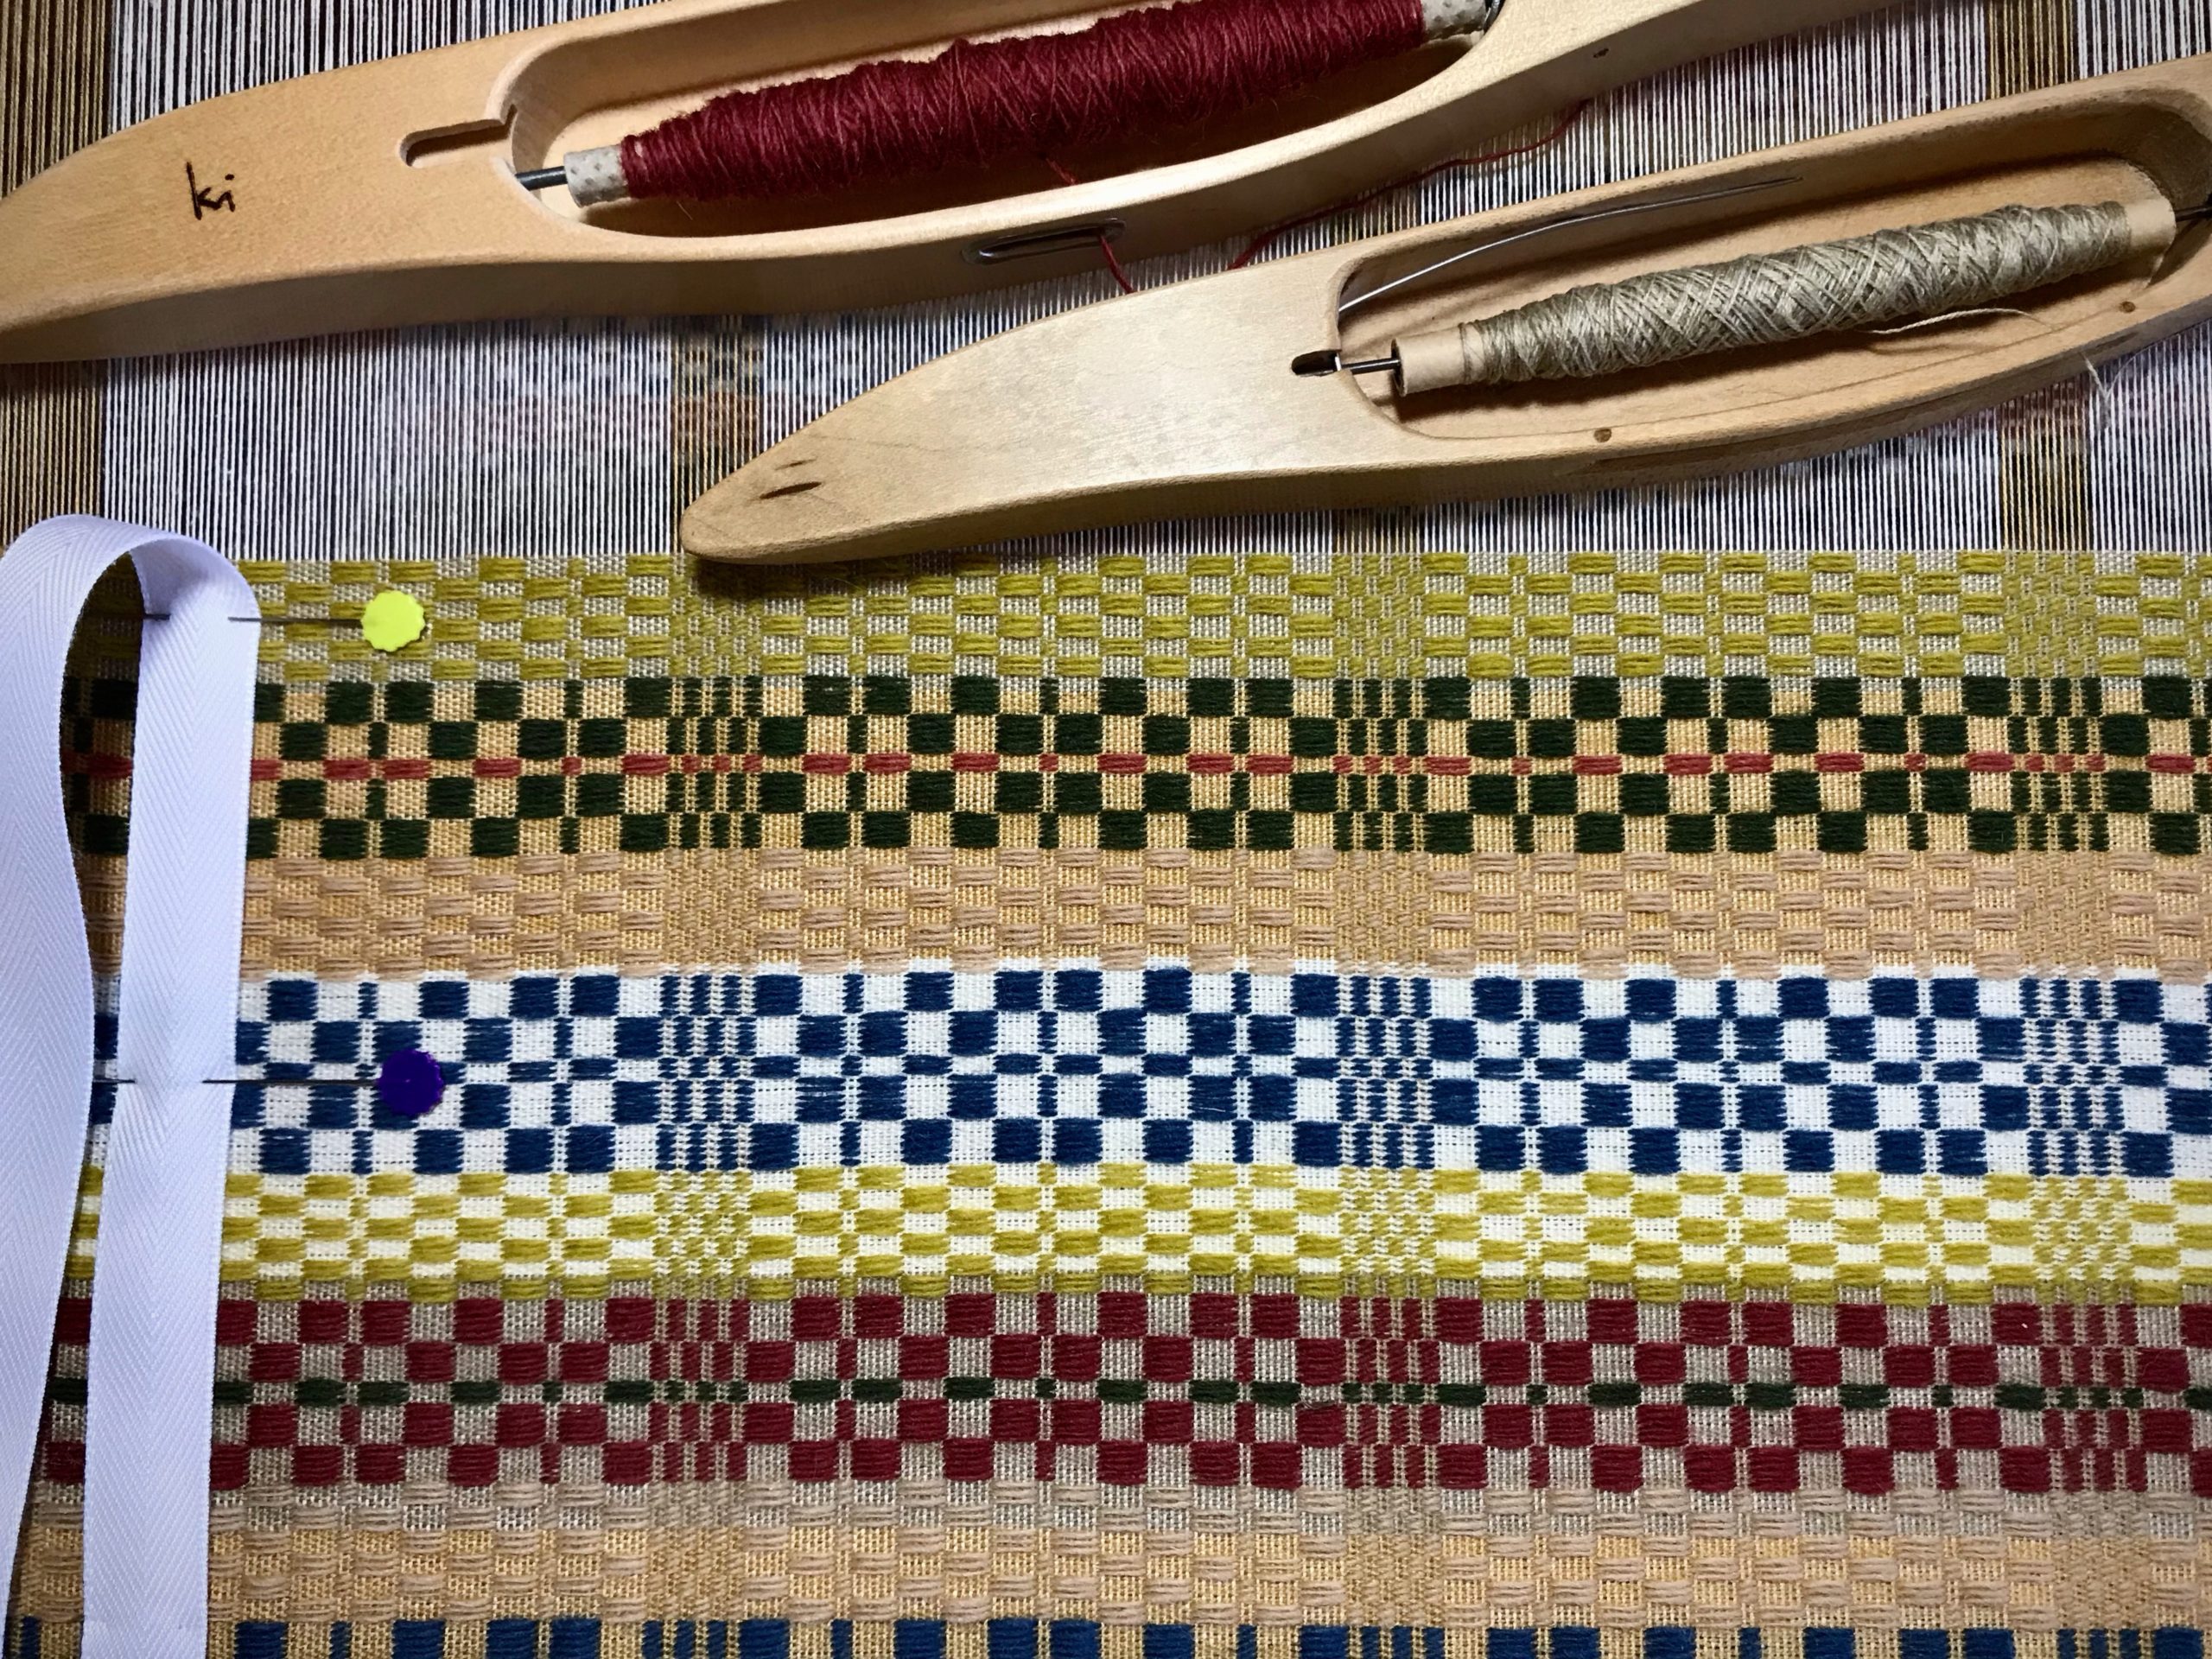
Place the first line of the measurement tape directly over the beginning picks of the woven article.

Prepare a Half Measurement Tape

  • Do the same as for a full-length measurement tape, except divide the total length measurement in half. Draw a line on the tape at the halfway point. Write “MID” before the line.
  • Cut the tape about 2 cm after the MID line.

Weave and Measure (Always with the warp under tension)

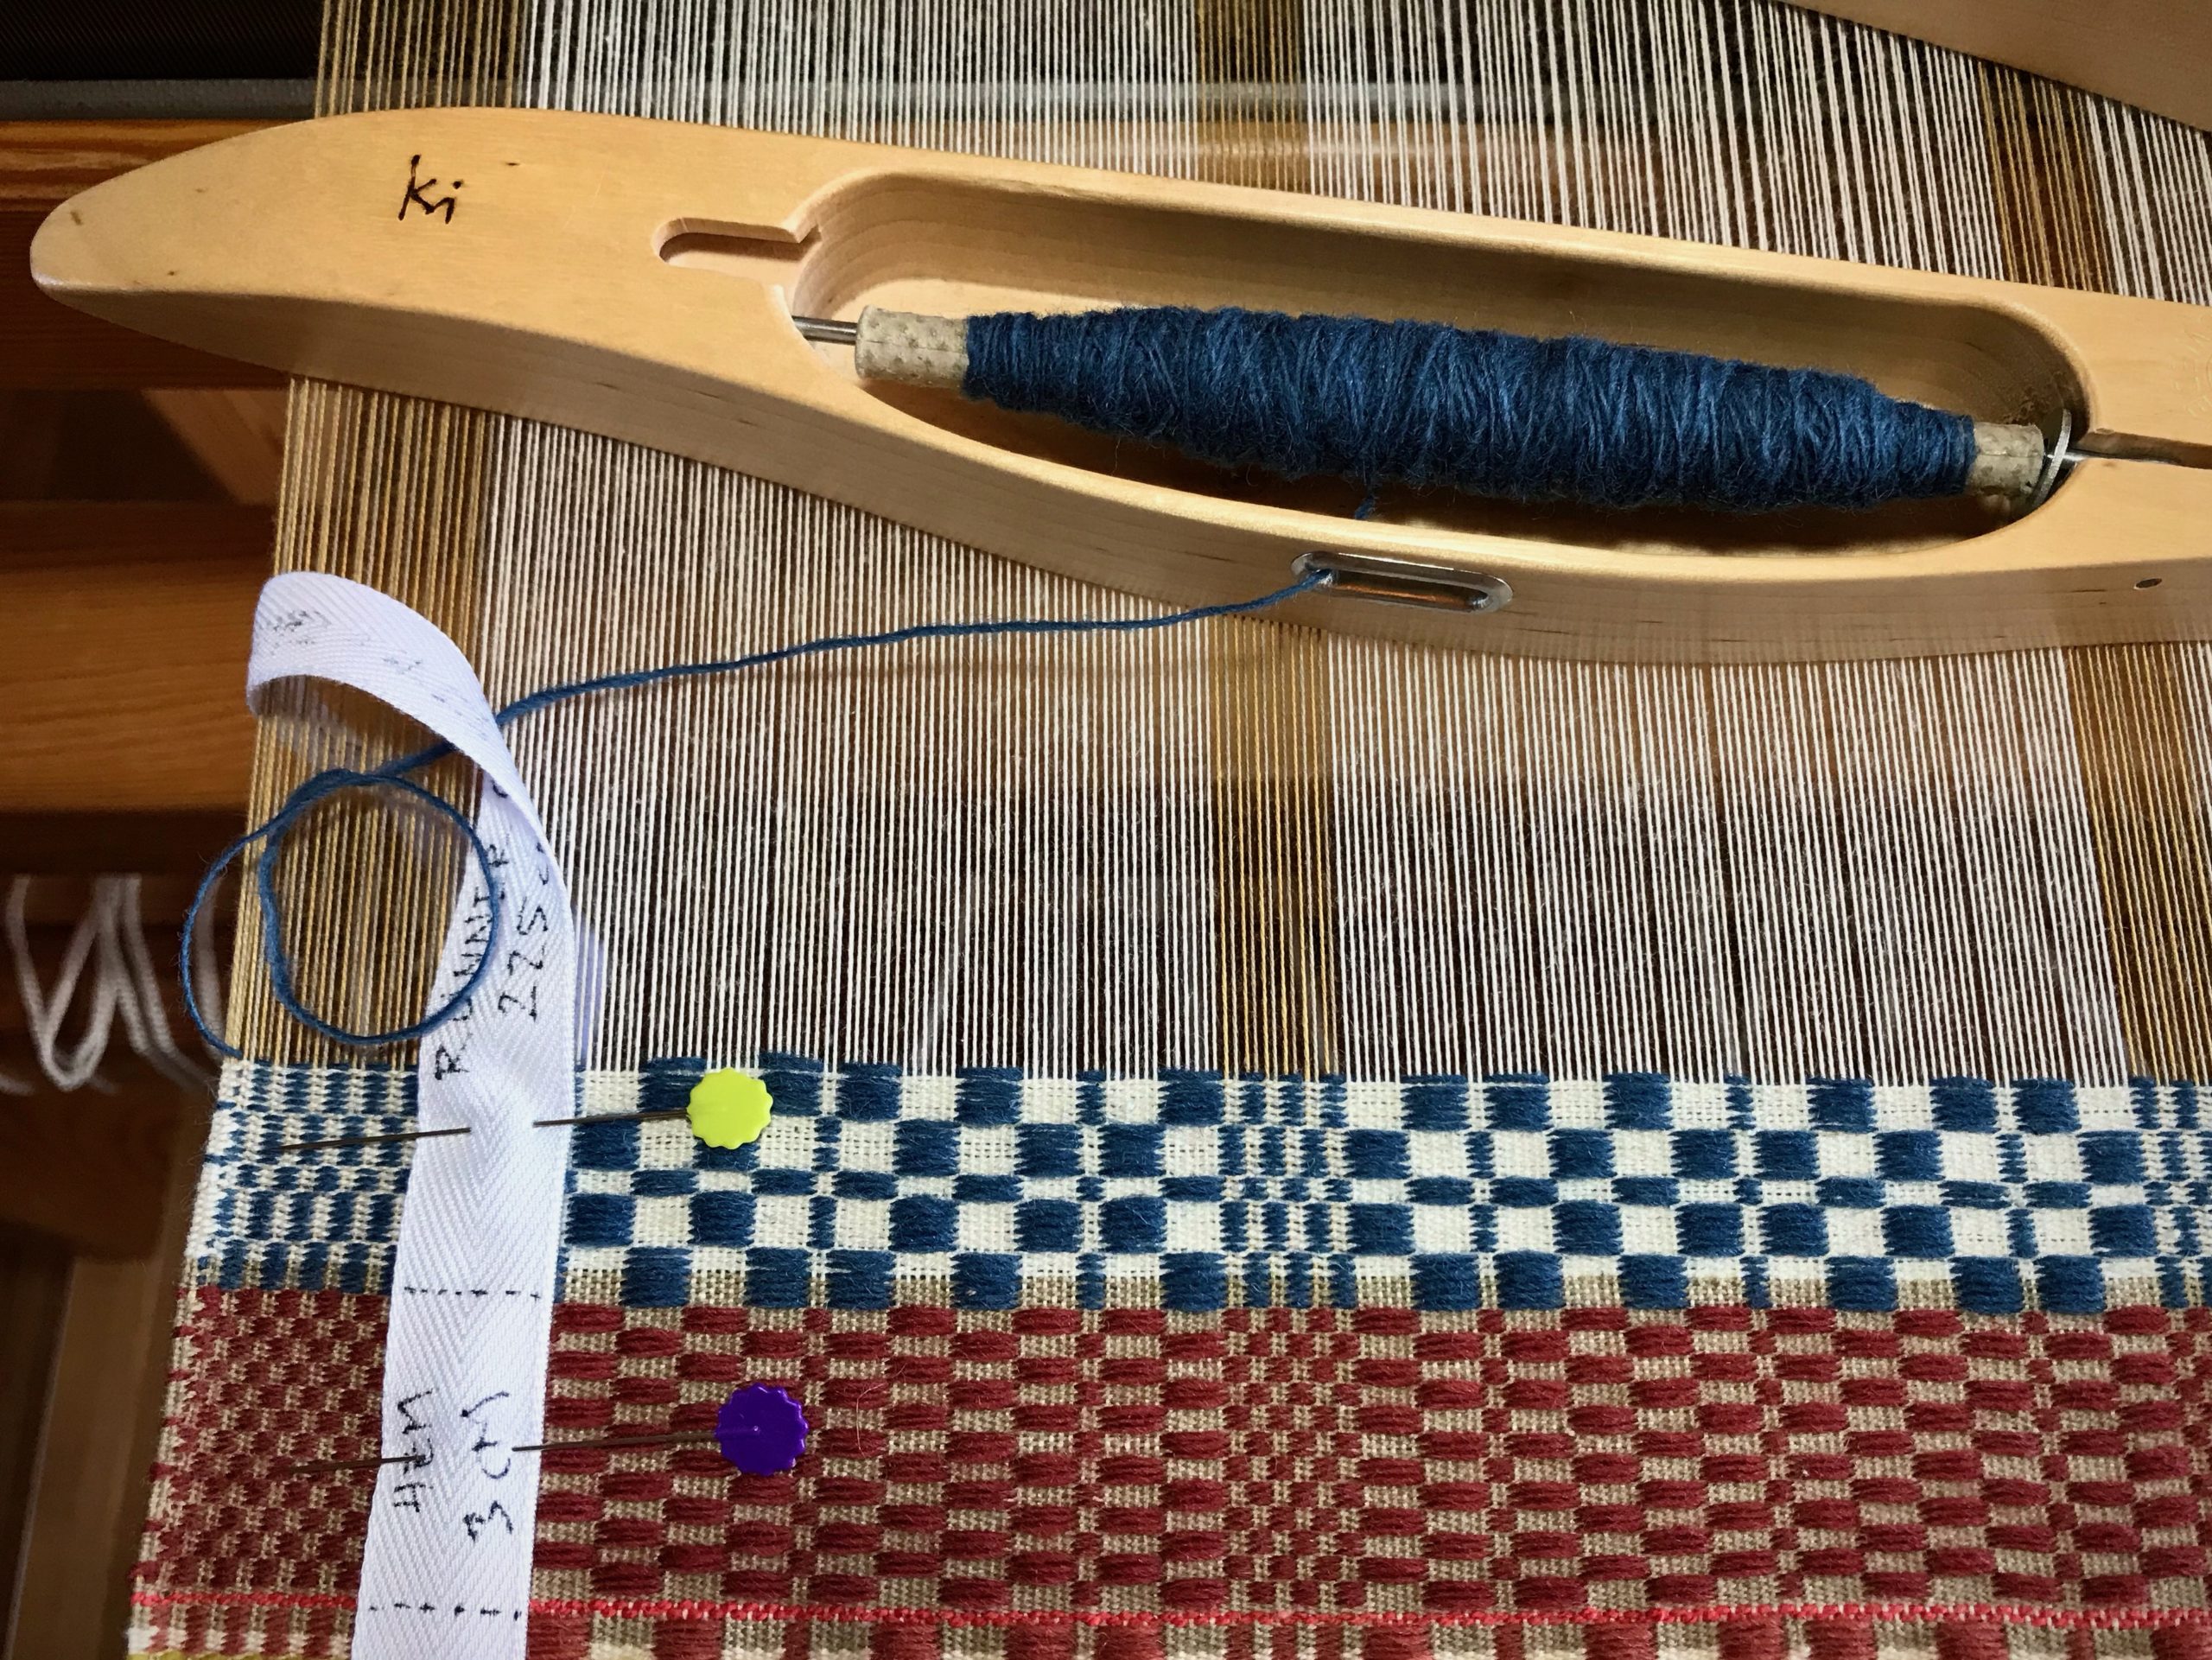
  • Use two straight pins to pin the measurement tape to the weaving near one selvedge. Place the beginning line of the tape directly over the beginning of the woven article.
  • As weaving progresses, remove the pin closest to the breast beam. Leapfrog over the remaining pin. Reinsert the removed pin through the tape near the fell line.
Using a measurement tape for weaving consistent lengths.
Move one pin at a time. I usually move the pin right before I advance the warp.
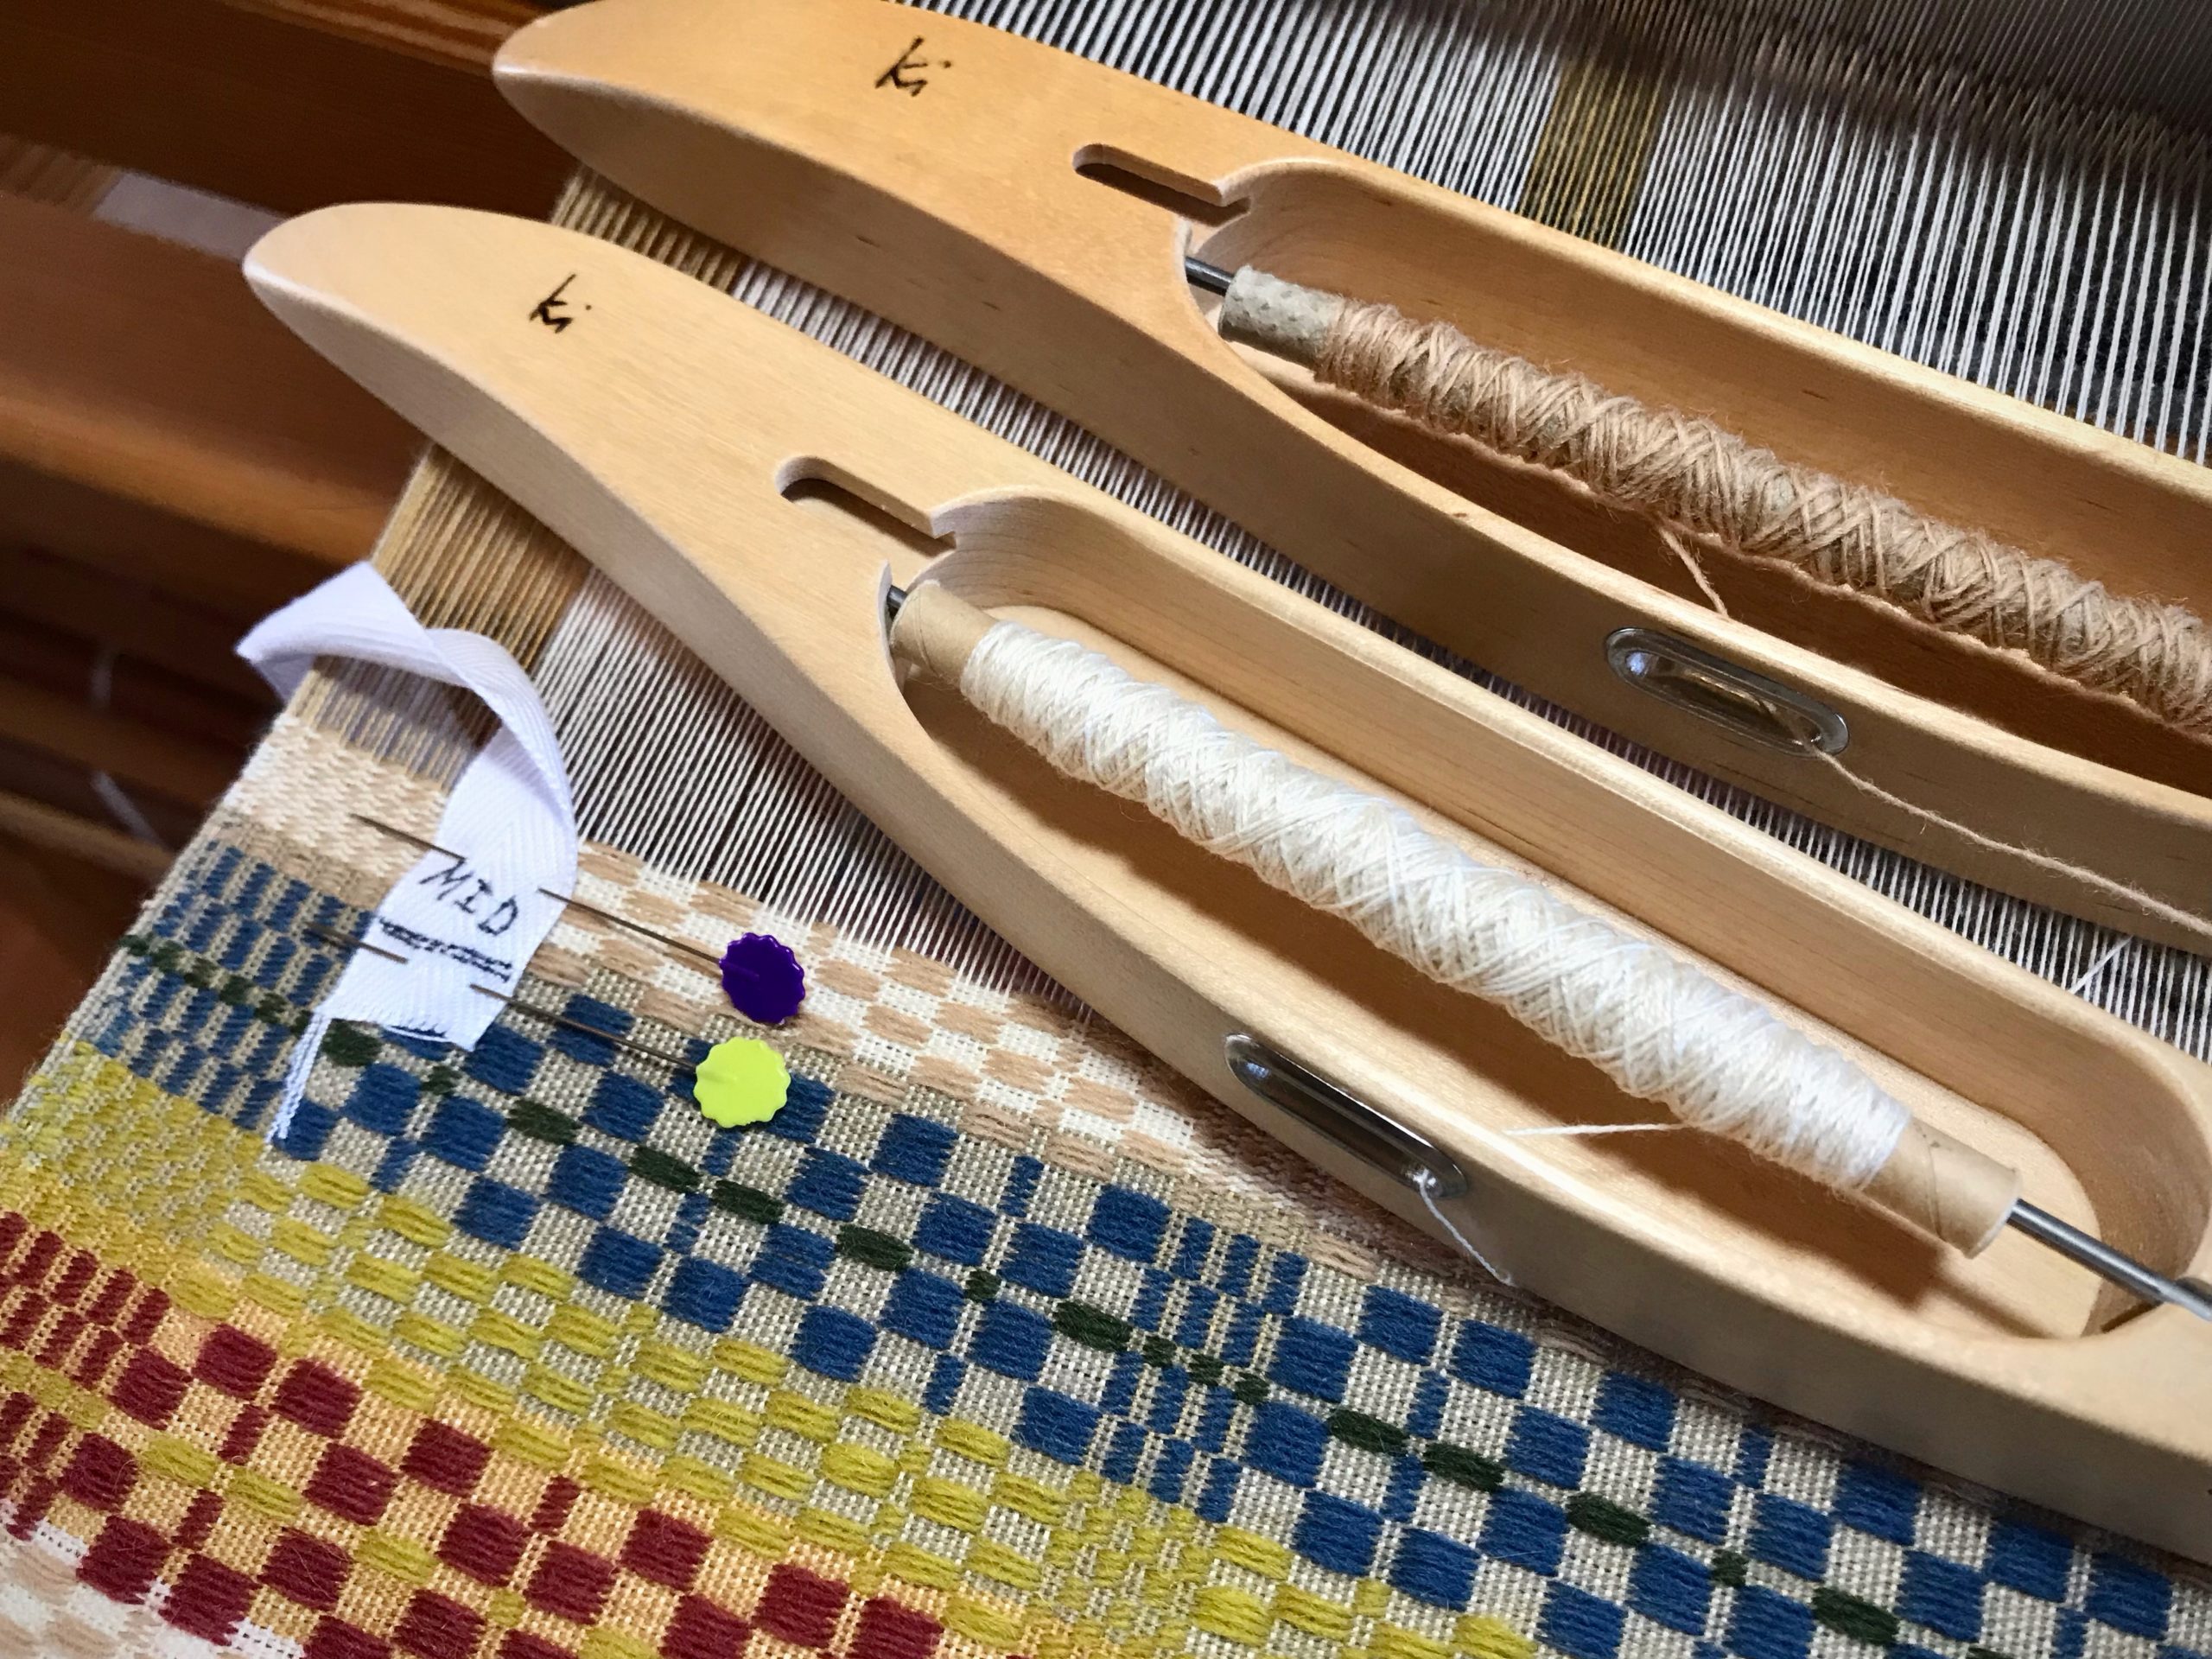
  • If using a half measurement tape, weave past the MID line. Mark the spot with a pin. Remove the measurement tape. Turn the tape and pin into place to weave the second half.
How to make a half measurement tape.
When you reach the MID line on a half measurement tape, keep the measurement tape in place until you have woven a few more centimeters.
How to make and use a Measurement Tape for weaving accurate lengths.
Place one pin through the cloth, pointing to the MID line. Then, it’s safe to remove the measurement tape and turn it around. Go your merry way, weaving the second half of the Monksbelt runner, or whatever you have on your loom.

Here’s a demonstration of making and using a measurement tape:

(For a previous discussion of this topic, see Tools Day: Measured Weaving.)

Since you can measure what you are weaving, do relax and enjoy the ride.

May you reach the mid point at just the right time.

Happy Weaving,
Karen

Drawloom Rag Rug Color Transition

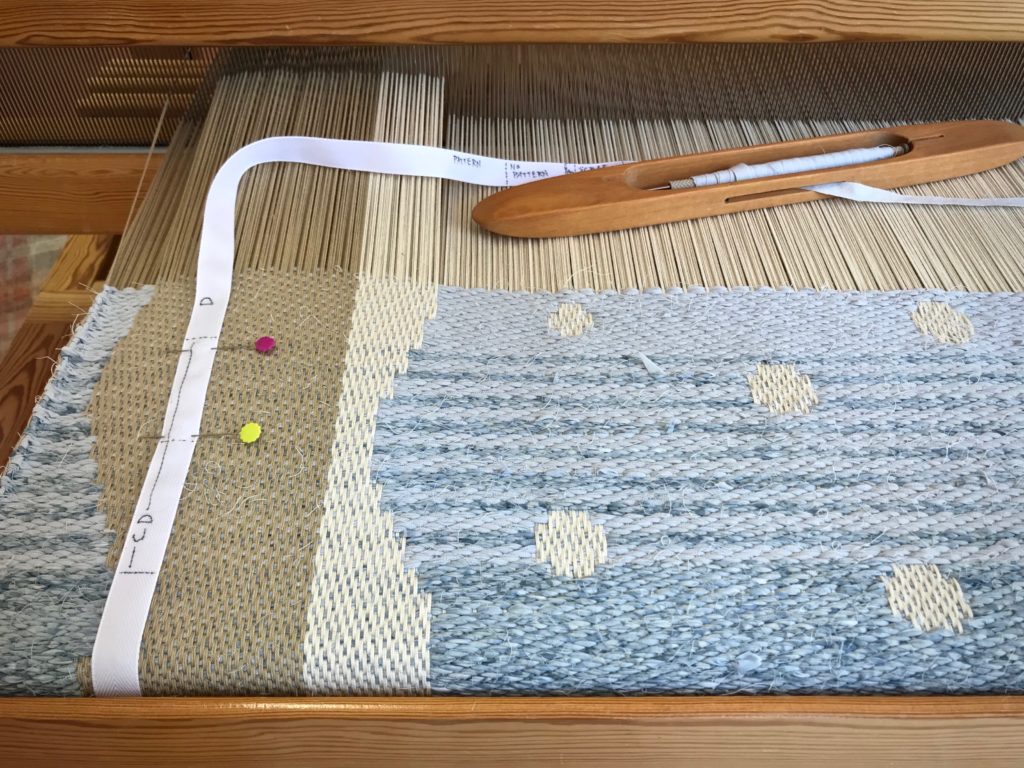
This is a huge project. Four shades of blue from dark to light span the nearly one-and-a-half-meter-long rug. I have reached the final color-transition section. I am eagerly awaiting the day this rug will be rolled out!

Rag rug on the drawloom. Color transition.
Transitioning from one color to the next.

My measuring ribbon shows me where to make the color changes. I alternate two weft colors (C and D) through the transition area to blend the hues. All the while, I stop after every half-unit of four picks to manage the draw cords. A graphed chart tells me exactly which of the 164 draw cords to pull or release. In this way the graphic designs are woven into the rug, row by row. I weave in quiet, allowing me to put full attention on each move.

Drawloom rag rug.
View of the underside of the rug as it goes from the breast beam to the knee beam.
Single unit drawloom rag rug.
Draw cords are arranged by tens, alternating black cords and white cords. I pull the cords as they correspond to the prepared chart hanging at the left side of the loom.

We need hope in these unsettling times. Jesus invites us to admit our fears and failures, and put our trust in him, and follow him. And this is the message Jesus gives his followers: I am always with you. The Lord gives strength and courage. As our Grand Weaver, he has his full attention on us. So be strong and take courage.

May you have hope that lasts.

Love,
Karen

Tried and True: Designing Handwoven Towels

How do you come up with a design for standout hand towels? Sometimes it’s nice to start with someone else’s ideas. There is a gorgeous wool throw, designed by Anna Svenstedt, in Favorite Scandinavian Projects To Weave: 45 Stylish Designs for the Modern Home, by Tina Ignell. This Colorful Throw—Reverse Twill makes a perfect template for designing eye-catching hand towels.

New handwoven towels.
Warp chains with seven colors of 22/2 cottolin for standout hand towels.

Decisions:

  • Colors – a set of seven colors, to be used in warp and weft
  • Fiber – 22/2 cottolin for warp and weft
  • Reed and sett50/10 metric reed, 10 ends per centimeter (~ 12-dent reed, 24 ends per inch)
  • Finished size of towel – 39.5 cm x 63 cm (15.5” x 24.5”)
  • Number of towels – 2 pairs of towels = 4 total
  • Spacing of warp stripes – add two more narrow stripes at each selvedge to balance the pattern

These decisions enable me to prepare a project plan, make calculations, and write a new weaving draft.

New handwoven towels.
Testing, testing…

When the loom is dressed, the design process continues as I begin weaving a sample section. This is where I decide what weft colors to use, the spacing of weft stripes, and specific treadling patterns. I add these notes to my project sheet, which I keep at the loom as my weaving roadmap.

Measuring for weft stripes.
I place my measuring twill tape along the reed to mark the spacing of the warp stripes. I will use that same spacing for weft stripes to make plaid towels.
Testing colors and patterns.
Sample weaving to try out colors, stripe spacing, and treadling patterns. And, simply to practice this broken reverse twill treadling, which requires concentration.
First towel starts after the red cutting line.

These hand towels are a preview. If they turn out as hoped, I may have to make some bath towels to match.

May your designs stand out.

Happy Weaving,
Karen