A hemstitched edge deserves twisted fringe. You have to overlook the amount of time it takes to put this finishing touch on your handwoven articles (often as much, or more, time than it took to weave the cloth in the first place). You do it because you care about the end result. The hemstitching and fringe are the mat and frame for your work of art. Begin well and finish well.
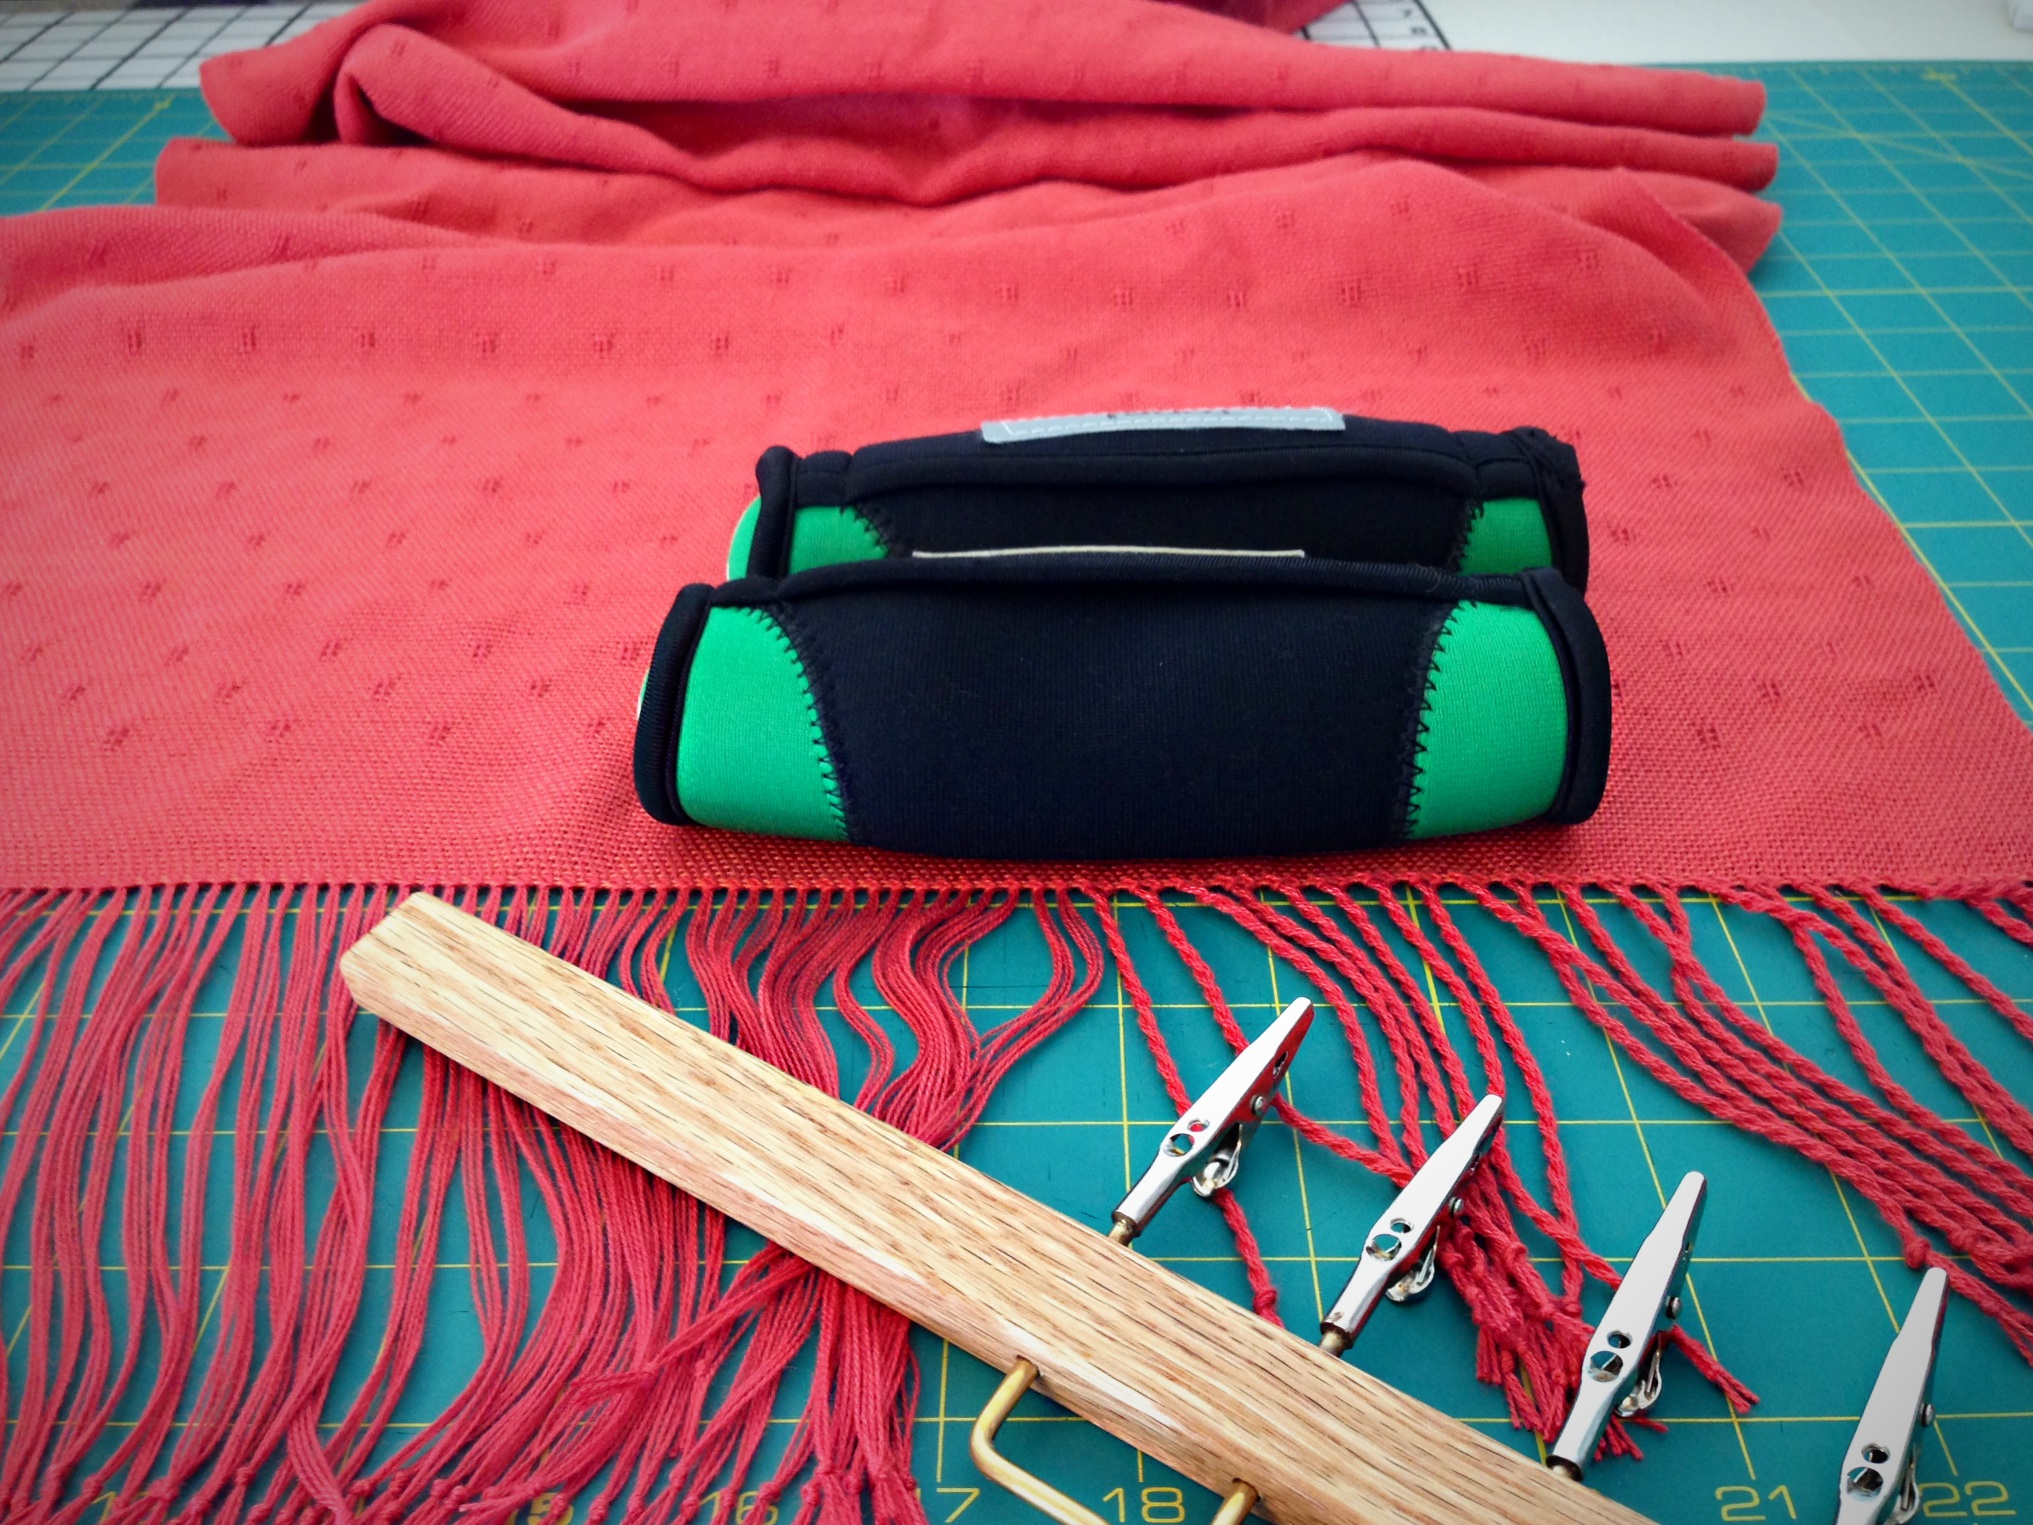
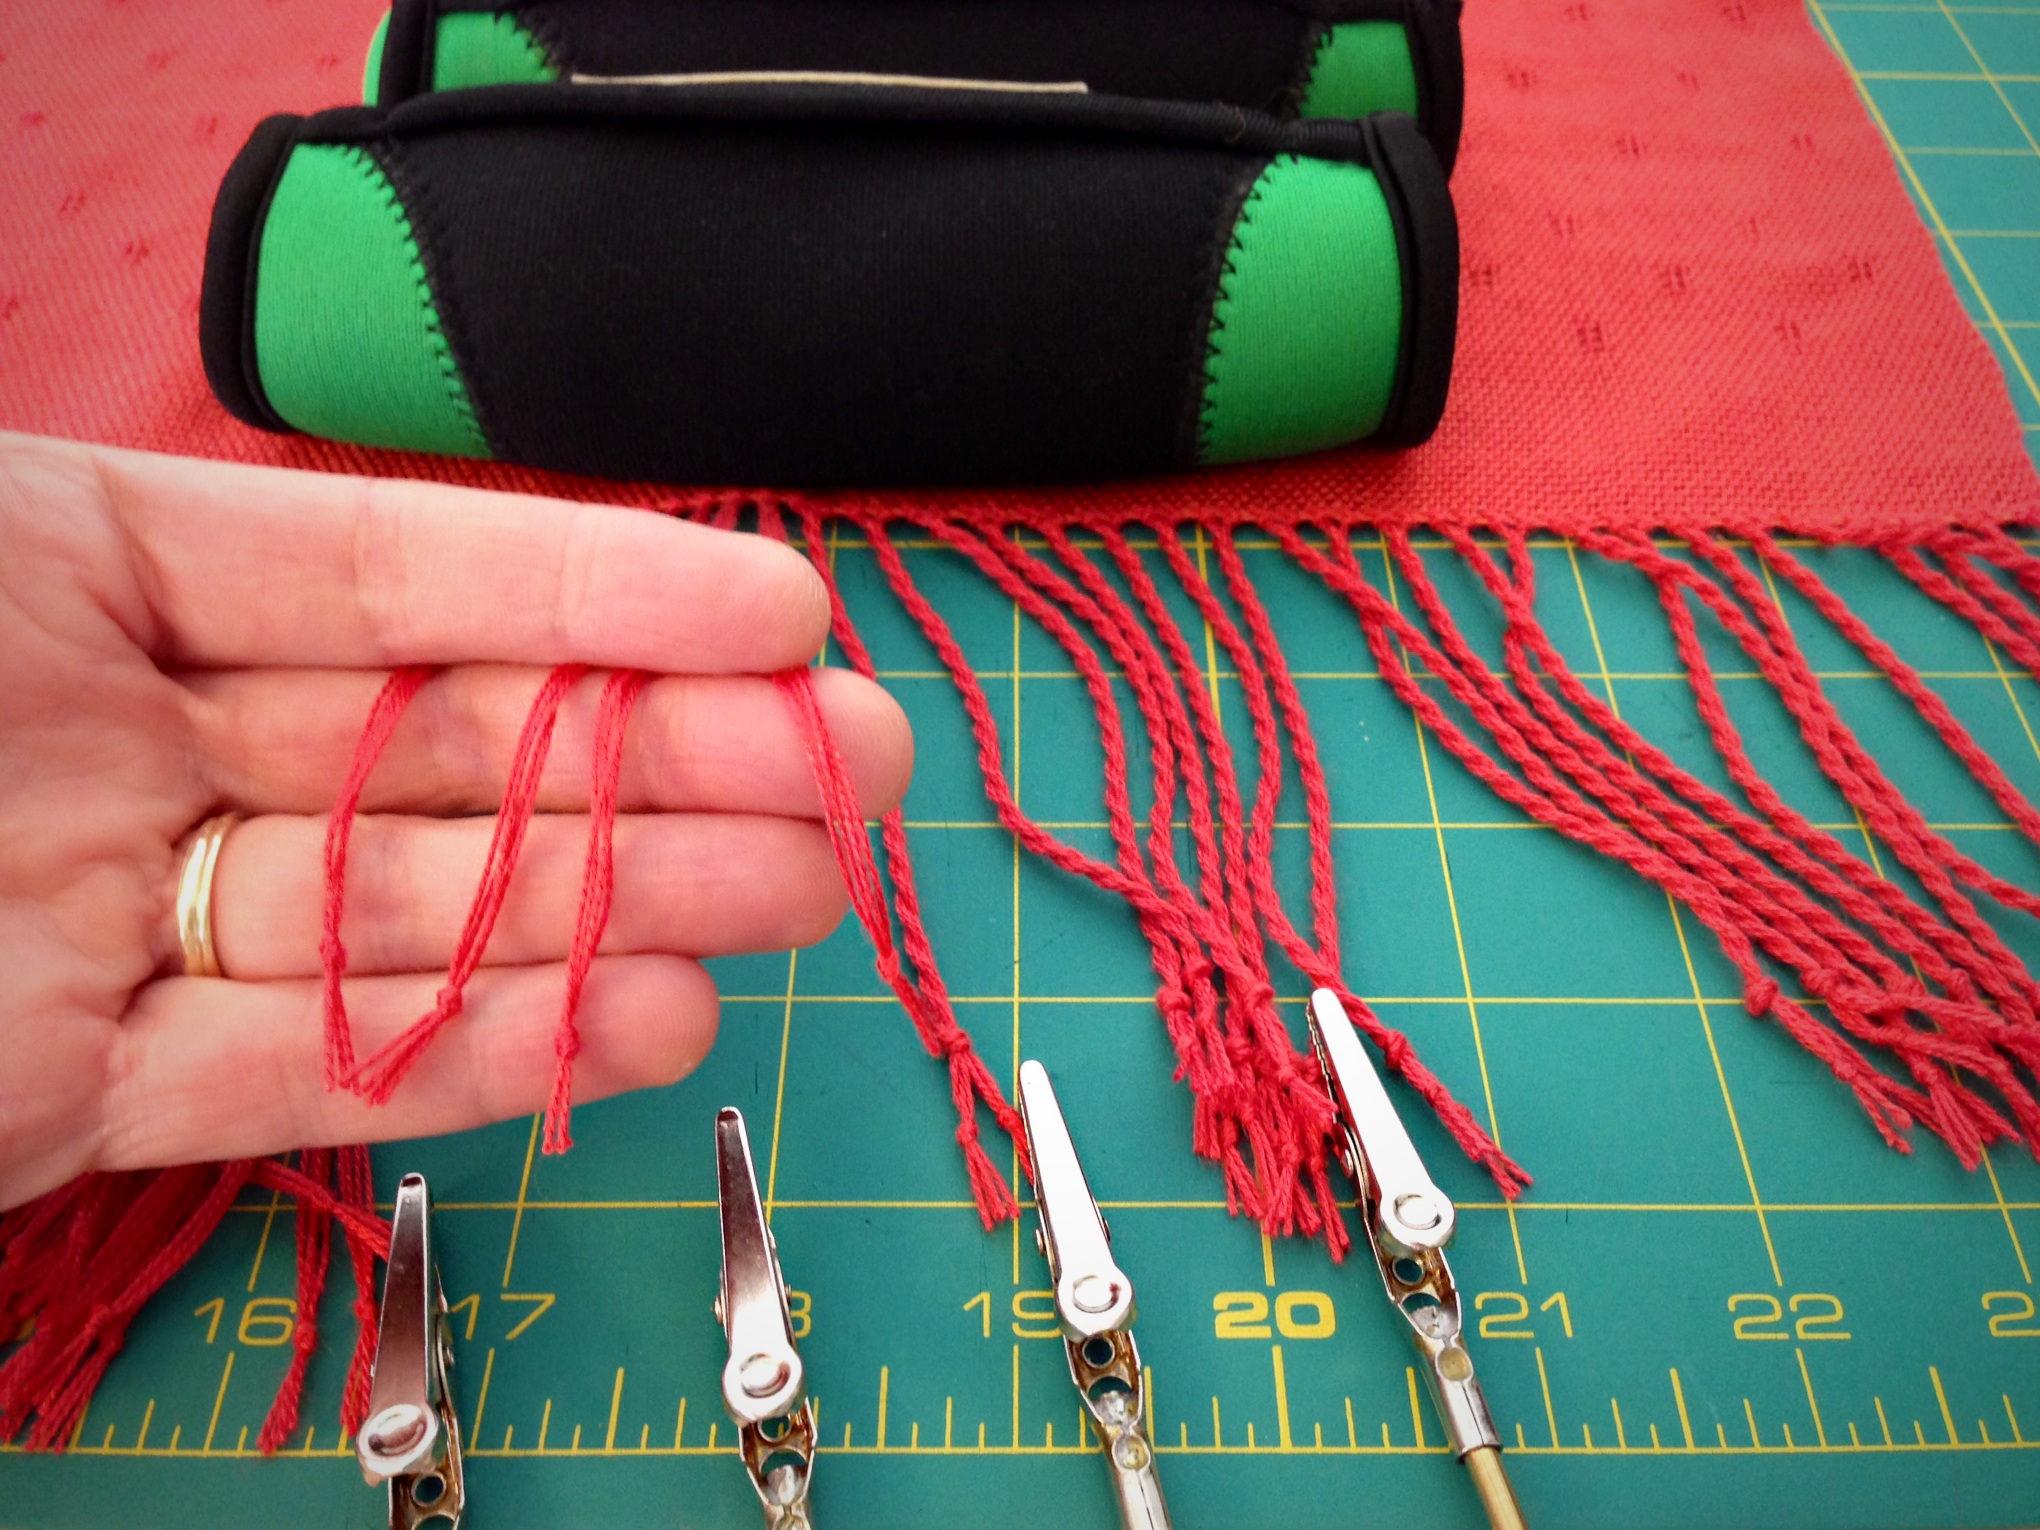
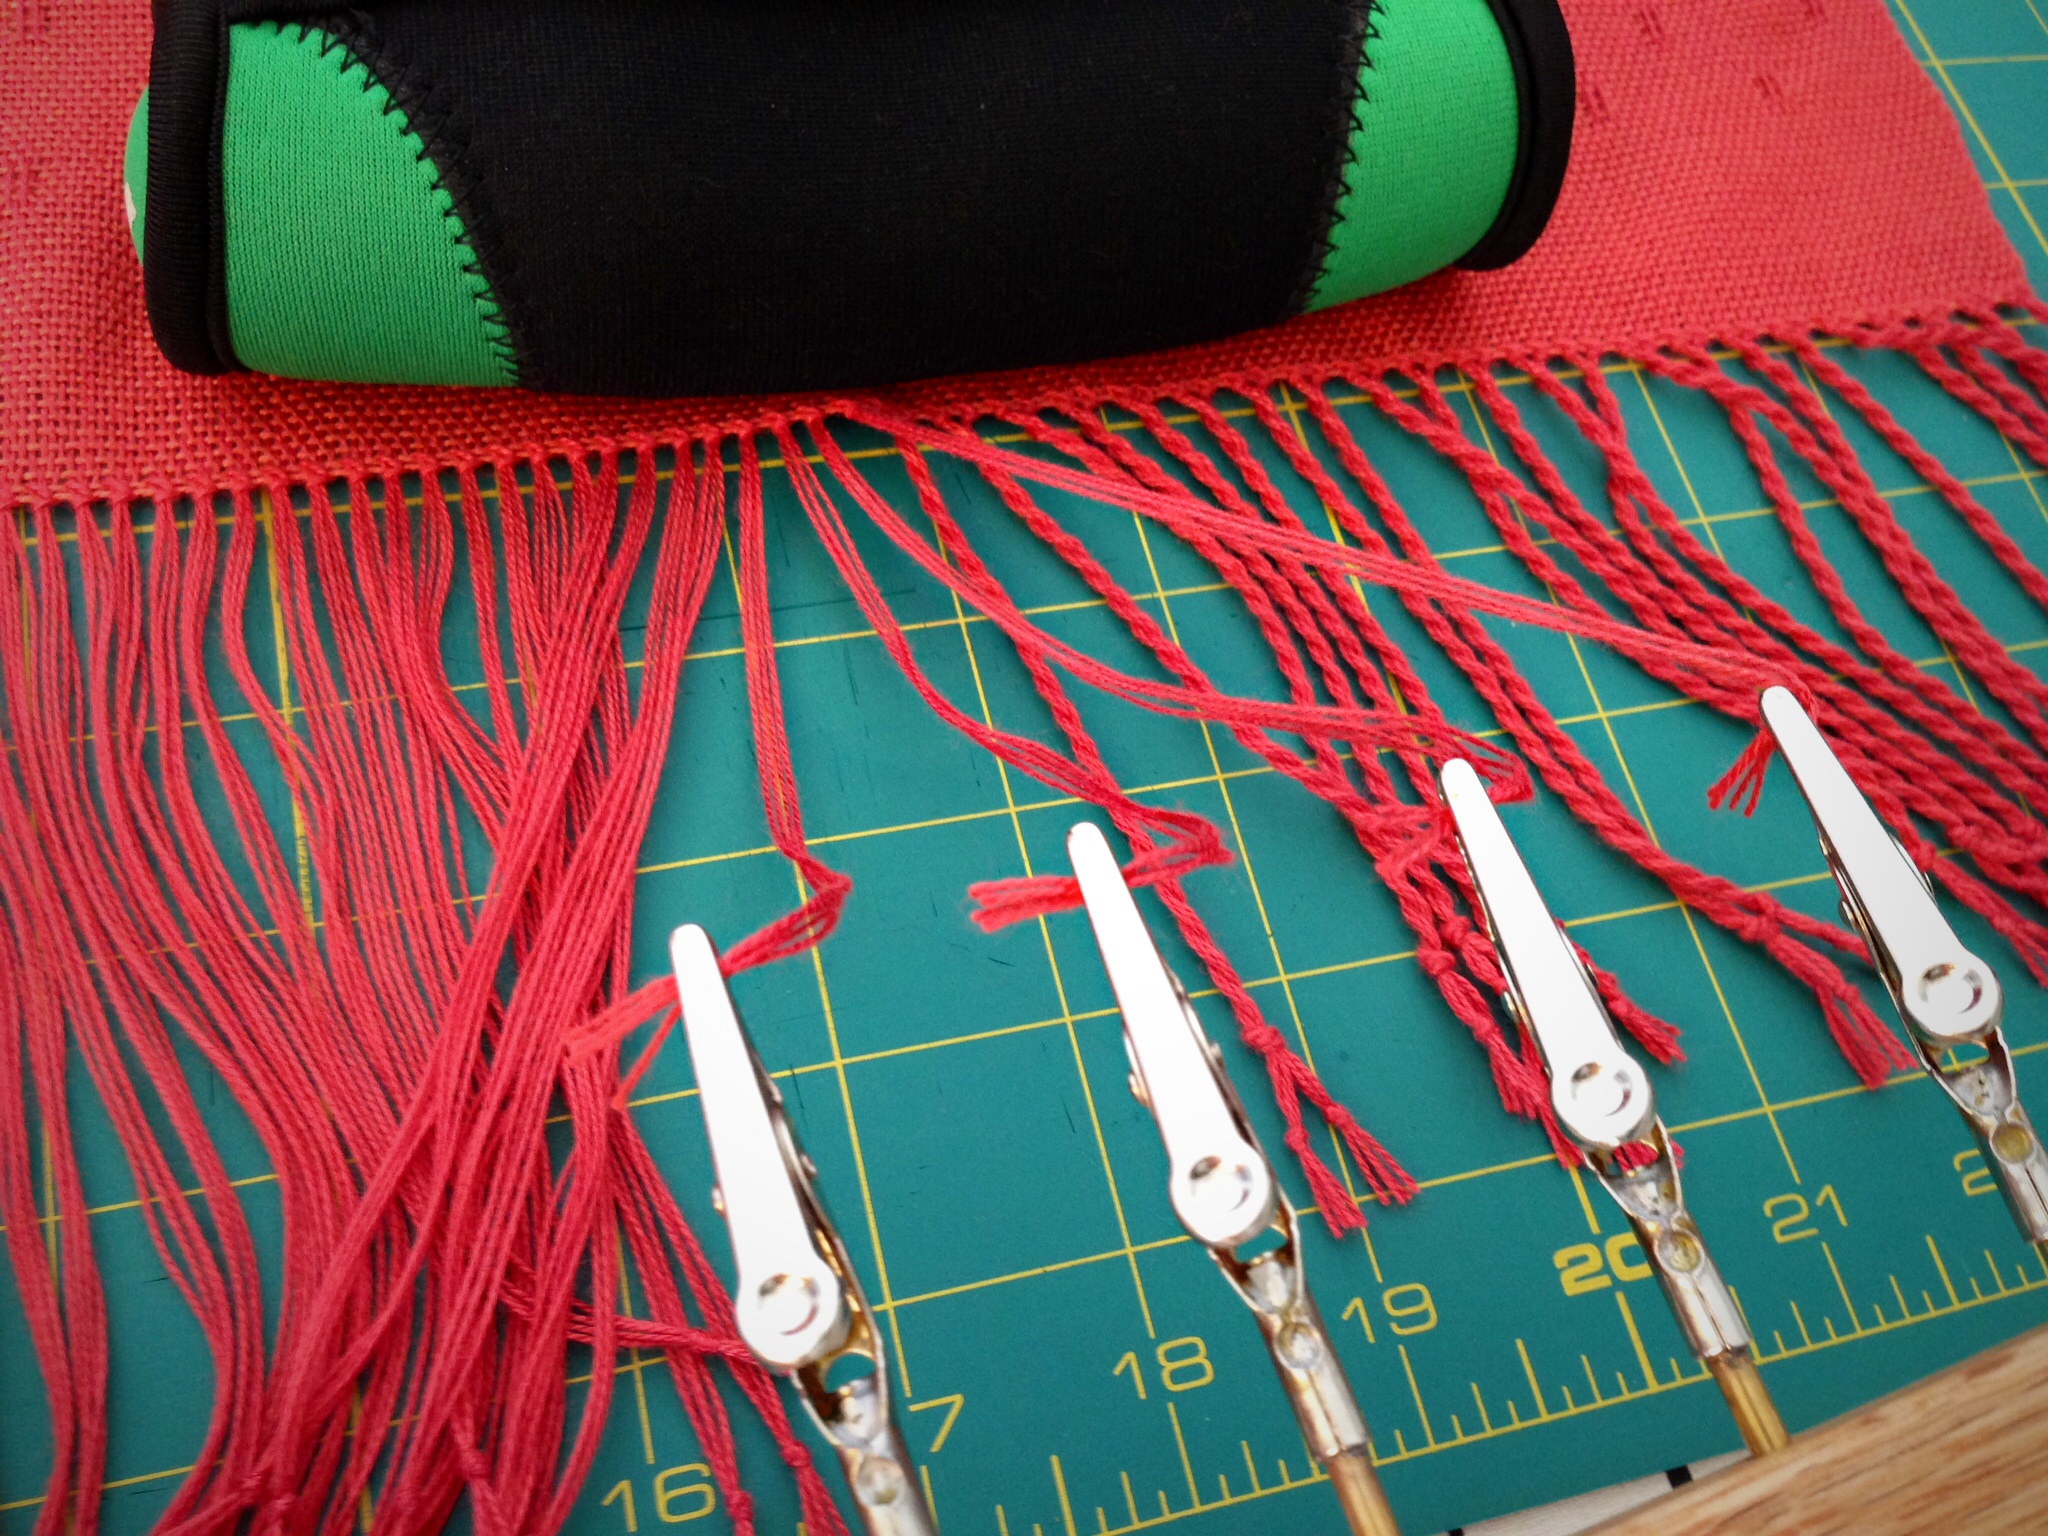
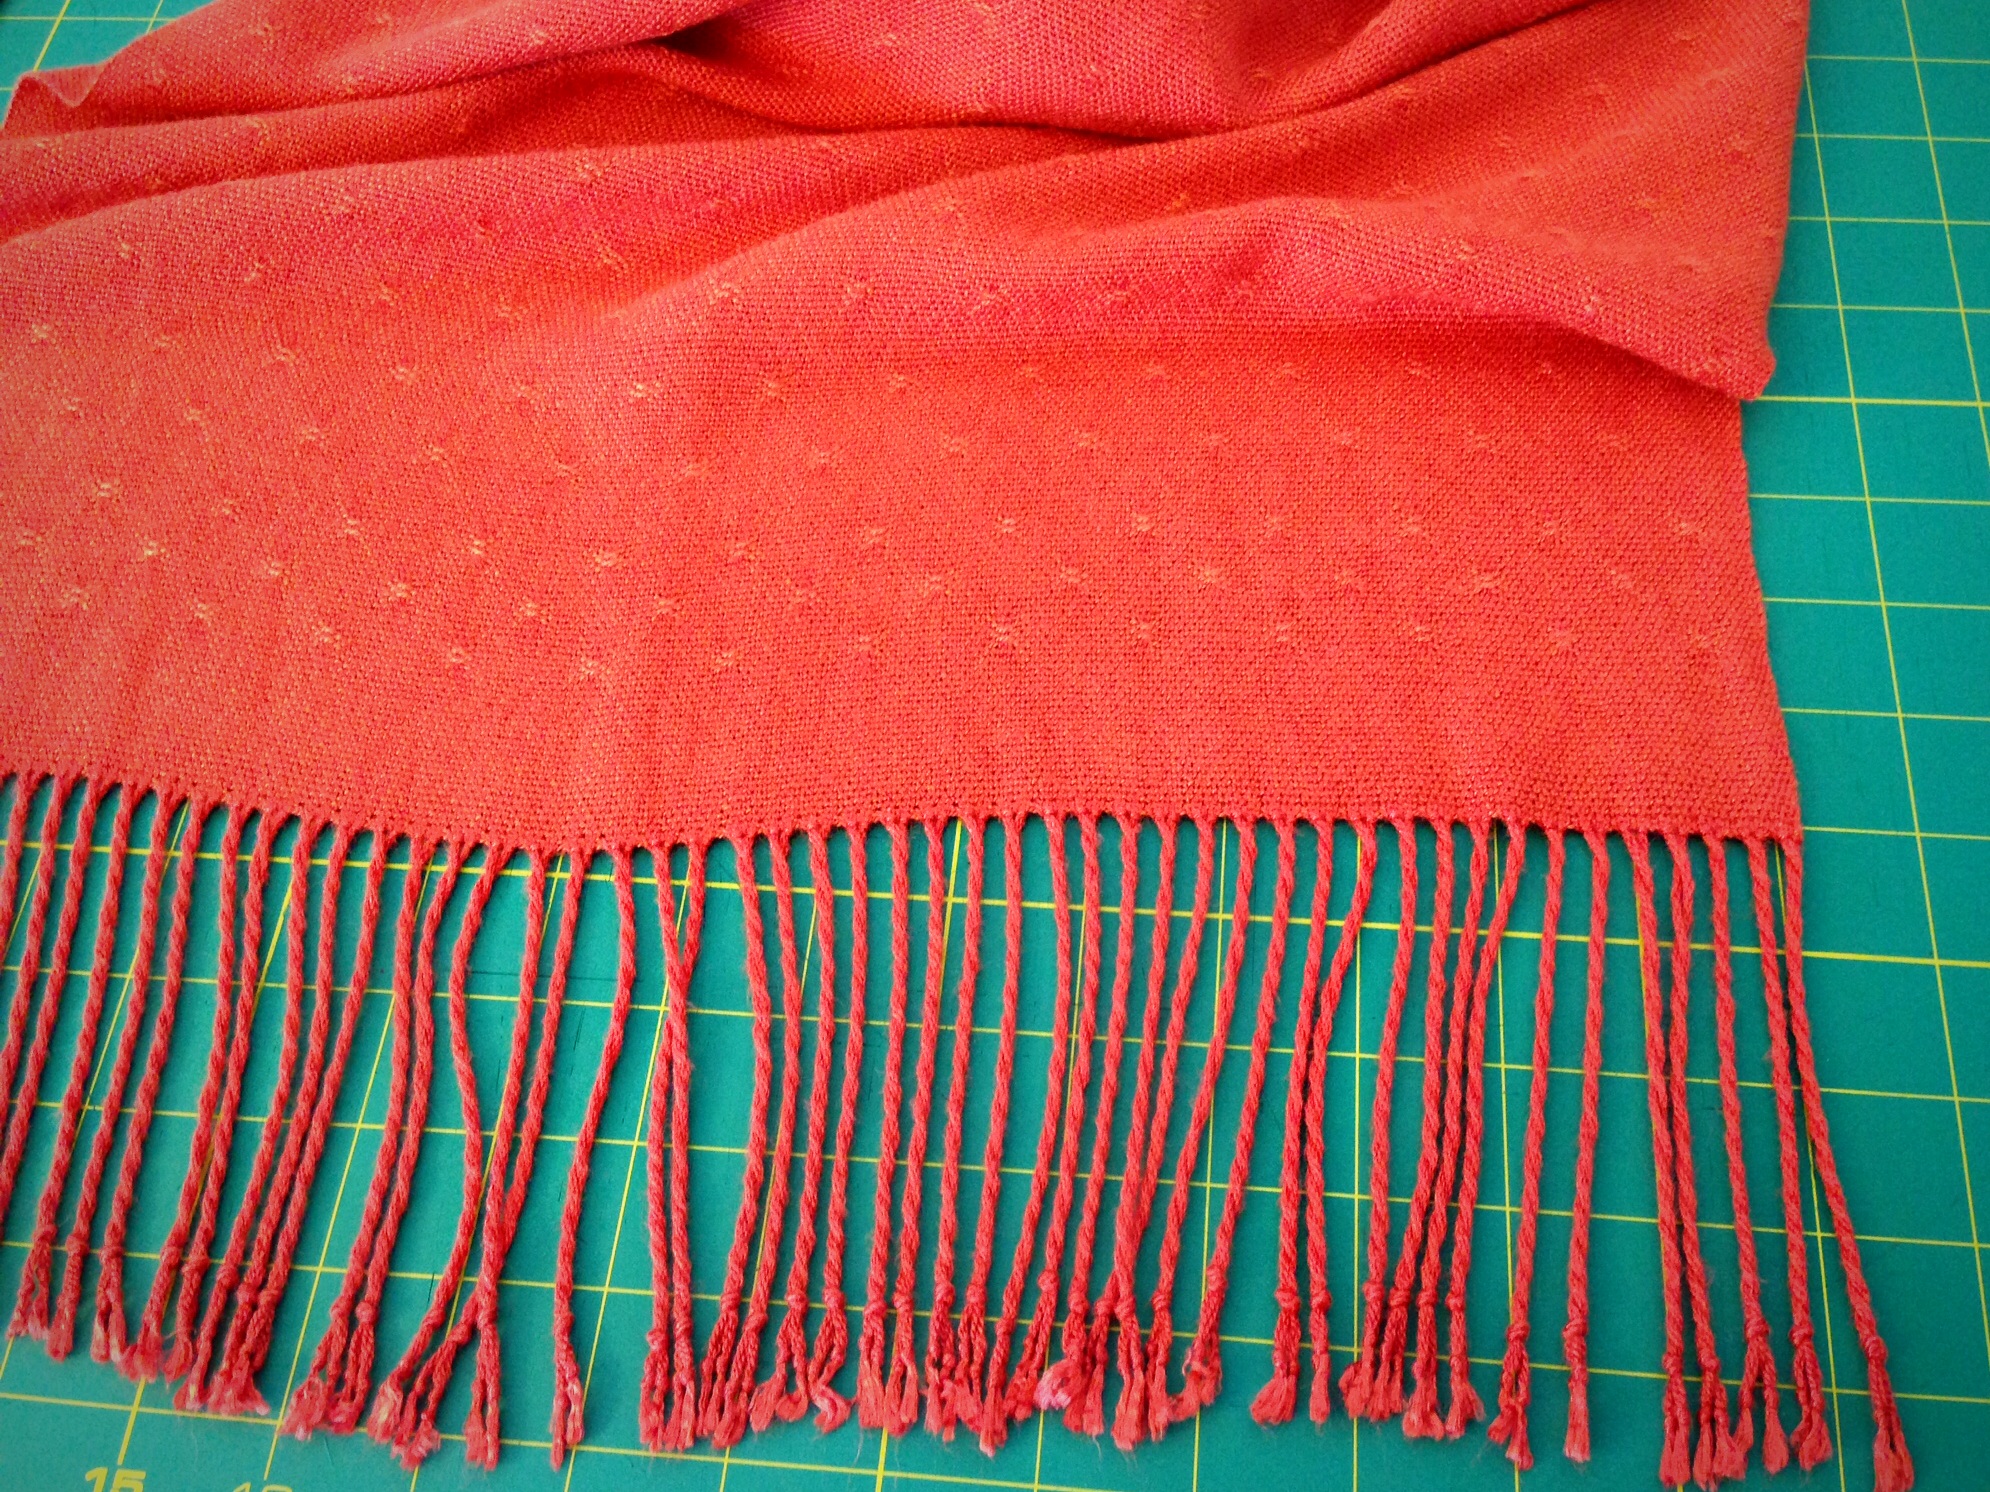
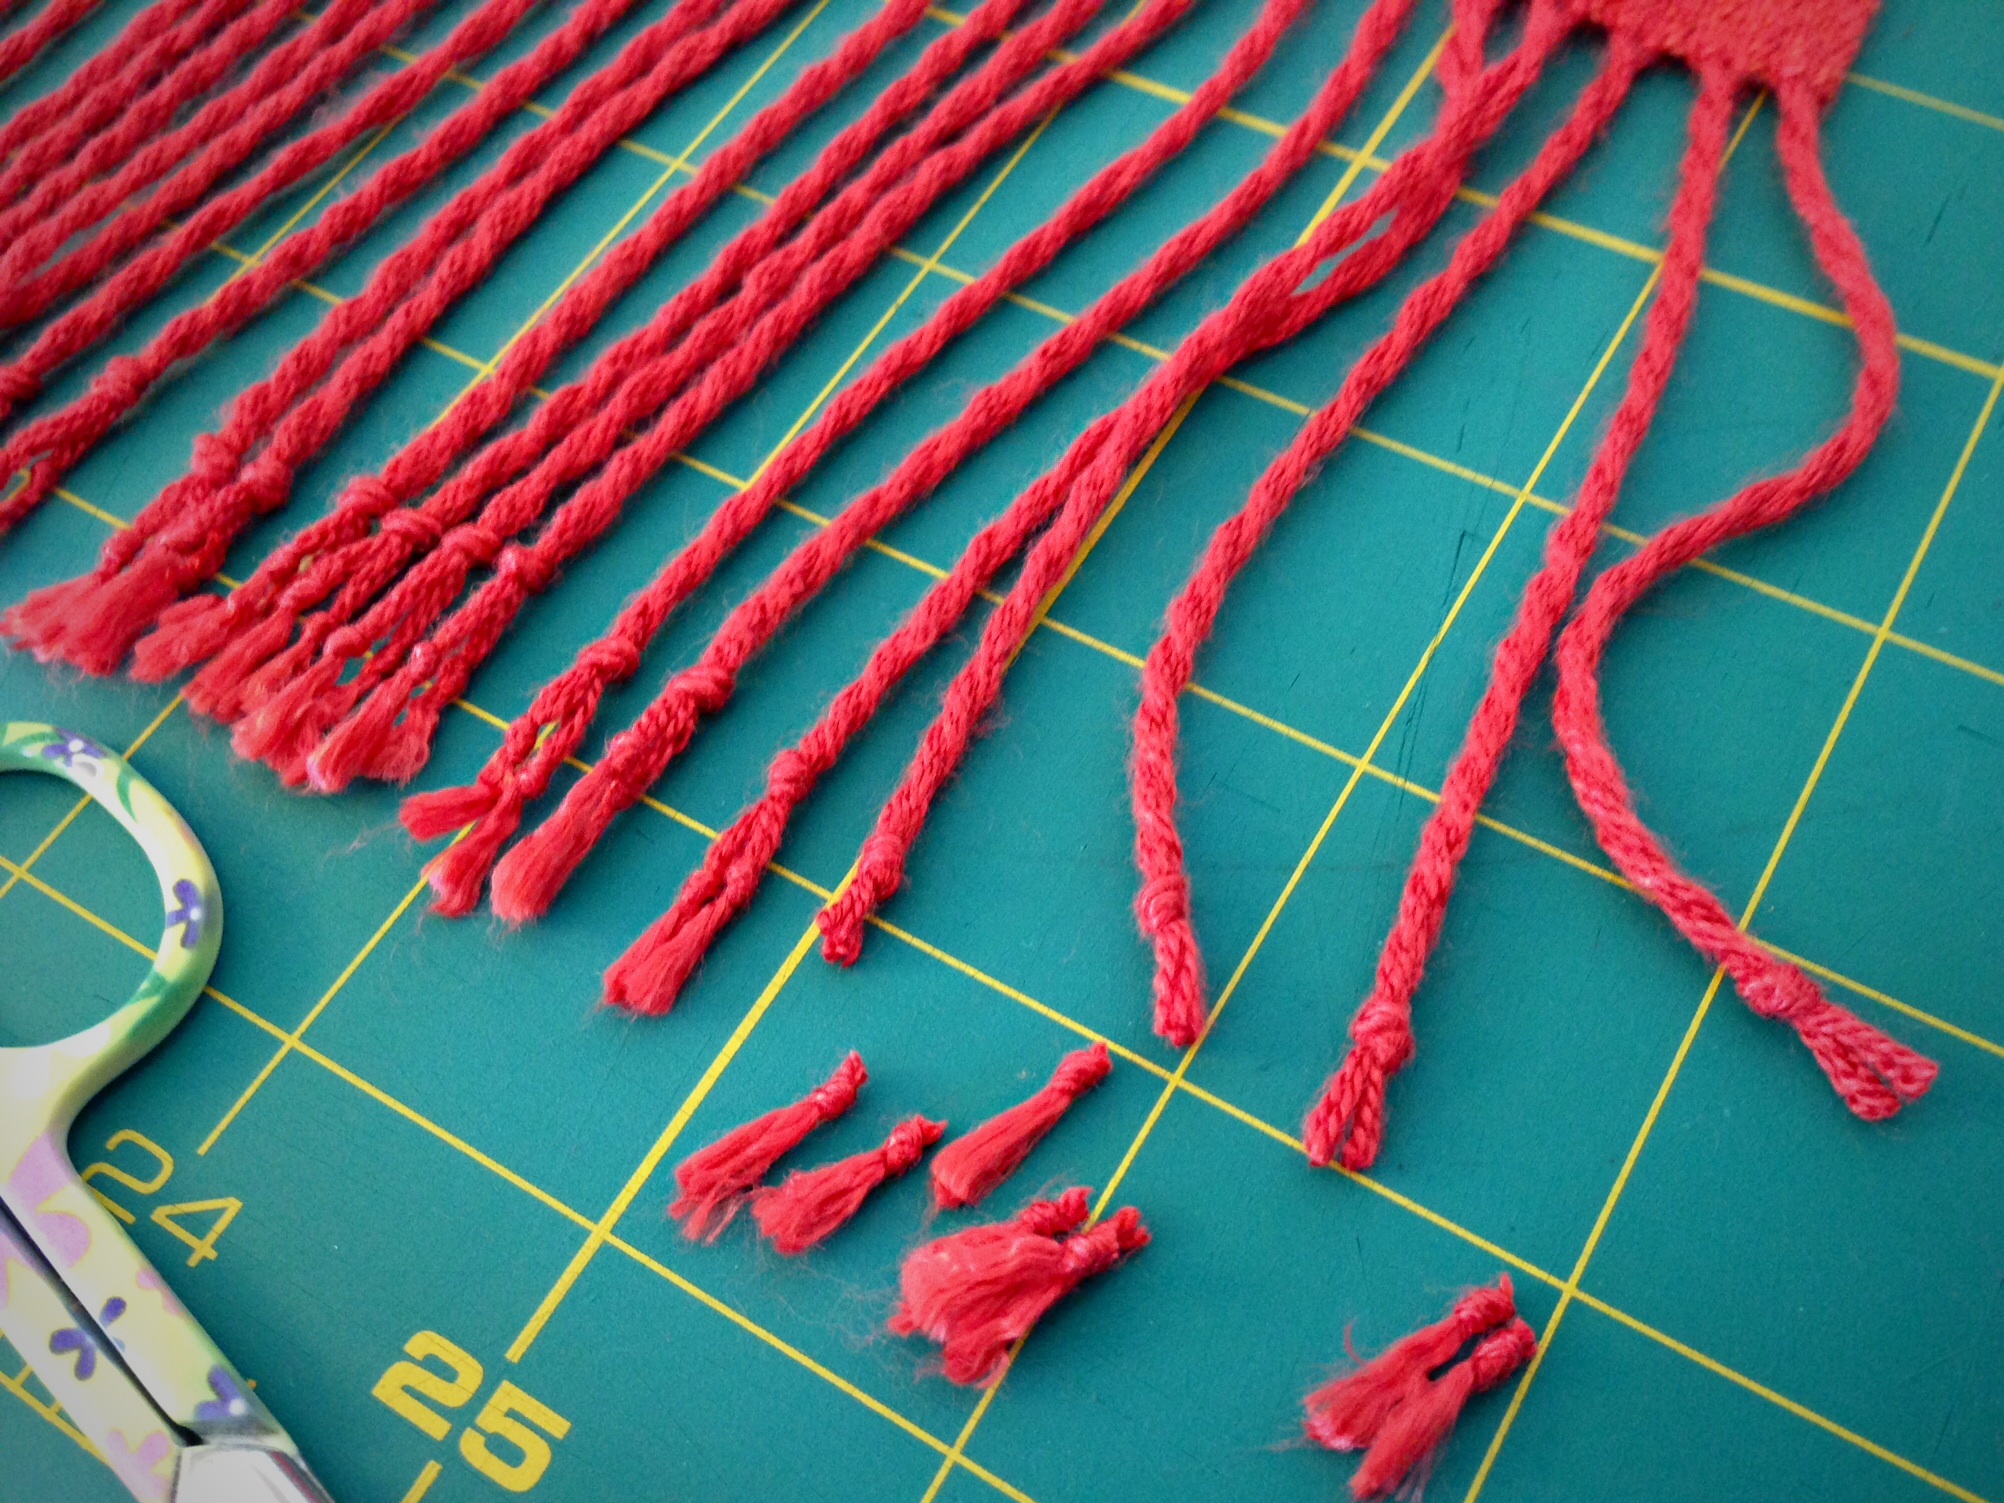
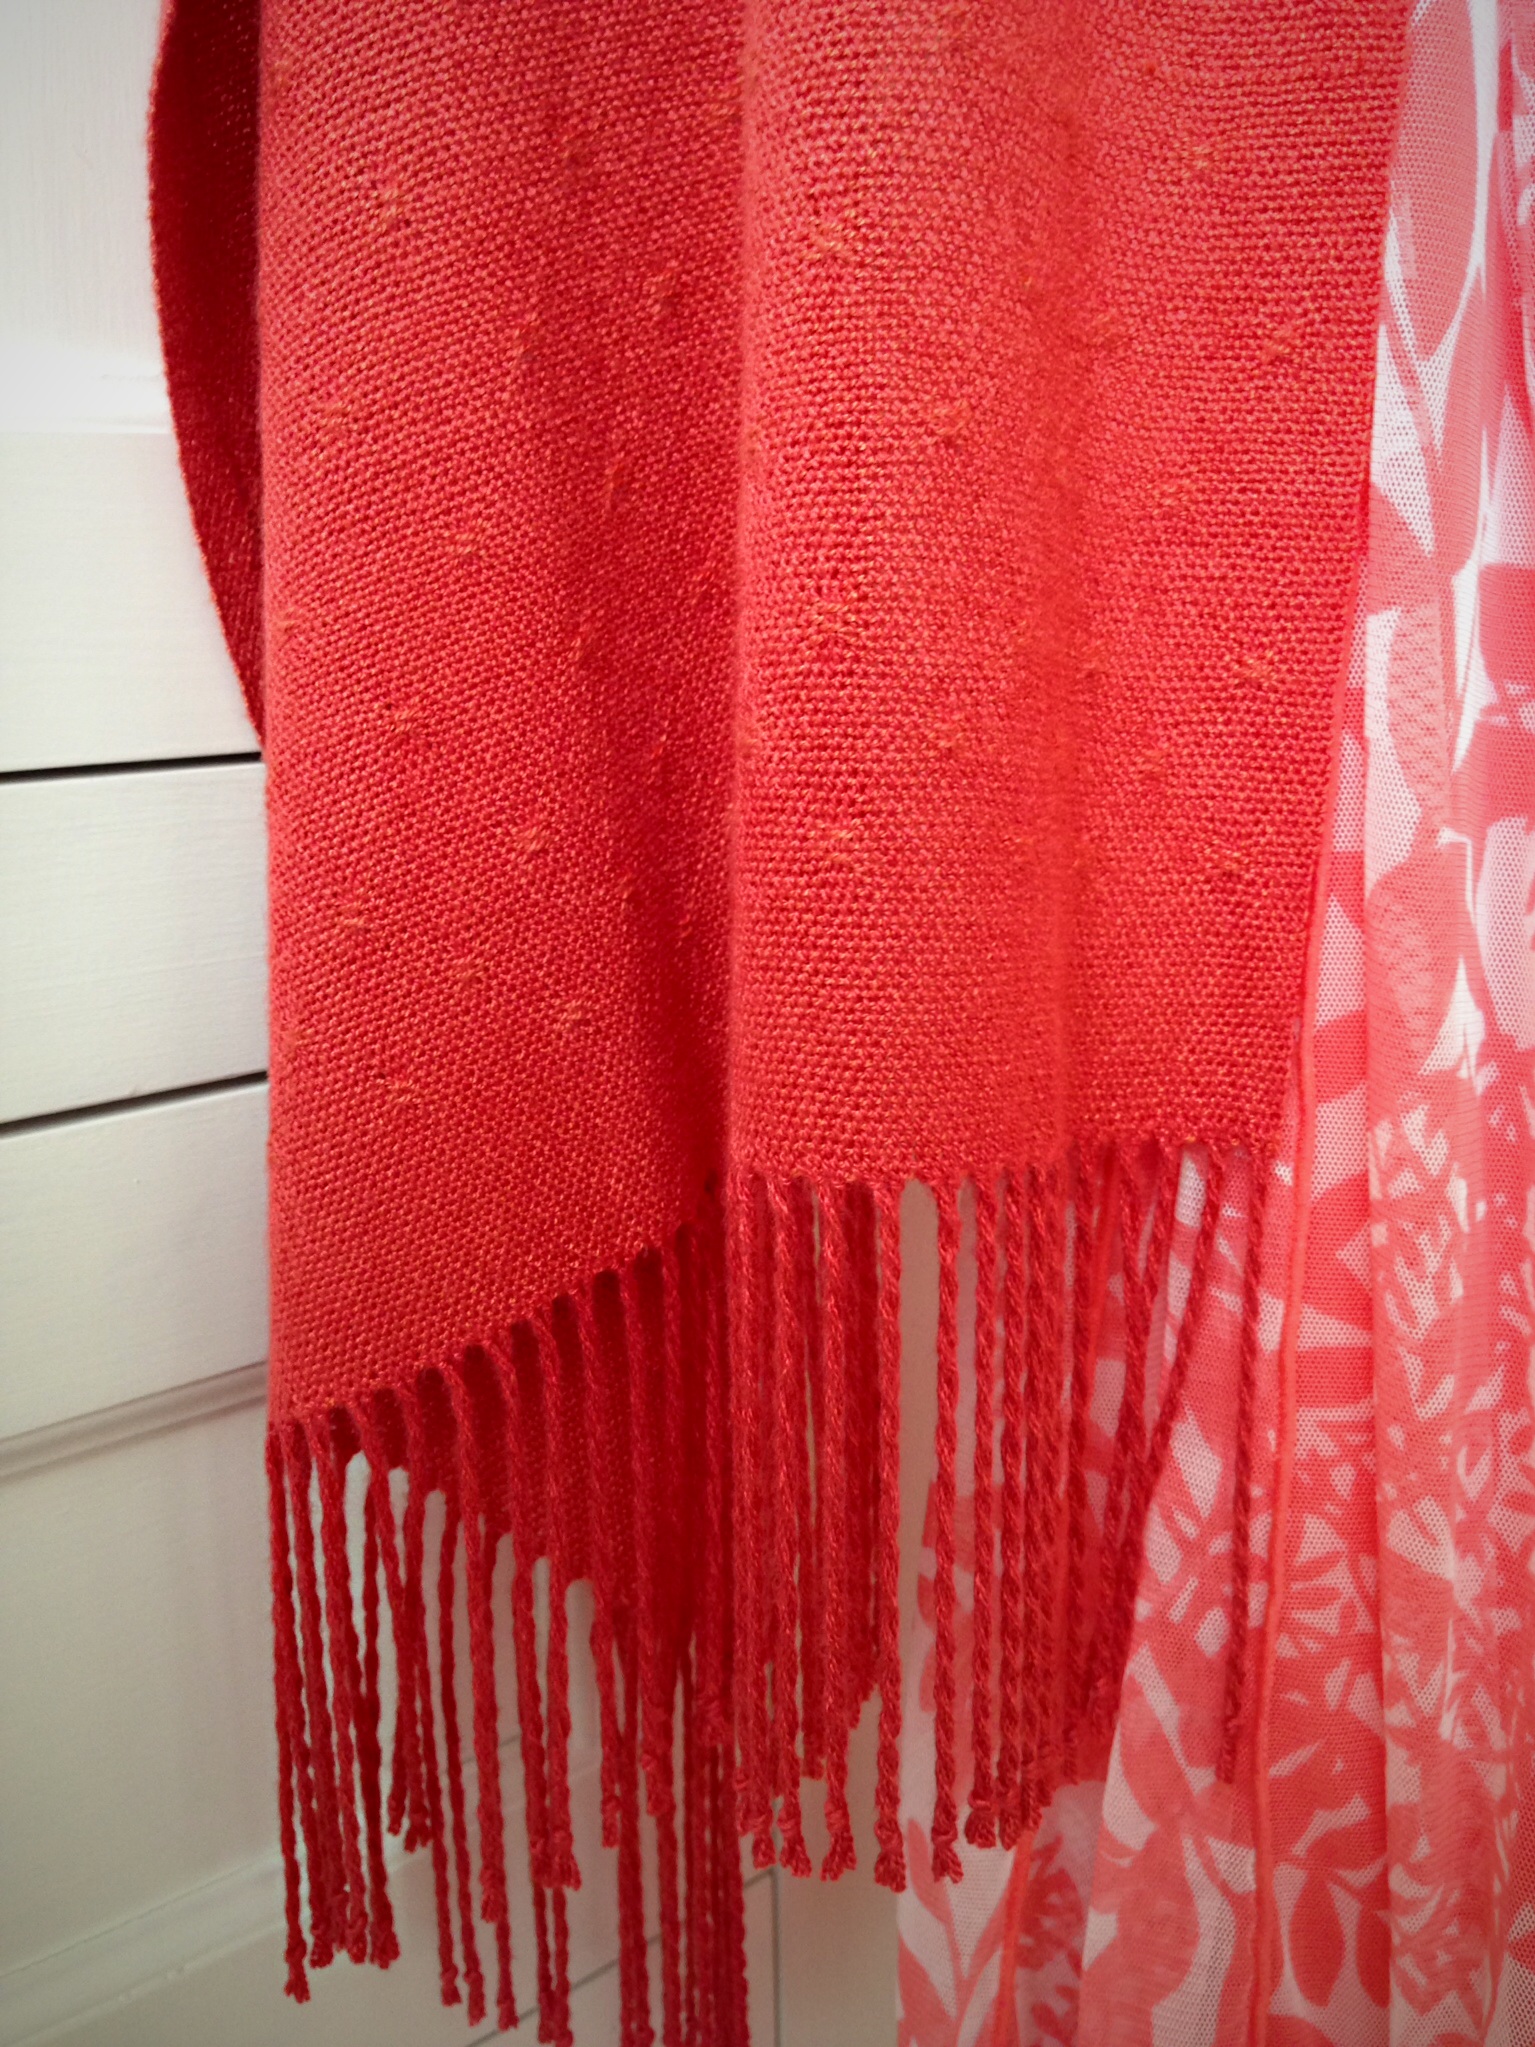
Step 1: (First, with fabric not yet washed and dried, cut all fringe strands on both ends of article to an equal and even length.) A pair of two-pound walking weights holds the fabric in place for tying knots. This fringe twister tool has a long handle and four little alligator clips.Step 2: Tie an overhand knot a fingertip-length away from the end, securing four ends together. (Other projects may have more than four ends grouped together.) This extra step holds the secret to clean cut fringe ends (see step 7).Step 3: Let each little alligator grab a knot in it’s teeth, four in a row. Crank the handle around until the twisted threads begin to kink back on themselves. Count the number of turns of the handle and repeat that same number of turns for each grouping.Step 4: Grab the strands from the first two alligators’ mouths, being careful not to let the strands unwind. Combine the two thread groups and tie an overhand knot a fingertip-width away from the first knots.Step 5: After the knot is tied, let the strands unwind in your hand, keeping them from tangling with neighboring threads. Snug the knot by holding the knot and pulling on the two smaller knots, one at a time.Step 6: Wet finish the fabric by a method suitable for the type of thread or yarn being used. Air dry completely, or other suitable method for drying. While still damp, separate and straighten each twisted fringe.Step 7: First set of knots are cut off, removing the frayed ends, and leaving clean cut ends.Step 8: Wear your lovingly handmade creation to a very special occasion, such as to your daughter’s wedding.
This is a lesson for raising children and letting them go, too. You weave for years, give time-consuming attention to the finishing touches while they are in your hands, and then you let them go. Wedding in four days!