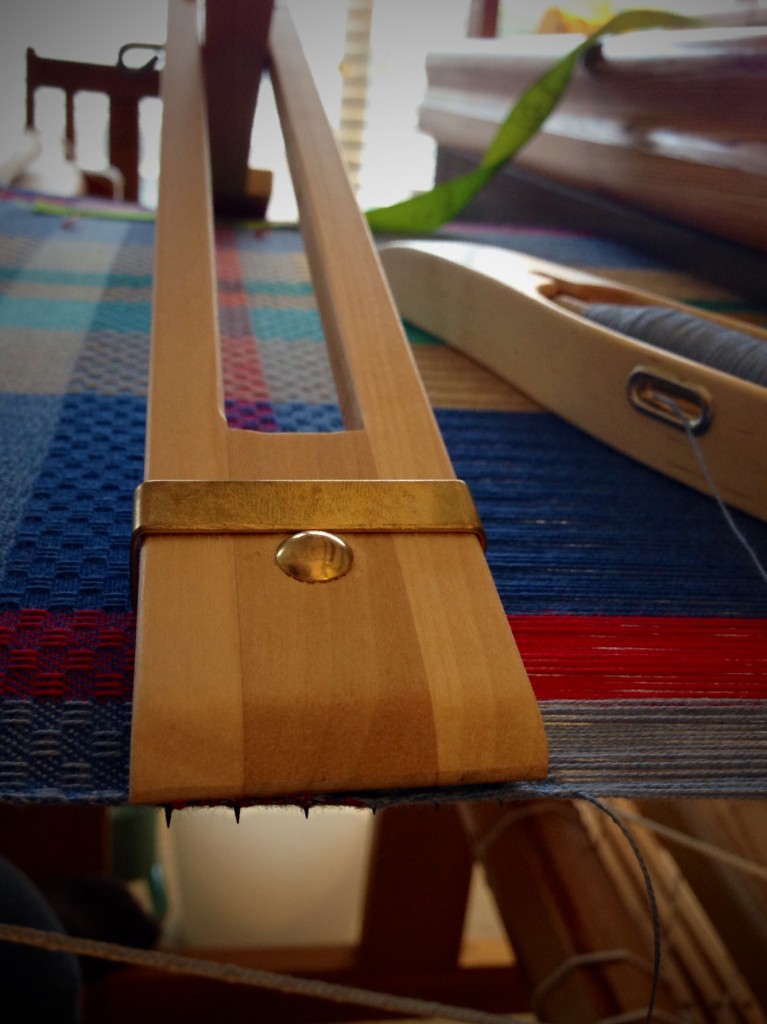
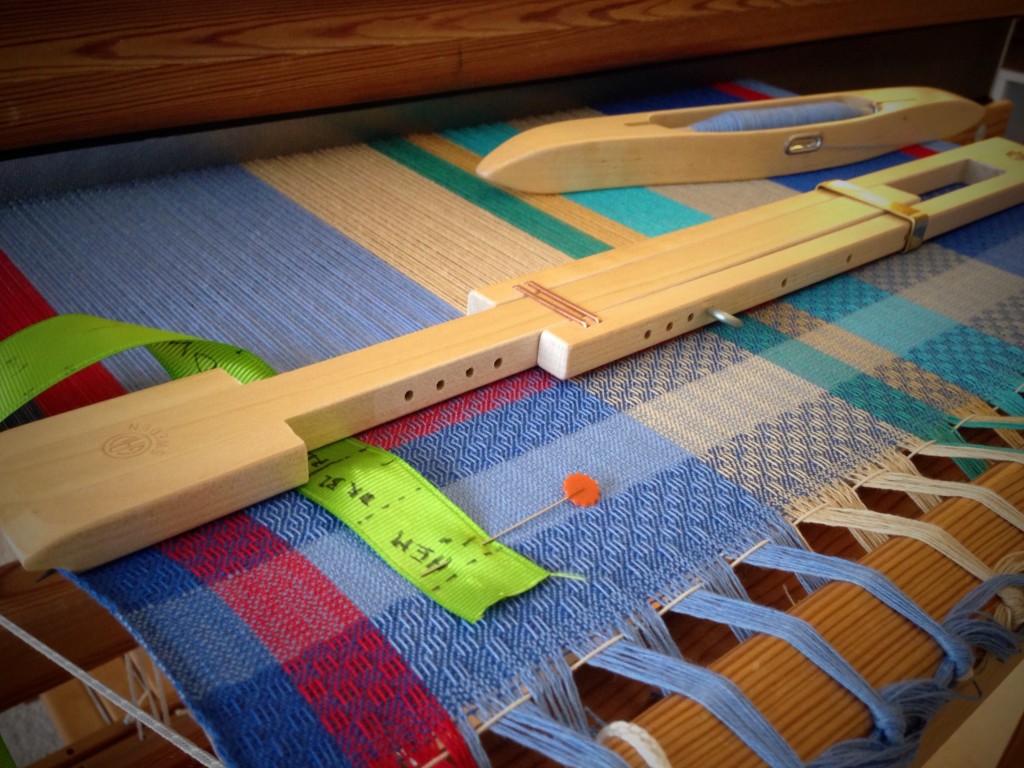
What is the secret weapon for improving selvedges, preventing draw-in, and getting a more even beat, leading to better quality handwoven fabric? Use of a temple (also known as a stretcher), of course! The temple is a tool that simply holds the woven cloth on the loom at the proper width. I almost always use a temple when I weave because I like the consistency that it brings to my weaving. It may seem counterintuitive to stop frequently to re-set the temple, but I have found that moving the temple becomes part of the rhythm of weaving. The cloth develops inch by inch, and the temple is in sync with that.
How to set a temple:
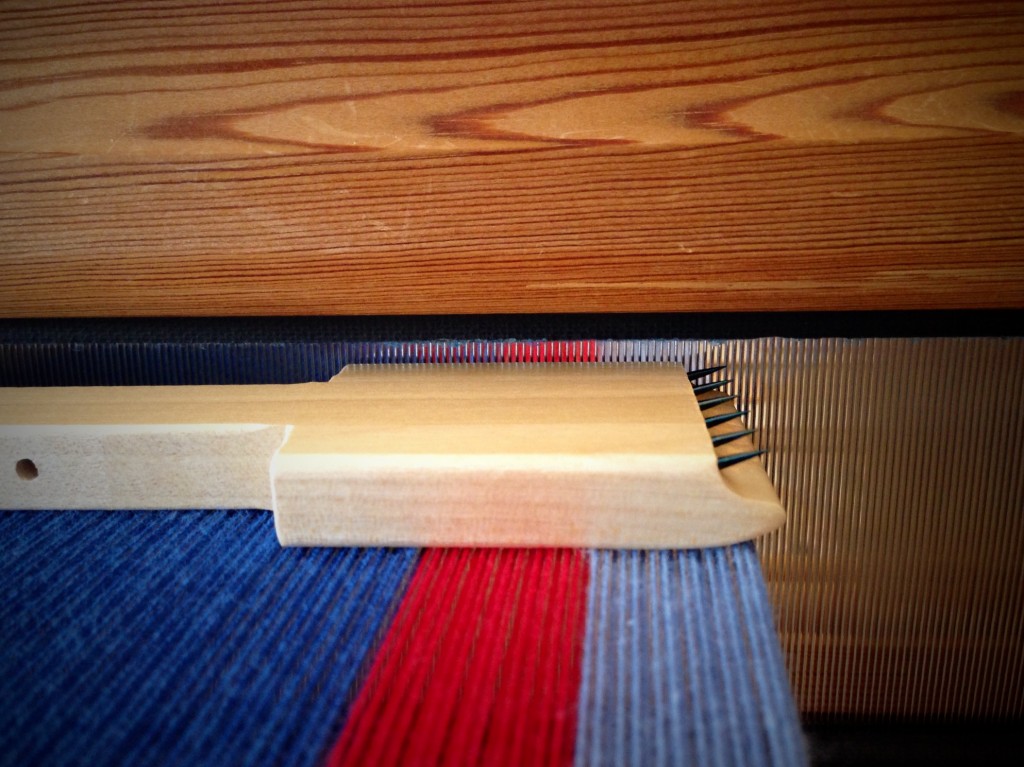
1. Place the temple upside down on the warp next to the reed. Remove the pin. Expand the temple to the width of the warp, with the center of the teeth aligned with the outside warp thread on each side.
2. Put the pin in aligned holes to hold the width of the temple.
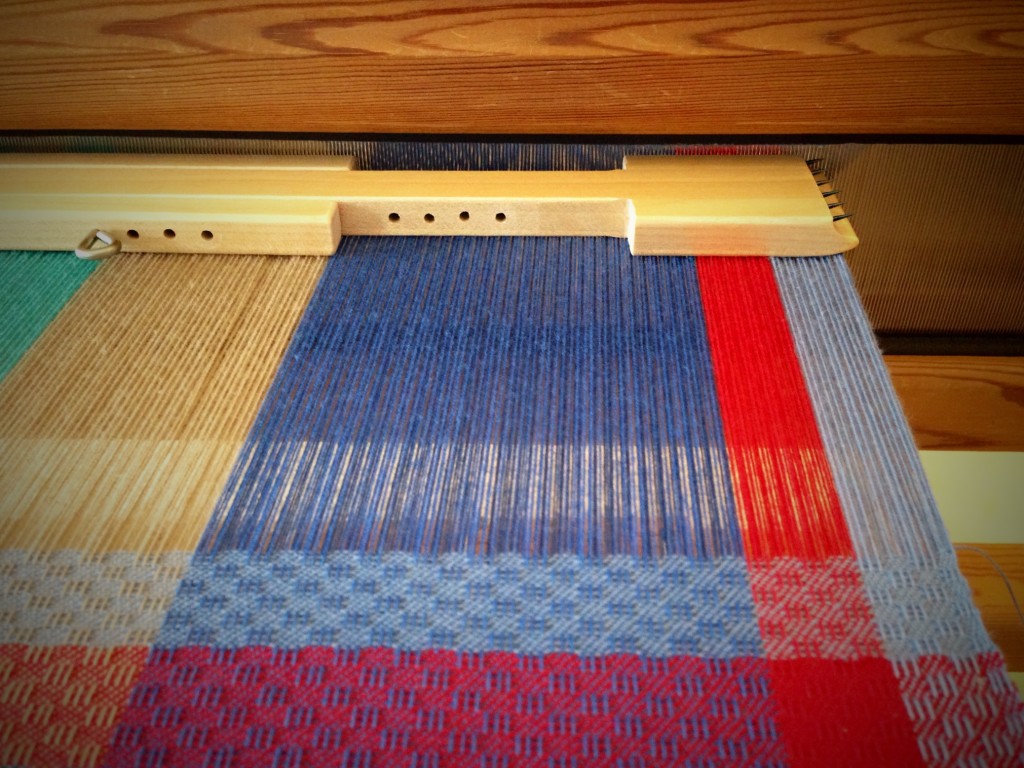
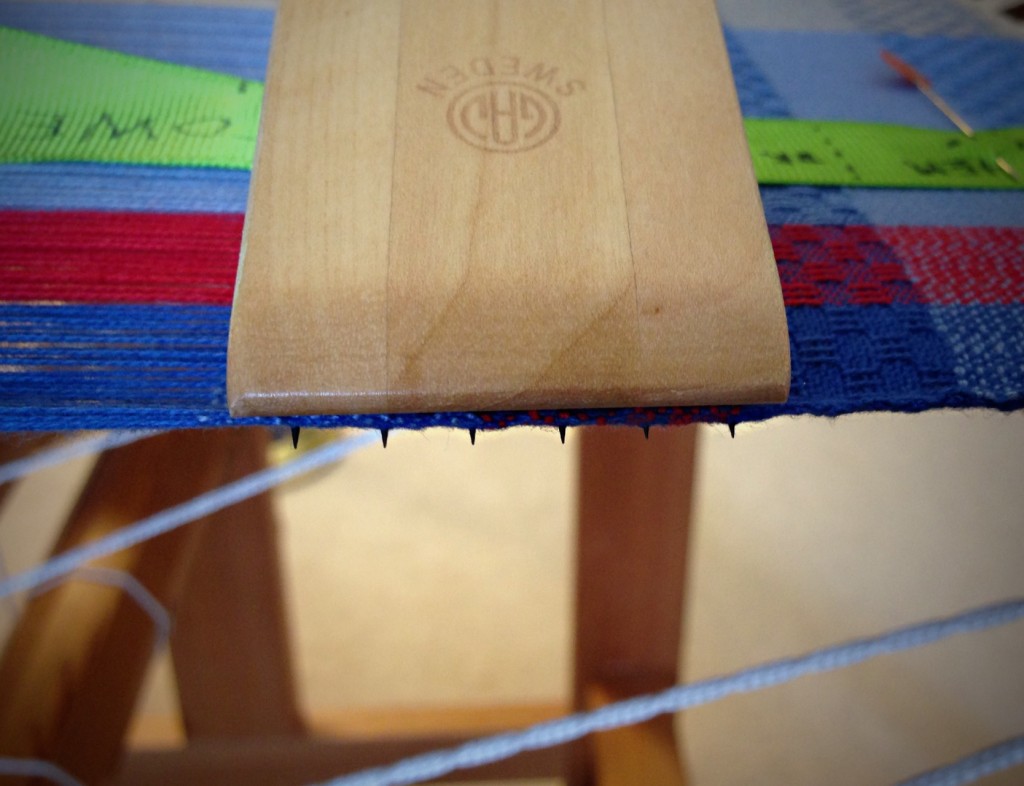
3. Turn the temple right side up, with the pin facing toward you, and the metal slider on the right half of the temple. Place the temple near the fell of the weaving; set the teeth on the left side of the temple into the warp threads near the selvedge.
4. Keeping the left teeth in the cloth, set the temple teeth on the right into the threads near the selvedge on the right side of the cloth.
5. Press down the center of the temple. Move the metal slider toward the center to secure the temple, keeping it flat.
6. Weave. The reed should not touch the temple when you beat. After weaving an inch (or two, or three, depending on what is being woven), release temple by moving the metal slider. Remove temple. Repeat steps 3 through 6 until weaving is complete.
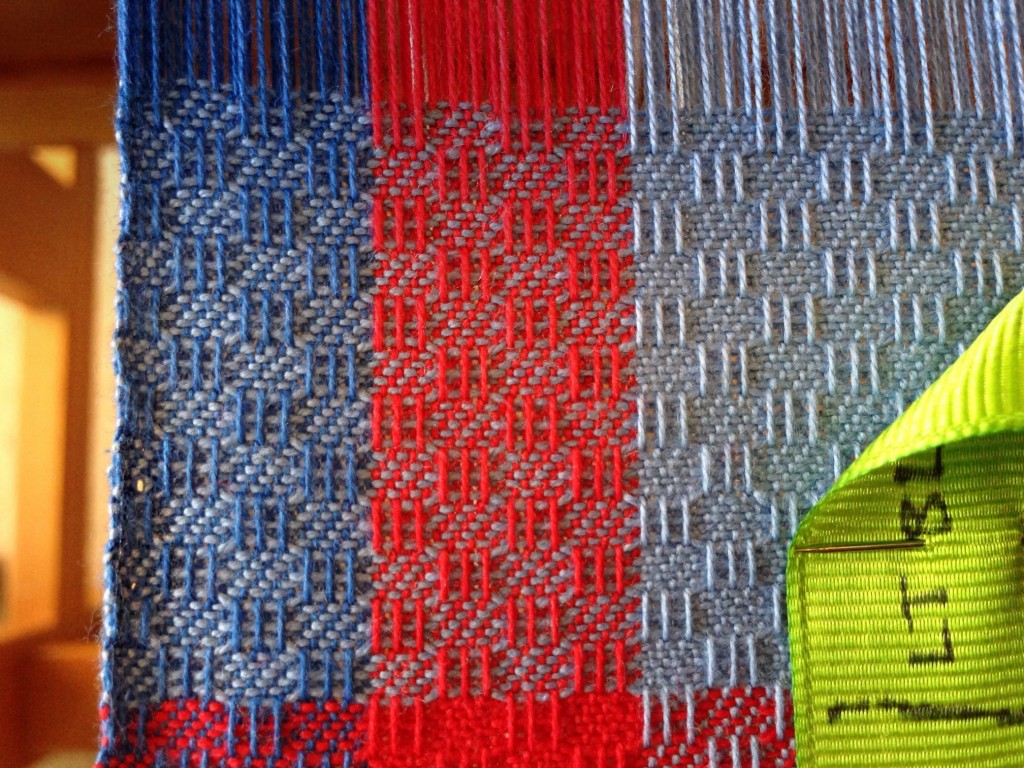
(Compare this three-shaft twill fabric to my first attempt HERE with threading errors.)
May you find the tools that enhance the quality of your work.
Happy Weaving,
Karen

Hi, Karen,
Excellent tutorial! I think it would be good to add a section on moving the temple. Do you remember. The laugh we had about temple moving? How I was removing the pin each time instead of just sliding the catch down?
Is this a three shaft M’s and O’s?
For anyone interested in three shaft. Weaving, Erica de Ruiter has an excellent book, and also some of her projects can be found in Handwoven and Weavezine.
Stay warm! Leigh
Hi, Leigh,
I do remember our good laugh! I thought of it as I was writing this post. Removing and re-inserting the pin worked, but it was not the easy way to move a temple.
This is adapted from a draft in Vav Magazine, 1/13, p.58, “Viking Era Handtowel.” They call it a 3-shaft twill with warp floats. It does look a lot like M’s and O’s. The reverse side does not have floats, and looks interesting with a very subtle pattern. As I’m weaving, I’m thinking that if this were all linen in a solid color, it would make beautiful garment fabric.
Erica de Ruiter has really explored 3-shaft weaving. I love how she has made beautiful fabric so simple.
Karen
Really great post! I use a temple all the time. Temples are such a common tool in the European weaving tradition. I wonder why they are not used
more in North America. I was looking for a finer tooth temple to buy last year
for my shawls and one well known supplier up here in BC told me that she would be happy to bring one in for me but that I should really just
reassess my weaving technique so I wouldn’t need one! Joanne Hall would have a little laugh about that comment!
I’m so happy I found your website. I am enjoying it so much.
I enjoy your comments, Judith!
Hooray for the temple! “Reassess your weaving technique…” For sure, Joanne would have a laugh and something to say about that. Ha ha. And so would Leigh, and Becky Ashenden, and I. 🙂
Thank you for taking the time to drop in and say, “hi.”
Happy weaving,
Karen
I had been weaving for 20 years before I tried a temple, because everything I read and everybody I asked said that if I were a good and careful weaver, I shouldn’t need to use one. Only sloppy weavers needed a temple. I finally just decided to be a sloppy weaver, and now I use them on almost every project, unless it’s narrower than any temple I have.
Hi Diana, That’s interesting that the common sentiment was that good and careful weavers didn’t need a temple. My thought is, the temple is a tool. Why wouldn’t someone want to take advantage of such a useful tool? I’m fortunate that the weaving teachers I have studied with have all insisted on using a temple, so that’s the mindset I have learned. Like you, I use a temple on almost every project.
Thanks for chiming in. It’s always great to hear of other people’s experiences.
Karen
Hi,
I just stumbled upon your site in looking for a temple. But I must admit that’s a most interesting tie-on method you have in the picture. Over and Under??? I’ve never seen that before. Beautiful piece too!
Hi, Tom, Welcome! I’m glad you stepped in when you stumbled by. 🙂
I learned this tie-on method from Becky Ashenden at Vävstuga Weaving School in MA. It is a very simple and efficient method to tie-on. And by tying on in small, 1-inch, sections, and using the leveling string, I’m able weave even cloth almost immediately. (Becky describes the technique in detail in “Dress Your Loom The Vävstuga Way: A Bench-Side Photo Guide,” also known as the “Flippy Book.”)
I appreciate your kind compliment!
Karen
Thank you for posting about Flippy. It’s still available and I just grabbed a copy.
Hi Katrina, Fantastic! That’s one of the best books around on how to dress the loom.
Karen
Hello…
Can you tell me who fabricates these templates?
Thank you very much
Hello Jorge, These temples (stretchers) are made by Glimåkra.
Karen