Snowflakes Made of Thread

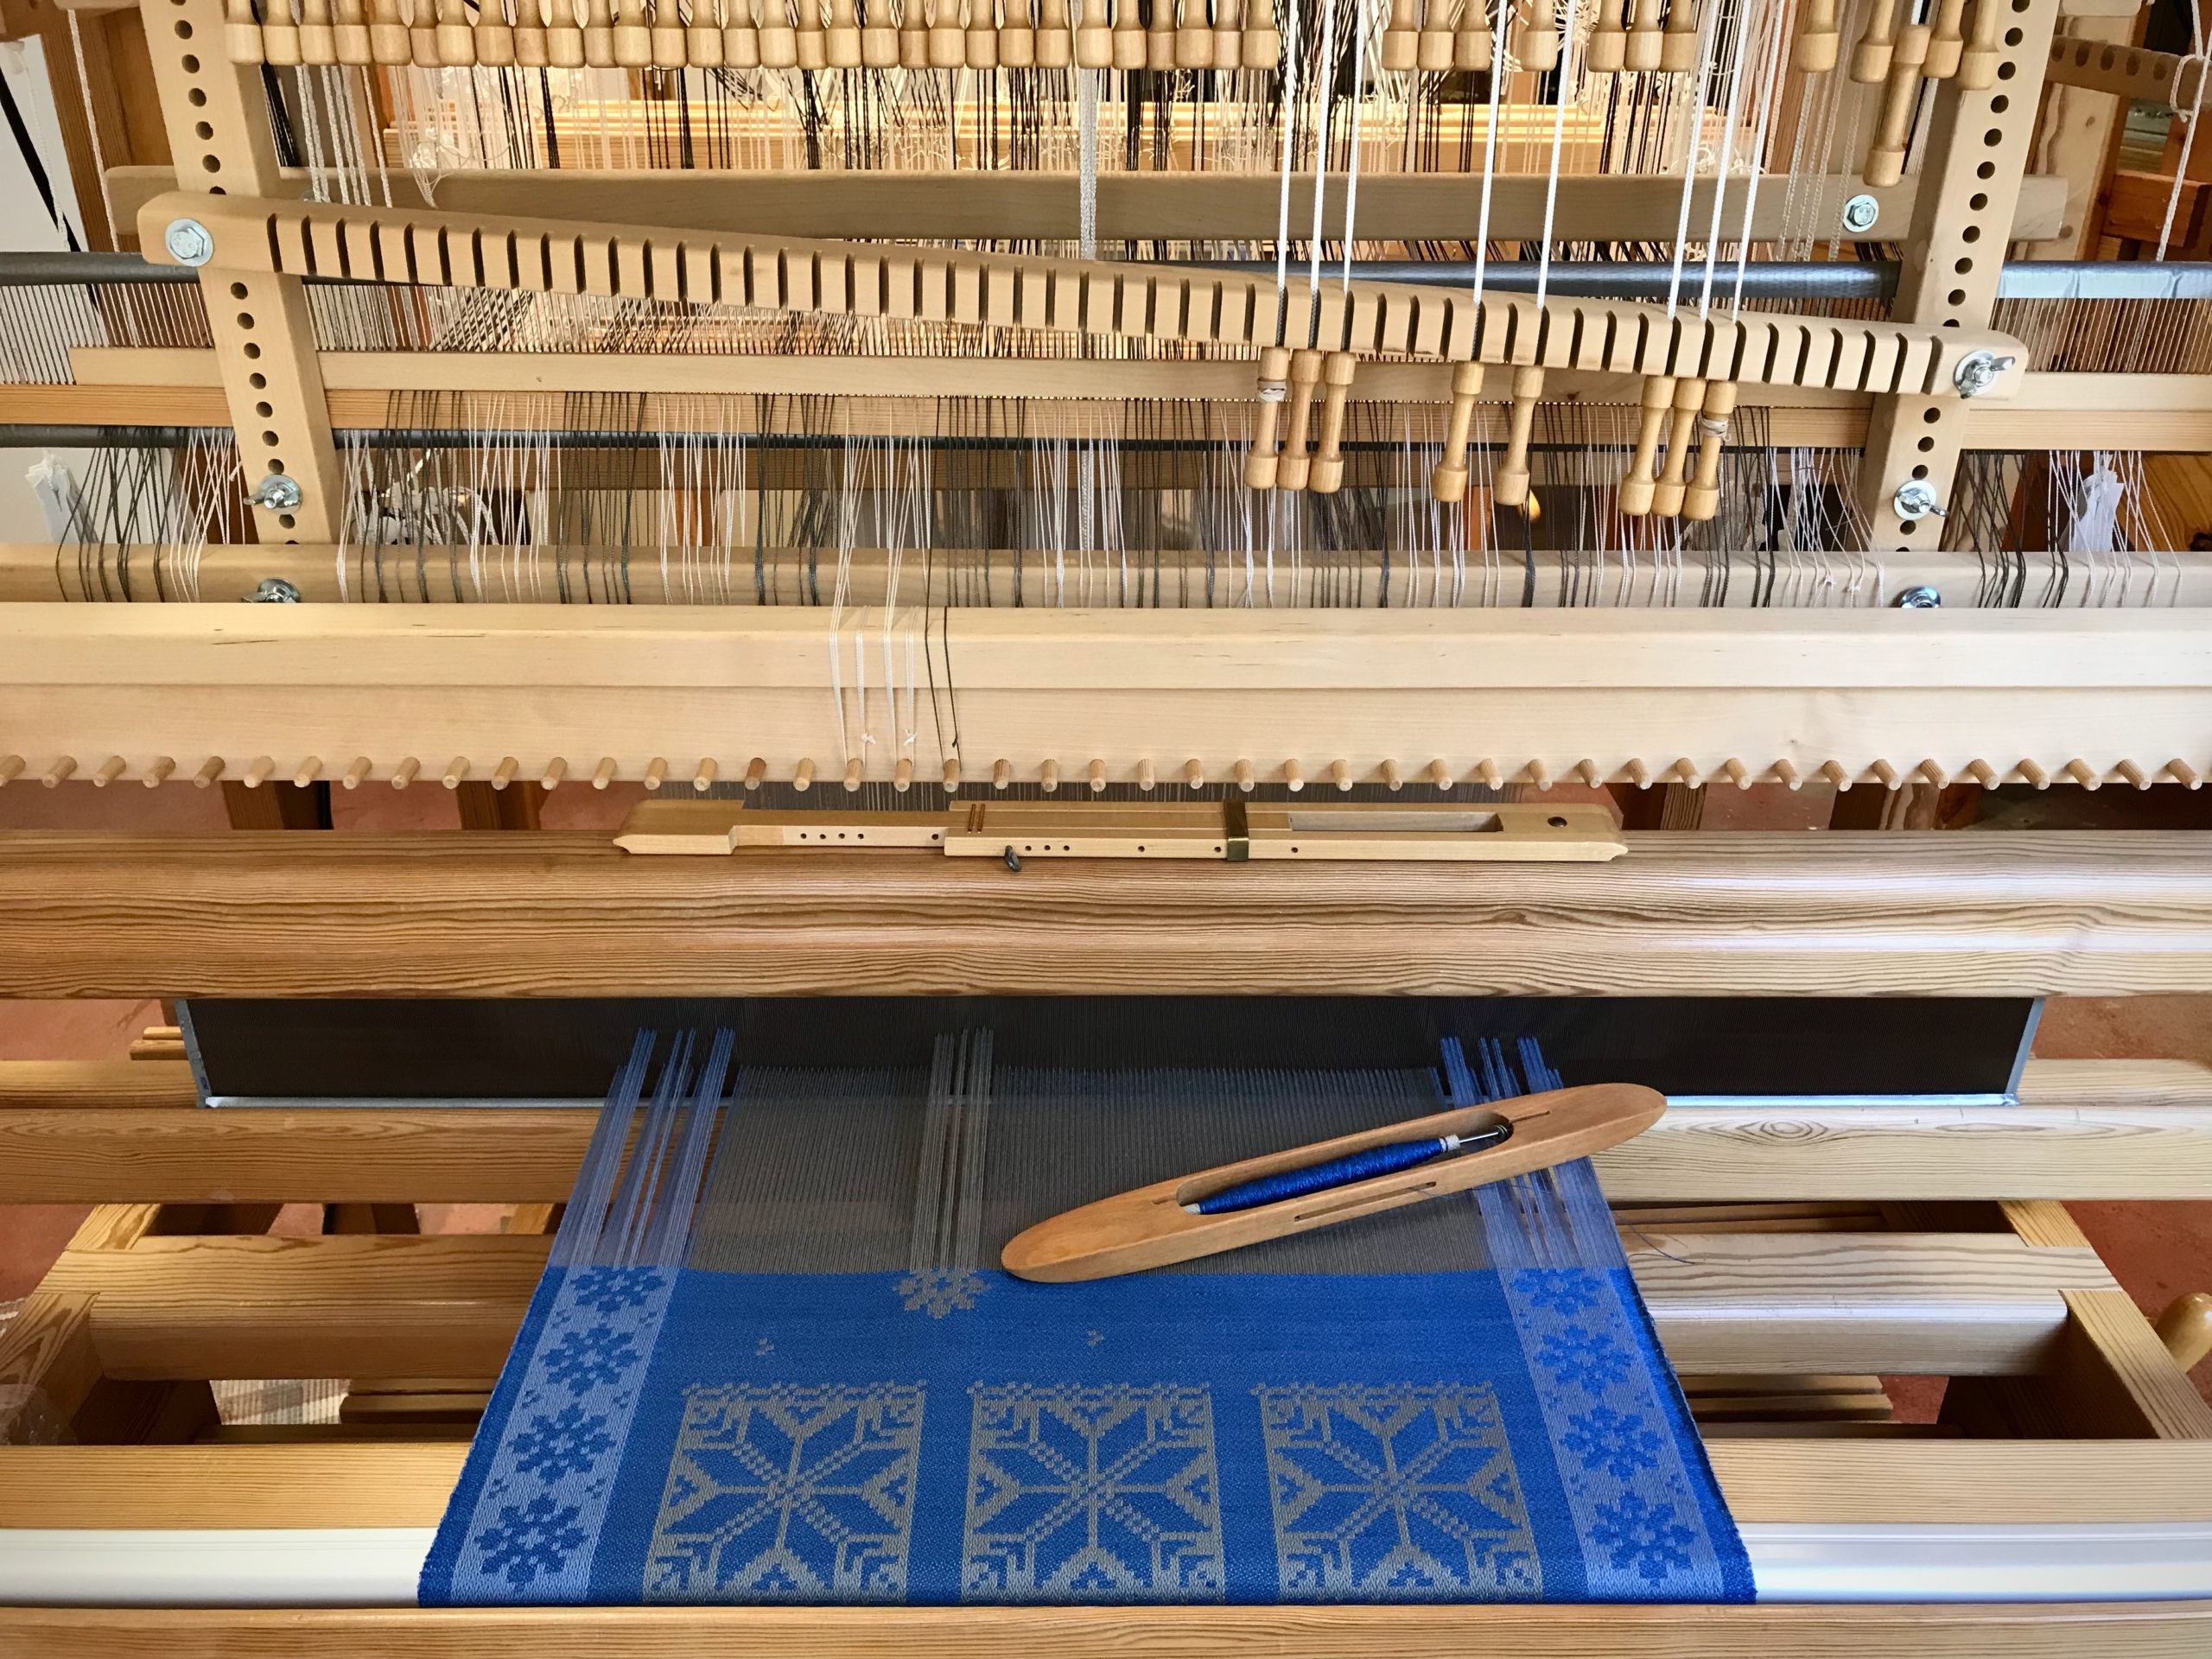
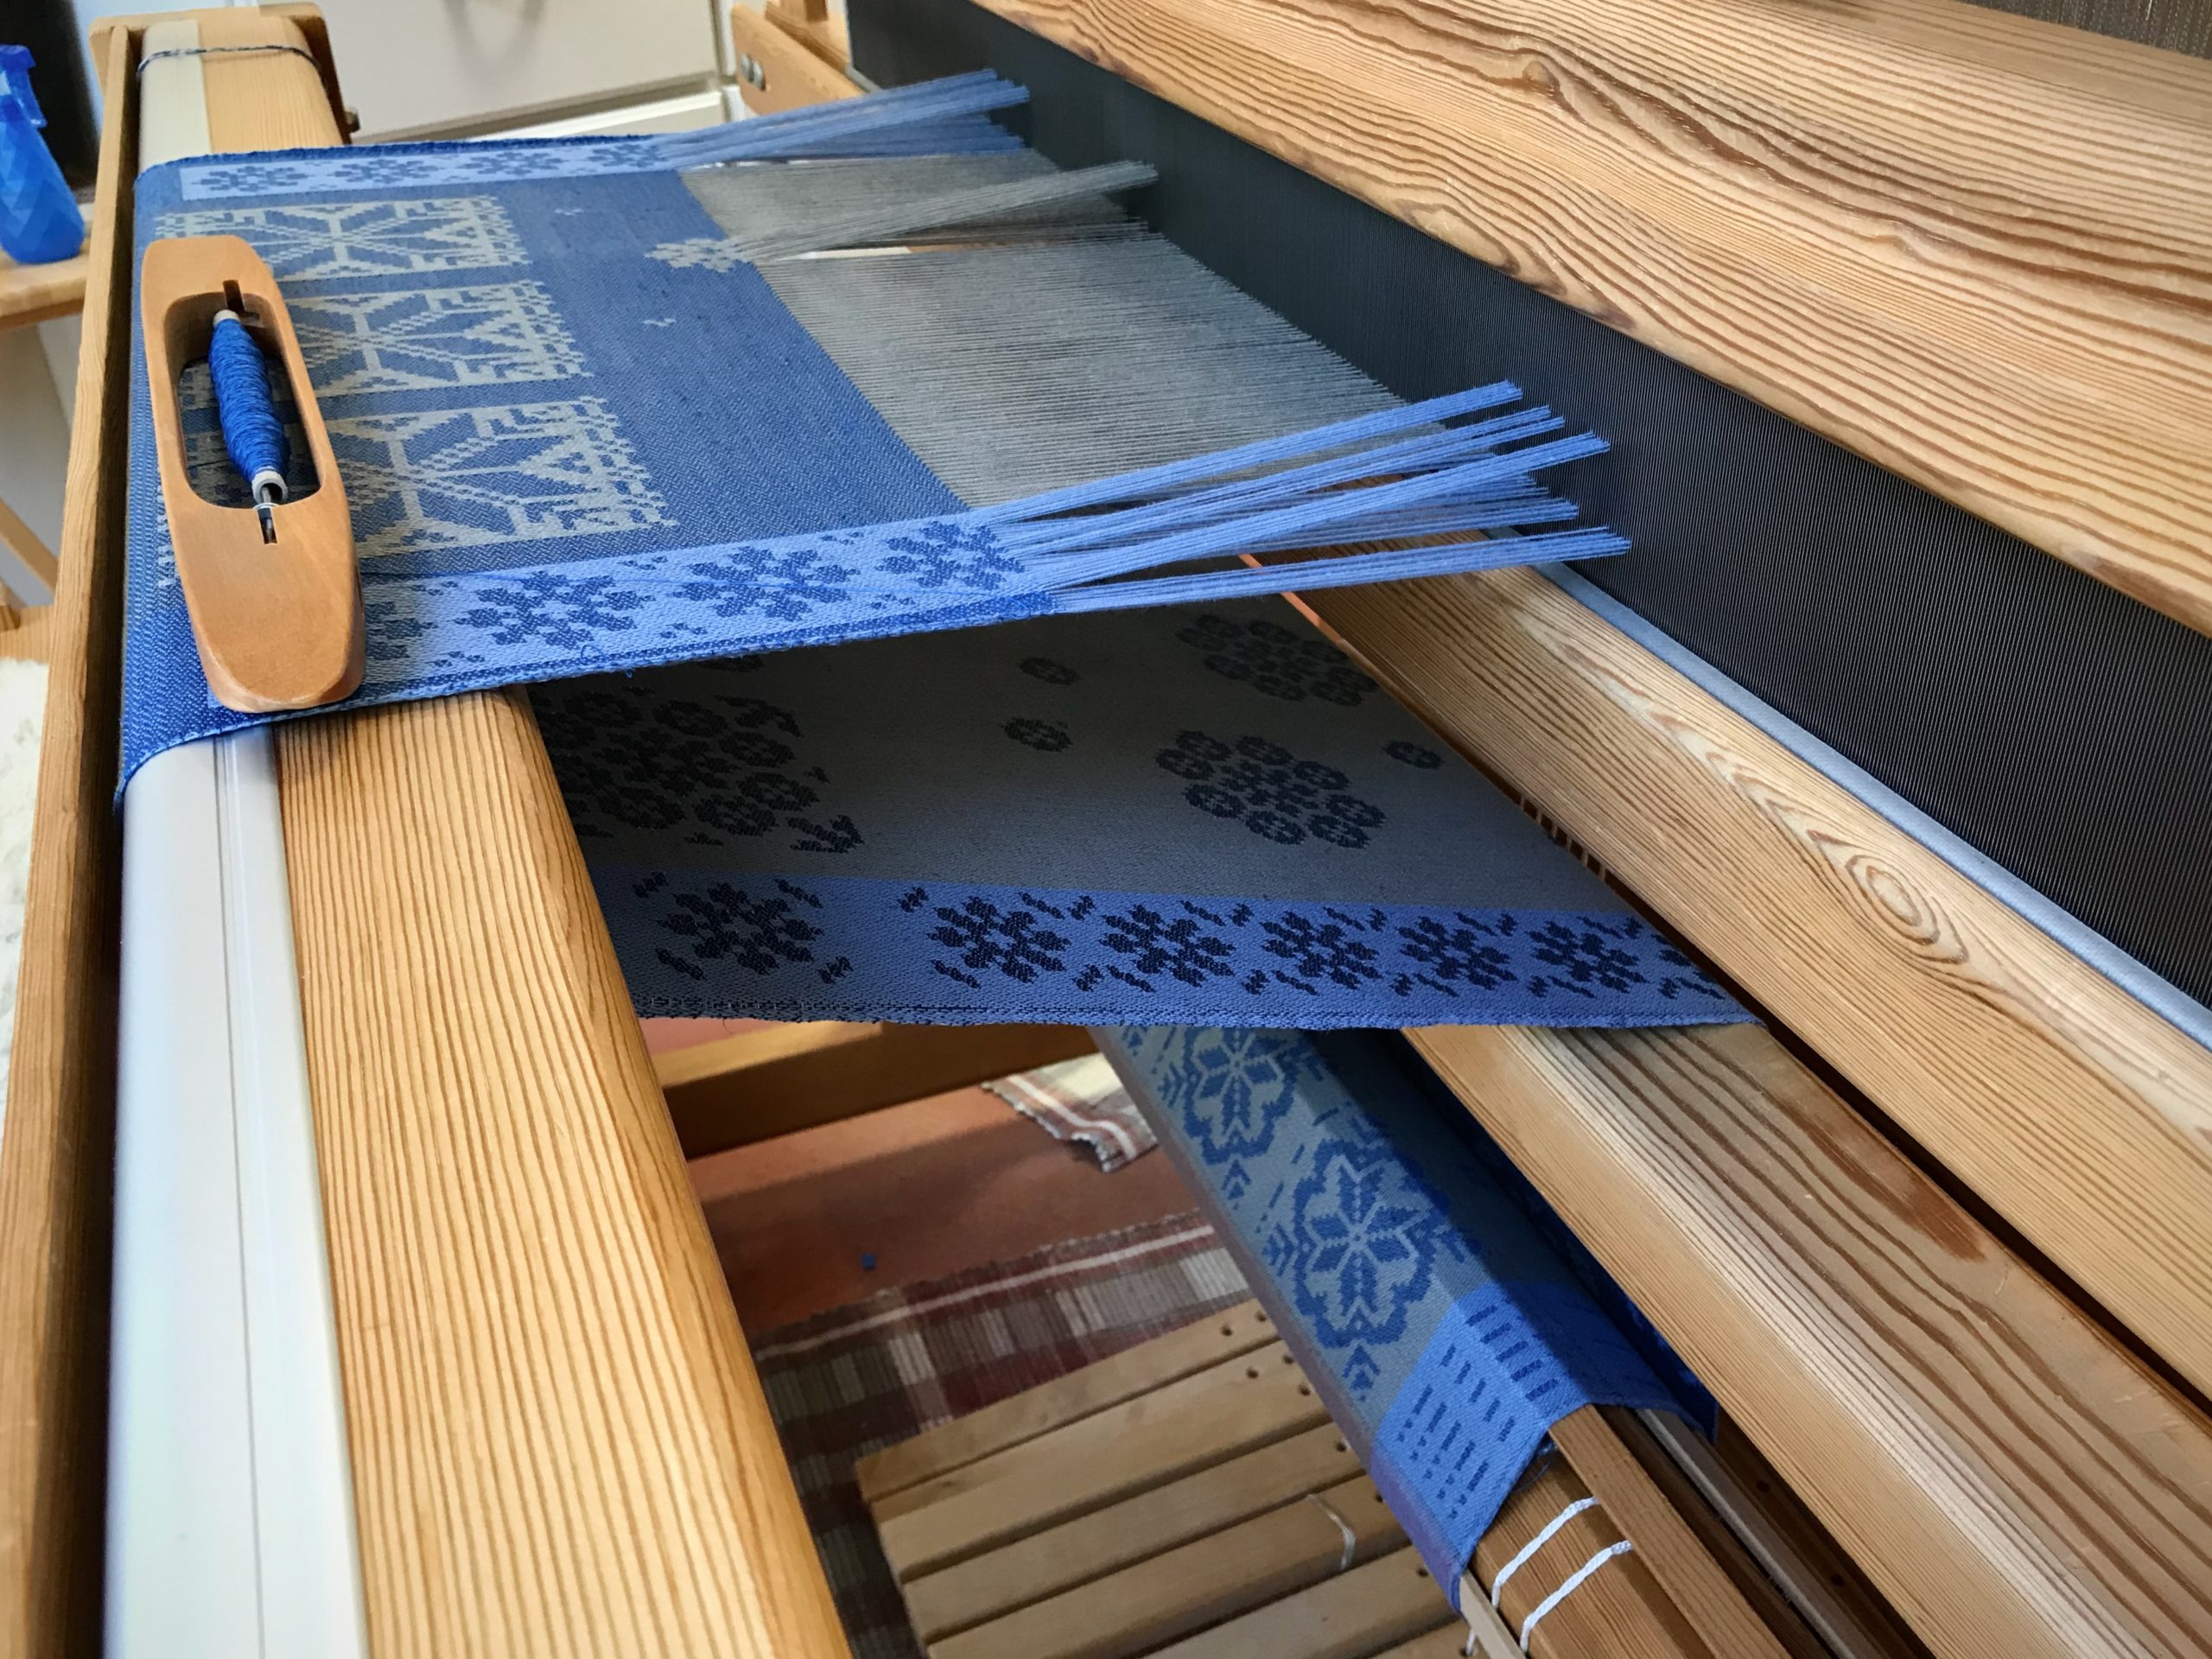
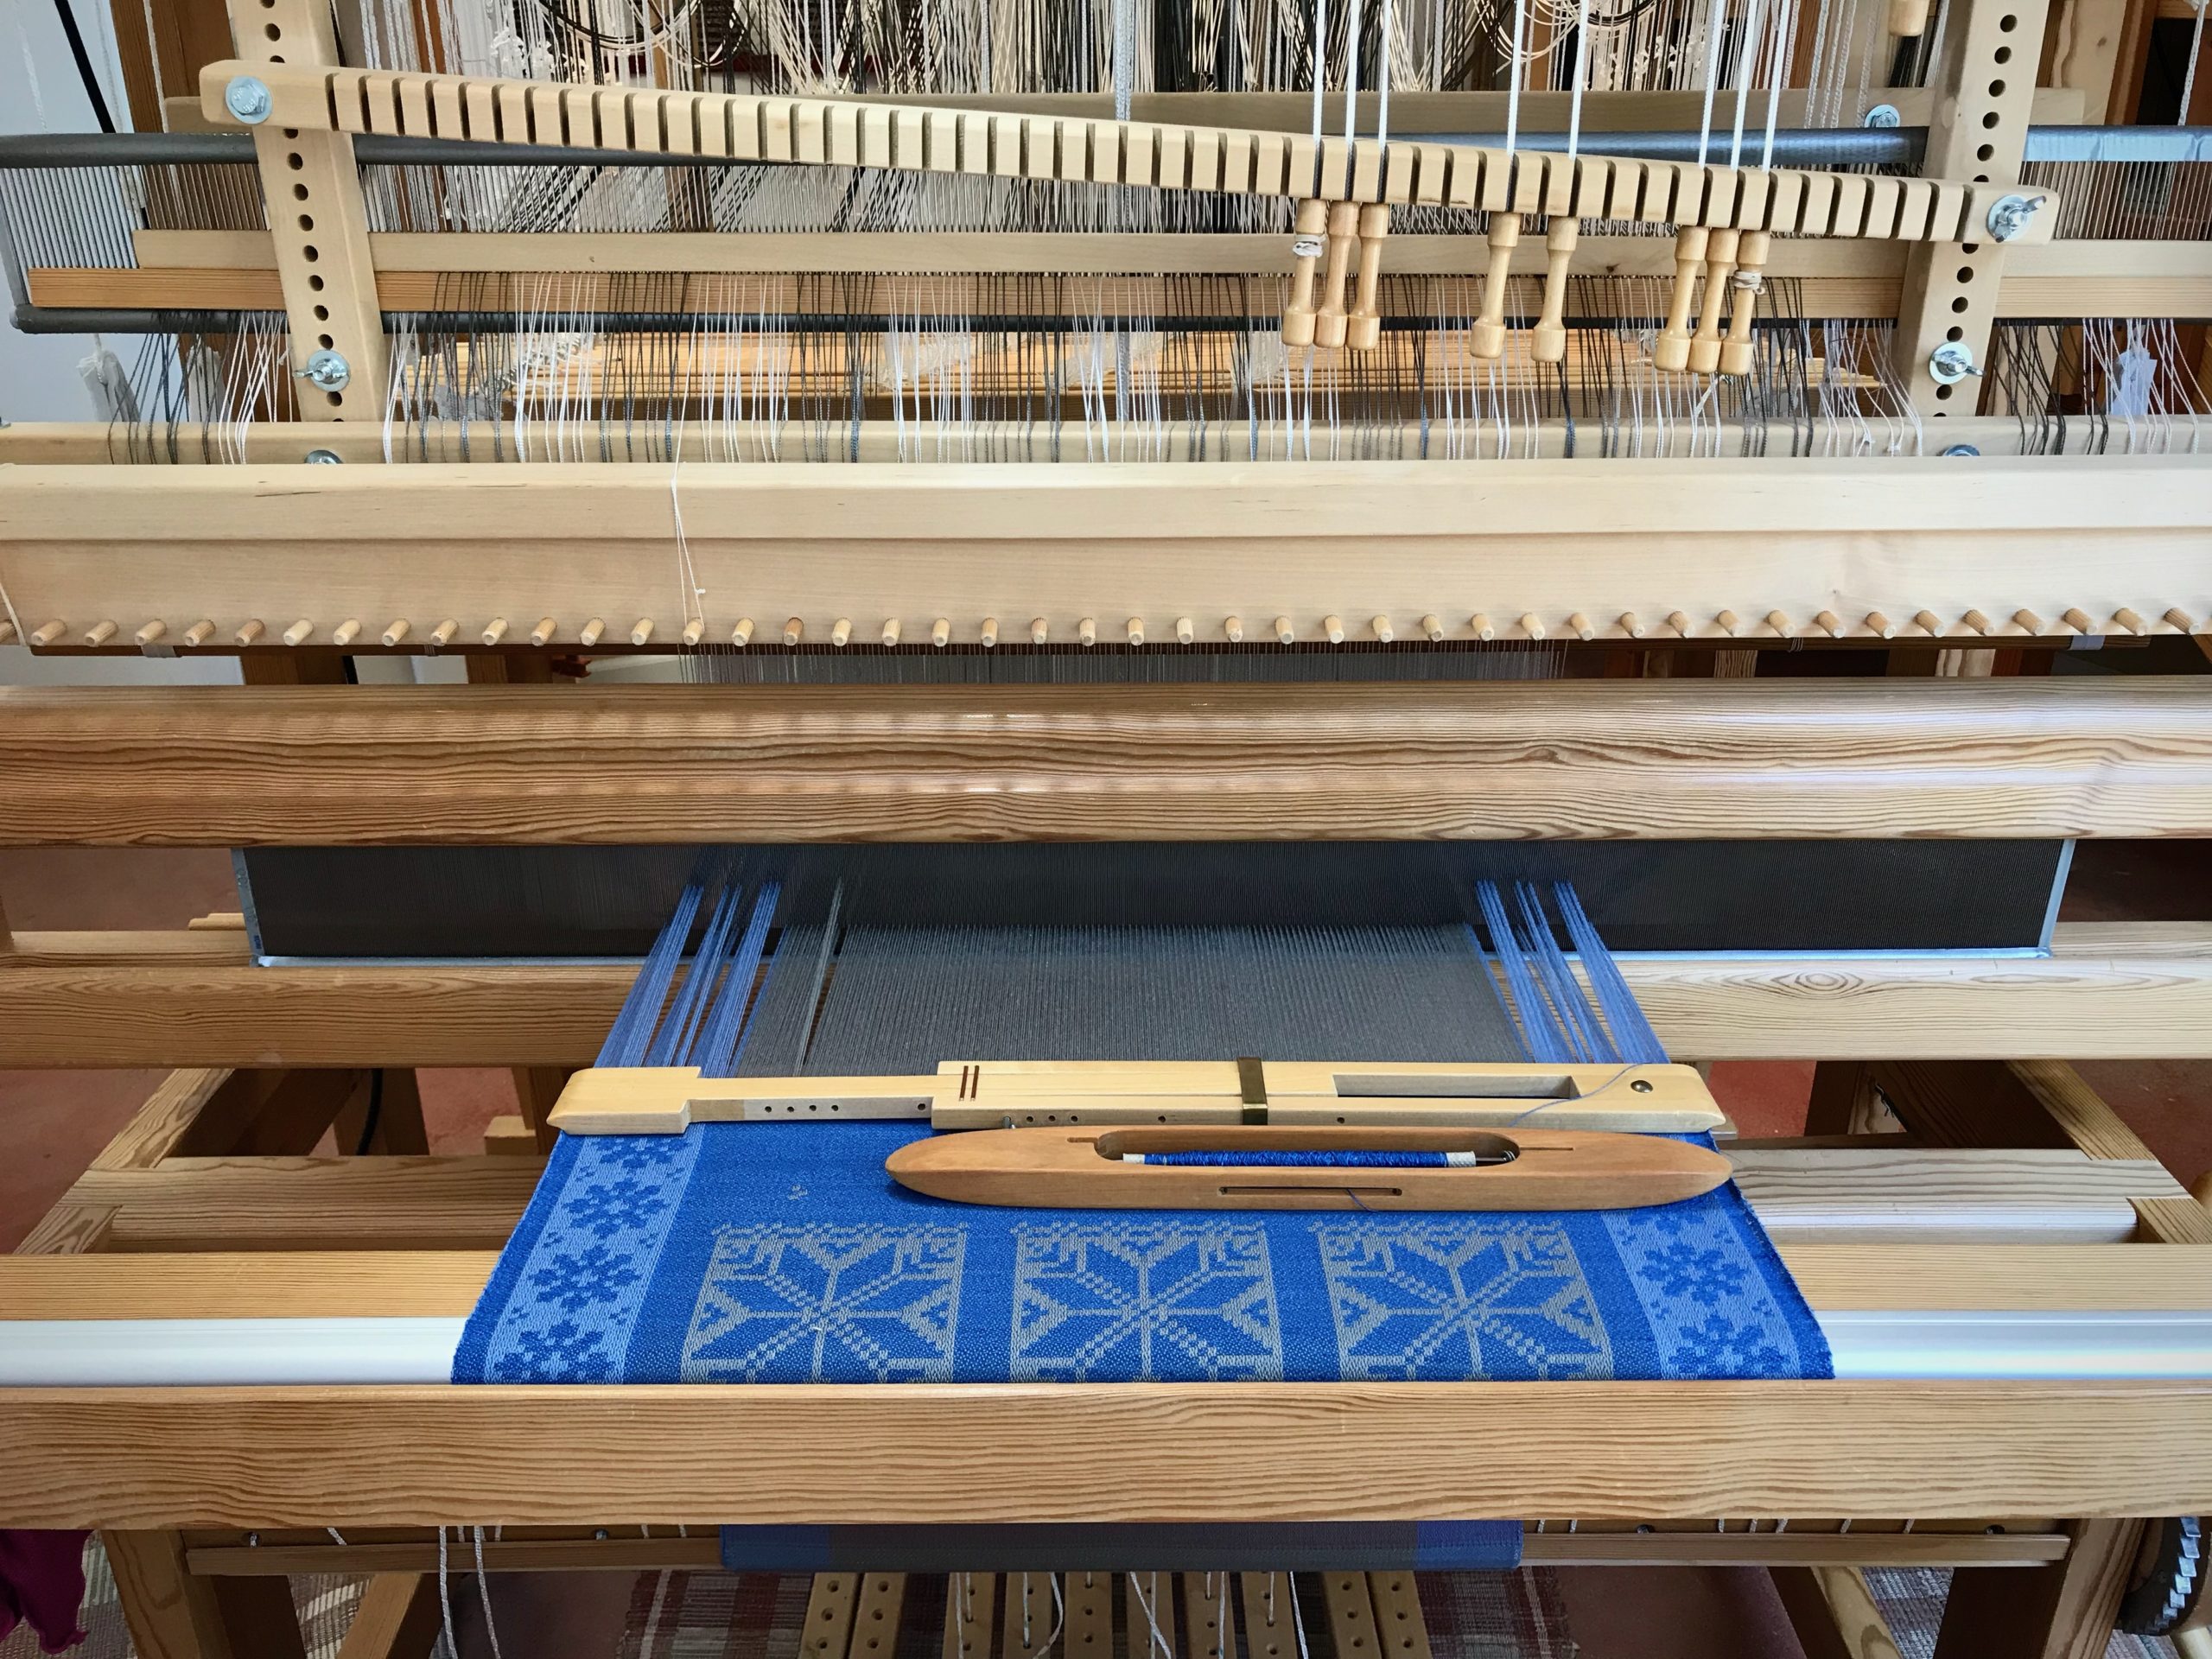
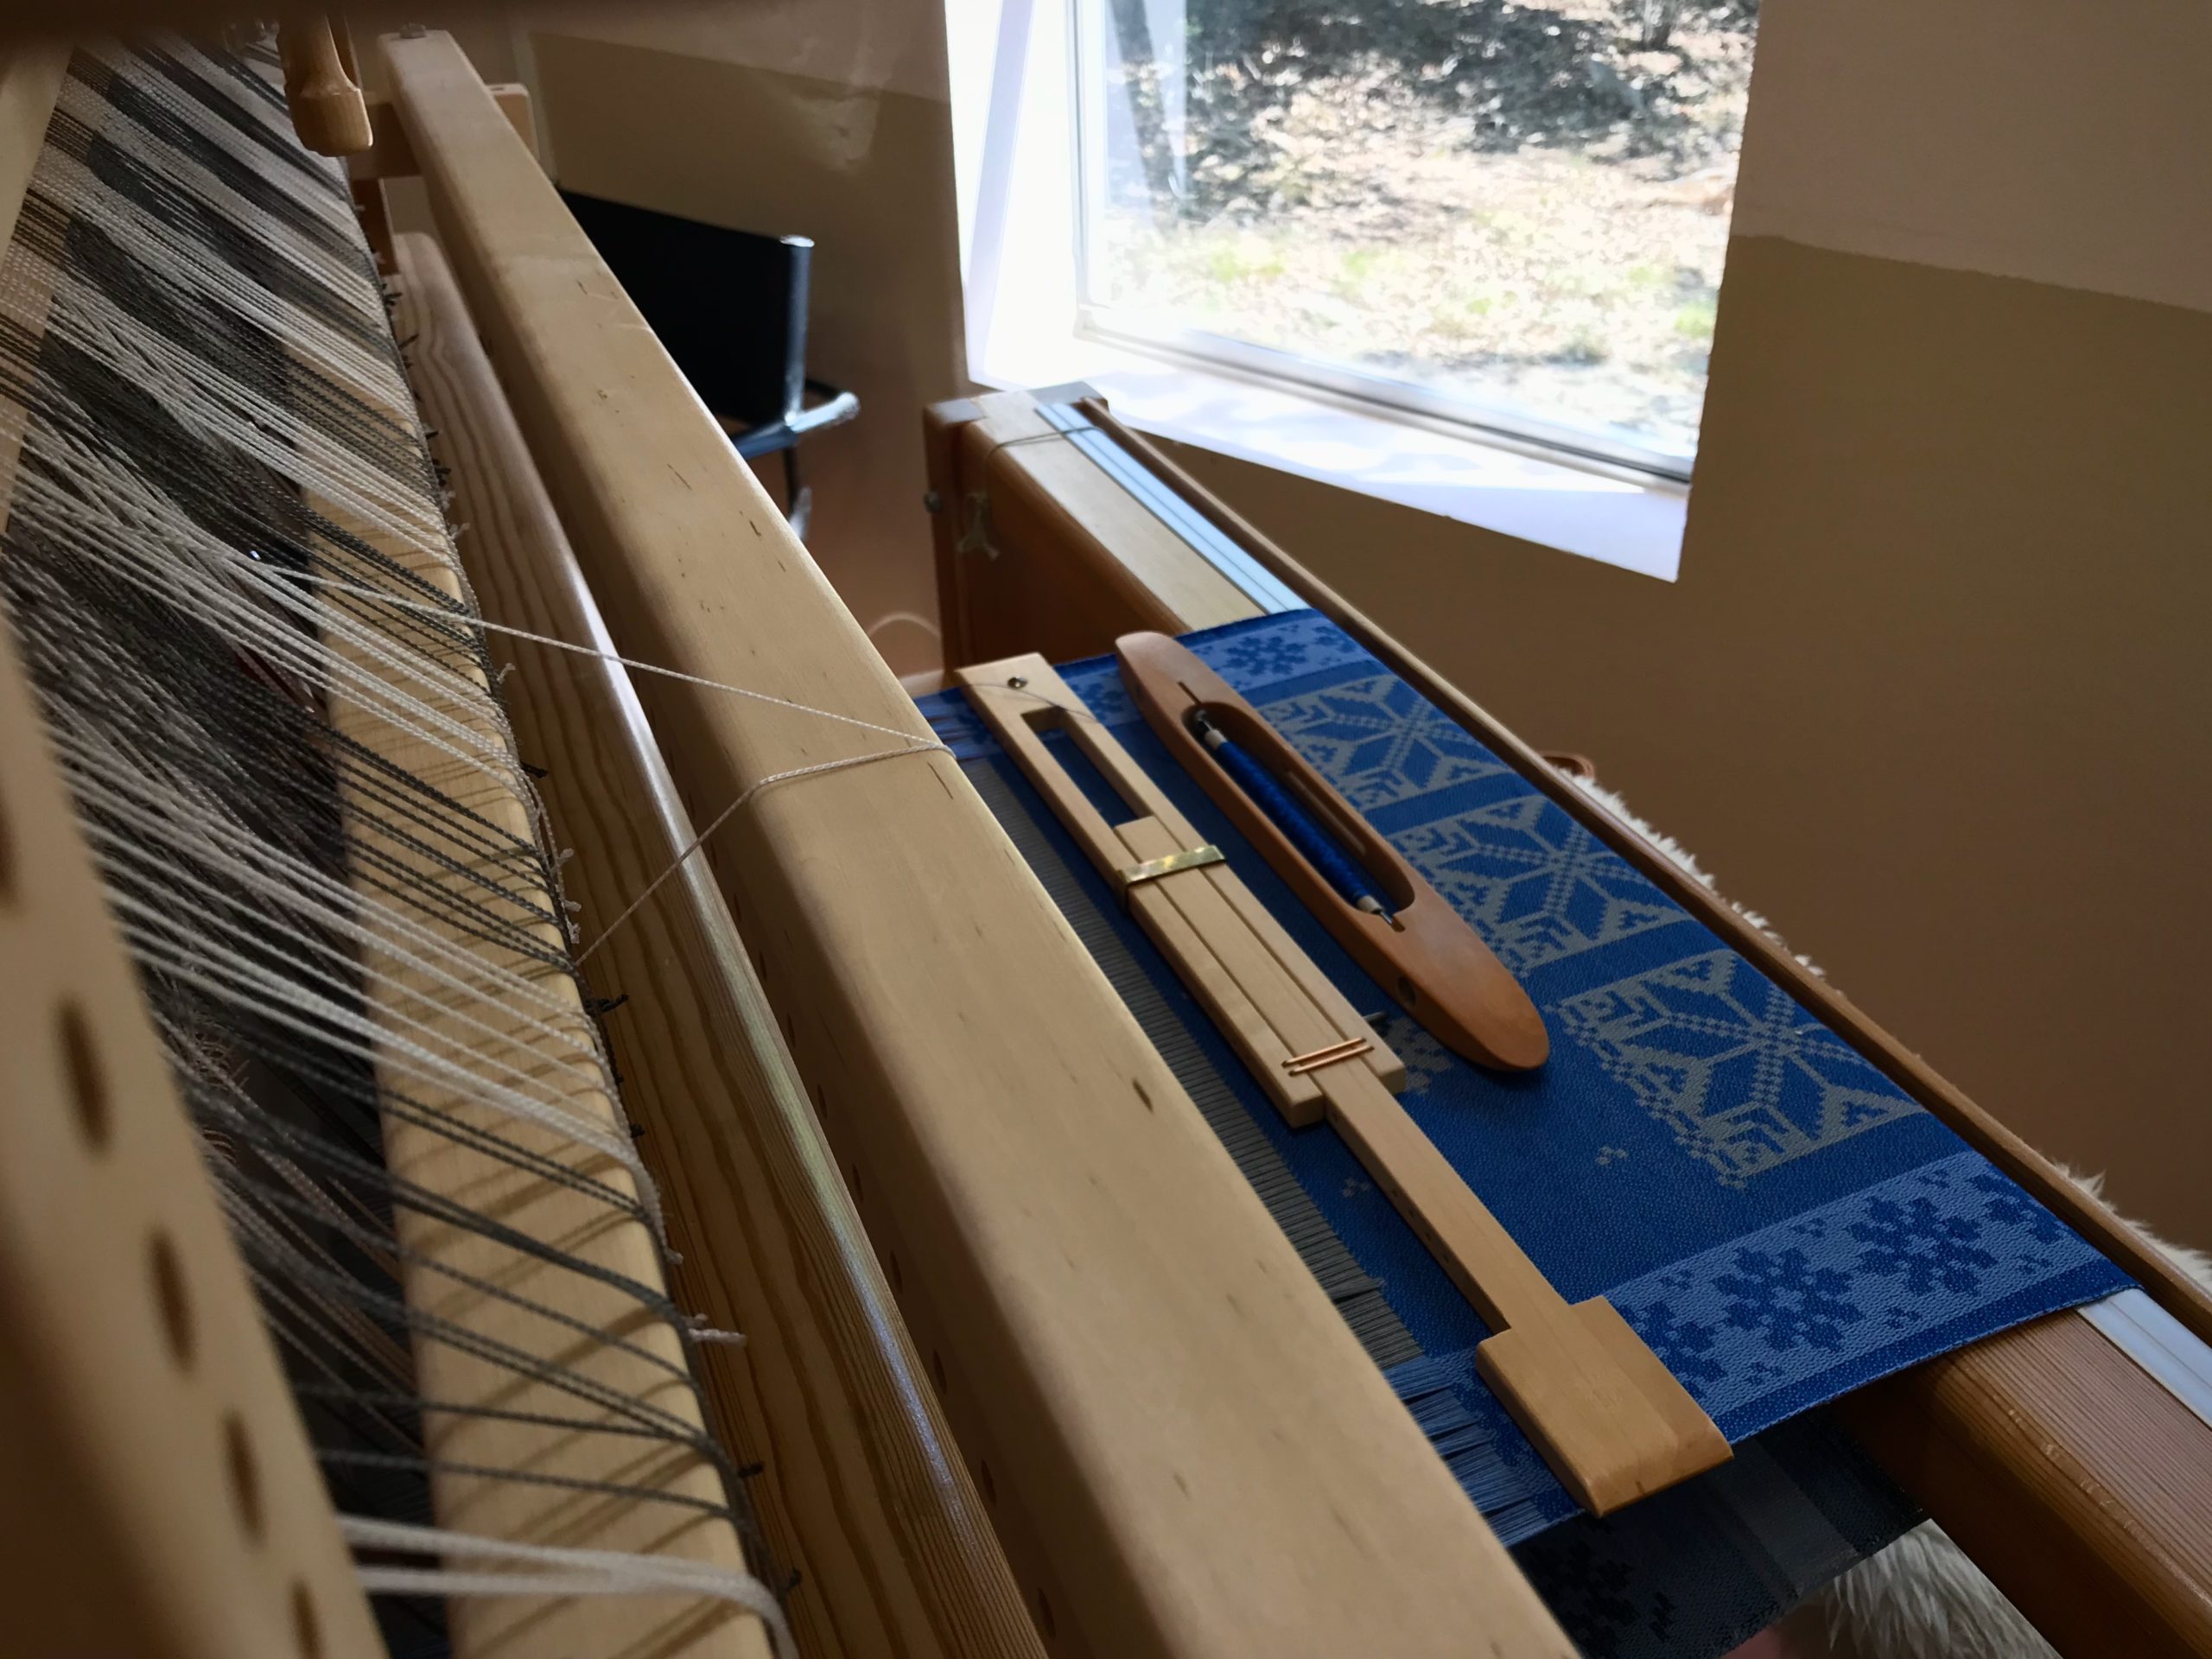
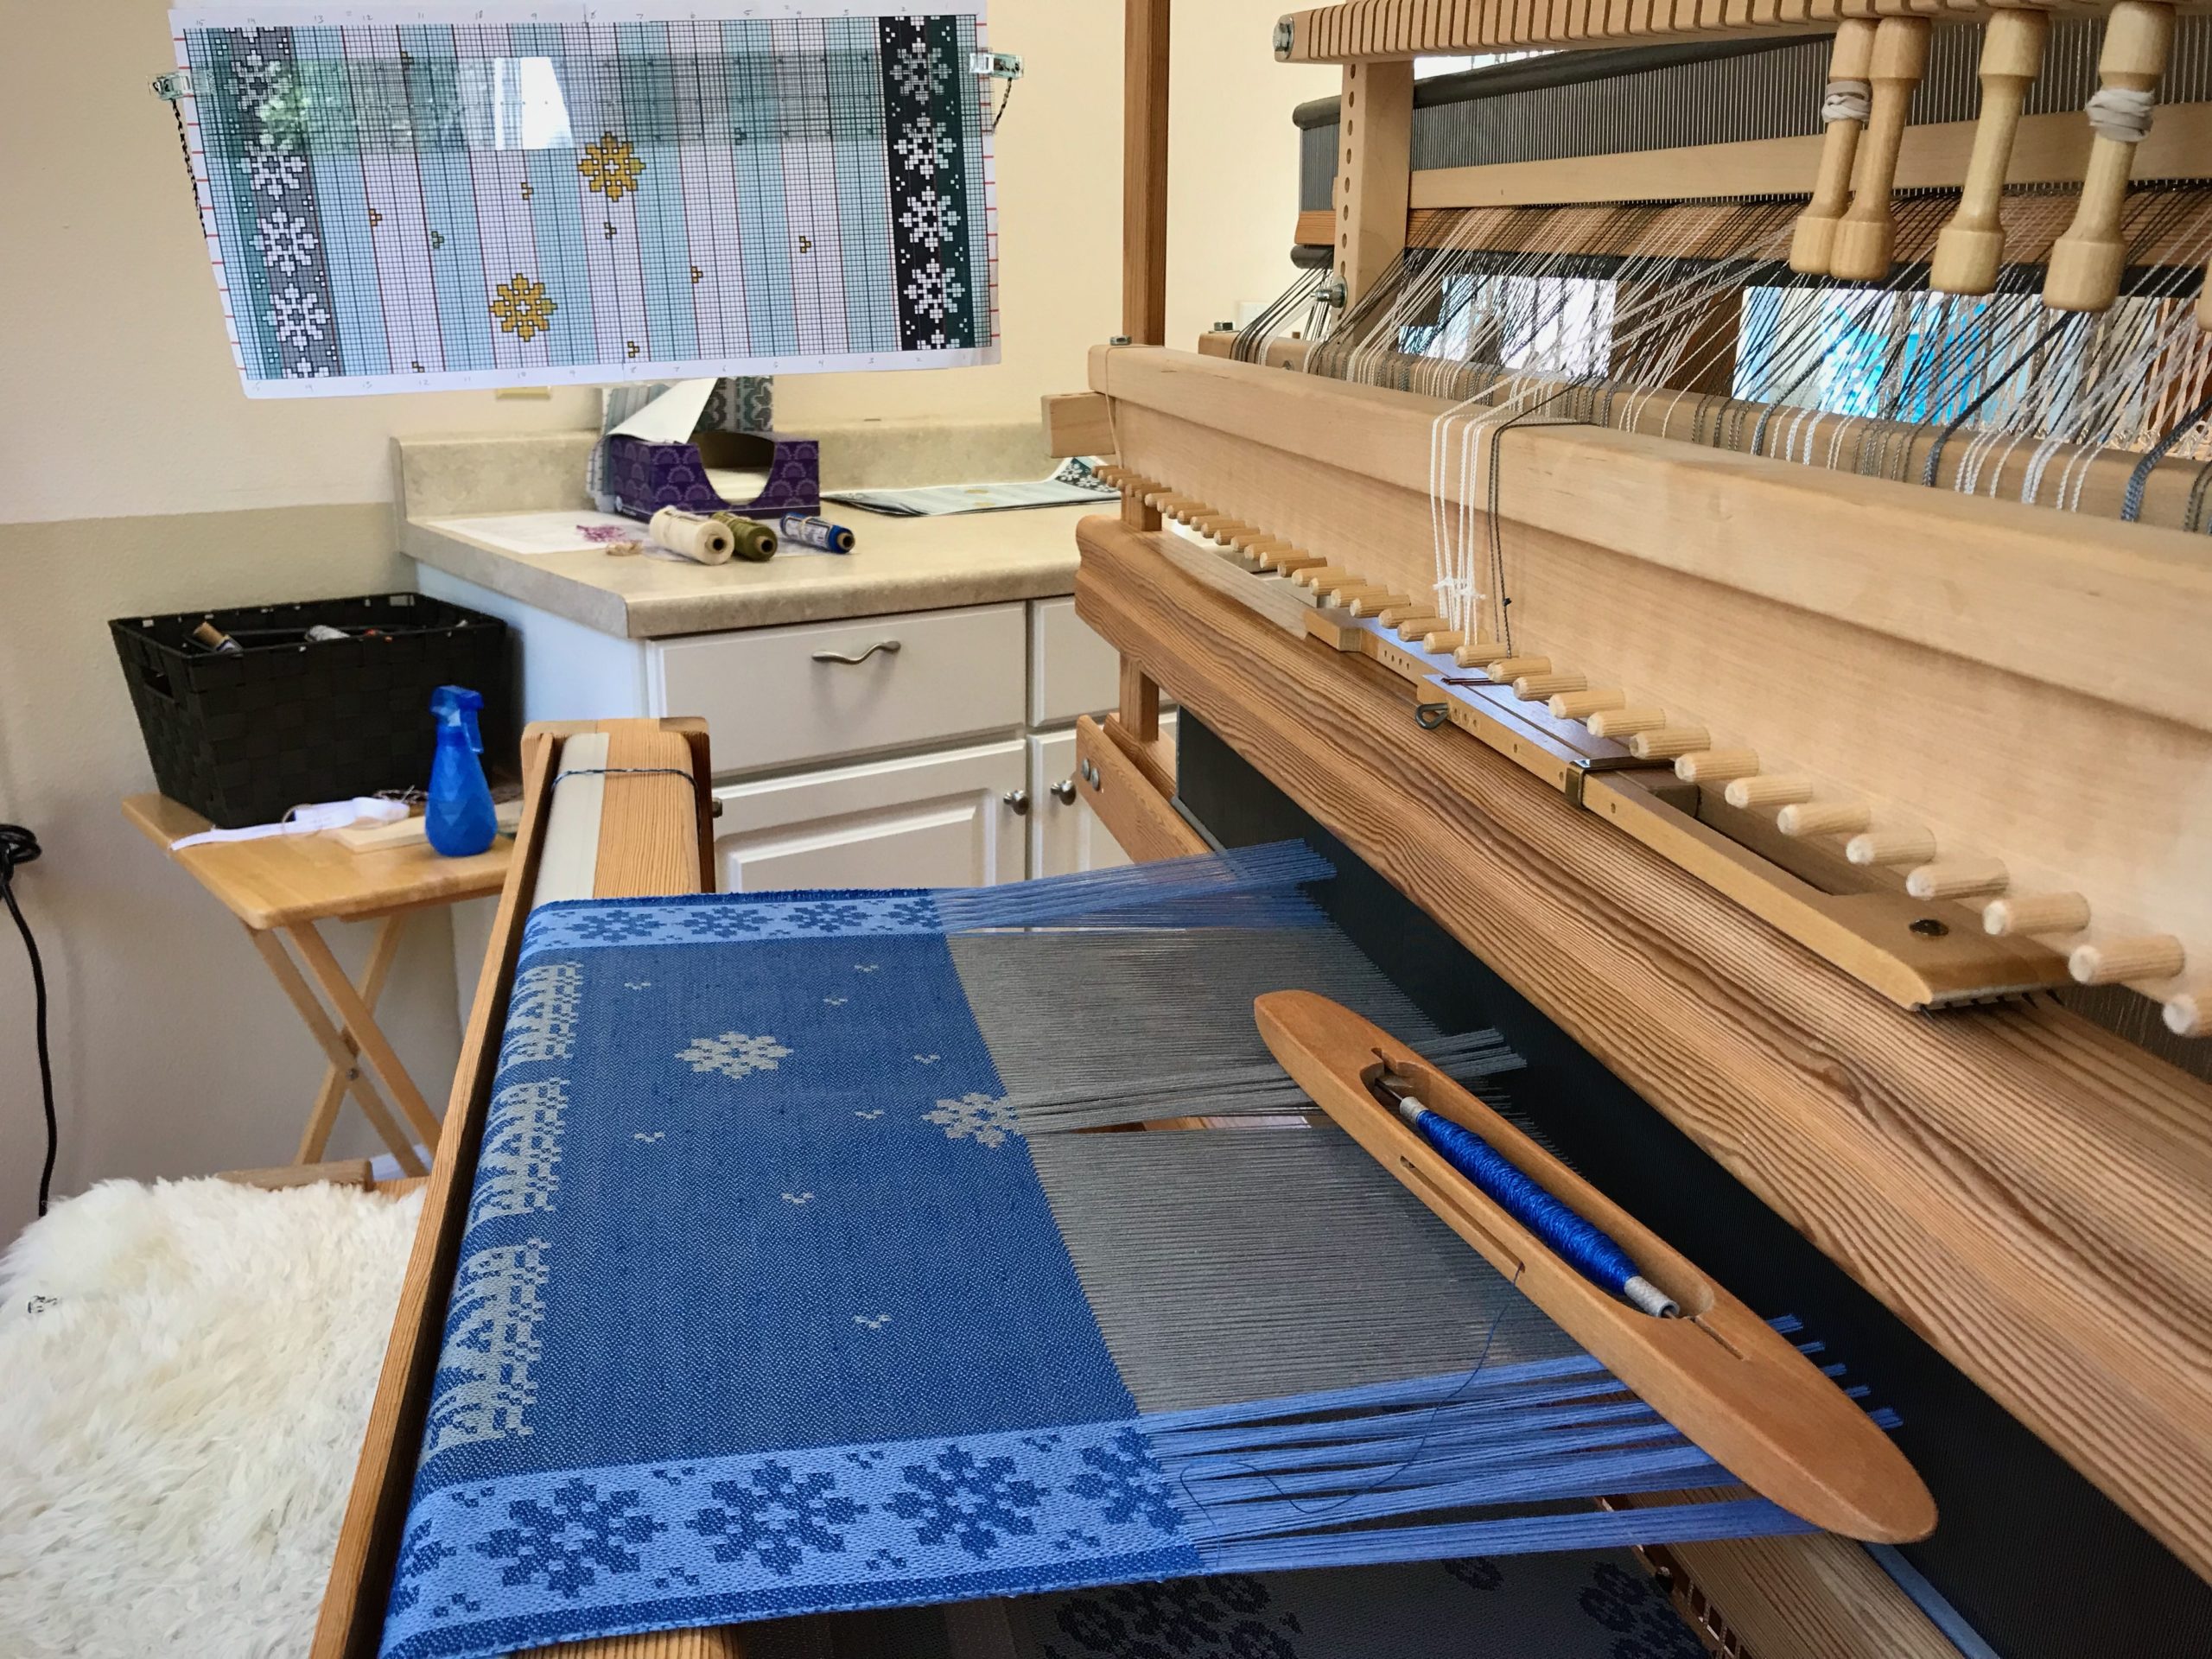
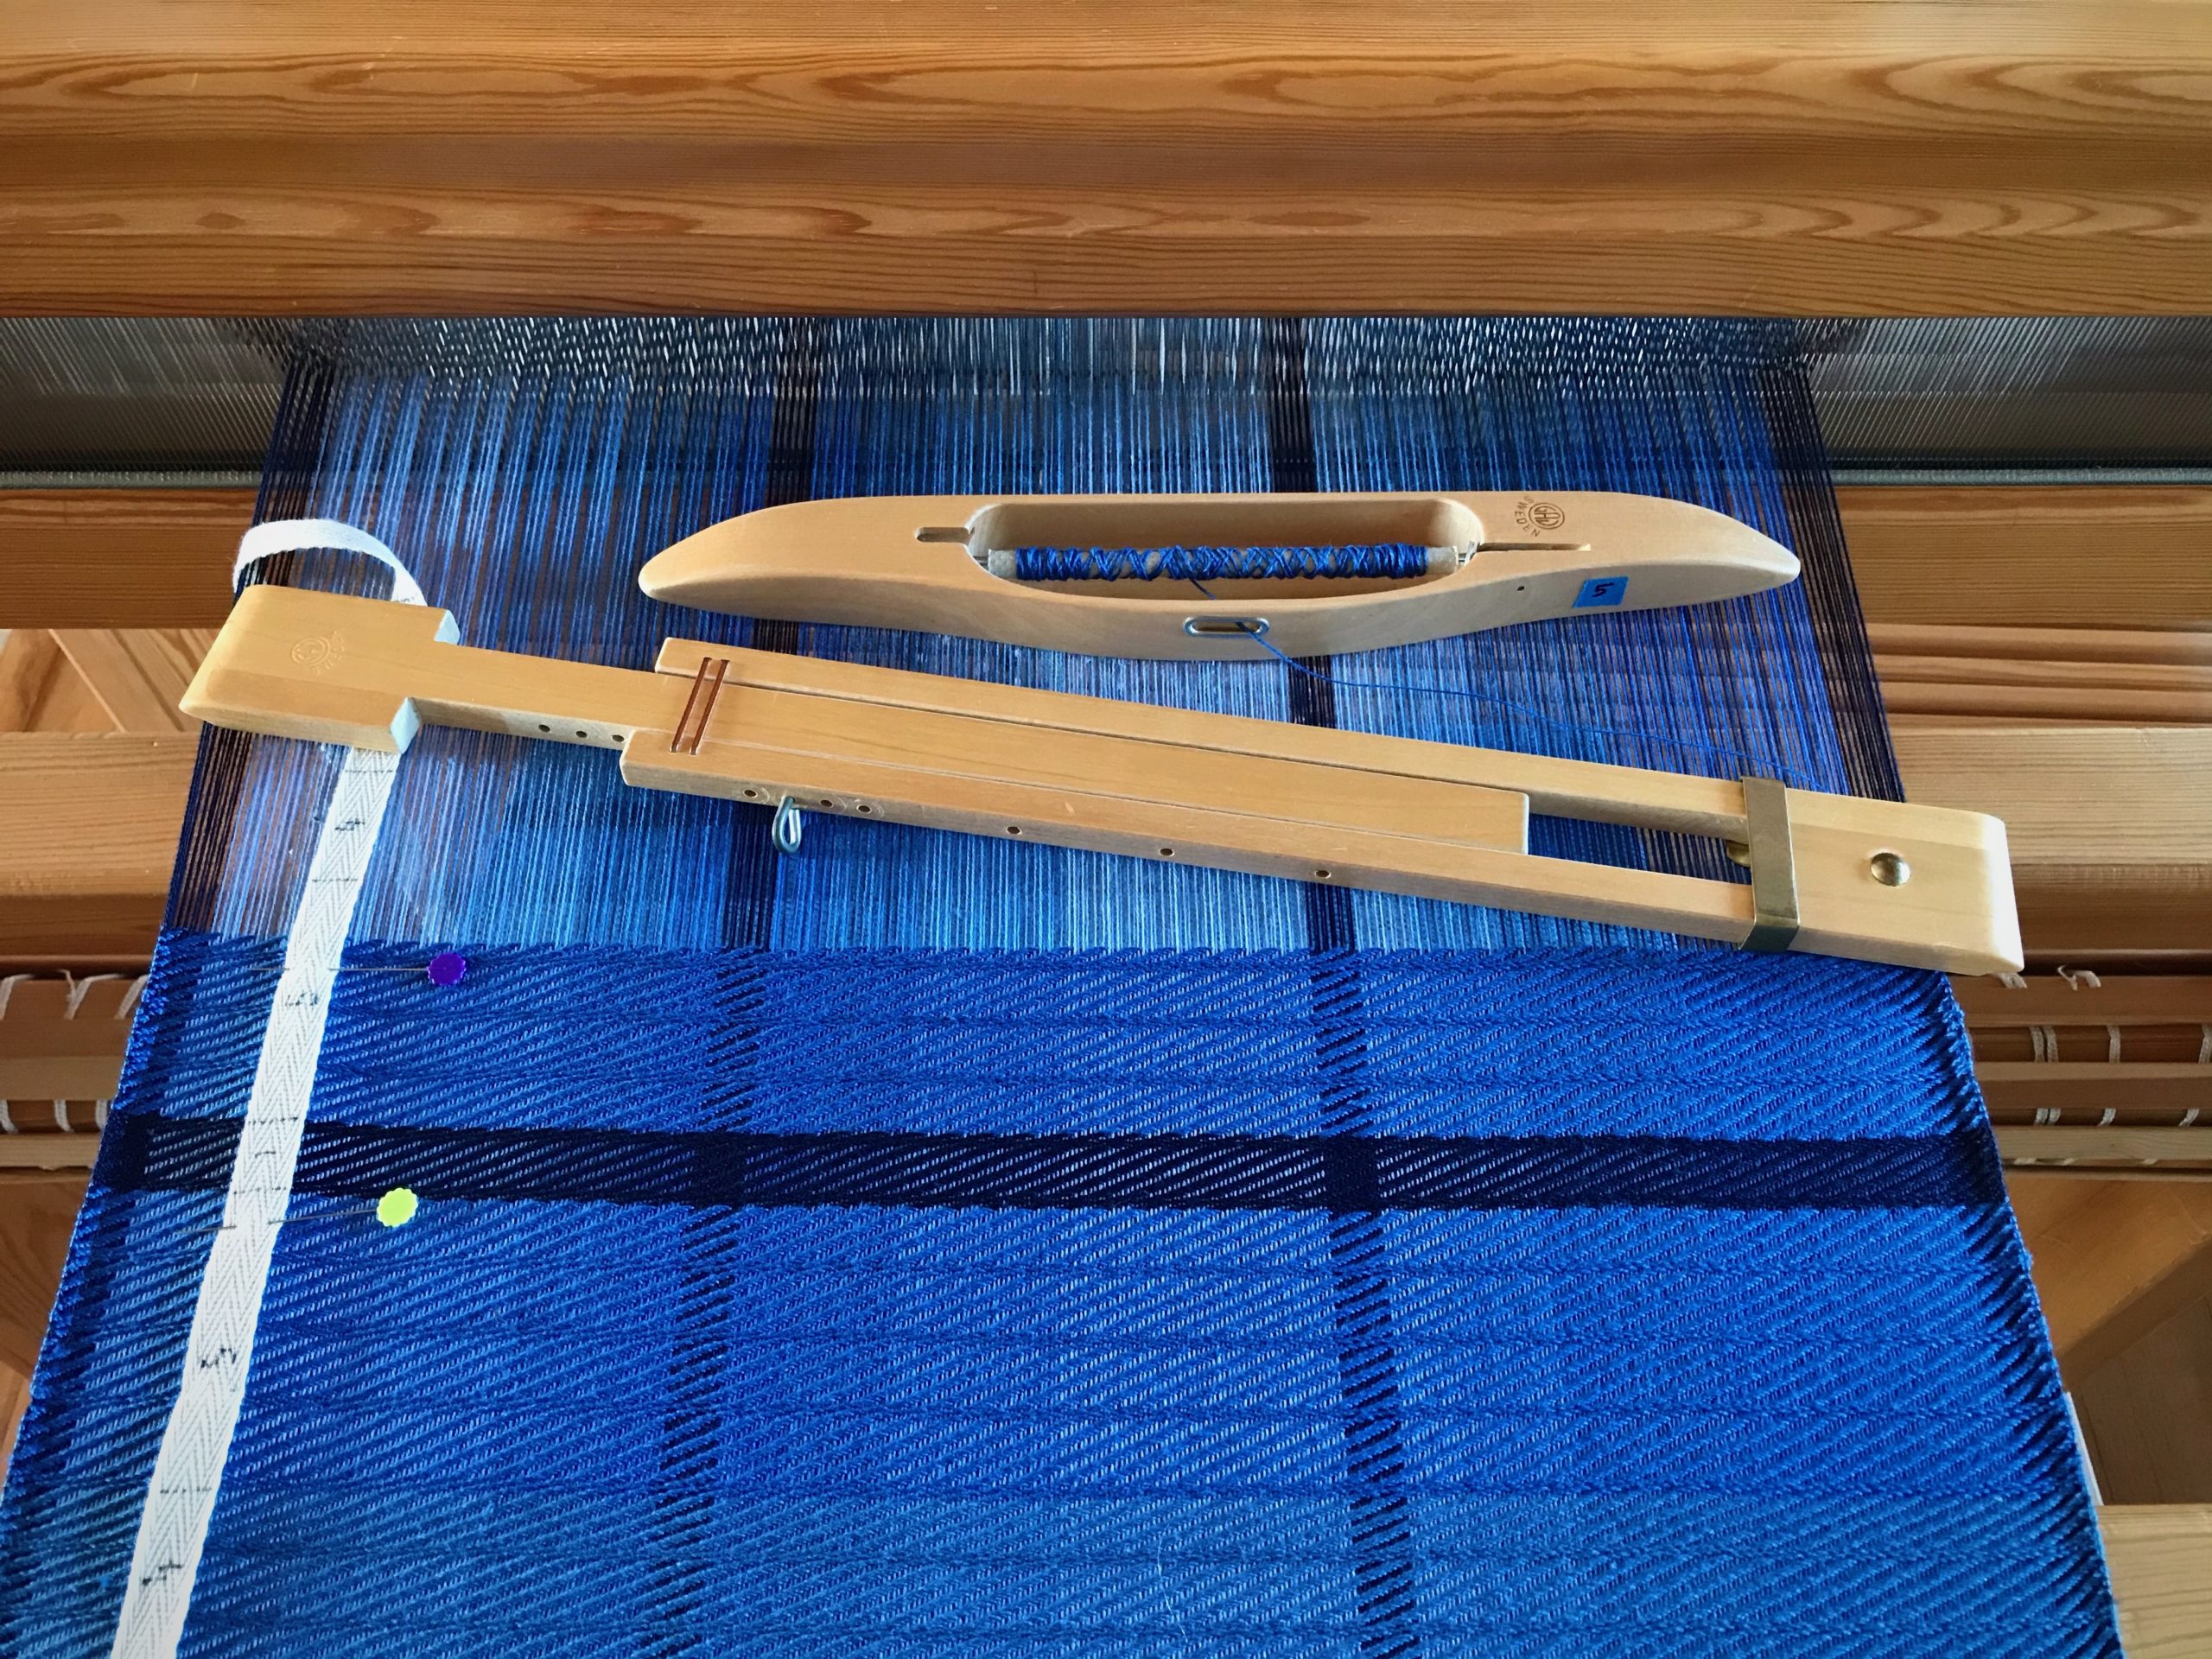
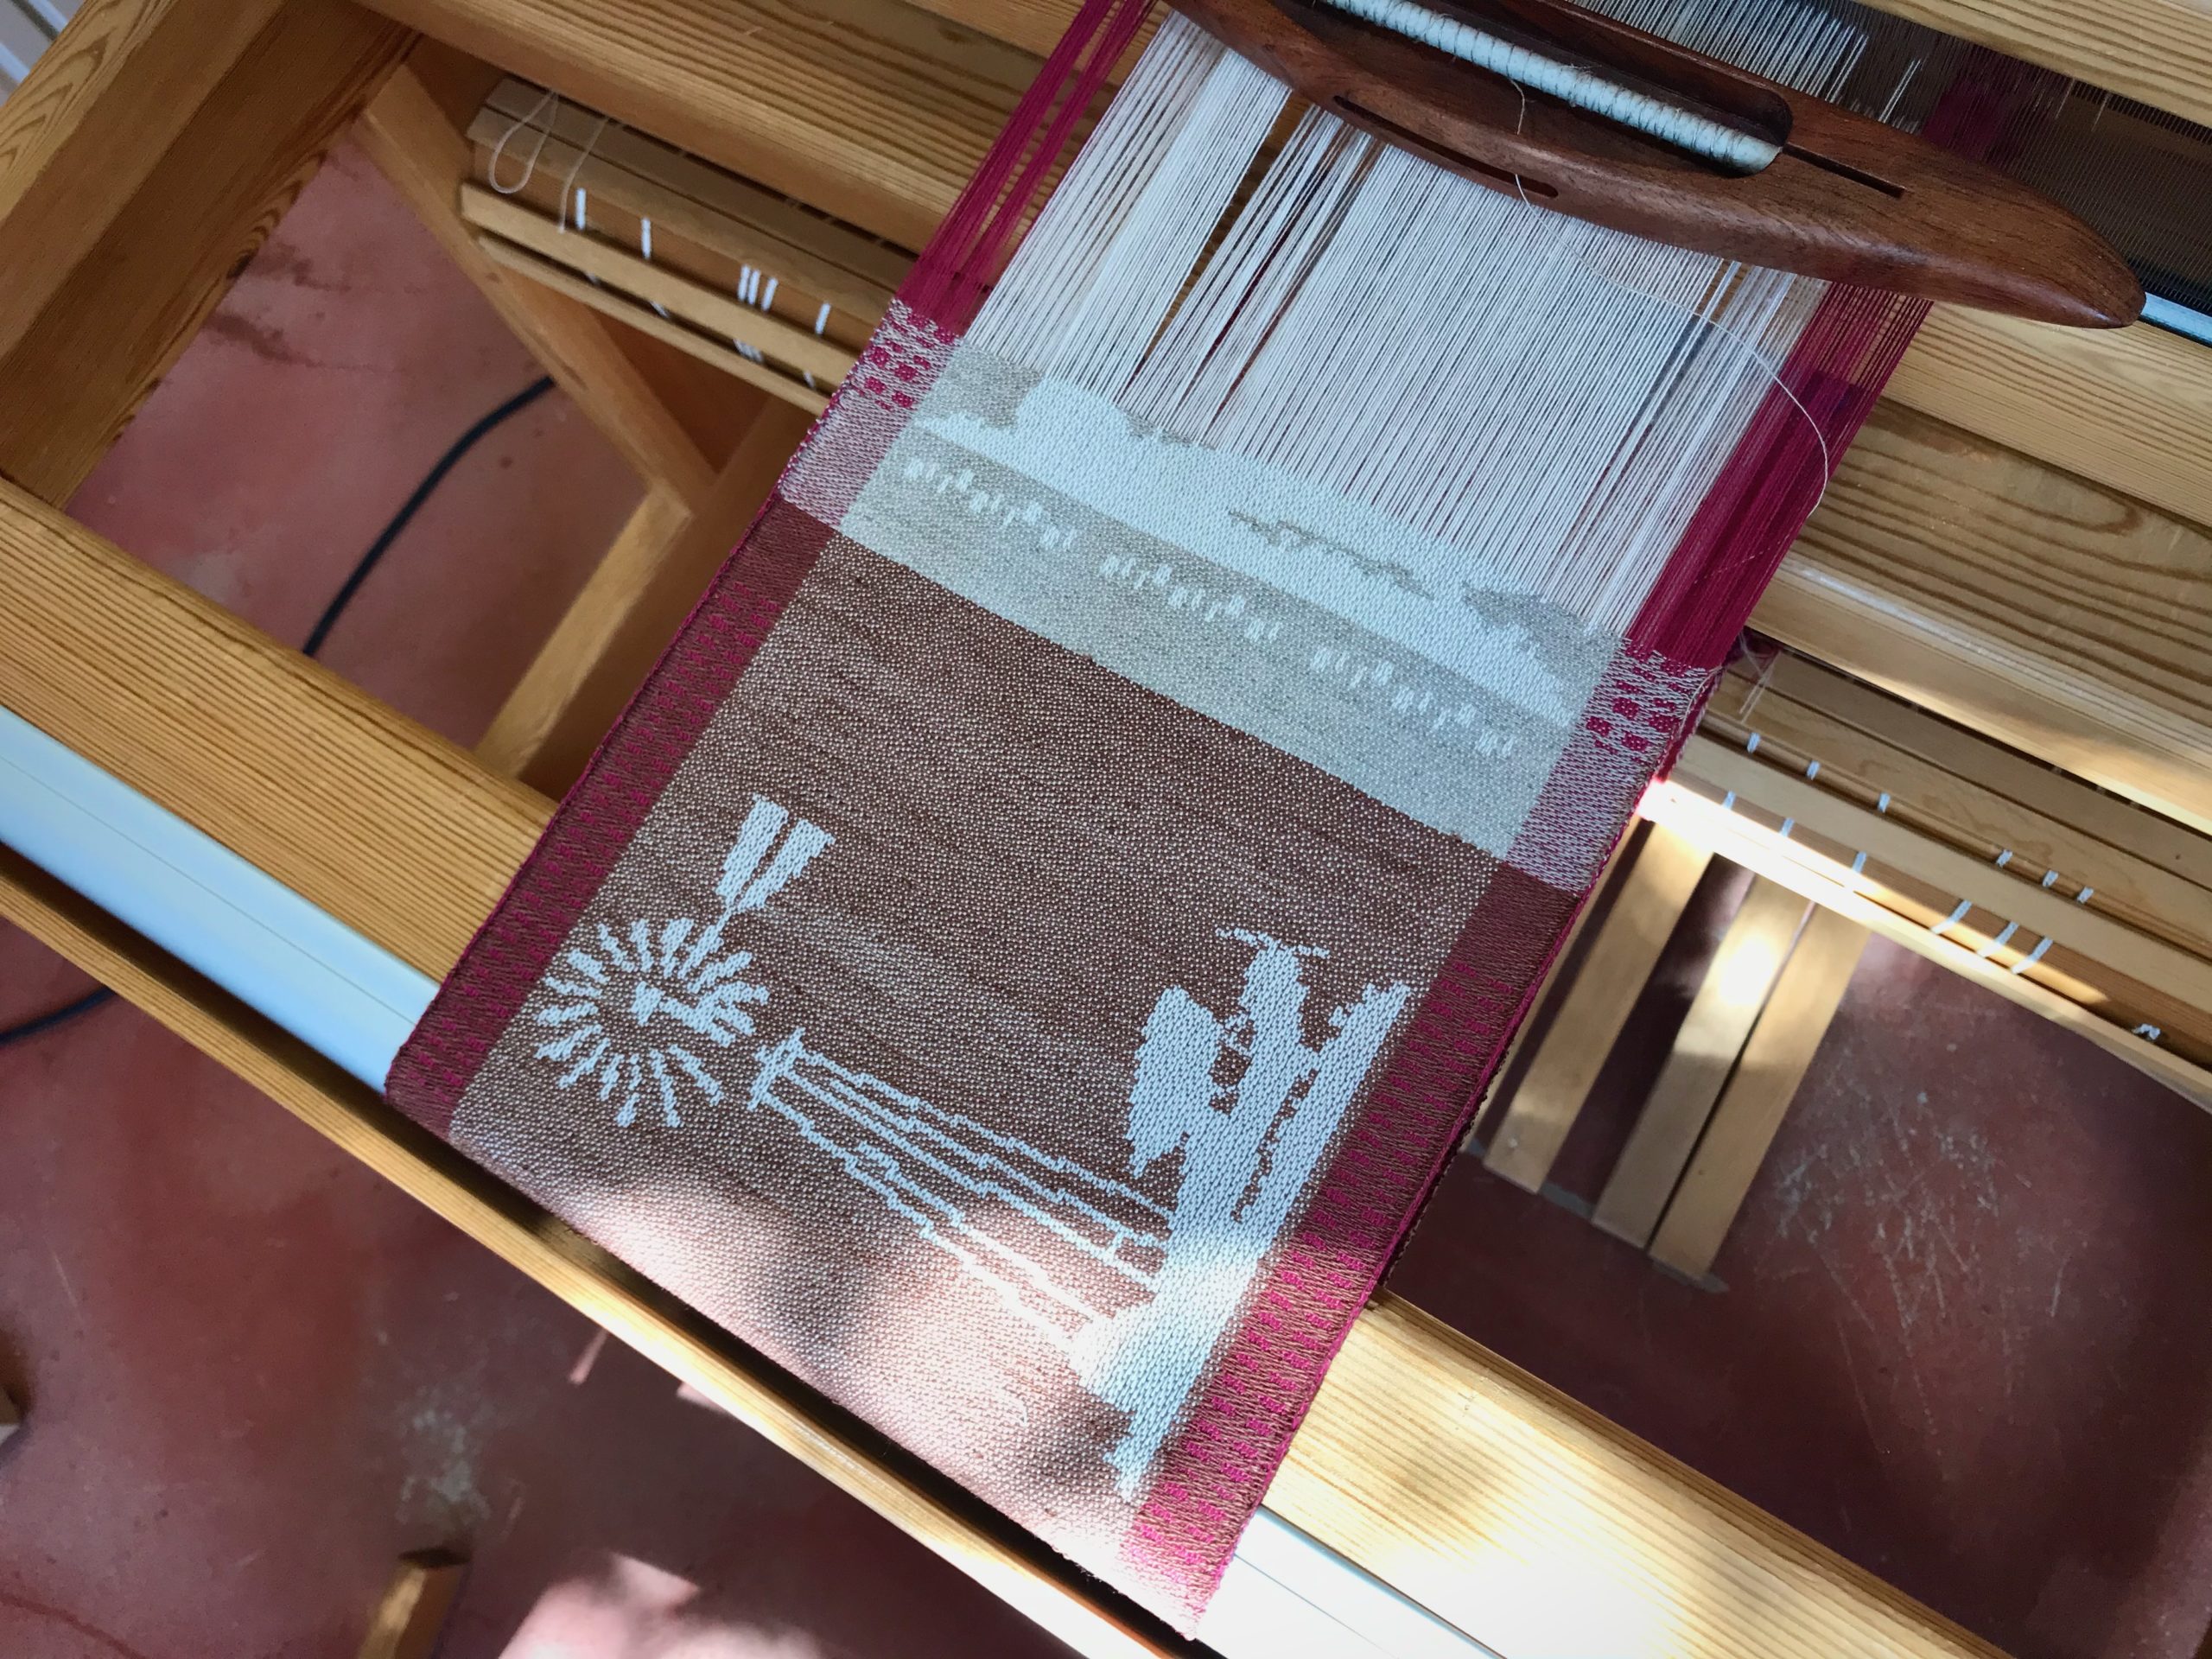
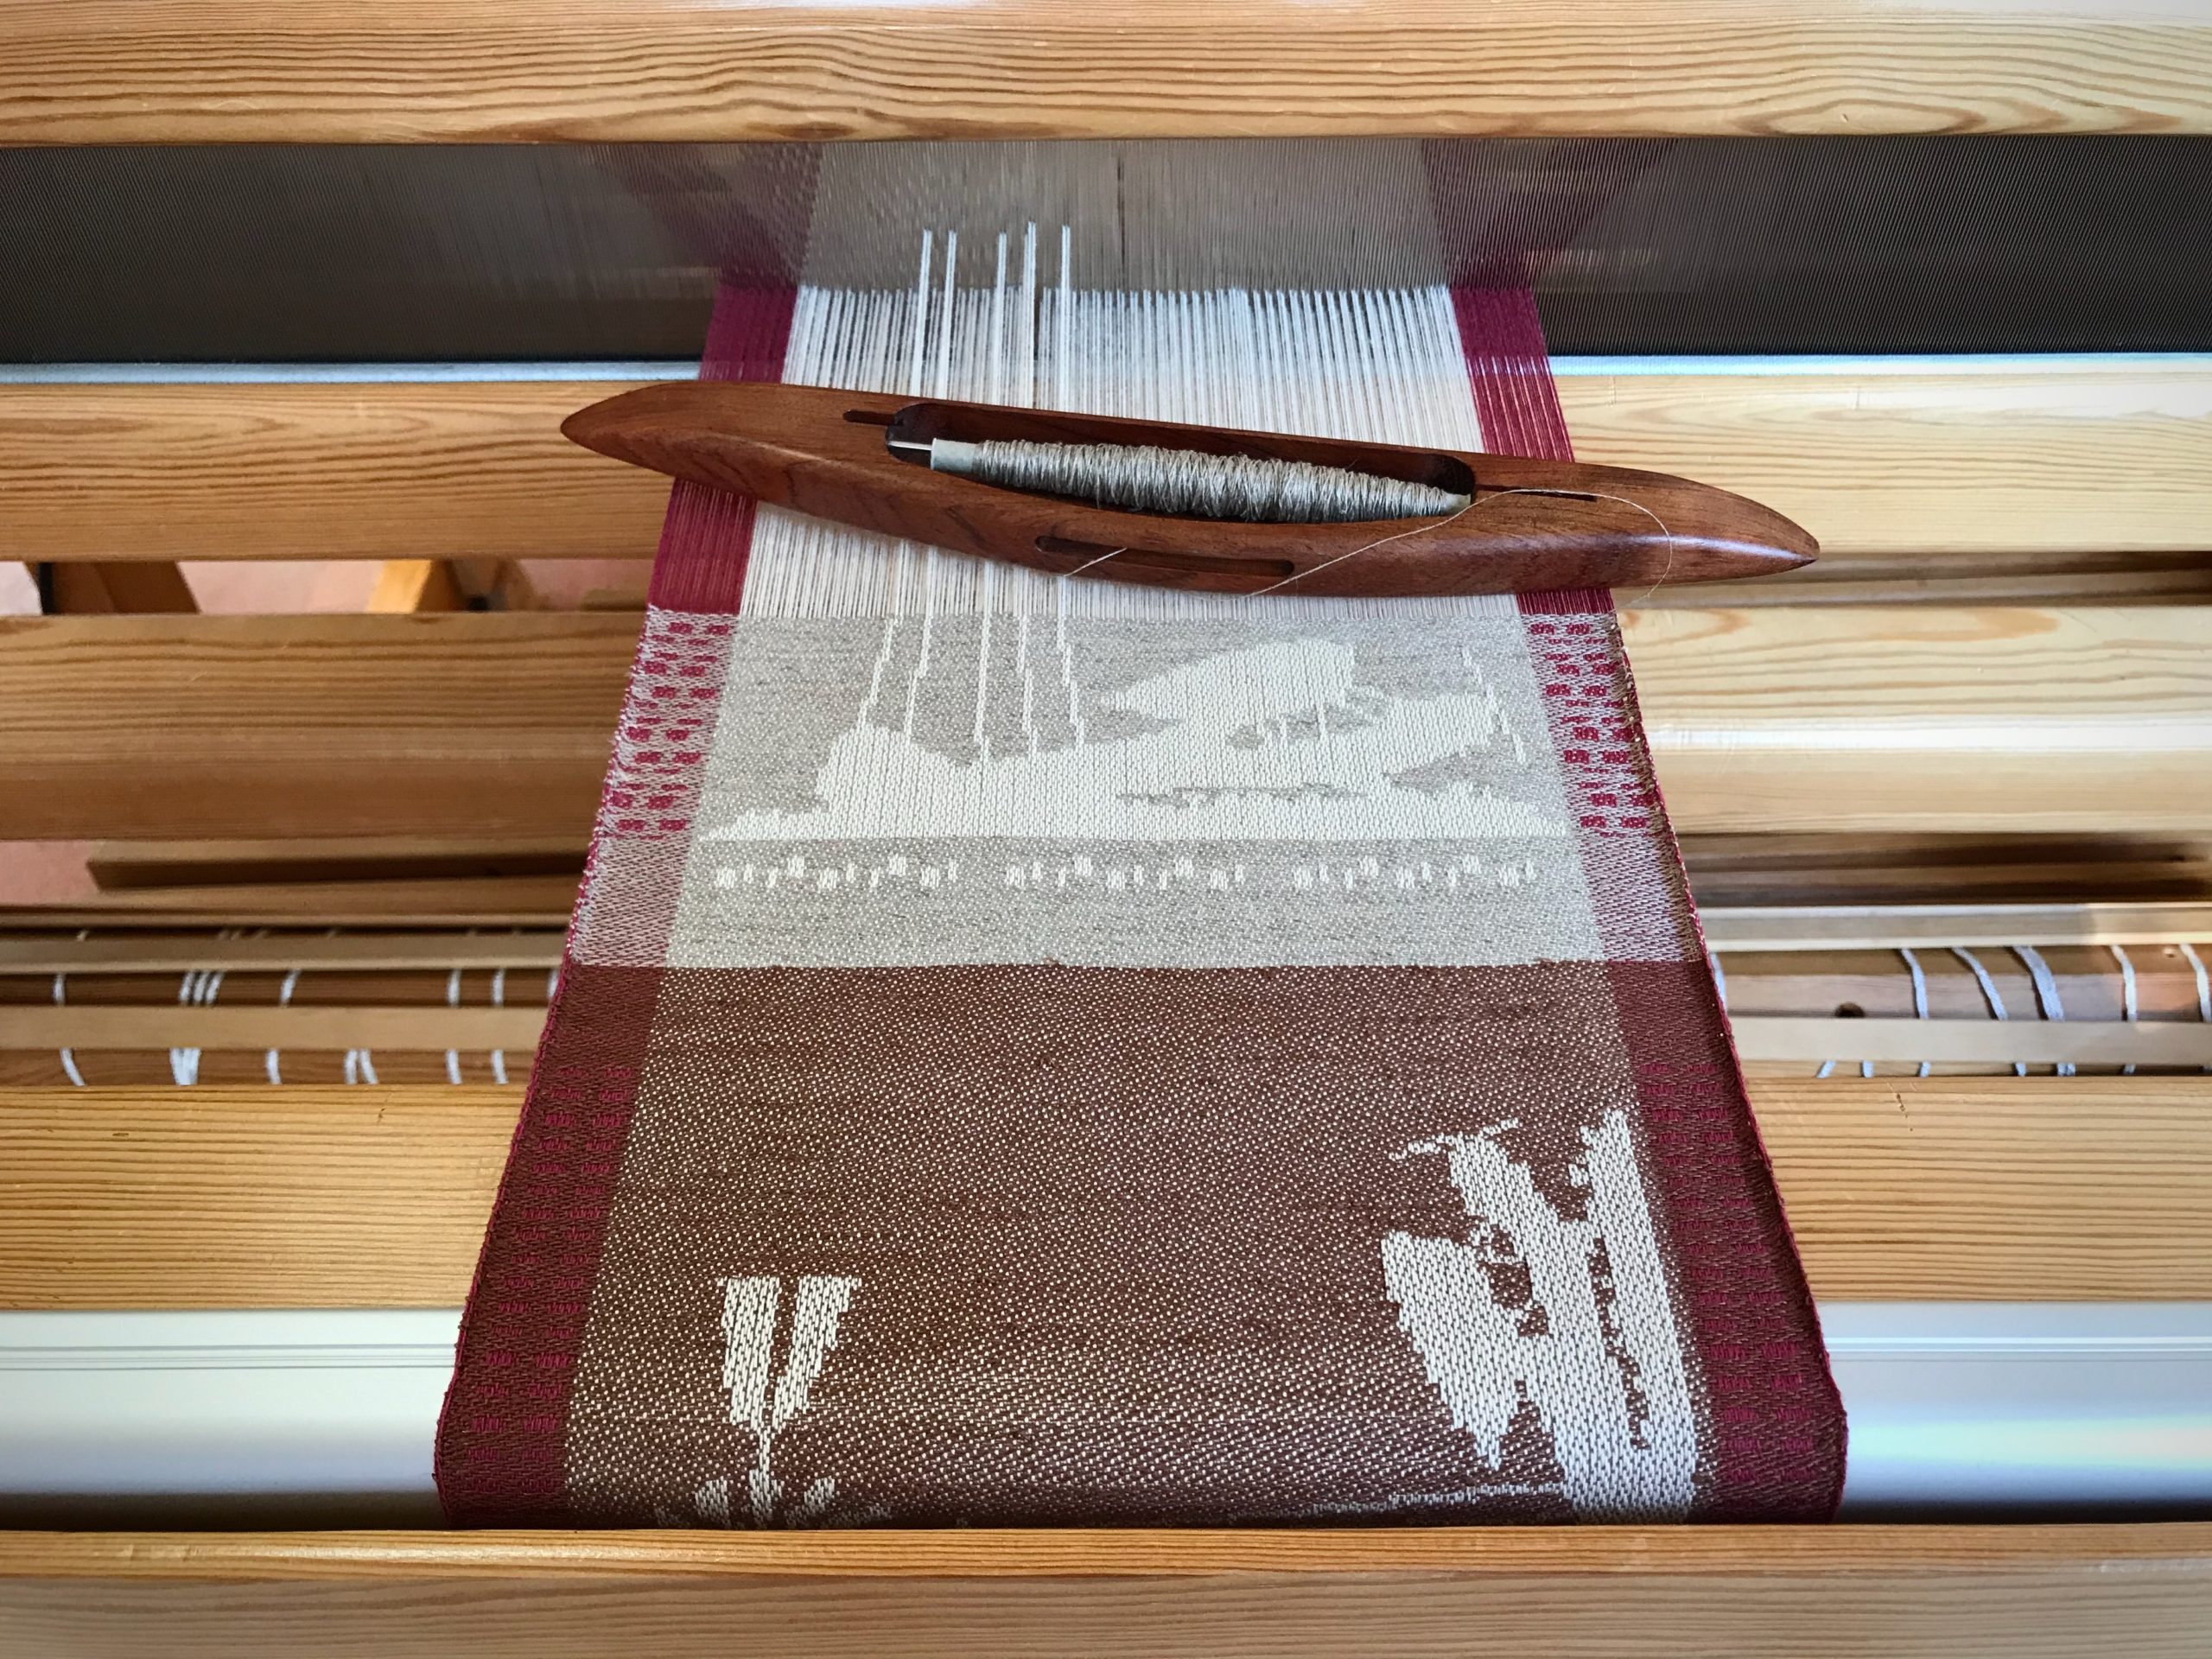
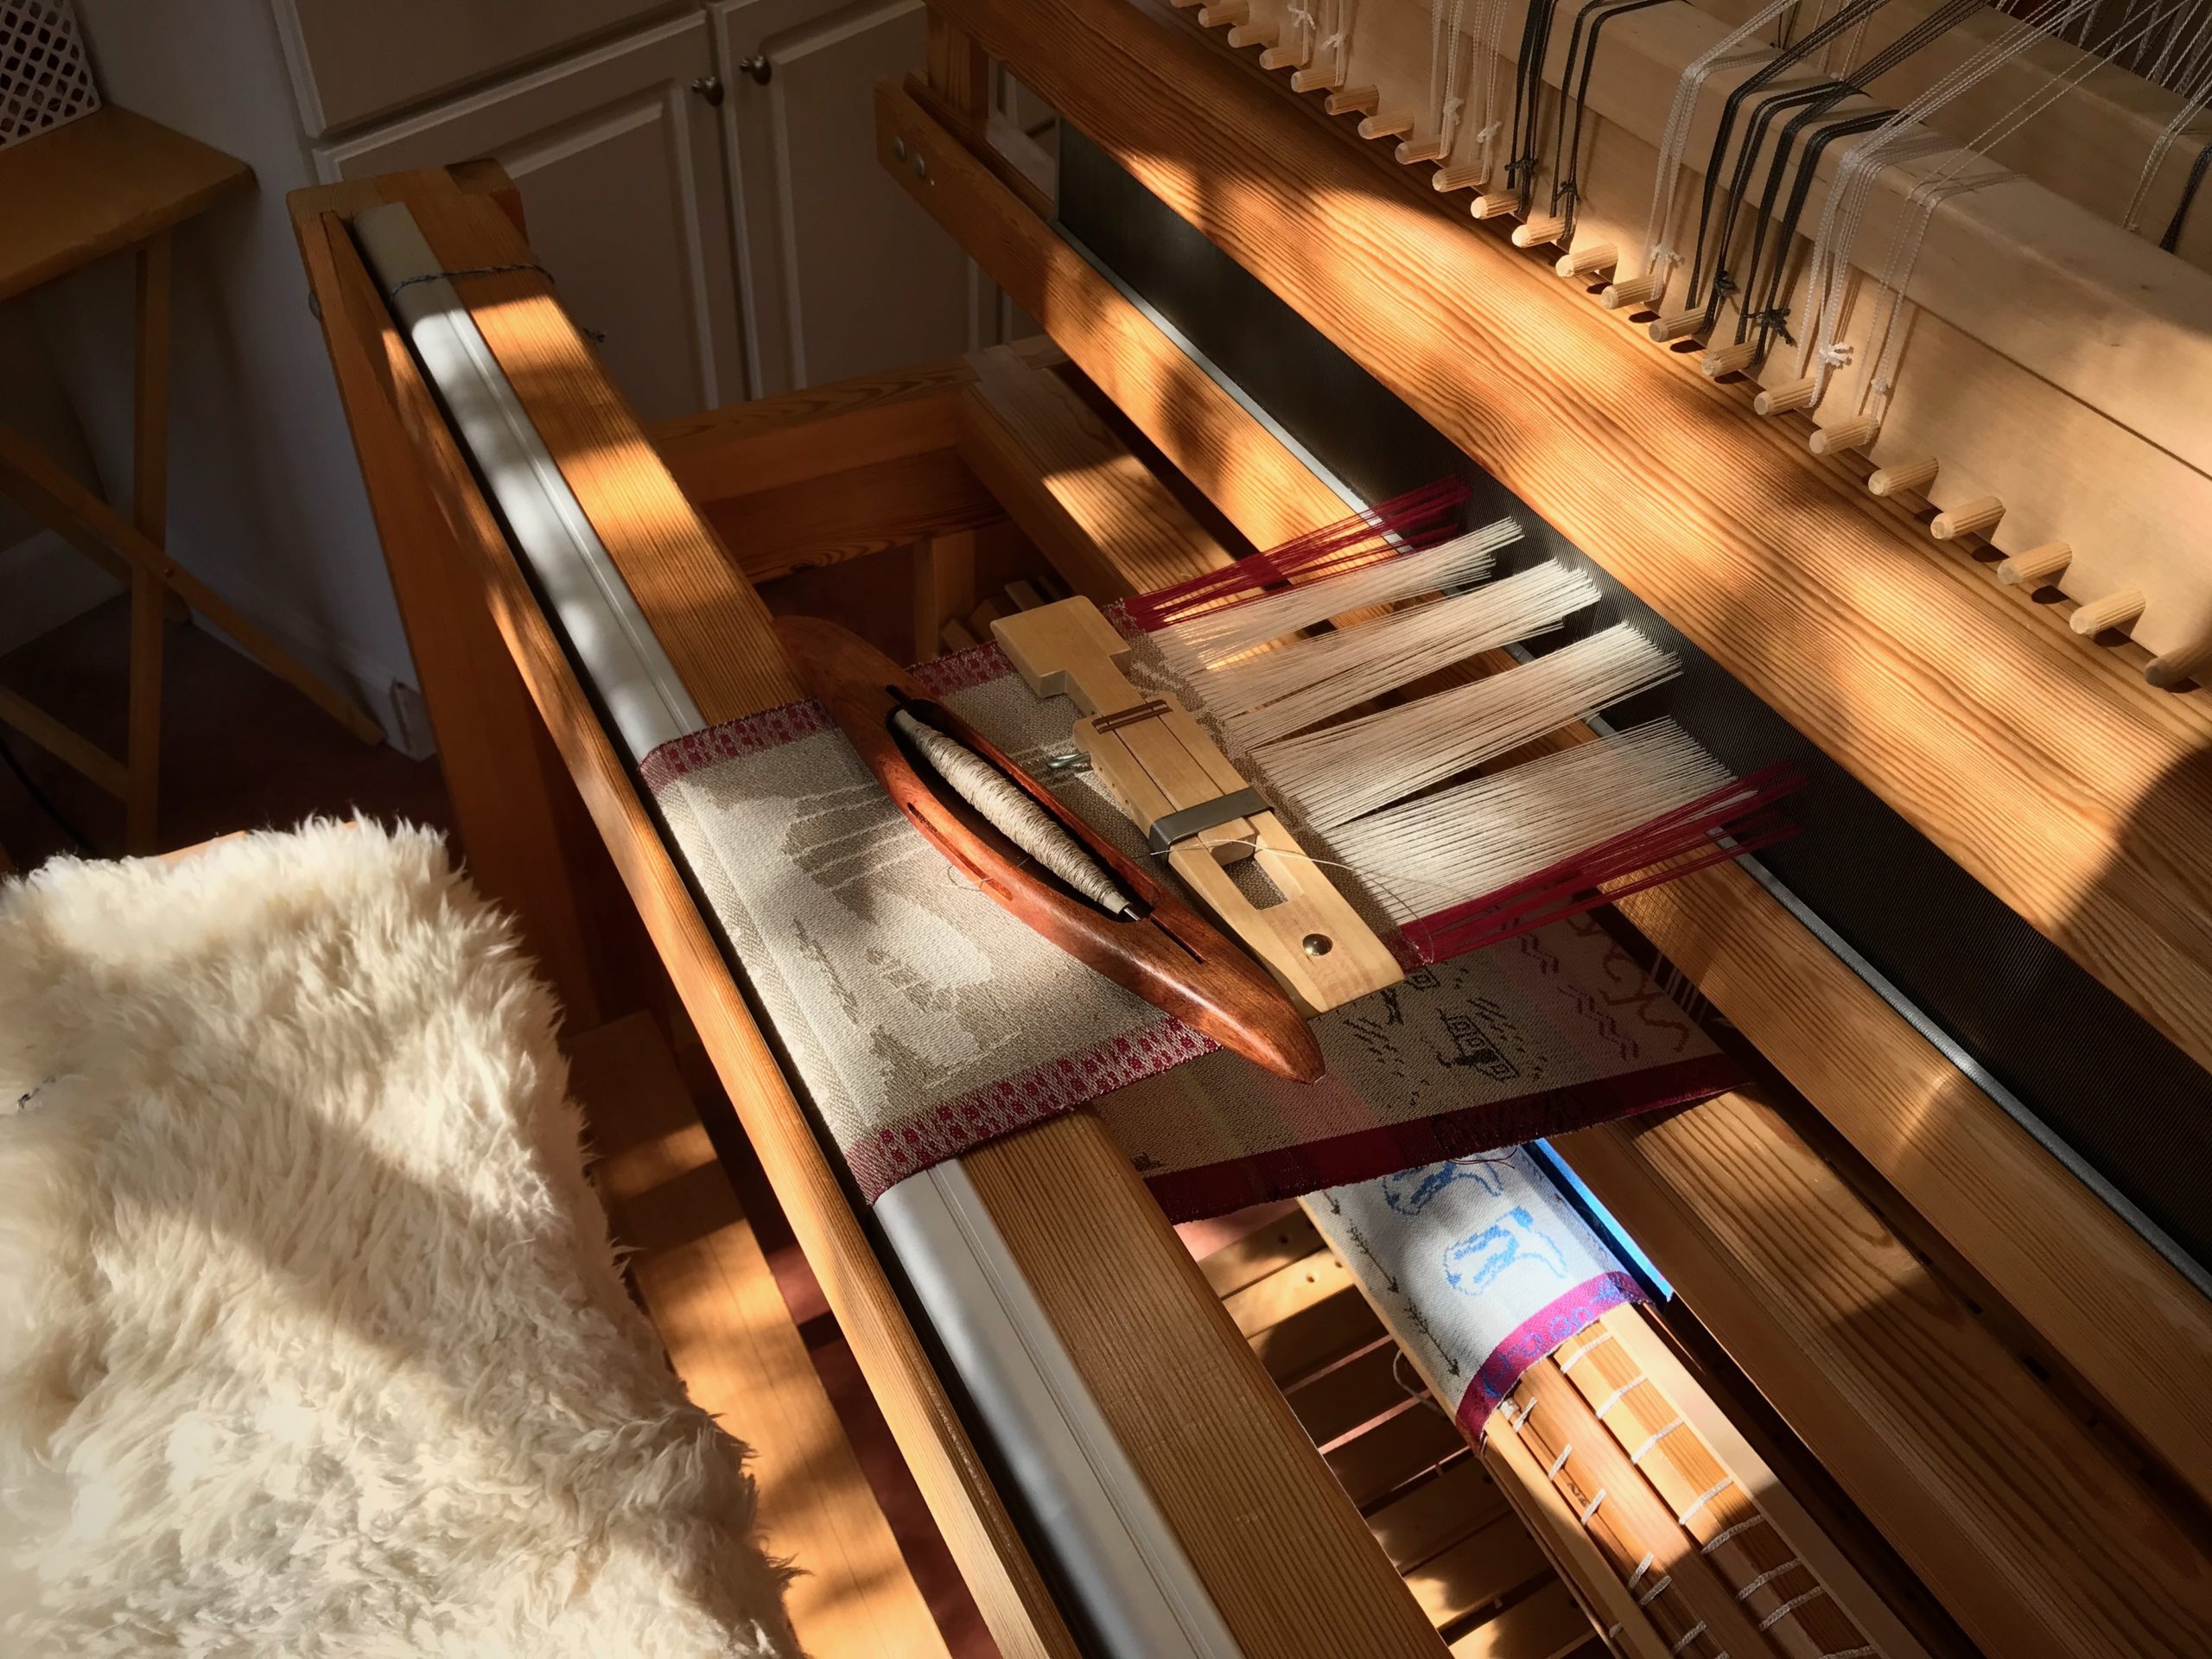
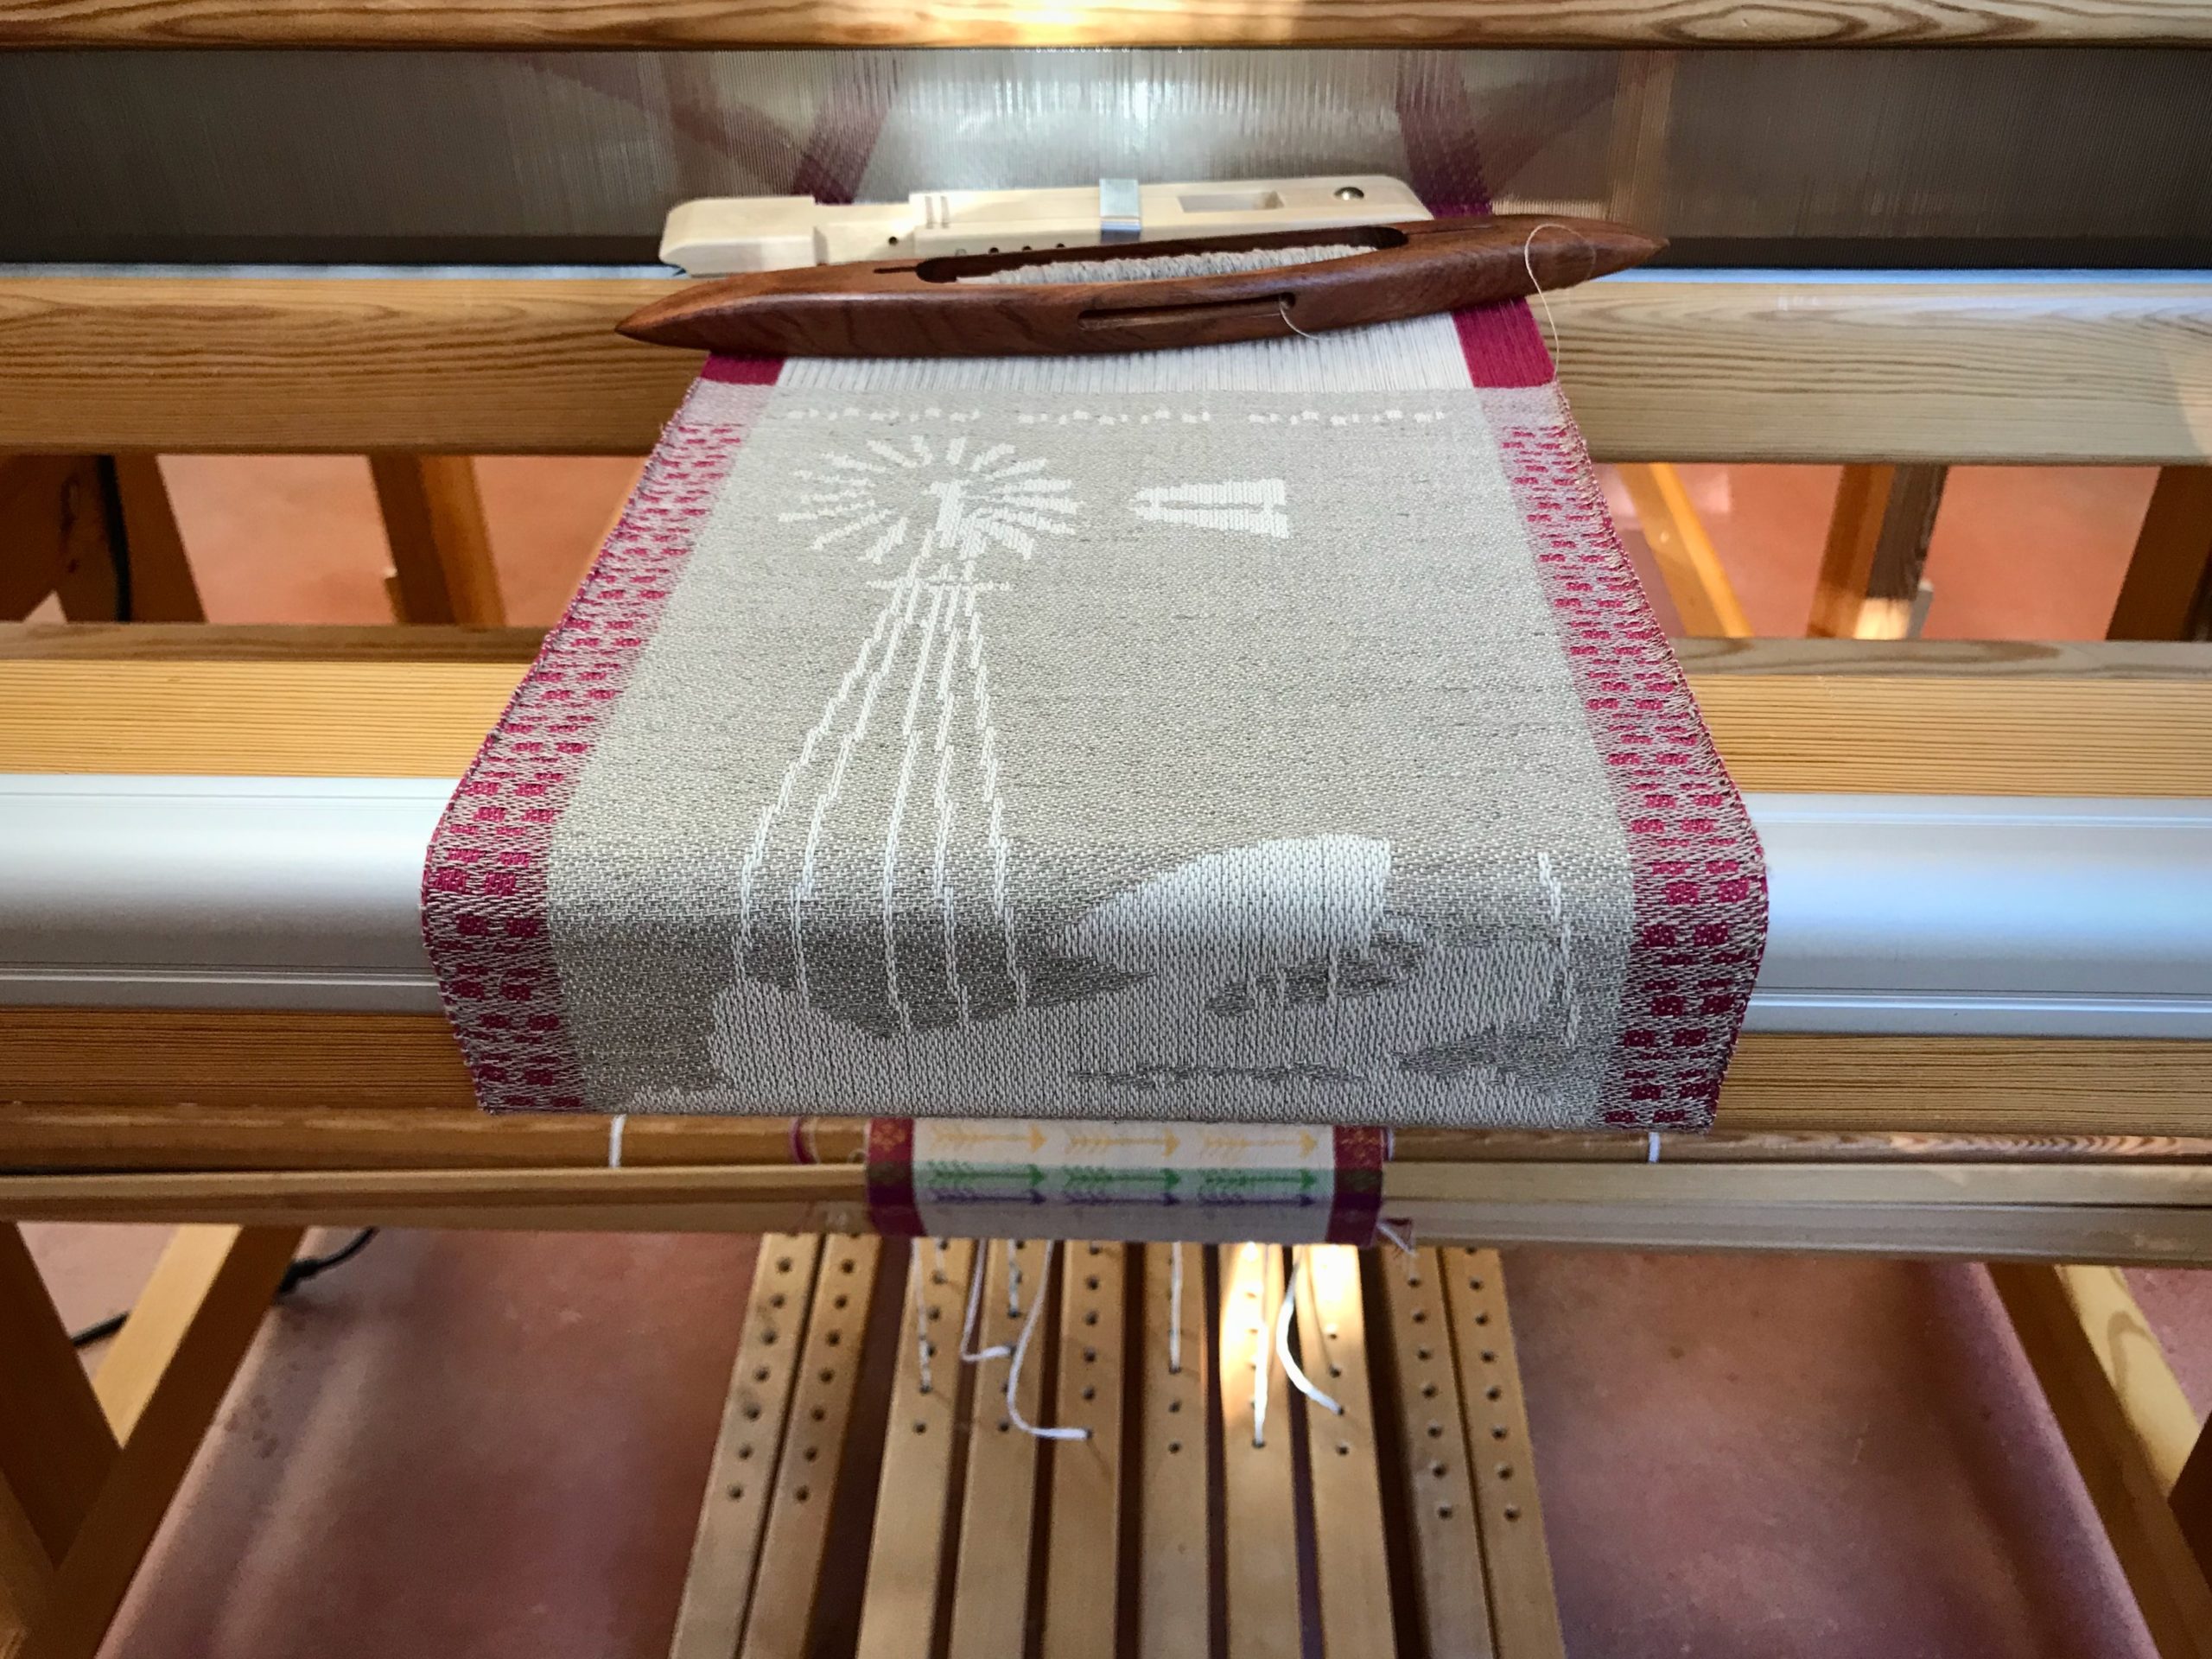
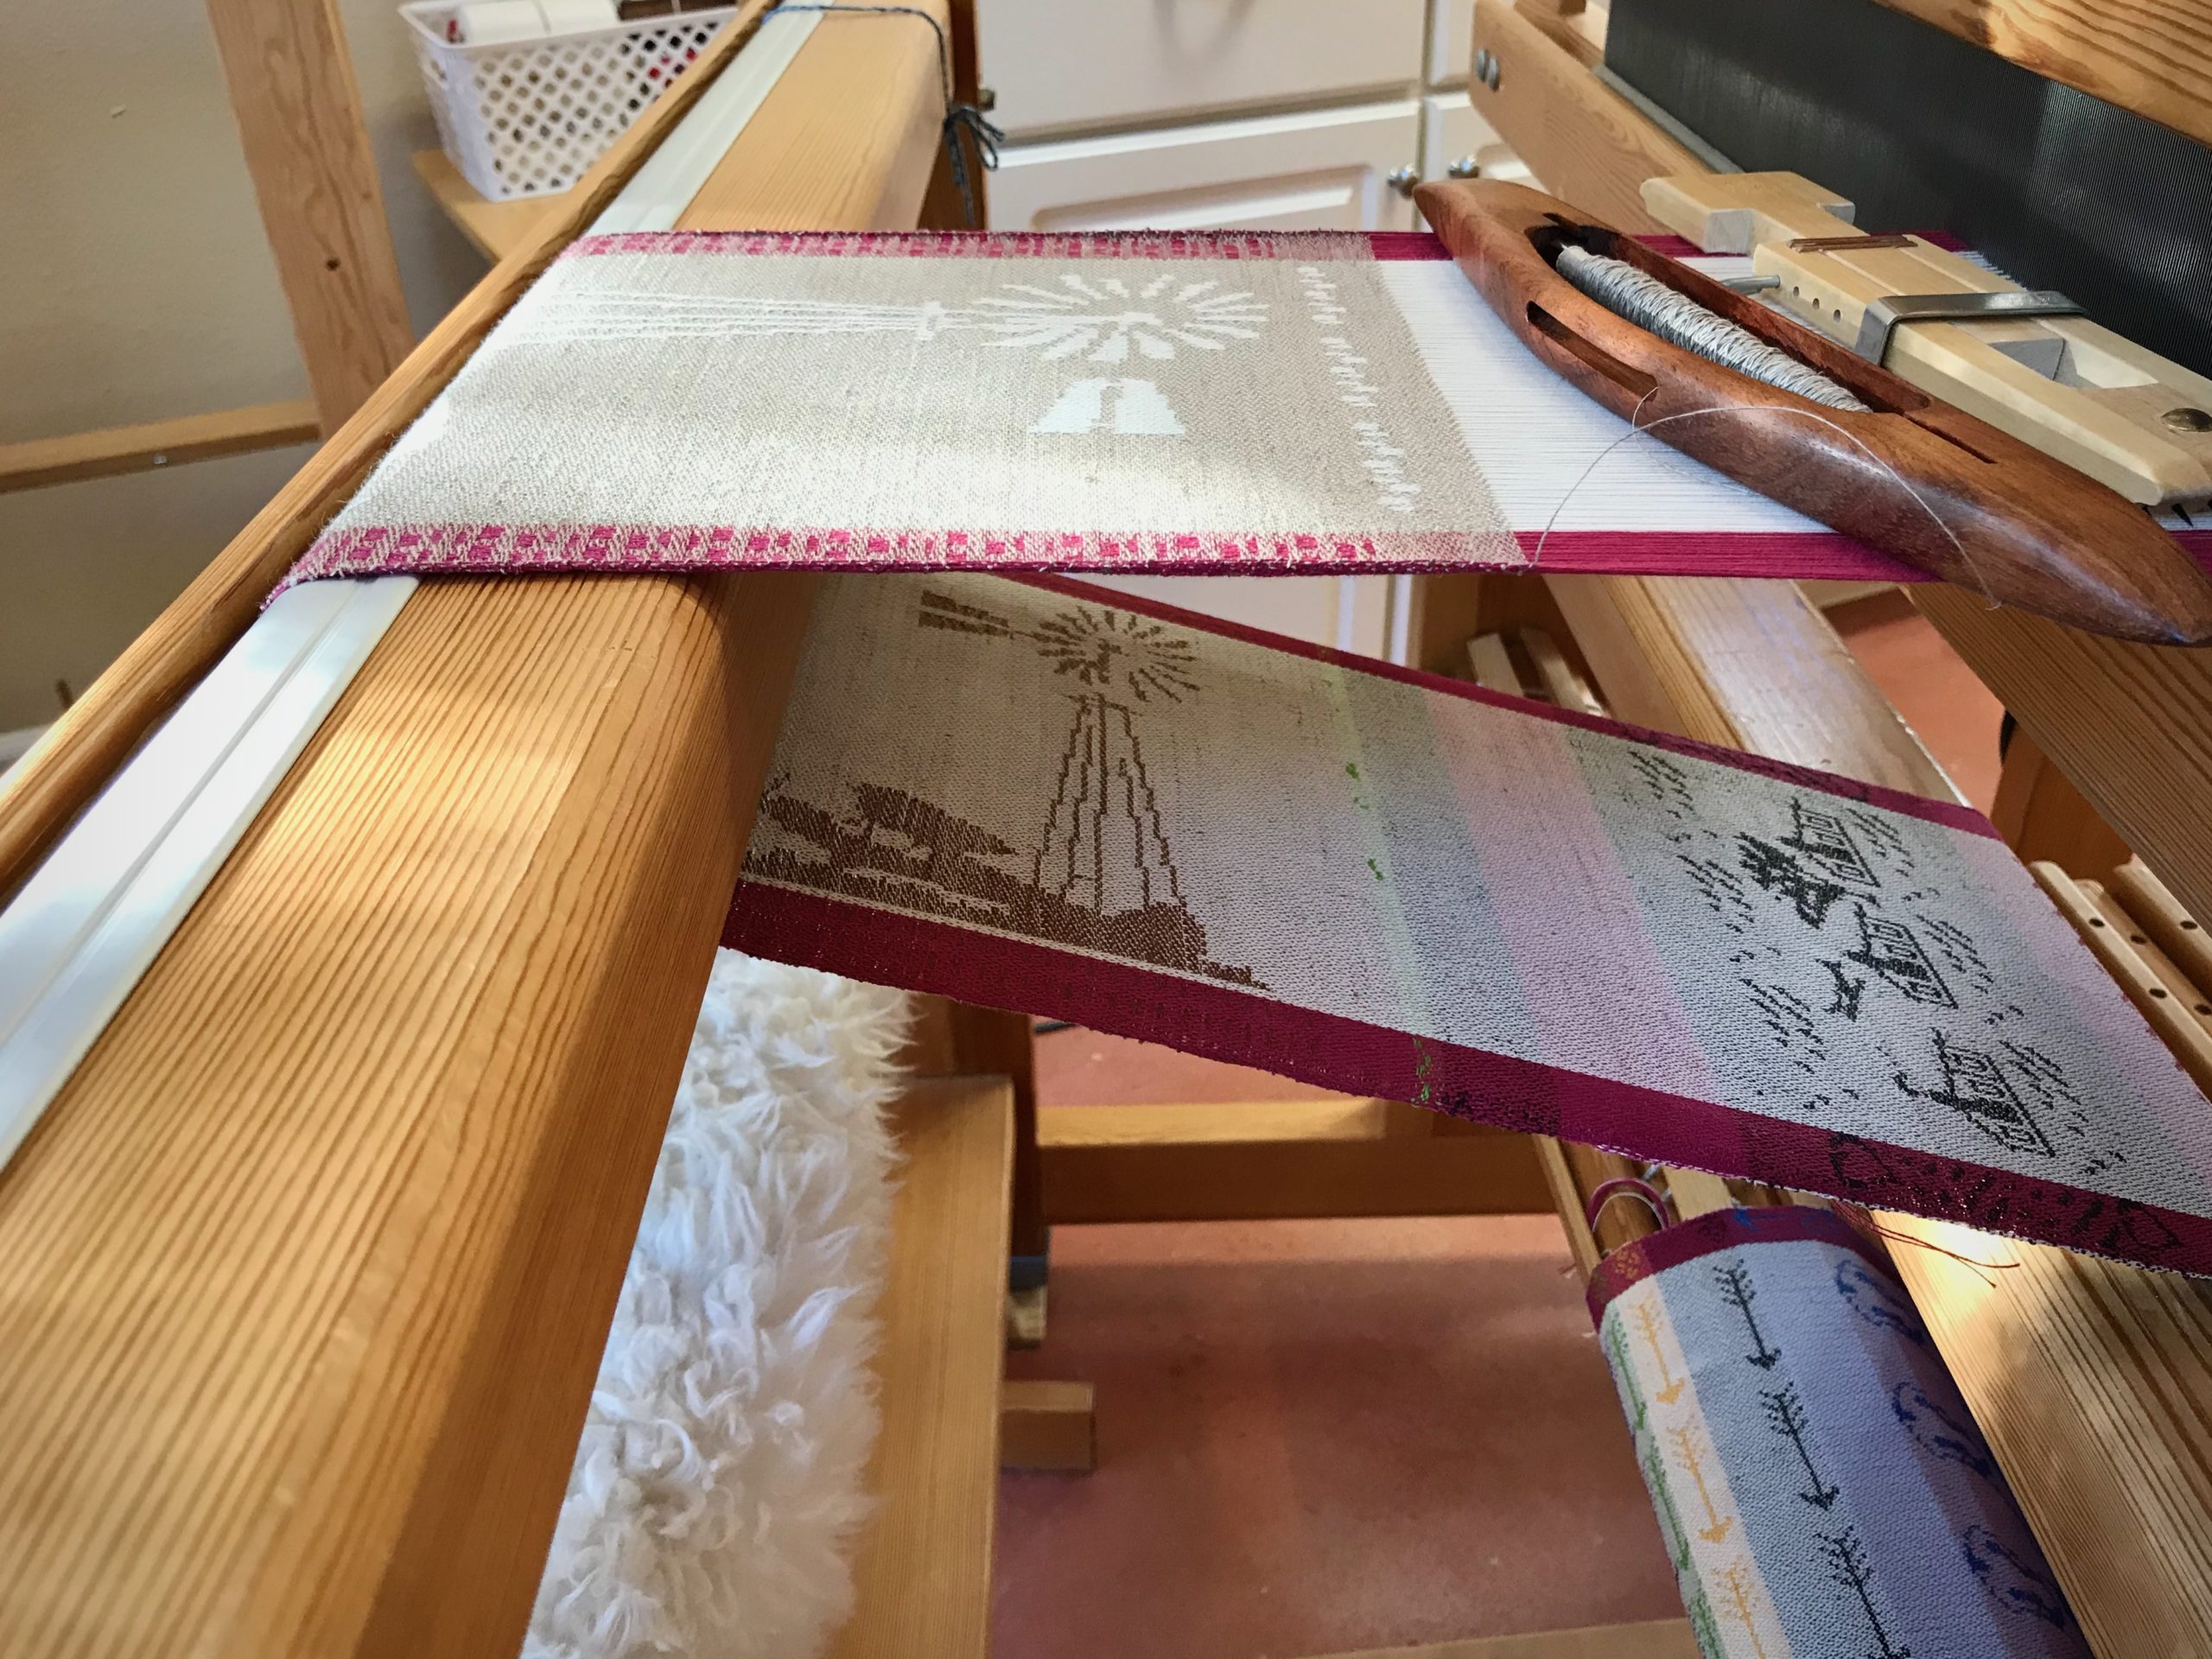
This is the fourth and final towel in my Snowflake series. Right now in Texas hill country it is extremely hot and dry, so these few gentle snowflakes are a welcome sight, even if only made of thread. We look forward to cooler days and moisture from the heavens.

Concluding the lower border of the towel. Warp is 16/2 cotton. Weft is half-bleached 16/1 line linen, except for the wide blue border, which is 16/2 line linen, and narrow 16/1 linen red stripe.

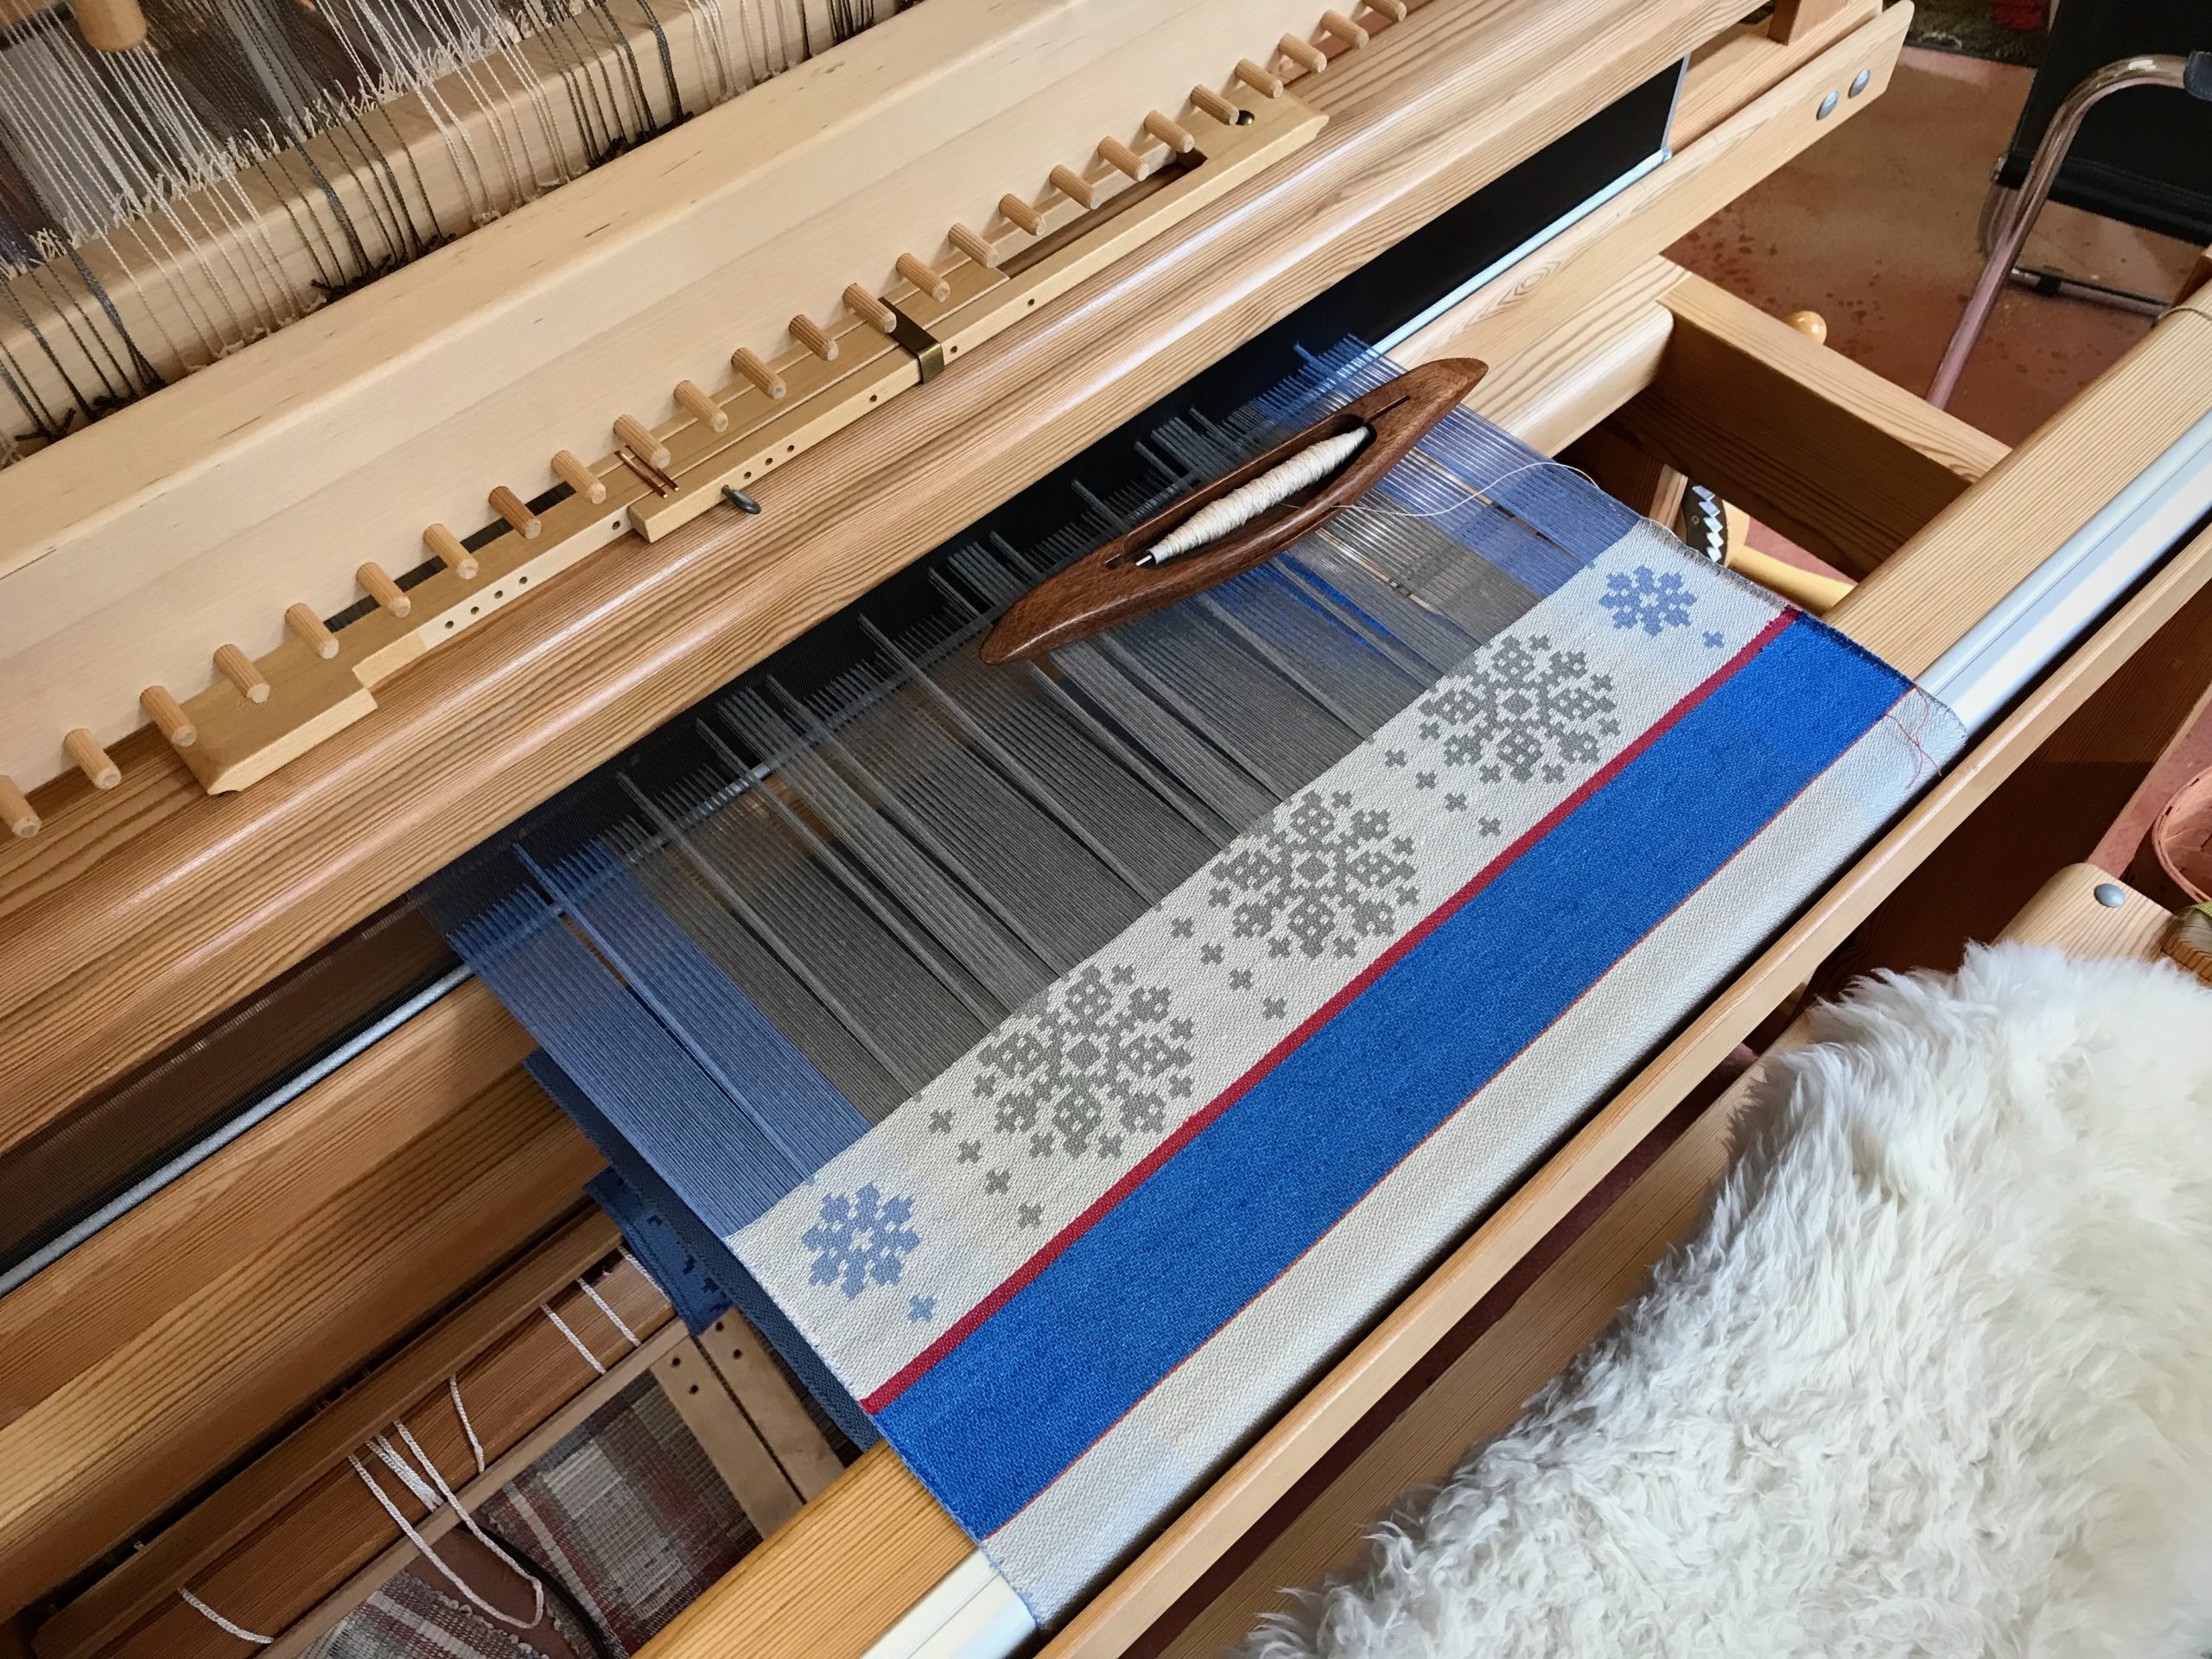
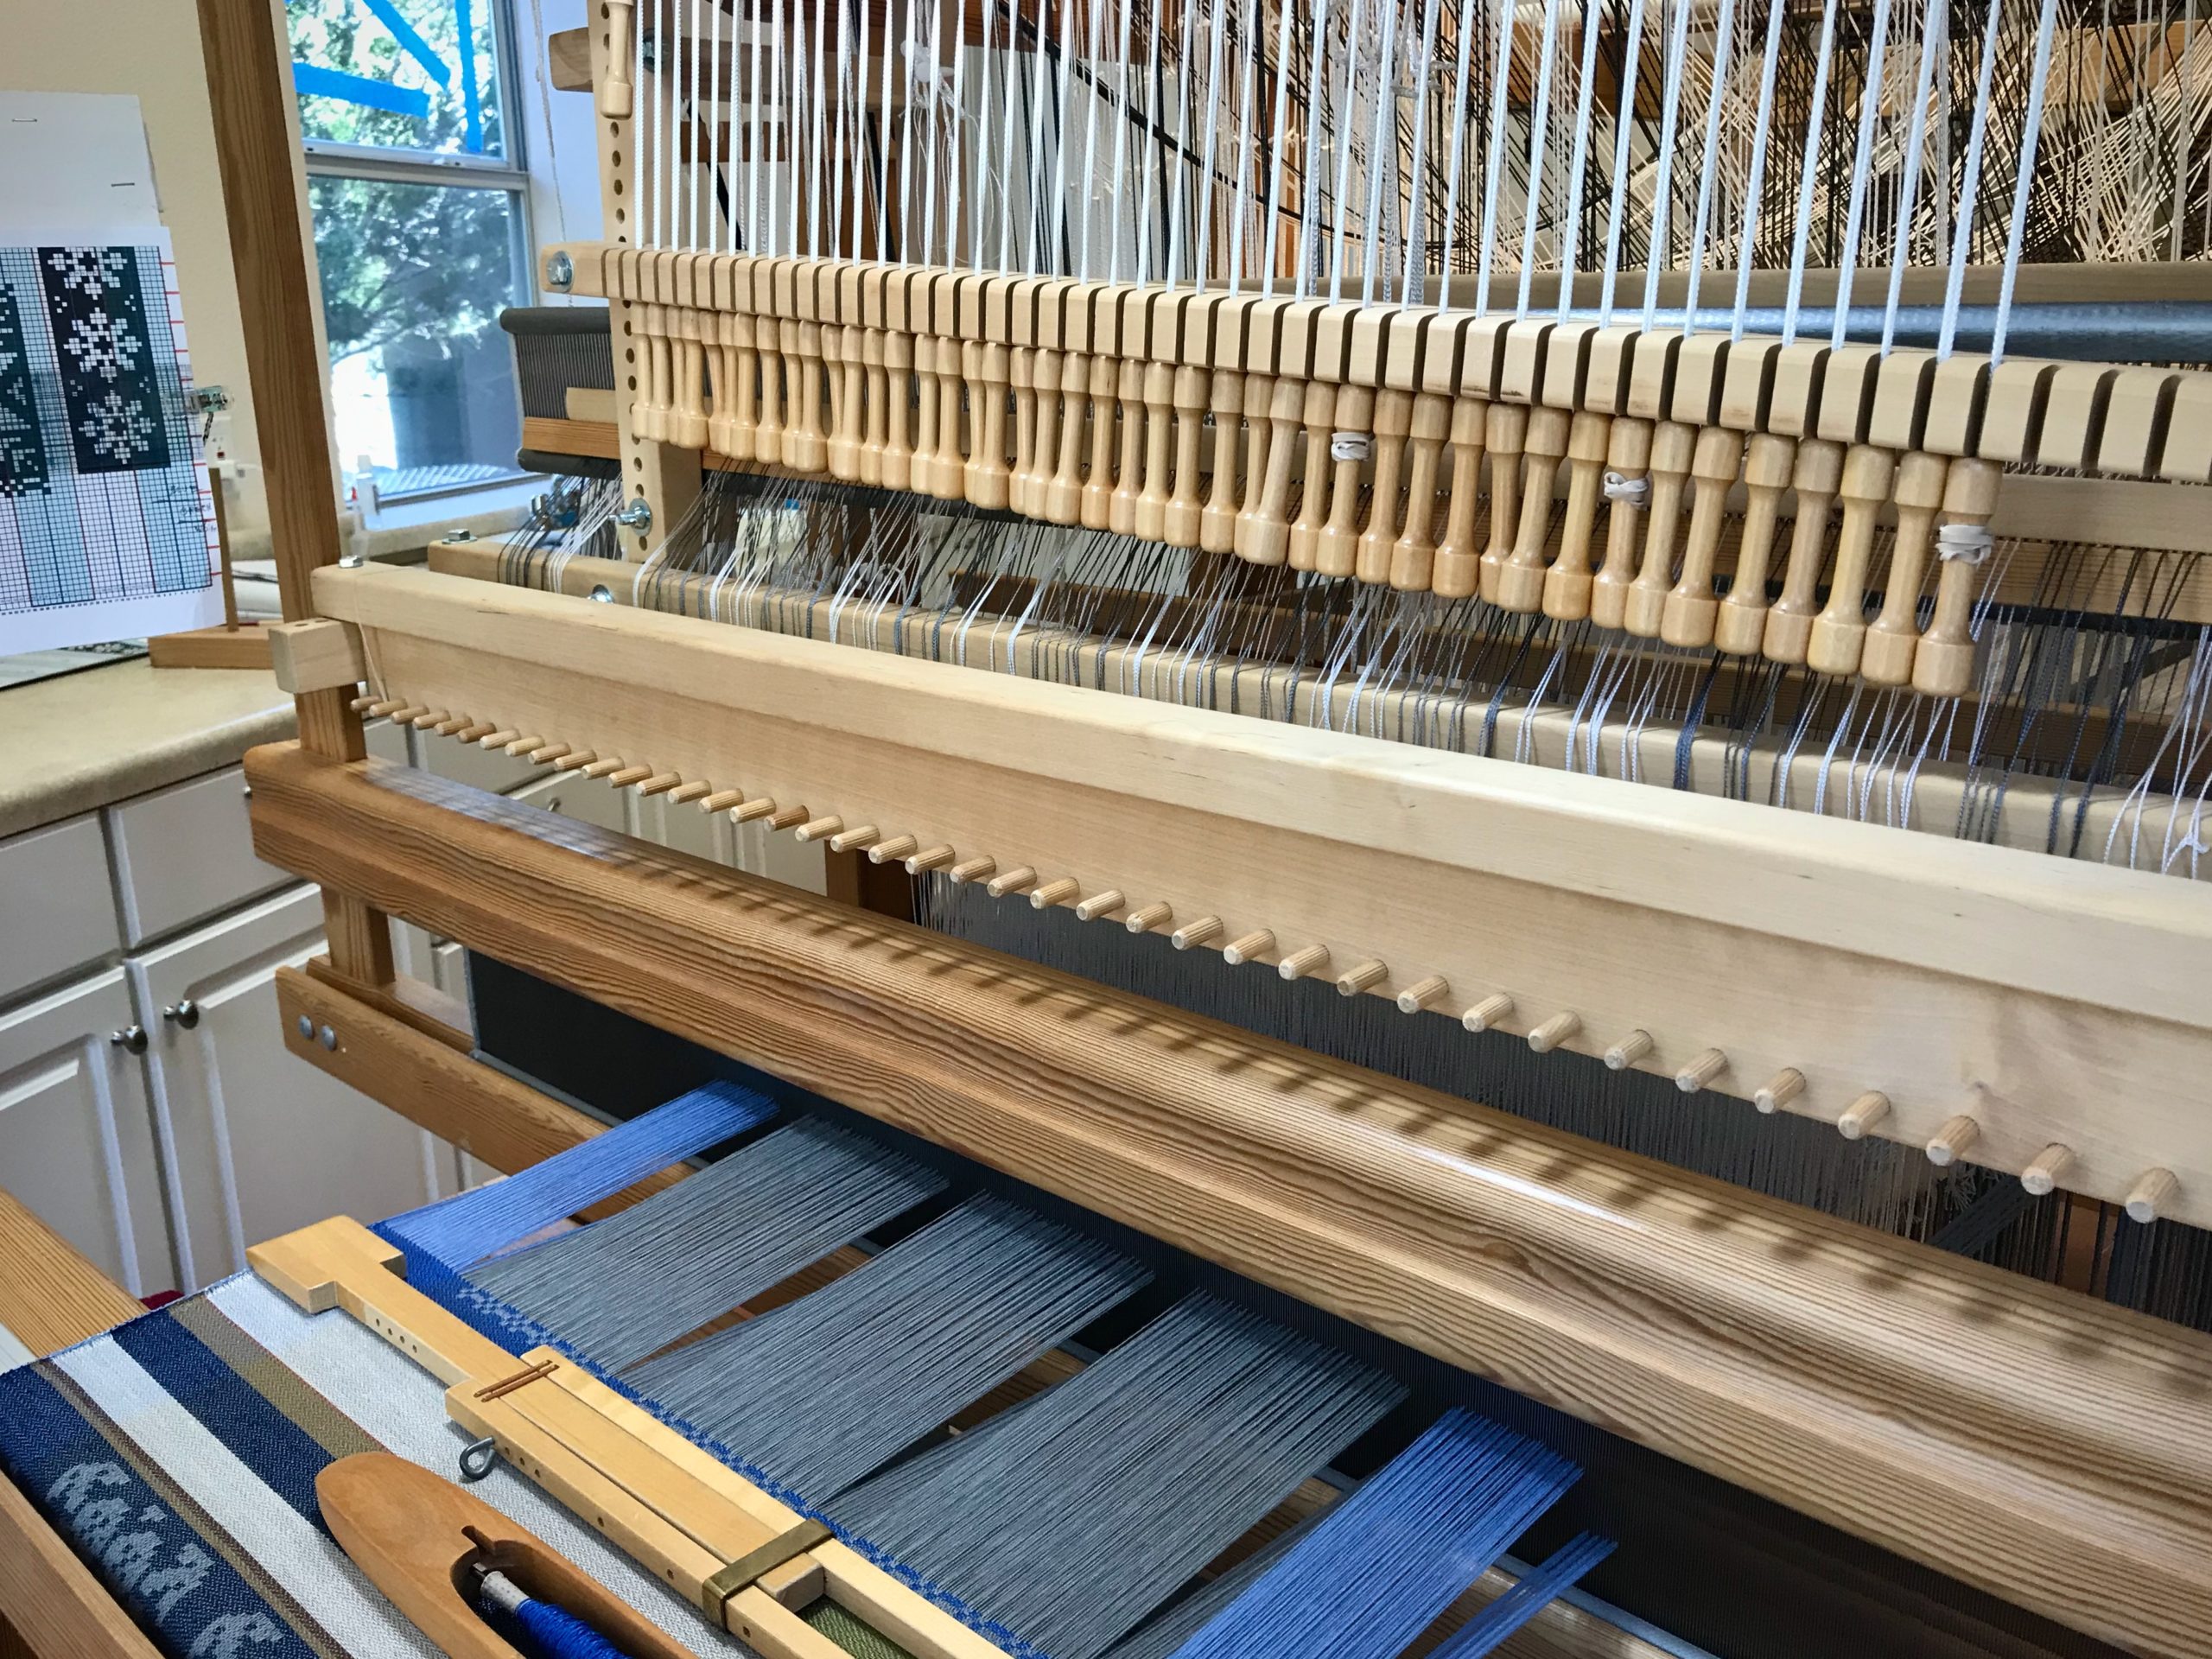
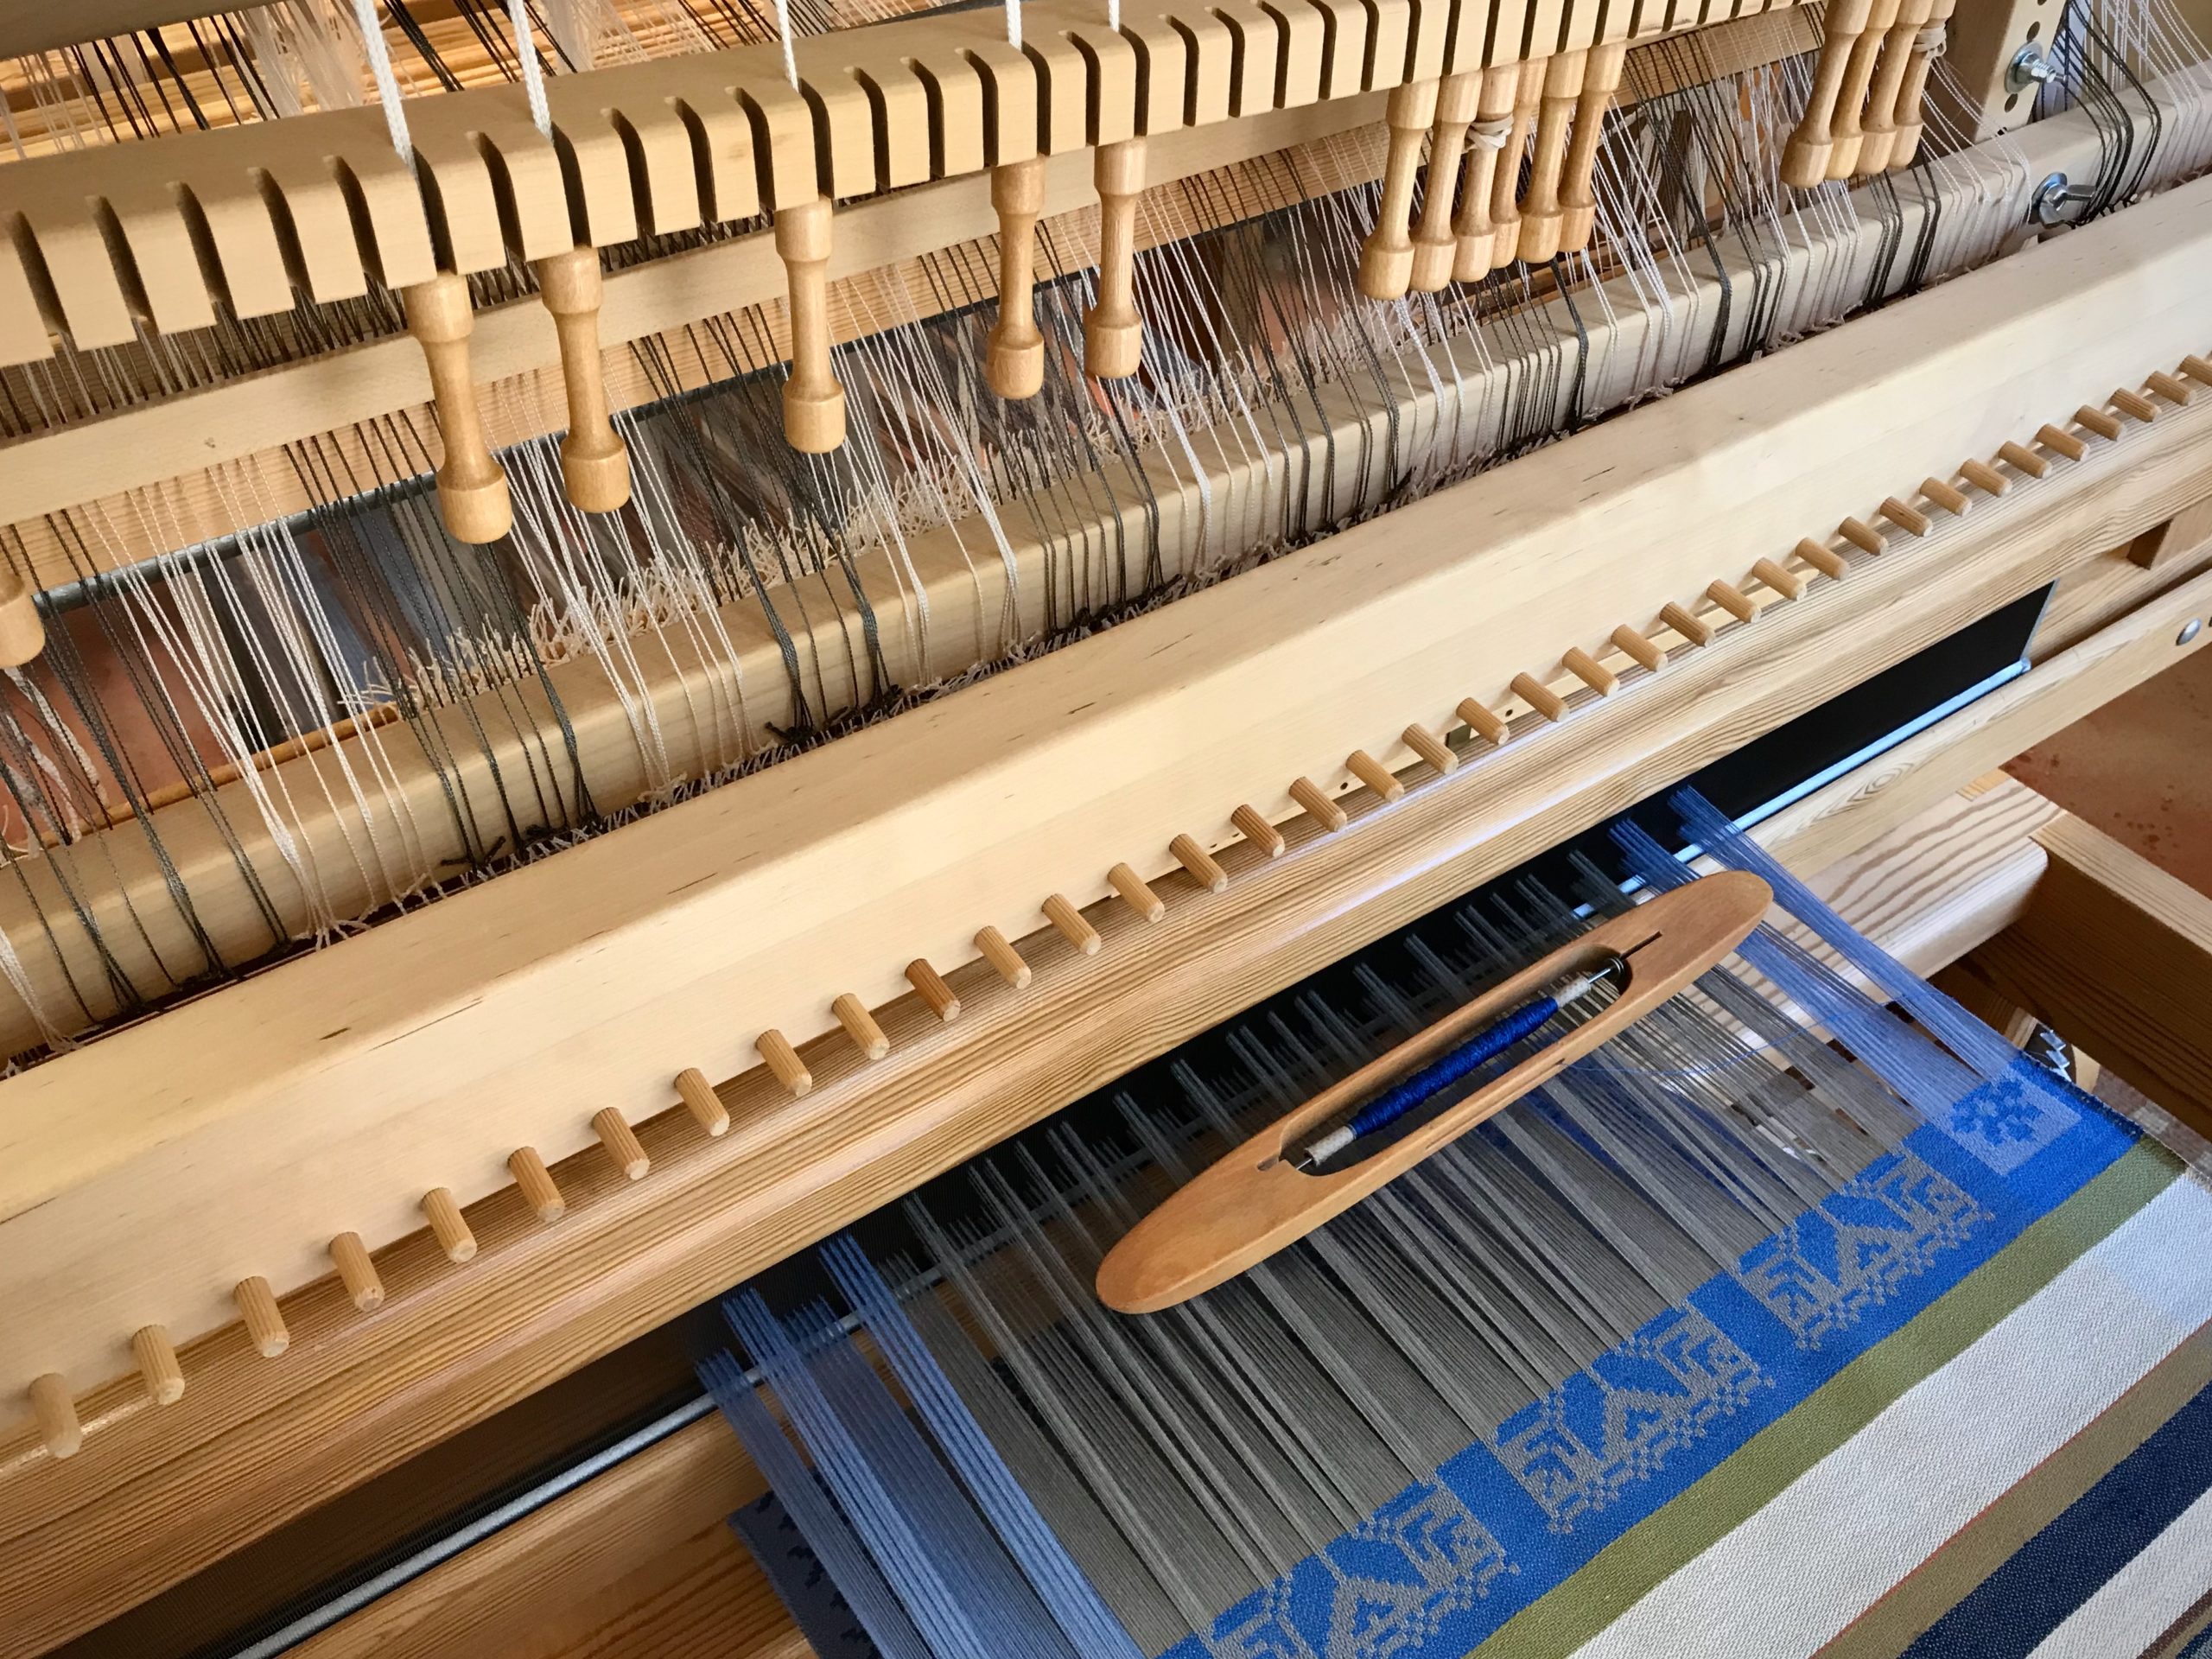
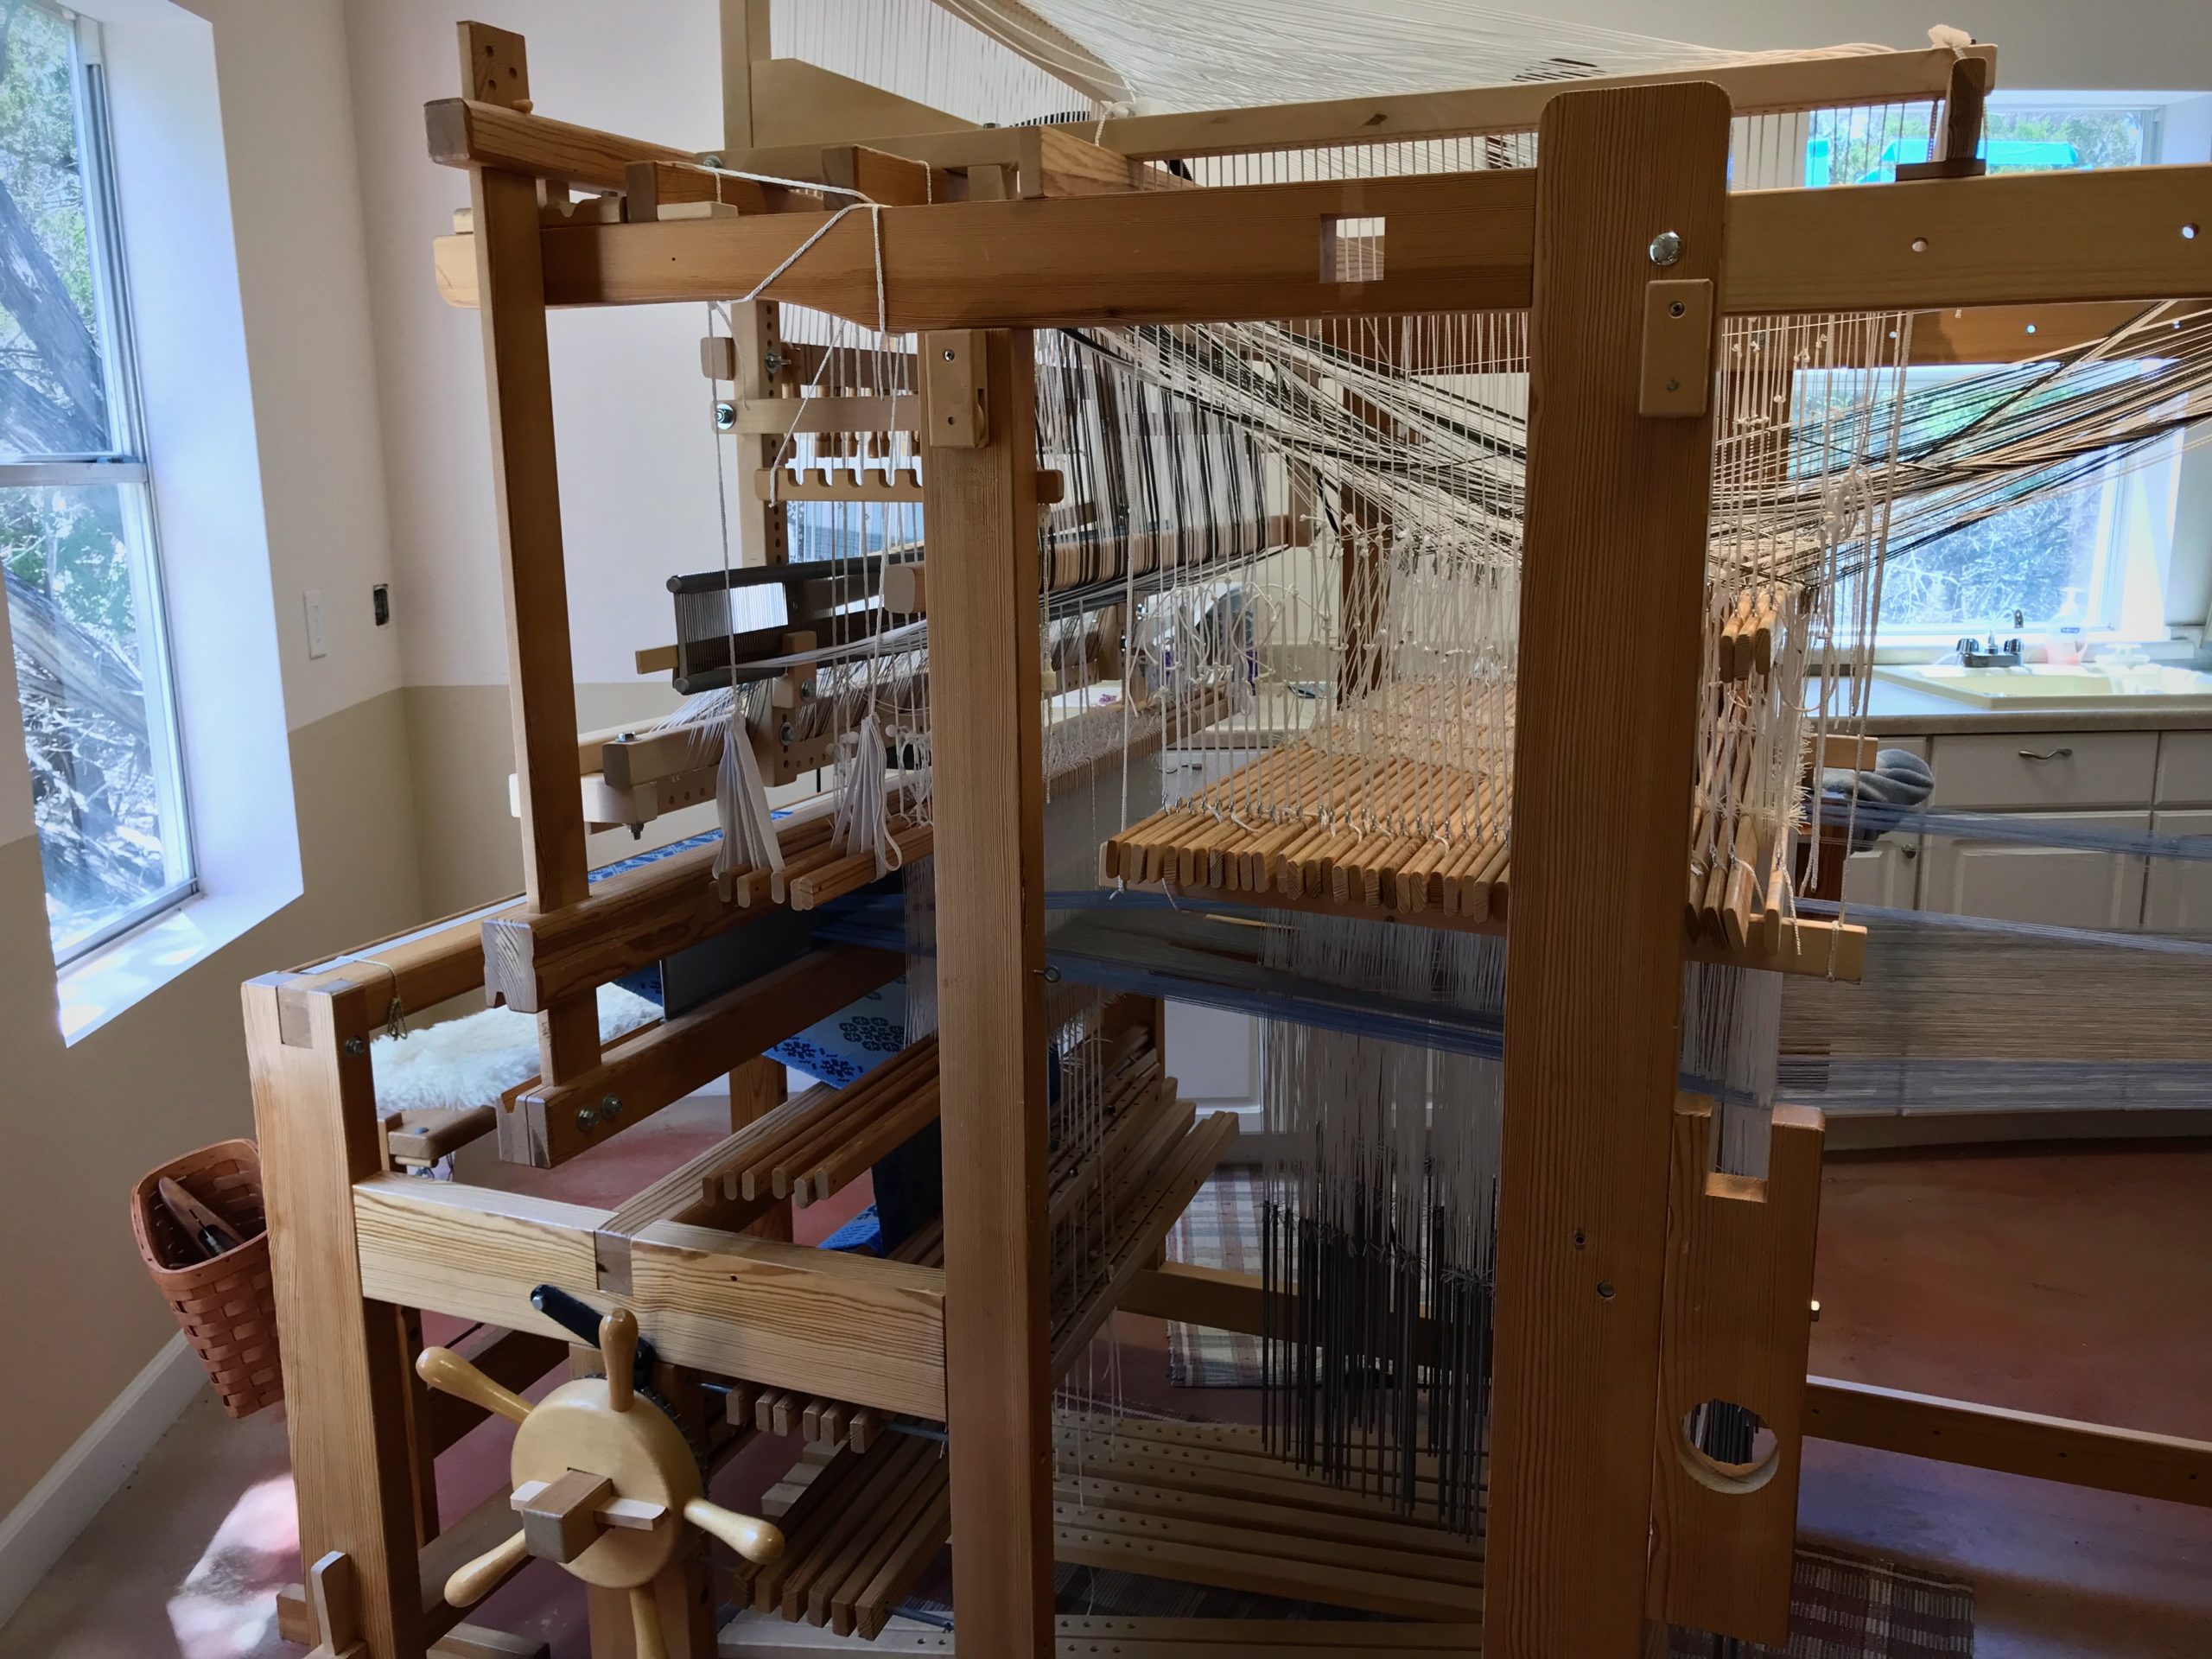
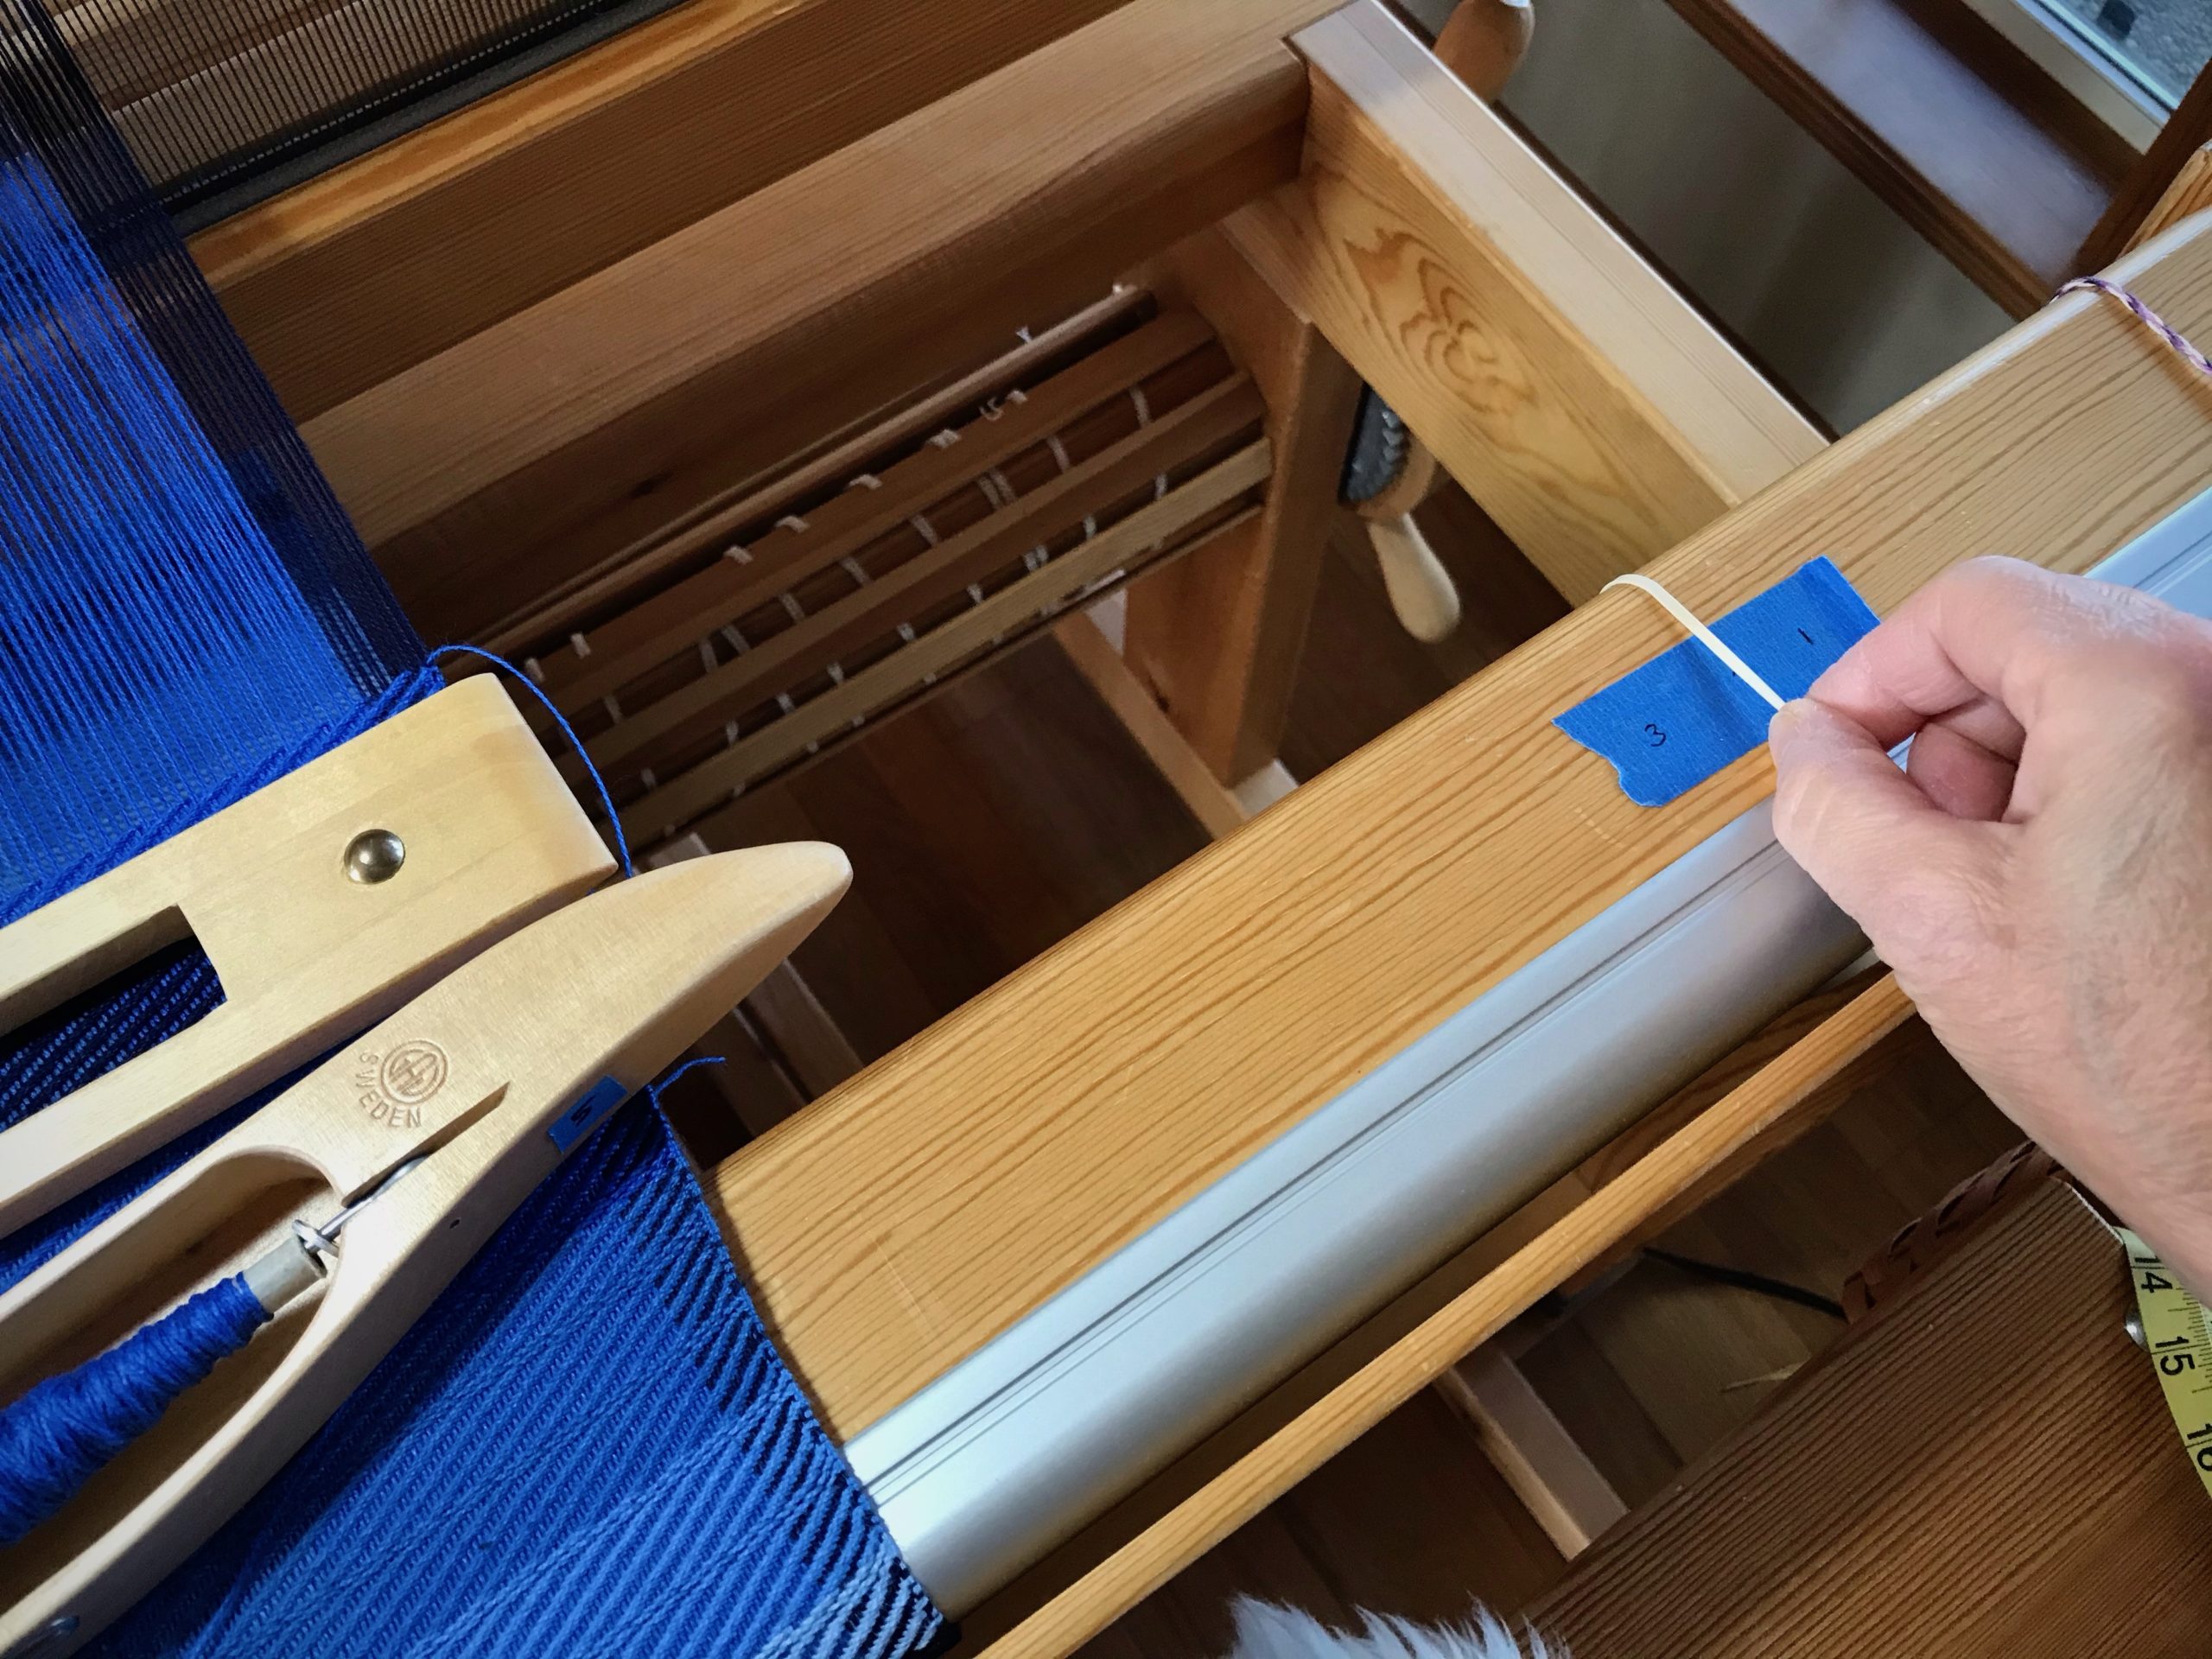
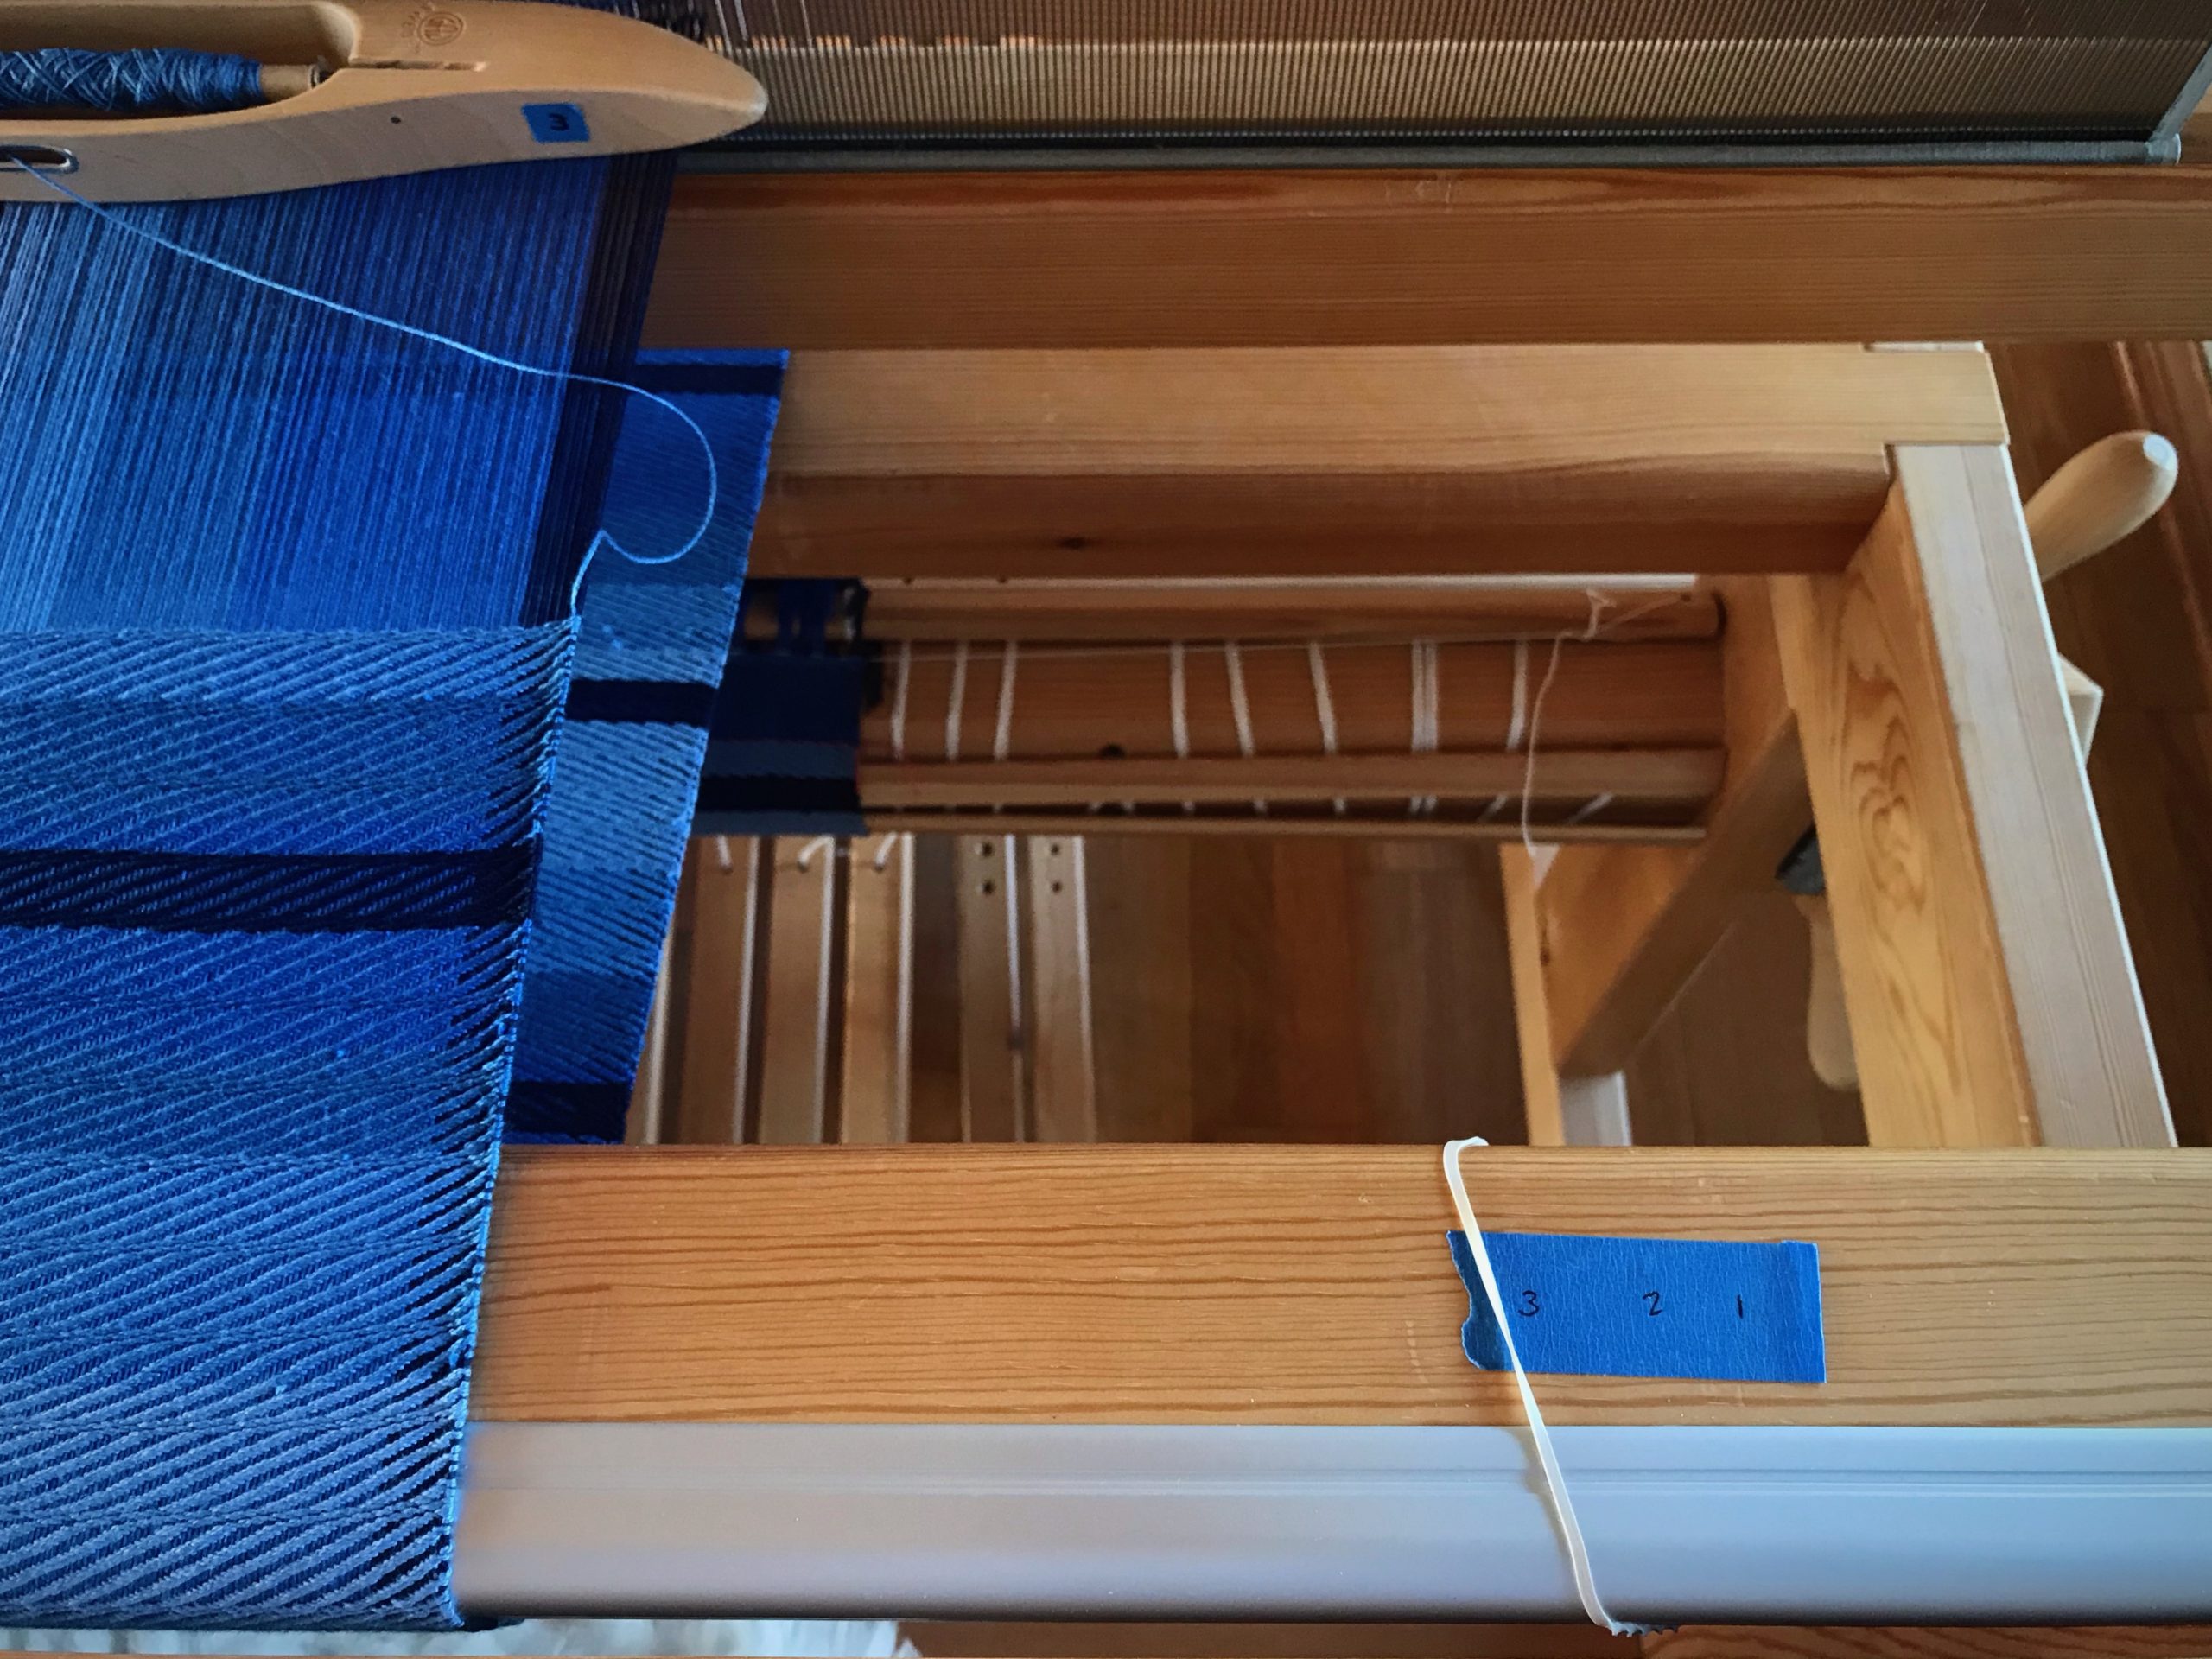
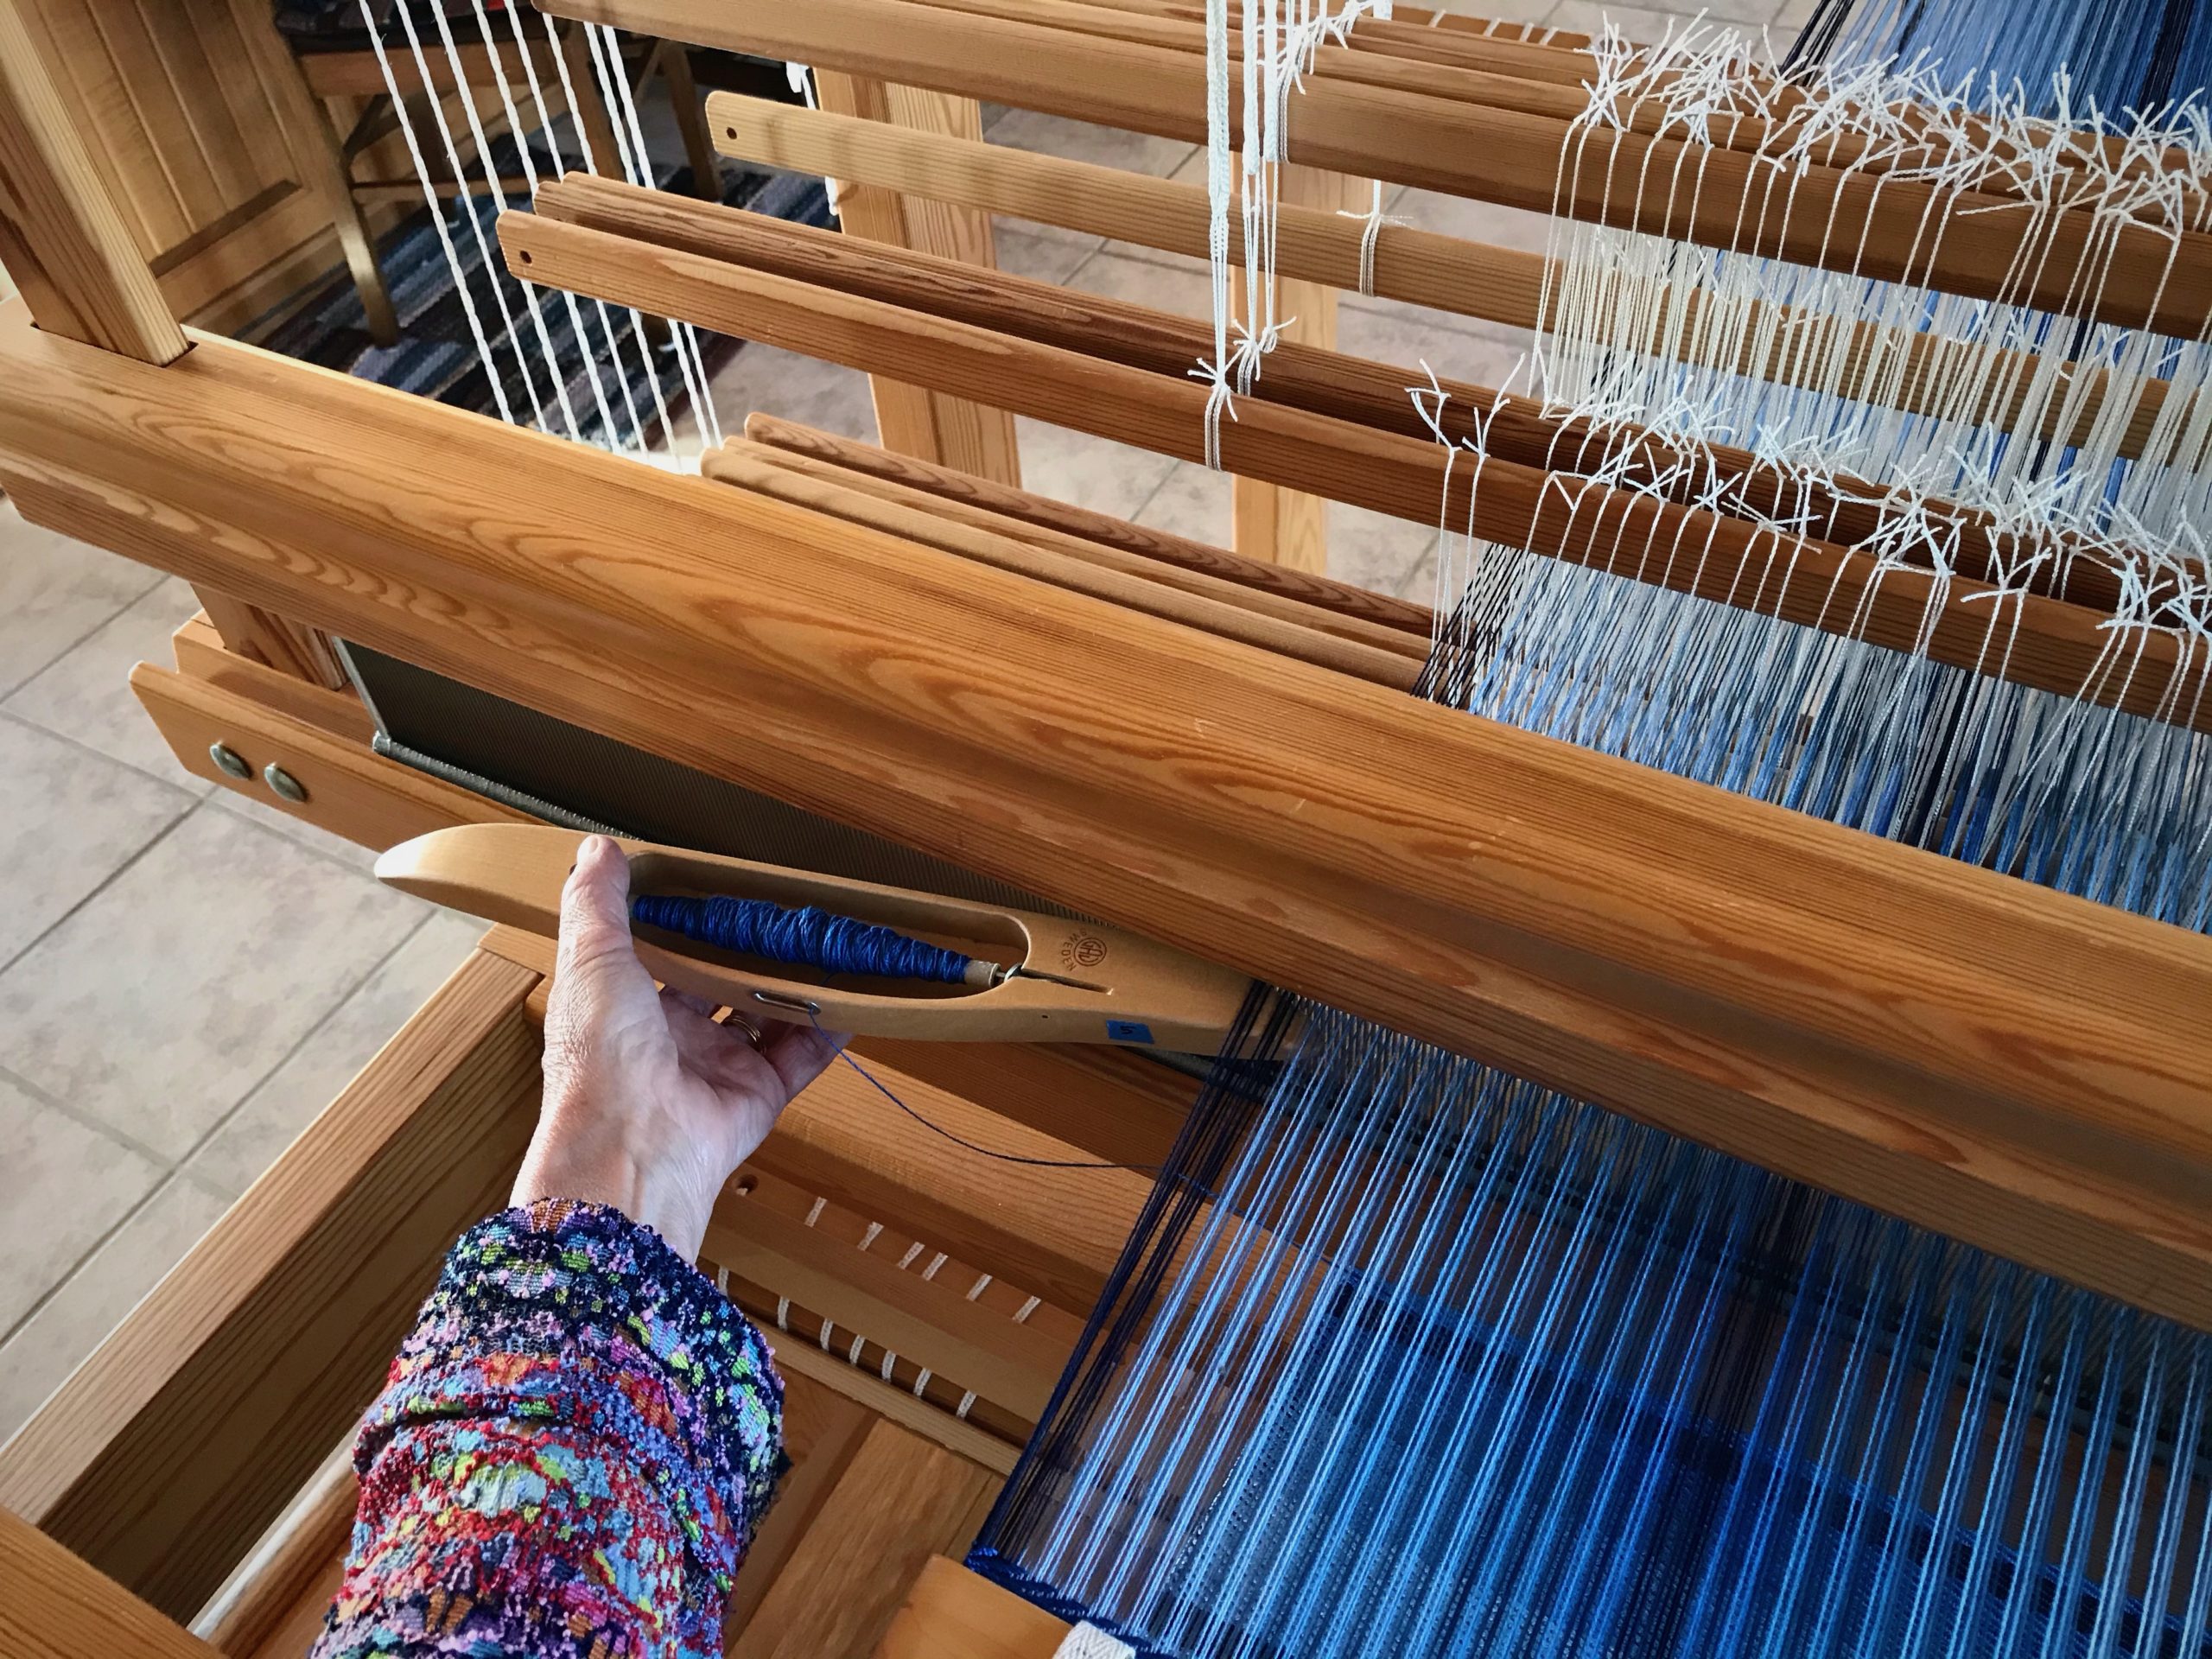
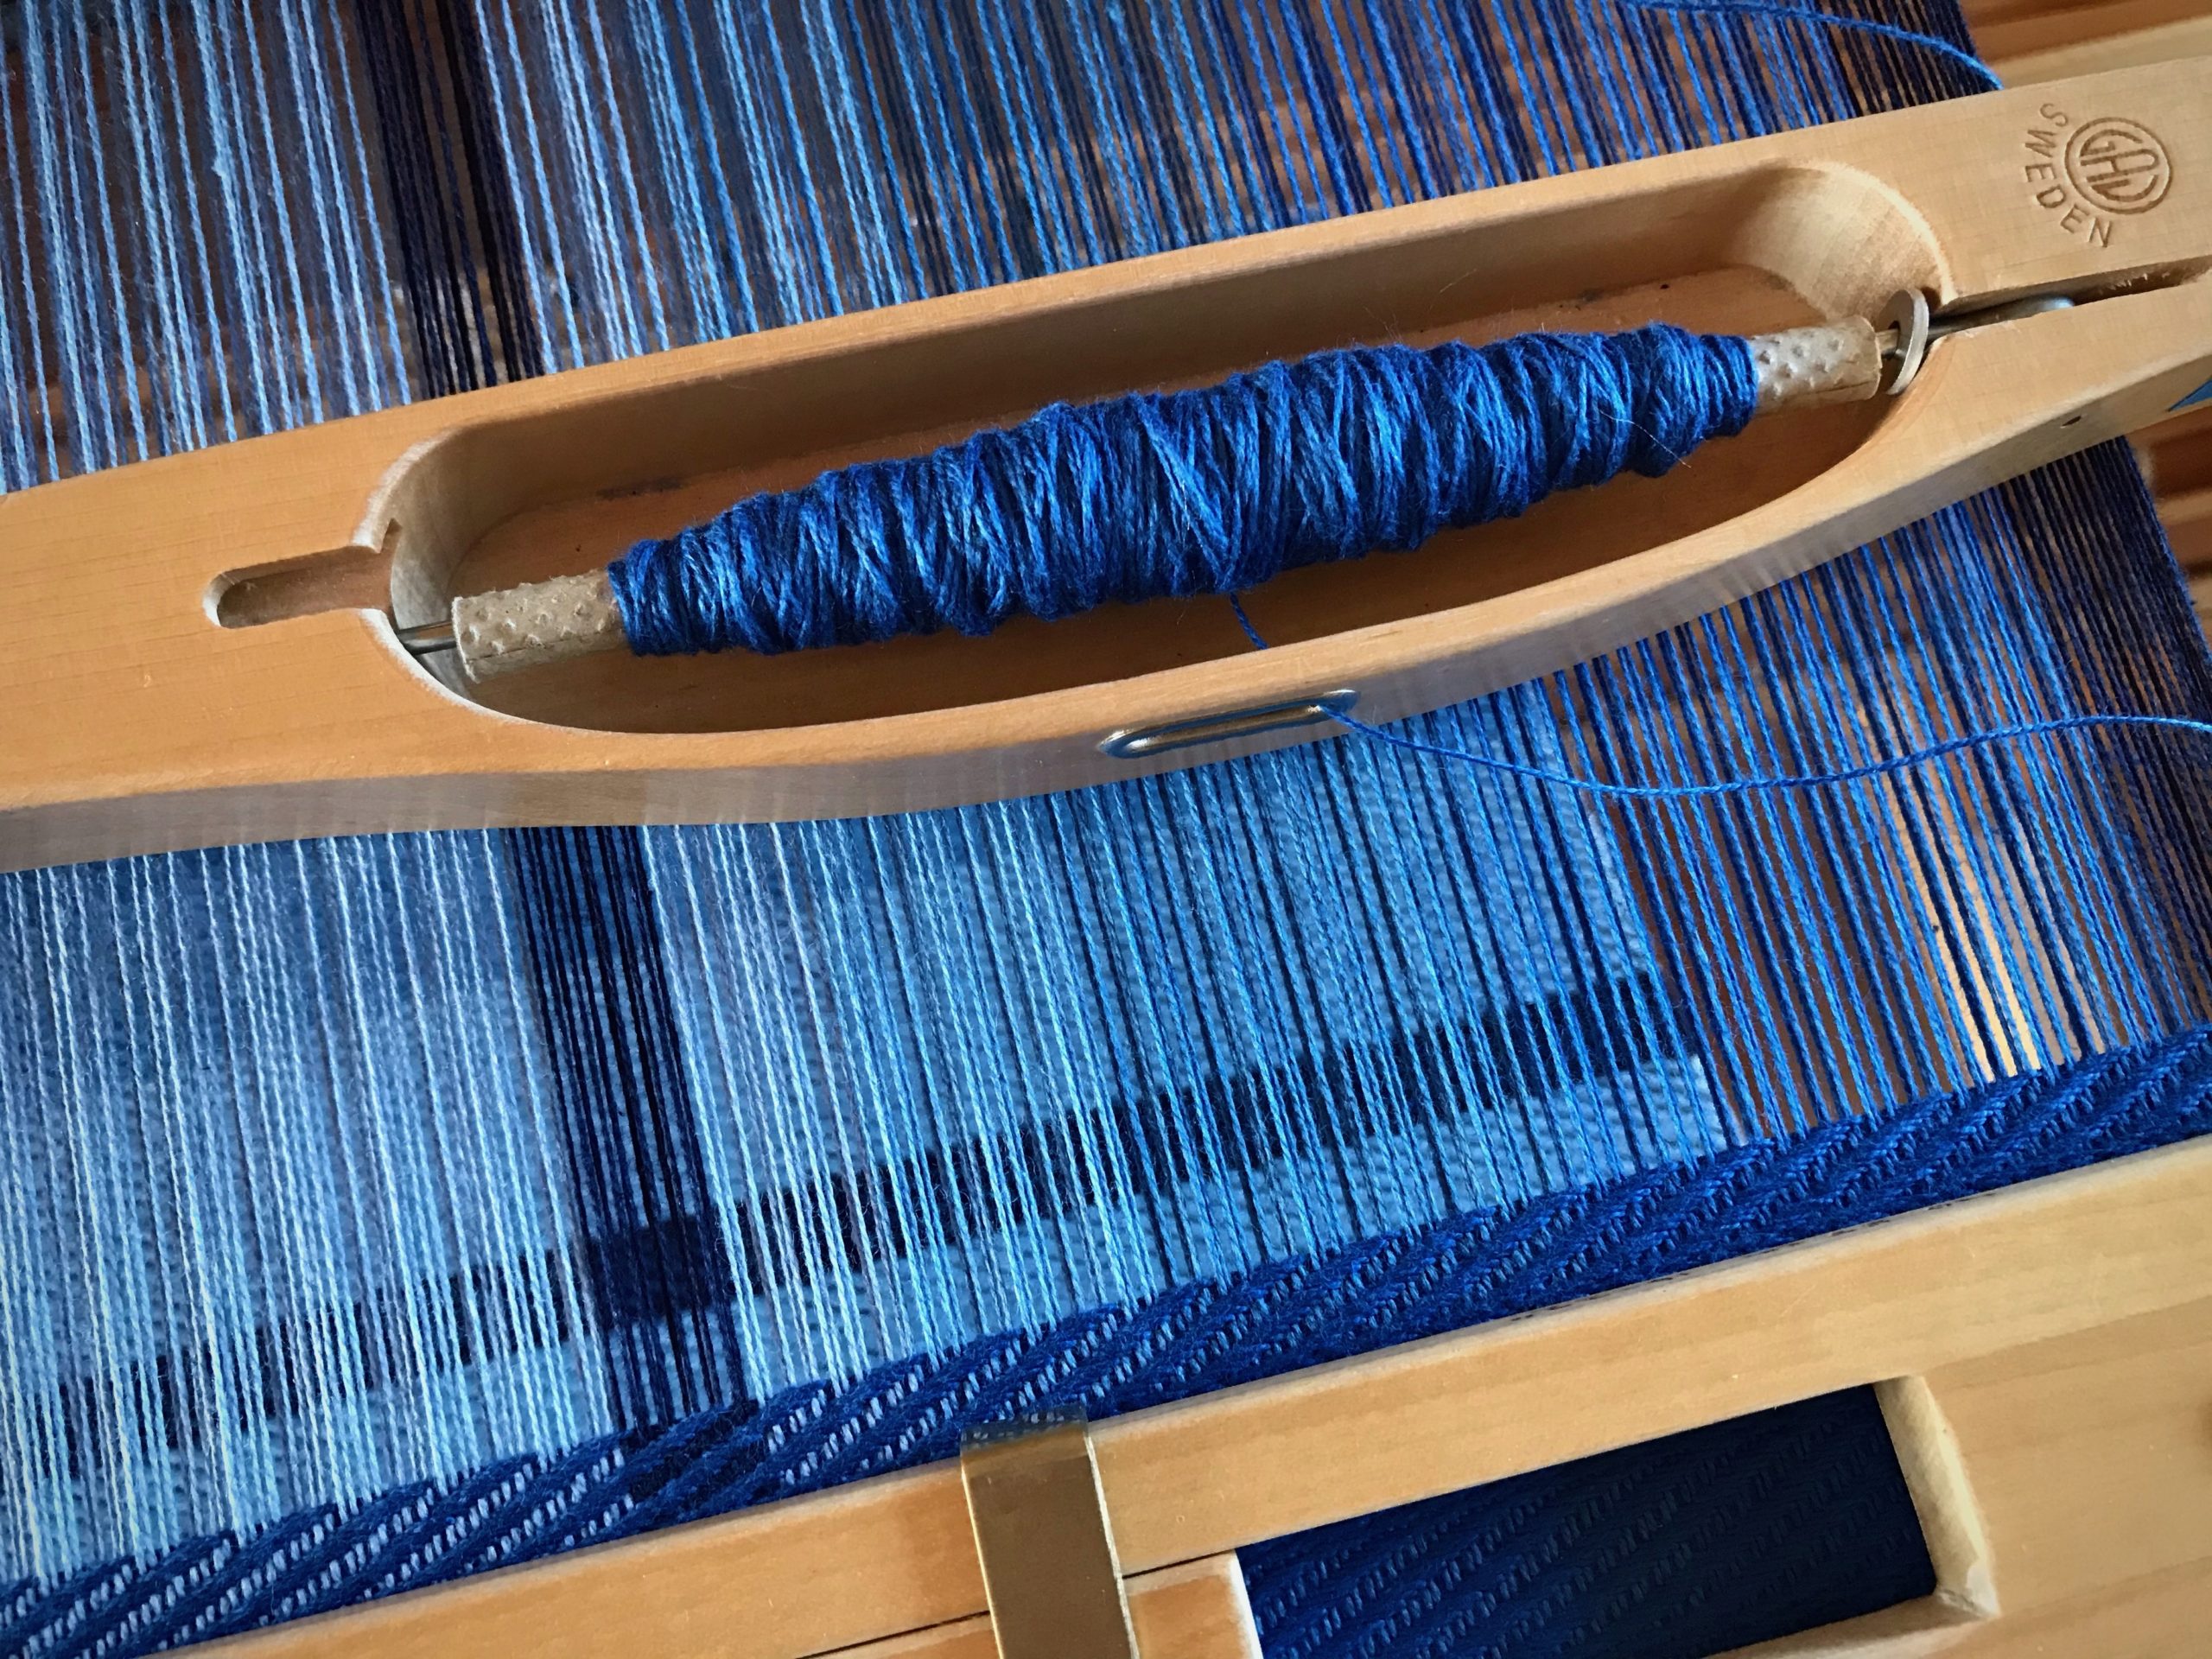
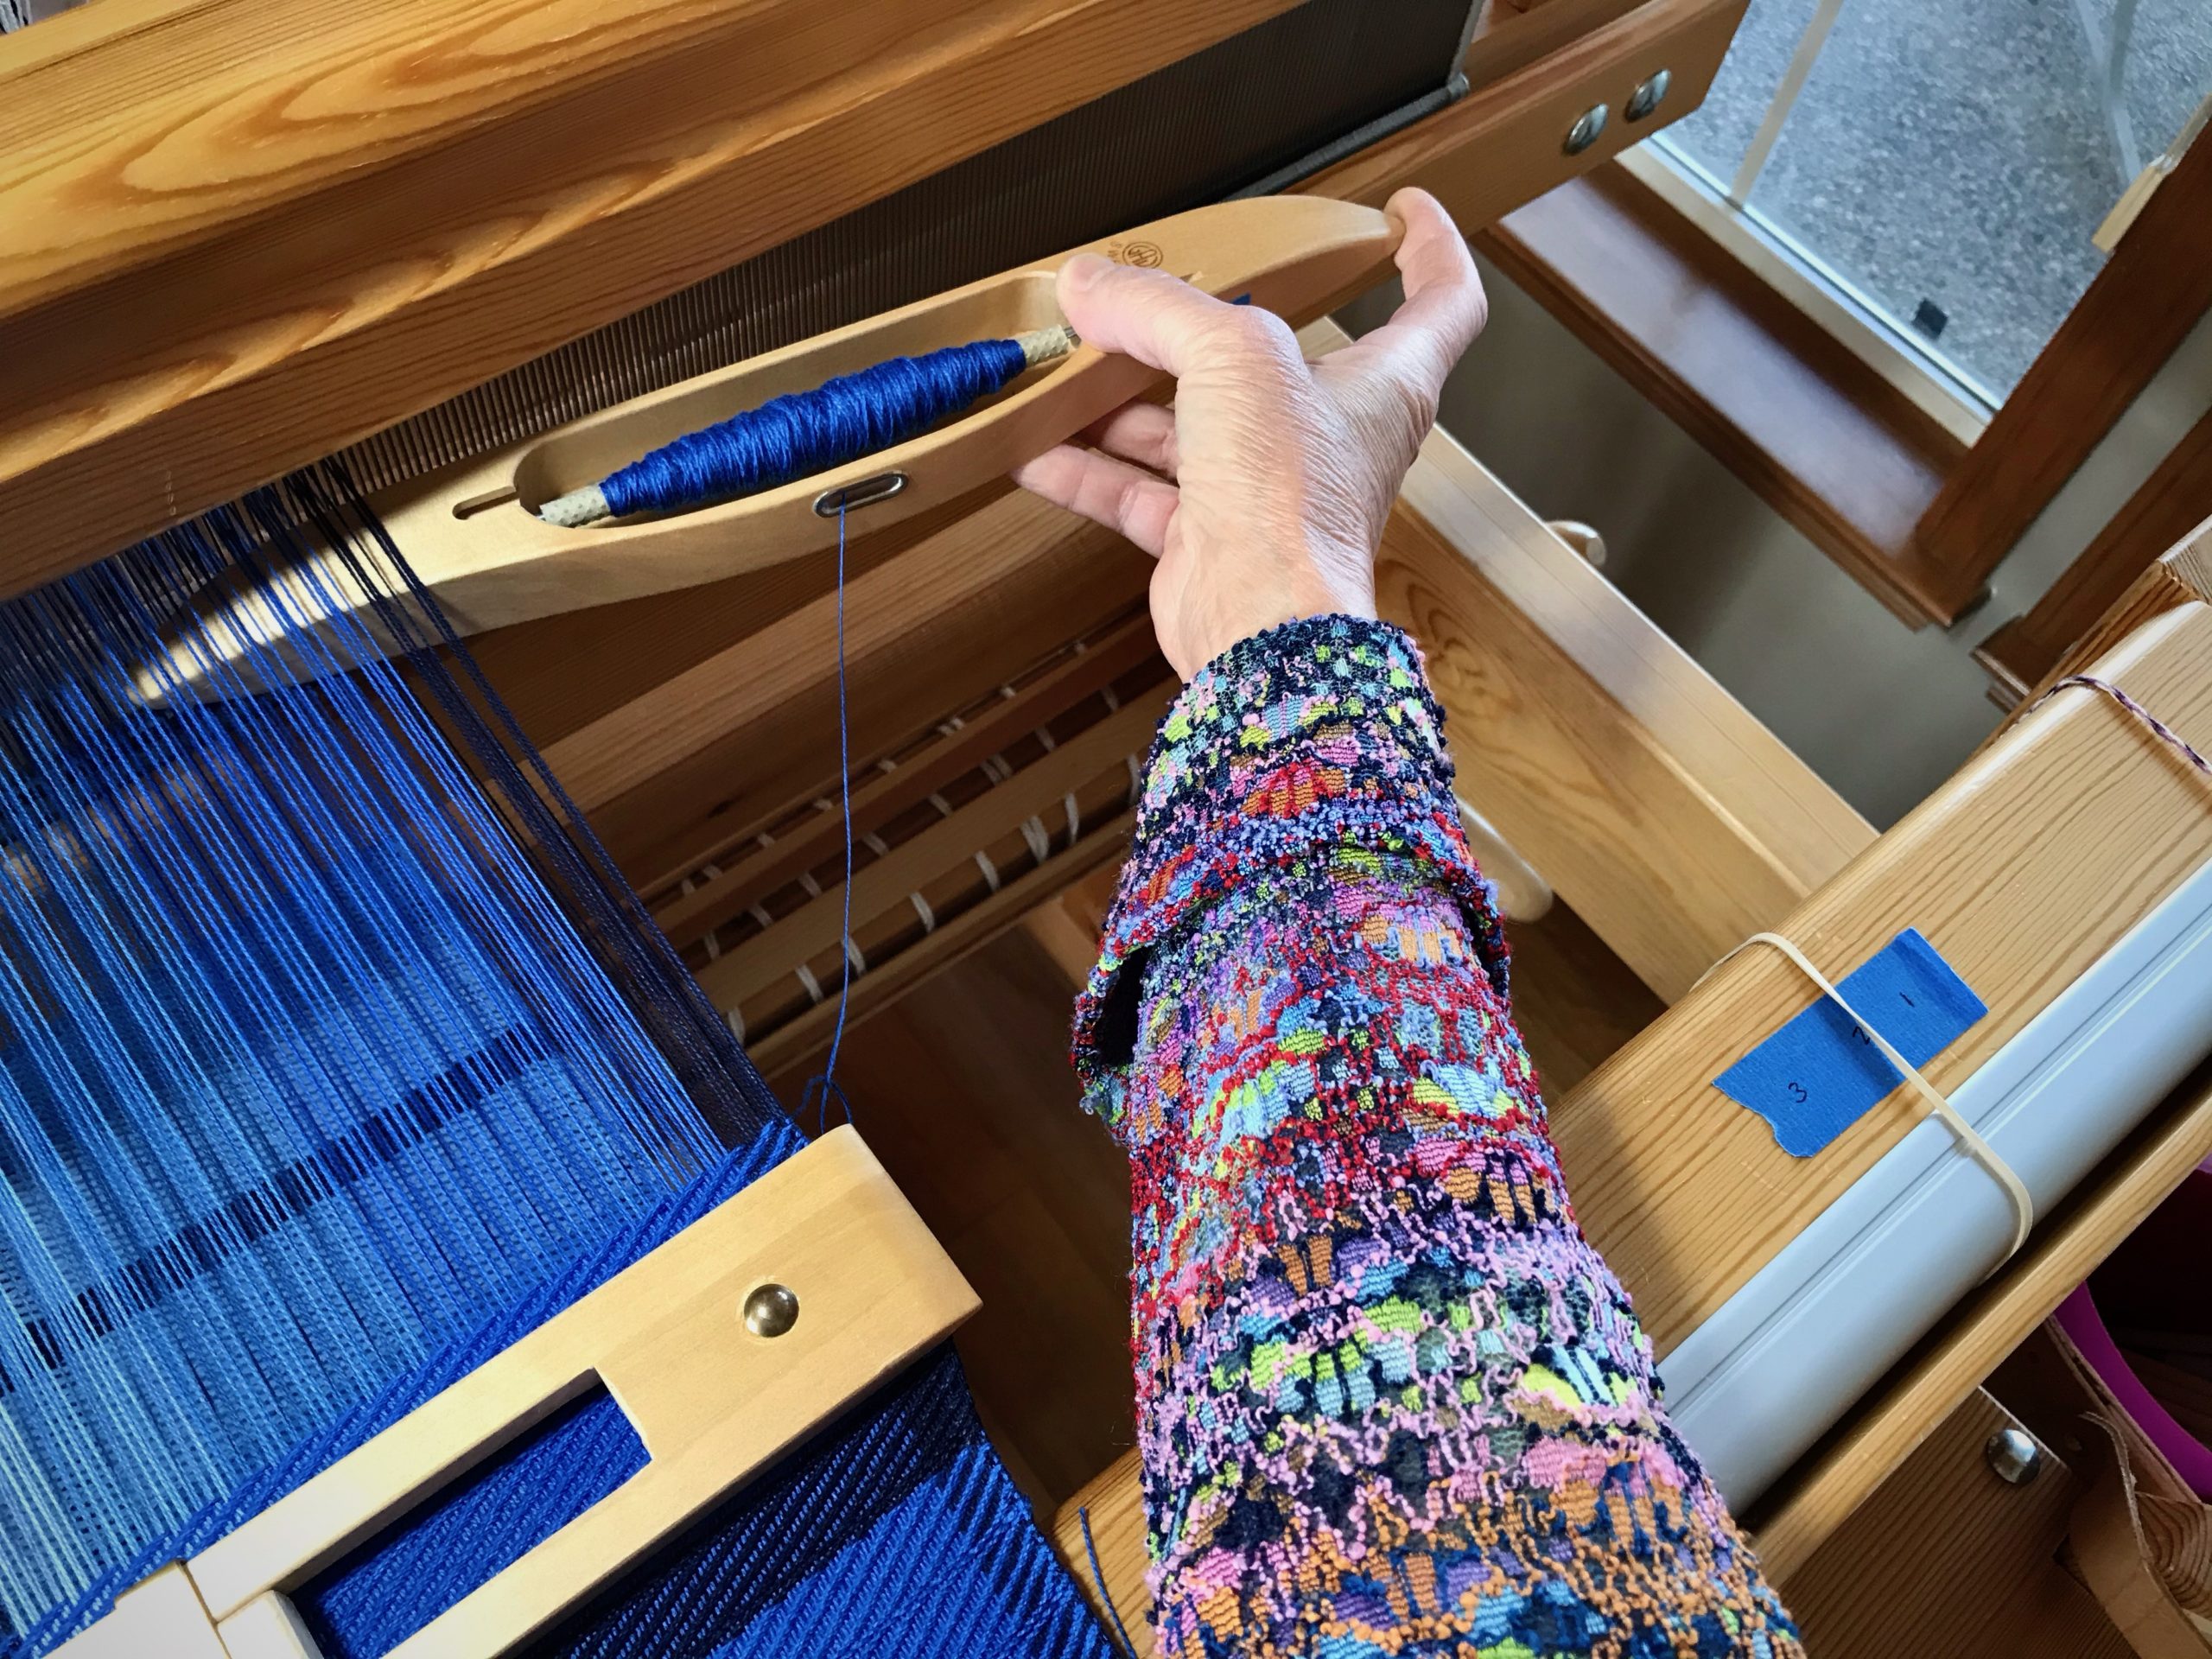
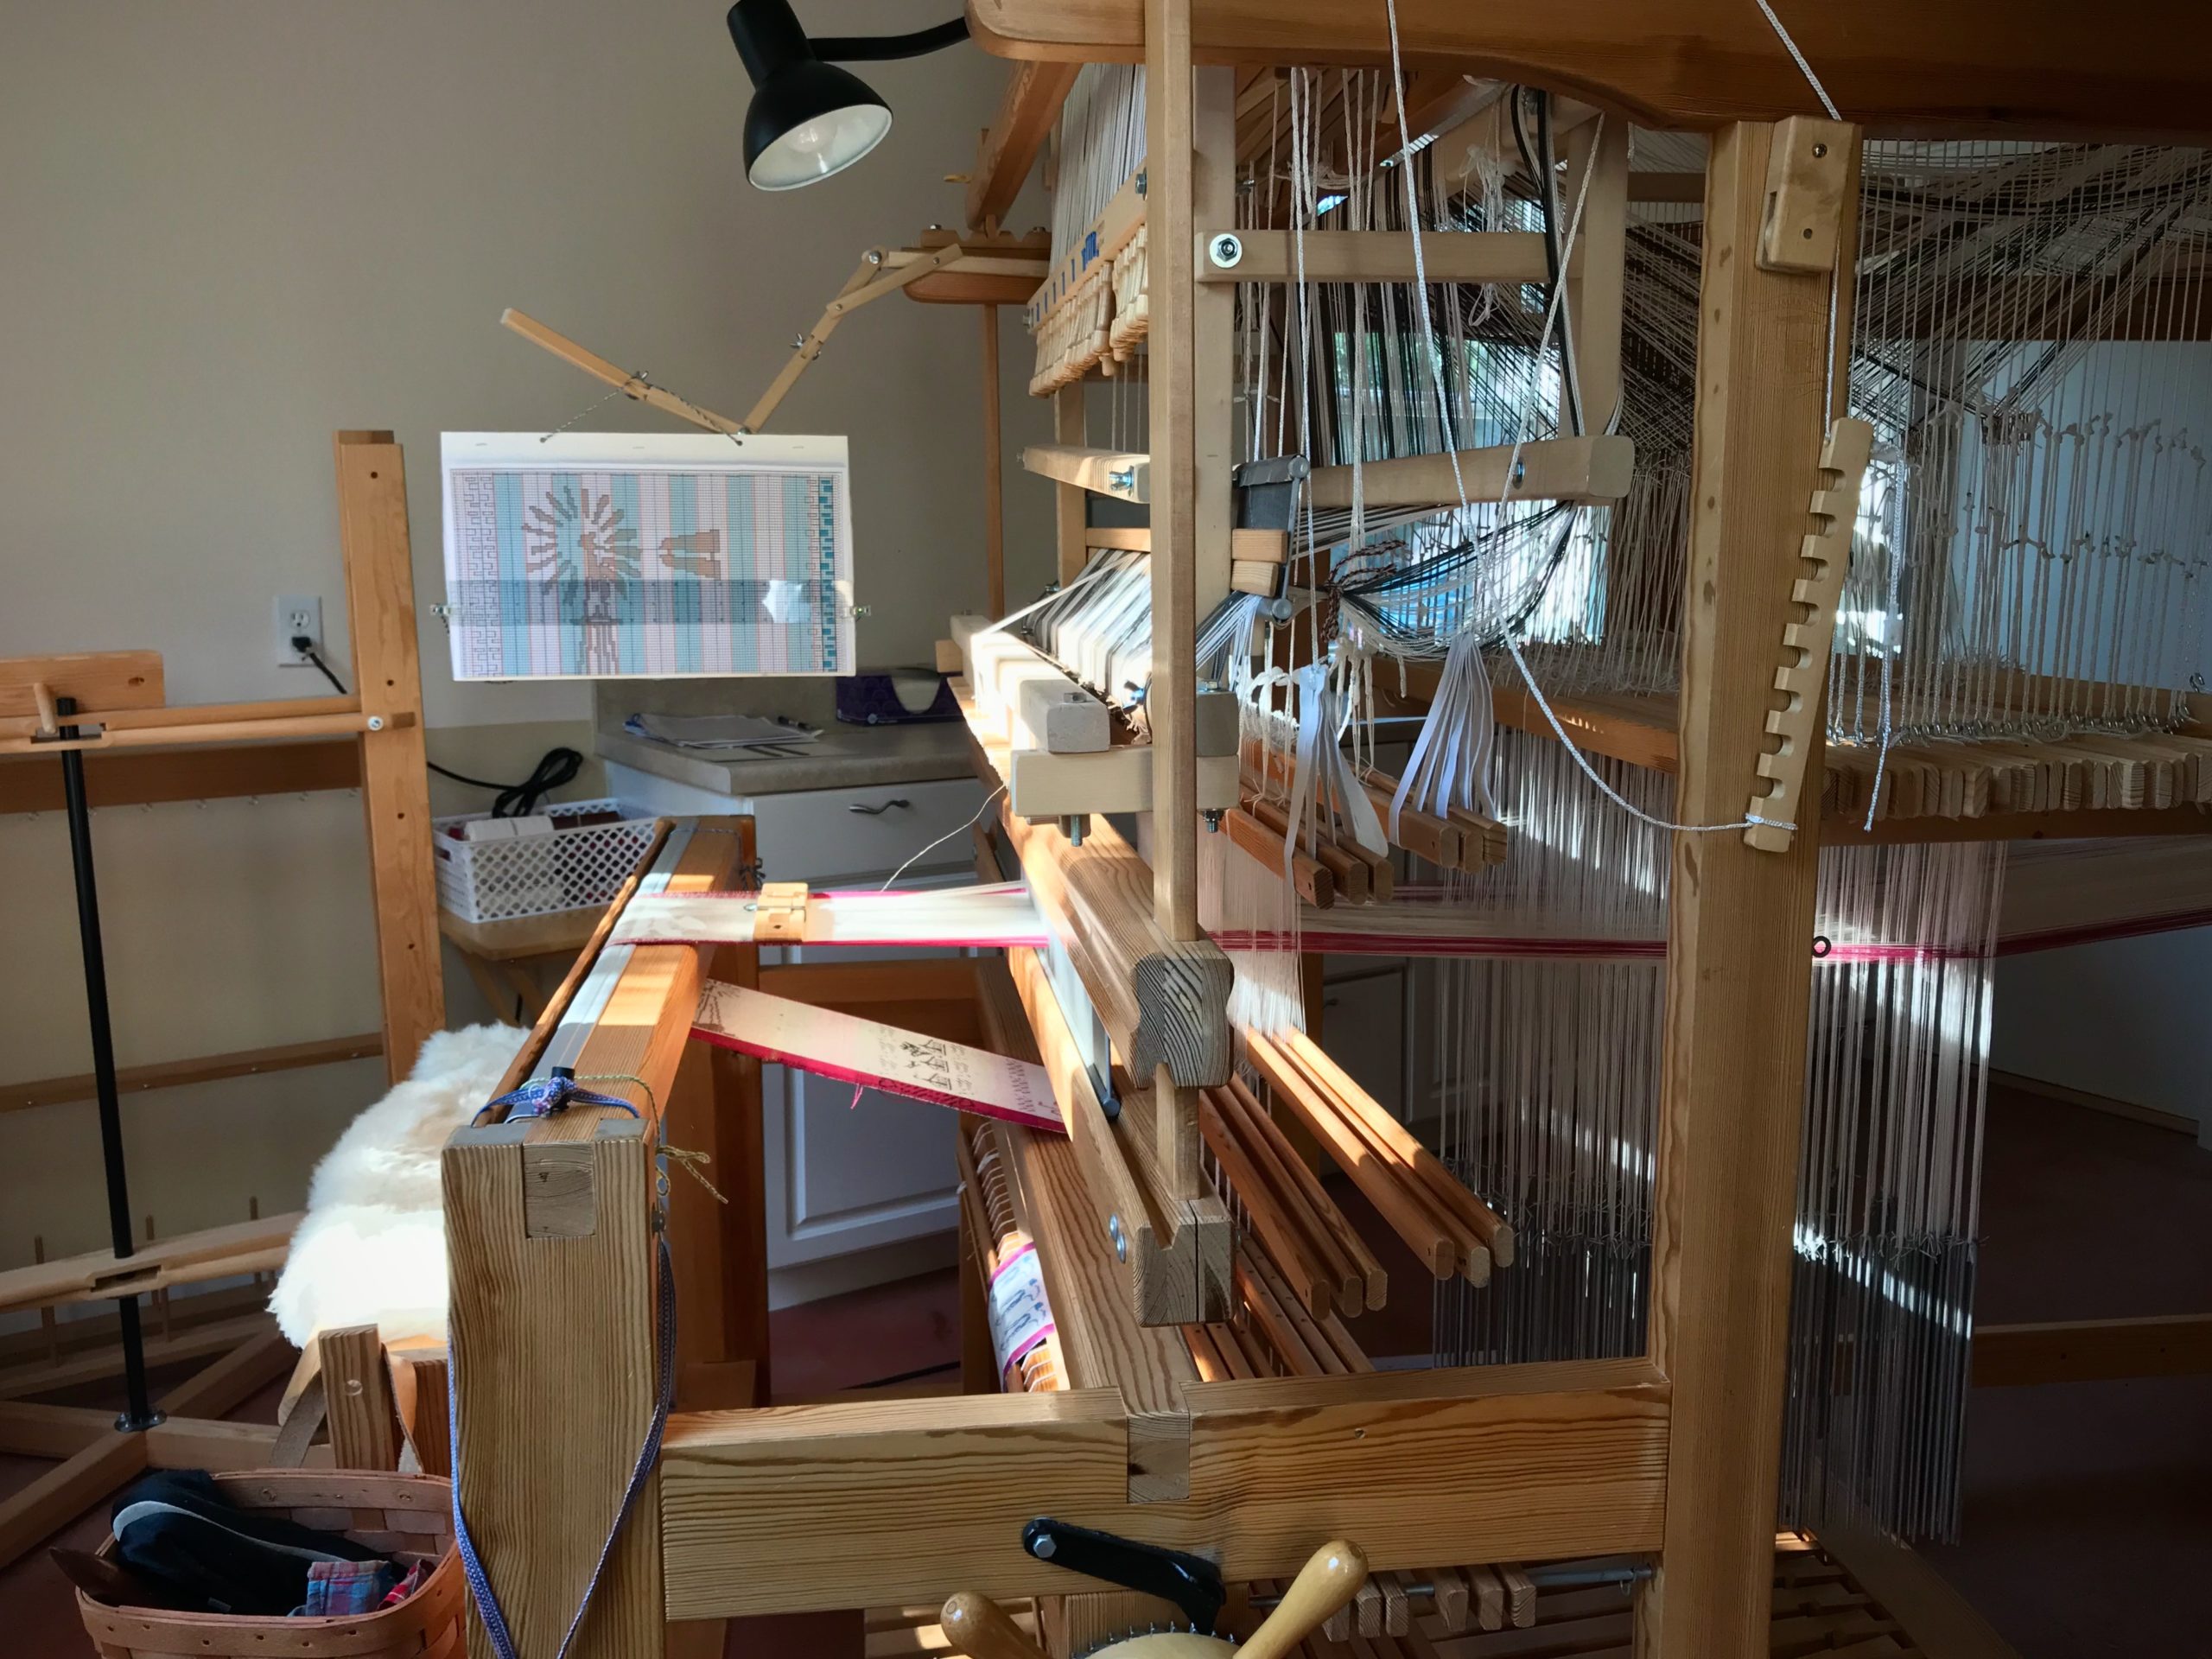
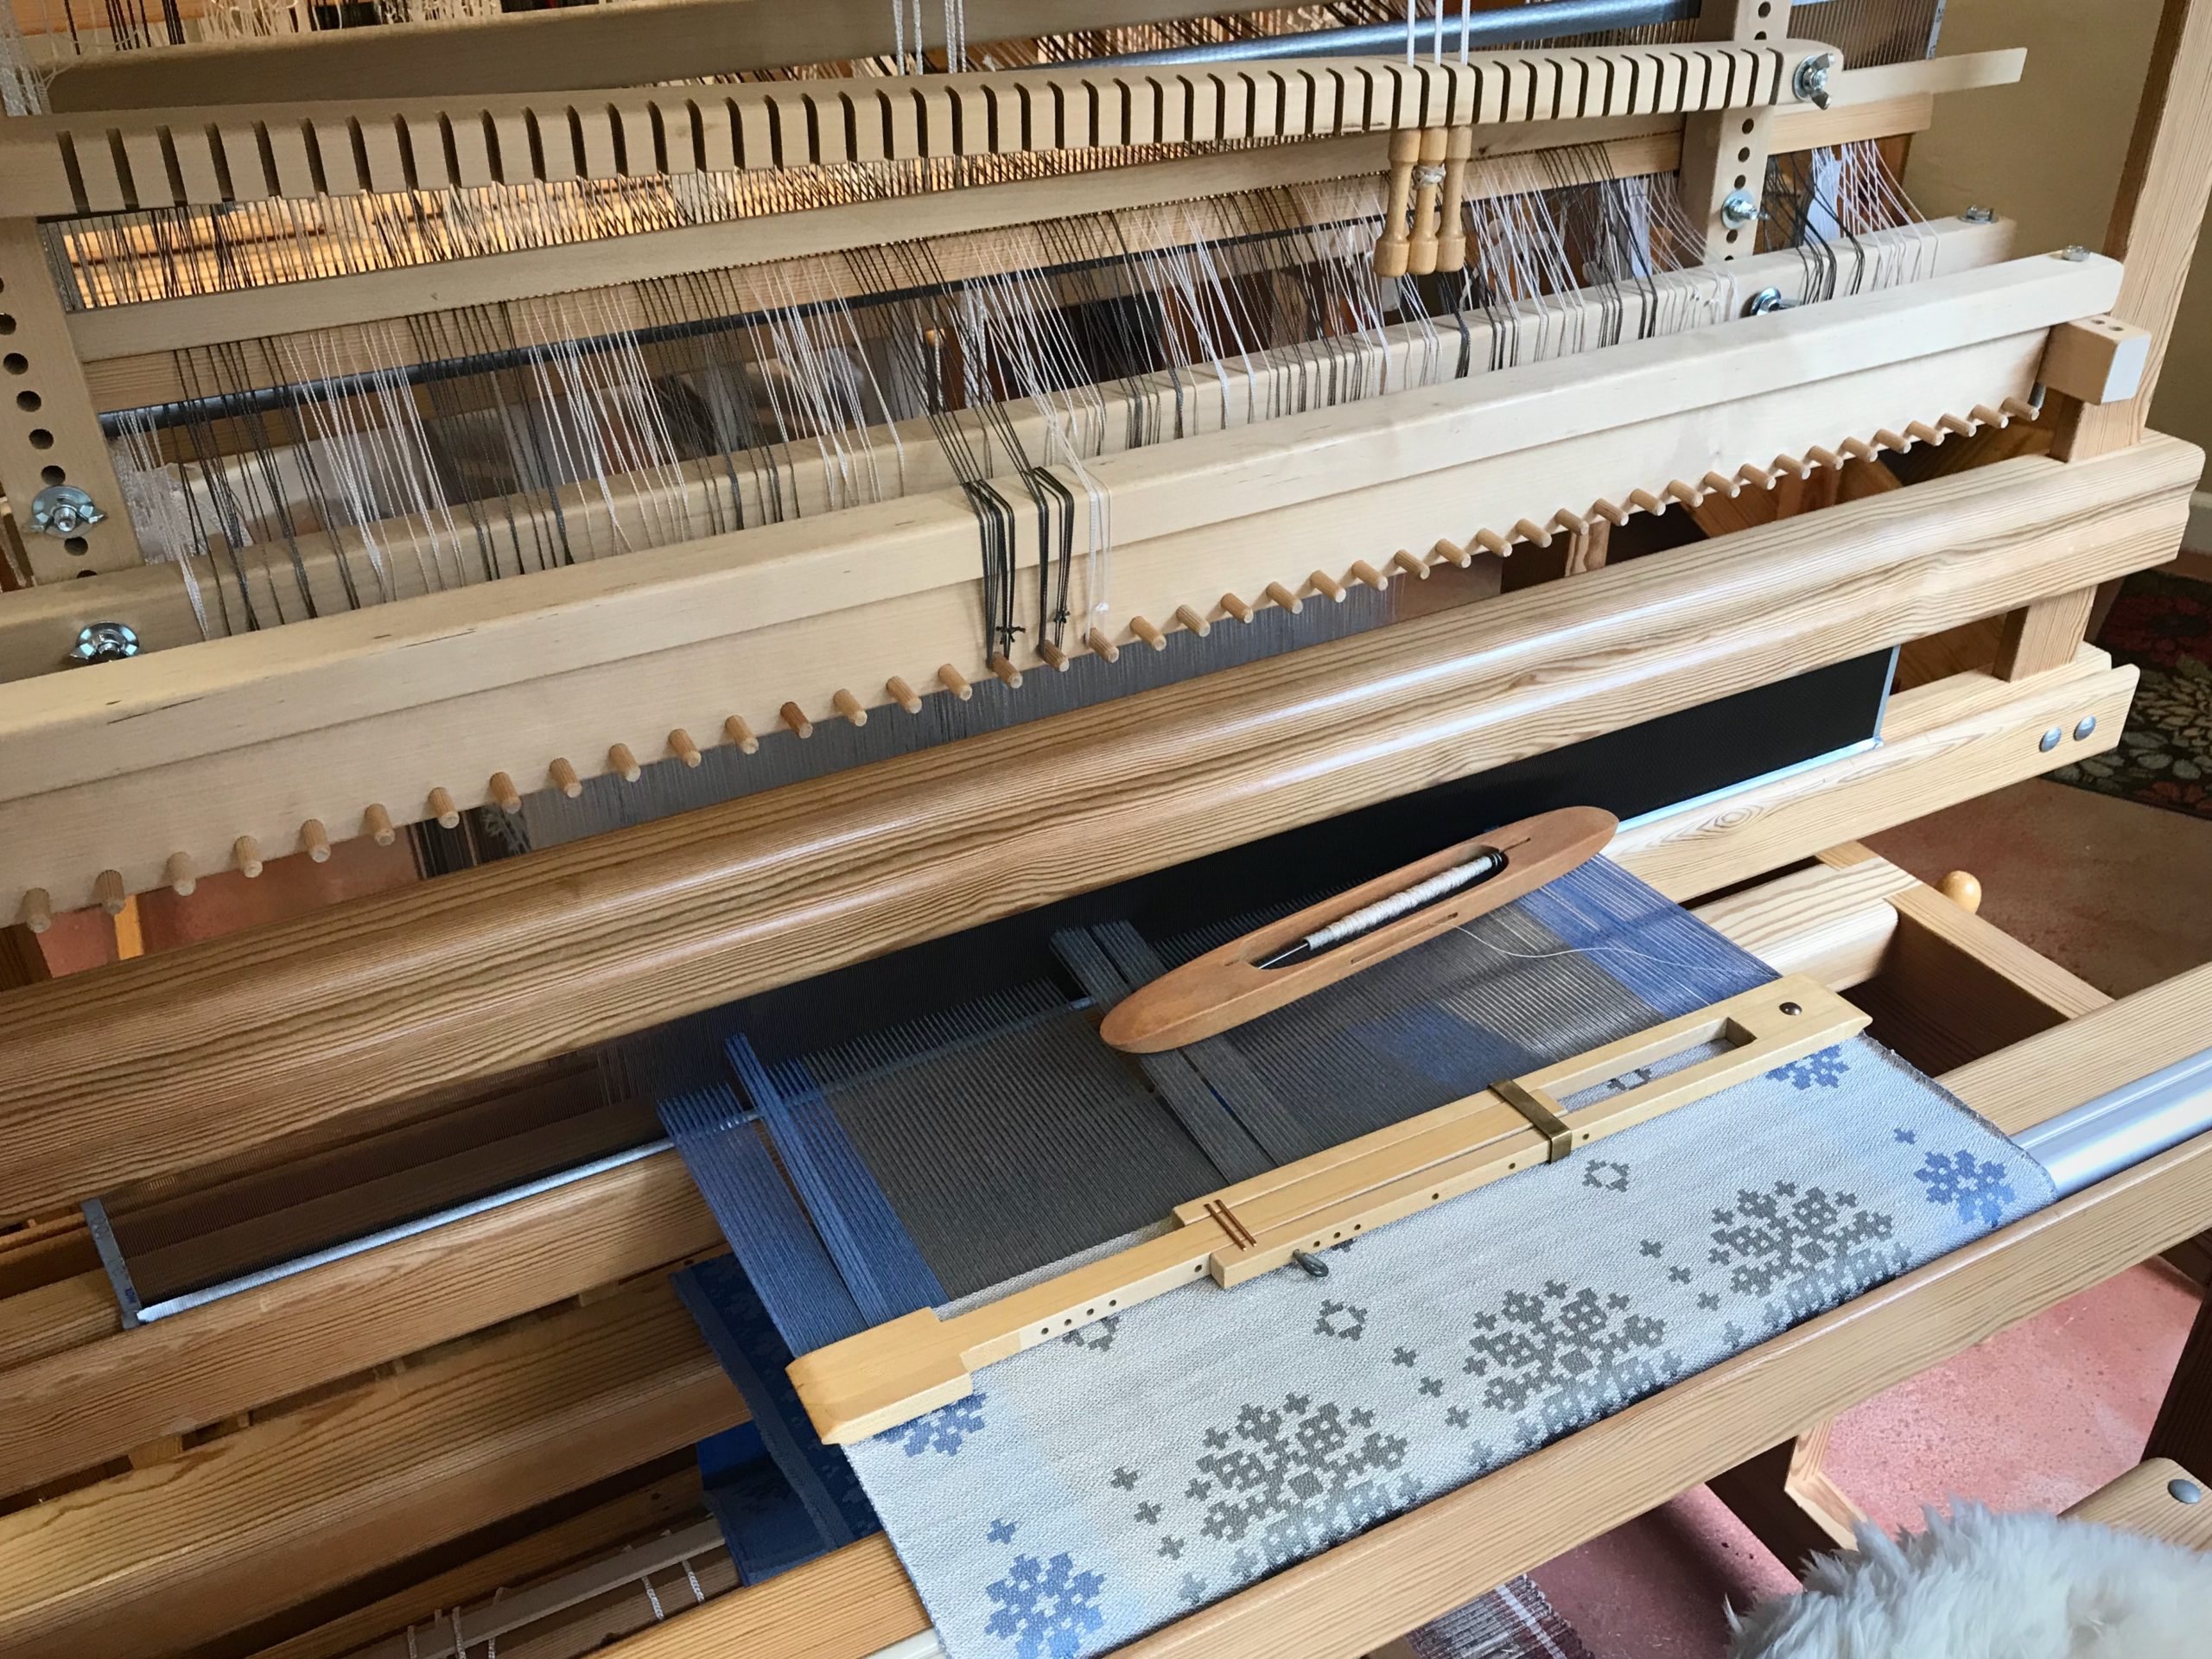
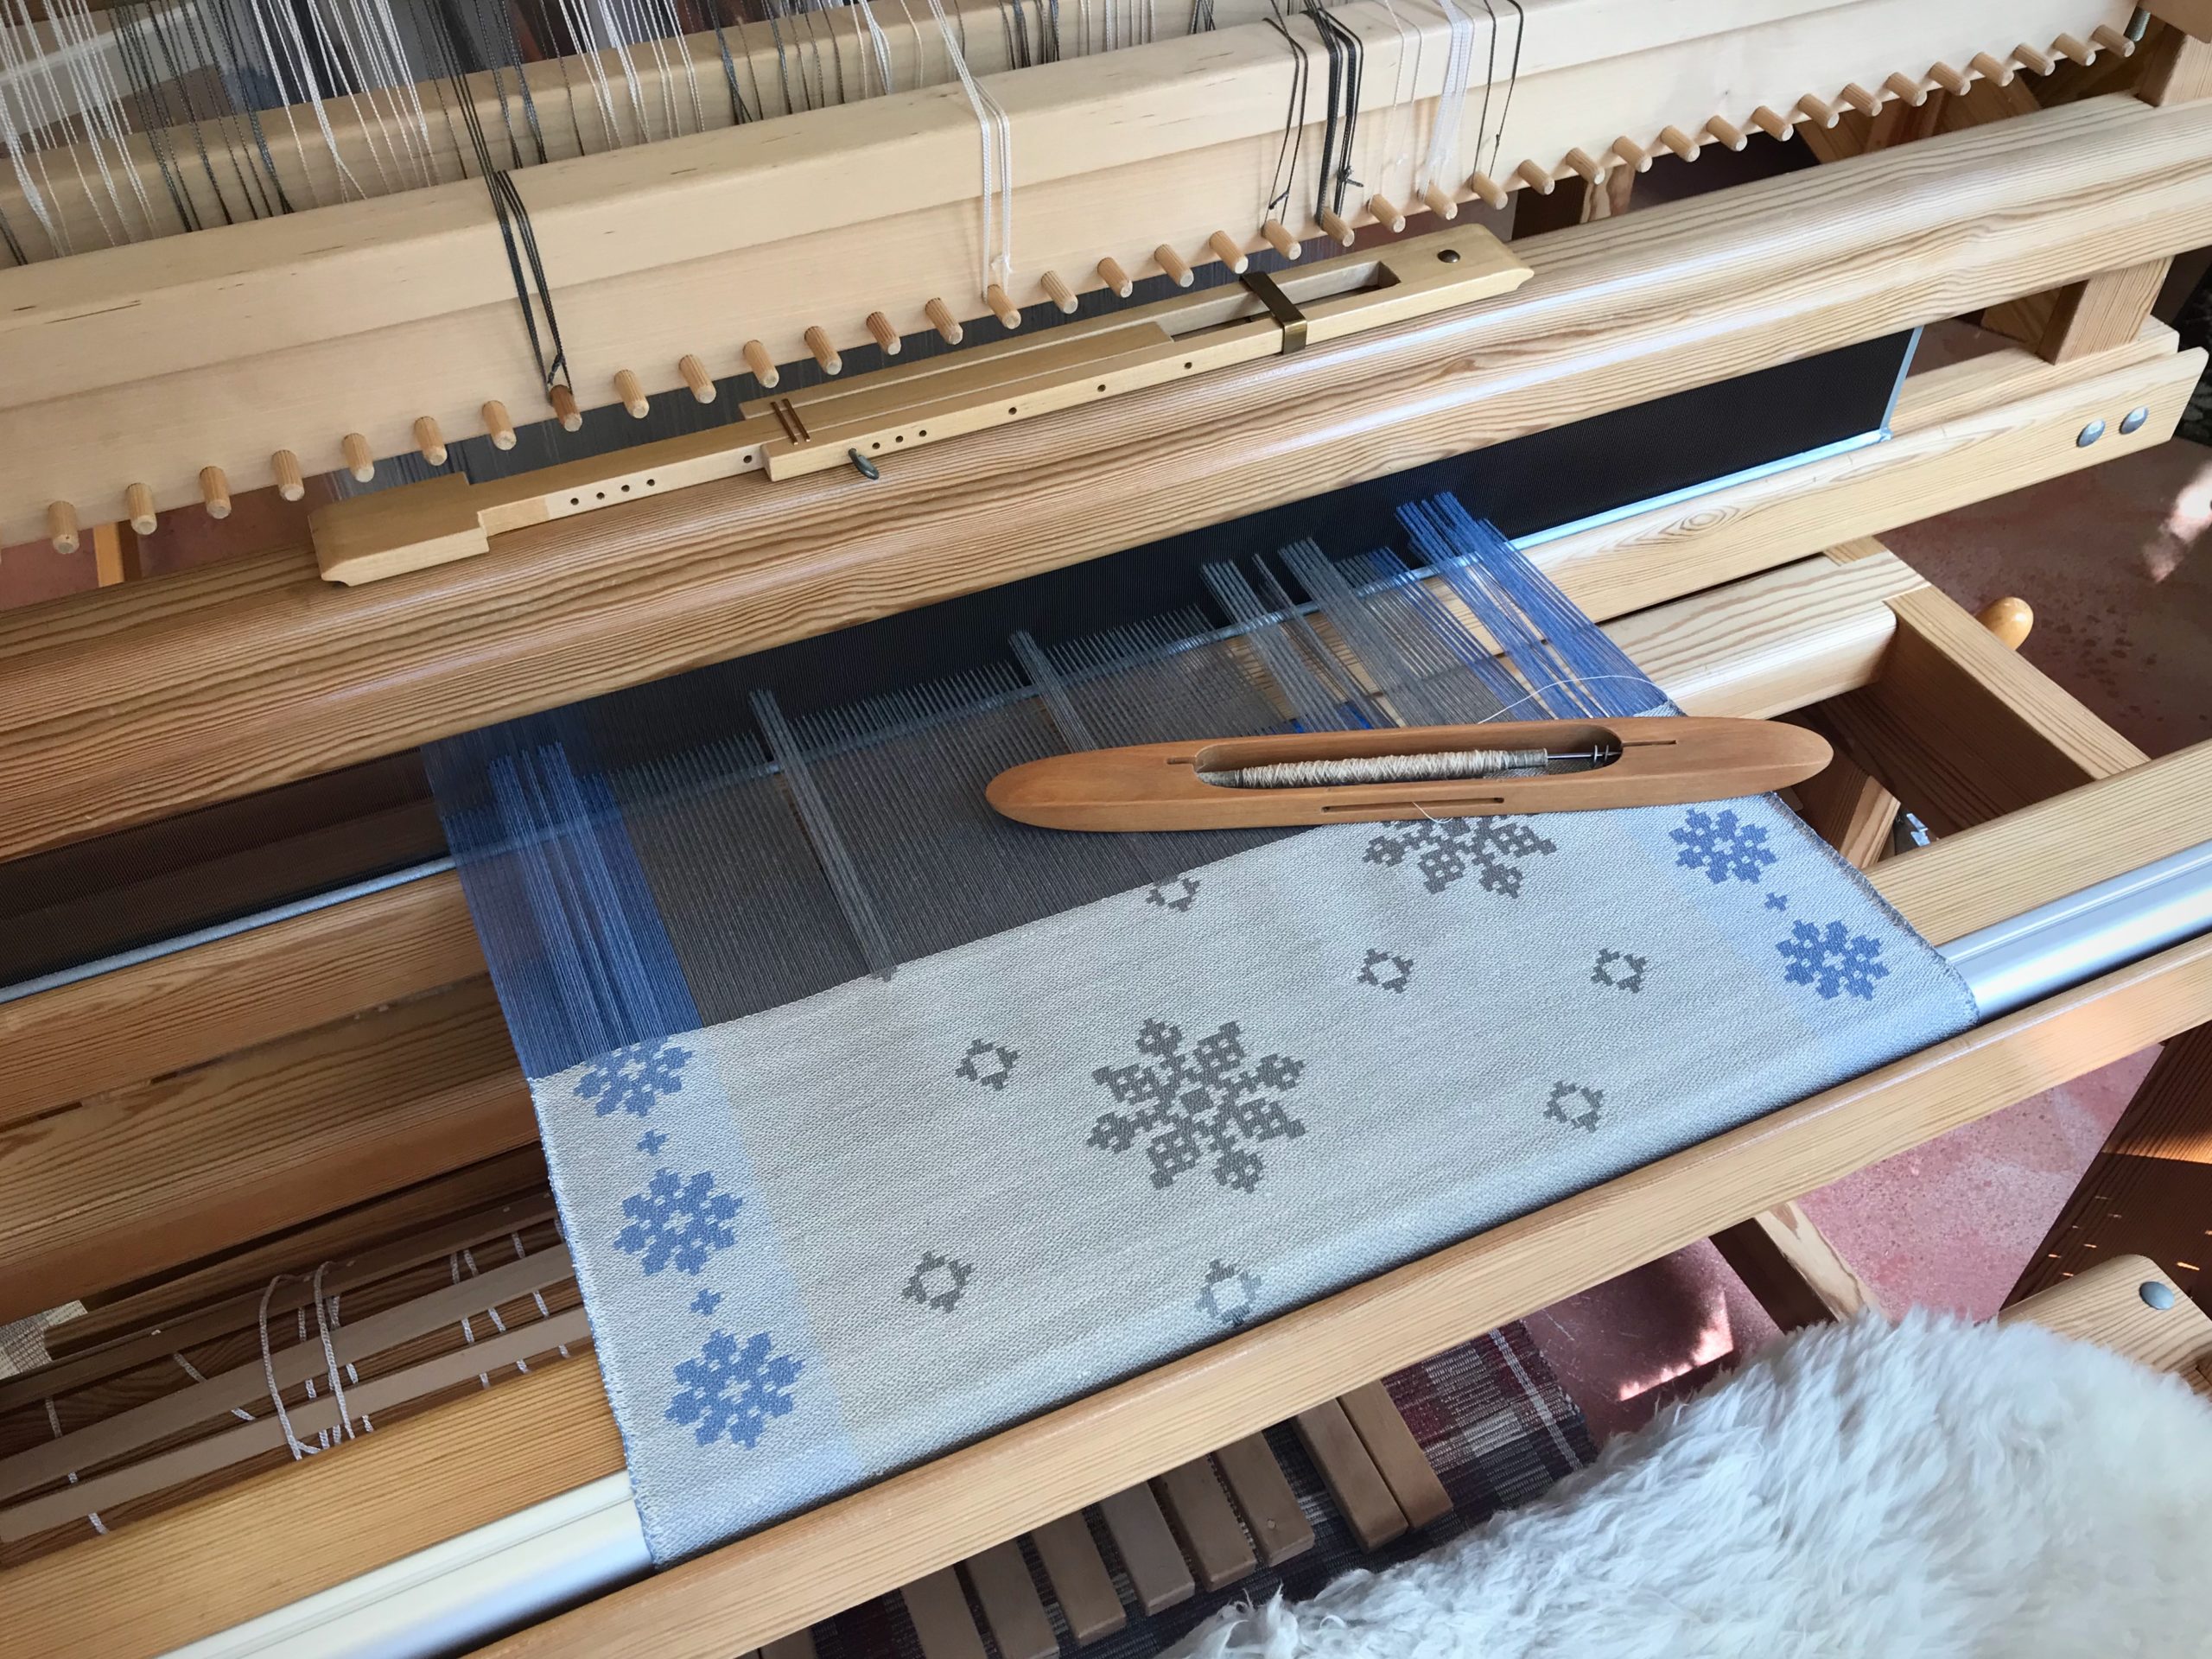
This Myrehed combination drawloom attachment functions as a thread lifter. When I pull a draw handle for a pattern shaft, a series of thread units are raised. When I pull a draw cord for a single unit, one unit of threads is raised. I am using 45 pattern shafts for the repeated snowflake border designs on these towels. The center area of each towel has small and large snowflake designs at varying intervals. These irregular designs are created using 148 single units. It’s because of all those lifted warp ends that we can create woven snowflakes.

Temple in position. Three pulled draw handles lift thread units at the side borders. Several pulled single-unit draw cords (black cords and white cords) lift single units for an off-center large snowflake design.
Lifted warp ends.

We expect to have worries in this life. Daily needs come as repeated patterns. Other disturbances come at irregular intervals. Worry is eliminated in God’s kingdom. God’s kingdom has a worry lifter–Jesus. He invites us to give him our worries and trust him to care for us. Imagine the one-of-a-kind design that emerges when worries are lifted!

May your worries fade away.

In living hope,
Karen,

Combination Drawloom – Simple and Engaging

I am constantly improving my methods of operating the drawloom. I pull and release draw handles and draw cords, check for errors, and throw the shuttle for each unit of threads (six times per unit with the current setup). Everything is in order. And, while I’m actively absorbed with this mental and physical choreography, I experience freedom from every other care.

Hem of towel is bleached 16/1 linen weft, and then green 16/2 linen weft. The pattern area of the towel is woven with royal blue 16/1 linen weft.
Solid row of pattern across the warp requires that all pattern shaft draw handles are pulled. It always seems thrilling to me to see all the handles down at once!
Lower border of the towel is the easy part. Pattern shafts are used for making a repeated pattern, and no single unit cords are involved.
Pattern shaft draw handles are now relegated to the side borders. The center body of the towel uses single unit draw cords to create non-repeated pattern. The single units give me freedom to design a (planned) random snowfall expression.
Snowflake Towel 01 is wrapping around the cloth beam. Snowflake Towel 02 is going over the knee beam. Snowflake Towel 03 is being woven. Snowflake Towel 04 will be the final towel on this warp. (But, who knows what I’ll be able to weave after that to the very end of the warp?)

These snowflake patterns are delightful to weave. There is enough consistency with the border pattern shafts to make it simple. And there is enough (planned) random snowflakes using single units and pattern shafts to keep it engaging. All I have to do is follow the graphed chart. As I weave, the snowflakes emerge, as if by magic. But it’s not really magic, is it?

Standard procedure is to always have a temple in place. I have rubber bands on the first and last draw handles for the side border pattern, and on the center handle for the border pattern (not pulled in this photo).
Everything works together! …for the good of the fabric being woven.
Sometimes one single unit is enough to make the next row of pattern.
I keep the chart at eye level and constantly refer to it. Closely following the chart is the only way I can hope to weave something worthwhile on the combination drawloom.

If you believe in Jesus you must walk with him. And as you do, you come to know the truth. Truth is found by walking in it. The pattern on the chart is true, and gives direction. The delight comes as we see the real-time results emerge in our own hearts. That’s freedom in its purest form.

May your search for truth bring freedom.

Happy Weaving,
Karen

Coverlet Rag Rug

This rag rug could be a coverlet if woven in different materials. The distinctive block design from a Landes Block Drawdowns collection gives me an exciting approach for weaving a double-binding rag rug.

Coverlet Rag Rug on the Glimåkra Ideal loom. Cotton fabric strips are sorted in the Ikea cart by the loom.
Double Binding uses two shuttles. The two wefts exchange places on the face and back of the cloth.

Double binding is a double-layer fabric in a simple two-block structure. In each block, one of two wefts appears on the face, and the other appears on the back. I switch weft blocks by reversing the order of the two wefts. It’s that simple. For example, one pick of dark weft is followed by a pick of light weft. This sequence is repeated for a few rows. To change to the next block, with the opposite arrangement of dark and light, start with one pick of light weft and follow that with a pick of dark weft, repeating for the remainder of that block.

Temple, removed and placed on the beater for pictures, is a necessary tool for weaving rag rugs.
Variation in the light wefts and in the dark wefts adds interest.
Changing blocks and changing colors.
View from further away shows more of the coverlet design. Only when cut from the loom will we see the whole thing!

A small change repositions everything. Simply reversing the weft order puts a different face on the cloth. What direction am I taking my life? Reverse course to make way for a new life pattern. When we are left alone in the dark, God comes and offers a better way. Give up my way, reverse course, and go his way. Everything changes in such an encounter. Darkness to light.

May you see when to reverse course.

Happy Weaving
Karen

Tried and True: How to Count to Three – and Other Weaving Tips

We weavers are resourceful. We enjoy finding solutions that make our time at the loom more efficient, while raising the quality of our weaving. We’ve done some of these little tricks so much we don’t think about them anymore. And then, some innovations are things we think up on the spot because necessity, as you know, is the mother of invention.

Keep Count

Necessity: Keep from losing my place with treadling repeats.
Solution: A strip of blue painter’s tape with “3 2 1” and a rubber band, placed on the breast beam. Move the rubber band on the tape (from right to left) to track repeats.

Weaving tips - low tech solutions.
I need help counting to 3 when it comes to treadling repeats. On the Glimåkra Standard loom, I am able to loosen the warp enough to lift the breast beam so I can put a rubber band on it. Without a removable breast beam, one could use a separate small piece of tape instead of a rubber band to keep track.
Keep track of repeats. Blog post with tips and tricks.
Low tech solution for keeping track.

Shuttle Catch

Necessity: Keep from fumbling the catch, having to reposition the shuttle in my hand to send it back across the warp.
Solution: Keep my eye on the shuttle. If I turn my head to watch the movement of the shuttle, my catching and throwing improves immediately. This makes my selvedges improve, too.

Weaving tips and tricks. Easy tip on how to catch the shuttle perfectly.
It is easy to throw and catch the shuttle without actually looking at your hands. I have to consciously remember to turn my head to follow the shuttle with my eyes.

Leave No Trace

Necessity: Keep from leaving slightly perceptible lines in the woven cloth that reveal every time I stop to move the temple and advance the warp.
Solution: When it is almost time to advance the warp, I move the temple and then weave one or more pattern sequence(s) before advancing the warp. This helps me leave no trace of starting and stopping.

Tips and tricks for the weaving loom.
Almost ready to advance the warp, I remove the temple and reposition the pins on my guide tape. Then, I put the temple back on, near the fell line.
Tips about when to advance the warp.
After moving the temple, I weave one or more complete treadling sequences before advancing the warp.
Three simple weaving tips for efficiency and quality!
After advancing the warp, I know exactly where I left off because of my tape-and-rubber-band counter. My eyes are on the shuttle to continue this segment of weaving.

Do you have a simple tip that improves your efficiency and/or quality at the loom? Please share in the comments.

May you notice what you’re doing.

Happy Weaving,
Karen

Drawloom Windmill and Taildragger – Version 2

I’m curious. How much difference will it make to change the direction of the design? I wove the first Windmill and Taildragger from the side. (See Time Lapse: Windmill and Taildragger on the Drawloom.) This second one, I am weaving from bottom to top. For one thing, I know I can enlarge the image if I turn it upright, giving me more distinct details.

Windmill and Taildragger woven on the drawloom.
Windmill and Taildragger – Version 1, from the side. Beginning of Windmill and Taildragger – Version 2, upright.
Taildragger on the drawloom.
More detail is possible with the expanded size of the image. Center image and lower border use single-unit draw cords. Five pattern shafts are used for the side borders.
Temple in use on the drawloom.
Temple maintains the correct weaving width.
Glimakra Standard loom with Myrehed combination drawloom attachment.
Side view of drawloom with Myrehed combination attachment.

This second Windmill and Taildragger is indeed larger, with smoother detail lines. No surprise. What does surprise me is how much simpler this one is to weave! The single-unit pulls are more manageable now that the design is turned in a lengthwise direction. Enlargement, clarity, and ease—all from a single design adjustment.

Drawloom weaving.
Single-unit draw cords seen in the weaving of the windmill’s blades.
Windmill and Taildragger on the drawloom.
Windmill and Taildragger – Version 2
Drawloom weaving.
Version 1 and Version 2 – Windmill and Taildragger

Spoken wishes express our needs. Our wishes are sincere, but hold no power in themselves. What if we turn the direction of our wishes? When we turn those expressions upward to God they become prayer. Prayer is an expression of belief. Jesus invites us to tell him our needs through prayer. Prayer enlarges and clarifies our hopes. You may be surprised how simple it is to take your needs to the Lord in prayer.

May your prayers bring the help you need.

Peace to you,
Karen