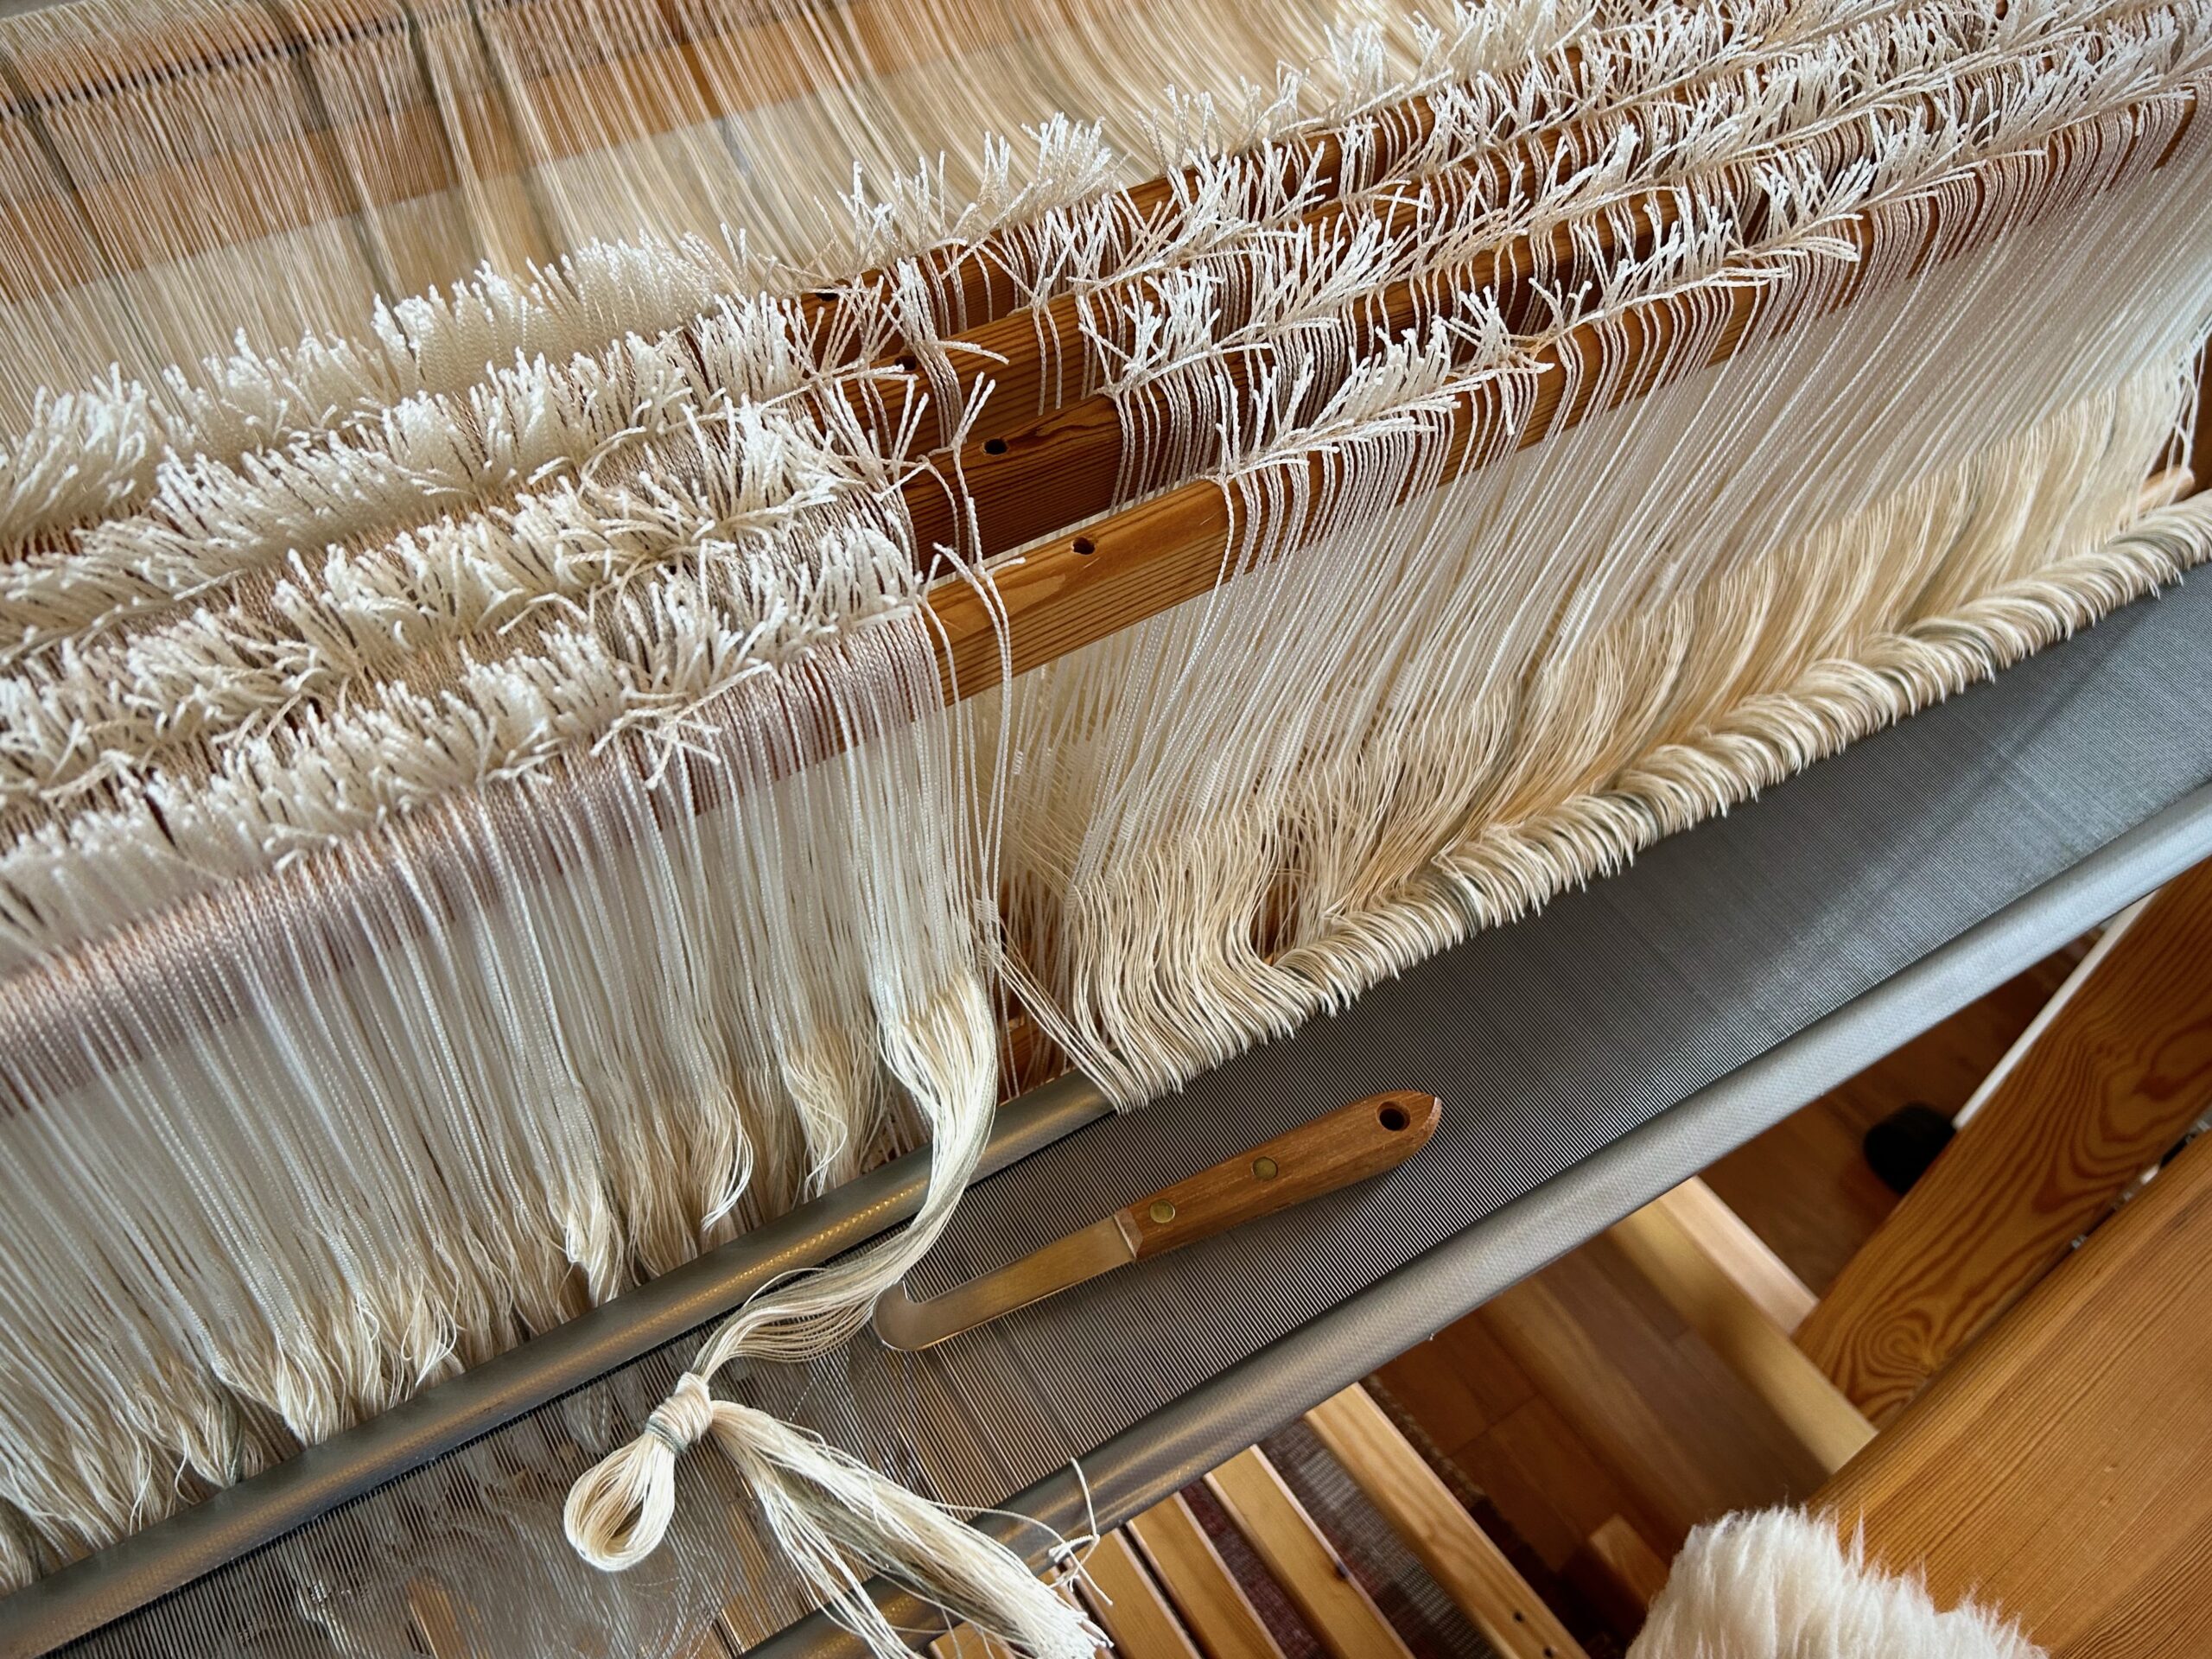
This warp is a triple challenge! 1. Full width (110 cm), 2. Fine threads (24/2 cotton), and 3. Unevenly-spaced narrow stripes. Three hours to wind the warp. Three hours to pre-sley and beam the warp. Seventeen hours to threadheddles, sley the reed, tie on the warp, and tie up the treadles. Why invest this much time and embrace this much difficulty?
1,984 ends have been threaded in heddles, and now are being sleyed through the 90/10 reed. Careful checking and re-checking all through the processes helps prevent errors.It is a good feeling when all the ends are finally in their places.
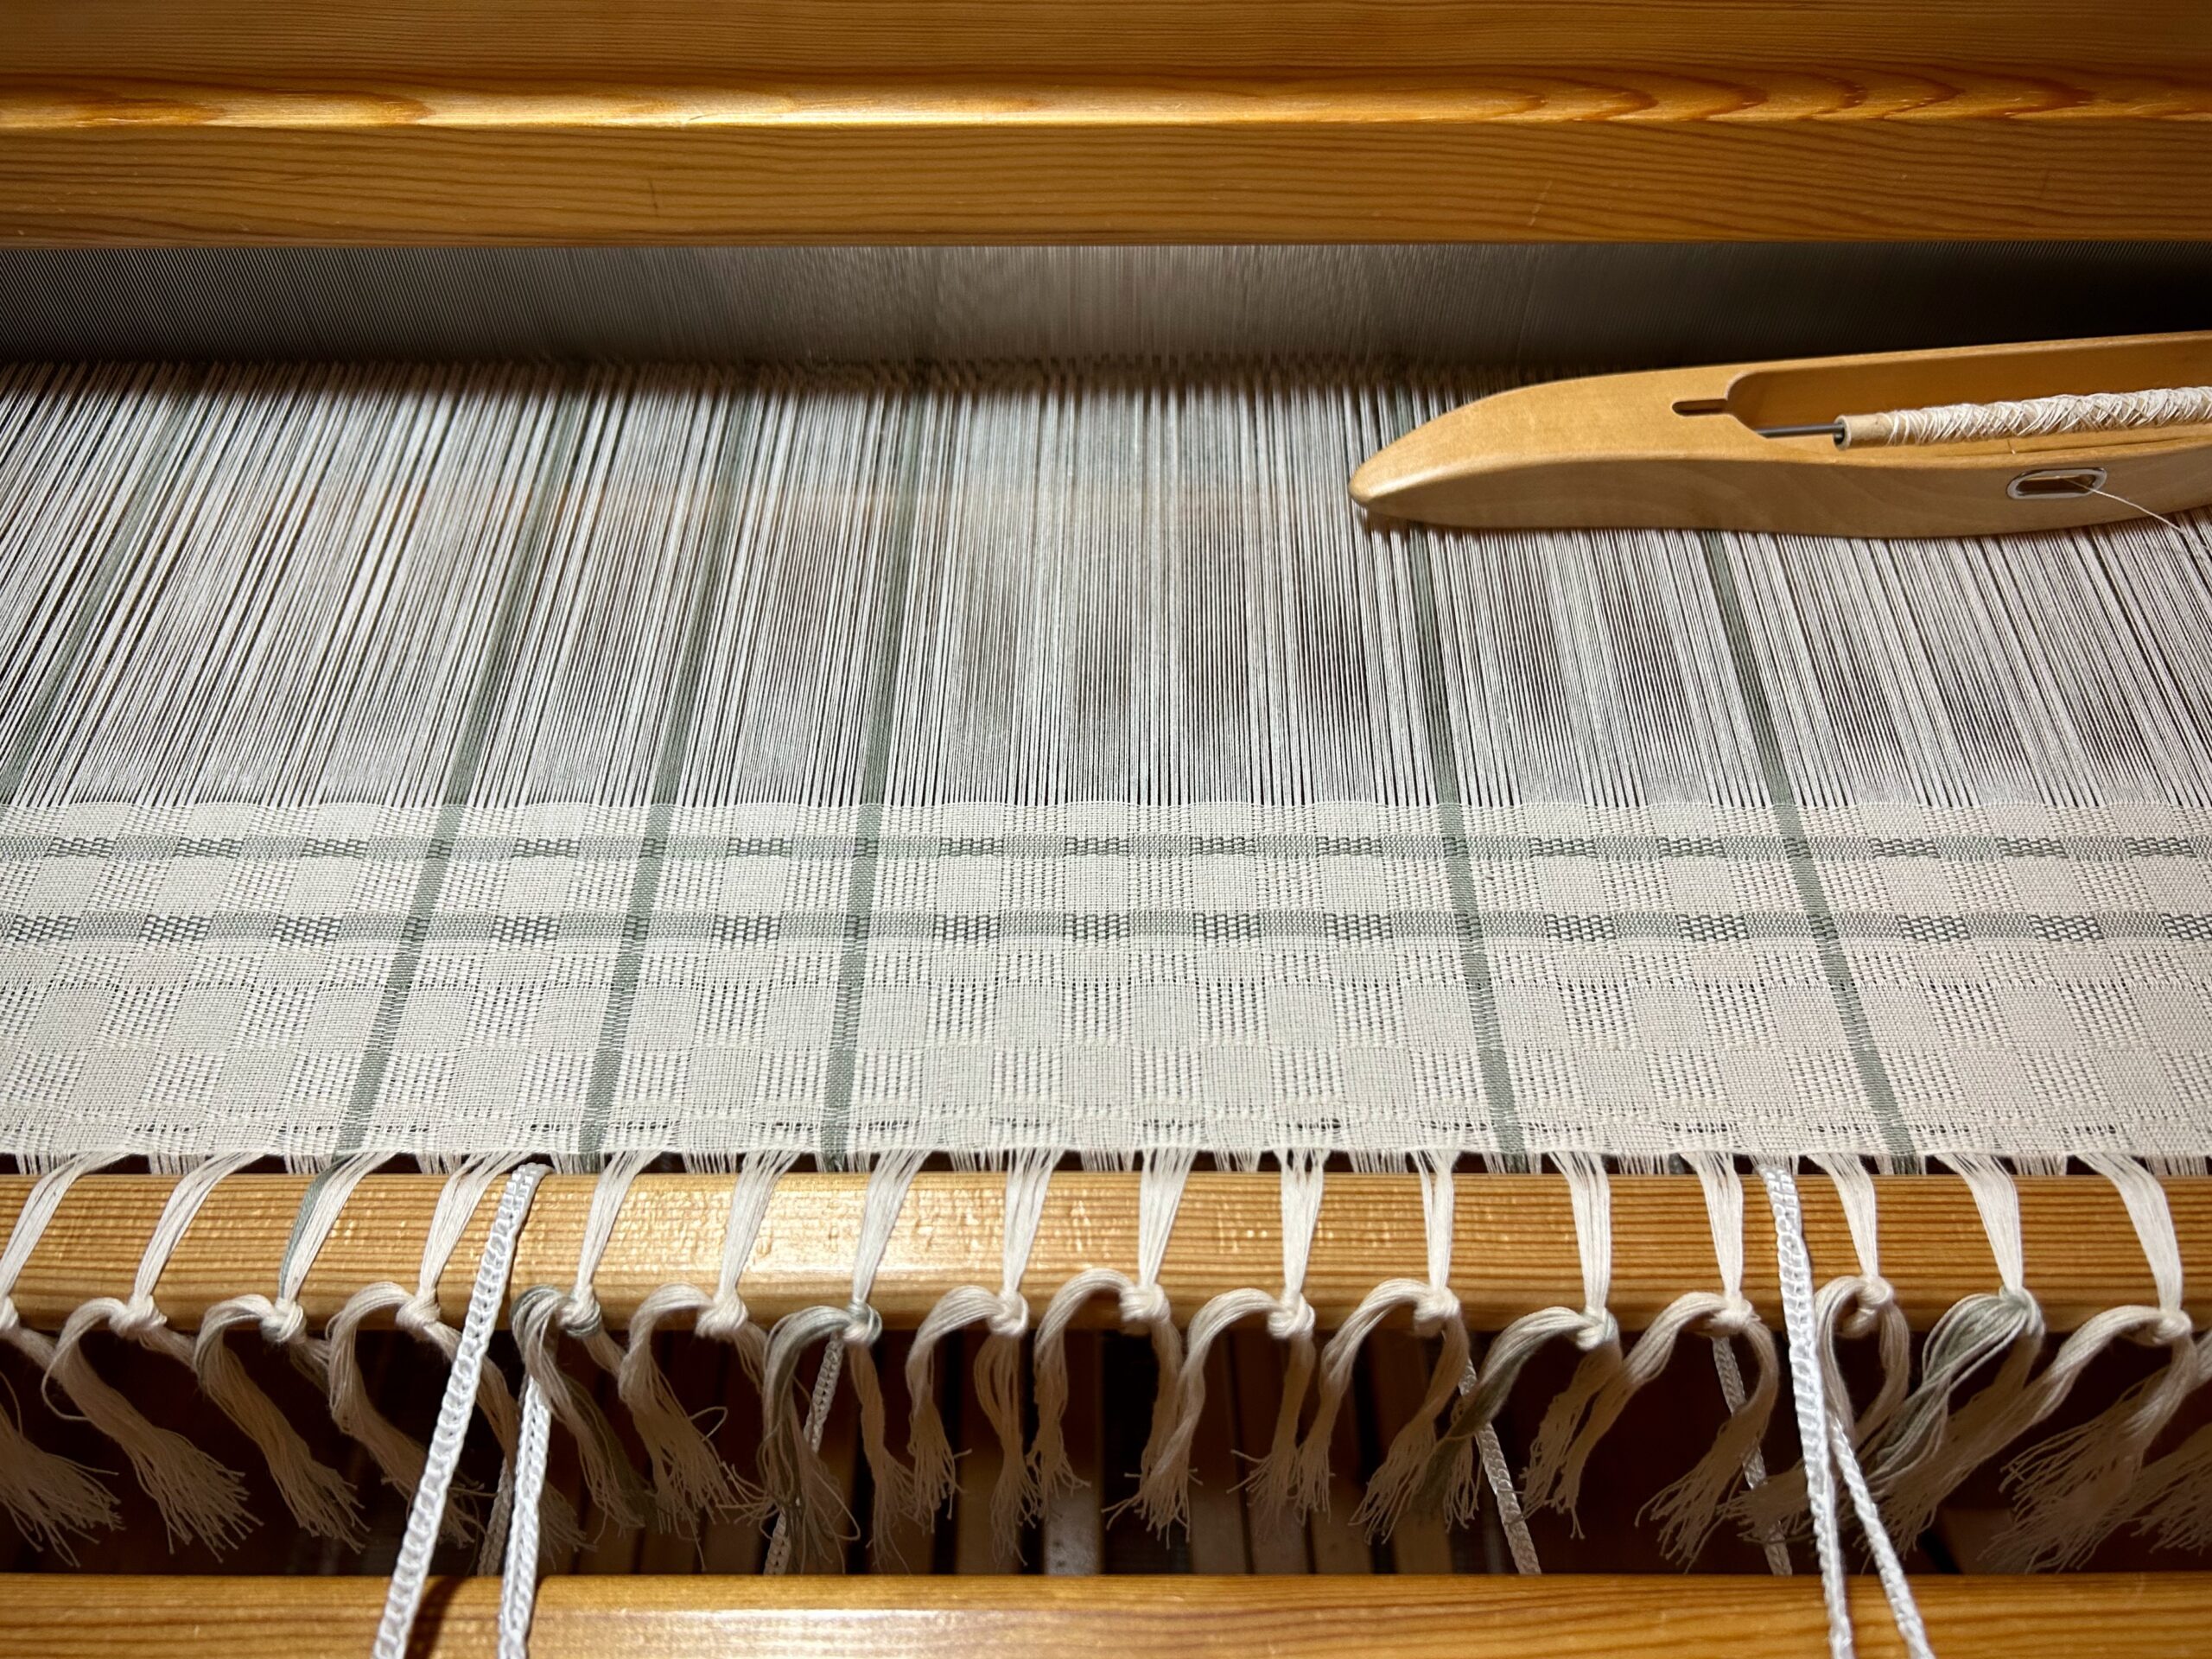
Why embrace this challenge? Because I see what no one else sees. I see the curtains that are specially designed for our remodeled bathroom. I understand the draft, the threads, the stripes, and everything that works together in a certain way. I see it. Though not yet visible, I could see it before I started. And so, all the challenges become part of the story, and I’m determined to keep going. I aim to finish strong.
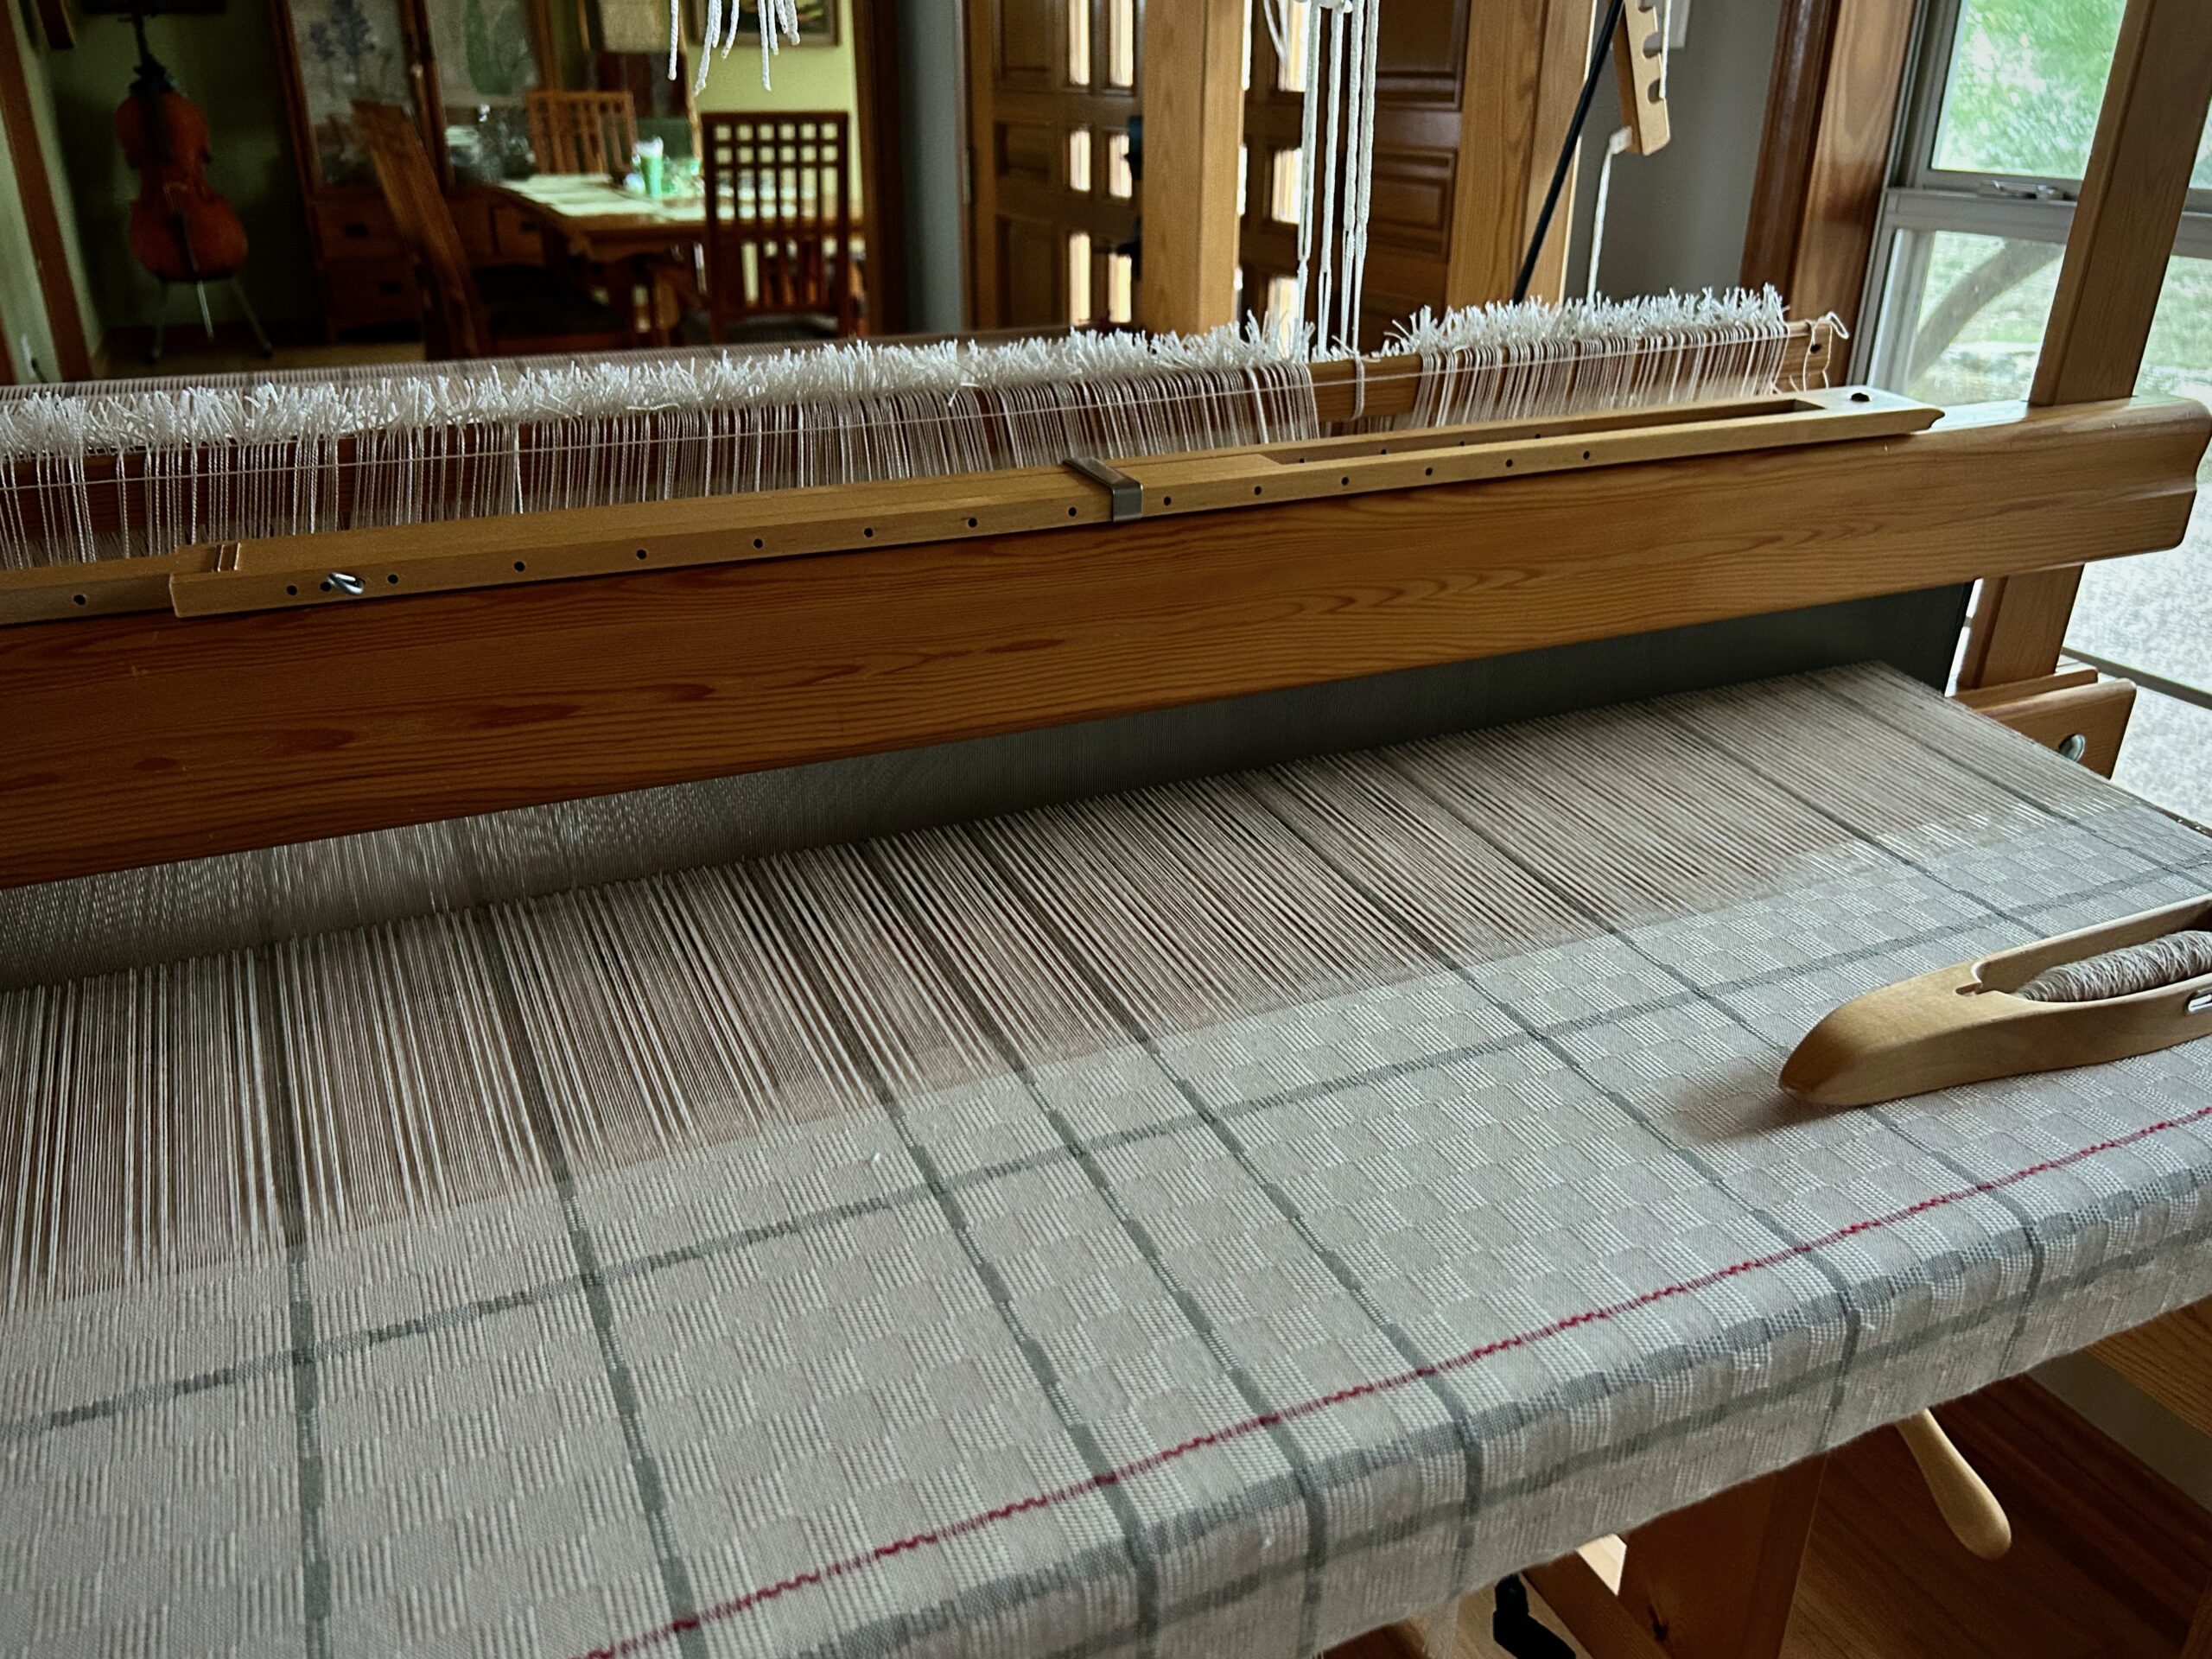
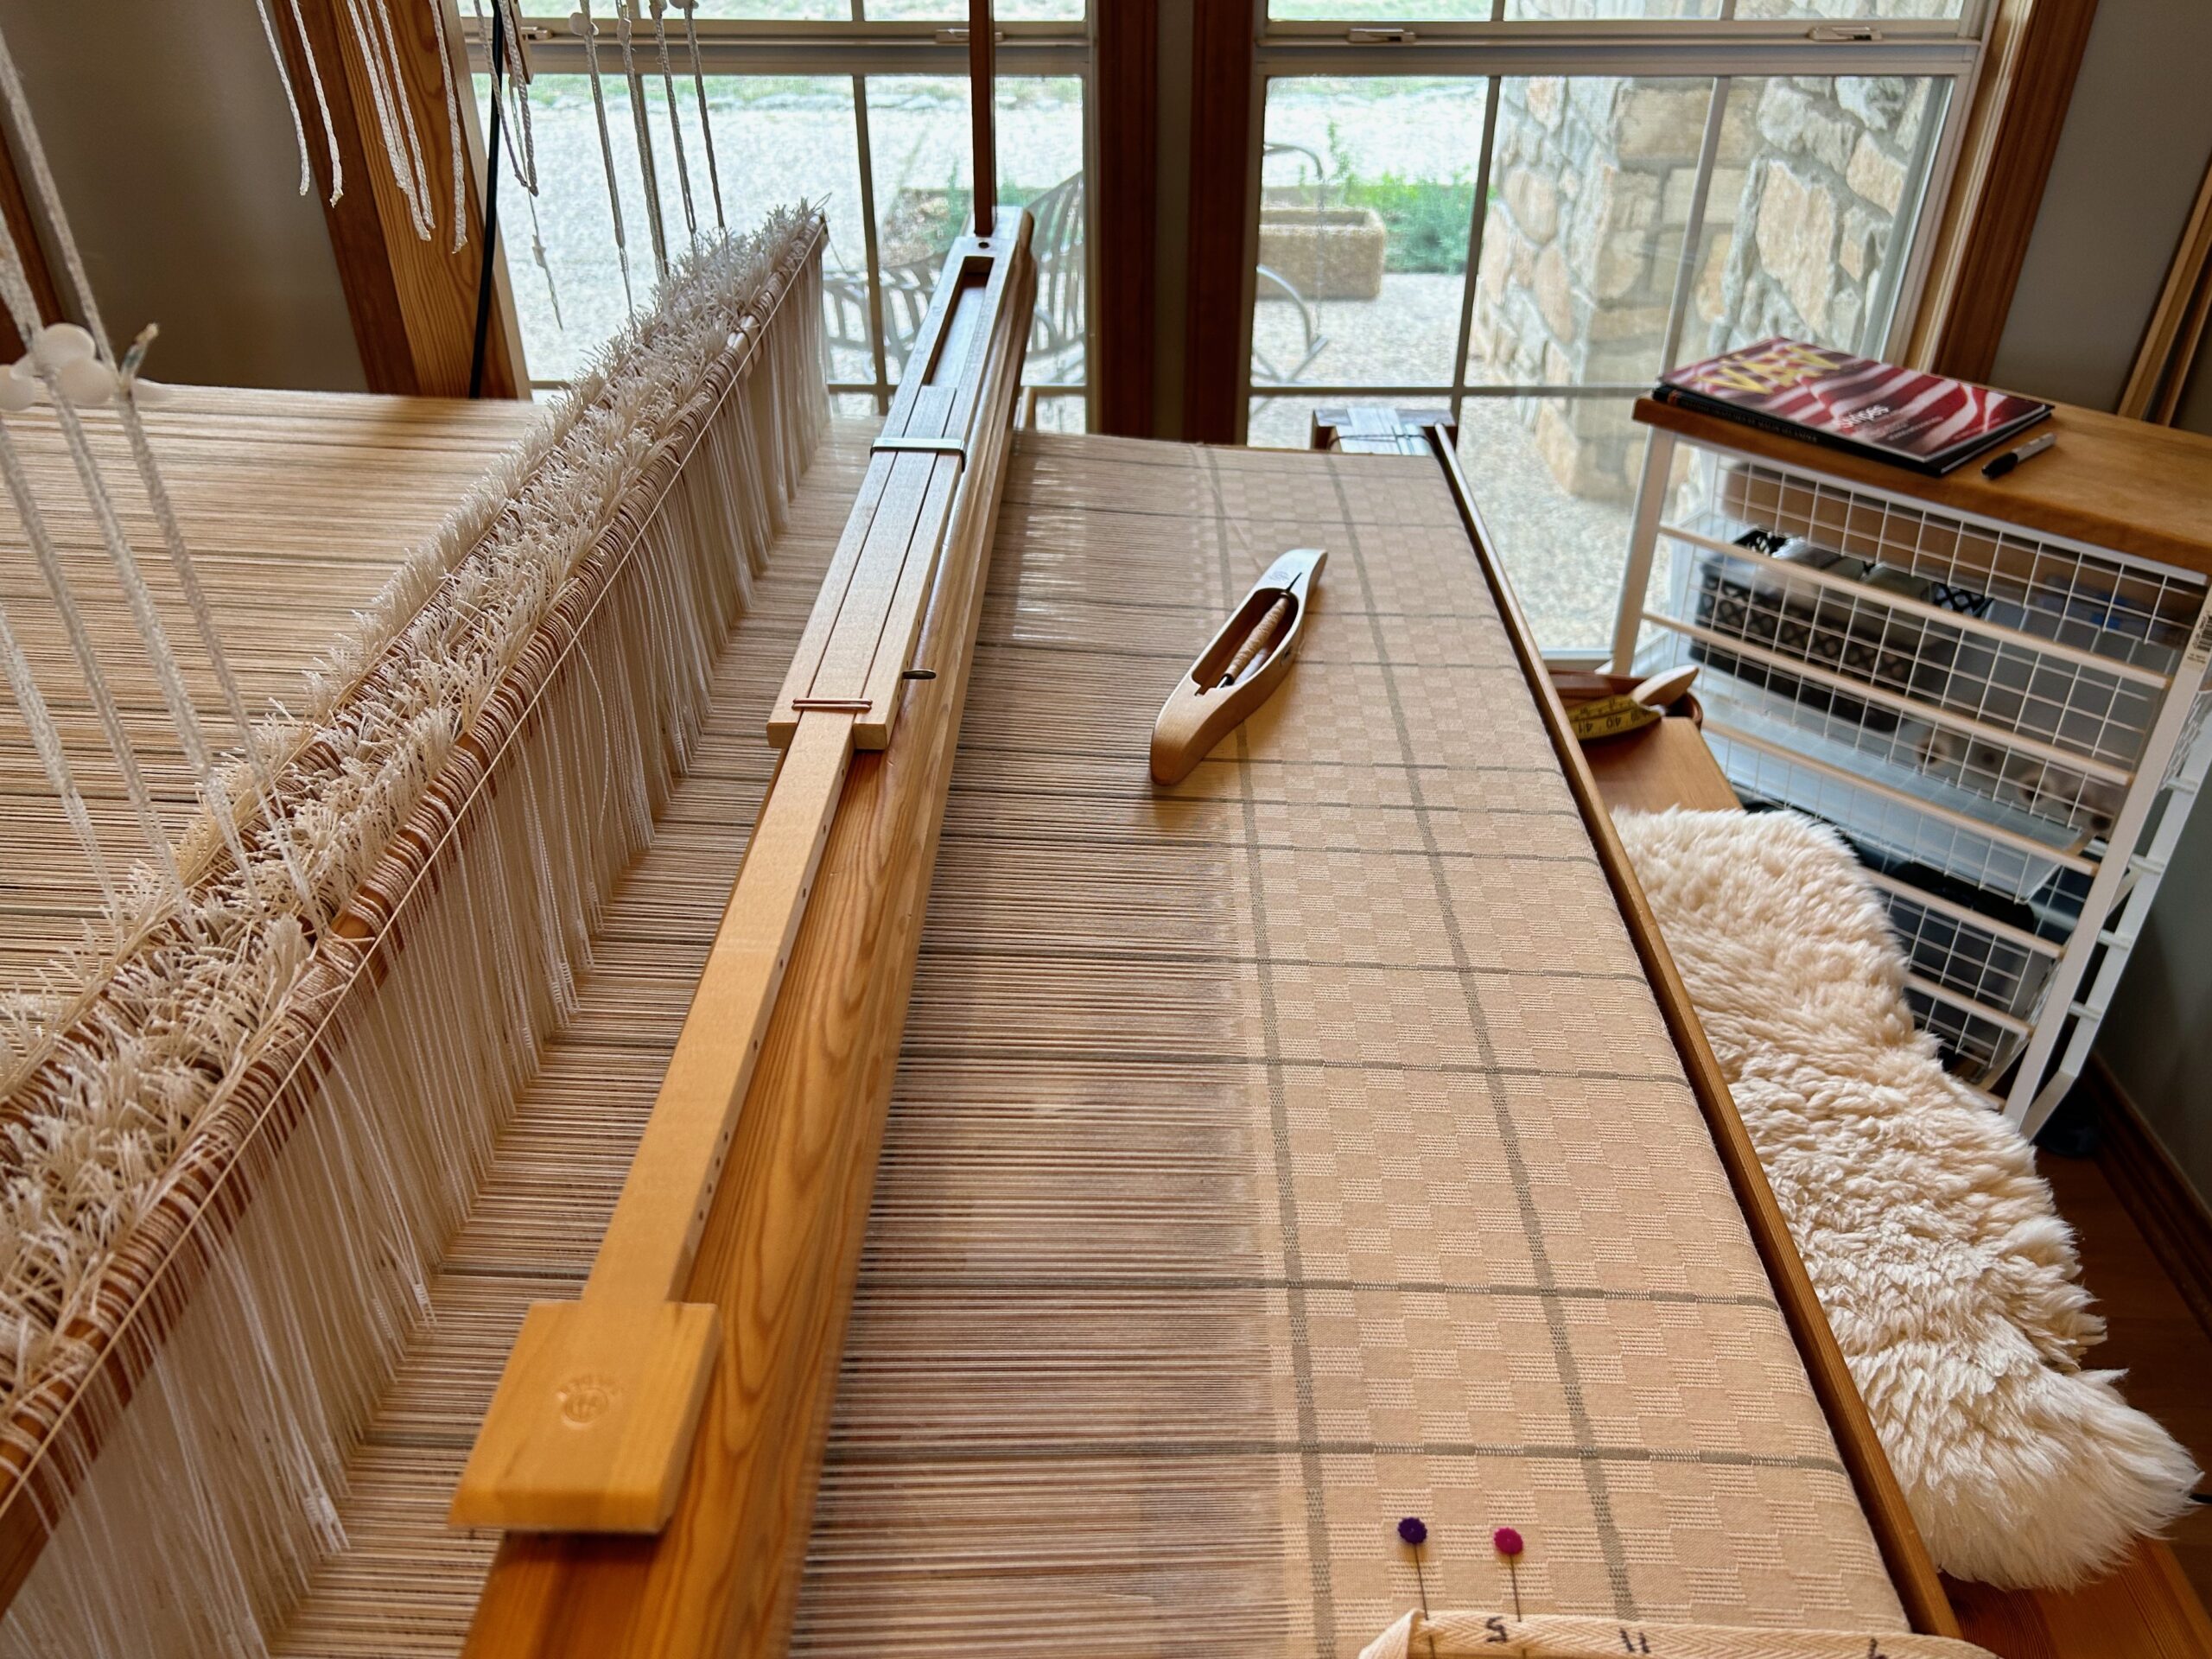
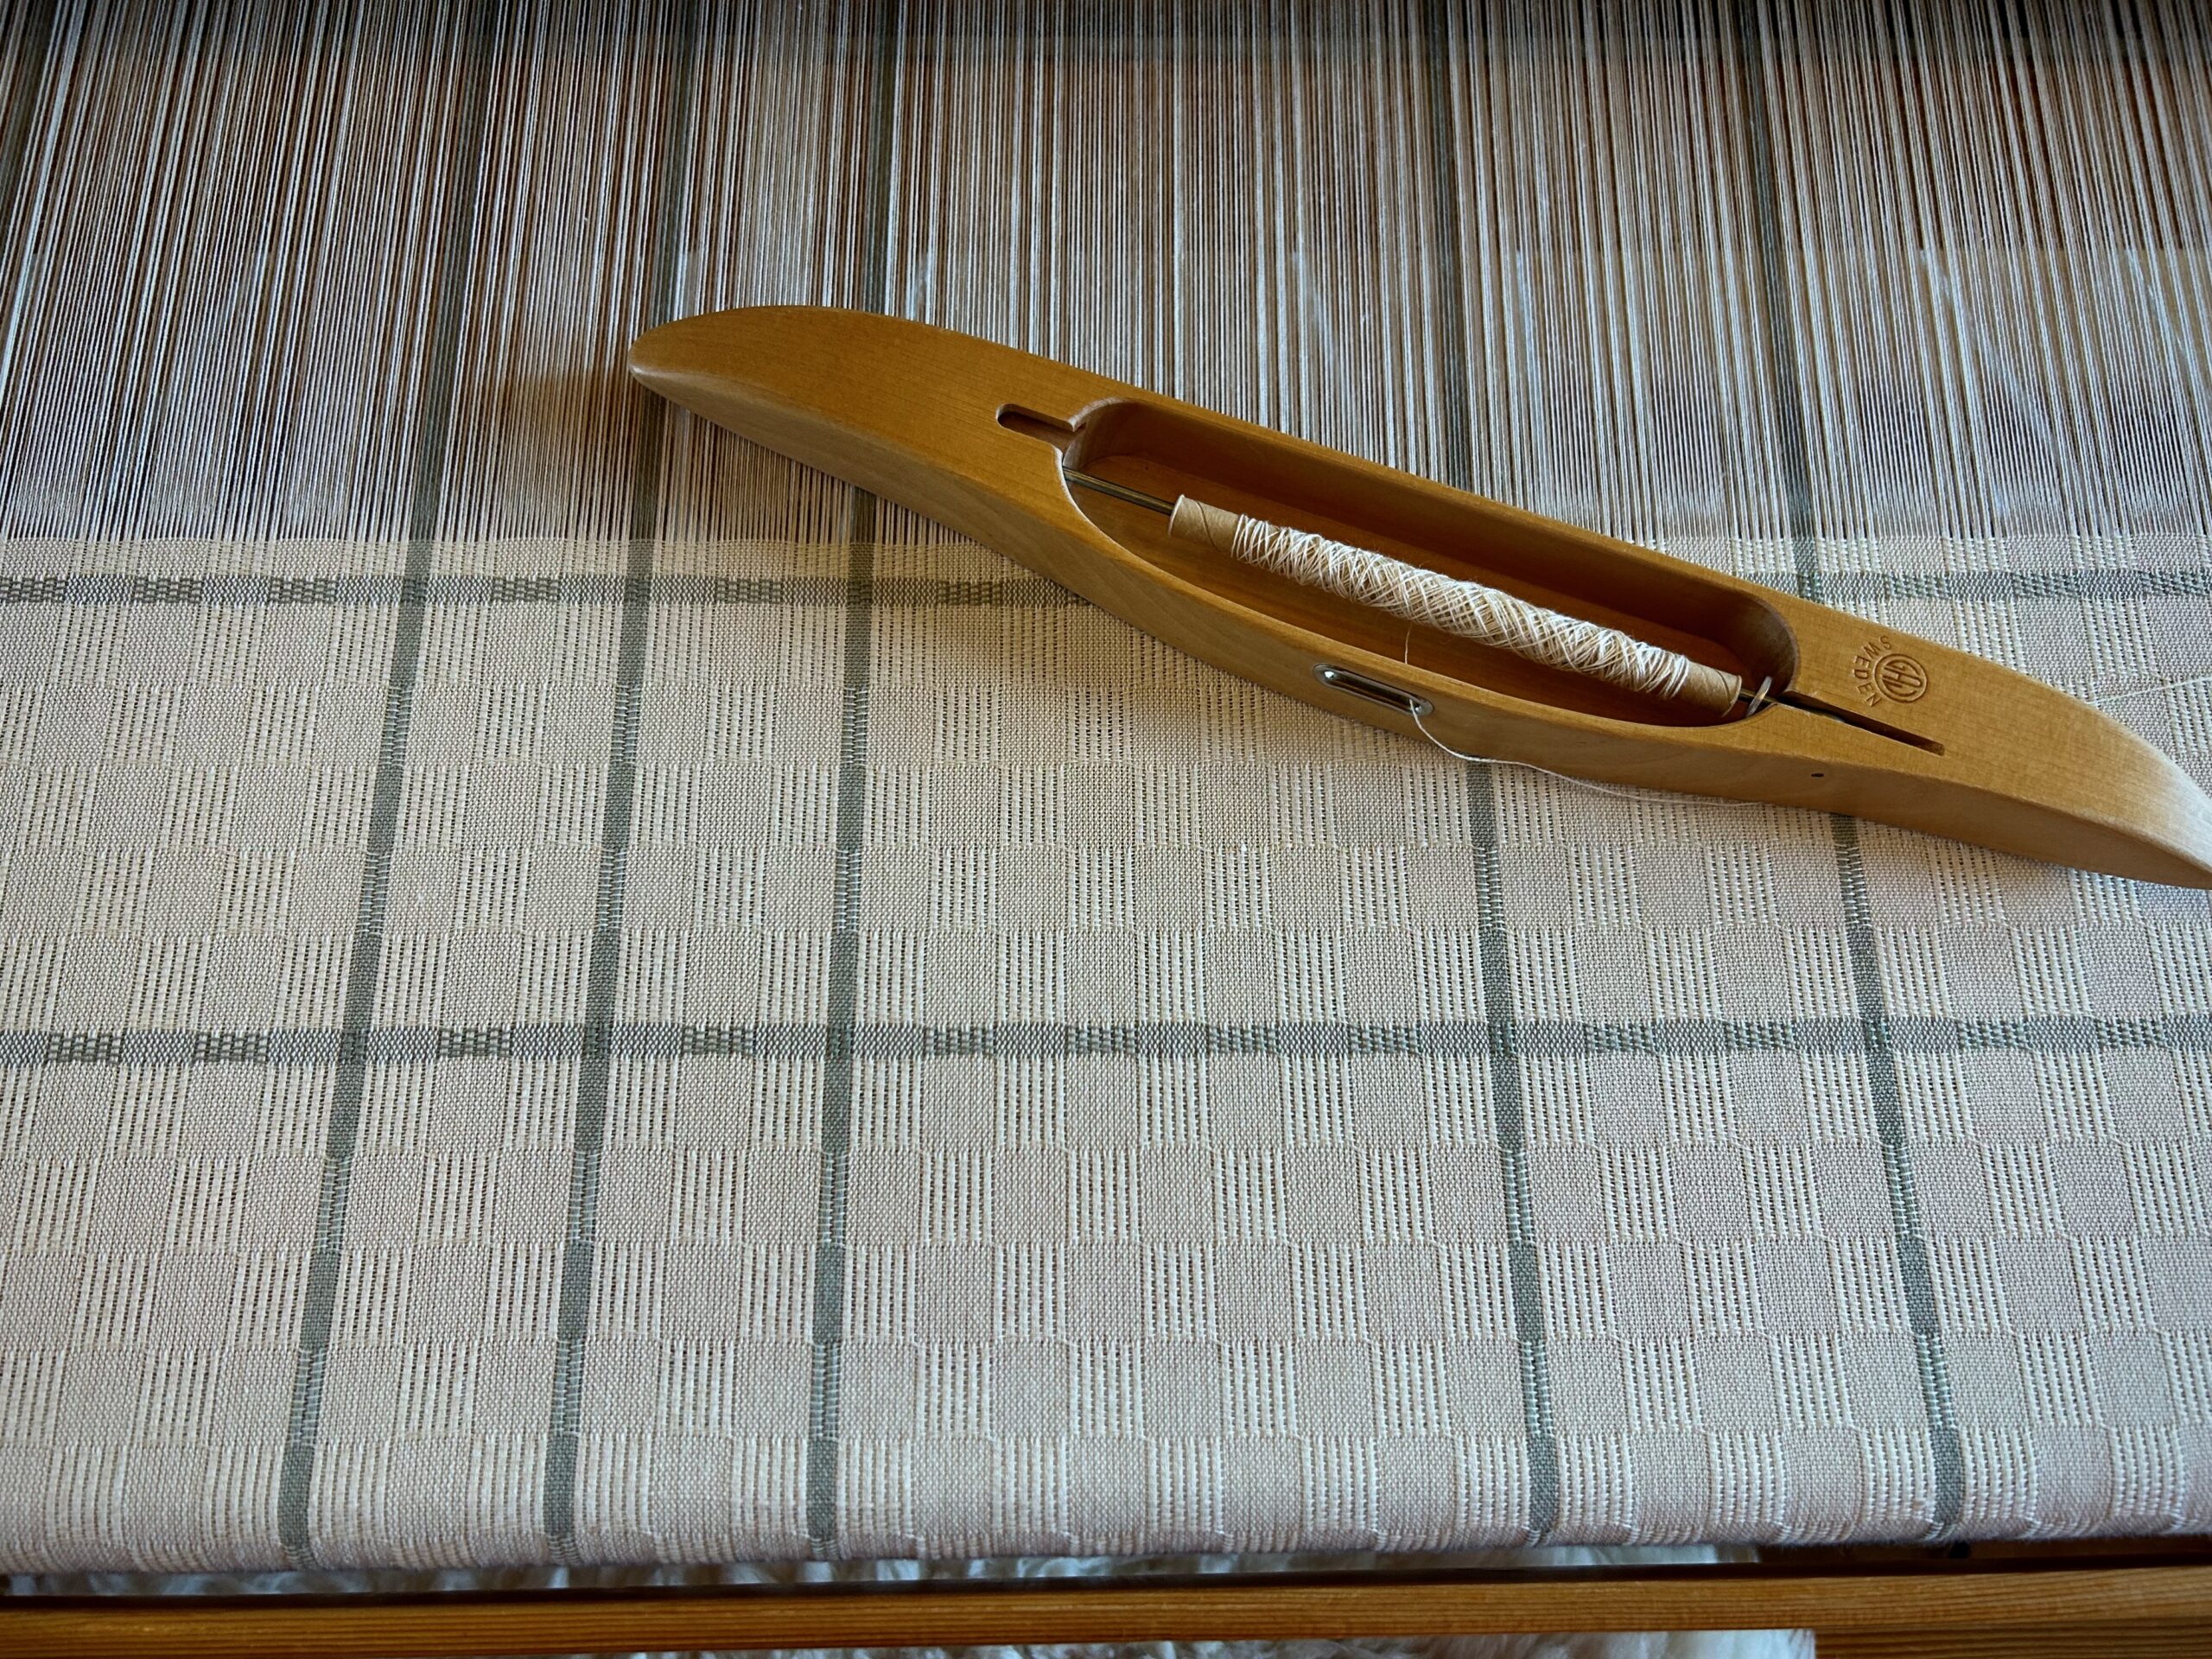
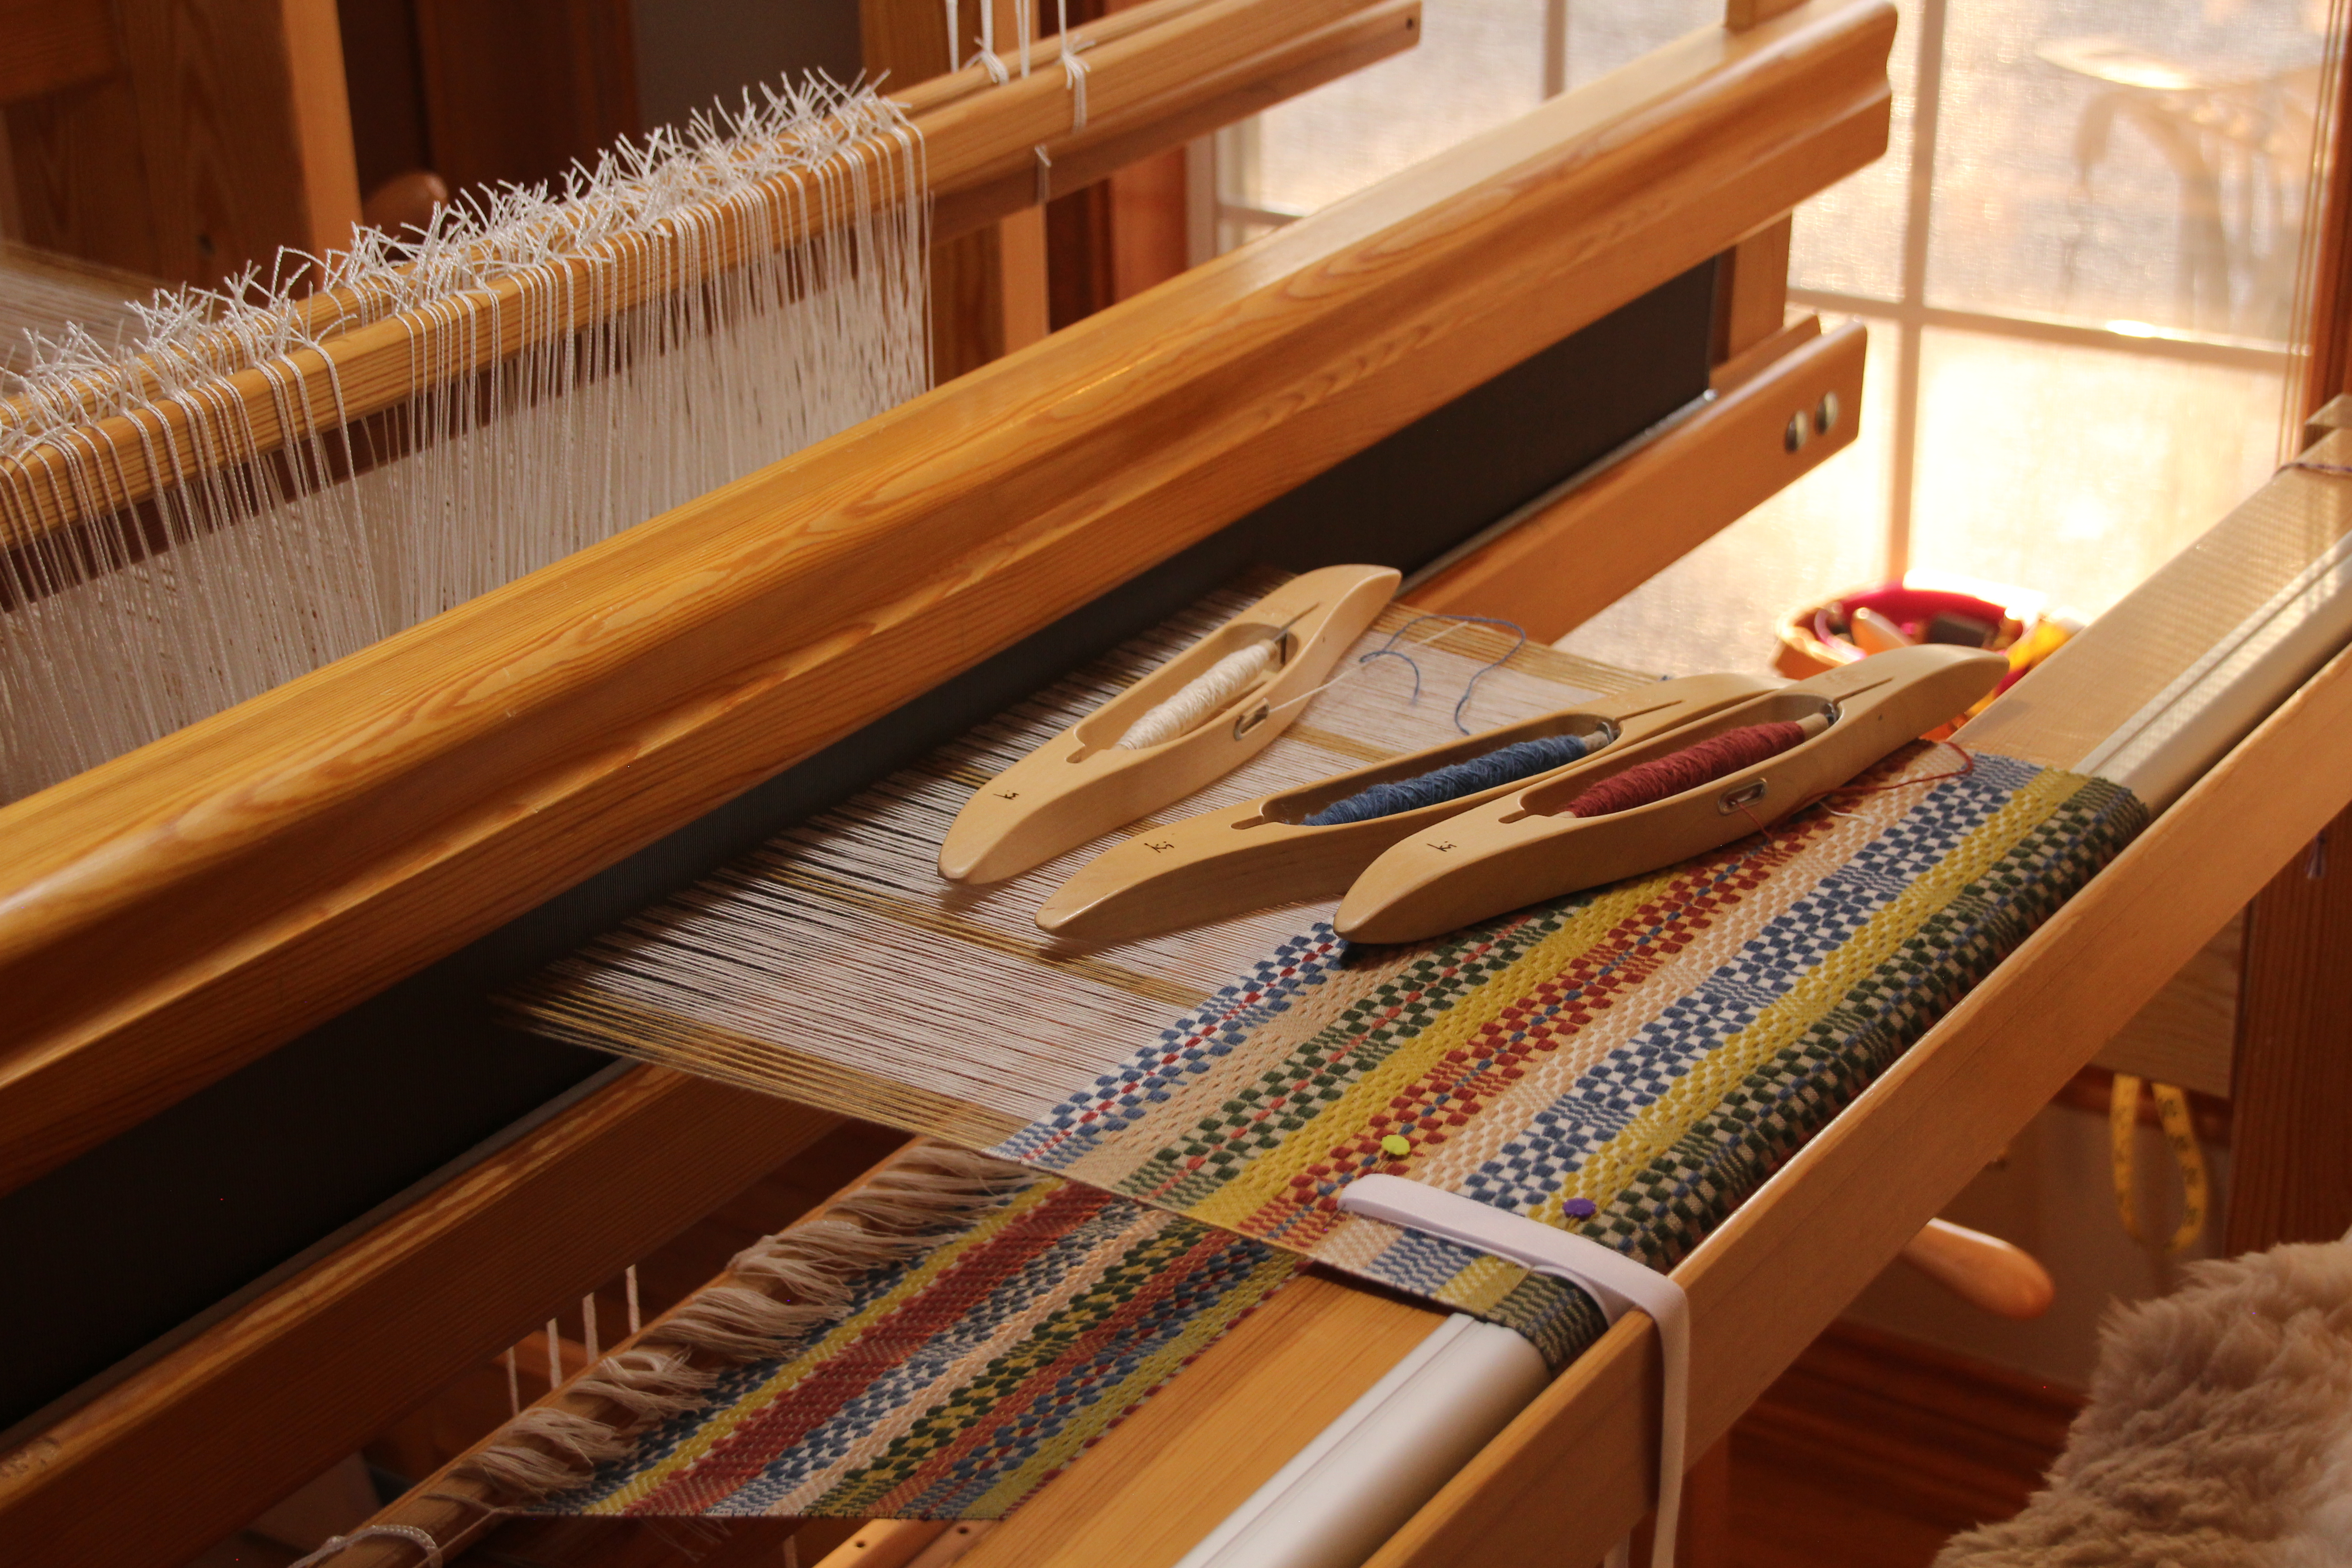
After all is set up, the first testing I do is with shuttles. Which shuttle is best for sending all the way across this wide warp? The medium Glimåkra boat shuttle that holds 11 cm quills is the winner, not the longest, largest, and heaviest shuttles.Seeing the beauty of this cloth solidifies the hope of seeing special curtains gracing our bathroom windows.What begins as an M’s and O’sdraft for kitchen towels in Väv Magazine, and expands with pictures in a Malin Selander book, and grows with my imagination, is now visible on the loom!The two biggest challenges that remain: 1. Filling quills. It takes a while to fill a quill with this fine thread. It doesn’t take long at all to empty the quill as I weave. 2. This wide warp stretches my arms to my full arm-length reach. It’s good to be stretched! 🙂
This is a picture of faith. Faith acts on things not seen by others. Faith sees what is not yet visible. With faith in Jesus Christ, all the challenges become part of the story. We go the duration because we have a view of the finished work.
May your challenges stretch your faith in a good way.
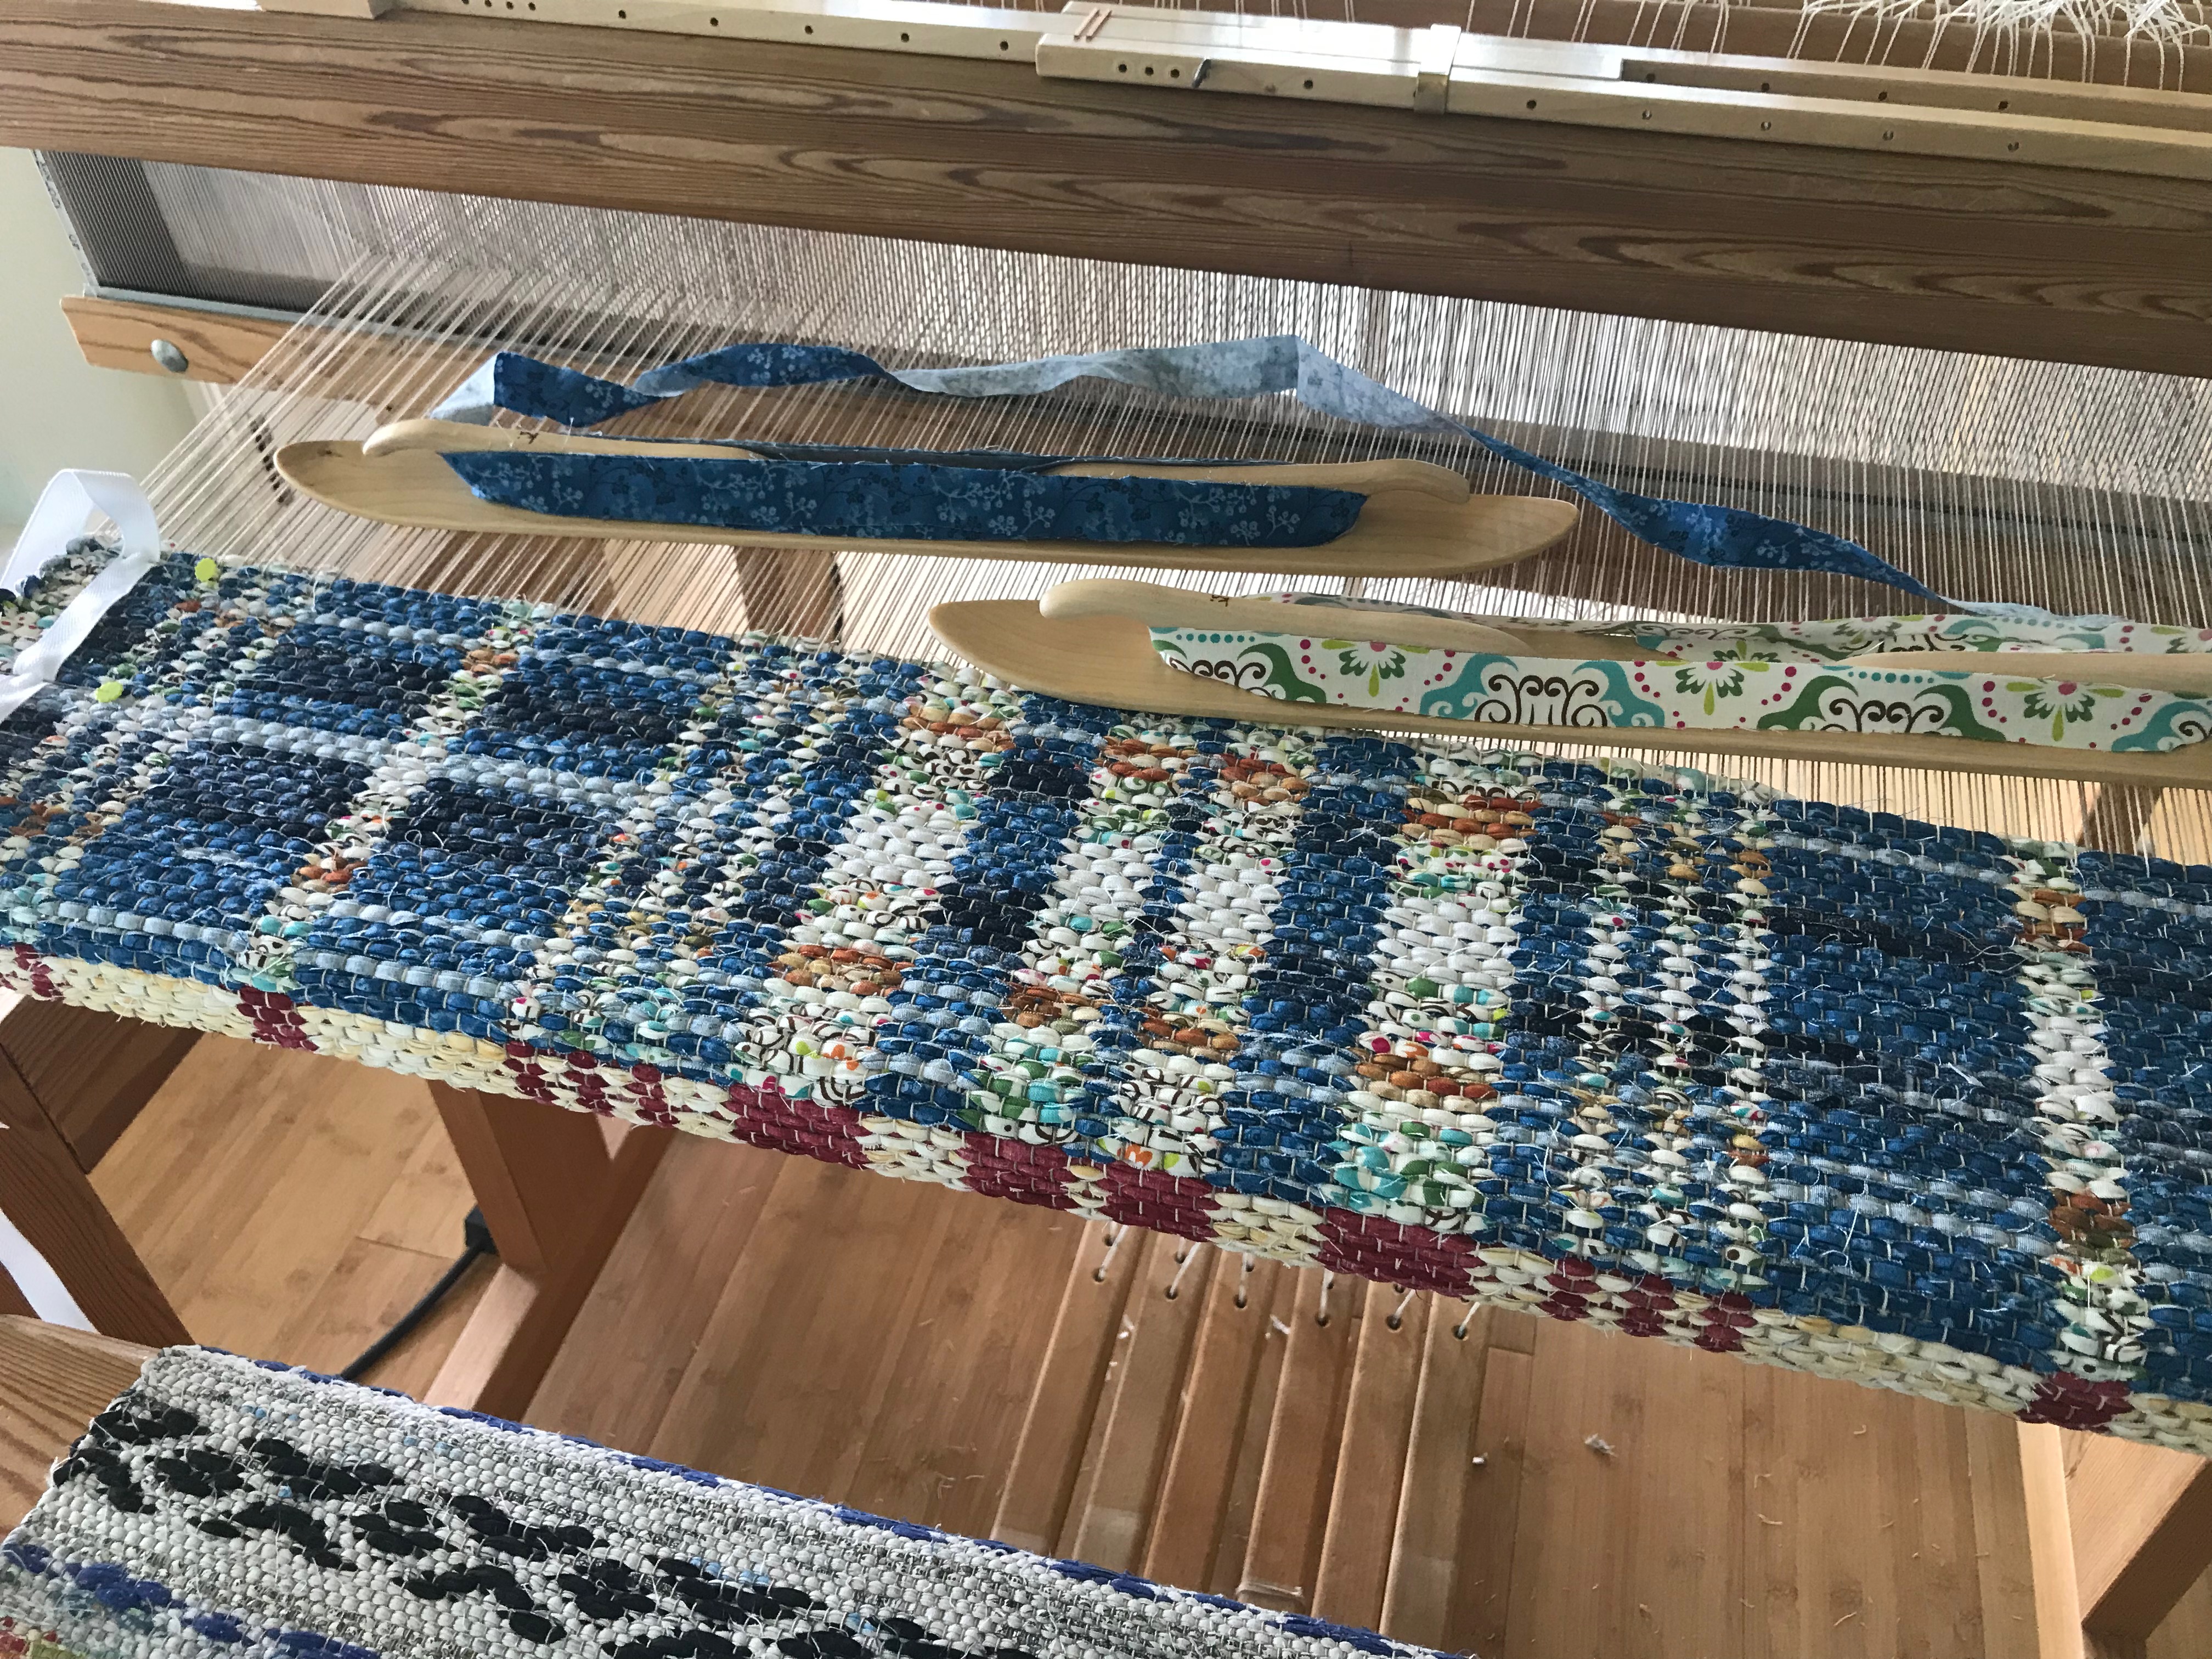
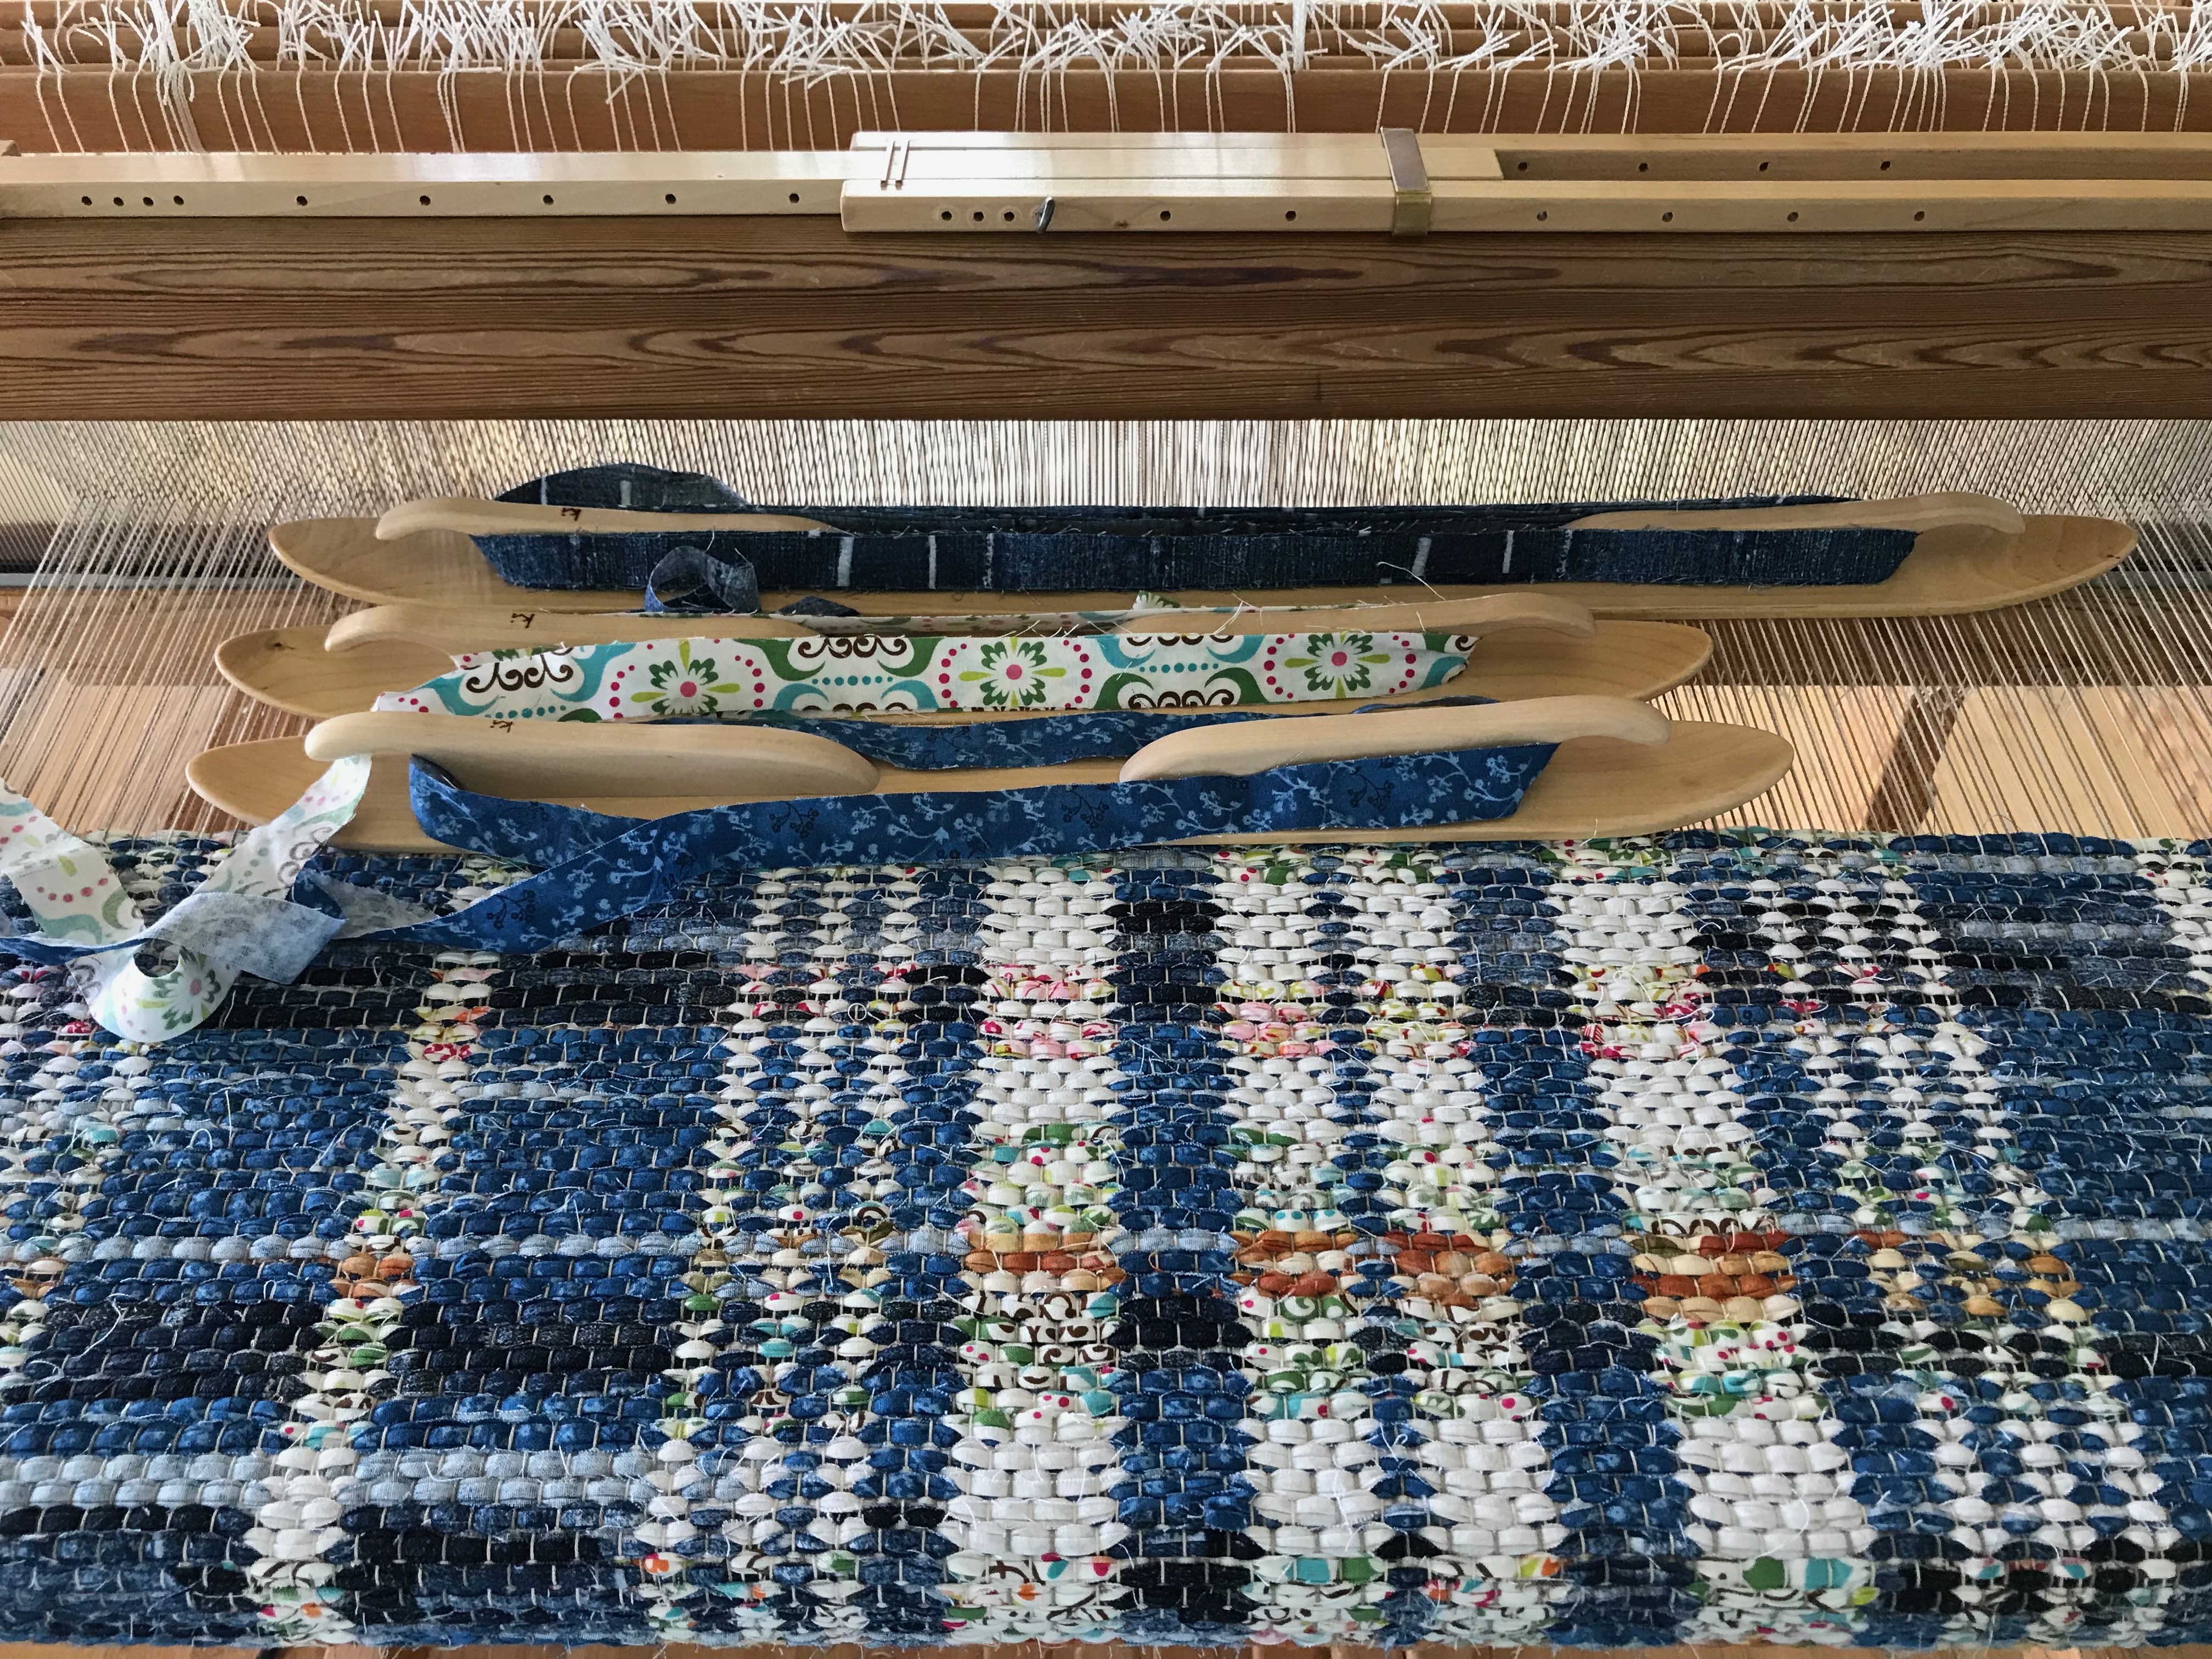
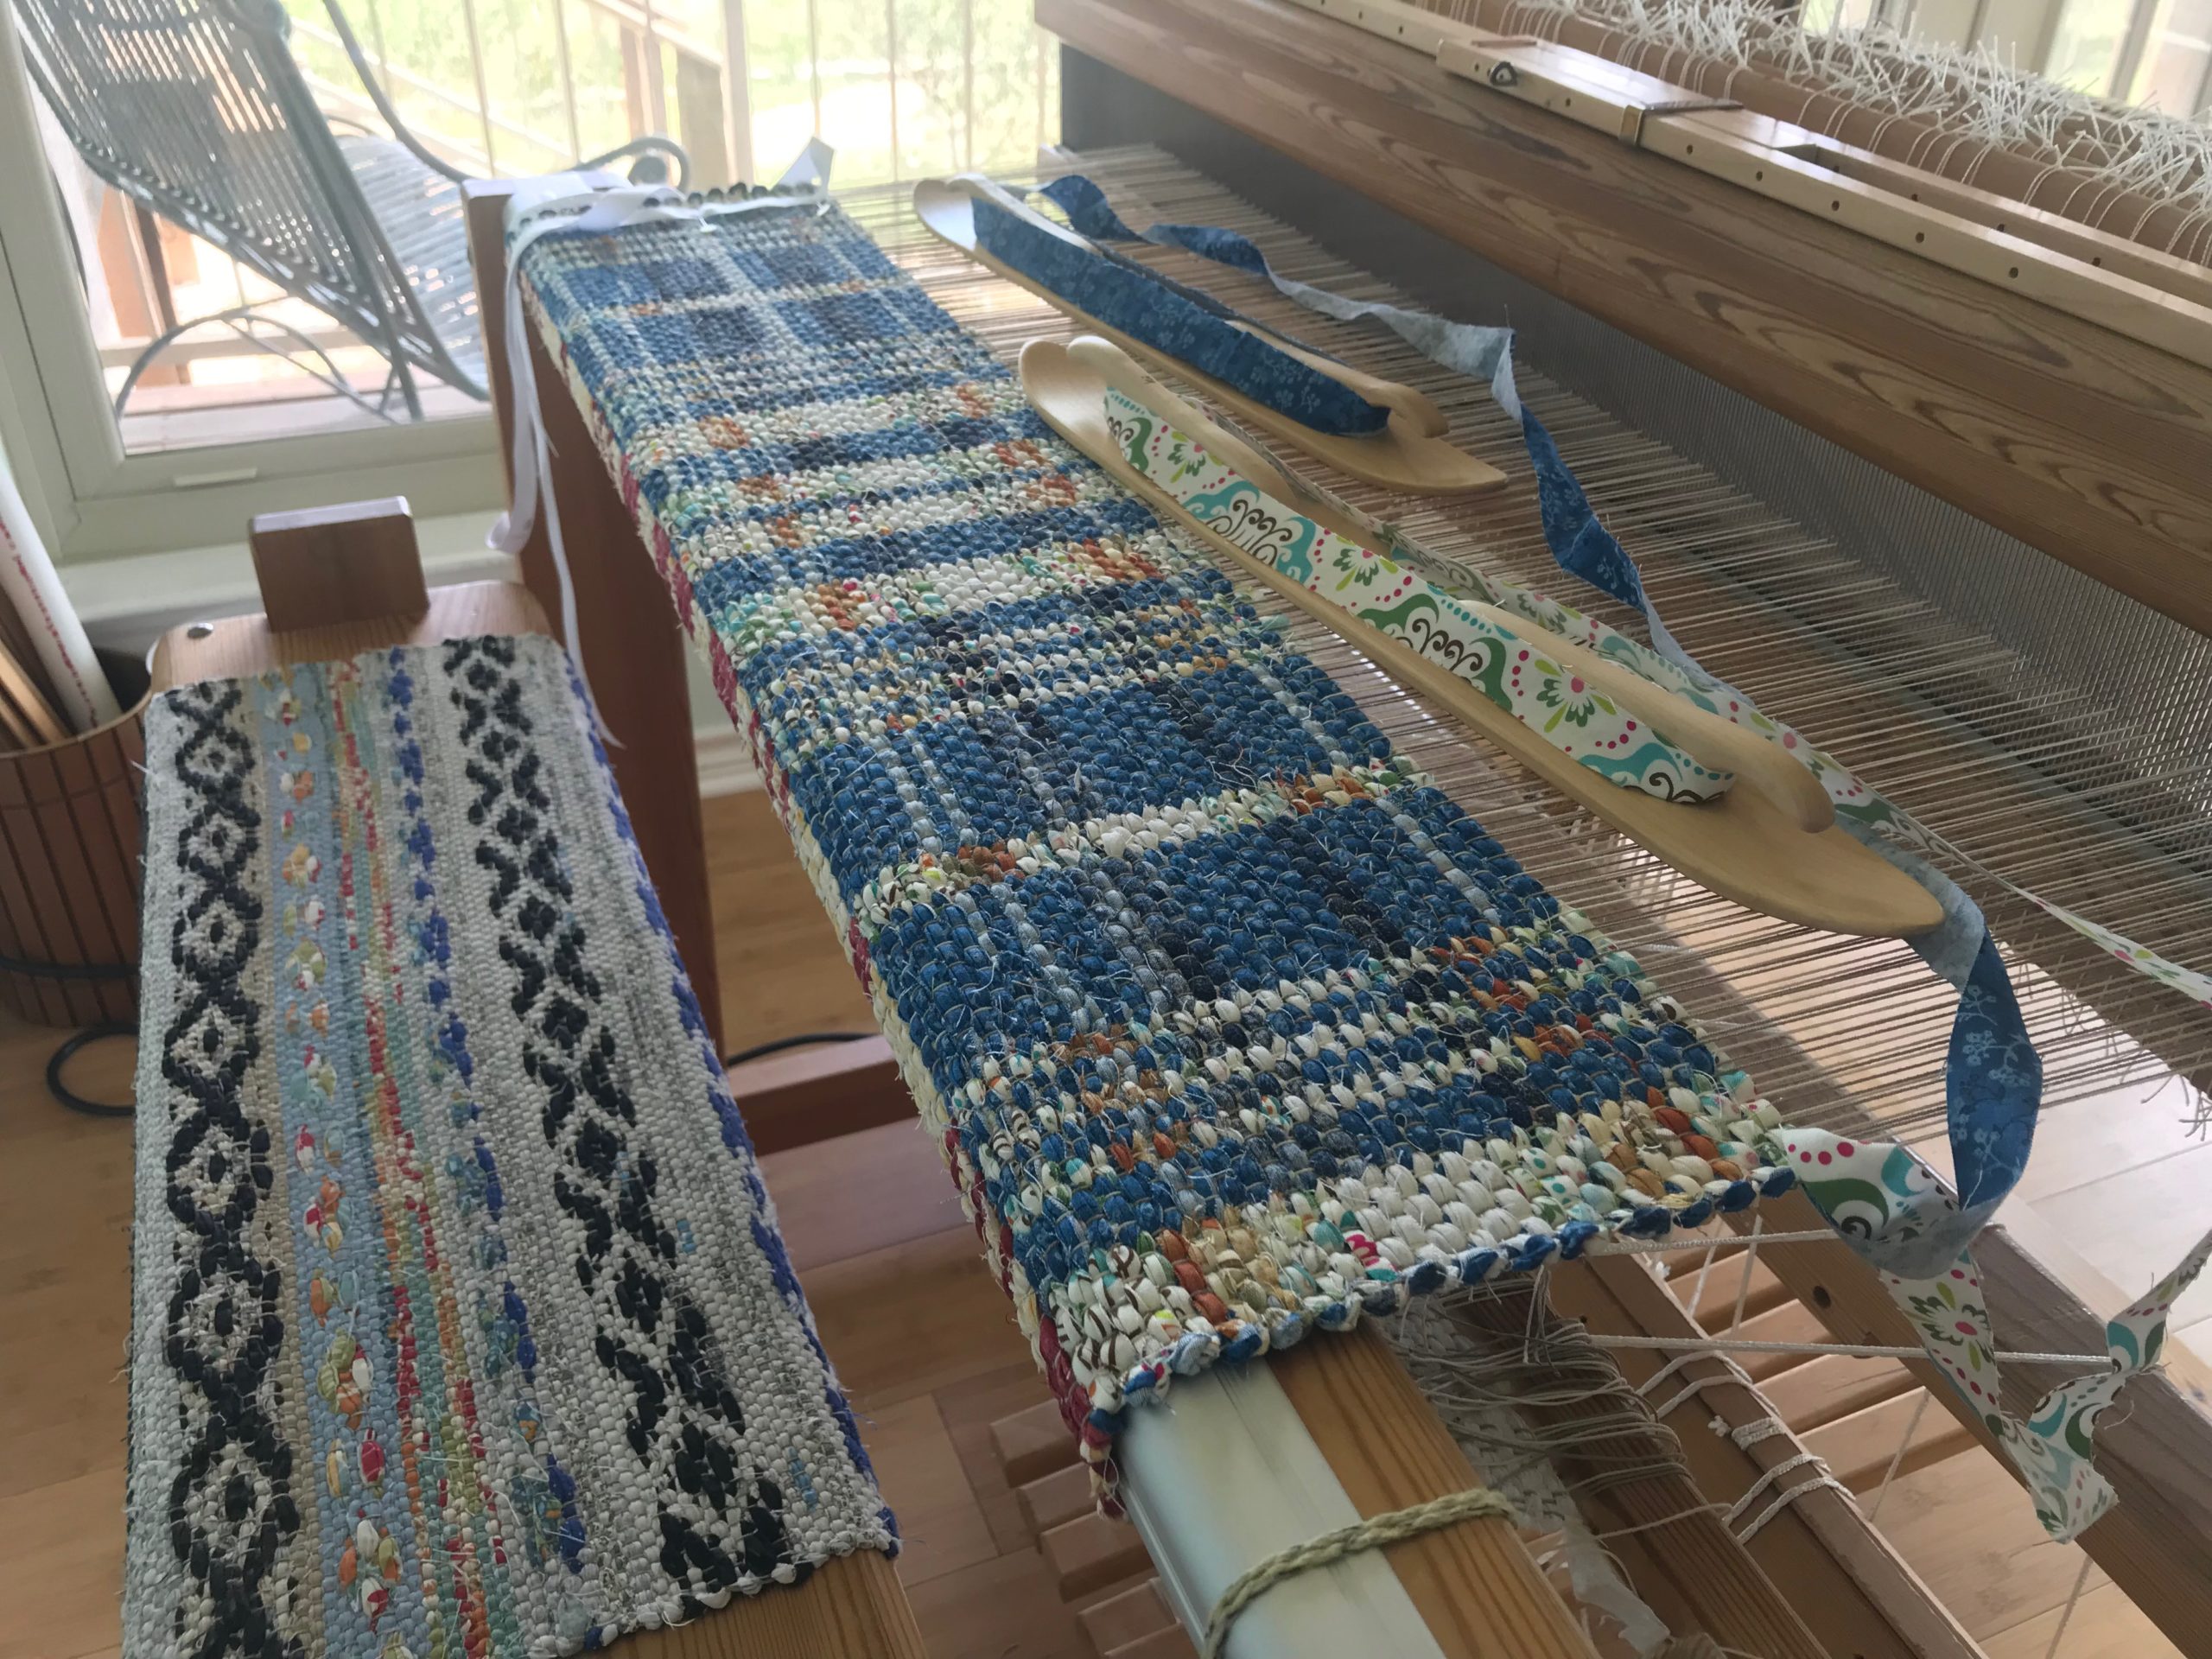
Ski shuttles are a rag-rug weaver’s best friends. A few simple tips for using a ski shuttle make rag-rug weaving even that much more fun.
Ski shuttles are fun tools to use for weaving rag rugs.In the video I explain why I don’t use the longer ski shuttle very much.
In the video below I tell you why I prefer Glimåkra ski shuttles, and how I wind the weft fabric on my shuttle. And I share two quick tips to make weaving with a ski shuttle a bit more manageable. If you are an experienced rag-rug weaver you probably already know these things. Watch to the end to see a short demo, plus a little blooper. Enjoy!
Ski shuttles by Glimåkra are just right for me. They fit nicely in my hands, have a low profile that slides easily through the shed, and are artistic in design.
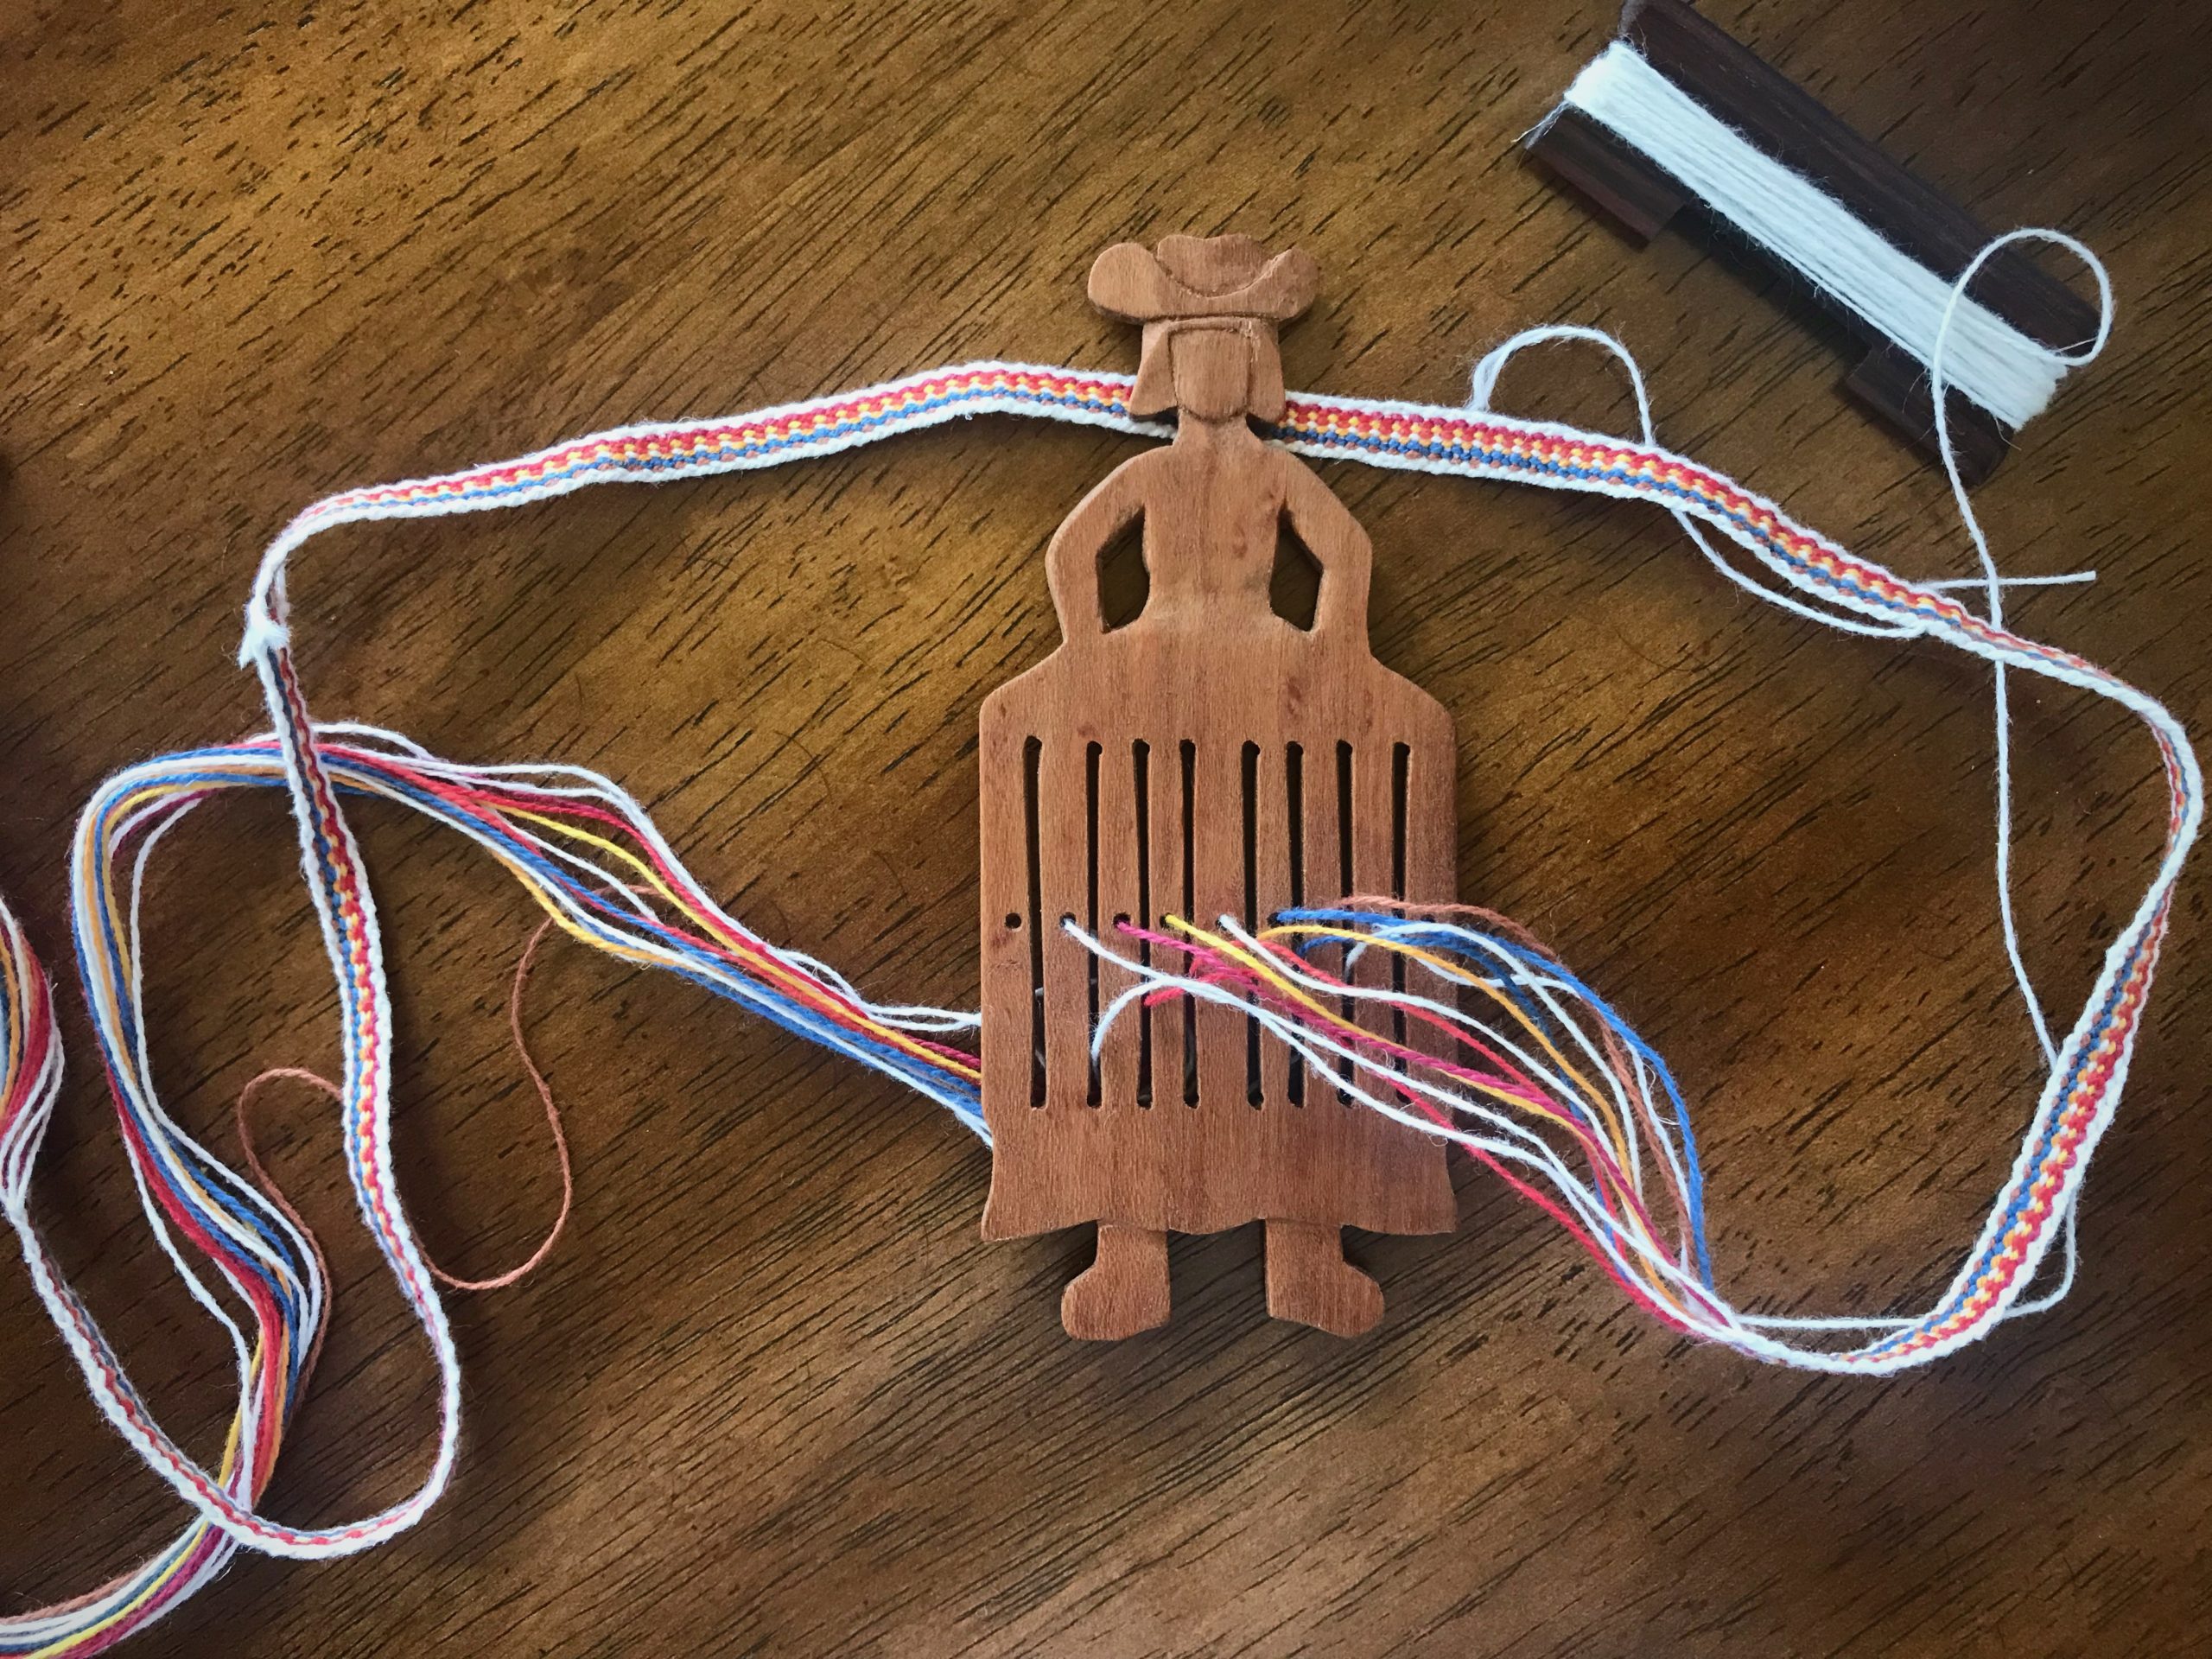
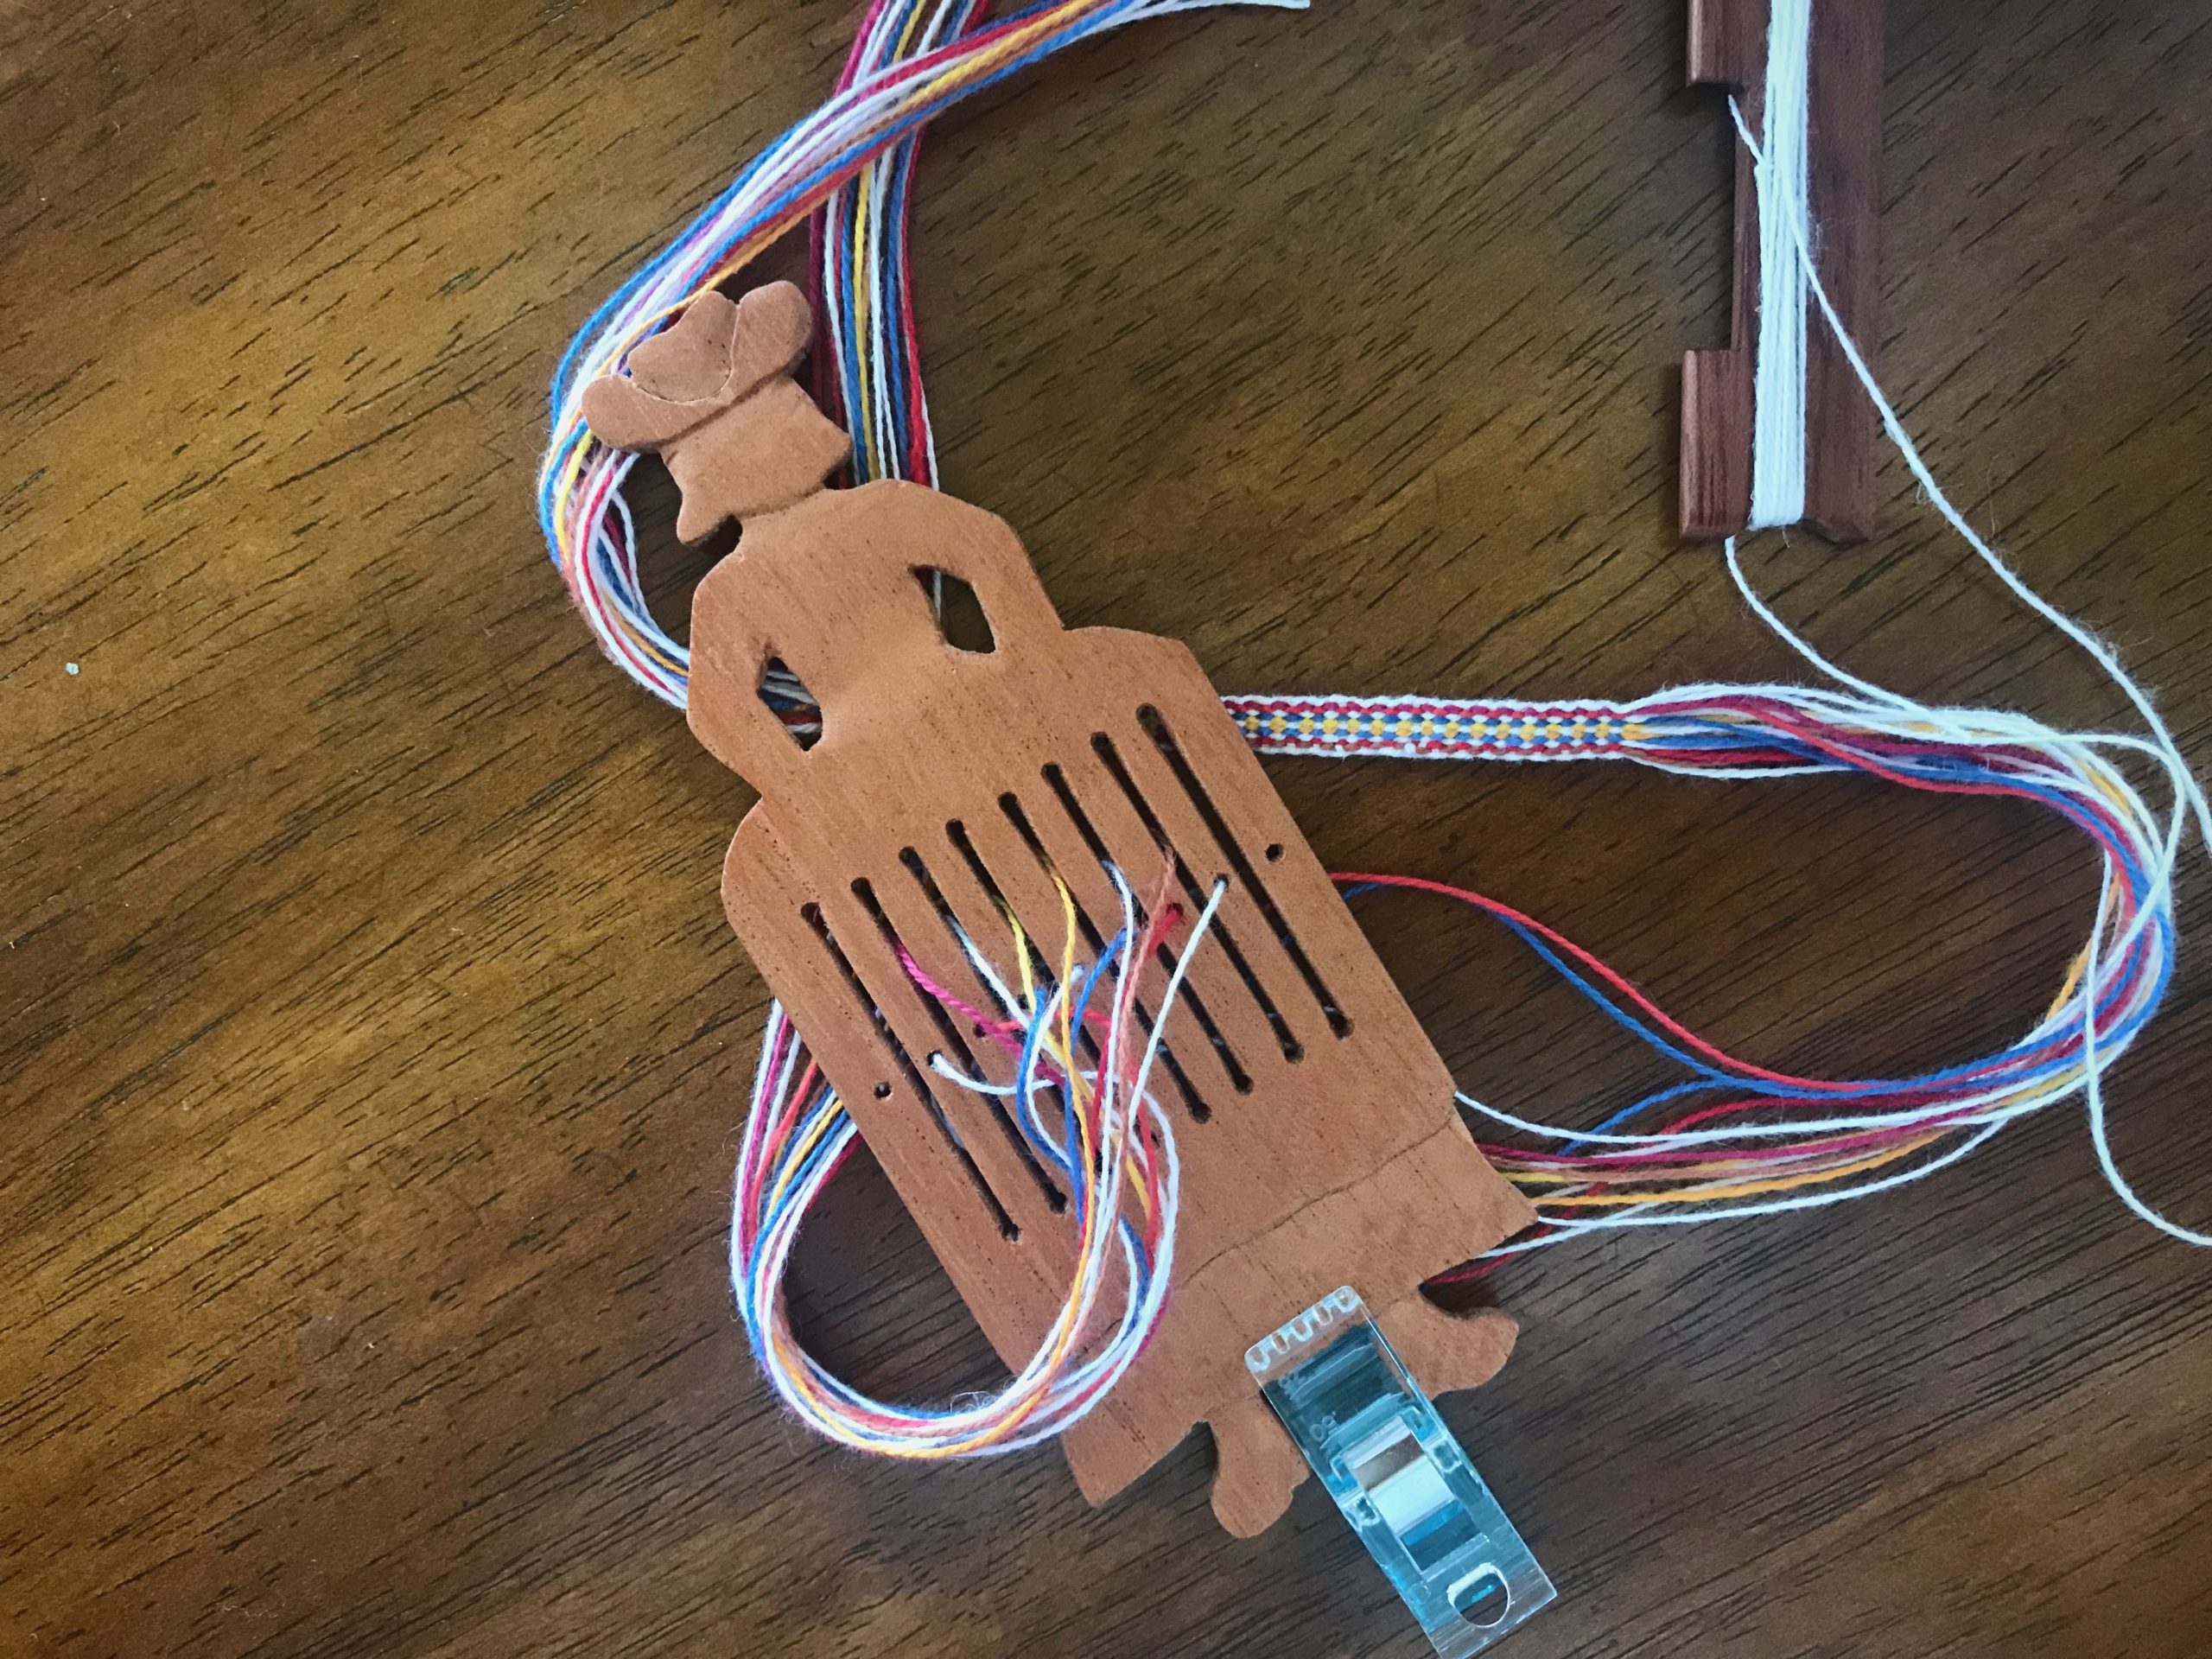
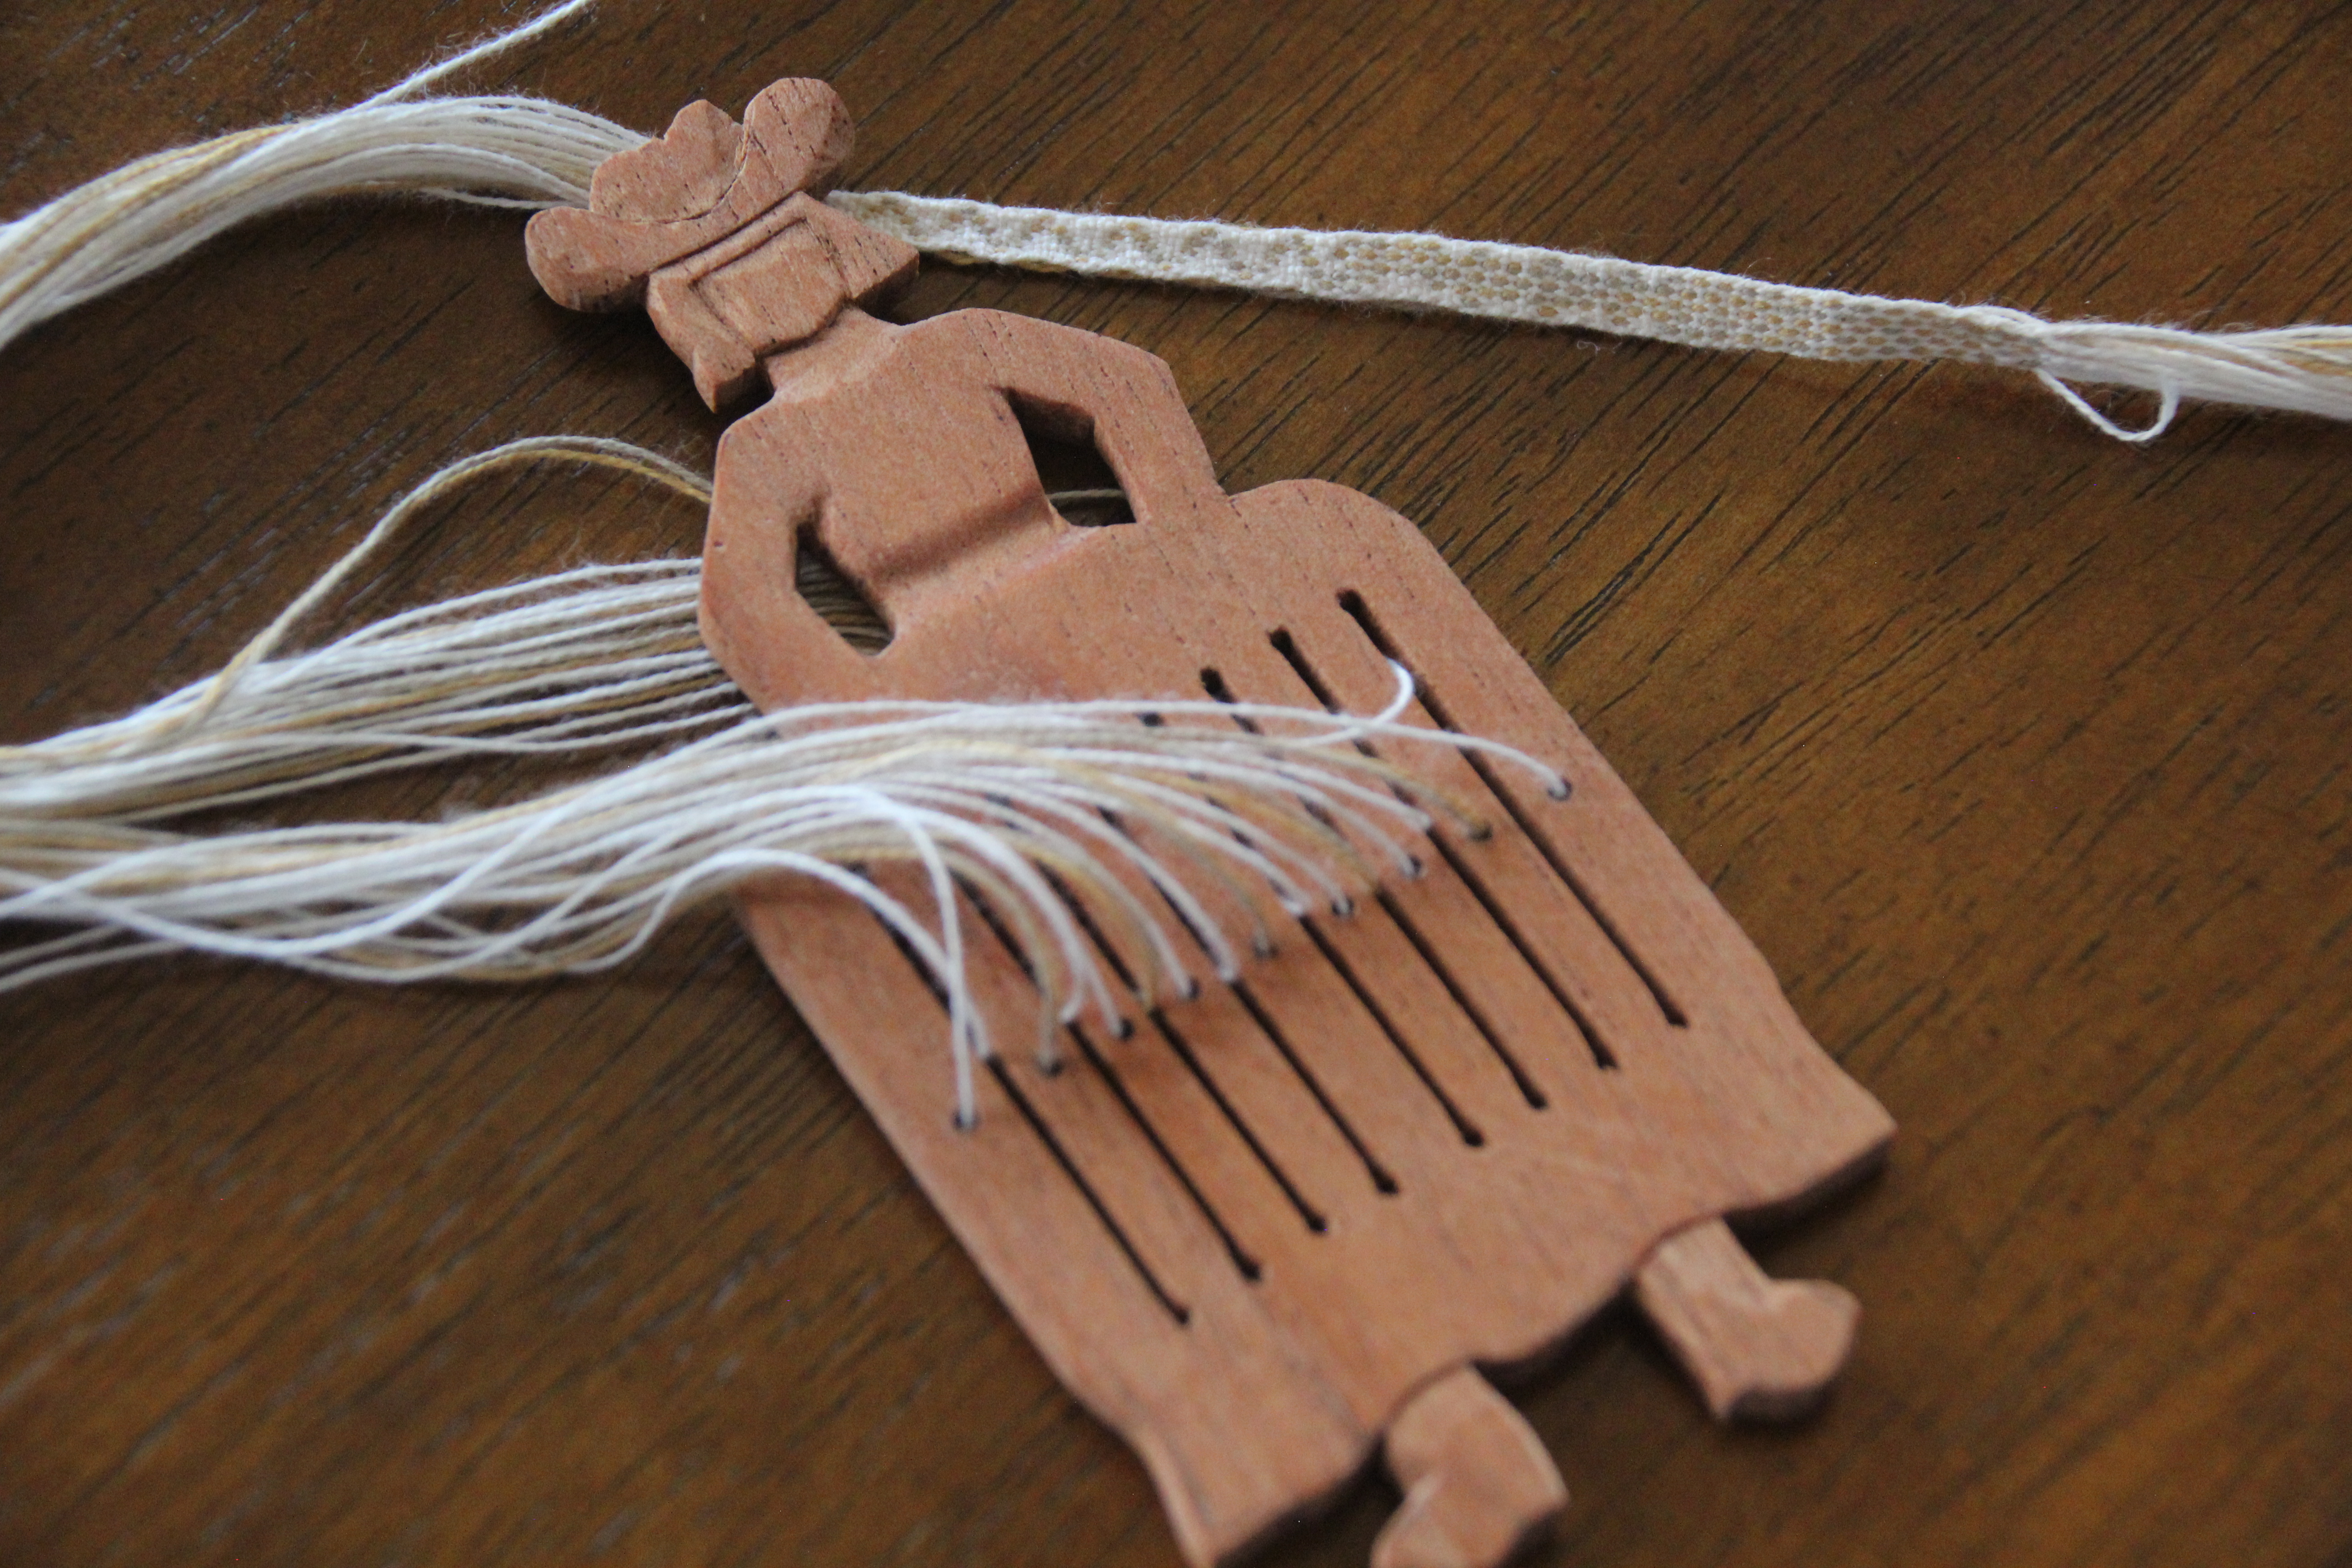
Remember the rigid heddles for band weaving that Steve made for me? (See Process Review: Heddles and Bands) Soft maple, Spanish cedar, and walnut. Steve says they are missing the “cuteness factor.” So, what does he do? He makes a cowgirl heddle out of cherry that is cute as can be!
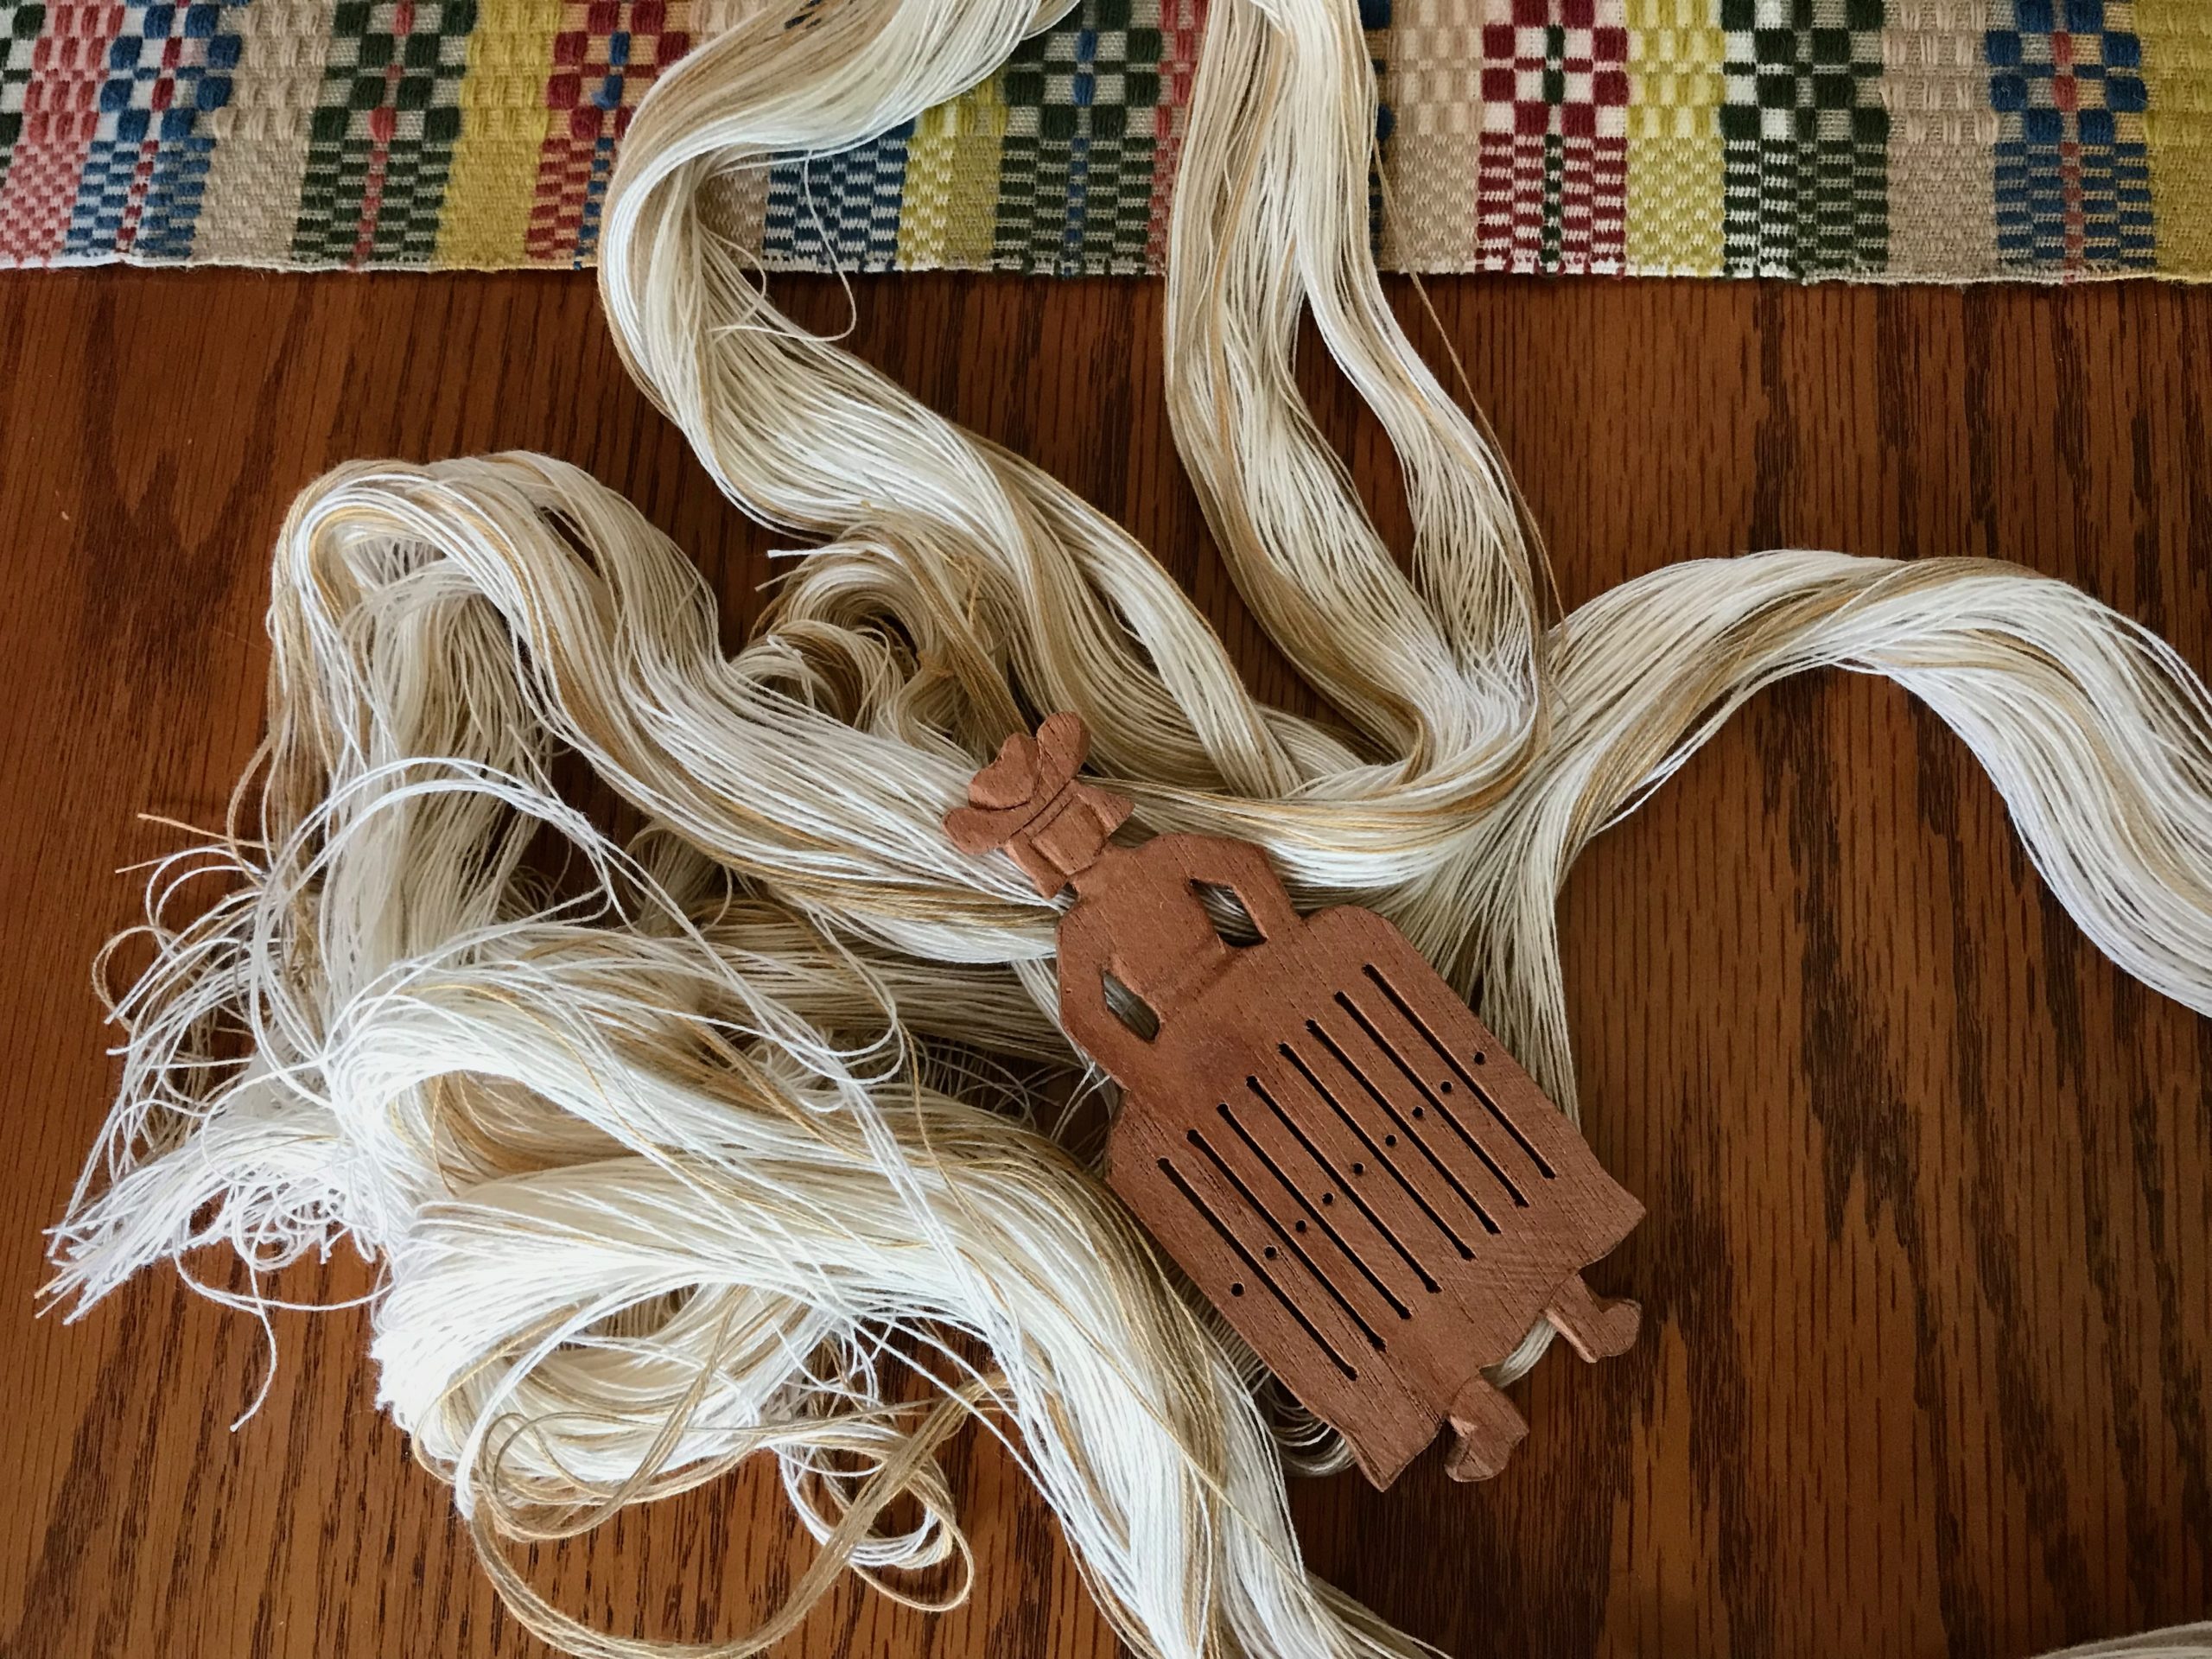
Miss Cherry Cutie has a warp of 8/2 cotton and 22/2 cottolin, mixed in an asymmetrical design. Steve converted a little sett tool into a shuttle by bevelling the long edge and carving the sides into curves to hold the wrapped thread.
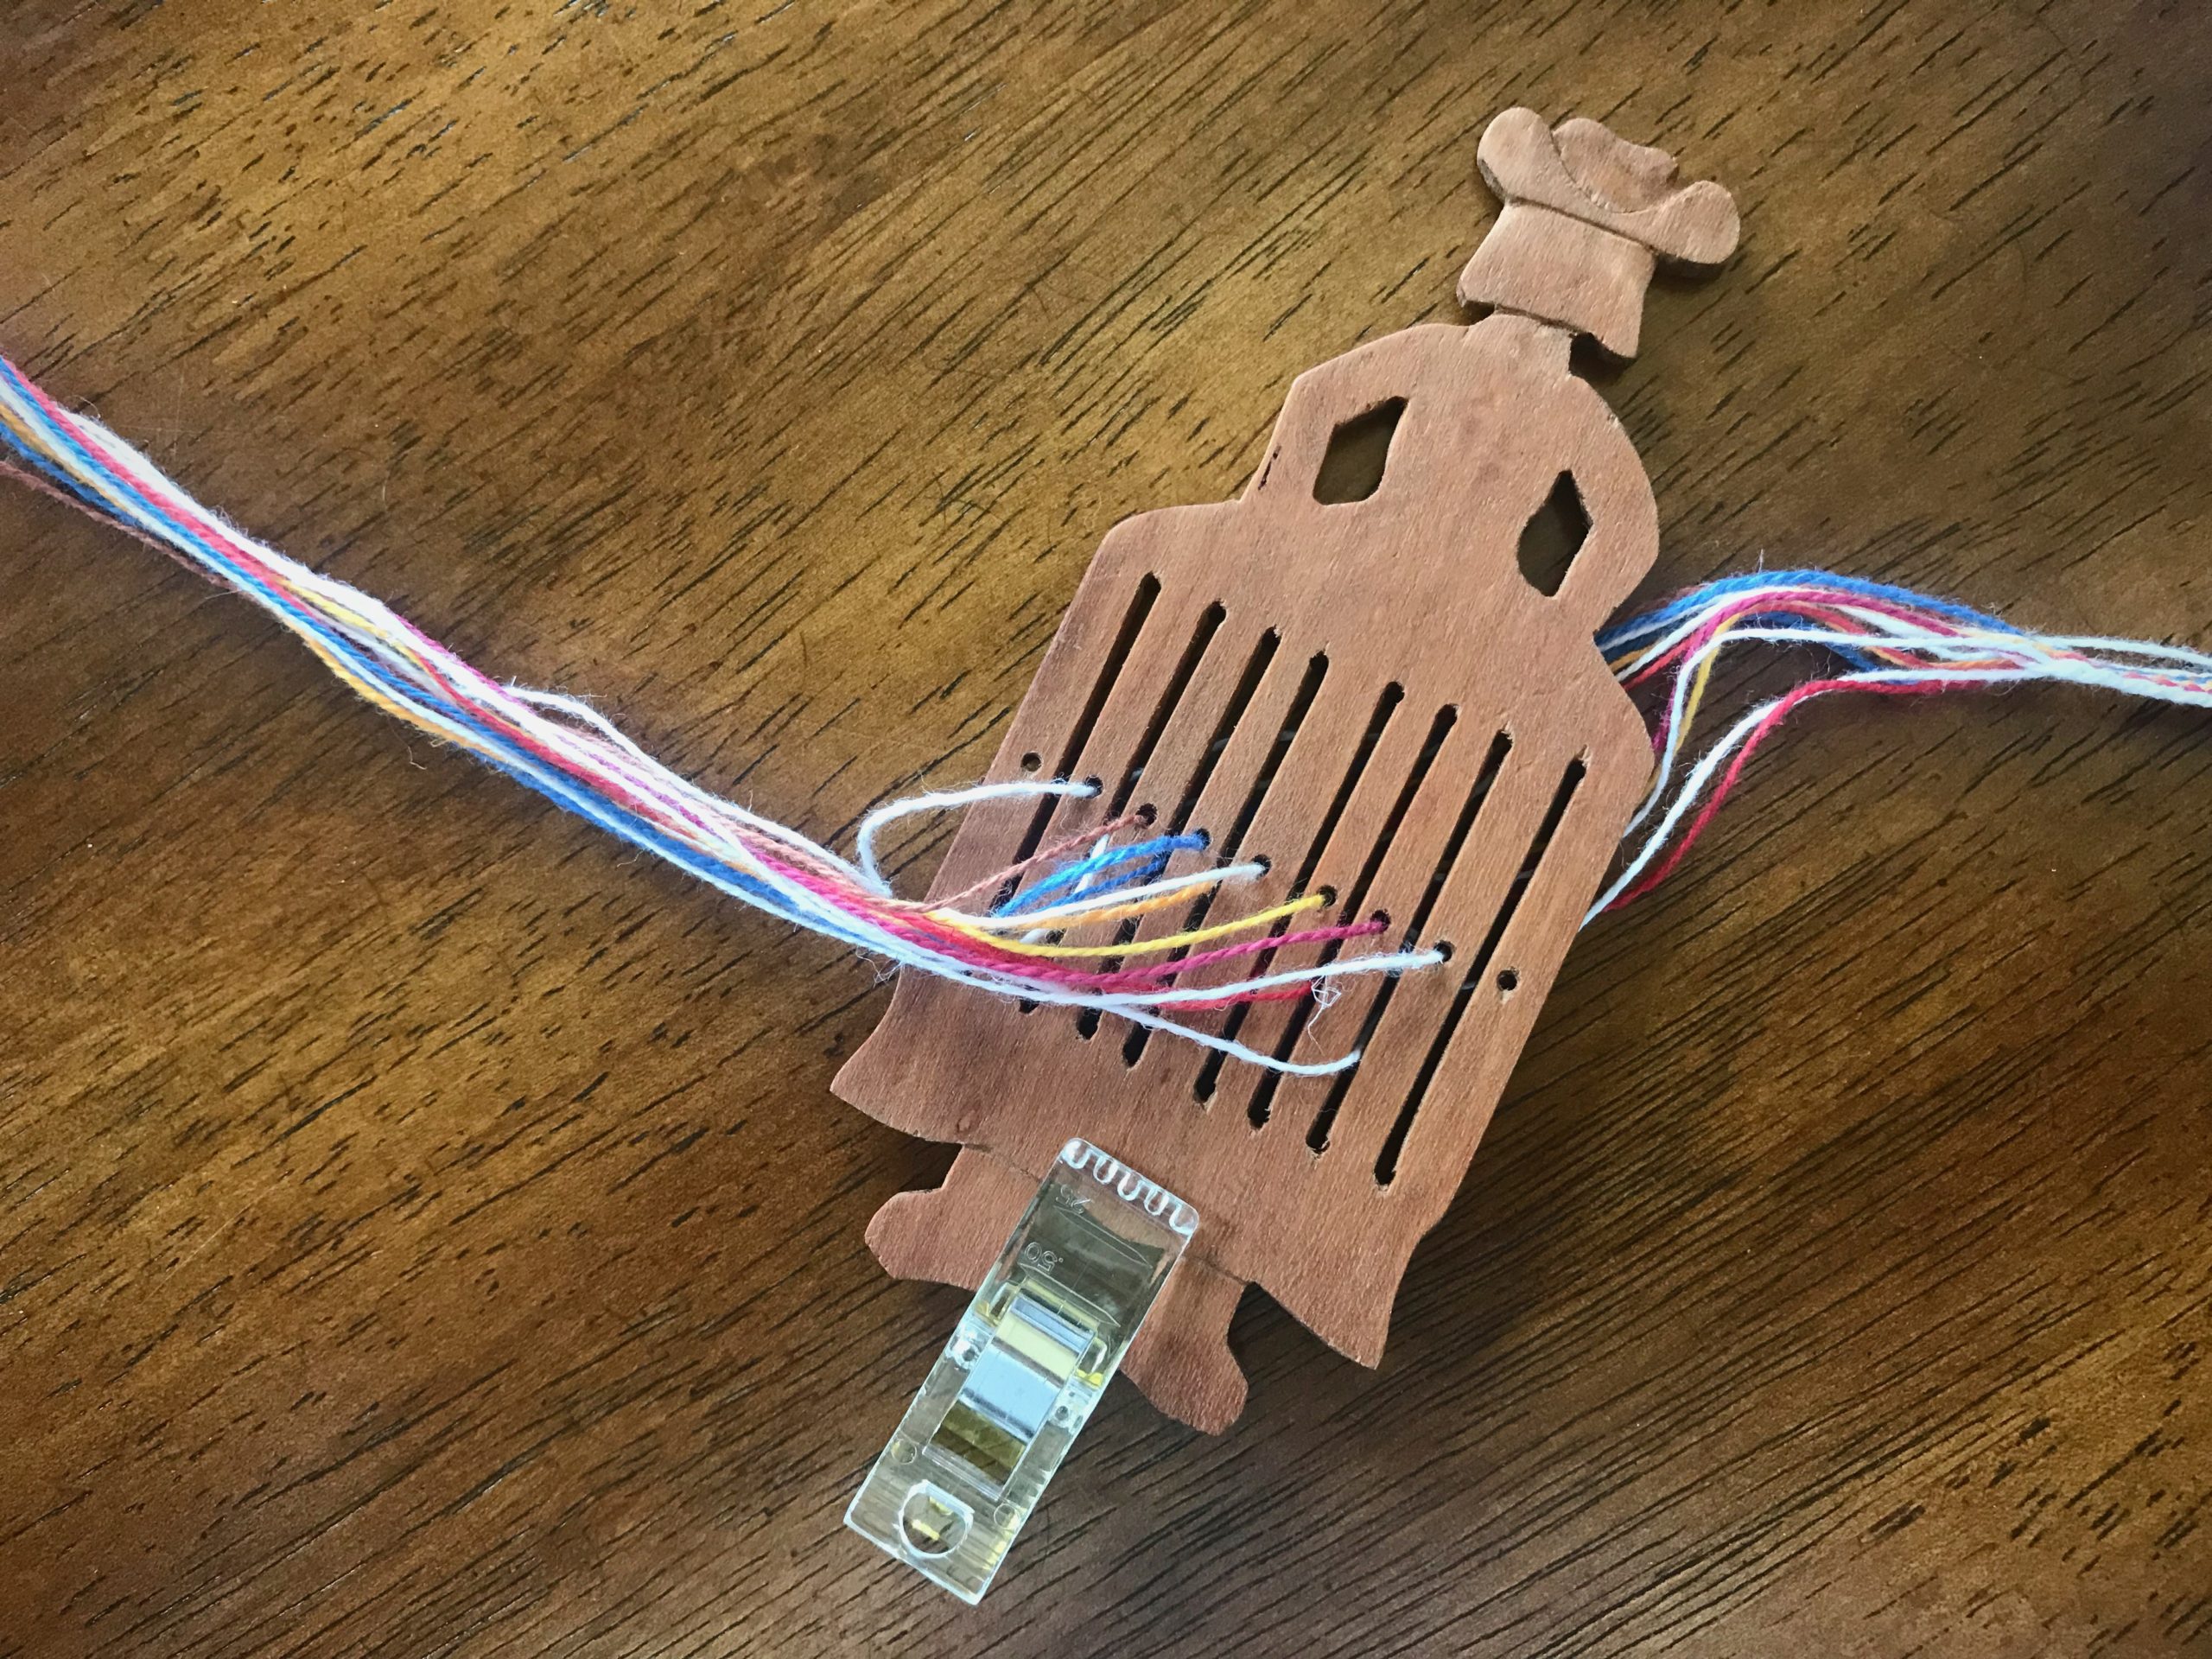
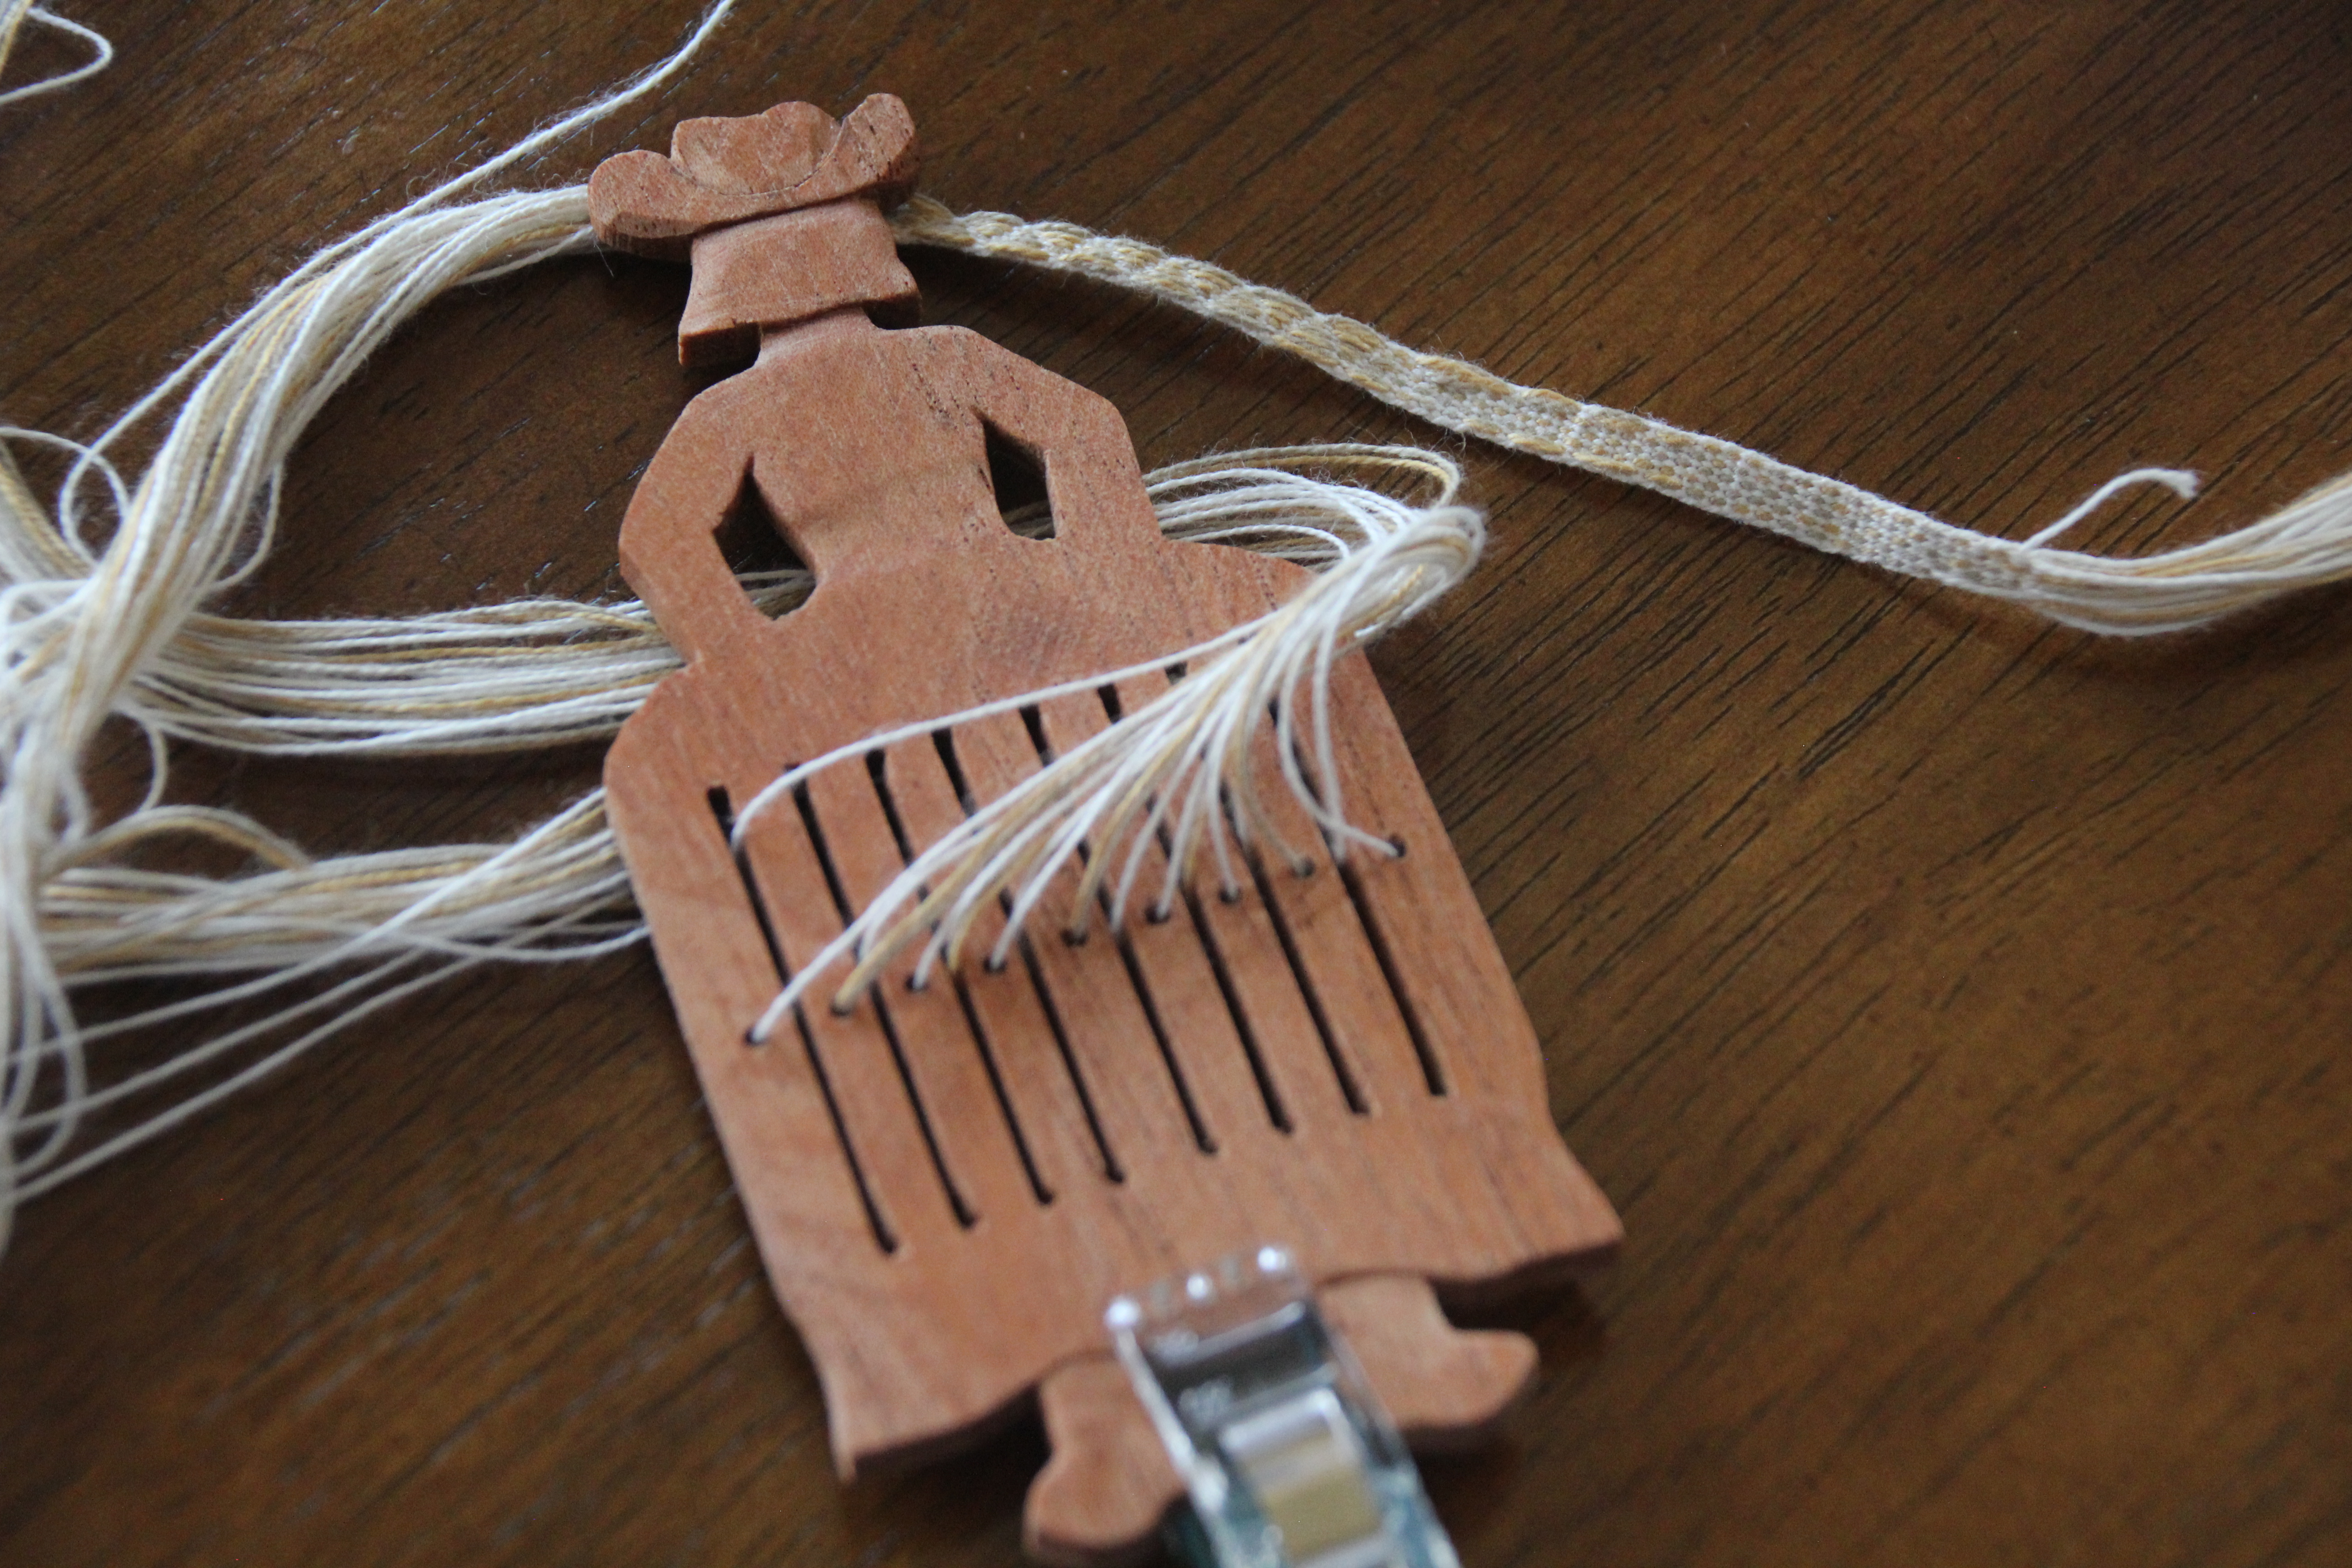
Well, Miss Cherry Cutie wants to flip over while weaving. A little quilter’s clip on the bottom adds just enough weight. Problem solved. Now Steve wants to make one that has more weight on the bottom half.
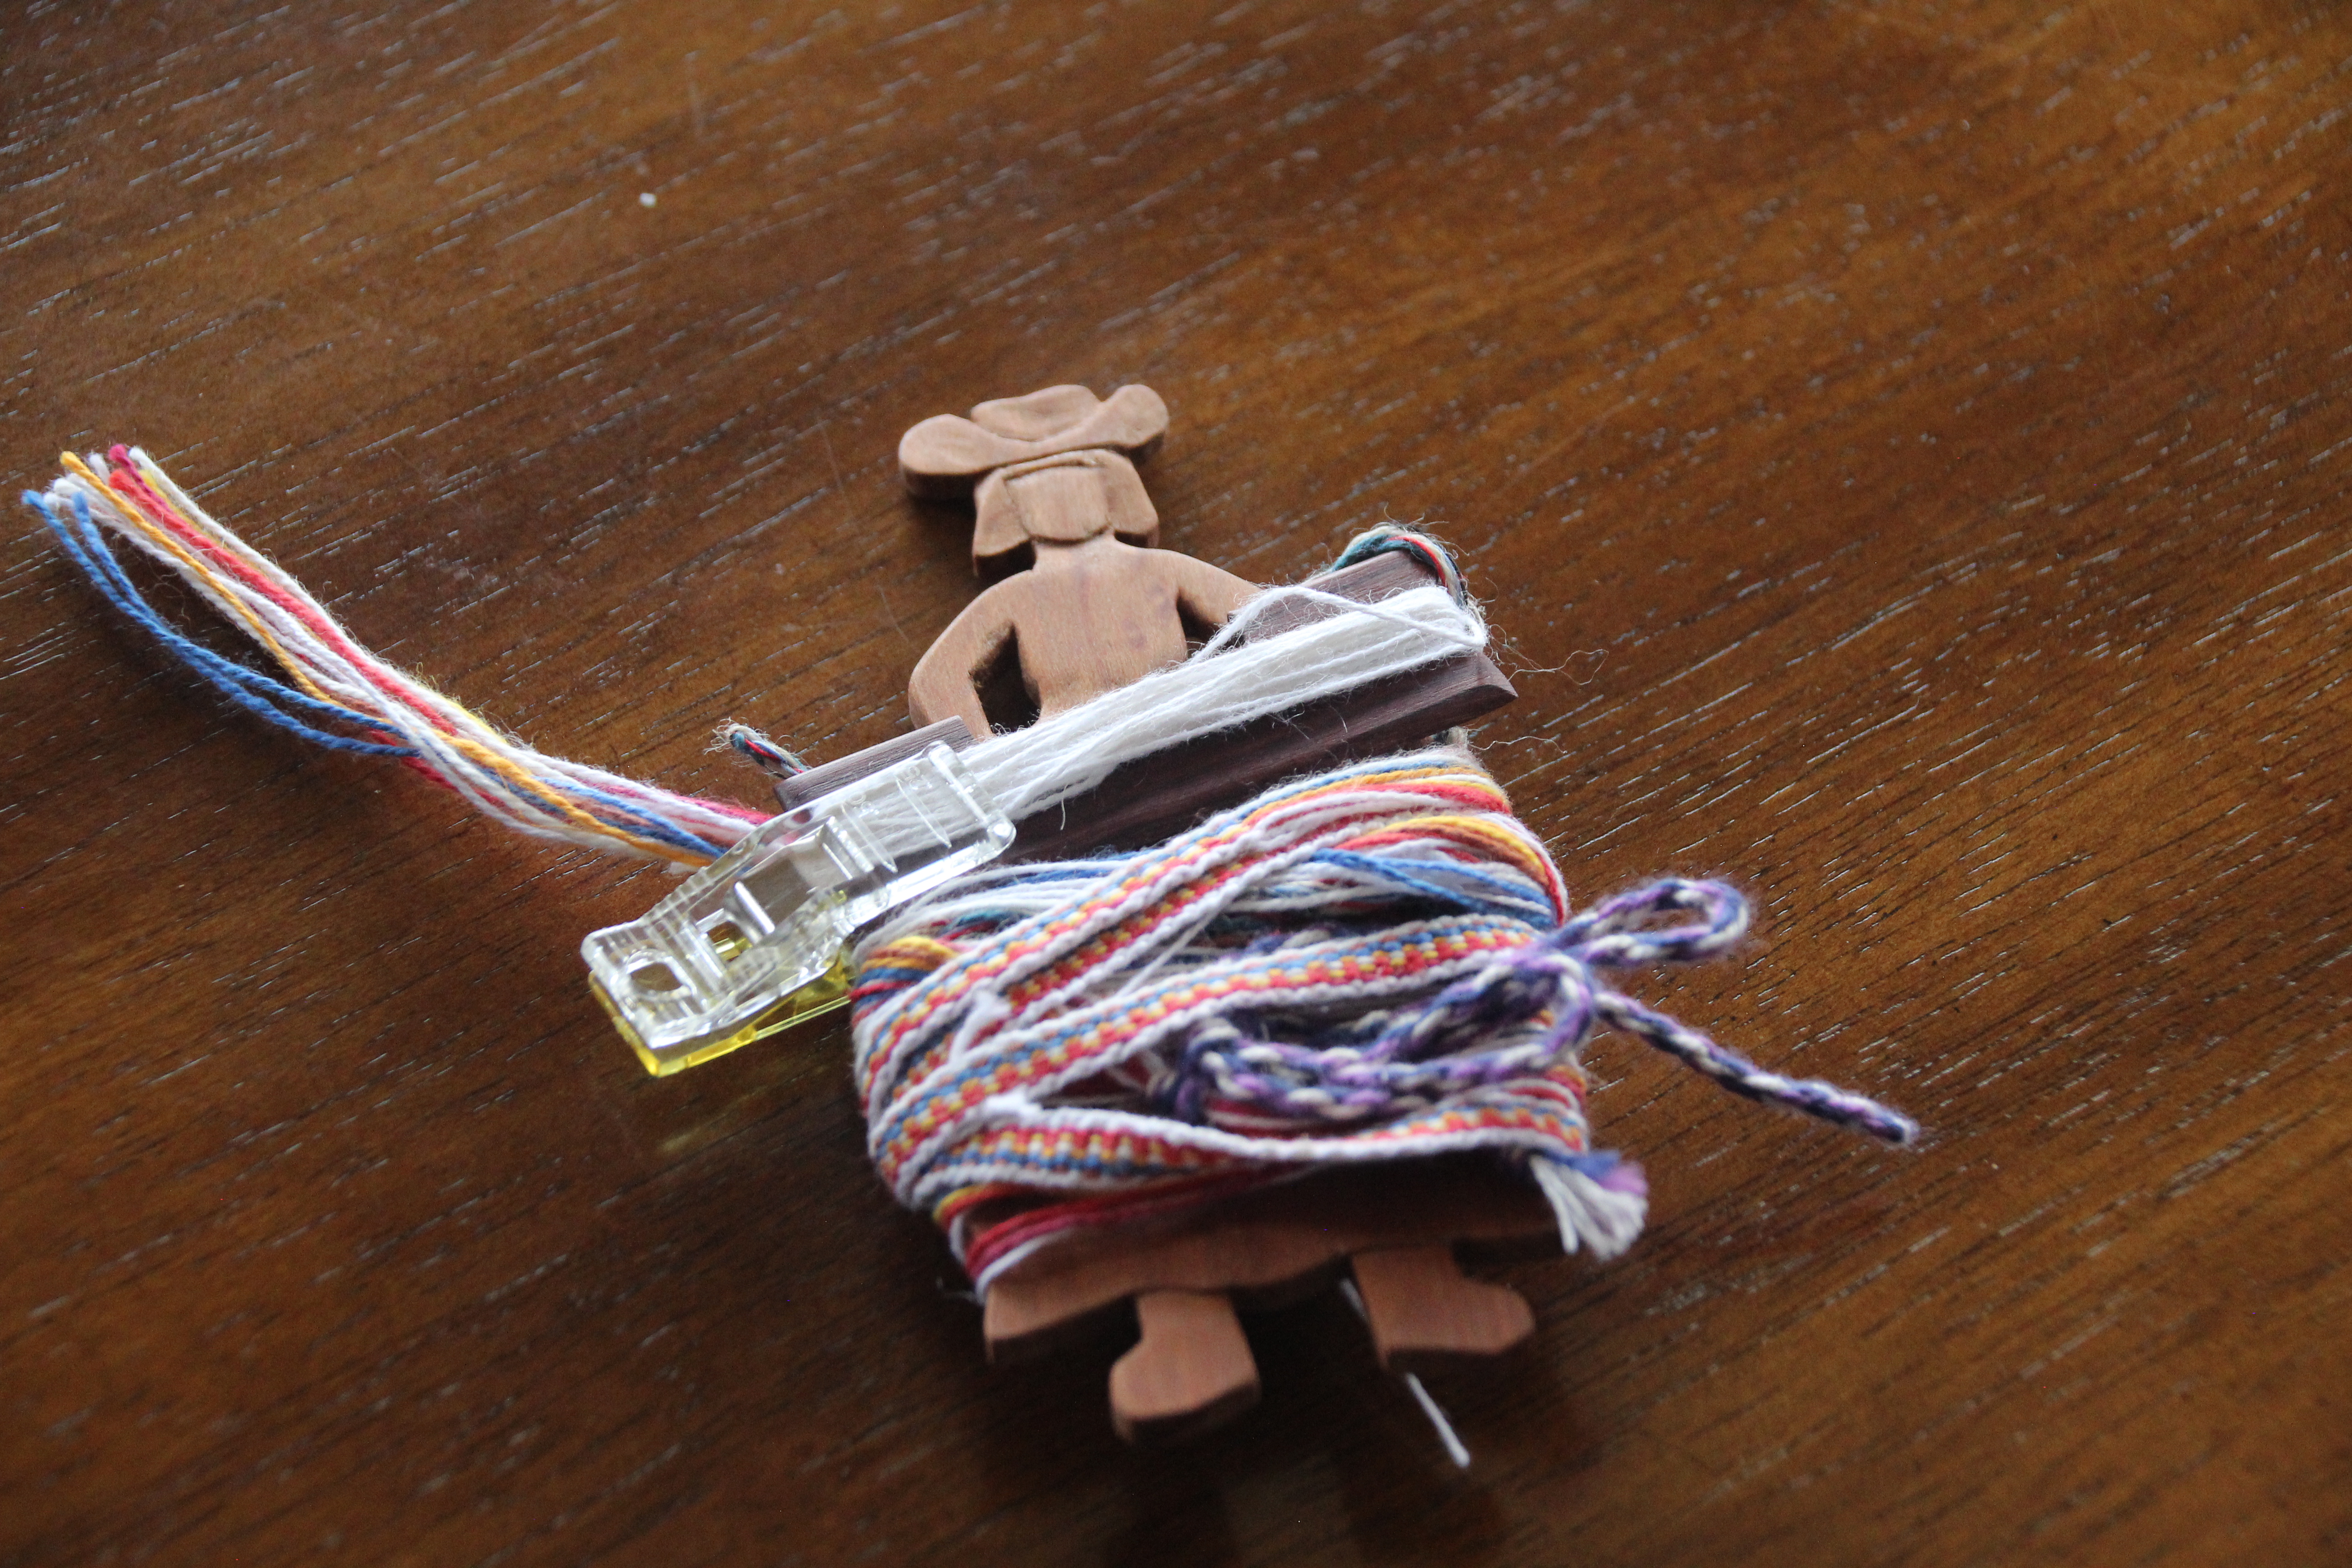
Quilter’s clip at the bottom gives Miss Cherry Cutie the balance she needs to stay upright while weaving.Quilter’s clip serves a dual purpose. Besides adding weight for balance while weaving, the clip holds everything together nicely. I can drop this small bundle in a bag, and add a belt and a band lock, and off we go!
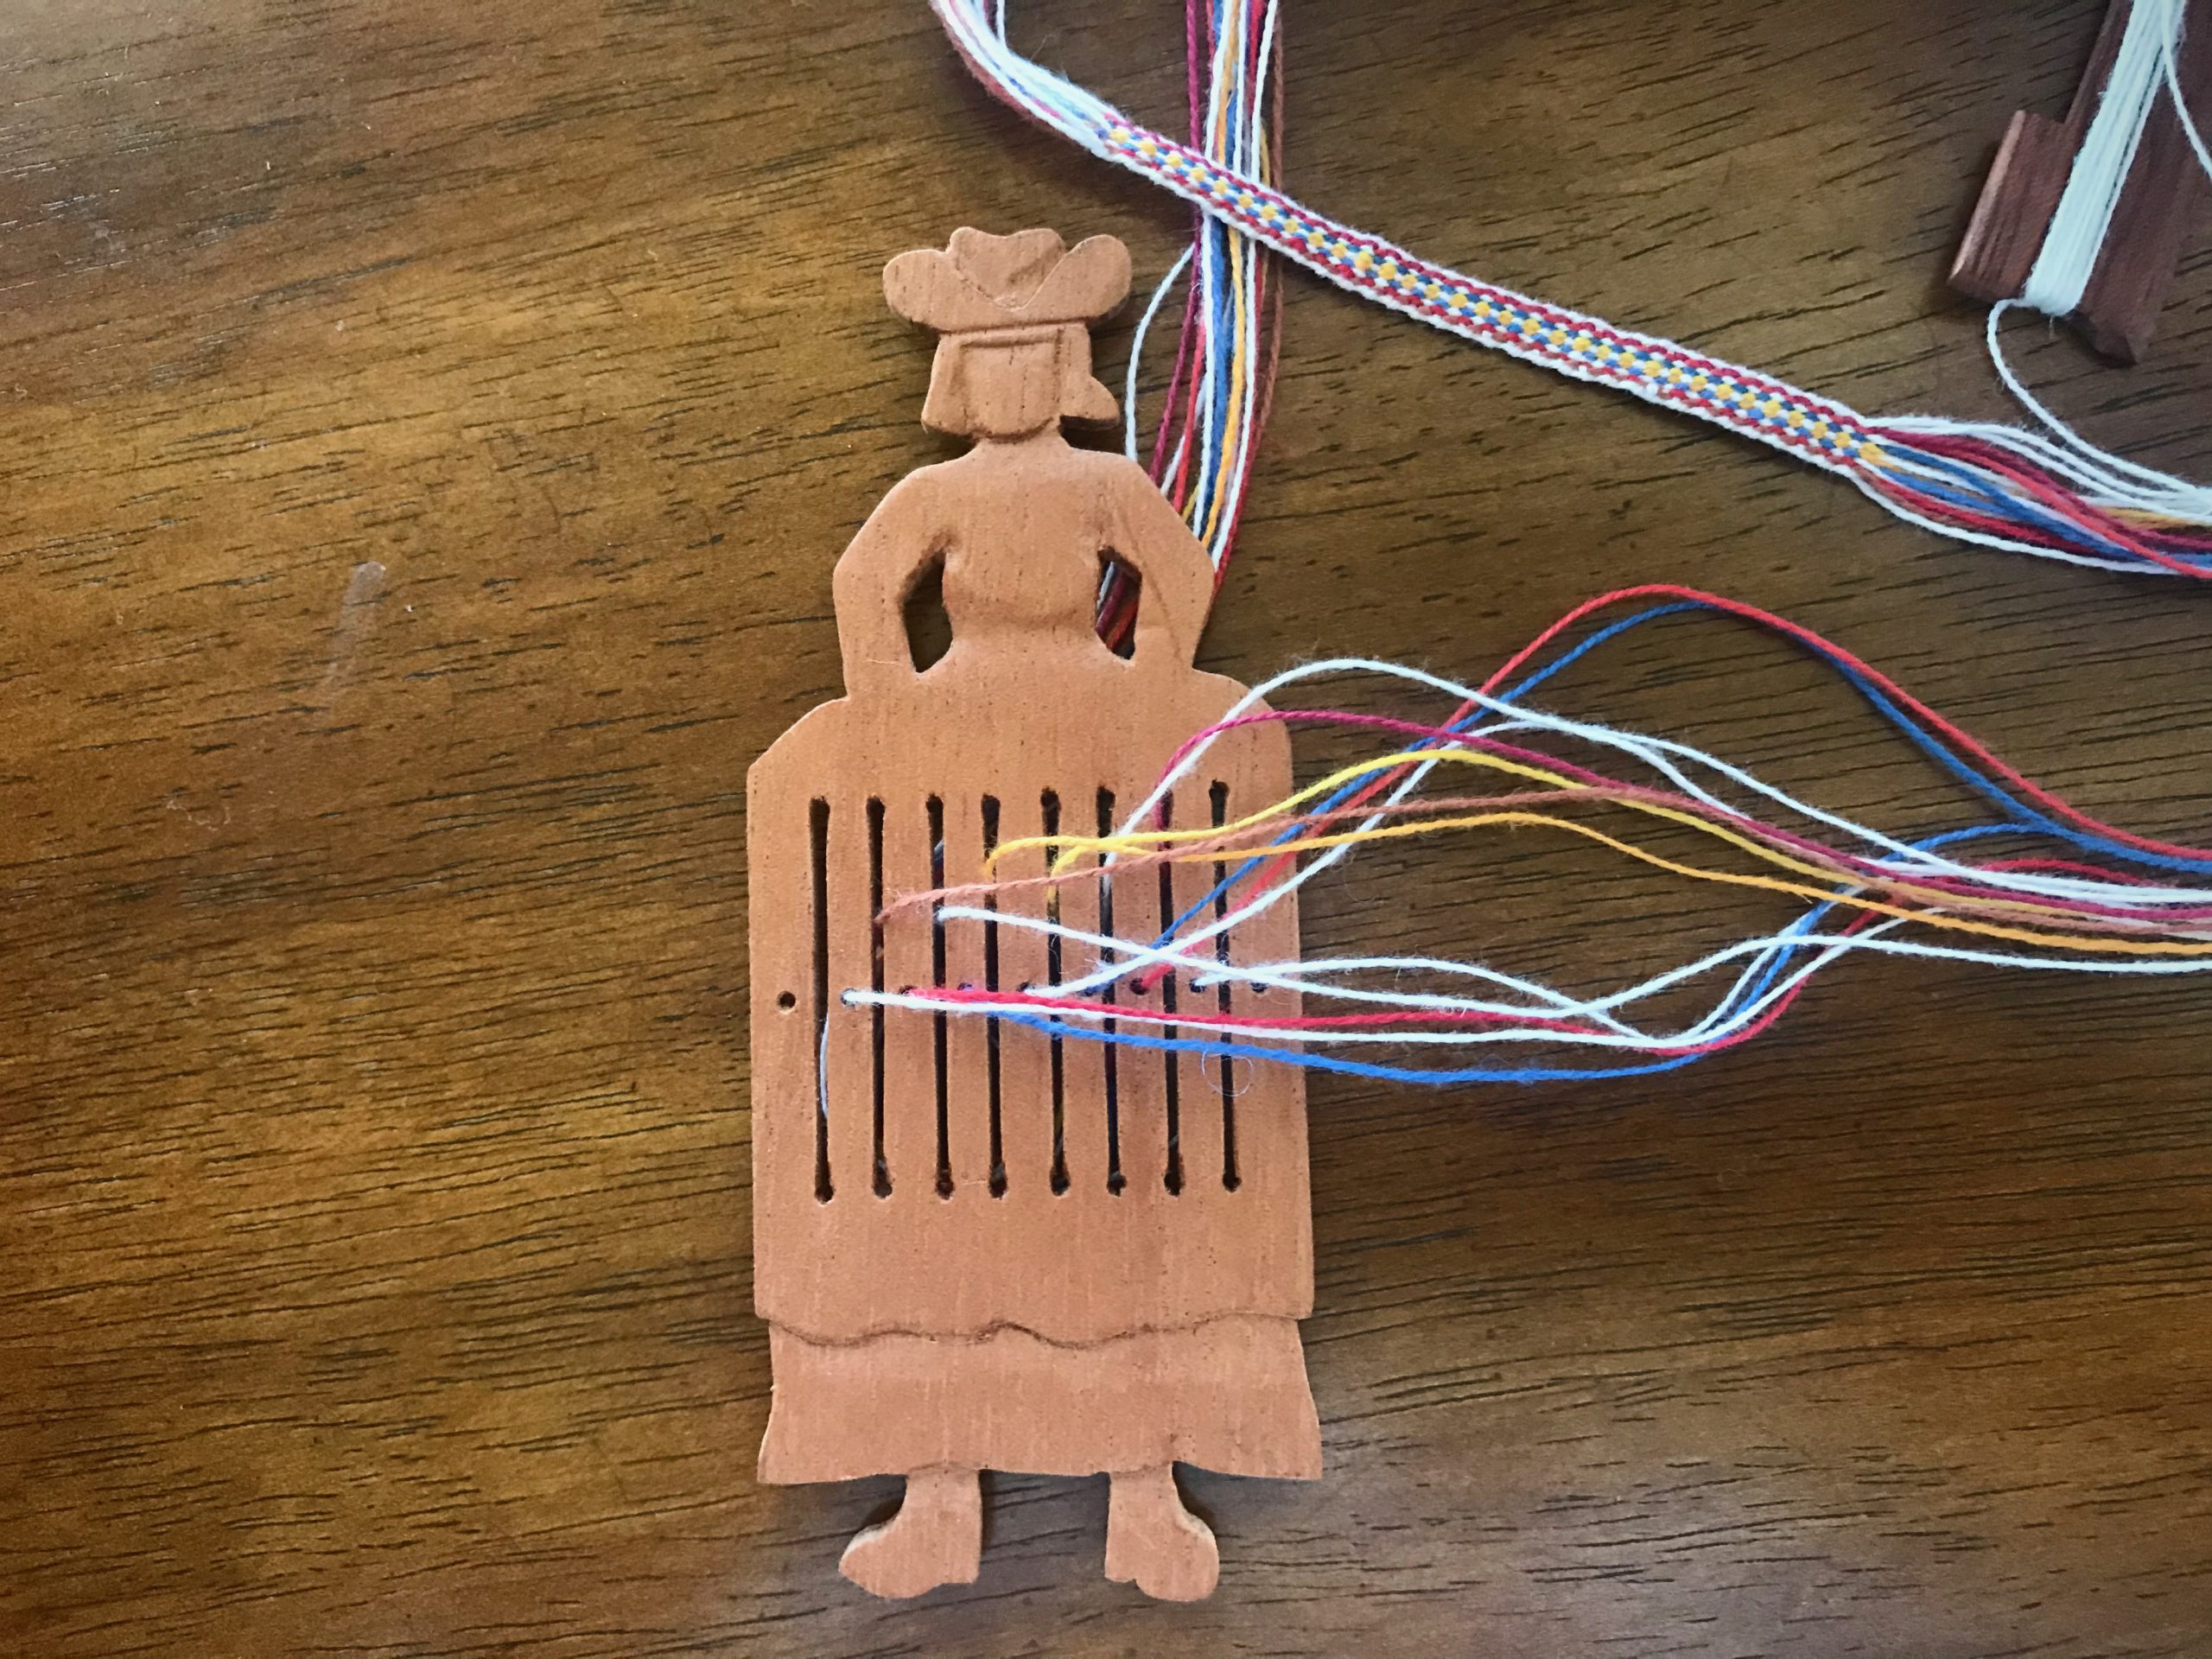
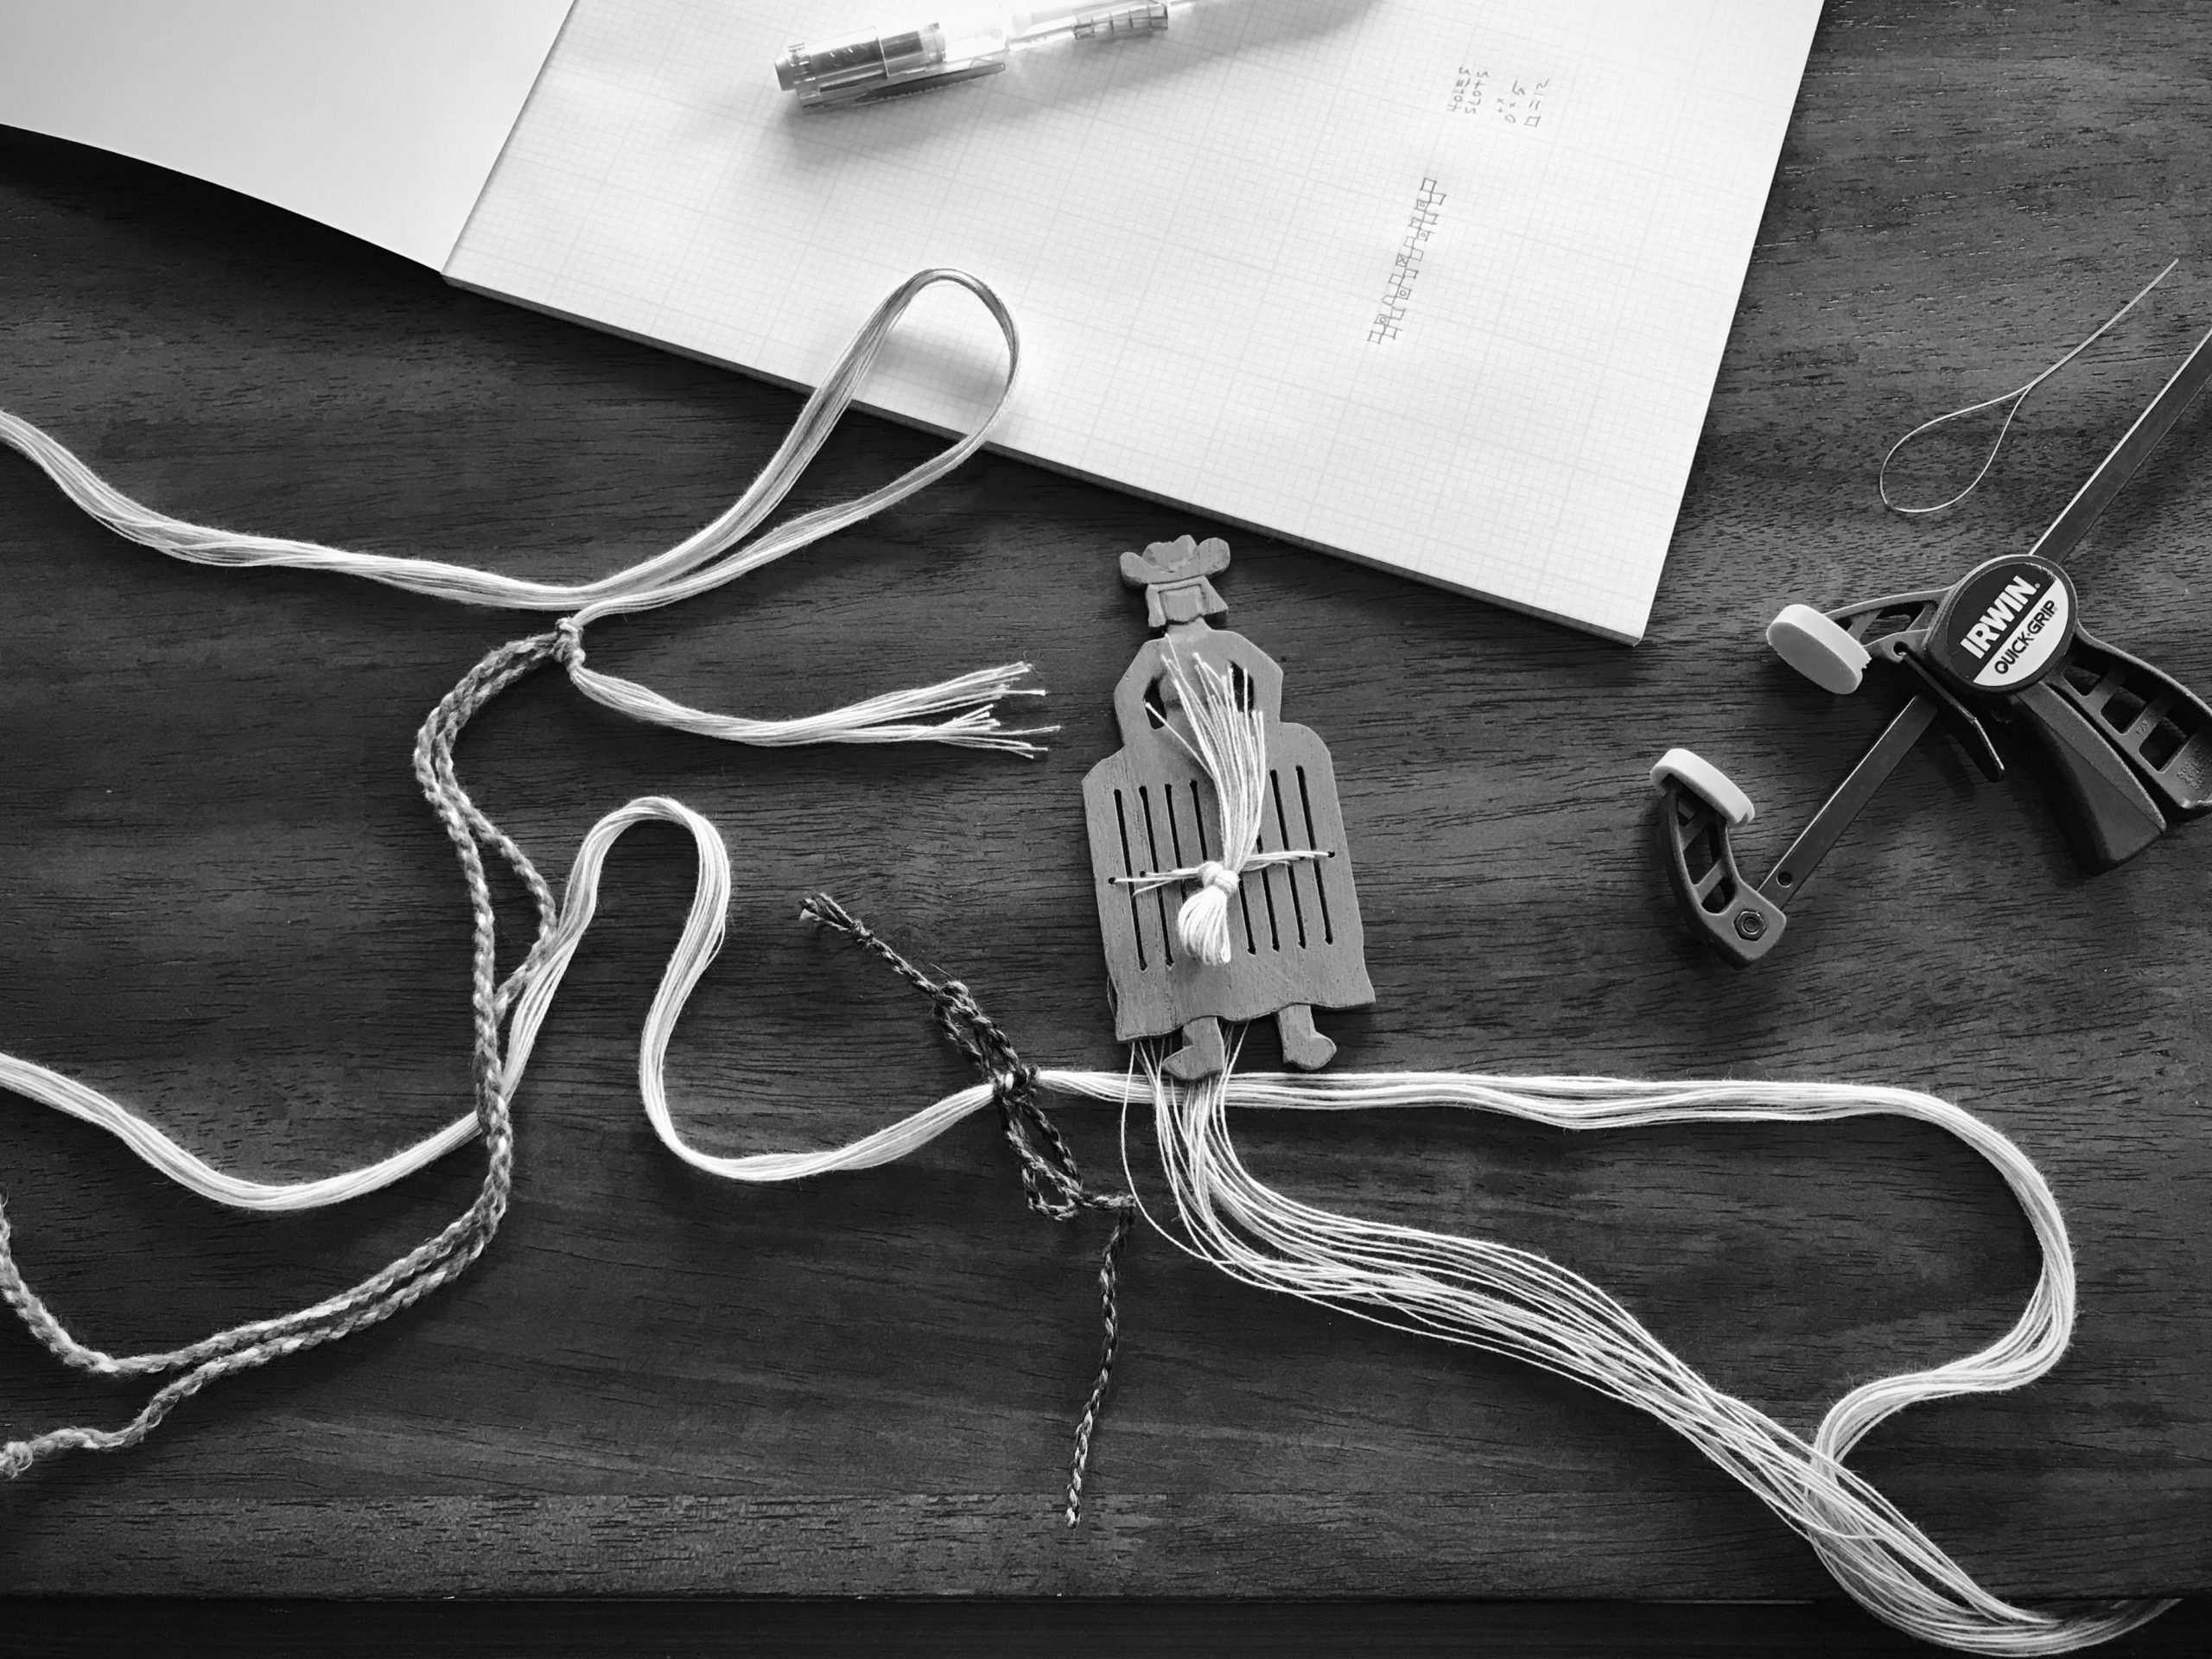
Here comes Miss Cutey II in Spanish cedar, with a longer skirt. She doesn’t tip all the way, but she does lean this way and that. The clip helps her, too. Conclusion? The shorter version, with the clip, is more compact and is our favorite design.
Miss Cutie II has a petticoat that hangs below her skirt. This extra length makes her a bit more stable than Miss Cherry Cutie. I cut Miss Cherry Cutie’s warp in half to give Miss Cutie II a warp. These are the same threads, but arranged in a more symmetrical order. She has her own sett tool shuttle, too.Miss Cutie II also benefits from the added weight of a quilter’s clip.
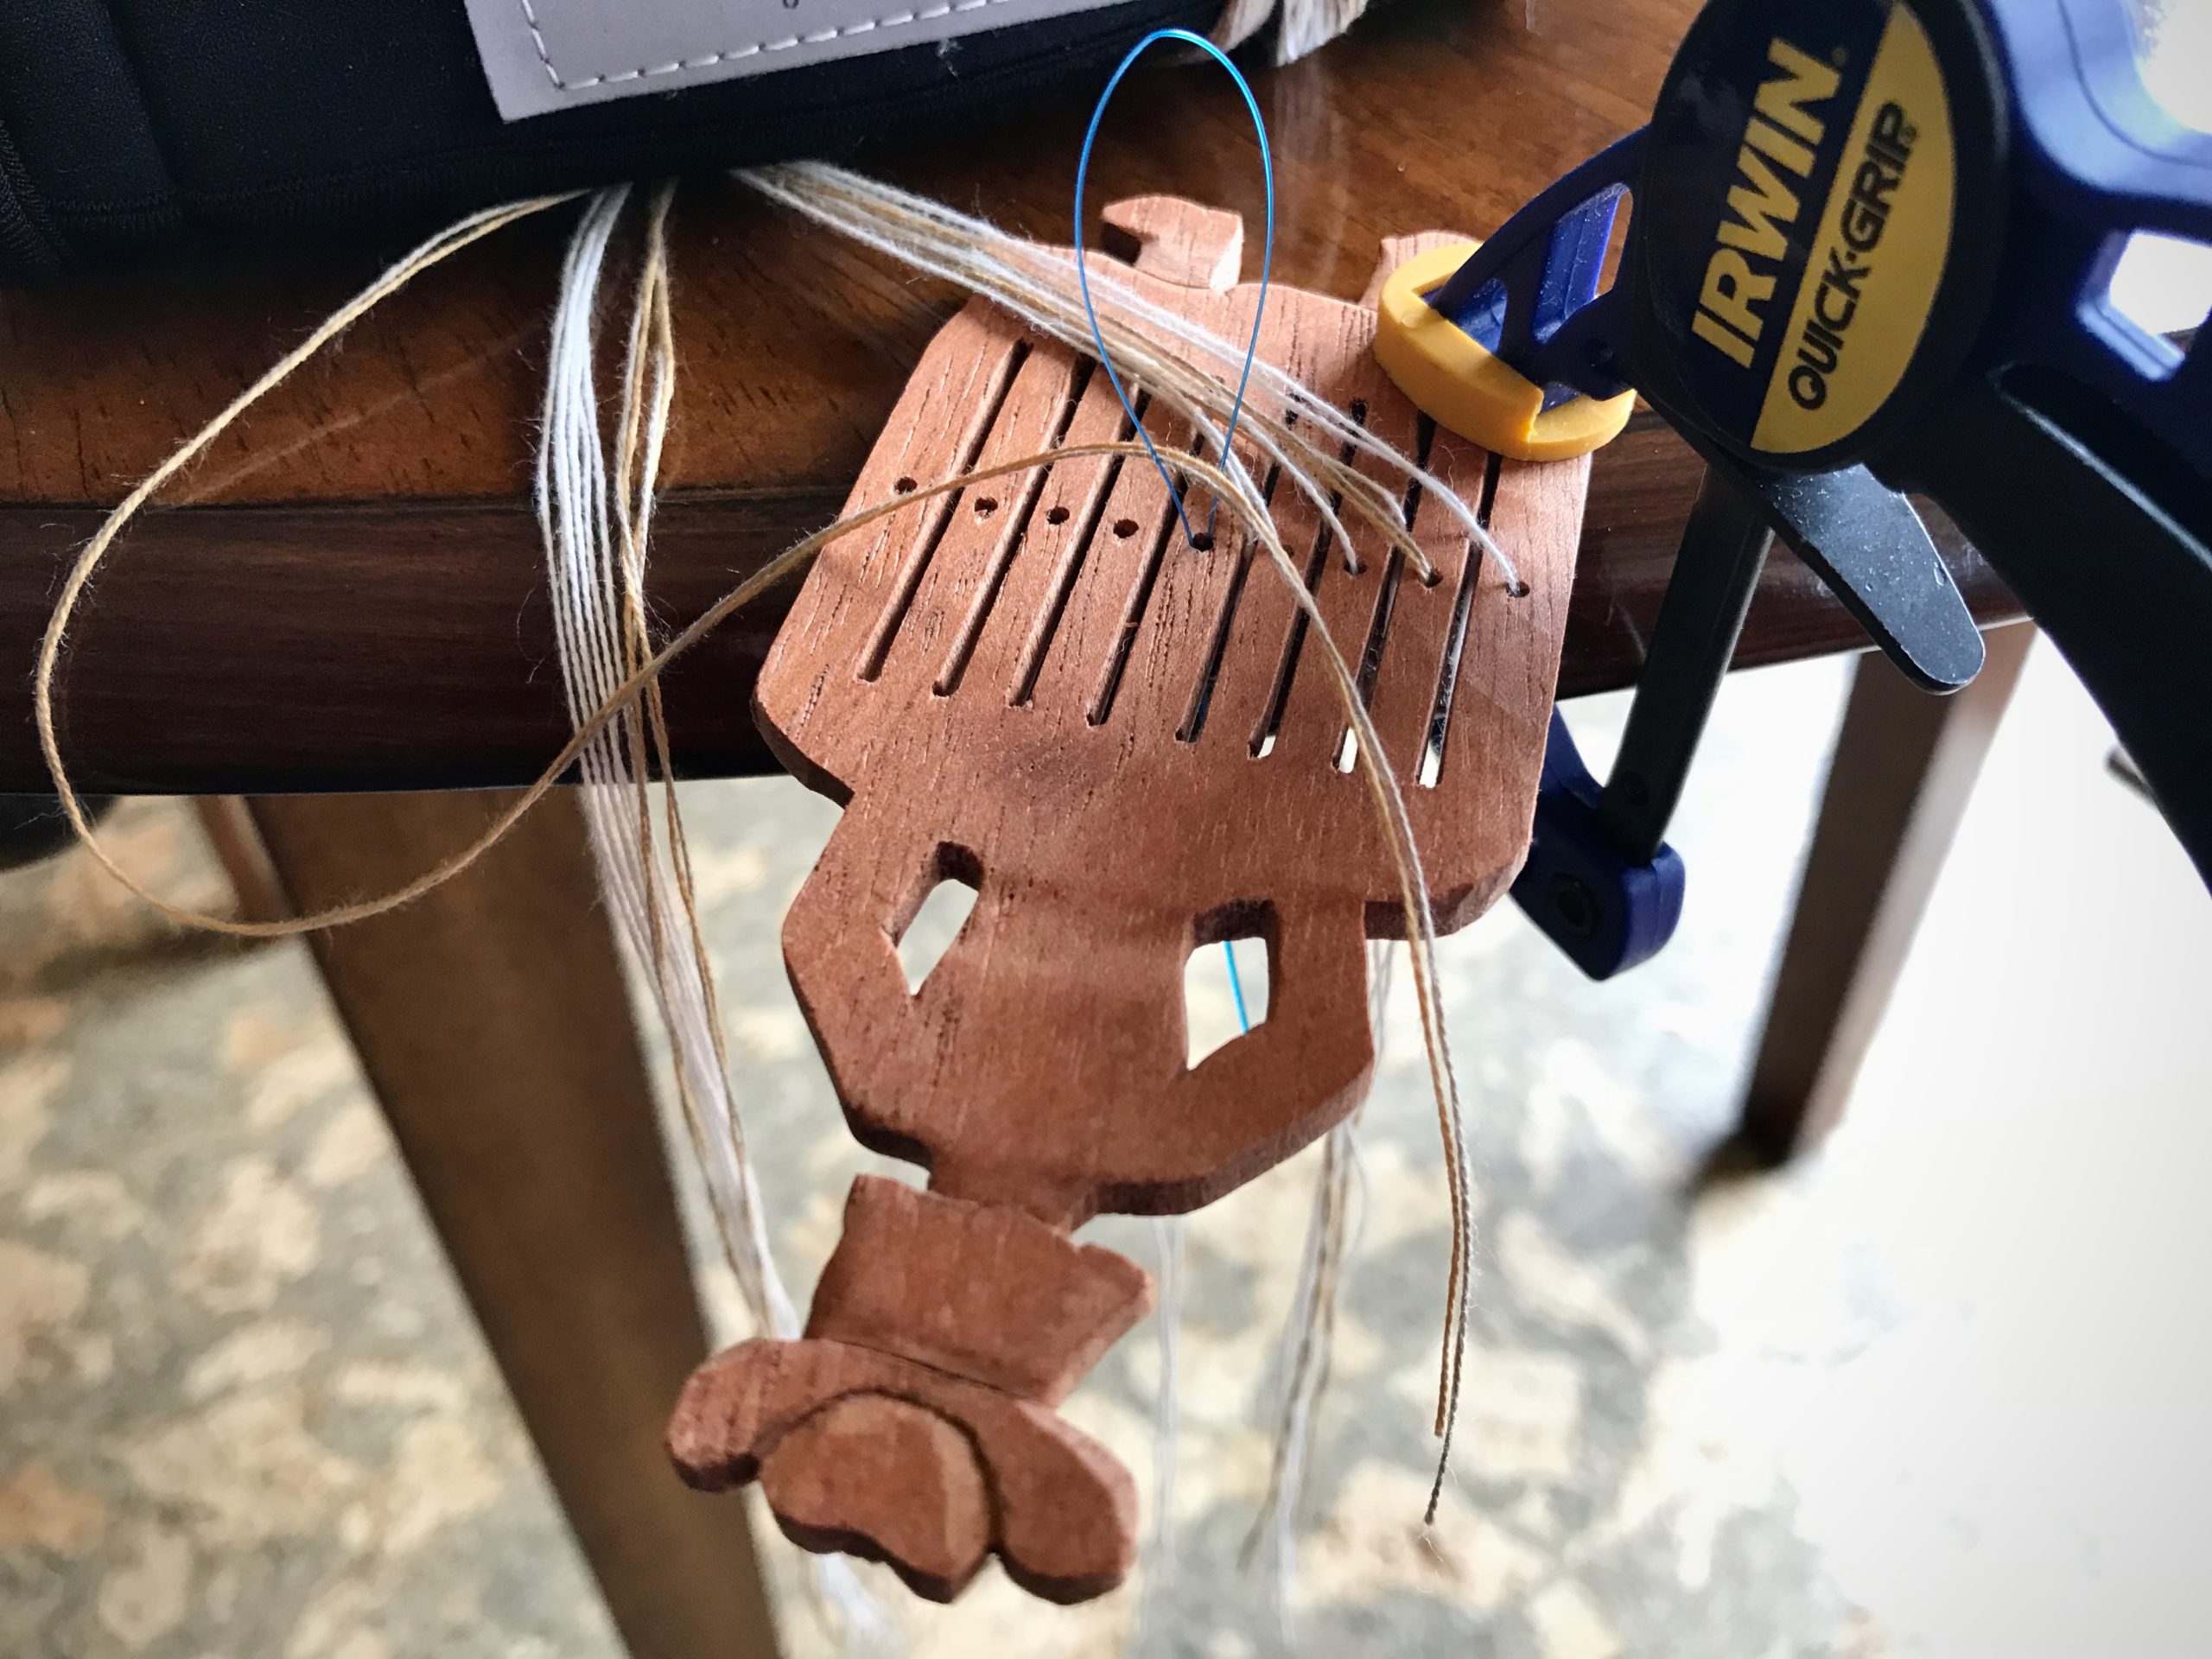
Look who shows up! Miss Cutie III in Spanish cedar. It’s time for a band weaving party, y’all!
Miss Cutie III shows up unexpected. She waits to be threaded with a few ends from the thrums of the Priceless Monksbelt Runner. (See Process Review: Priceless Monksbelt and Video.)Facedown for threading, Miss Cutie III receives the 16/2 cotton threads for her warp. This warp has five doubled pattern threads.Threaded and ready for a 5-thread pick-up pattern.Narrow band, with a subtle zigzag pattern.Back of band has soft floats in triangular shapes.
Persistence comes from having an end in mind. Prayer is like that. We know our heavenly Father hears us when we pray. We know his outcome is good. Faith compels us to persist in prayer. As we do, the Lord guides our heart to align with his will. All the while, he works behind the scenes to bring his answer, which is better than anything.
Some of the monksbelt flowers have a different color for the three center picks. The new color is only temporary, so I simply carry the first weft color up the side for that short distance.
Monksbelt with six colors of 6/1 Fårö pattern weft and three colors of 16/2 cotton ground weft.
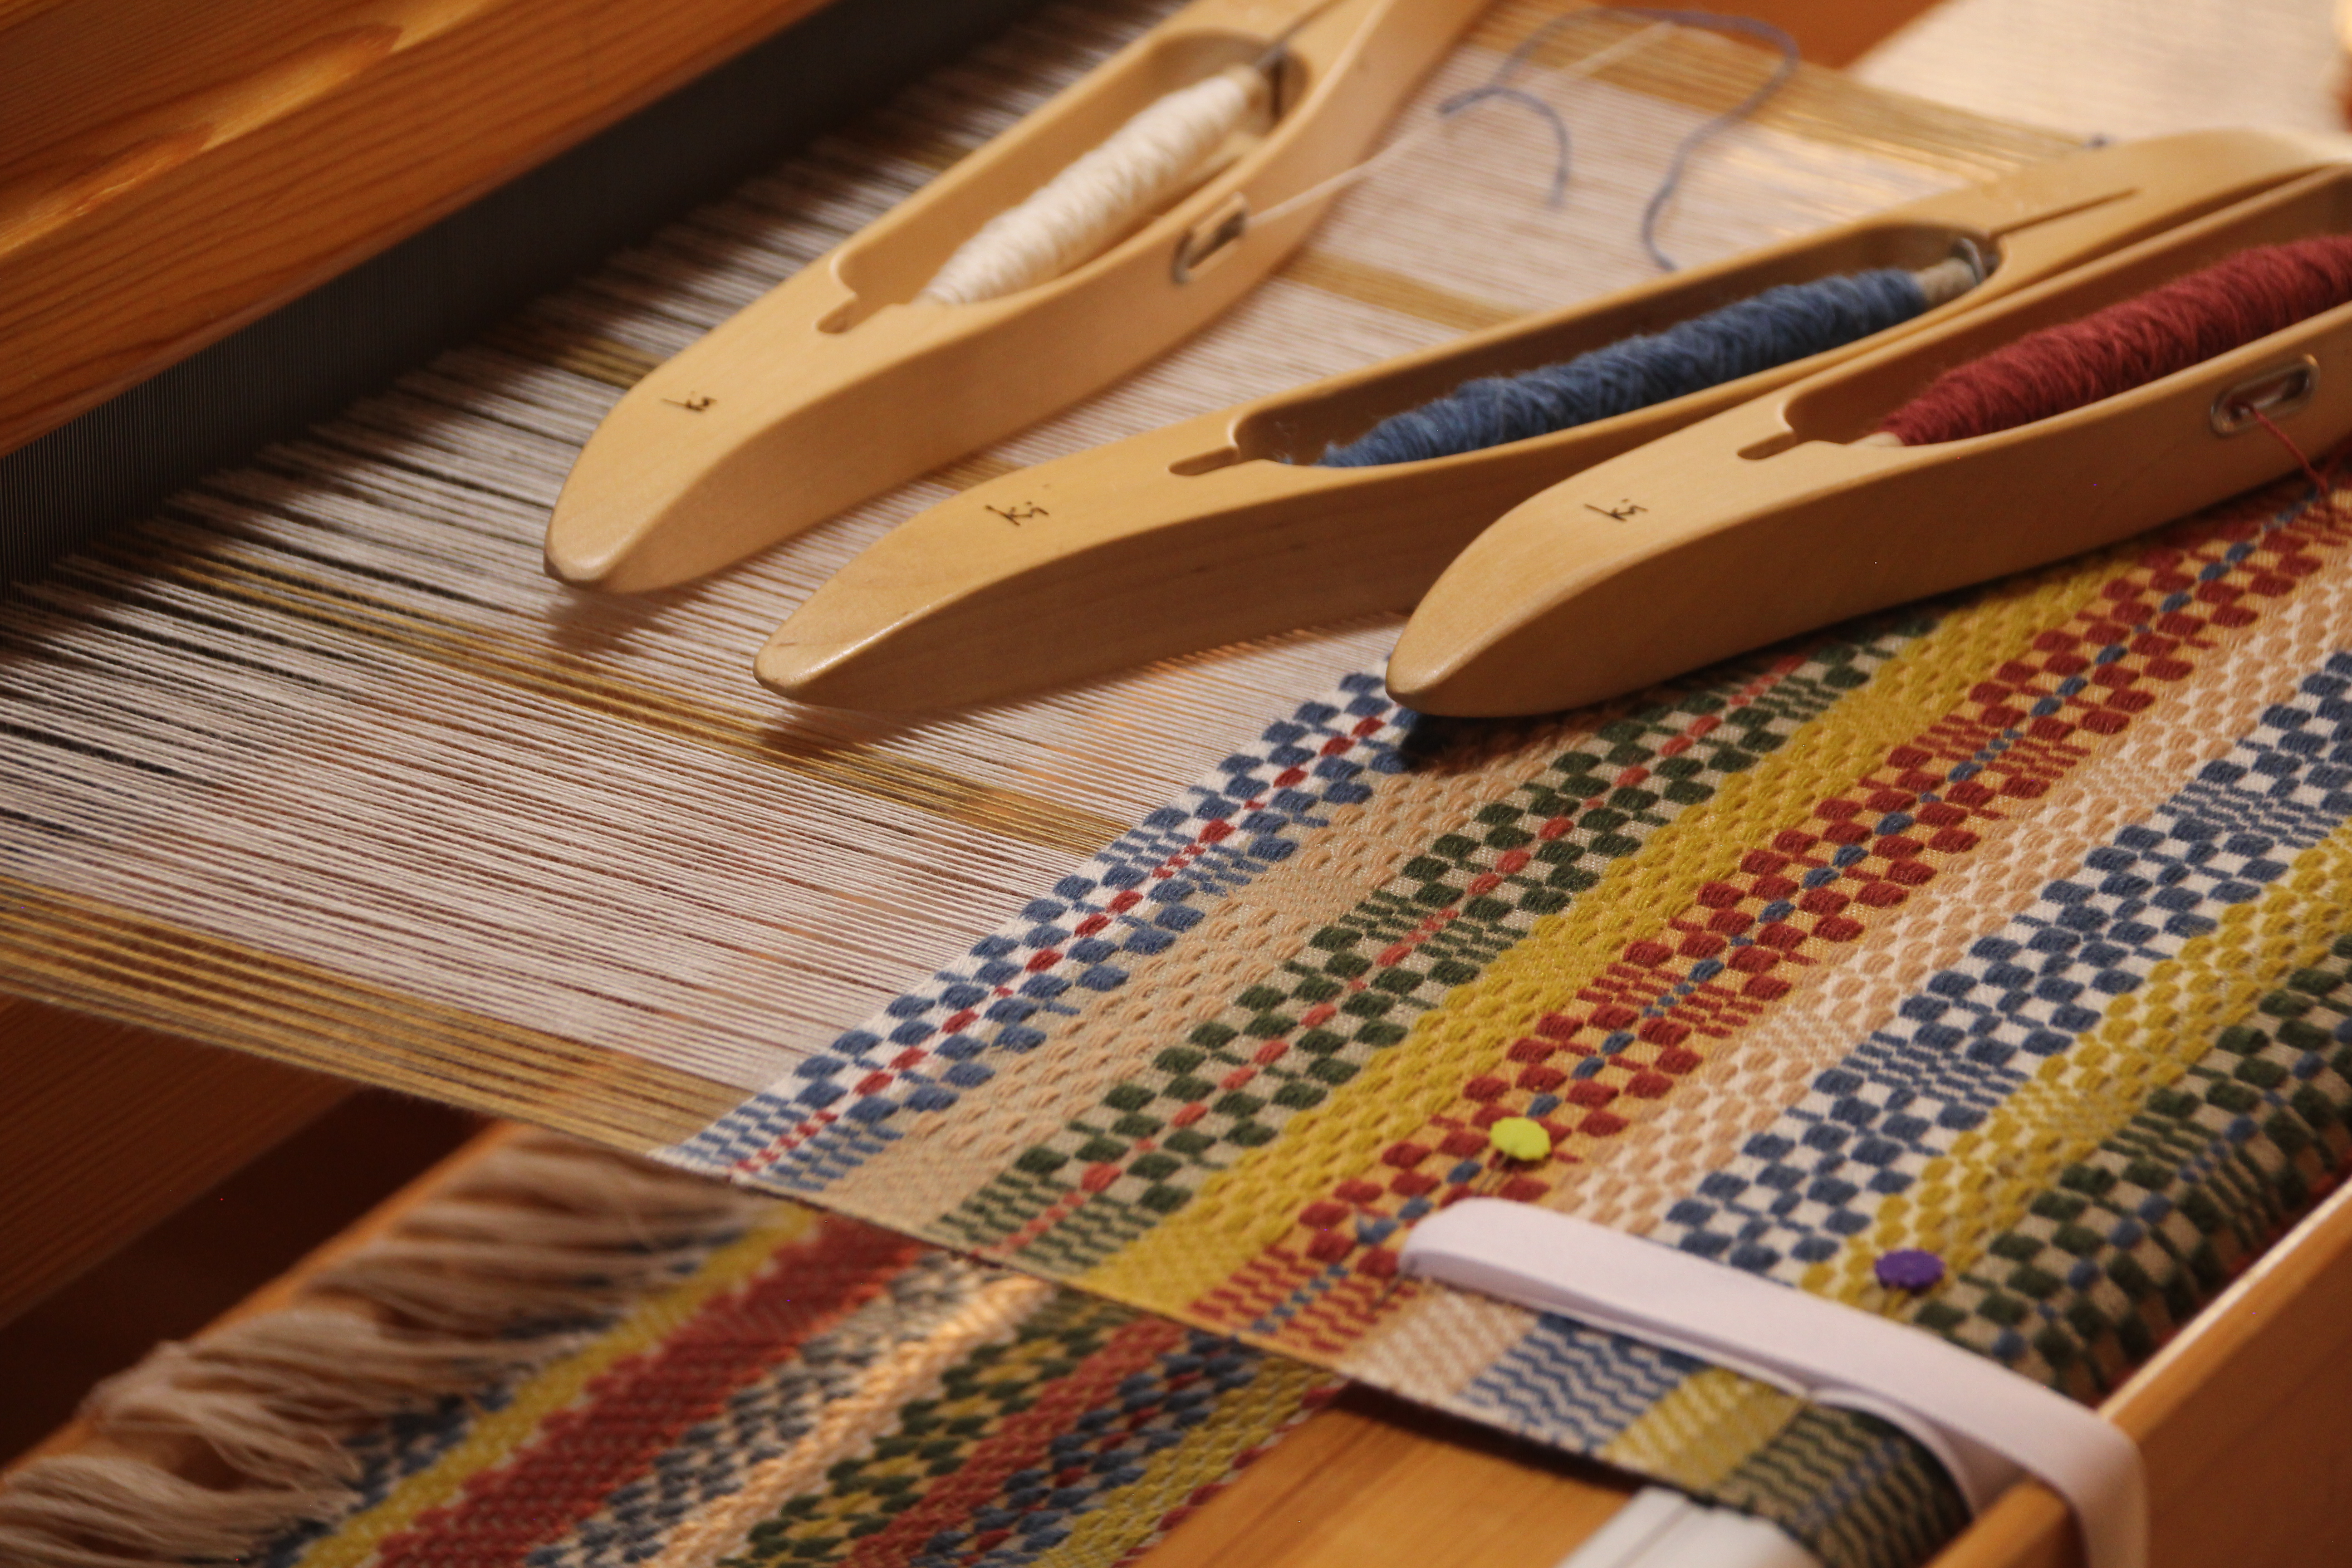
More than one shuttle doesn’t necessarily mean more difficult. Everything runs a little smoother when there is an efficient exchange of shuttles between your hands.
Monksbelt flower garden.
How to Handle the Exchange of Shuttles
For this example, the temporary weft starts from the left and goes to the right. Weave the first pick of the temporary weft, catching the shuttle with your right hand. (If the first pick of the temporary weft goes from right to left, reverse the right hand/left hand instructions, here and following.)
Transfer the shuttle with the temporary weft (active weft) to your left hand.
With your right hand pick up the shuttle that has the weft that will be carried up the side (inactive weft). Bring the shuttle all the way around the active weft and then lay the shuttle down again.
Transfer the shuttle with active weft back to your right hand and continue weaving.
Follow steps 2 – 4 until the section with temporary weft is finished.
Tuck in the tail of the temporary weft and continue weaving with the weft that has been carried up the side.
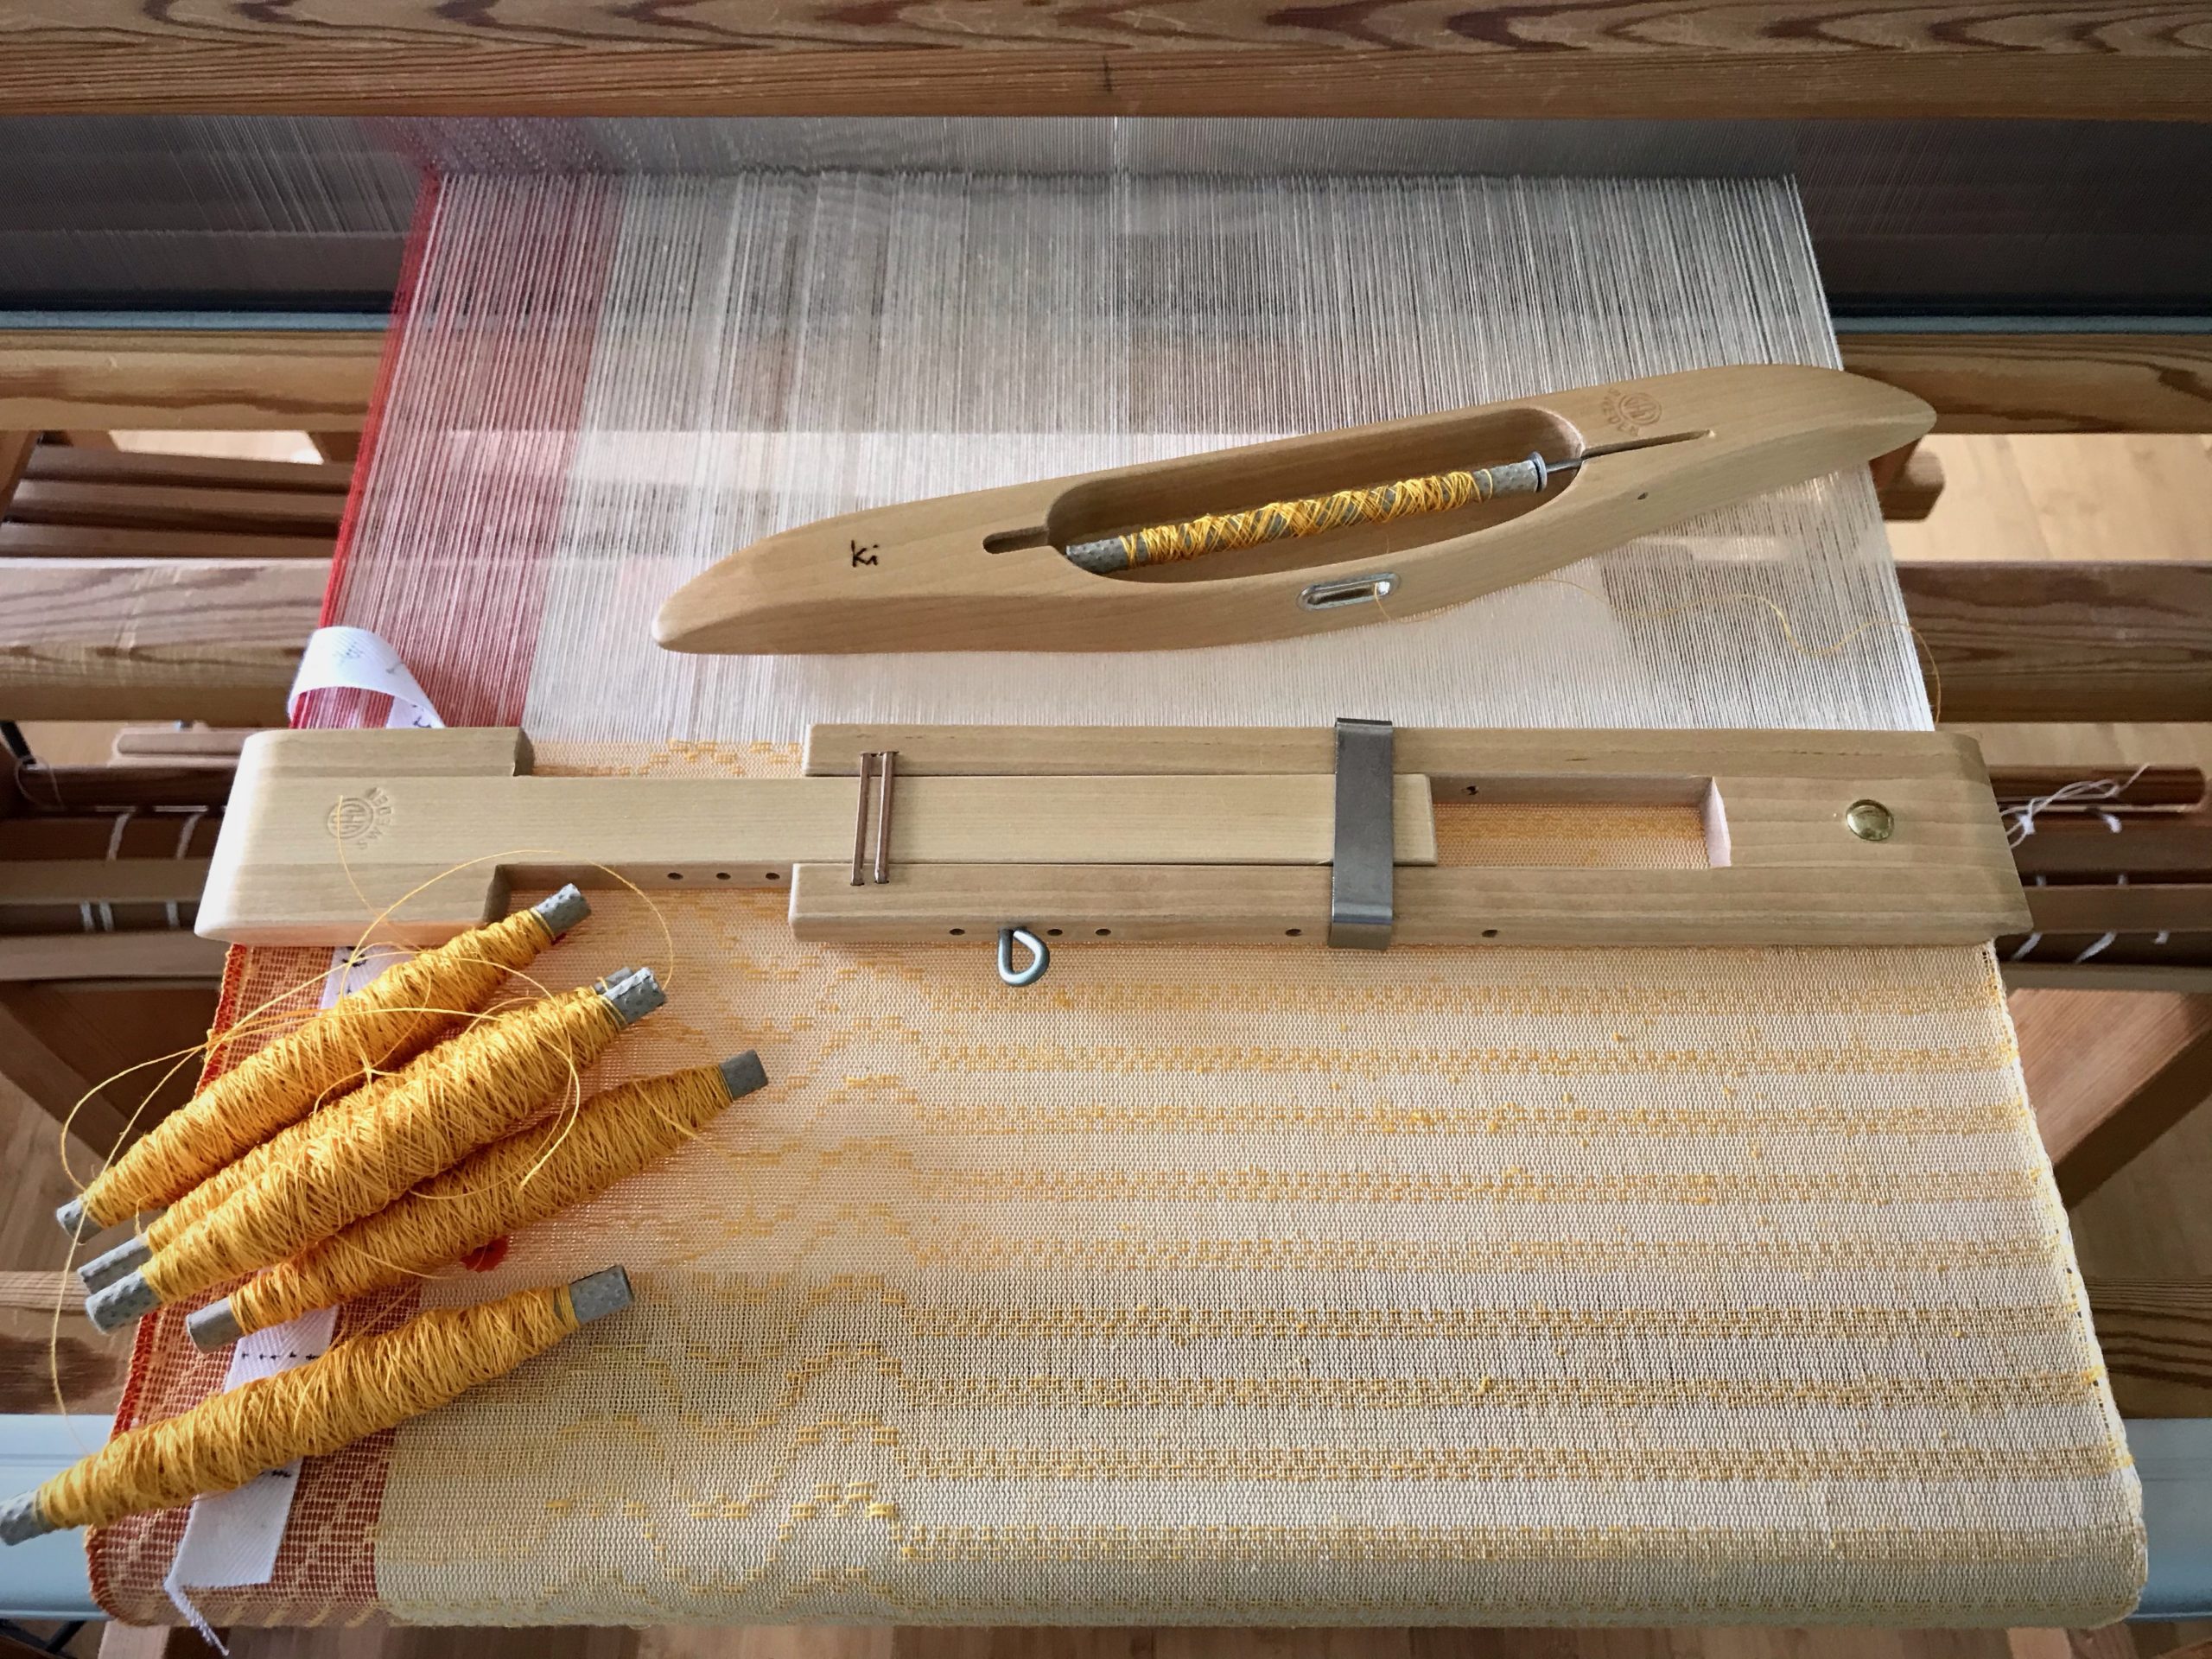
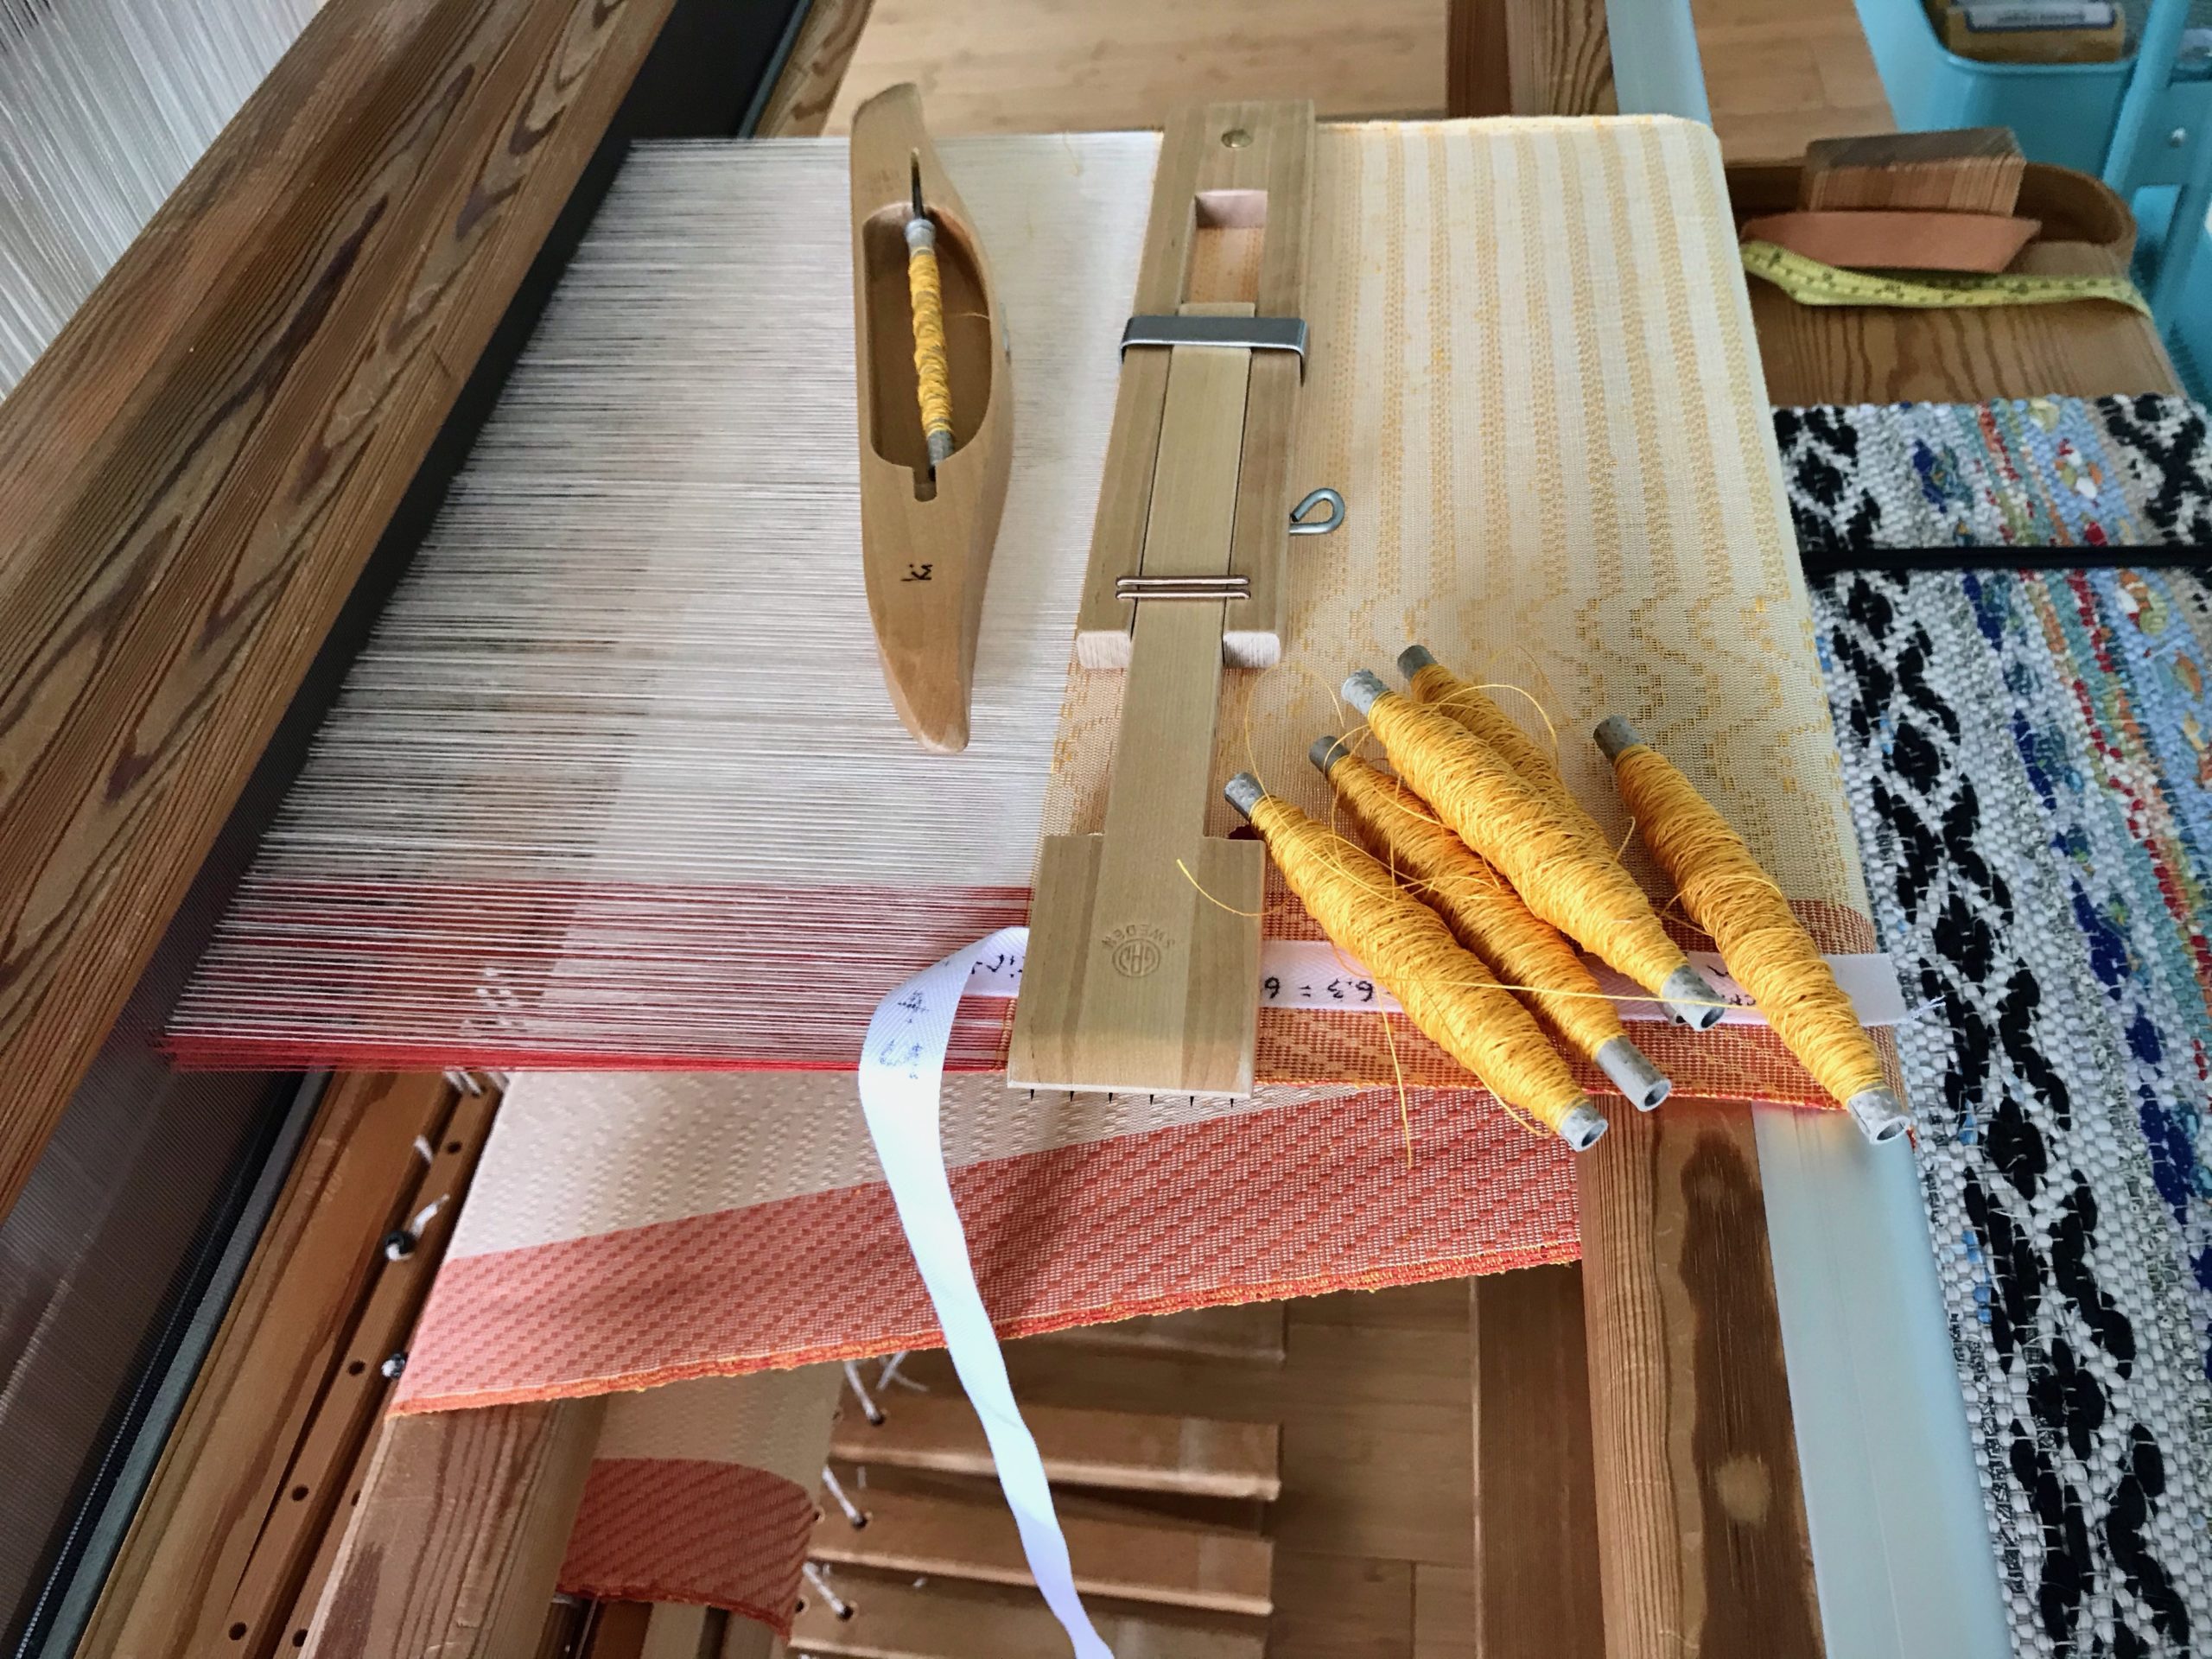
Yellow is everywhere right now. A profusion of wildflowers stretches across our backyard, and much of it is yellow. The bright yellow linen weft fits right in! This is skirt fabric in the making. Wearing the skirt will be as if I’m wearing my own little summer flower garden.
One shuttle, one color. There are no decisions to make about the weft. Just keep these quills full of glowing yellow thread. When the last of the filled quills is in the shuttle, I weave until I find a good stopping place. Then, it’s time to get up and wind a handful of quills again. Replenish before the quill in the shuttle is bare.
To be full of faith is to be faithful. We say we trust Jesus. But can Jesus trust us? Faith-ful means you not only believe in him, you abide in him. You believe, and you live what you believe. Day, after day, after day. Quill, after quill, after quill. Replenish regularly to keep getting filled up. Never depleted. Always ready for the next pick.