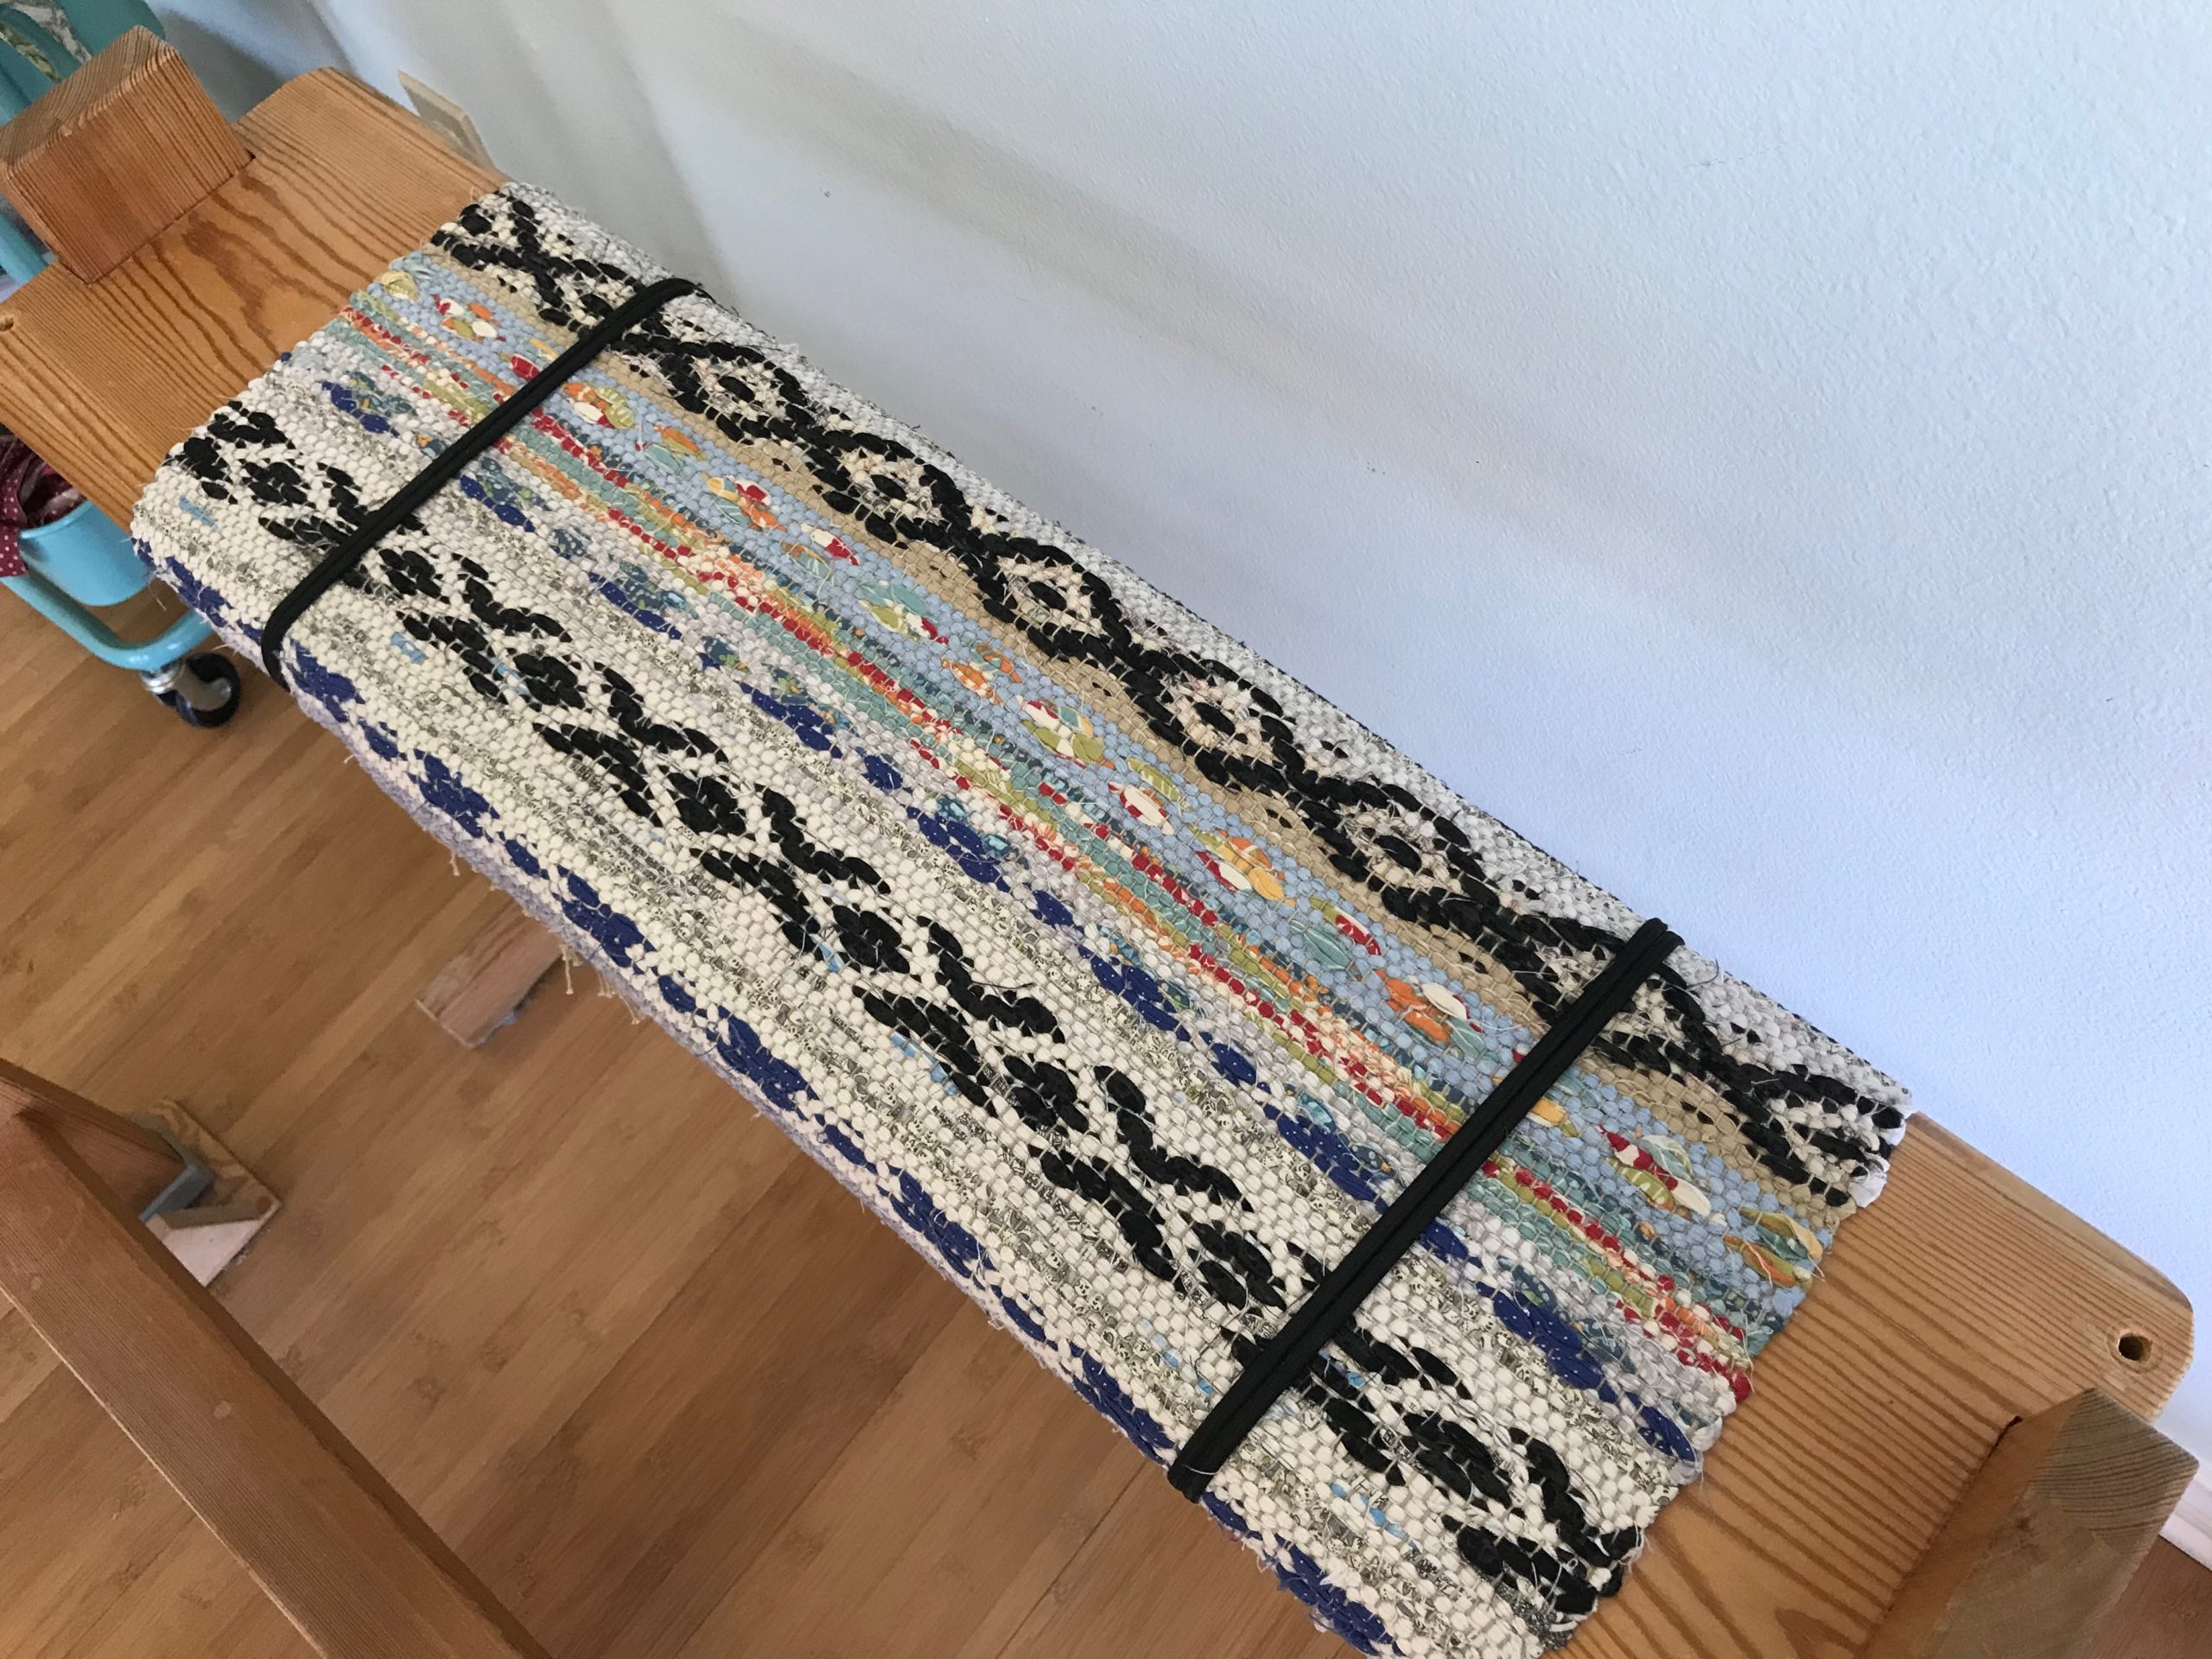
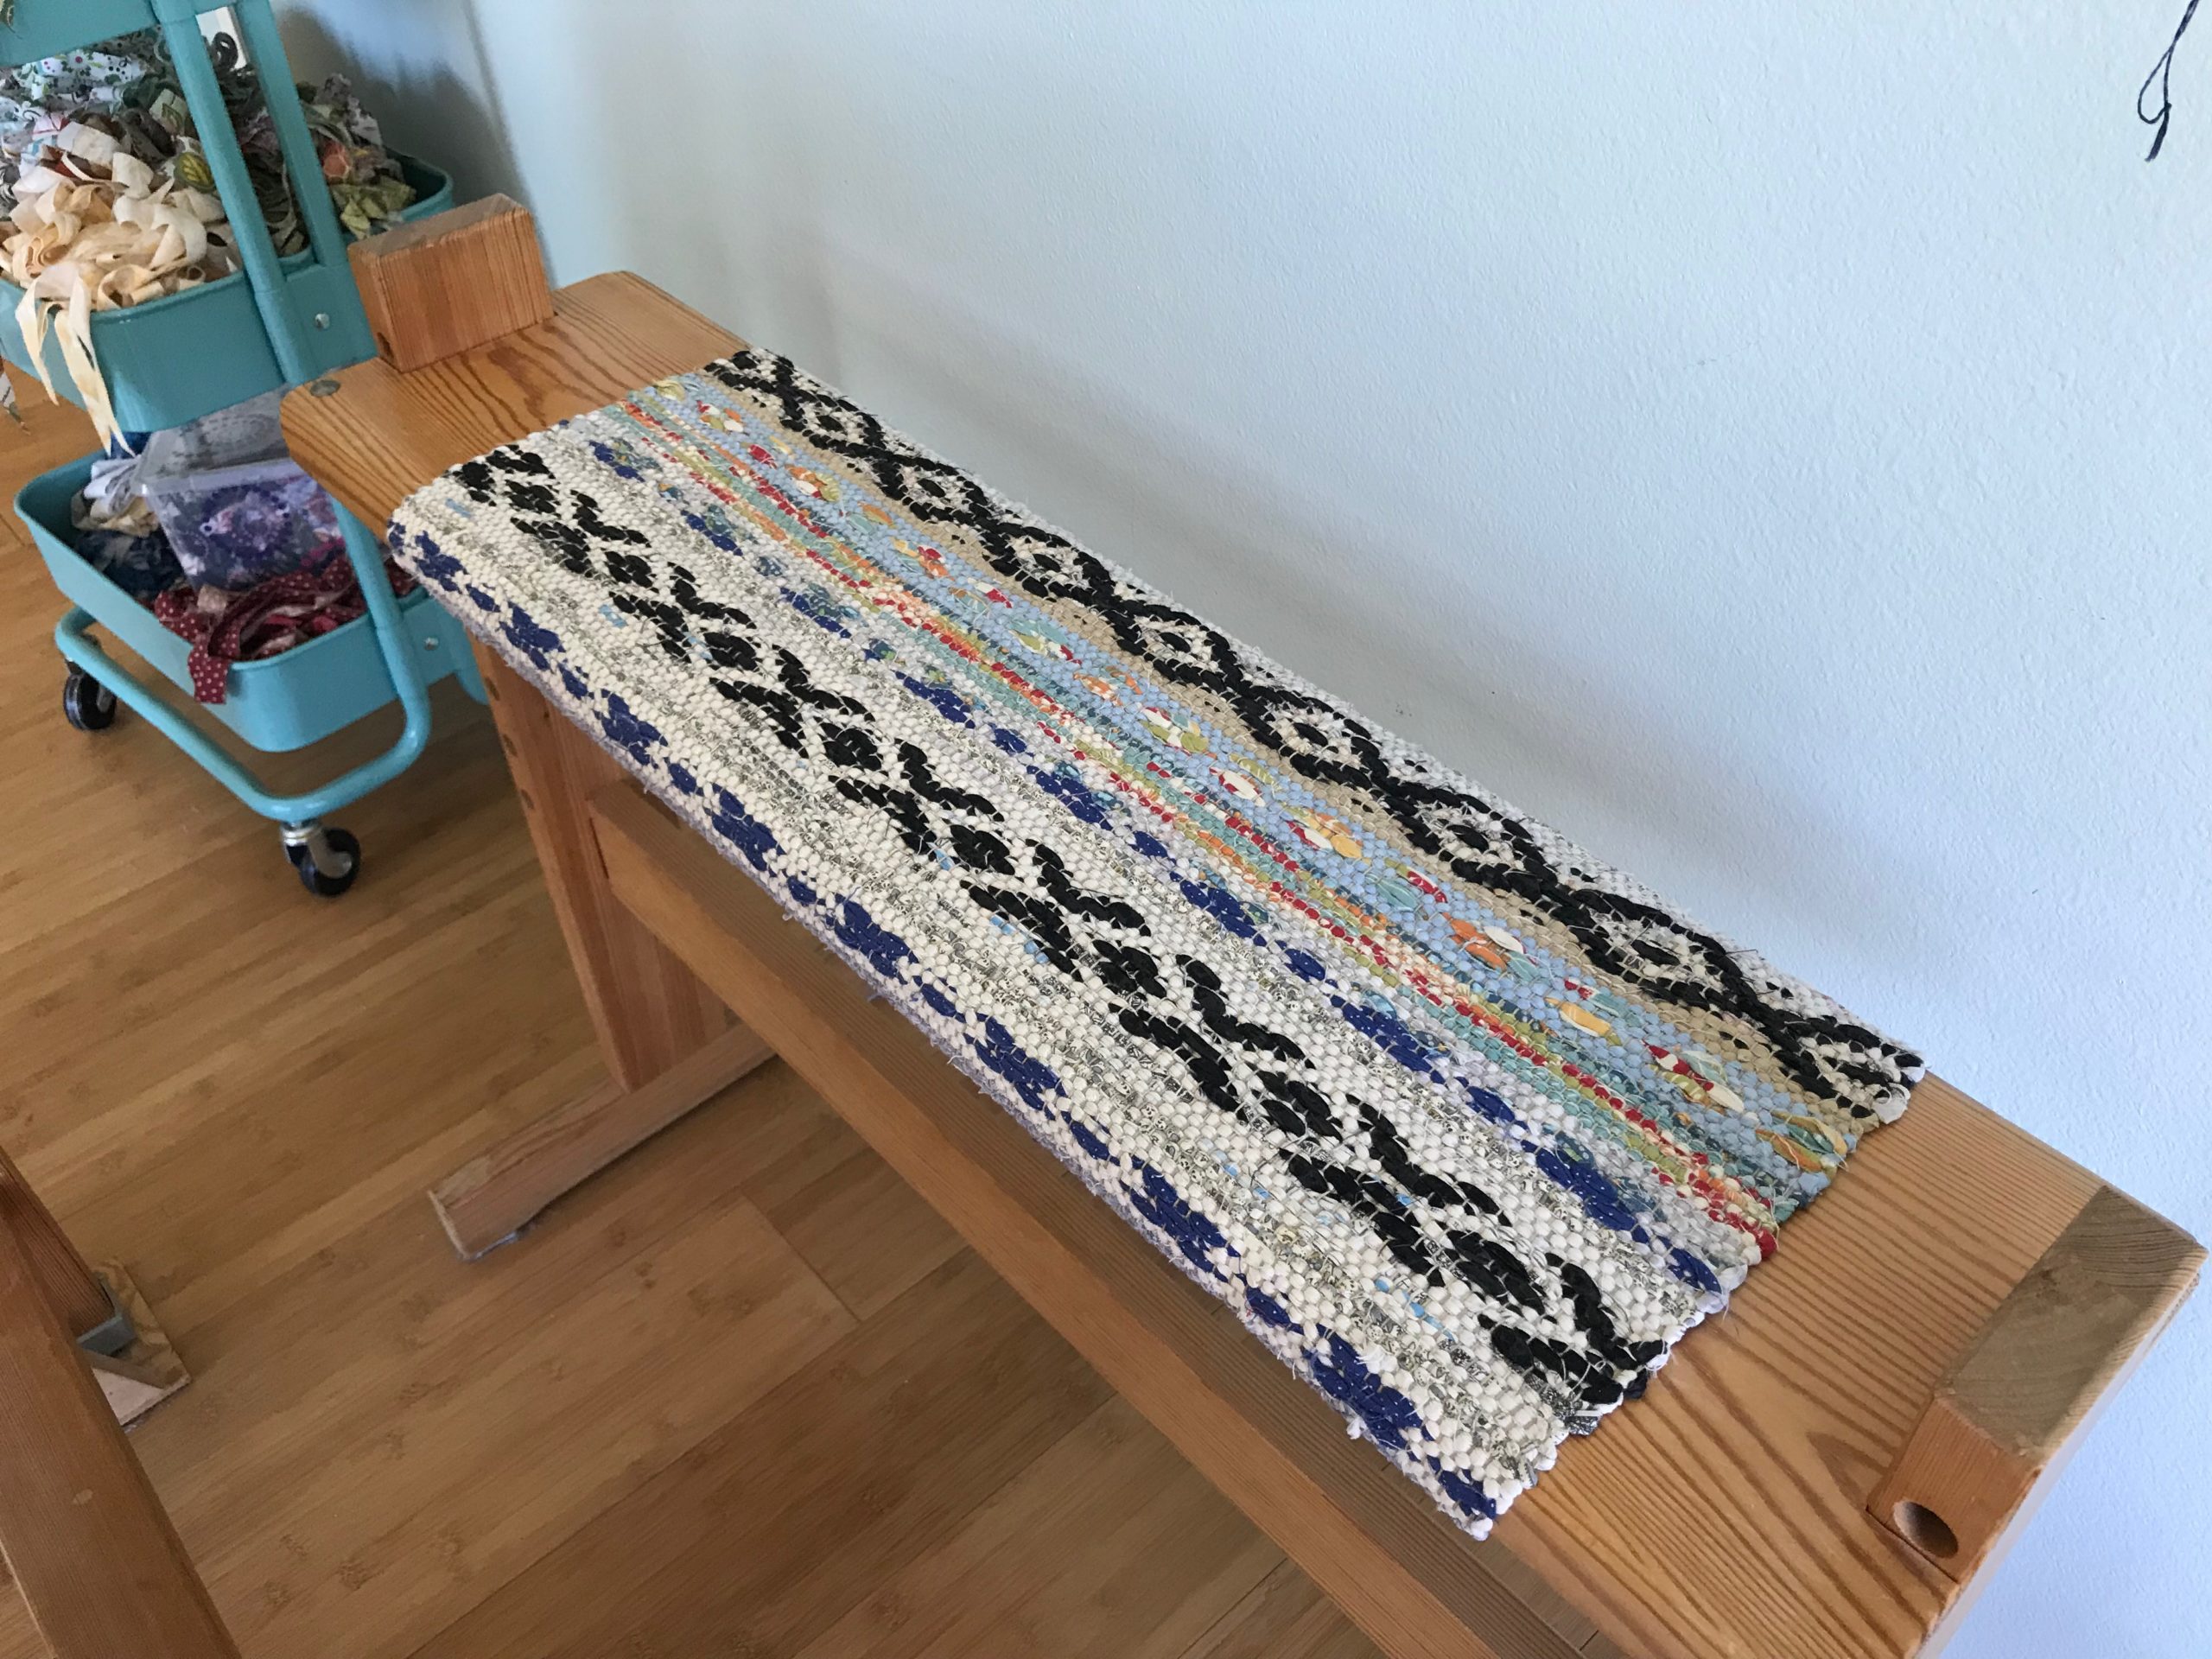
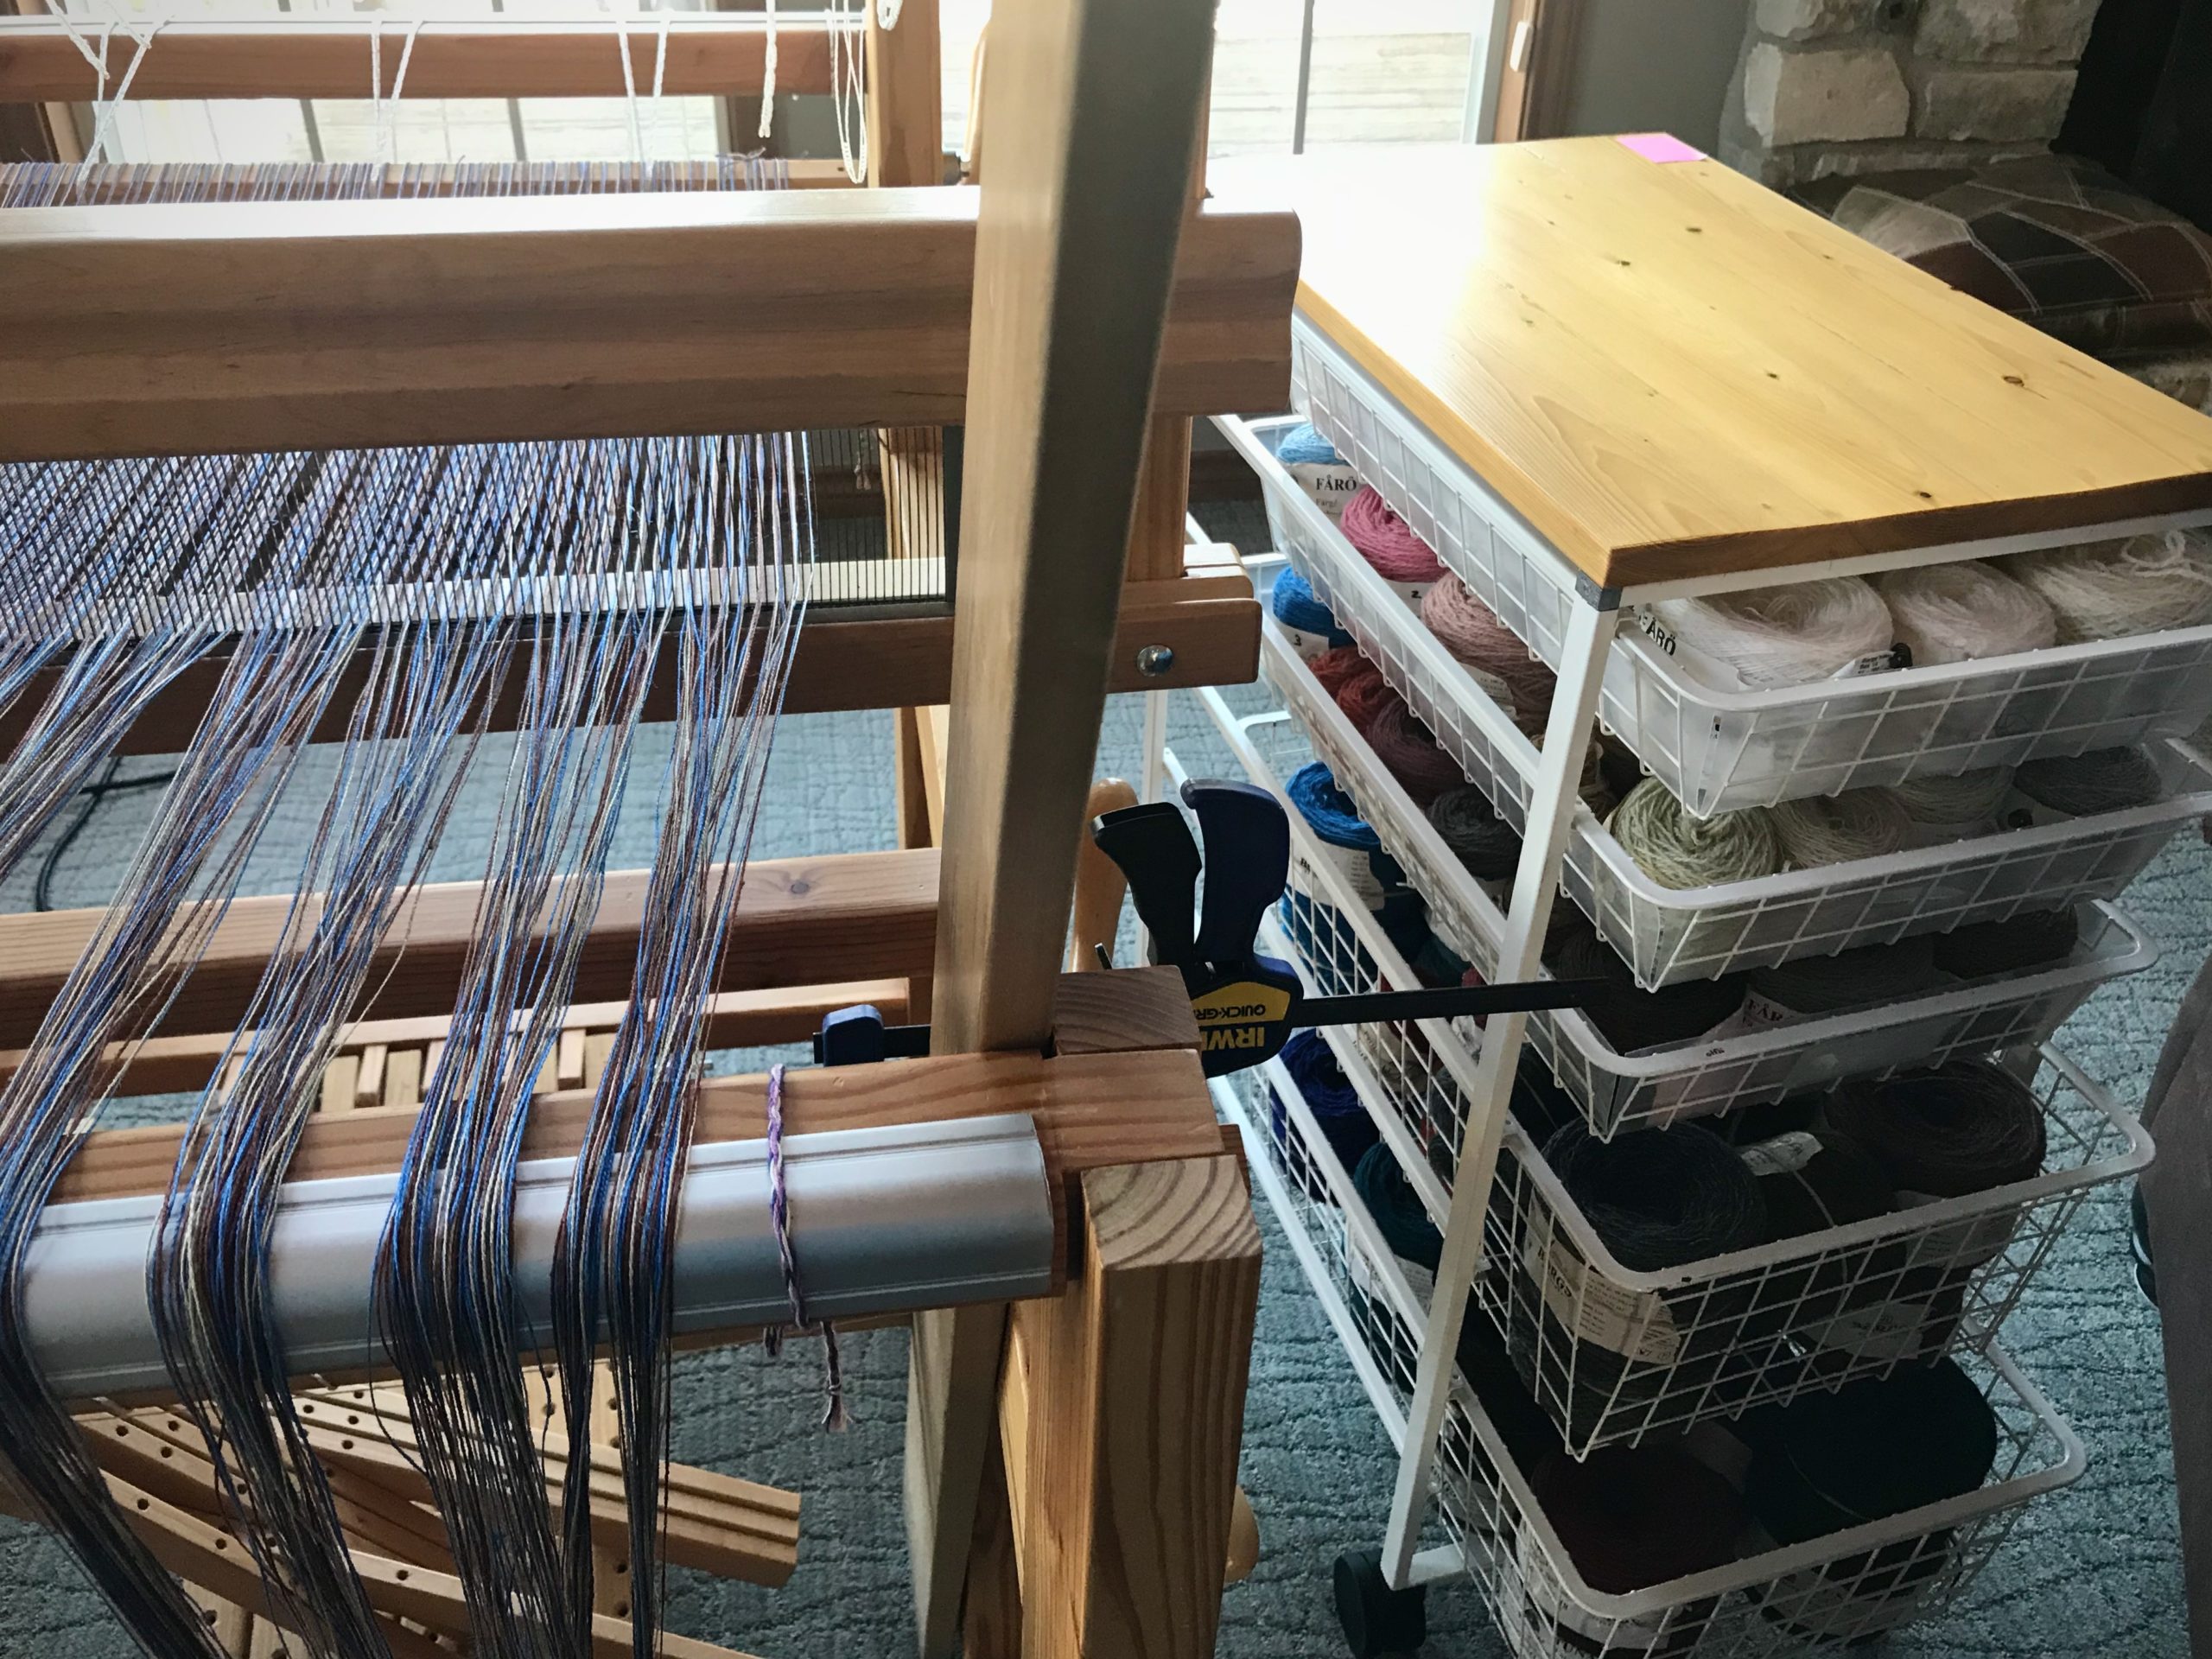
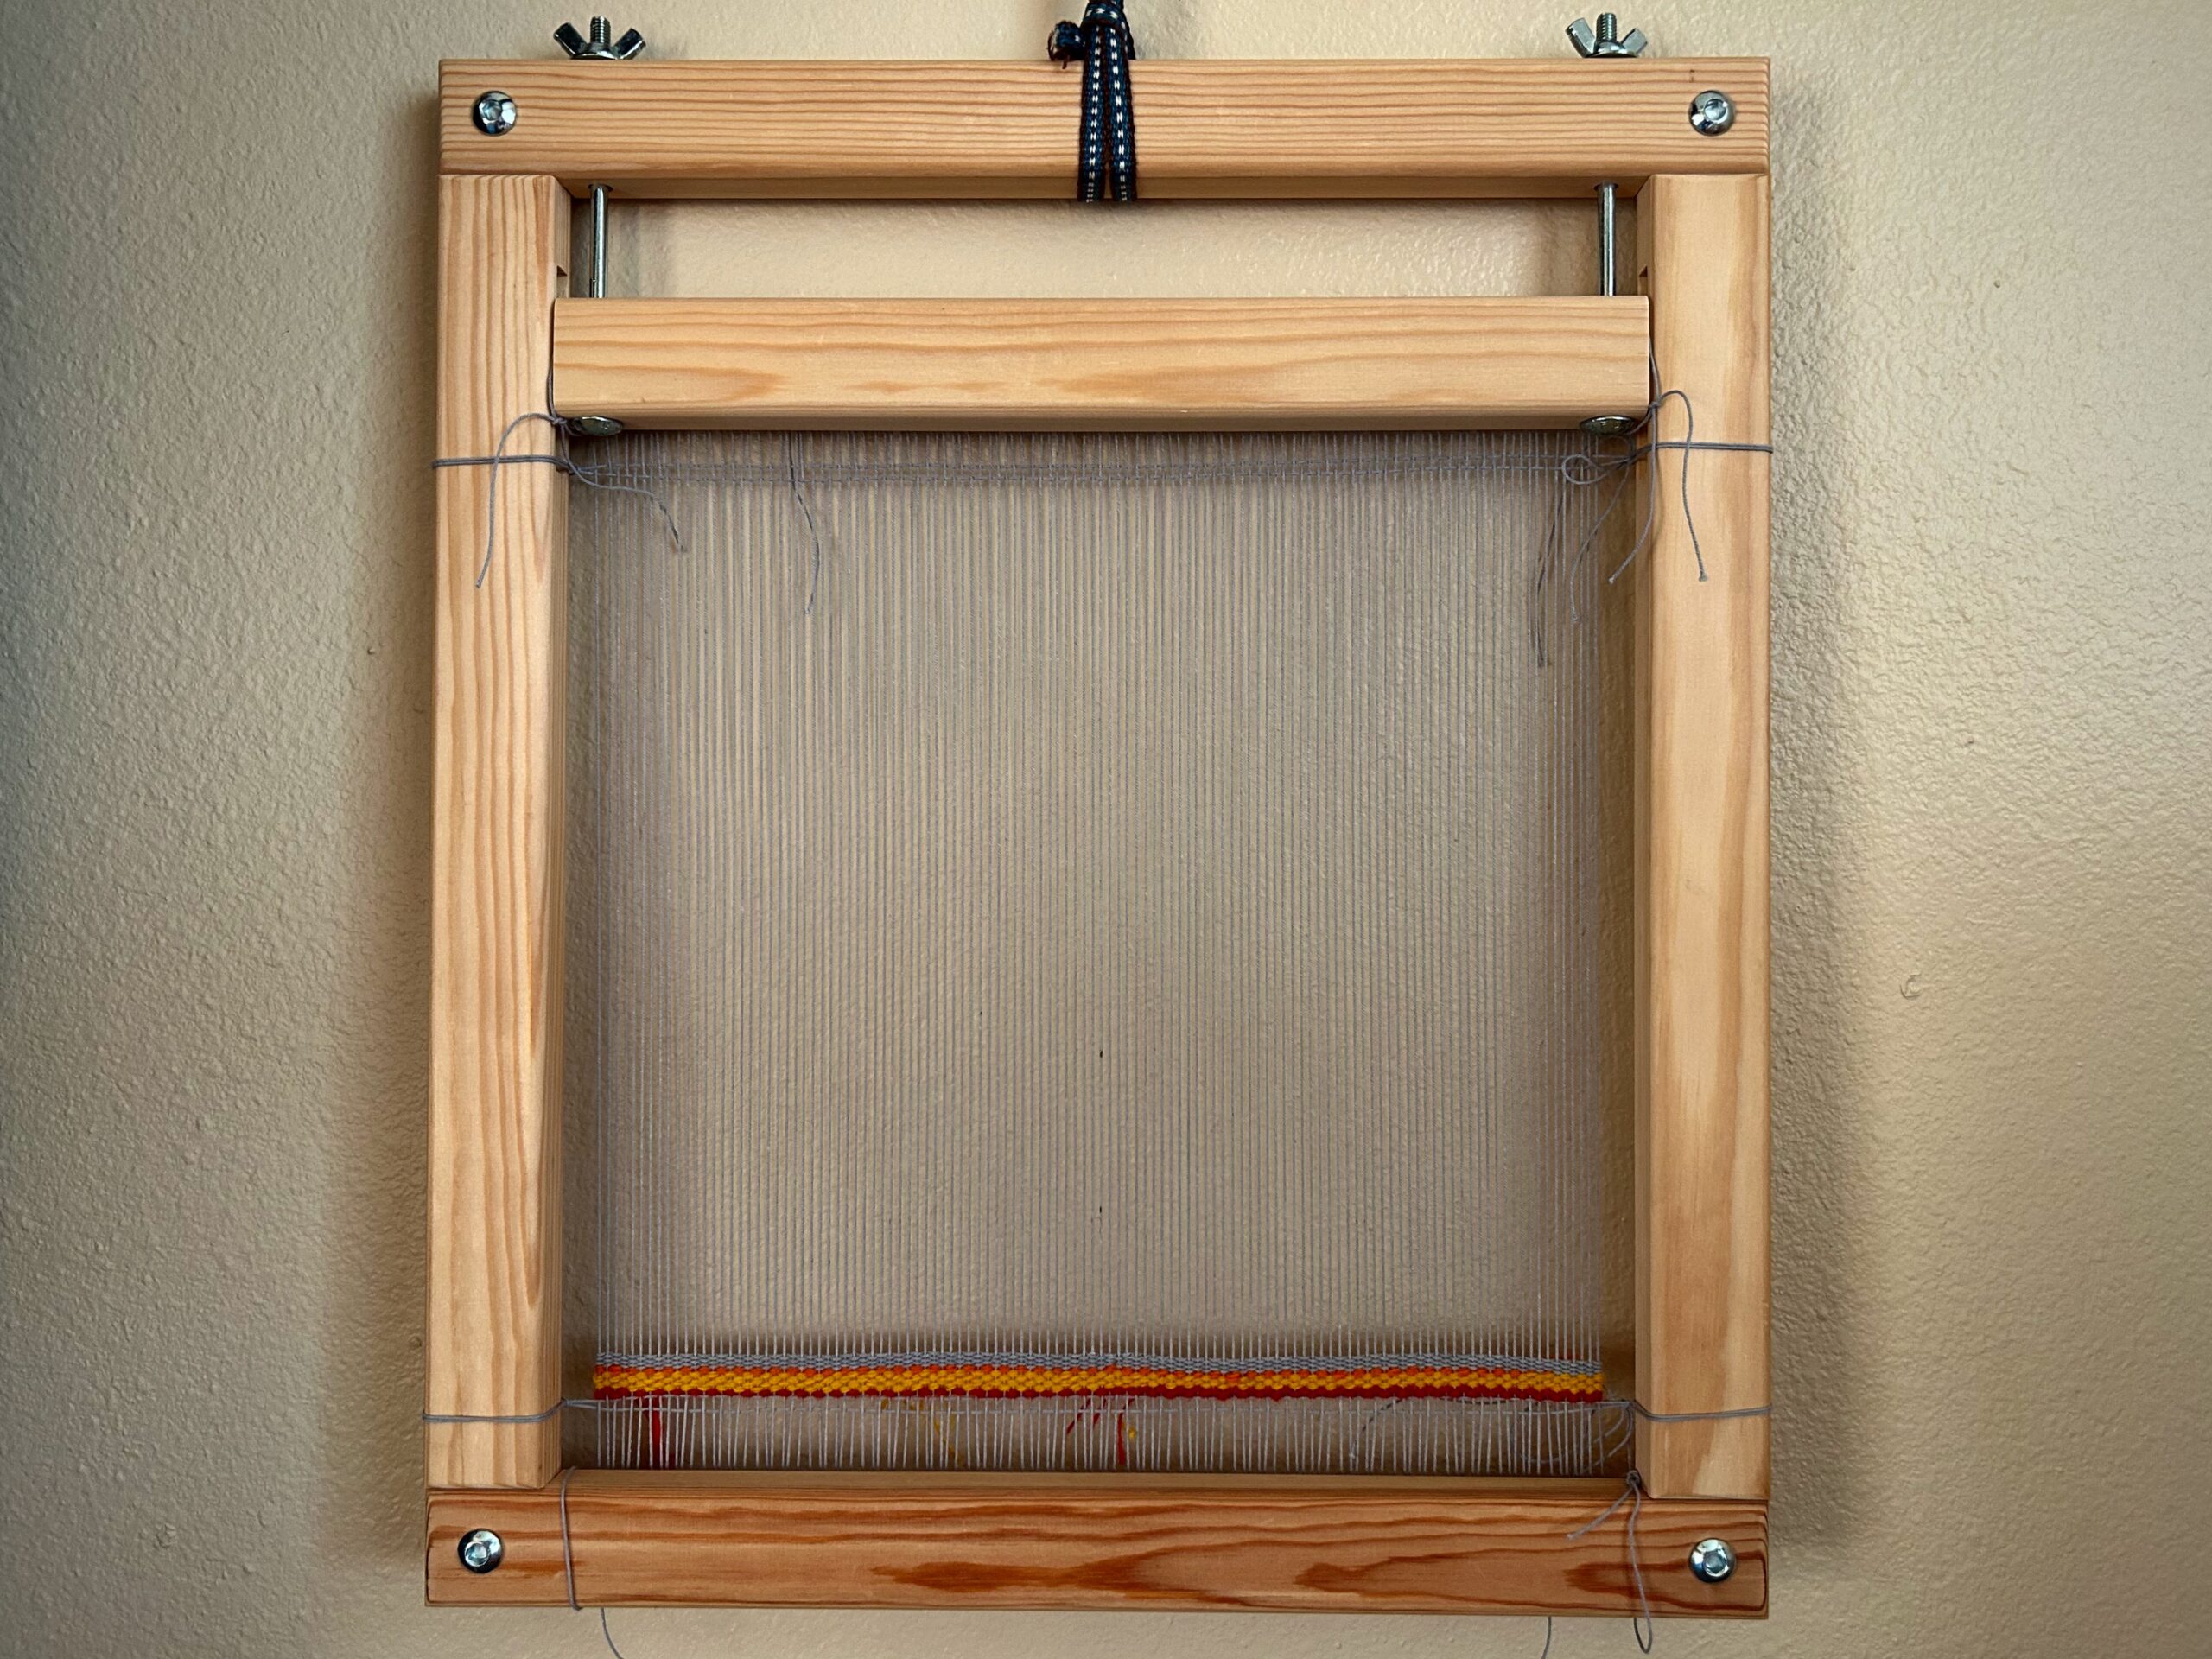
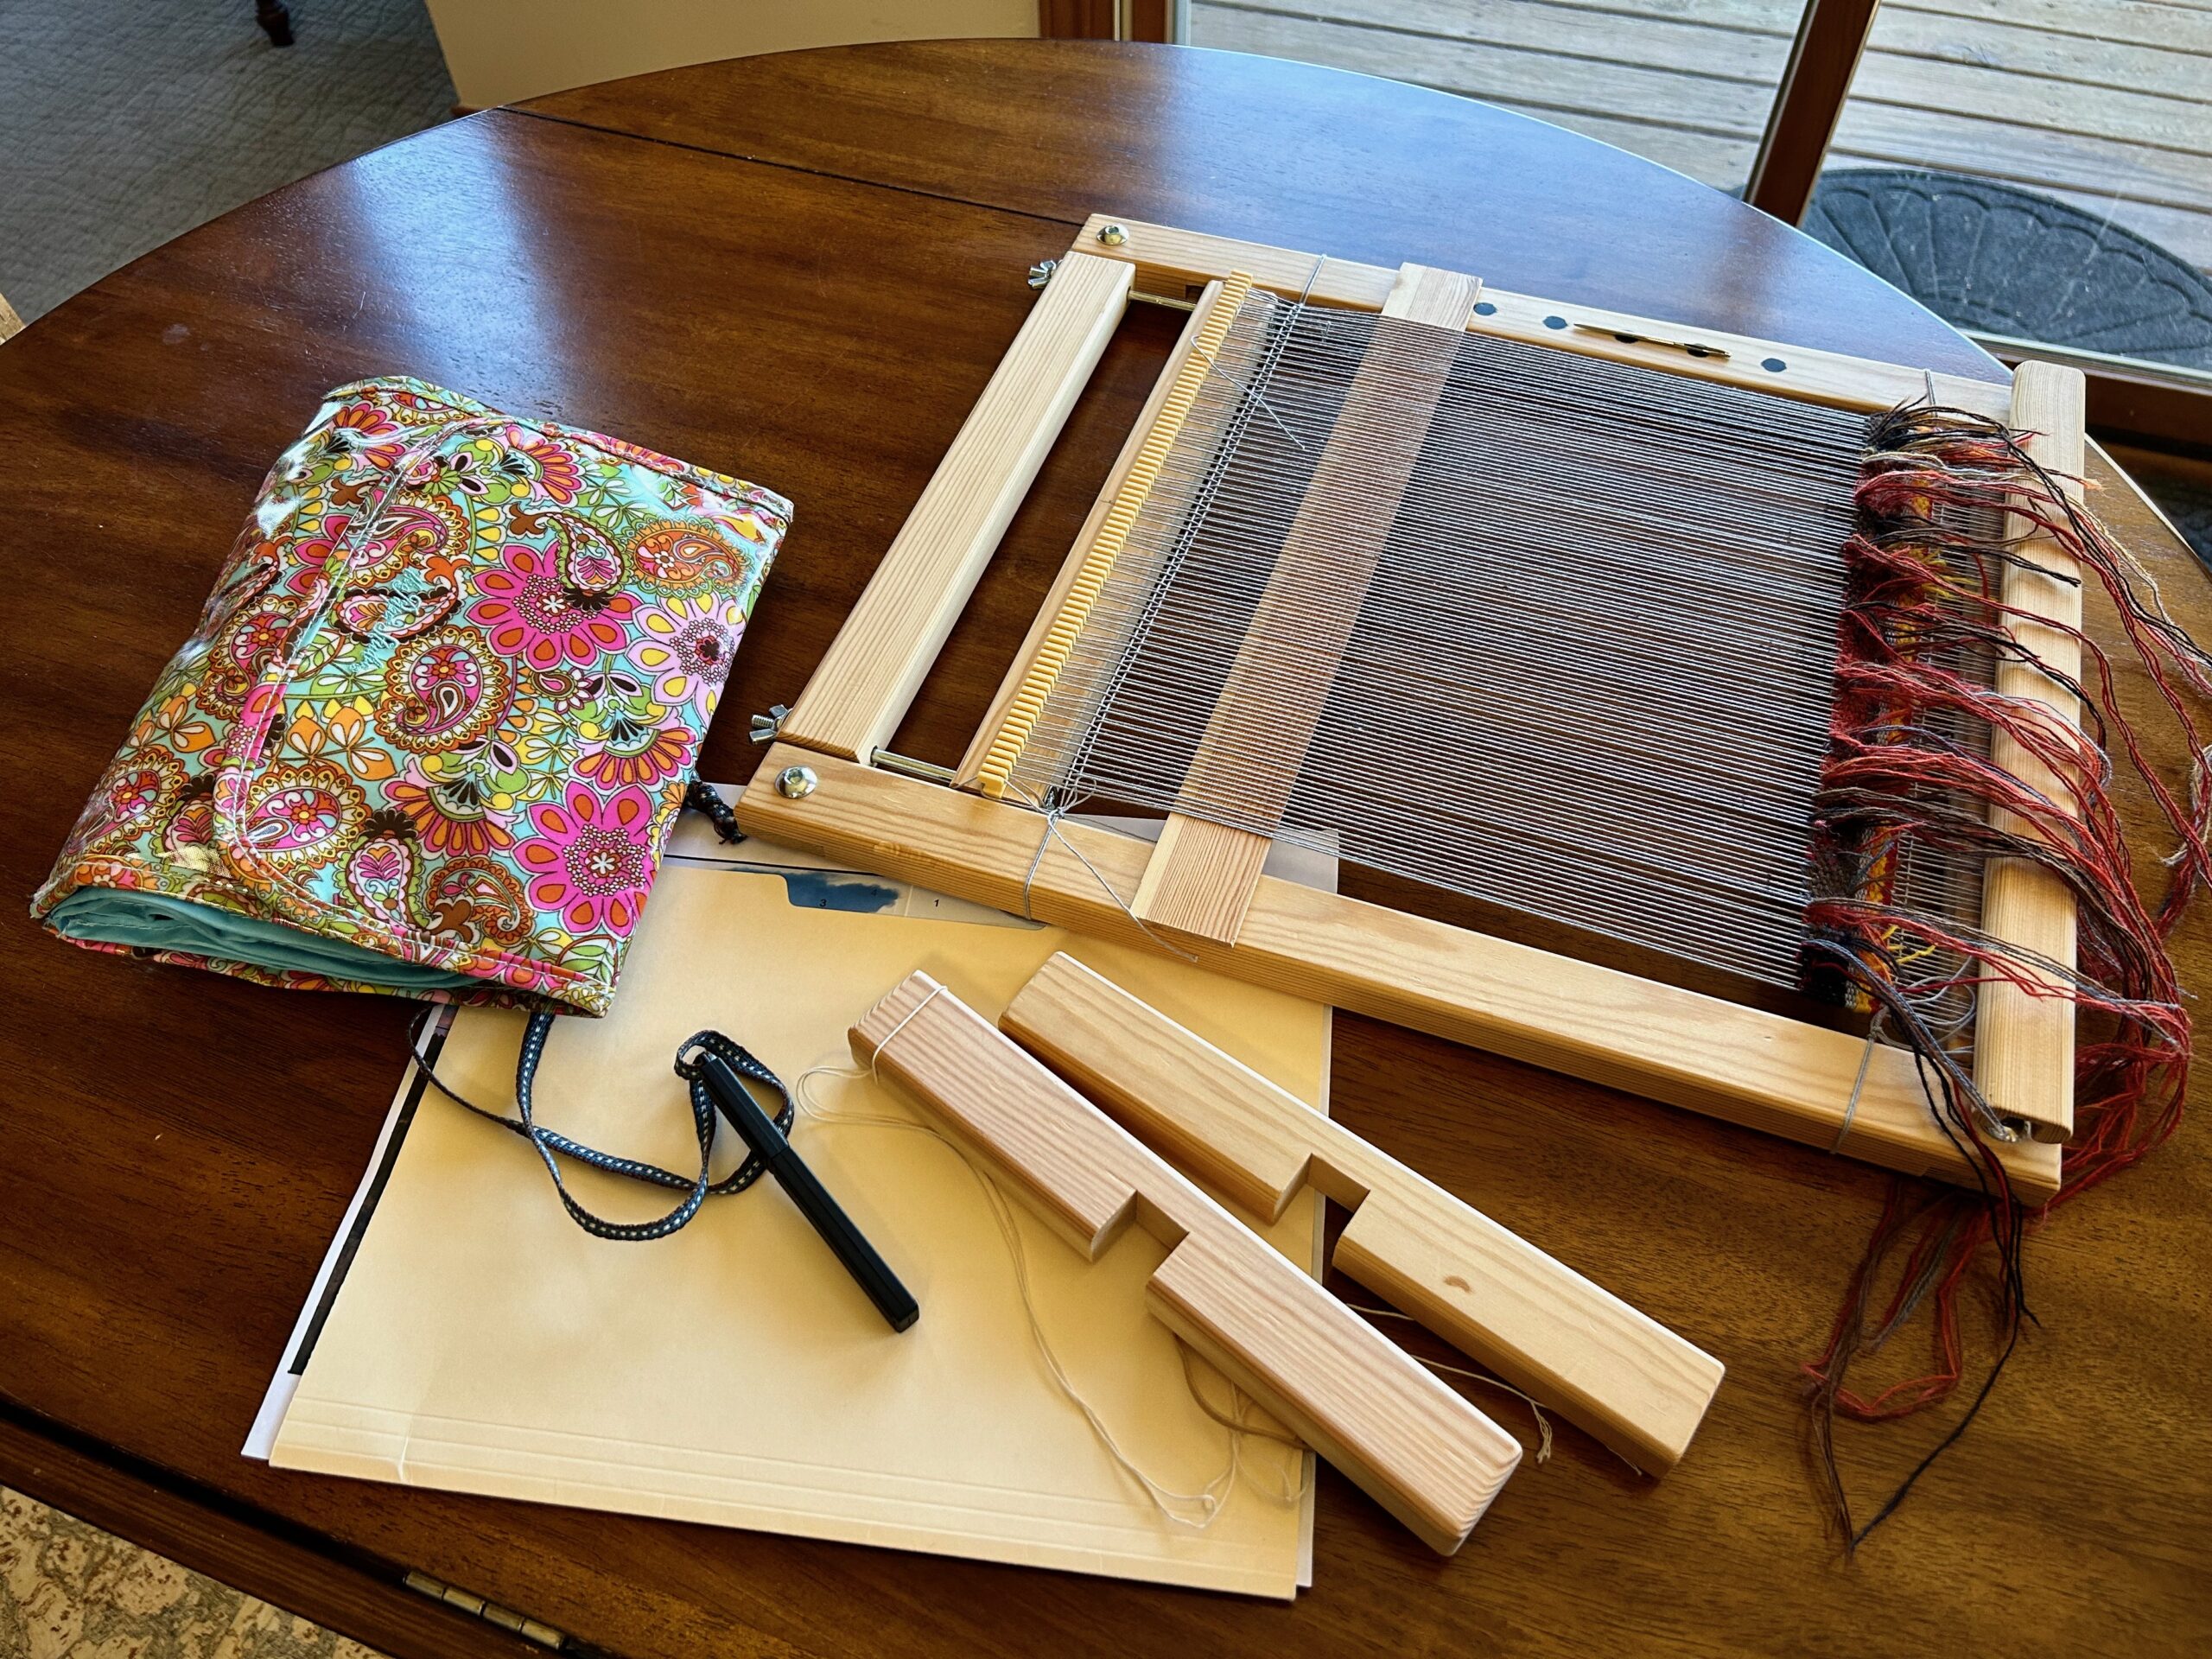
I planned a small tapestry project to take with me on our travels to Grand Canyon North Rim last month. I was rushed in the planning of the cartoon and in the selection of the yarn colors. Sitting by our travel trailer at the campground, with the rim of Grand Canyon in view, I had an inspiring environment for weaving.
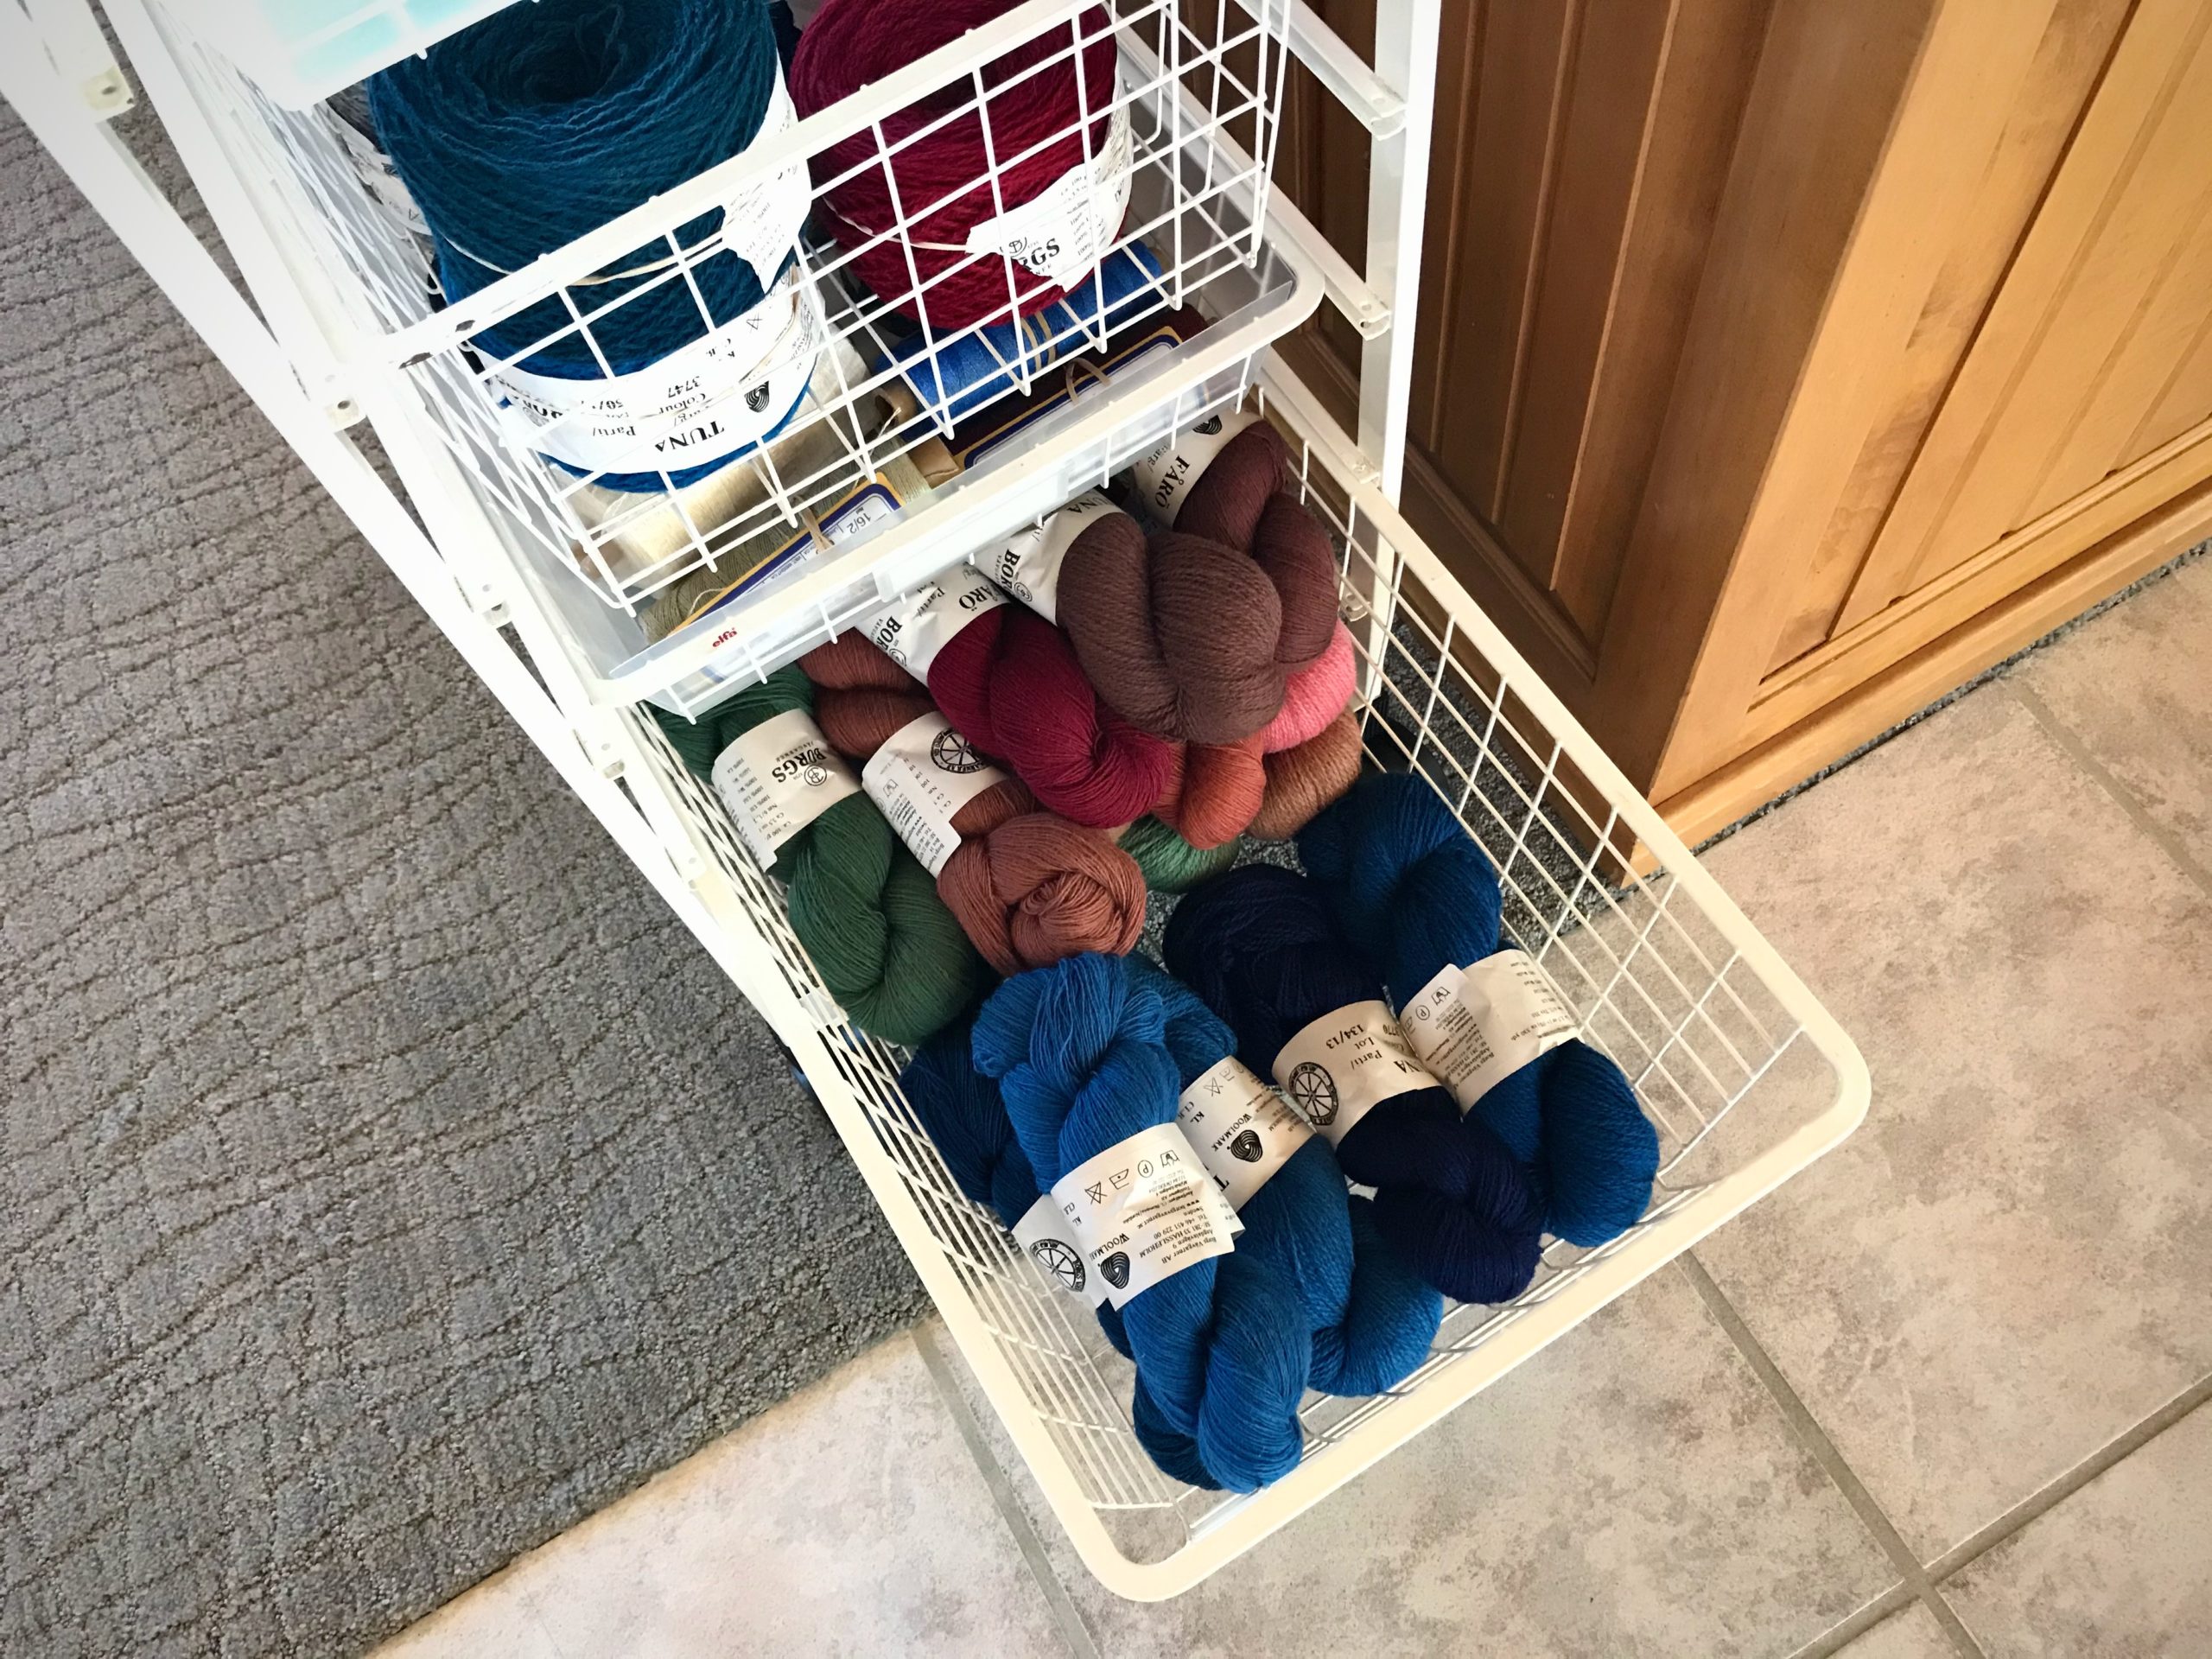
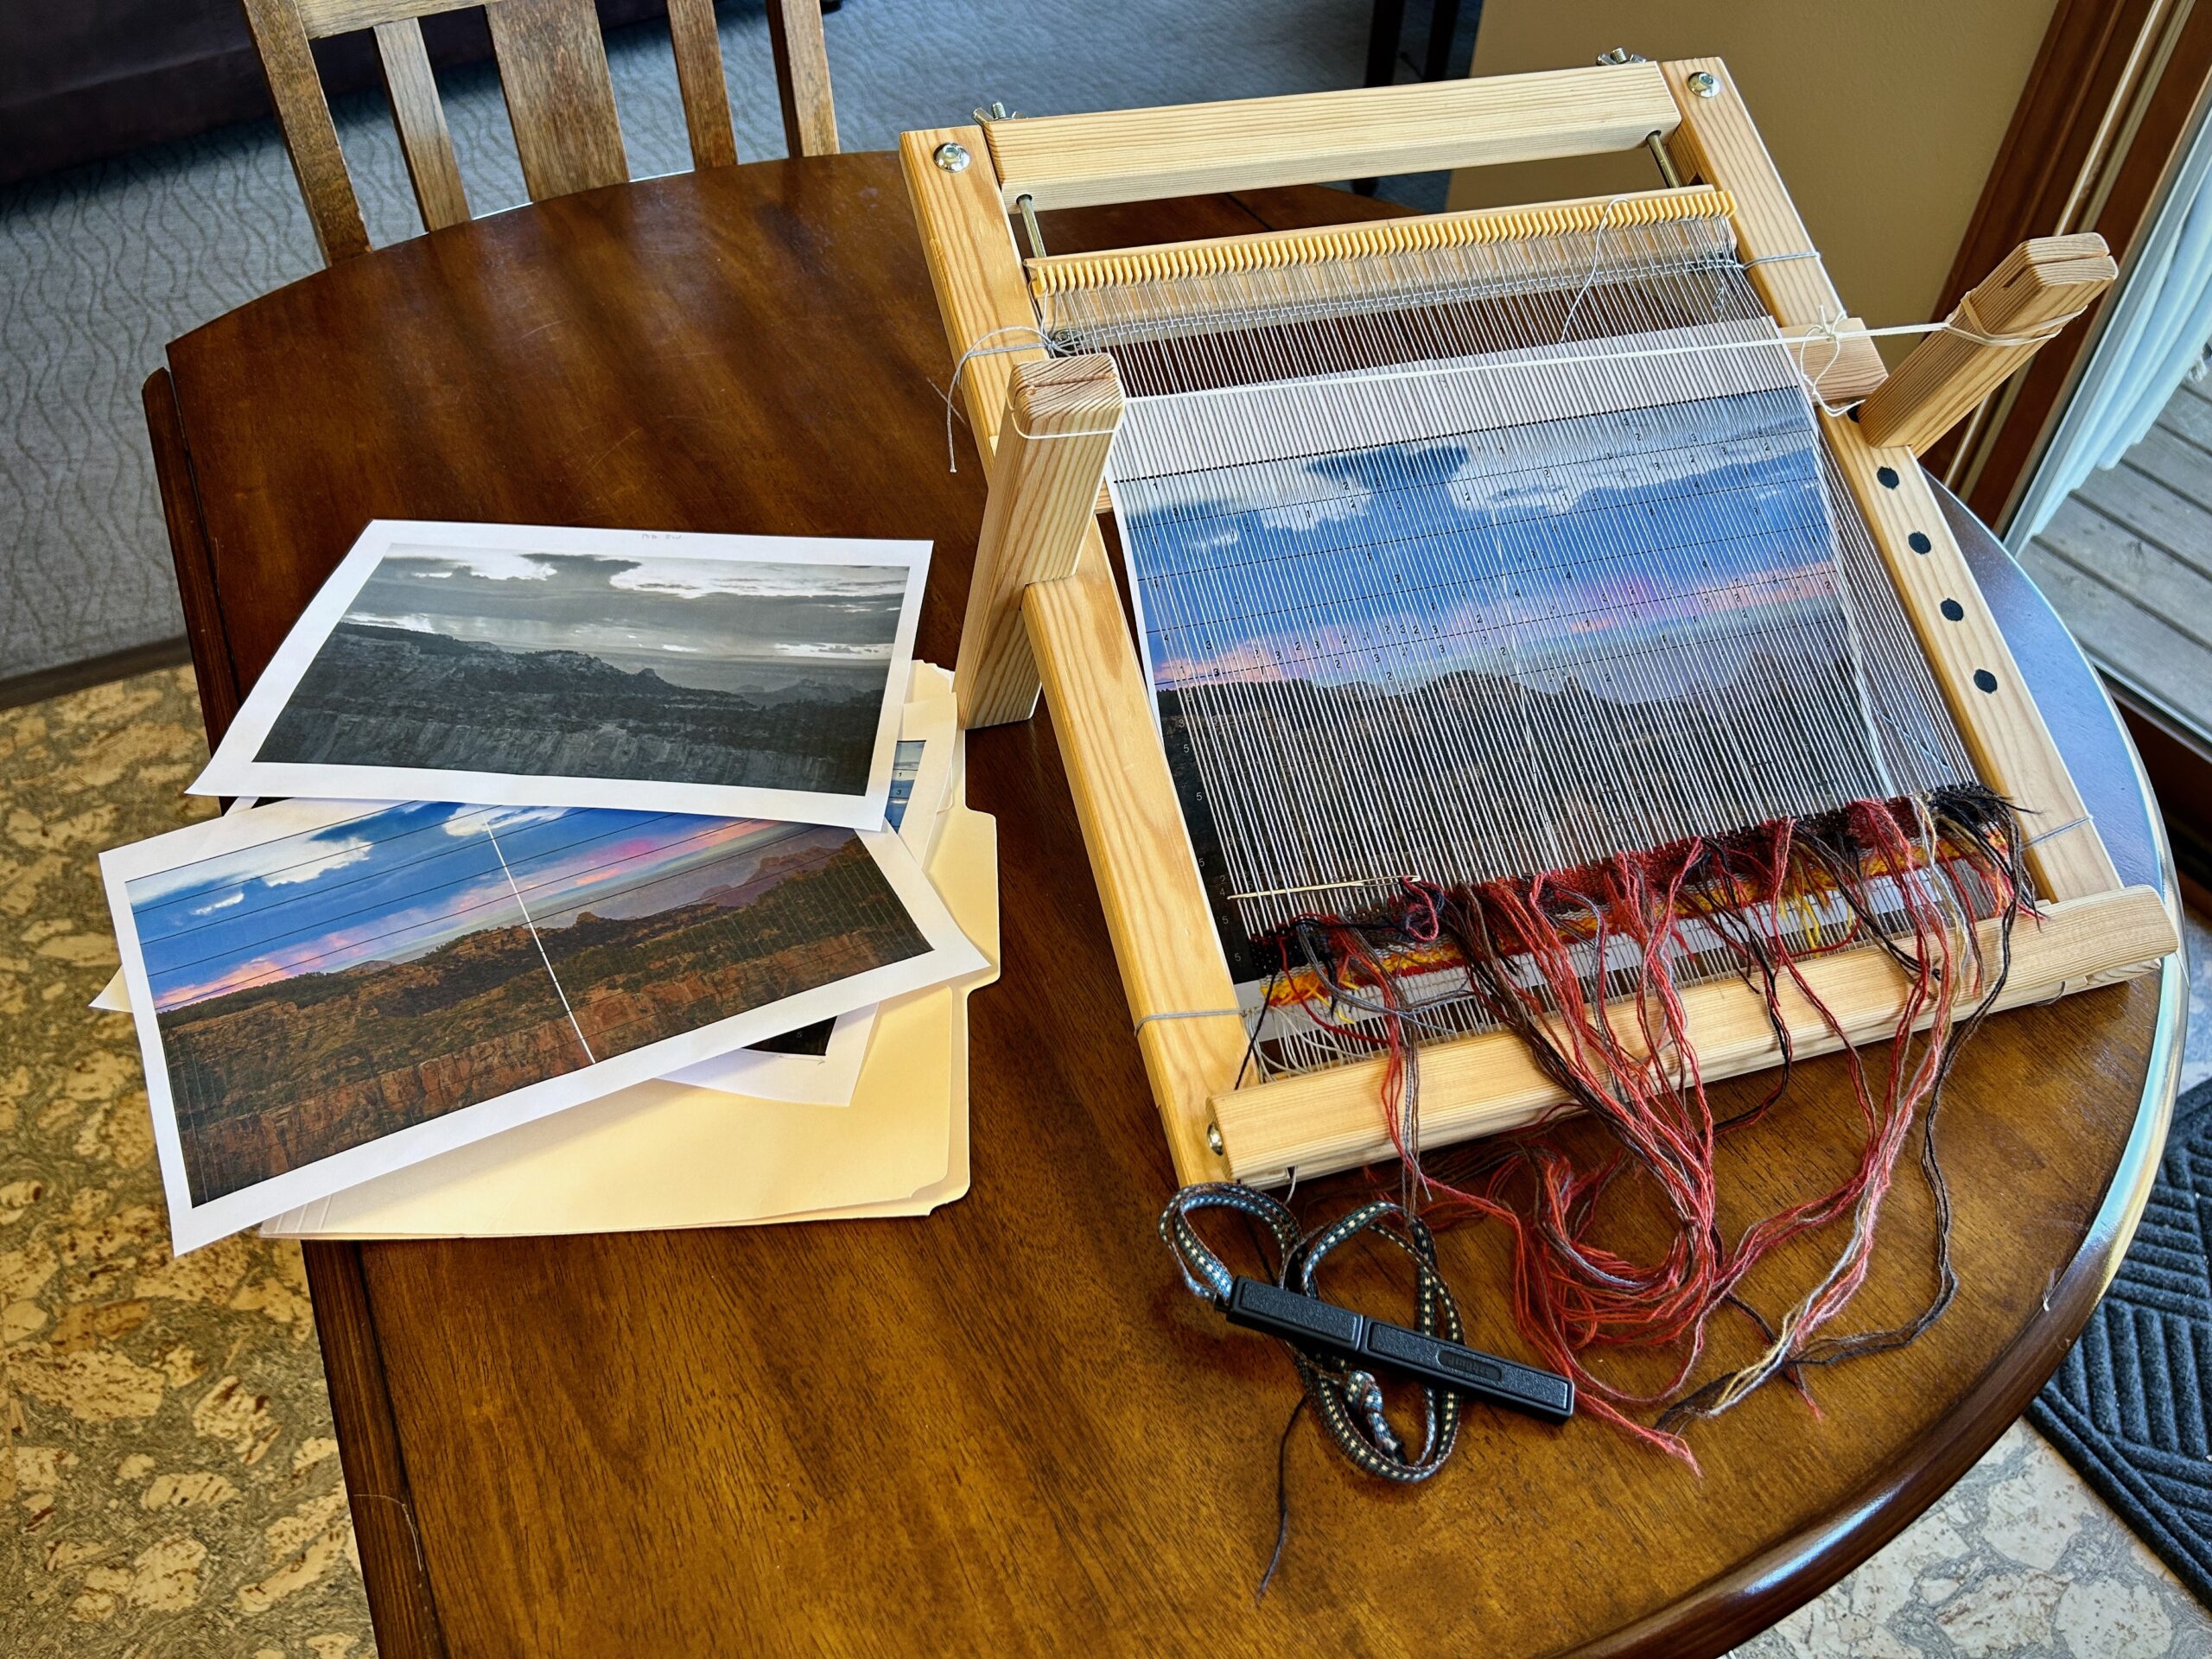
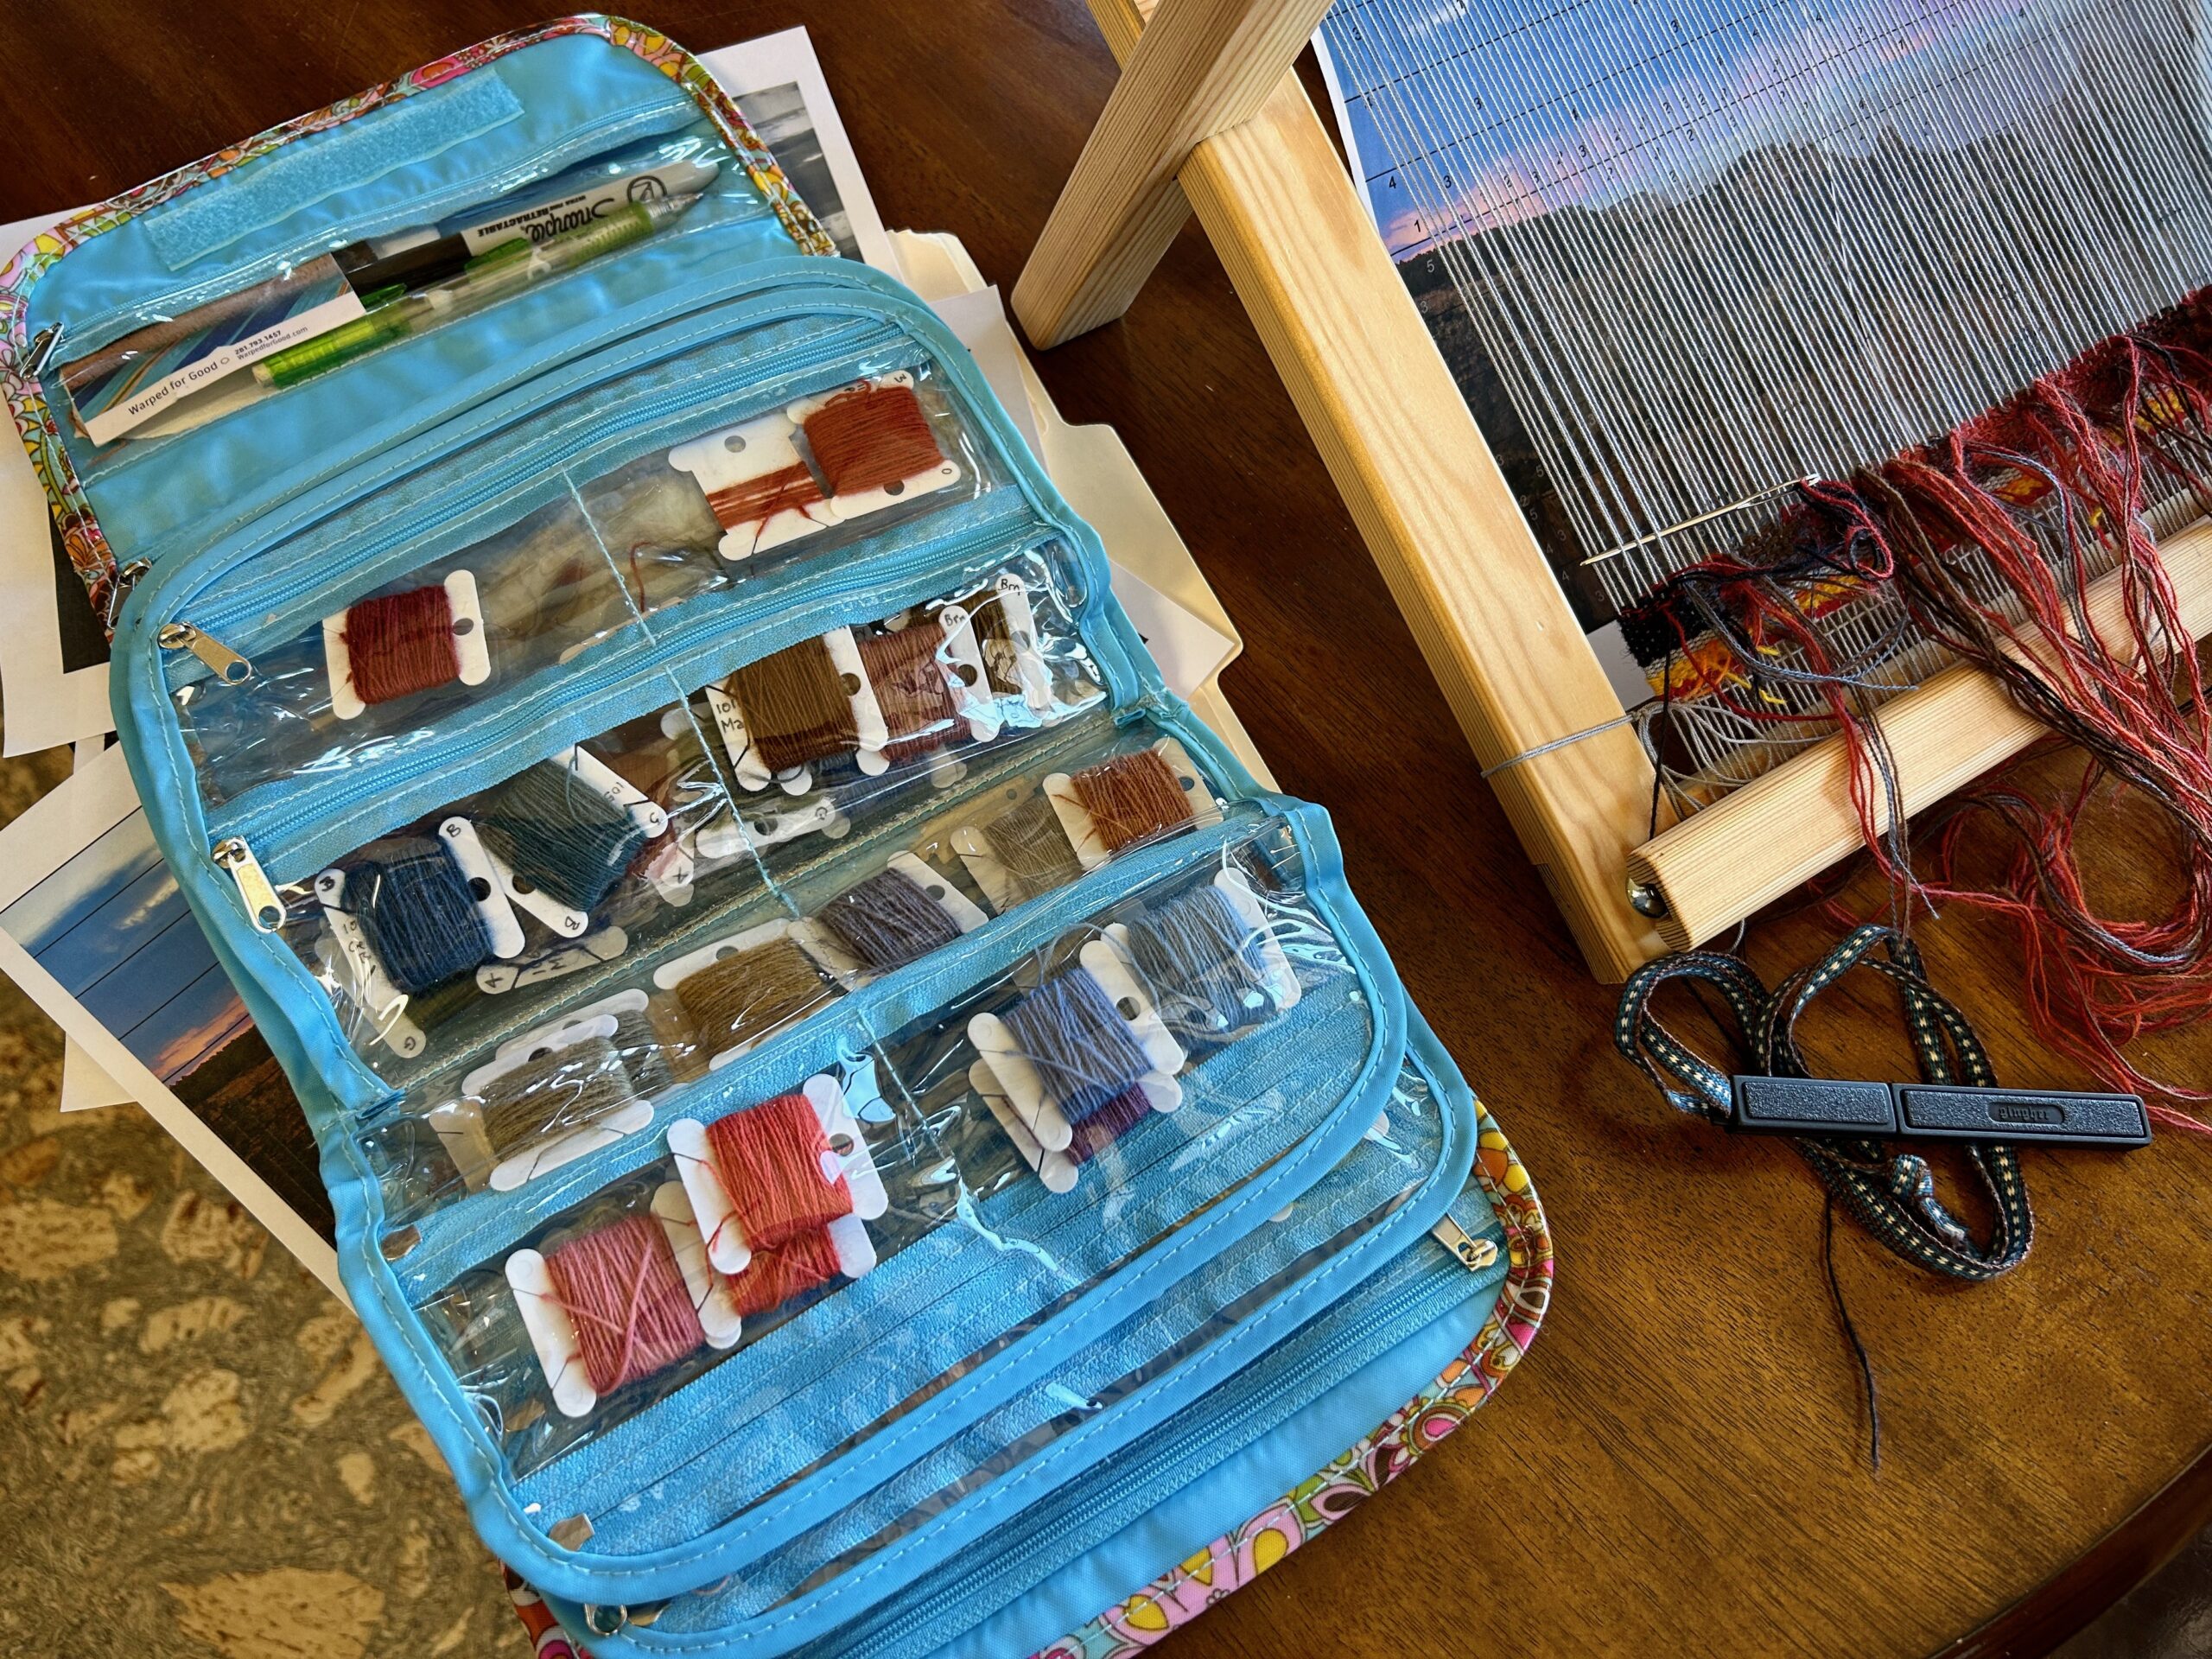
After returning home, I could see changes I’d like to make in the cartoon, and some adjustments needed in the hues and values of my yarn selection. The cartoon is a photo of a Grand Canyon North Rim sunset from our visit there two years ago. I reworked the cartoon in Photoshop and edited my yarn selection. Then I undid everything that I had already woven. I’m starting over and it is looking better already!
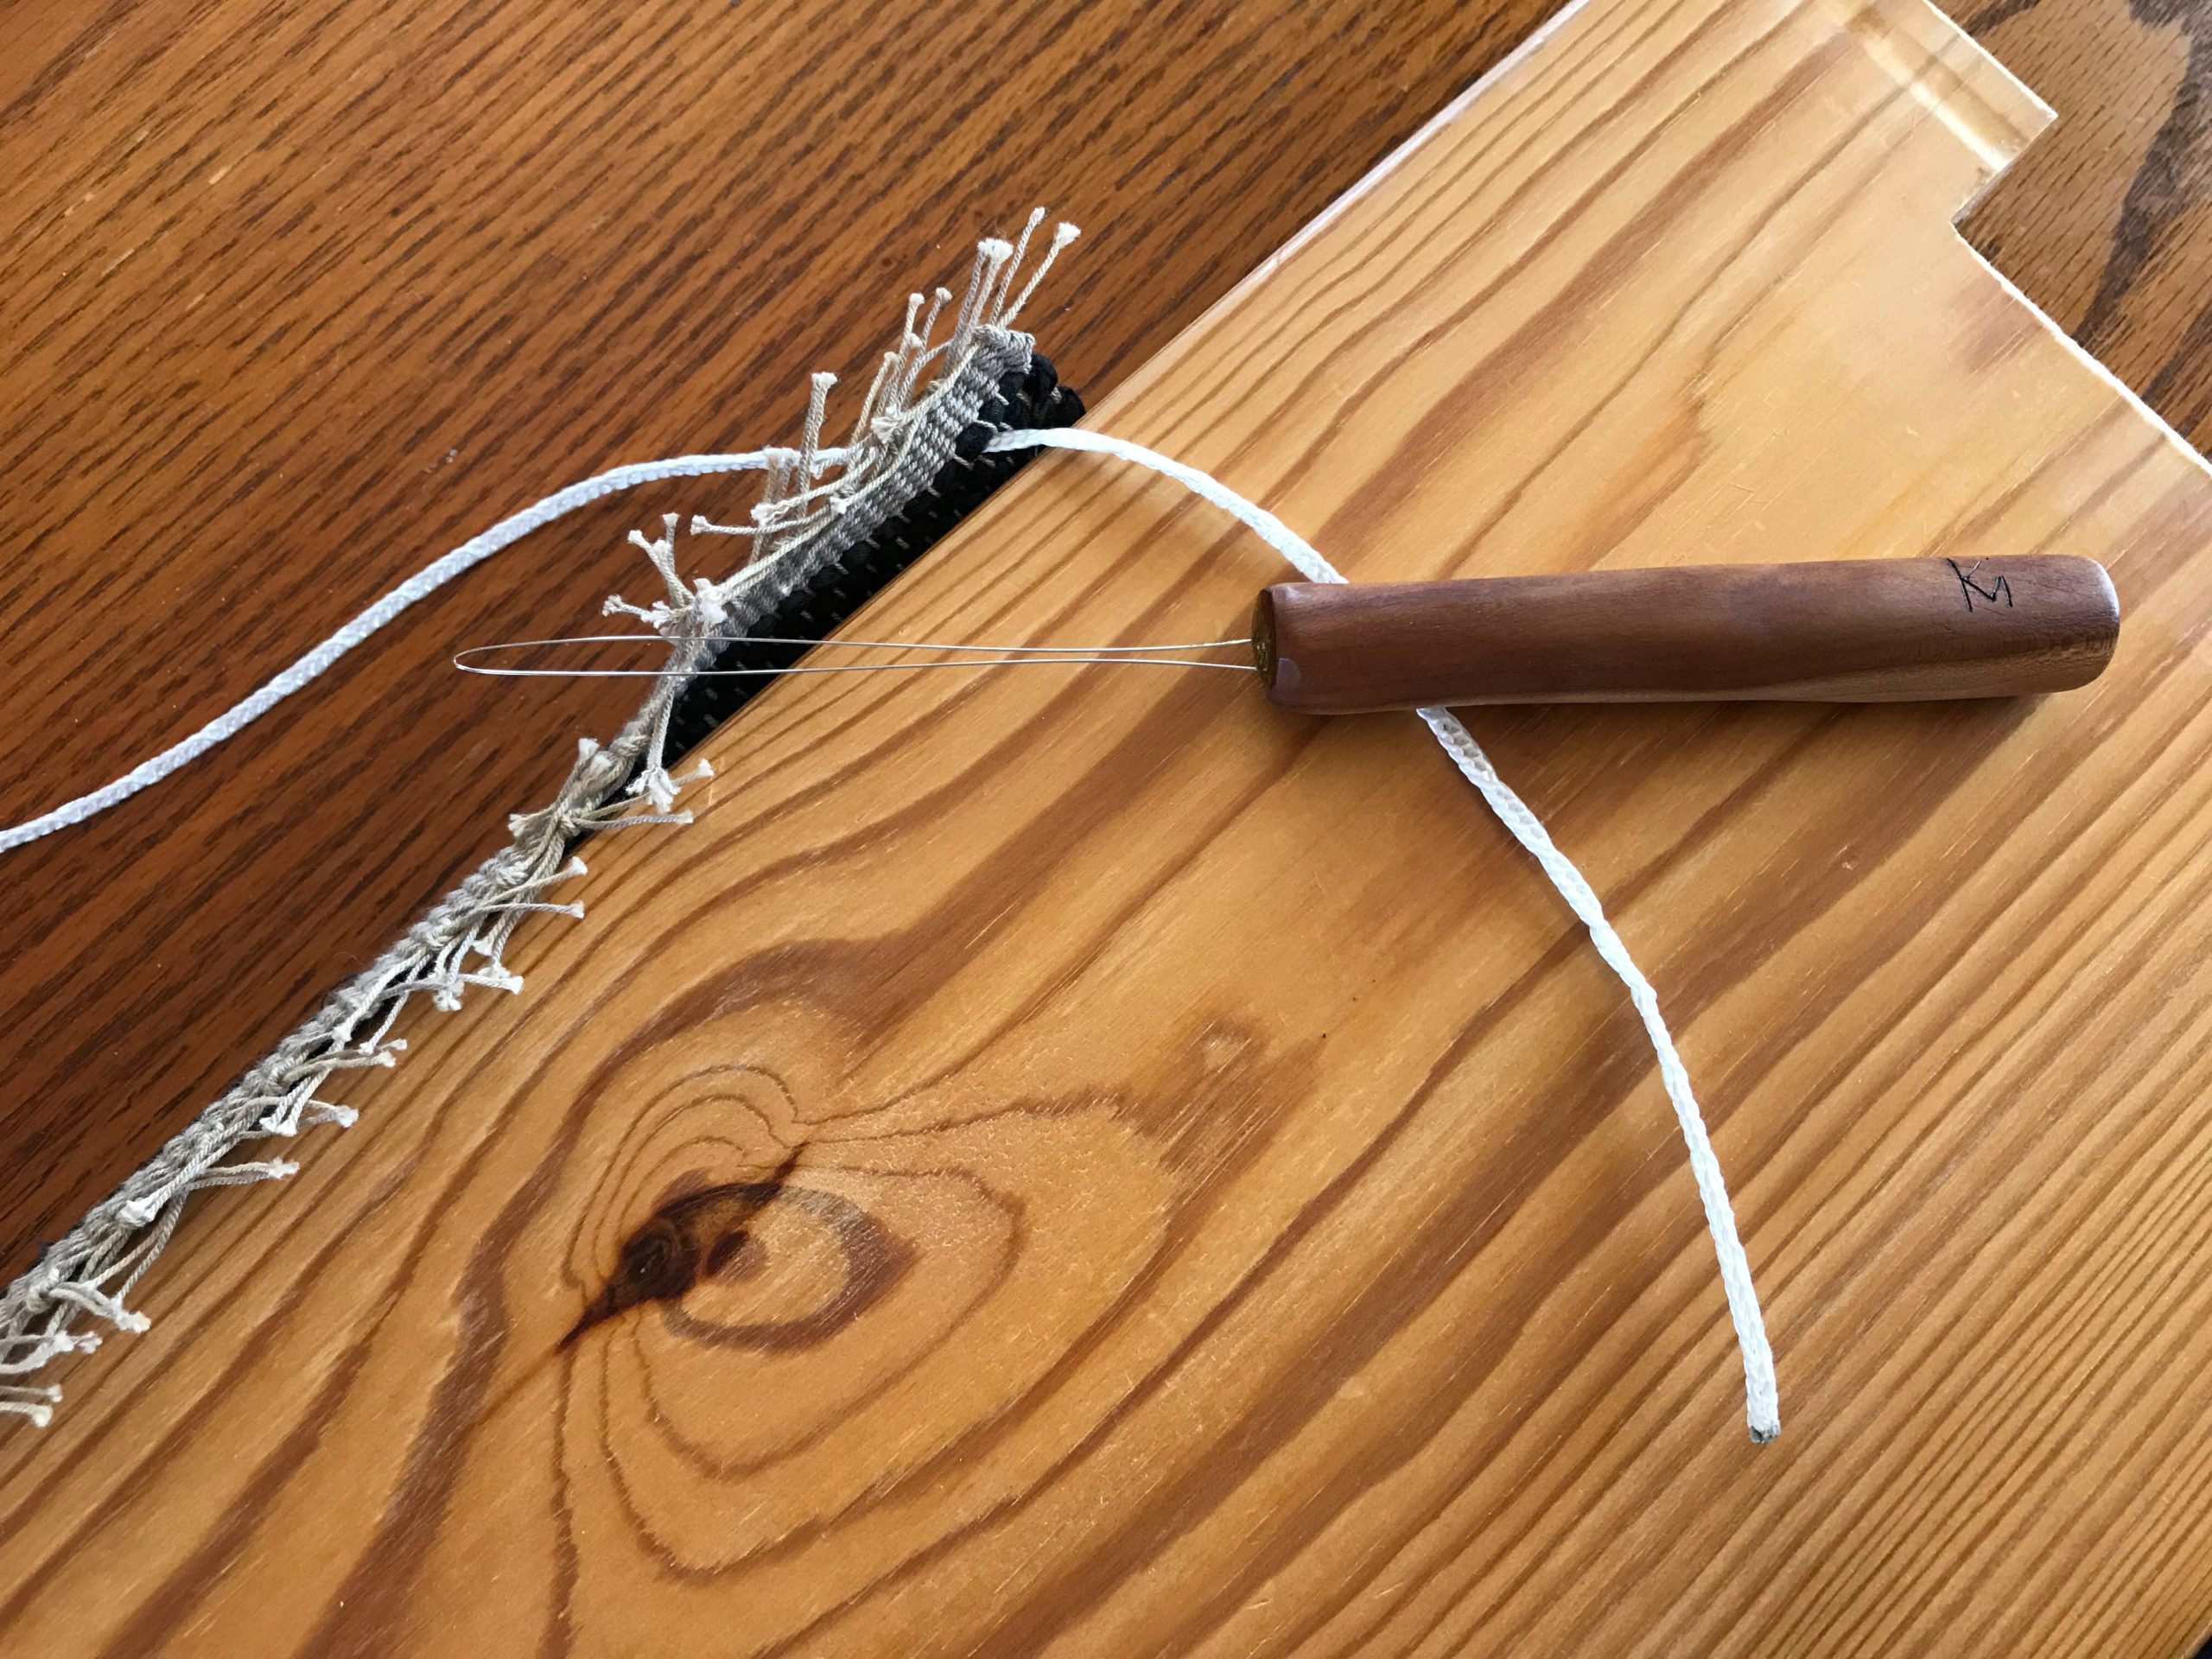
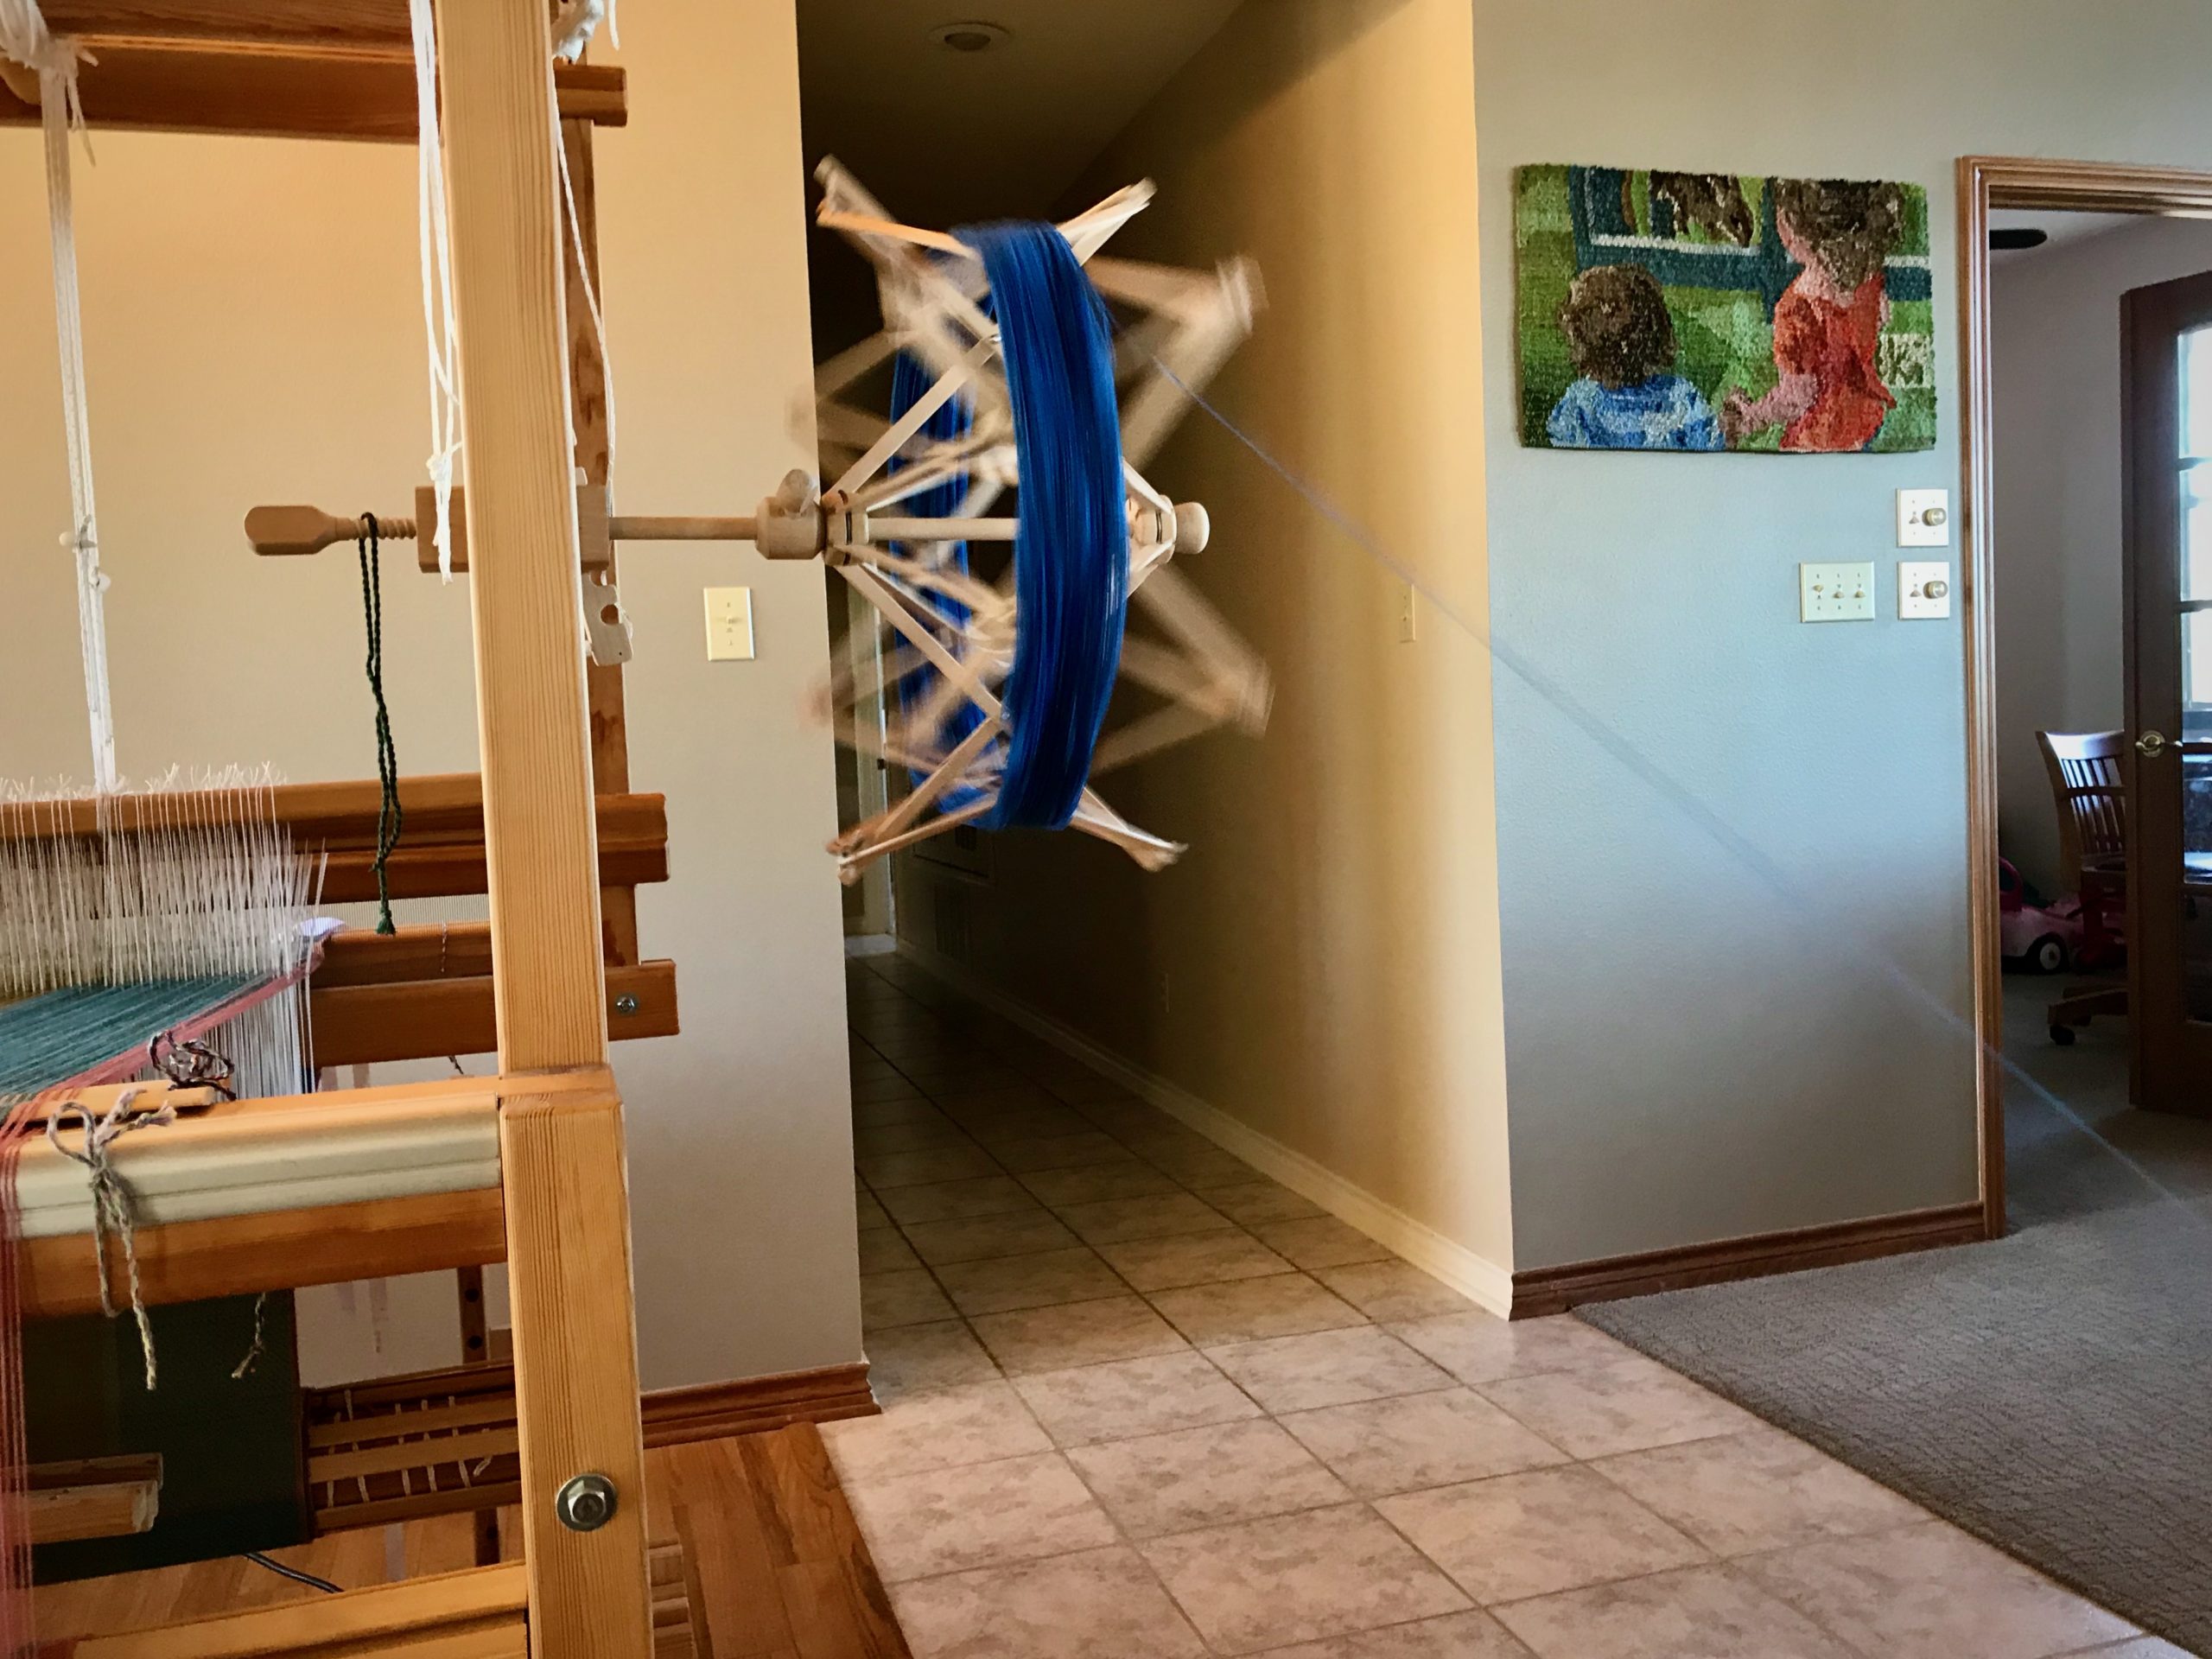
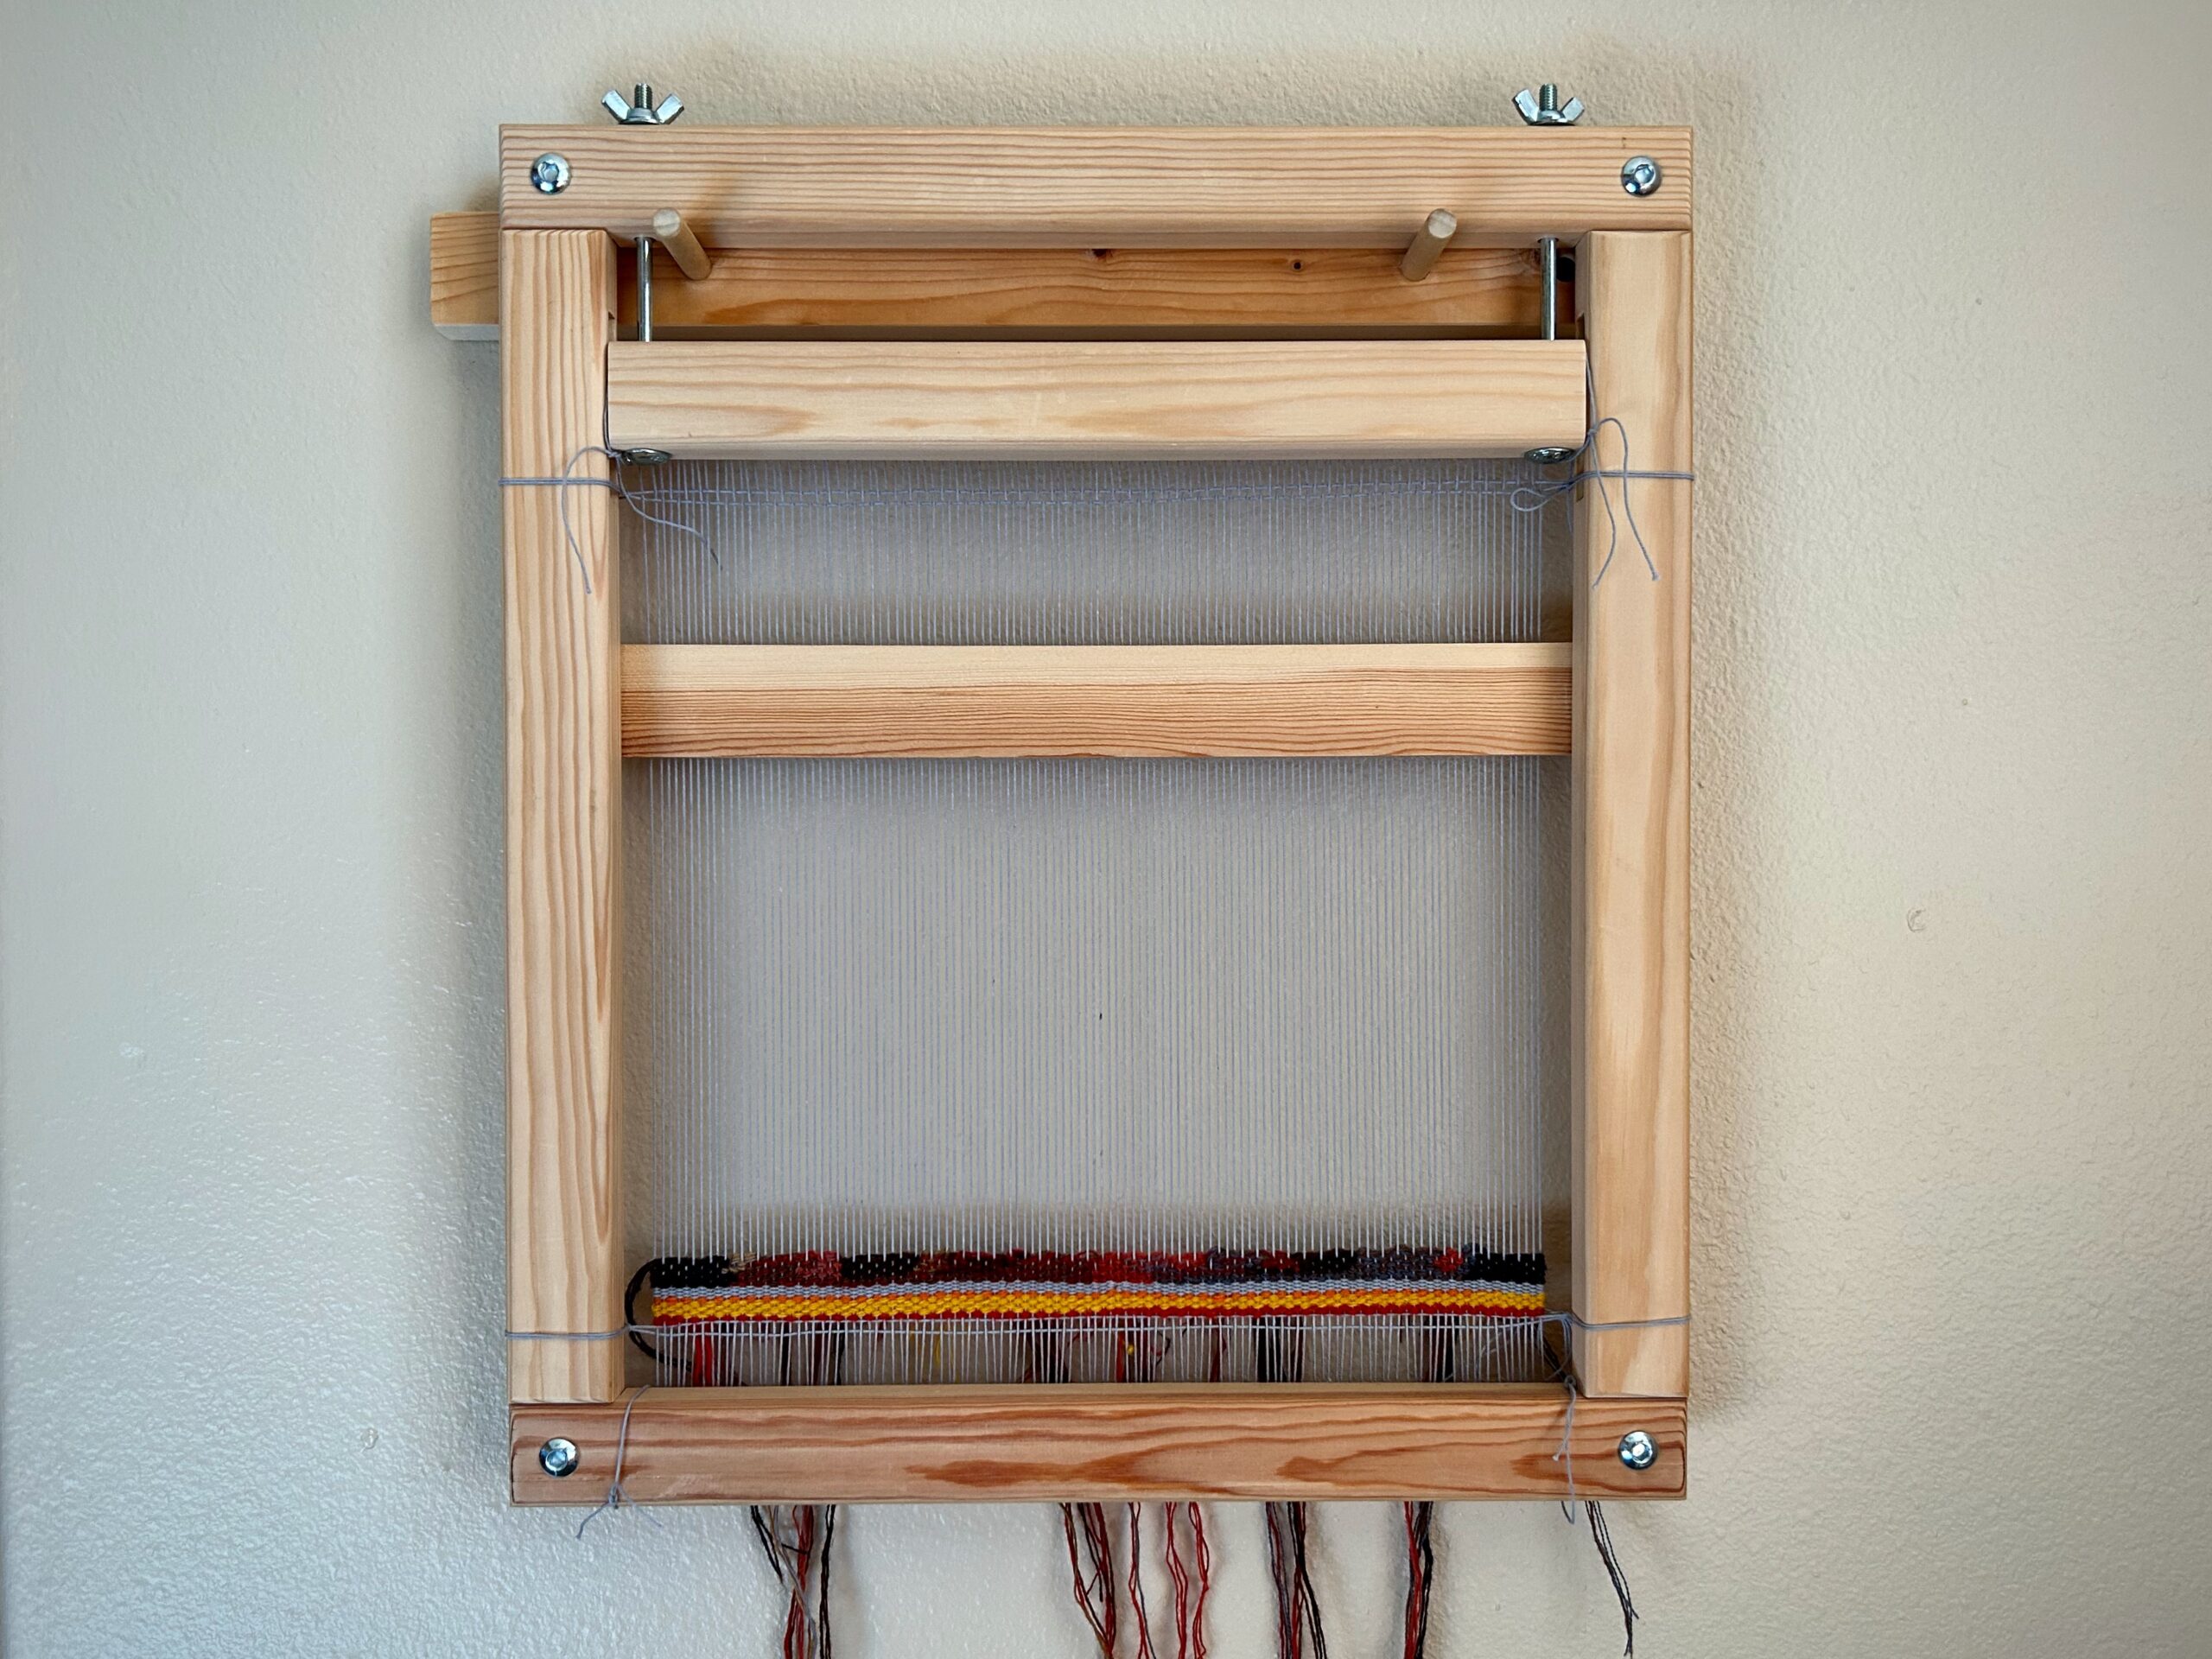
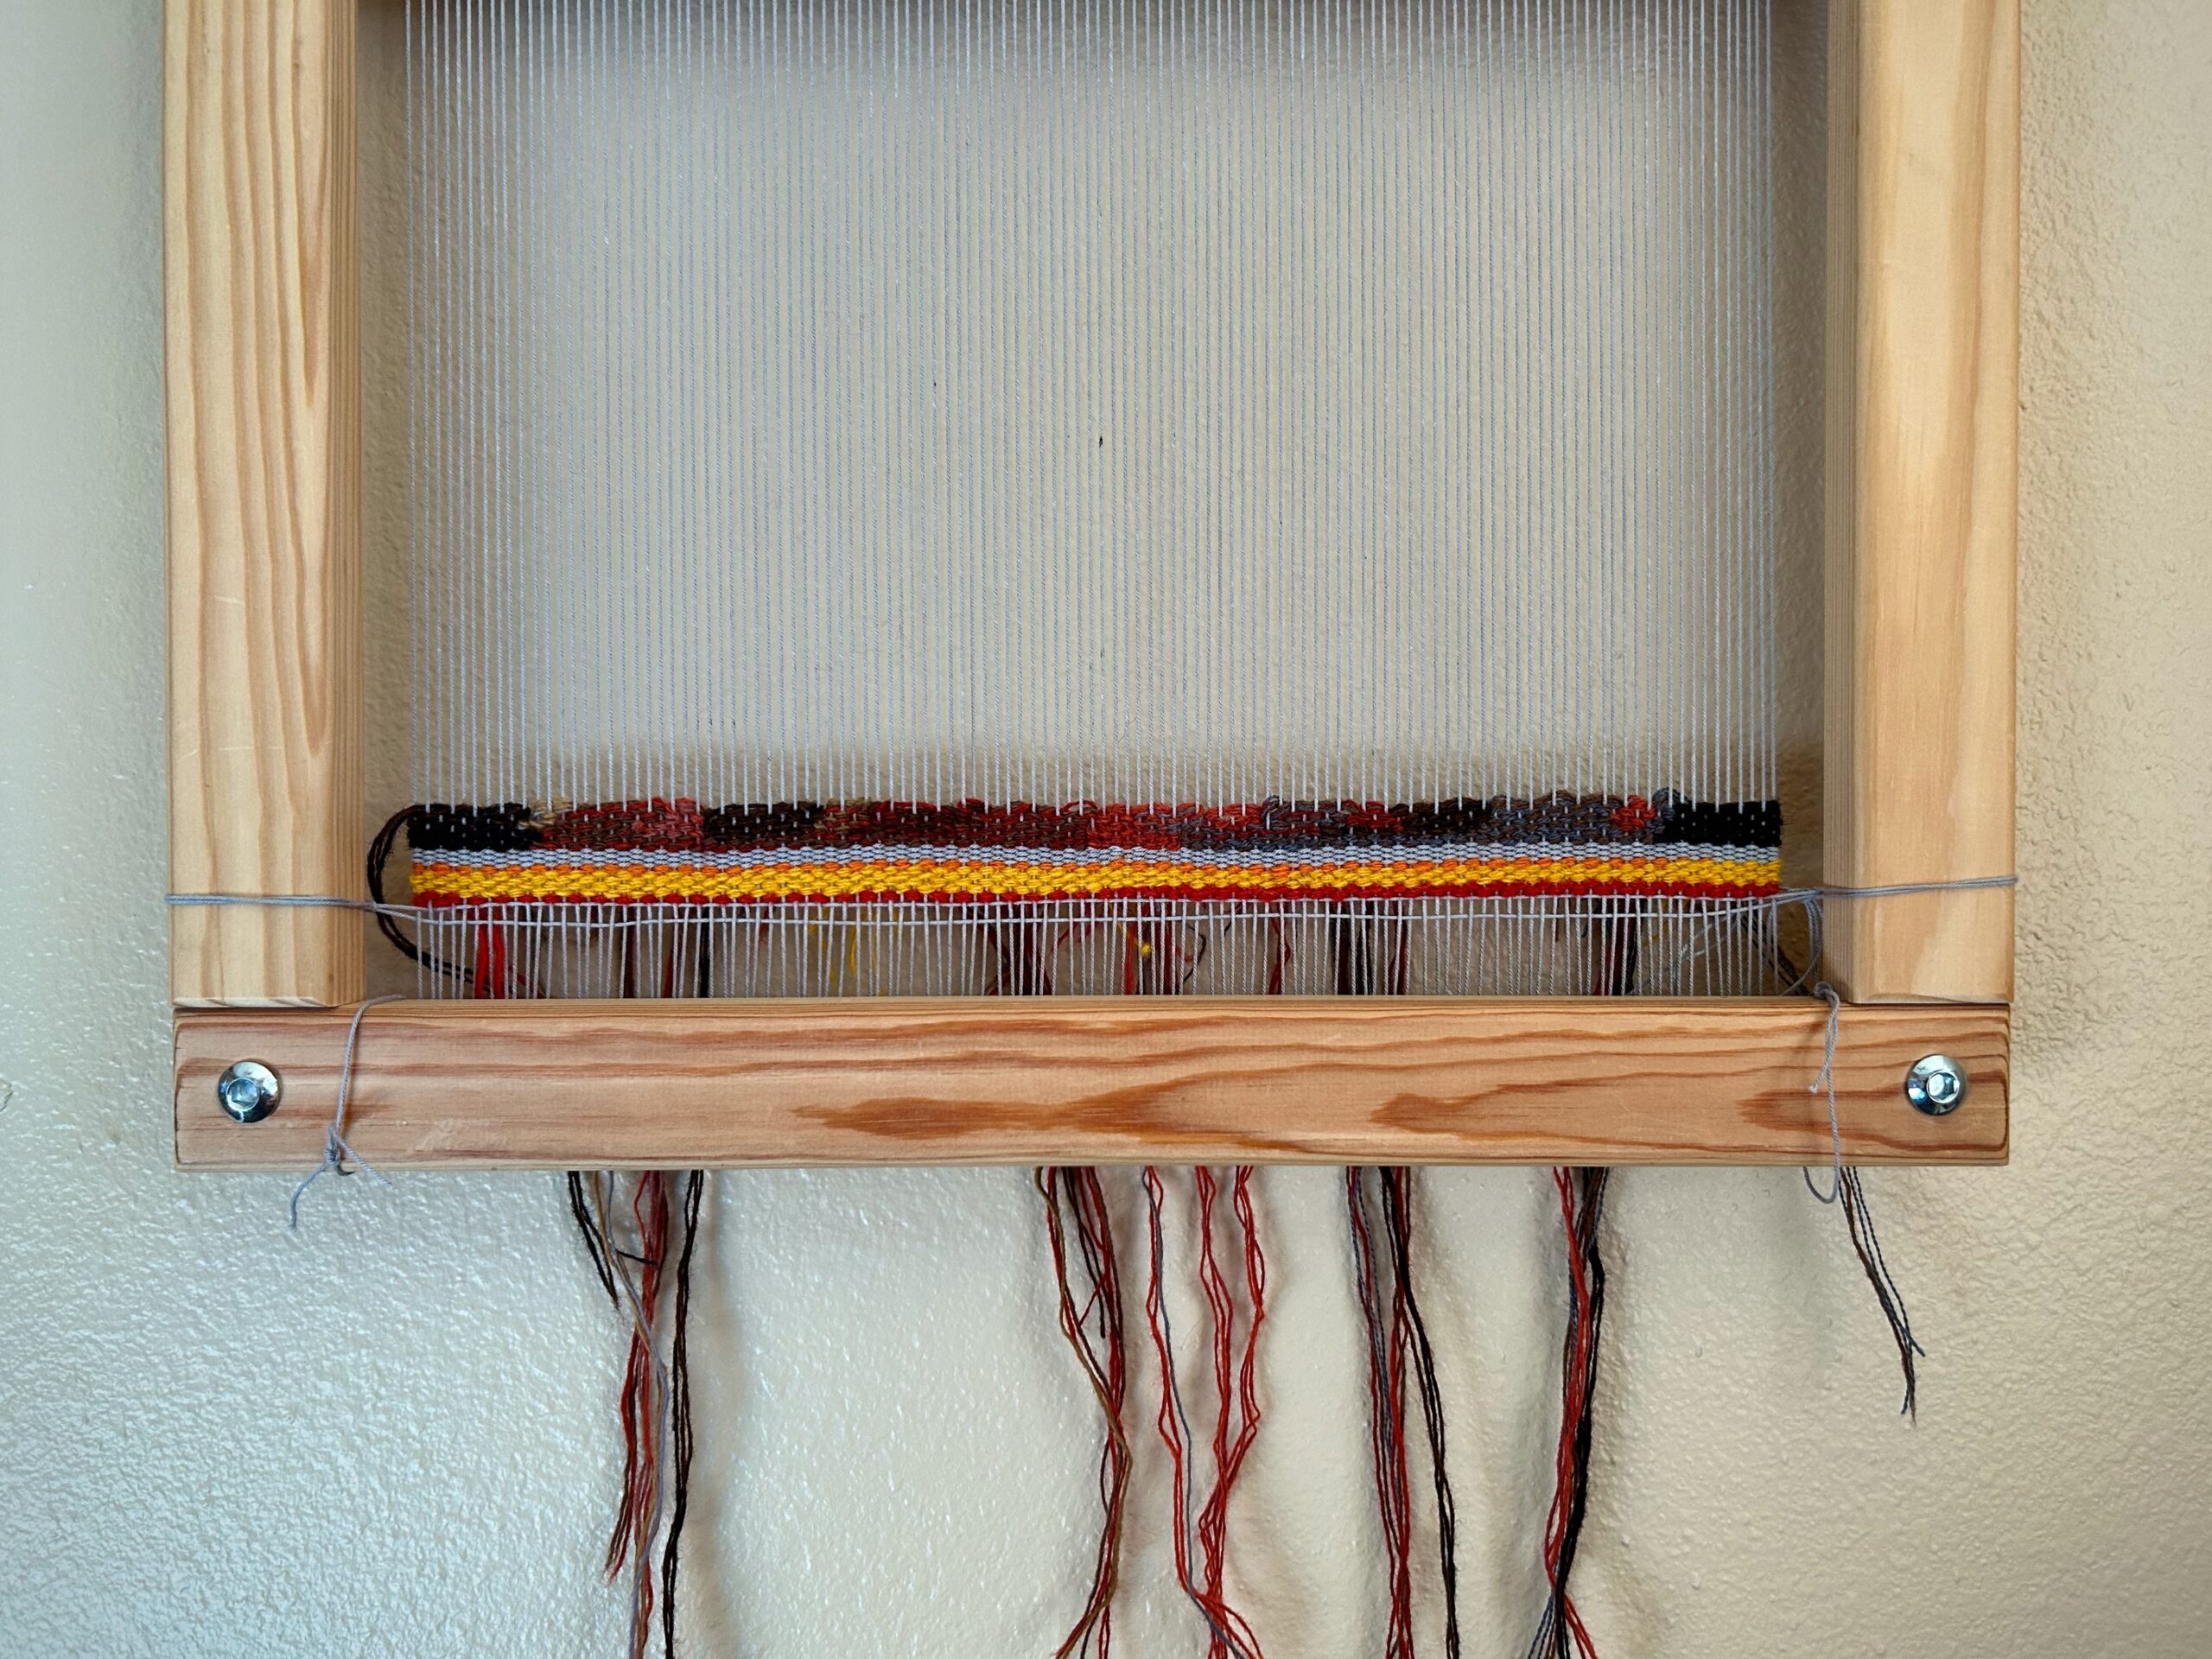
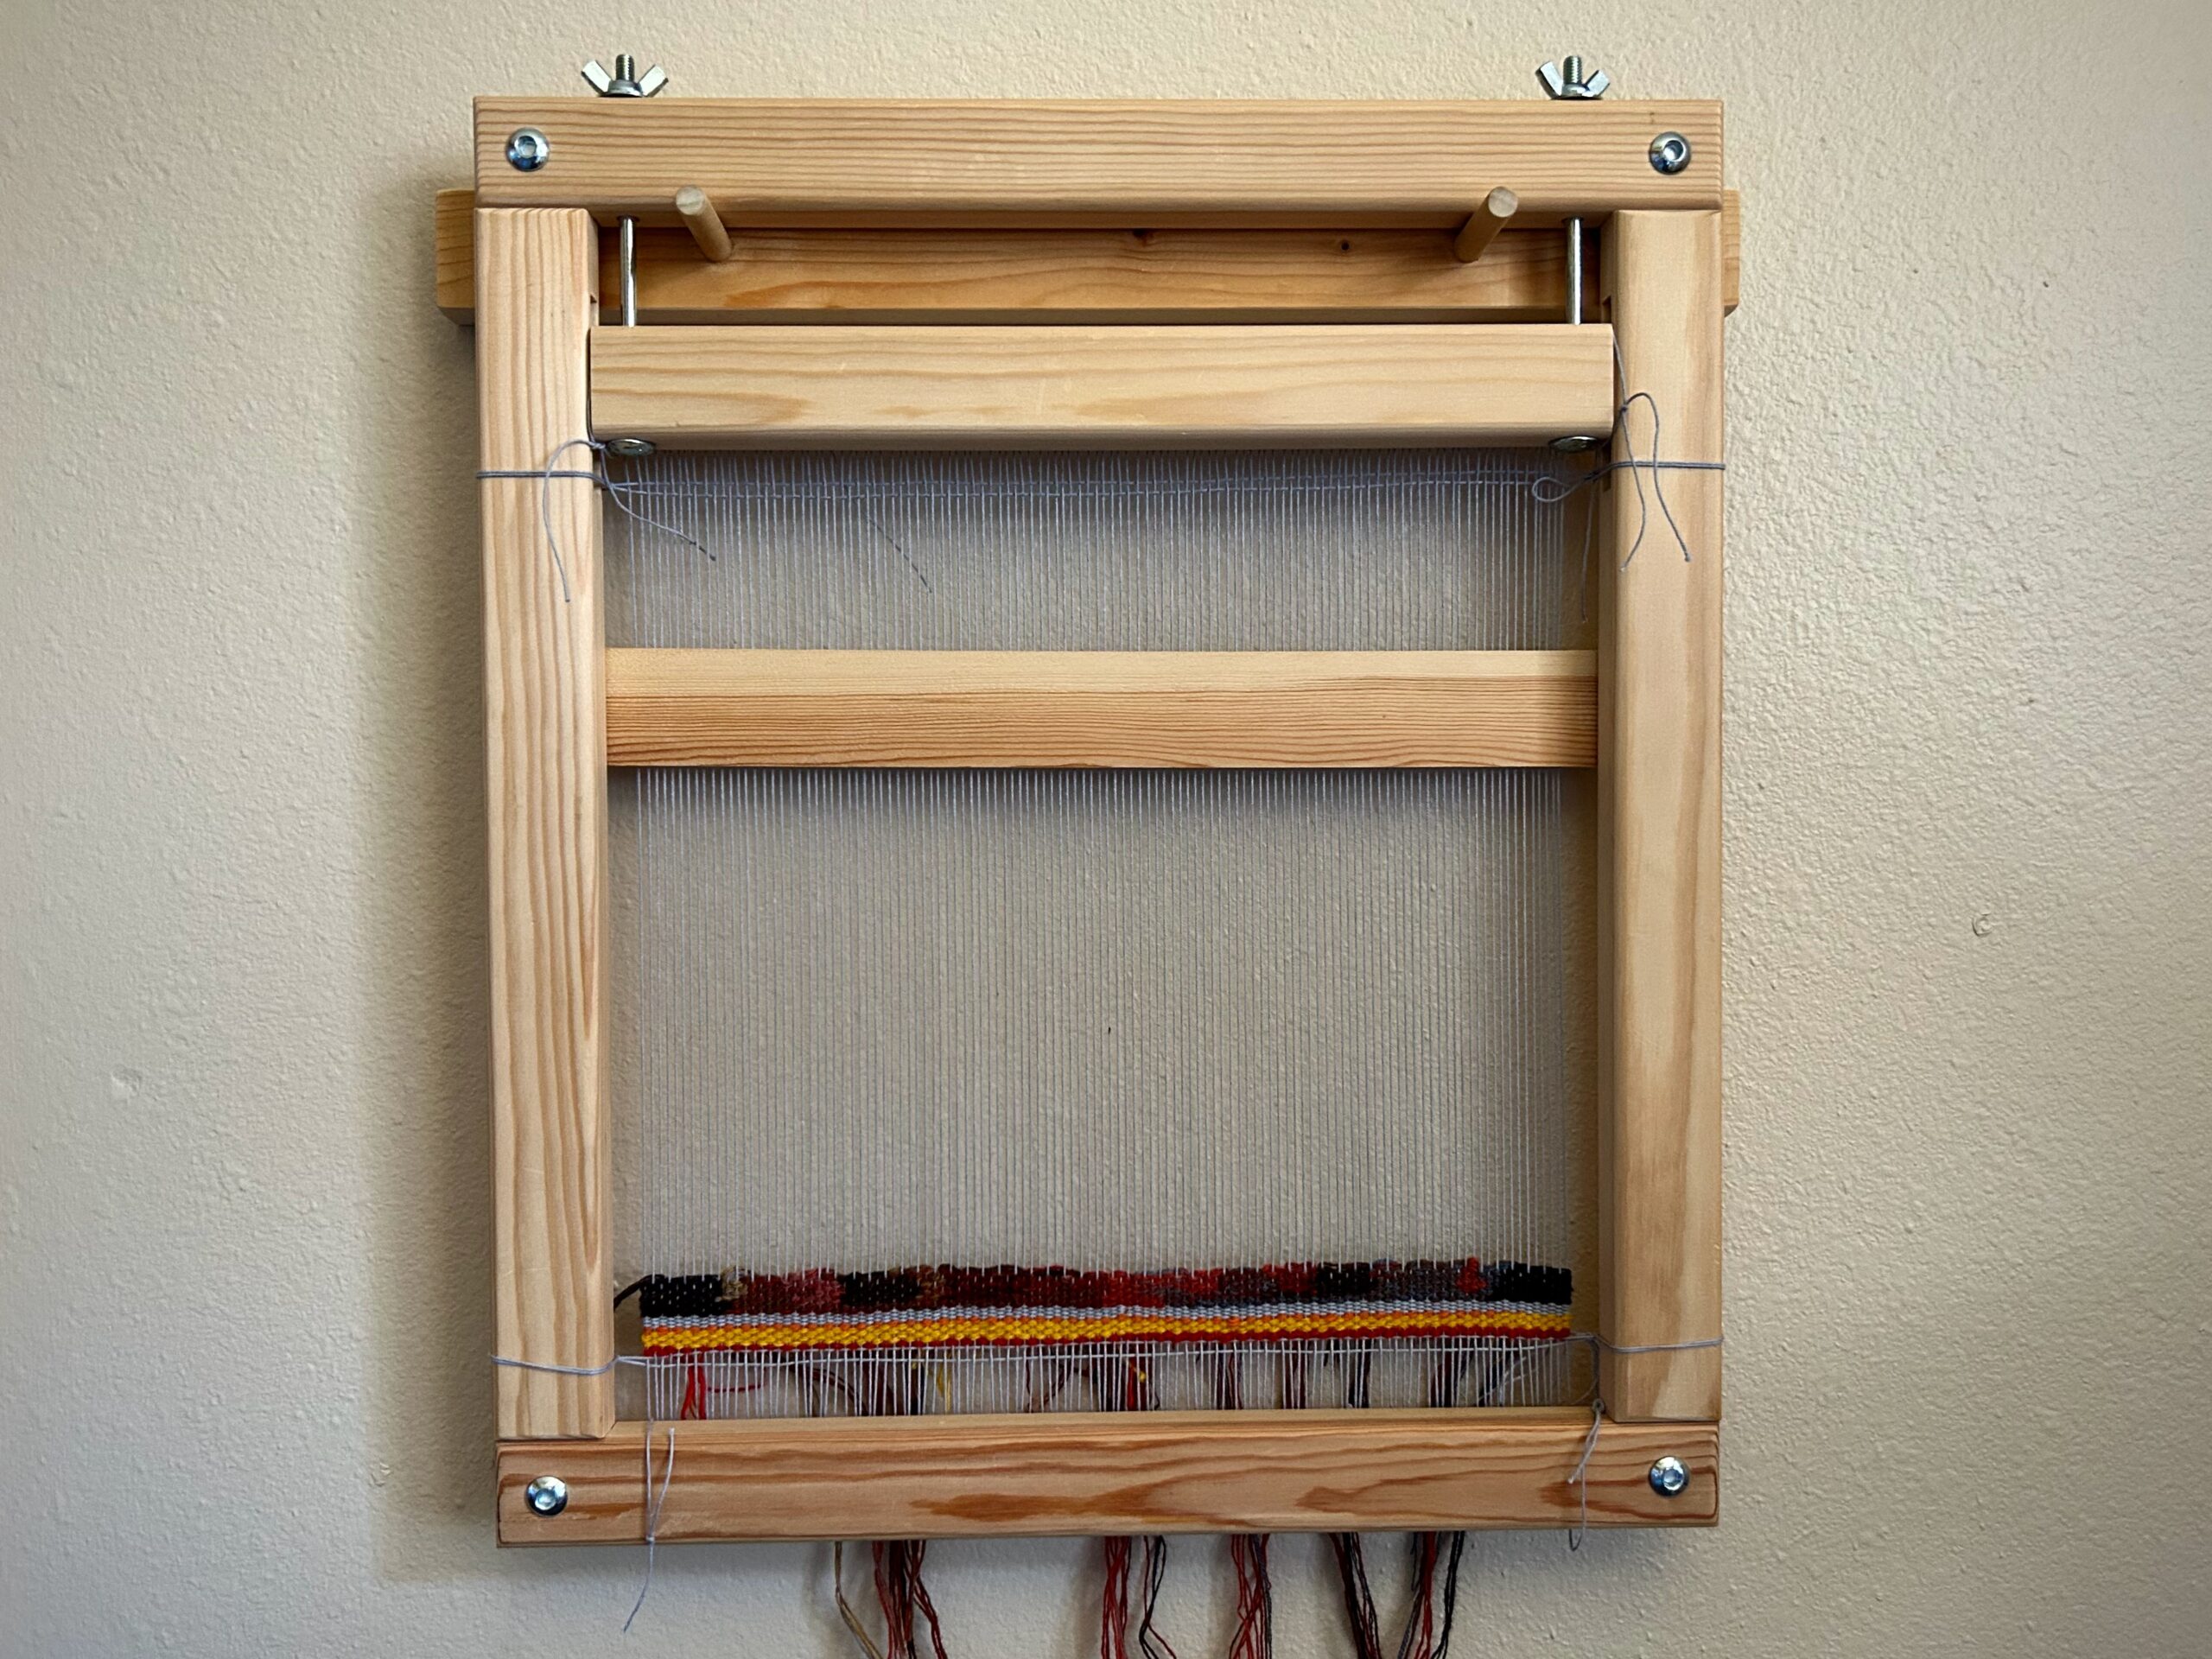
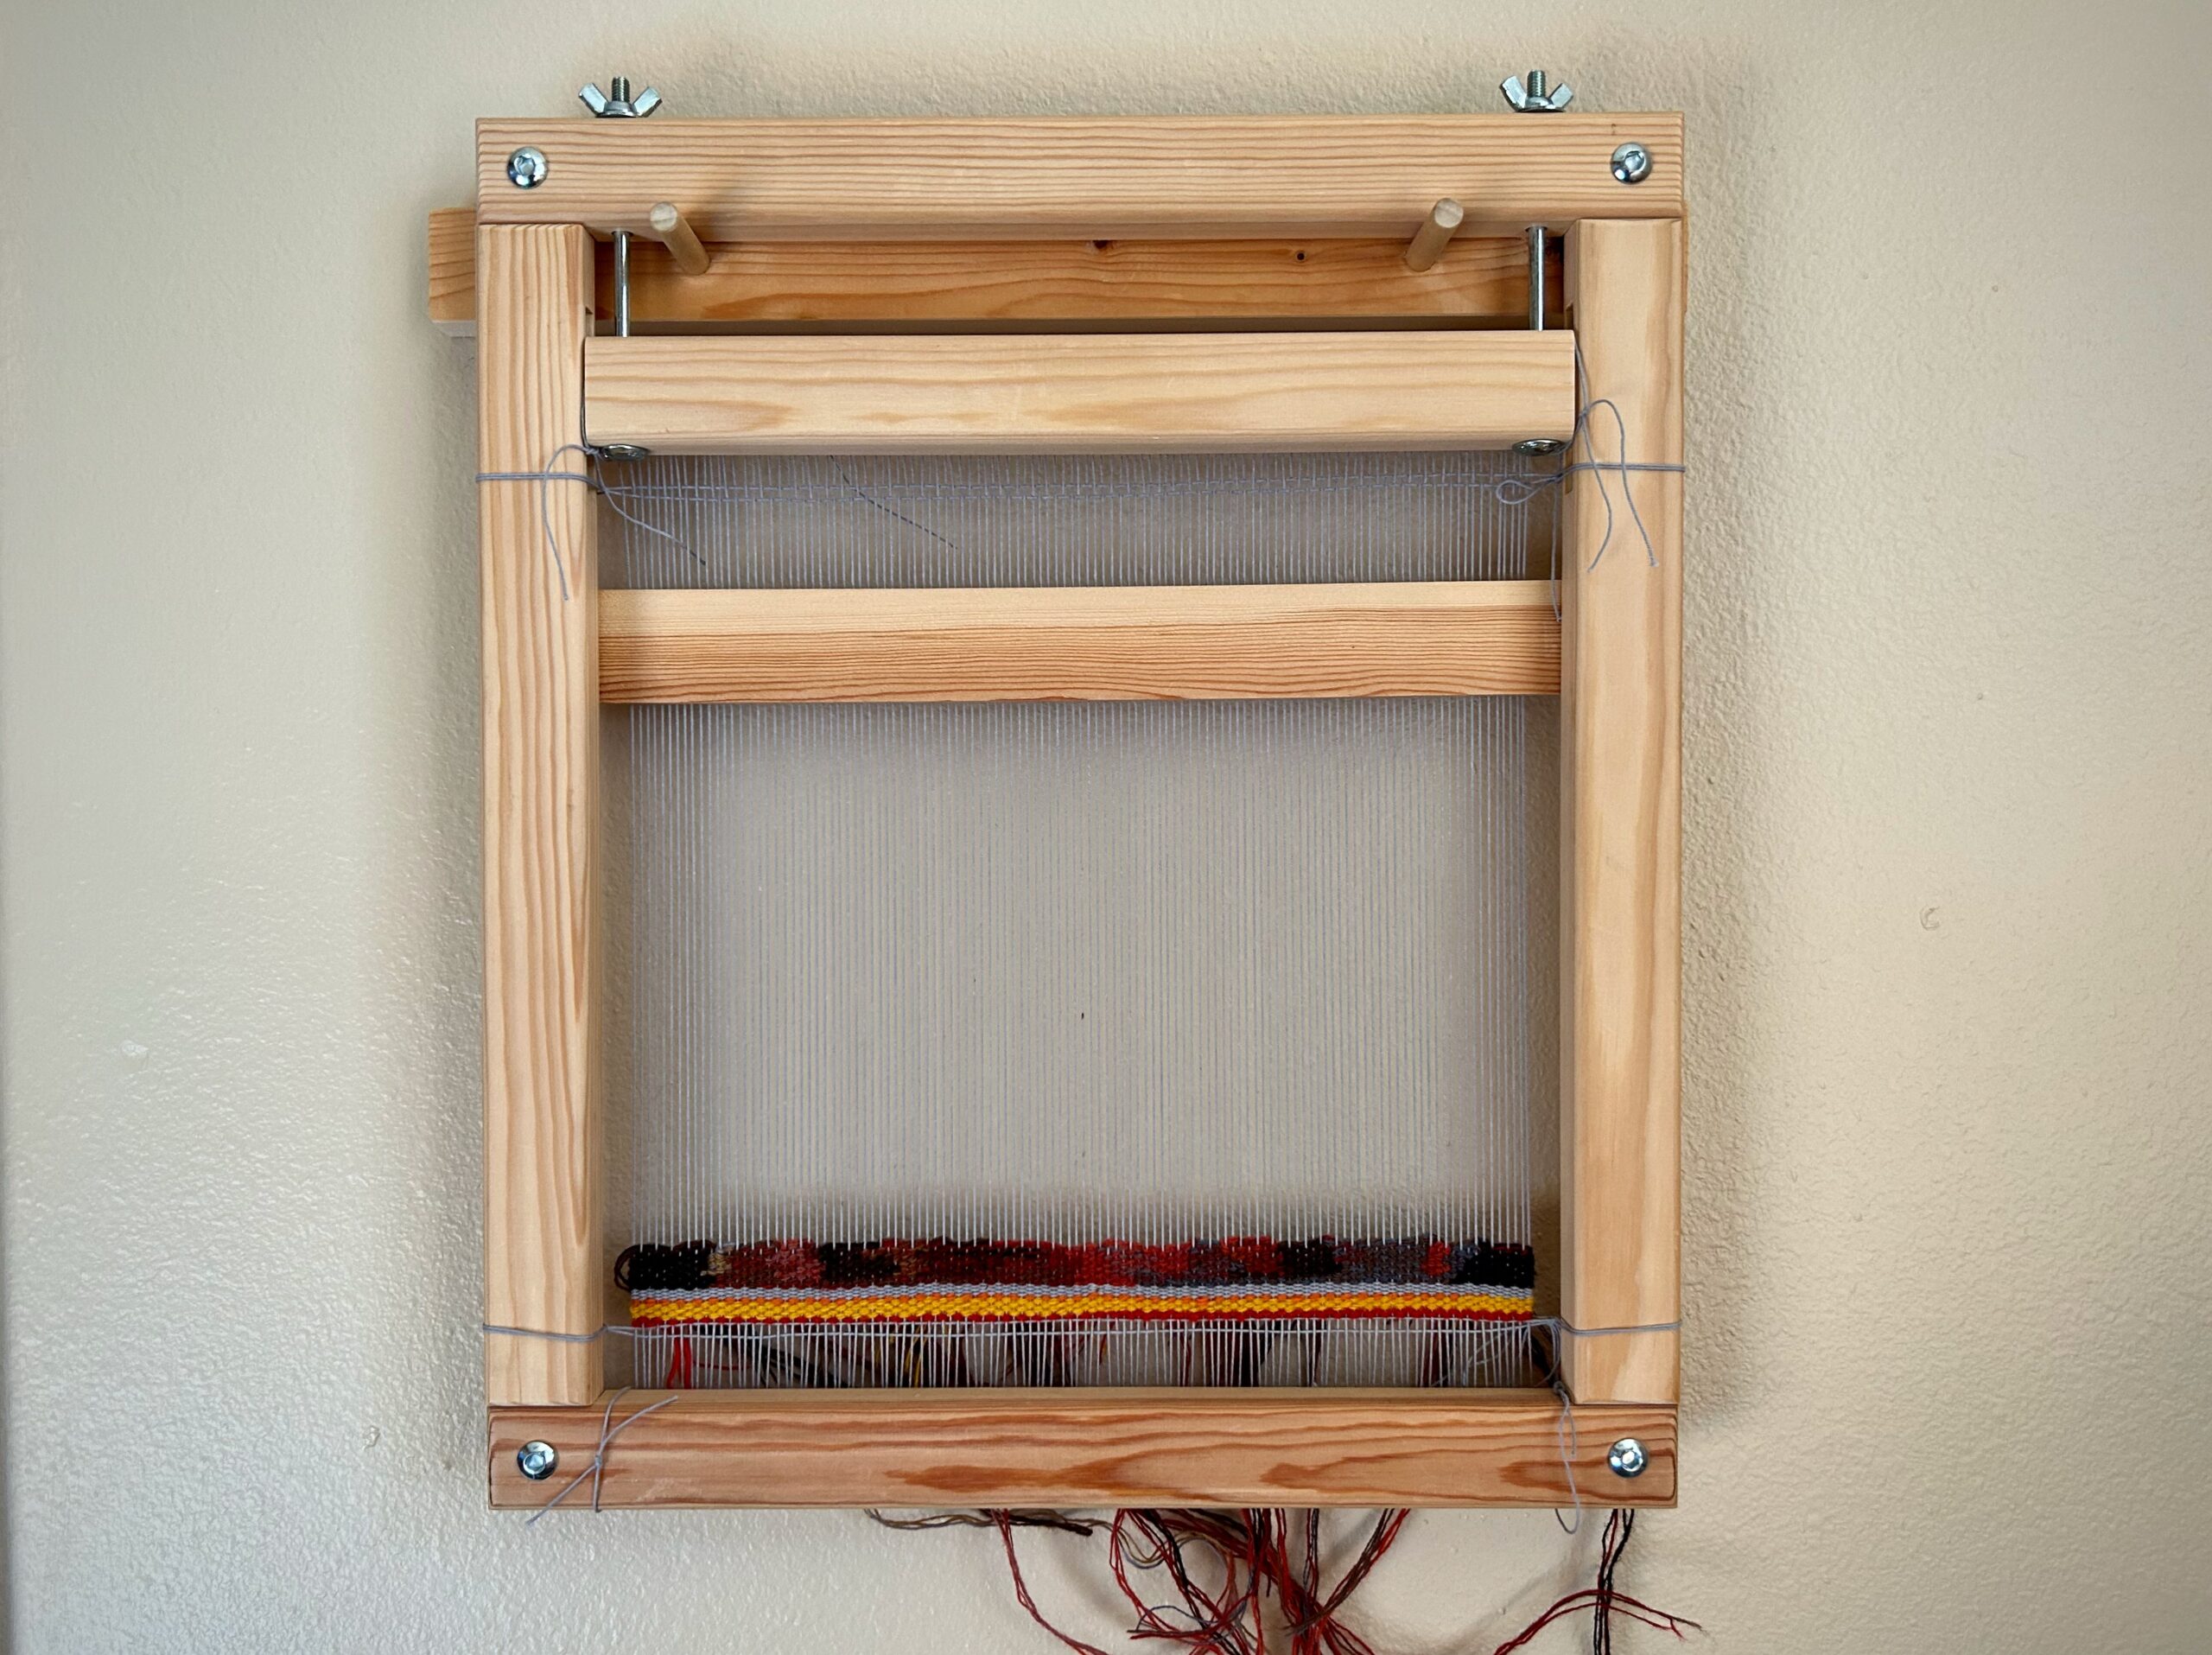
Every evening, now, I bring my Freja Tapestry Frame to our small breakfast table in the kitchen and weave for a little while. Steve made a holder for me to hang the tapestry frame on a wall in the study. I take a picture every morning. I will end up with a series of photos that show how the tapestry grows, row by row, over time. This daily tapestry weaving gives me a constant reminder of how beautifully creative the Creator of our universe is, and how His planning is never rushed, nor His selection of colors short sighted. His work is perfect from the start.

May the colors of creation bring you joy.
Happy Weaving, Karen