Tried and True: Sheepskin Loom Bench Cover

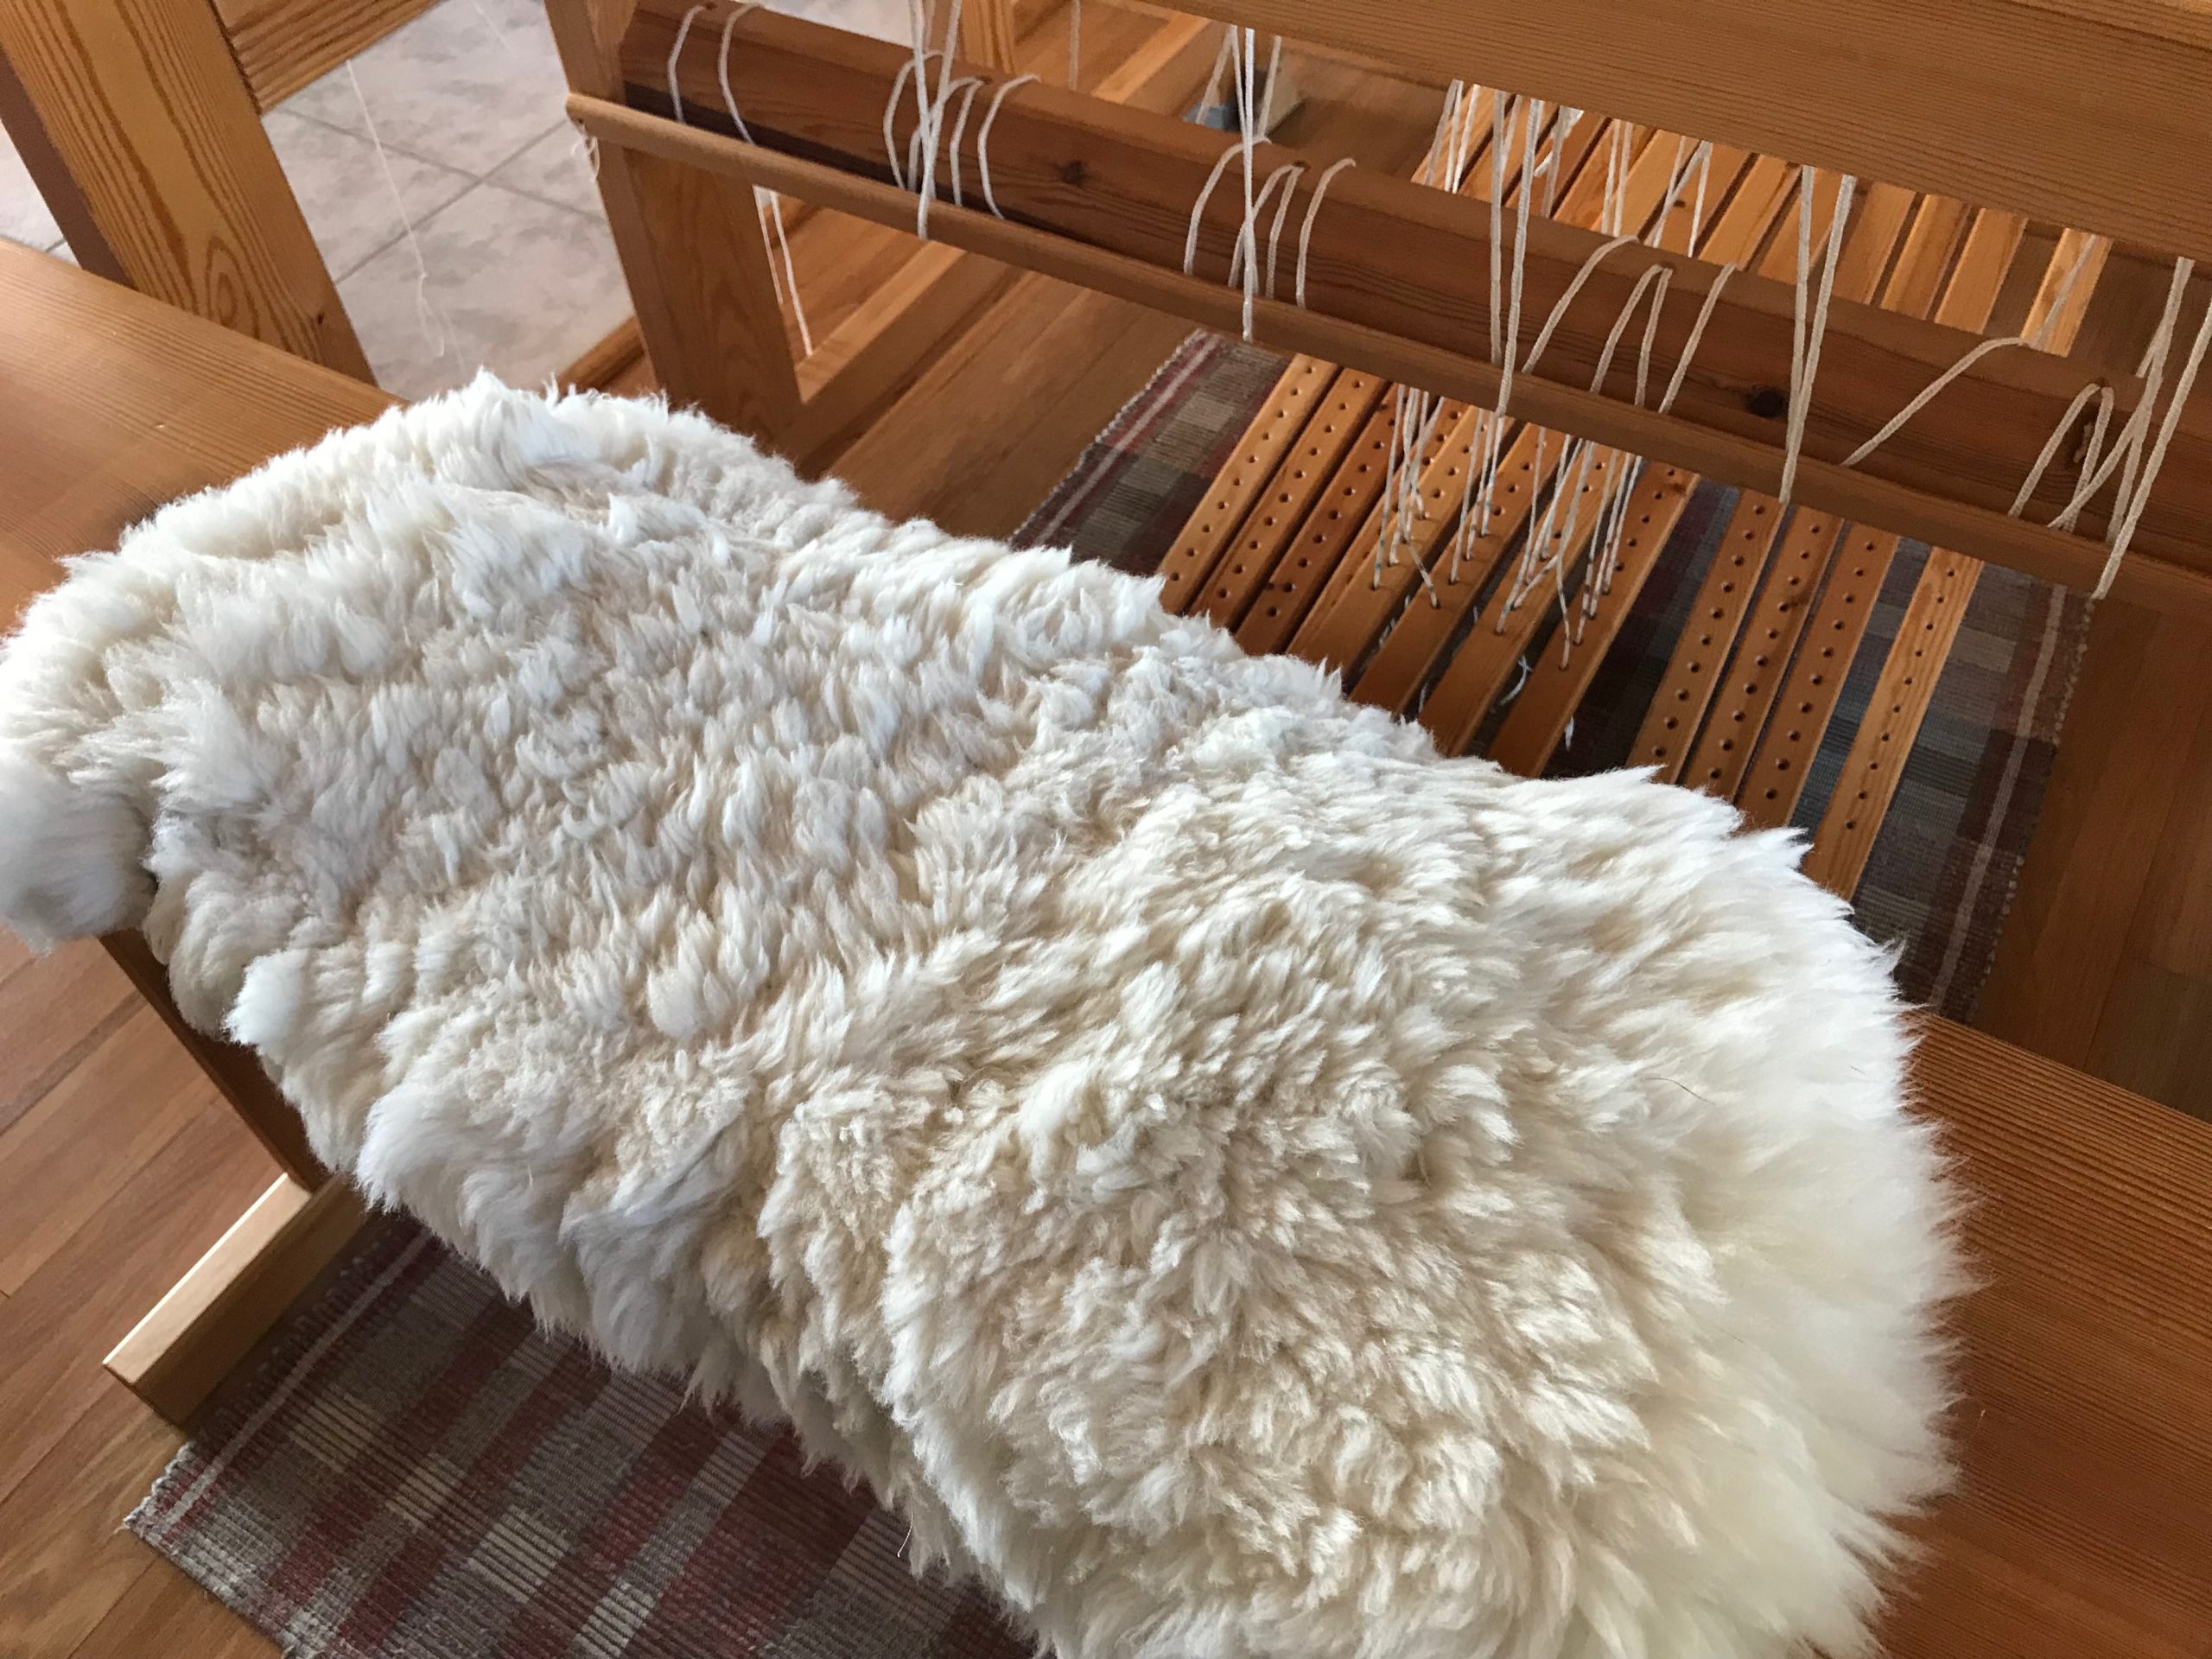
A fluffy sheepskin stays between me and the hard wooden bench at my Glimåkra Standard loom. Softening your loom bench makes weaving that much more pleasant. Last week Jane asked a great question: How do you secure the sheepskin on the bench? To answer that, I invite you to follow along as I secure the sheepskin on my drawloom bench.

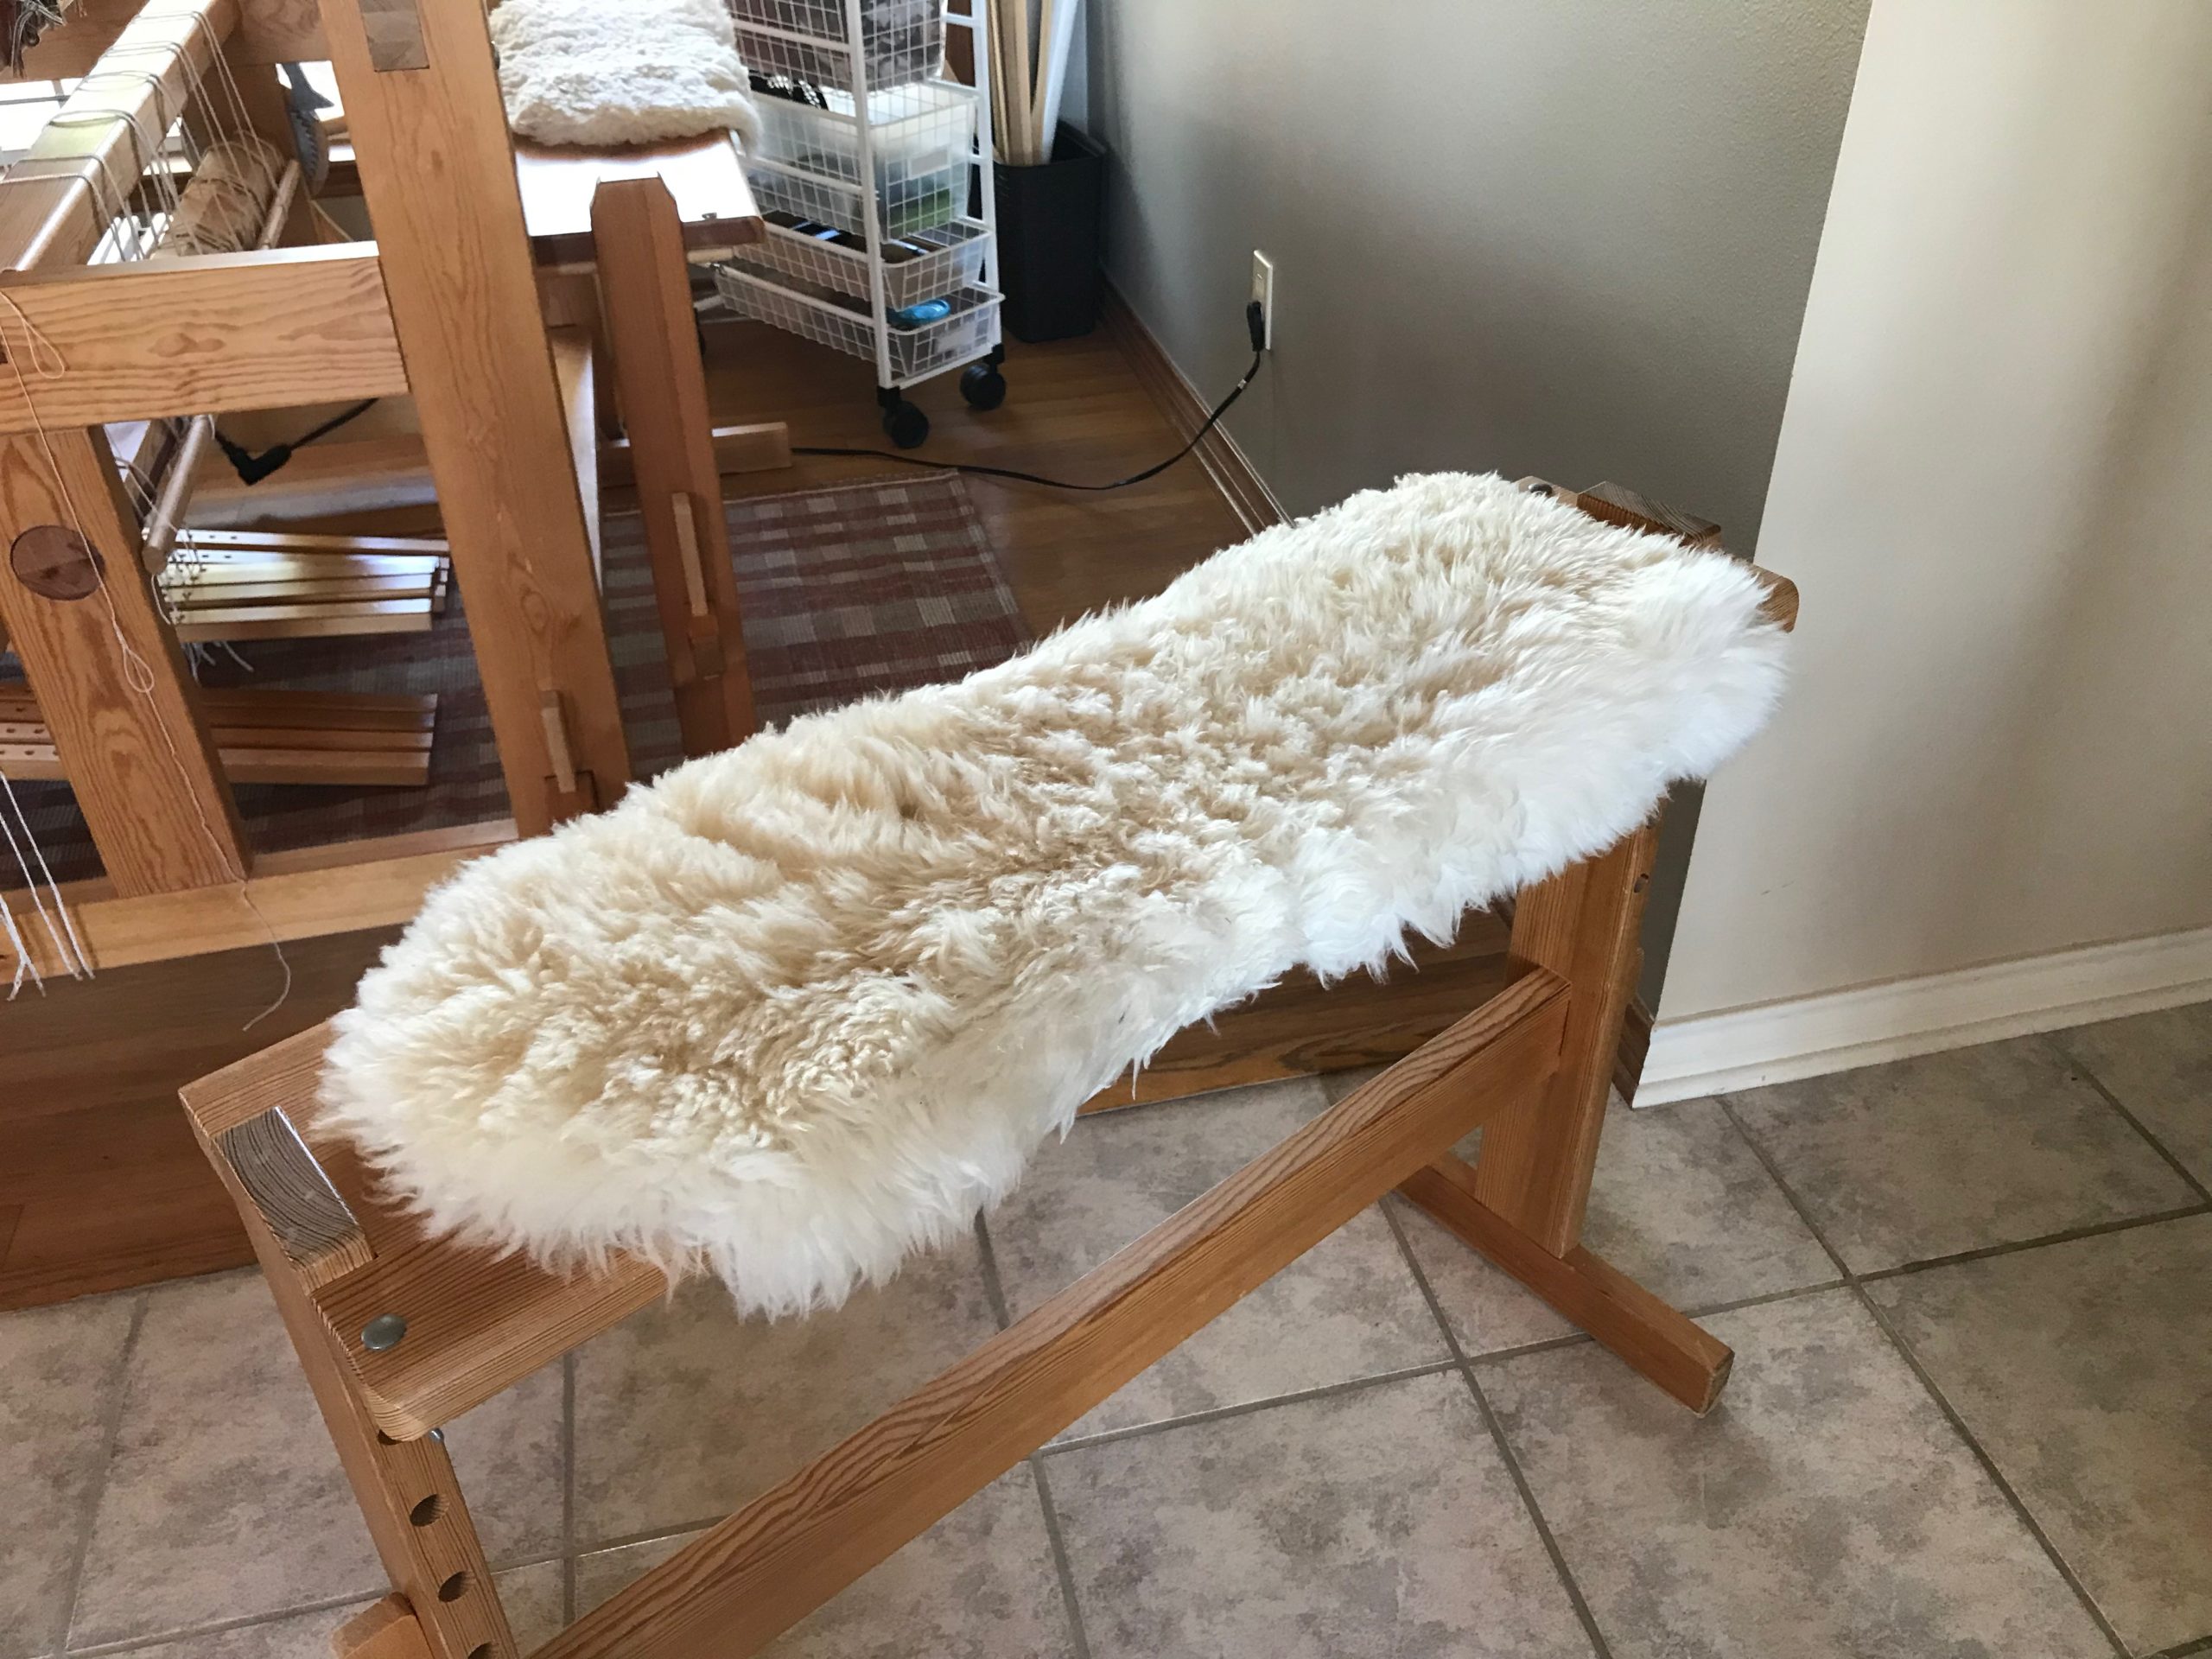
Fluffy sheepskin on my Glimåkra Standard bench.
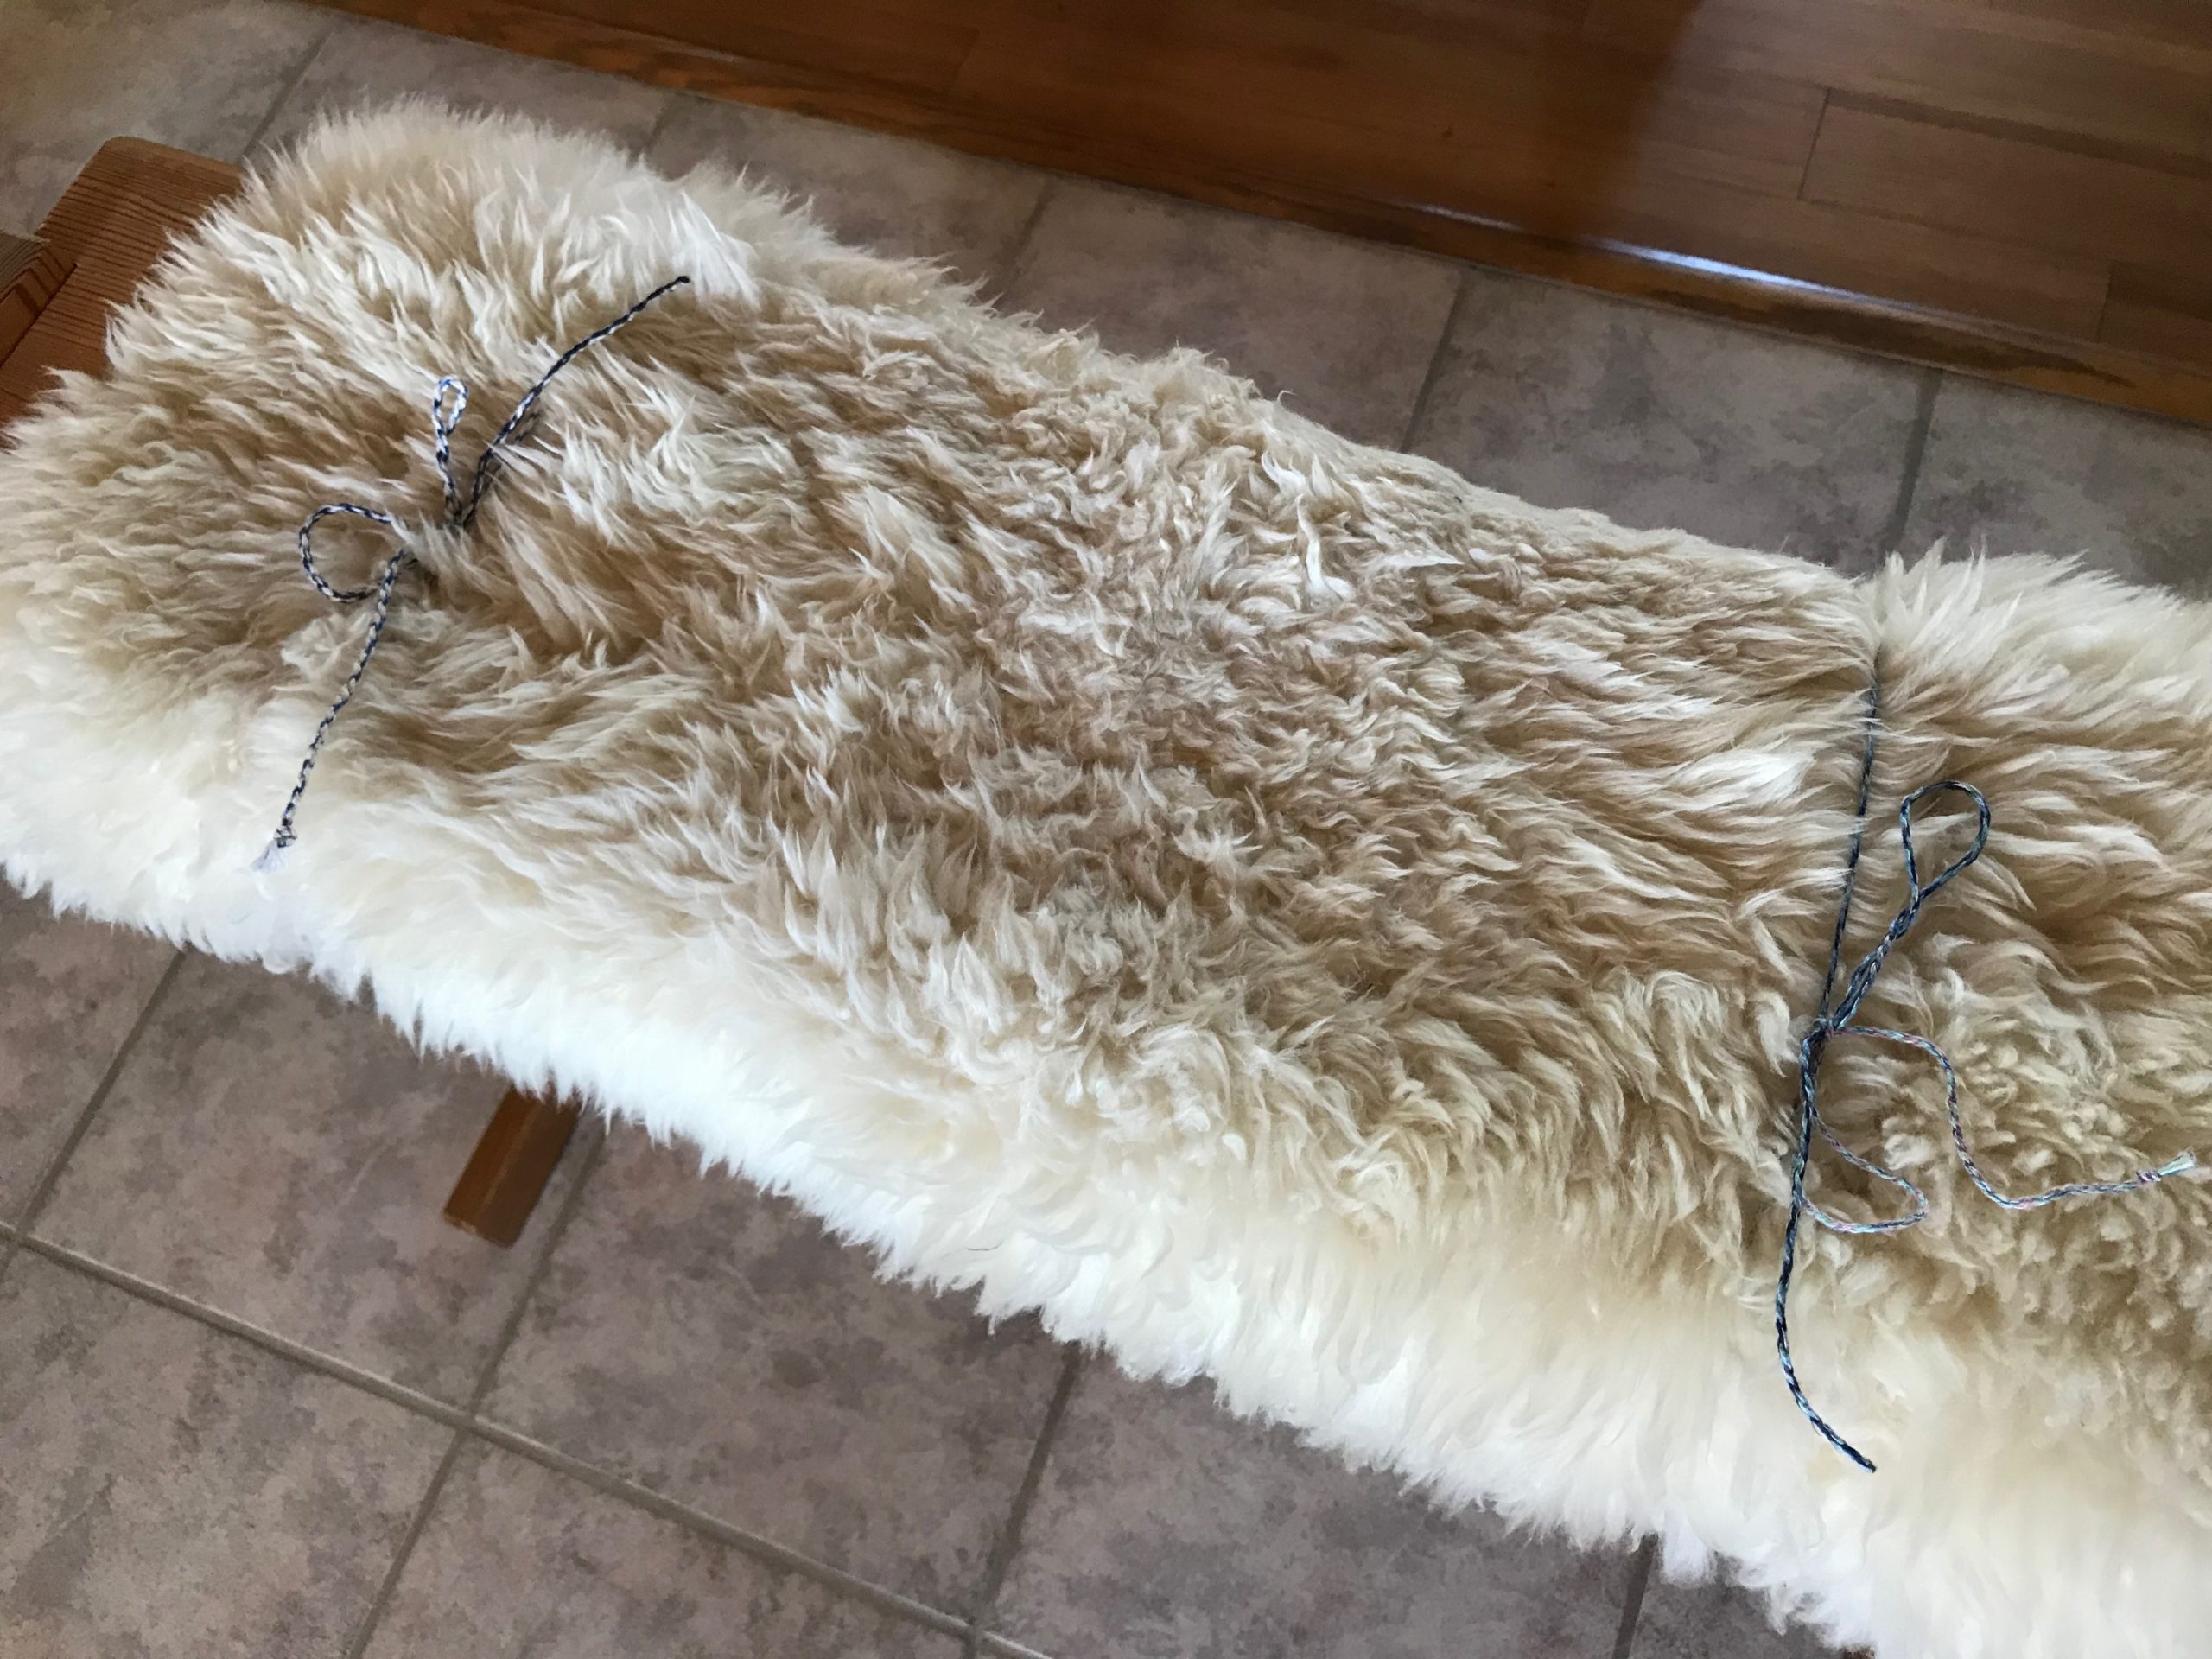
Bench for the drawloom has sheepskin tied on with some twisted cords. Securing this sheepskin is long overdue. Thank you to Jane for prompting this project.

Make a Sheepskin Loom-Bench Cover

Supplies

  • Sheepskin
  • 6 3/8” grommets
  • Pencil
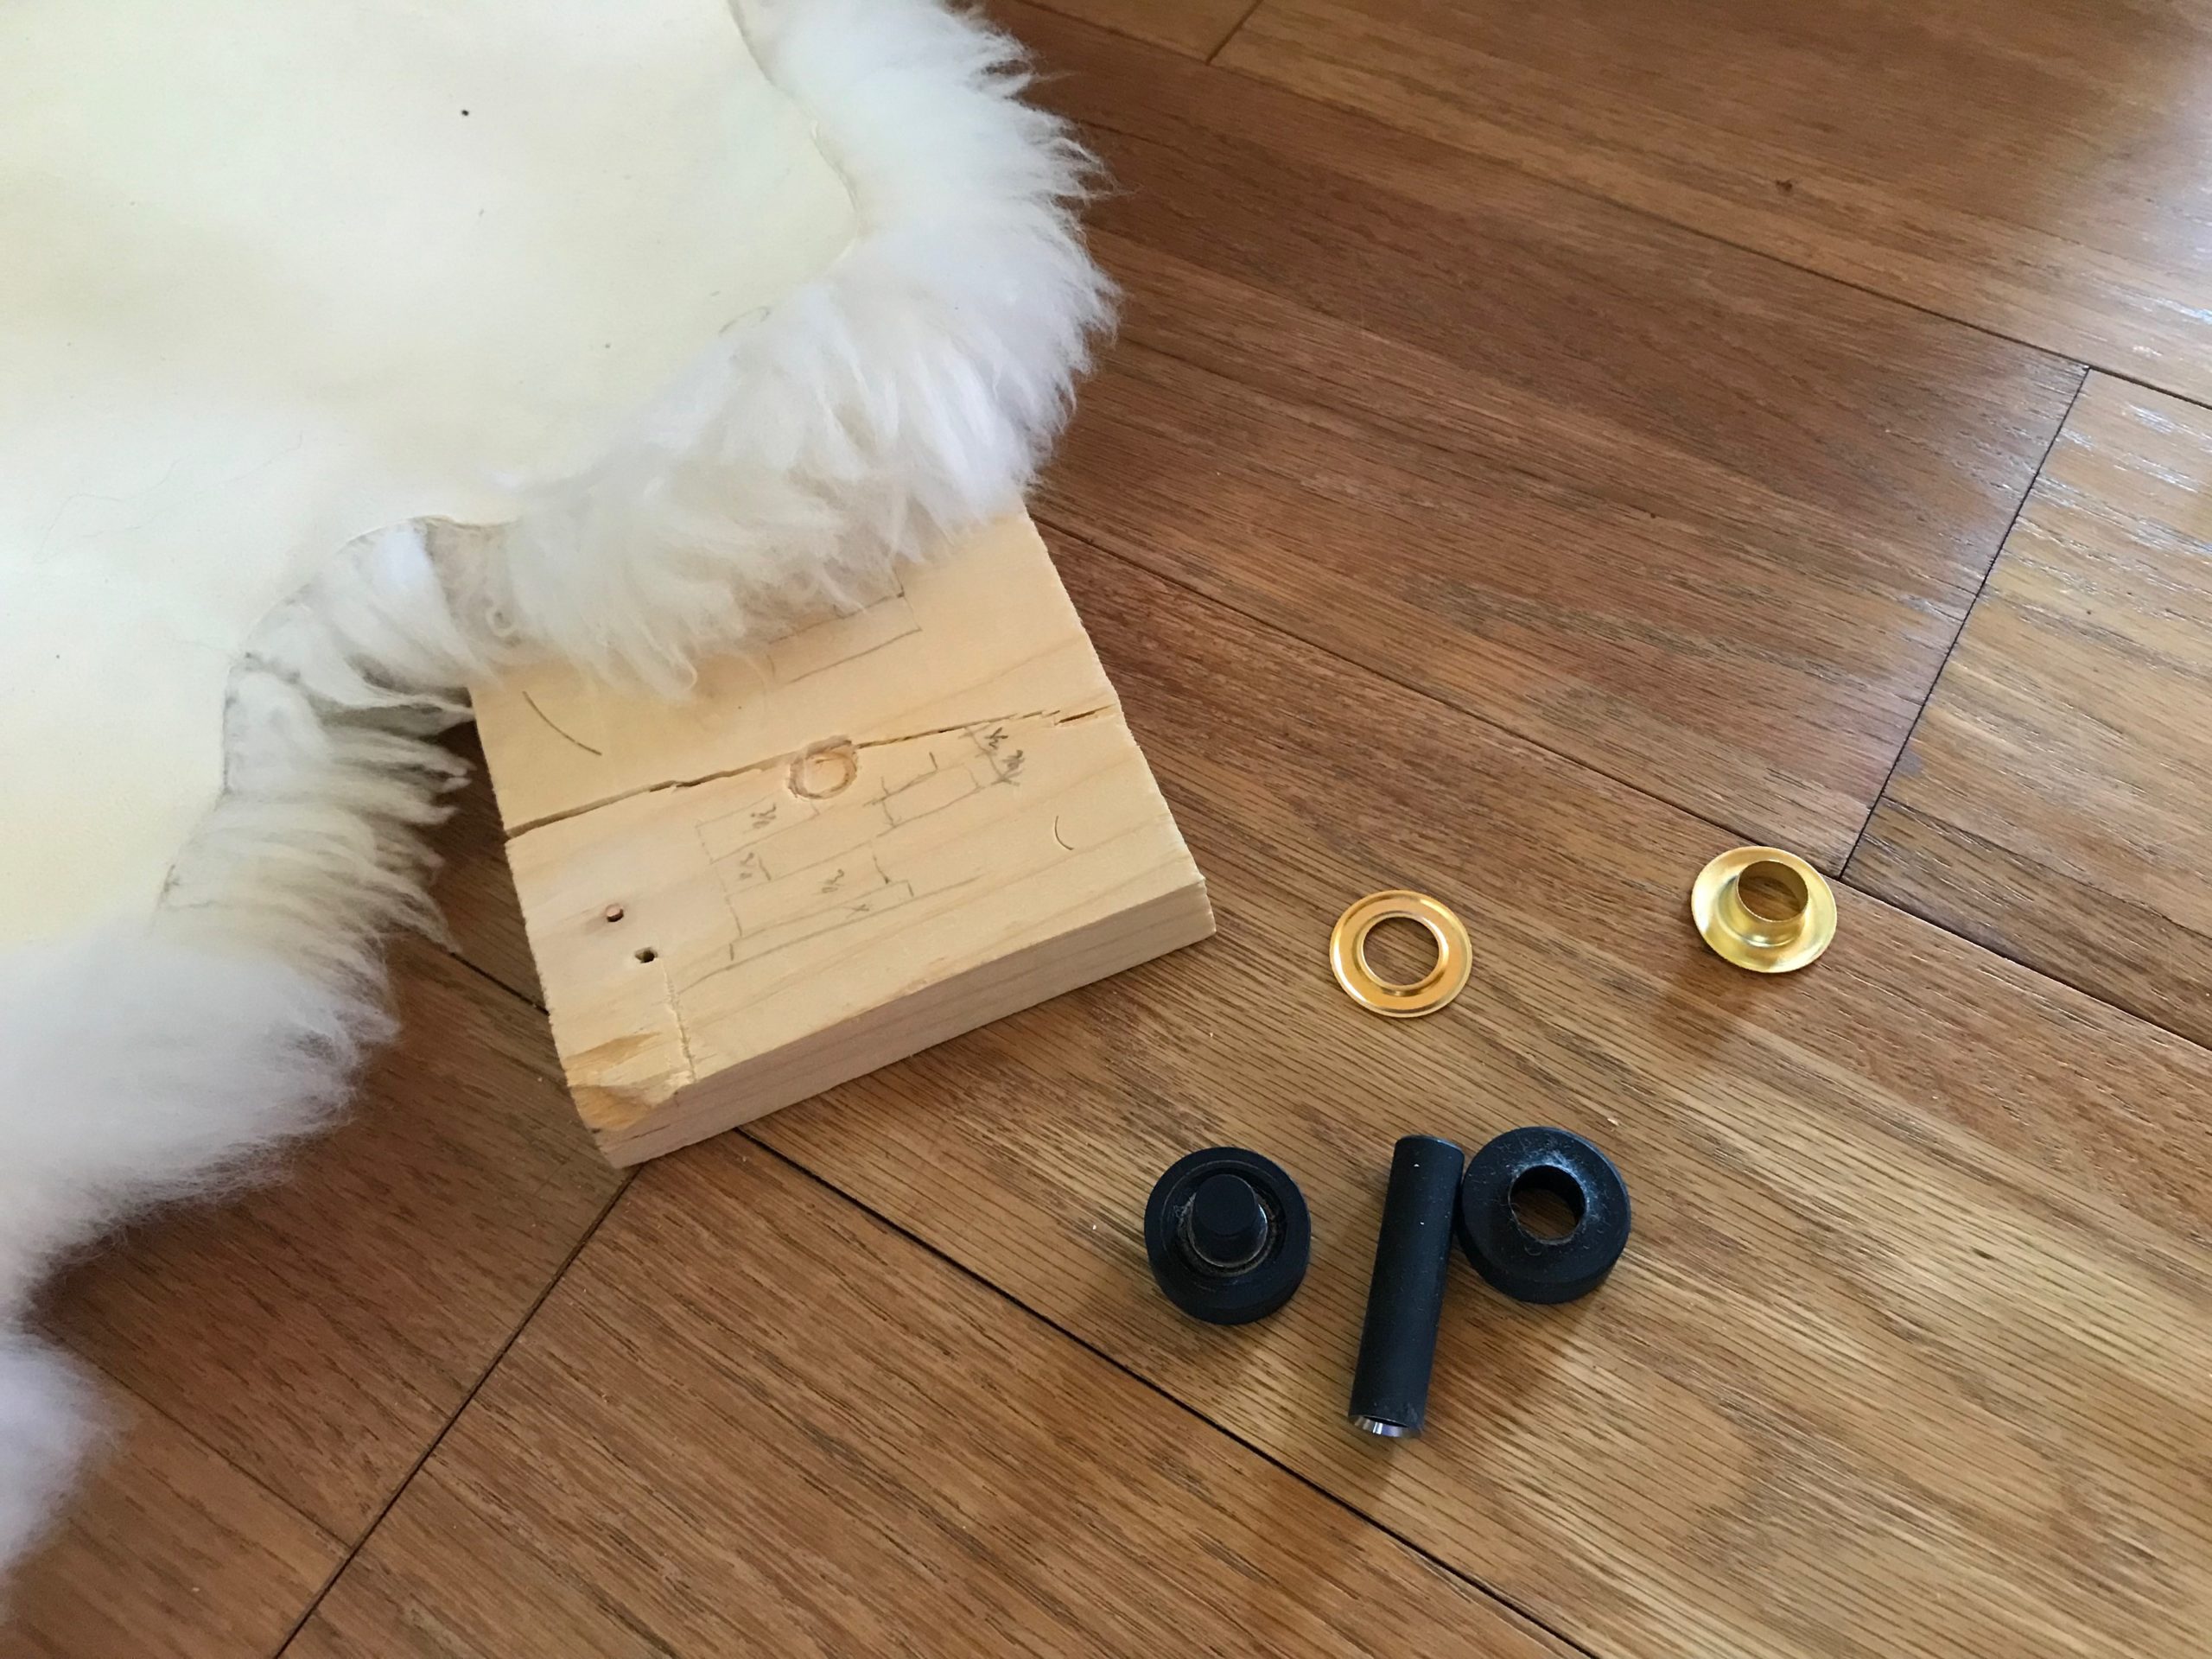
  • Grommet kit (hole punch, base, and flaring tool)
  • Small block of wood
  • Hammer
  • Tape measure
  • Texsolv cord (scissors, and small flame to sear ends)
  • 6 Arrow pegs

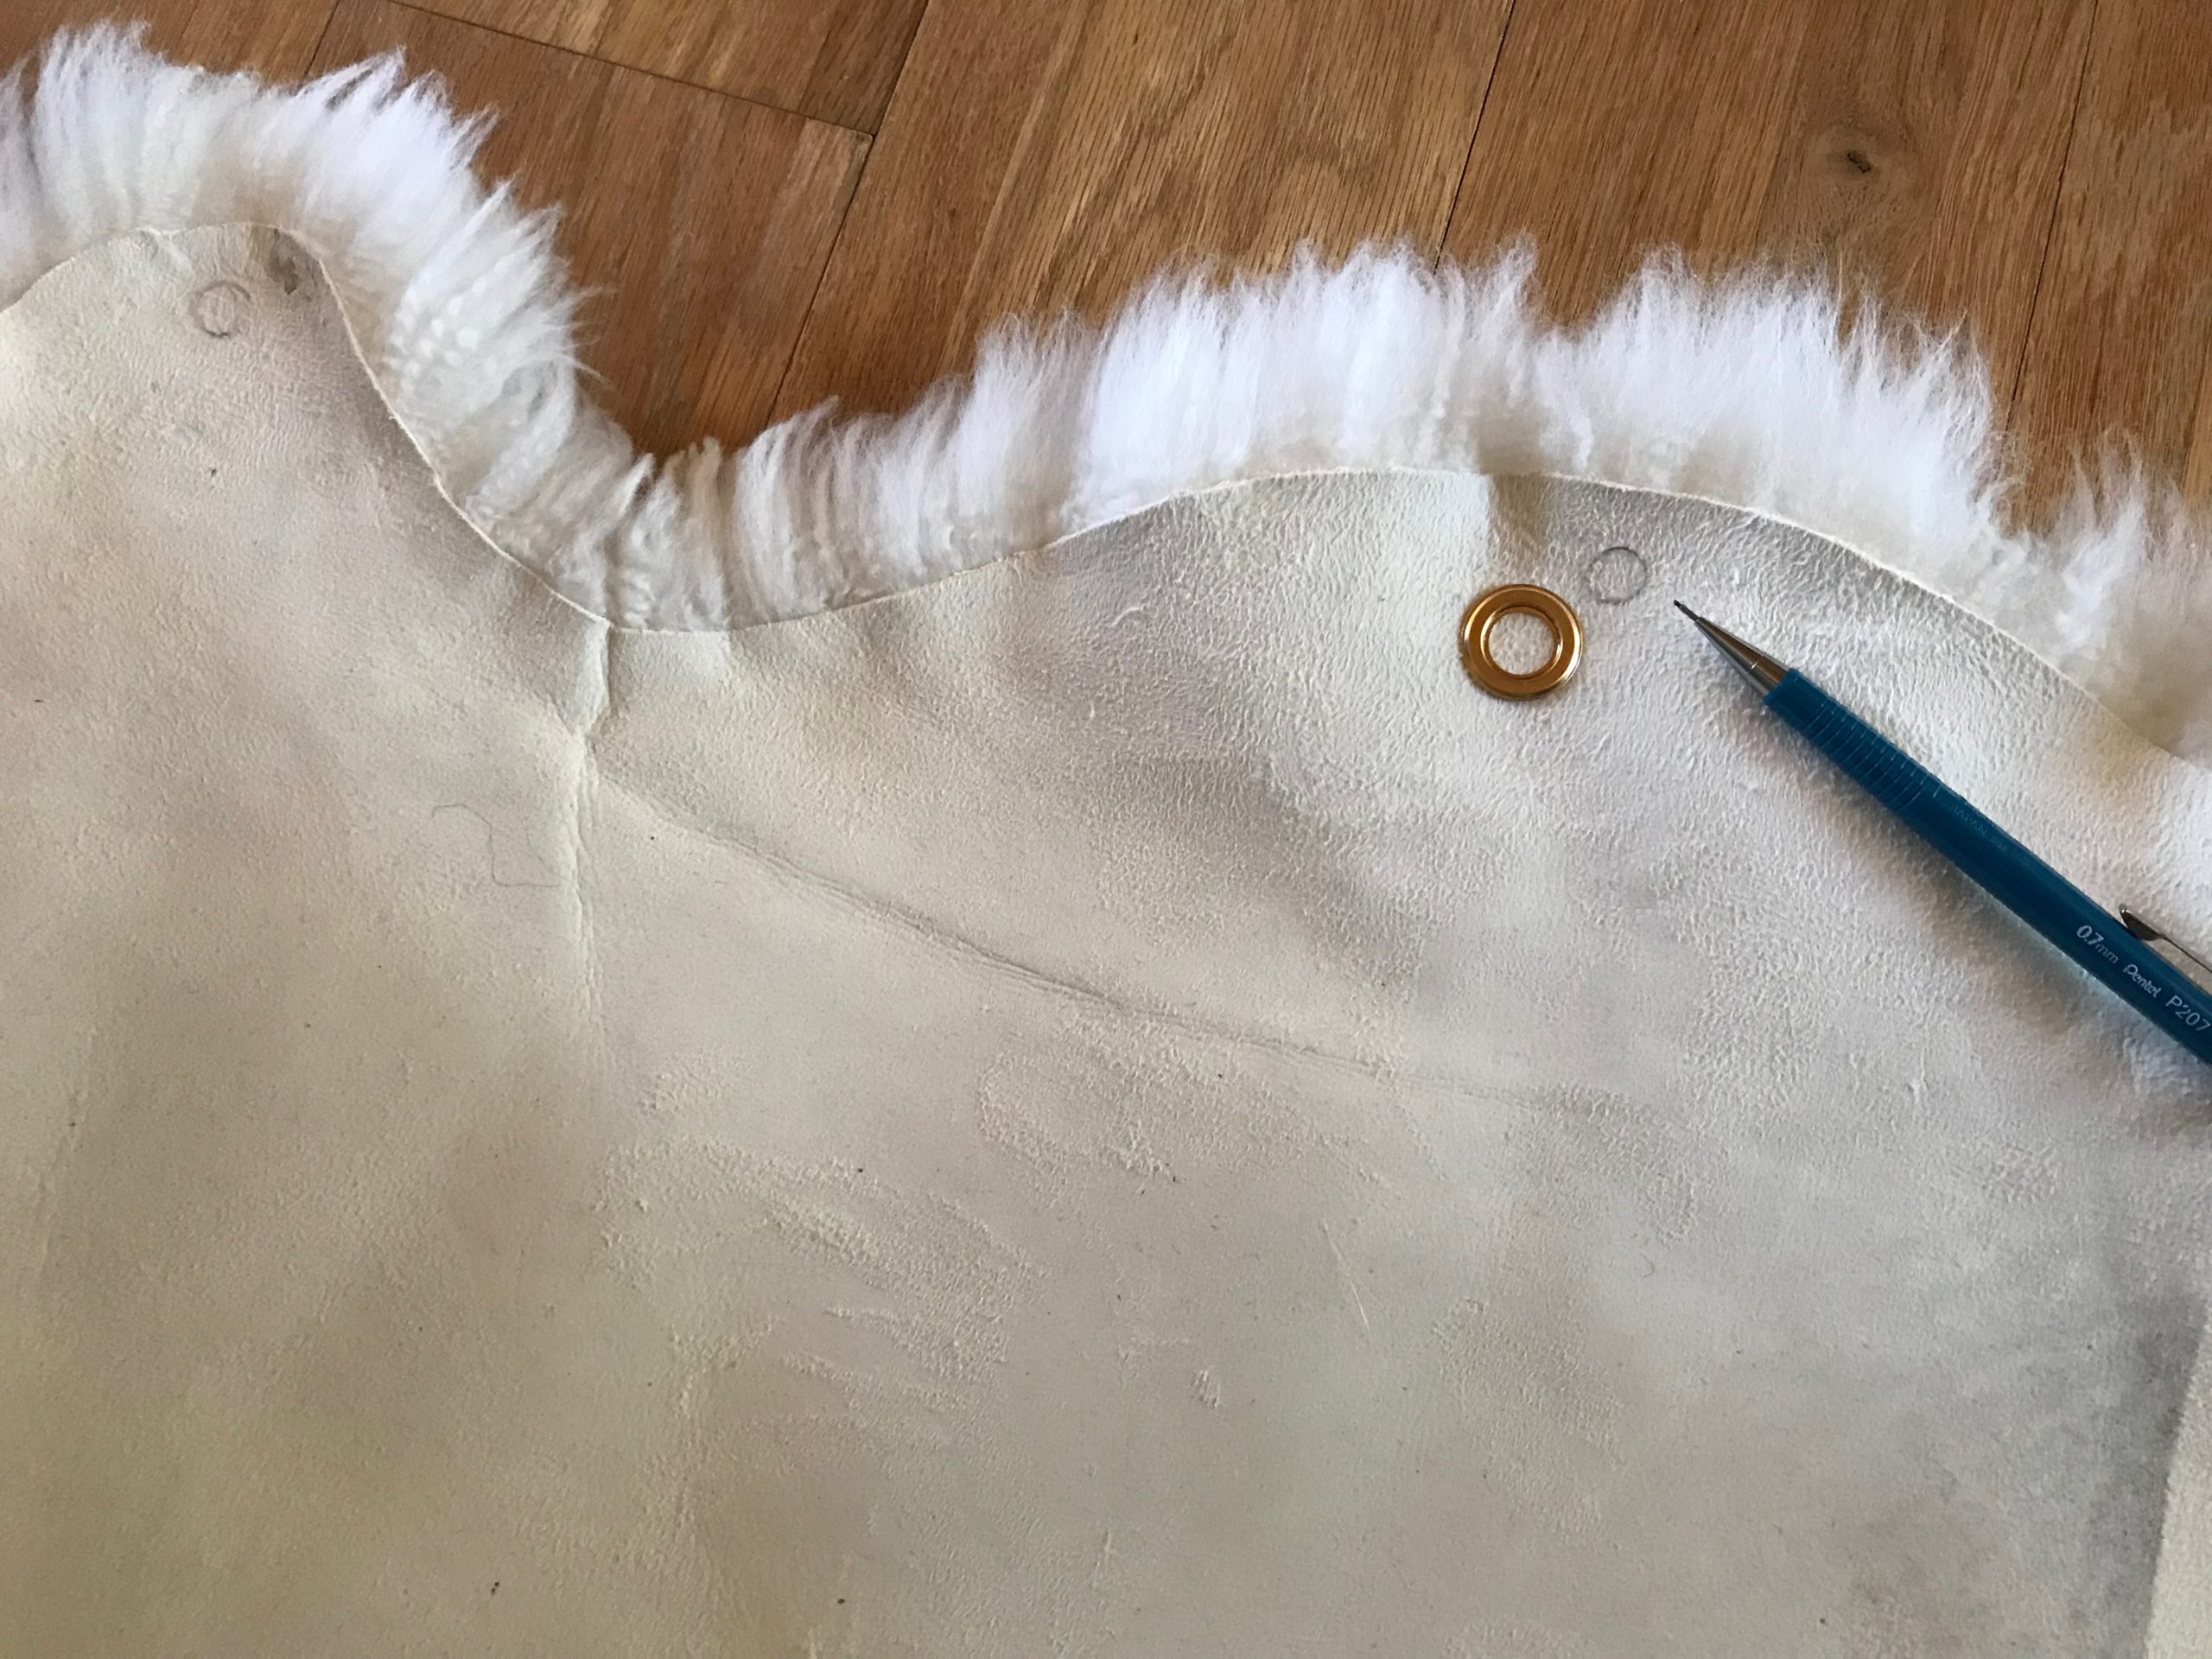
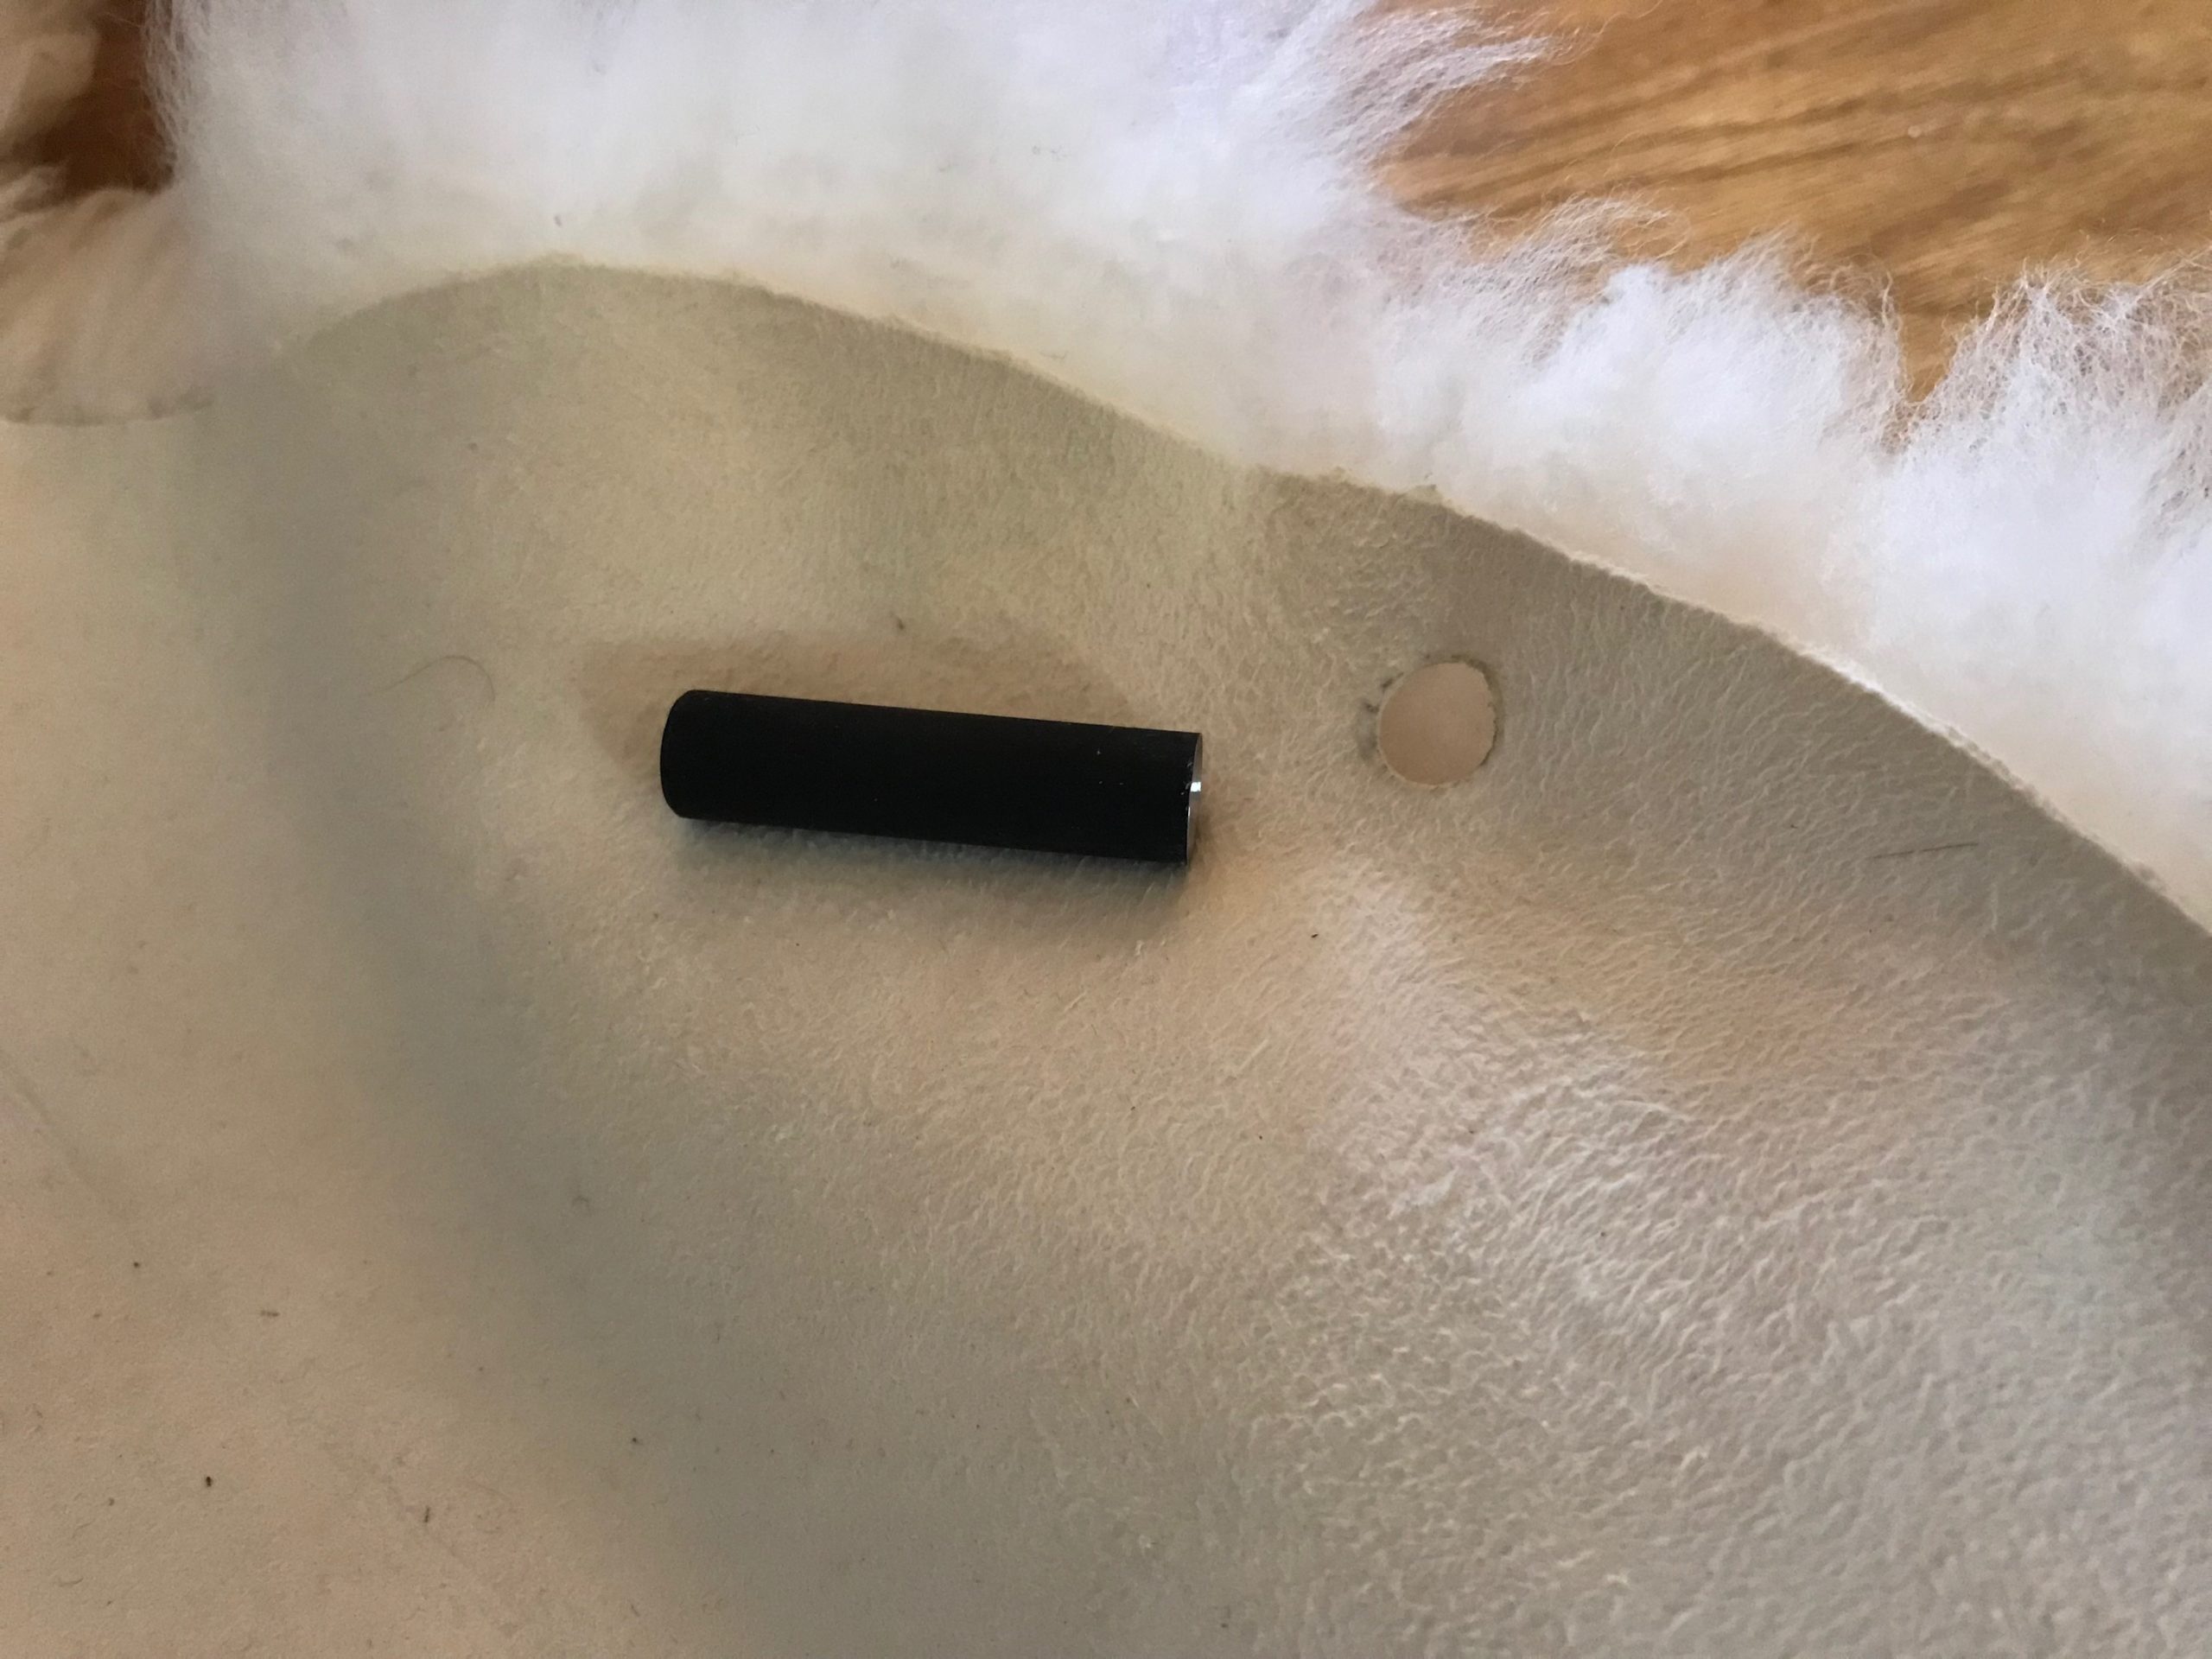
1 Mark placement for 6 grommets on the underside of the sheepskin.

2 With block of wood underneath, hold grommet hole punch over one of the marked positions. Tap tool with the hammer to cut a small hole.

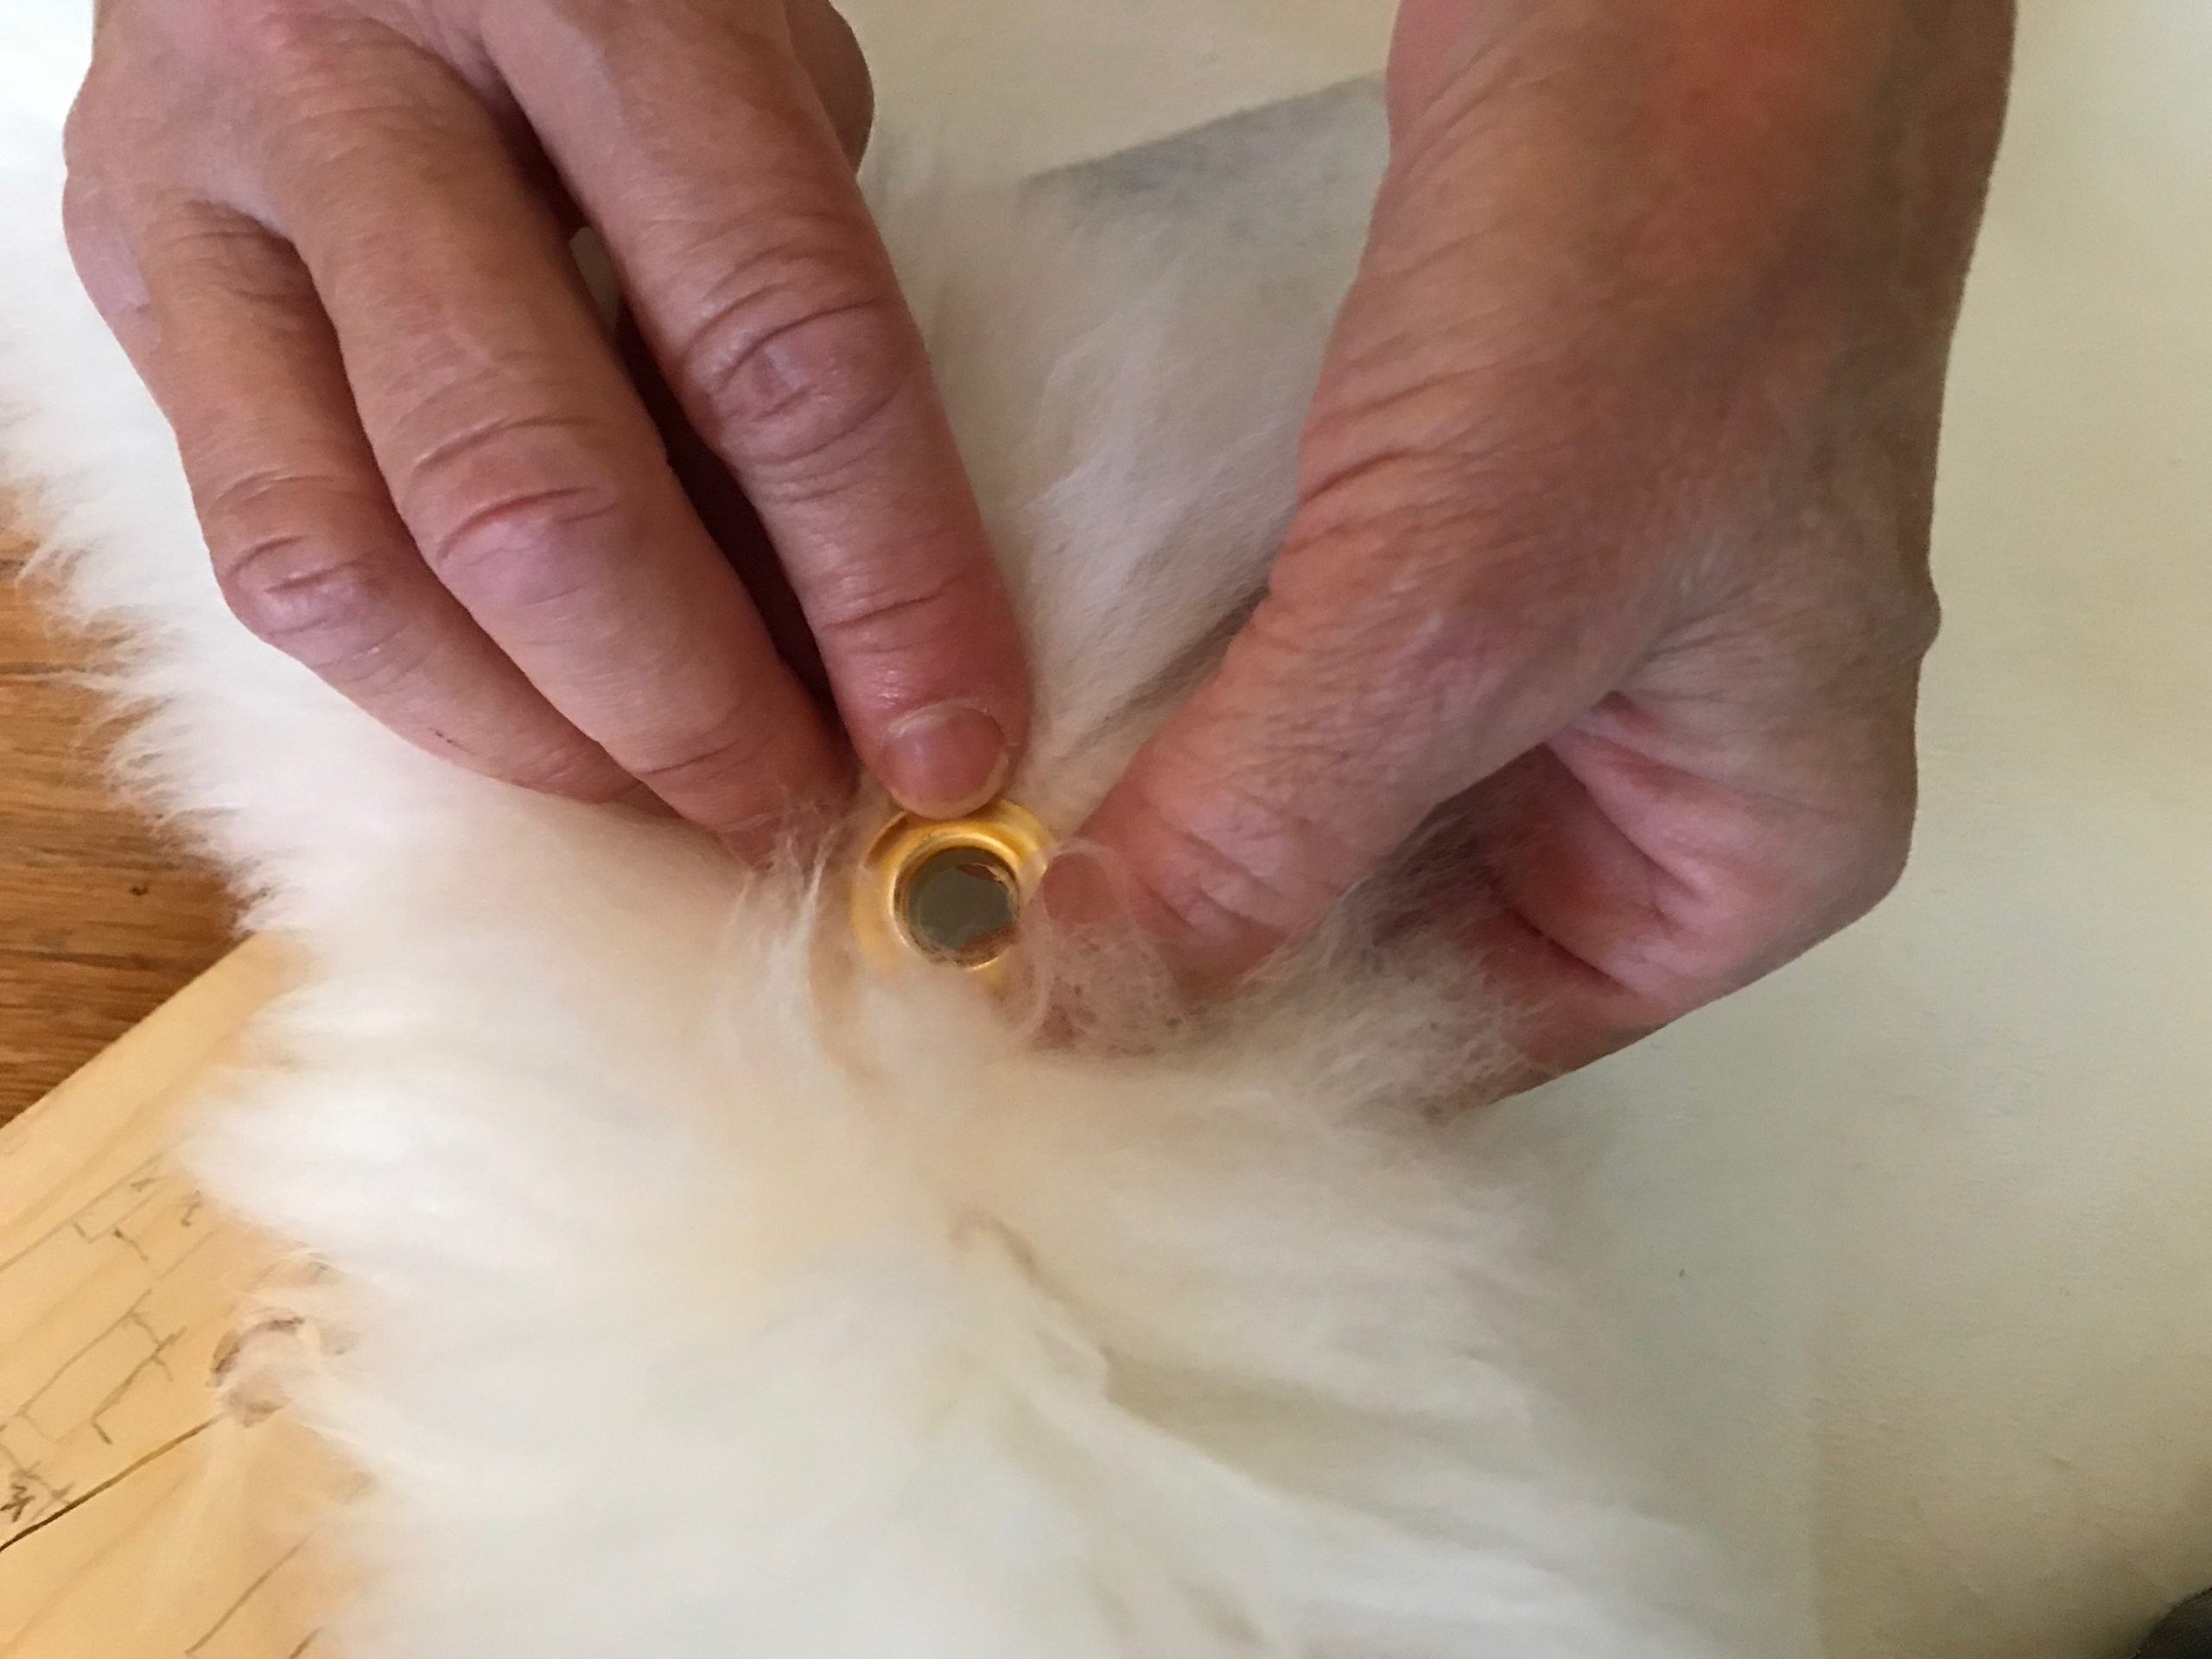
3 Insert the protruding ring of the top grommet piece (grommet) into the fur side of the hole.

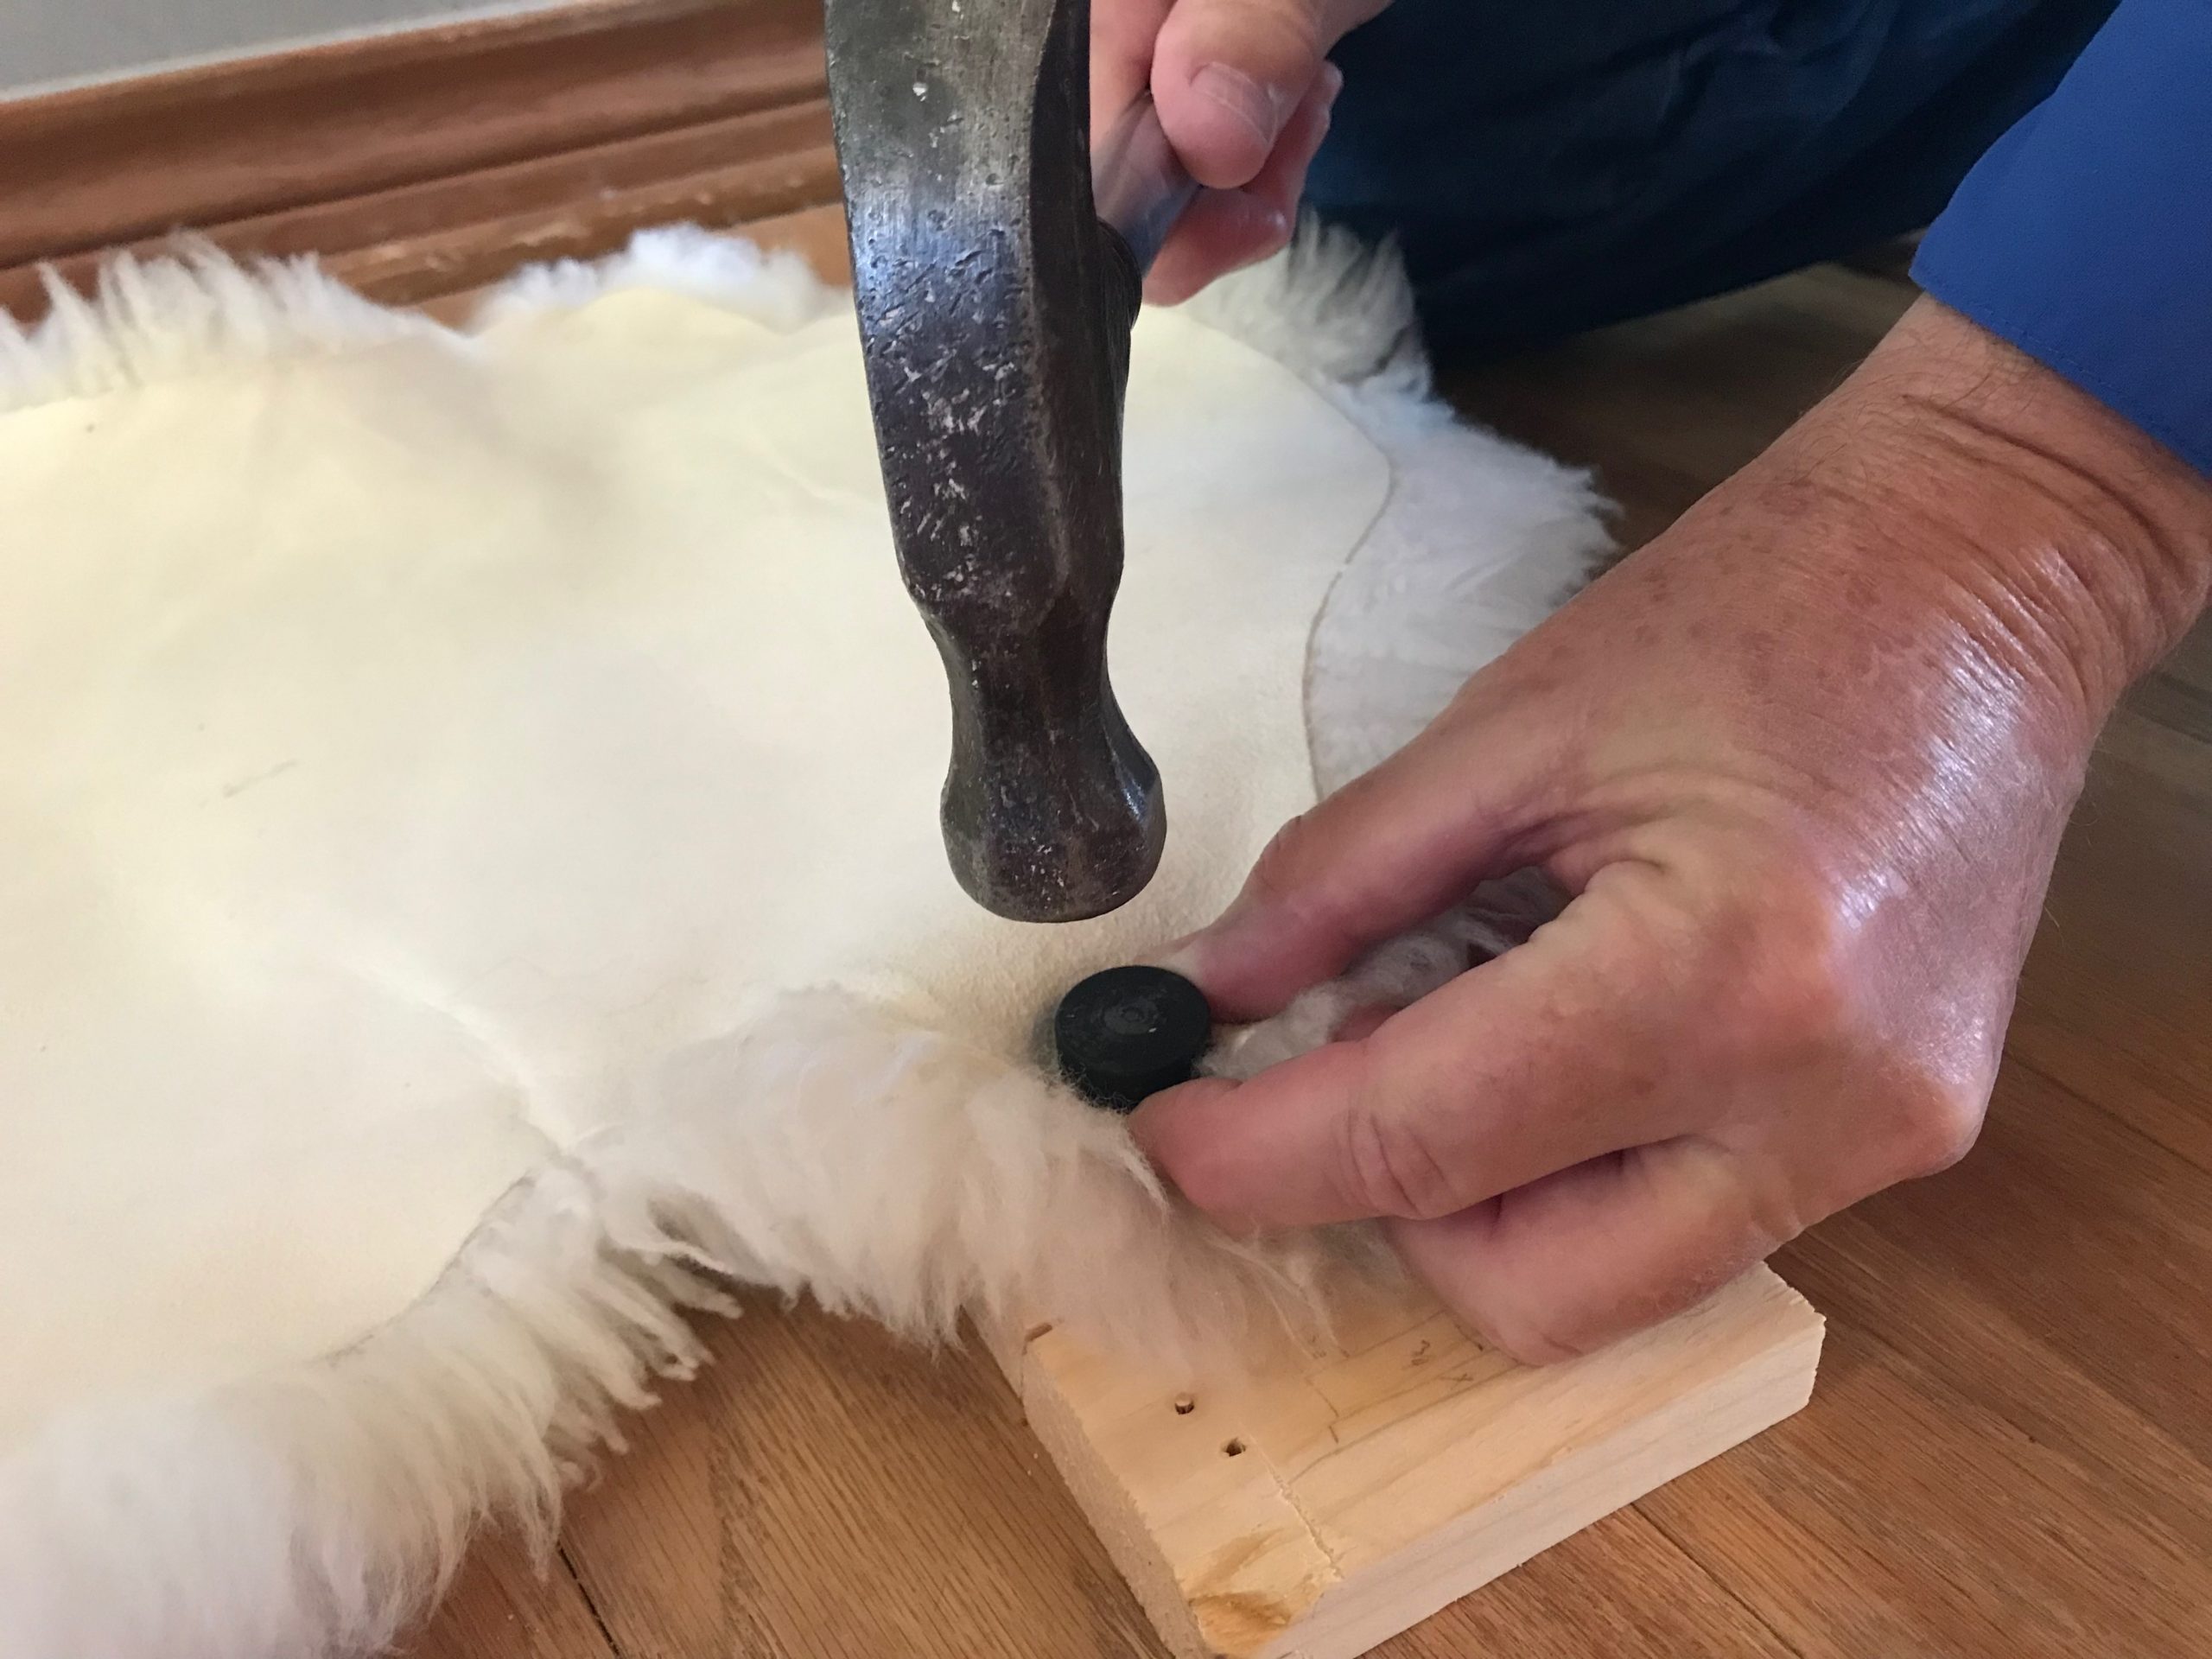
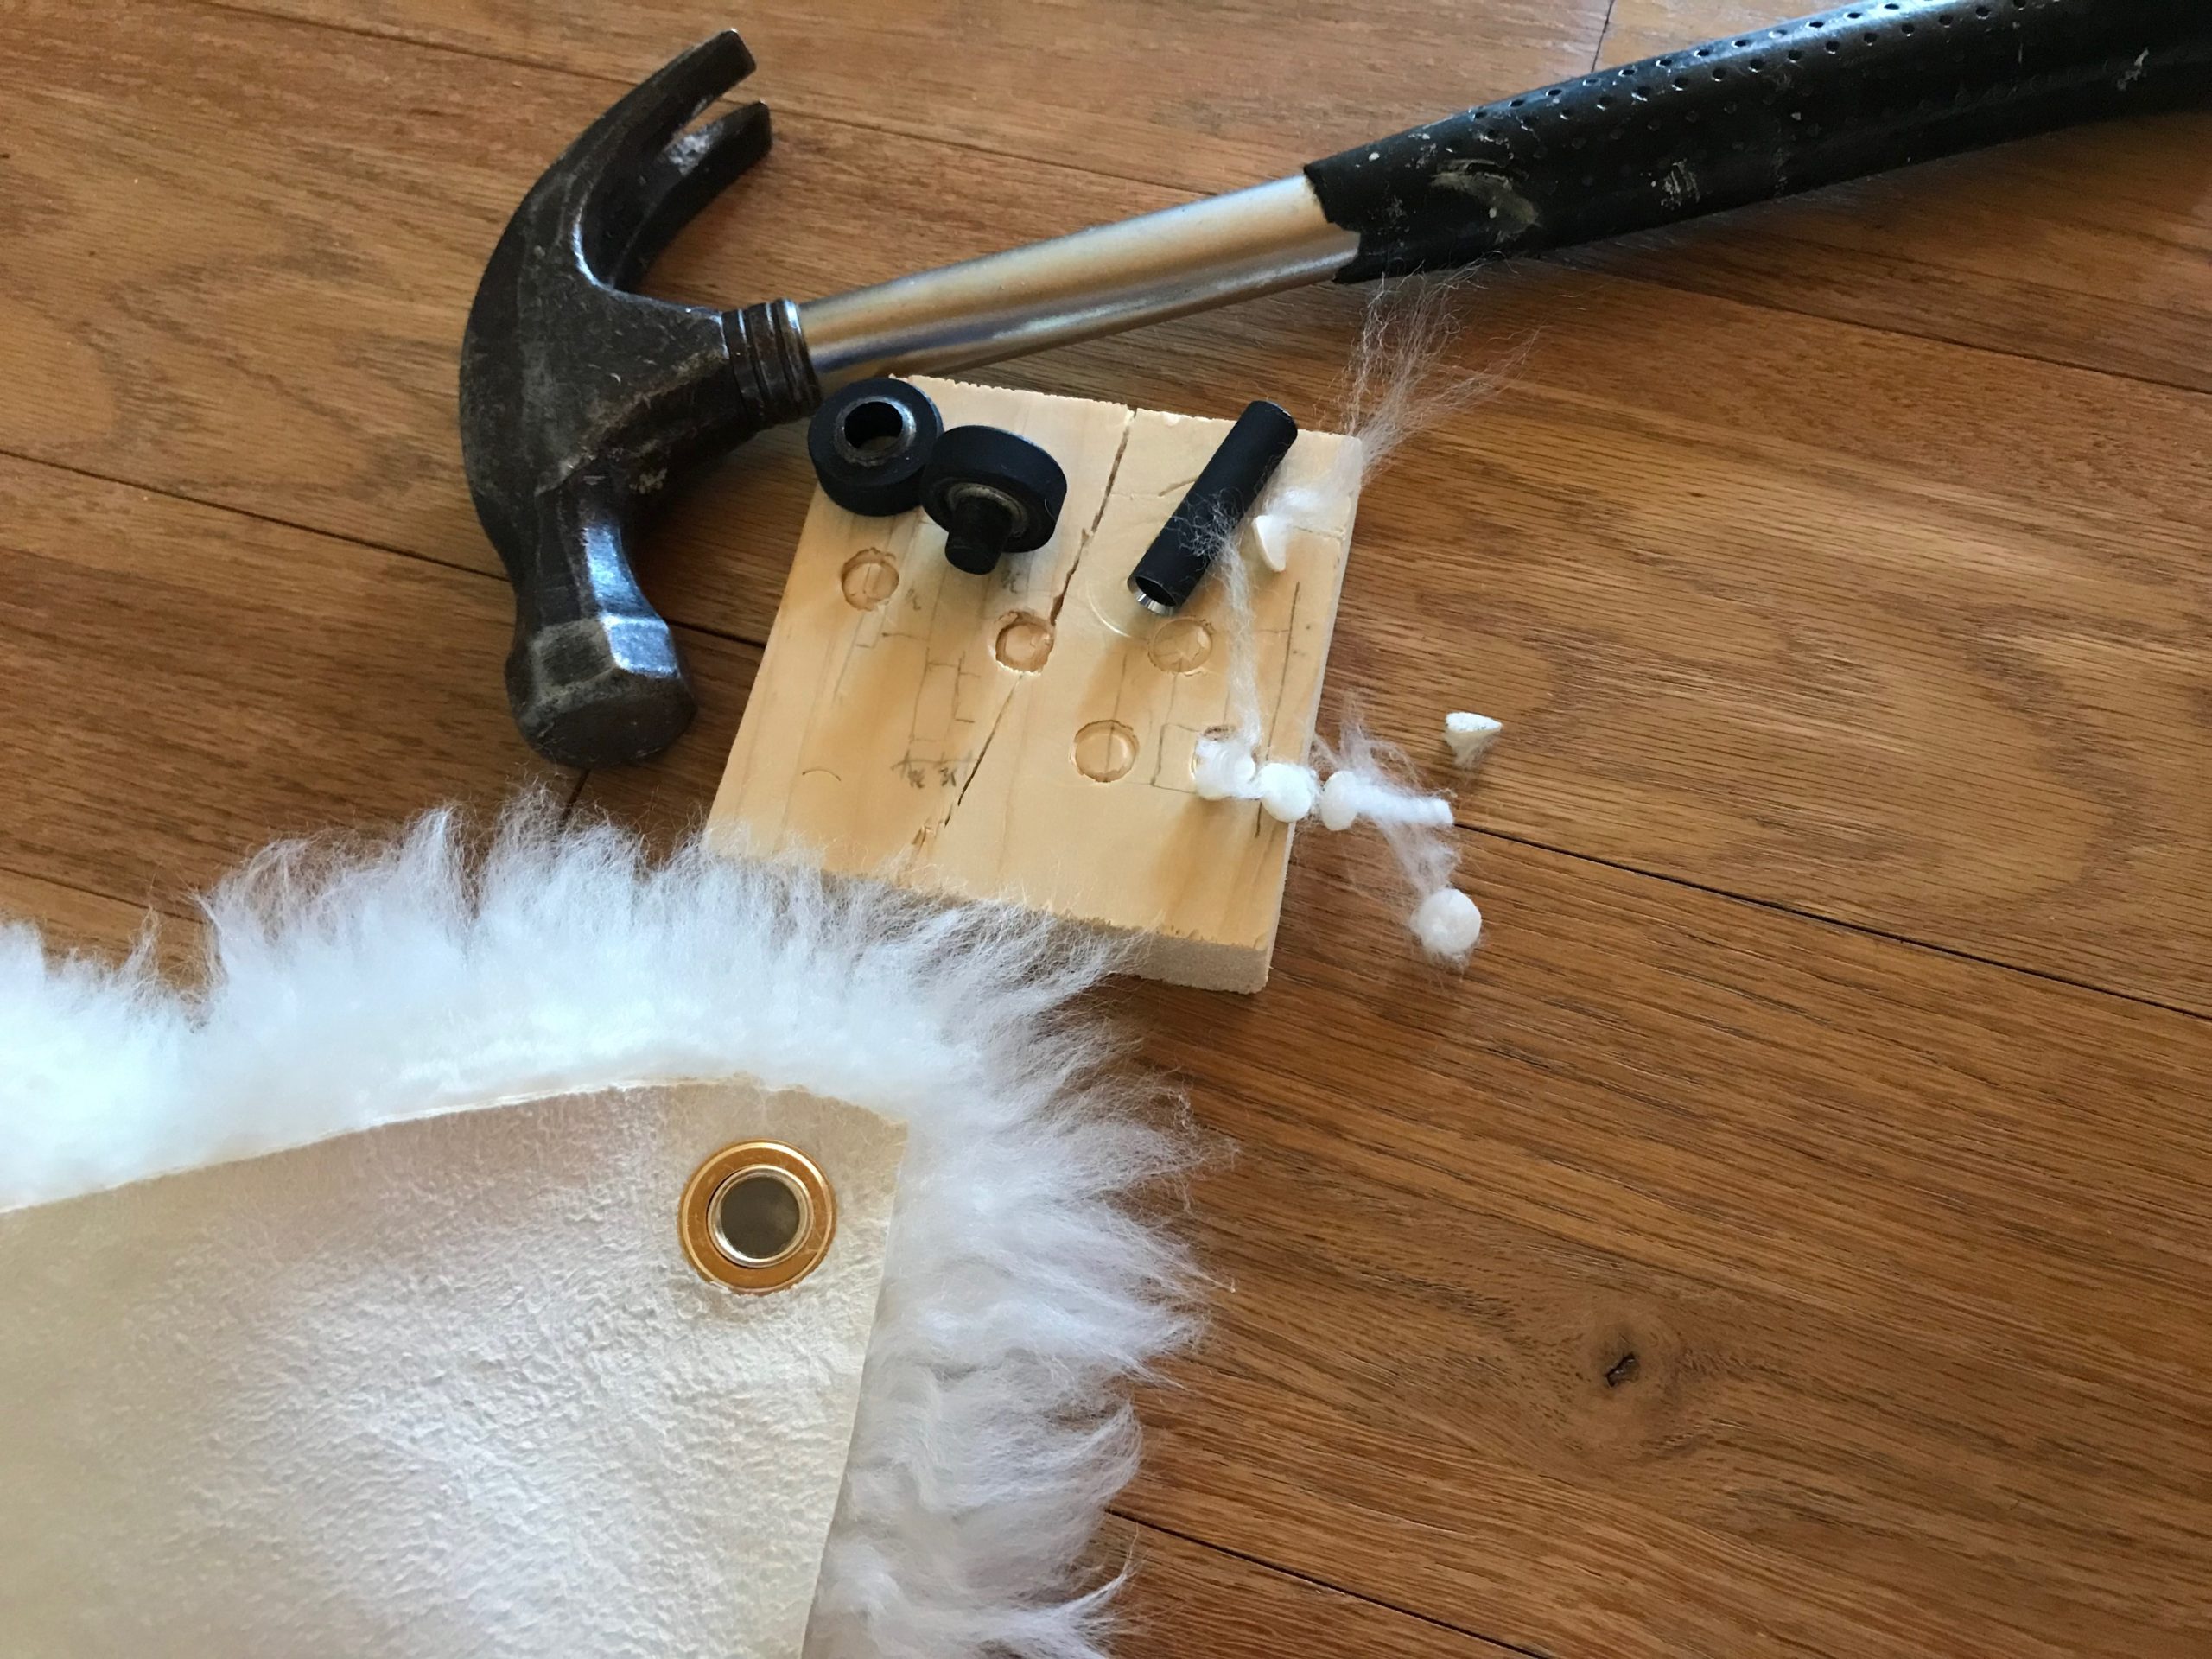
4 With fur side down on the block of wood, fit bottom grommet piece (washer) on top. Align grommet and washer between the base and flaring tool. Firmly tap with hammer until the two grommet pieces are tightly fastened together.

5 Repeat steps 2 – 4 for each of the 5 remaining grommets.

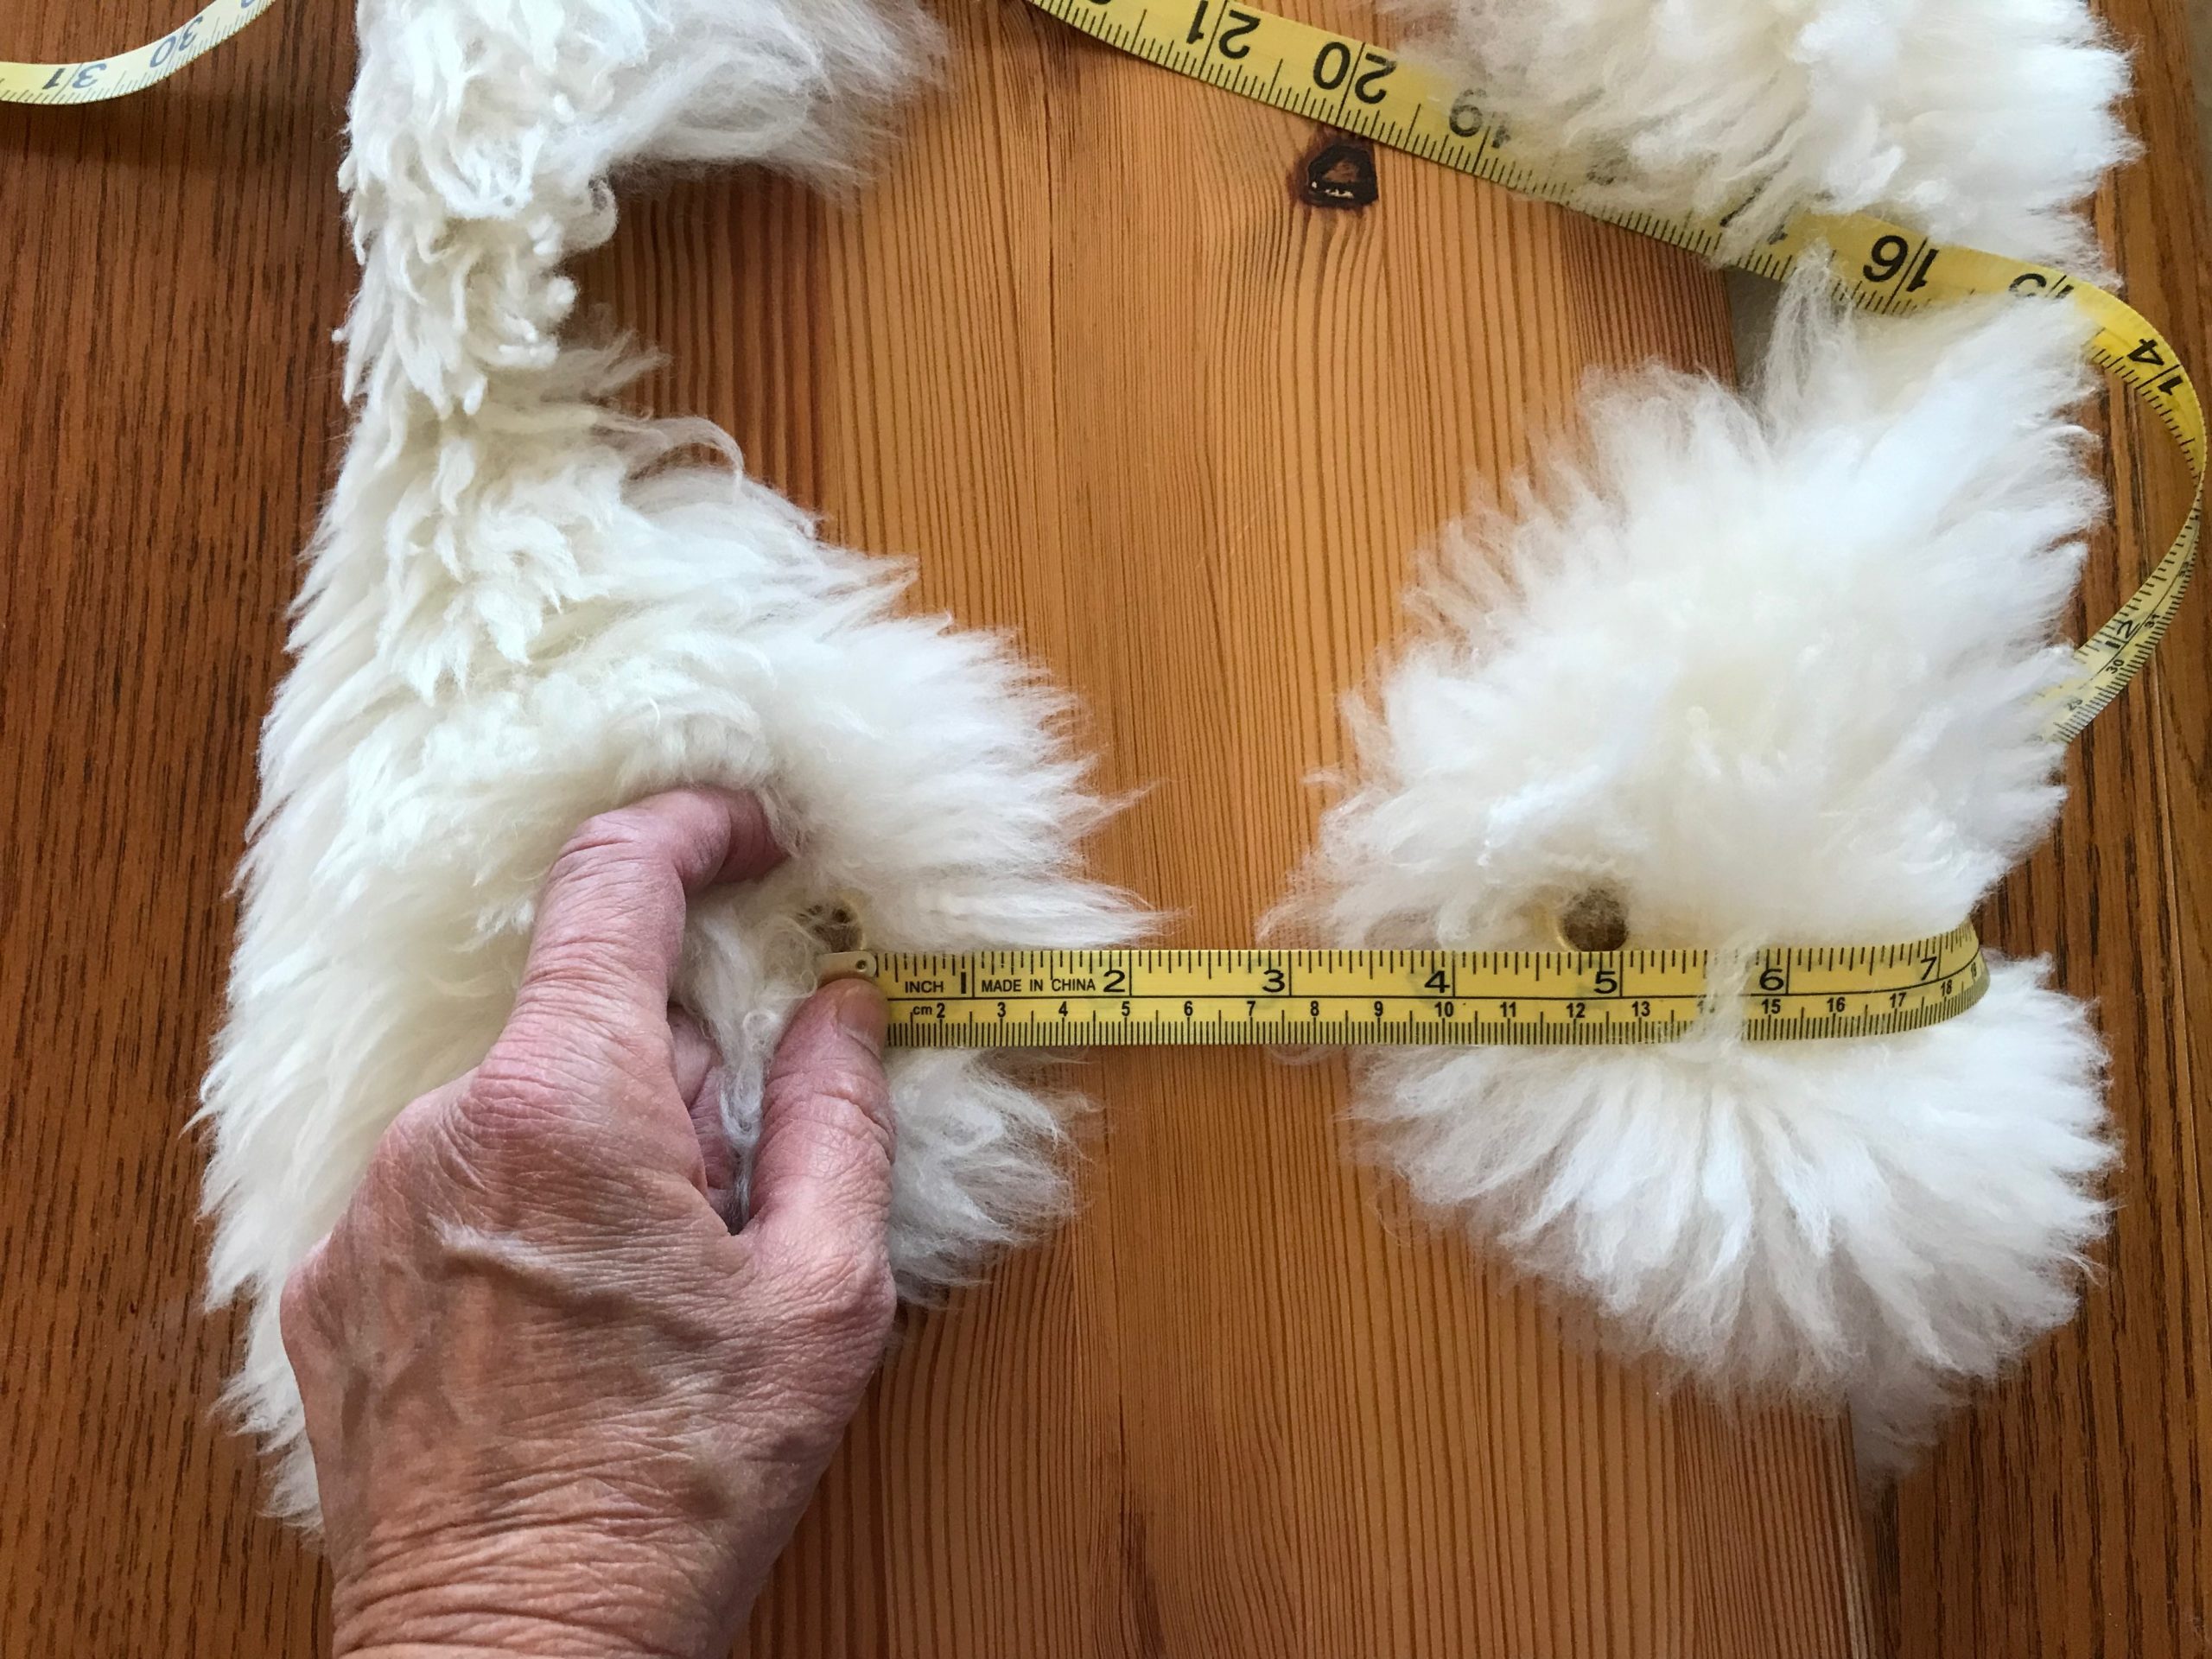
6 Lay the sheepskin fur-side down on a table or floor. Center the seat of the bench upside down on the sheepskin. Bring the sides of the sheepskin over the bench. Measure the distance between opposing grommets.

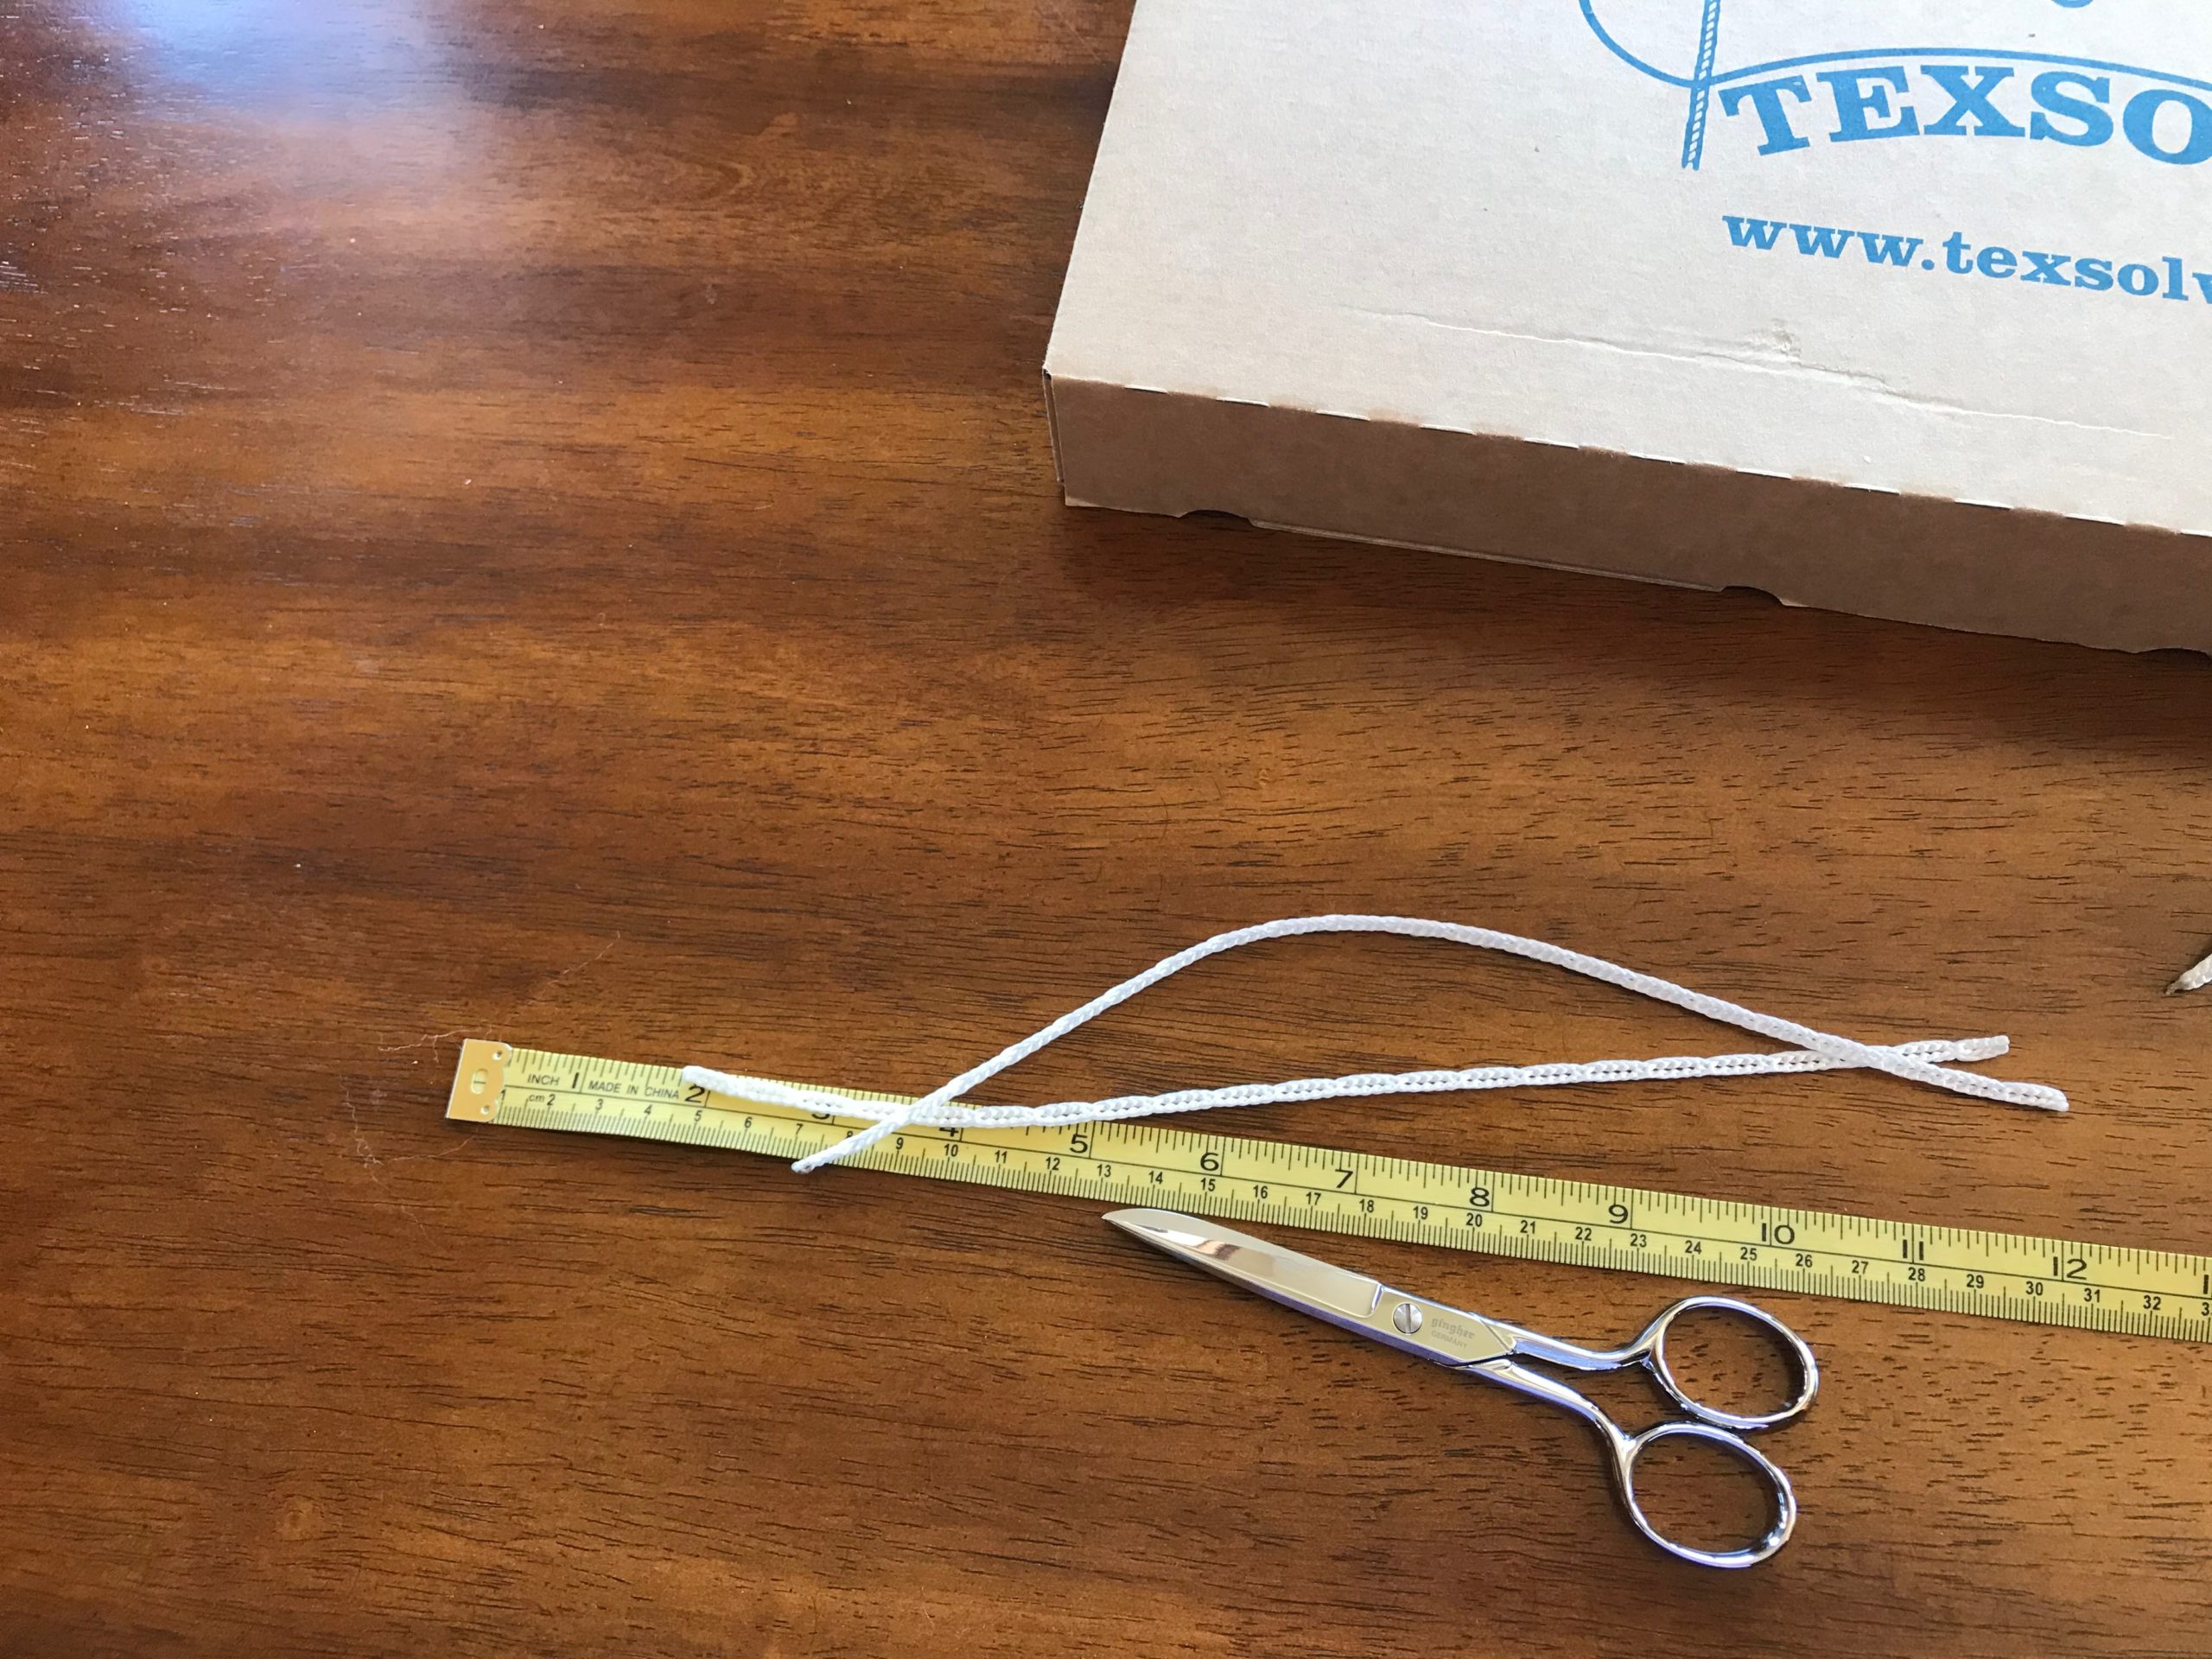
7 Double the grommet-to-grommet measurement, and cut three Texsolv cords that length. Sear the cut ends in a flame.

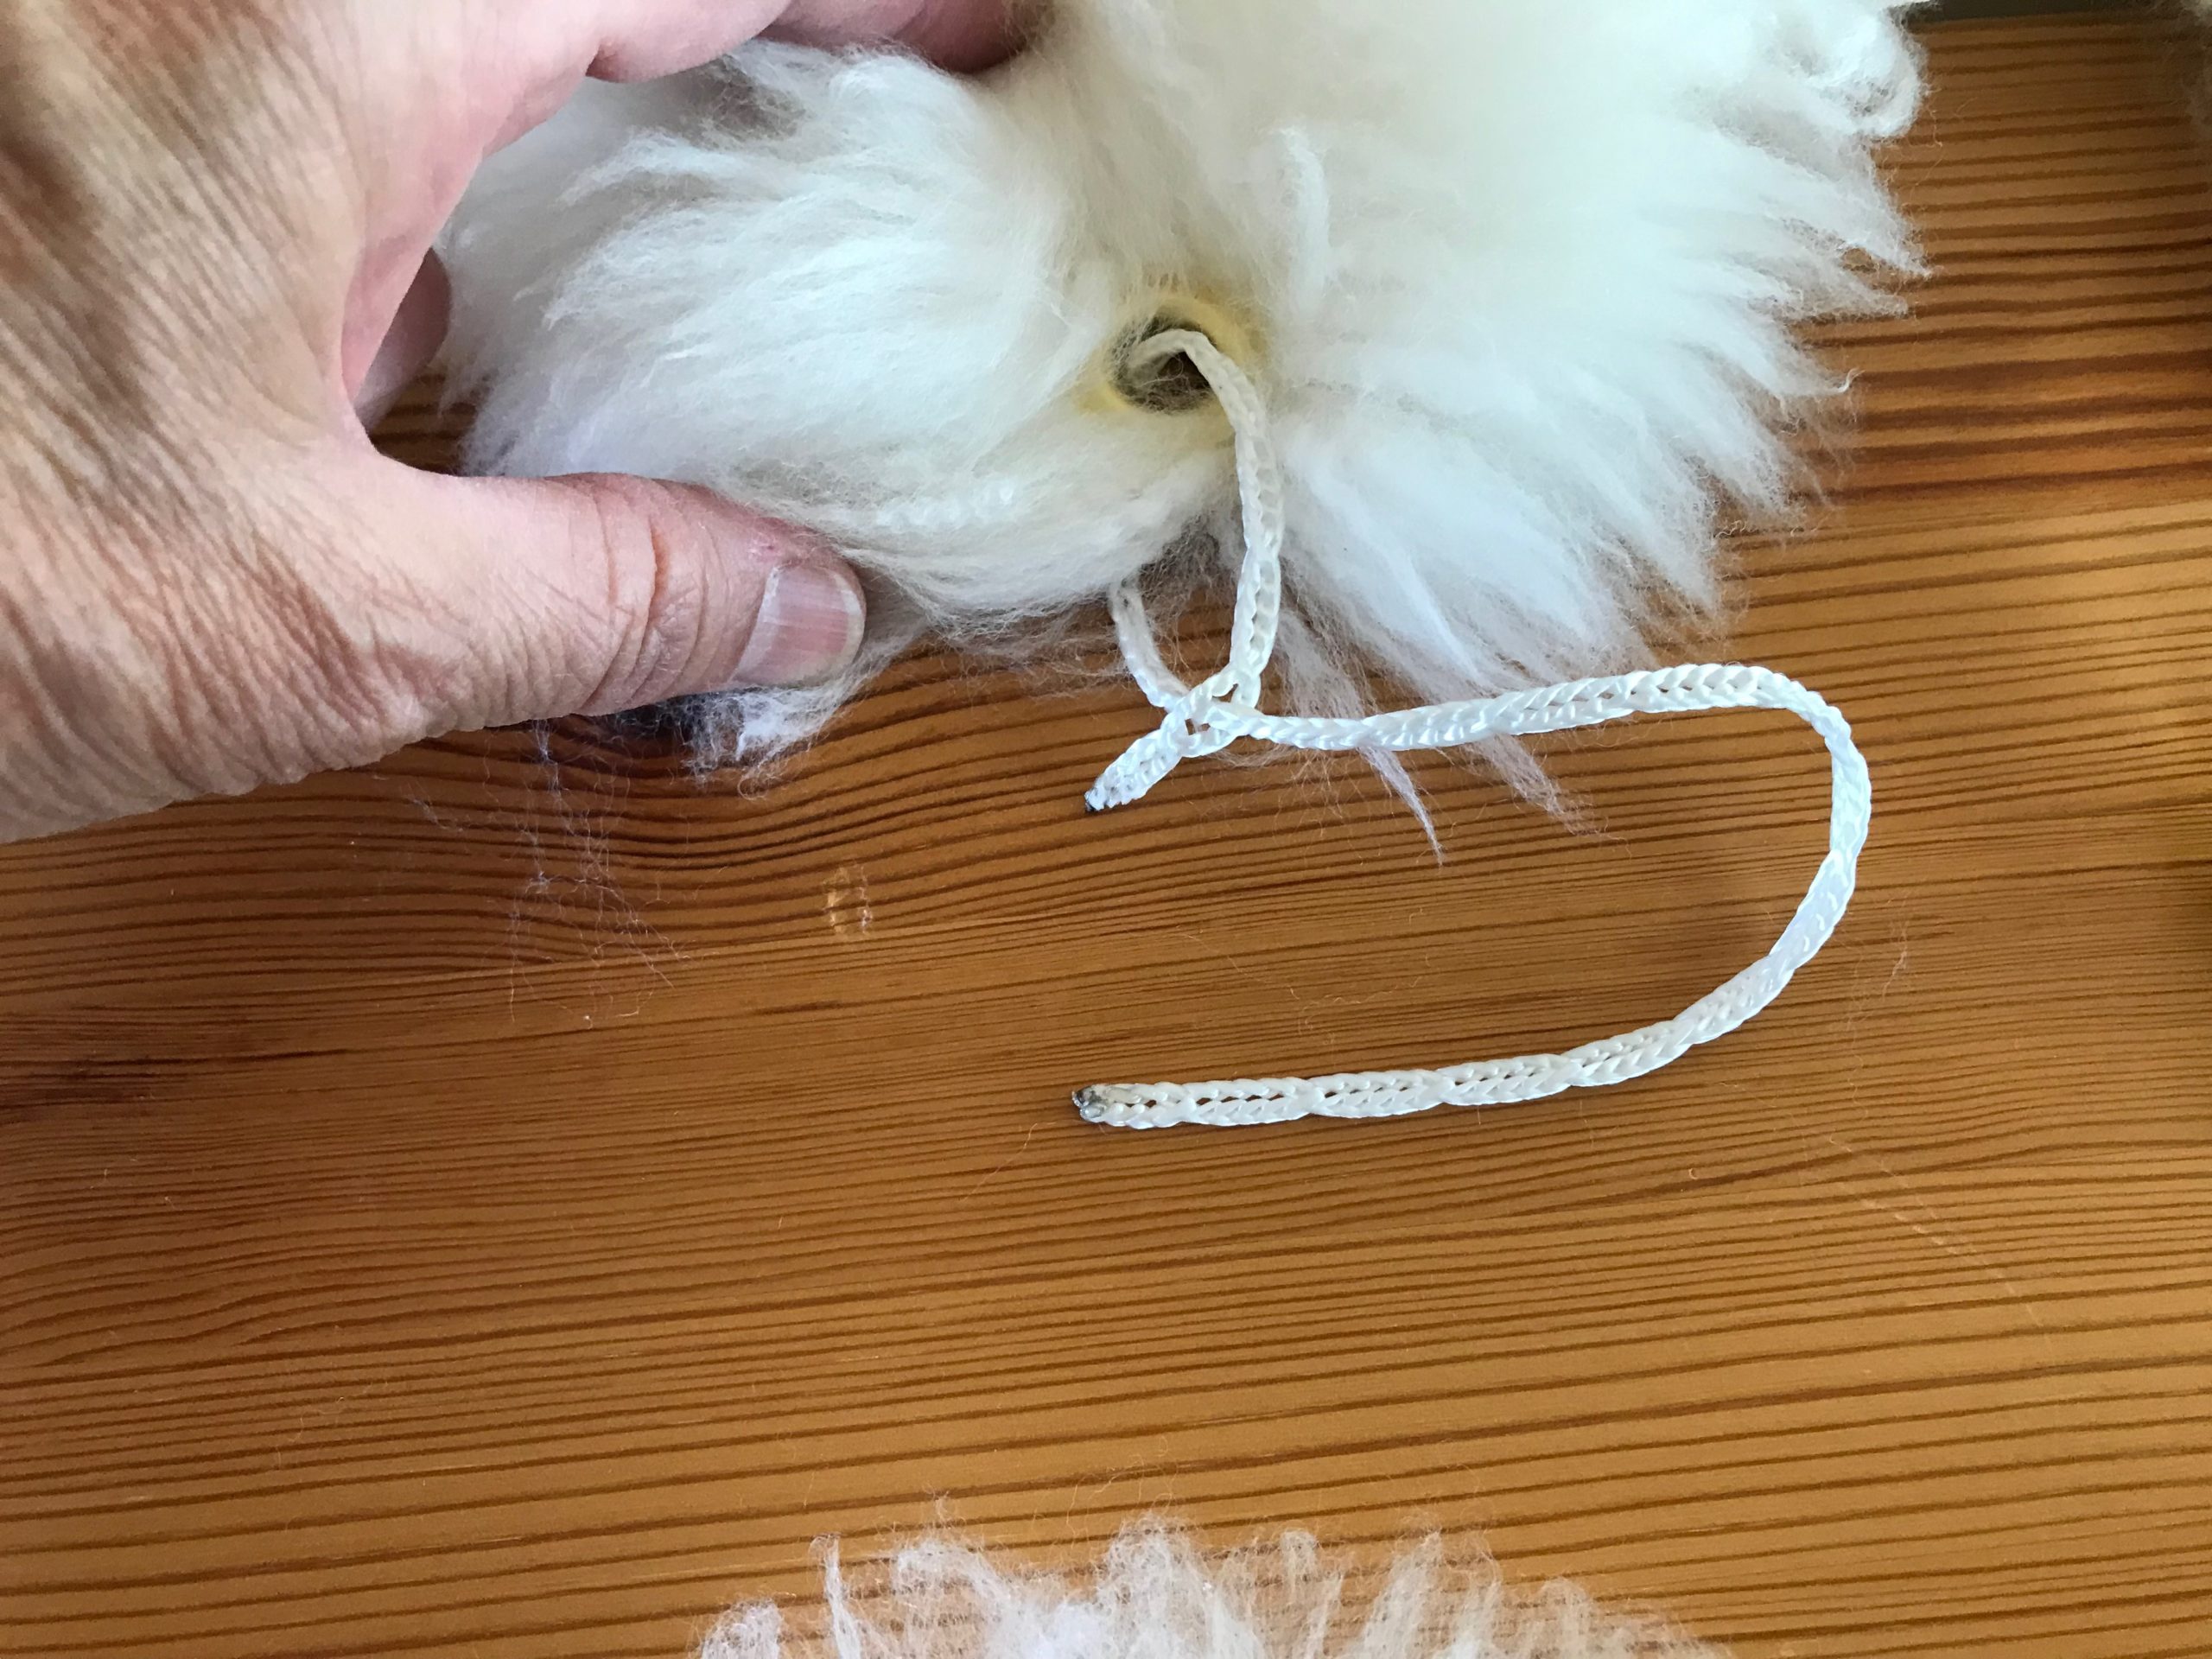
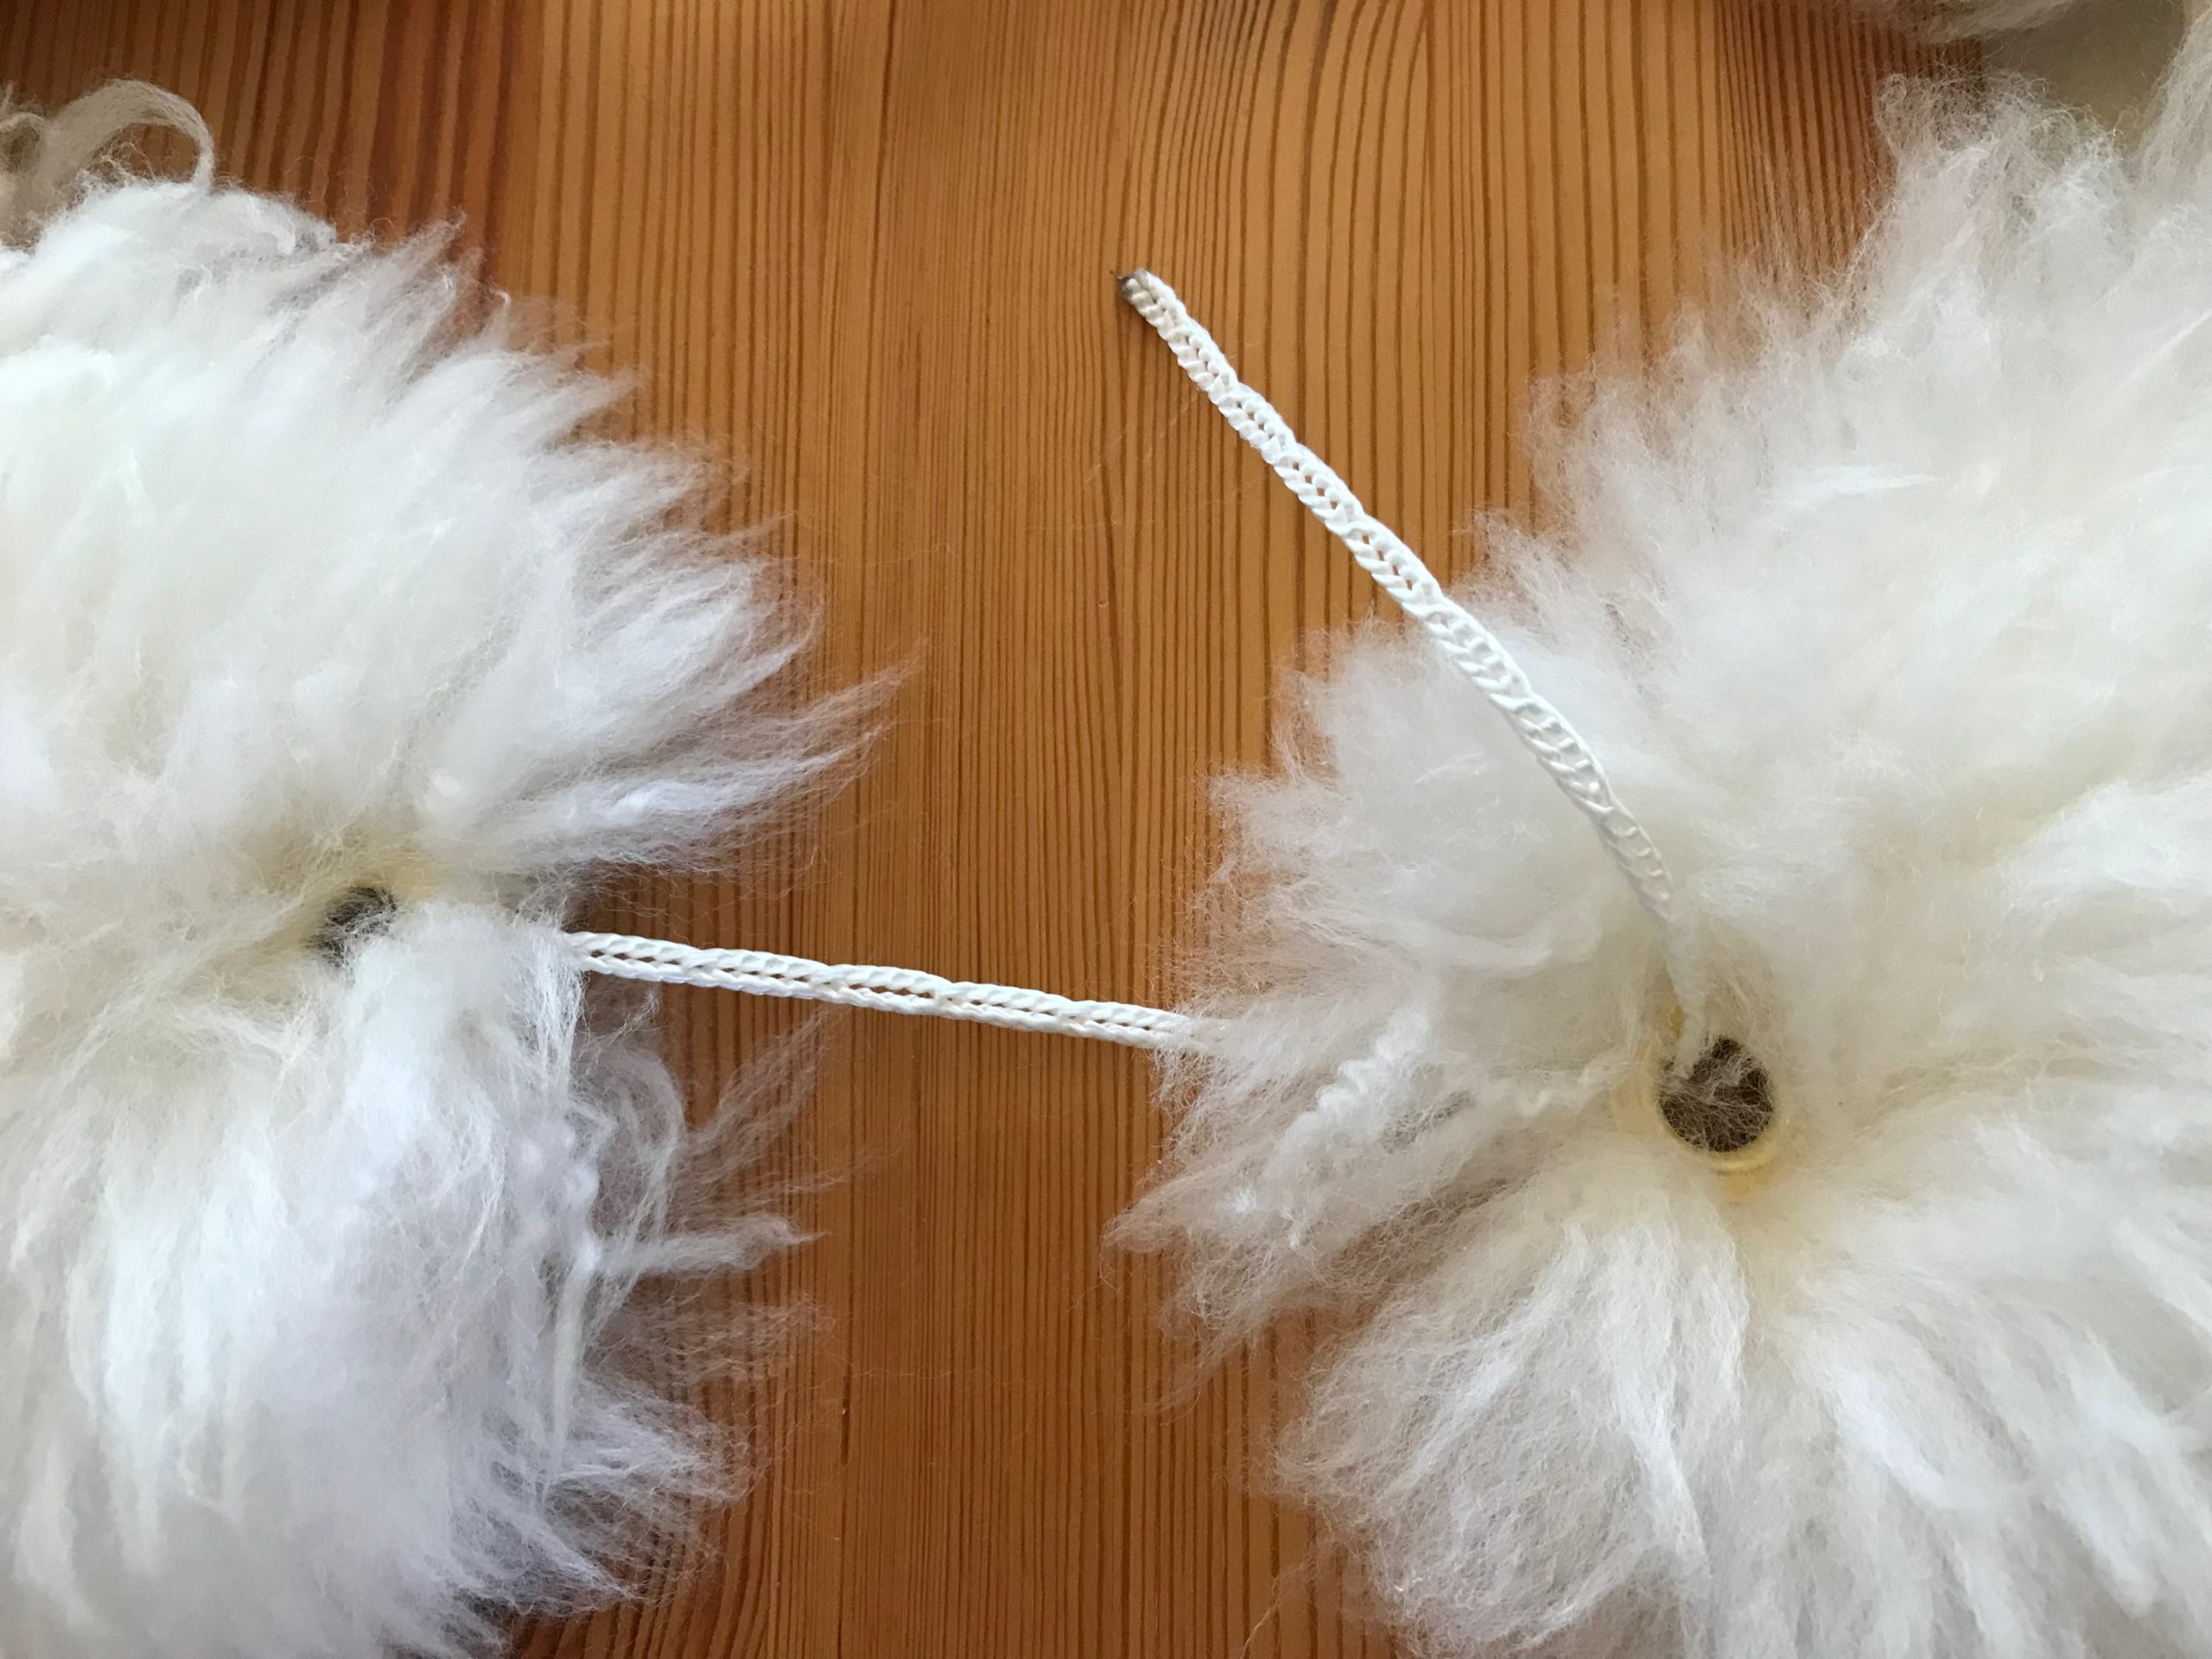
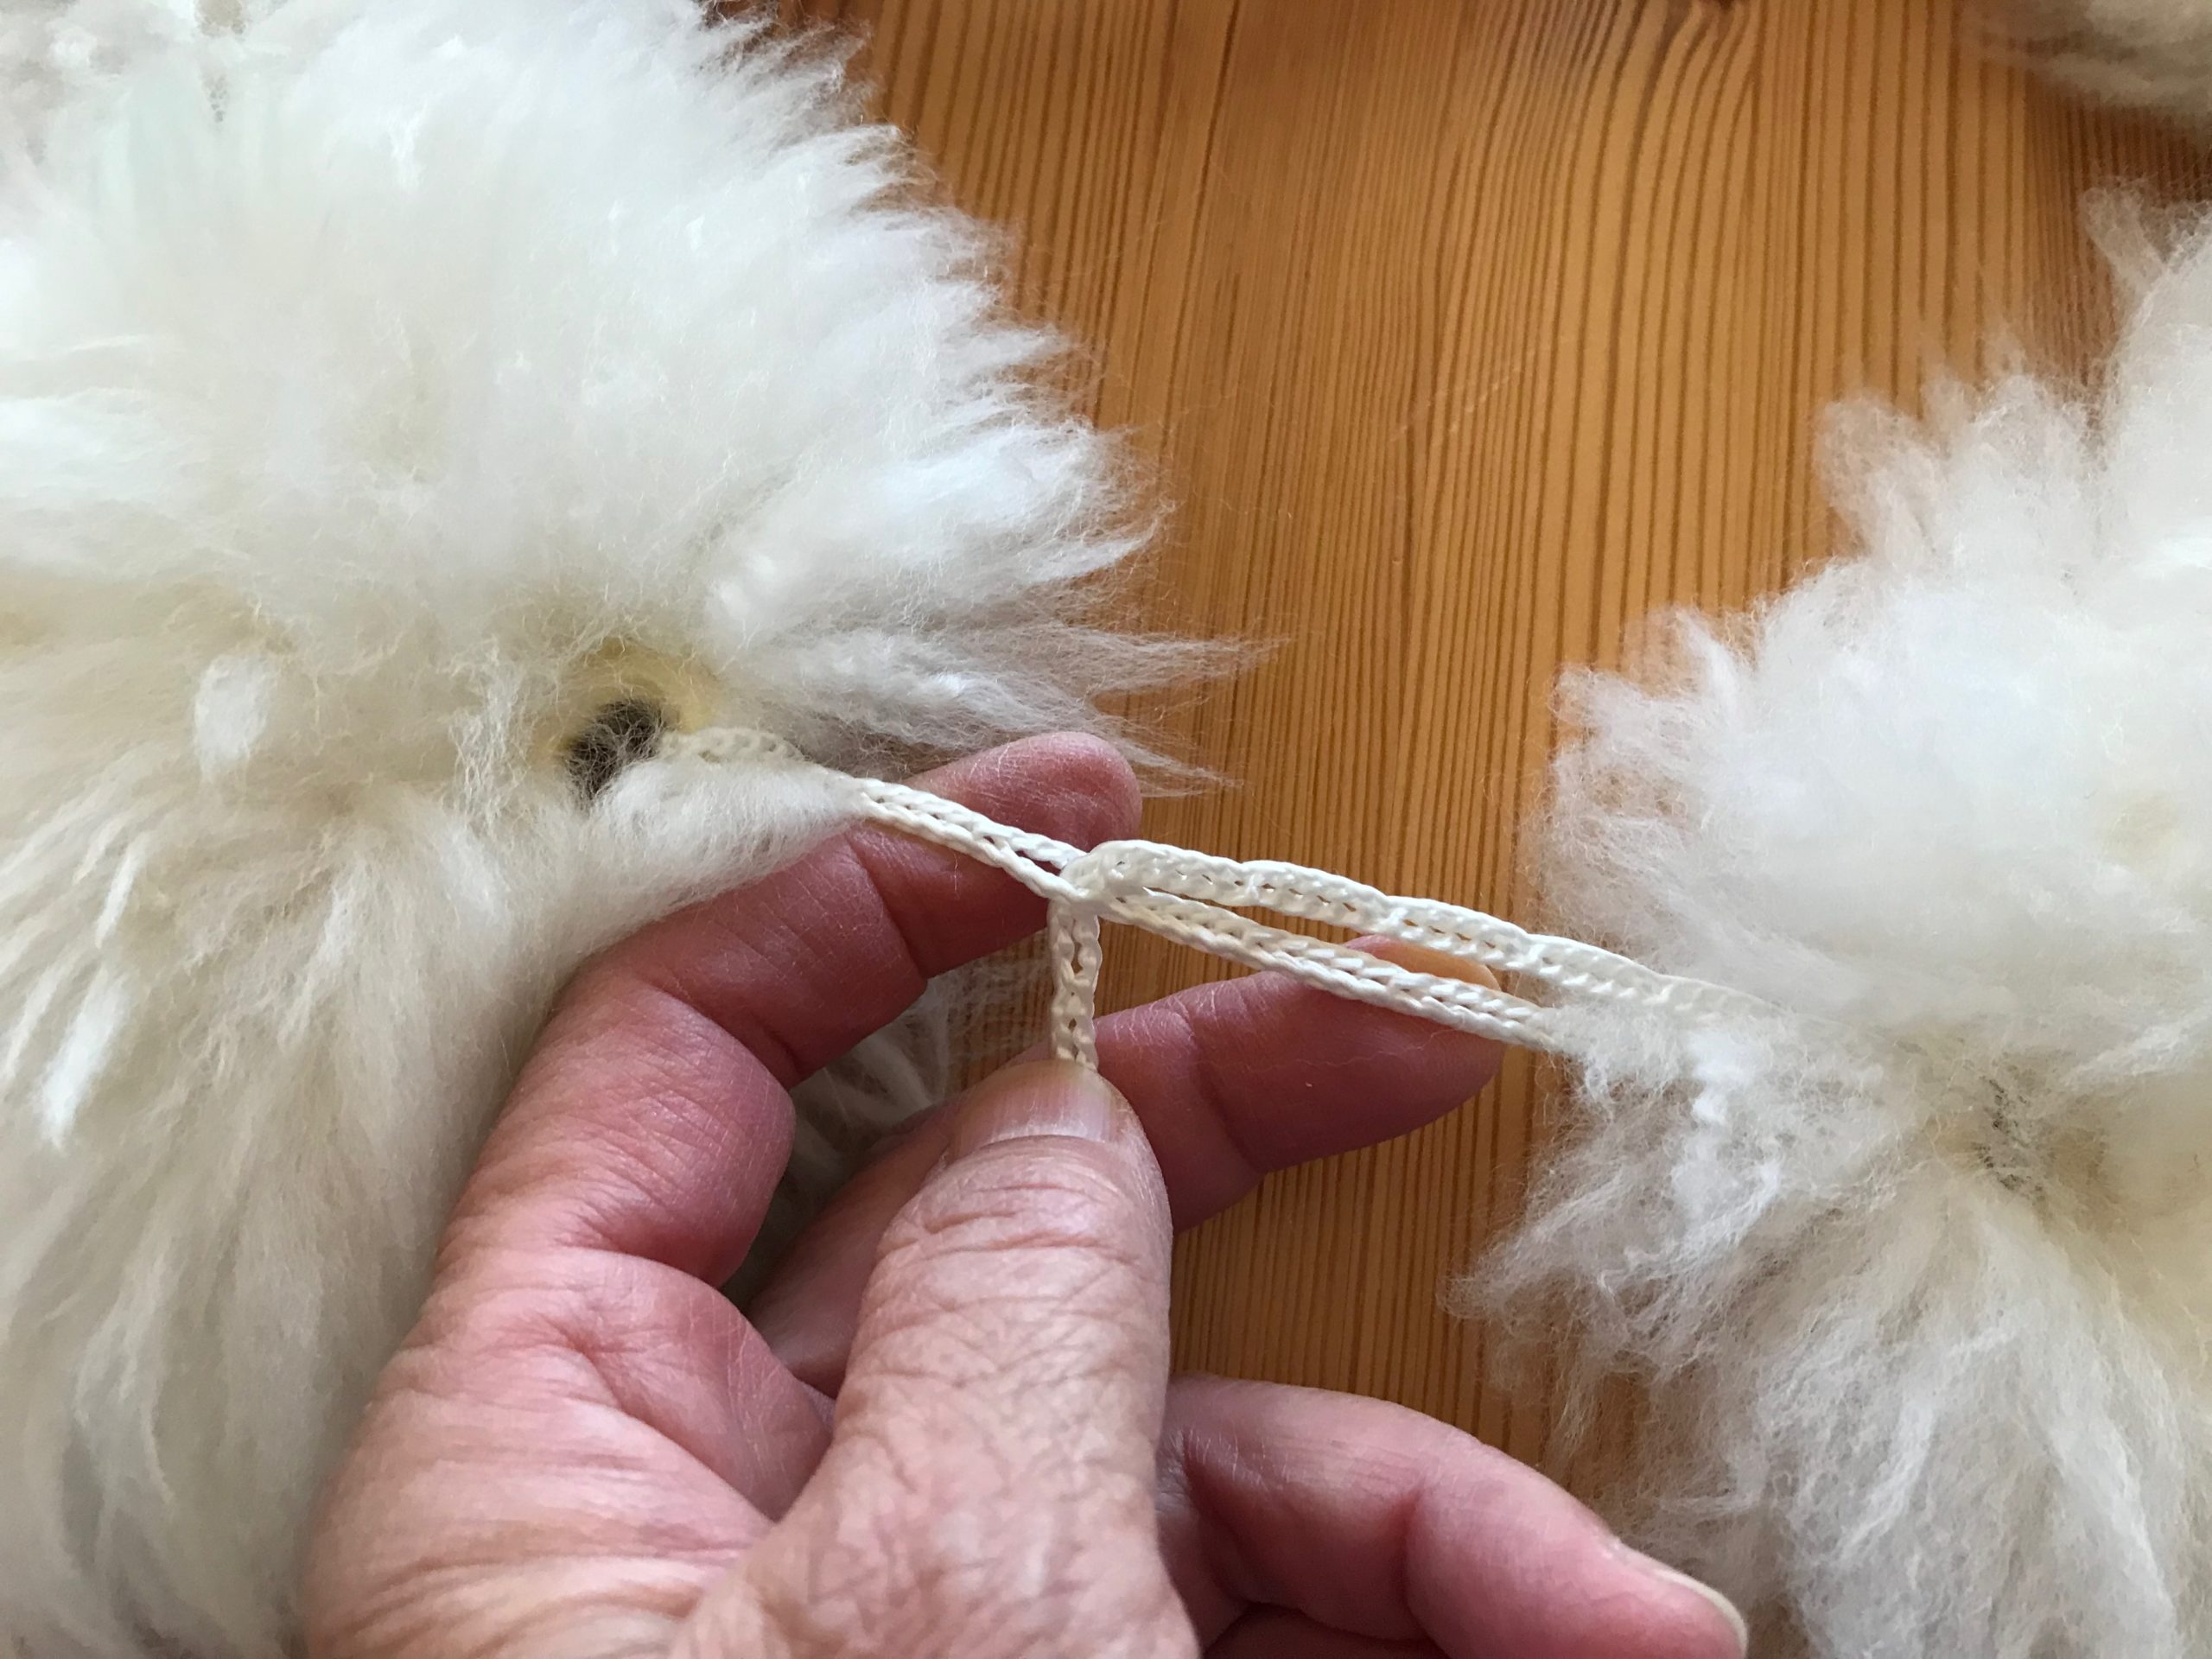
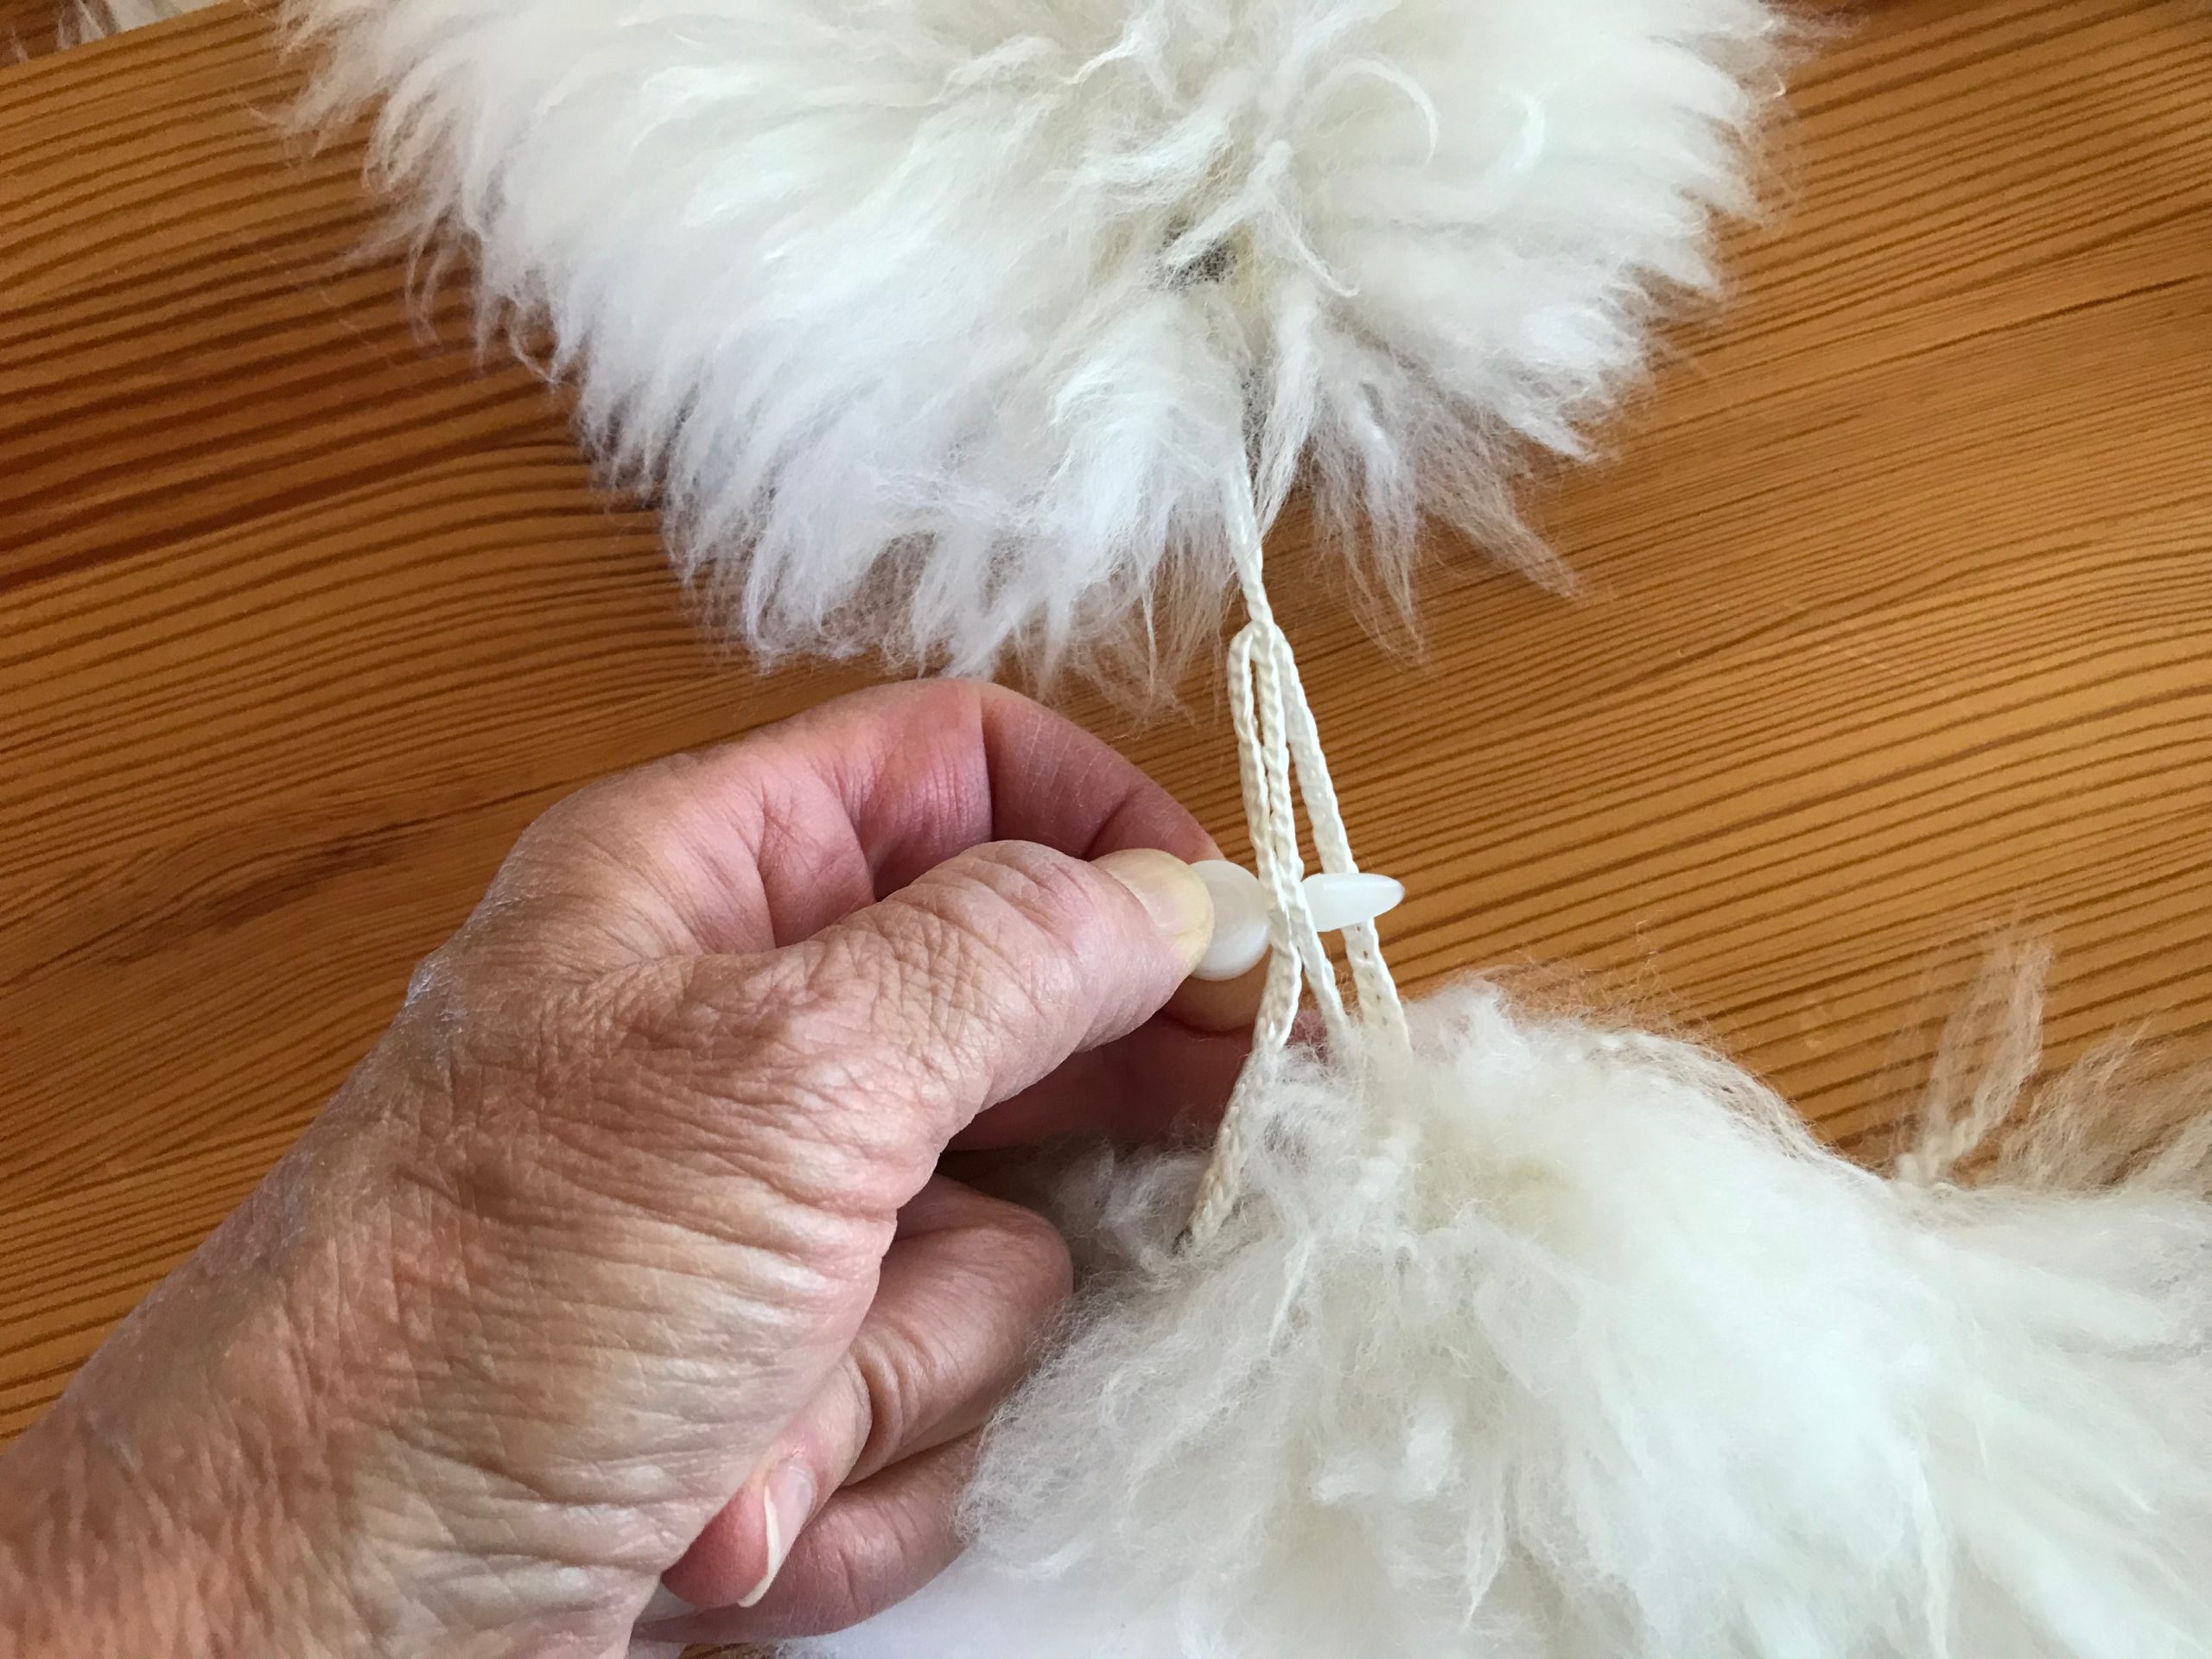
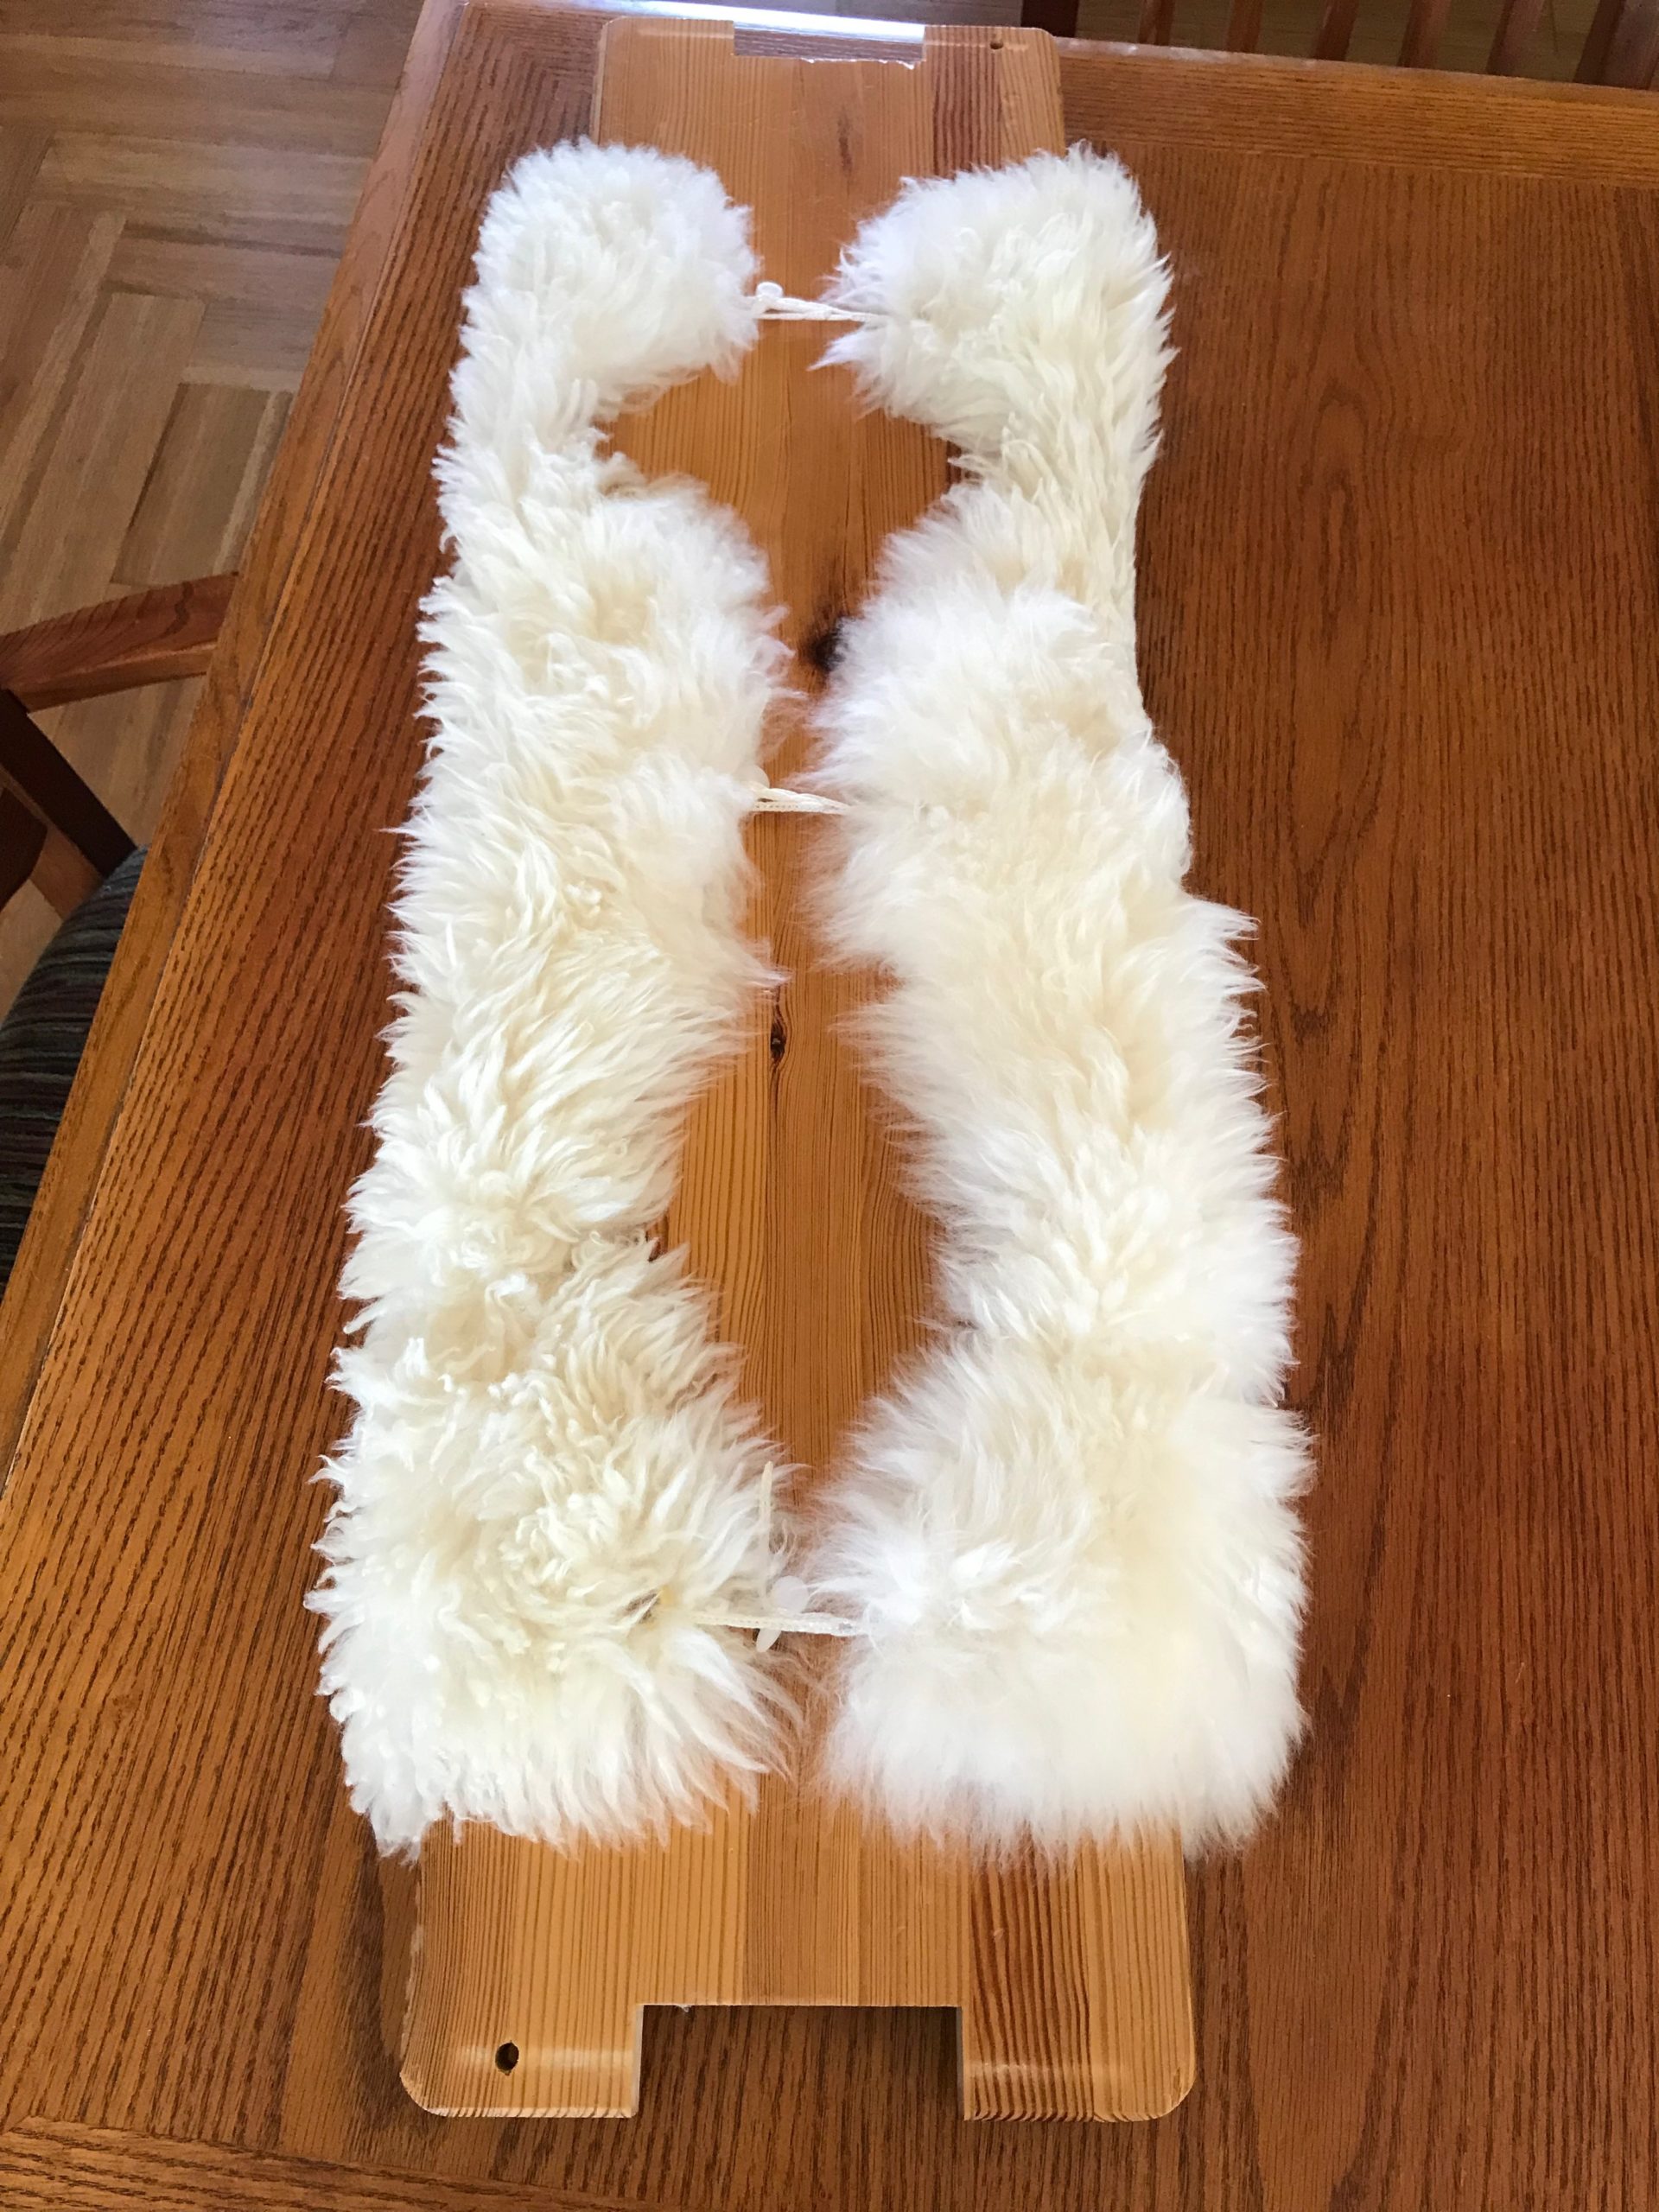
8 Secure the sheepskin to the seat of the bench by lacing one of the cut Texsolv cords through two opposite grommets. Tighten the cord and lock it in place with an arrow peg. Repeat for the remaining two cords.

Sit in immovable comfort.

While we’re at it, let’s fix up one more bench cover…

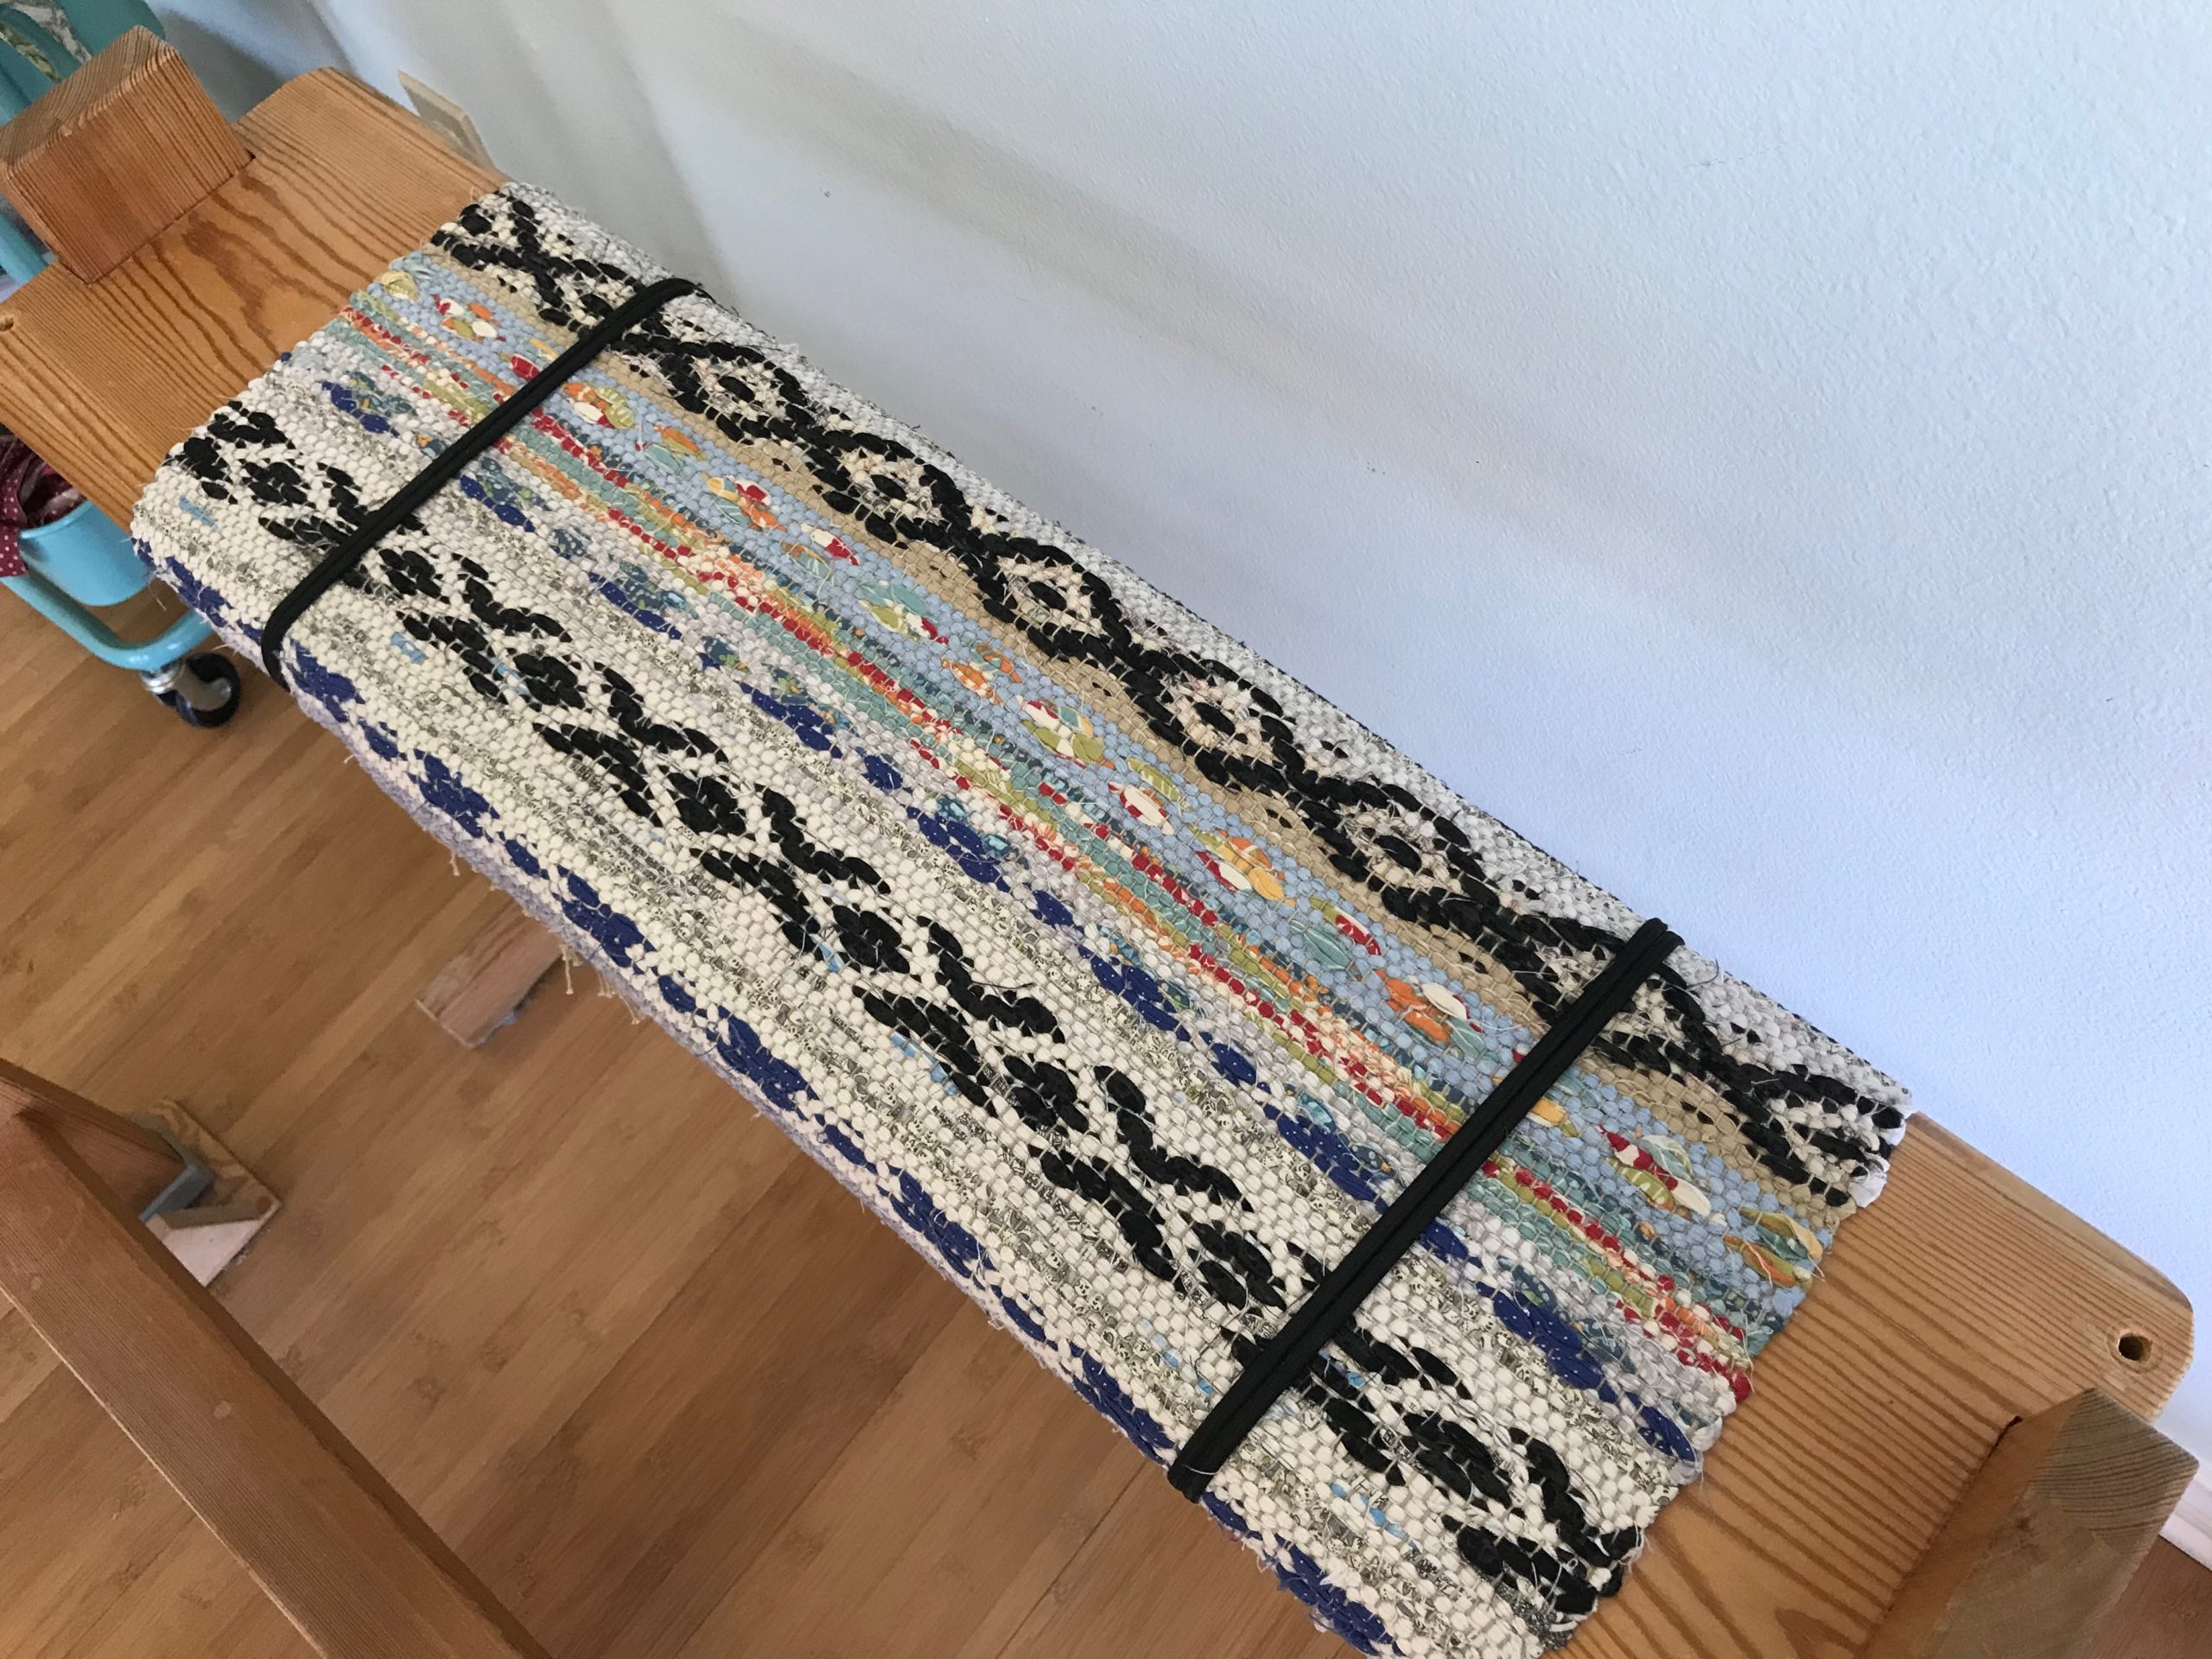
Scrap of rosepath rag rug is held in place with bungee cords. (Bench for my Glimåkra Ideal loom)
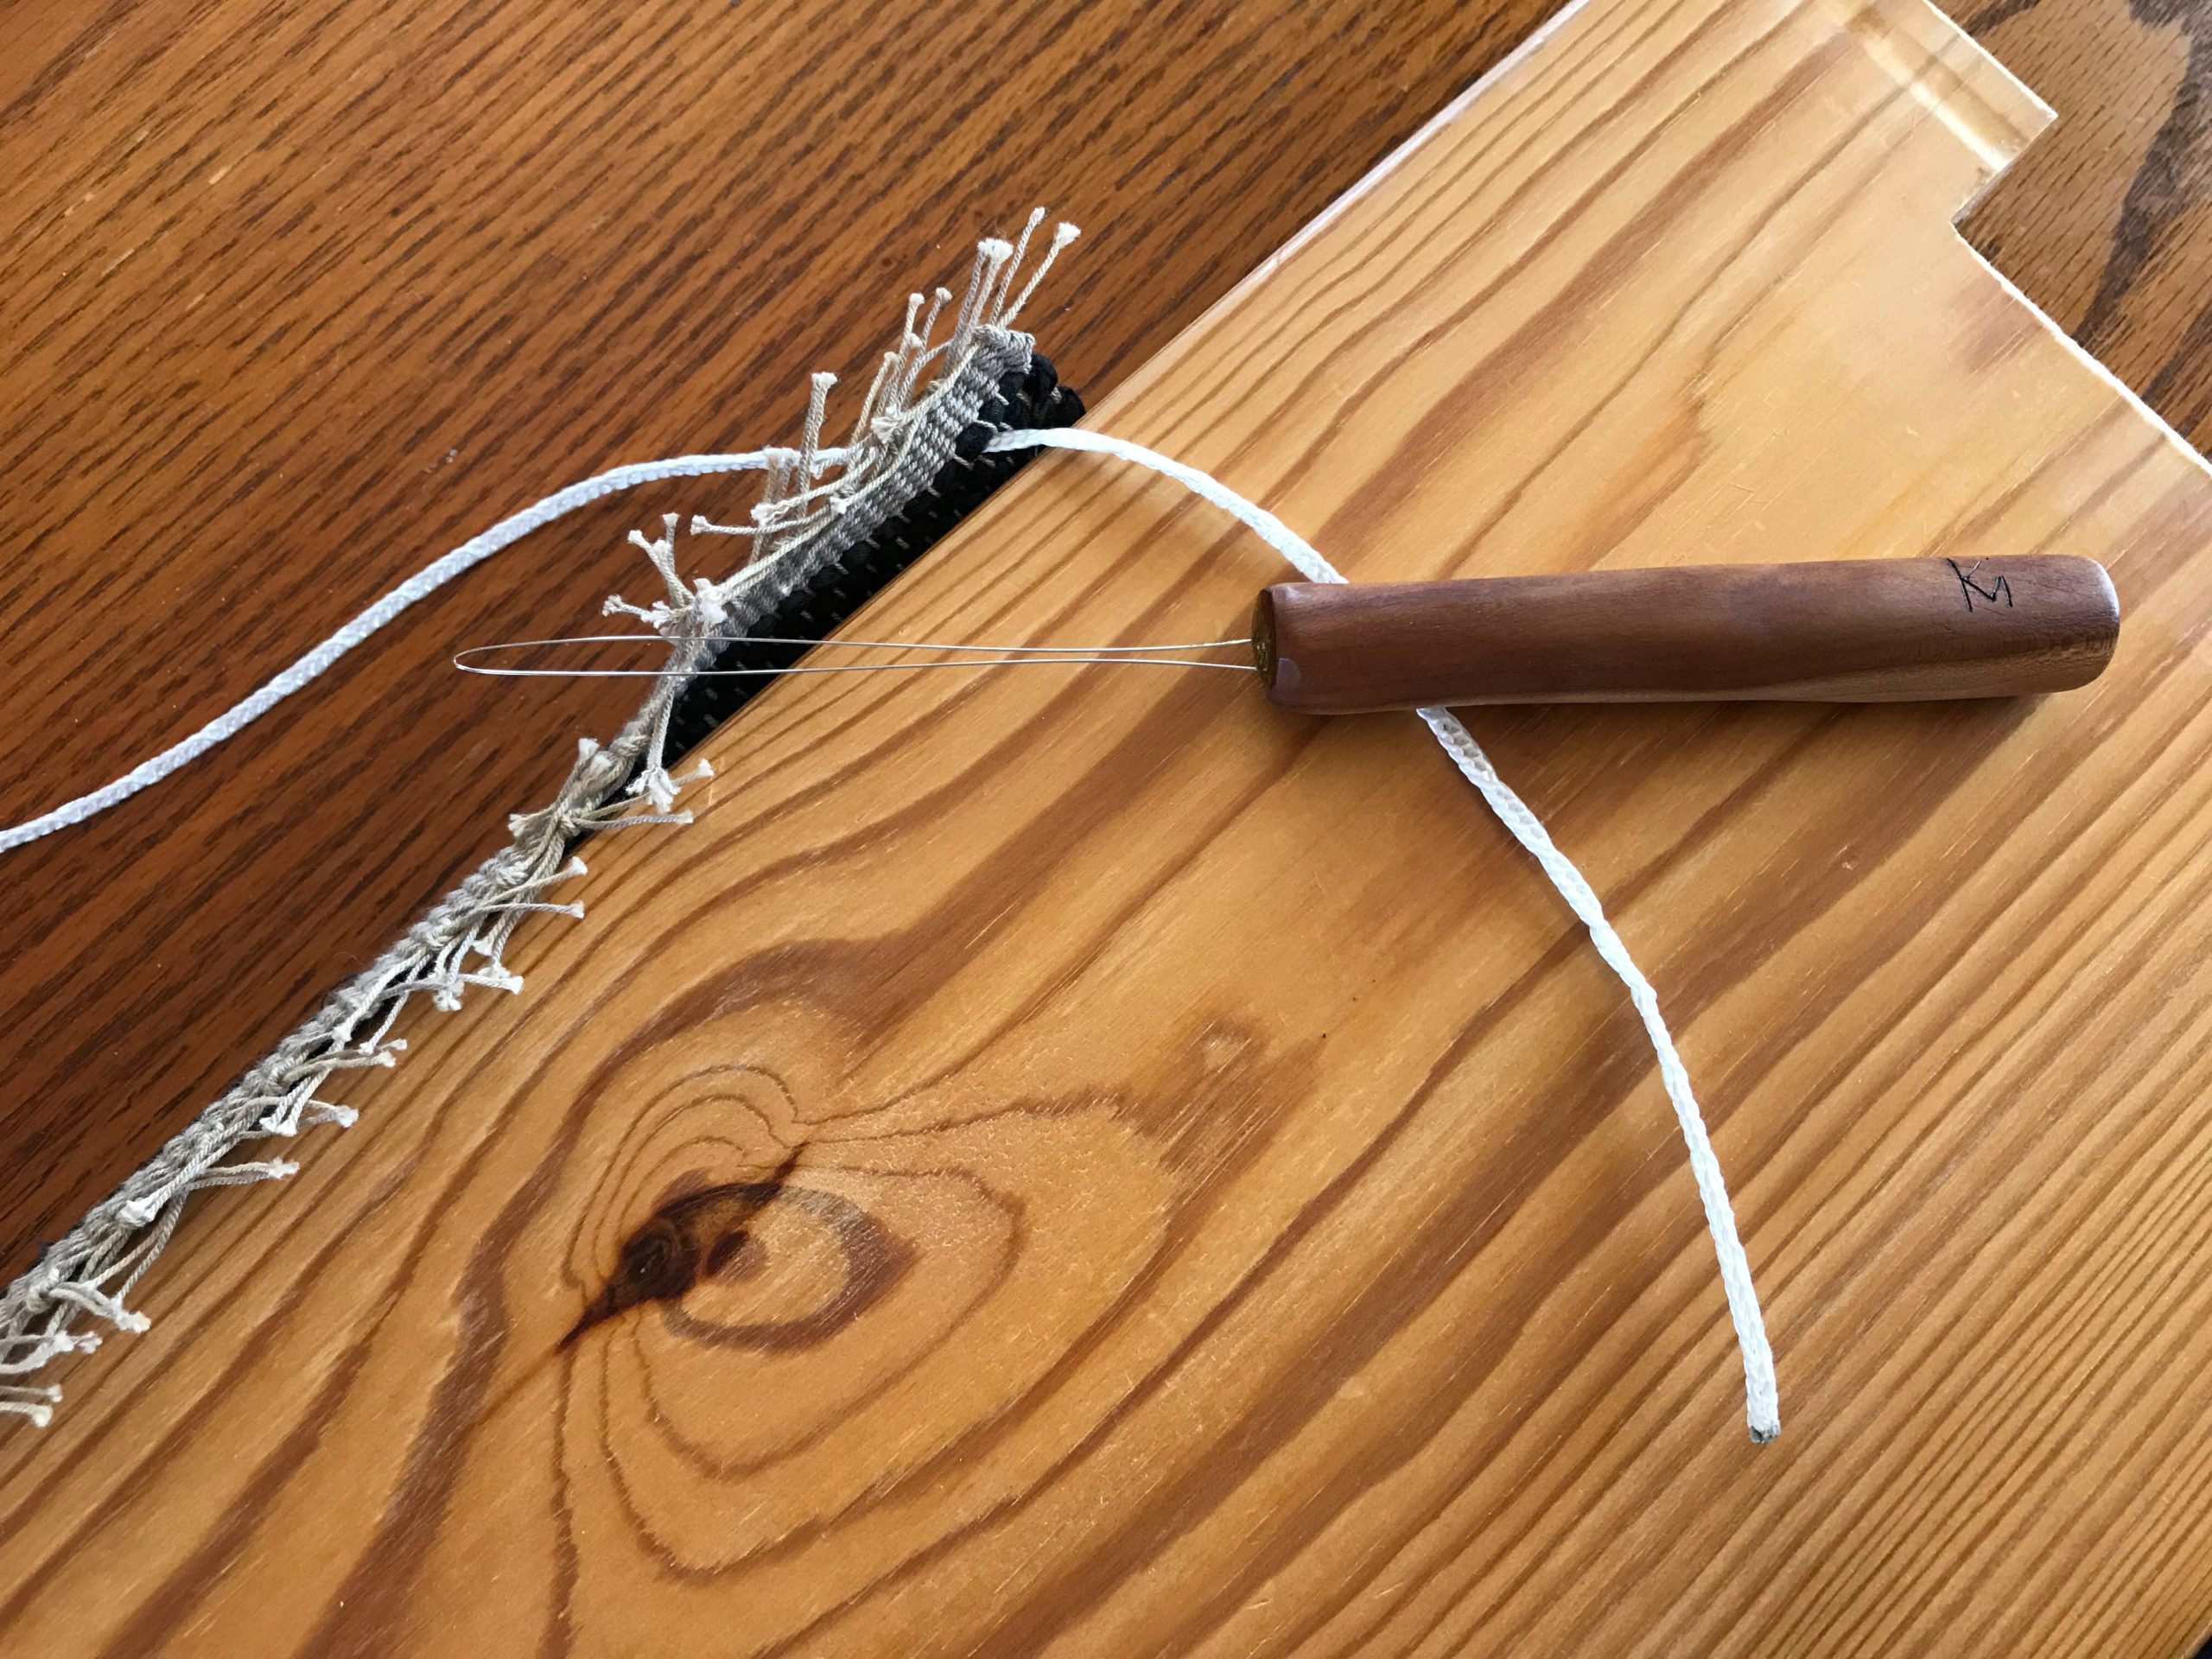
Cord threader pulls Texsolv through. The end knots on the rug should keep the cord from pulling the weft out (I hope).
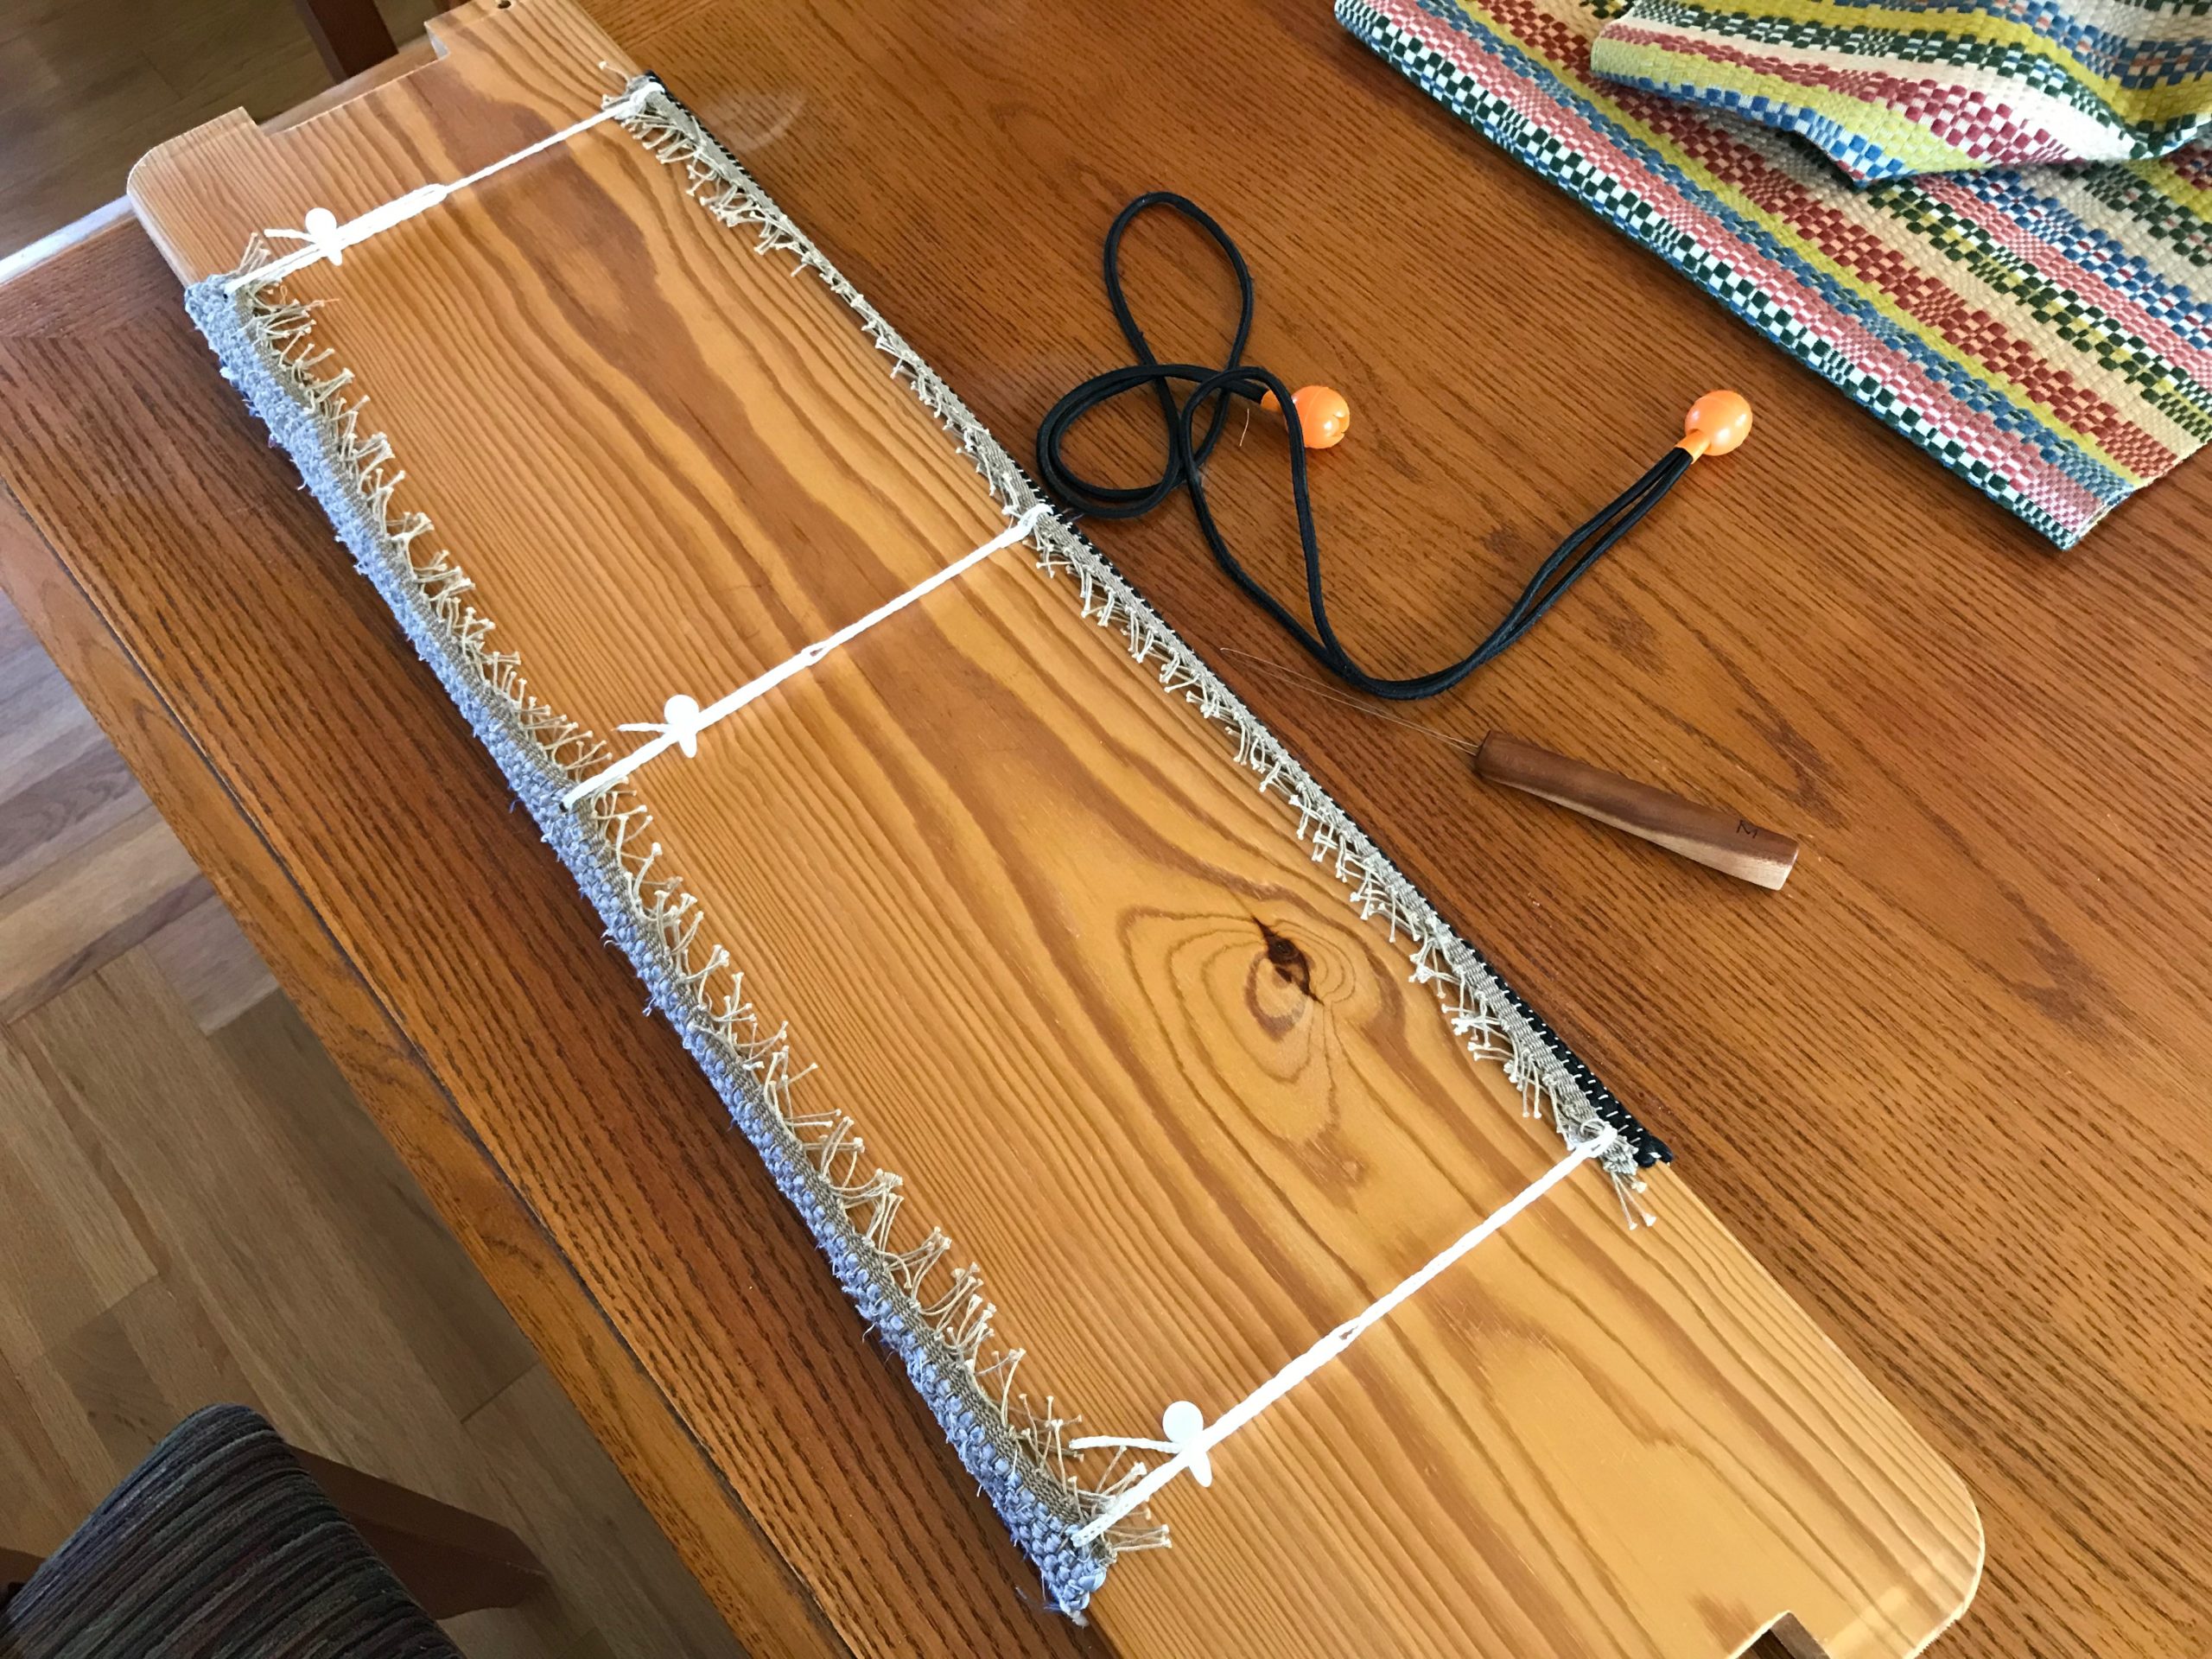
No more bungee cords!
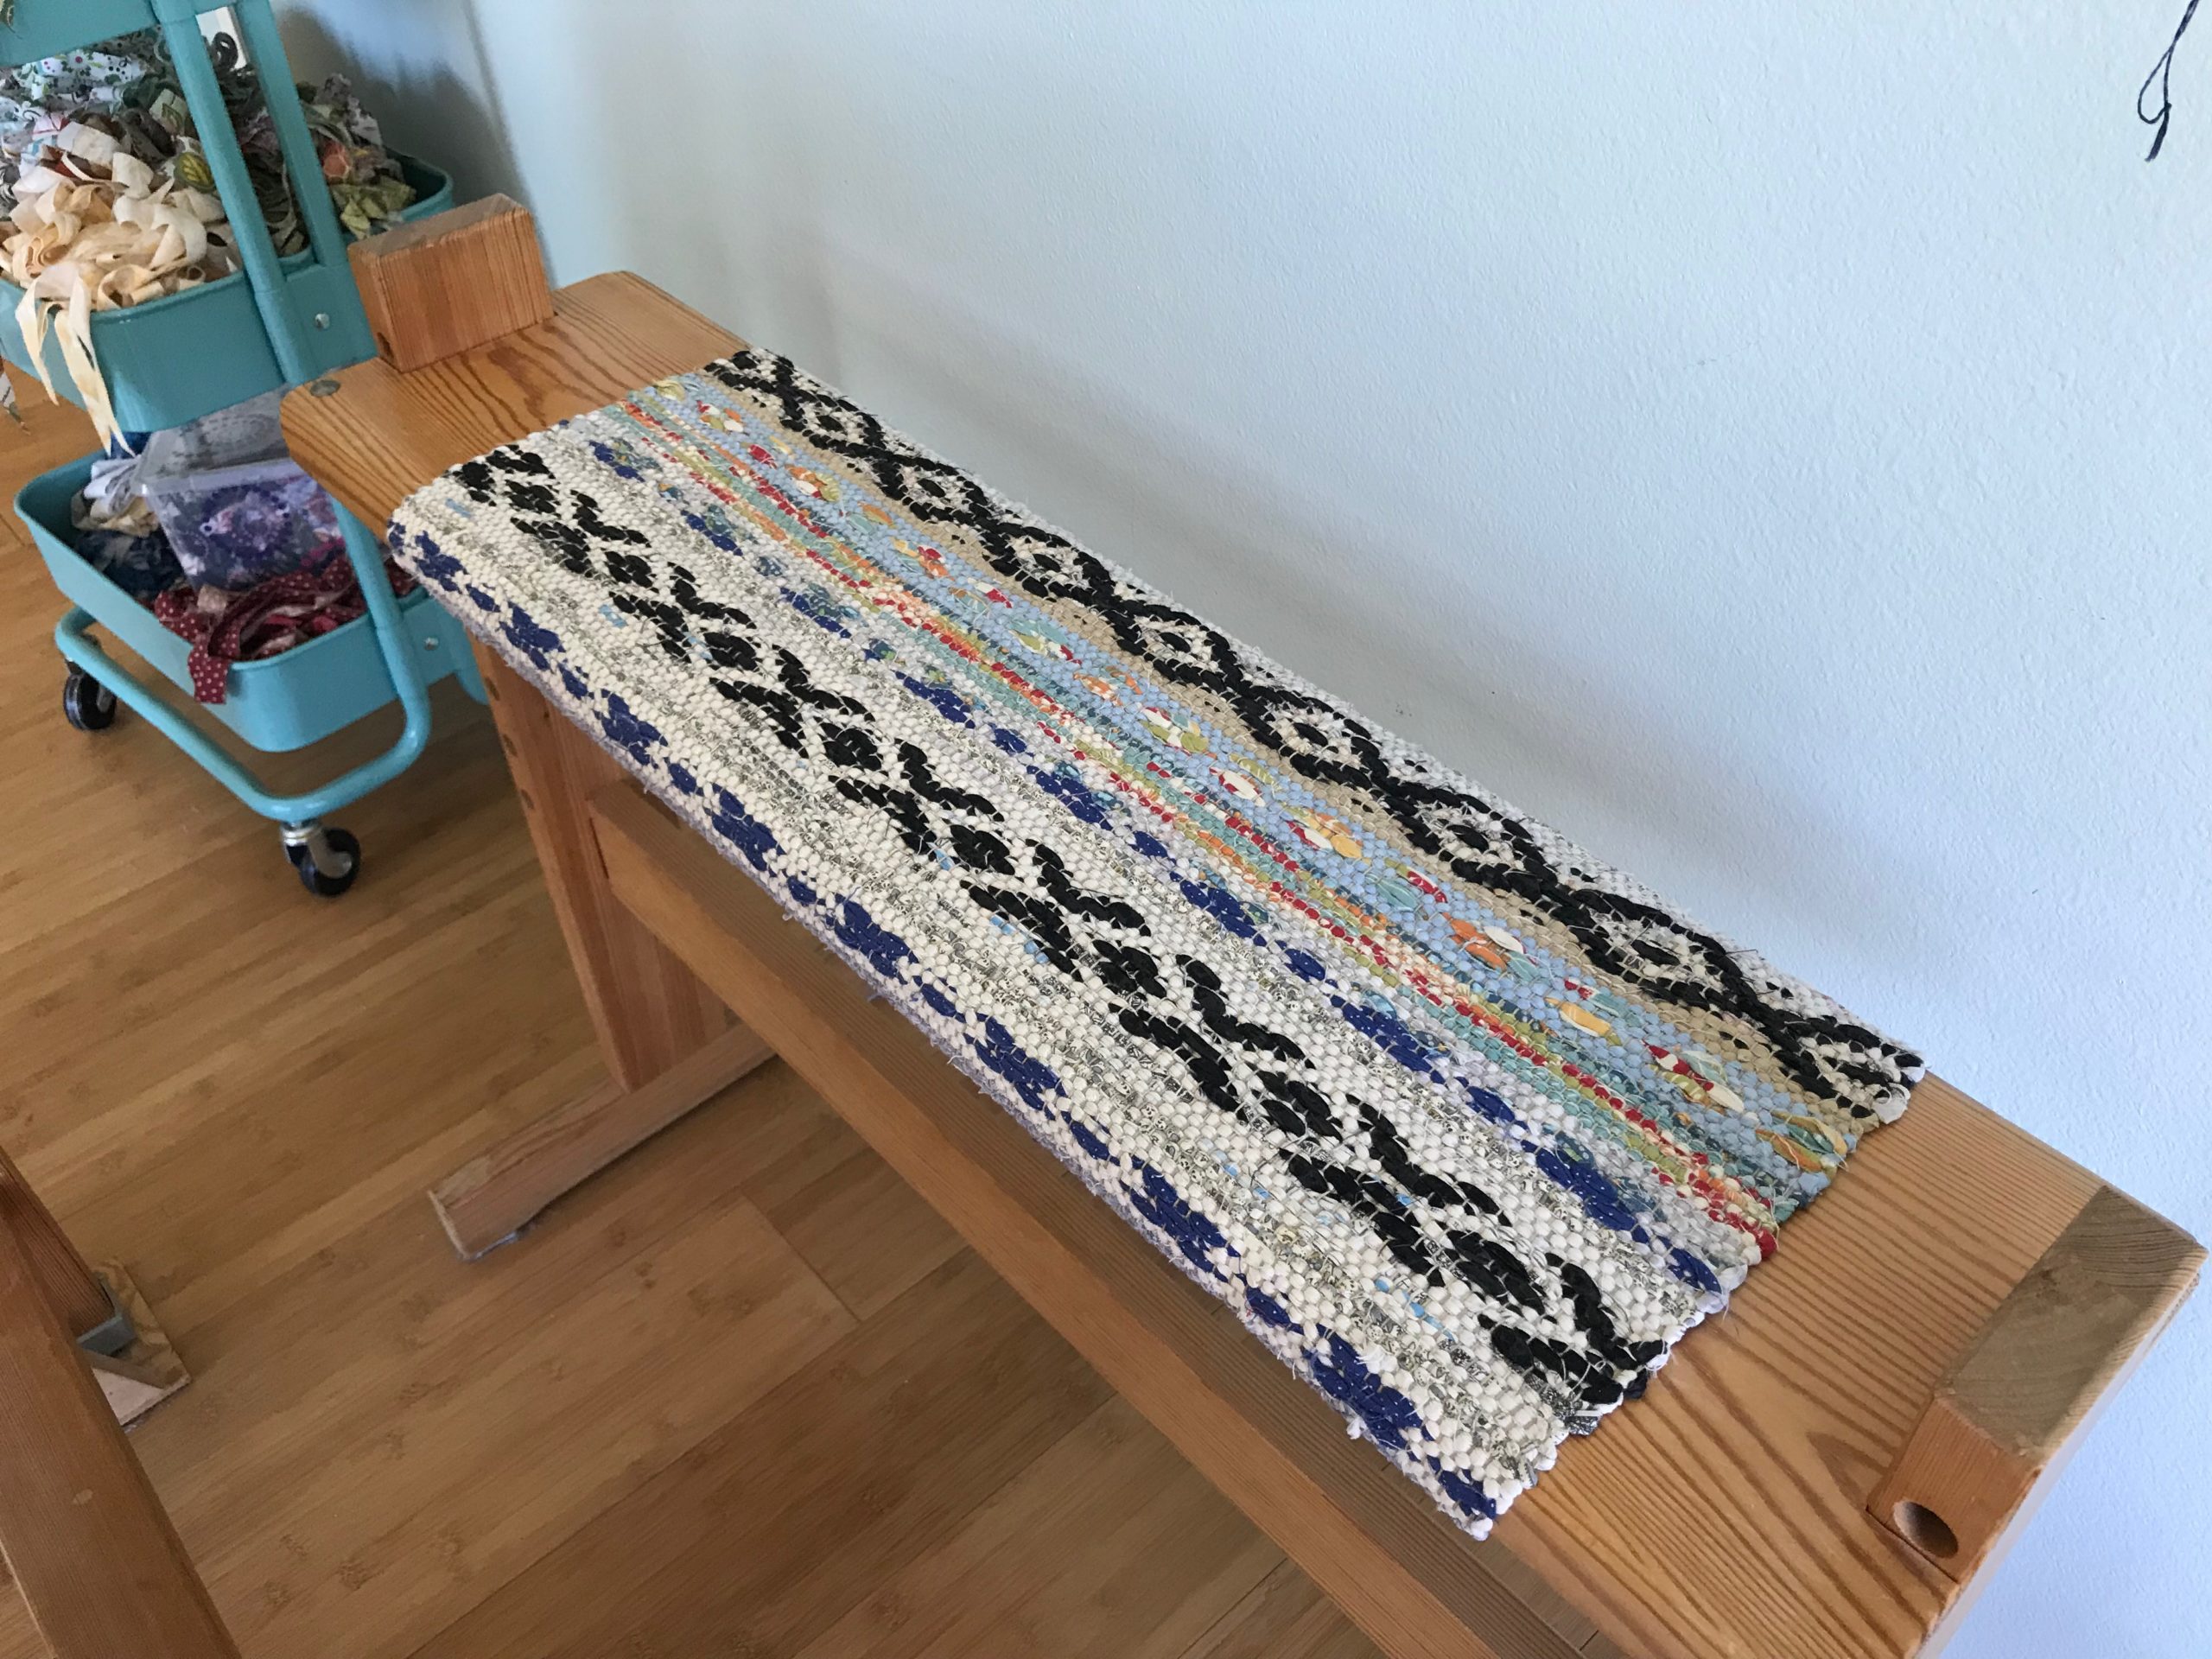
Sitting in style.

May you see where you can soften things up.

Happy Sitting,
Karen

Tried and True: When the Shed is Missing

You followed all the instructions for dressing the loom, and have finished the countermarch tie-up. Now, at the moment of triumph you step on the treadles, one by one. Alas! Some or all of the treadles give you nothing you can call a shed. Now what? Maybe you relate to Laura who wrote me recently, “I can’t seem to get the treadles to make a shed.”

The solution is simple. Follow the advice in this sentence on page 37 of Learning to Warp your Loom, by Joanne Hall, “If your sheds are not good, check your loom tie-up from the top down.”

If sheds are missing, there is a good chance you have a crossed cord.

Warp is threaded, sleyed, and tied on. After arranging and connecting a few Texsolv cords, I will tie up the treadles.

Find Misaligned Cords

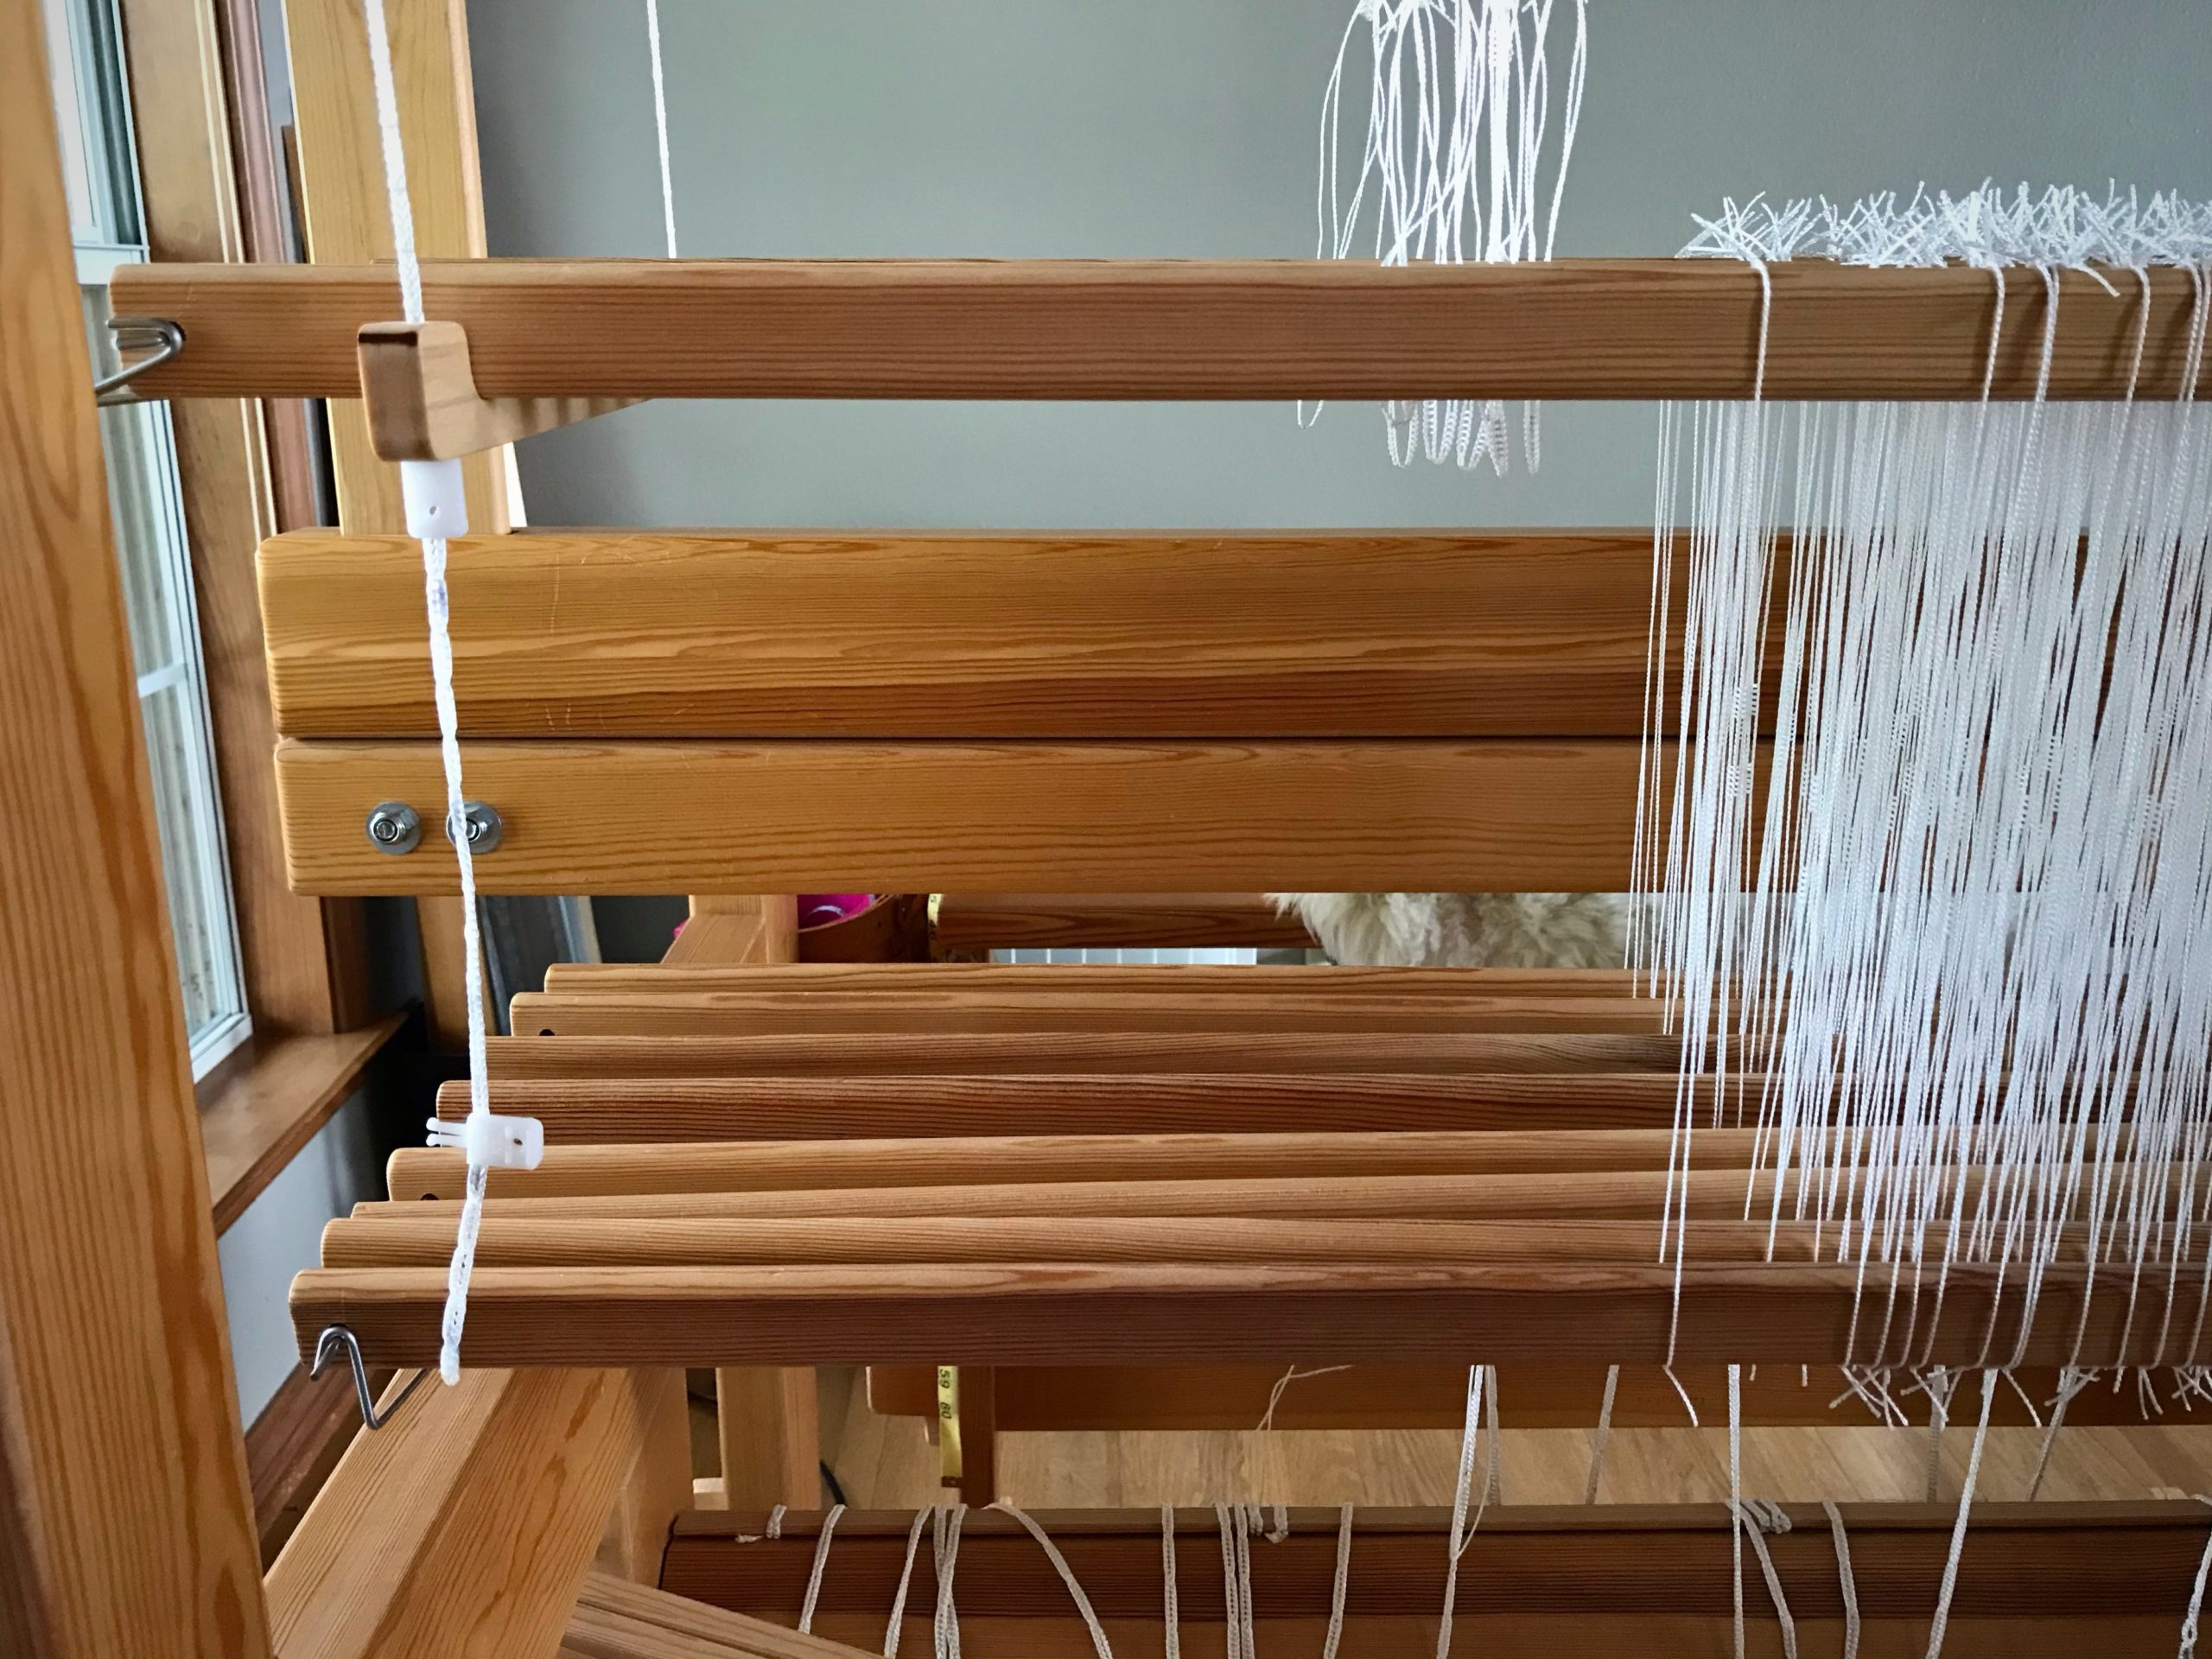
1 Follow each Texsolv cord, starting from the countermarch at top of the loom.

All the shafts are good to go, right? Not quite. Better see what’s happening at the top of those Texsolv cords.

2 Make sure that each cord is connected in the right order at the right place.

Is the first countermarch jack connected to the first shaft, the second jack to the second shaft, and so on?

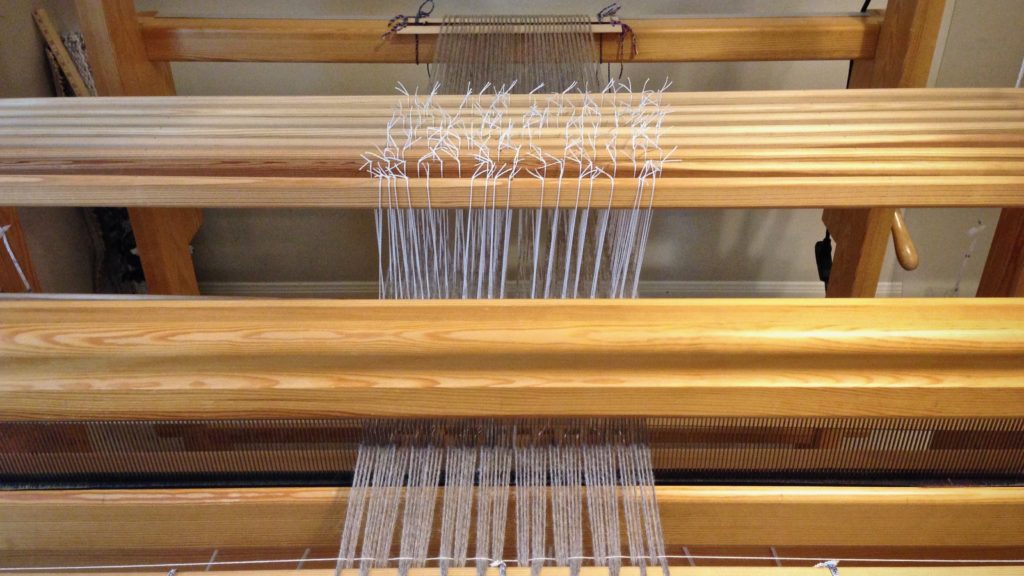
Misaligned cords as seen from the top of the loom.

Are the cords that go to the lower lamms strictly in order?

– With horizontal countermarch, does each cord fall behind the shafts in order?

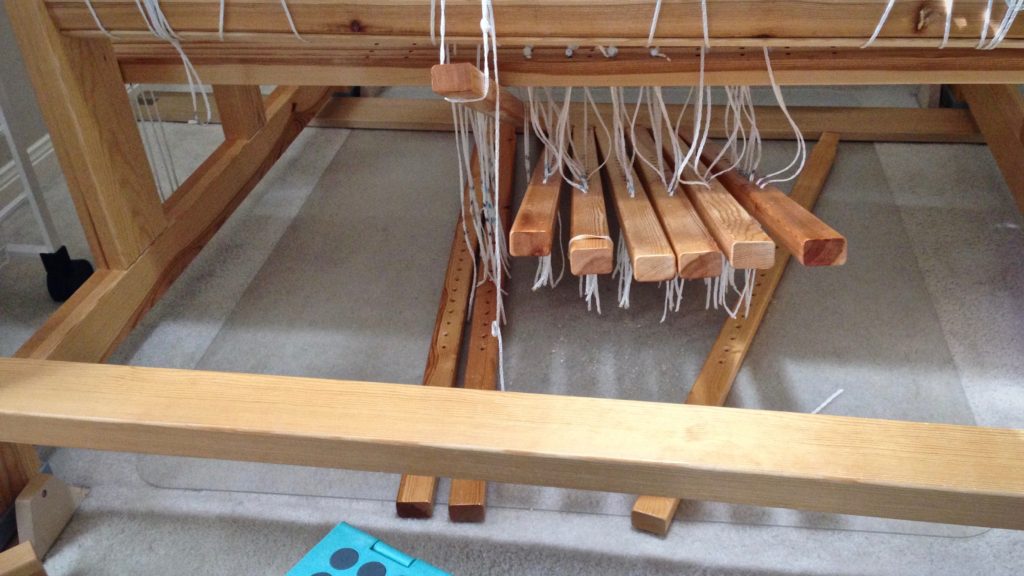
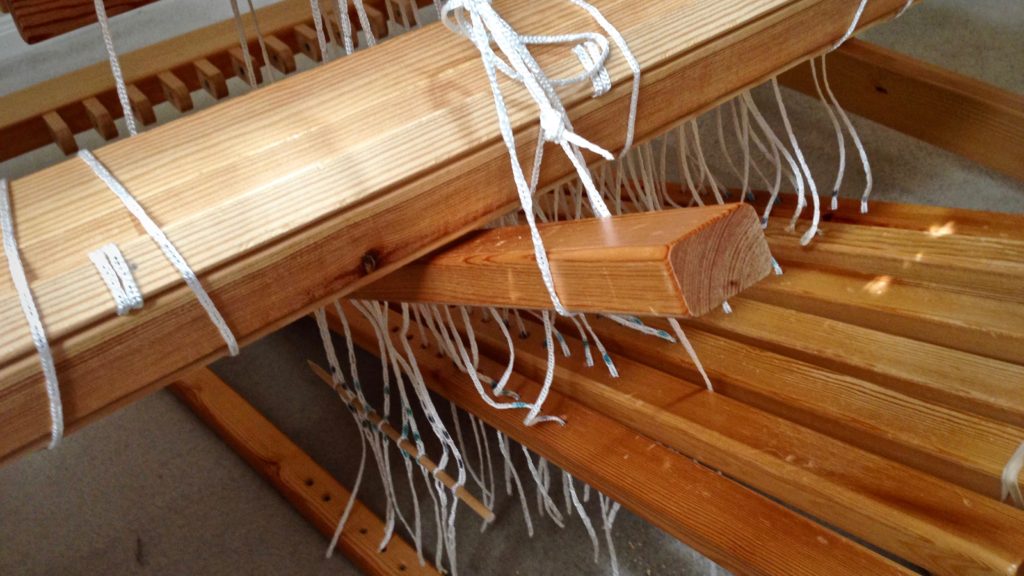
Cords from the horizontal countermarch go through the center of the warp, to be attached to lower lamms below.
Make sure each cord goes behind its corresponding shaft bars to the lamms below. When attaching the cords to the lamms, make sure the cords are attached in the correct order. If loom is already tied up, follow each cord to check that it is attached to its corresponding lamm.

– With vertical countermarch, is each cord on its pulley, and connected to lamms in the right order?

Vertical countermarch has cords that go over pulleys on the side down to the lower lamms. I have to be extra careful to keep from attaching a cord to the wrong lamm.

3 Correct any misaligned cord.

Now, step on each treadle, one by one. Decent sheds that just need a little refining? Triumph!

Helpful Habit

When attaching a cord while dressing the loom, start your hand at the top of the cord and slide it down to the point of connection. This helps you take hold of the correct cord.

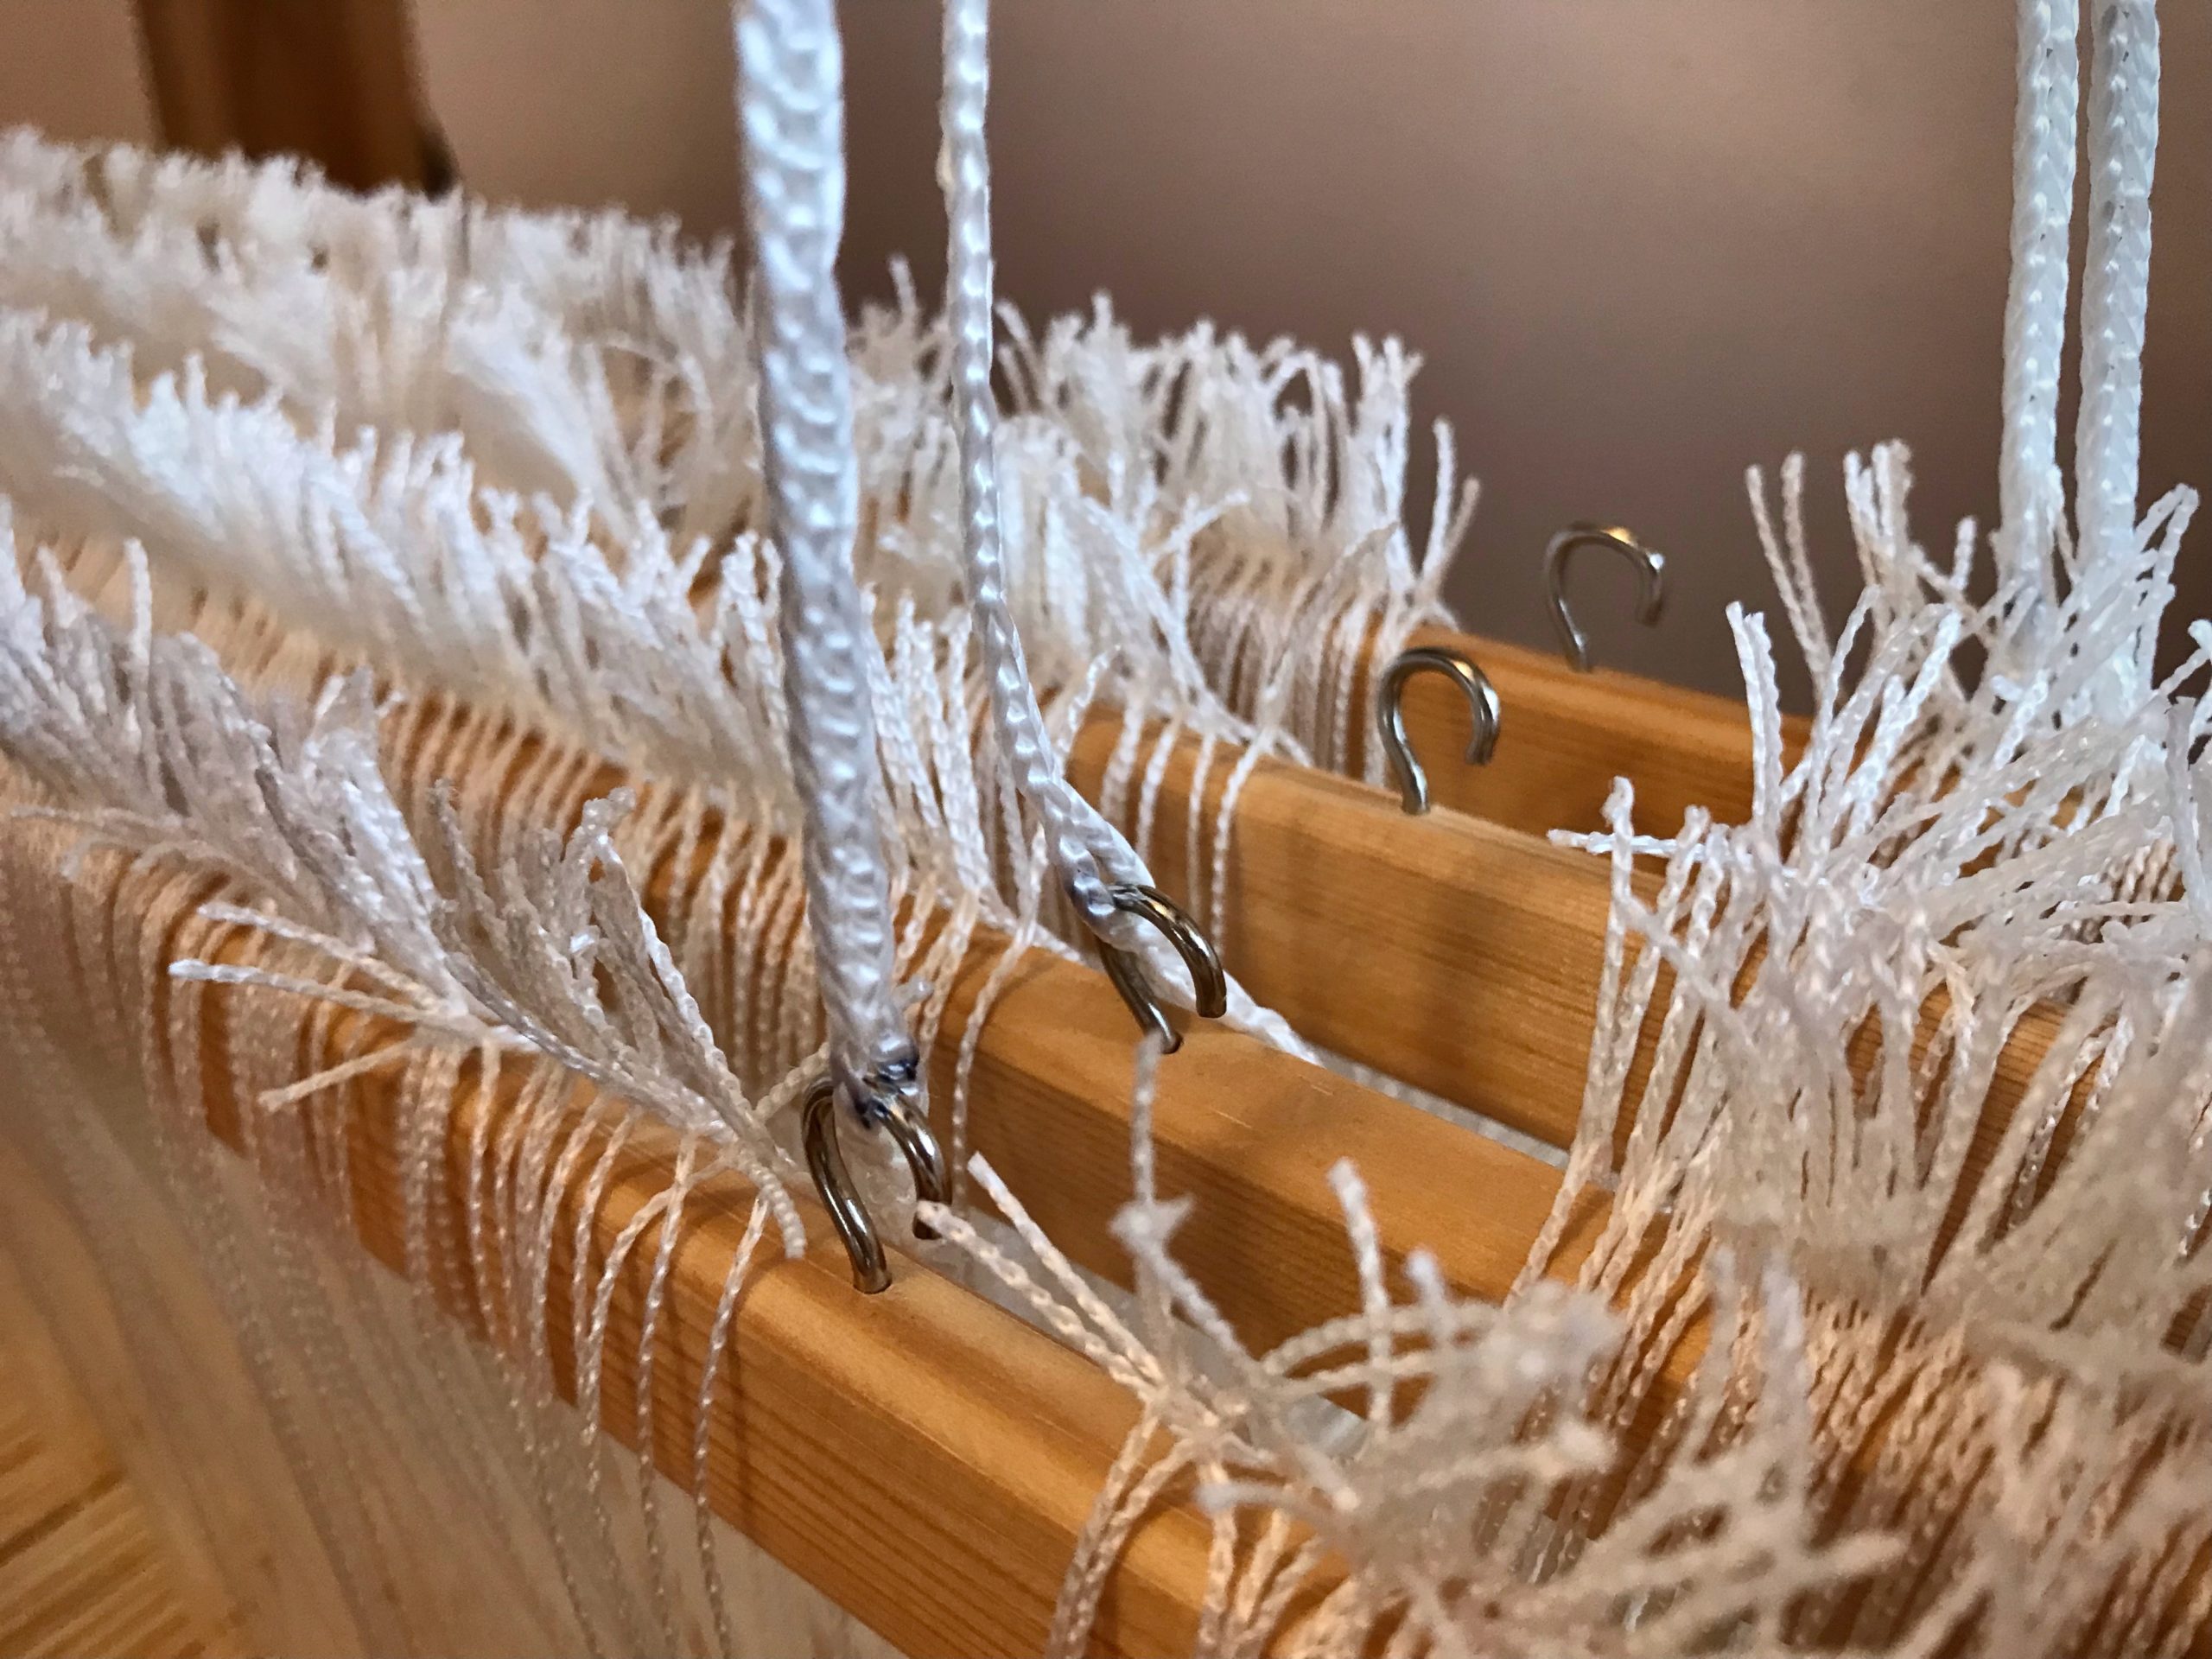
Ready to connect the shaft cords on the Glimåkra Julia, made easy by the small hooks on the shaft bars. Instead of expecting the cords to hang straight down in order, I reach my hand up to the top of the cord.
Touching where the cord meets the wood, I know I have the correct cord for the shaft closest to the front of the loom. I do the same for the next cord.
My hand slides down the cord and I connect the cord to the correct shaft. Now, all that’s left is tying up the treadles. Then, we weave!

May none of your cords be crossed.

Happy Weaving,
Karen

Tried and True: Just in Case

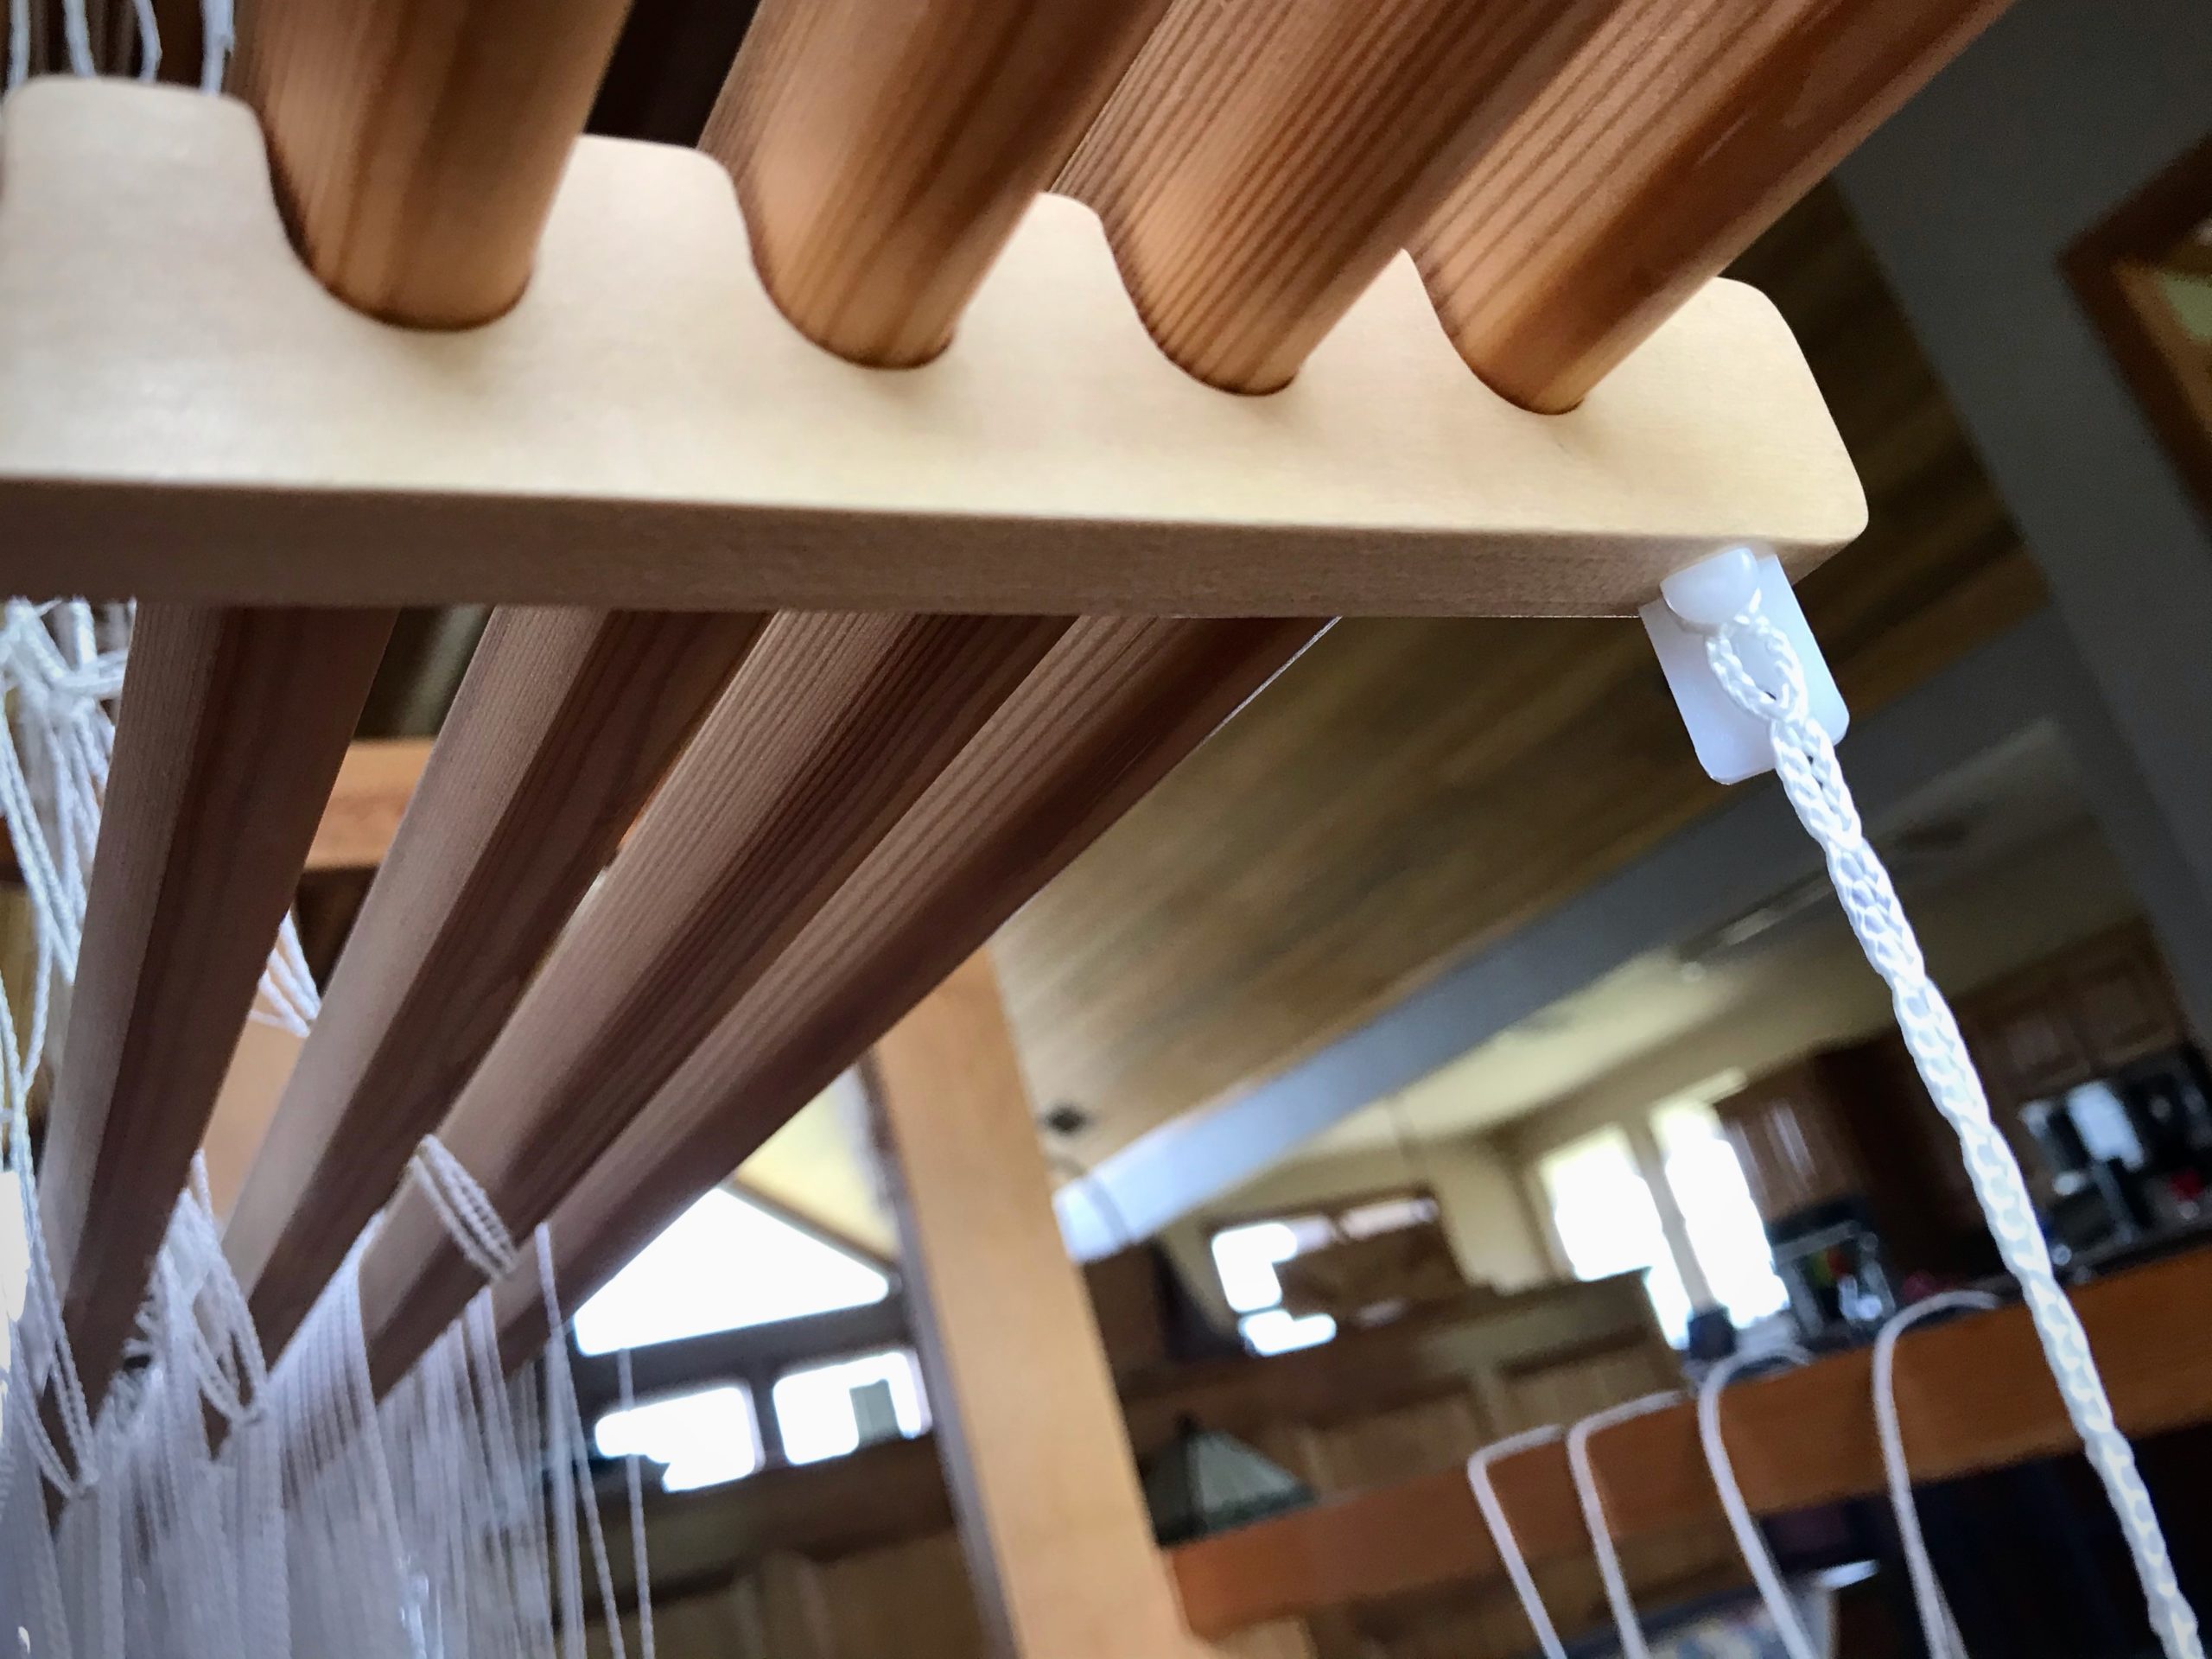
Texsolv cord is ingenious! It suspends shaft holders while I dress the loom. It also suspends the heddling bar during drawloom setup. A small anchor pin or arrow peg does the trick of holding everything together.

How to use Texsolv cord and anchor pins.
Anchor pin is buttoned through the Texsolv cord and placed into the hole at the bottom of the shaft holder.
Talking about Texsolv cord and arrow pins.
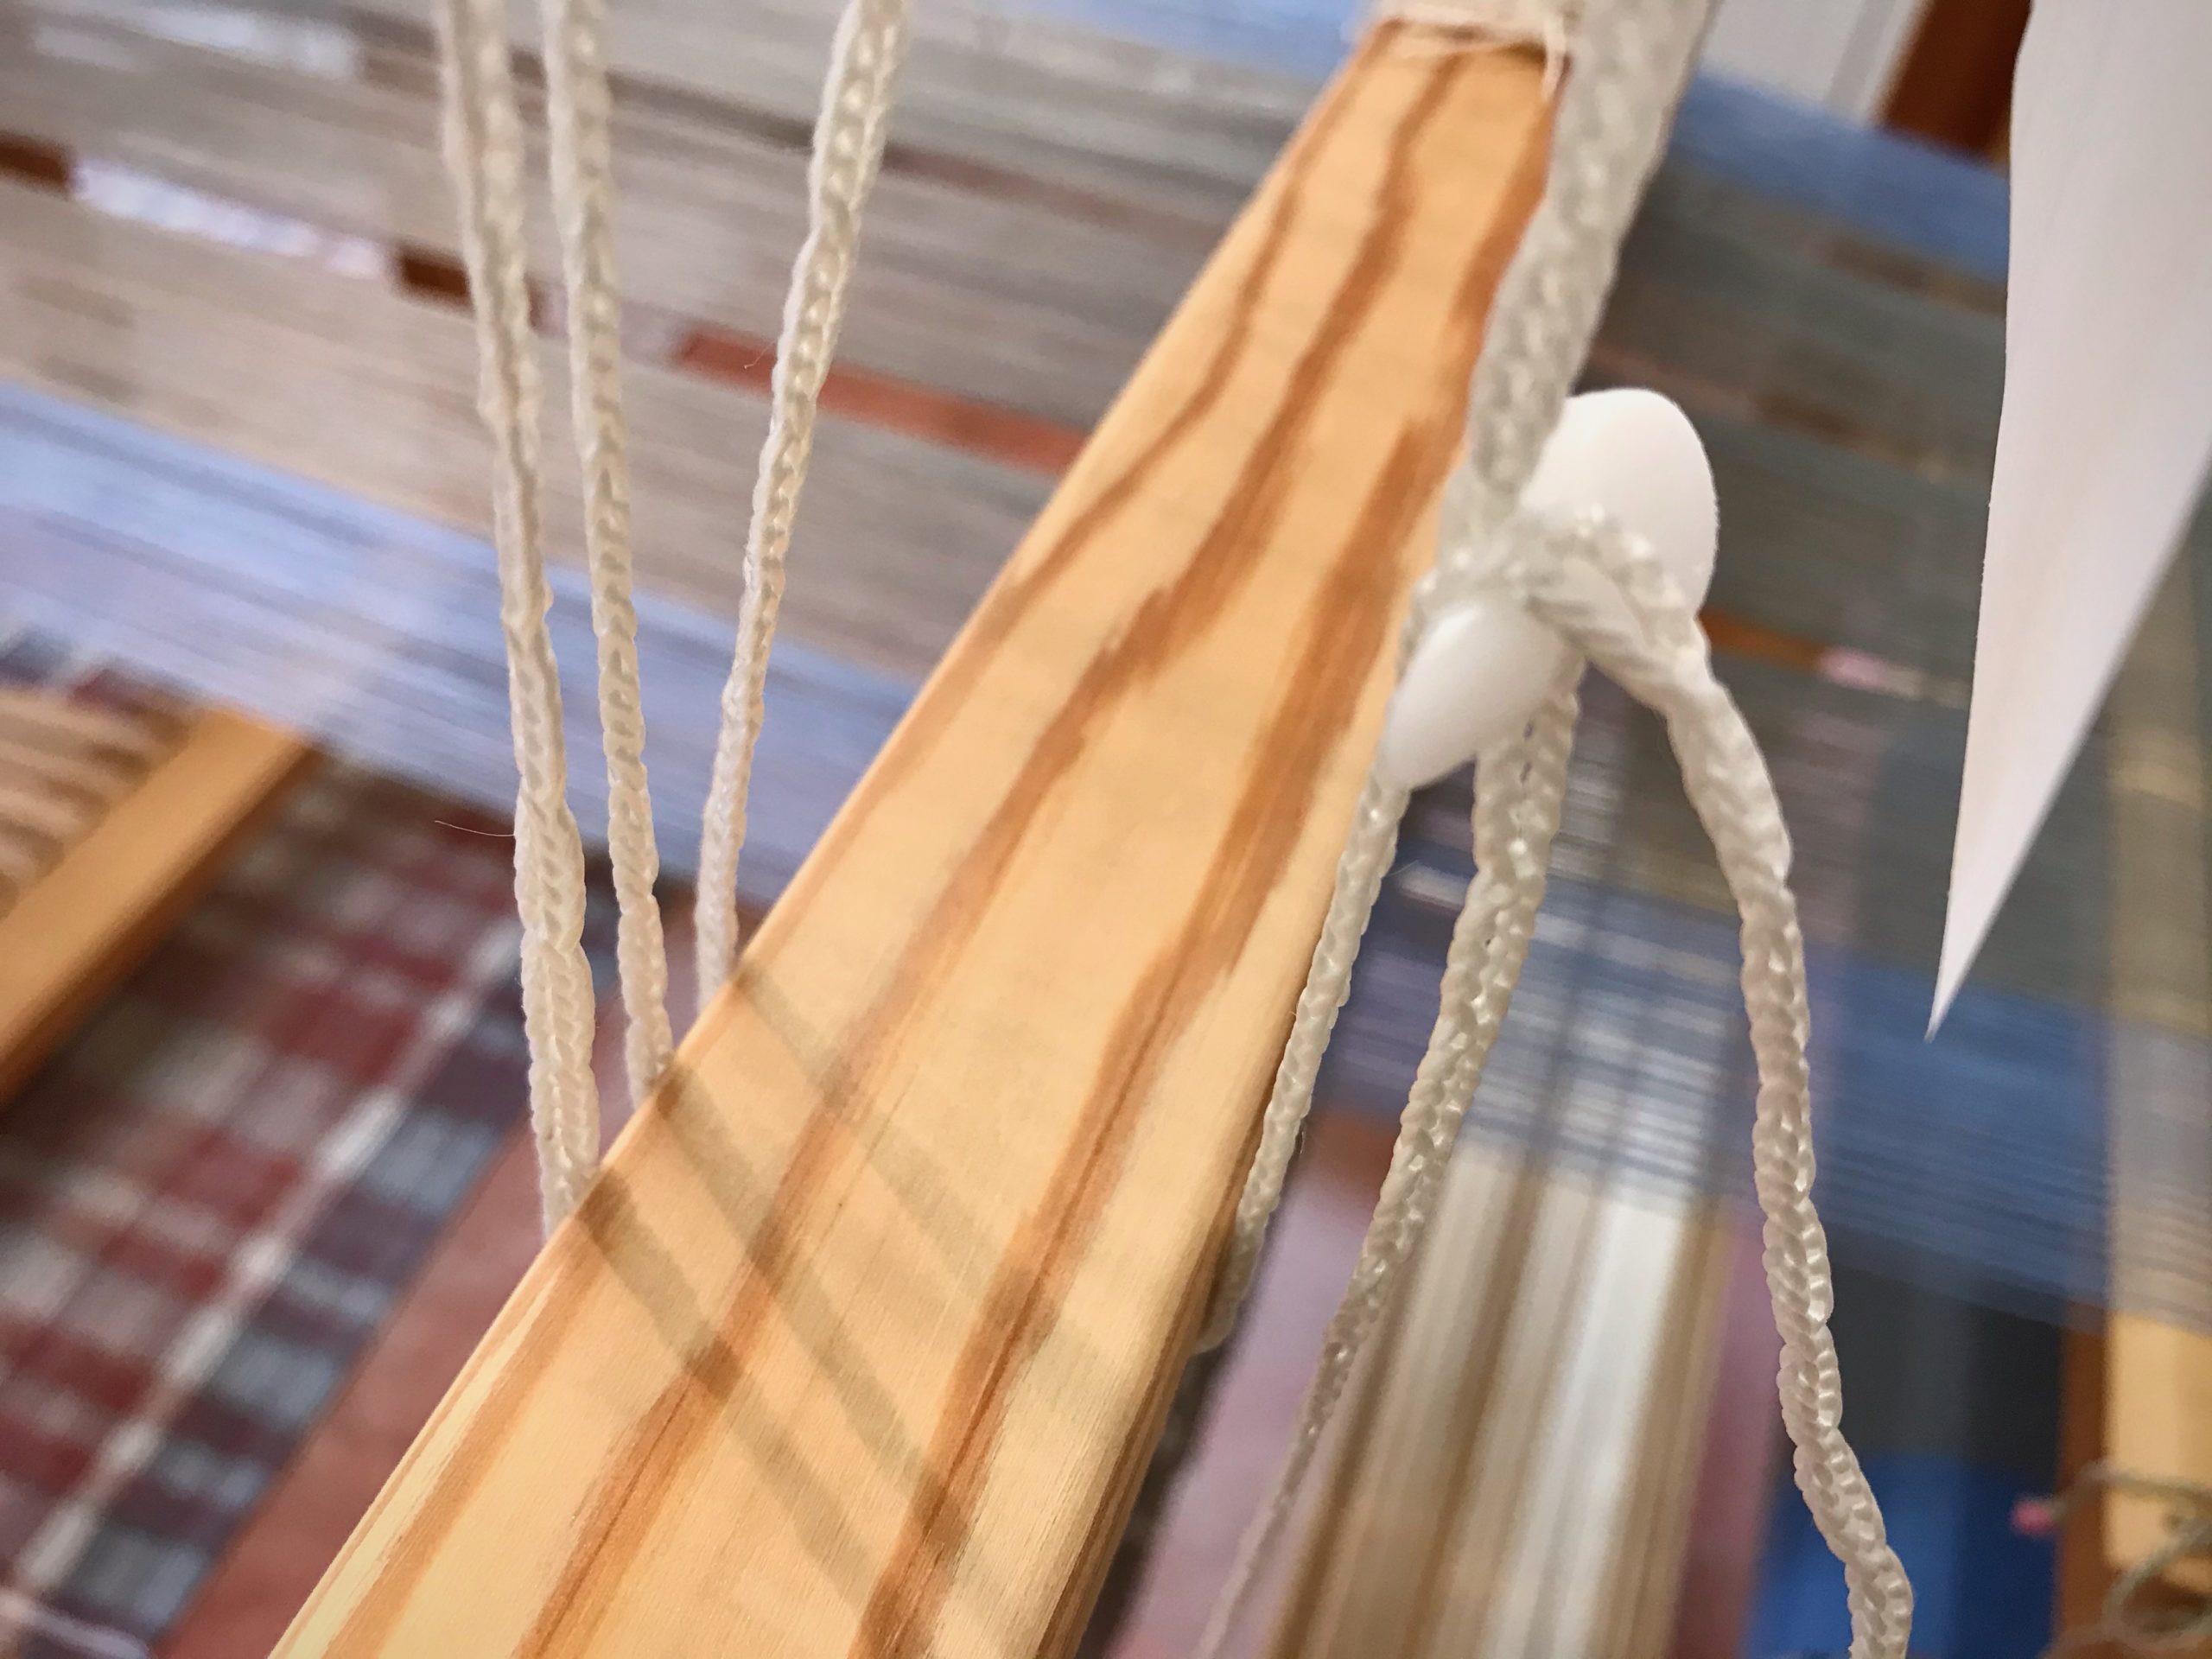
Thread one end of the Texsolv cord through a hole in the other end to make a loop. Insert an arrow peg through a hole to secure the loop.

But there is one potential hazard…

In order to adjust the height of the suspended heddling bar at the drawloom, I want to move the arrow peg. I hold one end of the bar while pulling the peg out of the Texsolv cord. That little peg fumbles out of my hand and drops to the floor. OOPS! I am left holding one end of the bar that has 148 threaded pattern heddles, weights included. Now what?! Alone in the room, I am now the sole support for that end of the heavy bar. The peg on the floor is out of reach.

Super Simple Tip of the Day

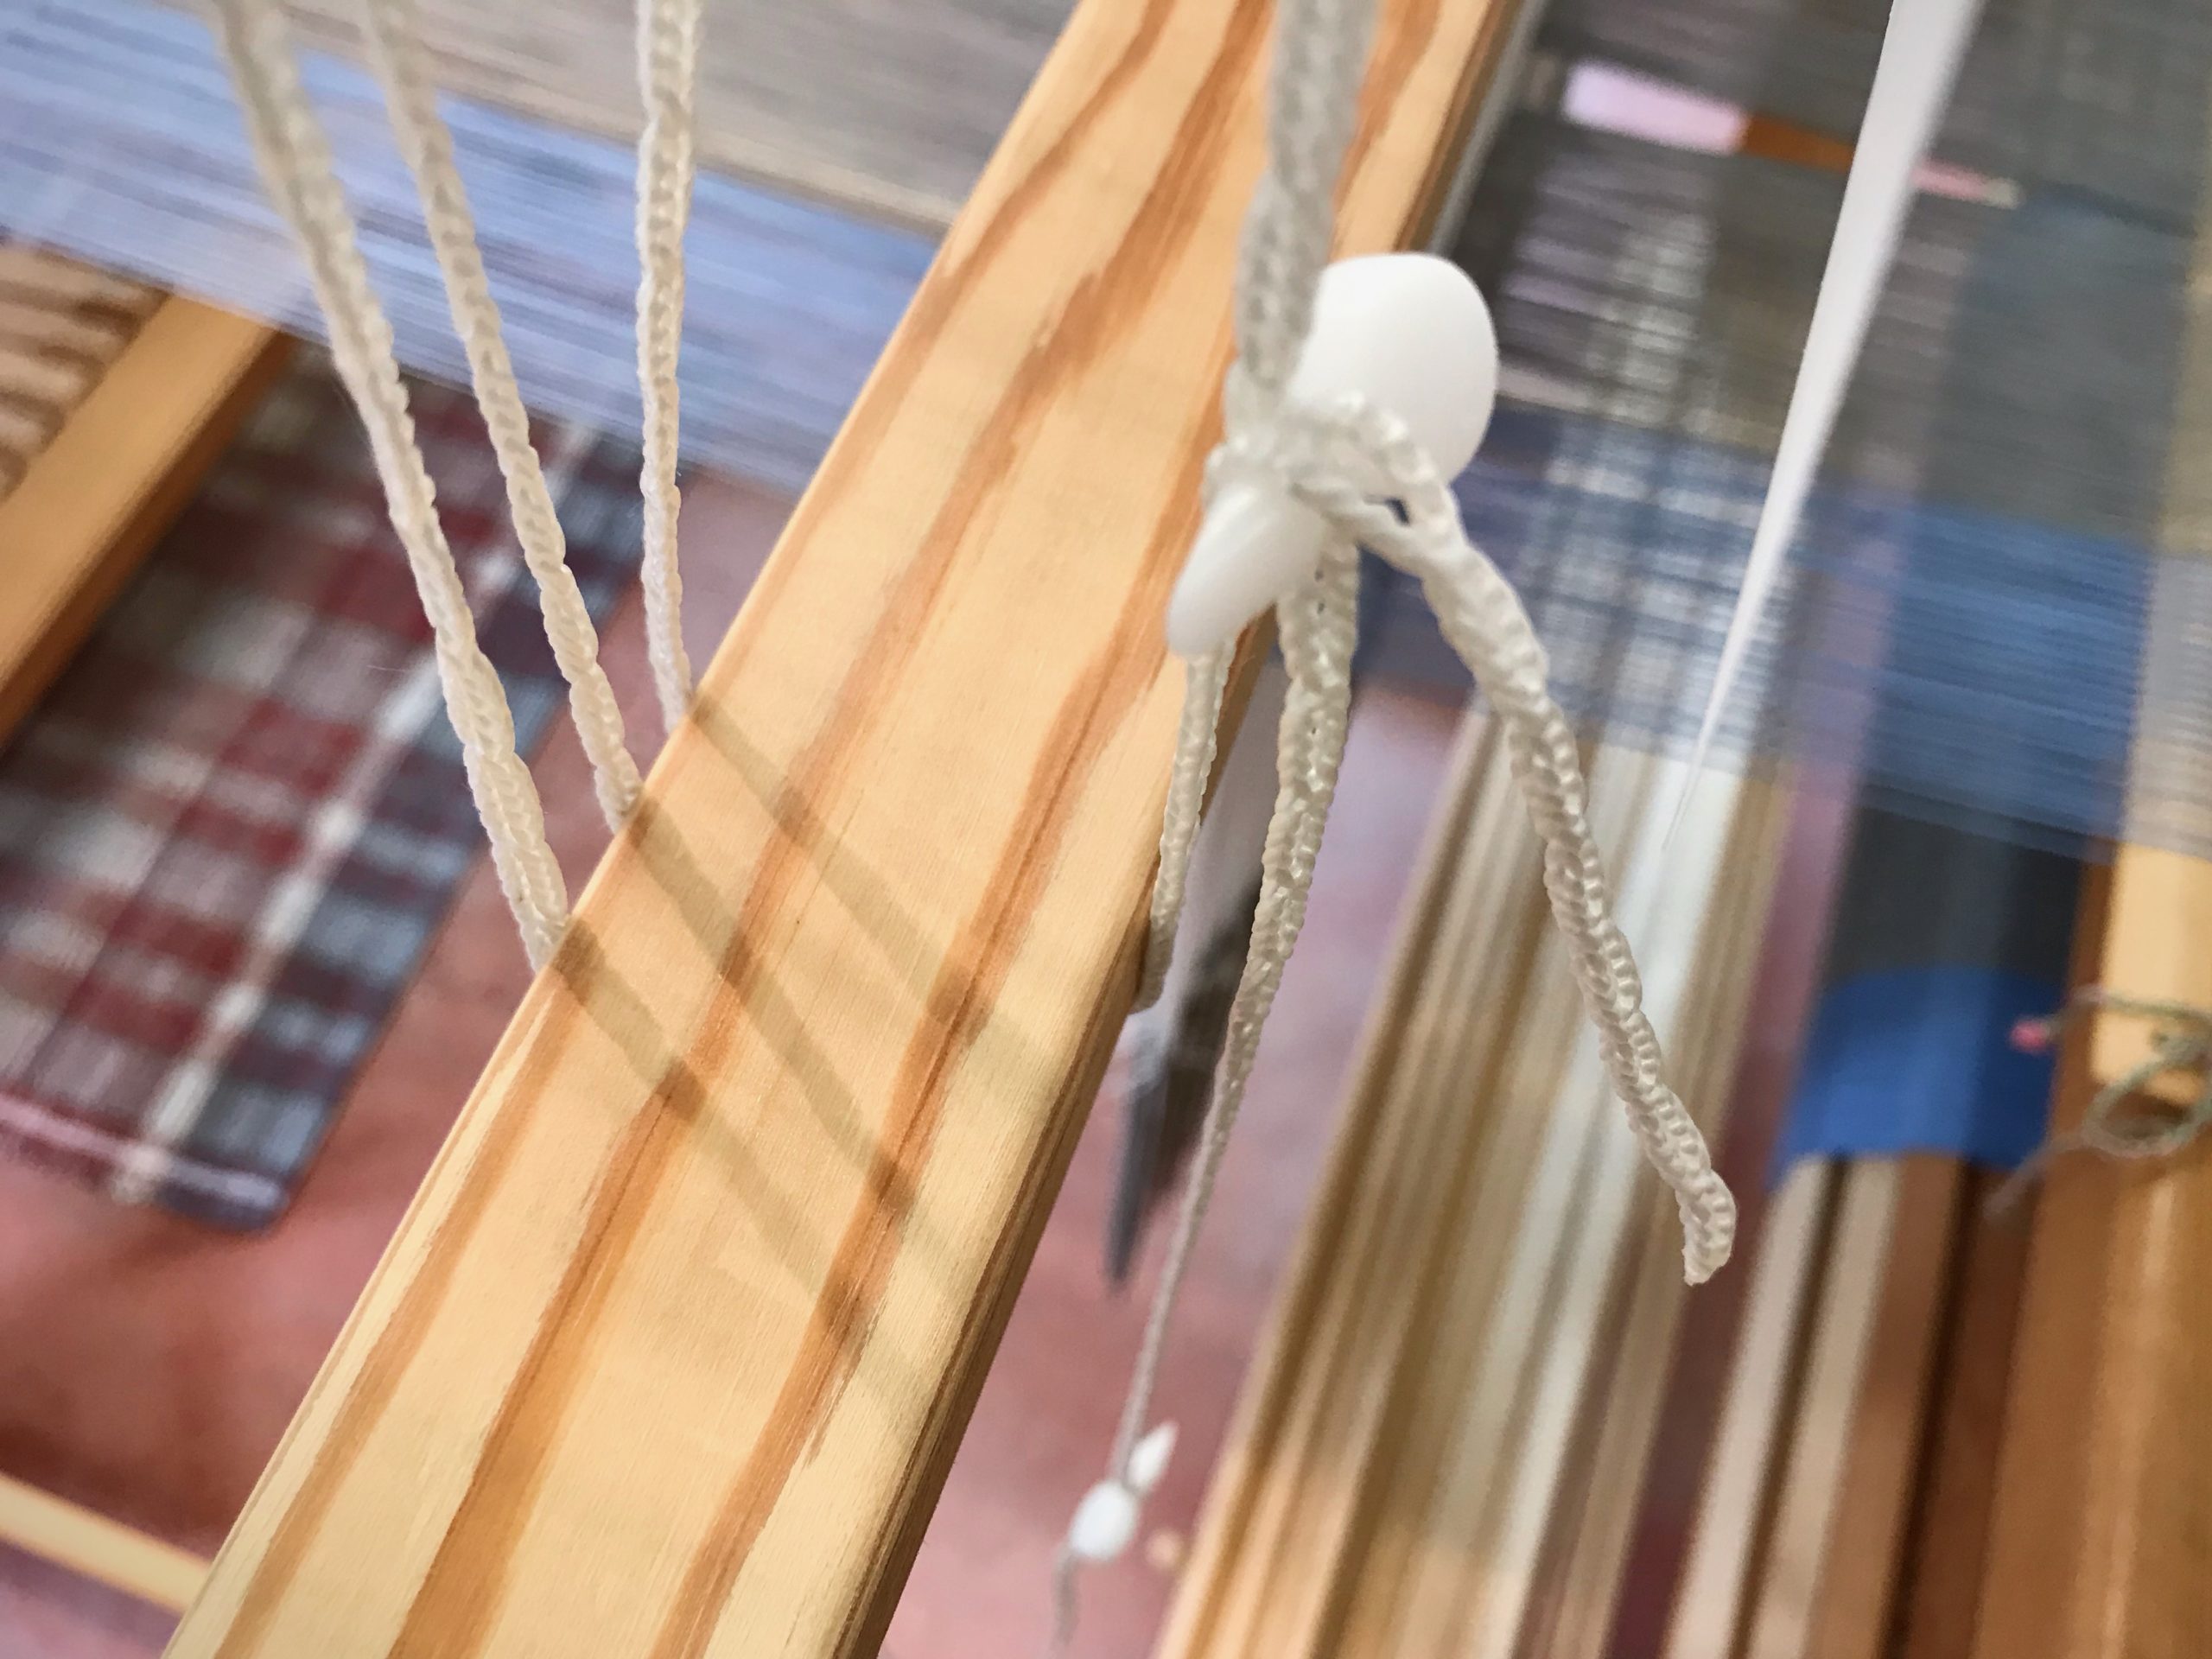
Always keep a spare anchor pin or arrow peg on the loose end of the Texsolv cord. Always.

Just in Case strategies.
Spare anchor pin stays on the shaft-holder cord. You do not want to be left holding a shaft holder with eight shafts if your anchor pin ever falls out of your hand…

The rest of the story…
When that pesky little arrow peg slips out of my hand I calmly take the spare peg that is there “just in case,” and secure the Texsolv loop that holds the heddling bar. No big deal, after all.

Strategies for Just in Case!
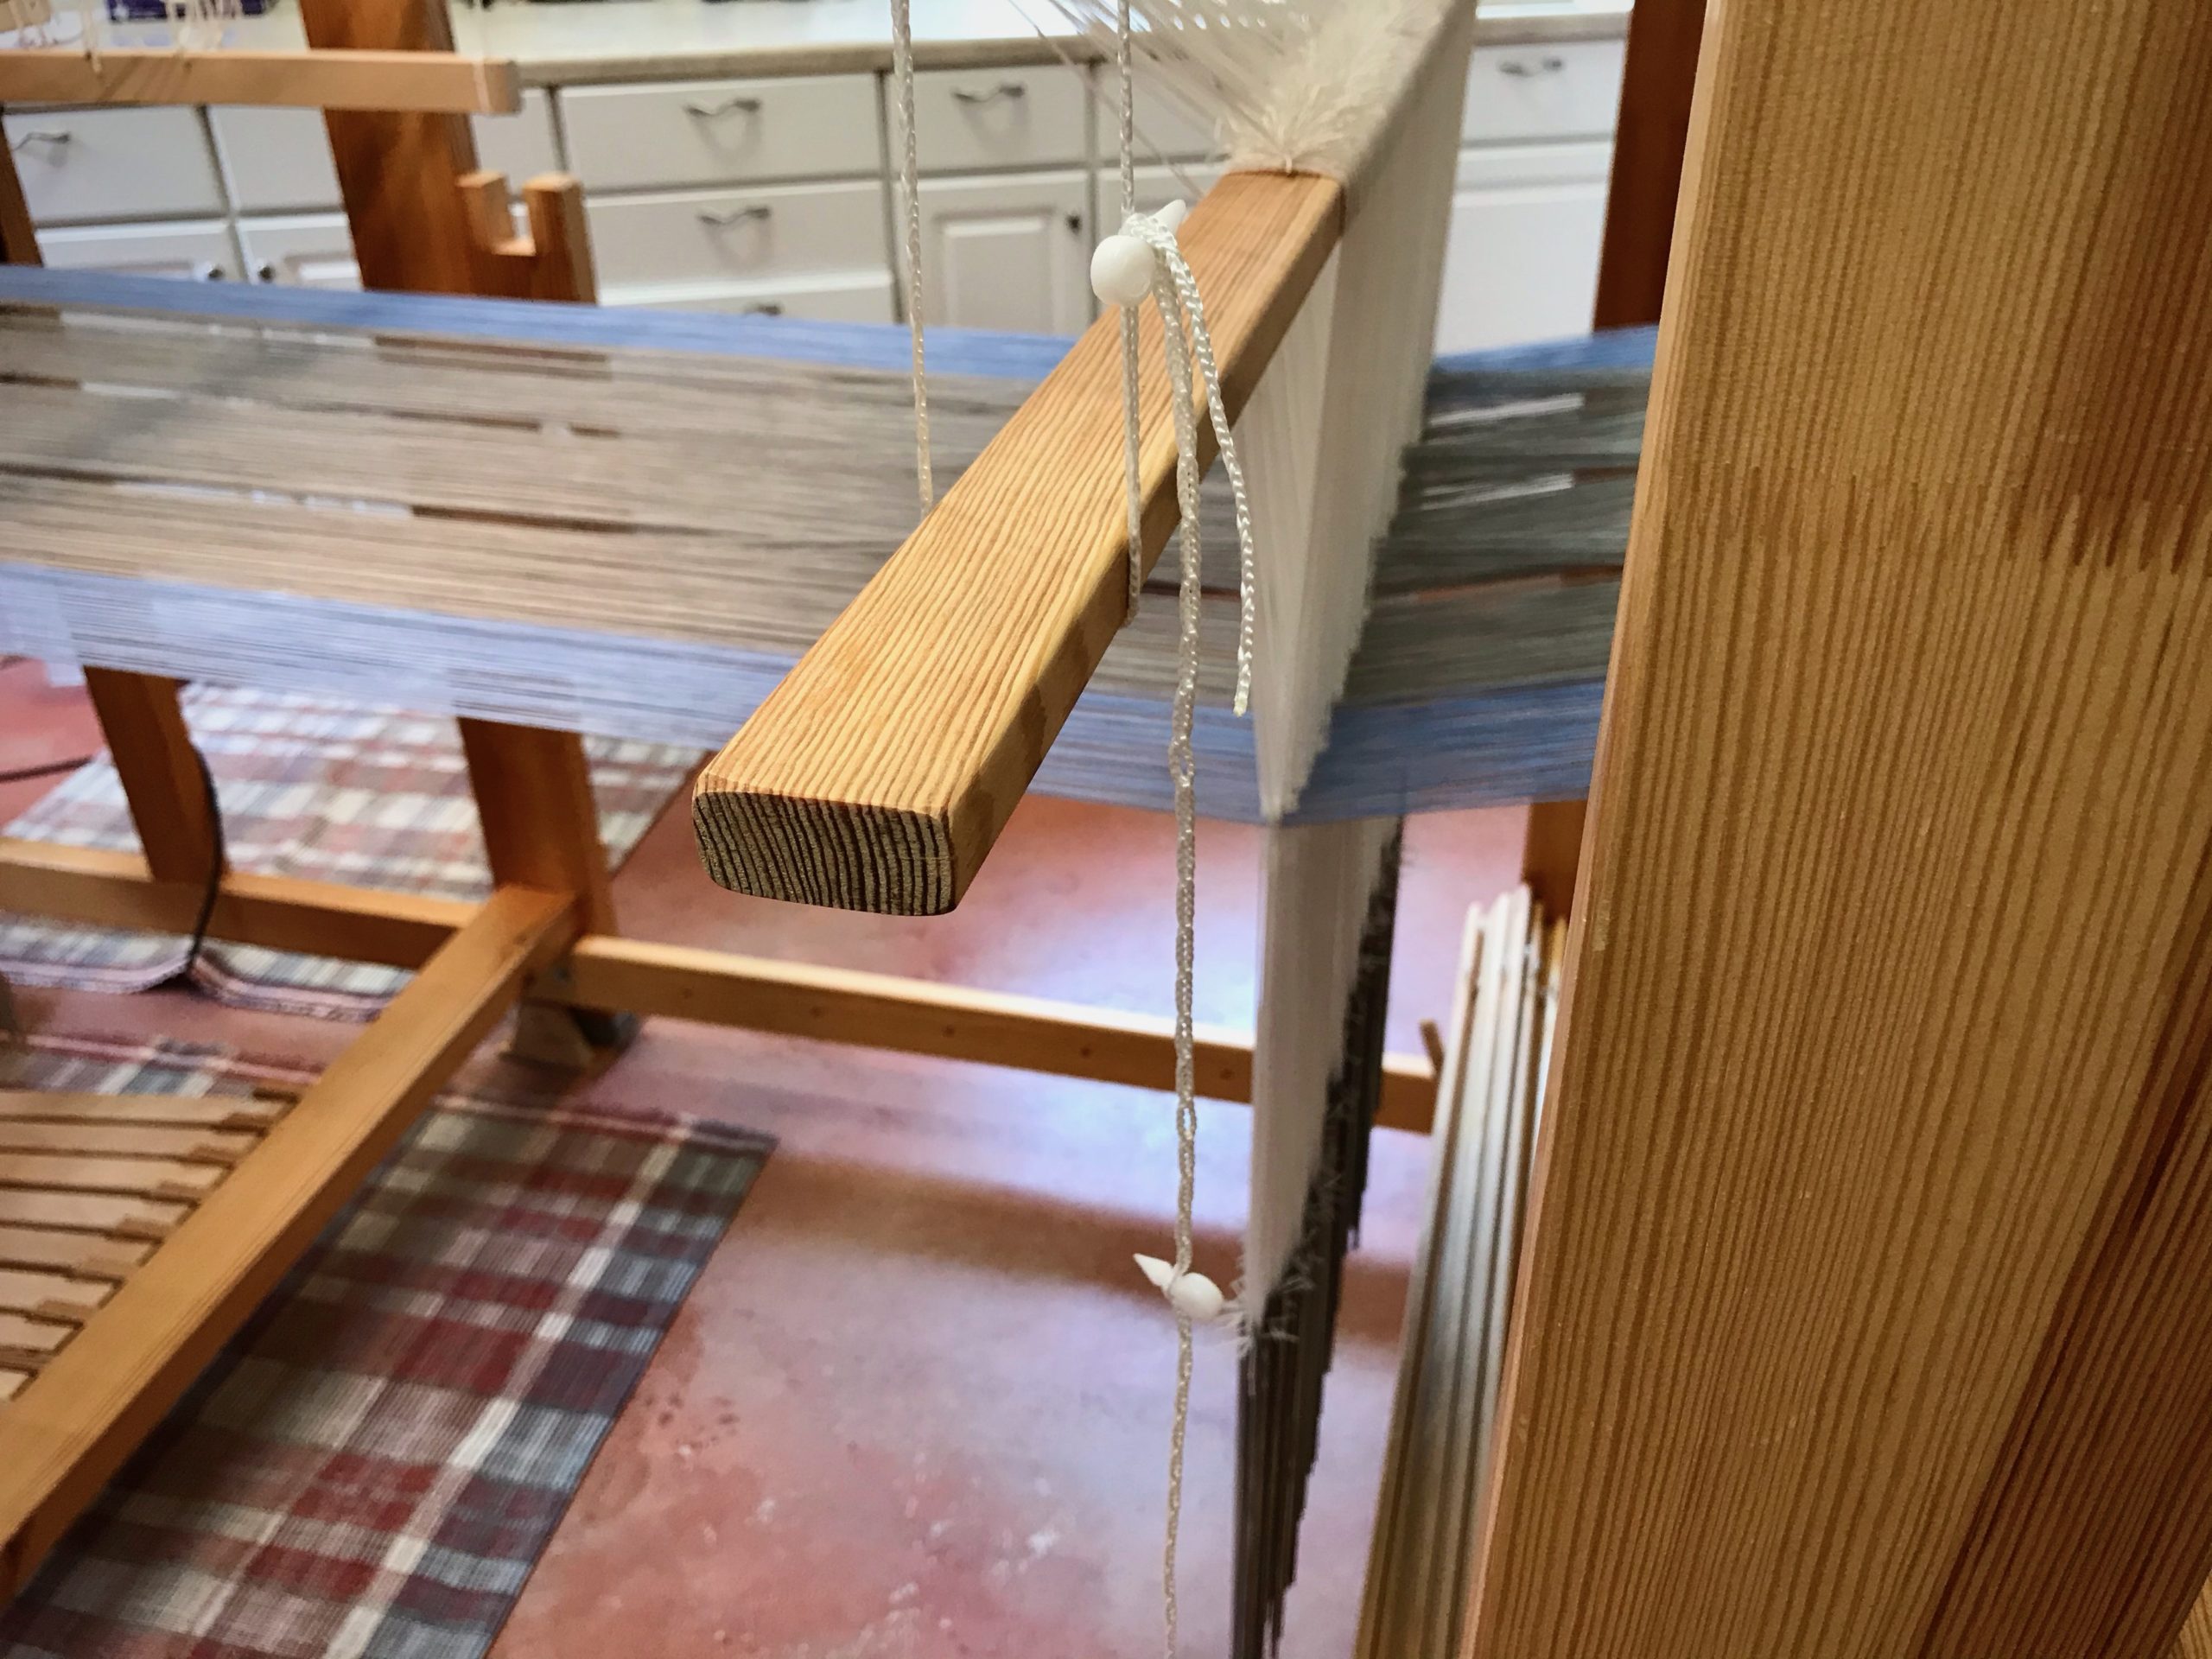
Spare arrow peg dangles below. Whew!
Tips for just in case!
Spare arrow peg is a life saver on the rare occasion it is needed. There is a significant amount of weight on that heddling bar.

May you be ready for anything, just in case.

Ready or not,
Karen

Quiet Friday: Countermarch Back Savers

After back surgery, I wondered how-in-the-world I would be able to tie up my countermarch looms. After a four-week ban on bending over, I was eager to weave, but not eager to do anything that might strain or injure my back.

Two simple maneuvers made it possible for me to tie up the lamms and the treadles on both of my Glimäkra countermarch looms:

  1. Remove the lamms. Treadle cords are added while sitting in a comfortable position.
  2. Detach the treadles. Bring treadles closer to the front of the loom for attaching treadle cords.

And two important practices kept me from over-reaching and overdoing it:

  1. Sit on a low stool instead of the back of the loom or the floor.
  2. Take frequent breaks to stand up, stretch, and walk around.

Tools:

  • Low stool for sitting
  • Rolling cart (IKEA cart) or small table
  • Plank of wood, longer than the loom is wide (one plank of warping trapeze, 1″ x 5″)
  • Treadle cords, Texsolv pins, other tie-up supplies
  • Length of cord to hold treadle up (Texsolv cord that’s used for hanging the reed for sleying)

The 120 cm (47″) Standard loom has open space in the loom, making it easy to get within arm’s reach of most things; but the challenge increases with the number of shafts–eight for this tie up.

Alpaca warp, ready for countermarch tie-up without back strain.
Beamed, threaded, sleyed, tied on. Waiting for the final step of tying up lamms and treadles.

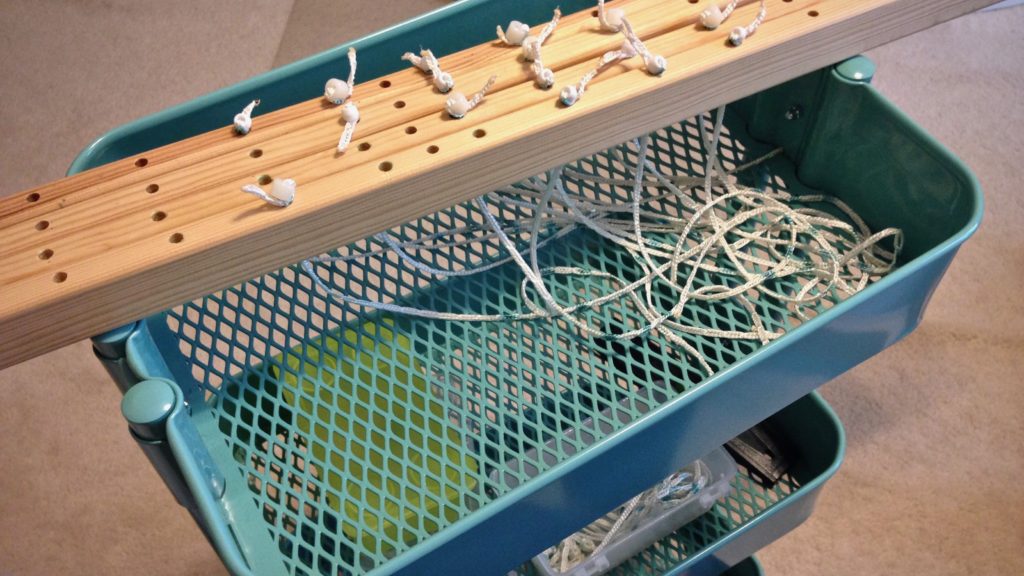
  • Lamms are removed, 2 at a time, and placed on the cart to add the treadle cords, all the while sitting on a comfortable stool.

Countermarch tie-up without back strain.

  • After all 8 lower lamms have the treadle cords added, the lamms are reinserted in the loom, 2 at a time.

Countermarch tie-up without back strain.

  • Treadle rod is removed to detach the treadles. Wood plank keeps the treadles from sliding back while treadle cords are attached at the front of the loom.

Trick to make countermarch tie-up easier on the back.

  • Cord acts as a sling to hold the treadle up to a comfortable height.

Tips for making countermarch tie-ups more back friendly.

  • The raised treadle helps with visibility, and enables the use of both hands, especially helpful for the “Vavstuga method” of tying up treadles with knitting needles (I use sharpened dowels). After treadles are tied up, re-attach the treadles at the back of the loom.

Hints for making countermarch tie-up more back friendly.


The 100 cm (39″) Ideal loom requires more reaching. Tying lamms to the shafts is a challenge for short arms, like mine. With four shafts, and only three treadles for this tie up, the rest of the process isn’t difficult.

Threaded for striped towels. Glimakra Ideal.
Threaded for striped towels. Glimäkra Ideal has smaller spaces in which to work than in the Standard loom.

  • Upper lamms are placed on the cart. I hold the weaving draft in my lap as I add the treadle cords to the lamms.

IKEA cart as tie-up helper.

  • Lower lamms are removed as the pin is pulled out. After the treadle cords are added, the lamms are reinserted.

Removing lamms to make countermarch tie-up back friendly.

  • Detached treadles lay on the floor. They easily pivot up at the front of the loom for attaching treadle cords.

Tips for making countermarch tie-ups less straining on the back.

  • Everything is tied up and ready to weave!

All tied up and ready to weave!

May you stay healthy to live long and weave.

Happy Weaving,
Karen

Quiet Friday: Warping Back to Front with Confidence

“Put on many short warps.” This was the best piece of advice I received as a new weaver! Repeated practice of the back-to-front warping steps accelerated my confidence at the loom. If I can get it on the loom, surely I can weave it, right? When you are comfortable dressing the loom, you start feeling like a “real” handweaver. And before you know it, you are planning, designing, and weaving. And having the time of your life!

Tips for Preparing the Warp for Beaming

  • Wind the warp with two (or more) threads, separated by your fingers to keep them from twisting. This virtually eliminates tangles during the warping process.
  • Wind multiple bouts, when needed. The rule of thumb I use is to stay under 200 ends or 10 inches. Smaller bouts equalize the tension across the width of the warp.
  • Tie tight choke ties about every yard or meter along the warp before chaining it. This keeps the warp ends from shifting.
  • Keep the warp under constant, even tension. Threads can get into trouble if you let them relax.

Warping Back to Front

1 Lay warp chains across the breast beam, and through the beater, with the lease cross of each warp chain on the other side of the beater.
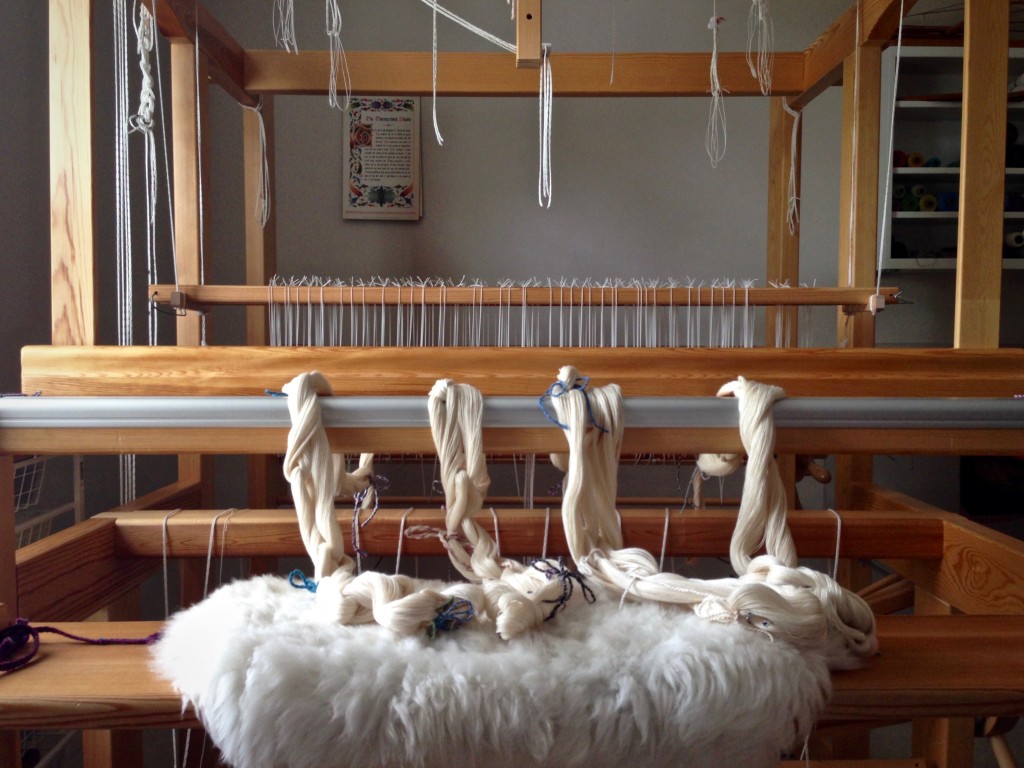
Warp chains ready for warping the loom back to front.

2 Raise the shafts out of the way, and place support sticks over the beater and the back beam to hold the lease sticks and the pre-sley reed. Thread the lease sticks through the cross of each chain. Lease sticks in the picture are being tied together.
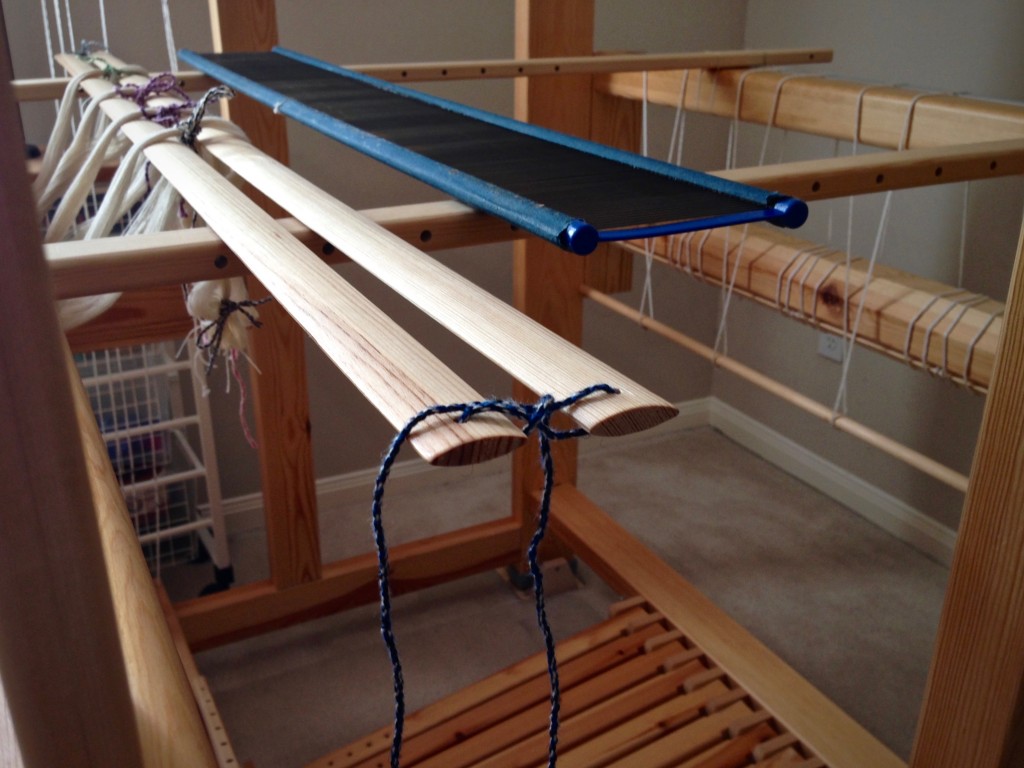
Tying lease sticks during warping process. B2F warping explained.

3 Use tape measure and reed hook to mark the starting dent for pre-sleying the reed.
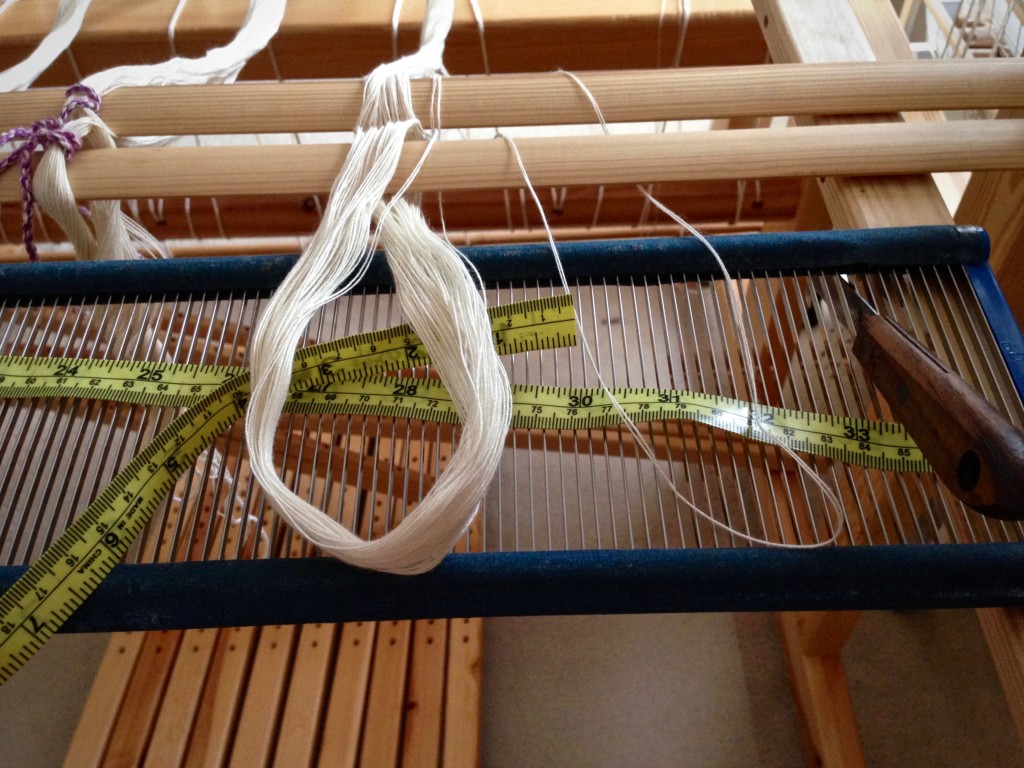
Pre-sleying the reed in back to front warping.

4 Divide warp into sections corresponding to the cords on the back tie-on bar. Insert the tie-on bar through the loops that form at the end of the warp.
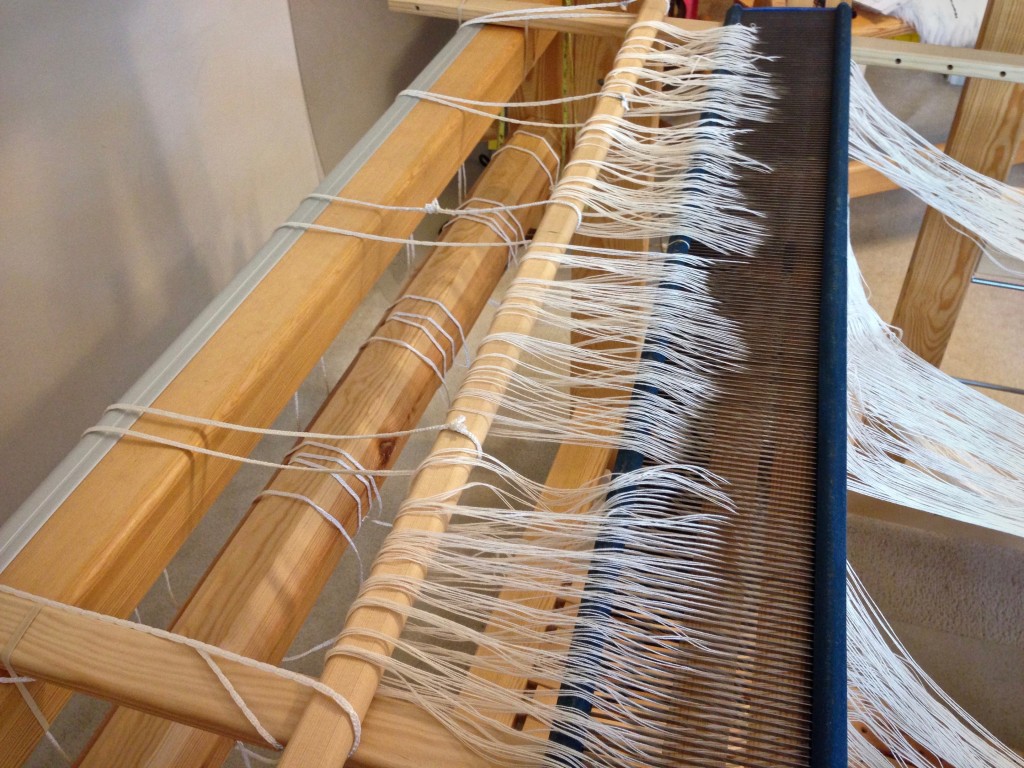
Insert tie-on bar while warping back to front.

5 Install the warping trapeze at the front of the loom, or use another method to extend the warp and weight it. Texsolv cord is connected to the end of each warp chain to extend the length. (This is a 3.5 meter warp–not long enough to go over the trapeze cross bar.) Weights are suspended from the texsolv cords with S-hooks.
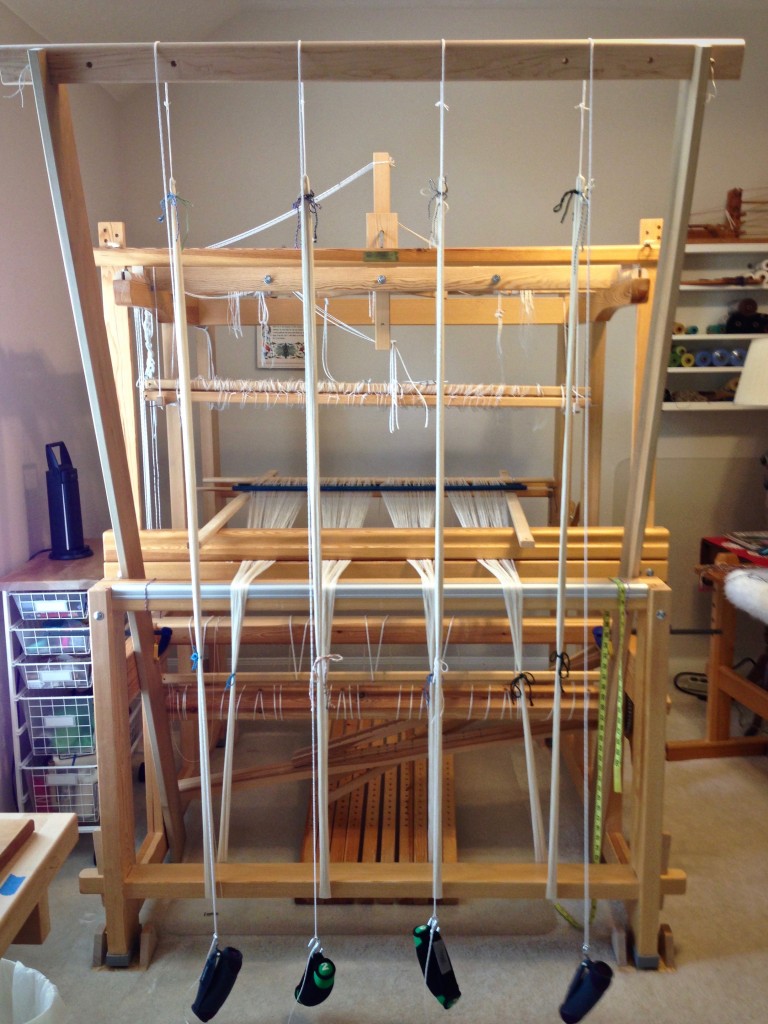
Adjusting the warp on the warping trapeze.

6 Transfer the lease sticks from in front of the reed to behind the reed. This is a gutsy way of transferring lease sticks. (Please don’t try this method unless you read about it first in Becky Ashenden’s book, noted below.)
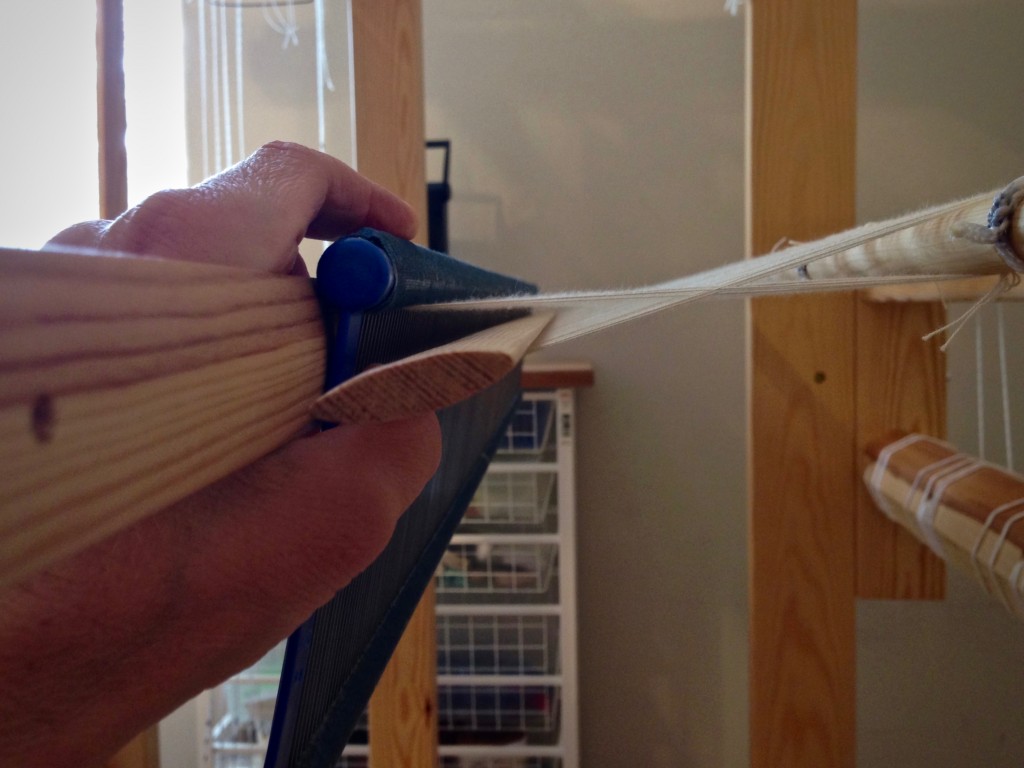
Transferring lease sticks like this takes guts!

7 Straighten out each warp end from the reed to the back tie-on bar.
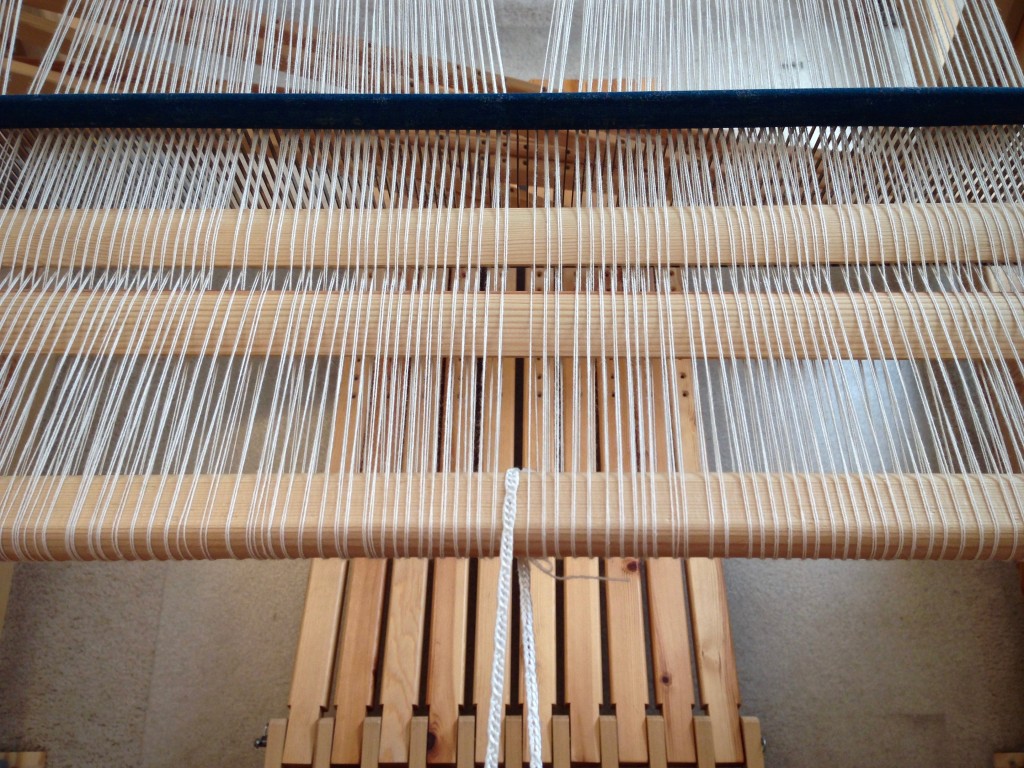
Winding on a new warp. Back to front warping pics.

8 Place the reed in the beater. Center the reed in the beater.
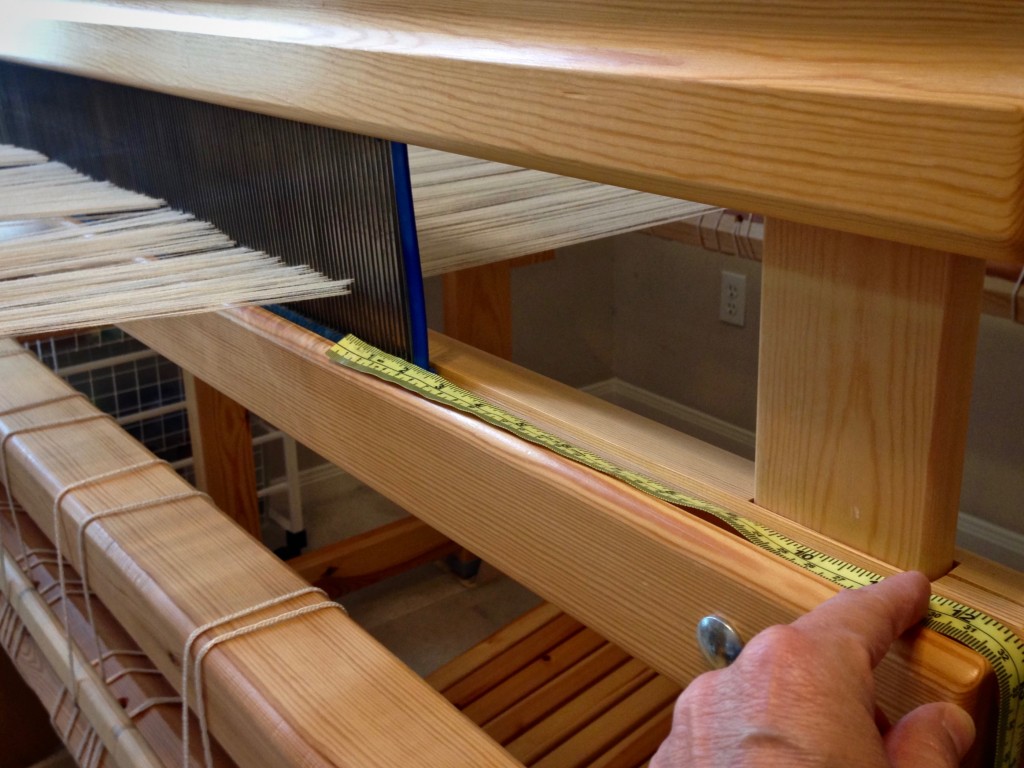
Placing the reed in the beater.

9 Remove choke ties between the beater and the trapeze cross bar, but do not remove choke ties from the very end of the warp. Starting at the reed, separate each warp bout in the middle.
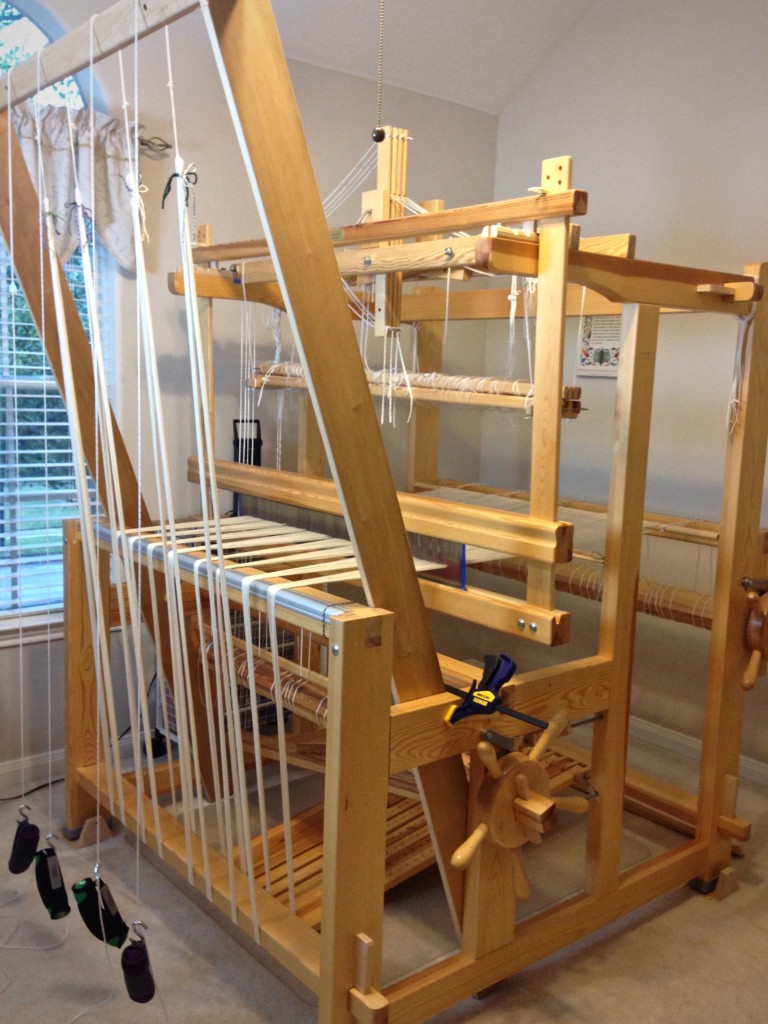
Warping trapeze in use for warping Glimakra Standard.

10 After sliding lease sticks toward the reed, wind the warp onto the beam. Place a warping slat on each flat side of the warp beam for one revolution. (Octagonal beam uses eight sticks.) Advance weight at the front of the loom as needed. After two additional revolutions of the beam, add warping slats for one revolution again. Continue this pattern as beaming progresses.
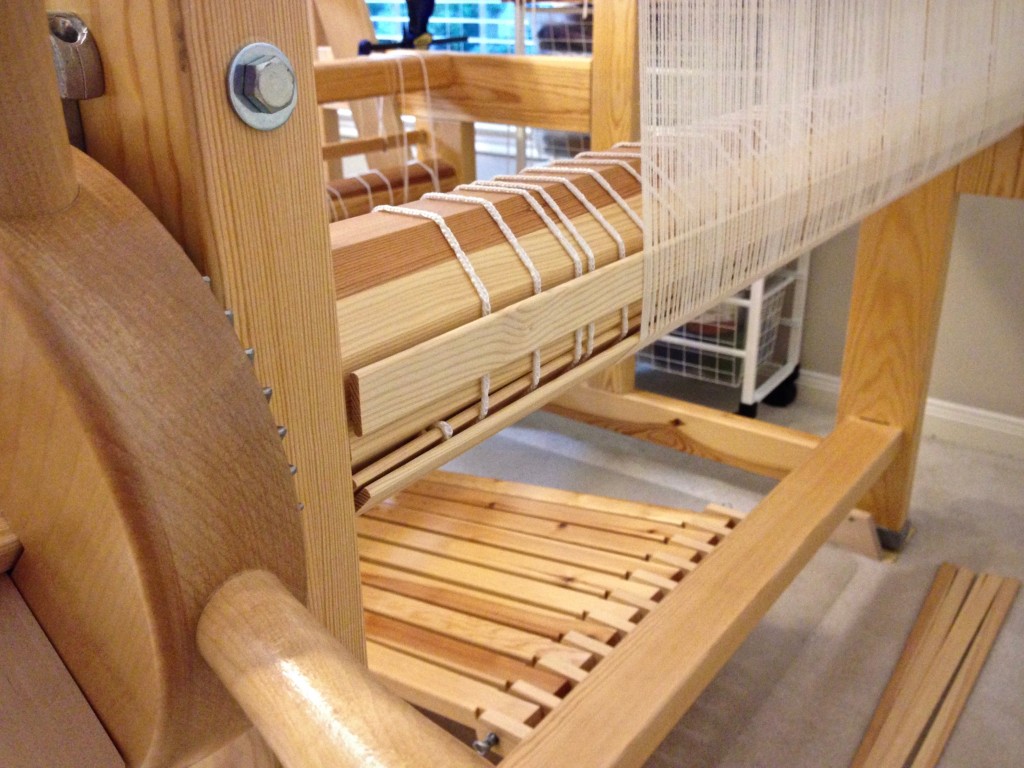
Warping slats during beaming. Beaming tutorial.

11 Tie beater back to allow a little more warp to be wound on.
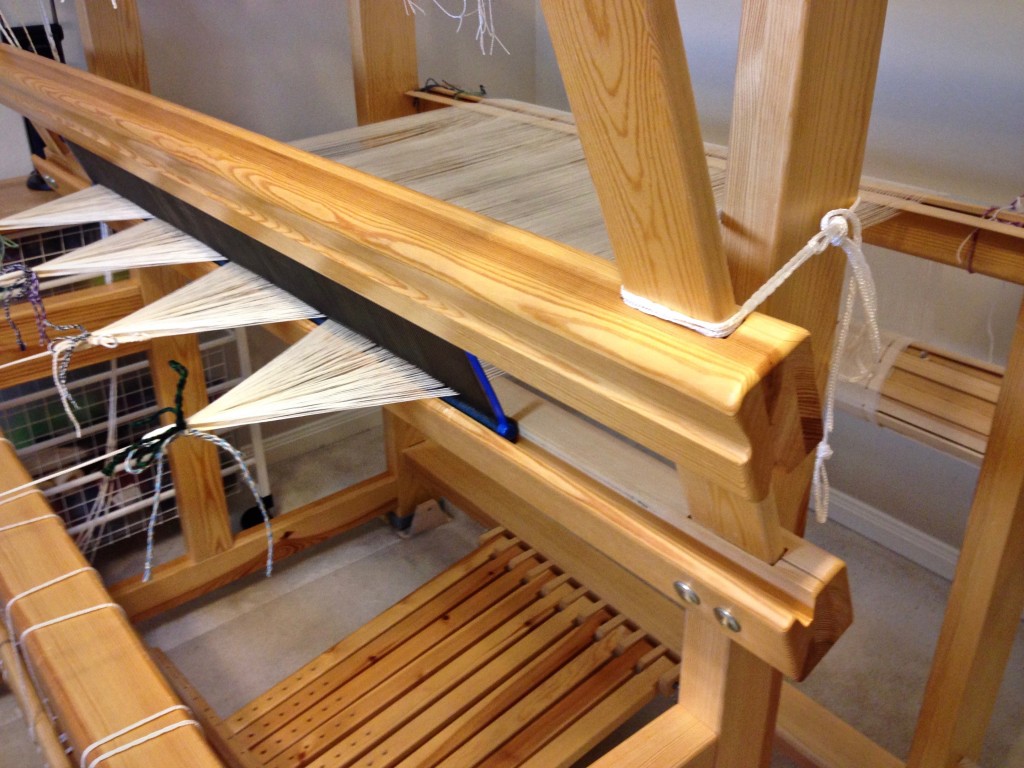
Finishing up beaming the warp.

12 Tie lease sticks to the back beam. Do not forget this step!
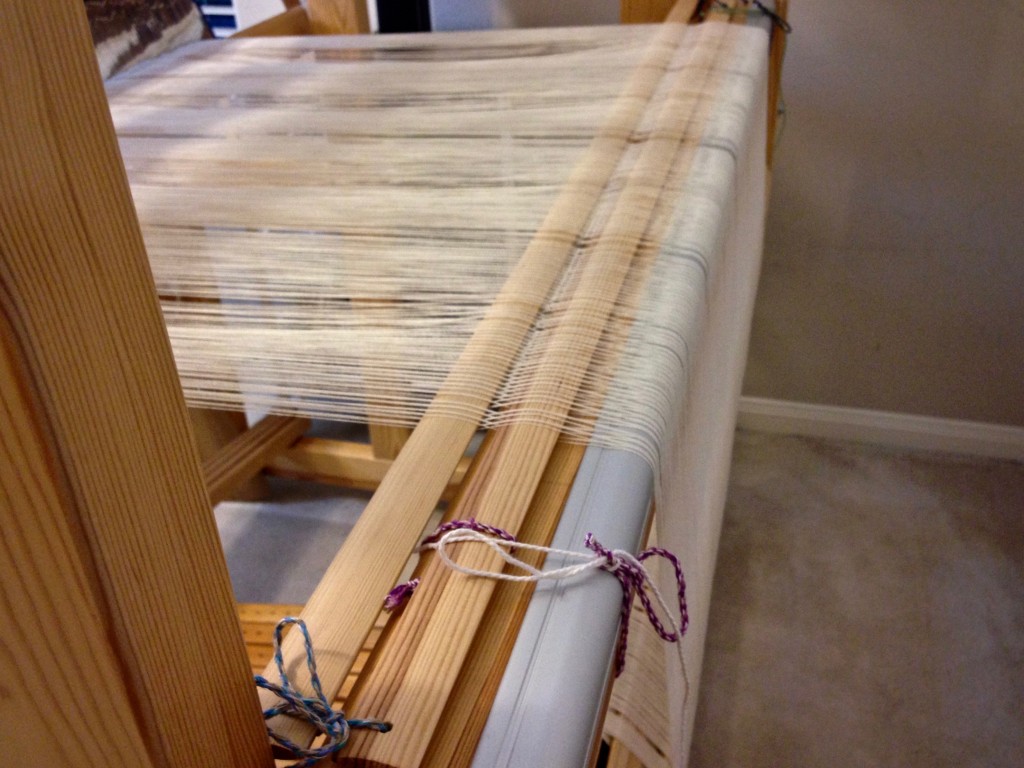
Tie the lease sticks to the back beam before cutting the ends.

If you missed step 12, do it now, or you will be yelling for help as you try to hold the cut ends with one hand while trying to keep the lease sticks from slipping out with your other hand. I speak from experience.

13 Loop the end of the warp chain around your hand, and then remove the remaining choke ties. Cut the loop.
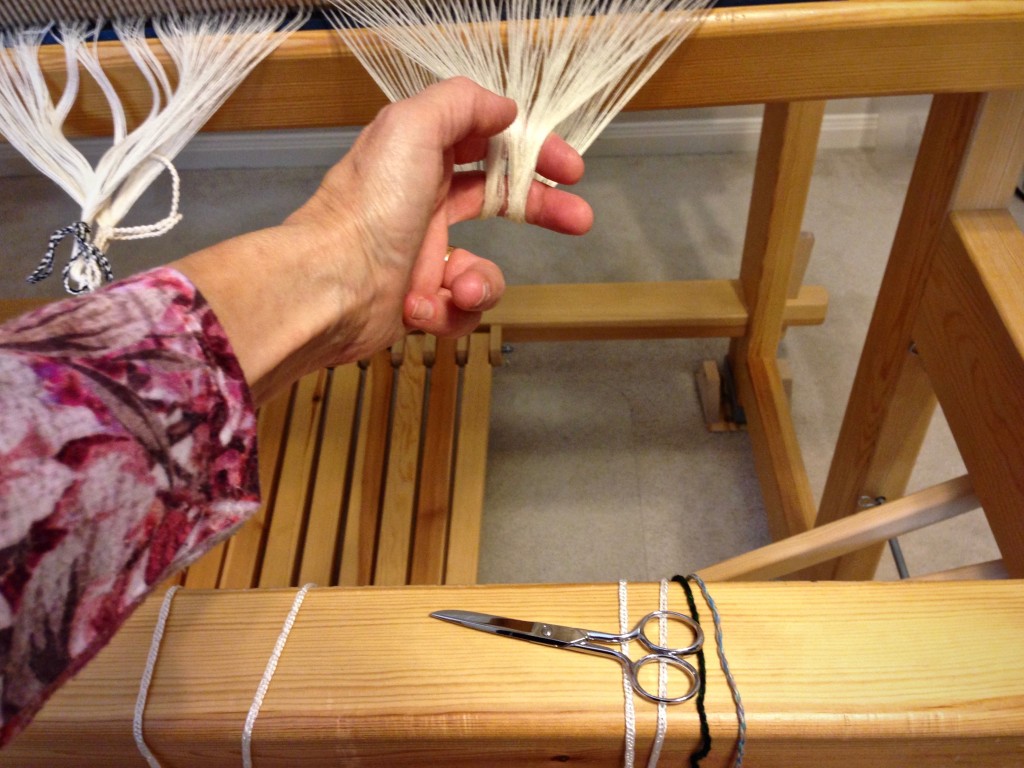
Cutting ends after beaming the warp.

14 Remove a group of warp threads from the reed and tie in a loose slipknot. Continue across the warp. Remove the reed.
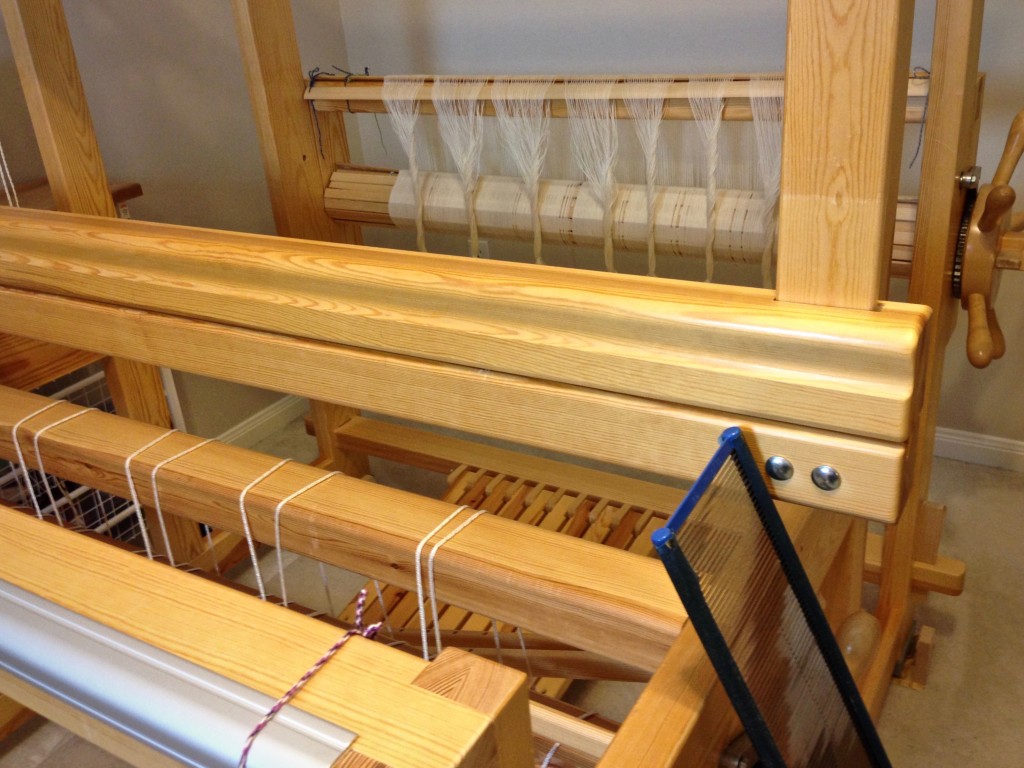
New warp of 16/2 cotton for monksbelt on weft rep.

15 Use the threading draft to count the warp ends into threading groups, tying each grouping with a slipknot.
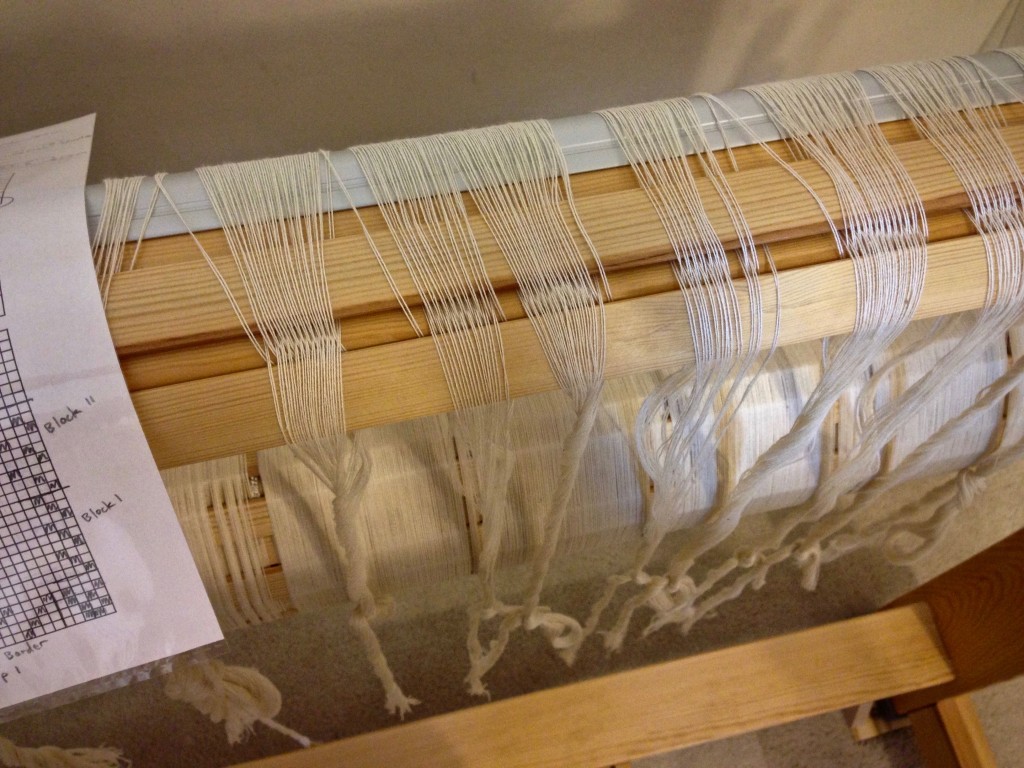
Grouping warp ends before threading.

16 Adjust the loom for threading. For this Glimåkra Standard loom, I move the countermarch assembly to the back of the loom, put the bench in the “playhouse,” and lower the shafts for threading.
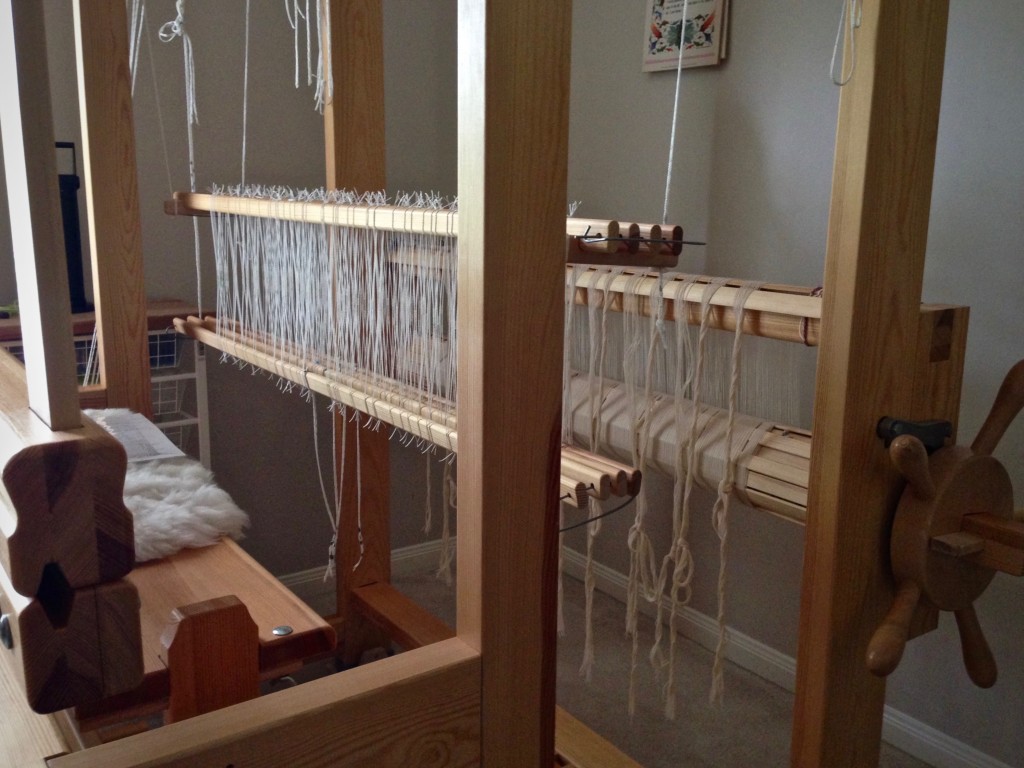
Bench "in" the loom for threading. Glimakra Standard.

For more thorough instructions about warping your loom, please consult these excellent resources:

  • Dress Your Loom The Vävstuga Way, A Bench-Side Photo Guide, by Becky Ashenden
  • Learning to Warp Your Loom, by Joanne Hall
  • The Big Book of Weaving, by Laila Lundell

May you find yourself beaming, inside and out.

Resurrection blessings,
Karen