Tried and True: Are Retaining Cords Worth the Trouble?

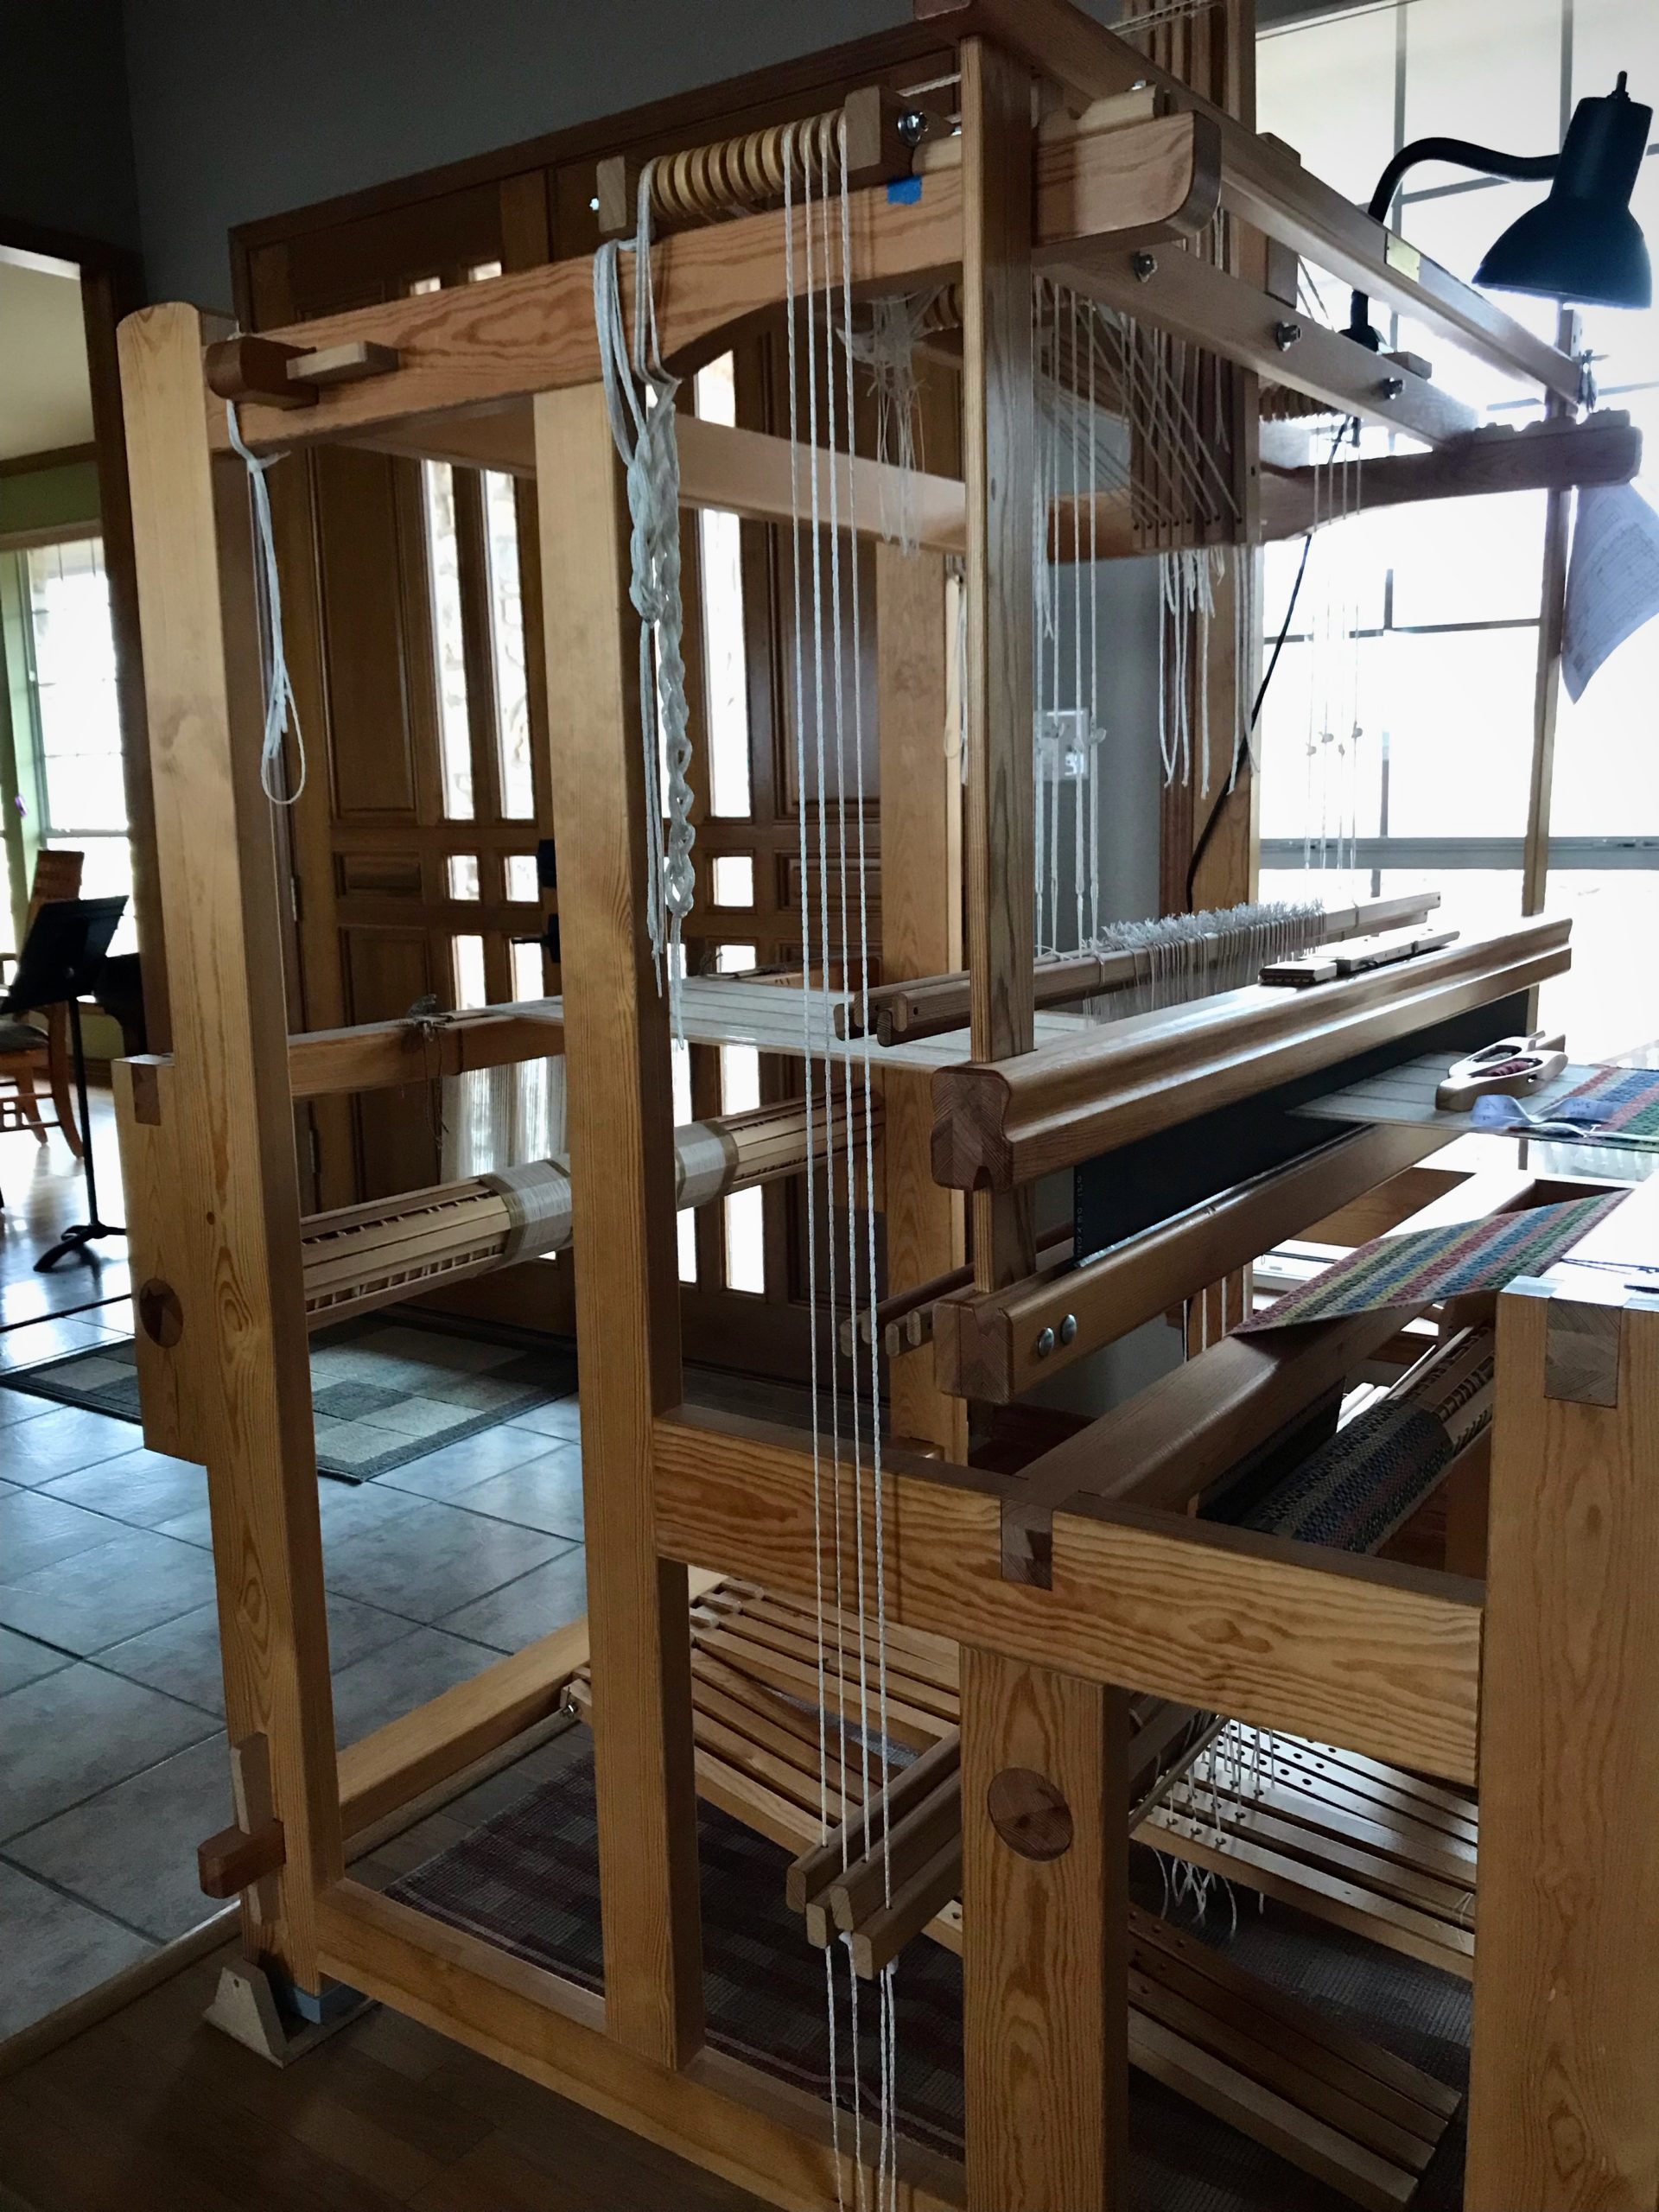
Some things are easier done than said. I said to myself that it’s too much trouble to tie retaining cords on the shafts. I am weaving almost full width on the Glimåkra Julia. I know that heddles can slip off the ends of shafts. Still, I tell myself I can keep an eye on it. It won’t be a problem, right? Wrong.
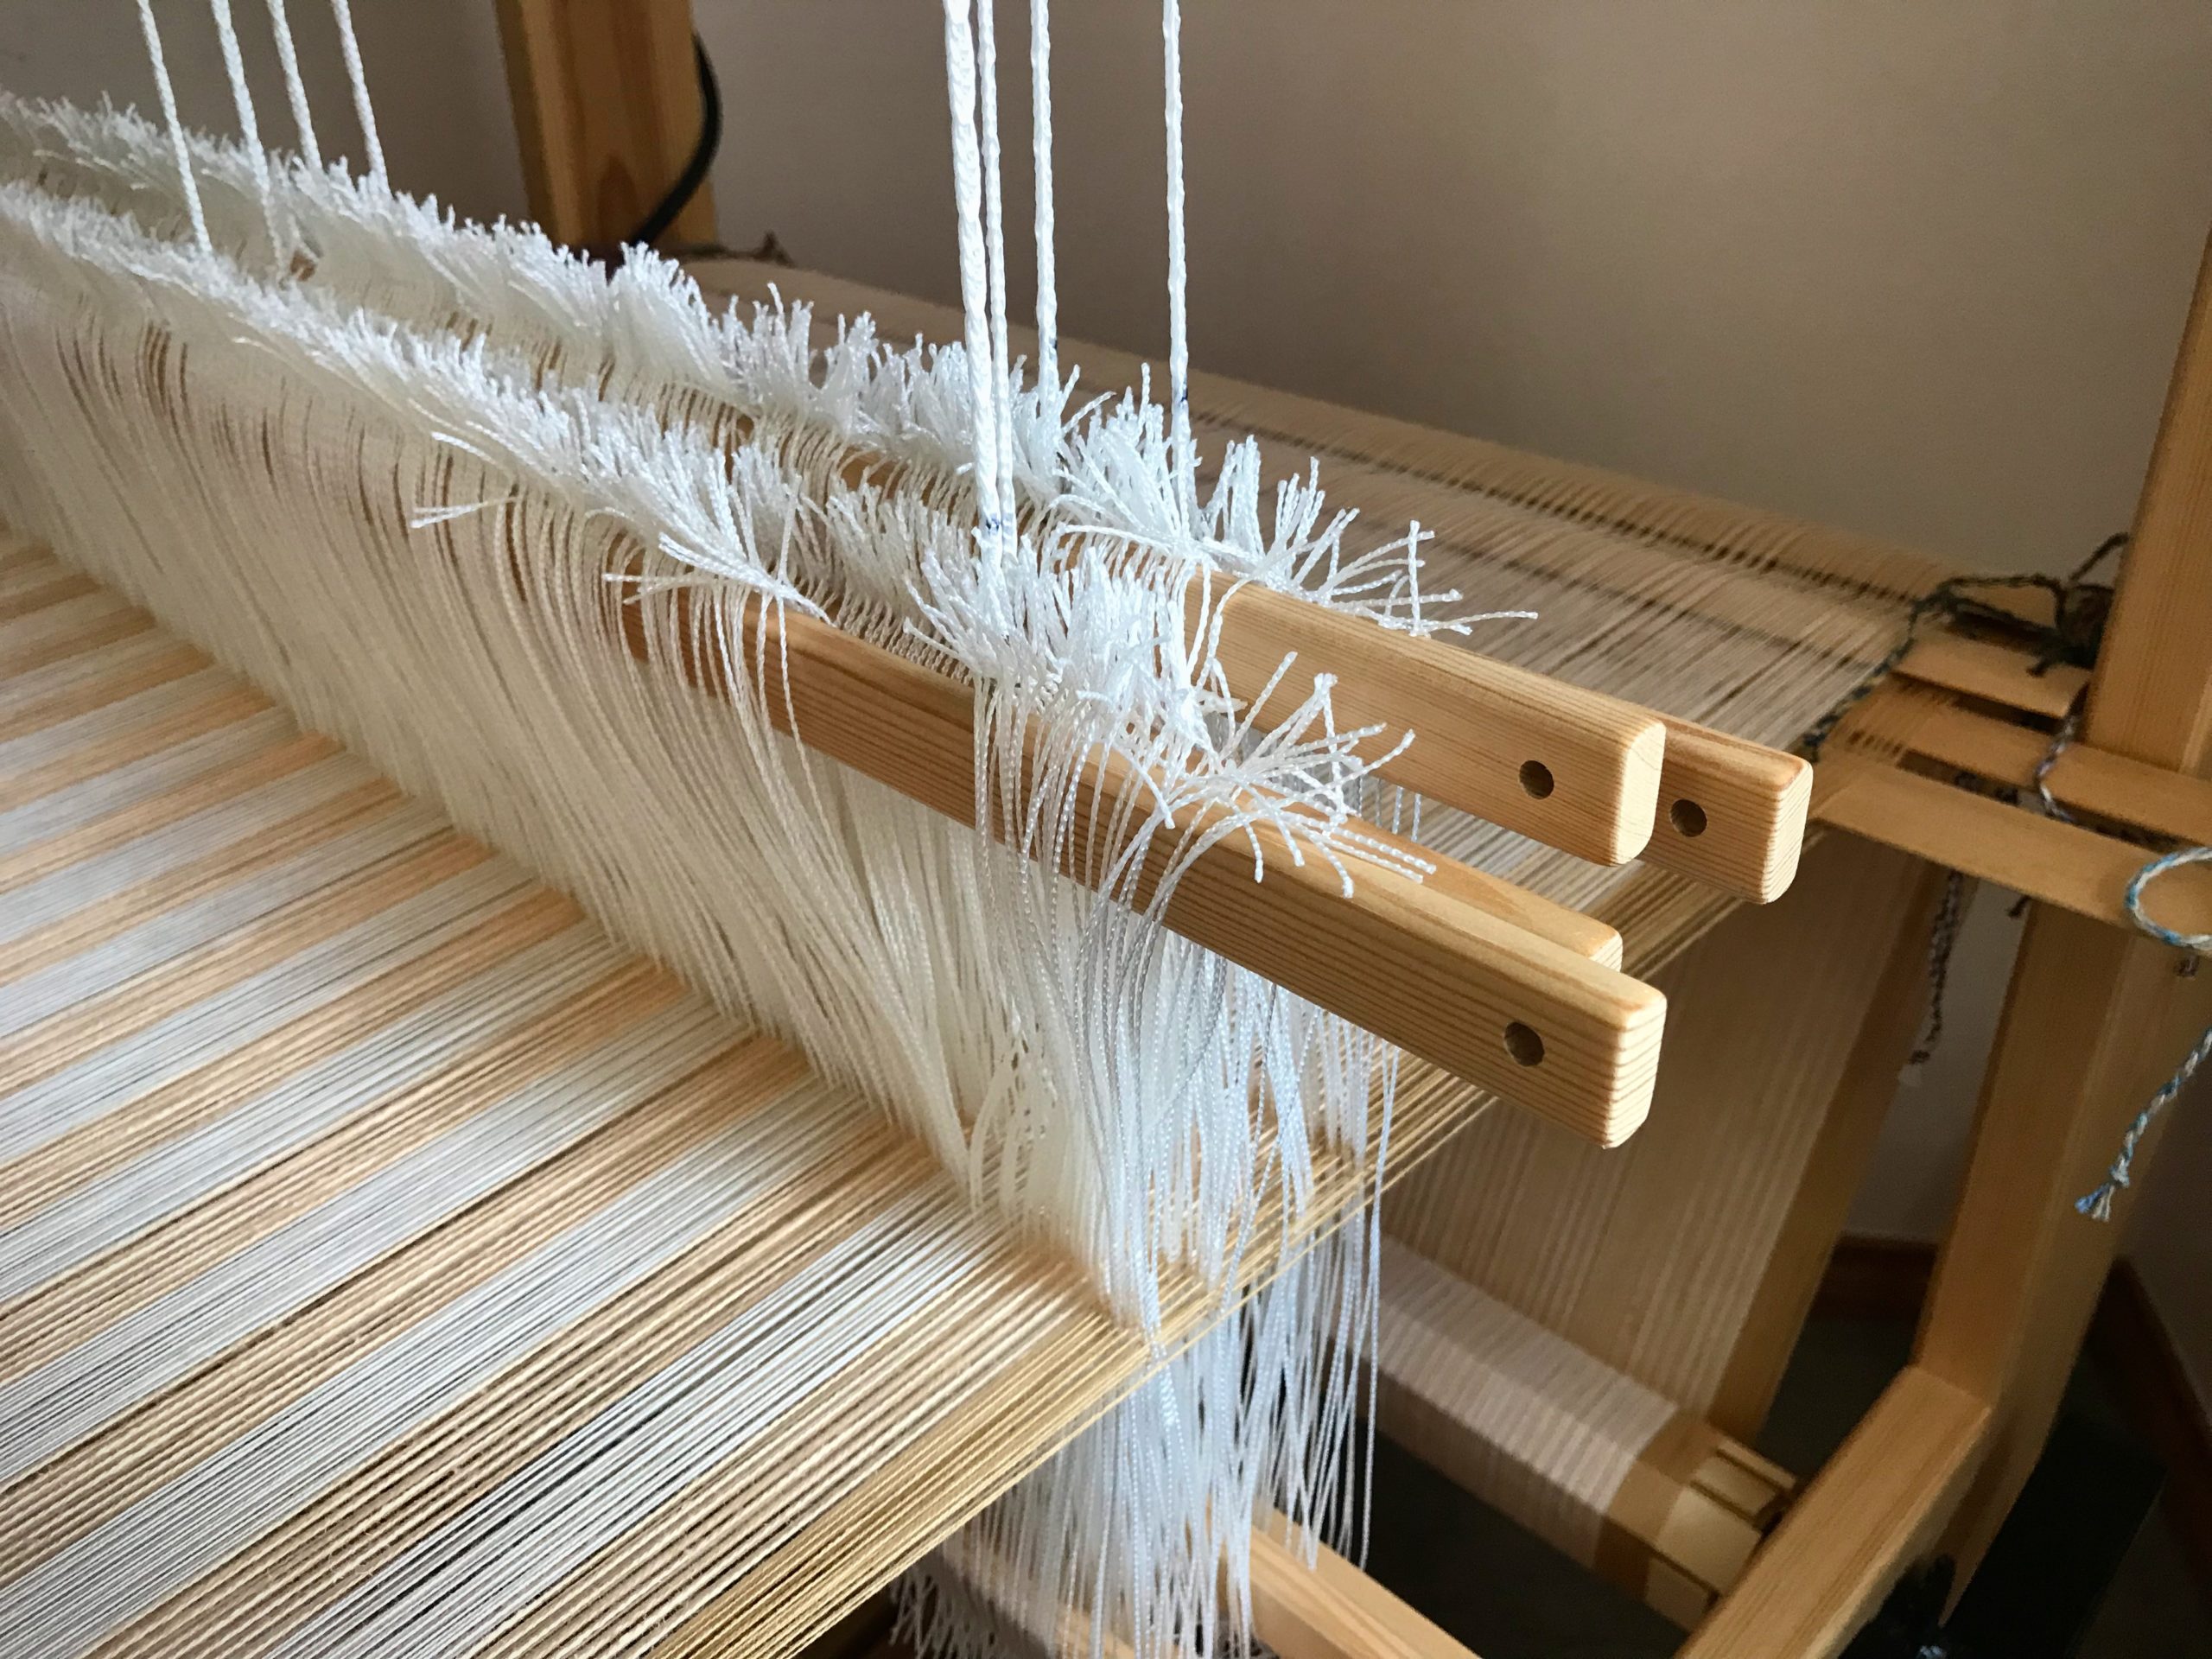
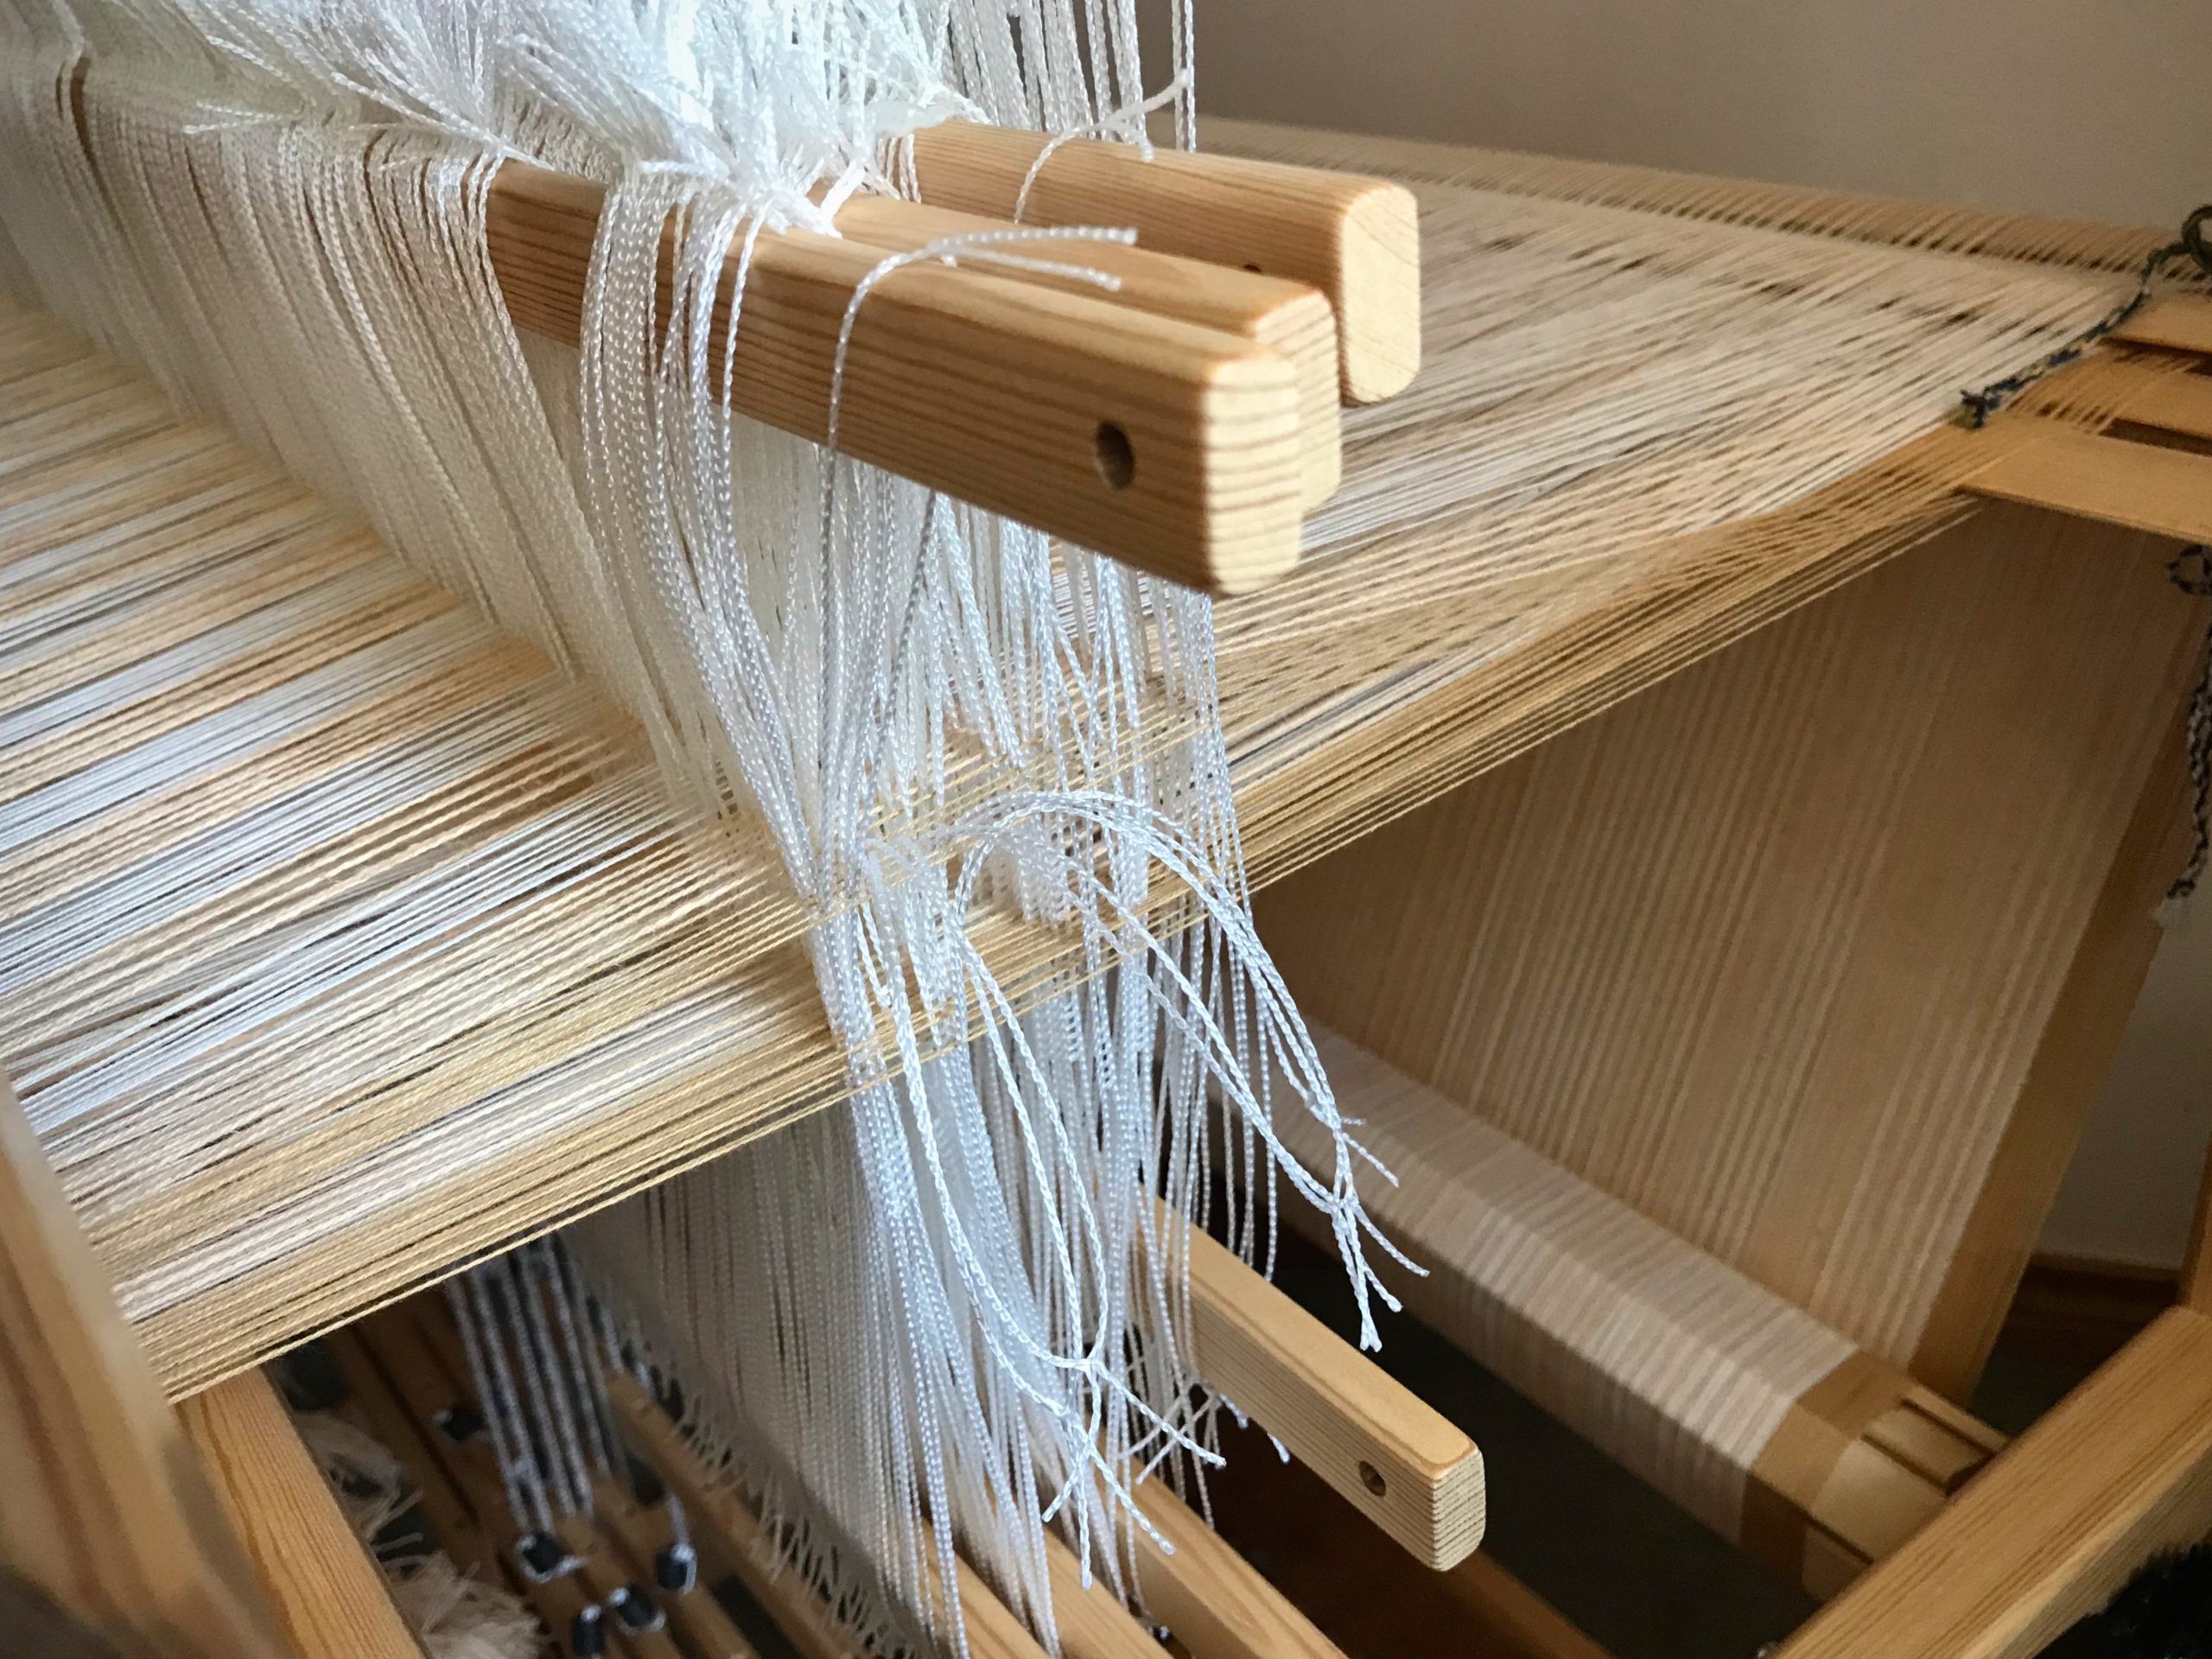
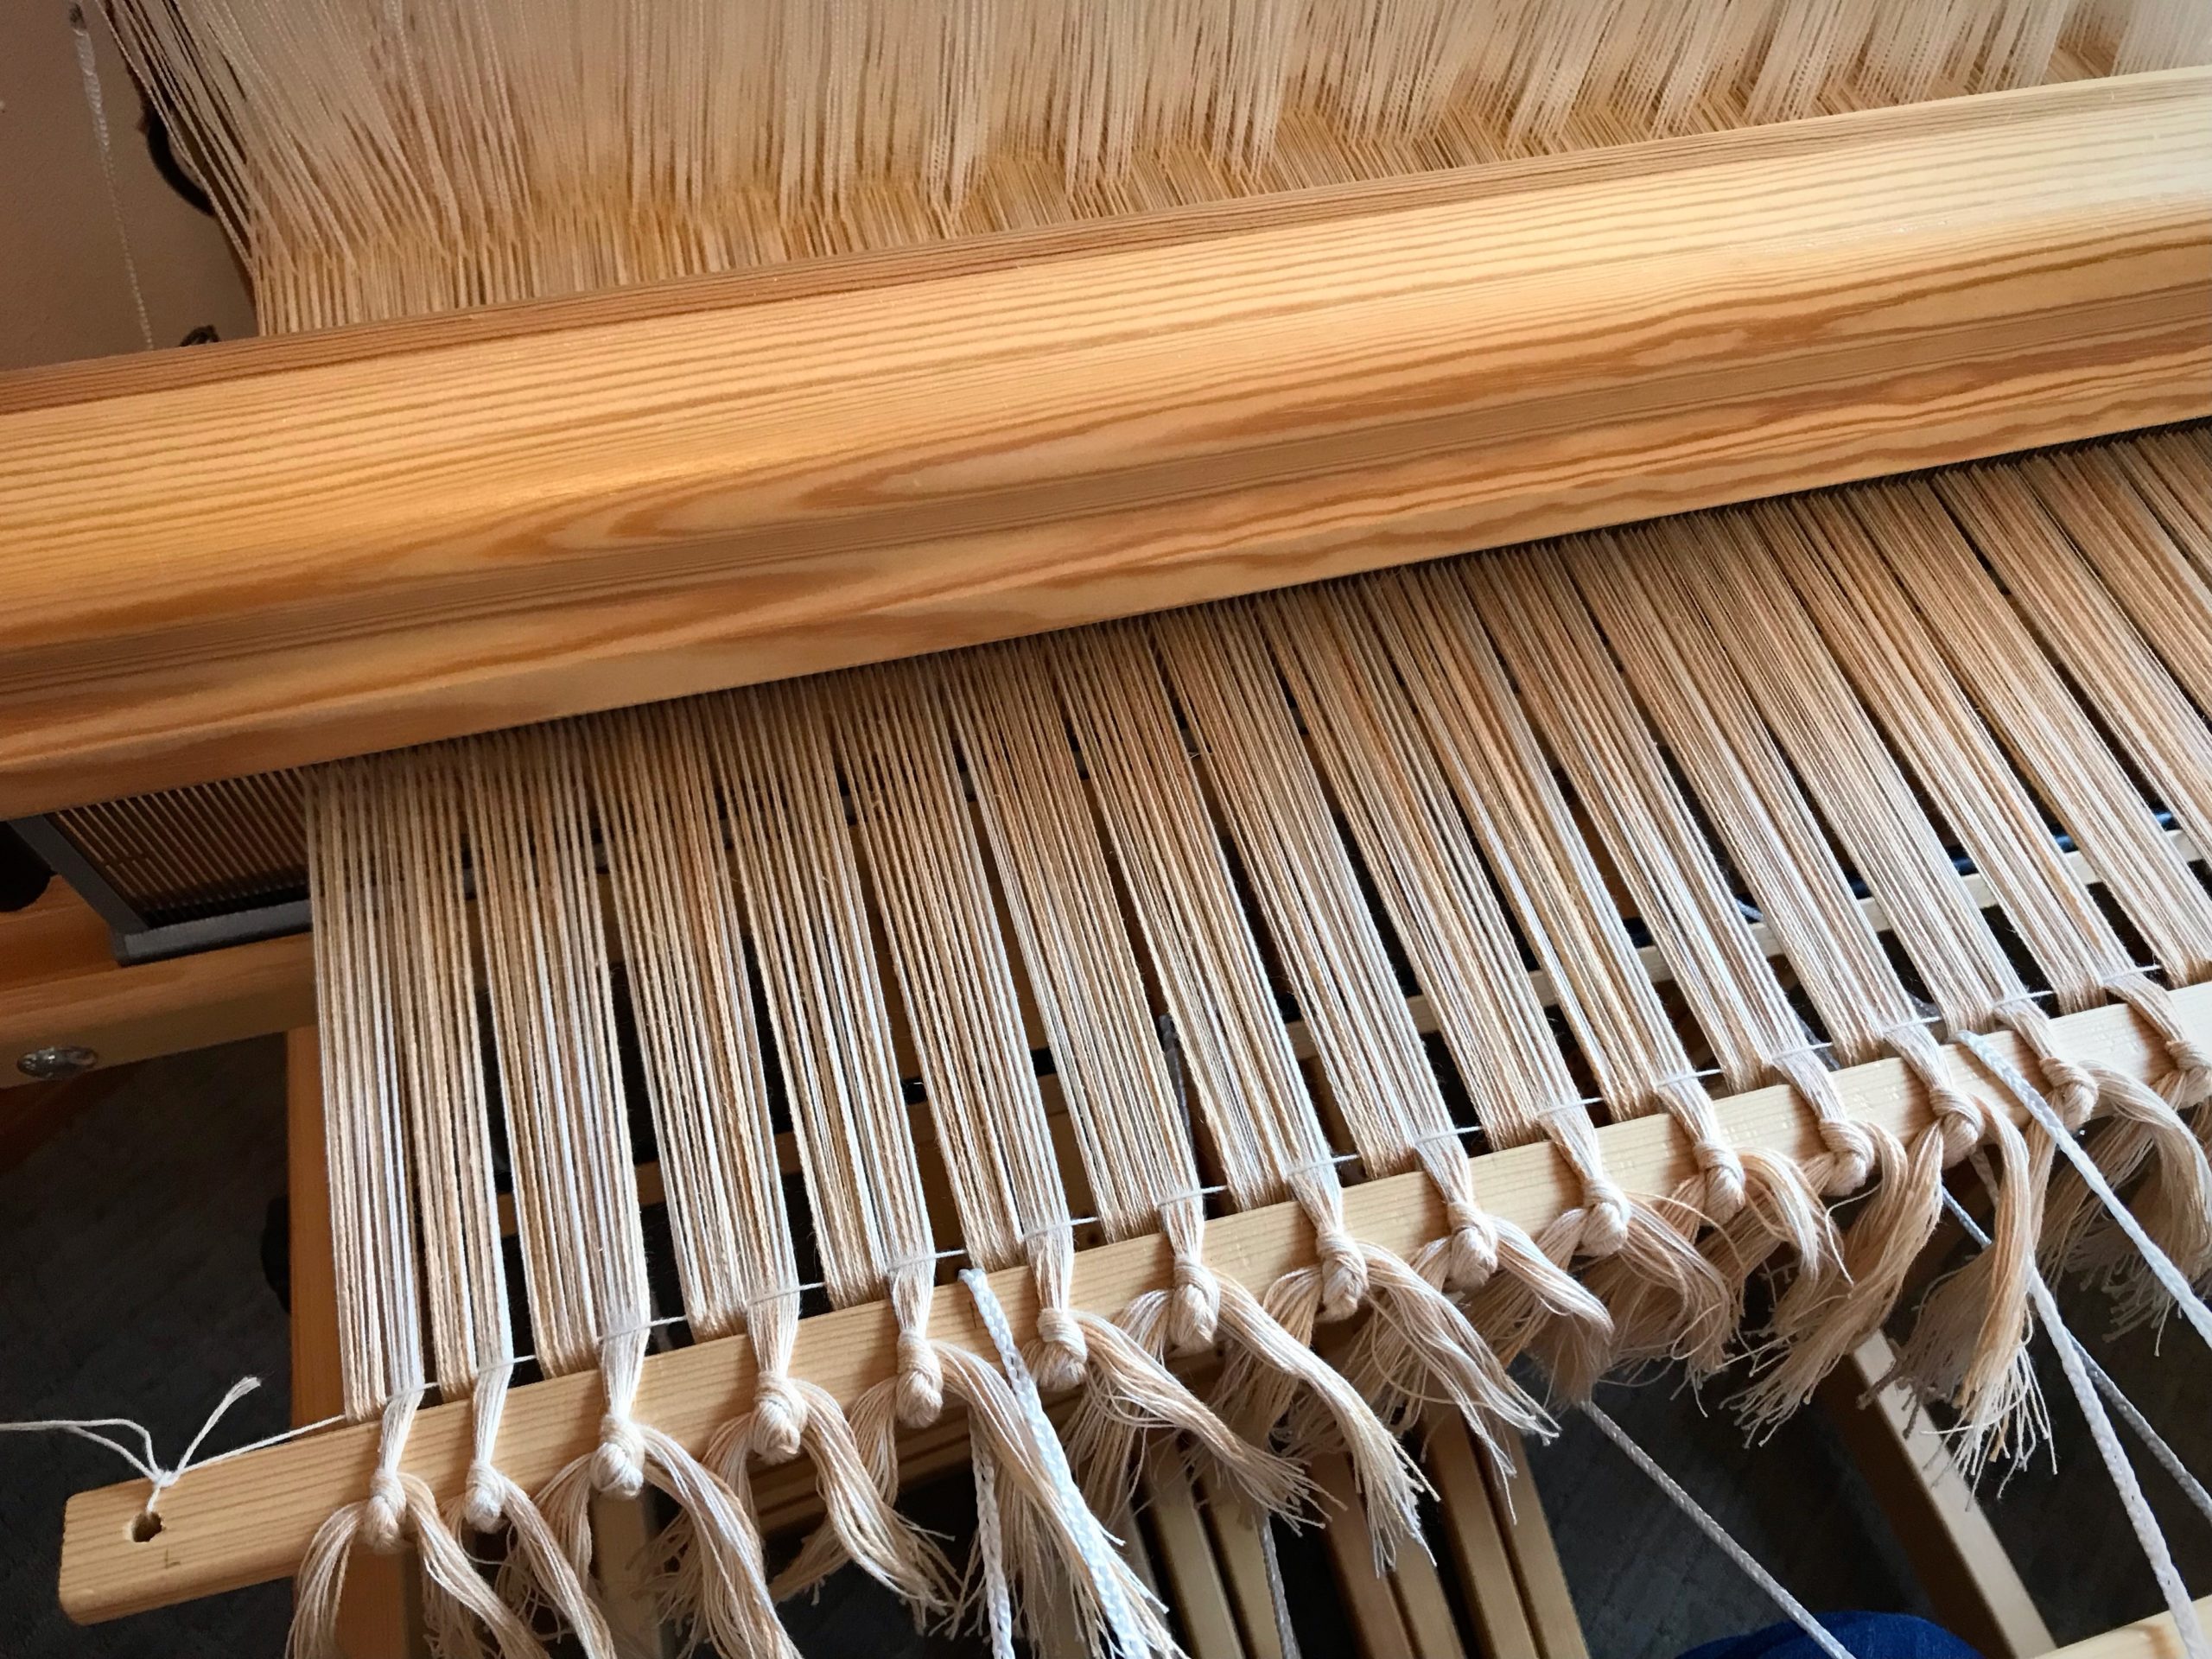
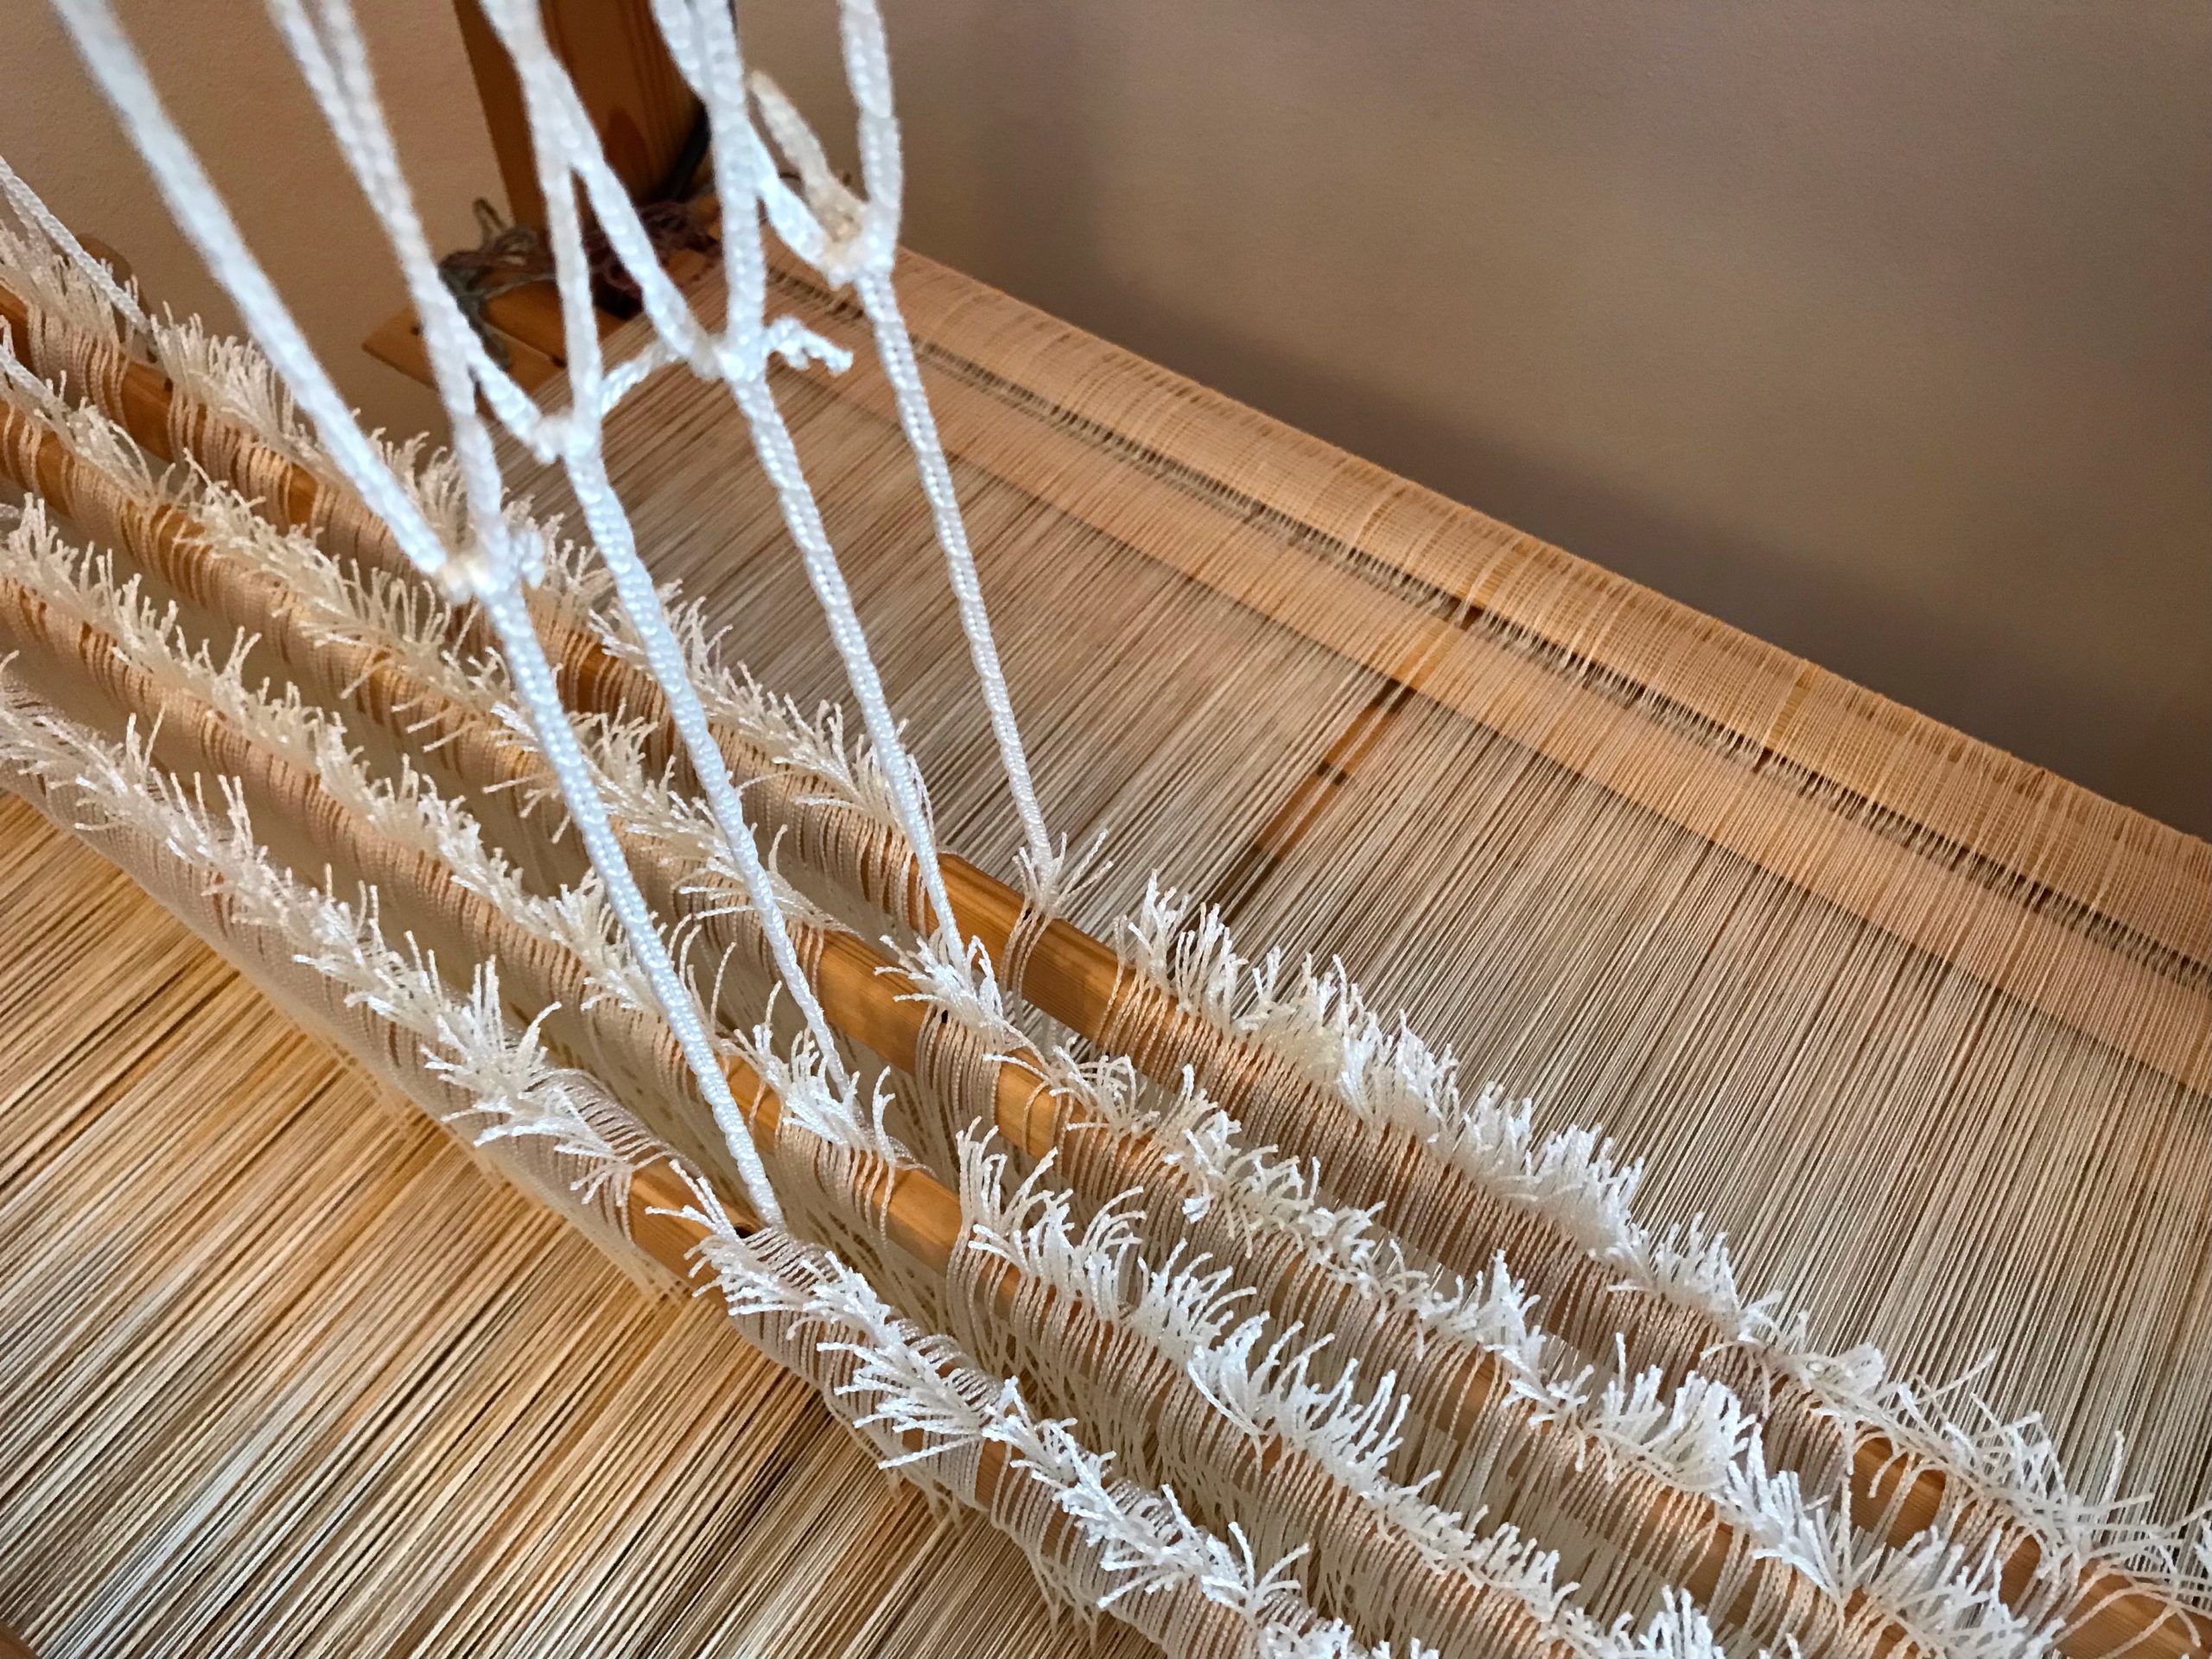
Juila’s wide warp. So far, so good. I’ll pay attention and everything will be just fine. Famous last words.
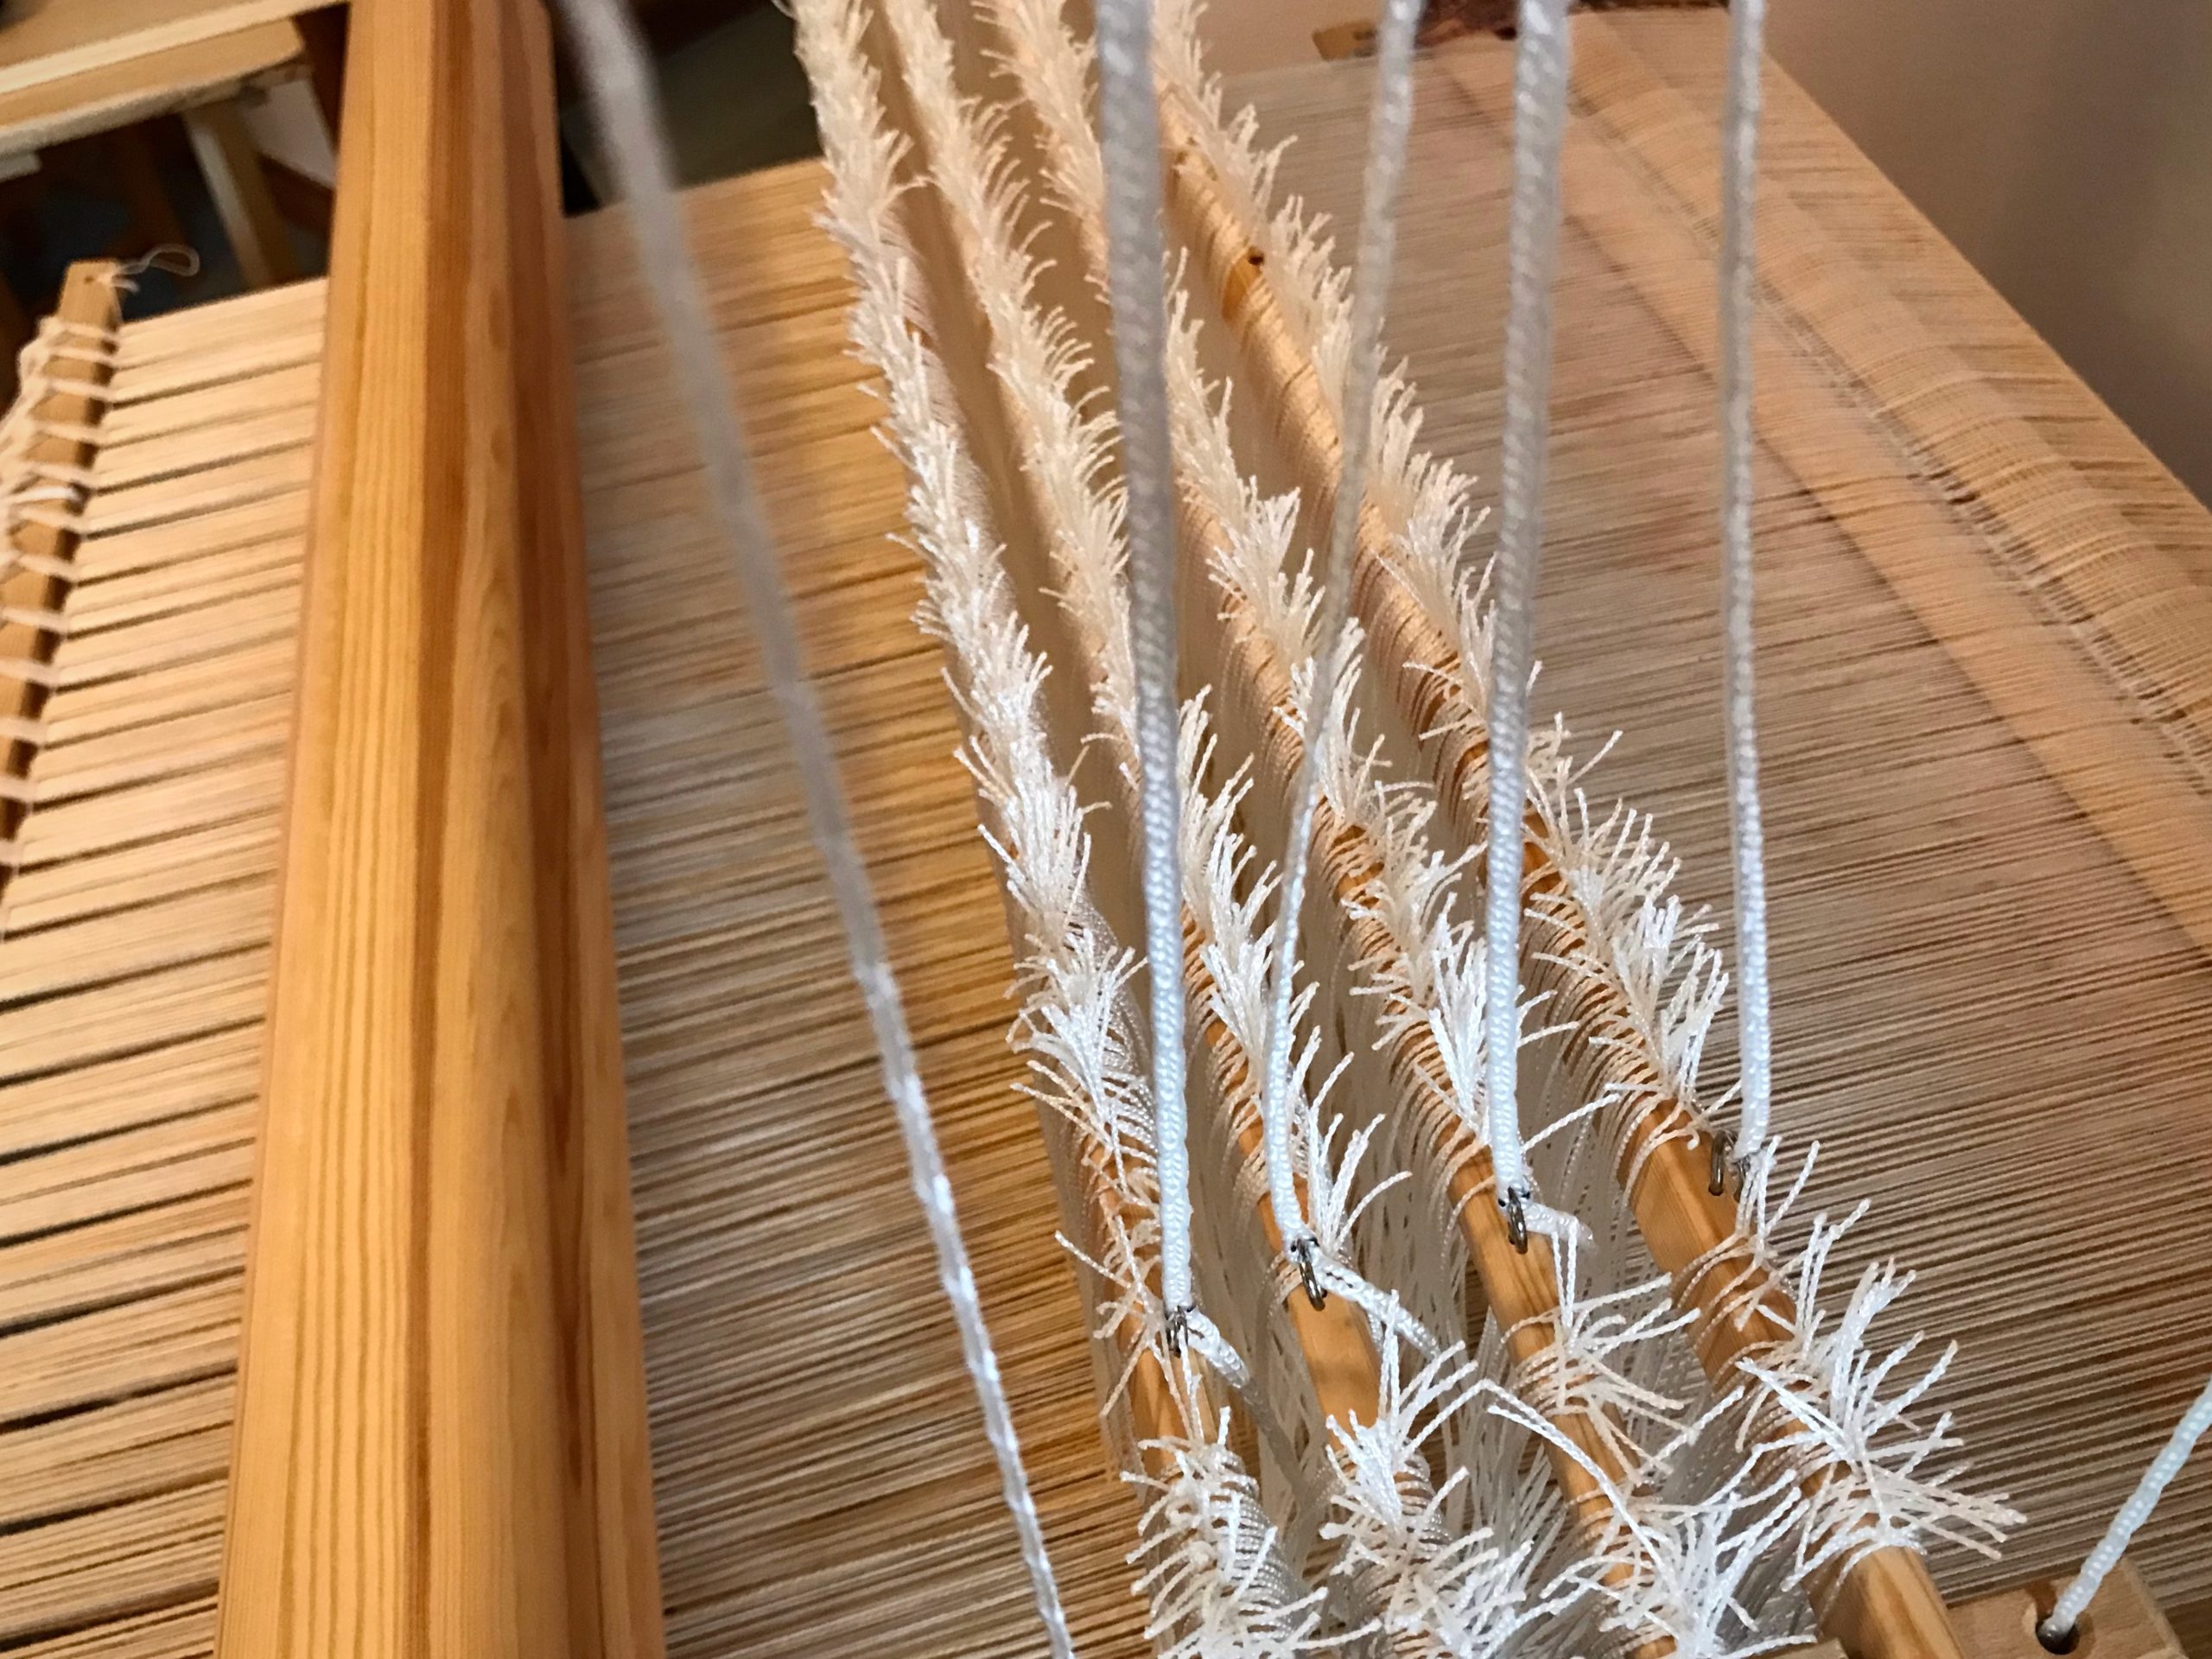
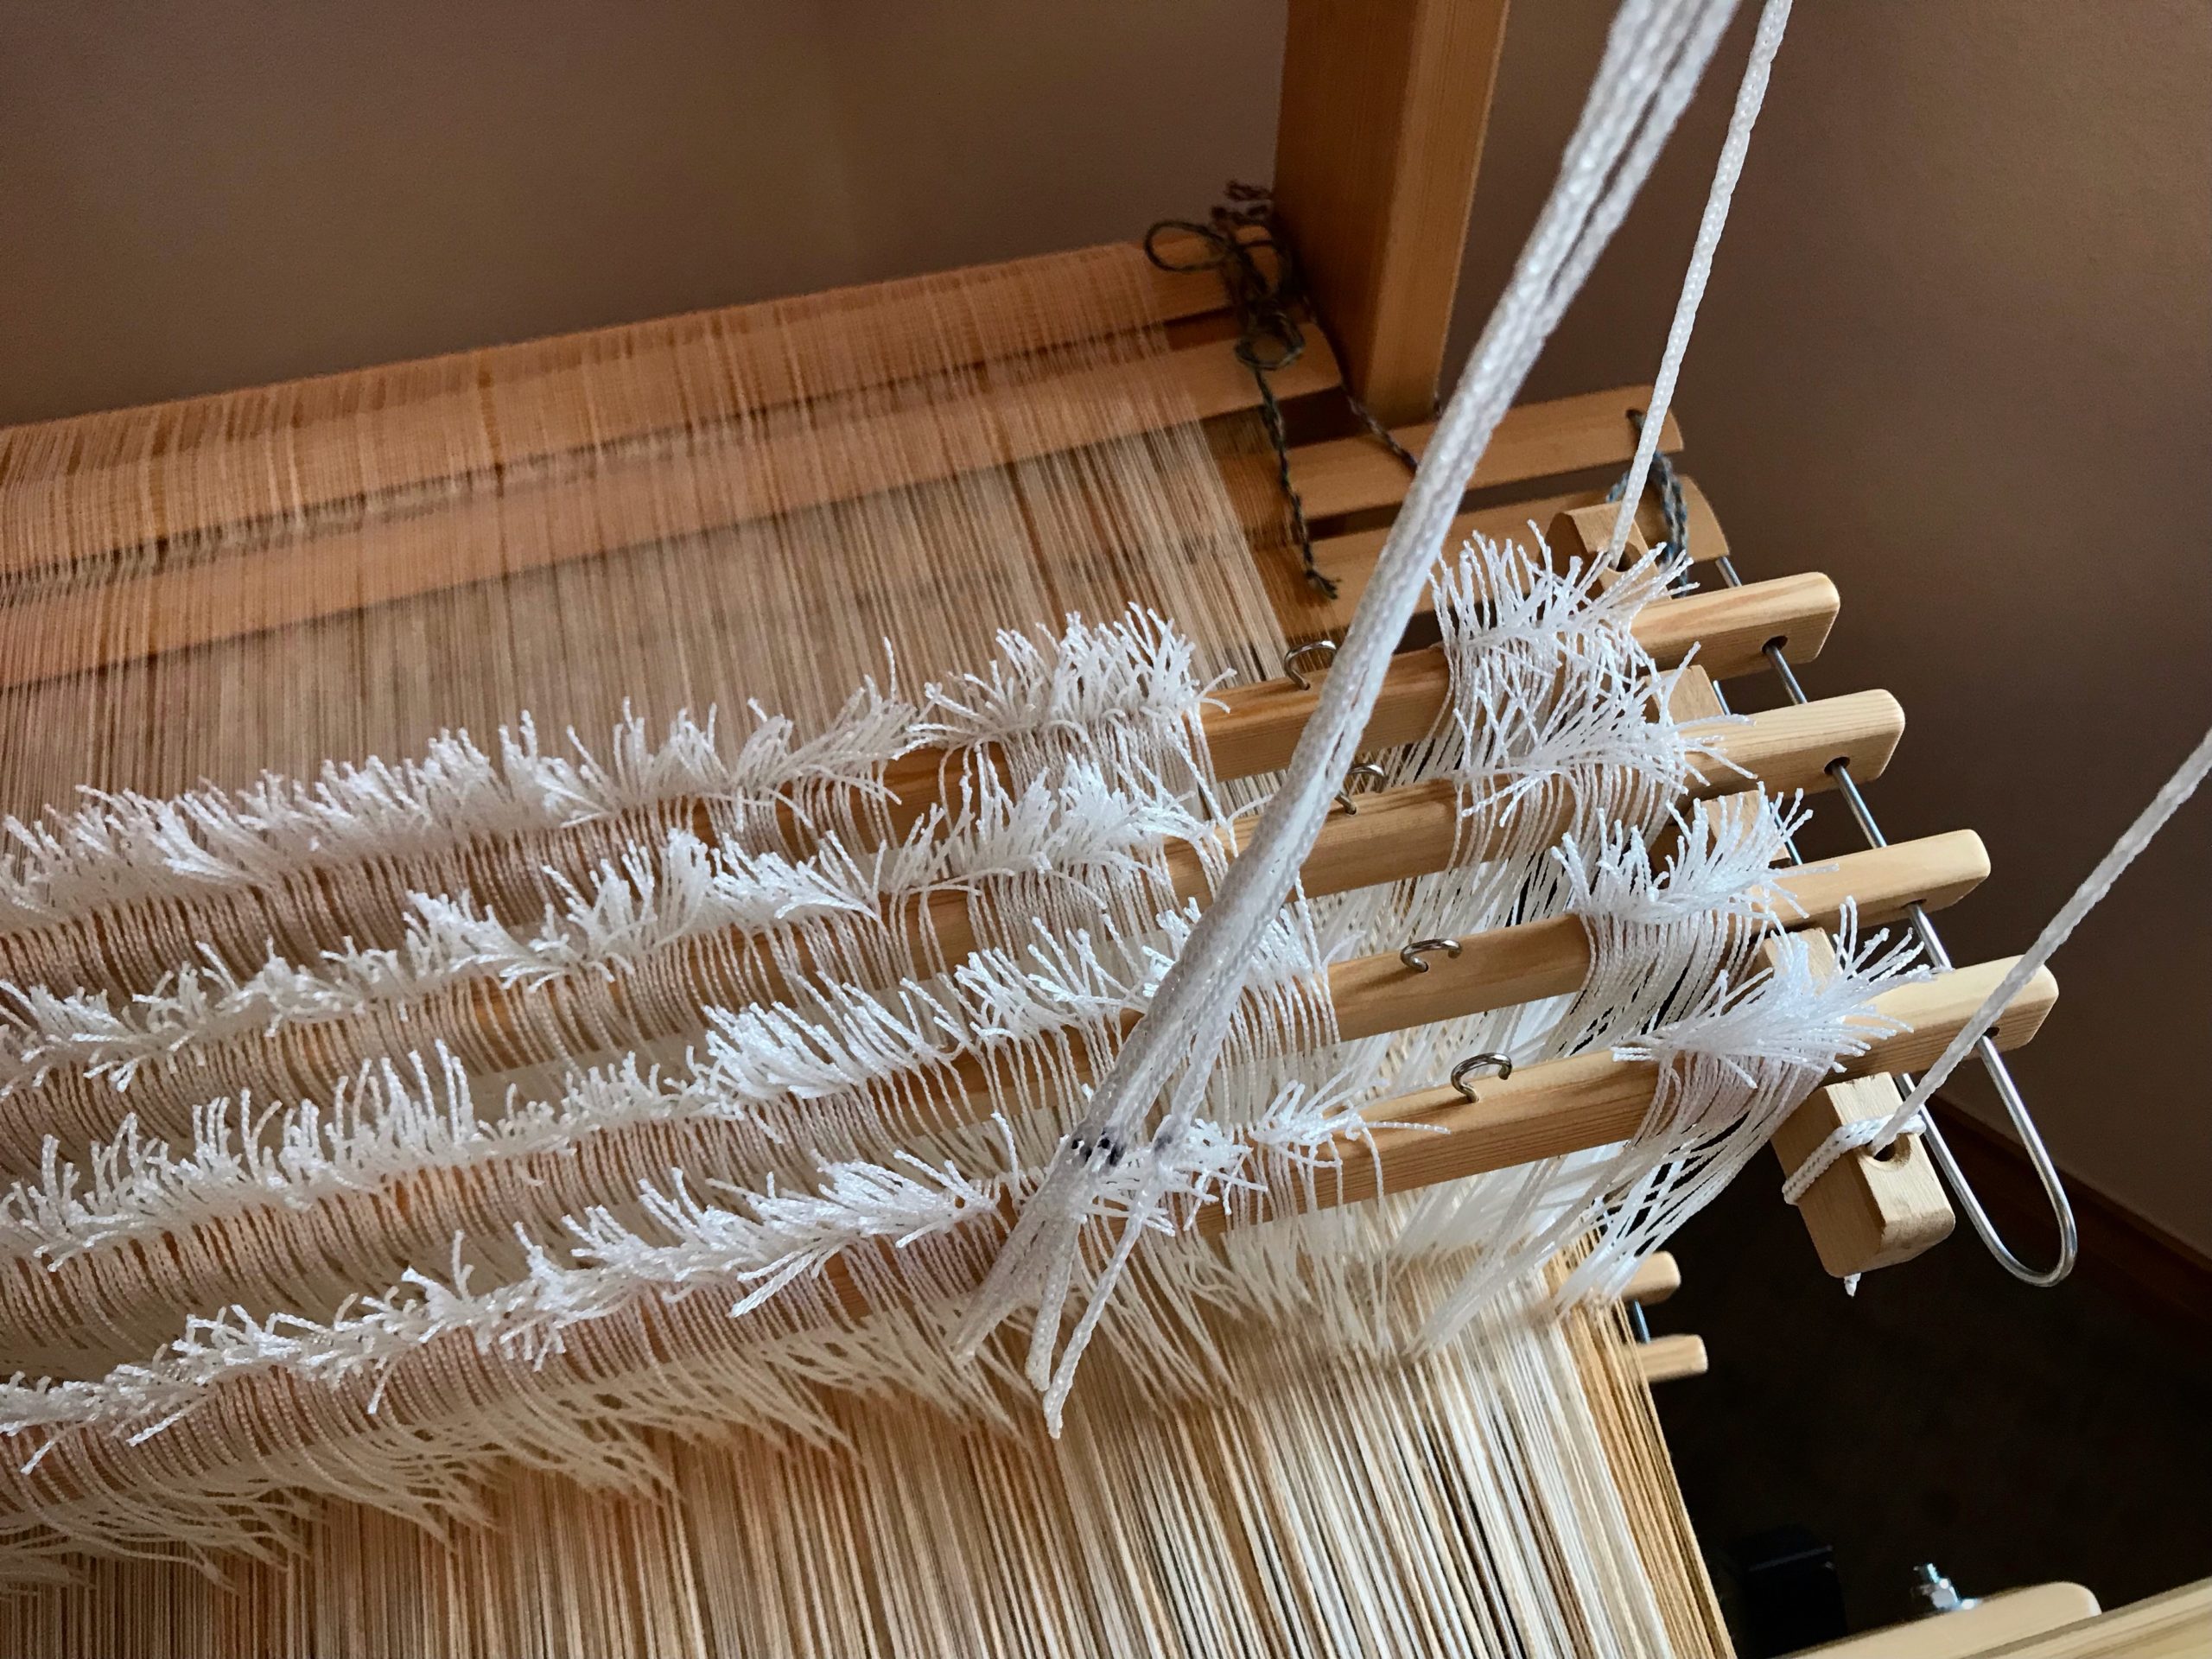
Oops. I took this picture after I had fixed most of the mess created by dangling heddles. When heddles slip off shafts they must be put back on thread by thread to maintain correct warp order. These were tangled enough that it took me a few tries to get it right.


Tie Retaining Cords on Shafts

Purpose: Keep Texsolv heddles secure on their shaft bars, especially when weaving a wide warp.

Supplies

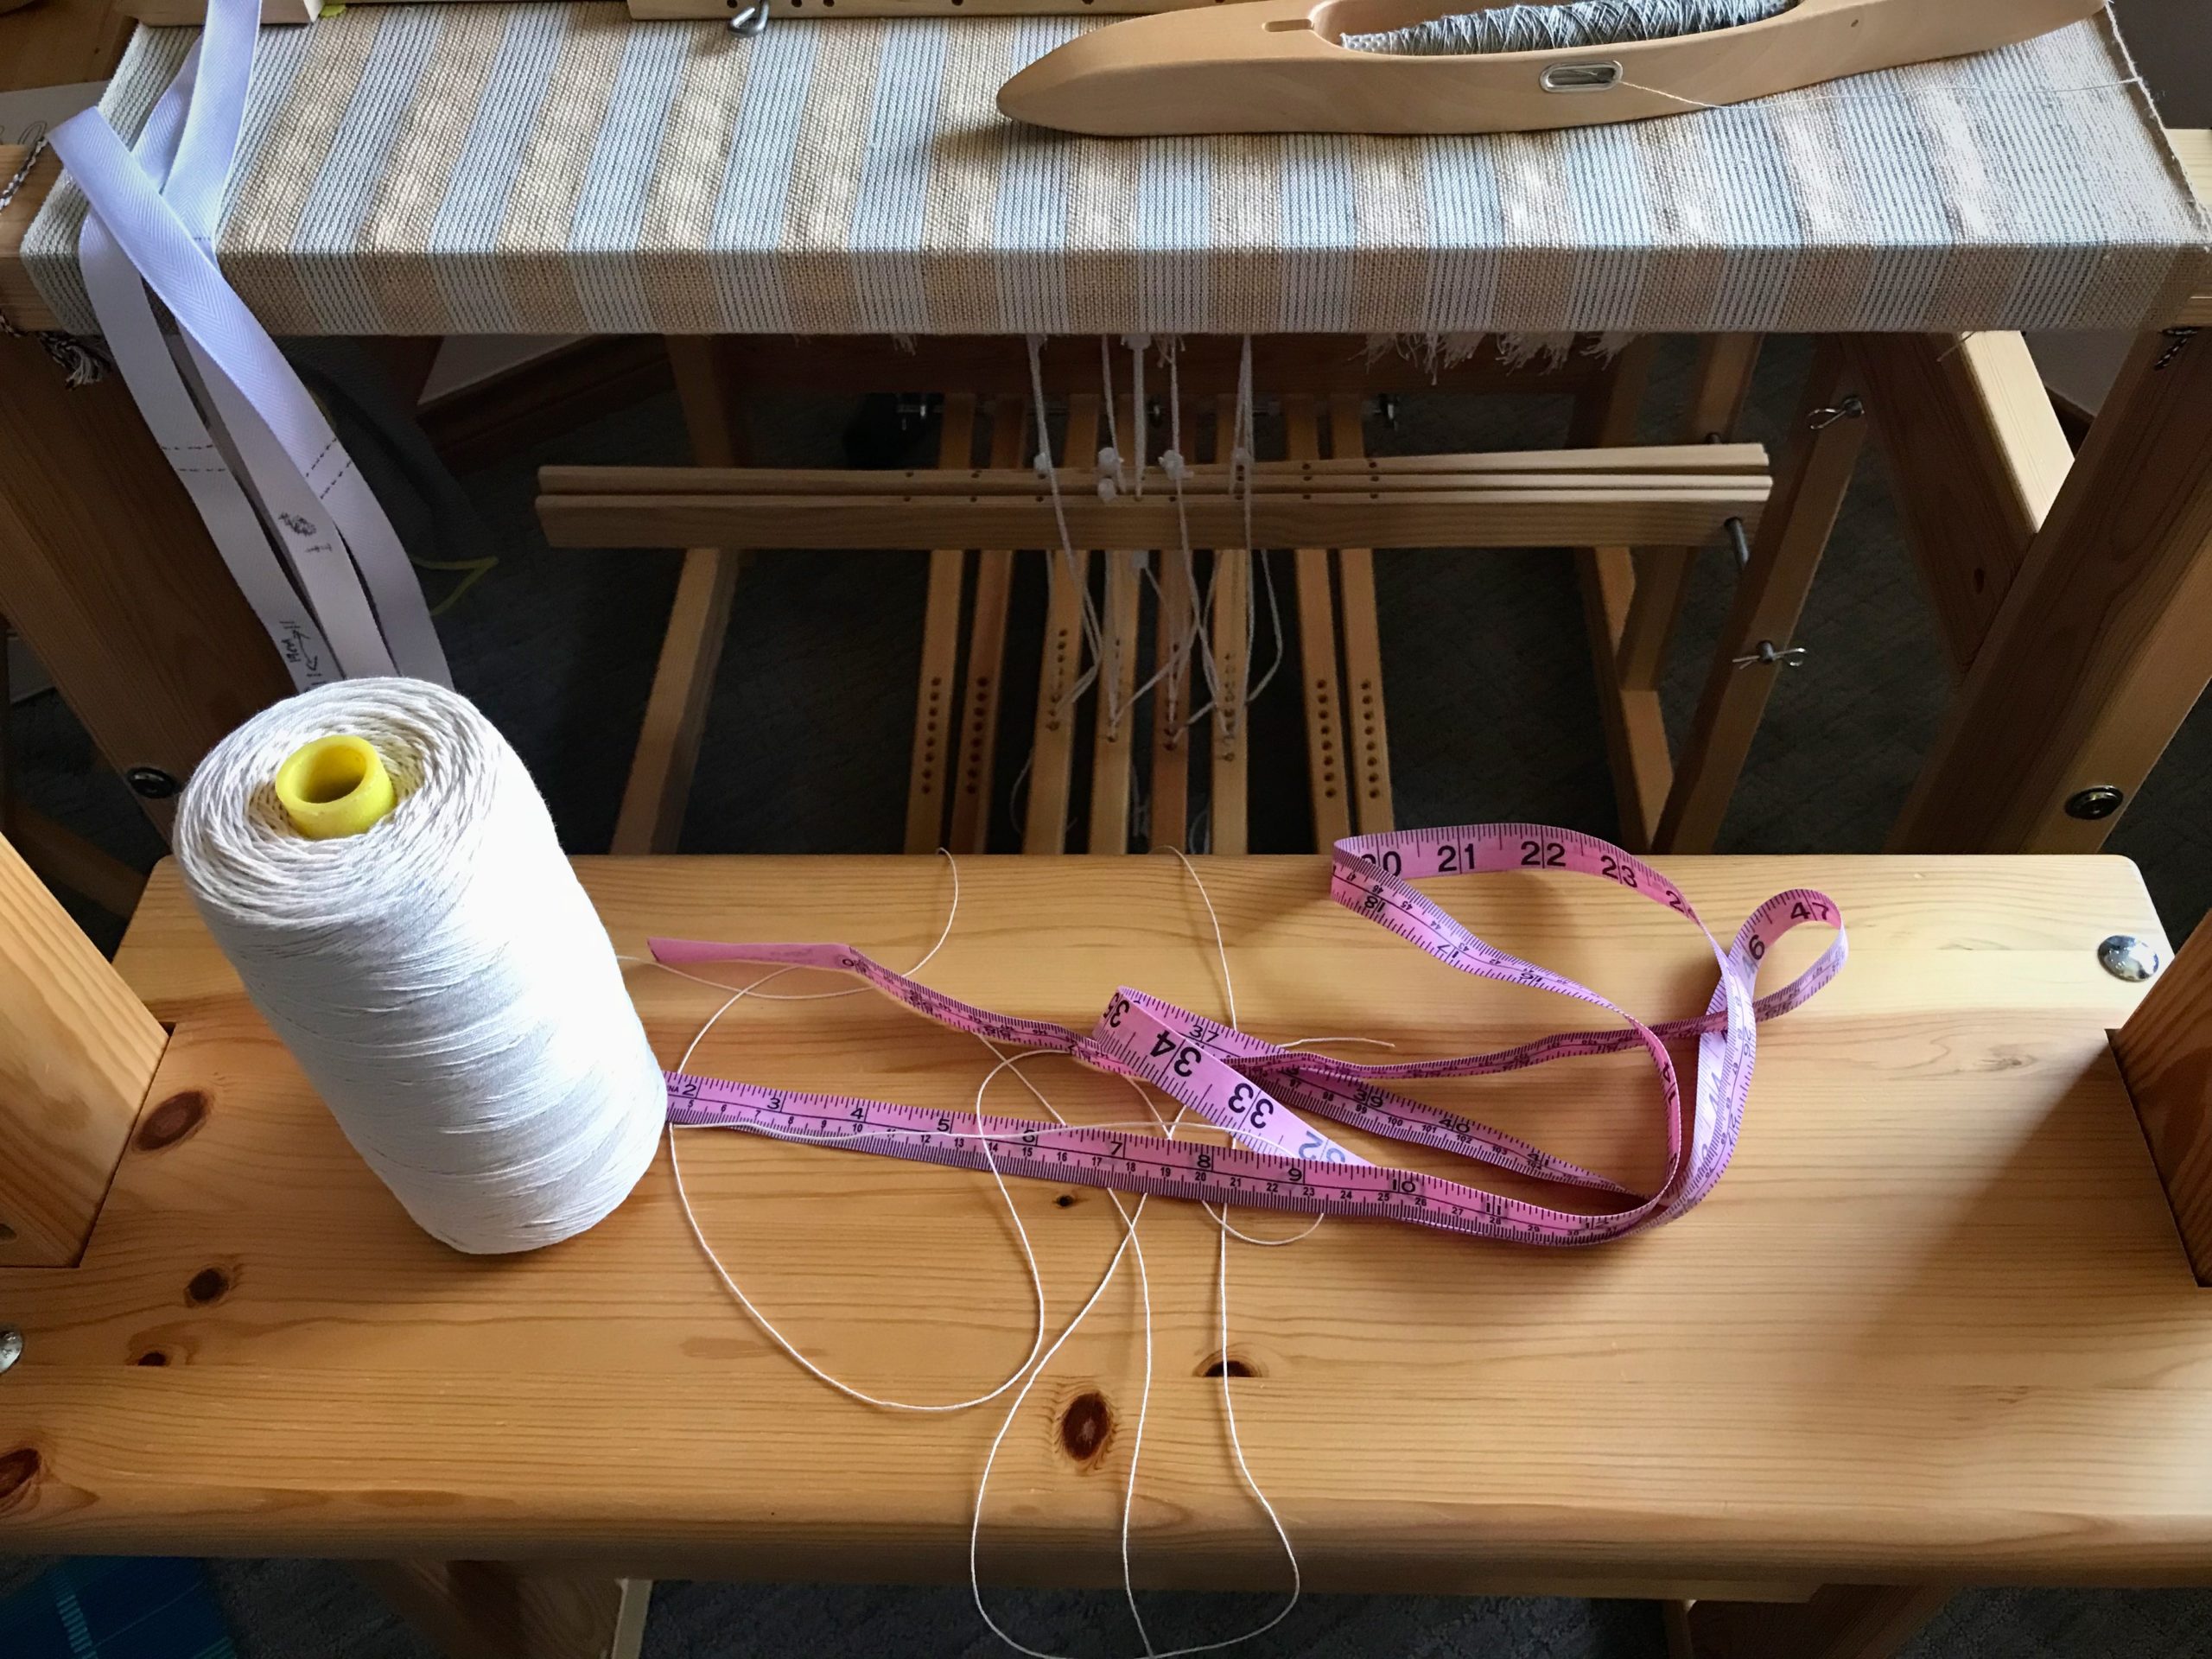
  • Tape measure
  • 12/6 cotton seine twine
  • Scissors
12/6 cotton seine twine (rug warp) to the rescue!

1 Measure shaft bar from hole to hole. (Julia shaft bar is 70 cm)
2 Figure additional length (about 40 cm) for tying two knots. (70 + 40 = 110 cm)
3 Cut seine twine to measured length for each upper and lower shaft bar. (Heddles can slip off lower shaft bars, too.)
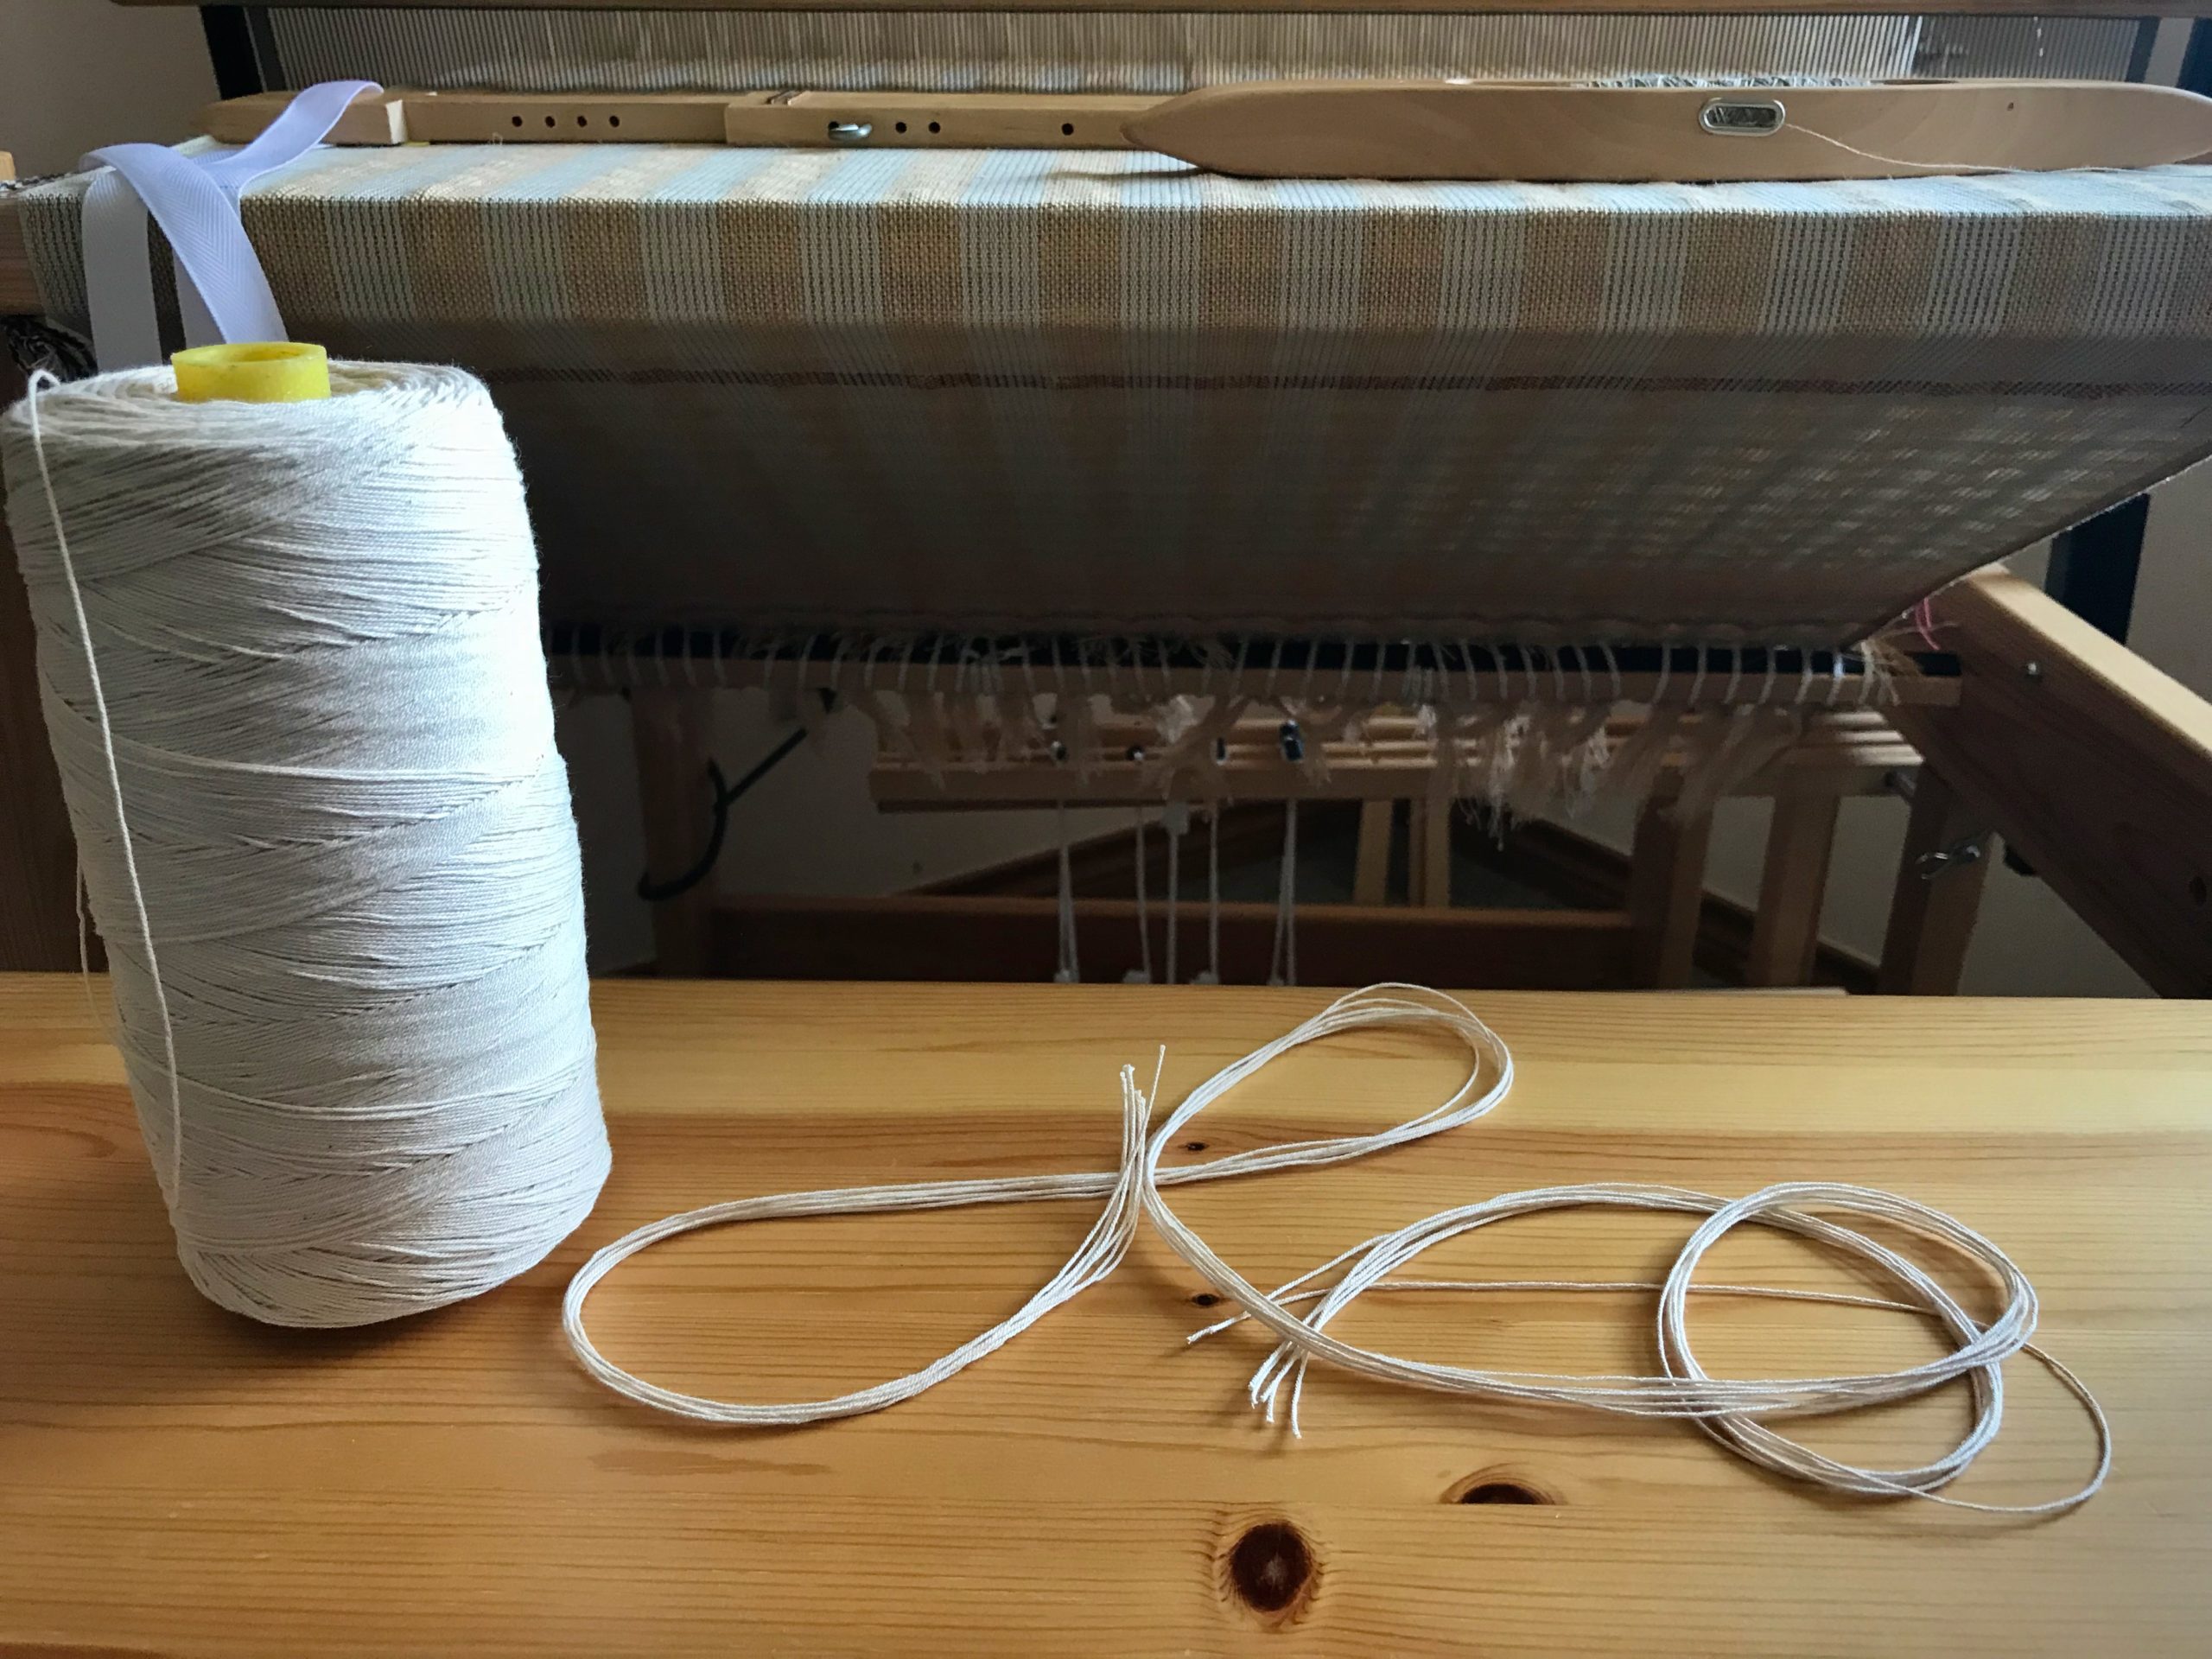
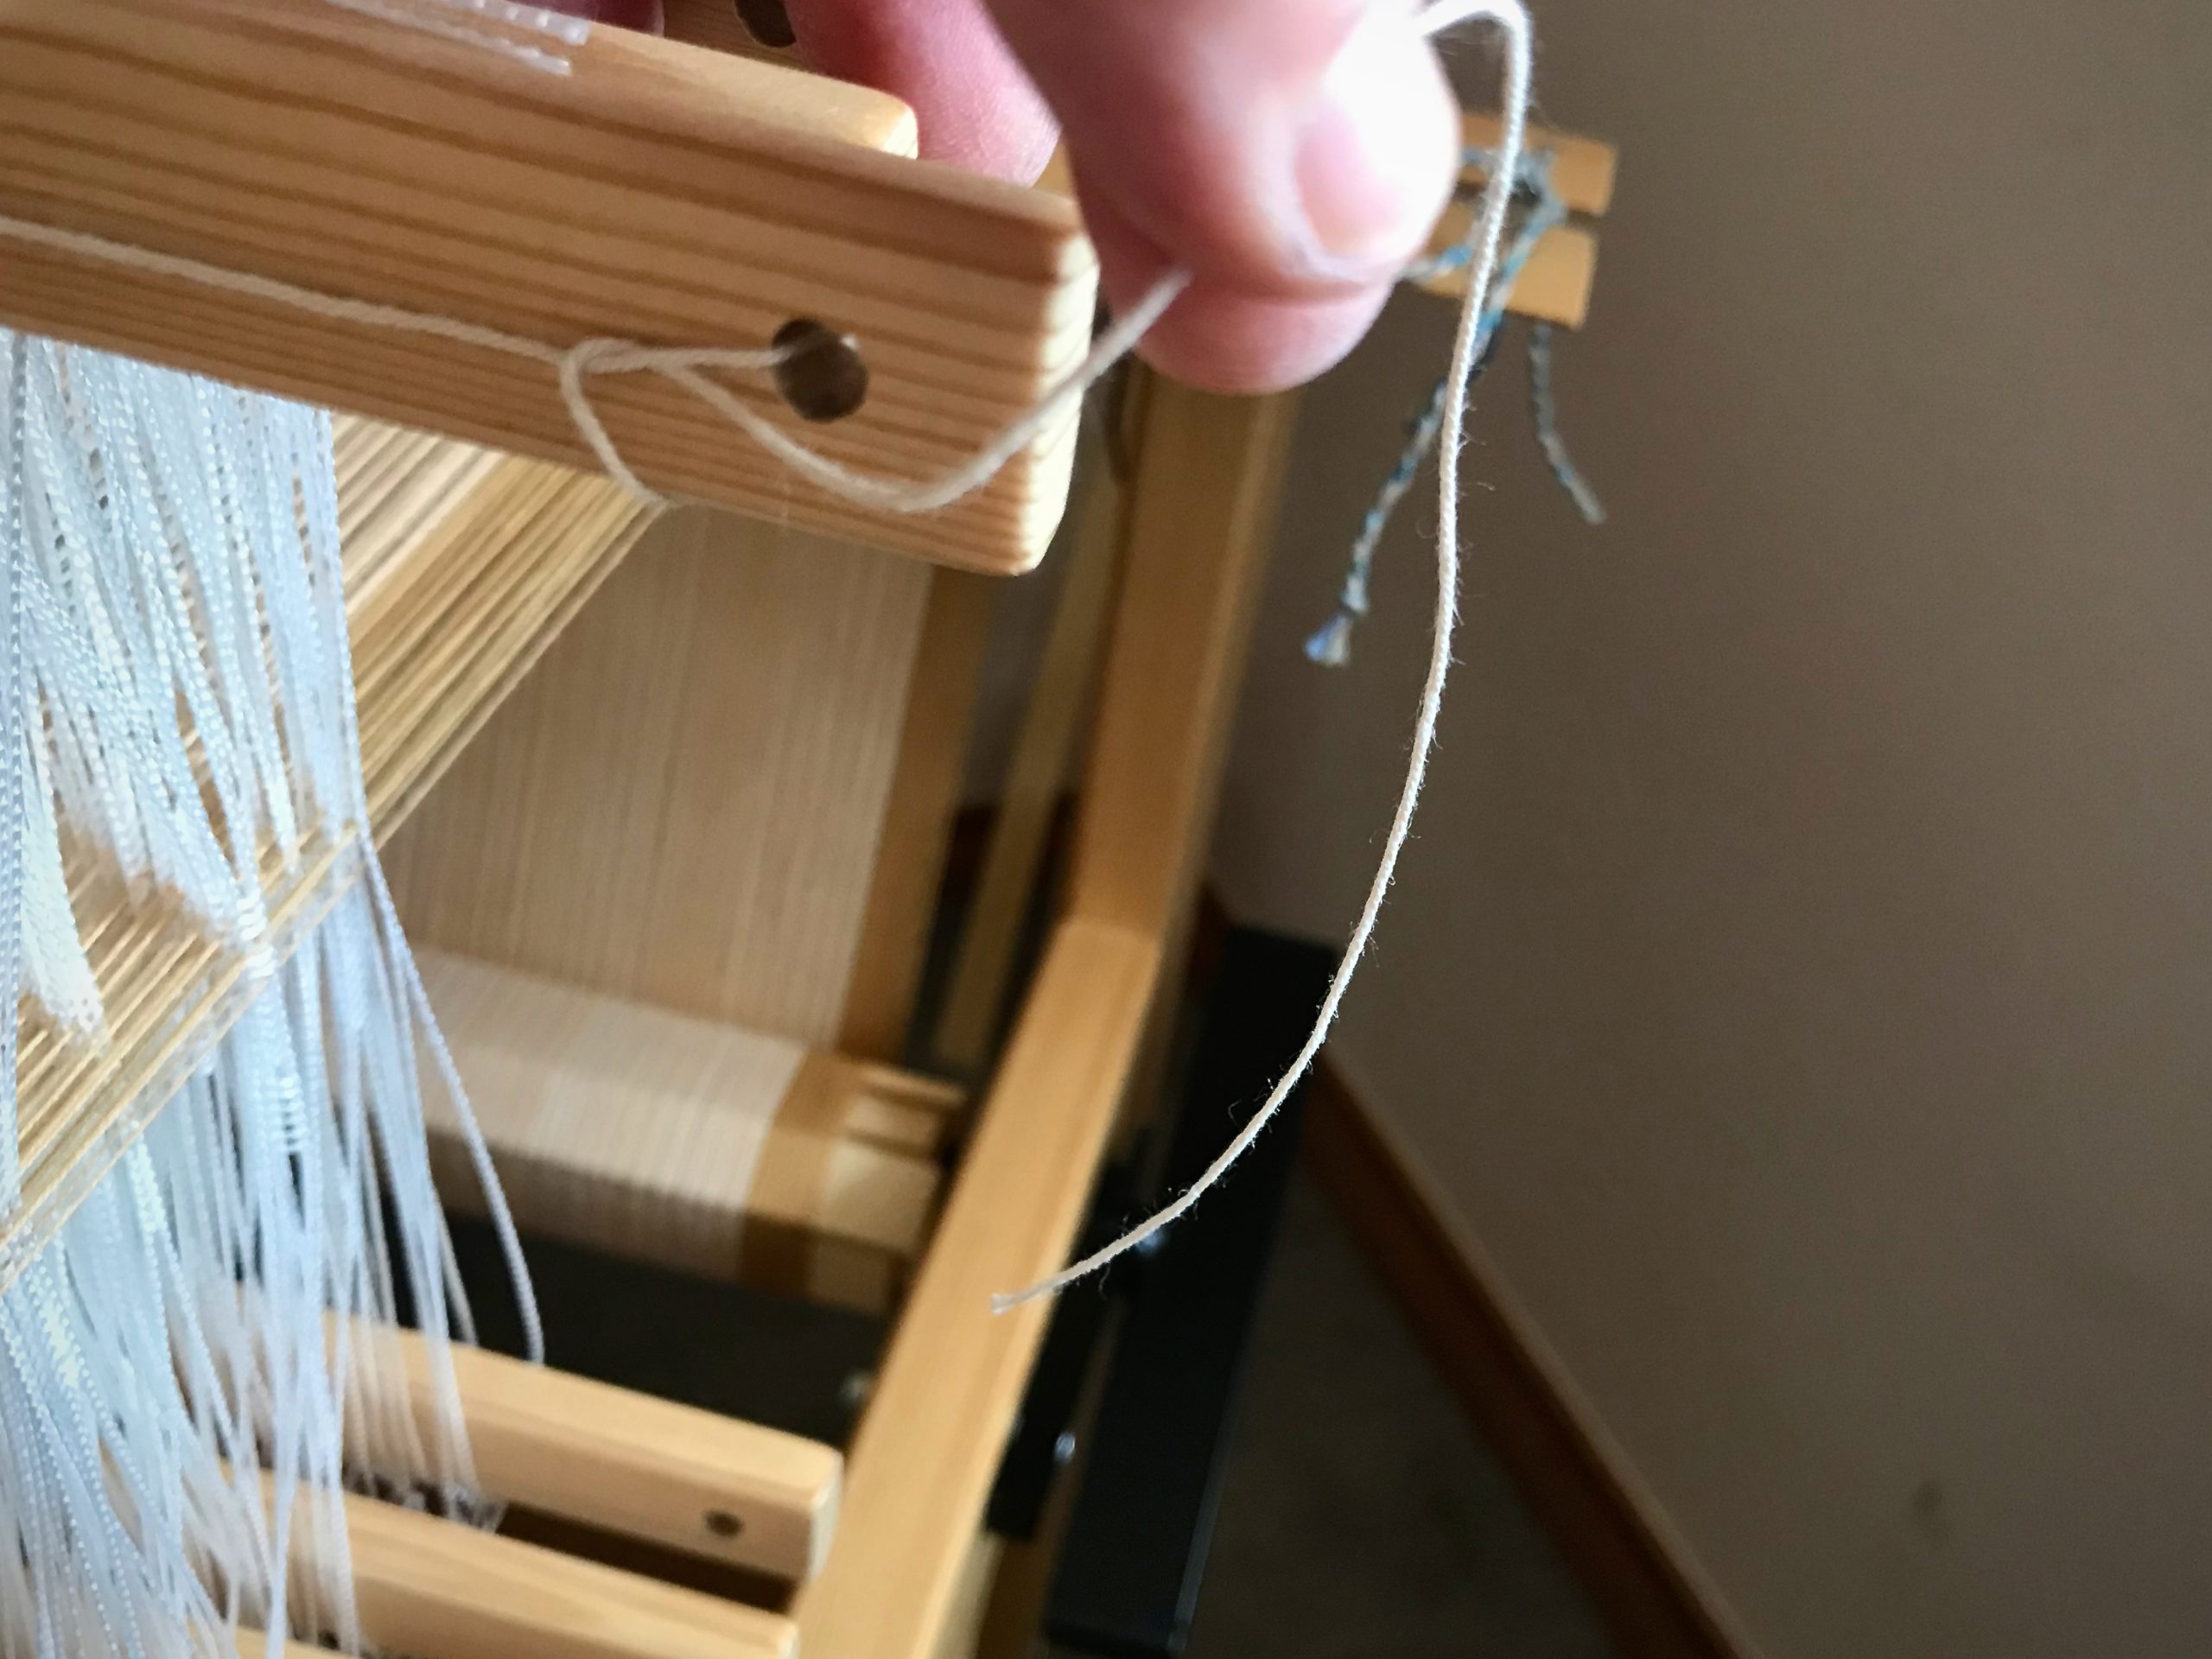
Retaining cords are cut.

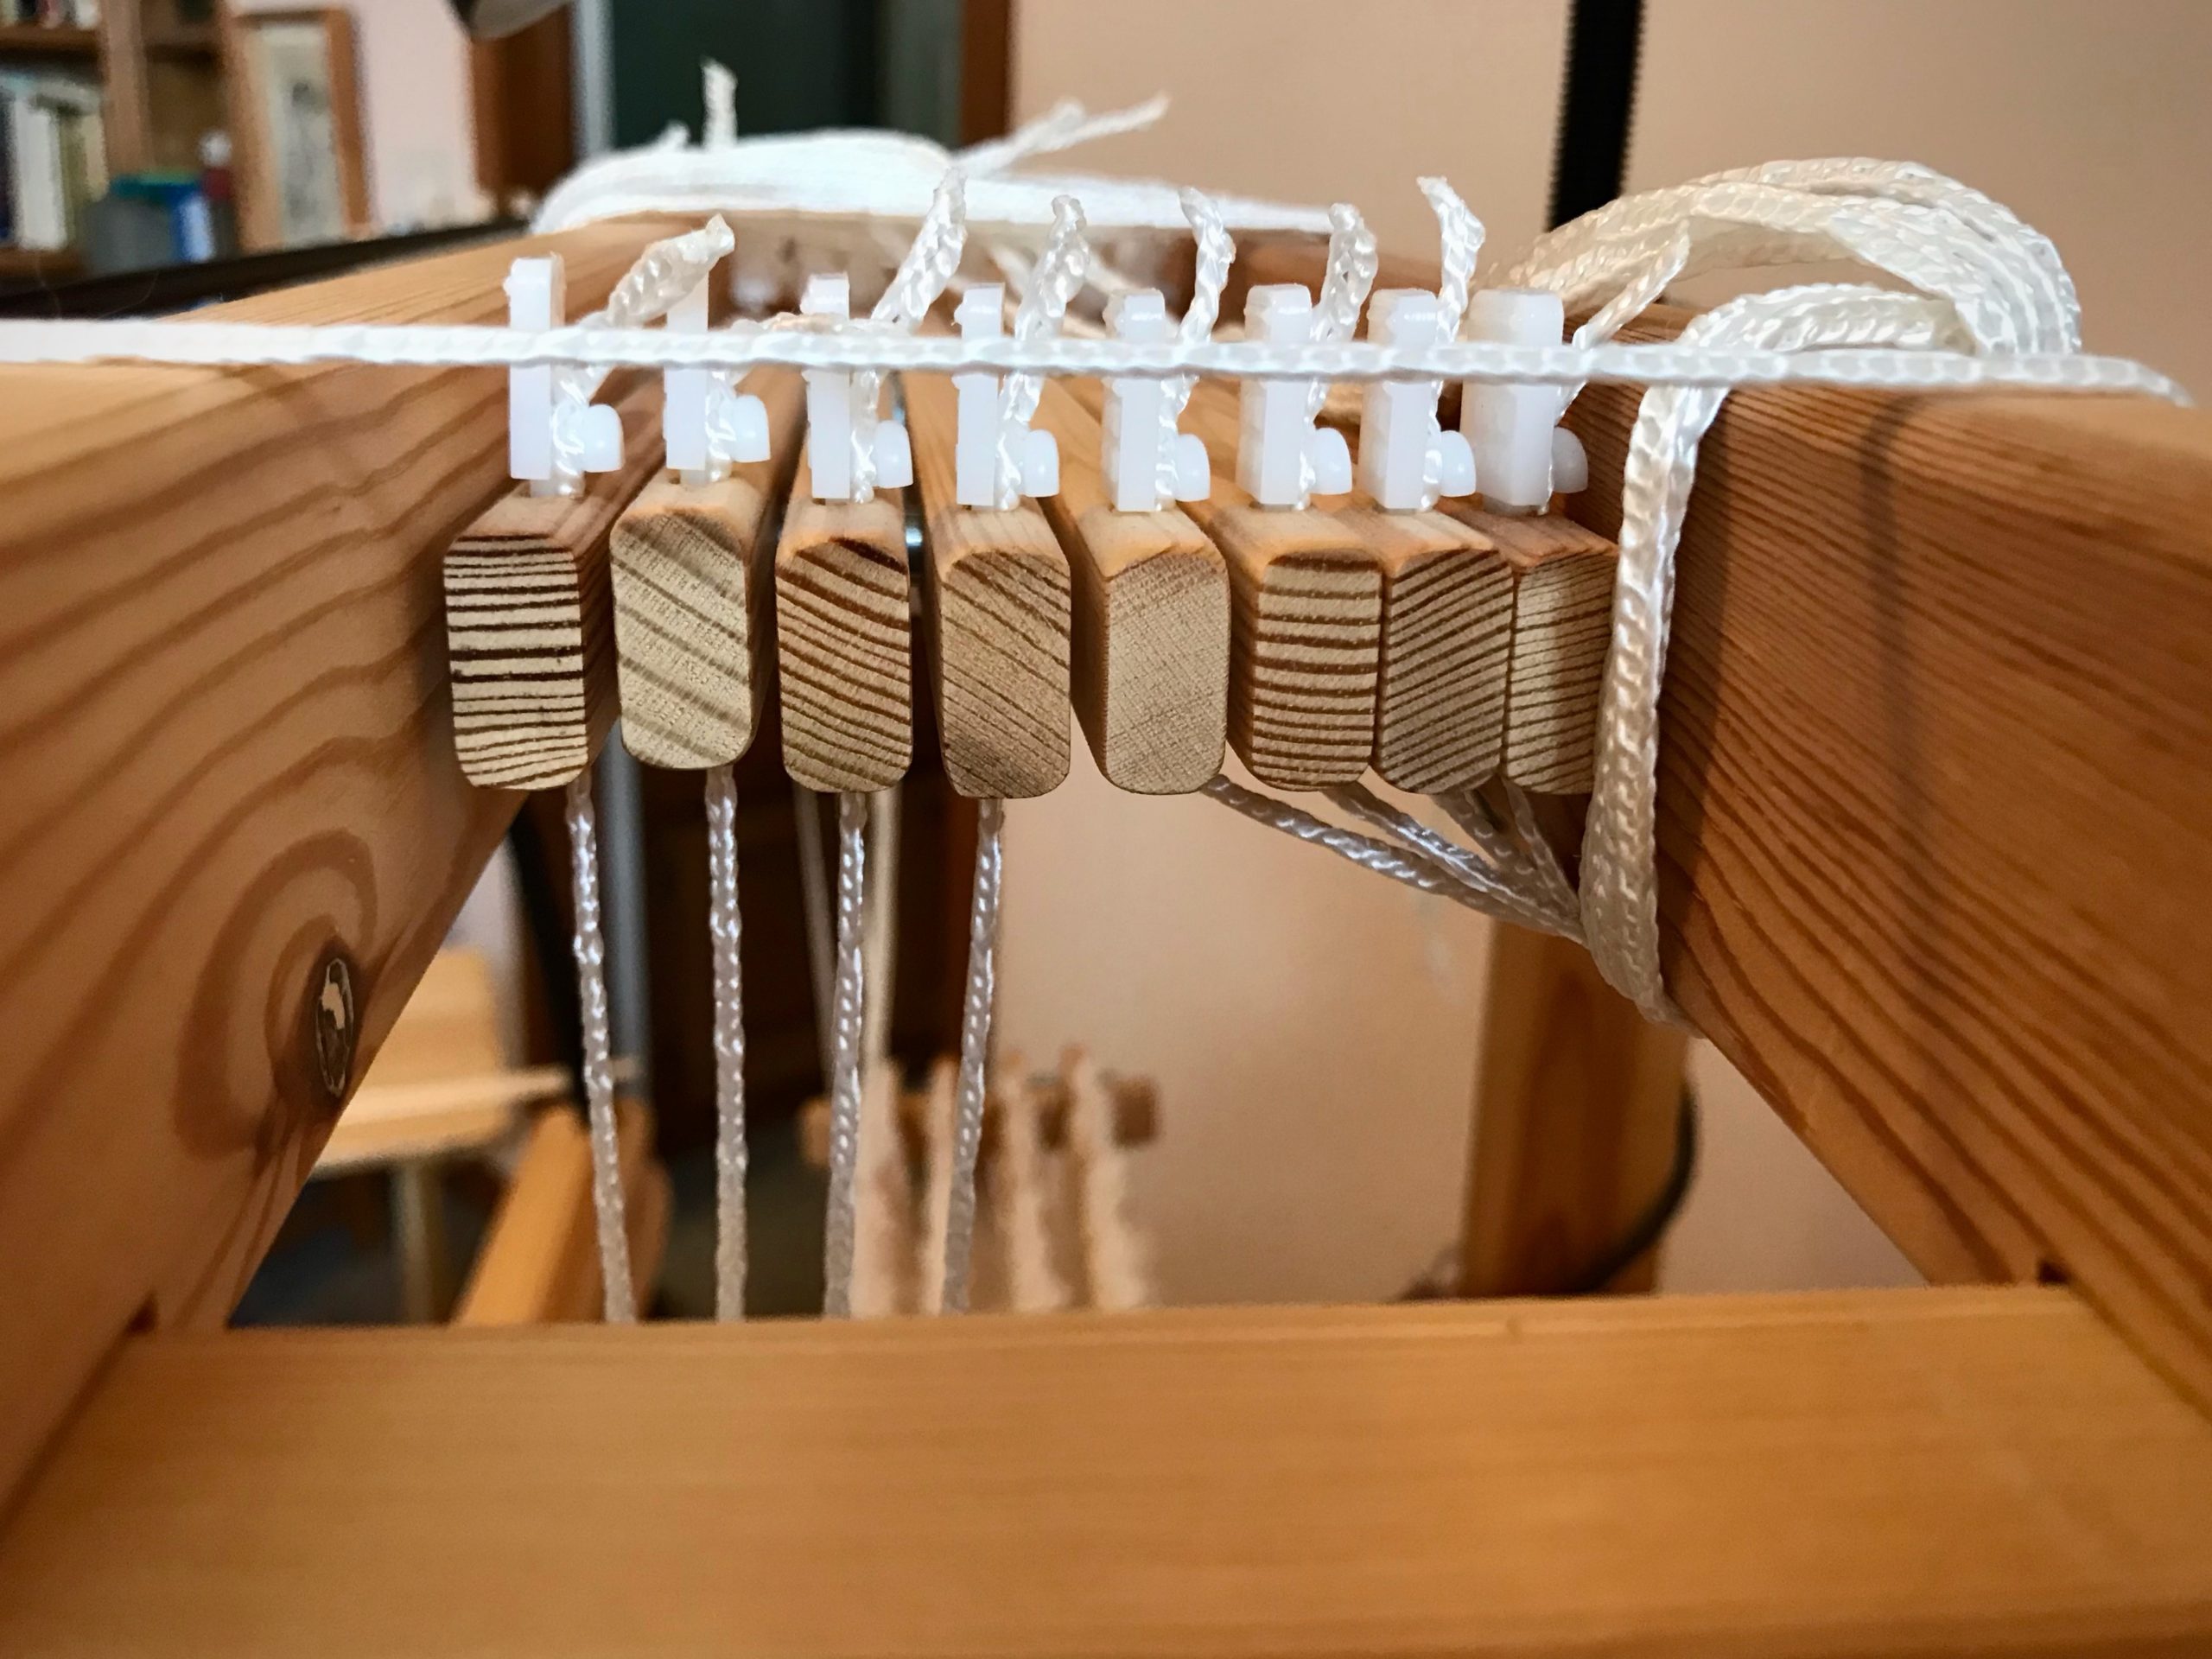
4 Insert one of the seine twine cords through the hole on one end of a shaft bar. Tie. (I use the half-bow slip knot as described in Learning to Warp Your Loom, by Joanne Hall, p.38.)
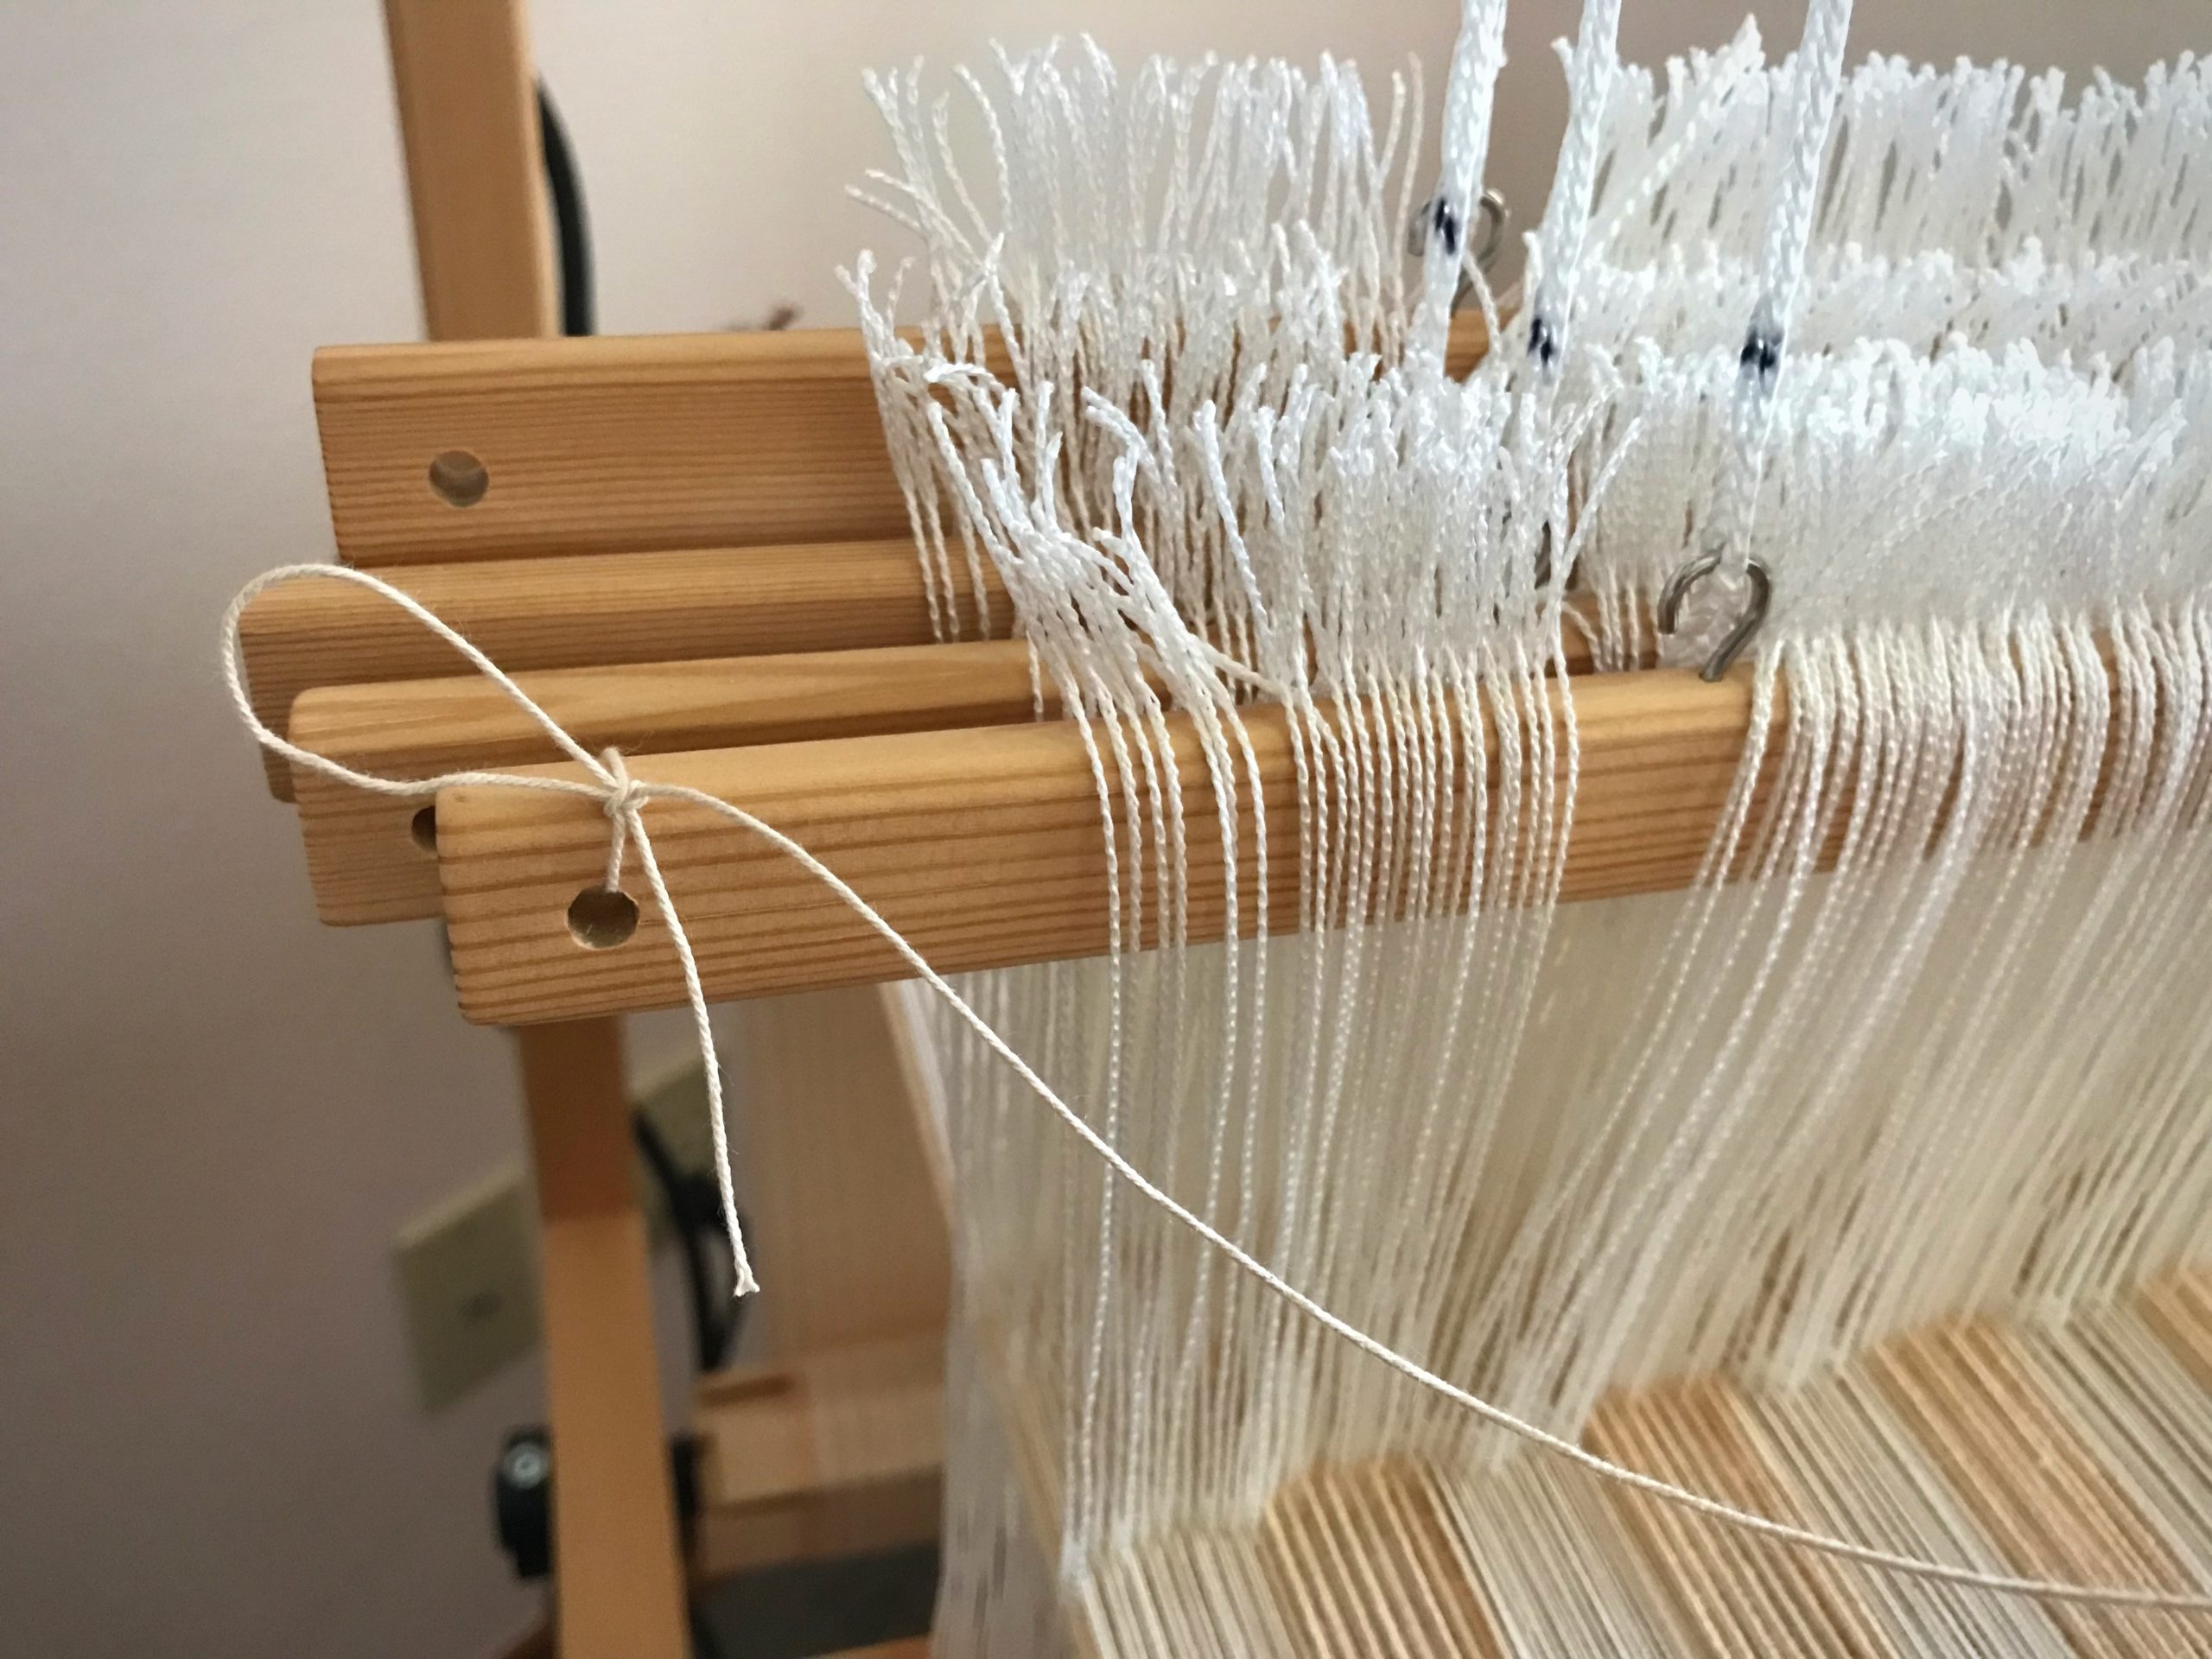
Tie retaining cord to one end of the shaft bar. Any knot will do, but I like this half-bow slip knot because I can untie it simply by pulling the end of the cord.

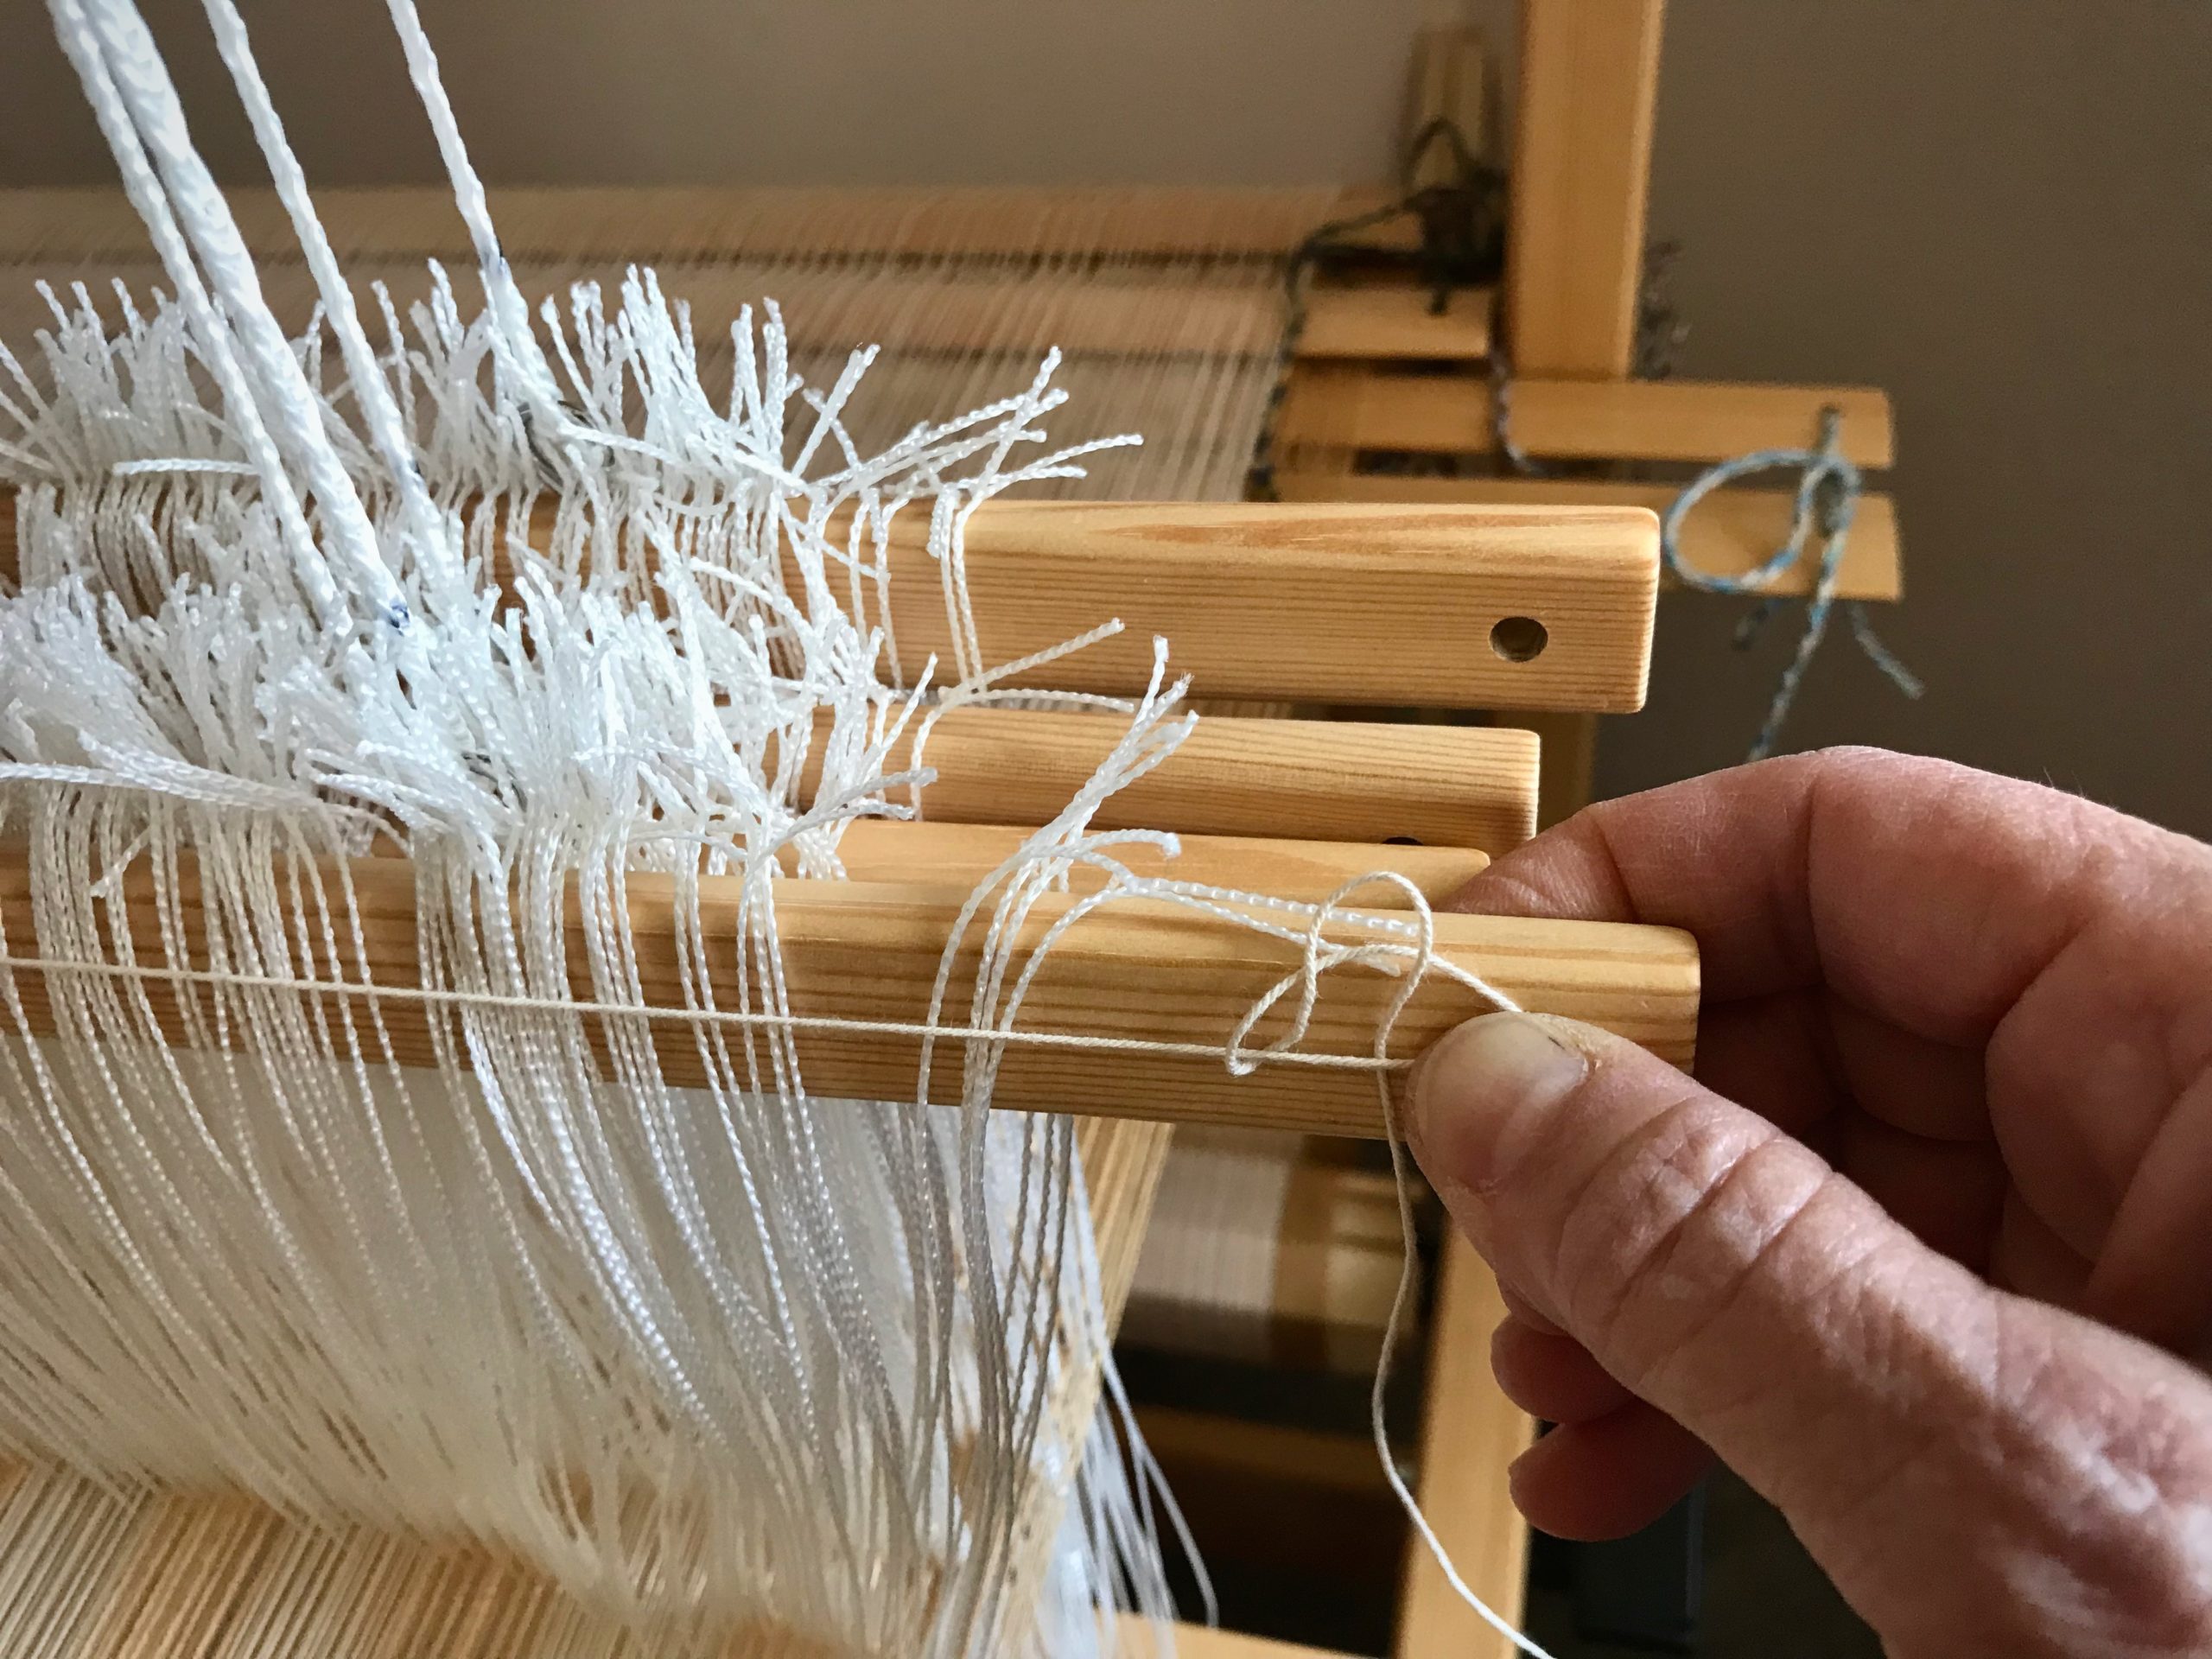
5 Insert the other end of the cord through the hole at other end of the shaft bar. Tie.
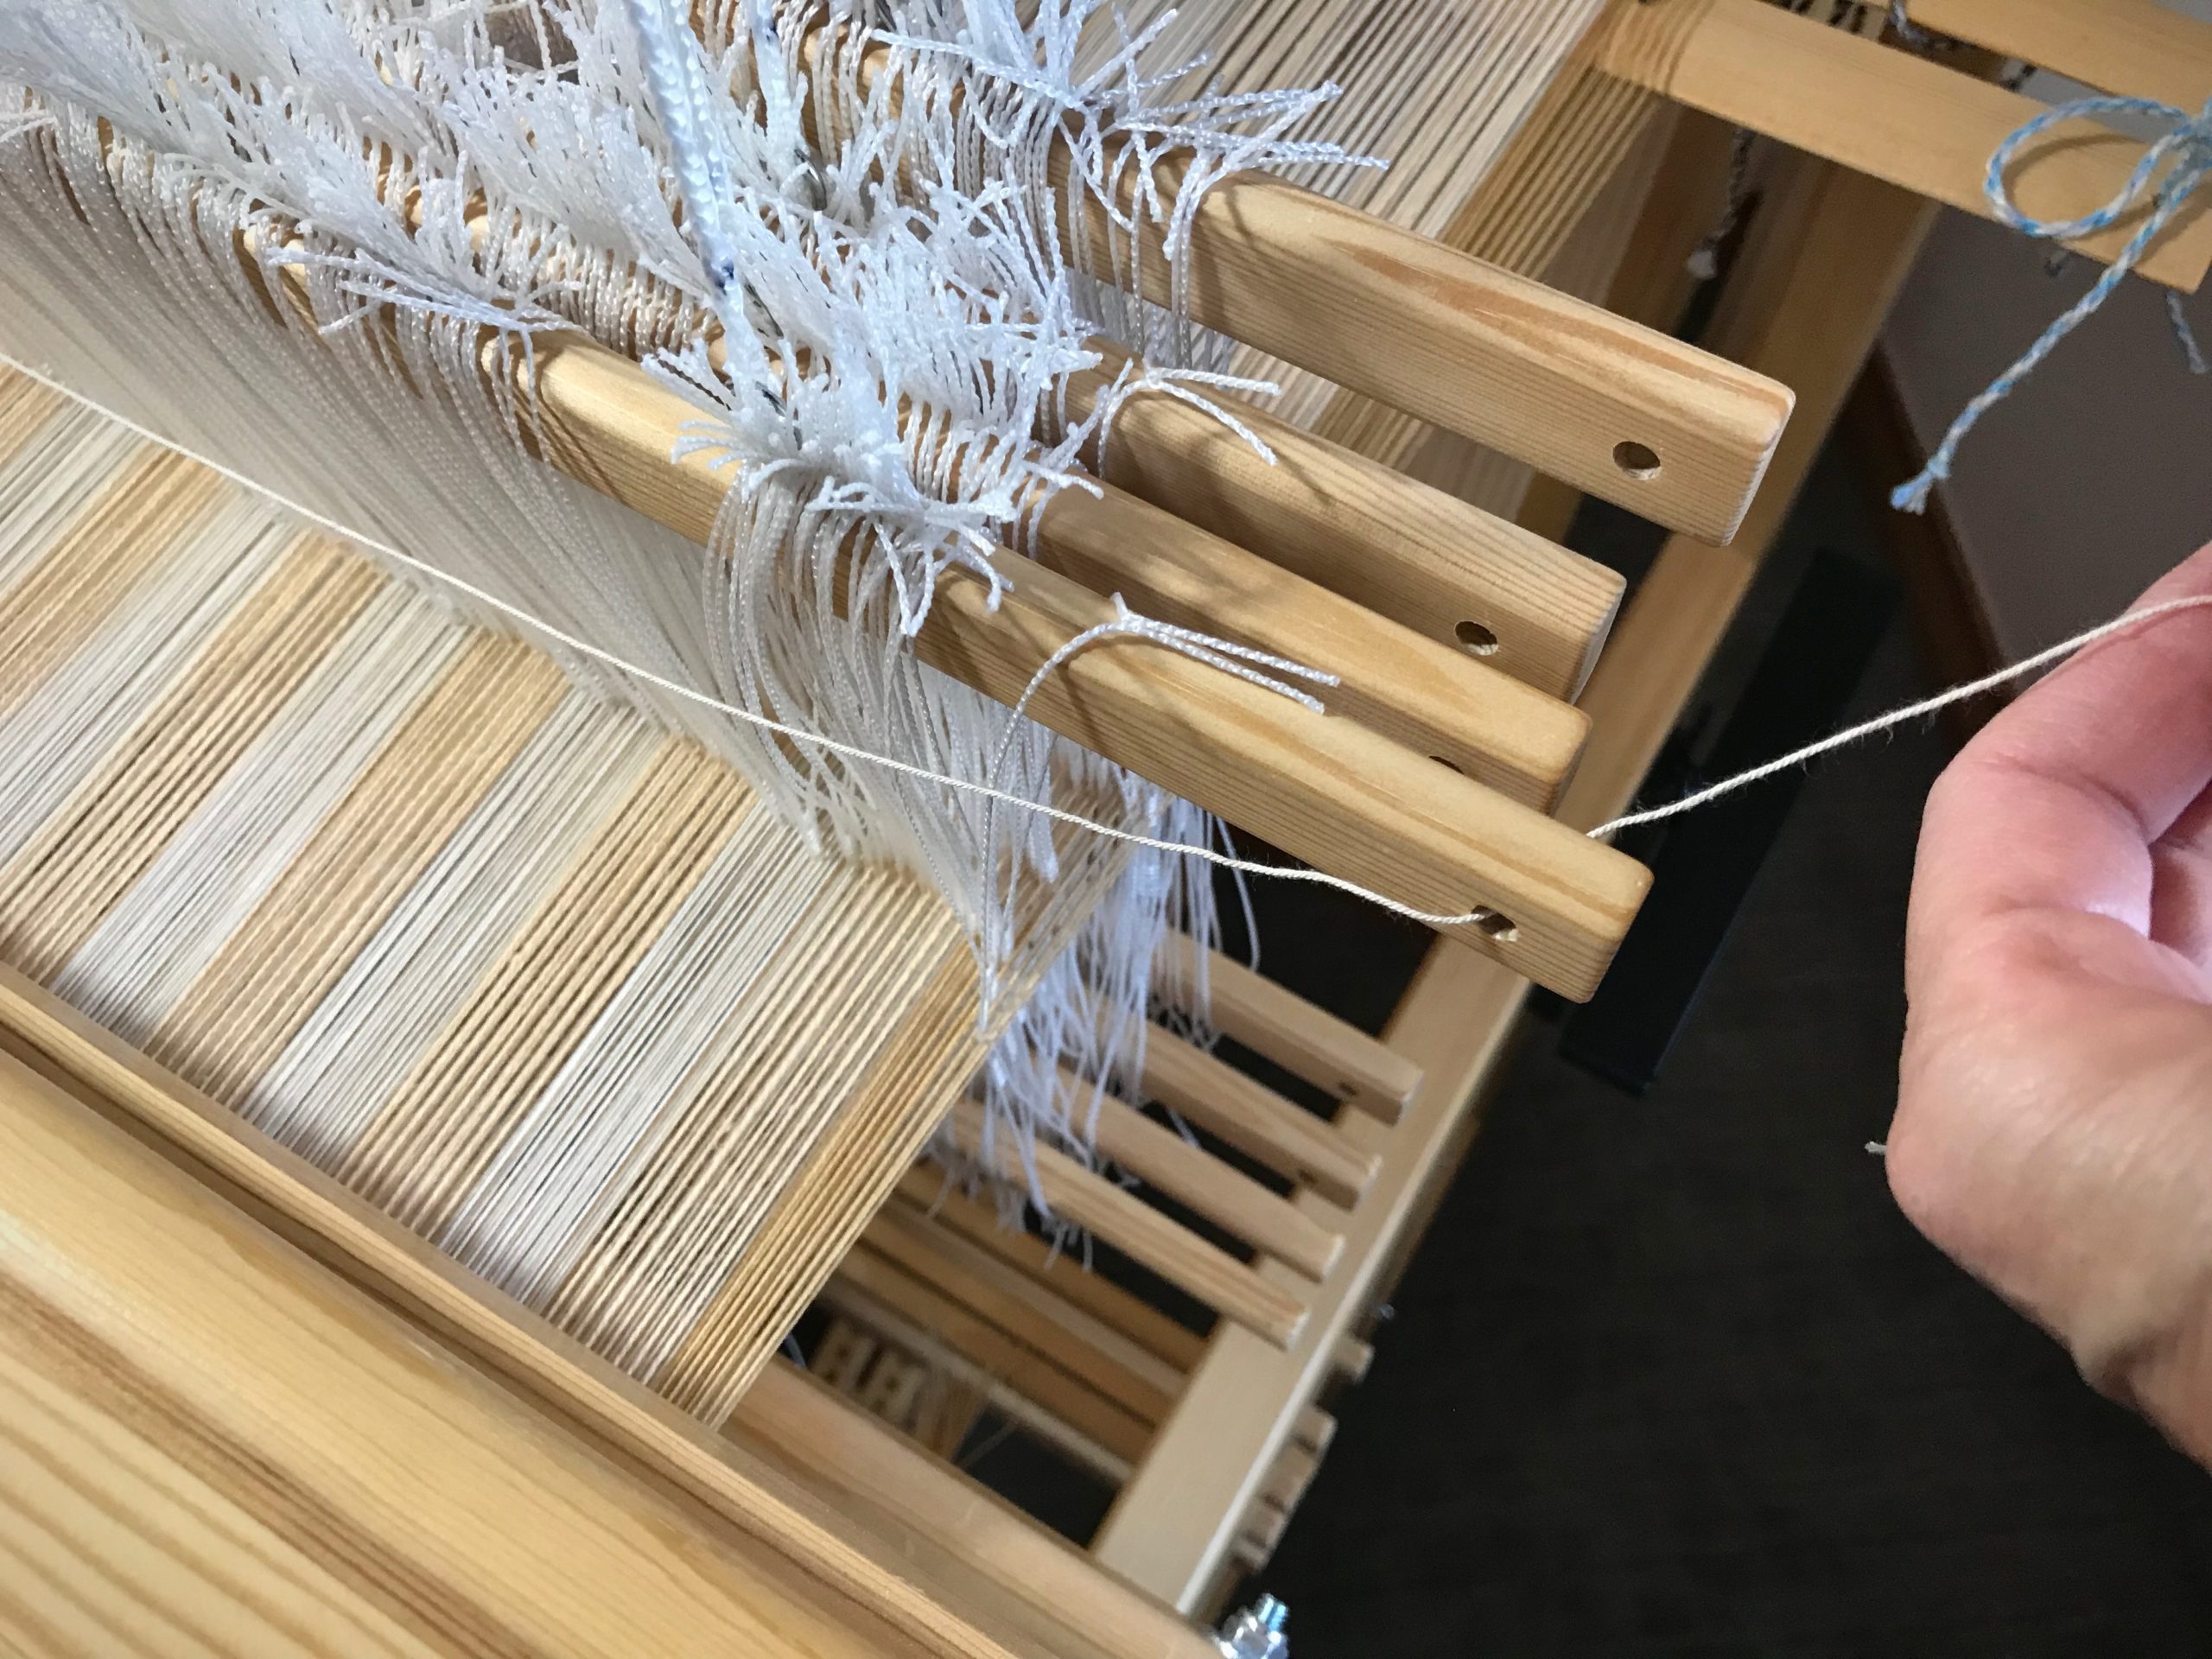
Thread the cord through the hole at the end of the bar.
Tie a simple knot and tighten it.
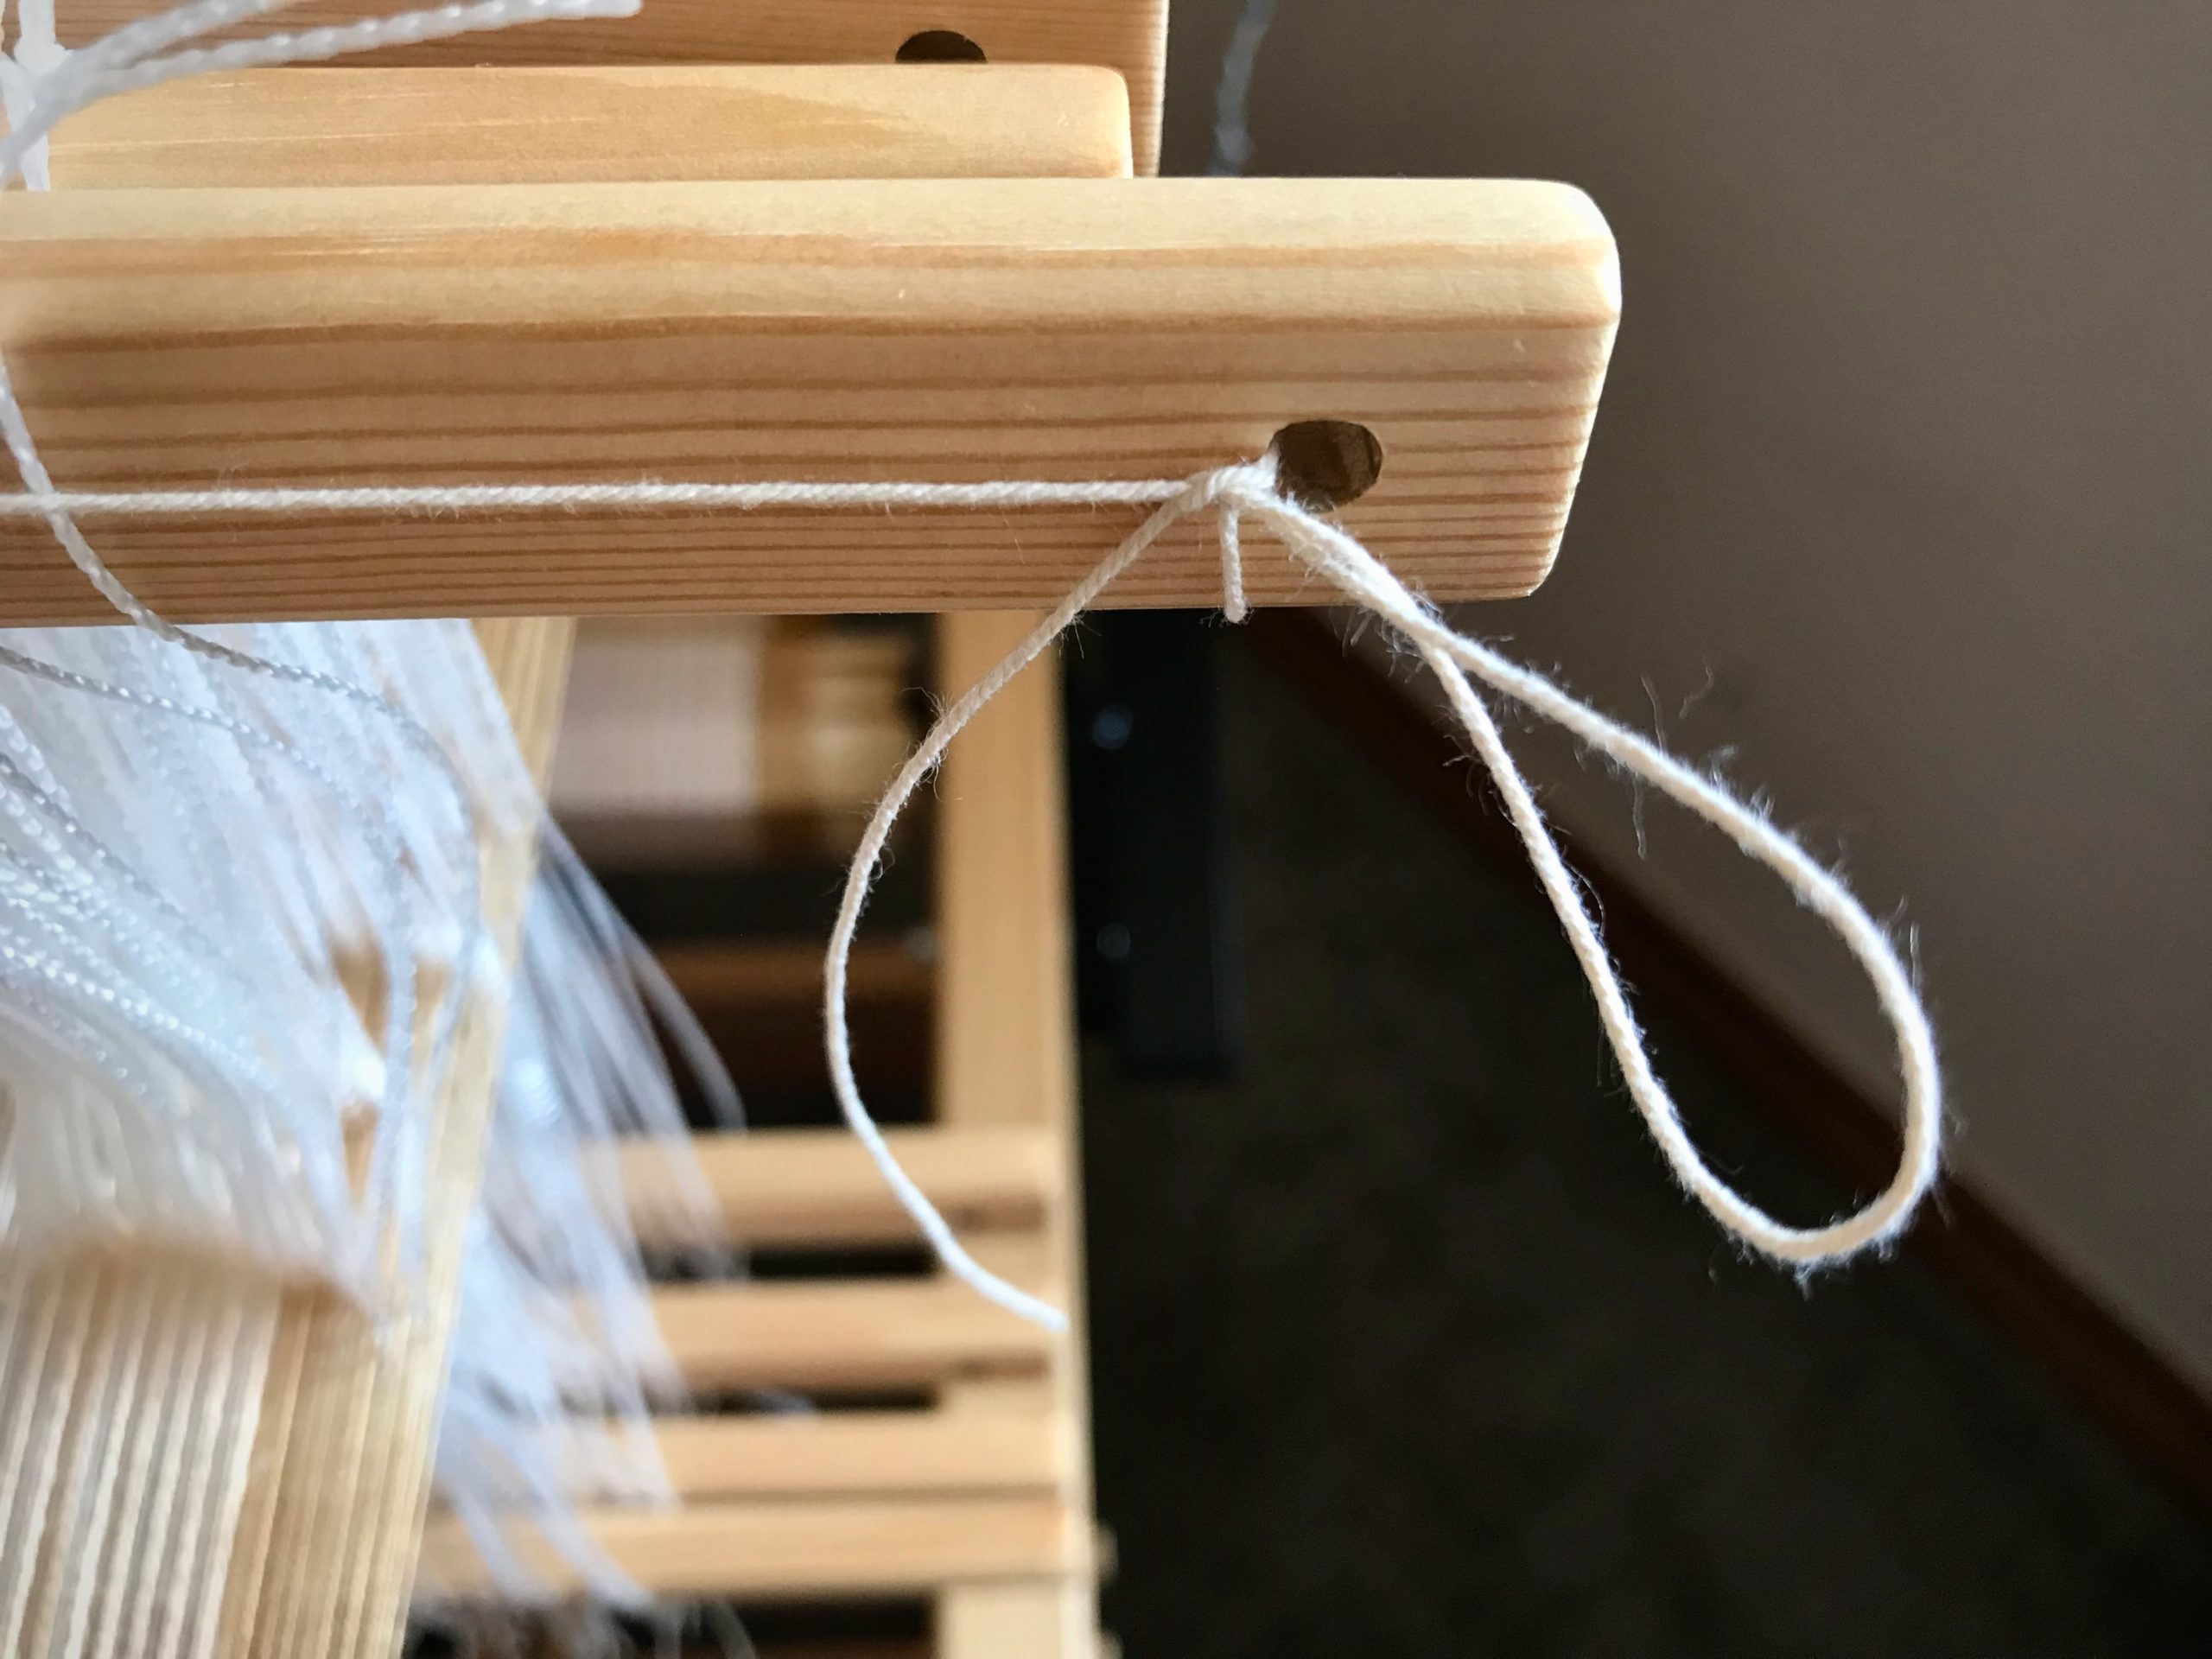
Tie another simple knot, leaving a fold in the end of the cord.
Pull the loop to tighten the knot.

6 Repeat steps 4 and 5 for each remaining upper and lower shaft bar.
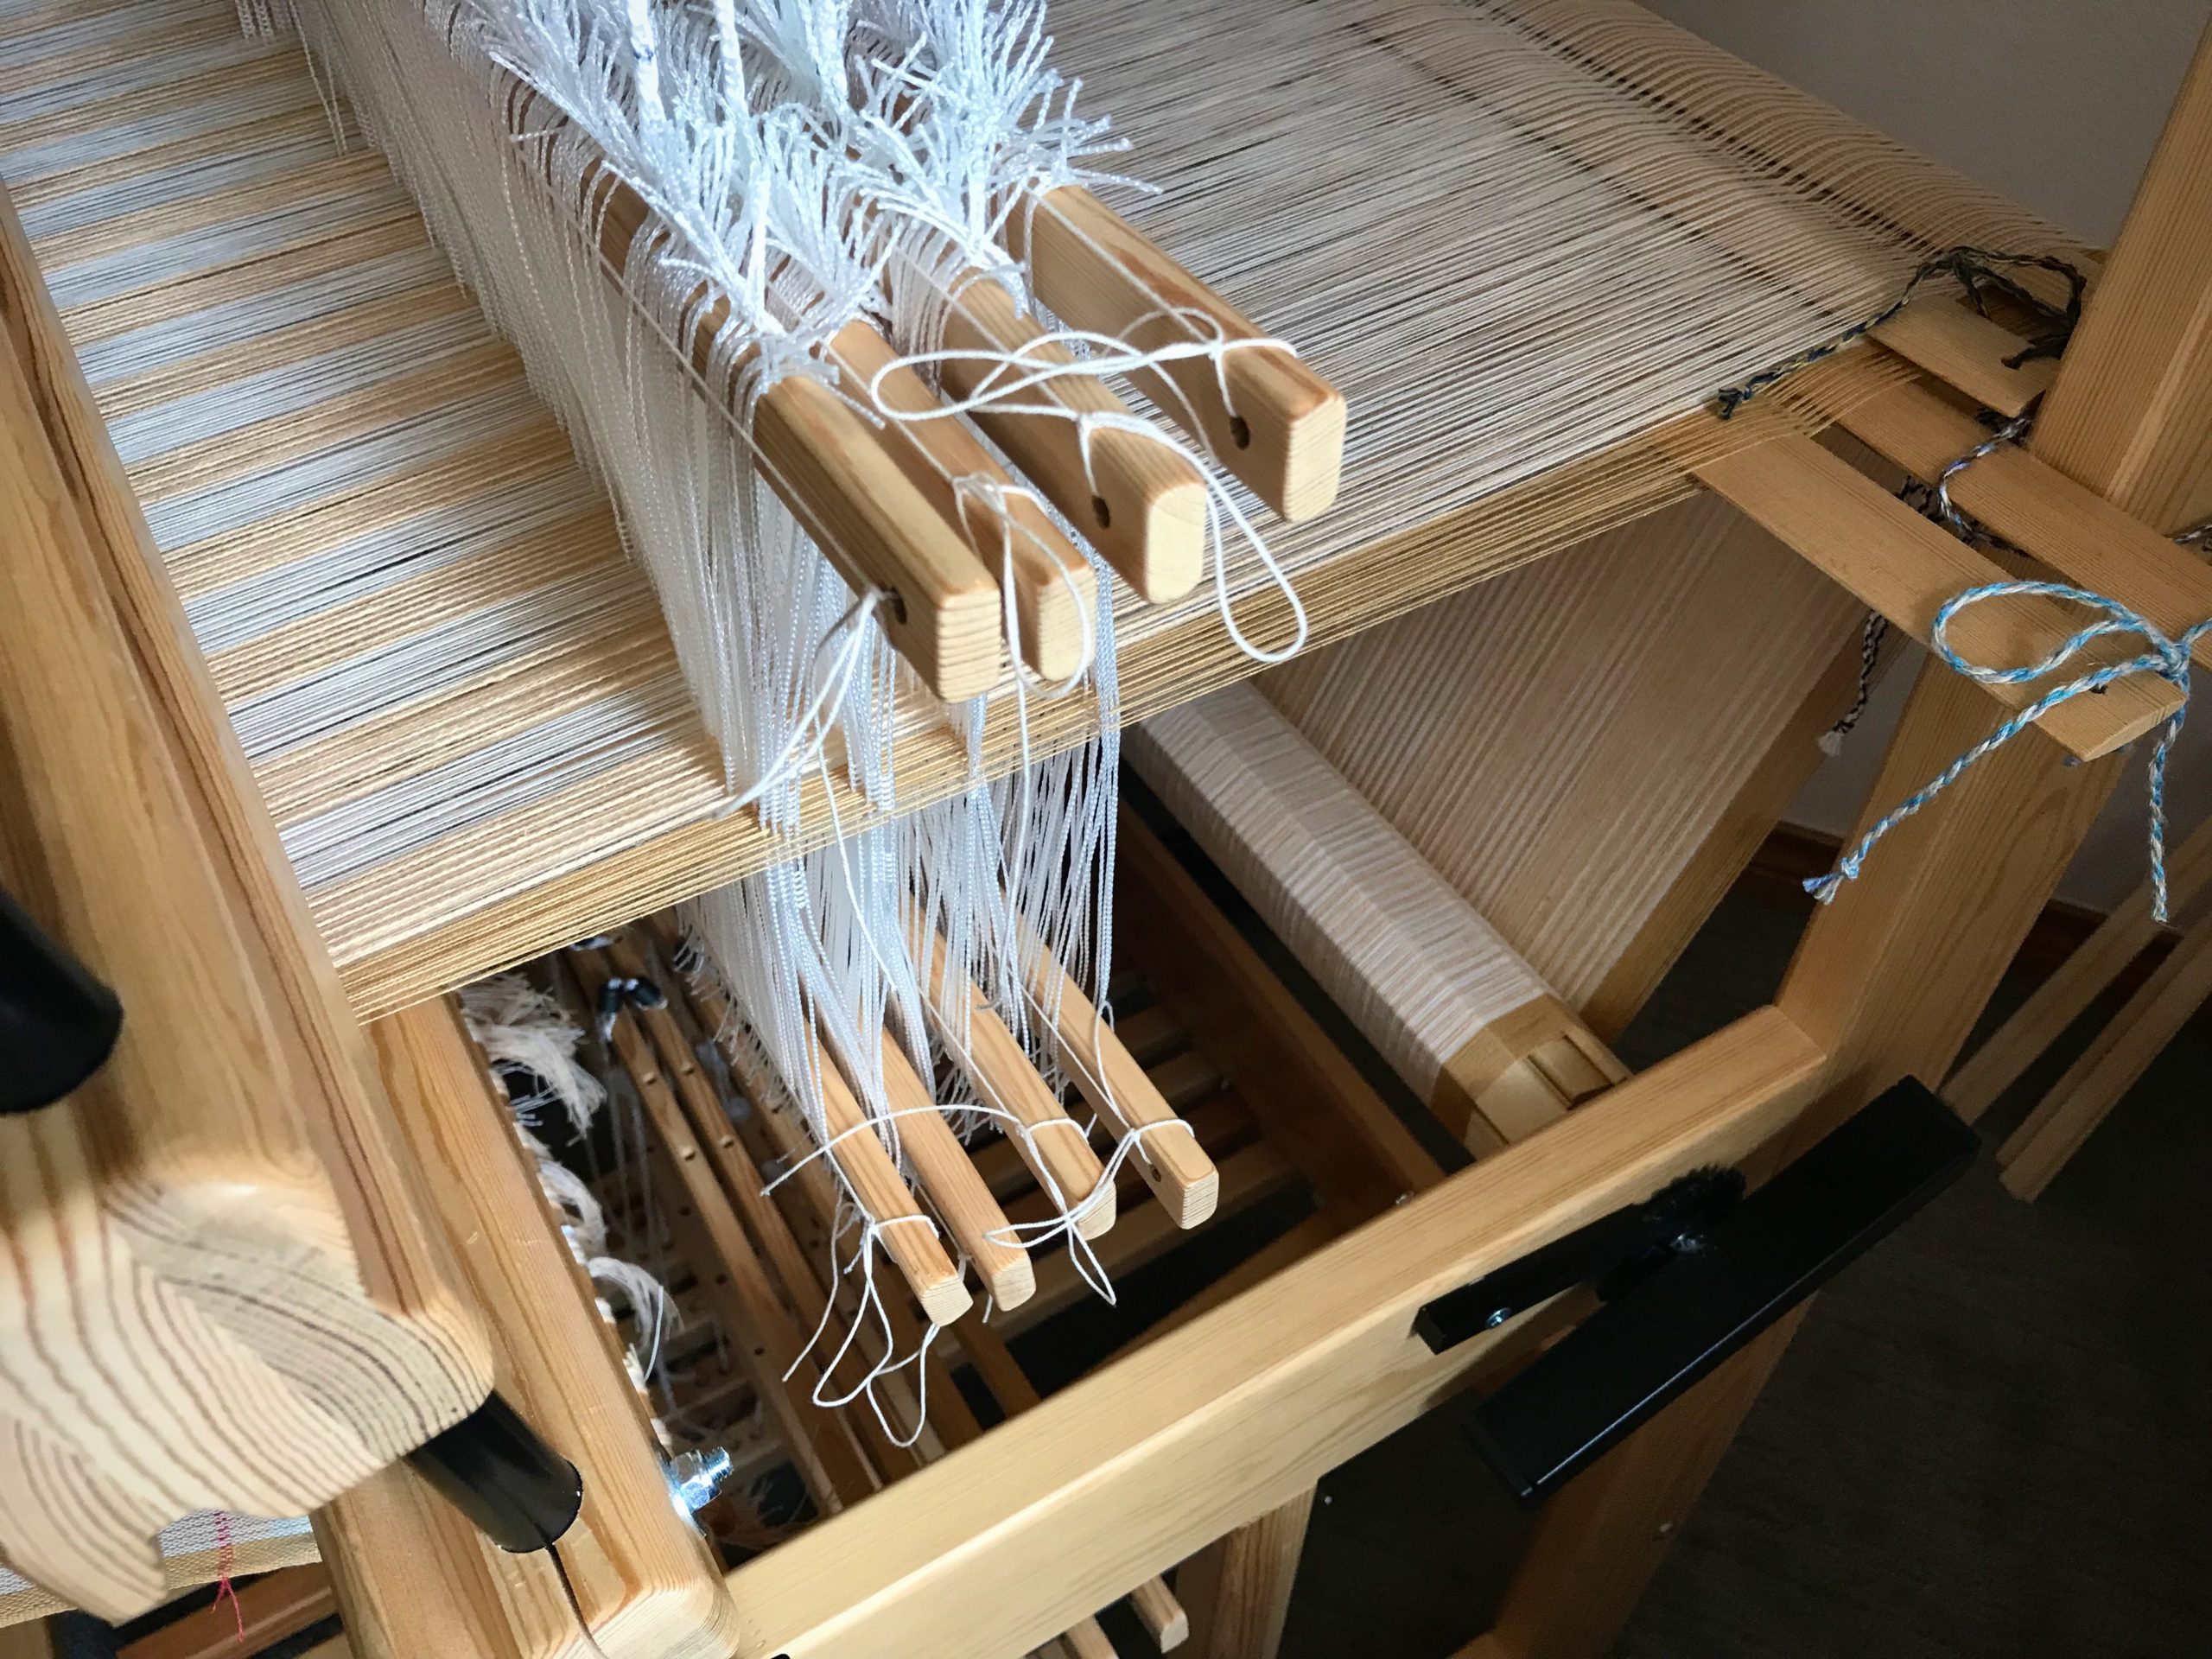
All tied up and ready to go! When this project is finished I will wind up these retaining cords on an empty tube and re-use them for the next wide warp on the Julia.

Continue weaving with one less thing to think about.

45 minutes: Time it took to reposition heddles that had slipped off a few shafts and were in a mess because I didn’t notice it immediately.
Less than 10 minutes: Time it took to cut string and tie retaining cords on 4 upper shaft bars and 4 lower shaft bars.

‘Nuff said.

May you take the time to do what needs to be done.

Ever Learning,
Karen

Tried and True: When the Shed is Missing

You followed all the instructions for dressing the loom, and have finished the countermarch tie-up. Now, at the moment of triumph you step on the treadles, one by one. Alas! Some or all of the treadles give you nothing you can call a shed. Now what? Maybe you relate to Laura who wrote me recently, “I can’t seem to get the treadles to make a shed.”

The solution is simple. Follow the advice in this sentence on page 37 of Learning to Warp your Loom, by Joanne Hall, “If your sheds are not good, check your loom tie-up from the top down.”

If sheds are missing, there is a good chance you have a crossed cord.

Warp is threaded, sleyed, and tied on. After arranging and connecting a few Texsolv cords, I will tie up the treadles.

Find Misaligned Cords

1 Follow each Texsolv cord, starting from the countermarch at top of the loom.

All the shafts are good to go, right? Not quite. Better see what’s happening at the top of those Texsolv cords.

2 Make sure that each cord is connected in the right order at the right place.

Is the first countermarch jack connected to the first shaft, the second jack to the second shaft, and so on?

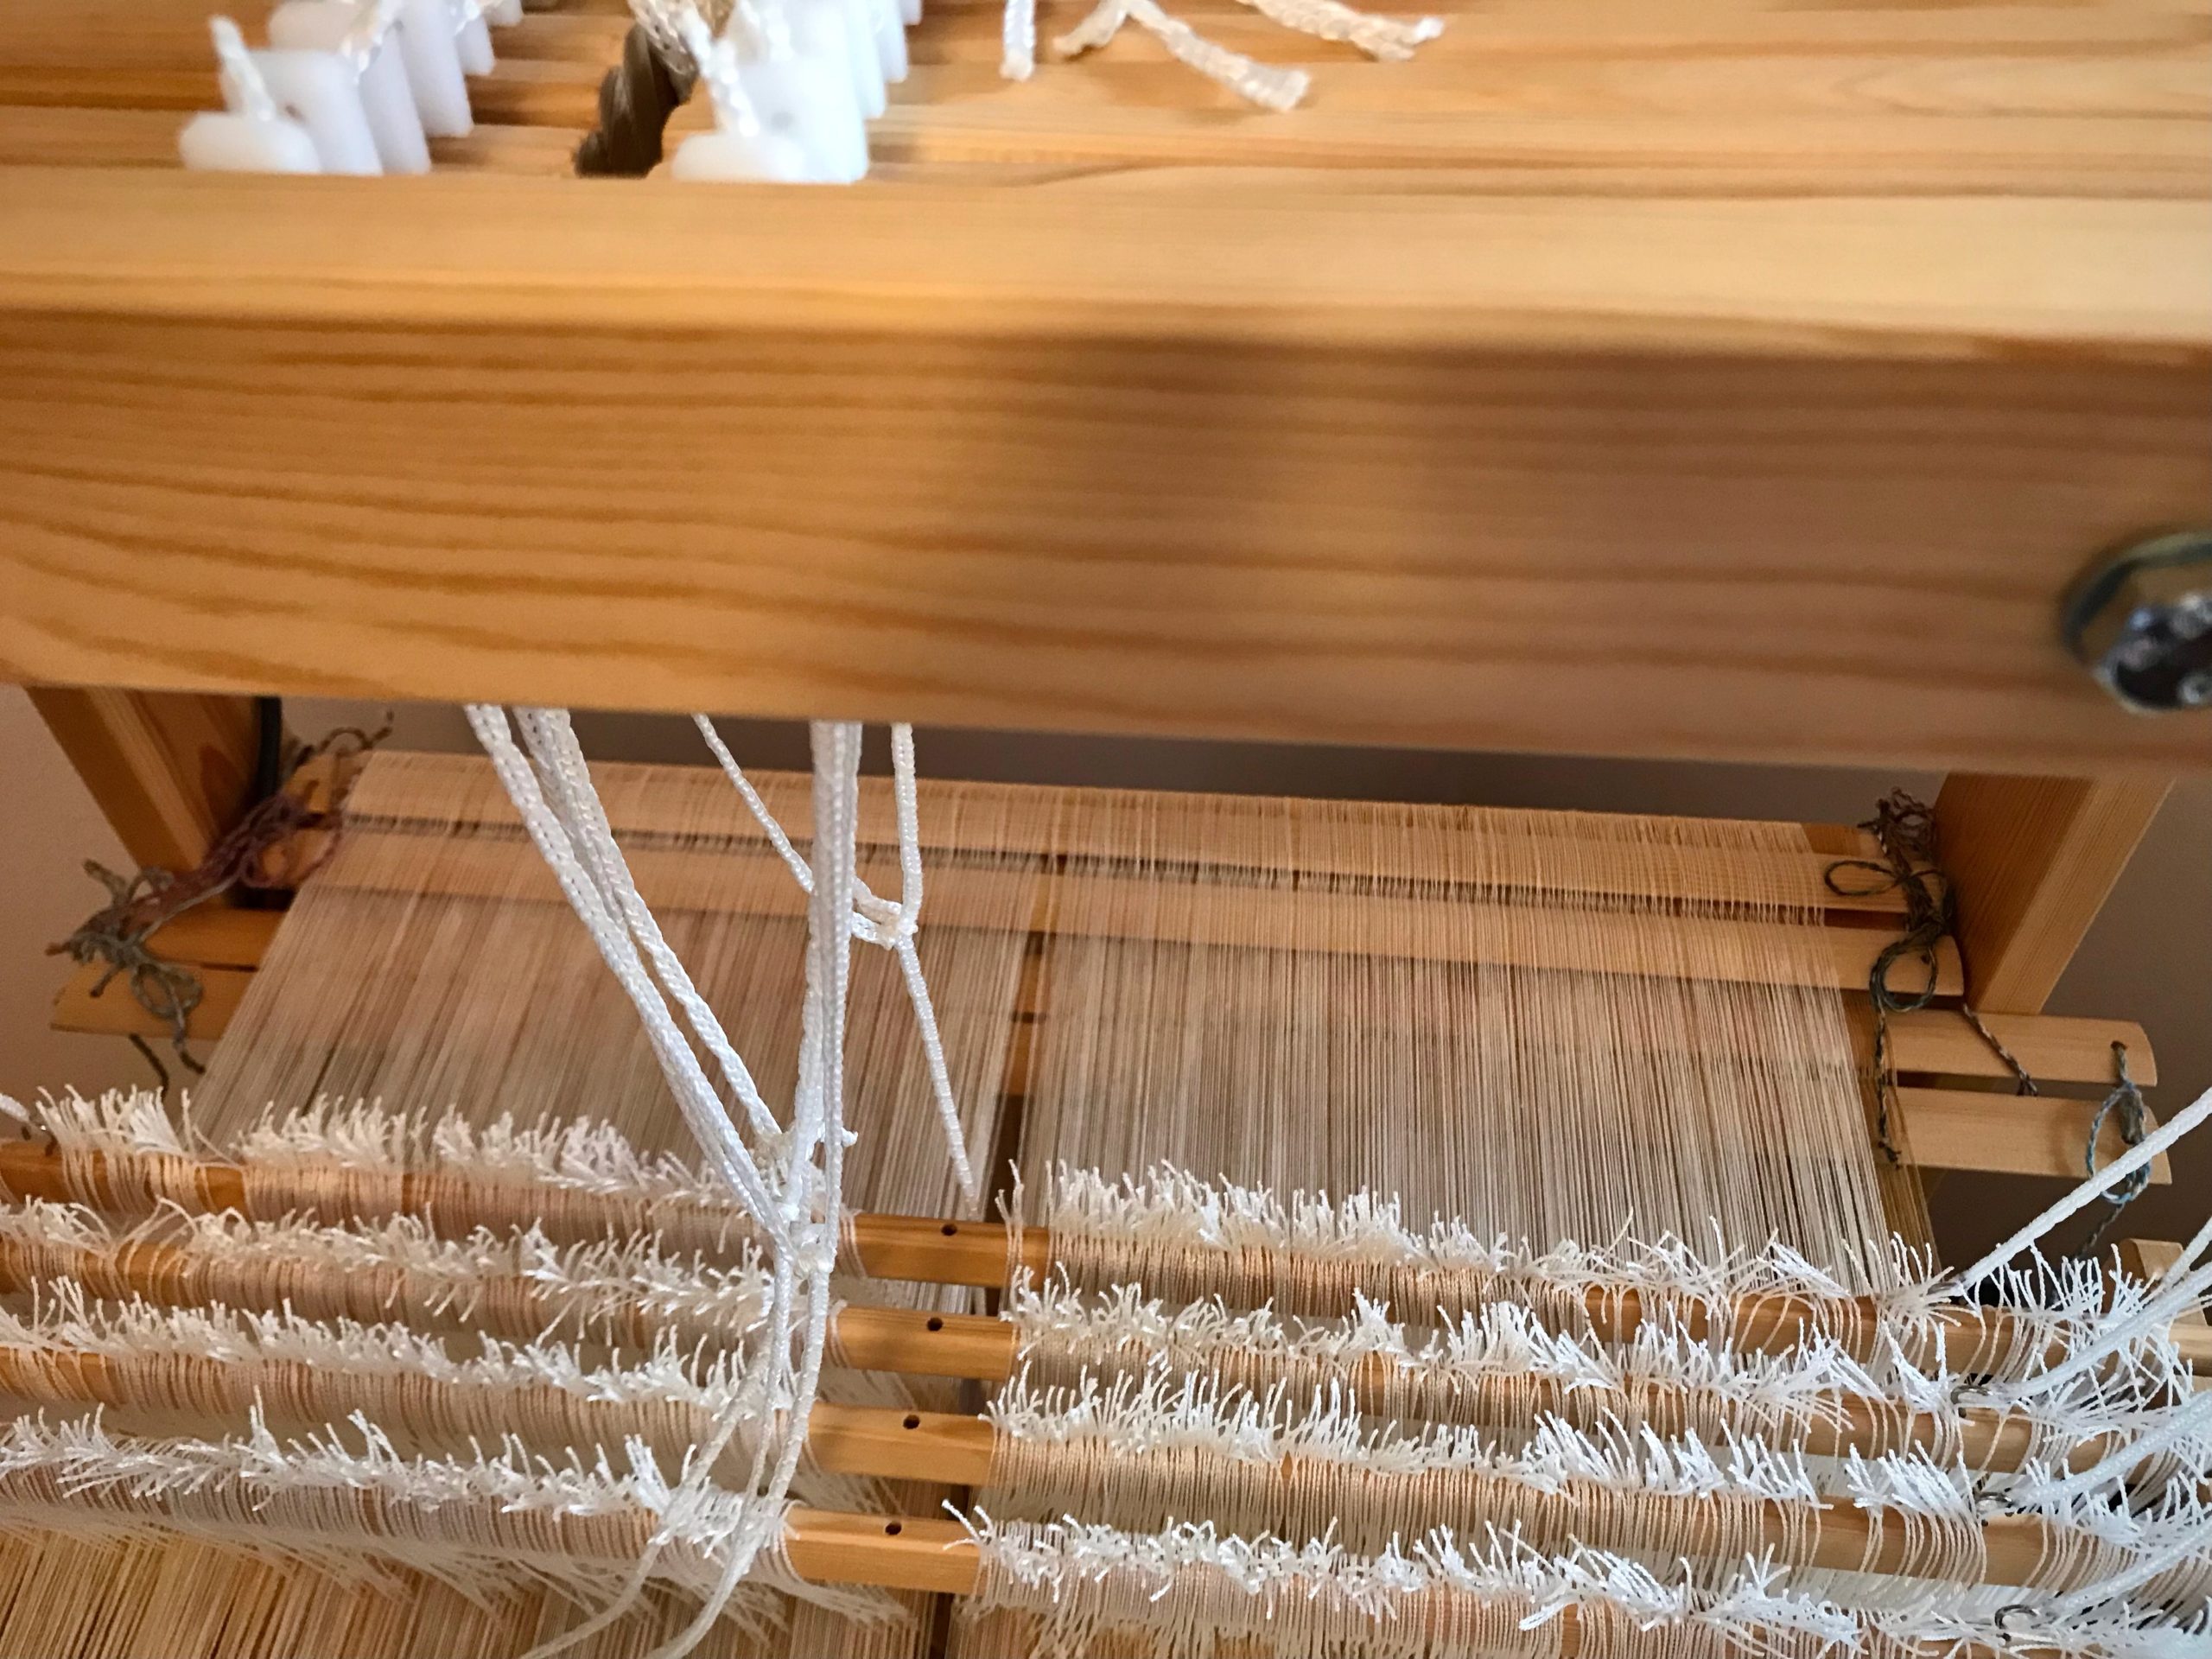
Misaligned cords as seen from the top of the loom.

Are the cords that go to the lower lamms strictly in order?

– With horizontal countermarch, does each cord fall behind the shafts in order?

Cords from the horizontal countermarch go through the center of the warp, to be attached to lower lamms below.
Make sure each cord goes behind its corresponding shaft bars to the lamms below. When attaching the cords to the lamms, make sure the cords are attached in the correct order. If loom is already tied up, follow each cord to check that it is attached to its corresponding lamm.

– With vertical countermarch, is each cord on its pulley, and connected to lamms in the right order?

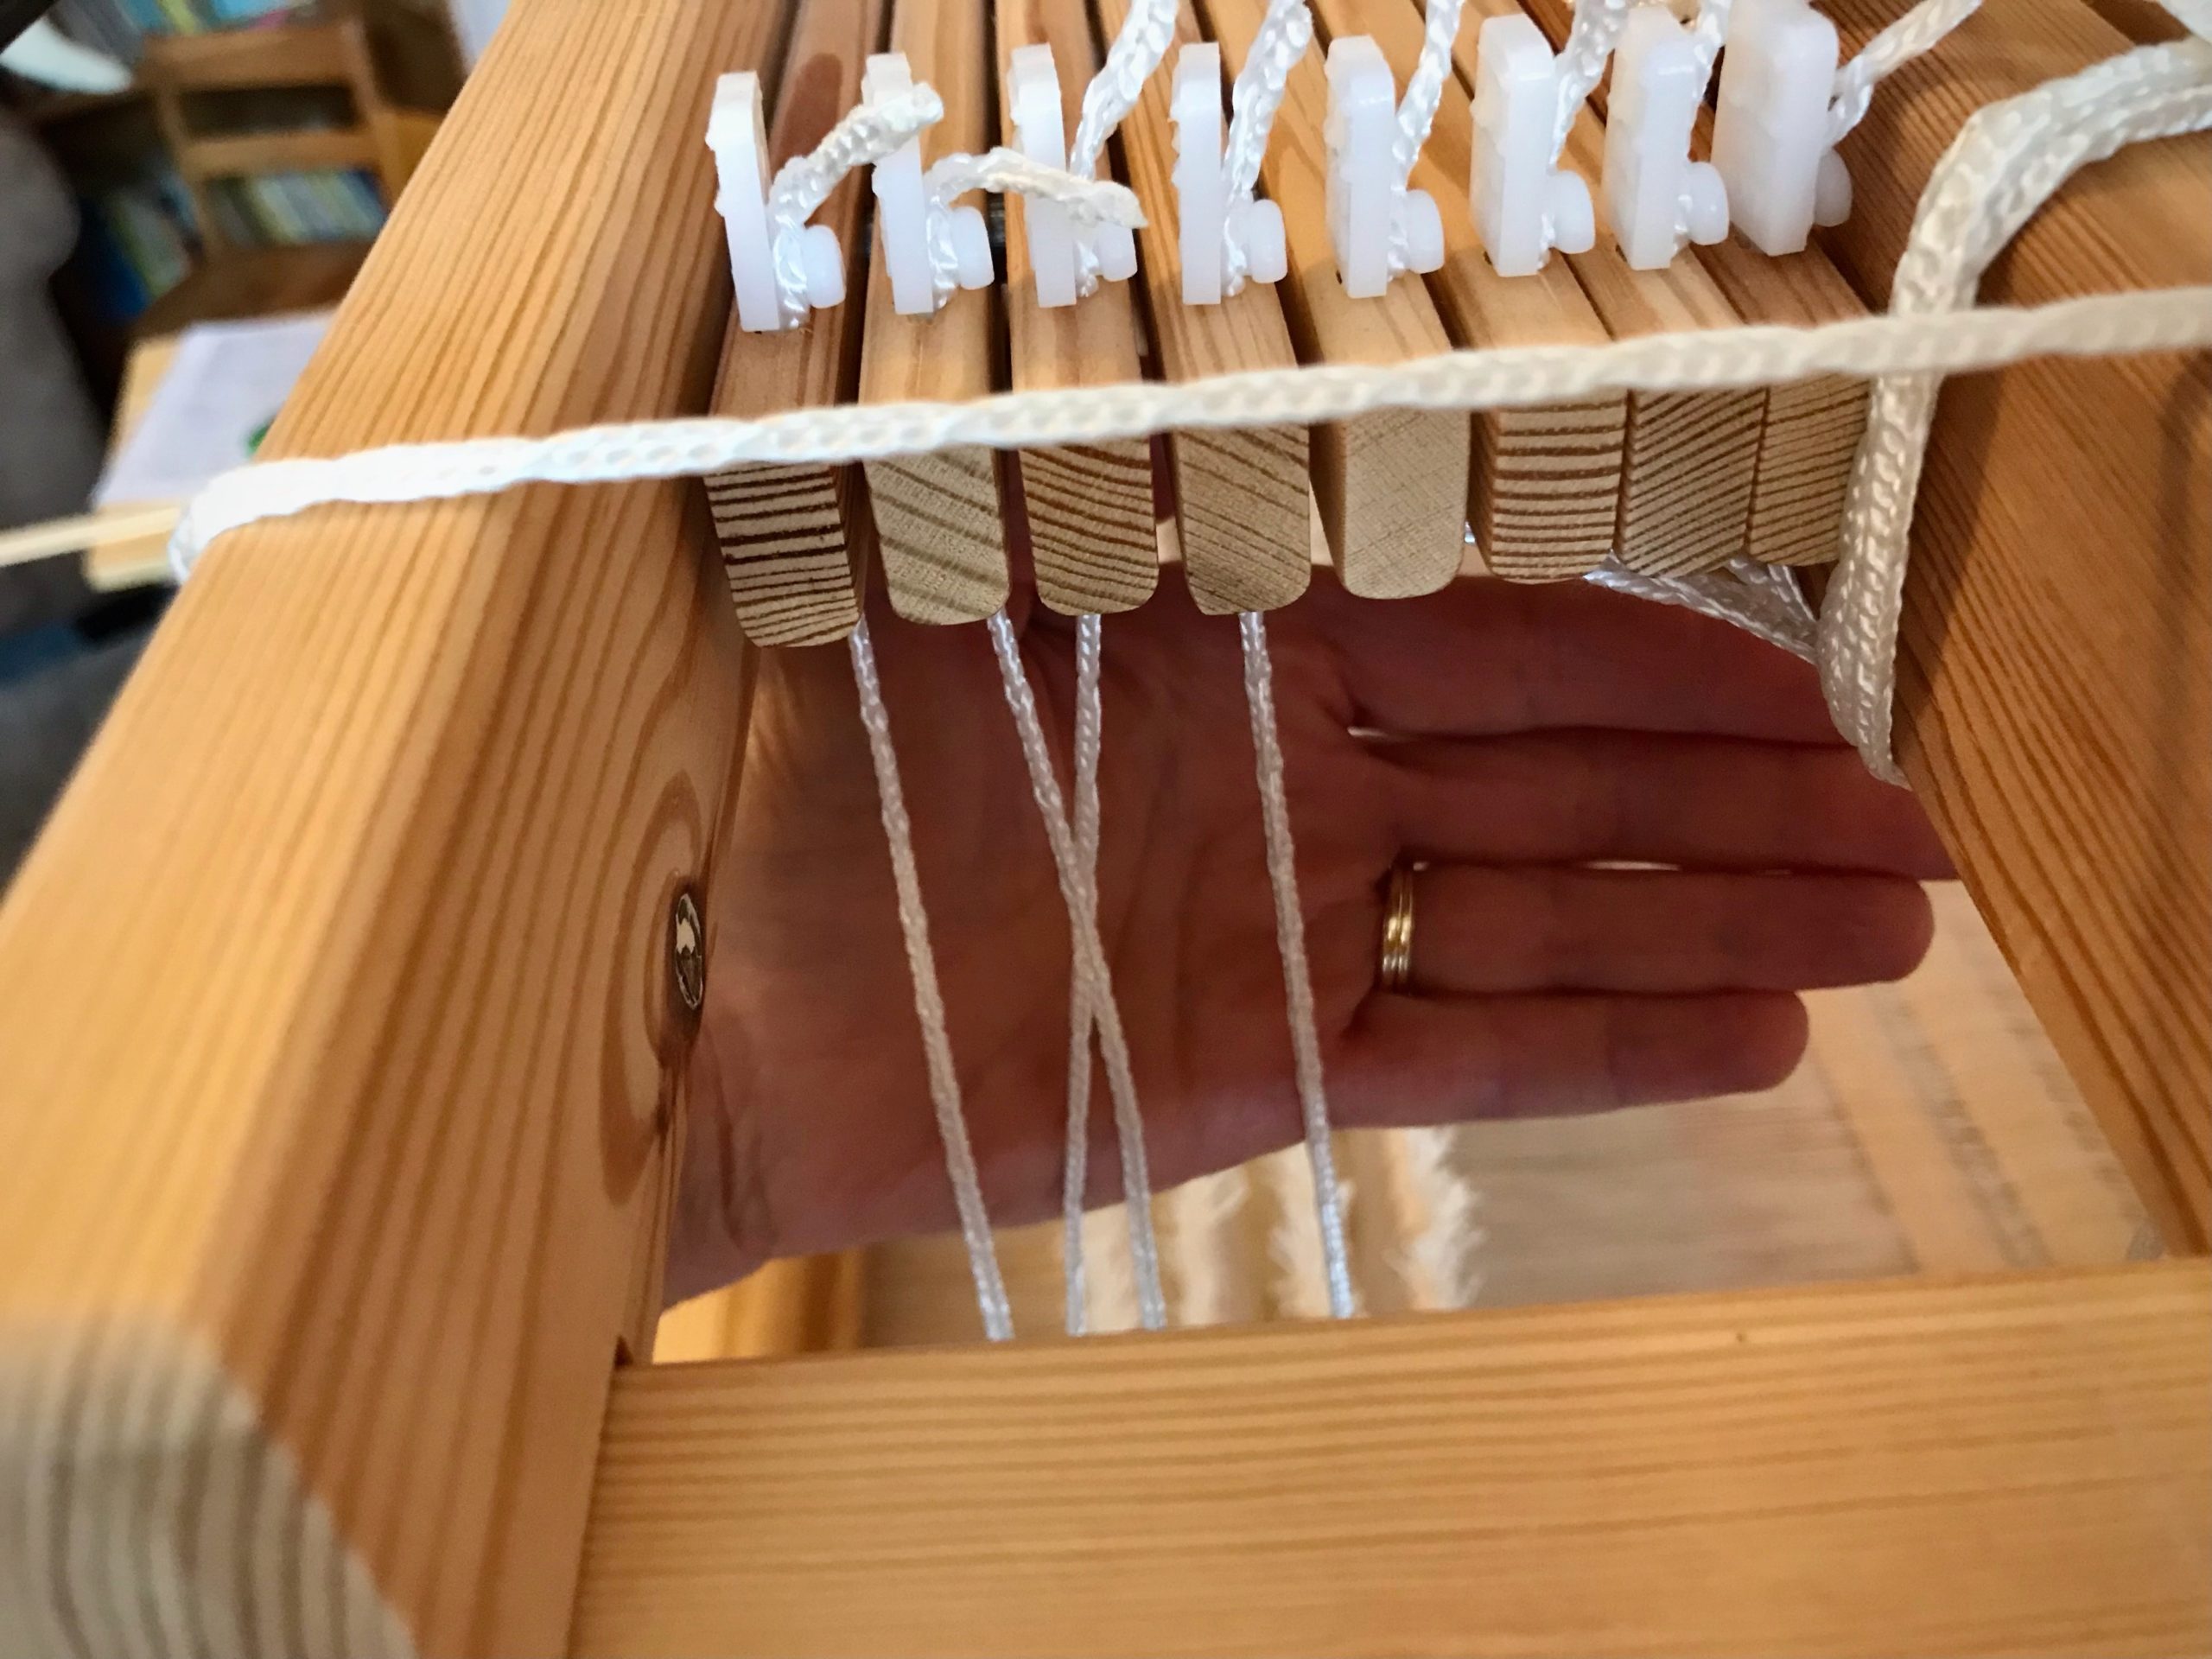
Vertical countermarch has cords that go over pulleys on the side down to the lower lamms. I have to be extra careful to keep from attaching a cord to the wrong lamm.

3 Correct any misaligned cord.

Now, step on each treadle, one by one. Decent sheds that just need a little refining? Triumph!

Helpful Habit

When attaching a cord while dressing the loom, start your hand at the top of the cord and slide it down to the point of connection. This helps you take hold of the correct cord.

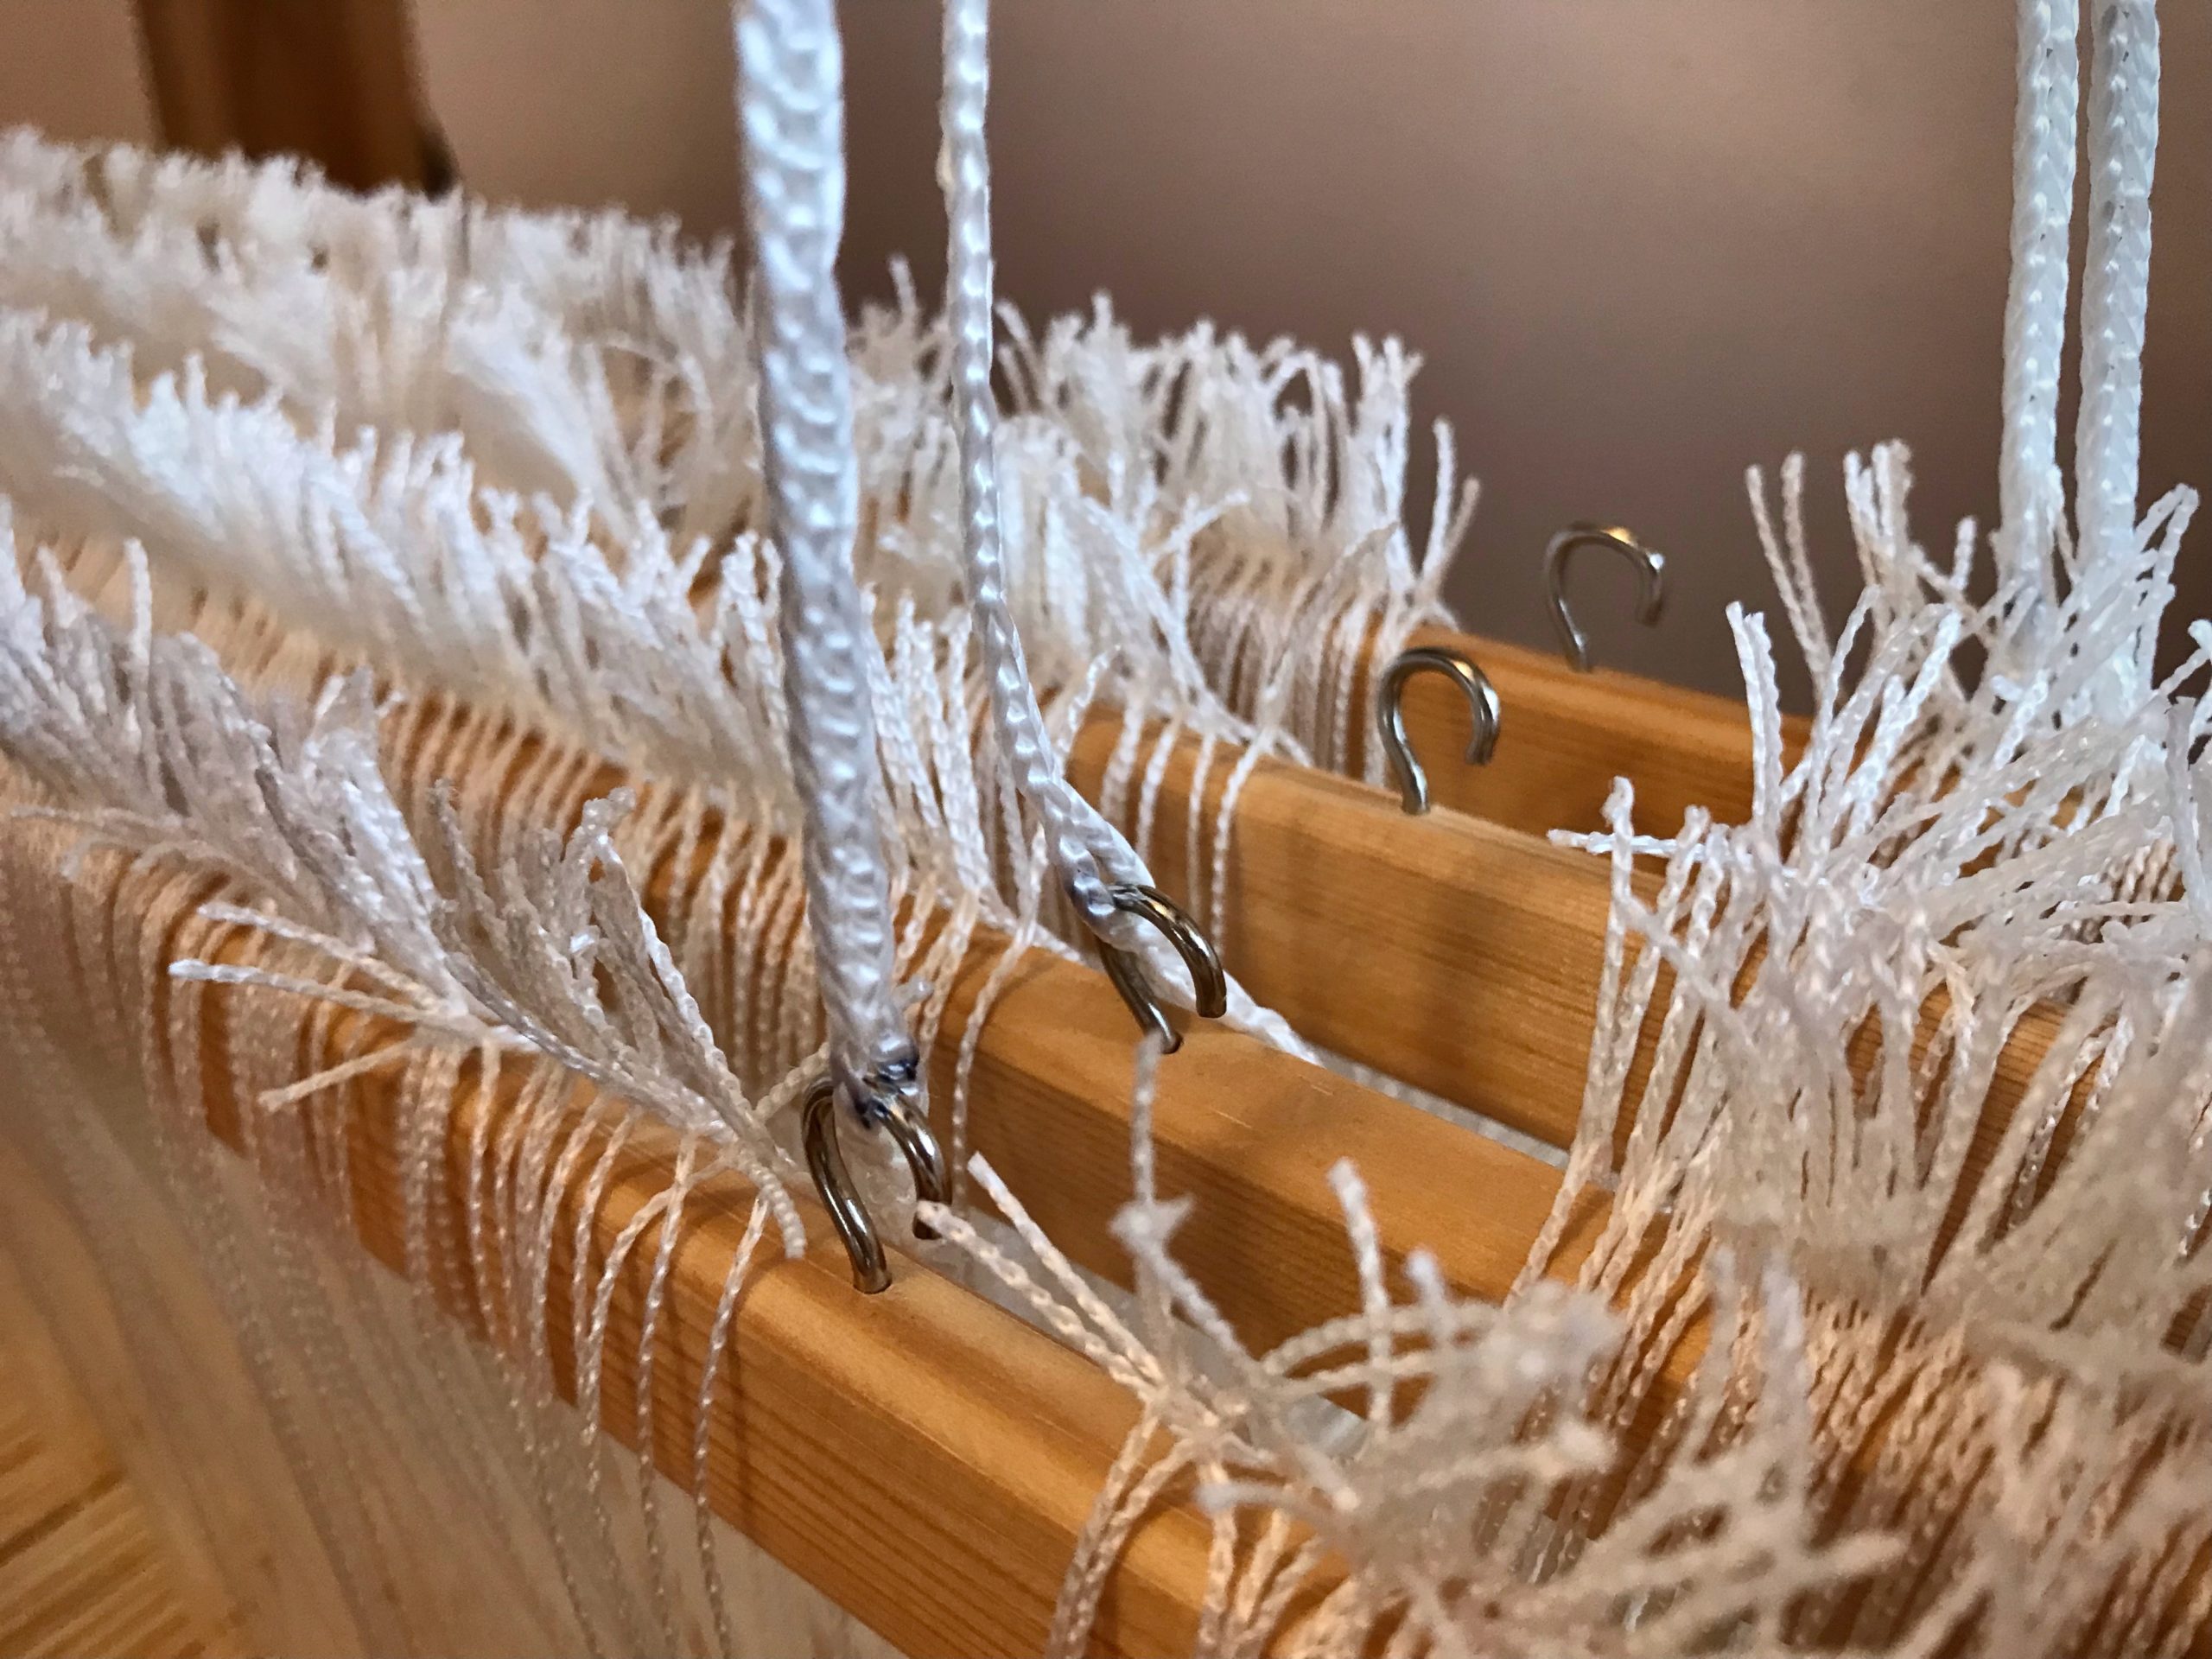
Ready to connect the shaft cords on the Glimåkra Julia, made easy by the small hooks on the shaft bars. Instead of expecting the cords to hang straight down in order, I reach my hand up to the top of the cord.
Touching where the cord meets the wood, I know I have the correct cord for the shaft closest to the front of the loom. I do the same for the next cord.
My hand slides down the cord and I connect the cord to the correct shaft. Now, all that’s left is tying up the treadles. Then, we weave!

May none of your cords be crossed.

Happy Weaving,
Karen

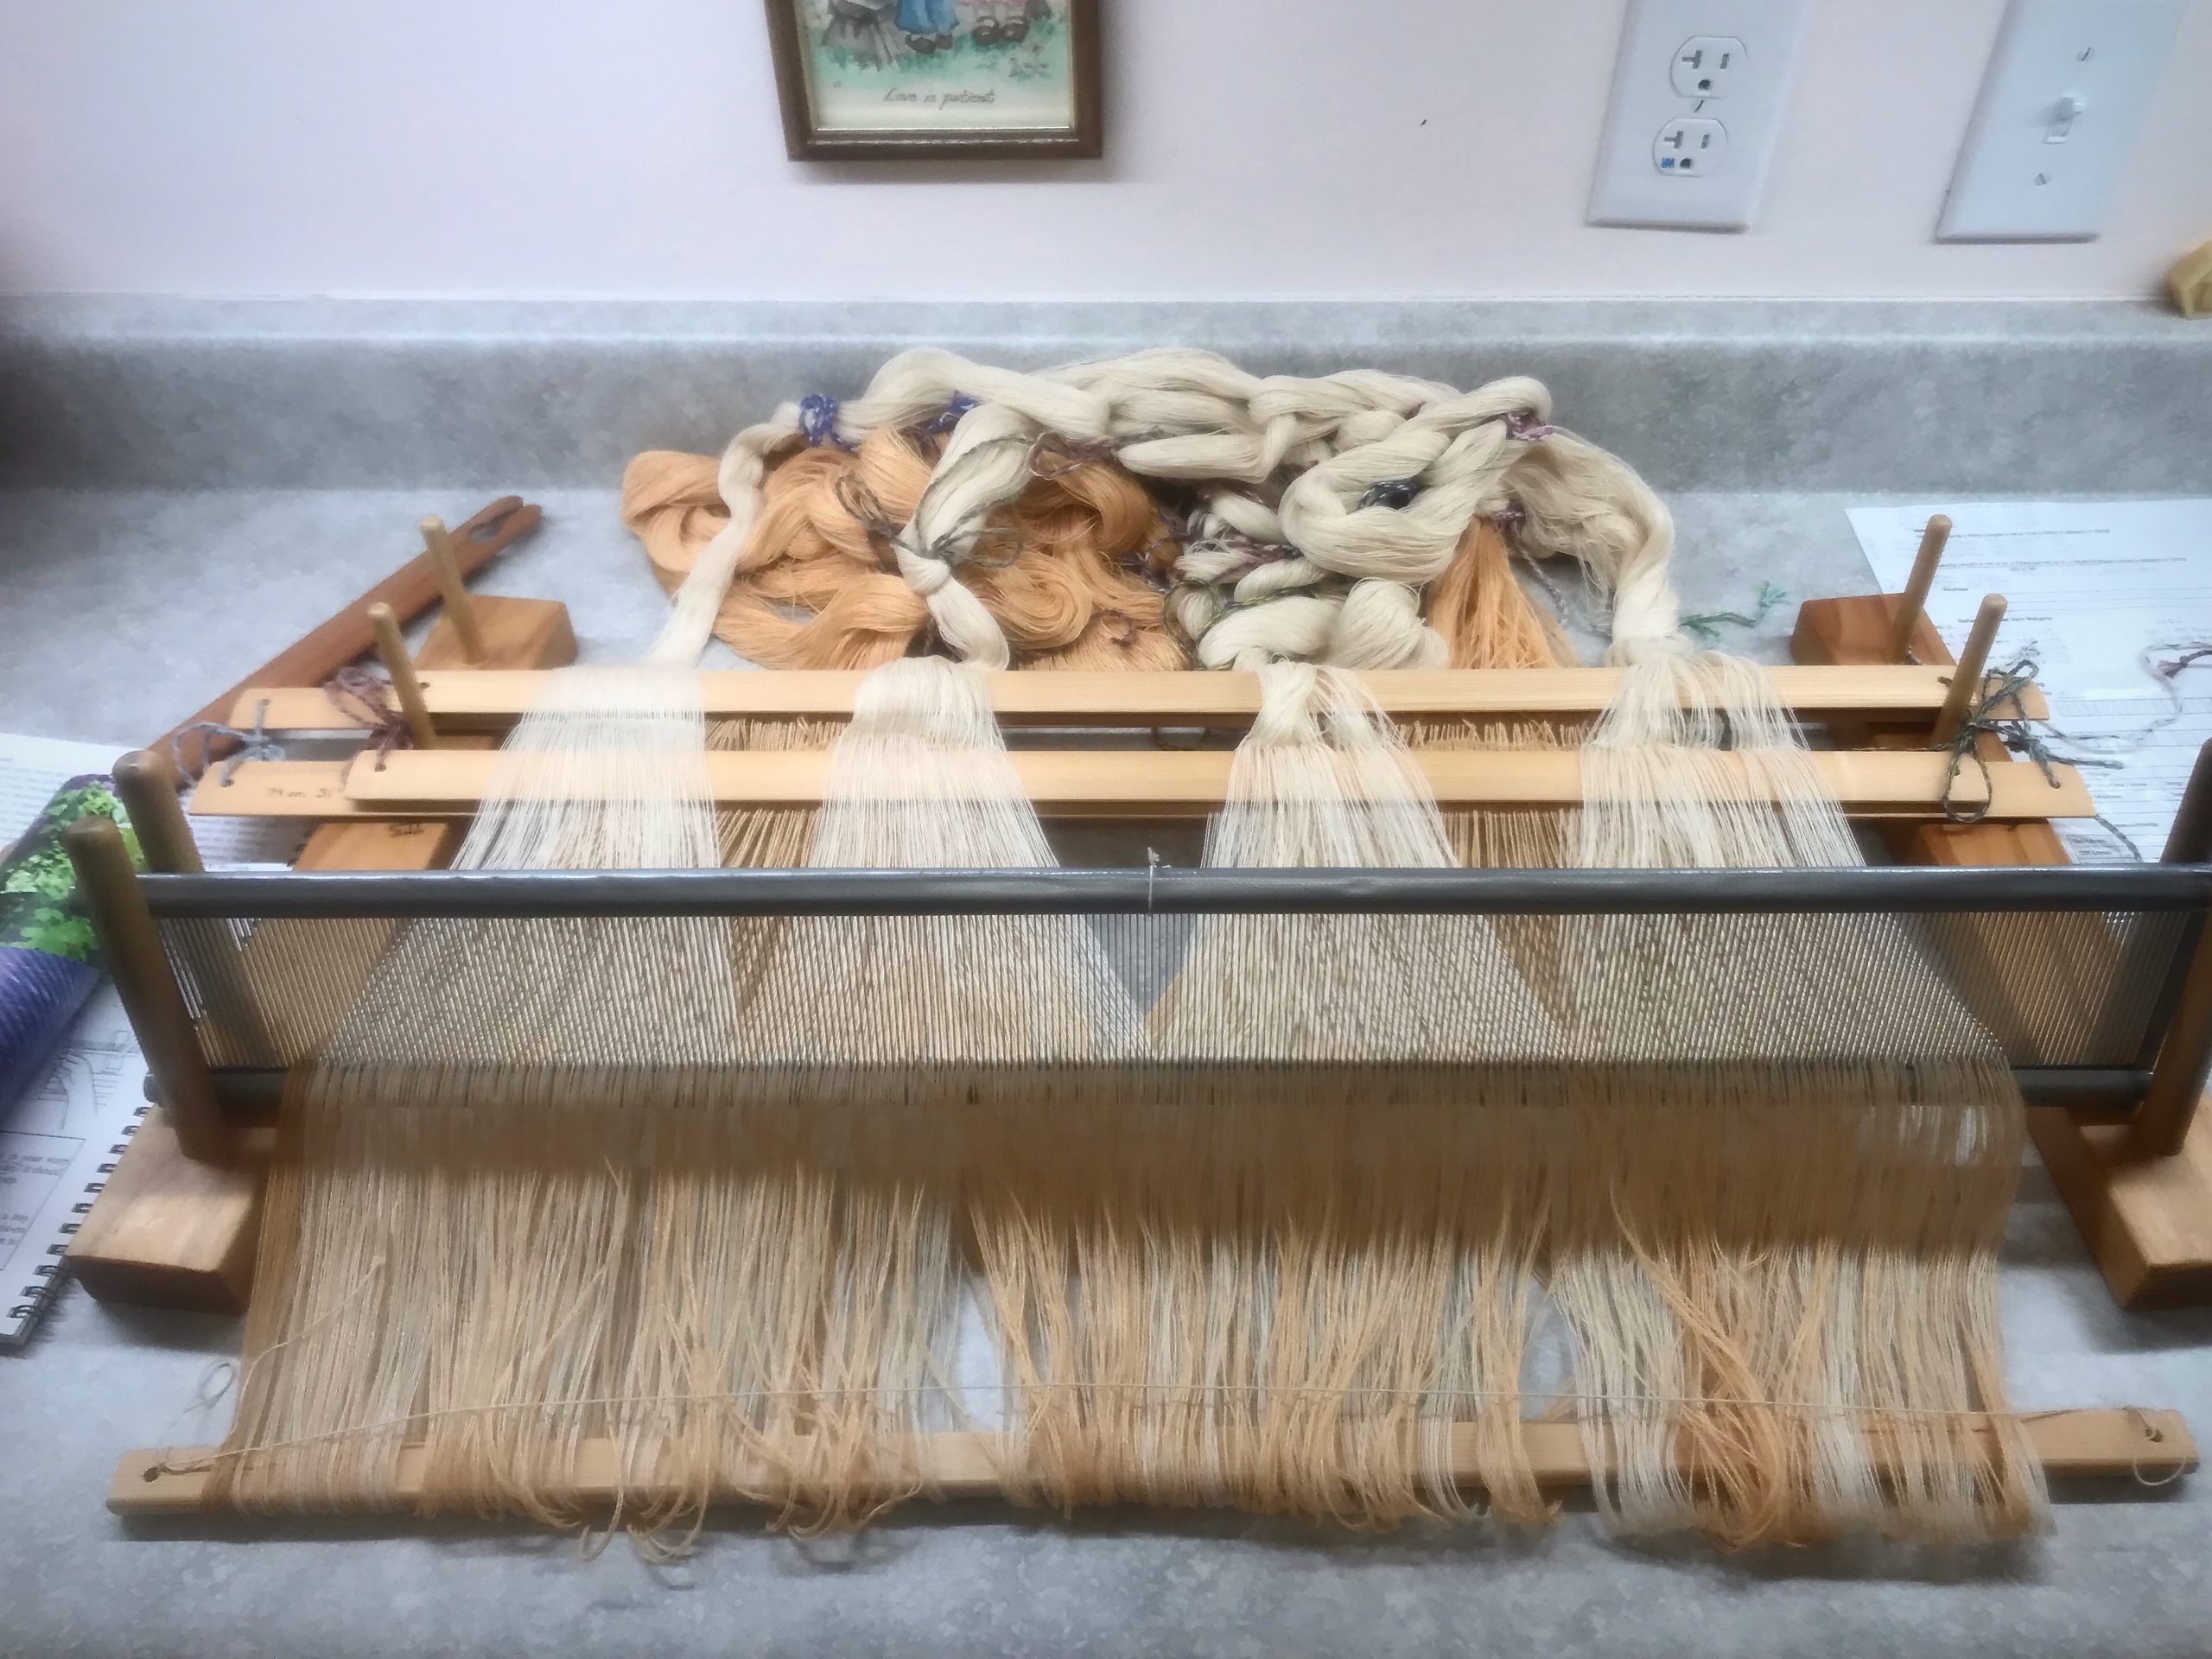
Spreading Two Warps at Once

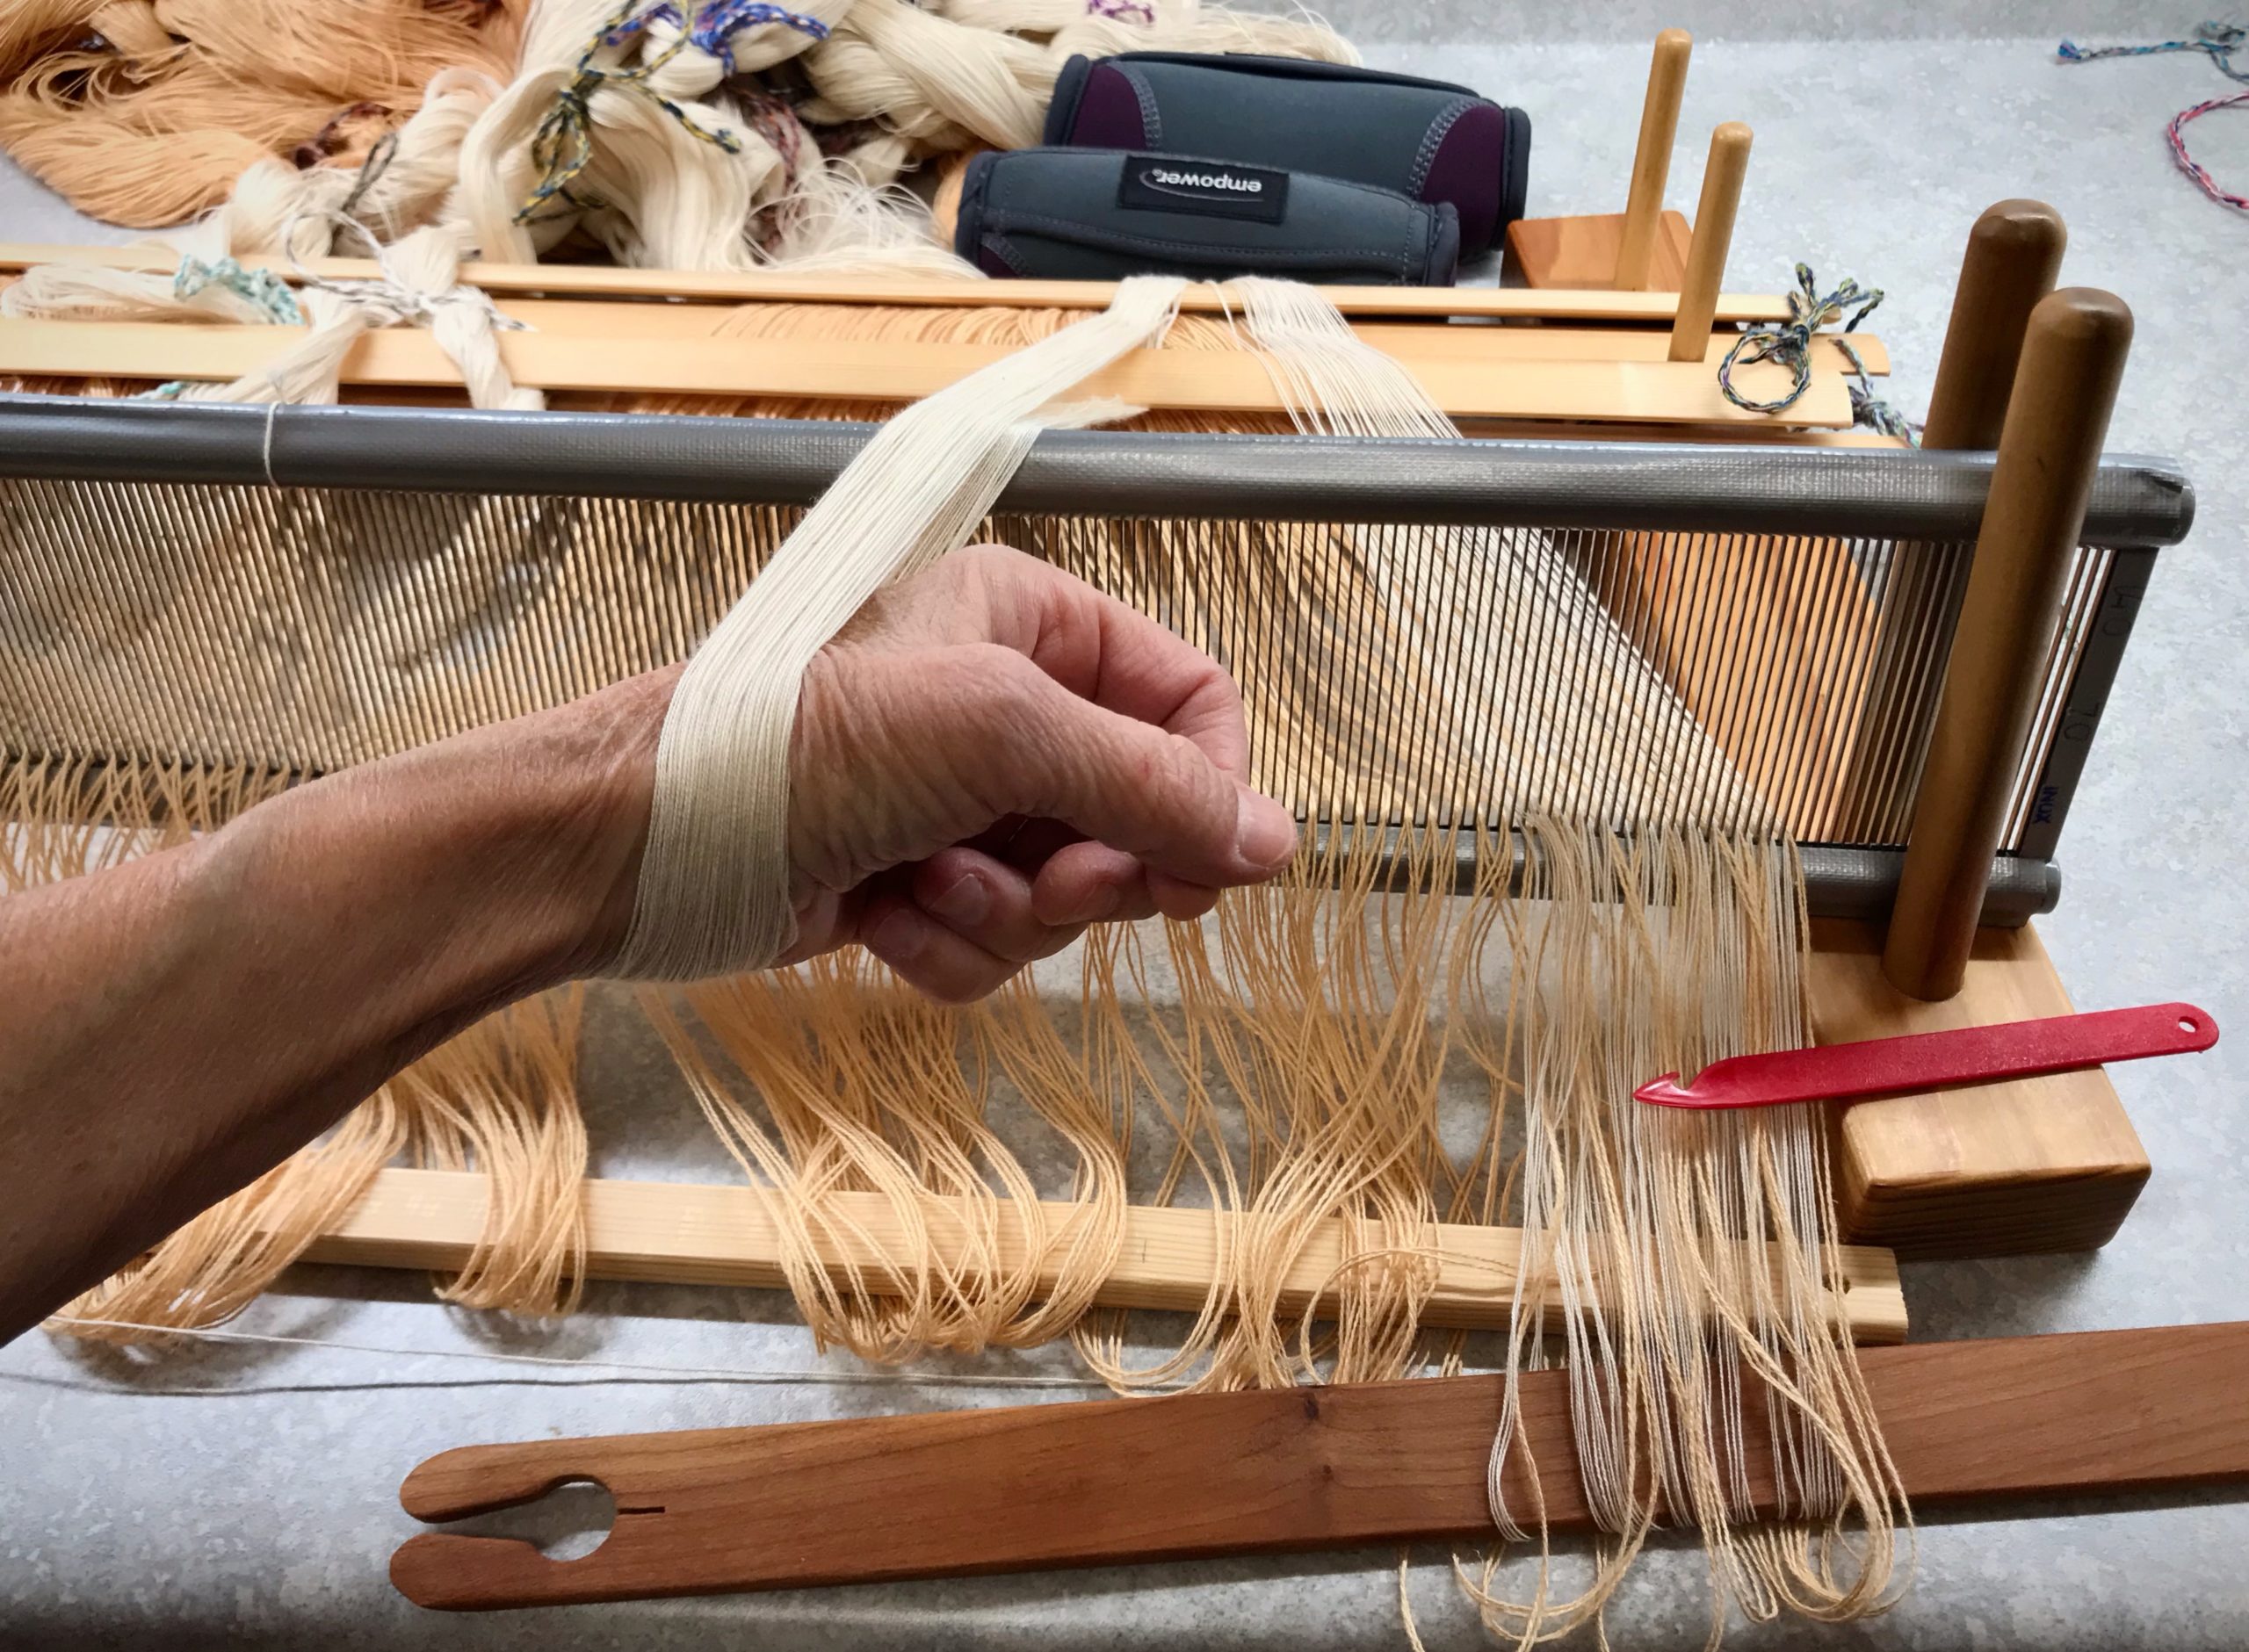
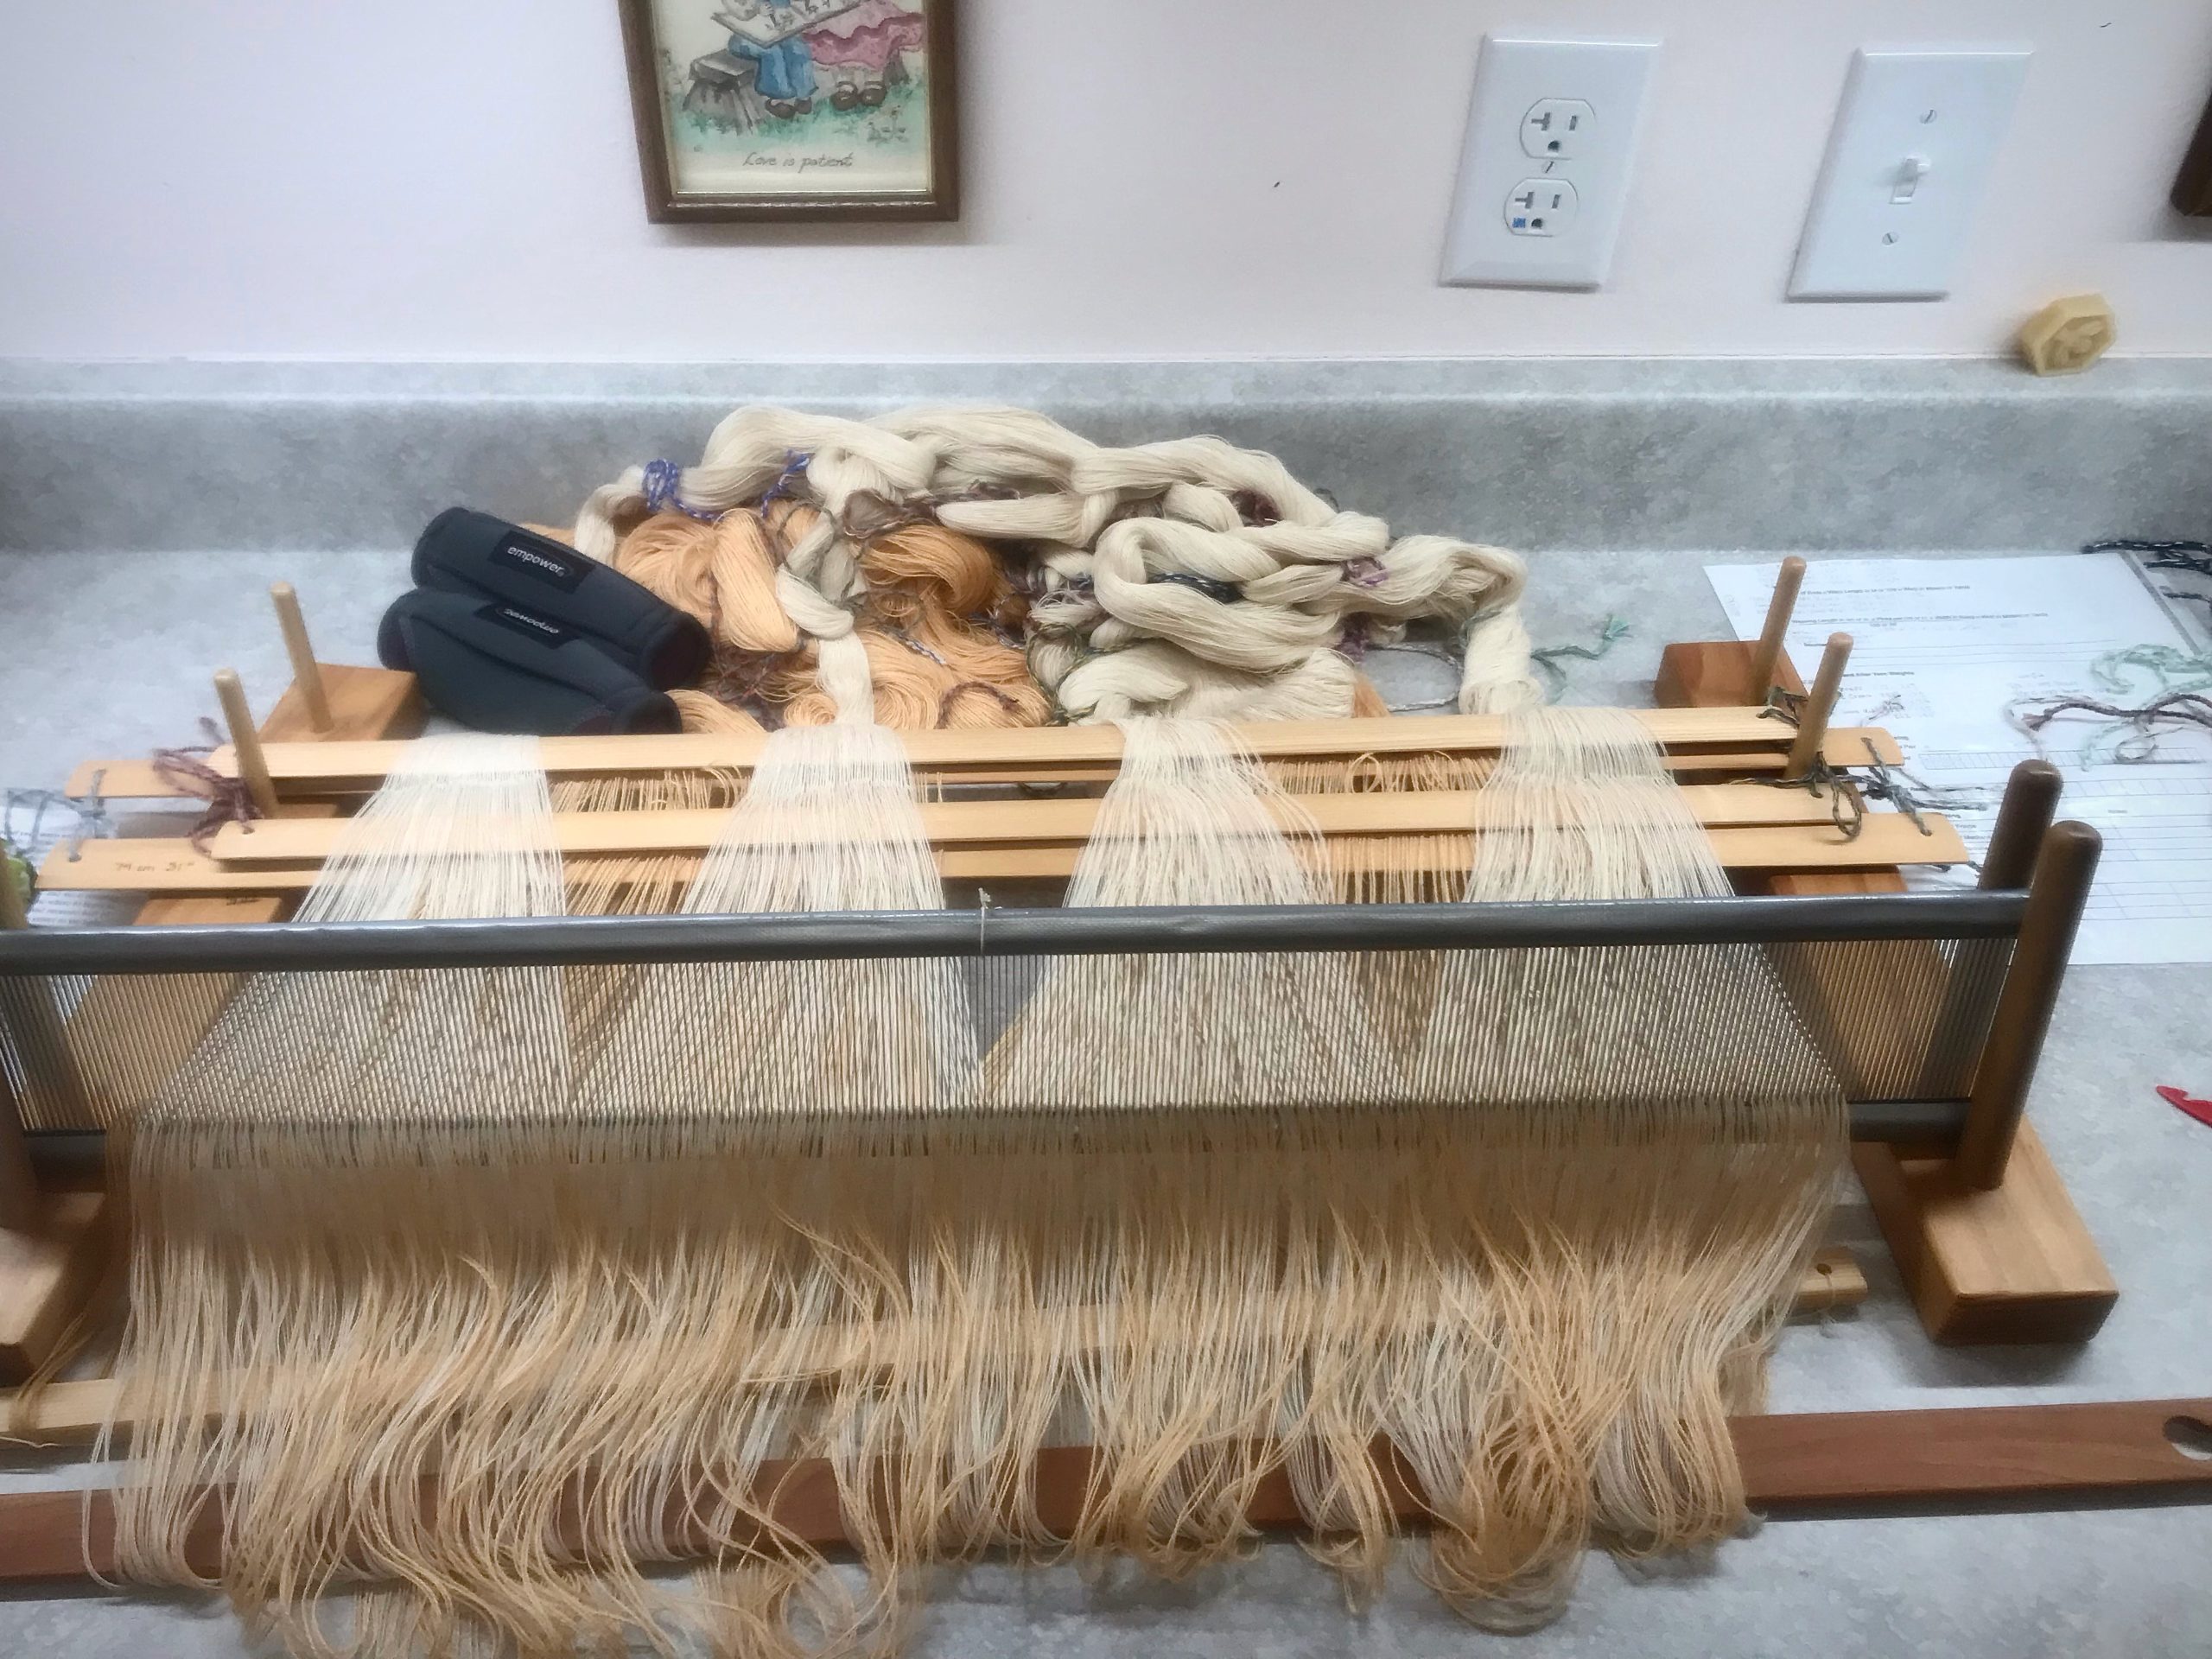
I am spreading this warp (two warps, actually) at the worktable. One warp is 22/2 cottolin, with a narrow selvedge border of 16/2 cotton. The other warp is 20/2 cotton. This intriguing double-width project is in the Nr.3 – 2021 issue of Väv MagazineWinnie’s Linen-Cotton Crinkly Tablecloth, by Winnie Poulsen, p.52. Despite some intrepidation, I am jumping in!

Spreading 2 warps for a double-width project.
First warp has been pre-sleyed, and the loops are held in place on the cloth beam tie-on bar. Now spreading the second warp, and placing both warps’ loops on the long stick in front.

Coordinating two warps onto a single tie-on bar is tricky business. The last time I did the two-warp maneuver at the loom I nearly lost a lease cross and my sanity. The advantage of pre-sleying these warps at the table is that everything is secure. Nothing is teetering. At the worktable I can clearly see what to do for each step. Within minutes, I’m hopeful that this adventure will indeed be worth it. (Pre-sleying a warp on the table is expertly explained in Learning to Warp Your Loom, by Joanne Hall, pgs.19-20.)

Two warps for one double-width project.
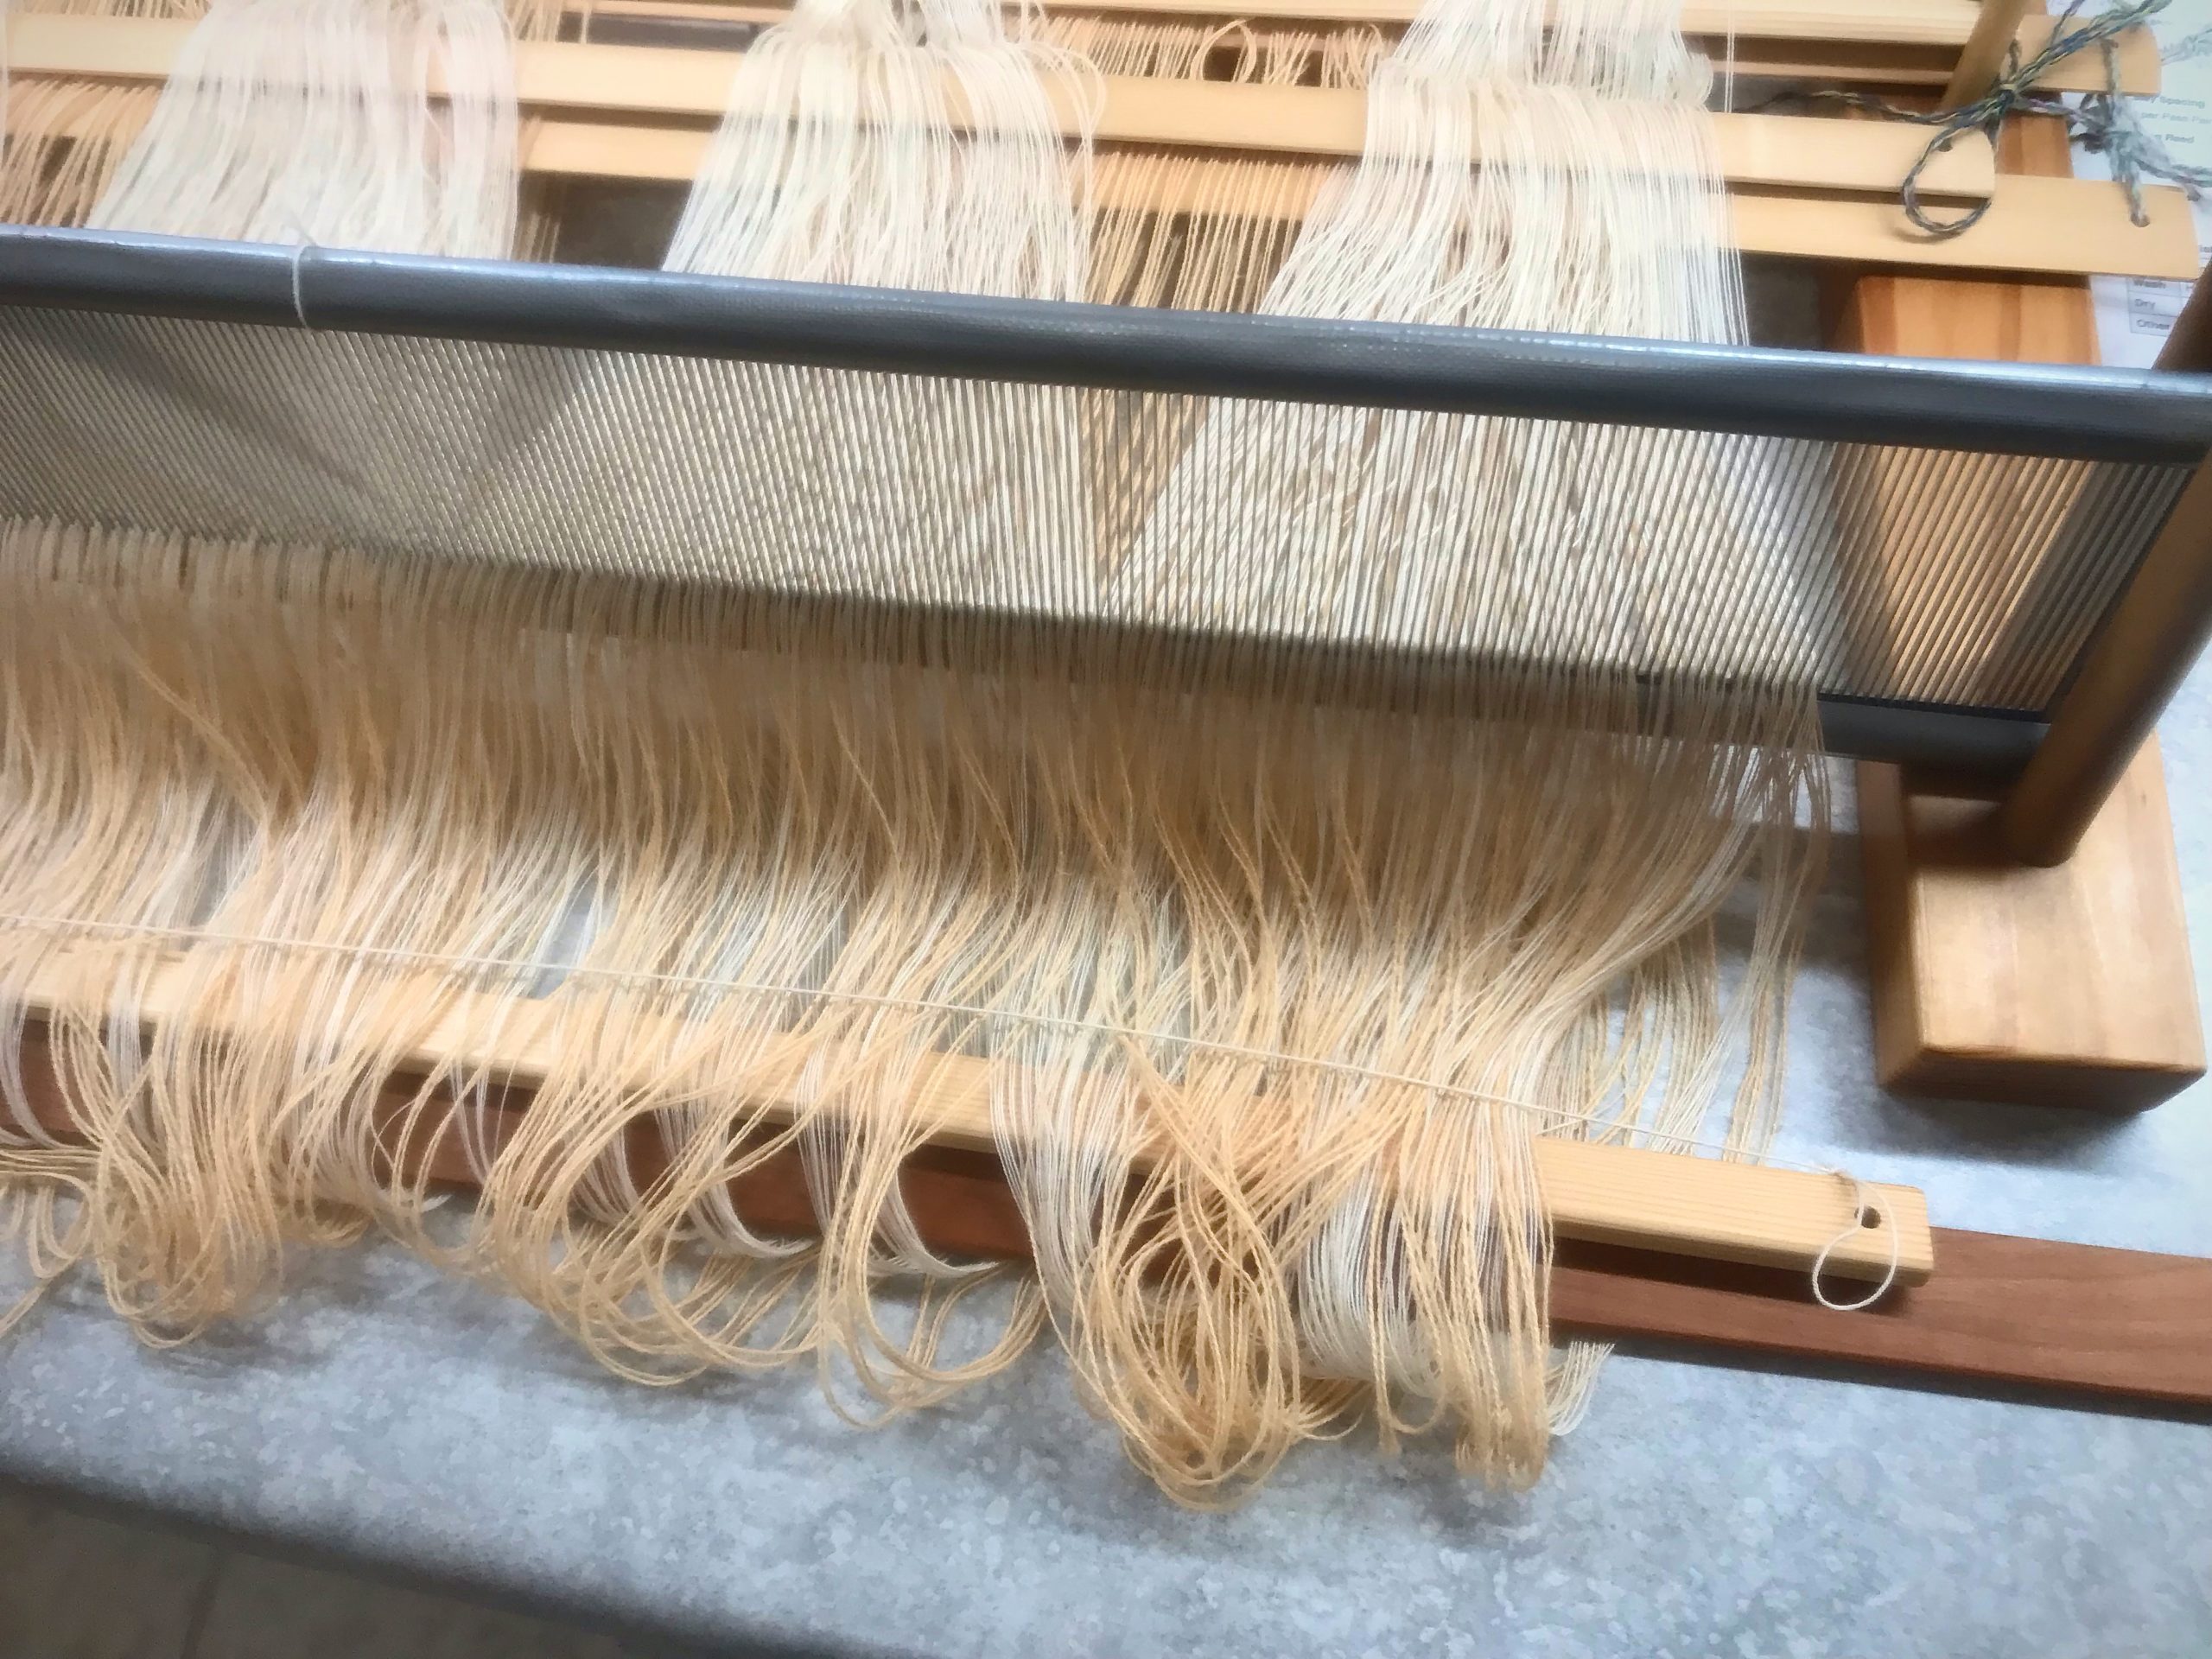
Second stick holds both warps’ loops.
Spreading two warps in the reed.
Tie-on bar slides in and warps’ loops are secured by tying a string from one end to the other.
Getting ready to weave some differential shrinkage!
Extra stick is removed. Two warps, each with its own set of lease sticks, have been spread in the reed. No mishaps along the way!
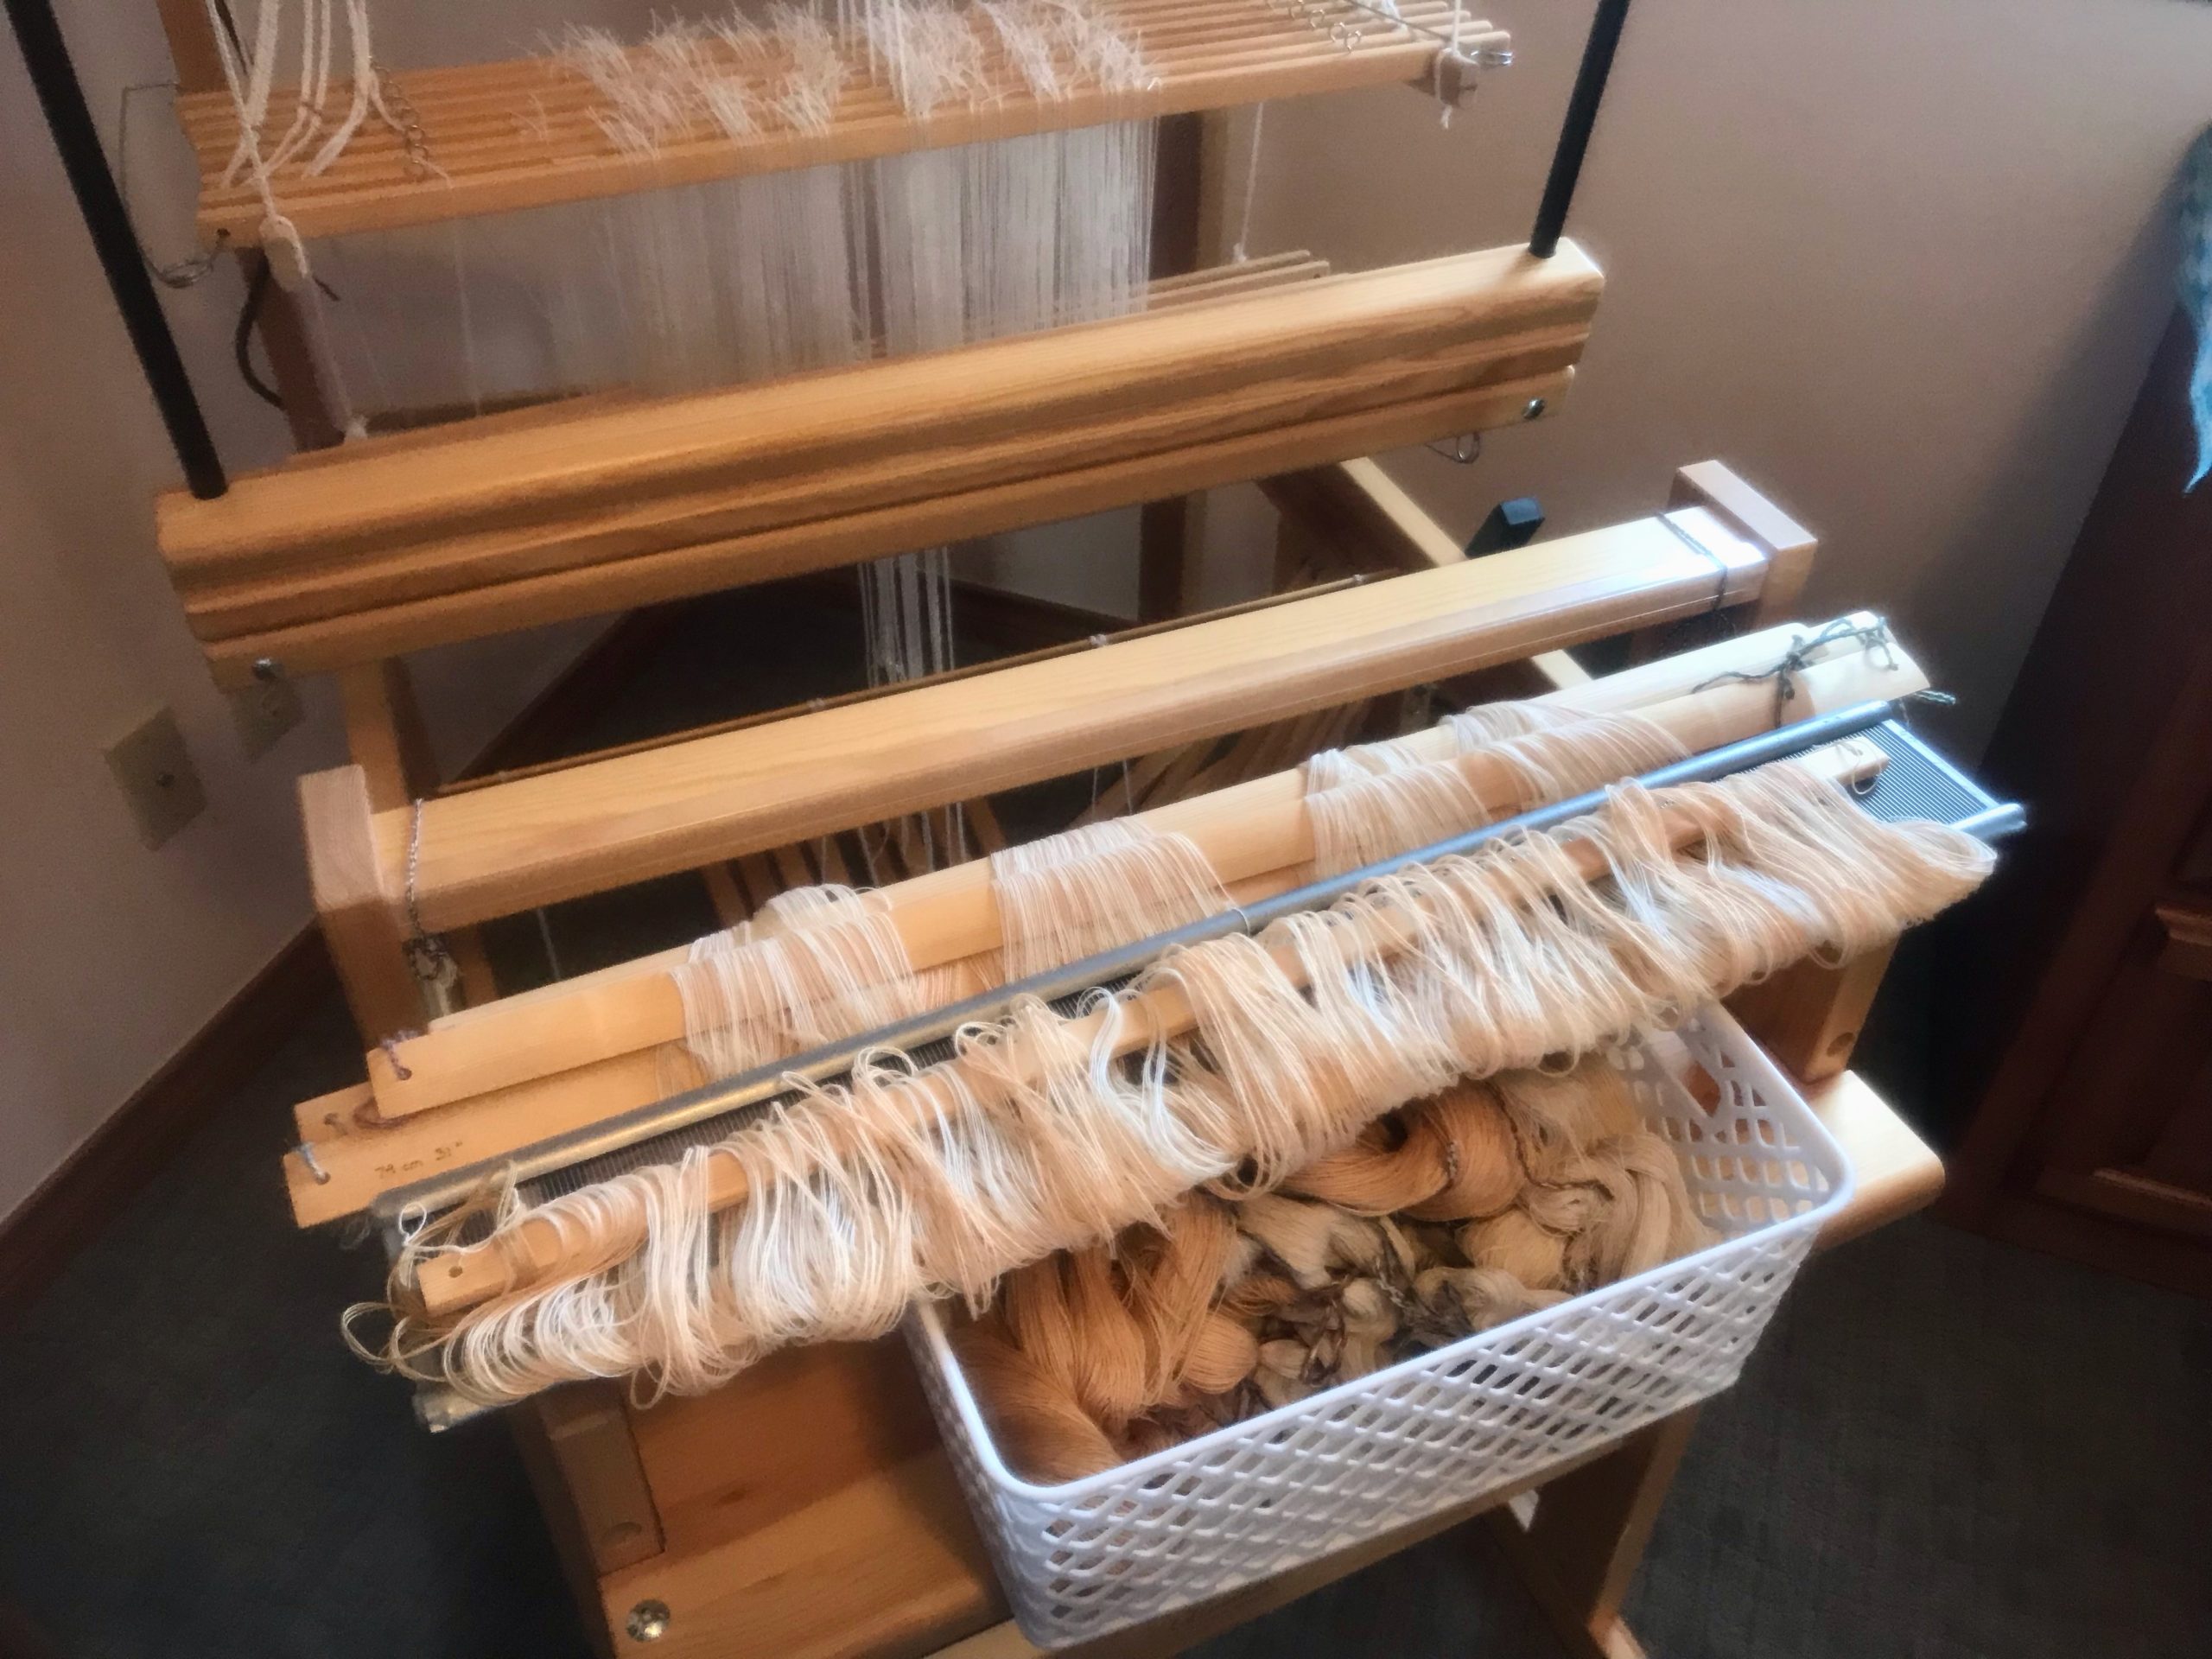
Glimakra Julia ready for a new fun warp!
Warp bouts are in the basket. The two sets of lease sticks, the reed, and the cloth beam tie-on bar sit on top. We’re ready to beam this warp on the Julia!

Spreading a warp (or two) is a lot like spreading hope. We come to the Lord Jesus weary, having tried hard to make things work on our own. He welcomes us with open arms and reveals the time-tested way of trusting him, one step at a time. Now, like threads being sleyed across the dents of a reed, threads of hope spread throughout our being. The threads are secured. Come weary; receive rest; spread hope.

May you be ignited with hope.

Your friend,
Karen