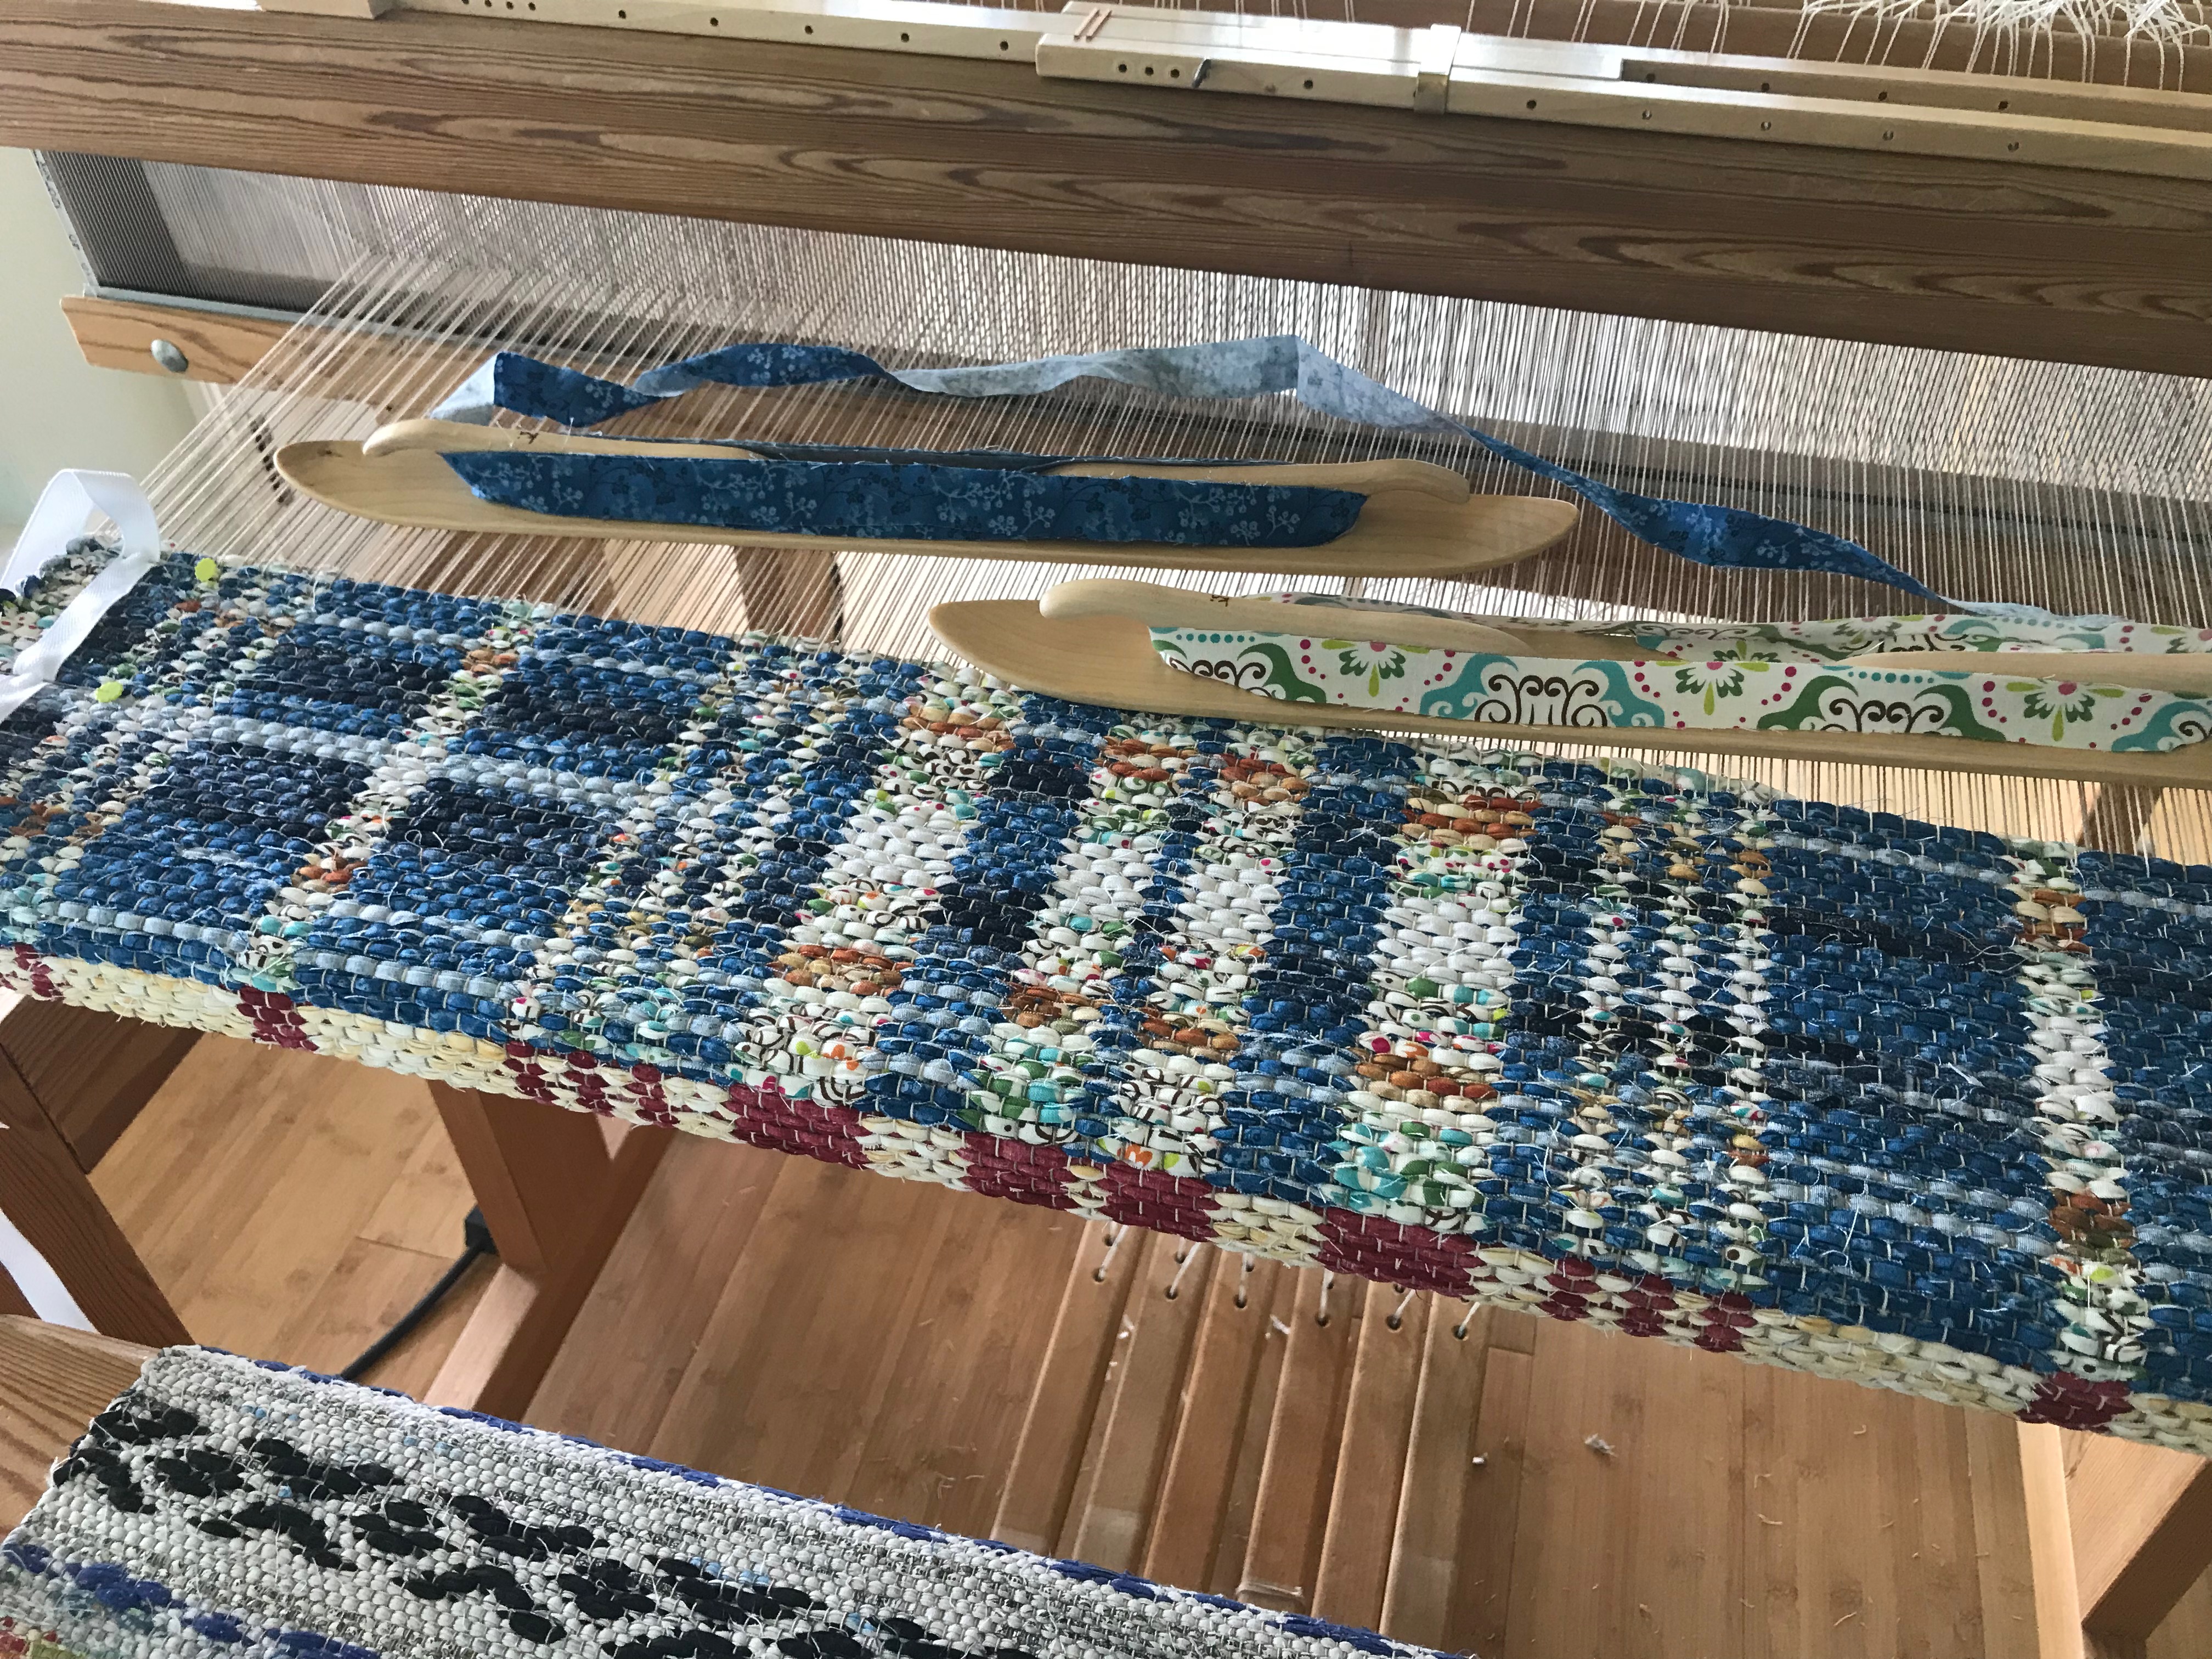
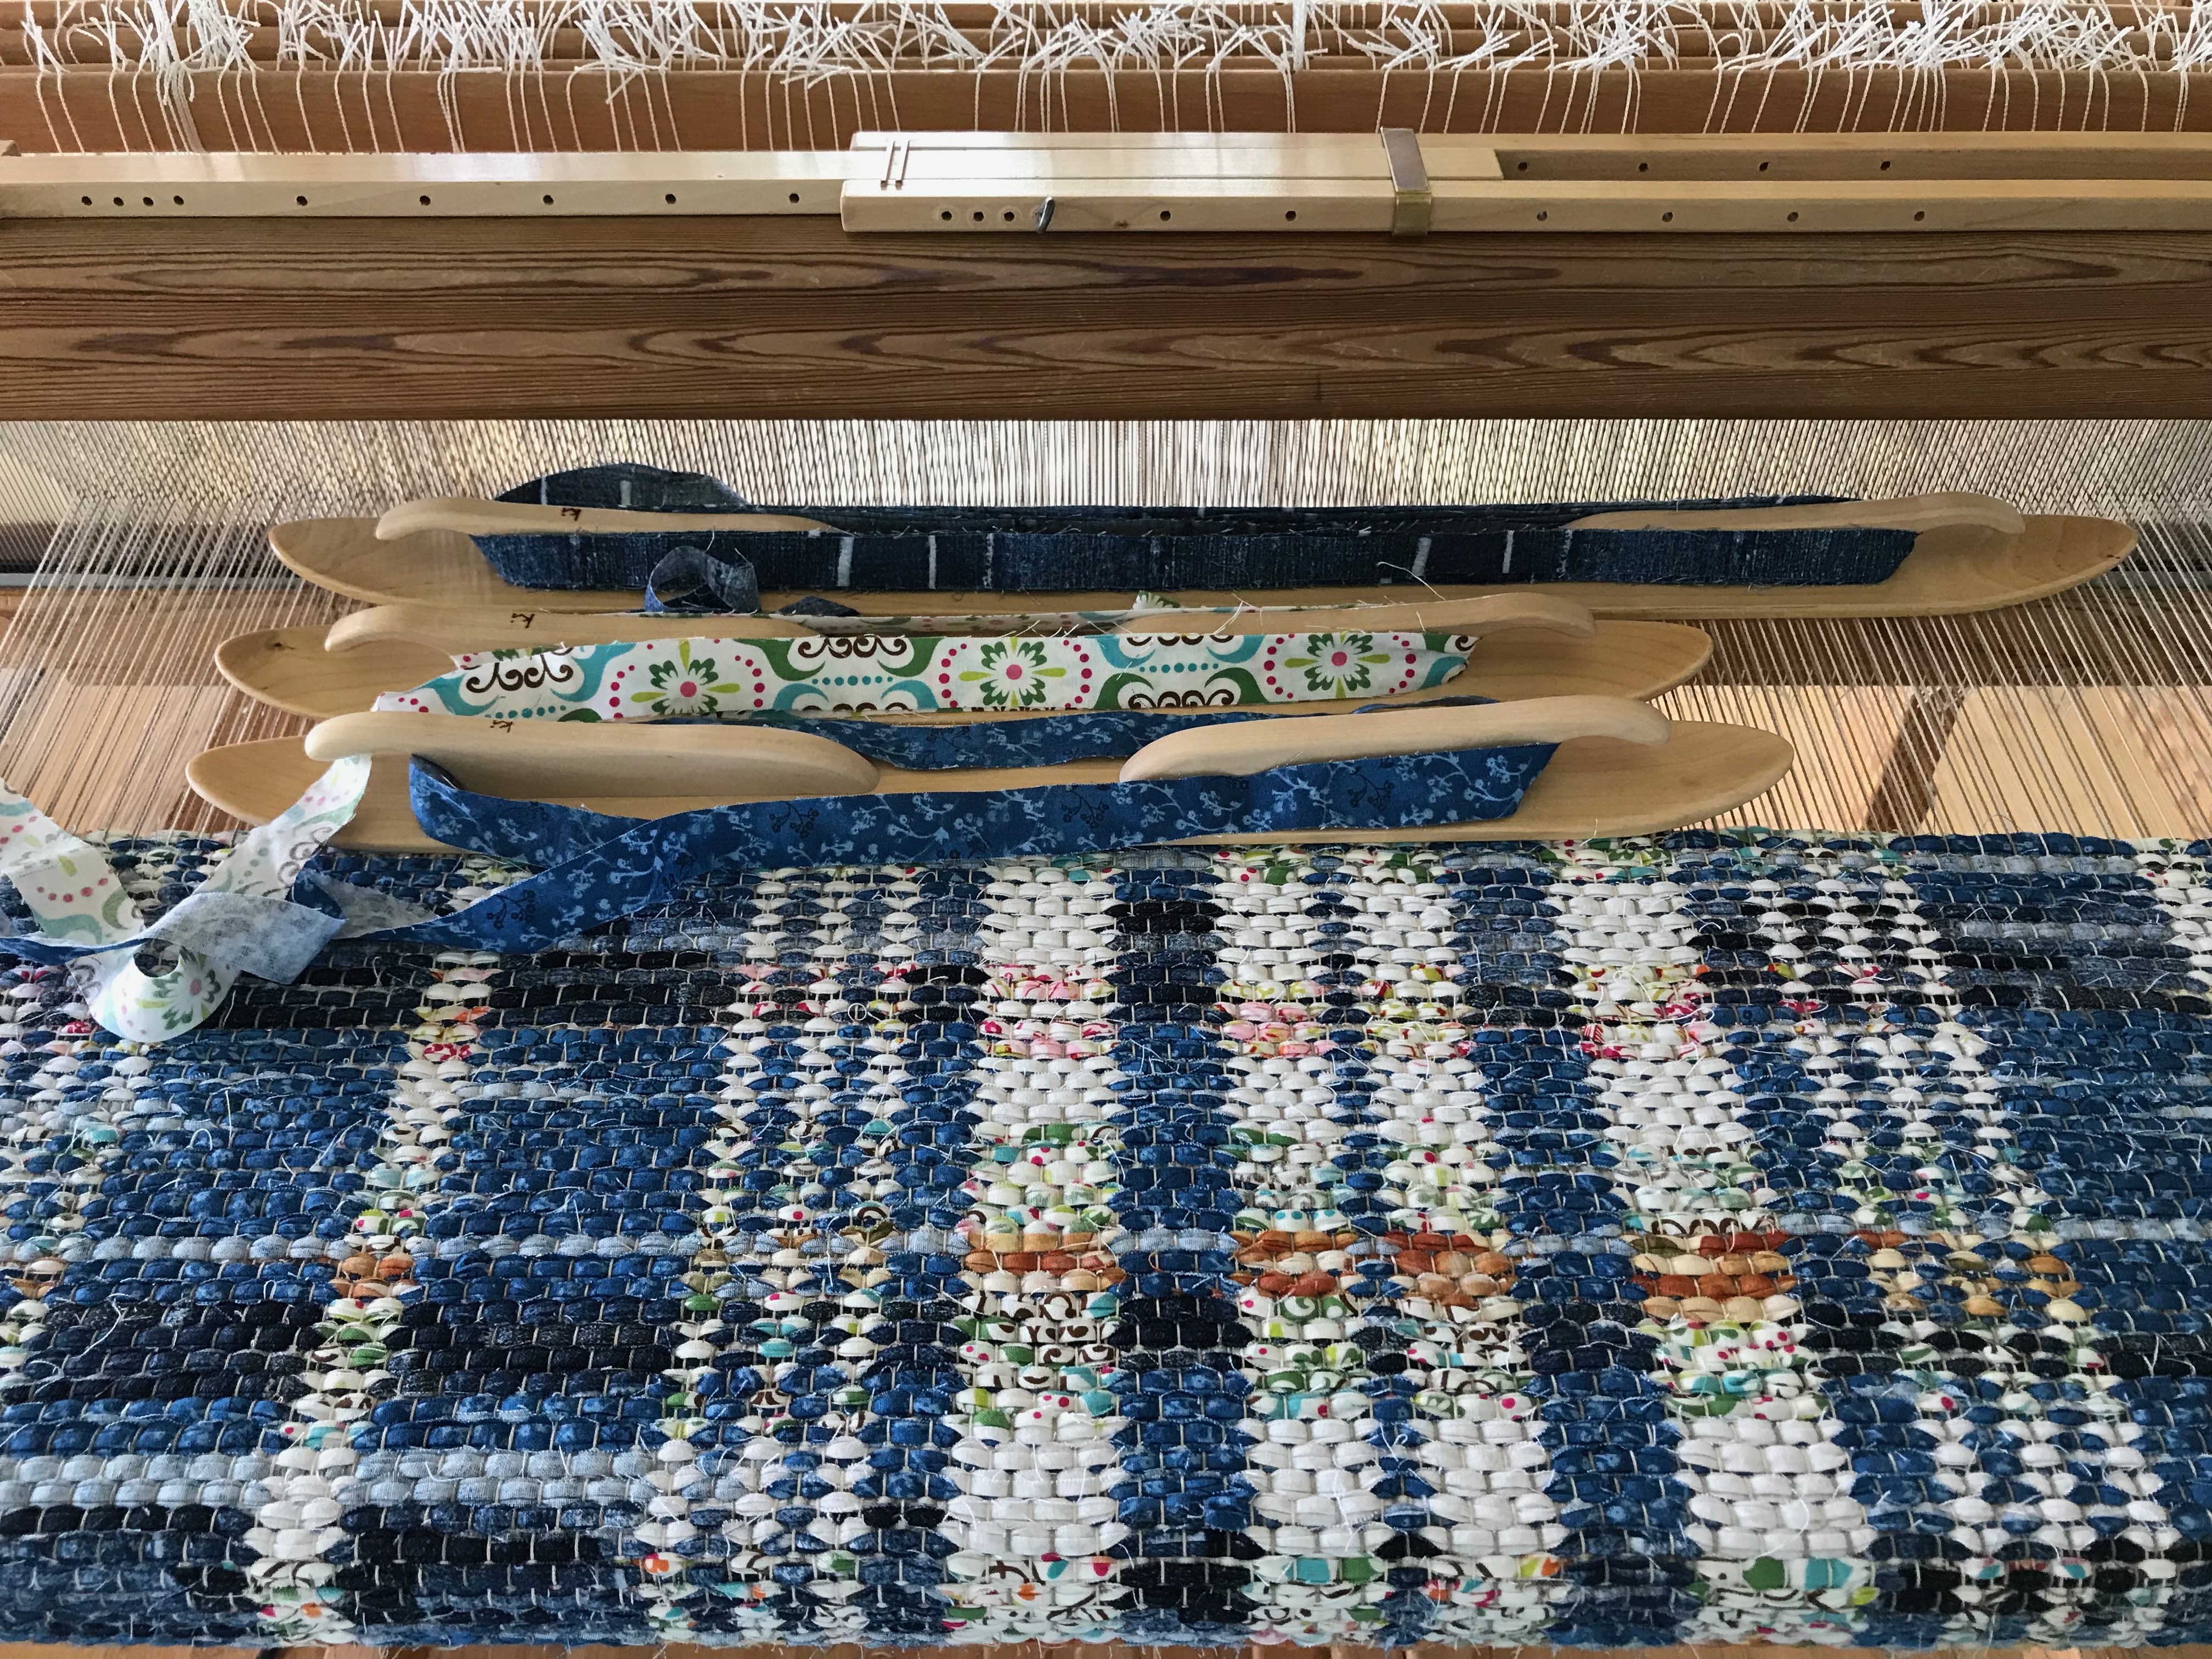
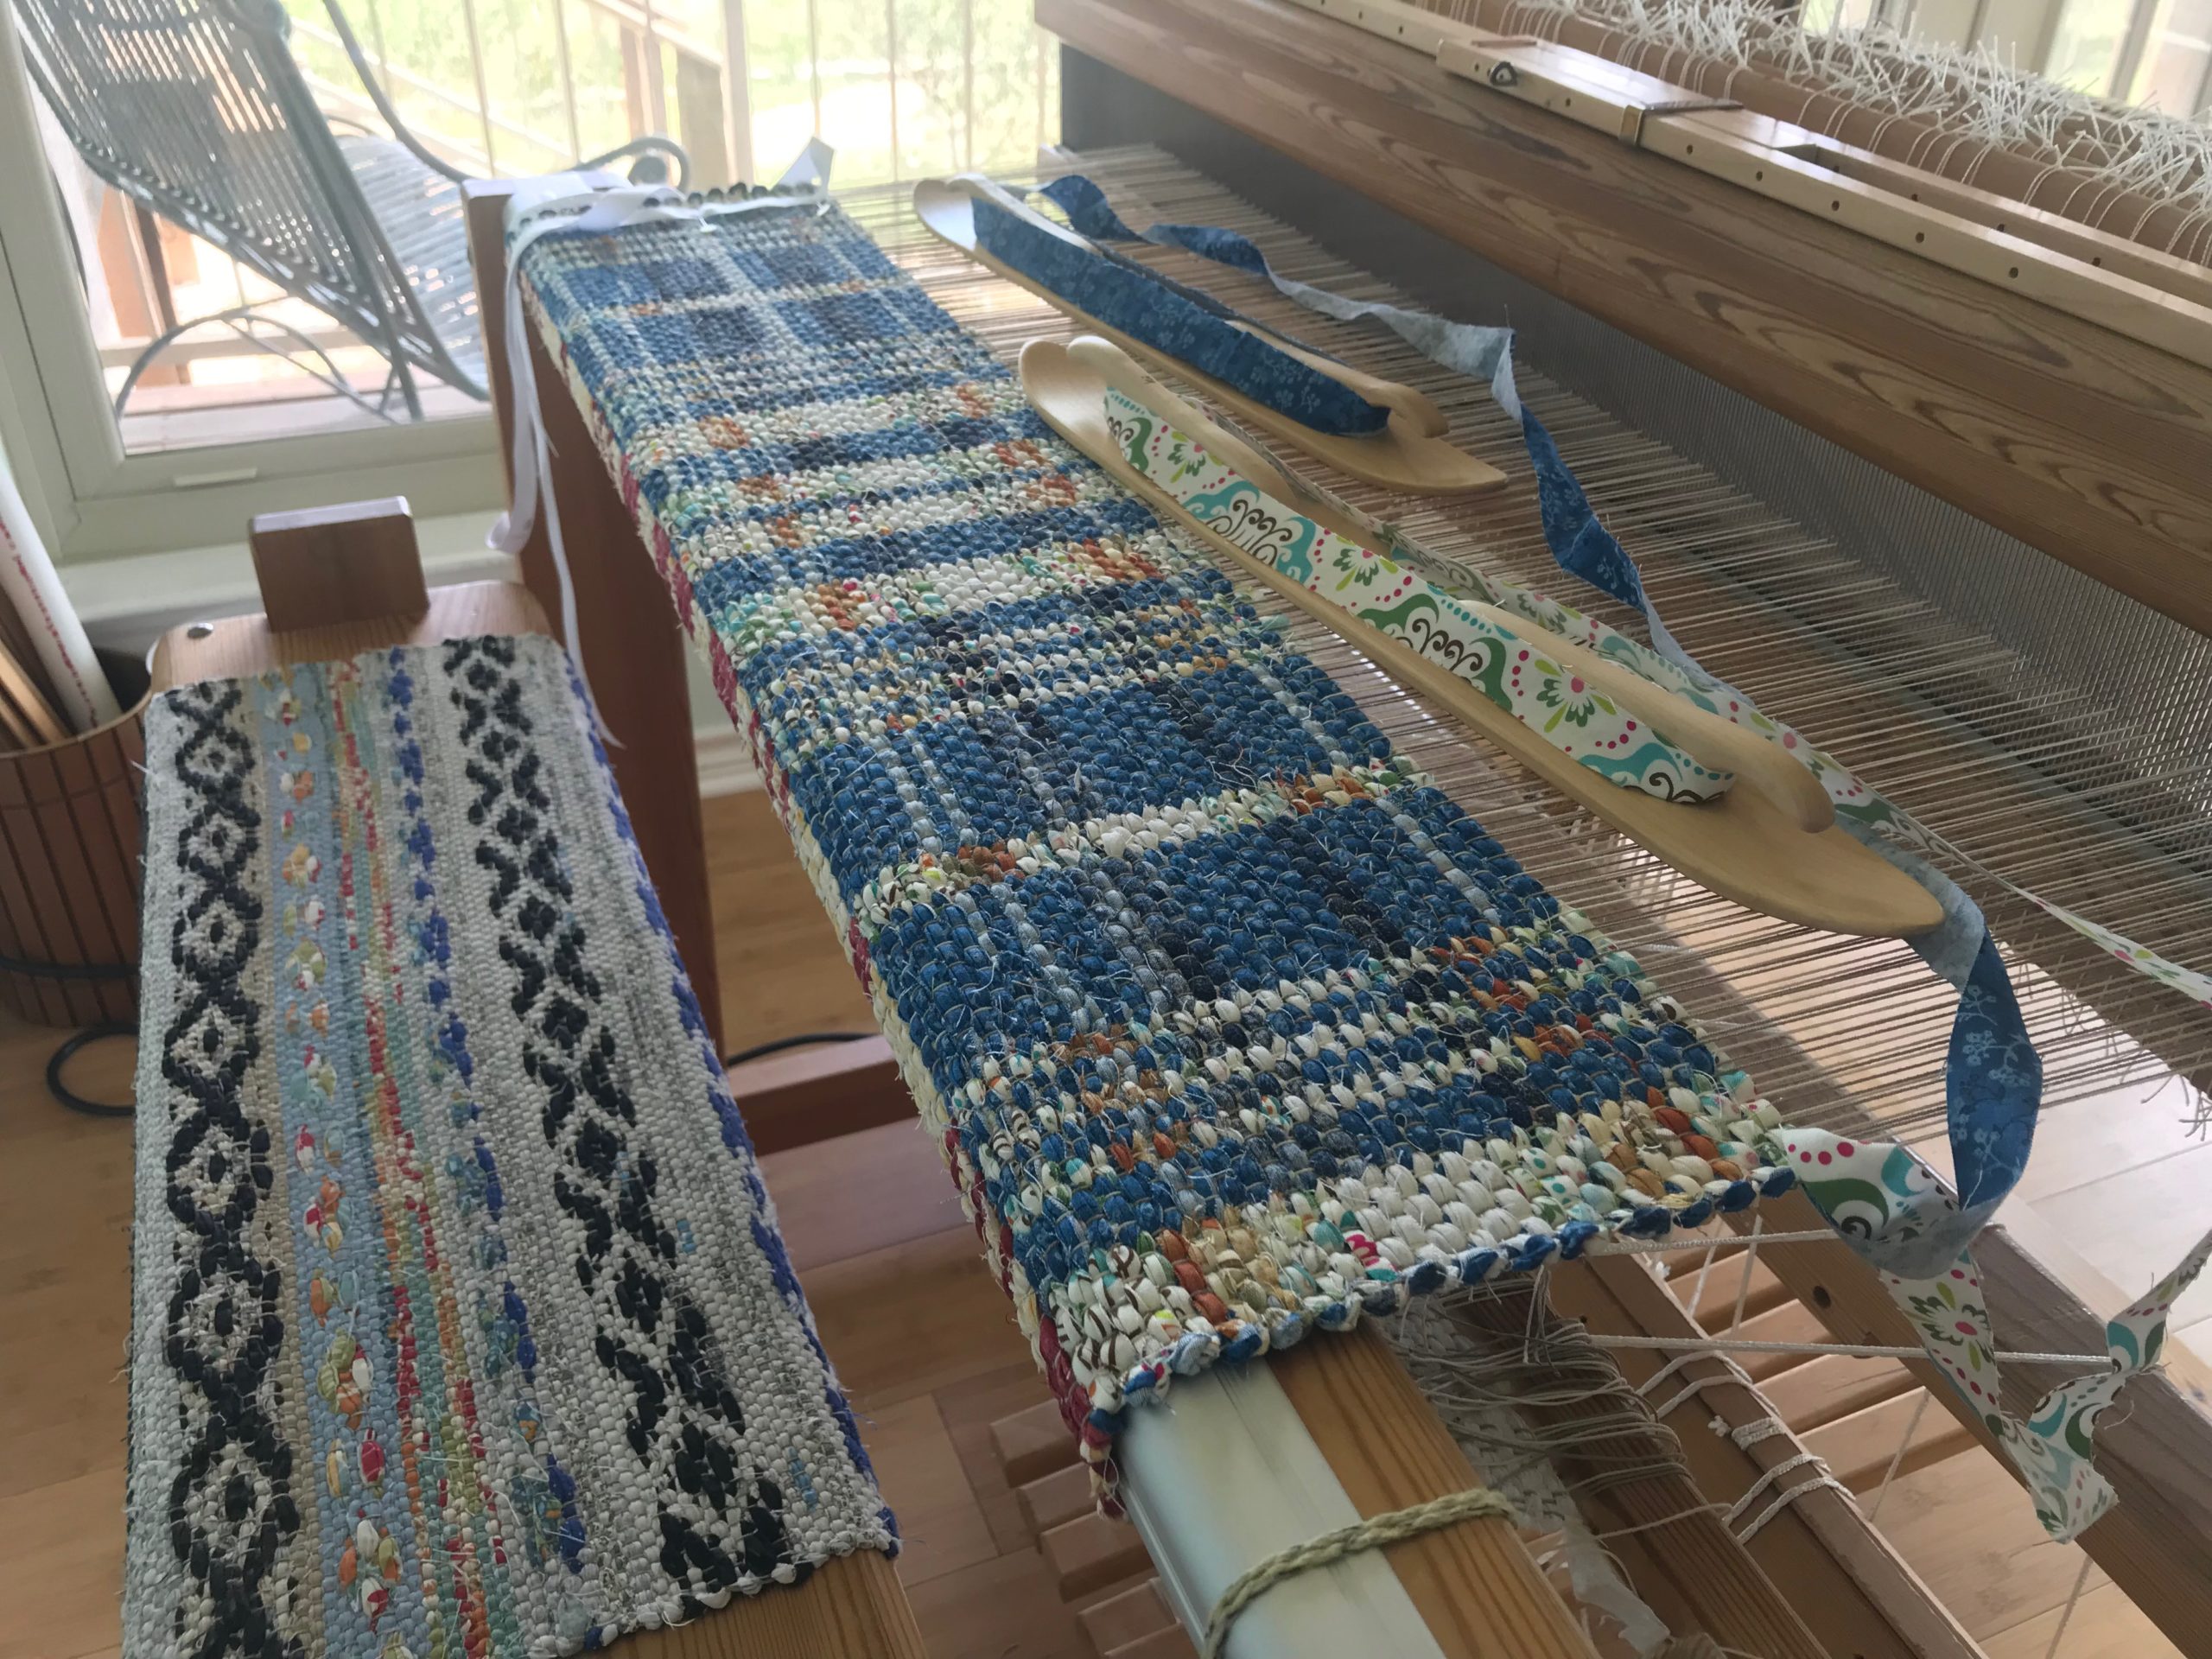
Ski shuttles are a rag-rug weaver’s best friends. A few simple tips for using a ski shuttle make rag-rug weaving even that much more fun.
Ski shuttles are fun tools to use for weaving rag rugs.In the video I explain why I don’t use the longer ski shuttle very much.
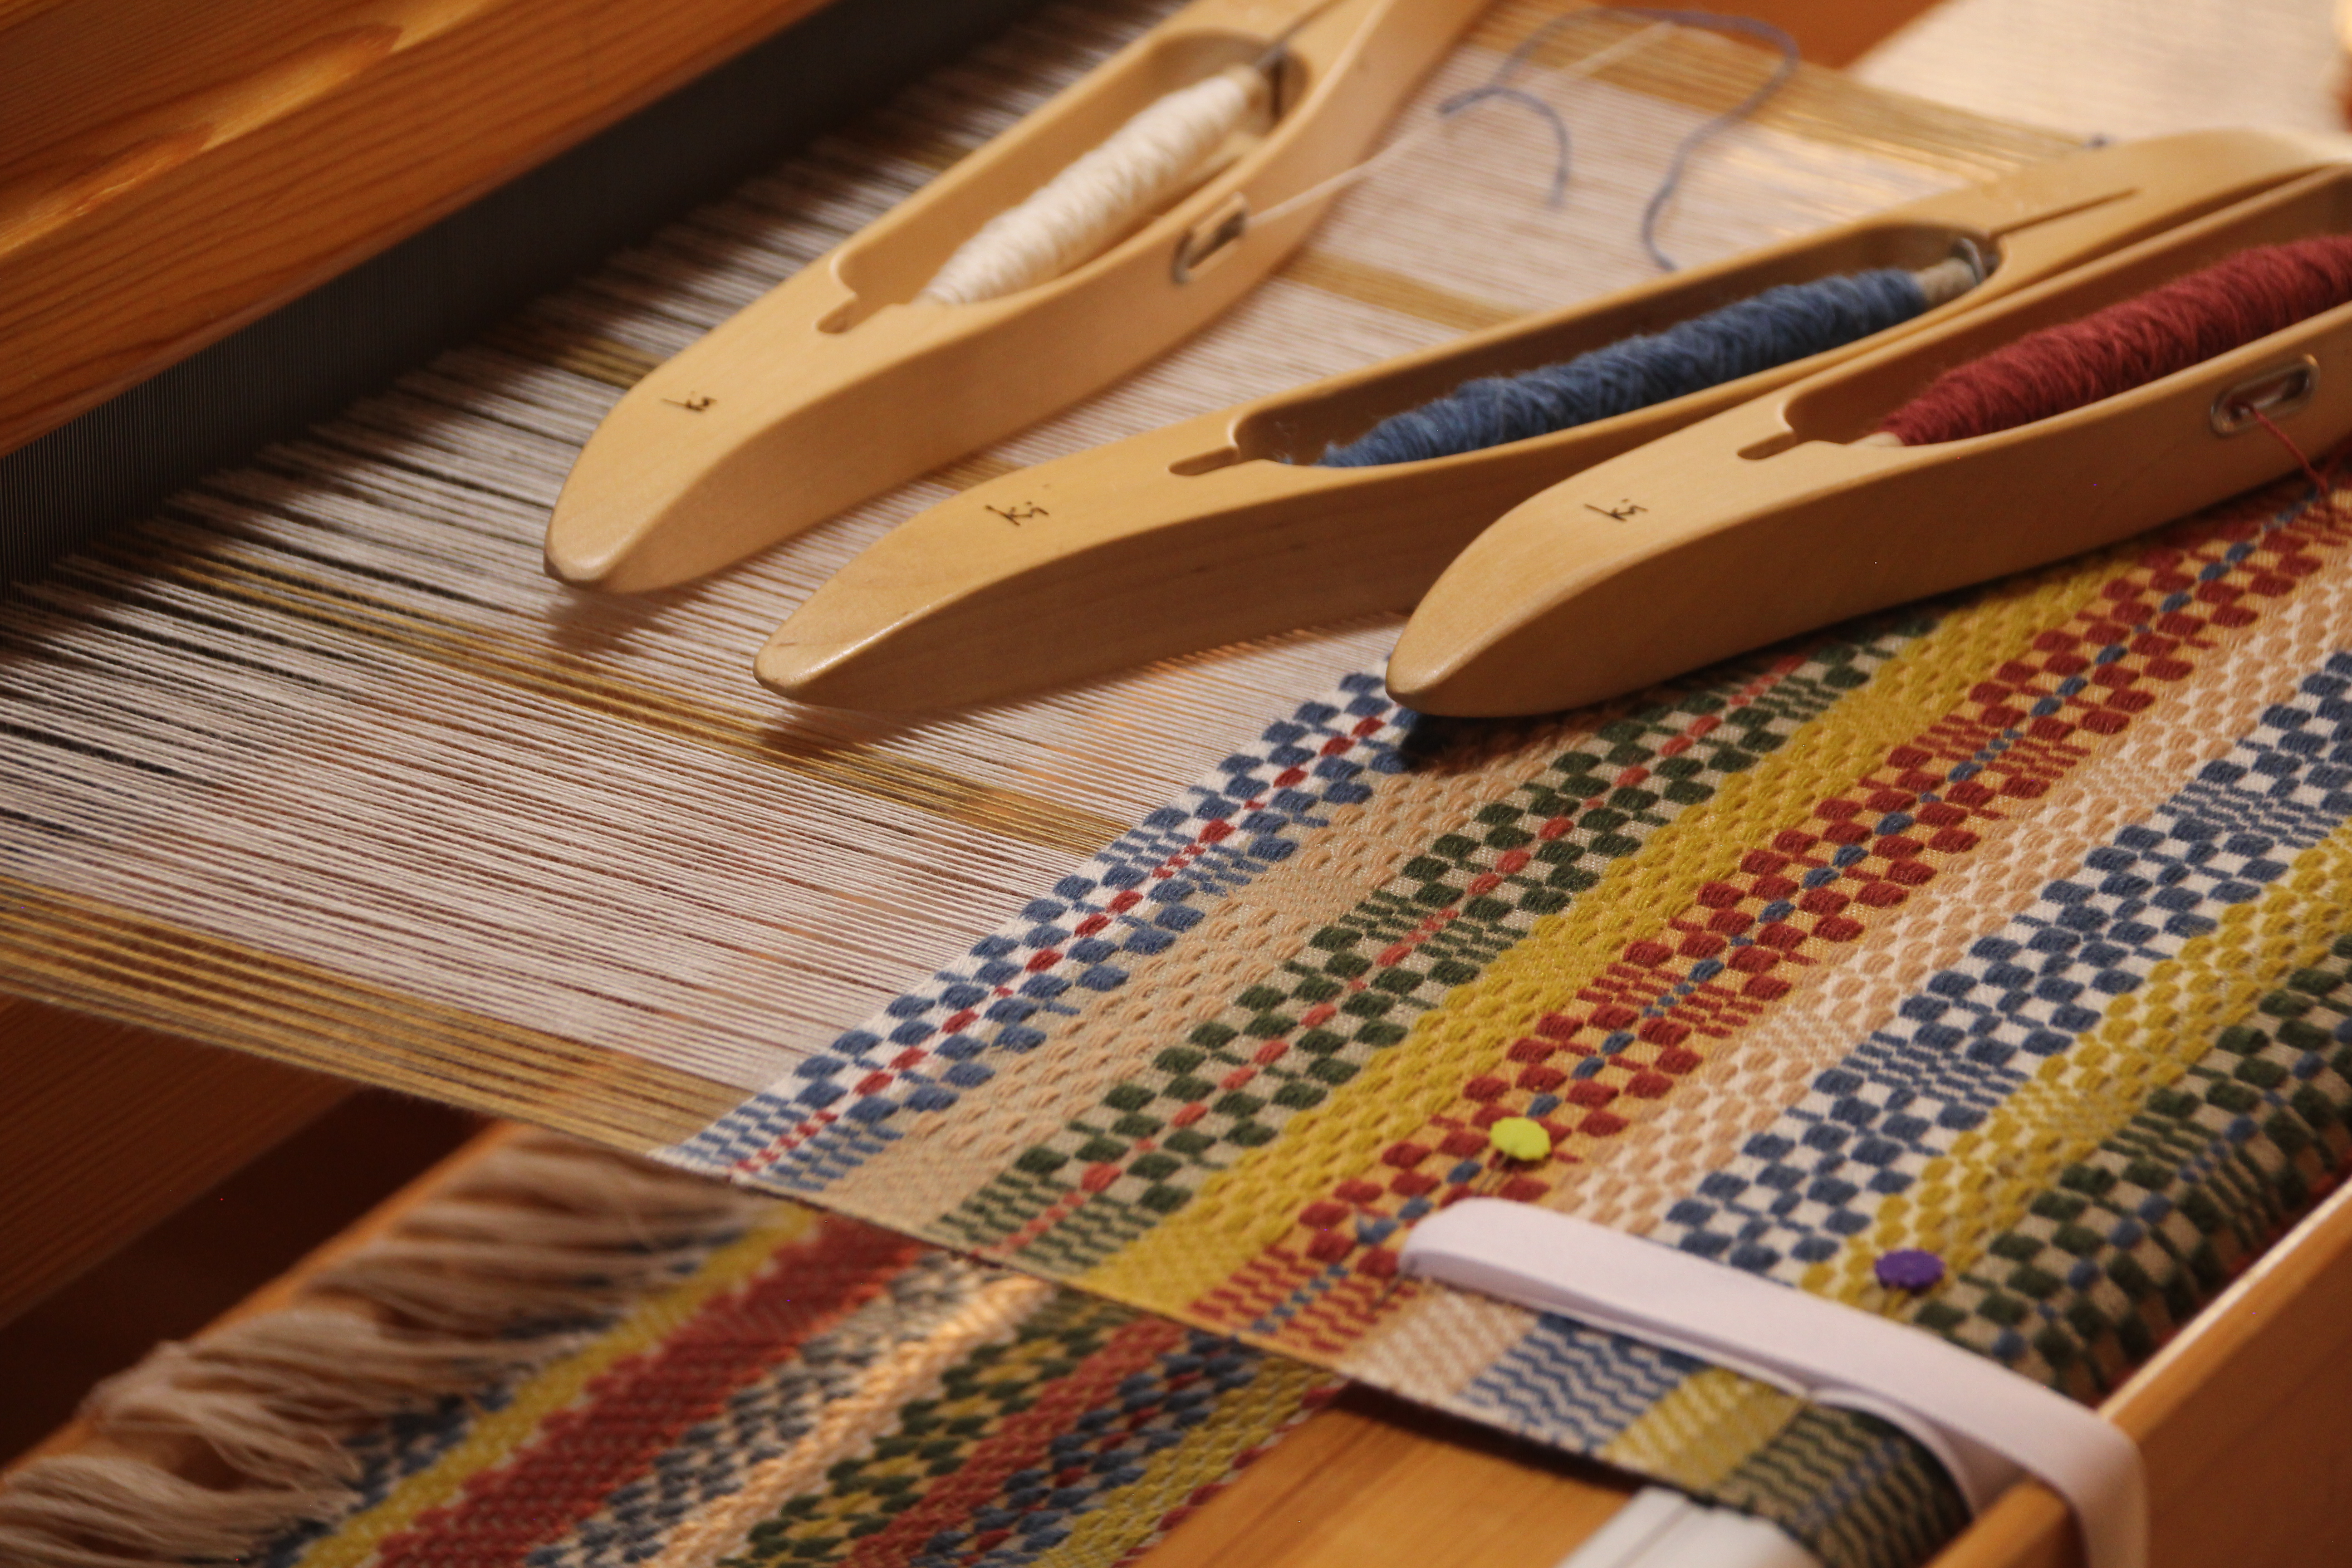
In the video below I tell you why I prefer Glimåkra ski shuttles, and how I wind the weft fabric on my shuttle. And I share two quick tips to make weaving with a ski shuttle a bit more manageable. If you are an experienced rag-rug weaver you probably already know these things. Watch to the end to see a short demo, plus a little blooper. Enjoy!
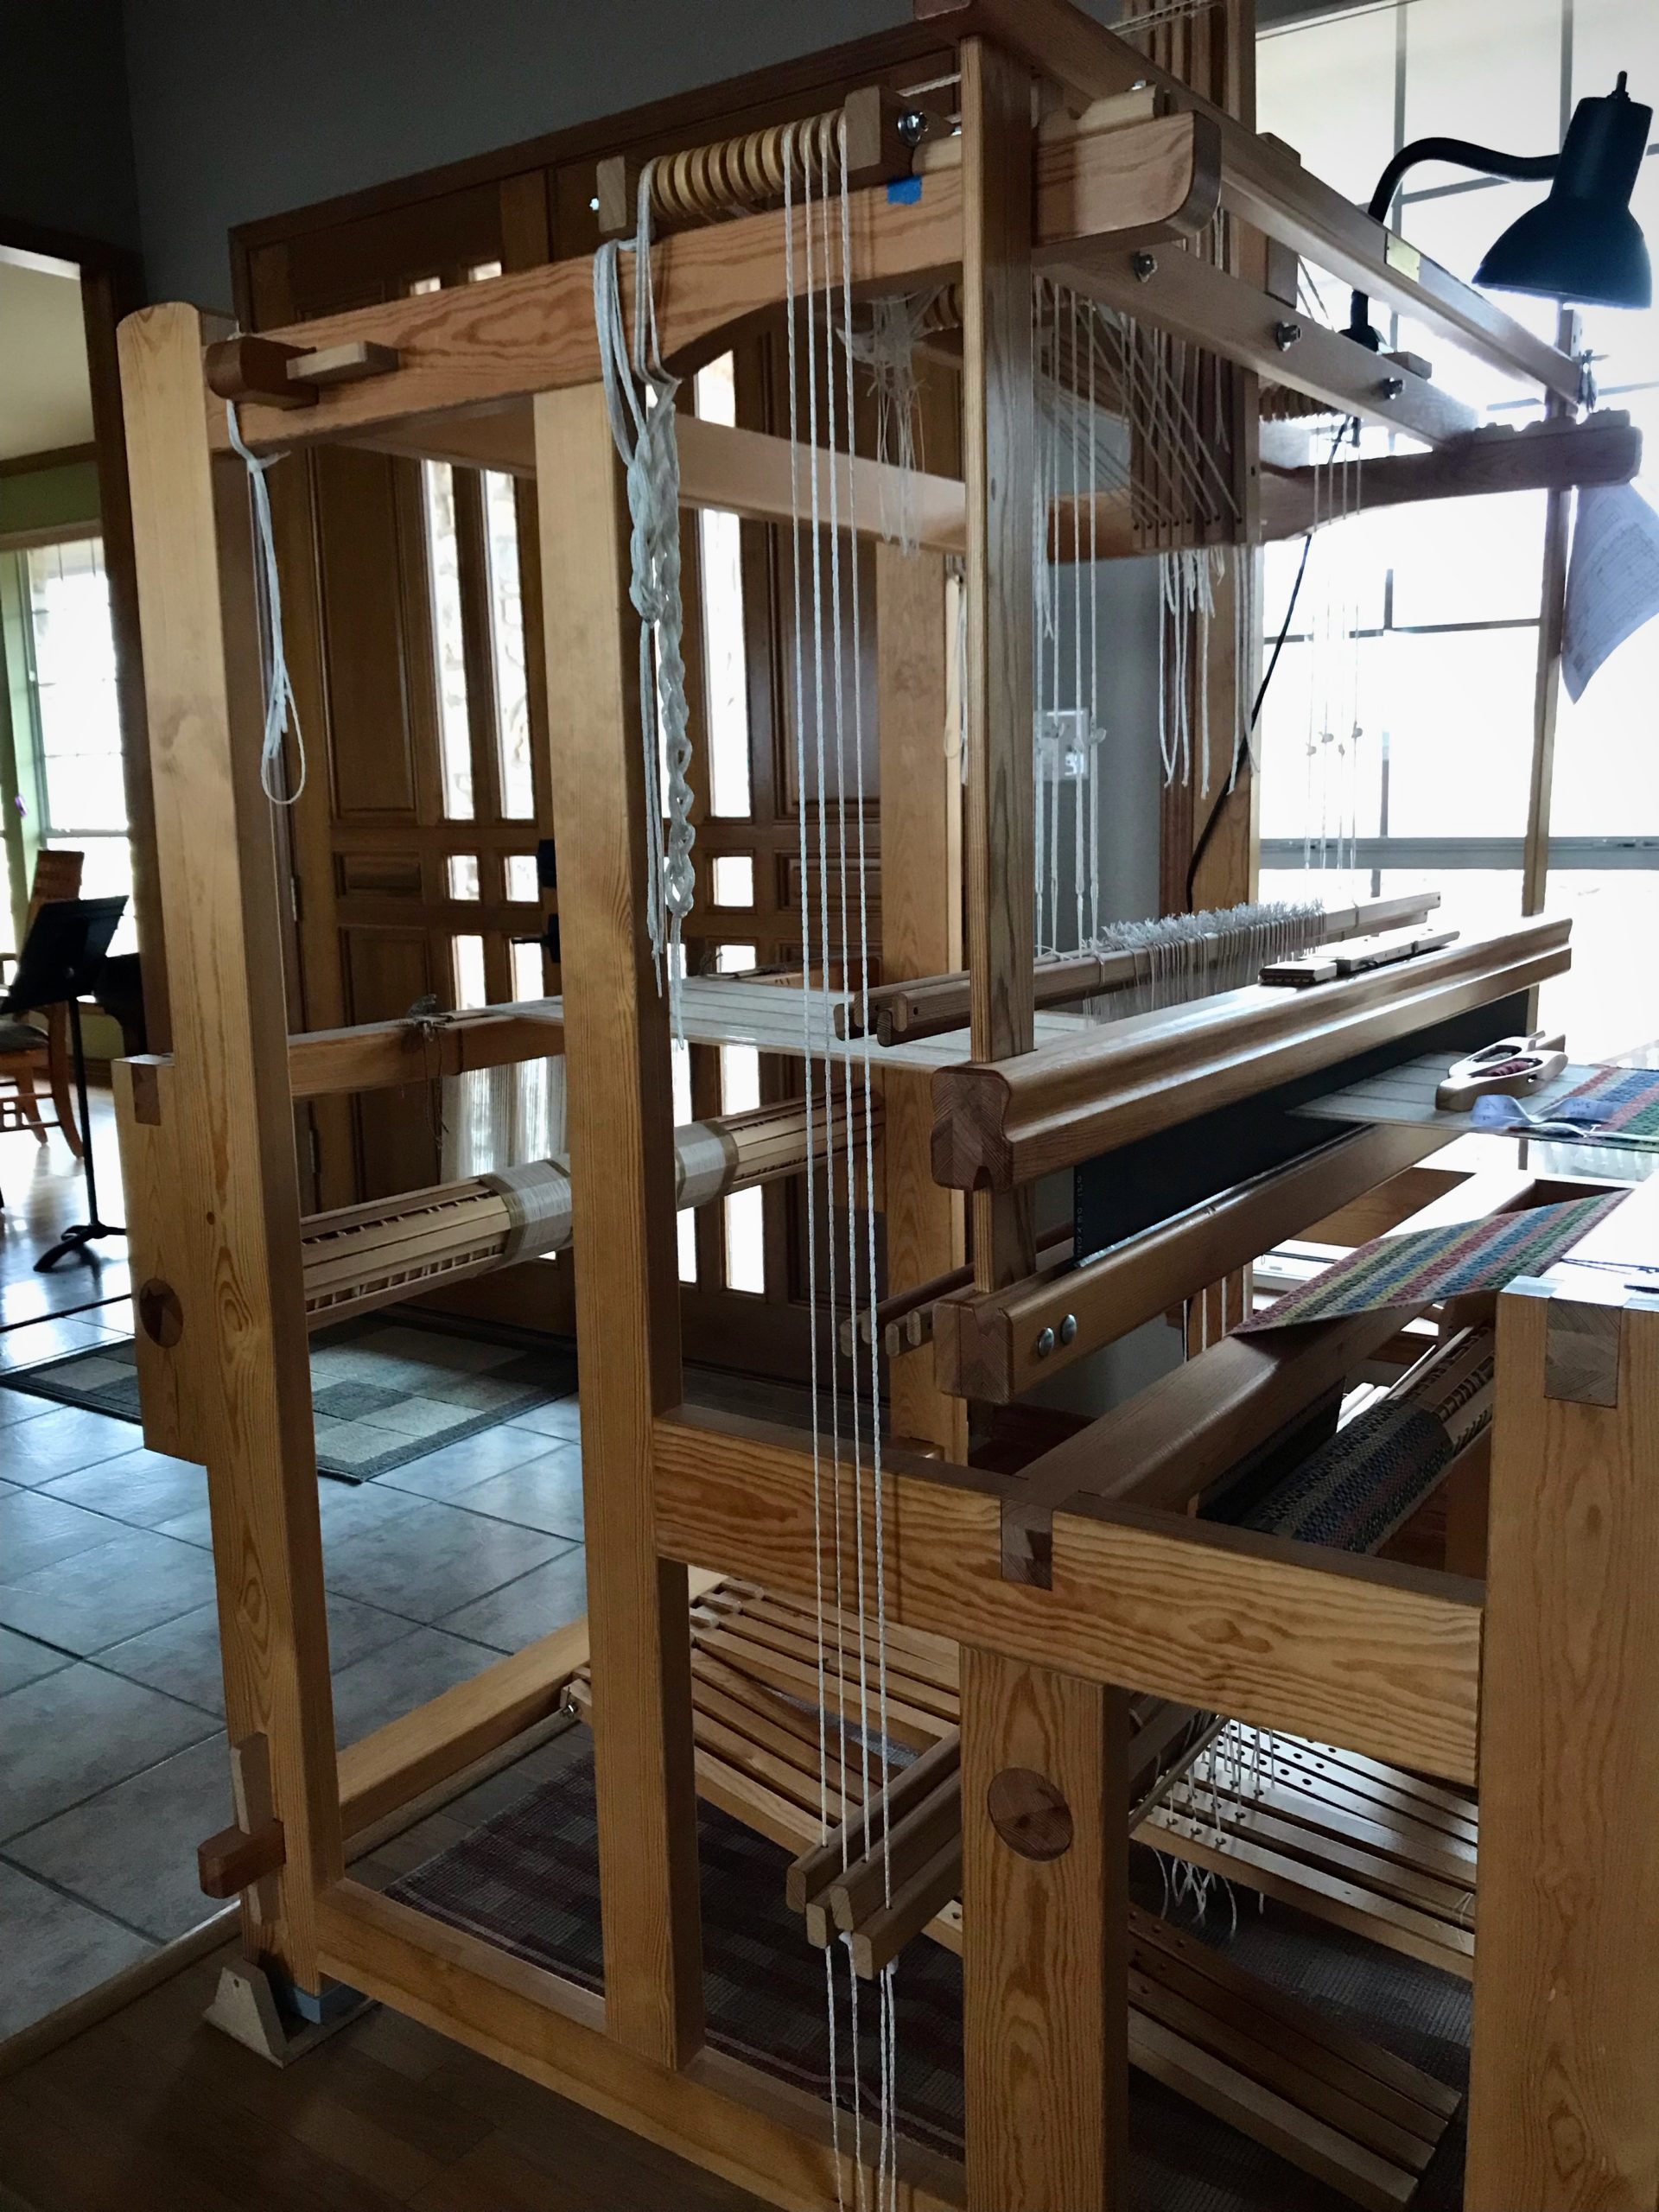
Ski shuttles by Glimåkra are just right for me. They fit nicely in my hands, have a low profile that slides easily through the shed, and are artistic in design.
UPDATE: I no longer use the cheater bar, as it could put too much force on the loom parts. Instead, I loosen the front ratchet first, and then I am able to loosen the back ratchet.
I have a tool that makes me stronger than I naturally am. Warp tension is extremely tight on my loom when I am weaving rugs. After advancing the warp, and locking the pawl on the cloth beam, I tighten the ratchet on the warp beam as much as I can. Then, I put all my weight into tightening the cloth beam. And then, with a bit of oomph, I lean into the handles on that cloth beam wheel to turn it one more notch on the ratchet. I pat myself on the back for exhibiting such strength. But wait, I have just created a problem. The next time I need to advance the warp, I’m not nearly strong enough to release those front and back pawls.
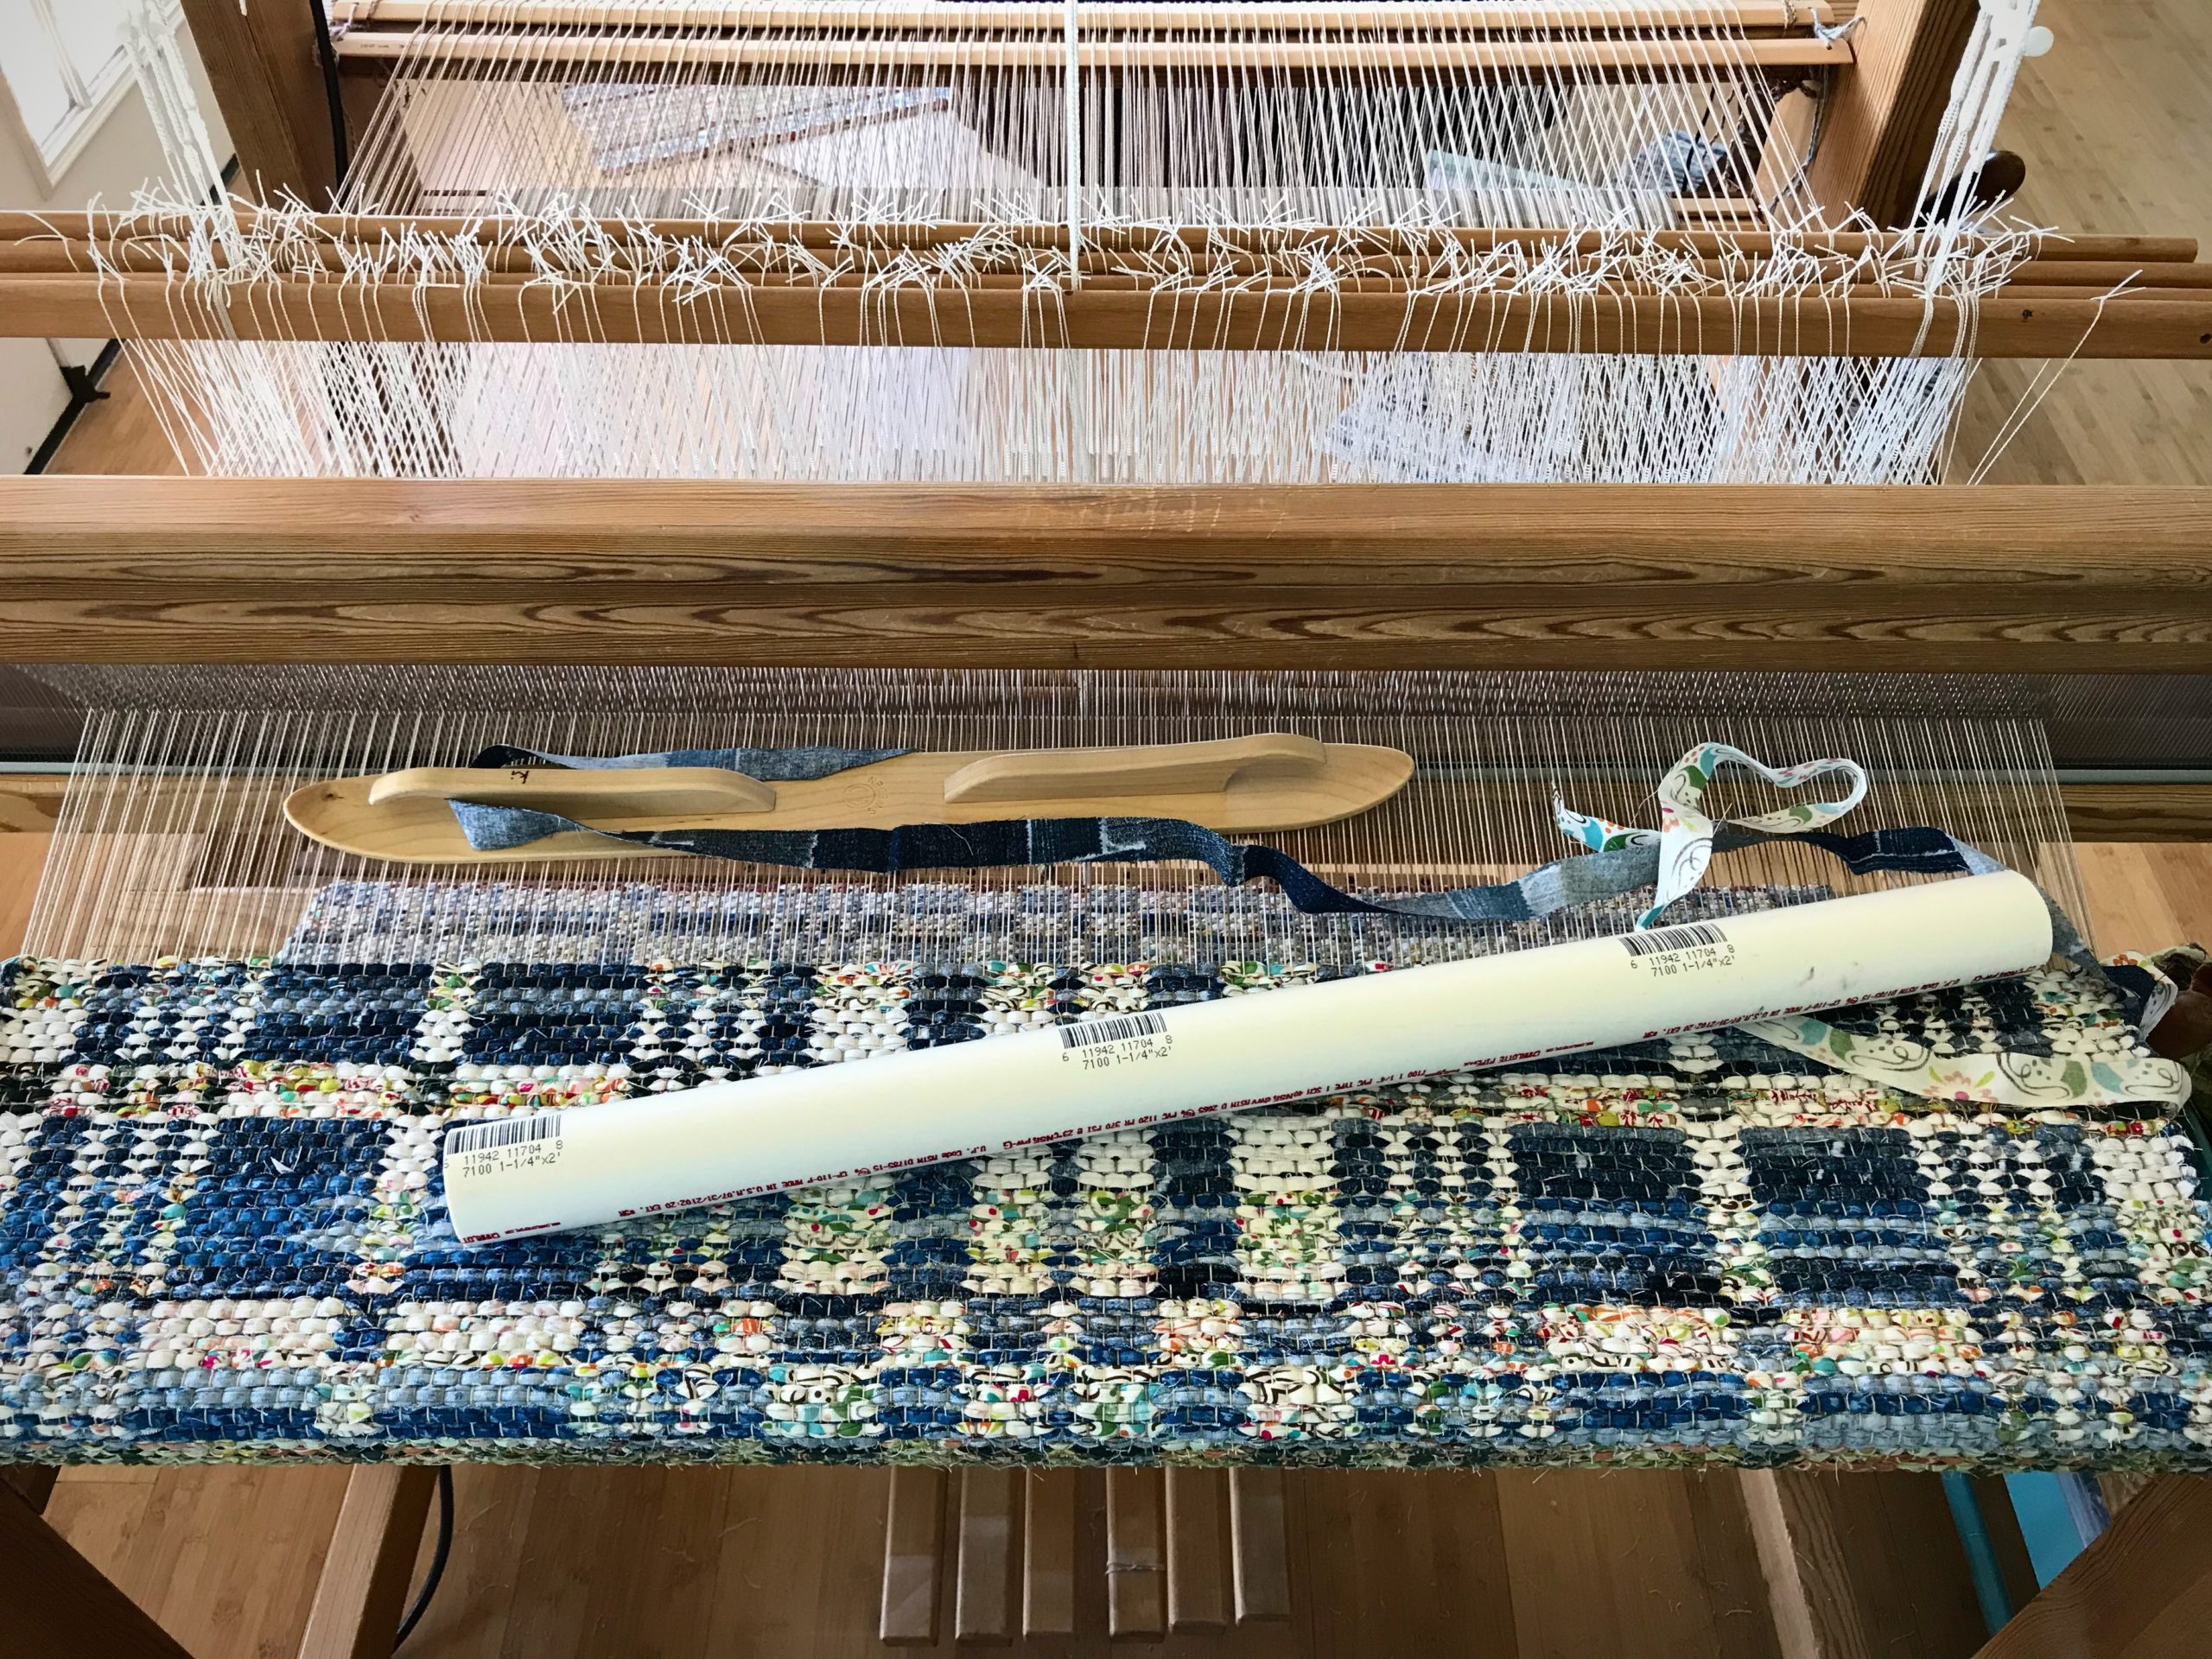
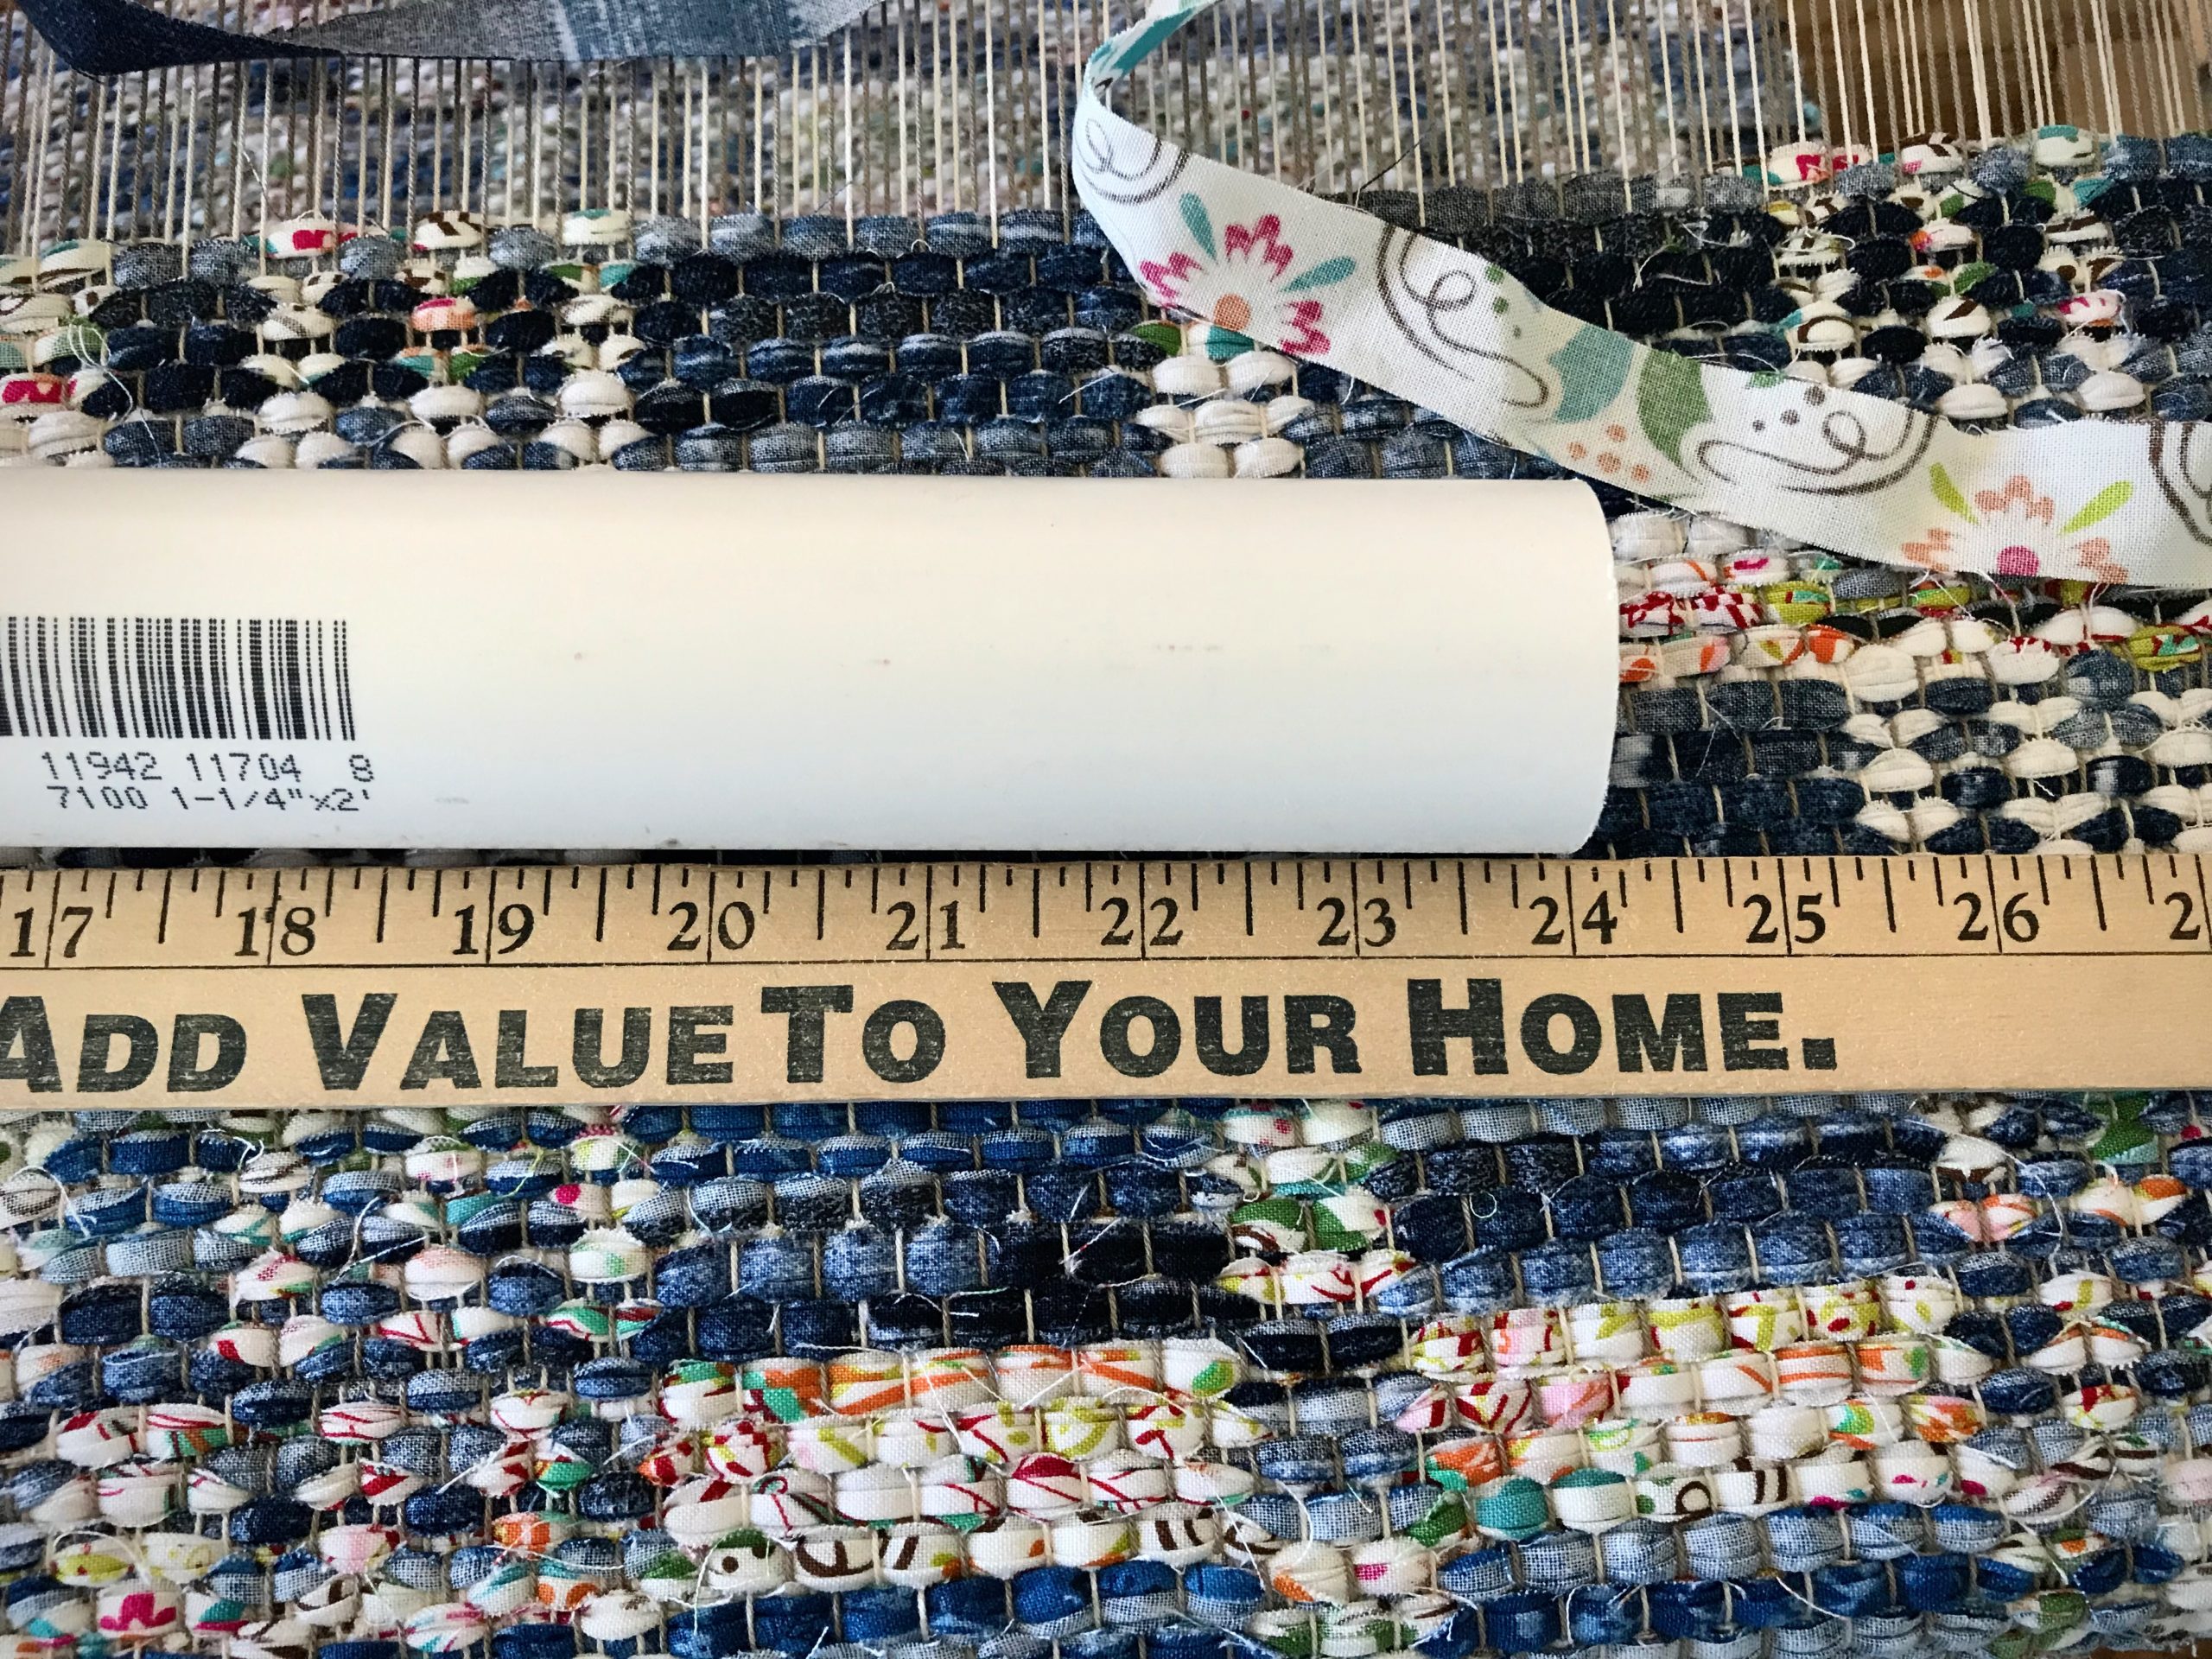
Meet my simplest tool: The Cheater Bar.
Cheater Bar is PVC pipe to use as a lever.PVC pipe, 1 1/4″ x 24″
With this amazing helper, I can safely release even the most extremely tight warp tension. (But NEVER use the Cheater Bar to tighten the warp.)
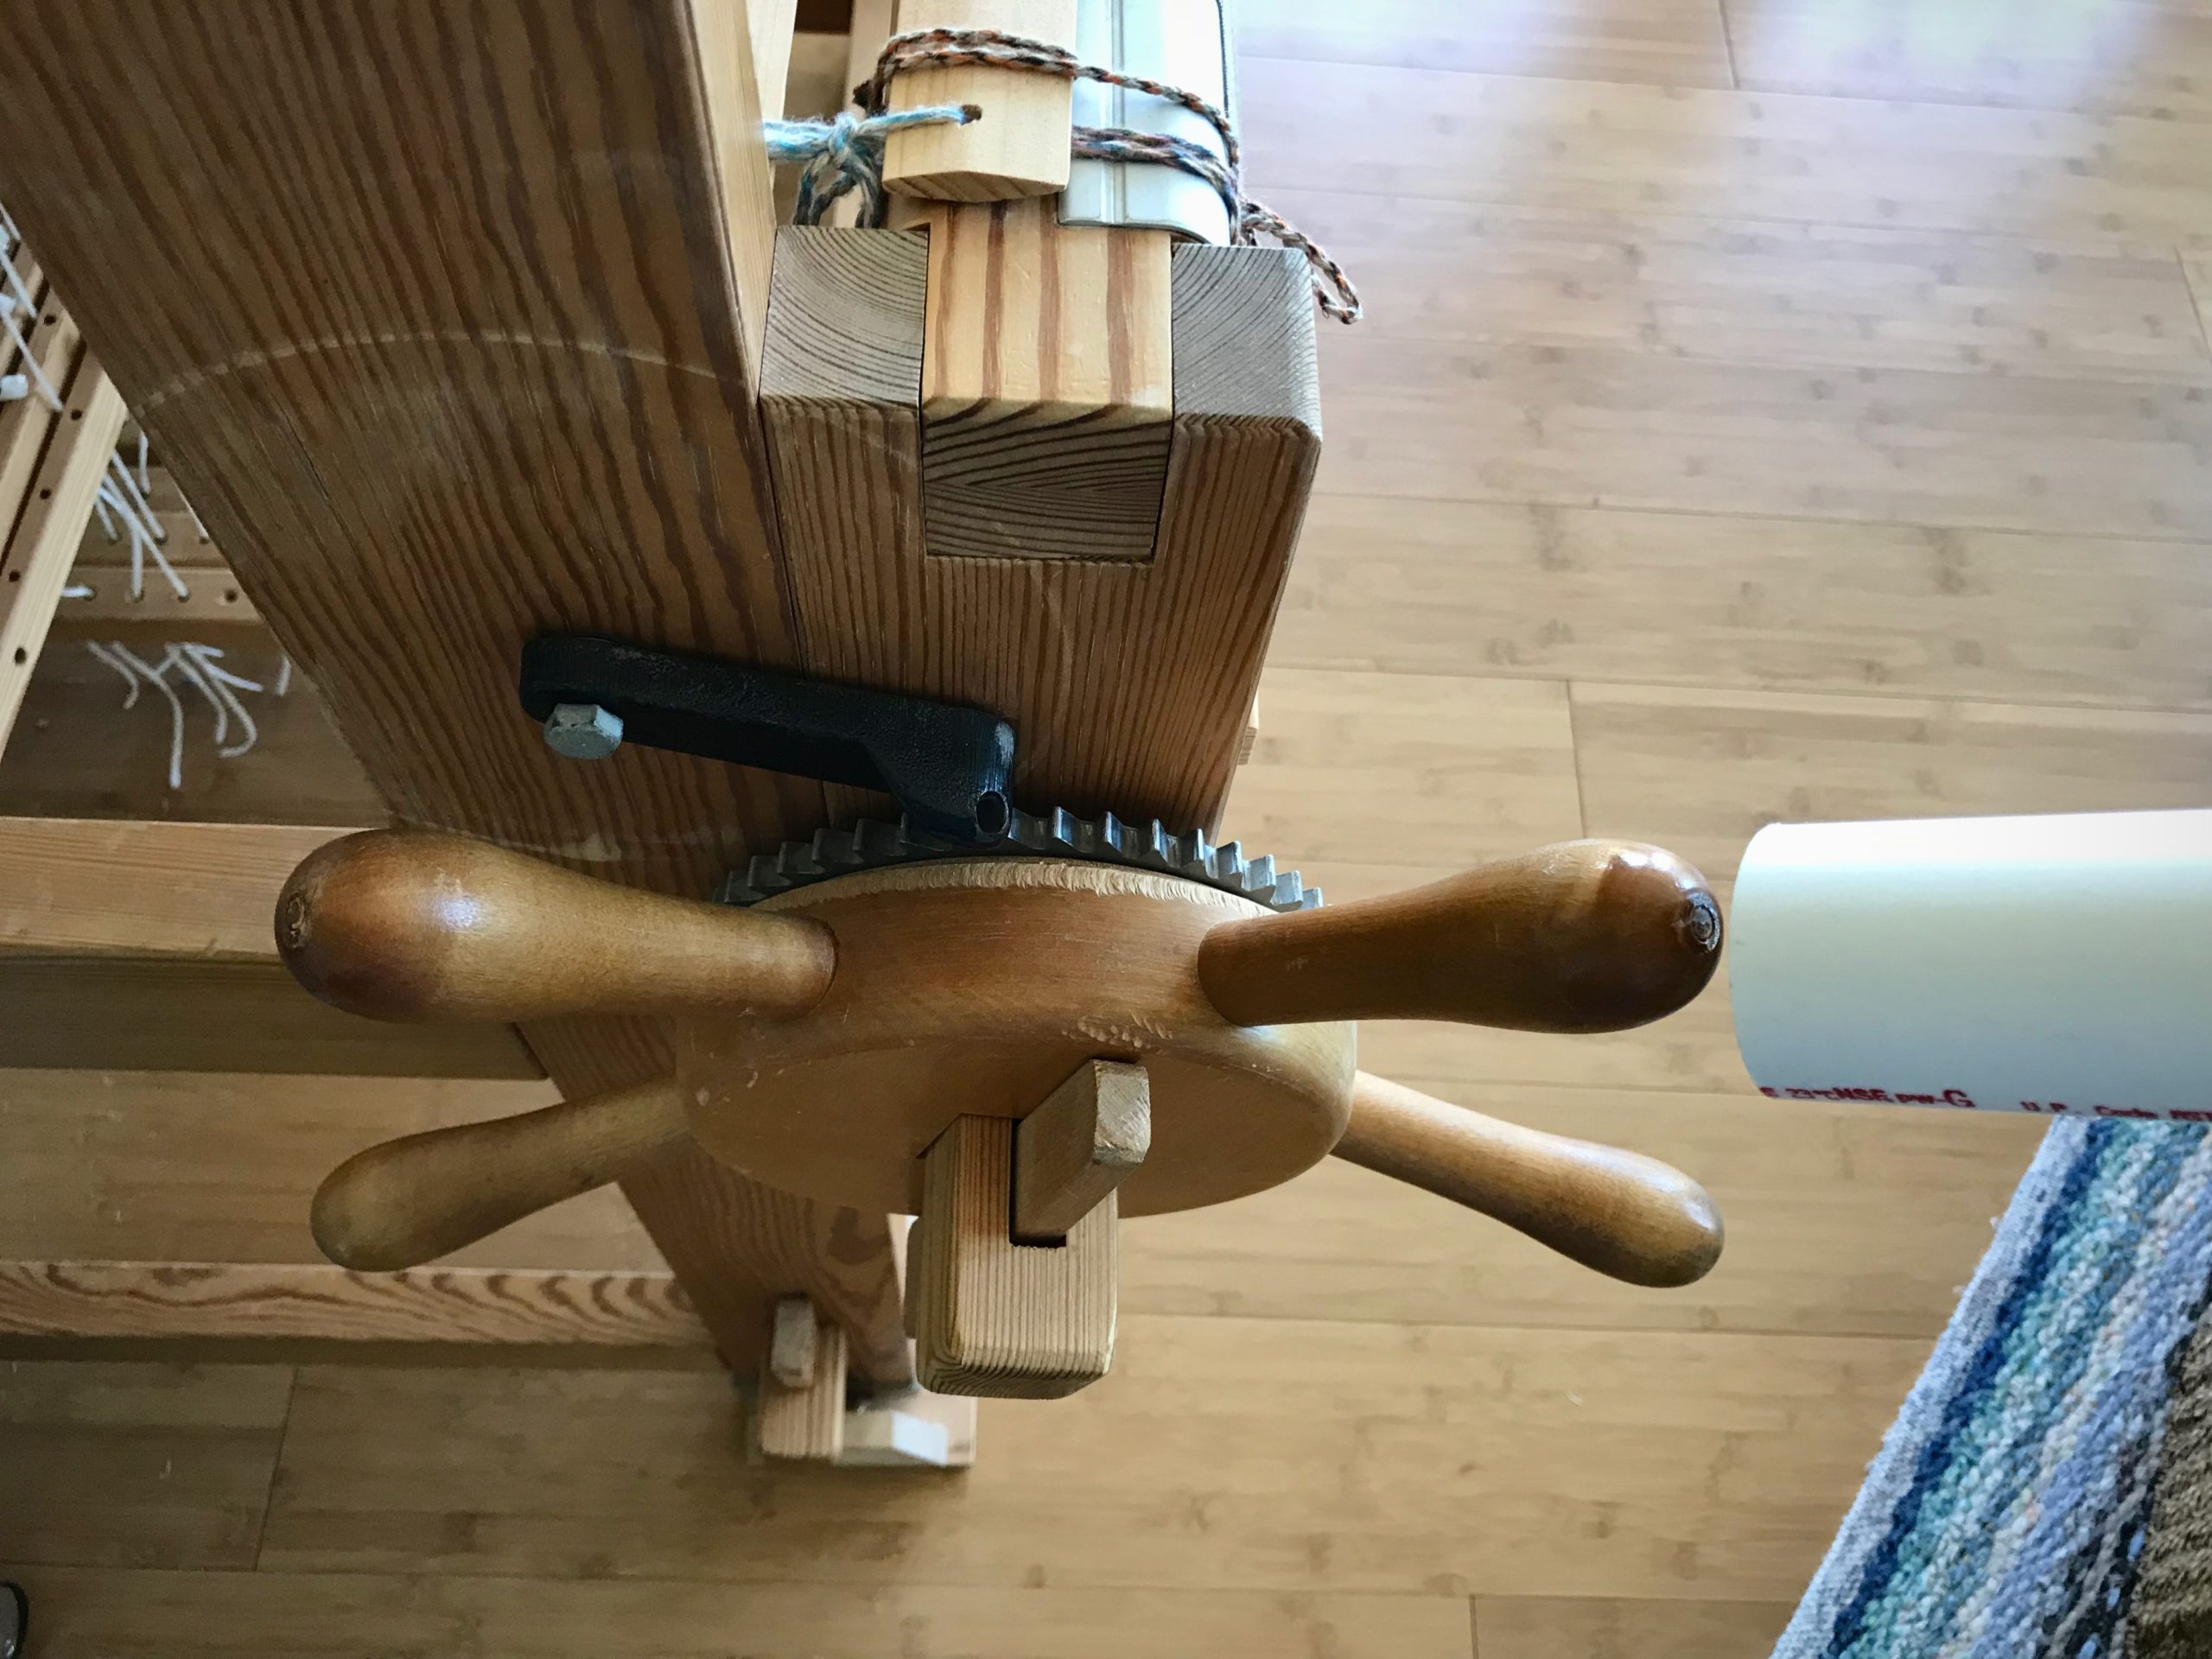
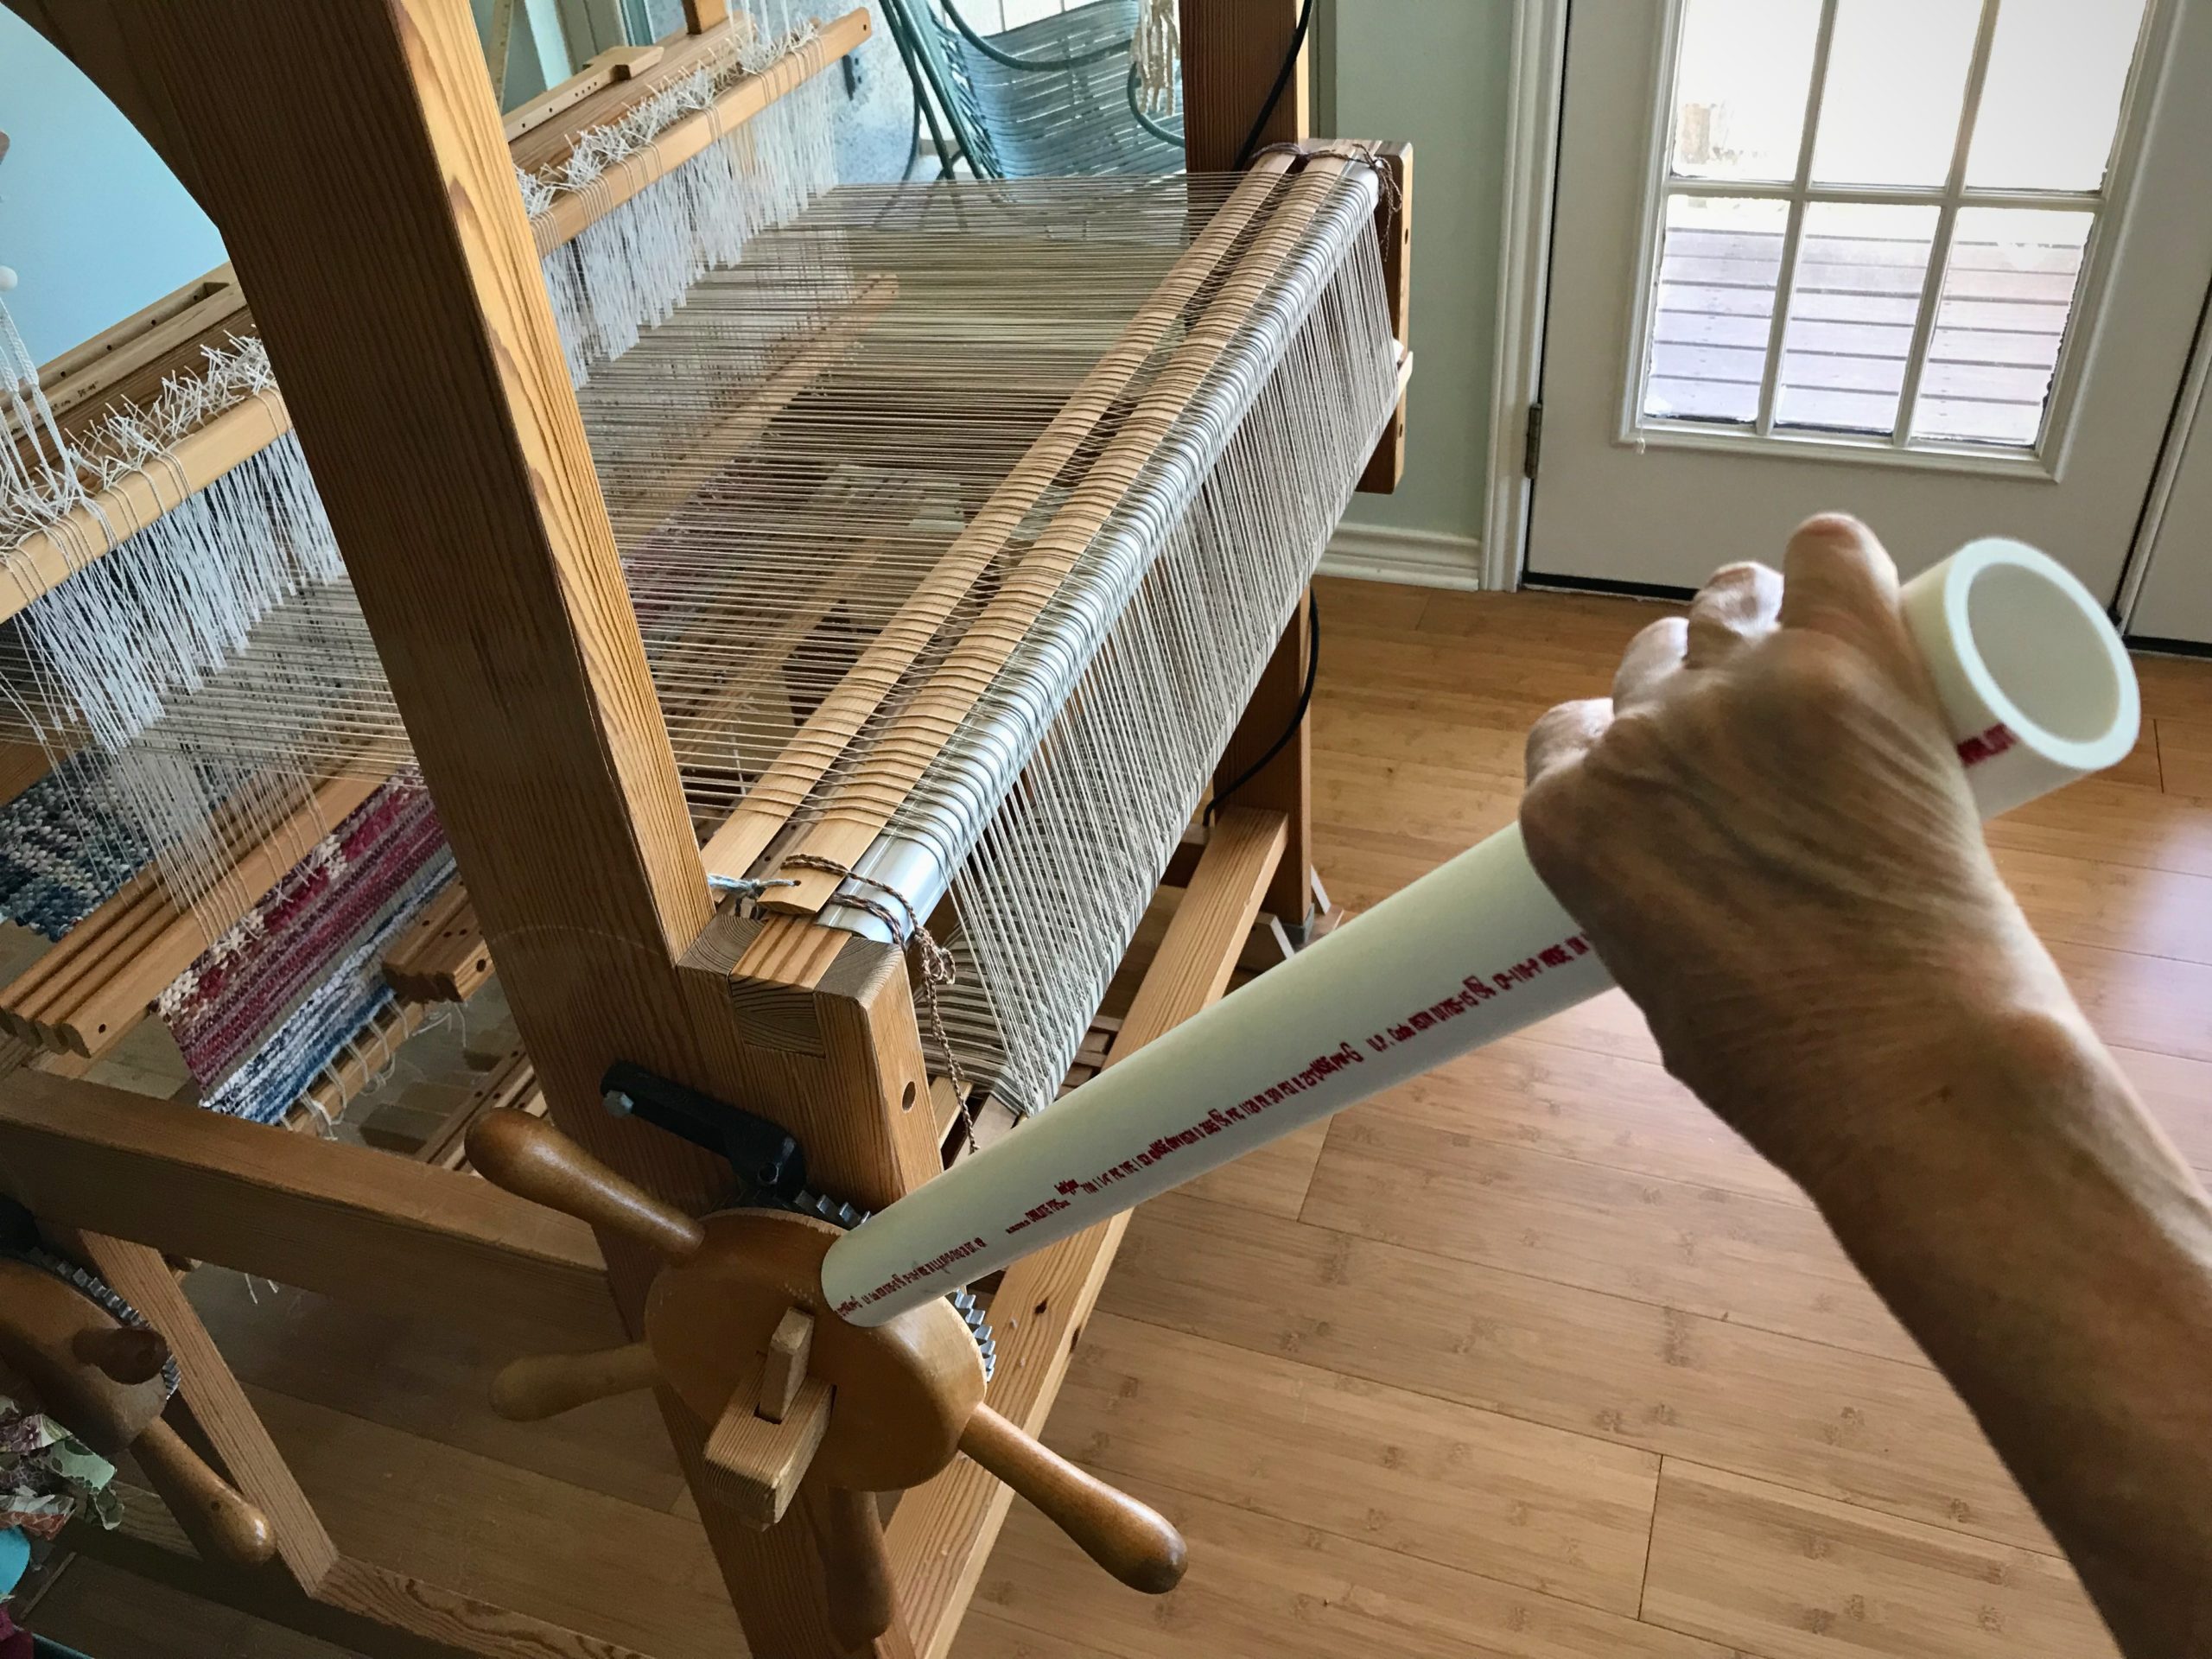
Slip the end of the pipe over a handle on the ratchet wheel.Force of the lever makes it easy to release the ratchet. CAUTION! Do not use the lever to tighten the warp beam or cloth beam. You could easily tighten it more than the loom is made to handle.
I never knew I could be this strong. Celebrate the moment! (A play on words. Steve tells me “moment” is a physics term that has to do with a force’s tendency to cause something to rotate about a specific point or axis.)
You followed all the instructions for dressing the loom, and have finished the countermarchtie-up. Now, at the moment of triumph you step on the treadles, one by one. Alas! Some or all of the treadles give you nothing you can call a shed. Now what? Maybe you relate to Laura who wrote me recently, “I can’t seem to get the treadles to make a shed.”
The solution is simple. Follow the advice in this sentence on page 37 of Learning to Warp your Loom, by Joanne Hall, “If your sheds are not good, check your loom tie-up from the top down.”
If sheds are missing, there is a good chance you have a crossed cord.
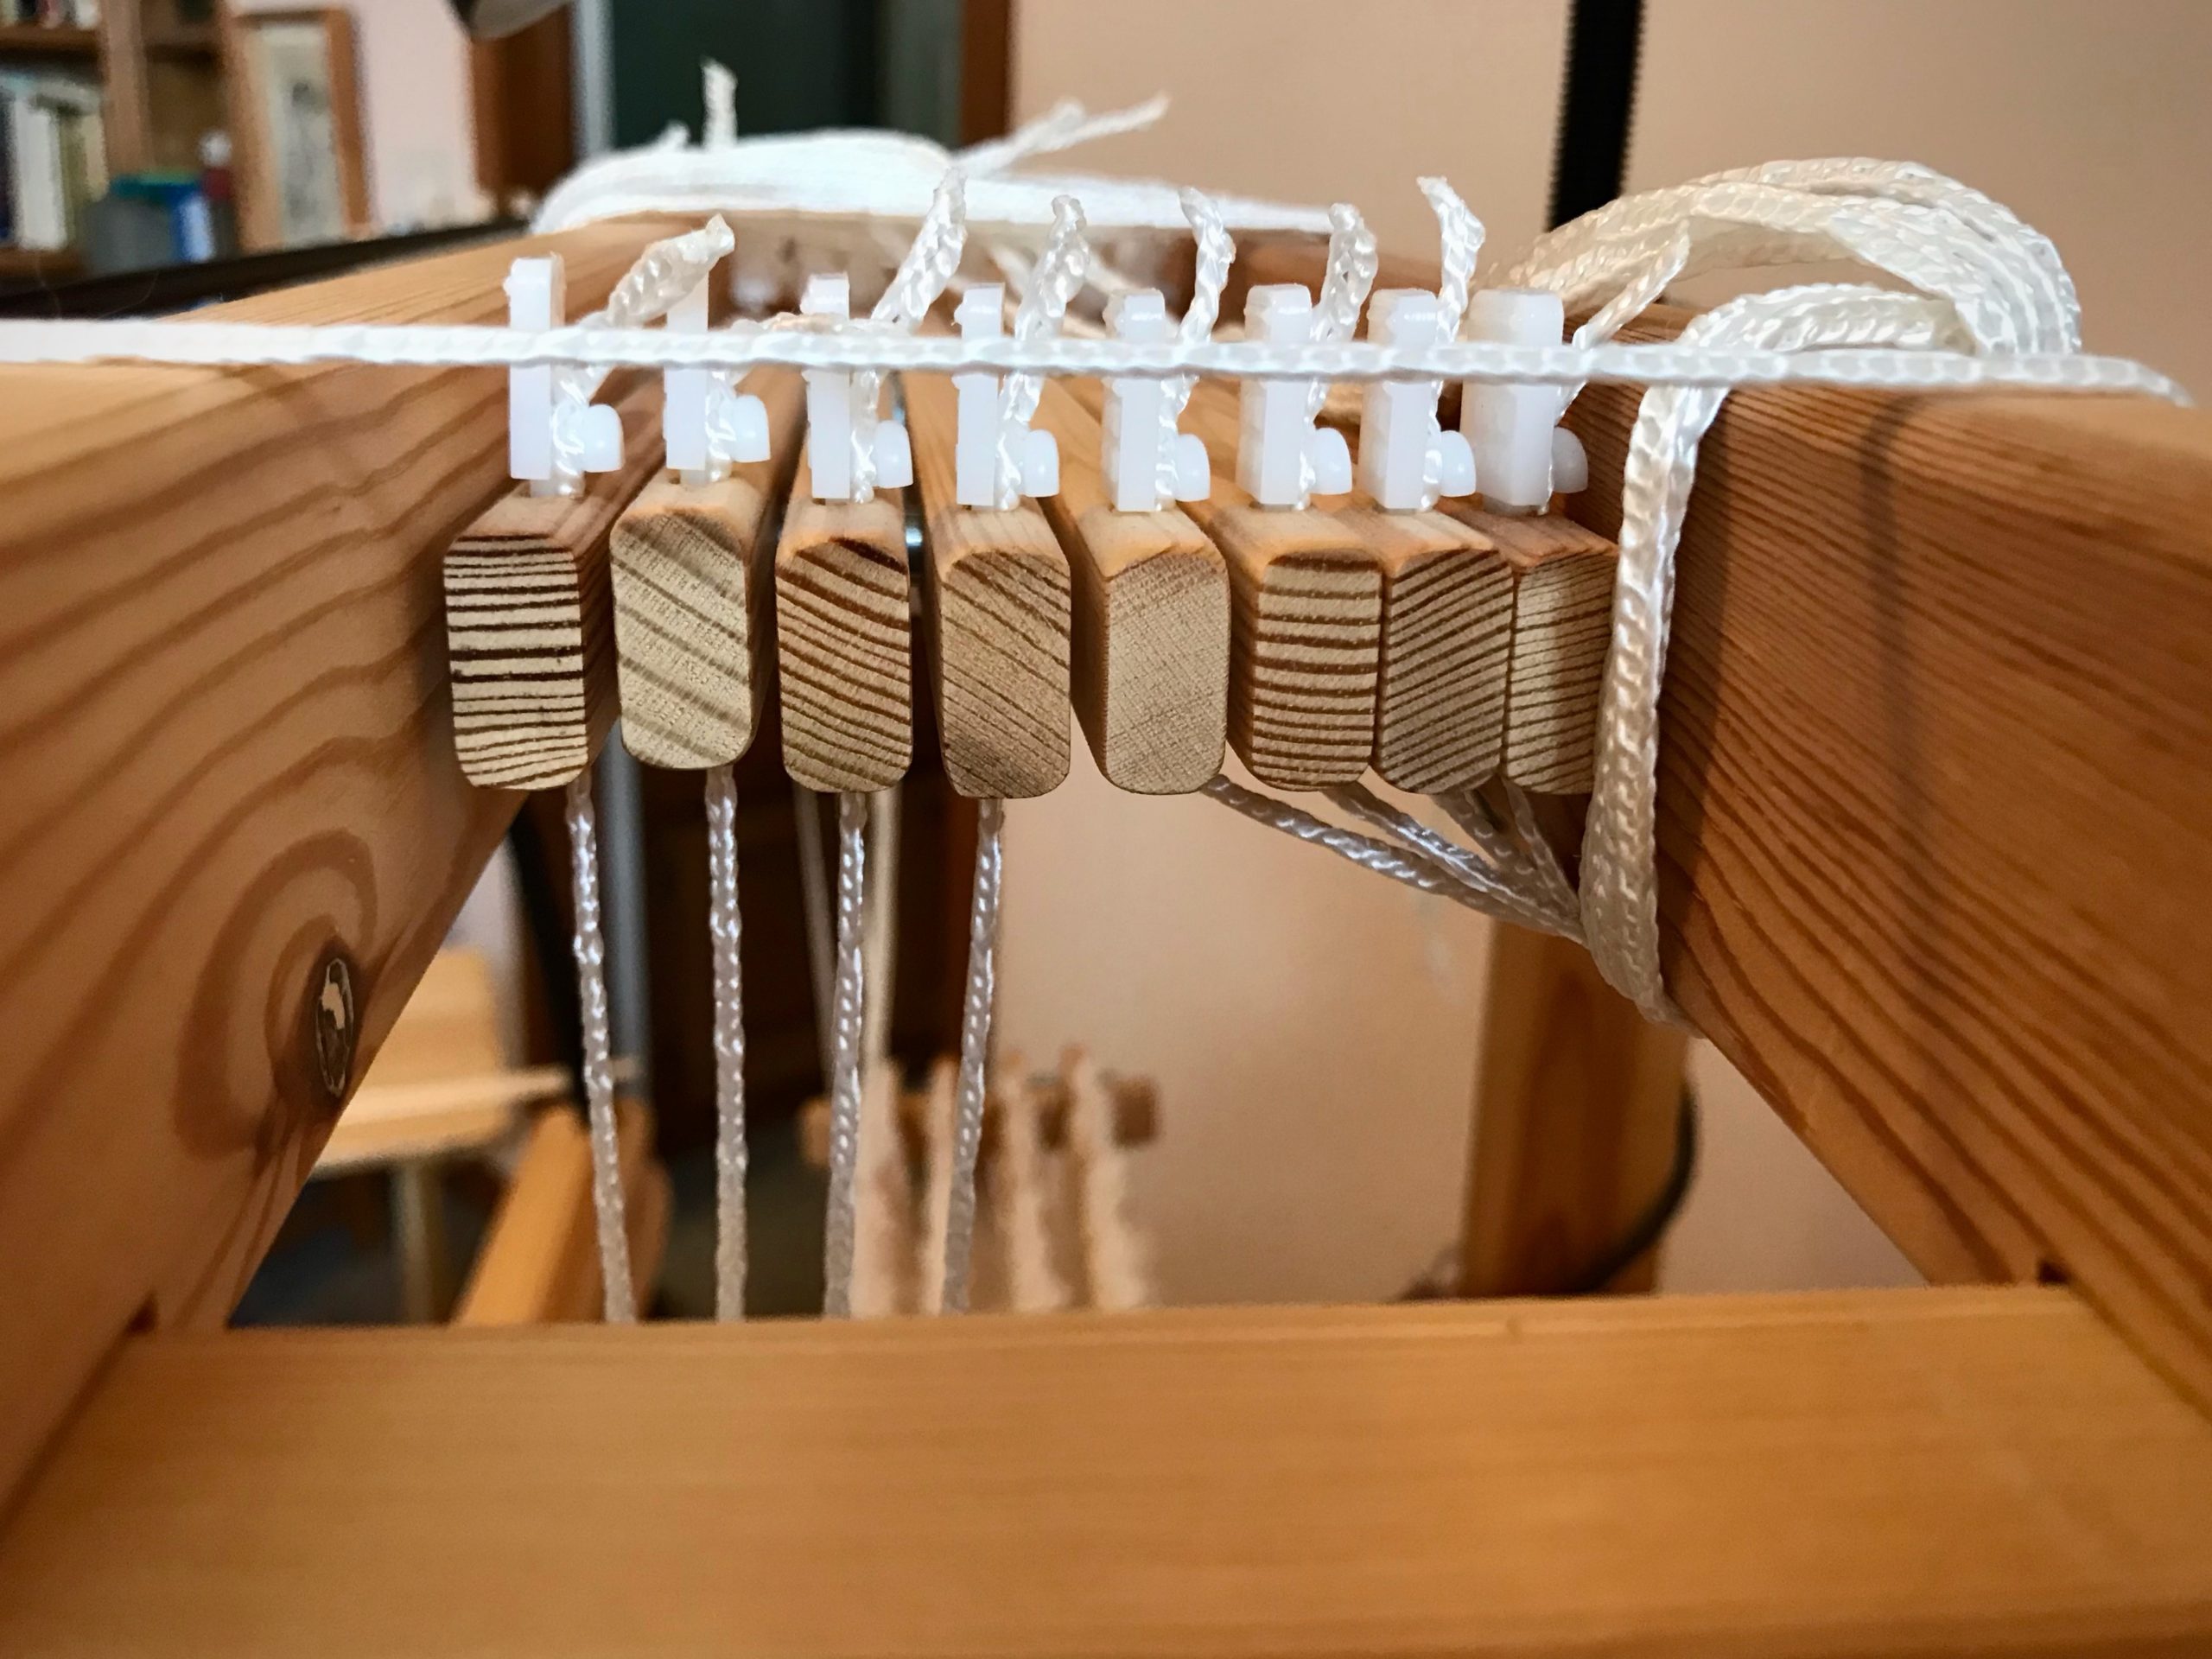
1 Follow each Texsolv cord, starting from the countermarch at top of the loom.
All the shafts are good to go, right? Not quite. Better see what’s happening at the top of those Texsolv cords.
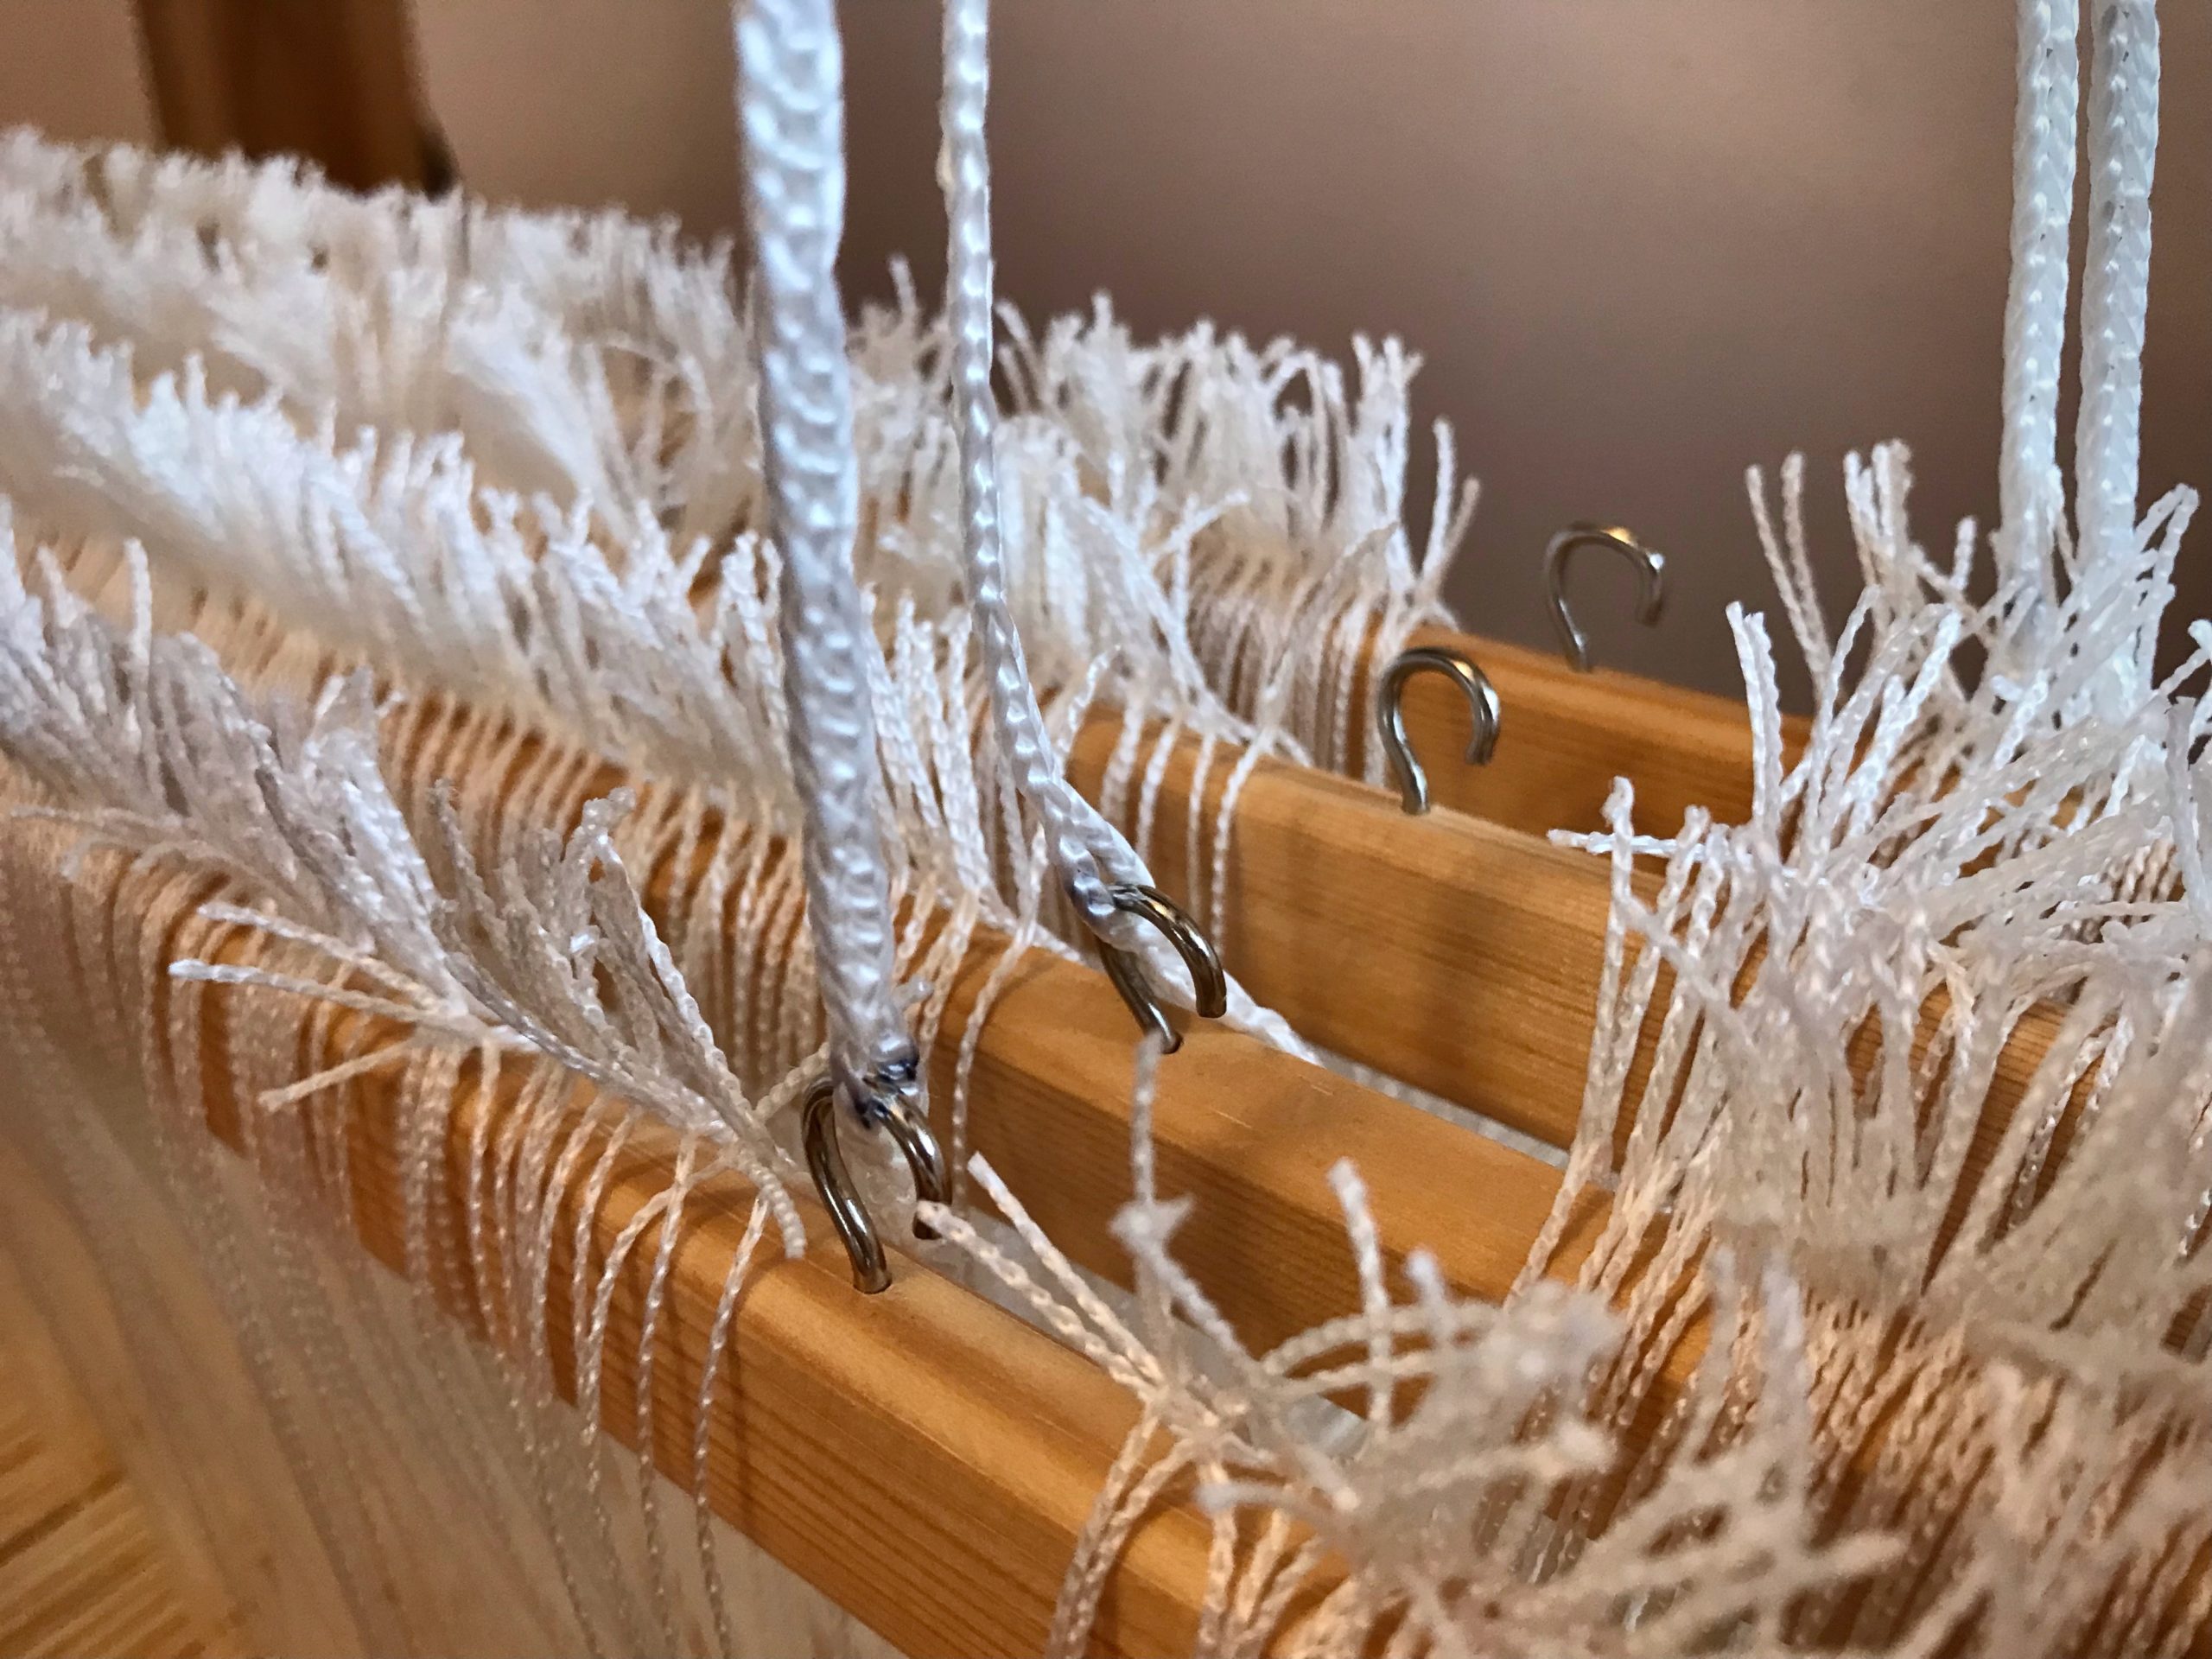
2 Make sure that each cord is connected in the right order at the right place.
Is the first countermarch jack connected to the first shaft, the second jack to the second shaft, and so on?
Misaligned cords as seen from the top of the loom.
Are the cords that go to the lower lamms strictly in order?
– With horizontal countermarch, does each cord fall behind the shafts in order?
Cords from the horizontal countermarch go through the center of the warp, to be attached to lower lamms below.Make sure each cord goes behind its corresponding shaft bars to the lamms below. When attaching the cords to the lamms, make sure the cords are attached in the correct order. If loom is already tied up, follow each cord to check that it is attached to its corresponding lamm.
– With vertical countermarch, is each cord on its pulley, and connected to lamms in the right order?
Vertical countermarch has cords that go over pulleys on the side down to the lower lamms. I have to be extra careful to keep from attaching a cord to the wrong lamm.
3 Correct any misaligned cord.
Now, step on each treadle, one by one. Decent sheds that just need a little refining? Triumph!
Helpful Habit
When attaching a cord while dressing the loom, start your hand at the top of the cord and slide it down to the point of connection. This helps you take hold of the correct cord.
Ready to connect the shaft cords on the Glimåkra Julia, made easy by the small hooks on the shaft bars. Instead of expecting the cords to hang straight down in order, I reach my hand up to the top of the cord.Touching where the cord meets the wood, I know I have the correct cord for the shaft closest to the front of the loom. I do the same for the next cord.My hand slides down the cord and I connect the cord to the correct shaft. Now, all that’s left is tying up the treadles. Then, we weave!
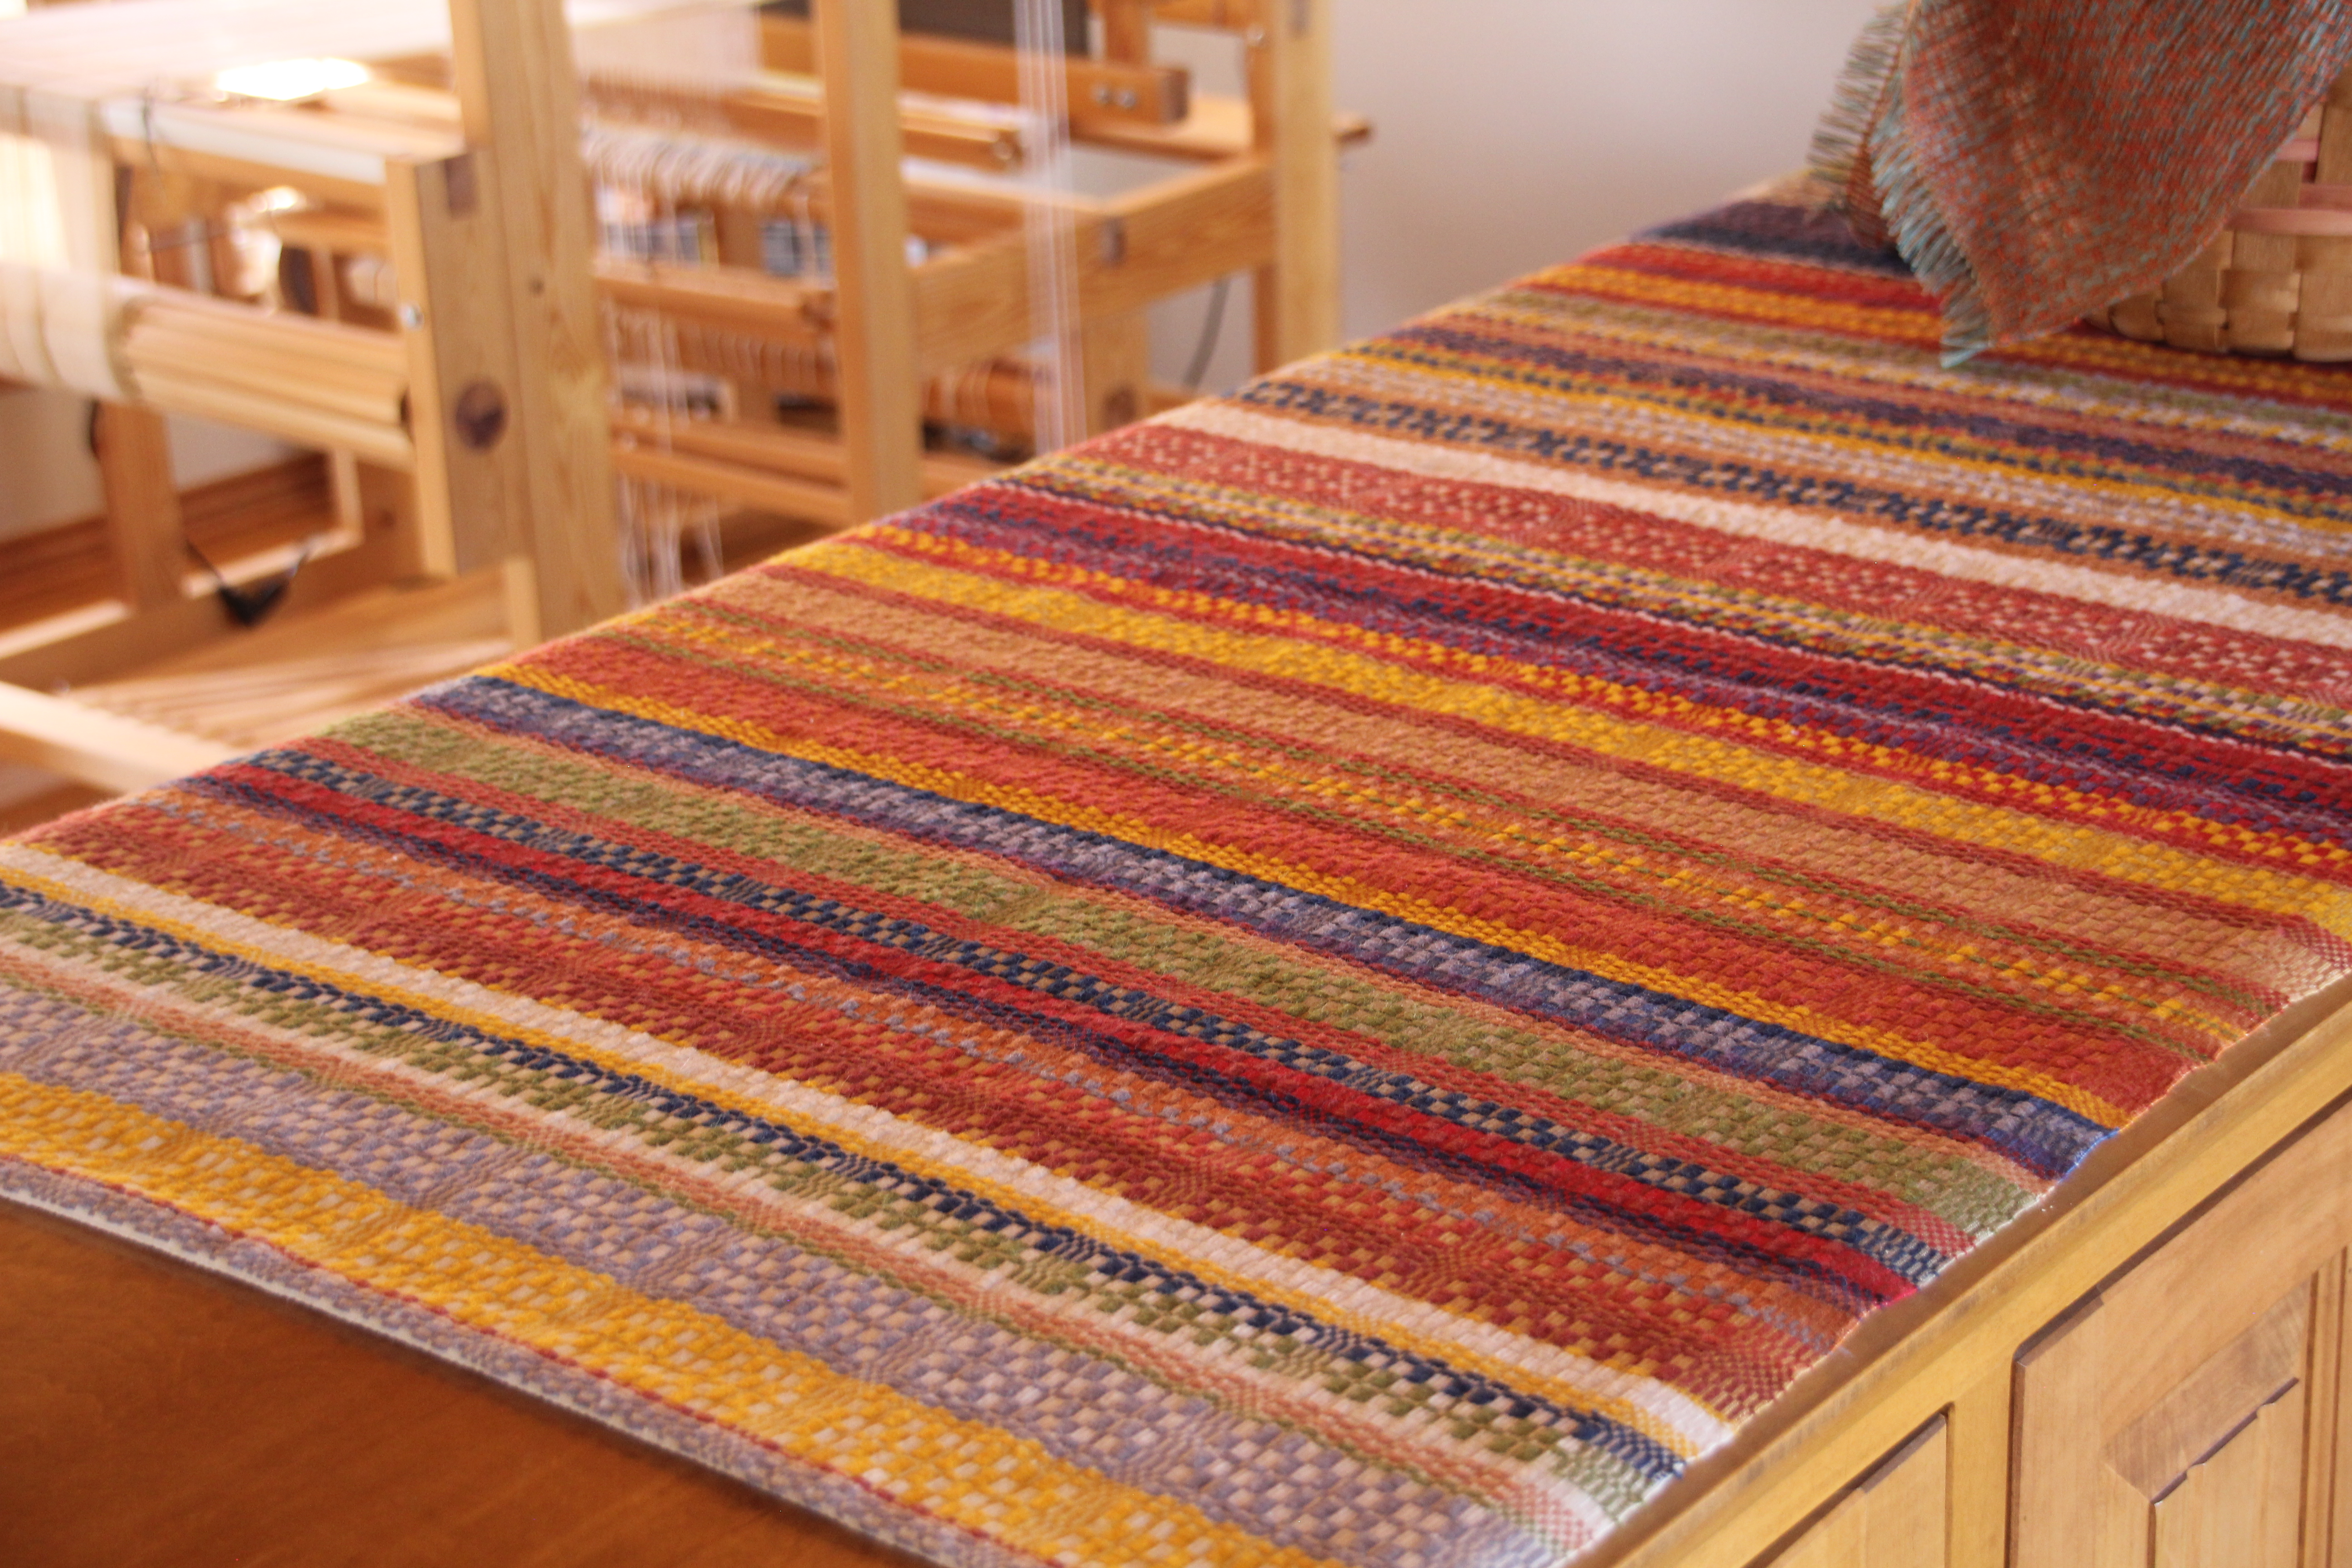
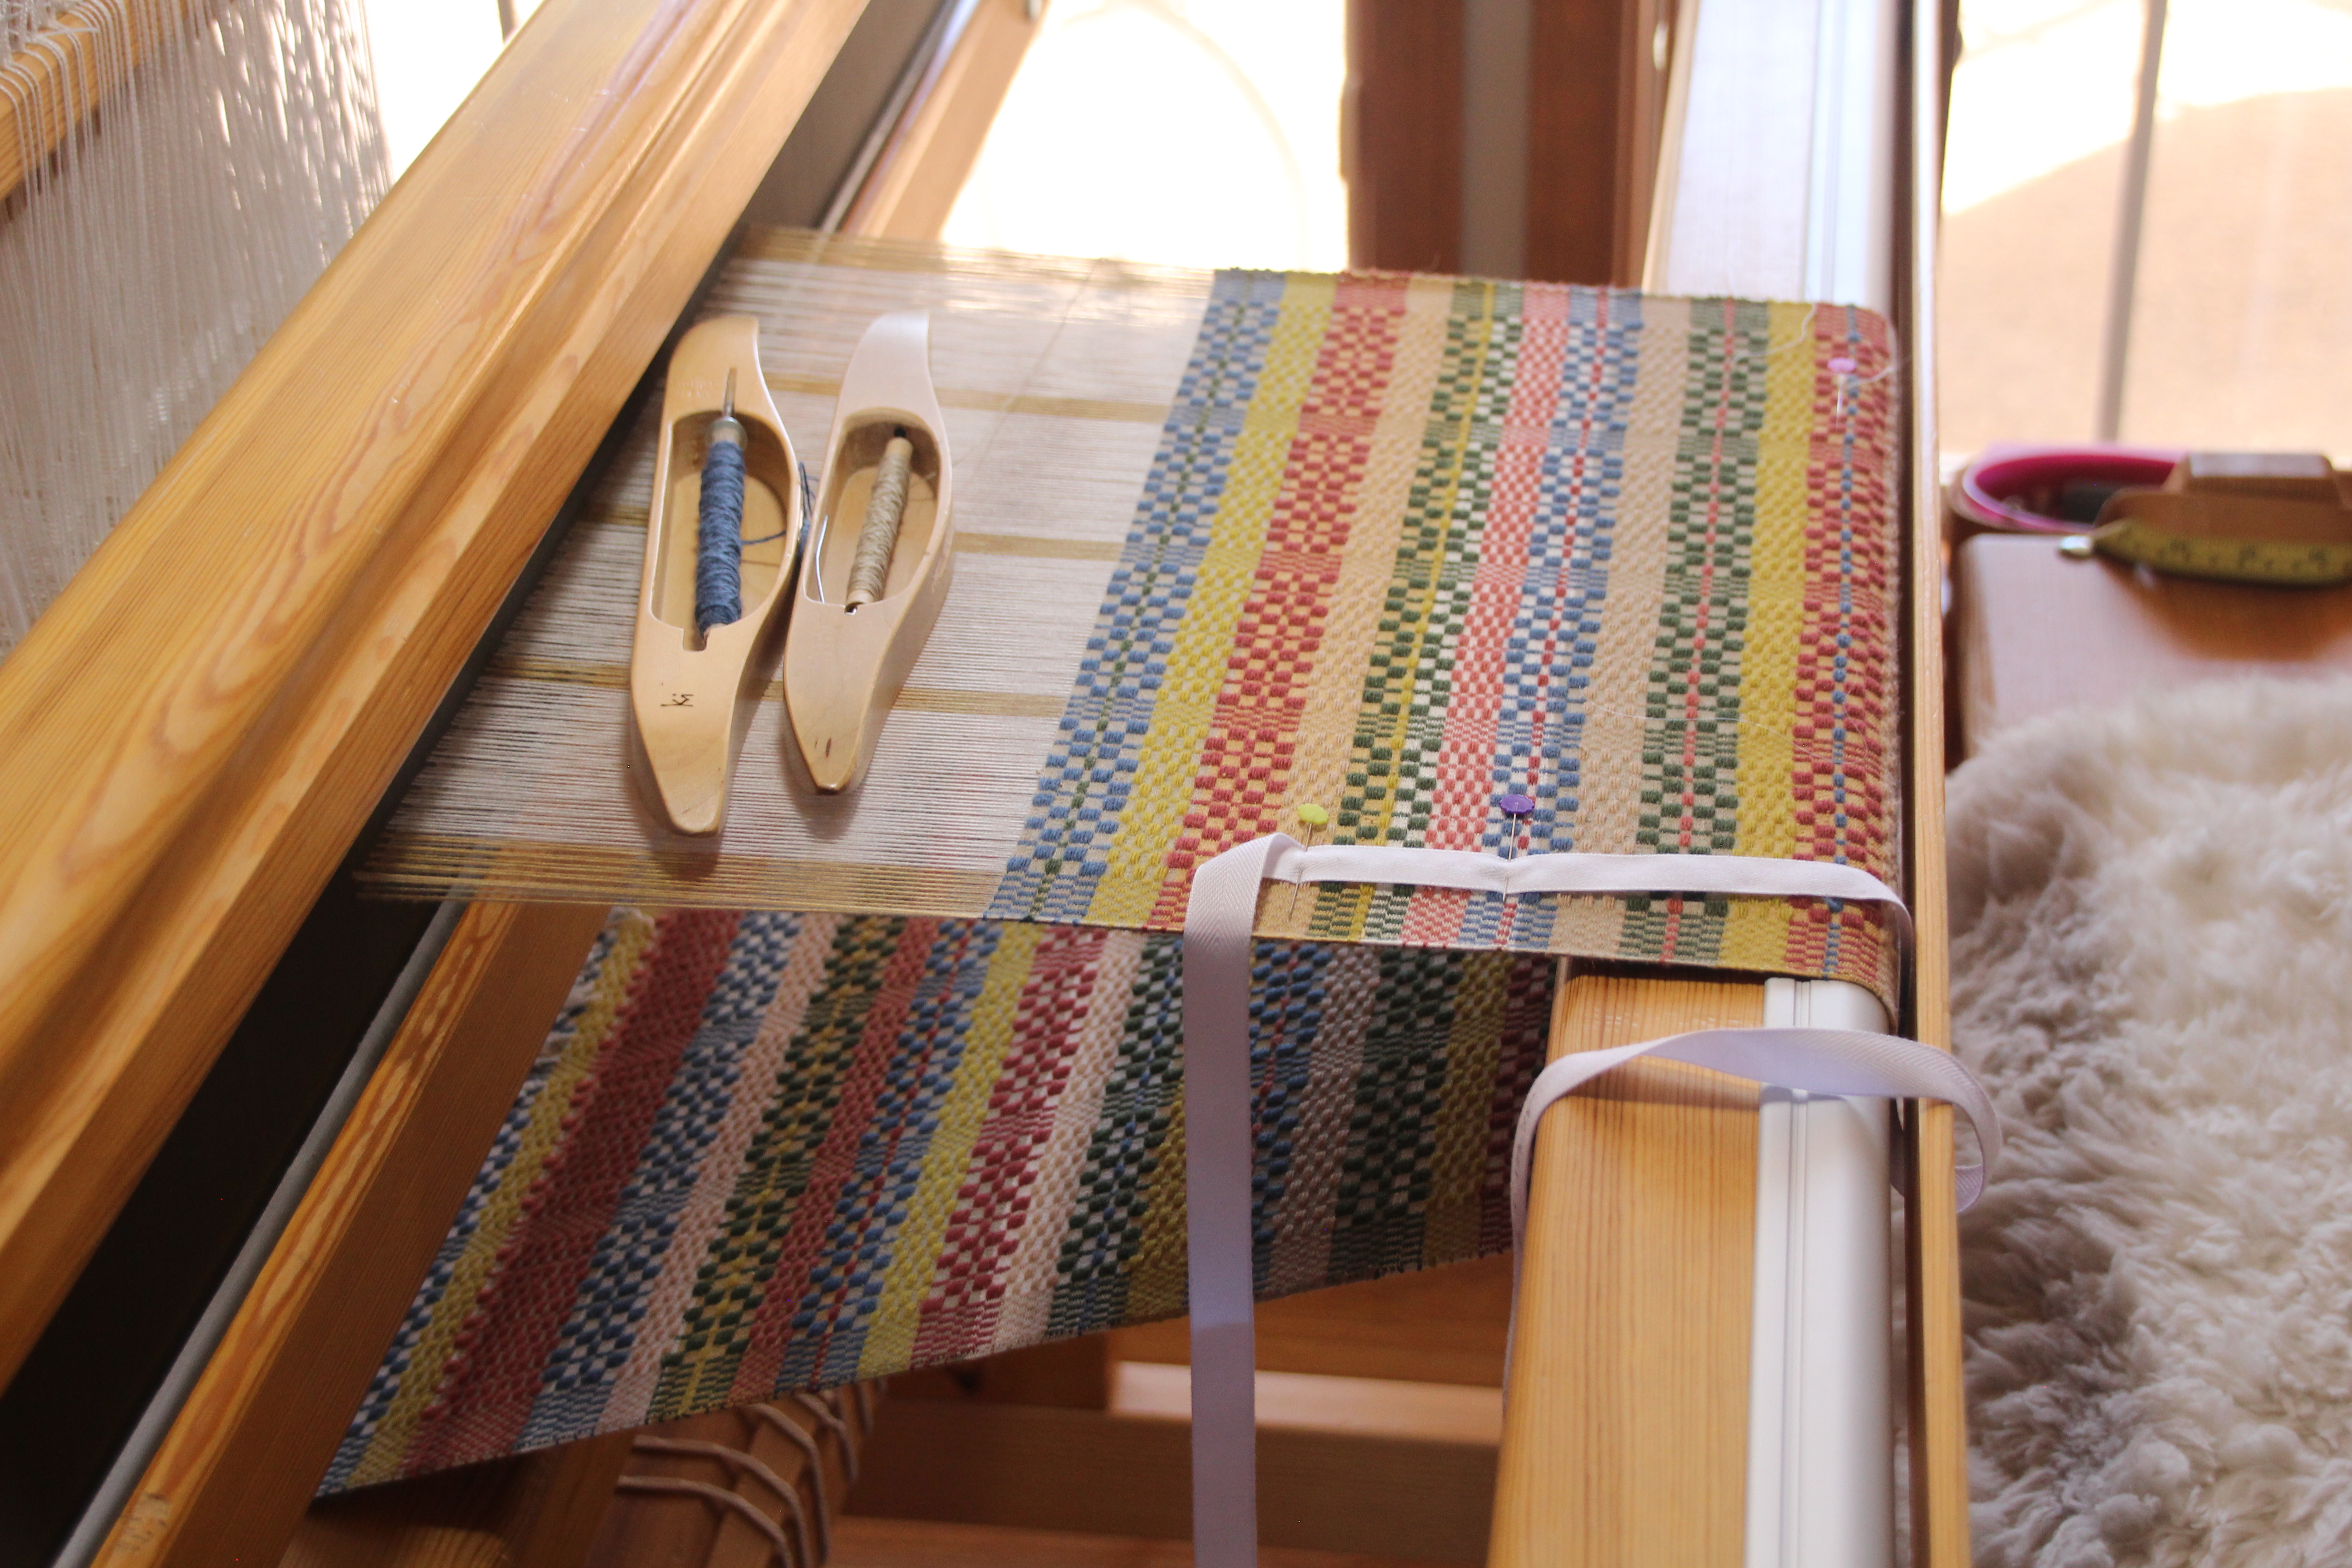
The monksbelt piece that adorns our entry is my favorite from all the projects in The Big Book of Weaving, by Laila Lundell. This current narrower version on the Standard is another heirloom monksbelt piece in the making. The ground cloth is weft rep.
Multi-color ground weave and vibrant Fårö pattern colors make this monksbelt fabric a standout. Glimåkra Standard in the background holds a new version of this favorite piece.
This is snail’s-pace weaving, with 2 picks of 16/2 cotton for the ground weave between every 6/1 Fårö wool pattern pick.
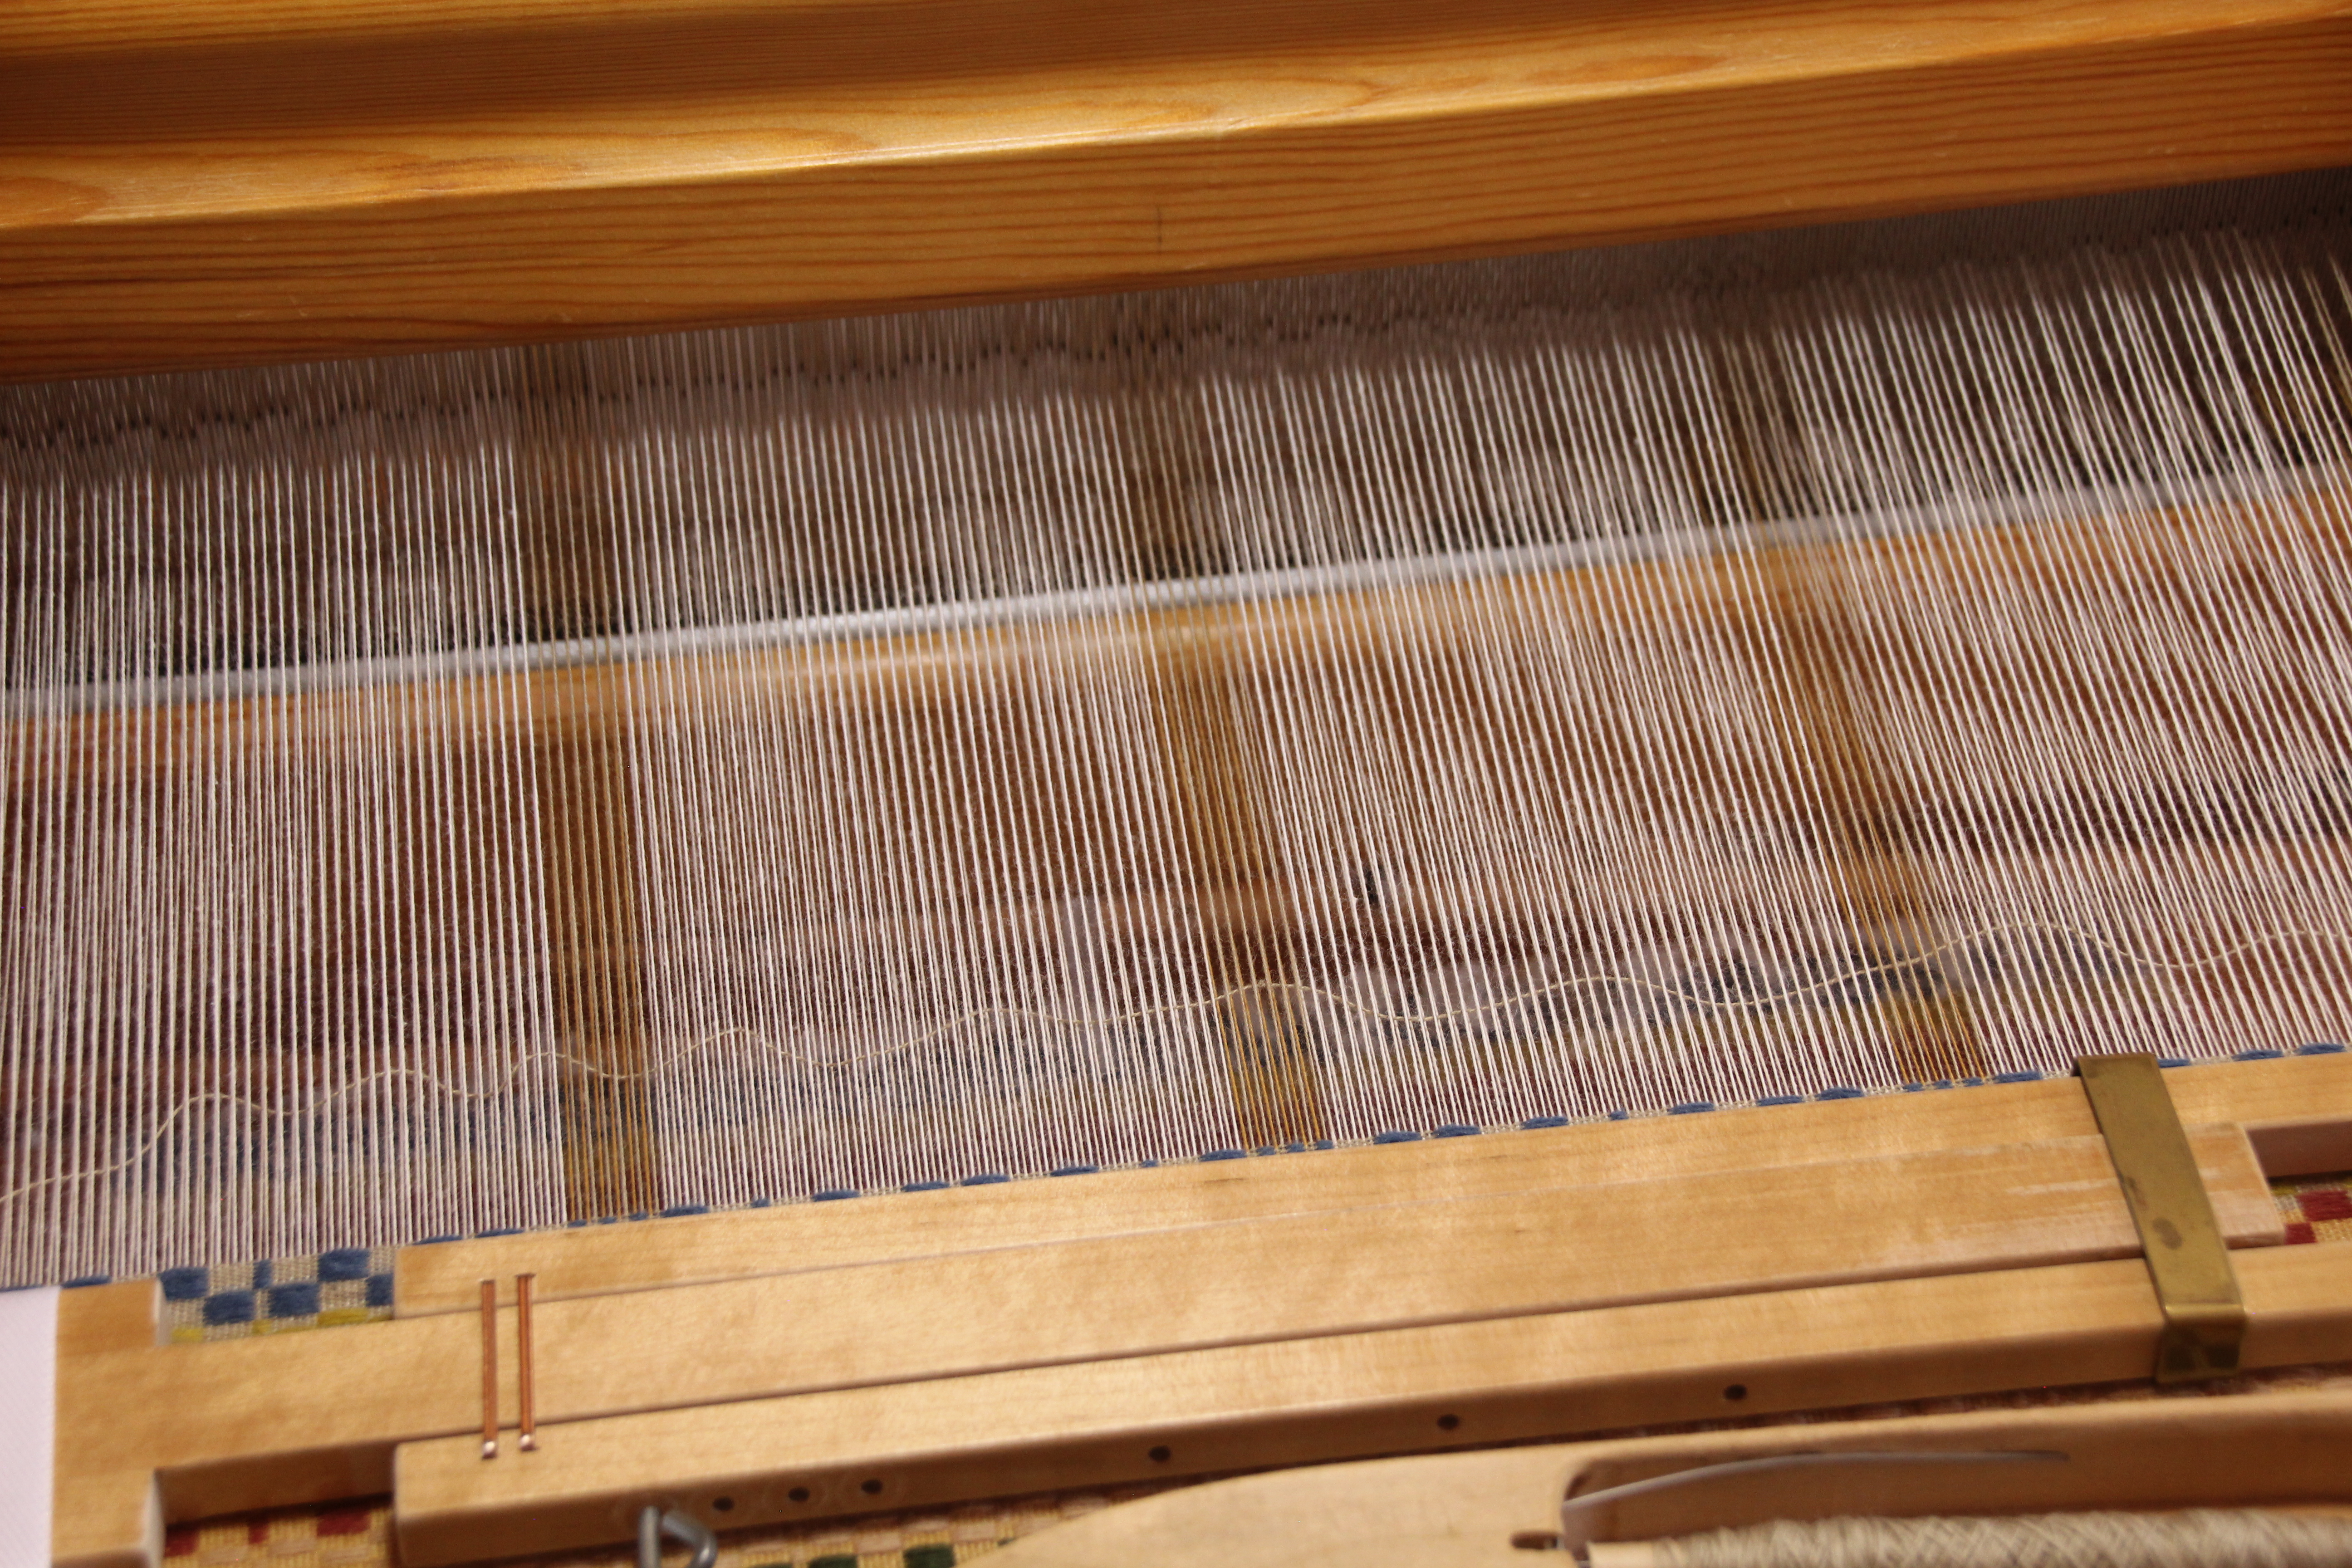
“To weave [weft rep]…the weft must be longer than the width of the warp and so the weft has to arc across the shed. There are two ways to do this: with many small waves across the width or with a large and high arc…The tiniest bit of unevenness can quickly build into hills and valleys across the weft line…”
The Big Book of Weaving, p. 236
Weft Rep in Three Steps
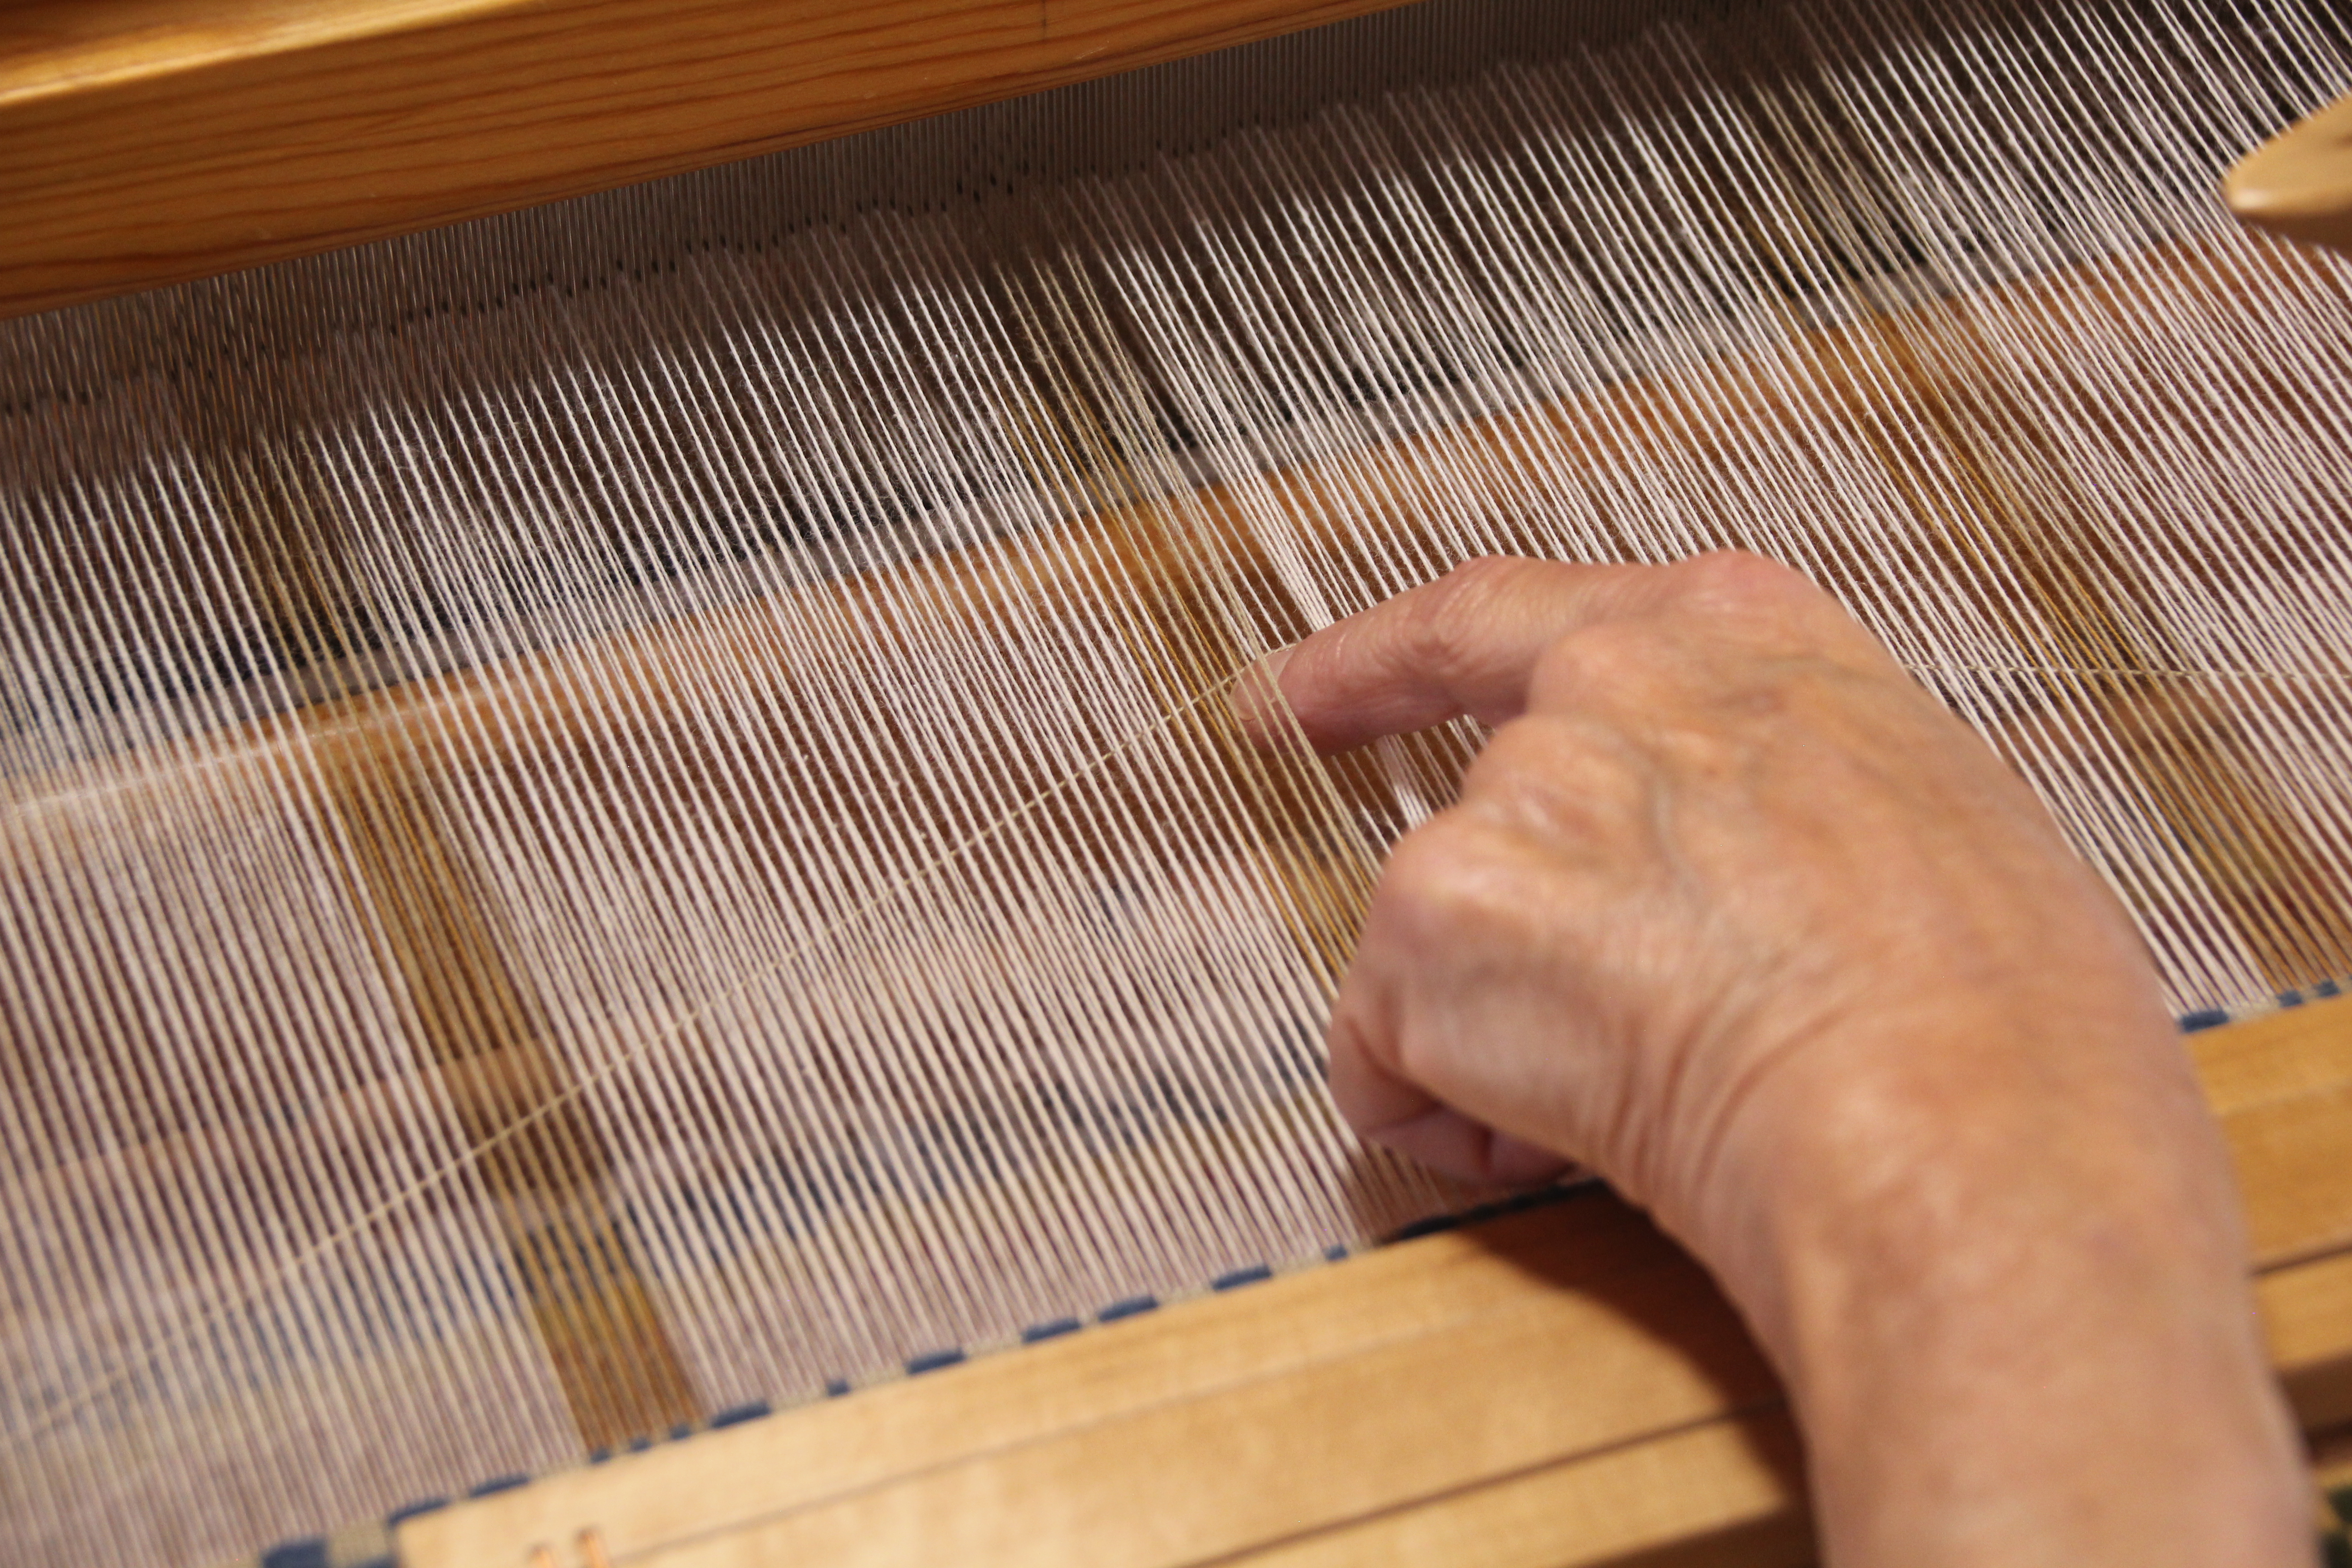
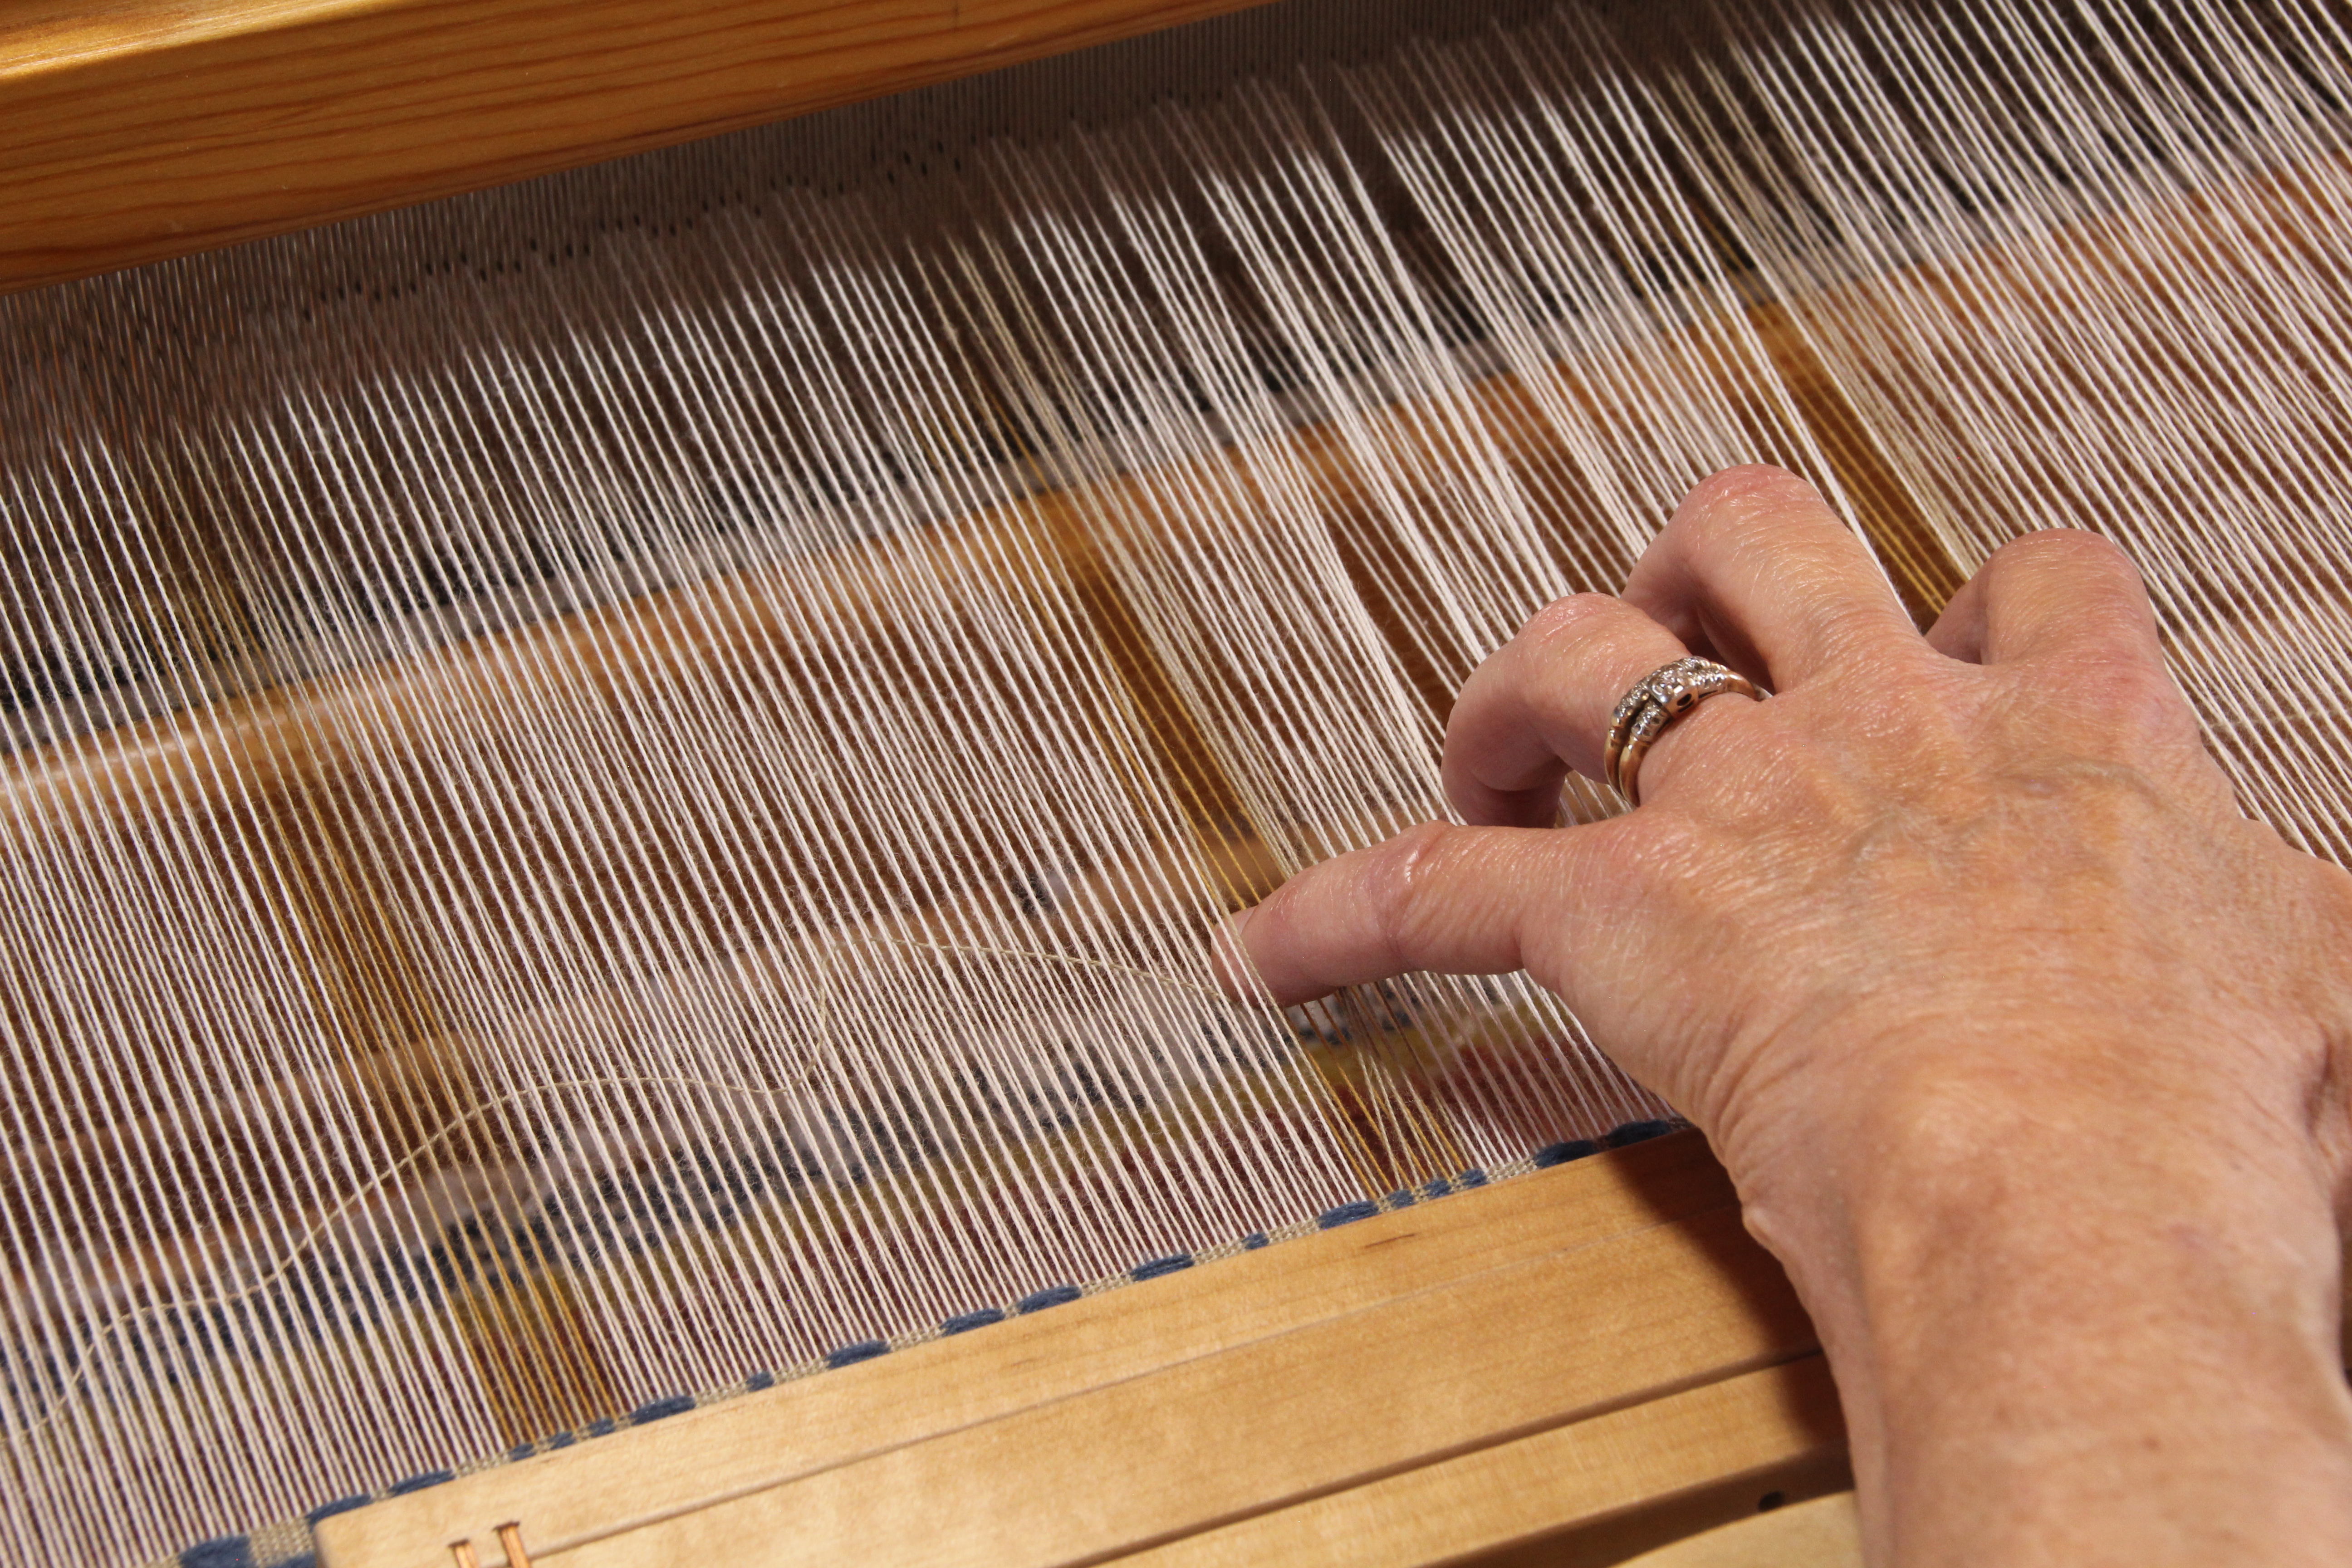
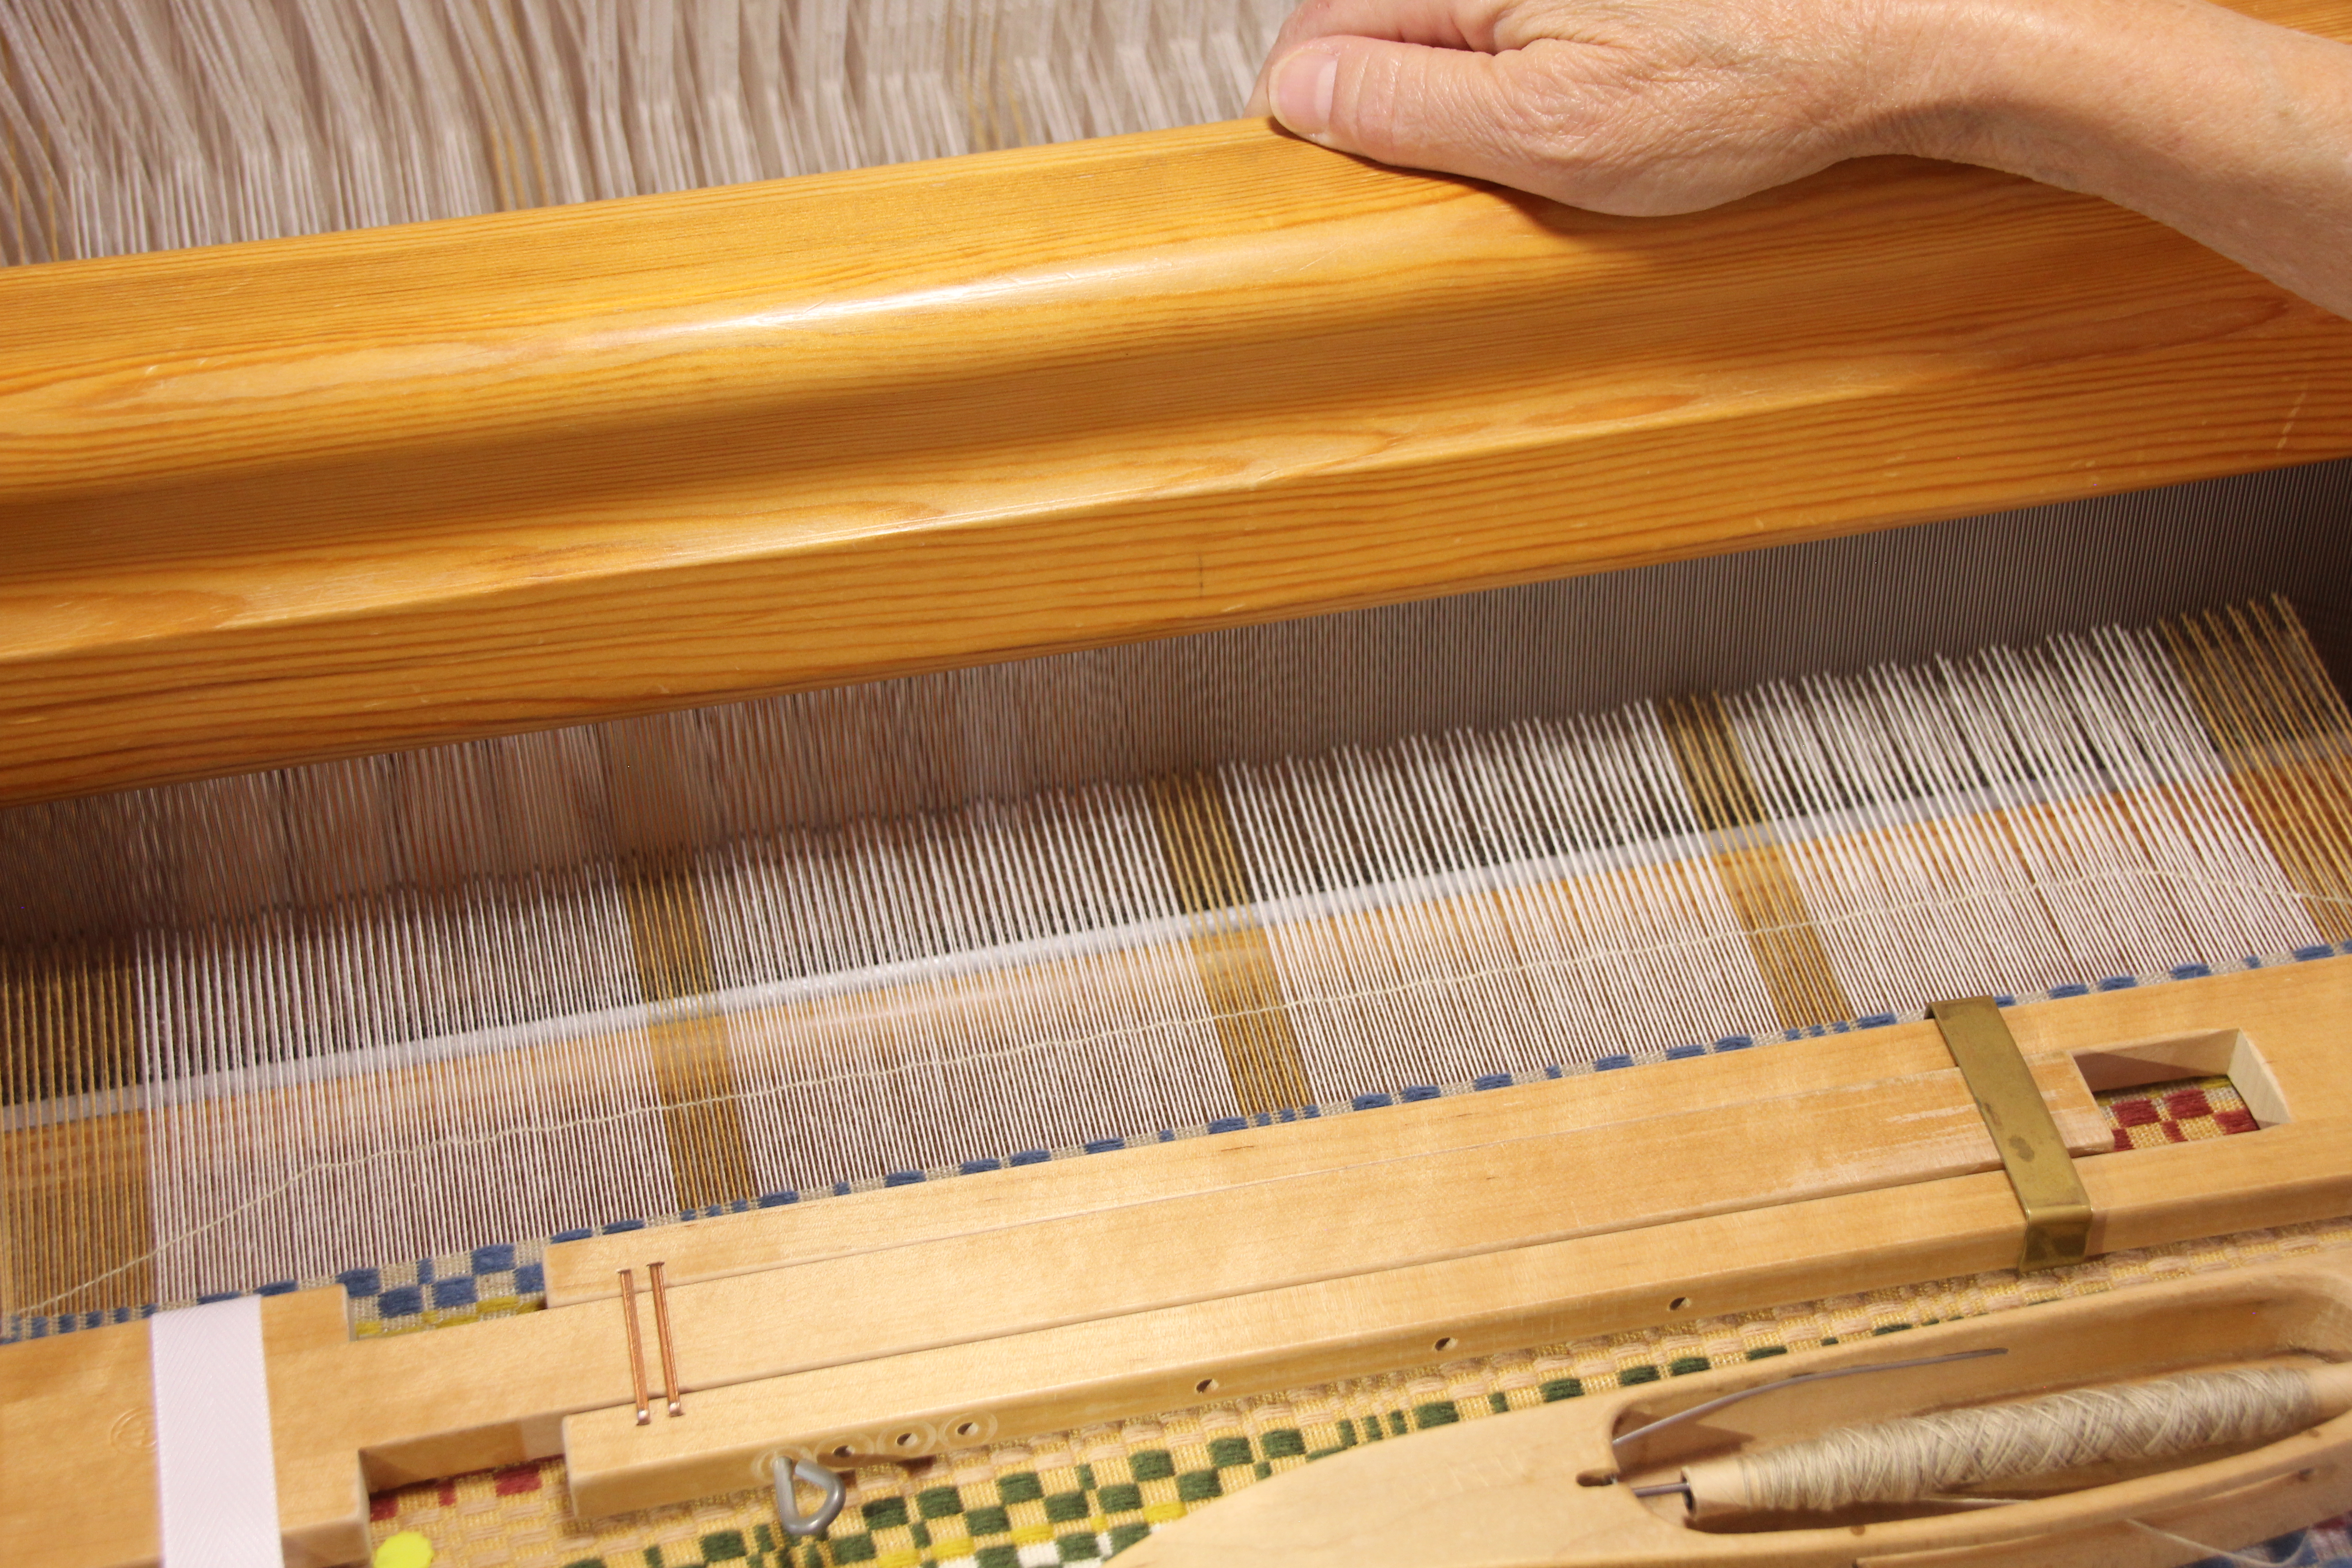
1. Make a Mountain.
After throwing the shuttle, increase the length of the weft by making it into a large arc in the open shed. Put one finger through the warp to form the peak while keeping enough tension on the thread with your other hand to maintain a good selvedge.
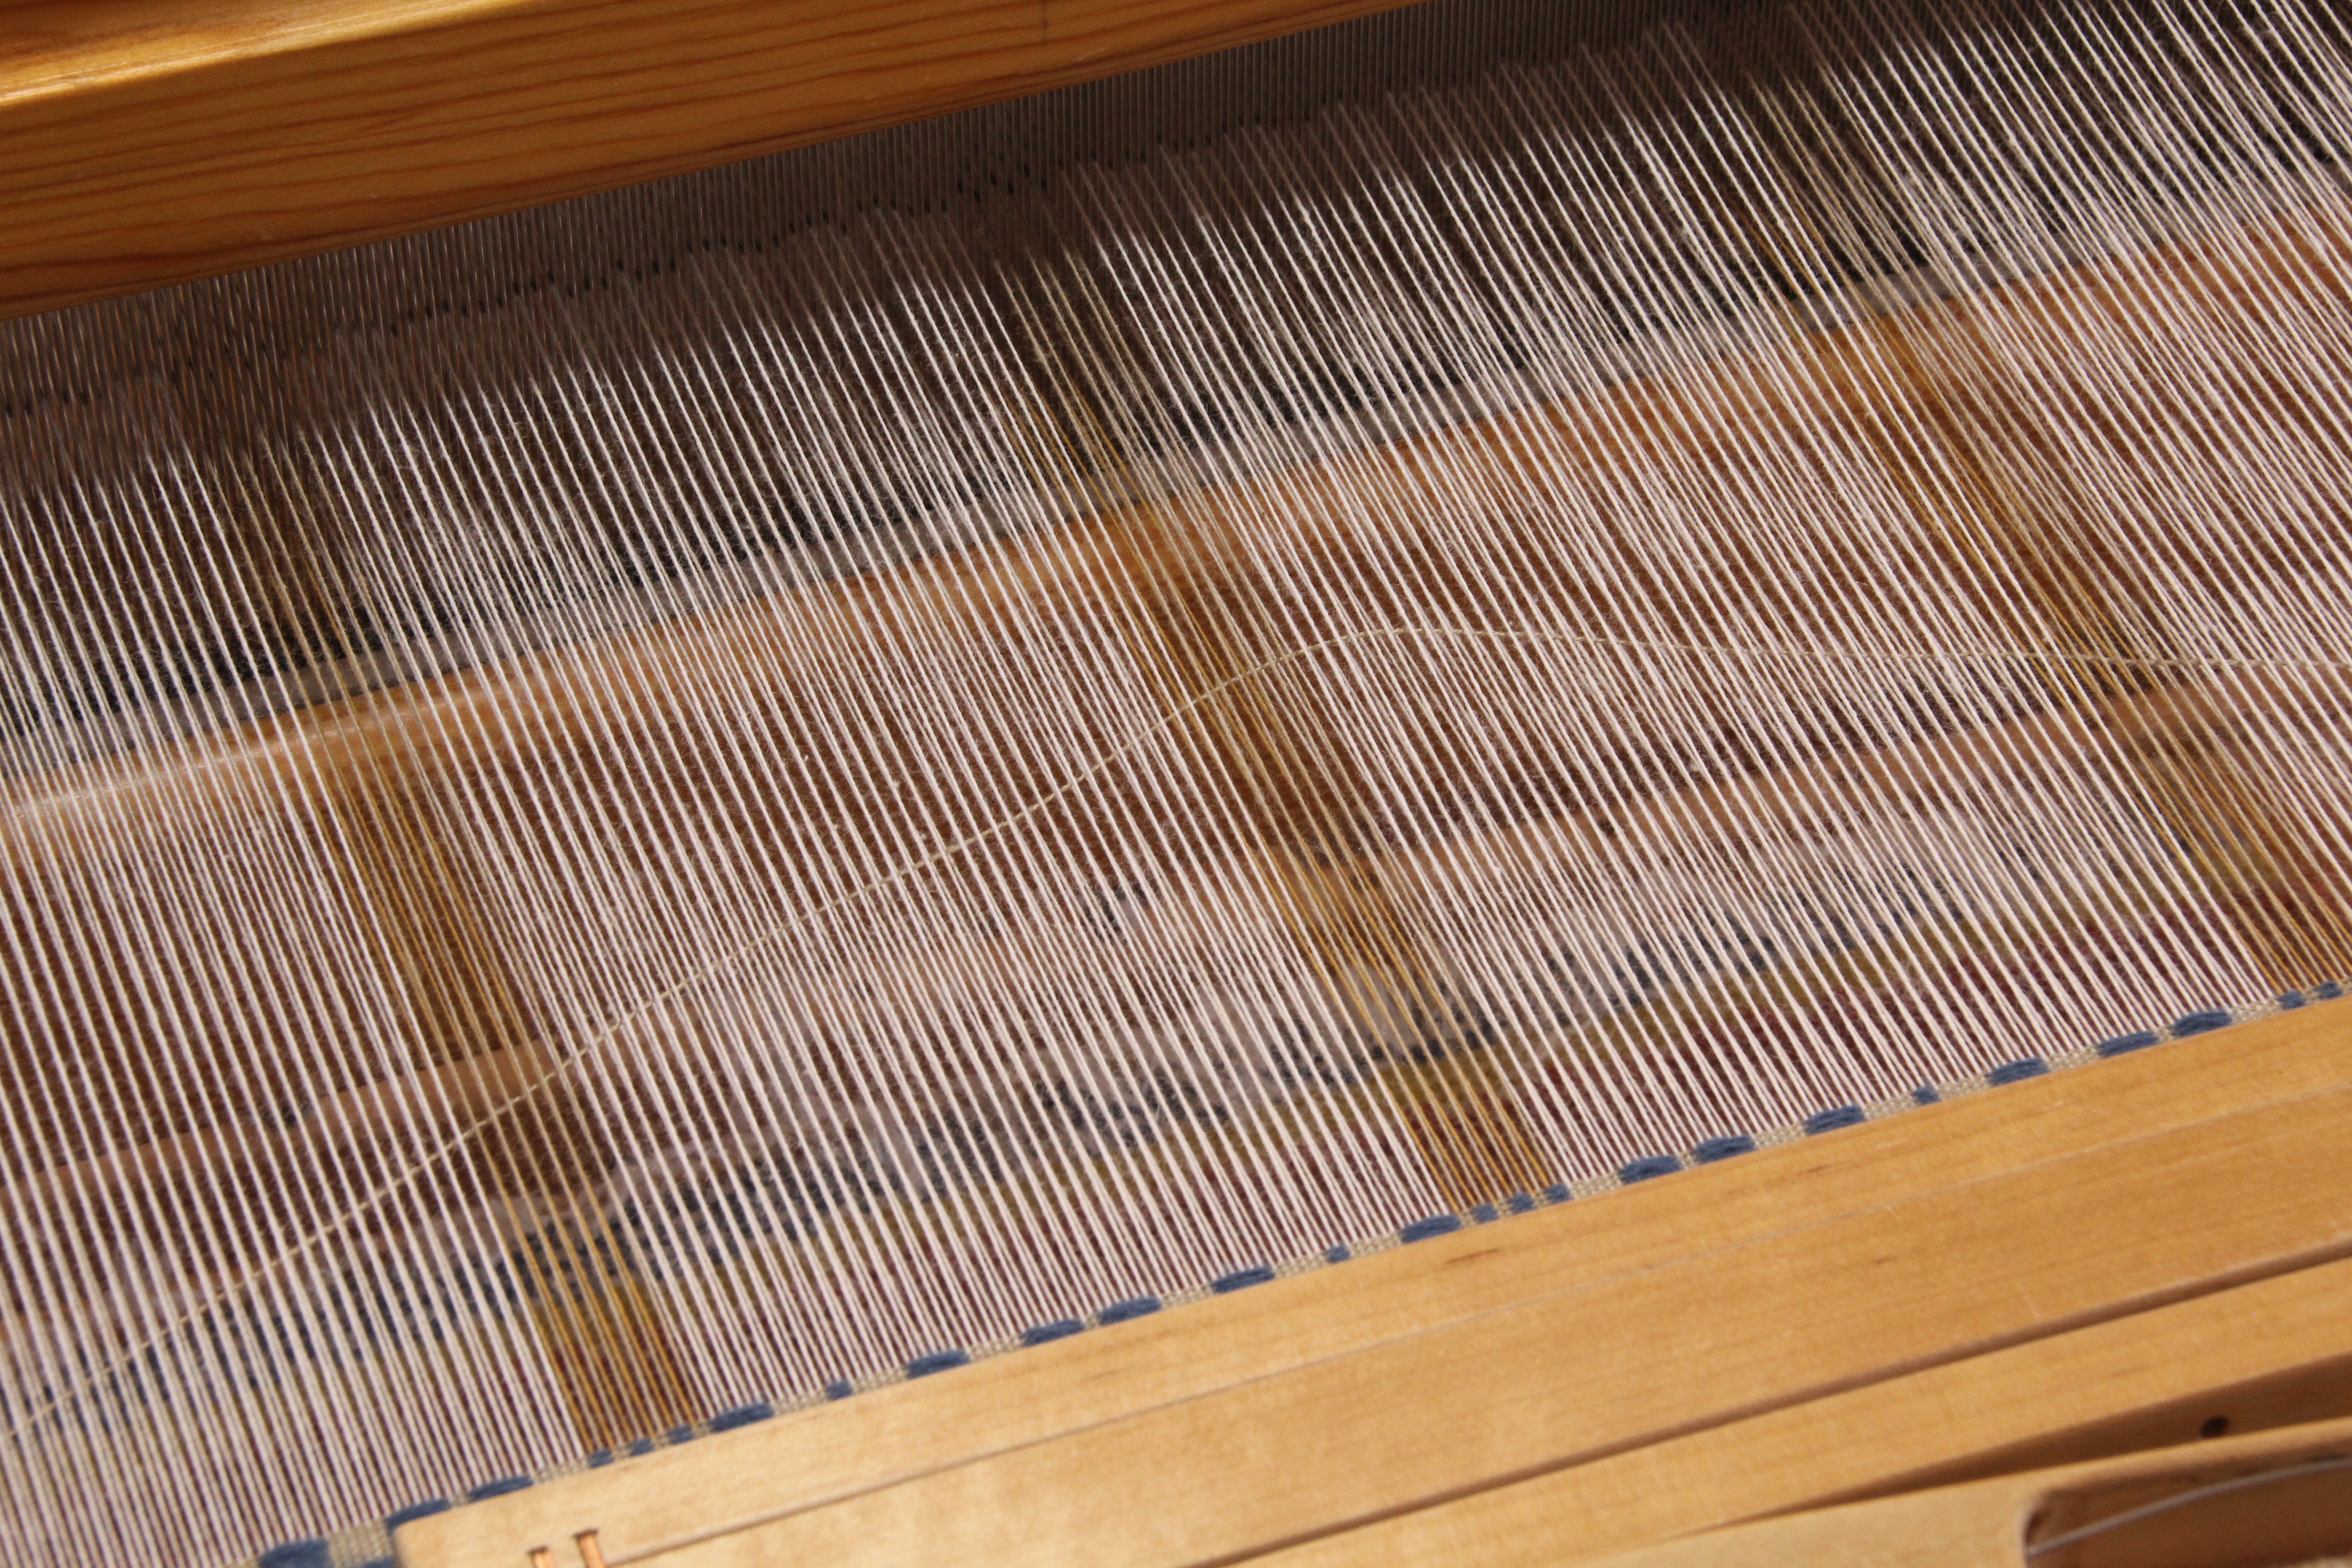
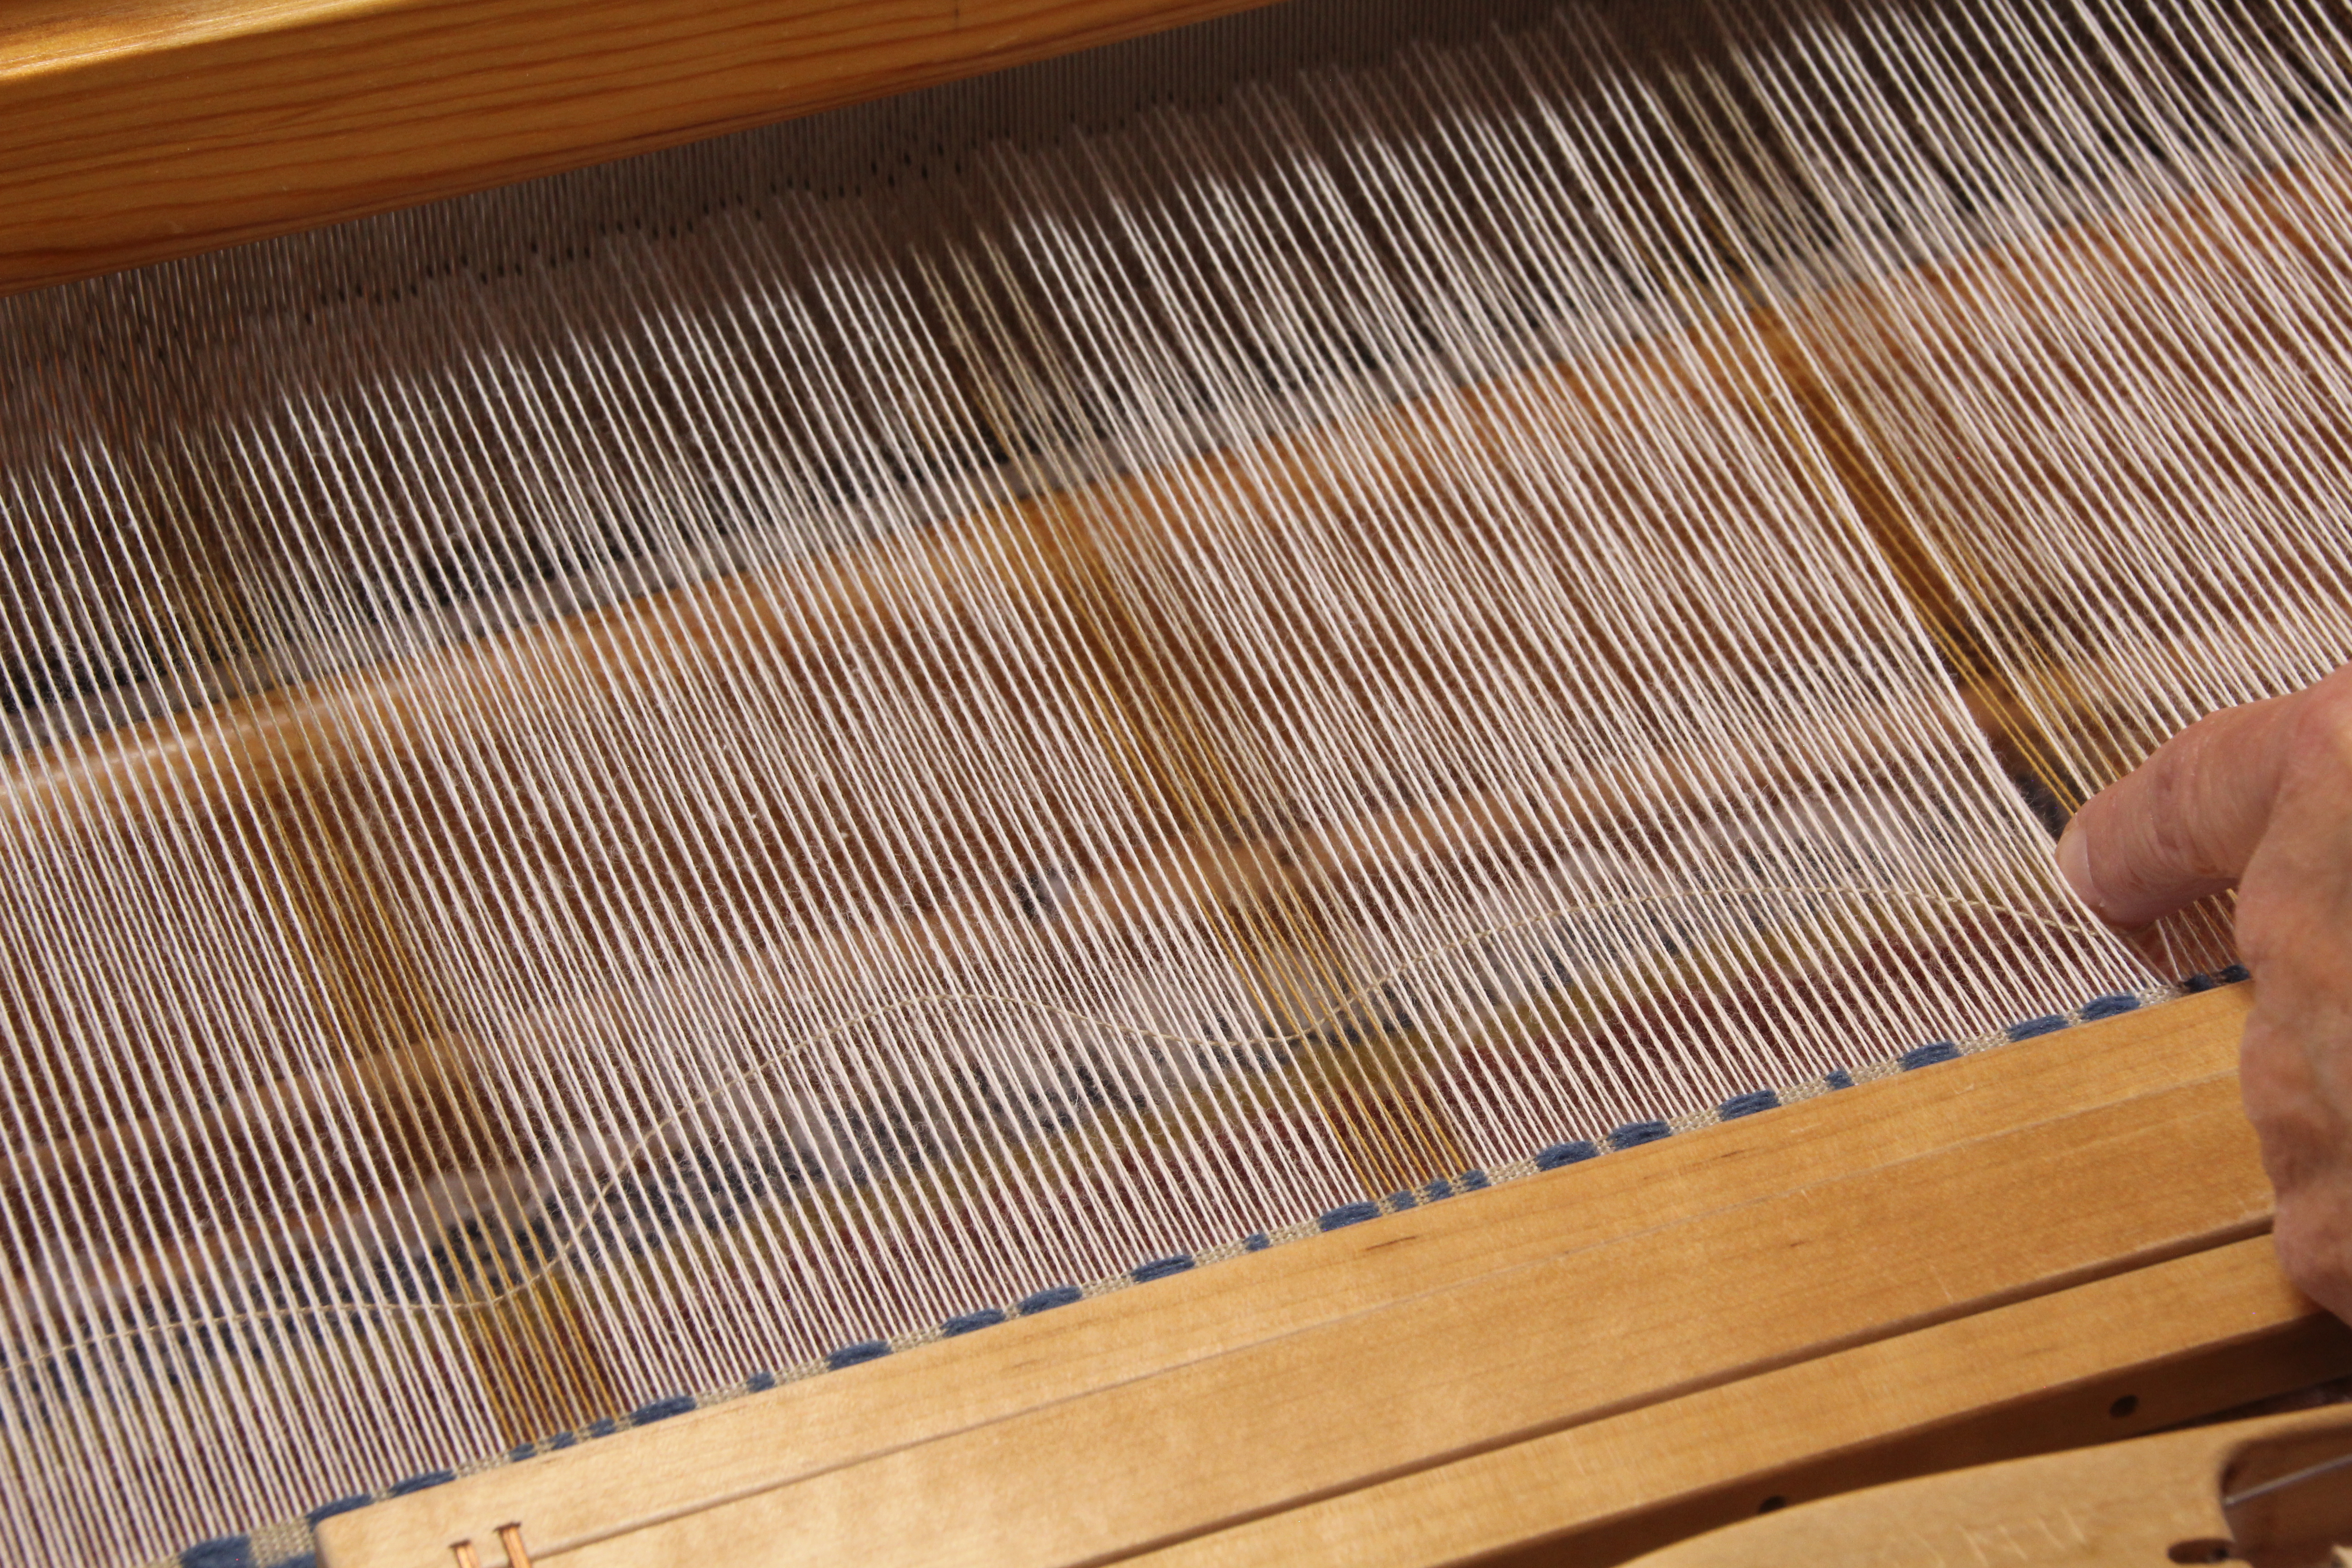
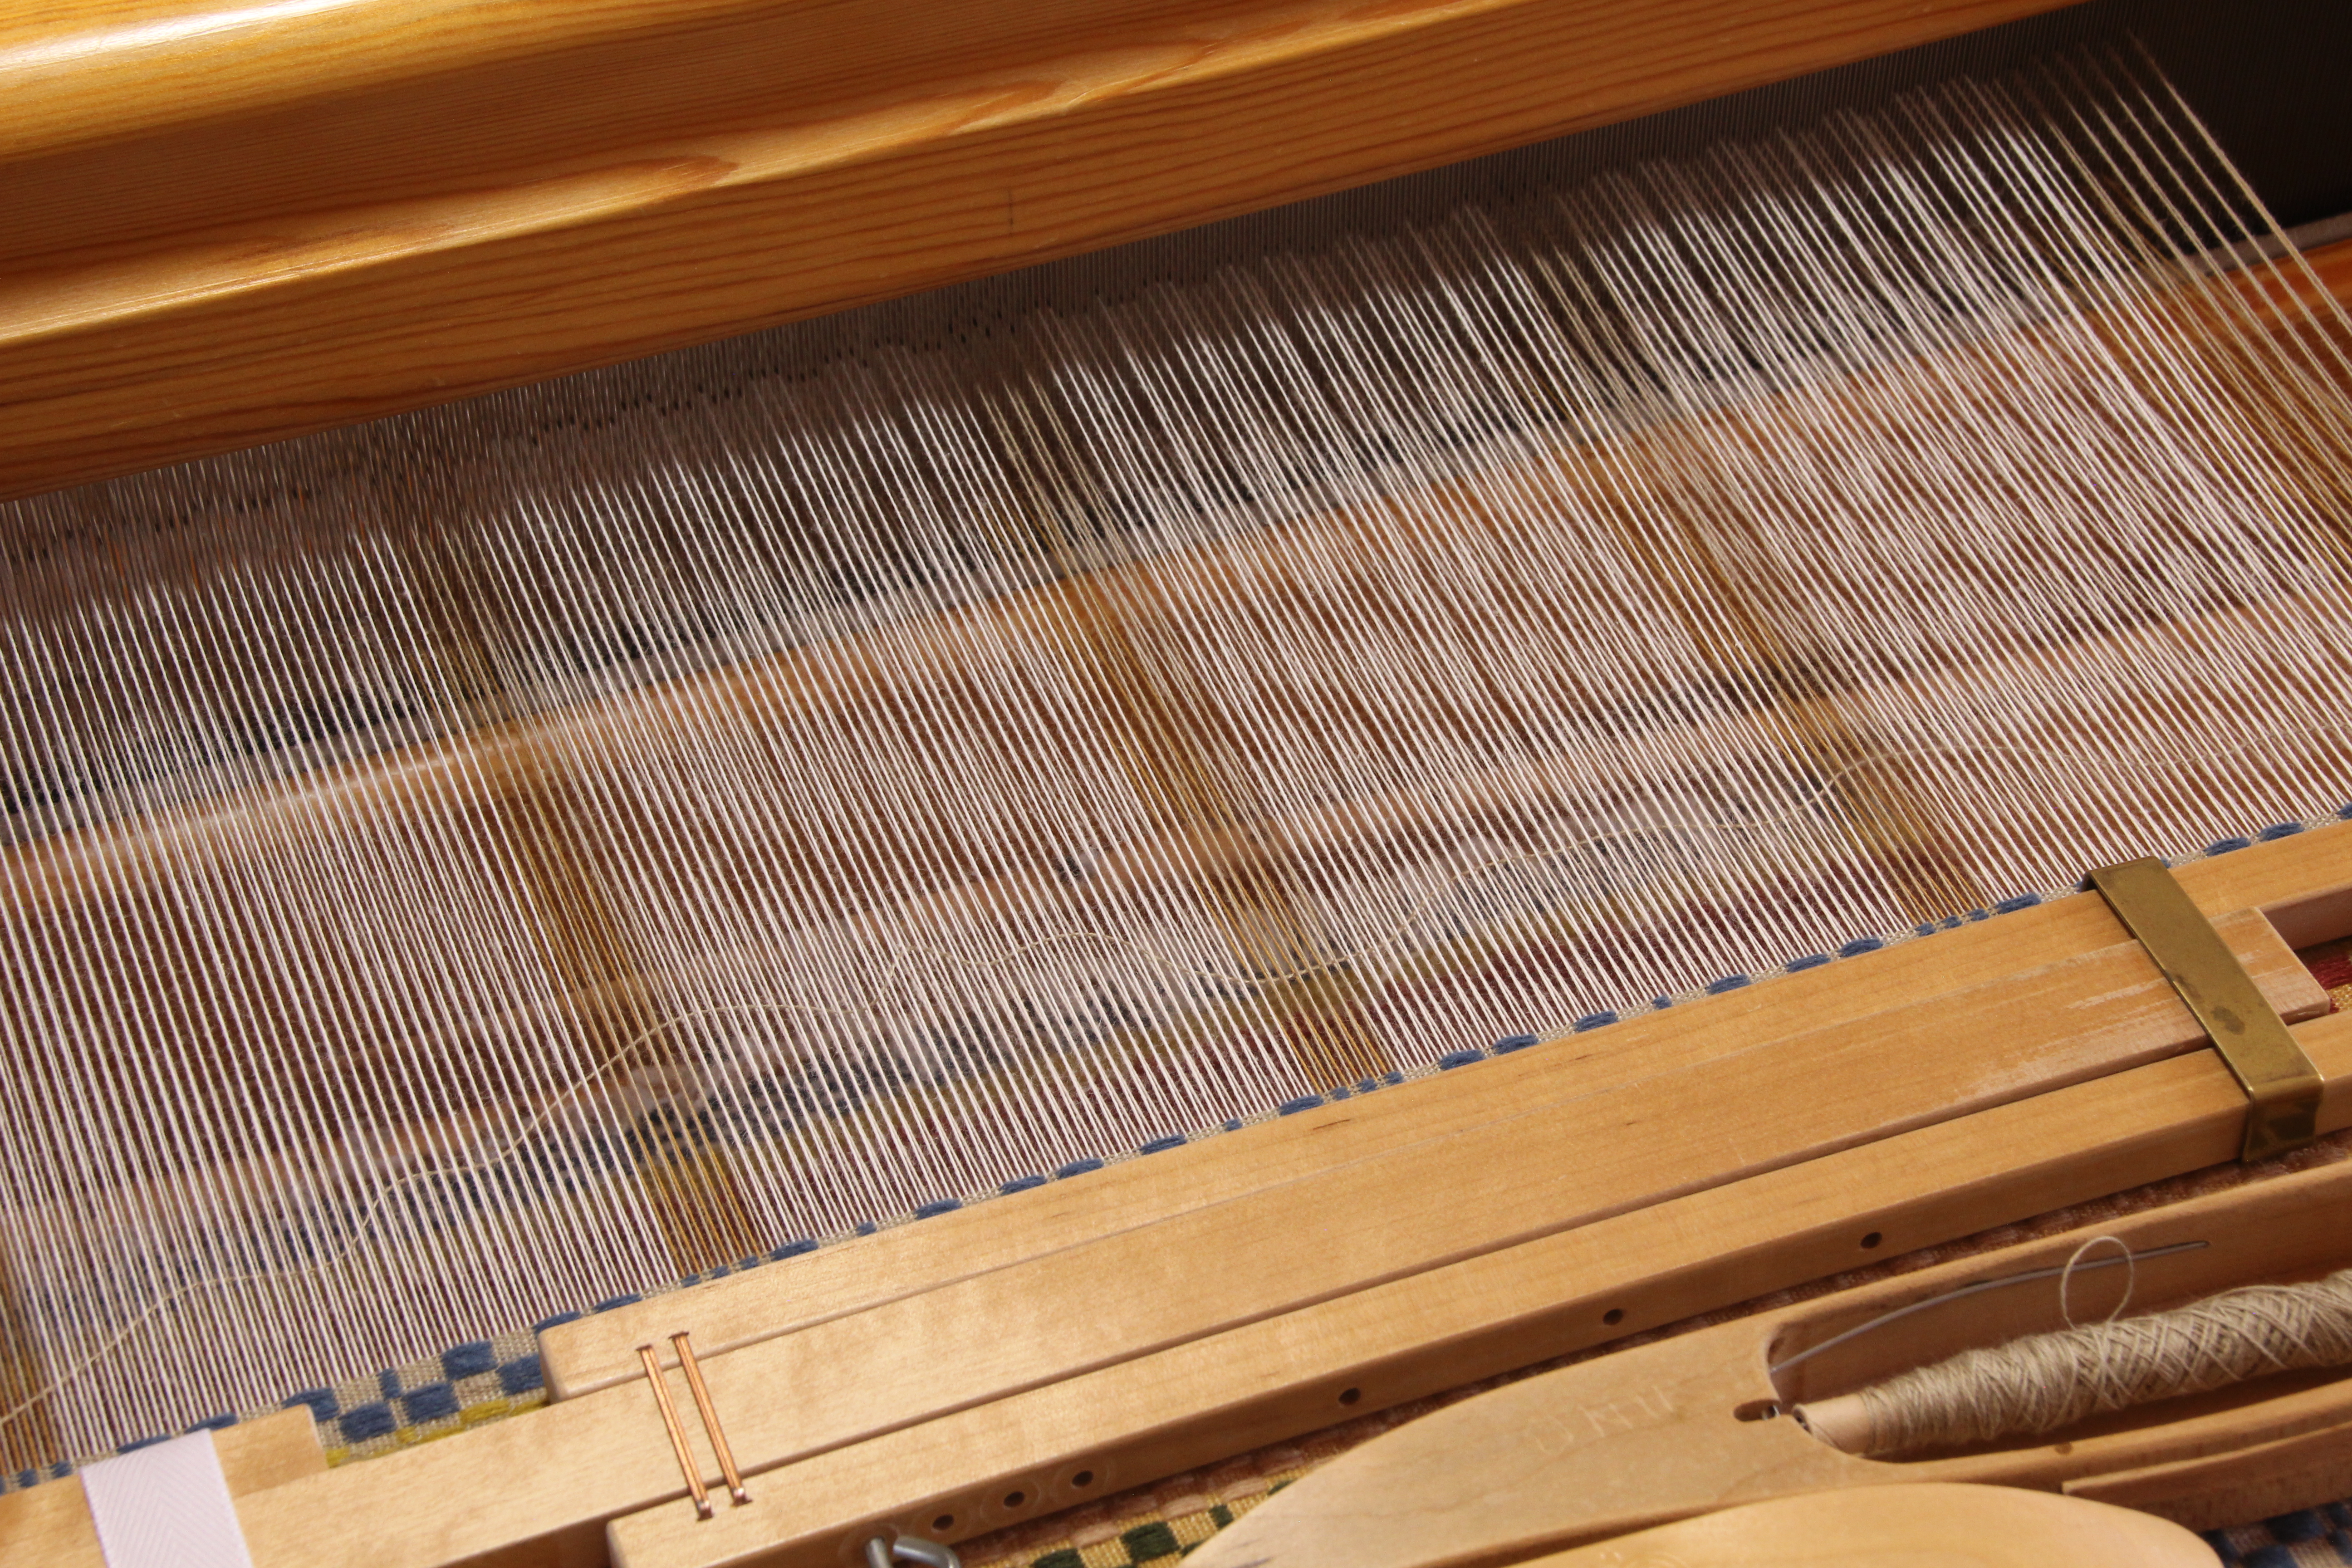
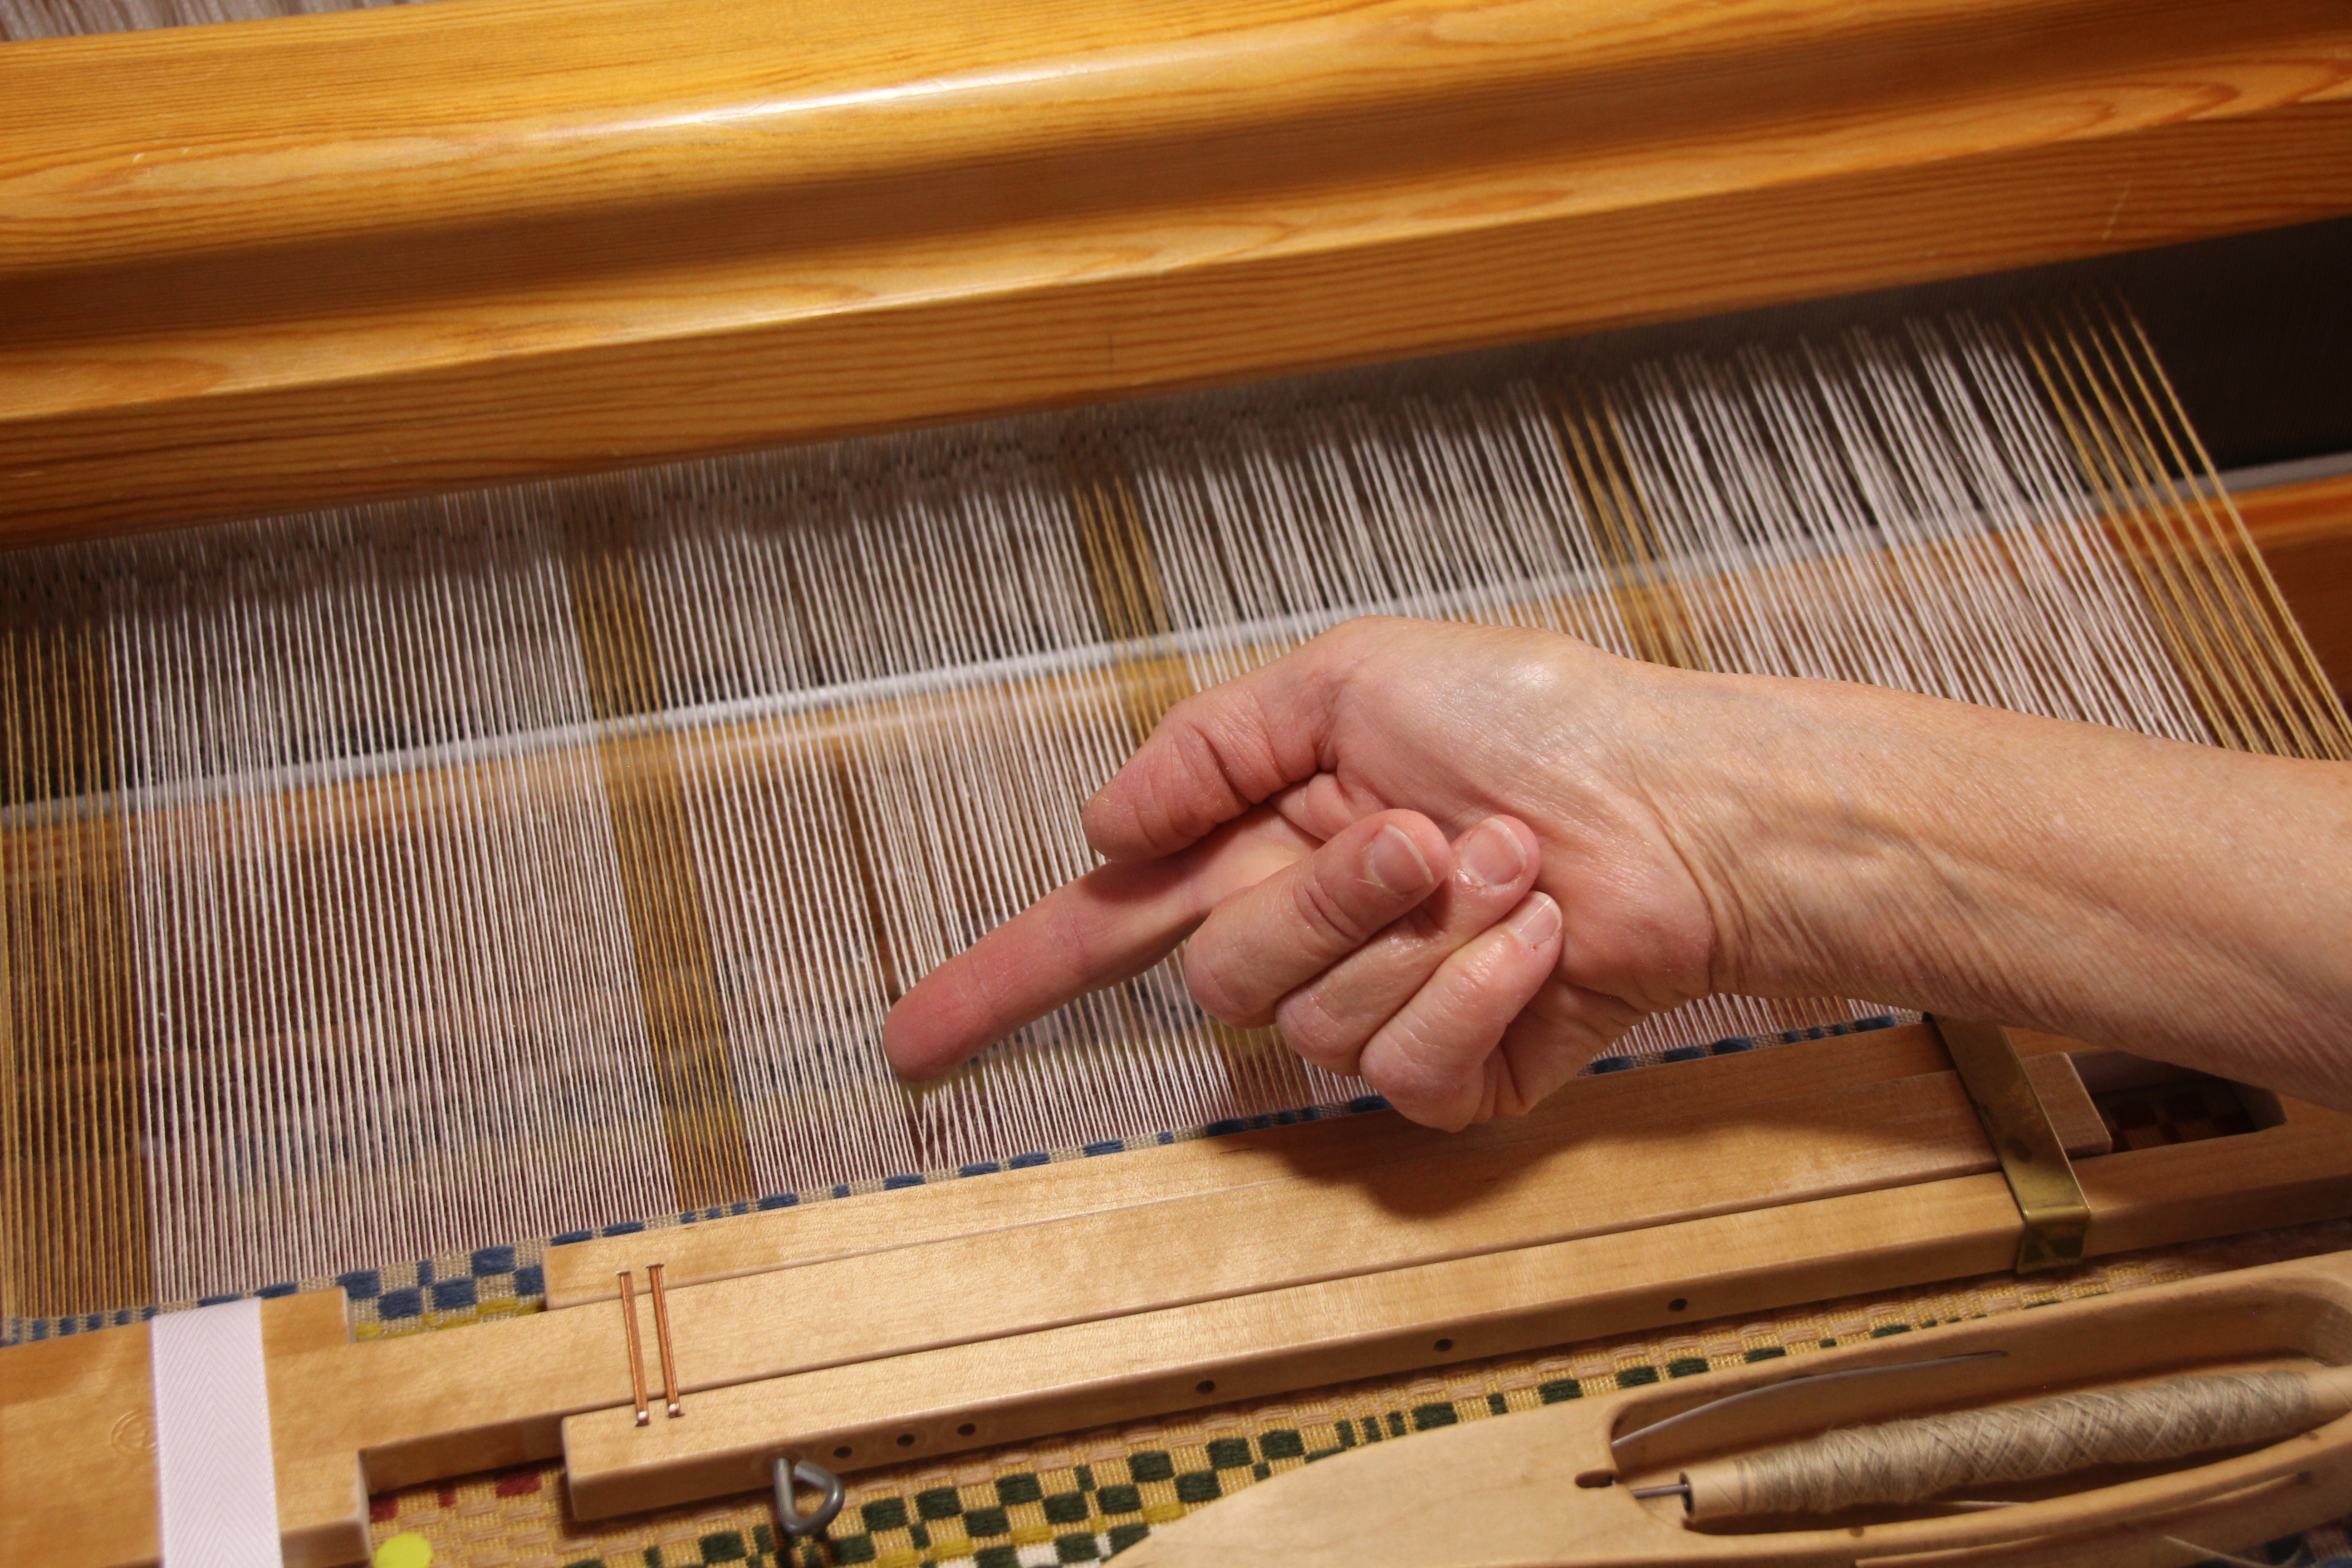
2. Make Hills and Valleys.
Keeping the shed open, push the mountain down into hills and valleys to evenly distribute the extra weft.
Turn the mountain into hills and valleys with your finger.
OR,
Simply drag your spread-out fingers lightly through the weft.
OR,
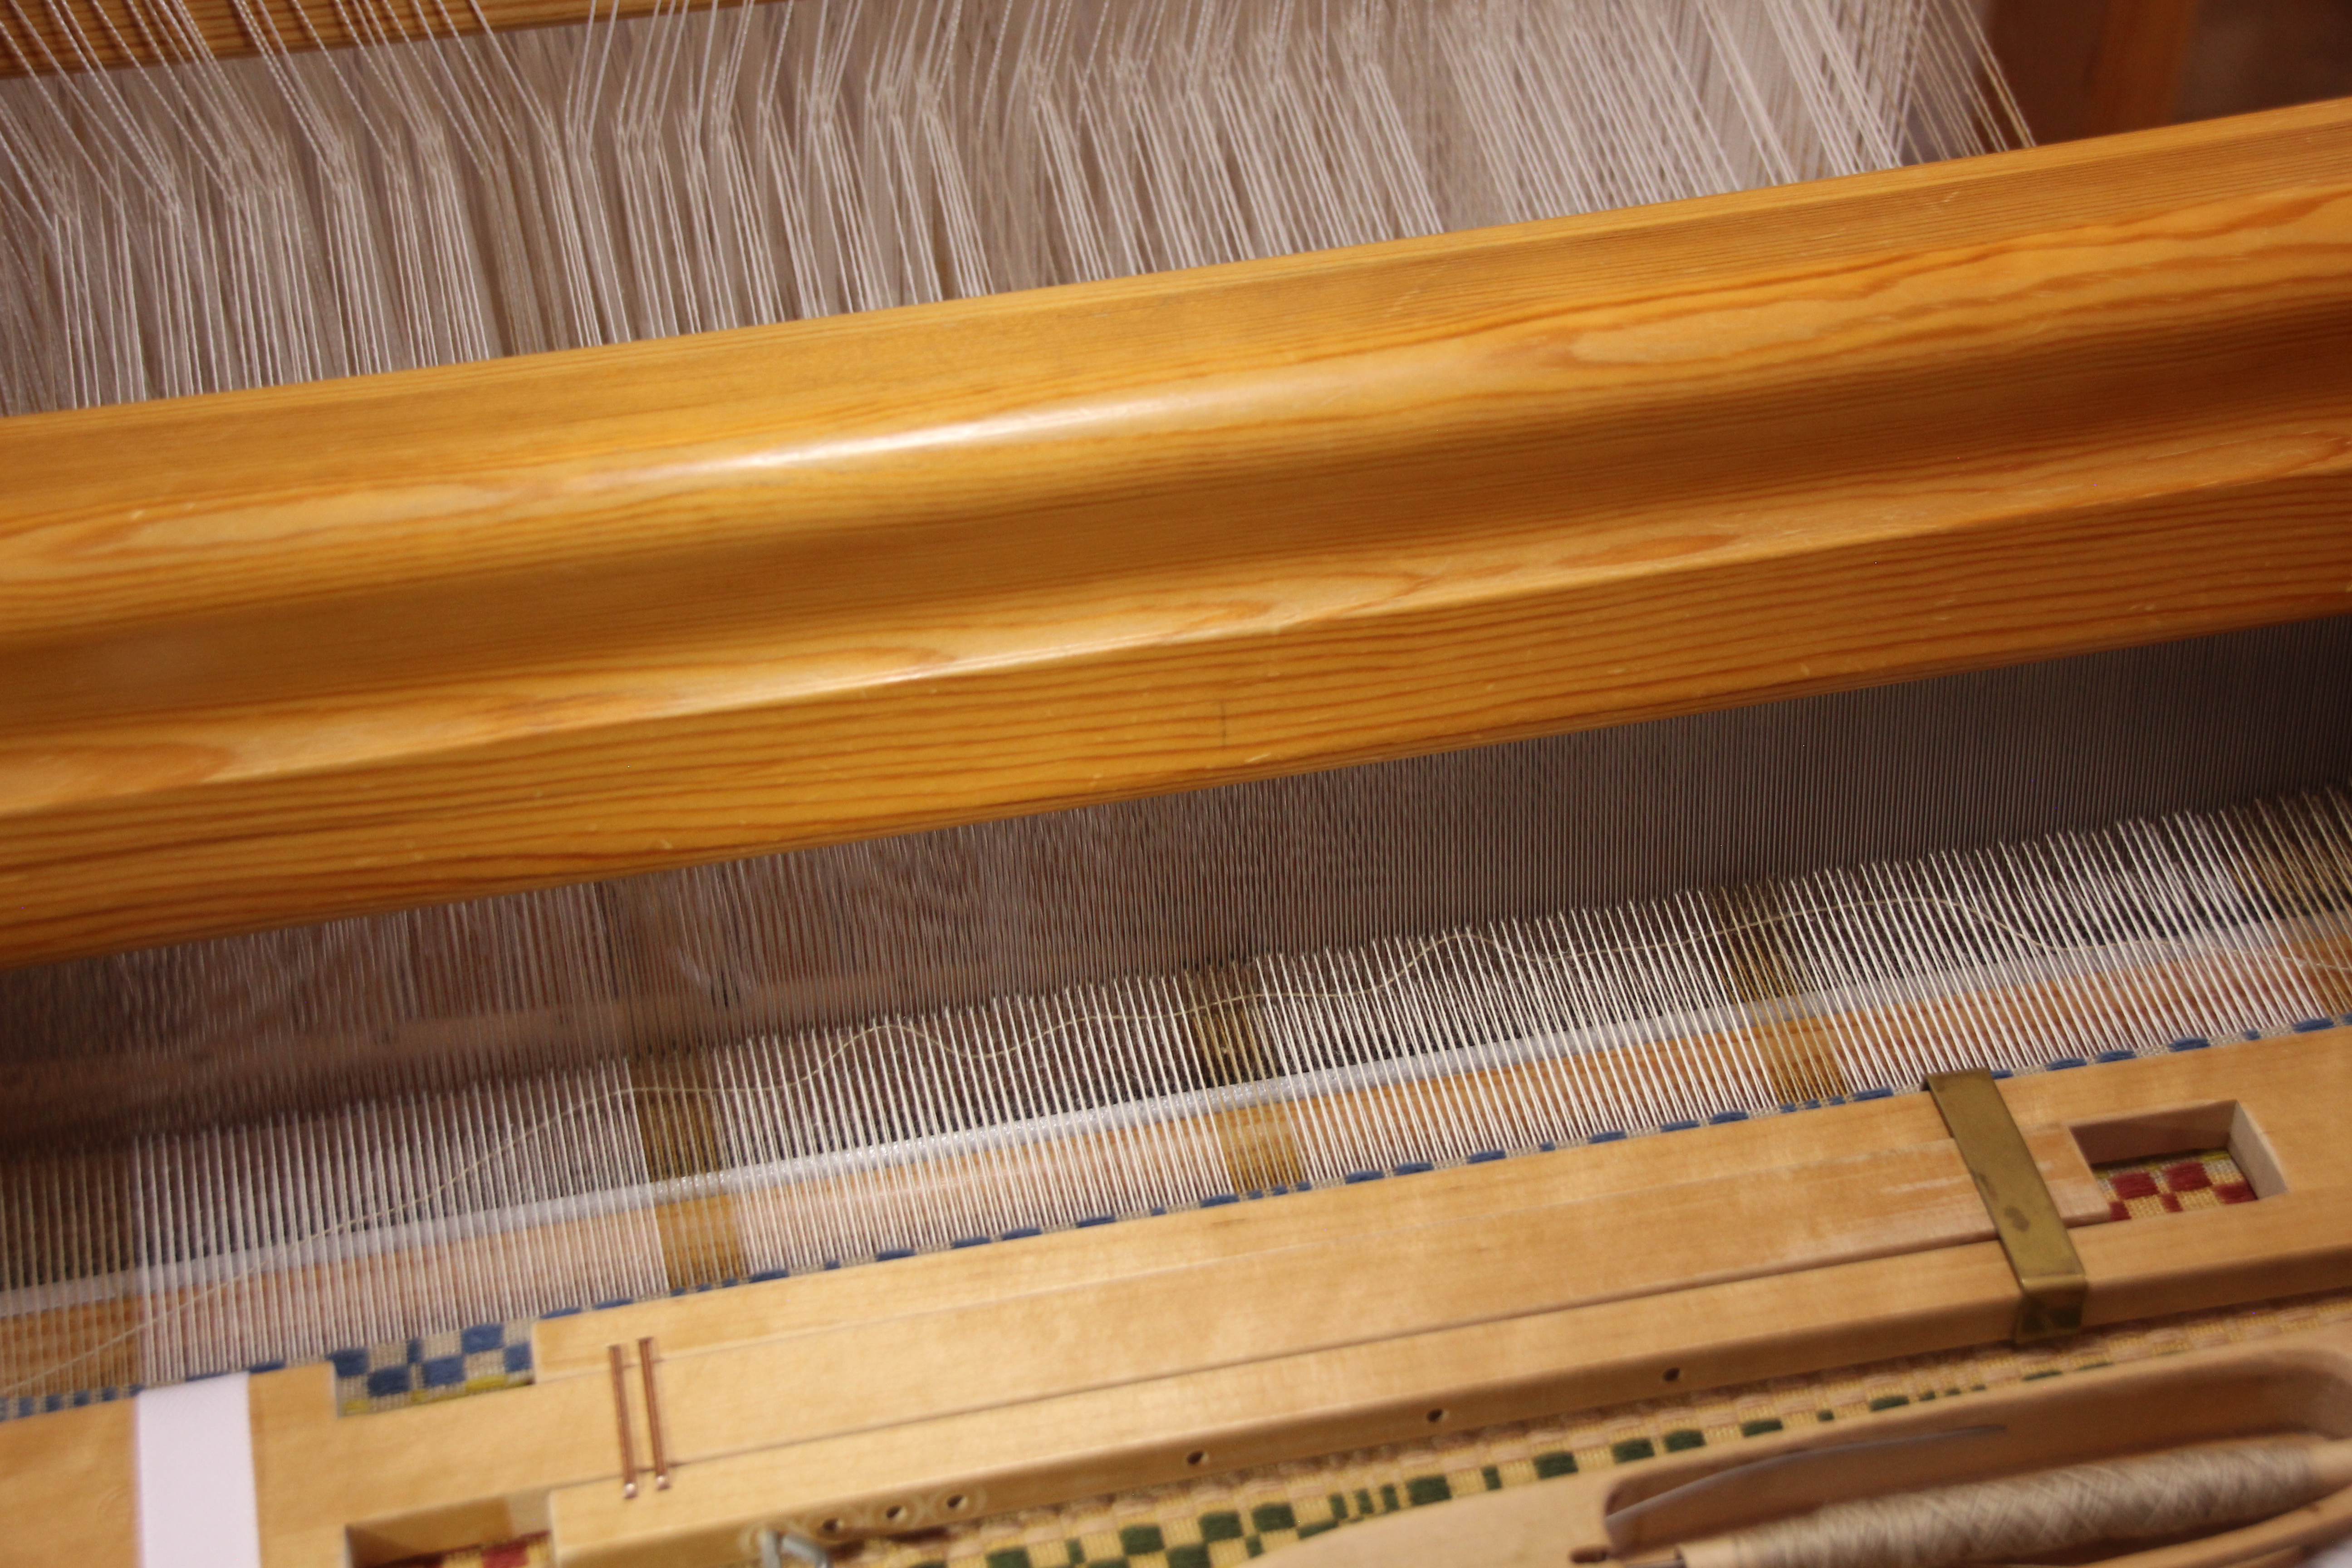
TIMESAVER – Slowly pull the beater toward you (shed open), smooshing the weft into a wavy line. Stop two or three inches away from the fell line.
3. Flatten the Hills
Treadle for the next shed. On the closed shed beat in the weft. Two short pulses with the beater distribute the weft more effectively than a single squeeze with the beater.
Watch for little loops that may form in places where there is a bit too much weft. To correct, open the shed, pull that portion of the weft back into a little hill and redo.
OR,
TIMESAVER – Draw the back of your fingernail across the warp where you see excess weft. This is often enough to even out little bumps.
Slower weaving develops into a rhythmic pace that is comfortable. And the cloth grows, line by line.
Some of the monksbelt flowers have a different color for the three center picks. The new color is only temporary, so I simply carry the first weft color up the side for that short distance.
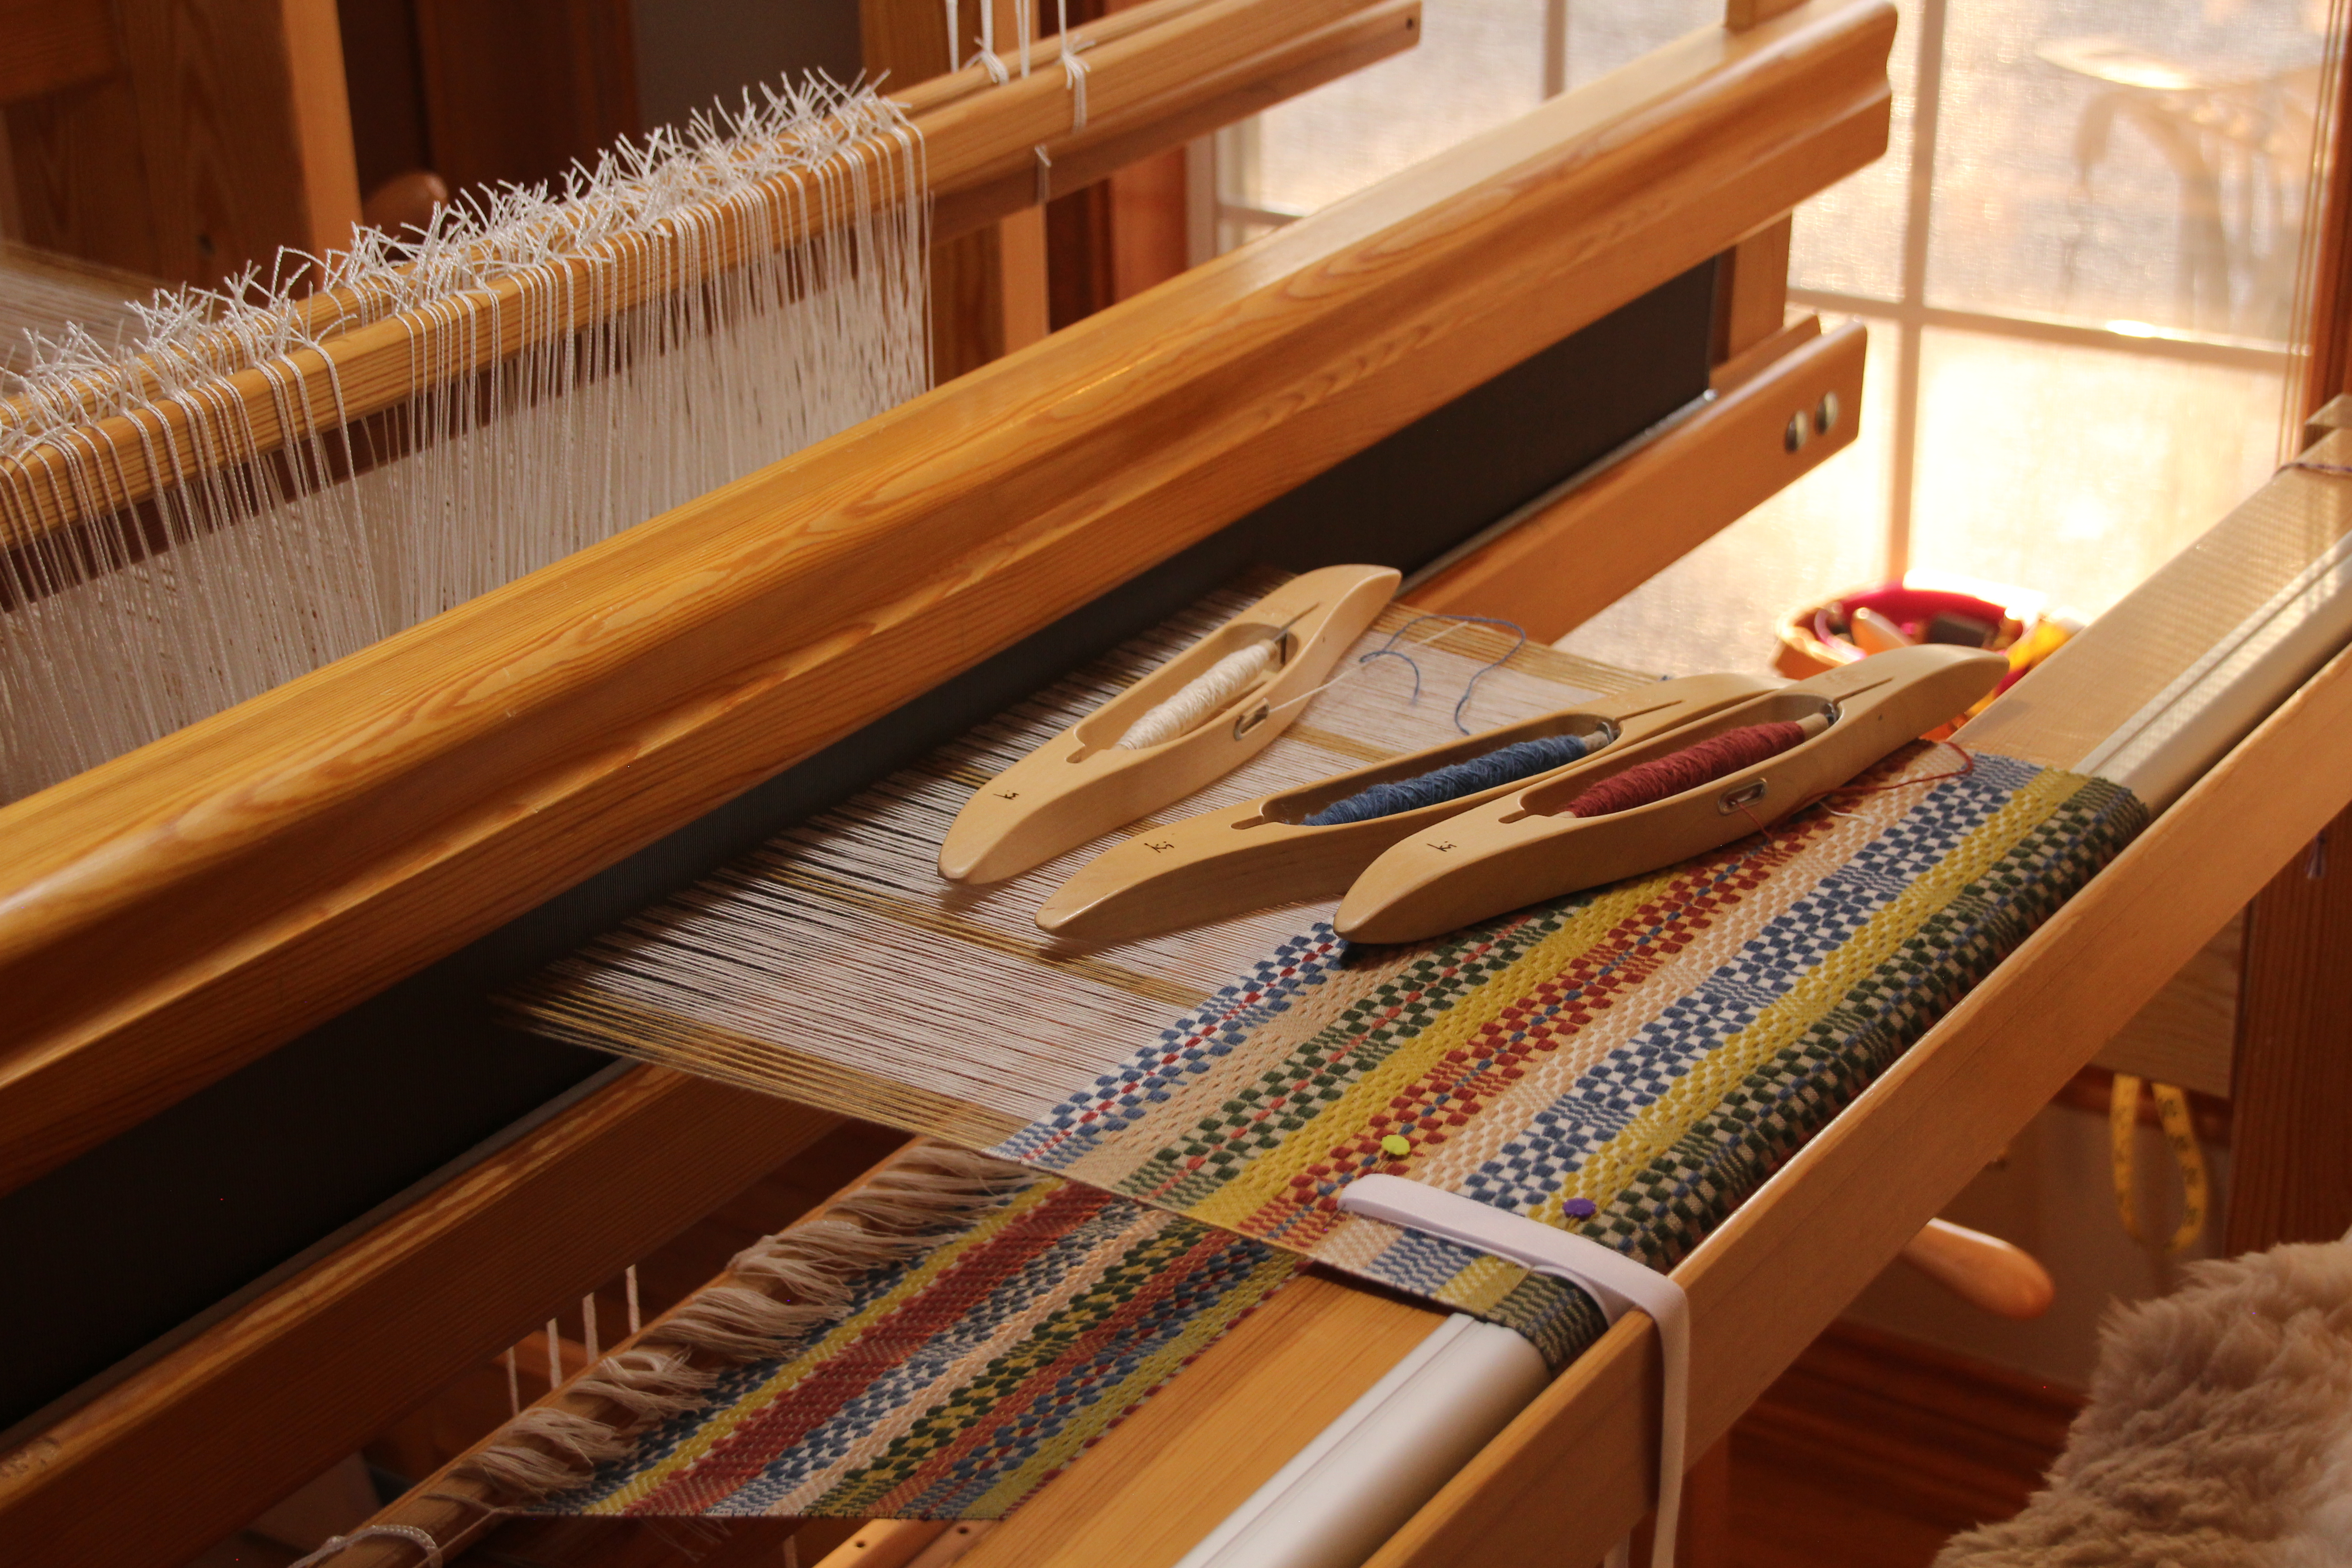
Monksbelt with six colors of 6/1 Fårö pattern weft and three colors of 16/2 cotton ground weft.
More than one shuttle doesn’t necessarily mean more difficult. Everything runs a little smoother when there is an efficient exchange of shuttles between your hands.
Monksbelt flower garden.
How to Handle the Exchange of Shuttles
For this example, the temporary weft starts from the left and goes to the right. Weave the first pick of the temporary weft, catching the shuttle with your right hand. (If the first pick of the temporary weft goes from right to left, reverse the right hand/left hand instructions, here and following.)
Transfer the shuttle with the temporary weft (active weft) to your left hand.
With your right hand pick up the shuttle that has the weft that will be carried up the side (inactive weft). Bring the shuttle all the way around the active weft and then lay the shuttle down again.
Transfer the shuttle with active weft back to your right hand and continue weaving.
Follow steps 2 – 4 until the section with temporary weft is finished.
Tuck in the tail of the temporary weft and continue weaving with the weft that has been carried up the side.