Process Review: Pucker Up and Video

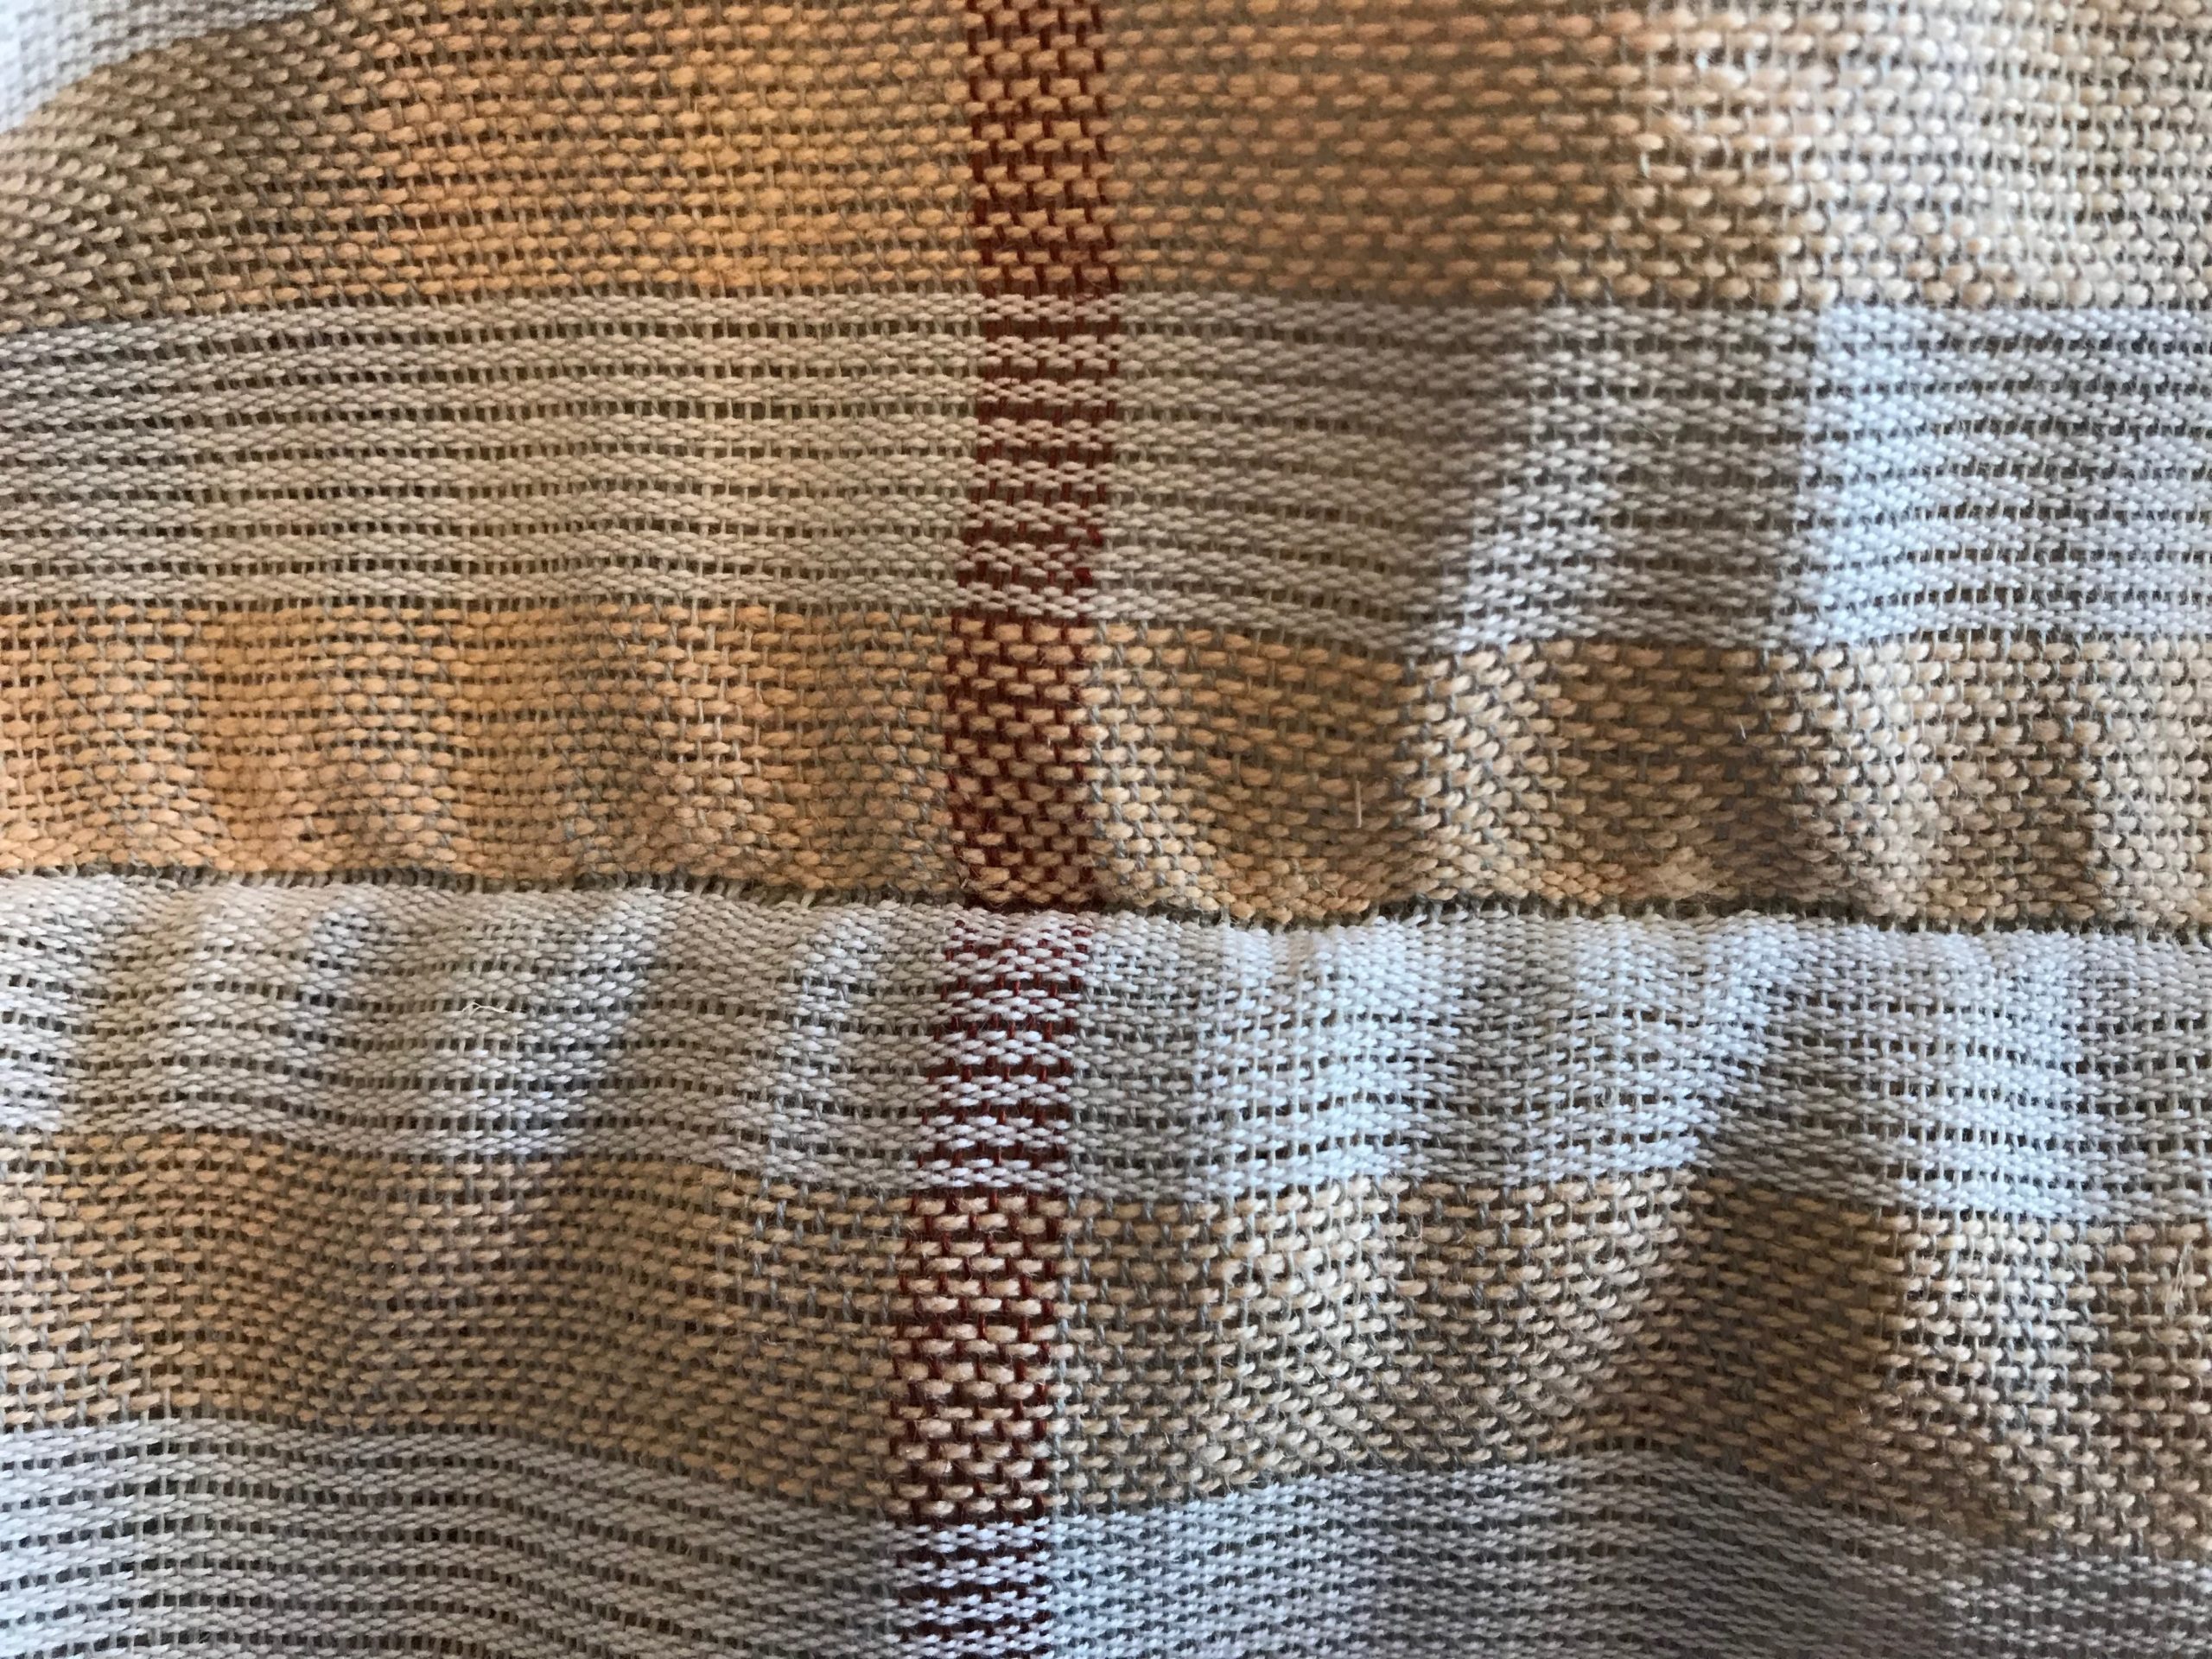
As a little girl, I was fascinated with the puckered texture of seersucker. Remember pastel summer seersucker outfits? Thanks to Winnie Poulsen and her Linen-Cotton Crinkly Tablecloth (Väv Magasinet, Nr. 3, 2021), I now have a puckered fabric that reminds me of those seersucker days of summer.

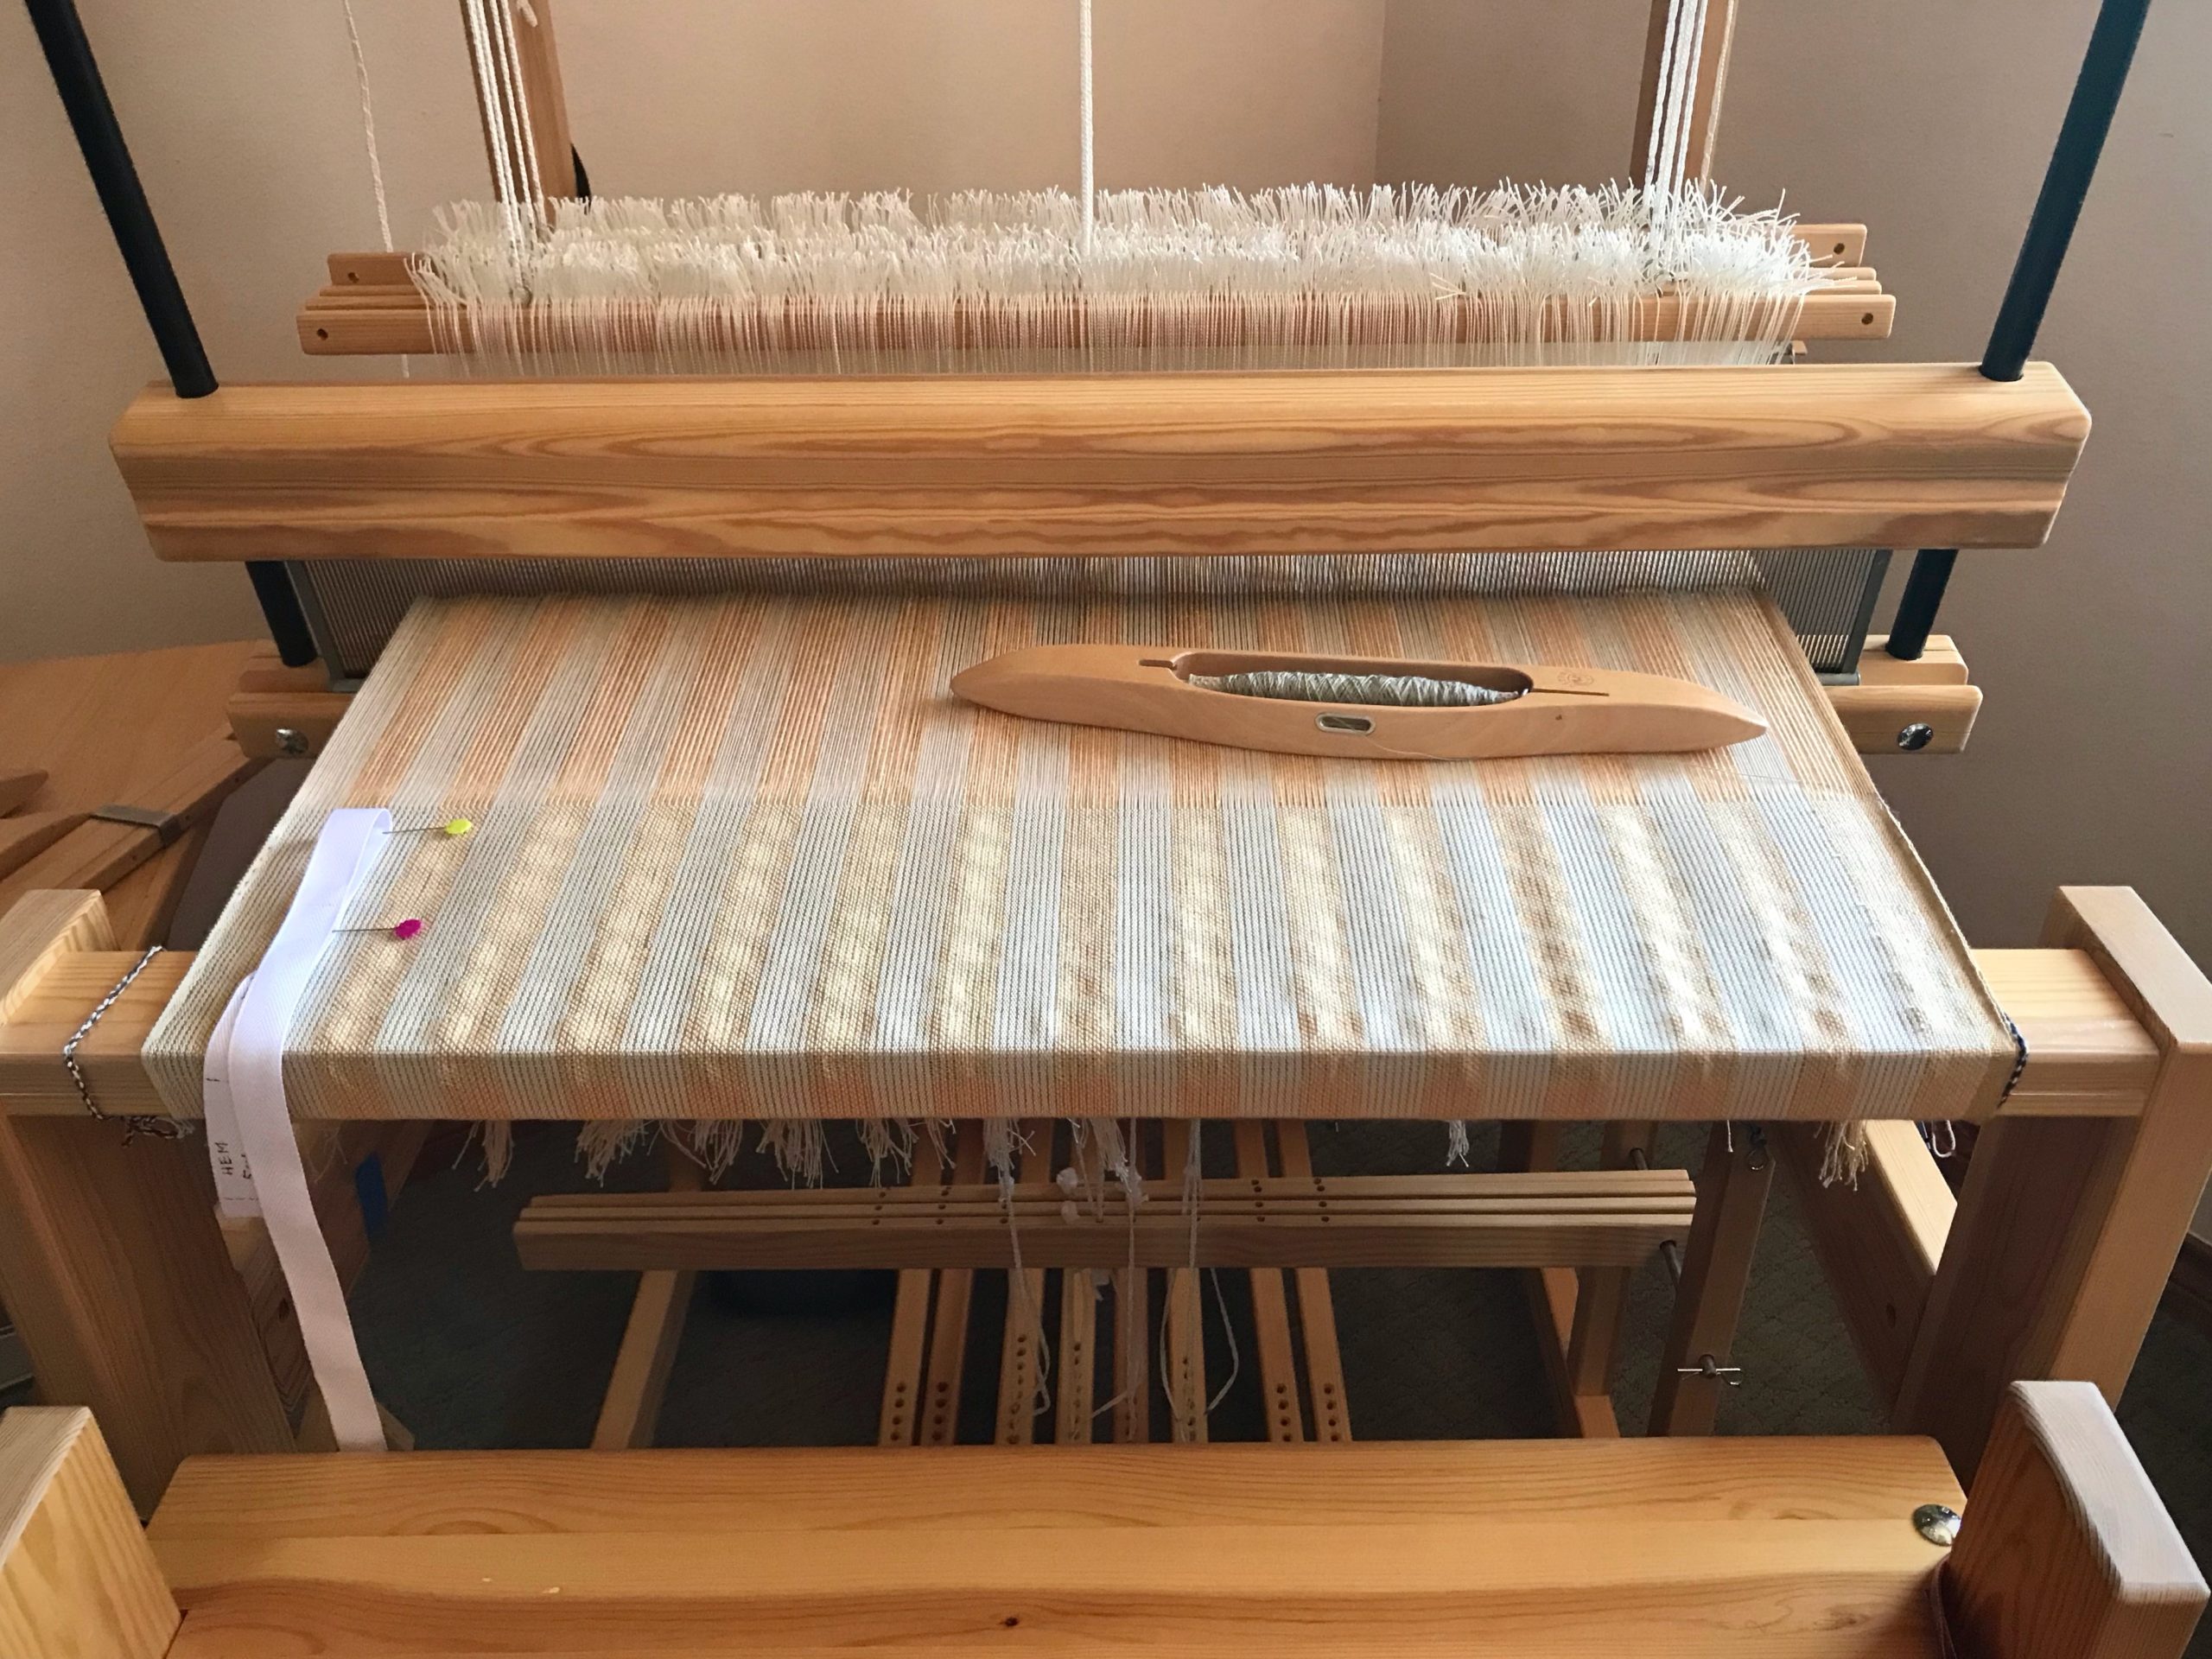
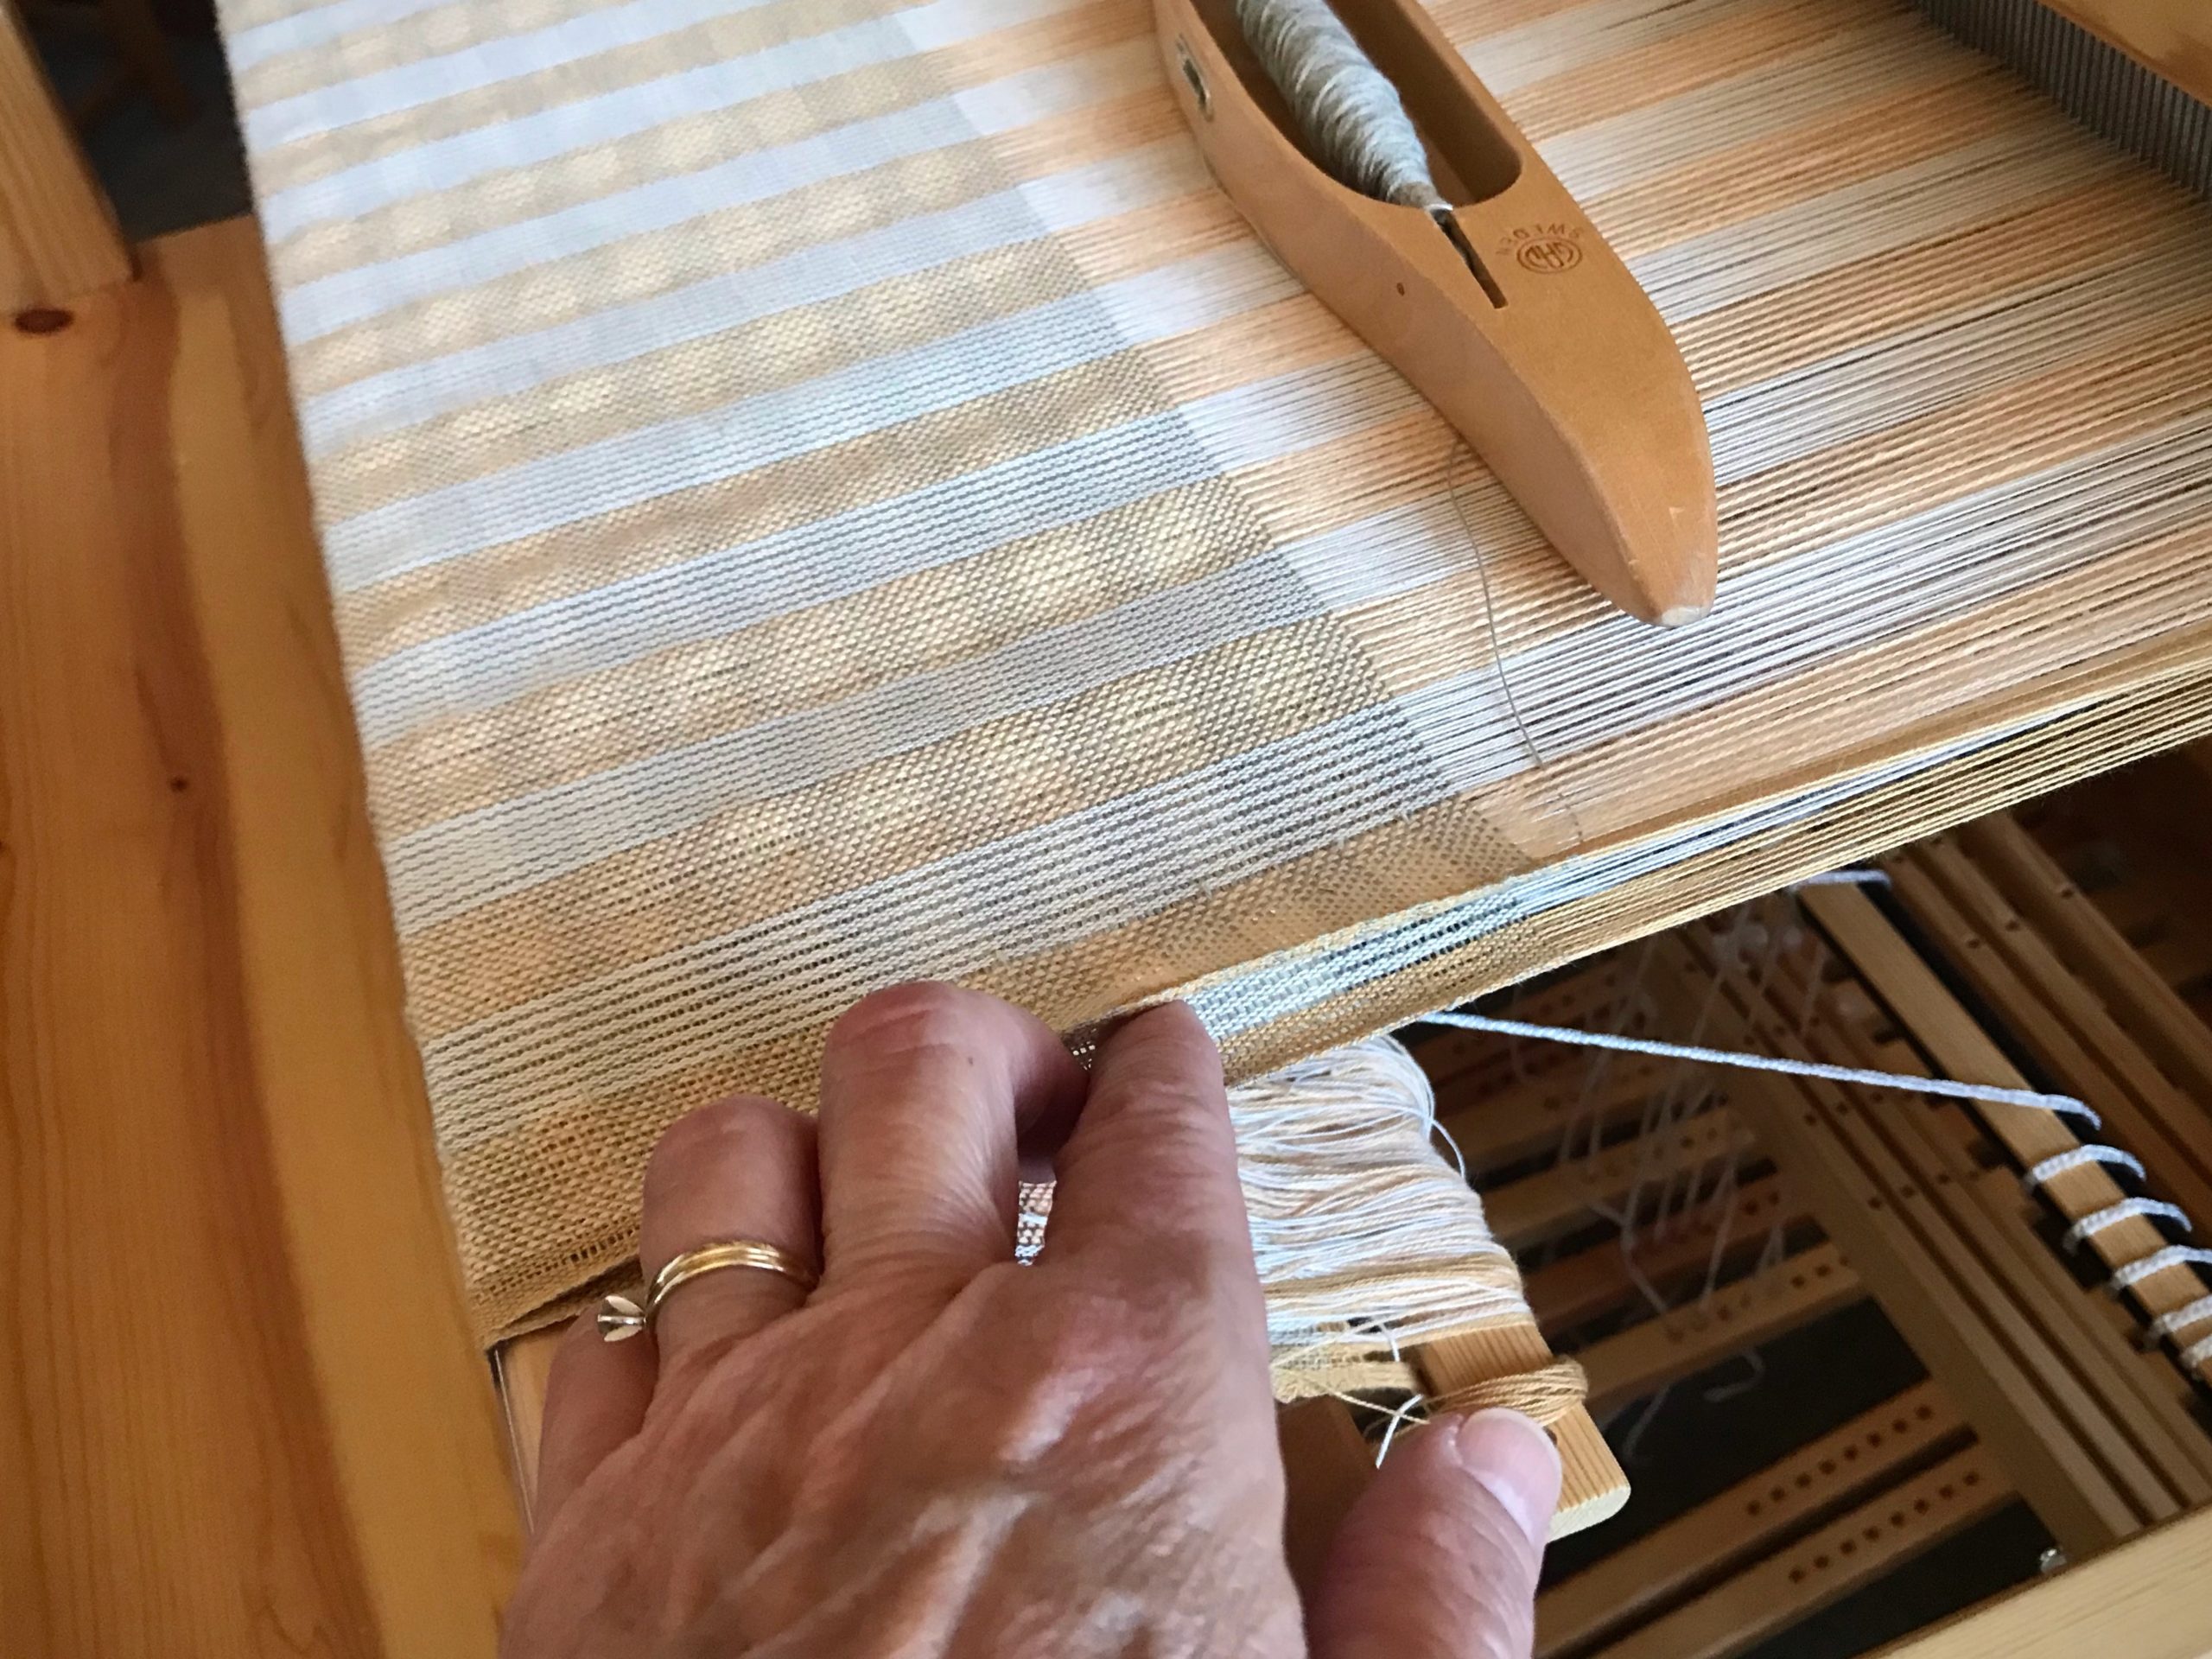
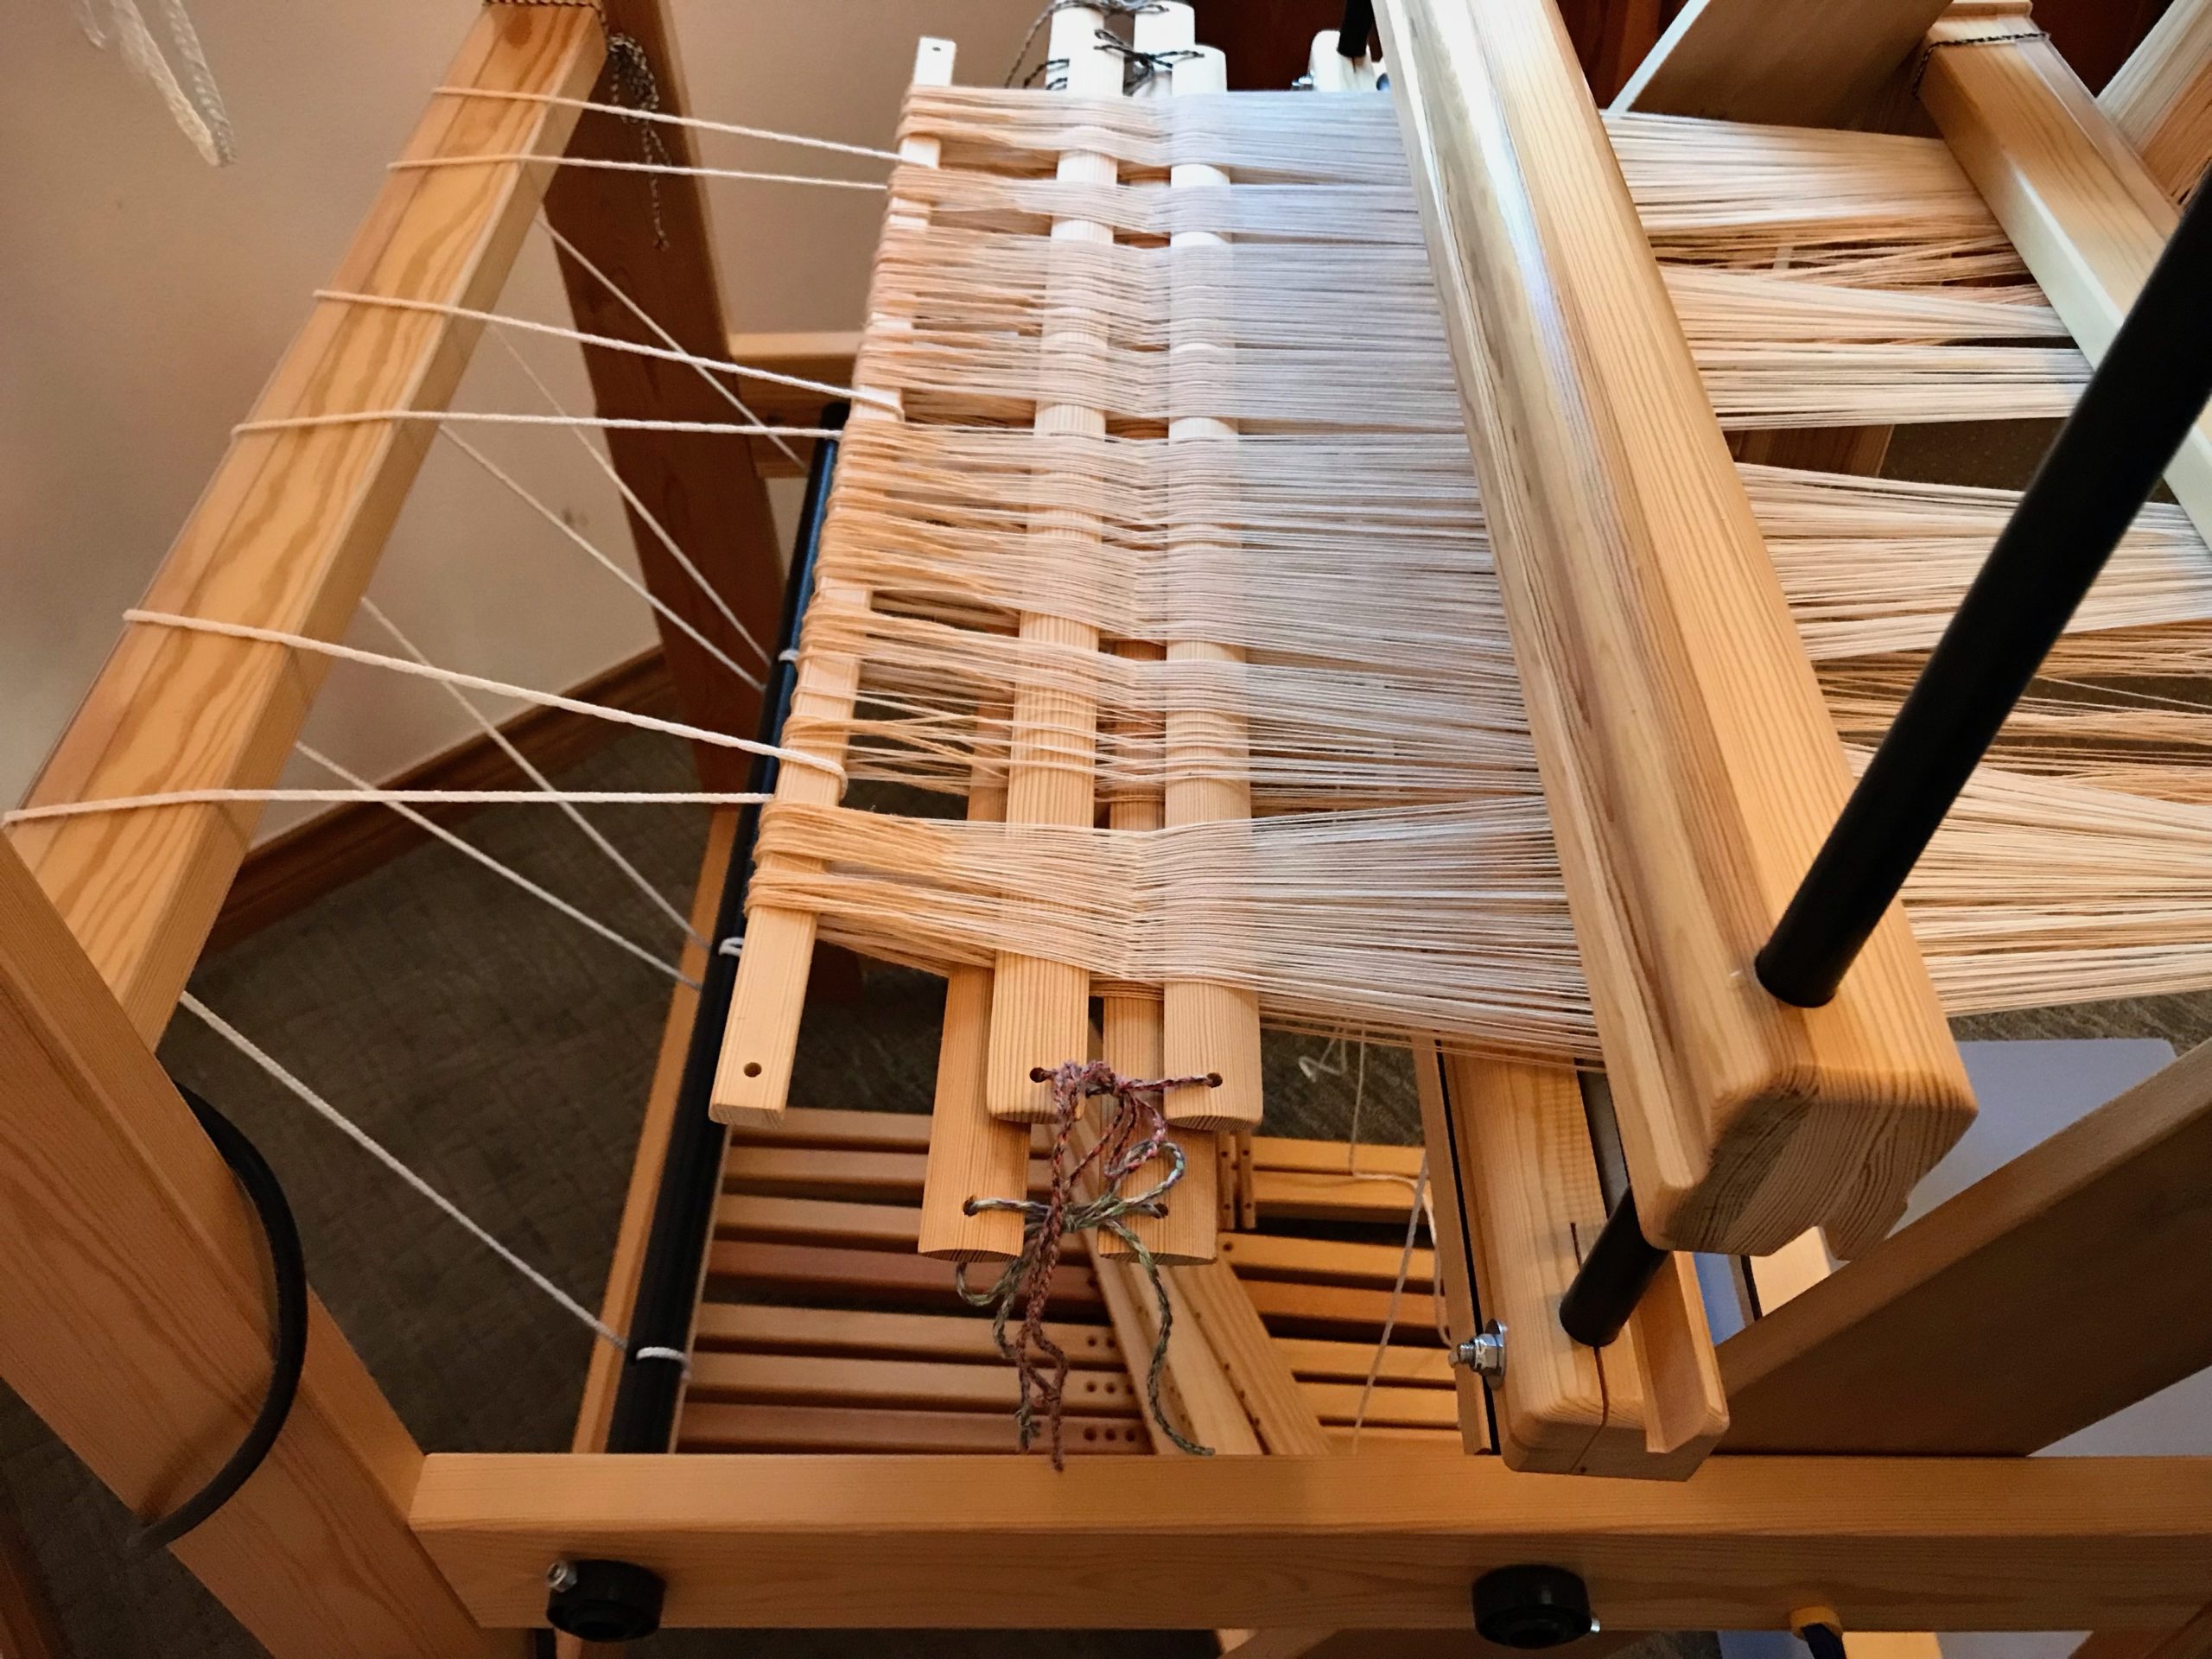
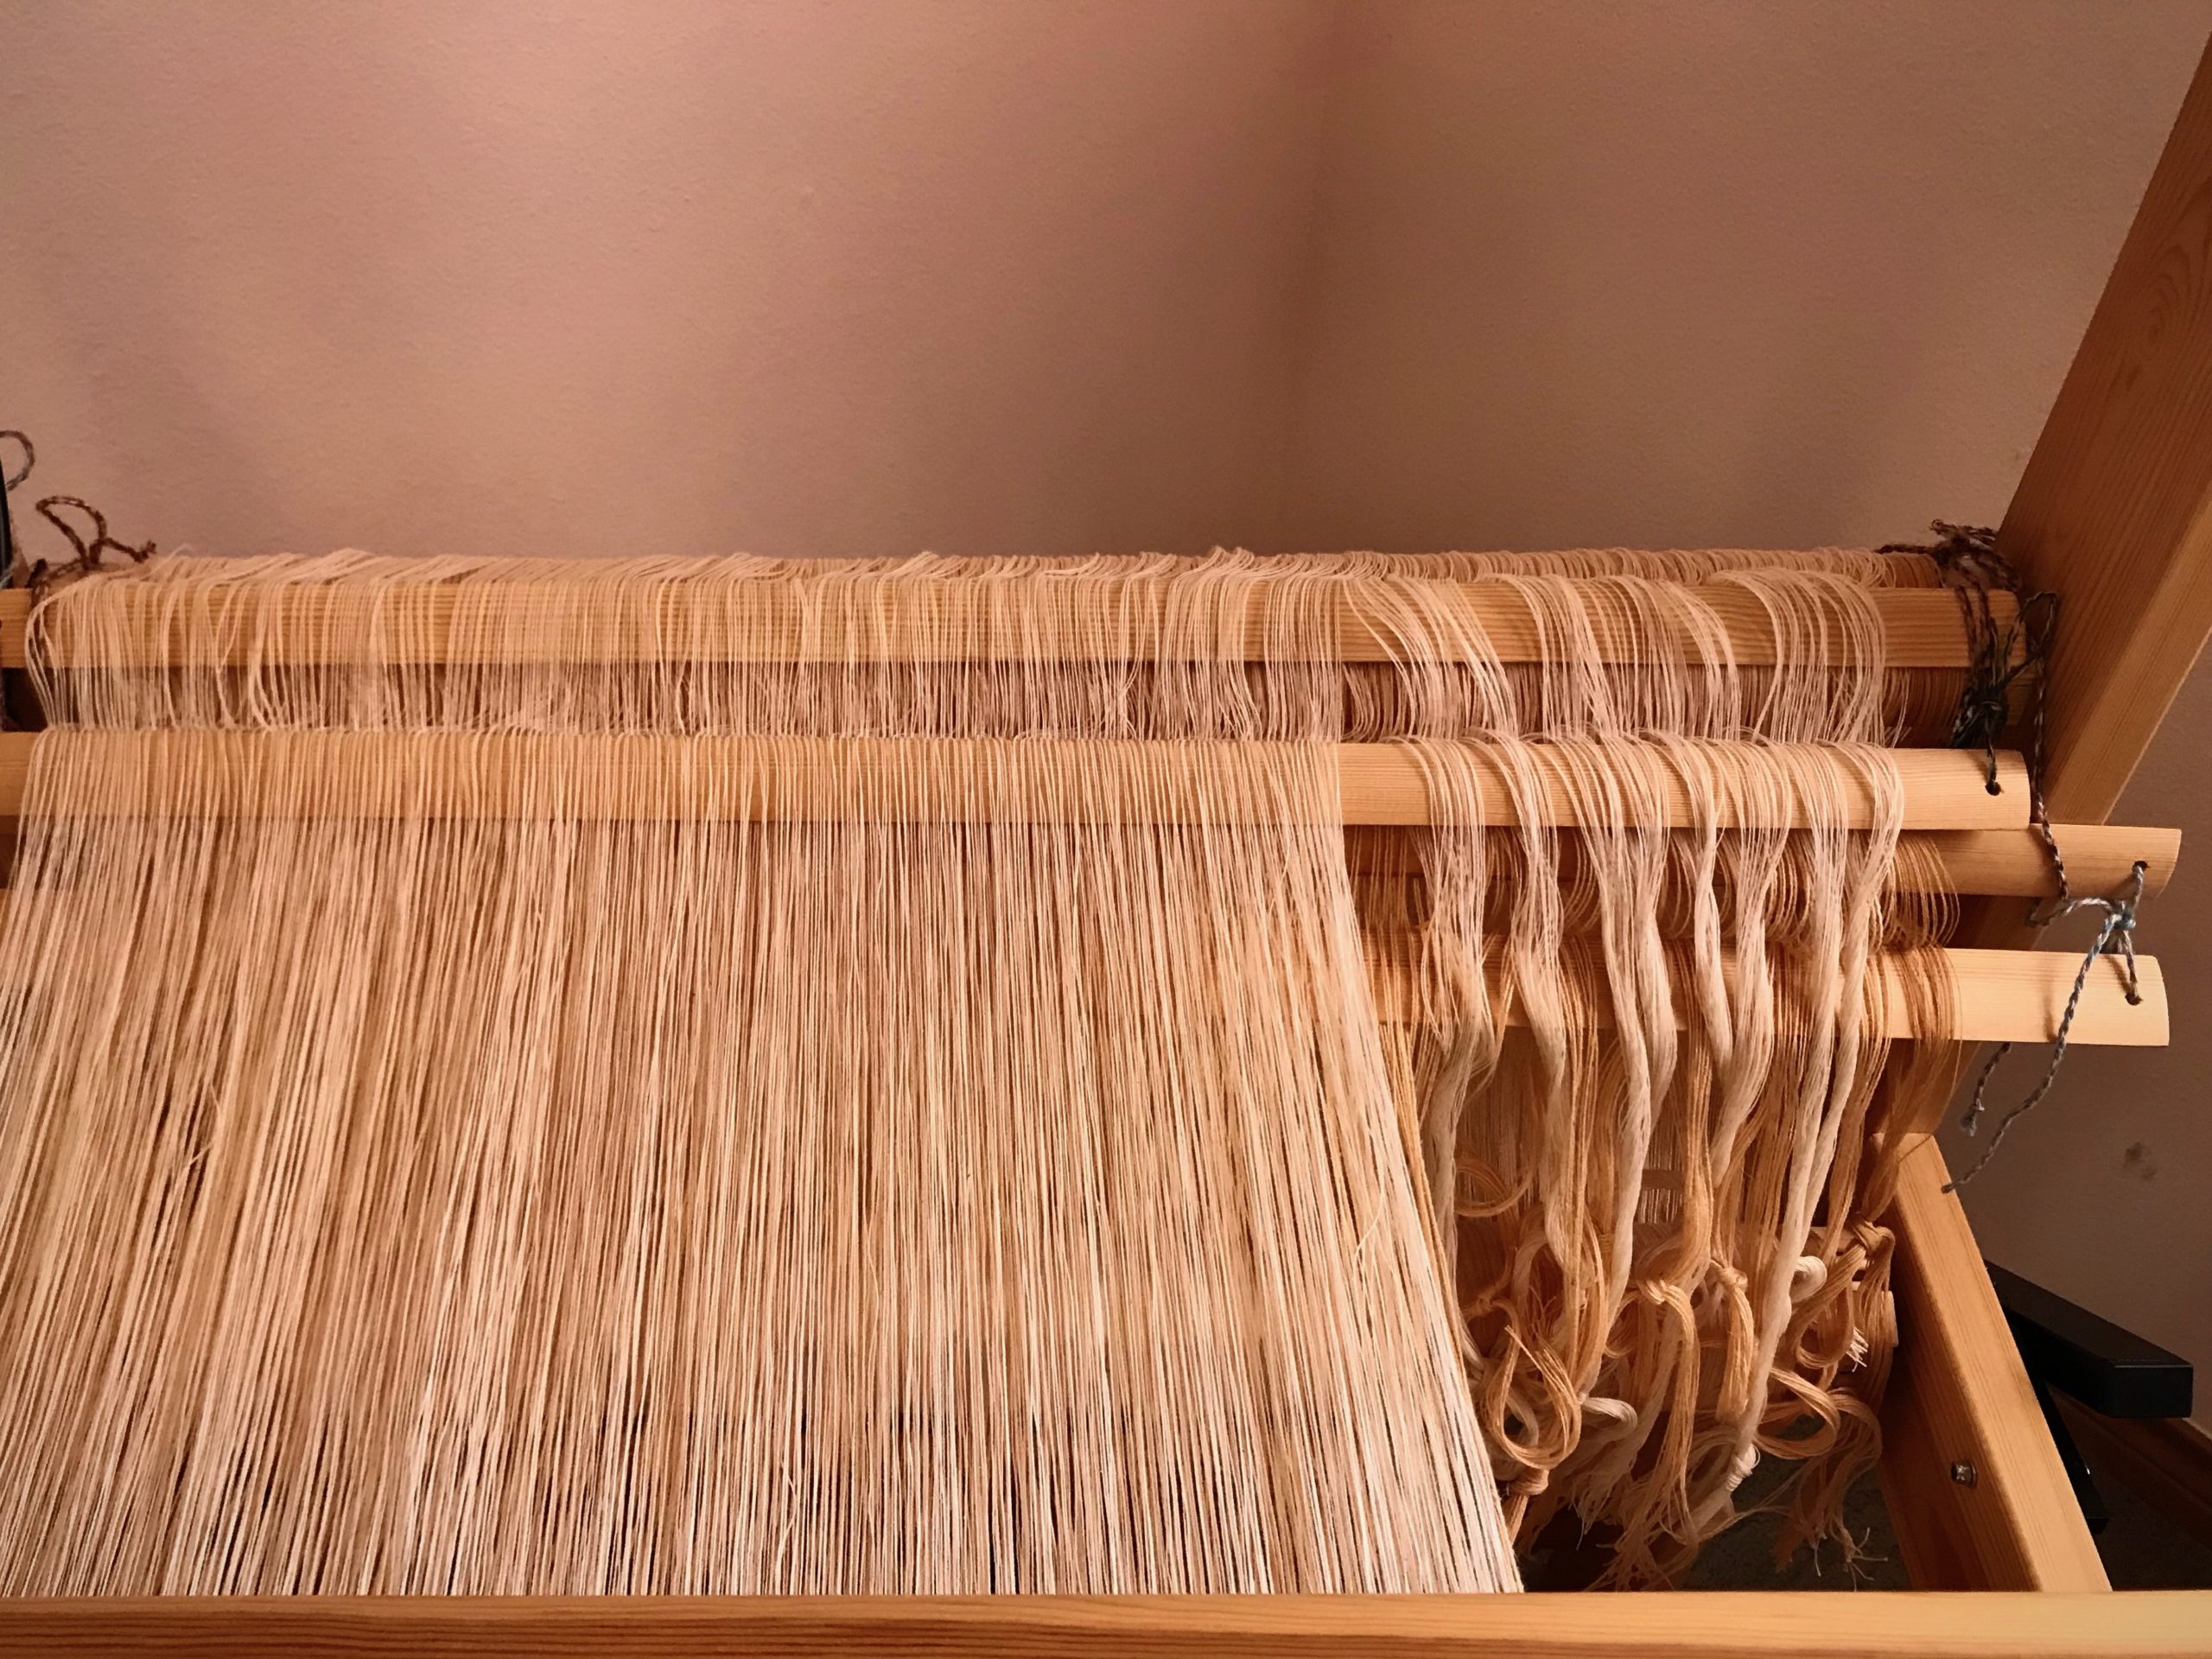
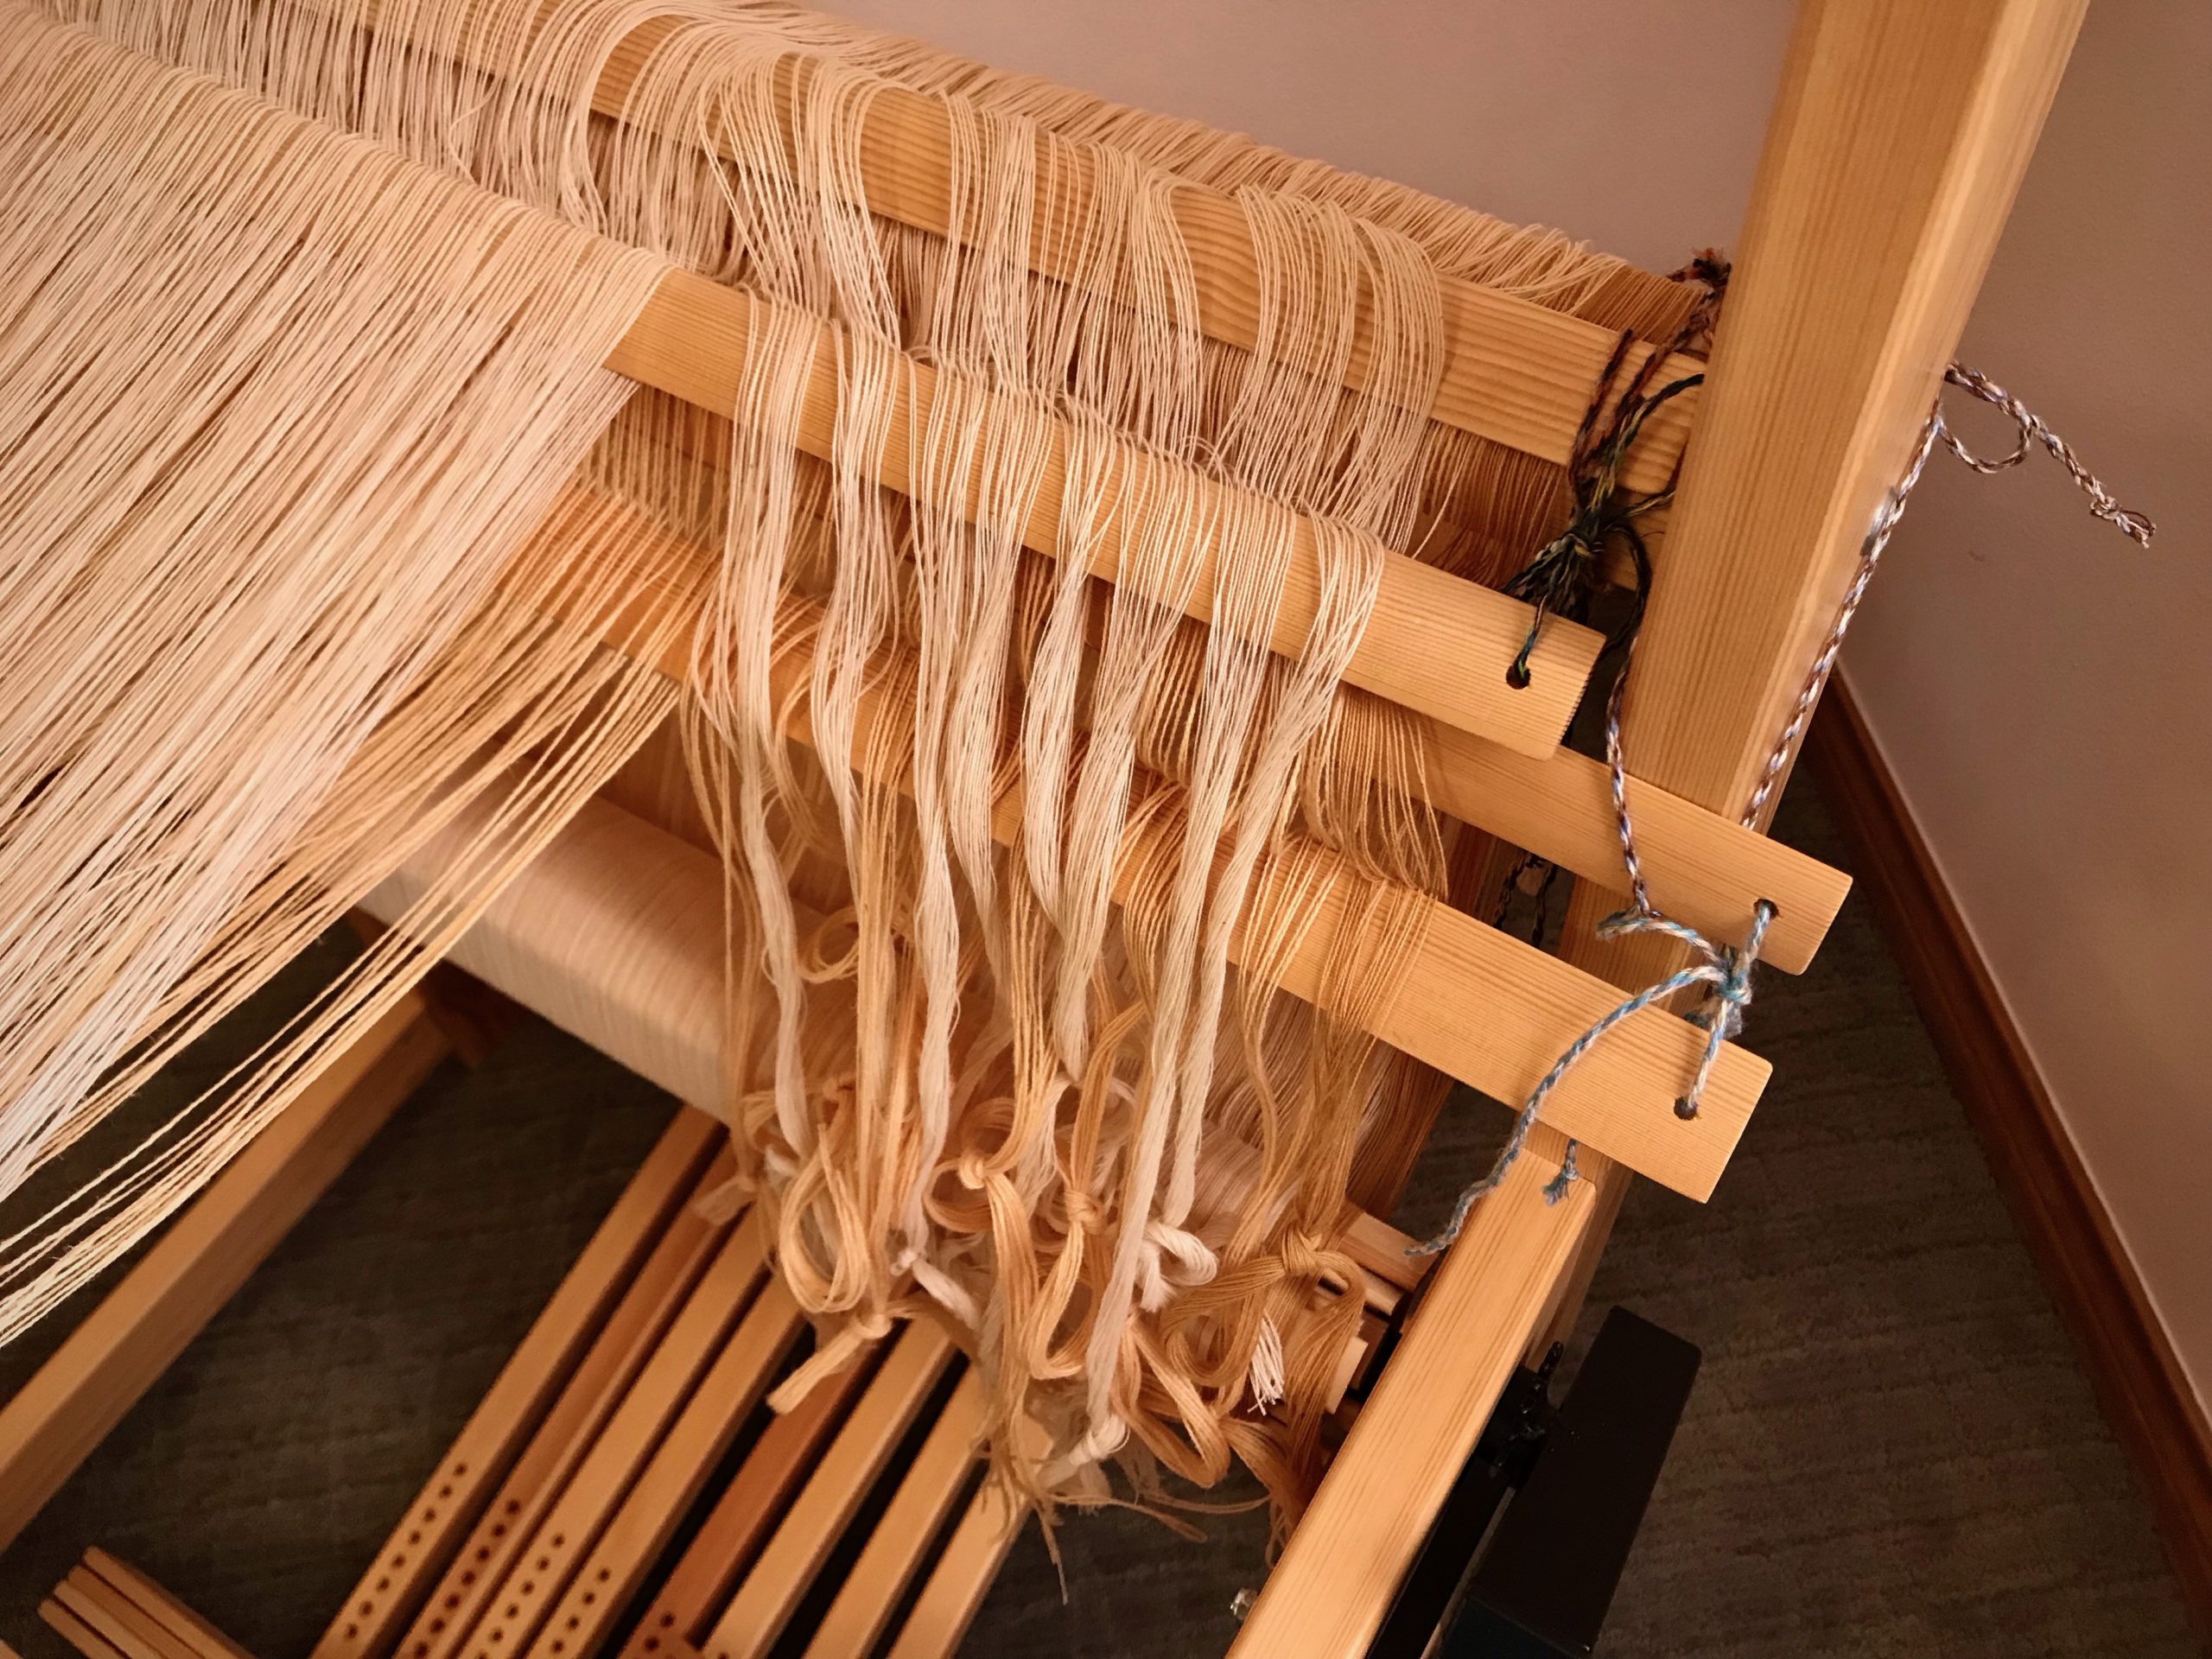
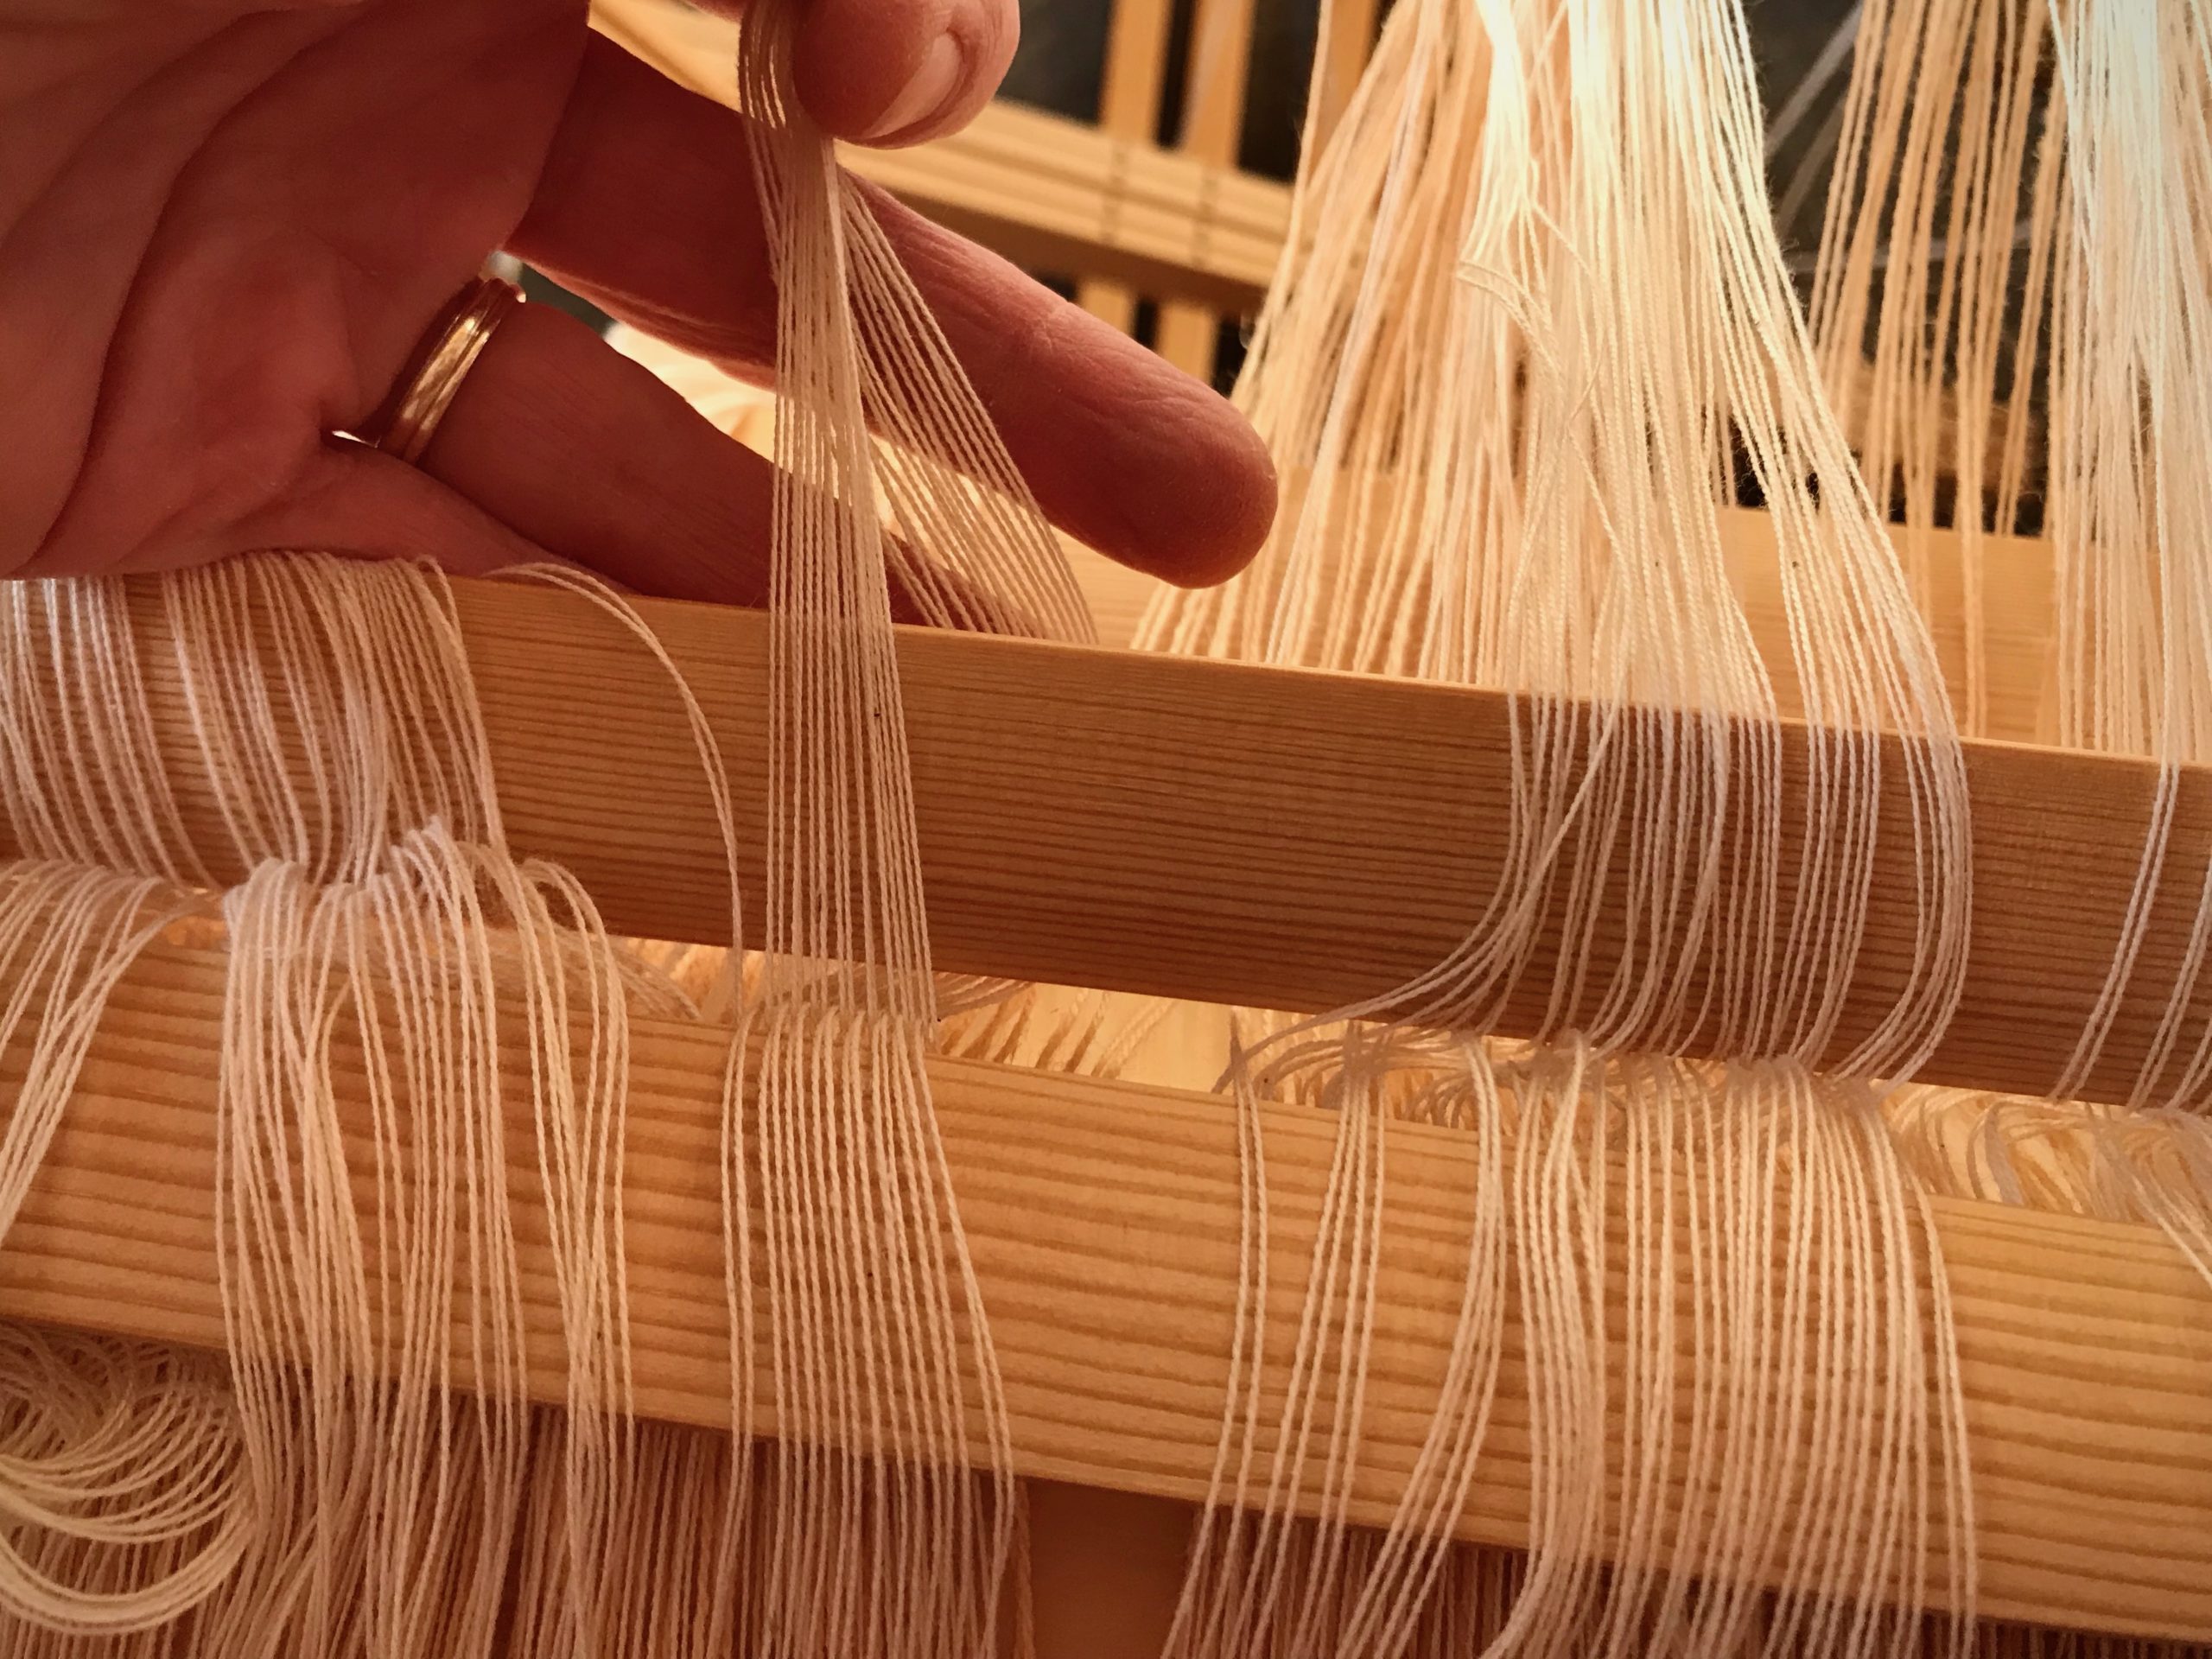
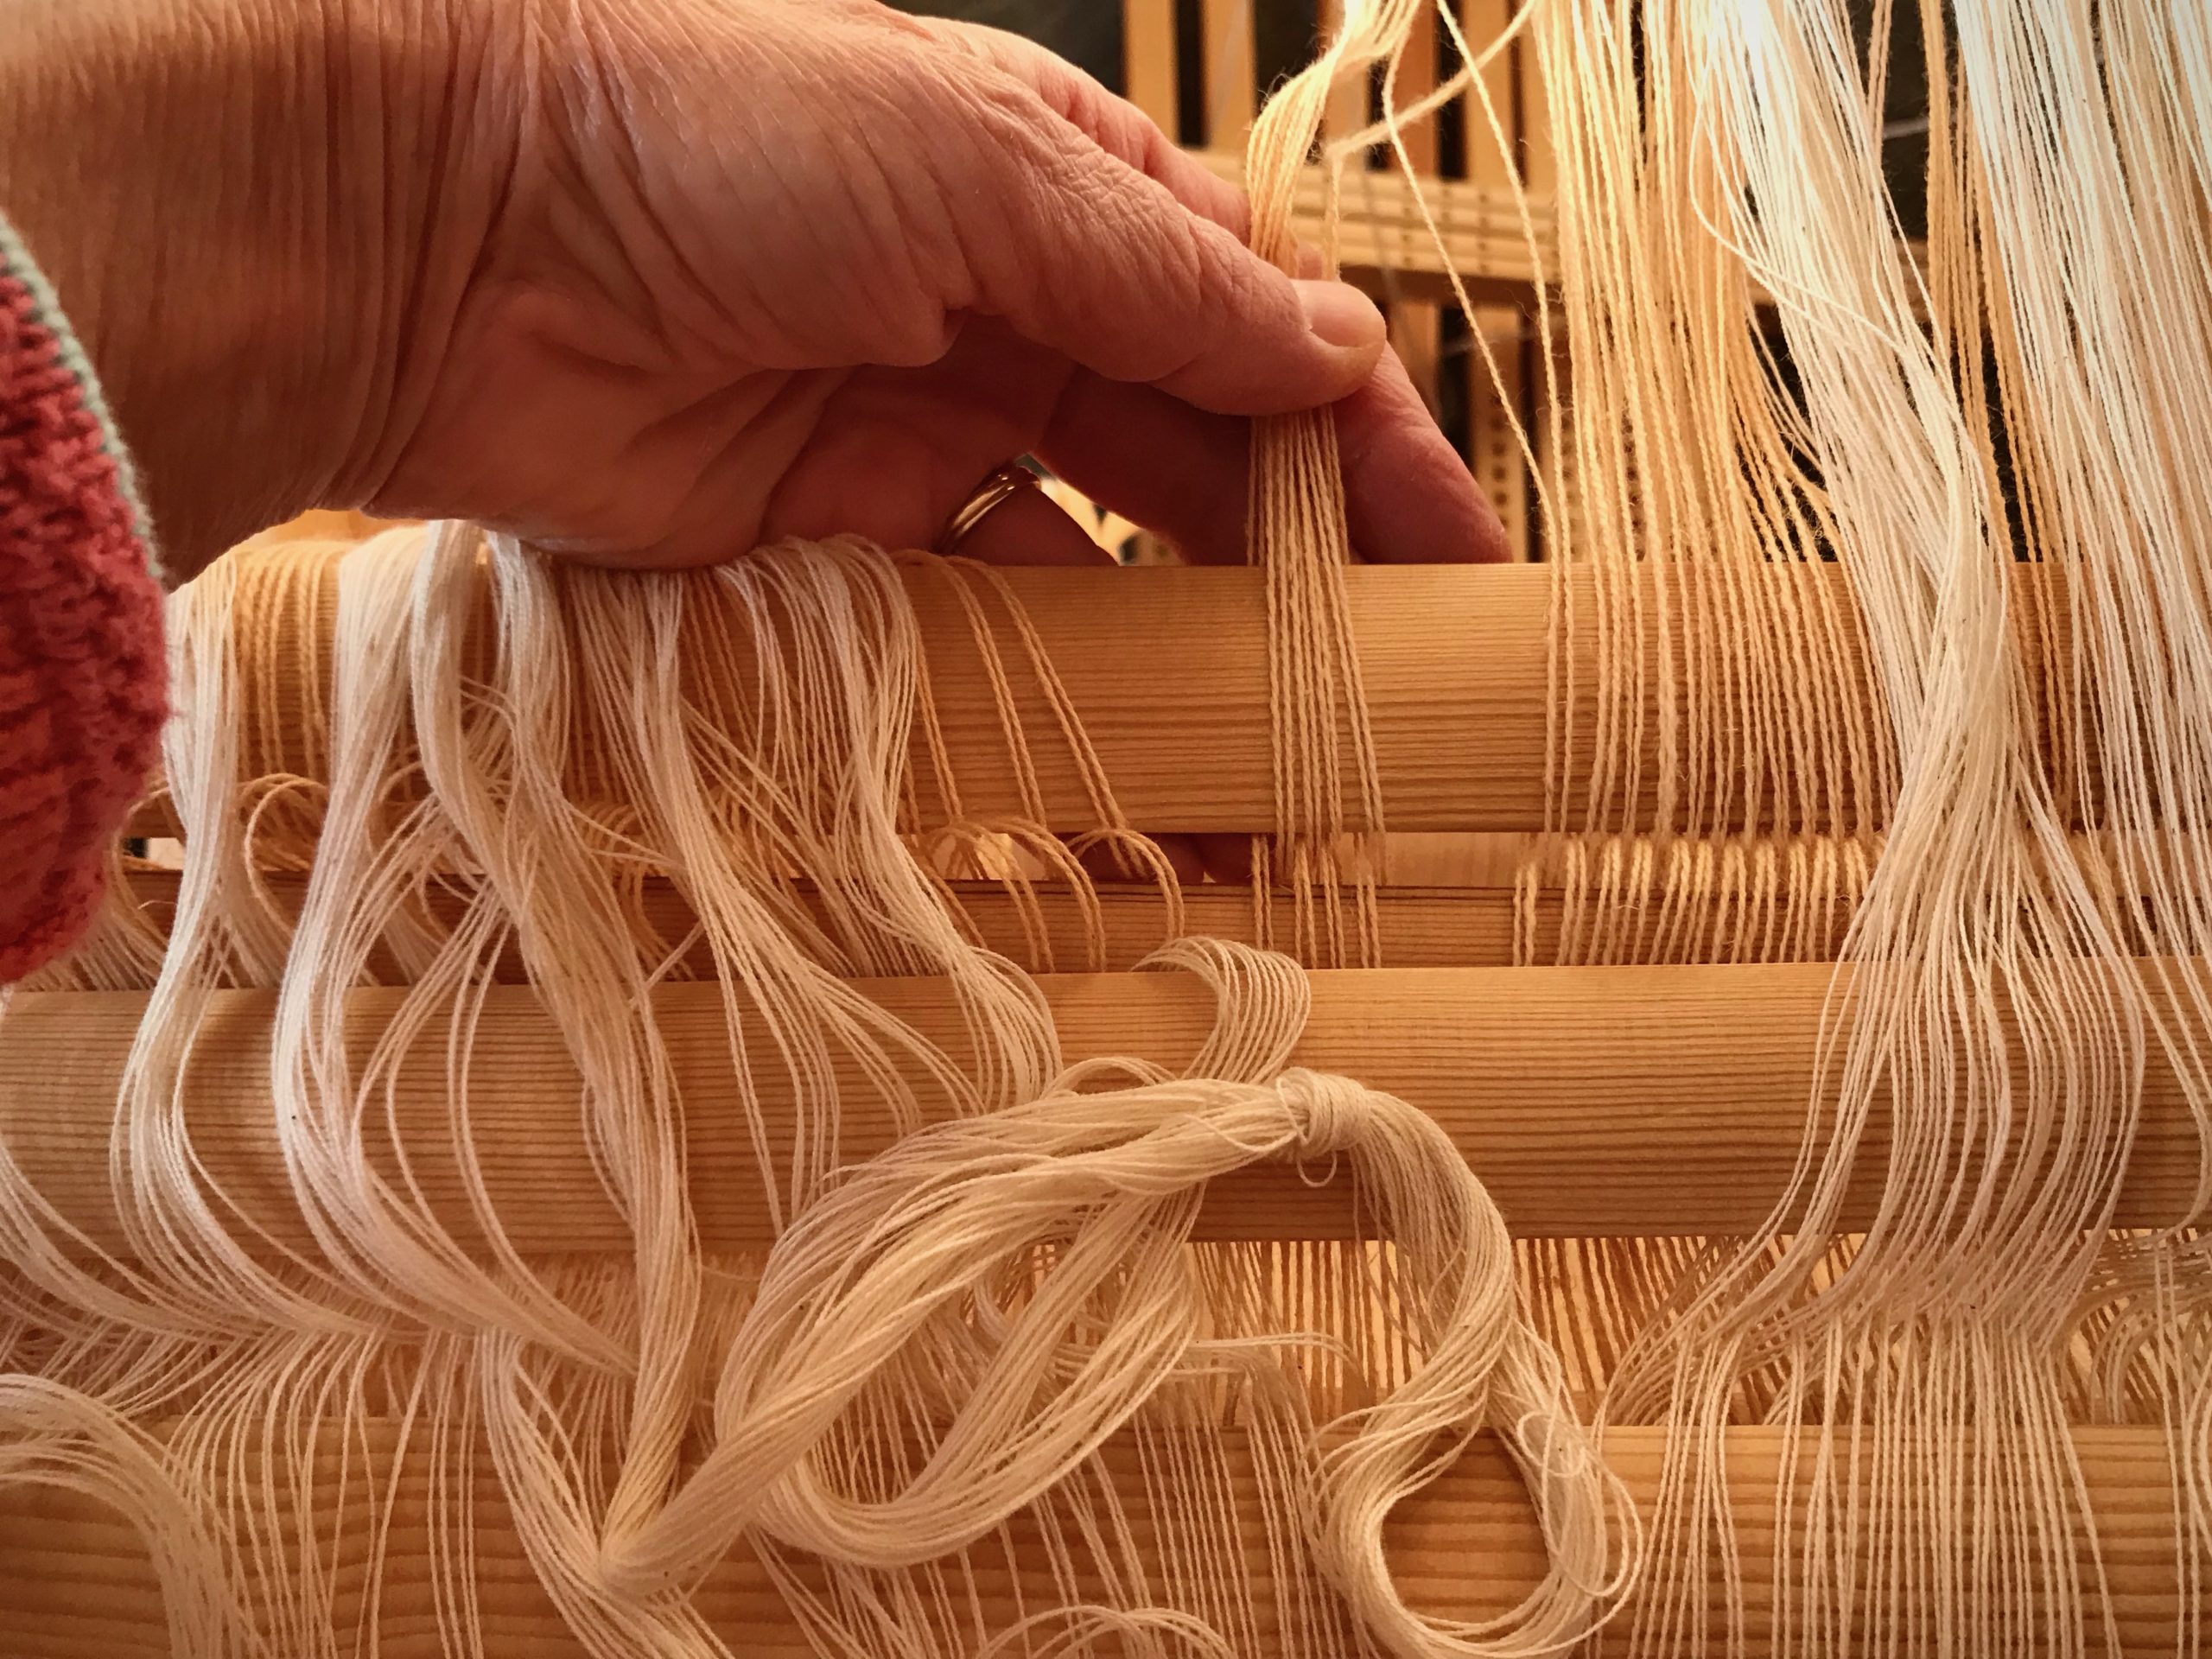
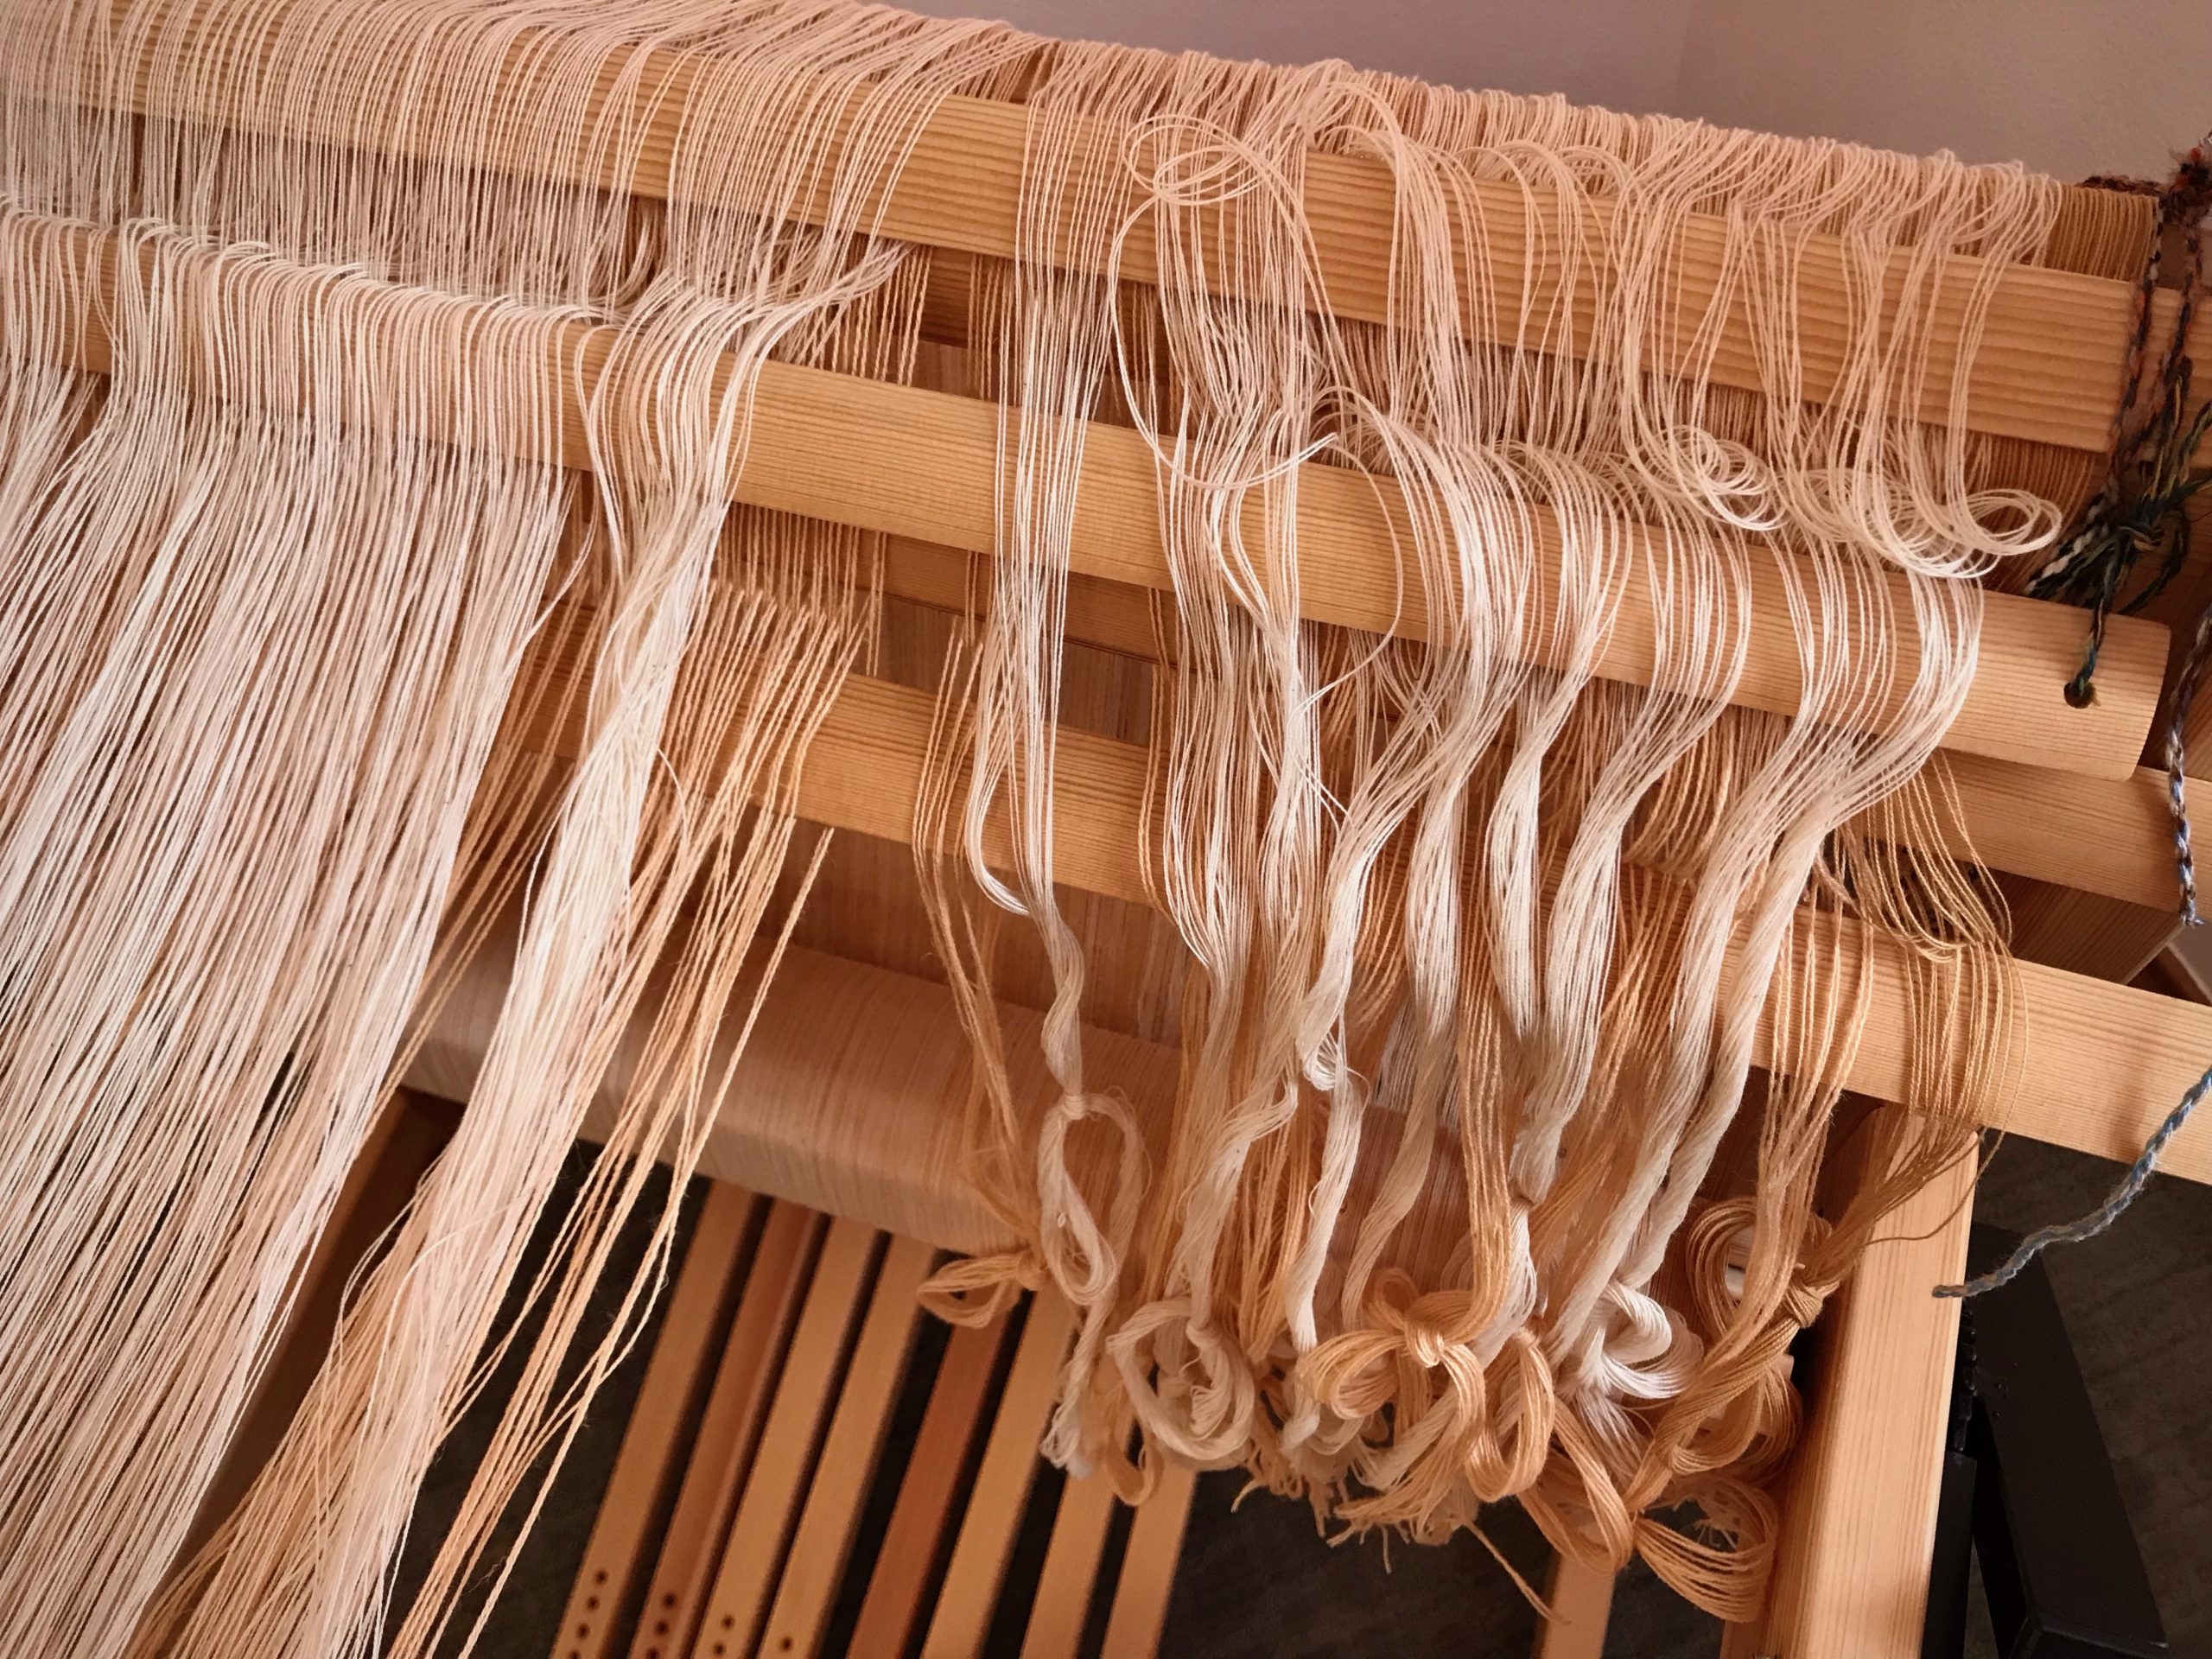
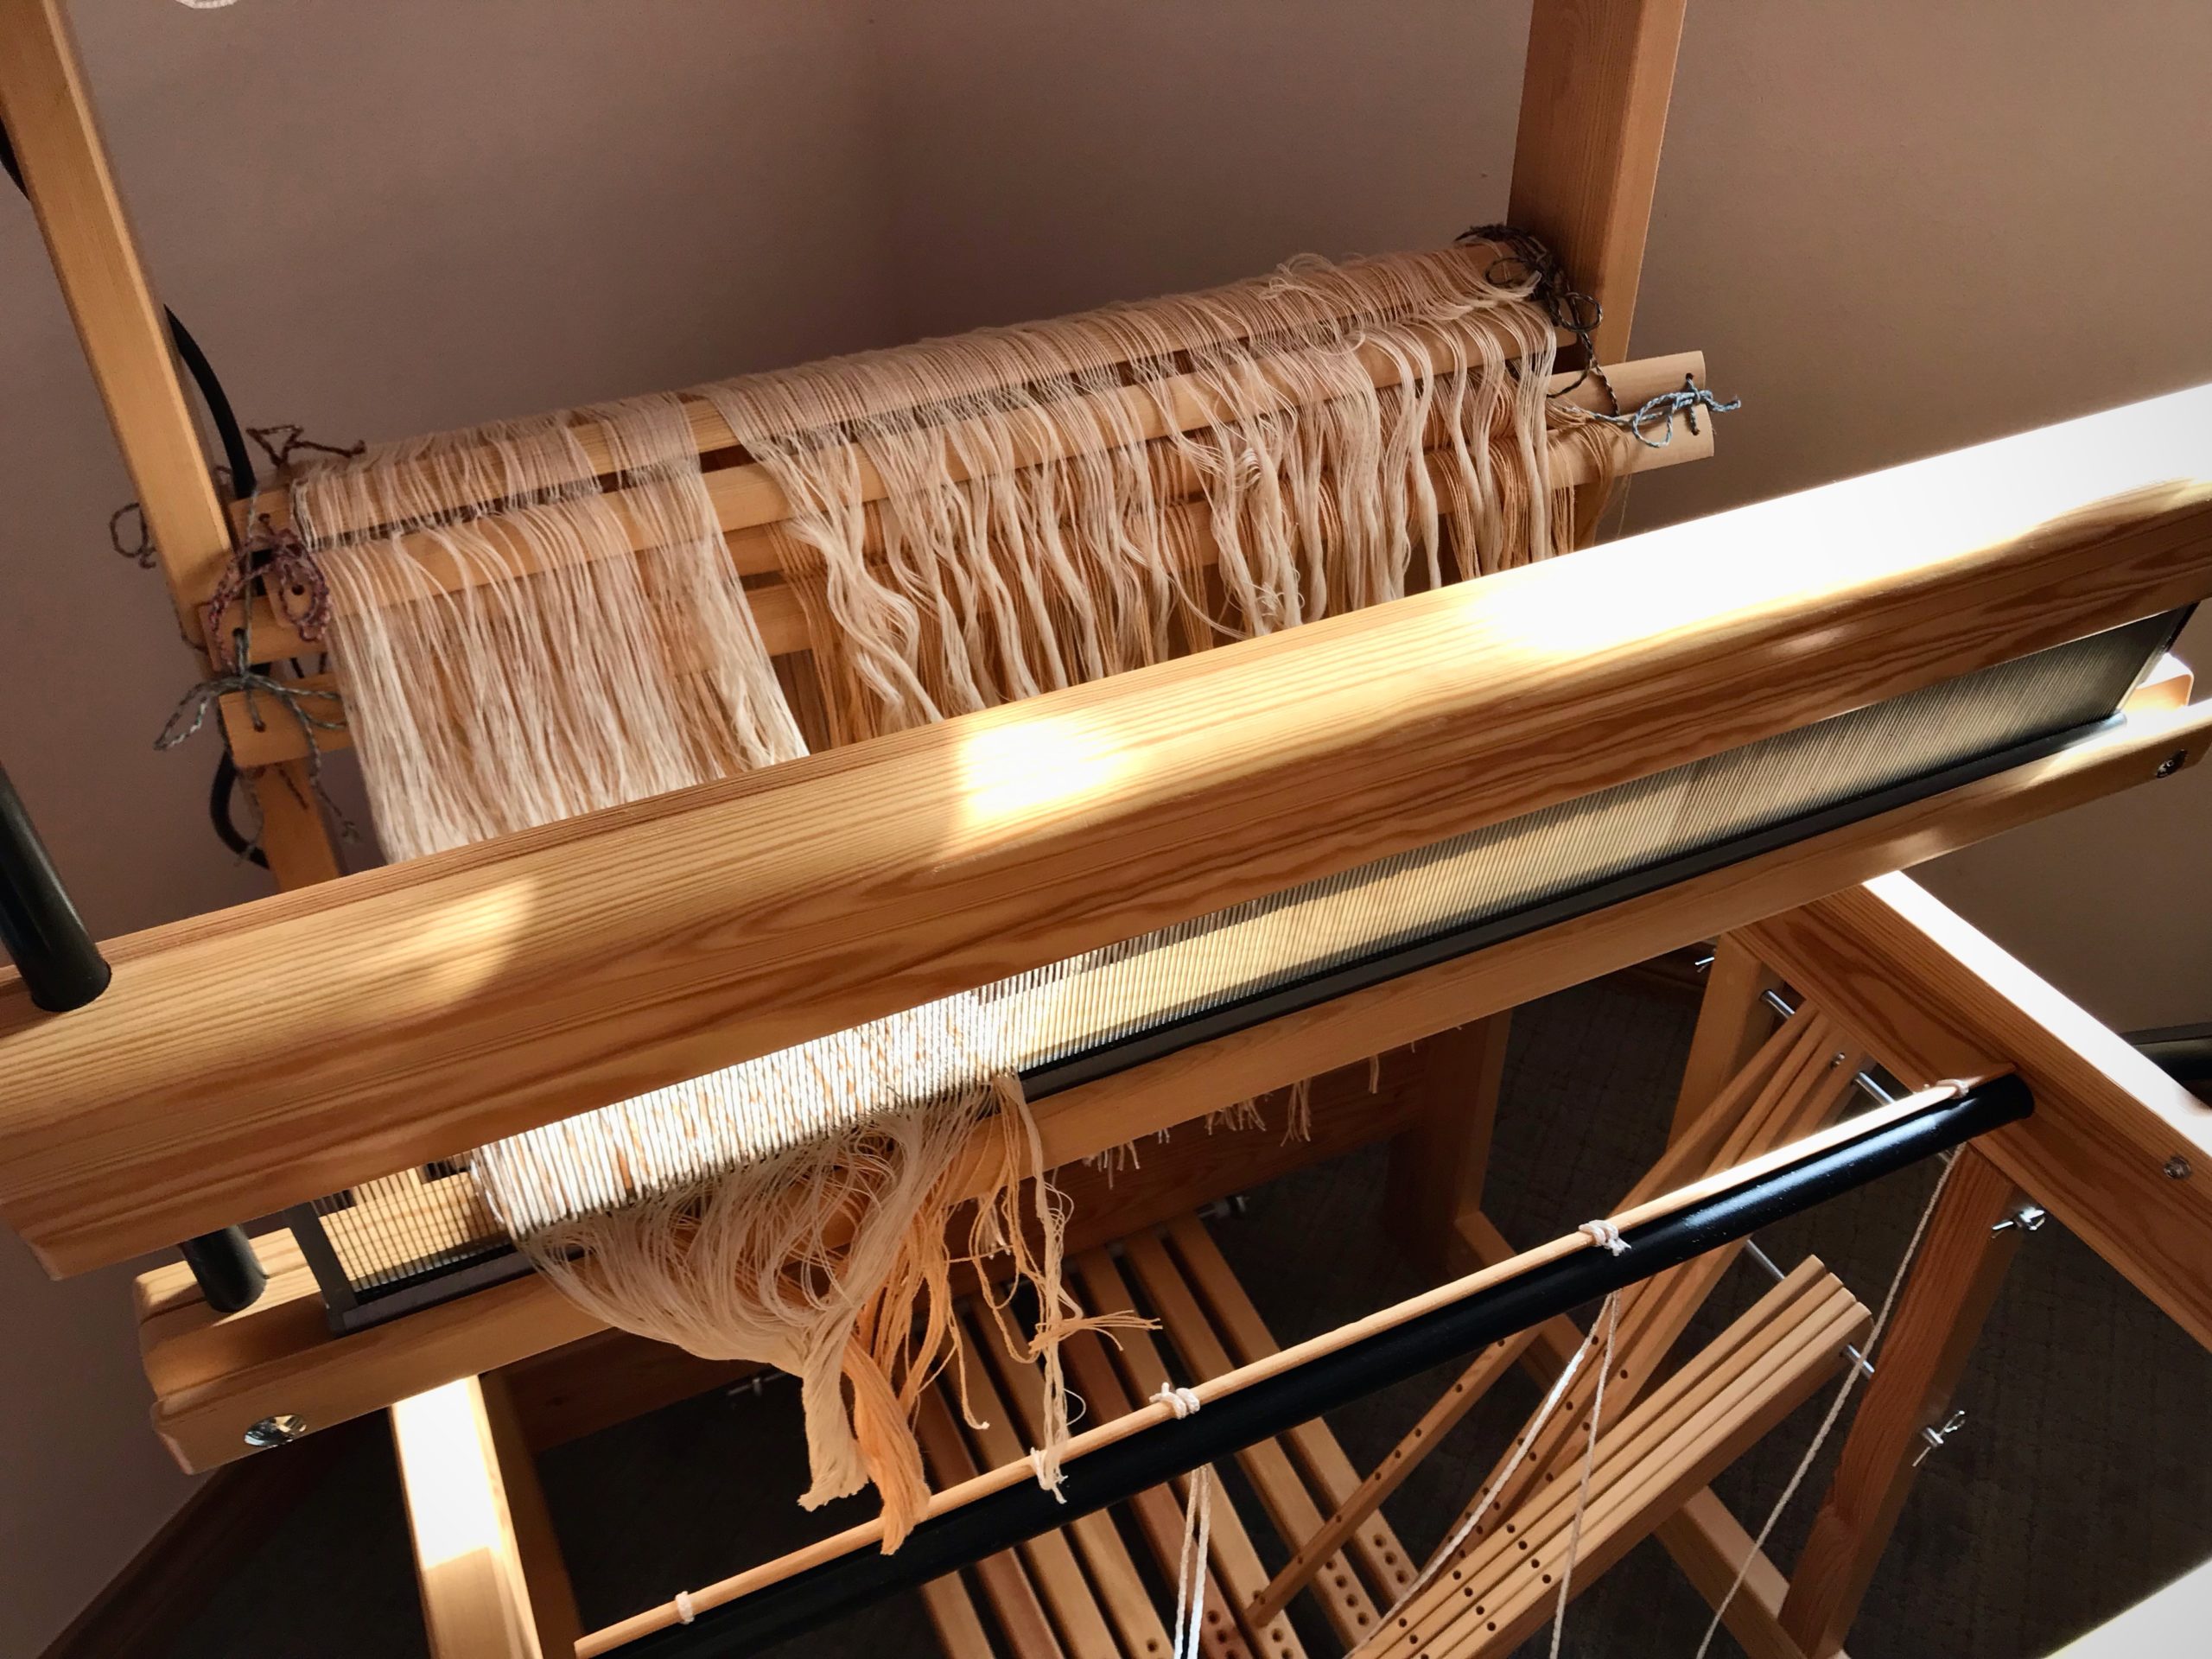
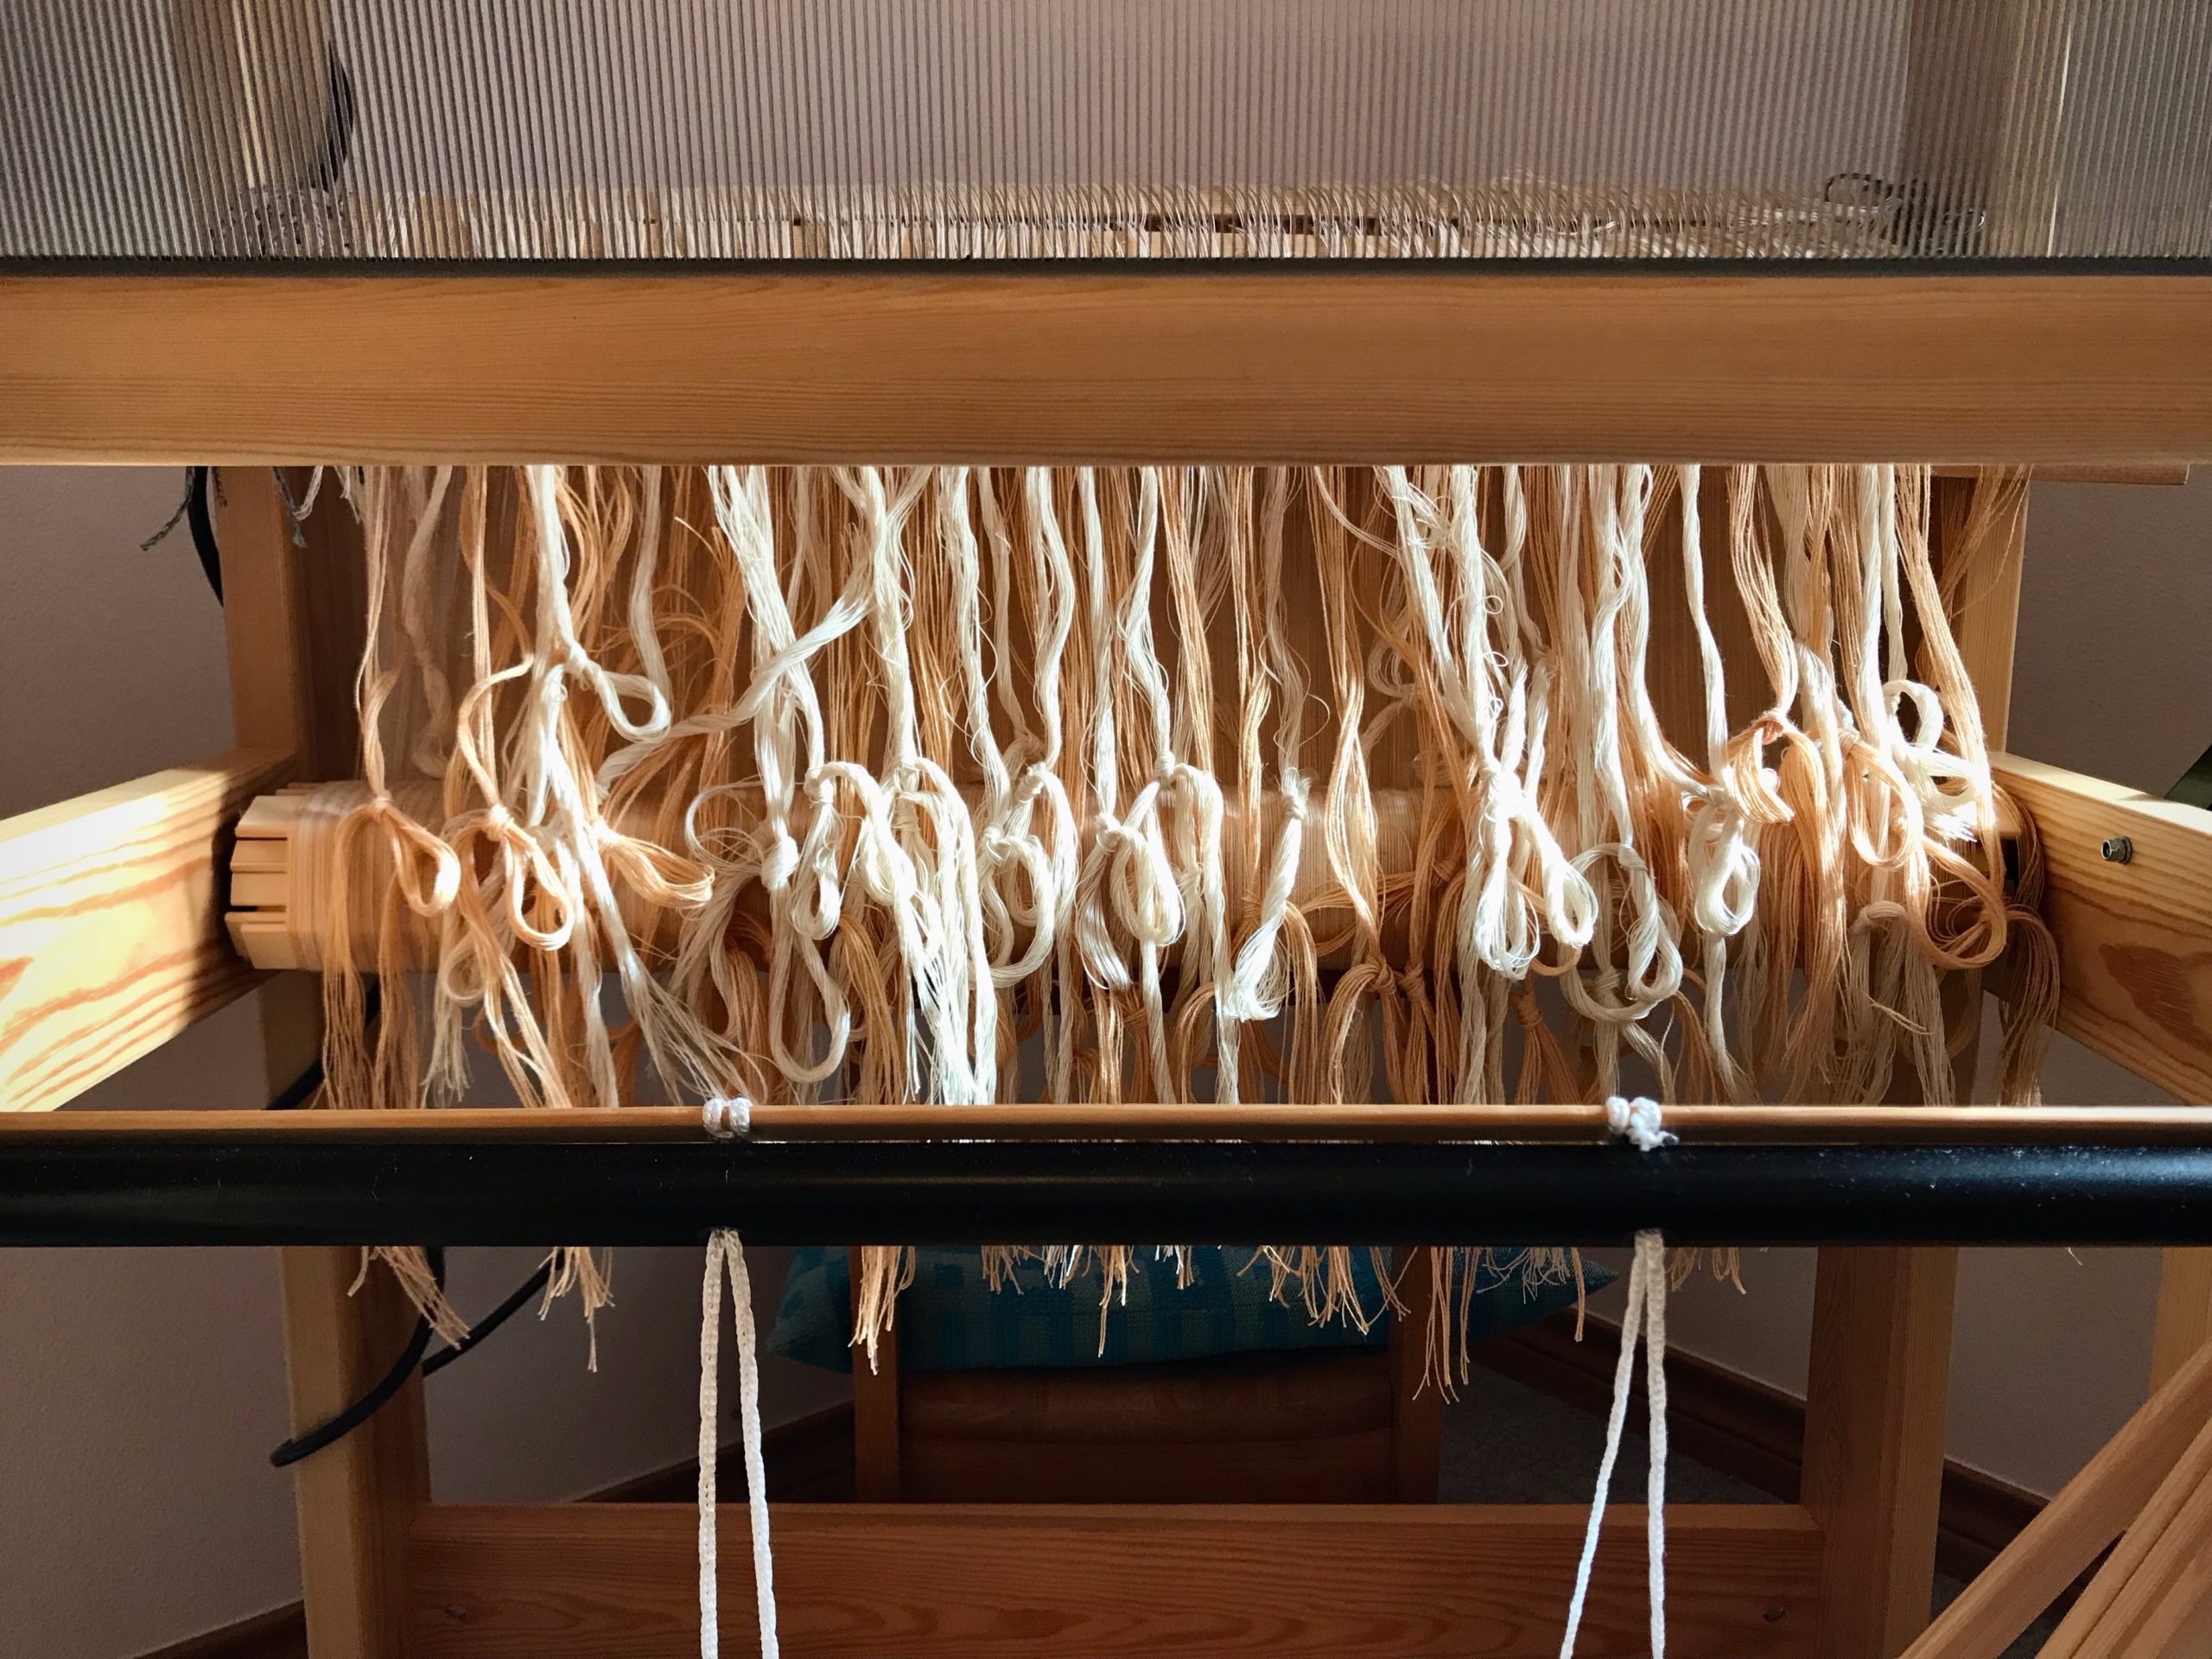
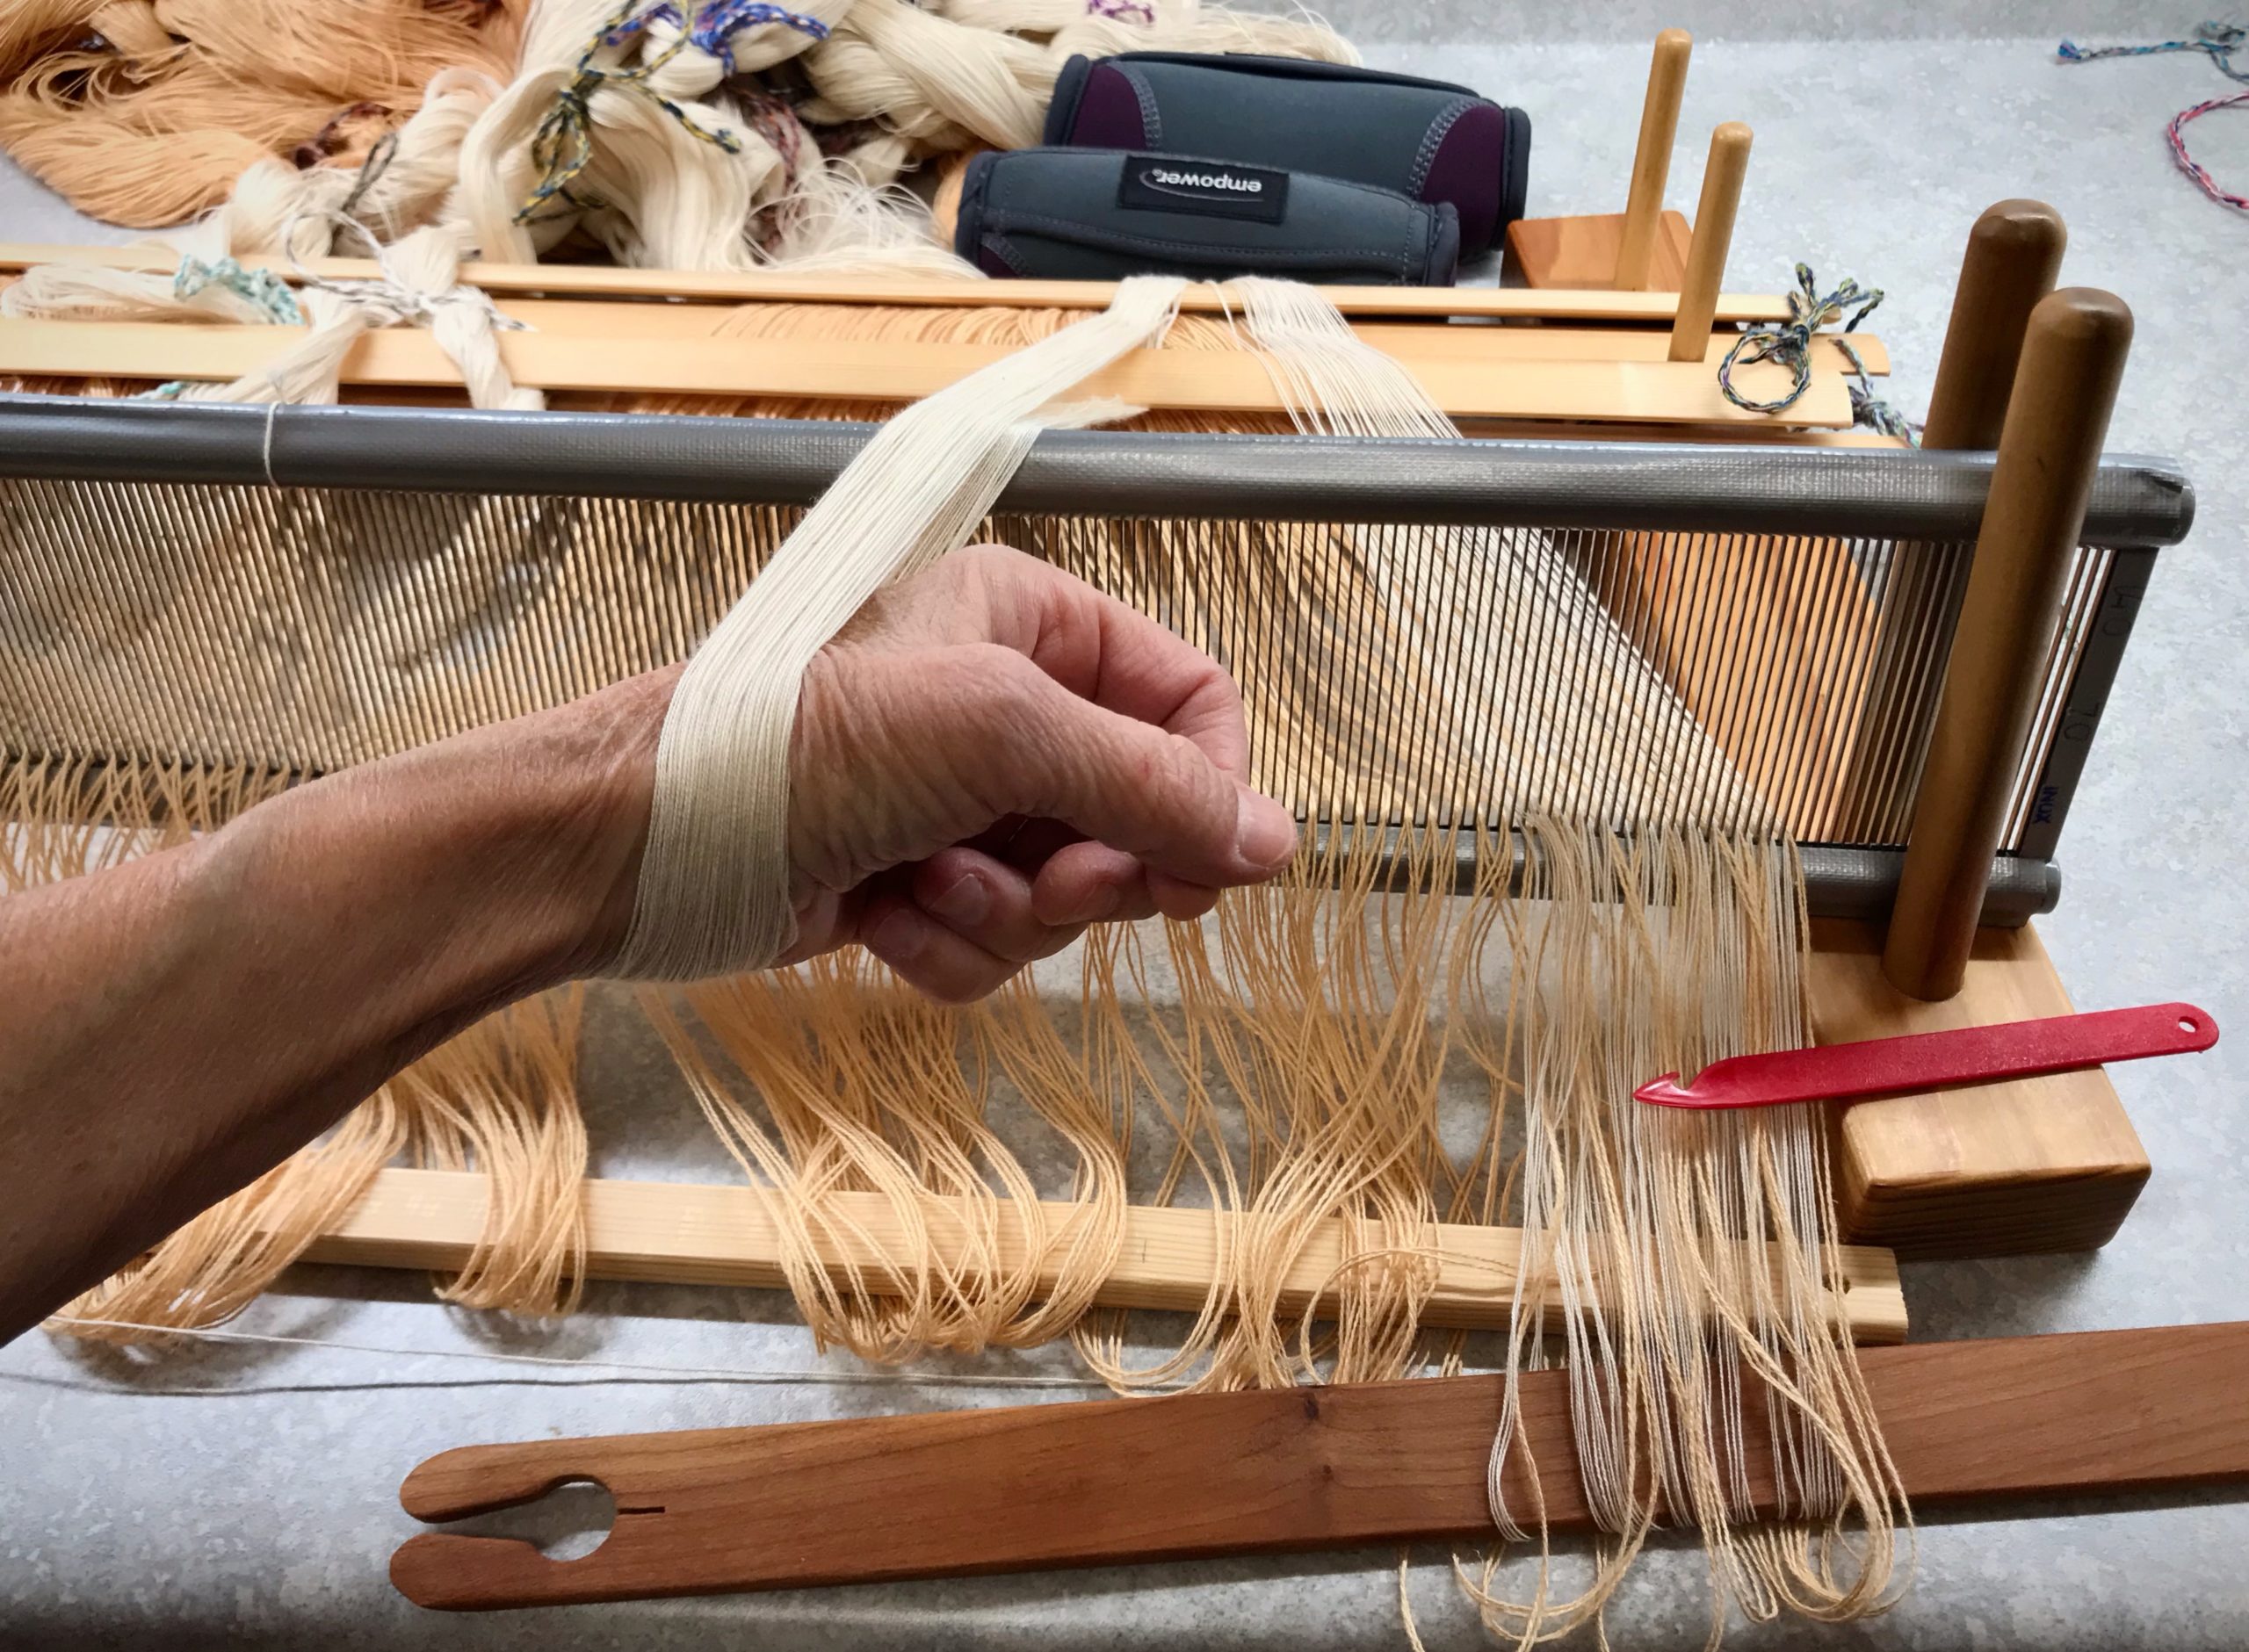
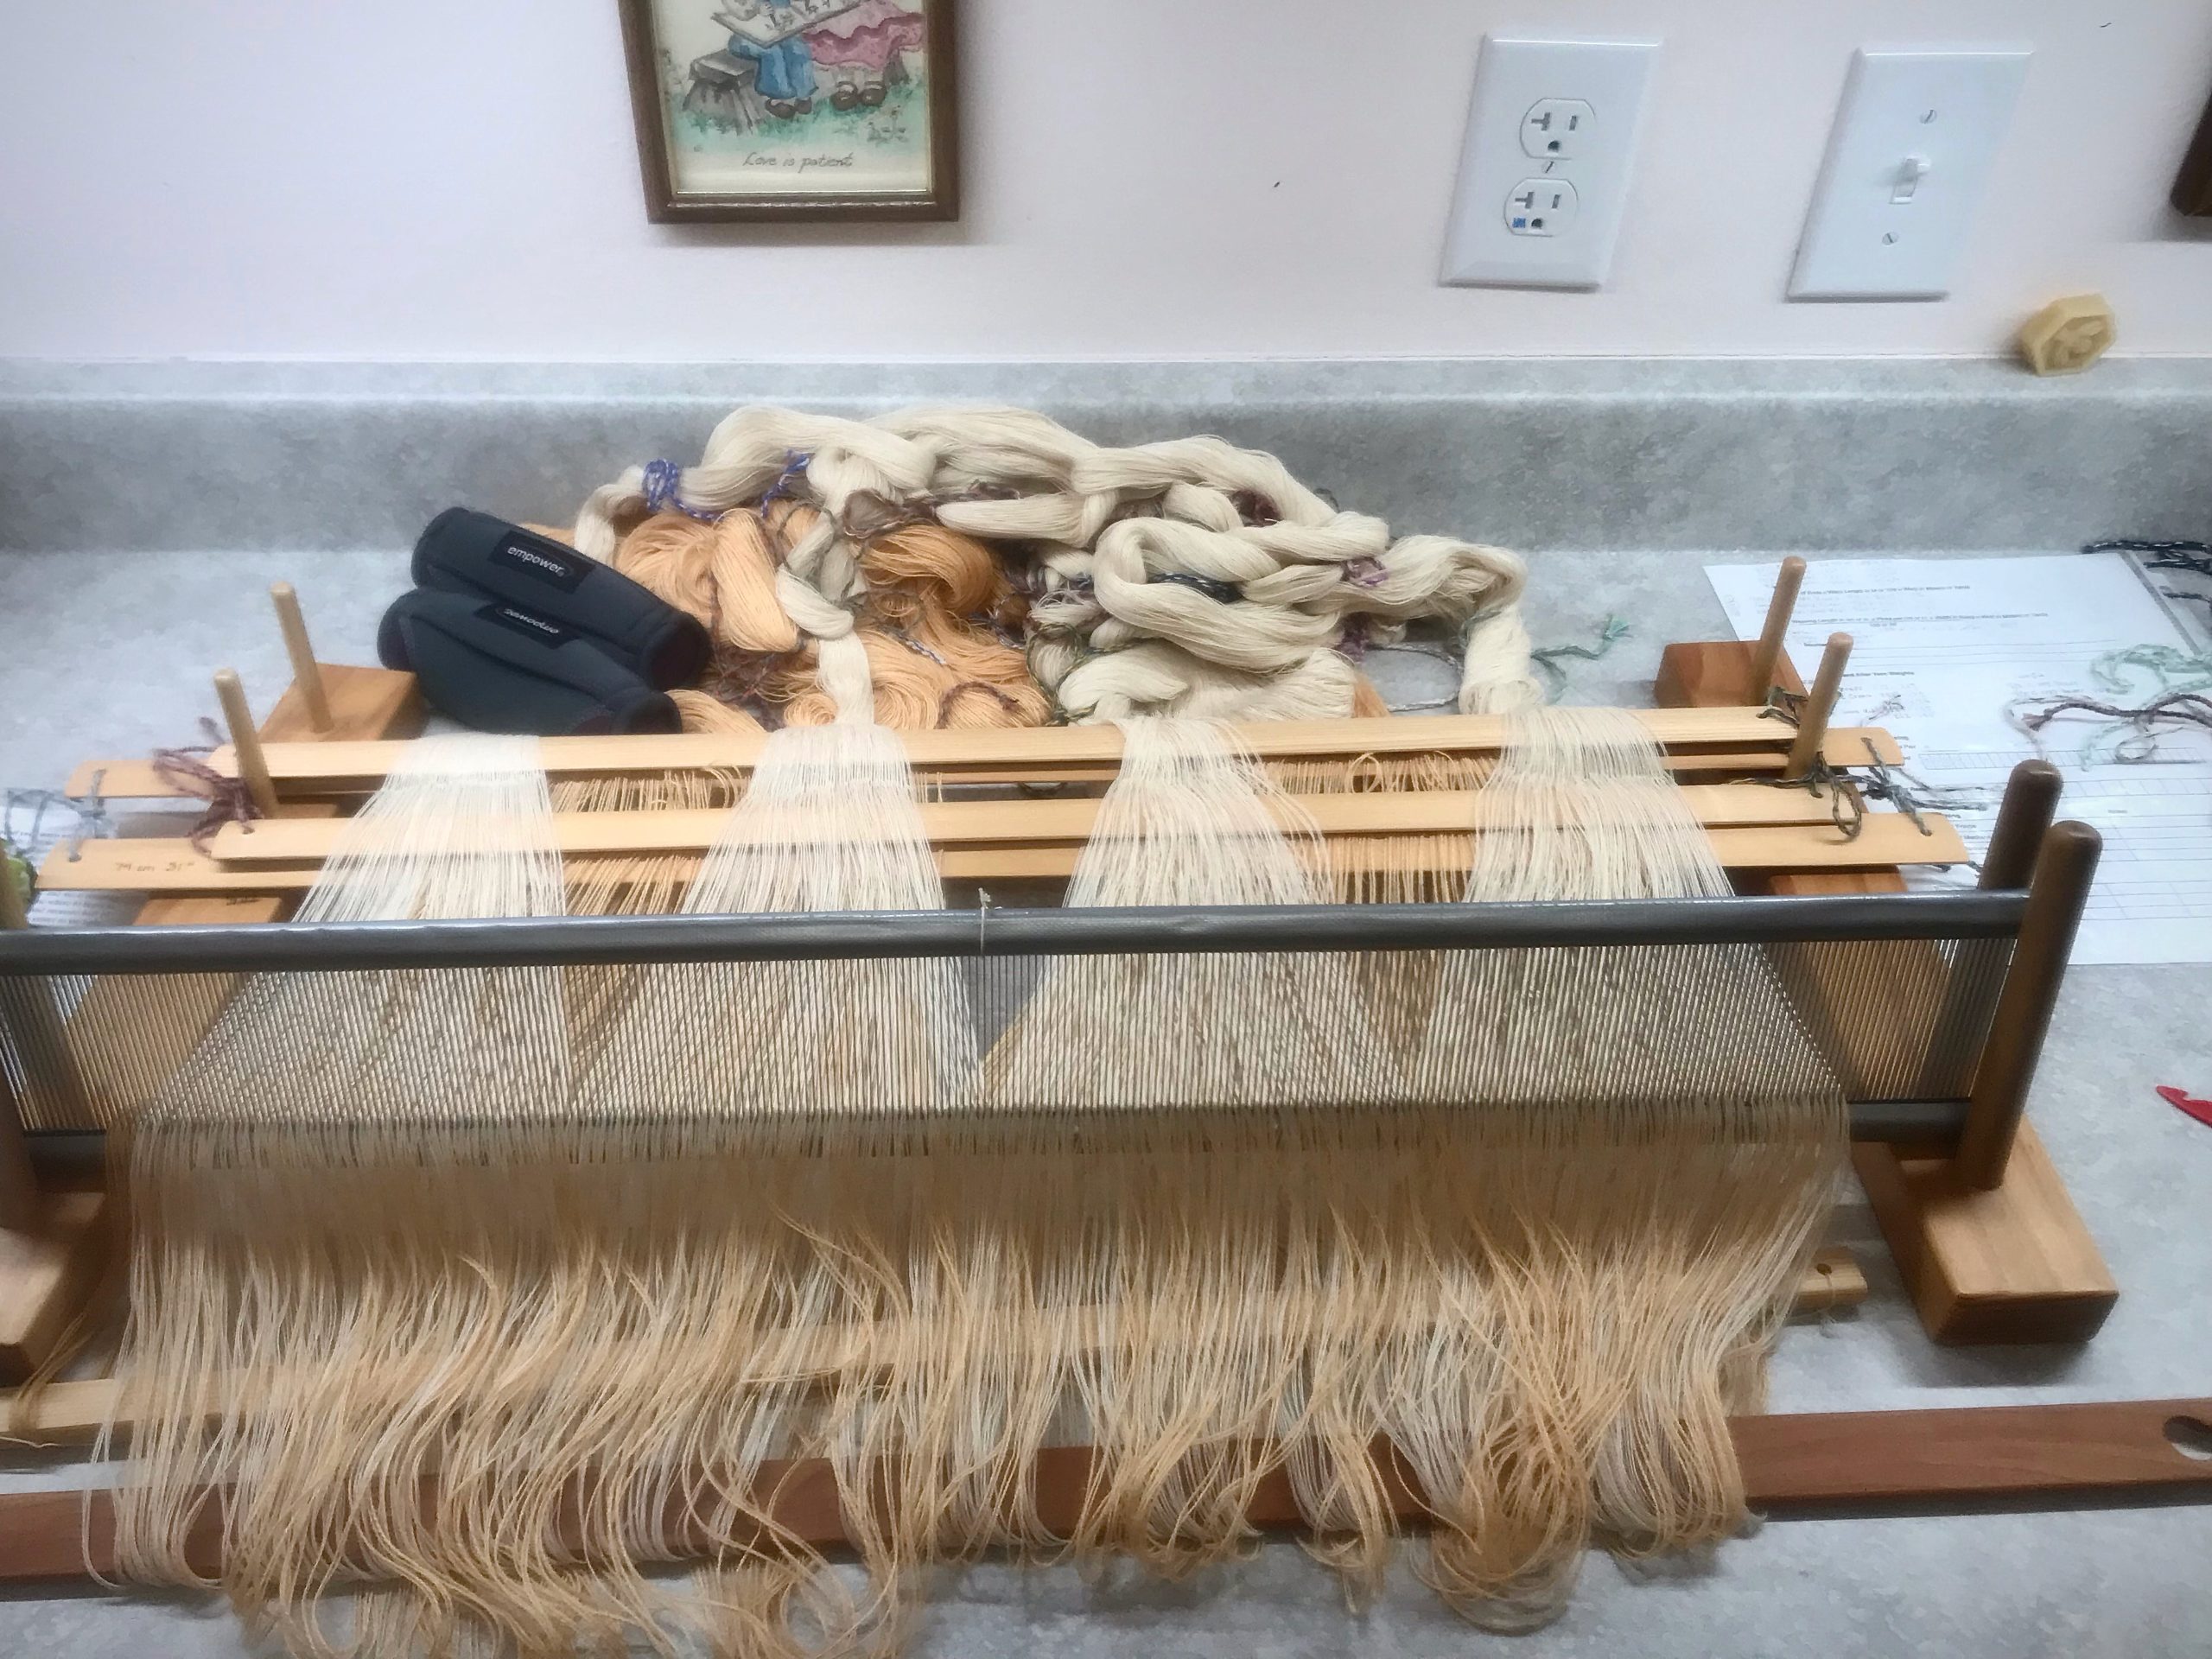
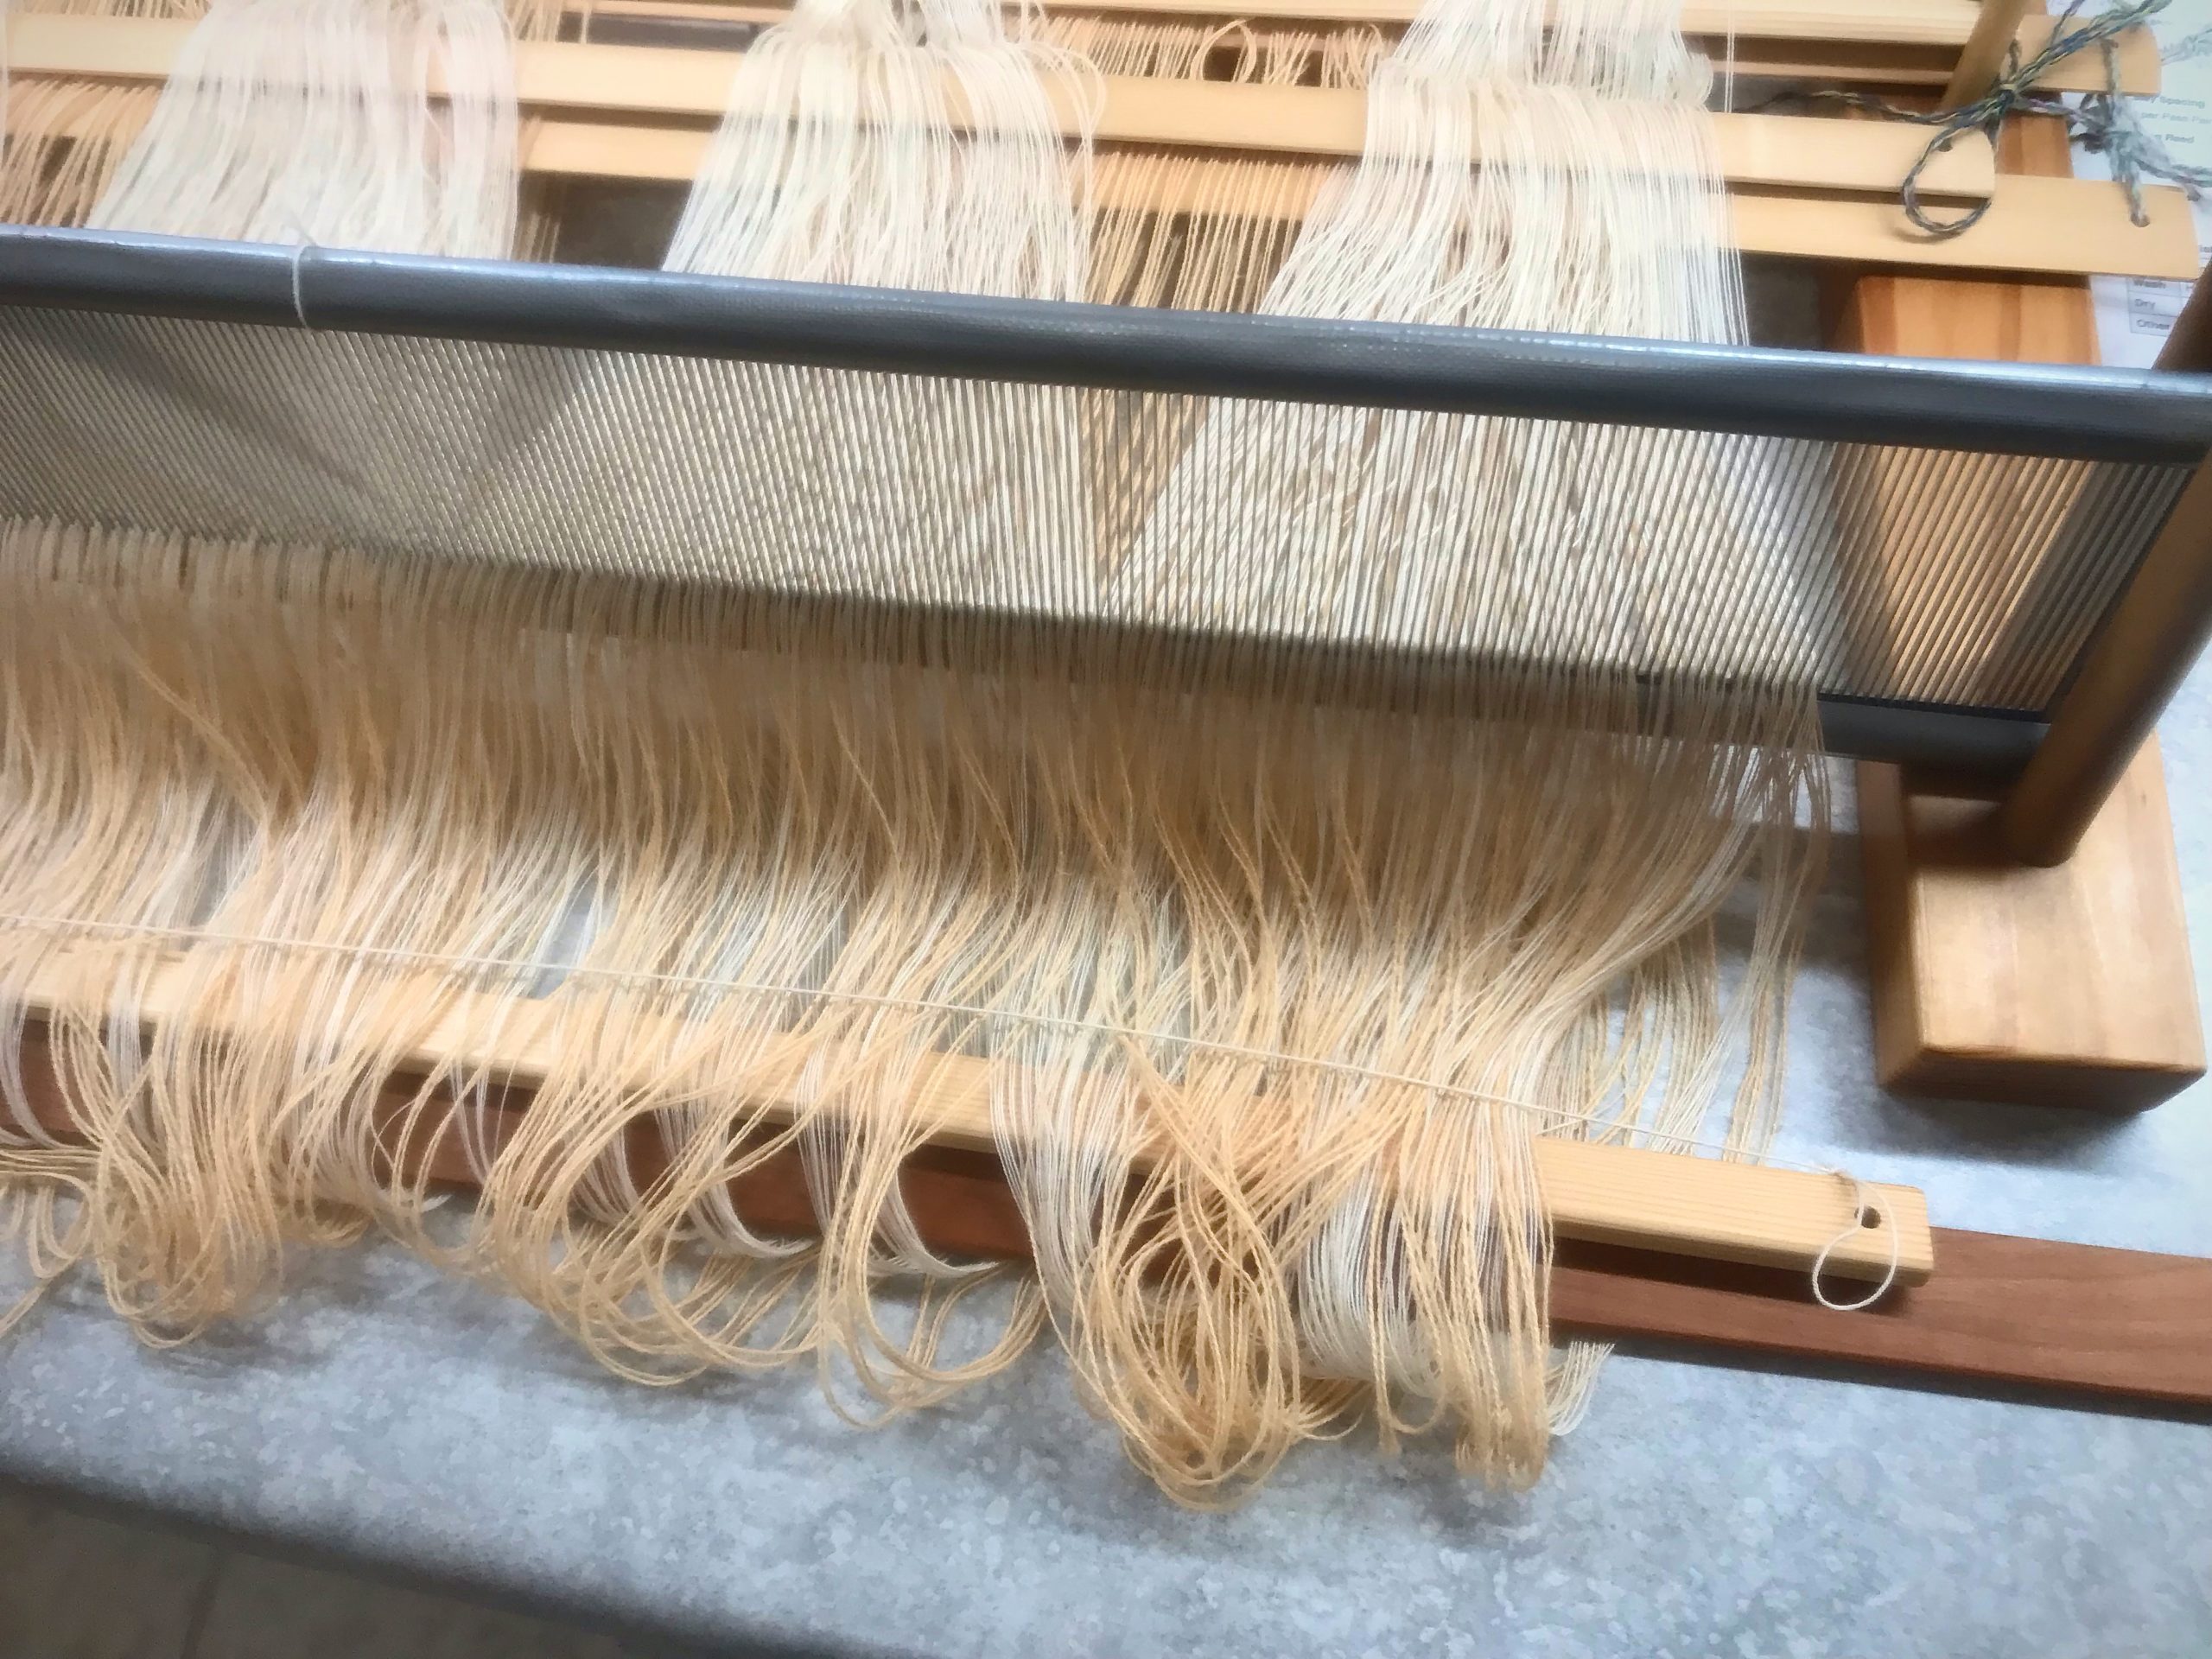
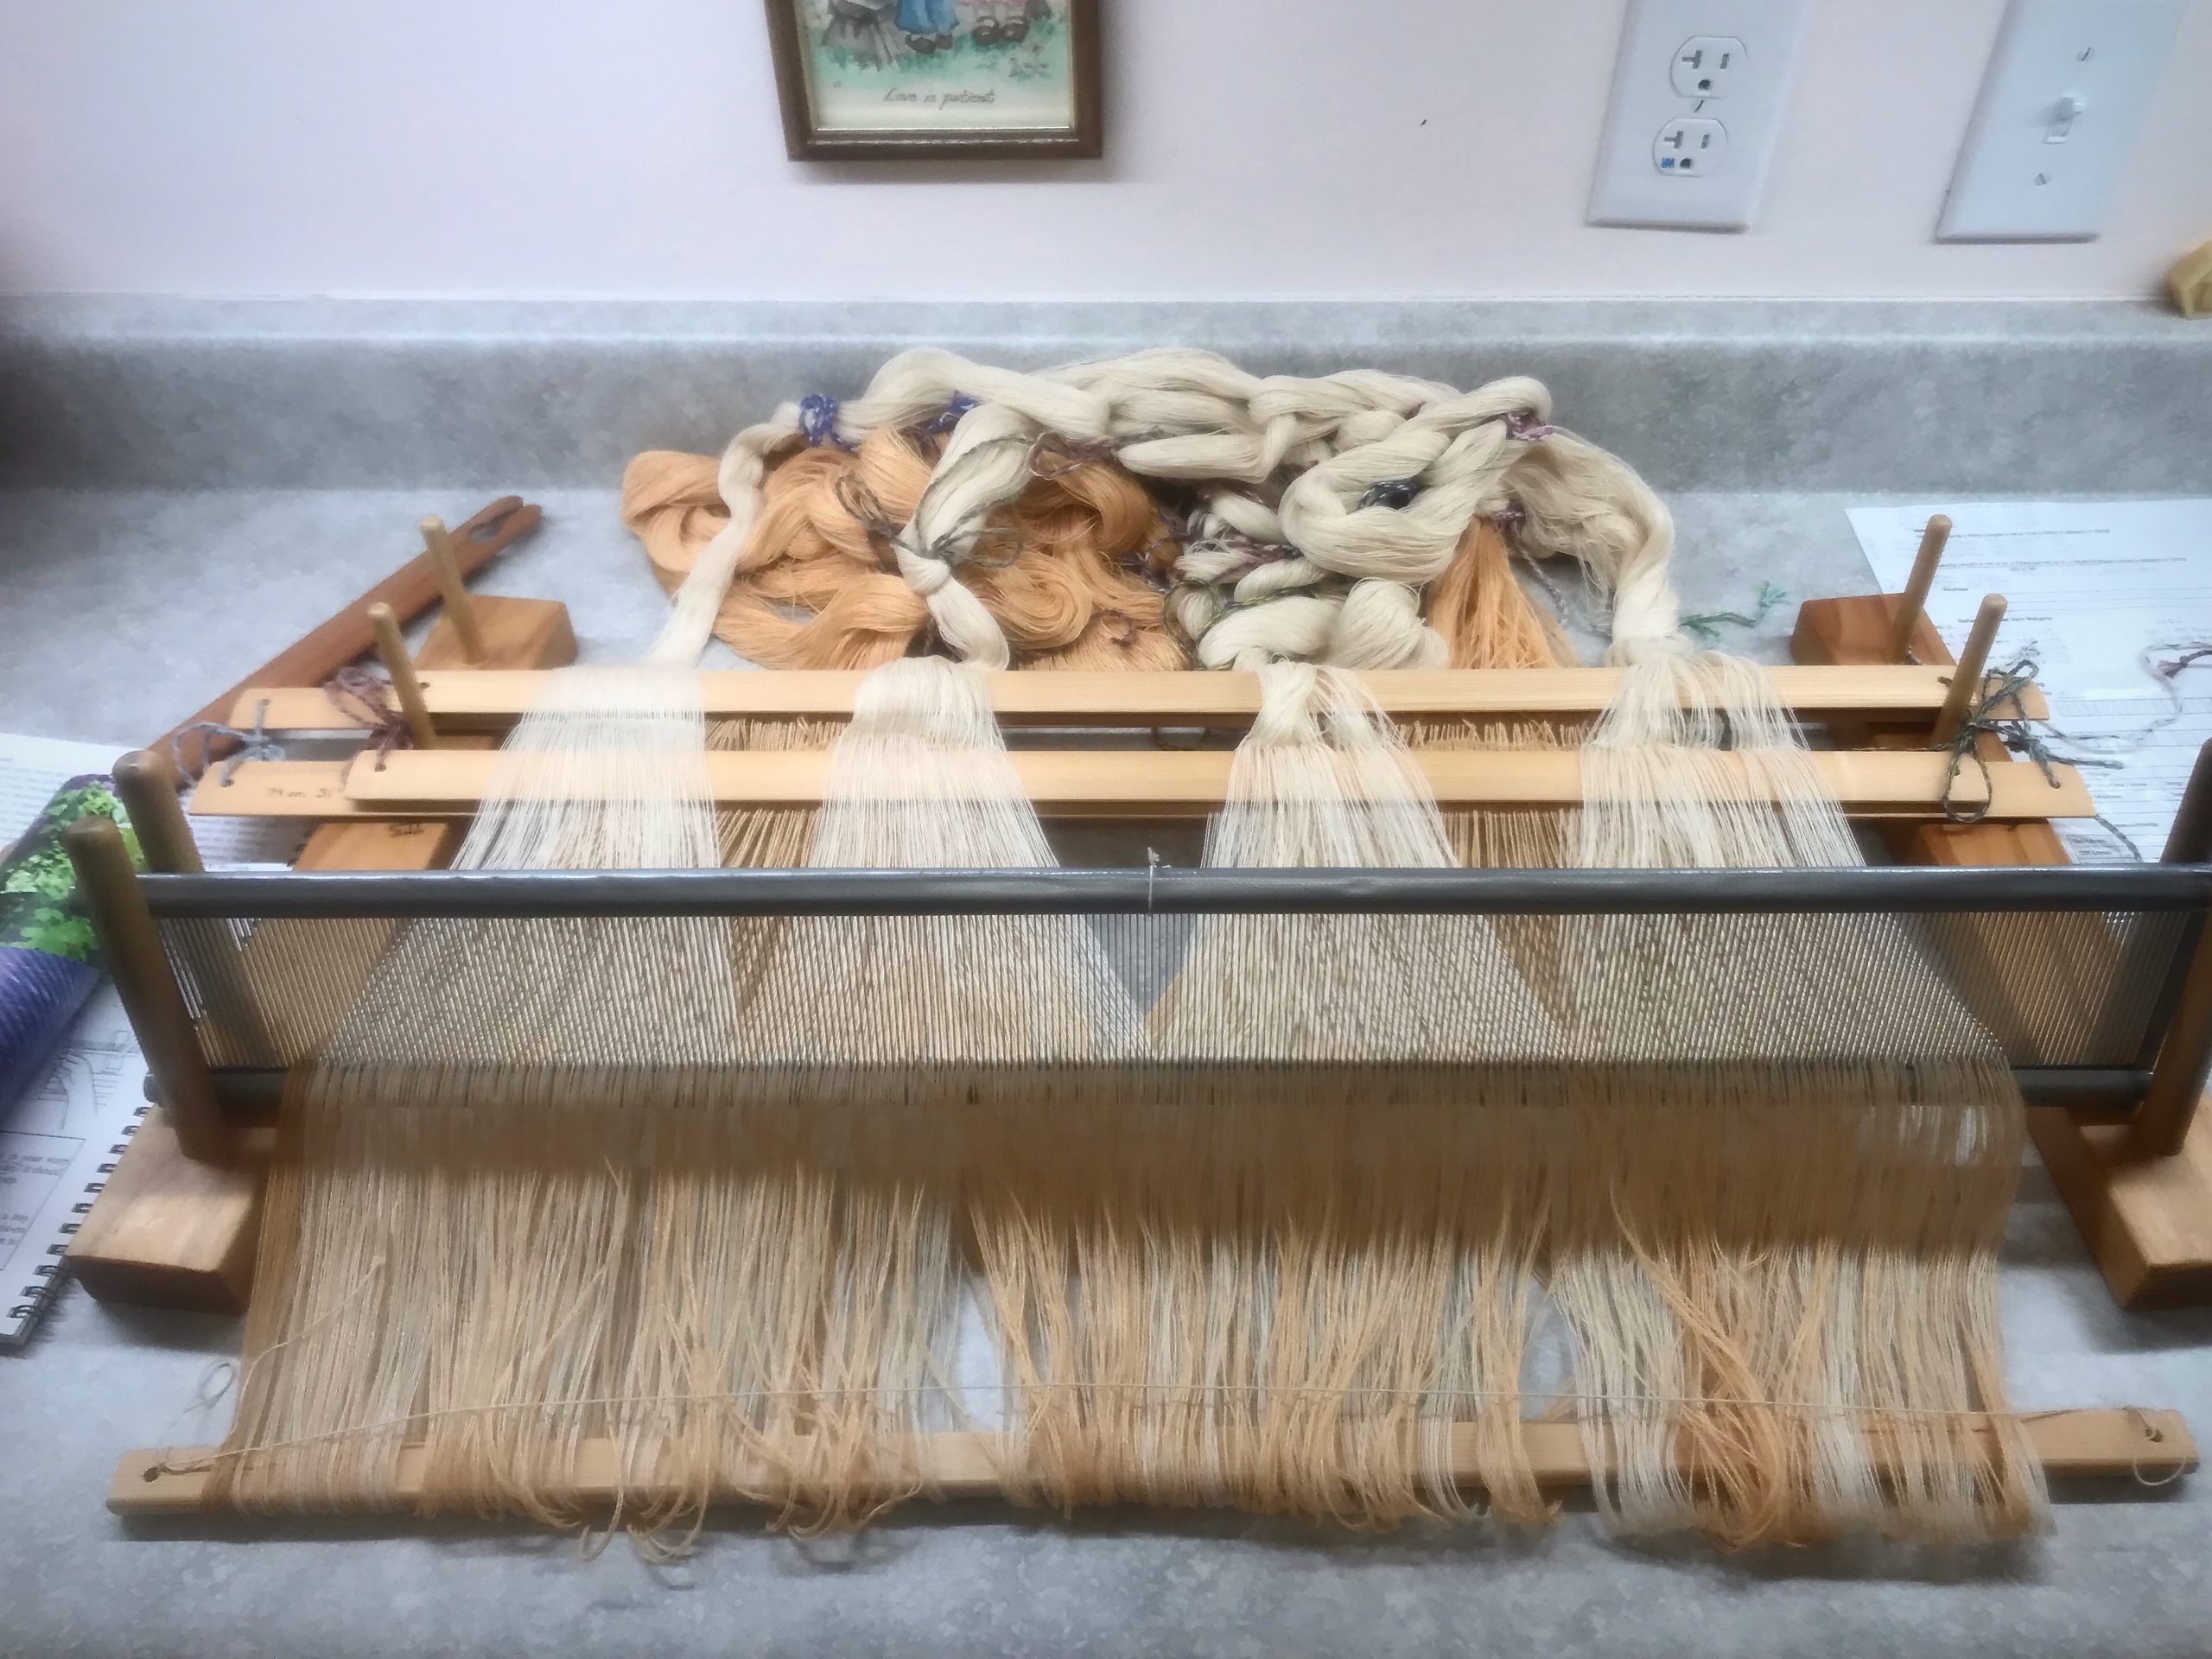
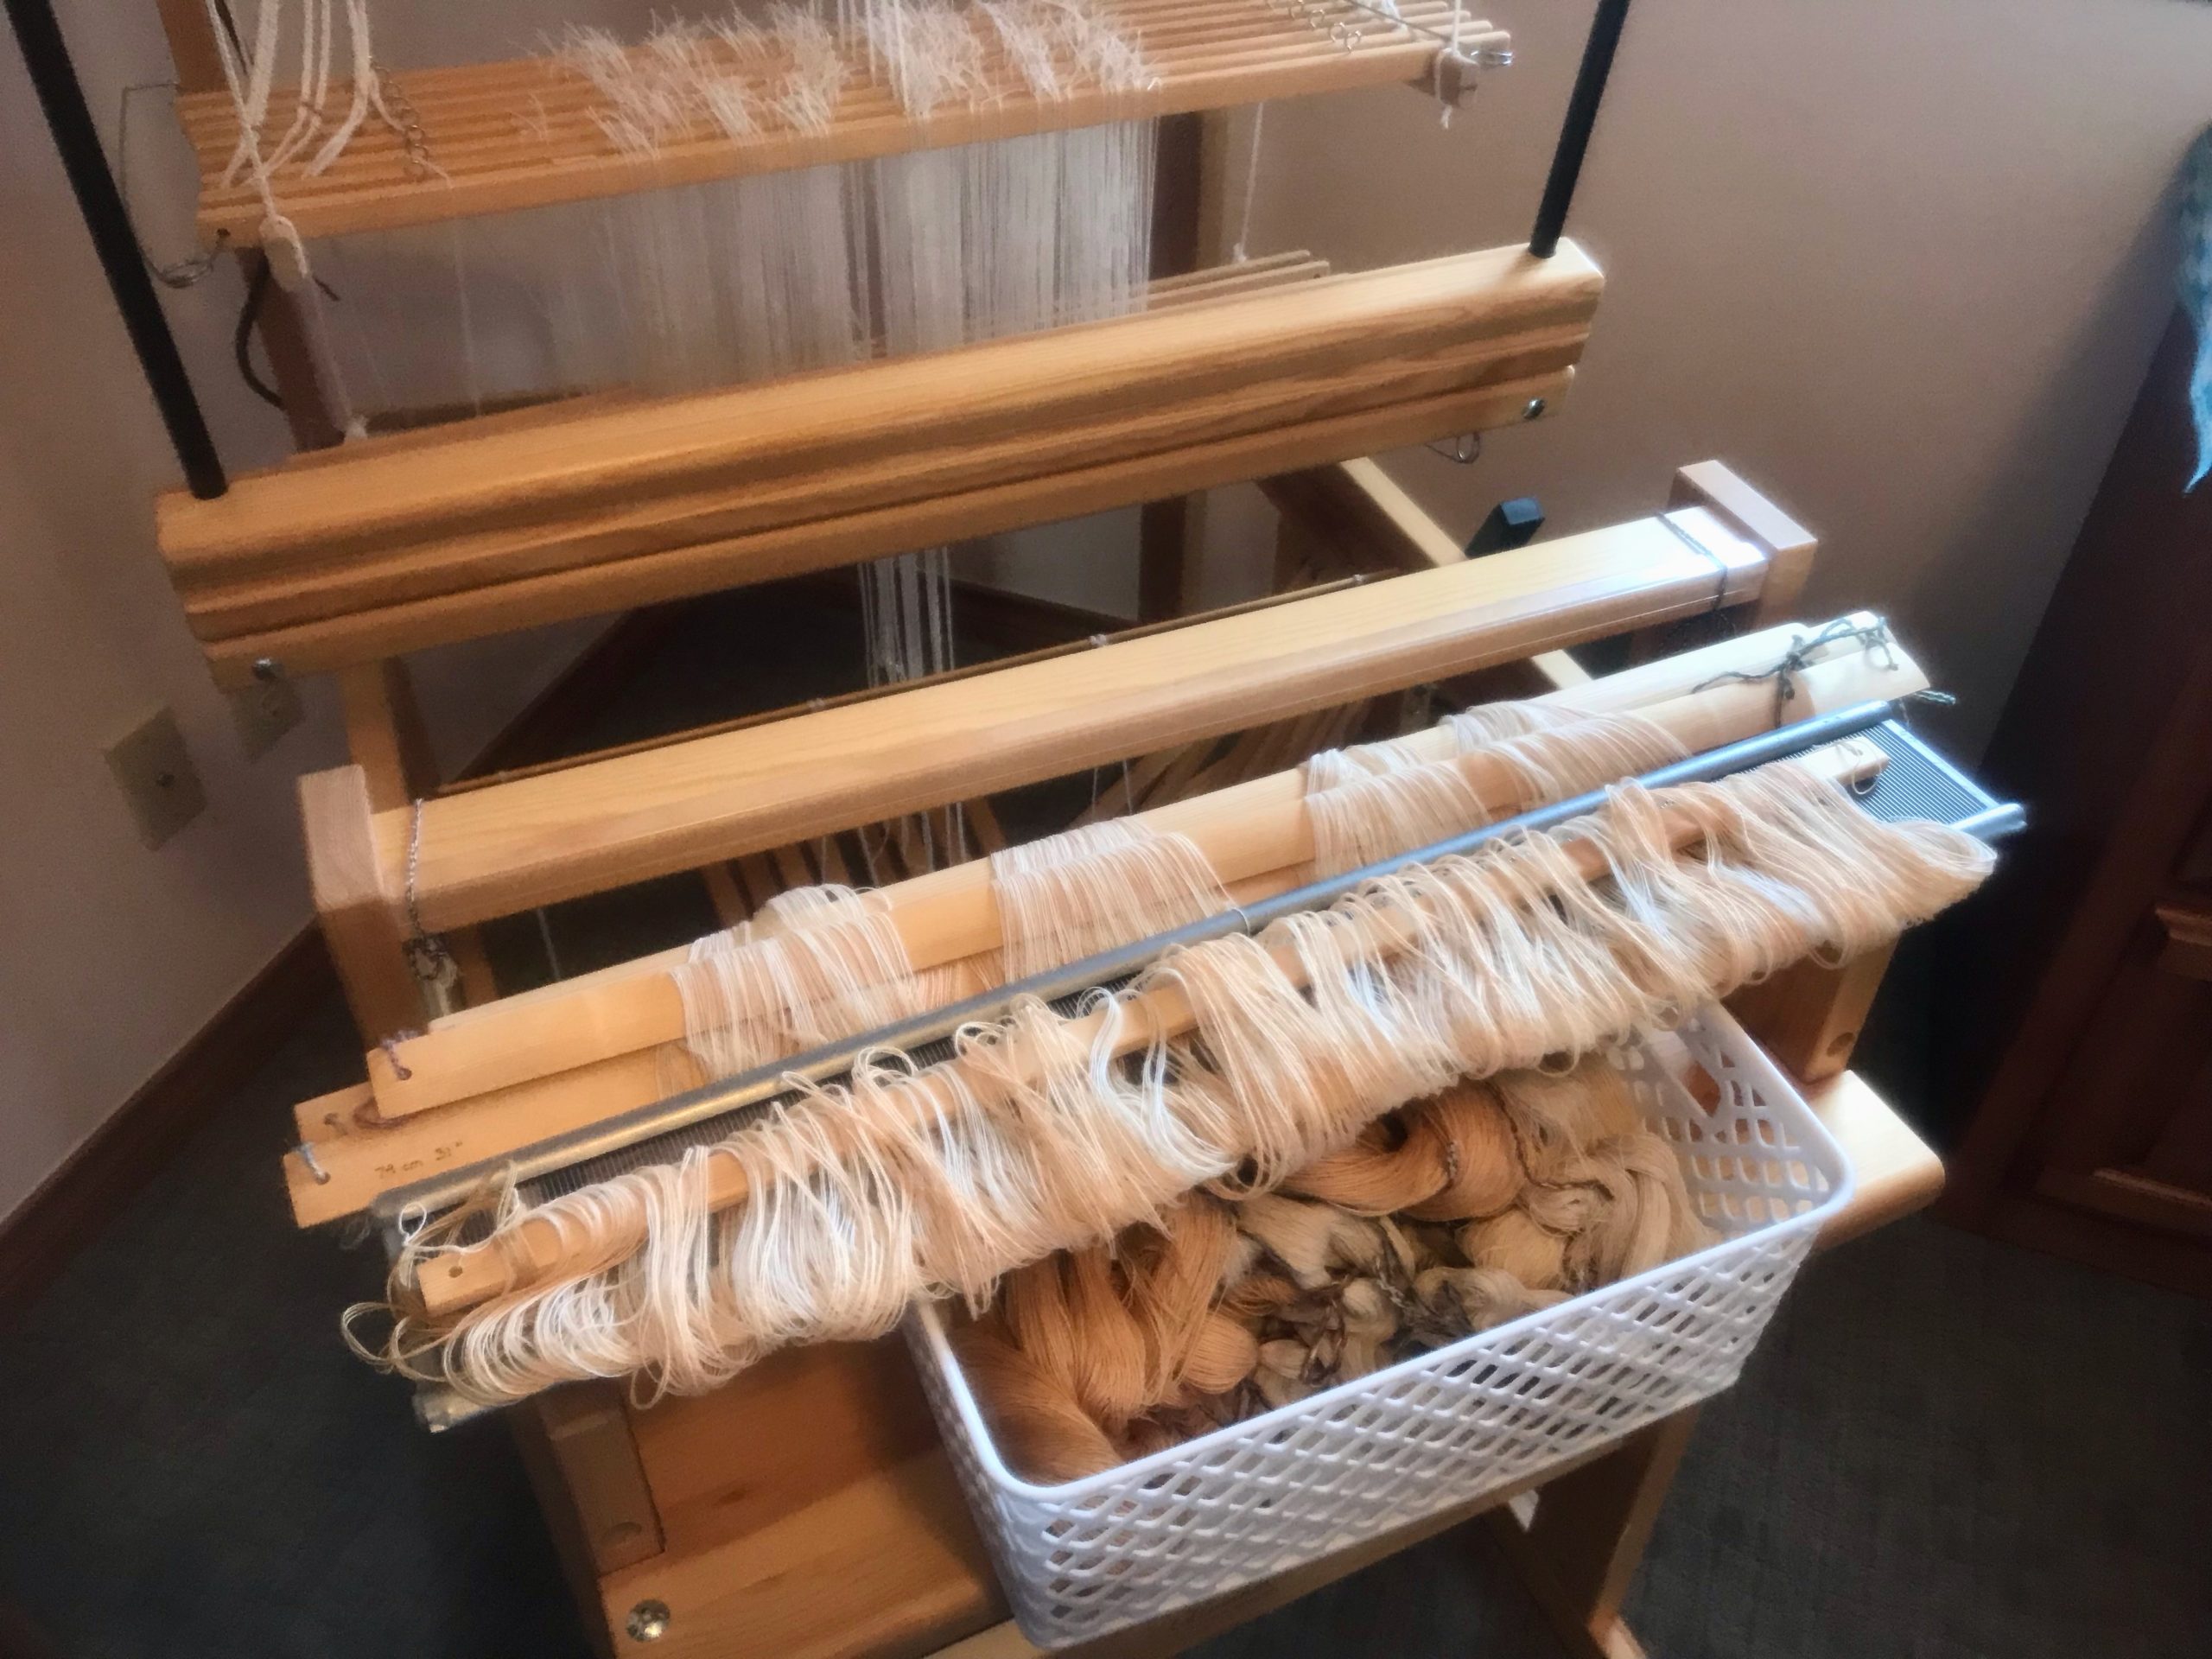
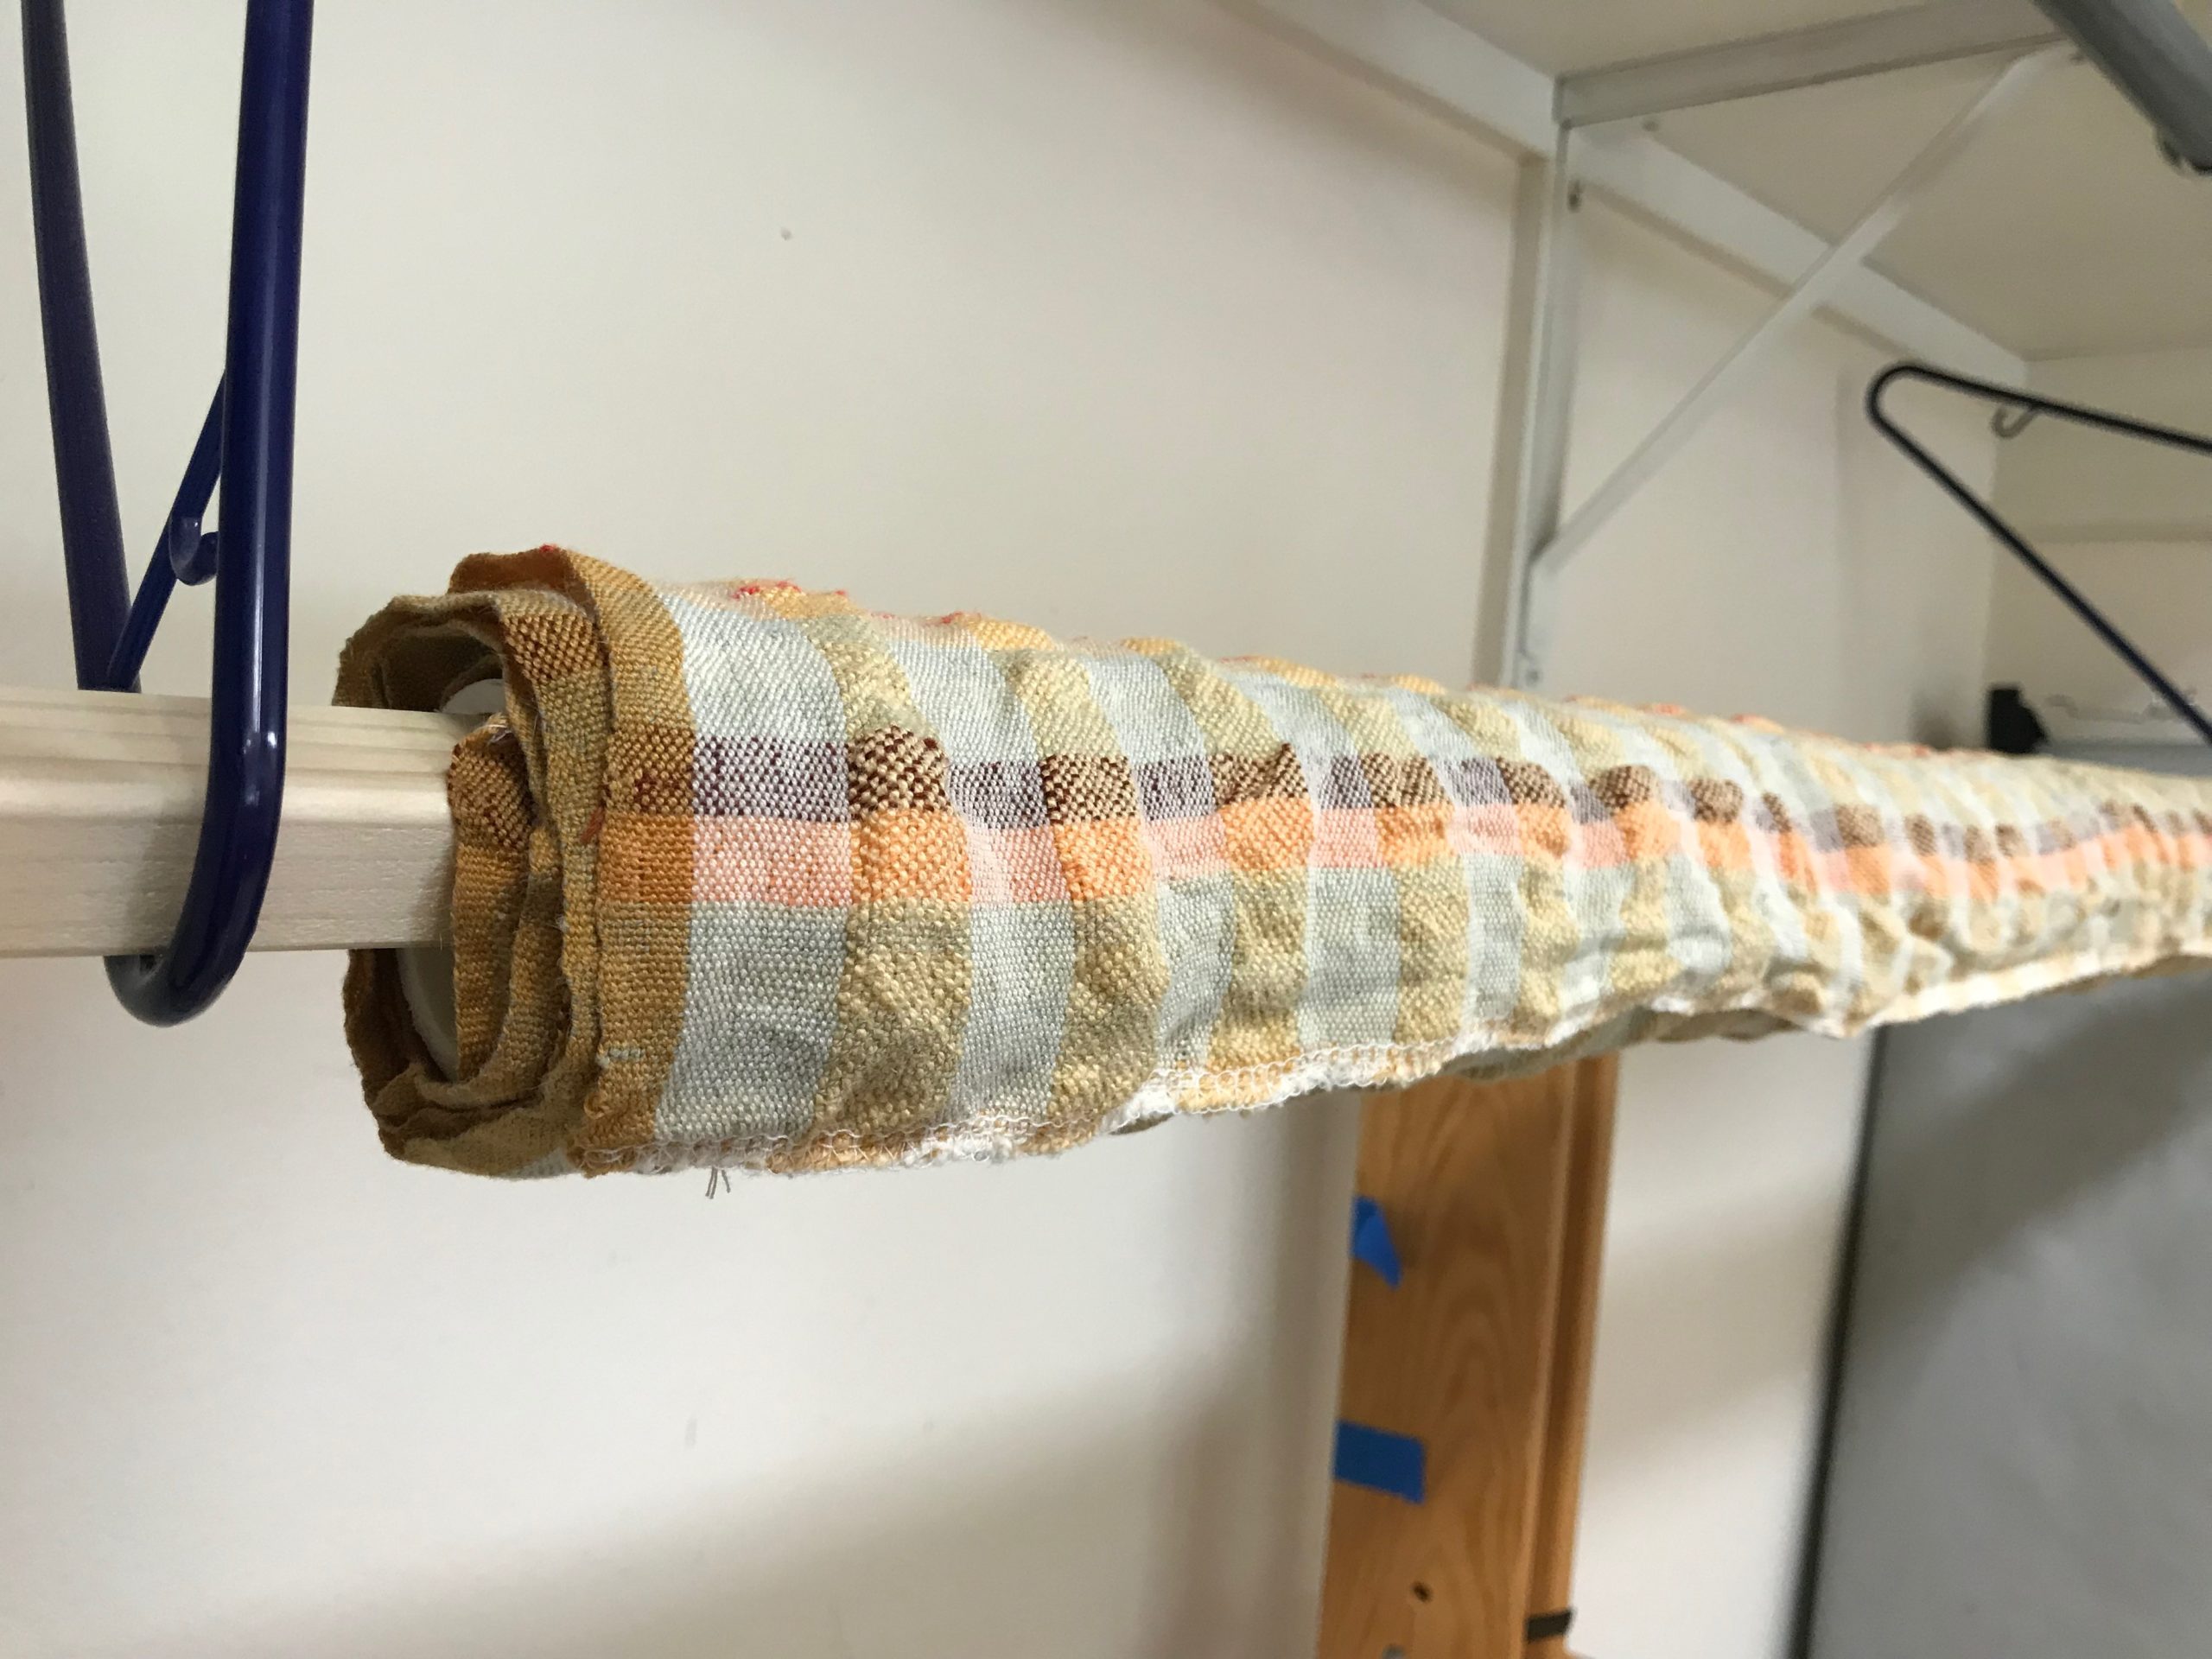
This is a challenging project. Double width, two warps, fine sett, nylon fishing line for selvedge ends at the fold, and “sticky warp” the whole way. After repeated frustrations, I resign myself to the thought of repairing hundreds of skipped threads after this comes off the loom. I have doubts that I will even be able to unfold the cloth all the way.

Fold line before washing and drying.

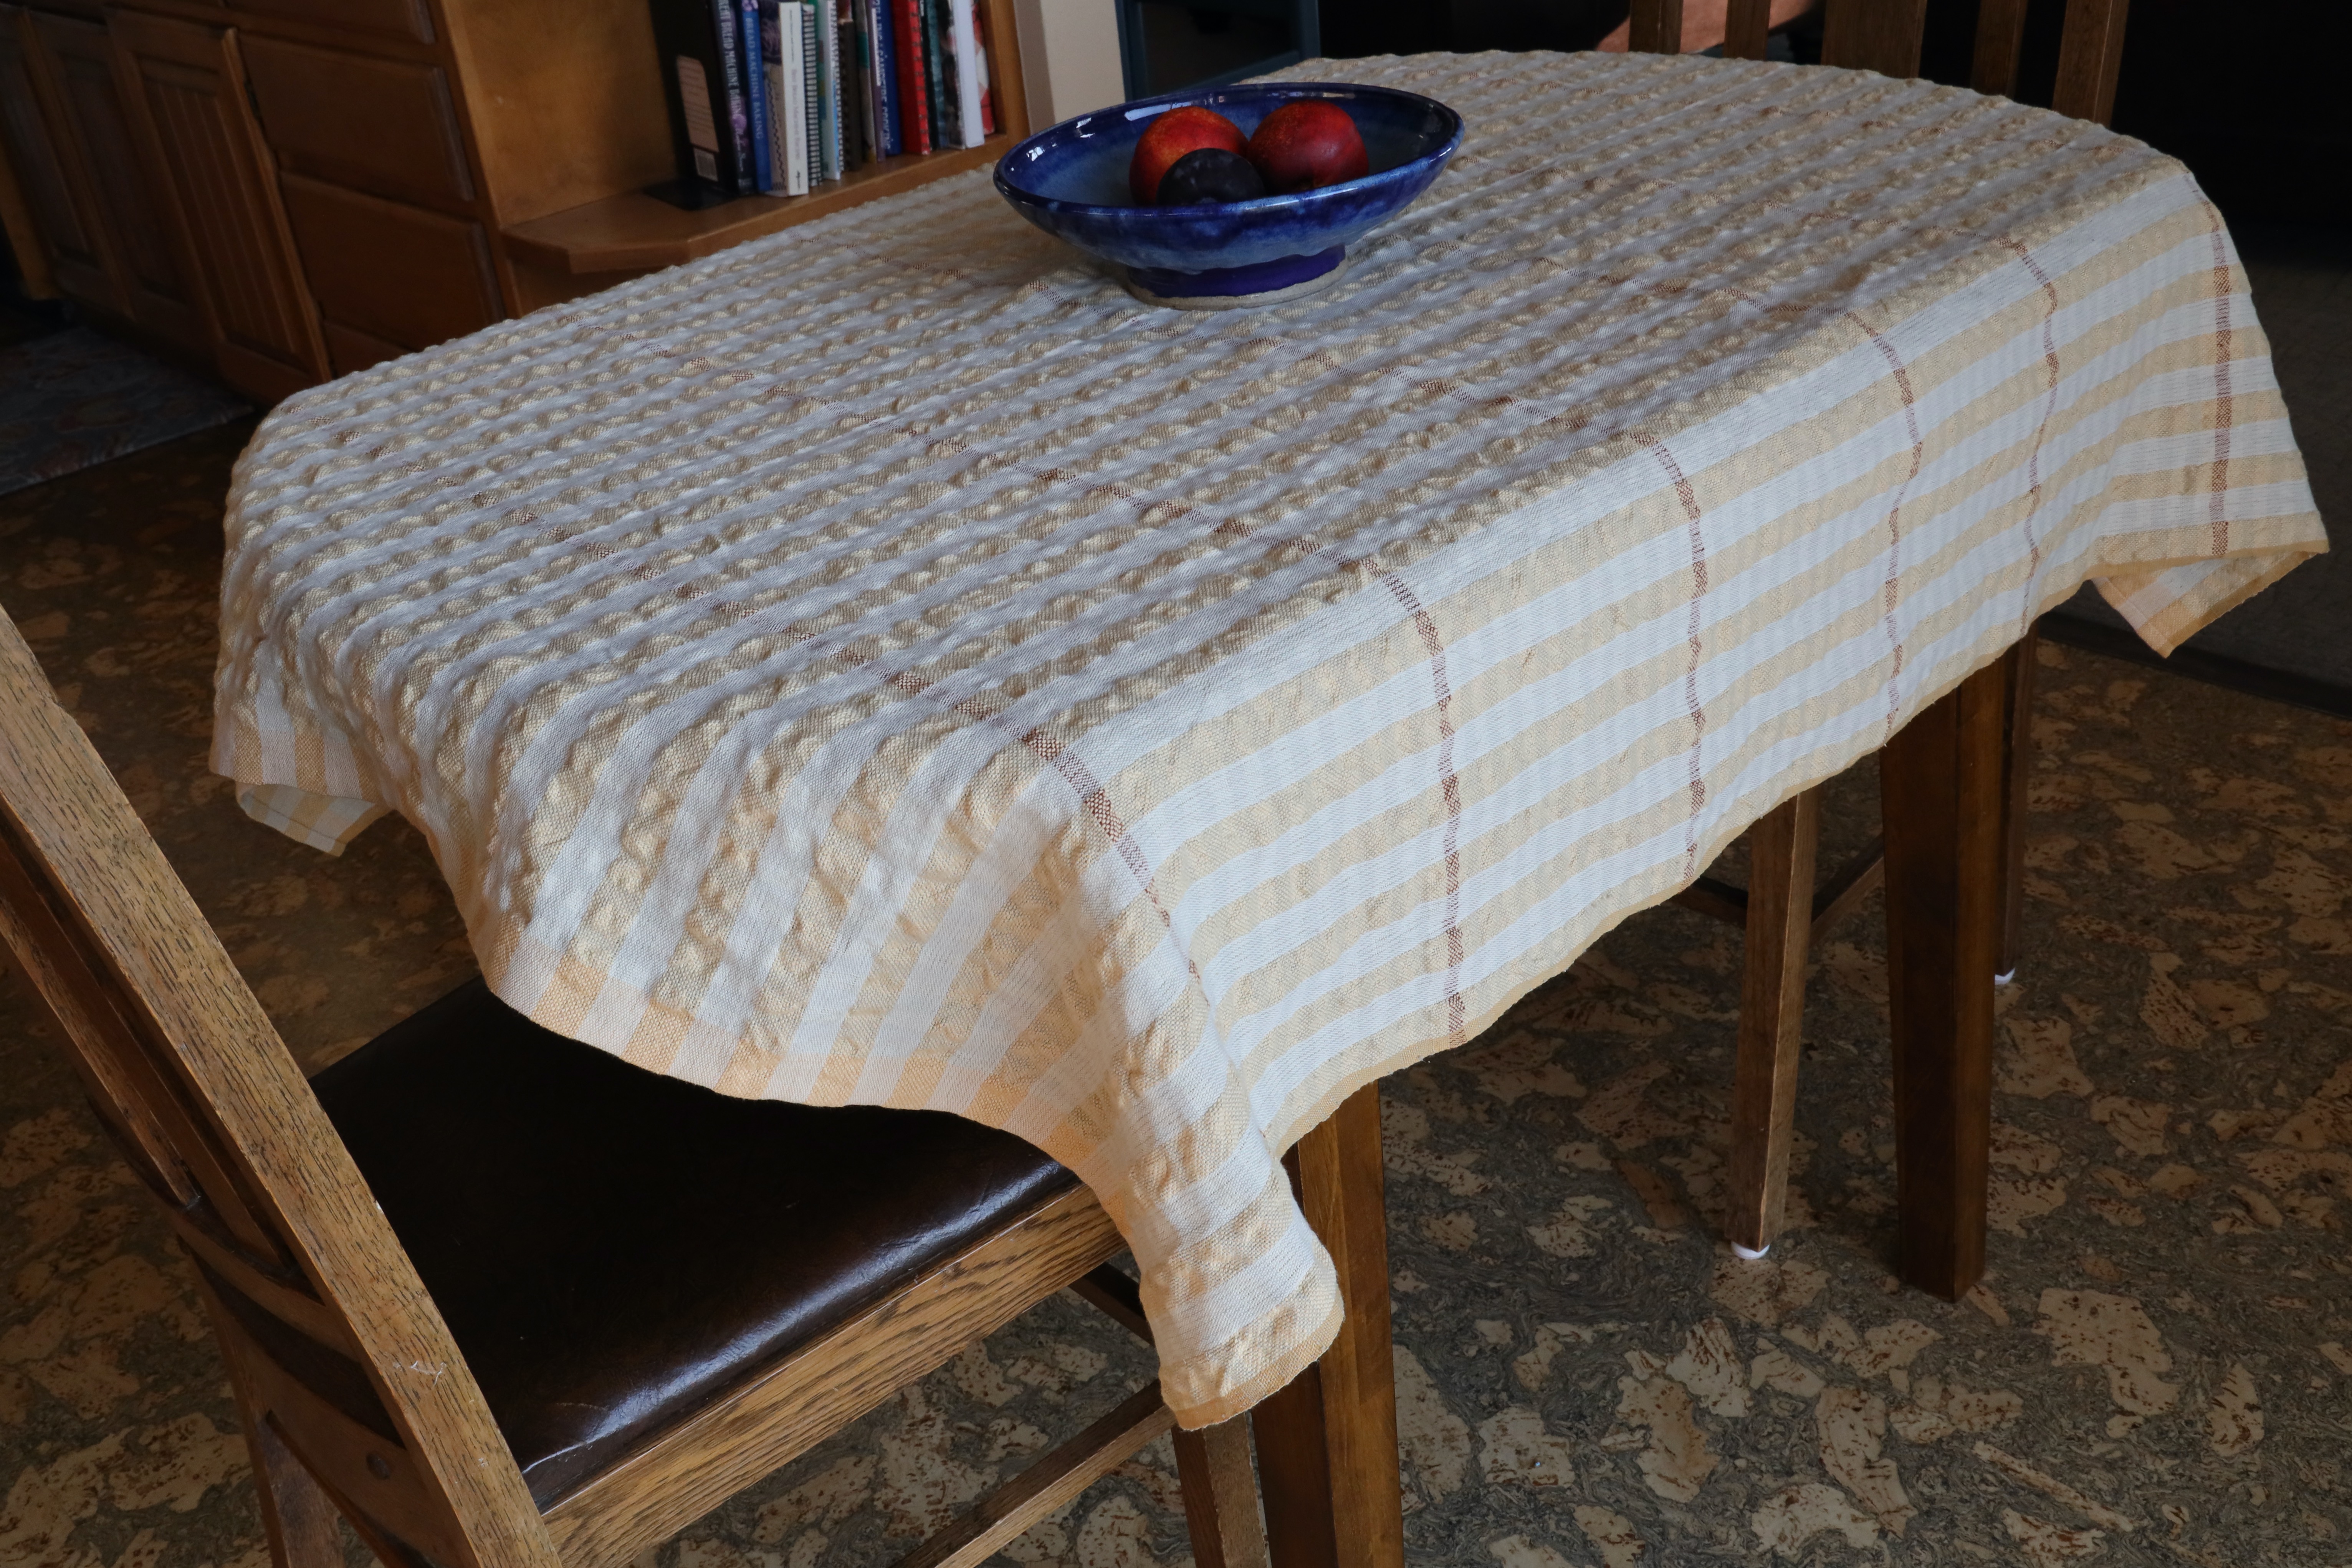
Whew! Was I wrong! I had far fewer skipped-thread repairs than I expected (only about 15). And the finished tablecloth is a gleeful ending to a what-did-I-get-myself-into adventure.

After being washed, the cloth is rolled up on a 1 1/2″ PVC pipe and hung to dry.
Fold line after washing and drying is barely noticeable.
Summer puckered tablecloth lends cheer to the room.

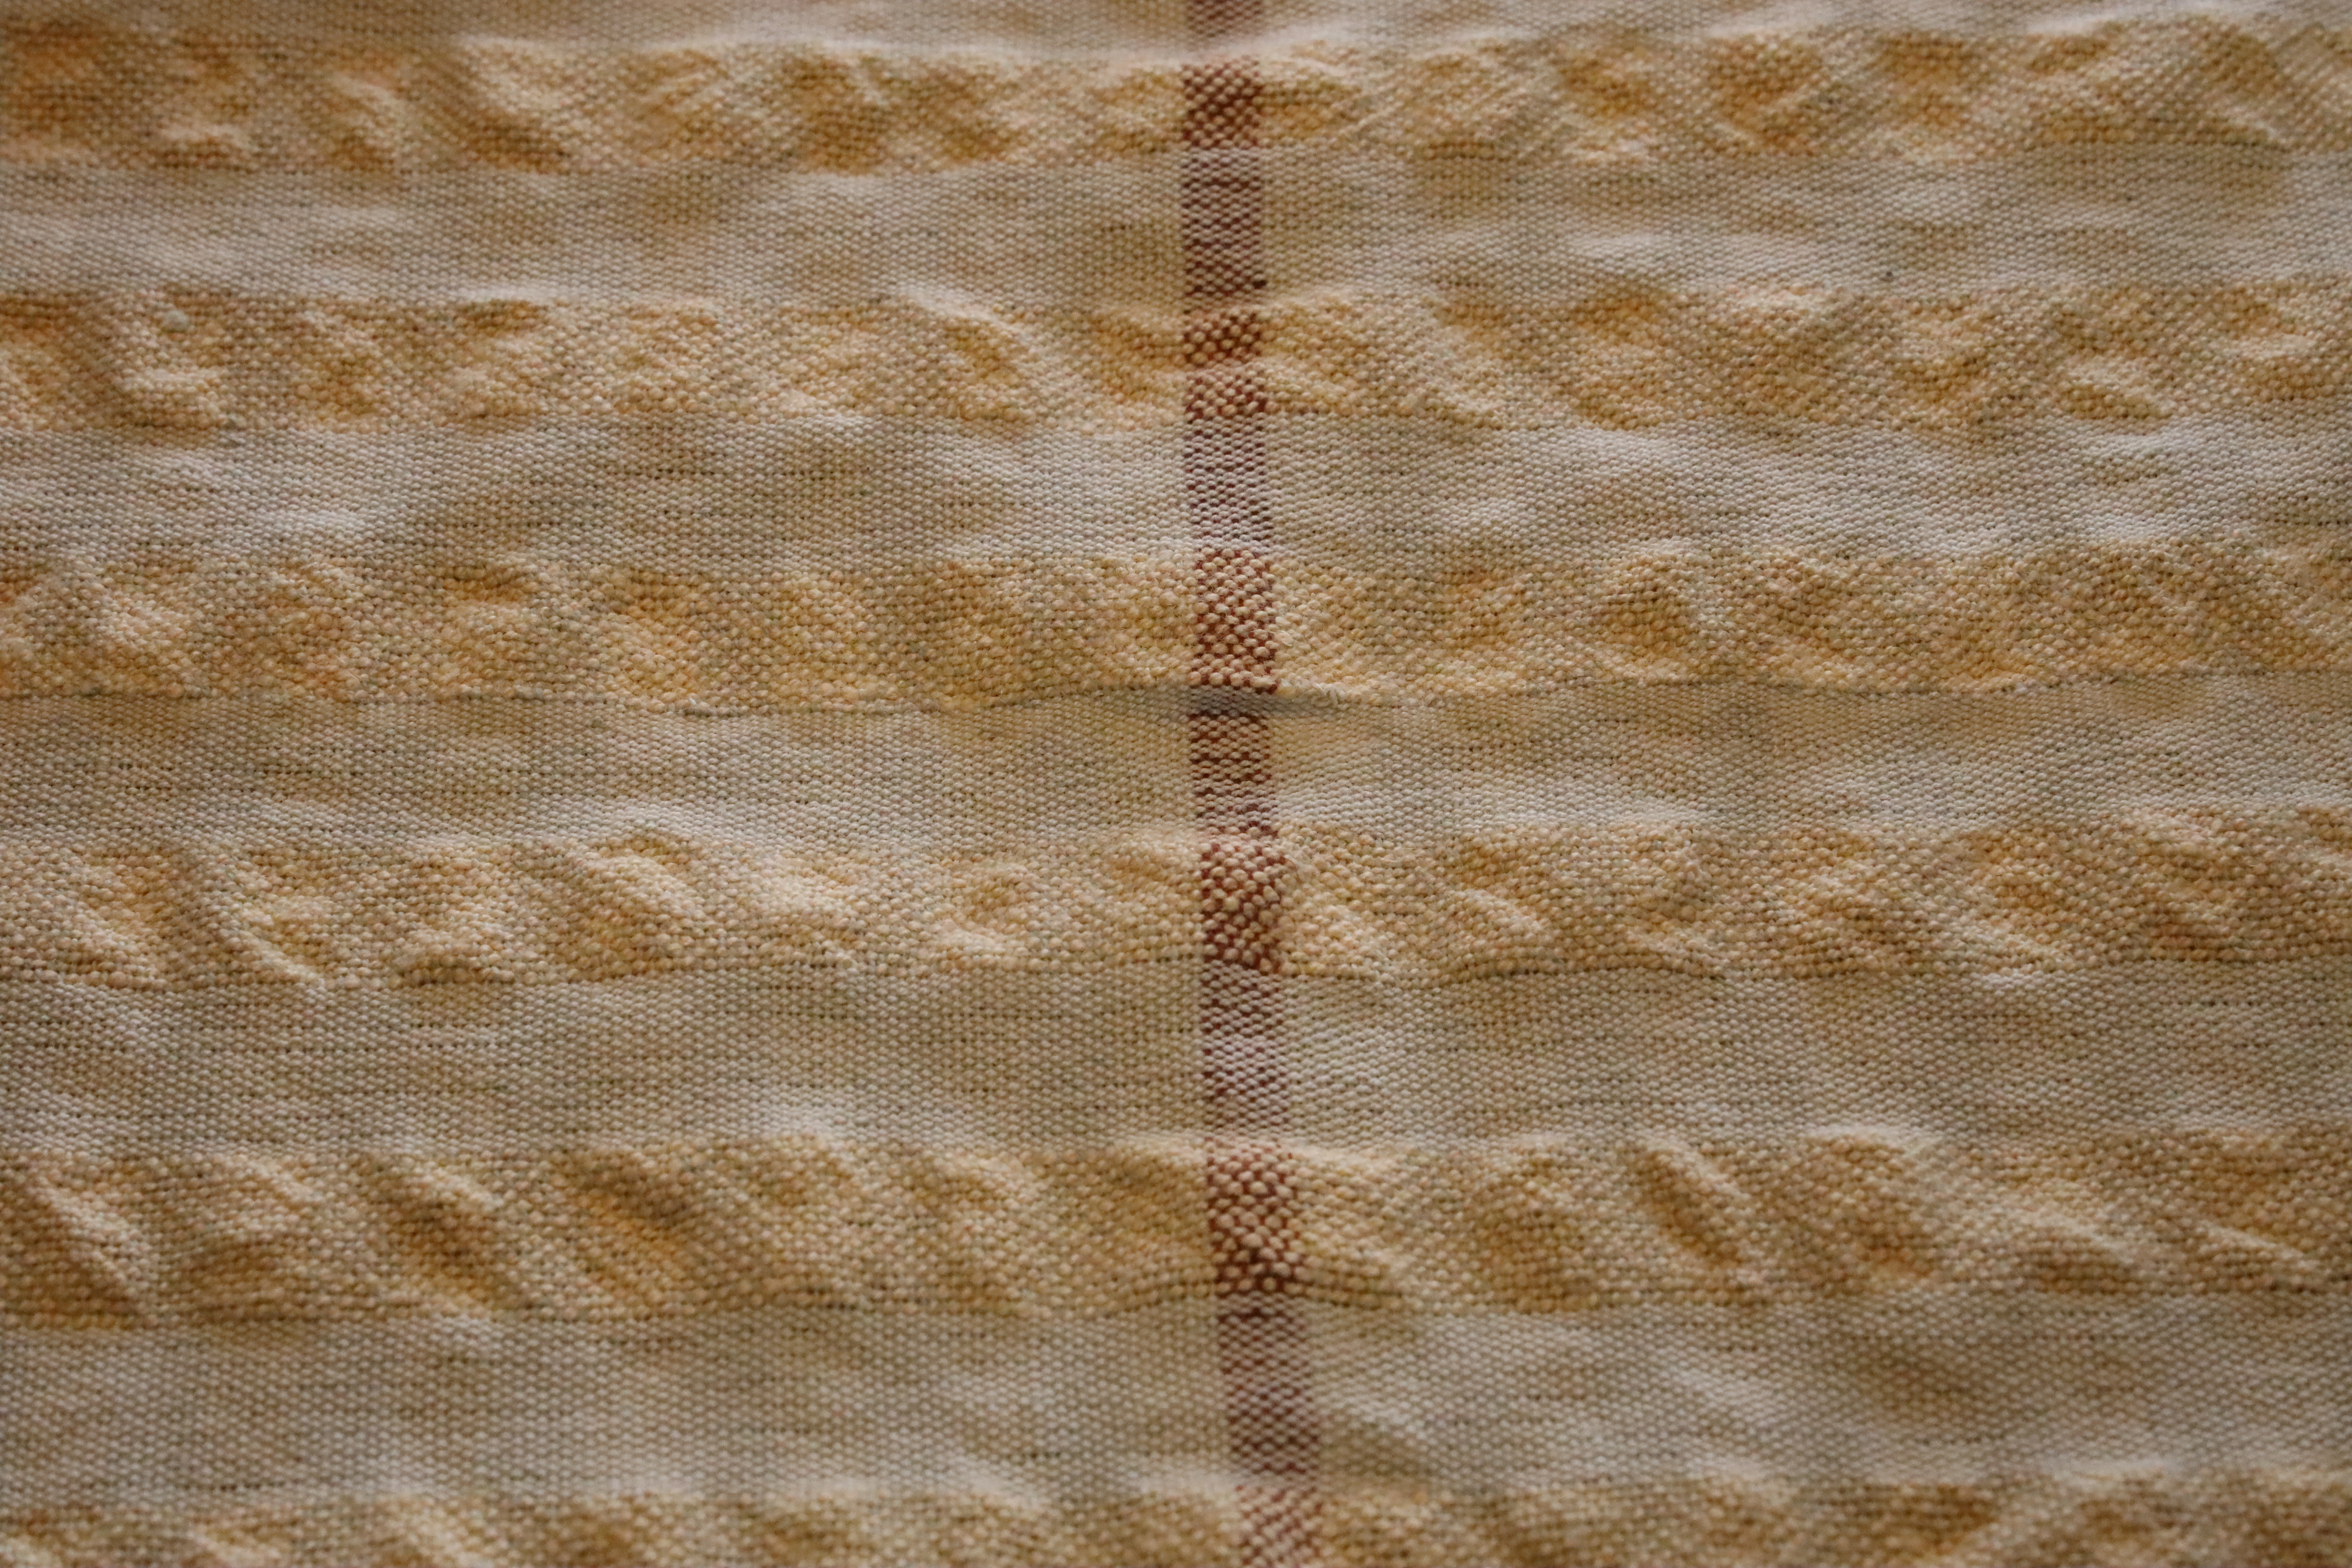
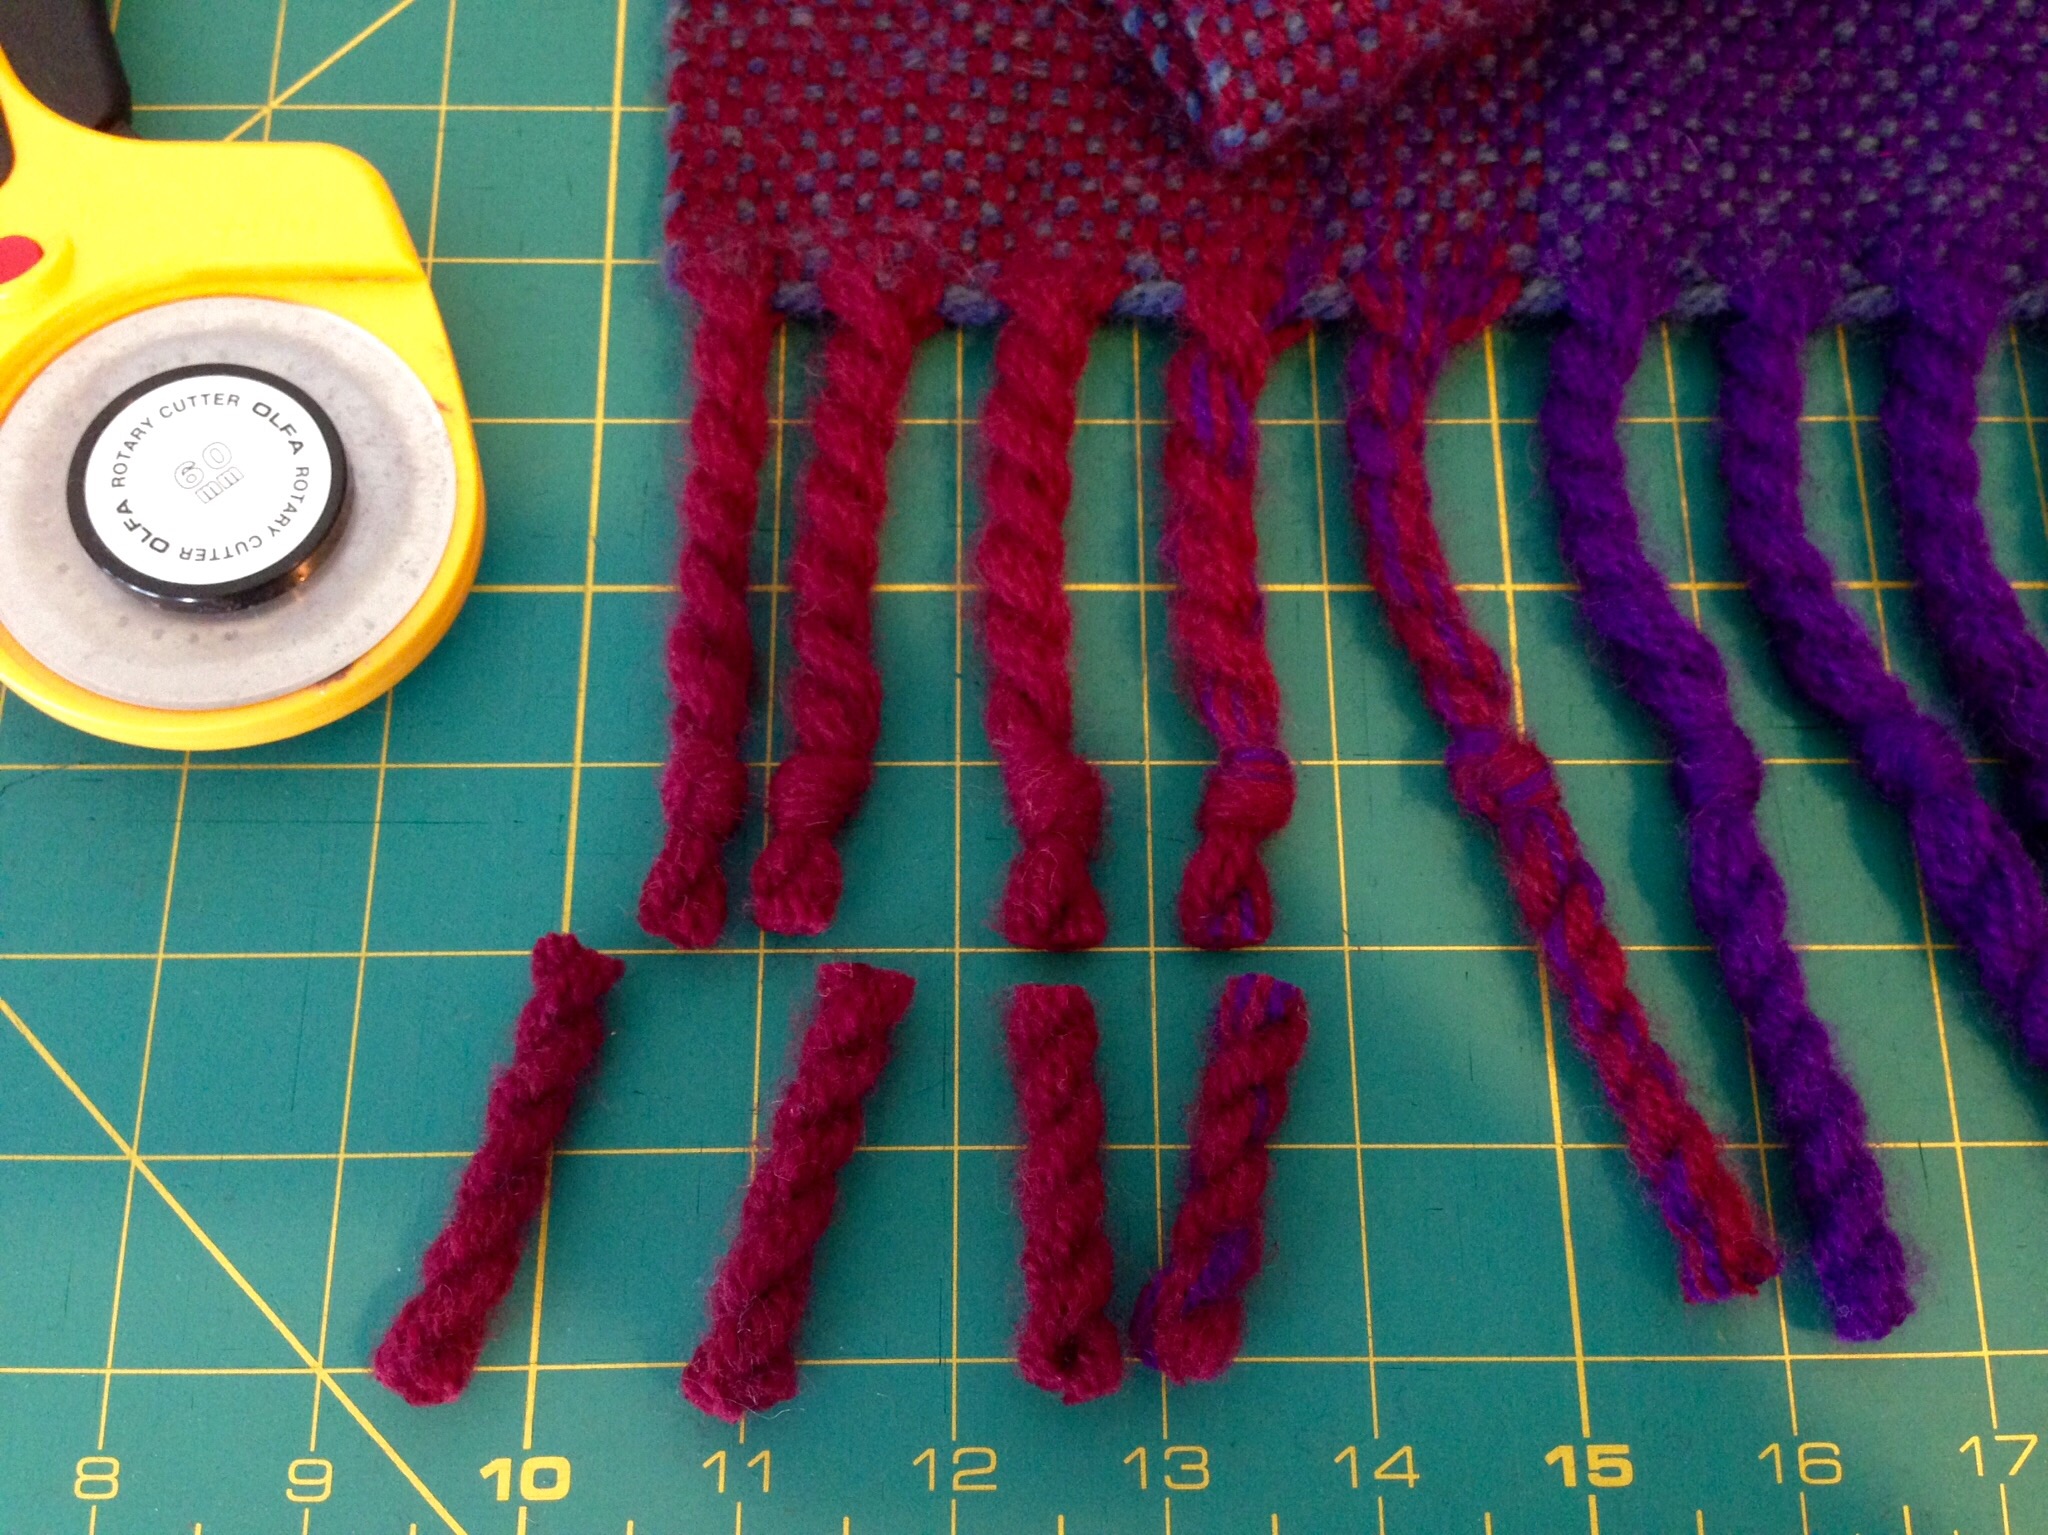
Puckers are whimsical surprises from ordinary threads.

I hope you enjoy this video review of the process:

My friends, thank you for walking with me on this weaving journey! July is the month for Warped for Good’s annual pause. I’ll meet with you right back here the first Tuesday in August.

May you find a gleeful ending where you least expect it.

Happy Weaving,
Karen

Preview of Puckers

Like sunrays rippling on the horizon at dawn. That’s how I think of this emerging cloth. I am hopeful that the ripples we see now will become all-over puckers when this is finished. I am filled with joyful anticipation!

Preview of puckers. Warp is 22/2 cottolin and 20/2 cotton. Weft is 16/1 linen and 16/2 cotton. Differential shrinkage is what I hope to achieve.

However… This is not an effortless weave. This is double-width weaving in a very fine sett. And, 6 ends per dent, no less. I have simple 1-2-3-4 treadling, but the 20/2 cotton warp threads are relentlessly hugging each other. Consequently, I am clearing the shed with the back of my fingers again and again. I expect to have floats to repair when this “sunrise” fabric comes off the loom. With the end in mind, I patiently keep at it. It will be glorious in all its puckers. I am sure of it.

Double-width weaving is double weave that is open on one side and closed on the other side. Finished cloth will unfold and open up to be a small tablecloth.

Every dawn brings the reality of a new day. Every sunrise reveals the glory of God. Night always turns into morning. With the end in mind, our Lord patiently, kindly, gently, opens the shed in our lives again and again. As he loosens our grip on things of this world we get a preview of the glorious fabric he has in mind, puckers and all. In the full light of the risen Son, we can see the love in our Grand Weaver’s hands.

May you catch the sunrise as often as possible.

Hopefully yours,
Karen

Process Review: Threading Preparation and Two Pairs of Lease Sticks

Dressing the loom with two sets of lease sticks keeps me on my toes. It means I am thinking carefully as I transfer lease sticks from in front of the reed to behind the reed. And, after beaming the warp(s), it means I am counting carefully as I put ends into threading groups of 48 threads each—32 ends of 20/2 cotton, and 16 ends of 22/2 cottolin.

Two set of lease sticks have been carefully moved from in front of the reed to behind the reed. After straightening all the warp ends, I will beam the warp.

I group ends together before threading. Then, when threading, if there is a discrepancy in the number of ends, it alerts me to find a threading error. Counting out these delicate unbleached cotton threads is challenge enough. Having the layer of cream cottolin threads underneath presents additional complexity. With all these ends, this part of the process is tedious. Still, it’s worth it if it lessens my chance of making threading errors with these 1,472 ends.

Preparation for threading. Ends are gathered into threading groups and tied together with a loose slip knot.
Each set of lease sticks is tied to the back beam separately, so they can hang at different heights. The lower set is tied around the side frame and over the back beam.
If I stand behind the loom, my back is in a leaning-forward position and not comfortable for long. I placed a child’s chair and cushion behind the loom. Kneeling behind the loom at this height gives me good visibility and access to the threads.
View from the back of the loom. Ends are counted at the center of a pair of lease sticks. These counted ends are tied together in a loose slip knot.
View from behind the loom. Loop of unbleached ends just counted lay on top to clear the view. Ends on lower pair of lease sticks are counted and tied separately. I tied the cotton threads and the cottolin threads separately to make it easier to find an error if I miscounted along the way (which, fortunately, didn’t happen).
Counted ends are dropped into hanging position before moving on to the next grouping. (After taking this picture, I re-tied the lease sticks closer together, making counting easier.)
Threads remain in the reed. I pull threads out of the reed when they are counted.
Pretty sight of counted ends. Ready for threading!

One step at a time.

May you enjoy the process you are in.

Happy Loom Dressing,
Karen

Spreading Two Warps at Once

I am spreading this warp (two warps, actually) at the worktable. One warp is 22/2 cottolin, with a narrow selvedge border of 16/2 cotton. The other warp is 20/2 cotton. This intriguing double-width project is in the Nr.3 – 2021 issue of Väv MagazineWinnie’s Linen-Cotton Crinkly Tablecloth, by Winnie Poulsen, p.52. Despite some intrepidation, I am jumping in!

Spreading 2 warps for a double-width project.
First warp has been pre-sleyed, and the loops are held in place on the cloth beam tie-on bar. Now spreading the second warp, and placing both warps’ loops on the long stick in front.

Coordinating two warps onto a single tie-on bar is tricky business. The last time I did the two-warp maneuver at the loom I nearly lost a lease cross and my sanity. The advantage of pre-sleying these warps at the table is that everything is secure. Nothing is teetering. At the worktable I can clearly see what to do for each step. Within minutes, I’m hopeful that this adventure will indeed be worth it. (Pre-sleying a warp on the table is expertly explained in Learning to Warp Your Loom, by Joanne Hall, pgs.19-20.)

Two warps for one double-width project.
Second stick holds both warps’ loops.
Spreading two warps in the reed.
Tie-on bar slides in and warps’ loops are secured by tying a string from one end to the other.
Getting ready to weave some differential shrinkage!
Extra stick is removed. Two warps, each with its own set of lease sticks, have been spread in the reed. No mishaps along the way!
Glimakra Julia ready for a new fun warp!
Warp bouts are in the basket. The two sets of lease sticks, the reed, and the cloth beam tie-on bar sit on top. We’re ready to beam this warp on the Julia!

Spreading a warp (or two) is a lot like spreading hope. We come to the Lord Jesus weary, having tried hard to make things work on our own. He welcomes us with open arms and reveals the time-tested way of trusting him, one step at a time. Now, like threads being sleyed across the dents of a reed, threads of hope spread throughout our being. The threads are secured. Come weary; receive rest; spread hope.

May you be ignited with hope.

Your friend,
Karen

Wool Double-Width Blankets Finished

The wool double-width blankets came out even better than I had hoped. It still seems magical to simply weave, and end up with cloth two times the woven width. What did I enjoy most about this project? First of all, the colors. It is so much fun to mess with colors. Secondly, the fringe. I love how the fringe turned out. Those chubby twists are my favorite part of the finished blankets. Knotted, or not. The first blanket has knotted fringe. Watch the Wool Blanket Final Finishing video below to see what happens with the fringe on the second blanket.

Finishing fringe on wool blanket. Video with more info.
Fringes on the first blanket are finished with knots before the excess is cut away.

Detail of fold of double-width blanket.
Detail of opened and finished fold on double-width blanket.

Finished wool double-width blanket. Karen Isenhower
Finished wool double-width blanket. Final finishing complete.

In this final episode in the Wool Blanket Finishing series, I show you how I brush the blanket and finish the fringe.

In case you missed any of the previous videos in this series:

1. Colorful Cozy Blanket and a Video

2. Quiet Friday: Wool Blanket Finishing

3. Wool Blanket Gets Wet

May your work come back to you as rewards.

Love,
Karen