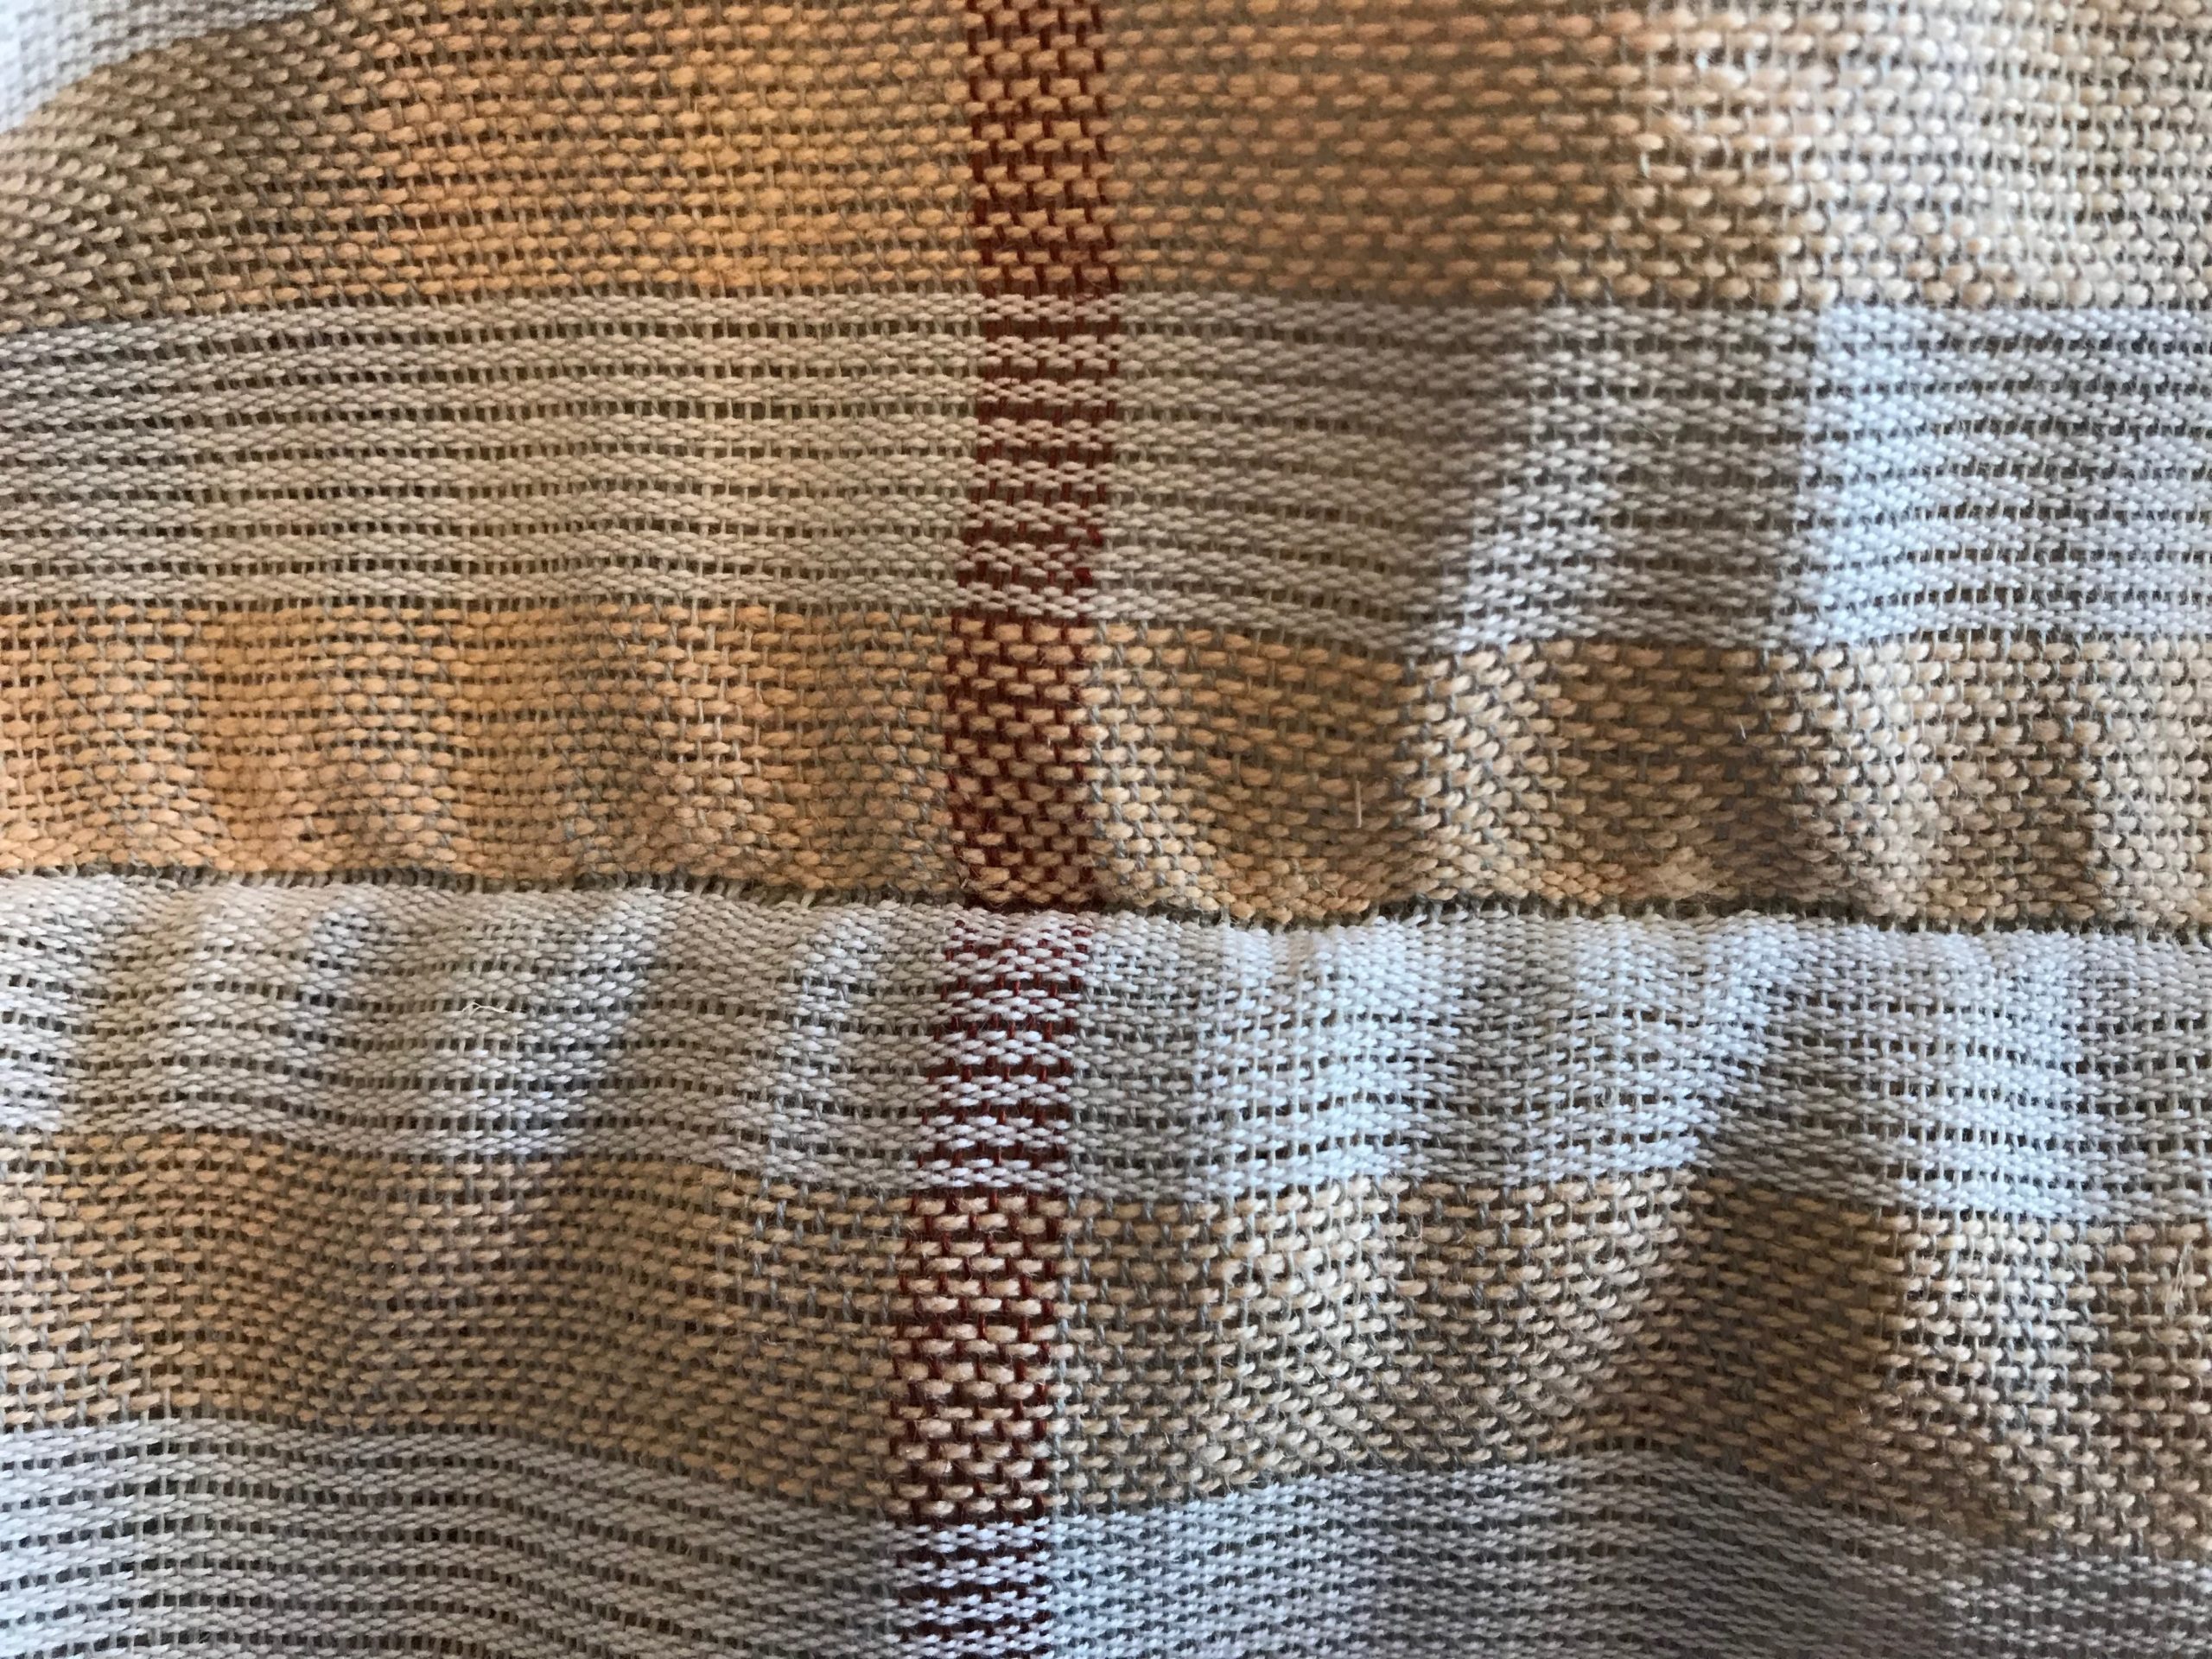
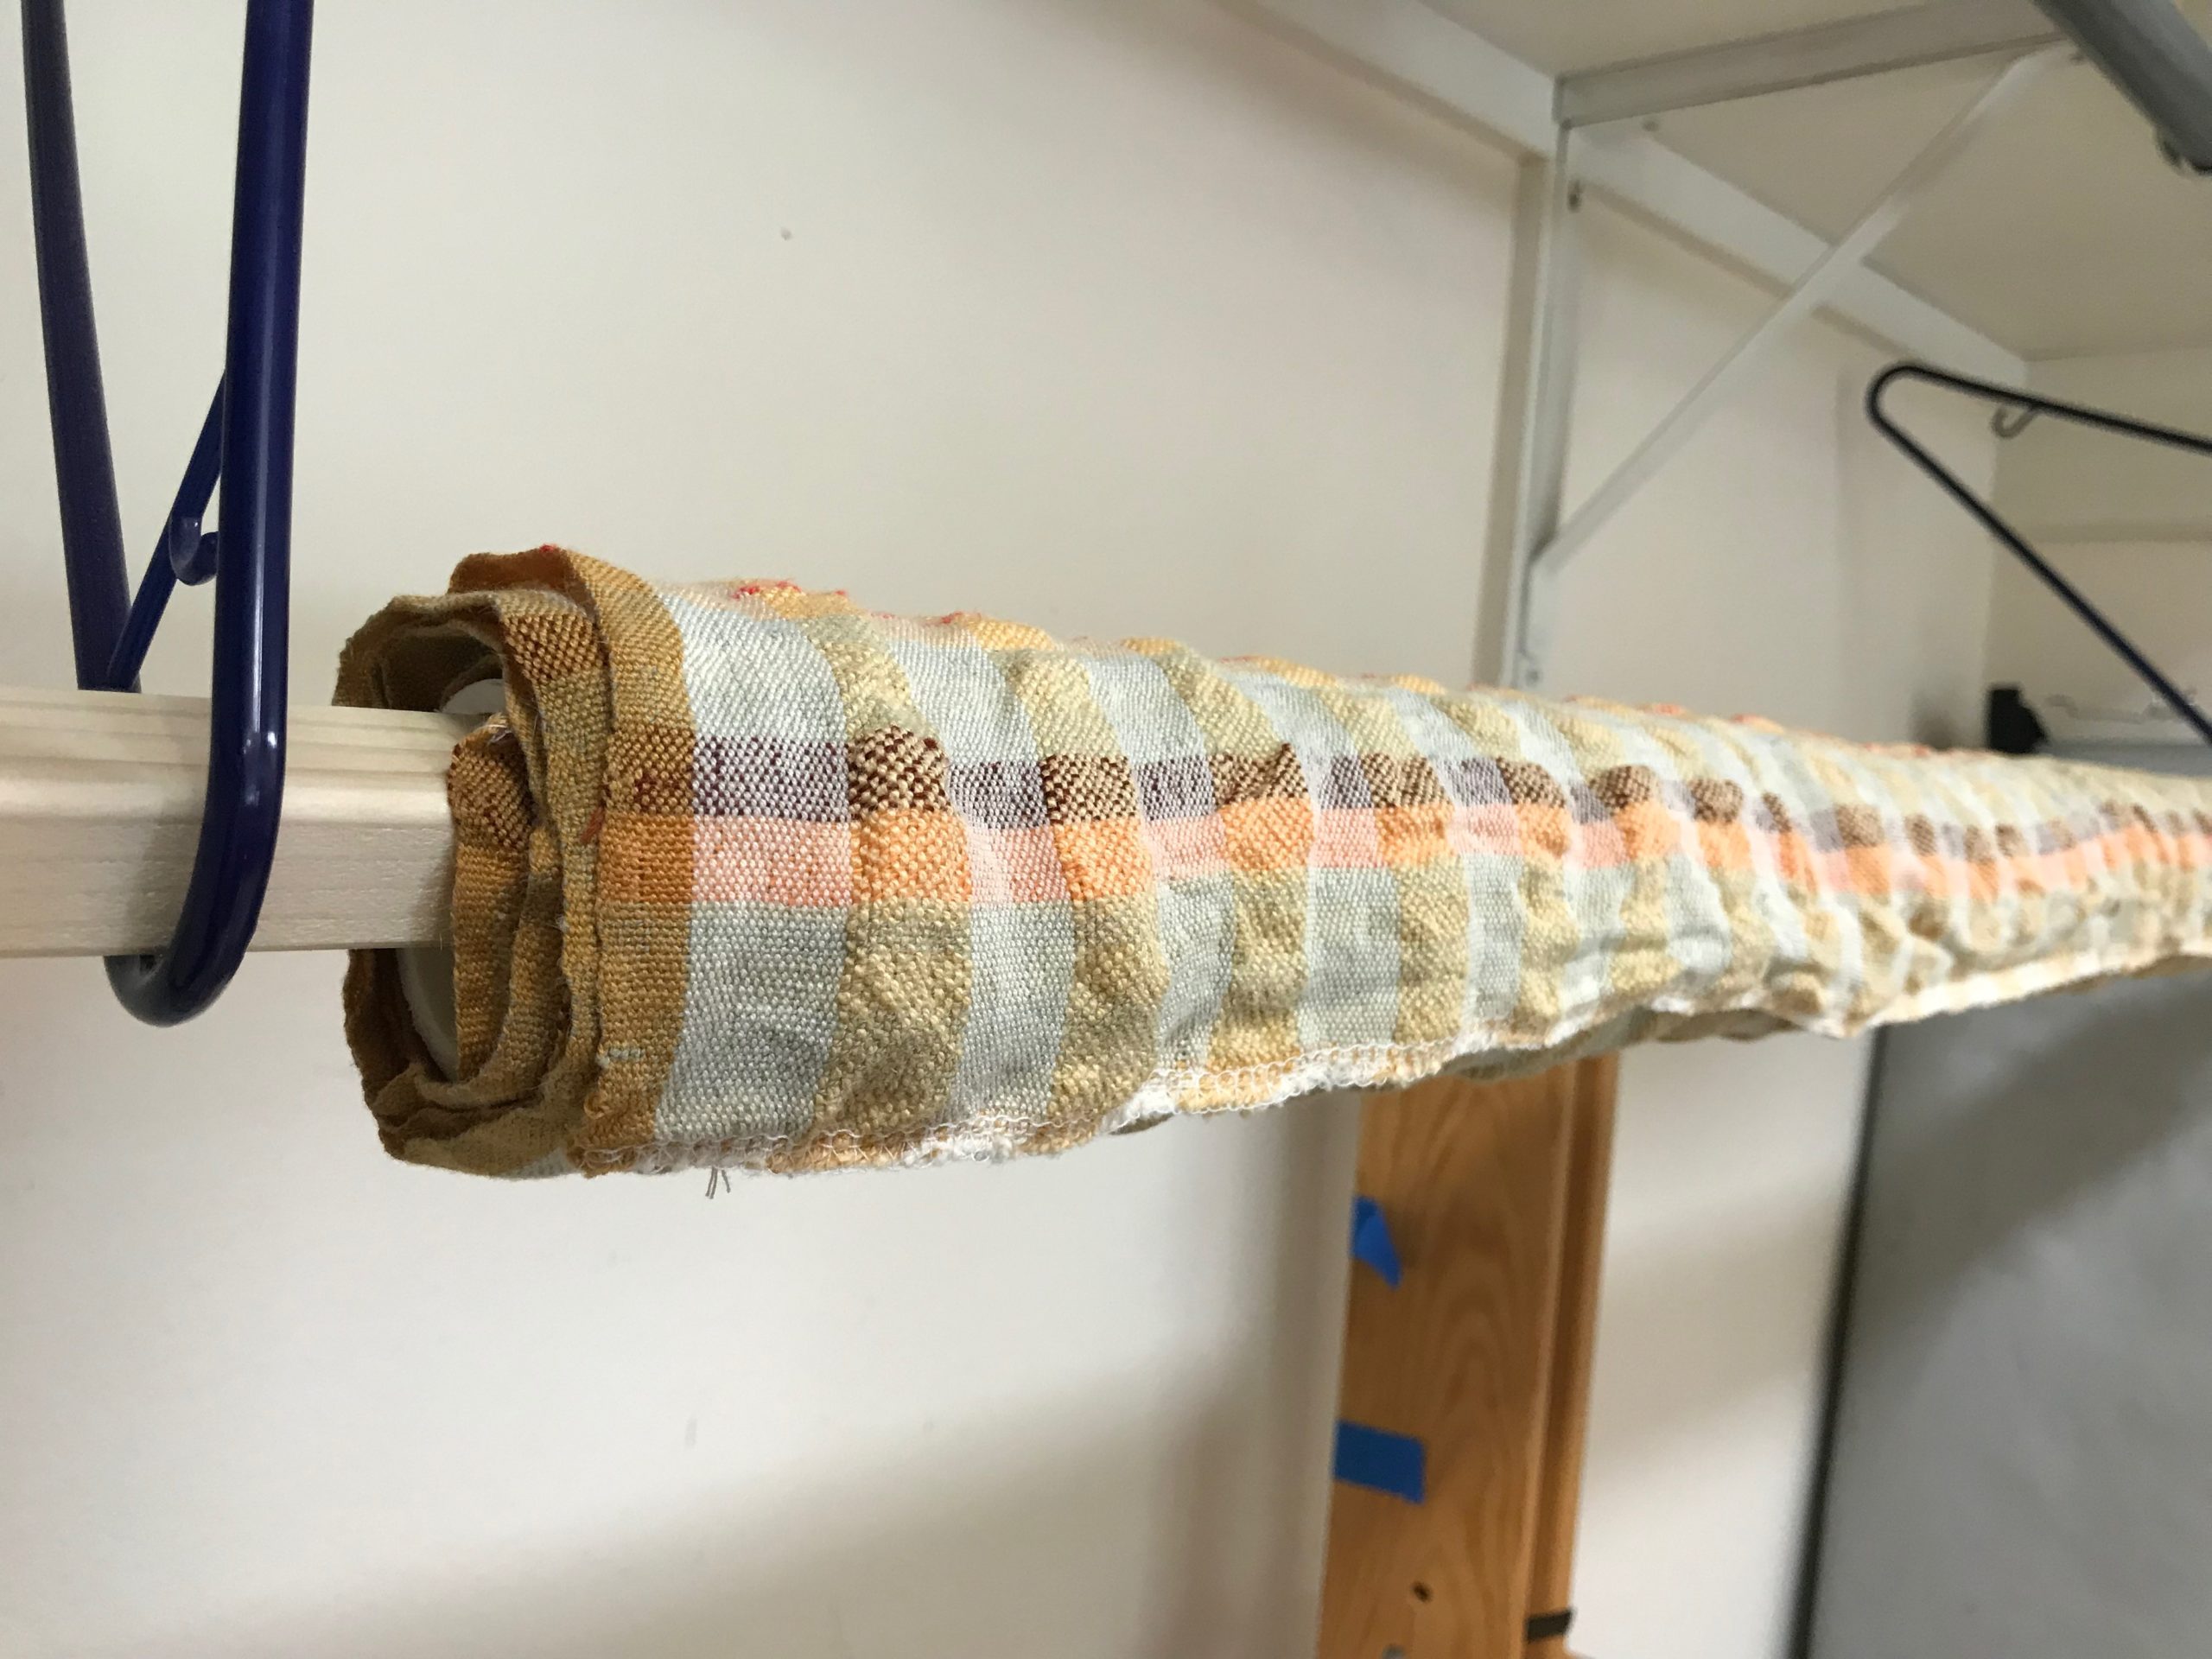
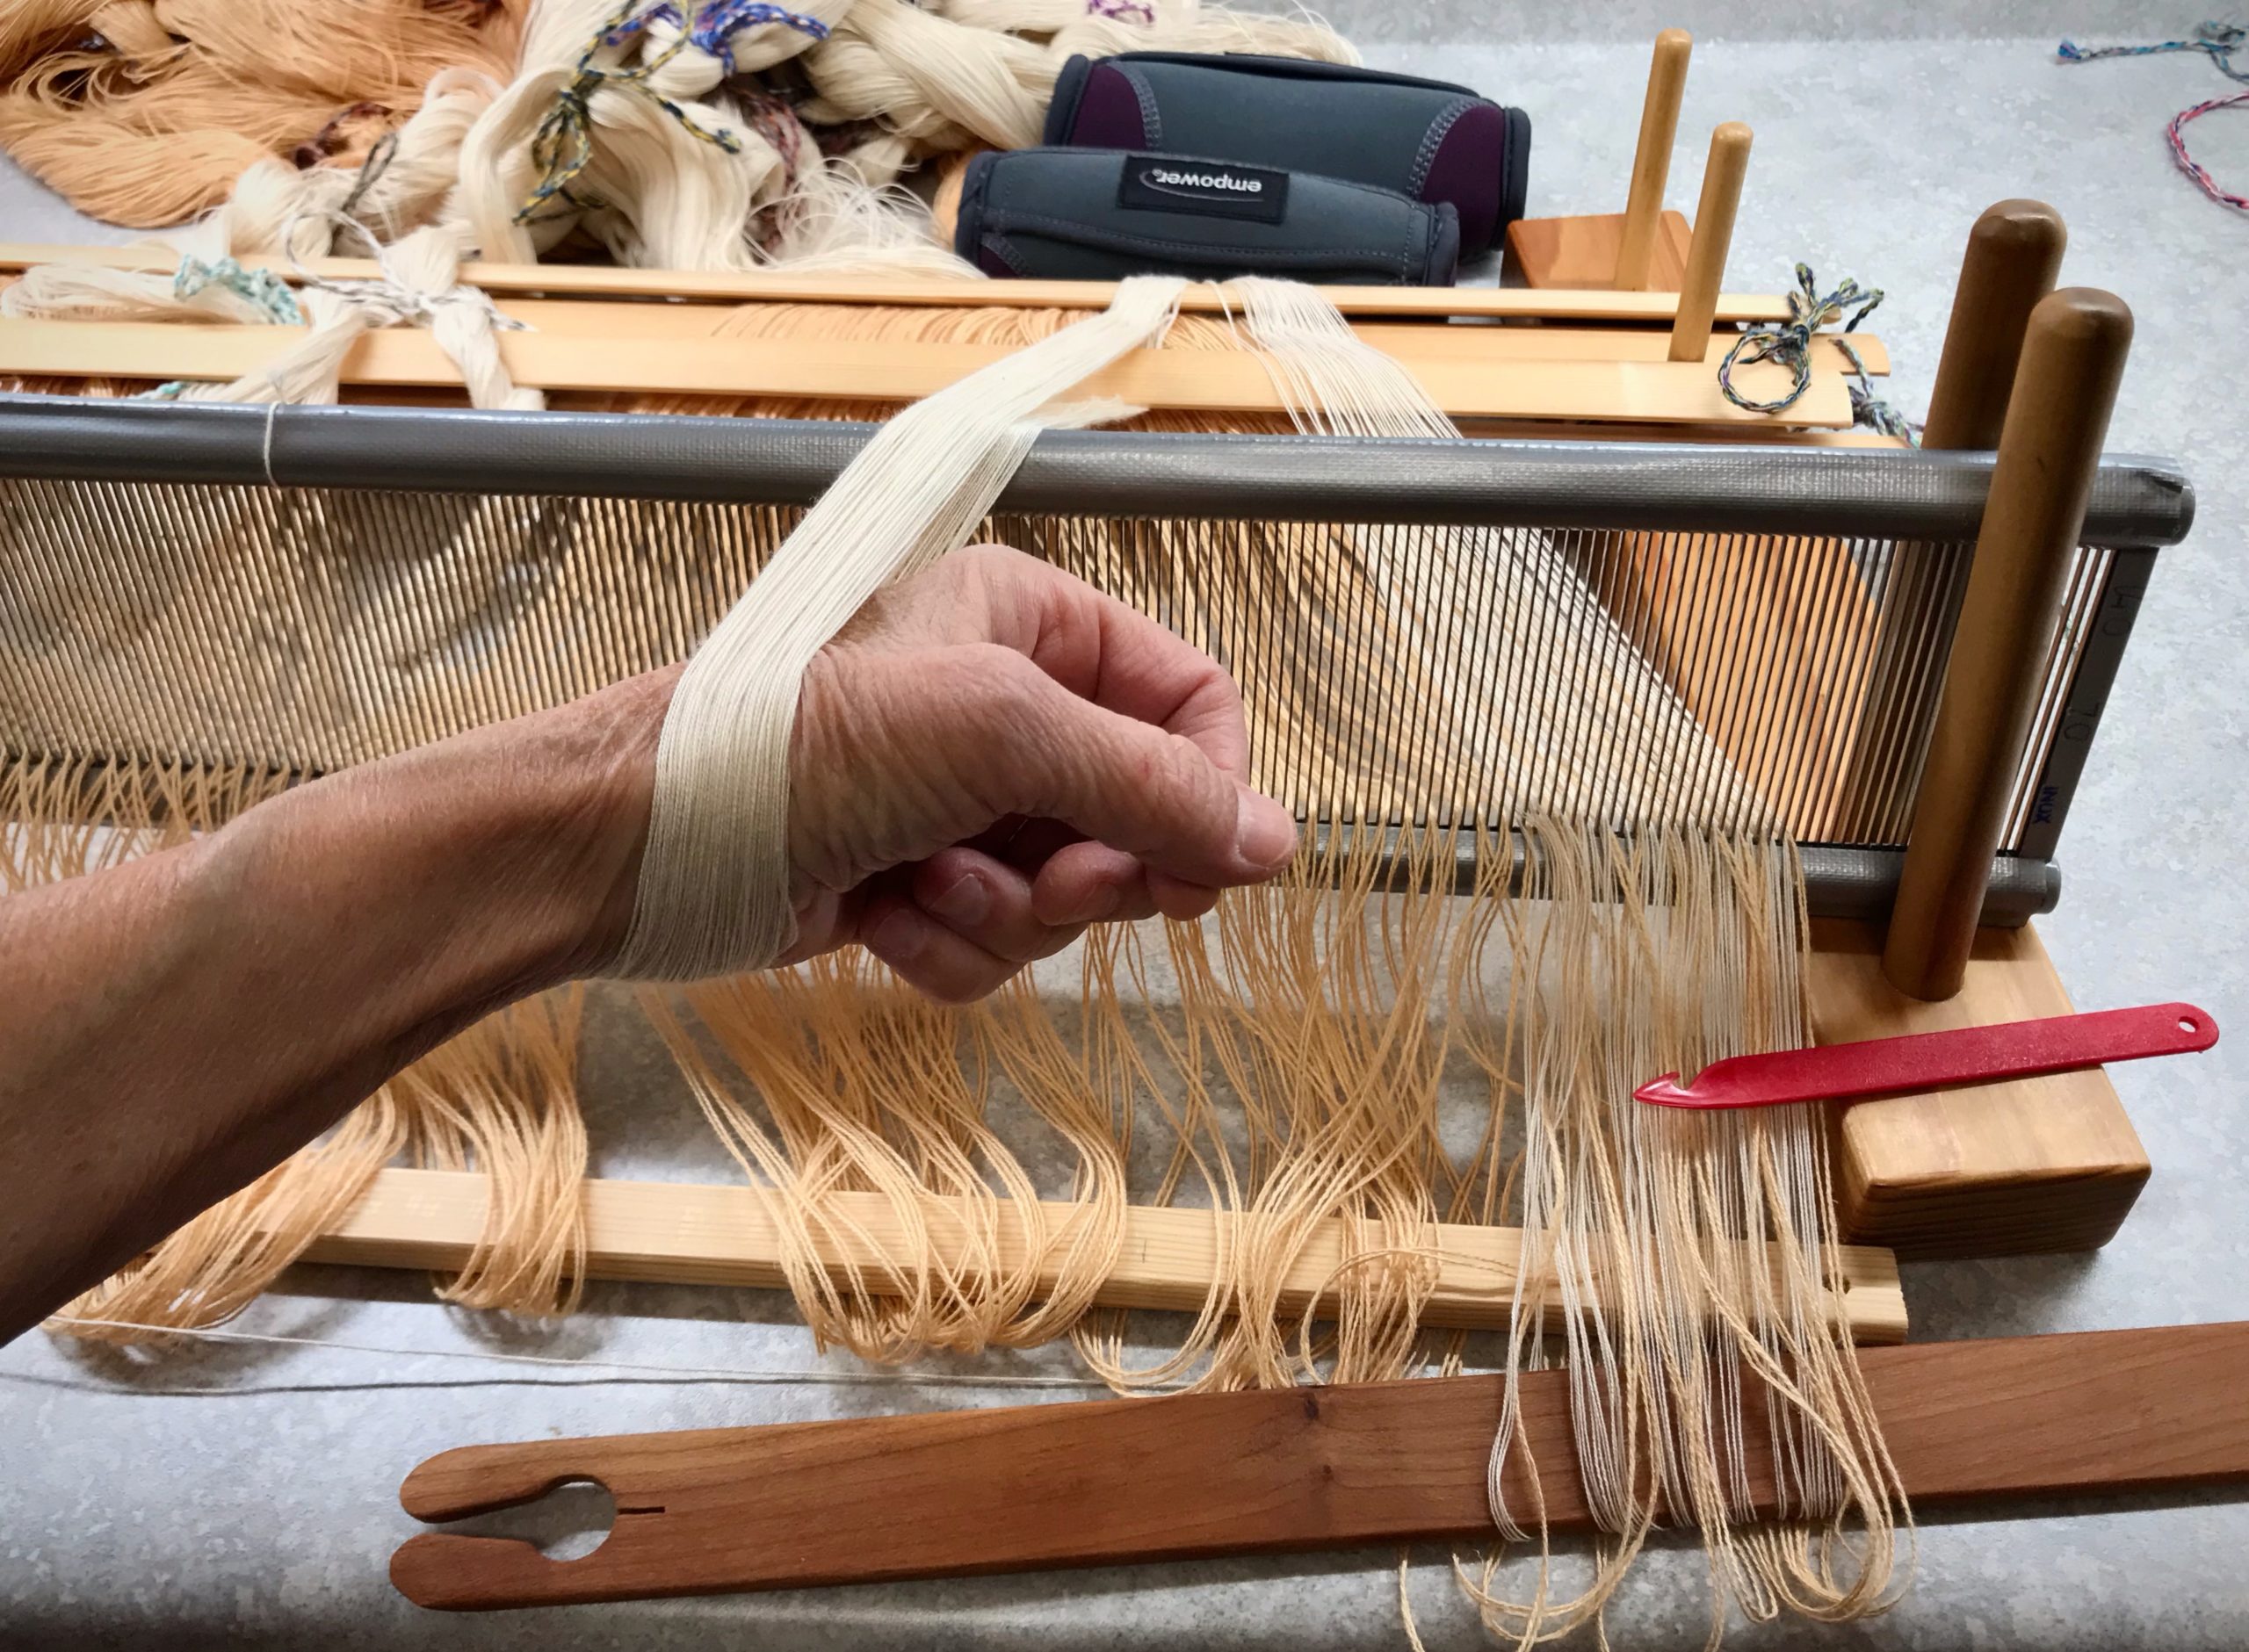
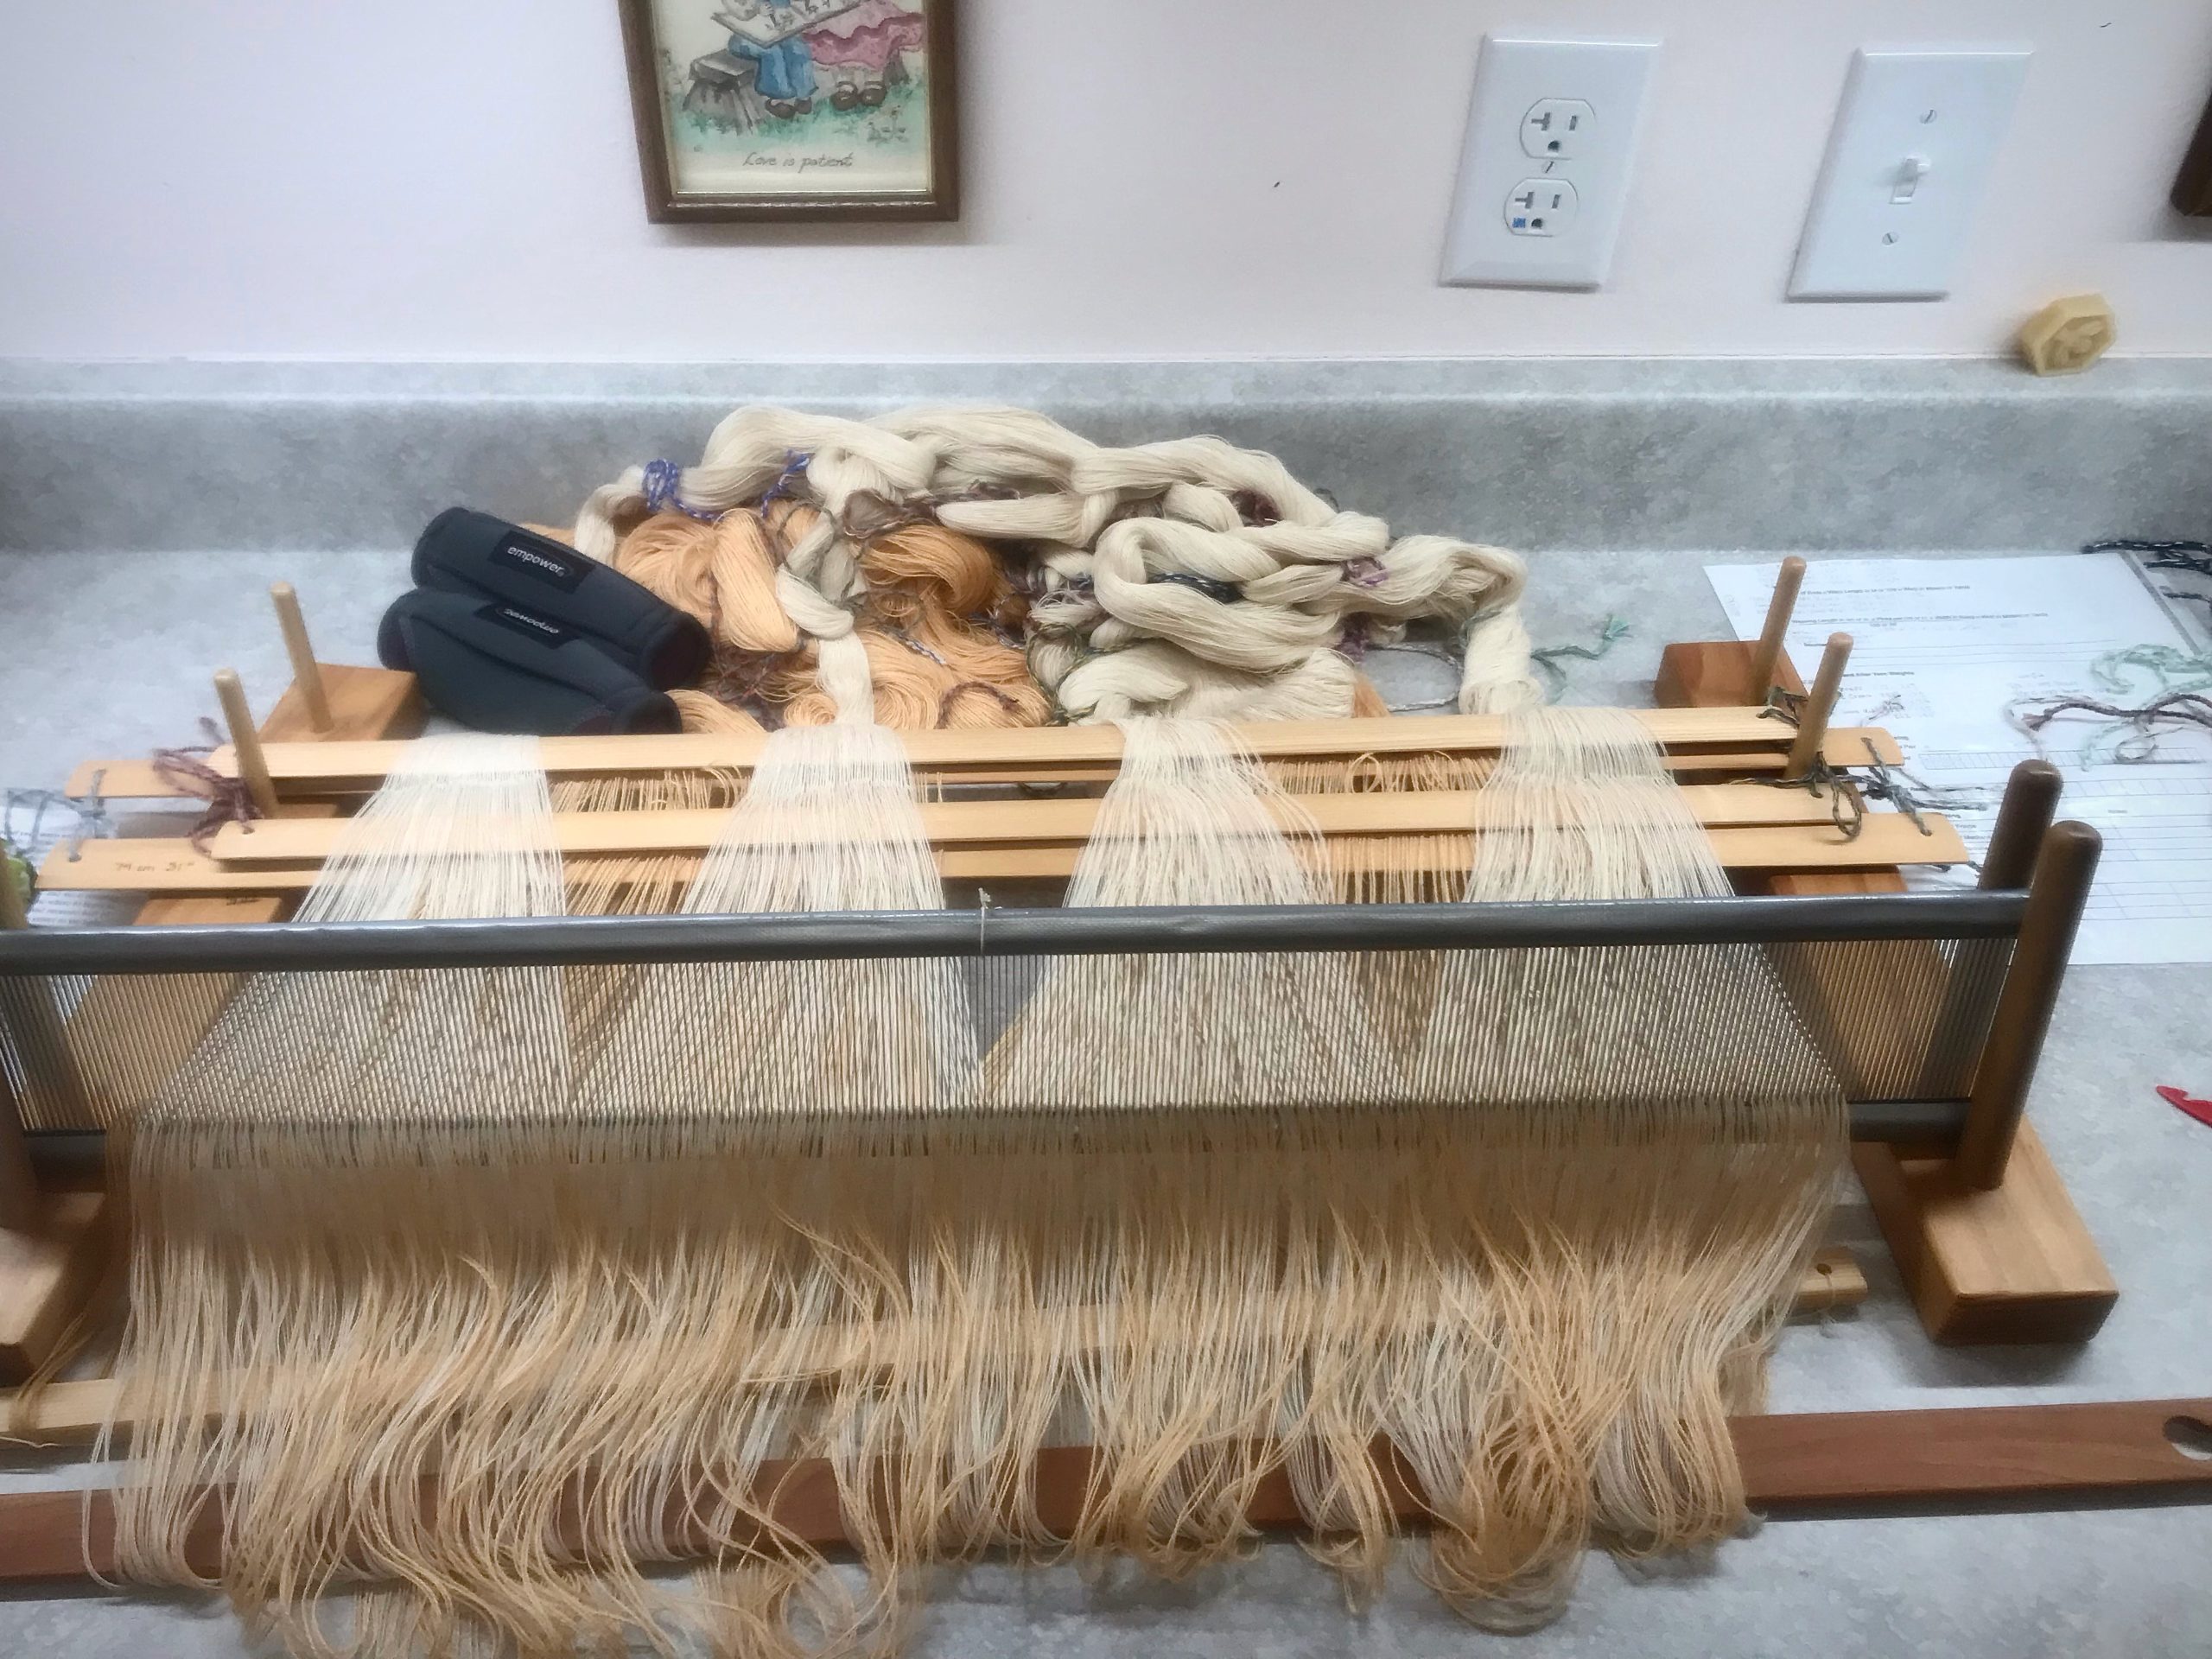
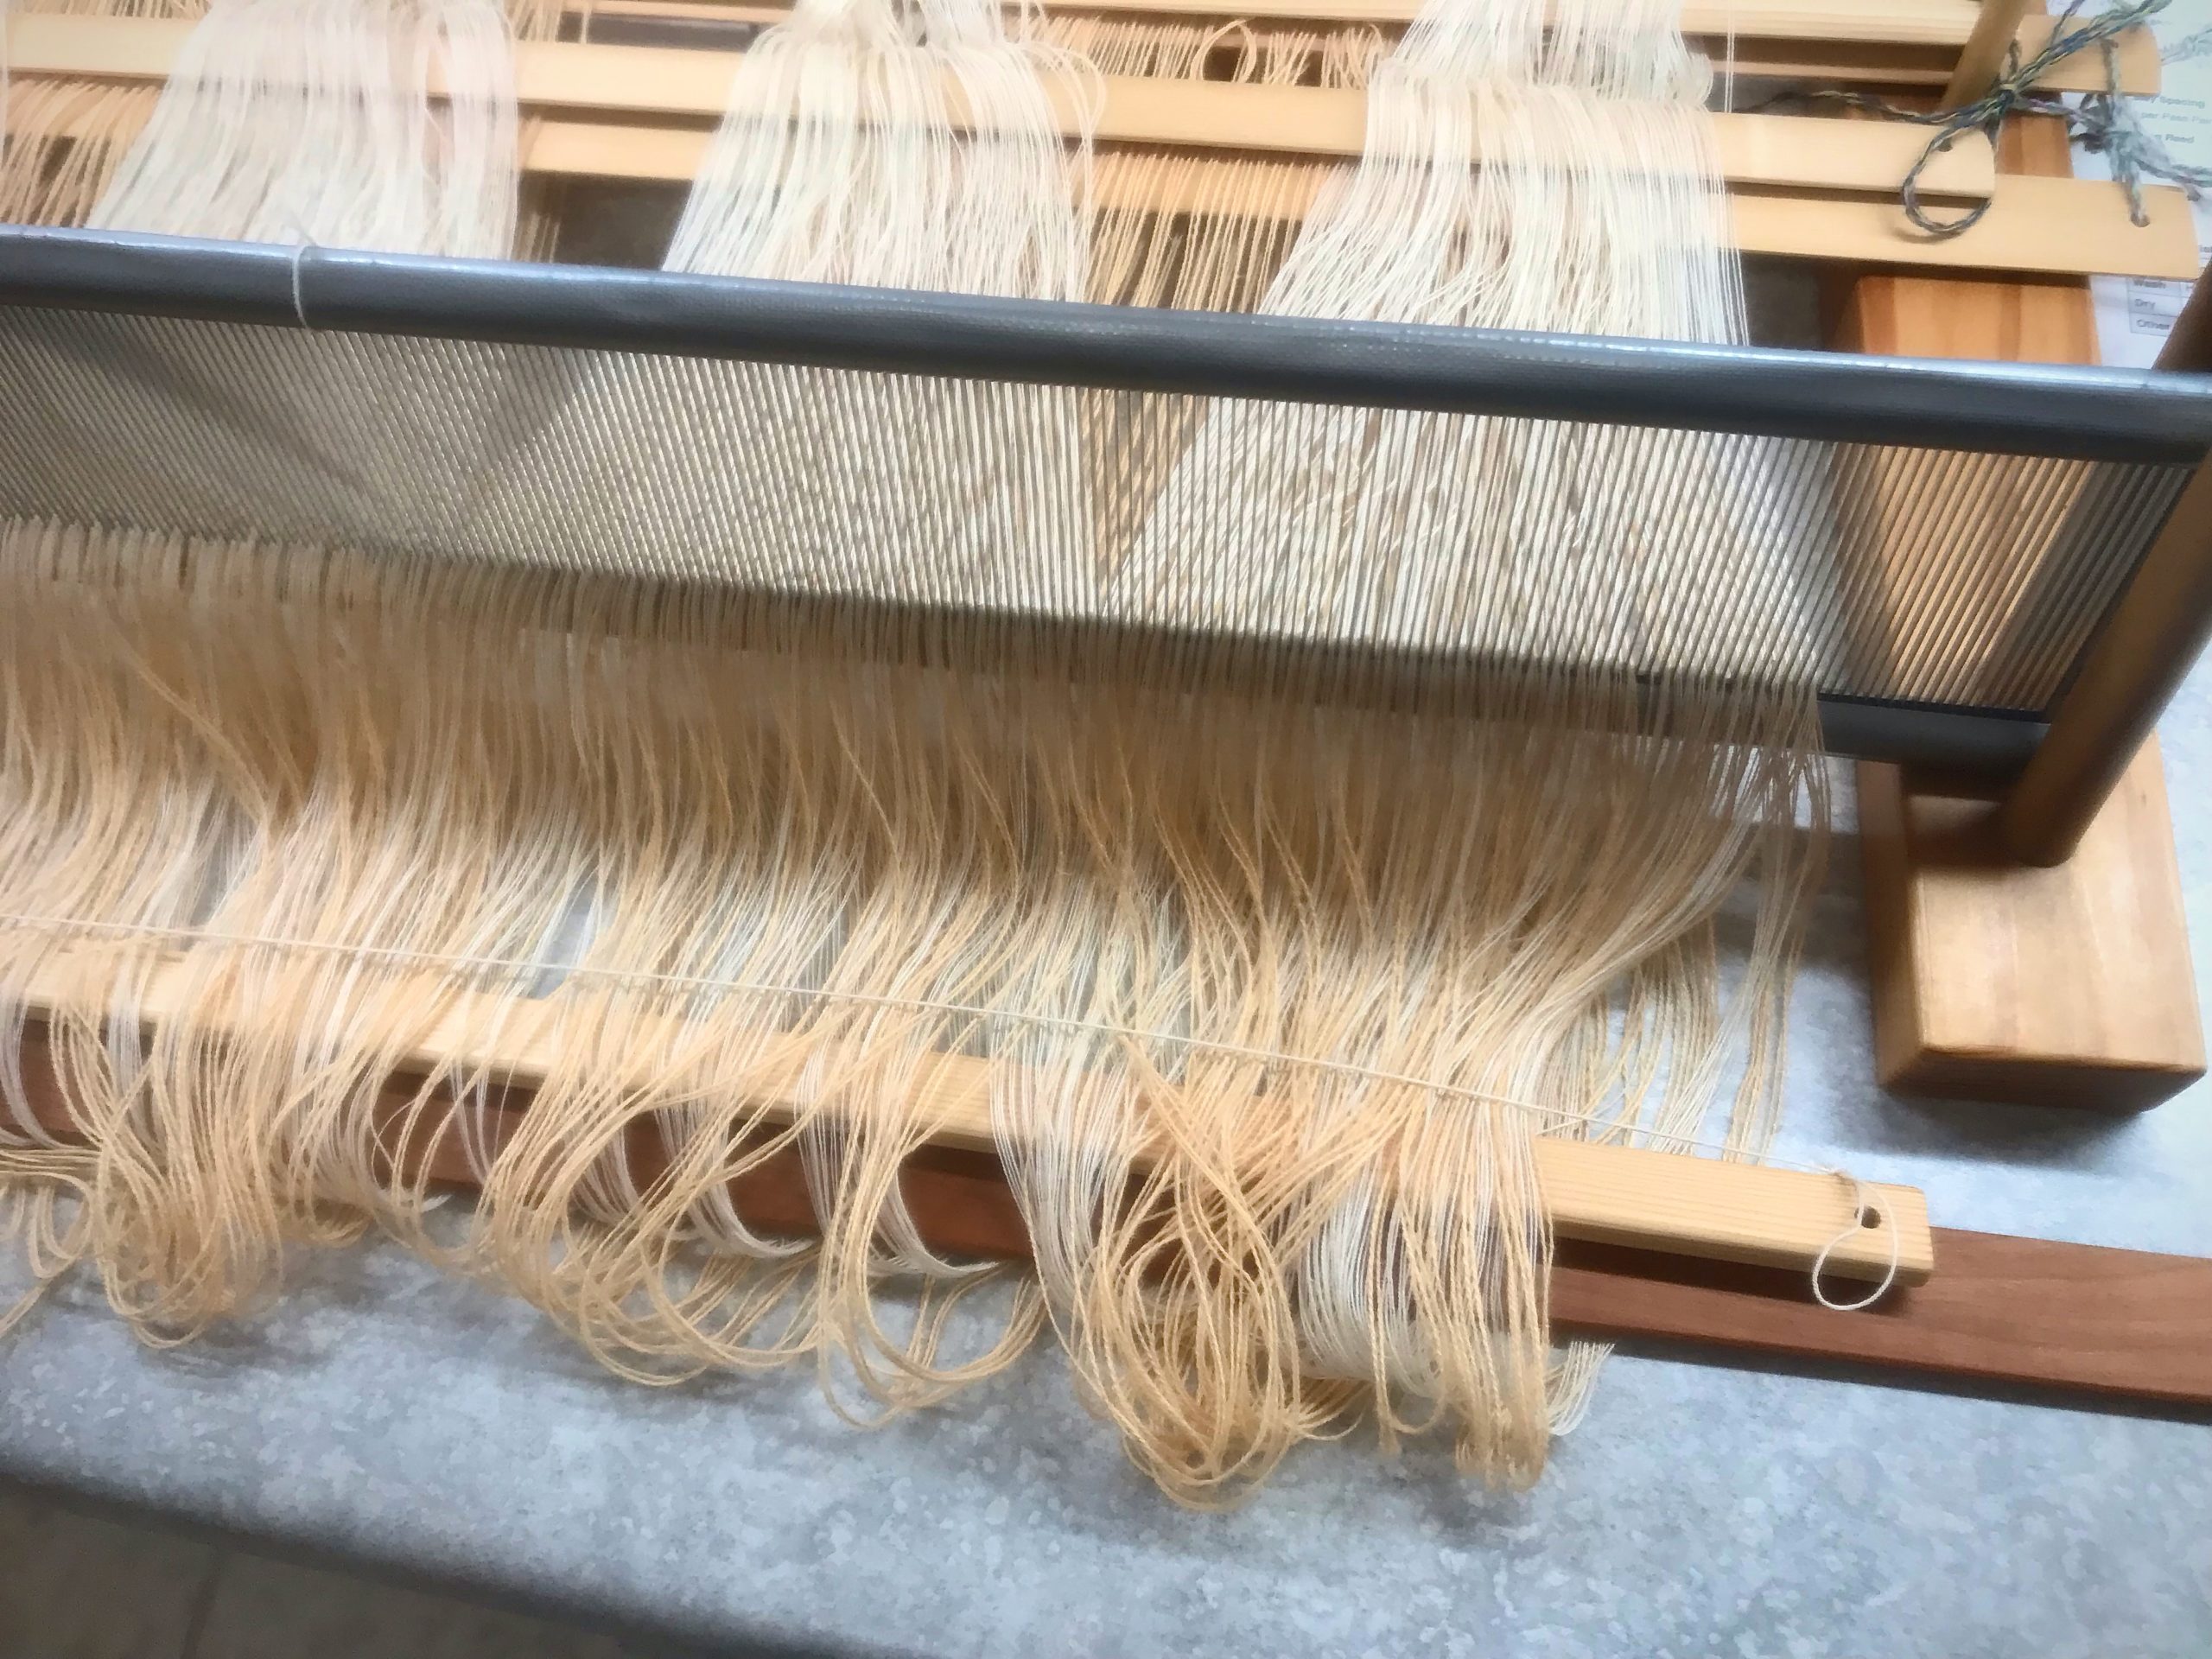
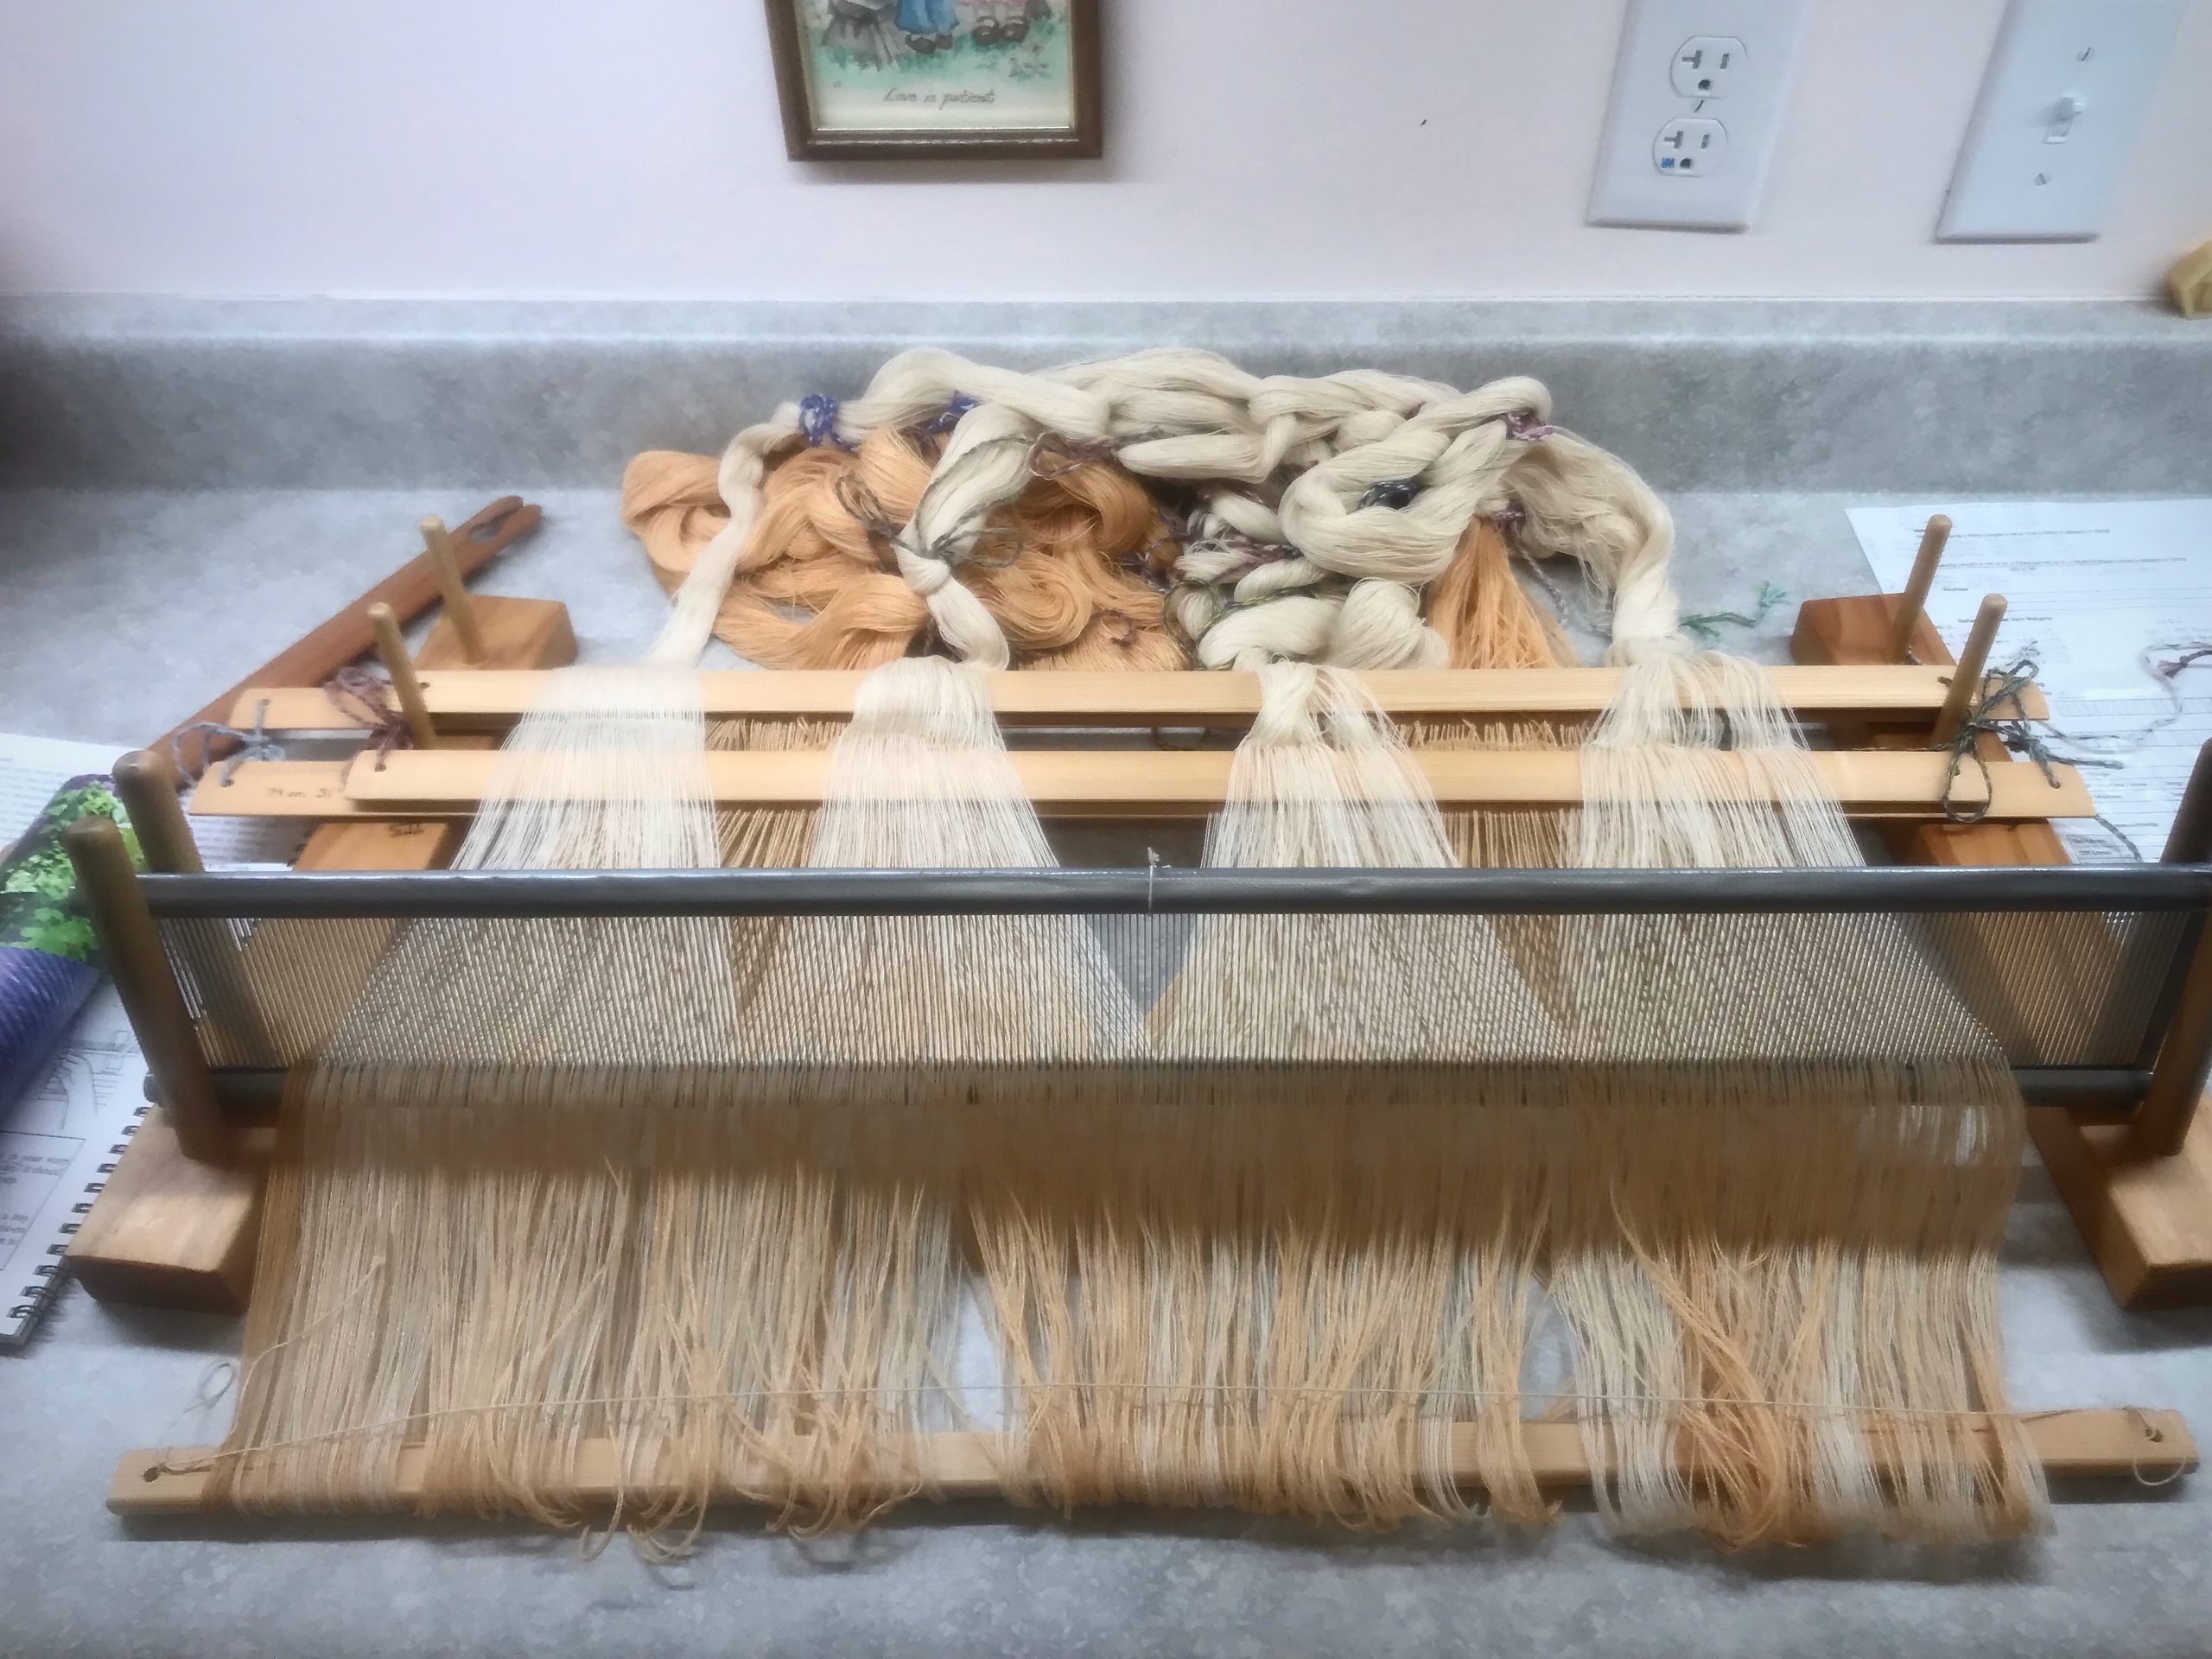
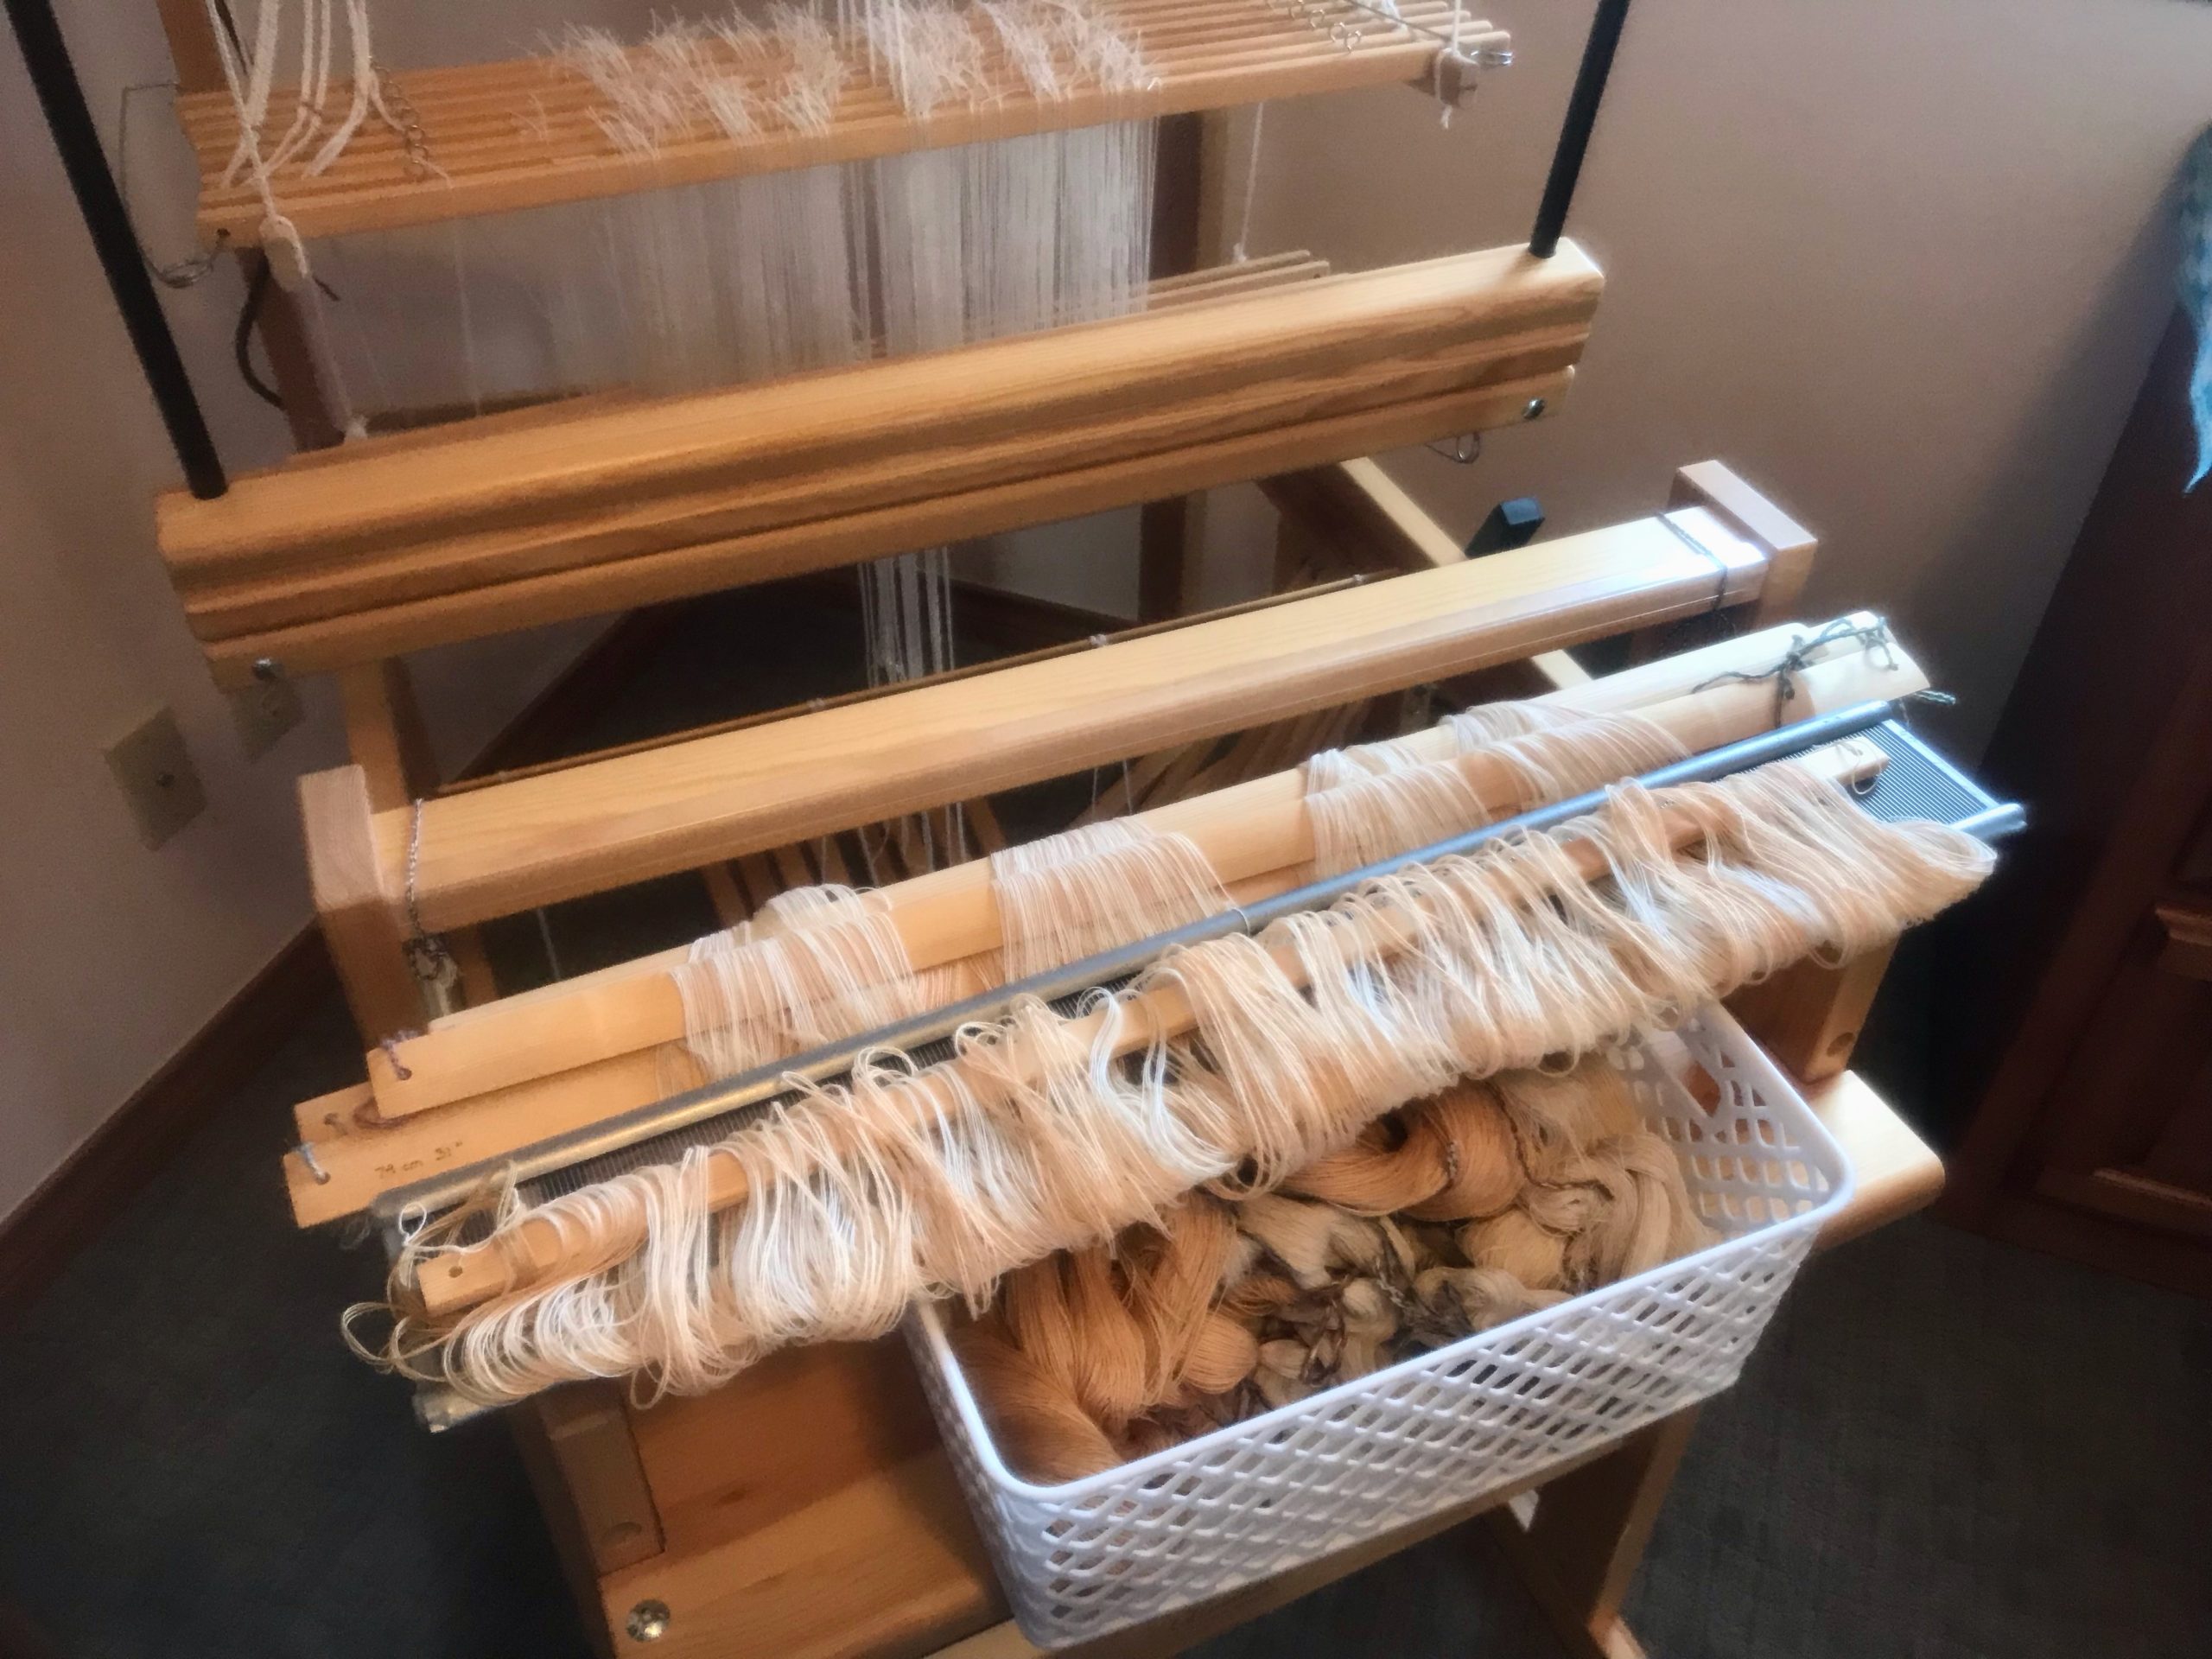
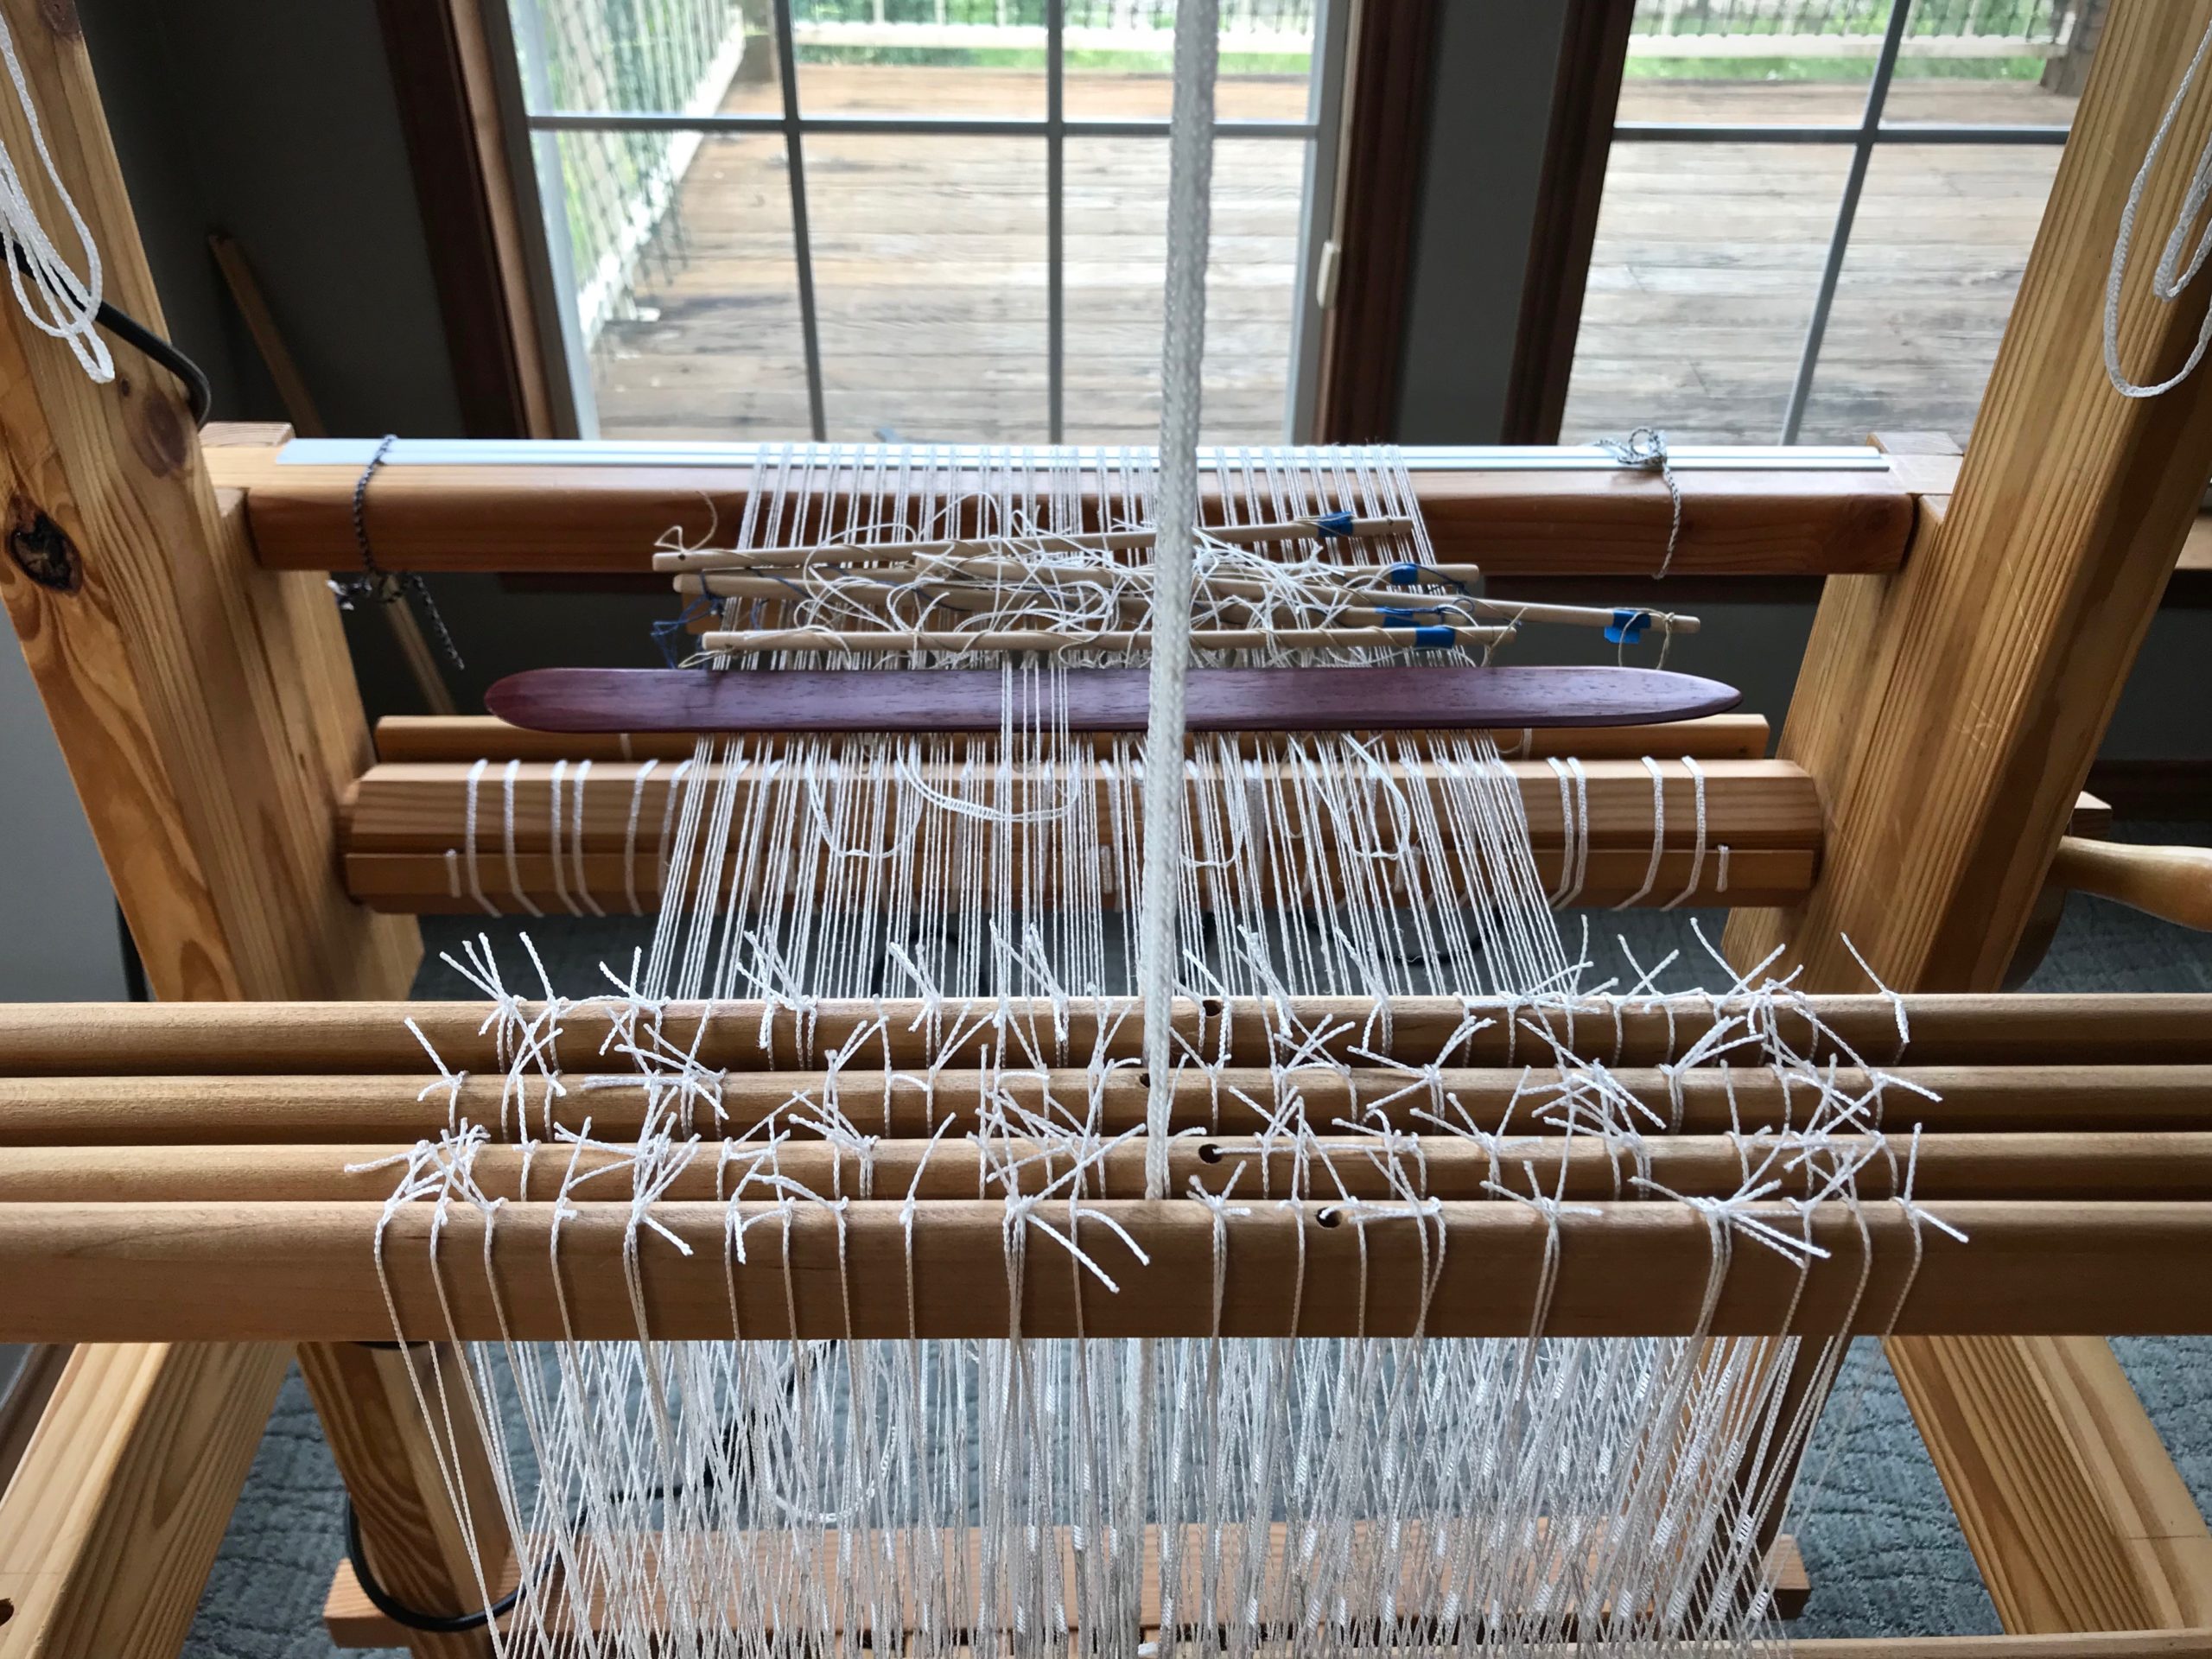
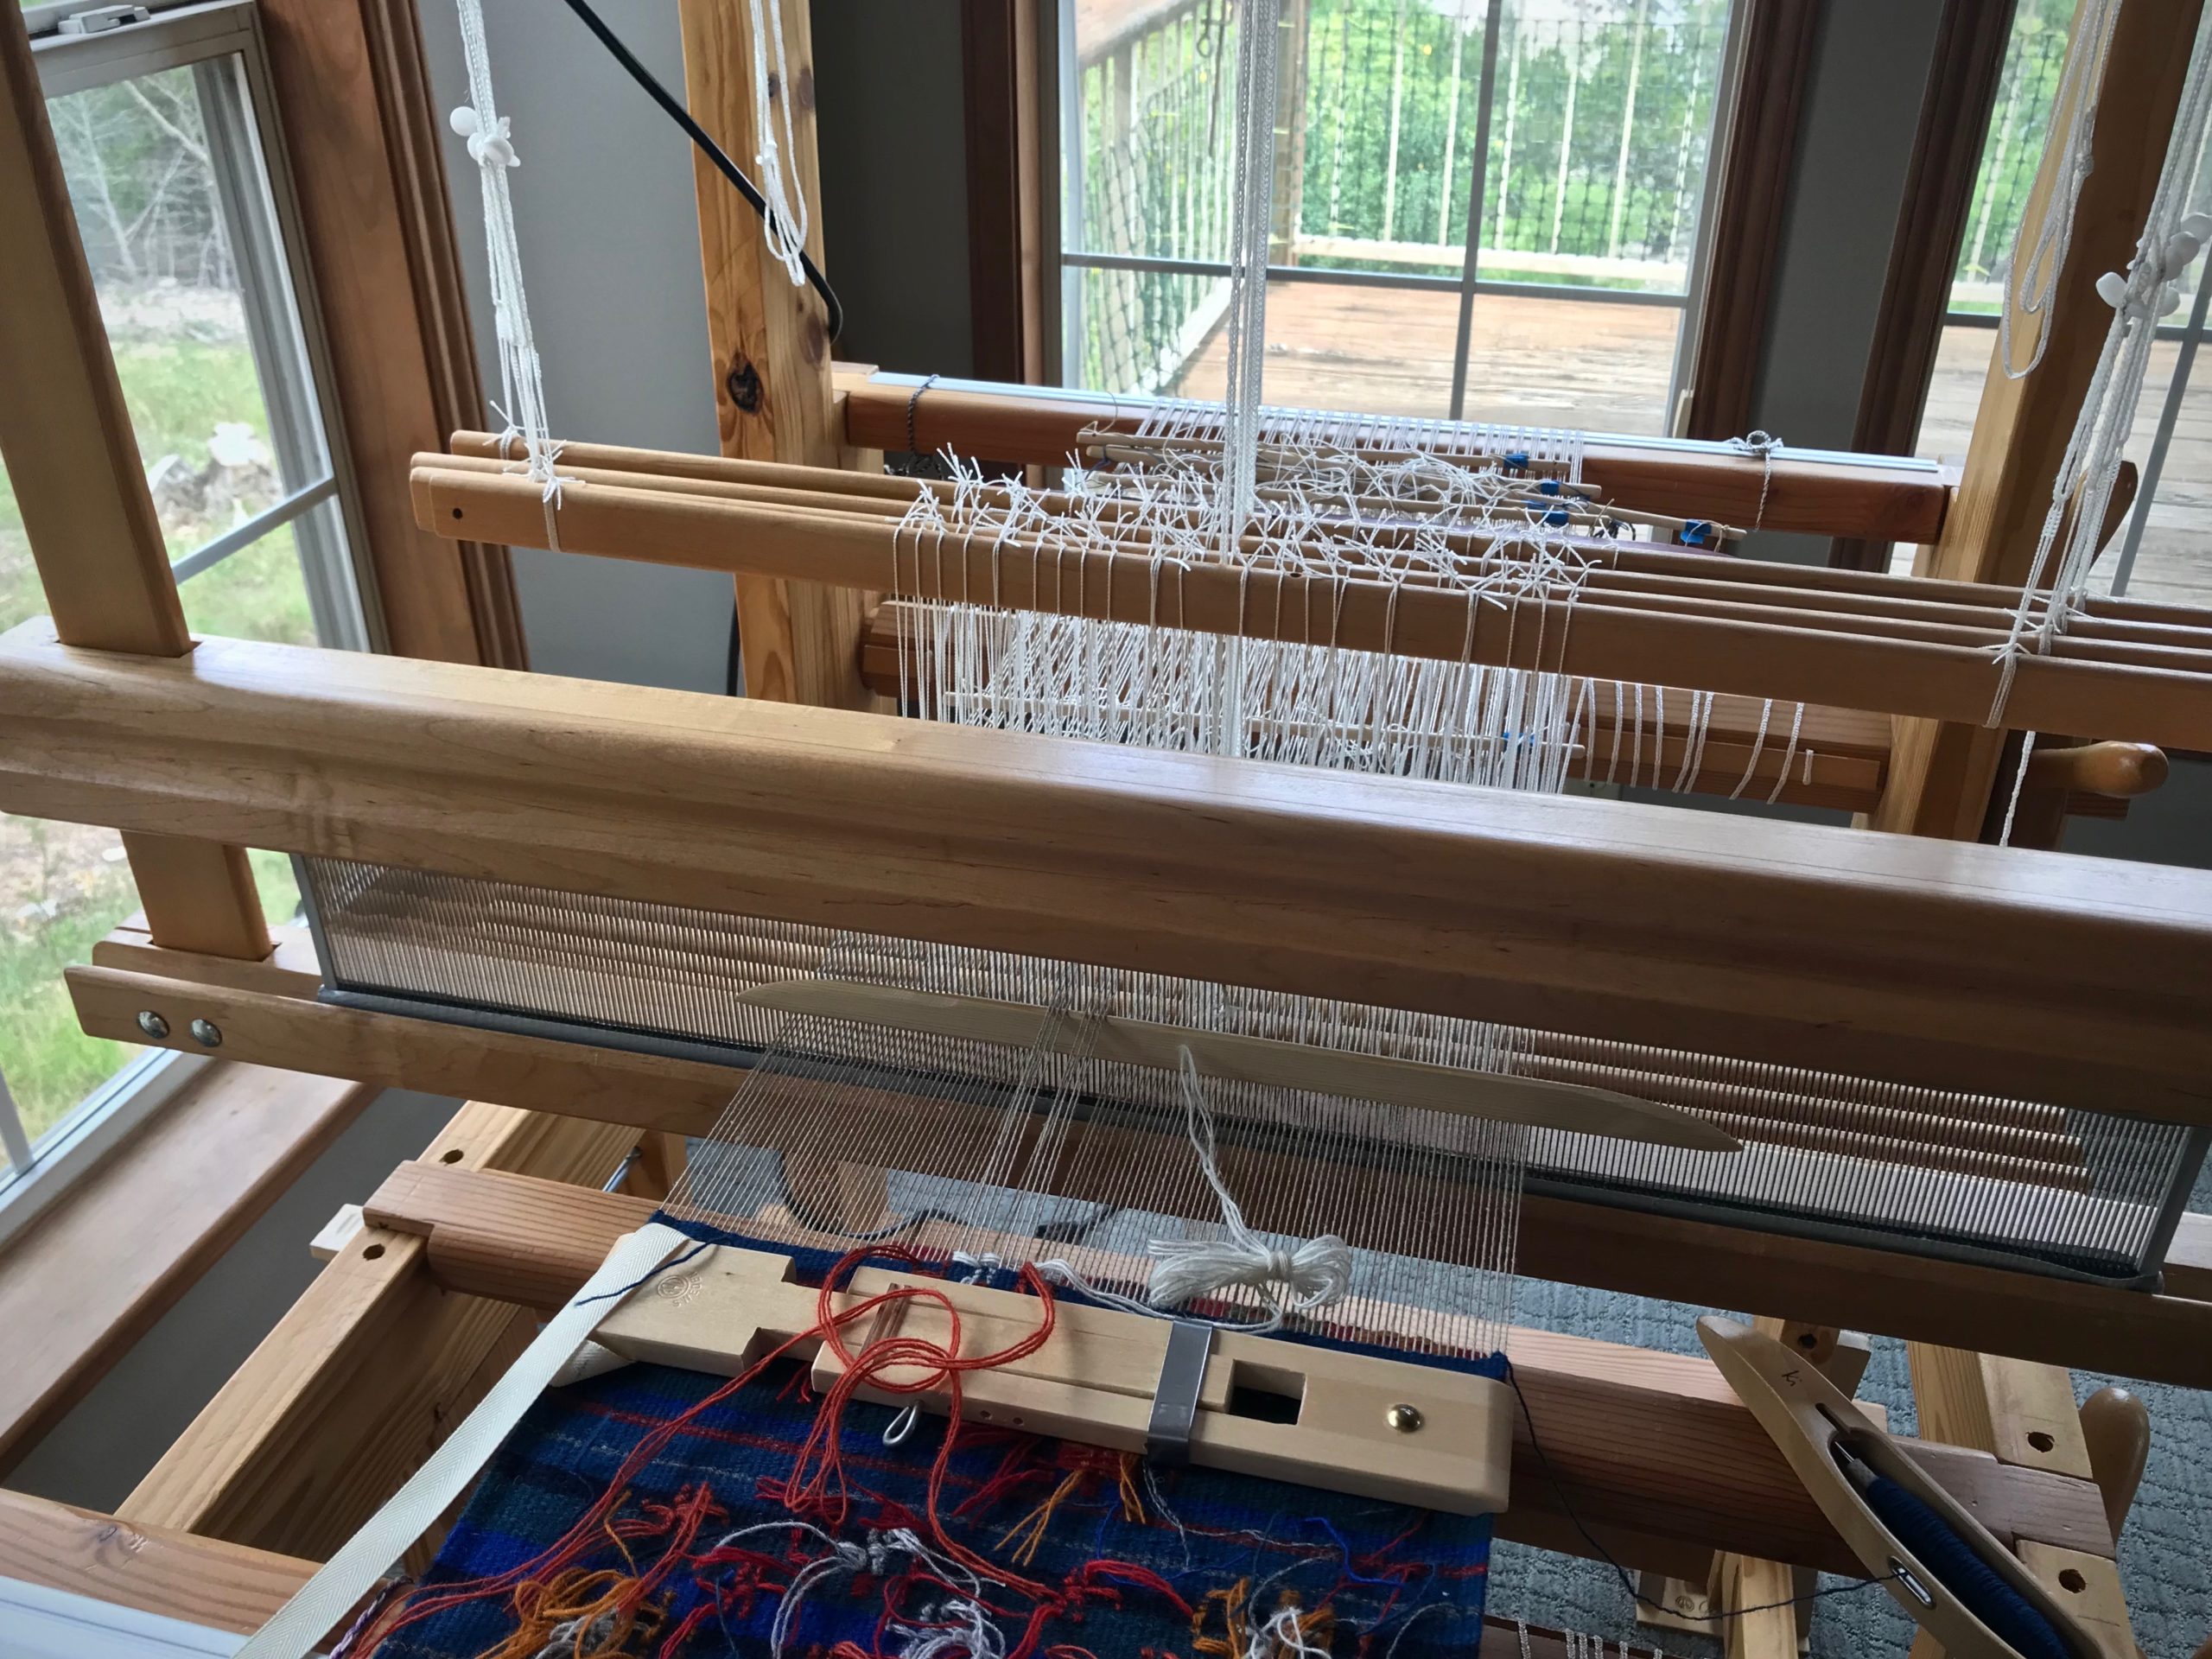
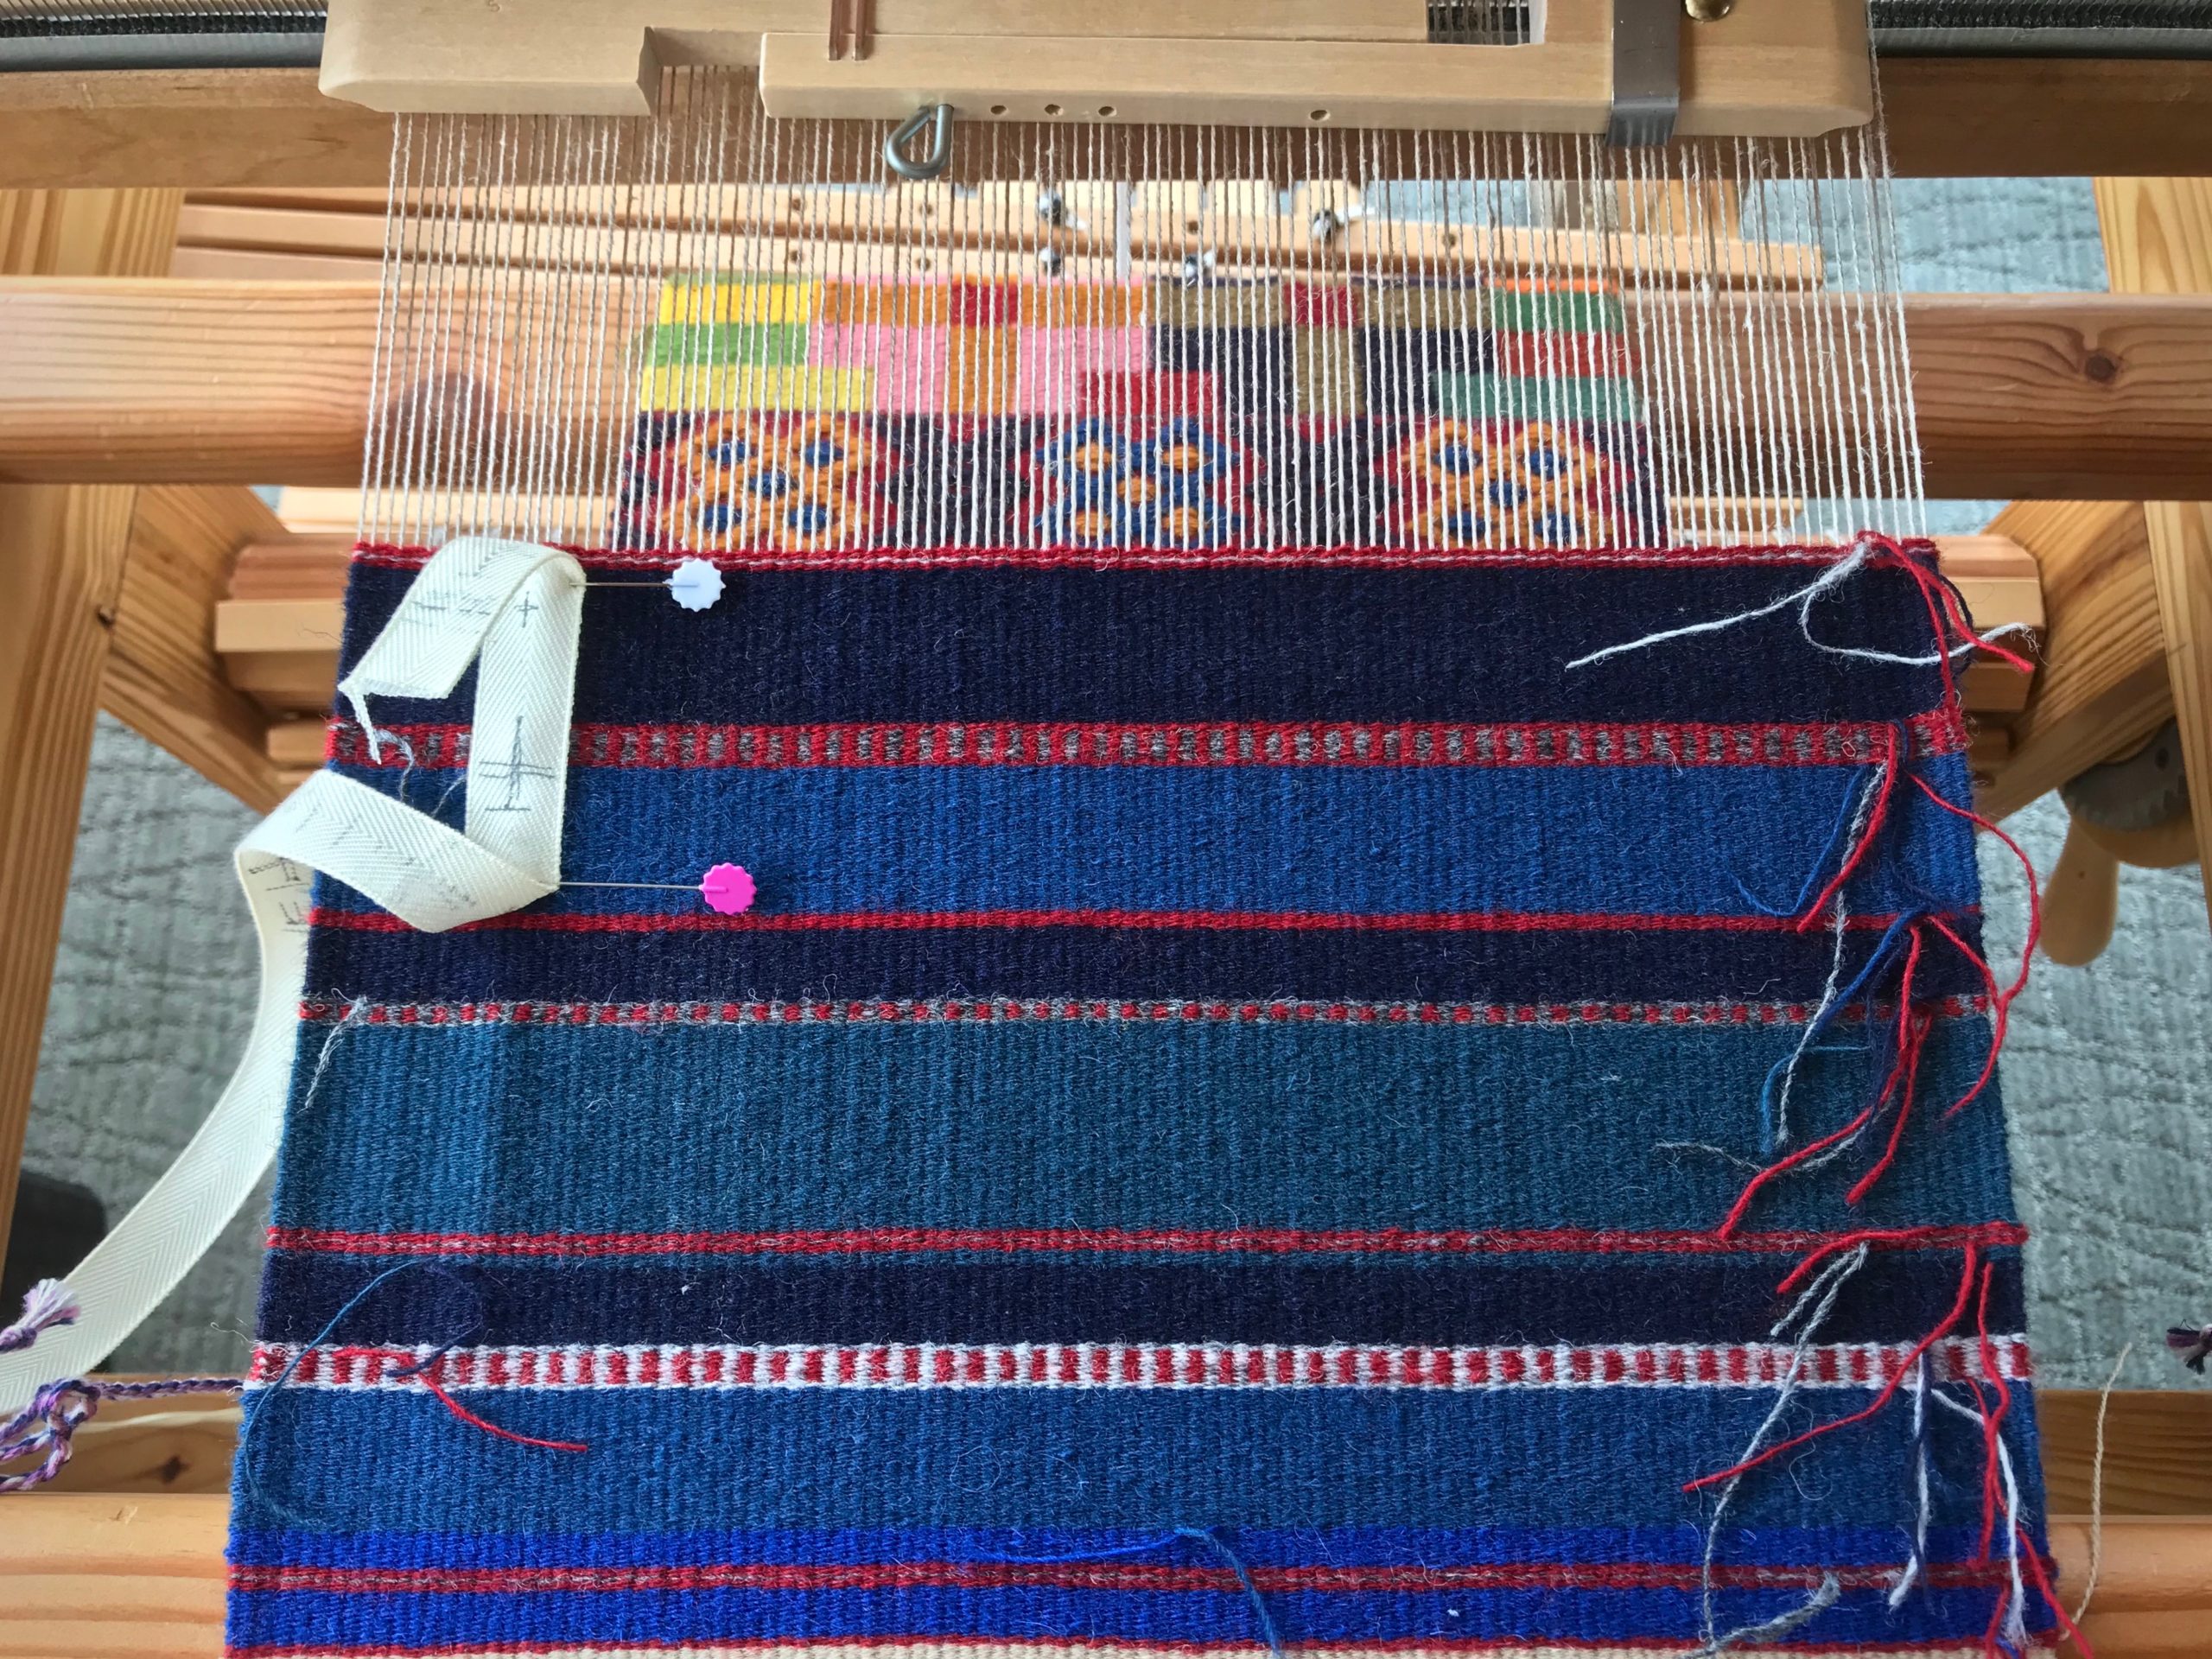
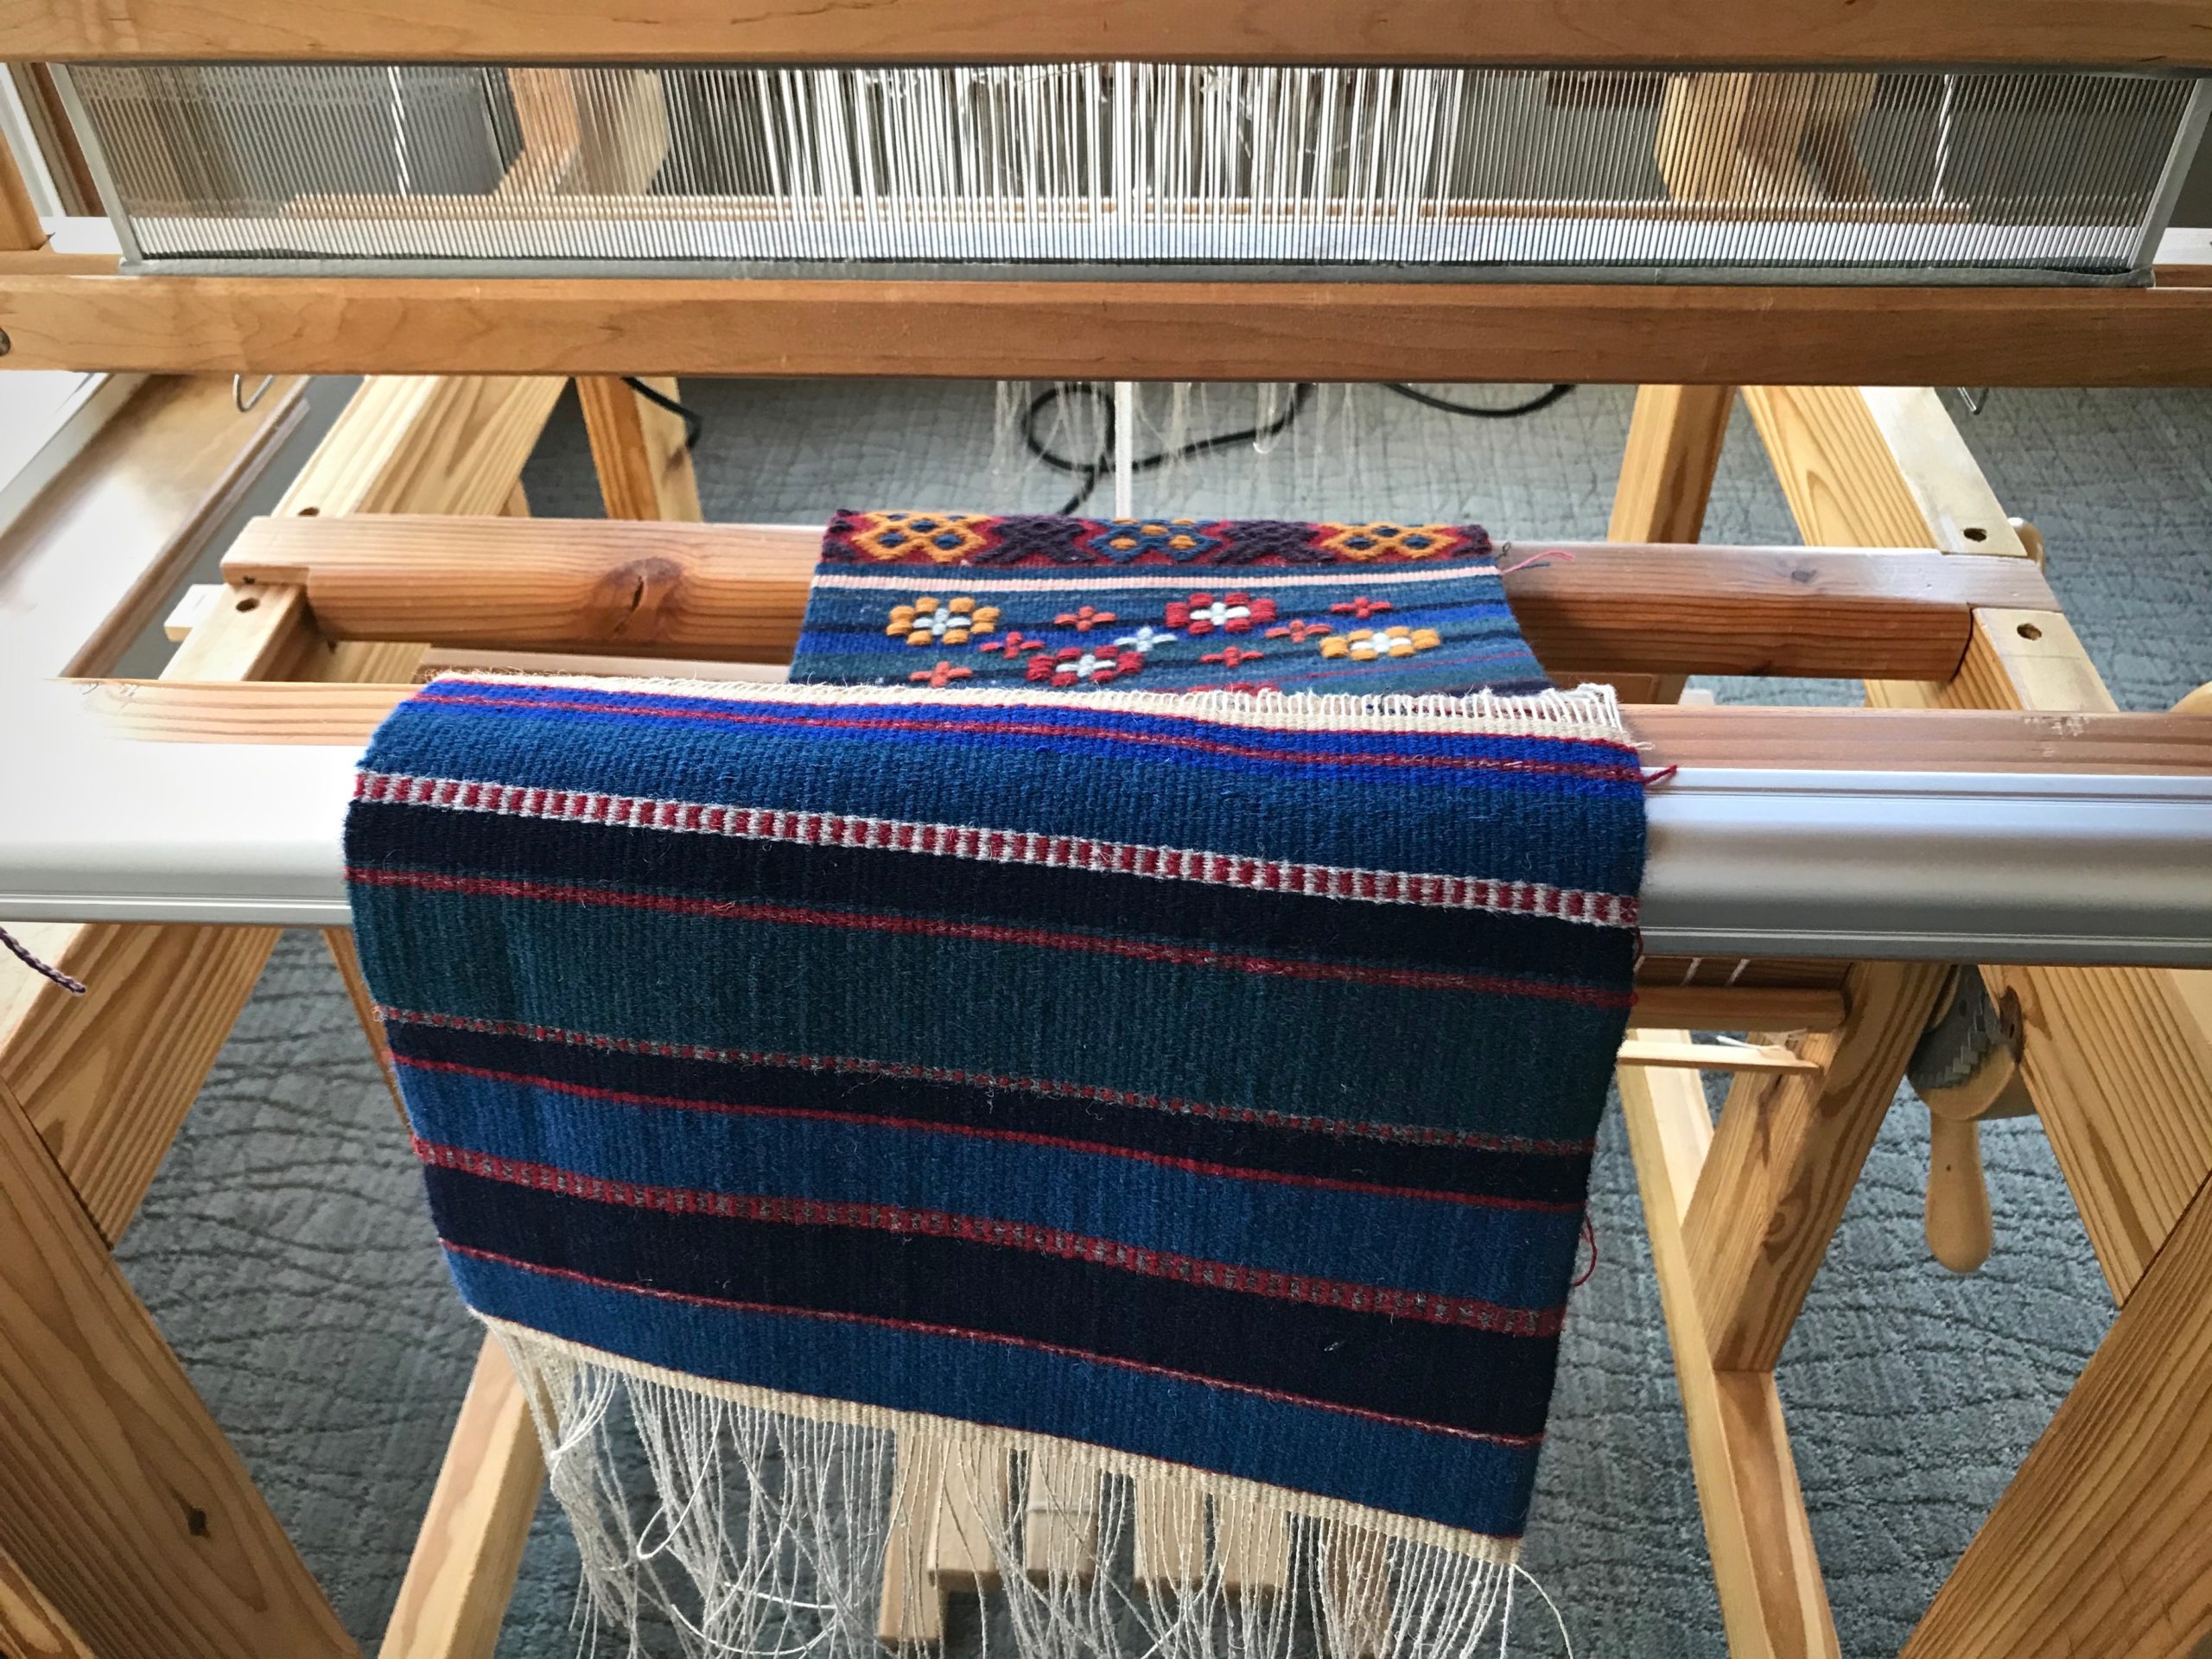
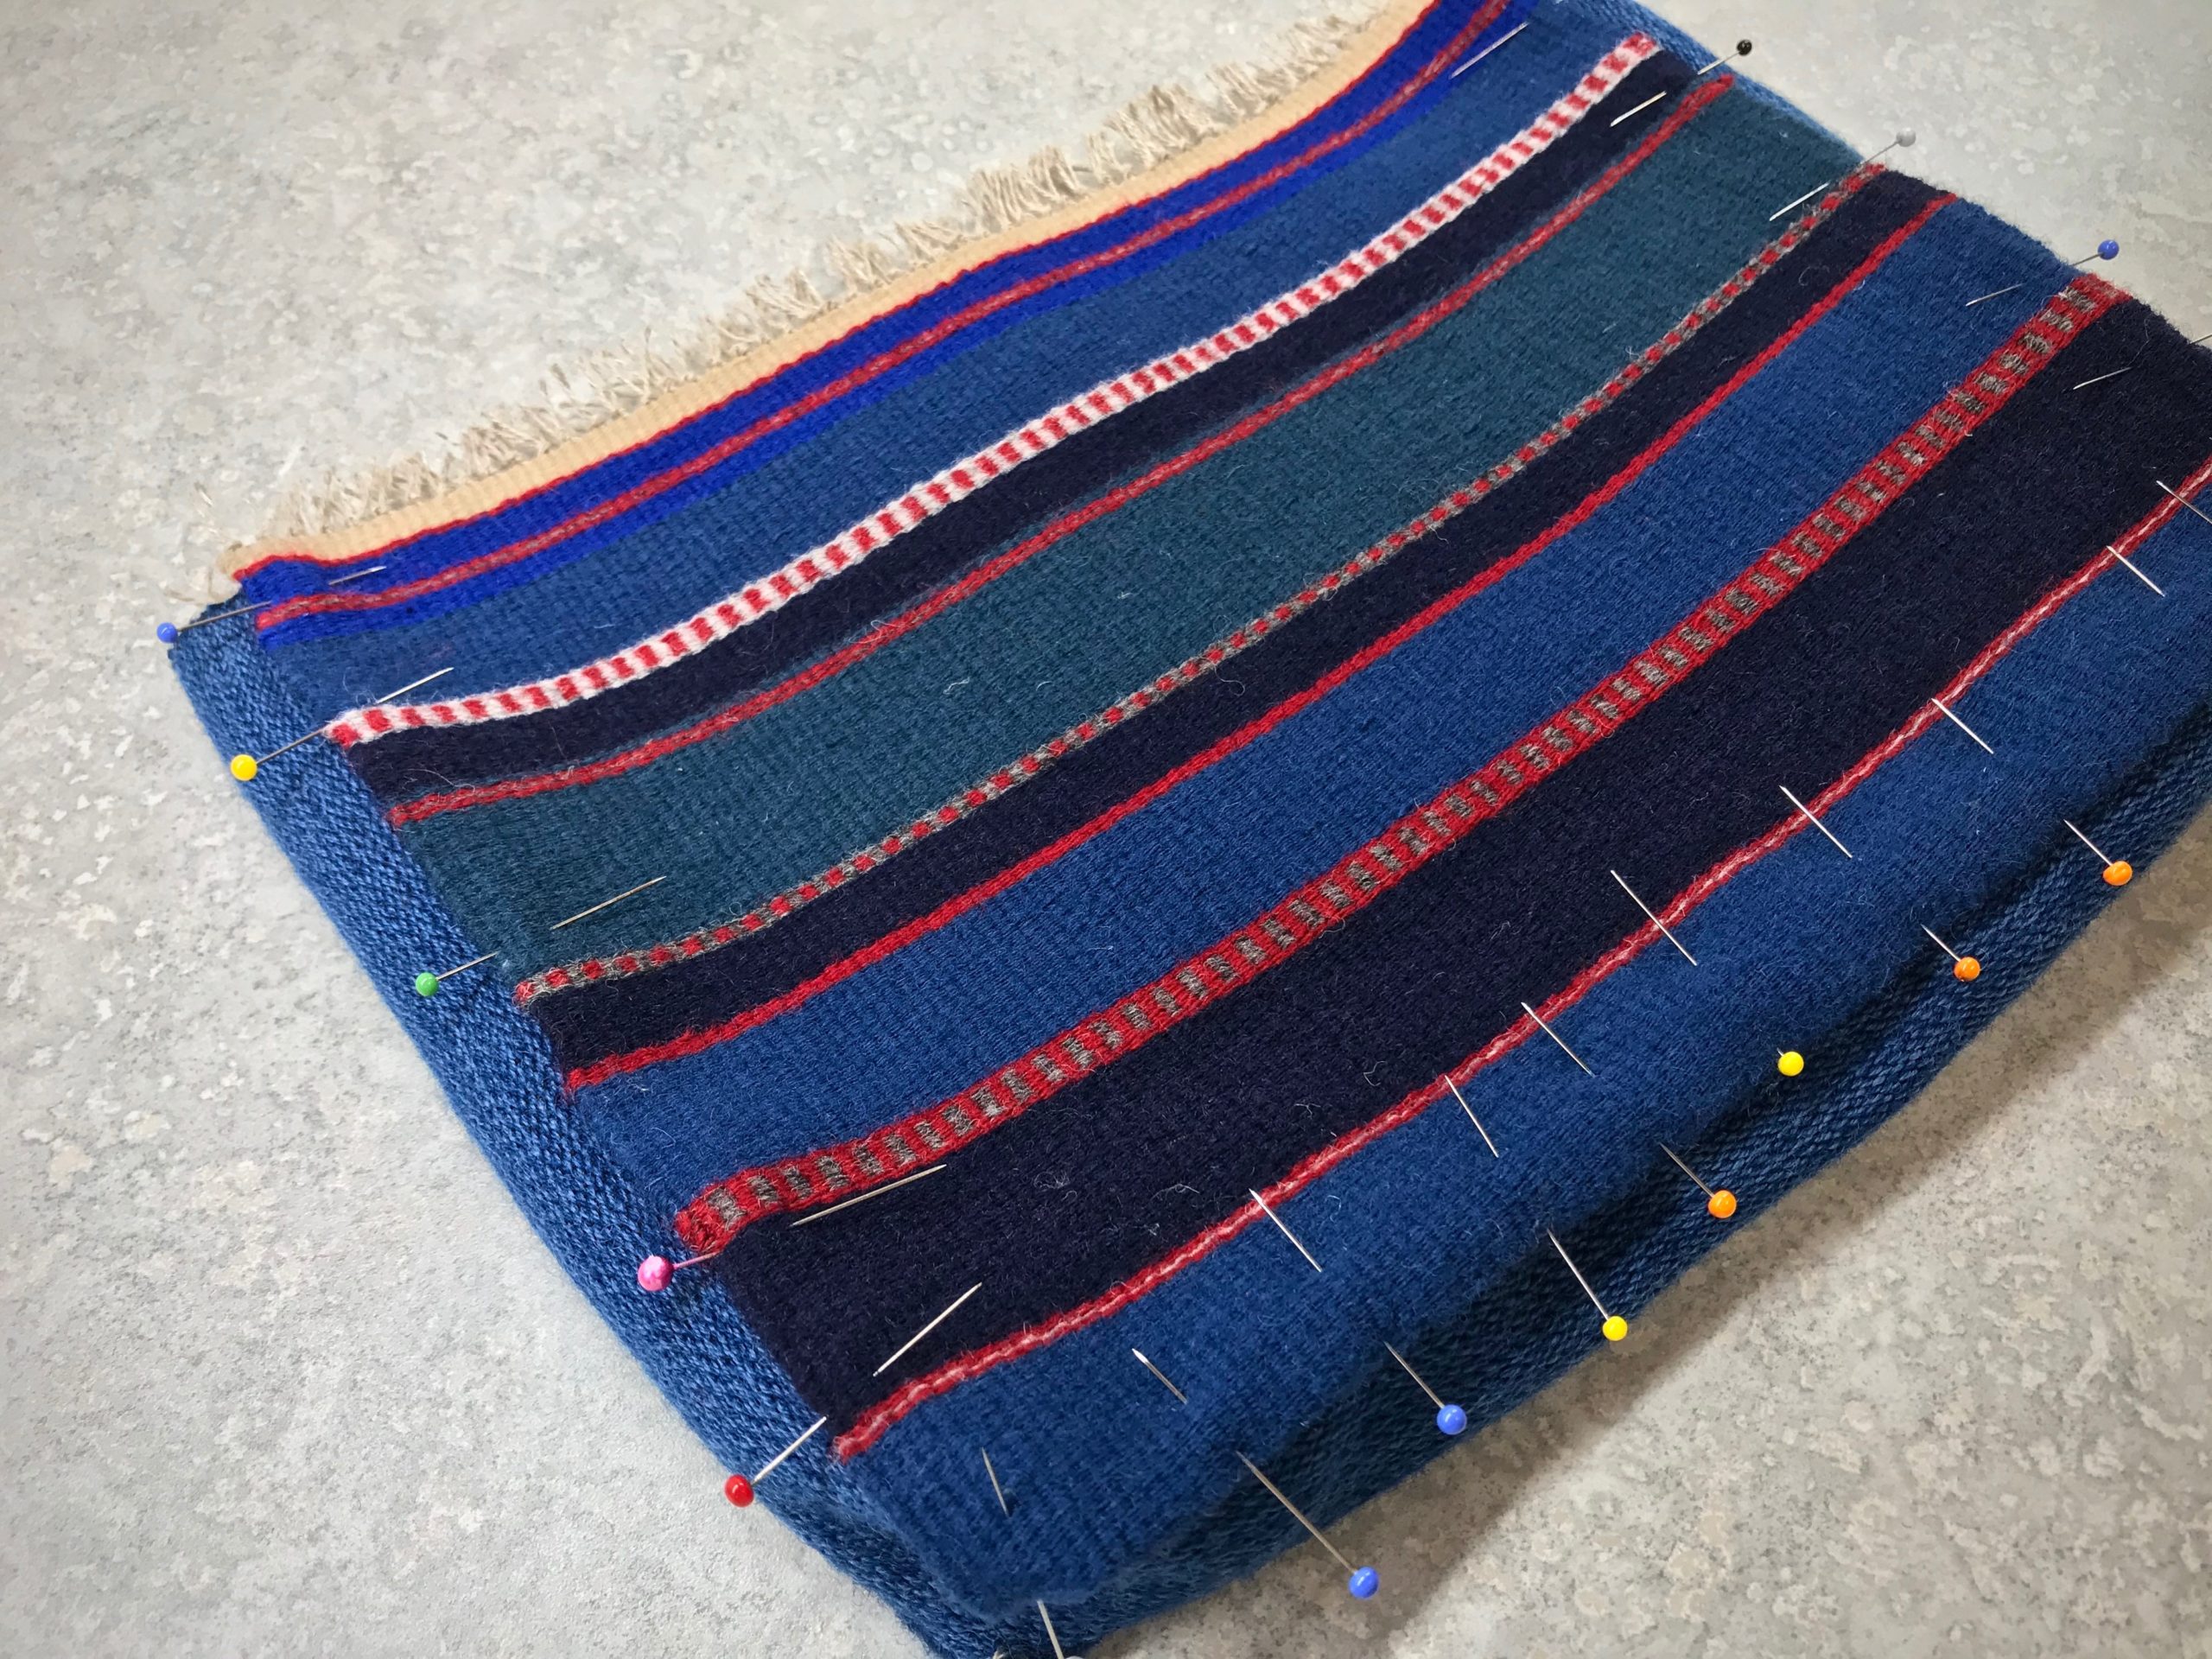
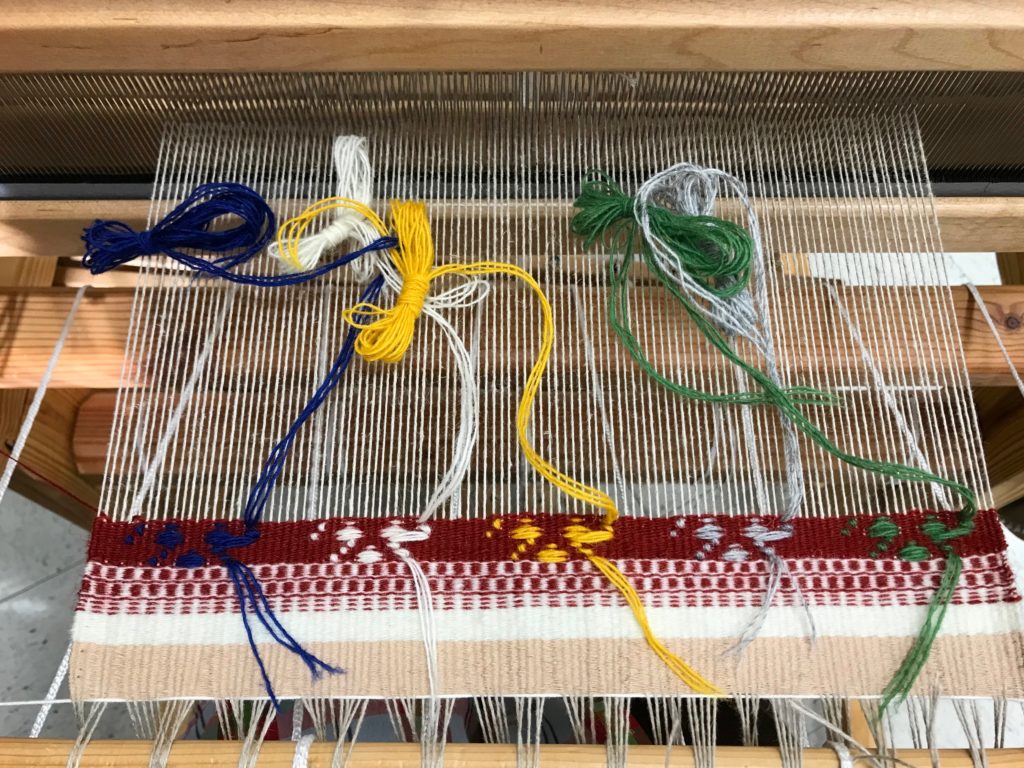
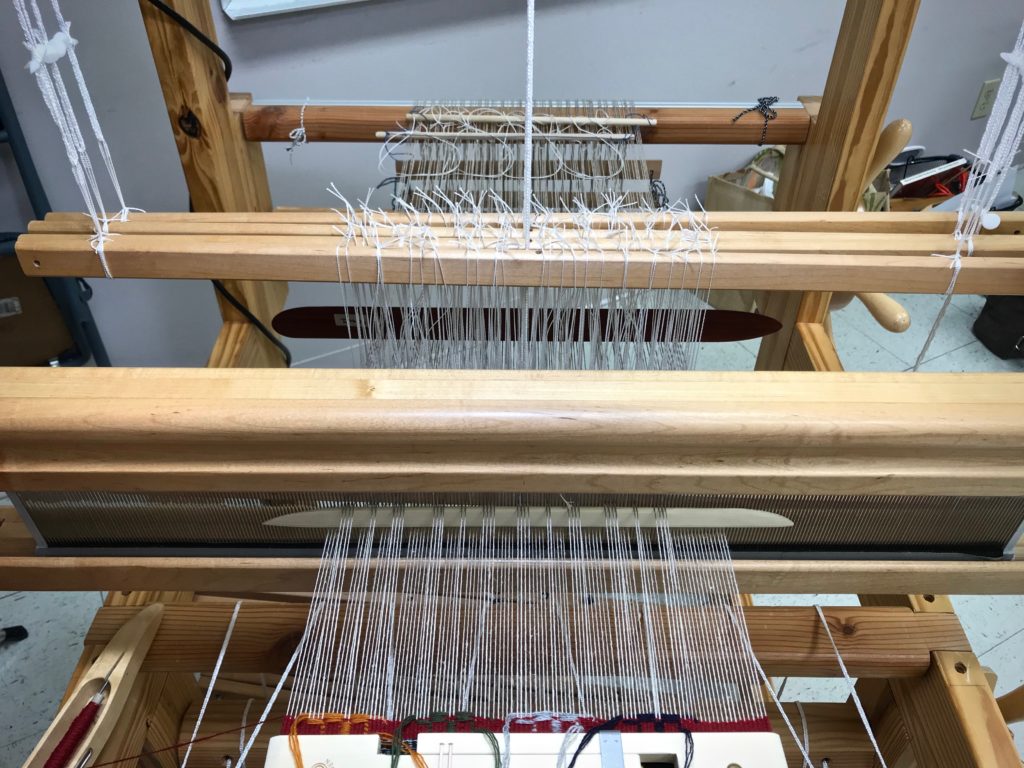
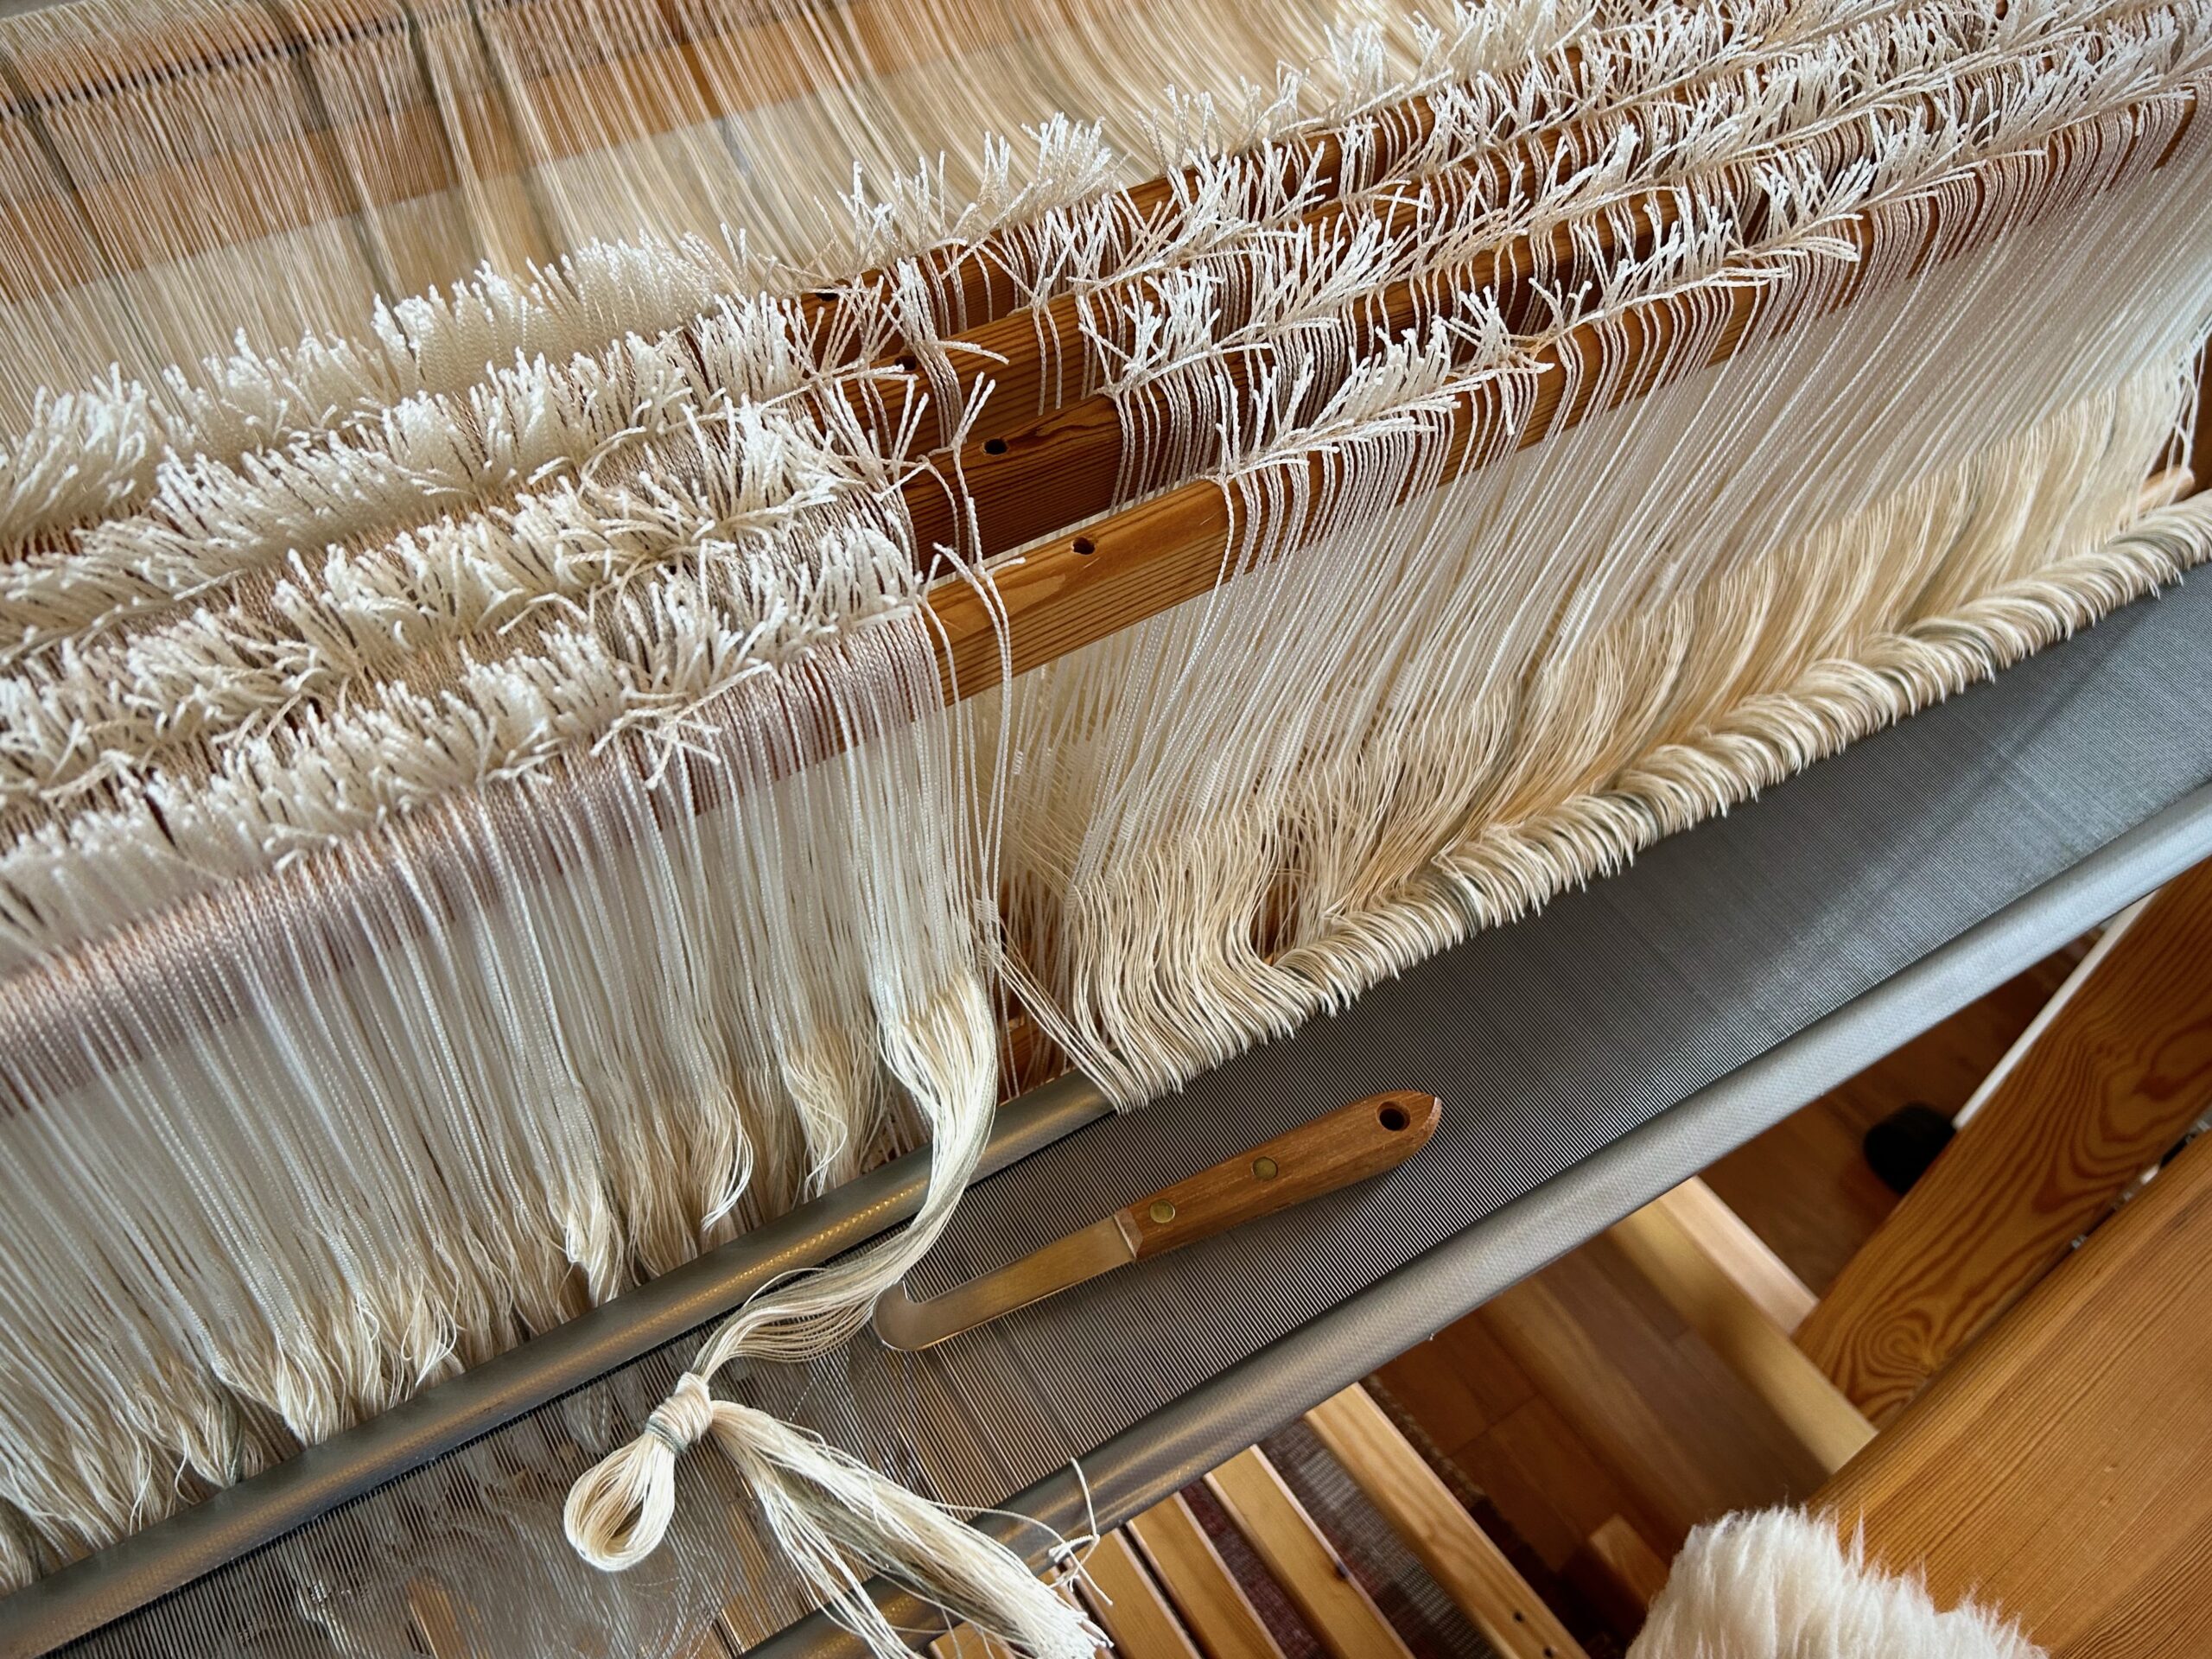
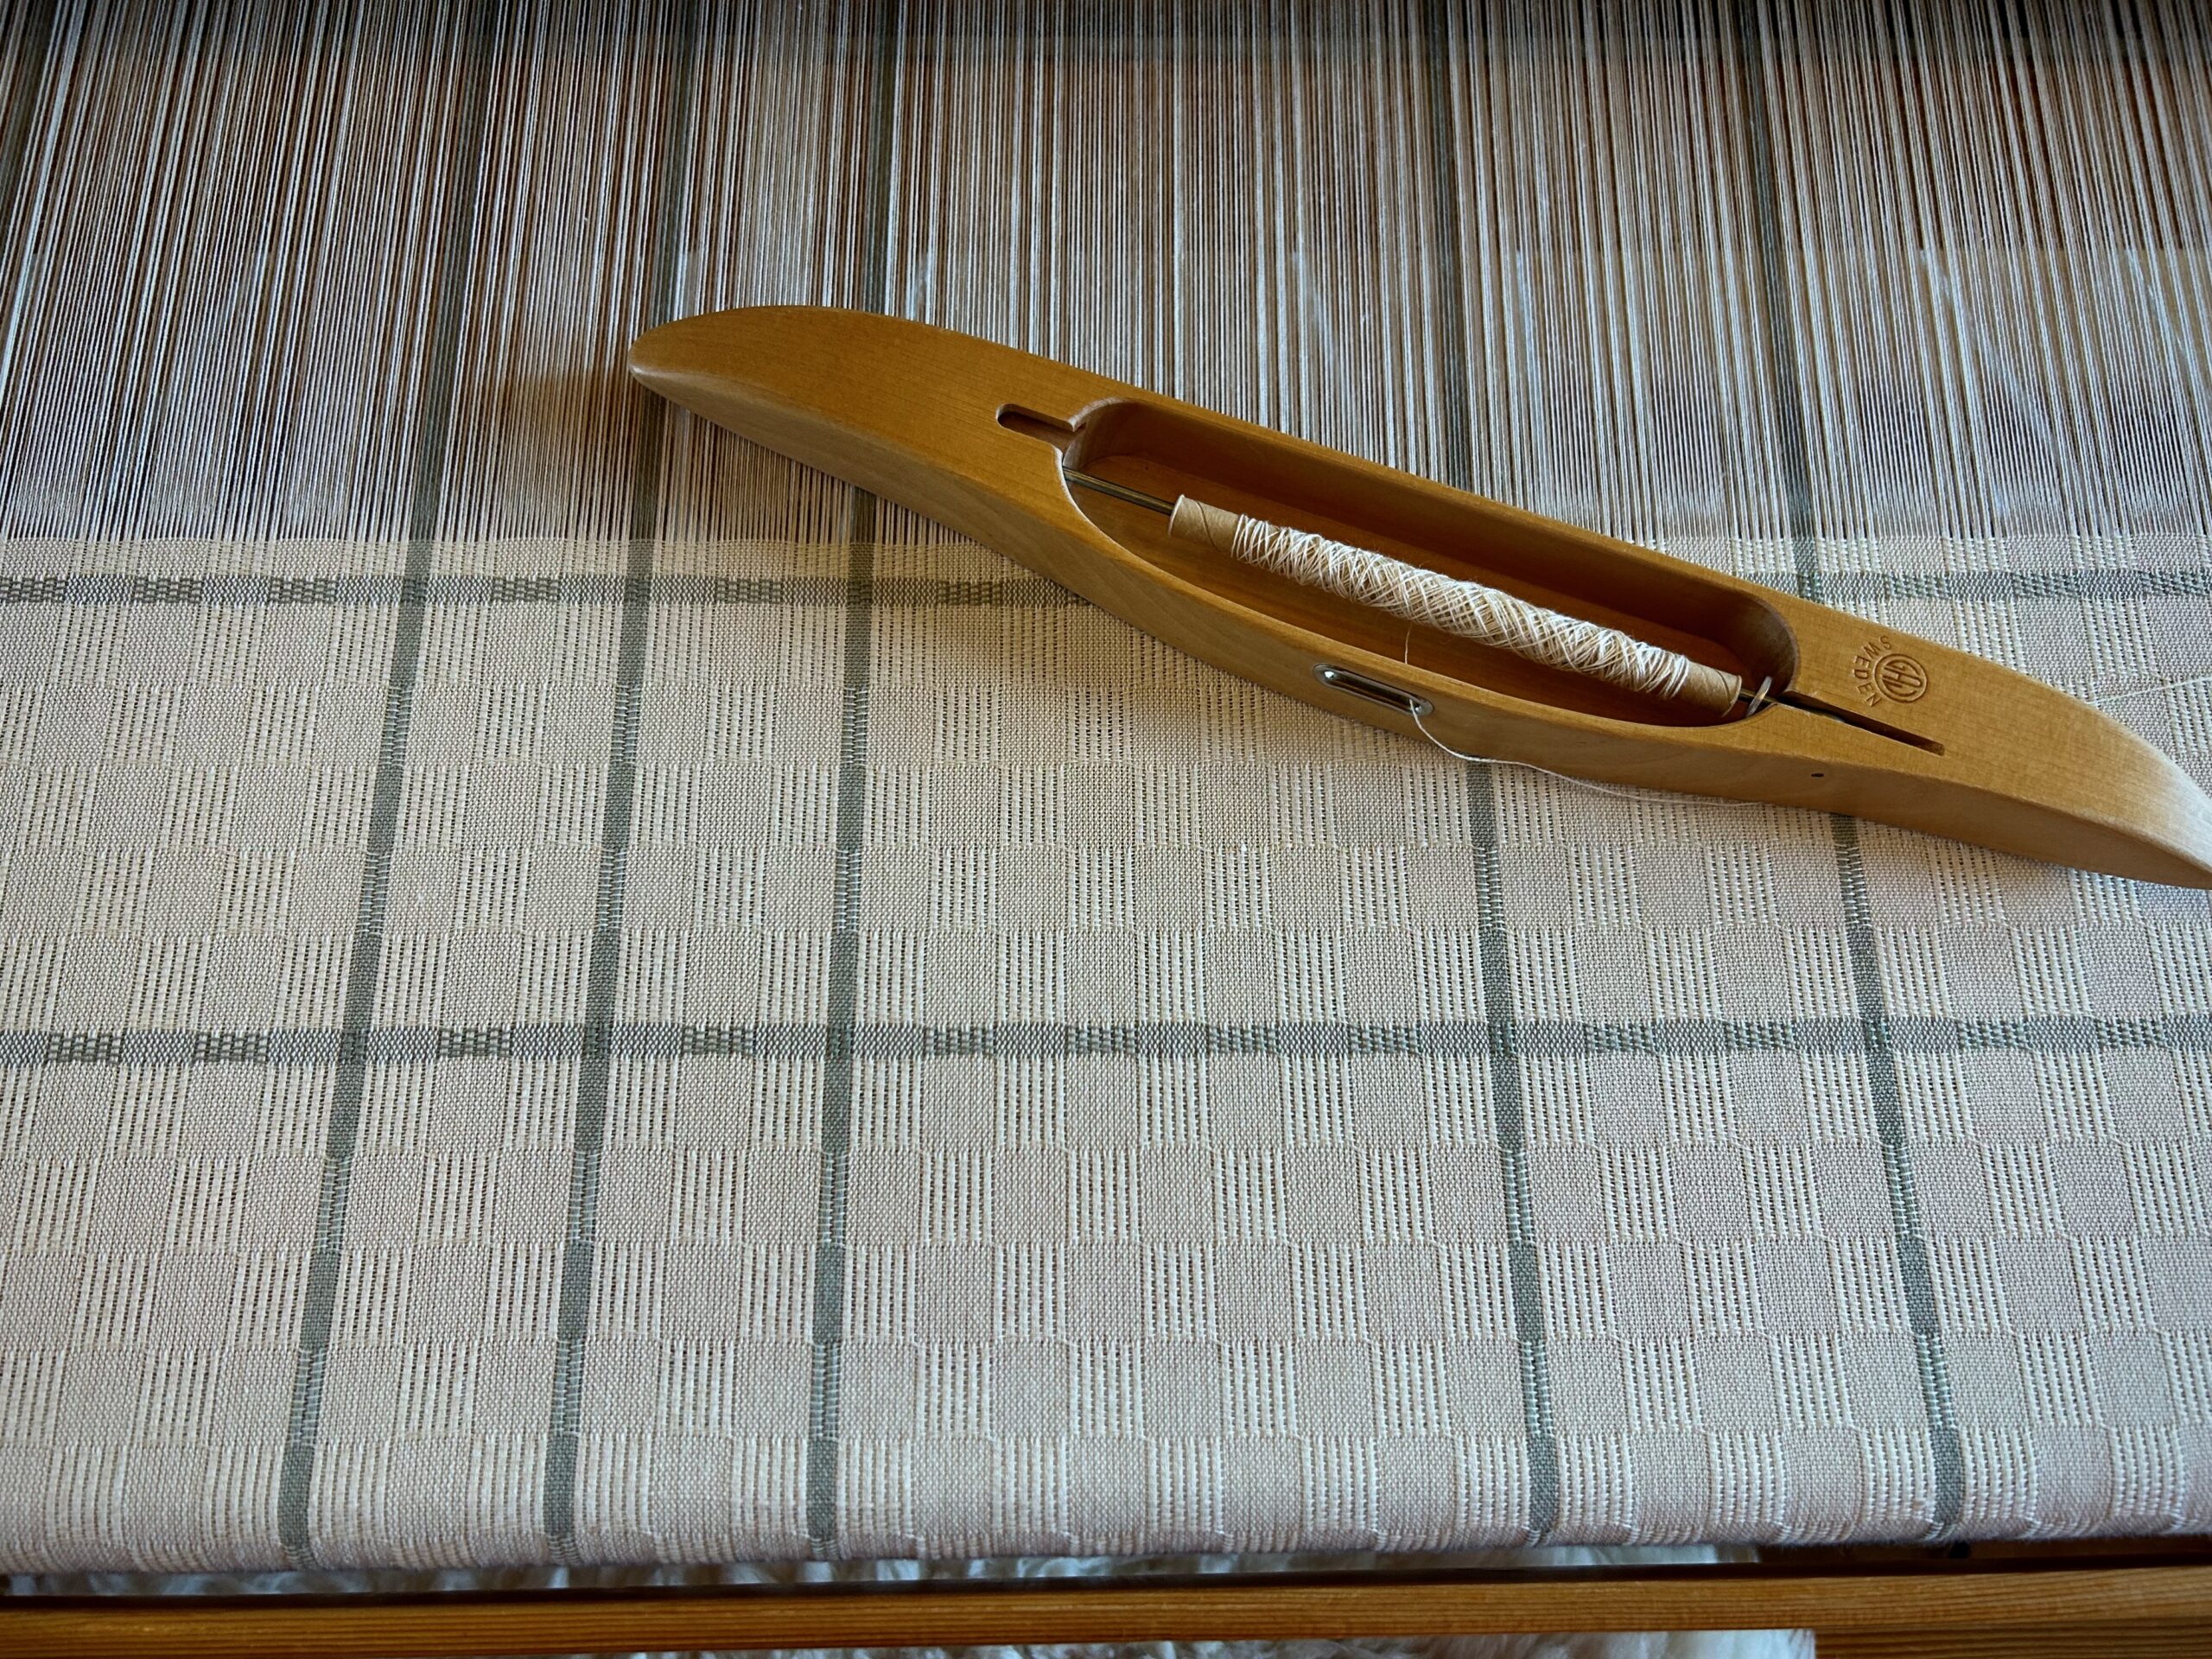
This warp is a triple challenge! 1. Full width (110 cm), 2. Fine threads (24/2 cotton), and 3. Unevenly-spaced narrow stripes. Three hours to wind the warp. Three hours to pre-sley and beam the warp. Seventeen hours to thread heddles, sley the reed, tie on the warp, and tie up the treadles. Why invest this much time and embrace this much difficulty?

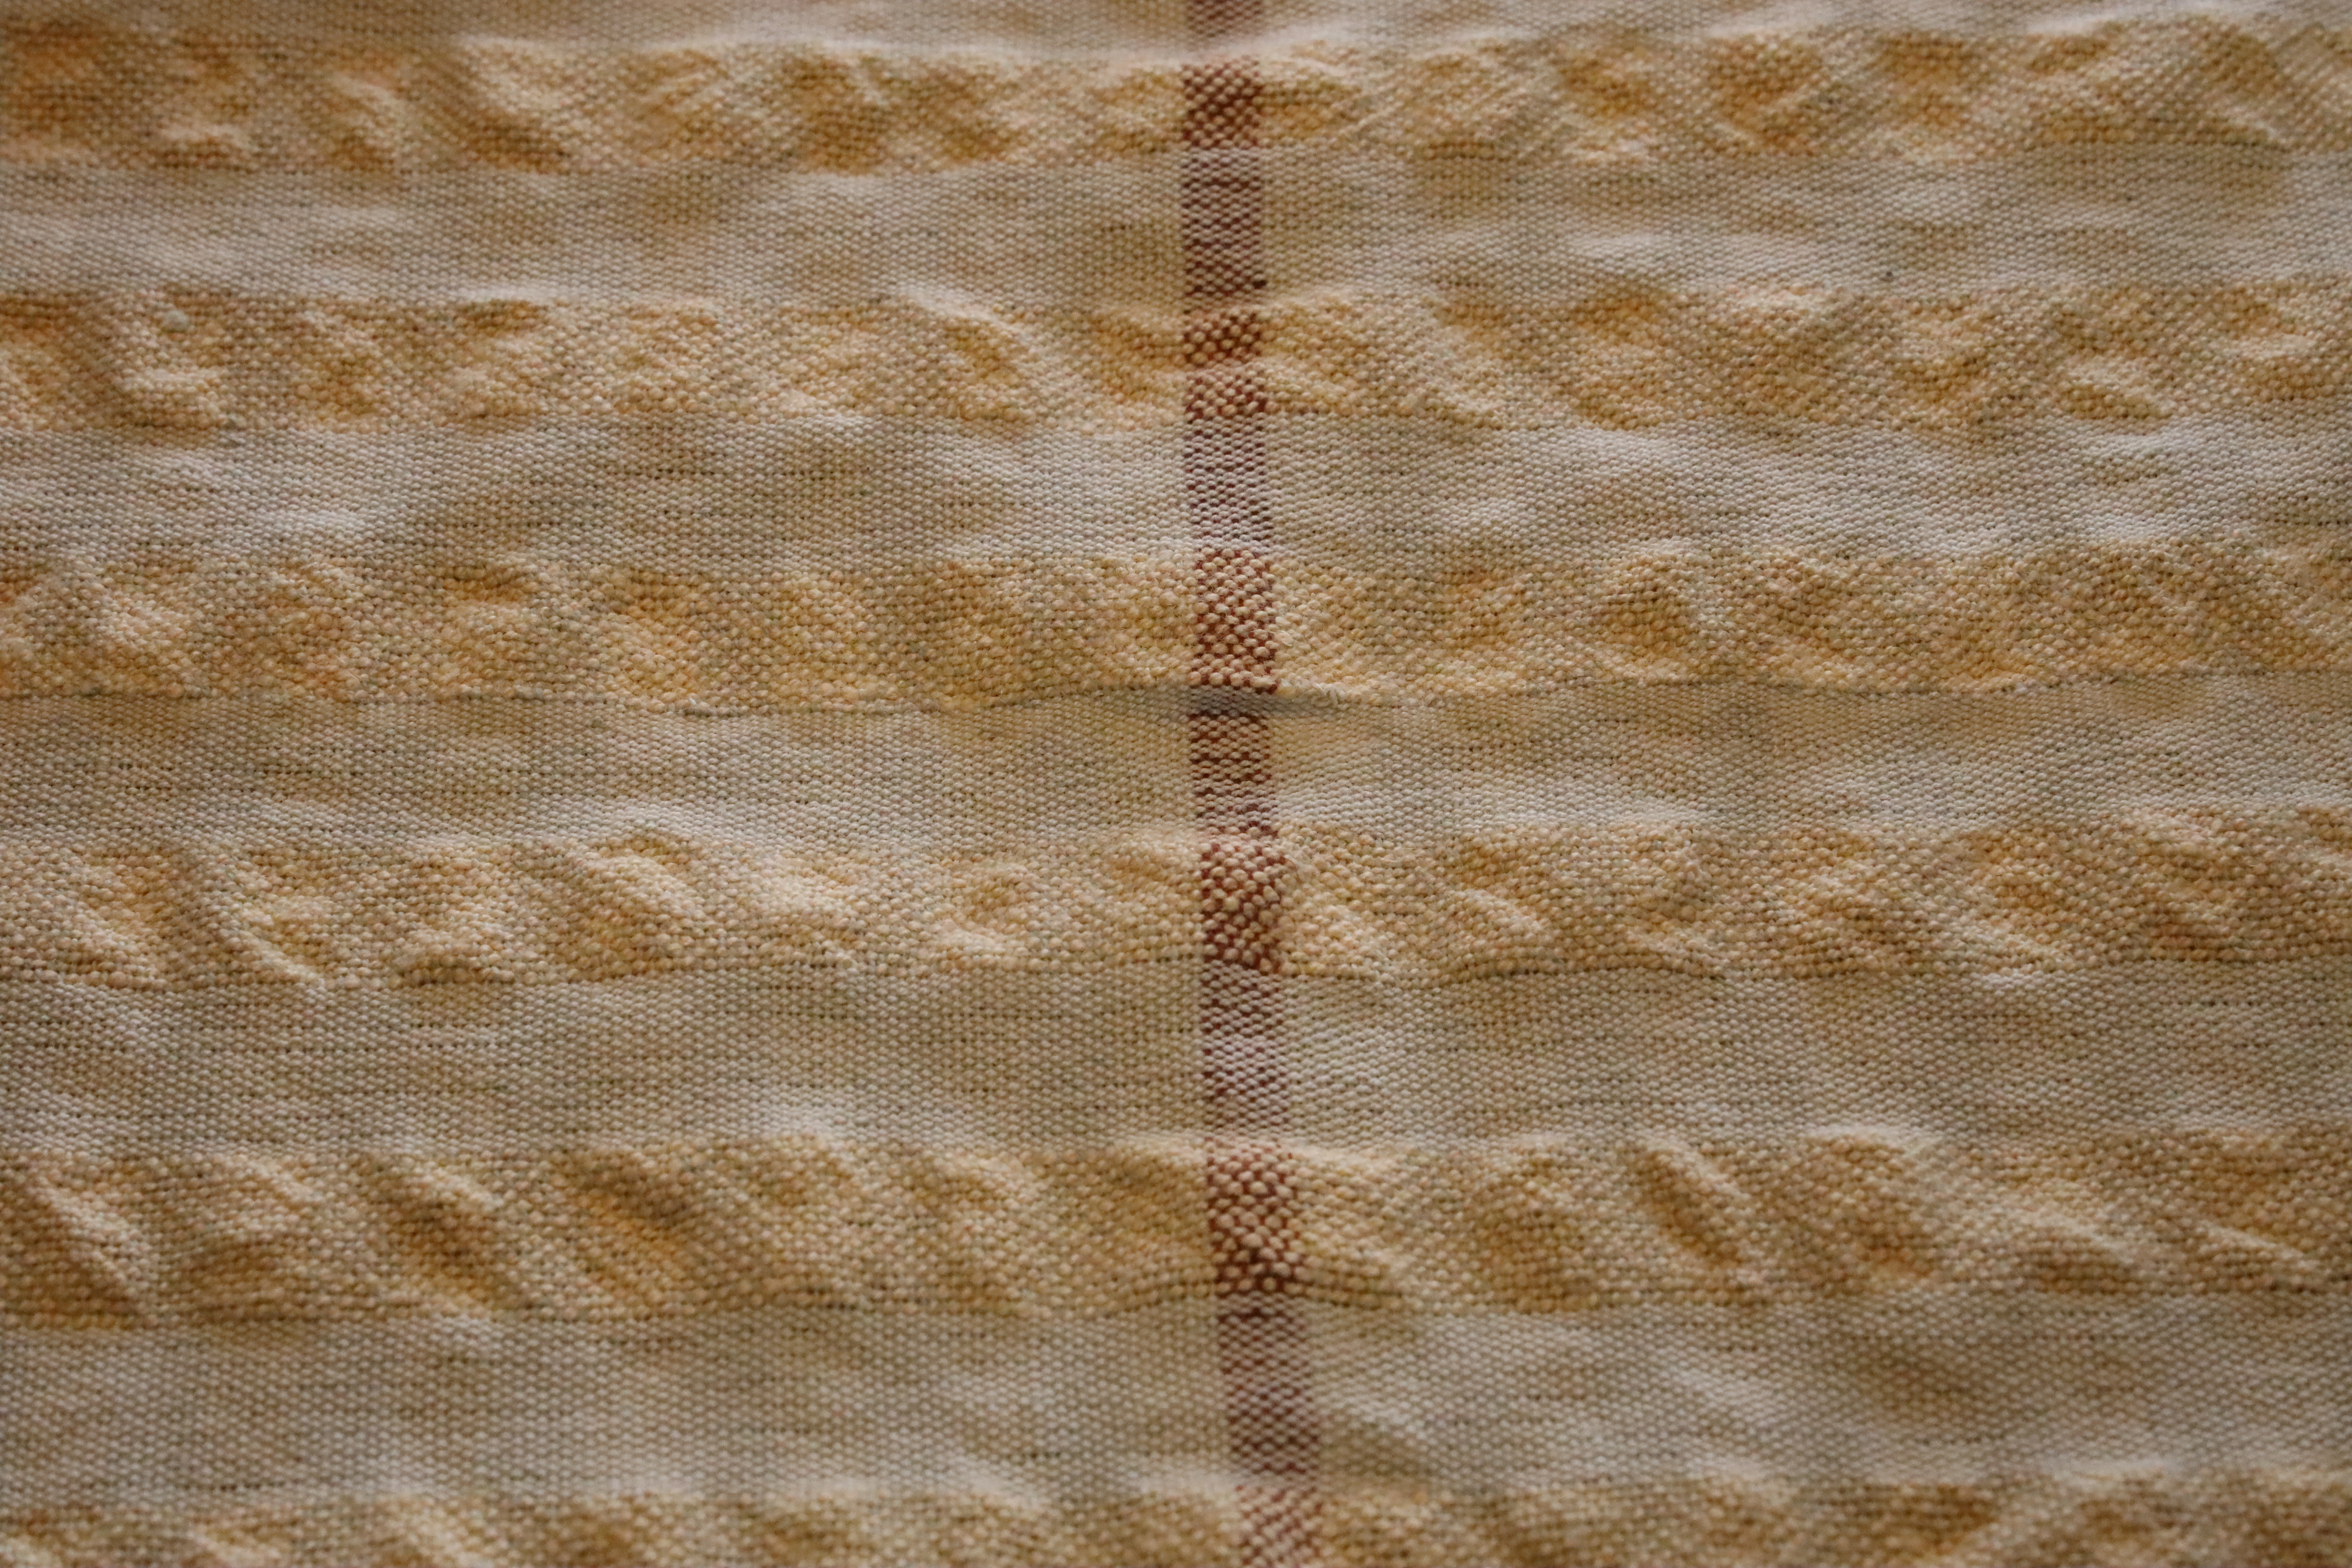
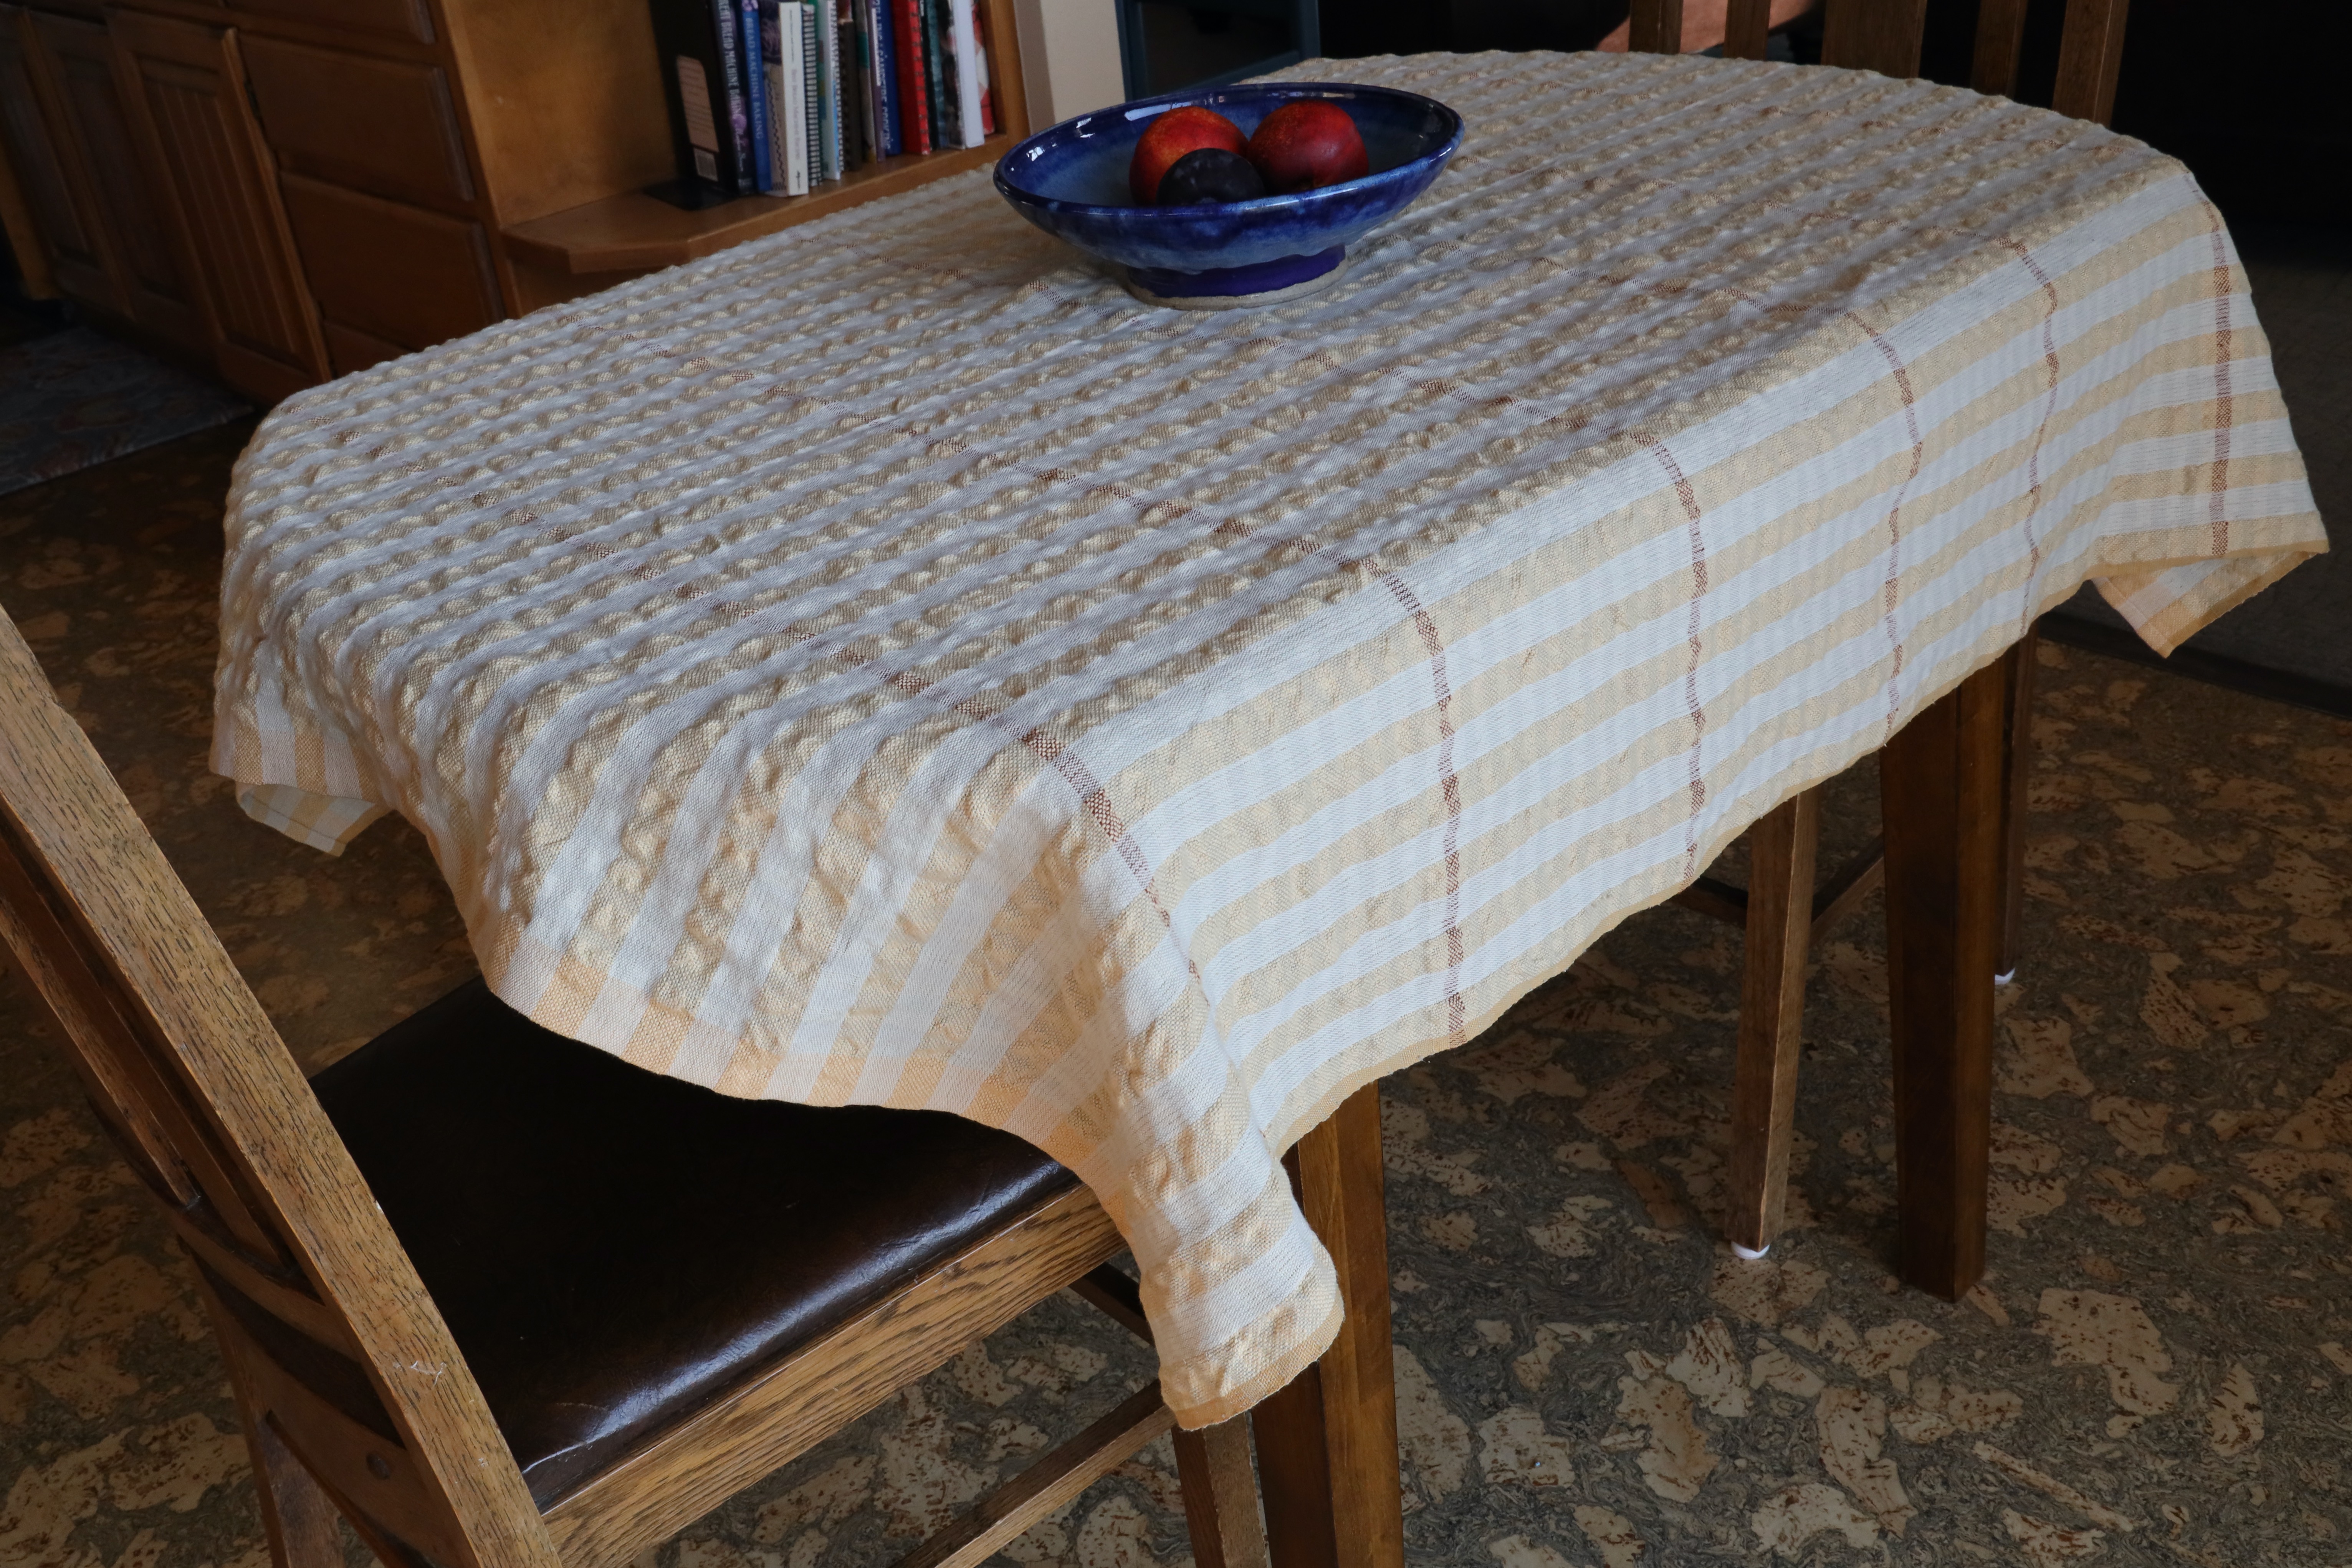
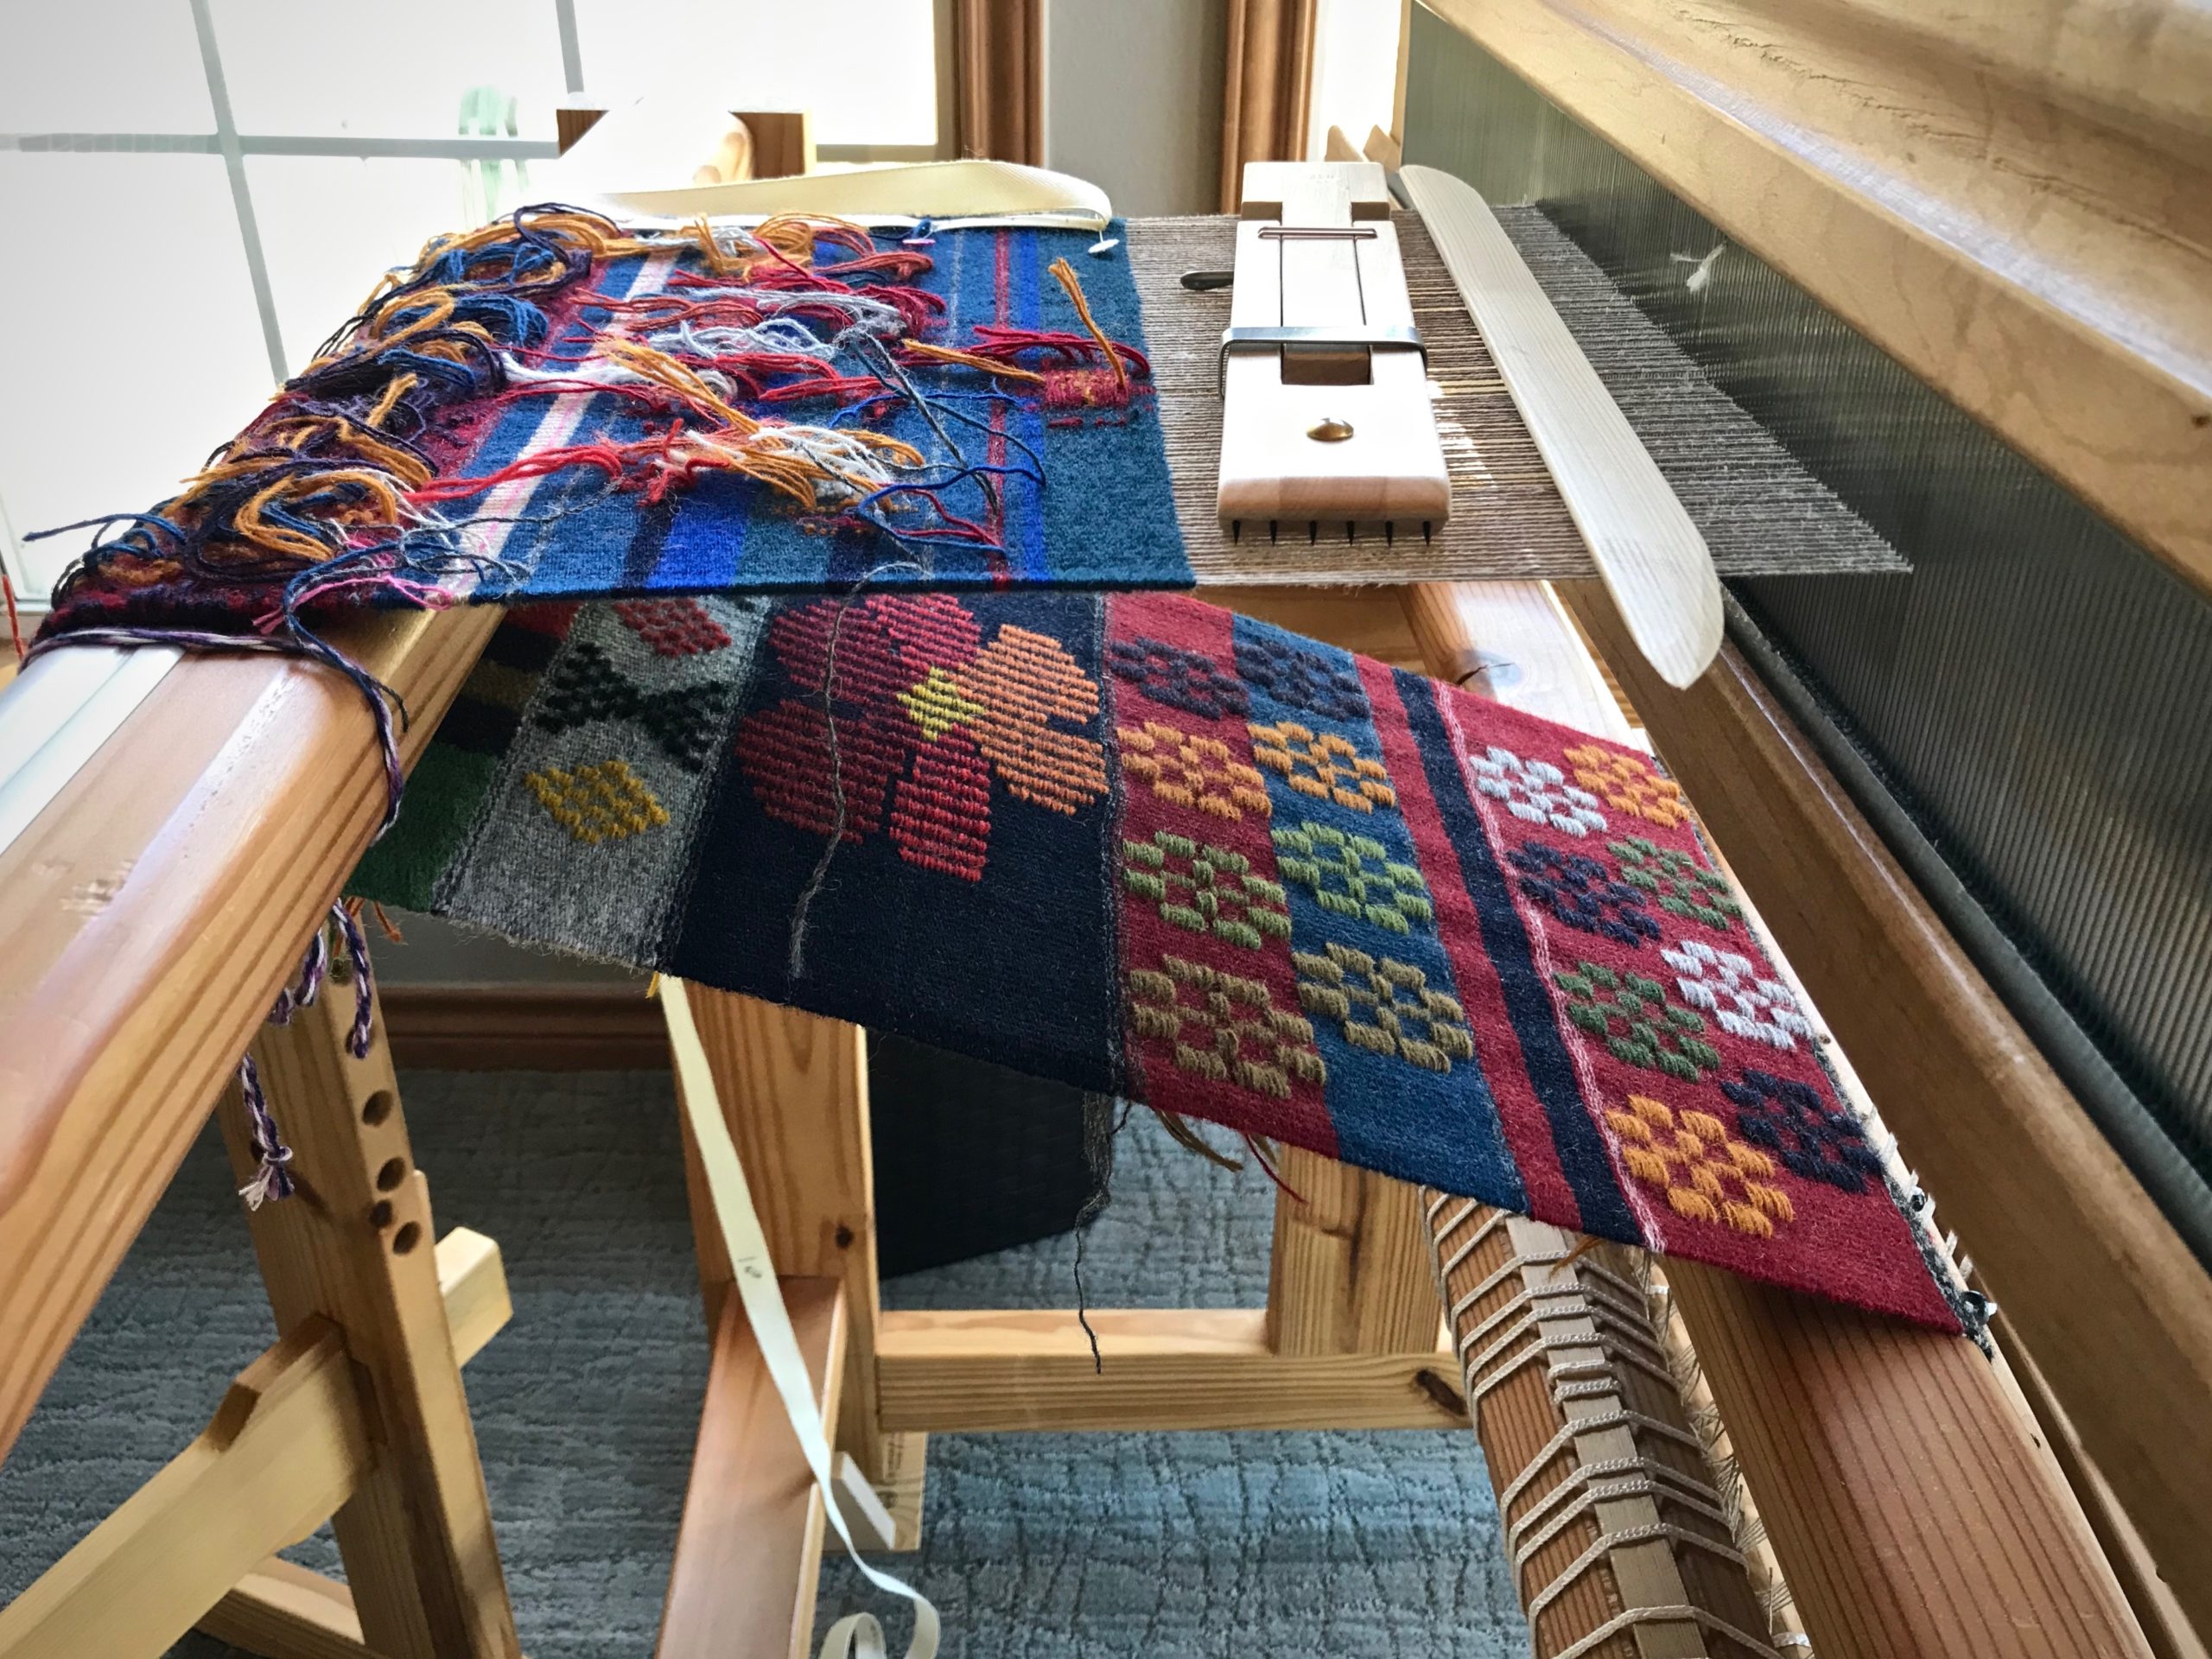
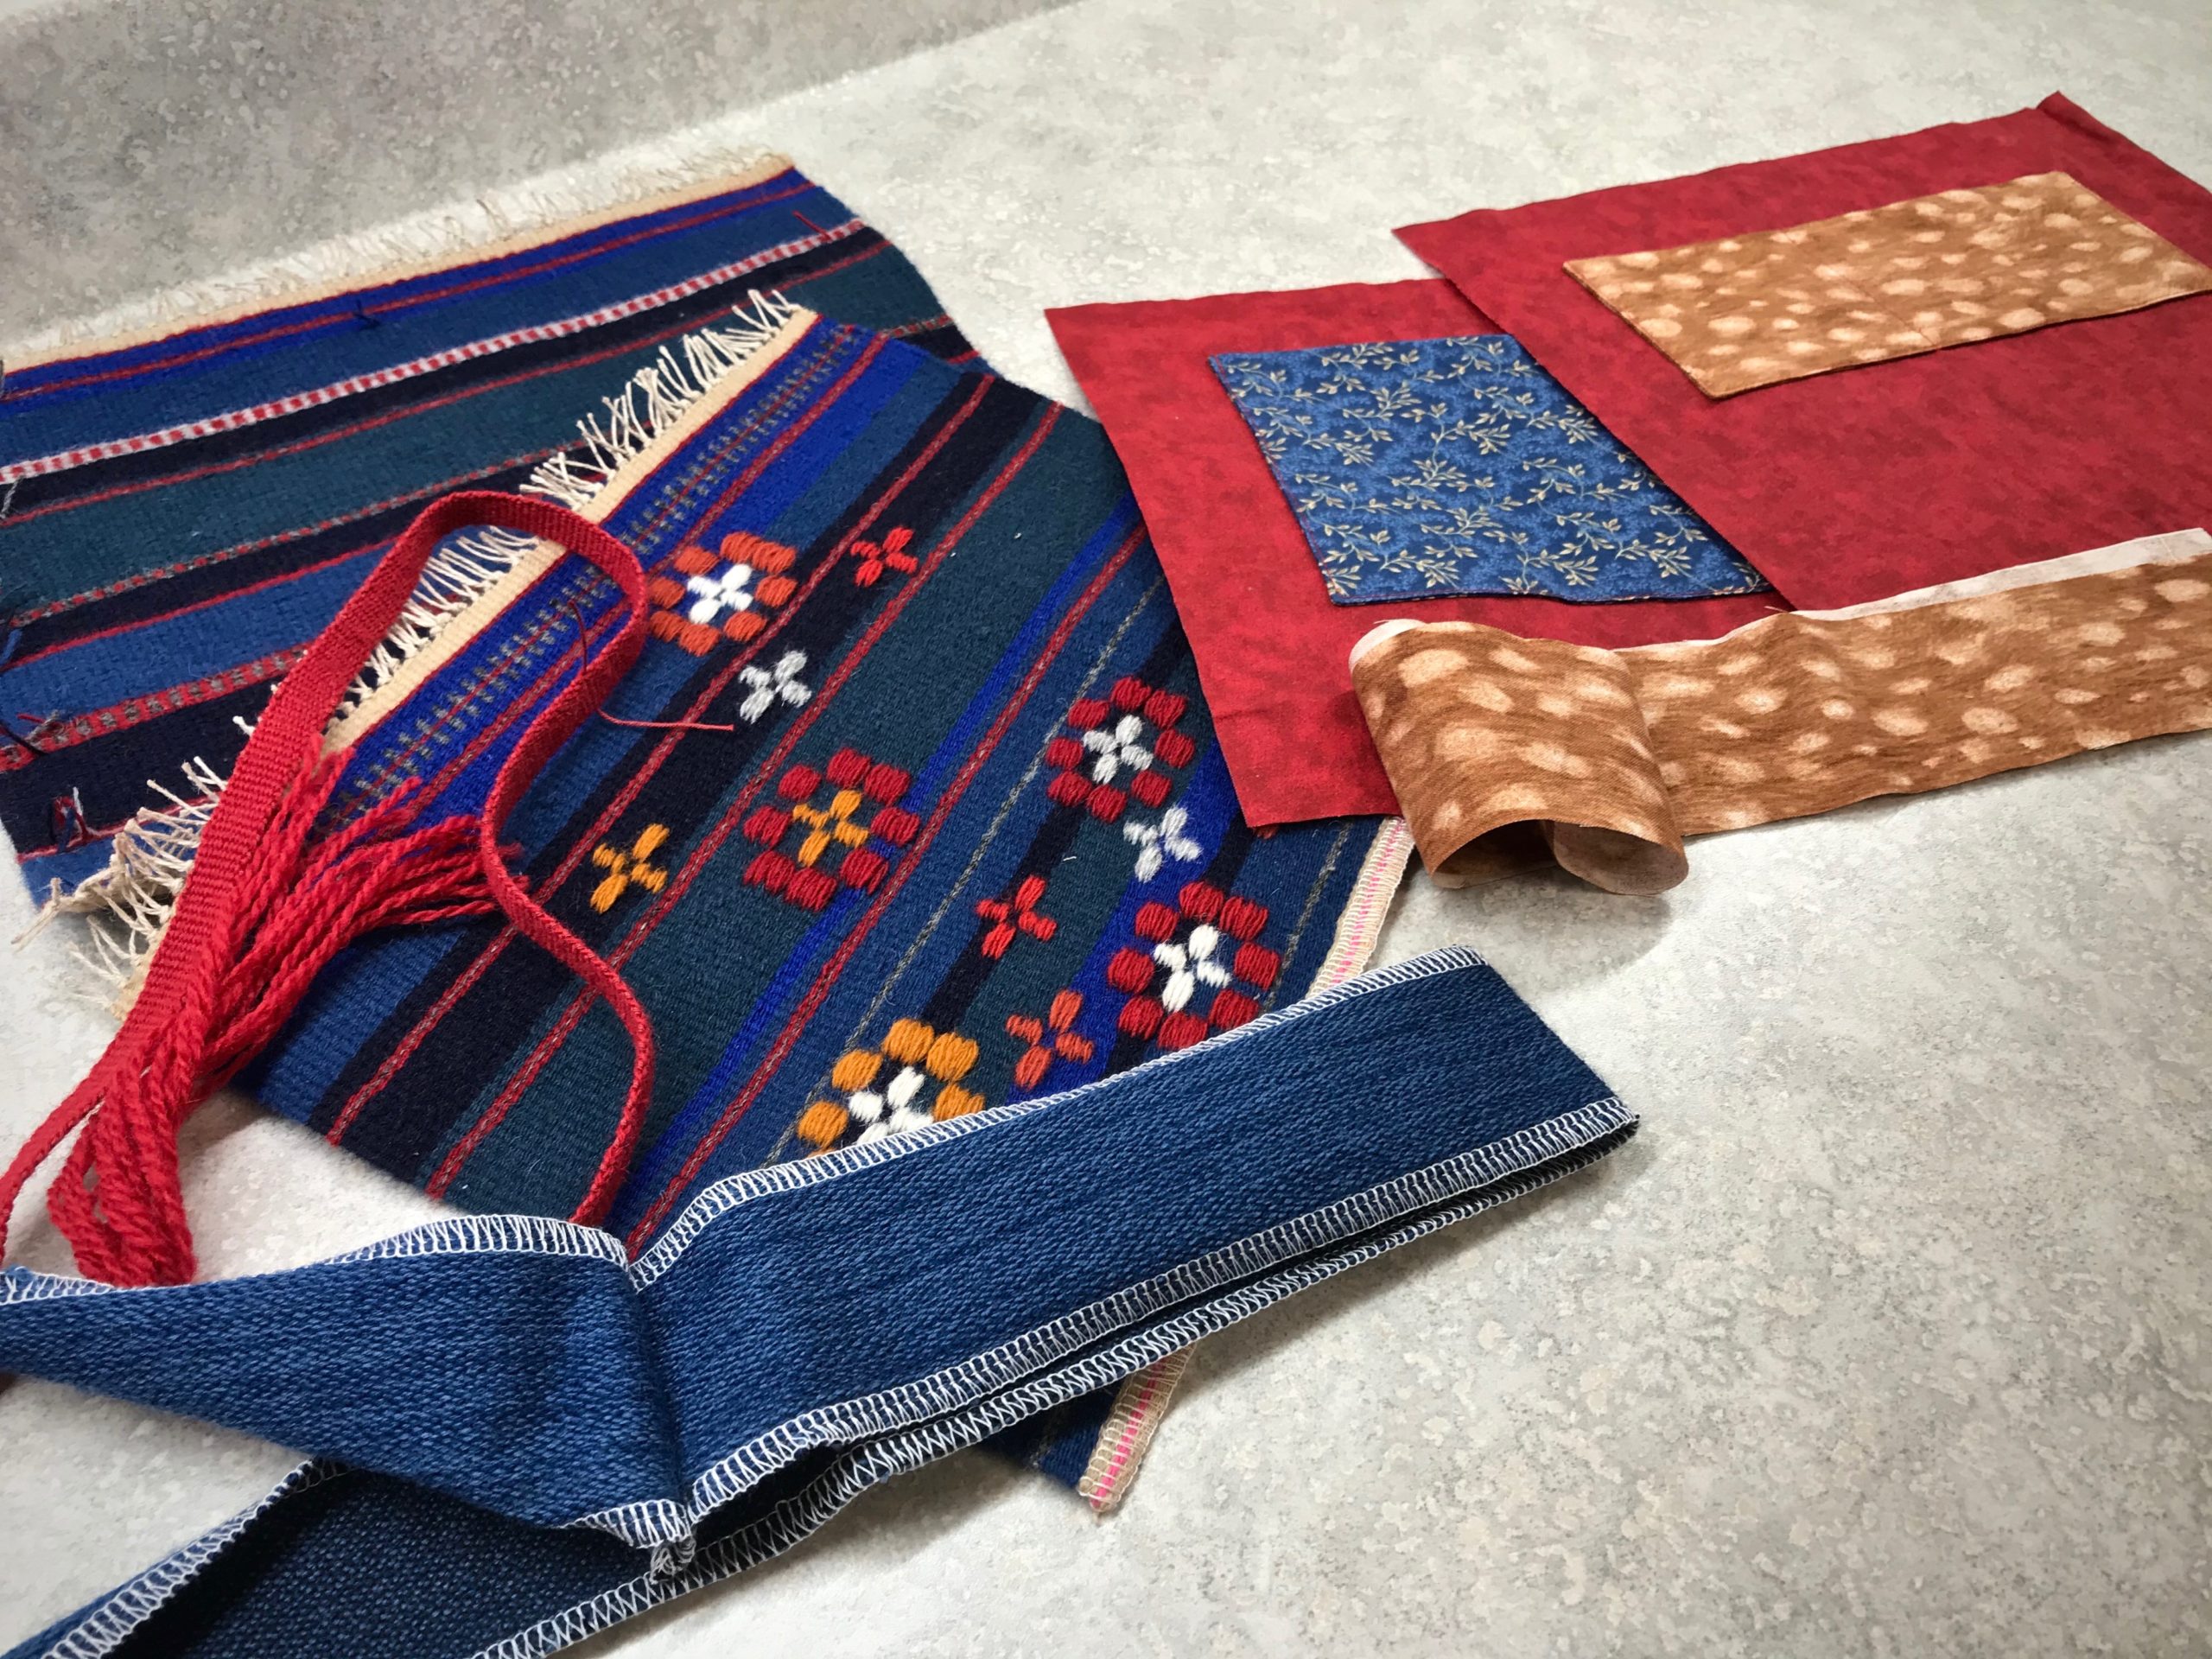
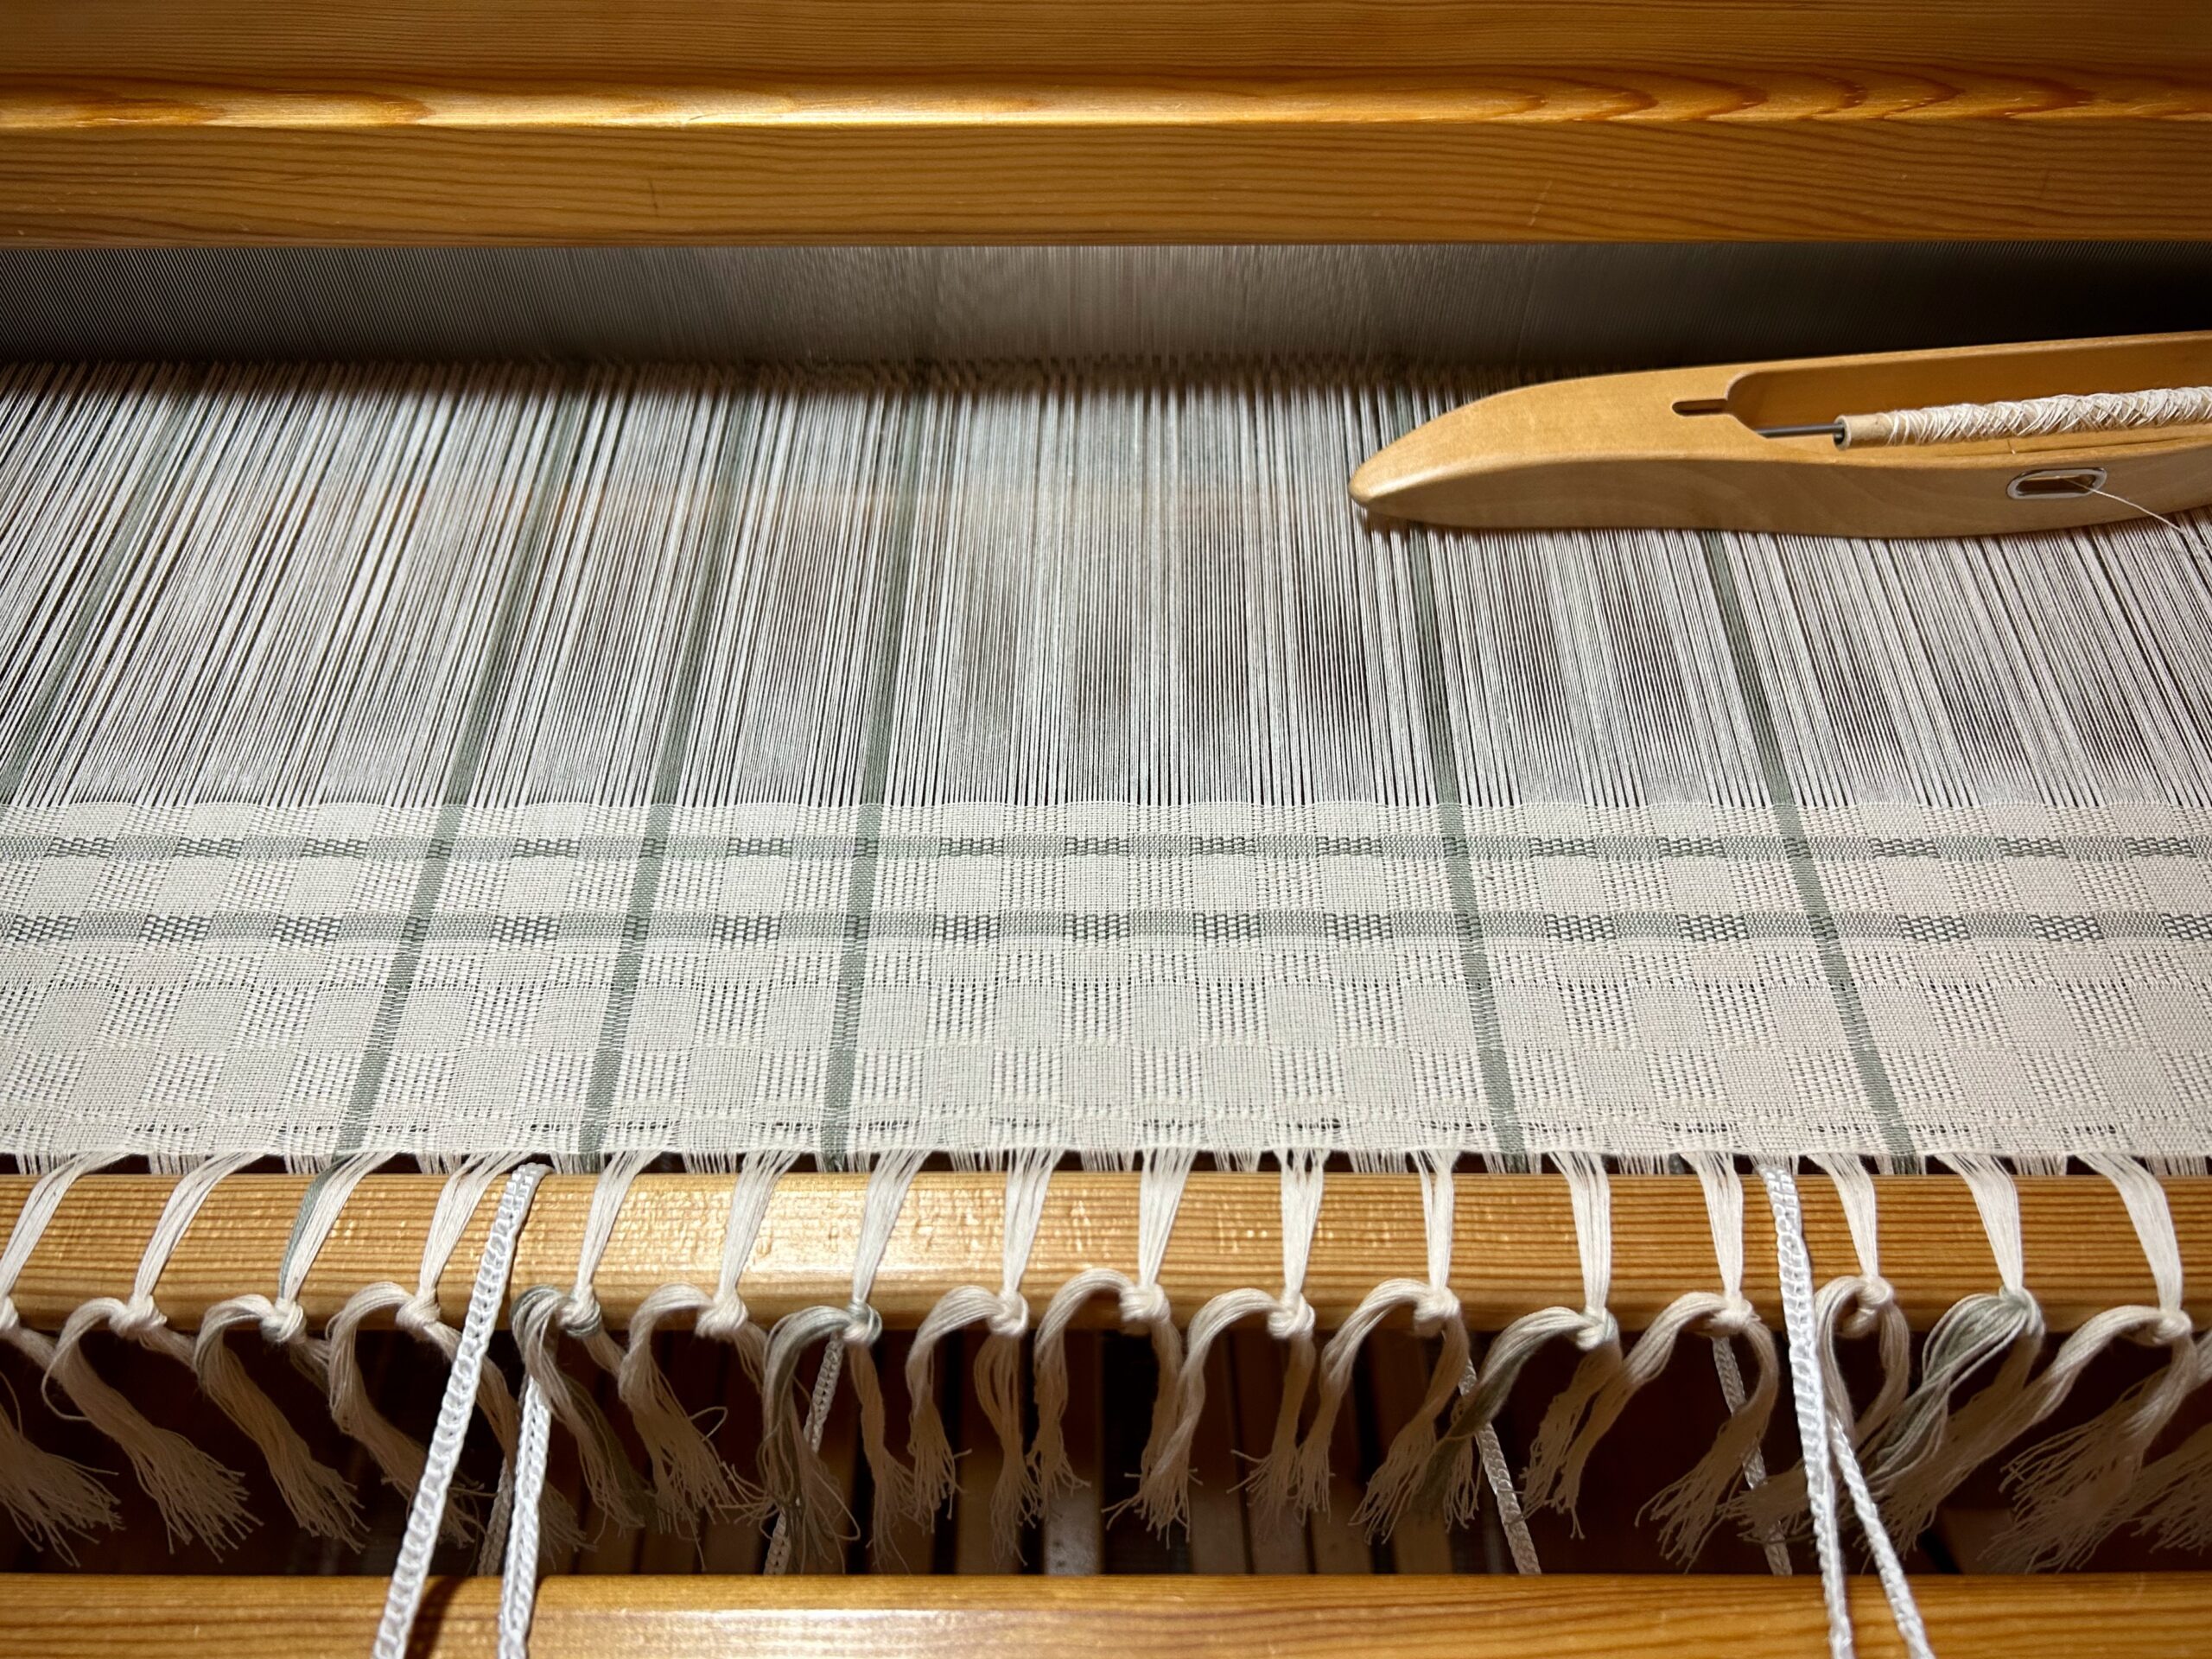
Why embrace this challenge? Because I see what no one else sees. I see the curtains that are specially designed for our remodeled bathroom. I understand the draft, the threads, the stripes, and everything that works together in a certain way. I see it. Though not yet visible, I could see it before I started. And so, all the challenges become part of the story, and I’m determined to keep going. I aim to finish strong.
This is a picture of faith. Faith acts on things not seen by others. Faith sees what is not yet visible. With faith in Jesus Christ, all the challenges become part of the story. We go the duration because we have a view of the finished work.
May your challenges stretch your faith in a good way.
Giving Thanks,
Karen