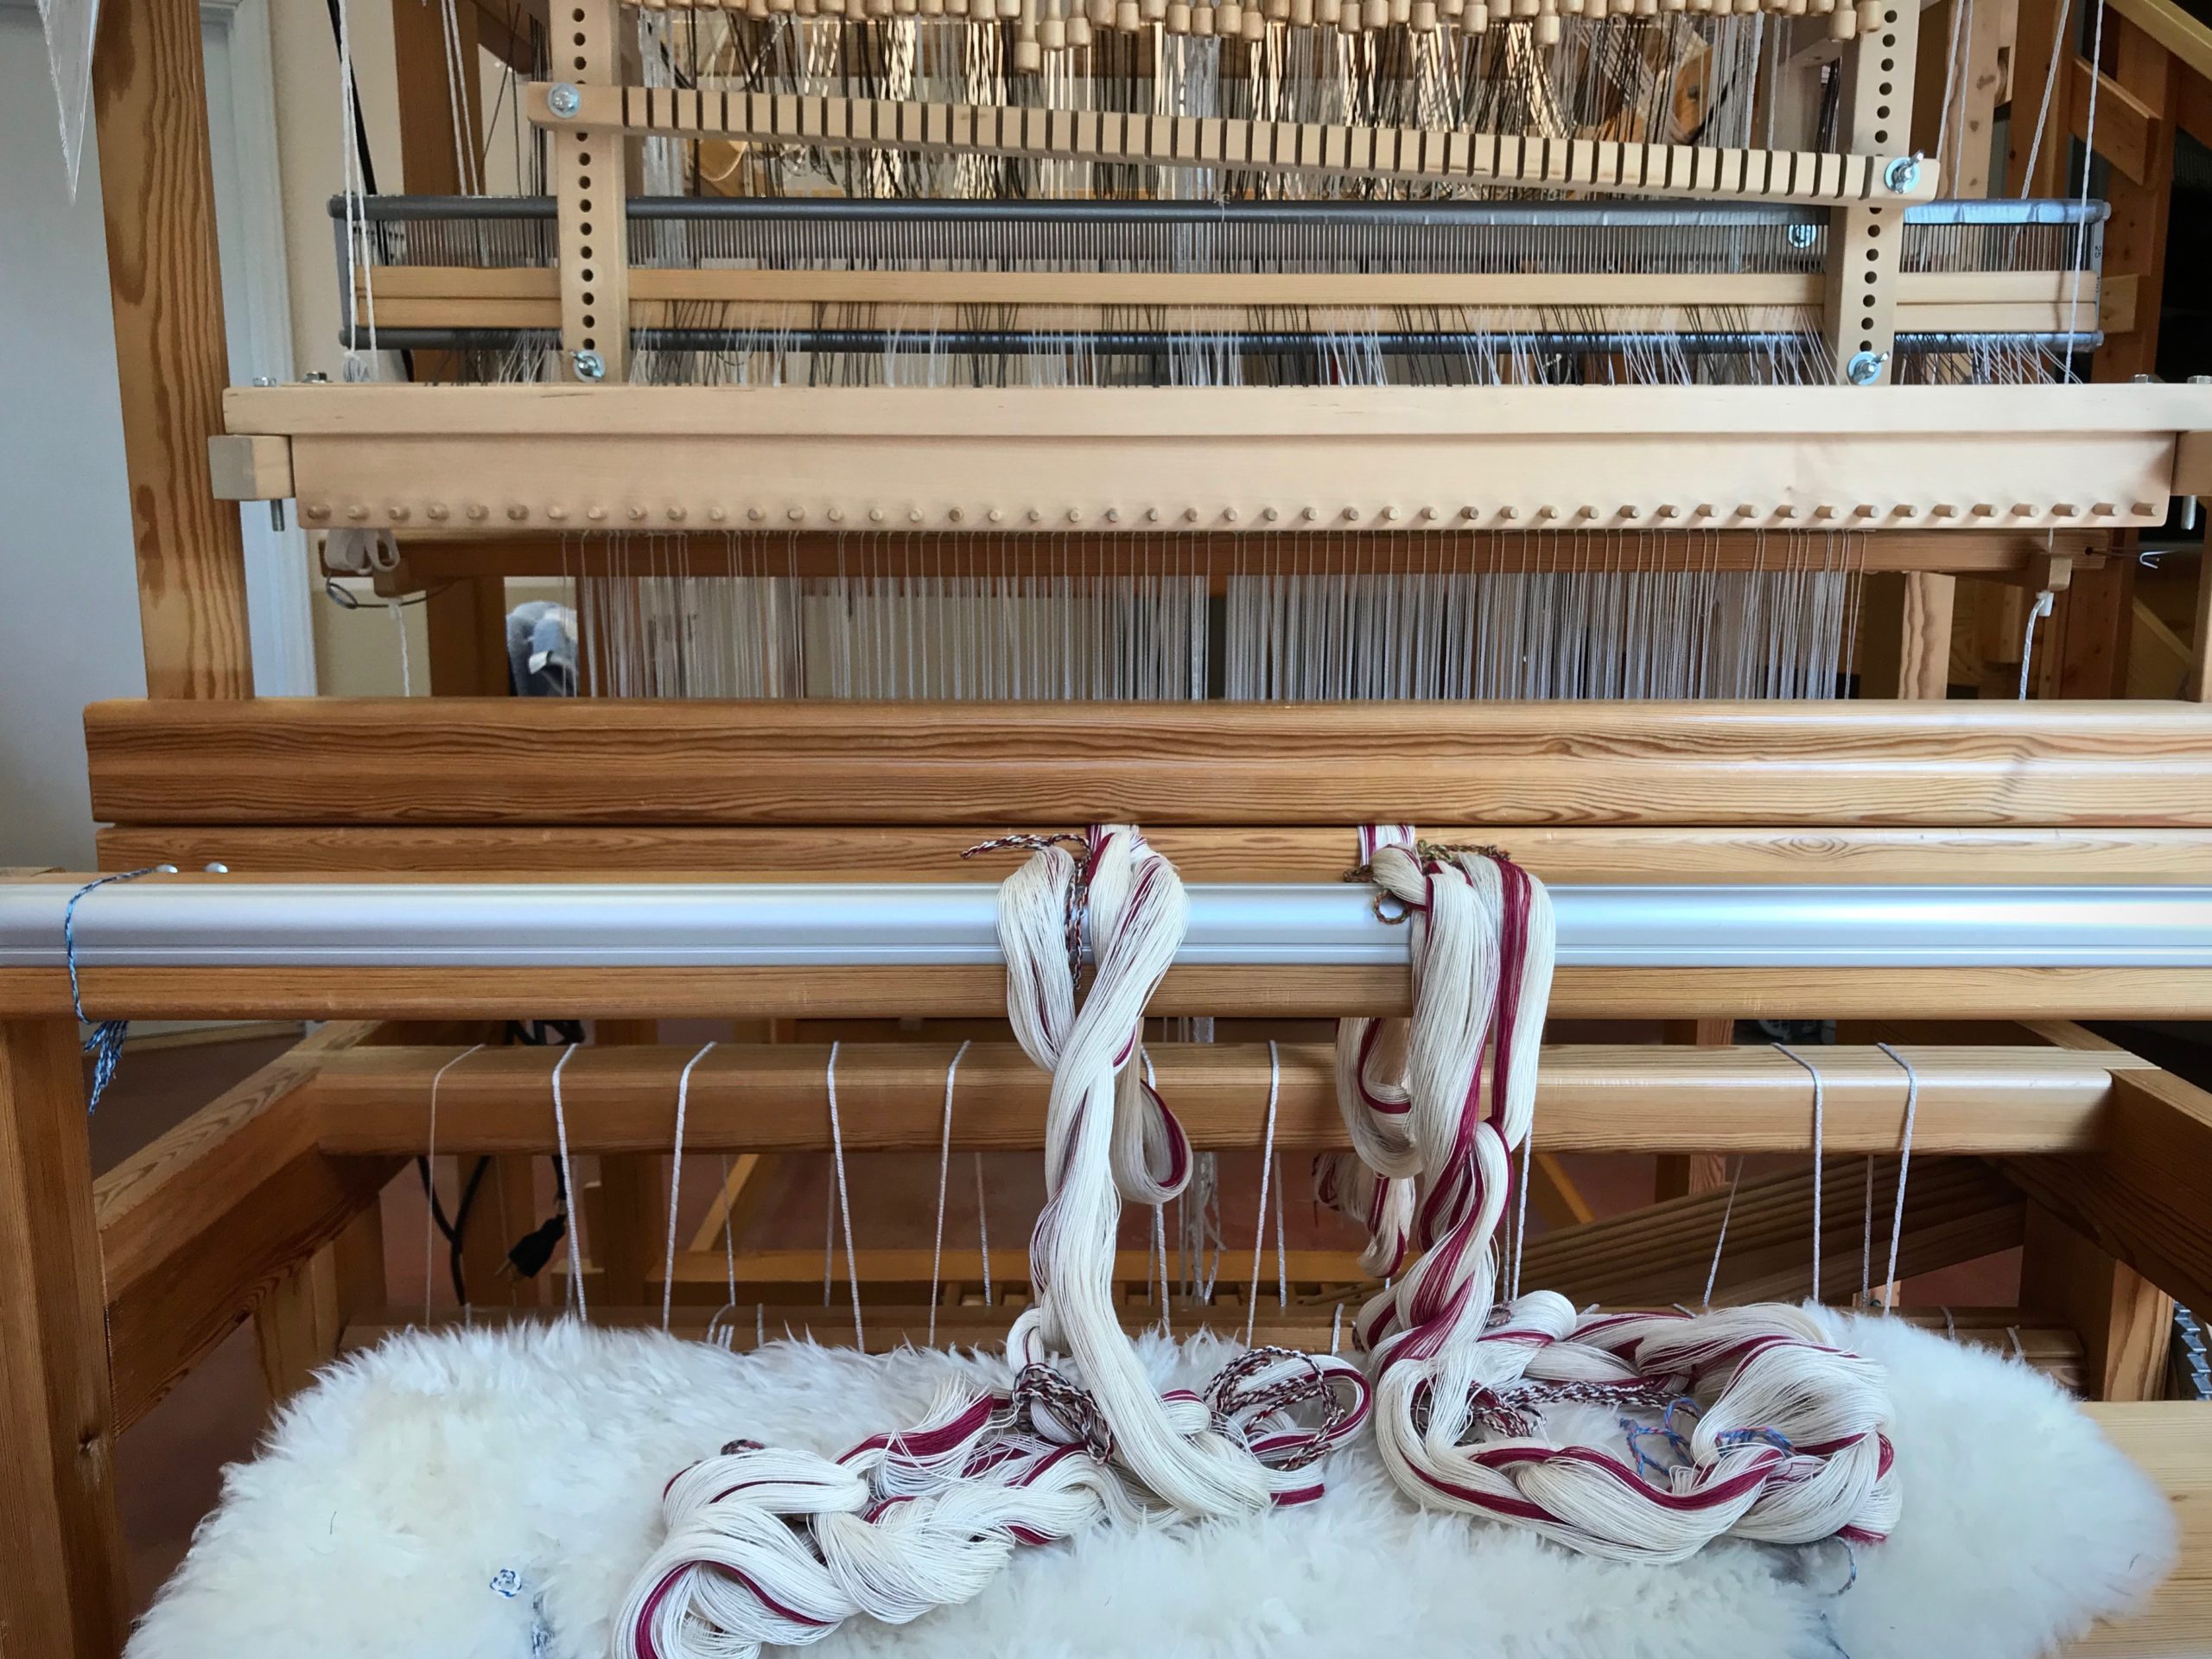
Rag rugs are up next on the Glimåkra Standard. I’m filled with anticipation. Oh, to have the momentum of this hanging beater at my fingertips again. I’m drawn to the simple power of the hanging beater, which is perfect for rug weaving. I already have a place for these rugs in my home once they are woven. So, let’s get going!
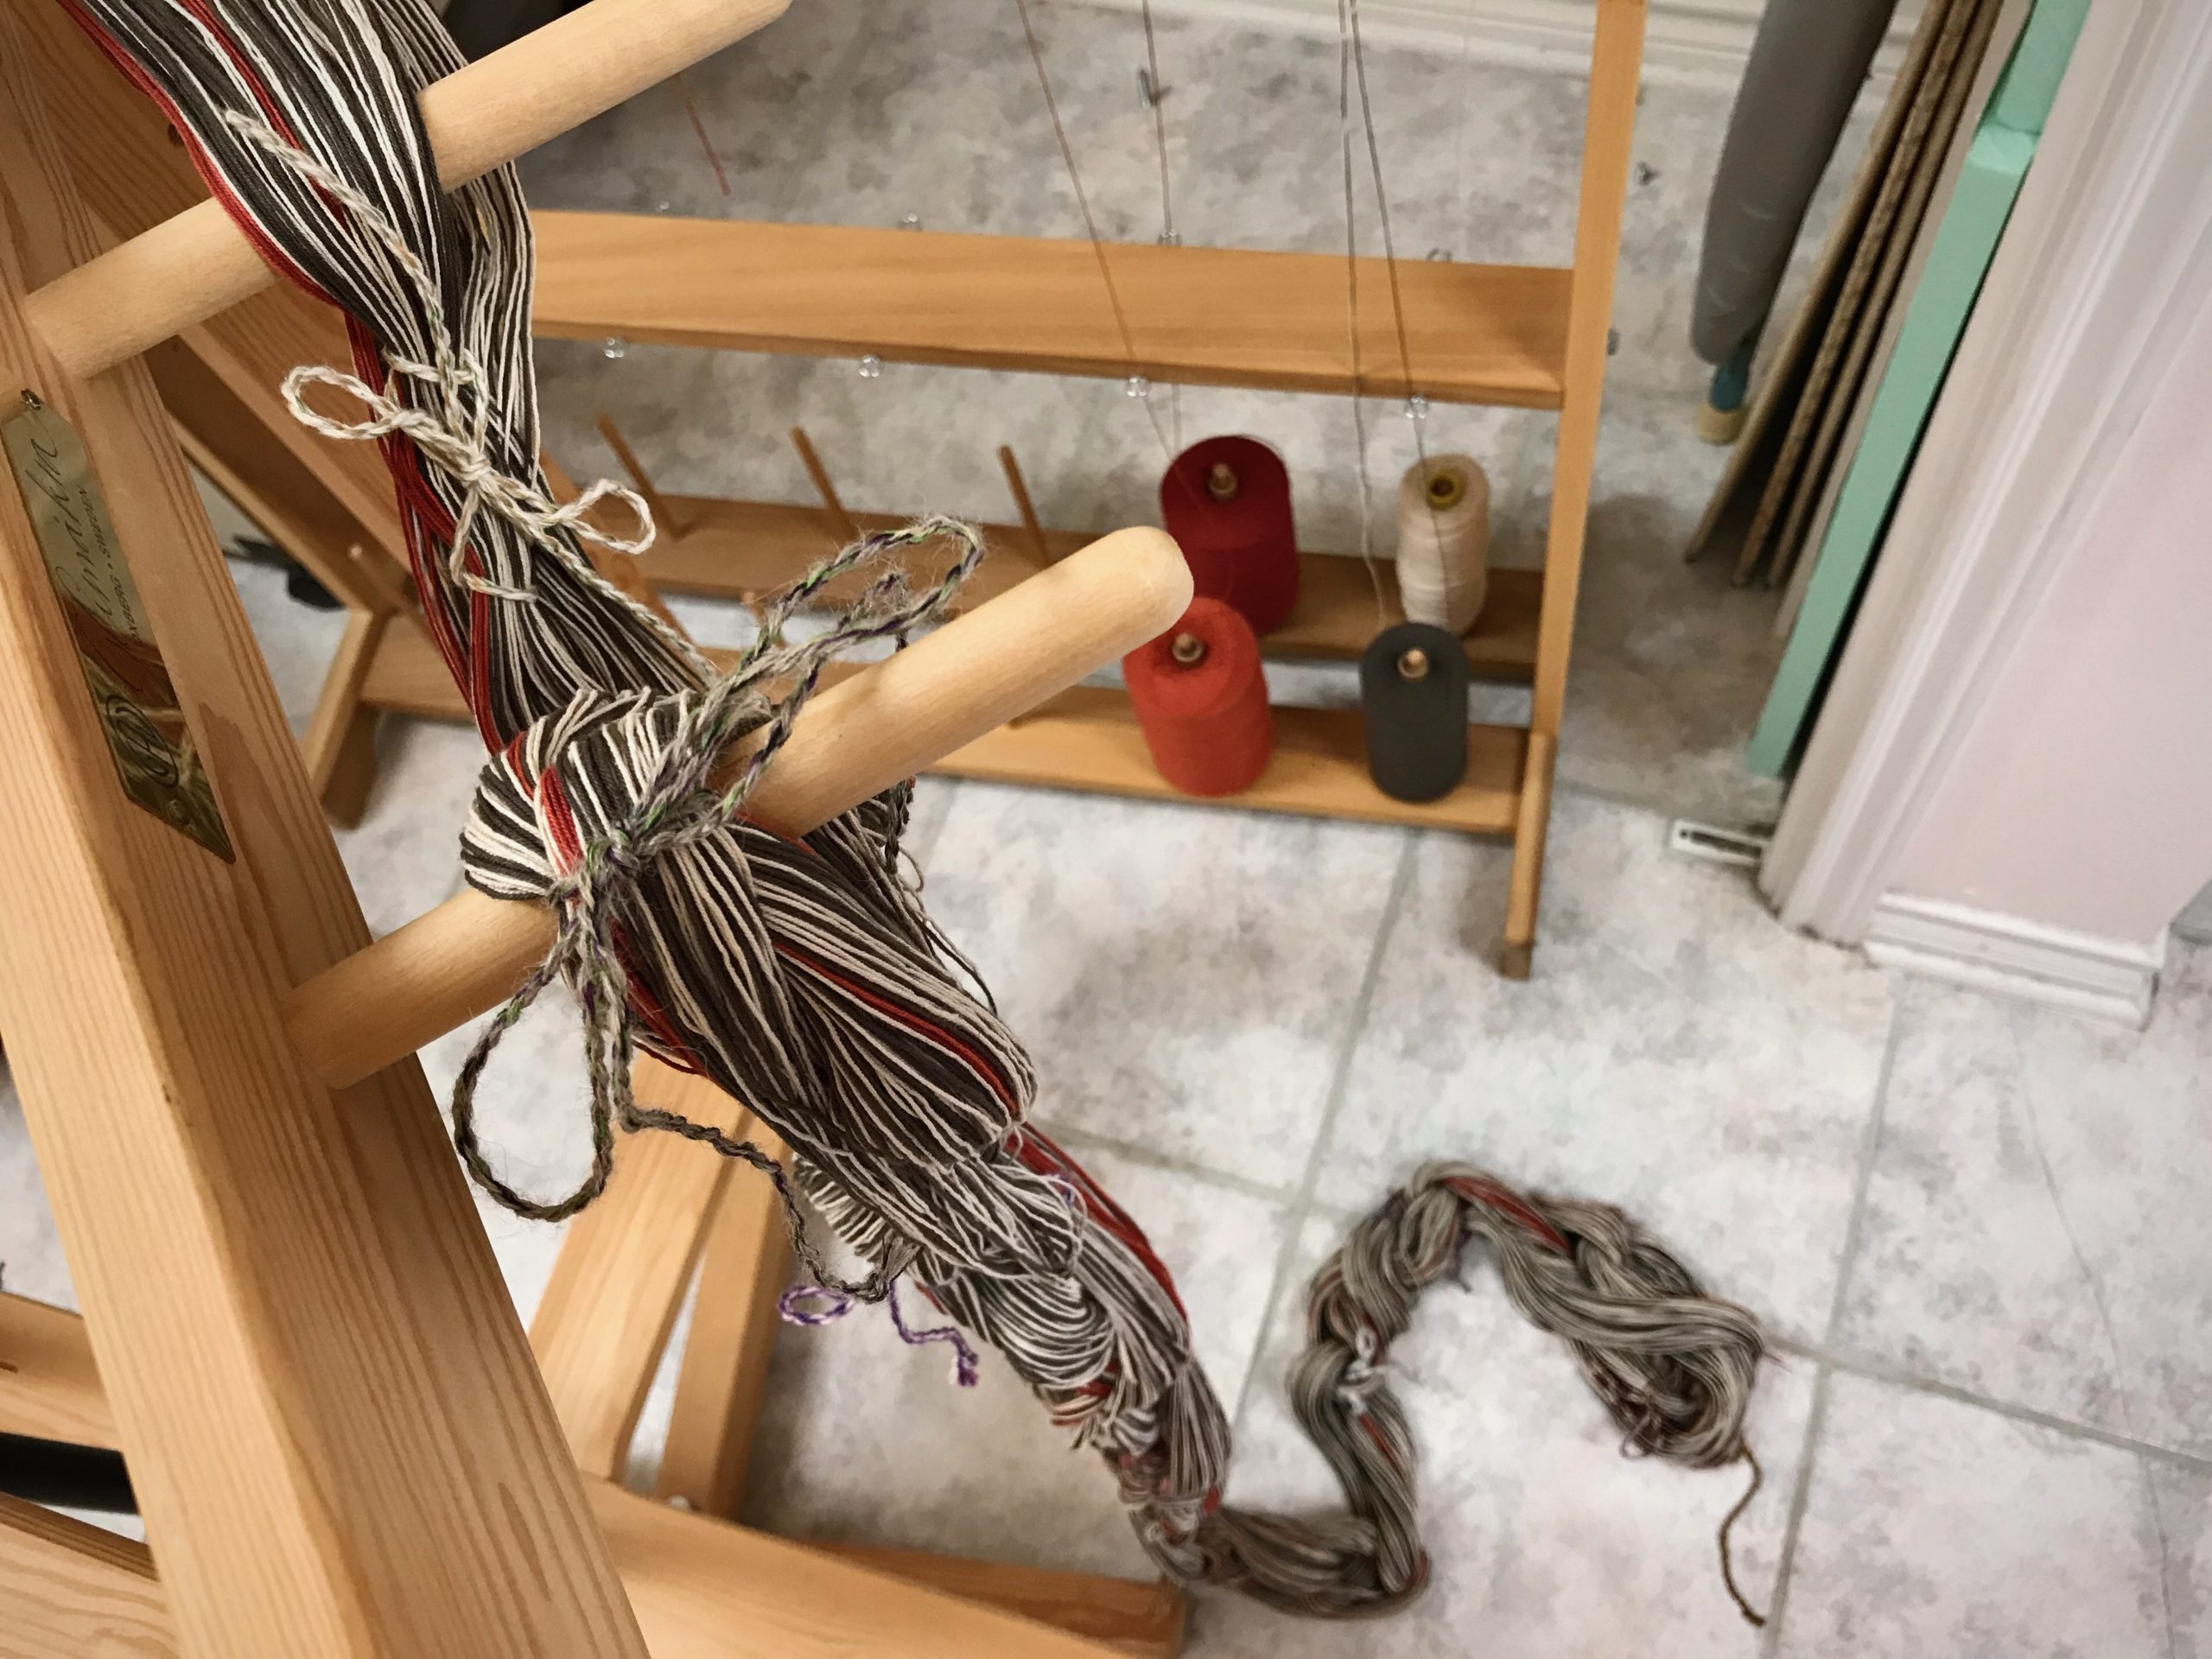
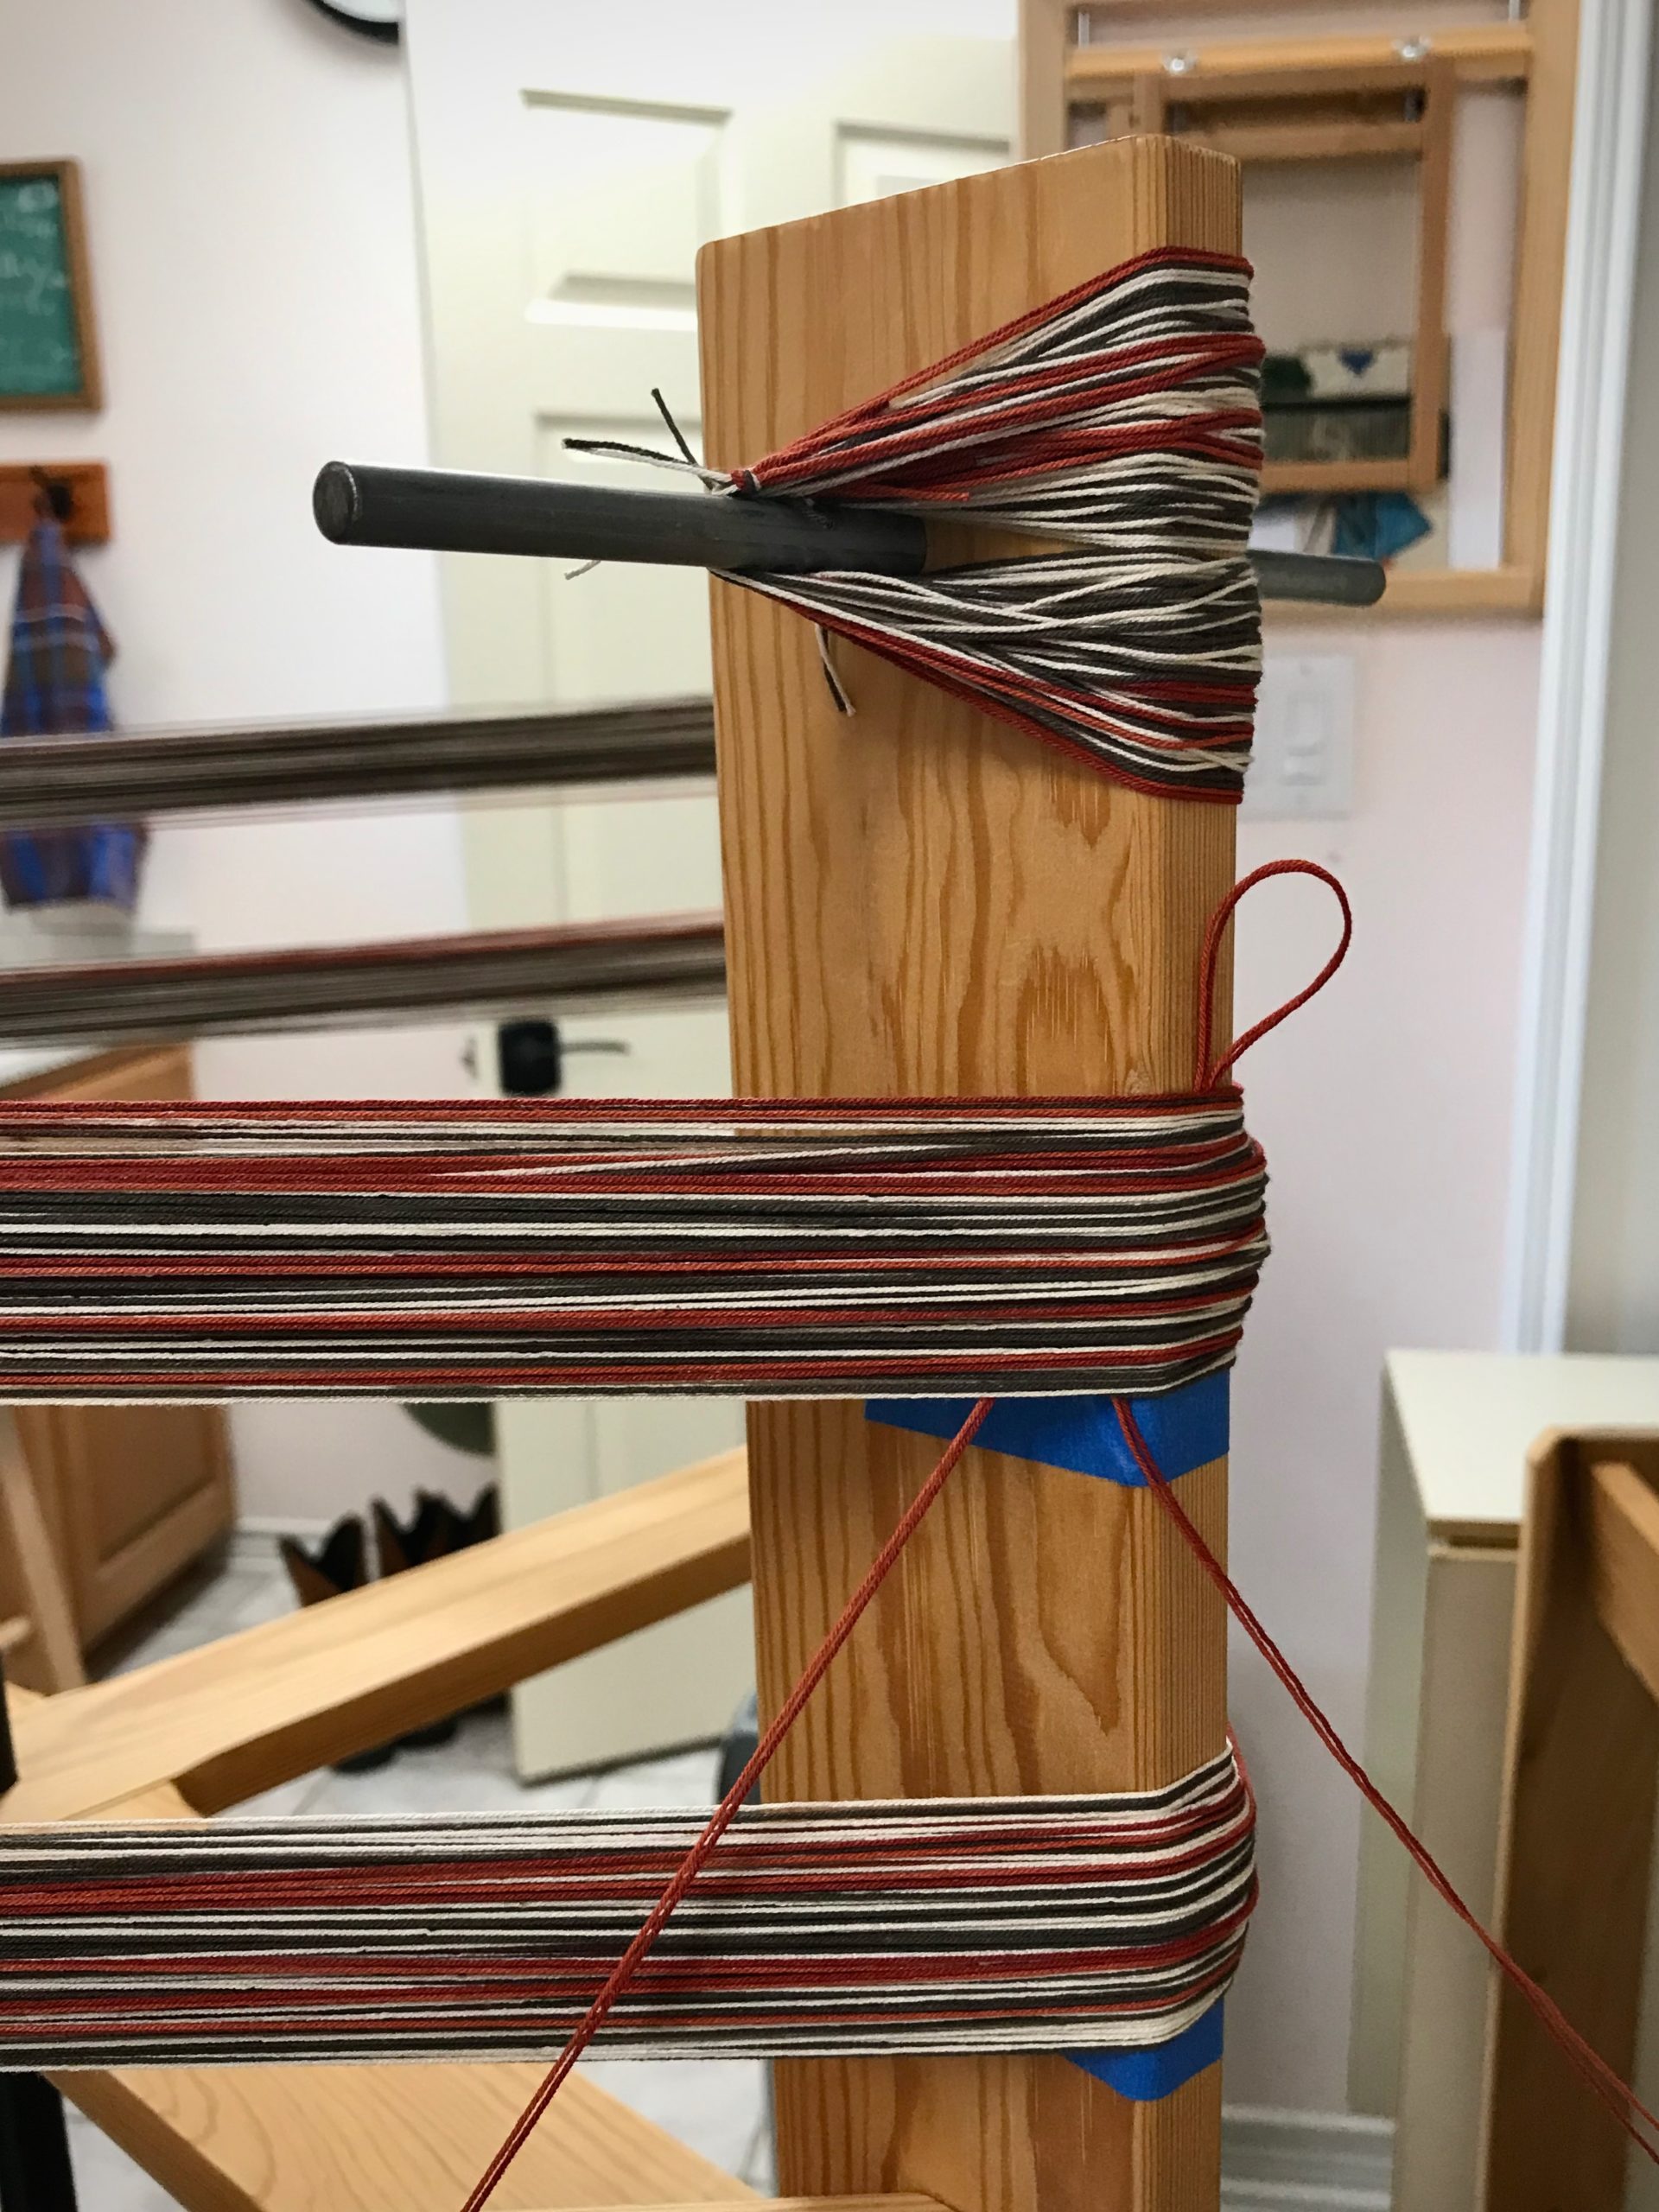
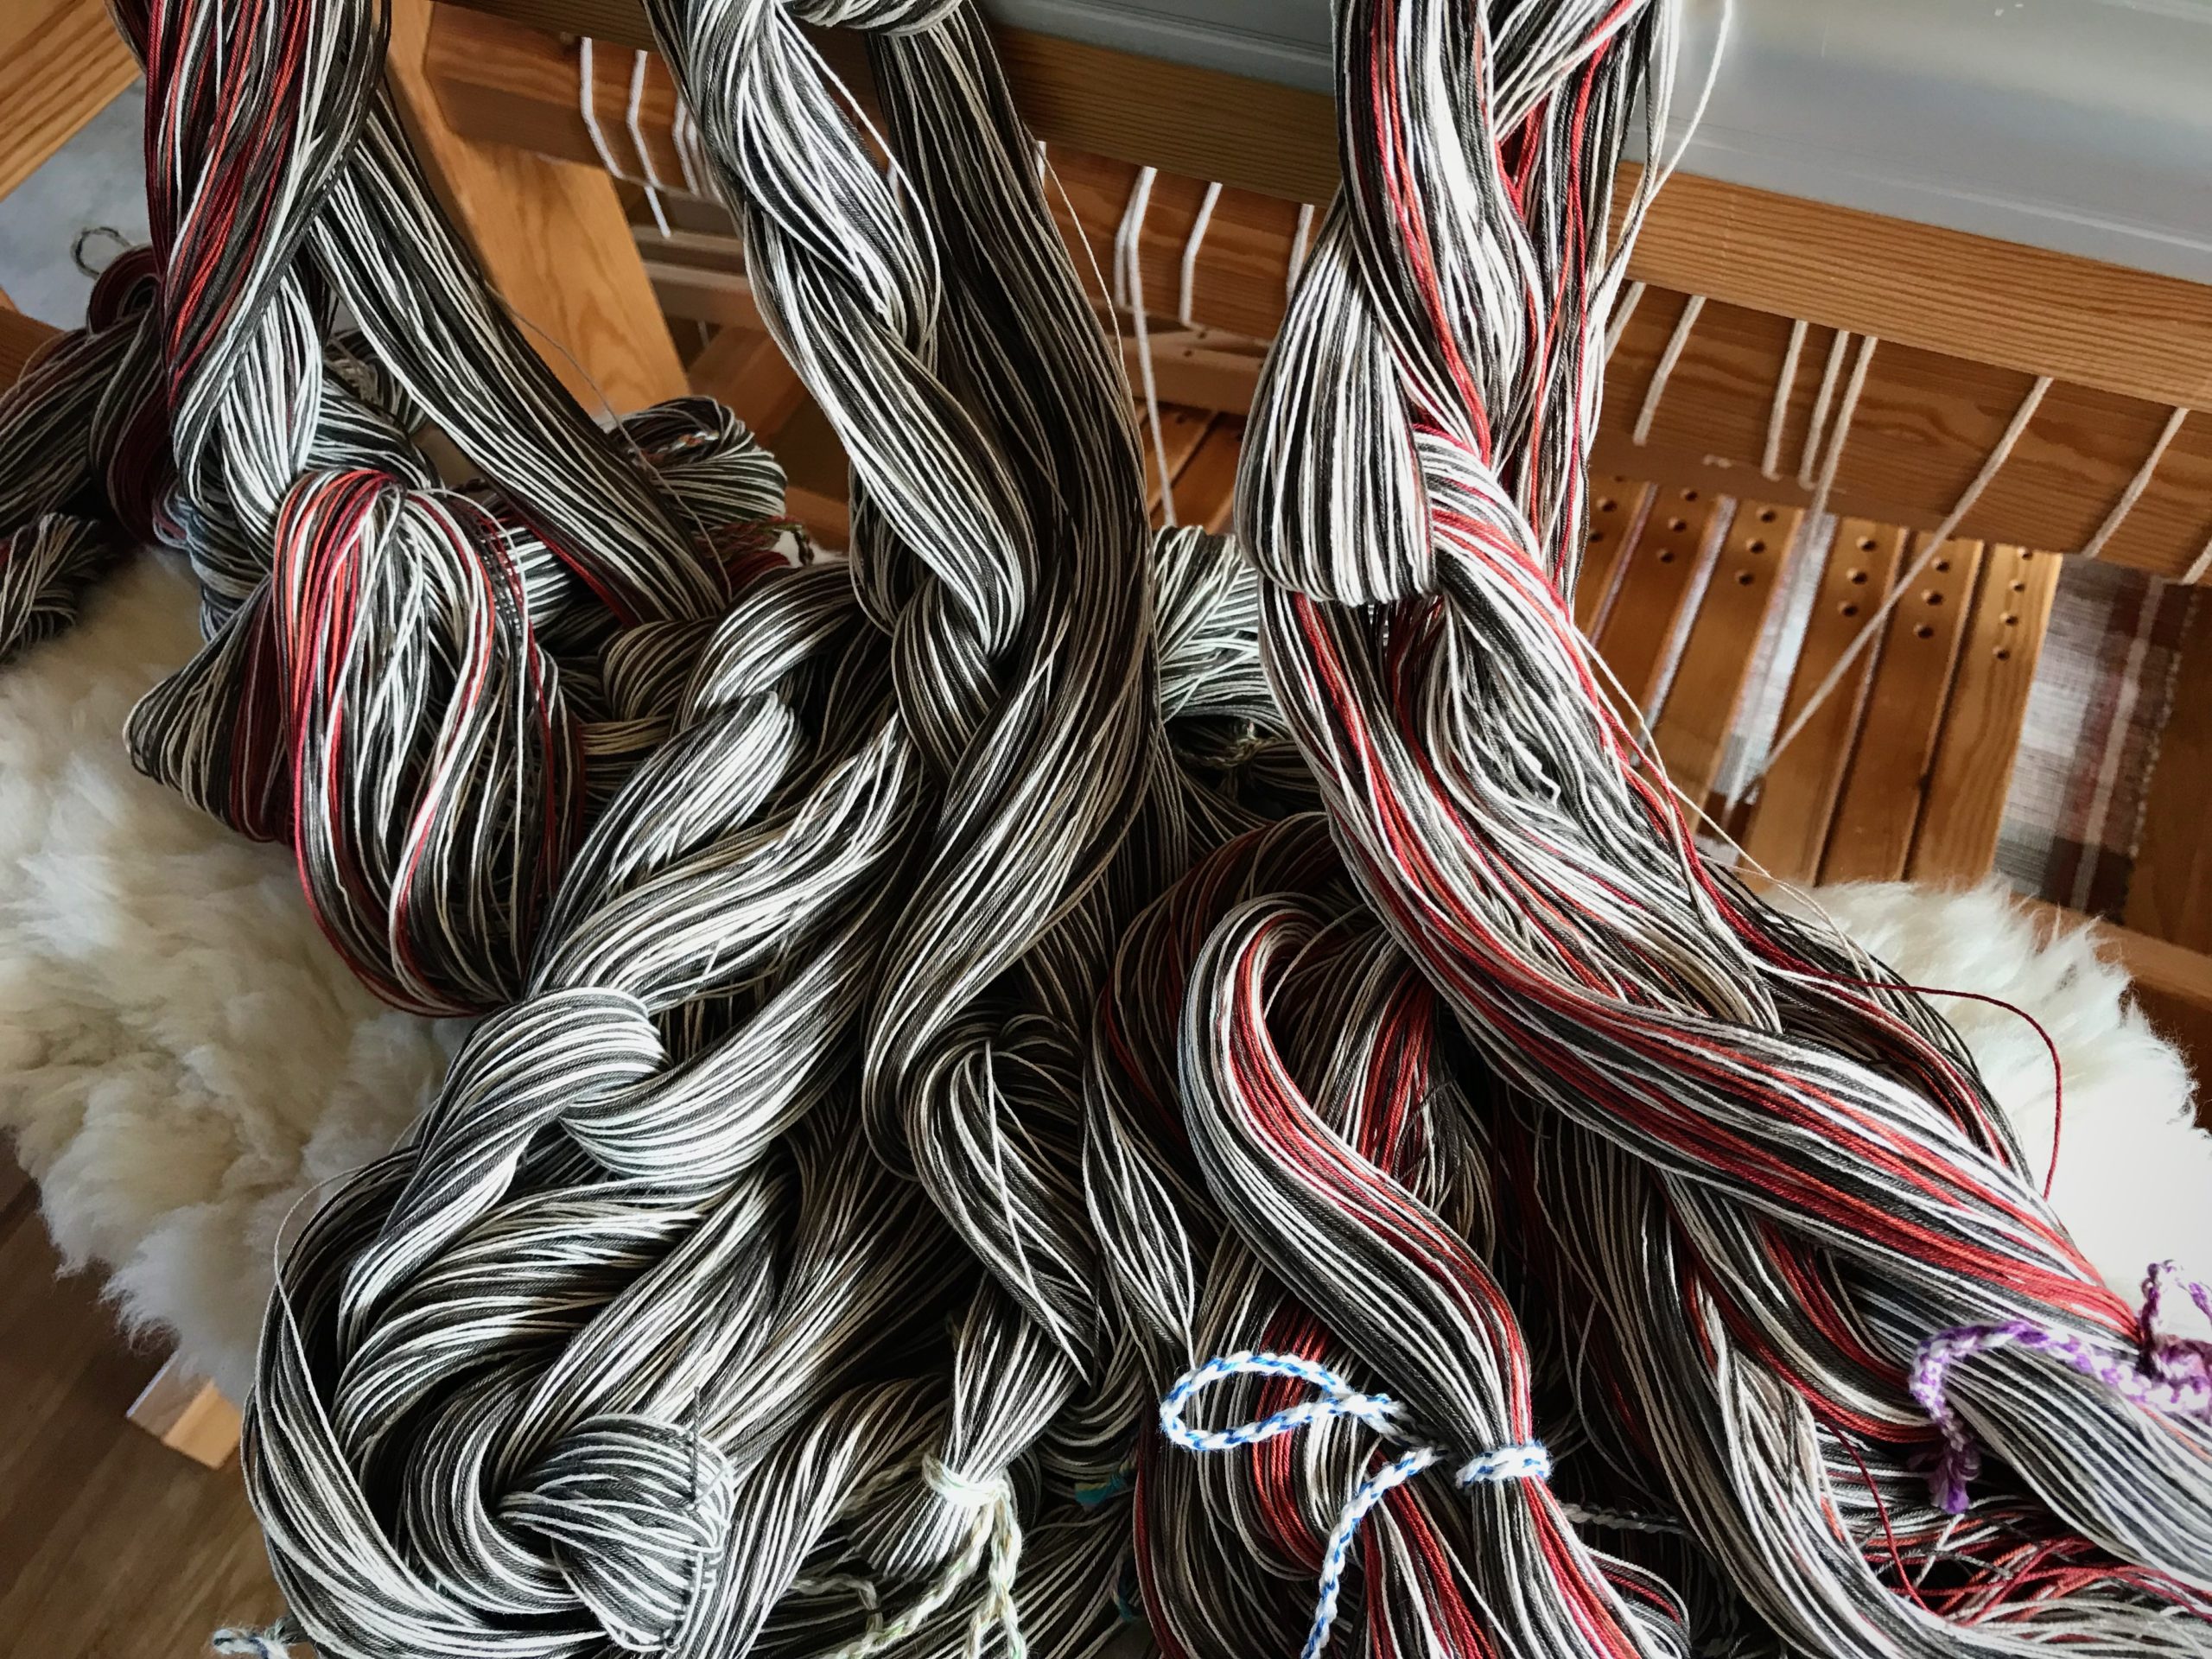
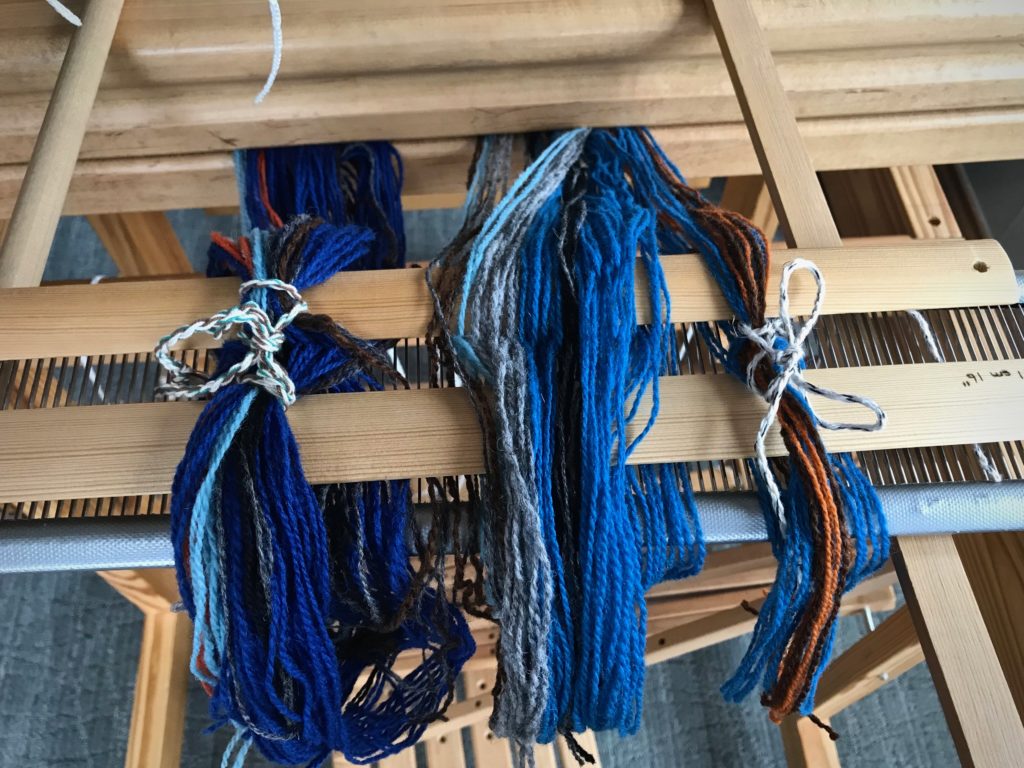
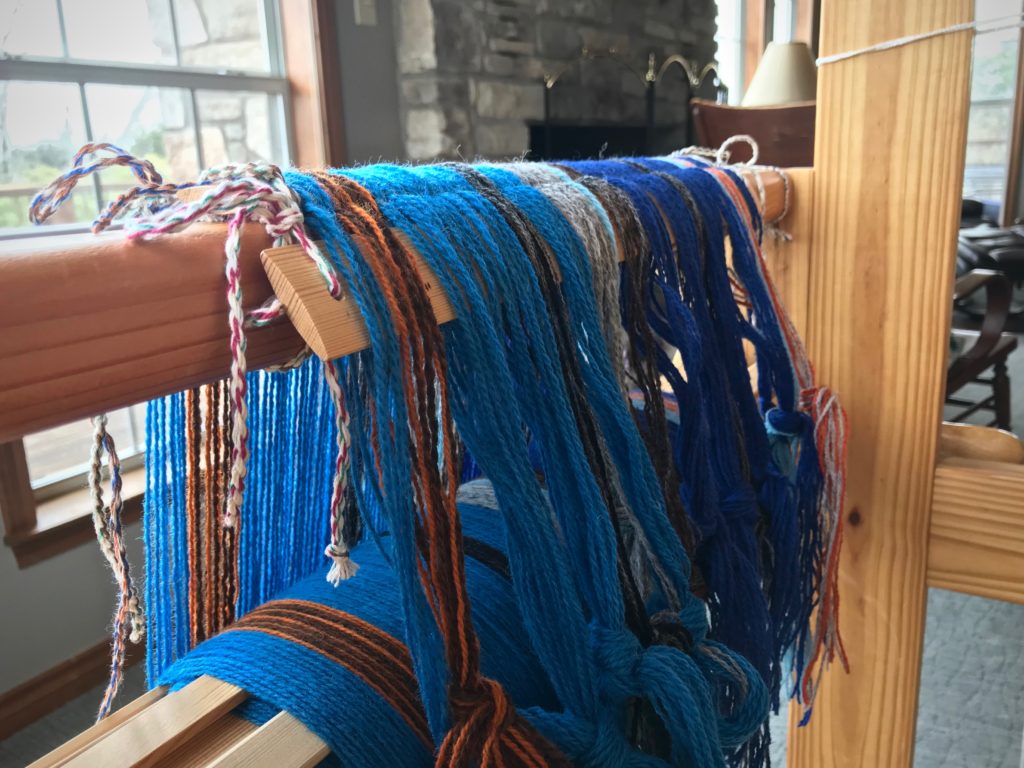
First of three bouts. Brick and Bittersweet are wound together, and Unbleached and Umber (a dark green that is almost black) are wound together.I secure the end by pulling a loop up under the wound threads, so I can count the ends of the last group in this bout.Finished winding the third bout. Before cutting off and tying the final pair of ends, I did a visual check of the counted ends at the cross.
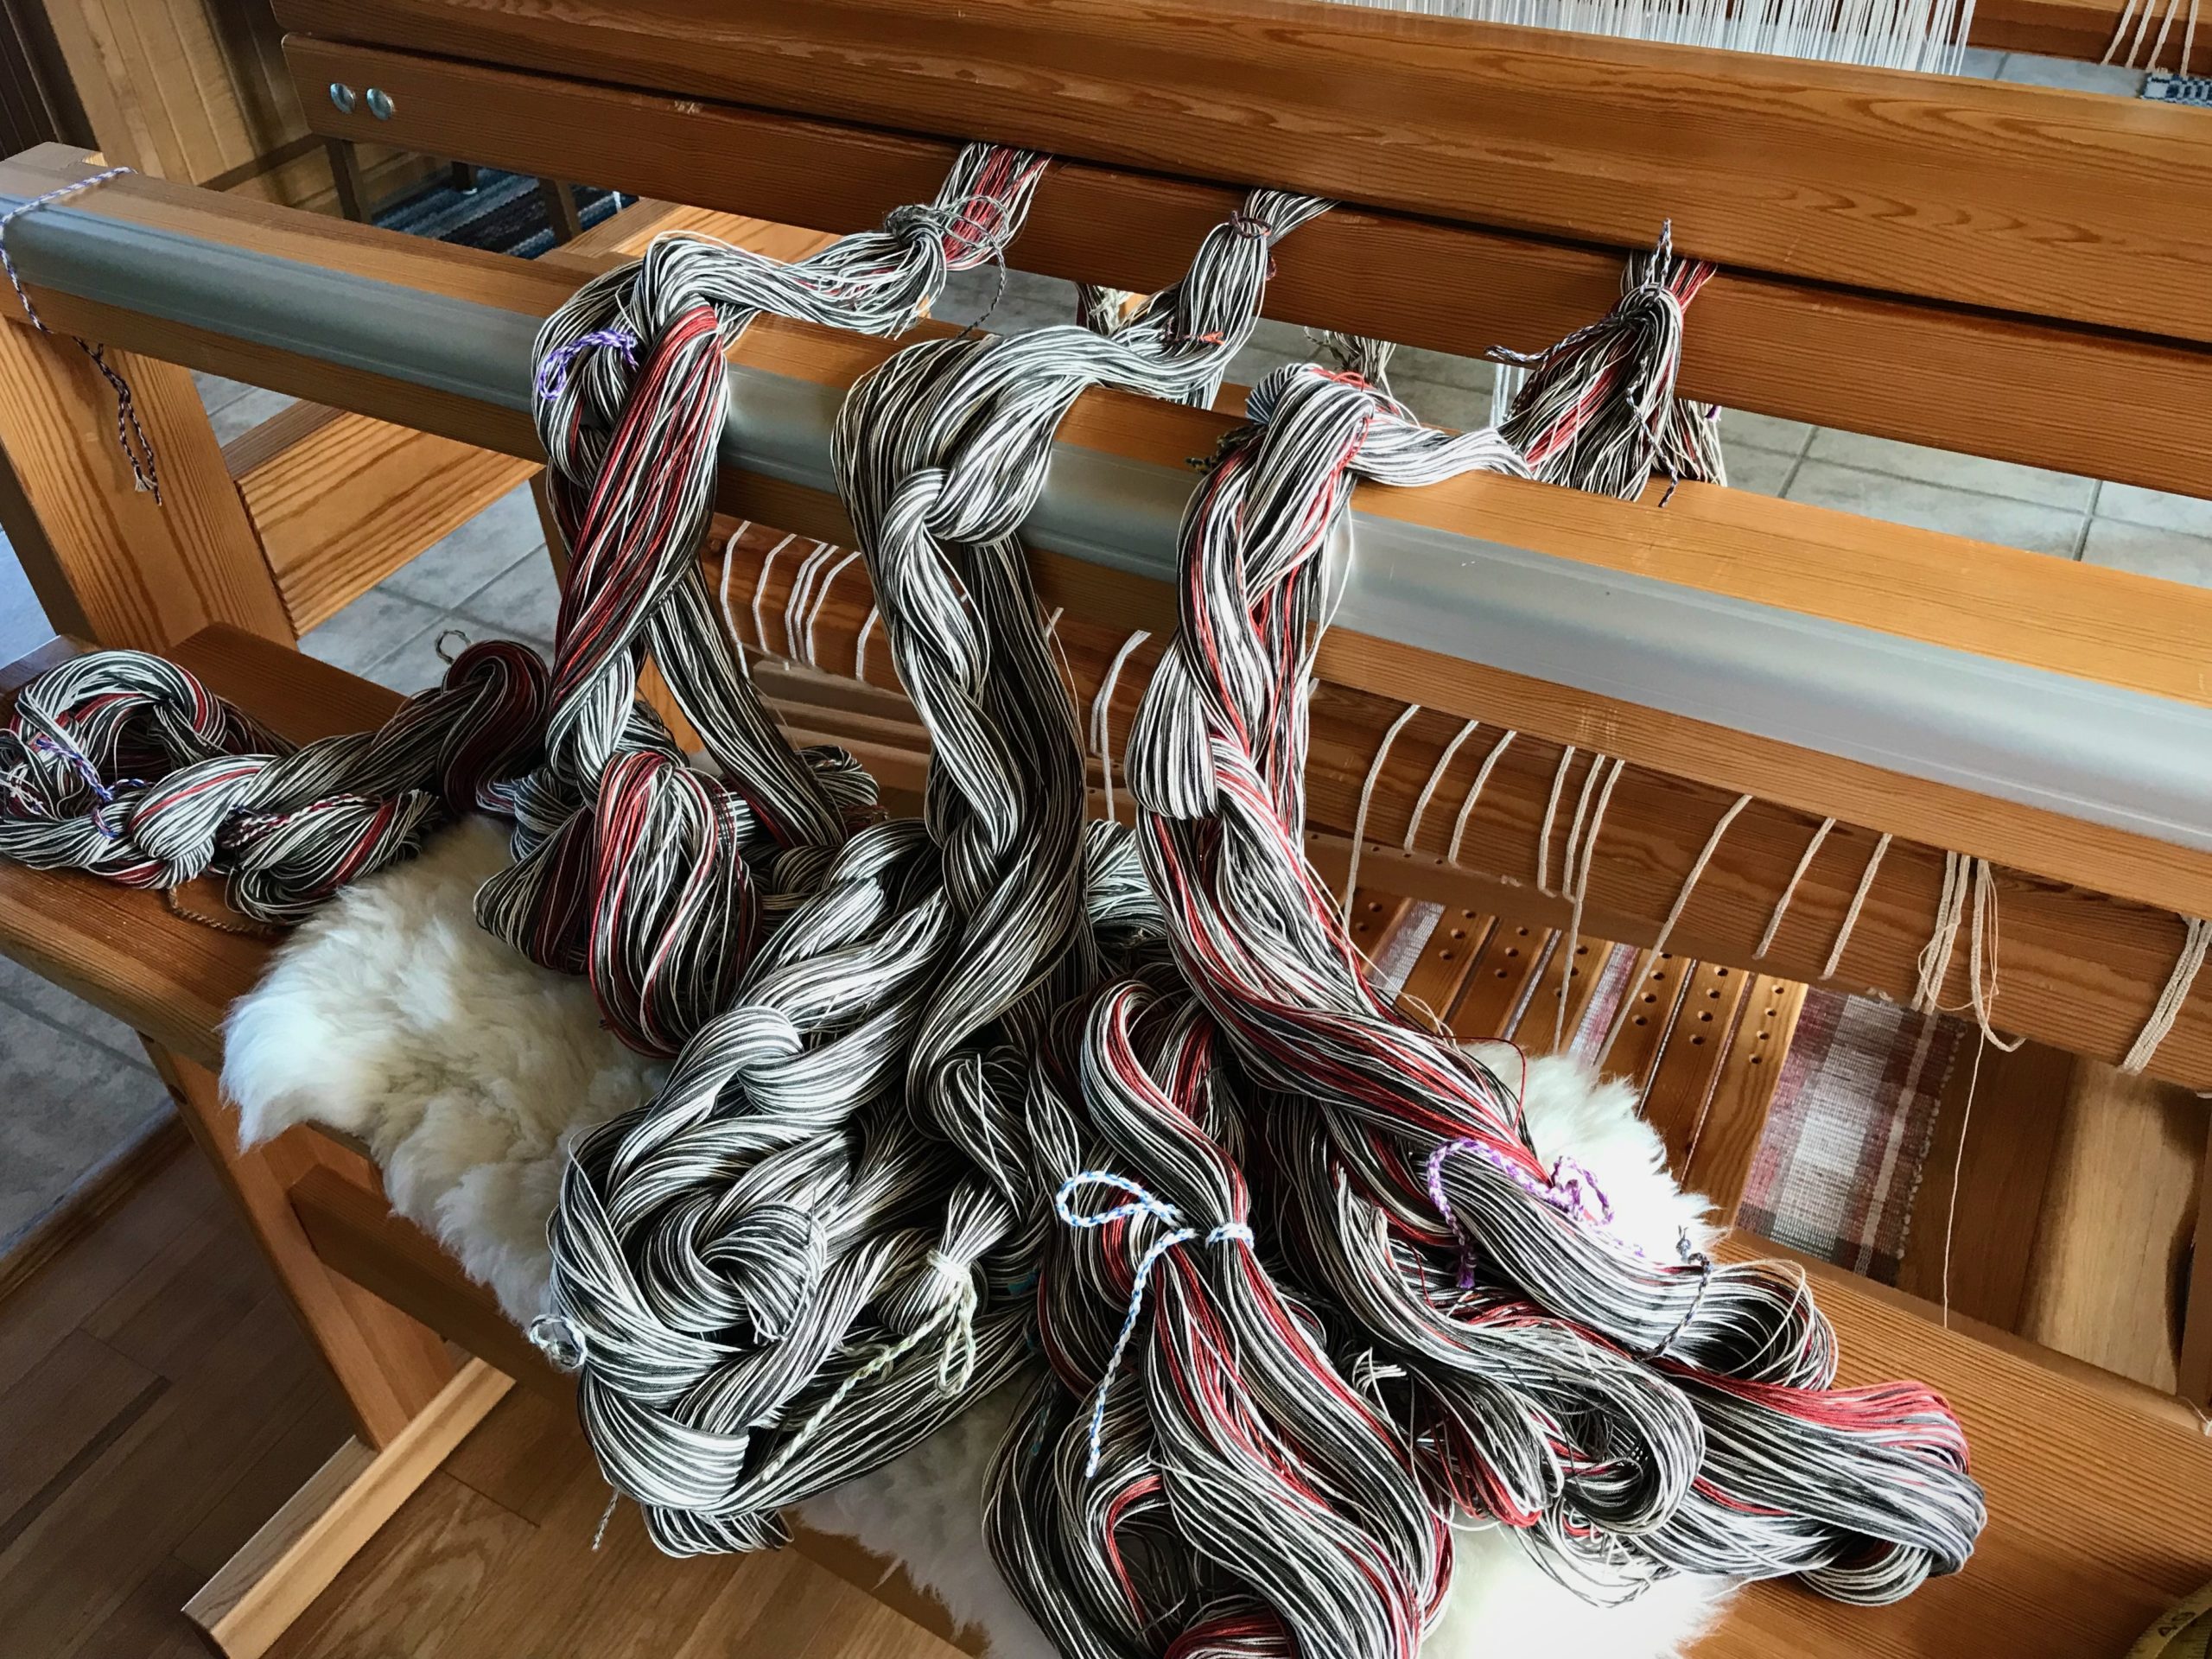
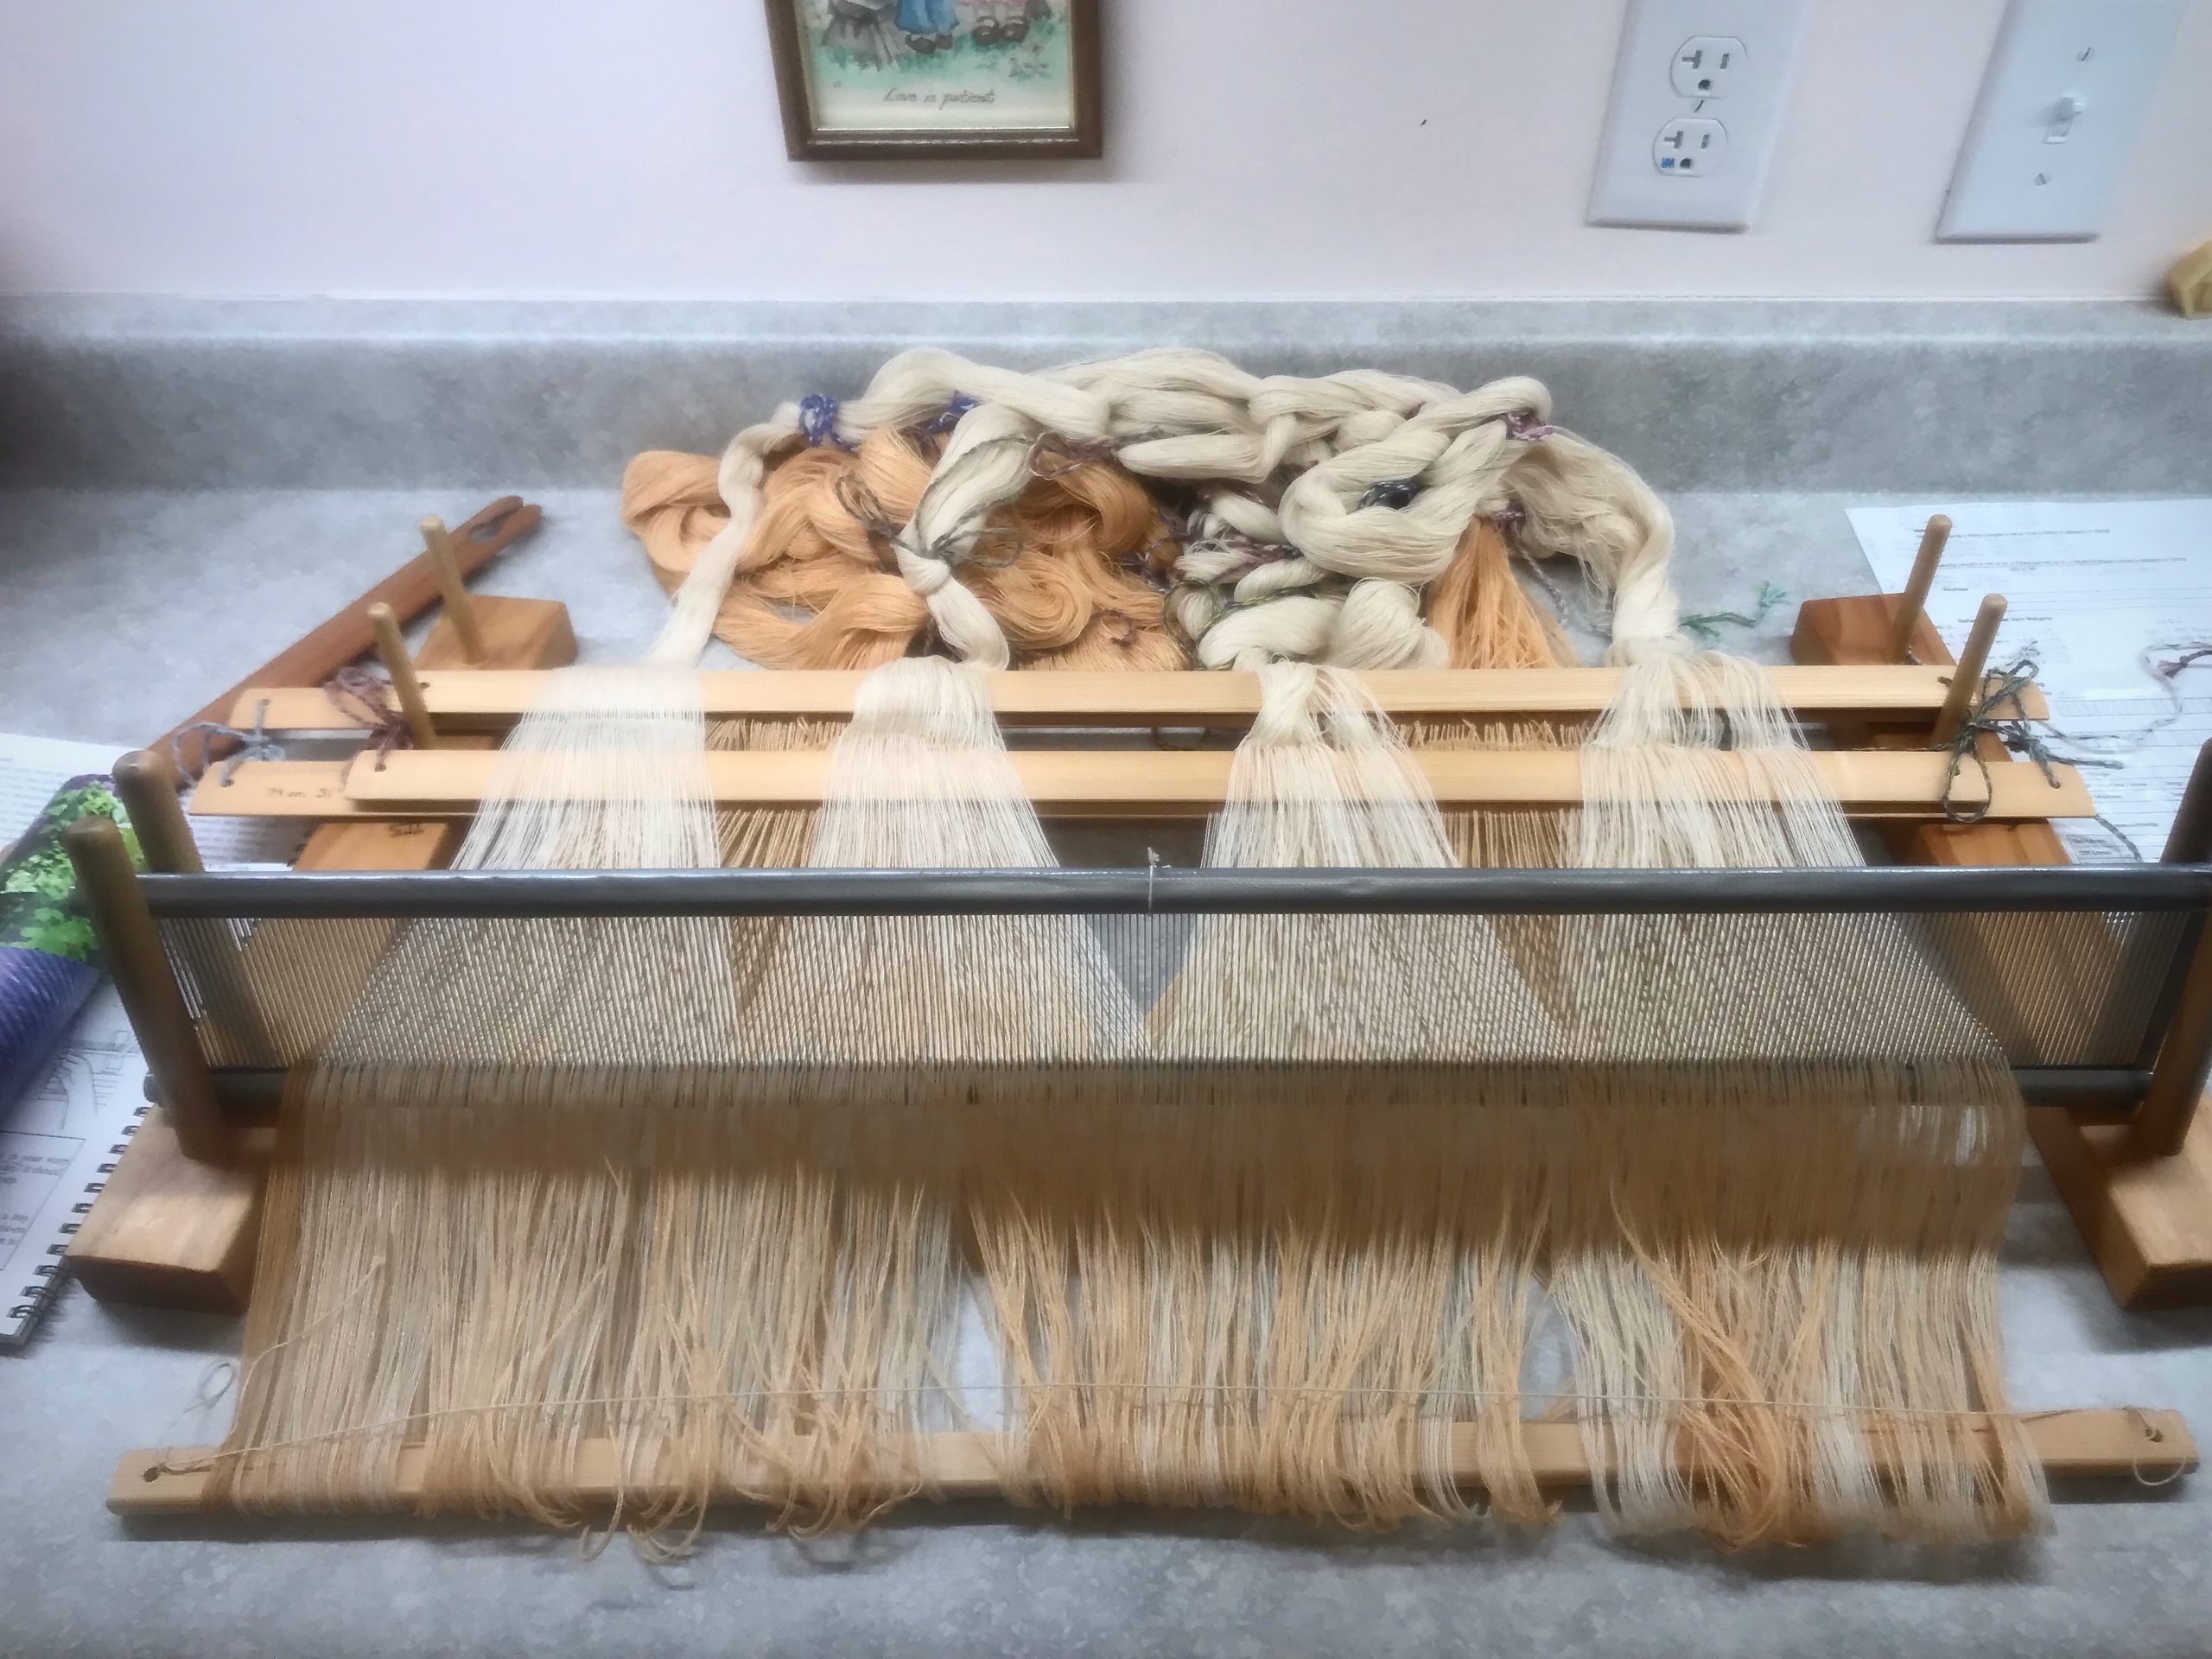
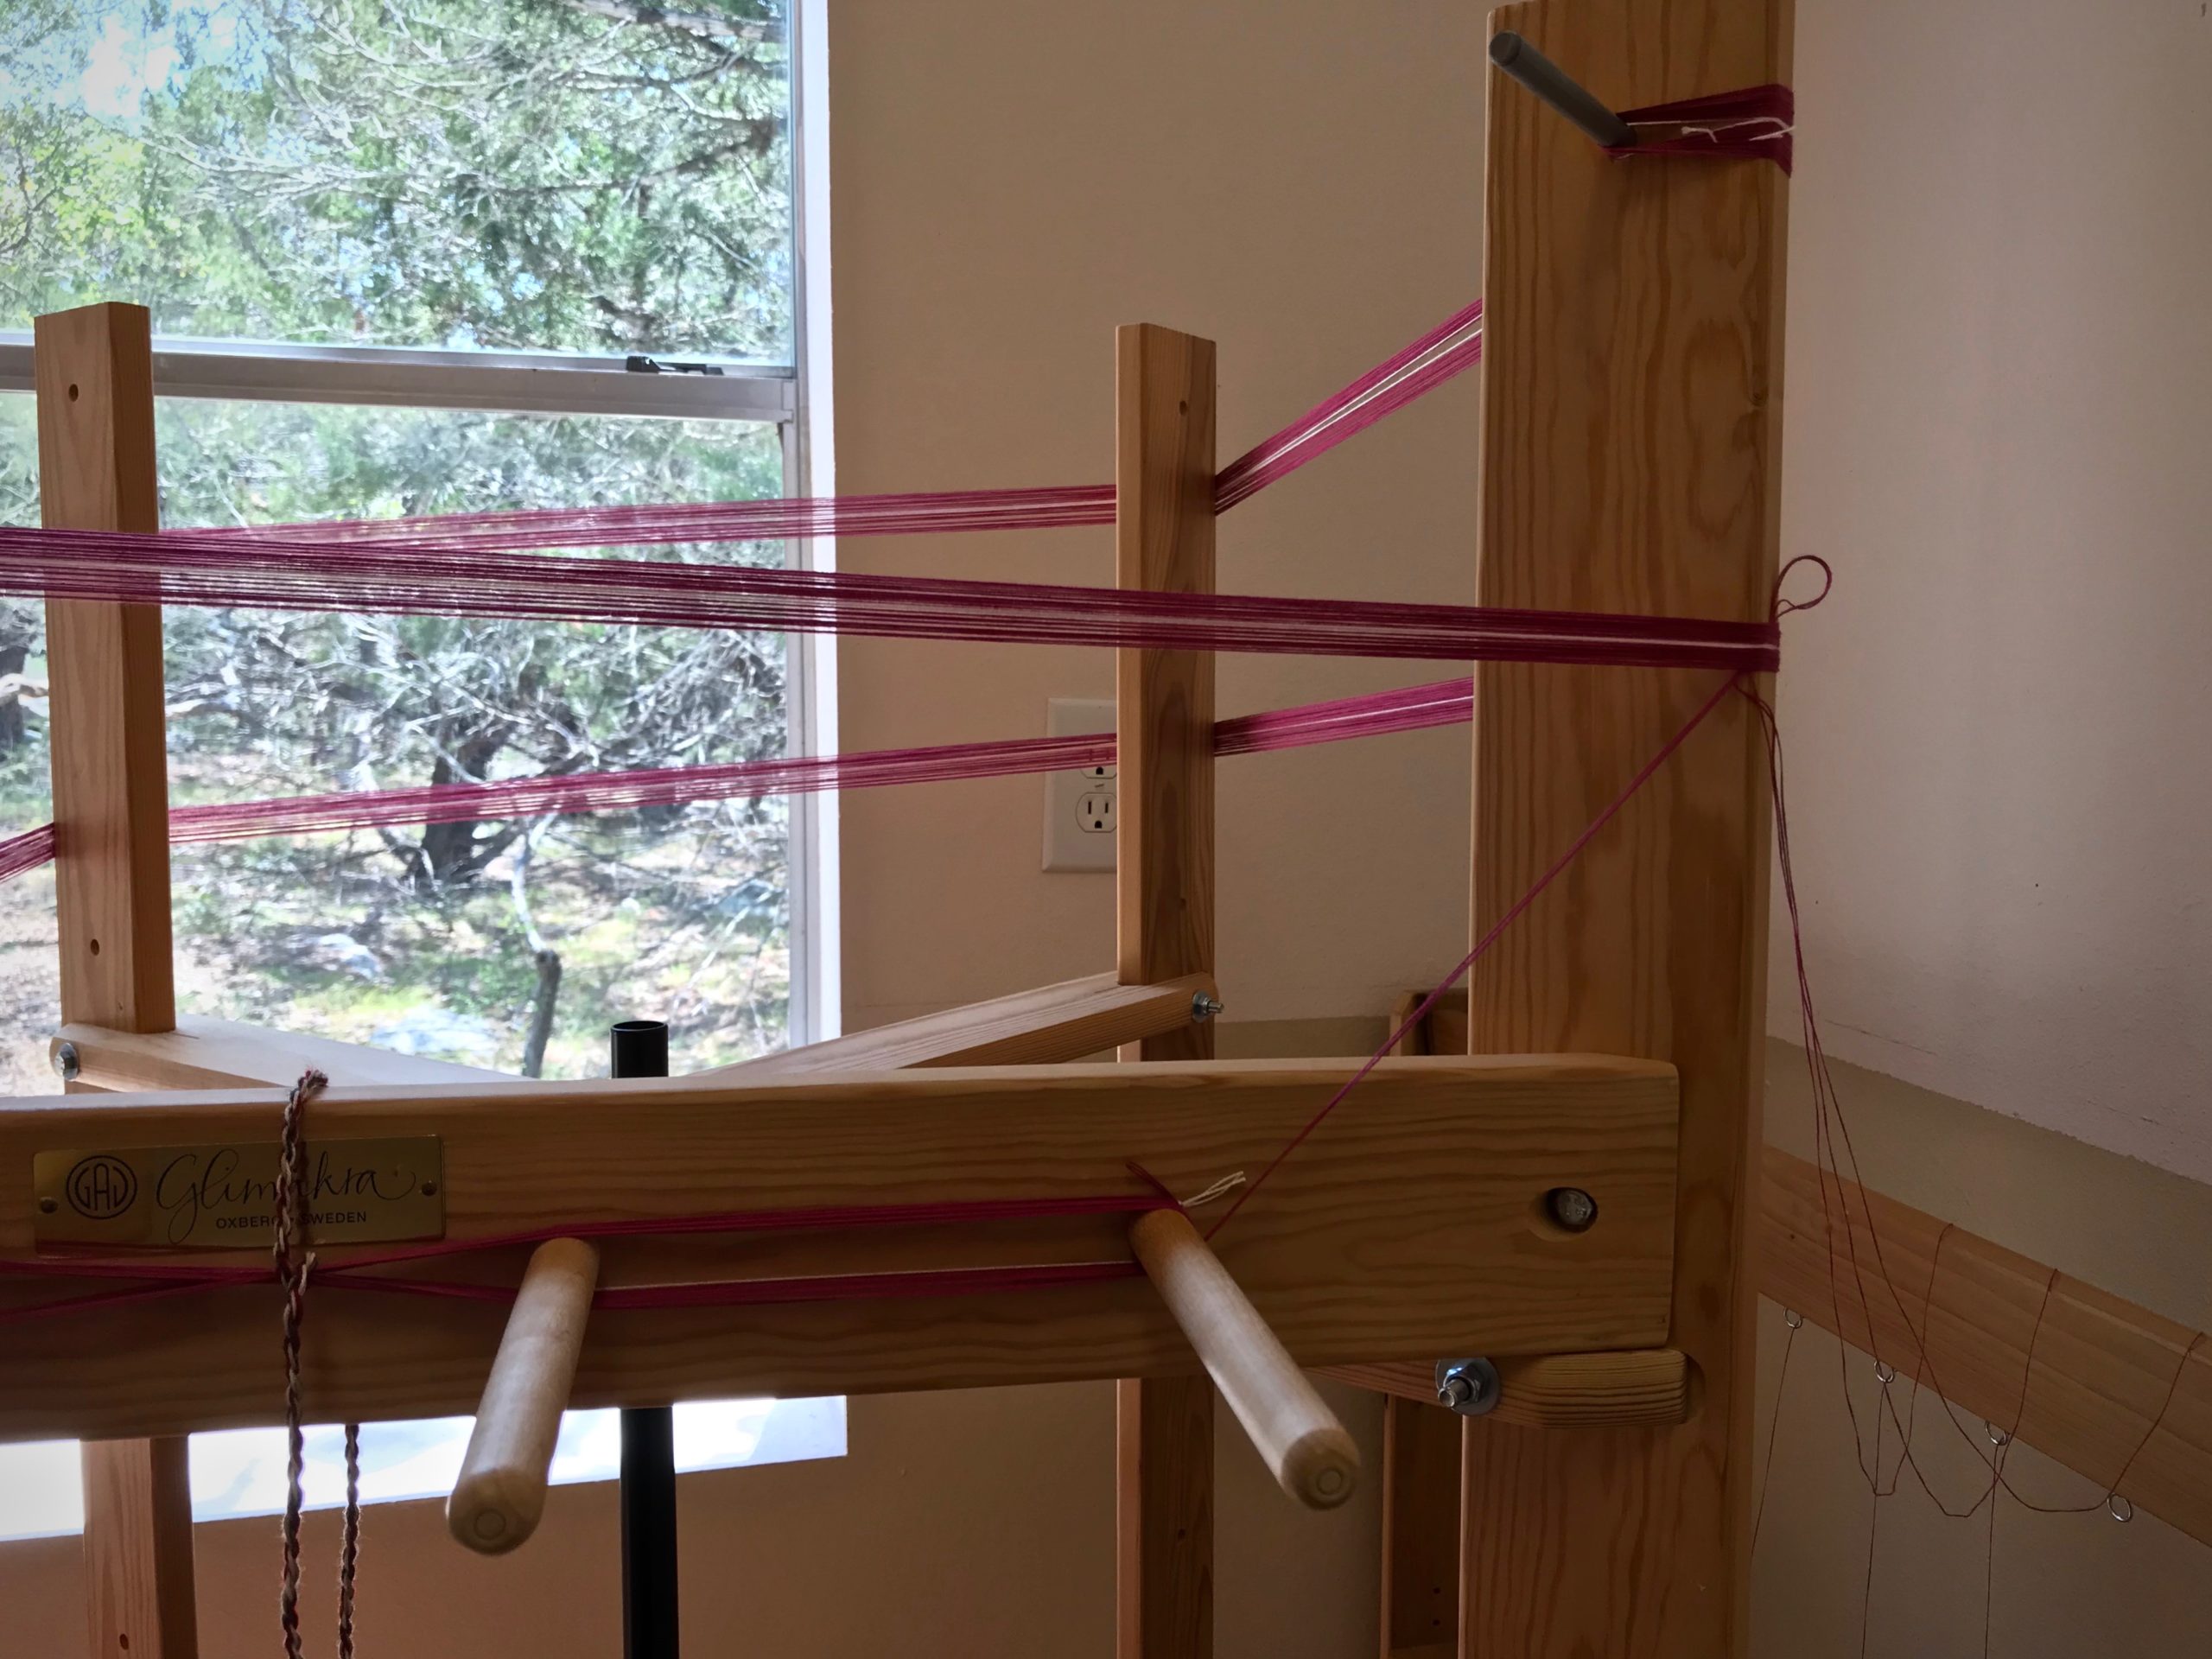
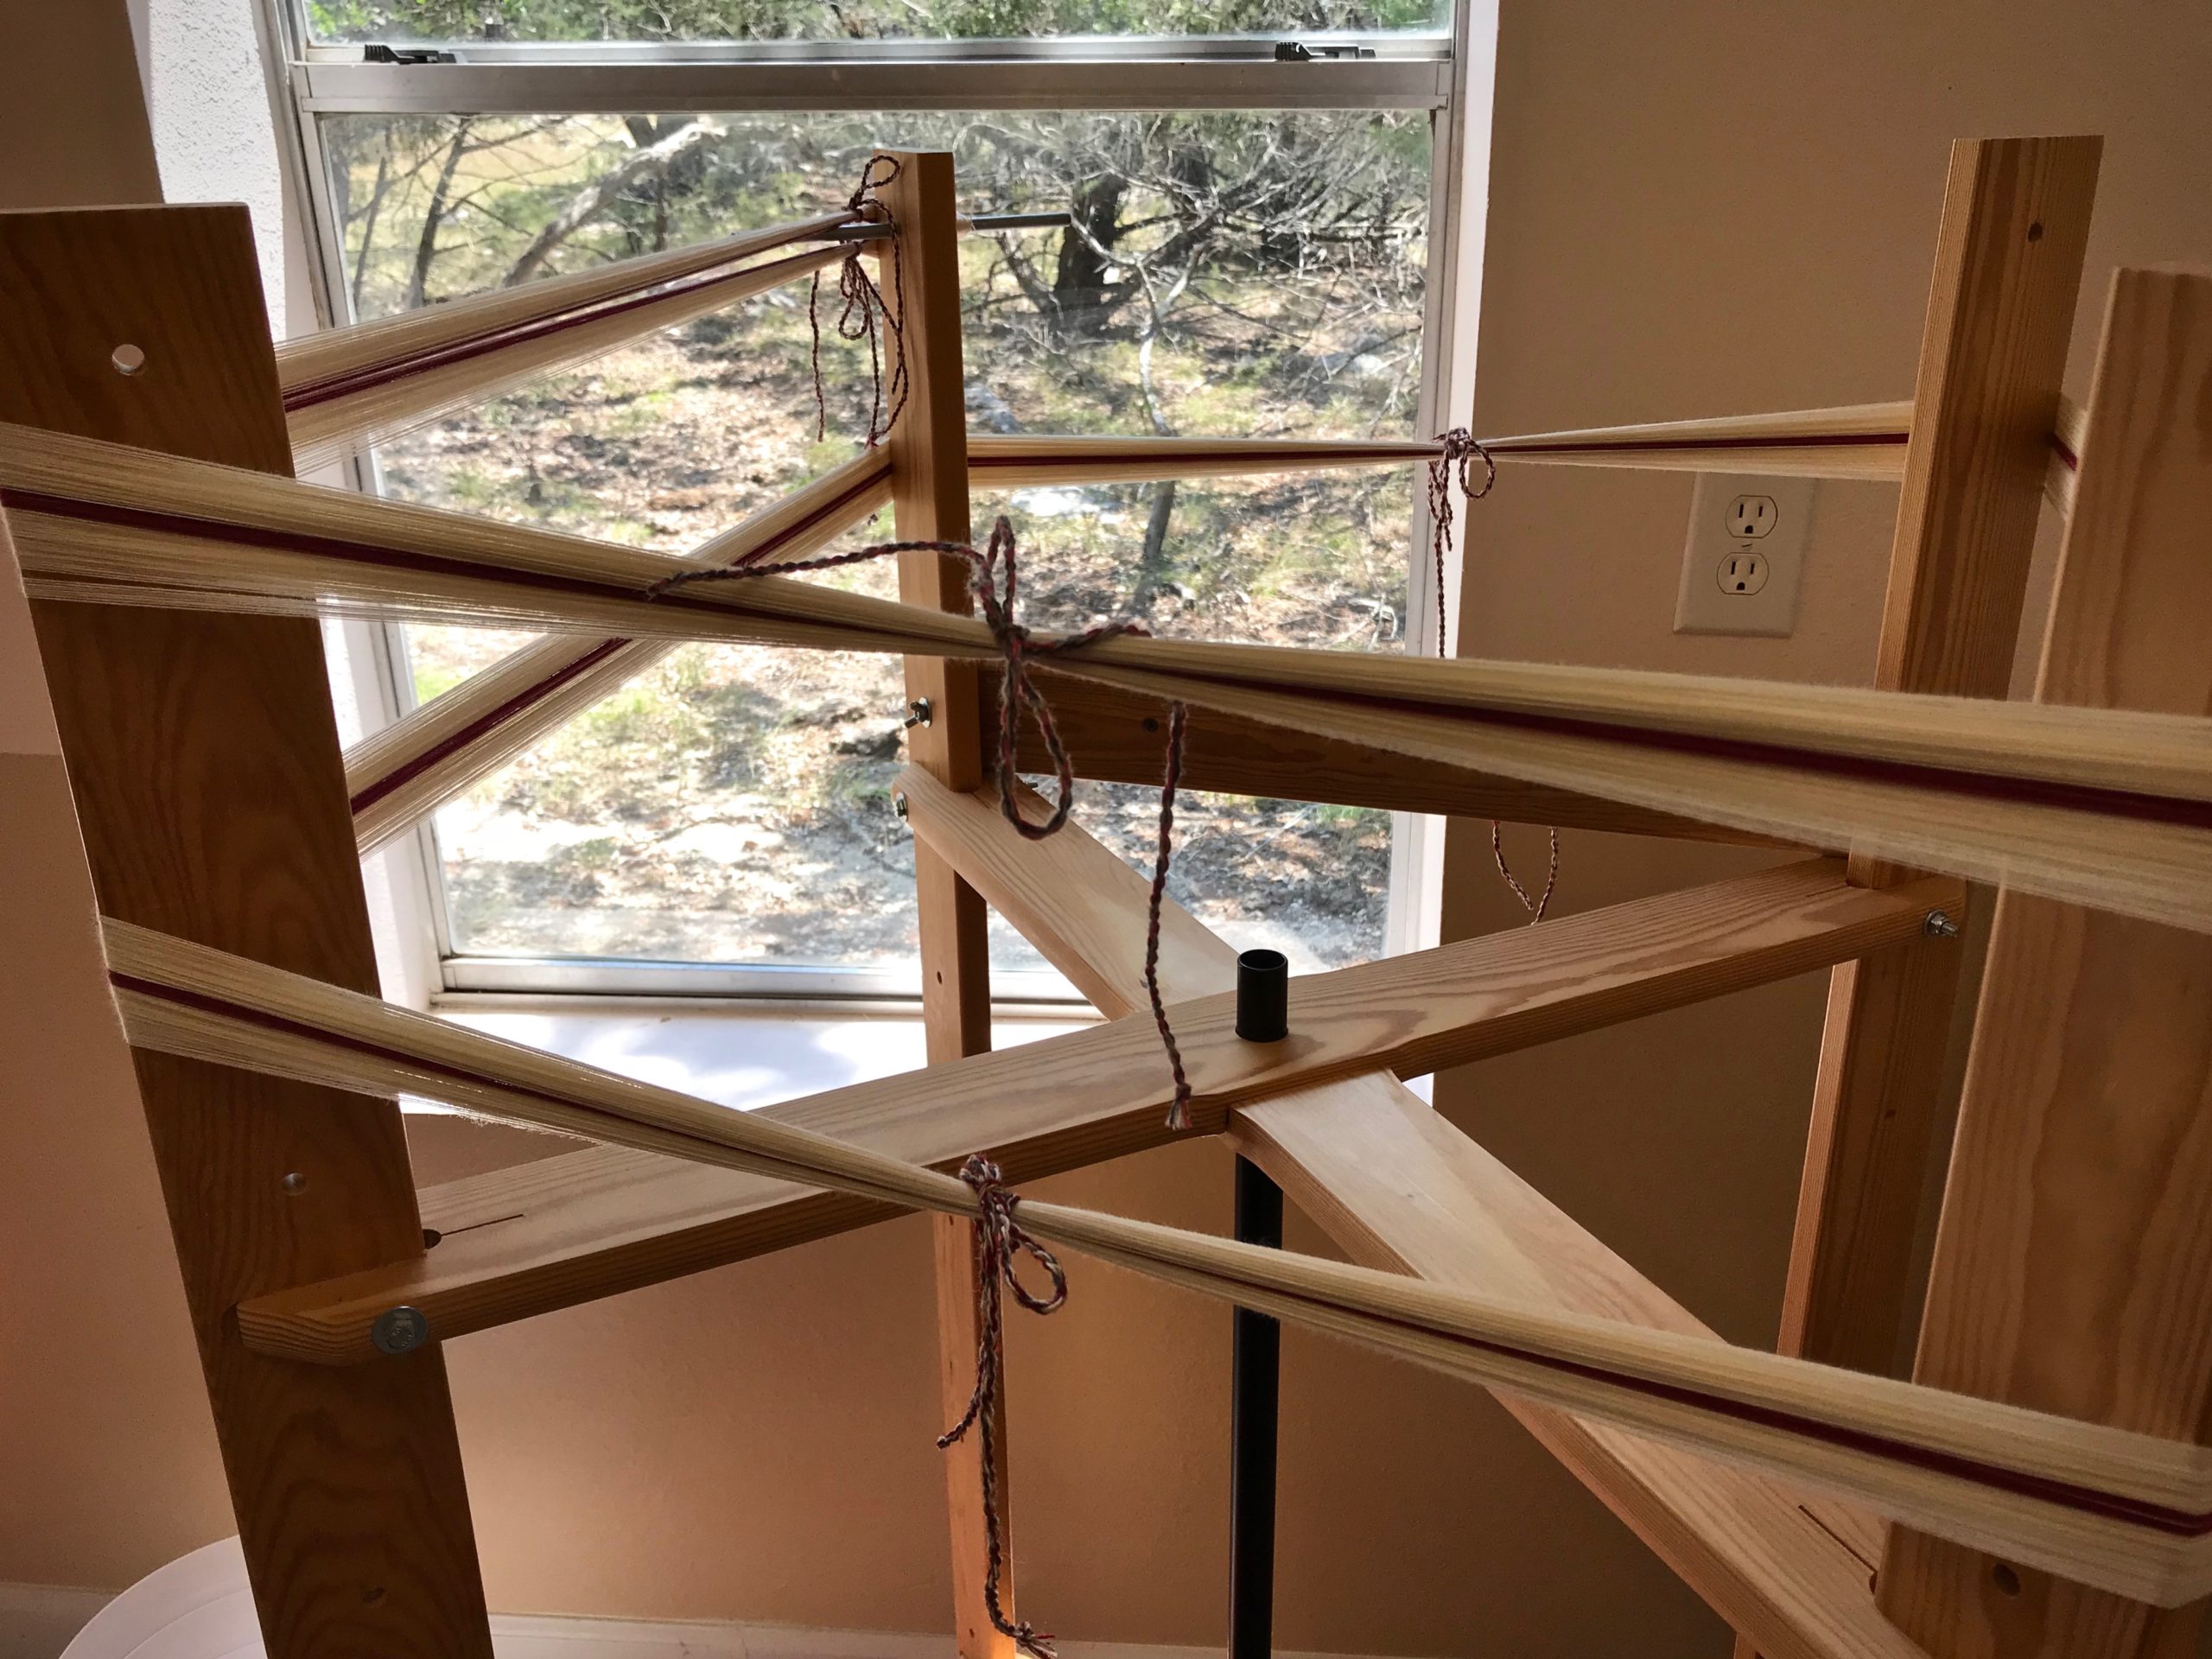
The draft is “Den Vackraste” from Älskade Trasmattor, by Hallgren and Hallén, p.87, to which I added some width. I plan to start with a short sample rug to test wefts and check for size. I am winding the 12/6 cotton warp in three bouts. These long, heavy warp chains tell me I’m now on an unstoppable trek that will result in rugs on the floor!
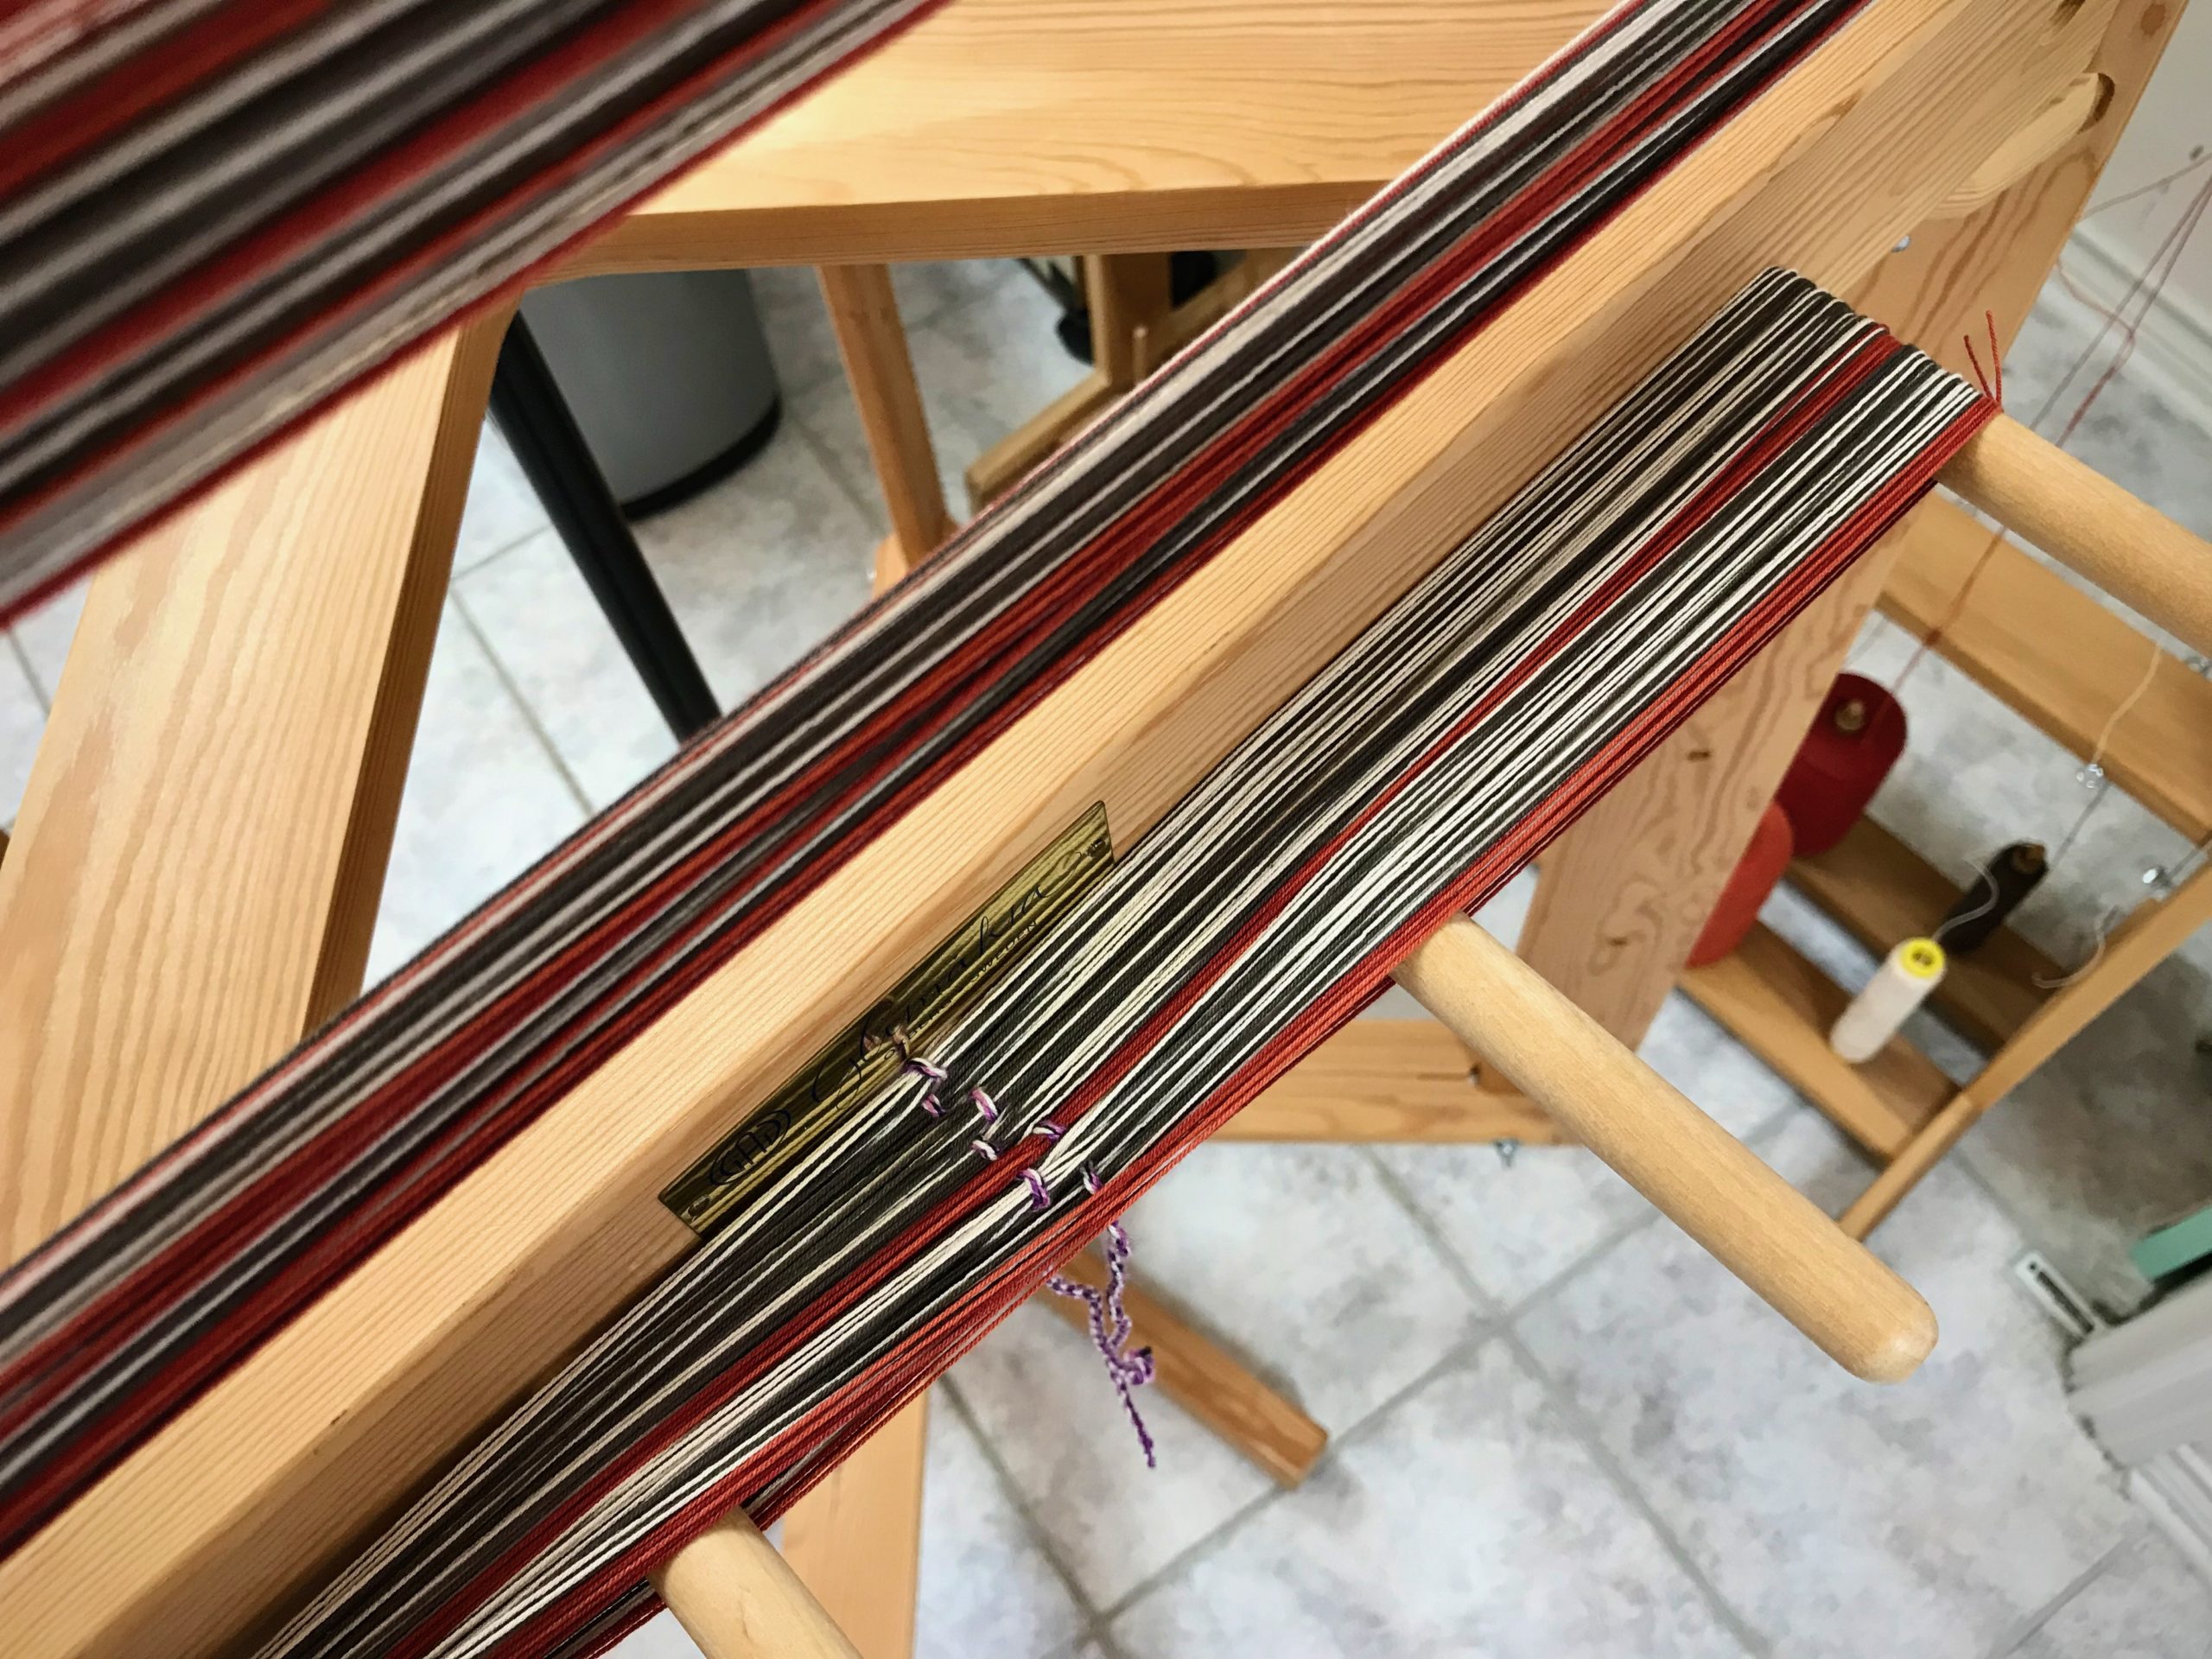
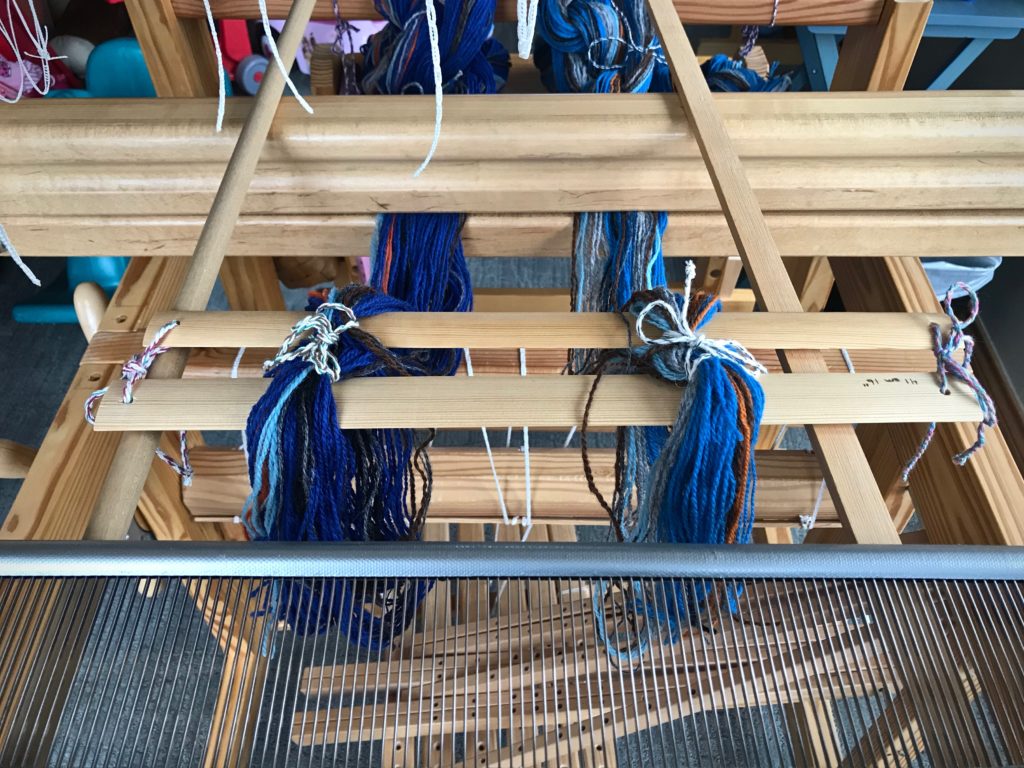
As each bout is wound, I place it in order through the beater, with the tied cross on the other side of the beater.Anticipation!
Until I wind the warp, the rag rugs I’d like to see are merely good intentions. Warp chains placed in order through the beater, though, are a picture of expectation. I have put enough warps on the loom to know with confidence that the rag rugs I anticipate will, indeed, become reality. Faith has that kind of expectation. Faith activates your prayer. The simple power of faith is in believing that the Lord Jesus hears your prayer and that he is able to do what is right for you.
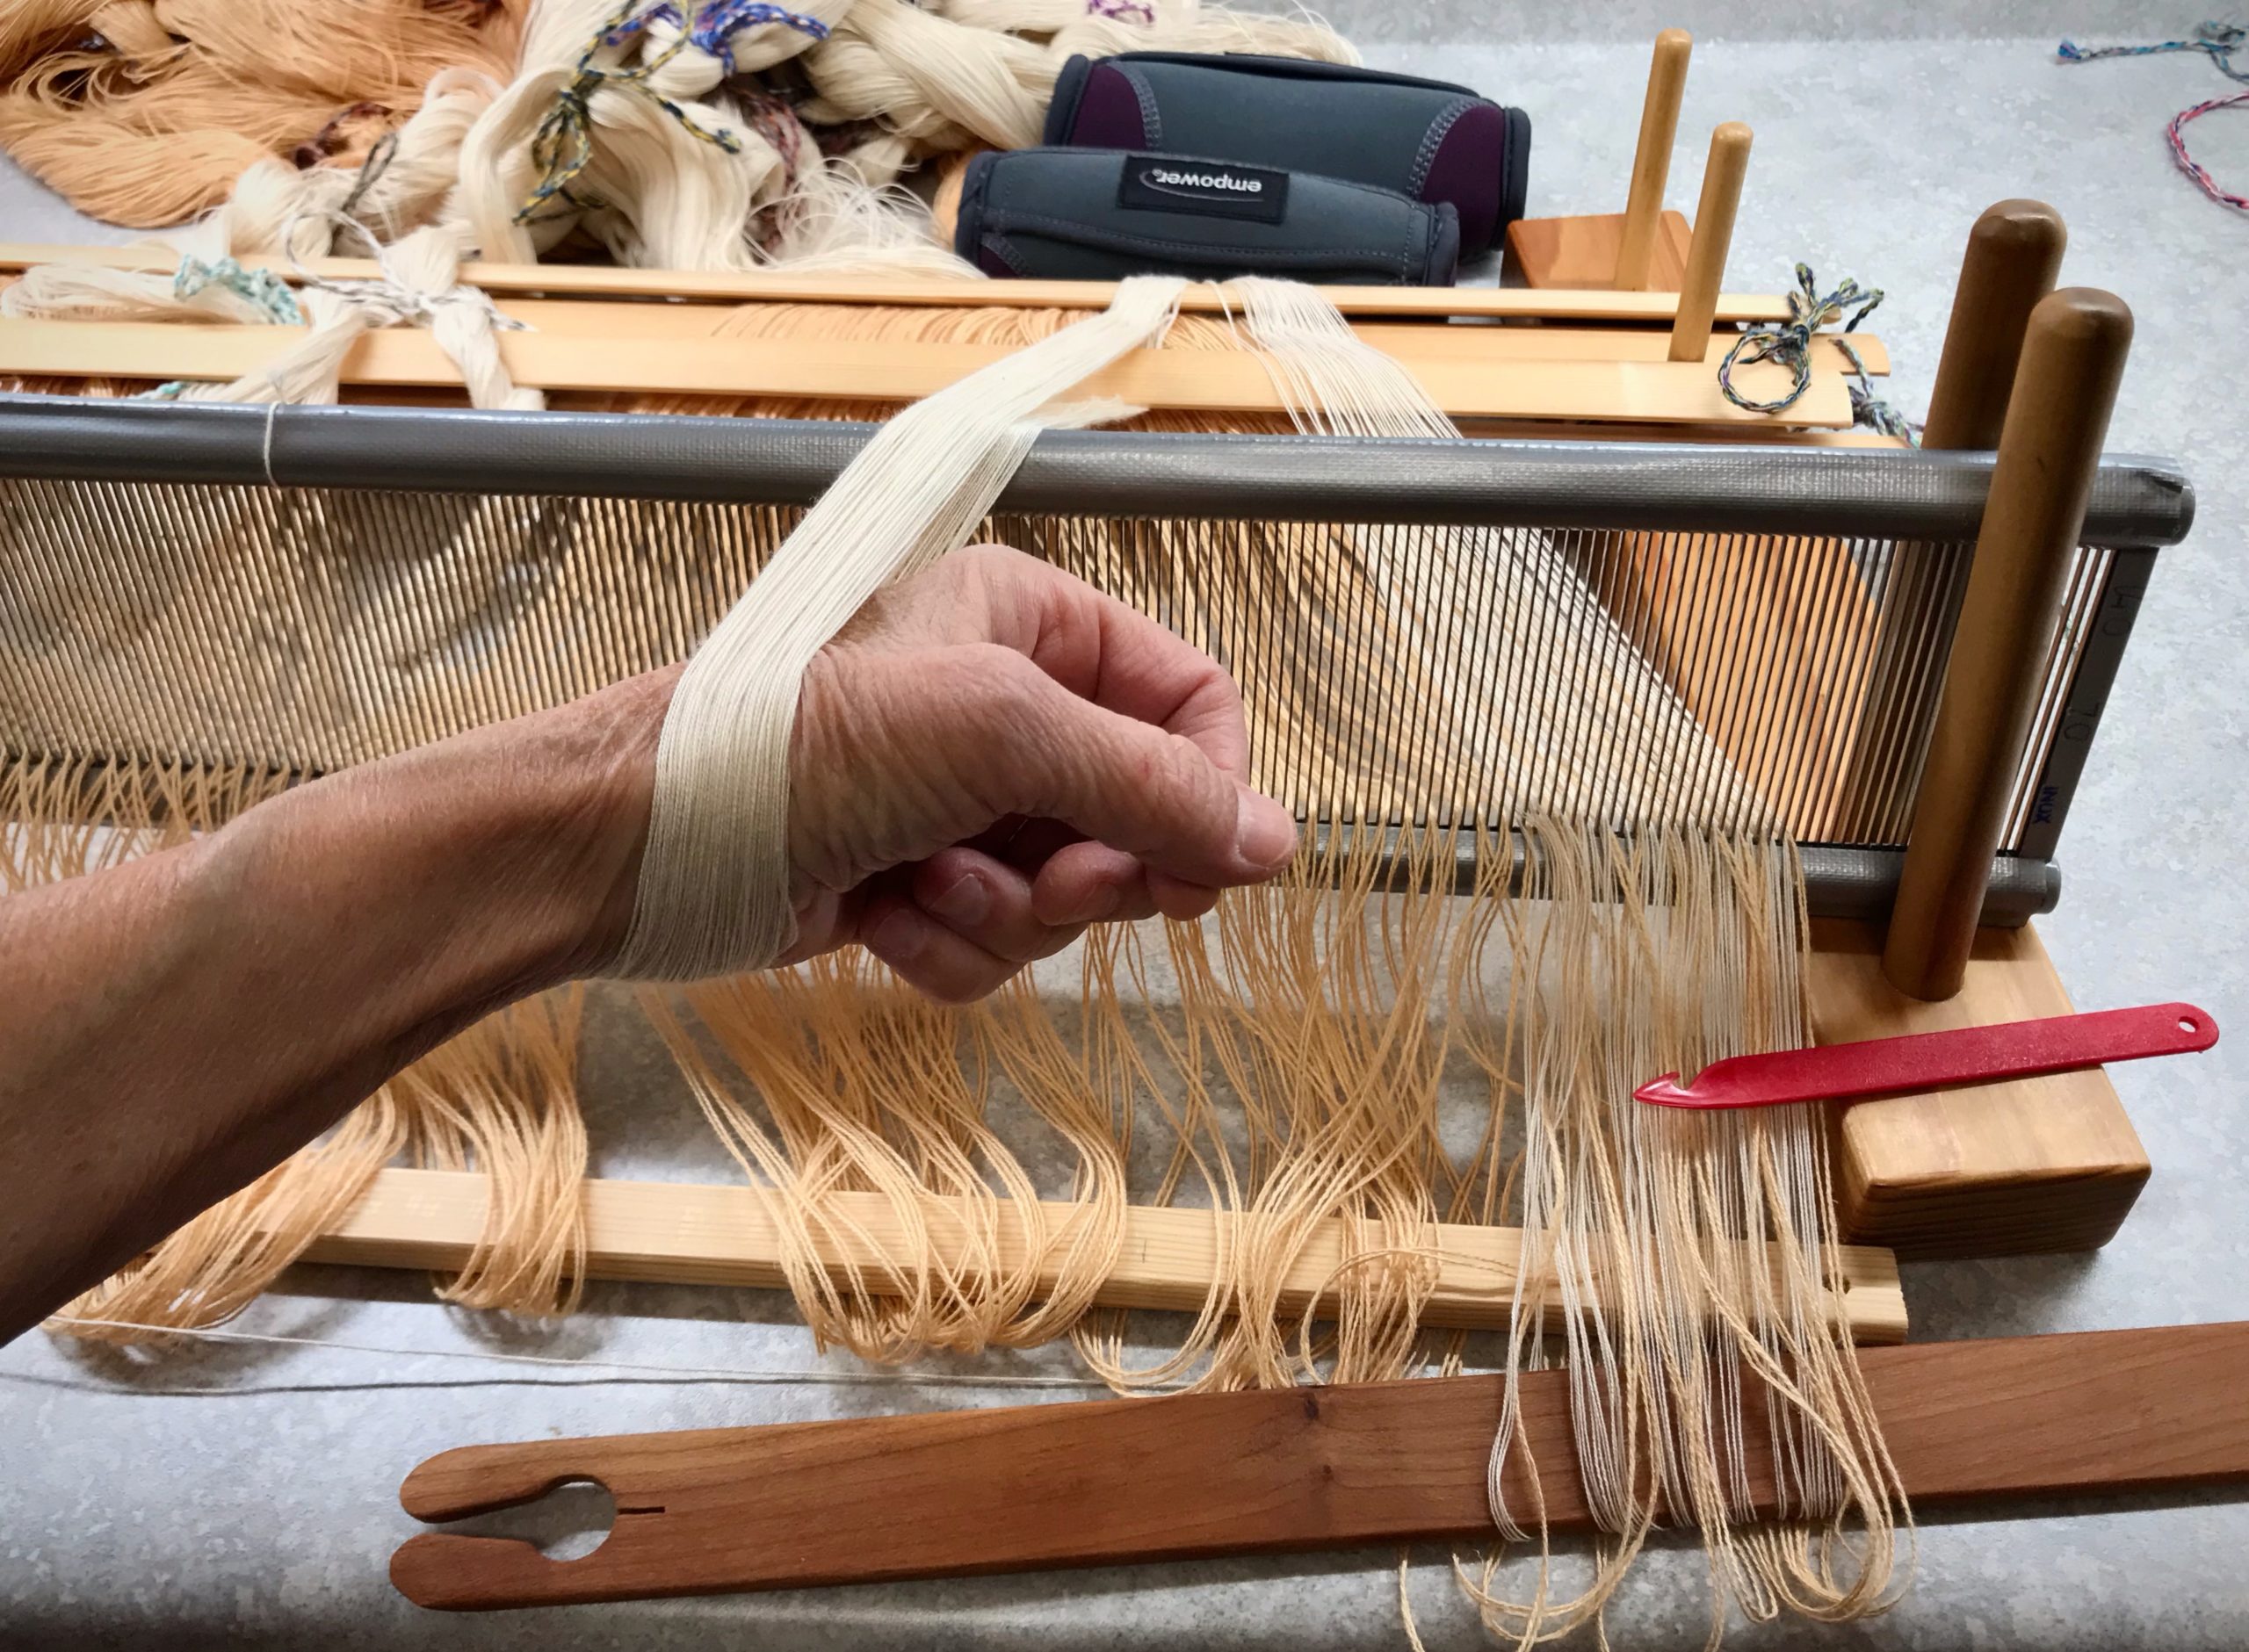
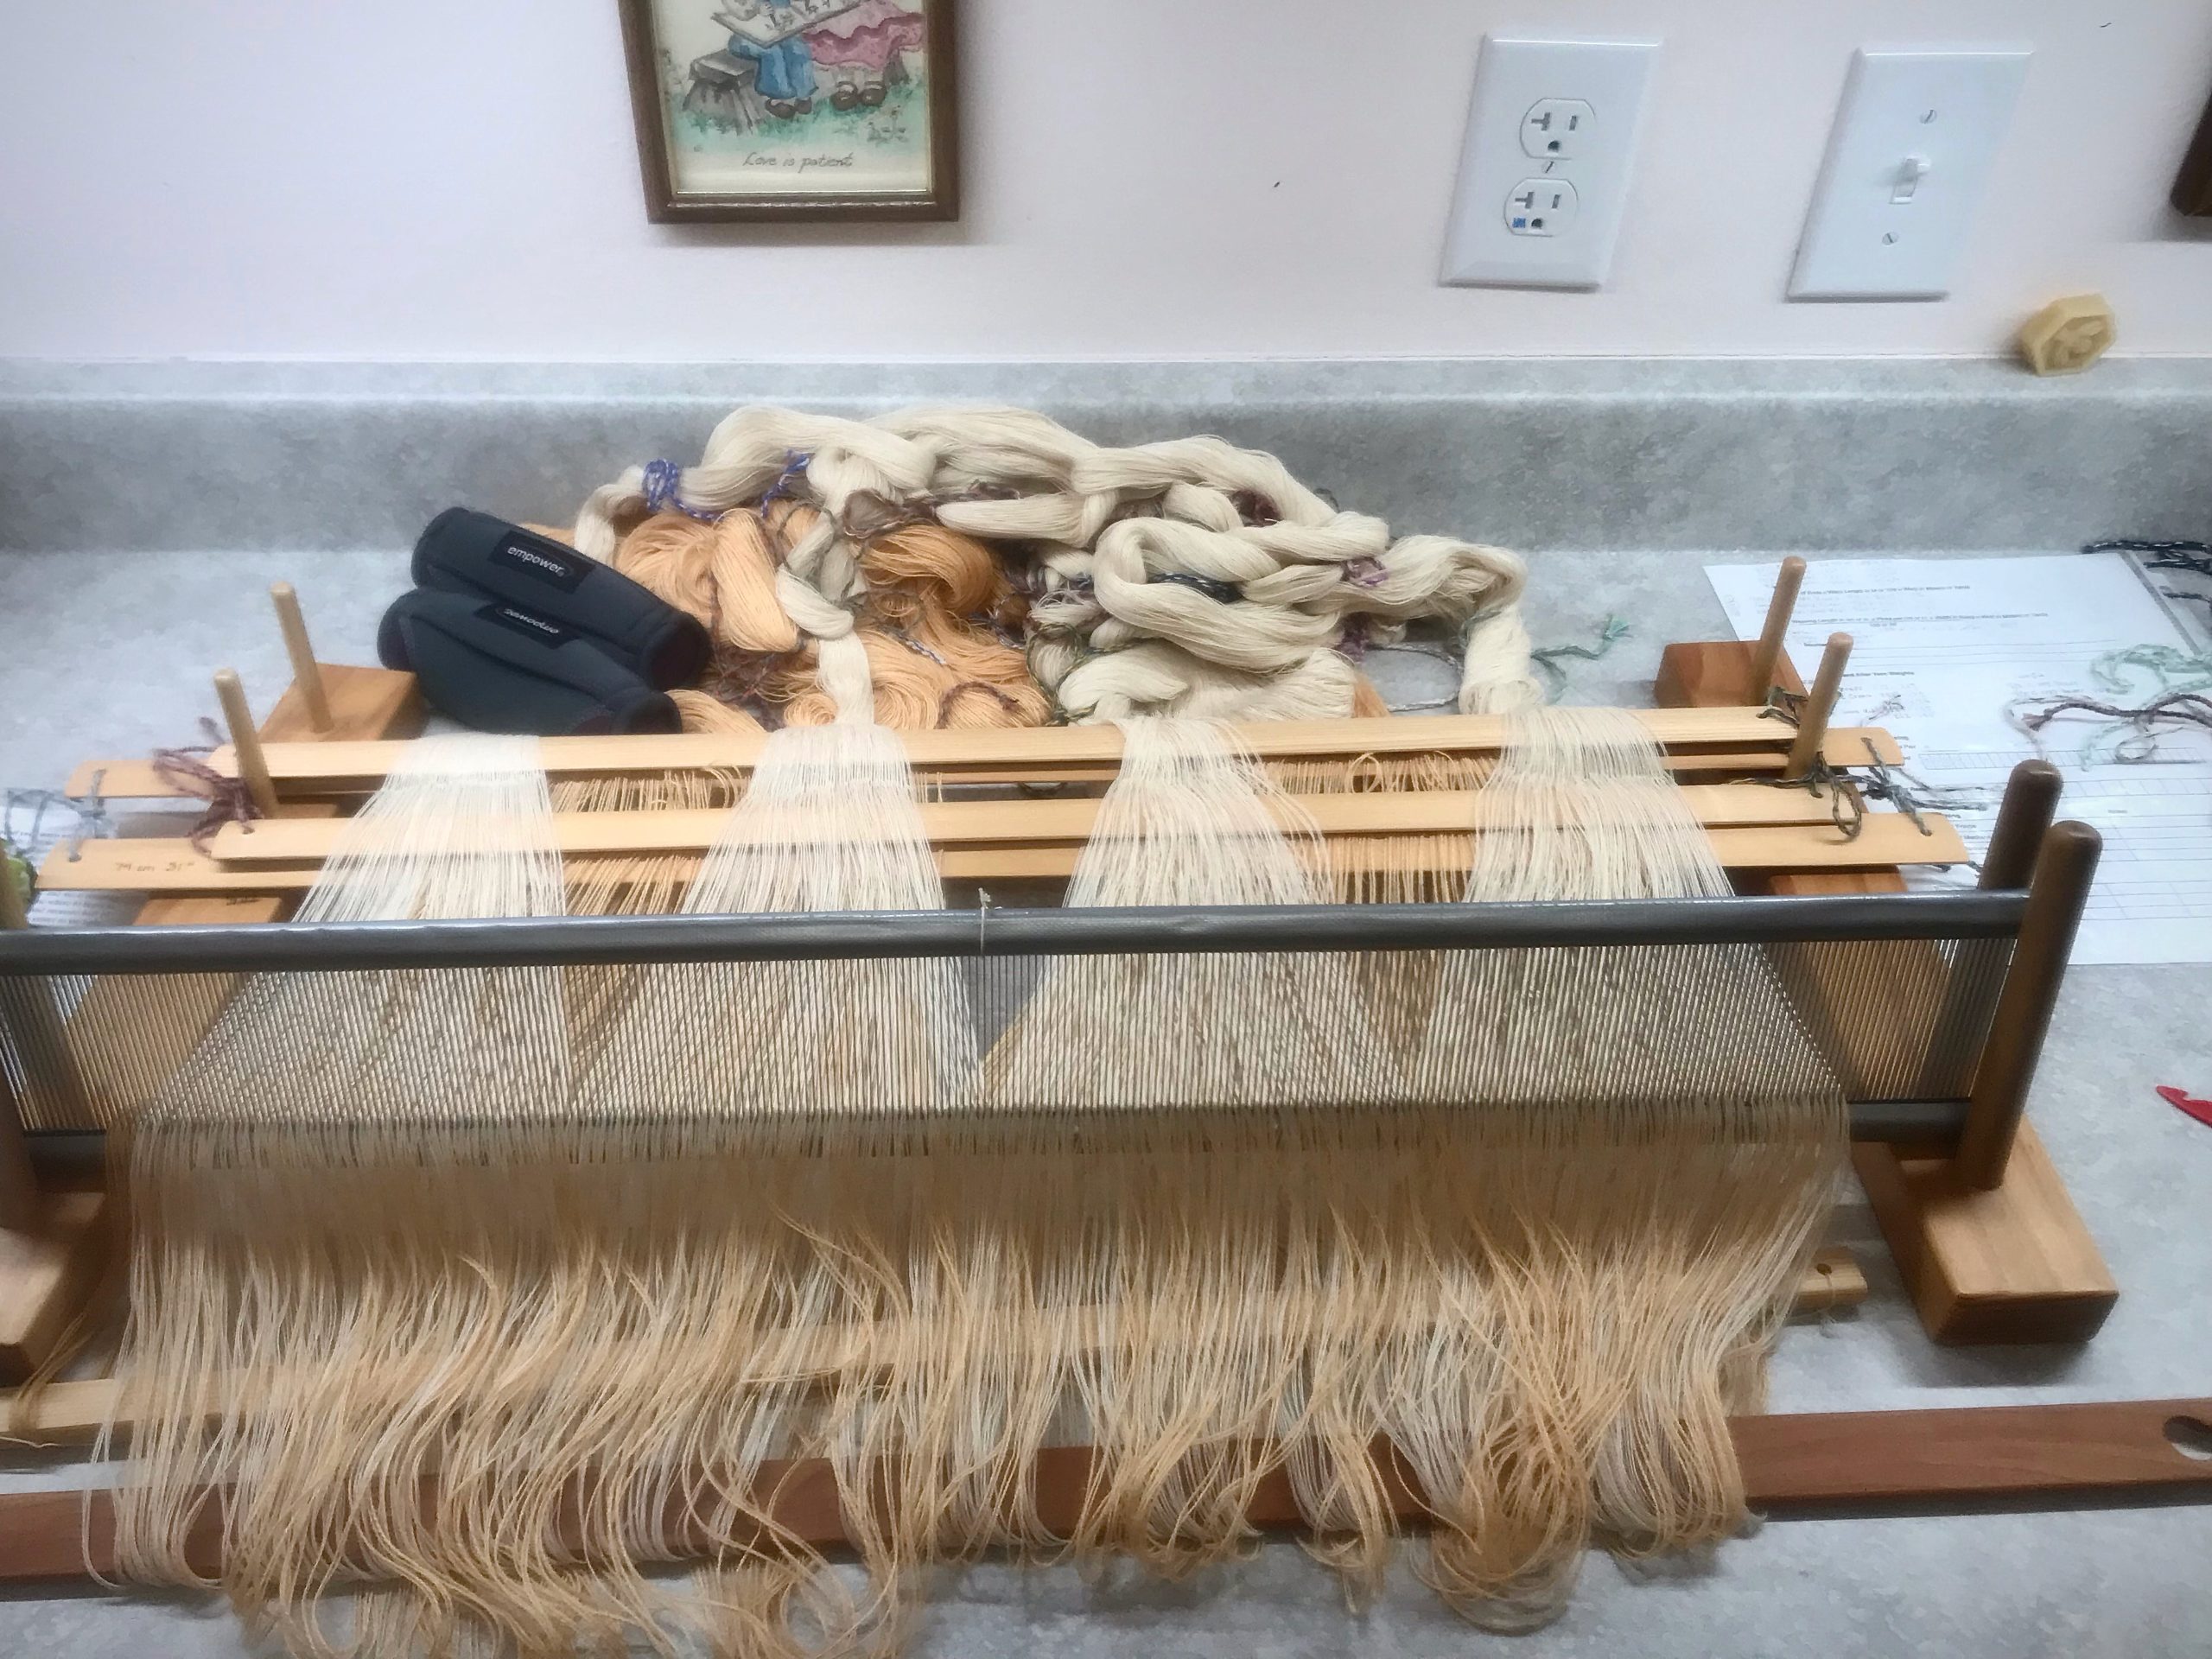
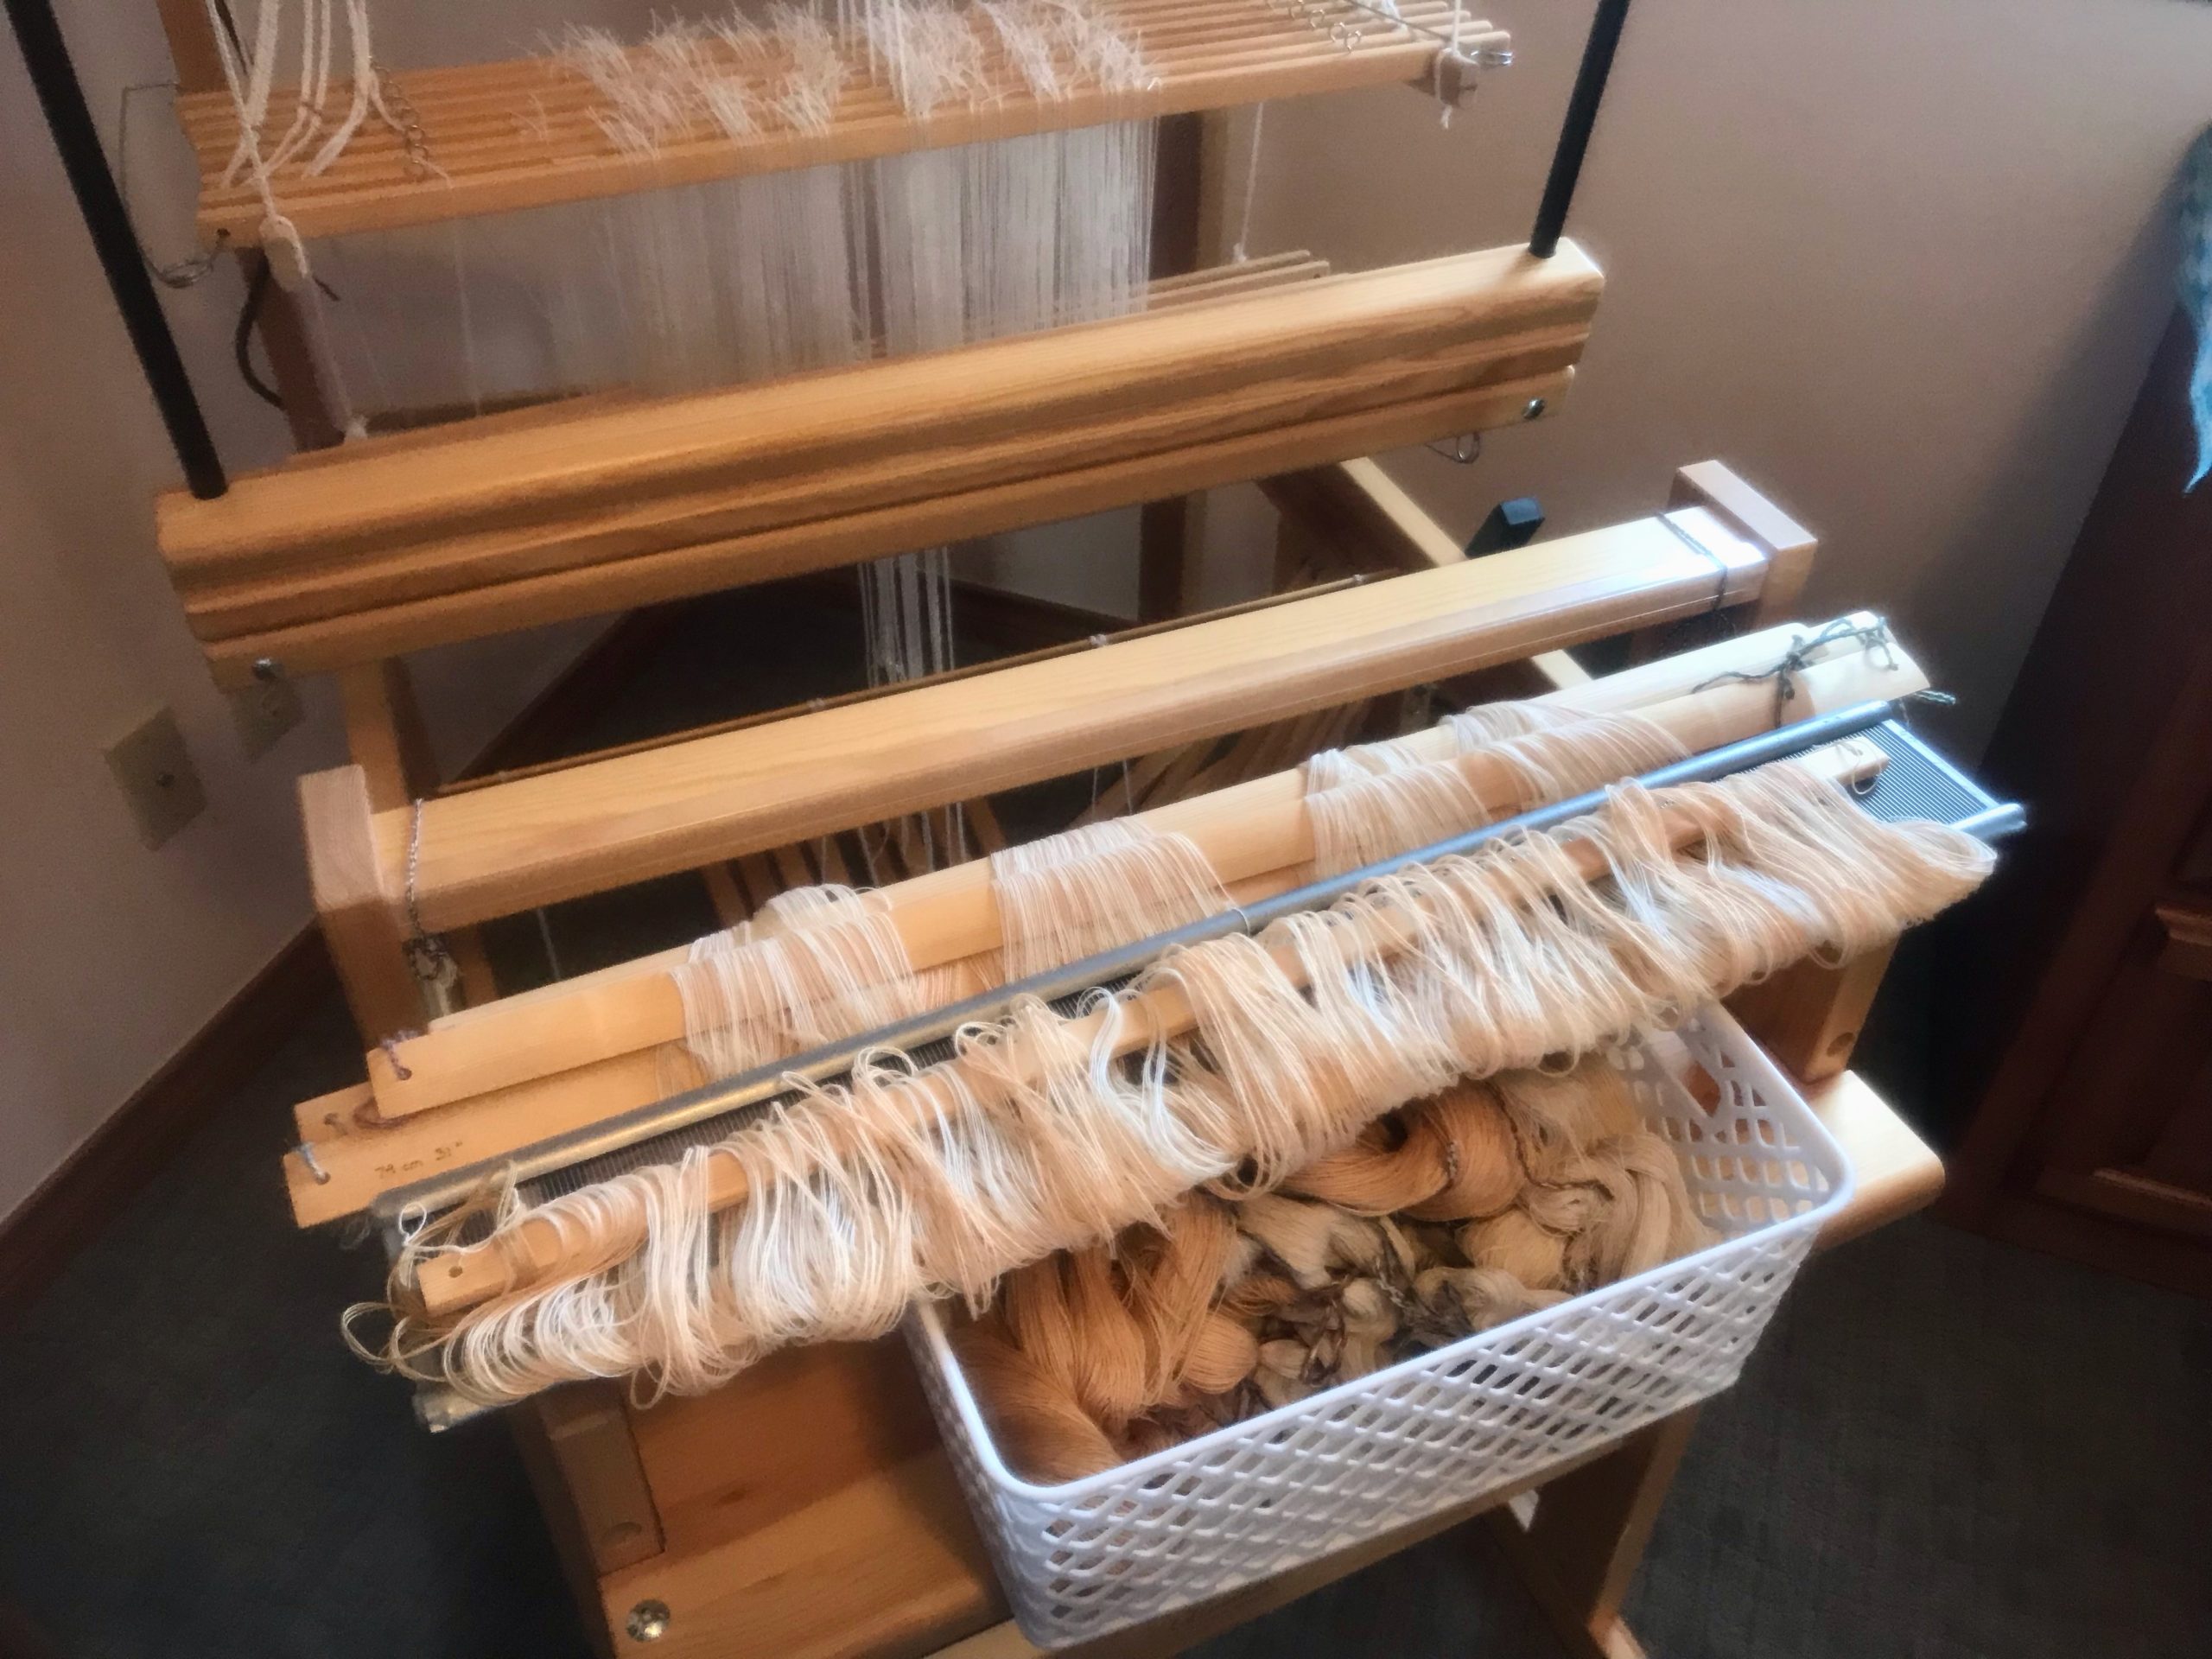
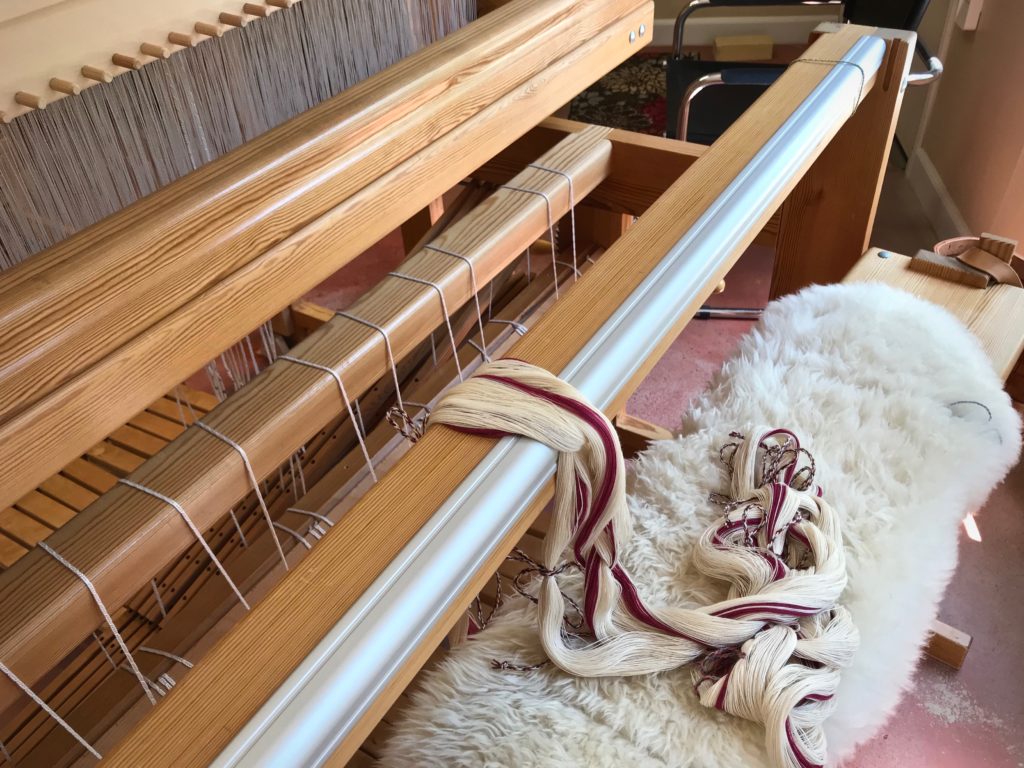
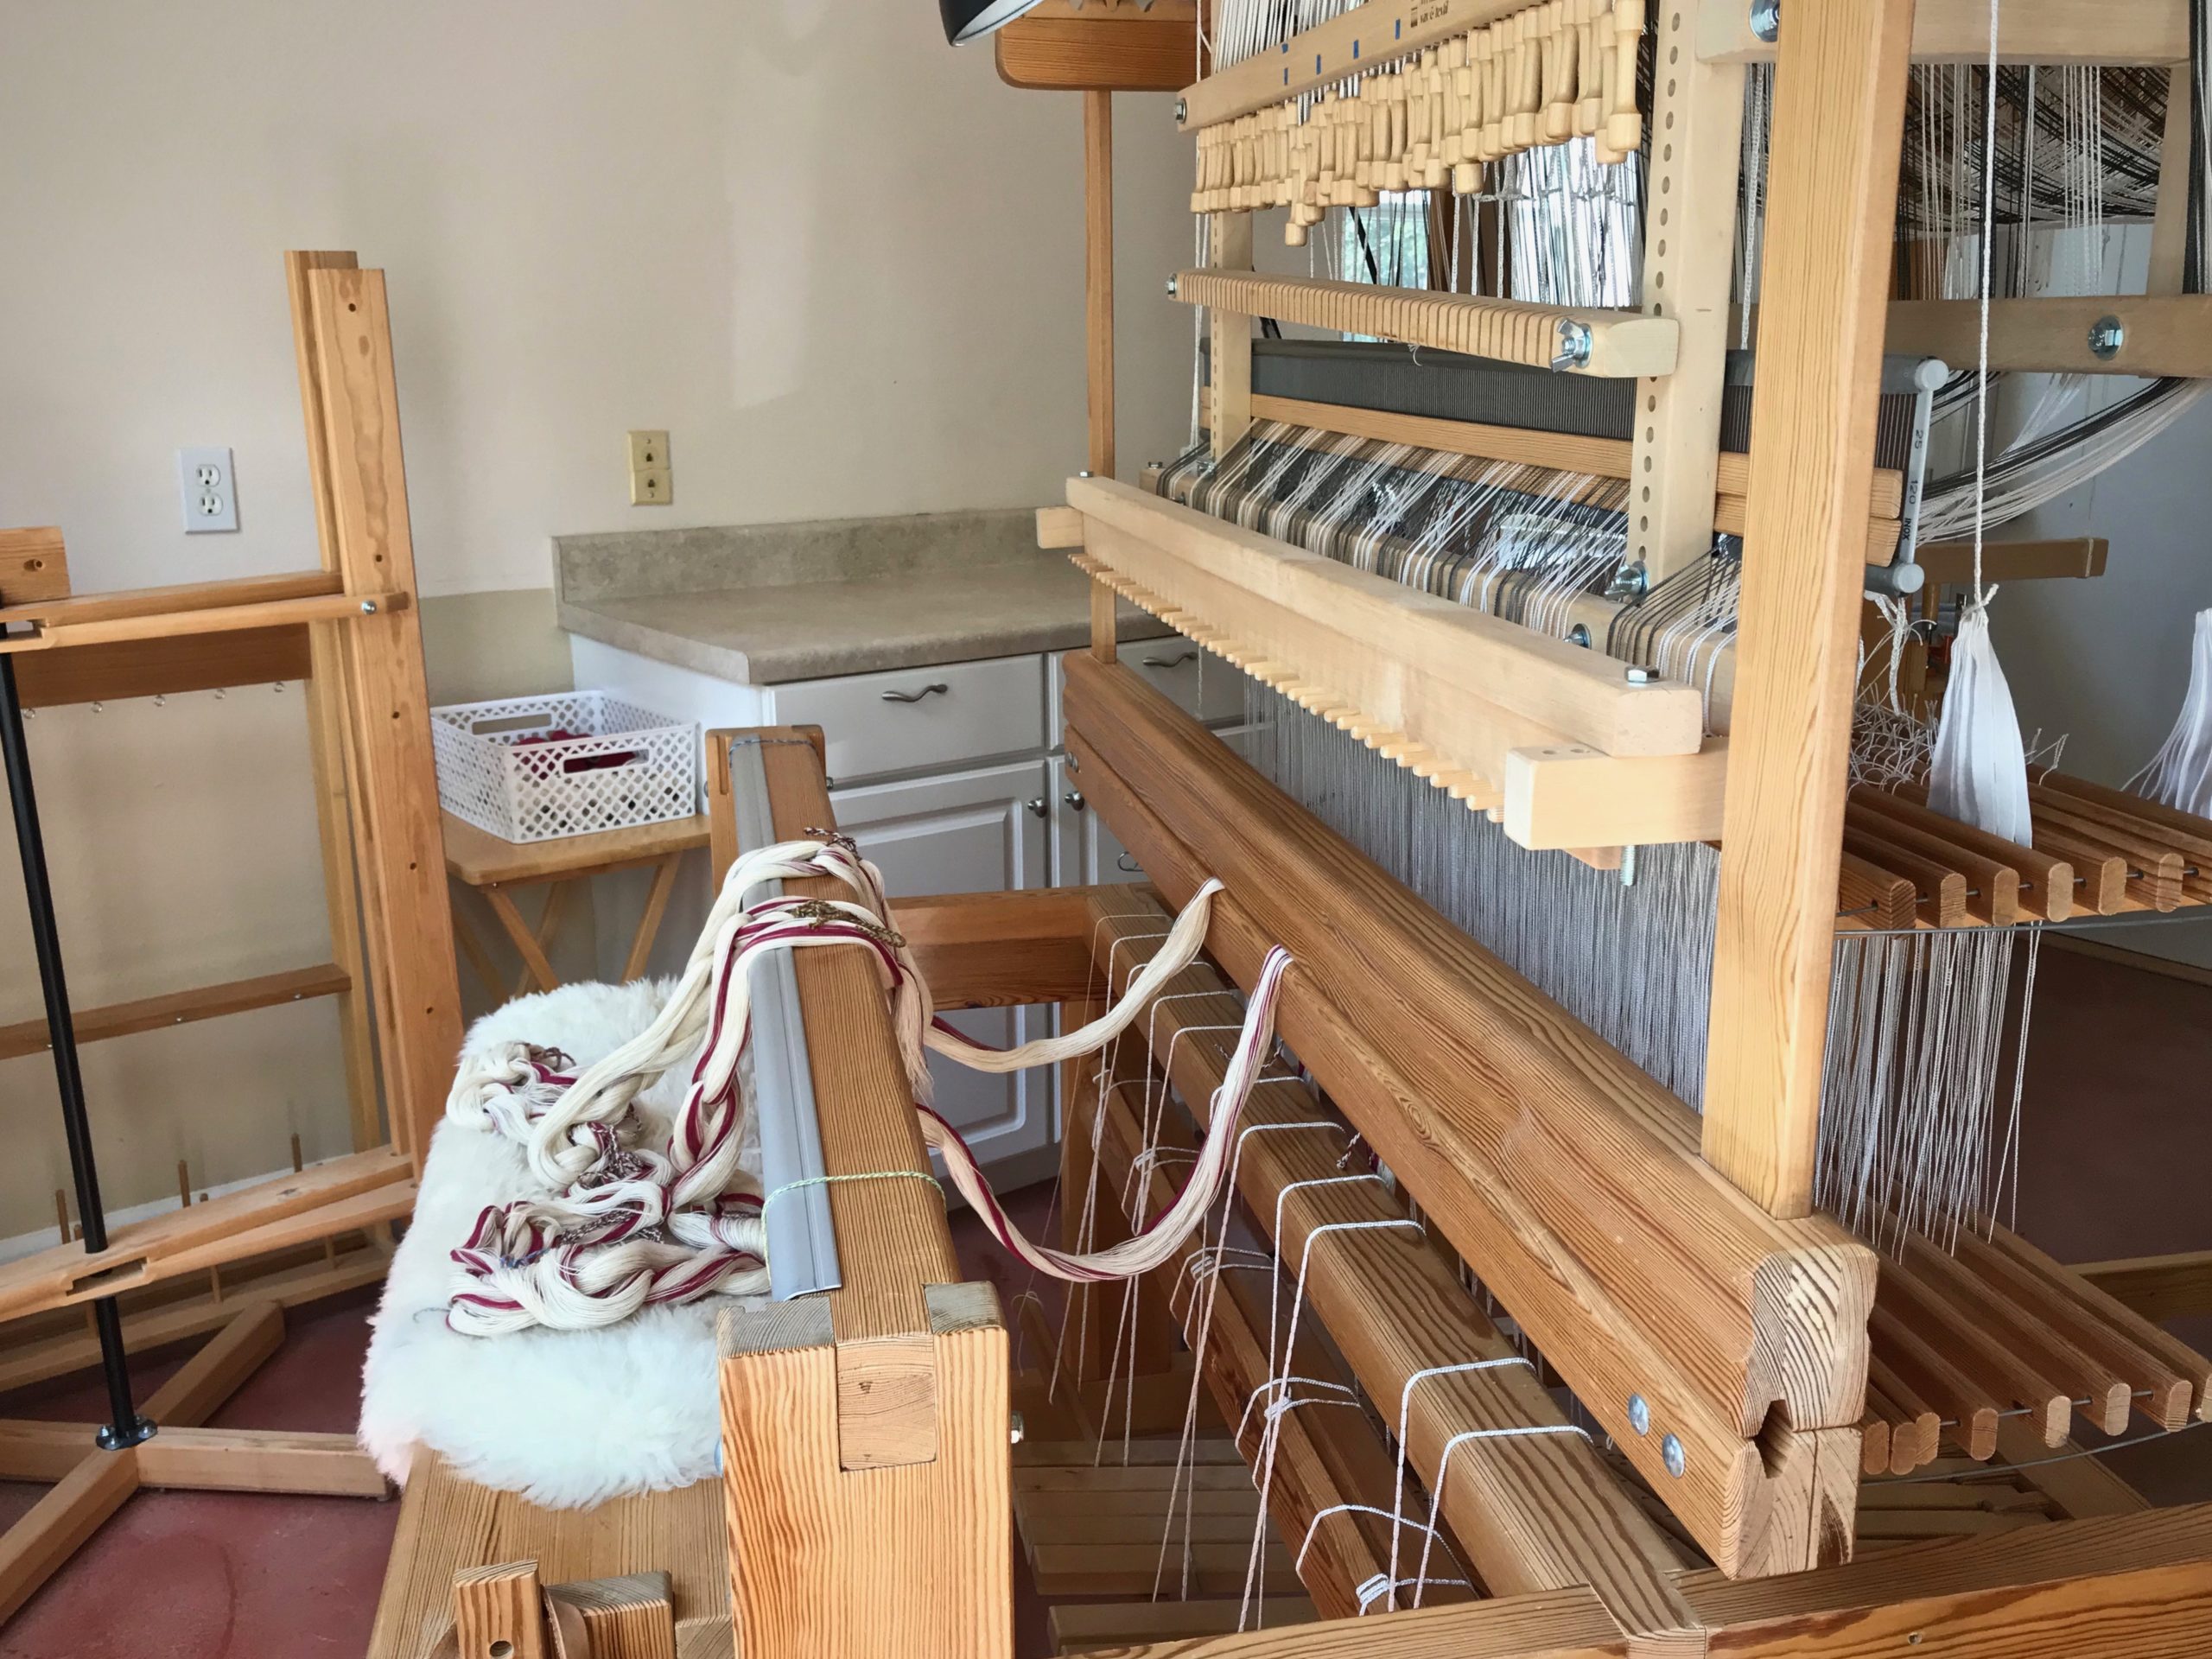
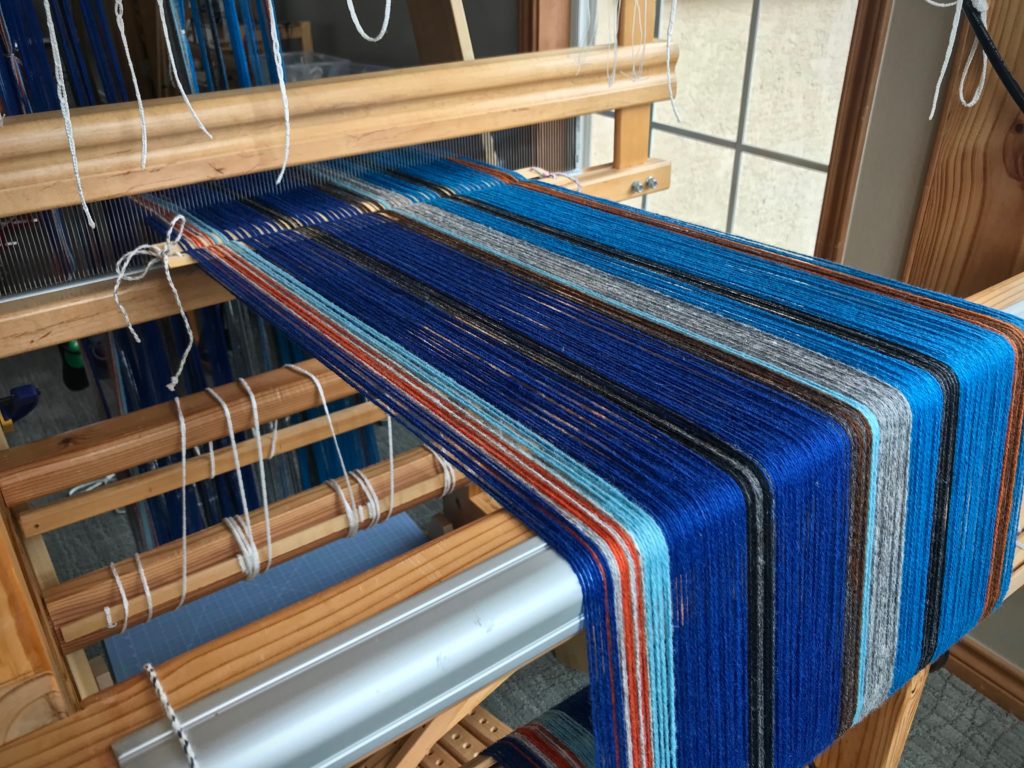
I am spreading this warp (twowarps, actually) at the worktable. One warp is 22/2 cottolin, with a narrow selvedge border of 16/2 cotton. The other warp is 20/2 cotton. This intriguing double-width project is in the Nr.3 – 2021 issue of Väv Magazine—Winnie’s Linen-Cotton Crinkly Tablecloth, by Winnie Poulsen, p.52. Despite some intrepidation, I am jumping in!
Coordinating two warps onto a single tie-on bar is tricky business. The last time I did the two-warp maneuver at the loom I nearly lost a lease crossand my sanity. The advantage of pre-sleying these warps at the table is that everything is secure. Nothing is teetering. At the worktable I can clearly see what to do for each step. Within minutes, I’m hopeful that this adventure will indeed be worth it. (Pre-sleying a warp on the table is expertly explained in Learning to Warp Your Loom, by Joanne Hall, pgs.19-20.)
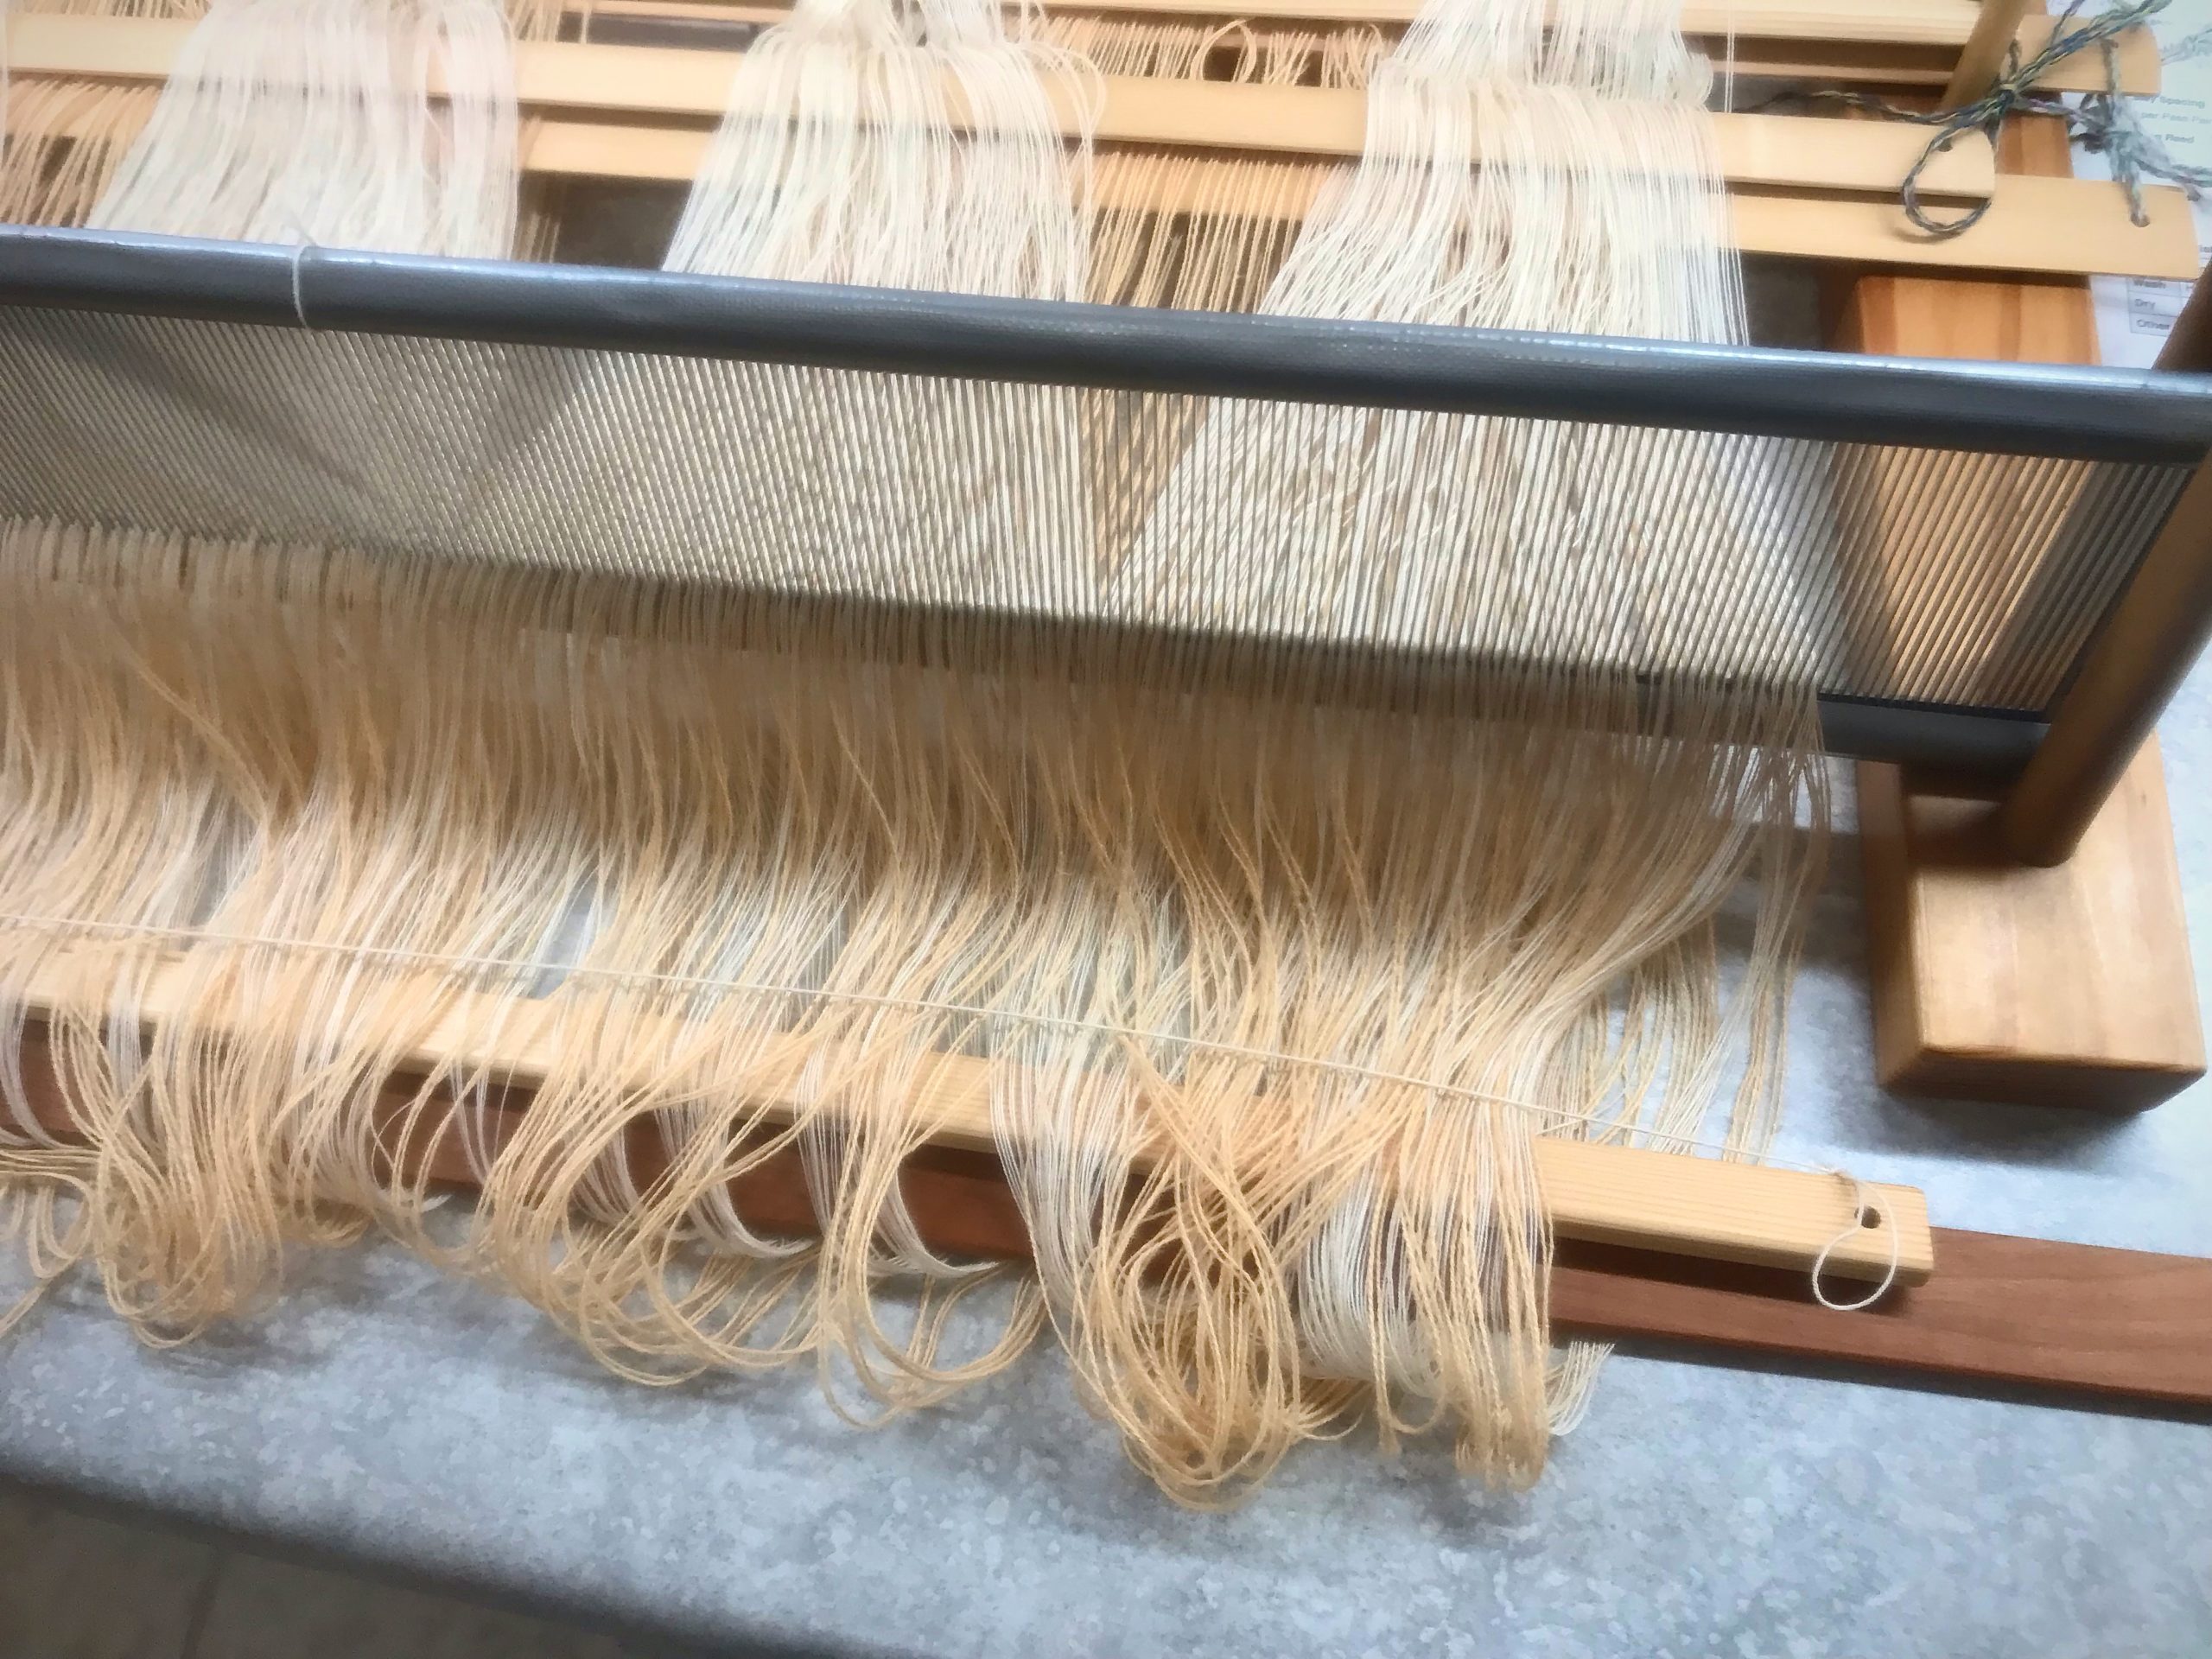
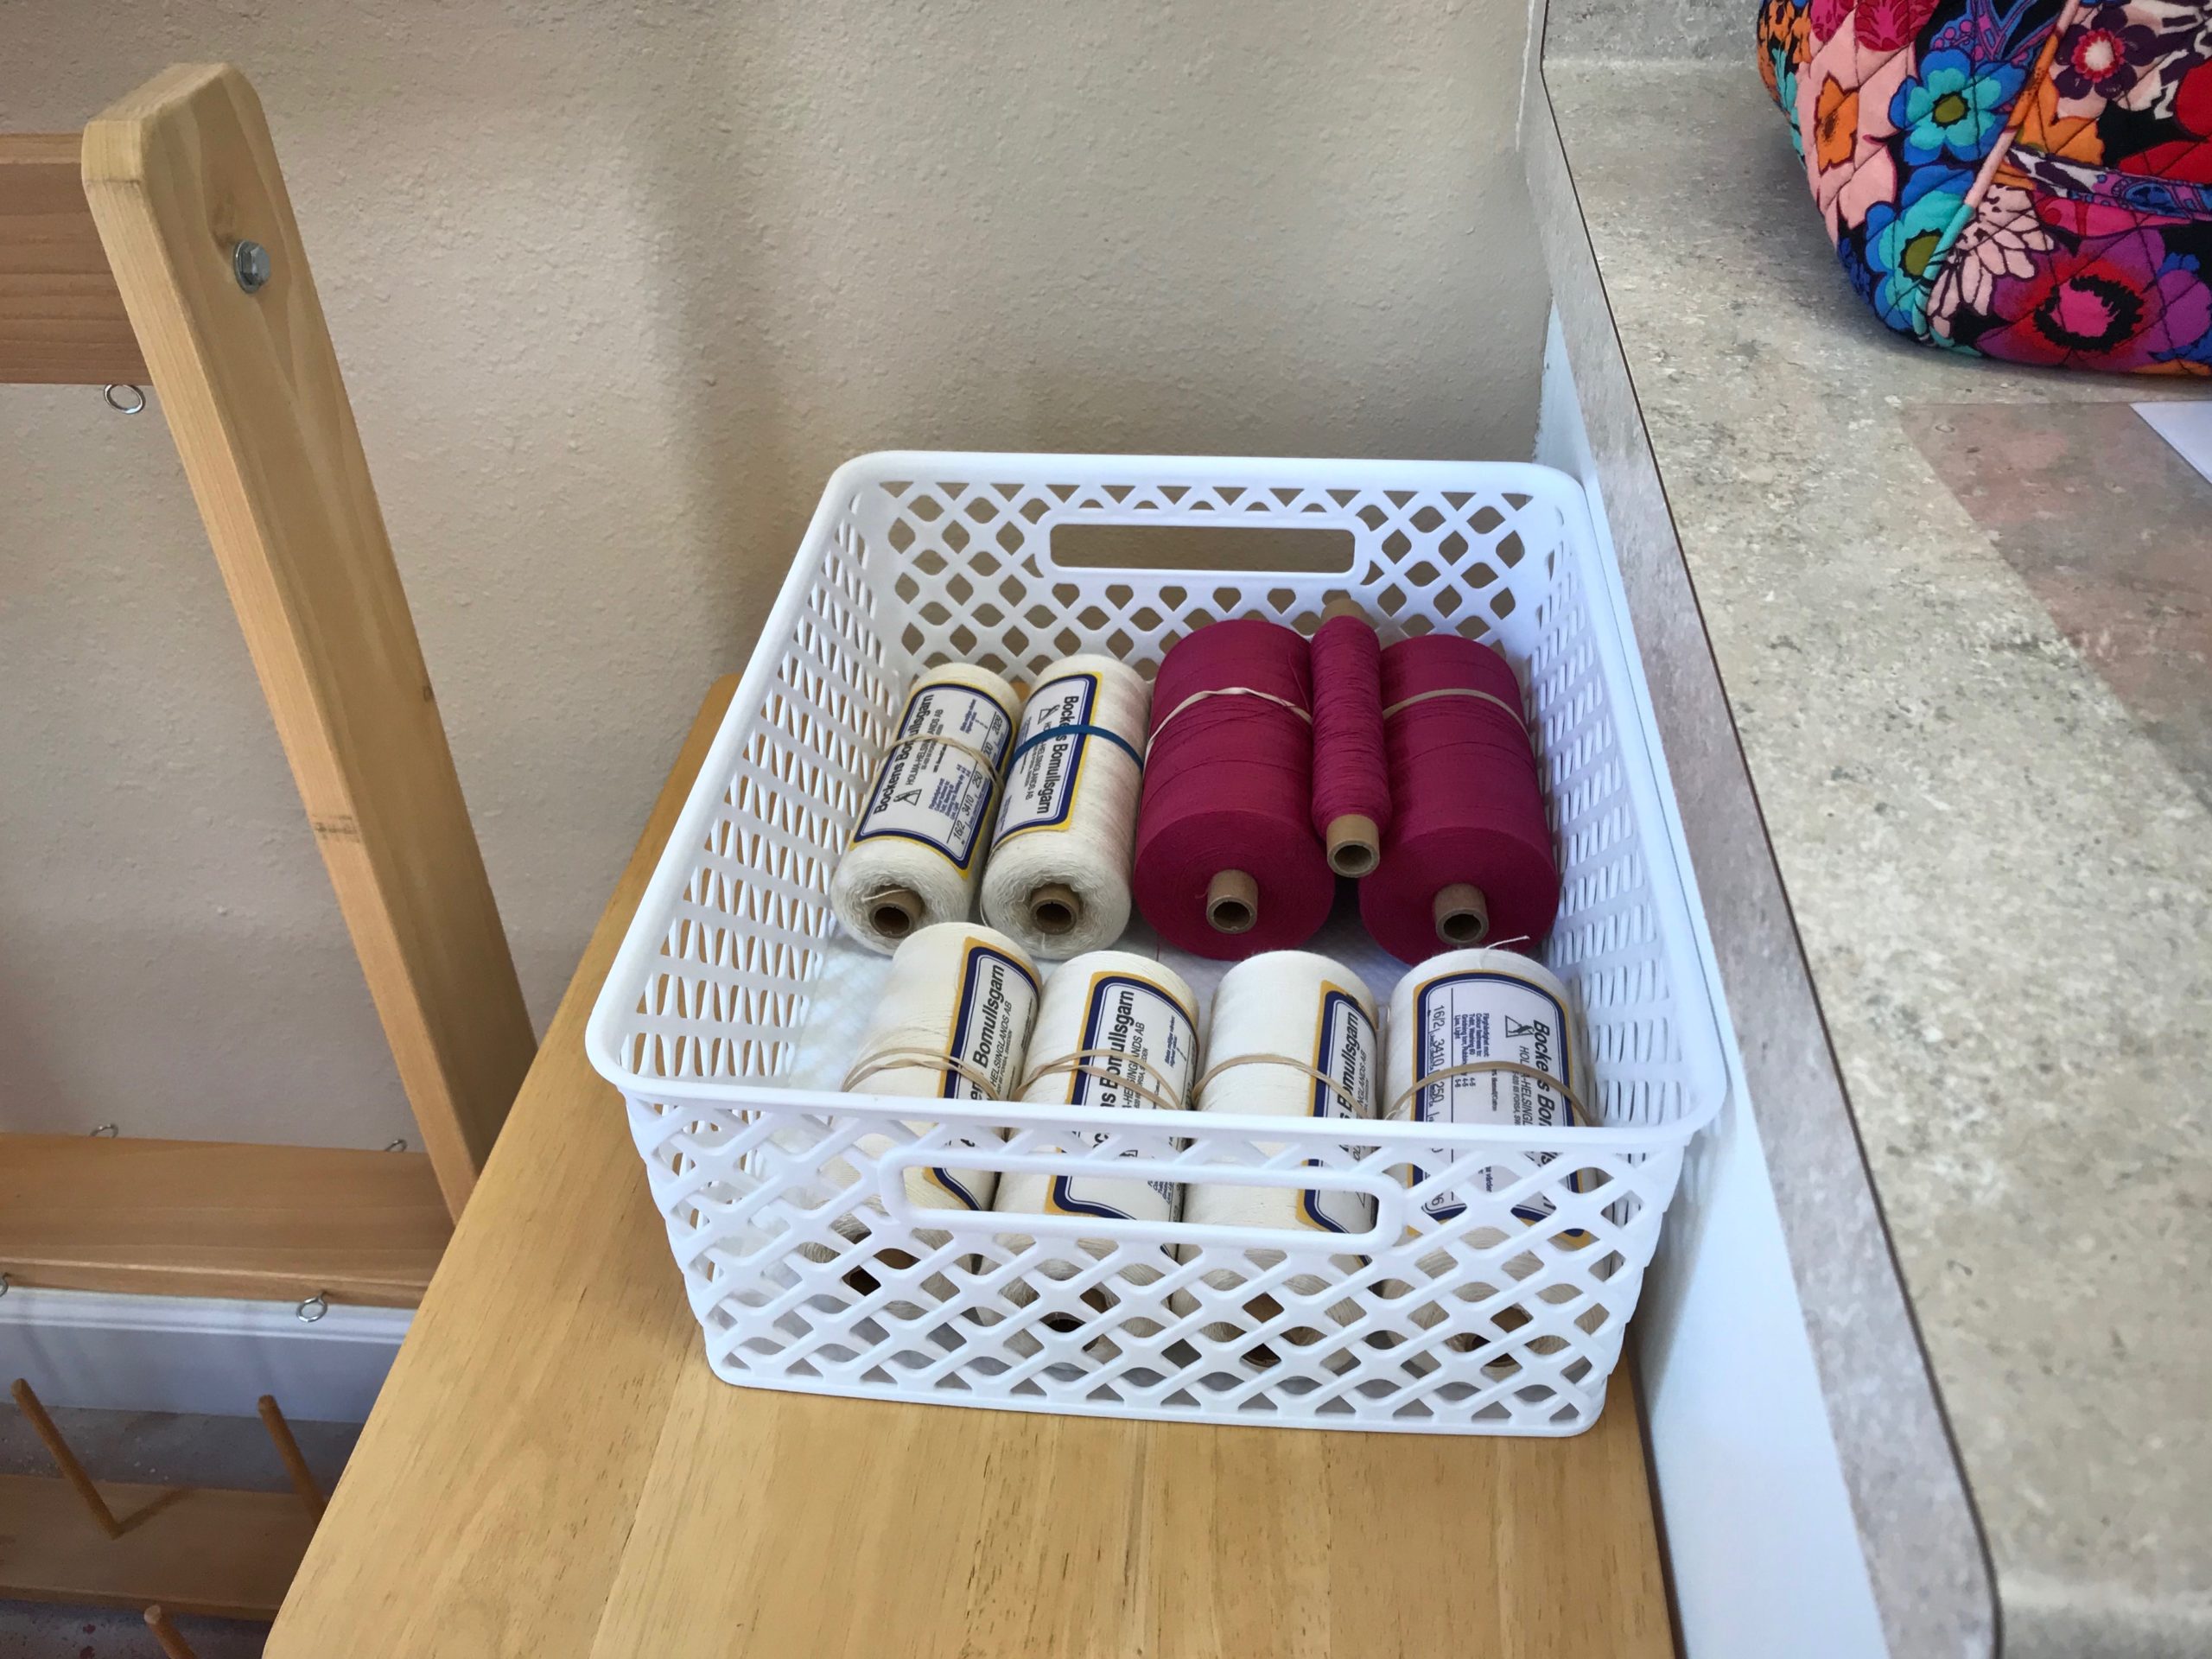
Second stick holds both warps’ loops.Tie-on bar slides in and warps’ loops are secured by tying a string from one end to the other.Extra stick is removed. Two warps, each with its own set of lease sticks, have been spread in the reed. No mishaps along the way!Warp bouts are in the basket. The two sets of lease sticks, the reed, and the cloth beam tie-on bar sit on top. We’re ready to beam this warp on the Julia!
Spreading a warp (or two) is a lot like spreading hope. We come to the Lord Jesus weary, having tried hard to make things work on our own. He welcomes us with open arms and reveals the time-tested way of trusting him, one step at a time. Now, like threads being sleyed across the dents of a reed, threads of hope spread throughout our being. The threads are secured. Come weary; receive rest; spread hope.
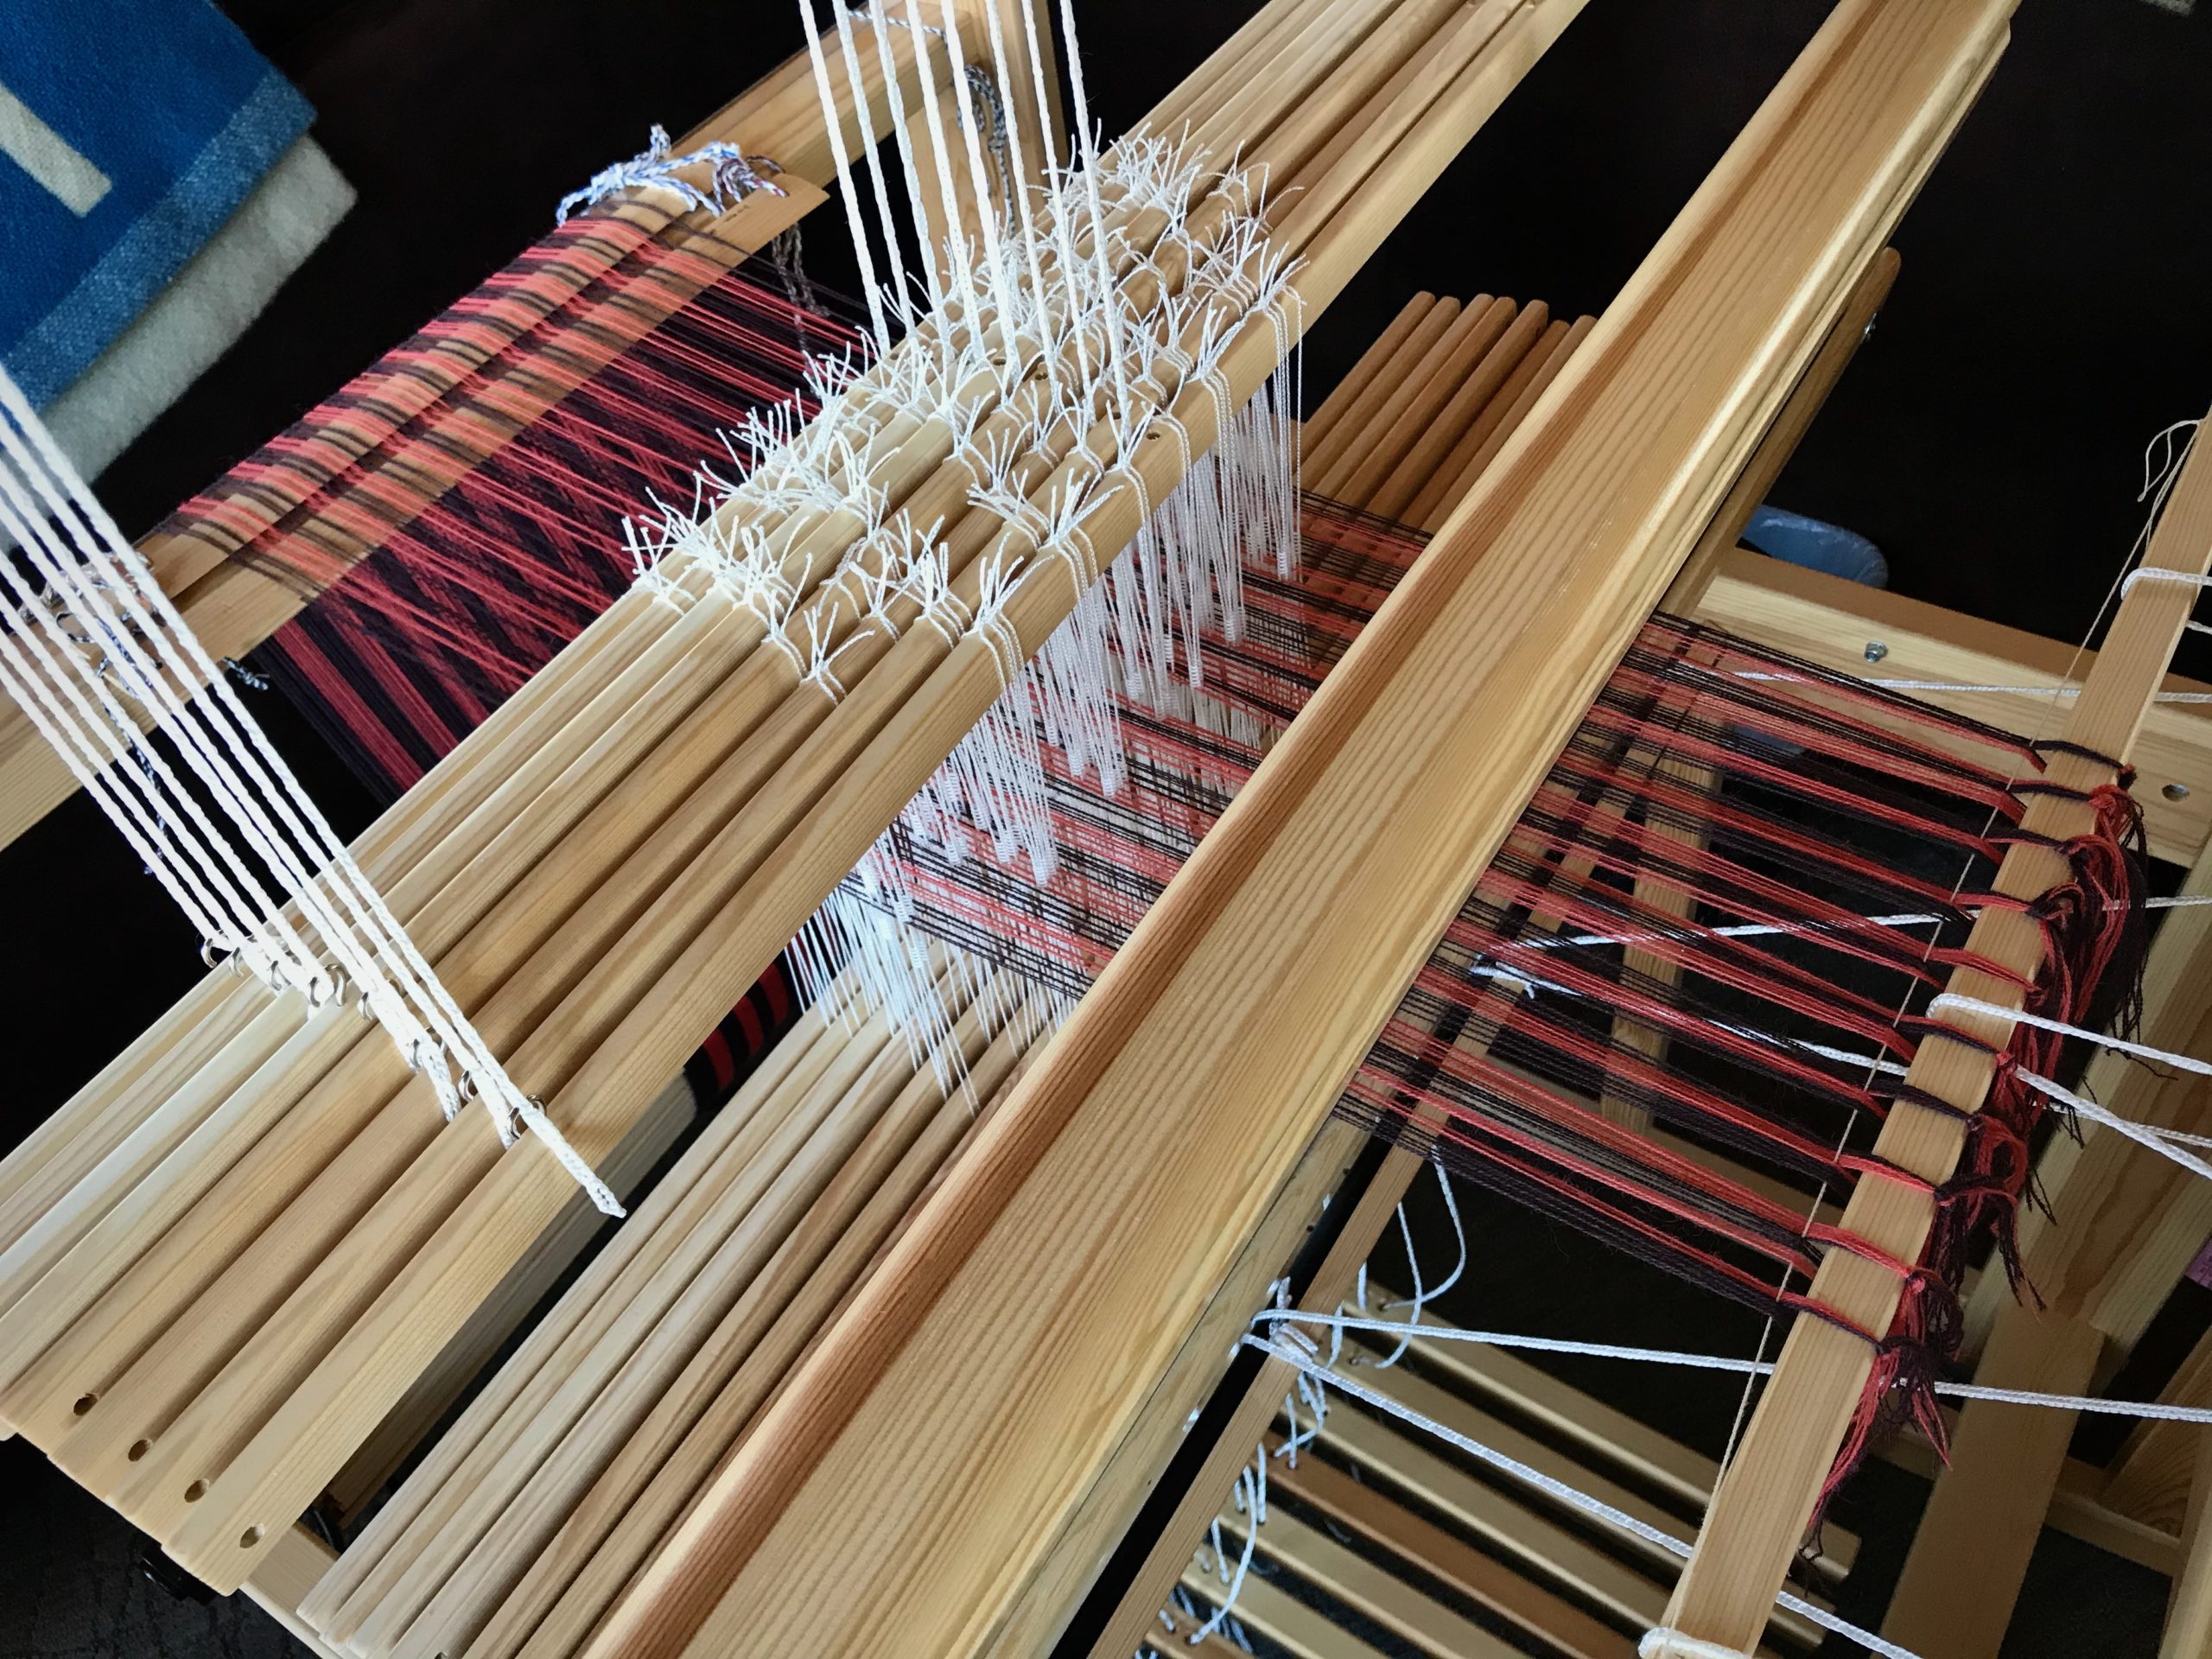
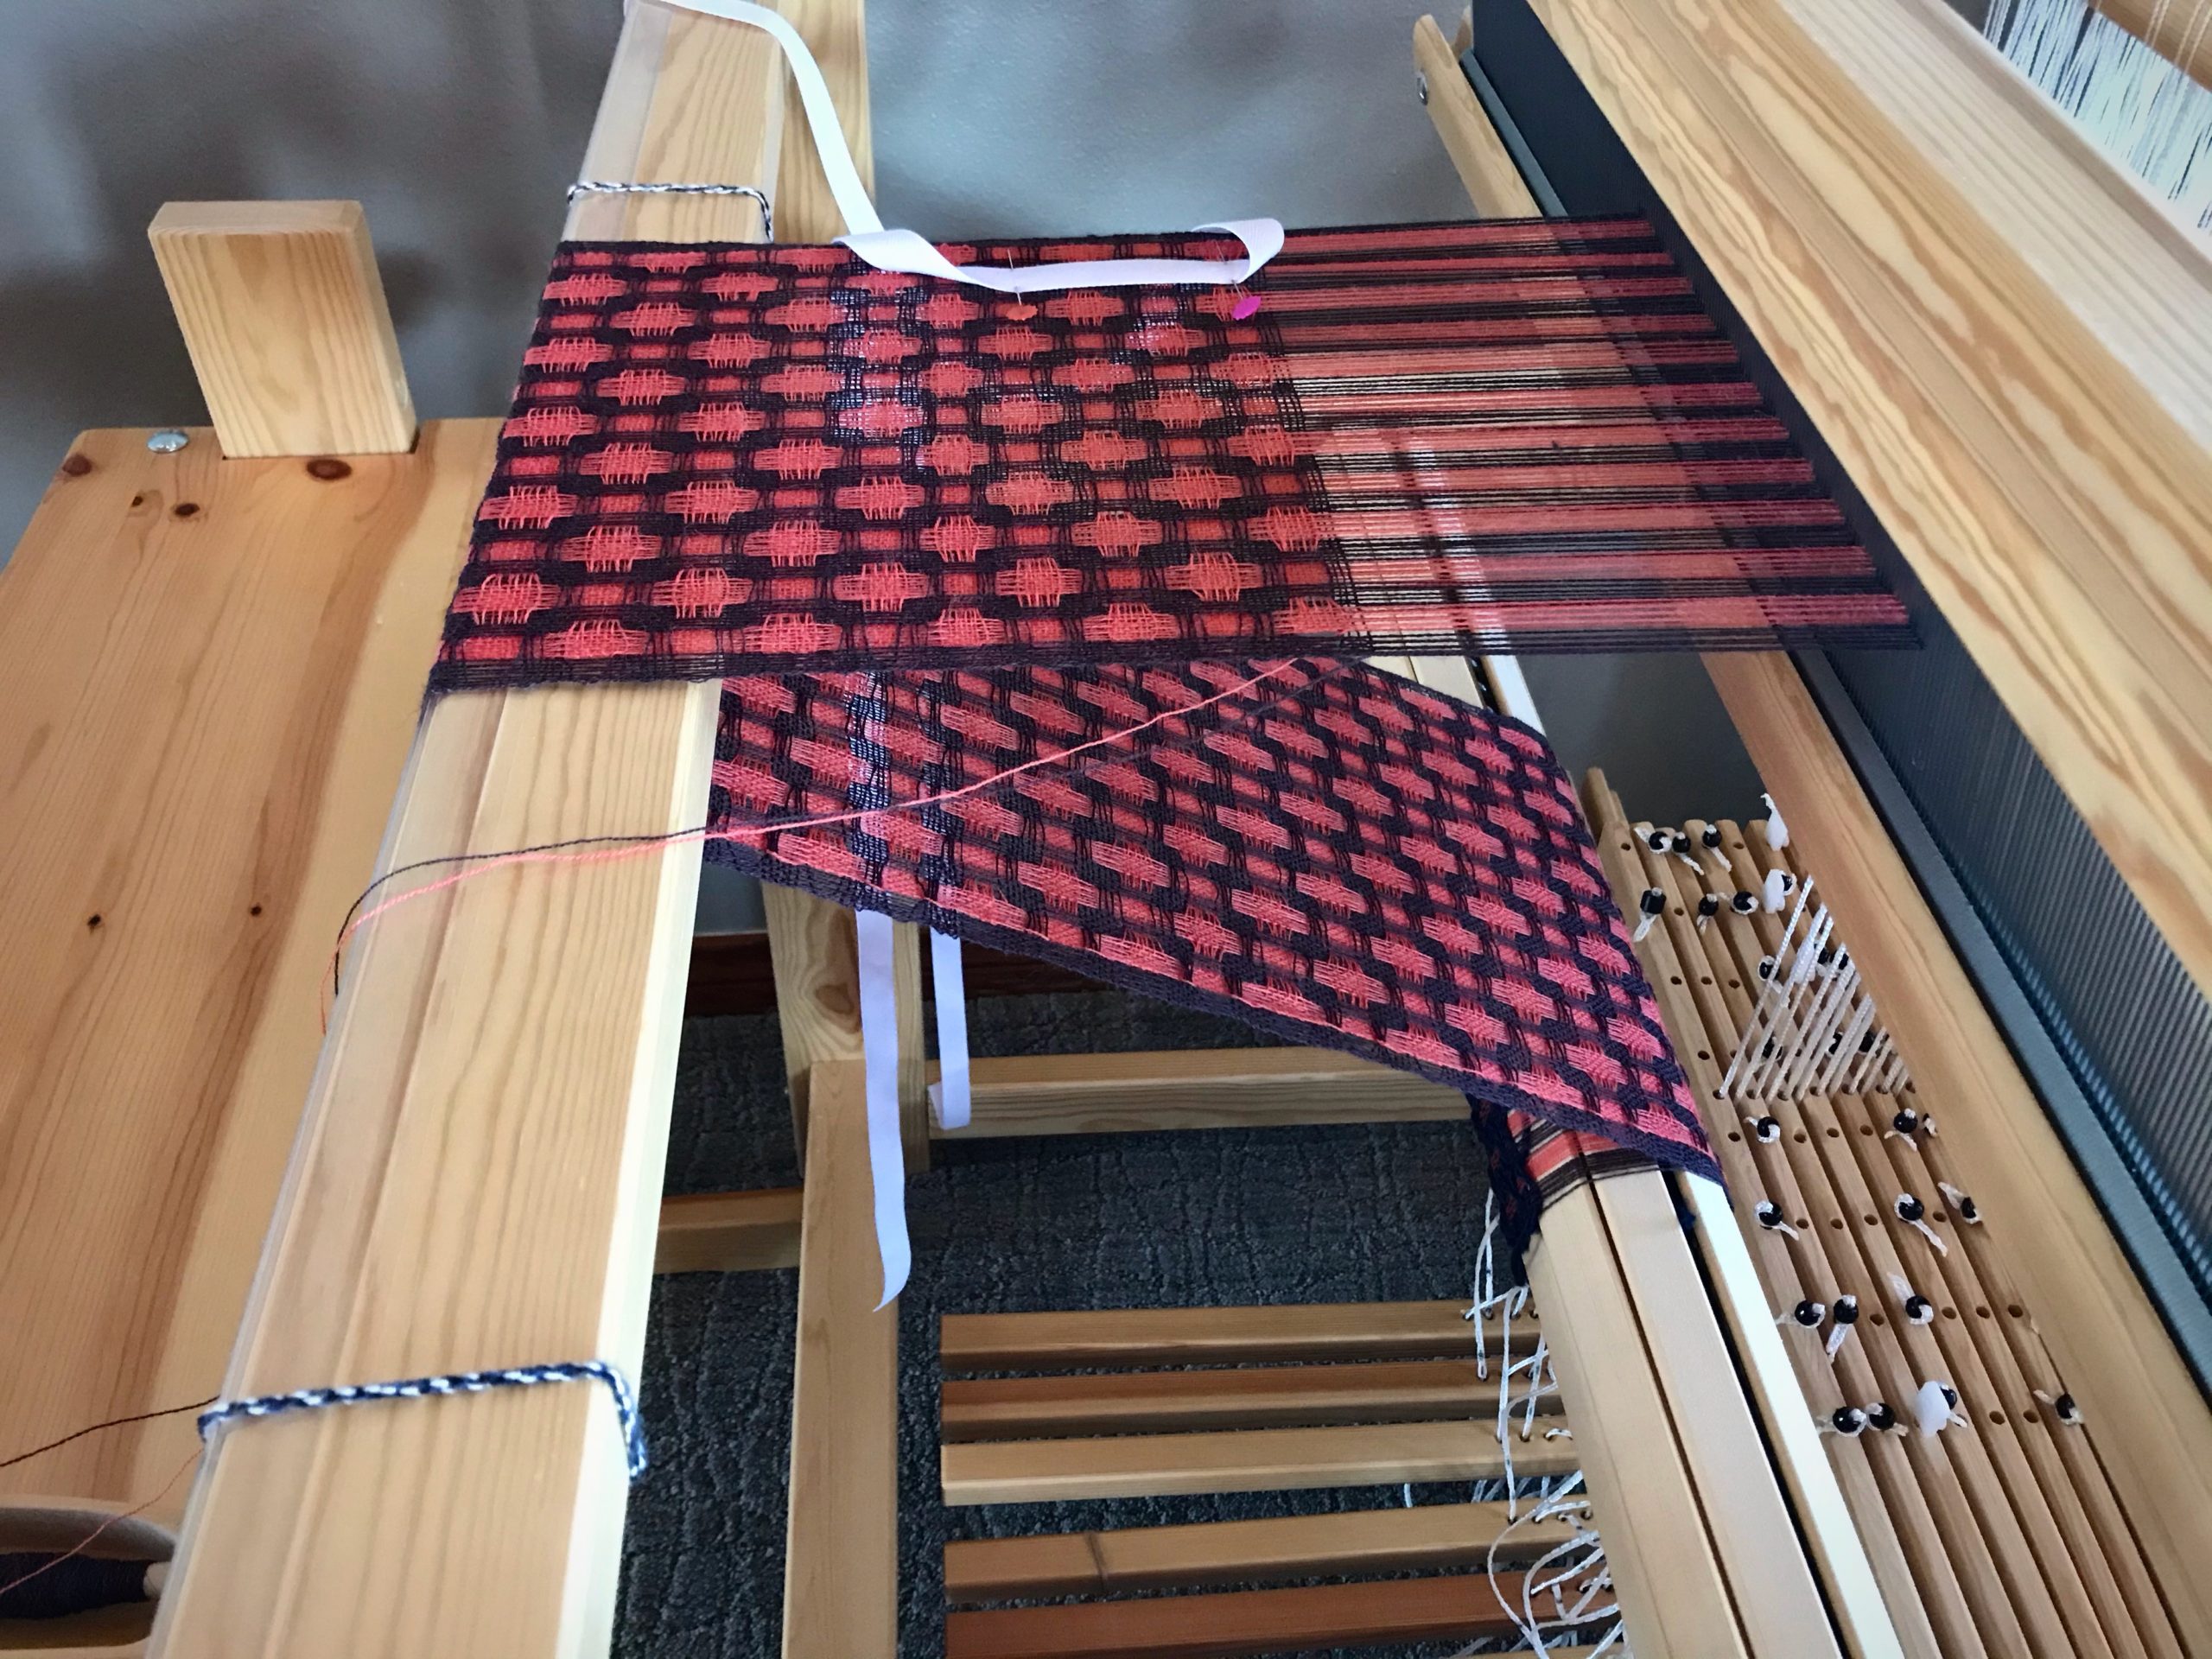
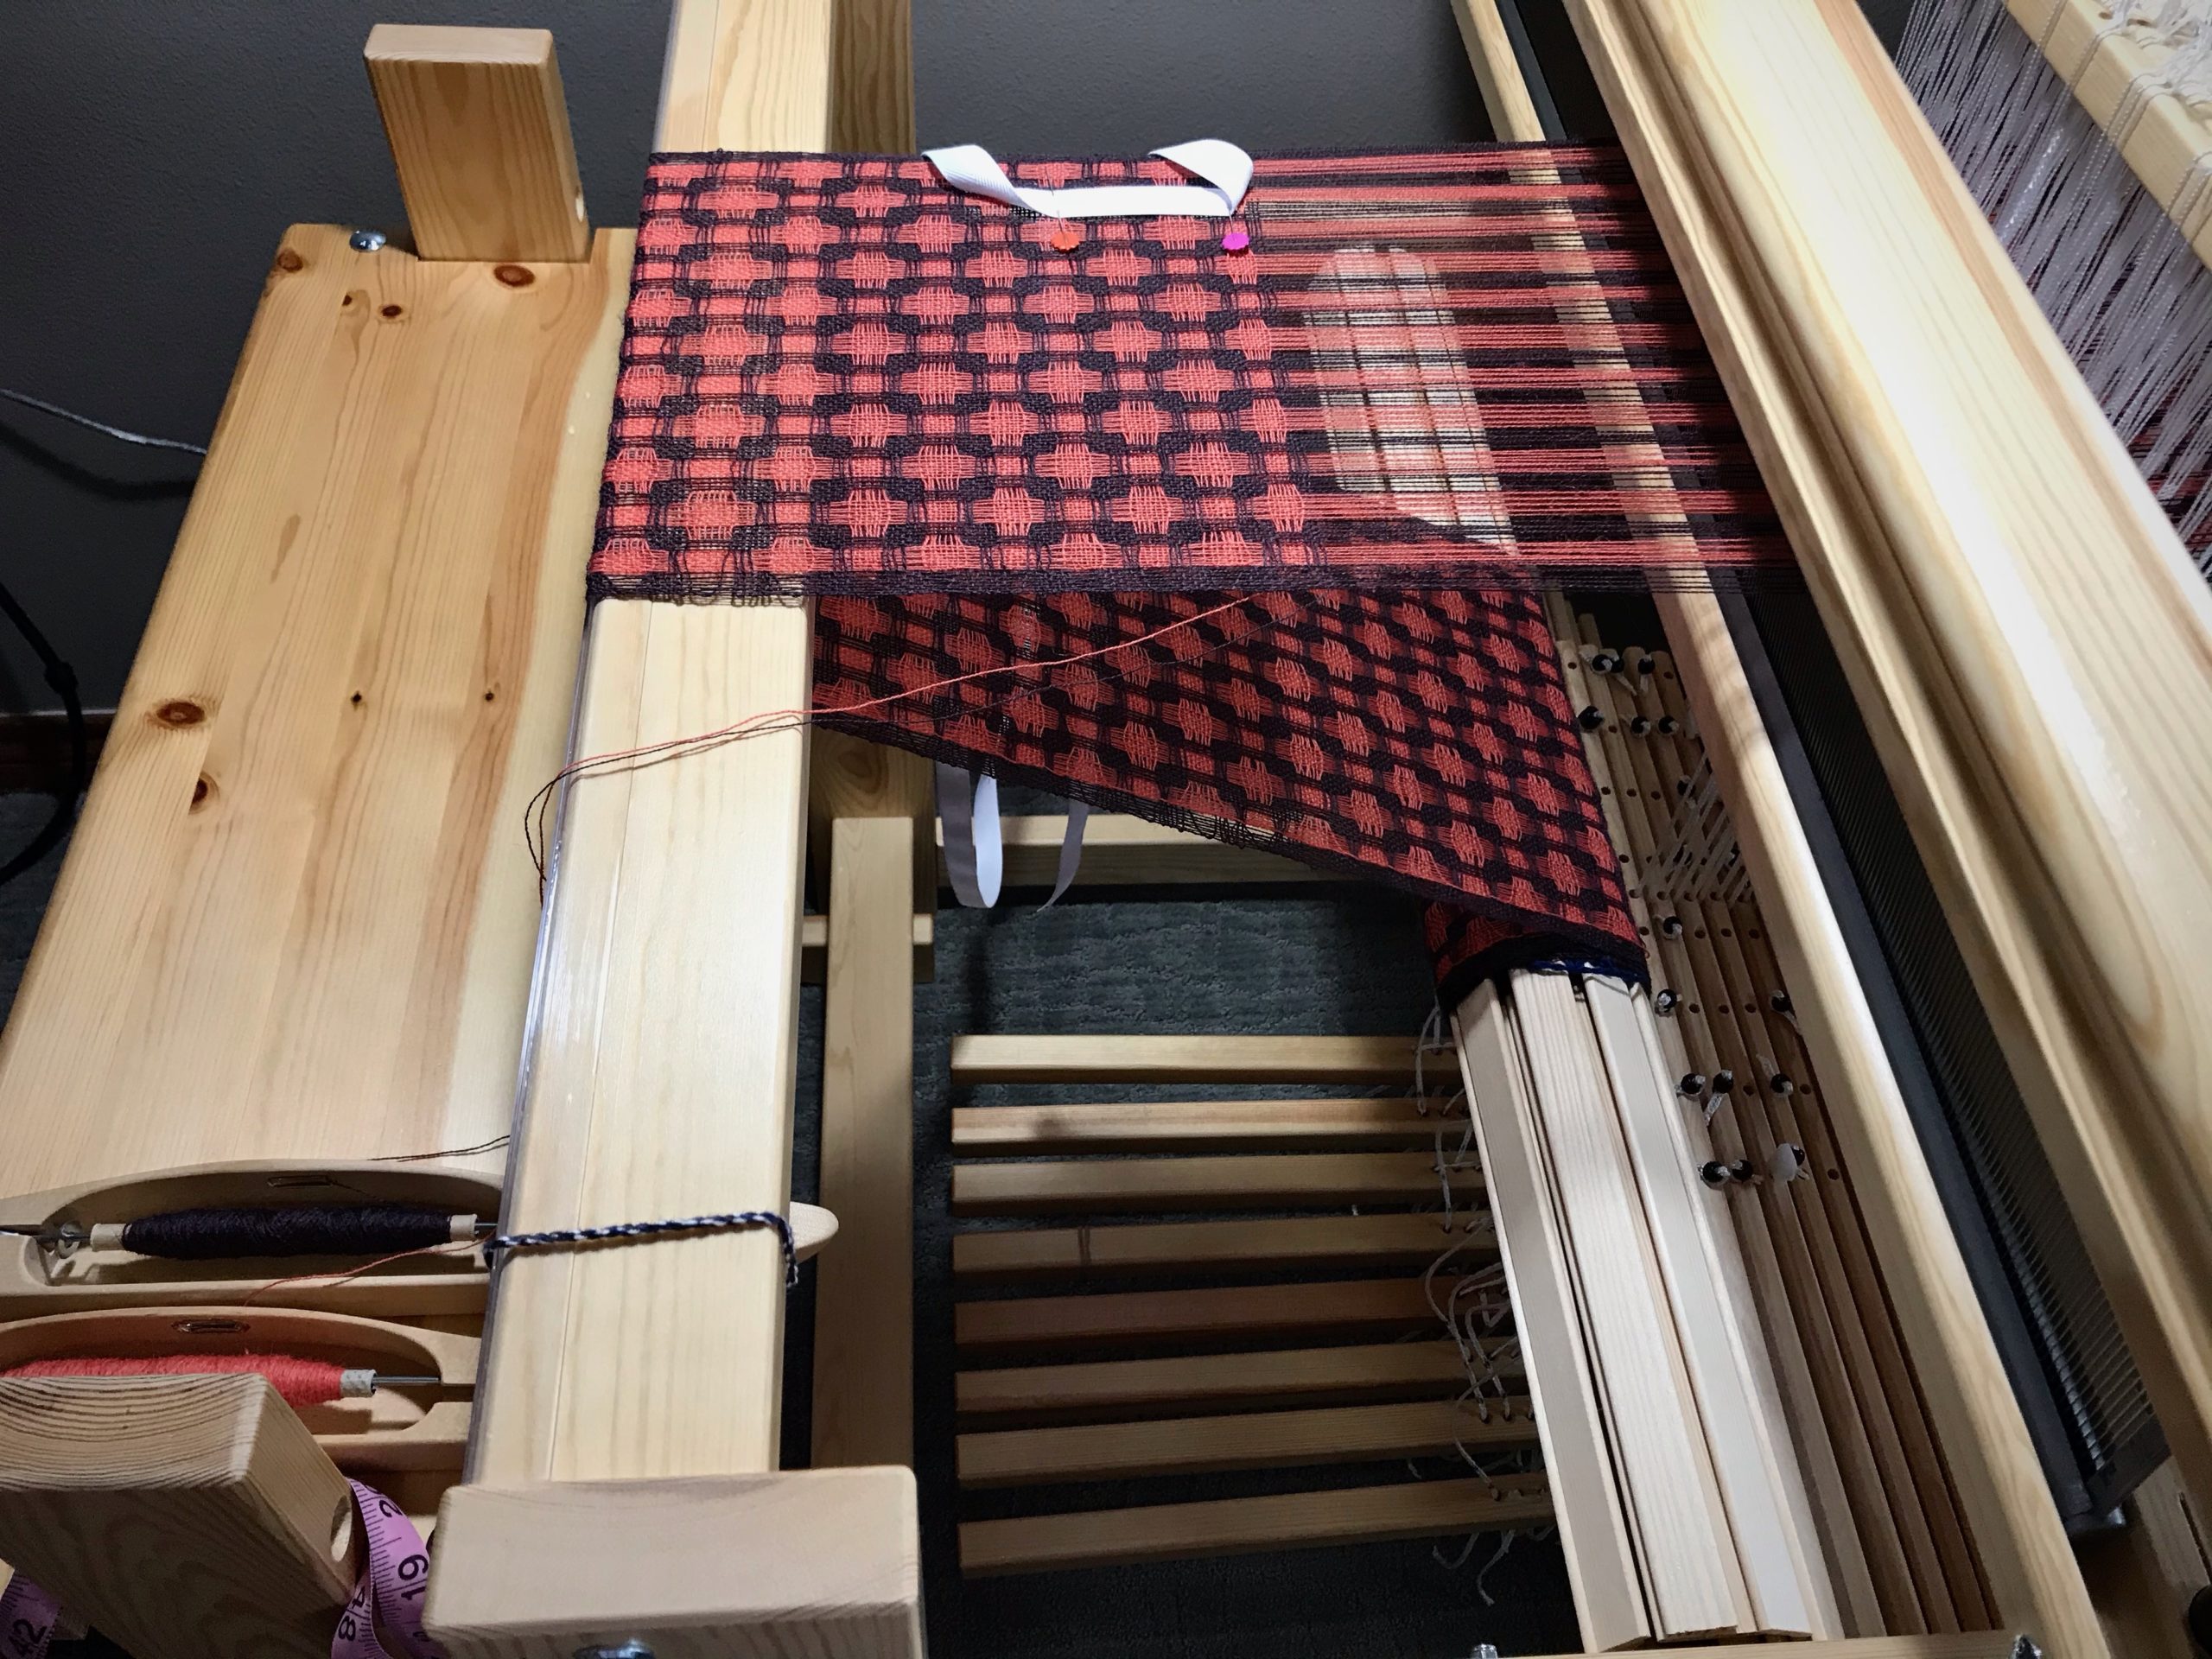
I waded into deflected double weave for the first time. It took me one full scarf to figure out what I was doing. By the second scarf, I had a much better sense of how the pattern fits together and what to do with the shuttles (most of the time). Both scarves are quite imperfect (no one will ever know…). The loom behaved perfectly, though. This is my Julia’s first project using all eight shafts. Now, I know that this sweet loom is up to any challenge I give her.
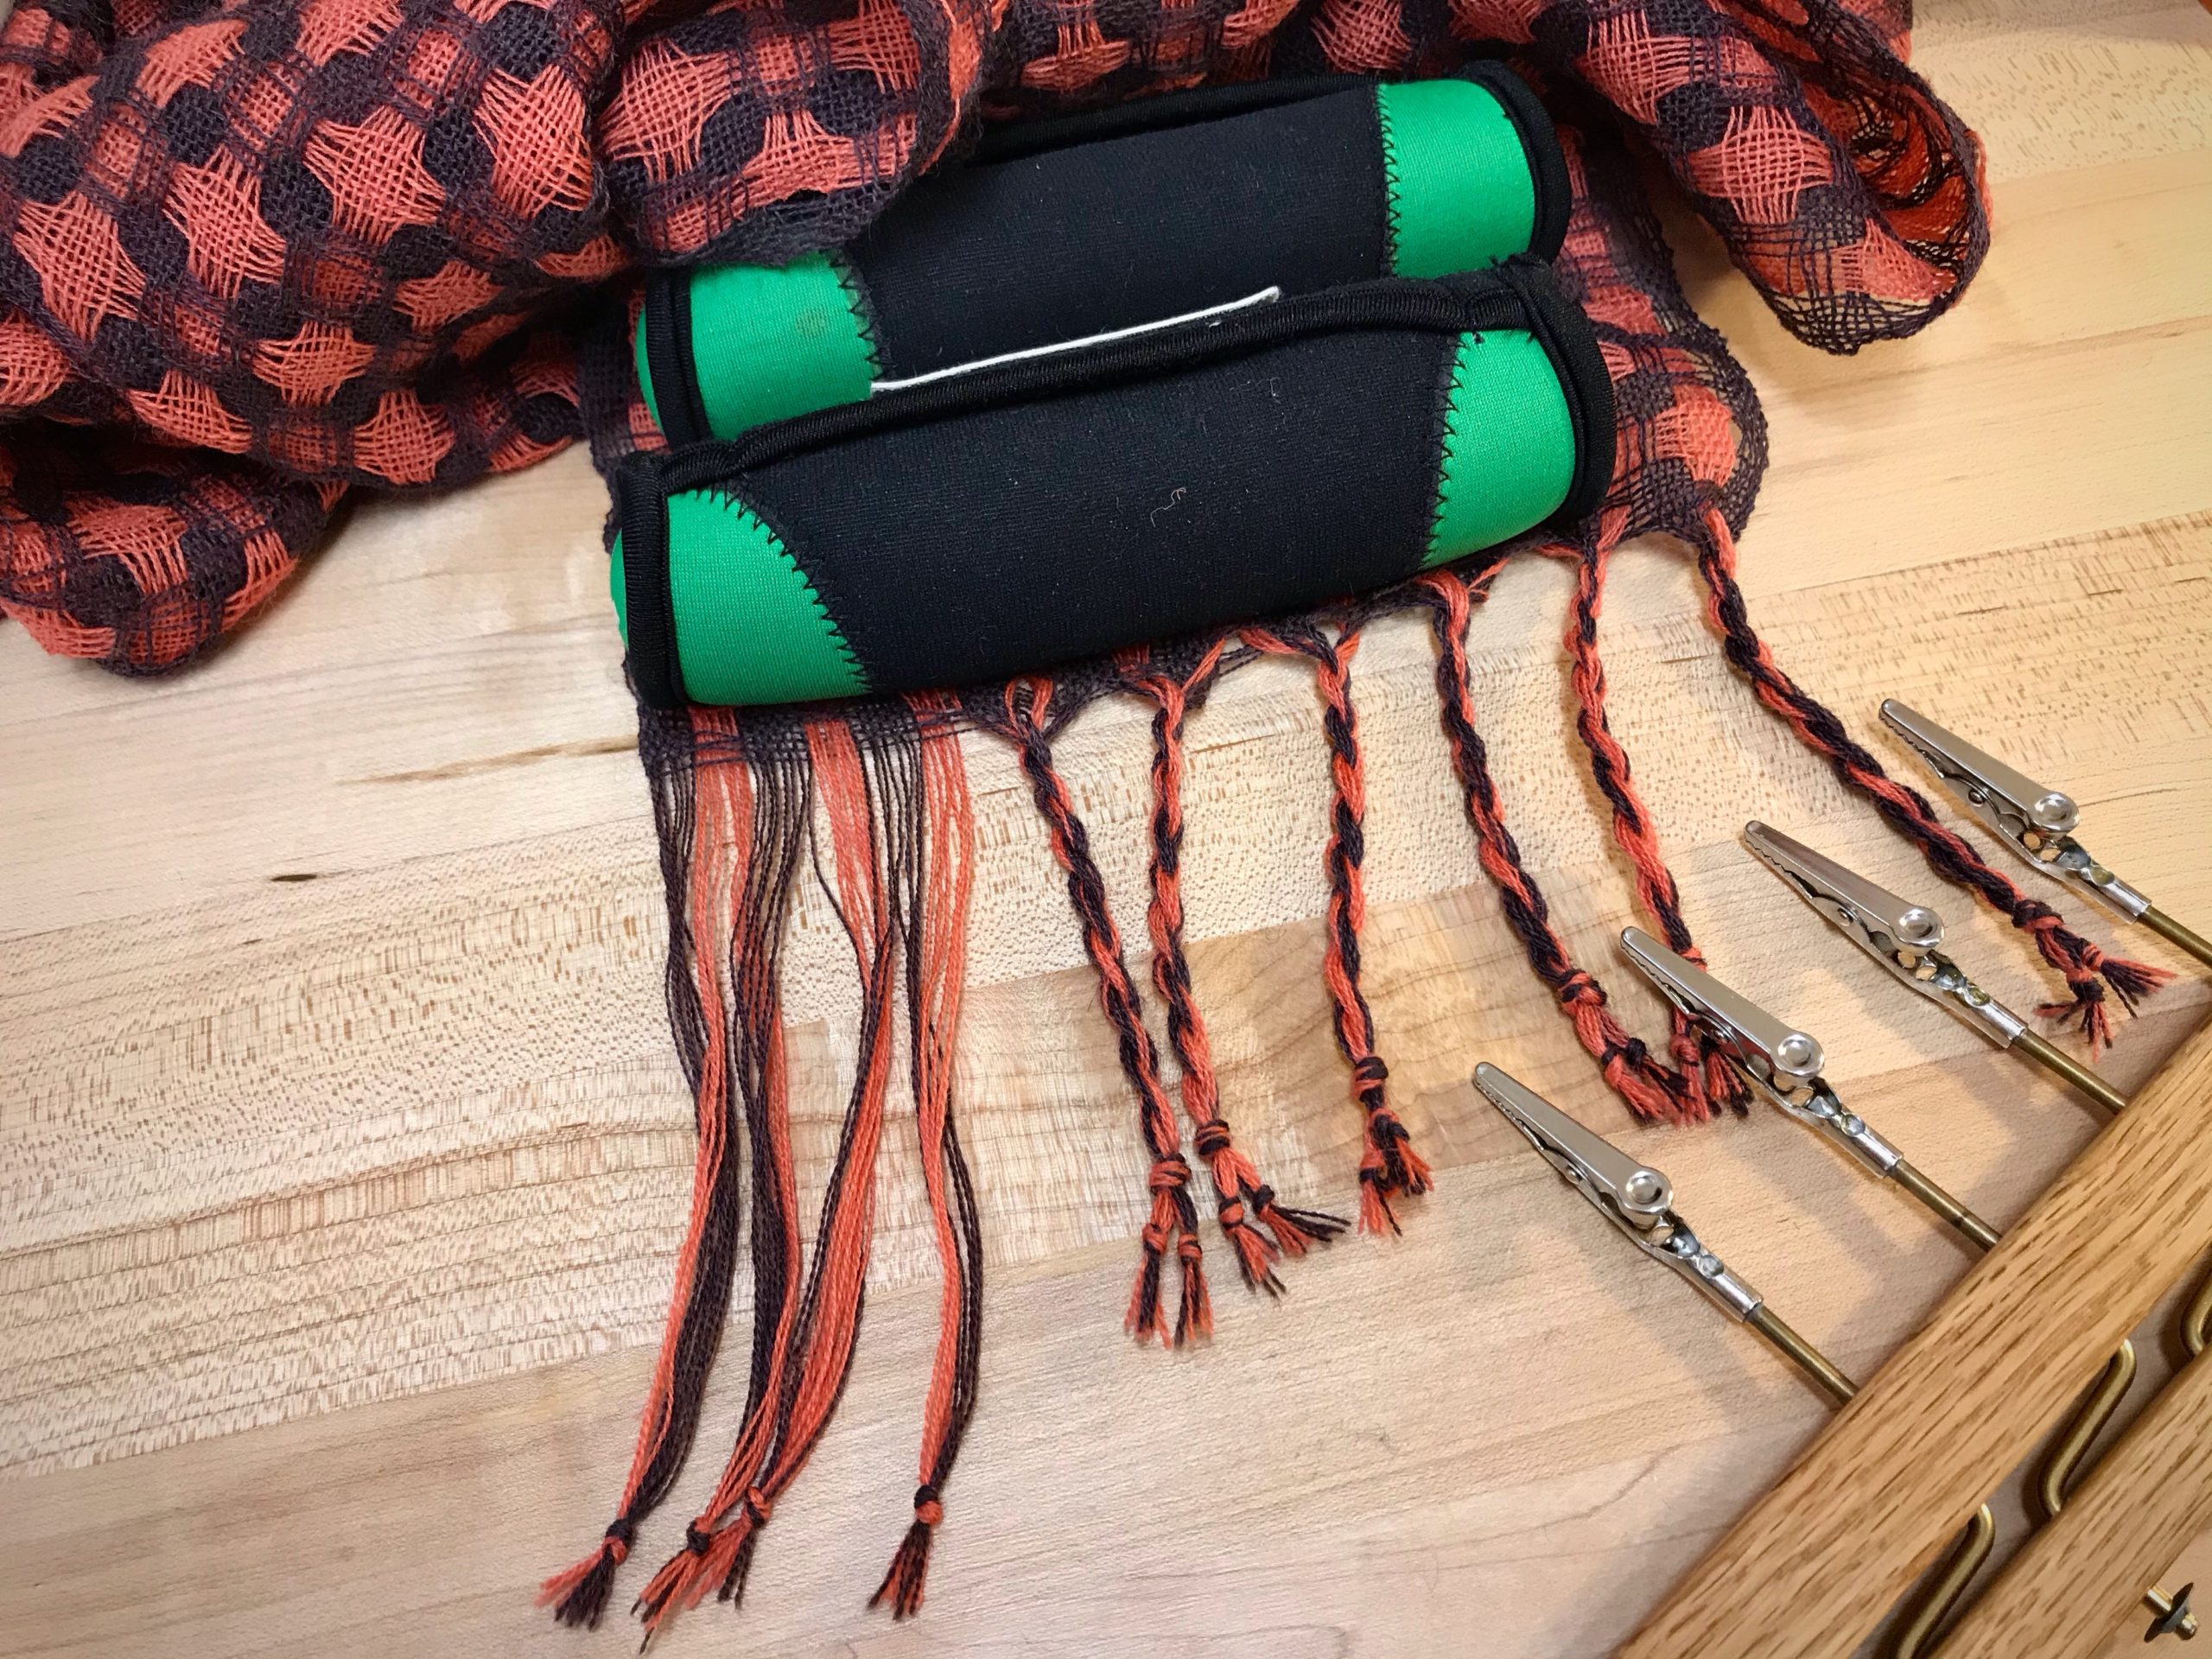
20/2 Mora wool by Borgs. Yarn is temporarily secured by pulling a loop behind the warp at the nearest upright on the warping reel.Preparing to dress the loom. The lease cross end of the warp chain is placed through the beater.Warp is beamed and tied on, and the treadles and lamms are tied up.First scarf gives me a chance to learn. Beat consistency is getting better with practice.Trickiest part about deflected double weave is understanding how the shuttles interact so that the color from one shuttle (the salmon color) never goes to the selvedge.Gaining confidence and consistency on the second scarf. Stiff Mora wool will soon soften in the wash. After cutting off, I discover that a tiny misunderstanding gave me a consistent wrong thread all along one selvedge on the back side. Maybe we should call this defective double weave. (But, really, no one will ever know.)Bundles of light and dark threads are twisted into swinging fringes before the scarves are washed.
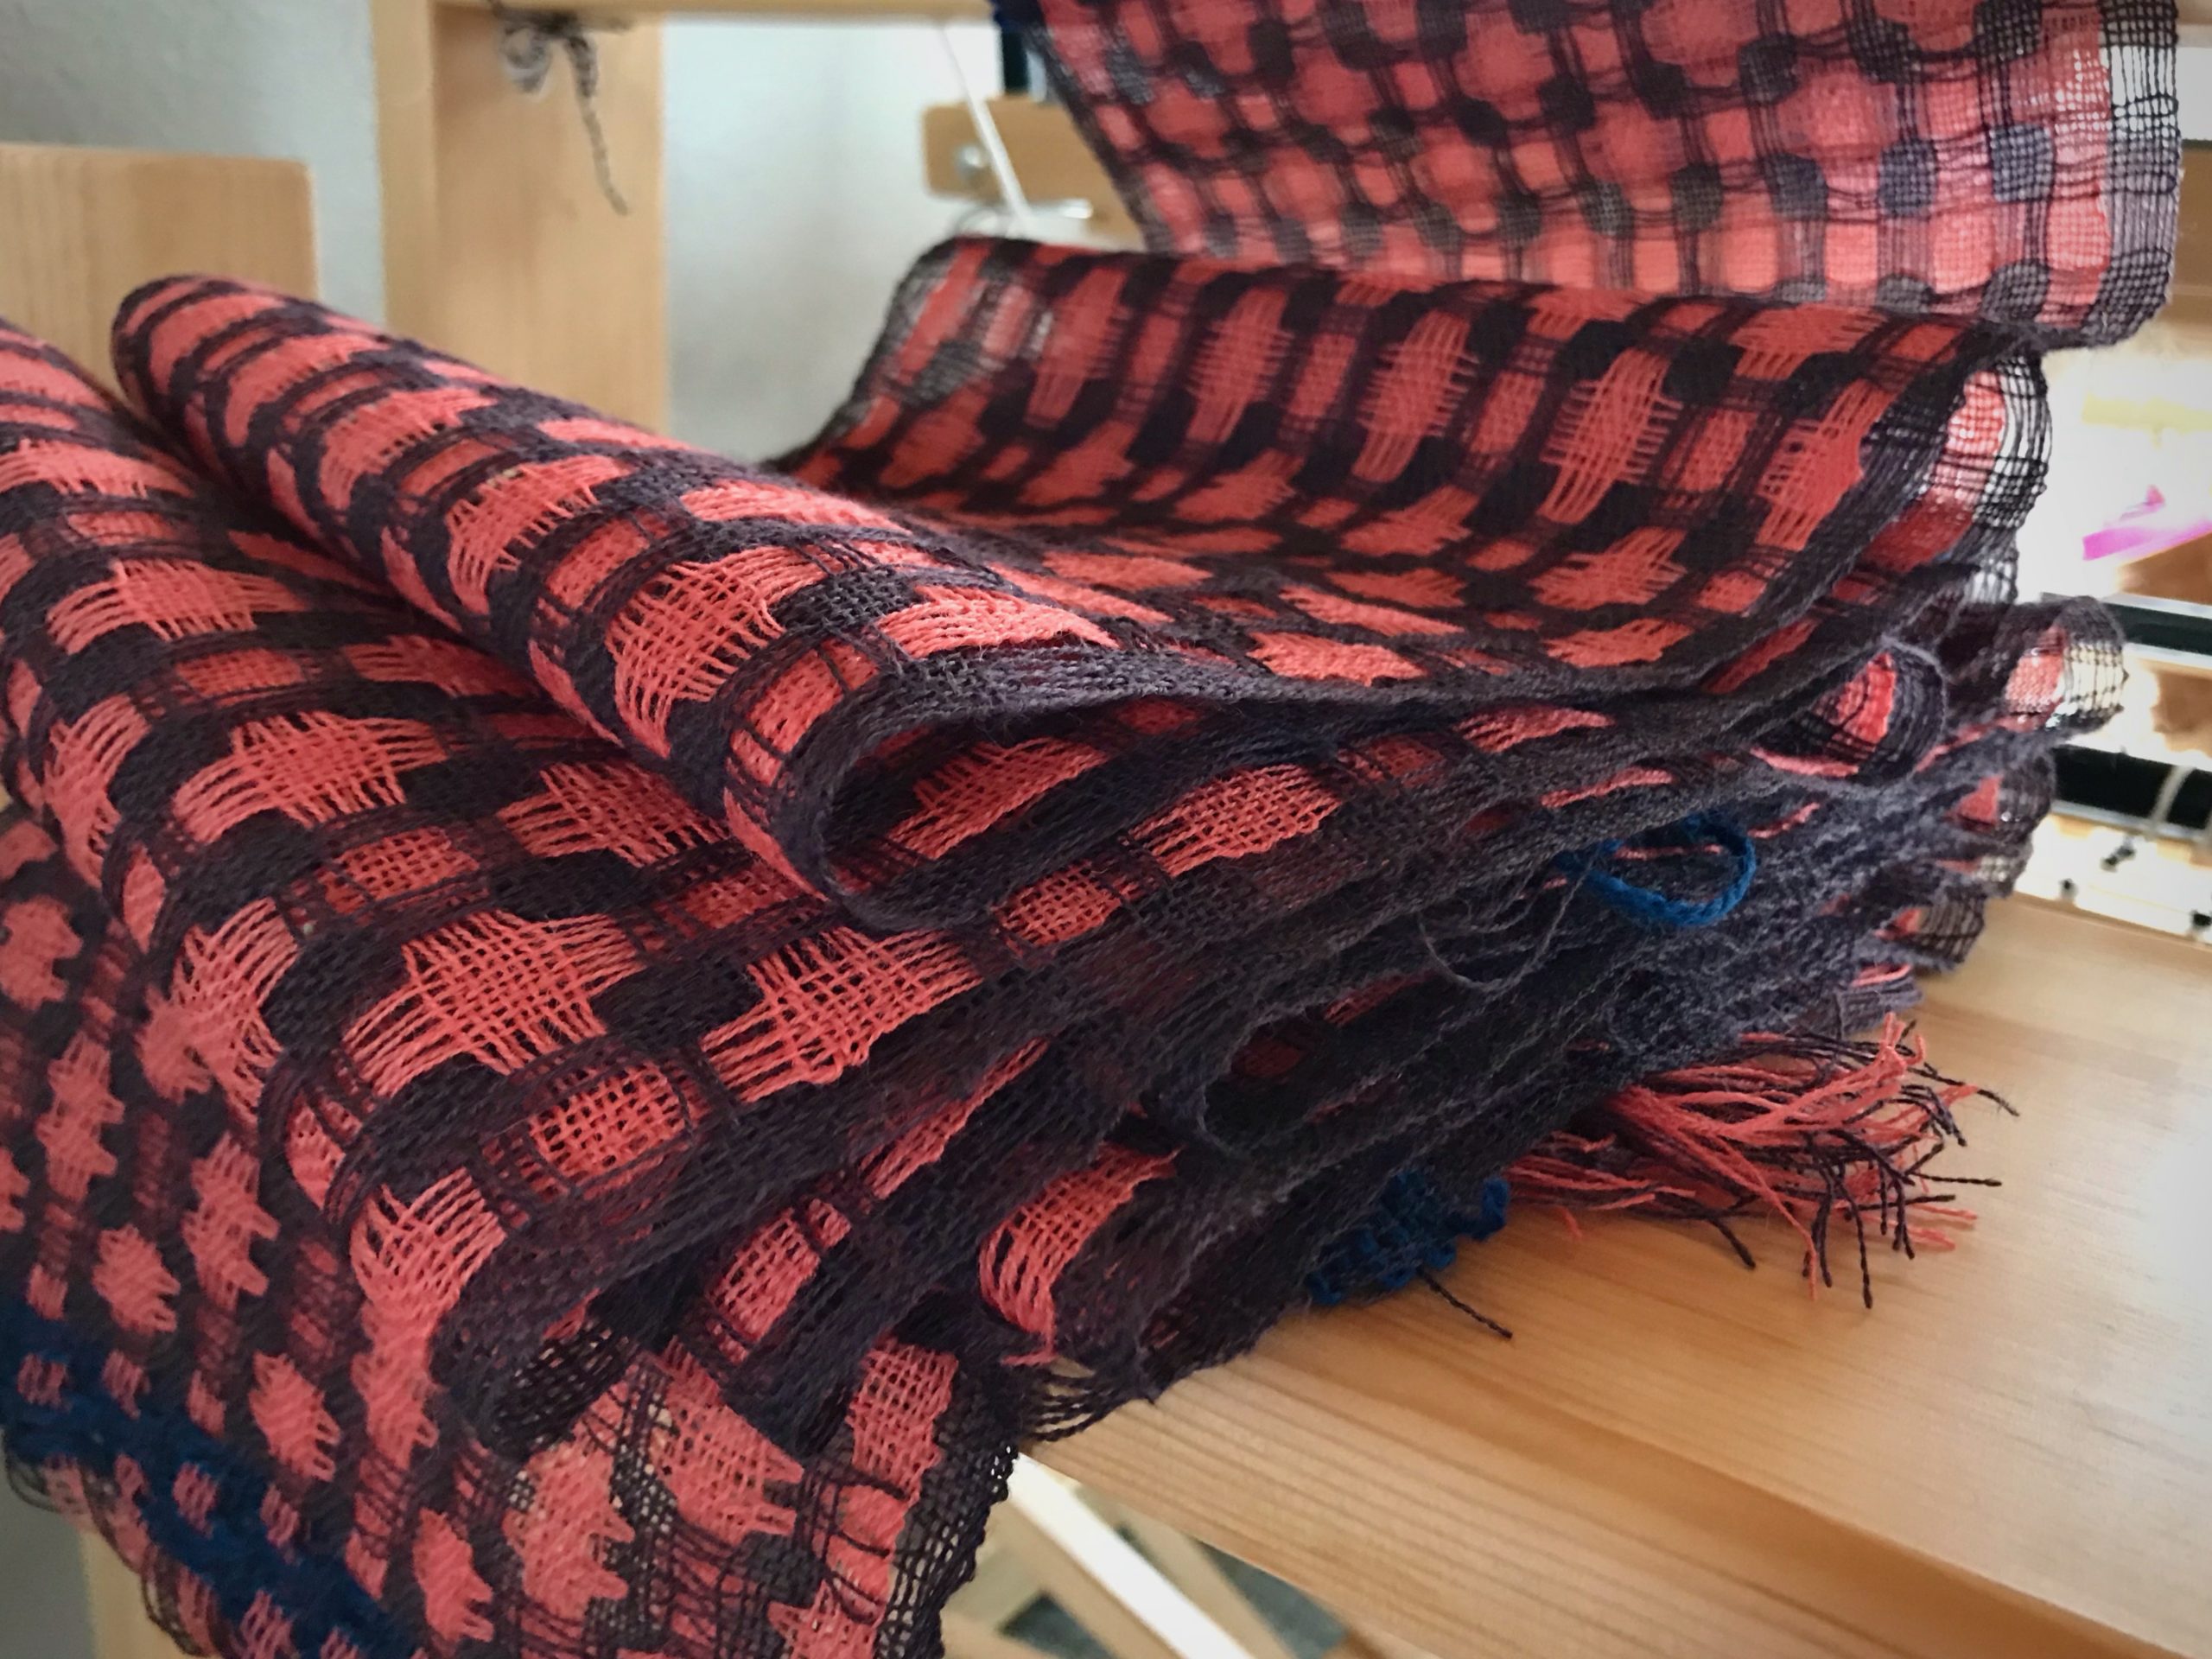
By the way, I like the finished airy scarves, even with their flaws.
Finished scarf has delightful pattern and character. Mora wool is sufficiently softened through washing and drying, to make a supple fabric.Perfect (imperfect) scarf to brighten up a foggy day in Texas hill country.
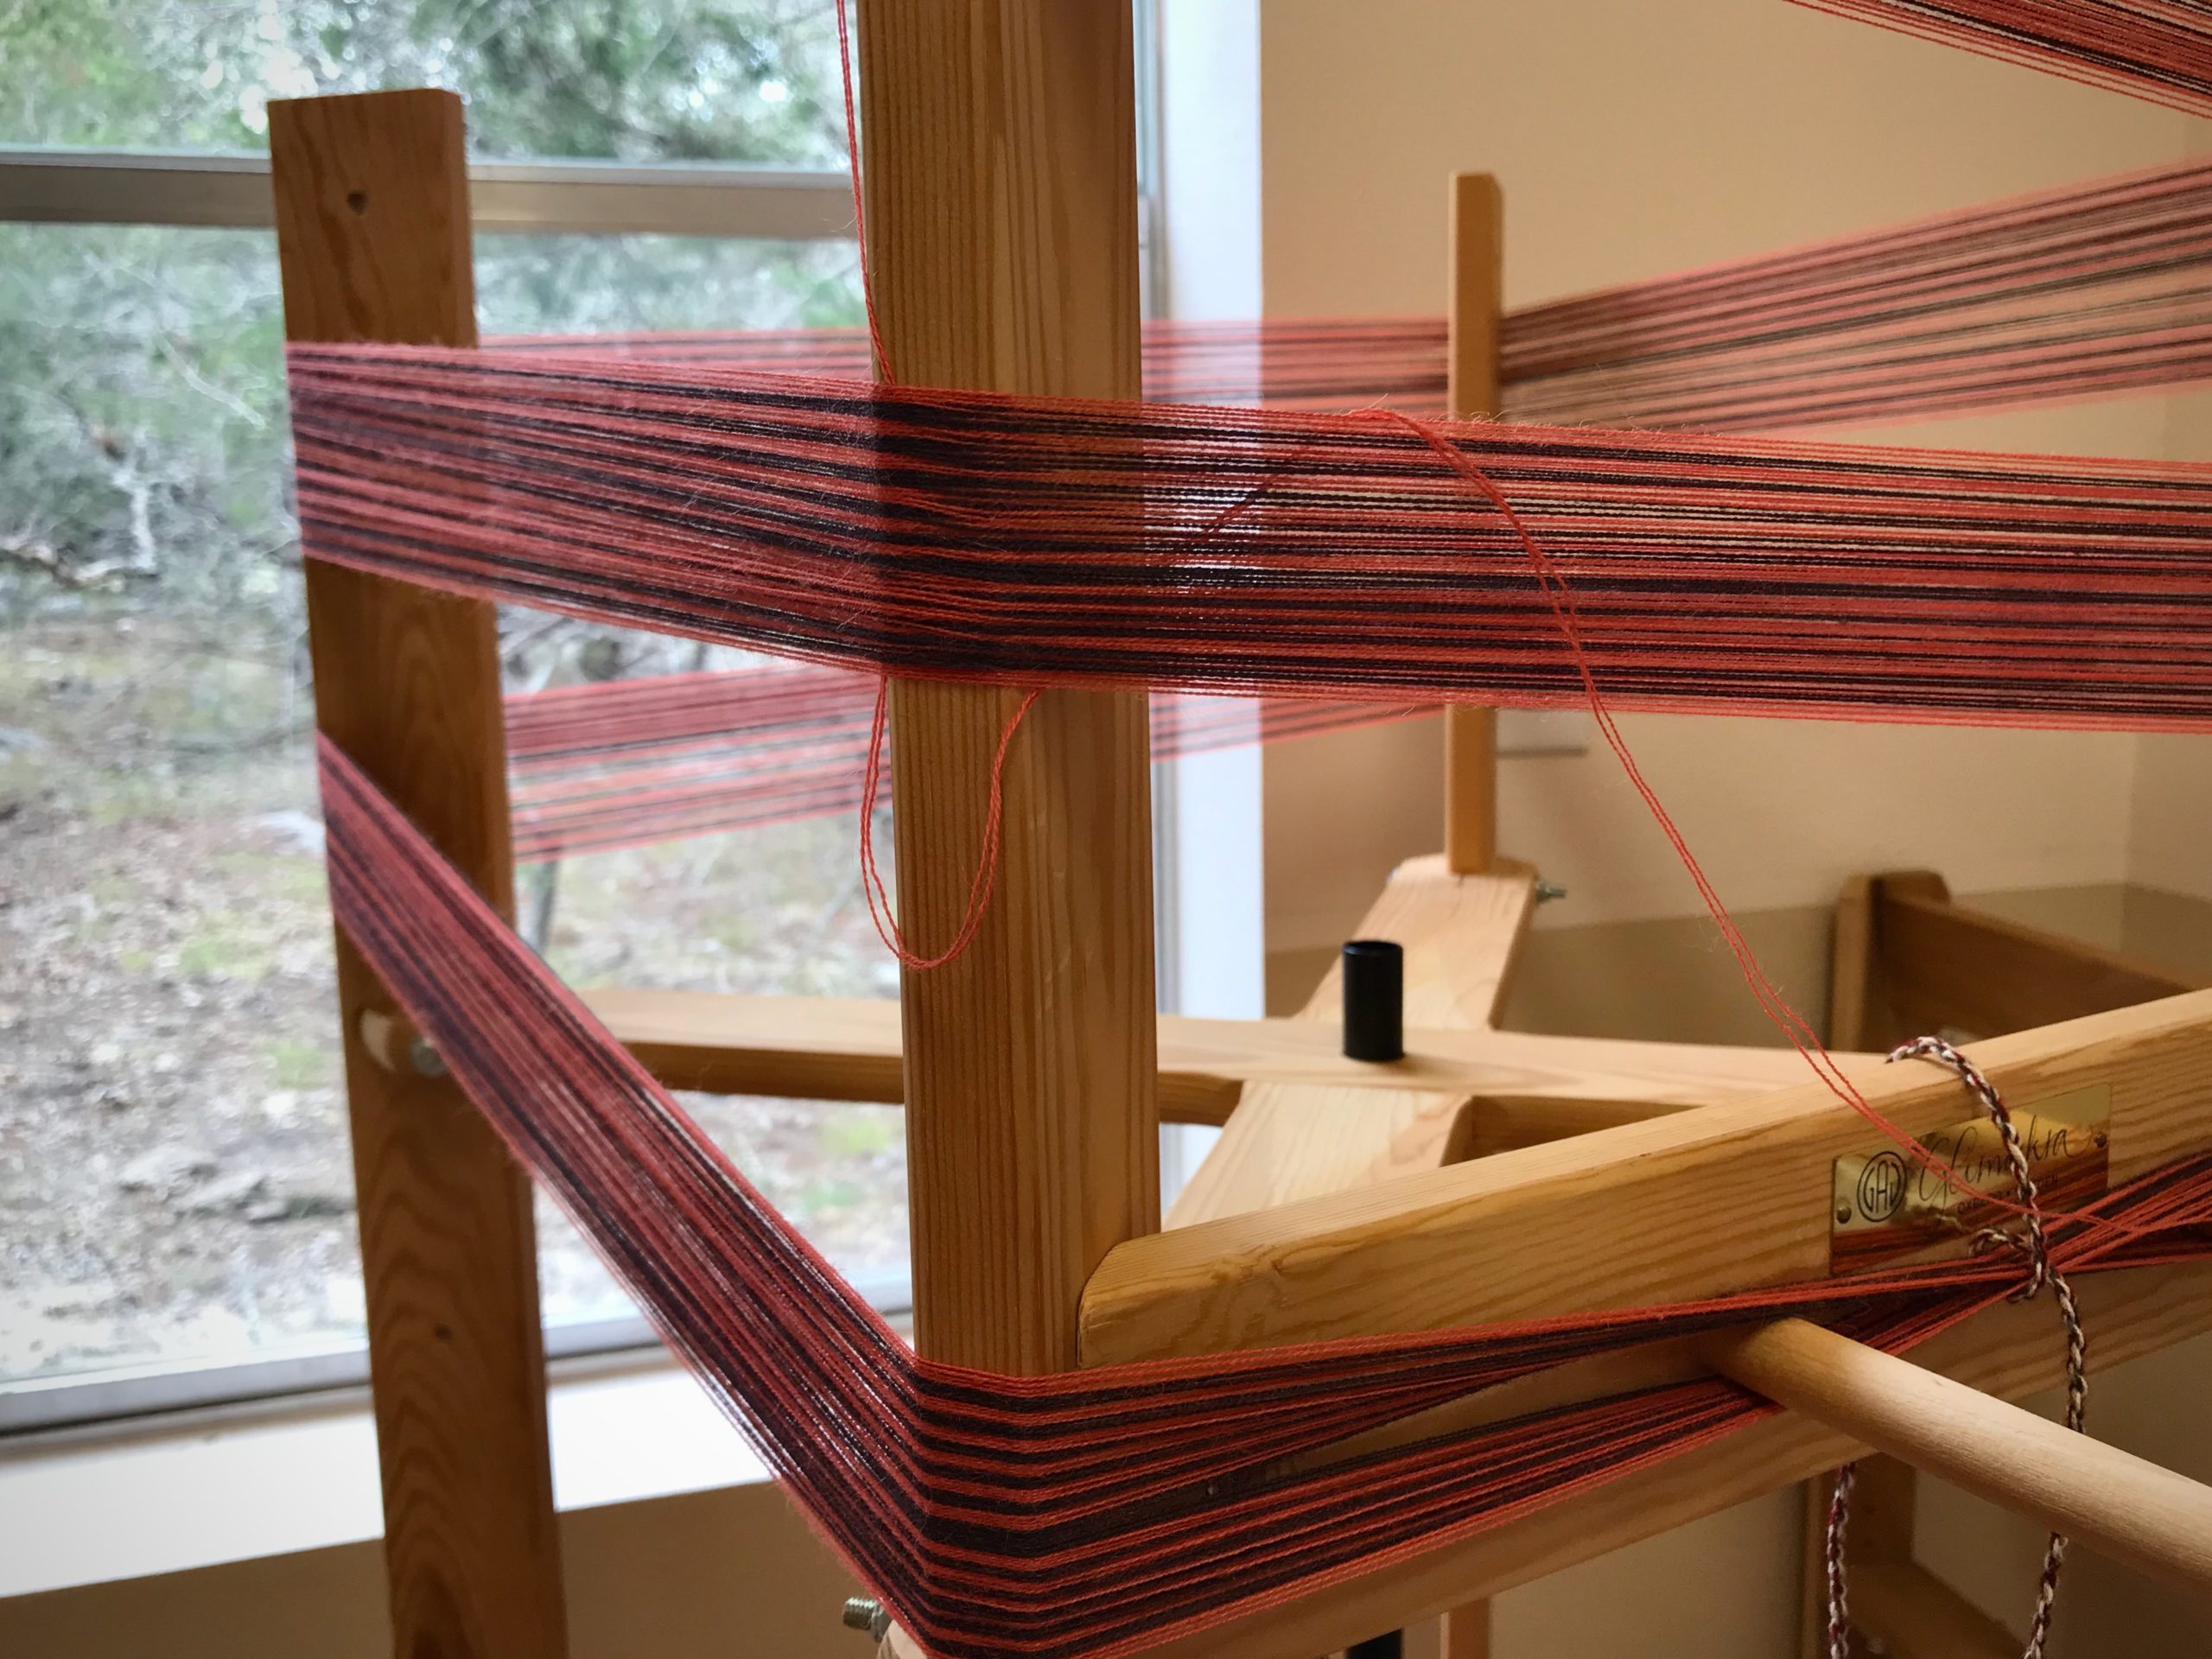
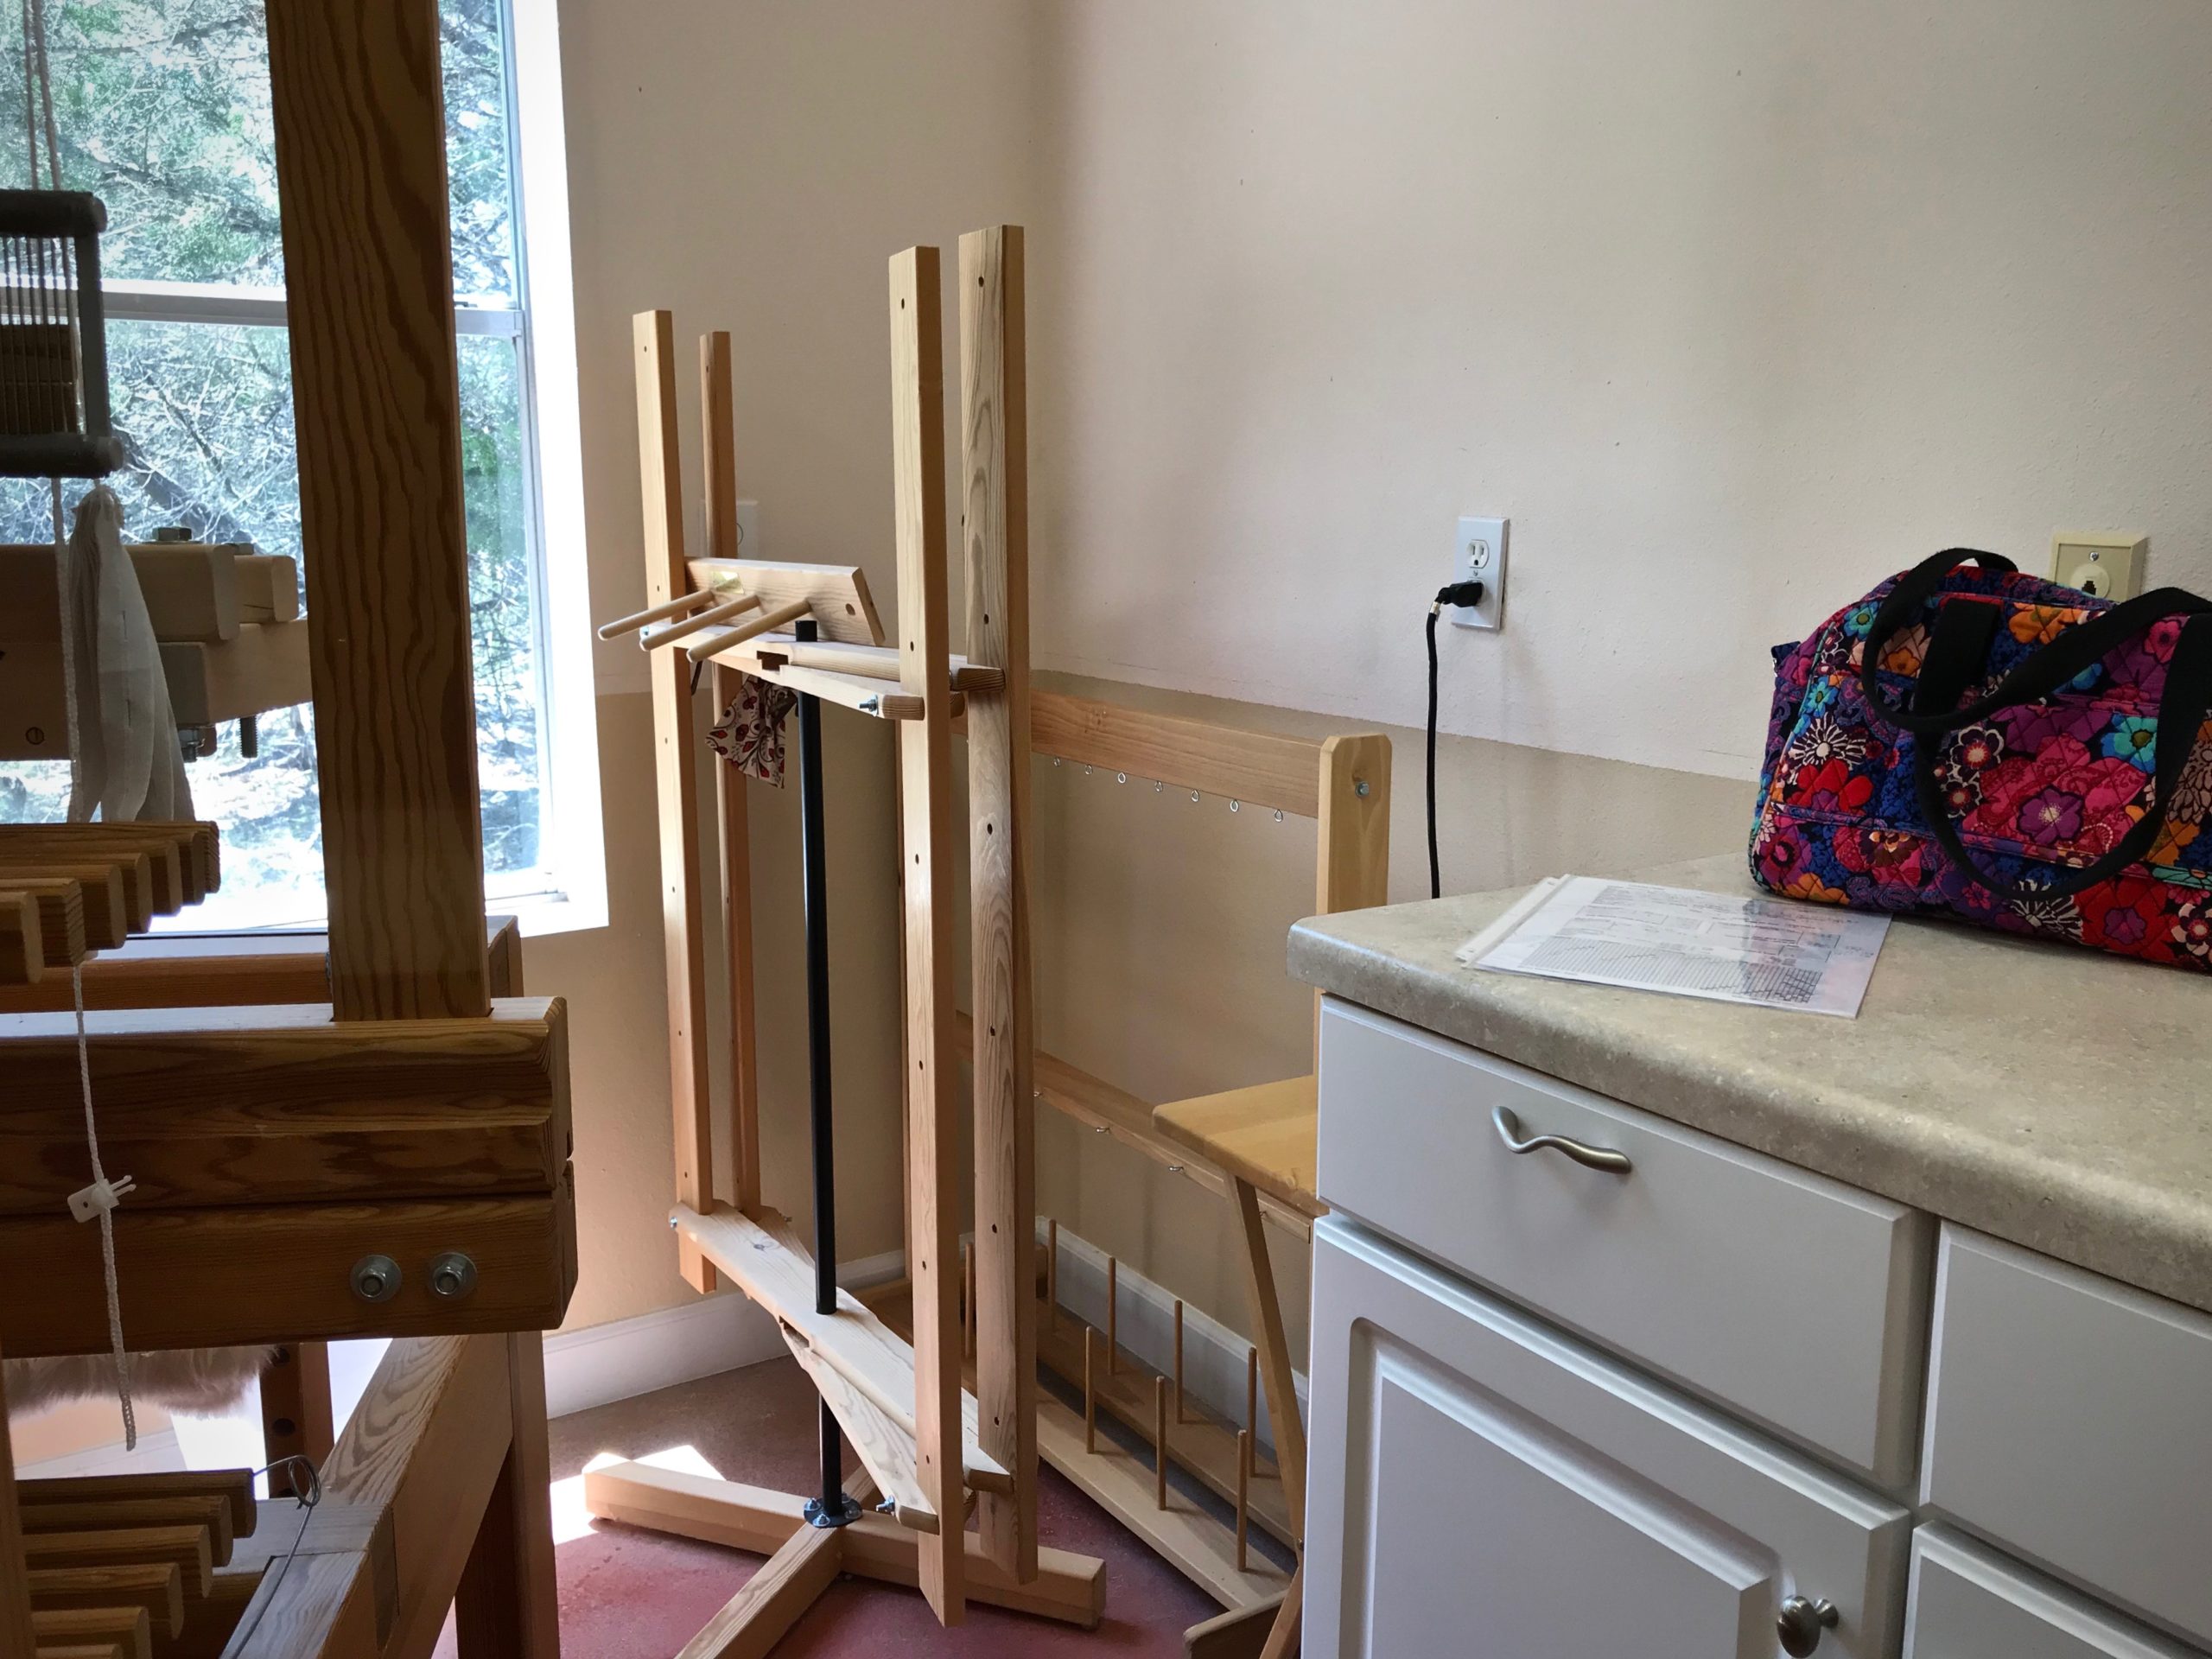
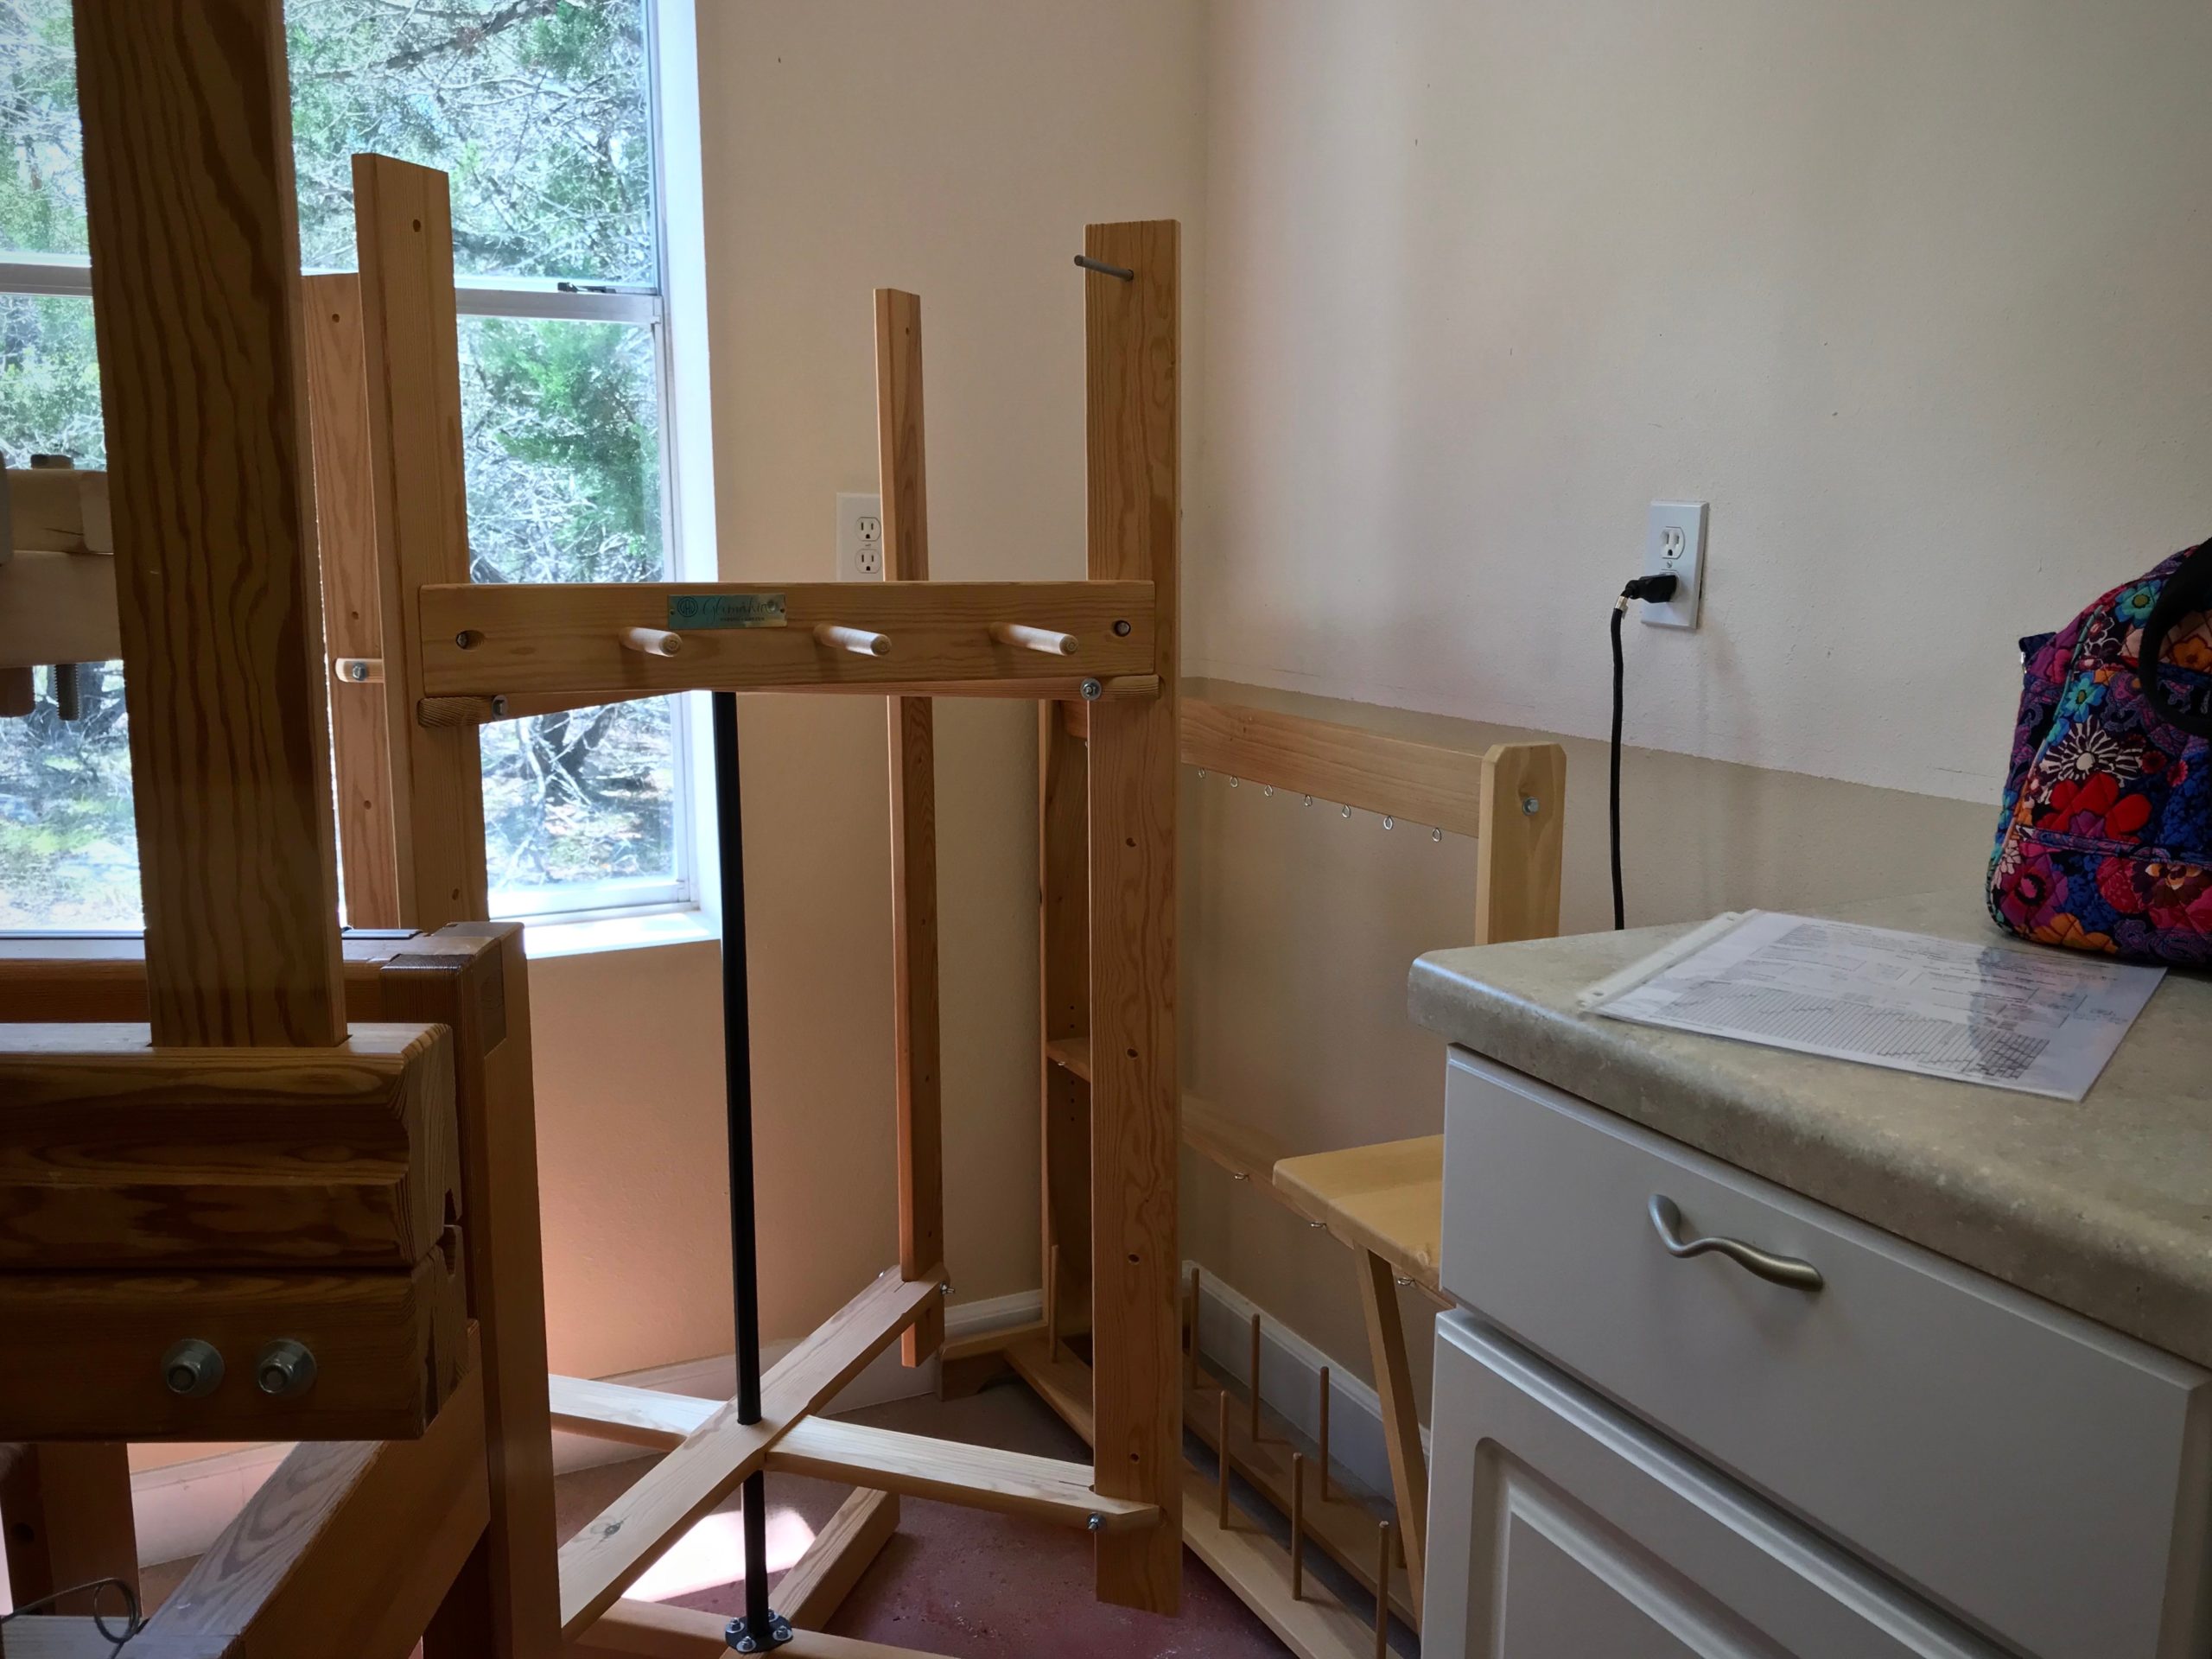
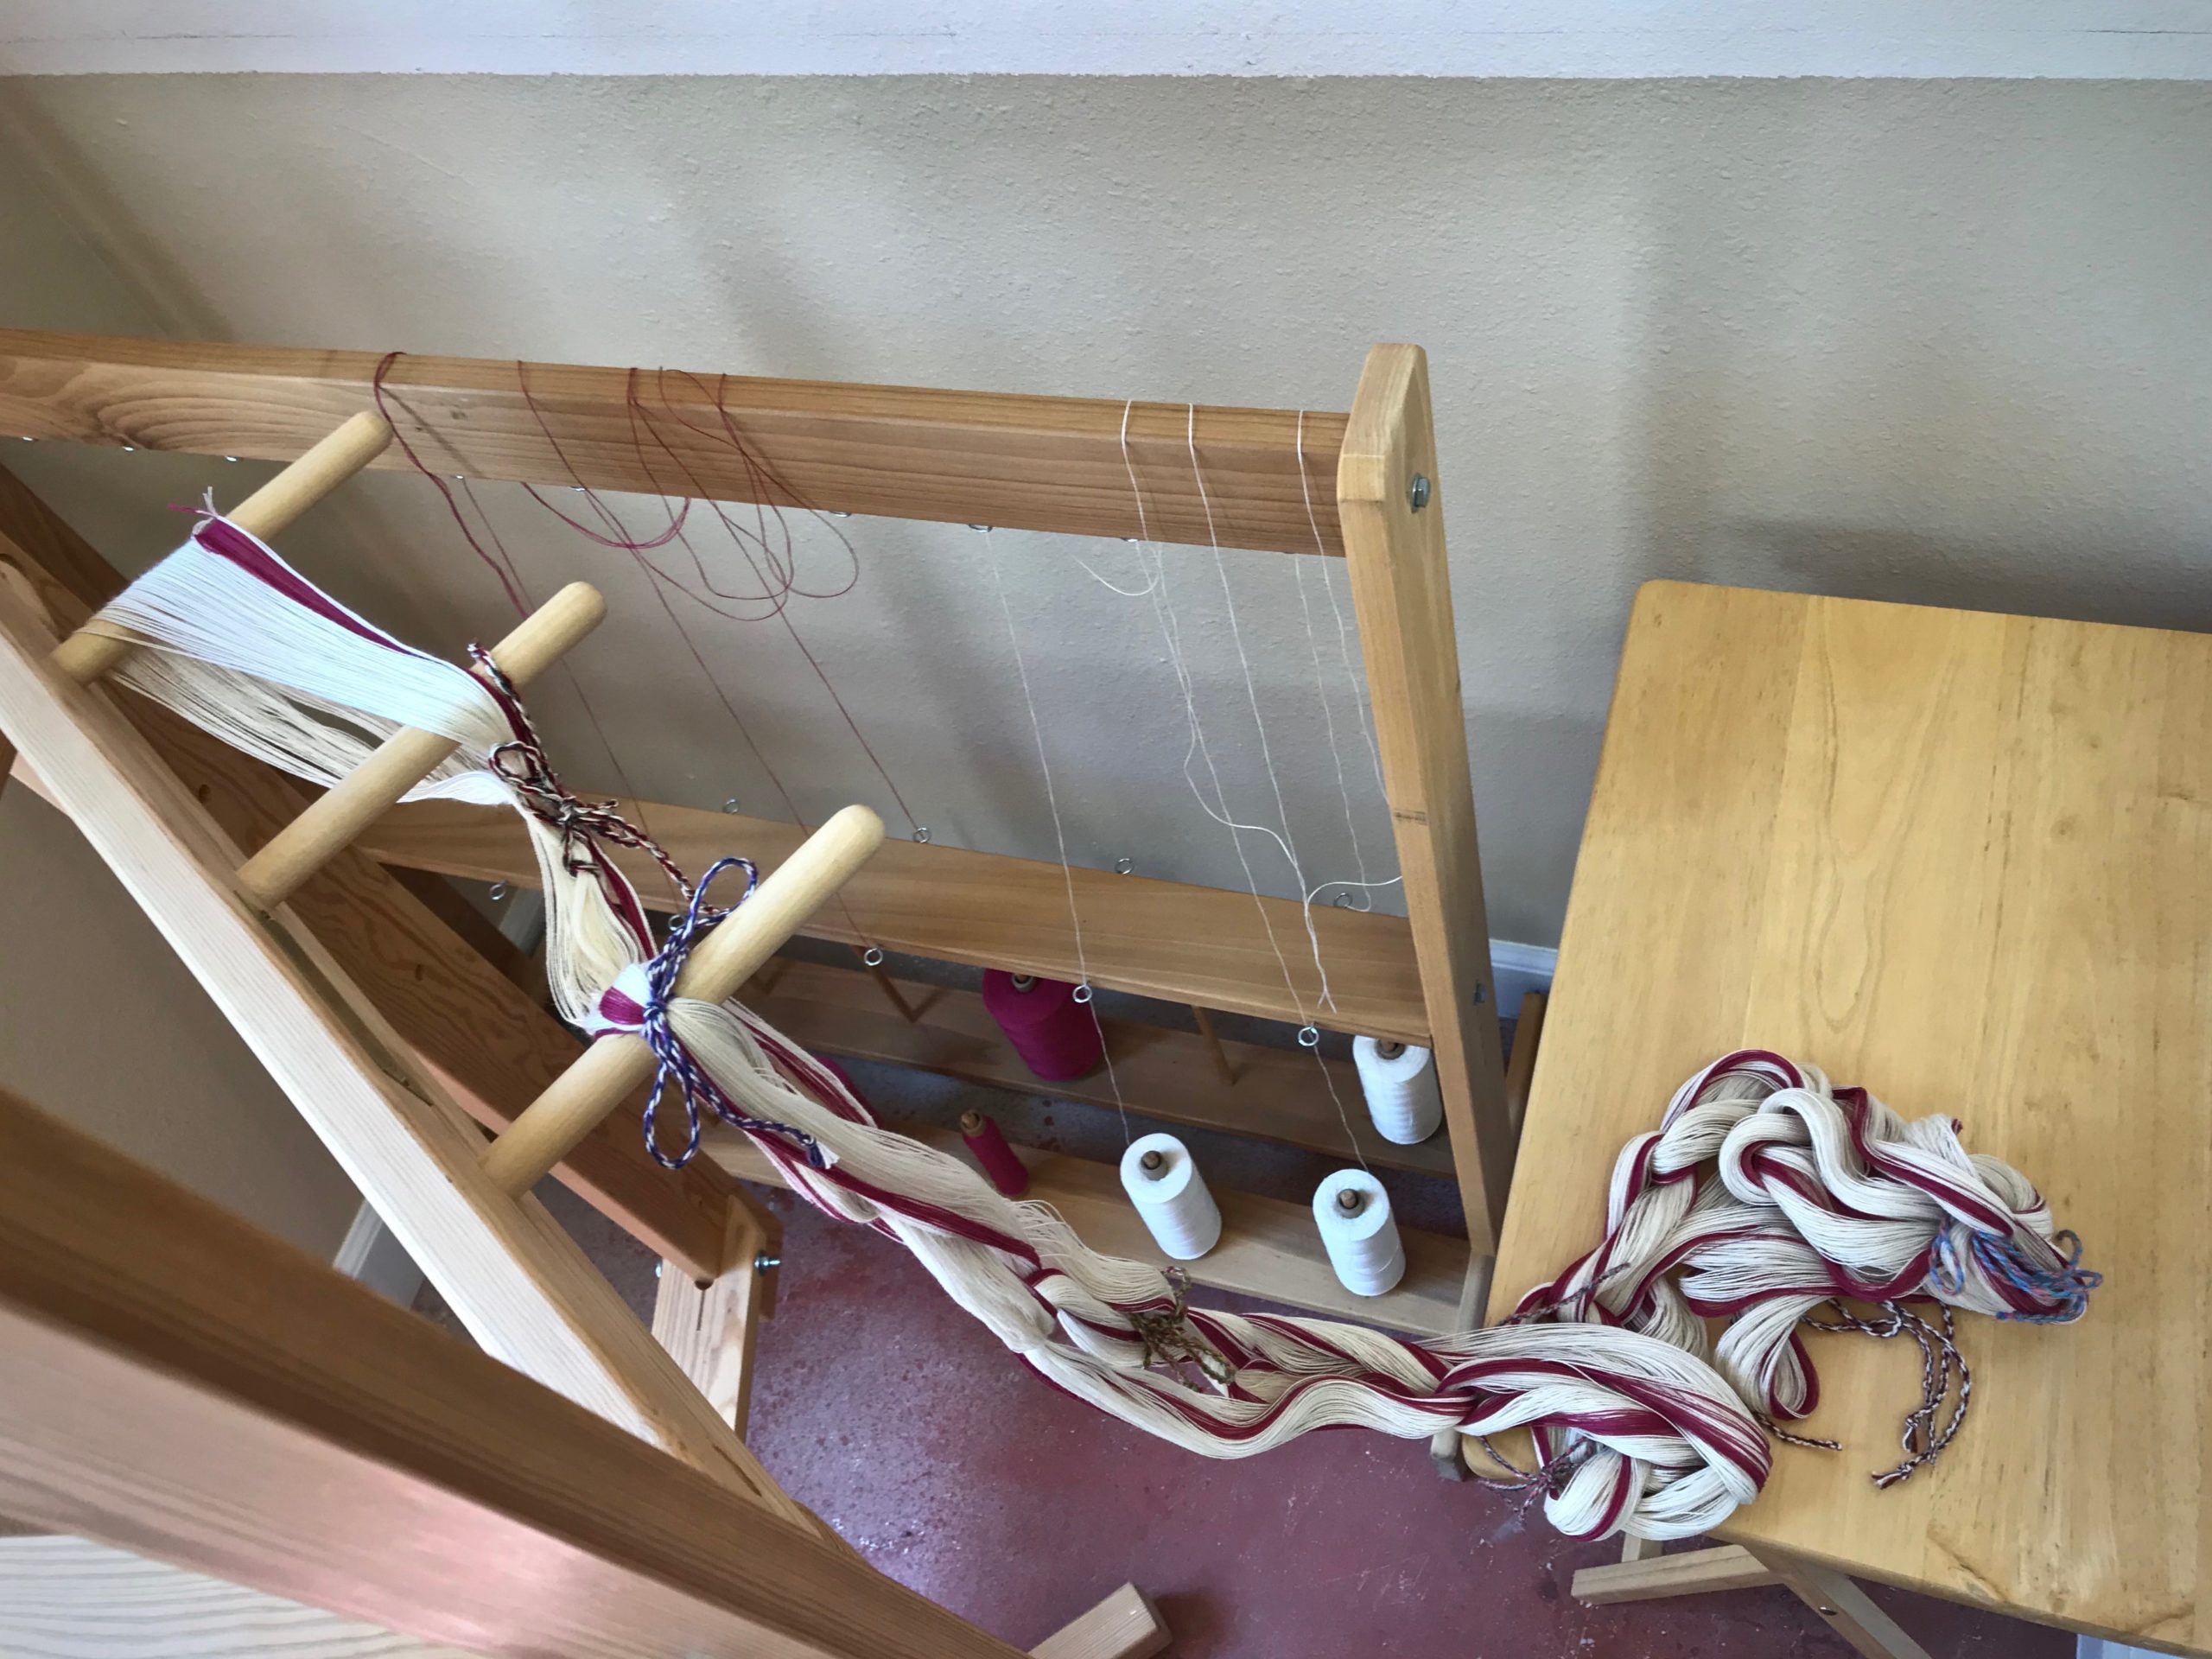
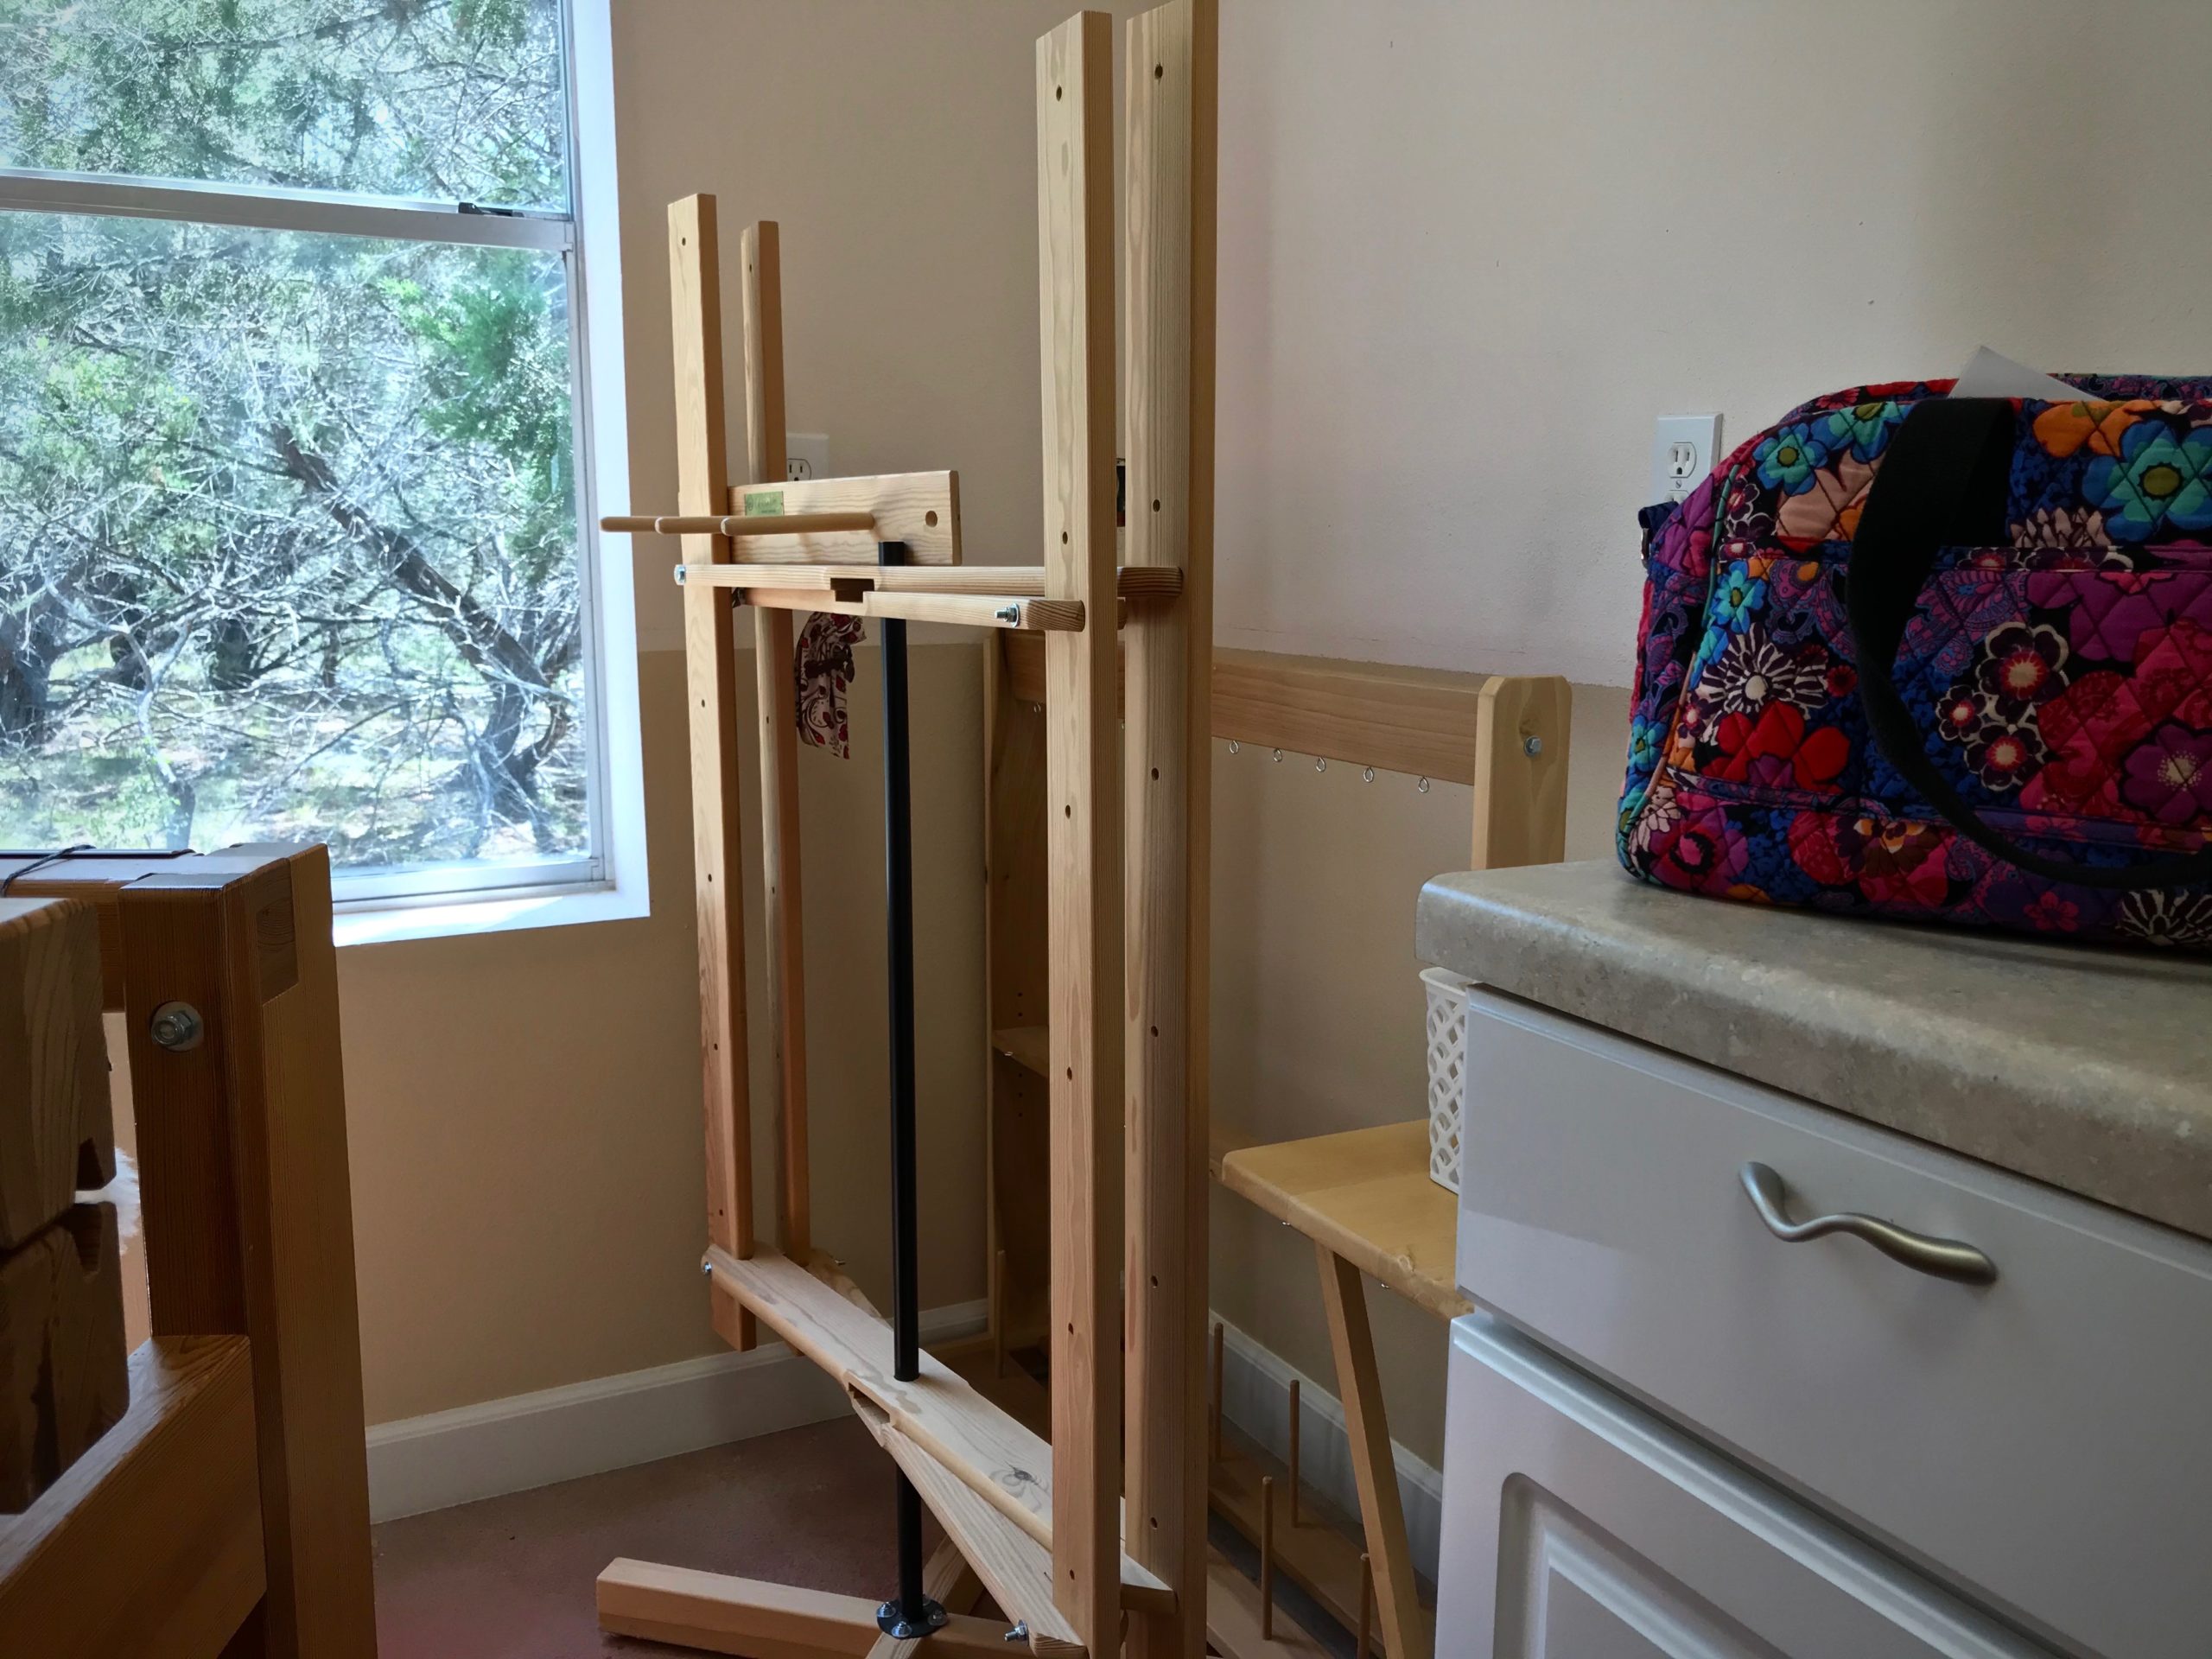
I am winding a narrow warp for my next drawloom project. My warping reel is in a little four-foot-by-four-foot corner of my drawloom studio, and has just enough room to maneuver. When I am ready to wind a warp the first thing I pull out is my trusty checklist. I use a checklist for efficiency. It keeps me on track. And it’s more dependable than my memory.
Checklist for Winding a Warp
__ Weigh warp thread and write the amounts on the project notes. By weighing the thread before and after a project, you will know exactly how much warp thread was used in the project.
__ Stick a sample four-inch thread to each thread label; put a rubber band around the tube. After you finish winding the warp, you can quickly pair each yarn with its correct label because of the sample thread stuck to the label.
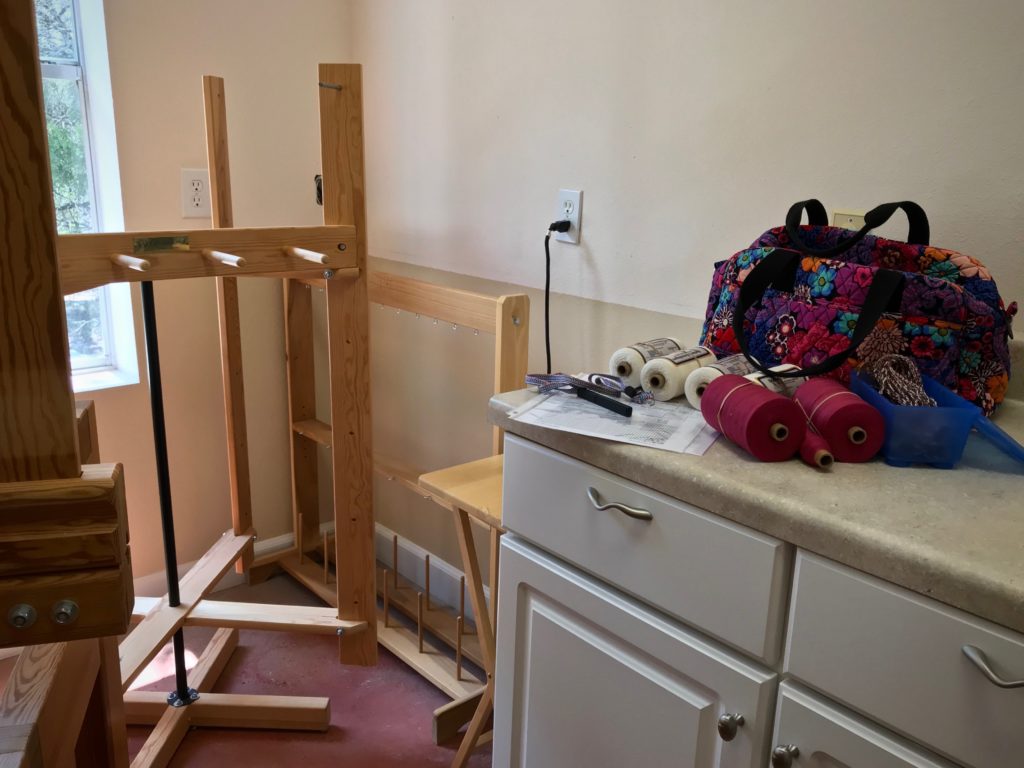
__ Bring supplies to the warping reel. If your warping reel is in a different room, or in a separate building, like mine is, make sure you have all you need before you head to the warping reel.
+ Project notes, with fully completed draft — An incomplete draft may give faulty information. Also, a review of the project notes and draft is a good idea, especially if weeks or months have passed since you wrote it all down.
__ Set up the warping reel for warp length. Use a guide string, or measure the distance needed to place the pegs and turning pin at the right place on the warping reel for the warp you are going to wind.
__ Set out the thread on the thread stand. Wind the warp with two or more threads at the same time, for best results.
__ Hang or tape up the project notes at eye level. Project notes show the warp sequence and other vital information.
__ Take note of warp length, number of bouts, and number of ends in each bout. Aim for 25 cm (10”) or less in the reed, or 200 or fewer ends, per bout. For the drawloom, wind the warp in pattern unit increments when possible.
__ Wind first bout, counting warp ends. Use a cord between groups of ends to keep track of the counting.
__ Visually check the warp order. Check to see that the warp order on the warping reel matches the warp sequence on the project notes. (I added this step to my checklist after the time I omitted 6 threads at the center of a warp, discovered after threading the loom.)
__ Tie off around the turning pin or the outside peg. Always wind the last pass with two or more threads together so you can tie them around the pin or peg.
__ Tie the lease cross; and tie choke ties on the warp. Tie the cross first, and tie any passes of the warp directly above the cross. Then, spin the wheel and tie the warp wherever it passes on the side opposite the cross. Also tie at the turning pin, at the top and bottom of the loop.
__ Chain the warp bout. Start the chain by holding the loop at the turning pin, and pull out the pin. Chain the warp, ending at the cross. (I use my knee, not so gracefully, to control the turning of the reel as I chain the warp.)
__ Place the warp bout on the loom, with the lease cross end going through the beater.
__ Wind remaining bouts, following the same procedure. When you place the warp chain on the loom double check the warp sequence to make sure the bouts are in the right order.
__ Roll up the thread tubes, replace labels, weigh thread and write down amounts, and place thread tubes in project bin. Each loom has its own project bin to hold the thread for that project.
__ Put away the choke ties, scissors, and thread holder.
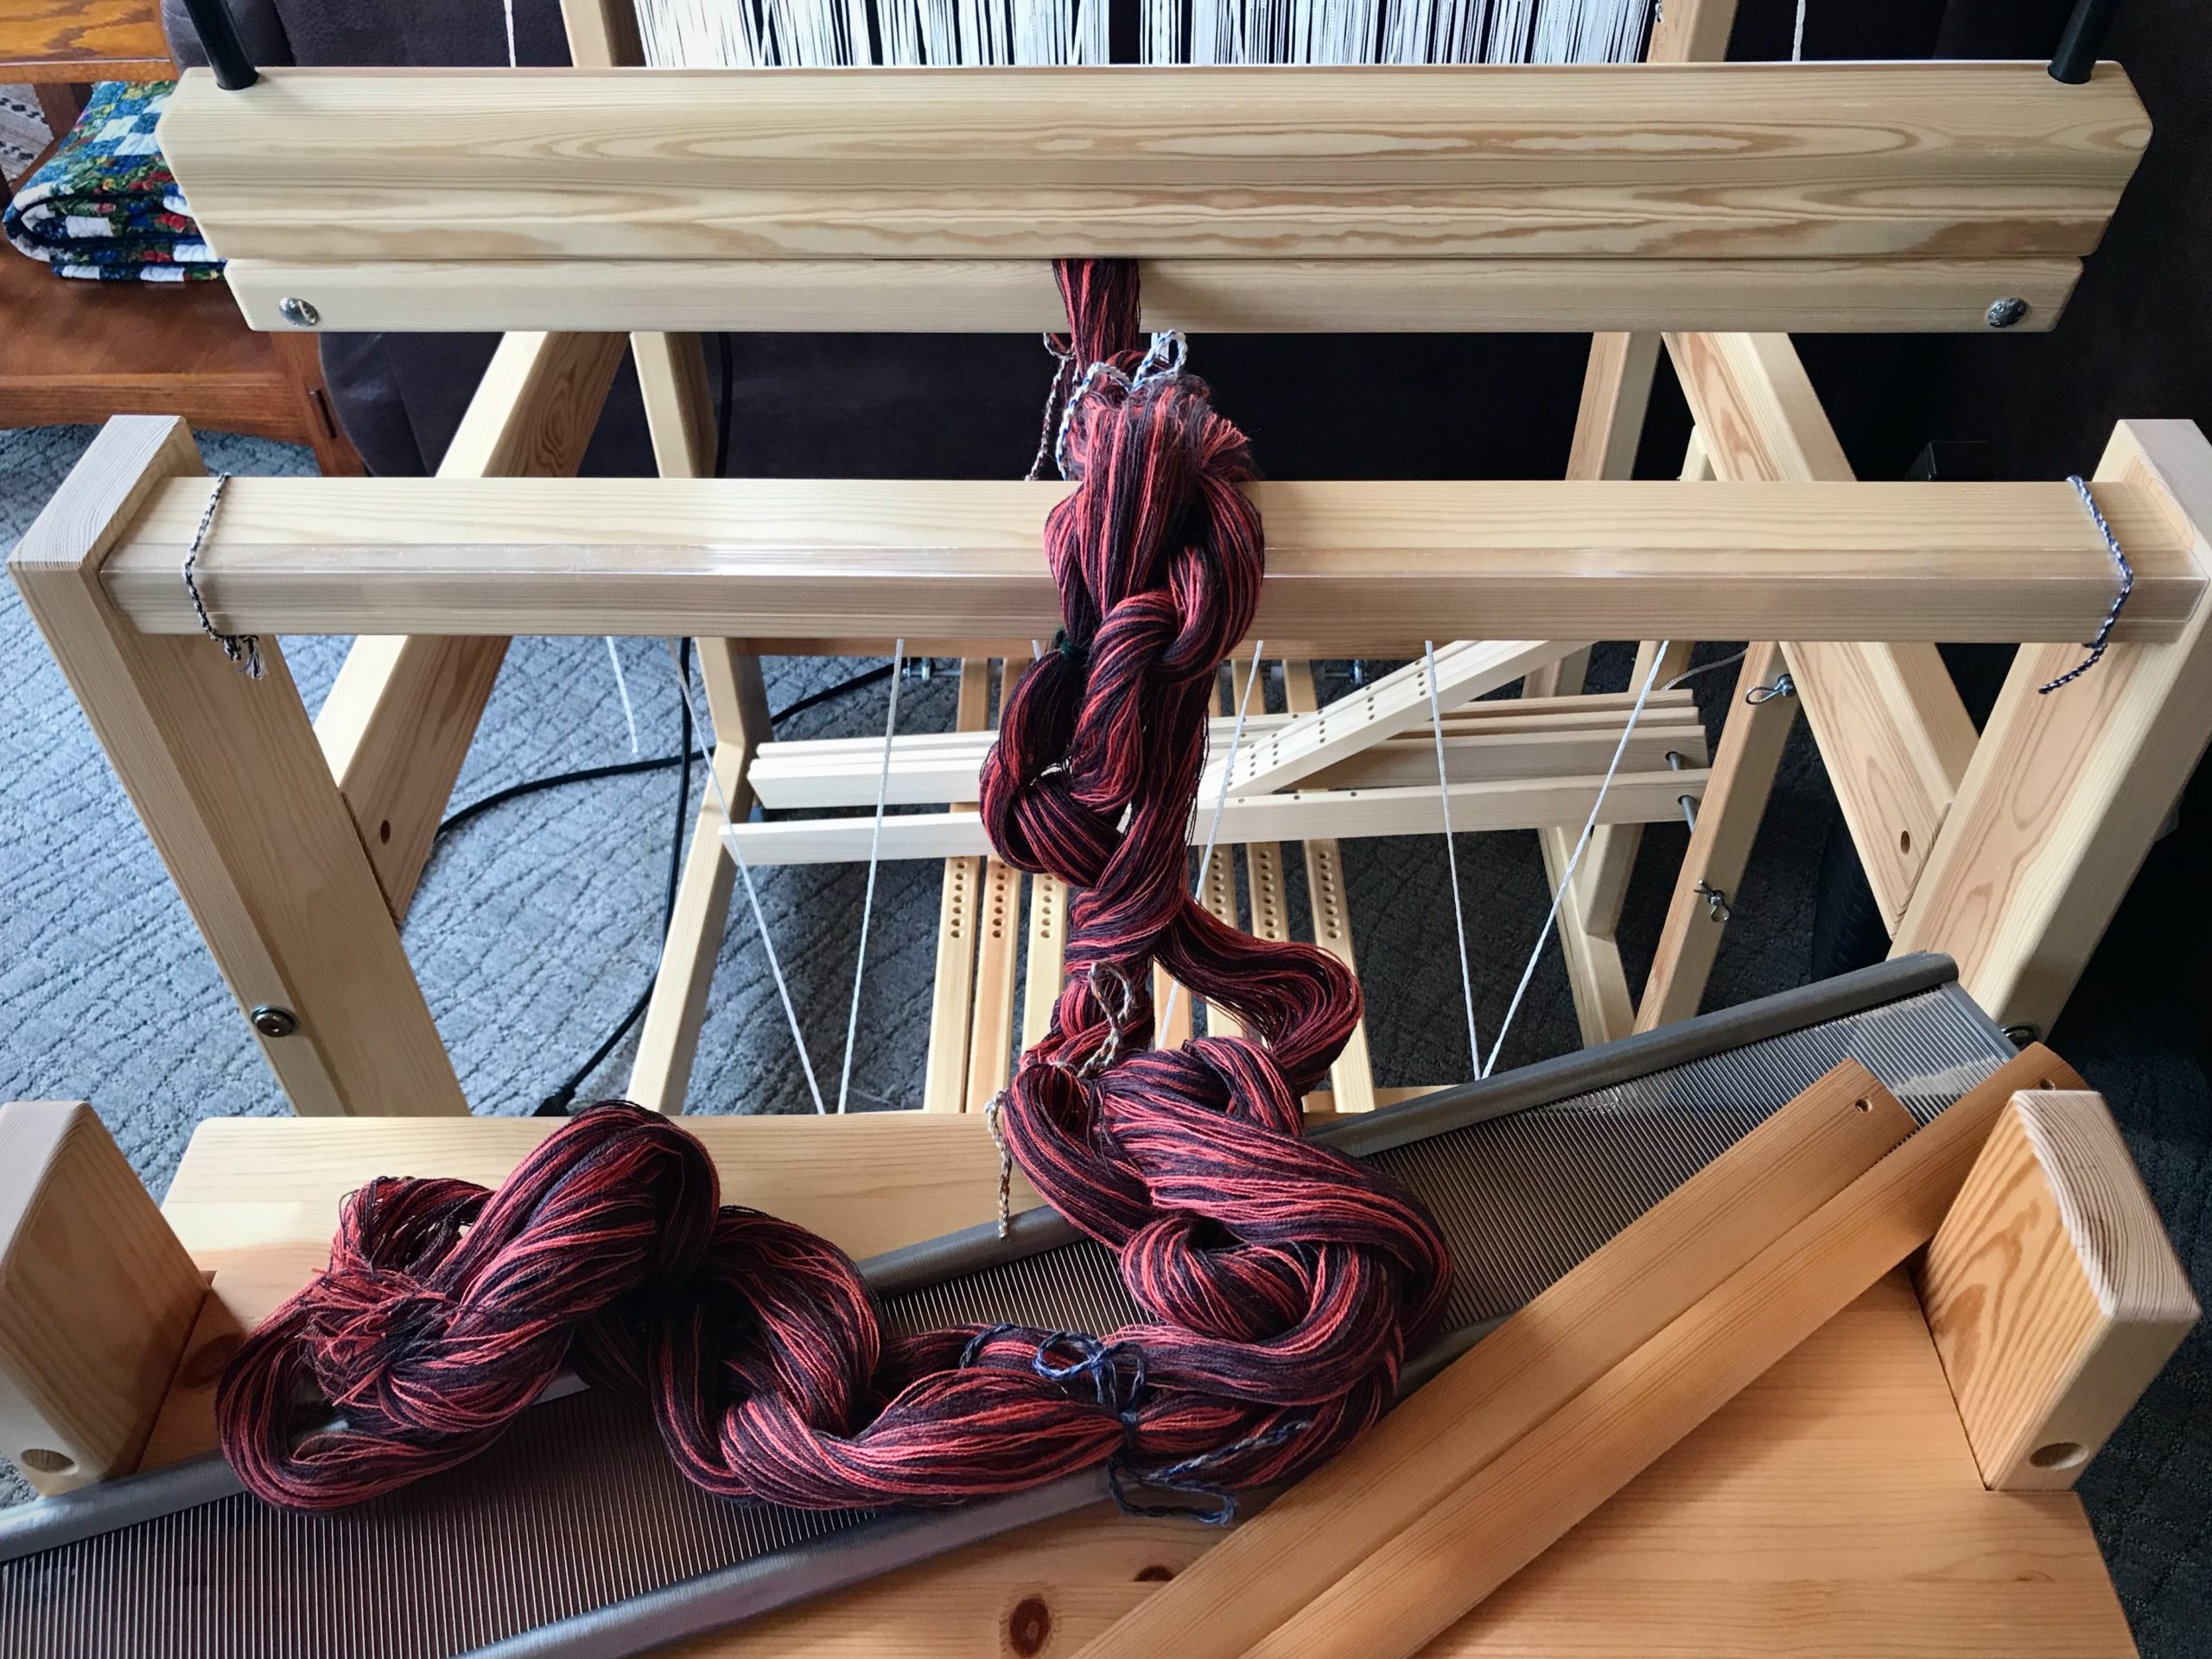
It’s not a good feeling when you discover that you did not tie the lease cross on one of the warpbouts. When you wind a warp, it’s the cross that keeps the ends in proper order. I carefully tie both sides of the cross before removing the bout from the warping reel. This time, though, I inadvertently tied only part of the cross, which is, essentially, not tying the cross at all.
Working from right to left, I separate one pair of ends at a time to try to recreate the proper order of the warp ends. After every few strands, I insert the lease sticks and tie the cross. Fortunately, the bout on the left was tied properly before it left the warping reel.Ready to pre-sley the reed and beam the warp.
I make my best guess to recreate the thread order, inserting the lease sticks little by little. And as I beam the warp there are several twists that threaten the whole process, getting hung up at the reed. But I coax the warp through at a snail’s pace, not forcing anything.
I beam the warp and stop frequently to check the yarn for twists on the front side of the reed. No combing my fingers through the warp, which could lead to uneven warp tension. I lightly flick any twist-ups in front of the reed with my fingers to help keep them moving.
Eventually, the warp is successfully beamed. What a relief!
Now that the warp is beamed, there is no more concern about misaligned ends. The ends are now in the proper order as they appear on the lease sticks.
Things that matter become misaligned when we or those around us mess up. Some of the ensuing twists and conflicts spell disaster. It’s not a good feeling. We start to imagine that we’re alone and forgotten. You are not forgotten. Baby Jesus of the real Christmas story grew to manhood for a clear purpose. He came in pursuit of you and me, gently calling, never forcing, ever loving us, to put our threads back in order again through his cross. What a relief!