Rag rugs are up next on the Glimåkra Standard. I’m filled with anticipation. Oh, to have the momentum of this hanging beater at my fingertips again. I’m drawn to the simple power of the hanging beater, which is perfect for rug weaving. I already have a place for these rugs in my home once they are woven. So, let’s get going!
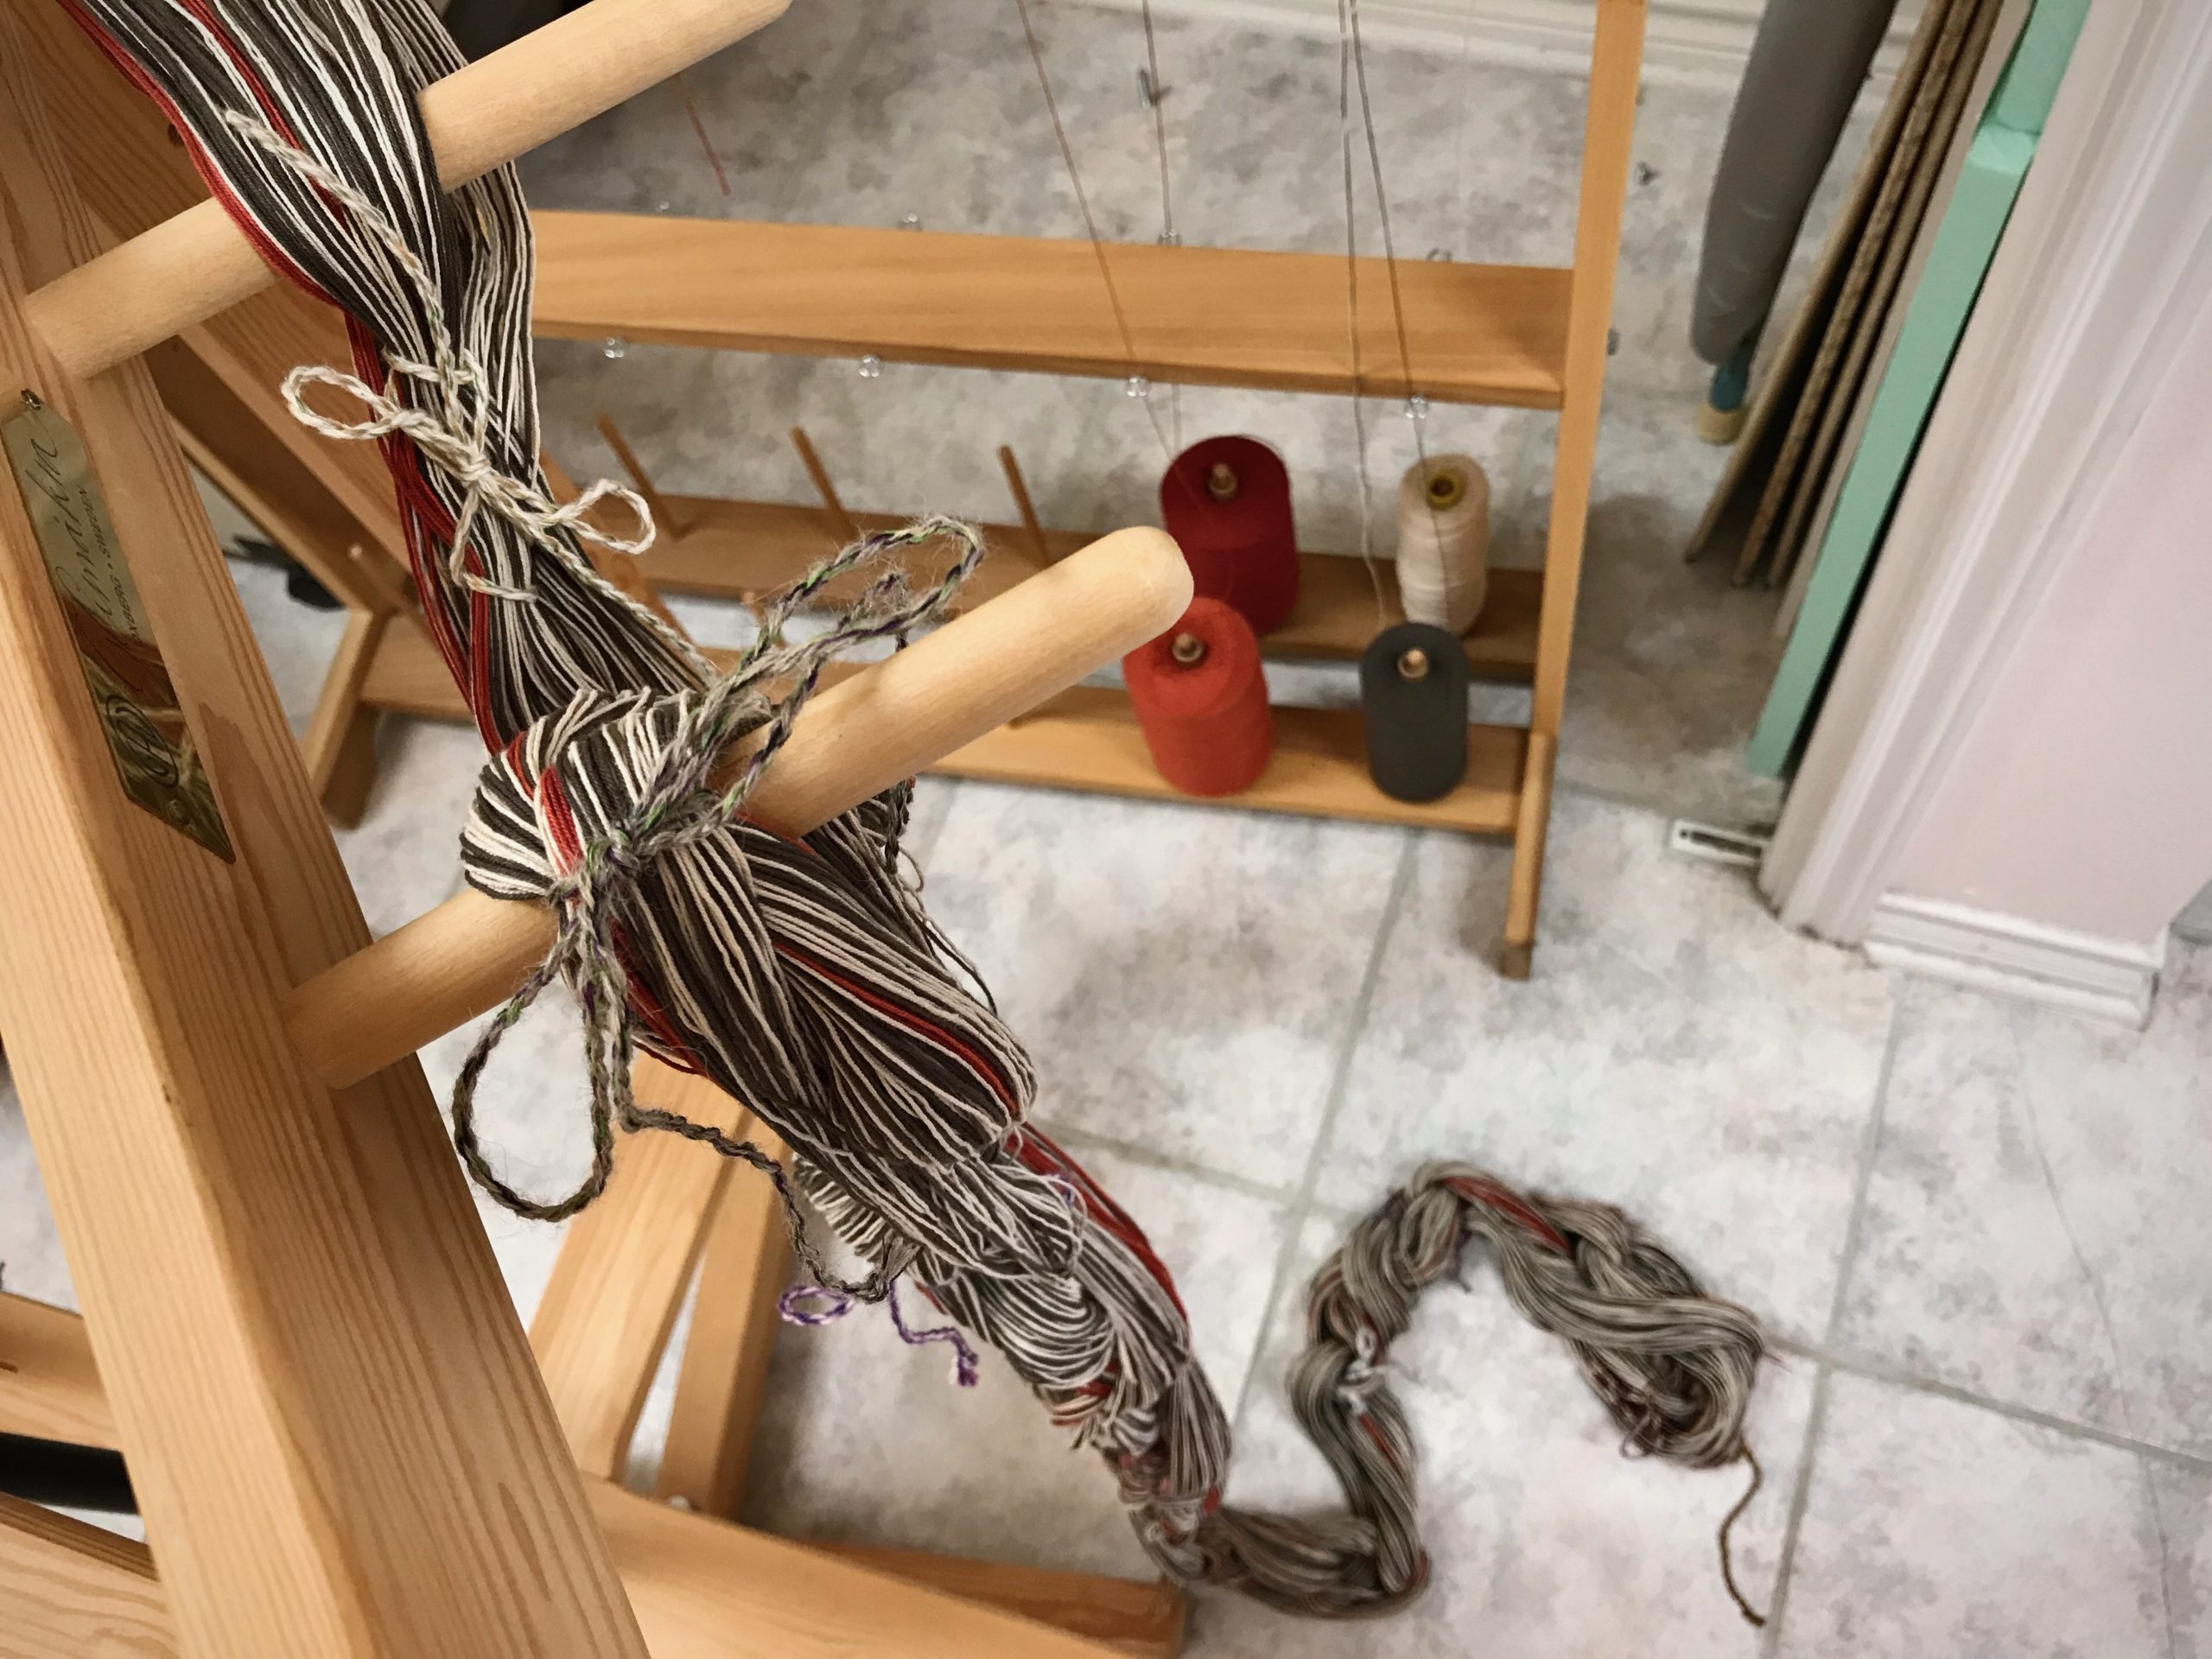
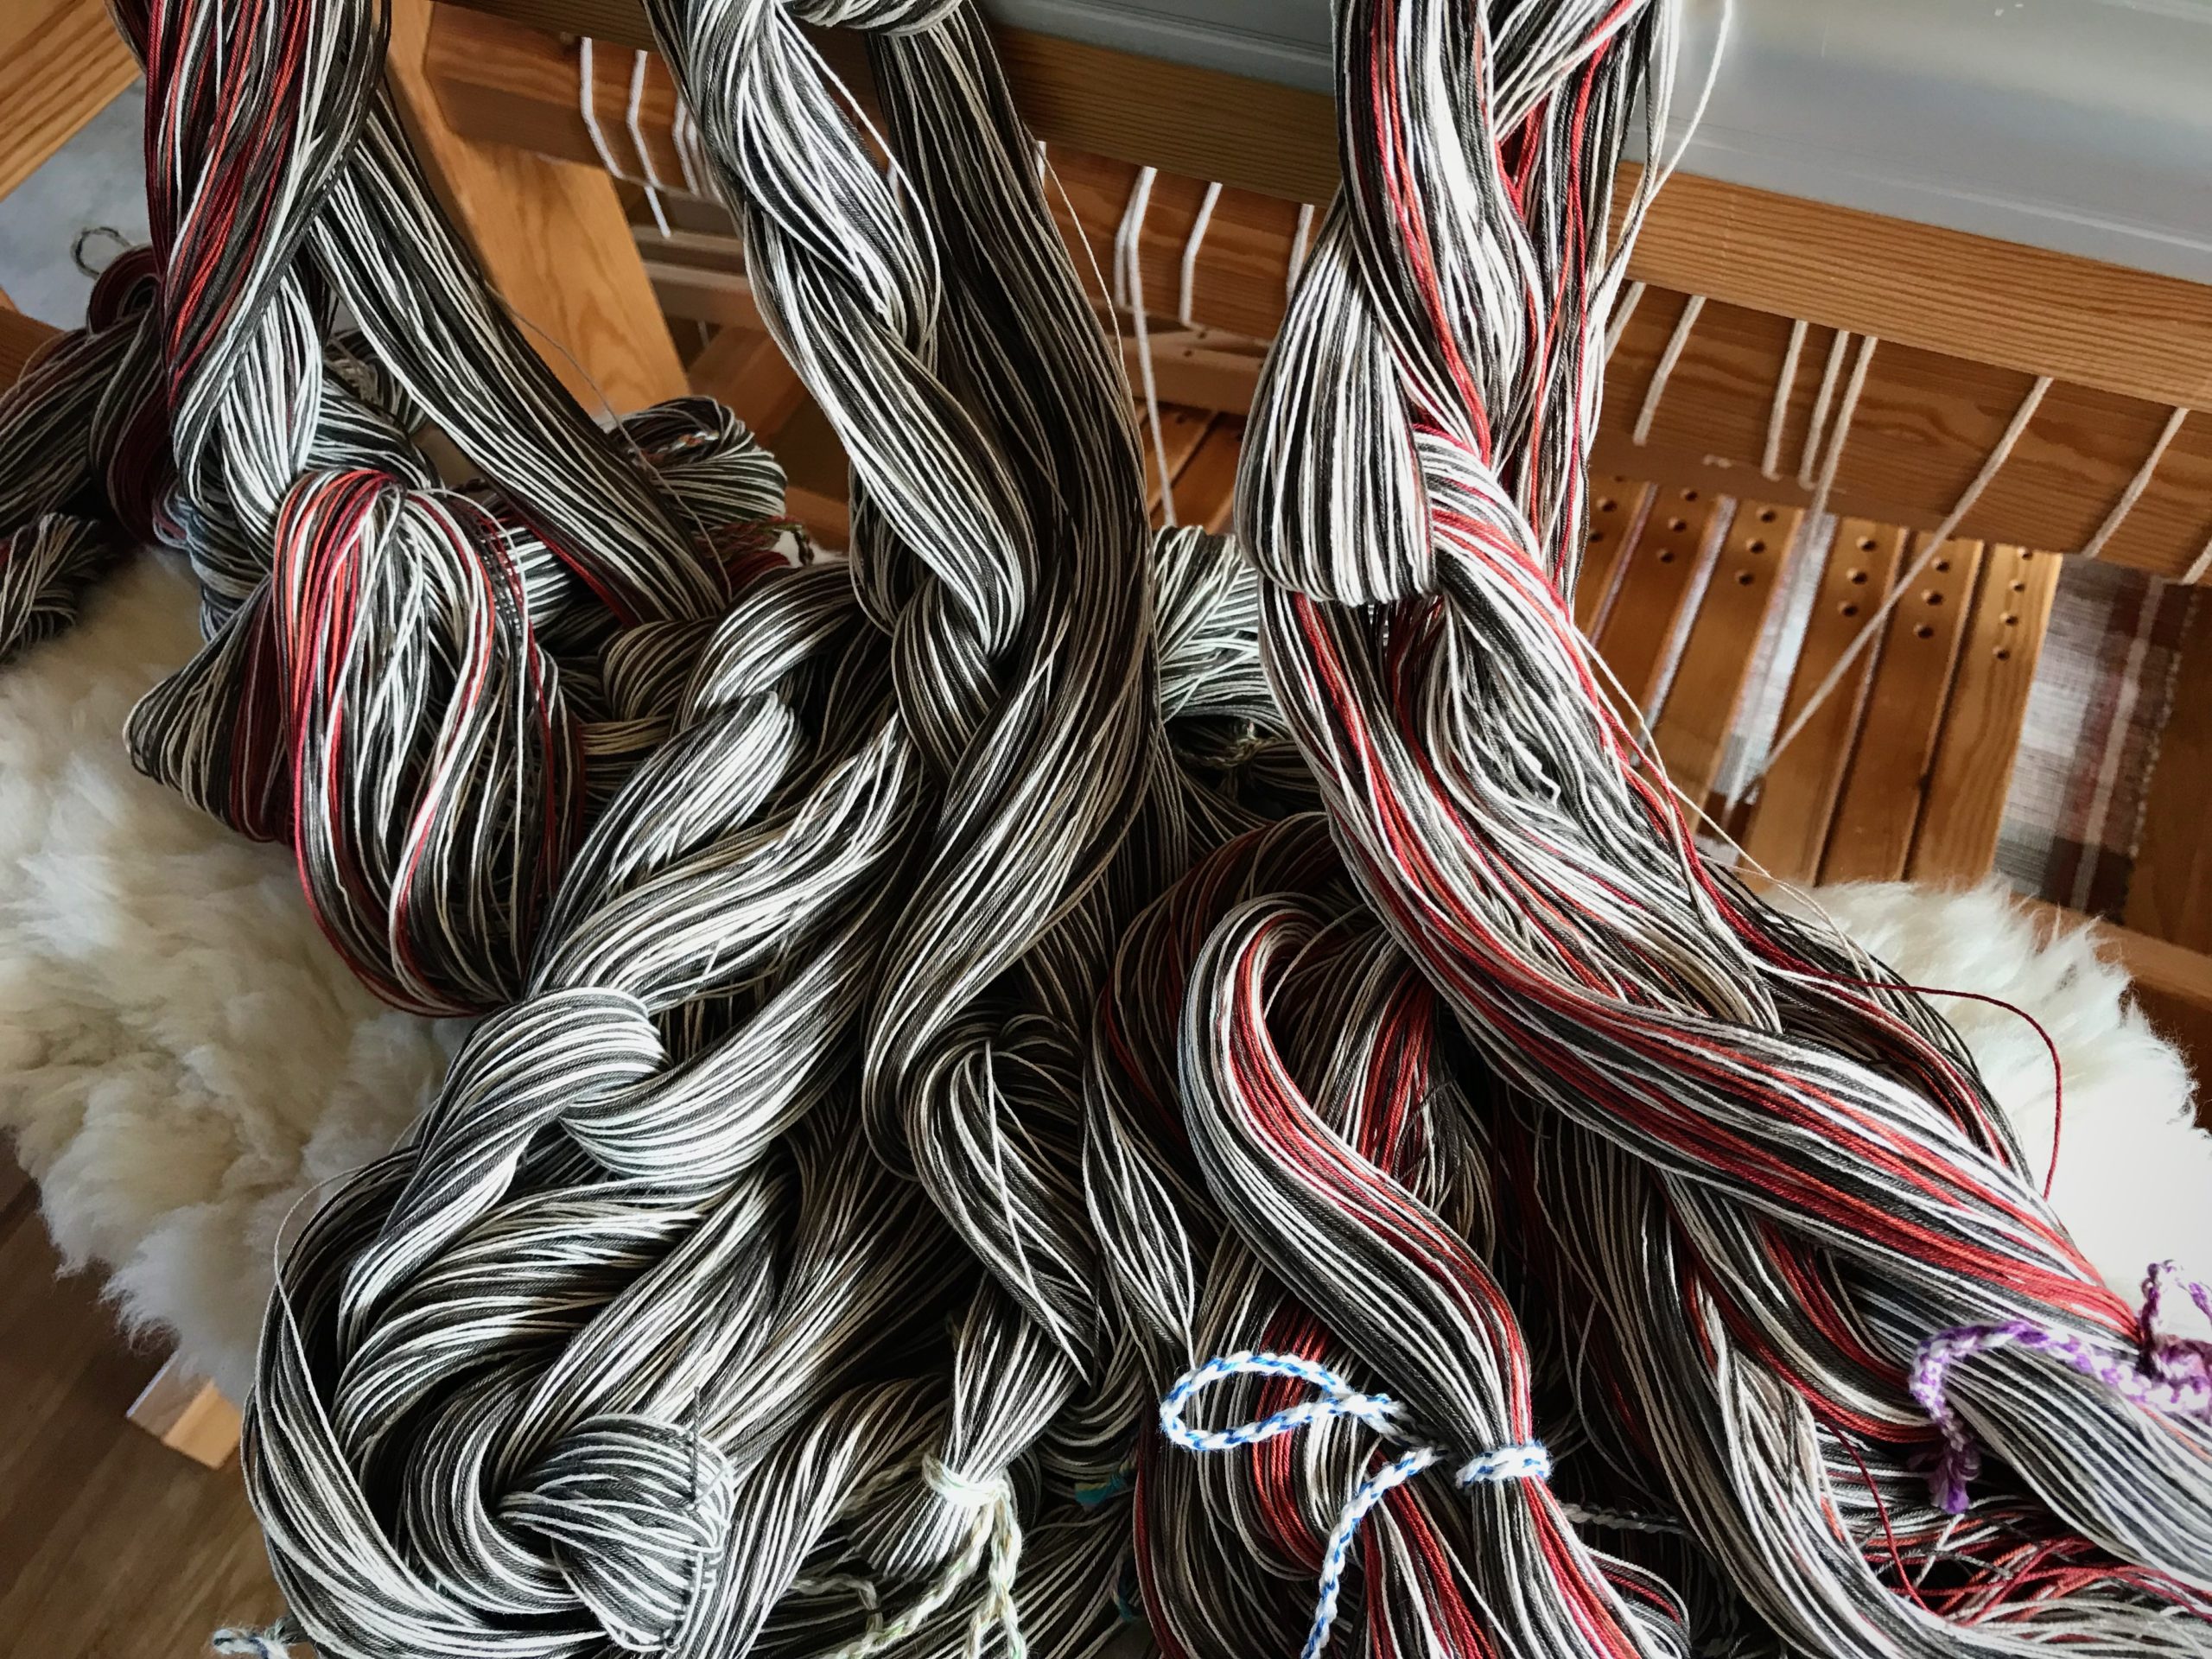
First of three bouts. Brick and Bittersweet are wound together, and Unbleached and Umber (a dark green that is almost black) are wound together.I secure the end by pulling a loop up under the wound threads, so I can count the ends of the last group in this bout.Finished winding the third bout. Before cutting off and tying the final pair of ends, I did a visual check of the counted ends at the cross.
The draft is “Den Vackraste” from Älskade Trasmattor, by Hallgren and Hallén, p.87, to which I added some width. I plan to start with a short sample rug to test wefts and check for size. I am winding the 12/6 cotton warp in three bouts. These long, heavy warp chains tell me I’m now on an unstoppable trek that will result in rugs on the floor!
As each bout is wound, I place it in order through the beater, with the tied cross on the other side of the beater.Anticipation!
Until I wind the warp, the rag rugs I’d like to see are merely good intentions. Warp chains placed in order through the beater, though, are a picture of expectation. I have put enough warps on the loom to know with confidence that the rag rugs I anticipate will, indeed, become reality. Faith has that kind of expectation. Faith activates your prayer. The simple power of faith is in believing that the Lord Jesus hears your prayer and that he is able to do what is right for you.
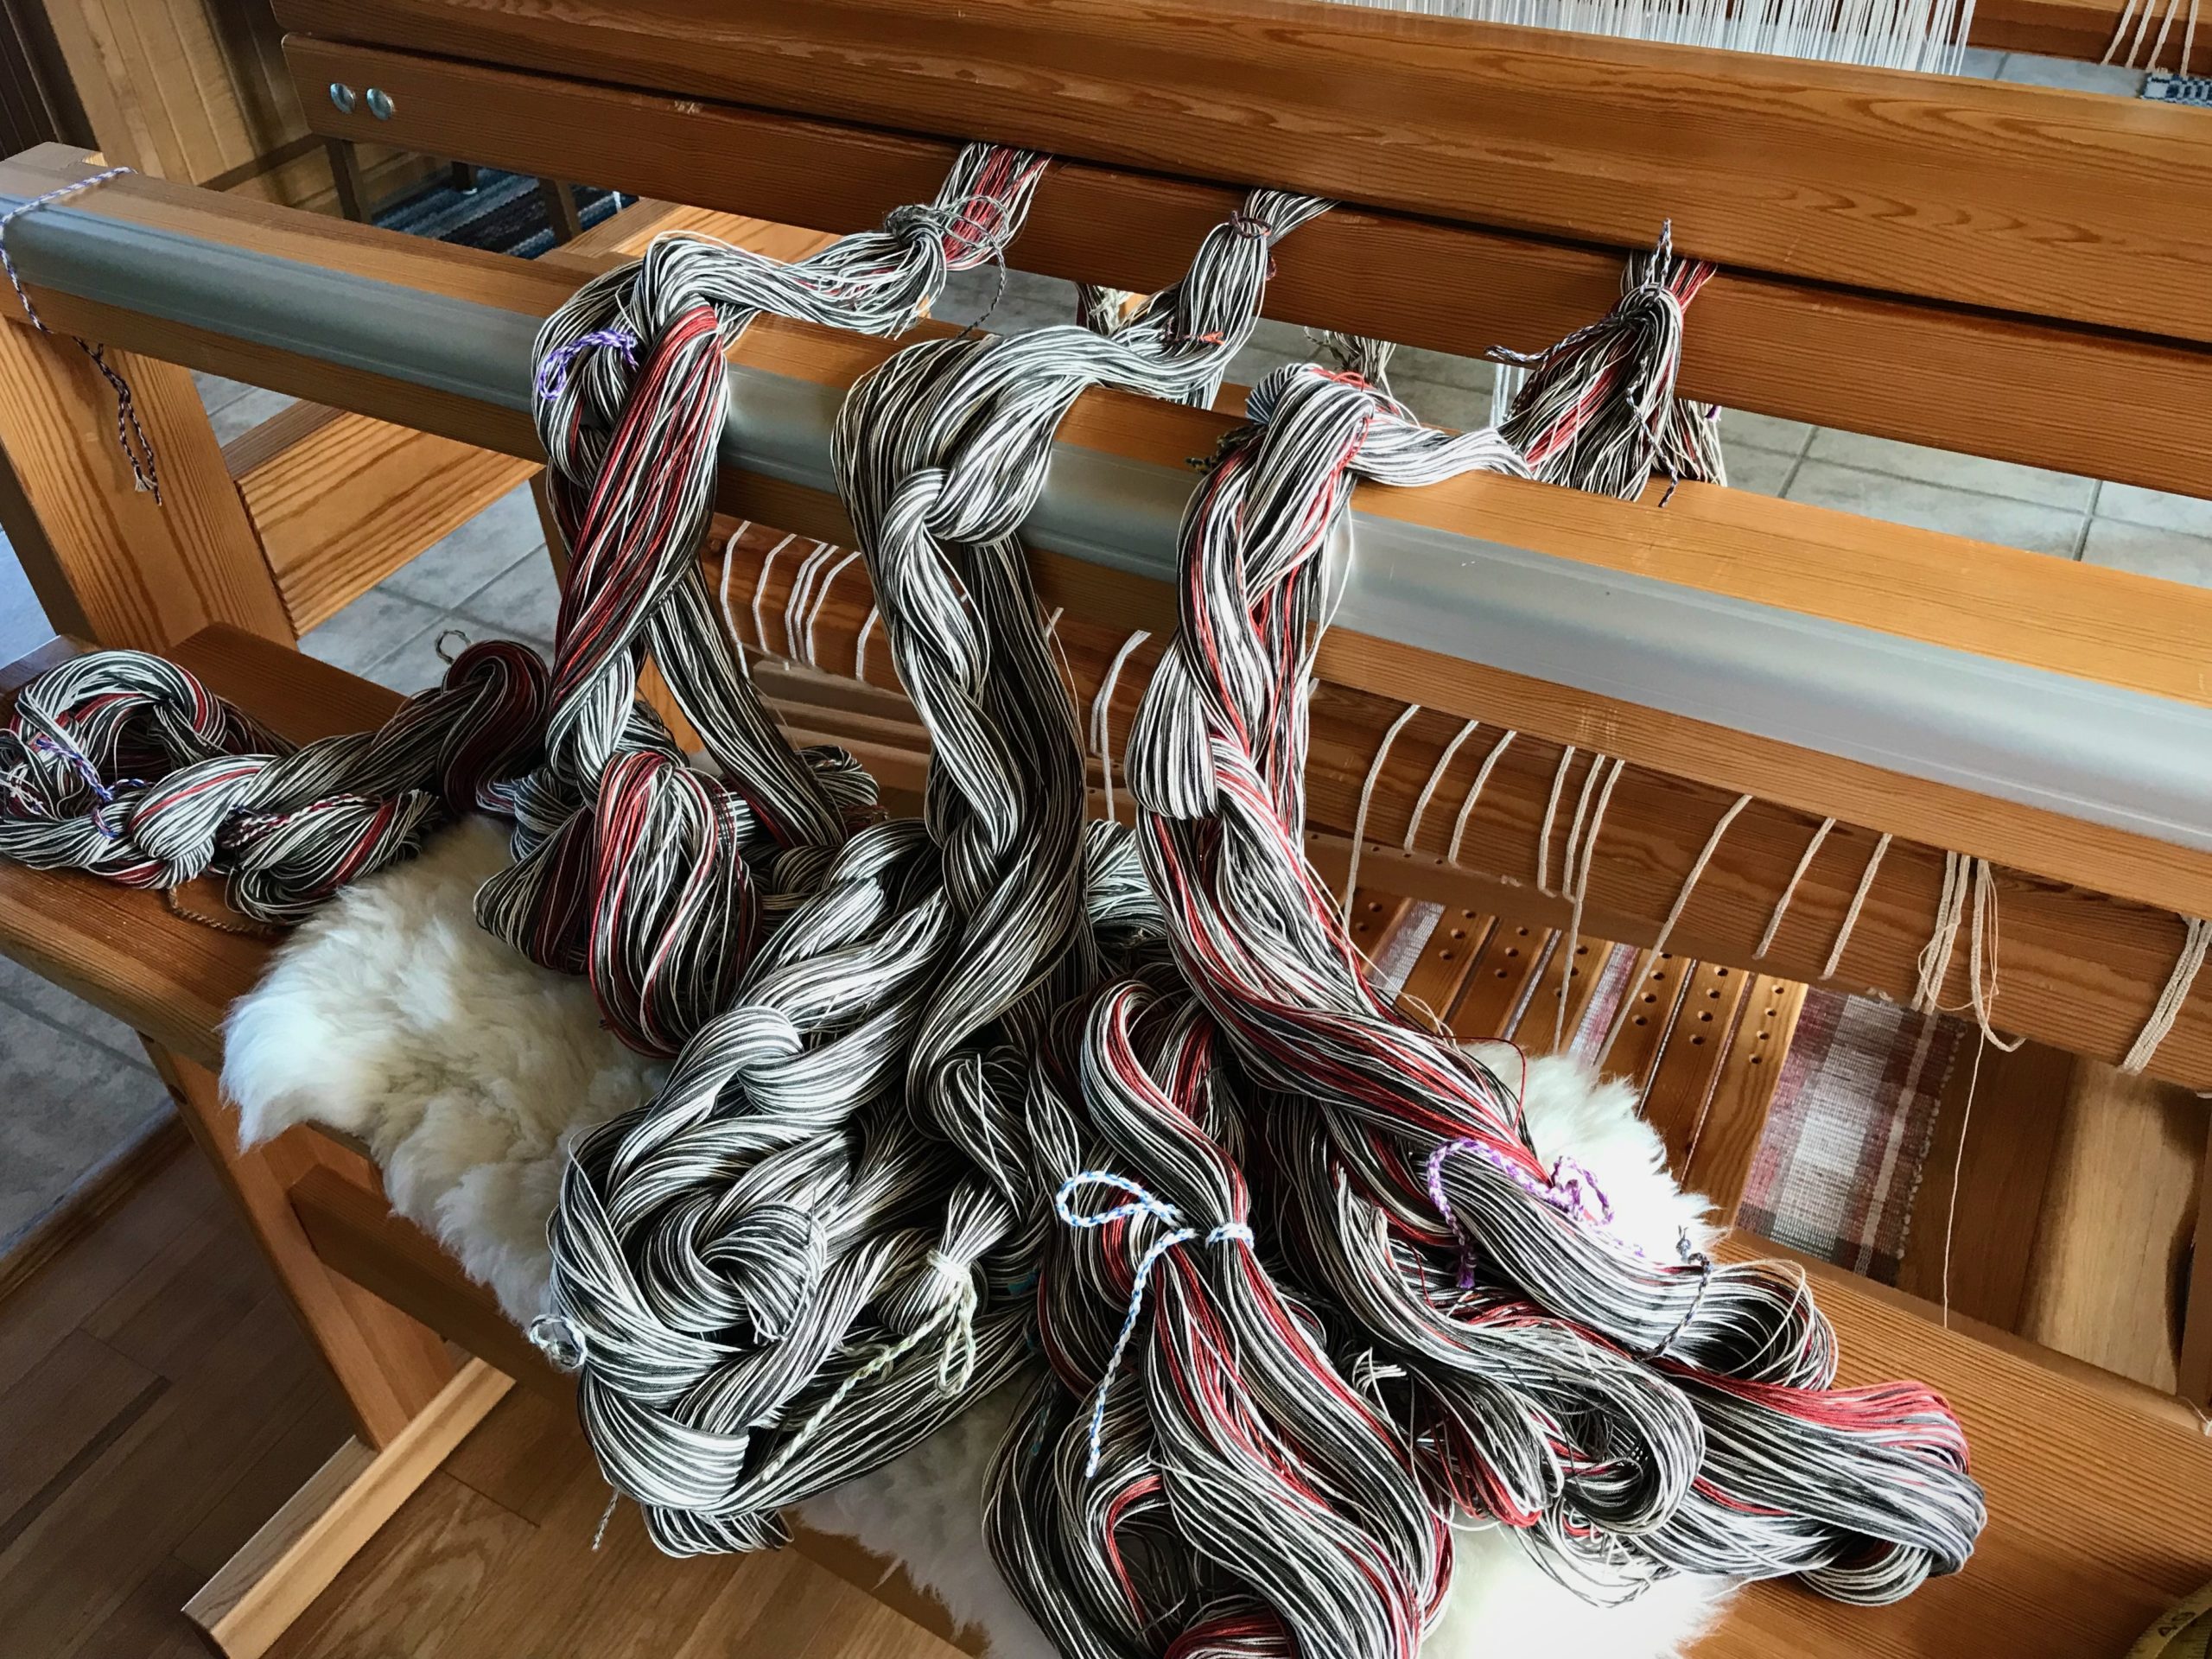
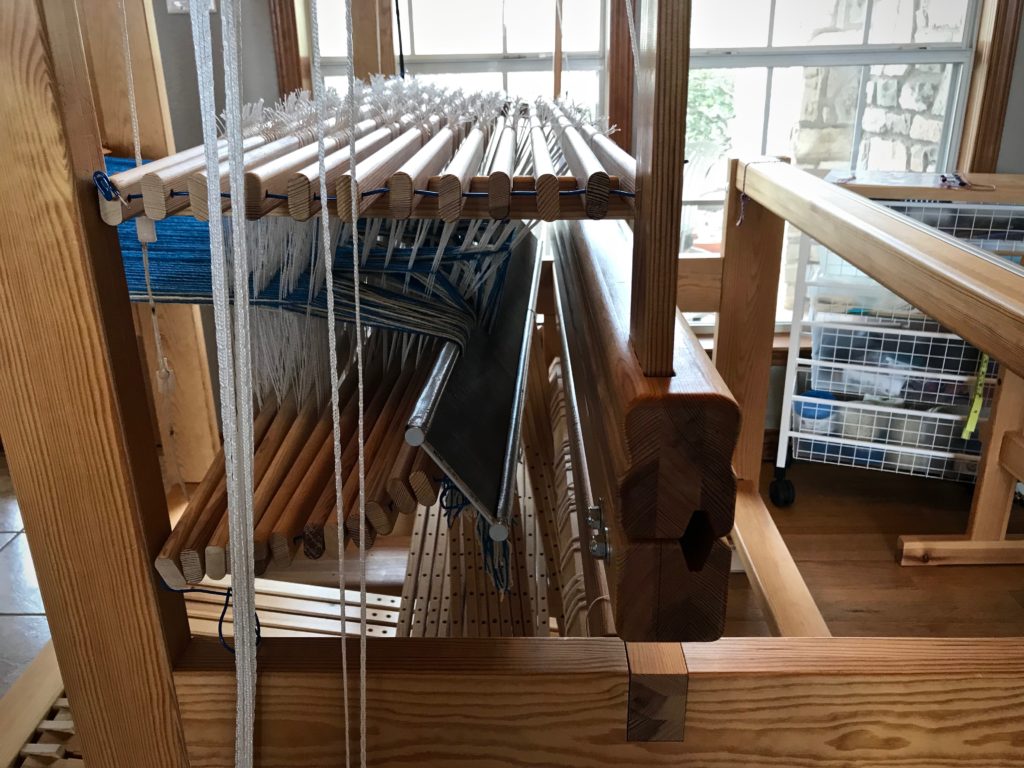
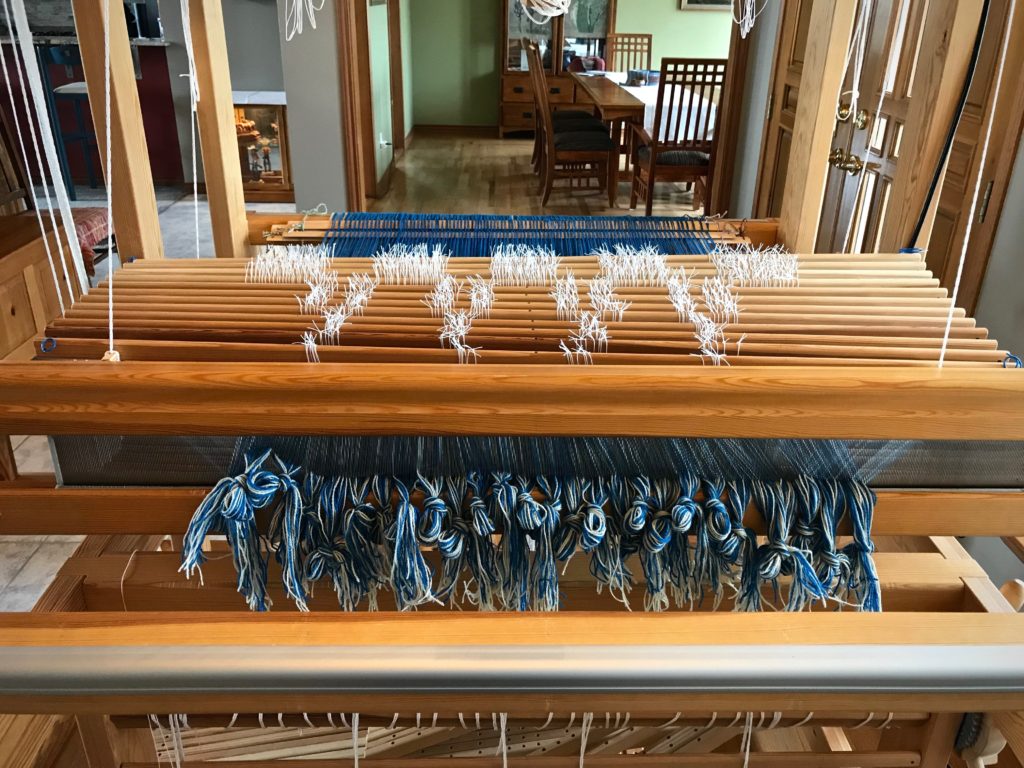
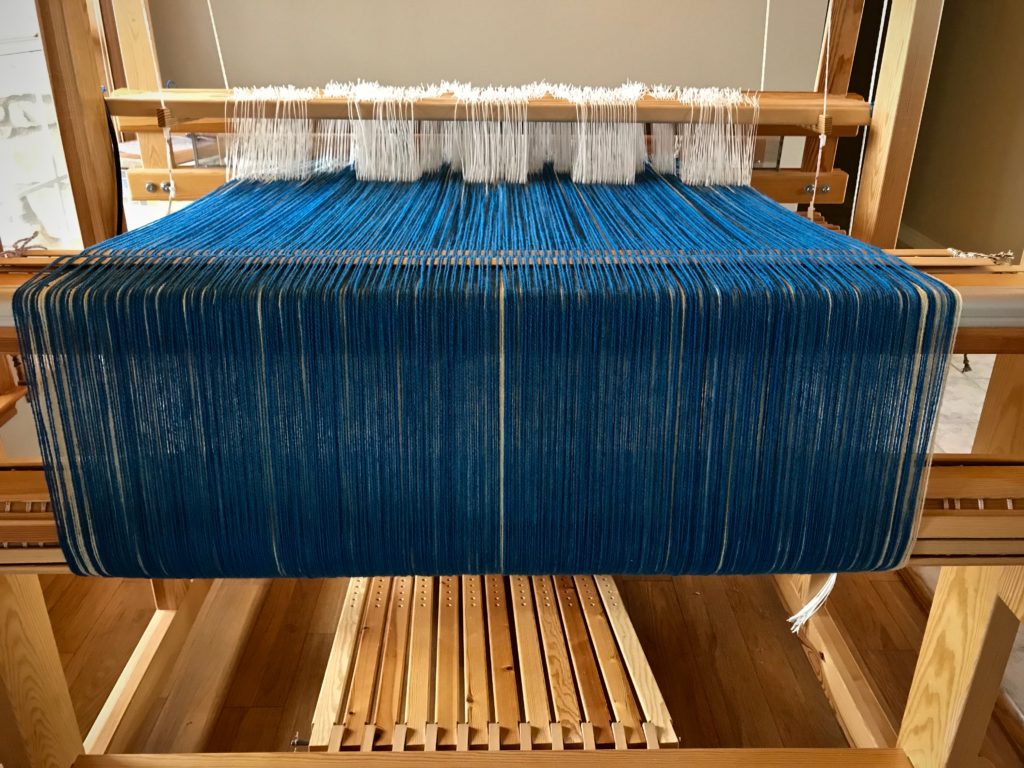
Eleven hours and thirty-six minutes into this project, the starting line for weaving is just around the corner. Wind the warp, and beam it. Thread the heddles. Sley the reed. Unlock the back beam ratchet. Move the countermarch to the front of the loom. … Pause when you think about moving the twelve shafts and the reed forward with the countermarch. Reach. Wiggle. Pull. Wiggle. Pull some more. Got it. Now, put the reed in the beater. Relax? Almost, but not yet.
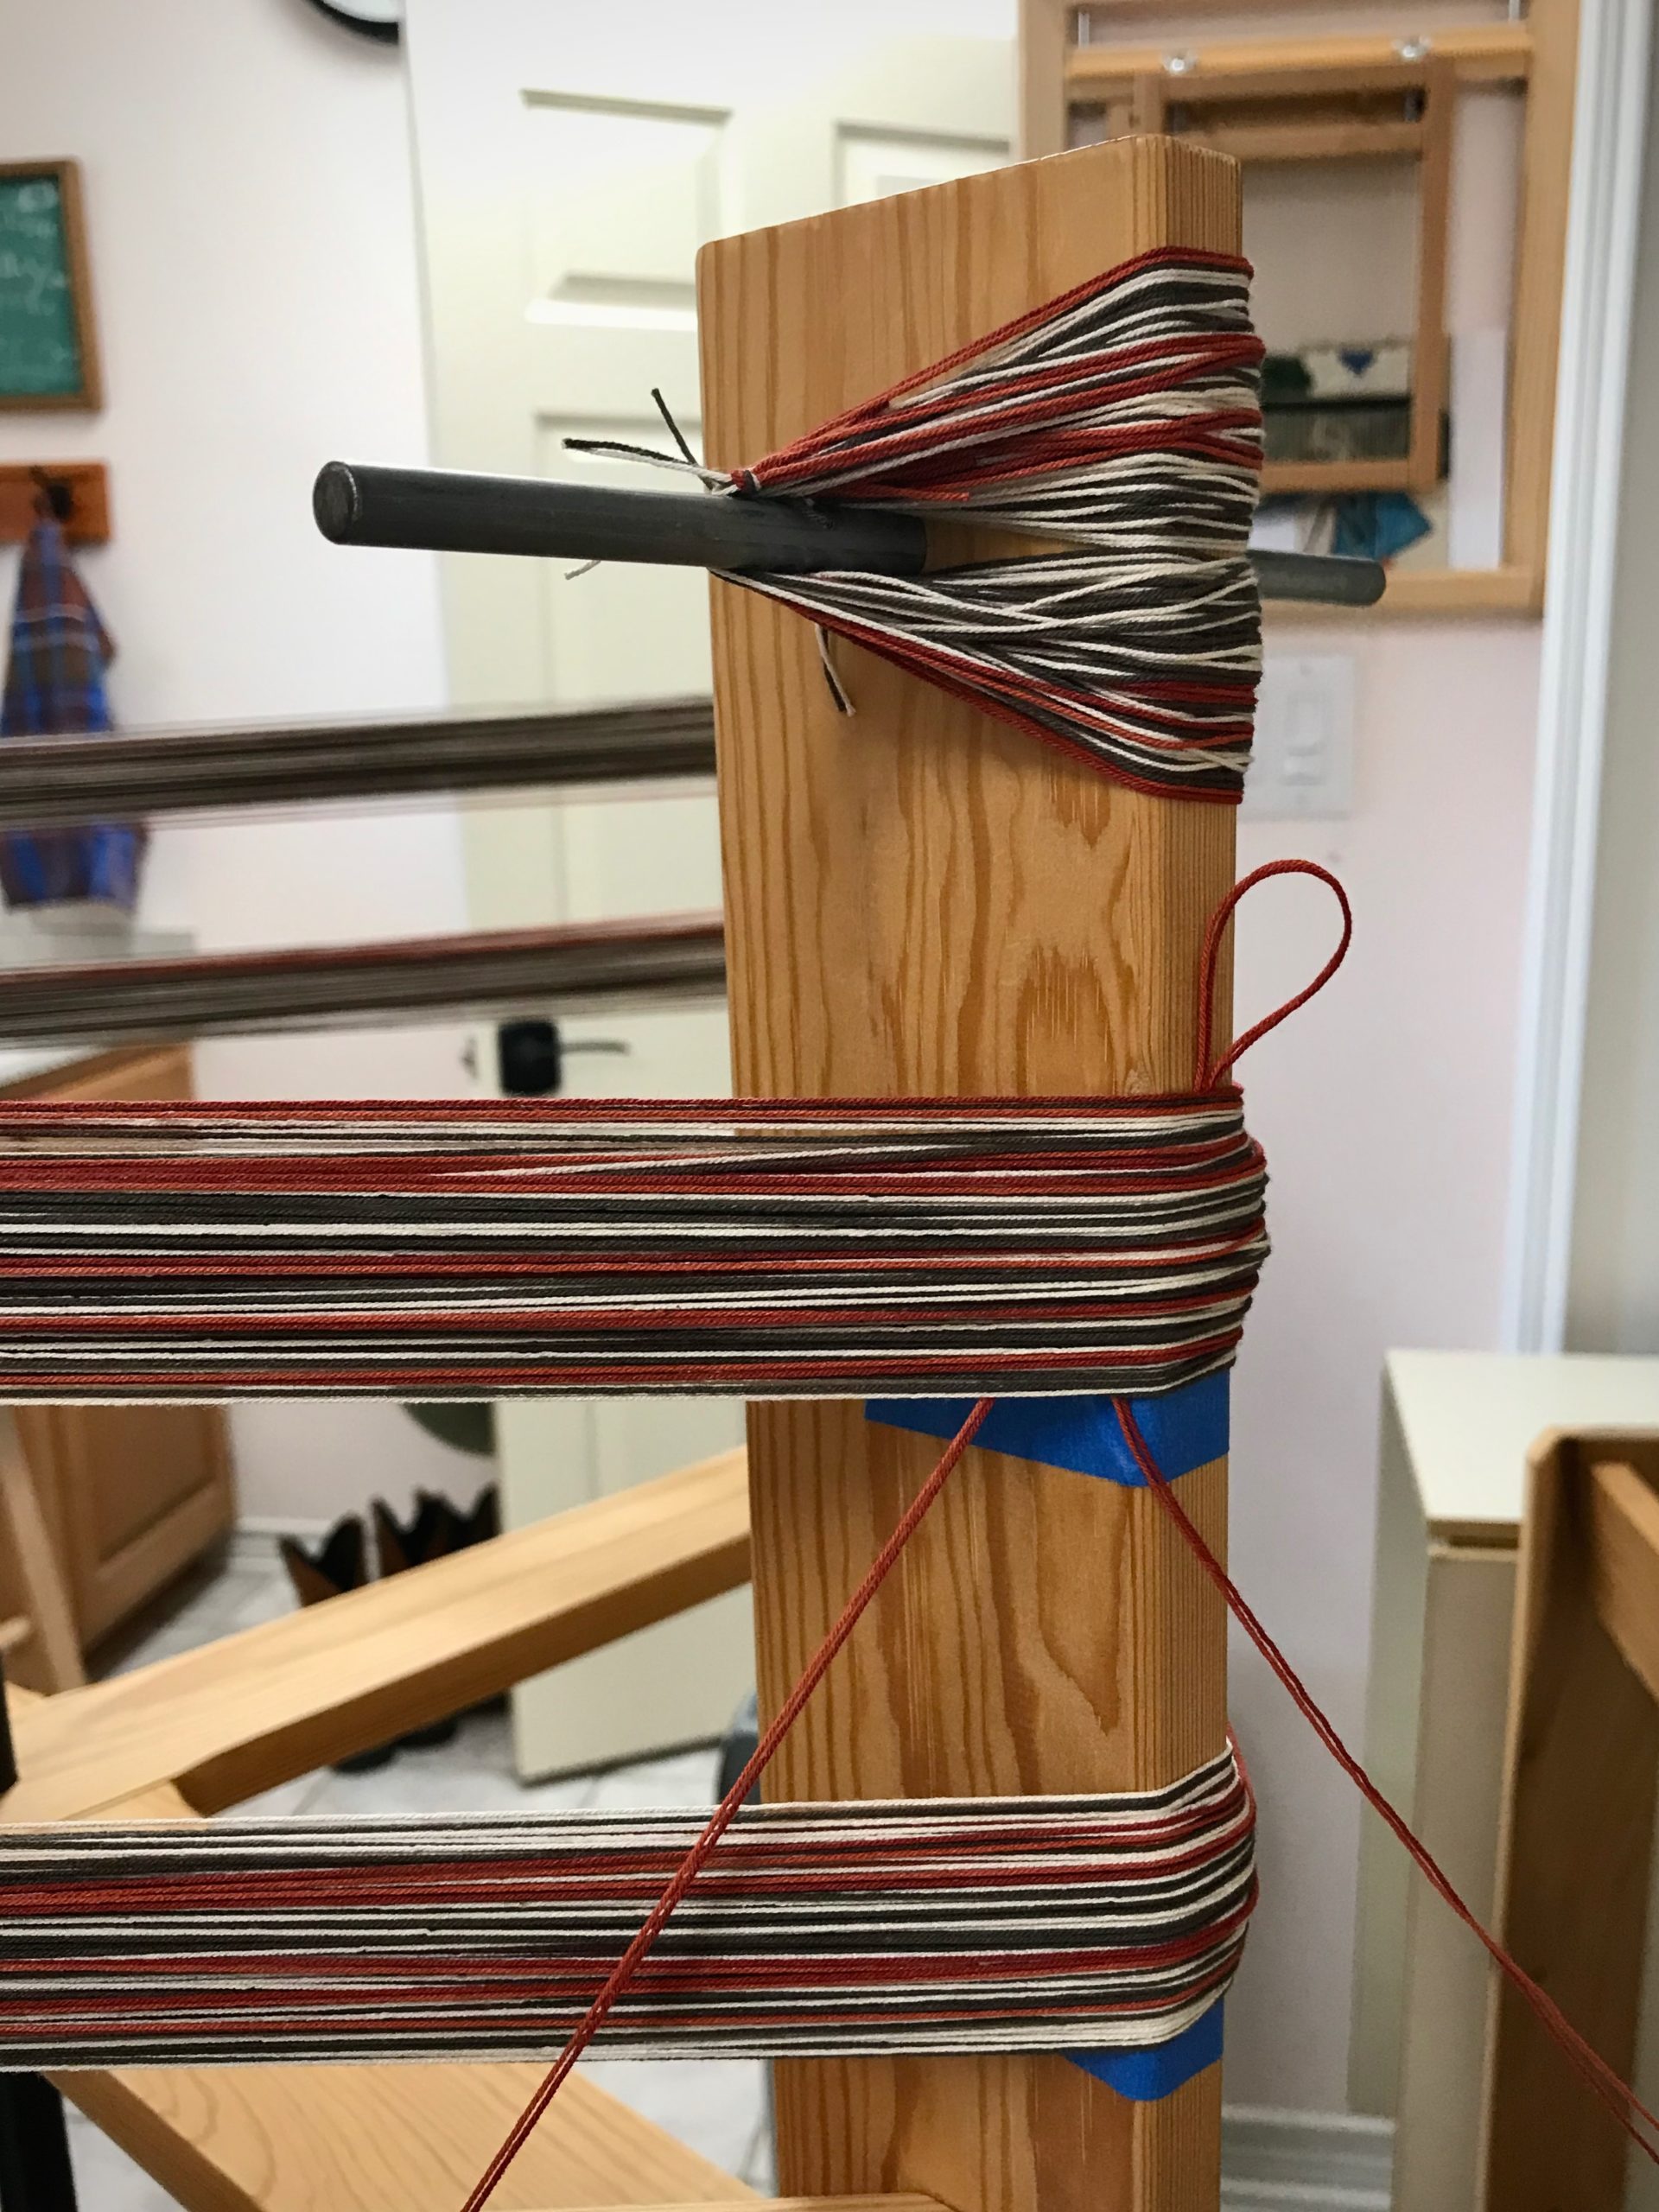
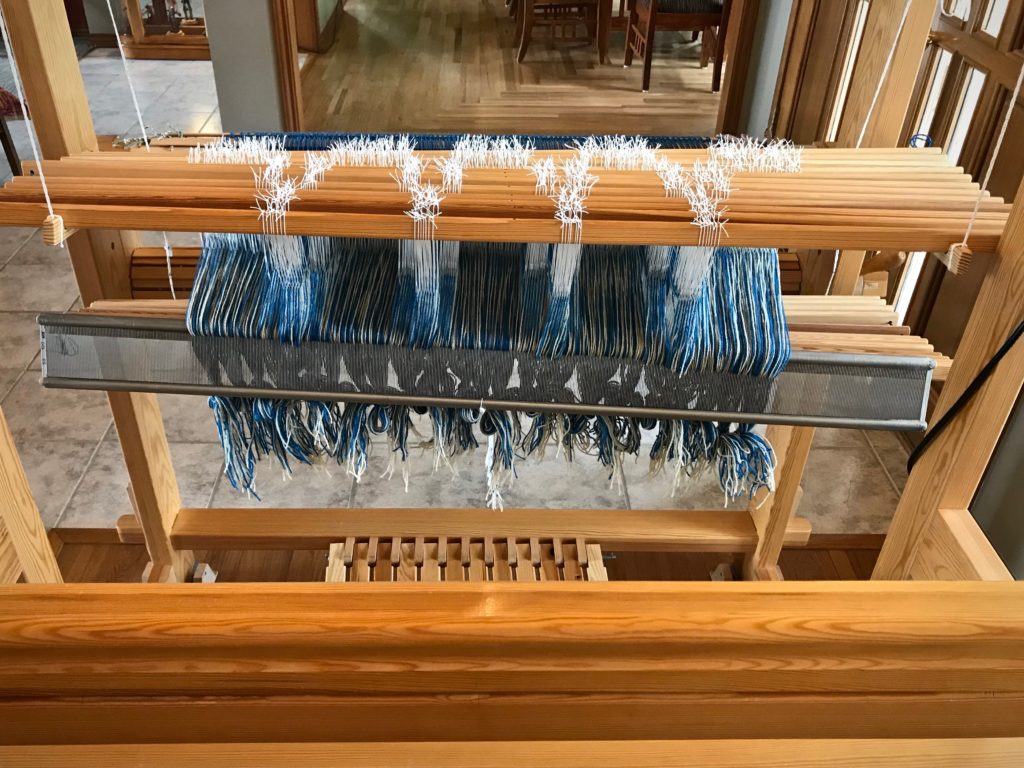
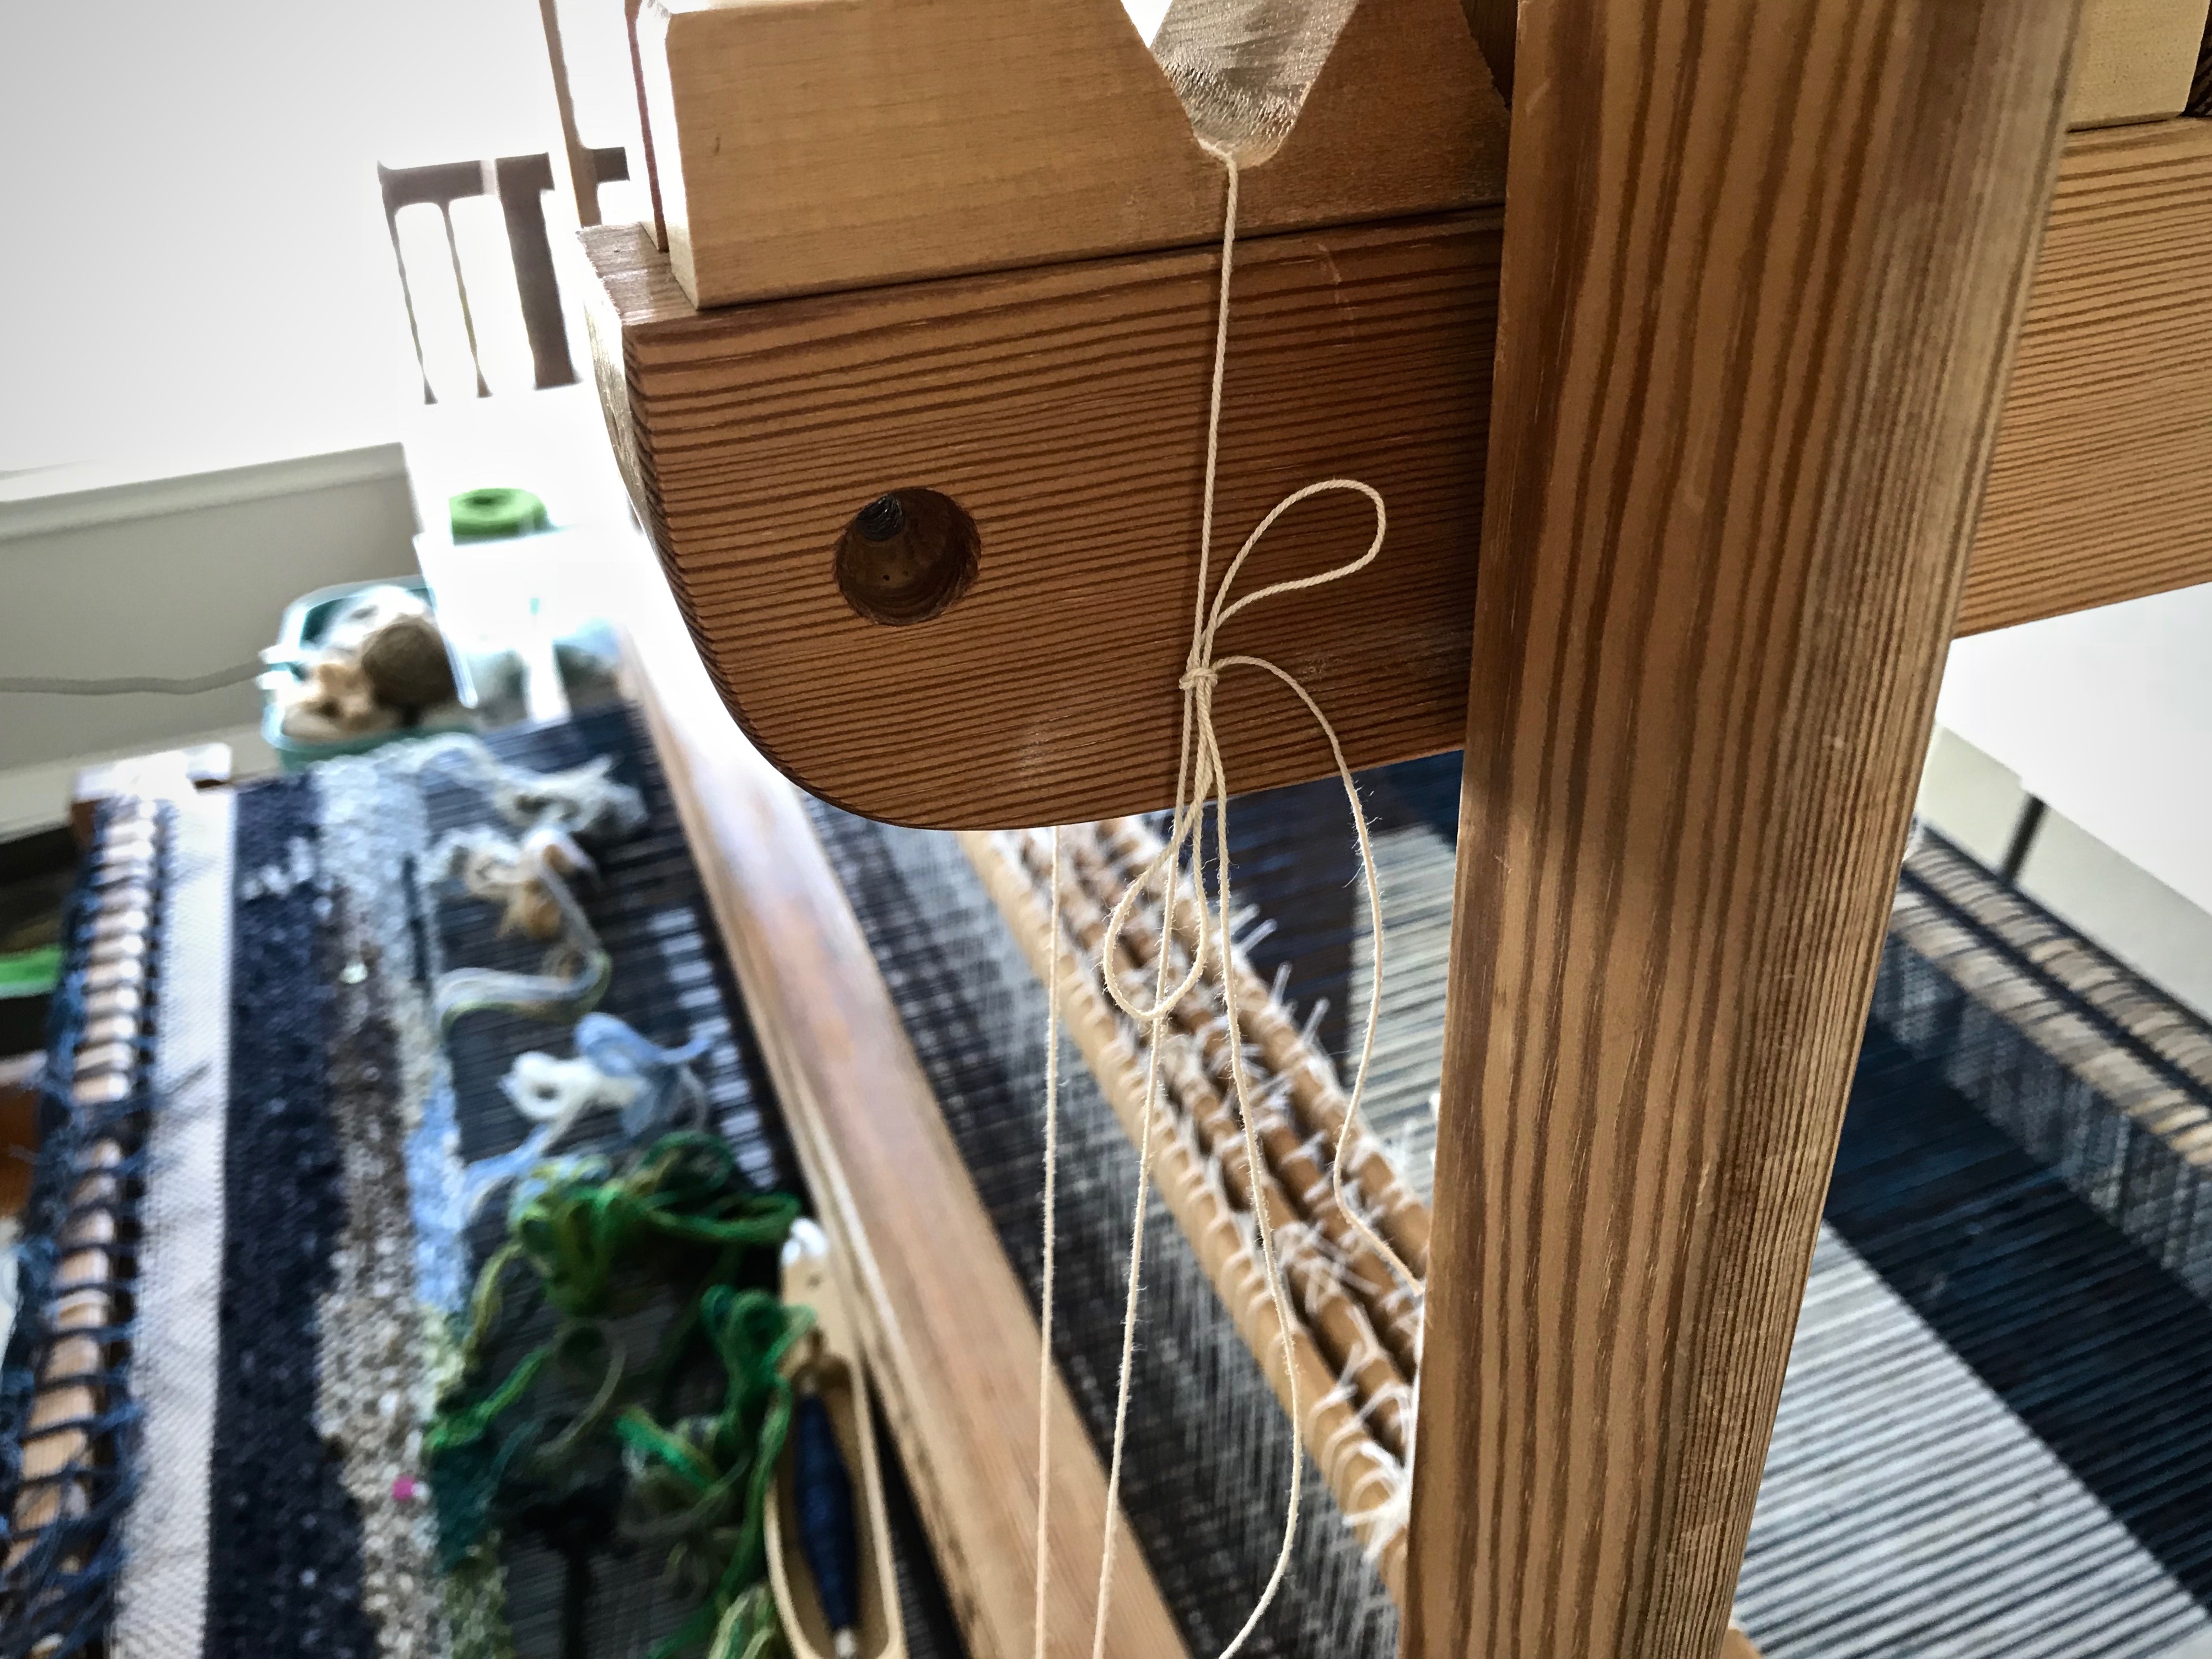
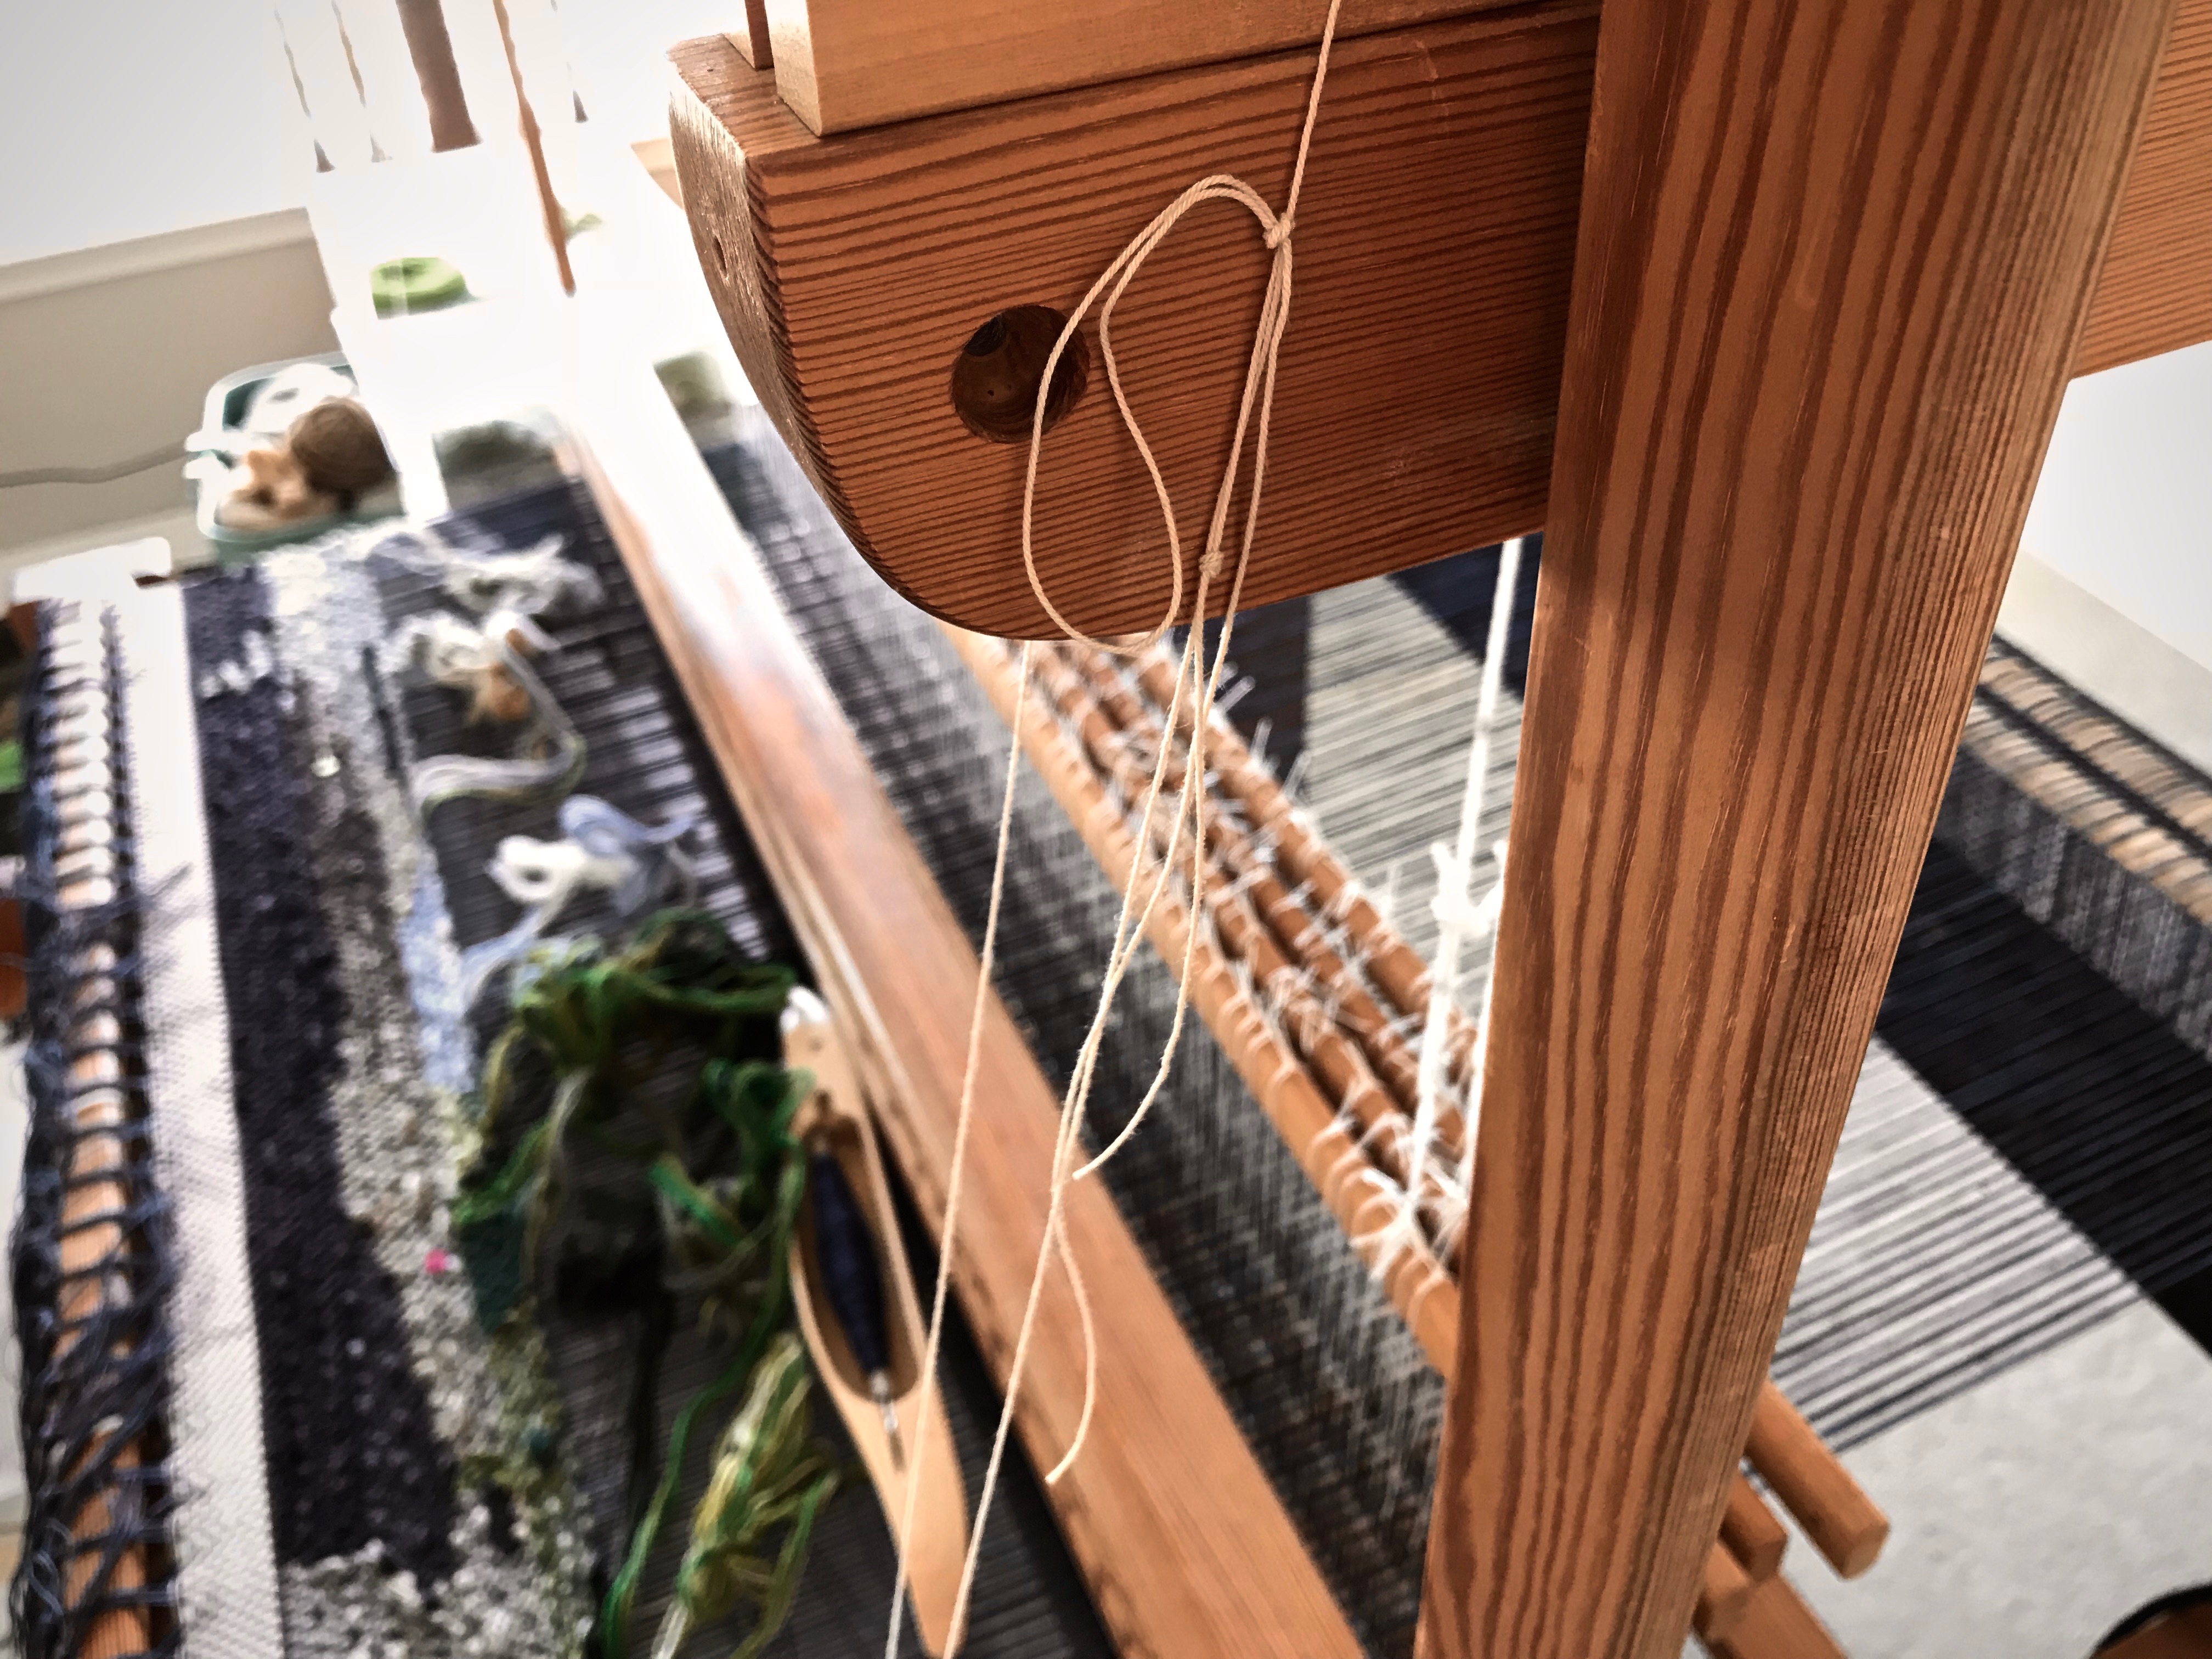
Reed is sleyed, so reed support cords have been removed. Time to move the whole shebang forward.Plastic-coated wire is threaded through the ends of the shaft bars because I don’t have shaft pins long enough for twelve shafts. After coaxing and wiggling the mass of shafts forward, with the countermarch above them, I am ready to insert the reed into the beater.As I put the reed in the beater I make sure all of the ends are free, and not trapped in the beater’s grip.
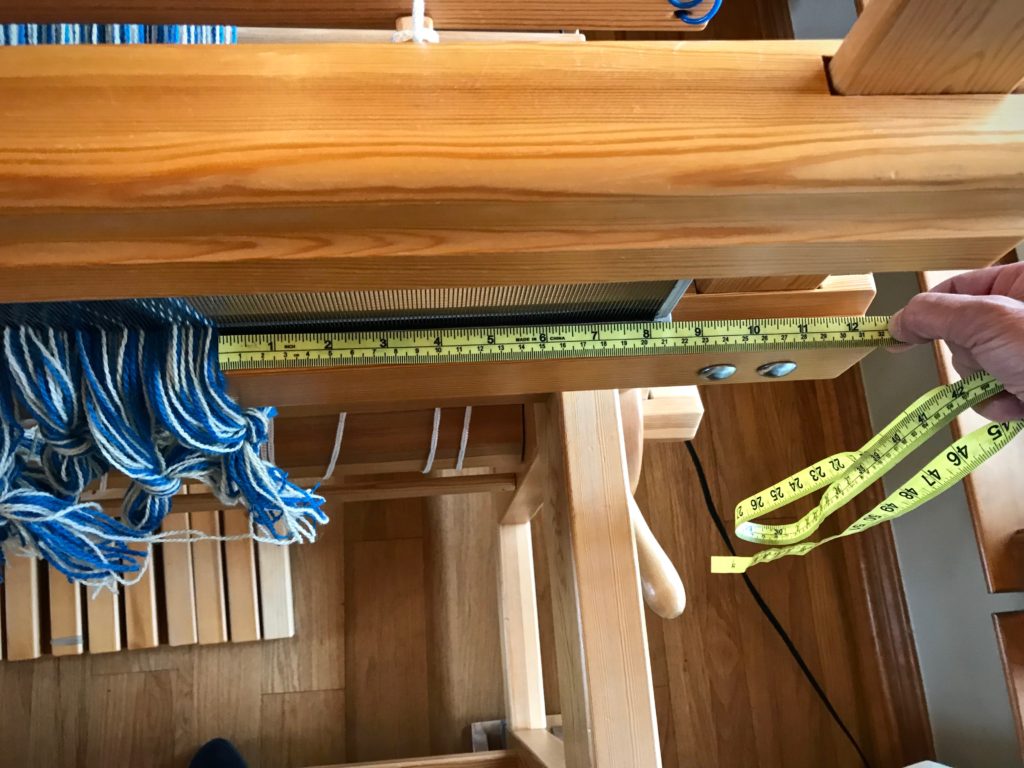
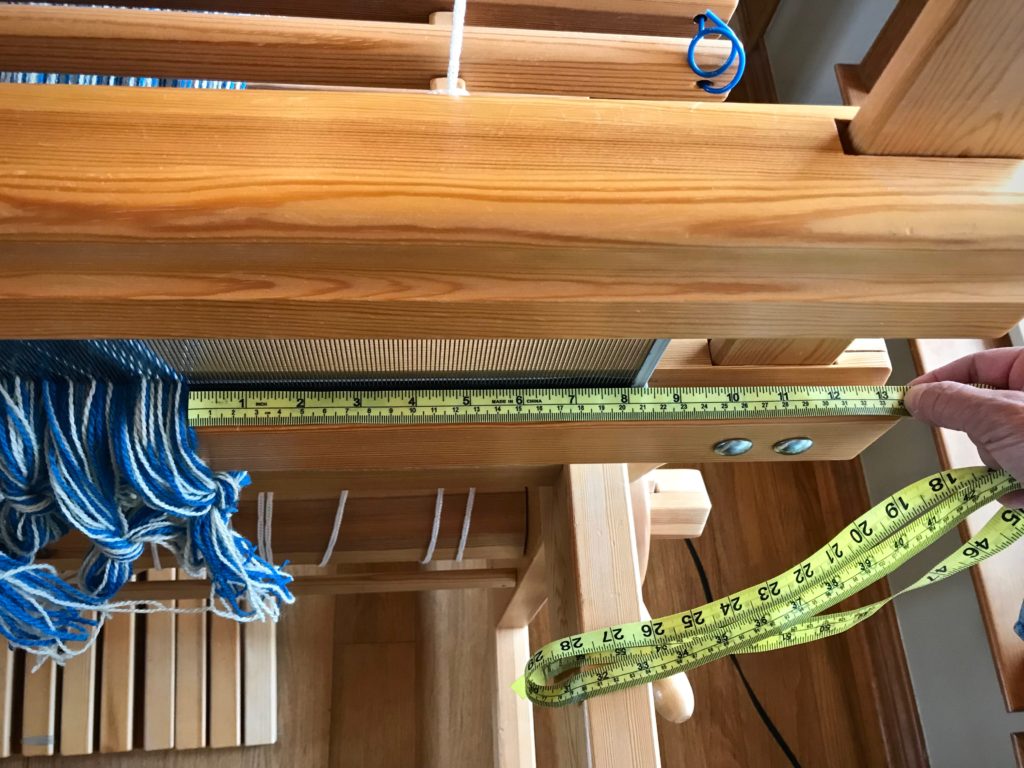
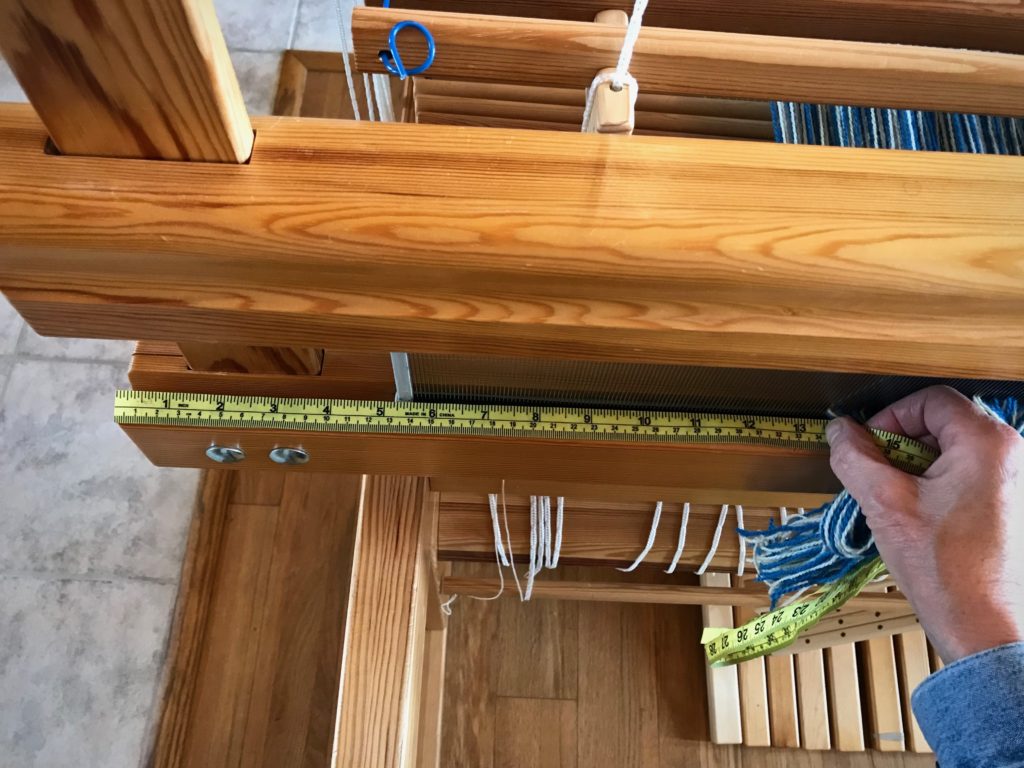
We must not forget to center the reed. I center the reed just as soon as the reed is in the beater.
How to Center the Reed
(We are actually centering the warp that is in the reed.)
Supplies needed: Tape measure (or string)
1. Using the tape measure, measure from the right edge of the warp in the reed to the outer edge of the beater on the right-hand side. Hold the tape measure with your fingers marking the measurement.
2. Holding that measurement, place the tape measure at the left edge of the warp in the reed stretching out toward the outer edge of the beater on the left-hand side.
3. Note the difference in measurement between the right side and left side. Move the reed in the beater to center.
4. Repeat the first two steps until the measurements are the same on both sides.
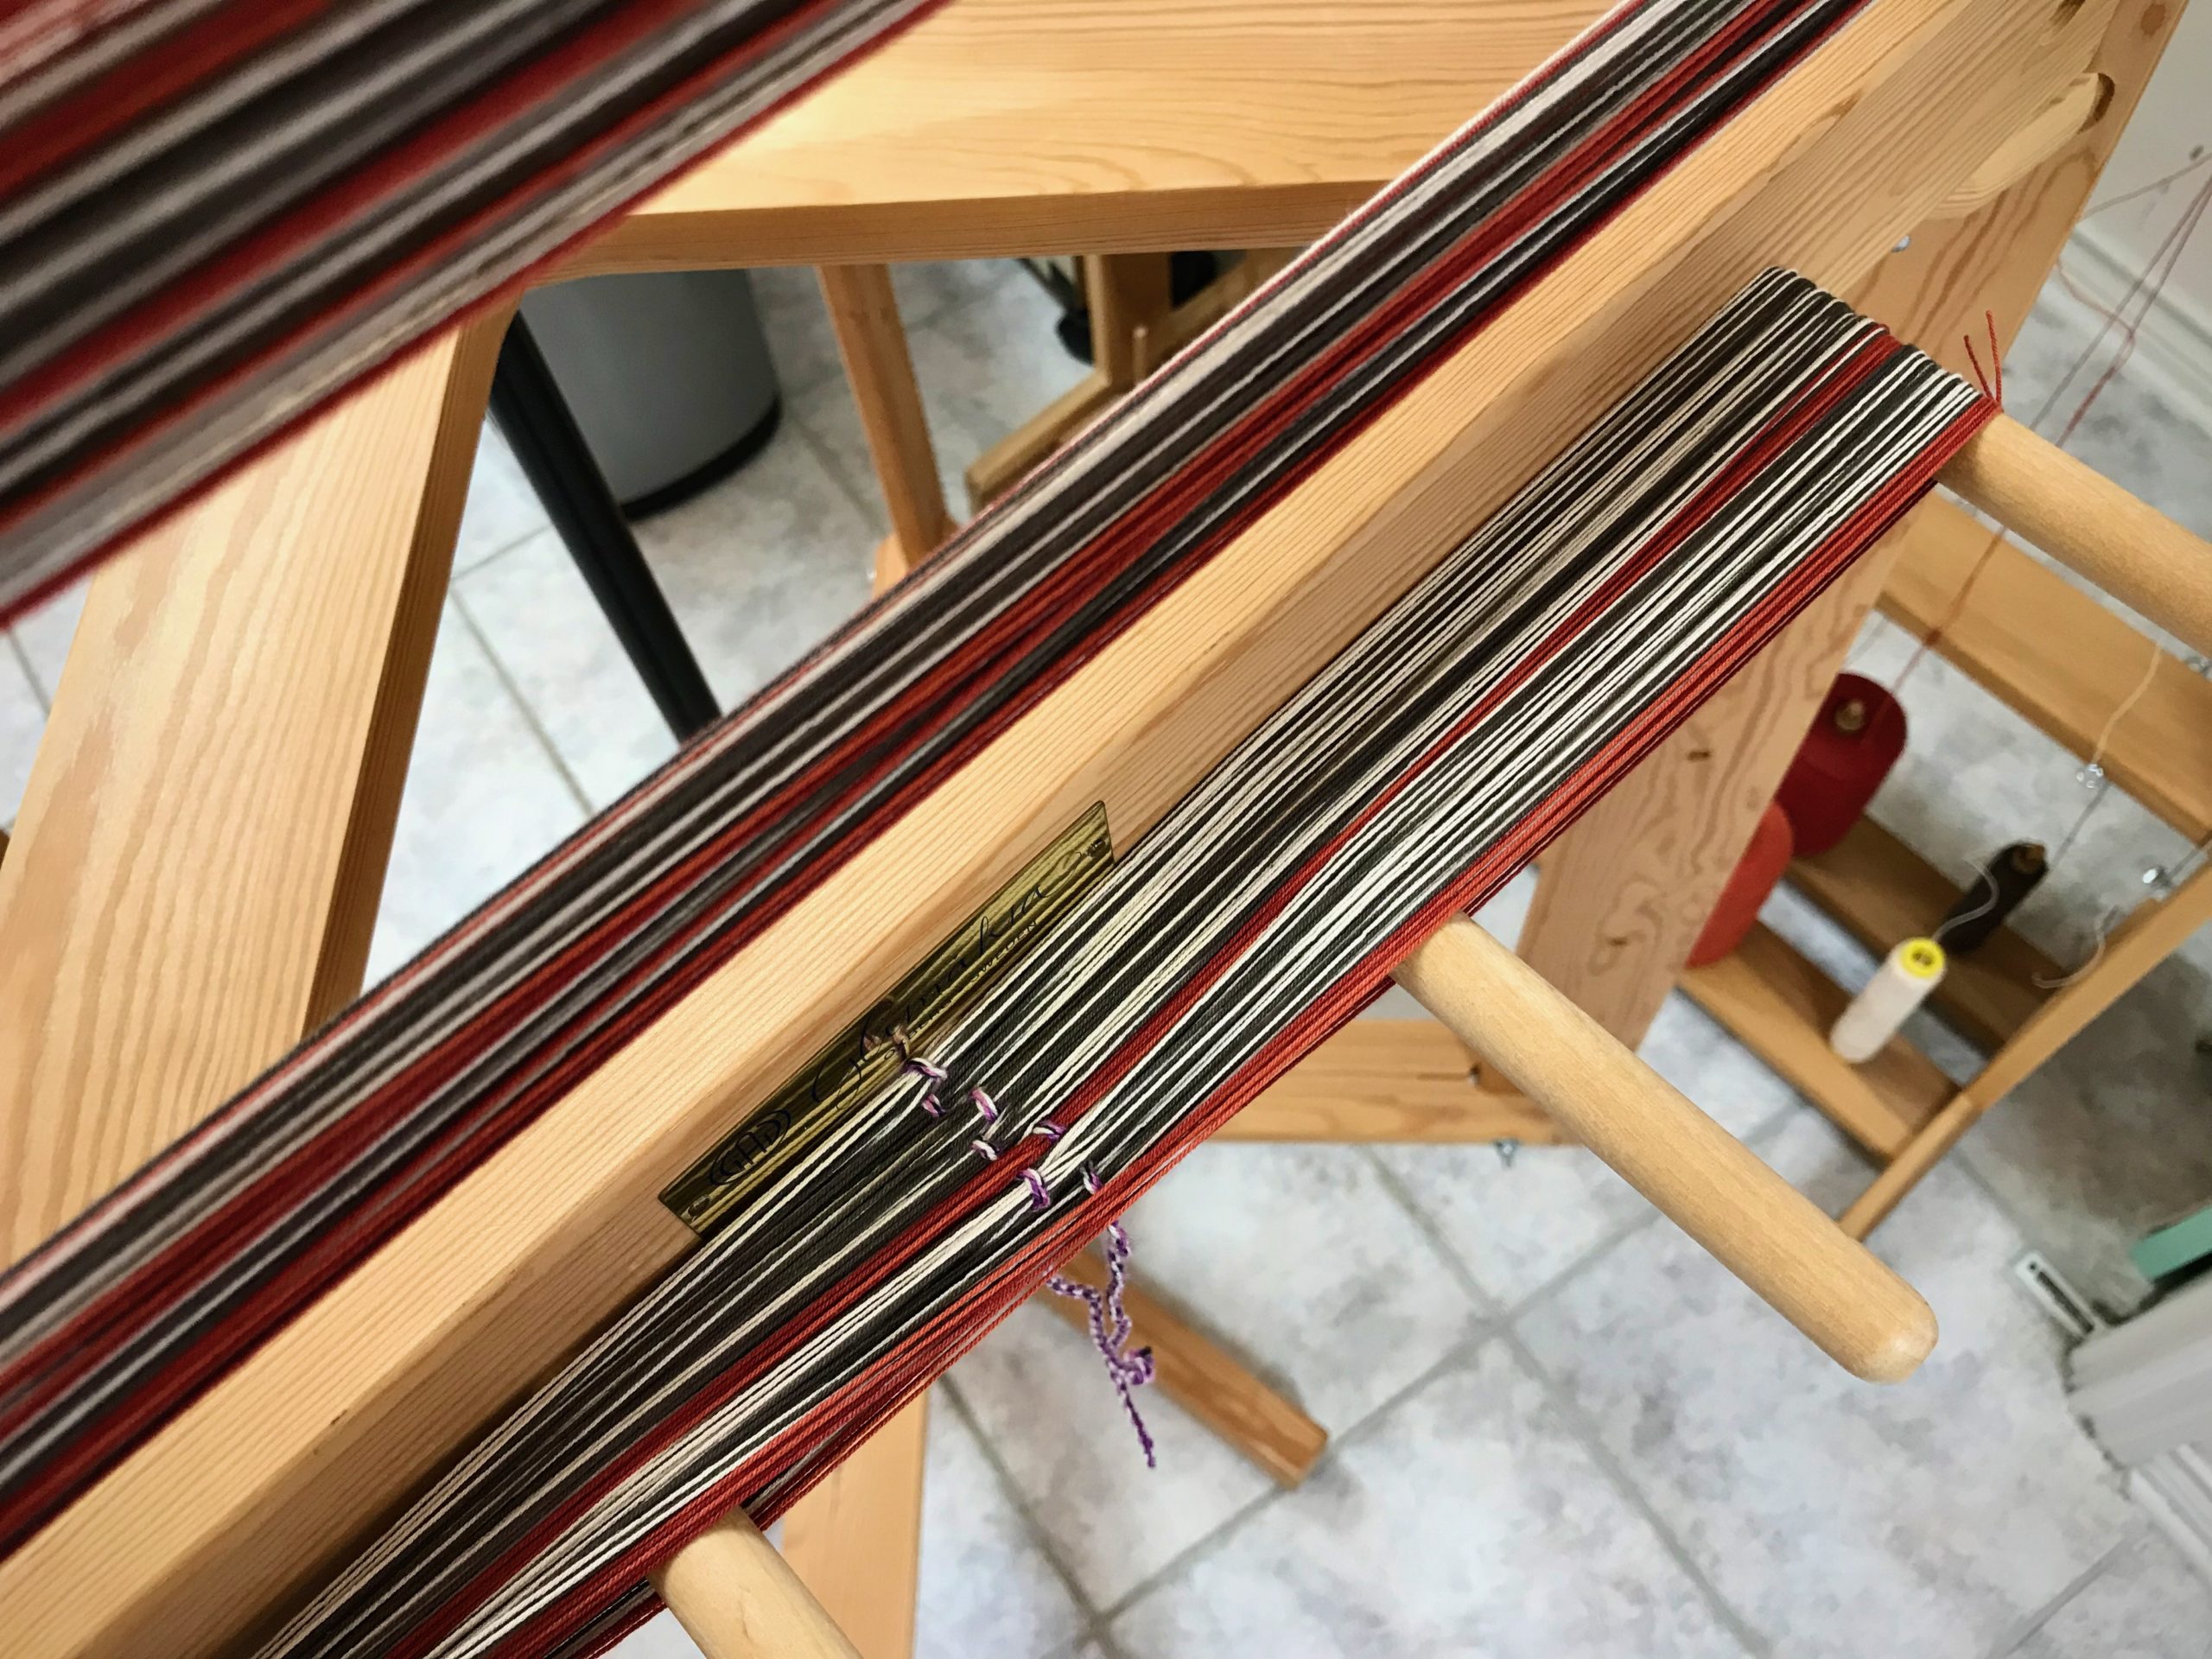
Reed is centered.
Now you can relax. Enjoy the moment, because you are that much closer to seeing fabric take shape!
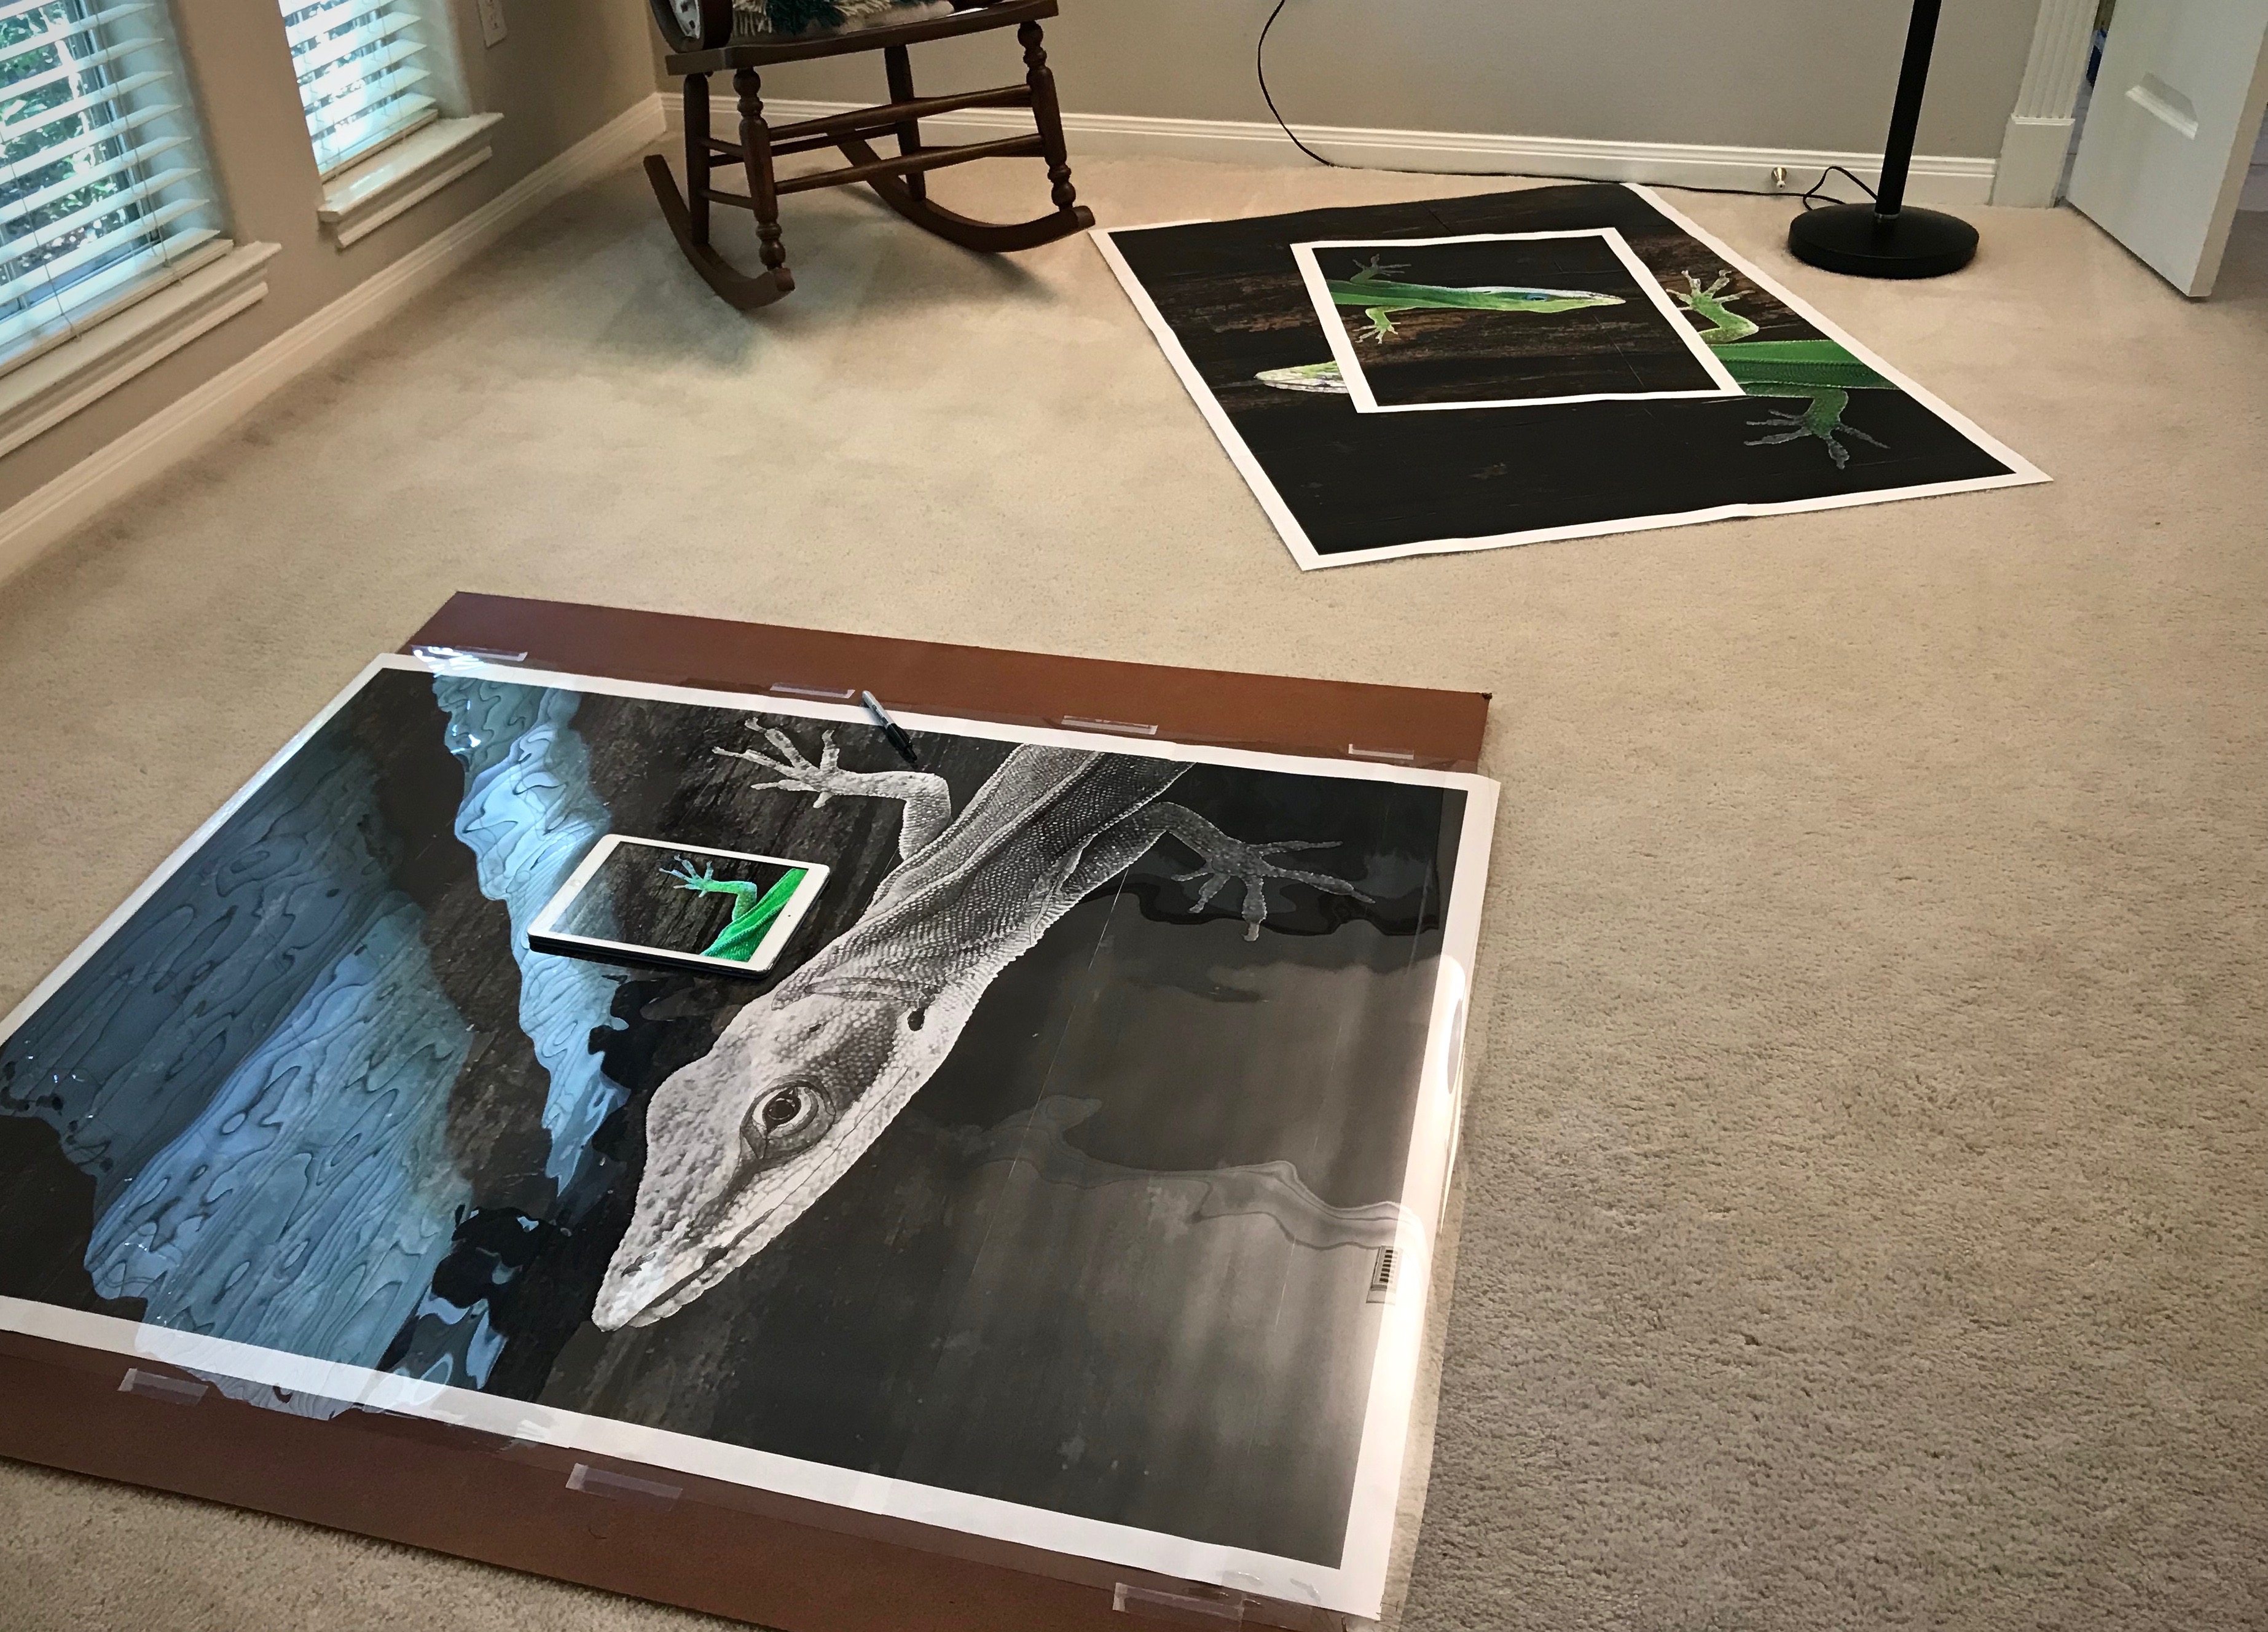
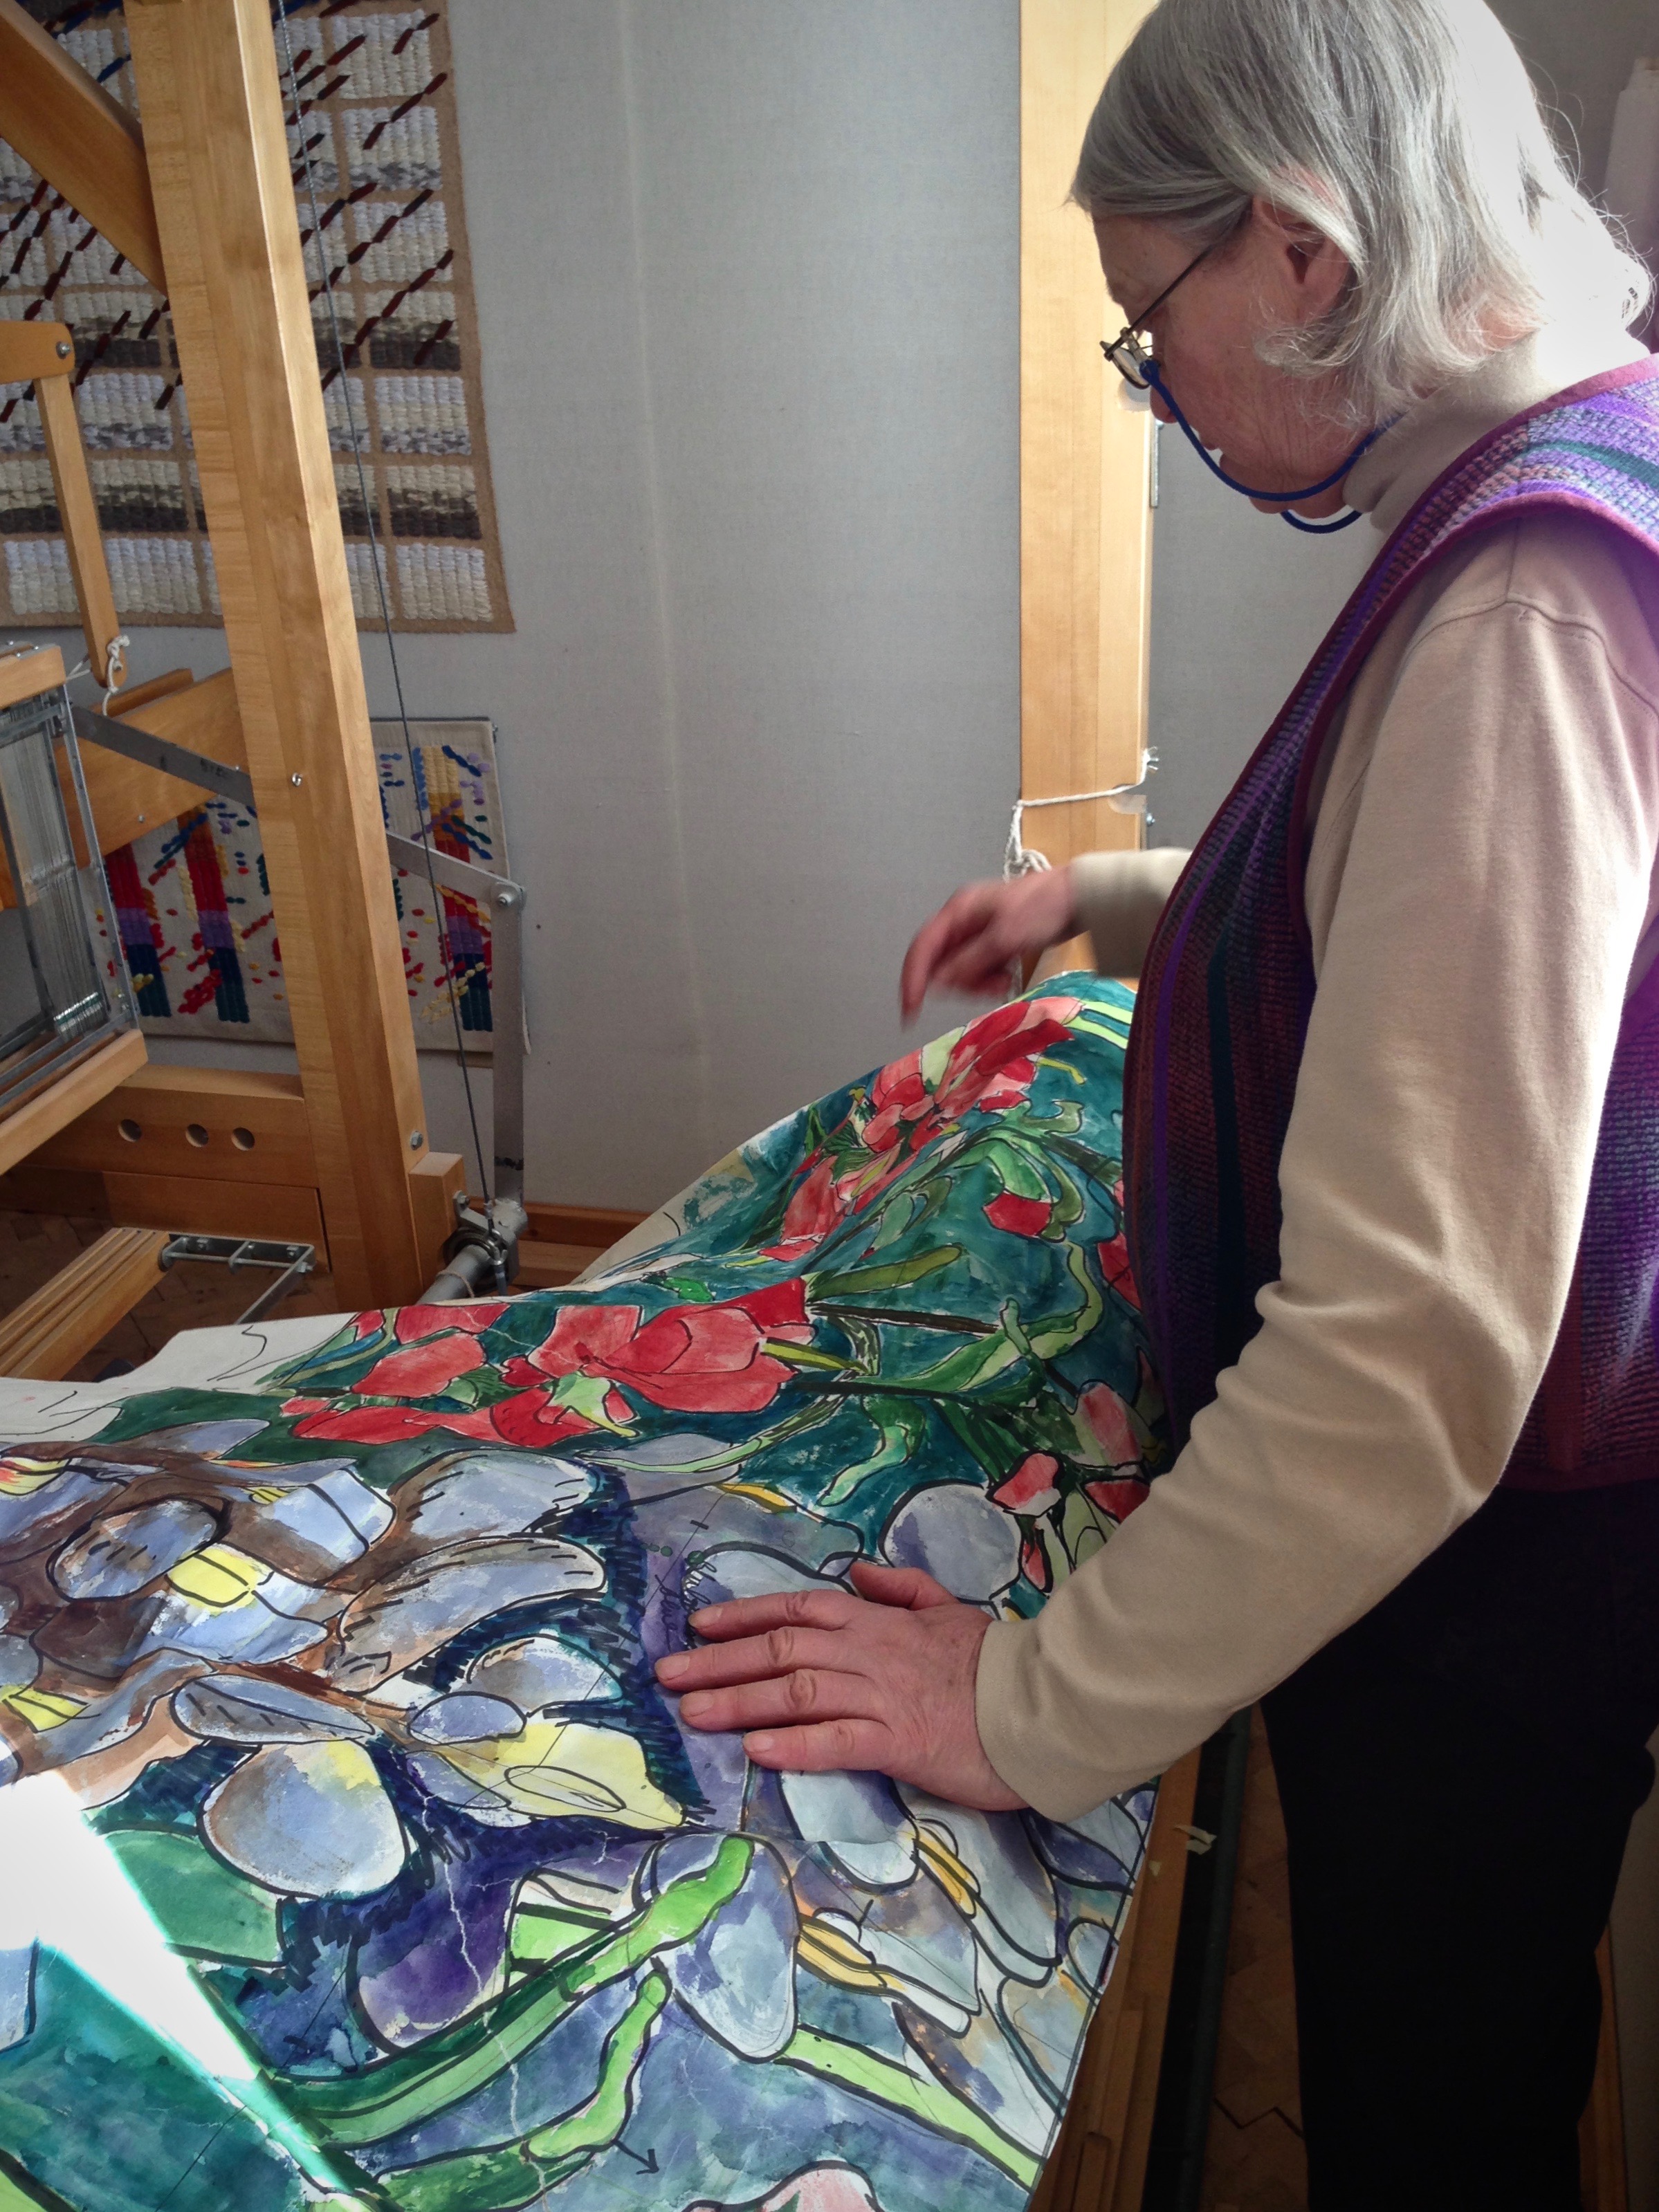
Making a cartoon for a lizard tapestry this size is quite a process. First, I enlarge the photograph. Then, I trace the outlines of the details onto a sheet of clear acetate. Next, to make the cartoon, I trace the bold Sharpie lines of the acetate image onto interfacing material meant for pattern making. But next time, it will be different.
Tracing outlines from the enlarged photograph onto the sheet of acetate. Photo image on the iPad helps clarify which distinctive lines to draw.
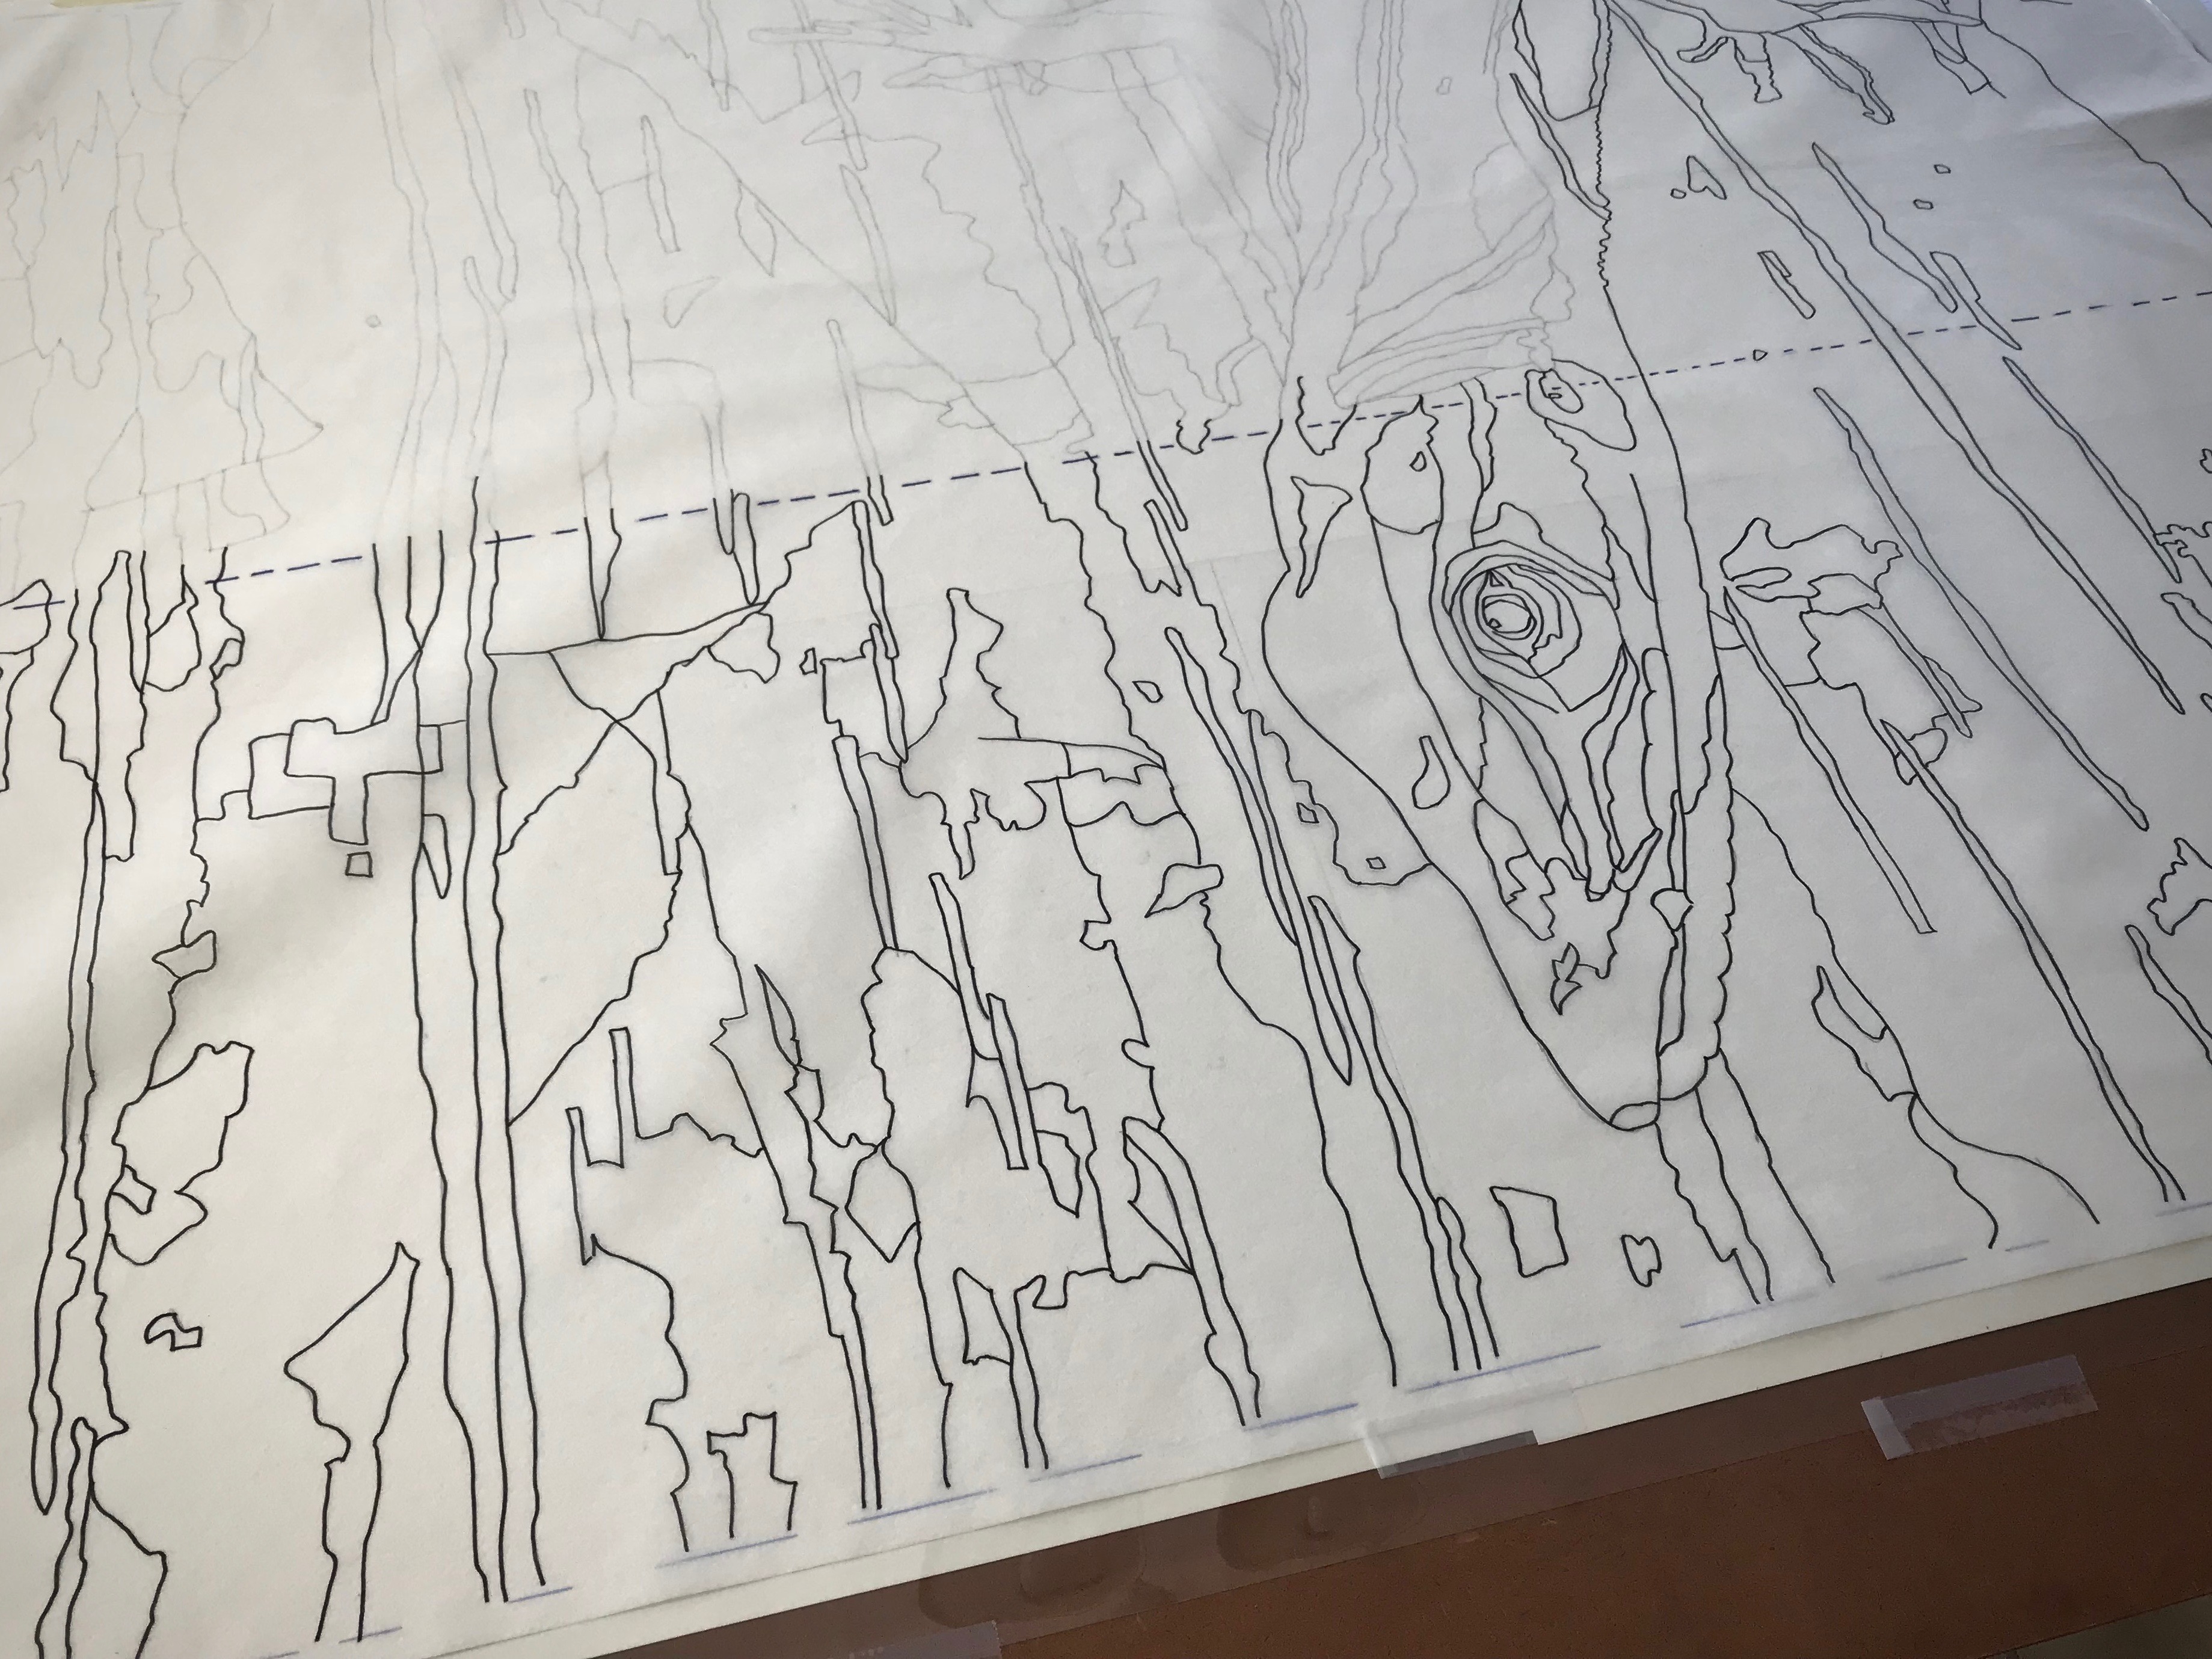
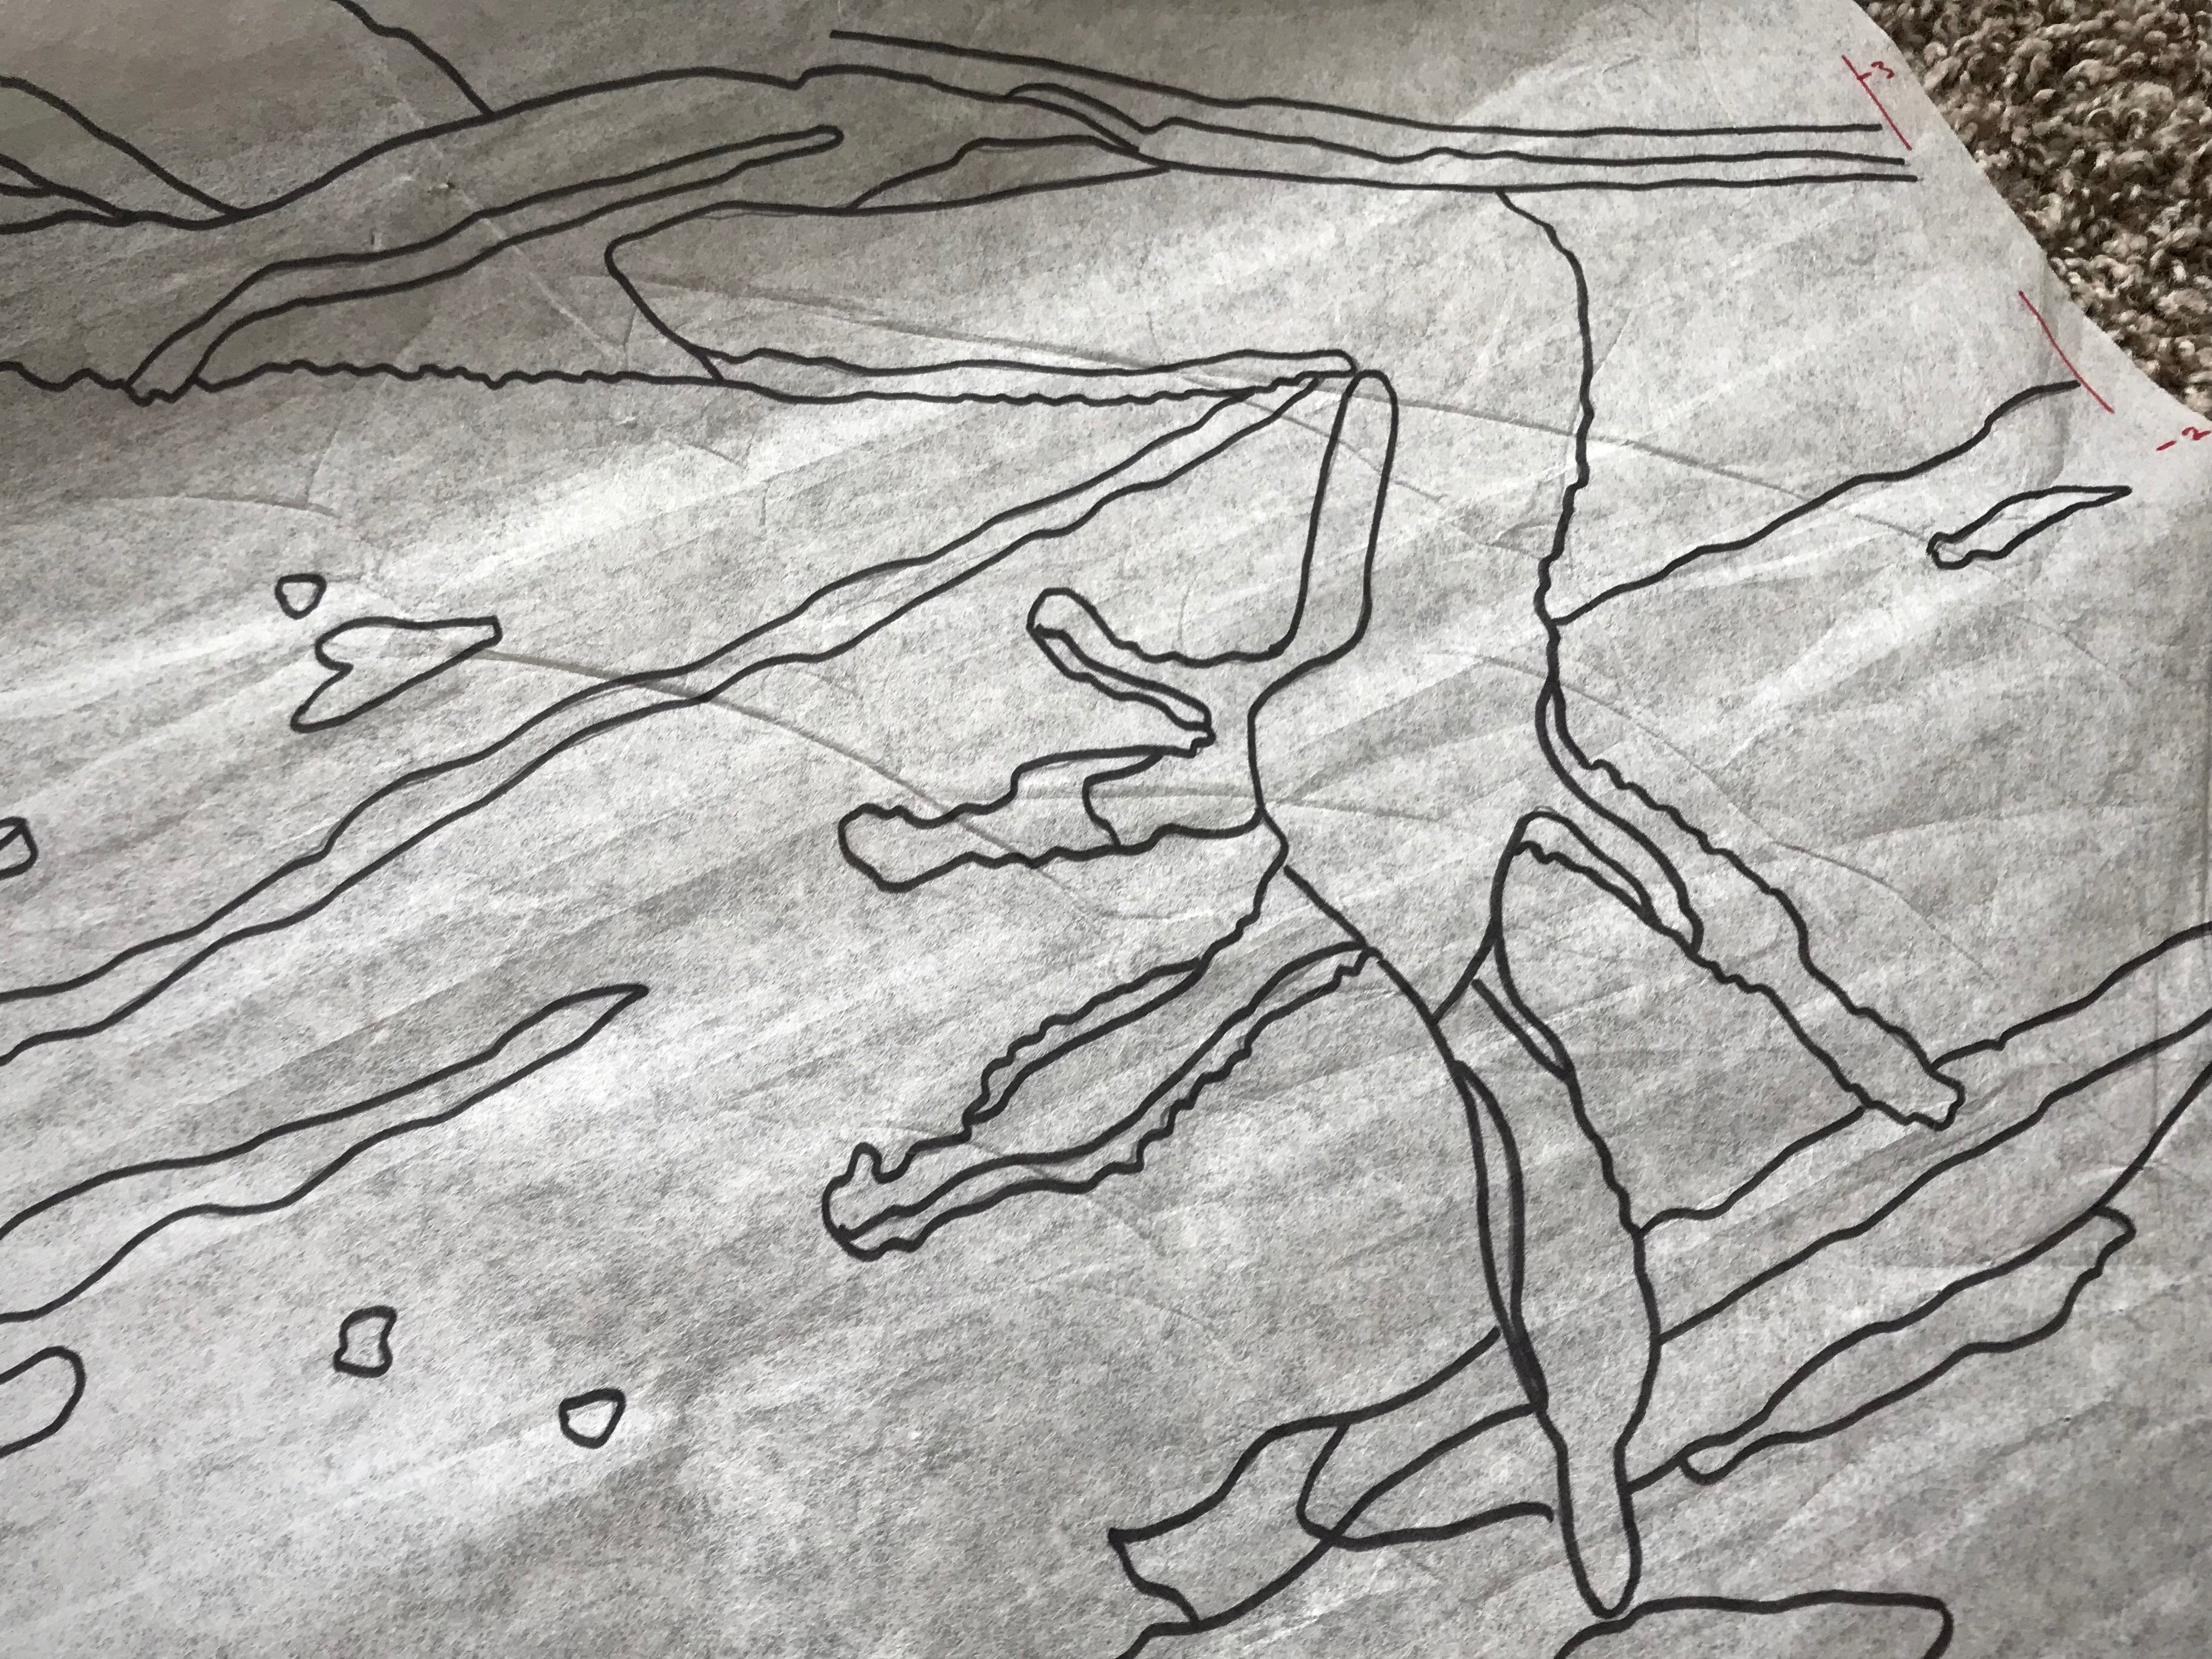
White poster board under the acetate makes the Sharpie lines visible. The interfacing material lays on top of the acetate so I can trace the lines to make my cartoon.
I don’t plan to use this interfacing material again for a cartoon. It is not stiff enough. As the tapestry progresses it becomes more and more difficult to keep the cartoon from puckering and creasing in places. A better option would have been stiffer buckram, like I used for my transparencies. (See – Quiet Friday: Painting with Yarn and Animated Images.) But I am not able to find buckram in sufficient width.
Interfacing material is susceptible to puckers and creases. Unevenness in the cartoon can result in a distorted woven image on the tapestry.
After I finished weaving the lizard portion of the tapestry, I decided to experiment. I removed the interfacing cartoon and switched to the acetate sheet instead. There’s no puckering with this one! It is much easier to line up the cartoon with the weaving. It has drawbacks, though. Noisy! When I beat in the weft it makes thunderstorm sound effects. (Not so great for our temporary apartment life.) It’s also harder to see the cartoon lines. And the magnets I use to hold the cartoon slip out of place too easily.
Slat holds the cartoon up to the warp. To beat the weft, I move the slat out of the way of the beater, just under the fell line. The sheet of plastic would be a good prop for making sounds effects for a film about a thunderstorm.
Next time... White paper, like the gorgeous tapestry cartoon I have seen in Joanne Hall’s studio. That’s what I’ll use. Next time…
Joanne Hall in her Montana studio. This is the cartoon she made for her impressive Bluebonnets tapestry that hangs on display in a Dallas hospital.
Alignment, security, and visibility are the main things I think about in regard to attaching and supporting the cartoon. In order to weave a tapestry this size, or any size for that matter, you need a good way to manage the cartoon. My cartoon is drawn onto a thin Pellon product (Pellon 830 Easy Pattern, 45″ wide) that is meant for pattern making. This material is easy to pin, doesn’t tear, and only barely wrinkles.
Alignment Align center of cartoon to center of warp.
A blue dashed line from top to bottom of the cartoon marks the center. I also have a pencil mark on the exact center of my beater. When the blue line on the cartoon is perfectly aligned with the center warp end, as seen from the mark on the beater, I know my cartoon is in the correct position.
Pencil mark on the beater is above the center warpend.
Security
Pin the cartoon in two places on each side of the woven tapestry.
This warp is too wide for me to reach all the way to pin the cartoon in the center. So, on both sides of the weaving I place one flathead pin near the selvedge, and another one as far as I can comfortably reach toward the center. I move the pins forward each time I am ready to advance the warp.
Two flat-head pins hold the cartoon under the tapestry weaving on the right-hand side.
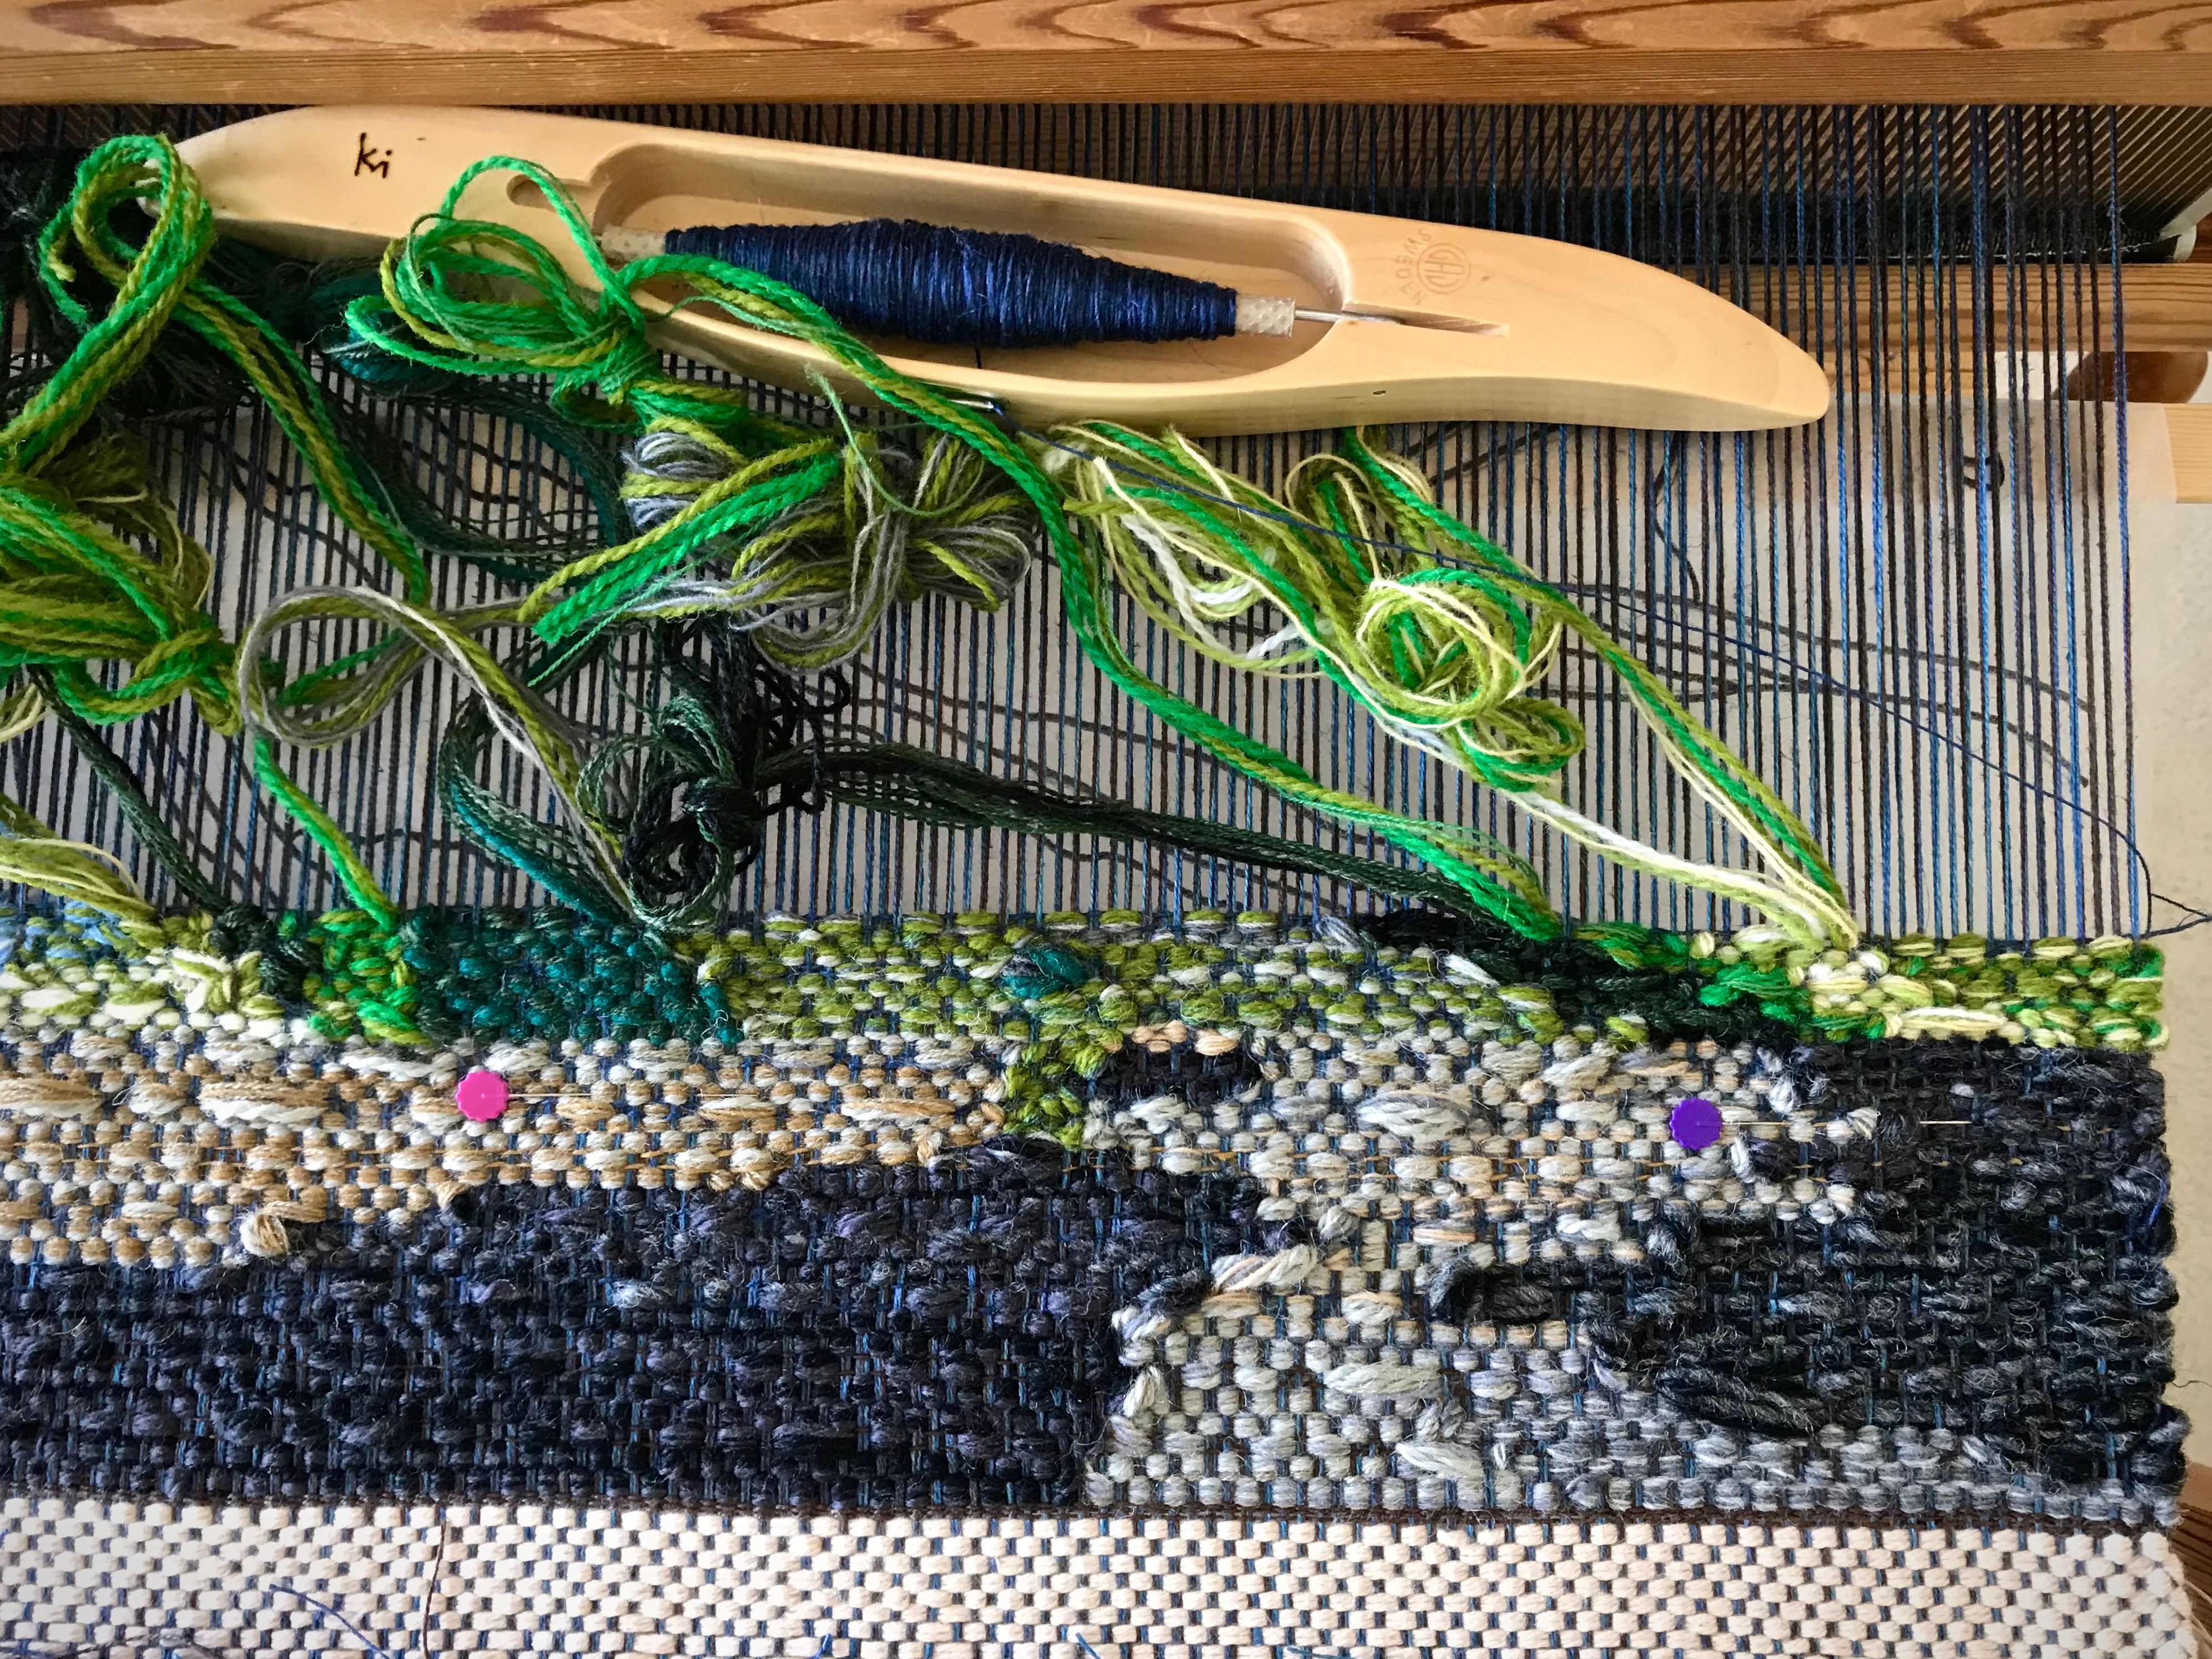
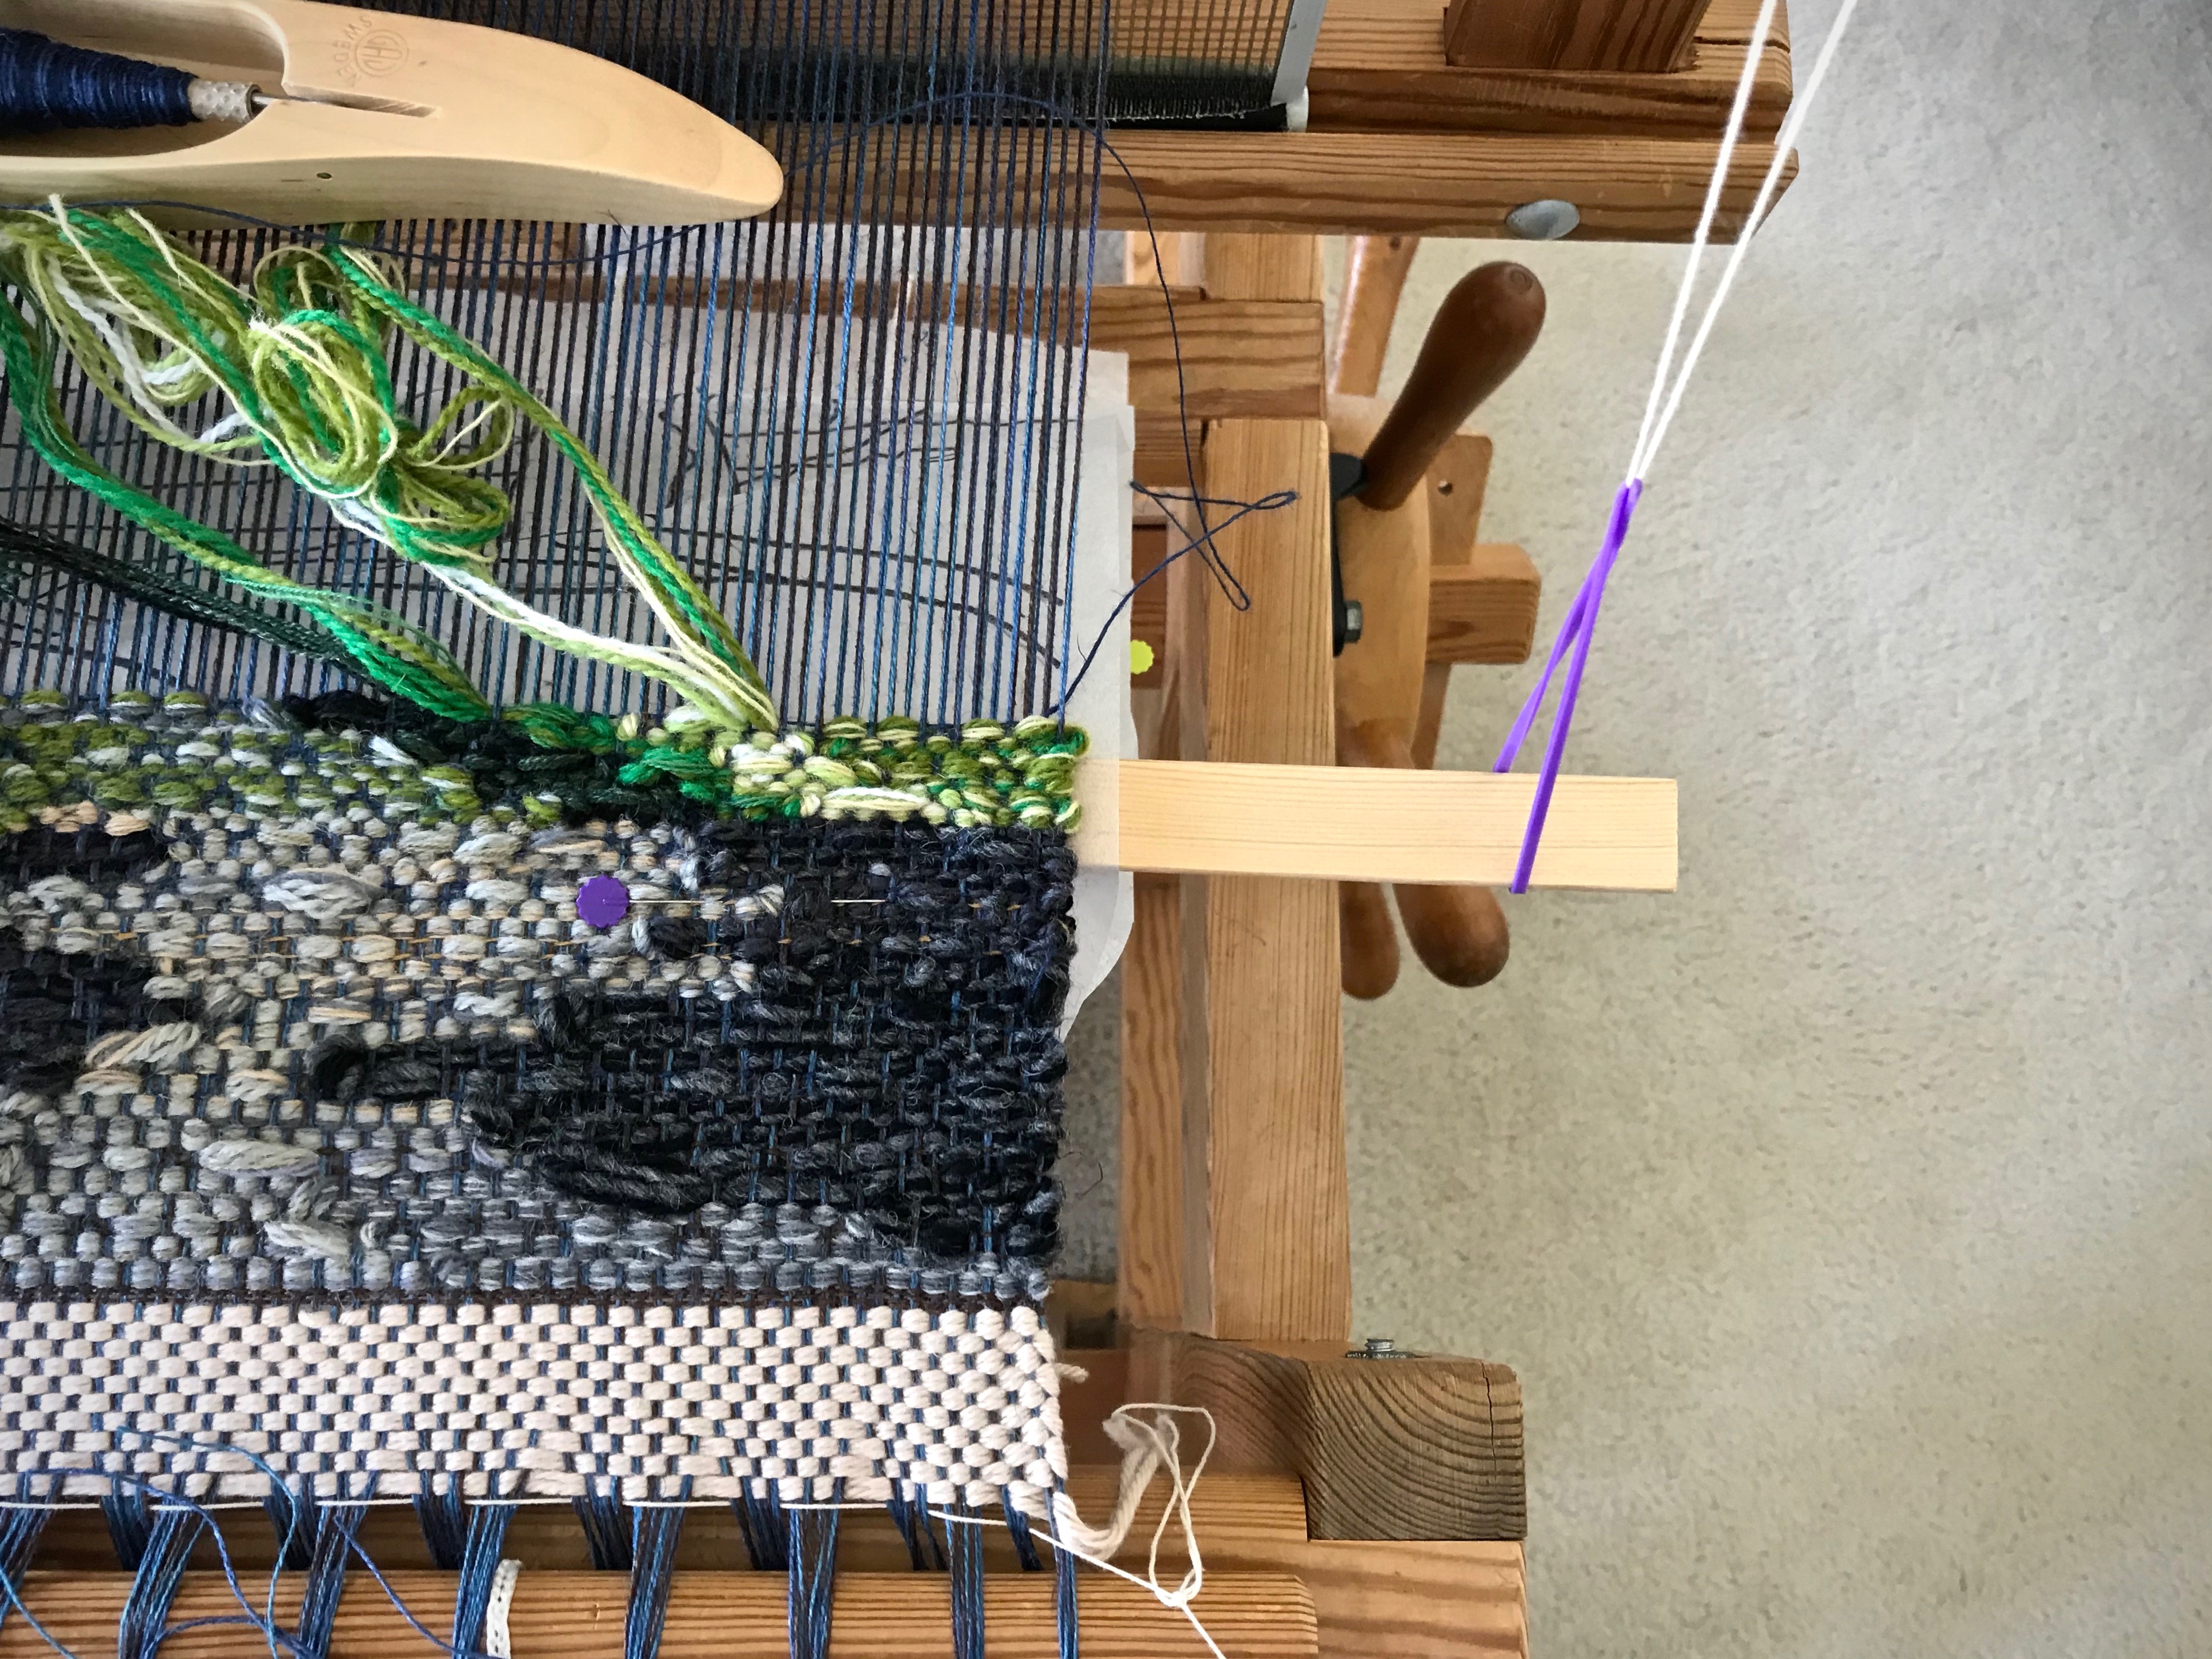
Hang a support slat under the cartoon.
I learned this from The Big Book of Weaving, by Laila Lundell, p. 239, 2008 edition. I used this method previously for a rag rug that had a cartoon for a large inlay pattern. It also works well for holding the cartoon for a woven transparency.
Seine twine loop with rubber band hangs from beater cradle. Slat holds cartoon up against the warp.
Supplies: 12/6 cotton seine twine, 2 rubber bands, long warping slat
1 Make a loop with the seine twine to hang from the beater cradle to just below the warp, with a rubber band on the loop.
2 Tie the ends of the loop with a bow knot or a weaver’s tie-up knot (this useful knot is described in How to Warp Your Loom, by Joanne Hall, p. 39).
Top of loop tied in a bow knot.
Weaver’s tie-up knot is perfect for this application, since it is quick and easy to undo and re-tie if repositioning is needed.
3 Make another loop the same way, with rubber band, and hang it on the other beater cradle.
4 Place the warping slat in the hanging rubber bands, underneath the cartoon.
5 Adjust the length of the loops so that the slat lightly presses up on the cartoon and the warp.
Rubber band gives flexibility to the seine twine loop that is holding up the cartoon.
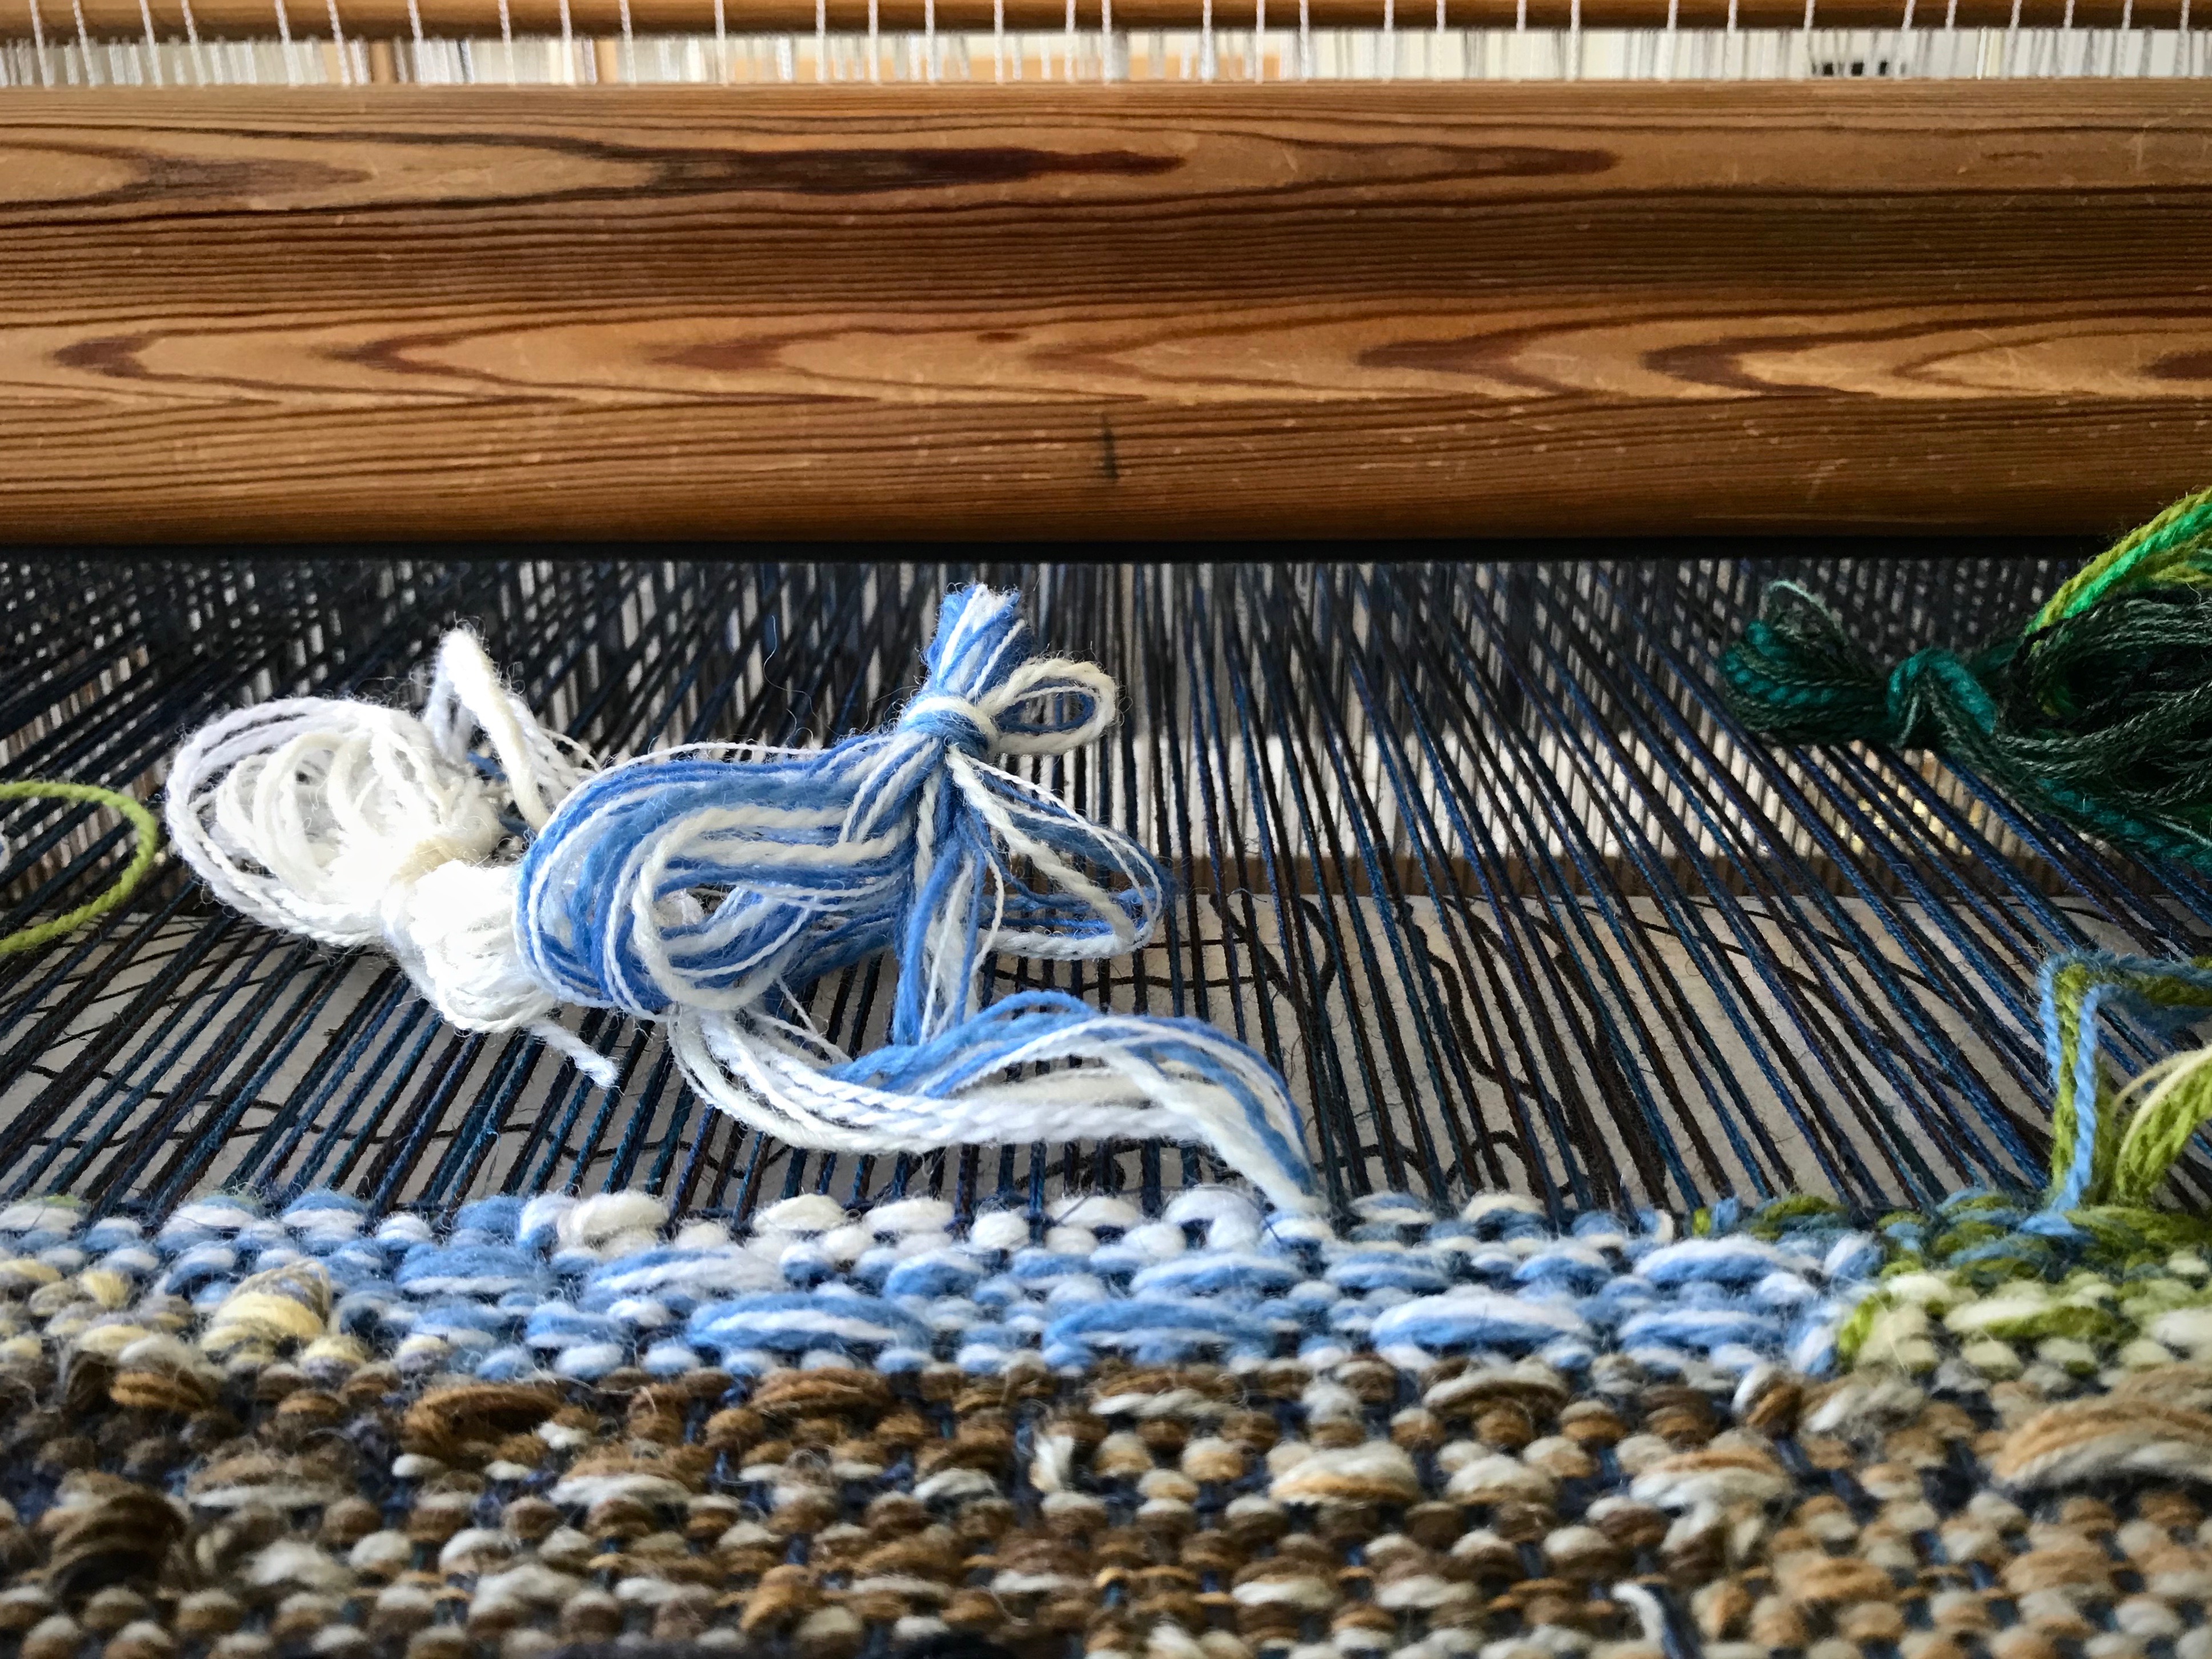
Pin the rolled-up cartoon underneath.
I roll up the Pellon cartoon under the warp and pin it once on each side. As the warp and cartoon advance I can reposition the pin as needed.
Under the warp, the cartoon is loosely rolled up and pinned.
Move the slat toward the breast beam, out of the way, to beat in the weft.
Because of the rubber bands, the slat support has flexibility and does not impede the movement of the beater.
With the slat under or near the fell line, it presses the cartoon up to the warp. By doing this, I can easily see what comes next as the tapestry weaving develops row by row.
Placing the slat under the fell of the weaving raises the cartoon to visibility where it is needed most.
I wait for my ordered yarn to arrive. Meanwhile, I dream of this tapestry becoming a reality as cartoon meets wool.
May you have the alignment, security, and visibility you need.
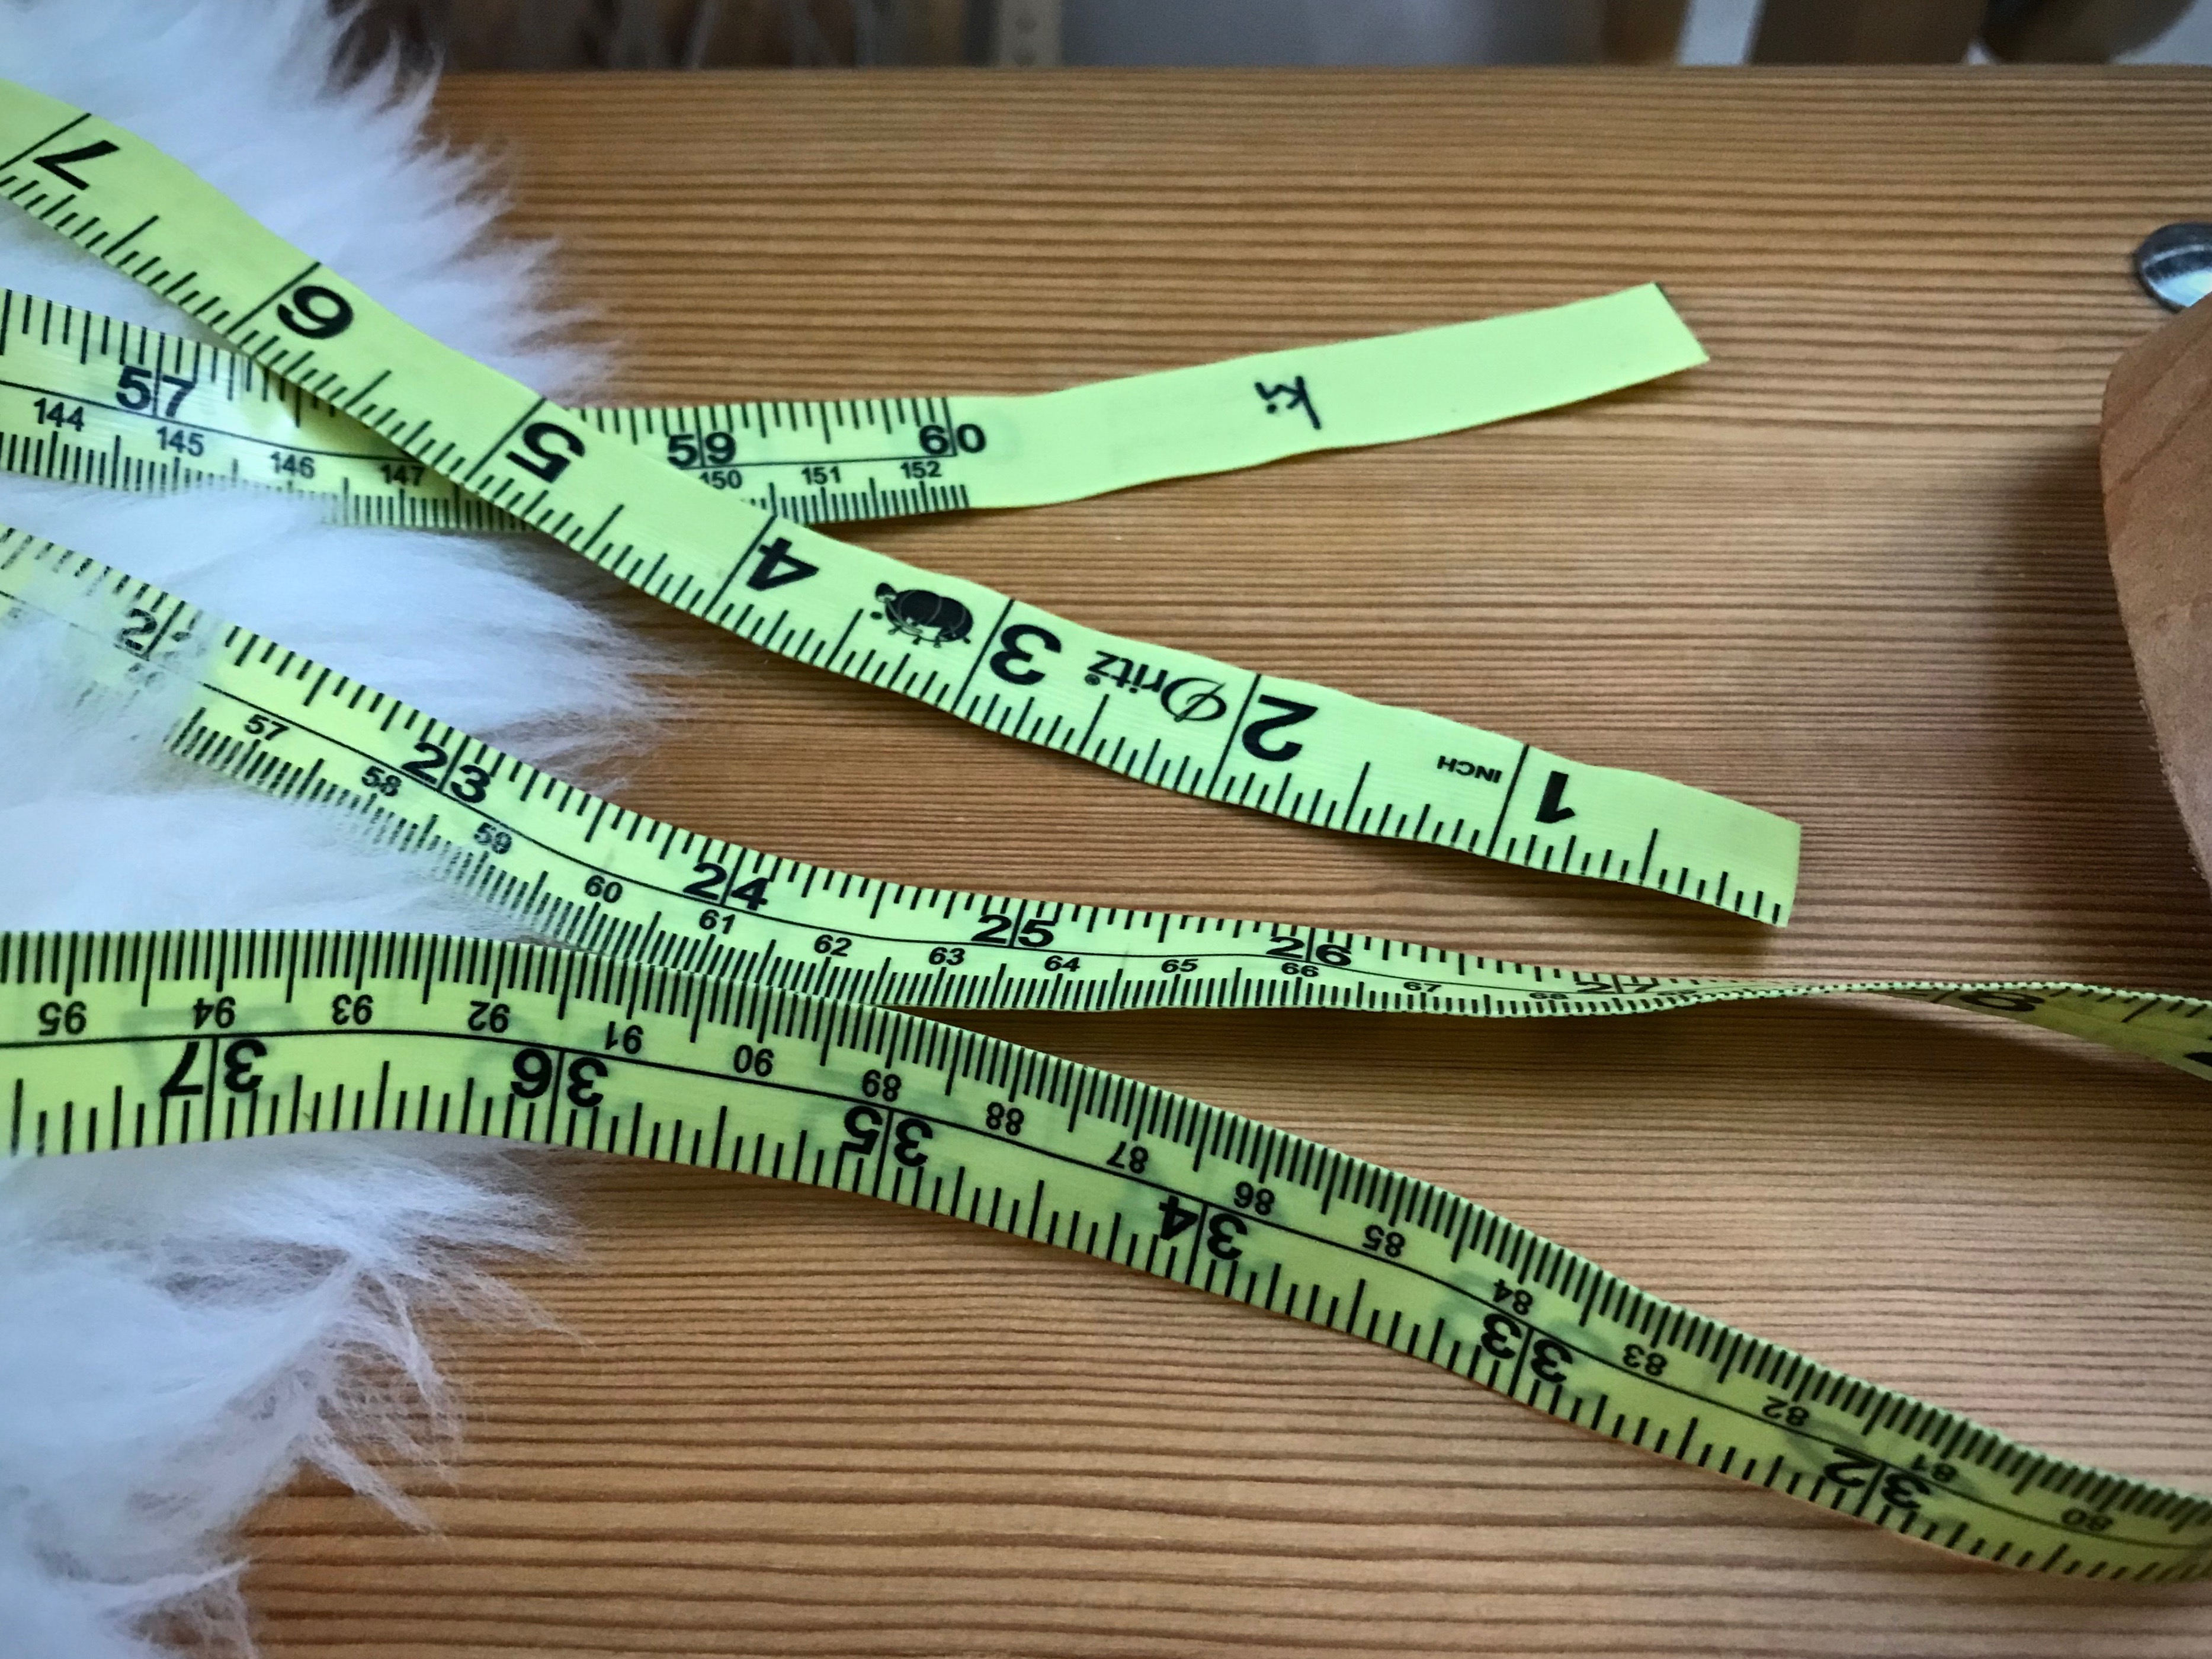
A tape measure is a weaver’s best friend. Think about how many ways the tape measure serves you. I have one at each loom. Always. And I have a few others scattered around, hanging up, and in bags. Because you never know when you might need to measure something.
Tape Measure Uses
Take measurements to determine the desired size of the finished cloth, such as window measurements for curtains, floor space for area rugs, or length of skirt tiers for skirt fabric.
Double check the width of the warp after it is pre-sleyed.
Check the width of the warp on the back tie-on bar.
Center the reed in the beater for beaming the warp by measuring the distance from the warp in the reed to the outside edge of the beater on both sides.
Find the starting point to sley the reed by measuring half of the warp width outwards from the center of the reed.
Double check the width of the warp in the reed after it is sleyed.
Center the reed in the beater for weaving.
Adjust to the correct width of the warp on the front tie-on bar after the warp is tied on.
Mark the measured weaving length on twill tape or ribbon to use as a weaving length guide.
Measure the distance between pieces that require unwoven warp, such as for fringe, or for tying knots between rag rugs.
Measure the distance from the first shaft (nearest the back of the loom) to the back tie-on bar (especially when you are hoping there is enough warp left to finish a symmetrical pattern).
Measure the width and length of fabric that has been wet finished, dried, and pressed.
Measure your pleasure at the loom. Immeasurable!
Tape measure with imperial and metric units, both of which I use regularly. Metal ends have been removed from the tape to clearly see the tape’s markings, and because I slip the tape into a dent of the reed when I am marking the spot to start sleying.
Glimåkra Ideal loom, with tape measure in its usual place hanging on the end of the loom bench.
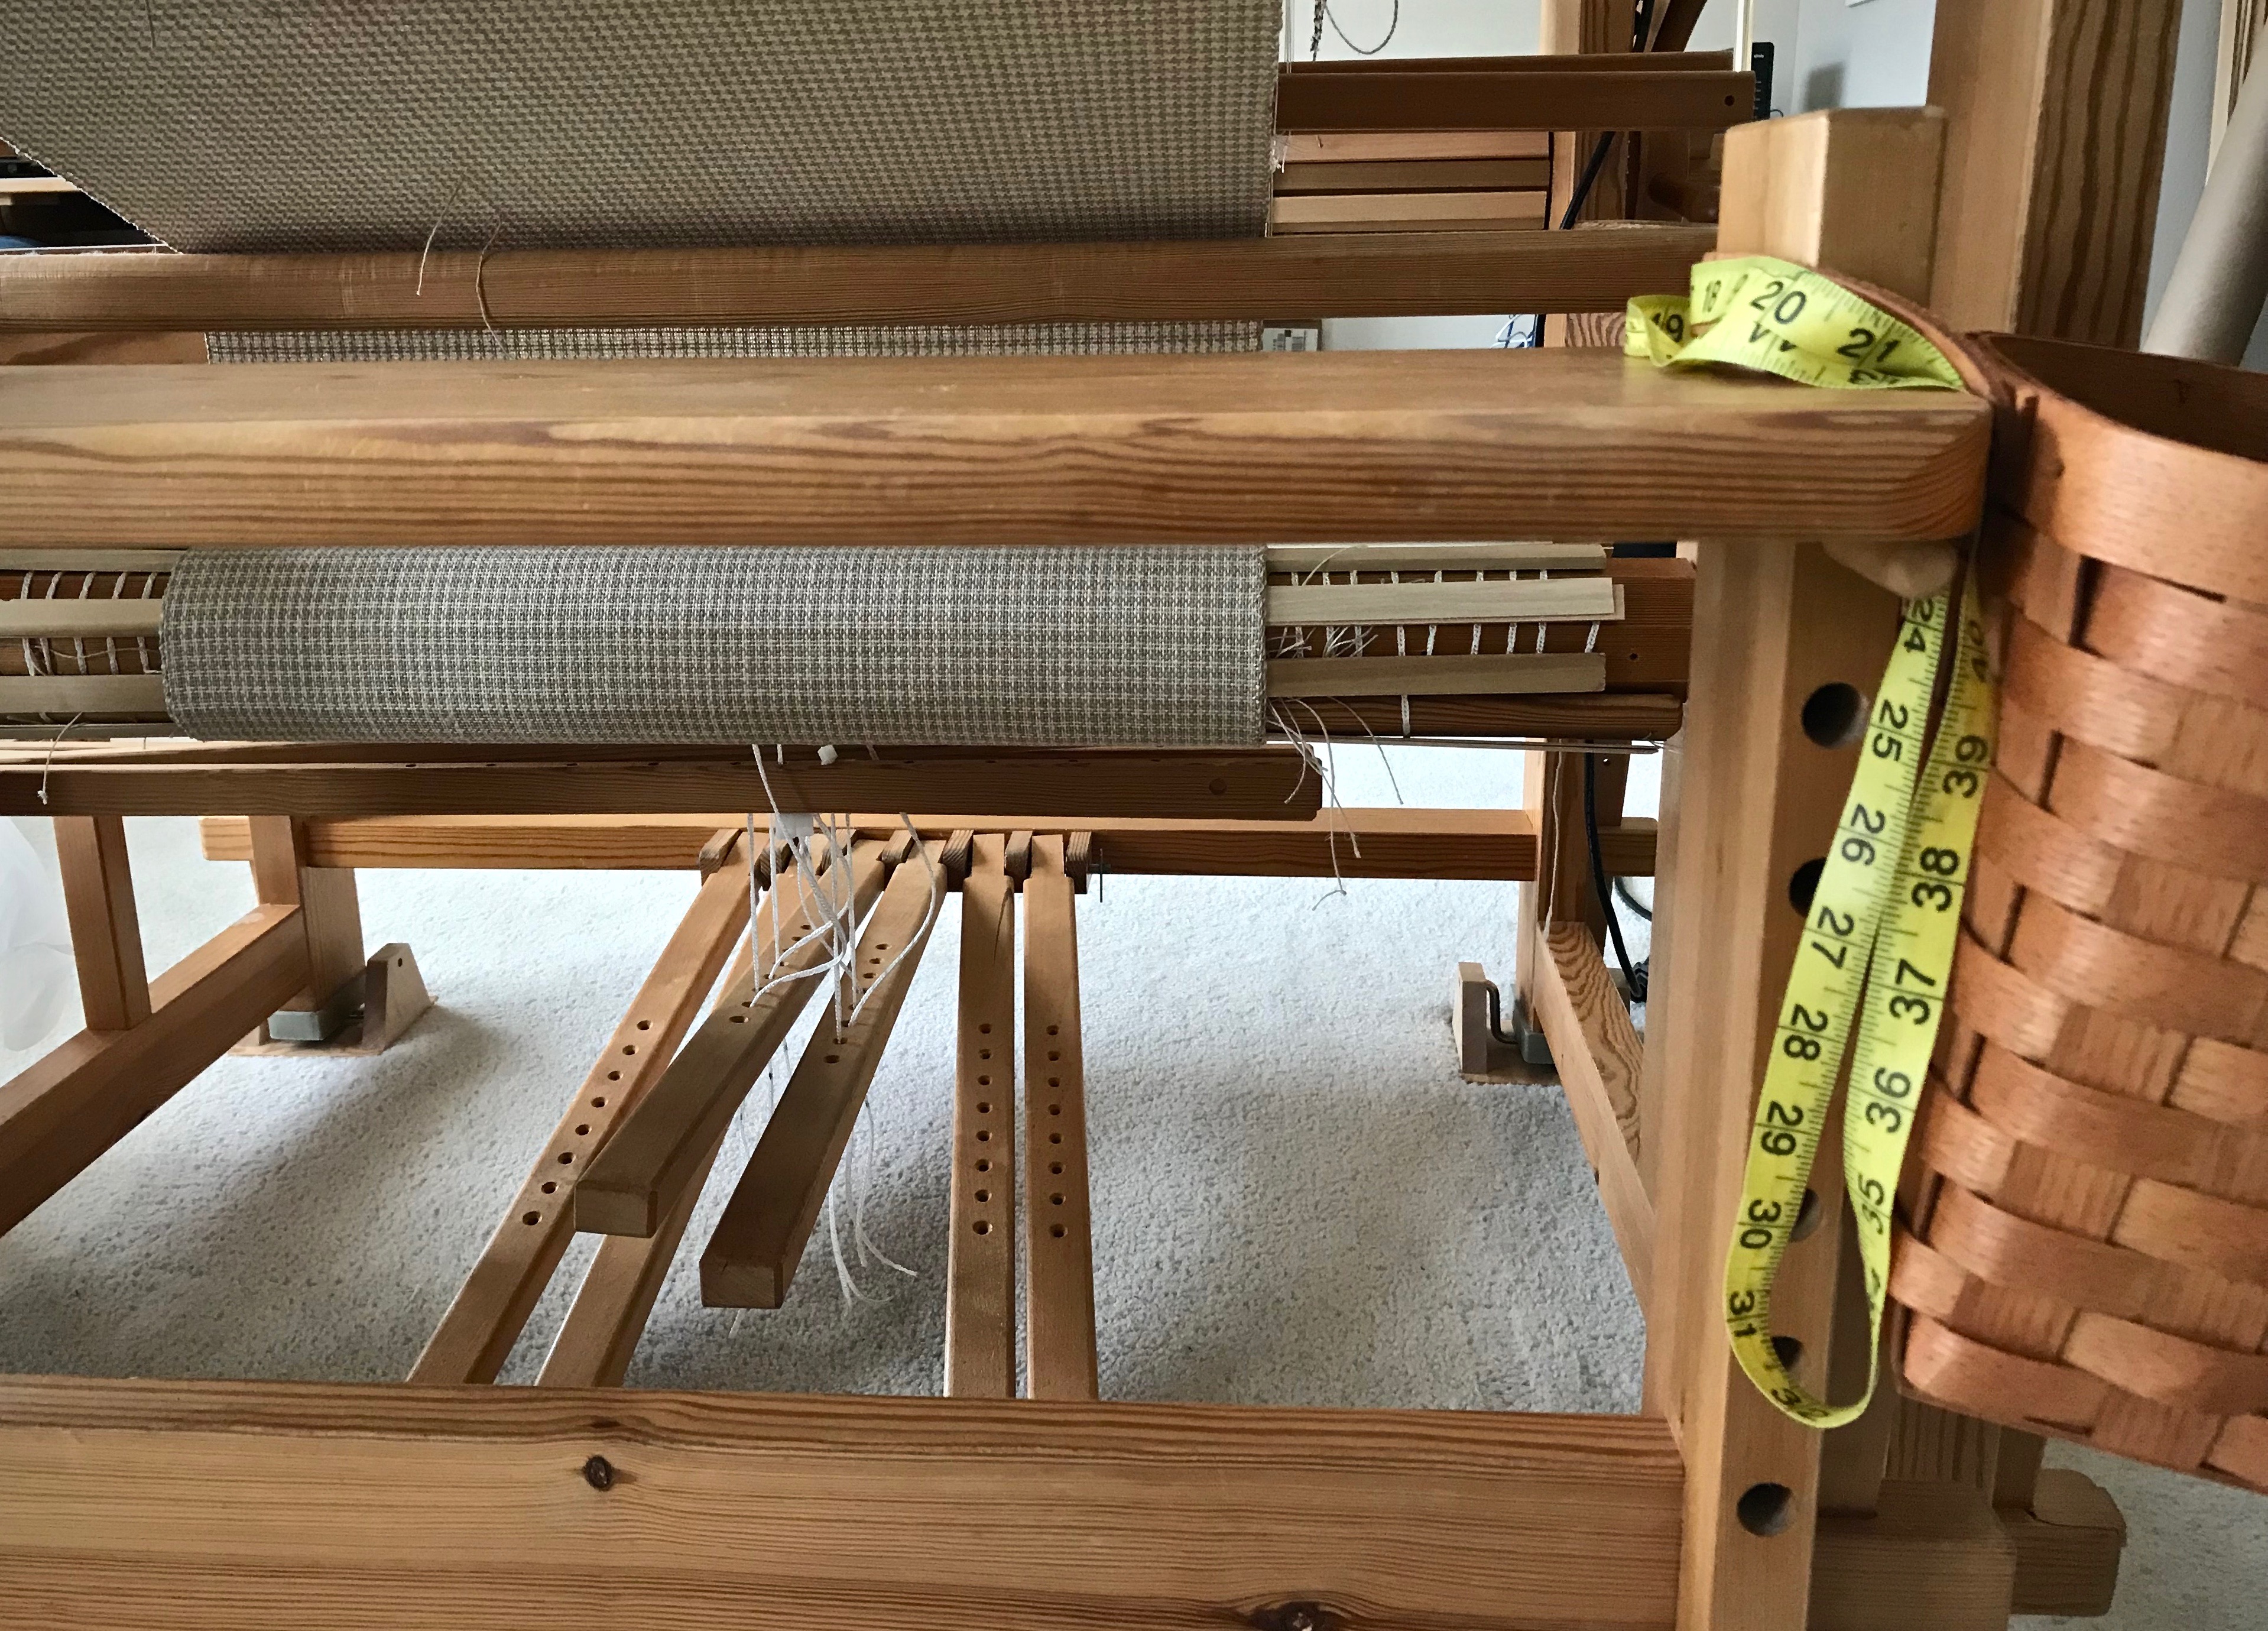
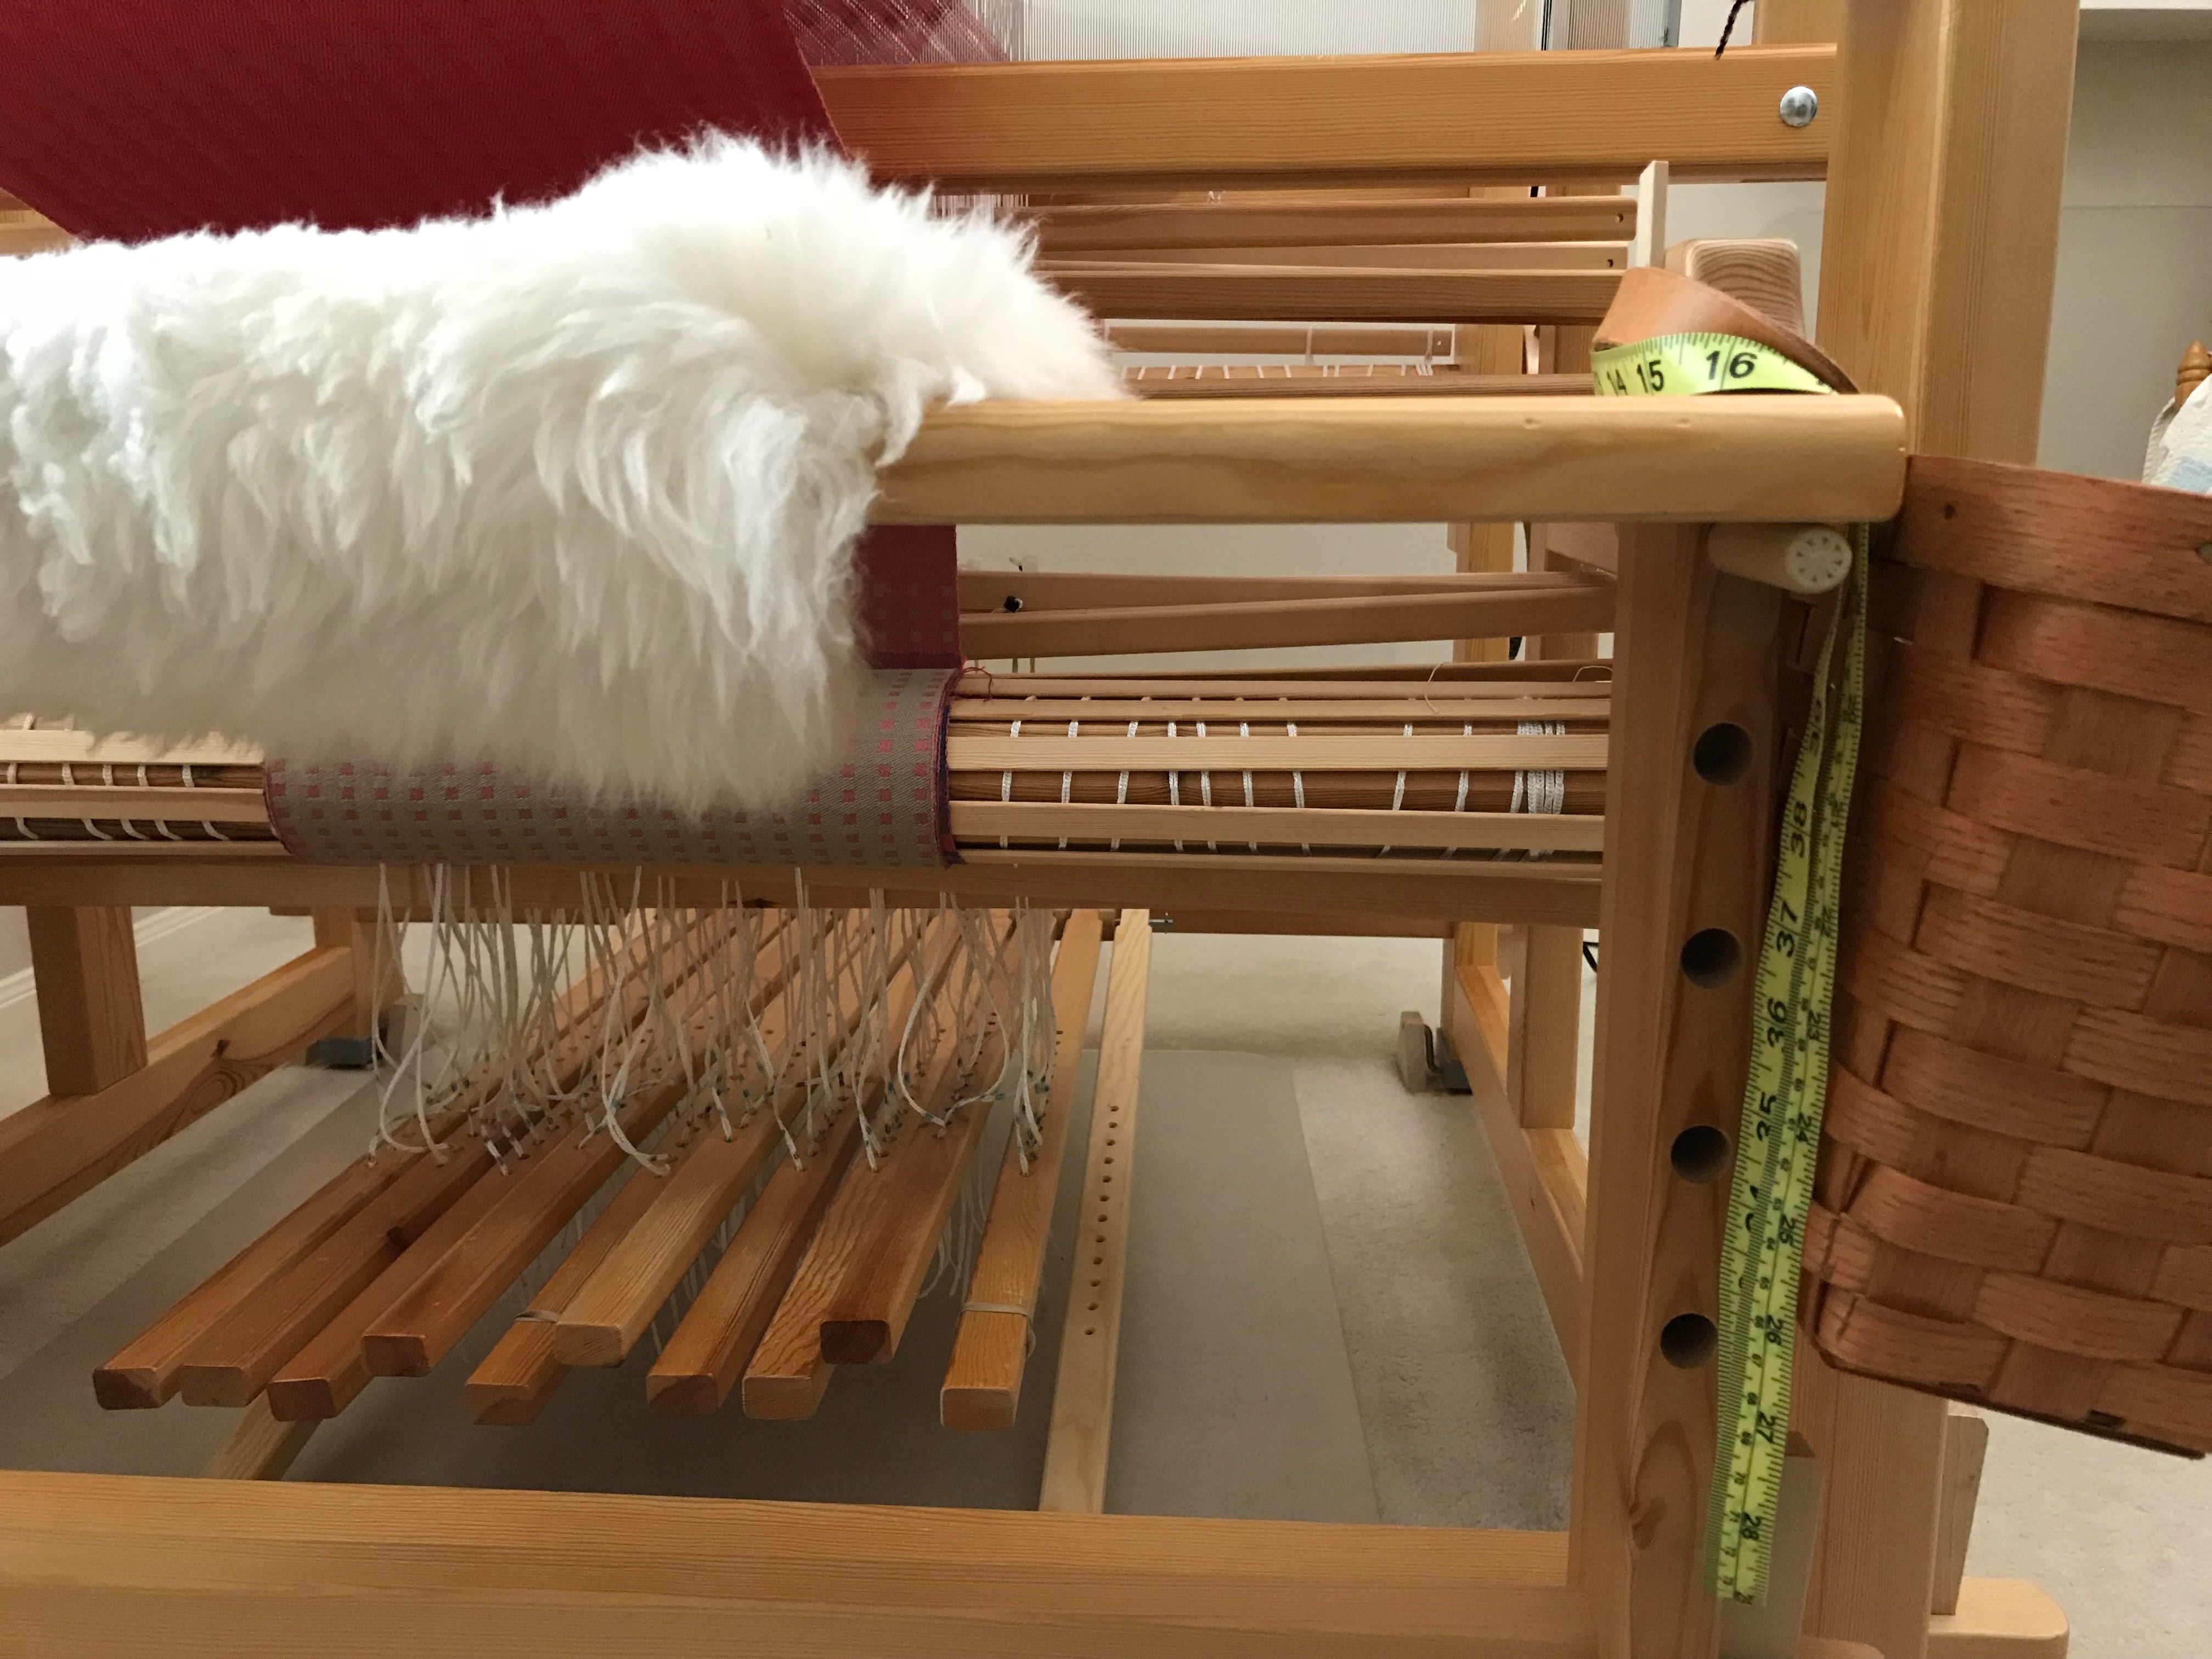
Glimåkra Standard loom, with tape measure ready for the next measuring task.
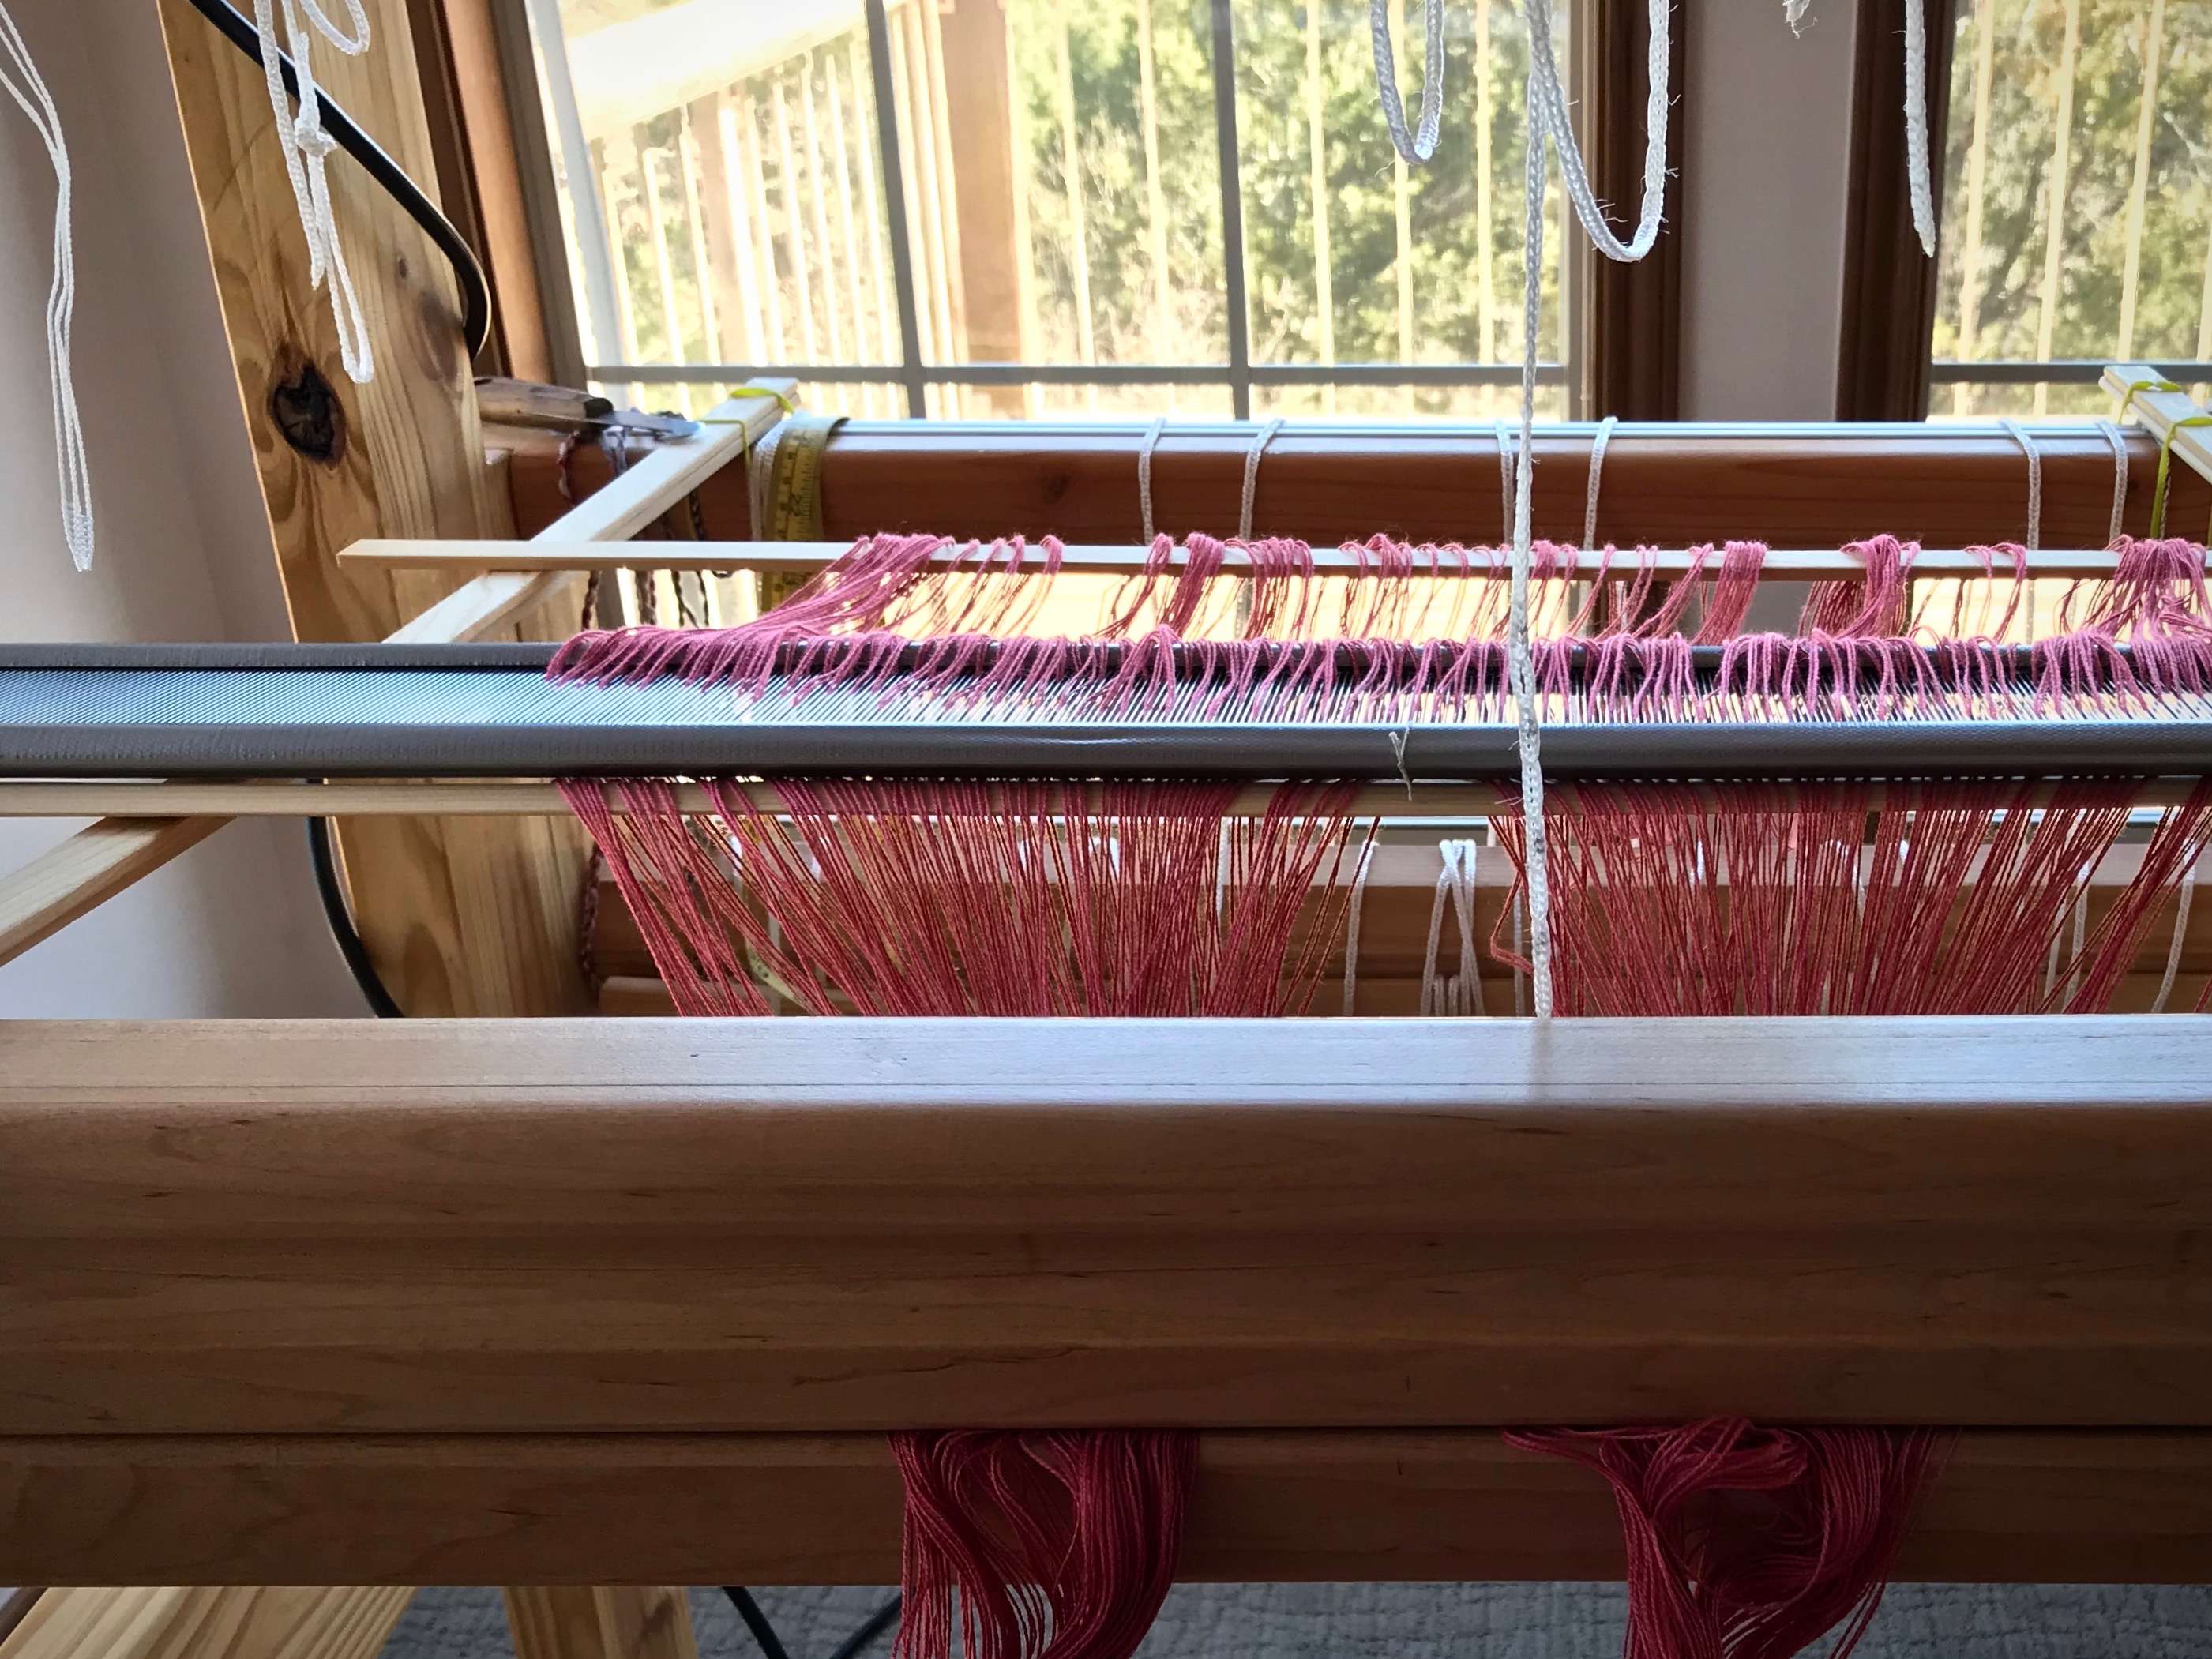
Tape measure hanging over the back beam on the Texas hill country loom while pre-sleying the reed and positioning things to prepare for beaming the warp.
Extra-long tape measure hangs on the peg strip above my work table.
Occasionally, I borrow Steve’s metal carpenter’s tape measure from his wood carving bench.
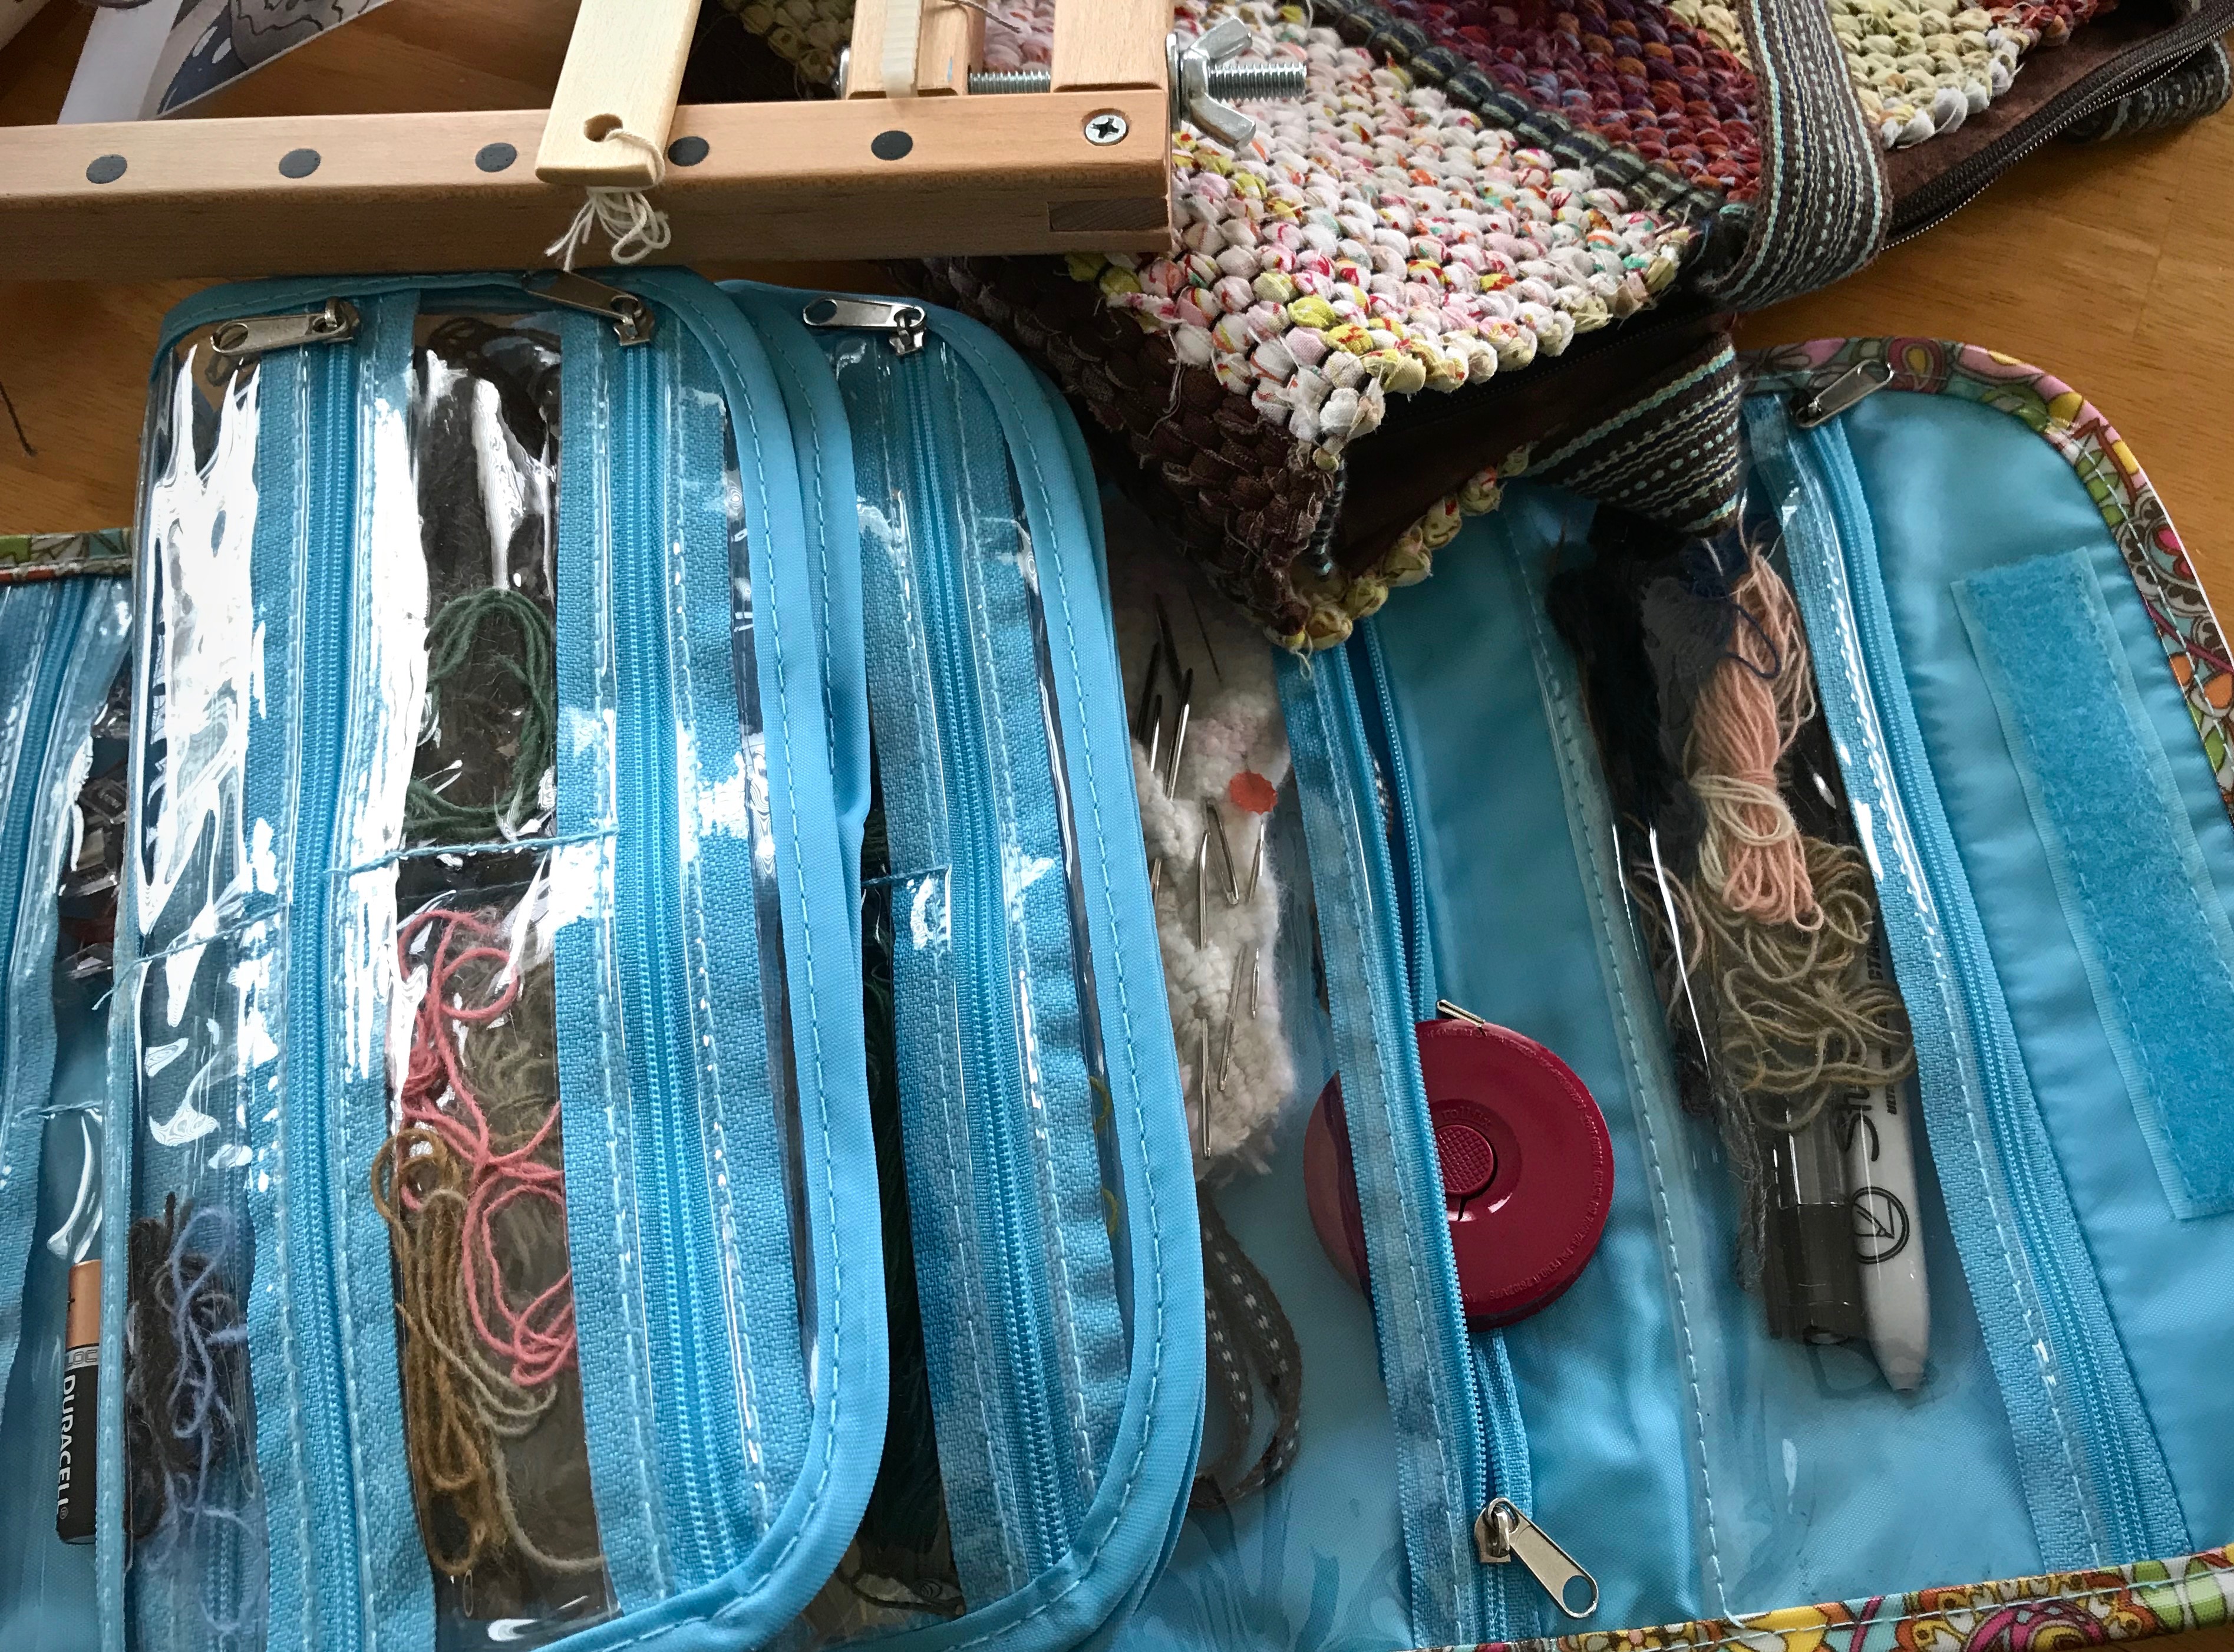
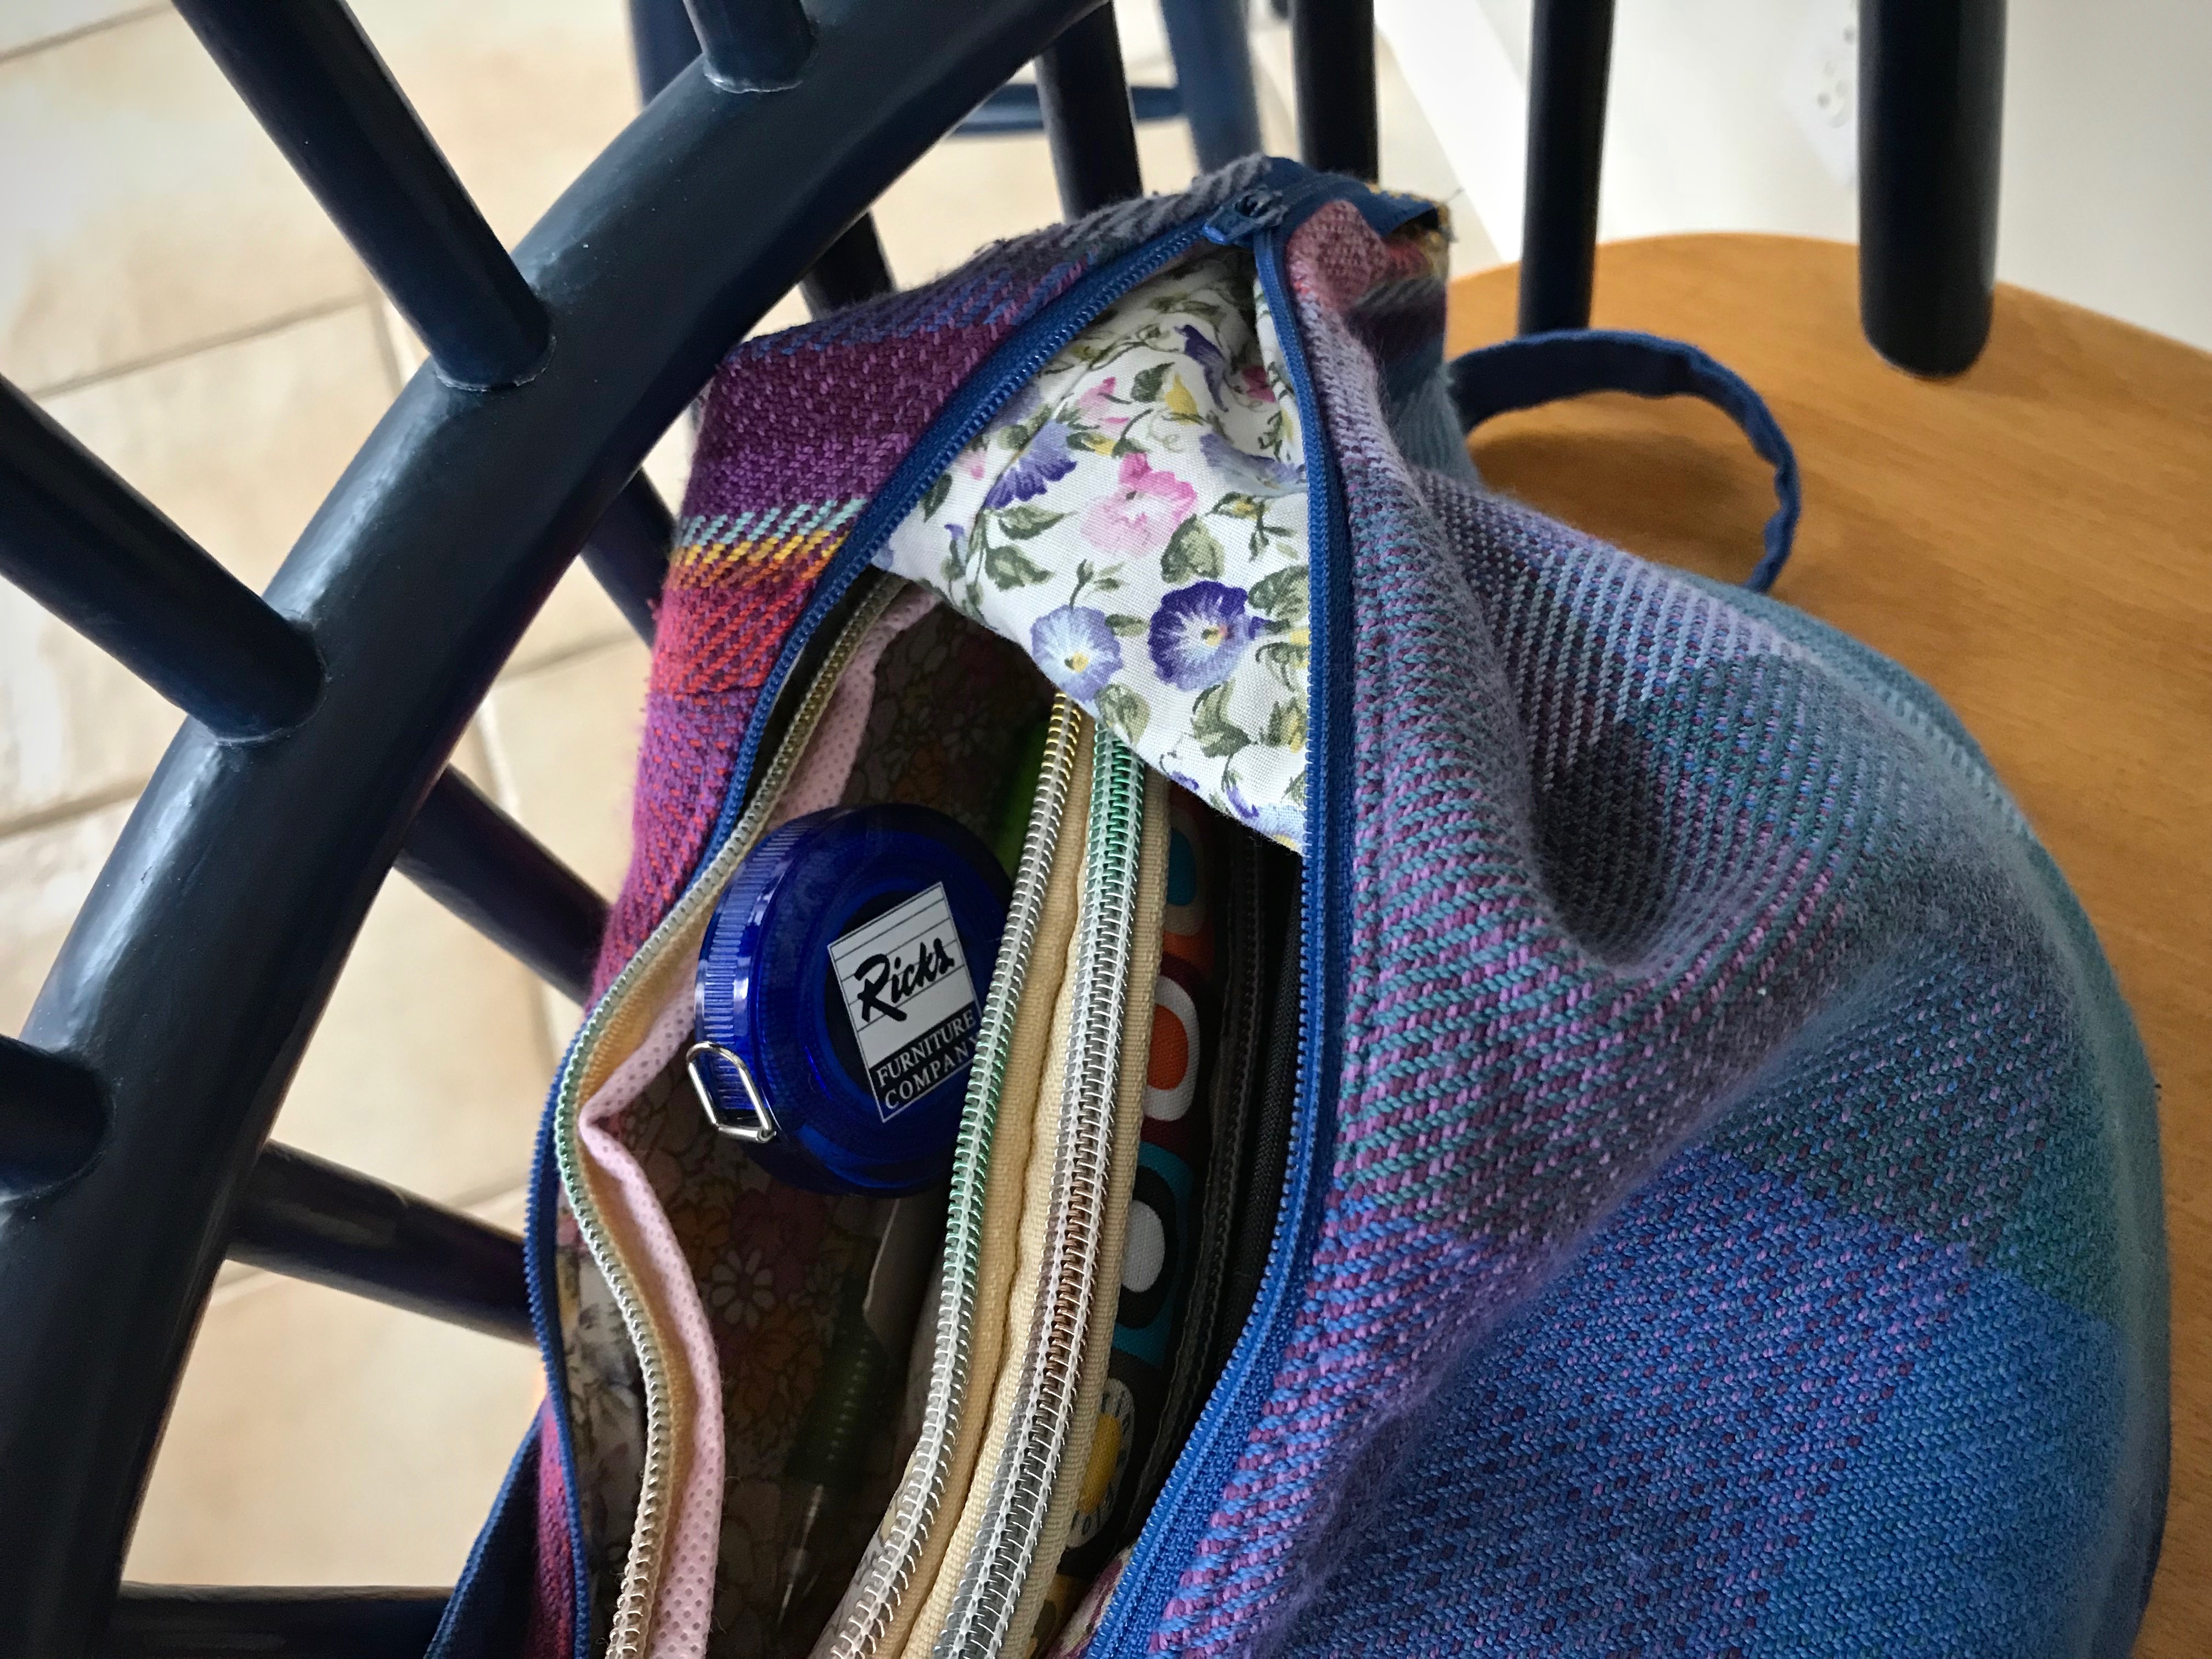
Compact retractible sewing tape measure rides in my travel tapestry bag. It has imperial and metric units.
No purse is complete without a tape measure, right? (A tape measure can outlive the business it promotes.)
What have I missed? Can you think of other ways your tape measure comes in handy?