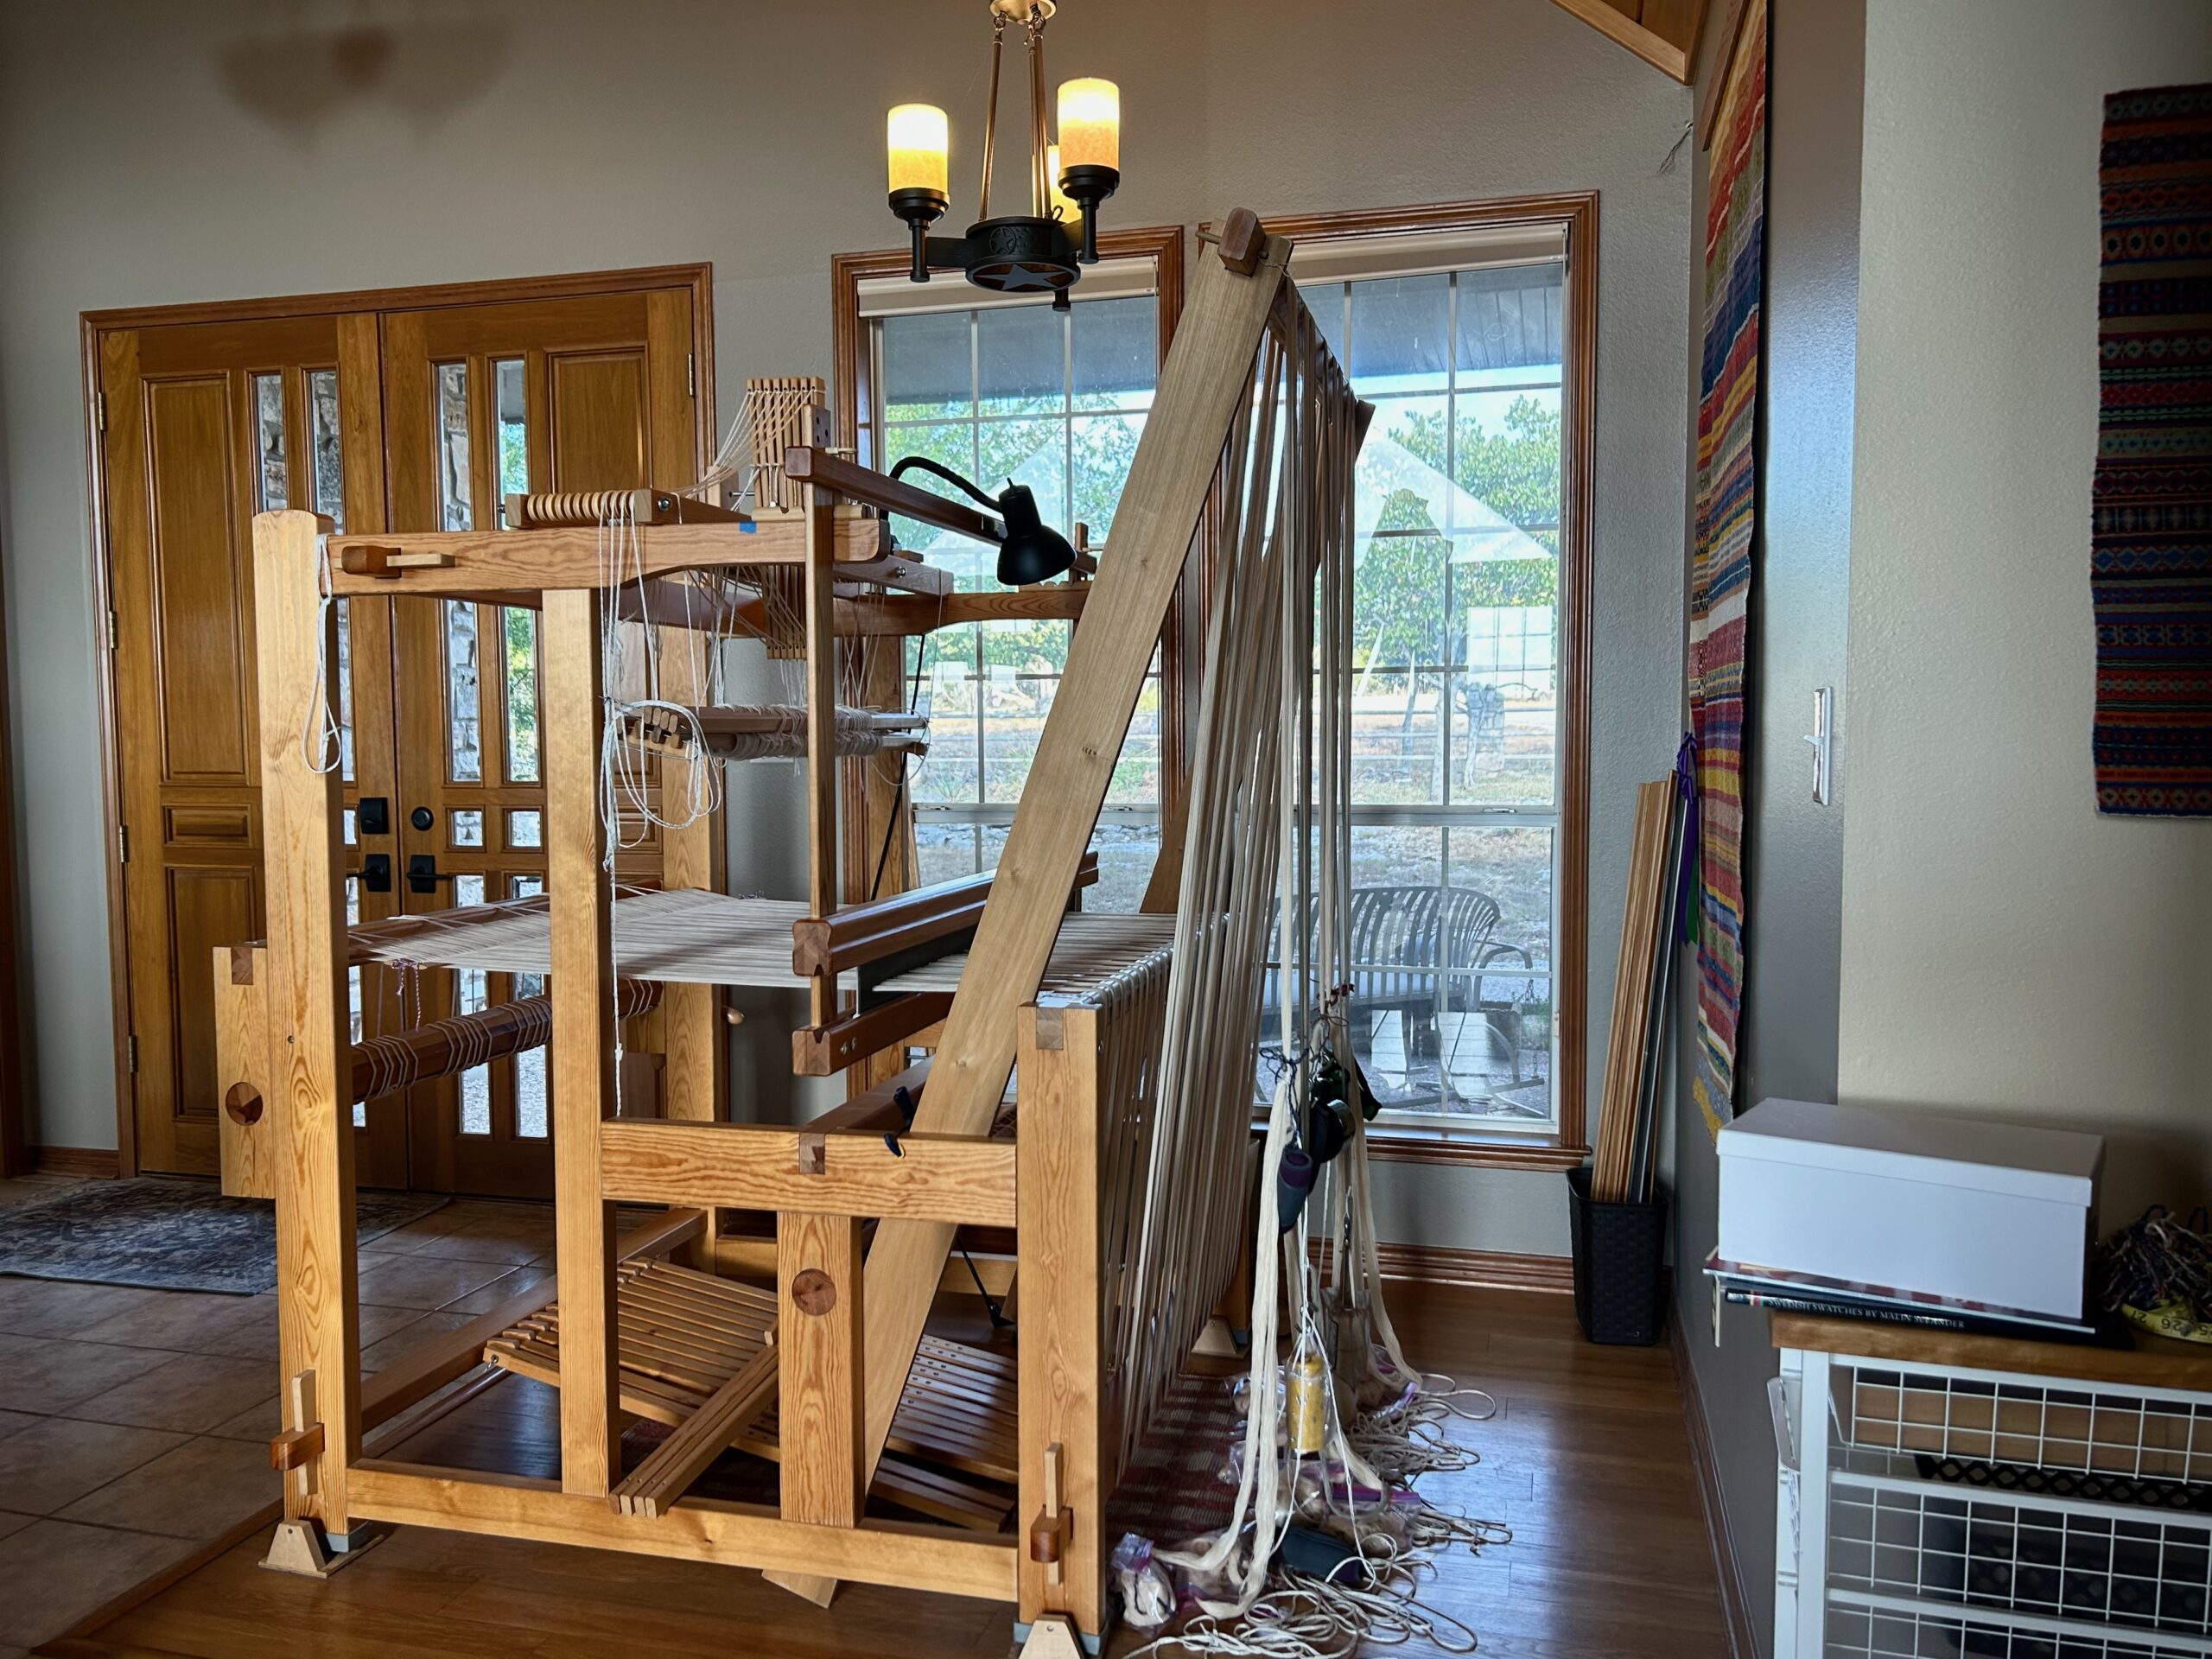
It is my husband’s idea for me to make handwoven curtains for the windows in our newly renovated master bathroom. Now that I have had time to think about it, I think it’s a great idea. Fortunately, the yellow rug warp on the Glimåkra Standard is still sitting on the loom bench, so I am putting it aside temporarily in order to put this bathroom-curtains warp on the loom.
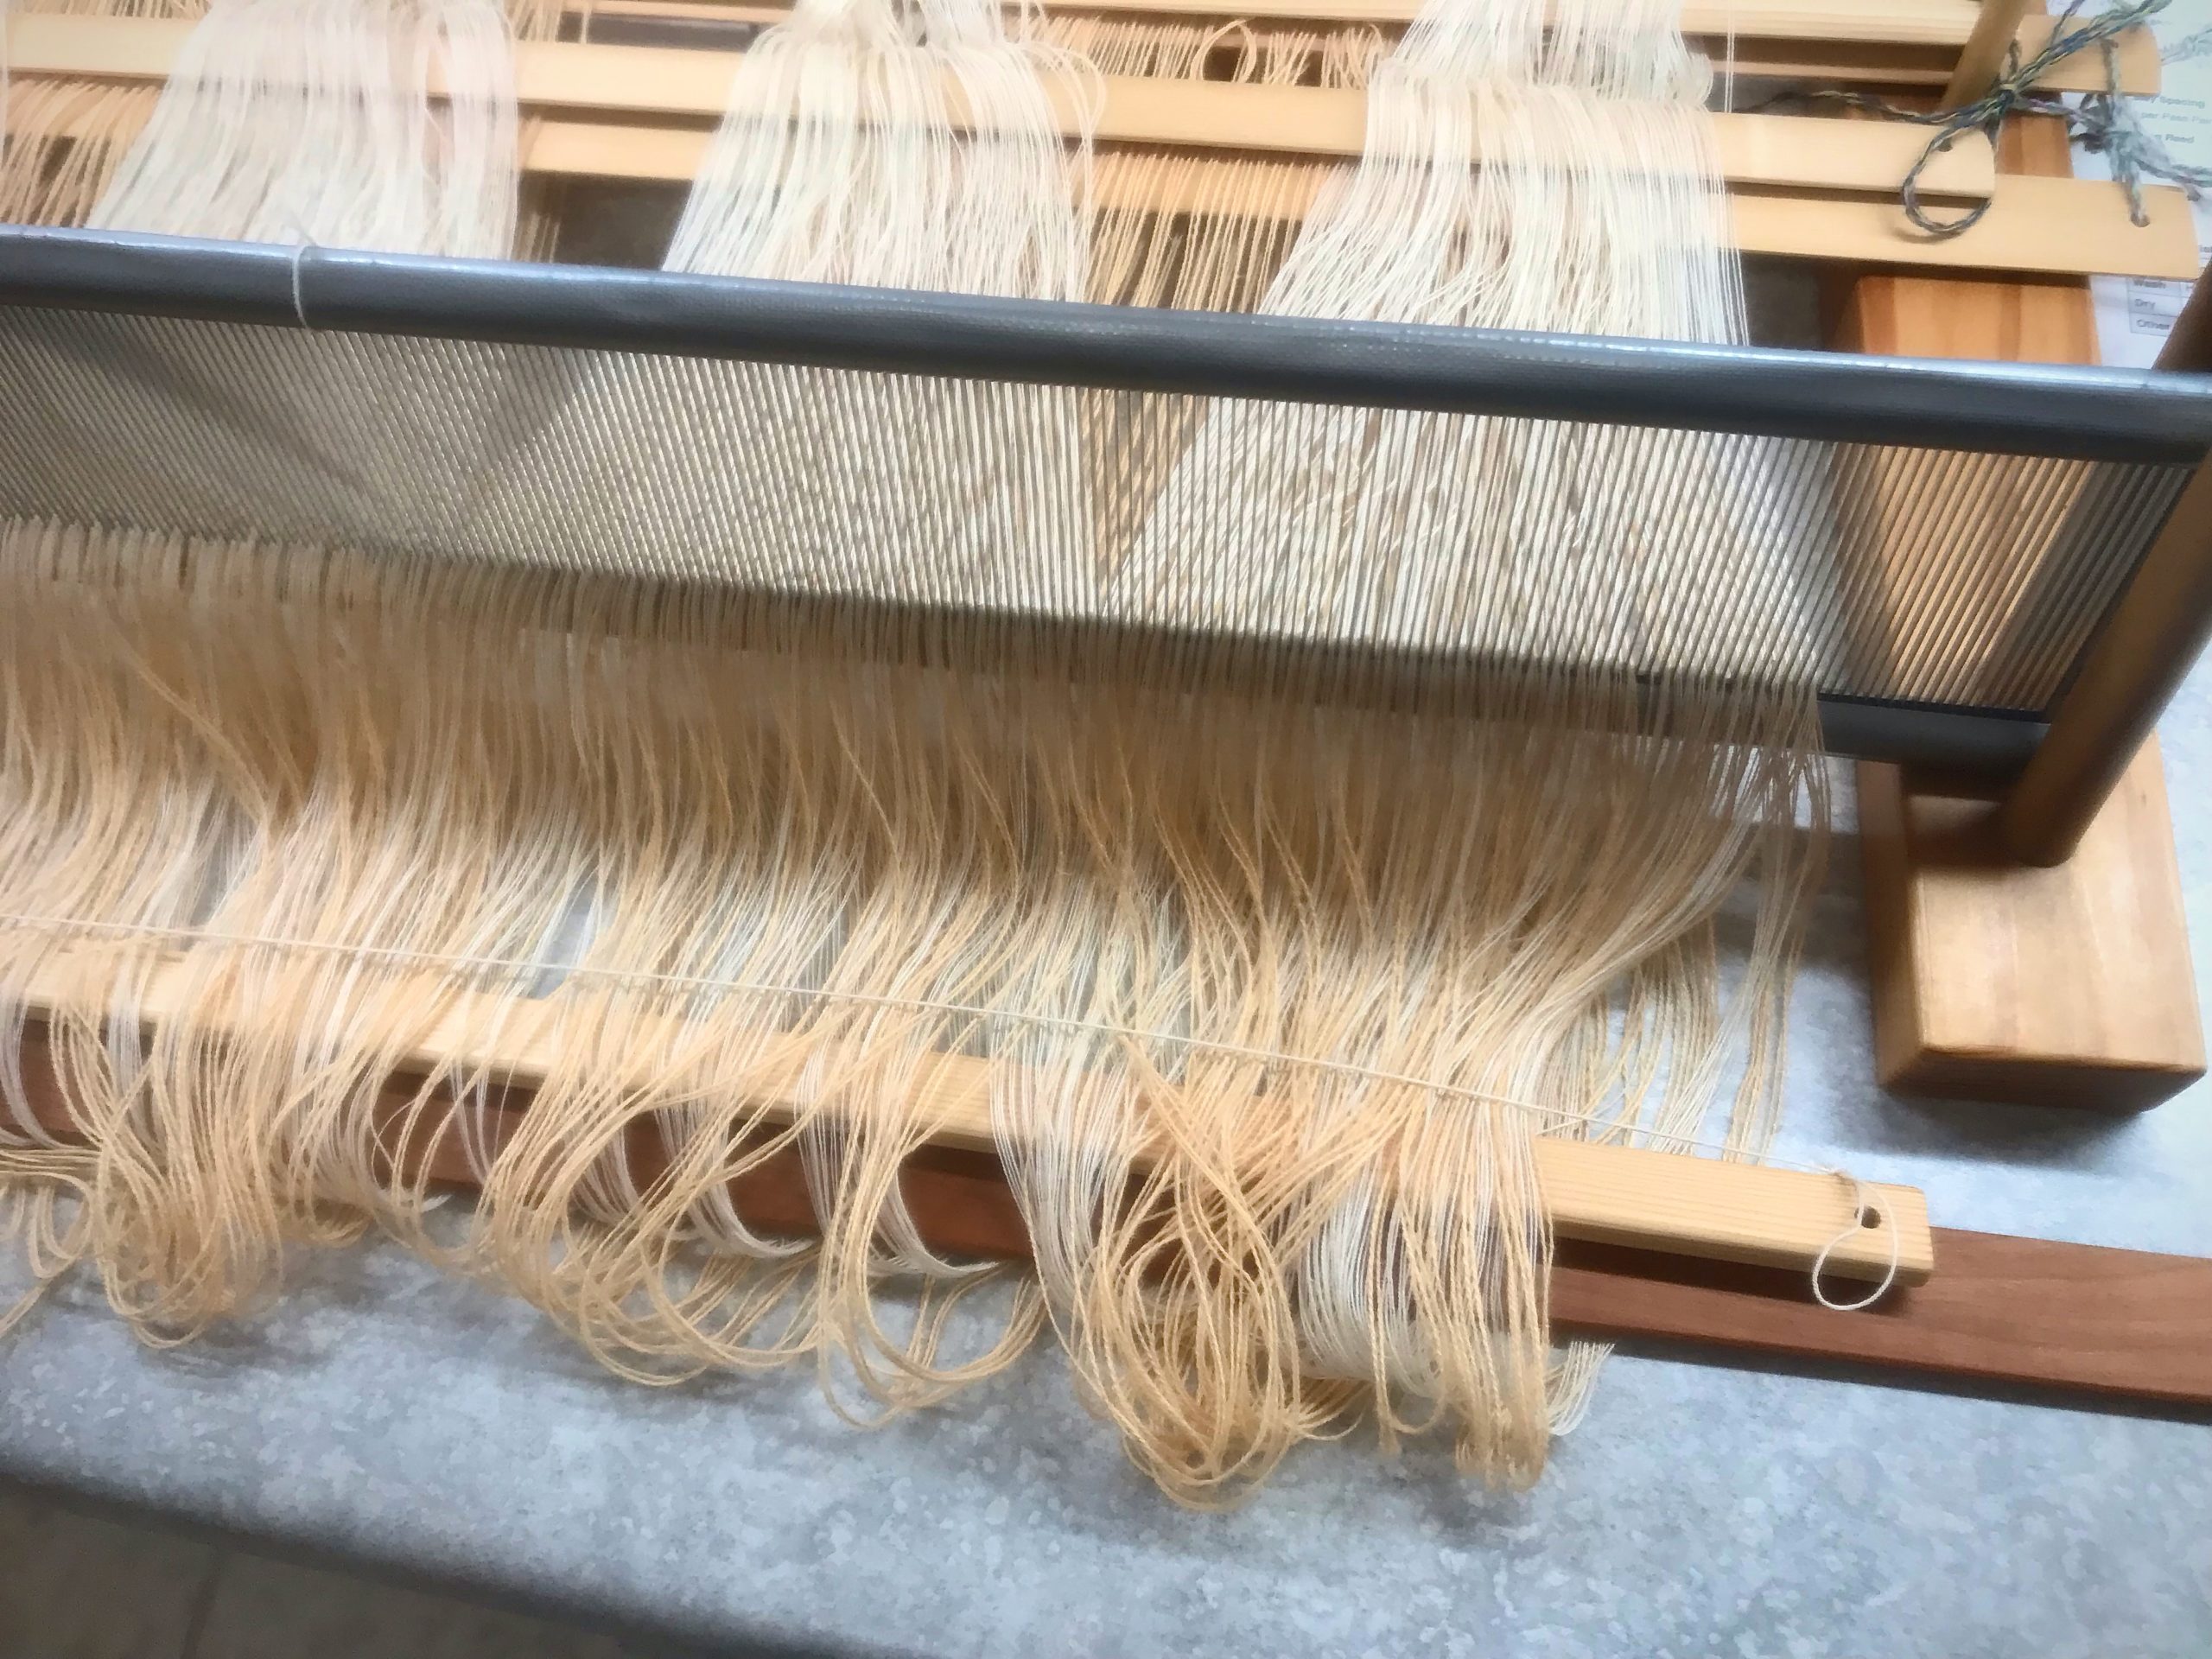
Winding a warp of 24/2 unbleached cotton.Looks like a mess. Pre-sley the reed to spread the warp. Two sets of lease sticks. Narrow gray stripes of 16/2 cotton are inserted between the unbleached ends. Somehow, it all works out…All the end loops are on the back tie-on bar, and ends from two lease sticks have been transferred to one set of lease sticks. Ready to beam the warp!Just about set to beam.My usual two-pound weights are just right for most of the warp bouts, but I need a one-pound weight (large coffee mug) for one smaller bout, and two 1/2-pound weights (tube of thread in a small bag) for the small bouts of gray warp ends. Whew! Is it all going to work??Now…everything is ready!It’s working. Just look at that beautiful warp!
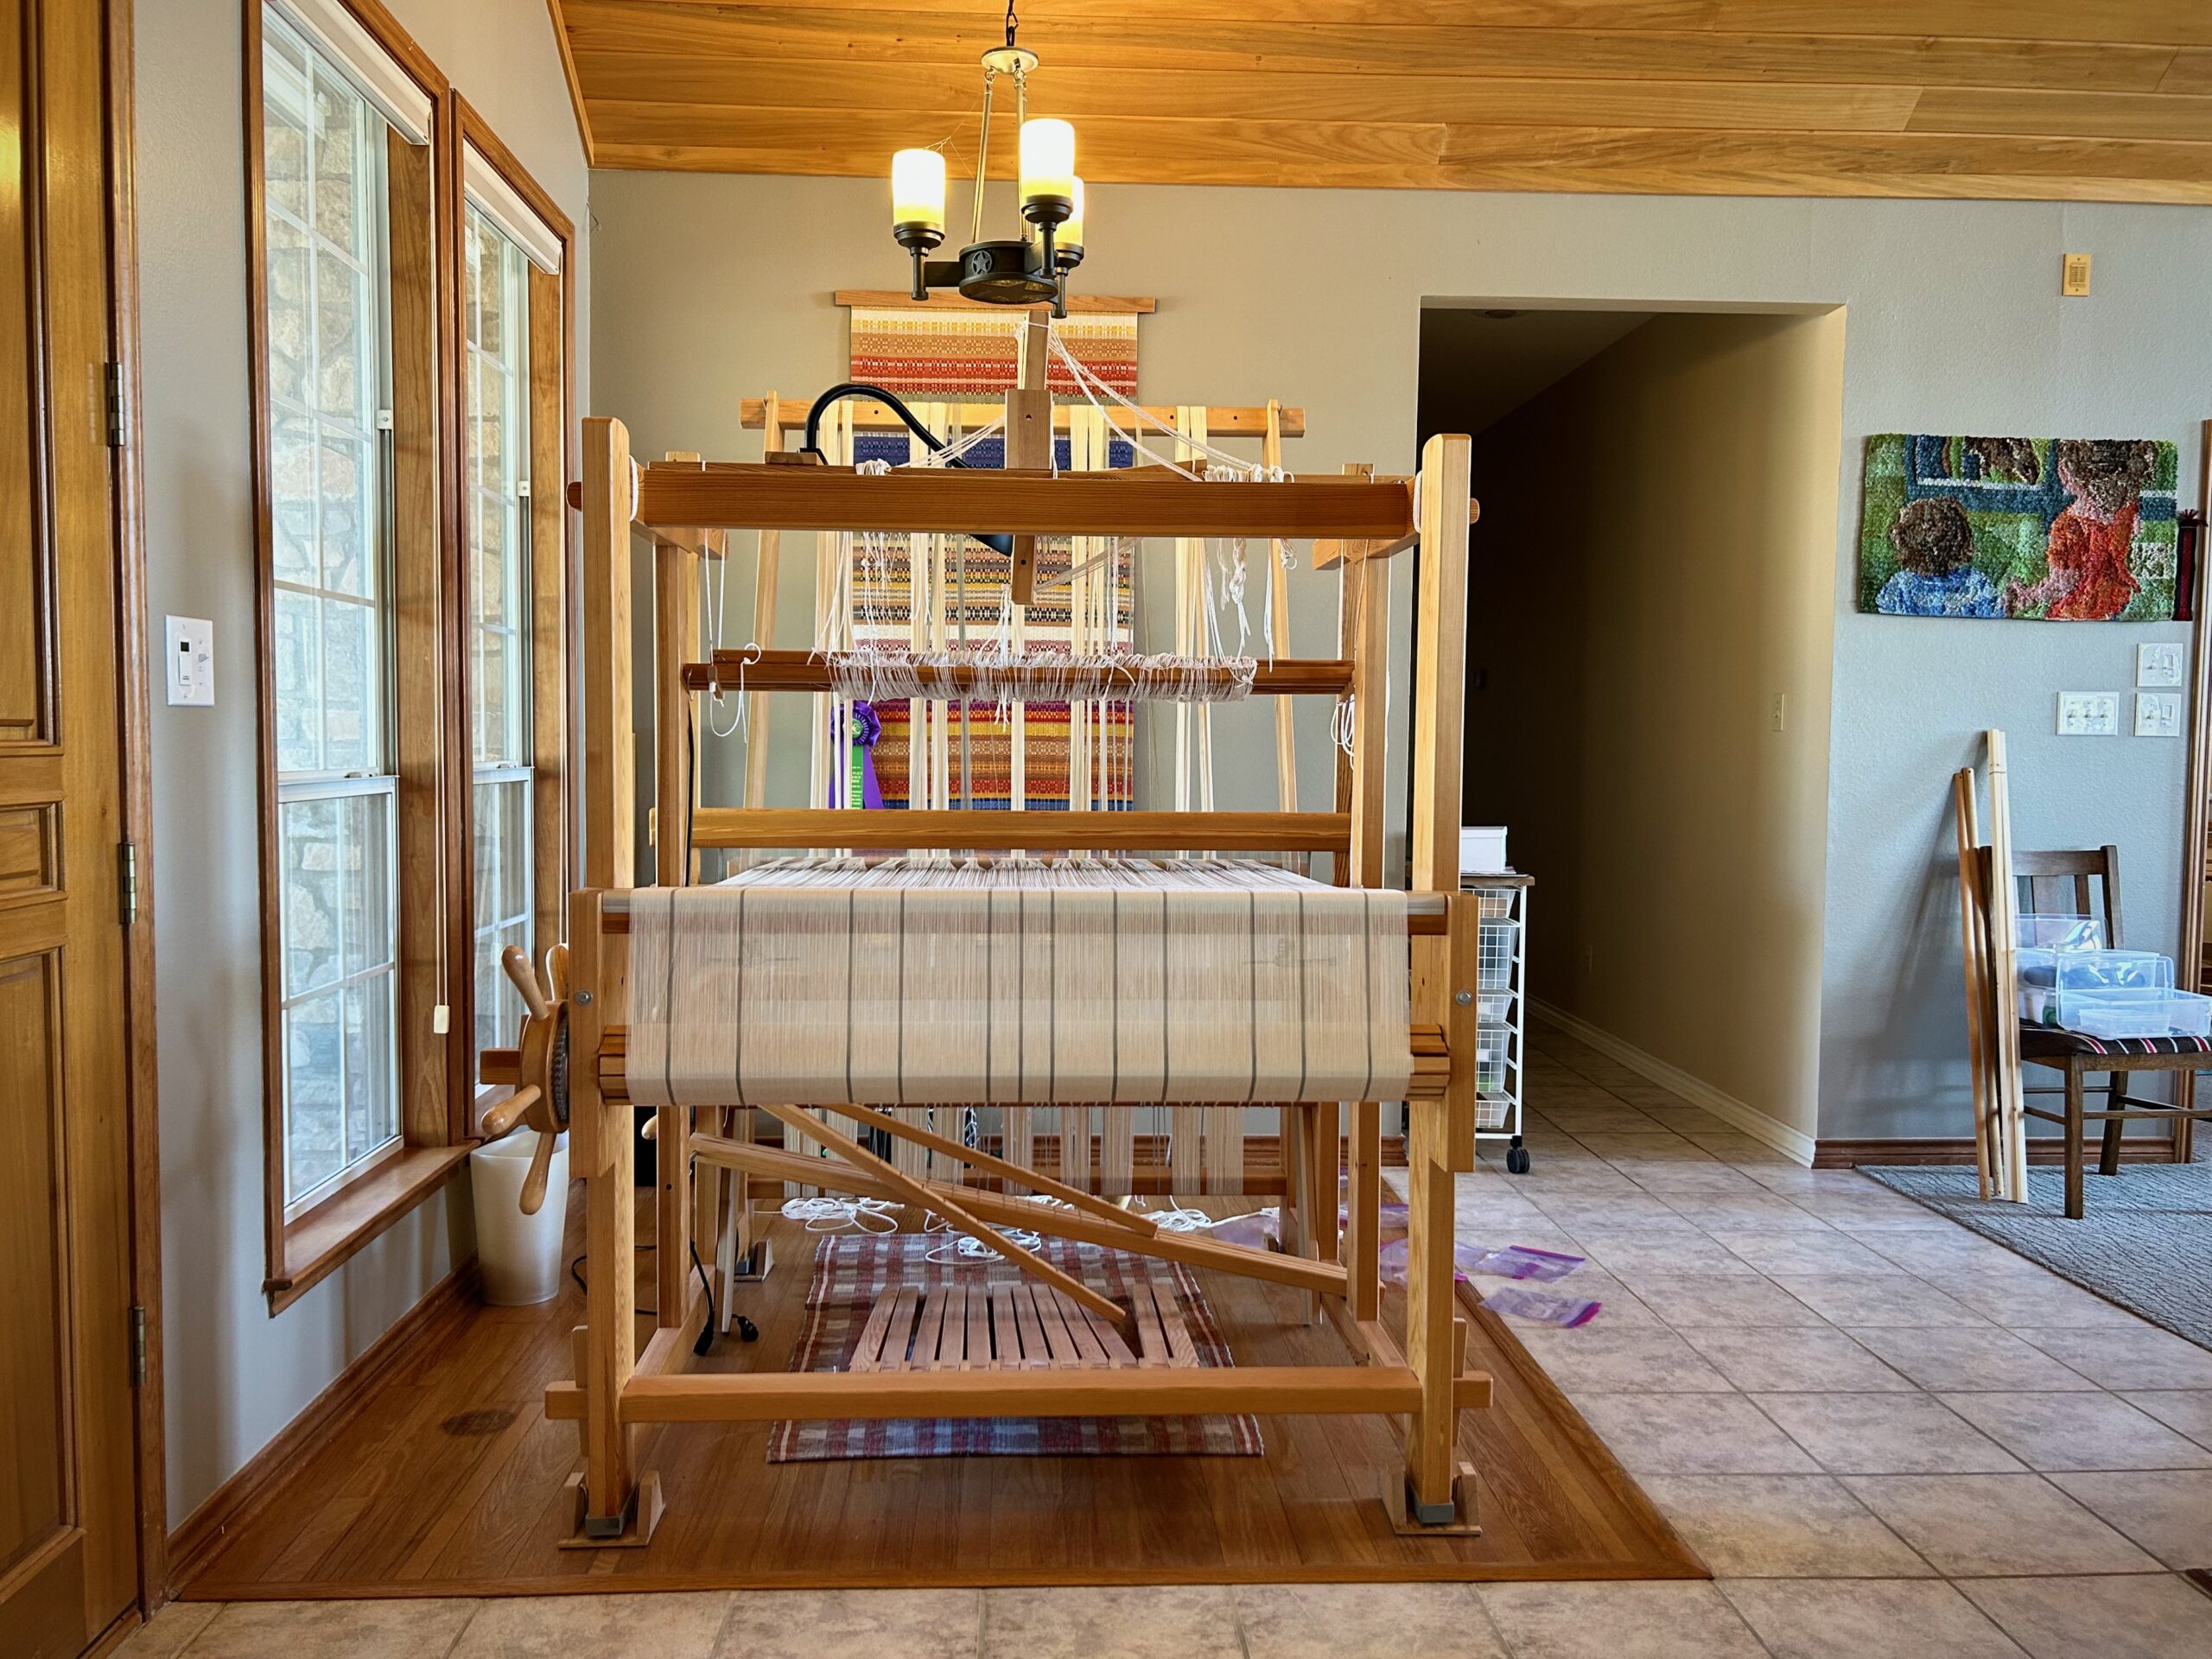
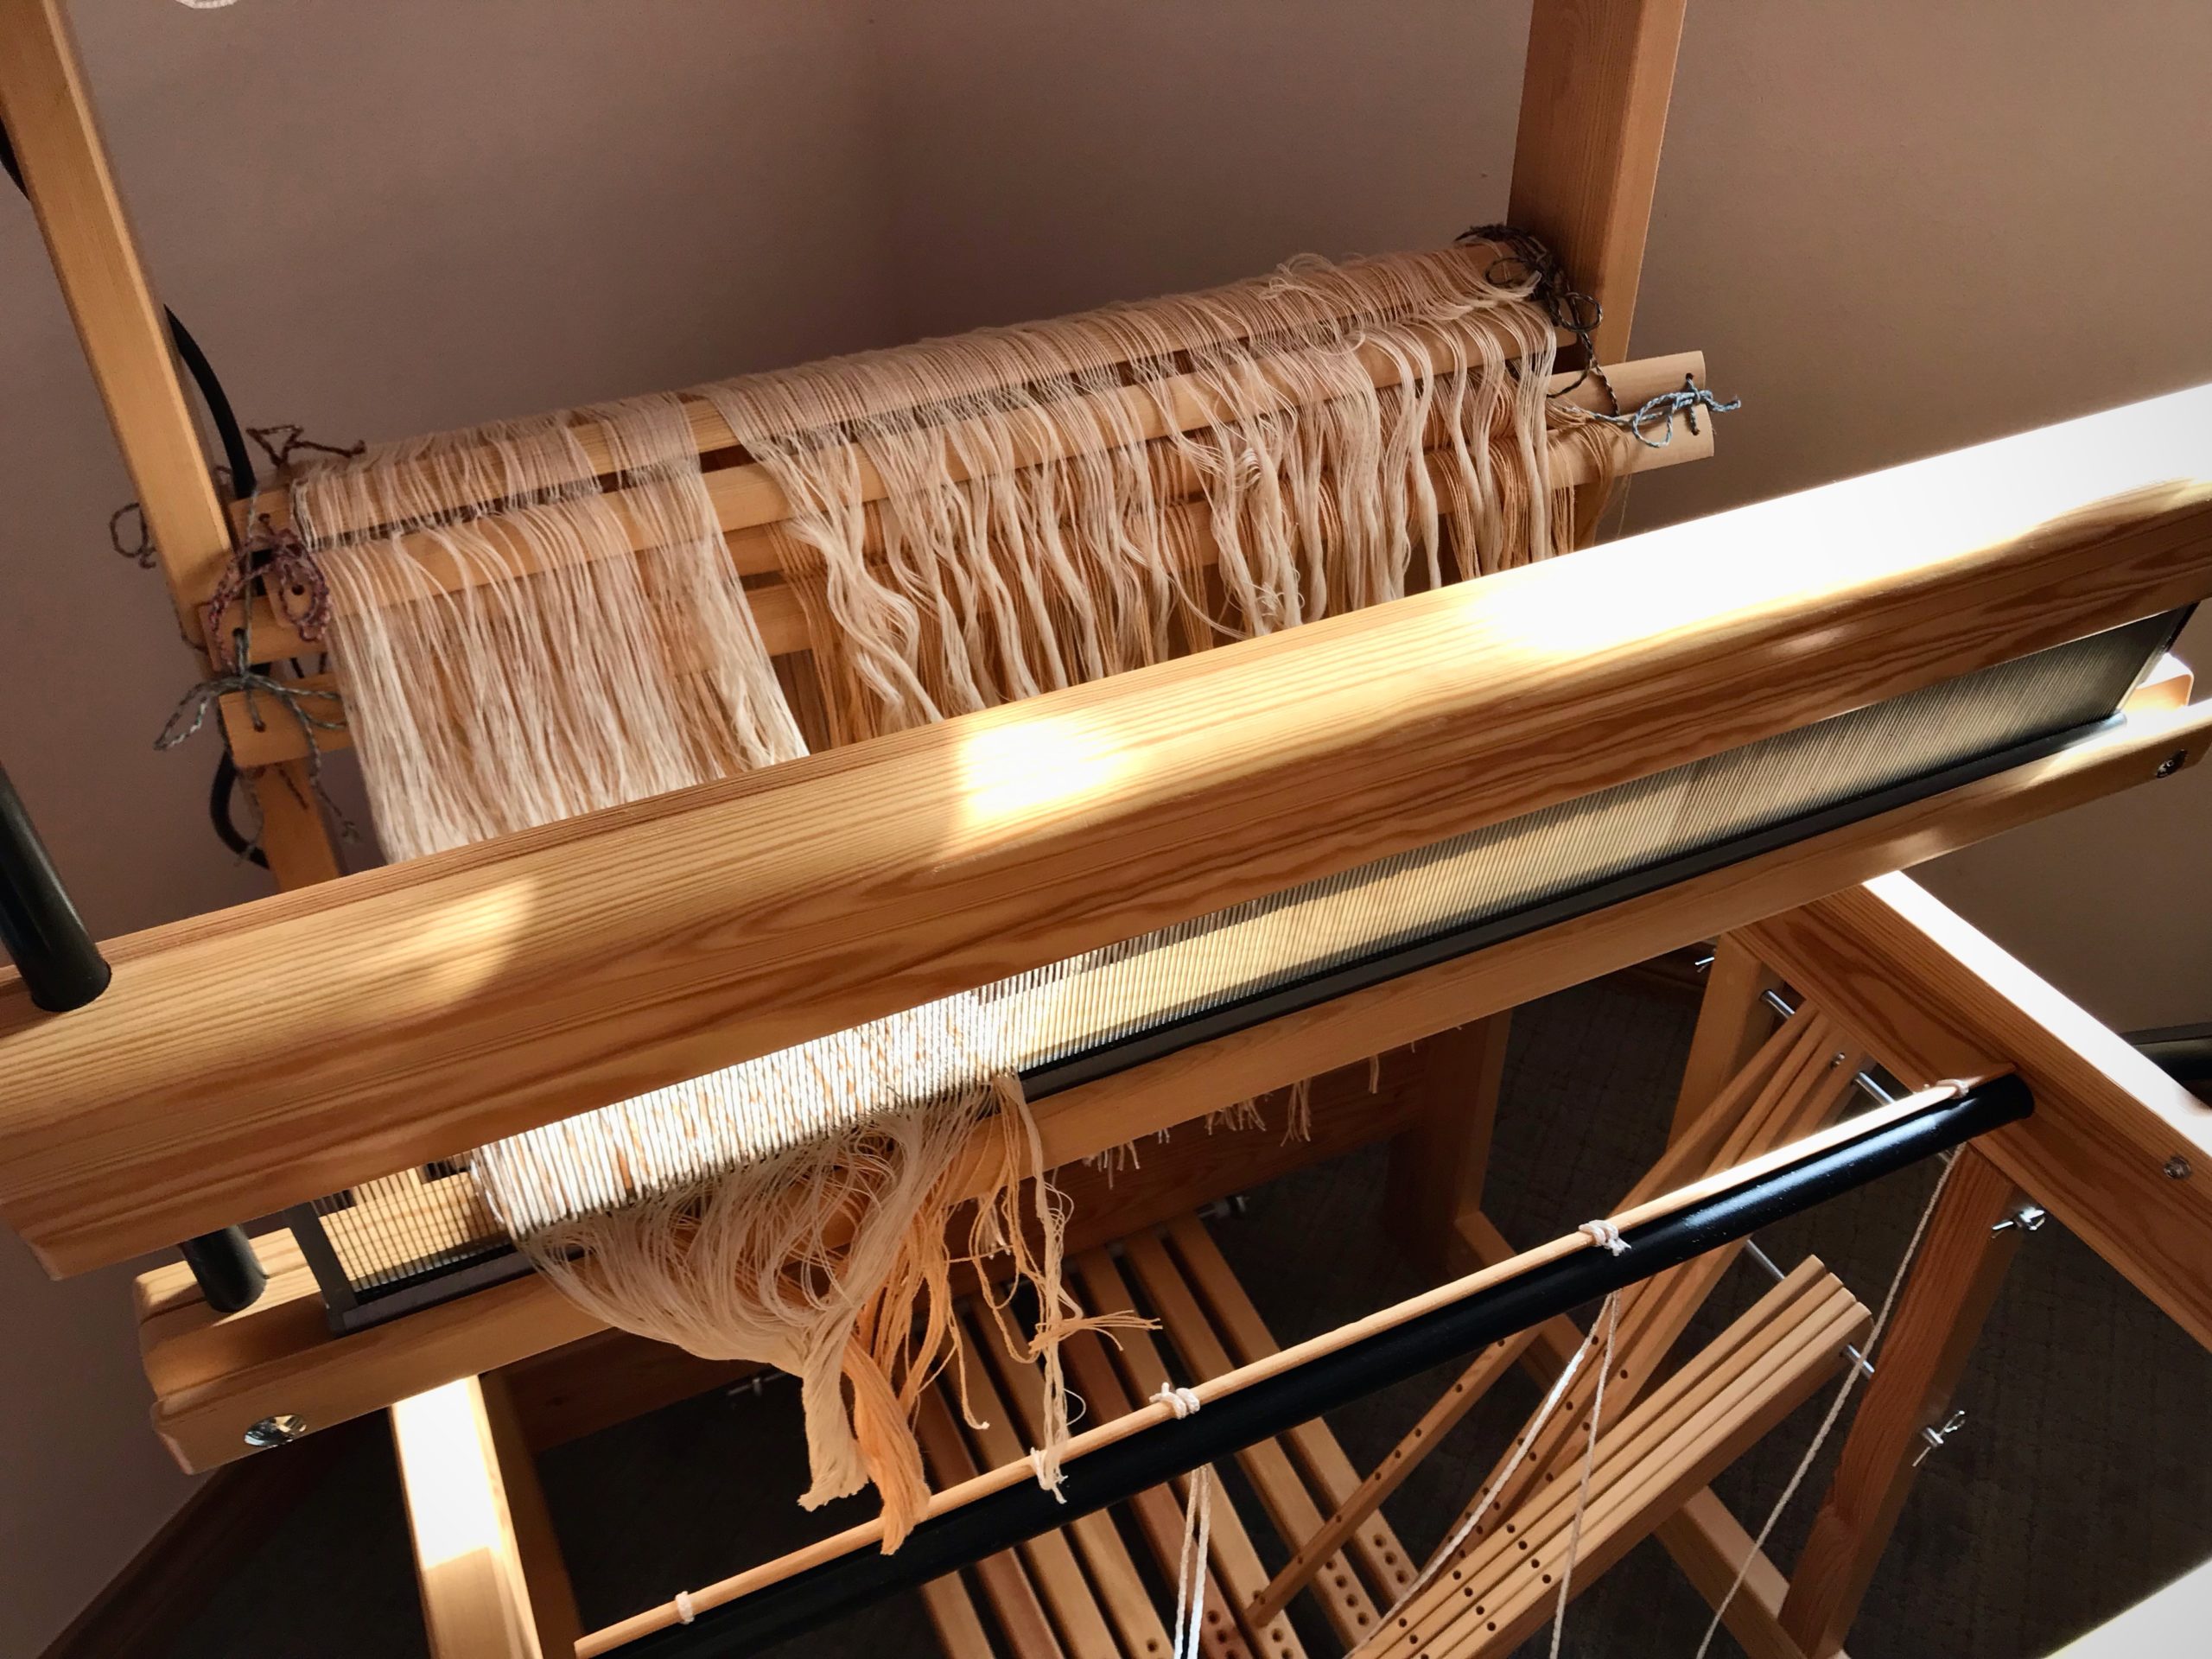
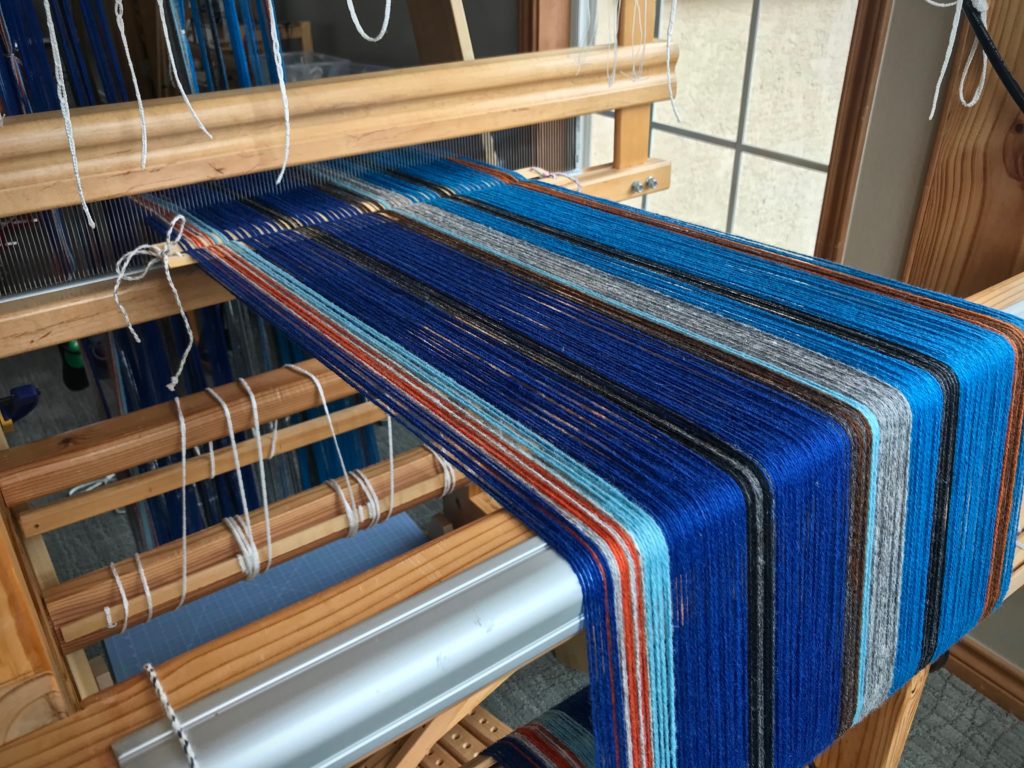
I have 1,984 ends to thread and sley. Then, I will be weaving almost full width! It’s exciting!
Dressing the loom with two sets of lease sticks keeps me on my toes. It means I am thinking carefully as I transfer lease sticks from in front of the reed to behind the reed. And, after beaming the warp(s), it means I am counting carefully as I put ends into threading groups of 48 threads each—32 ends of 20/2 cotton, and 16 ends of 22/2 cottolin.
Two set of lease sticks have been carefully moved from in front of the reed to behind the reed. After straightening all the warp ends, I will beam the warp.
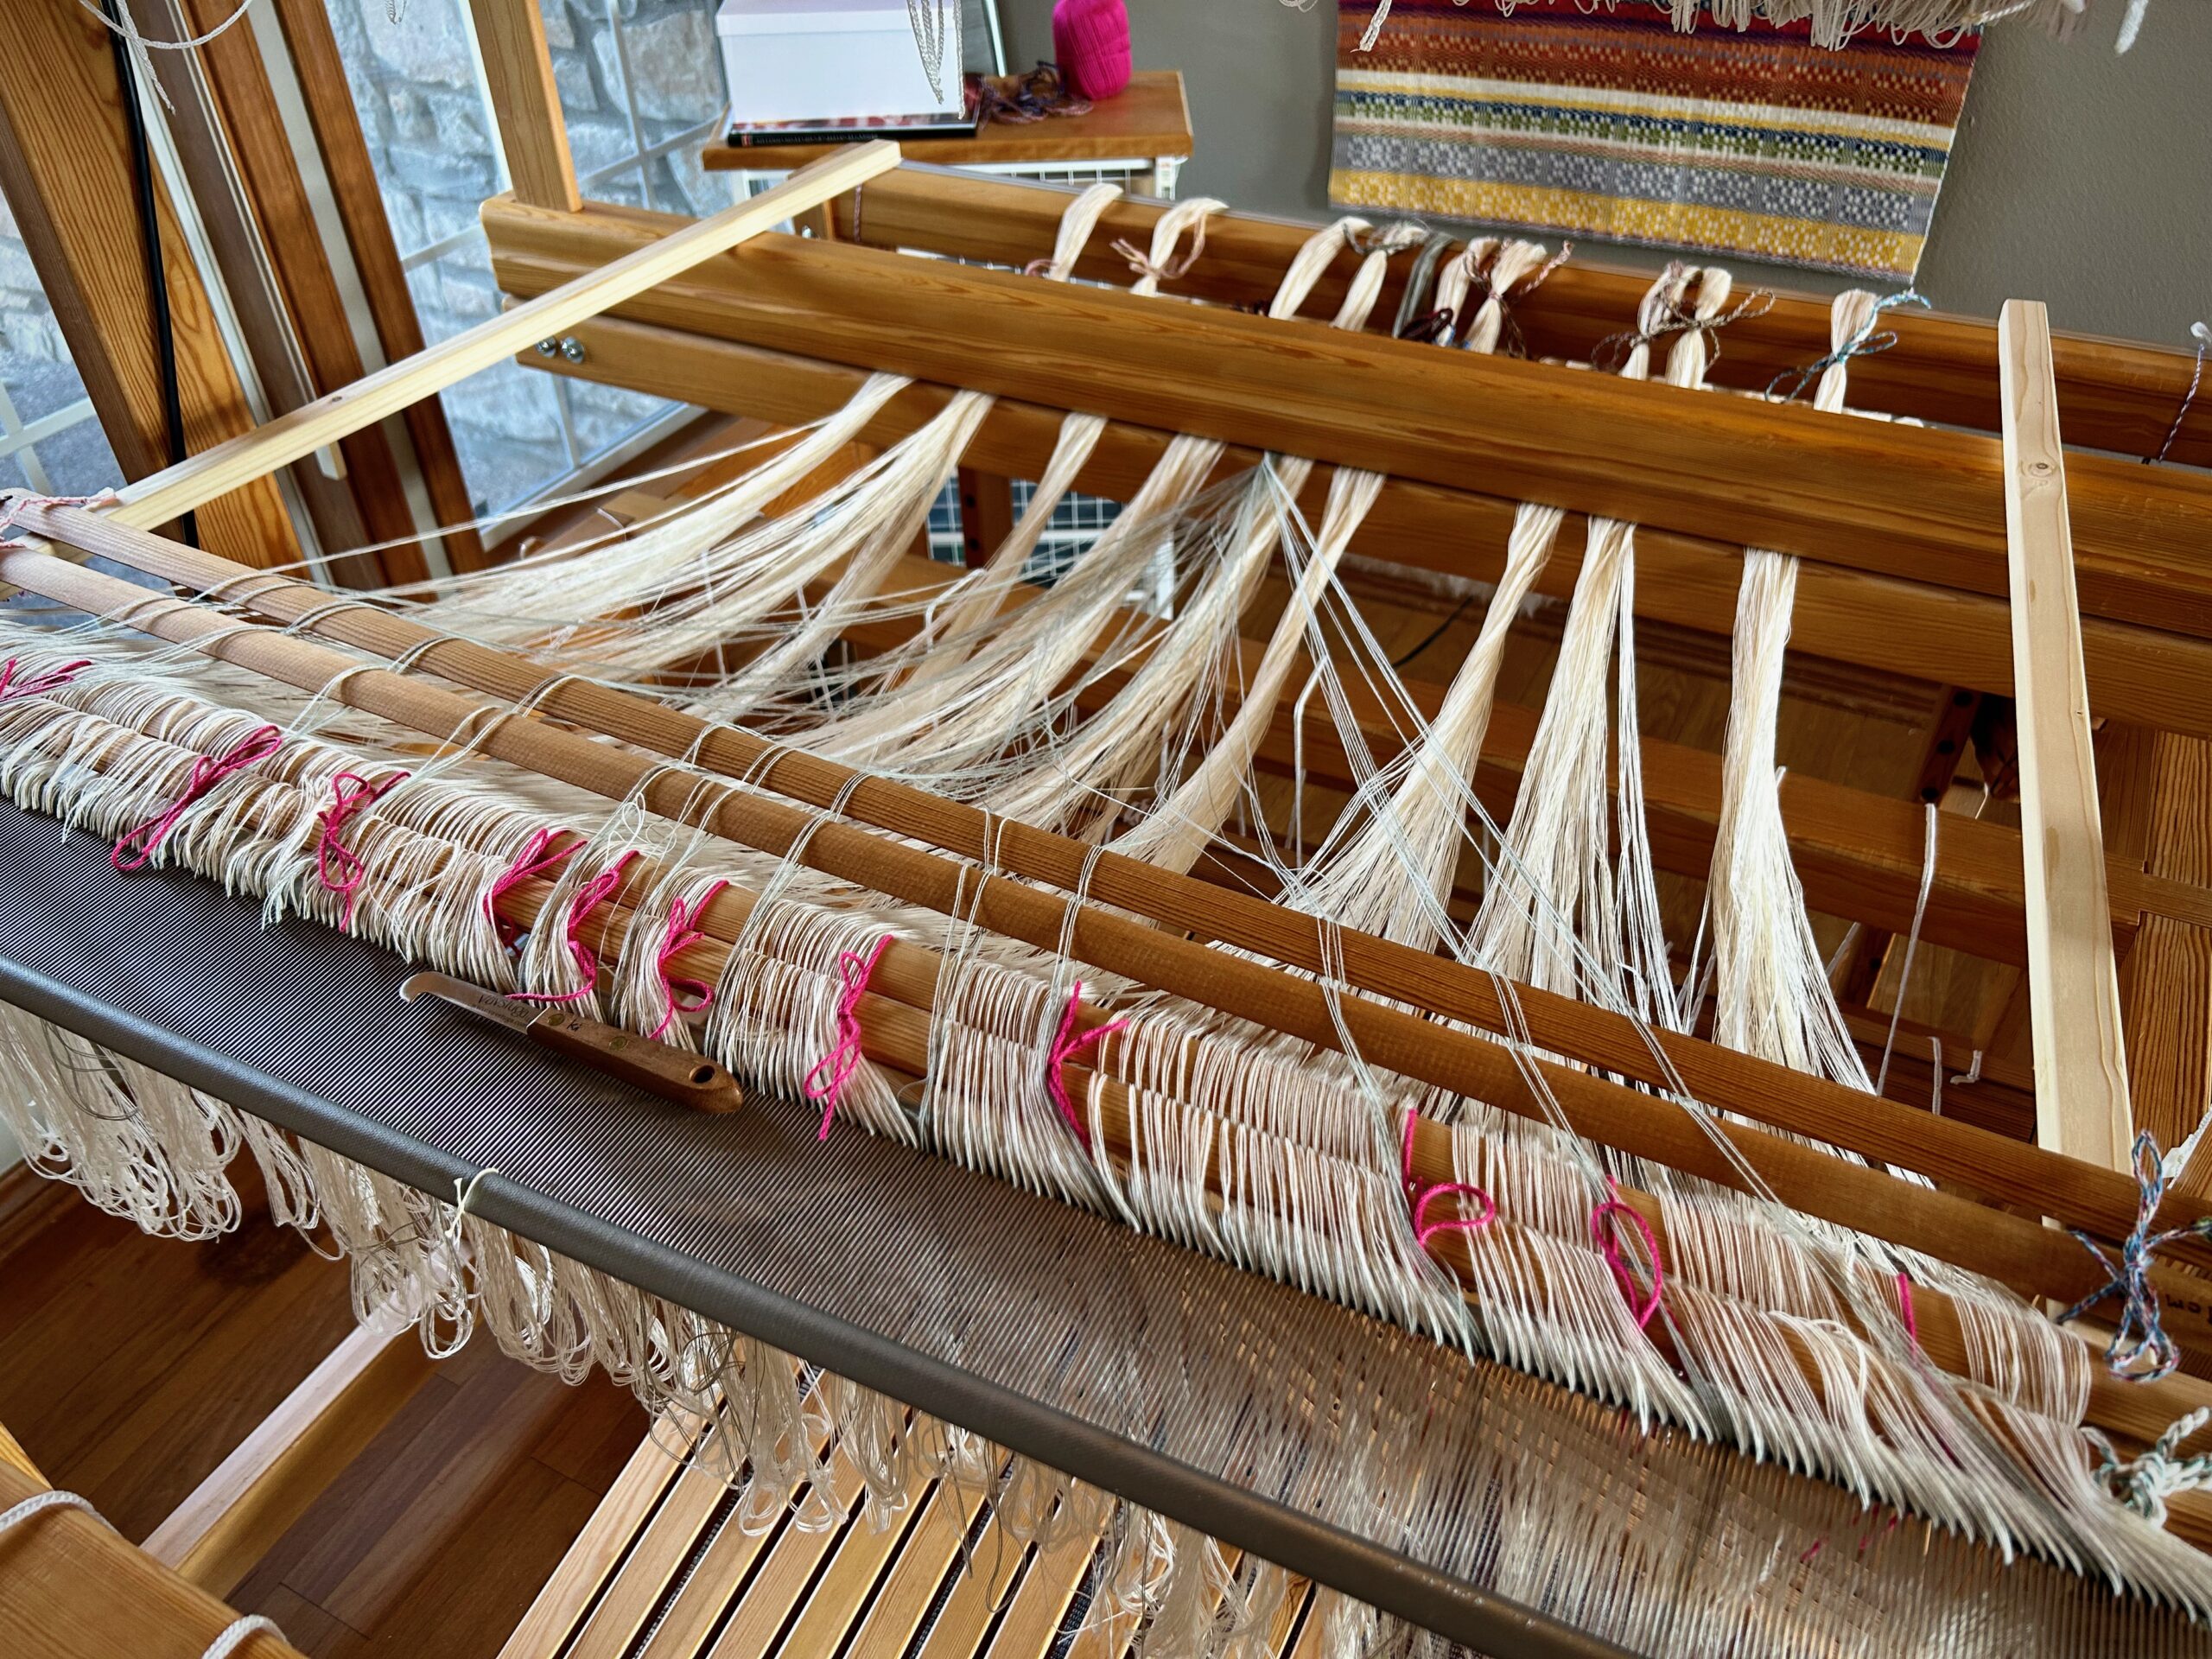
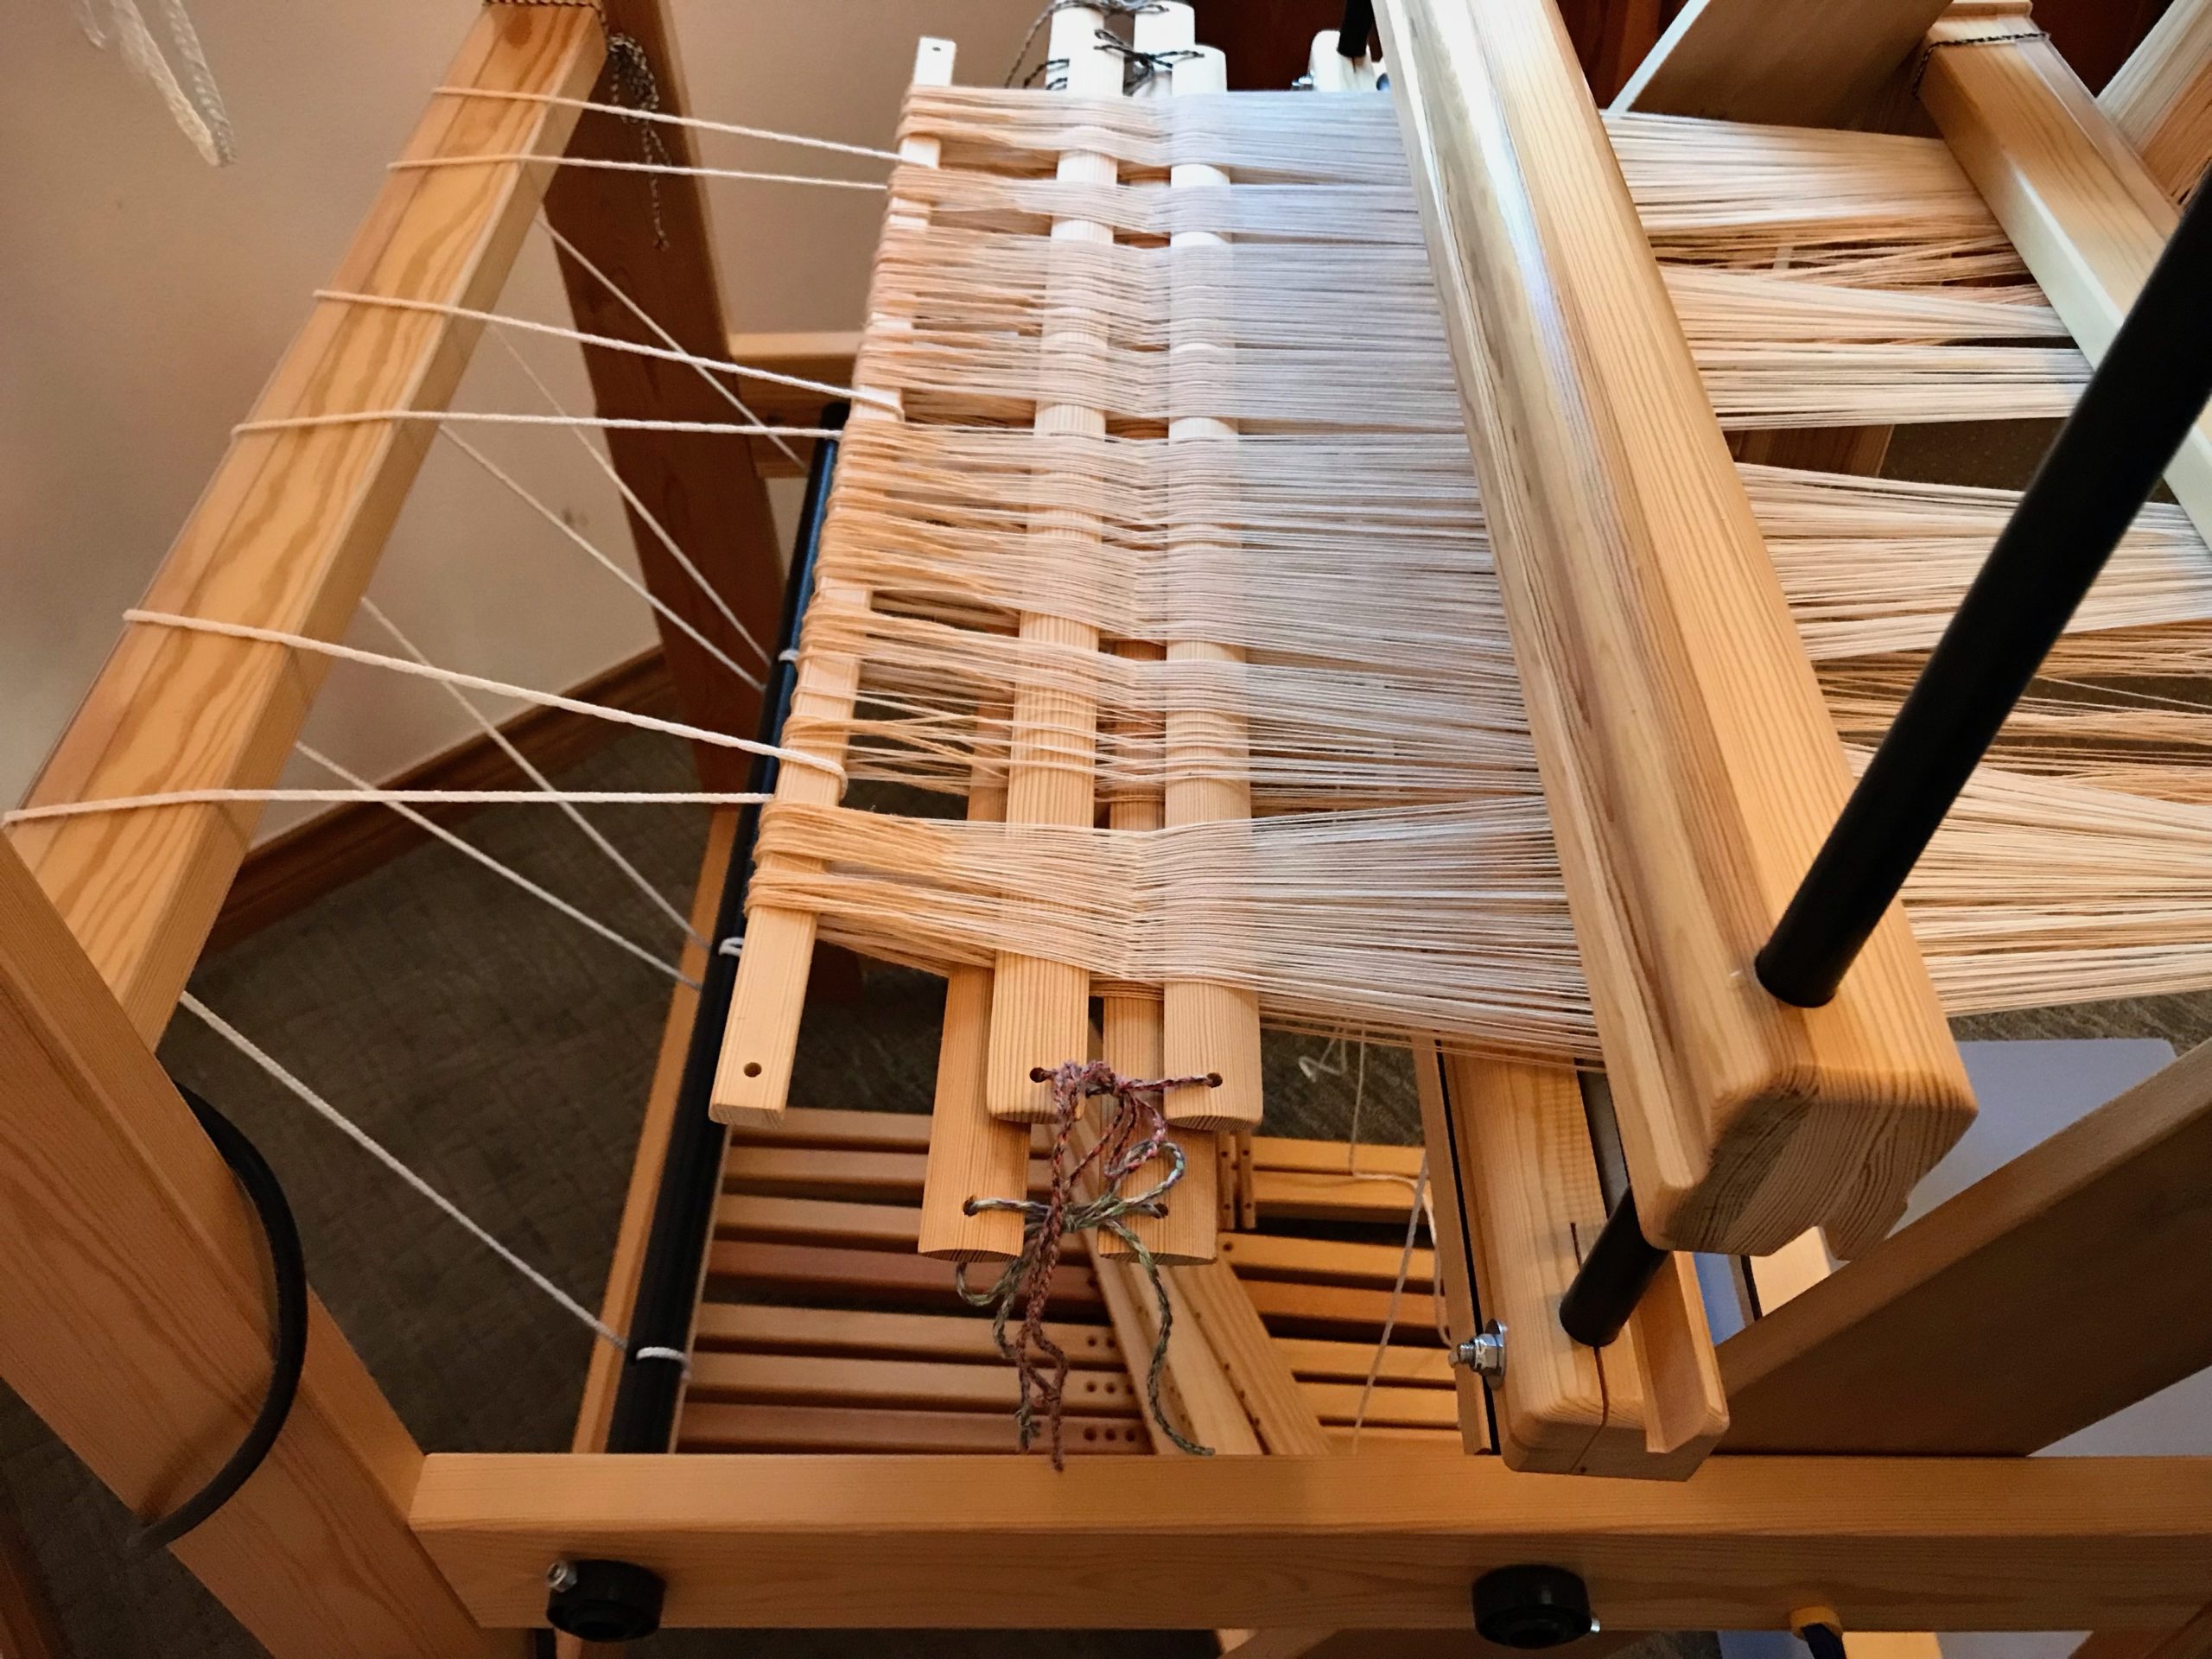
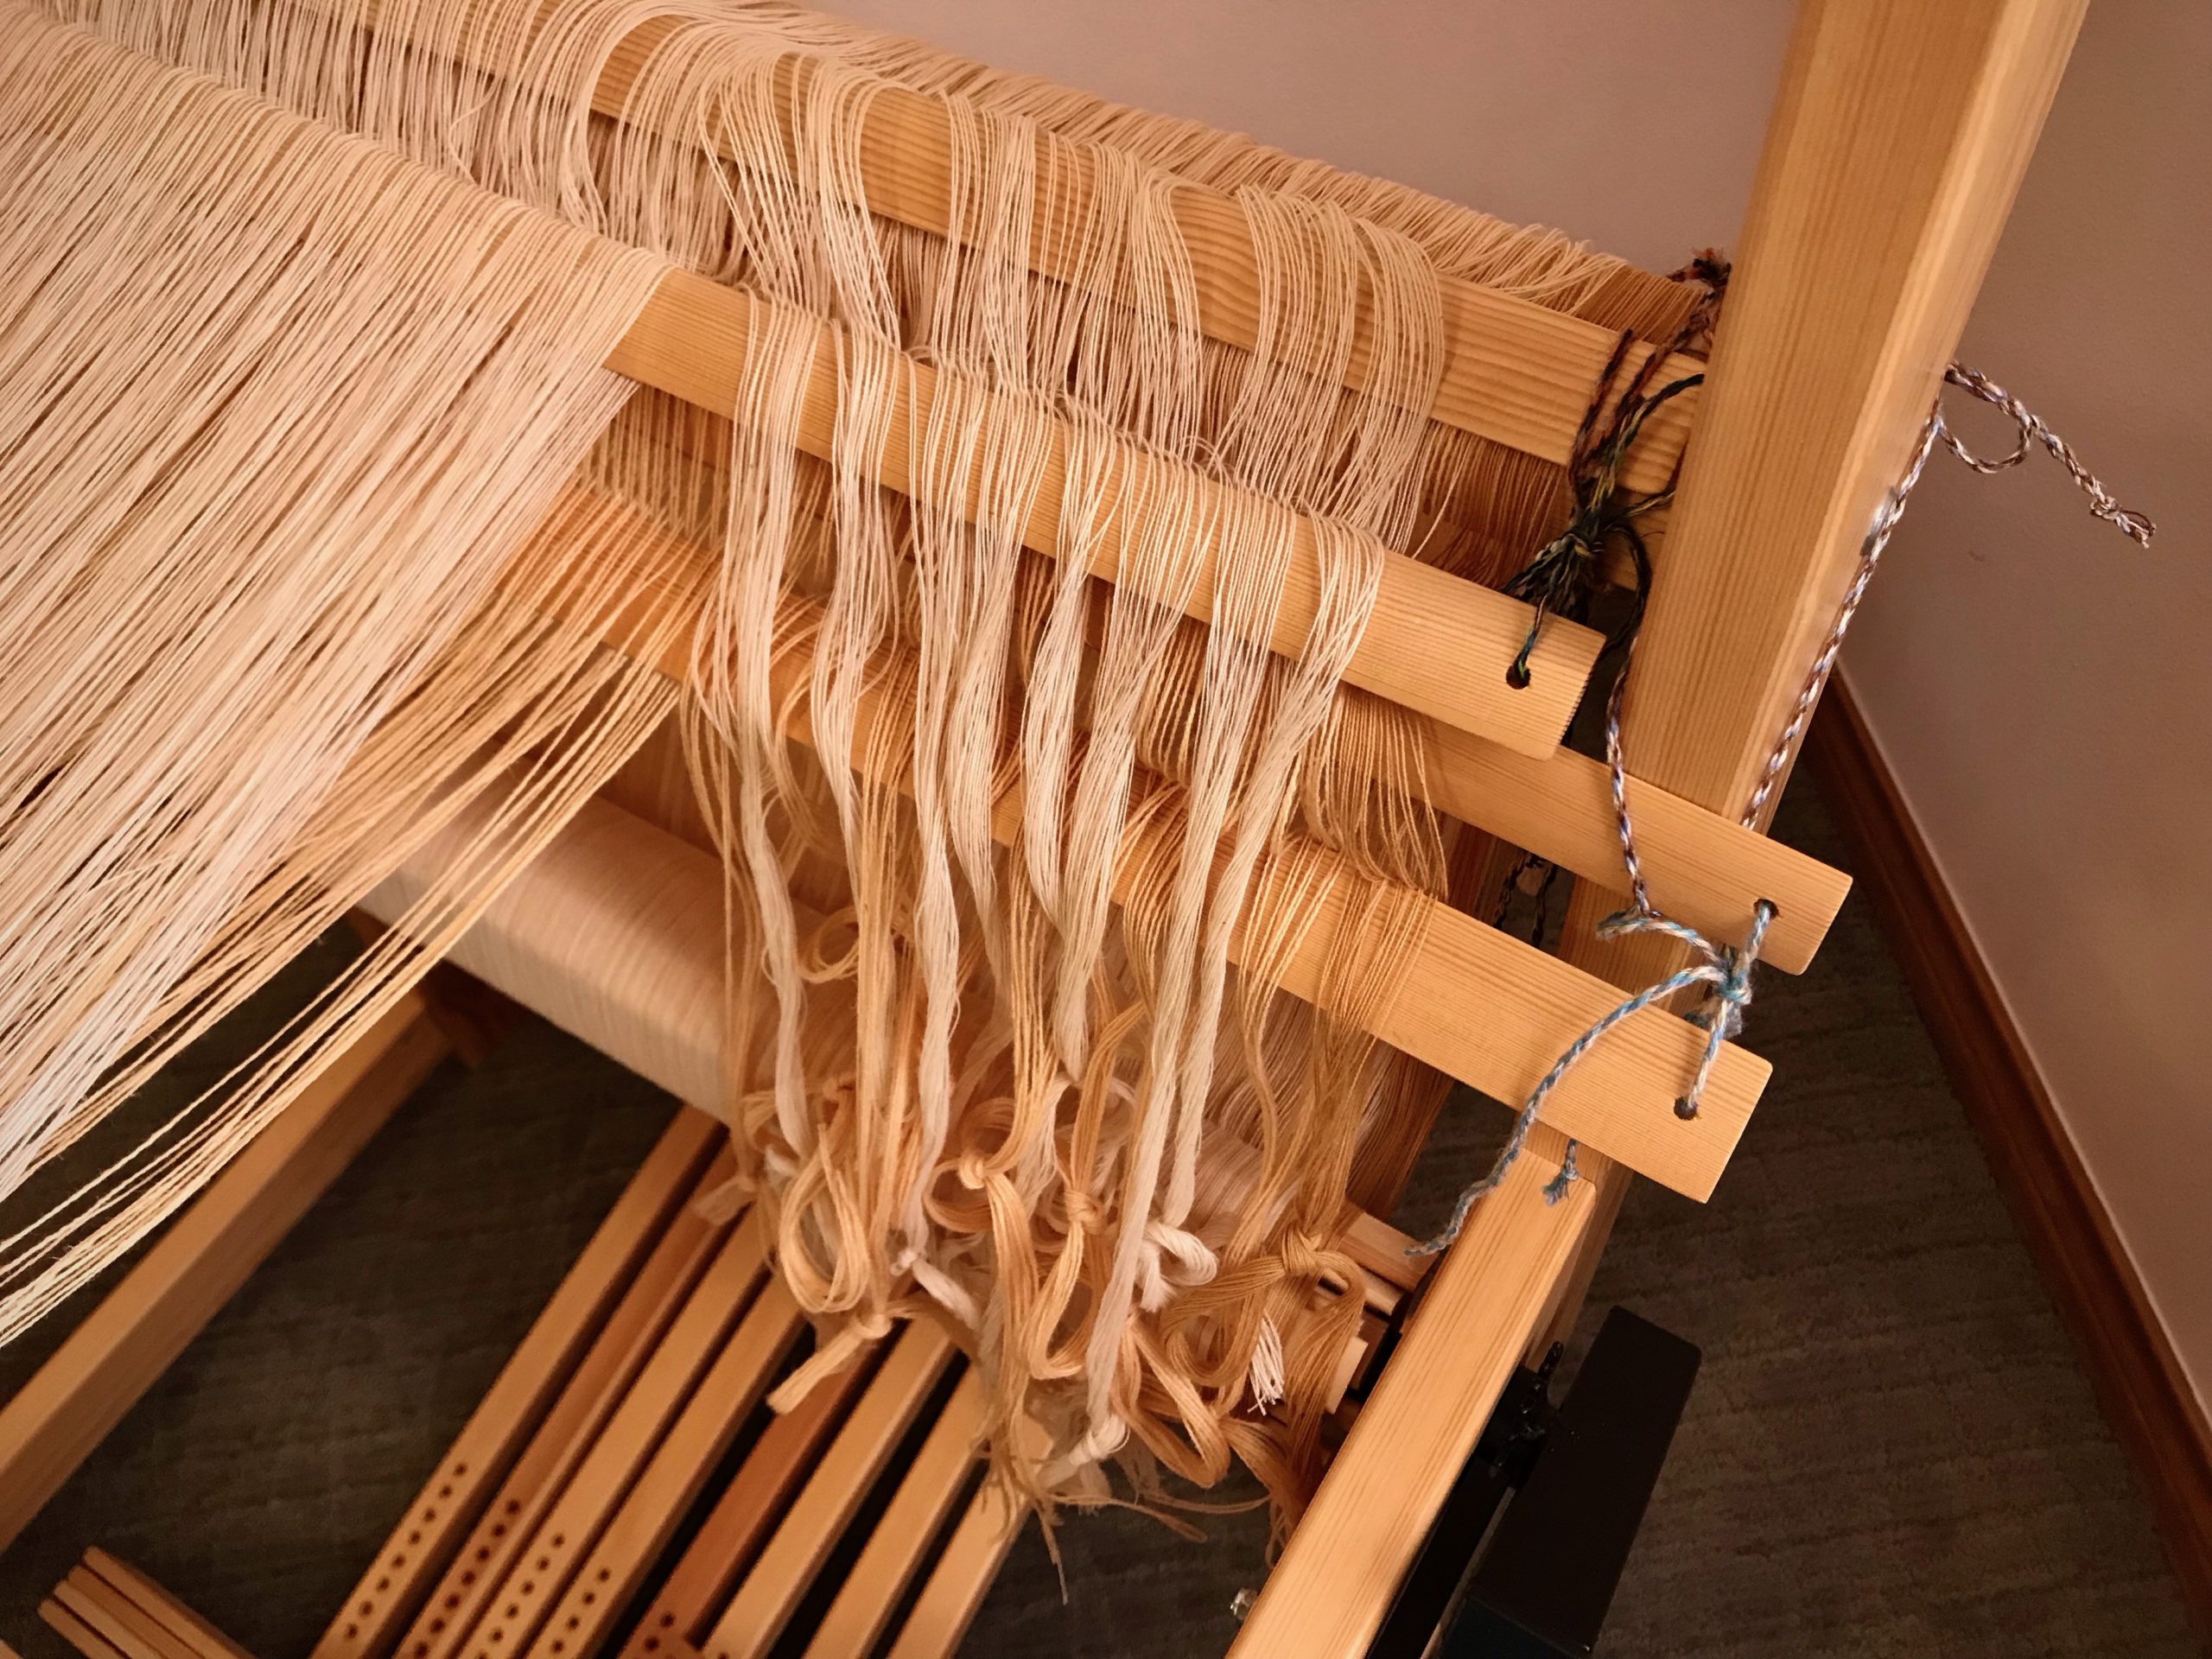
I group ends together before threading. Then, when threading, if there is a discrepancy in the number of ends, it alerts me to find a threading error. Counting out these delicate unbleached cotton threads is challenge enough. Having the layer of cream cottolin threads underneath presents additional complexity. With all these ends, this part of the process is tedious. Still, it’s worth it if it lessens my chance of making threading errors with these 1,472 ends.
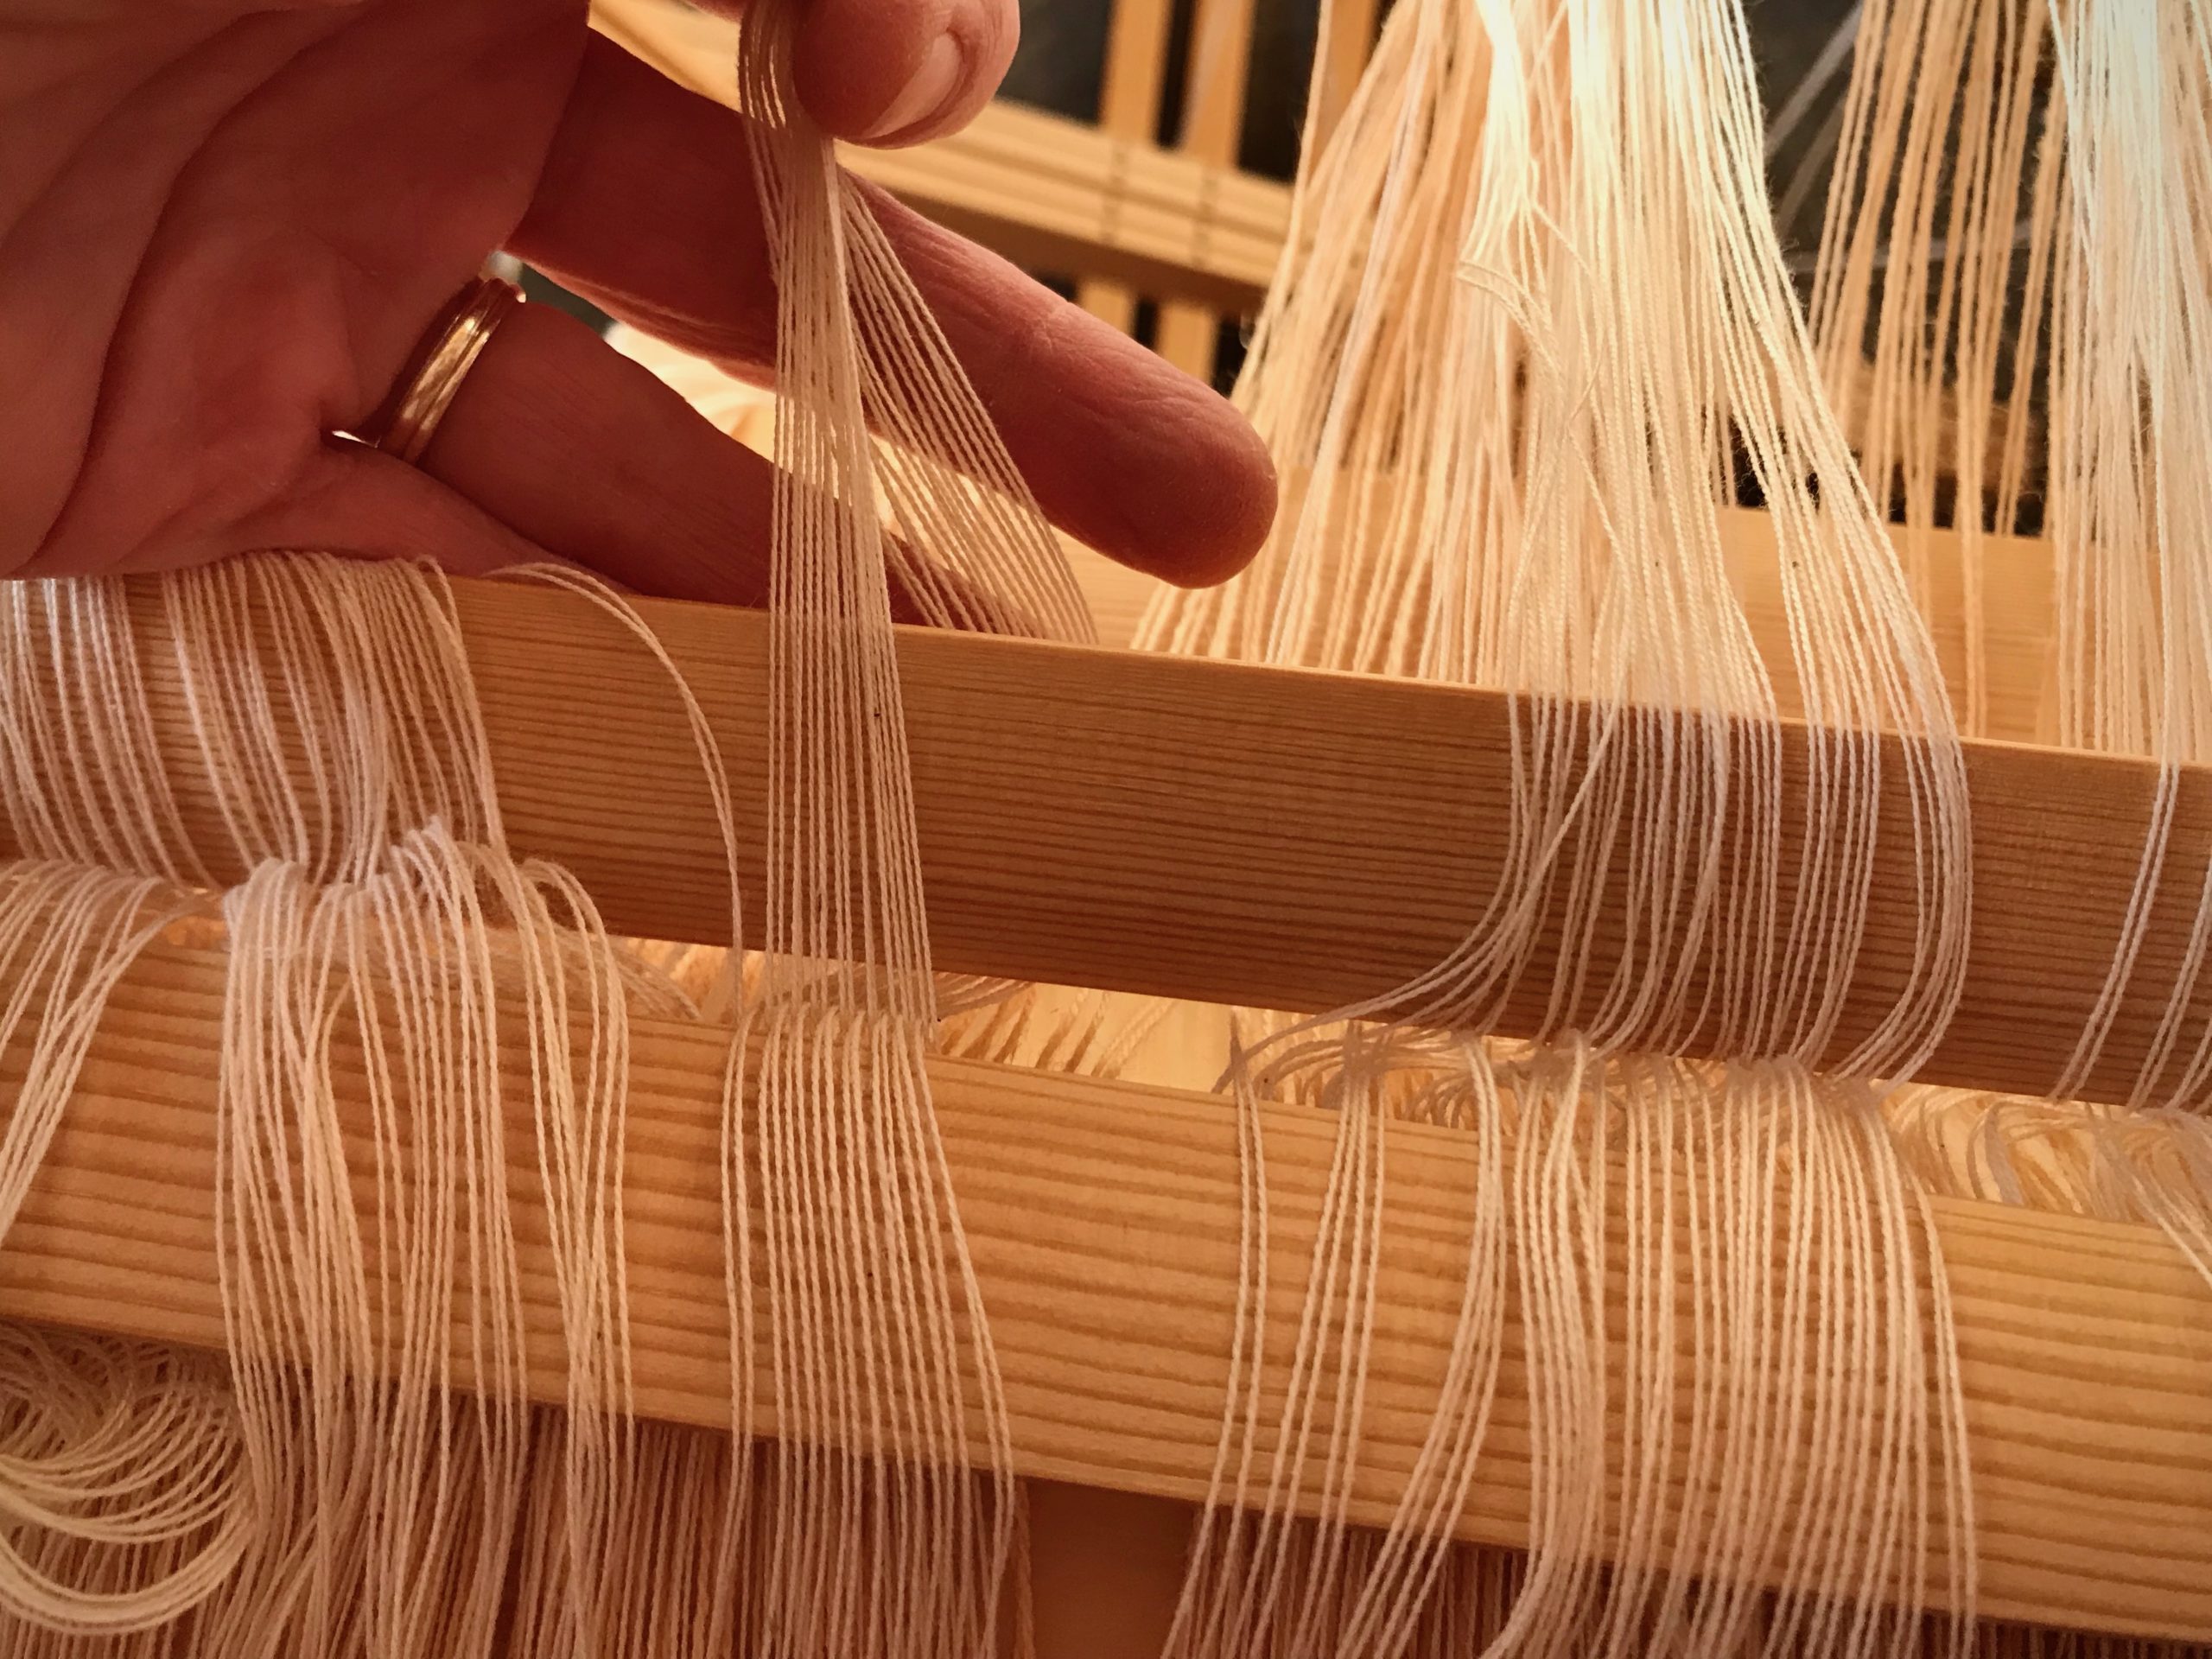
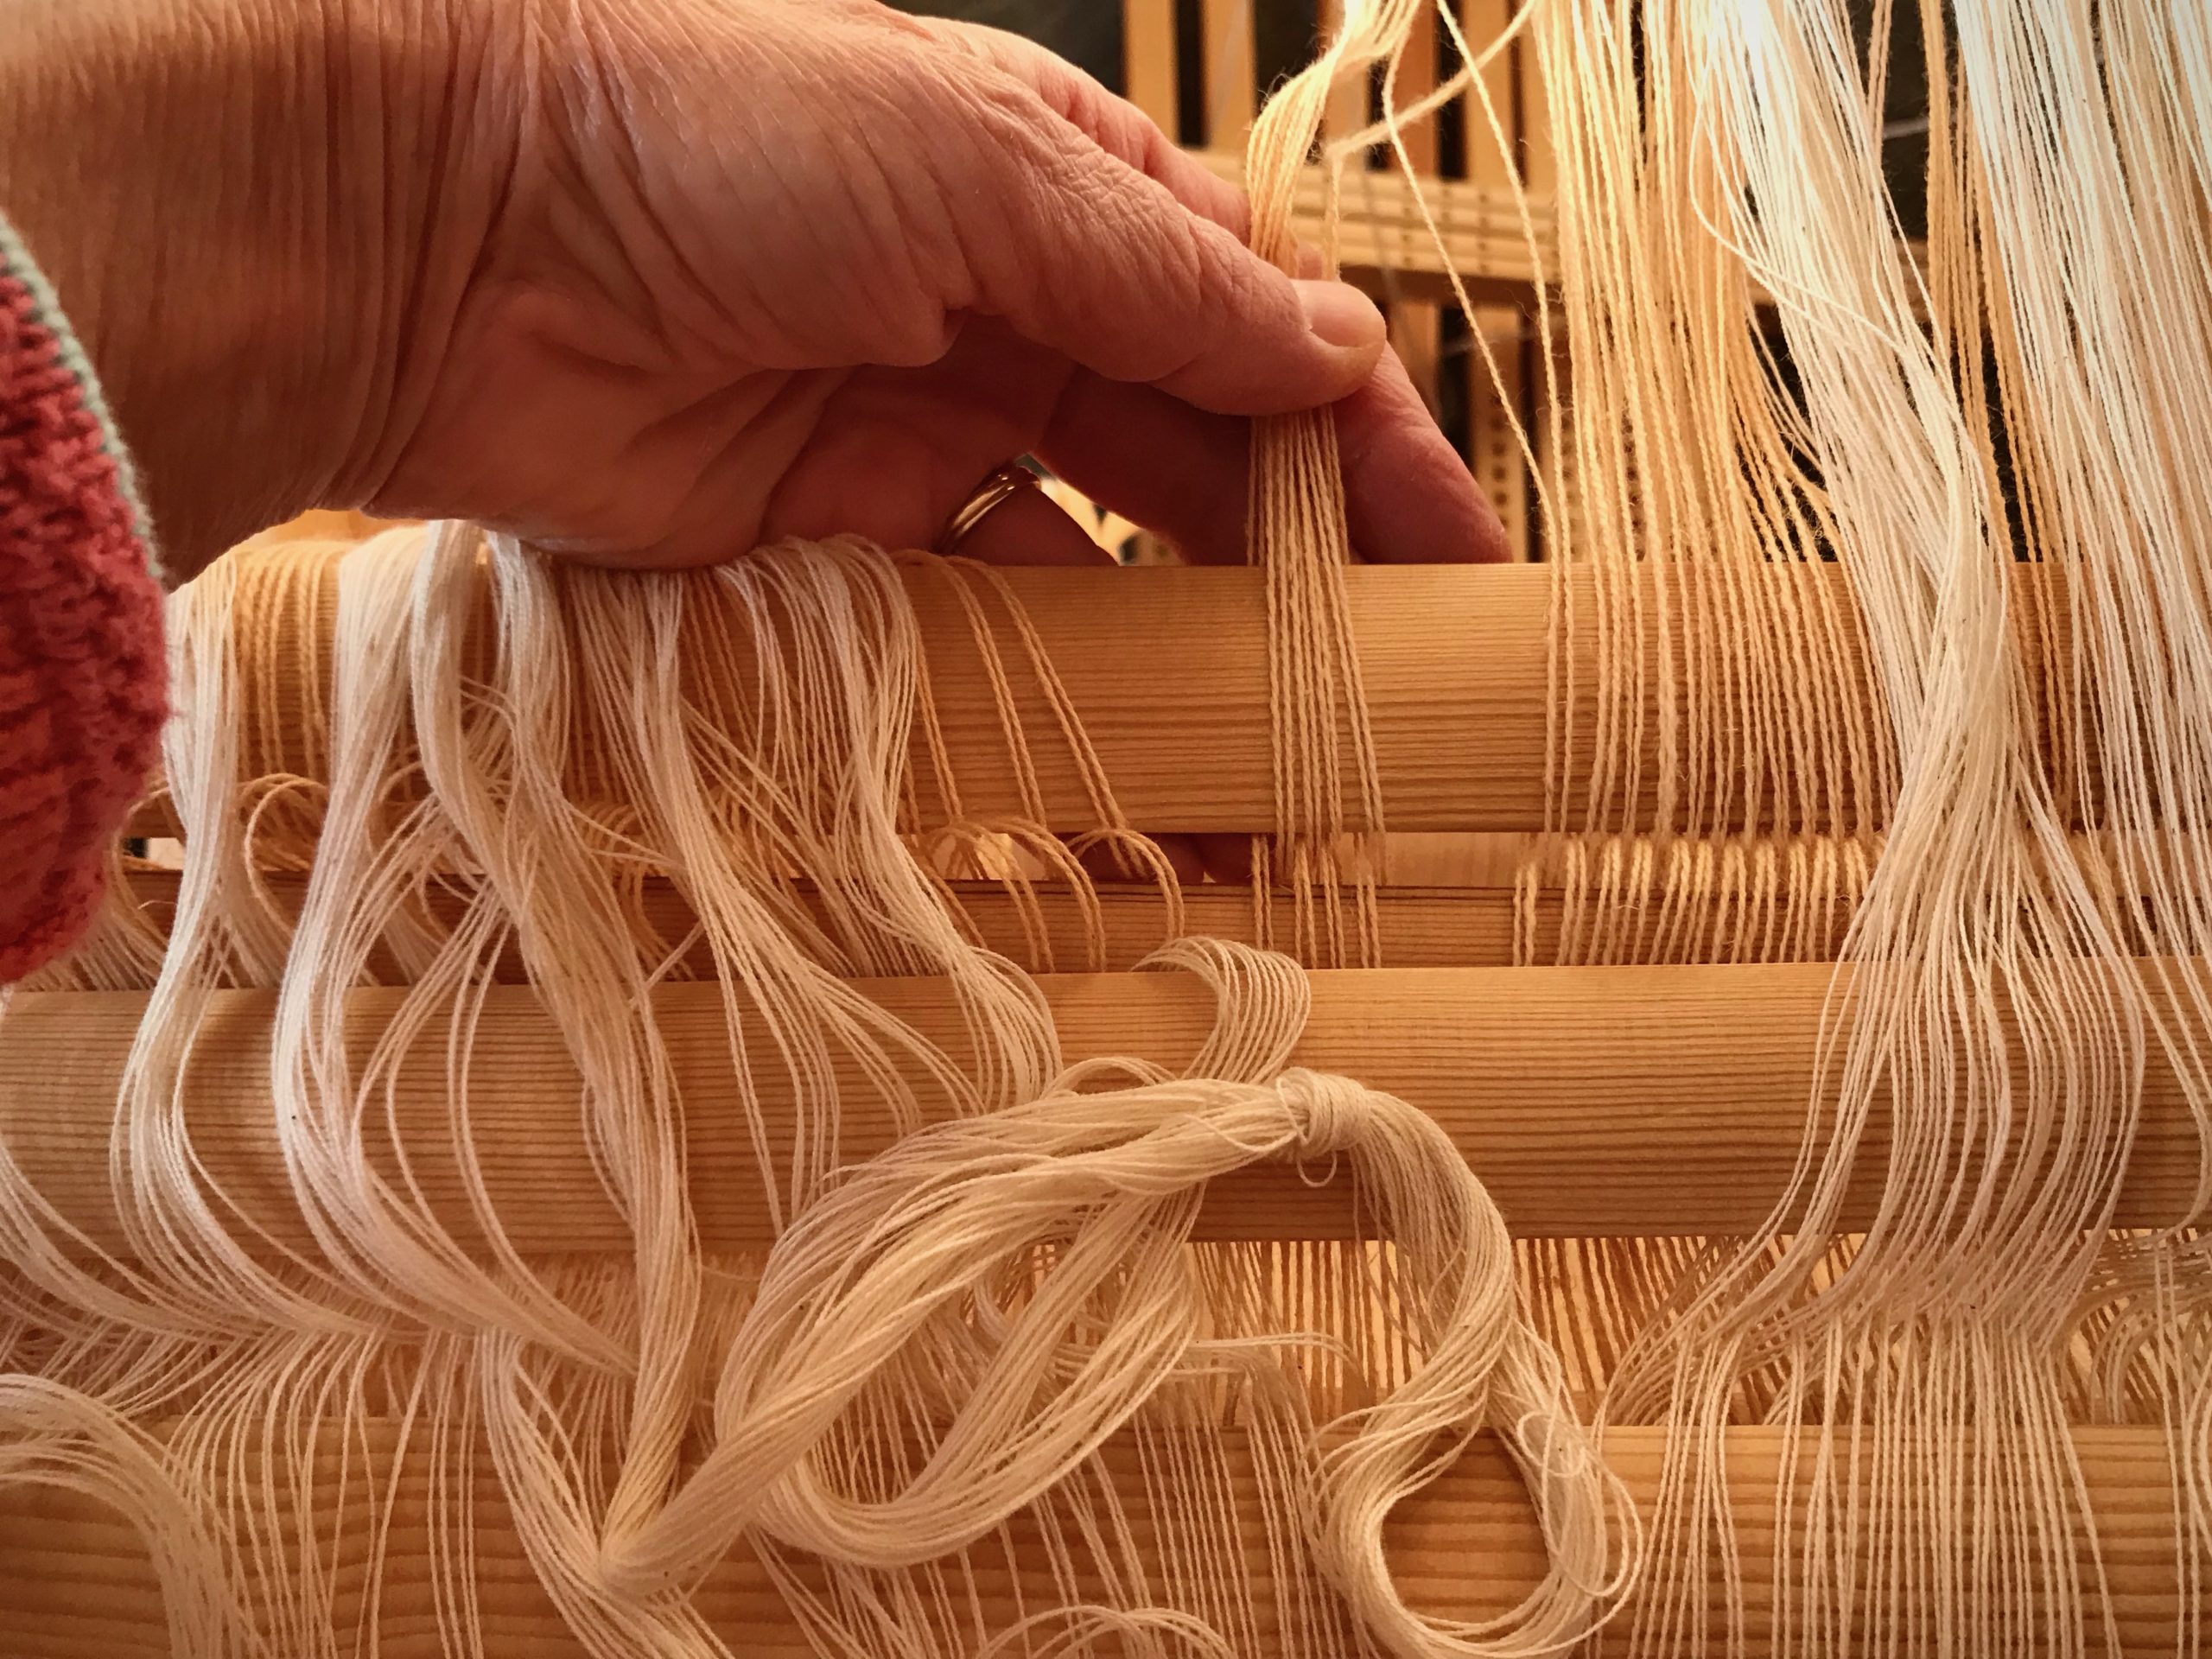
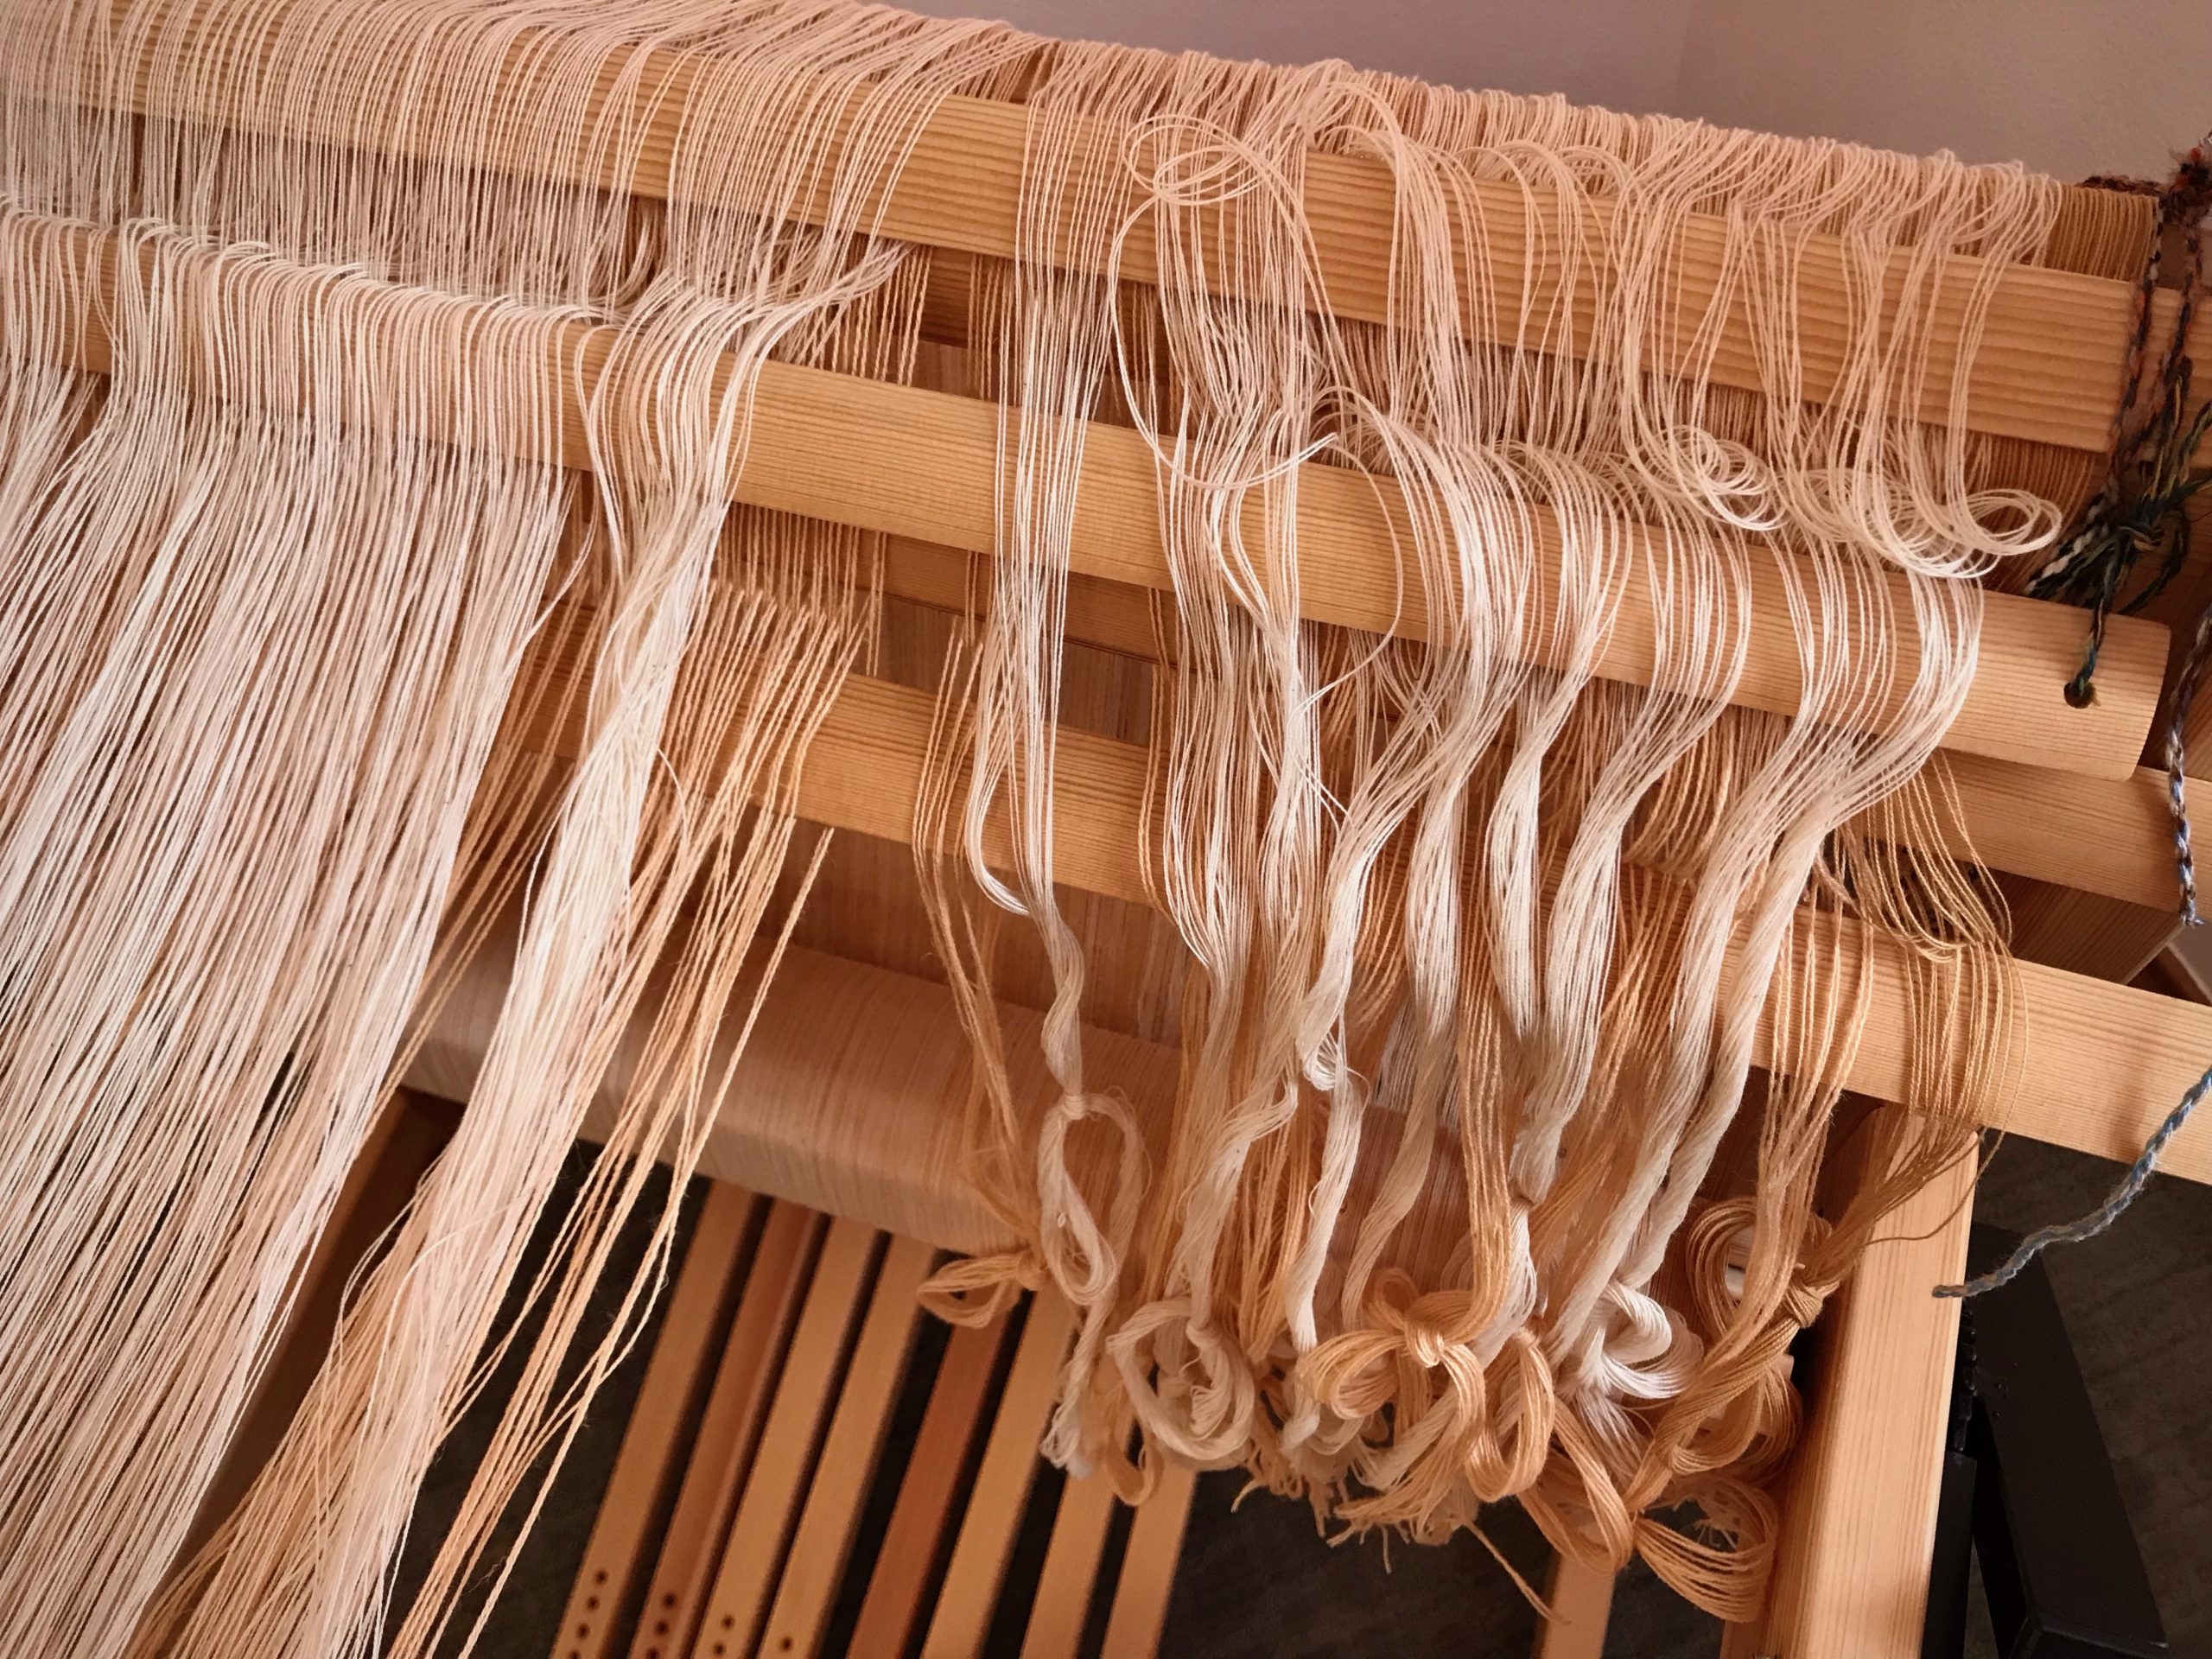
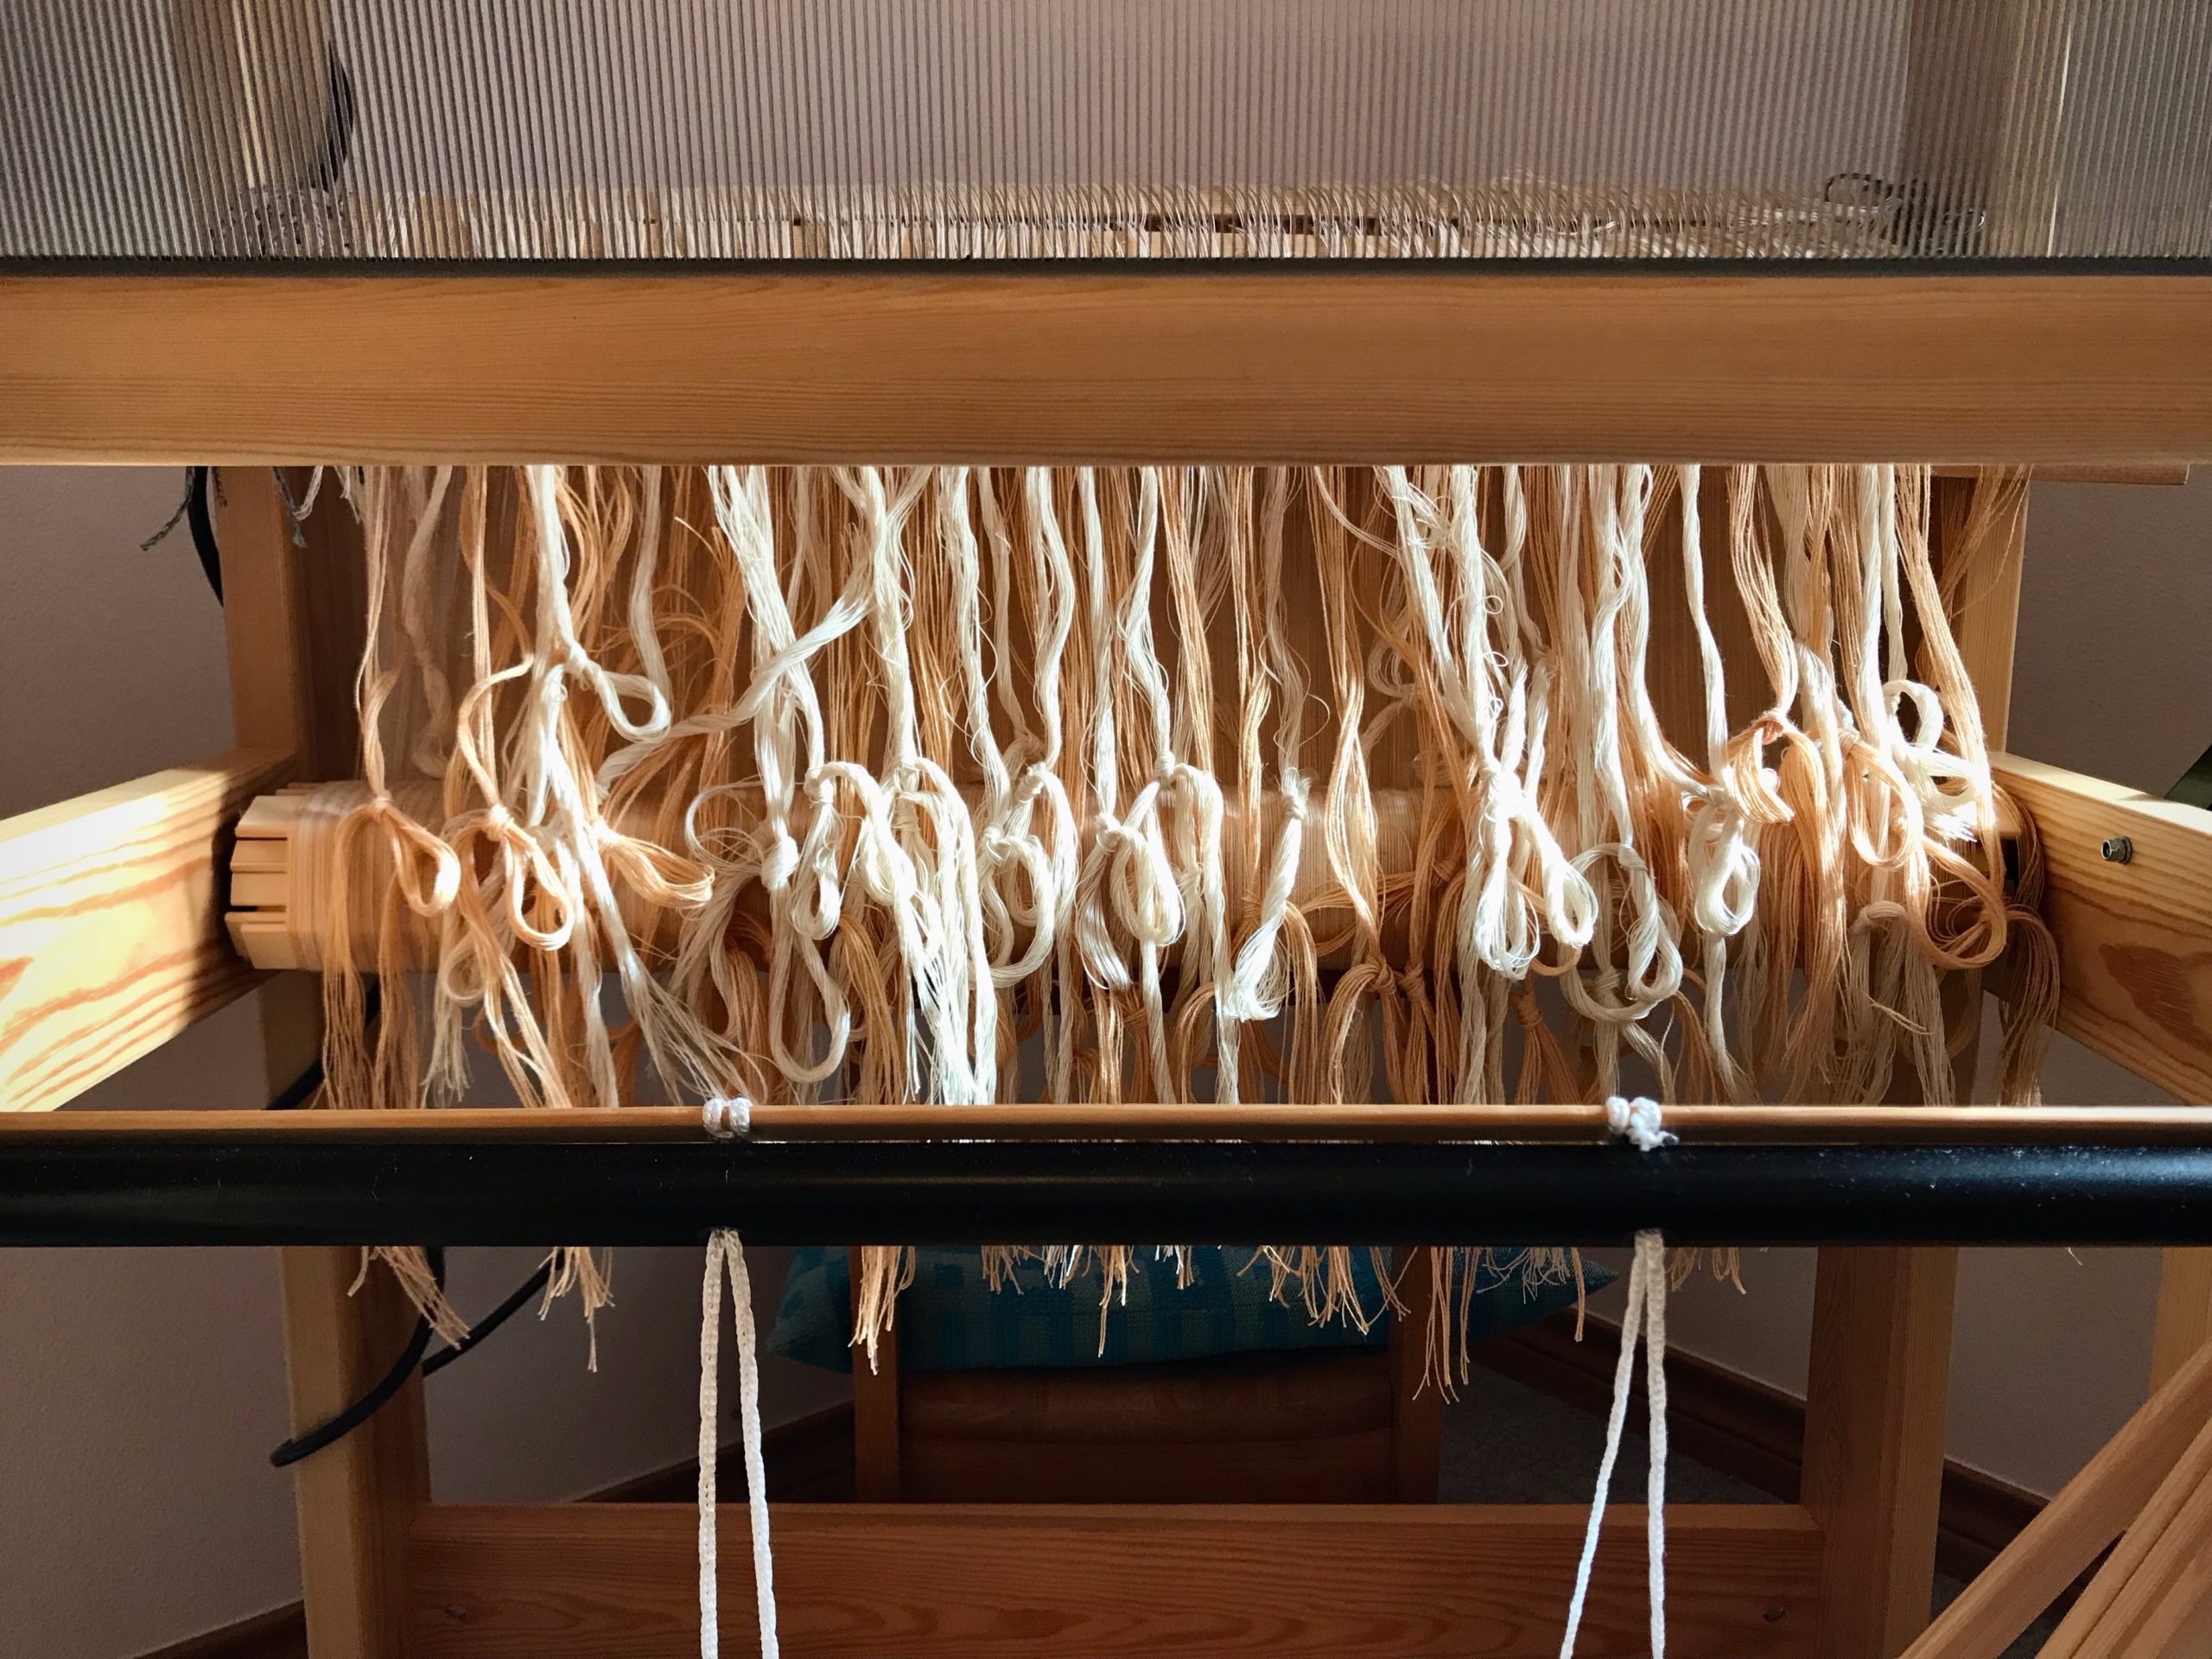
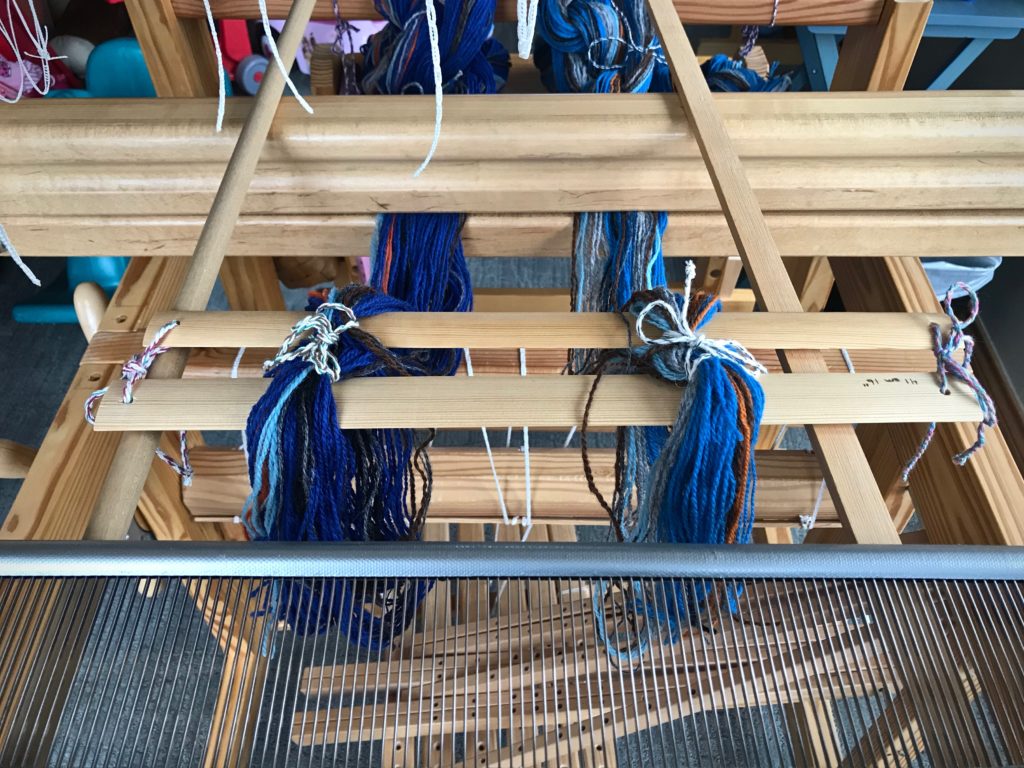
Preparation for threading. Ends are gathered into threading groups and tied together with a loose slip knot.Each set of lease sticks is tied to the back beam separately, so they can hang at different heights. The lower set is tied around the side frame and over the back beam.If I stand behind the loom, my back is in a leaning-forward position and not comfortable for long. I placed a child’s chair and cushion behind the loom. Kneeling behind the loom at this height gives me good visibility and access to the threads.View from the back of the loom. Ends are counted at the center of a pair of lease sticks. These counted ends are tied together in a loose slip knot.View from behind the loom. Loop of unbleached ends just counted lay on top to clear the view. Ends on lower pair of lease sticks are counted and tied separately. I tied the cotton threads and the cottolin threads separately to make it easier to find an error if I miscounted along the way (which, fortunately, didn’t happen).Counted ends are dropped into hanging position before moving on to the next grouping. (After taking this picture, I re-tied the lease sticks closer together, making counting easier.)Threads remain in the reed. I pull threads out of the reed when they are counted.Pretty sight of counted ends. Ready for threading!
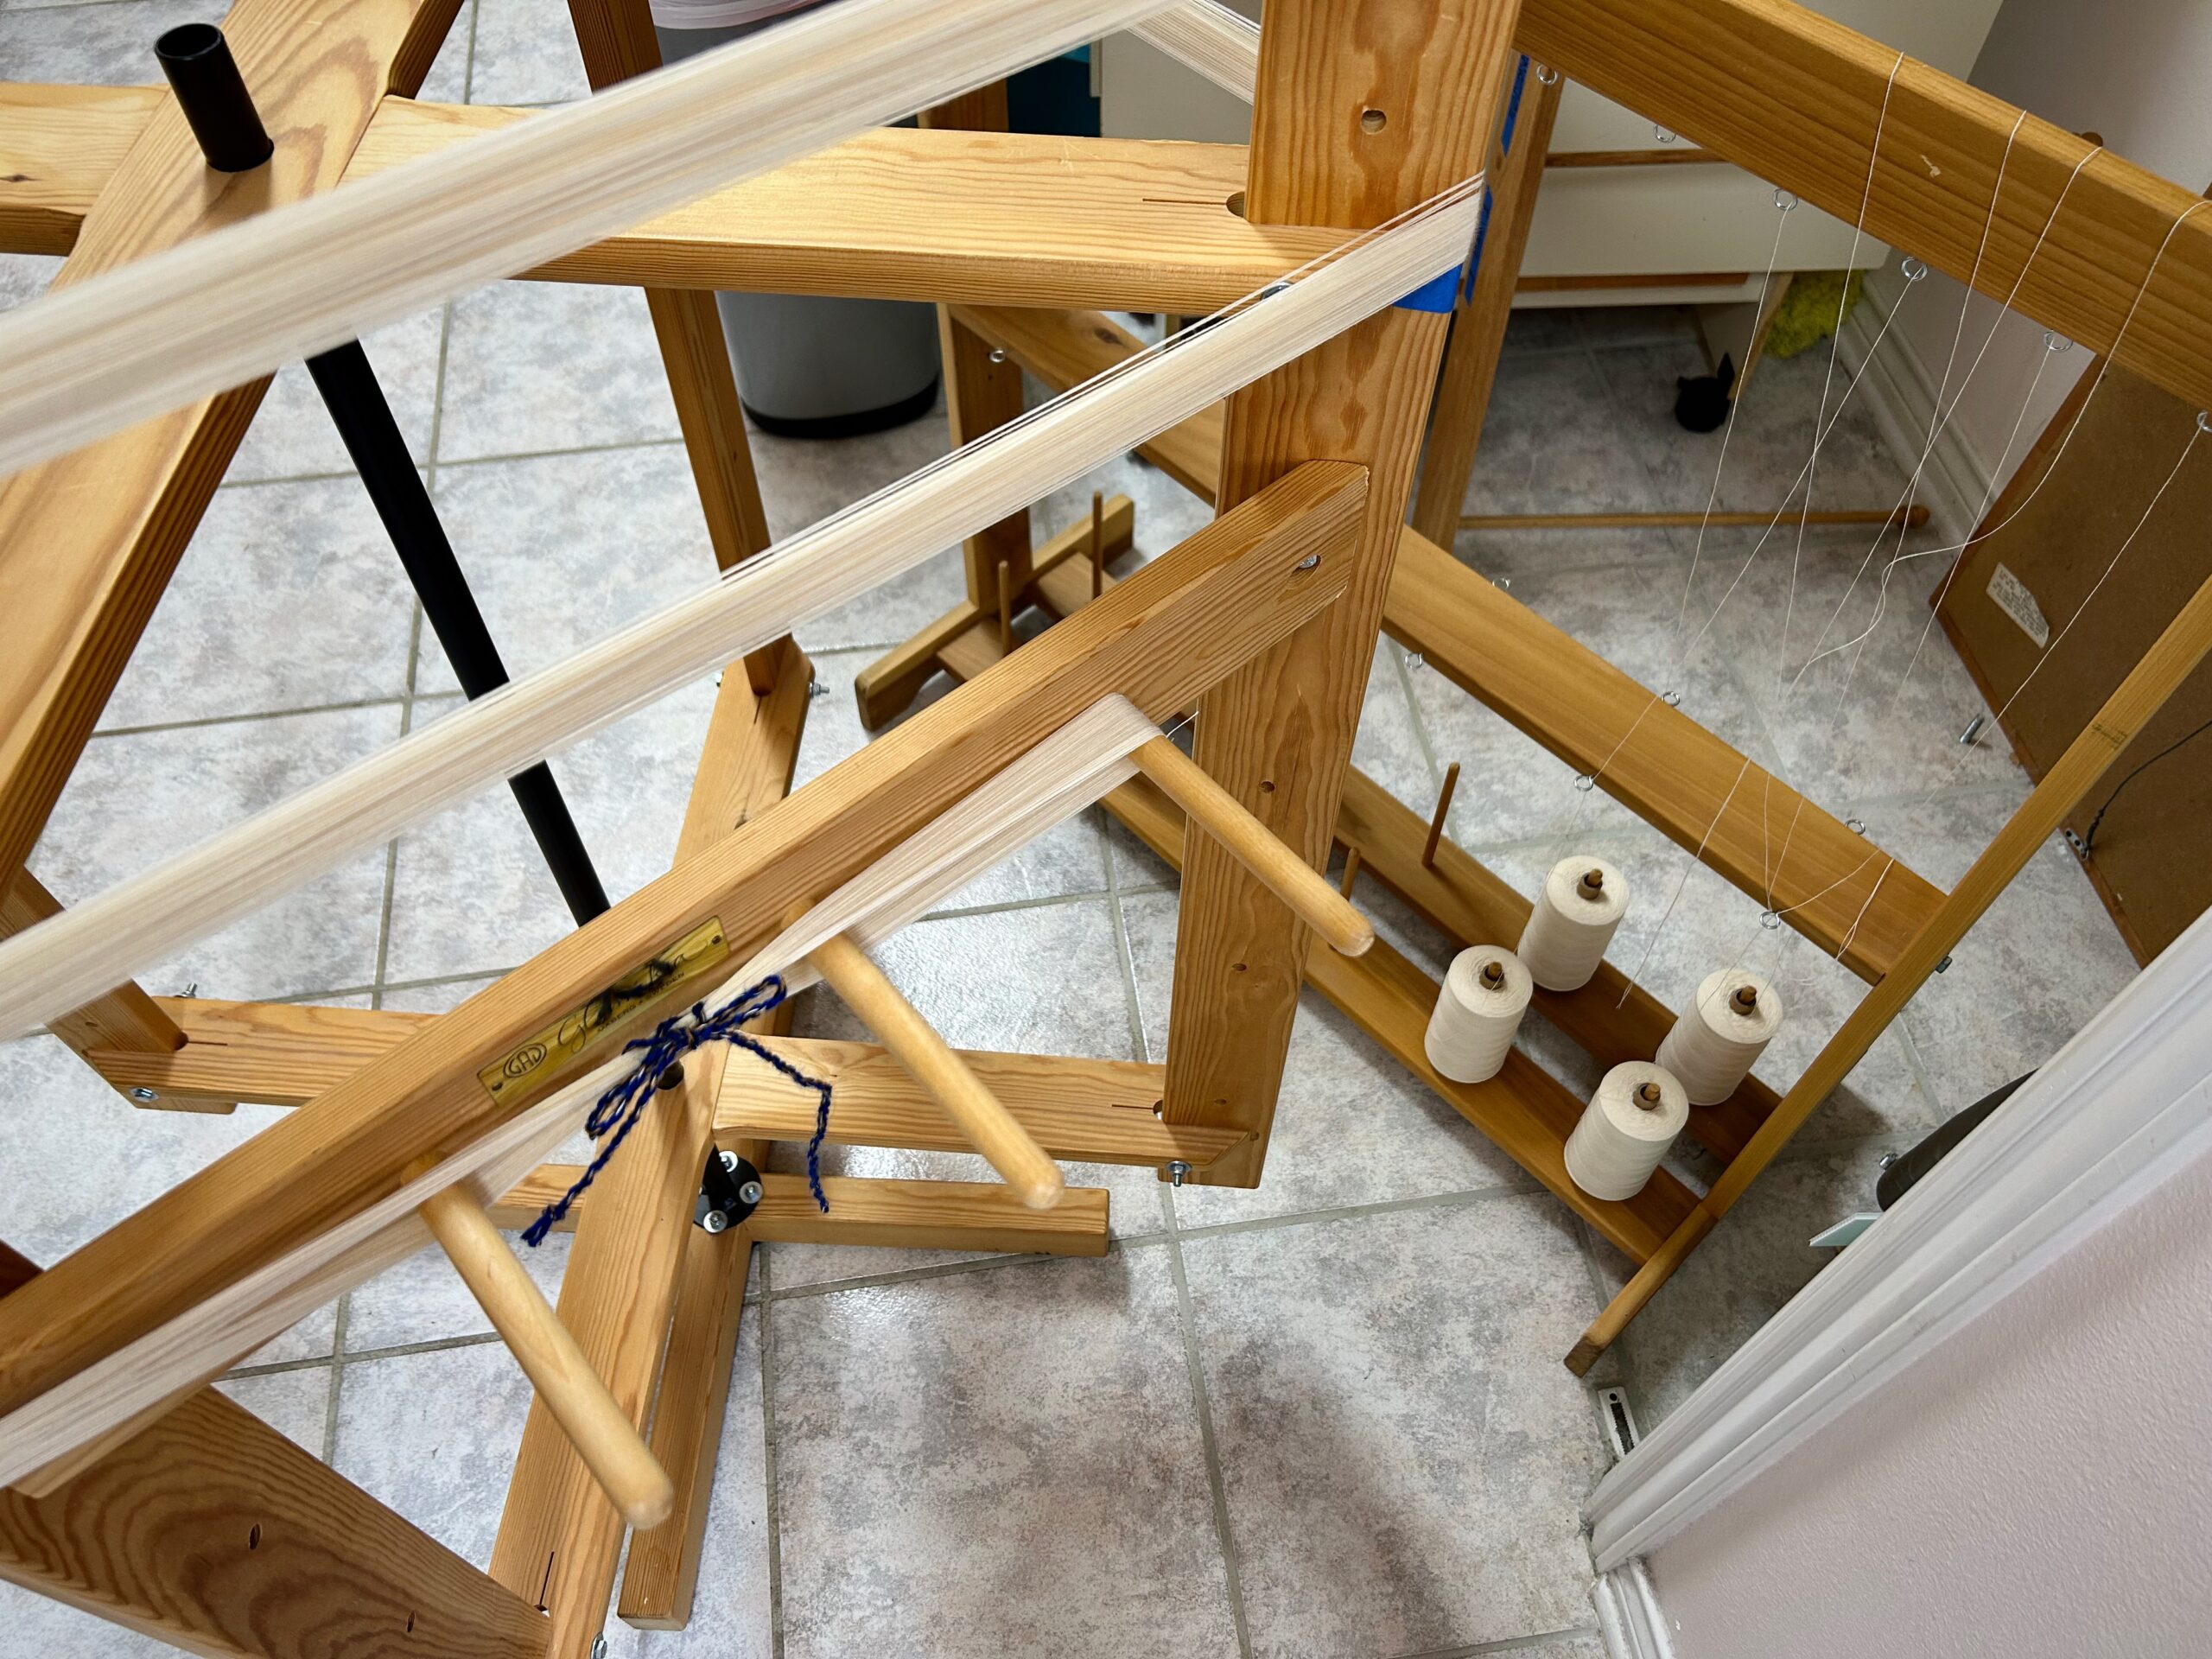
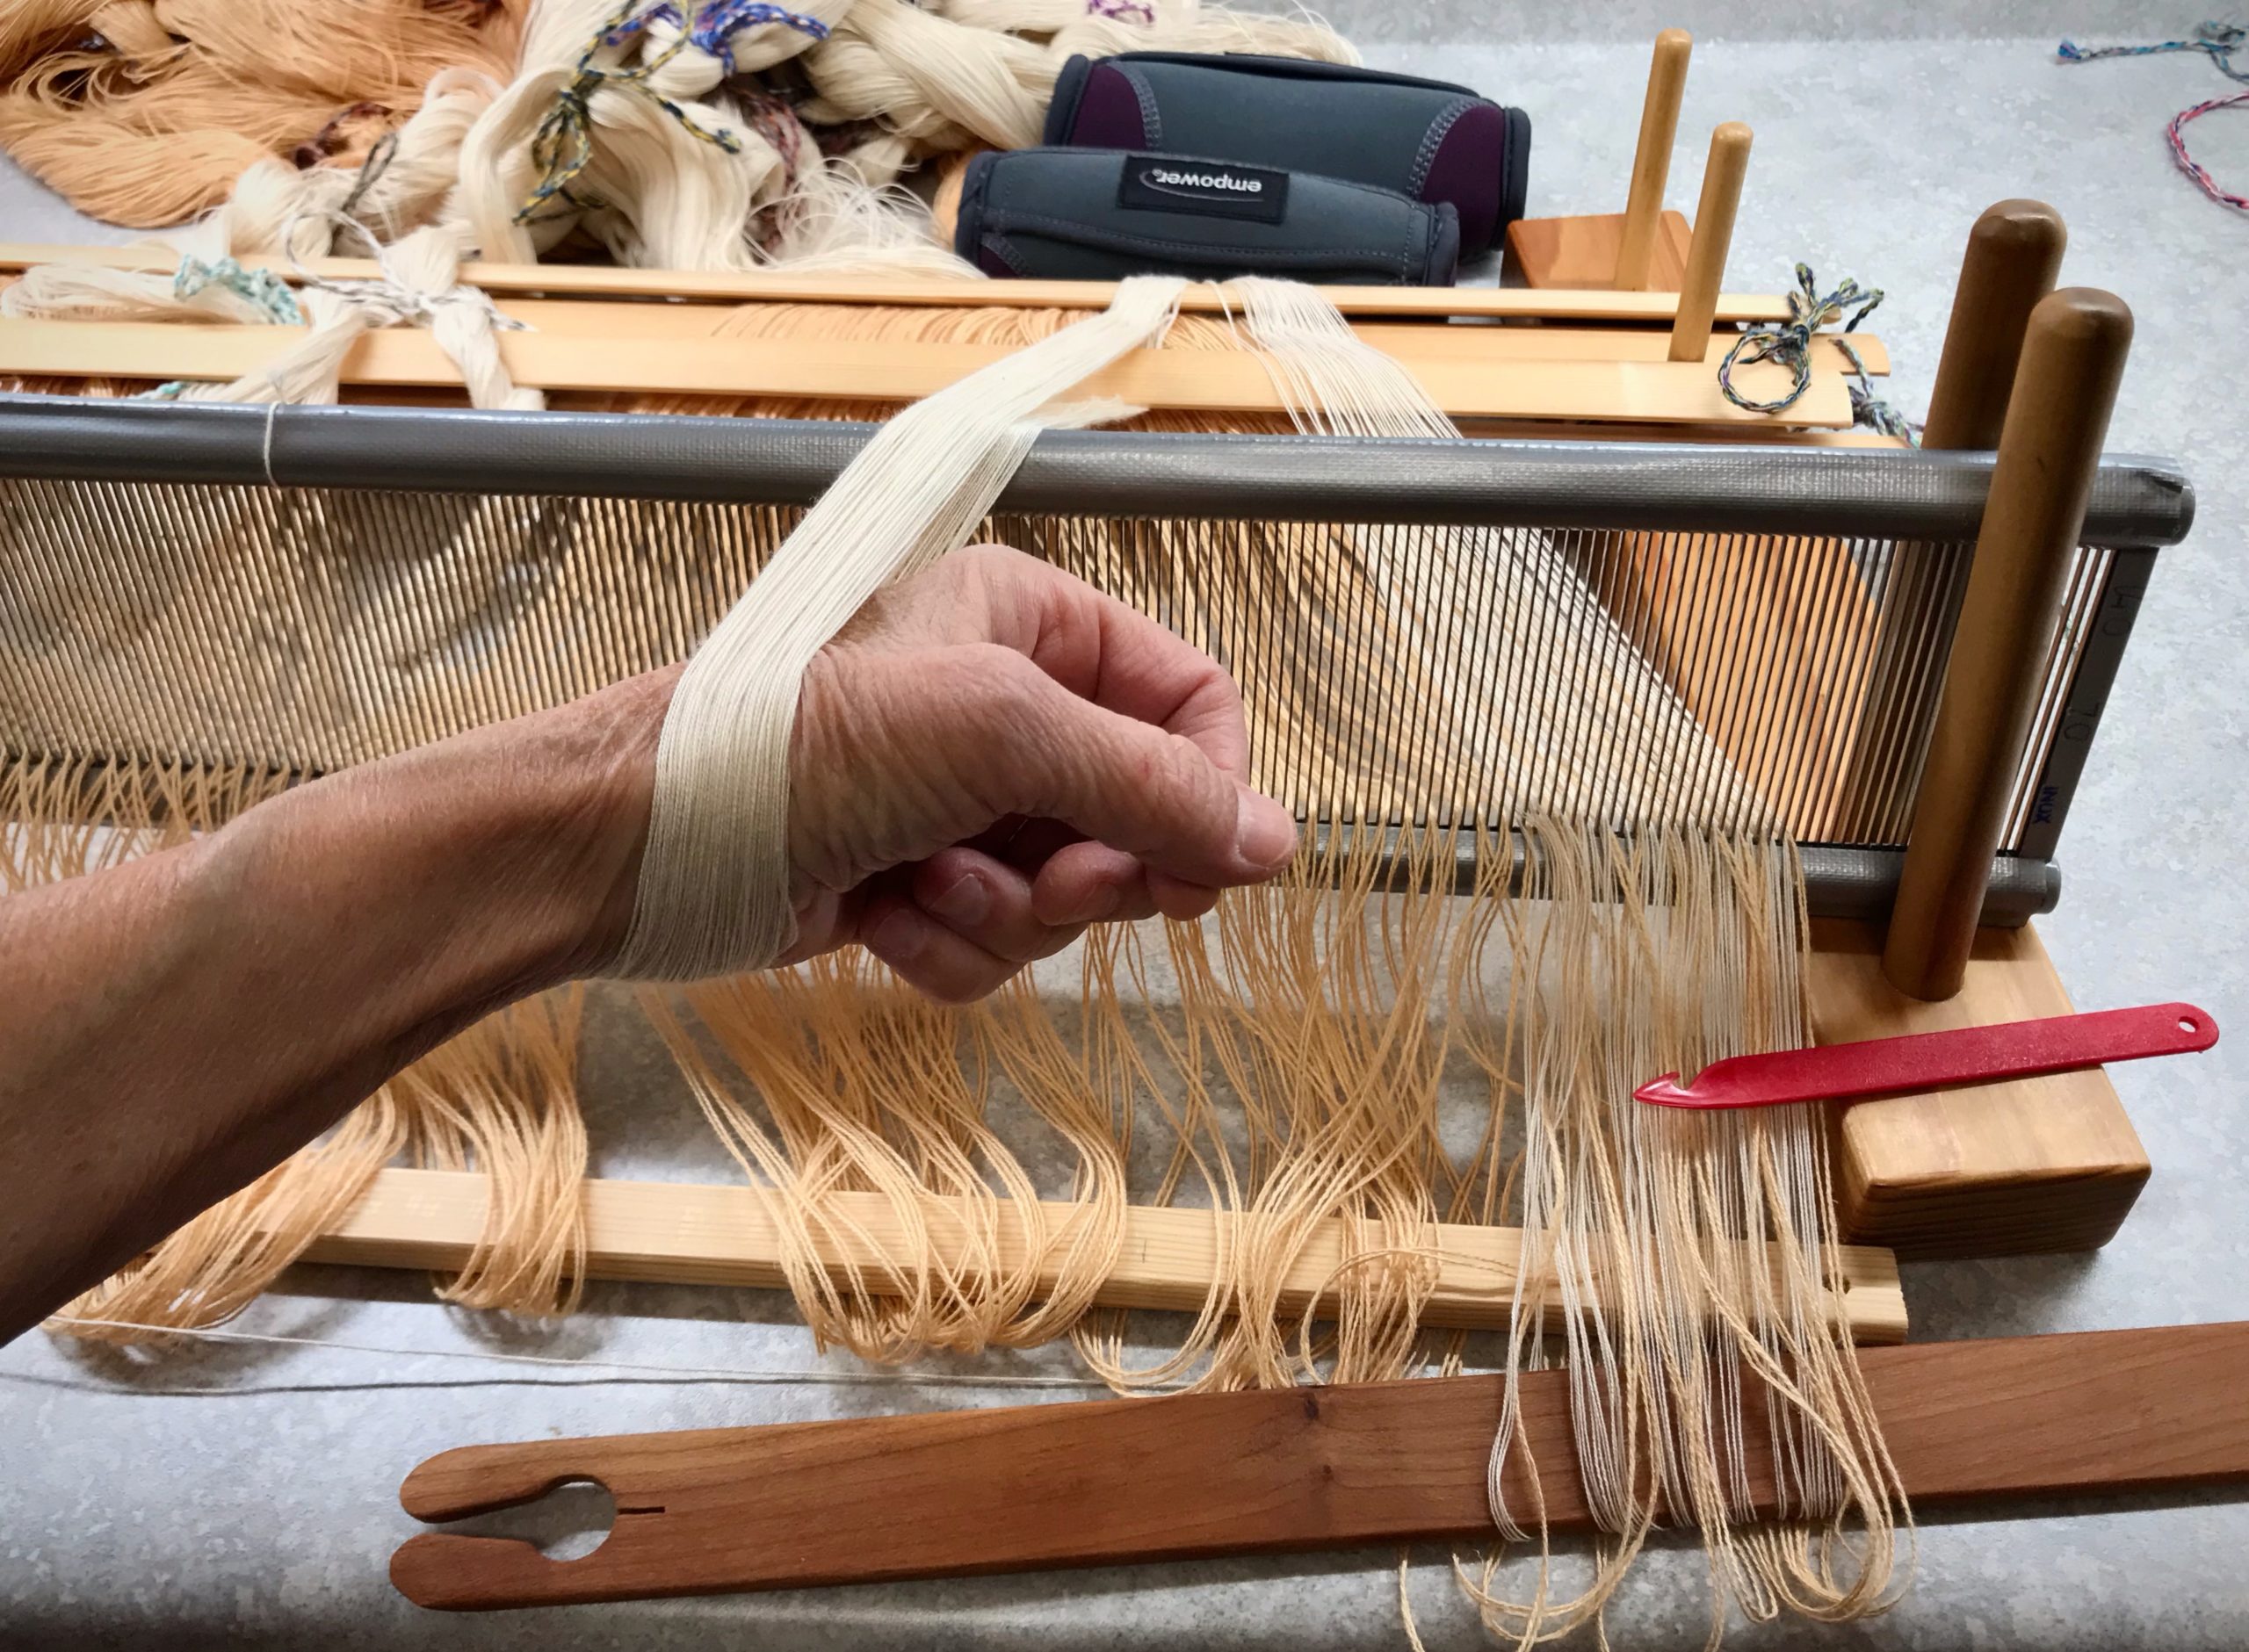
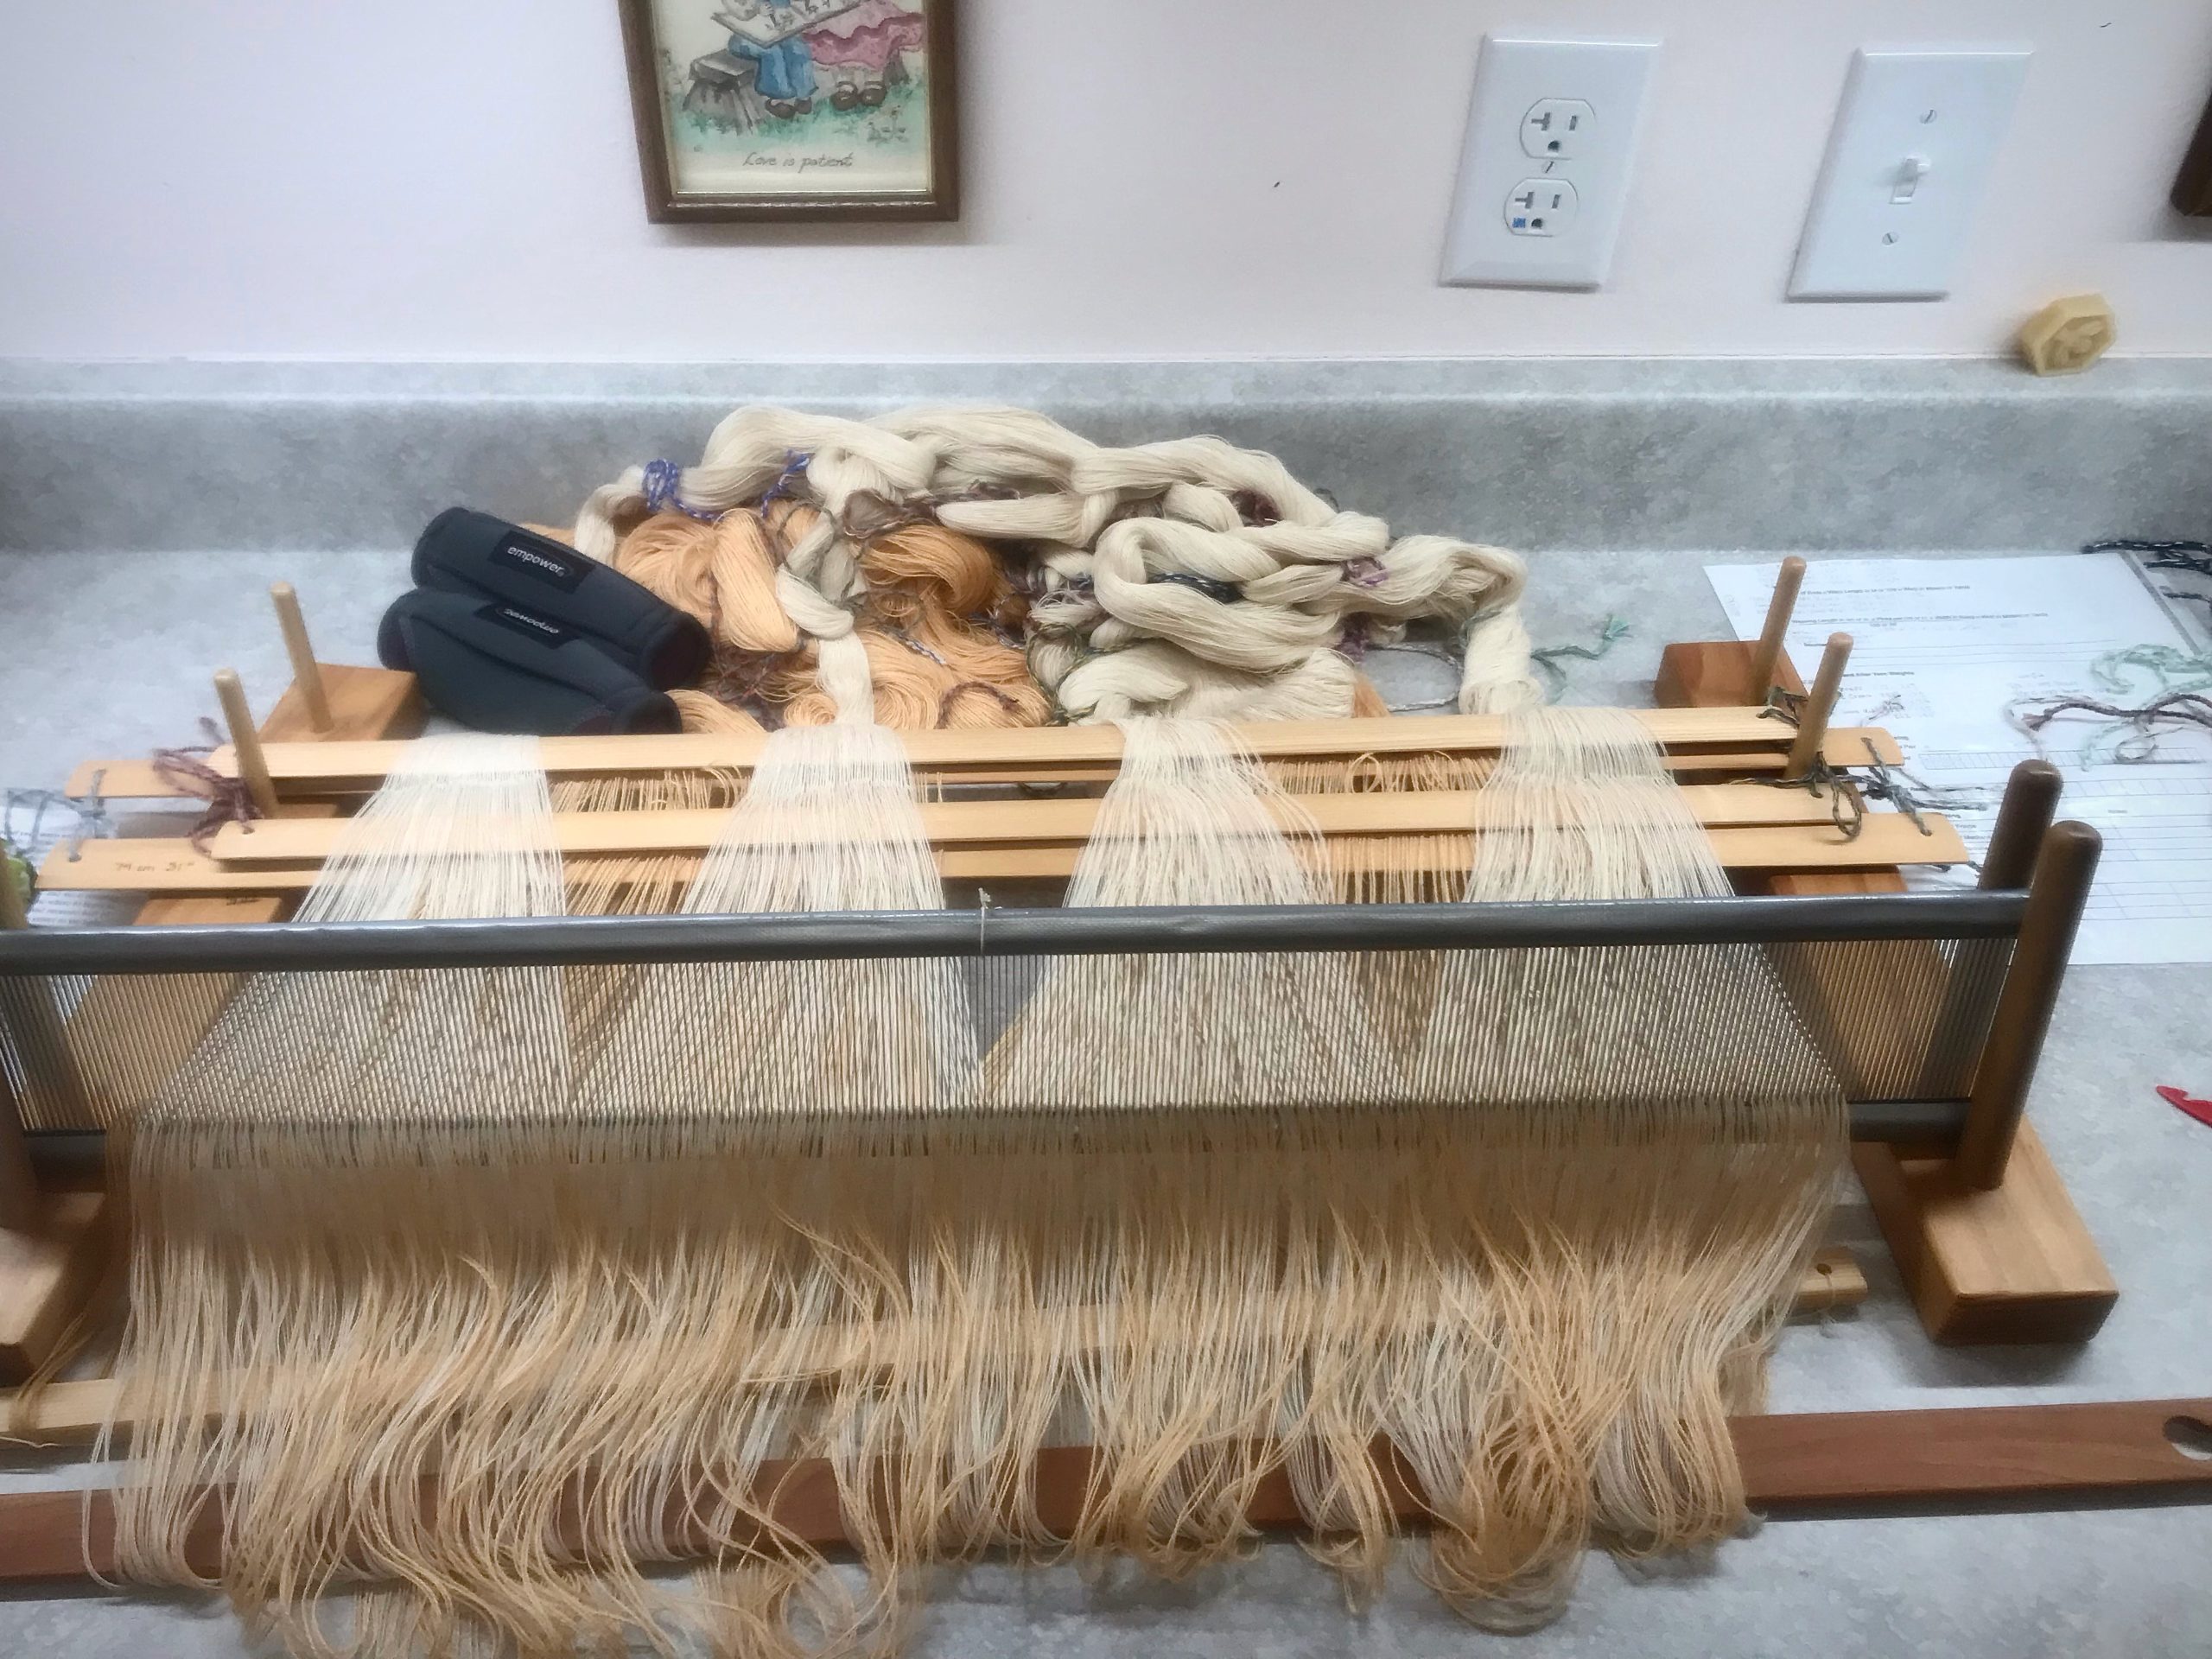
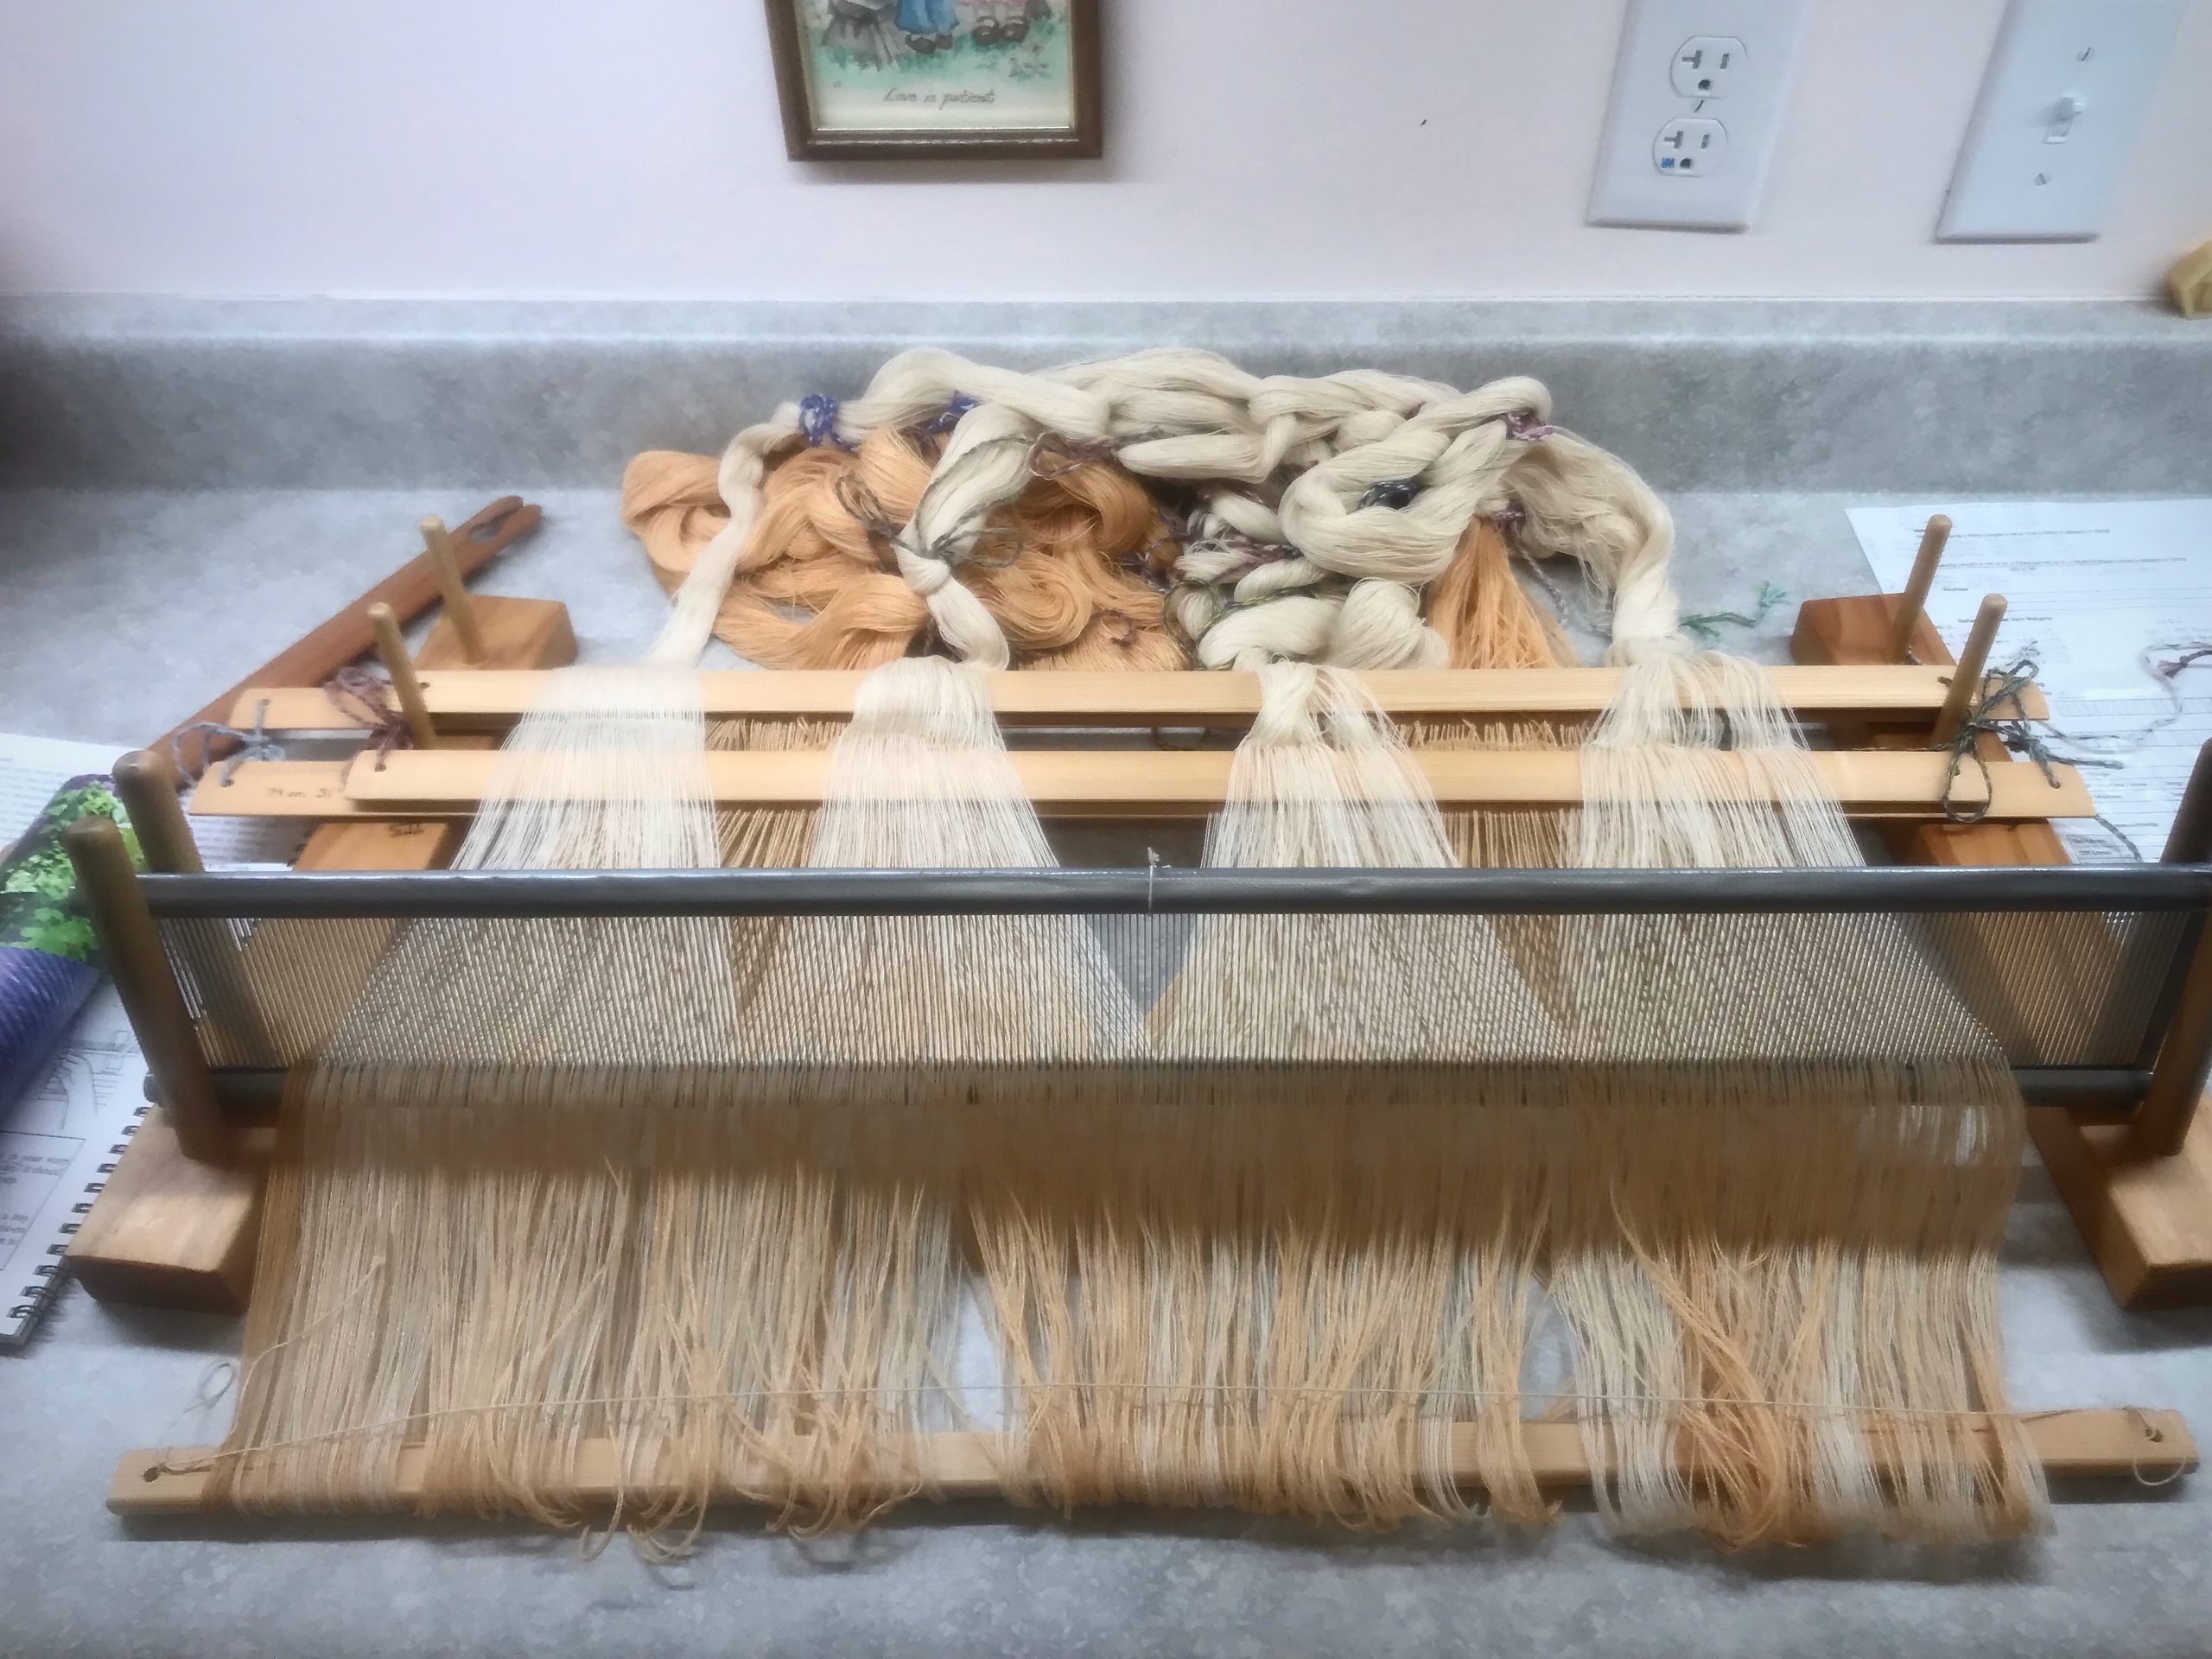
I am spreading this warp (twowarps, actually) at the worktable. One warp is 22/2 cottolin, with a narrow selvedge border of 16/2 cotton. The other warp is 20/2 cotton. This intriguing double-width project is in the Nr.3 – 2021 issue of Väv Magazine—Winnie’s Linen-Cotton Crinkly Tablecloth, by Winnie Poulsen, p.52. Despite some intrepidation, I am jumping in!
Coordinating two warps onto a single tie-on bar is tricky business. The last time I did the two-warp maneuver at the loom I nearly lost a lease crossand my sanity. The advantage of pre-sleying these warps at the table is that everything is secure. Nothing is teetering. At the worktable I can clearly see what to do for each step. Within minutes, I’m hopeful that this adventure will indeed be worth it. (Pre-sleying a warp on the table is expertly explained in Learning to Warp Your Loom, by Joanne Hall, pgs.19-20.)
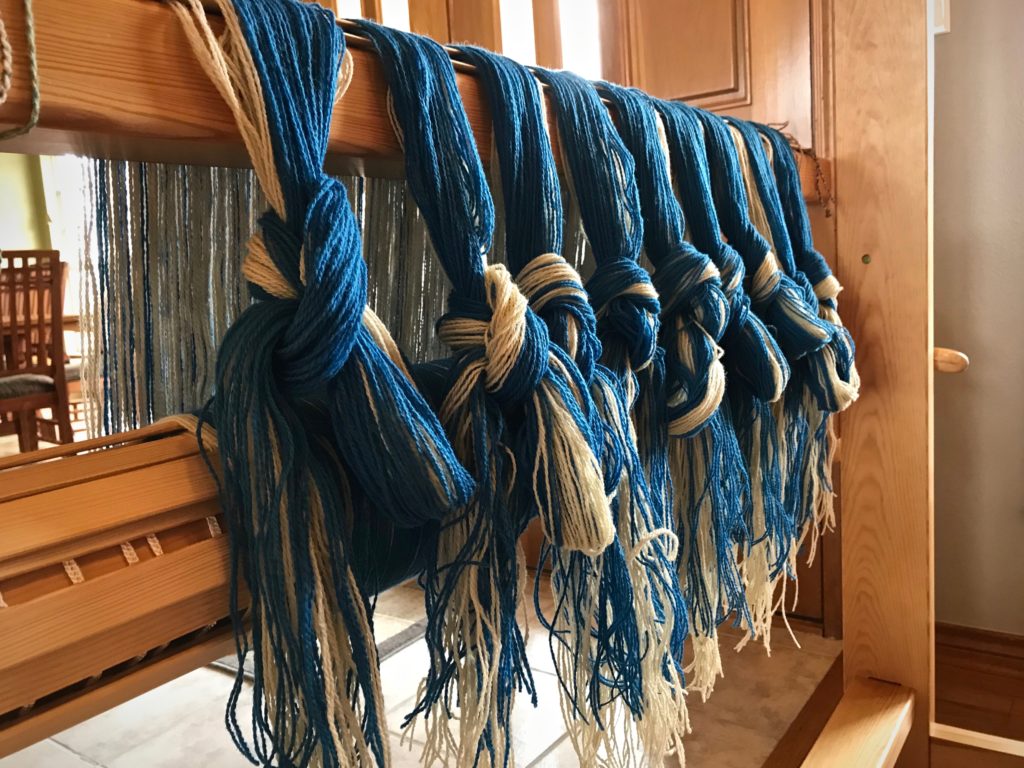
Second stick holds both warps’ loops.Tie-on bar slides in and warps’ loops are secured by tying a string from one end to the other.Extra stick is removed. Two warps, each with its own set of lease sticks, have been spread in the reed. No mishaps along the way!Warp bouts are in the basket. The two sets of lease sticks, the reed, and the cloth beam tie-on bar sit on top. We’re ready to beam this warp on the Julia!
Spreading a warp (or two) is a lot like spreading hope. We come to the Lord Jesus weary, having tried hard to make things work on our own. He welcomes us with open arms and reveals the time-tested way of trusting him, one step at a time. Now, like threads being sleyed across the dents of a reed, threads of hope spread throughout our being. The threads are secured. Come weary; receive rest; spread hope.
It’s not a good feeling when you discover that you did not tie the lease cross on one of the warpbouts. When you wind a warp, it’s the cross that keeps the ends in proper order. I carefully tie both sides of the cross before removing the bout from the warping reel. This time, though, I inadvertently tied only part of the cross, which is, essentially, not tying the cross at all.
Working from right to left, I separate one pair of ends at a time to try to recreate the proper order of the warp ends. After every few strands, I insert the lease sticks and tie the cross. Fortunately, the bout on the left was tied properly before it left the warping reel.Ready to pre-sley the reed and beam the warp.
I make my best guess to recreate the thread order, inserting the lease sticks little by little. And as I beam the warp there are several twists that threaten the whole process, getting hung up at the reed. But I coax the warp through at a snail’s pace, not forcing anything.
I beam the warp and stop frequently to check the yarn for twists on the front side of the reed. No combing my fingers through the warp, which could lead to uneven warp tension. I lightly flick any twist-ups in front of the reed with my fingers to help keep them moving.
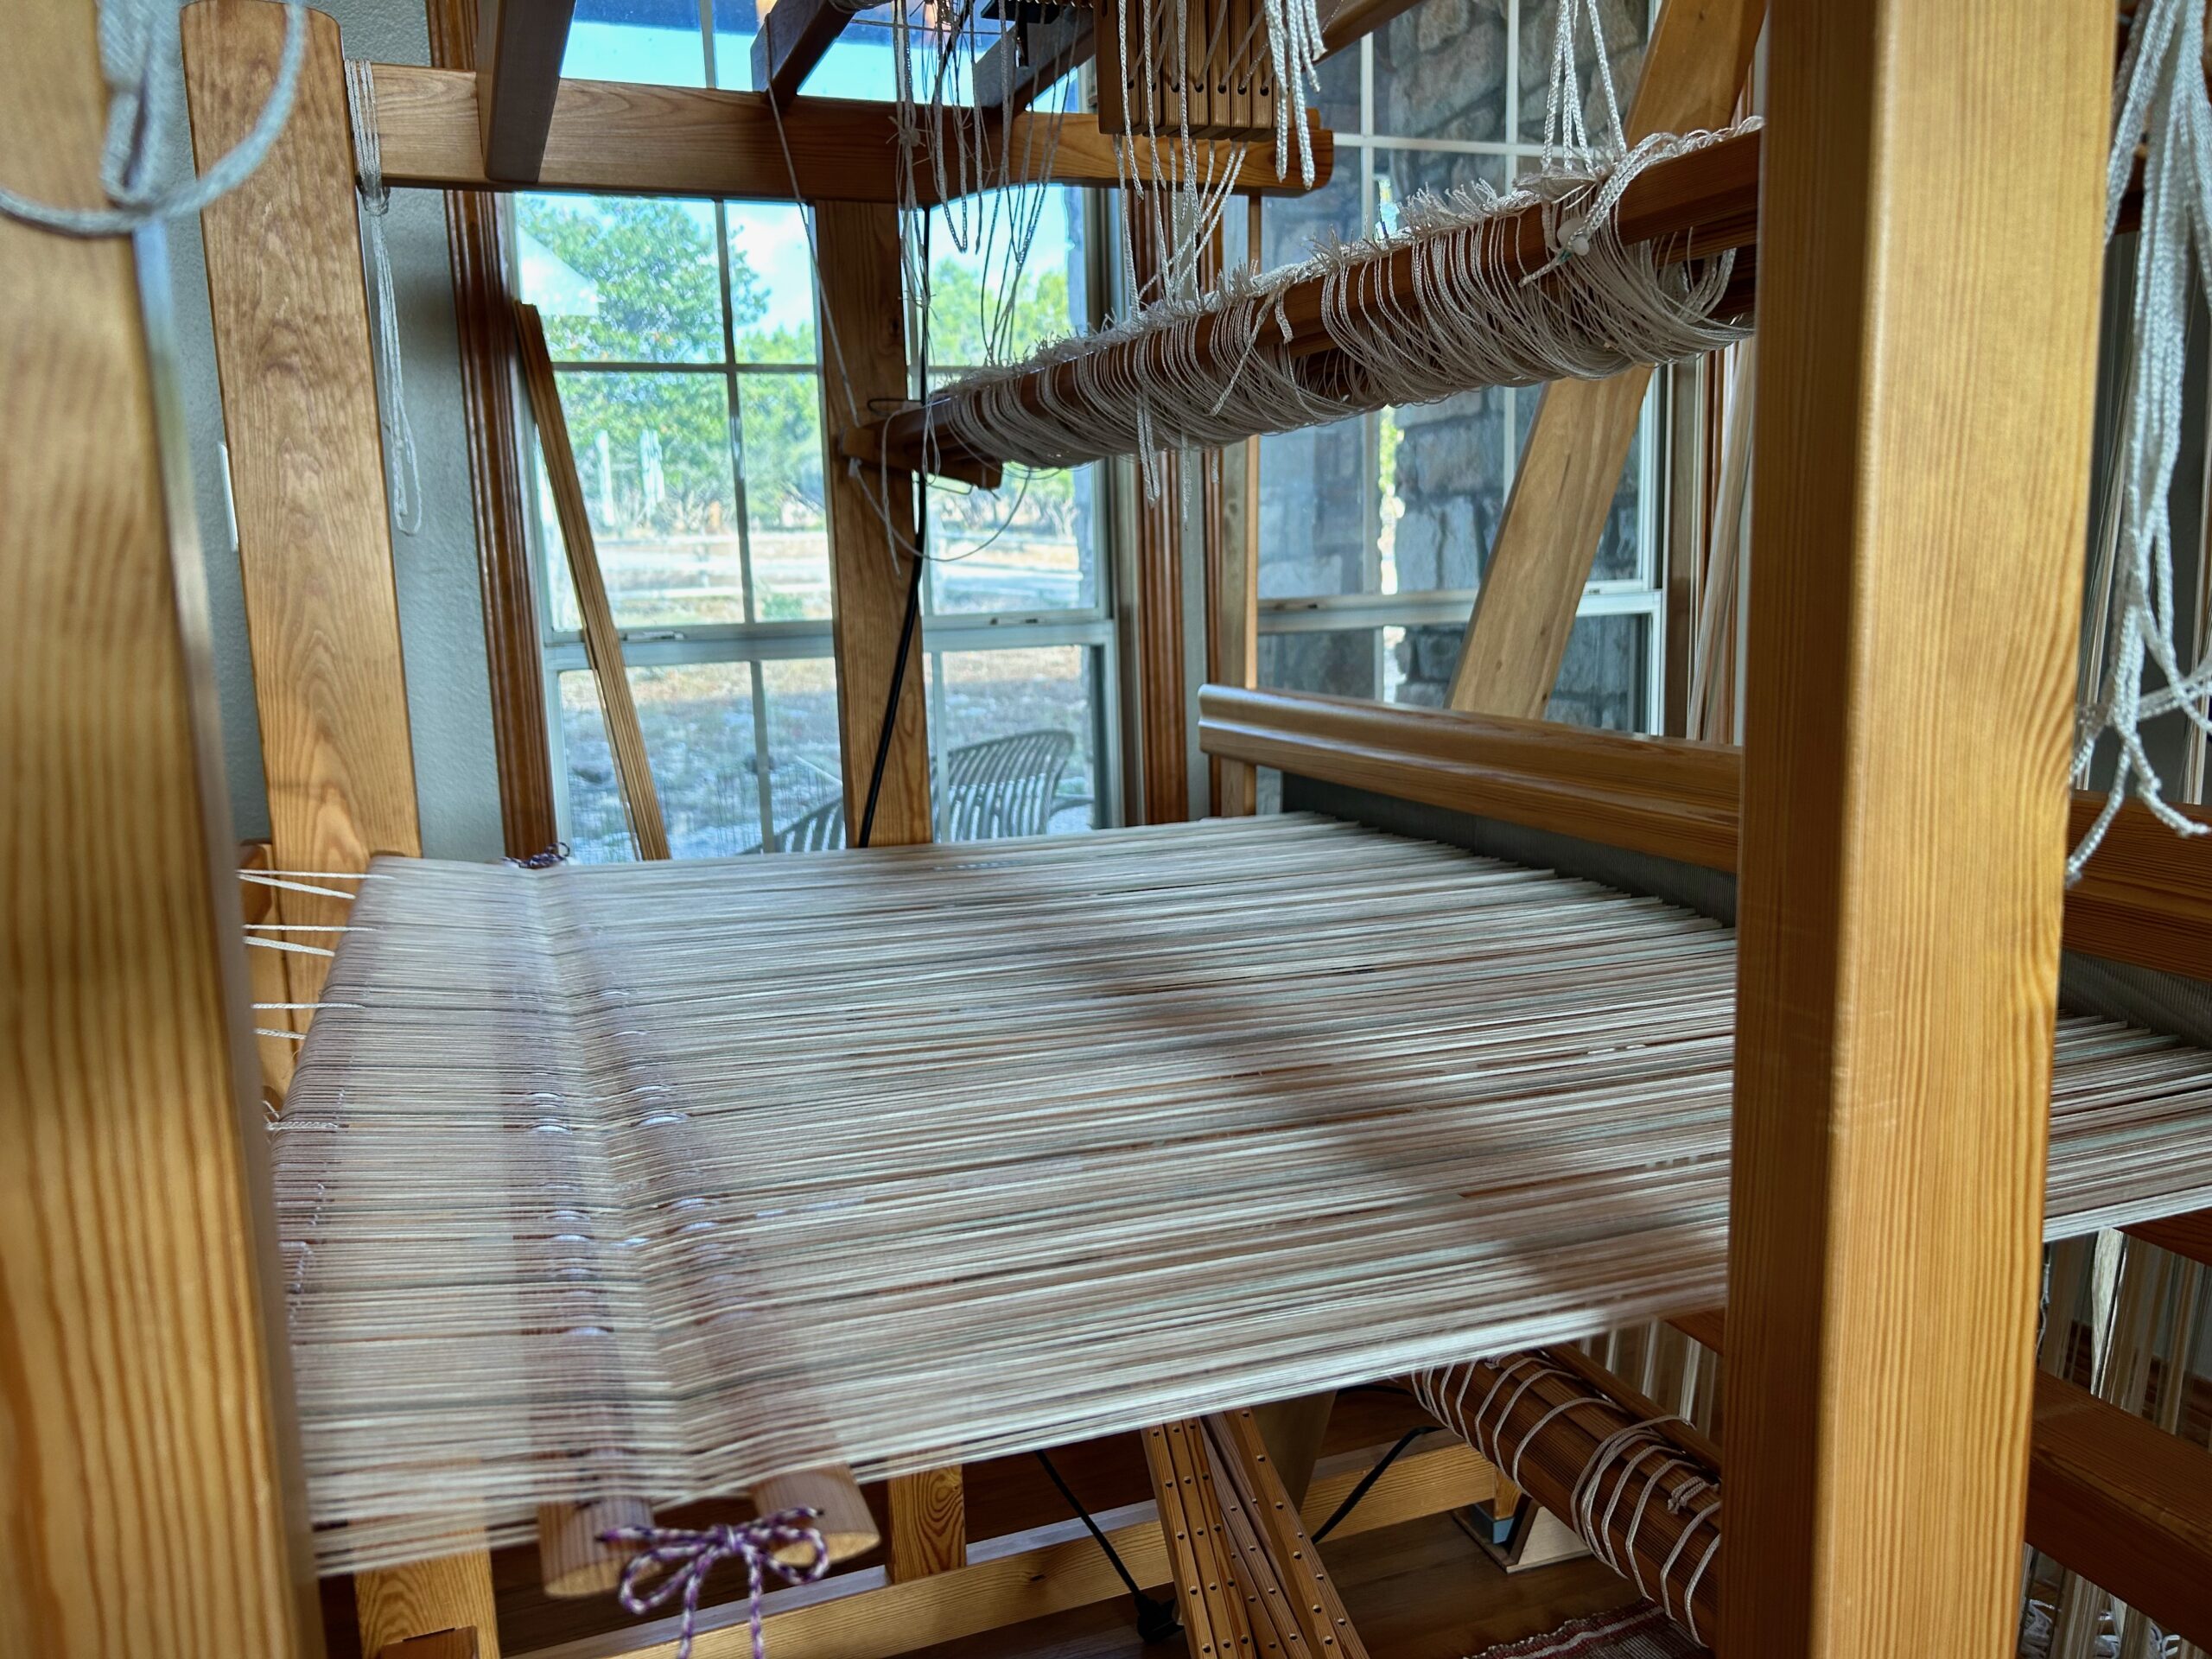
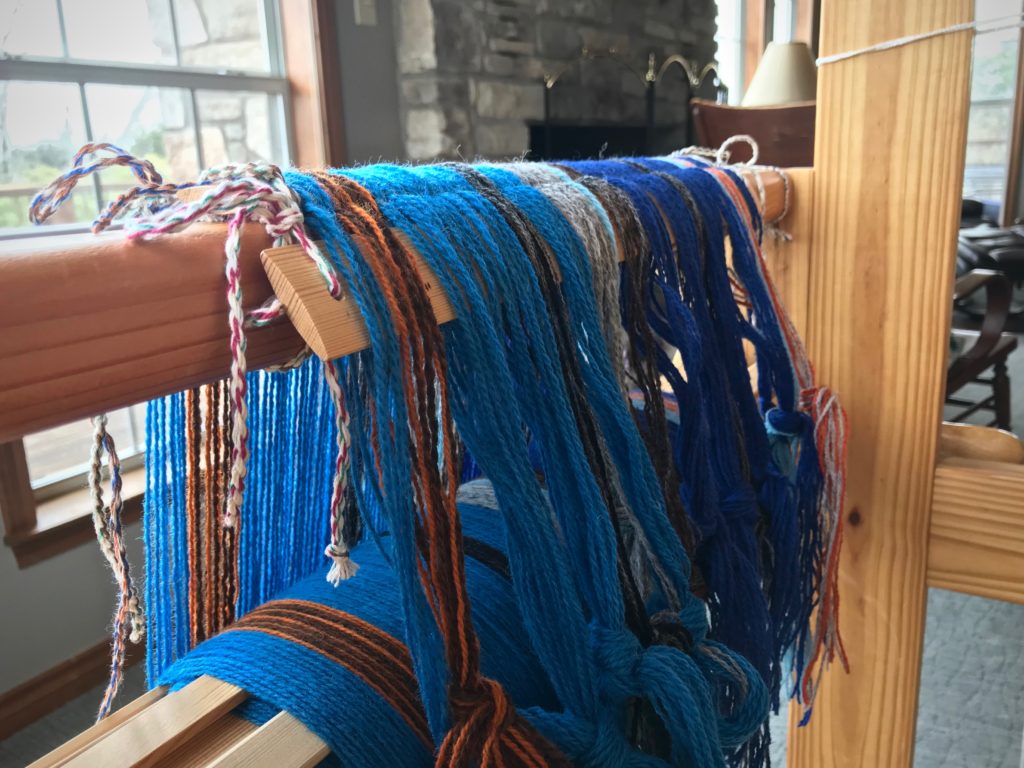
Eventually, the warp is successfully beamed. What a relief!
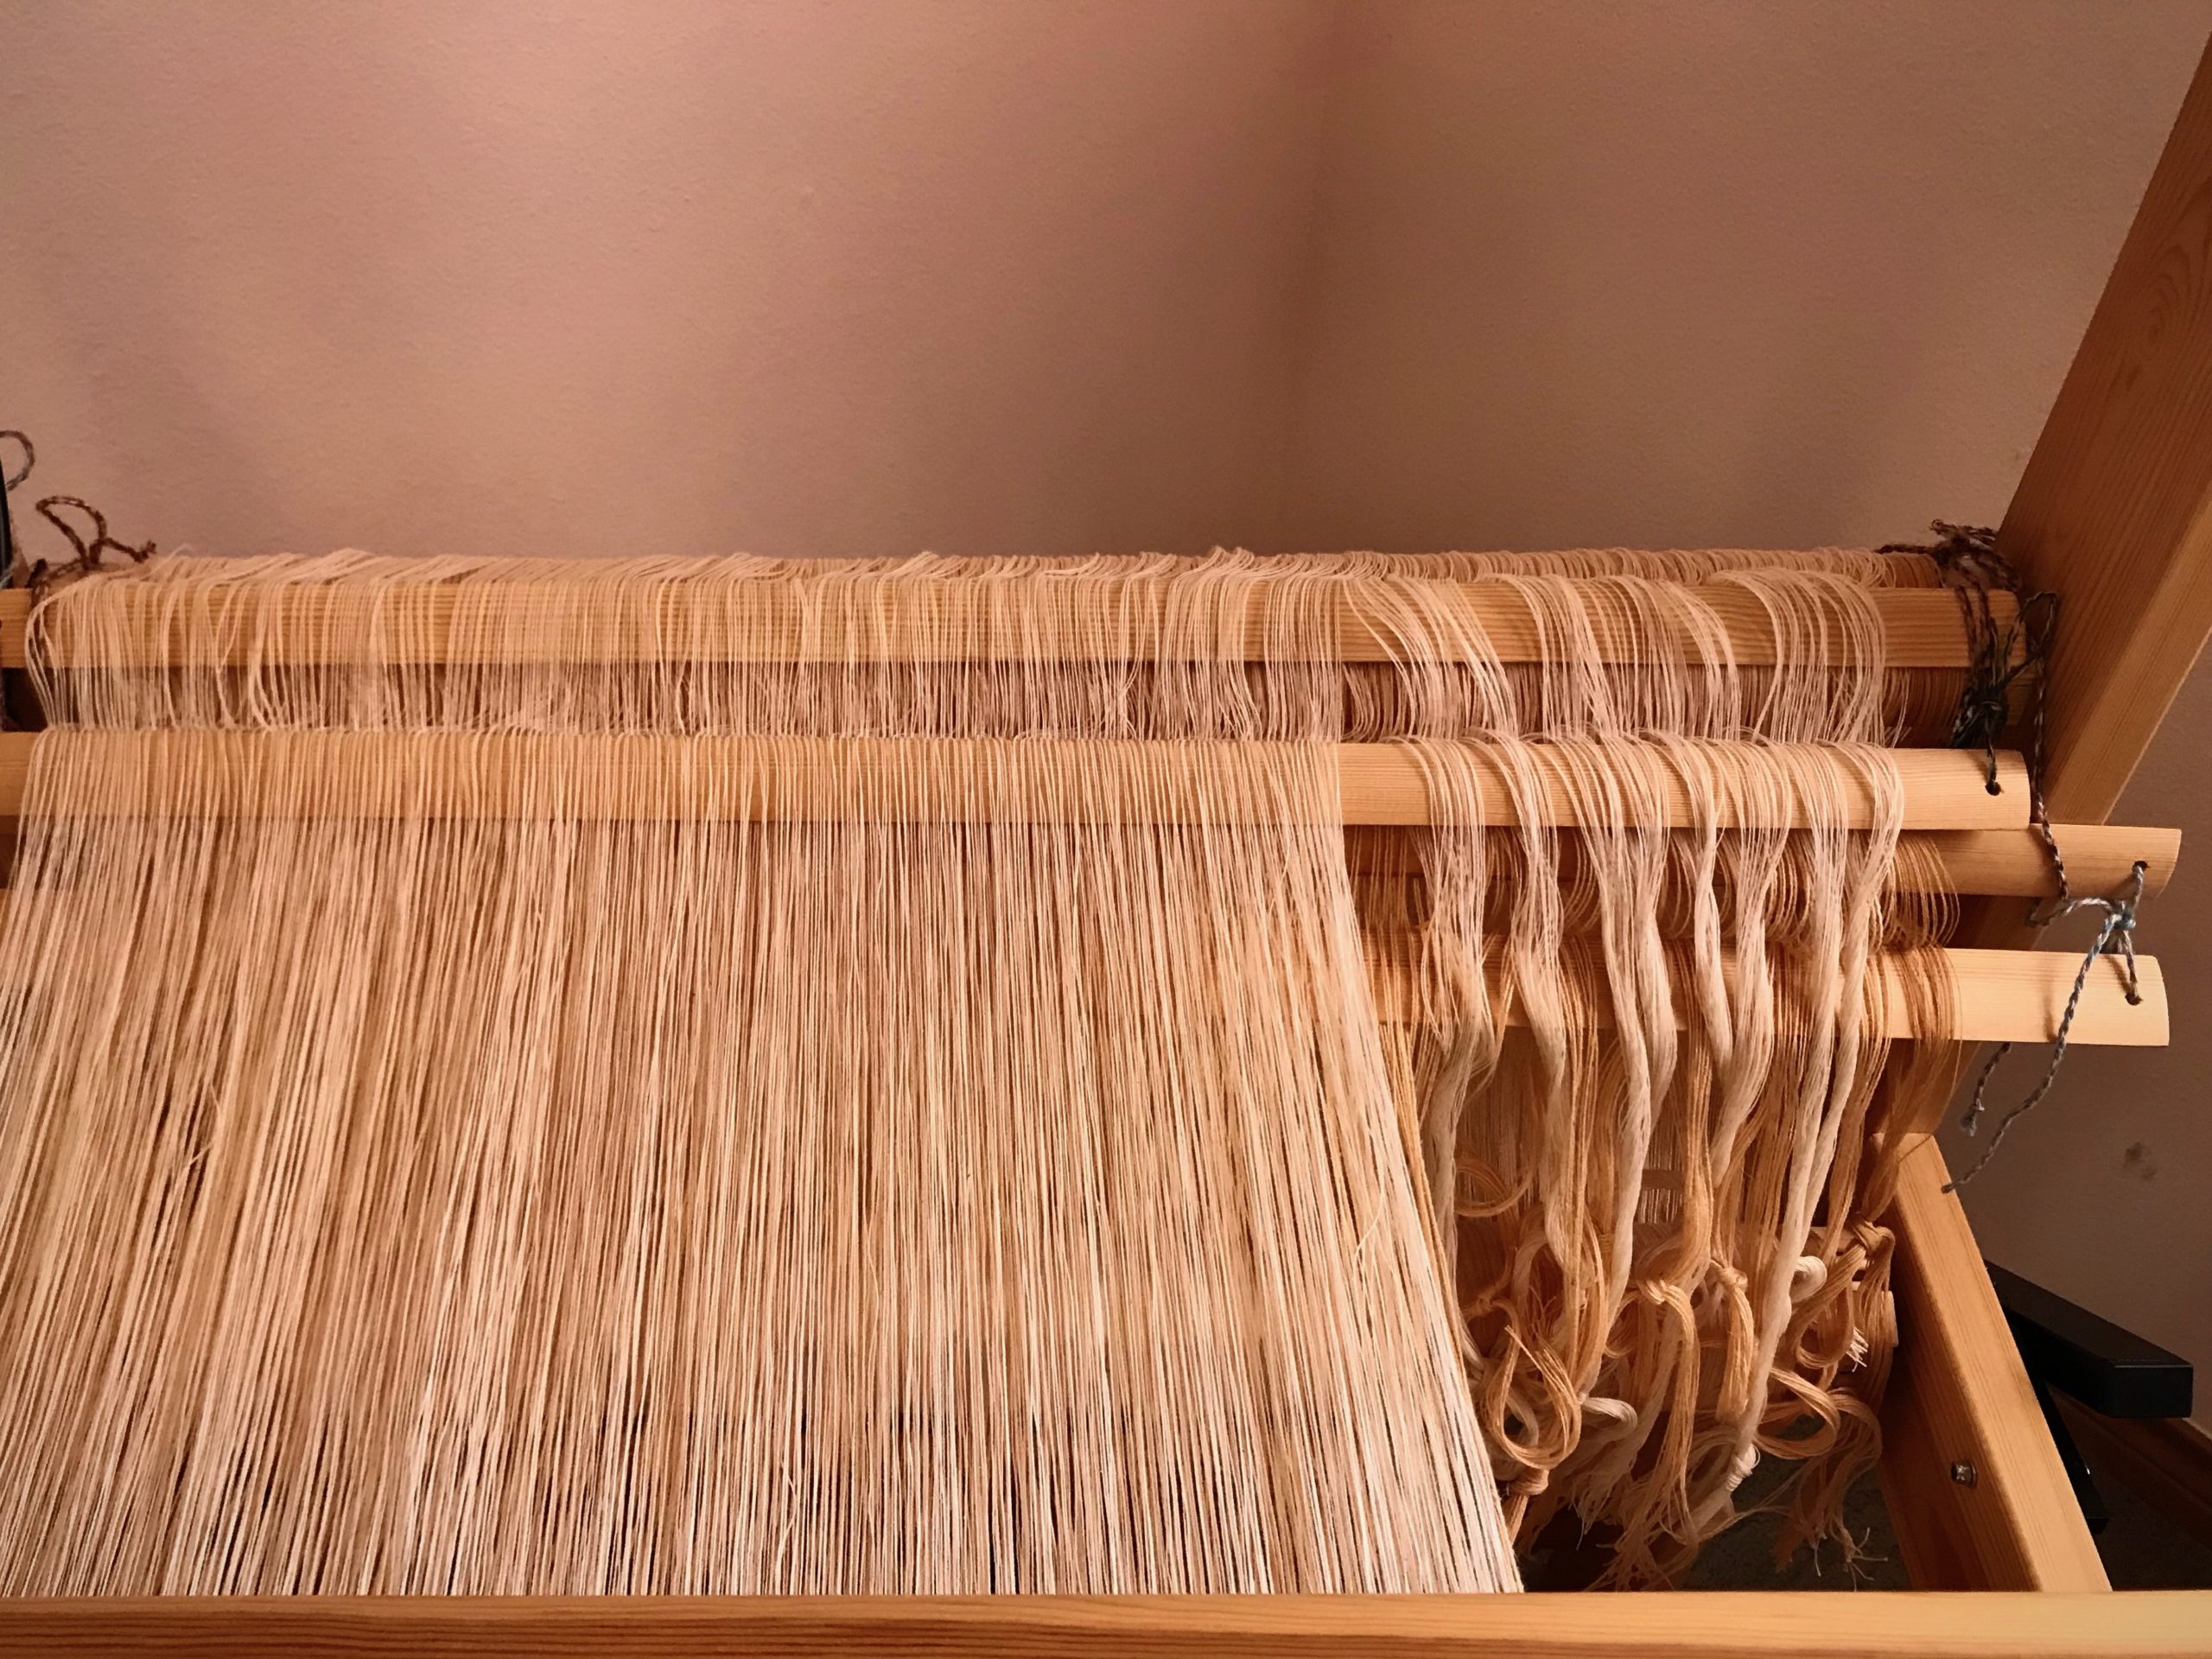
Now that the warp is beamed, there is no more concern about misaligned ends. The ends are now in the proper order as they appear on the lease sticks.
Things that matter become misaligned when we or those around us mess up. Some of the ensuing twists and conflicts spell disaster. It’s not a good feeling. We start to imagine that we’re alone and forgotten. You are not forgotten. Baby Jesus of the real Christmas story grew to manhood for a clear purpose. He came in pursuit of you and me, gently calling, never forcing, ever loving us, to put our threads back in order again through his cross. What a relief!
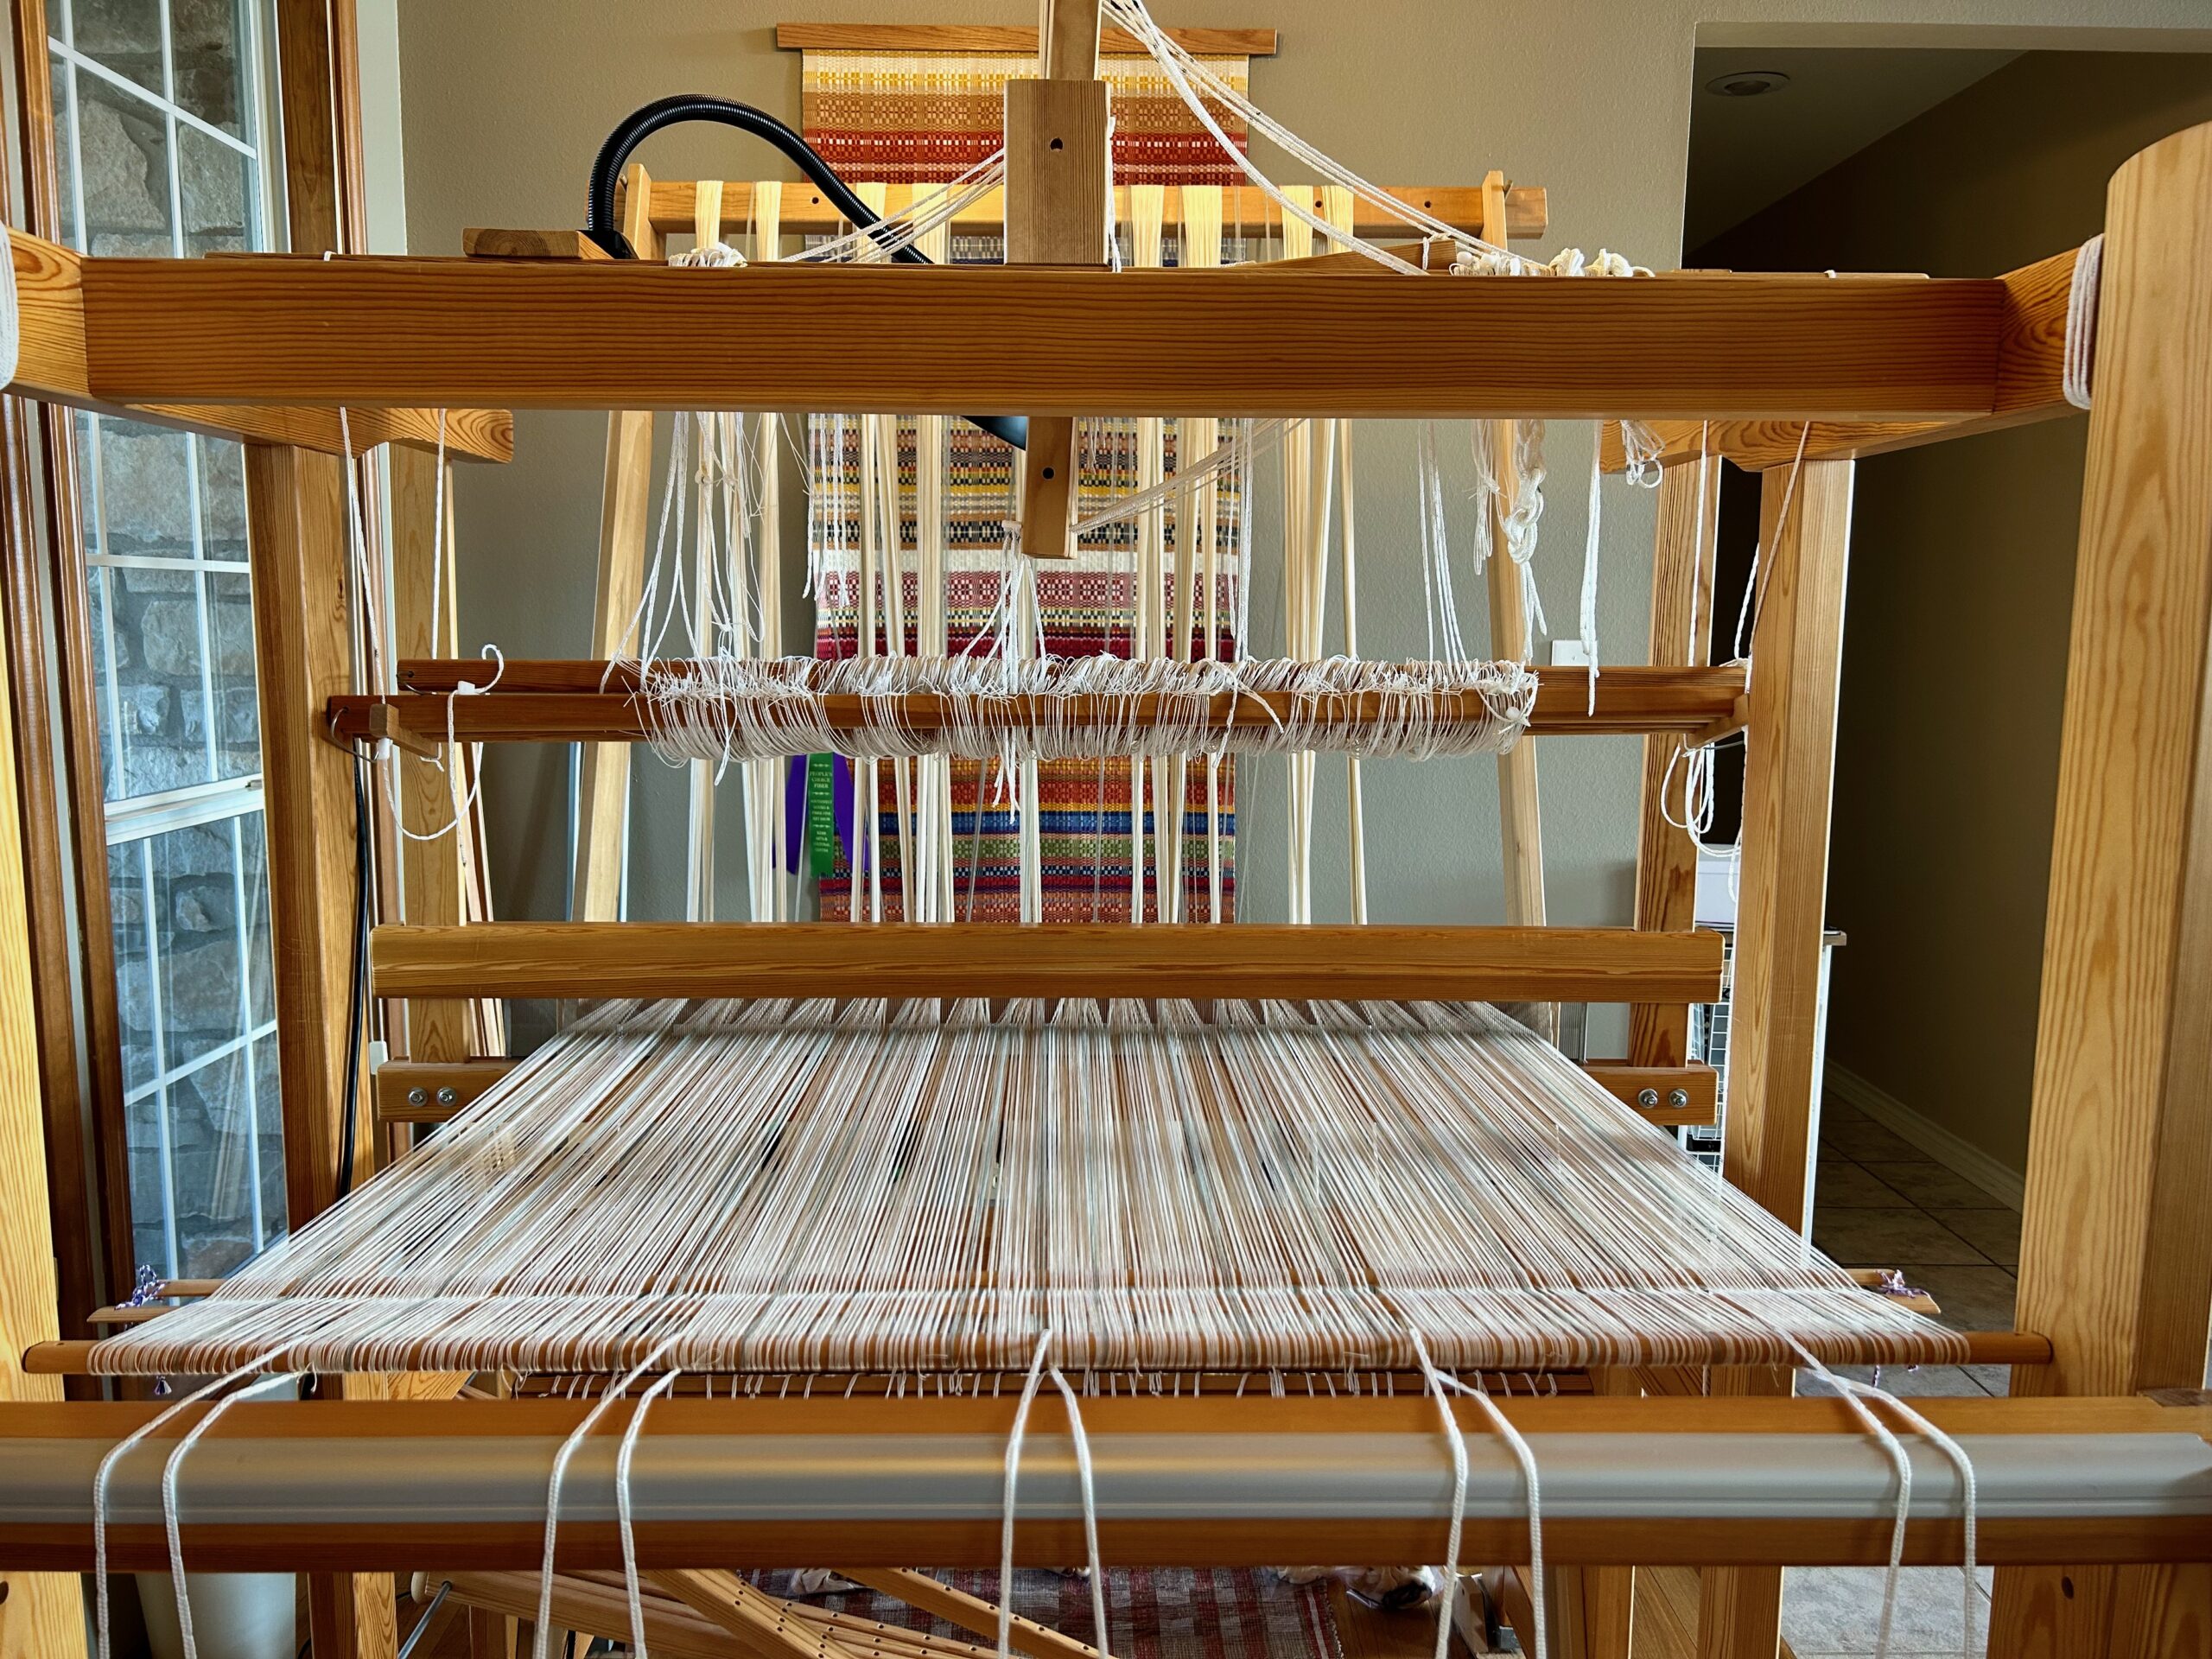
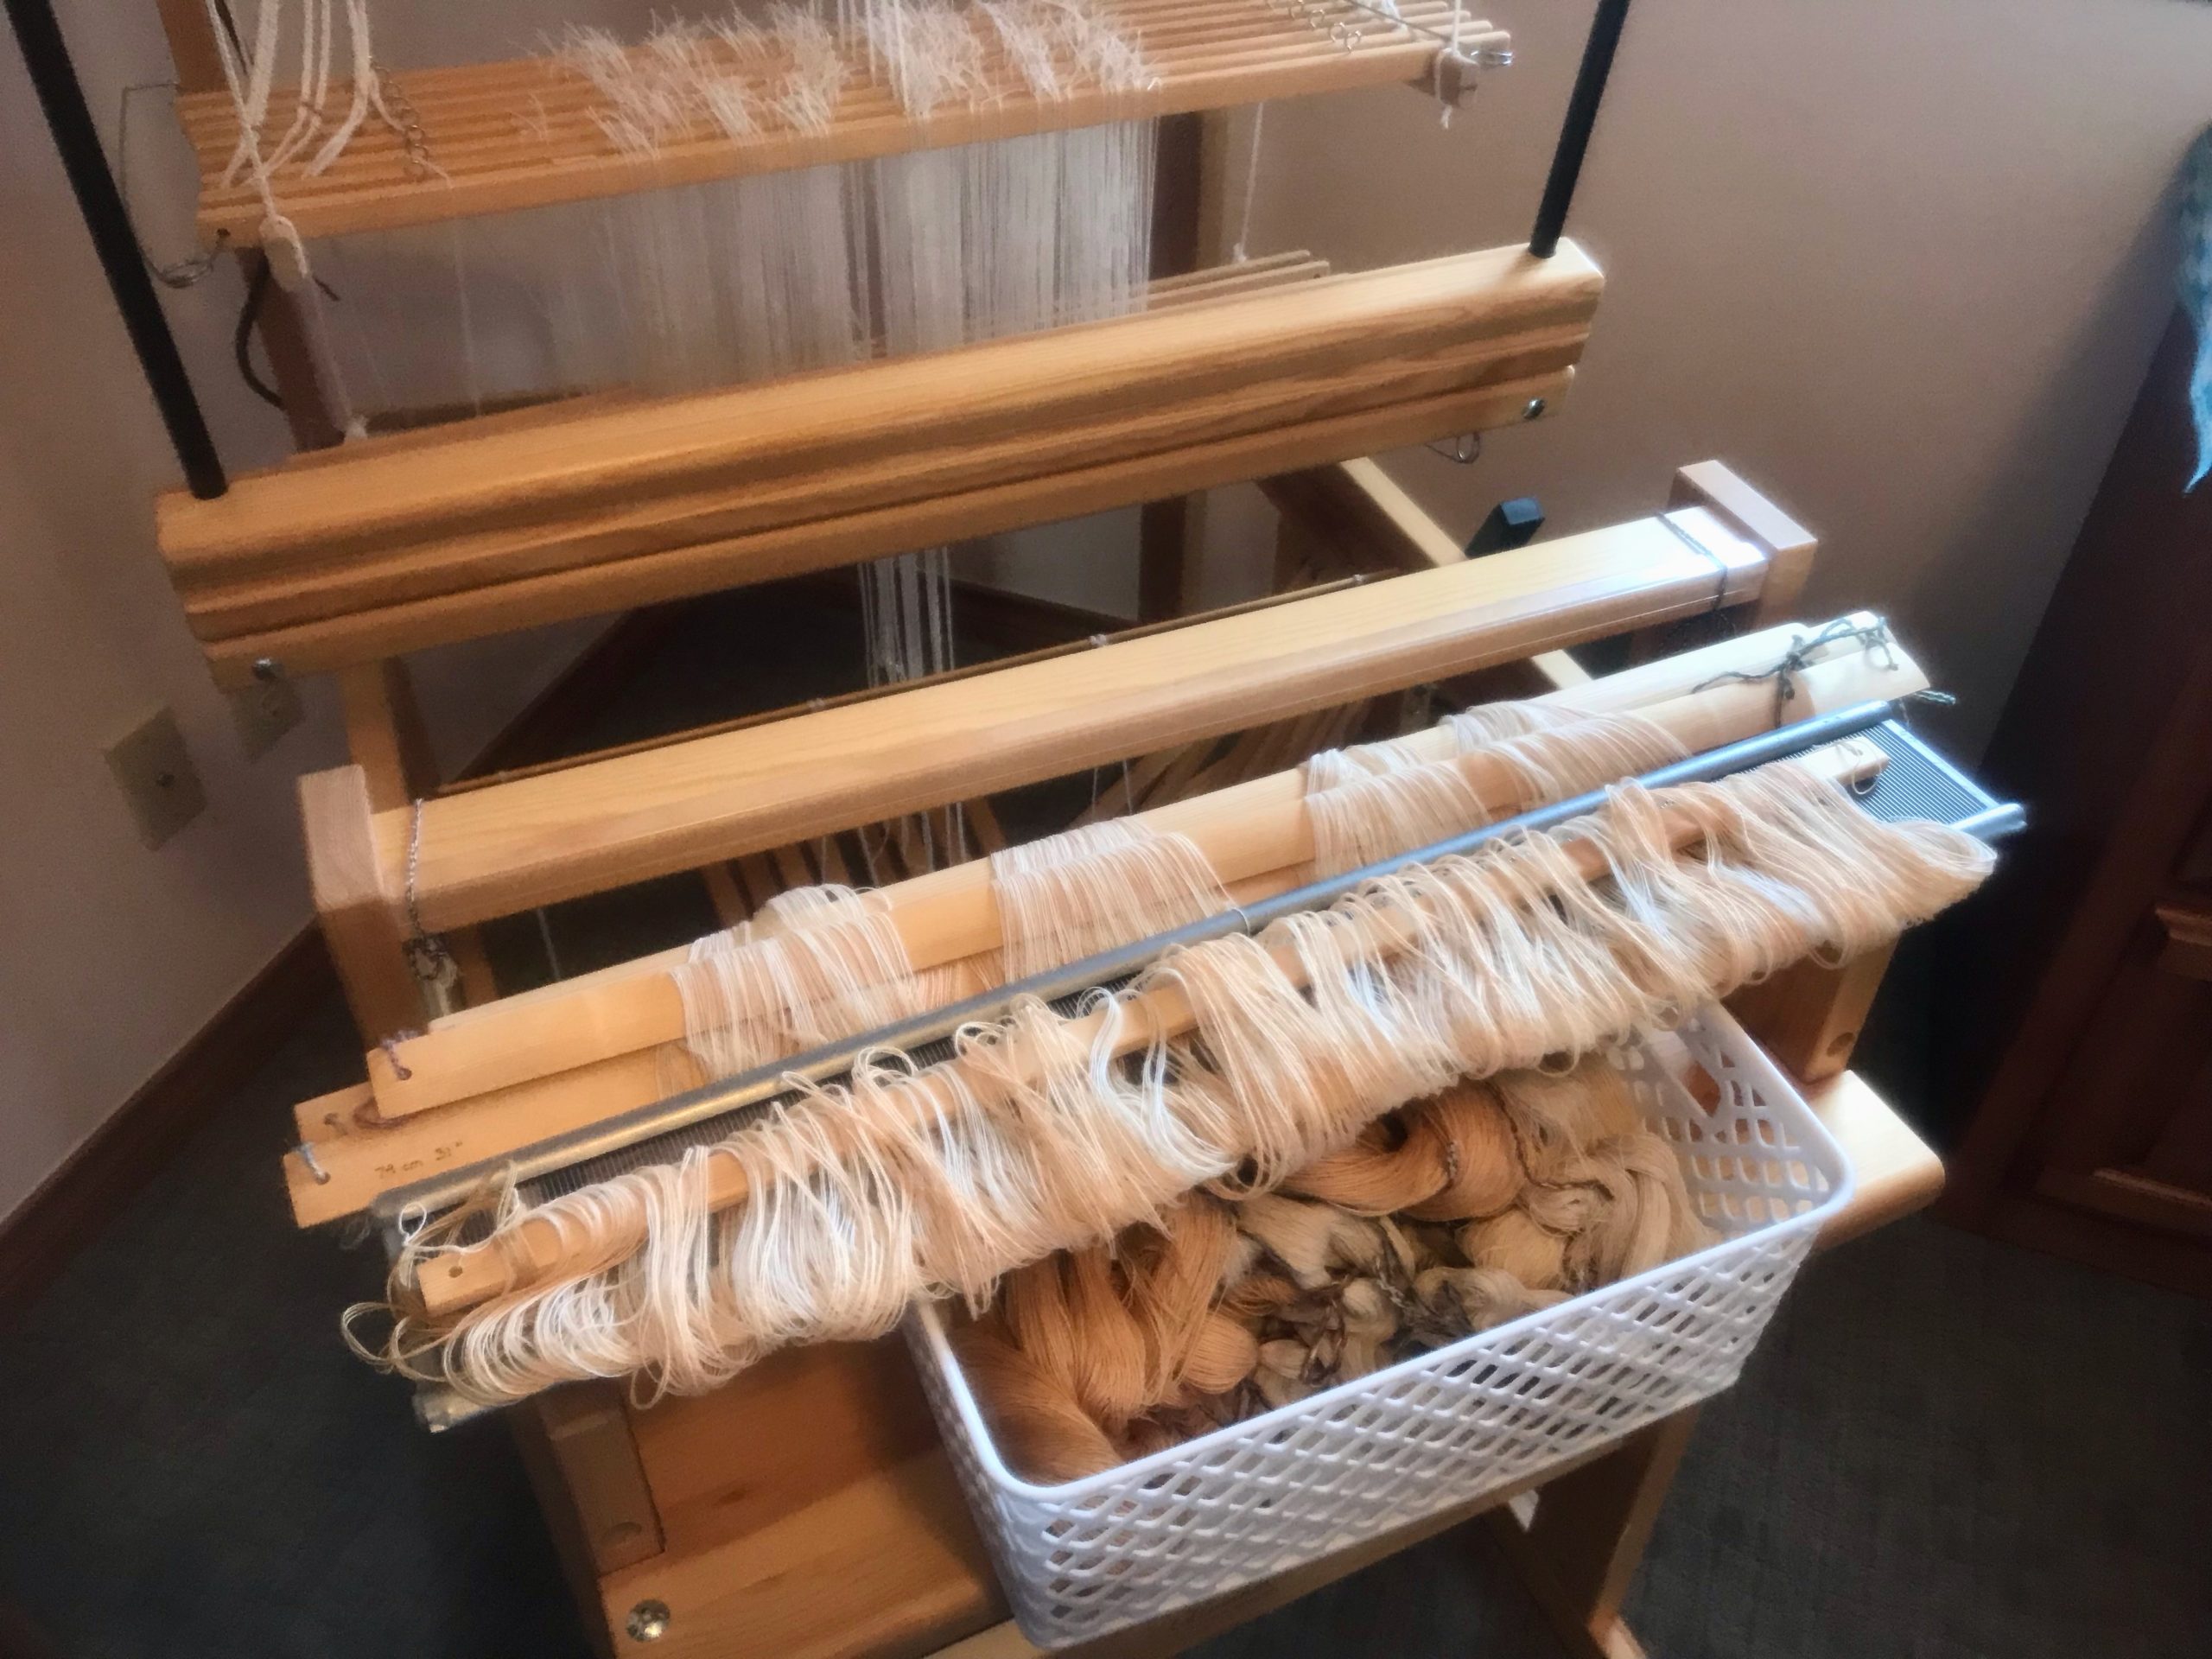
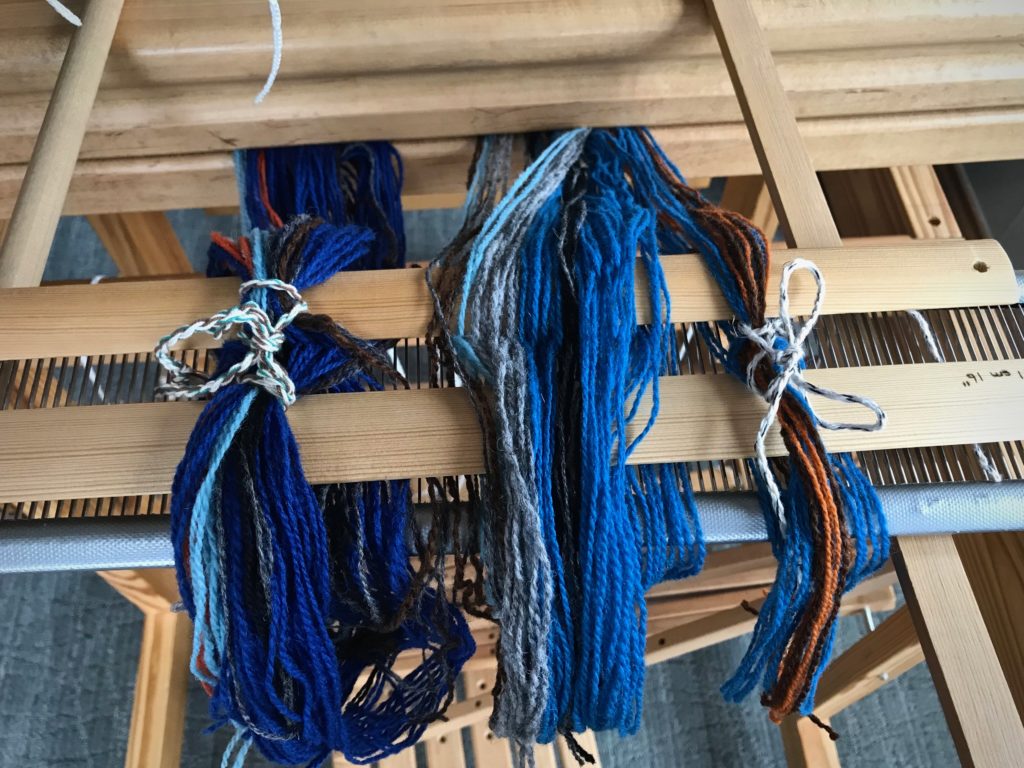
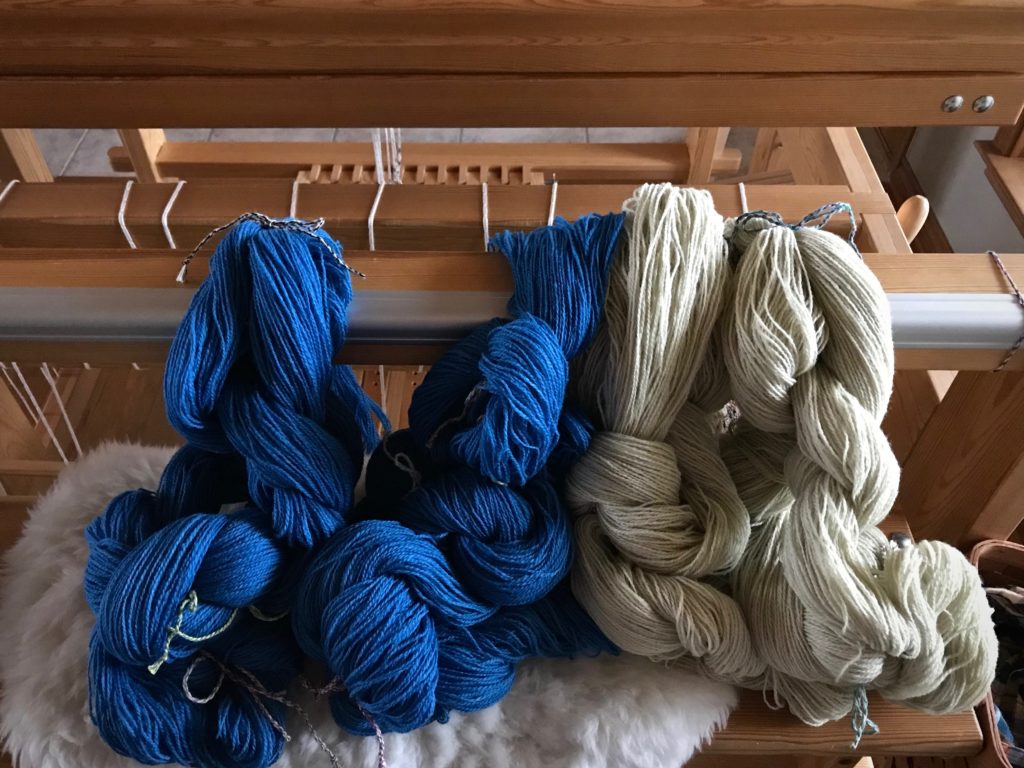
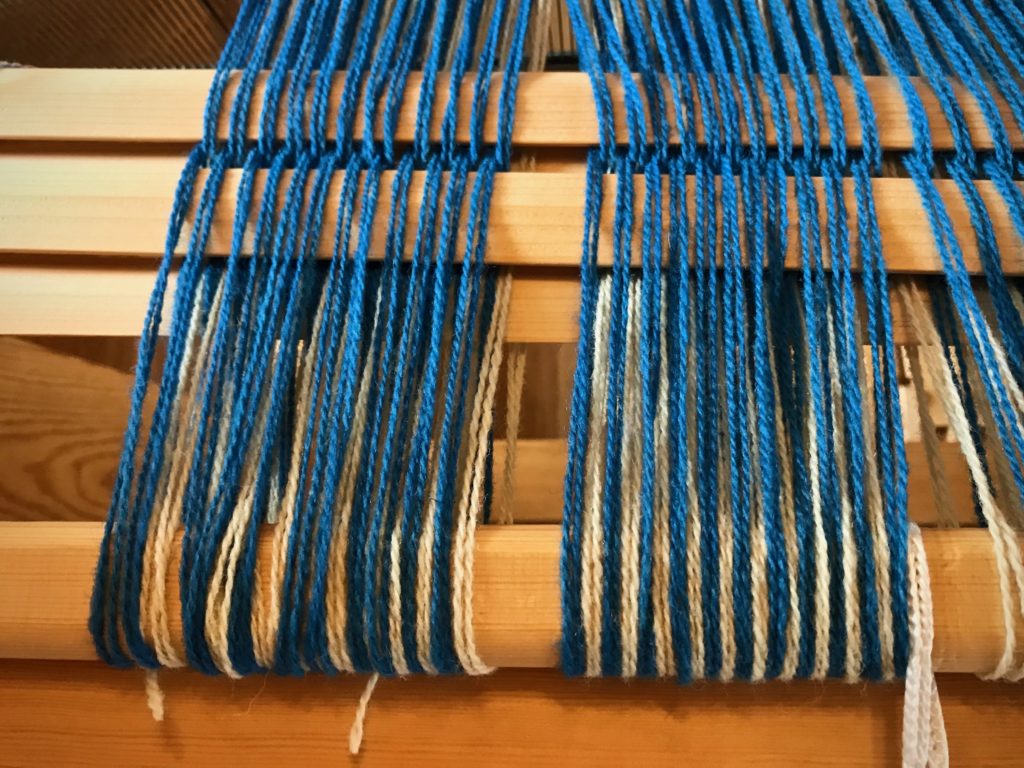
This is double weave on twelve shafts. One layer is the gorgeous lapis lazuli blue. The other layer is neutral almond for contrast. I am spreading and beaming this 6/2 Tuna wool warp with two sets of lease sticks—one set for each layer/color.
When you have two sets of lease sticks, though, it is a serious challenge to get the two colors to alternate correctly as you move the end loops to a separate stick. The ends on the stick are then transferred to the back tie-on bar. I did breathe a sigh of relief when everything was finally lined up and in order.
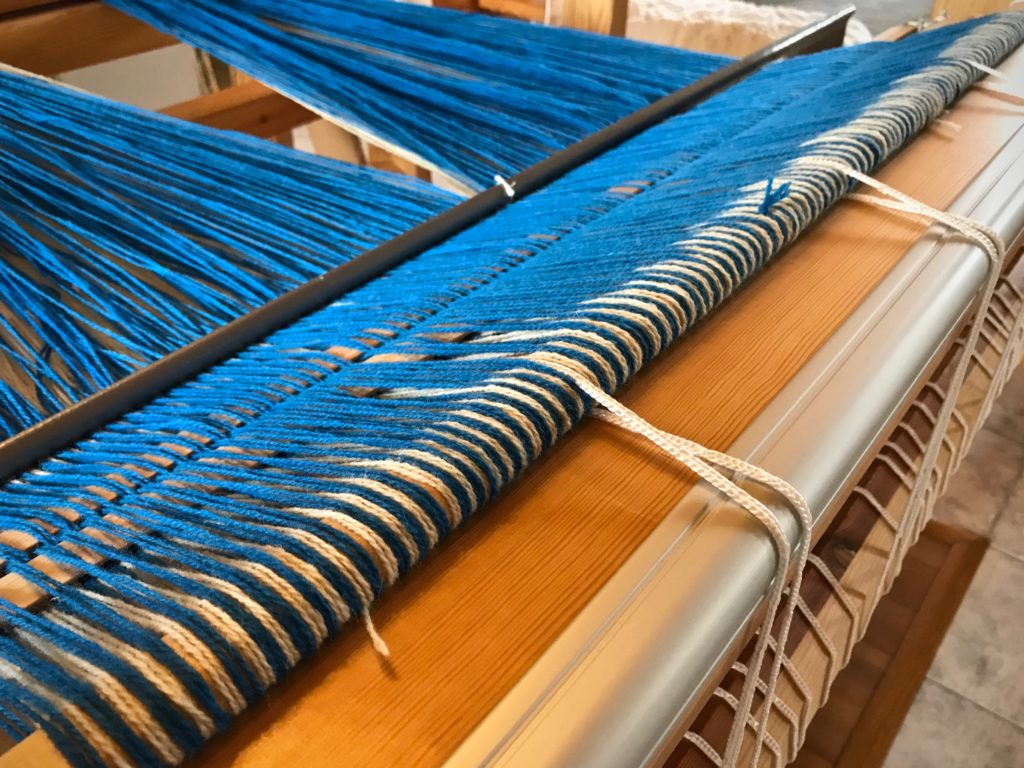
Two sets of lease sticks carries the challenge of having clear visibility of the lease cross in both warp layers. After one or two do-overs, all the yarn is successfully moved to the back tie-on bar. Moving from right to left, I separate and straighten each warp end on the tie-on bar. Only a few more left to straighten.Back tie-on bar all in order. Now ready to move the pre-sleyreed to the beater and begin beaming the warp.
And I’m reminded again how beautiful a beamed warp is. It’s worth the challenges.
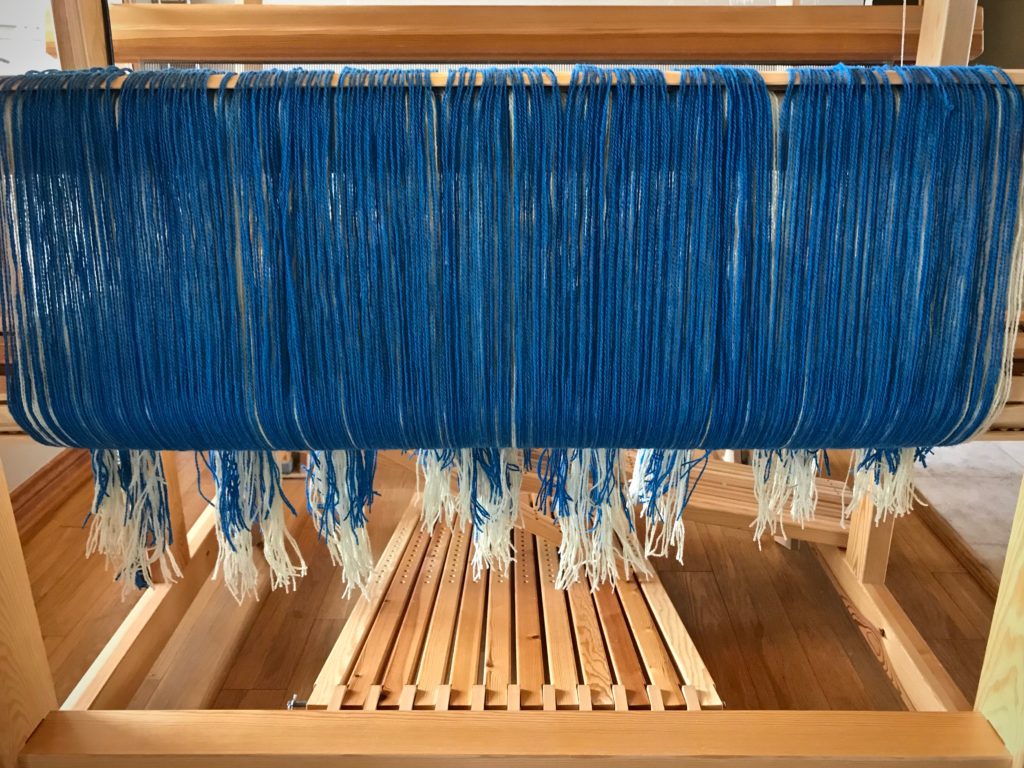
That beautifully ordered wool on the back tie-on bar, now hidden from view, is an essential element for quality handwoven cloth. Kindness is that way. It’s a core trait deep in one’s character that is revealed in interactions with others. Kindness makes you beautiful. It’s not something you try to be. It’s something we wear. It’s our inner being dressed in the character of Christ.