Tools Day: Measure Once

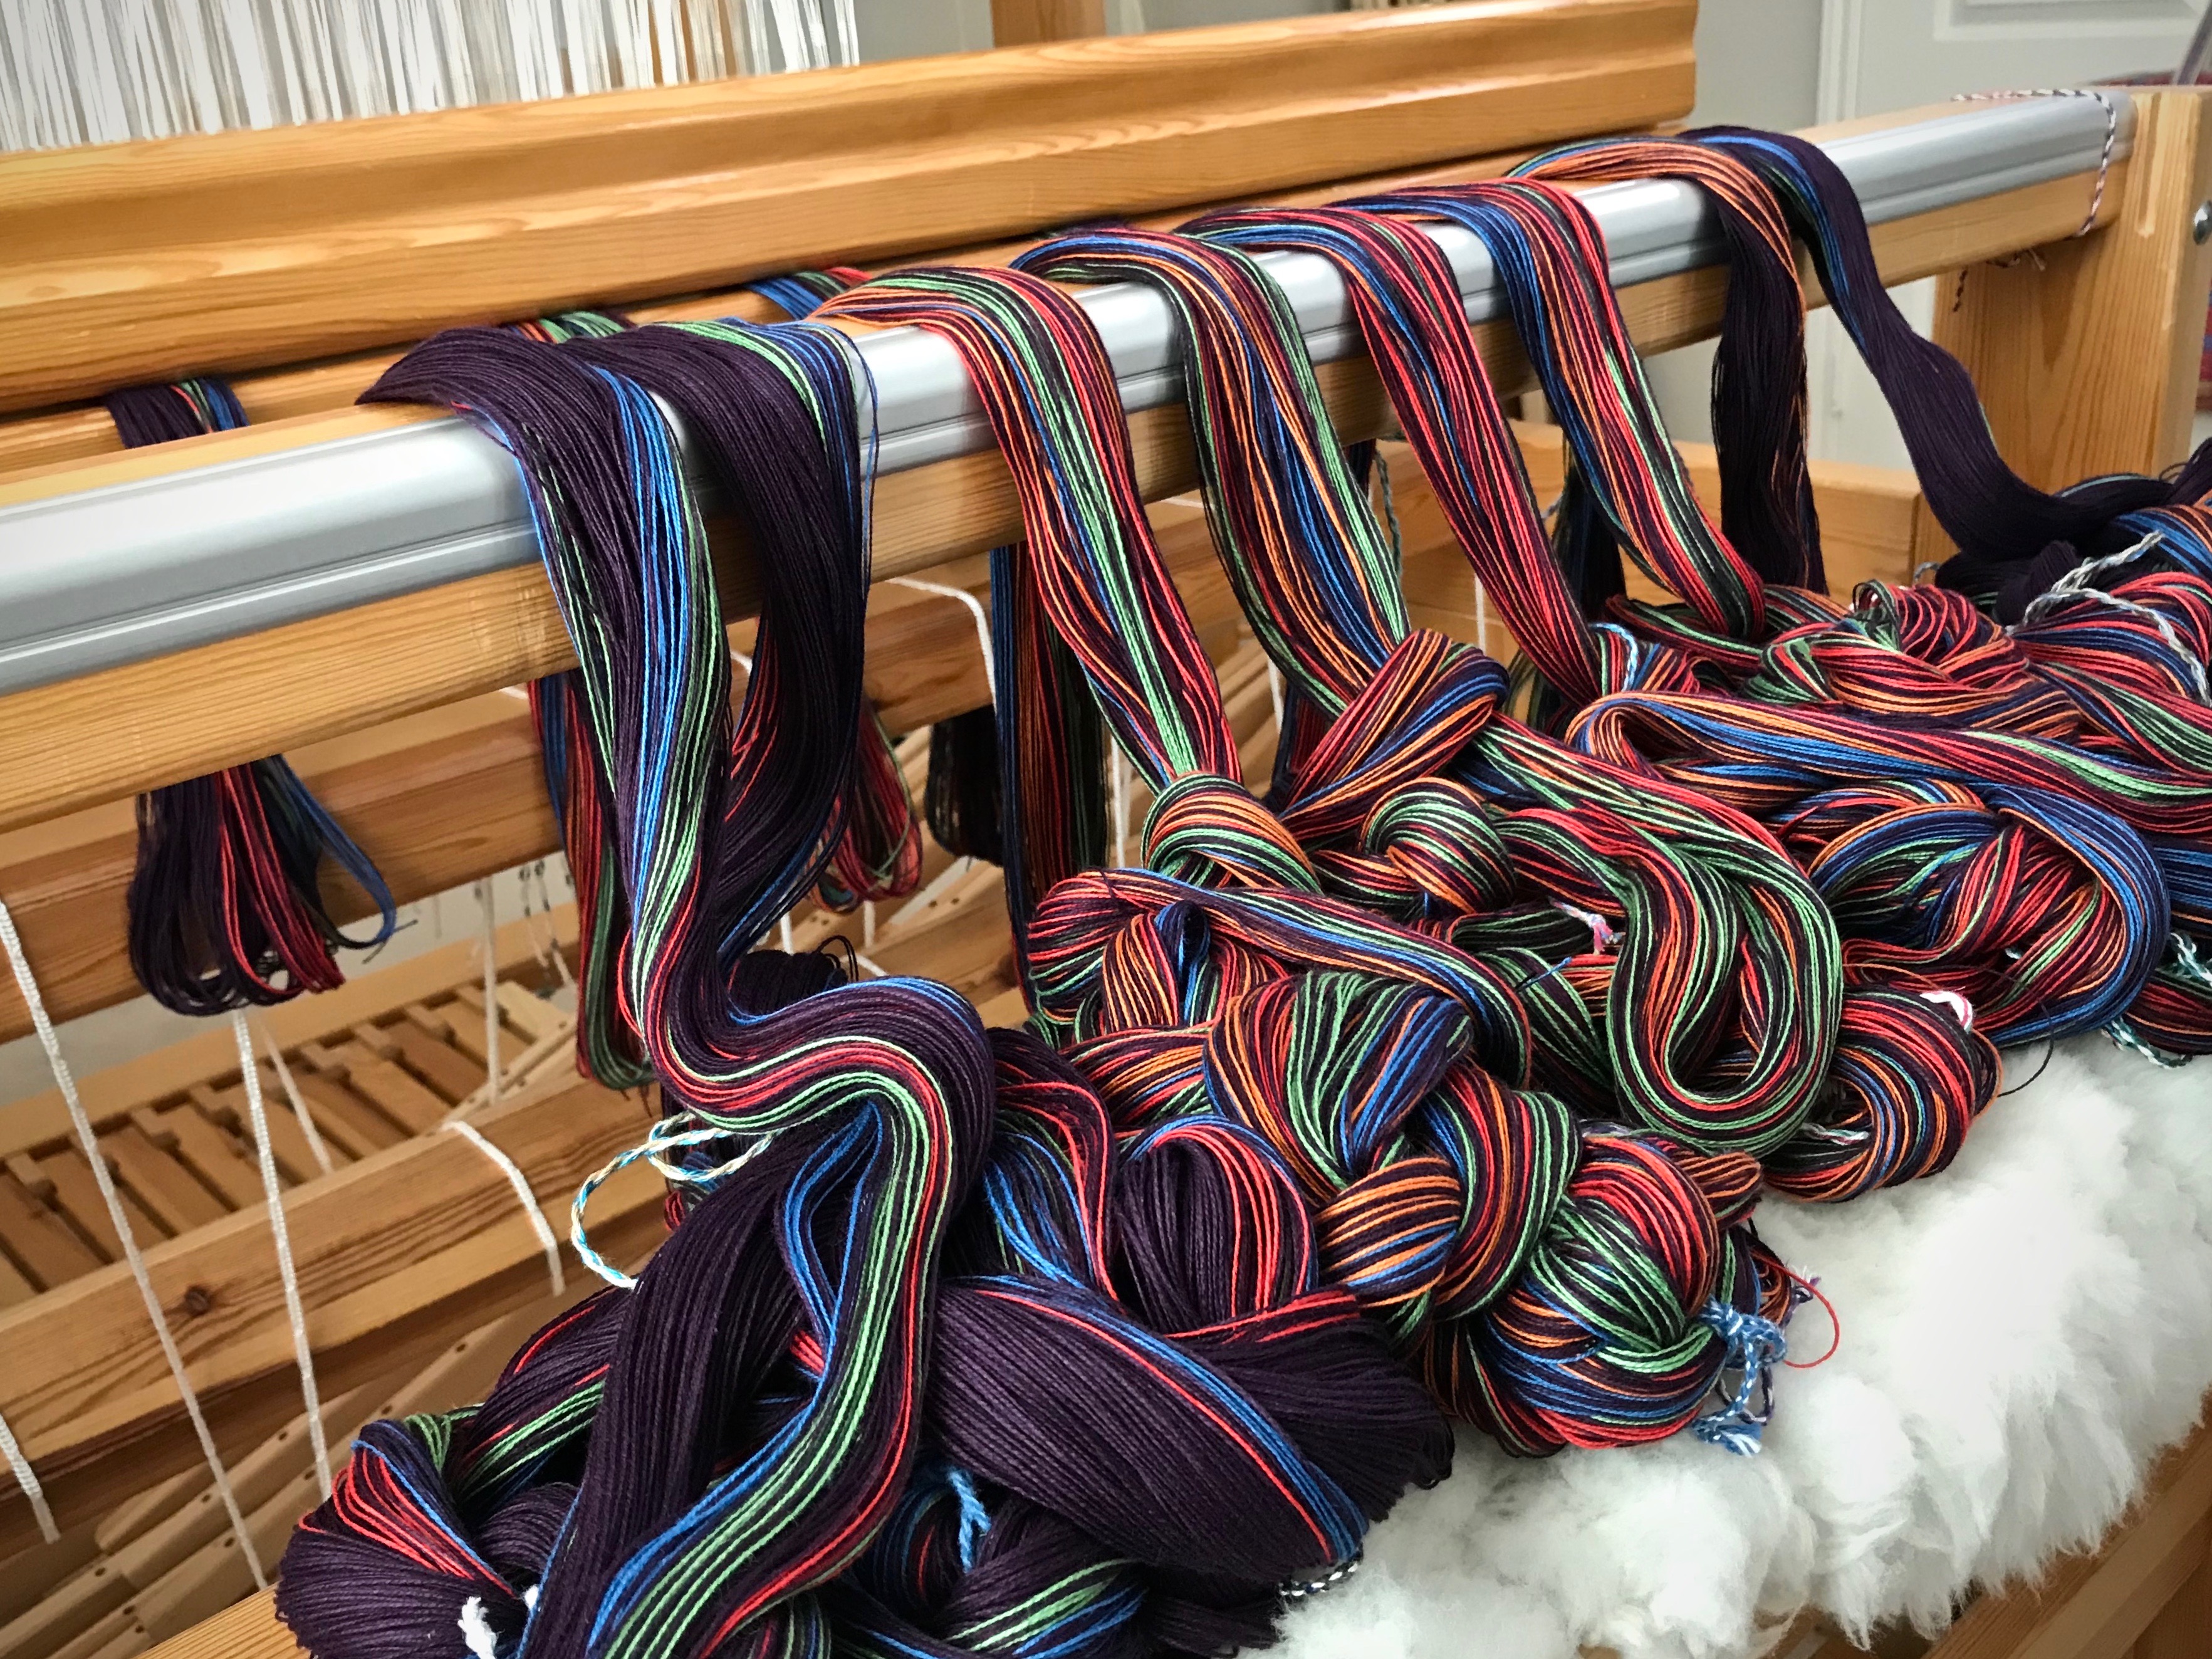
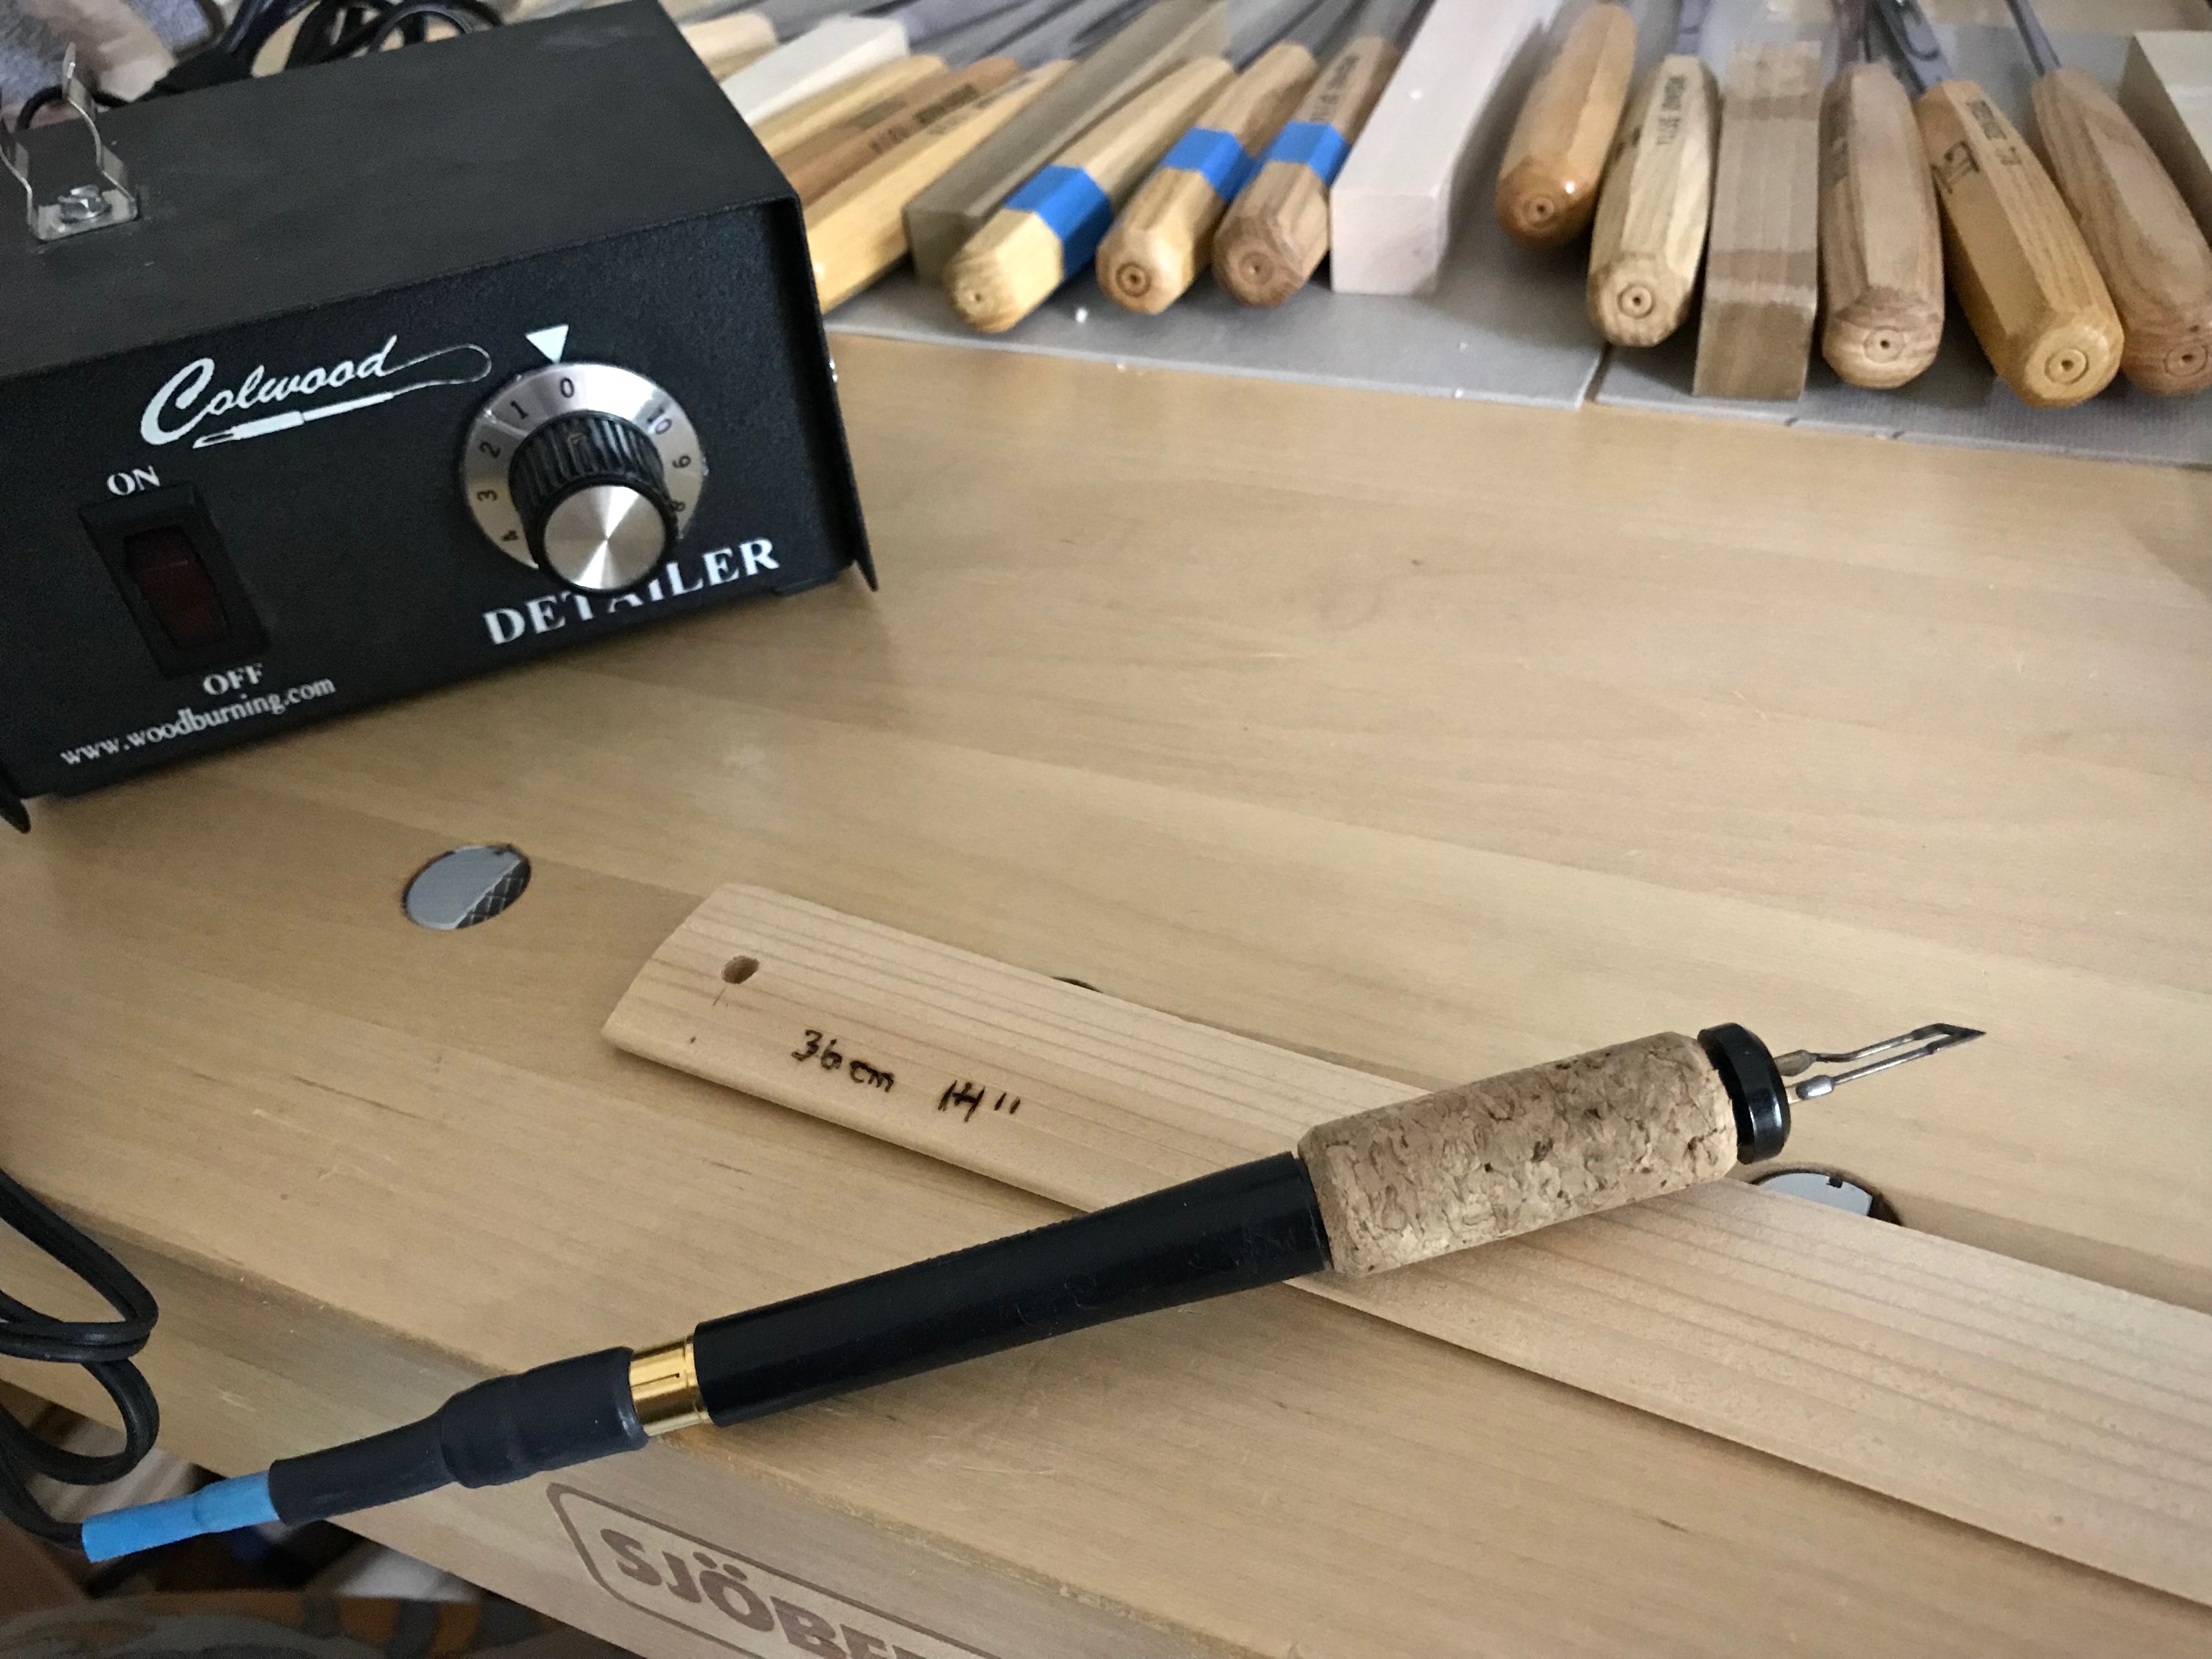
It occurs to me that I am unnecessarily doing something the hard way. Repeatedly. For every new project, I pull out my tape measure to find the right set of lease sticks. The tape measure also helps me select the temple needed for the current weaving width. No more! I do like my tape measure, but why am I measuring these things every time? Why not measure them once and label them?

Solution

  • Measure the lease sticks and write the length in centimeters and in inches on one stick of each pair, in pencil.
  • Use a wood burner to trace the pencil markings. (My husband Steve does this part for me.)
Weaving tip: Measurements on lease sticks.
Wood burner is used to write the length measurement on the end of a lease stick. Centimeters and inches are indicated because I use metric or imperial units, depending on the project.
  • Thread a cord through one end of each pair of lease sticks, to keep pairs together. Hang the lease stick pairs with the measurements clearly visible.
Weaving tip: Measured lease sticks paired together for hanging.
Looped cord is threaded through the lease stick holes to provide an easy way to hang pairs together.
Paired lease sticks, ready for hanging.
Lease sticks hanging in the weaving studio.
Pairs of lease sticks hang beside my worktable in my weaving room. My ol’ Beka rigid heddle loom on the wall happens to provide just the right little hanging post for the measured lease sticks.
  • Look up the temple sizes on a website that sells them, and write the size range in centimeters and in inches on each temple, in pencil.
  • Use a wood burner to trace the pencil markings. (Steve, again.)
Weaving tip: Measure the temples.
Range of temple widths is important information when I’m choosing a temple. Weaving width of a project must fit in that range.
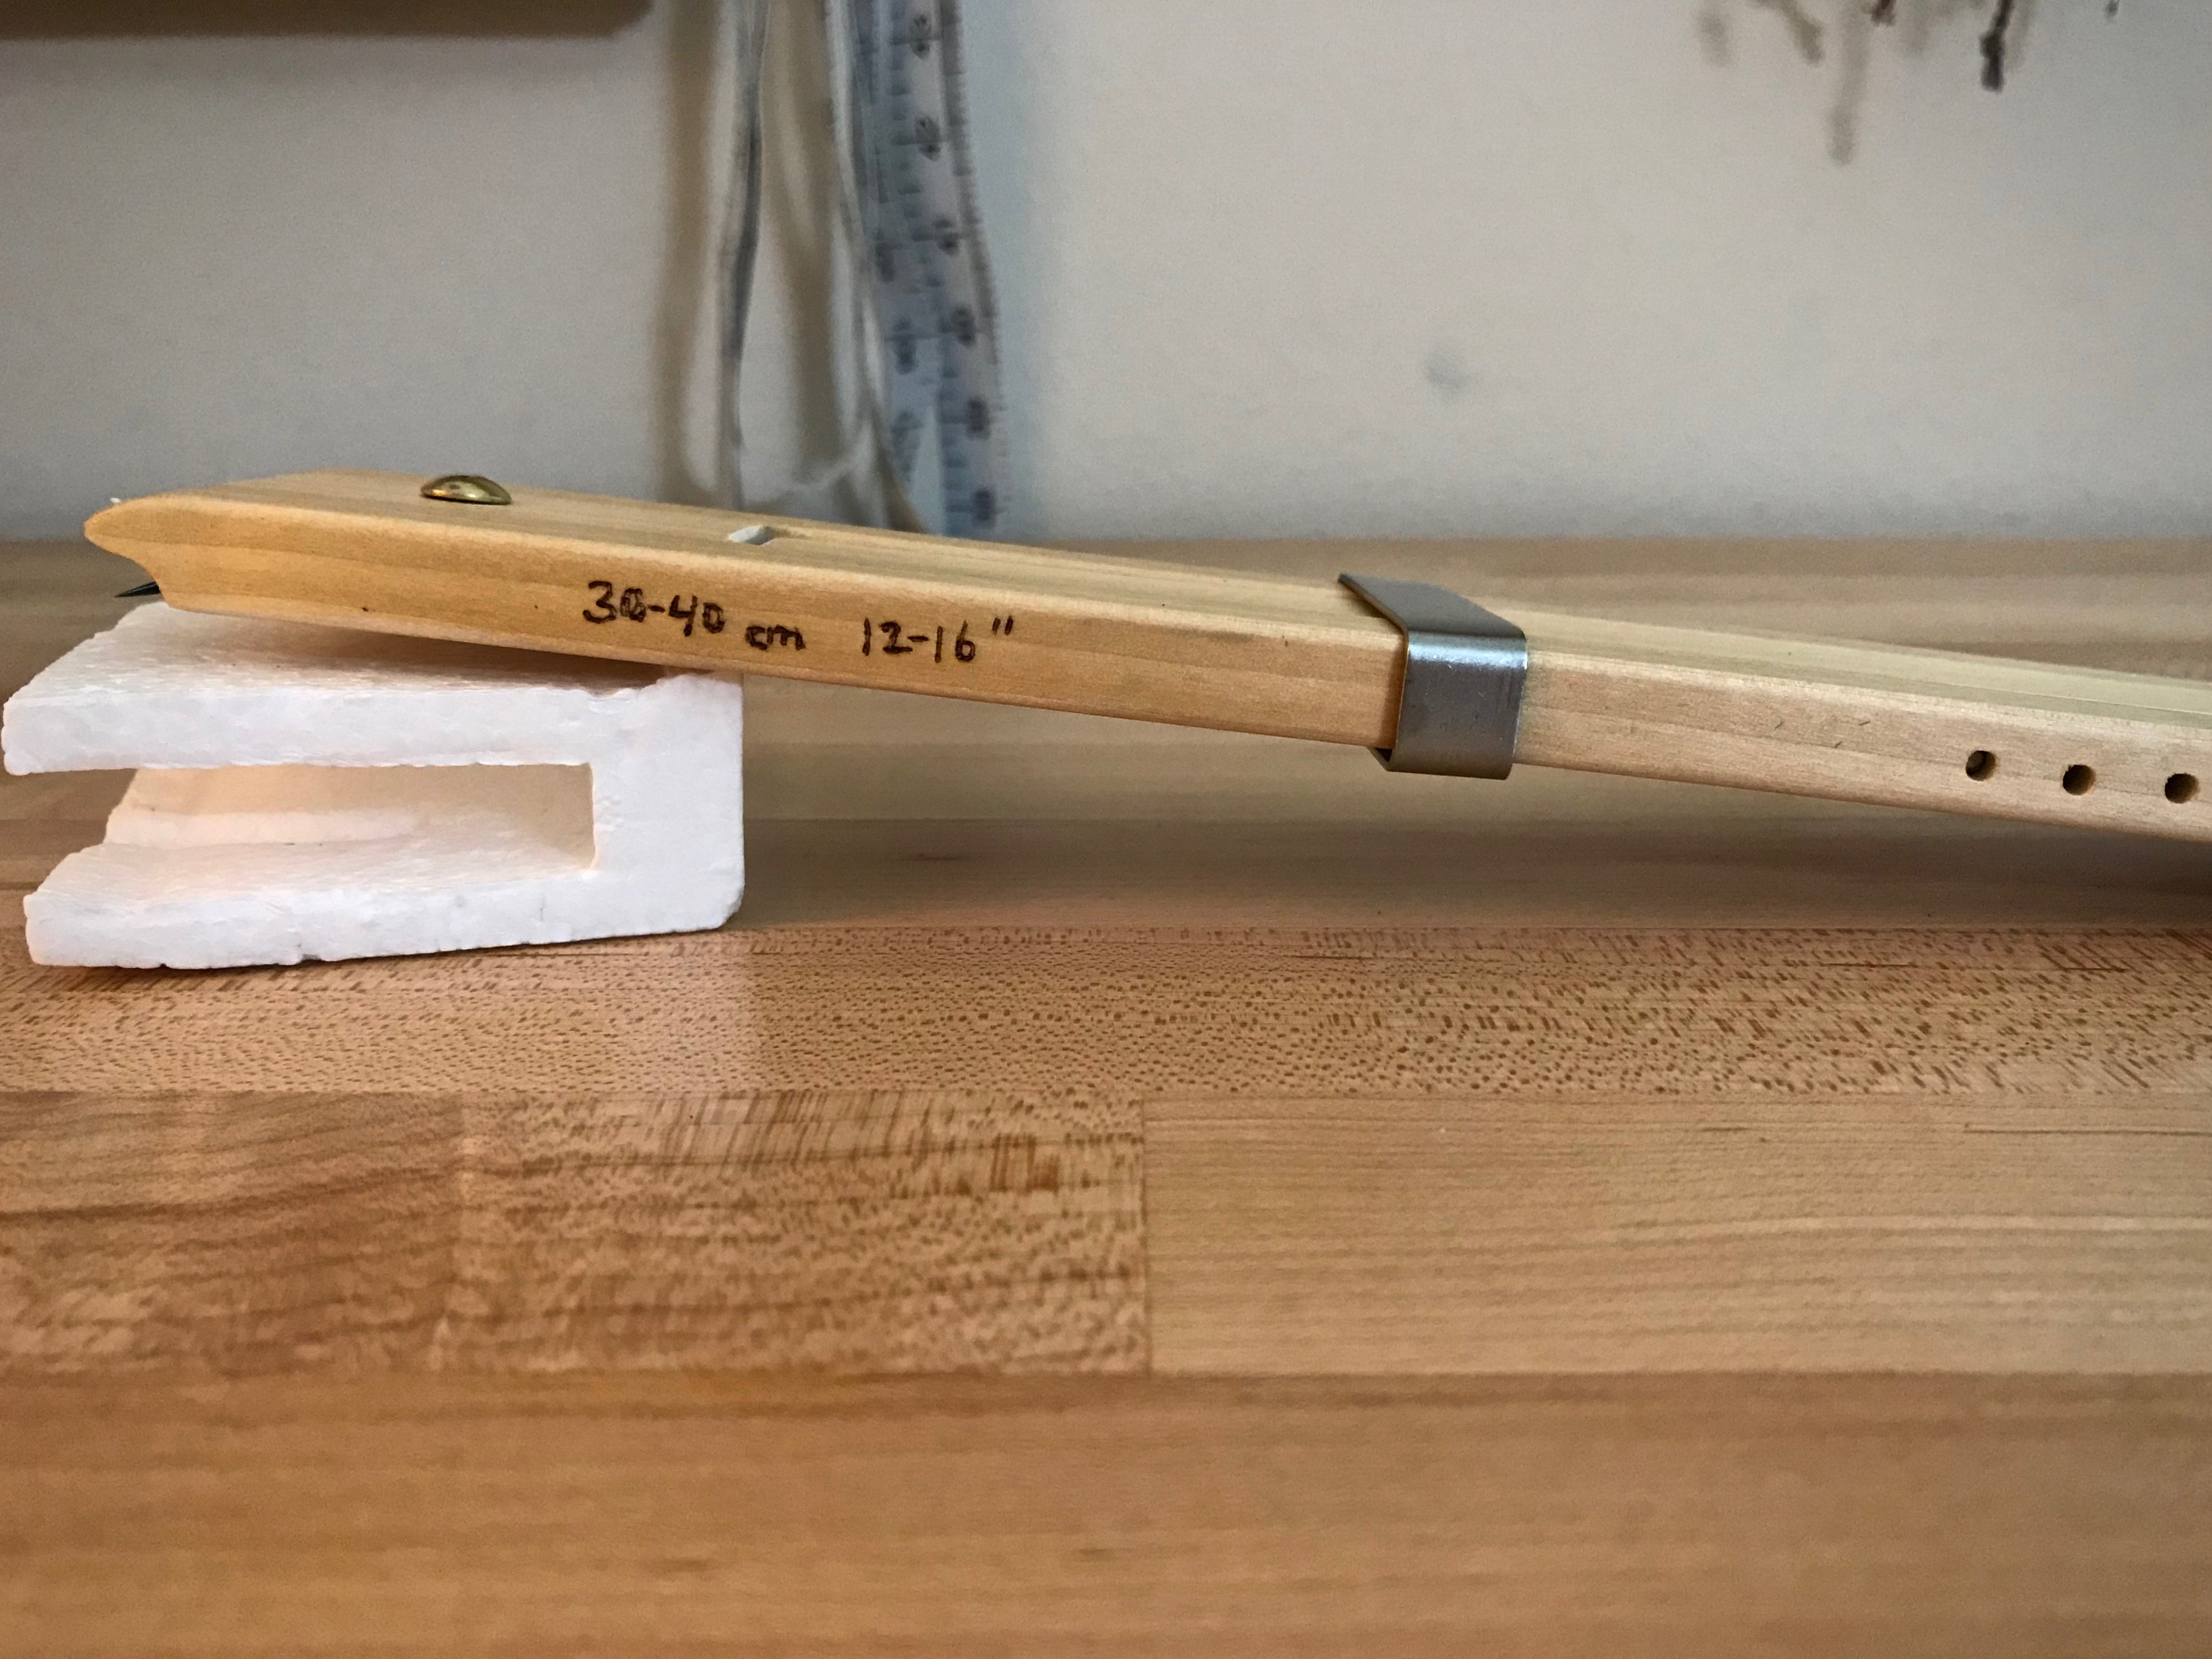
  • Store the temples in a manner in which the marked measurements are easily seen.
Weaving tip: Find the right temple size the first try!
No more trying different temples to find one that fits. Now I can look at the markings and select the correct temple the first time.

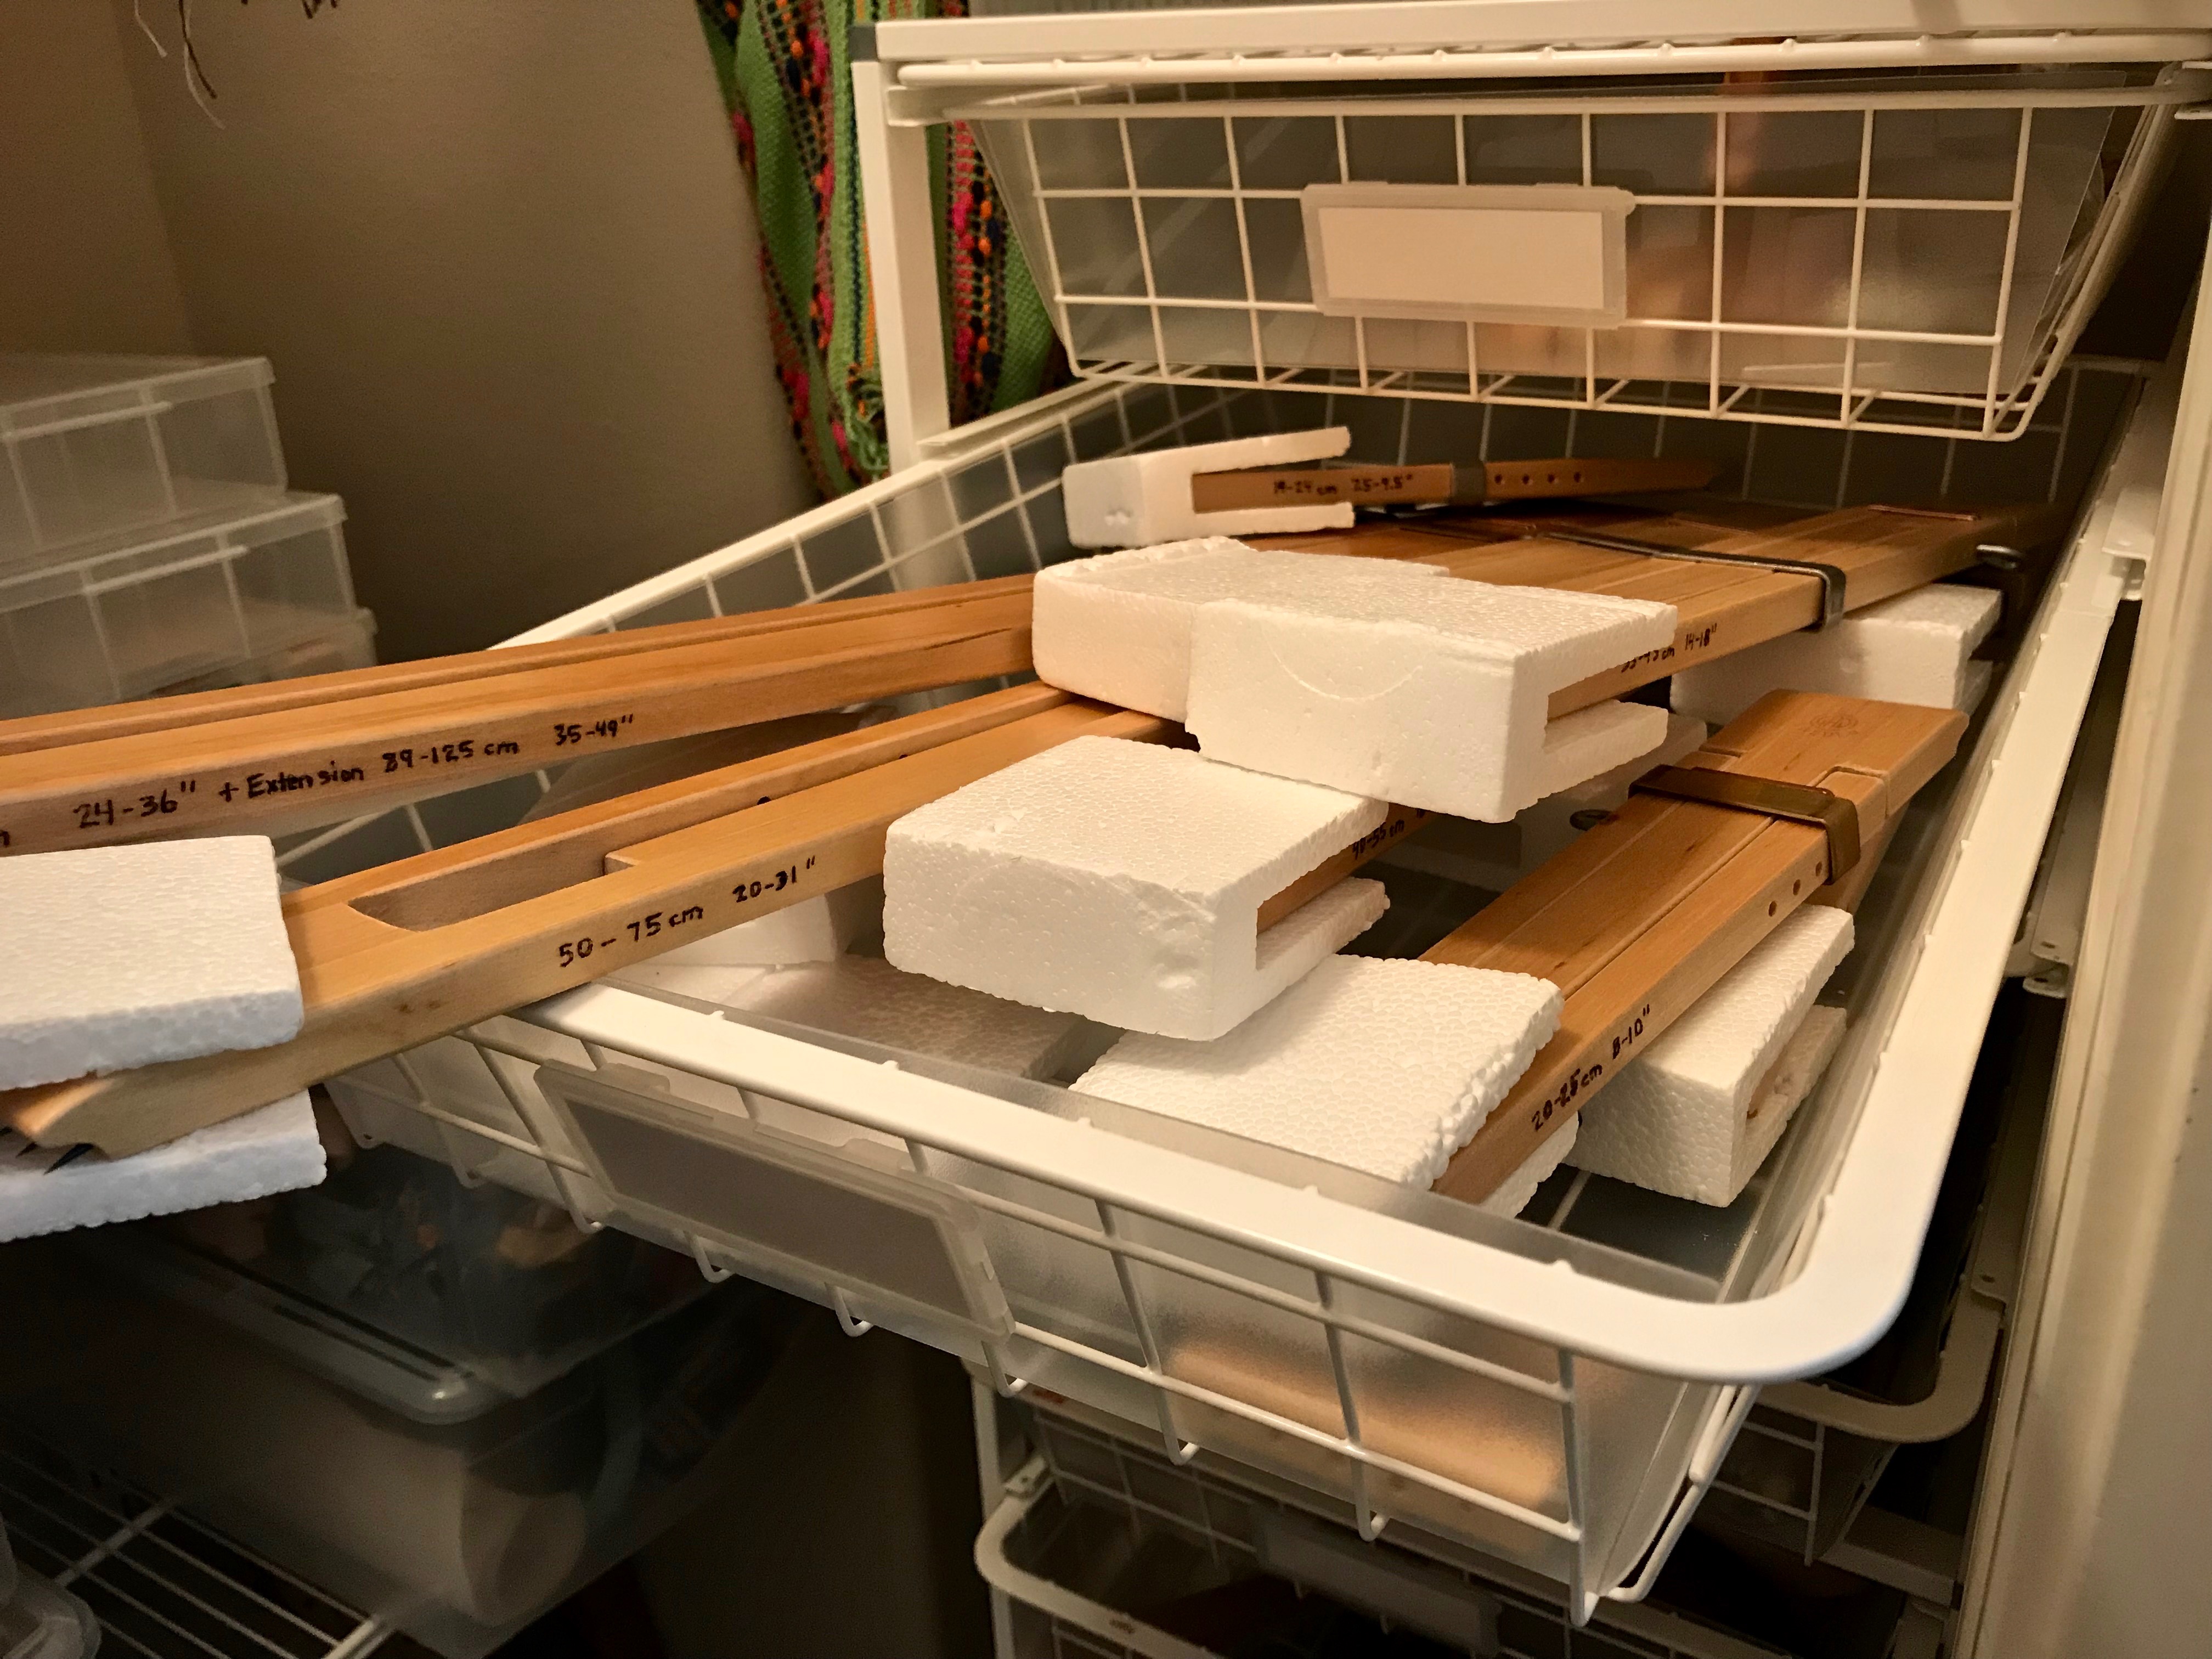
Now I have permanent at-a-glance measurements for each of these frequently-used tools!

May you find something to simplify.

Happy weaving,
Karen

Anticipation in the Final Stretch!

I can see the end of the warp! Finishing is in sight. And then, my daughter phones, “Mom! I’m headed to the hospital. This baby is ready!” Weaving suddenly becomes far less important… That was two weeks ago, and little Ari was born. Now, back at the loom, I’ll cross the finish line on this linen upholstery fabric before the day is over.

End of warp is near.
End of warp is seen on the back tie-on bar as it makes its final round on the warp beam.
Cotton double weave baby blanket covers newborn grandson.
Double weave cotton baby blanket covers baby Ari as he peacefully sleeps.

When the back tie-on bar becomes visible, it’s the beginning of the end. And then, the moment the back tie-on bar comes over the back beam I celebrate. It’s the final stretch!

Linen color-and-weave upholstery fabric.
Over the back beam, and lease sticks are removed.
Lease sticks are untied and removed after the back tie-on bar comes over the back beam. Two pairs of lease sticks were used with this striped warp.

We are participants in a great mystery! Christ in us. For those unfamiliar with the tools and methods of handweaving, it’s a mystery how threads can become cloth. But the handweaver knows. The great mystery of God is that Christ may dwell in us. For those who receive him, the peace of Christ rules within. His presence is woven in.

Short distance left to weave this linen fabric!
Short distance left to finish weaving this linen fabric.

The anticipation of finished cloth is nothing in relation to the anticipation of a new baby in the family. Imagine the anticipation of our holy Father to see the glorious threads of Christ woven in us.

May you participate in the mystery.

Happy weaving,
Karen

Transferring Warp Ends Takes Courage

There are four pairs of overlapping warp chains, with stripes to line up. I created a mess. A few options to consider: 1. Give up. 2. Weave it as is, destroying the design. 3. Use two sets of lease sticks, and expect problems with threading (2,064 ends). 4. Transfer all ends to a single set of lease sticks, arranging threads in order for each stripe.

Eight warp chains...to correct a huge winding error.
Each of four warp chains were duplicated when I realized I had wound only half the correct number of ends in each chain.

Option 4 seems the riskiest. If I lose the cross while transferring threads, I have an even bigger mess. It’s all or nothing. Go for it! Fortunately, my apprentice, Juliana, arrives in the nick of time to give me a hand.

Transferring color stripes to one set of lease sticks.
Lease cross is tied separately for each color “partial” stripe.
Transferring two warp chains to a single set of lease sticks.
Stripes from the two warp chains are transferred to a single set of lease sticks. Now the stripe colors are at their full correct width.
Preparing to transfer warp ends.
For the four center warp chains, each section of color is separated and tied at the cross. It takes an extra set of hands to transfer them in order to the primary set of lease sticks.
Delicate transfer of warp ends accomplished!
All warp ends are now successfully transferred to a single set of lease sticks. Let the loom dressing begin!

It worked! All the threads are successfully transferred to one pair of lease sticks. What a relief! I can beam the warp knowing that all is well. A beautiful double weave throw is imminent.

Pre-sleying the reed at the loom.
Warp is pre-sleyed at the loom. So far, so good.
Double weave warp ready to beam!
Ready to beam! Looking forward to this dressing and weaving experience.

We all have made a mess of our lives, and we know it. We hear of options to fix things, but one seems the riskiest: Transfer everything to God. But what if I mess that up, too? There’s good news. God transfers us. When we place our trust in Jesus Christ, God transfers us from our messy state to his good order. And the result is a weaving that showcases his workmanship—a beautiful you.

May you take a worthy risk.

With you,
Karen

Simpler Warp Stripes

Narrow stripes on the warp beam are stunning. But to wind a warp like that means frequently cutting threads and tying knots. Right? …not necessarily! You don’t have to wind a warp with stripes in order to have a striped warp on the loom. I didn’t know that. I thought that tying knots is the price you pay to get warp stripes. Winding this warp was a breeze! The secret? A separate warp chain and set of lease sticks for each color. I combined the threads, keeping them in proper order, as I put them on the back tie-on bar. That part was a little tricky, but will only get easier with practice.

Stripes on the warp beam are so enticing! Linen.
Unbleached and golden bleached linen pair up for this striped warp.

Knowledge. Knowledge gives us freedom to do things in a new way. This is why prayer is effective. Not praying for so-and-so to change, but asking that they may be filled with the knowledge of God’s will. And then, God takes it from there. Your prayer may be what it takes to initiate a new outlook on life for someone else. Much like finding a different way to put stripes on the loom.

May you find a new way to simplify.

Happy weaving,
Karen

Anticipation Is Looming!

Everything starts on paper and in my mind. And then the action begins! Warps are ready now to dress two more looms. One in linen, and one in cotton. Linen for chair-seat upholstery, and cotton for kitchen towels.

Counting linen warp ends on the warping reel.
Counting thread goes over and under groups of warp ends (in this case, 40 ends) to help me keep track of the number of ends being wound on the warping reel. 8/2 linen, unbleached.
Cotton thread is measured out on the warping reel.
Solid color cotton is wound (measured out) on the warping reel.

These are part of the coordinating textiles I’ve been designing for our Texas hill country home. (See Awaken the Empty Looms)  I am looking forward to the moment these fabrics become visible! The anticipation is electric! I will know the success of my plans when I can see and feel the fabric. Every step, including getting these threads ready for the loom, gives me a preview glimpse of the actual fabric to come.

Two linen warp chains, ready for dressing the loom.
Two warp chains are prepared. This is a striped warp, and the chains will be spread separately, each with its own set of lease sticks.
Three warp chains of 8/2 cotton, ready to dress the loom!
Nothing like big, soft warp chains of 8/2 cotton!

Visible. Actual love is visible. It’s much more than kind thoughts and intentions. It is threads of kind thoughts that become touchable fabric in someone else’s life. Jesus Christ is the love of God made visible, in that God sent His Son so that we could fully live. How appropriate for us to make such a fabric visible for each other.

May you get a glimpse of the fabric to come.

Love,
Karen