Awaken the Empty Looms

The transformation of looms has begun! One by one, three empty looms are awakened from their rest. Two of three warps have been wound, and I have started dressing one of the looms. Soon, all three looms will be active as I weave coordinating textiles for our Texas hill country home.

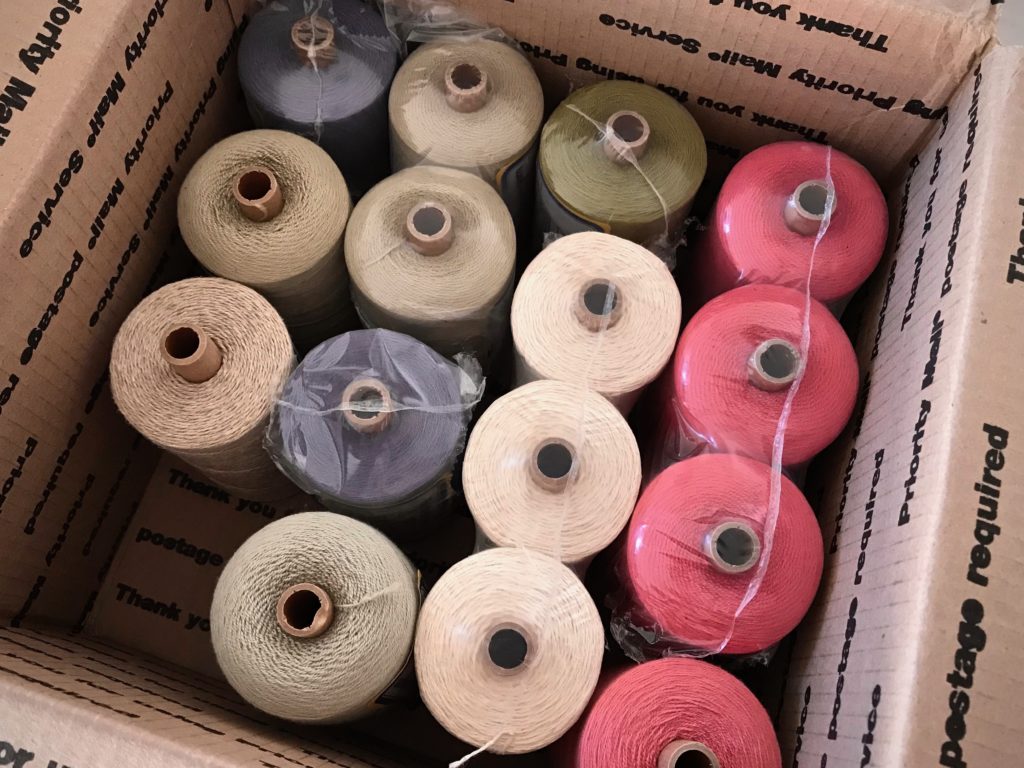
Cotton and linen for planned coordinating textiles.
Cotton and linen threads for the planned coordinating textiles.
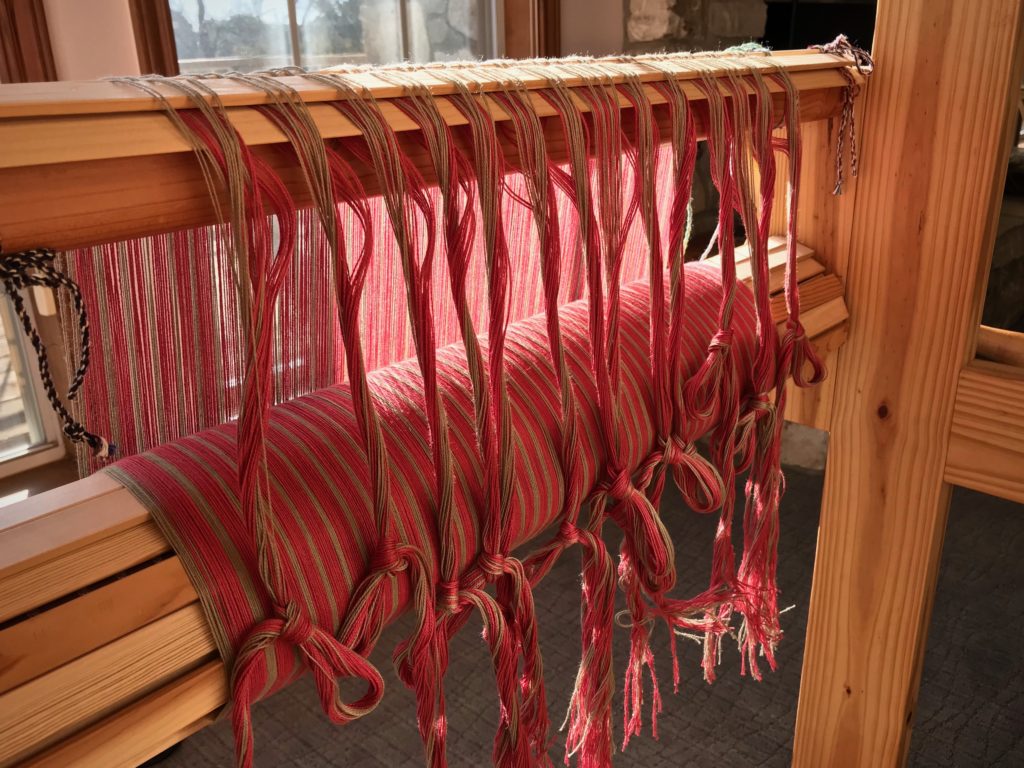
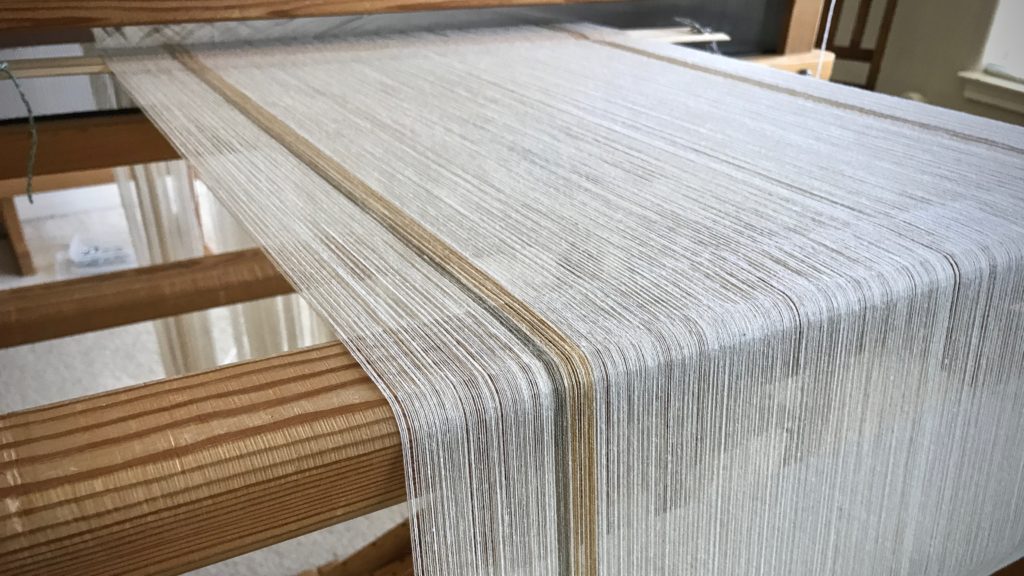
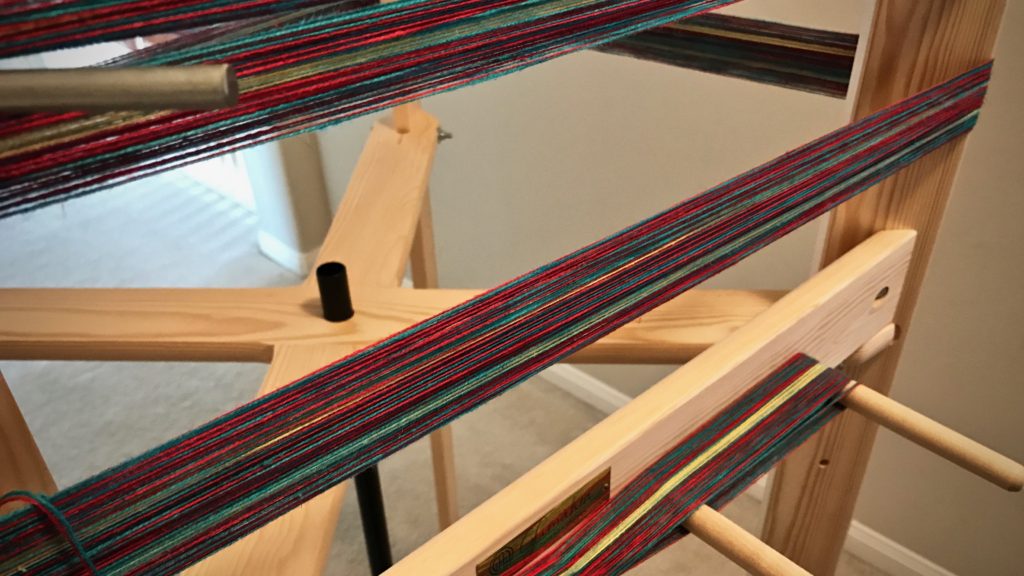
Stripes on the warp beam. So inviting!
Warp beam is clothed with a narrow-striped warp. A separate warp chain for each color and two sets of lease sticks make the beaming process a little tricky.

This loom at our hill country home has a warp designated for placemats. Color-and-weave effects will take the simple two-treadle plain weave up a notch, starting with the warp stripes. Is there anything as inviting as stripes on the warp beam? The loom that was bare now holds great promise.

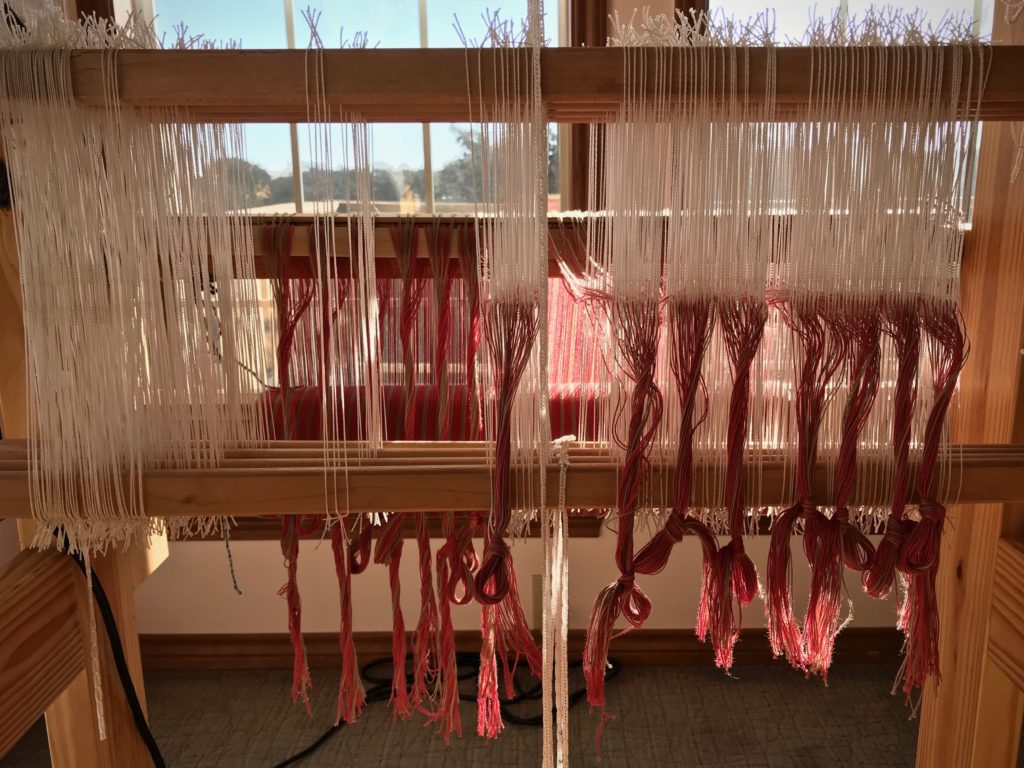
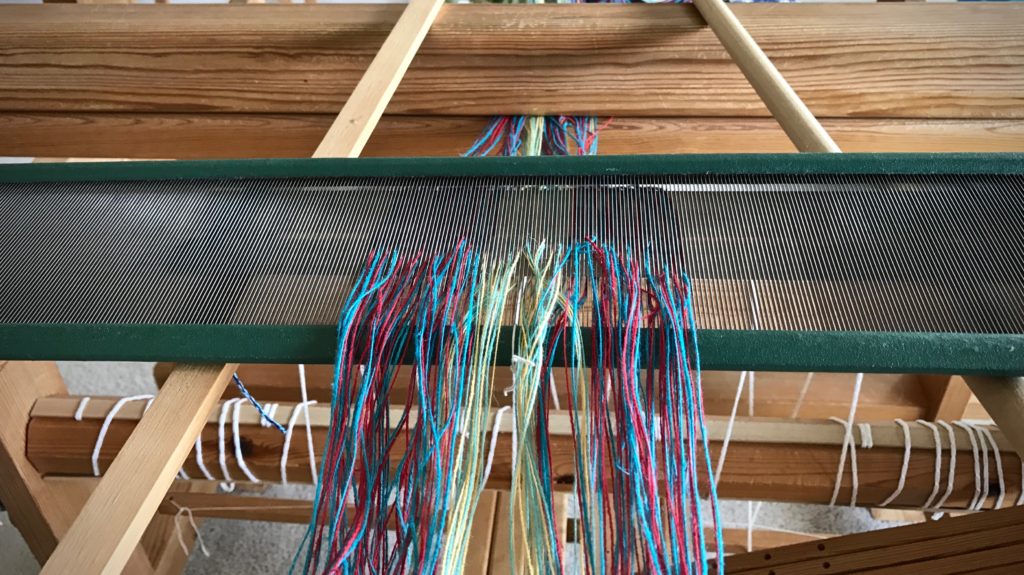
Threading the loom in the best spot in the house!
Threading the loom happens in the brightest corner of the house.
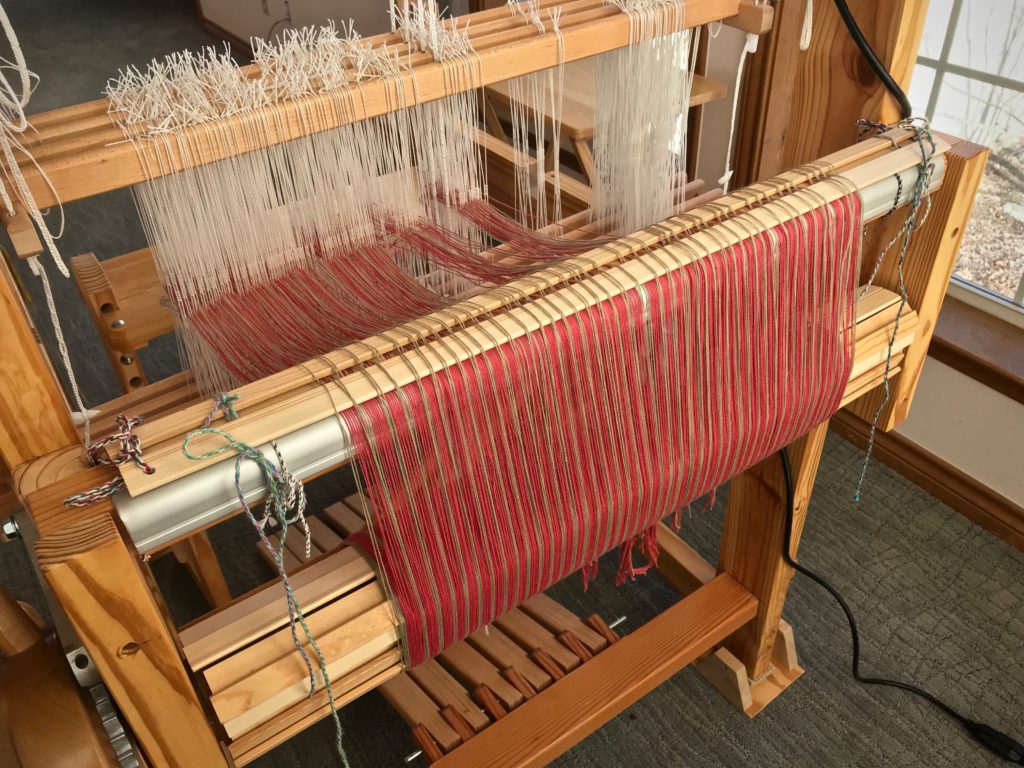
Warp stripes form the base of interesting color-and-weave effects.

Love transforms people. Someone who feels empty is given purpose and hope when they are loved. A reason for being. A start toward something meaningful. Real love is extreme. Love is defined by the ultimate giving up of self-centered motives, as demonstrated by Jesus Christ. This is the extreme love that we have been given, and have been called to give. We’ve known the joy of stripes on the warp beam becoming handwoven fabric before our eyes. And we relish the thought of sharing that joy with someone else.

May you awaken empty looms.

Happy weaving,
Karen

Weave Heirloom Fabric

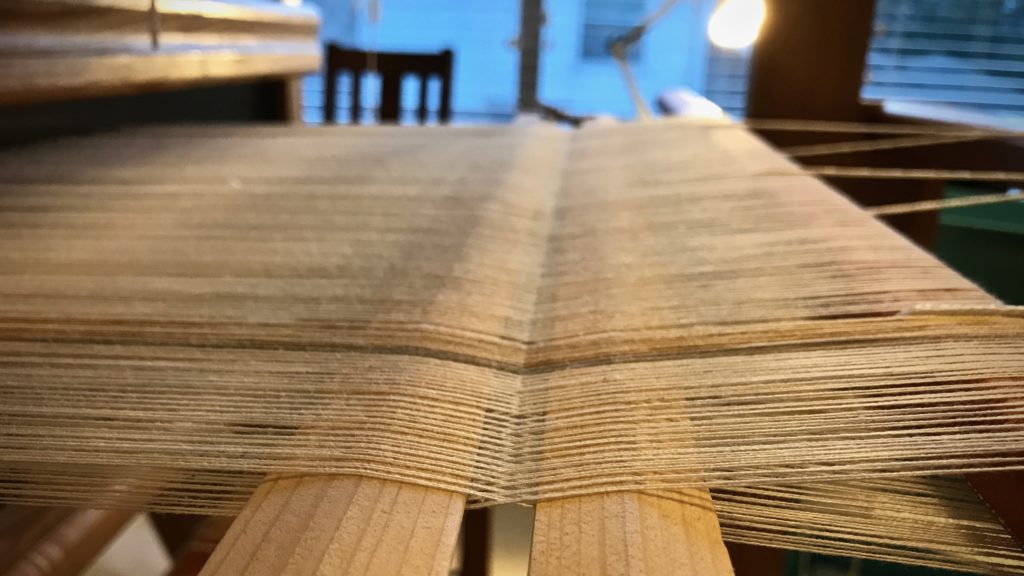
Fine threads. This warp may be the finest yet for me–24/2 cotton. 896 ends are lined up in a row. And, oh, they are soft. This is another fascinating experience for someone who enjoys seeing threads do remarkable things.

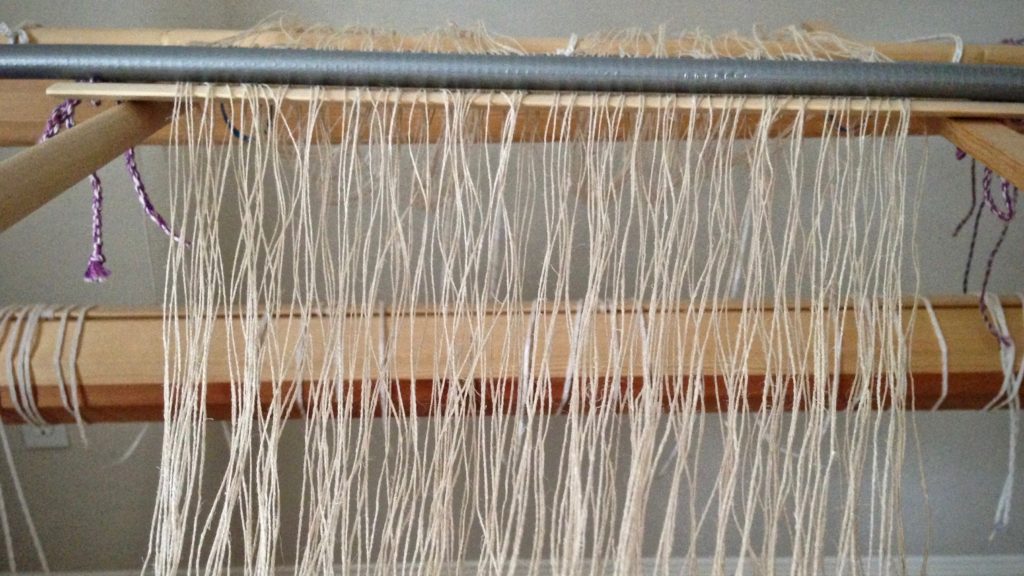
Lease sticks keep warp ends in order.
Lease sticks keep the ends in order.
Ordered threads on the back tie-on bar.

The weft for this will be fine, too–20/1 linen. Linen is strong thread in the right conditions. Can you imagine the fabric that will come from these fine cotton and linen threads?! Something lovely will be produced from many hours of winding the warp, dressing the loom, and weaving. When I throw the shuttle back and forth, heirloom-quality fabric will appear! Soft like cotton, and strong like linen.

Beaming eight-meter warp.
Beaming eight meters of warp.
Cotton warp ends.
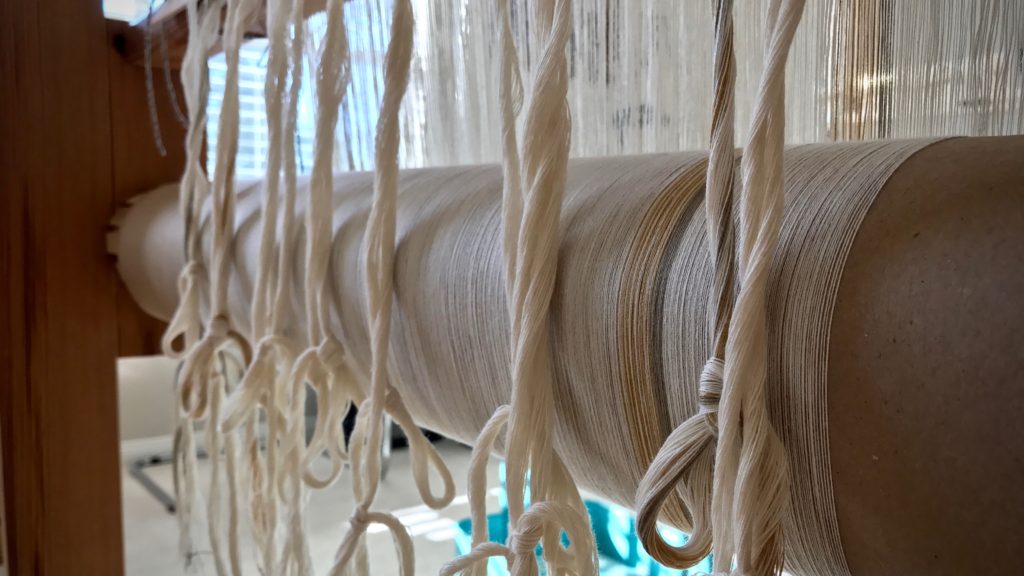
Brown paper is on the warp beam after running out of warping slats. Warp ends have been counted and loosely tied into threading groups.

We often define love by what someone says, knows, or does. I love you. I know how you feel. I will help you. It is possible, though, to say, know, and do nice things, but not have love. At its core, love is unselfishness and humility. Pure love comes from a pure heart. A pure heart that is unselfish and humble extends love as fluently as a weaver’s shuttle going back and forth. An honorable legacy is woven, soft and strong, through a heart of love.

May you weave a legacy of love.

Love,
Karen

~UPDATE~ Towel Kits ~

I have been delighted by the response for the towel kits, and have enjoyed putting the kits together! The River Stripe Towel Set, Pre-Wound Warp and Instructional Kit, for $150 per kit, is listed in the Warped for Good Etsy Shop until they are sold out. This is the final release of this kit. There are a few left.

(I may be persuaded to do another limited run of a kit in the future.)

Thank you!
Your weaving friend

New Warp Comes Alive

Put on a new warp as soon as possible. That’s my philosophy. A weaving loom should not stay bare. I am ready to begin a stack of rep weave mug rugs (my local weaving group is making them for an upcoming conference).

Cottolin warp on the warping reel.
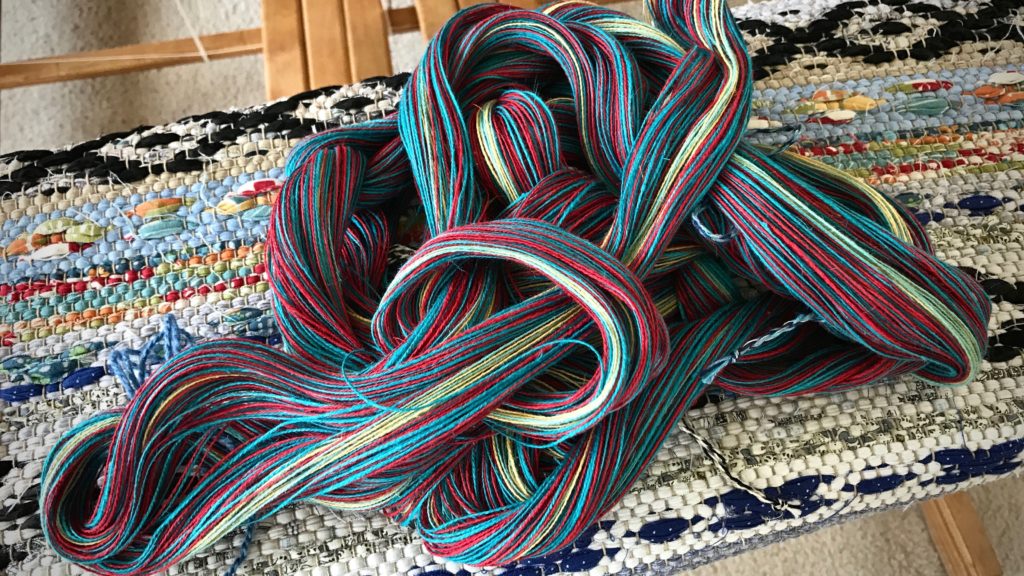
Cottolin warp seems to light up on the warping reel. The colors become more vibrant when lined up together.

A new warp comes alive as I wind the threads on the warping reel. It is a picture of possibility! Every warp has a beginning and an end. Beginning a new warp on the loom is always exciting. And when I come near the end, I often wish I could weave a little longer.

Cottolin warp chain with vibrant colors!
Warp chain is ready for dressing the Glimåkra Ideal loom.
Pre-sleying the reed for rep weave mug rugs.
Lease sticks are in place under the reed, held up by two support sticks, and the warp has been pre-sleyed. Next step is to set up the warping trapeze.

Have you considered the warp as a metaphor for a life’s span? It is measured out in advance, with a certain type of fabric in mind. The setts, patterns, and structures vary. But they are all meant to be woven. Weft passes are like days and years. For a time, it seems like it will never end. And then, you see the tie-on bar coming over the back beam. You’re reminded that this warp is temporary. We all have this in common: We are mortal. Time is a precious gift. Every pass of the weft is a reminder of our Grand Weaver’s loving attentiveness to complete the weaving he began.

May you enjoy the gift of time.

Happy Weaving,
Karen

Quiet Friday: Lease Sticks in Place

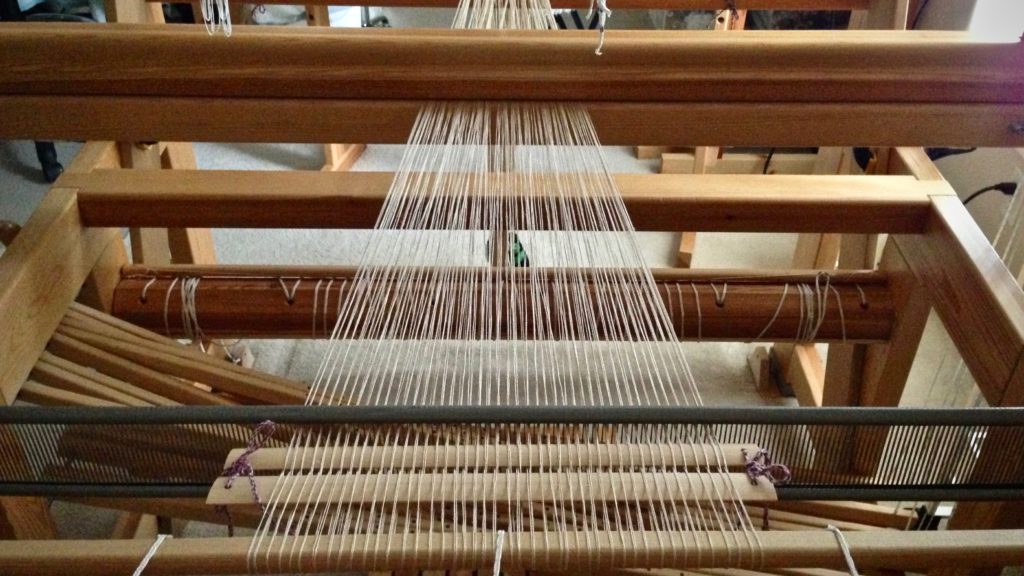
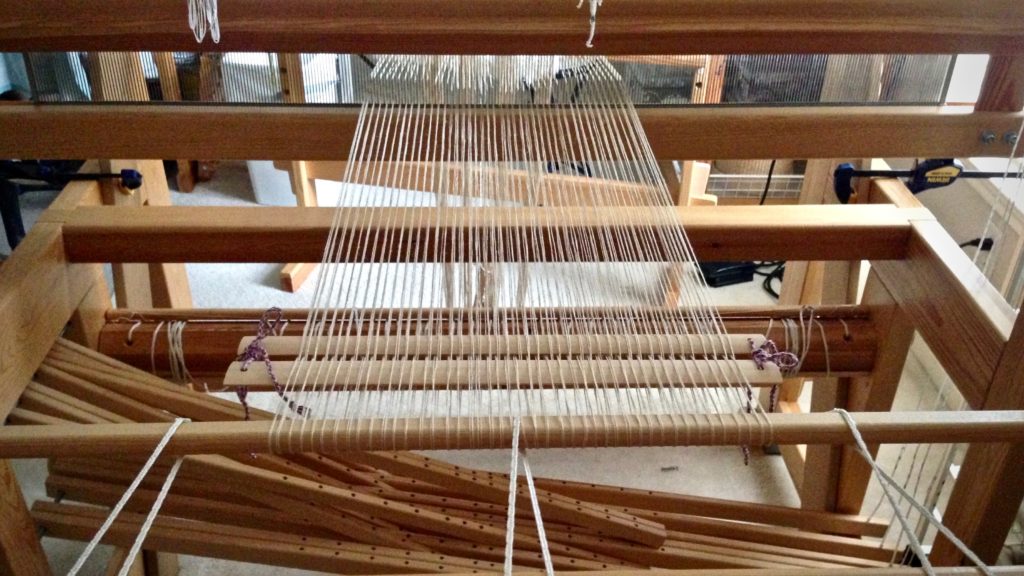
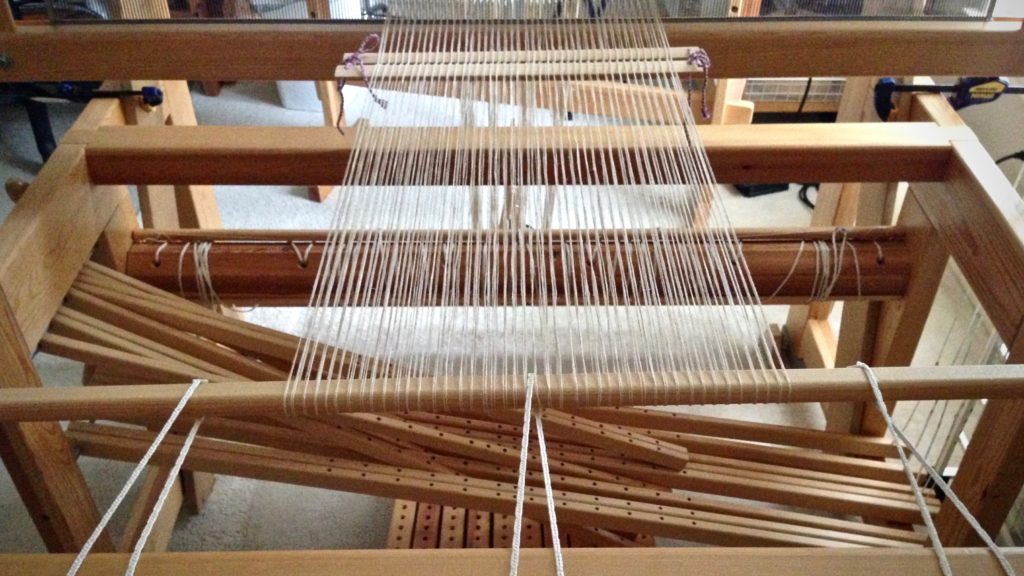
What is the first thing I do when I have a new warp to put on the loom? Insert lease sticks. When I wind a warp on my warping reel, the ends follow an alternating over/under pattern between two pegs. This forms an “X” in the wound warp, and keeps the warp ends in sequential order. This “X” is called the lease cross, and I use lease sticks to secure it before proceeding. Hence, the lease sticks take first priority as I begin to dress the loom. Essentially, they hold the warp together.

Dressing the loom with a linen warp.
New linen warp. As viewed from the front of the loom, two long sticks support the reed and lease sticks for pre-sleying the reed. The lease sticks are in front of the reed.
Lease sticks behind the beater. Linen warp.
As viewed from the back of the loom, the warp is under tension (from the warping trapeze). Lease sticks have been moved to position behind the beater.
Dressing Glimakra Standard loom.
Warp ends are straightened and evened out behind the lease sticks.
Beginning to beam a linen warp.
Reed is placed in the beater and centered.
Ready to begin beaming this linen warp.
Lease sticks are moved forward, to just behind the beater. Ready to begin beaming the warp!

This Christmas, remember to keep Jesus first. Jesus, the humble king, was born to die on a cross that we may live. In Him all things hold together. Joy to the world!

May your threads stay in order.

Have a Good Christmas,
Karen

Quiet Friday: Warping Back to Front with Confidence

“Put on many short warps.” This was the best piece of advice I received as a new weaver! Repeated practice of the back-to-front warping steps accelerated my confidence at the loom. If I can get it on the loom, surely I can weave it, right? When you are comfortable dressing the loom, you start feeling like a “real” handweaver. And before you know it, you are planning, designing, and weaving. And having the time of your life!

Tips for Preparing the Warp for Beaming

  • Wind the warp with two (or more) threads, separated by your fingers to keep them from twisting. This virtually eliminates tangles during the warping process.
  • Wind multiple bouts, when needed. The rule of thumb I use is to stay under 200 ends or 10 inches. Smaller bouts equalize the tension across the width of the warp.
  • Tie tight choke ties about every yard or meter along the warp before chaining it. This keeps the warp ends from shifting.
  • Keep the warp under constant, even tension. Threads can get into trouble if you let them relax.

Warping Back to Front

1 Lay warp chains across the breast beam, and through the beater, with the lease cross of each warp chain on the other side of the beater.
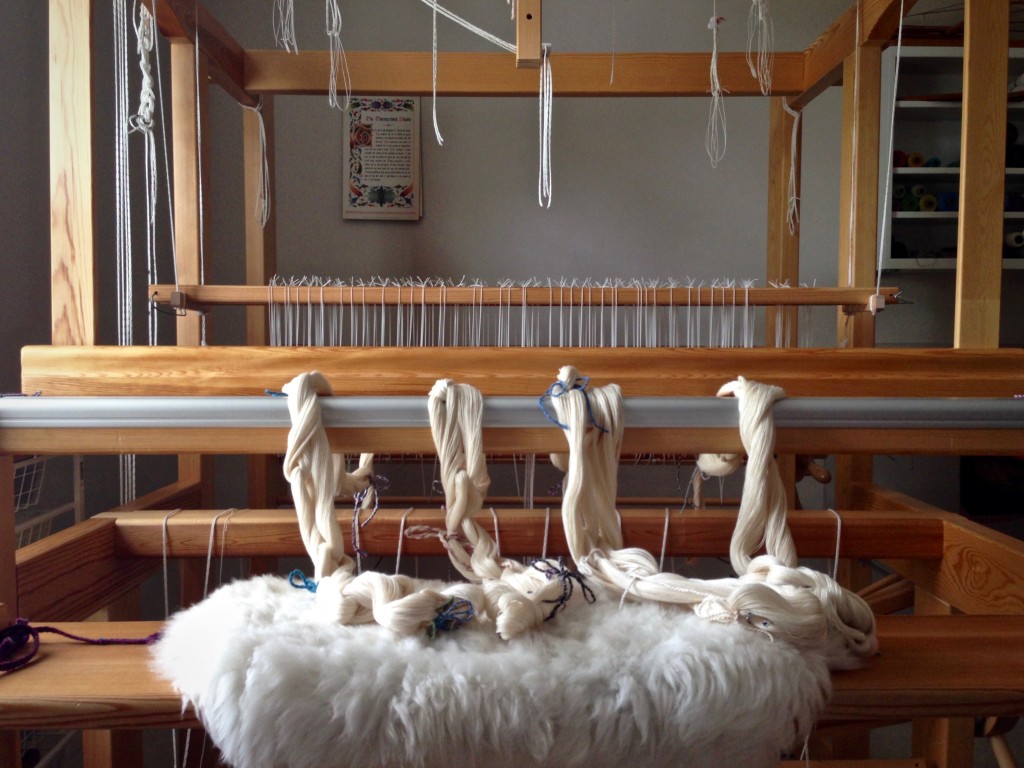
Warp chains ready for warping the loom back to front.

2 Raise the shafts out of the way, and place support sticks over the beater and the back beam to hold the lease sticks and the pre-sley reed. Thread the lease sticks through the cross of each chain. Lease sticks in the picture are being tied together.
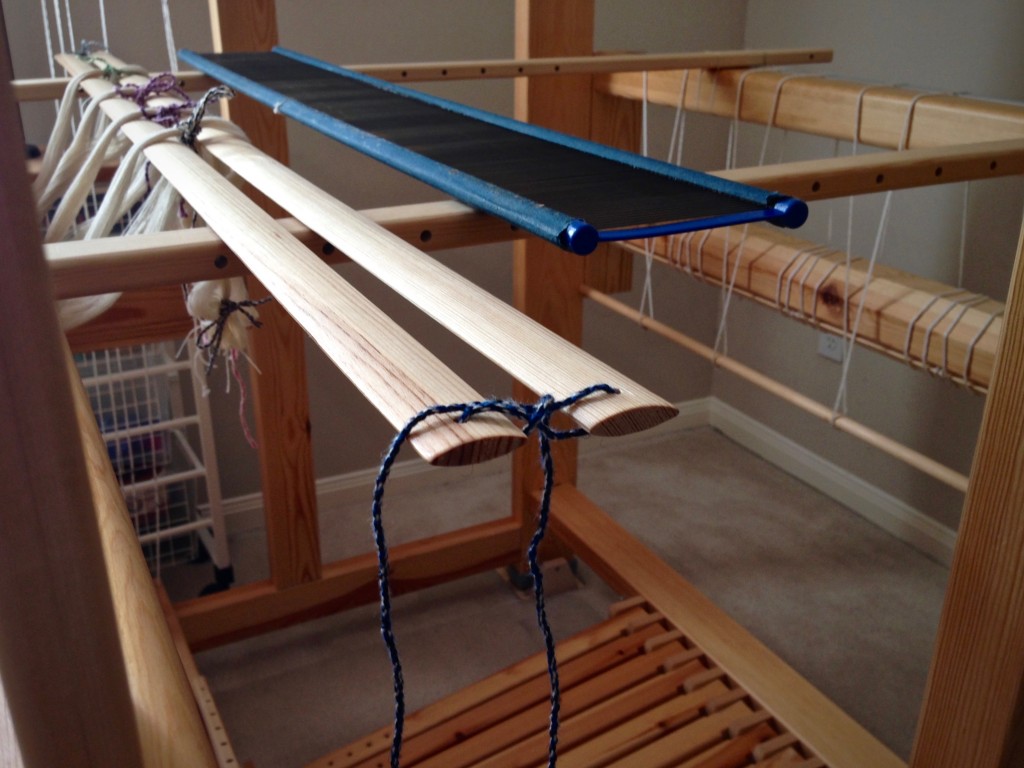
Tying lease sticks during warping process. B2F warping explained.

3 Use tape measure and reed hook to mark the starting dent for pre-sleying the reed.
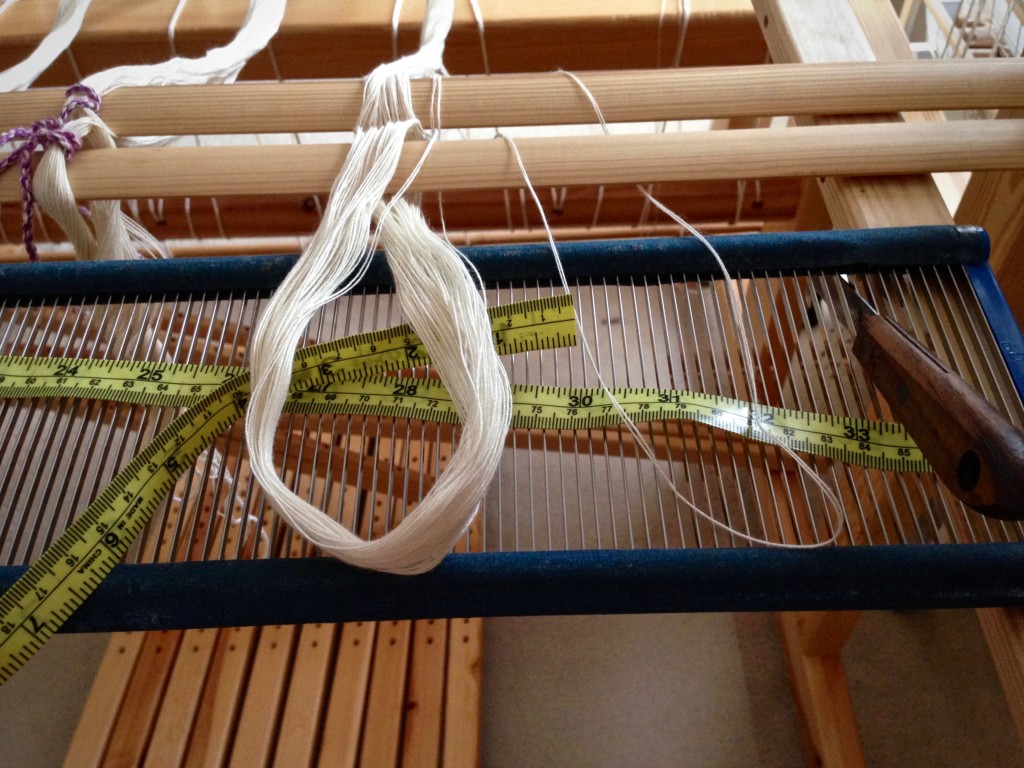
Pre-sleying the reed in back to front warping.

4 Divide warp into sections corresponding to the cords on the back tie-on bar. Insert the tie-on bar through the loops that form at the end of the warp.
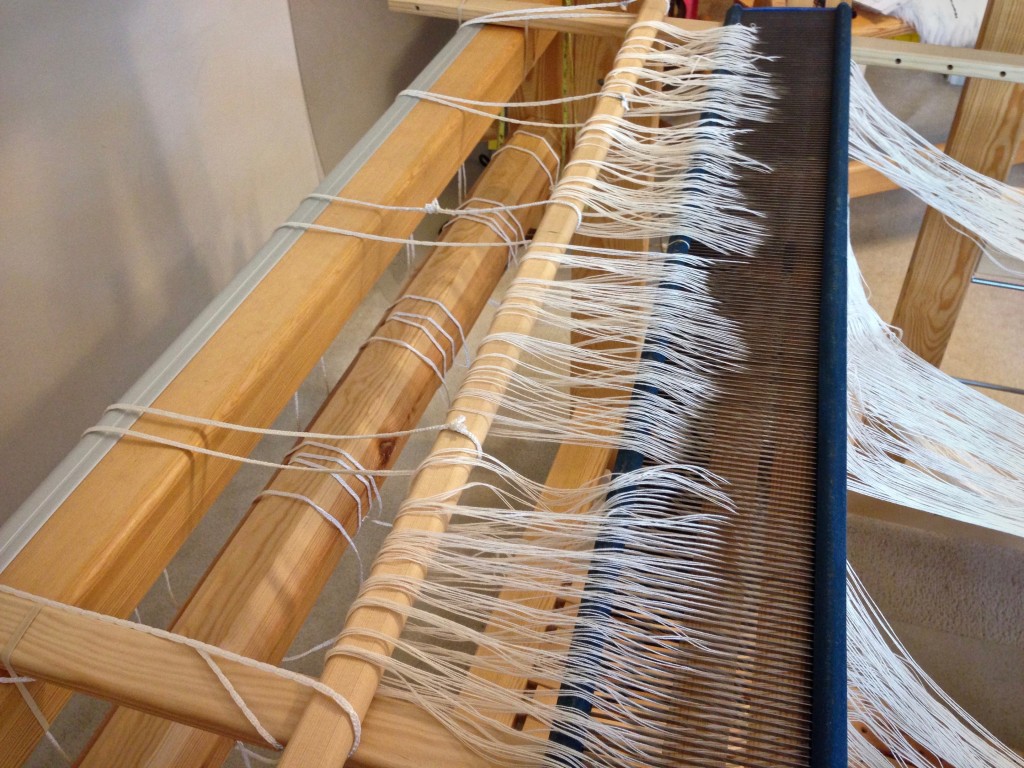
Insert tie-on bar while warping back to front.

5 Install the warping trapeze at the front of the loom, or use another method to extend the warp and weight it. Texsolv cord is connected to the end of each warp chain to extend the length. (This is a 3.5 meter warp–not long enough to go over the trapeze cross bar.) Weights are suspended from the texsolv cords with S-hooks.
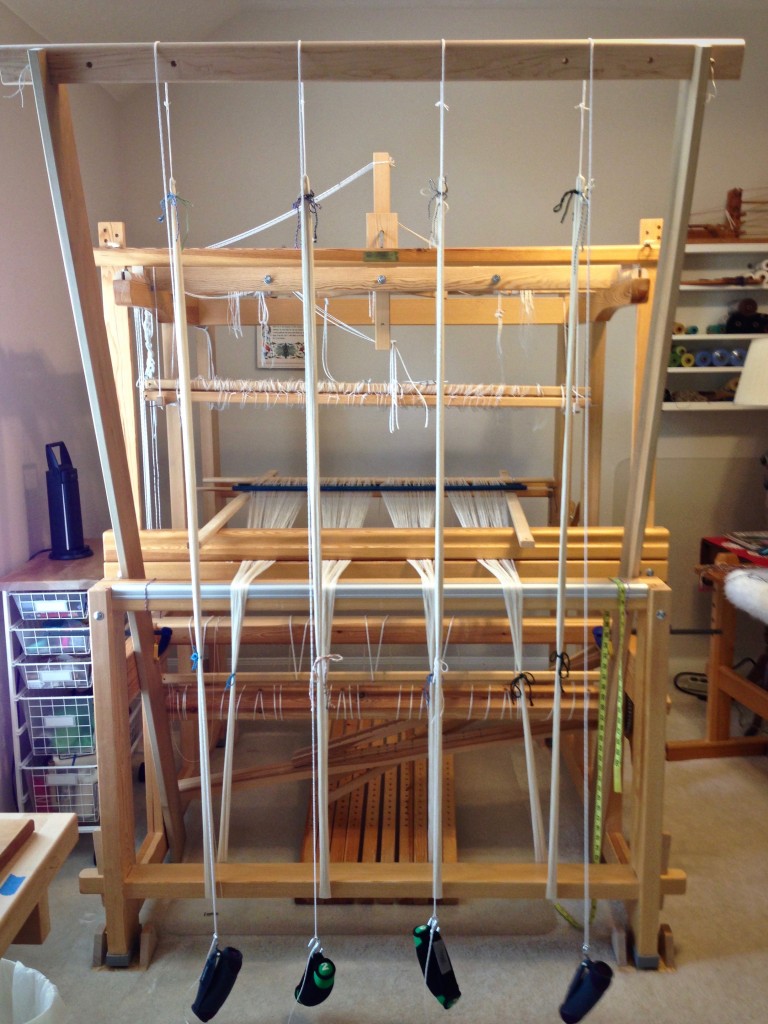
Adjusting the warp on the warping trapeze.

6 Transfer the lease sticks from in front of the reed to behind the reed. This is a gutsy way of transferring lease sticks. (Please don’t try this method unless you read about it first in Becky Ashenden’s book, noted below.)
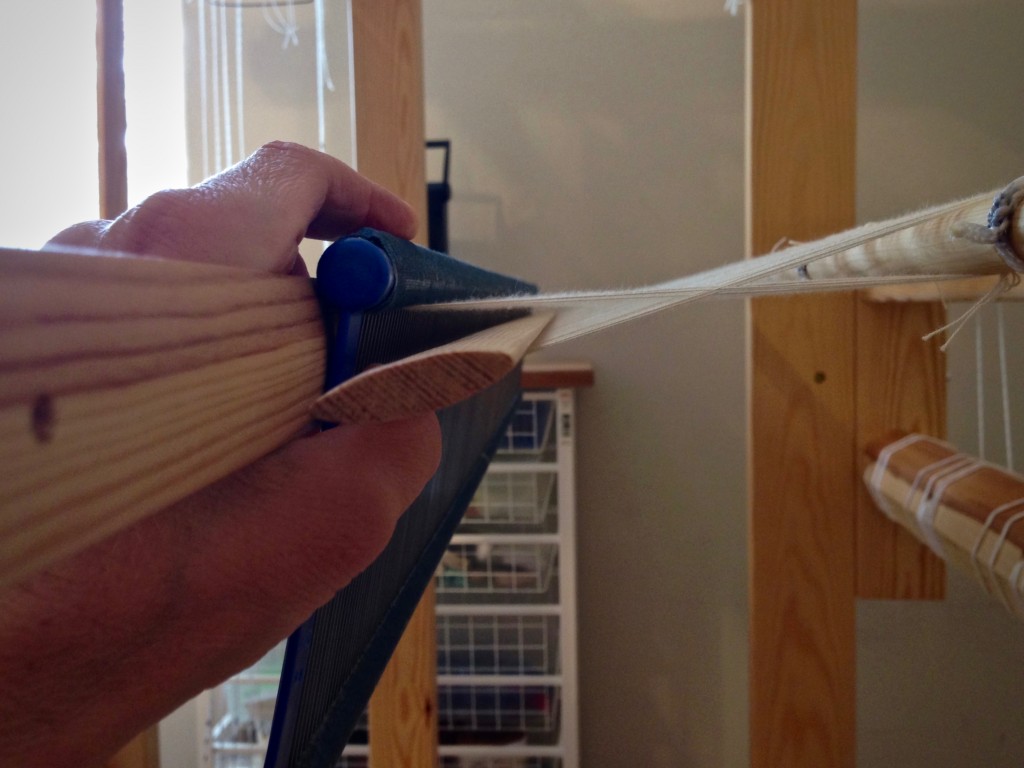
Transferring lease sticks like this takes guts!

7 Straighten out each warp end from the reed to the back tie-on bar.
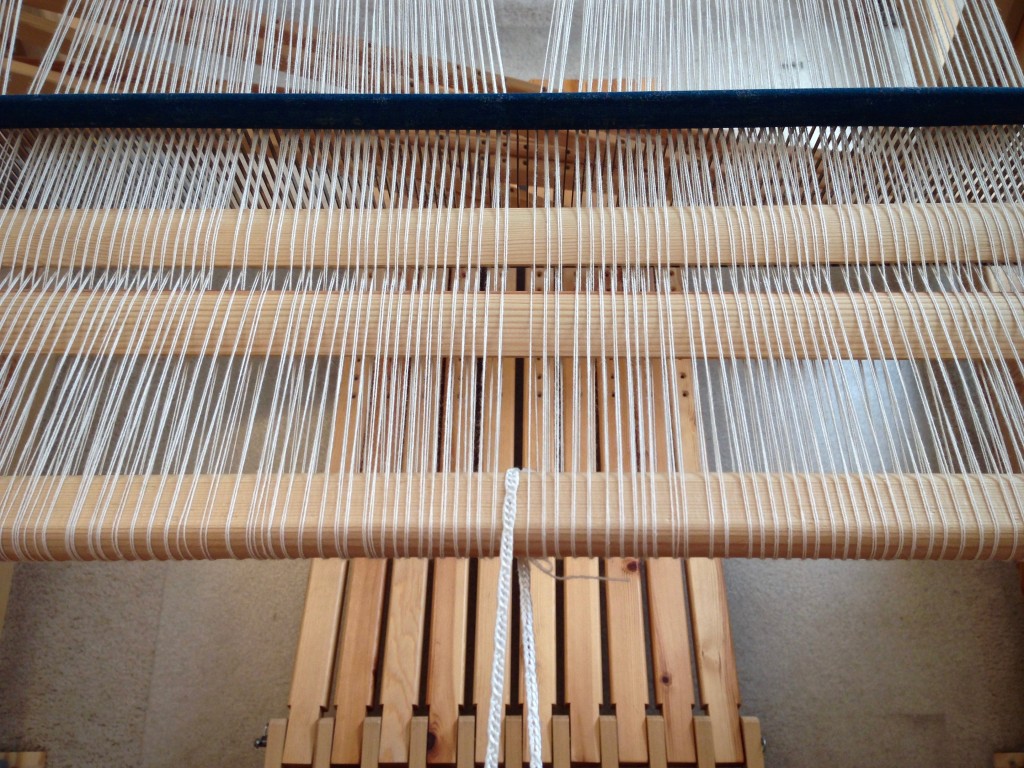
Winding on a new warp. Back to front warping pics.

8 Place the reed in the beater. Center the reed in the beater.
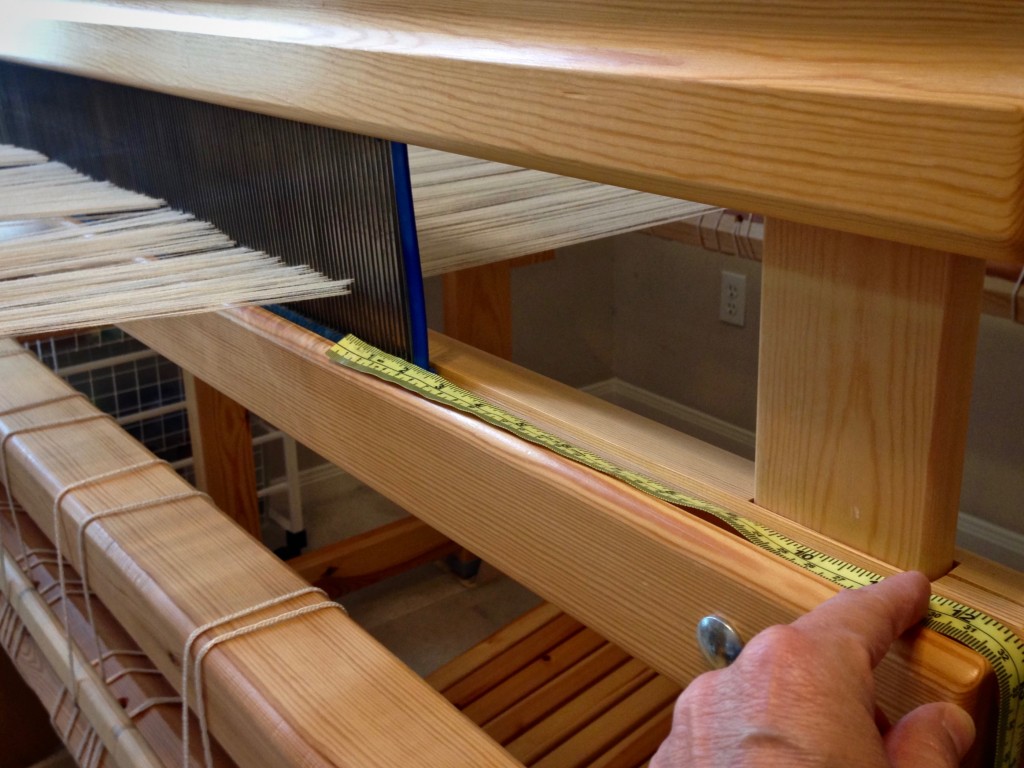
Placing the reed in the beater.

9 Remove choke ties between the beater and the trapeze cross bar, but do not remove choke ties from the very end of the warp. Starting at the reed, separate each warp bout in the middle.
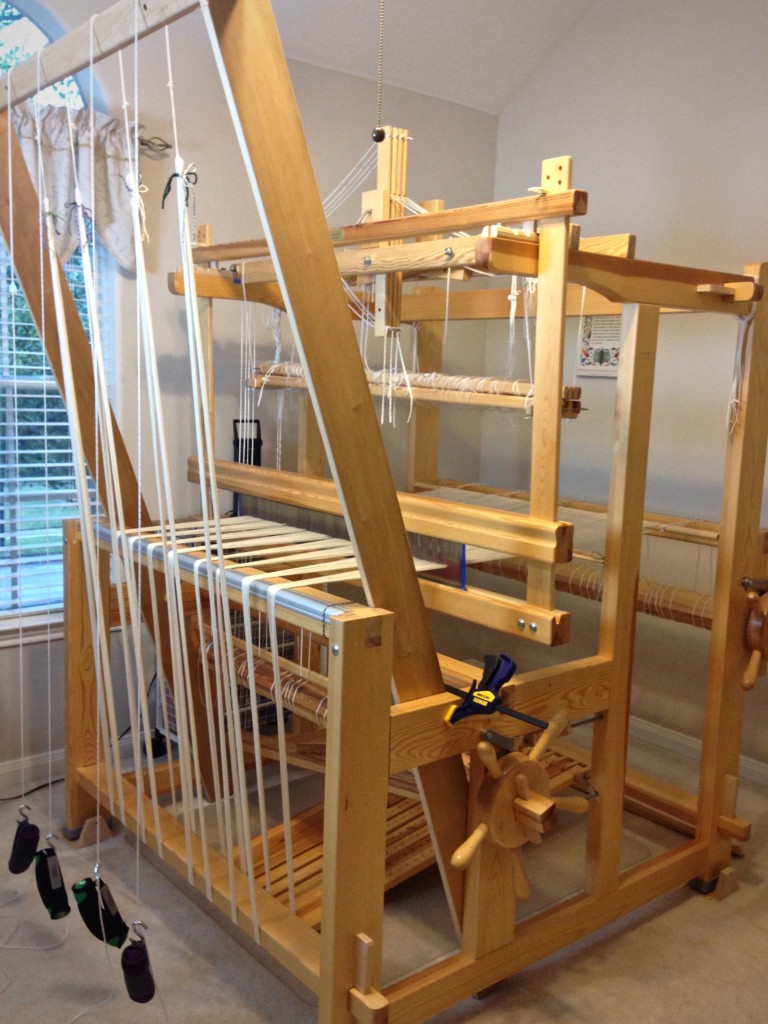
Warping trapeze in use for warping Glimakra Standard.

10 After sliding lease sticks toward the reed, wind the warp onto the beam. Place a warping slat on each flat side of the warp beam for one revolution. (Octagonal beam uses eight sticks.) Advance weight at the front of the loom as needed. After two additional revolutions of the beam, add warping slats for one revolution again. Continue this pattern as beaming progresses.
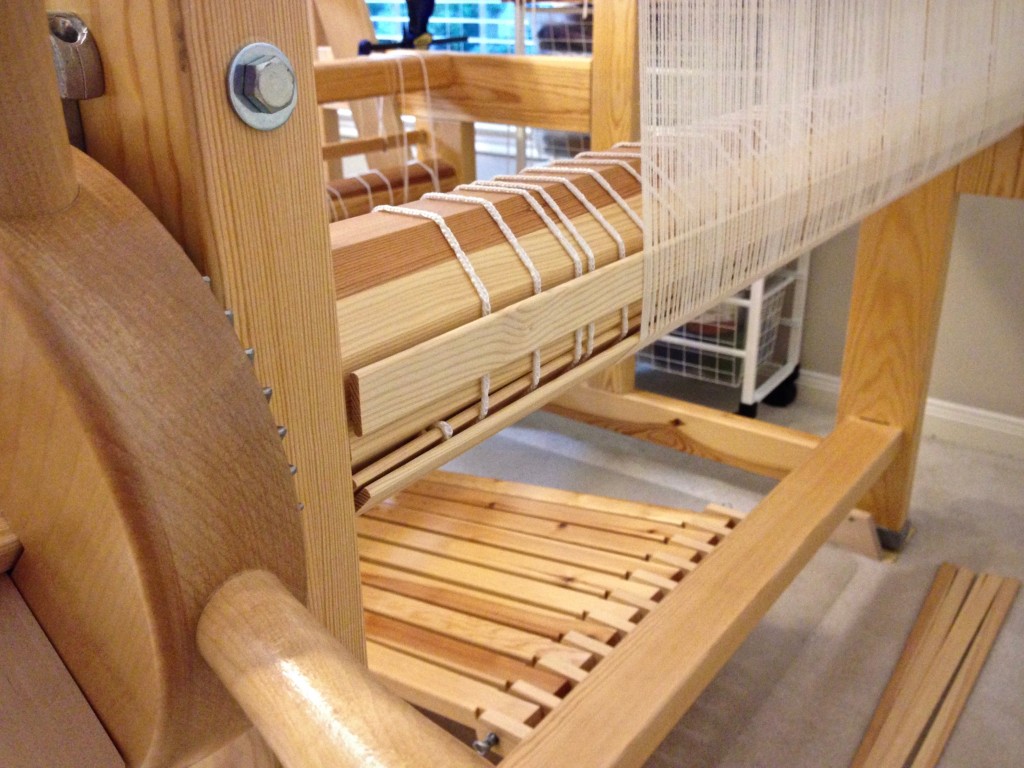
Warping slats during beaming. Beaming tutorial.

11 Tie beater back to allow a little more warp to be wound on.
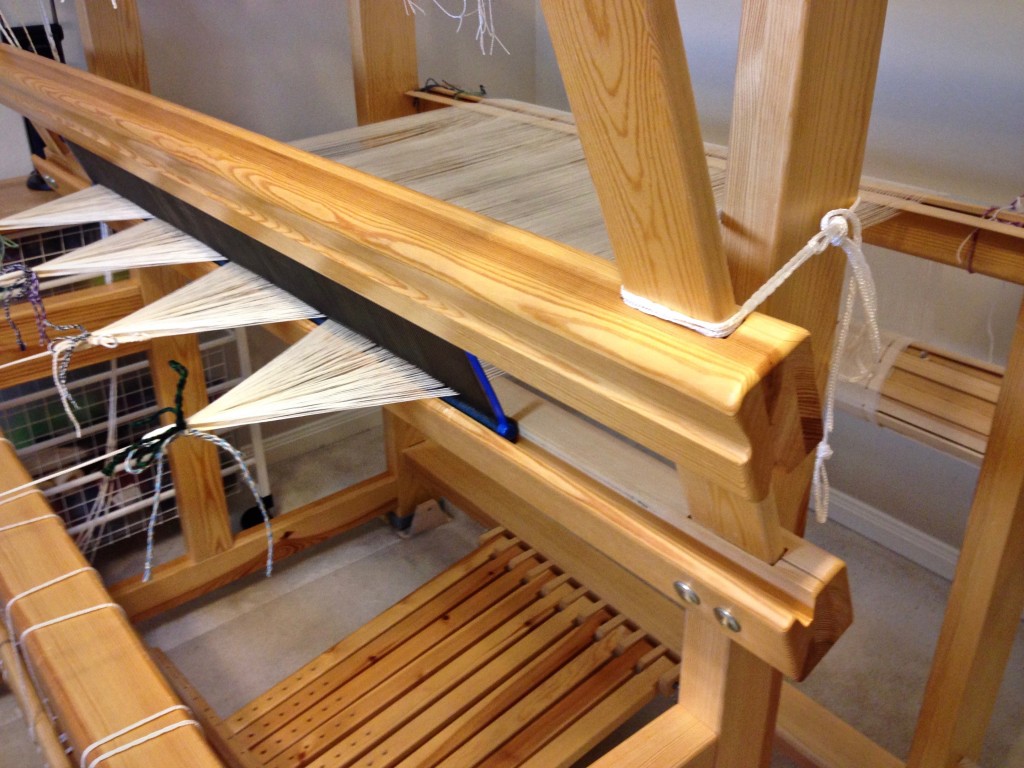
Finishing up beaming the warp.

12 Tie lease sticks to the back beam. Do not forget this step!
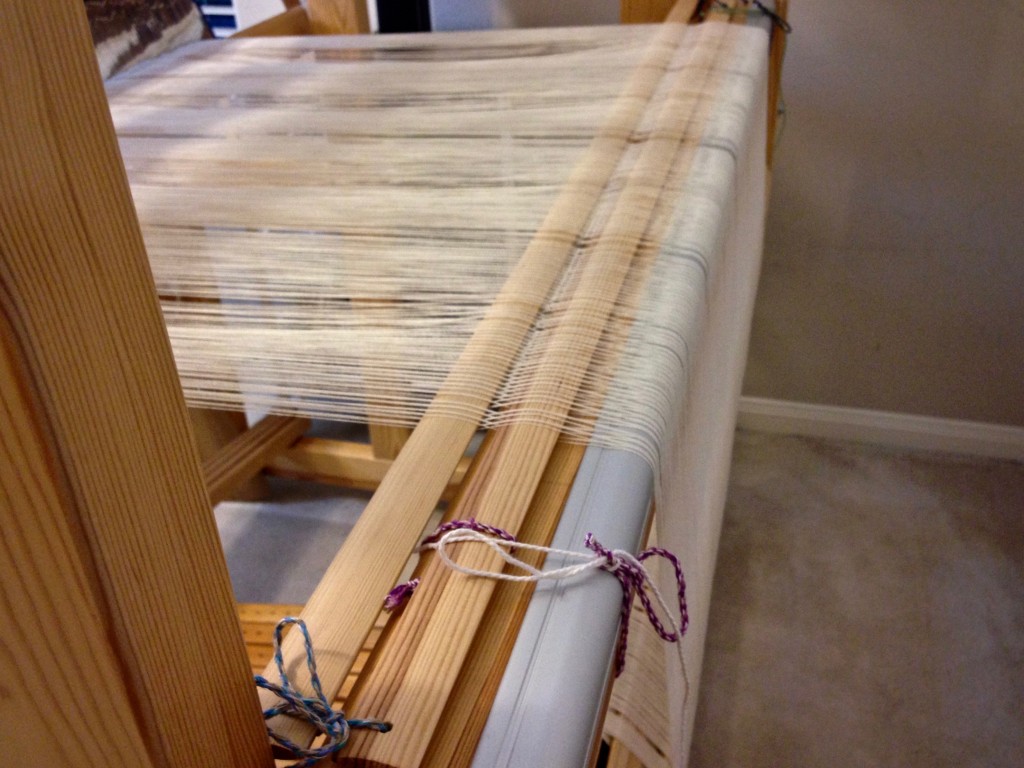
Tie the lease sticks to the back beam before cutting the ends.

If you missed step 12, do it now, or you will be yelling for help as you try to hold the cut ends with one hand while trying to keep the lease sticks from slipping out with your other hand. I speak from experience.

13 Loop the end of the warp chain around your hand, and then remove the remaining choke ties. Cut the loop.
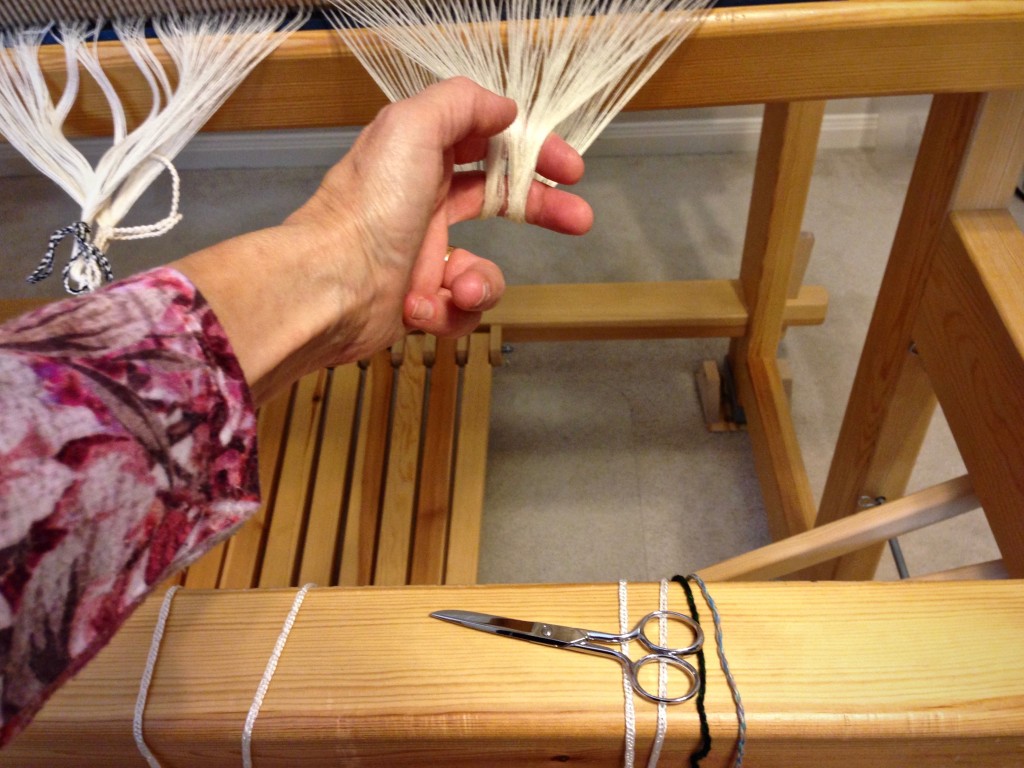
Cutting ends after beaming the warp.

14 Remove a group of warp threads from the reed and tie in a loose slipknot. Continue across the warp. Remove the reed.
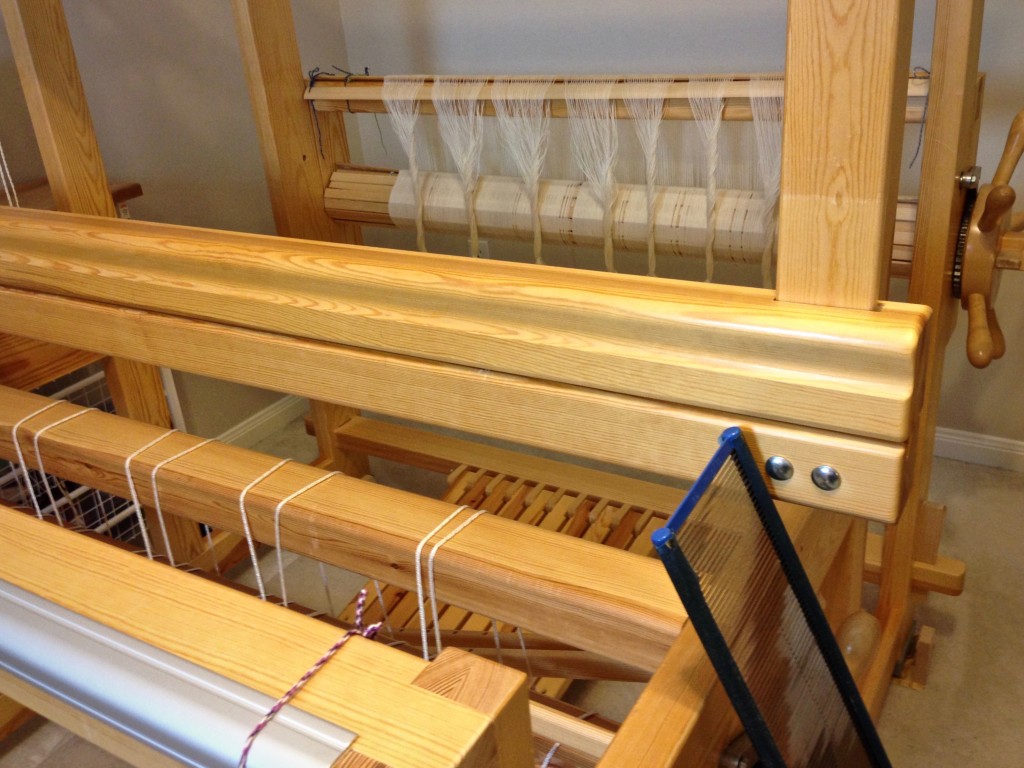
New warp of 16/2 cotton for monksbelt on weft rep.

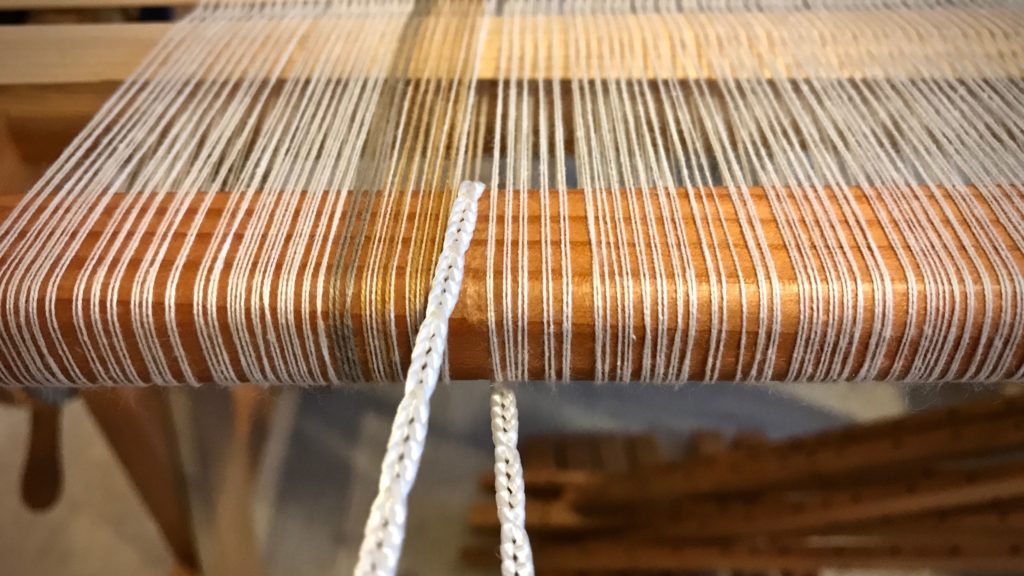
15 Use the threading draft to count the warp ends into threading groups, tying each grouping with a slipknot.
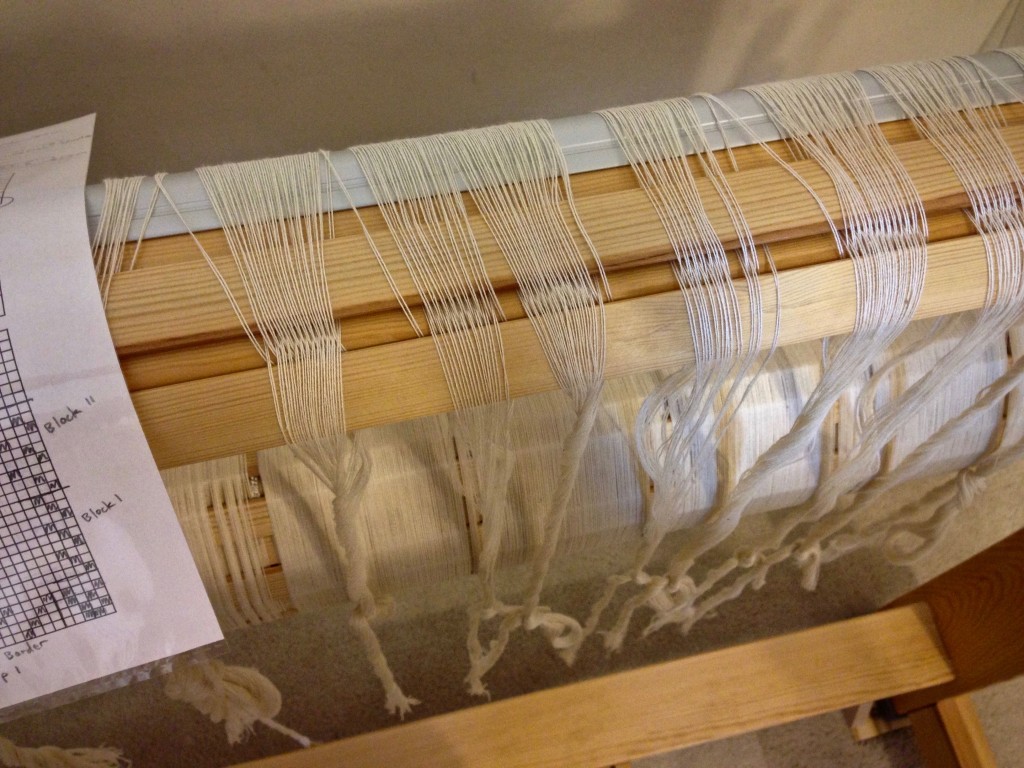
Grouping warp ends before threading.

16 Adjust the loom for threading. For this Glimåkra Standard loom, I move the countermarch assembly to the back of the loom, put the bench in the “playhouse,” and lower the shafts for threading.
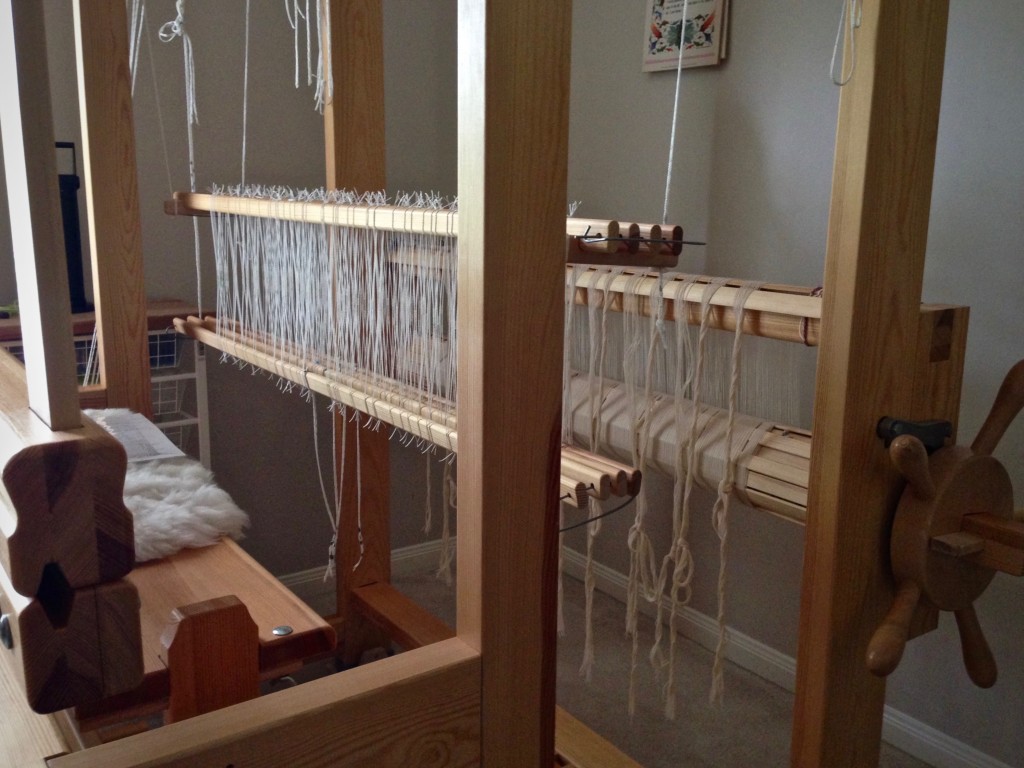
Bench "in" the loom for threading. Glimakra Standard.

For more thorough instructions about warping your loom, please consult these excellent resources:

  • Dress Your Loom The Vävstuga Way, A Bench-Side Photo Guide, by Becky Ashenden
  • Learning to Warp Your Loom, by Joanne Hall
  • The Big Book of Weaving, by Laila Lundell

May you find yourself beaming, inside and out.

Resurrection blessings,
Karen