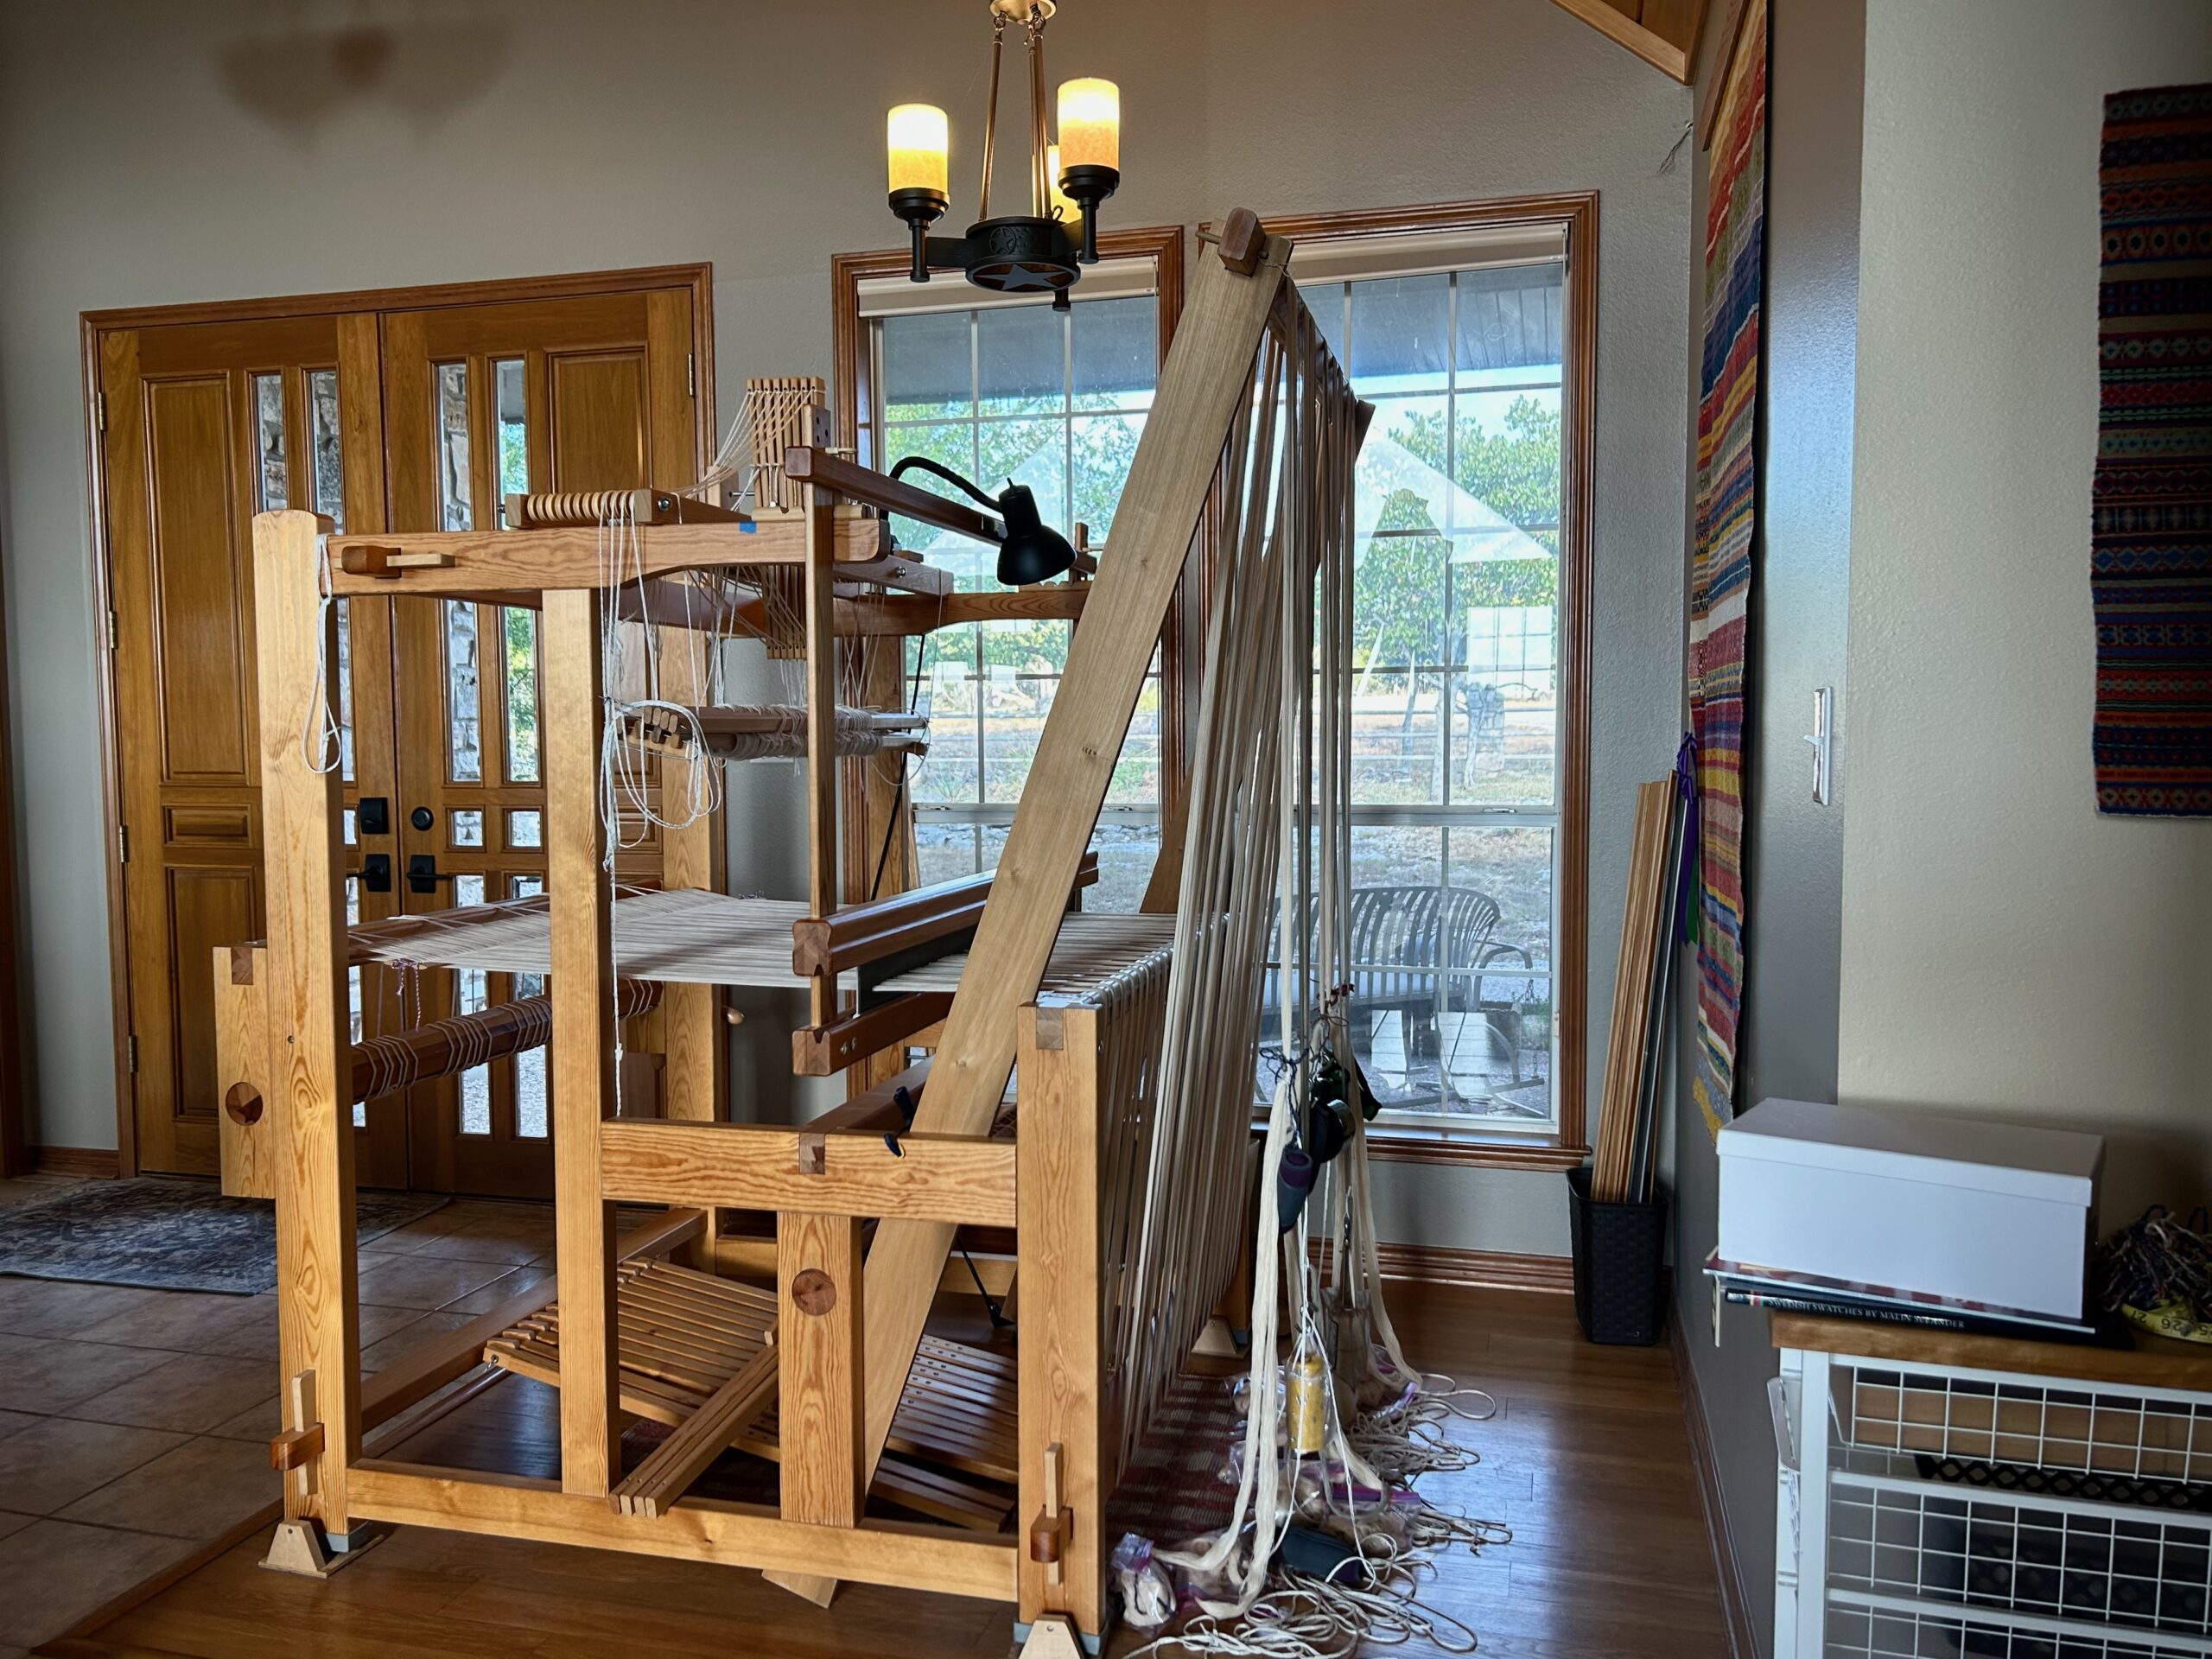
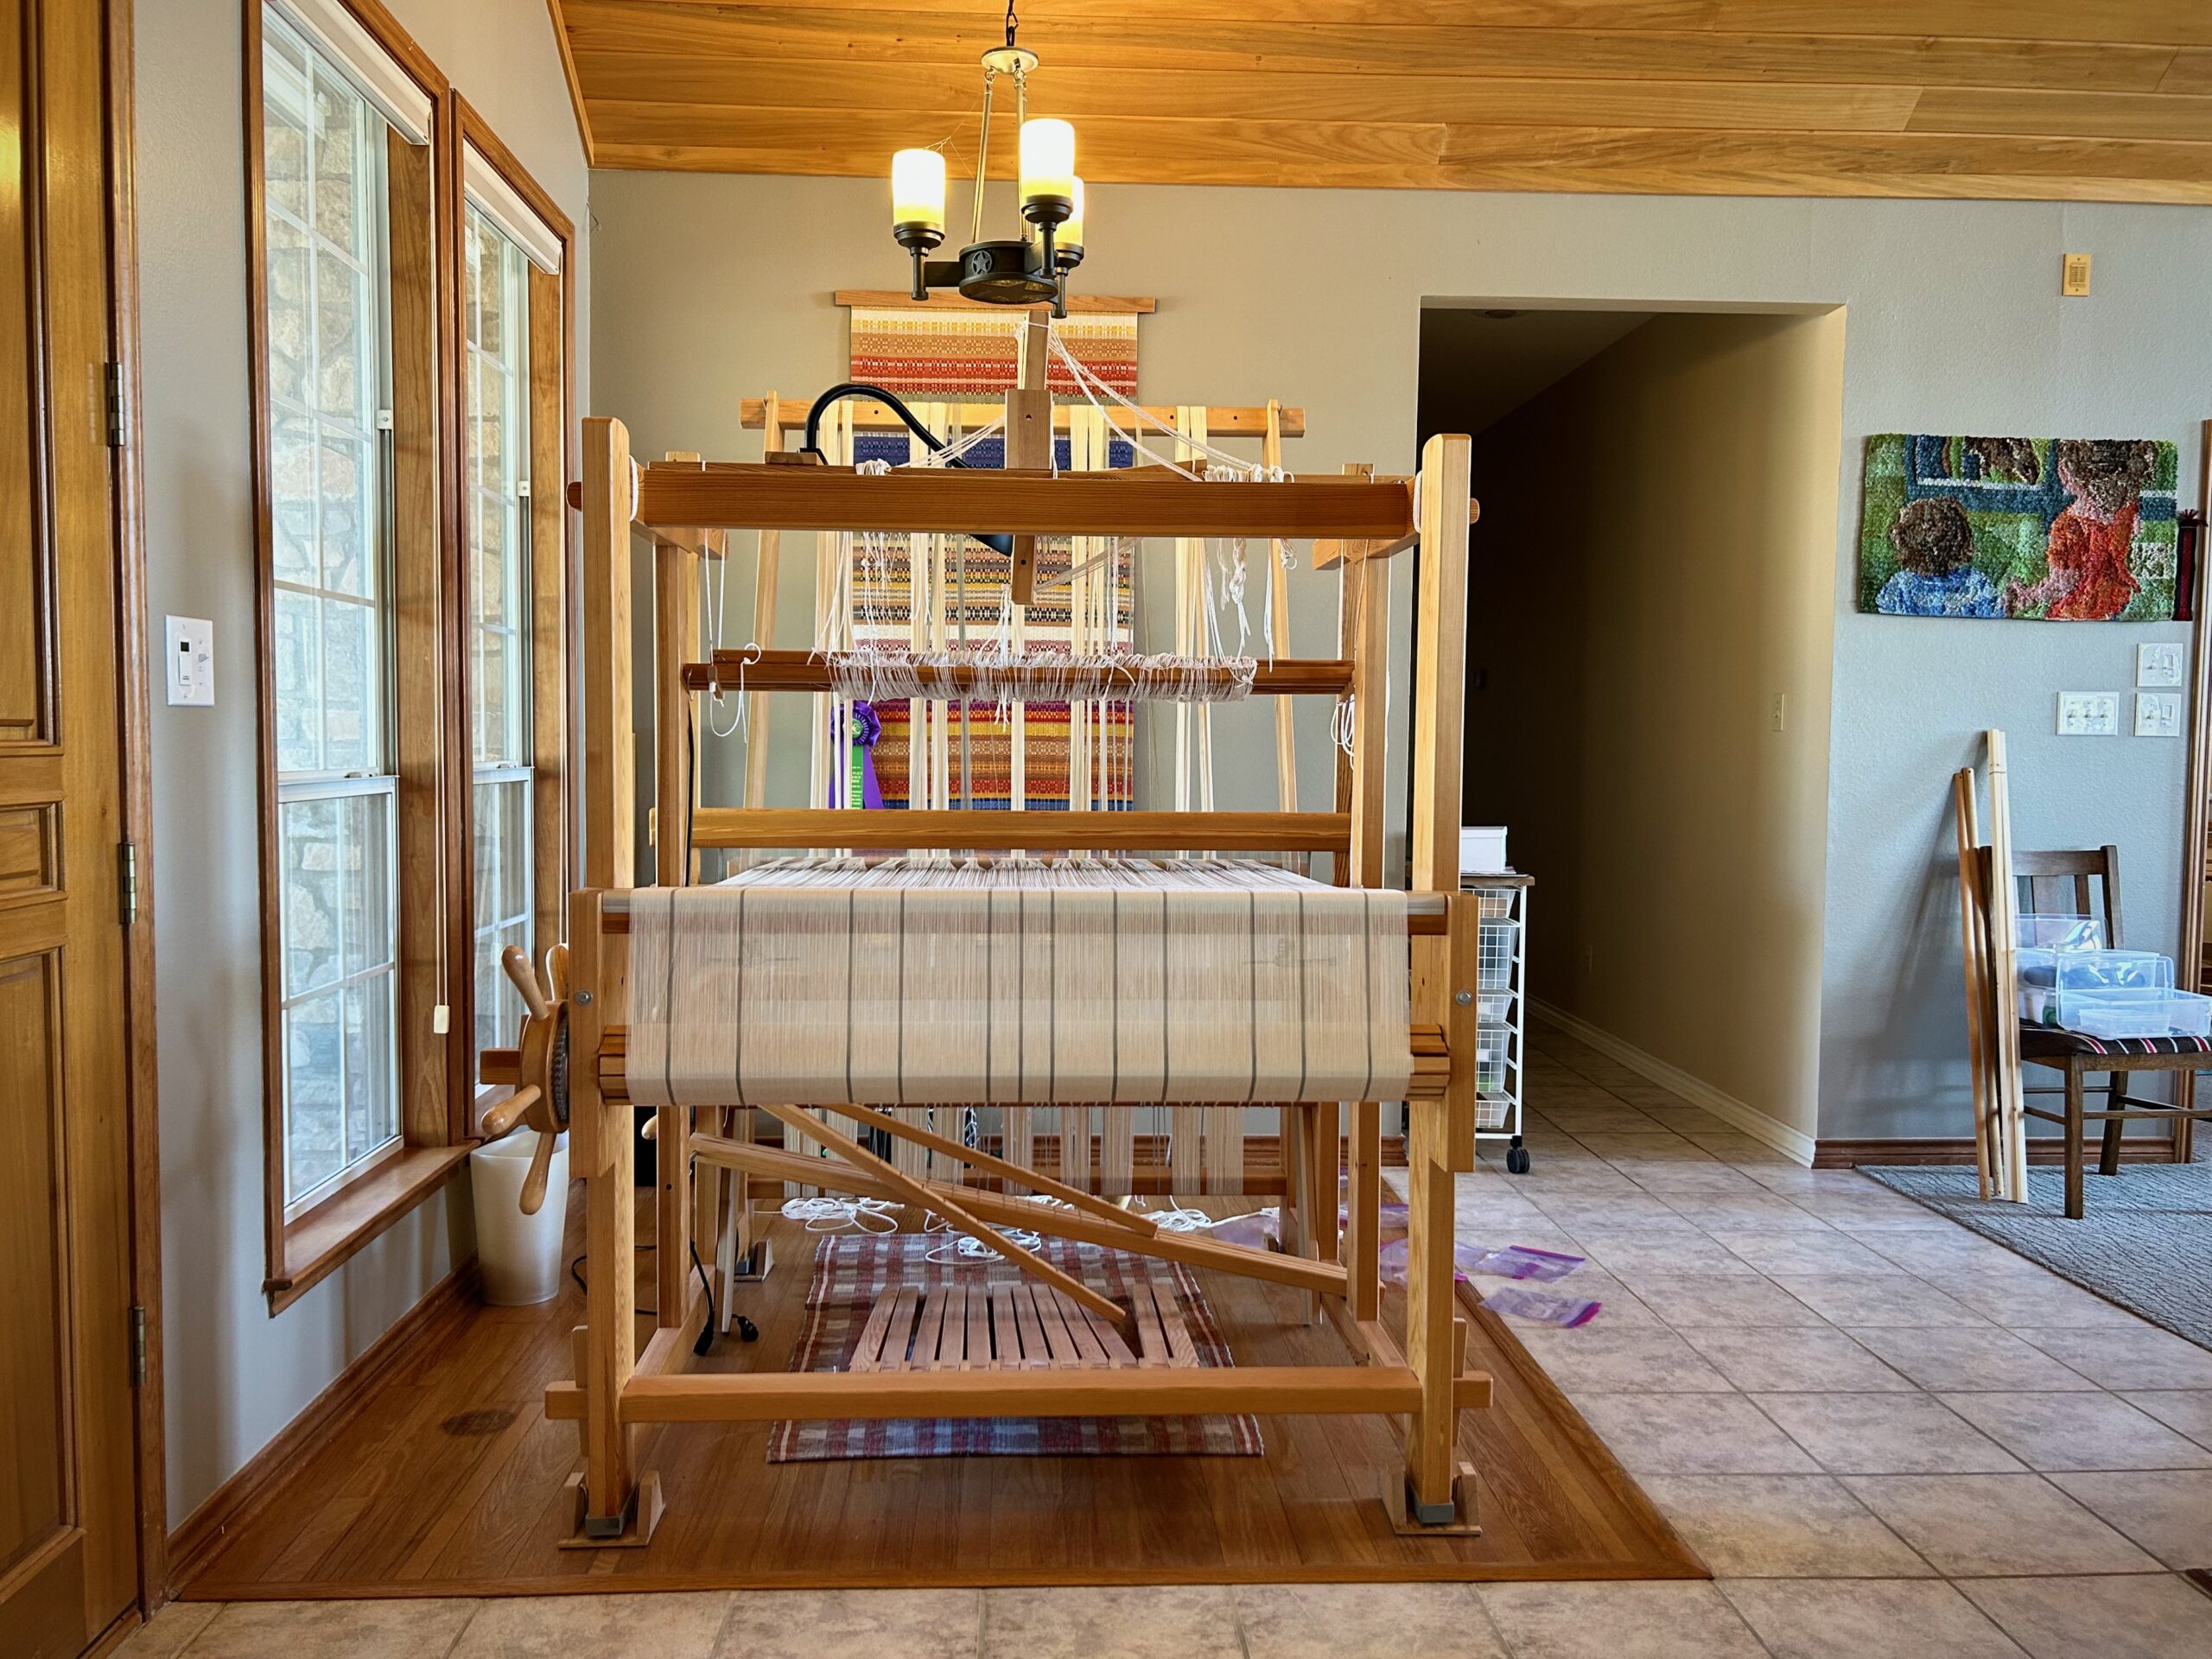
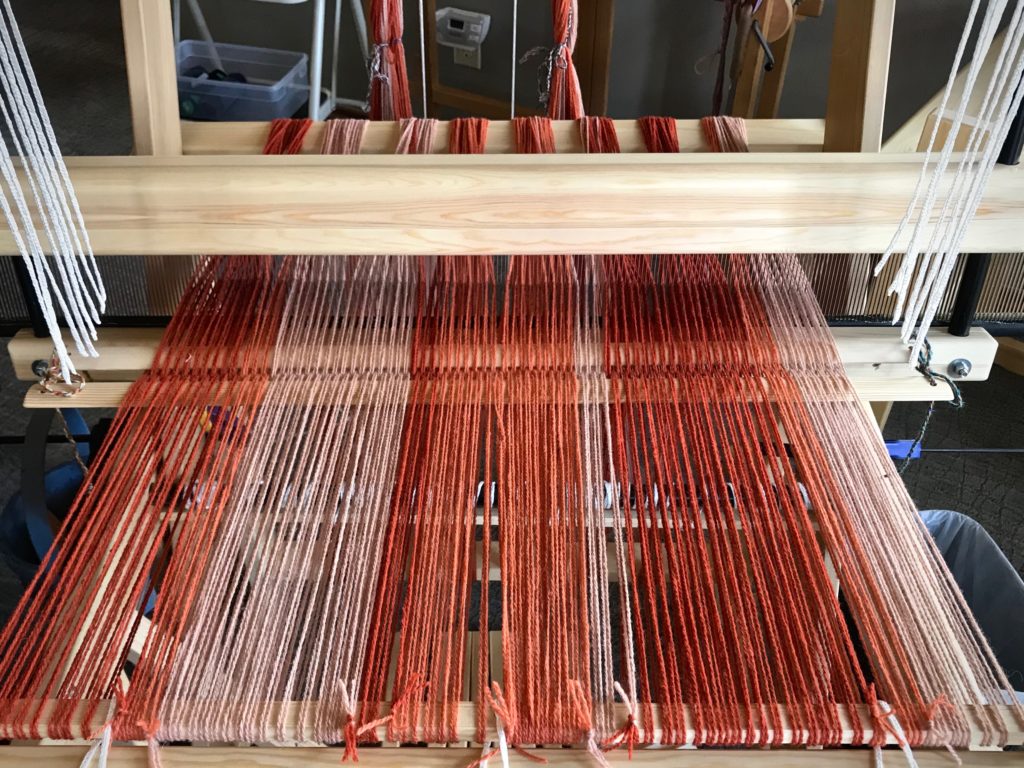
It is my husband’s idea for me to make handwoven curtains for the windows in our newly renovated master bathroom. Now that I have had time to think about it, I think it’s a great idea. Fortunately, the yellow rug warp on the Glimåkra Standard is still sitting on the loom bench, so I am putting it aside temporarily in order to put this bathroom-curtains warp on the loom.
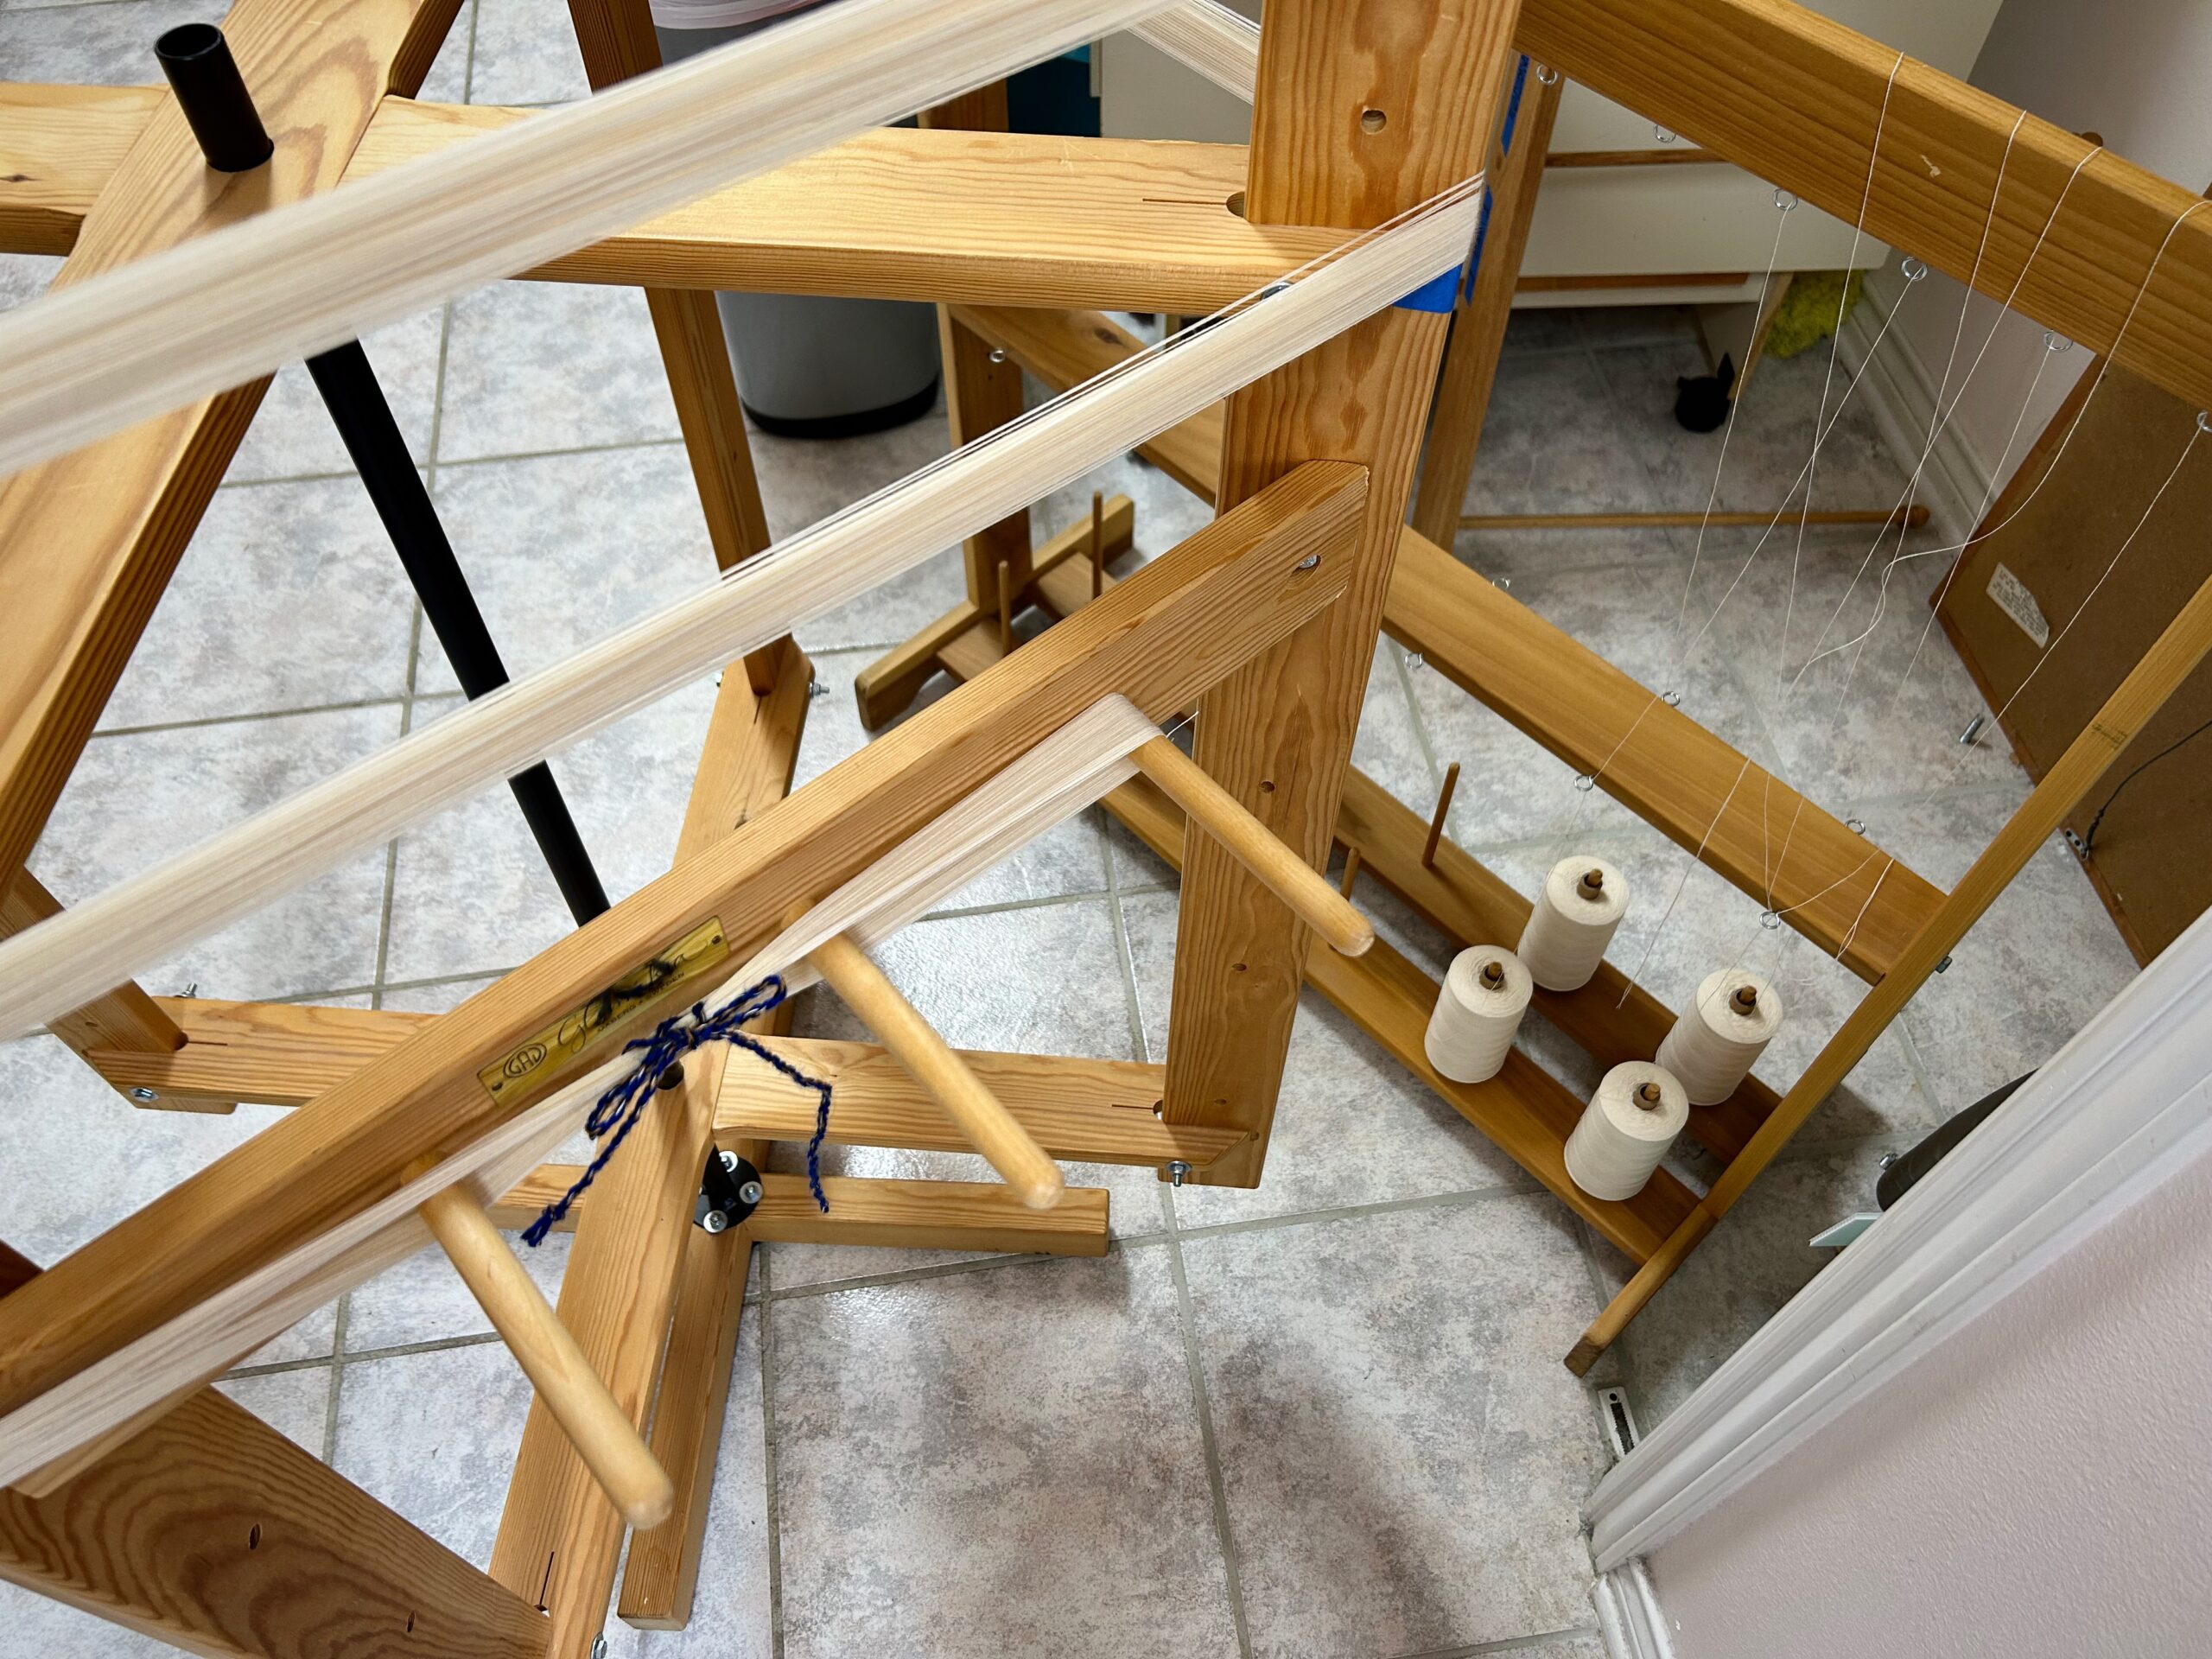
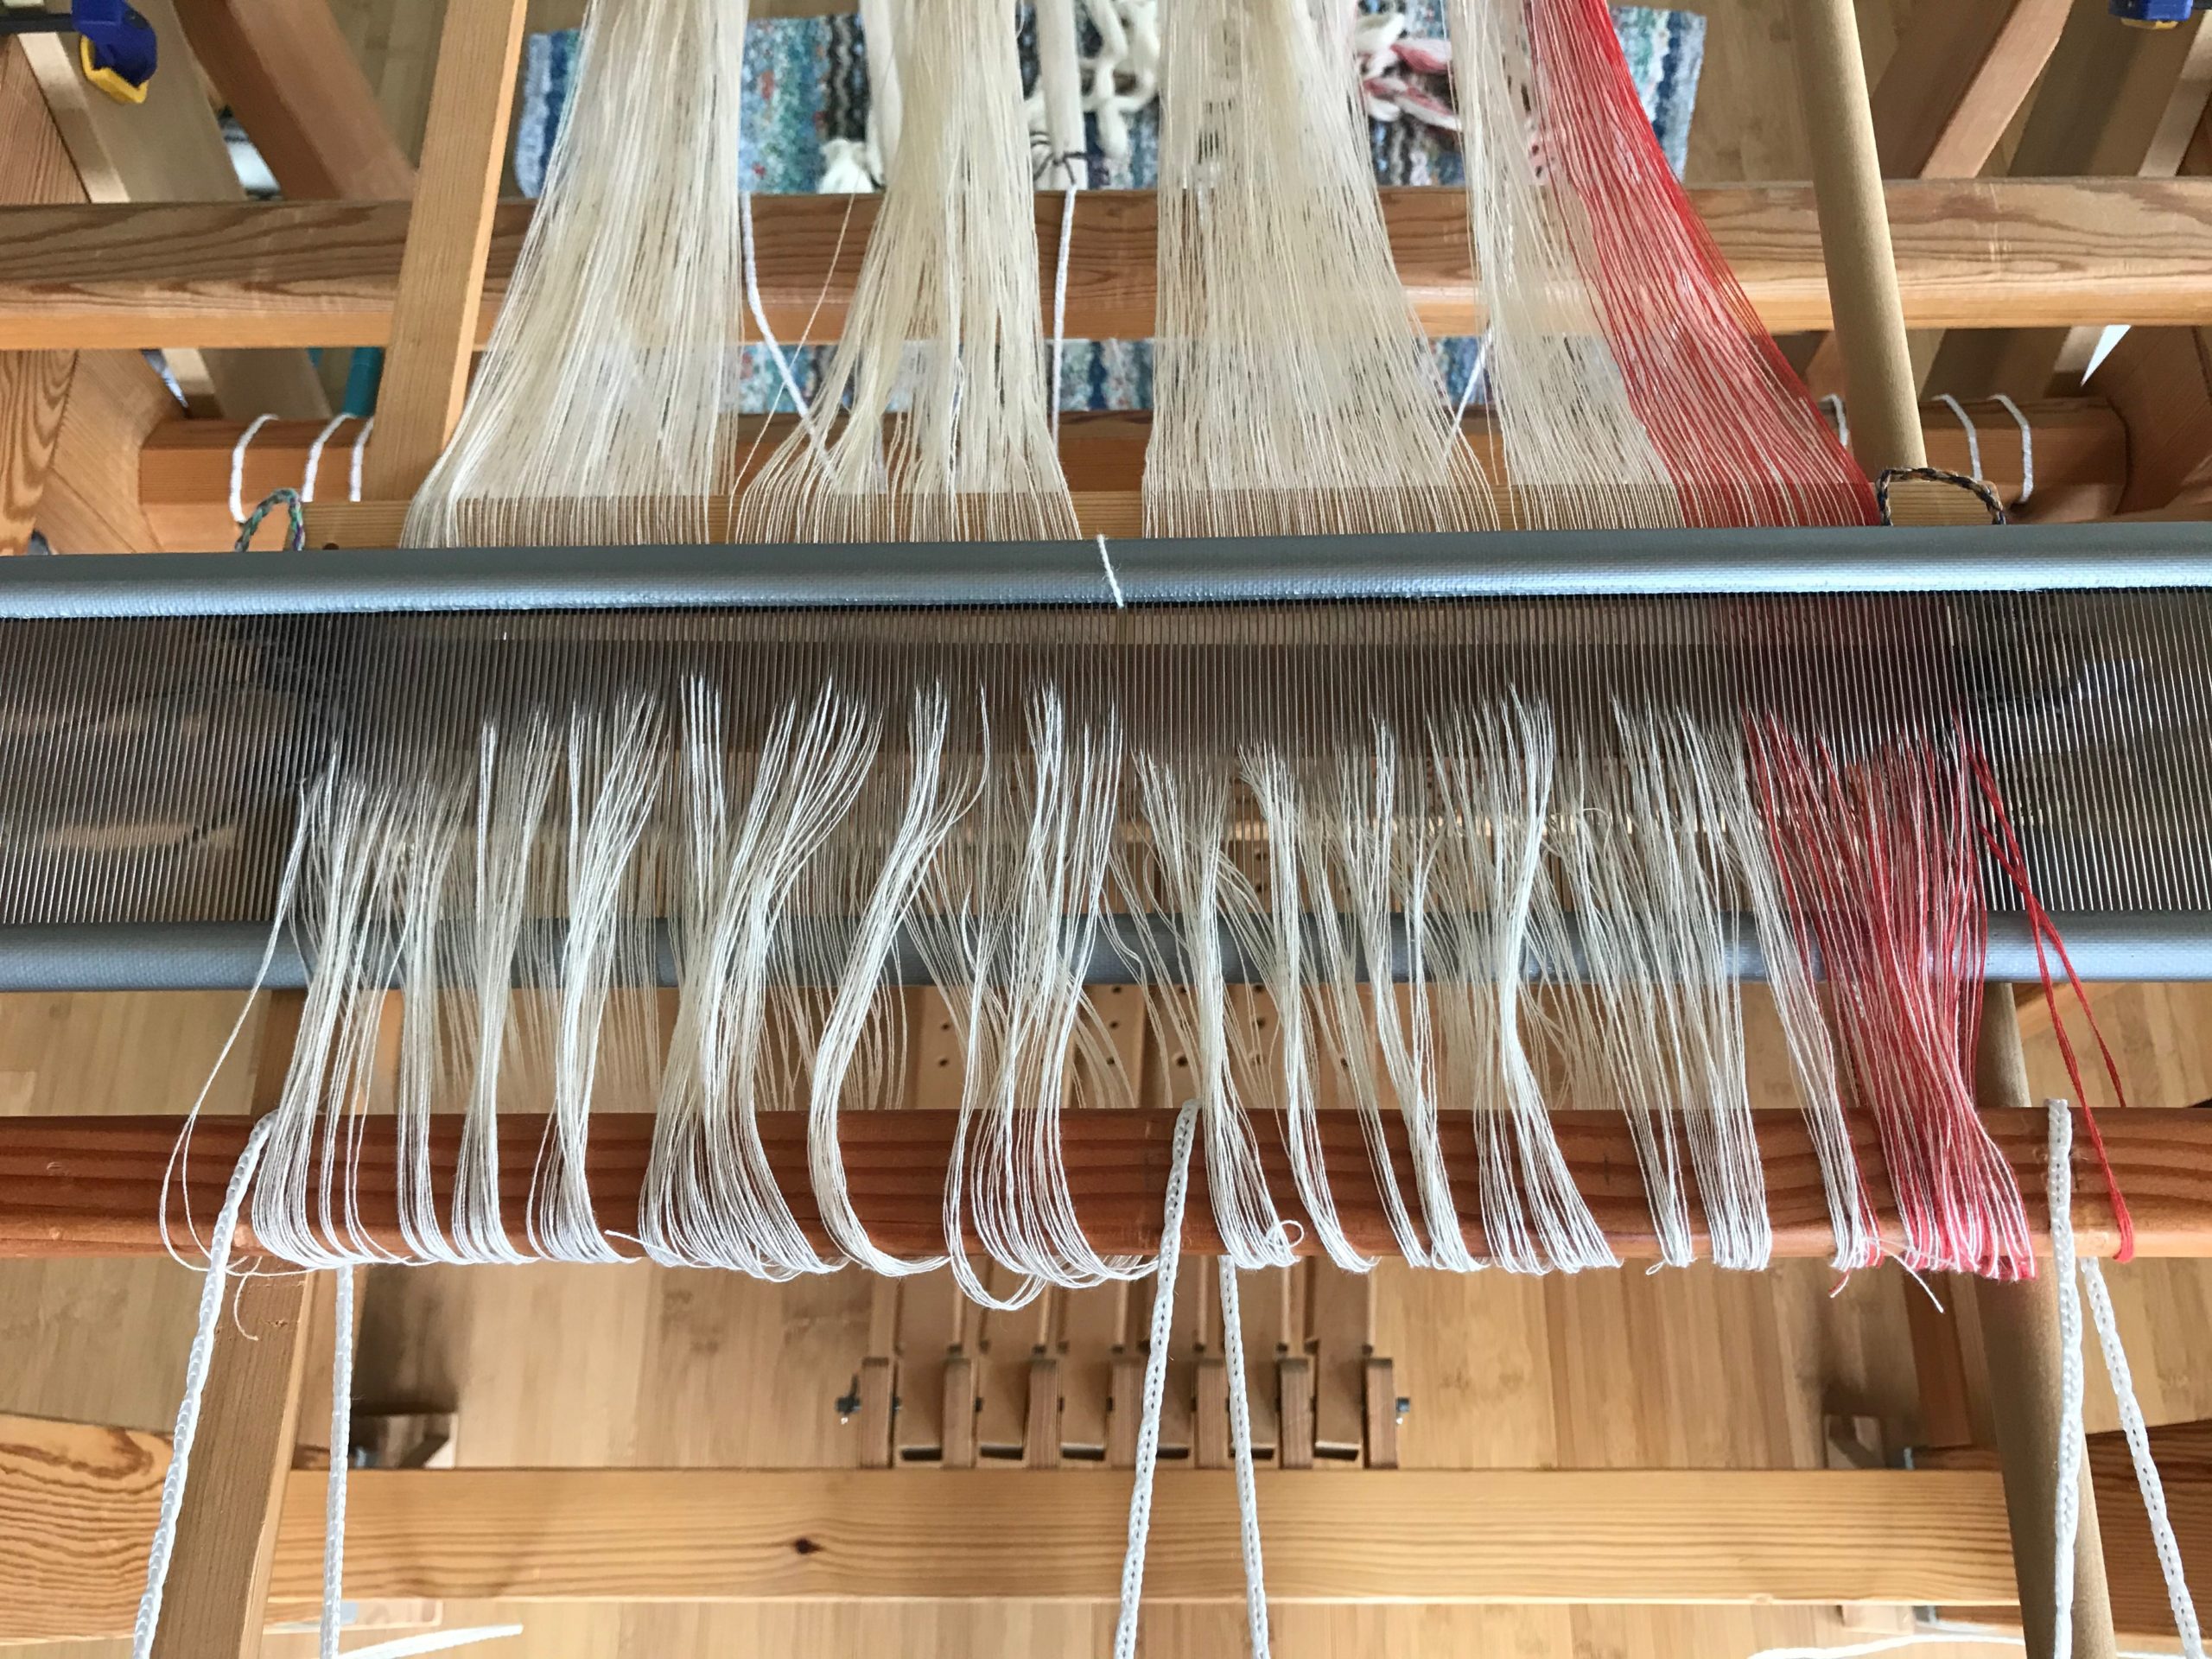
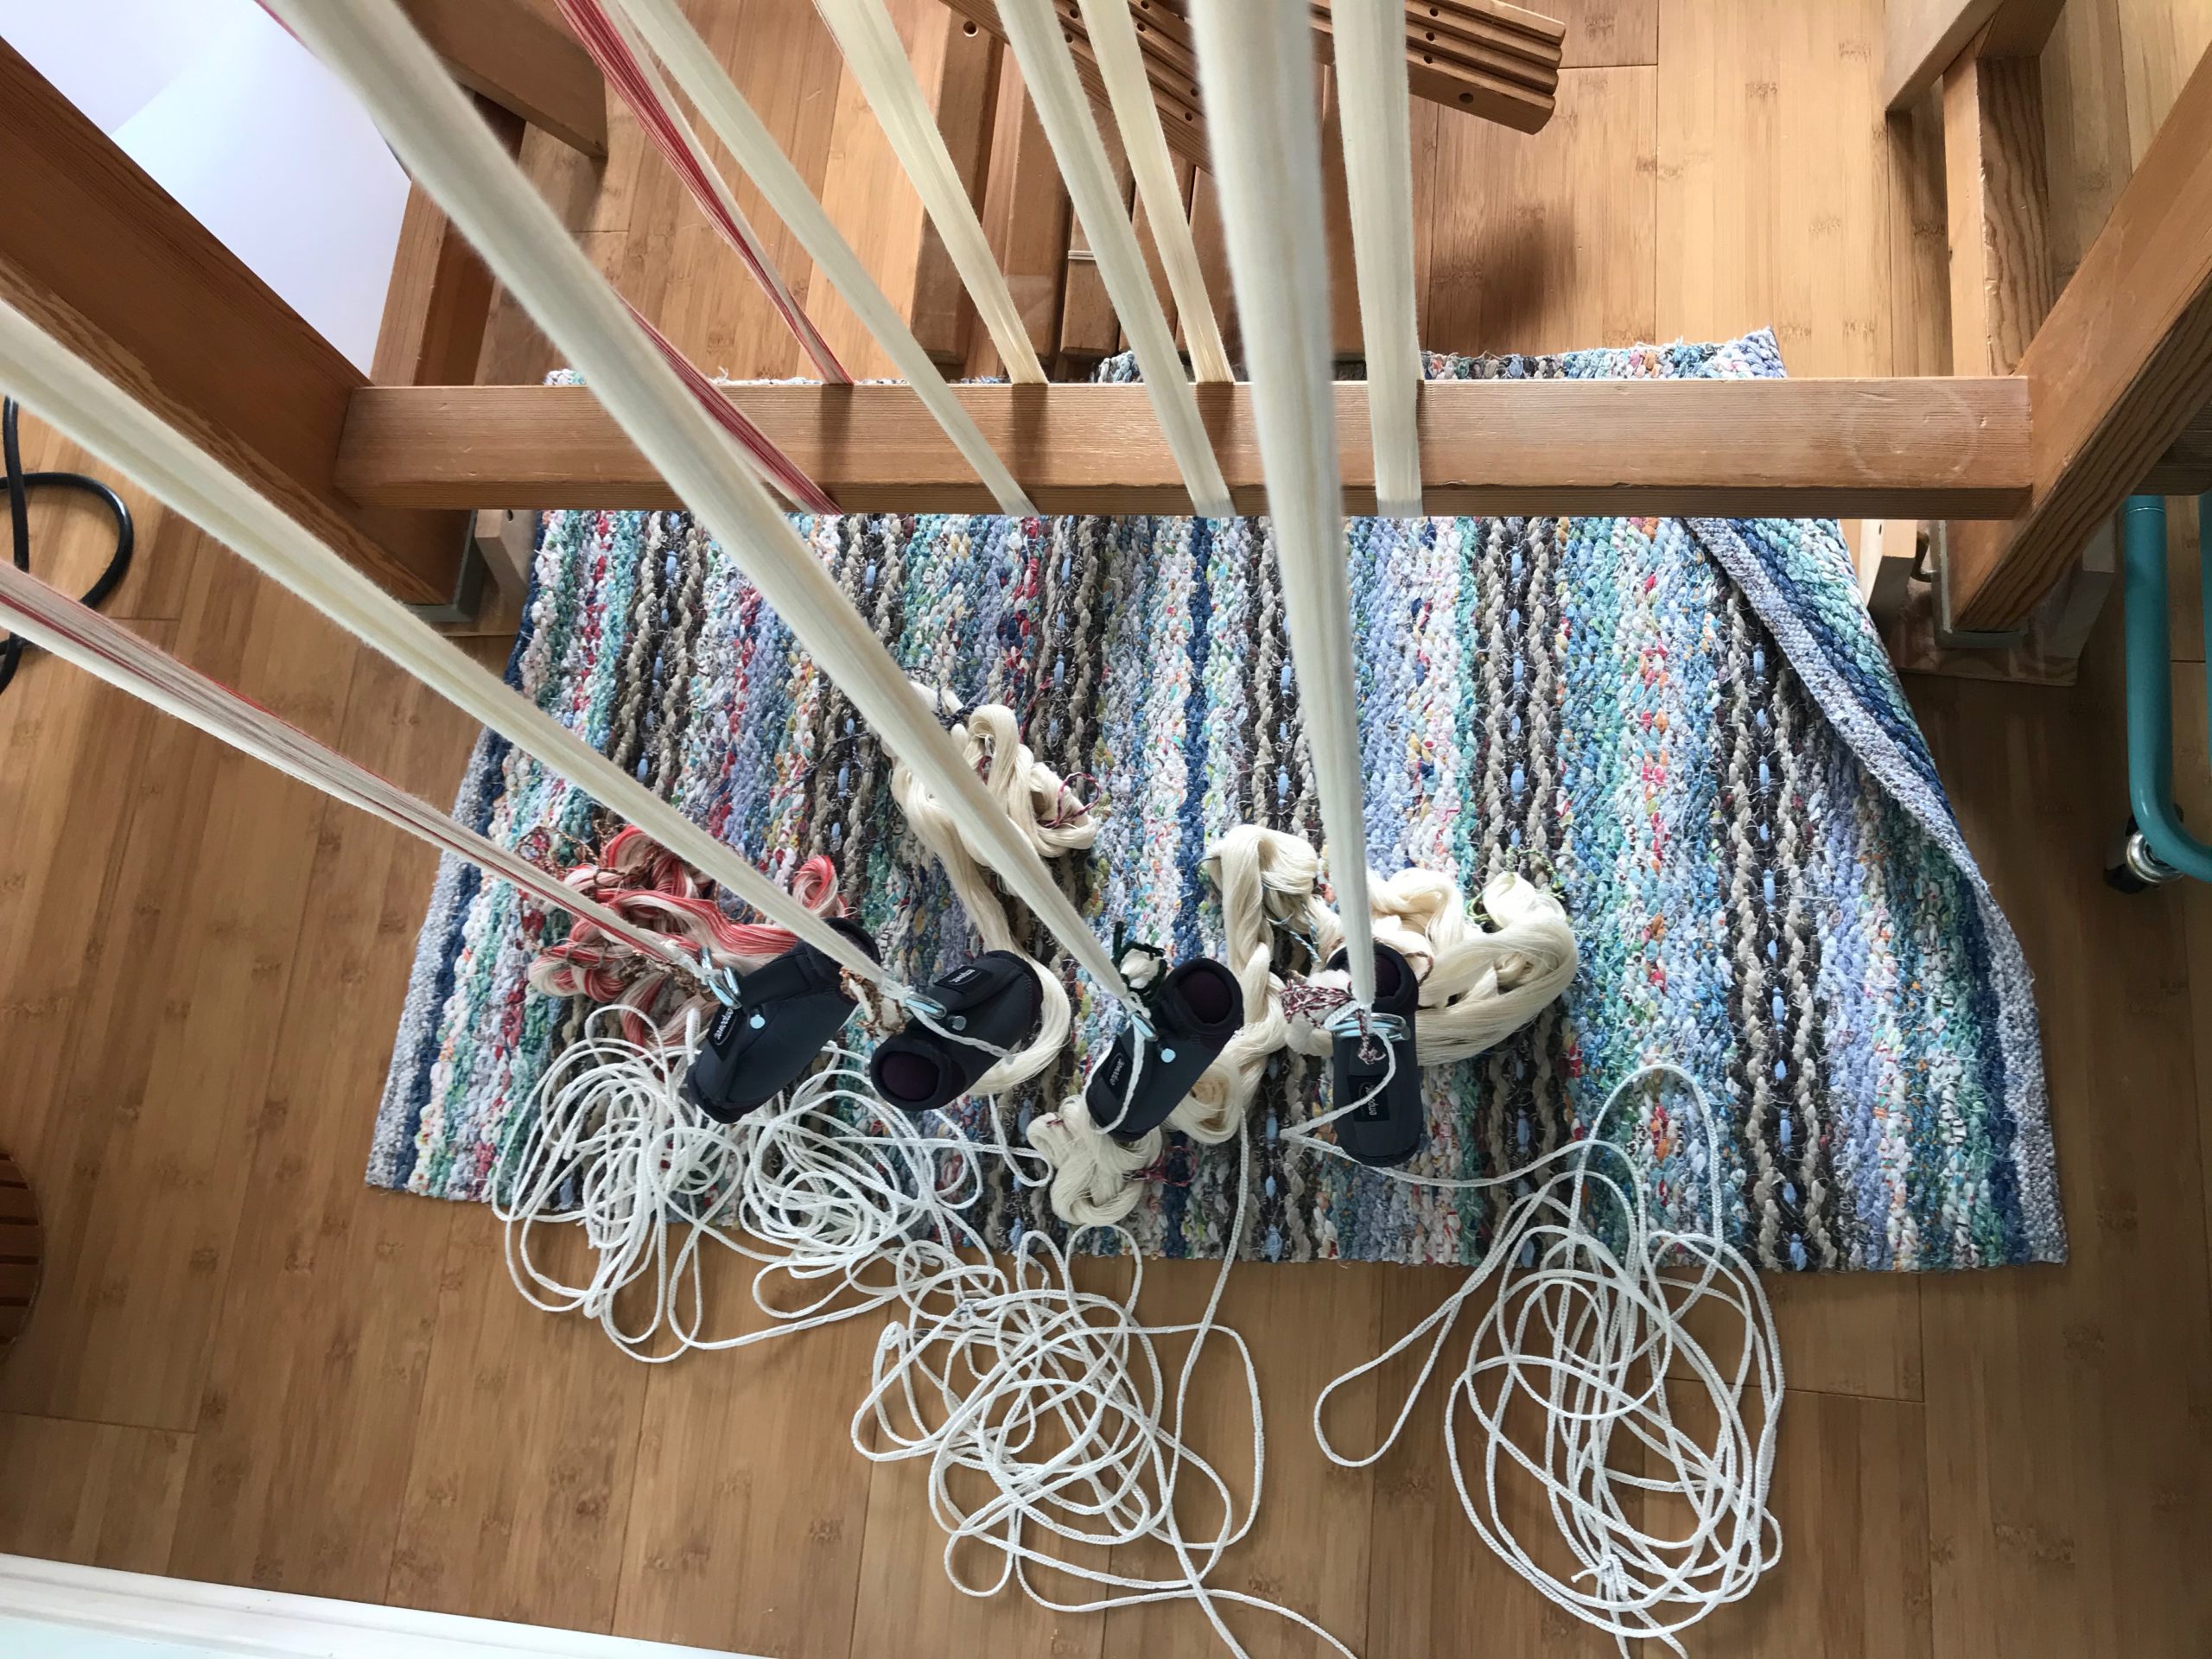
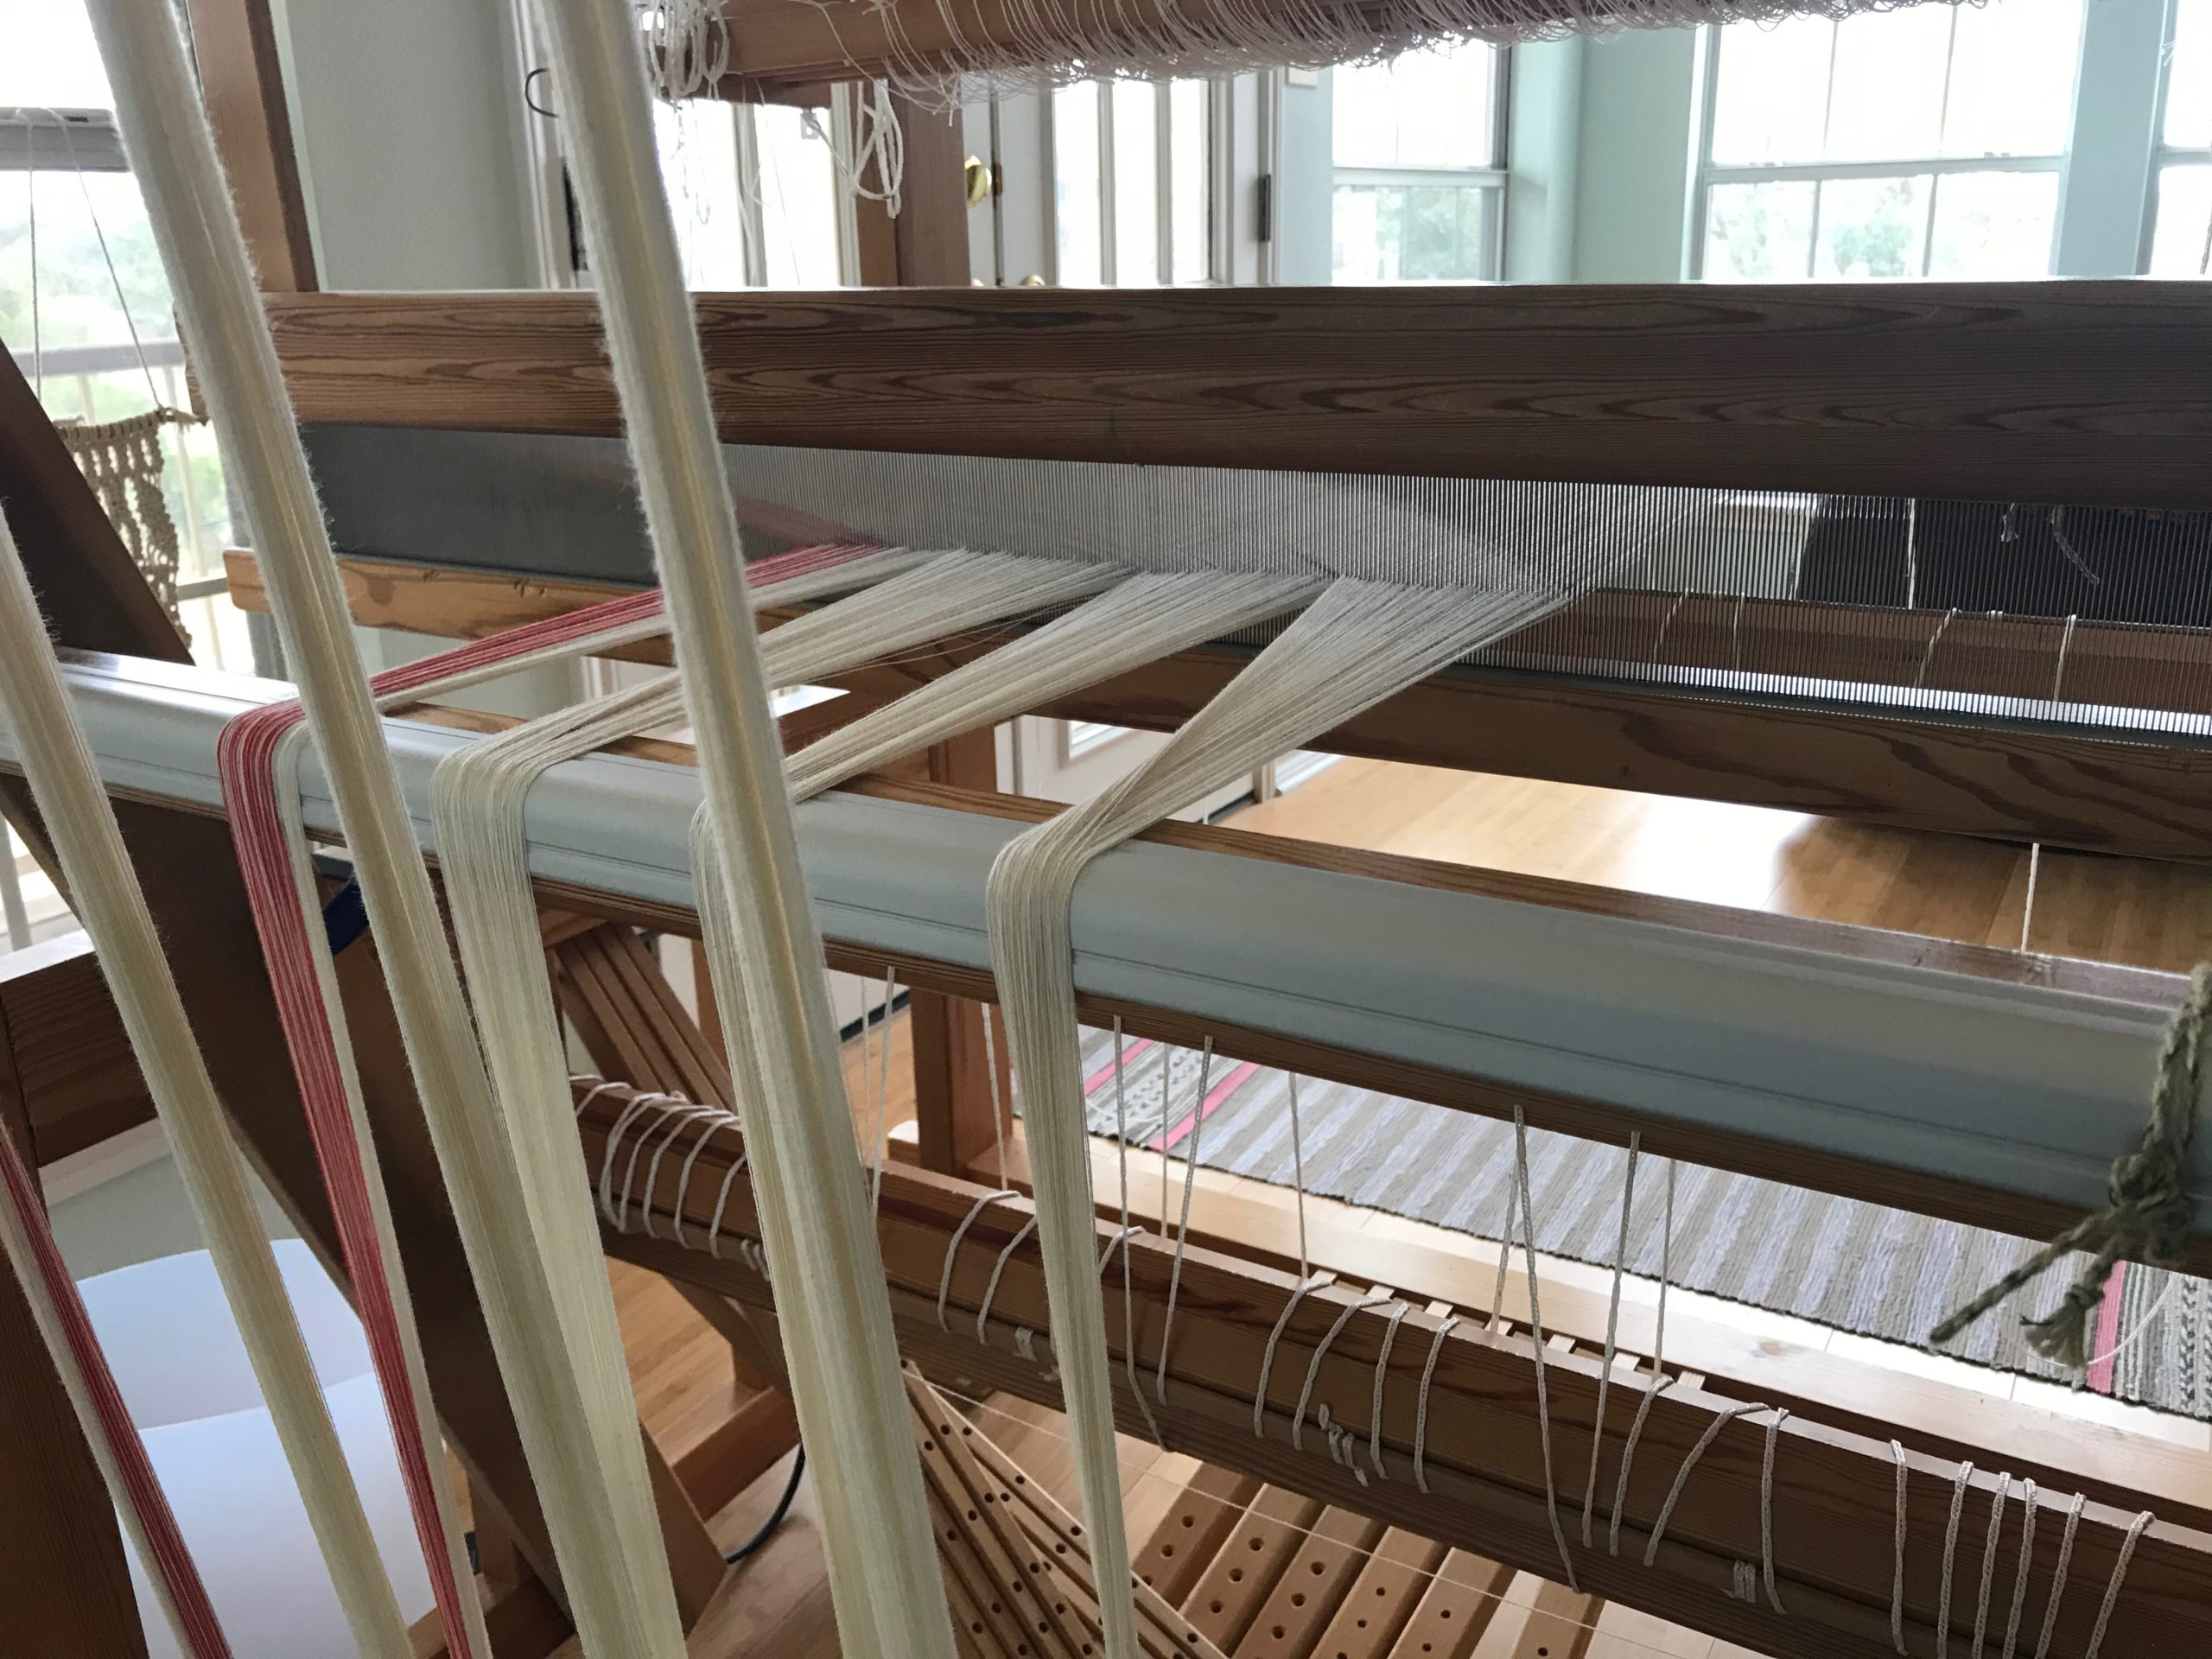
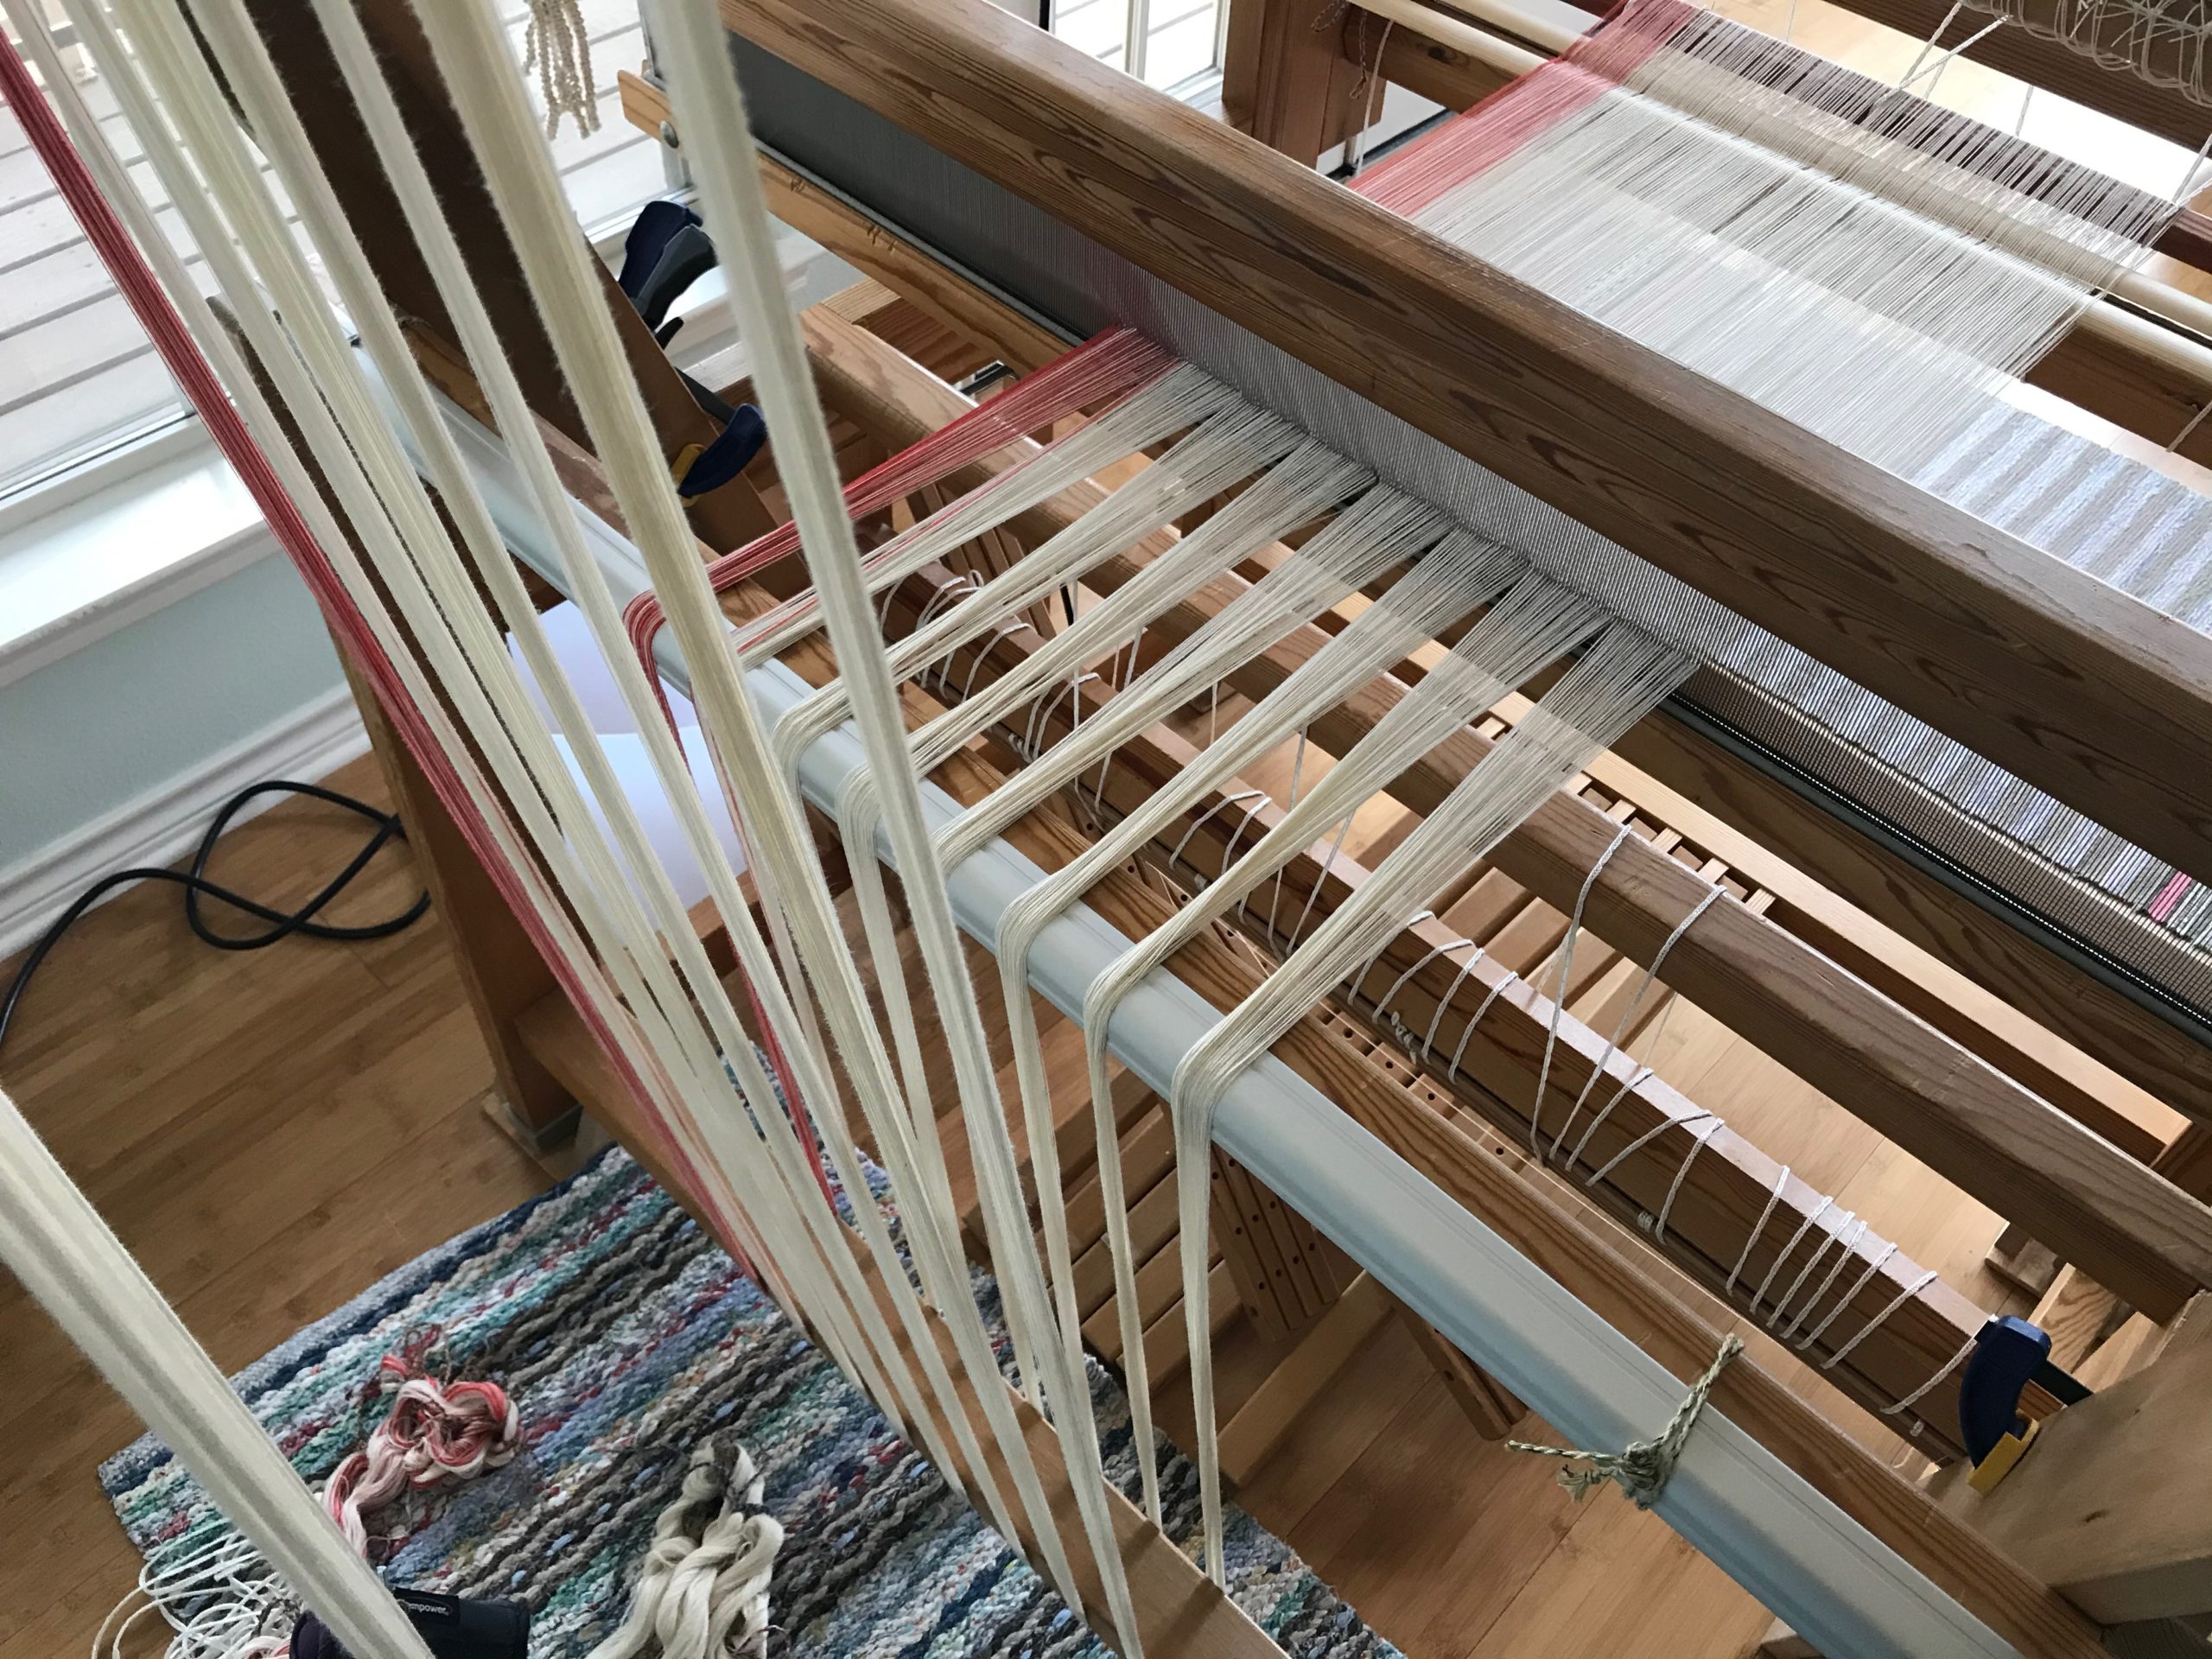
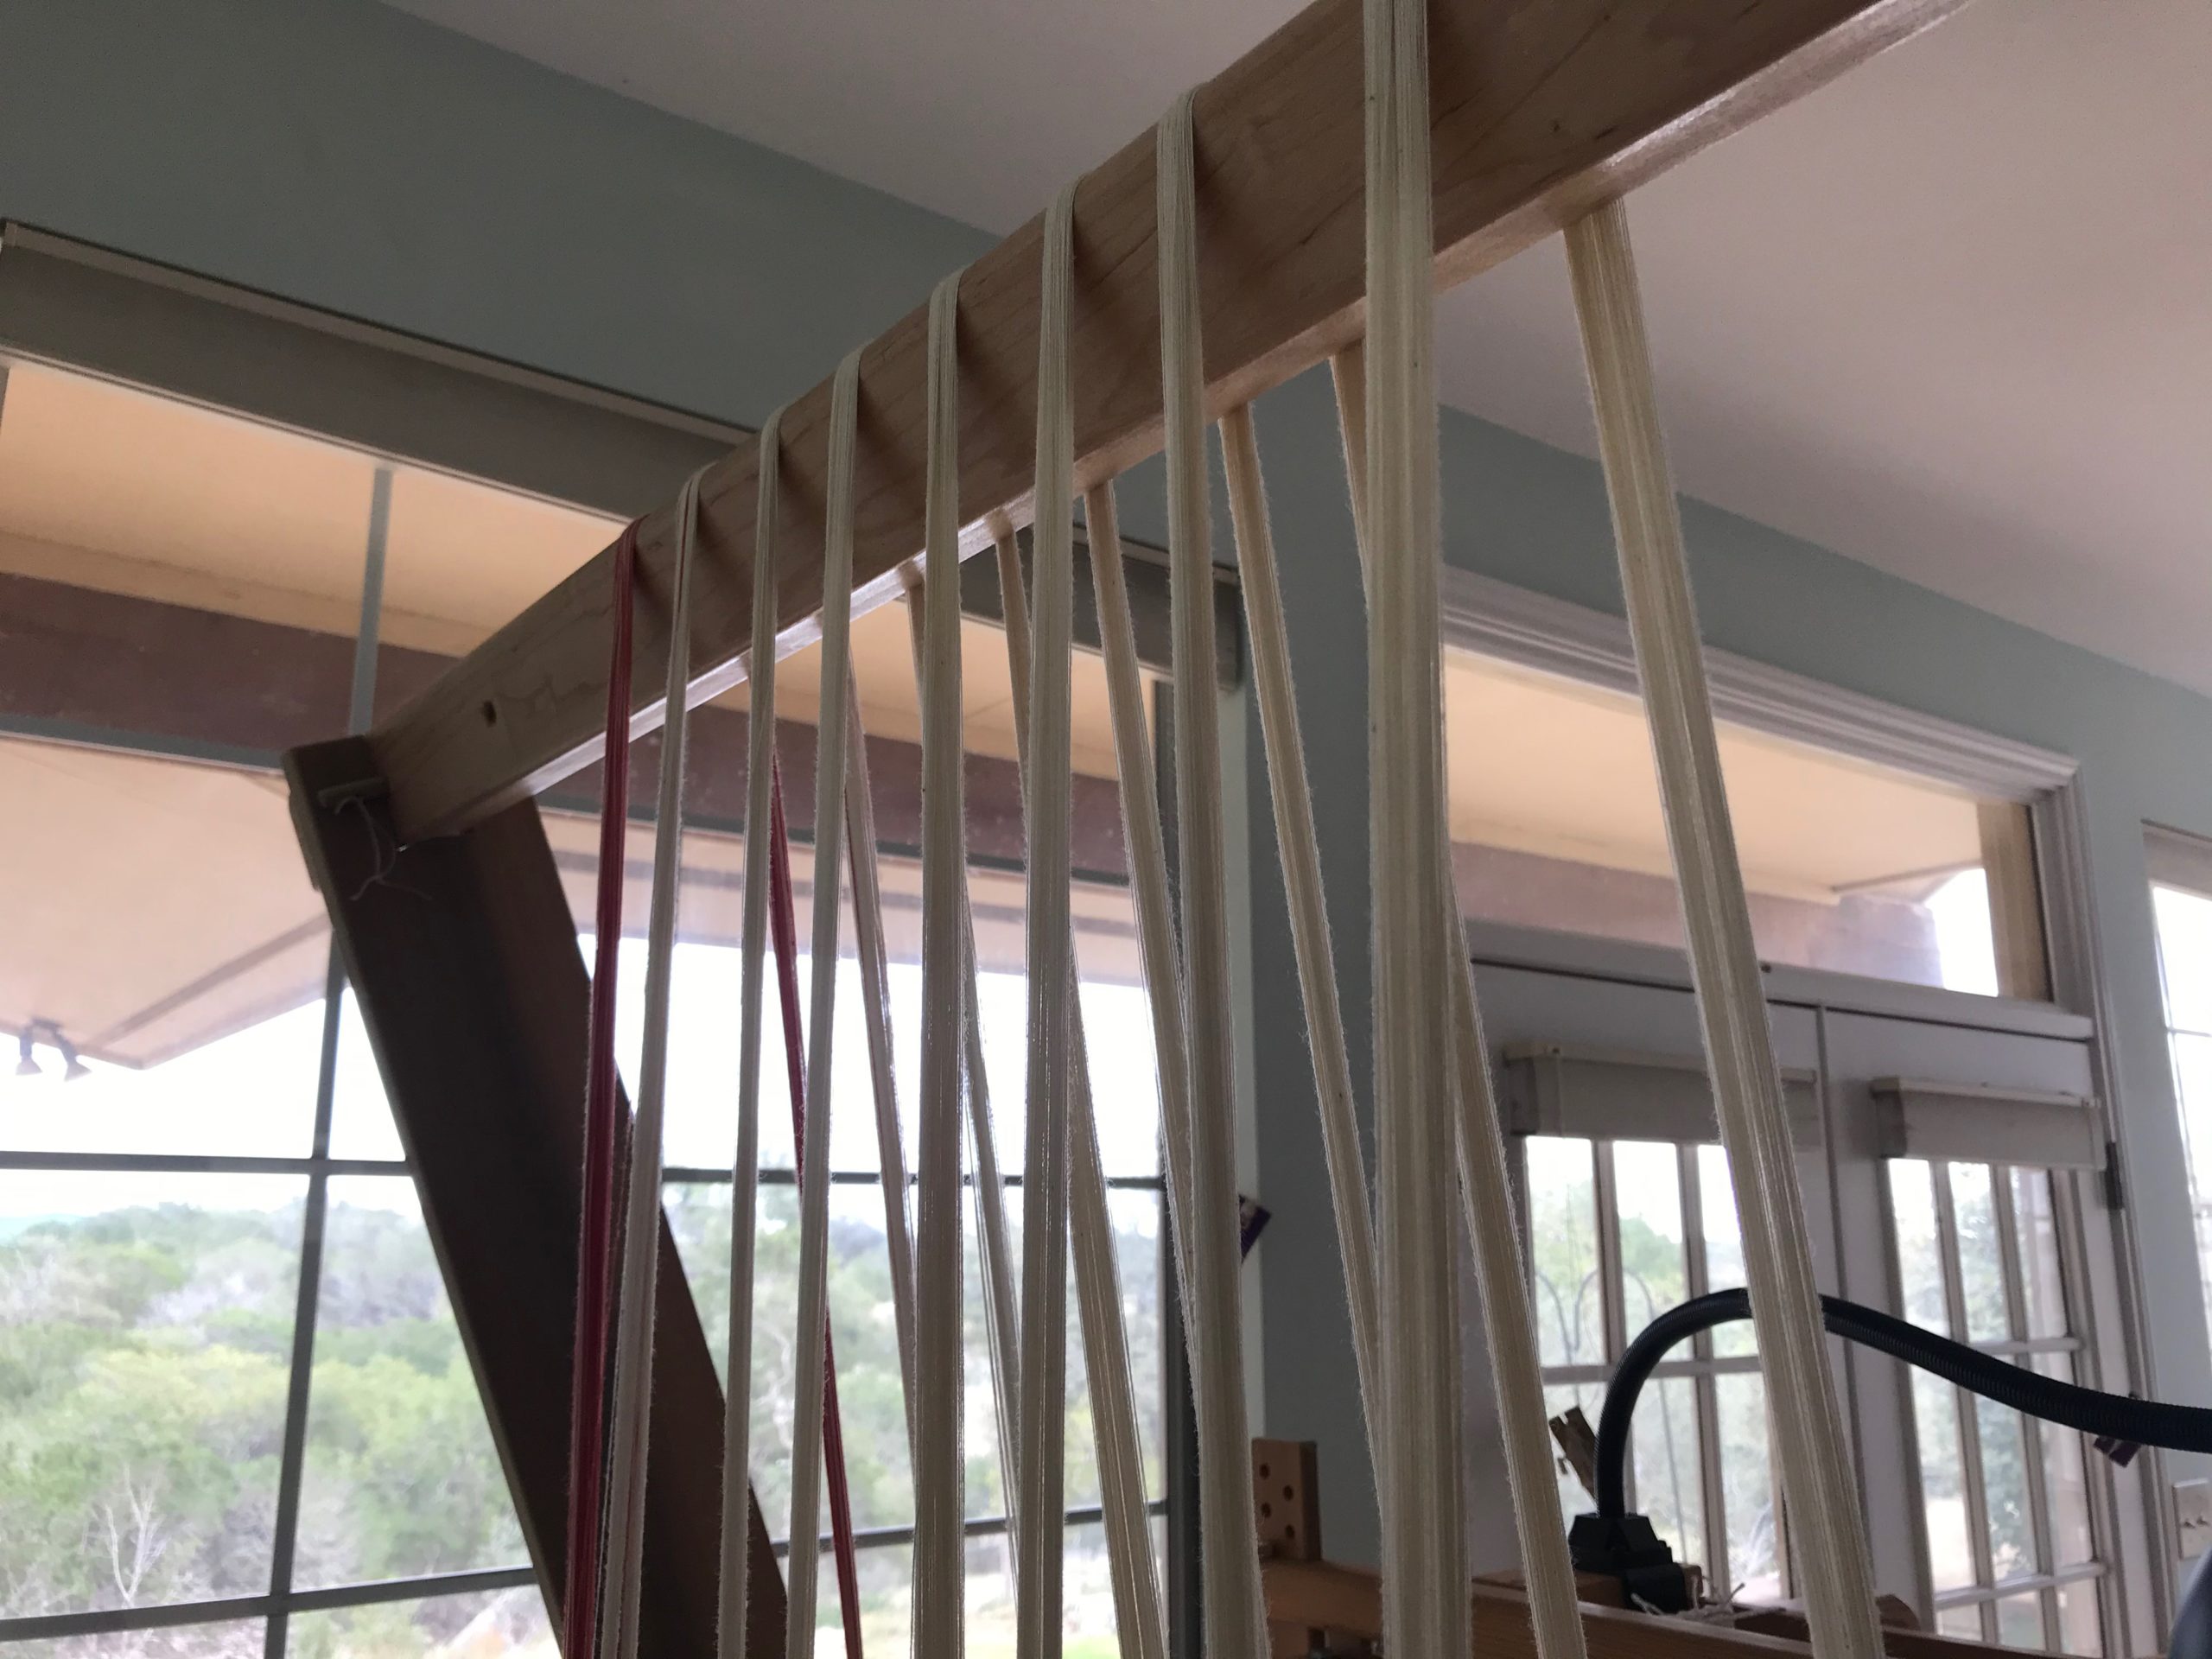
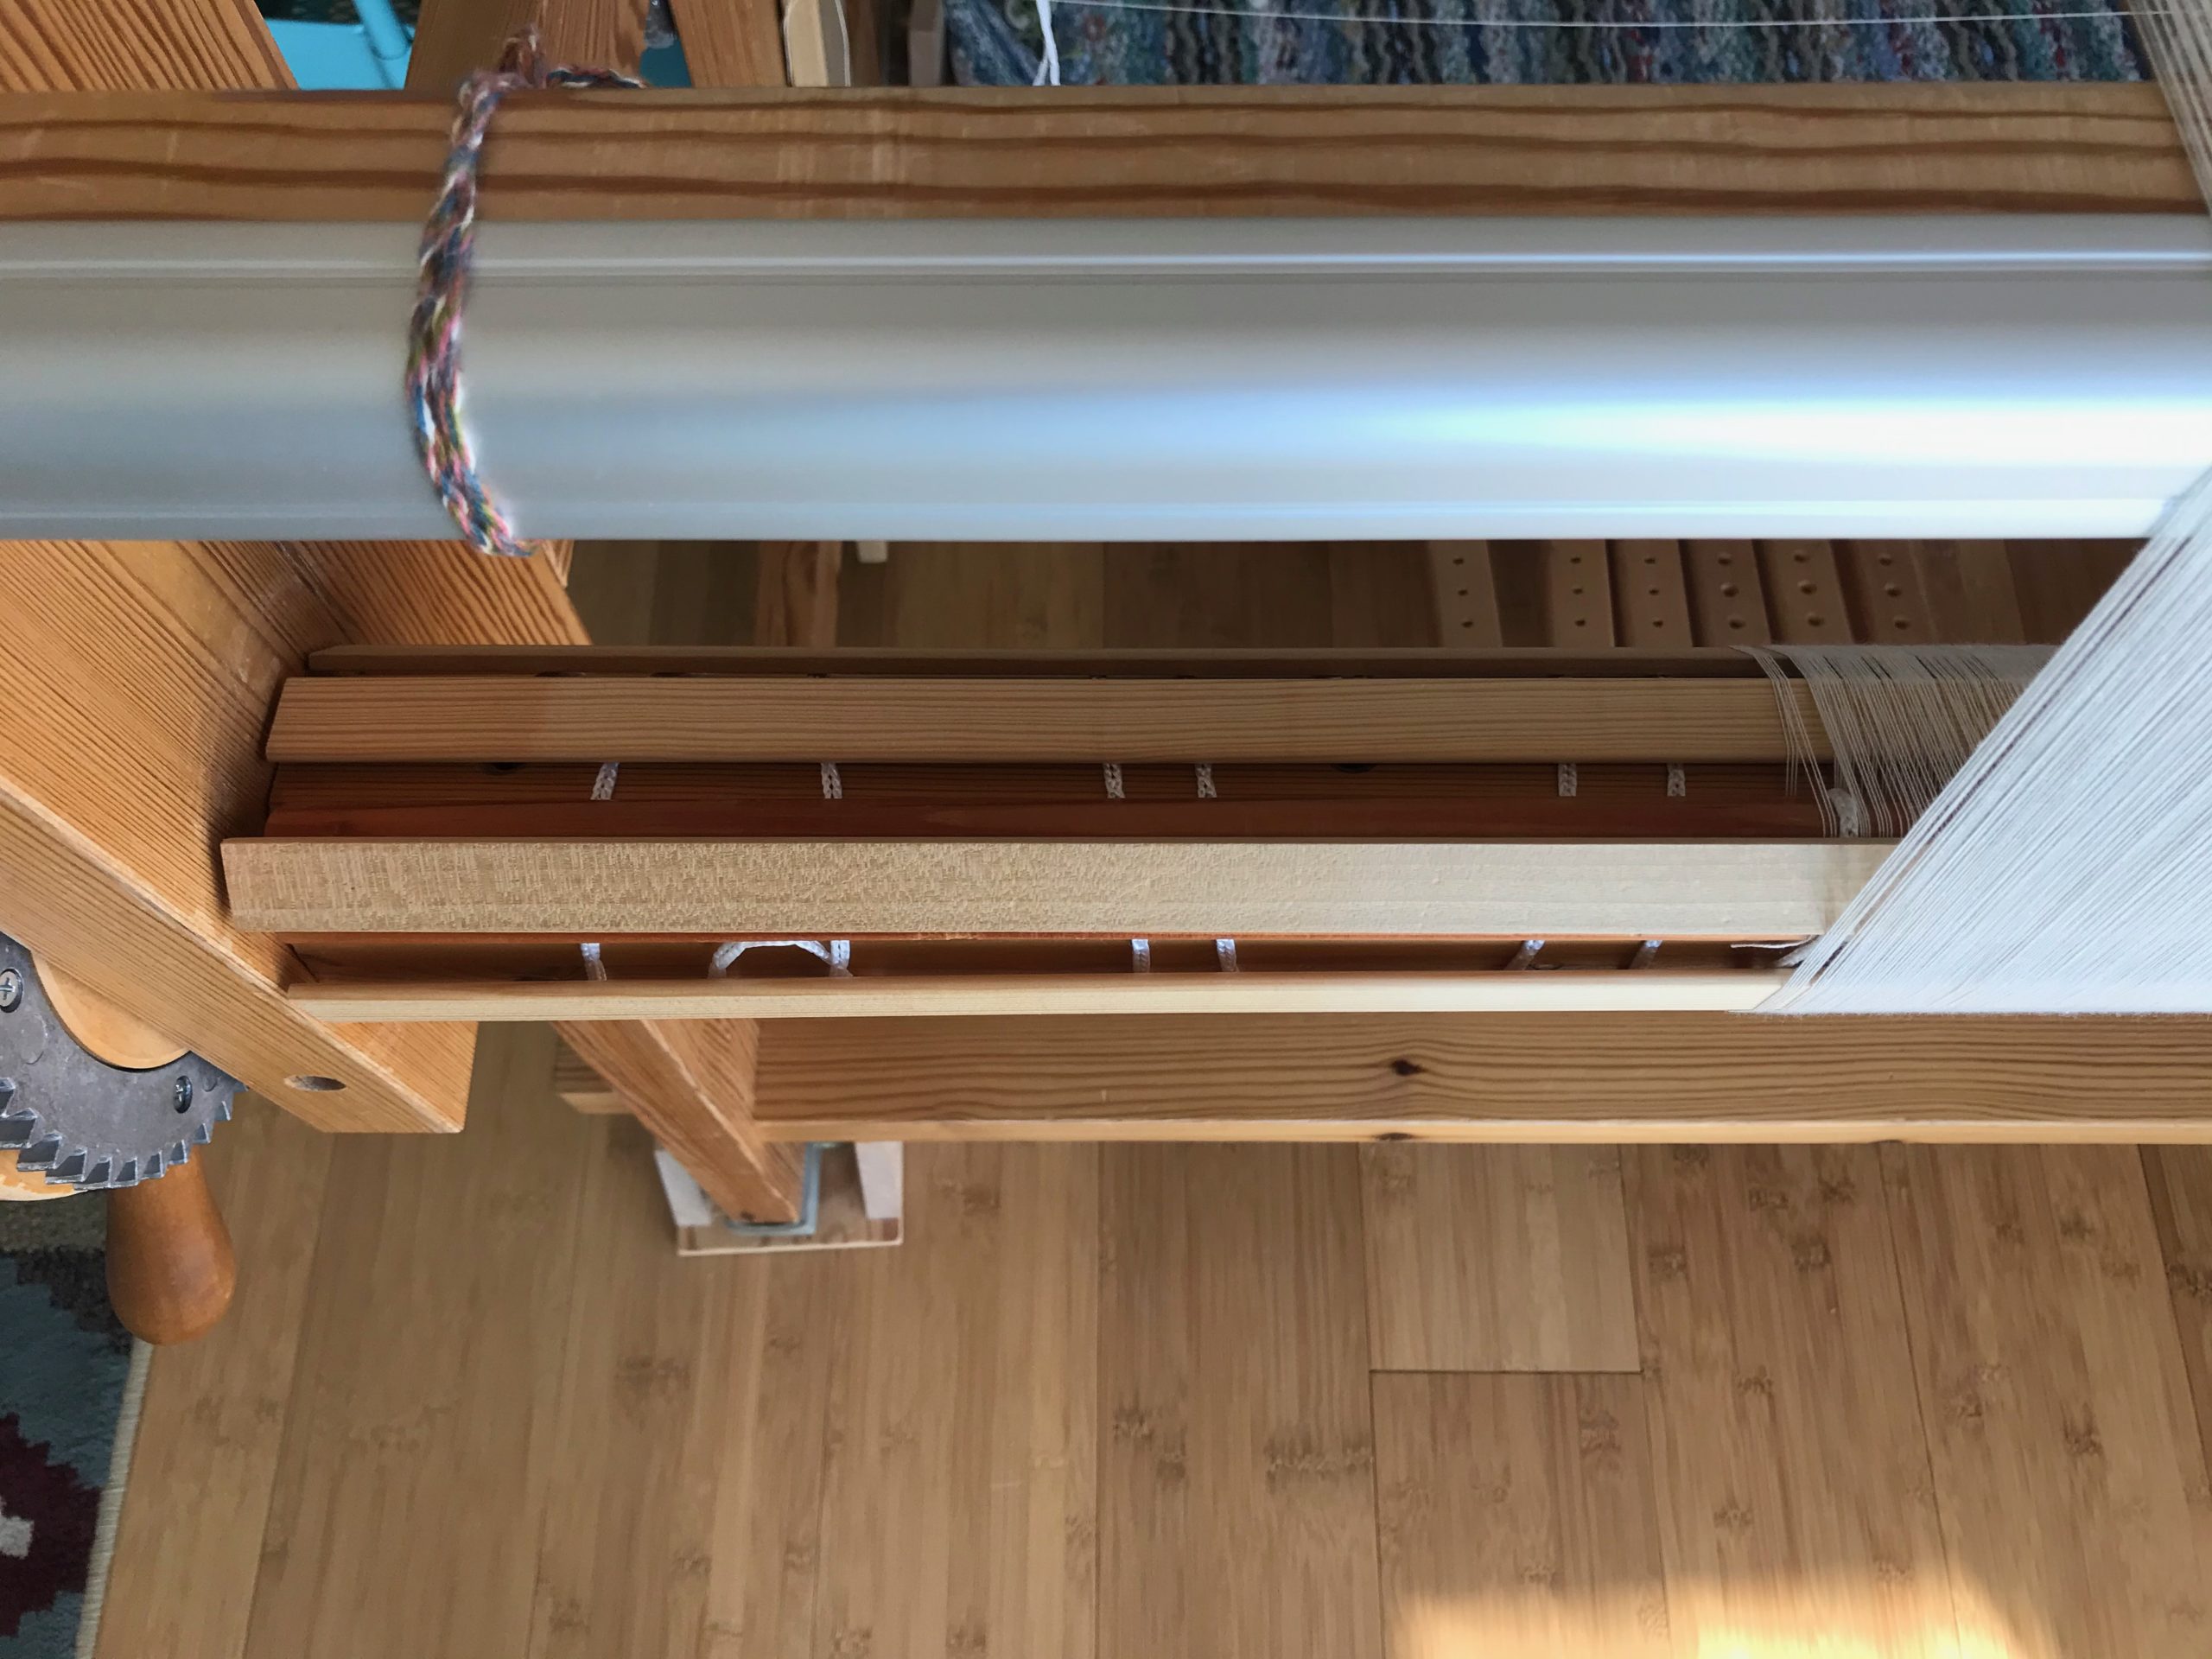
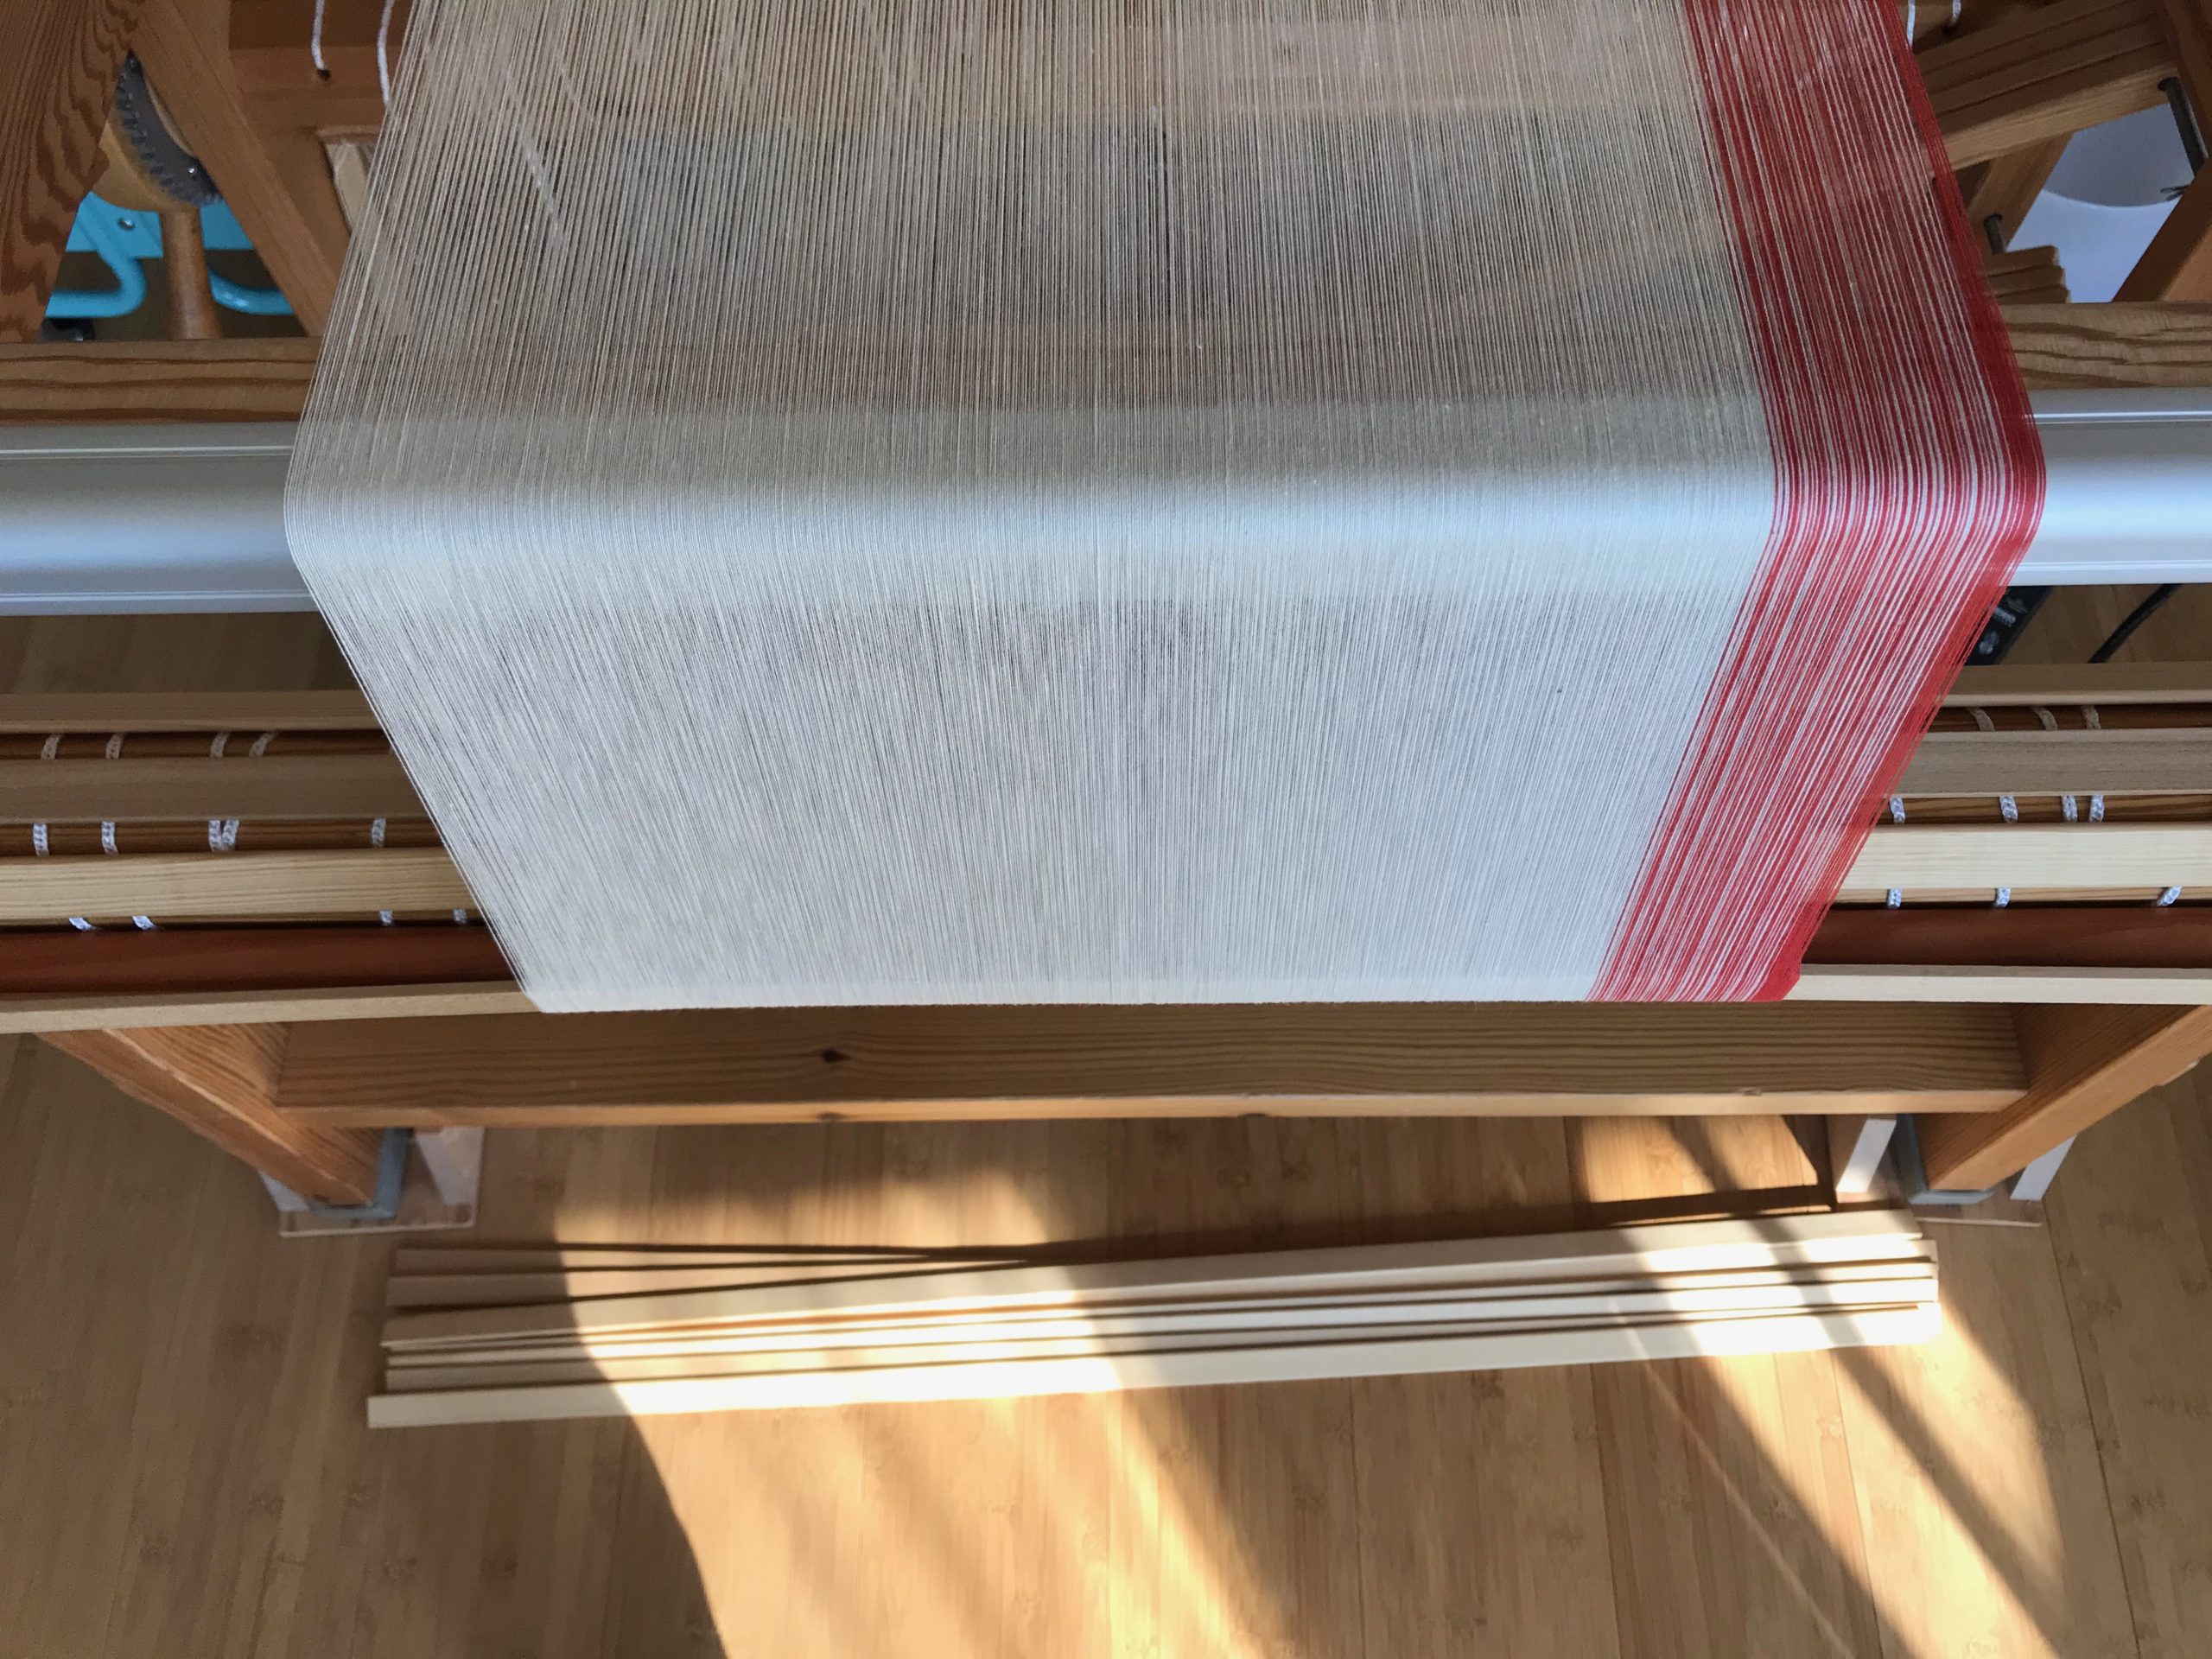
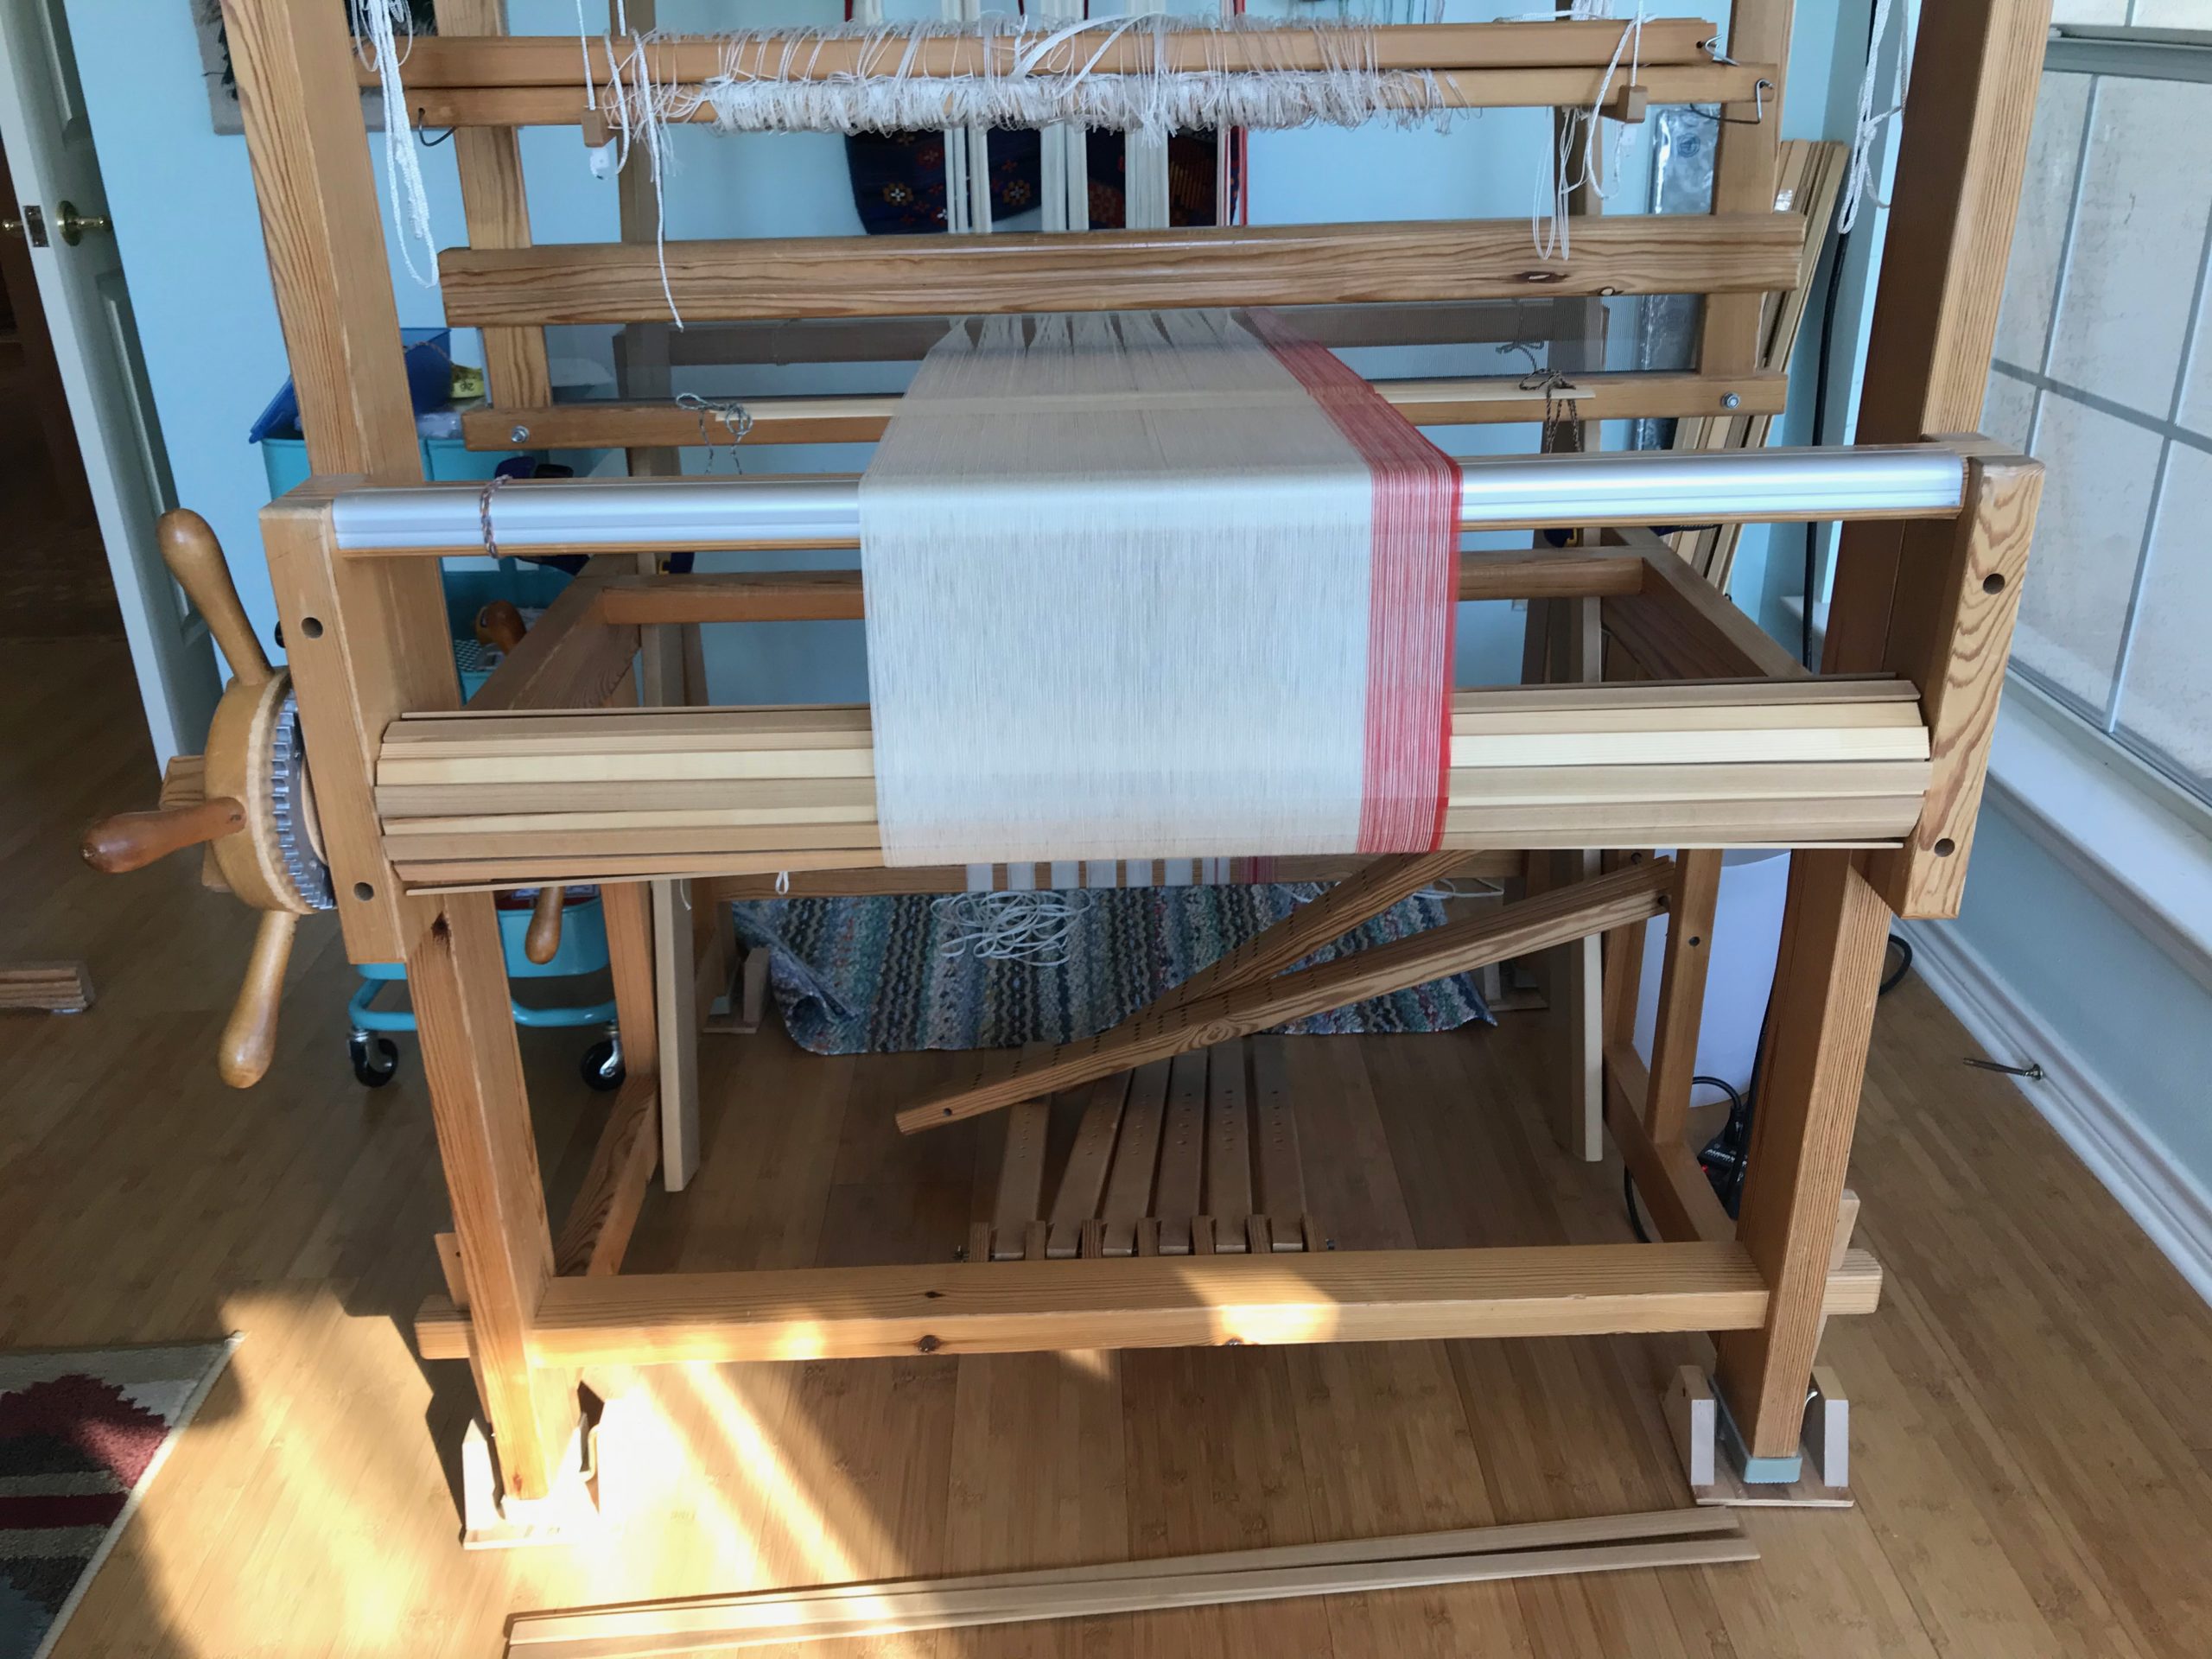
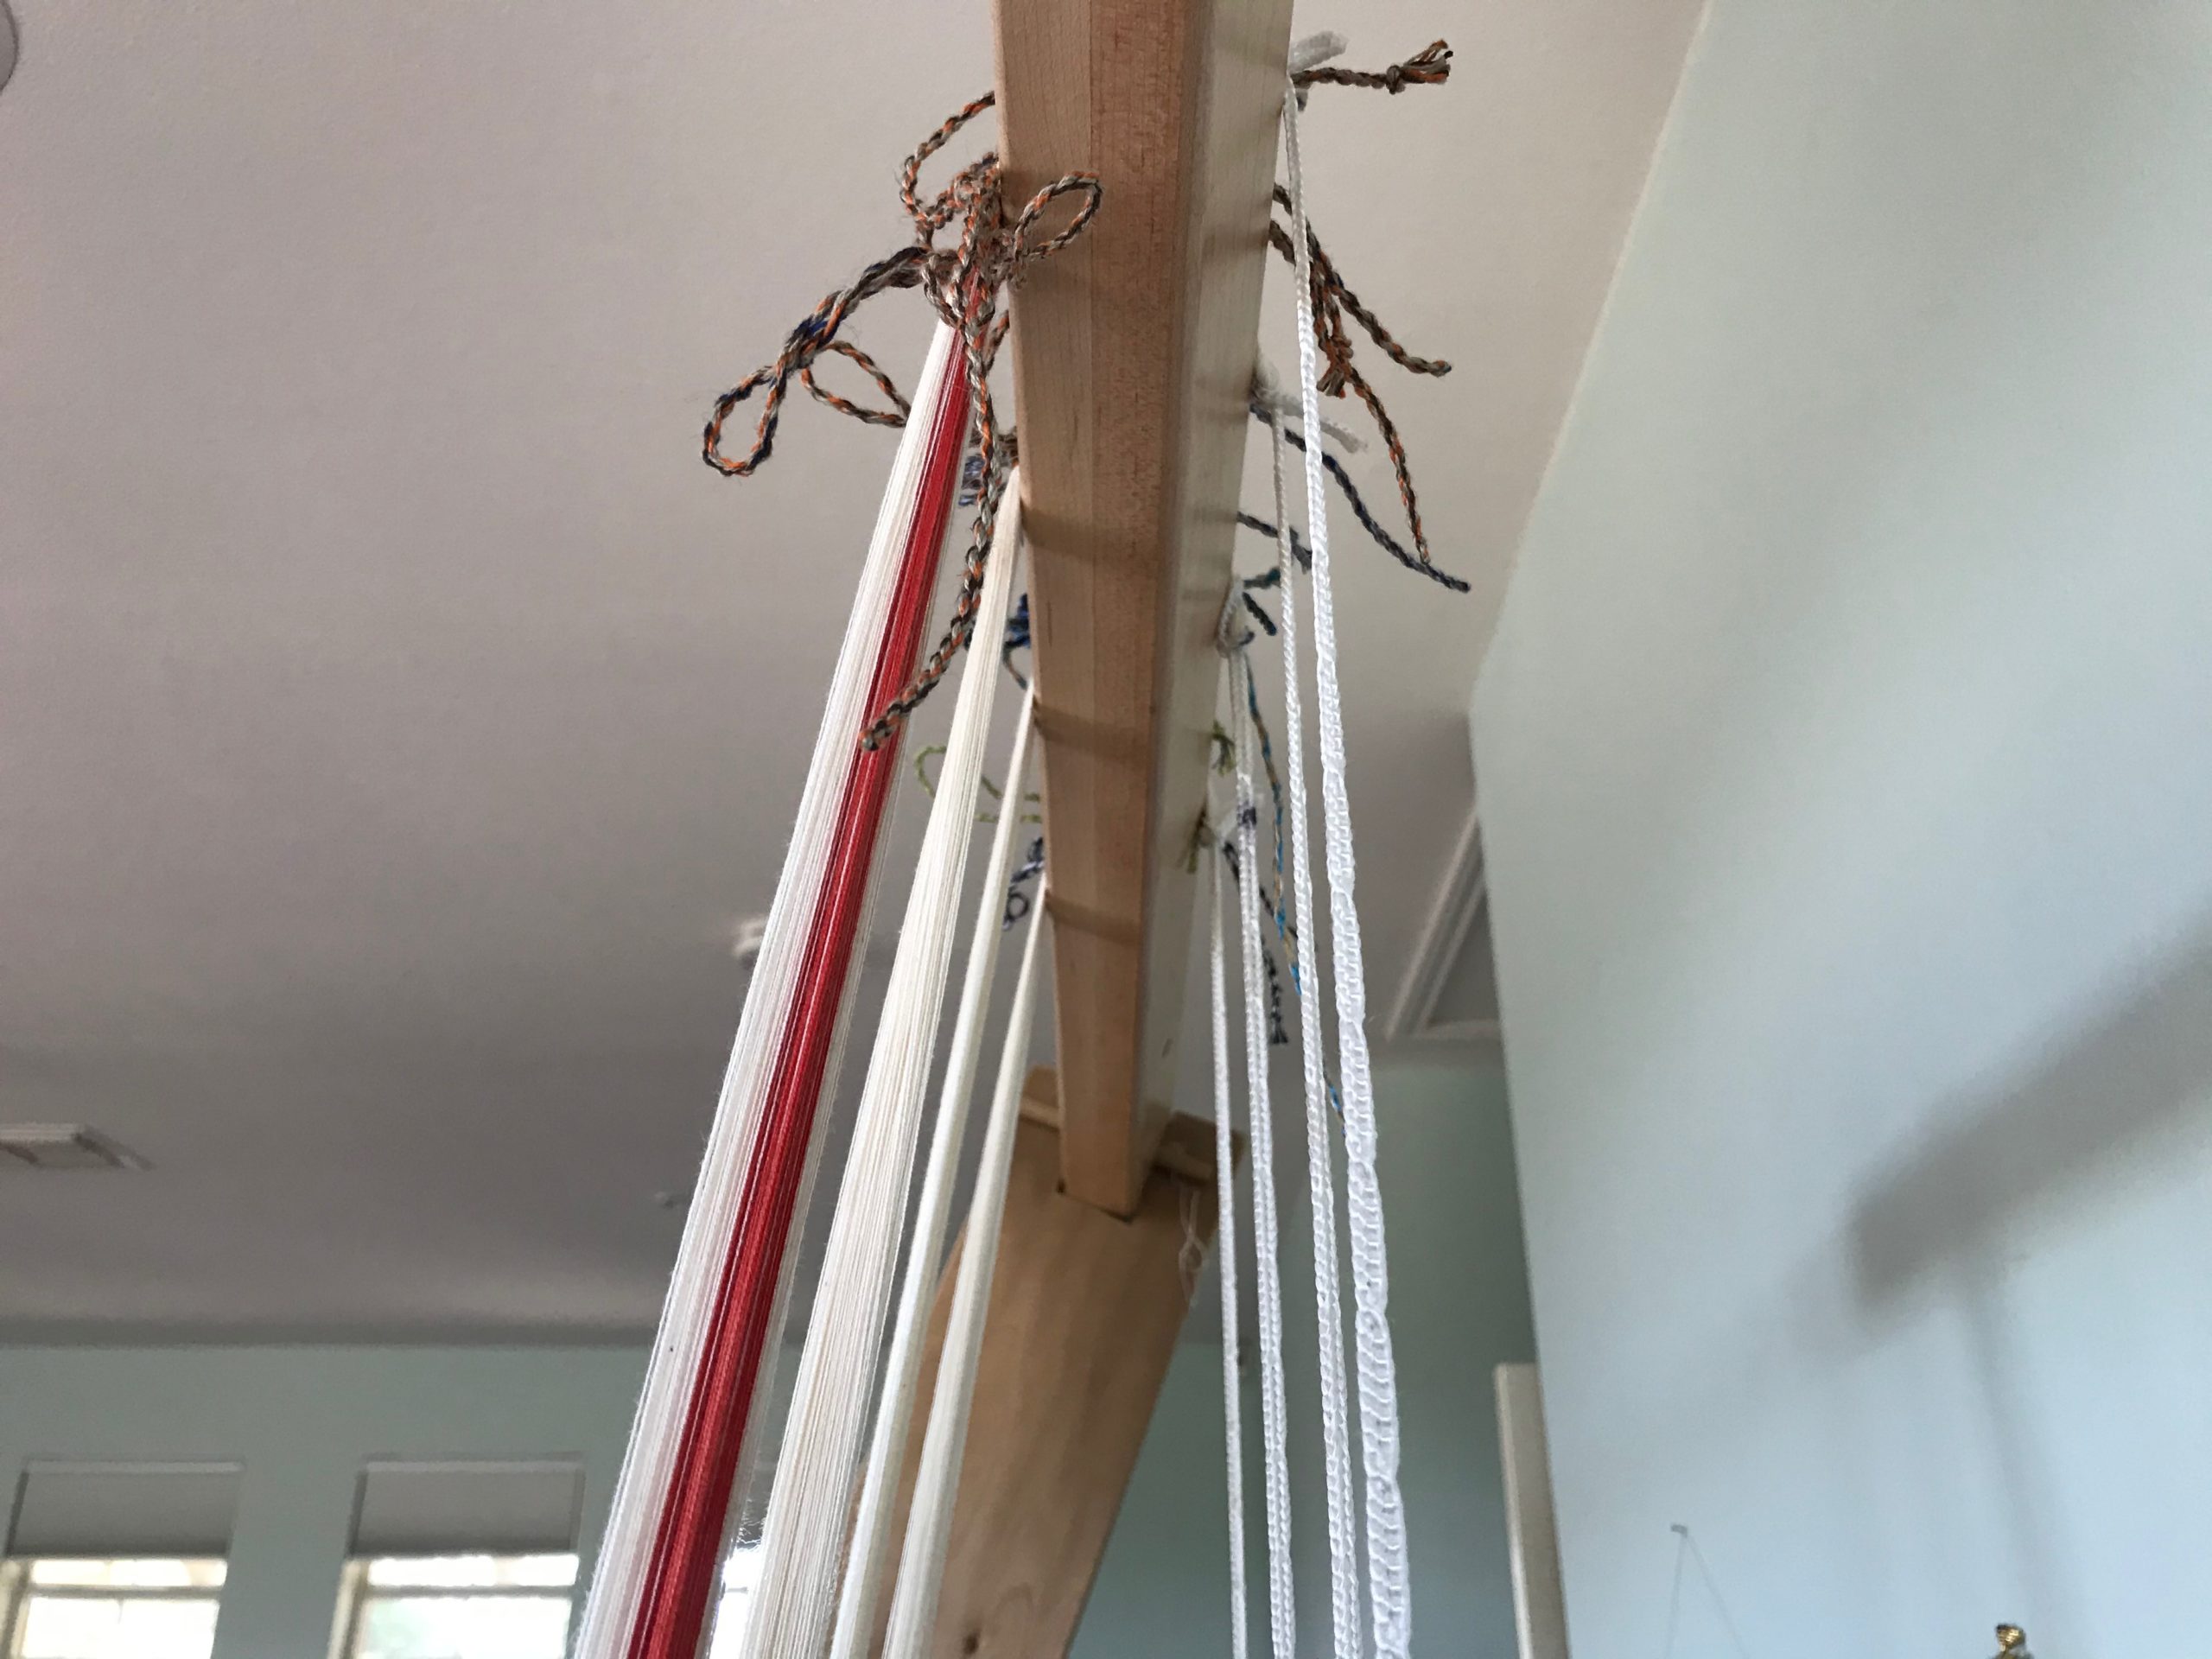
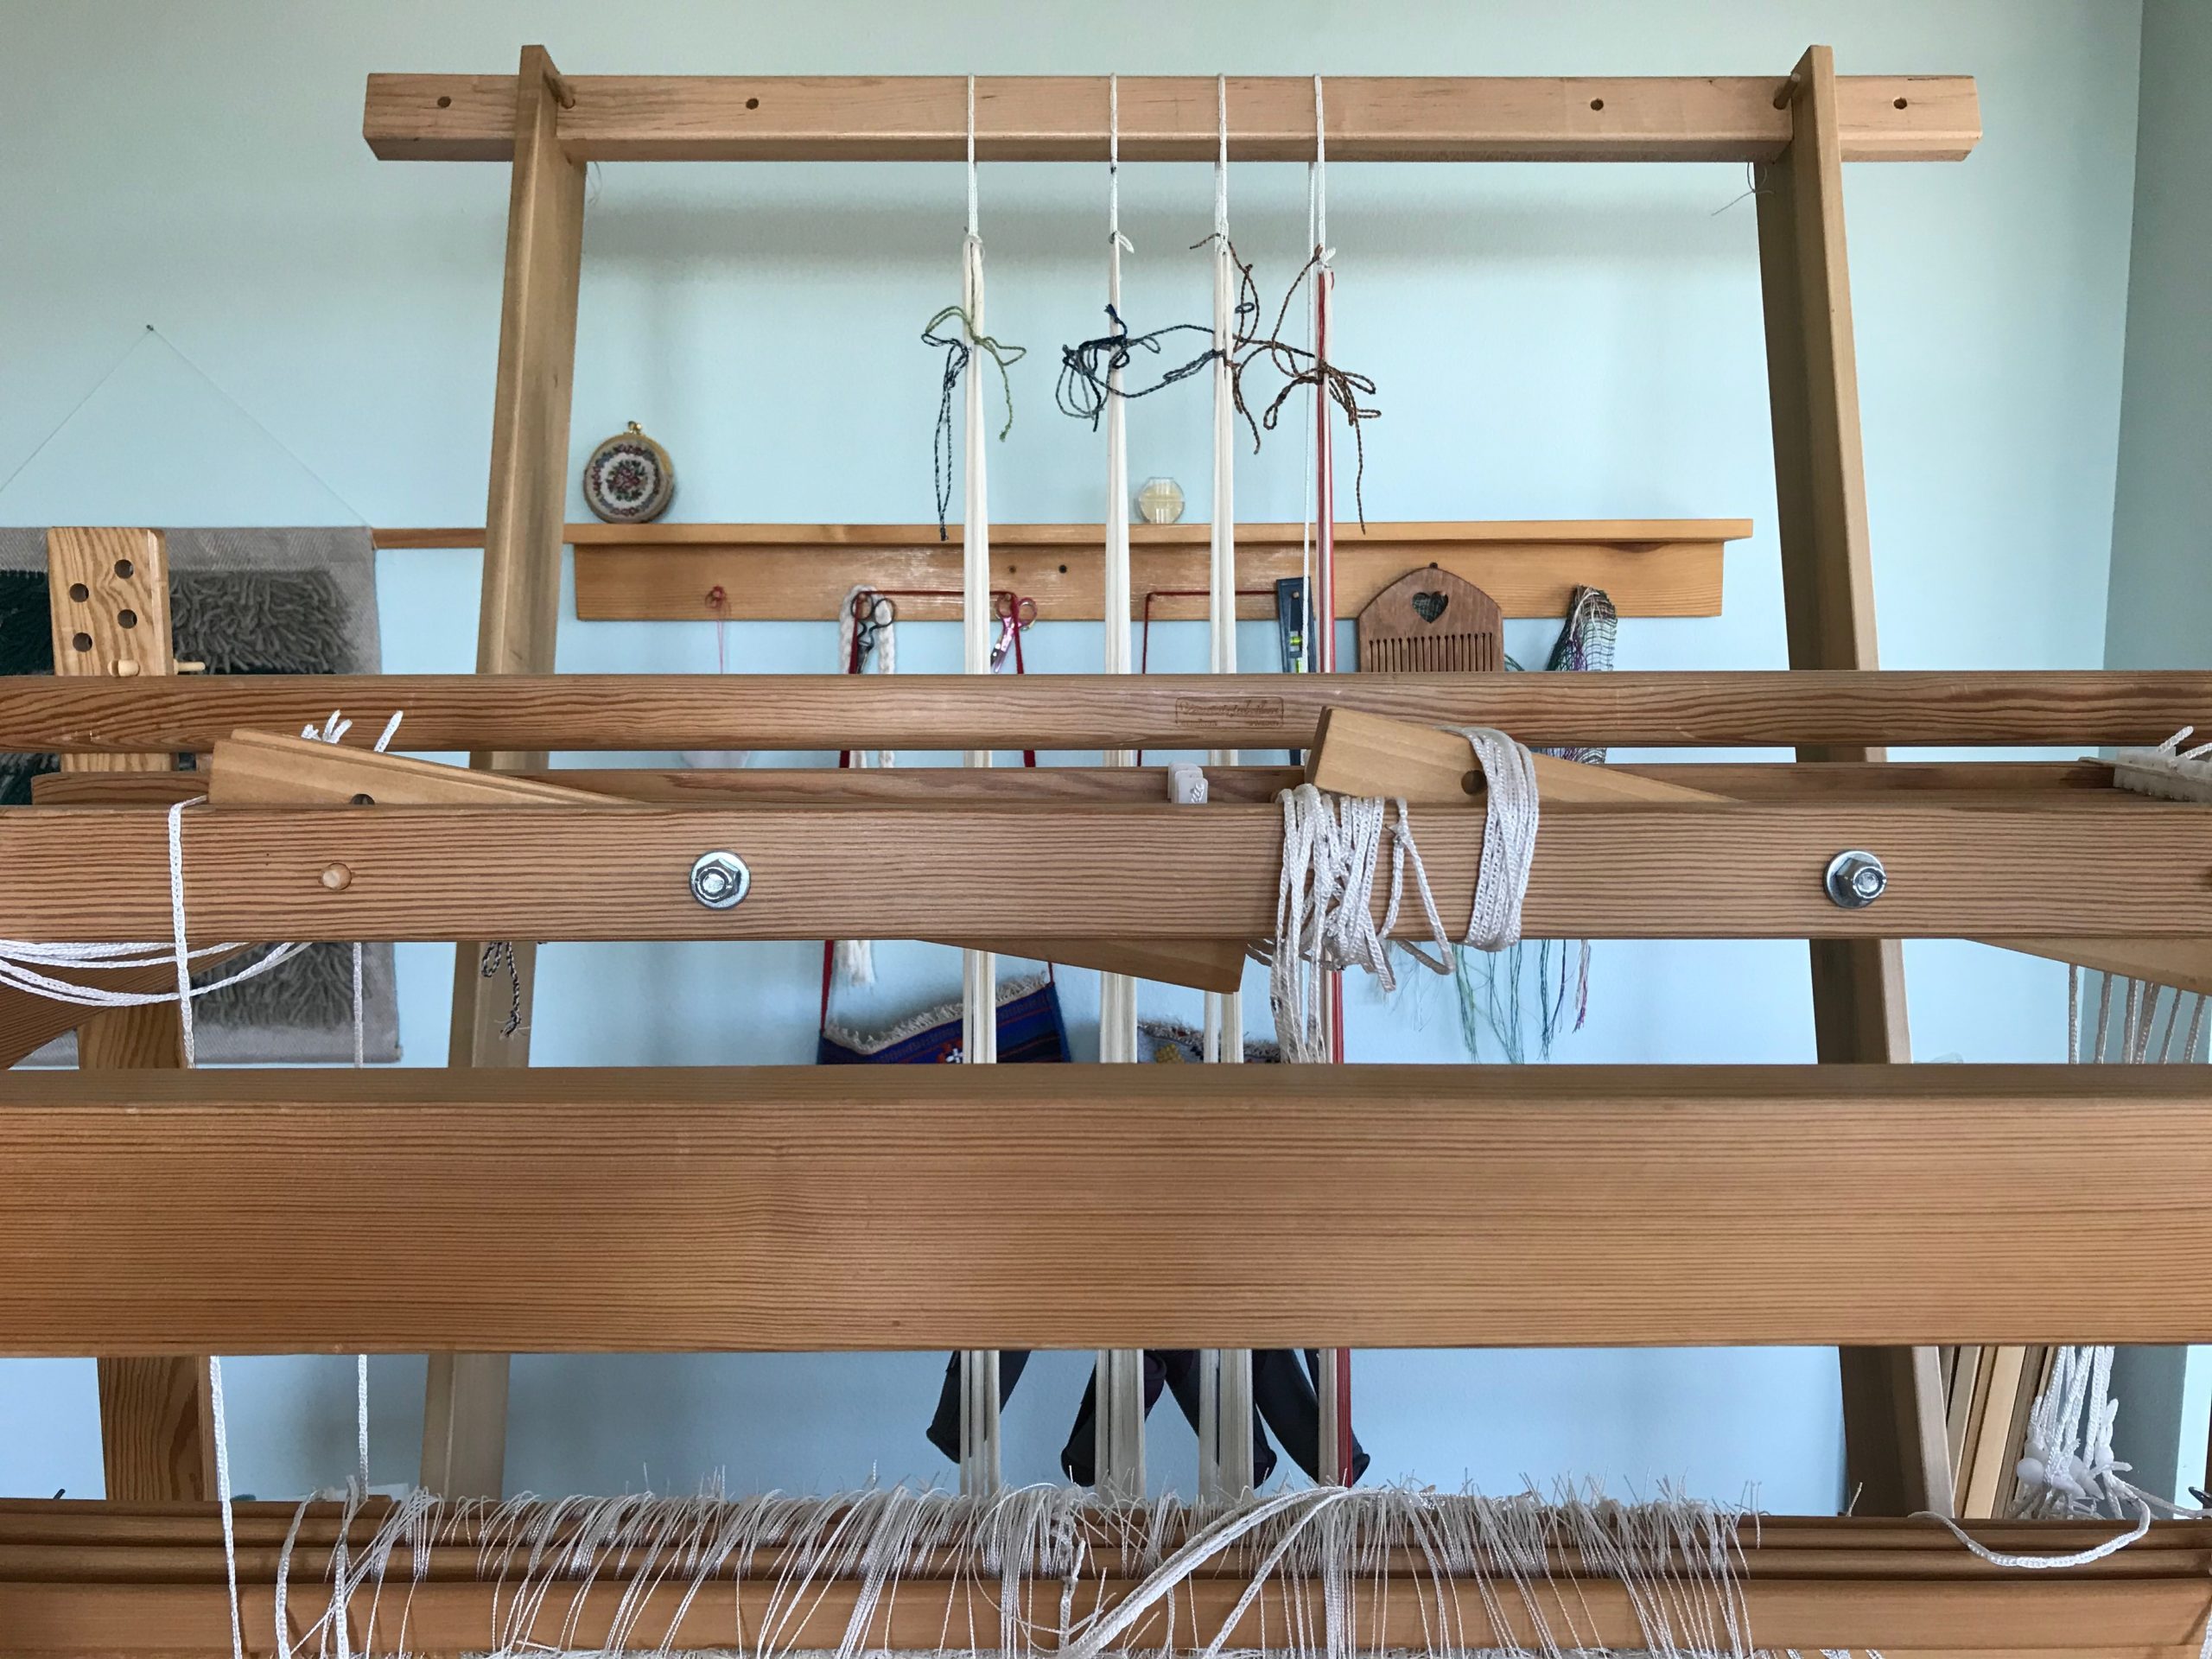
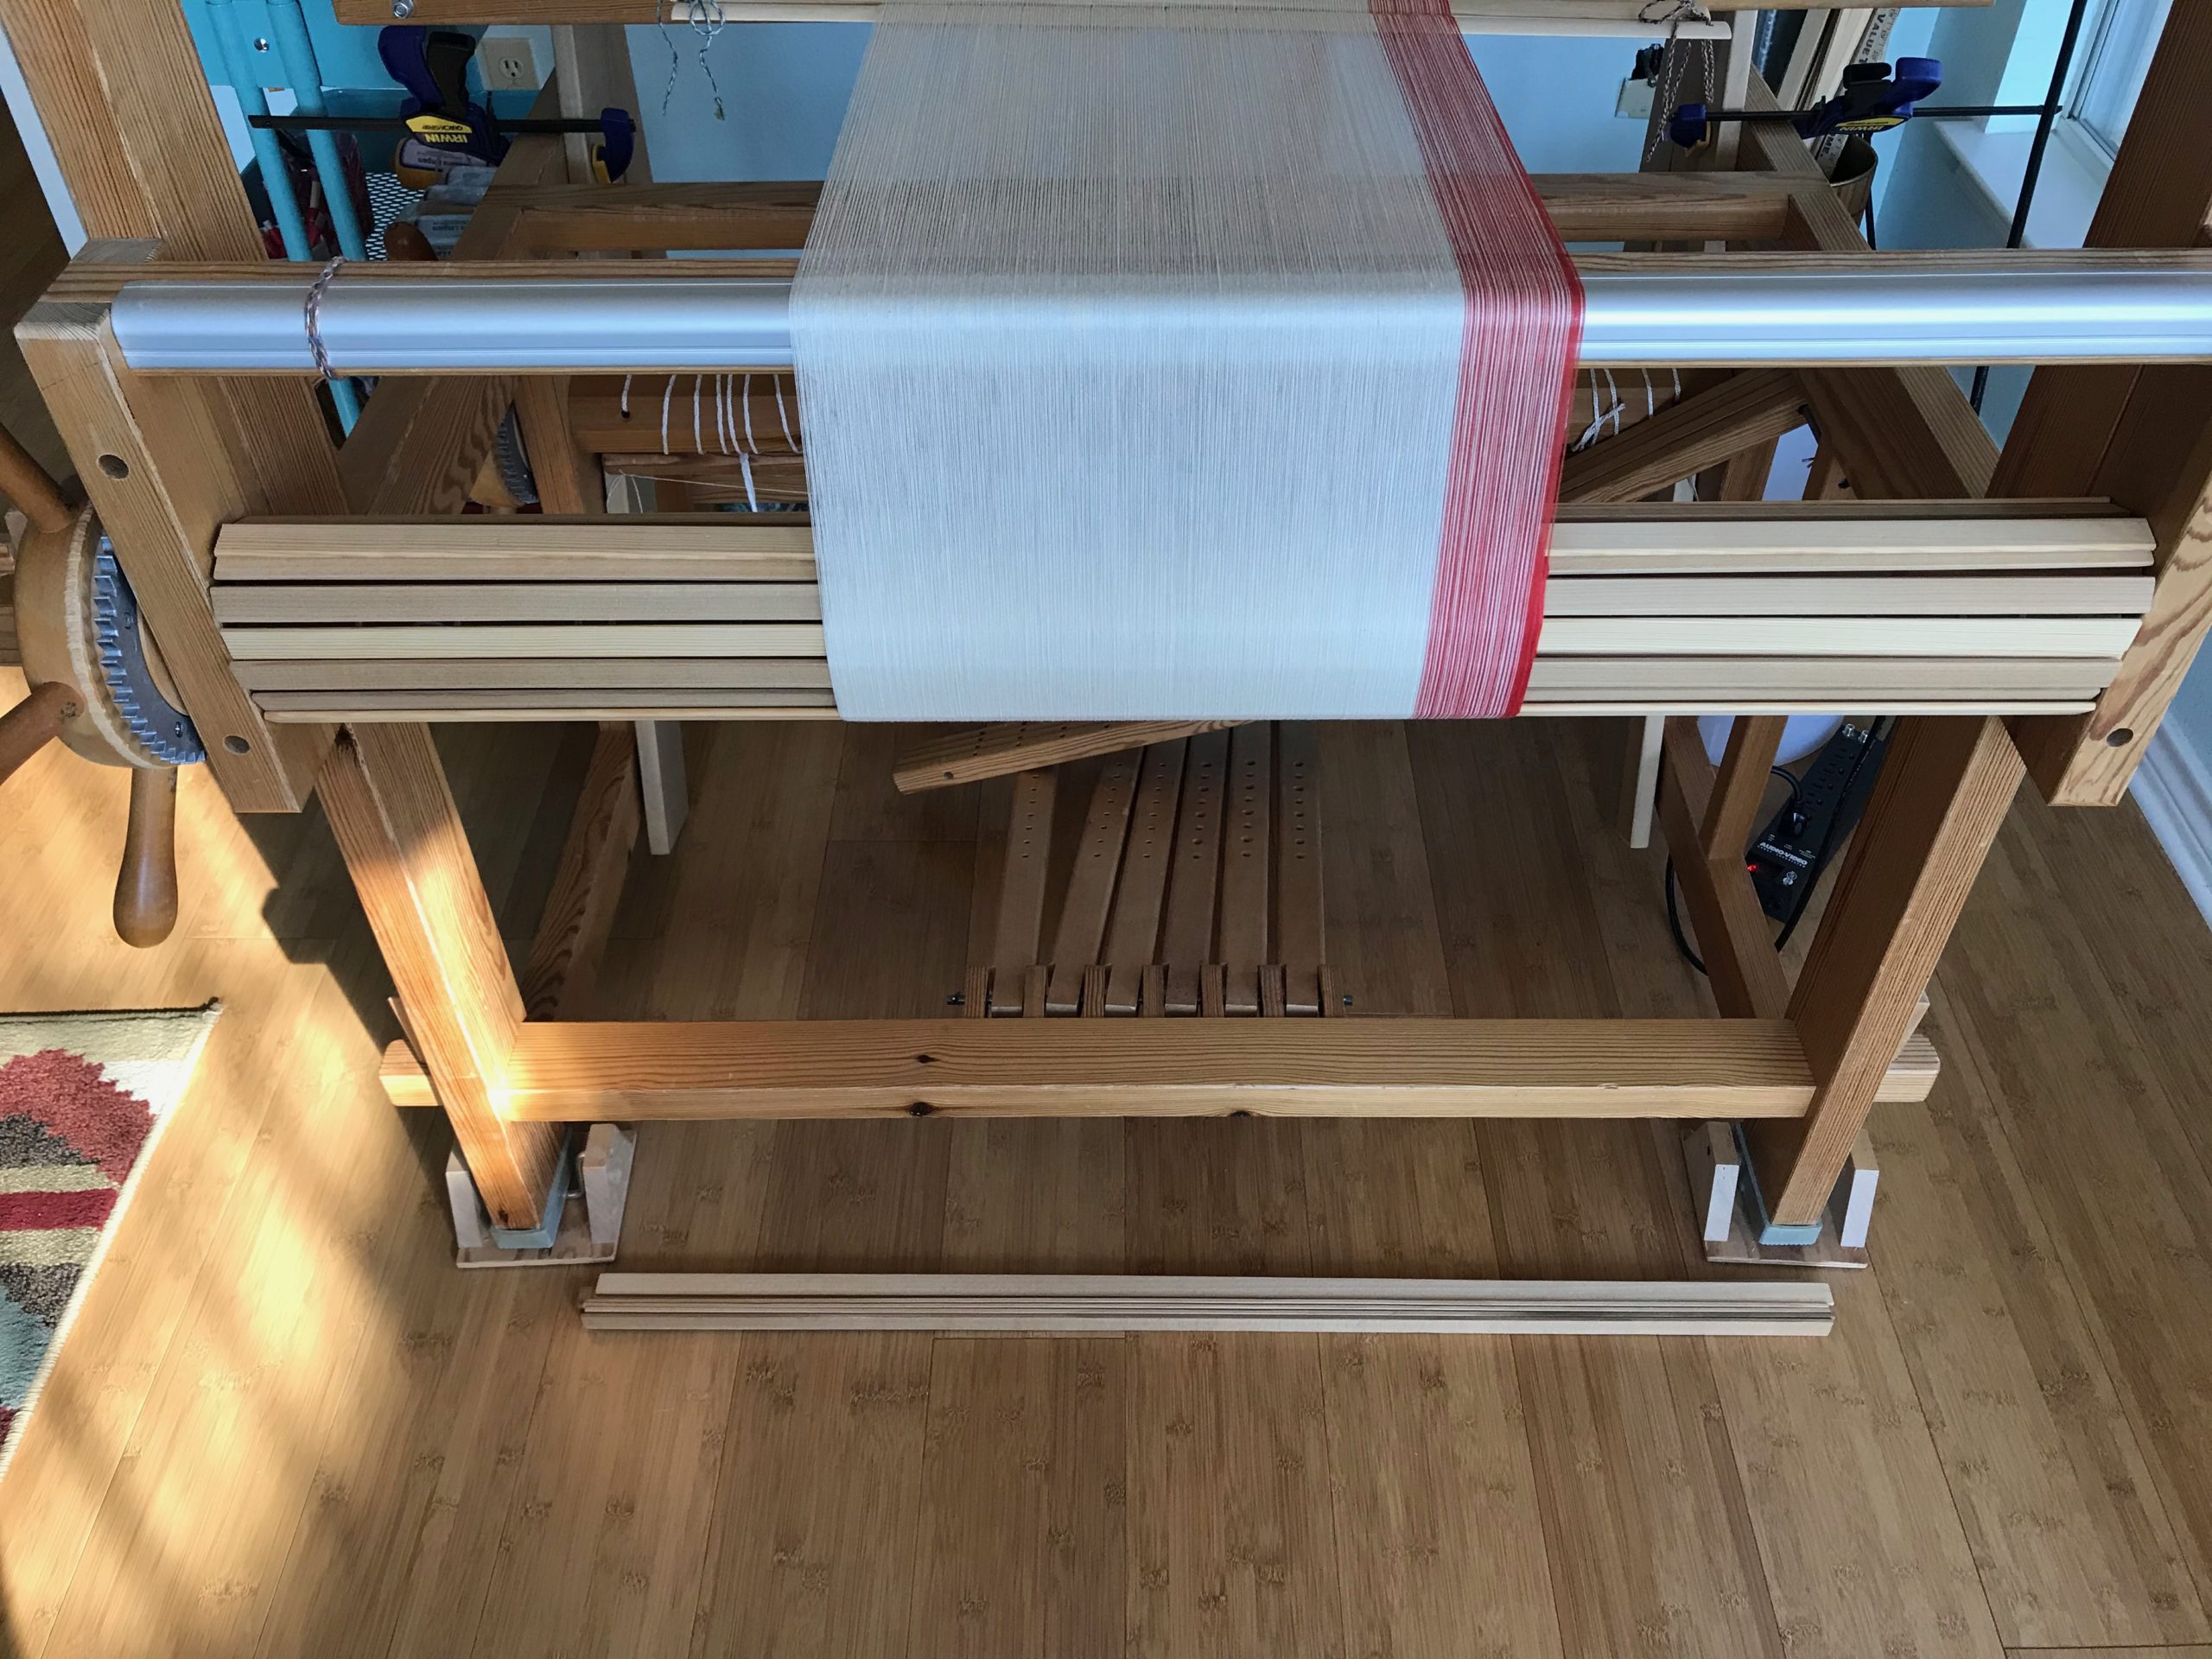
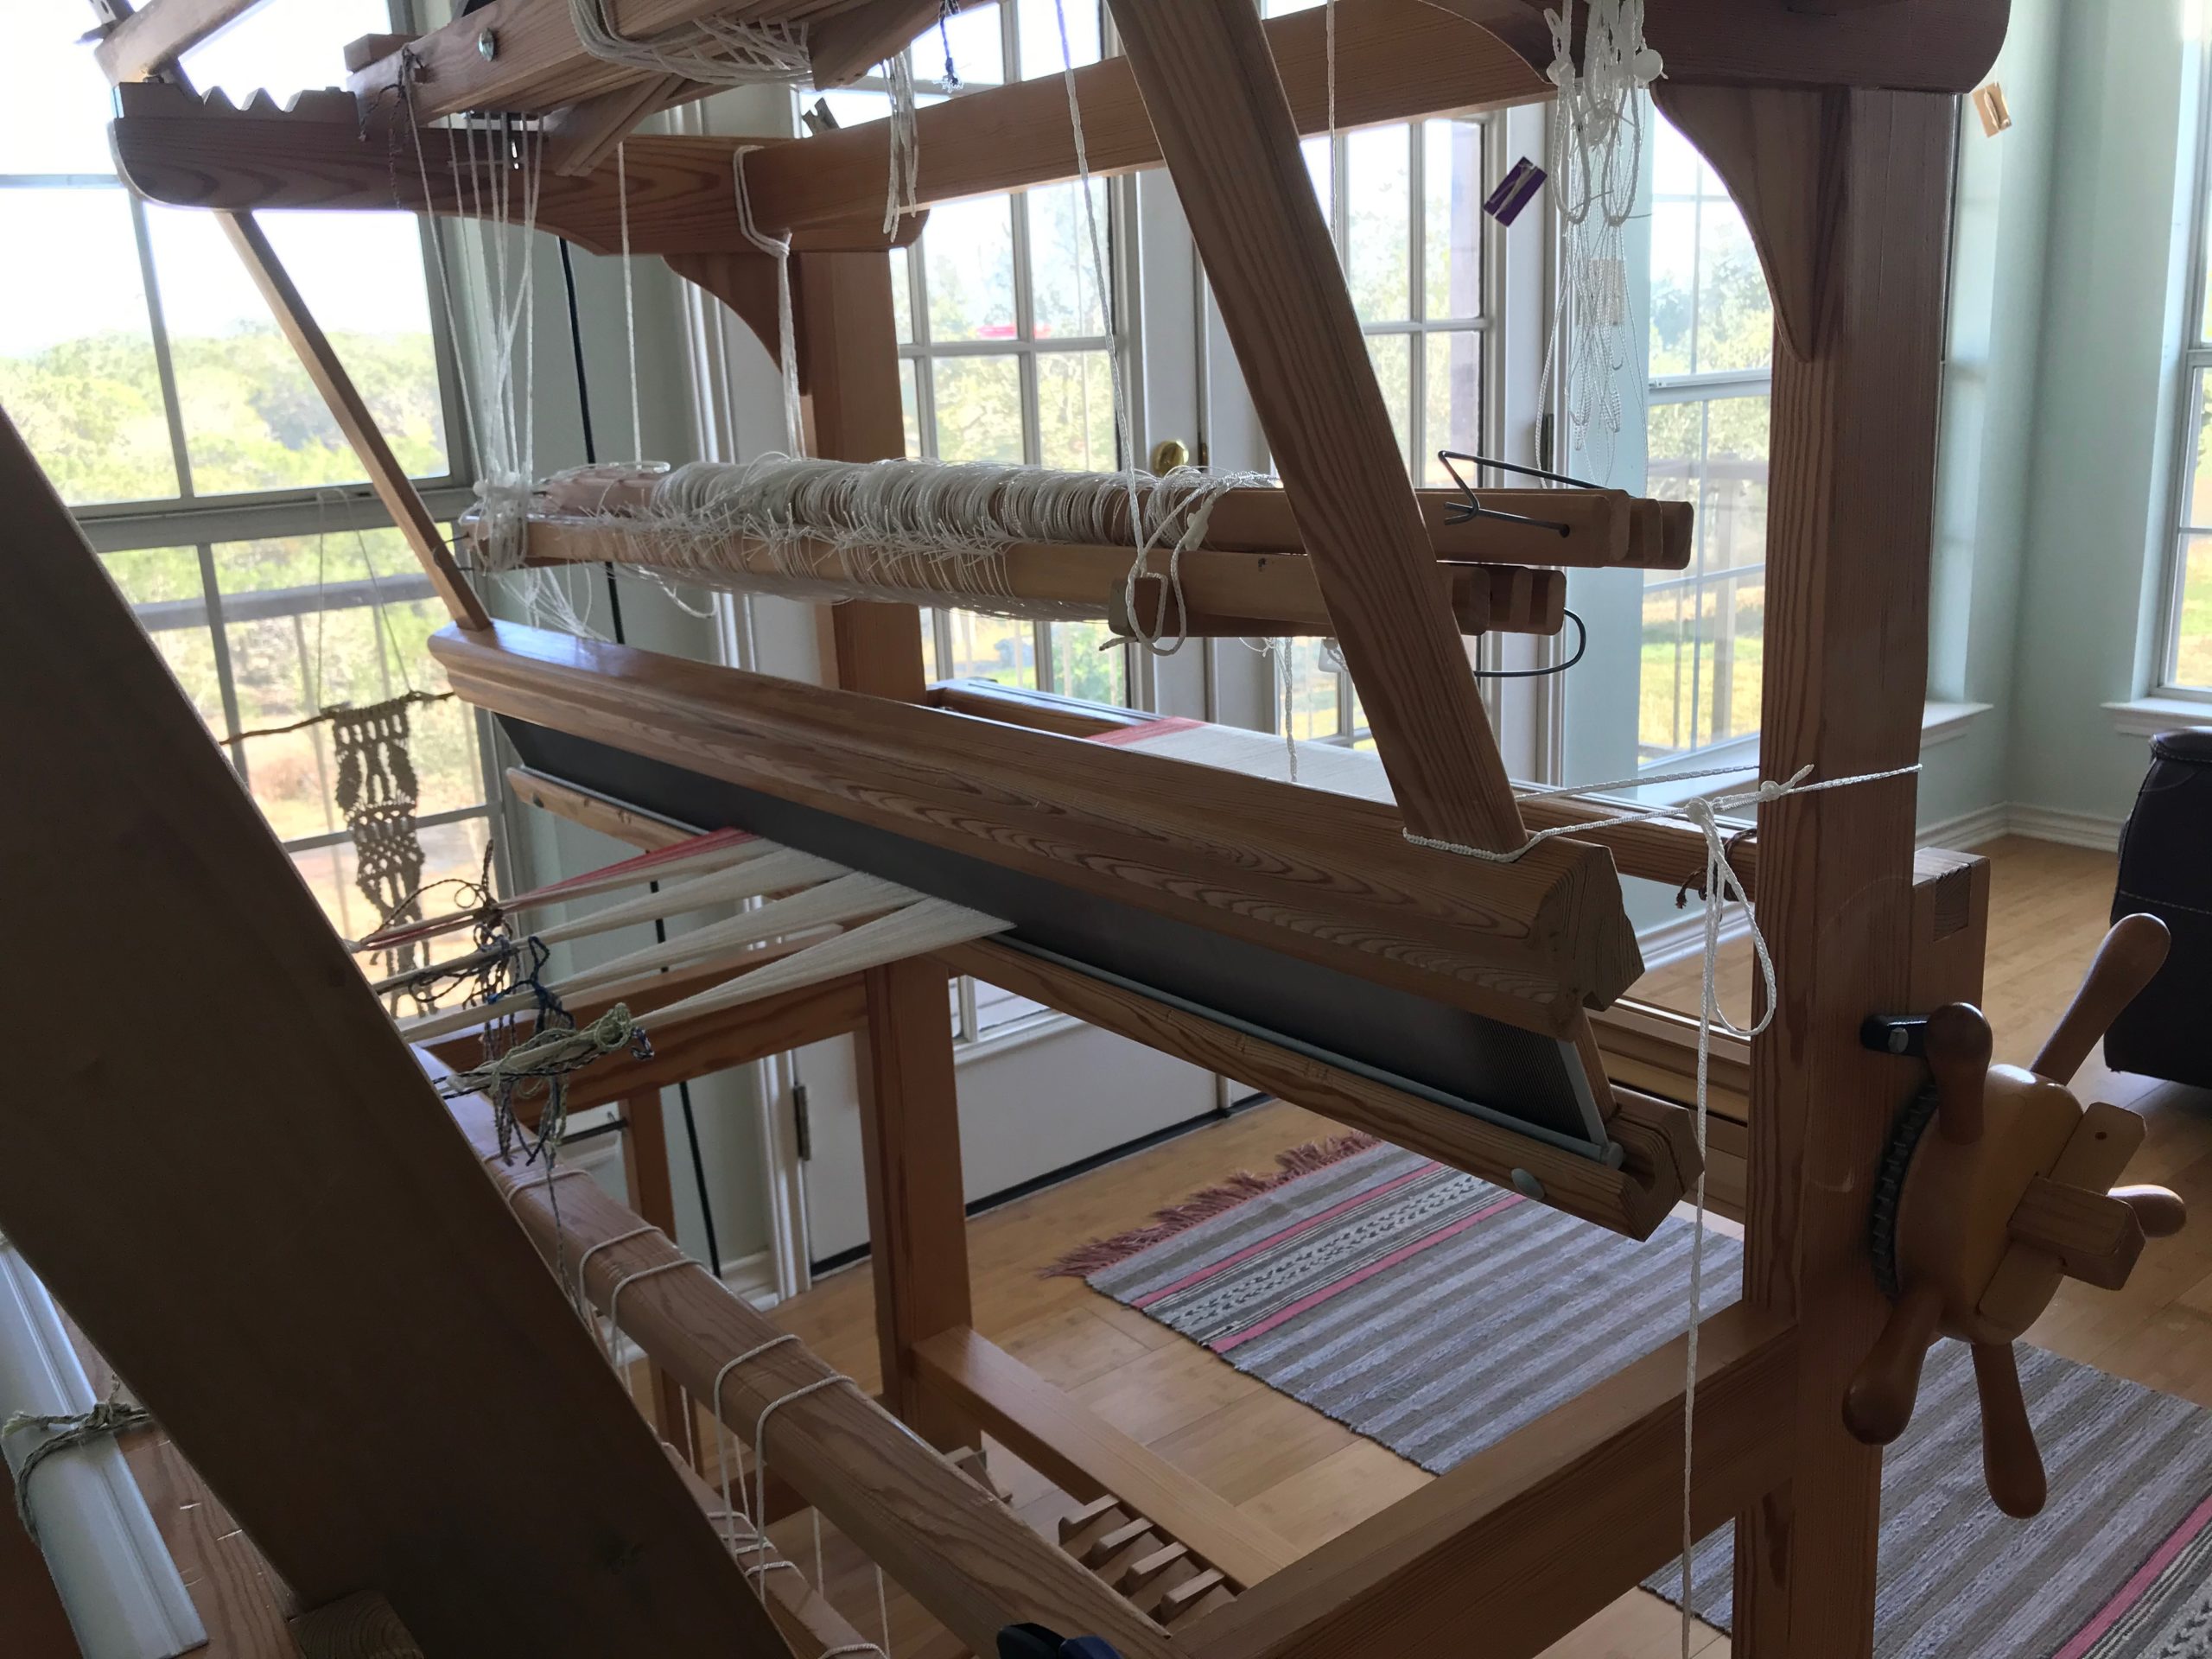
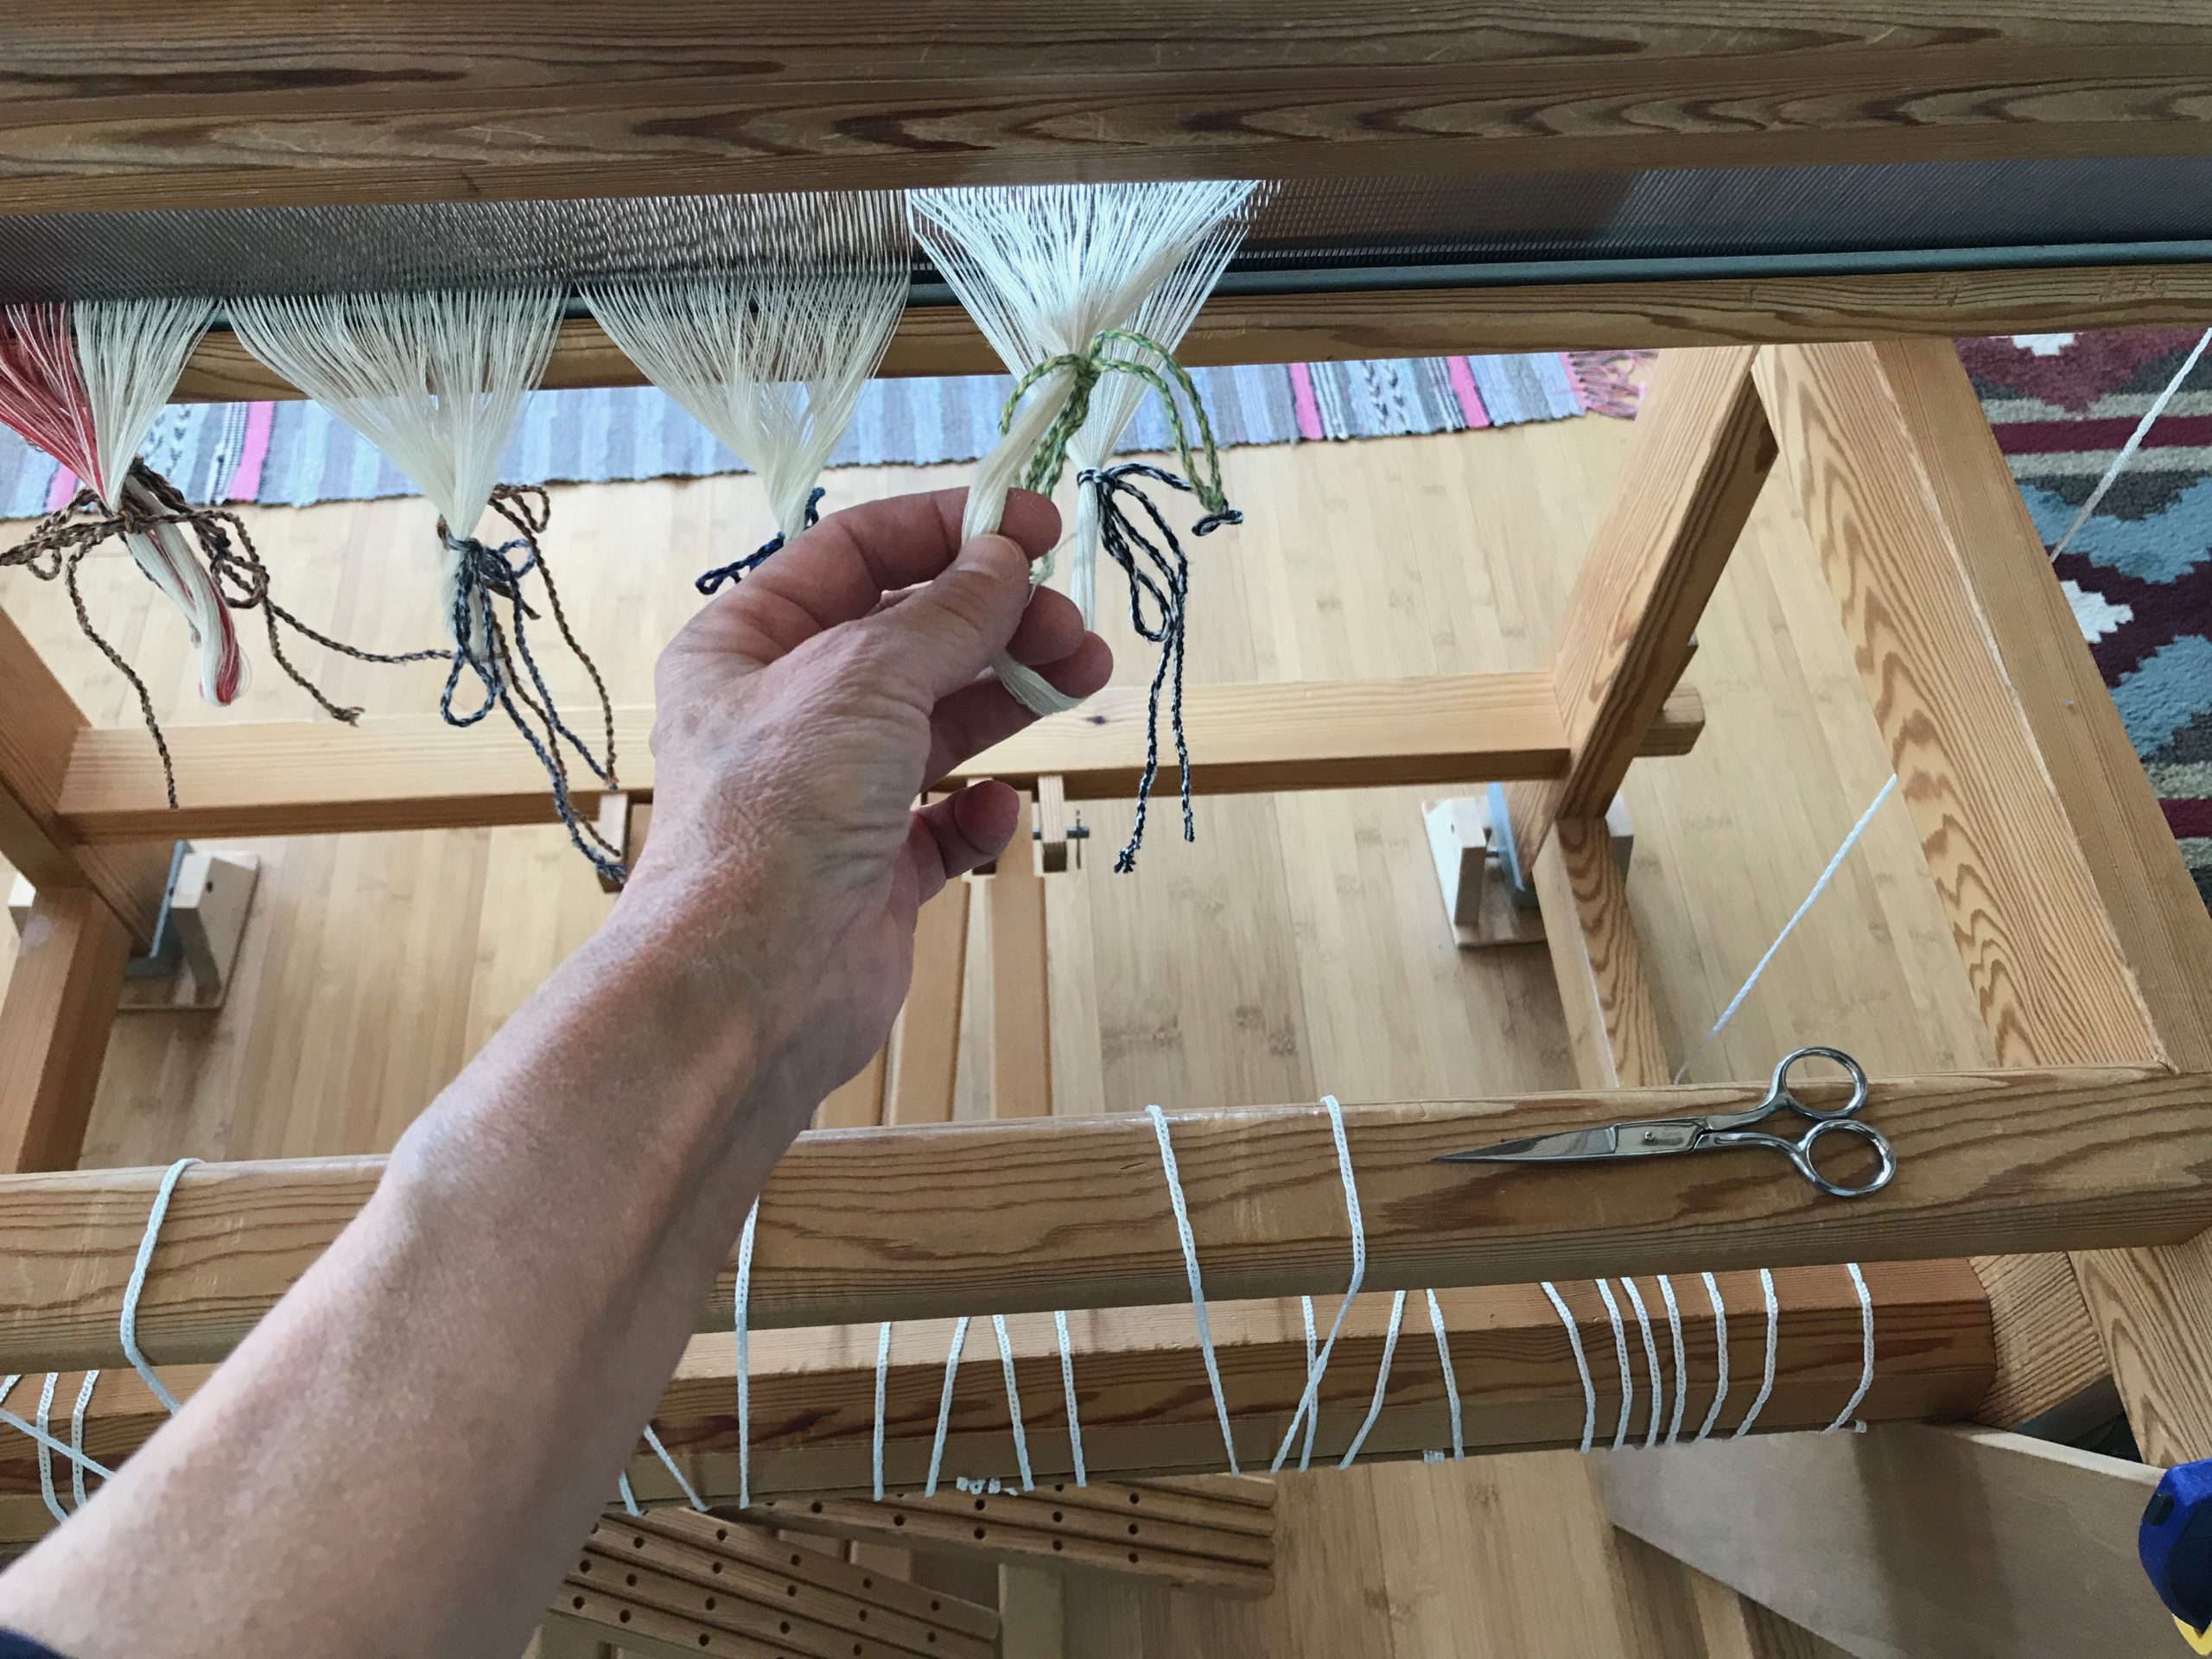
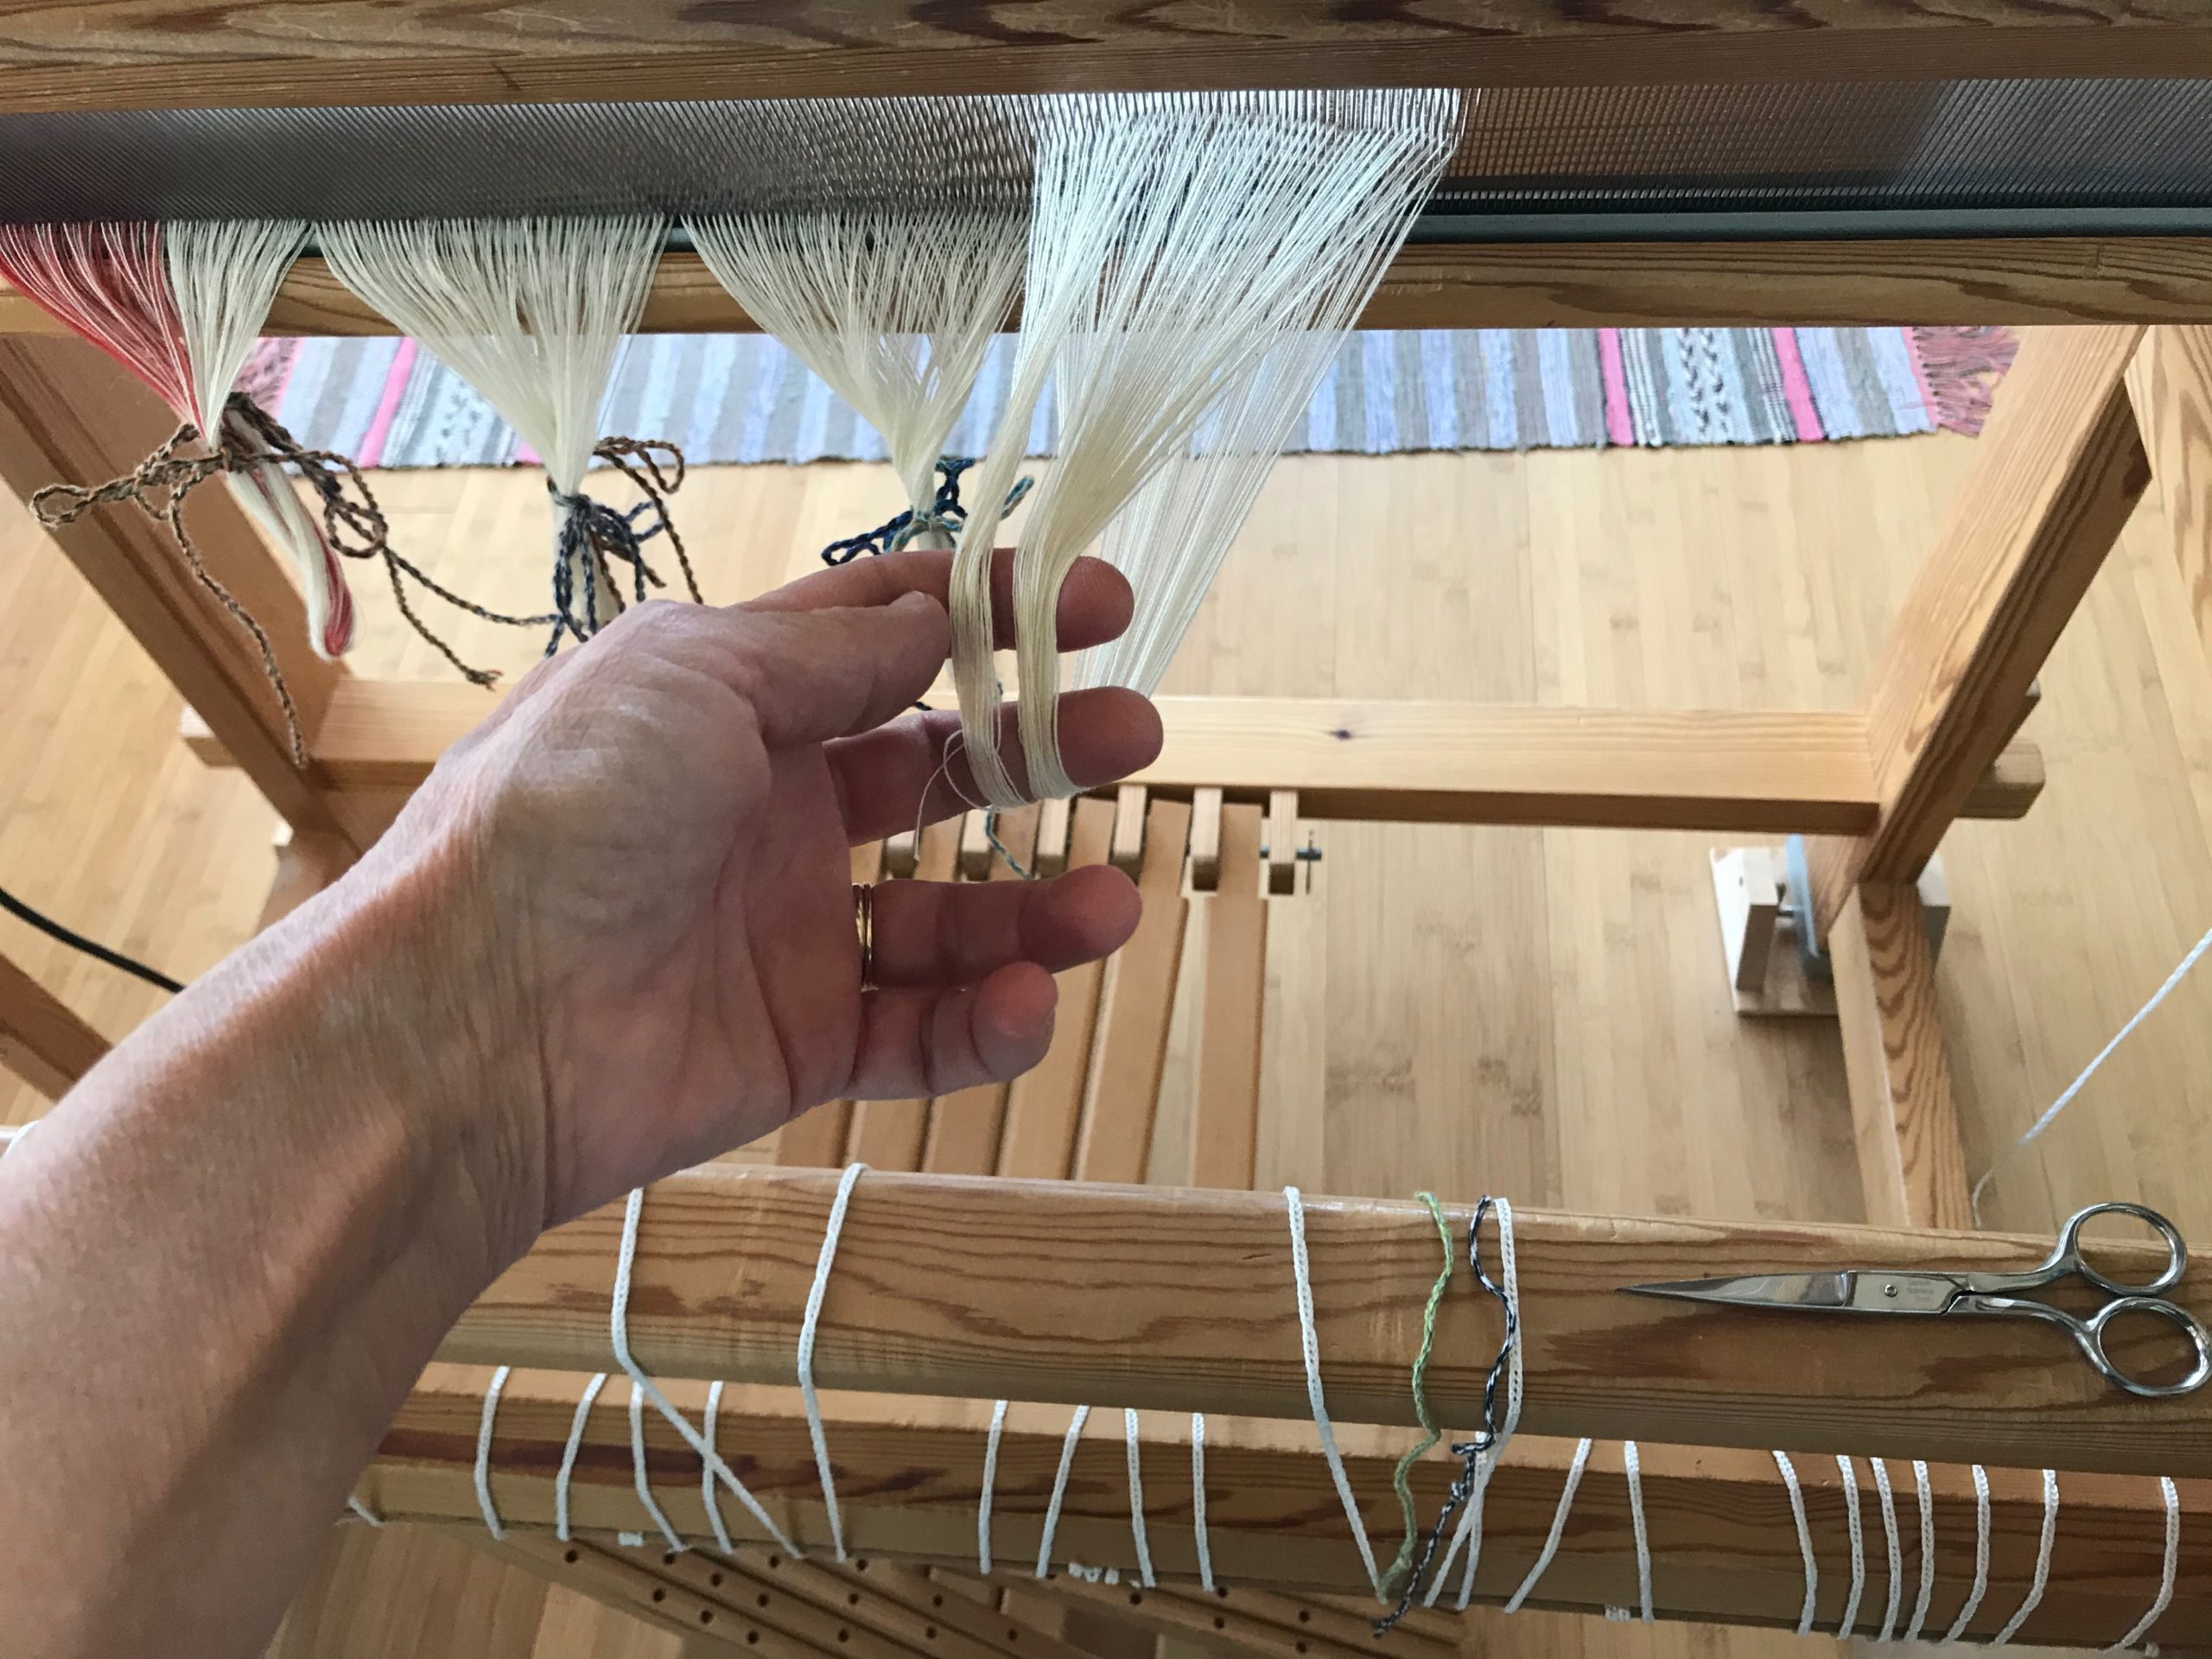
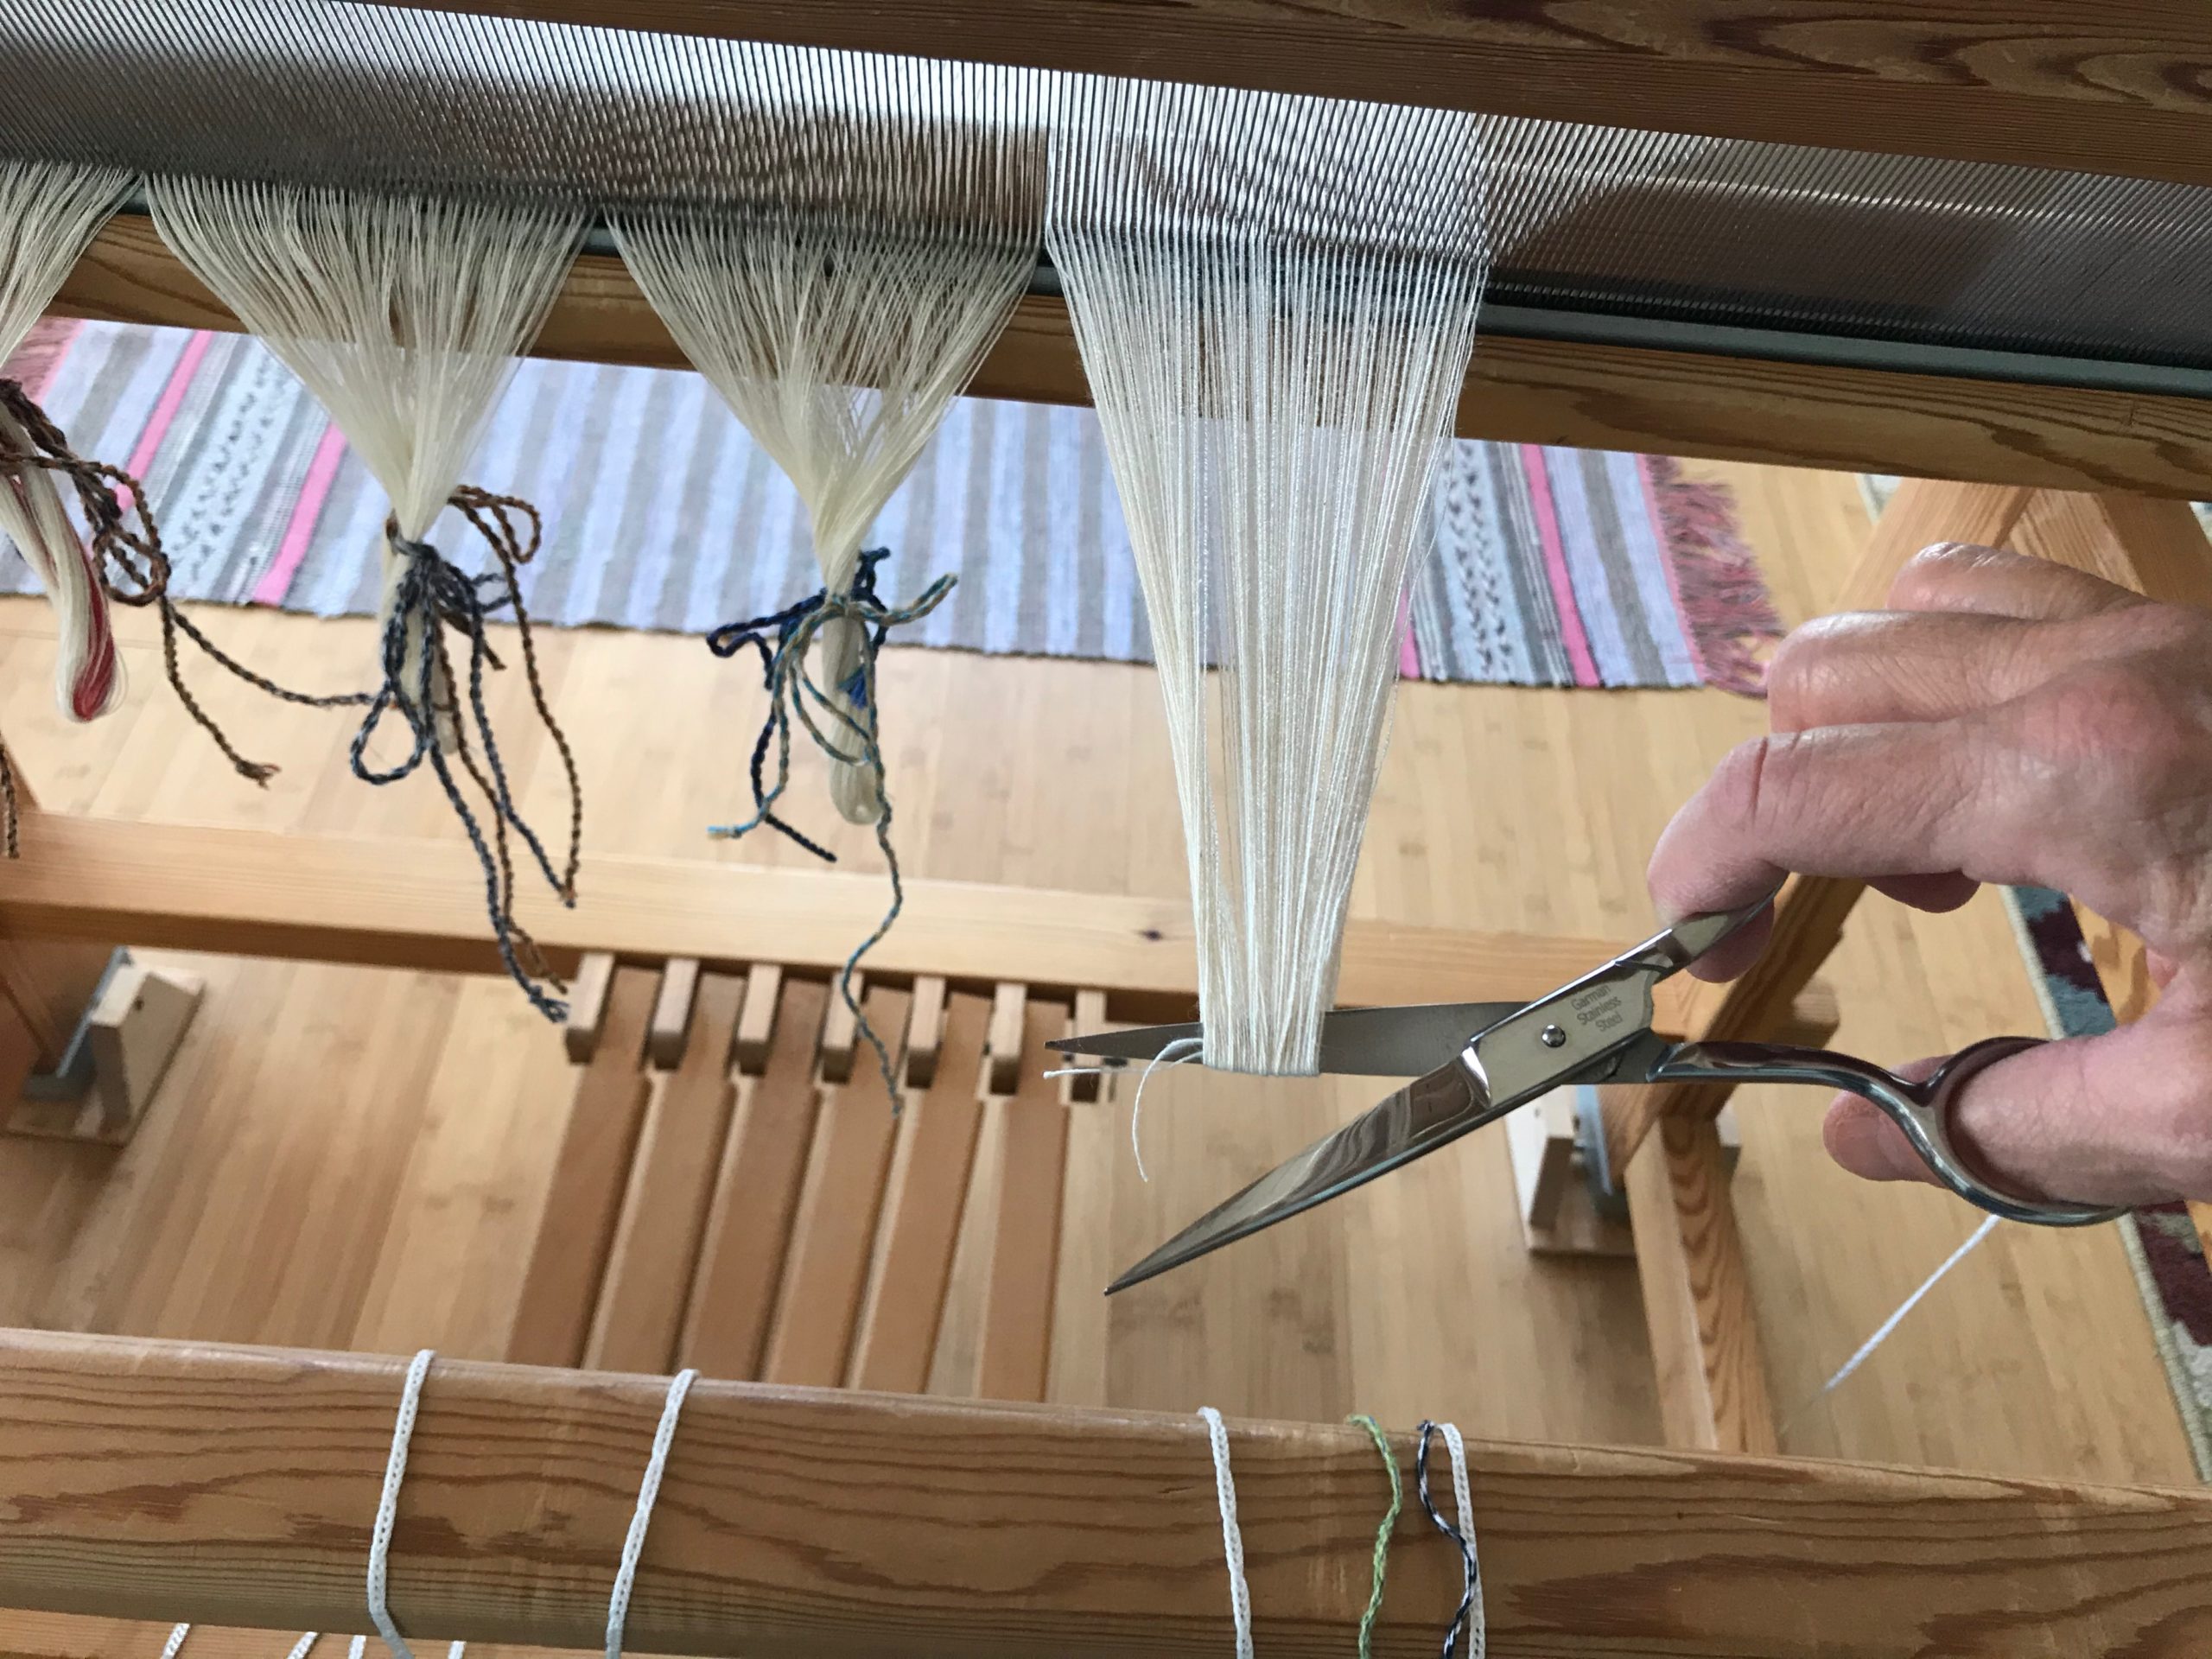
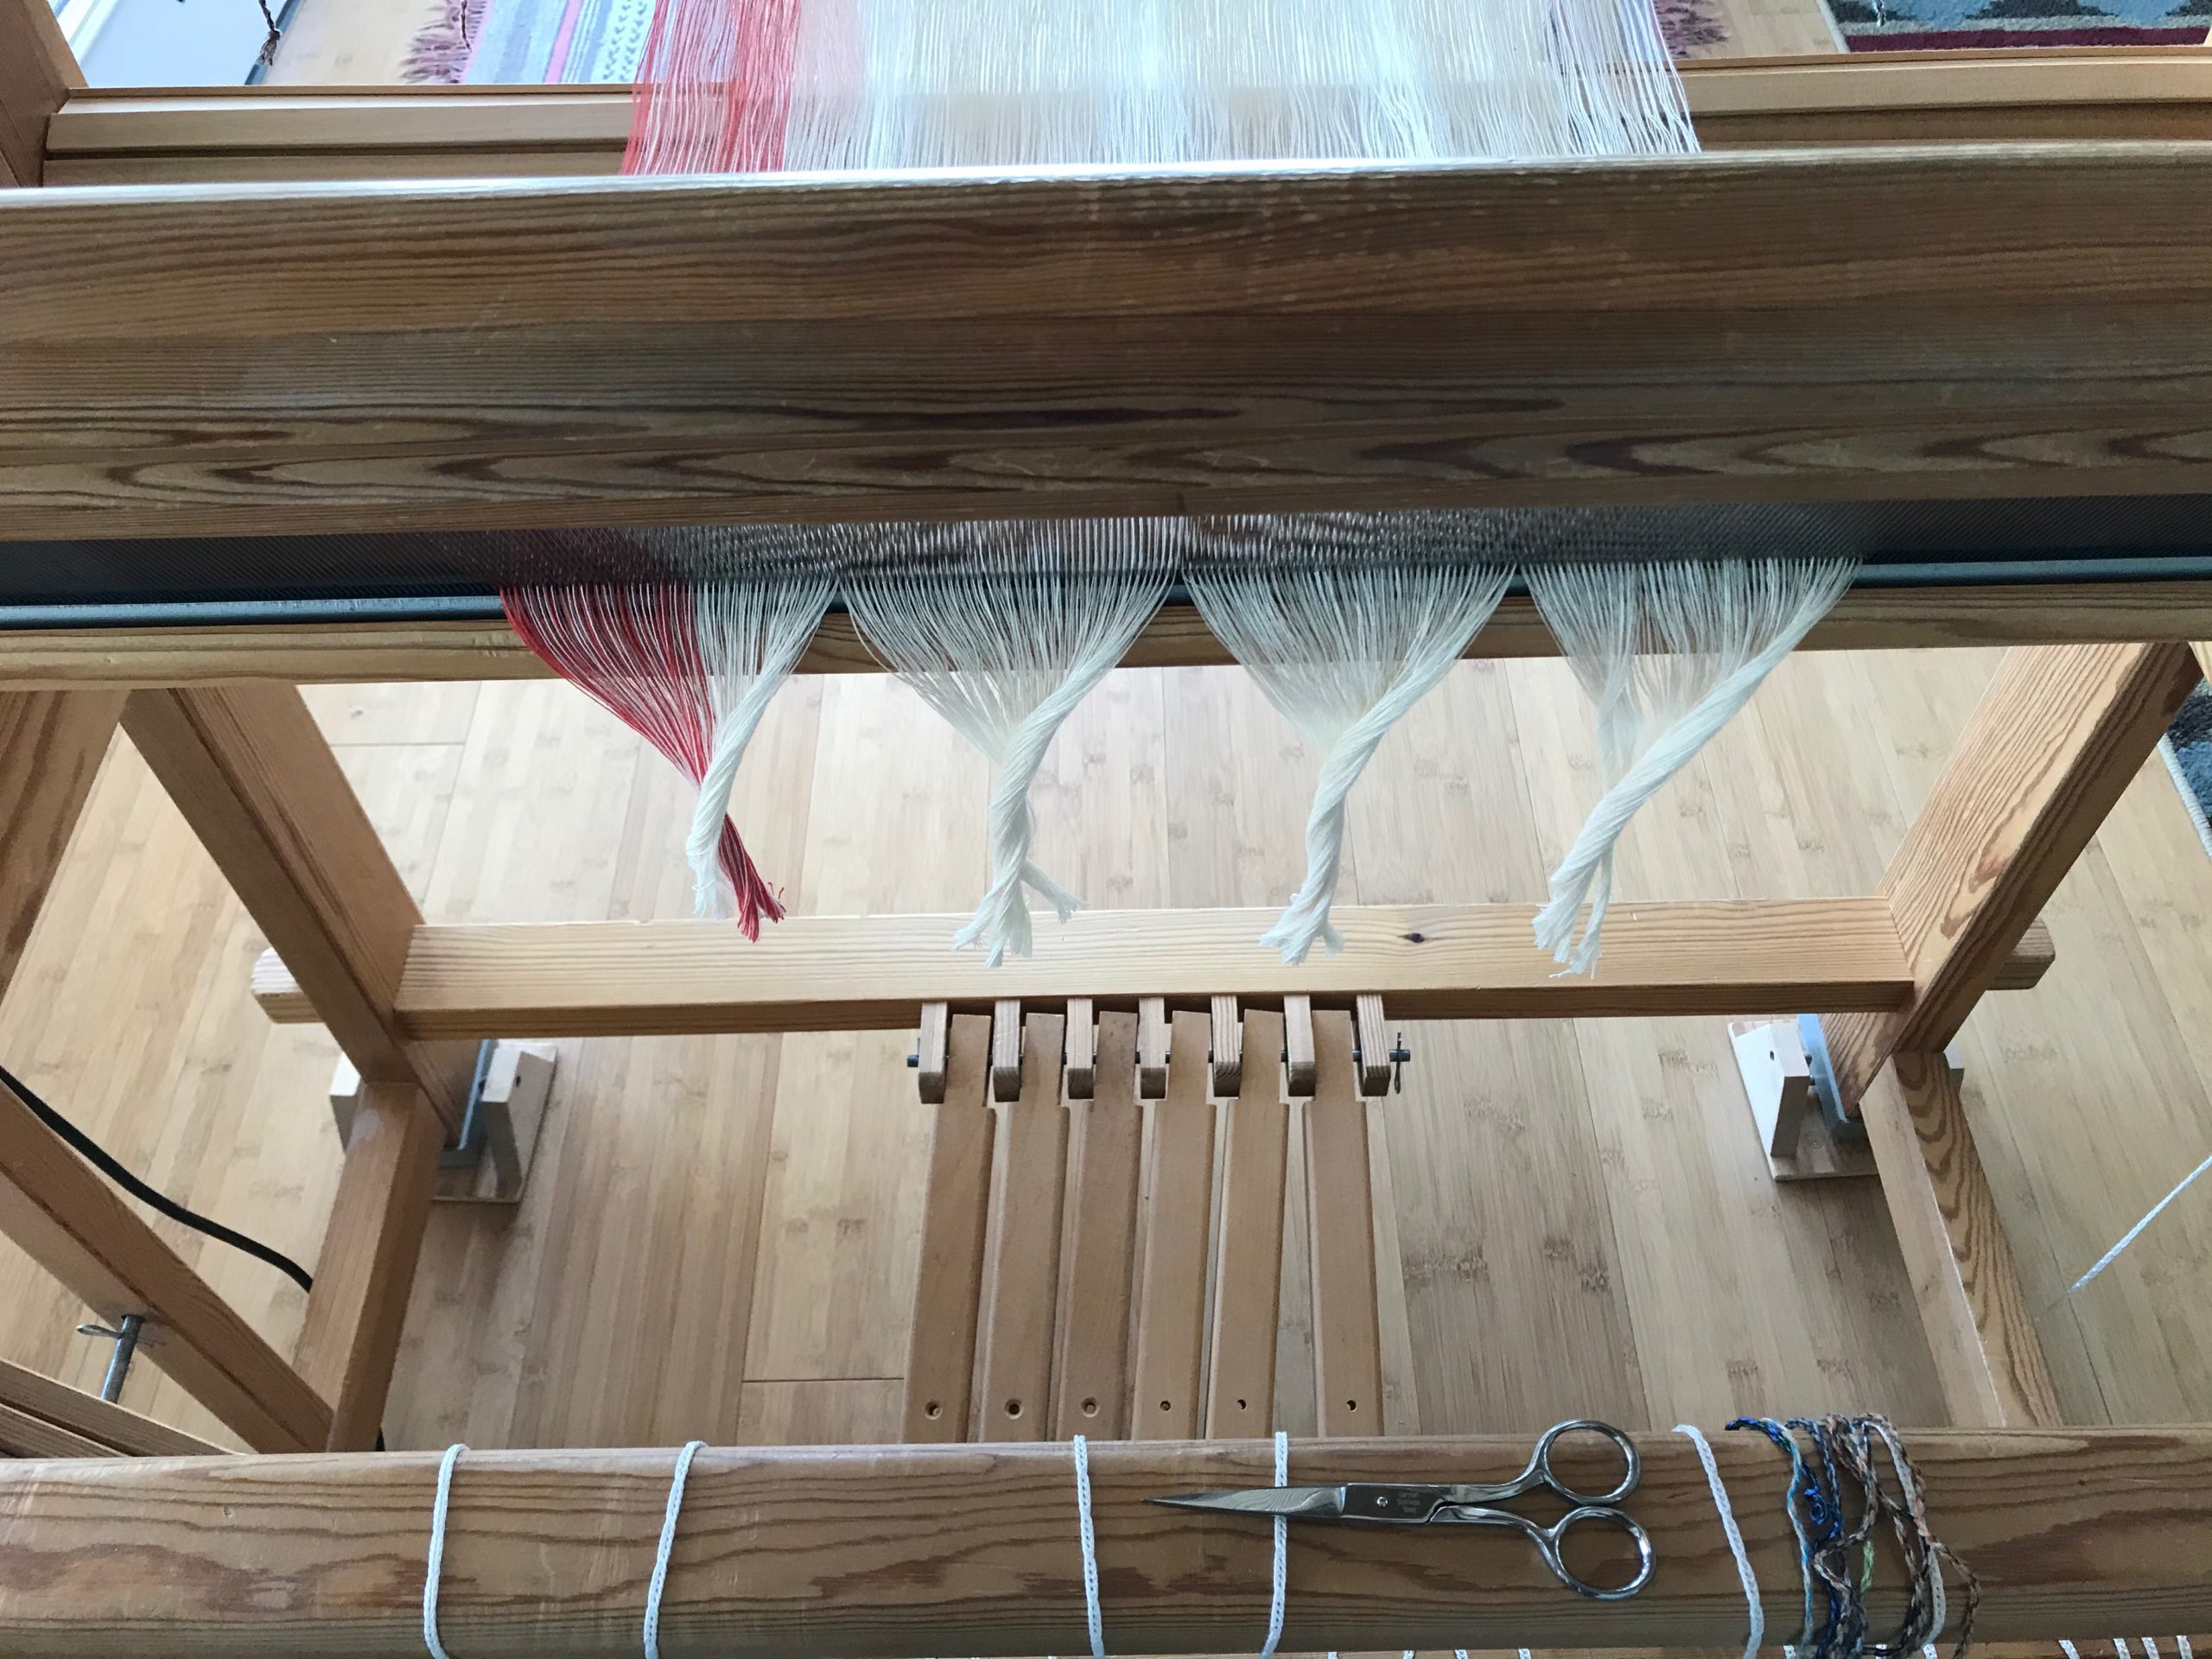
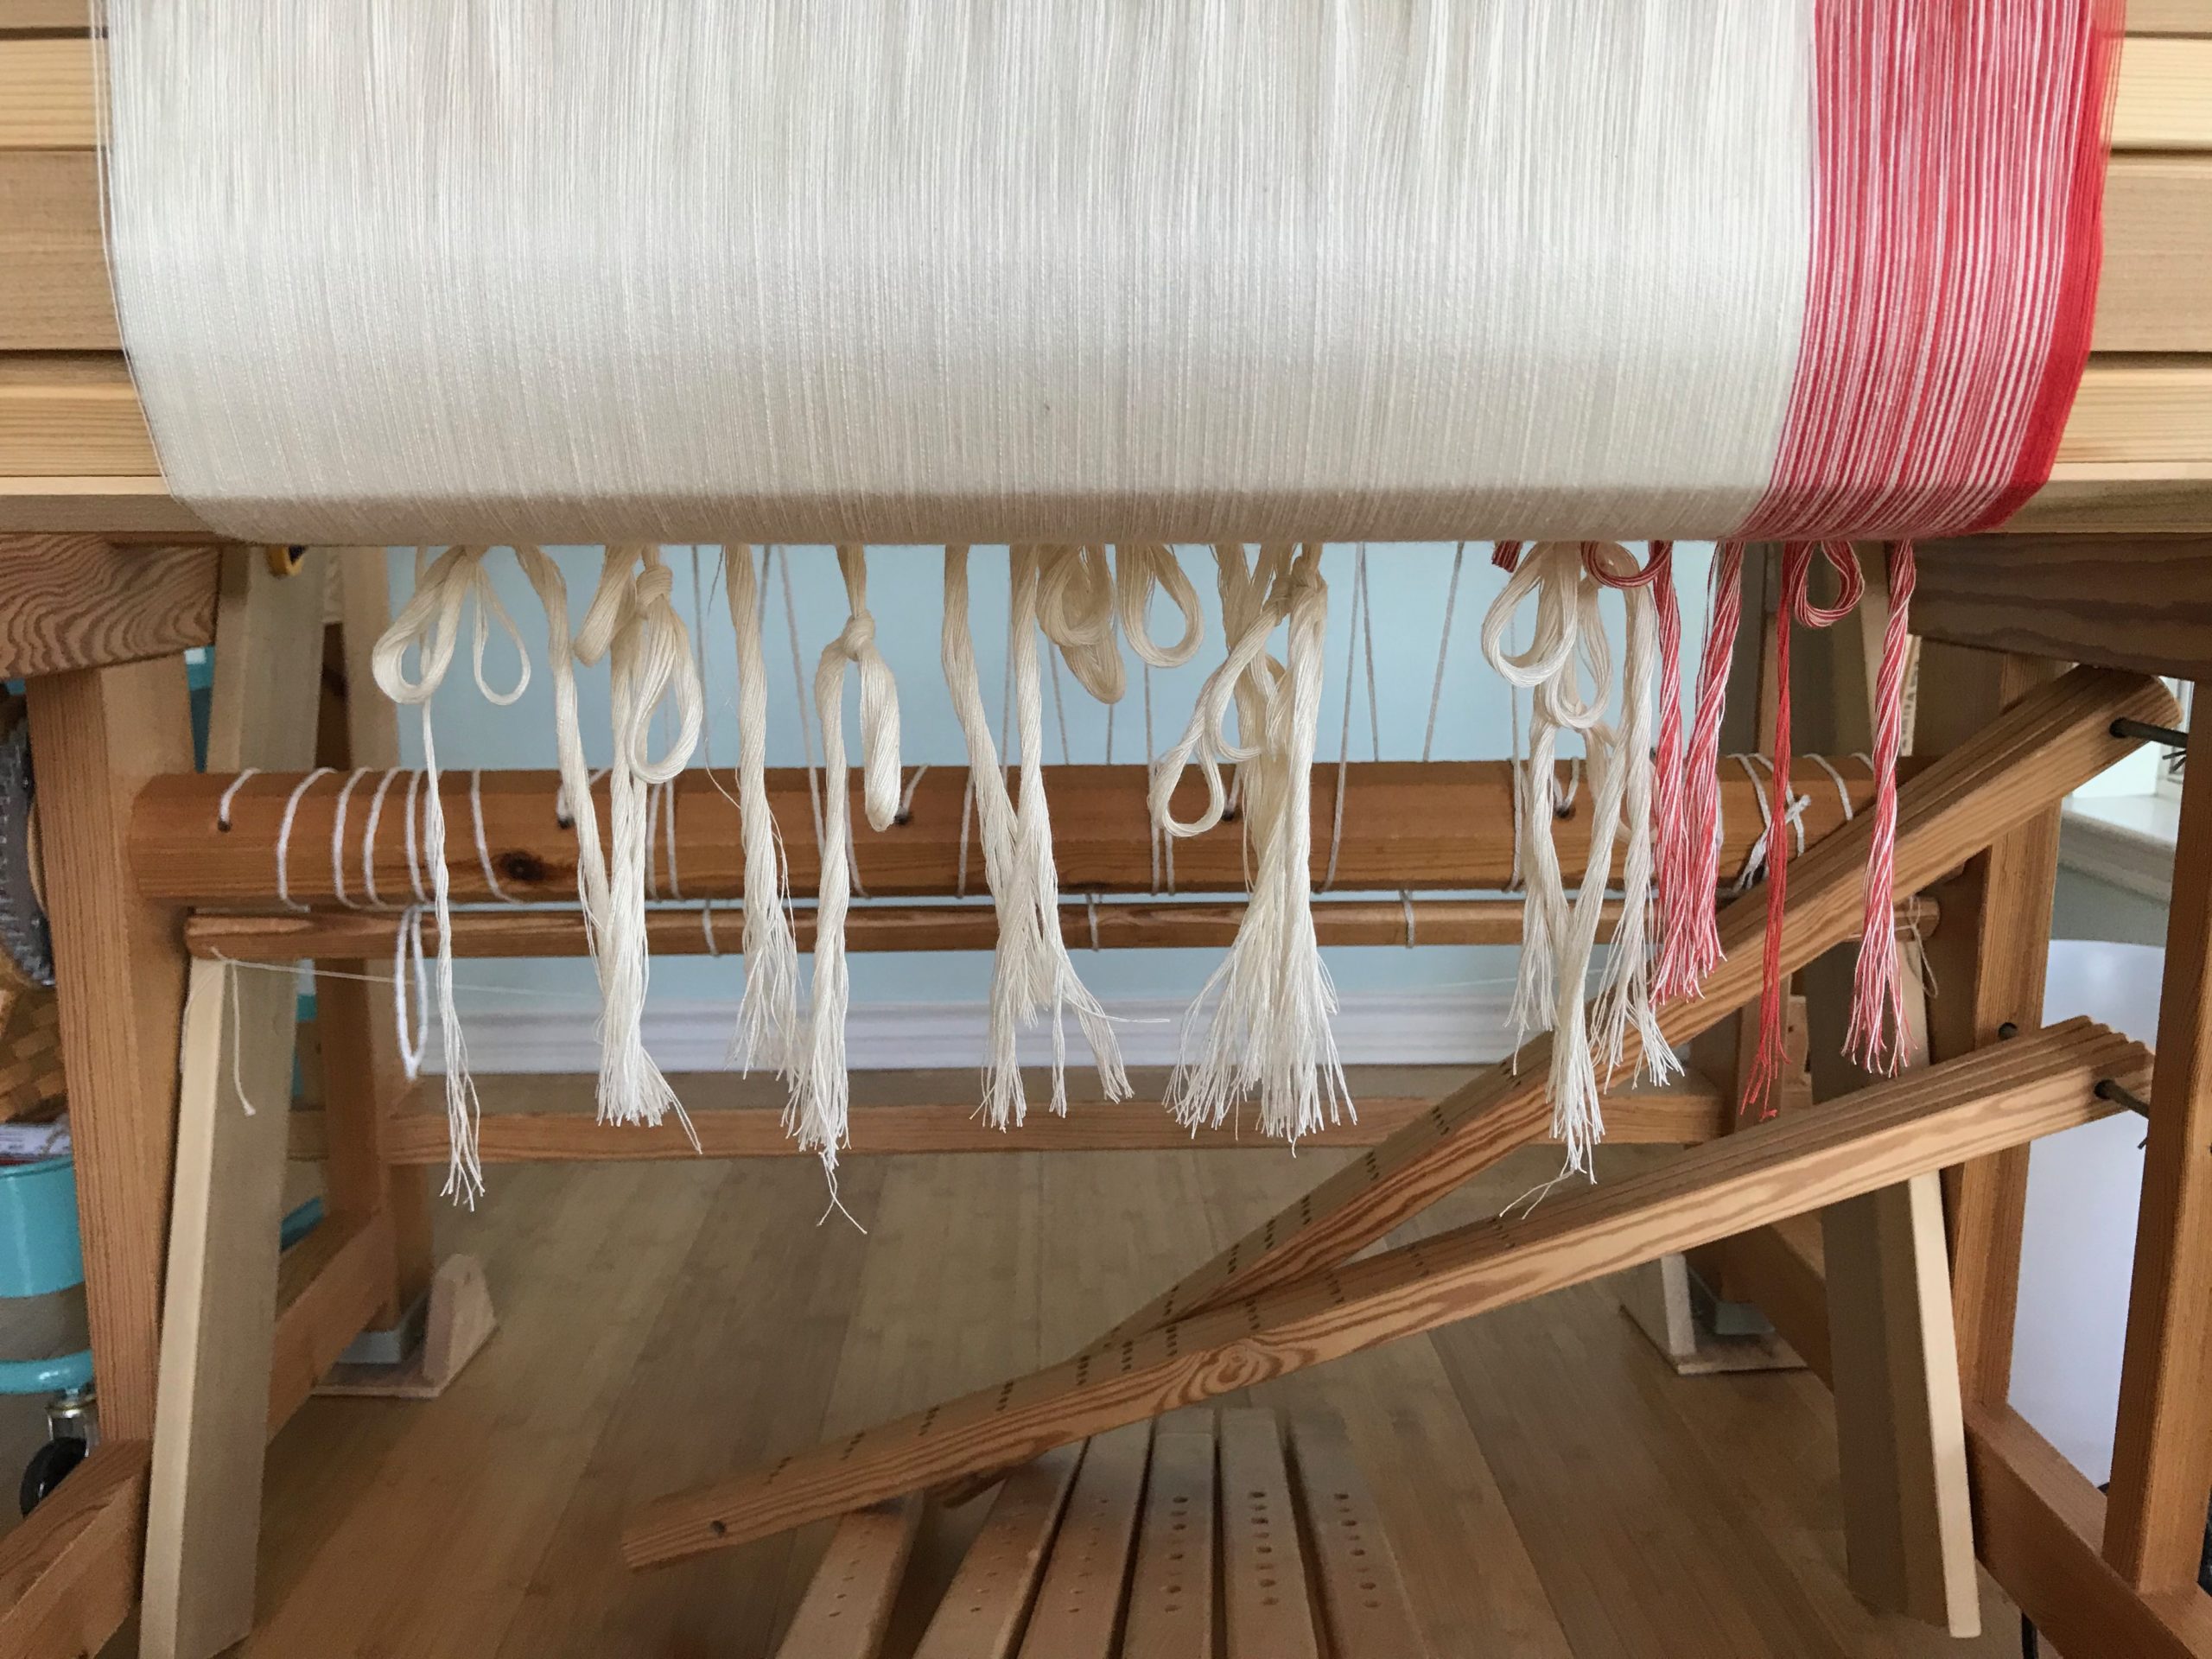
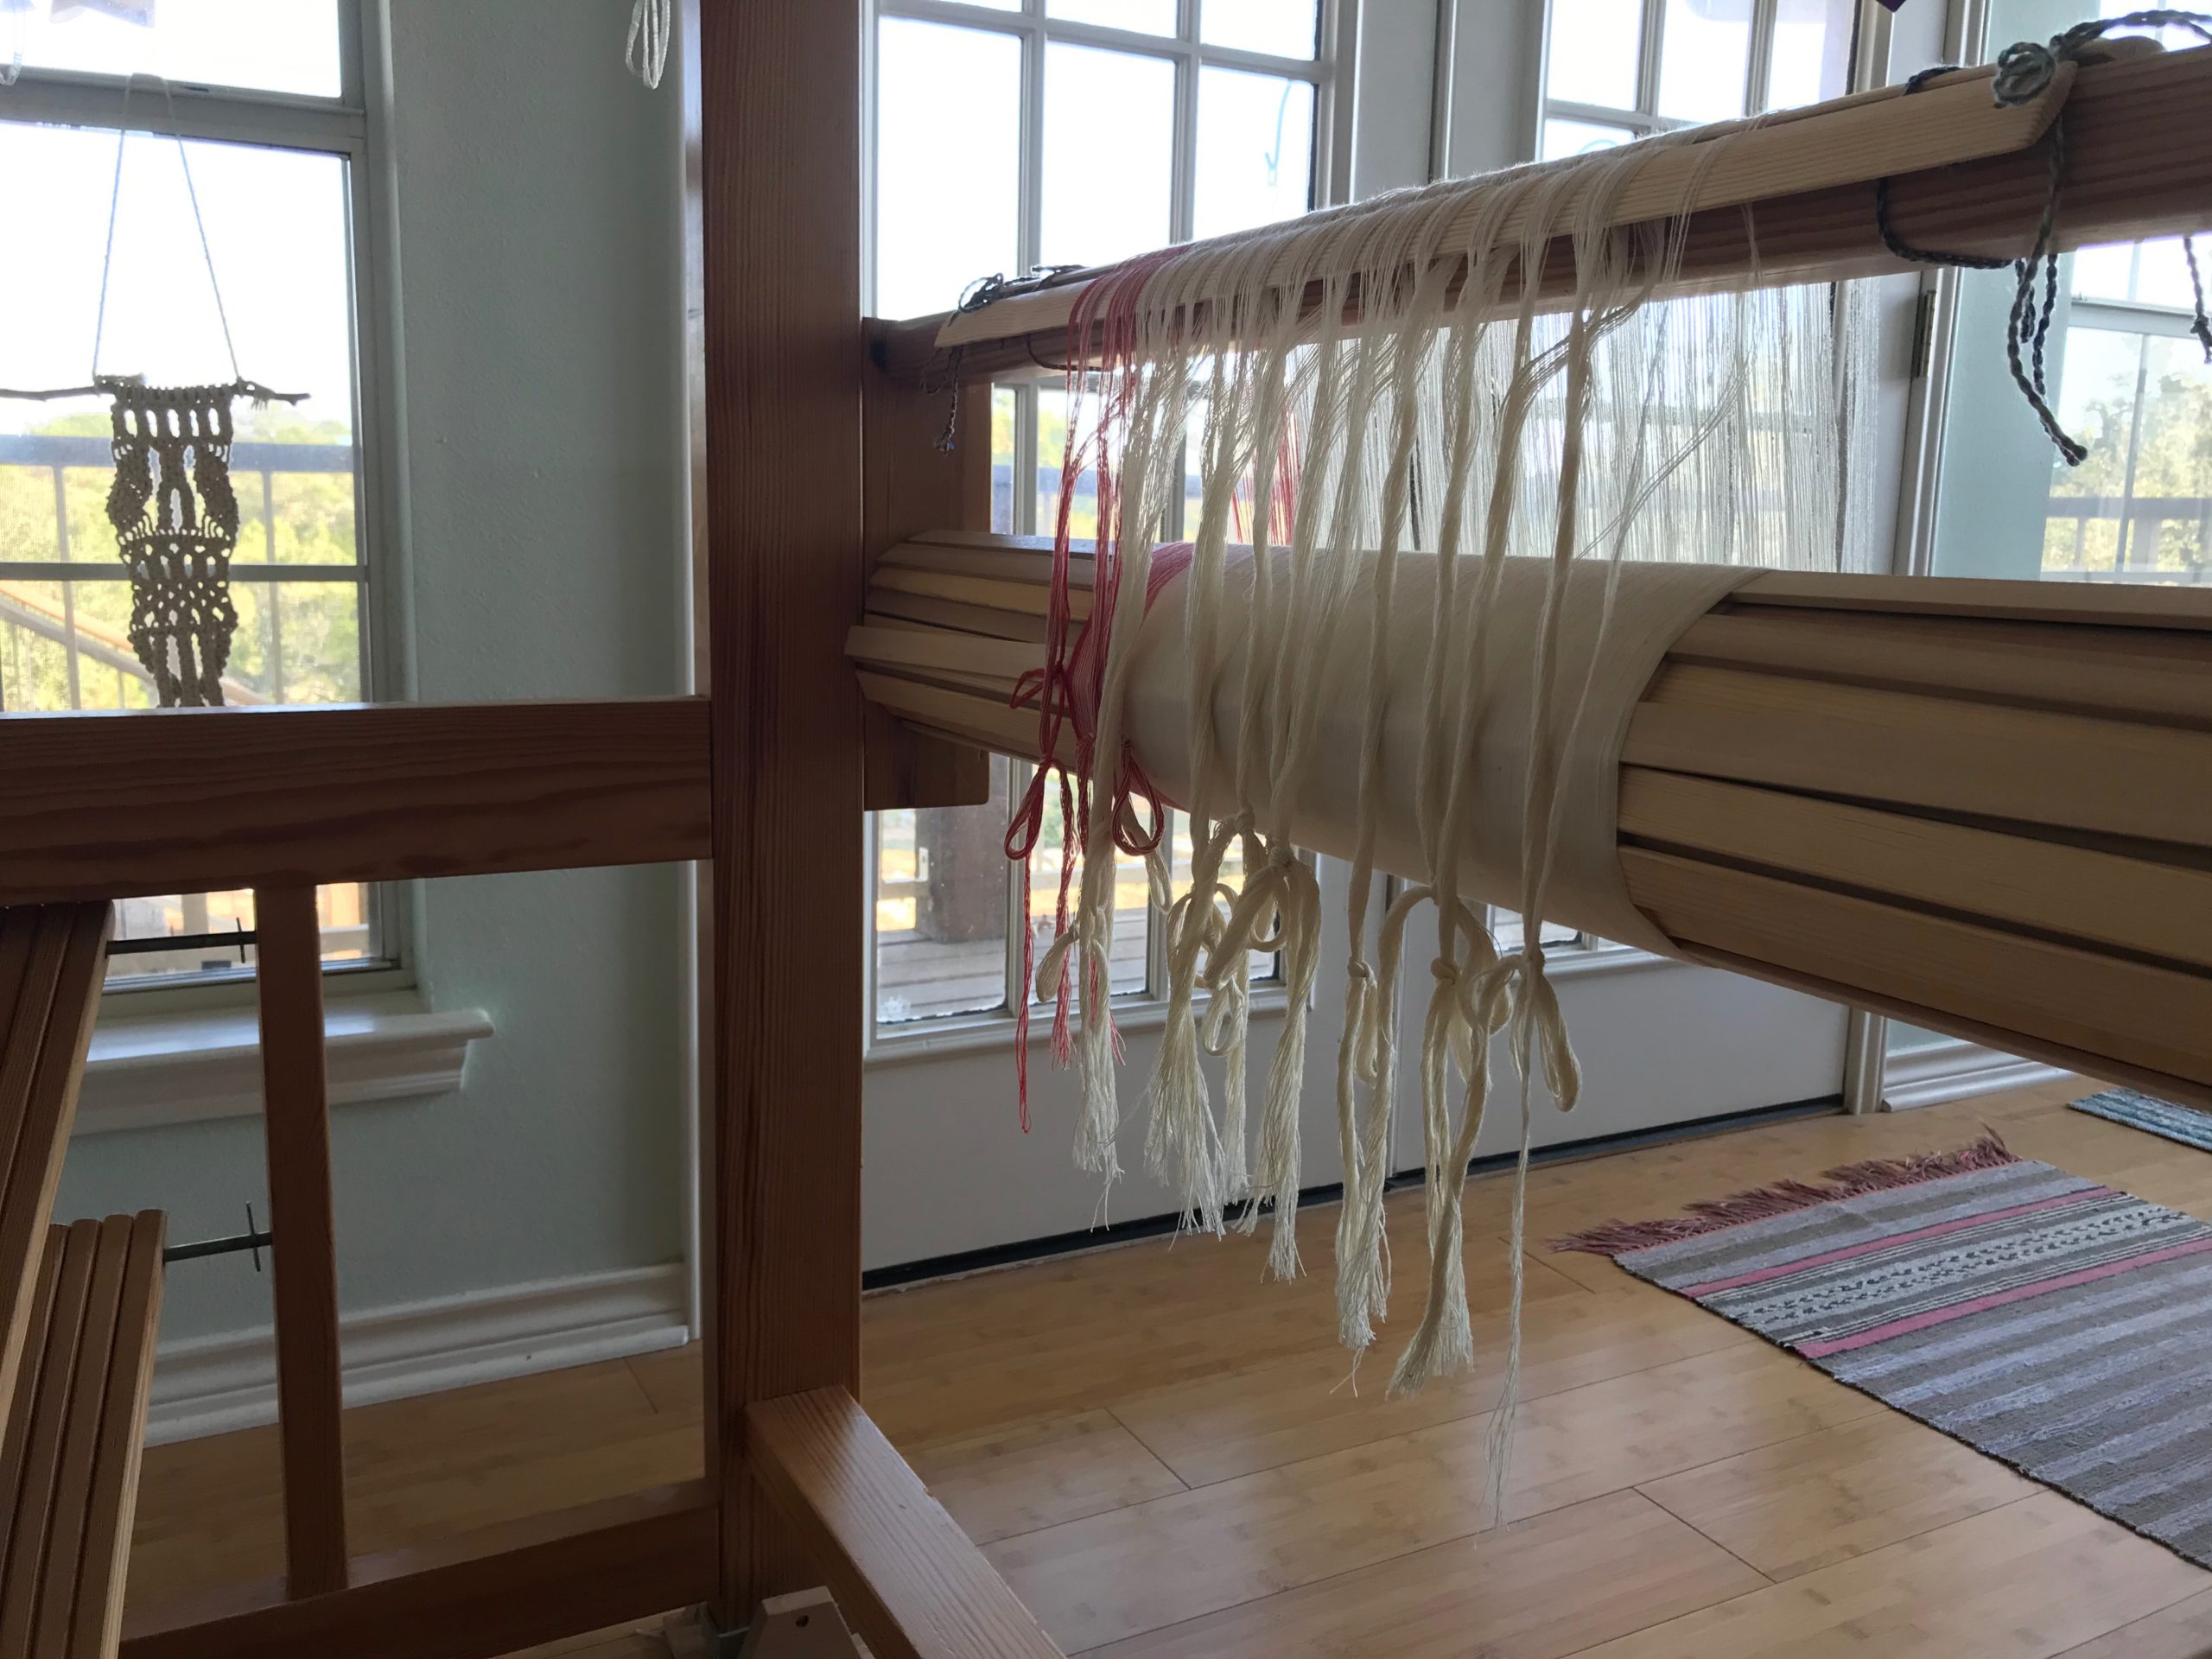
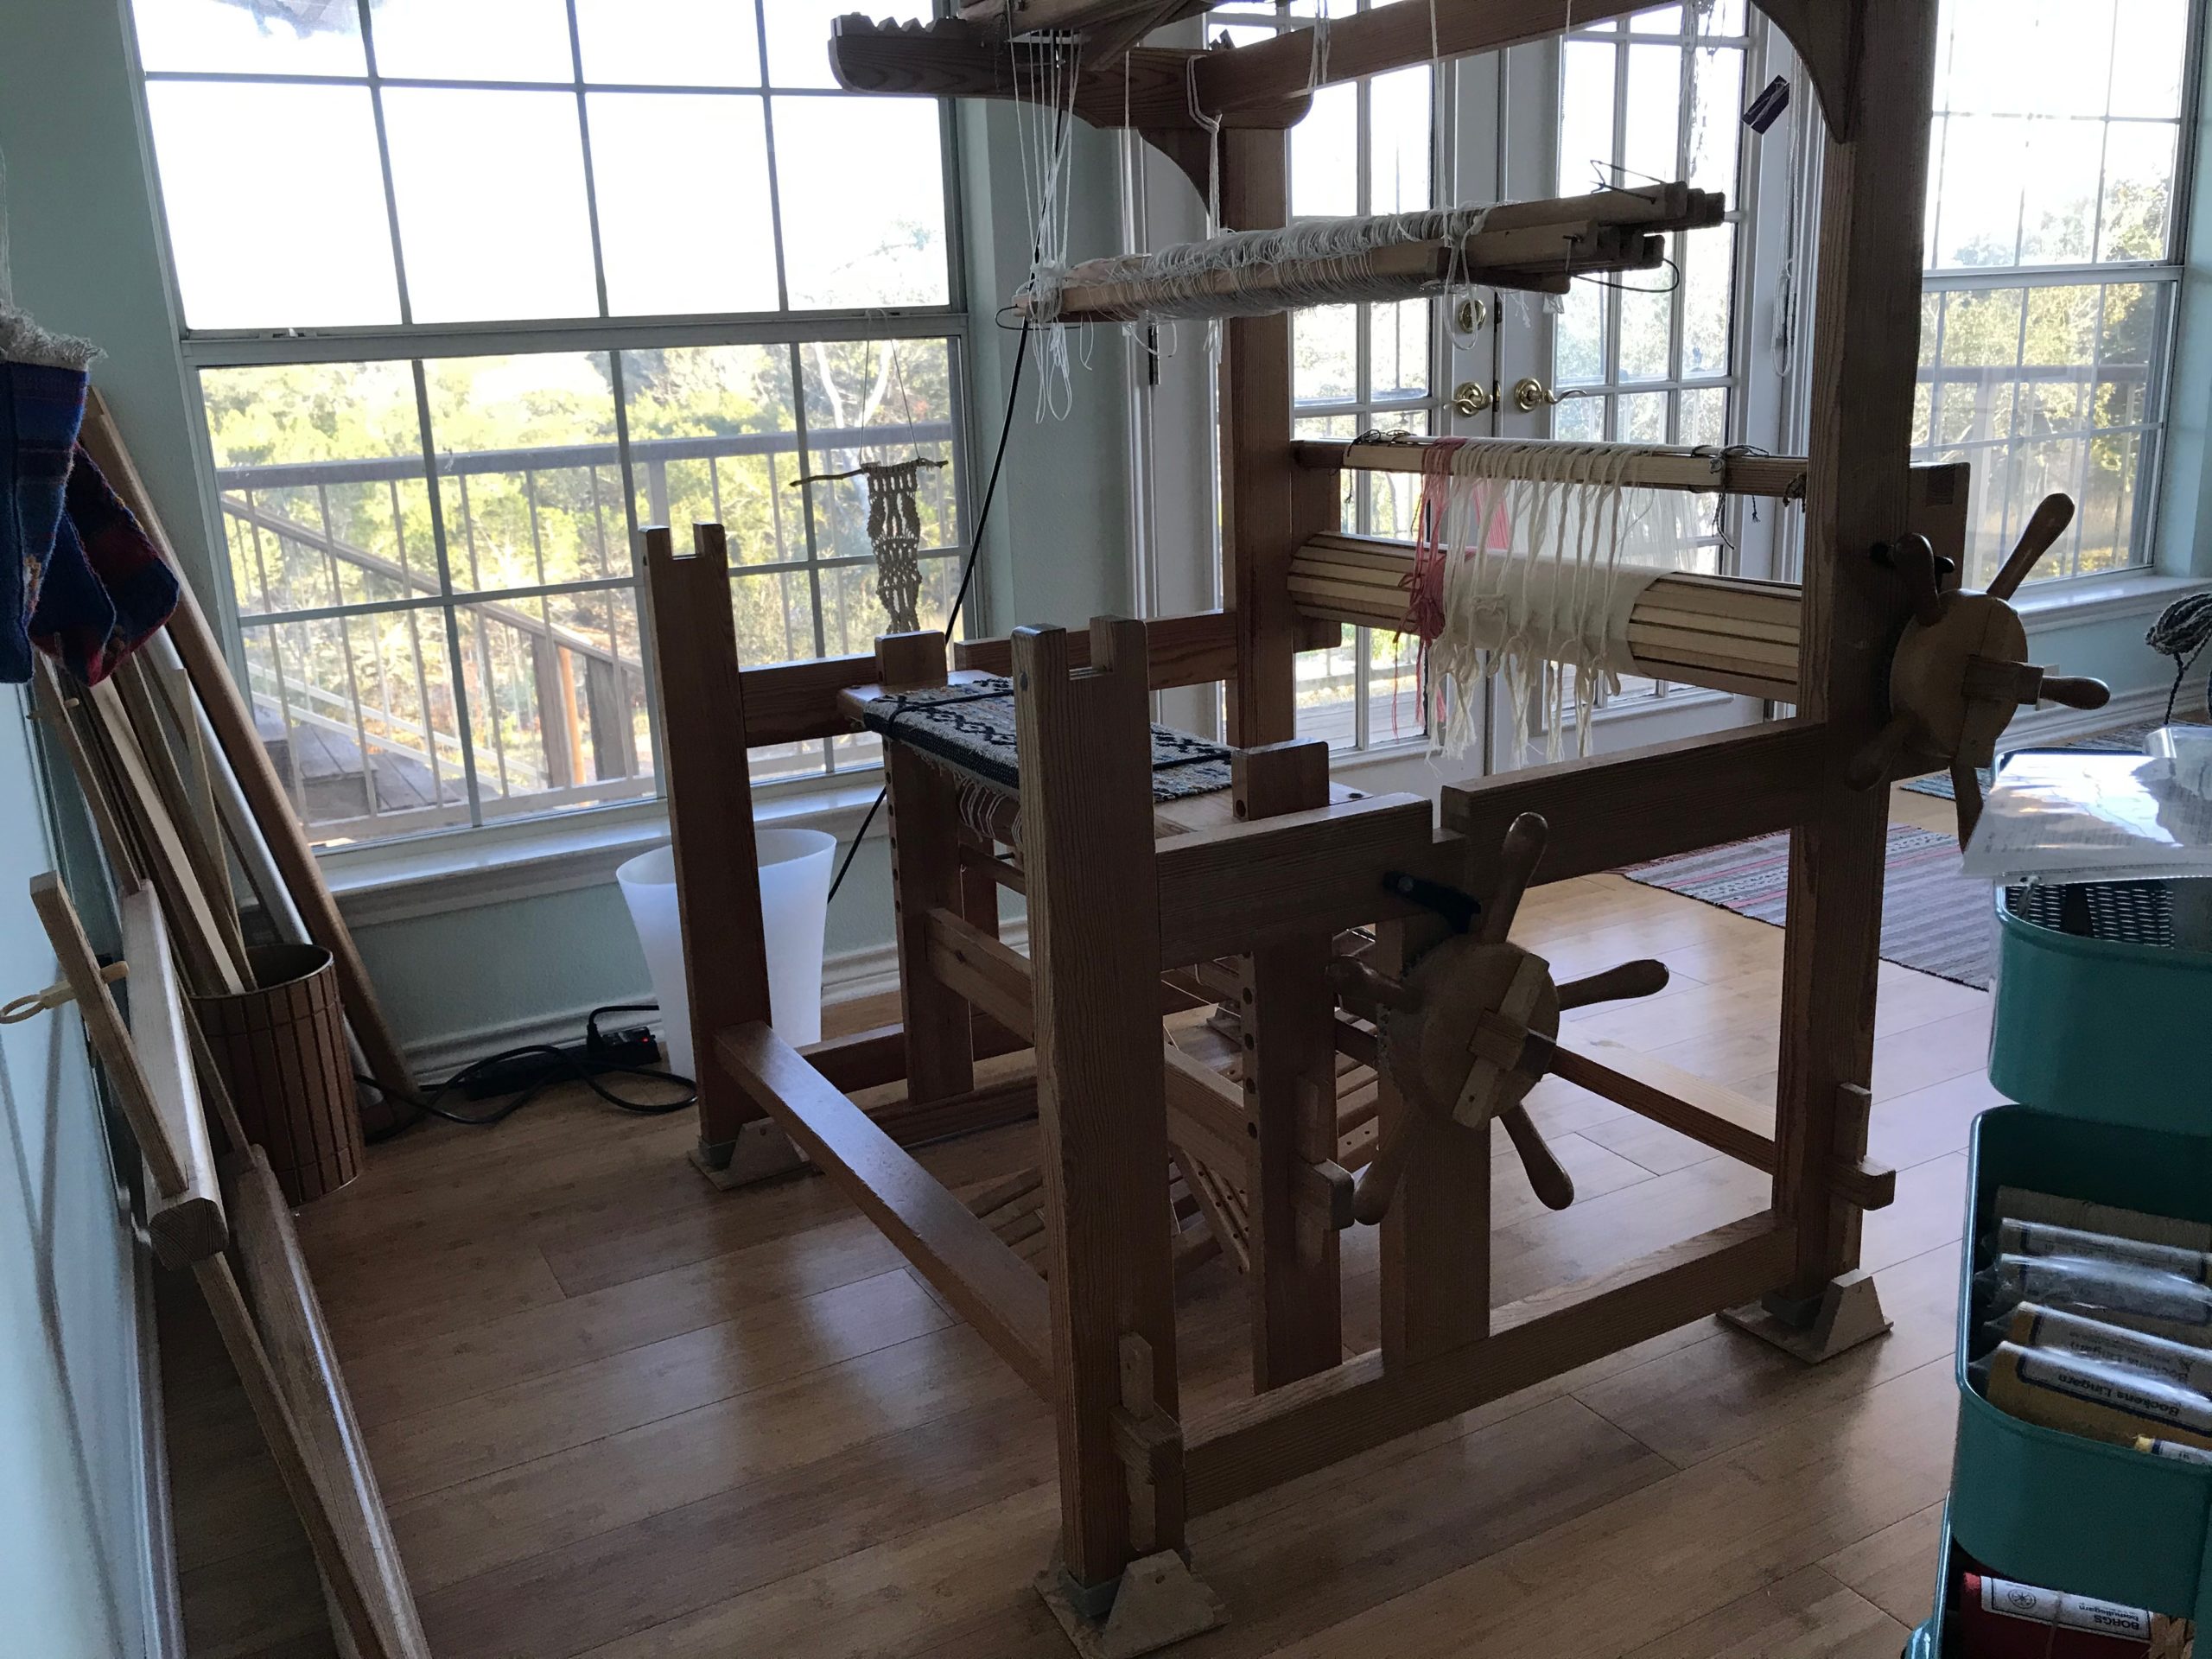
Winding a warp of 24/2 unbleached cotton.Looks like a mess. Pre-sley the reed to spread the warp. Two sets of lease sticks. Narrow gray stripes of 16/2 cotton are inserted between the unbleached ends. Somehow, it all works out…All the end loops are on the back tie-on bar, and ends from two lease sticks have been transferred to one set of lease sticks. Ready to beam the warp!Just about set to beam.My usual two-pound weights are just right for most of the warp bouts, but I need a one-pound weight (large coffee mug) for one smaller bout, and two 1/2-pound weights (tube of thread in a small bag) for the small bouts of gray warp ends. Whew! Is it all going to work??Now…everything is ready!It’s working. Just look at that beautiful warp!
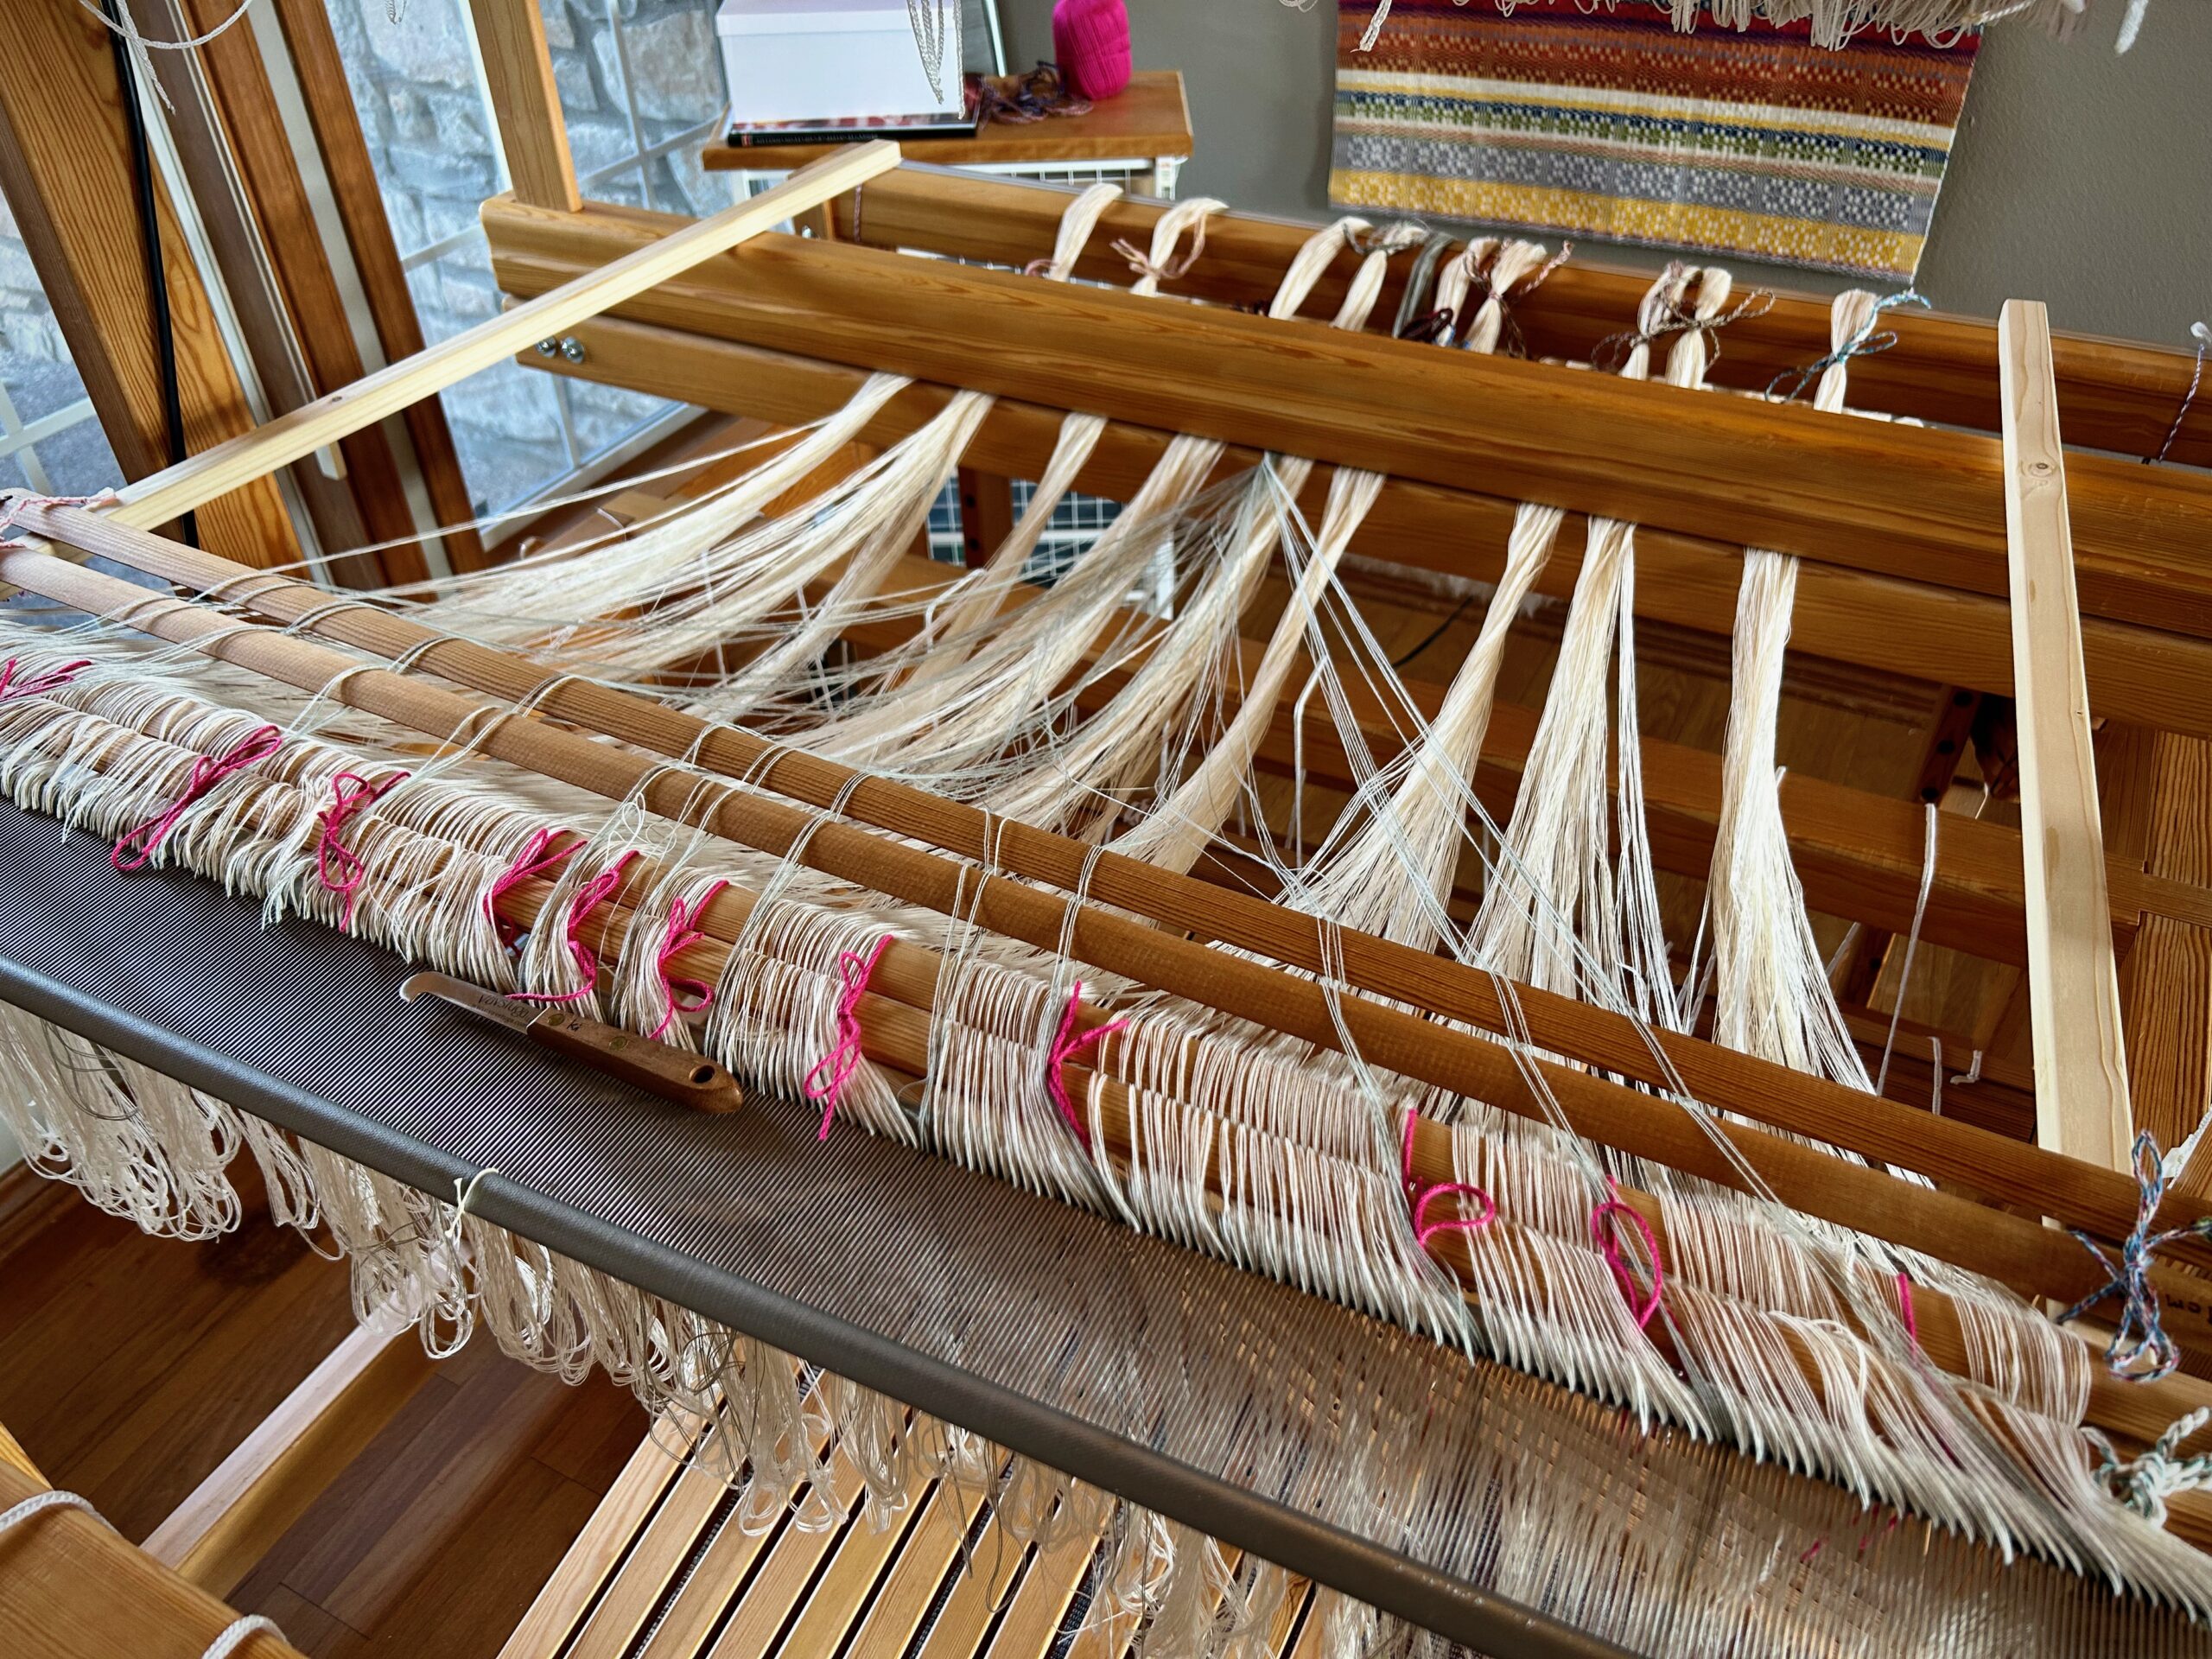
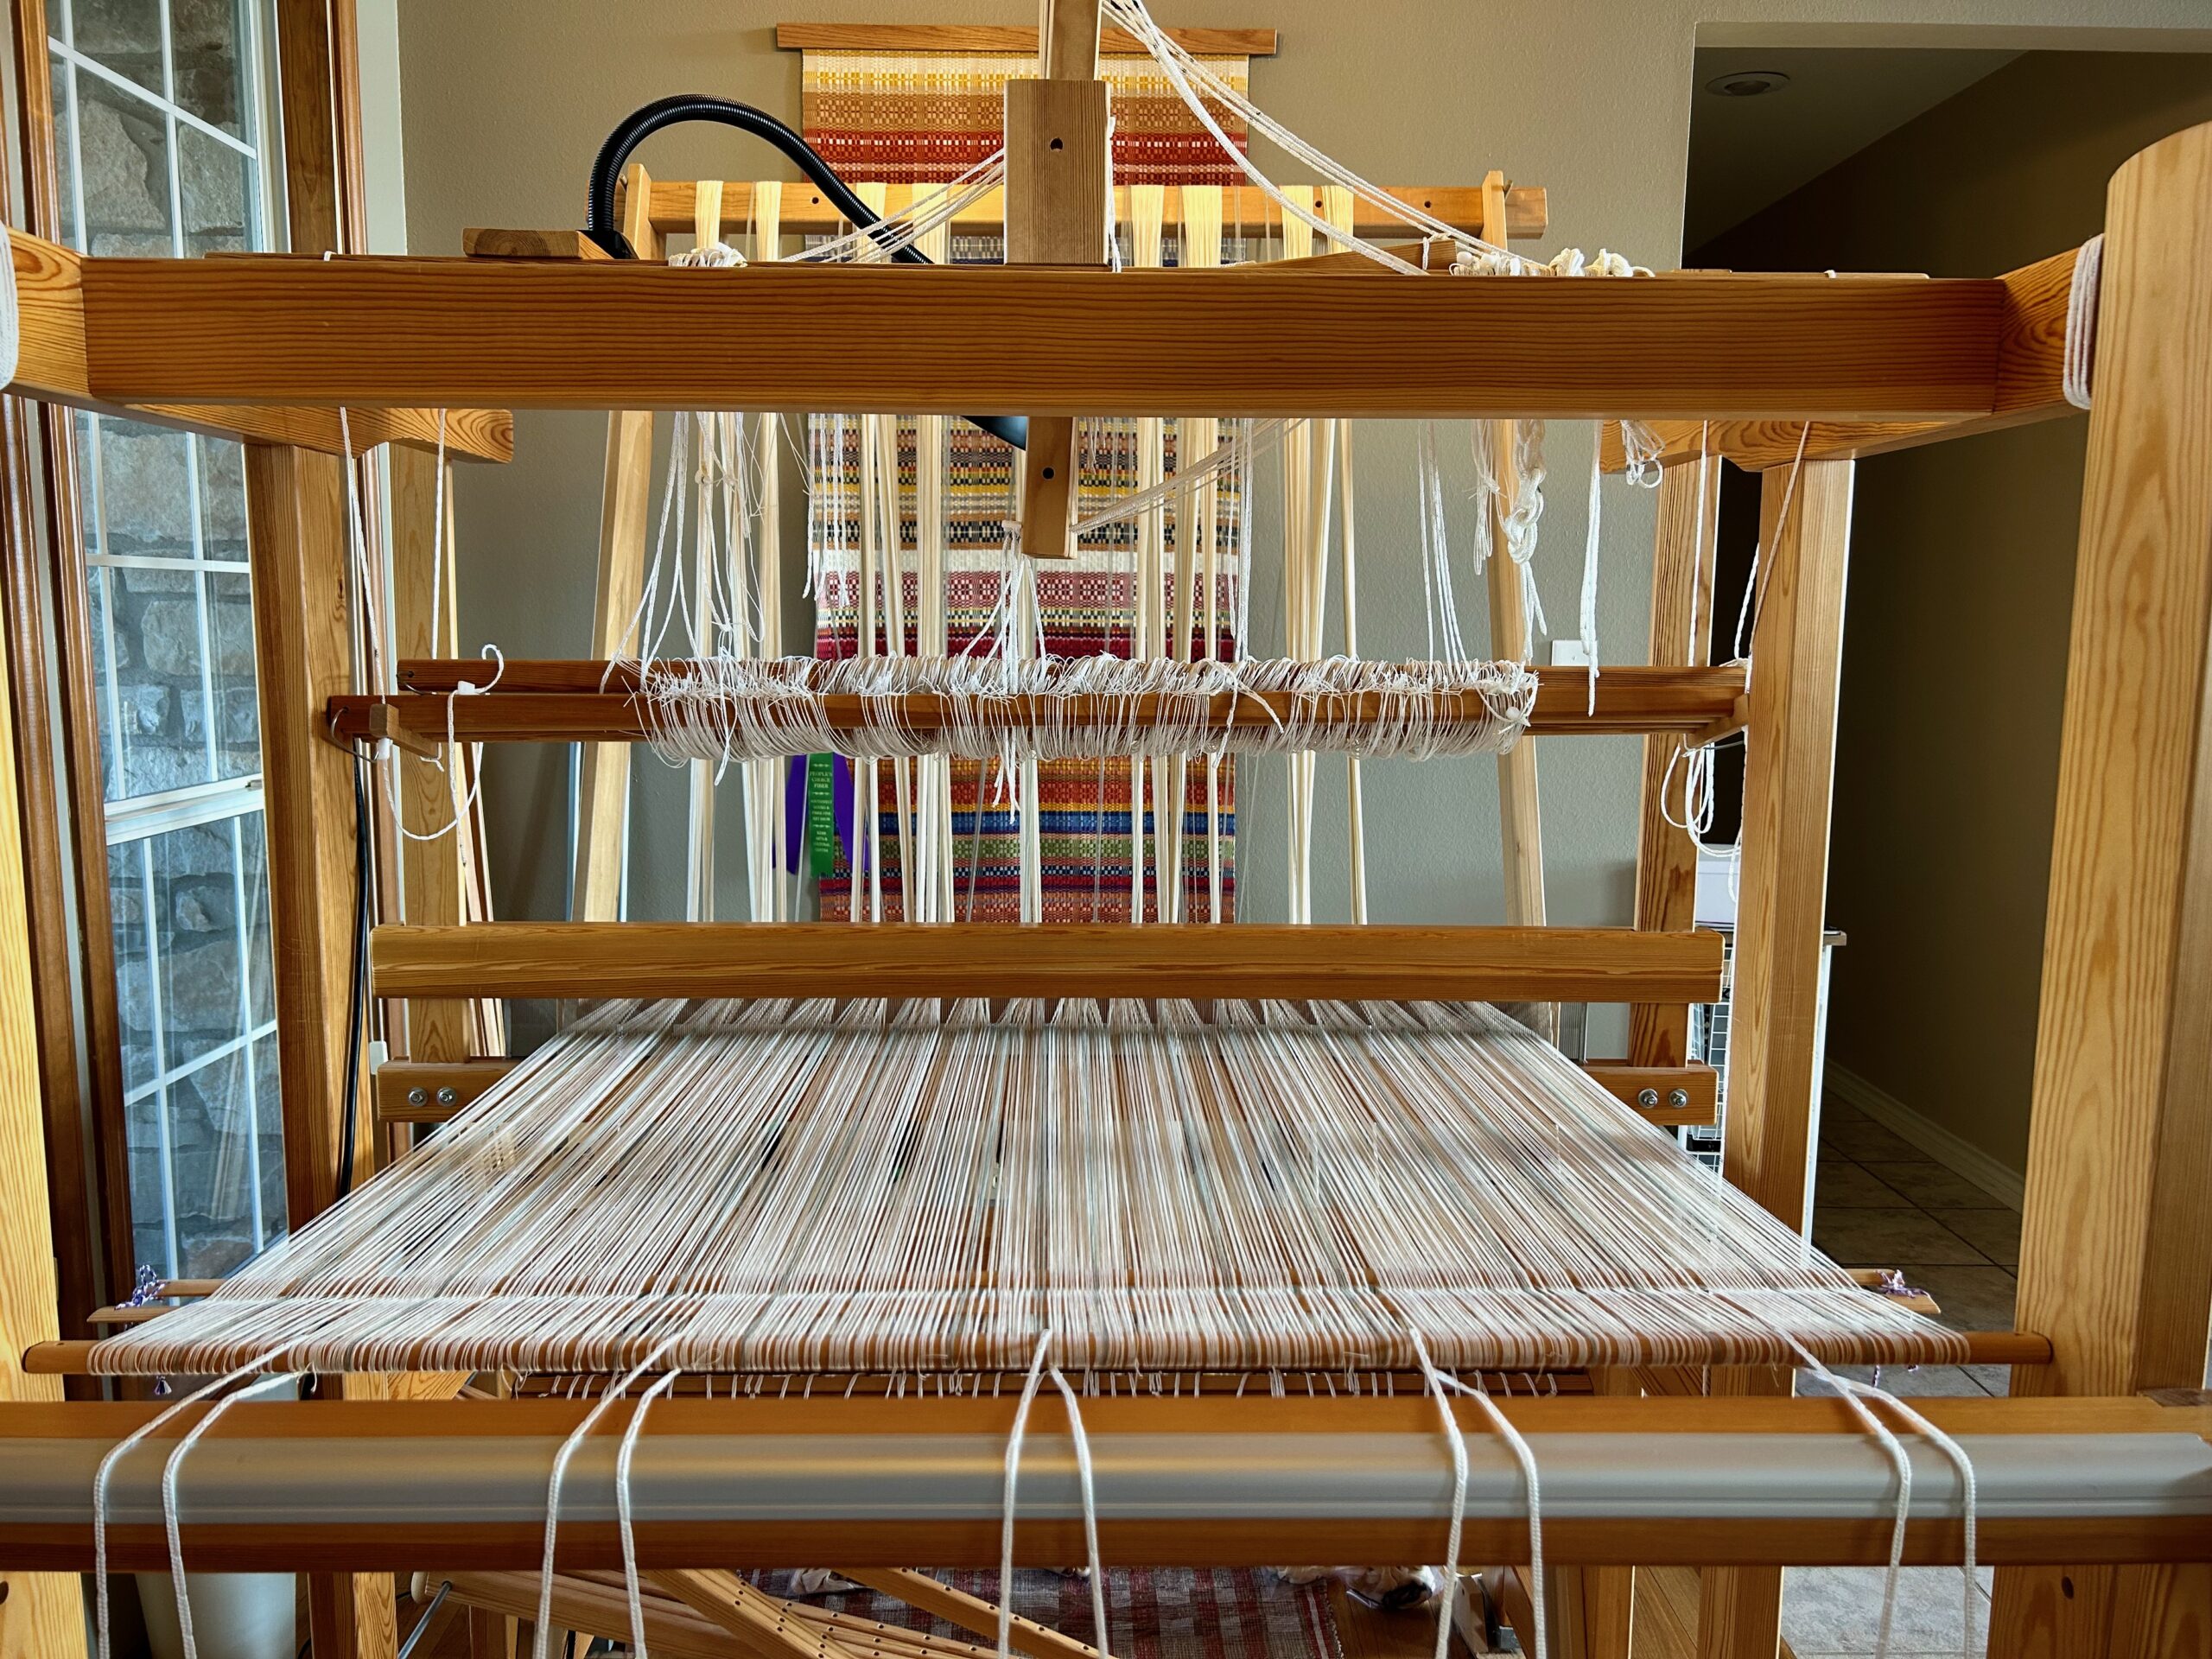
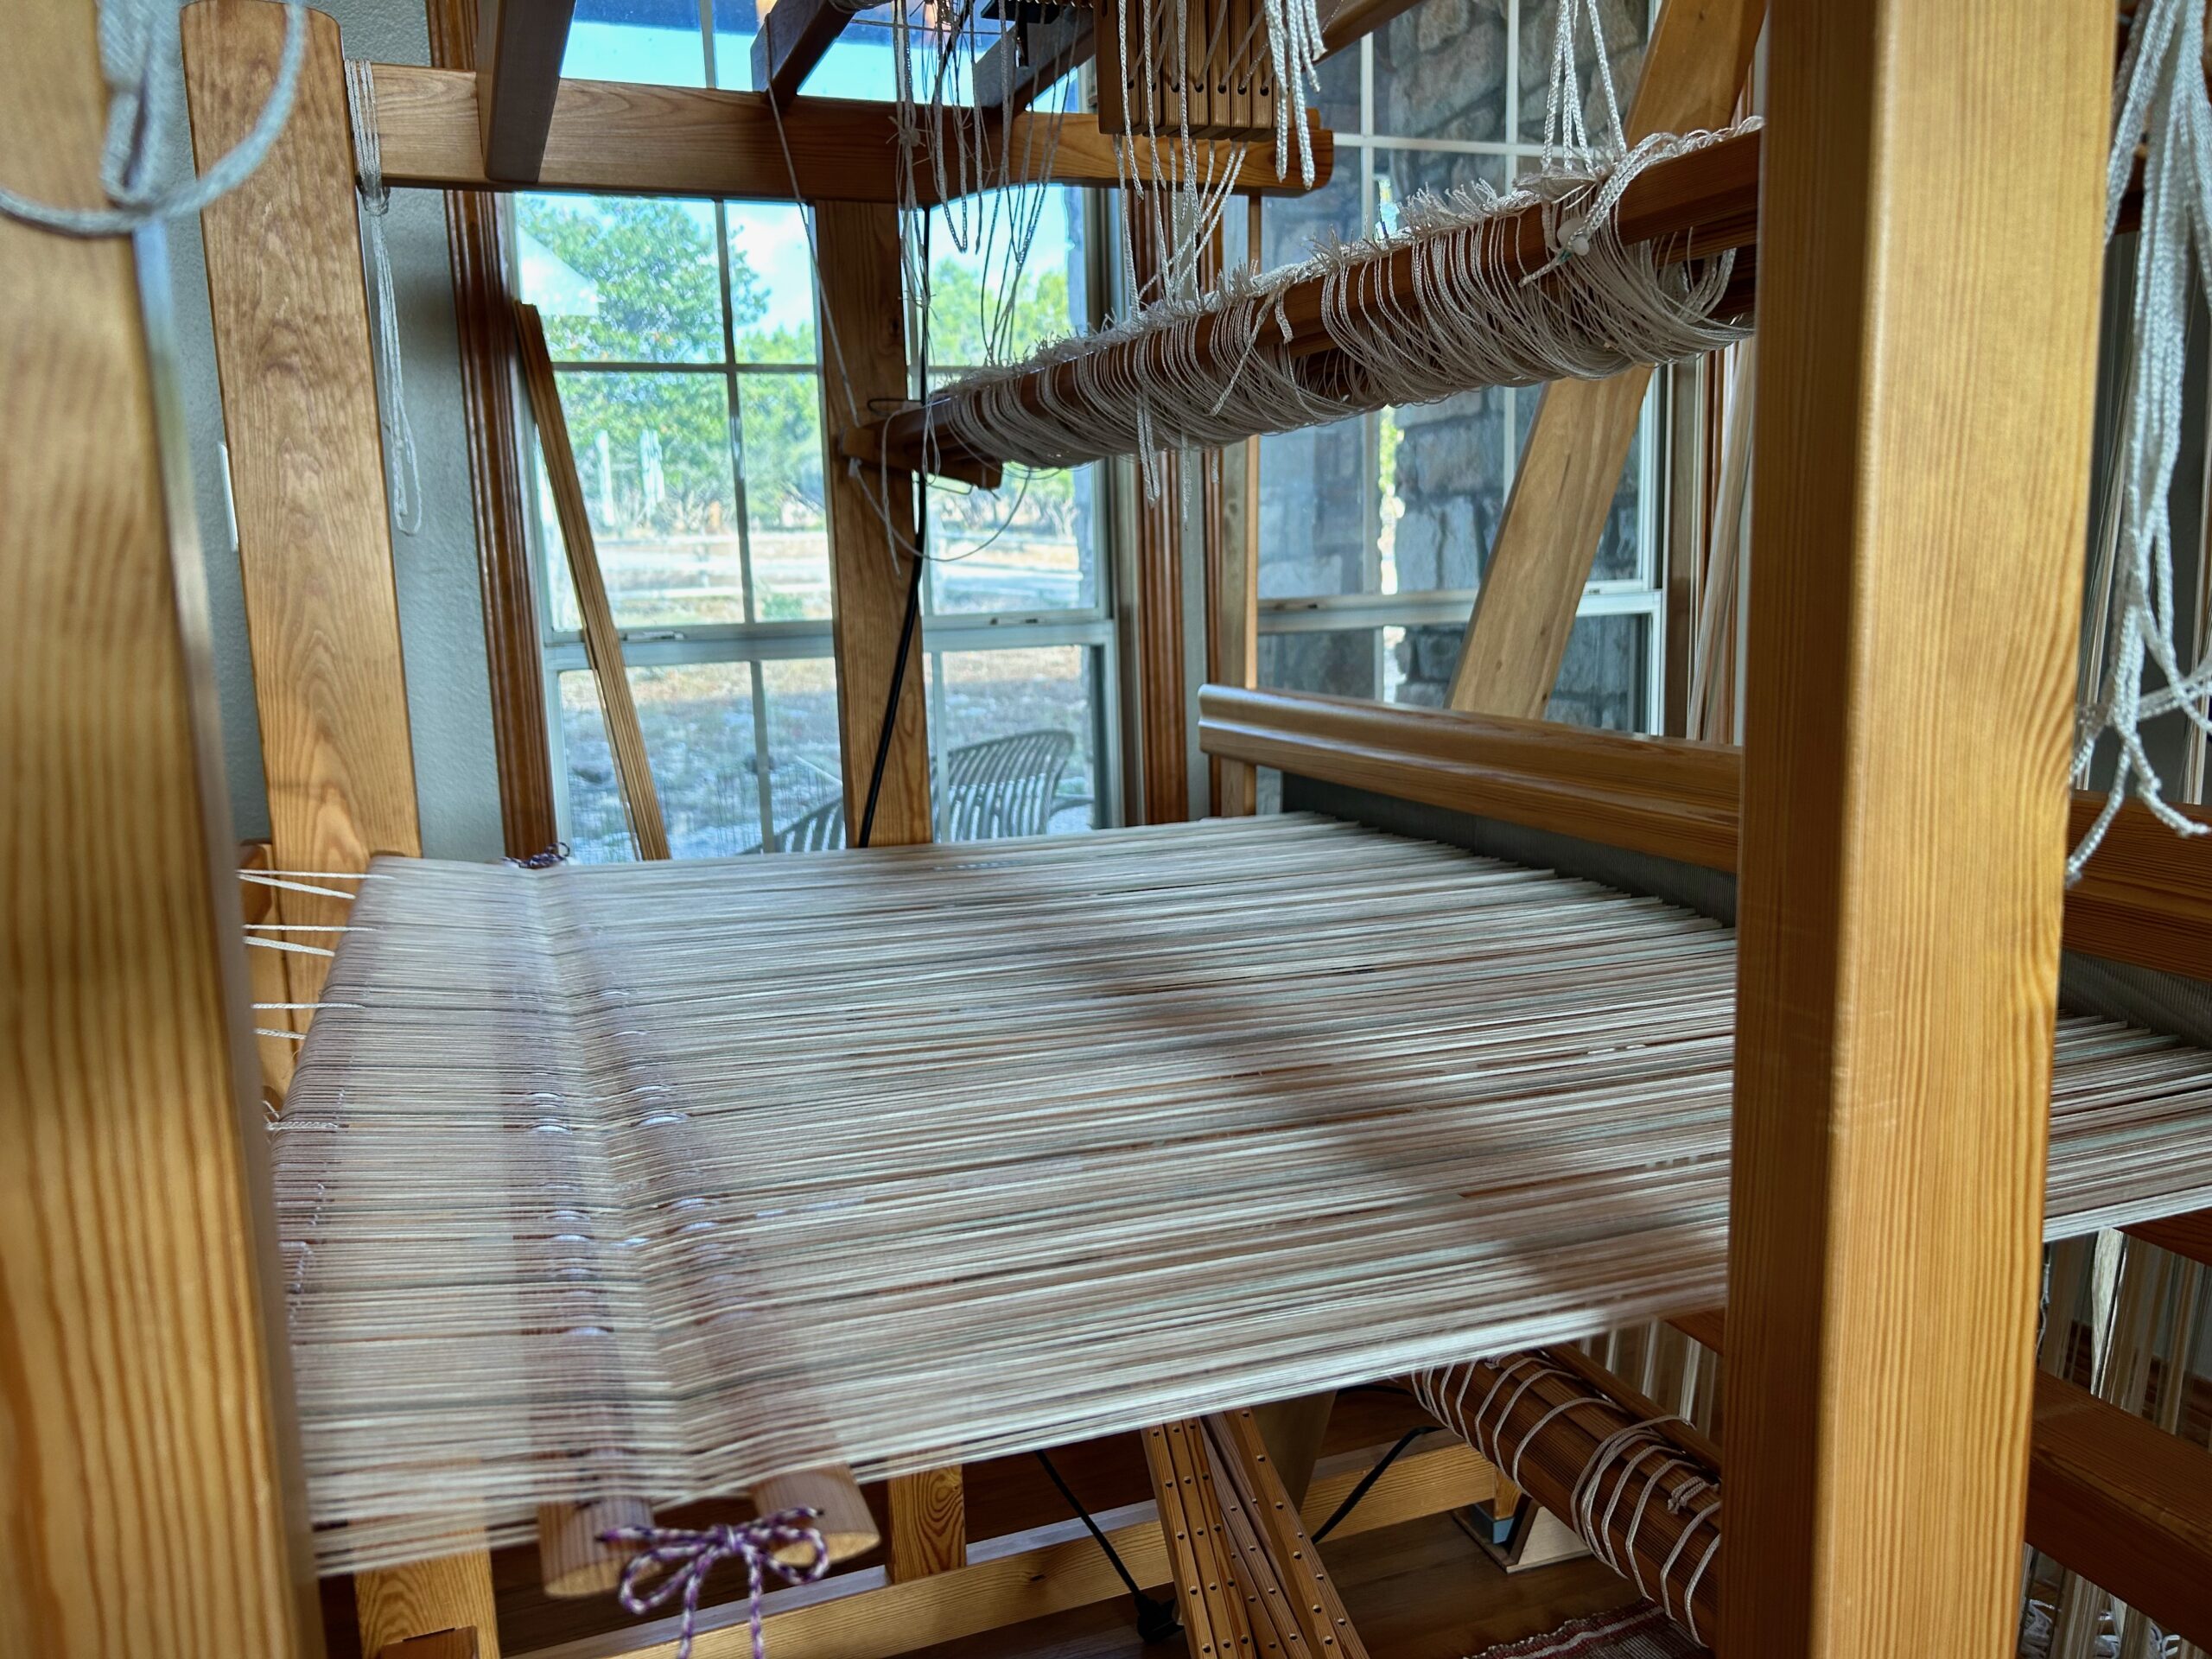
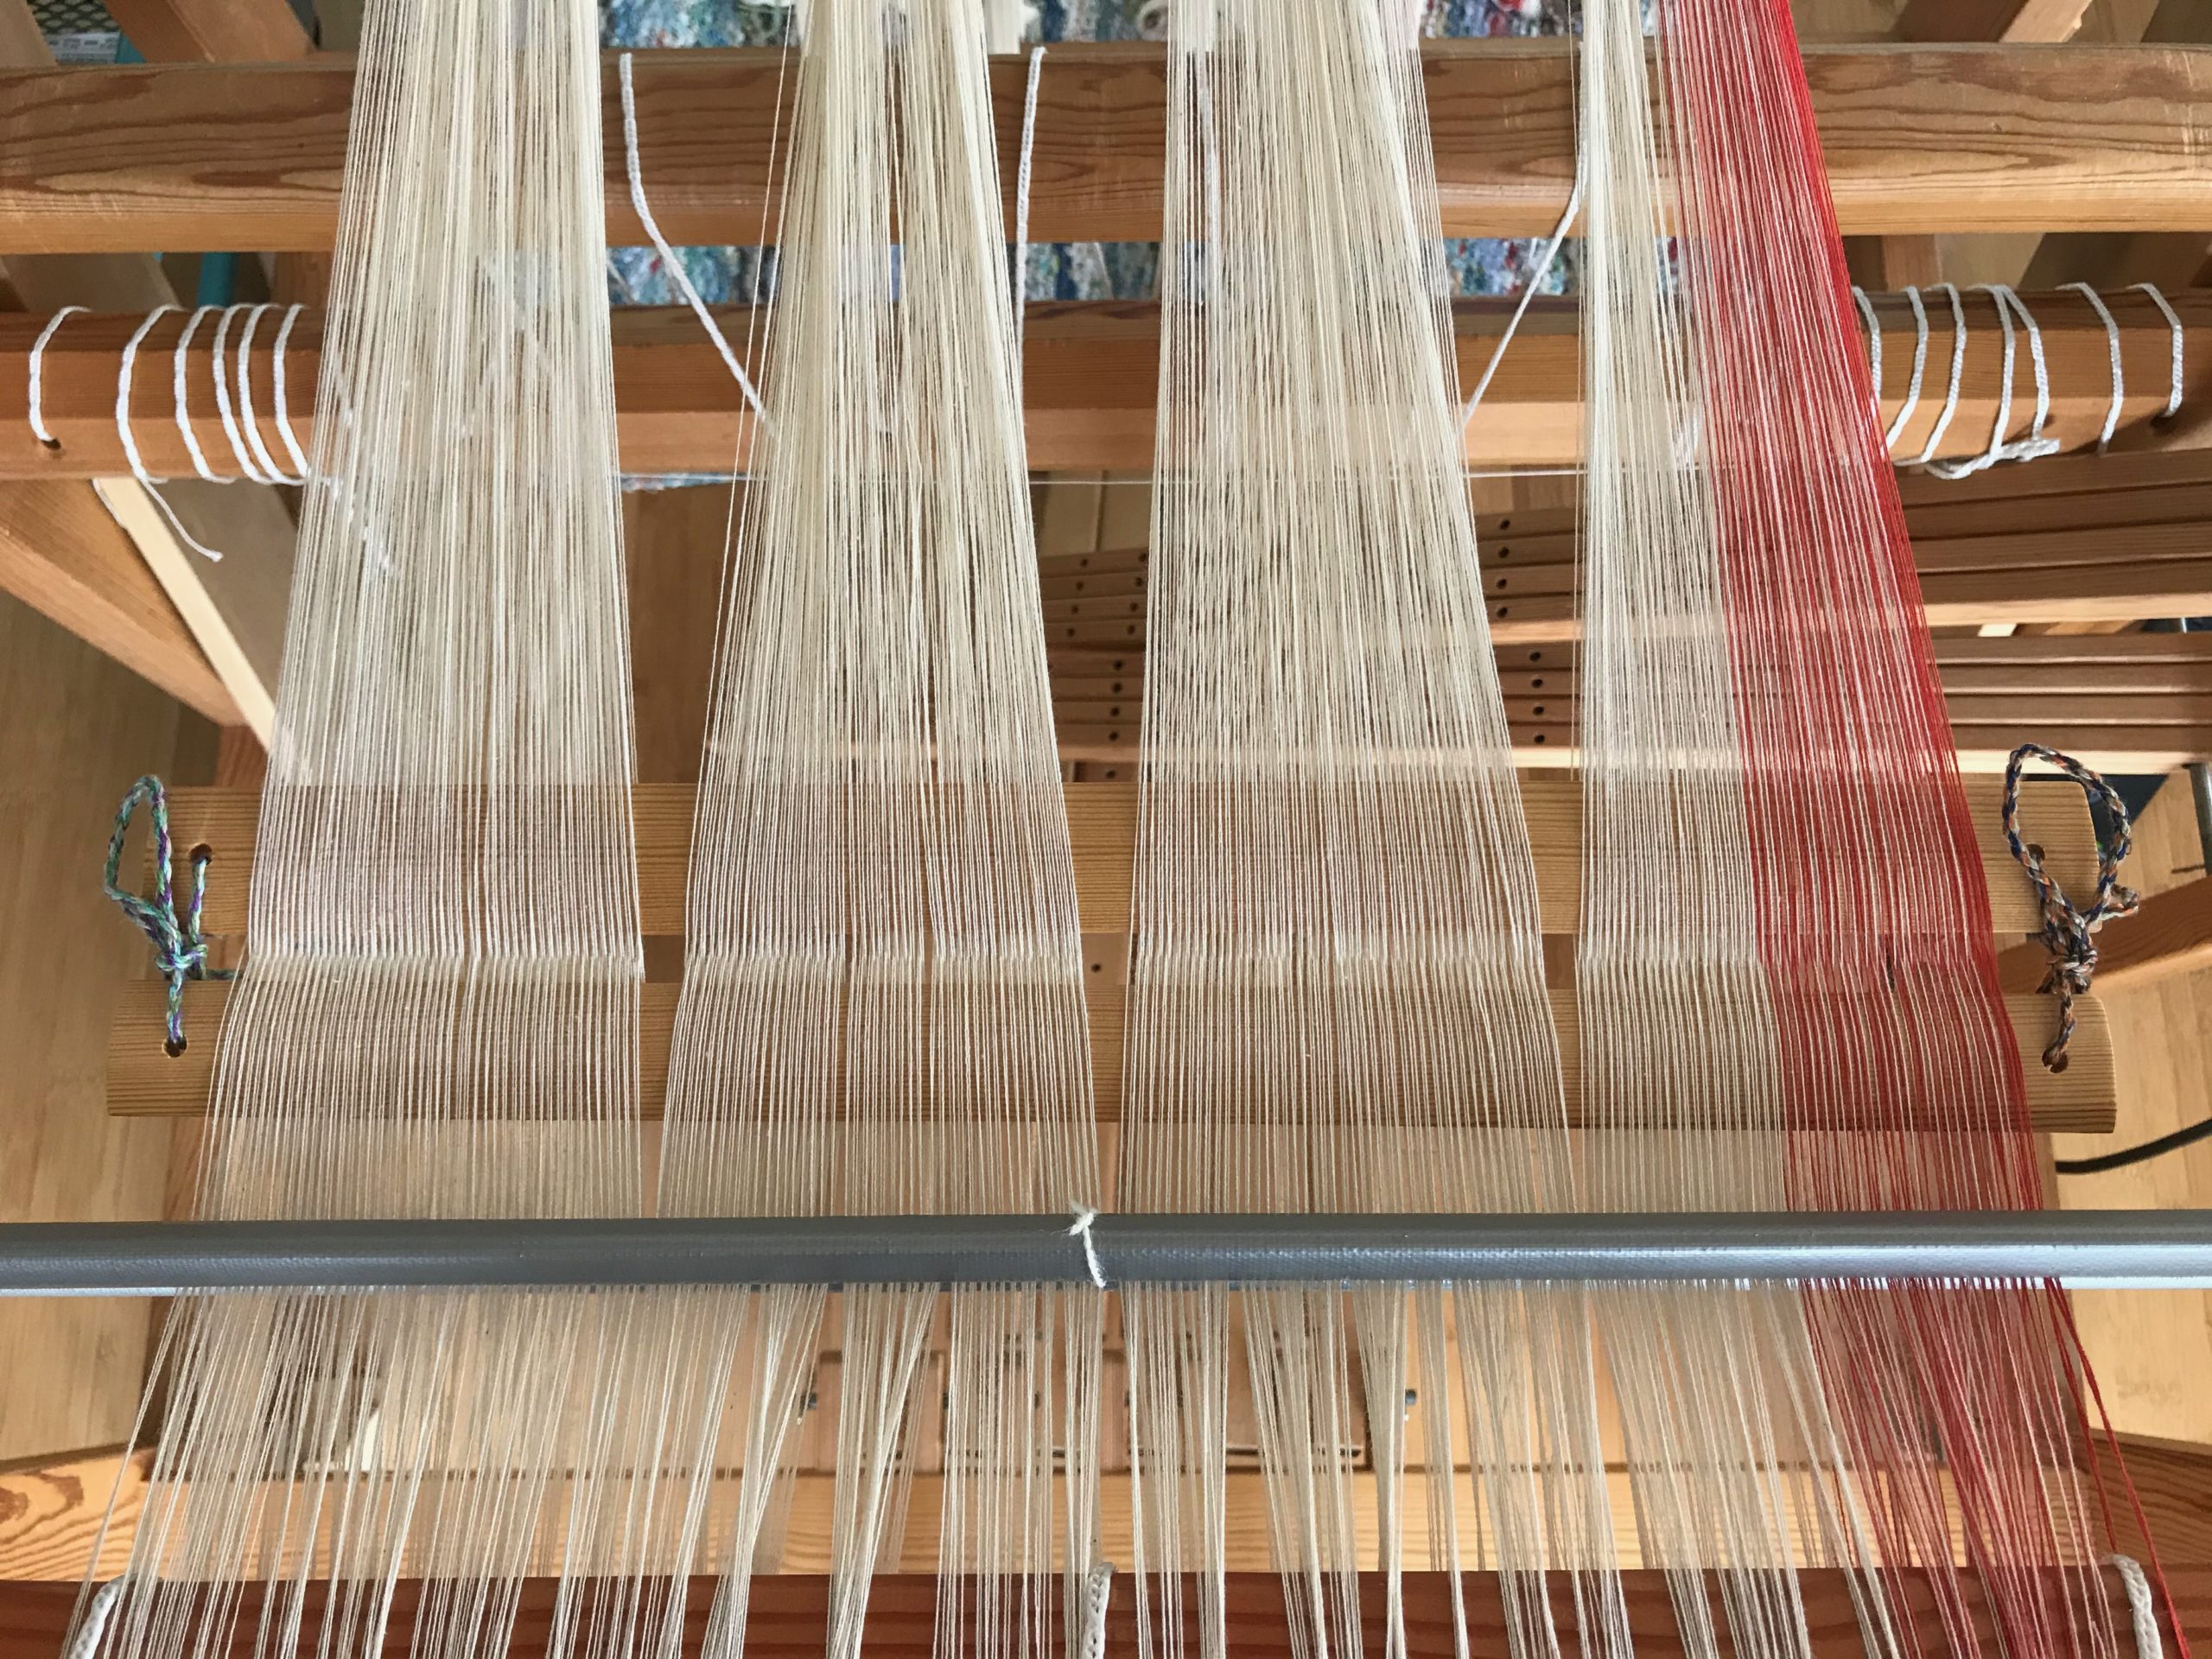
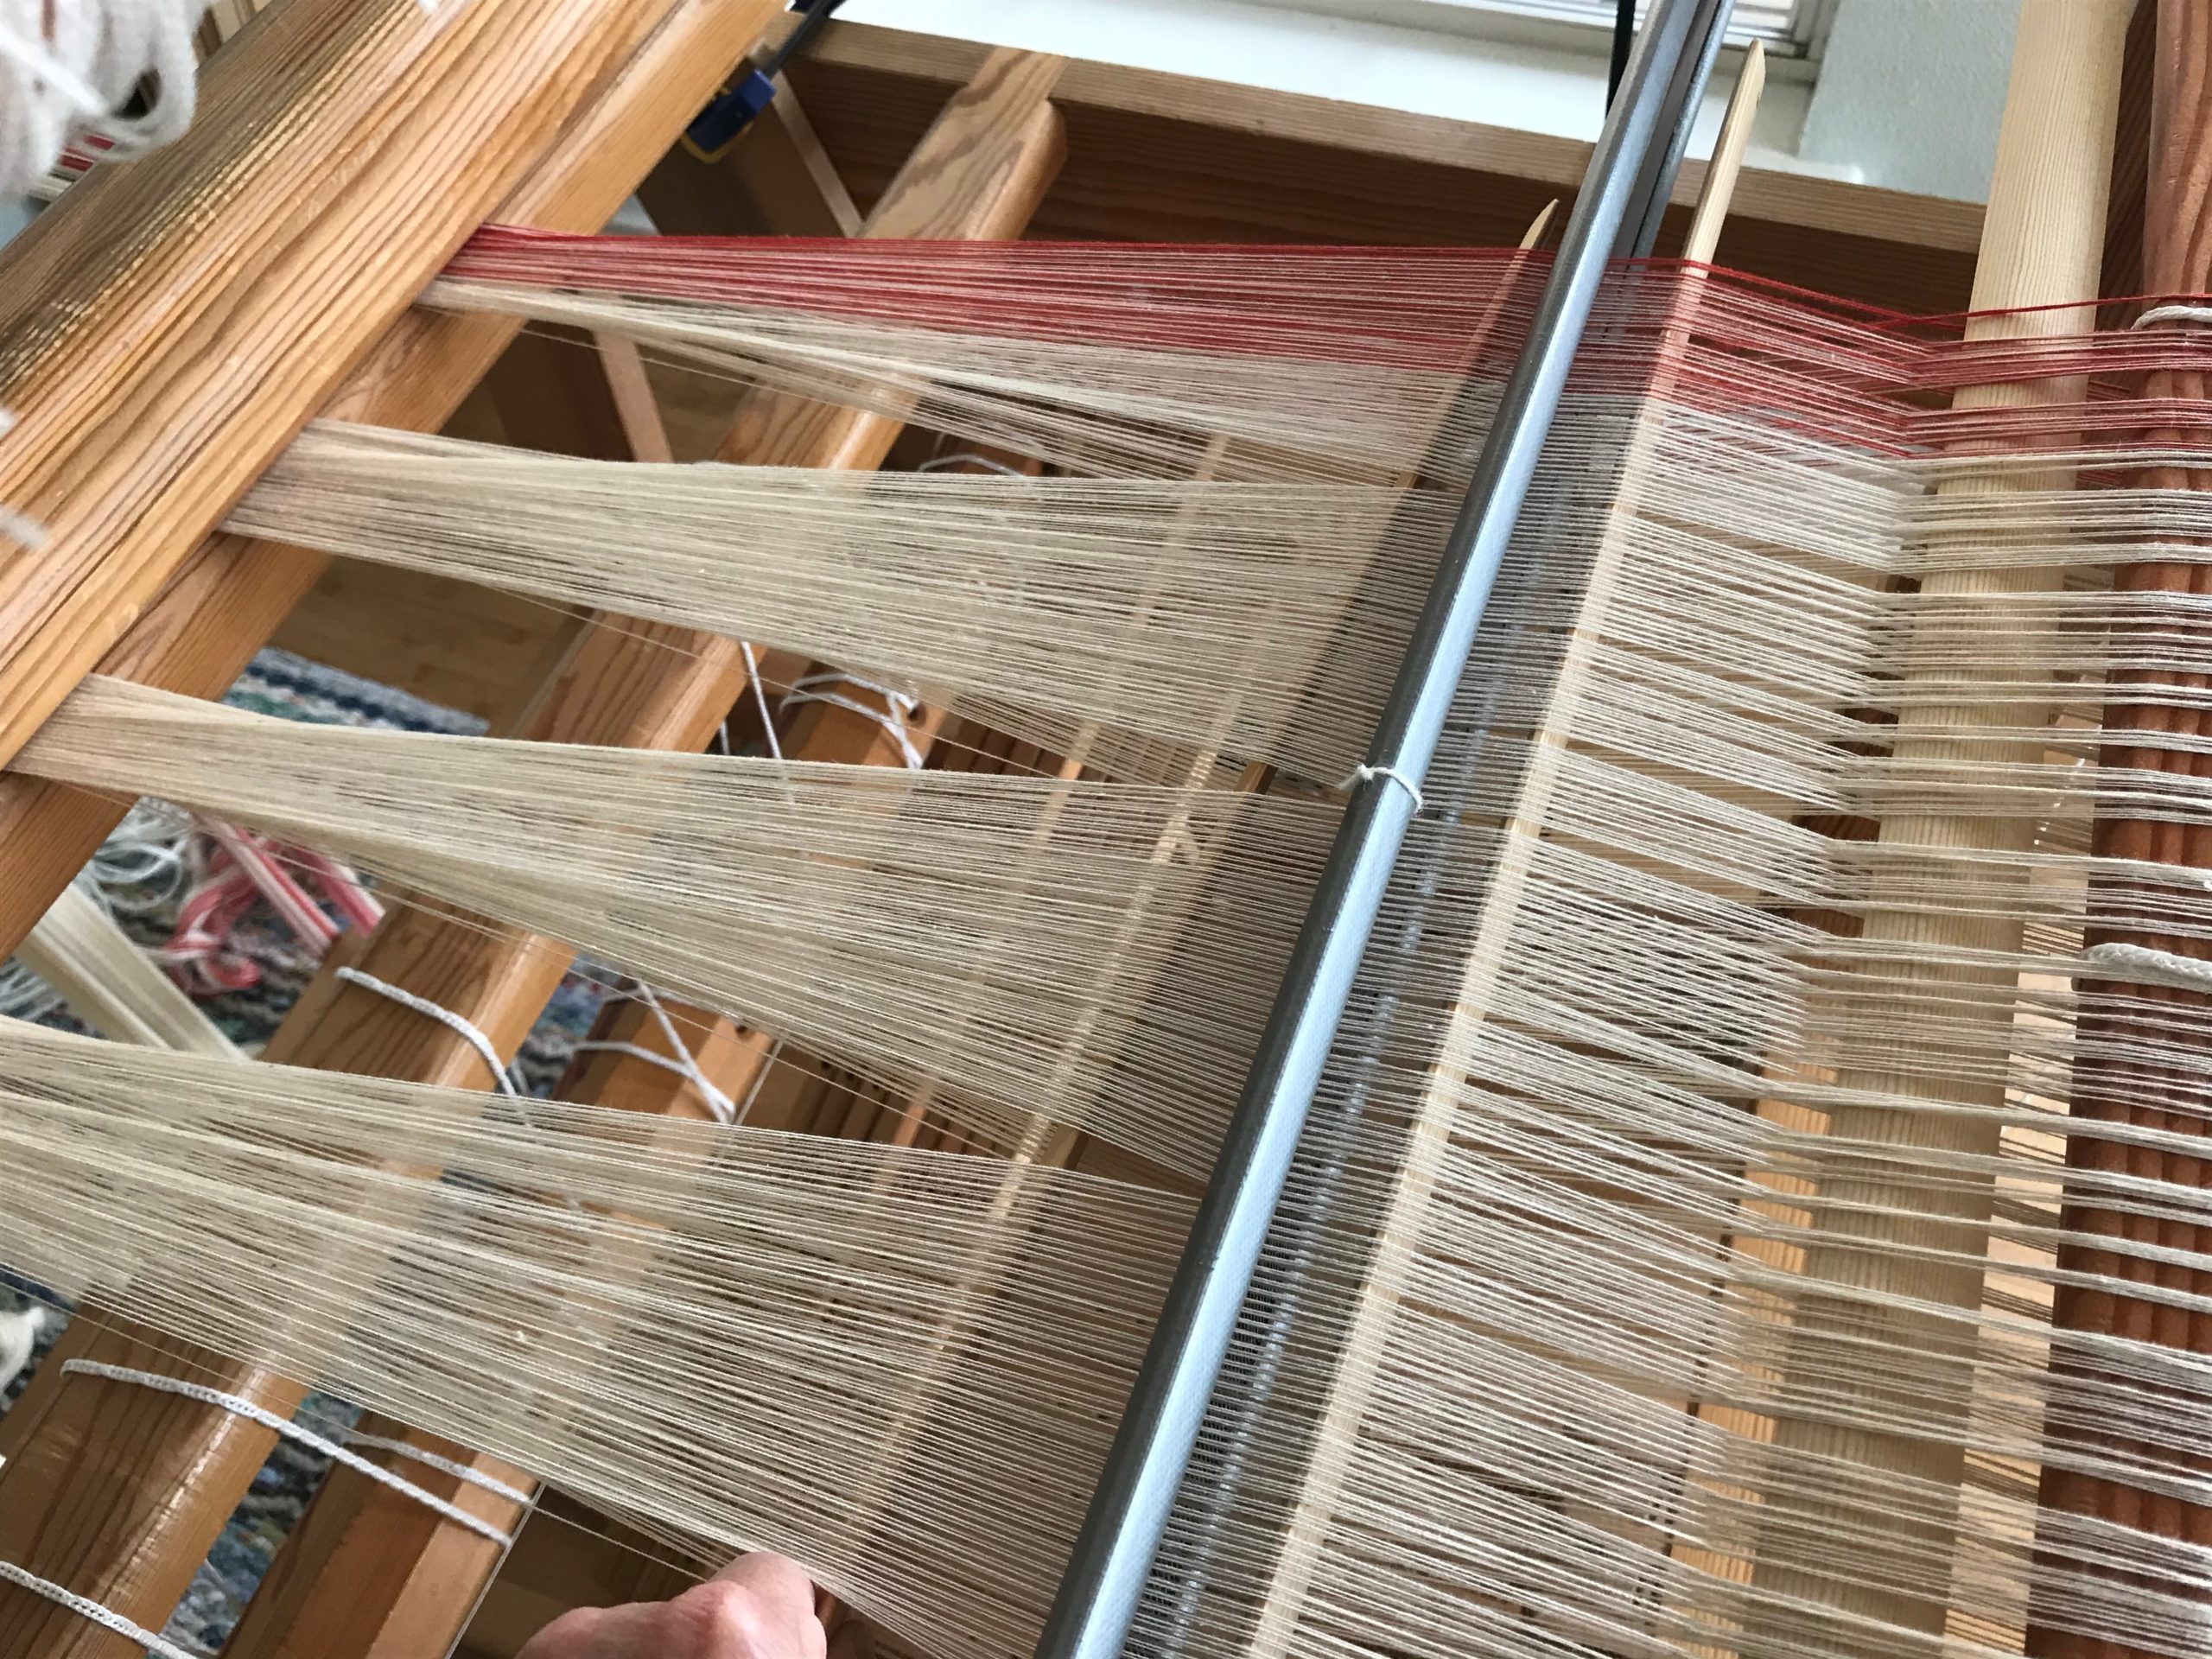
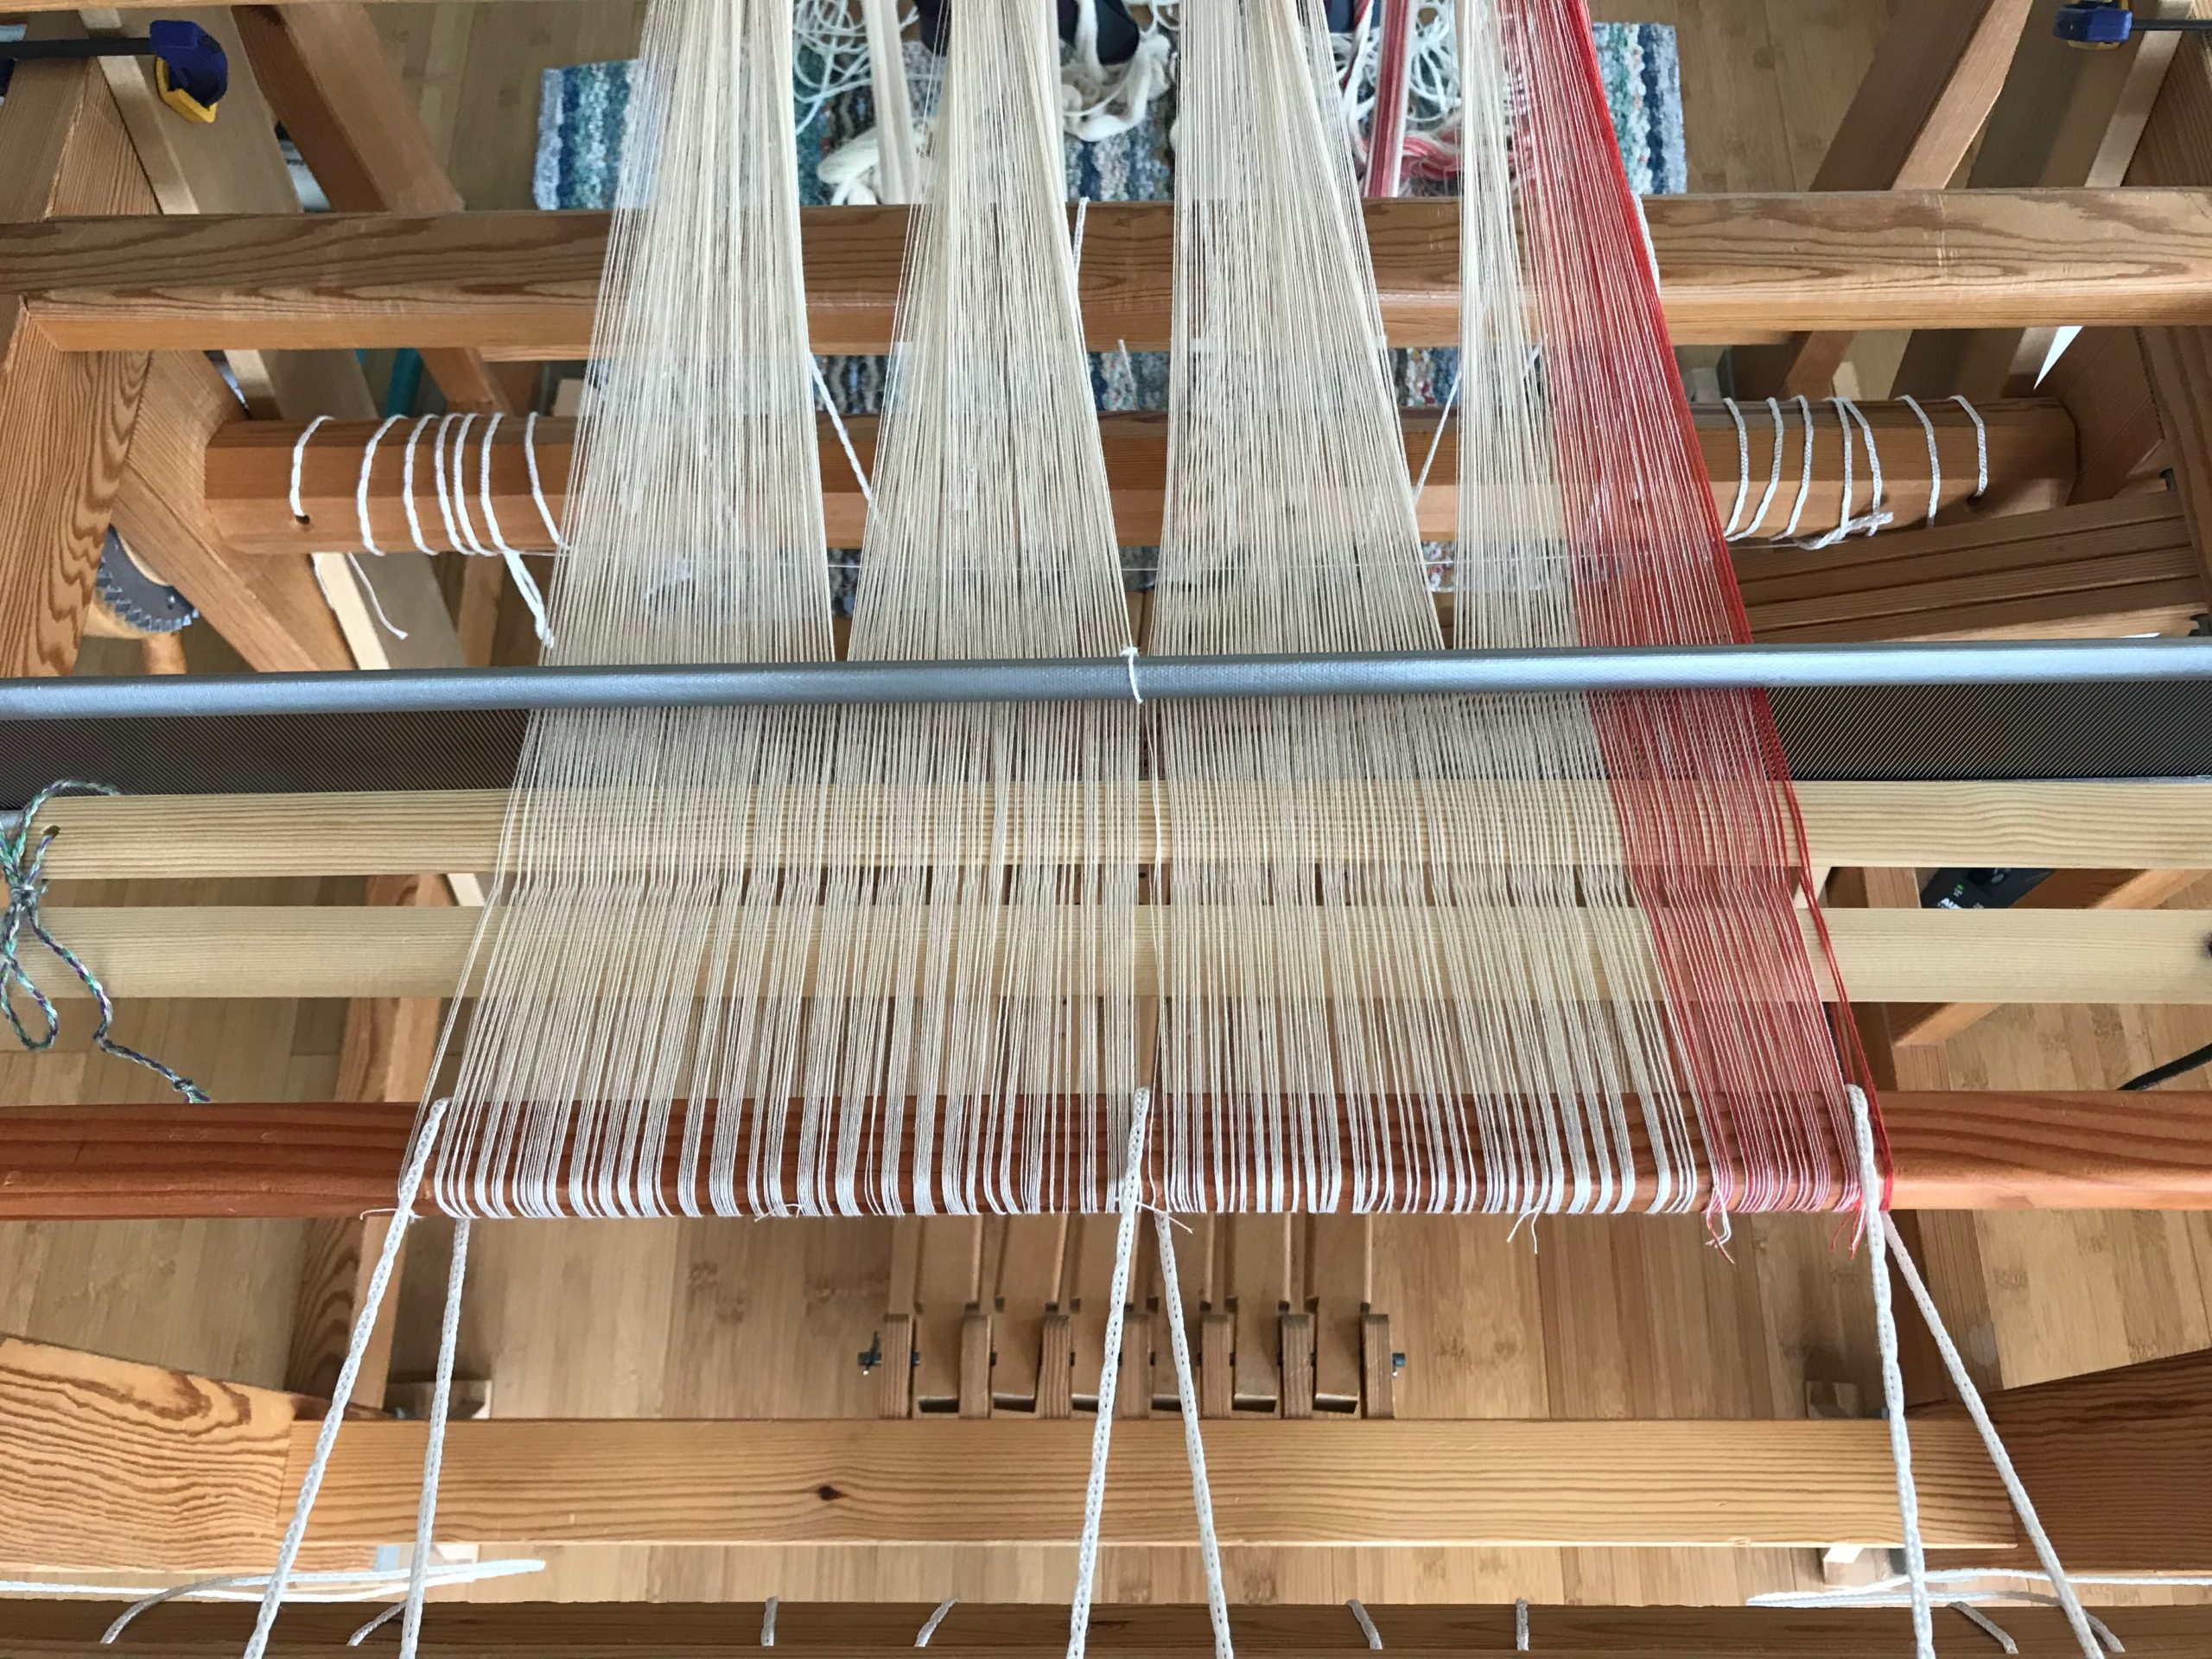
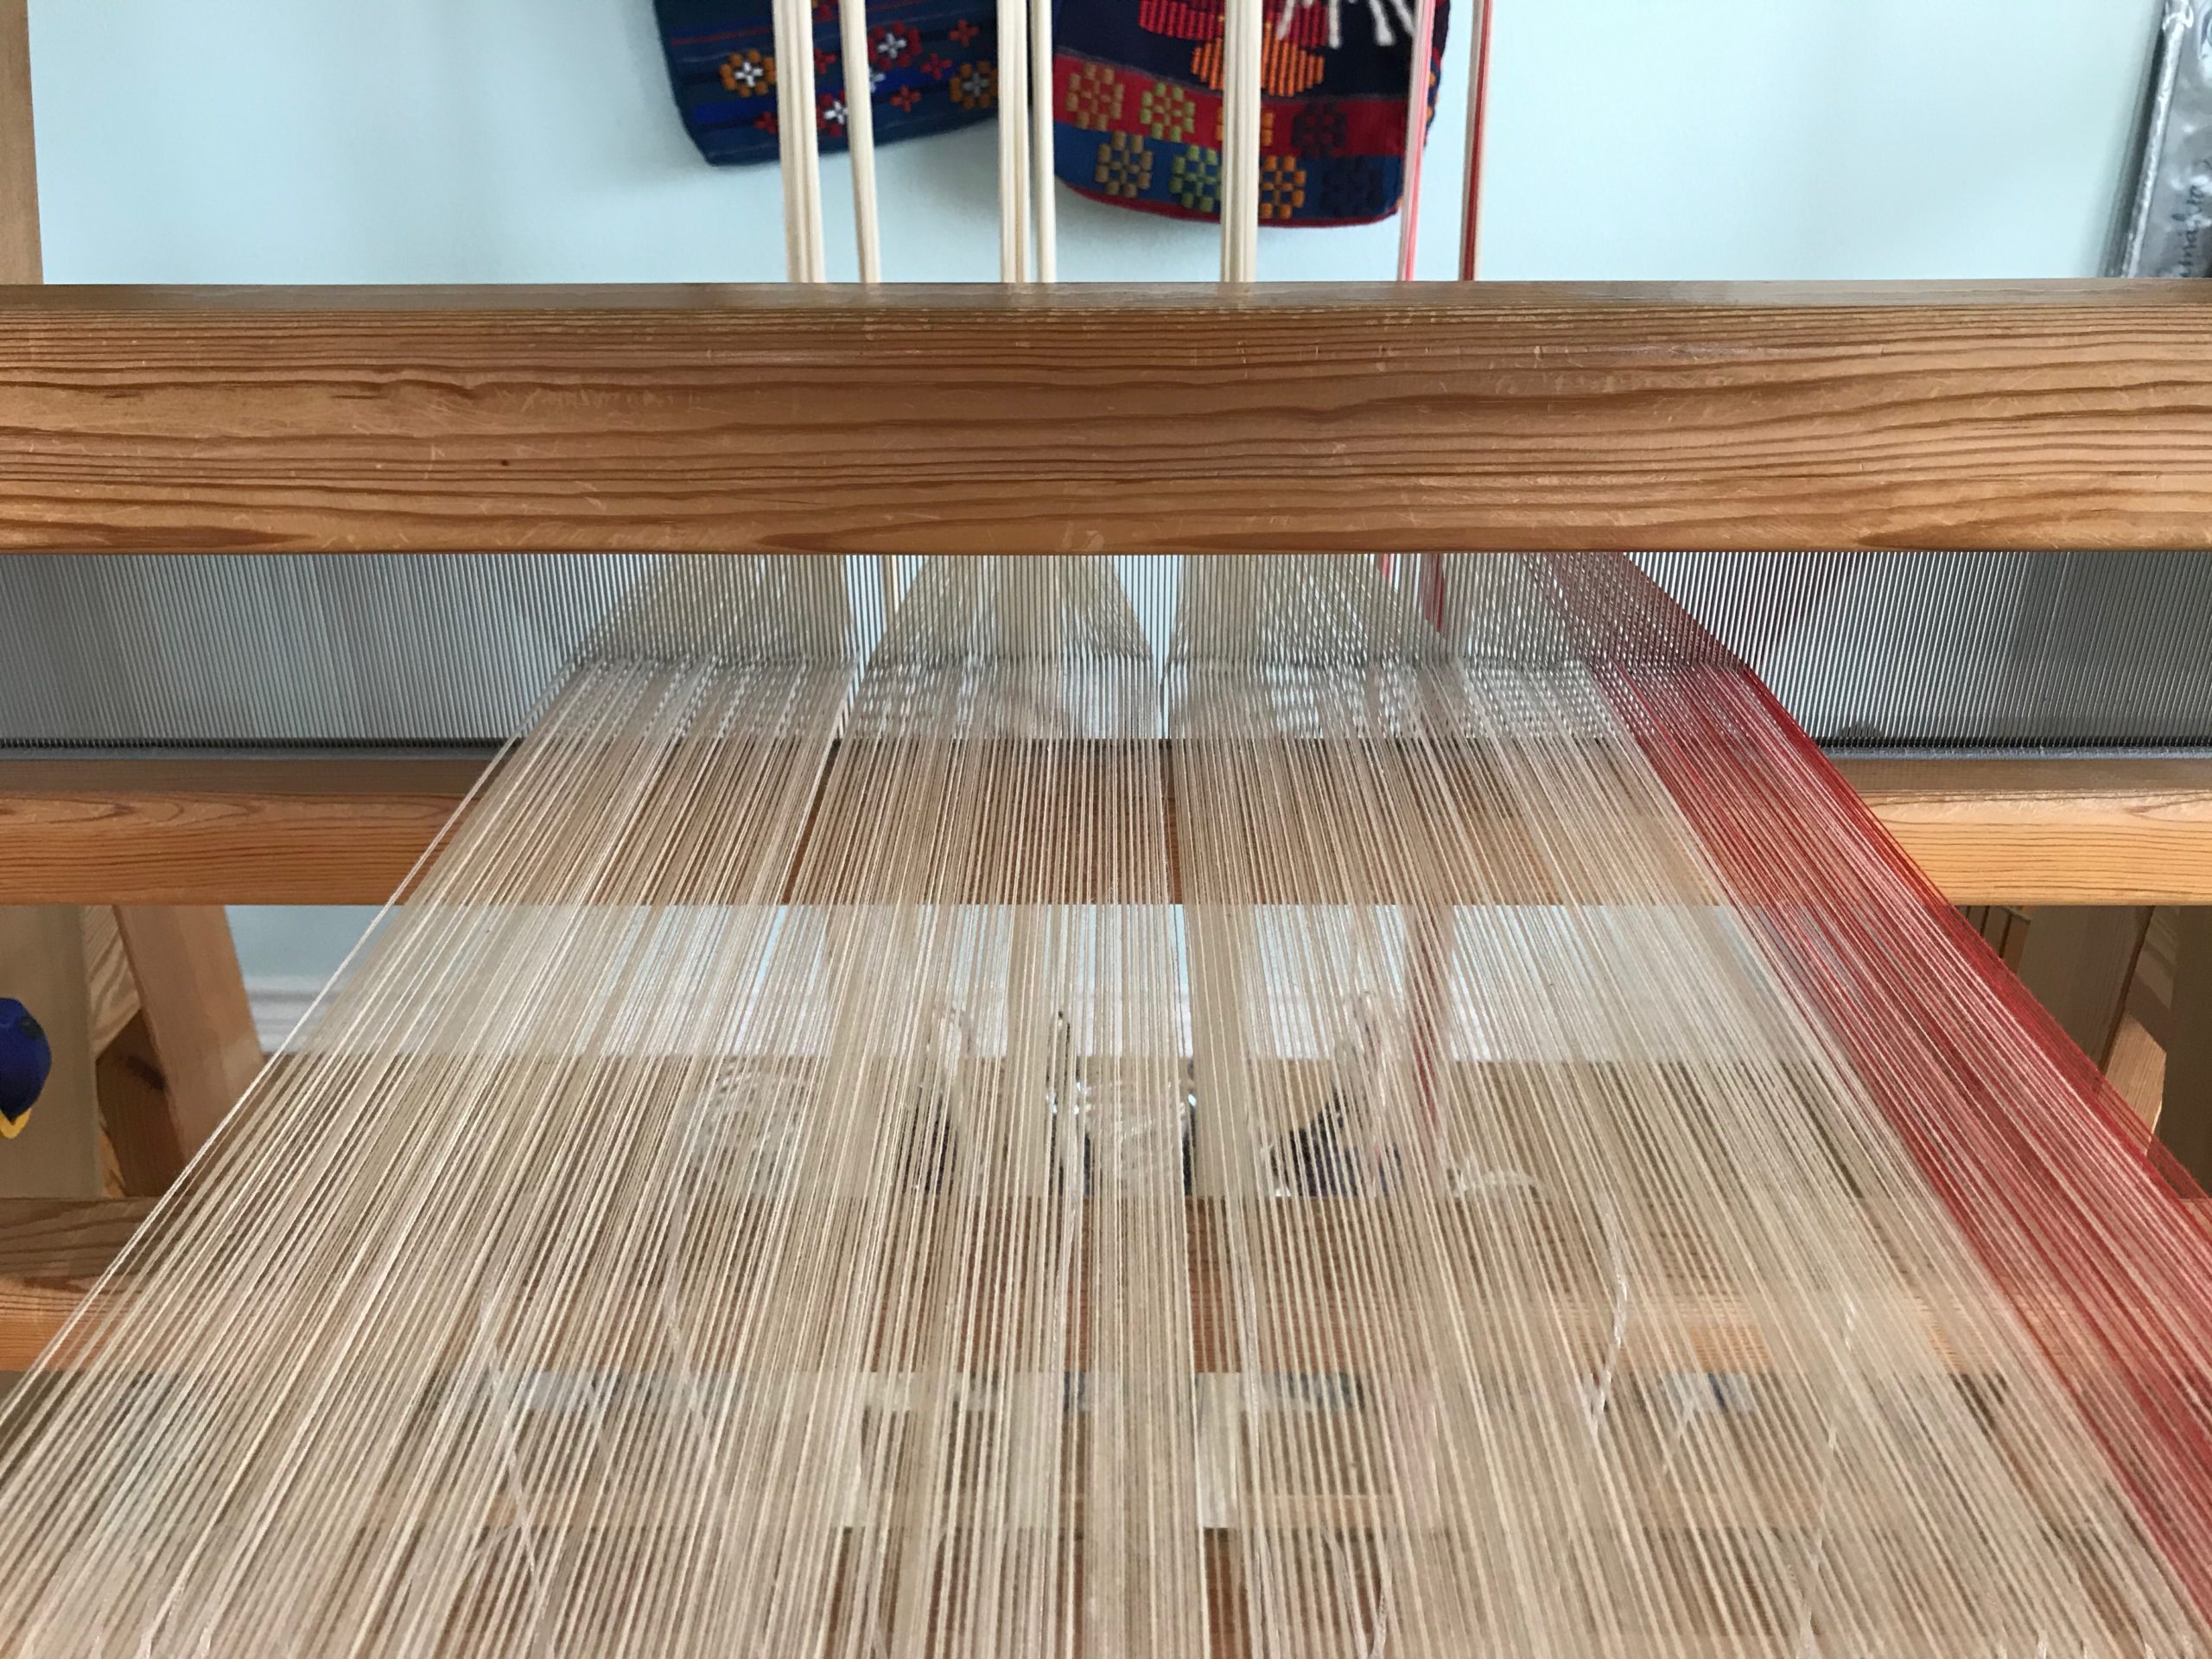
I have 1,984 ends to thread and sley. Then, I will be weaving almost full width! It’s exciting!
I am making a new ‘cello skirt (a tiered skirt), starting from scratch. The warp is 24/2 cotton, most of it unbleached. Each tier will be edged with a narrow Poppy border. The pattern in the cloth will be a huckaback (huck lace) design, adapted from Little Tablecloth in Huckaback on p.10 in Happy Weaving from VävMagisinet.
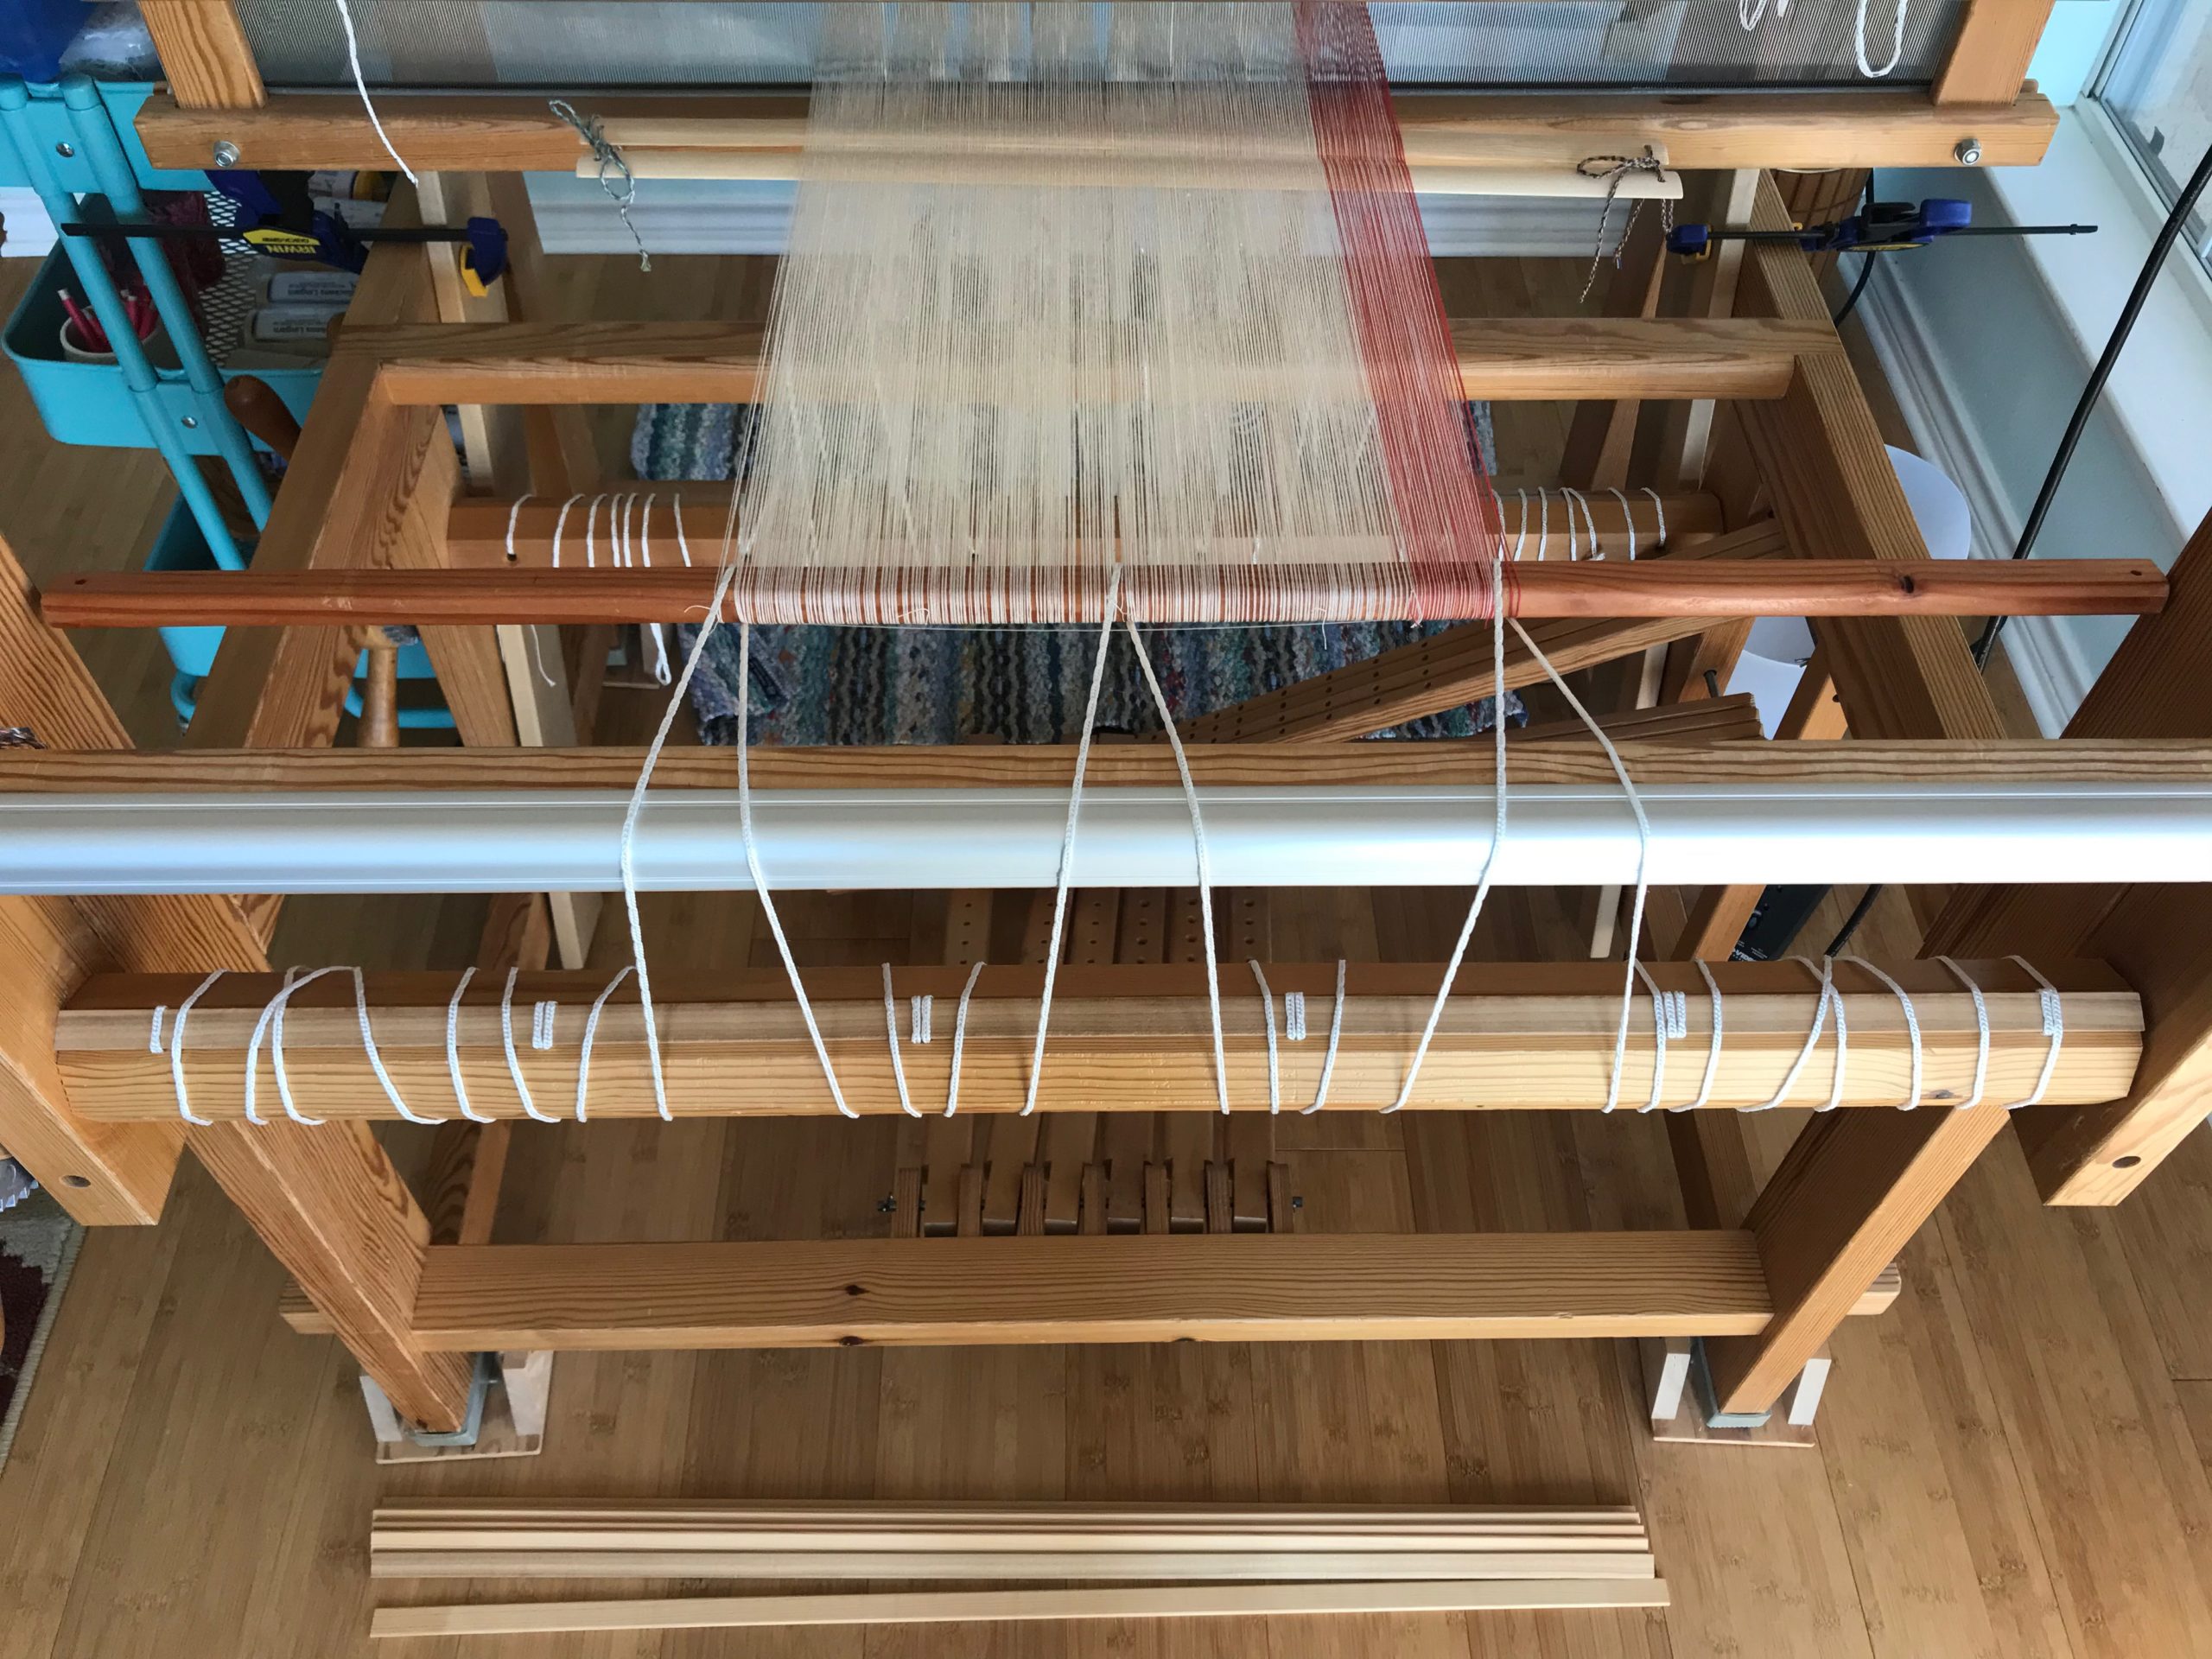
Today, I’m beaming the warp. My method includes a combination of things I have learned from these three excellent sources: Learning to Warp Your Loom, by Joanne Hall, Dress Your Loom the Vävstuga Way, by Becky Ashenden, and The Big Book of Weaving, by Laila Lundell.
I’ll let the pictures speak for themselves.
Do you have any questions about my beaming process? If you warp back to front, like I do, what do you do differently?
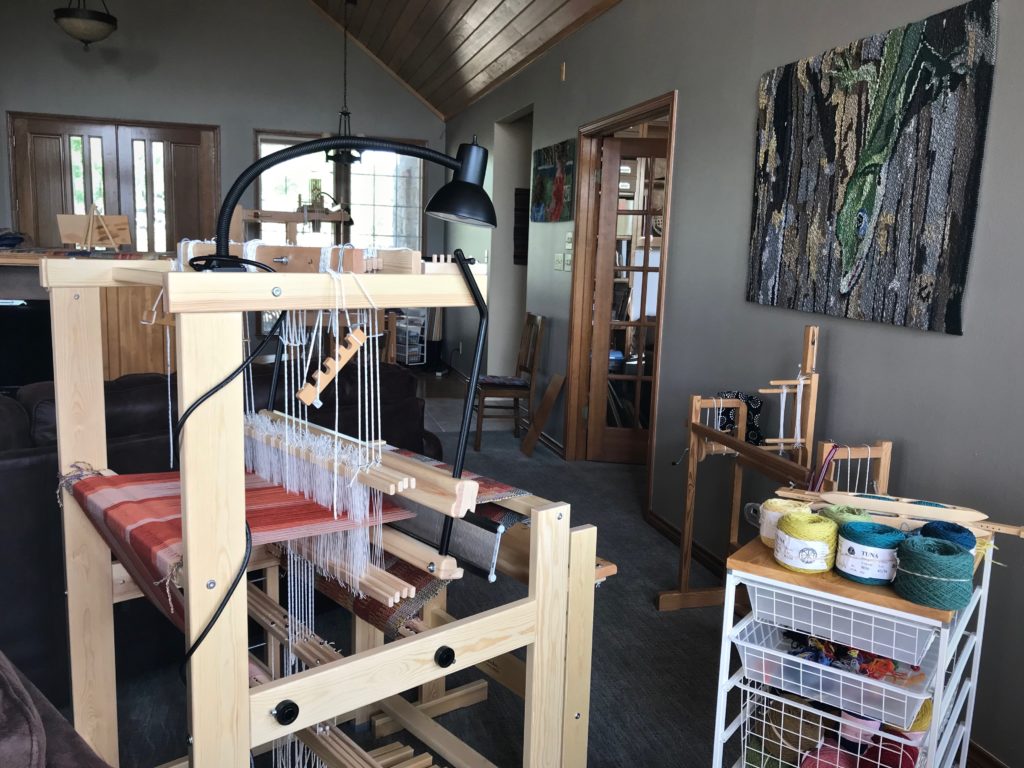
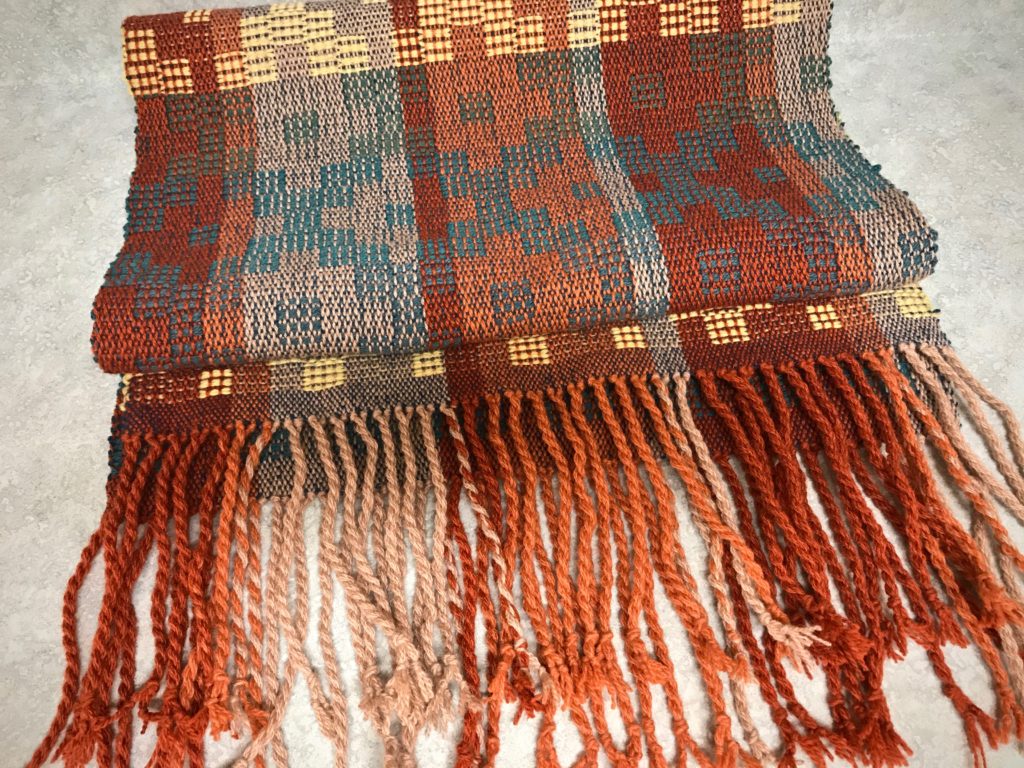
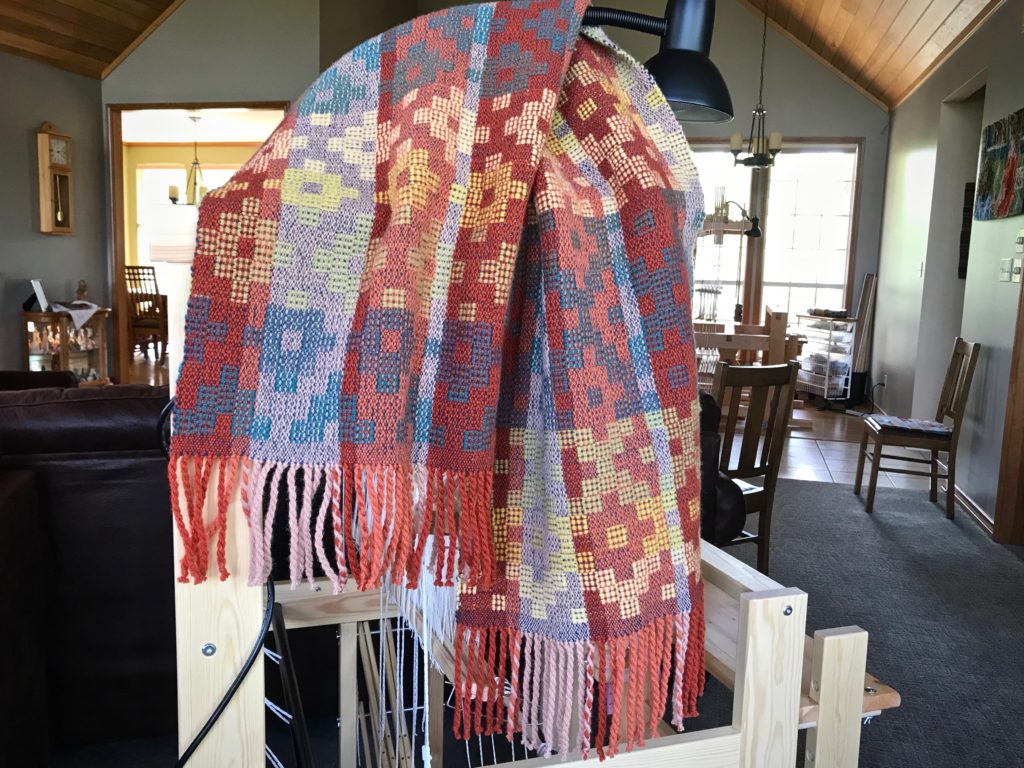
My intention is to weave fabric for a couple of cushy throw pillows. But after just one pattern repeat, I realize that this cloth on my brand new Glimåkra Julia is something I would like to wear! No pillows this time. Instead, here is my new autumn/winter shoulder wrap, embellished with frisky swinging fringes. Miss Julia has proven her worth on four-shaftJämtlandsdräll (crackle) in 6/2 Tuna wool. Her next adventure will be something that explores all eight shafts. (See My New Glimåkra Julia Loom.)
Finished wrap. Ready for cool weather!
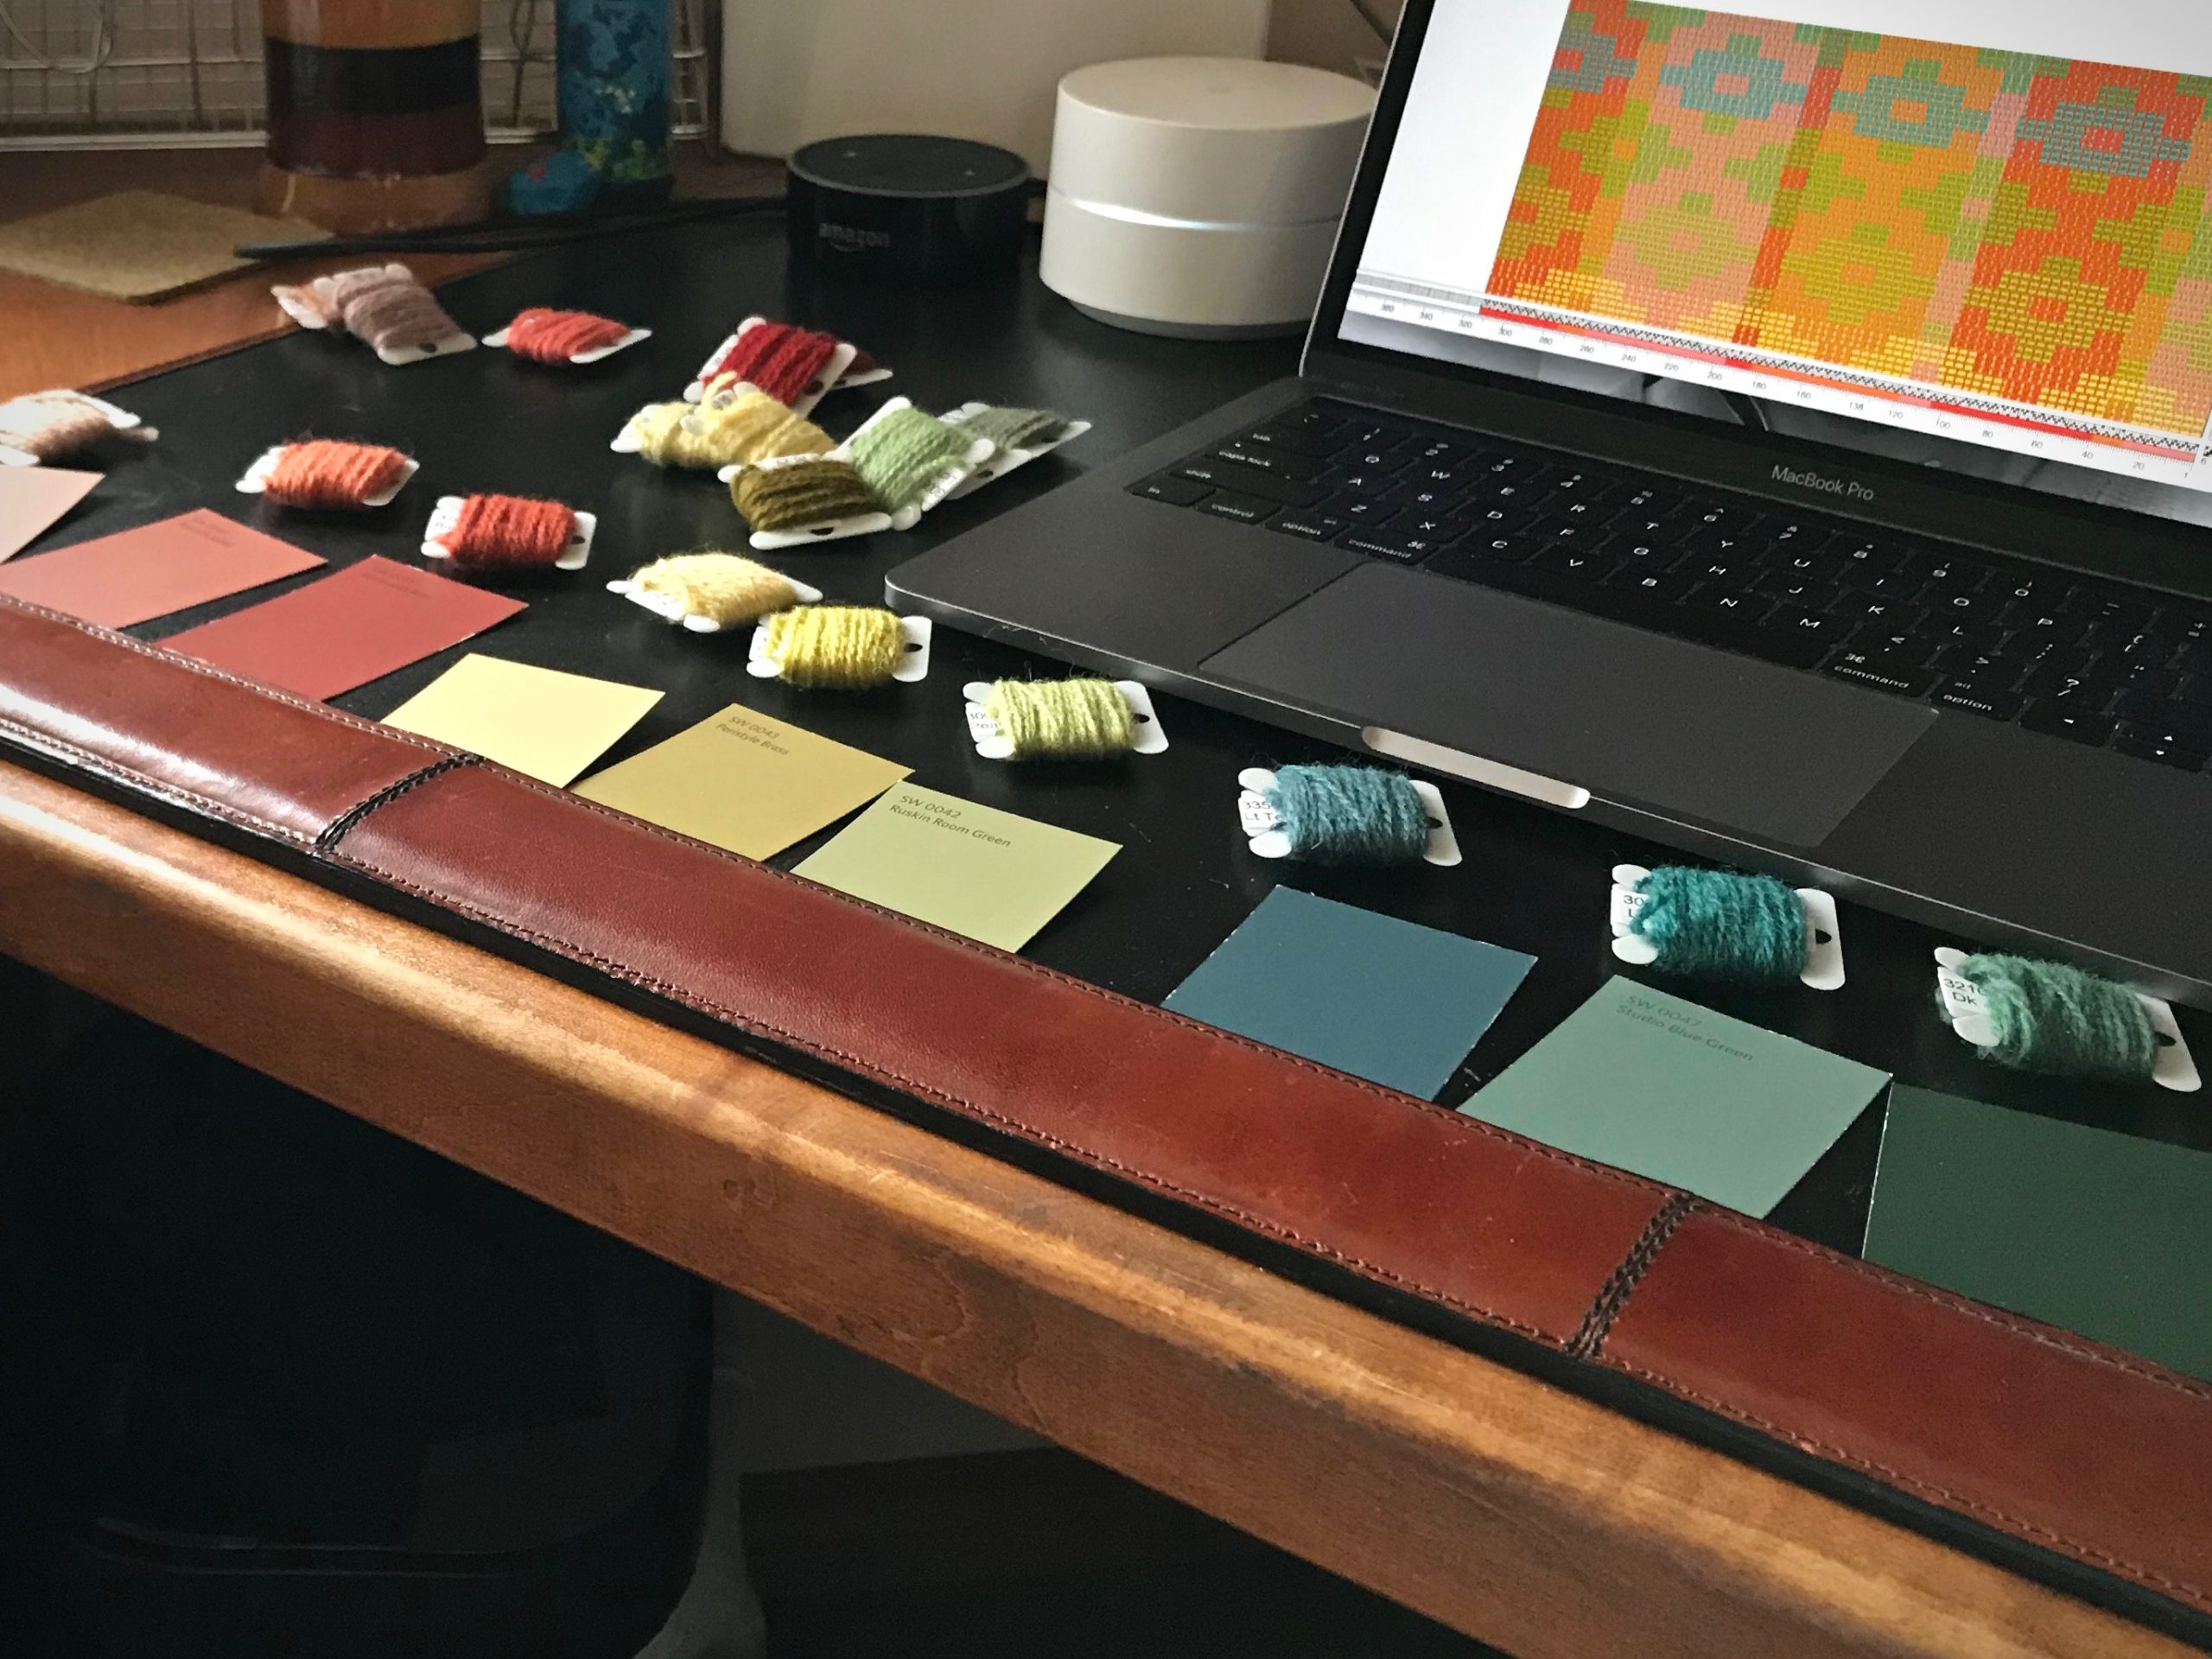
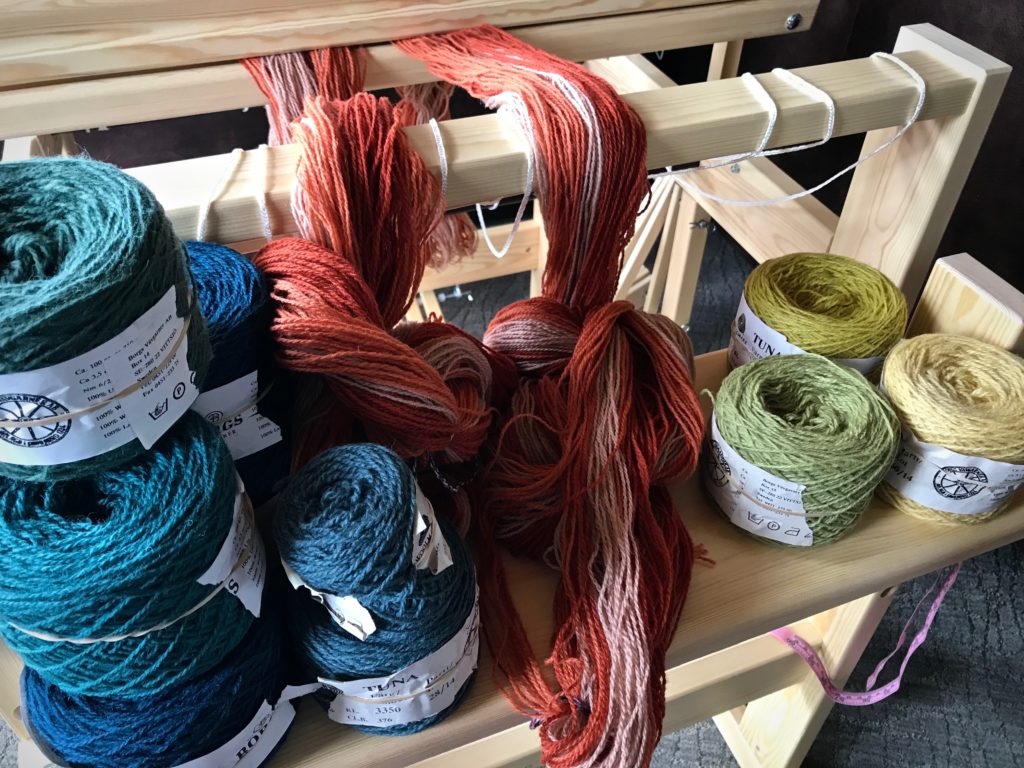
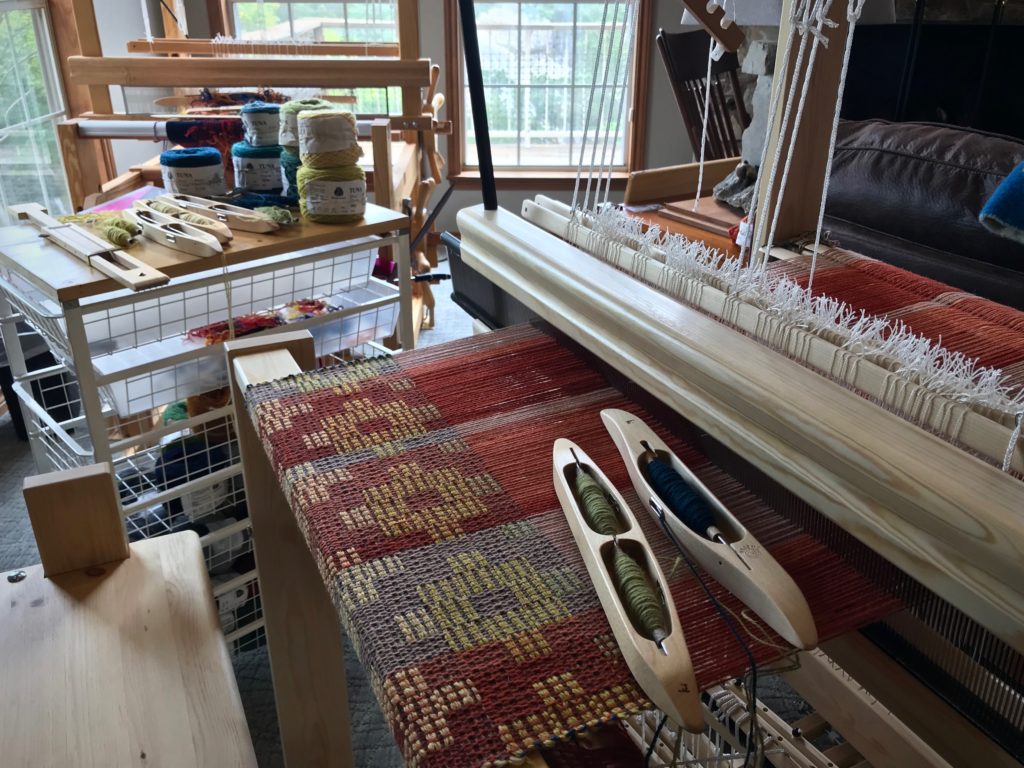
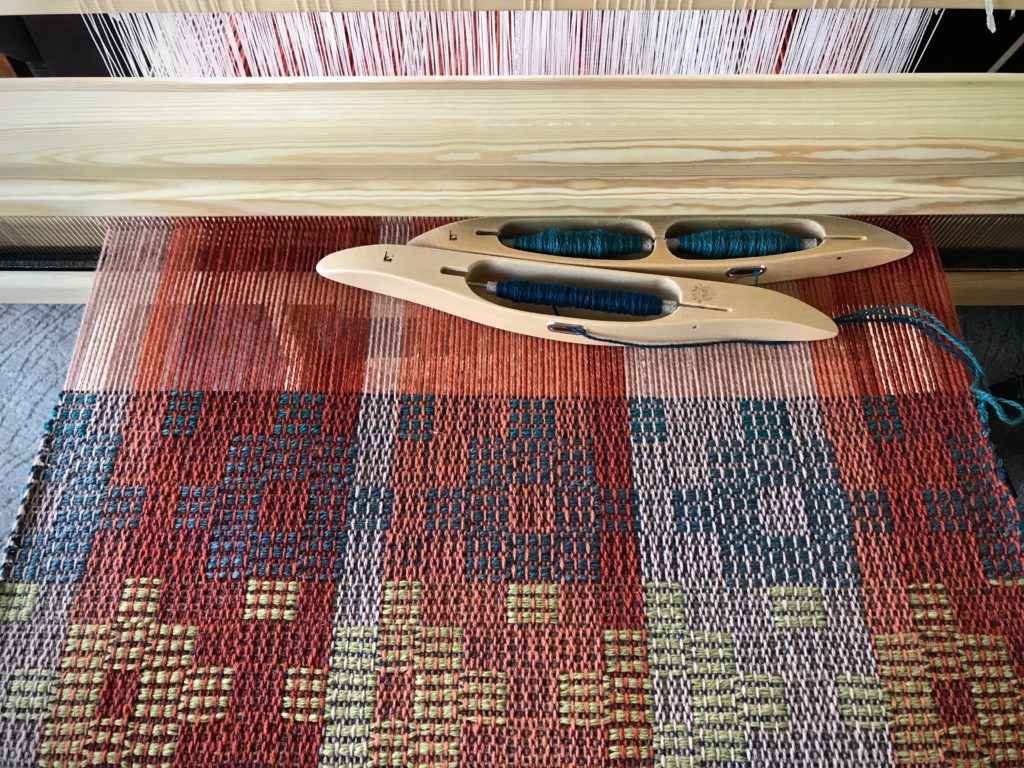
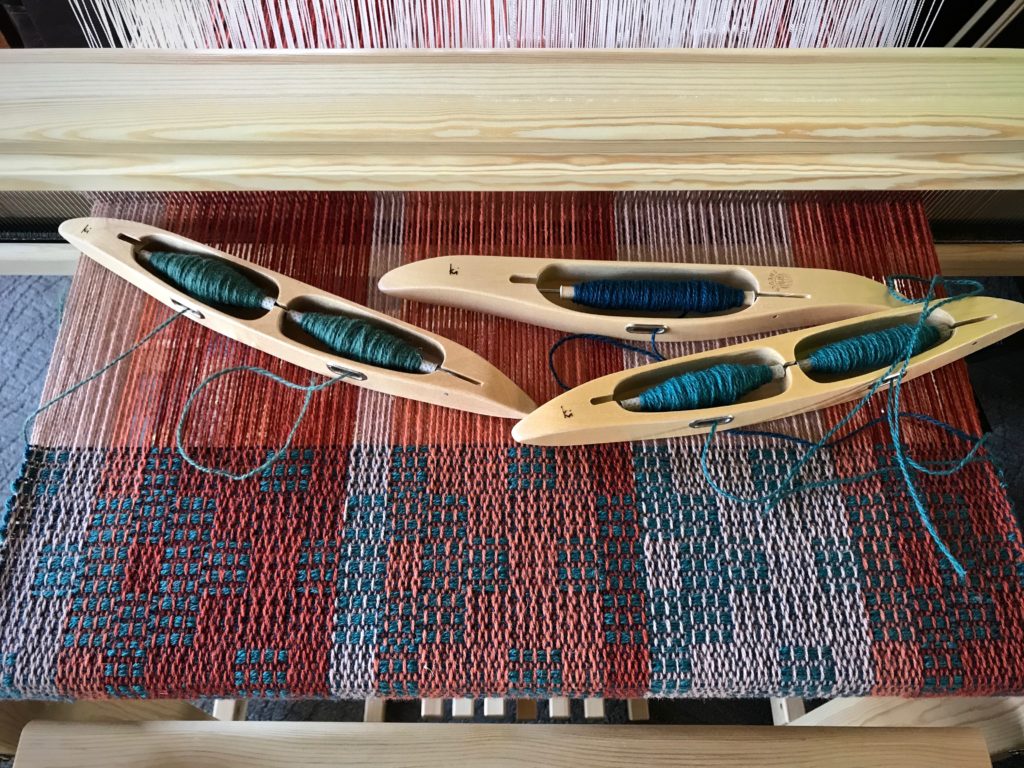
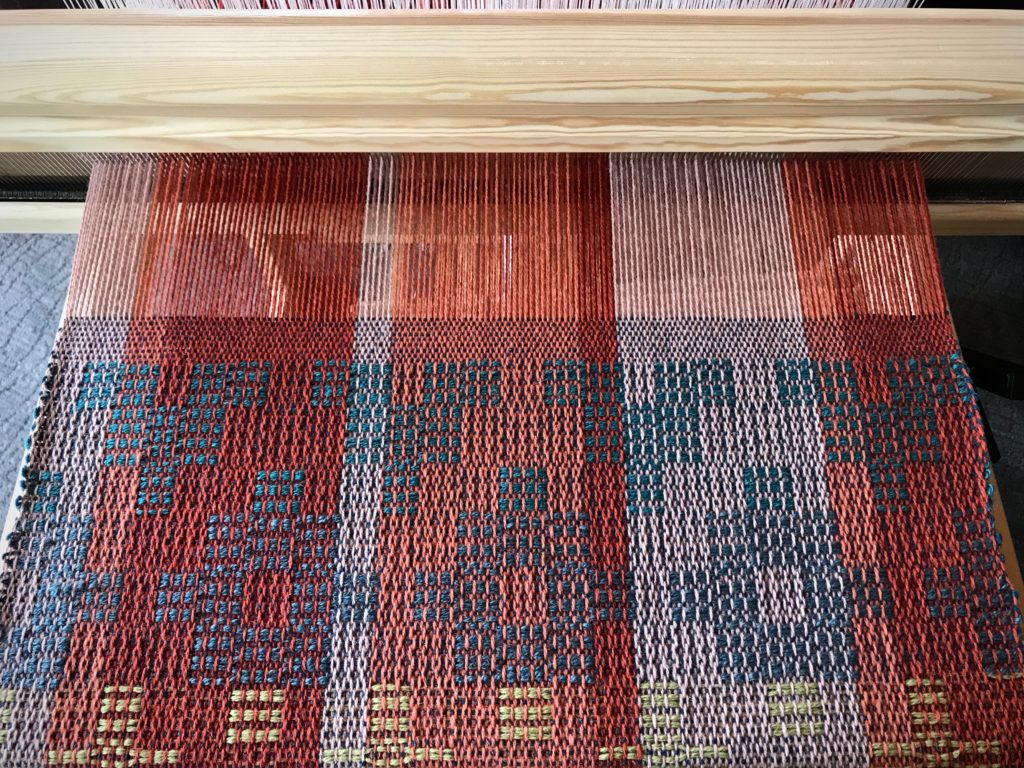
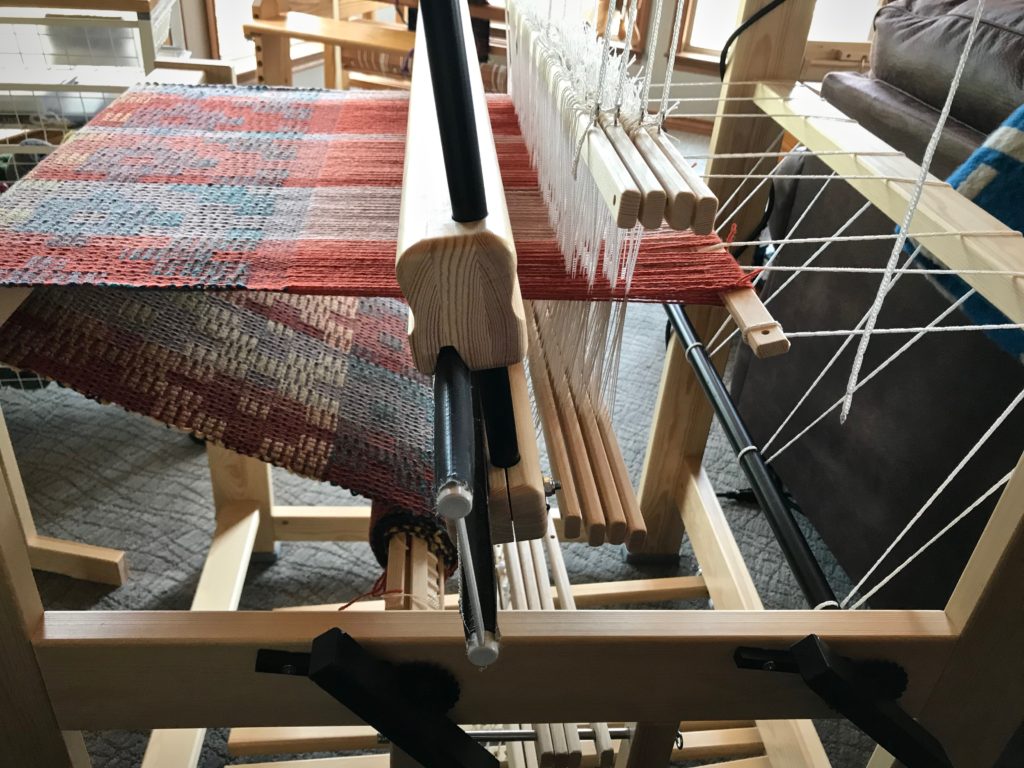
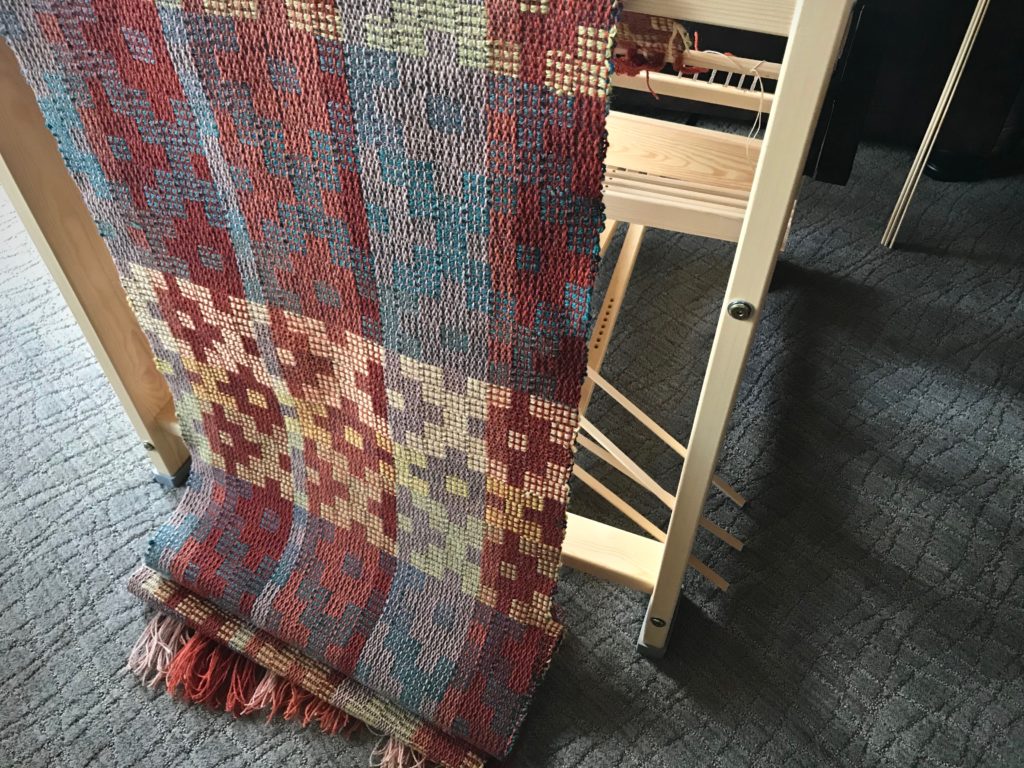
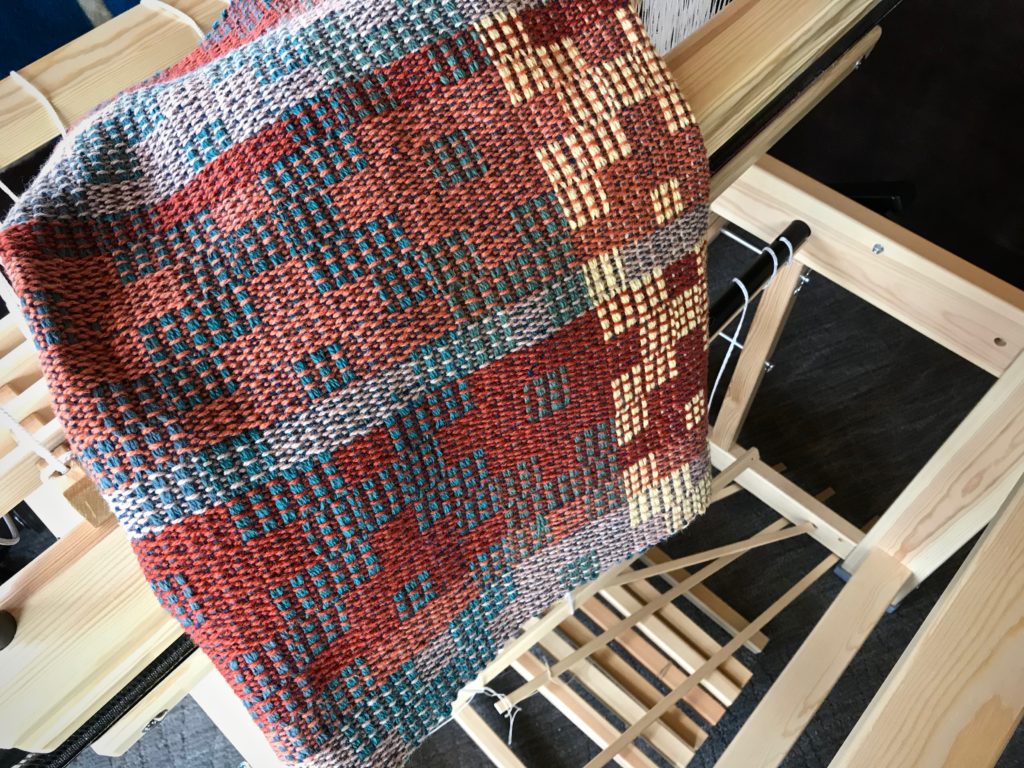
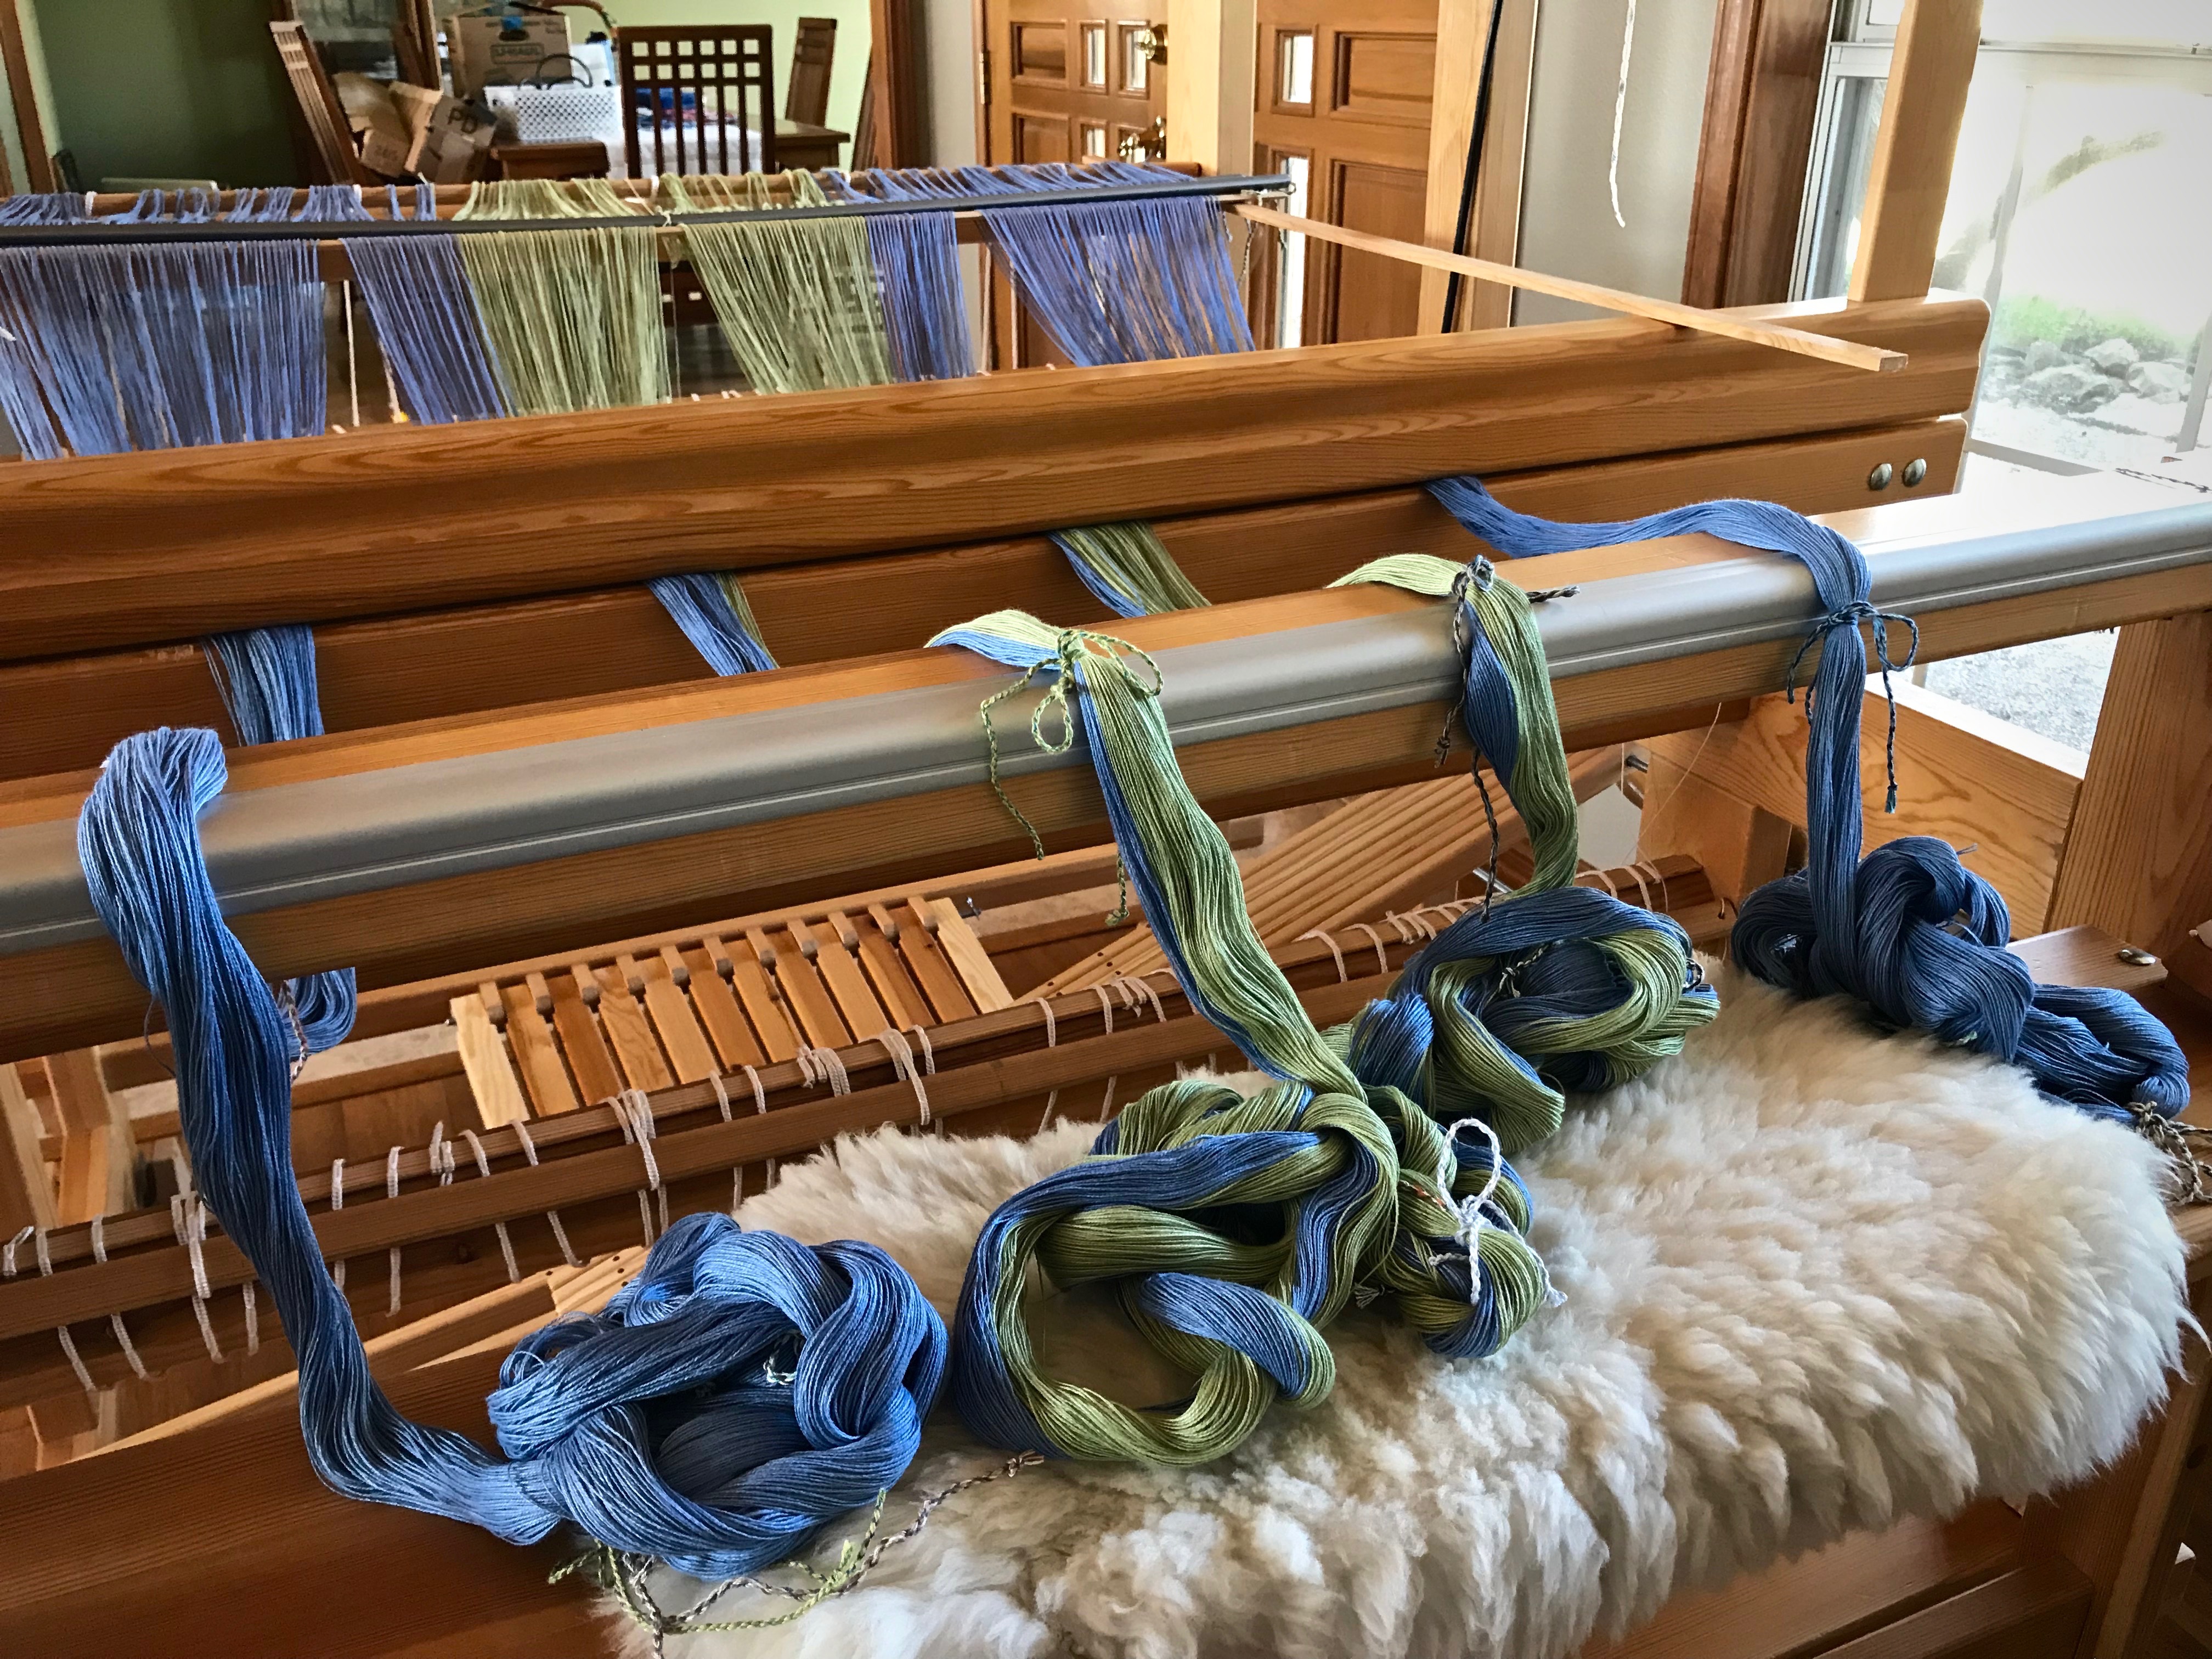
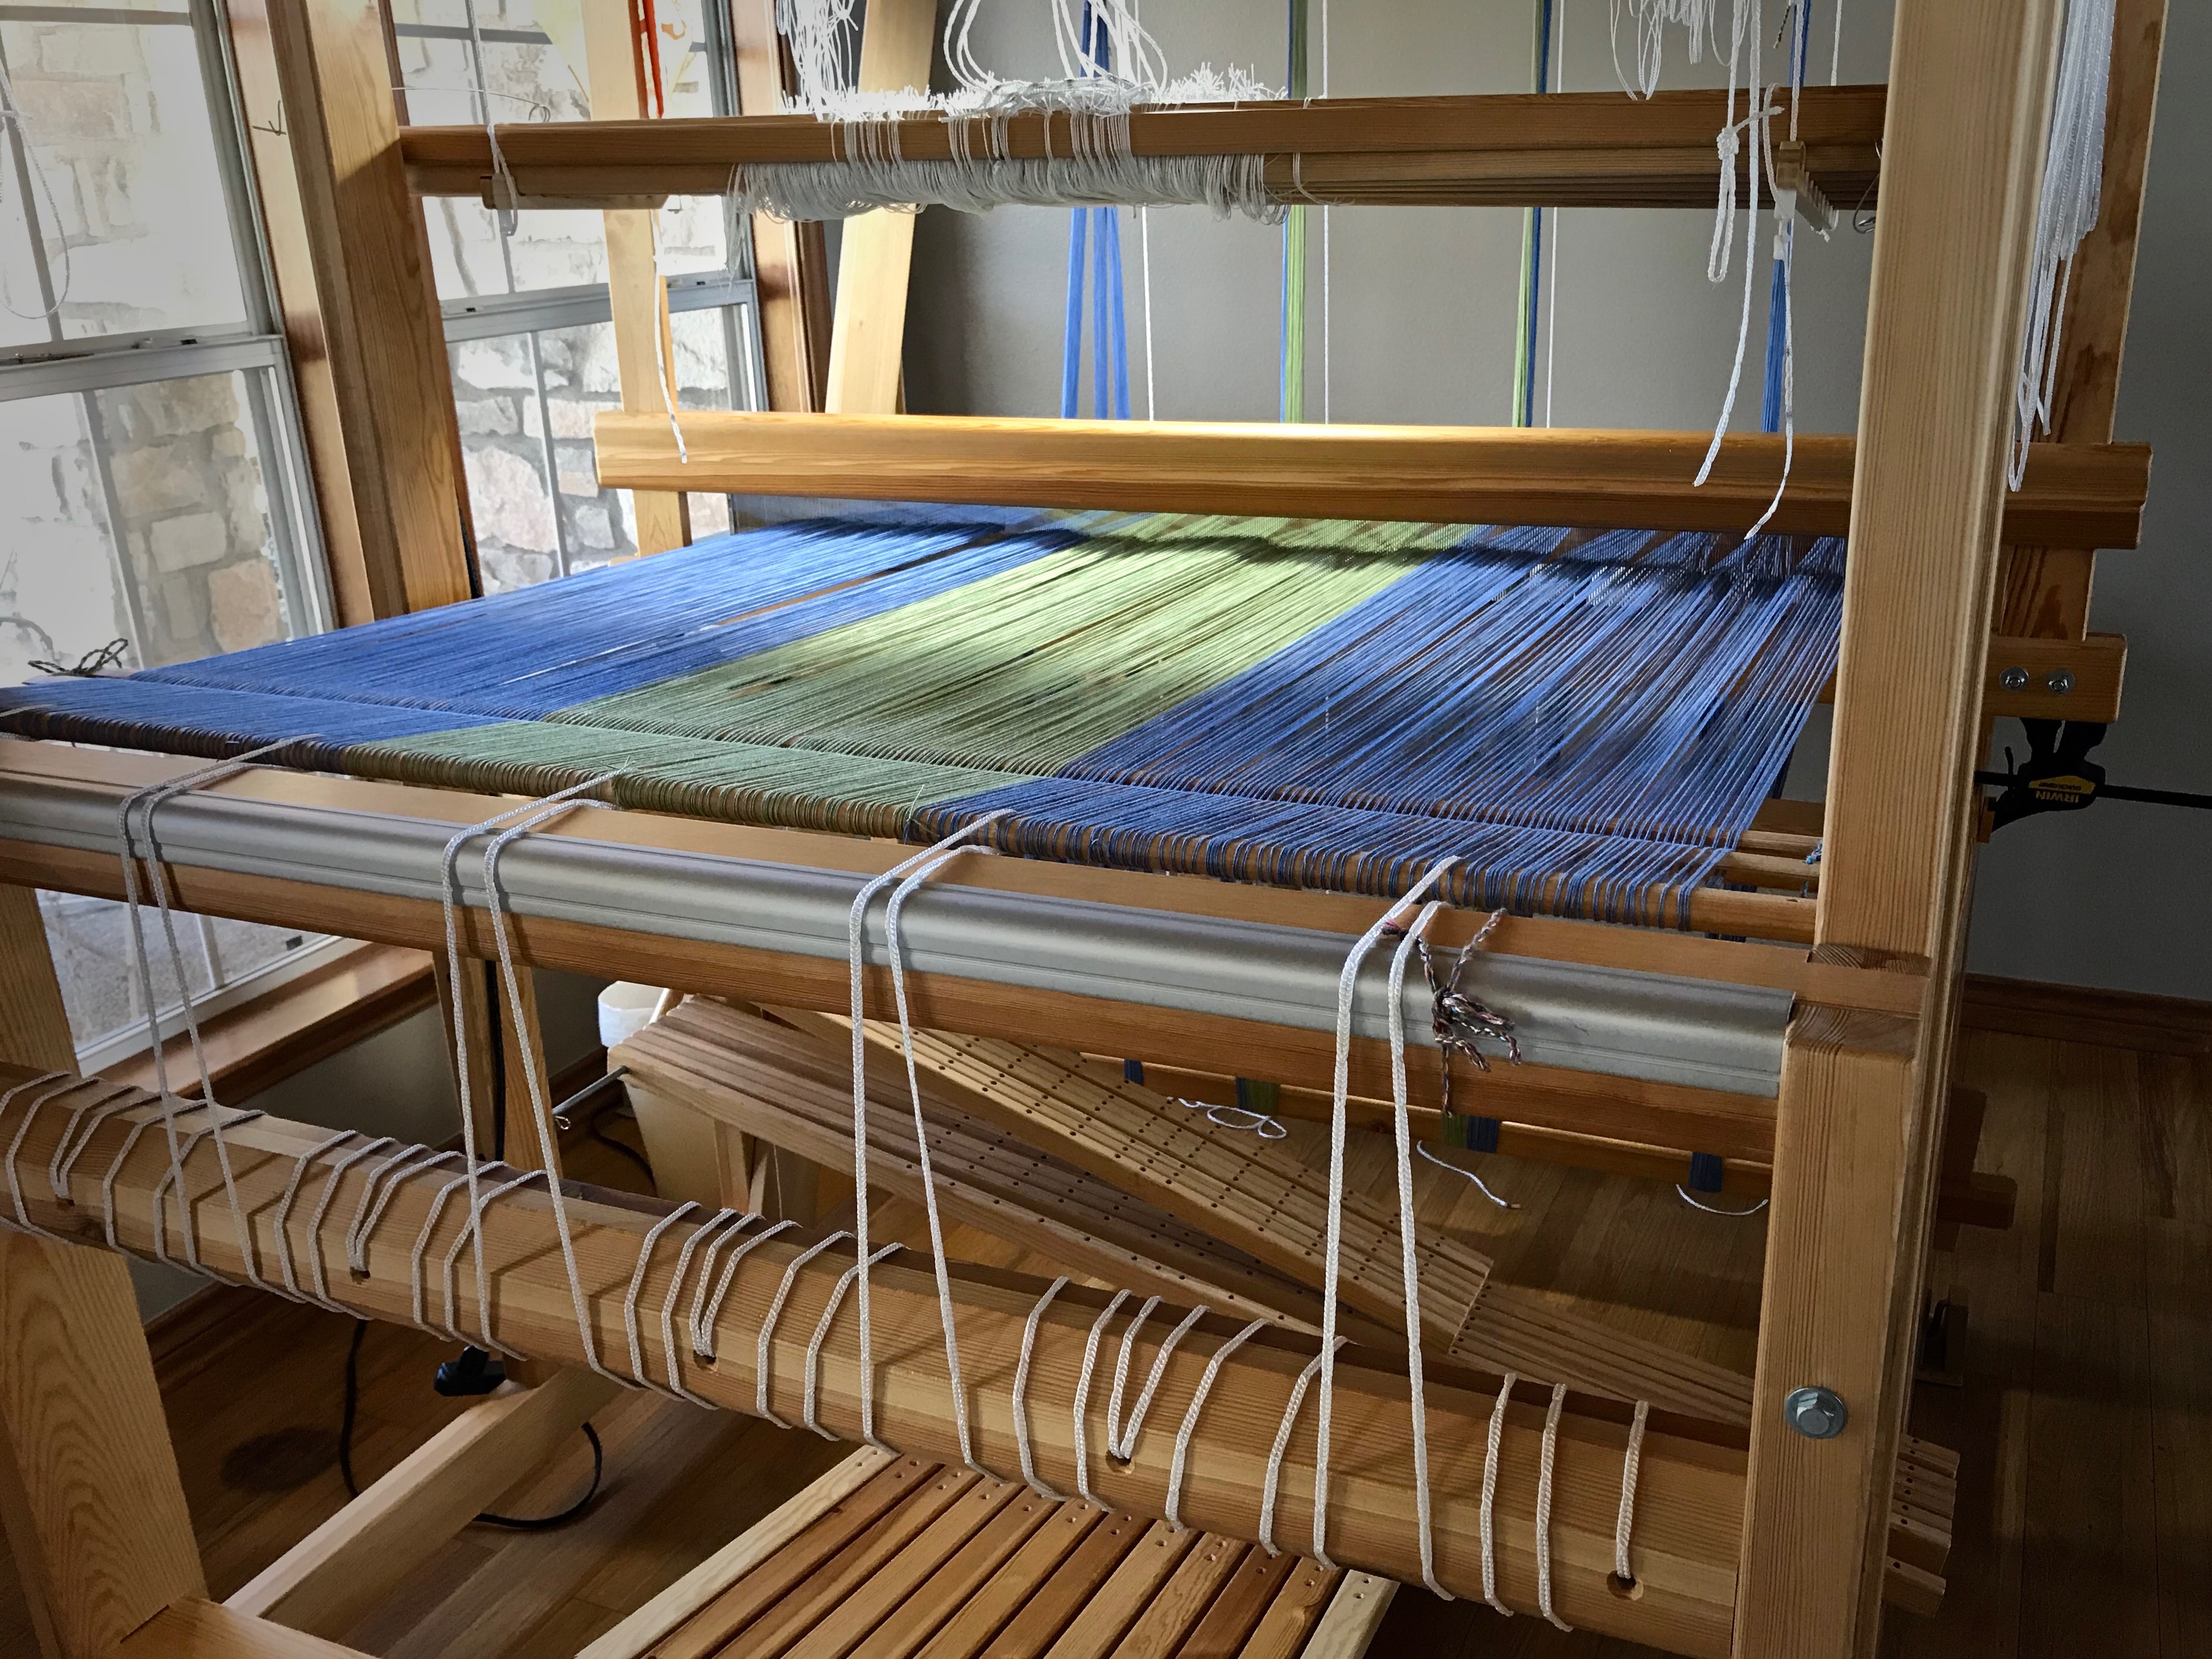
This project starts with the draft for the Jämtlandsdräll Blanket on p.59 of Simple Weaves, by Birgitta Bengtsson Björk and Tina Ignell. Tuna yarn samples, along with Fiberworks Silver for Mac, help me jazz up the color. I settle on three colors for the warp, with burnt orange as the anchor. Six different colors are used for the pattern weft, plus dark teal for the tabby.
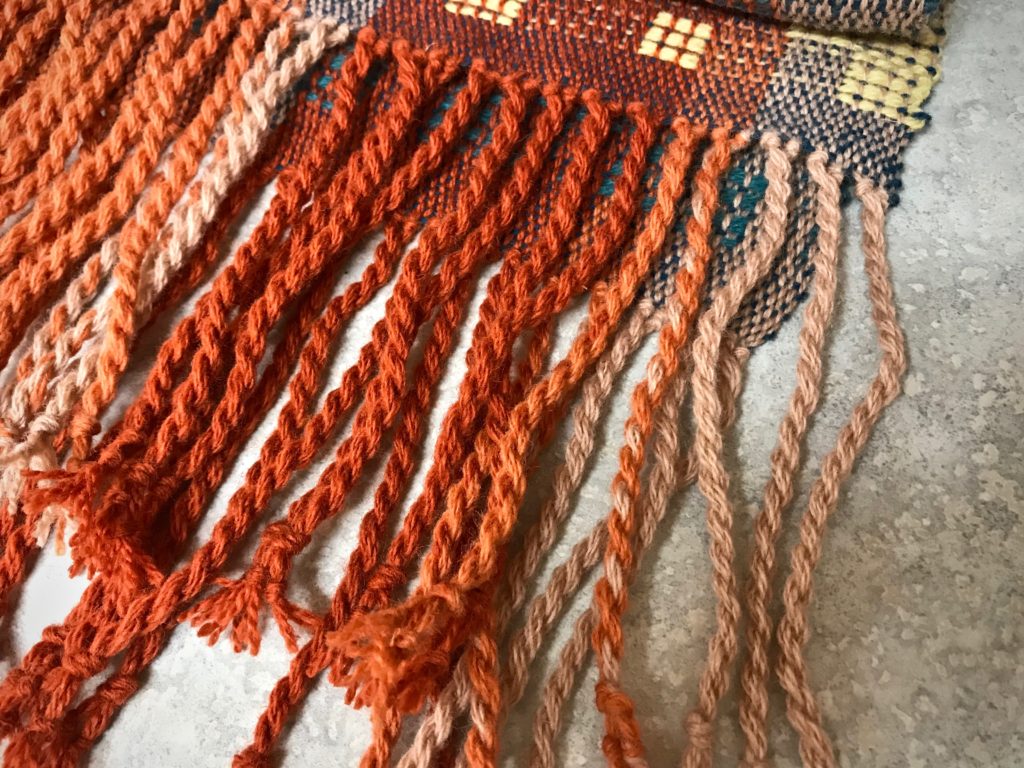
Paint chips, Tuna yarn samples, and Fiberworks Silver for Mac aid my planning process.Colors! Let’s see how they work together on the loom.Beaming the warp.Daylight, plus colorful yarn. As summer is warming up outside, Julia is dressed warmly inside.There is something about weaving with a double-bobbin shuttle that I especially enjoy.Some color gradation in the pattern.Miss Julia, filling up her cloth beam.Ending with a few picks of plain weave.Thrums at the end of the warp will serve as fringe.Cutting off, giving a view of the back side of the cloth. Front and back have reverse images.Jämtlandsdräll, just off the loom.Much to my pleasant surprise, after removing (unweaving) my short sample weaving at the beginning, and untying the front tie-on knots, I had the EXACT same length of fringe–to the centimeter–on both ends of the woven wrap. Overhand knots secure the weft. Two groups of four warp strands each form each chunky fringe. Now, this wrap is ready for wet-finishing.
This is one of those times when the weaving is so satisfying that I truly don’t want the warp to come to an end. (…except that I’m excited to start on Julia’s second adventure!)
I want to wrap up in this cozy throw already. But I need to weave it first. This is an undulating twill throw that I am making for sweet Lindsay, one of my daughters-in-law. Of course, I am including enough warp to make a small throw of my own.
Every step of dressing the loom is fascinating. I easily get immersed in the enjoyment of the process. All the while, I’m dreaming of the finished work.
Warping trapeze is in place at the front of the loom. Ready to beam these soothing colors onto the warp beam.
Warp is beamed. Warp ends are counted into groups of 32 ends each, for efficiency and accuracy in threading. This will be threaded for undulating twill on eight shafts.
Dressing the loom leads to the making of cloth. Dressing our lives leads to the making of good character. Prayer is of utmost importance in dressing our lives. Prayer is not a single step in the process, but a posture of faith throughout the process. Earnest prayer reaches God. The power of prayer is not in our words, in the threads we express, but in the Grand Weaver. He receives our humble threads and weaves them into his will to bring about his beautiful cloth. Fascinating, isn’t it?
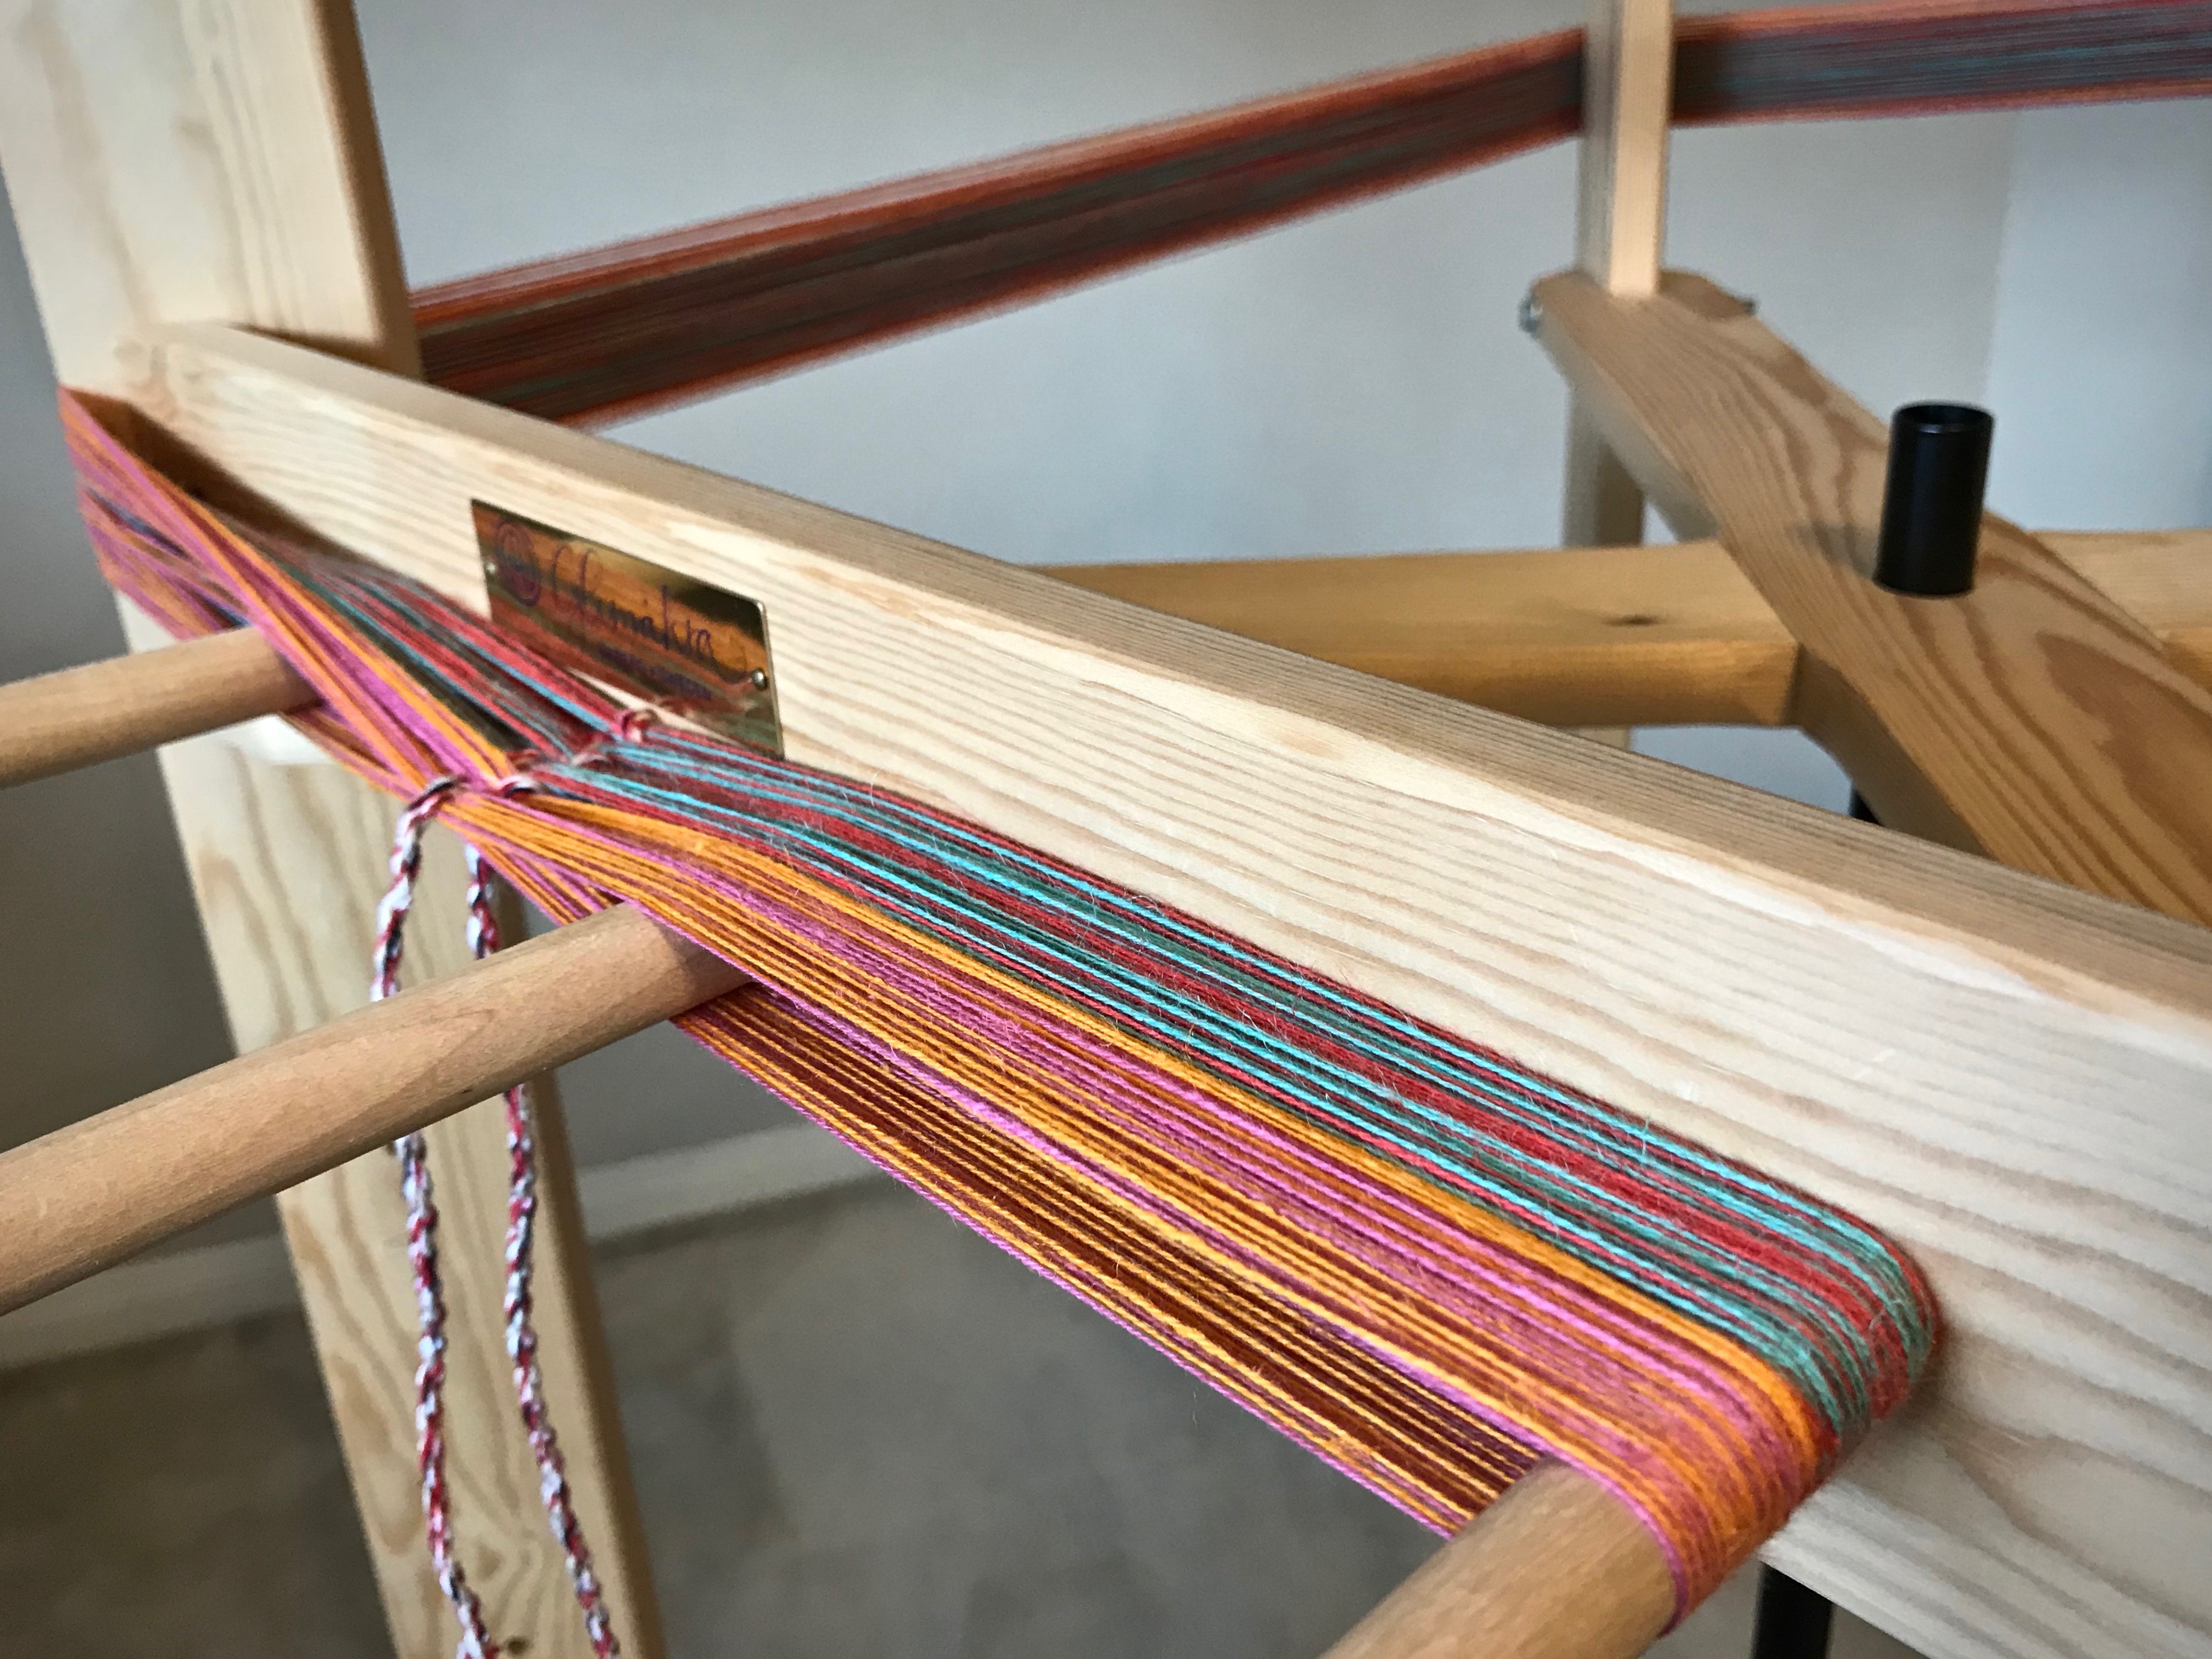
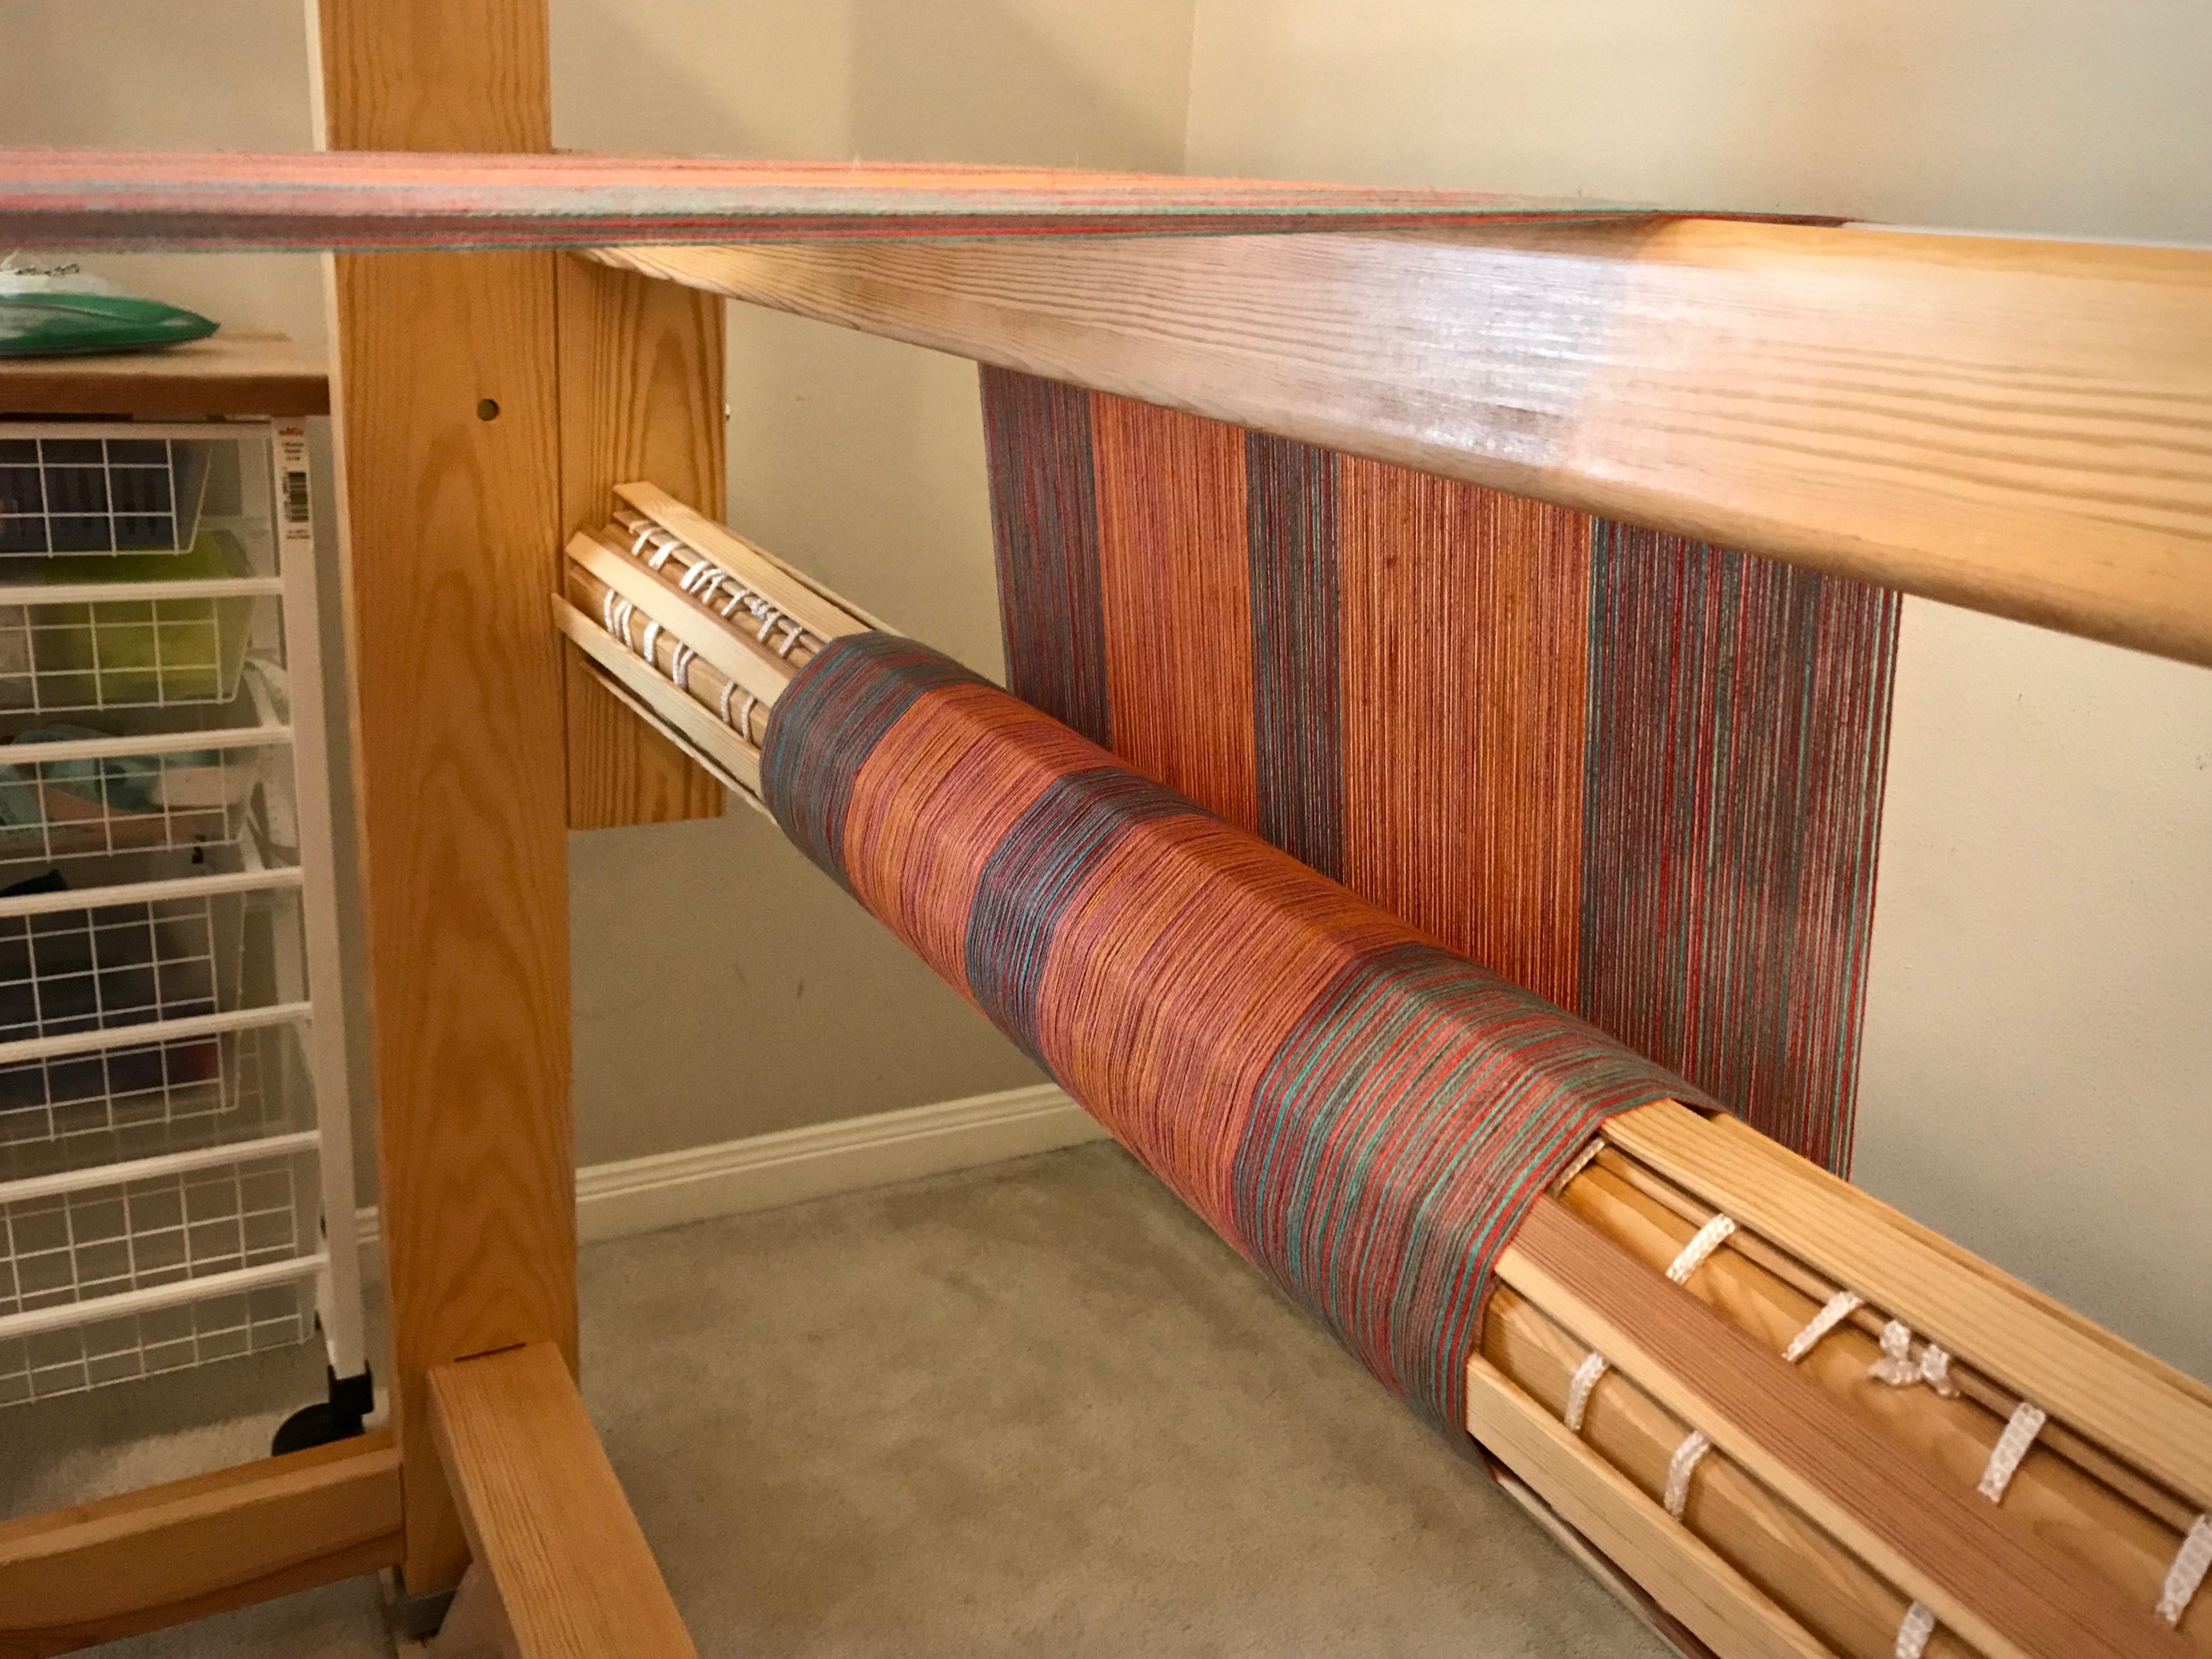
I am stepping out of the box with this combination, trusting that what is seen only in my mind’s eye will have an extraordinary impact. This warp will become towels for my daughter Melody. I chose cottolin threads in colors that remind me of the colorfully painted homes we saw on our visit to Chile a few years ago when Melody was living there. Aqua, light poppy, marigold, and orchid.
We trust what we can see—a chair to hold us, and an airplane to fly us. But unseen things are also part of our trust—the chair maker’s glue, and the air that aerodynamic engineers depend on. Earth and heaven, seen and unseen. Jesus, seen on earth, made the unseen God visible. Trust the unseen.