Quiet Friday: Warping Back to Front with Confidence

“Put on many short warps.” This was the best piece of advice I received as a new weaver! Repeated practice of the back-to-front warping steps accelerated my confidence at the loom. If I can get it on the loom, surely I can weave it, right? When you are comfortable dressing the loom, you start feeling like a “real” handweaver. And before you know it, you are planning, designing, and weaving. And having the time of your life!

Tips for Preparing the Warp for Beaming

  • Wind the warp with two (or more) threads, separated by your fingers to keep them from twisting. This virtually eliminates tangles during the warping process.
  • Wind multiple bouts, when needed. The rule of thumb I use is to stay under 200 ends or 10 inches. Smaller bouts equalize the tension across the width of the warp.
  • Tie tight choke ties about every yard or meter along the warp before chaining it. This keeps the warp ends from shifting.
  • Keep the warp under constant, even tension. Threads can get into trouble if you let them relax.

Warping Back to Front

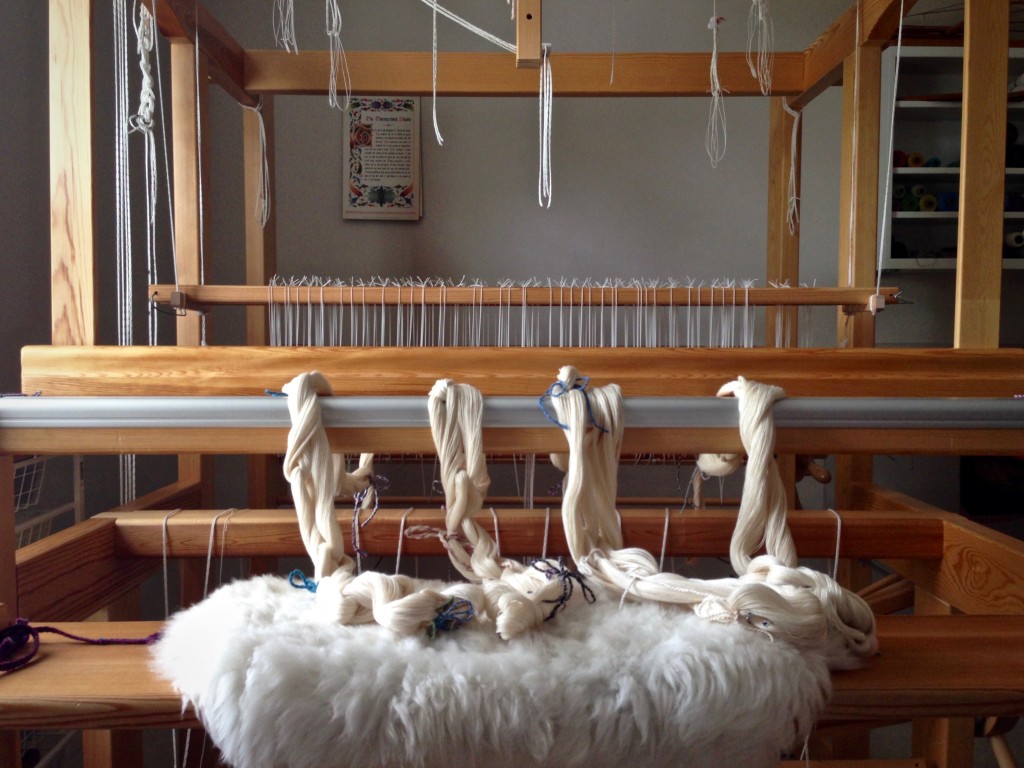
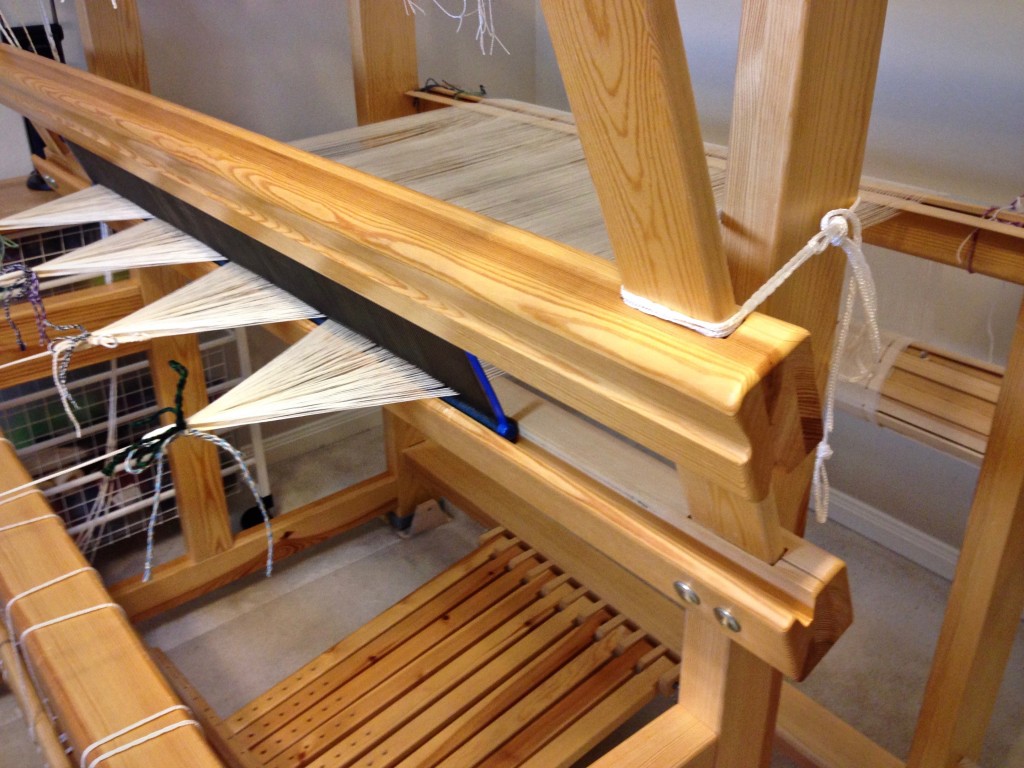
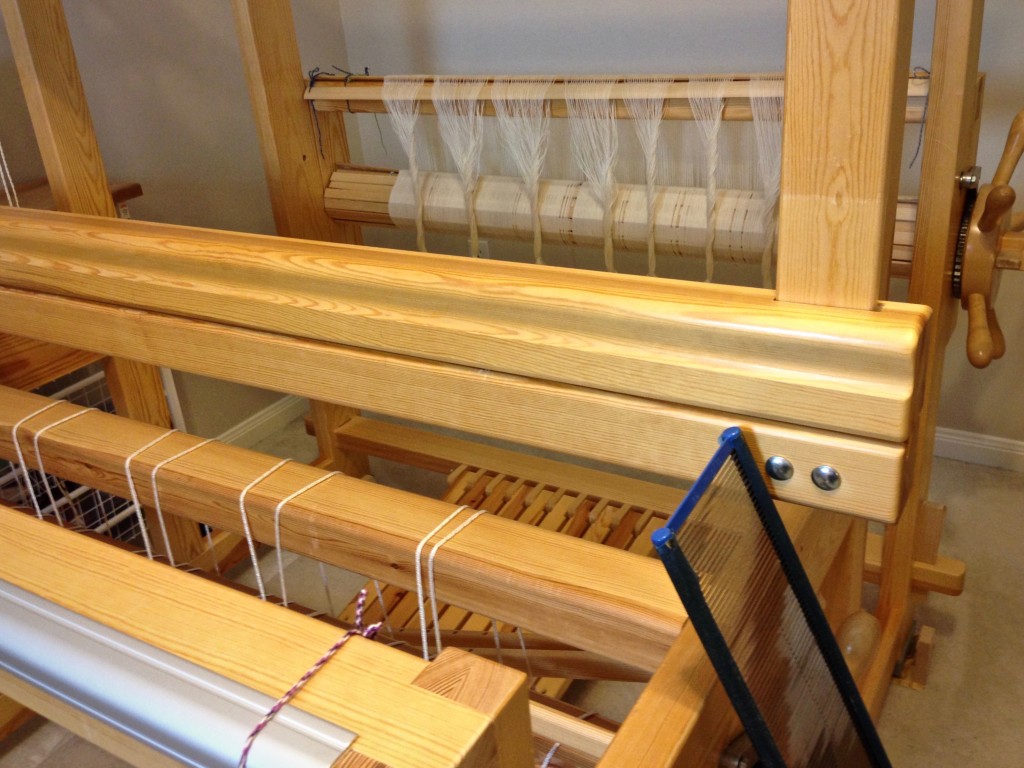
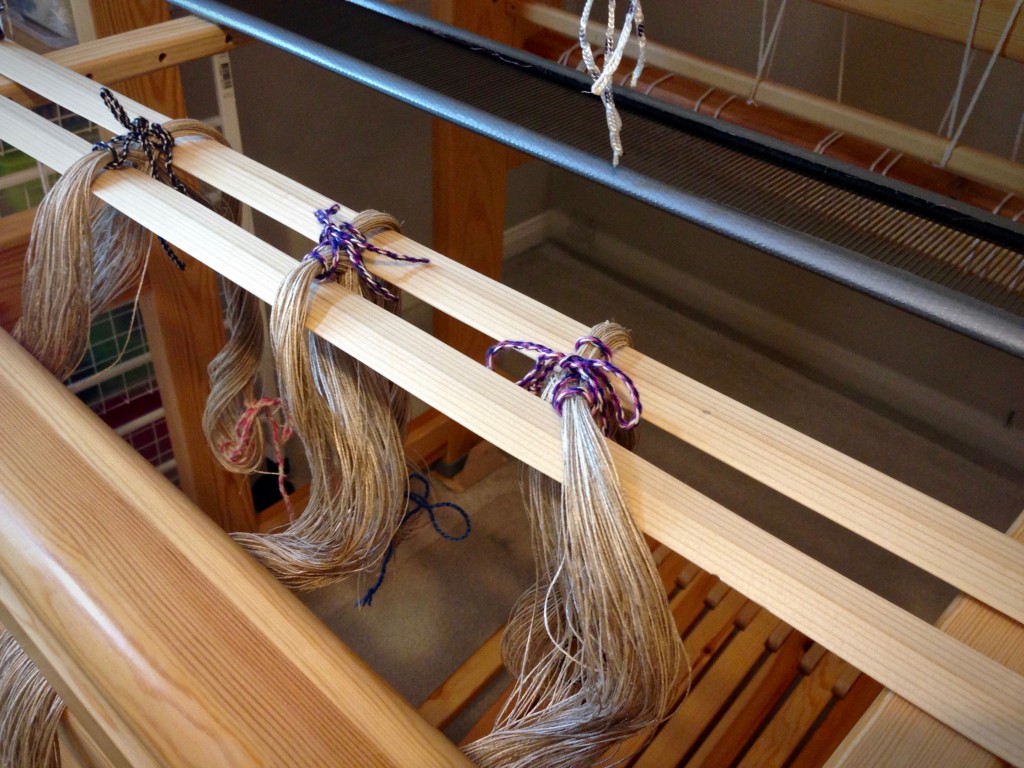
1 Lay warp chains across the breast beam, and through the beater, with the lease cross of each warp chain on the other side of the beater.

Warp chains ready for warping the loom back to front.

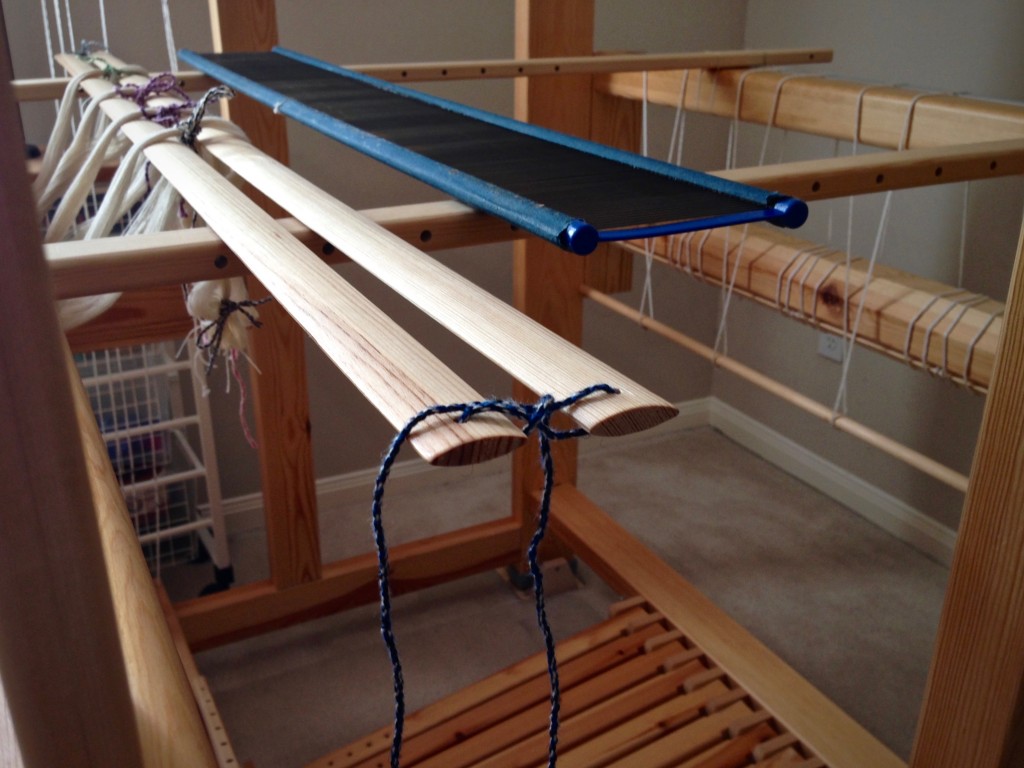
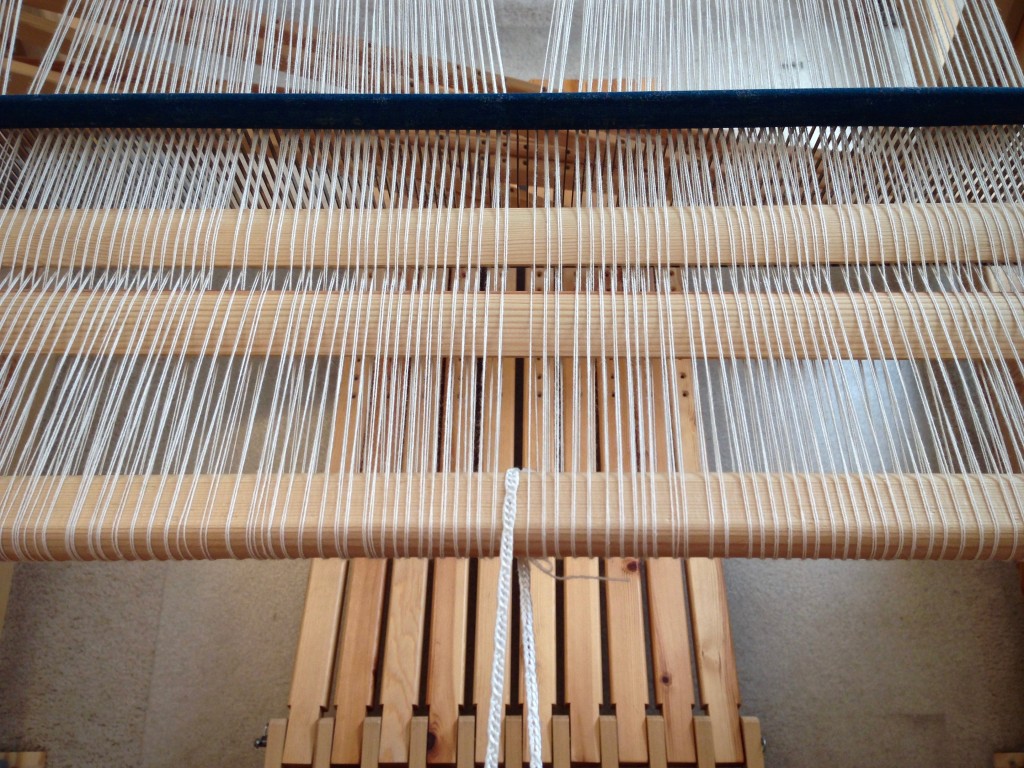
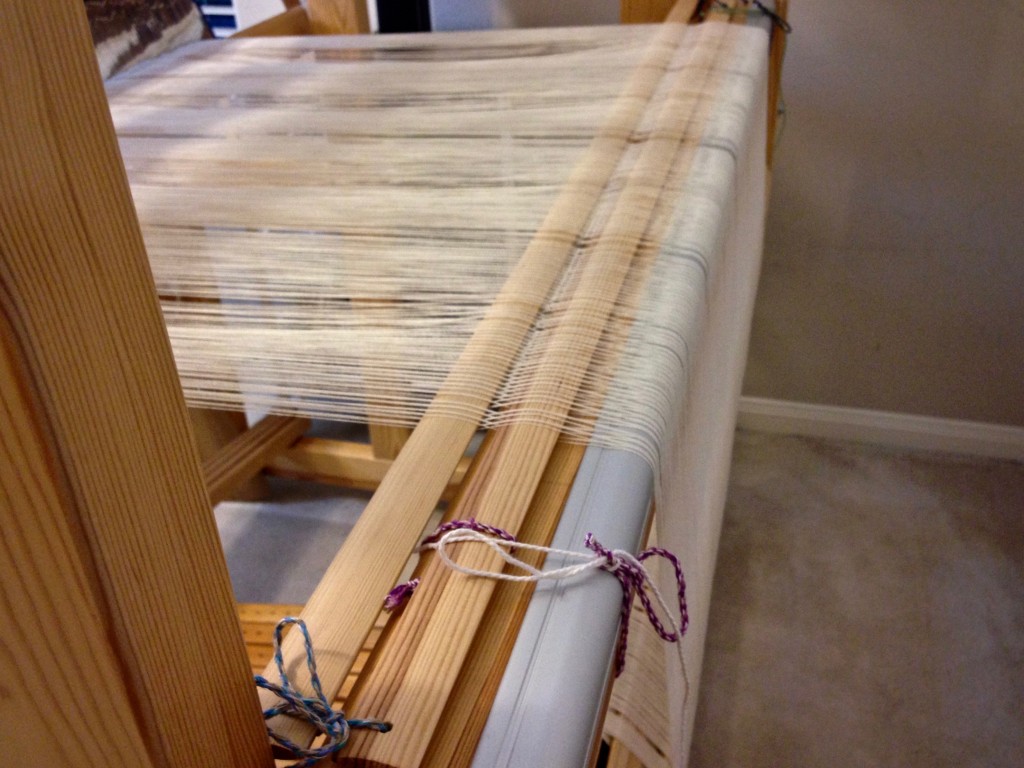
2 Raise the shafts out of the way, and place support sticks over the beater and the back beam to hold the lease sticks and the pre-sley reed. Thread the lease sticks through the cross of each chain. Lease sticks in the picture are being tied together.

Tying lease sticks during warping process. B2F warping explained.

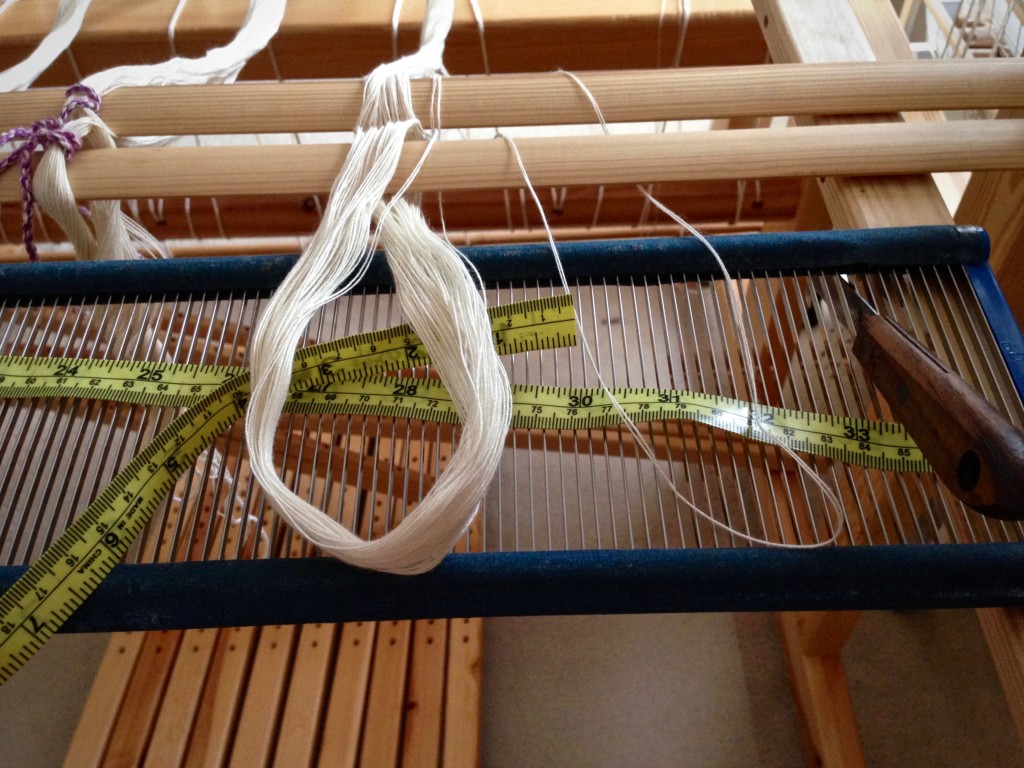
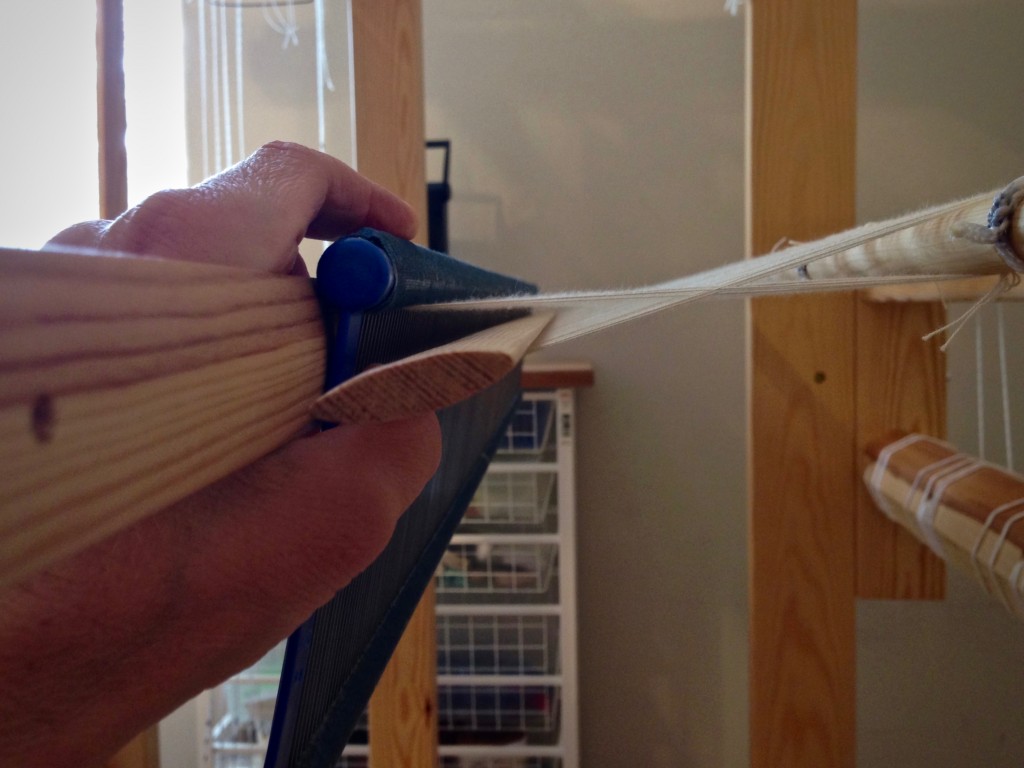
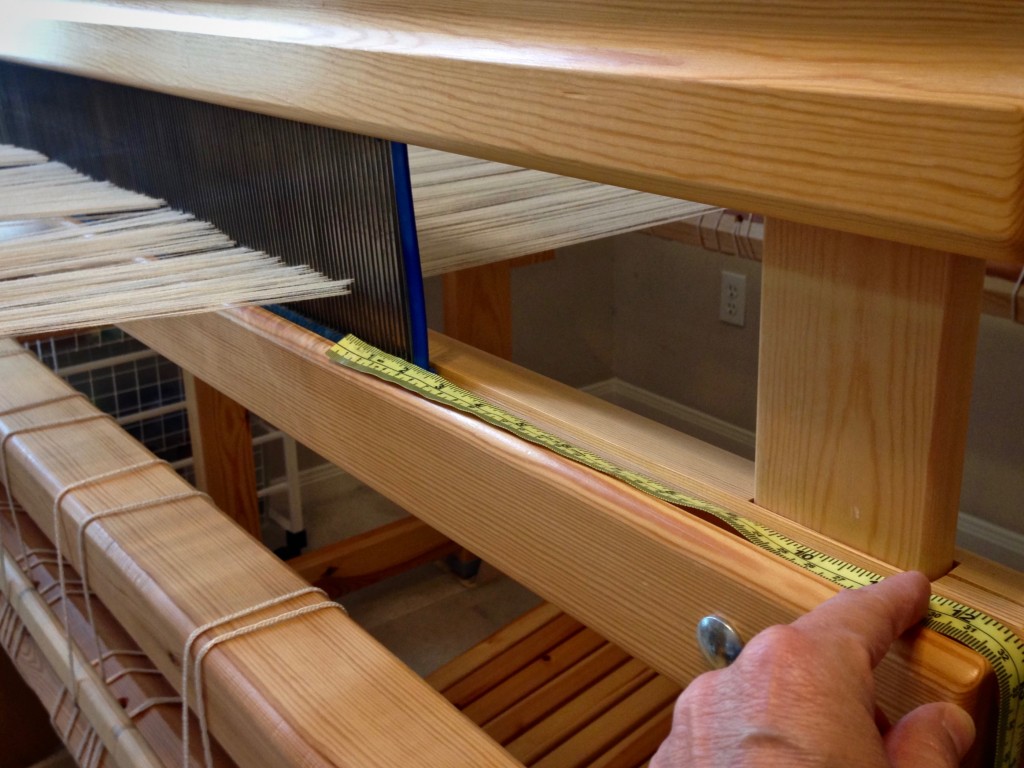
3 Use tape measure and reed hook to mark the starting dent for pre-sleying the reed.

Pre-sleying the reed in back to front warping.

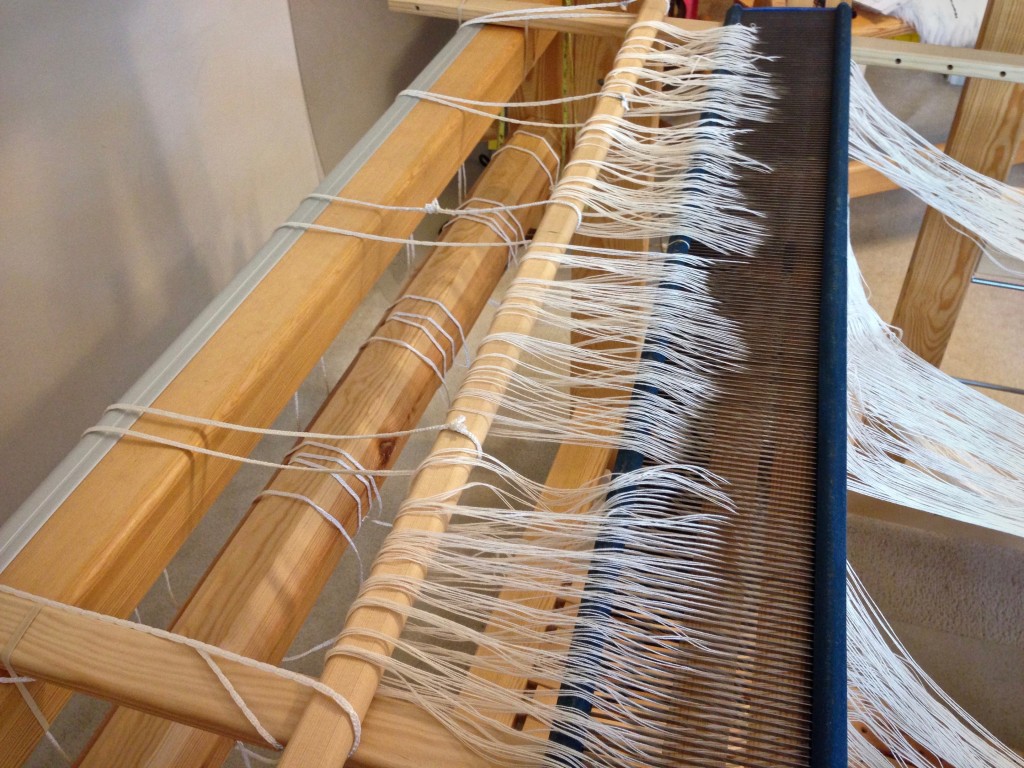
4 Divide warp into sections corresponding to the cords on the back tie-on bar. Insert the tie-on bar through the loops that form at the end of the warp.

Insert tie-on bar while warping back to front.

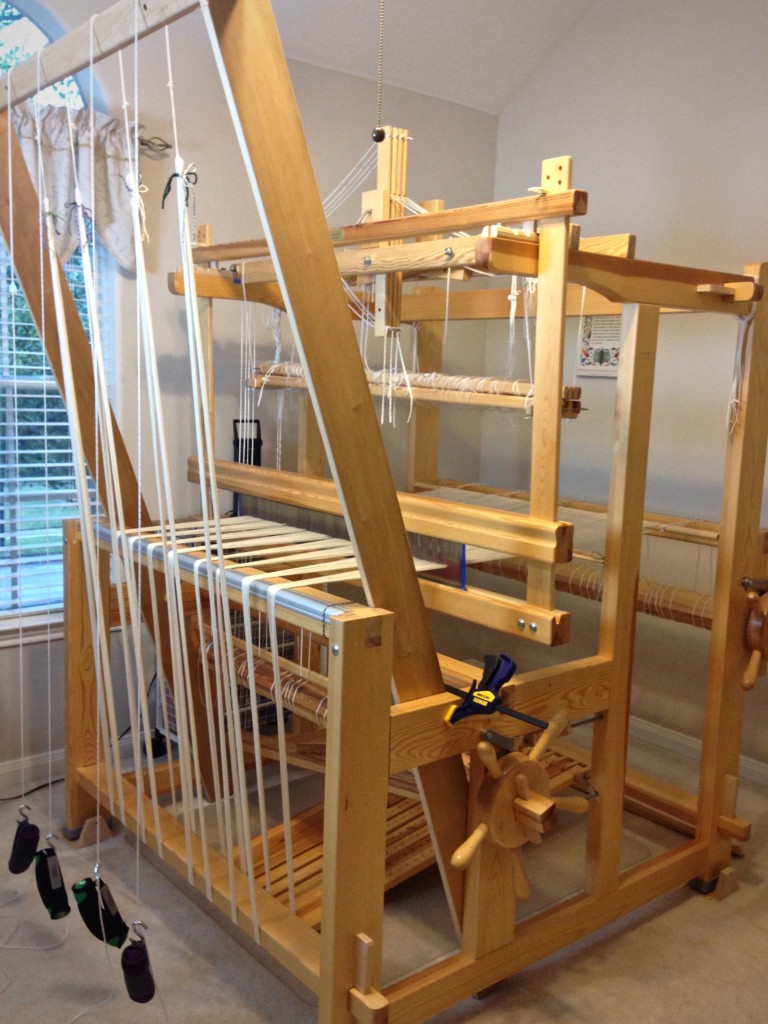
5 Install the warping trapeze at the front of the loom, or use another method to extend the warp and weight it. Texsolv cord is connected to the end of each warp chain to extend the length. (This is a 3.5 meter warp–not long enough to go over the trapeze cross bar.) Weights are suspended from the texsolv cords with S-hooks.

Adjusting the warp on the warping trapeze.

6 Transfer the lease sticks from in front of the reed to behind the reed. This is a gutsy way of transferring lease sticks. (Please don’t try this method unless you read about it first in Becky Ashenden’s book, noted below.)

Transferring lease sticks like this takes guts!

7 Straighten out each warp end from the reed to the back tie-on bar.

Winding on a new warp. Back to front warping pics.

8 Place the reed in the beater. Center the reed in the beater.

Placing the reed in the beater.

9 Remove choke ties between the beater and the trapeze cross bar, but do not remove choke ties from the very end of the warp. Starting at the reed, separate each warp bout in the middle.

Warping trapeze in use for warping Glimakra Standard.

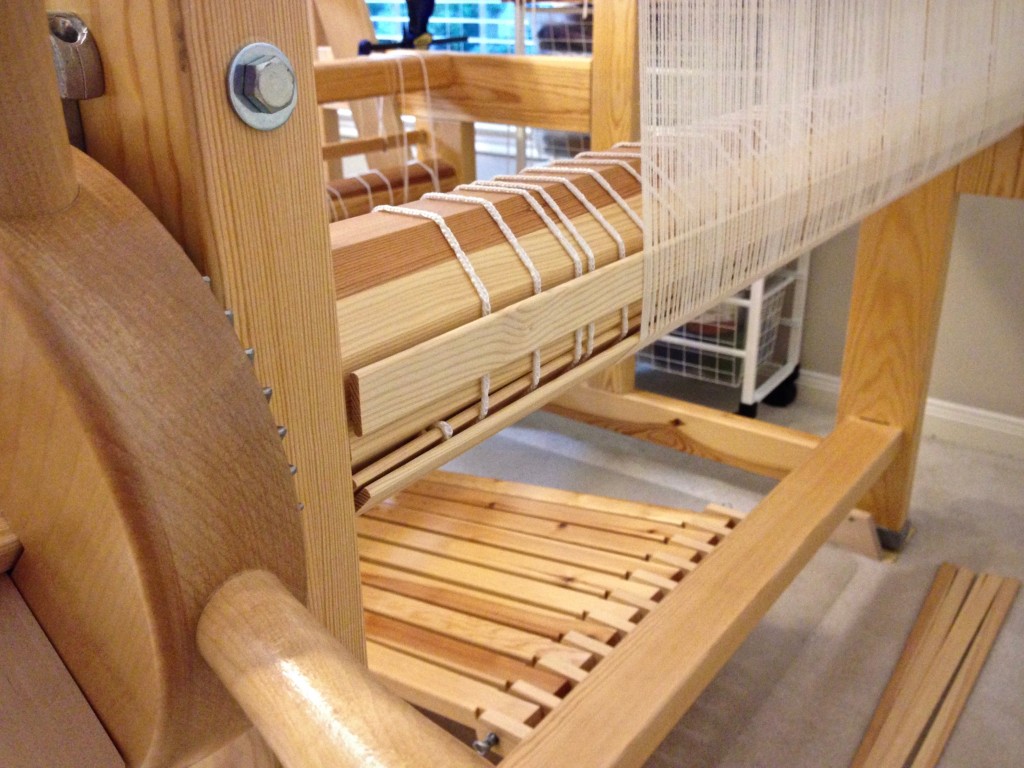
10 After sliding lease sticks toward the reed, wind the warp onto the beam. Place a warping slat on each flat side of the warp beam for one revolution. (Octagonal beam uses eight sticks.) Advance weight at the front of the loom as needed. After two additional revolutions of the beam, add warping slats for one revolution again. Continue this pattern as beaming progresses.

Warping slats during beaming. Beaming tutorial.

11 Tie beater back to allow a little more warp to be wound on.

Finishing up beaming the warp.

12 Tie lease sticks to the back beam. Do not forget this step!

Tie the lease sticks to the back beam before cutting the ends.

If you missed step 12, do it now, or you will be yelling for help as you try to hold the cut ends with one hand while trying to keep the lease sticks from slipping out with your other hand. I speak from experience.

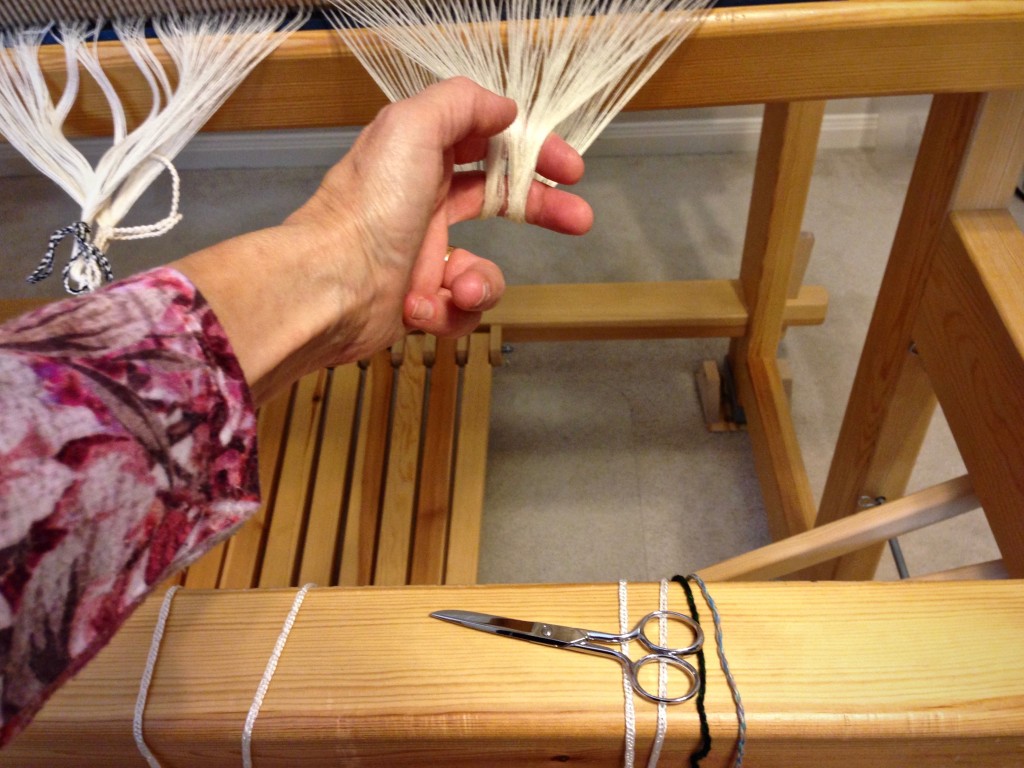
13 Loop the end of the warp chain around your hand, and then remove the remaining choke ties. Cut the loop.

Cutting ends after beaming the warp.

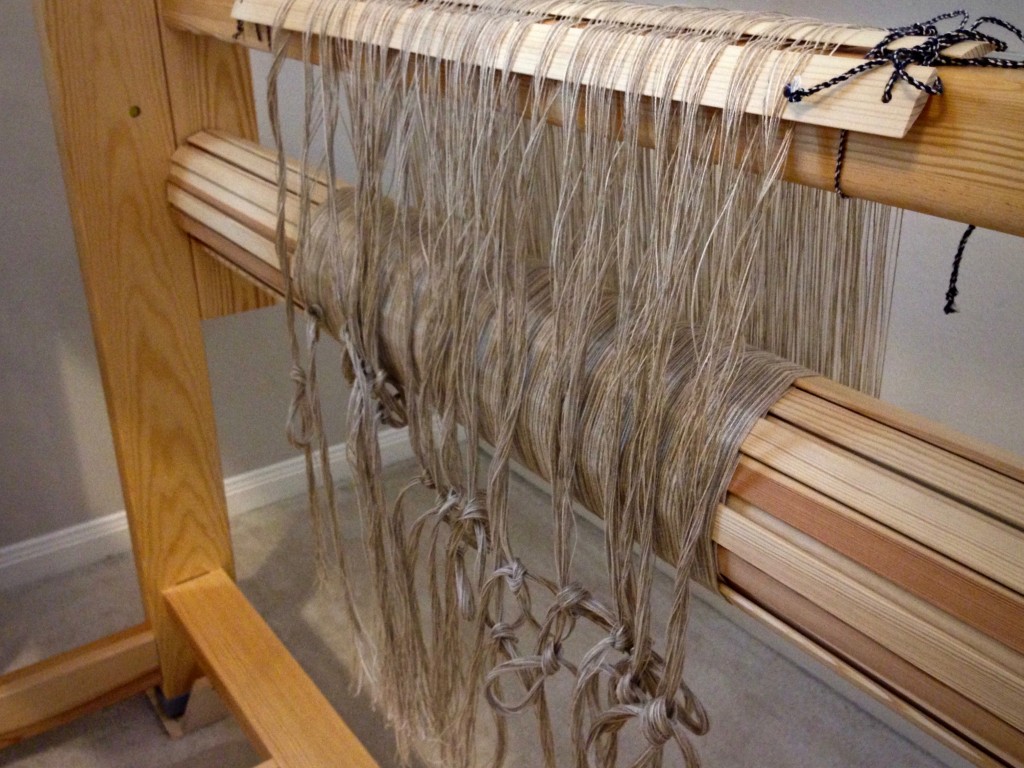
14 Remove a group of warp threads from the reed and tie in a loose slipknot. Continue across the warp. Remove the reed.

New warp of 16/2 cotton for monksbelt on weft rep.

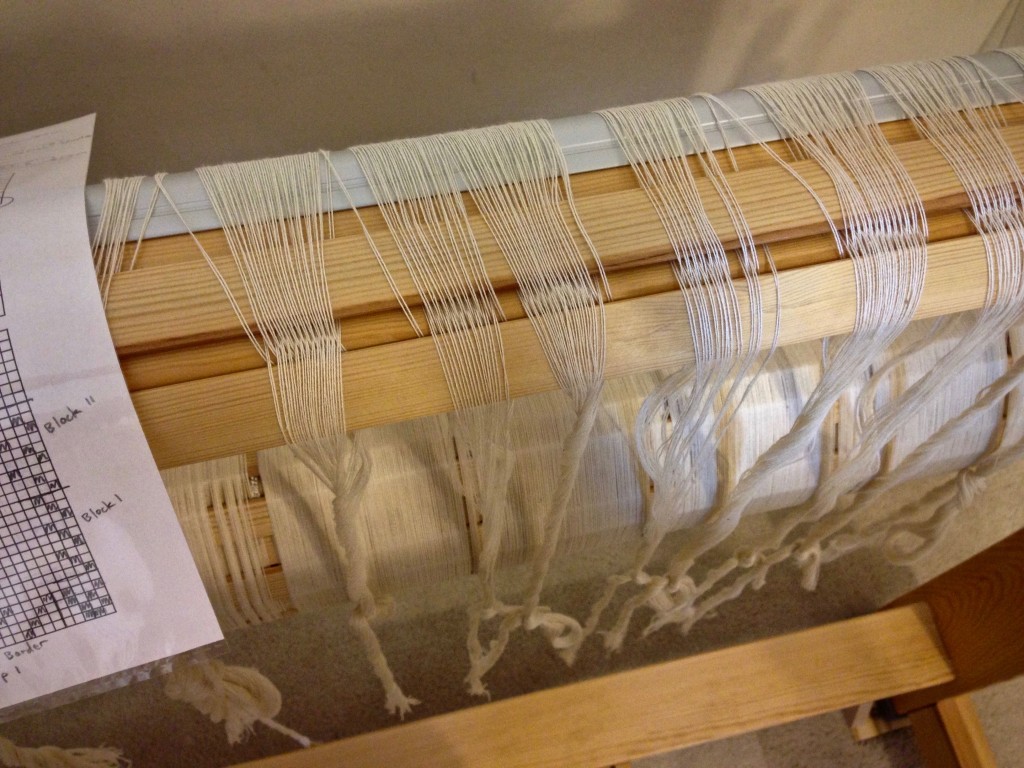
15 Use the threading draft to count the warp ends into threading groups, tying each grouping with a slipknot.

Grouping warp ends before threading.

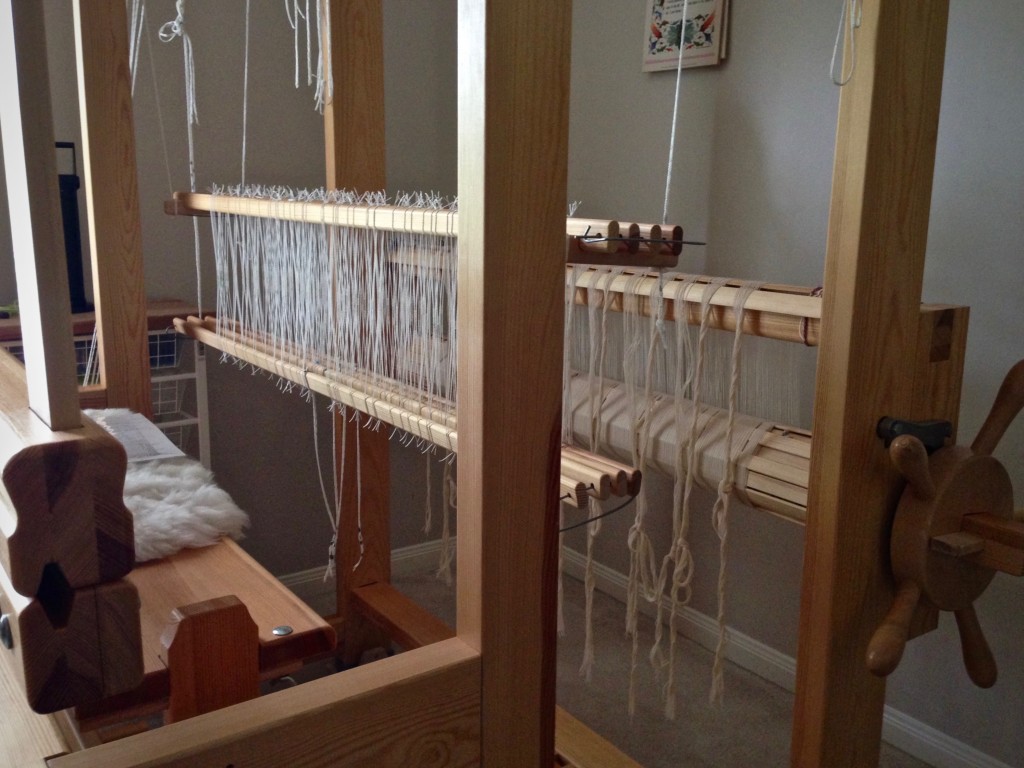
16 Adjust the loom for threading. For this Glimåkra Standard loom, I move the countermarch assembly to the back of the loom, put the bench in the “playhouse,” and lower the shafts for threading.

Bench "in" the loom for threading. Glimakra Standard.

For more thorough instructions about warping your loom, please consult these excellent resources:

  • Dress Your Loom The Vävstuga Way, A Bench-Side Photo Guide, by Becky Ashenden
  • Learning to Warp Your Loom, by Joanne Hall
  • The Big Book of Weaving, by Laila Lundell

May you find yourself beaming, inside and out.

Resurrection blessings,
Karen

Quiet Friday: Linen Dice Weave Pillows

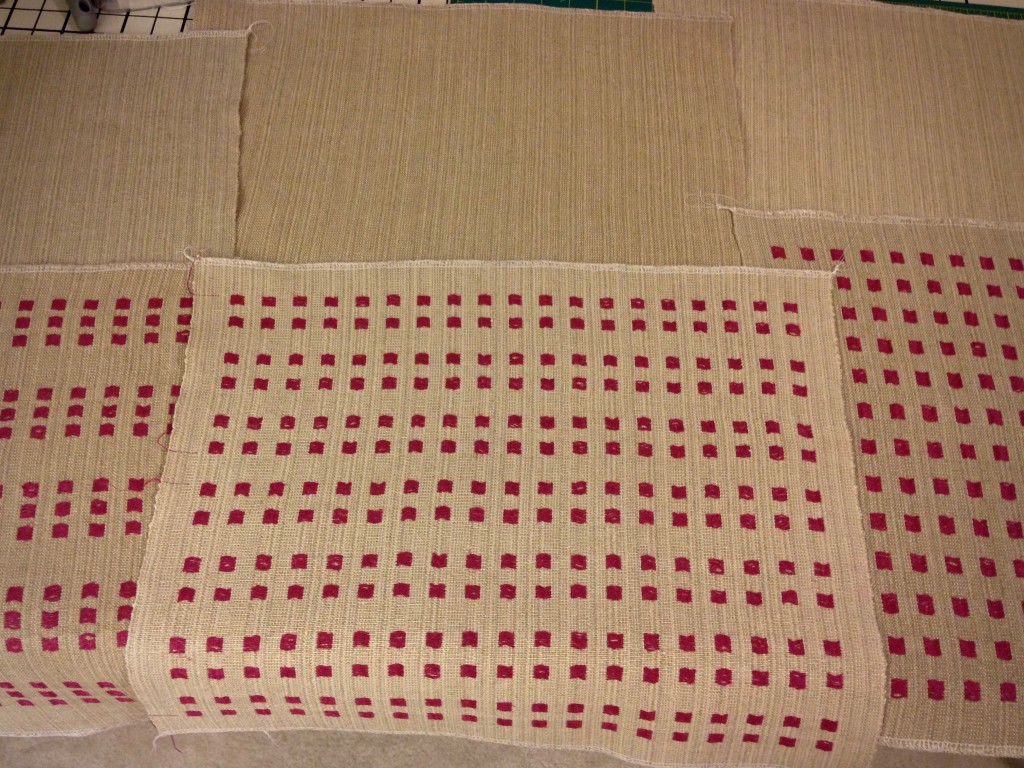
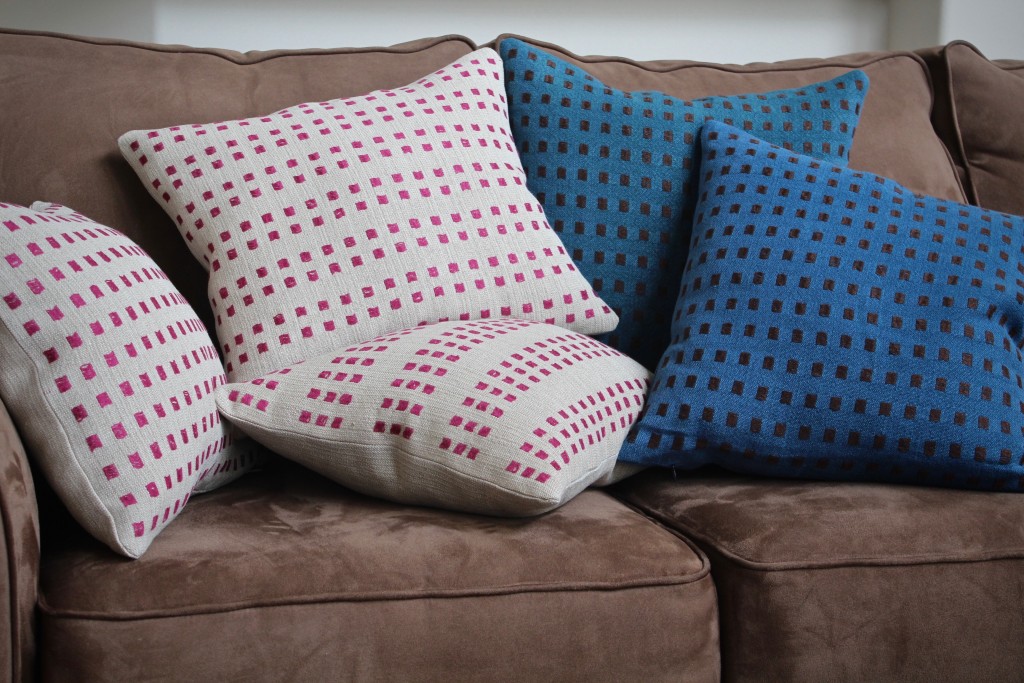
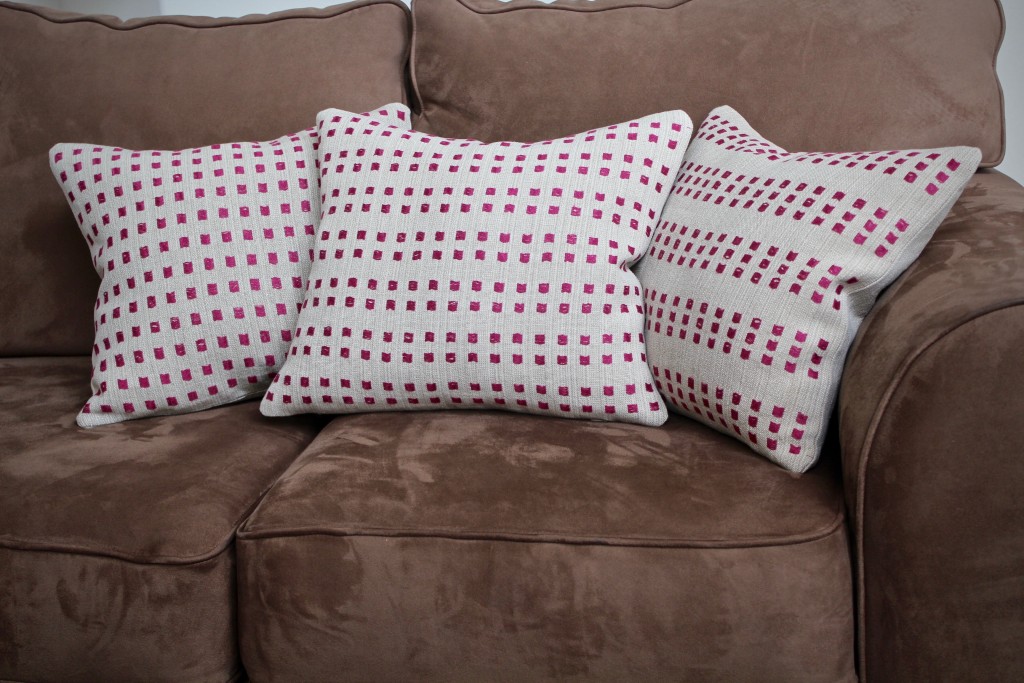
The linen on my loom last spring was a secret project. I only showed hints of what I was doing. Now that the “secret” linen project is published, let’s go back to see some of the process. Complete instructions for weaving and sewing these Linen Dice Weave pillows are in the January/February 2016 issue of Handwoven magazine. Read how it all came about in Caught by Surprise – in a Good Way.

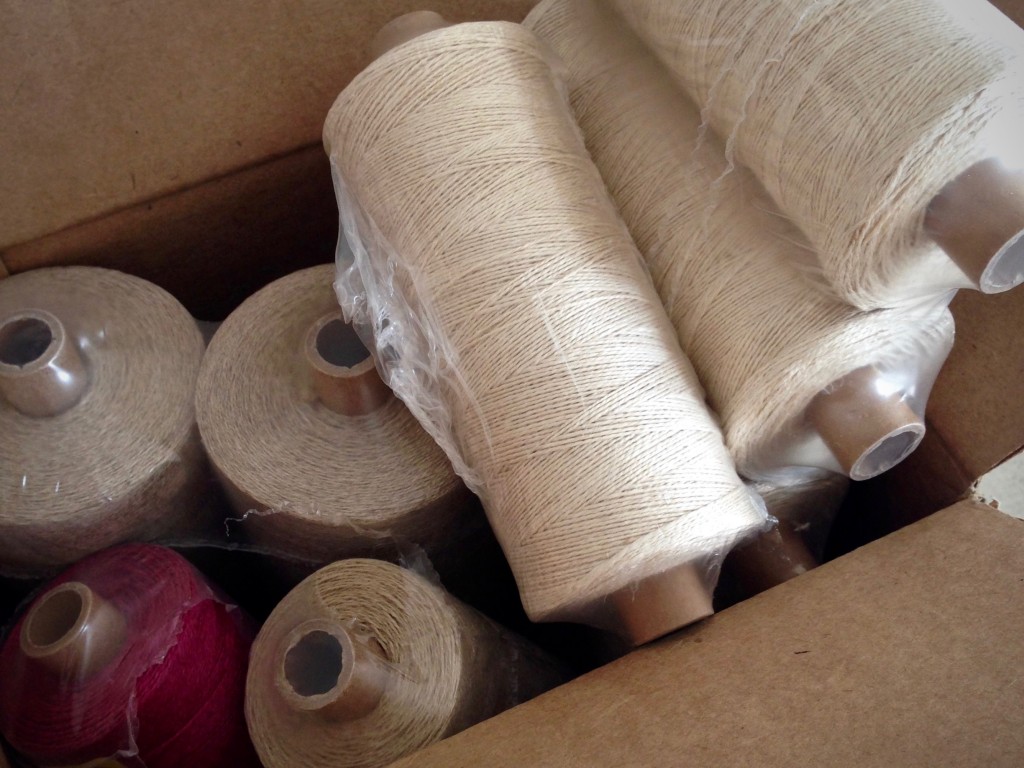
Linen arrives!
Linen arrives!
Ready to pre-sley the reed with linen.
Ready to pre-sley the reed.
Warping trapeze in action to beam linen warp.
Warping trapeze in action to beam the linen warp.
Linen, ready to be threaded in the heddles.
Ready to thread the heddles.
Linen dice weave on the loom.
First pillow.
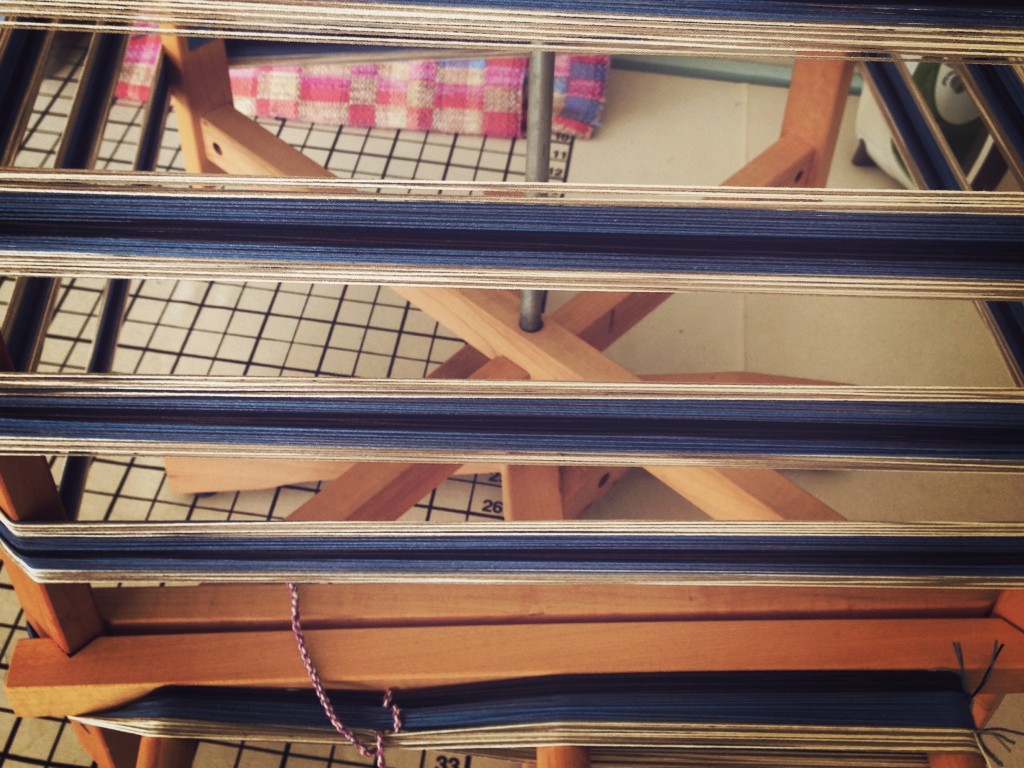
Linen dice weave as seen through the warp.
Linen dice weave coming around the cloth beam. Karen Isenhower
Coming around the cloth beam.
Linen dice weave on the loom.
Ending the pattern.
Dice weave in linen on the loom.
Dice weave.
Cutting off celebration!
Assembling handwoven linen pillows.
Assembling pillows.
Two sets of handwoven linen dice weave pillows
Two sets of linen dice weave pillows.
Linen dice weave pillows. Karen Isenhower
Linen dice weave pillows ready to send.

May you and those you love make meaningful memories on this Christmas day.

Merry Weaving Christmas,
Karen

Quiet Friday: Checkered Rug

I have another rag rug warp on my Baby loom (Glimåkra 100cm Ideal), playing with the magic of double binding again, this time with four shafts and four treadles. Ten yards / nine meters of warp. I planned an additional twelve inches / 30.5cm between rugs for cutting off and tying back on, so I can cut each rug off as it is finished. Here is the first rug.

Winding warp for another rag rug.
Small warping reel is used to measure the ten yards / nine meters of 12/6 cotton rug warp.
Beaming the warp under tension, using warping trapeze and weights.
Warp chains are undone and lengthened out over the warping trapeze. Several pounds of walking weights hold the bouts under constant even tension for beaming the warp.
Tying on.
All tied on. Ready to weave.
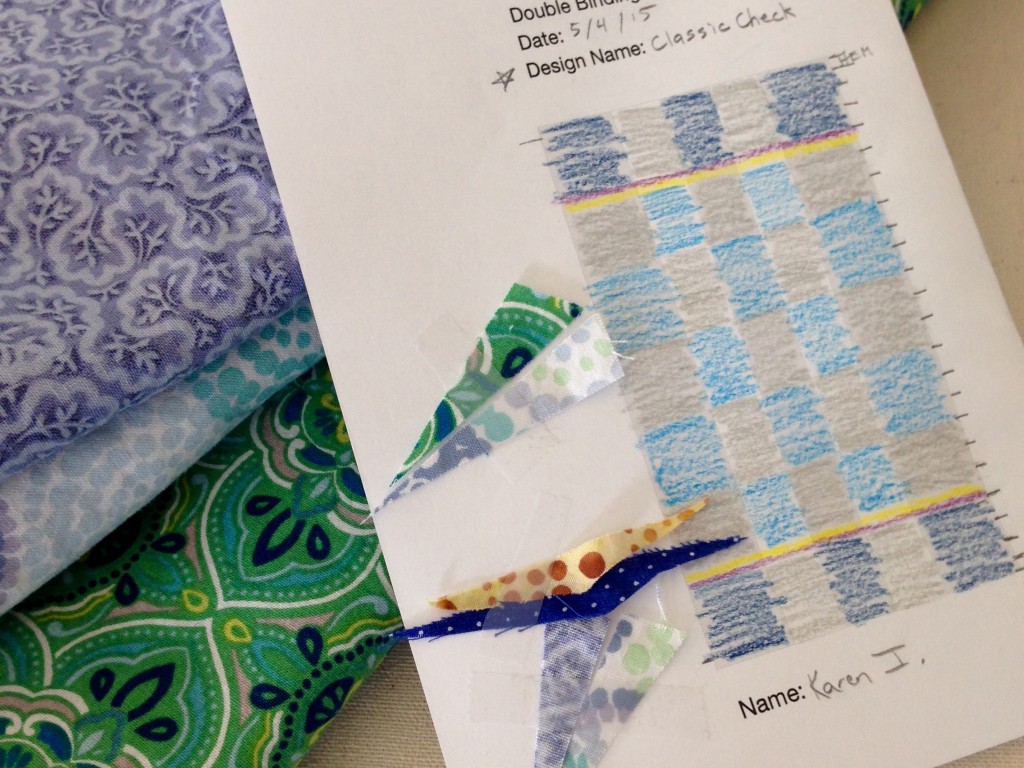
Designing a rag rug.
Design concept is created; and fabric colors are chosen.
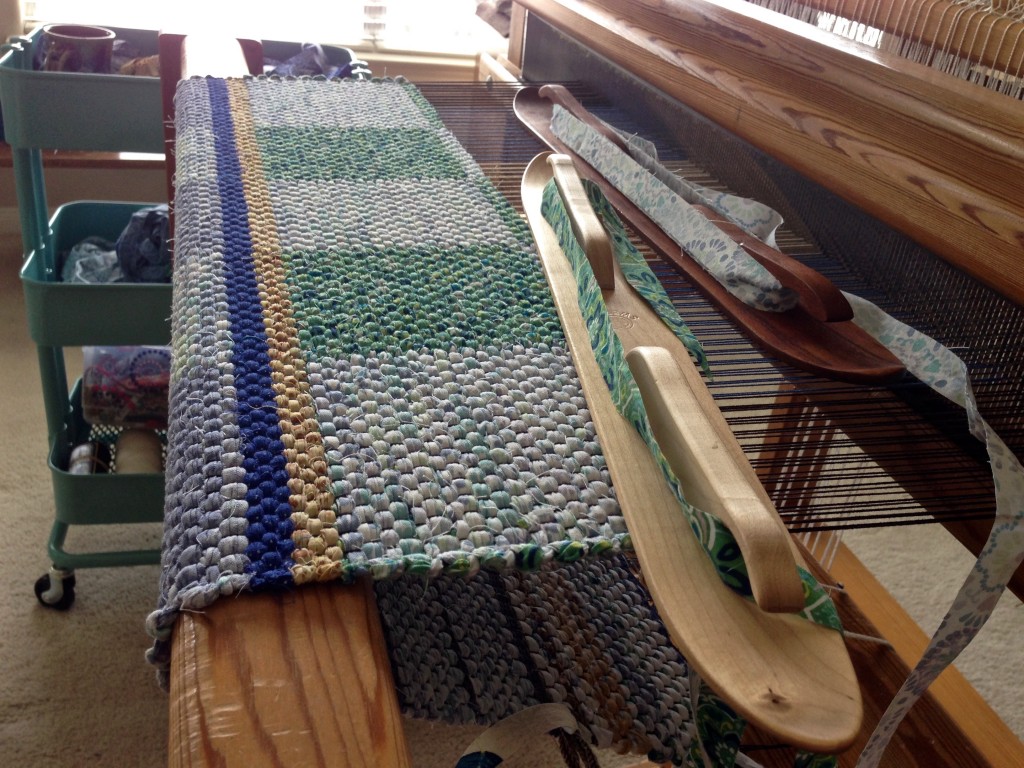
Double binding rag rug on the loom. Karen Isenhower
Progress.
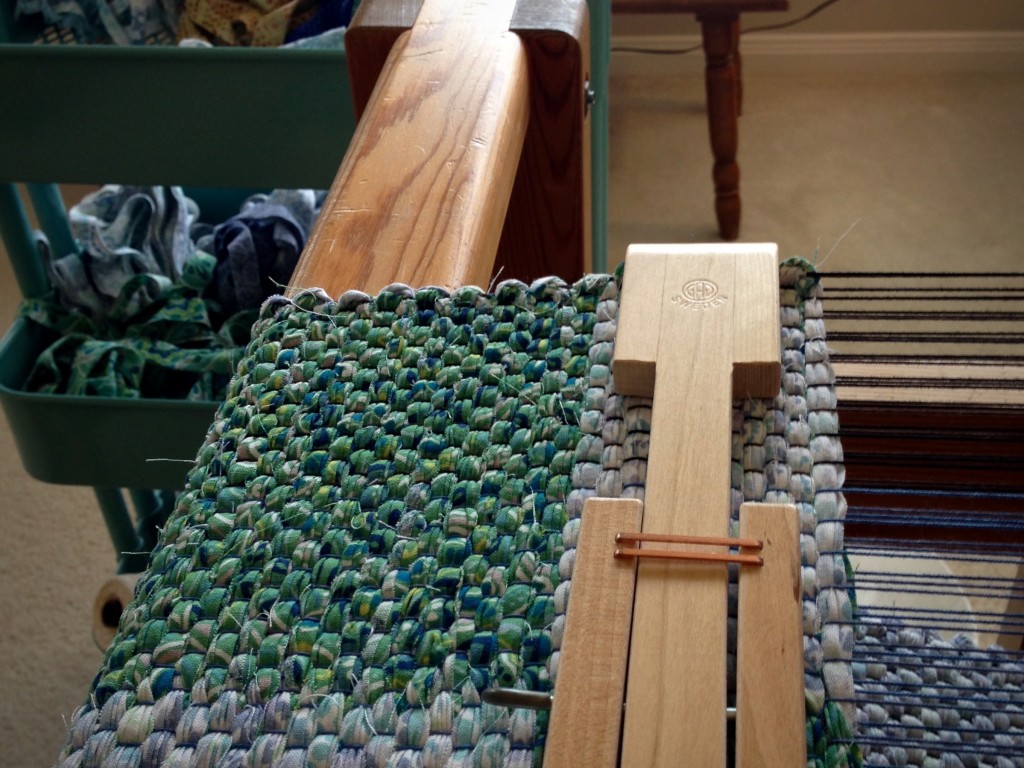
Using a temple for weaving rag rugs.
Temple is always in place when I am weaving a rug. I fitted two different temple parts together to get this warp width. Notice the lengthwise gaps between the temple parts…but not a problem.
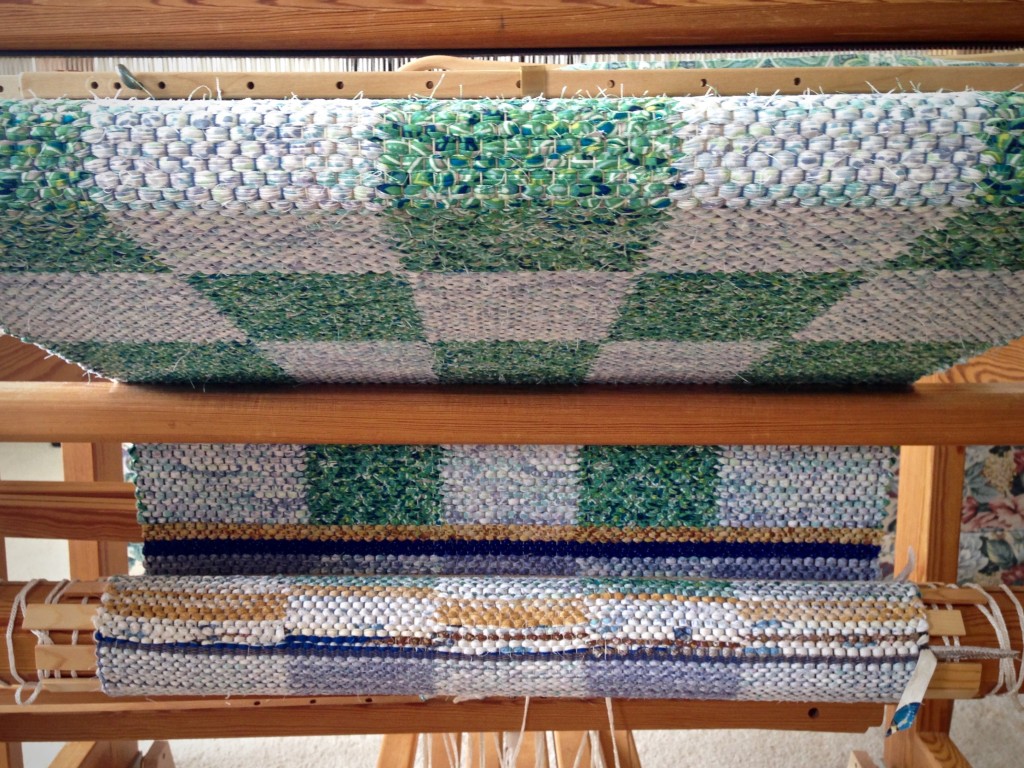
Rag rug on the loom. Nearing completion.
Around the breast beam, and over the knee beam, to wrap around the cloth beam. Warping slats are placed between the cloth beam and the rug the first time around to make a smooth surface for the woven rug-cloth.
Rag rug on the loom. Woven hem.
Hem is completed with 12 picks of rug warp. Three inches of scrap fabric header comes next, and then the rug is ready to be cut from the loom.
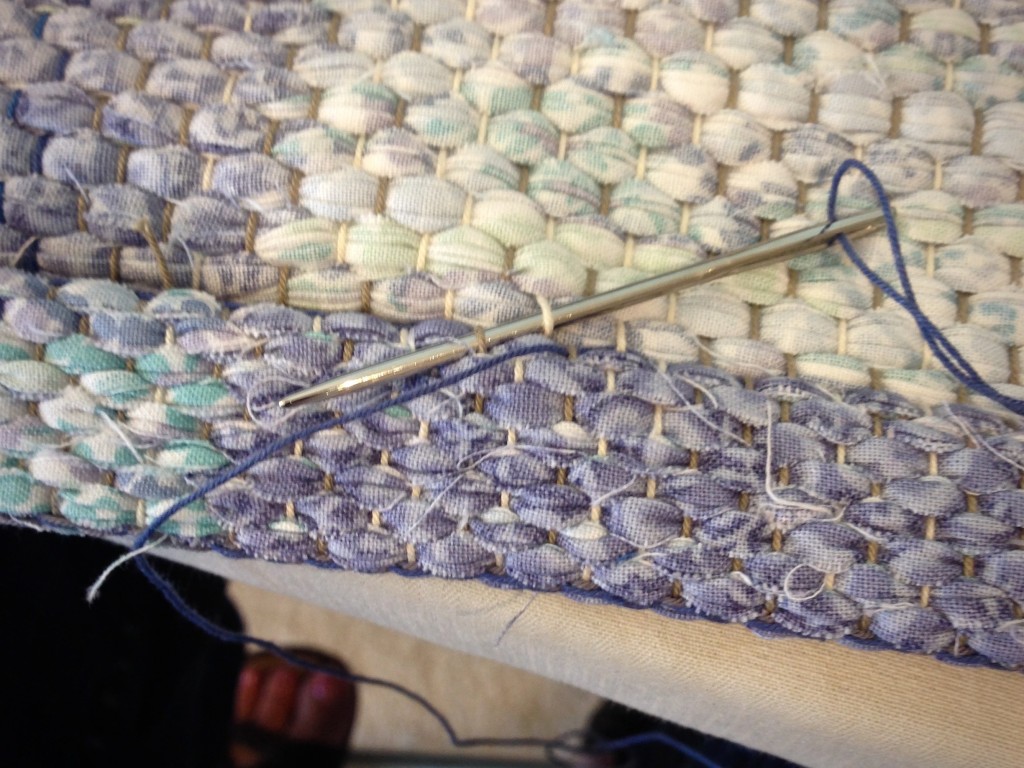
Hand-hemming rag rug.
Warp ends have been knotted and trimmed; and hem folded under and pressed. Now, hemming with a needle and rug warp, the last step is almost complete. The only thing left is to sew on my label.
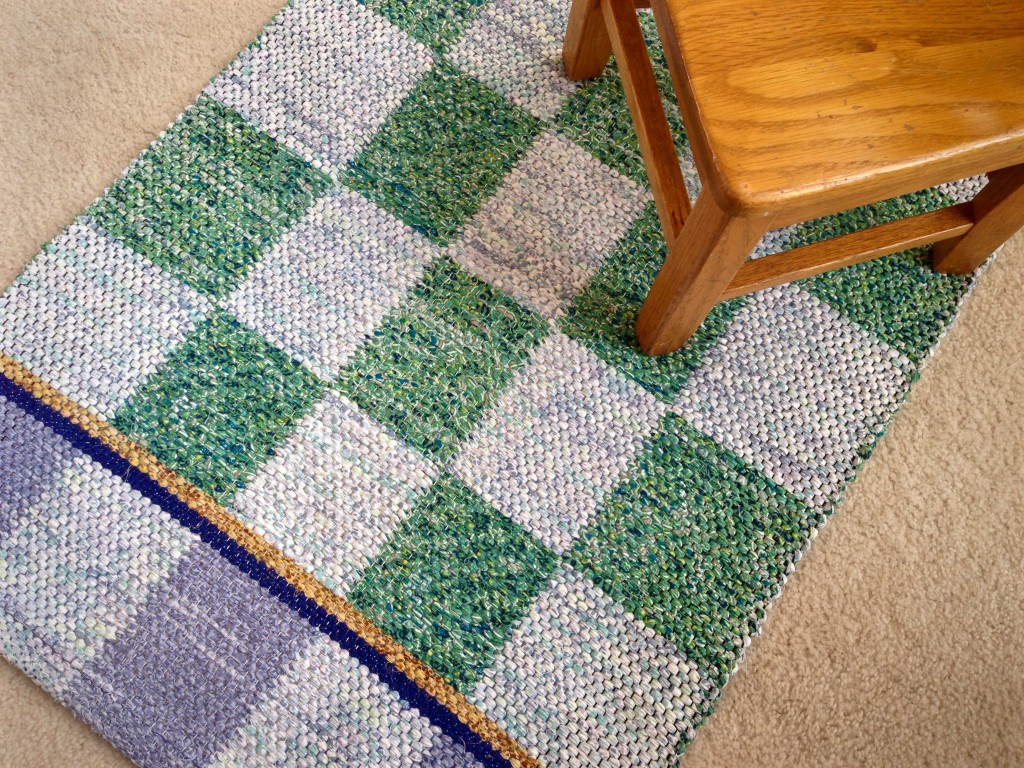
Checkered rag rug. Karen Isenhower
Notice the subtle changes in color and depth of color where the warp colors change–purposely not aligned with the block changes.
Home sweet home. That's what rag rugs are for.
Home sweet home. A patterned rag rug makes a house feel like home.

May you finish what you started.

Happy Weaving,
Karen
Brave Enough to Weave

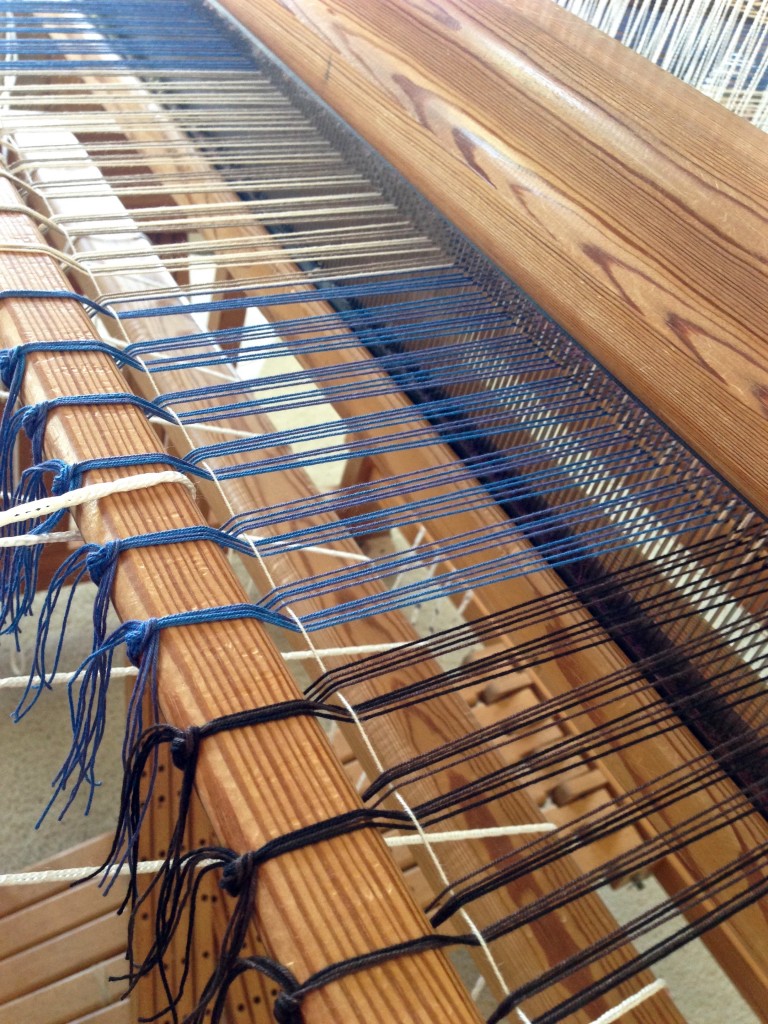
This is my first double width attempt, and it makes me nervous. Dressing the loom feels intimidating when you are trying something new. Each layer has its own warp chains and its own set of lease sticks. And eleven colors–will they end up in the correct order? My uncertainty makes me feel like a beginner again.

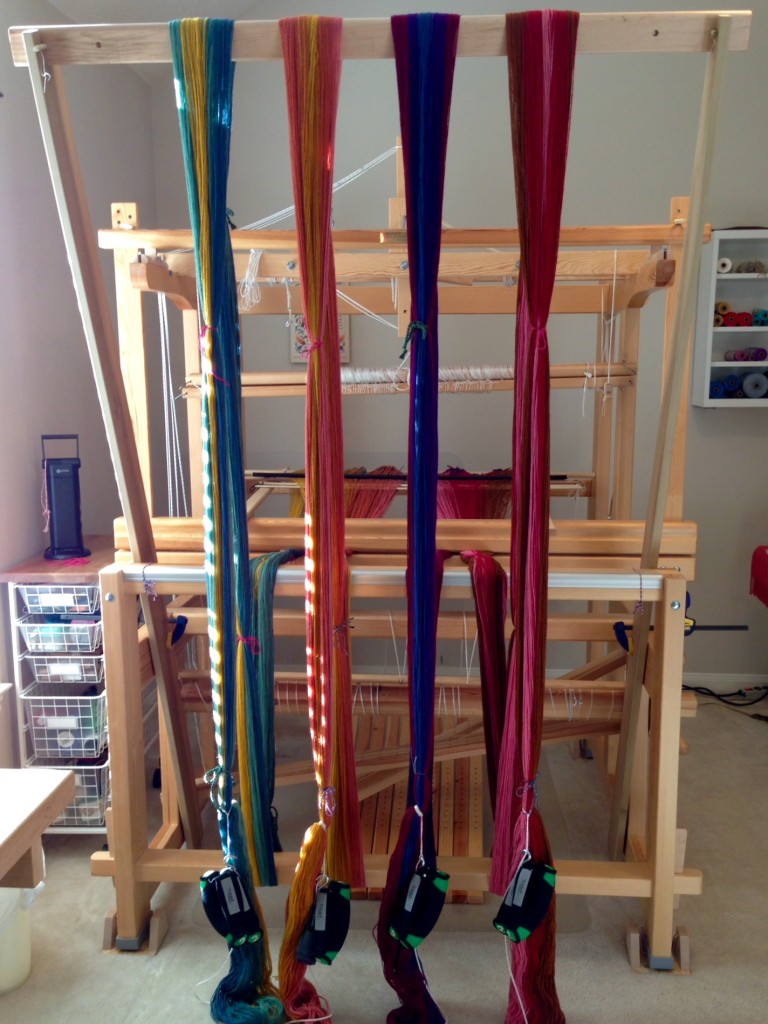
Colorful wool warp beamed using warping trapeze. Karen Isenhower
Colorful wool warp travels over the breast beam, under the foot beam, and over the crossbar of the warping trapeze while it is being beamed onto the warp beam. Each layer of the double weave warp has two bouts. Walking weights hang on the bouts to add resistance for beaming the warp with even tension. Afternoon sun plays along by creating changing designs on the hanging warp.

Stepping through uncertainty takes bravery, and a bit of “Oh well, it is what it is.” Even ordinary weaving is filled with uncertainty. You don’t know if you succeeded in dressing the loom properly until you start weaving. And you don’t totally see how your weaving looks until it comes off the loom. Even then, the fabric has more to reveal when it is wet finished. Weaving is not for cowards.

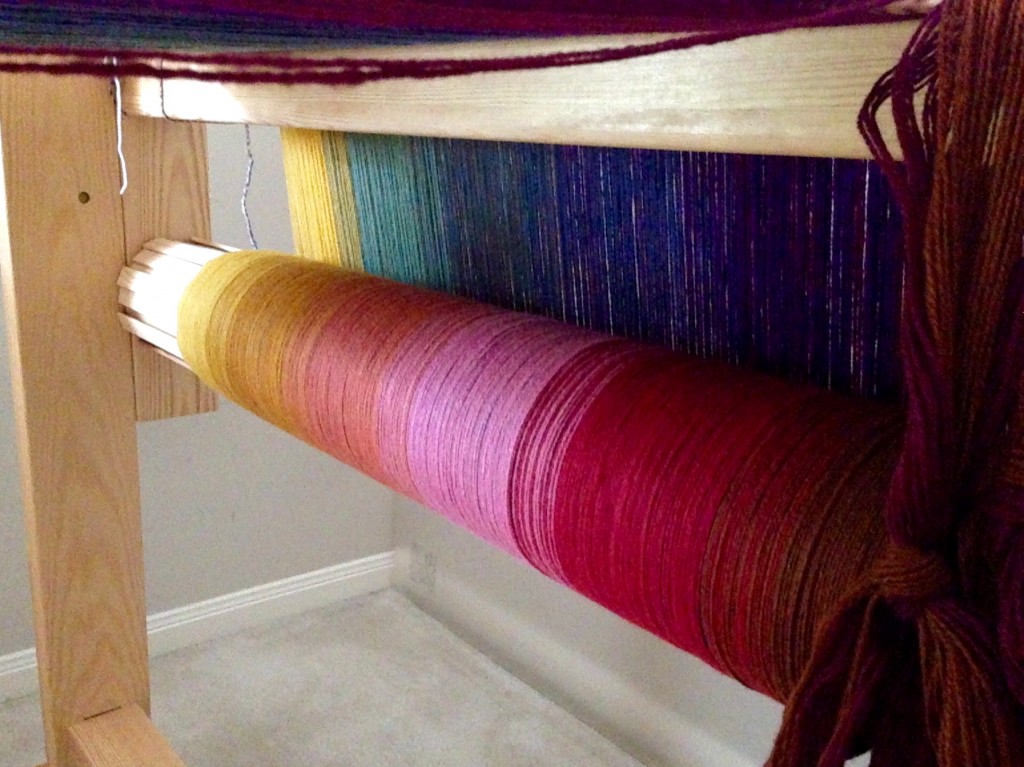
Beaming complete for wool double-width blanket.
Beaming complete for wool double-width blanket. This view causes me to respect the process that brings me to this point of accomplishment.

Doing the next thing with courage does make a difference. It is like that with prayer. When I face a new difficulty, I struggle to know what to pray. I feel like a beginner again. But I keep coming back to this comforting thought: God always listens to the heart as much as to the words. God does not look for a “leader” who prays, he looks for an ordinary person who has faith to hear and obey. This is the person whose prayers reach God’s ears.

May you have courage for the next thing.

Learning,
Karen
Quiet Friday: Warping Trapeze

When I was a girl I dreamed of being a flying trapeze artist. No fooling! I practiced stunts on our backyard swingset, including hanging from my toes. I grew out of that. My new stunt now, is with a different kind of trapeze. A warping trapeze. (Some people call it a warping valet, but let’s call it a trapeze, okay?)

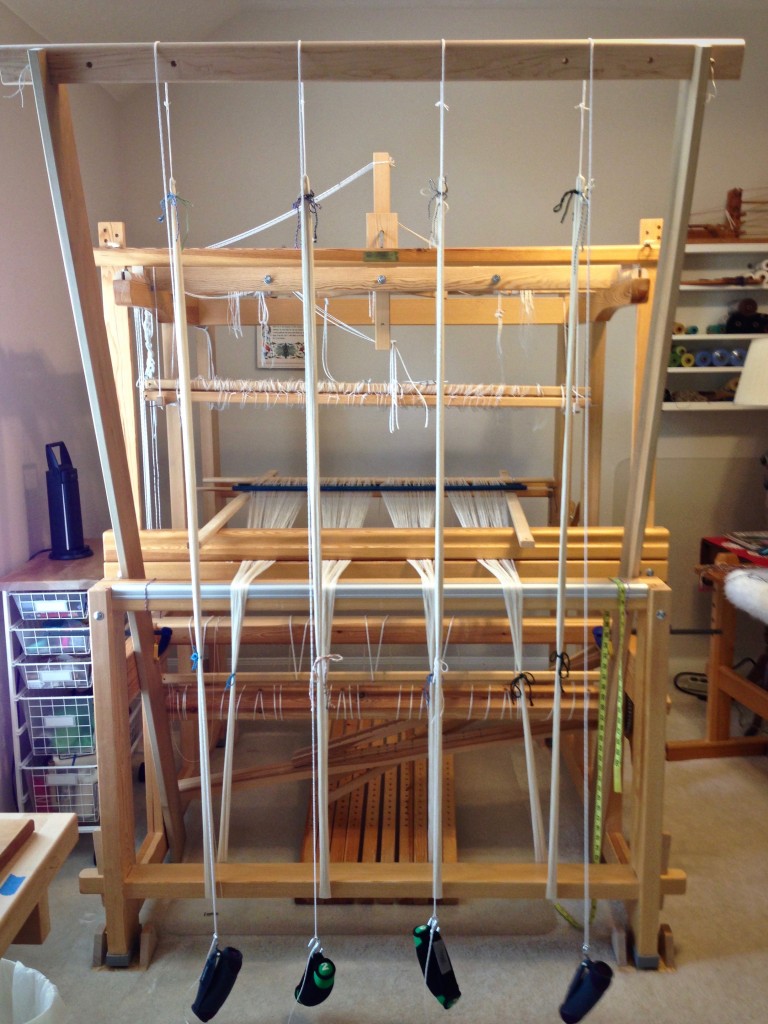
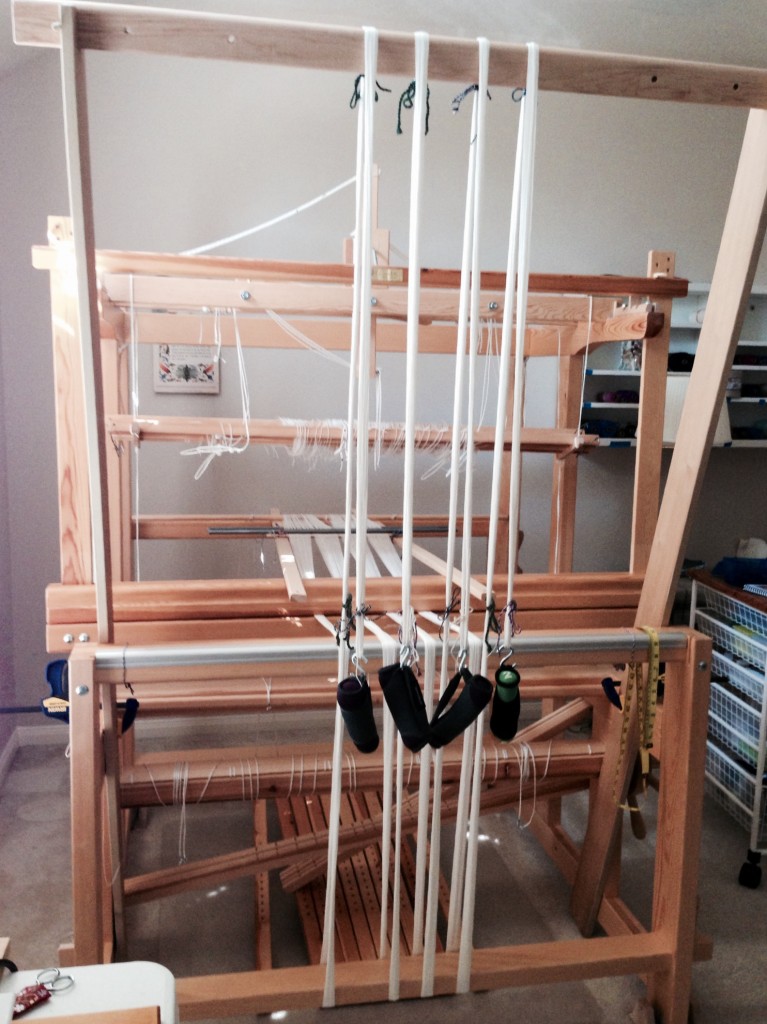
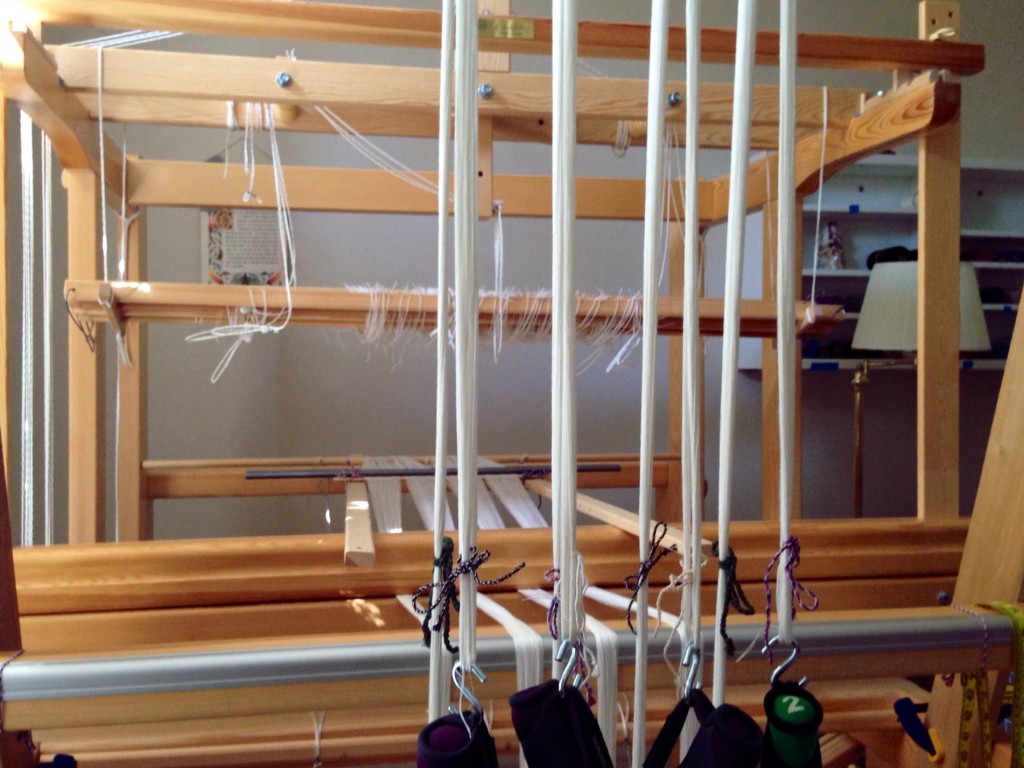
The warping trapeze is used for beaming the warp. The warp comes over the breast beam, under the foot beam, and then over the cross bar of the trapeze. I use two-pound walking weights and S-hooks to weight the warp bouts, since the warp needs to be under sufficient tension as it is wound onto the warp beam. The warping trapeze makes it easy to single-handedly beam a warp with even tension.

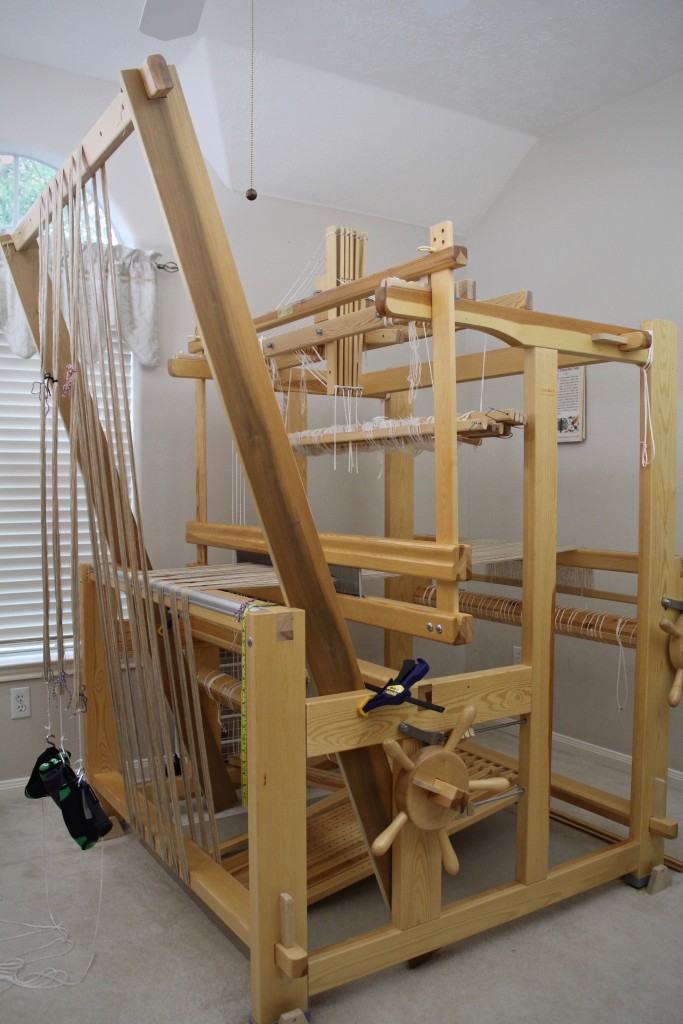
Warping trapeze set up for beaming the warp.
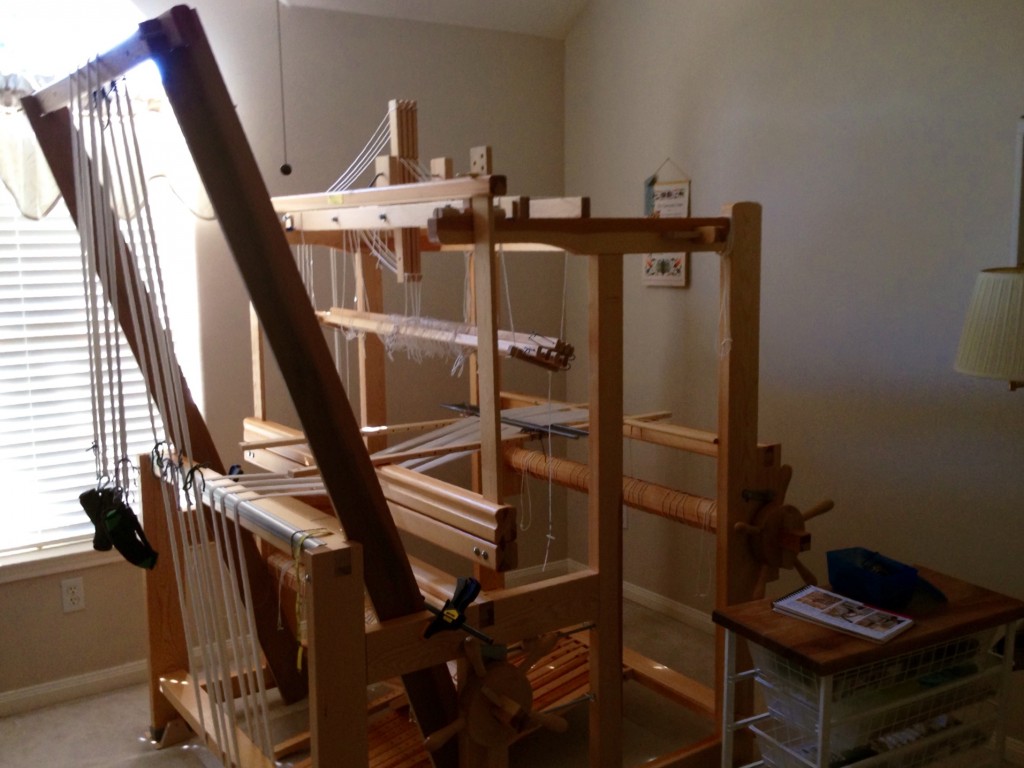
Warping Trapeze: Two tall boards set into place just inside the sides of the loom, angled at the base, between the cloth beam and the breast beam. I clamp them on the sides for extra security. The top piece slips into a cut-out opening at the top of the side boards. Reed will be moved to the beater before beaming.
Walking weights are used to weight the warp bouts for beaming the warp.
Two-pound walking weights are perfect for hanging from S-hooks to weight the warp bouts. I can easily increase the amount of weight by adding more walking weights, as needed. For a longer warp, I tie a piece of texsolv cord in a slip knot around the warp bout, and hang the S-hooks and weights on that cord, moving it down as the warp is wound on.
Warping trapeze explained. Karen Isenhower
The trapeze is ready, with the warp weighted. Next steps: Remove the support sticks; move the lease sticks to behind the reed; straighten warp ends; place reed in the beater; slide lease sticks toward the reed. Okay, go! Wind the warp onto the beam.
(Did you notice Becky Ashenden’s flippy book, Dress Your Loom the Vävstuga Way: A Bench-Side Photo Guide on my cart? I still like to follow her step-by-step instructions to make sure I’m not missing anything.)

Enjoy this little time-lapse video I created of myself dressing the loom using the warping trapeze. (You will not see me hanging from my toes.)

I fly through the air with the greatest of ease, my threads all in place with the warping trapeze…

Thank you to Becky Ashenden for introducing me to a warping trapeze at Vävstuga Weaving School.
Many thanks to my talented husband for creating my very own warping trapeze. He’s the best!

May you come up with fantastic new stunts.

Happy Weaving,
Karen