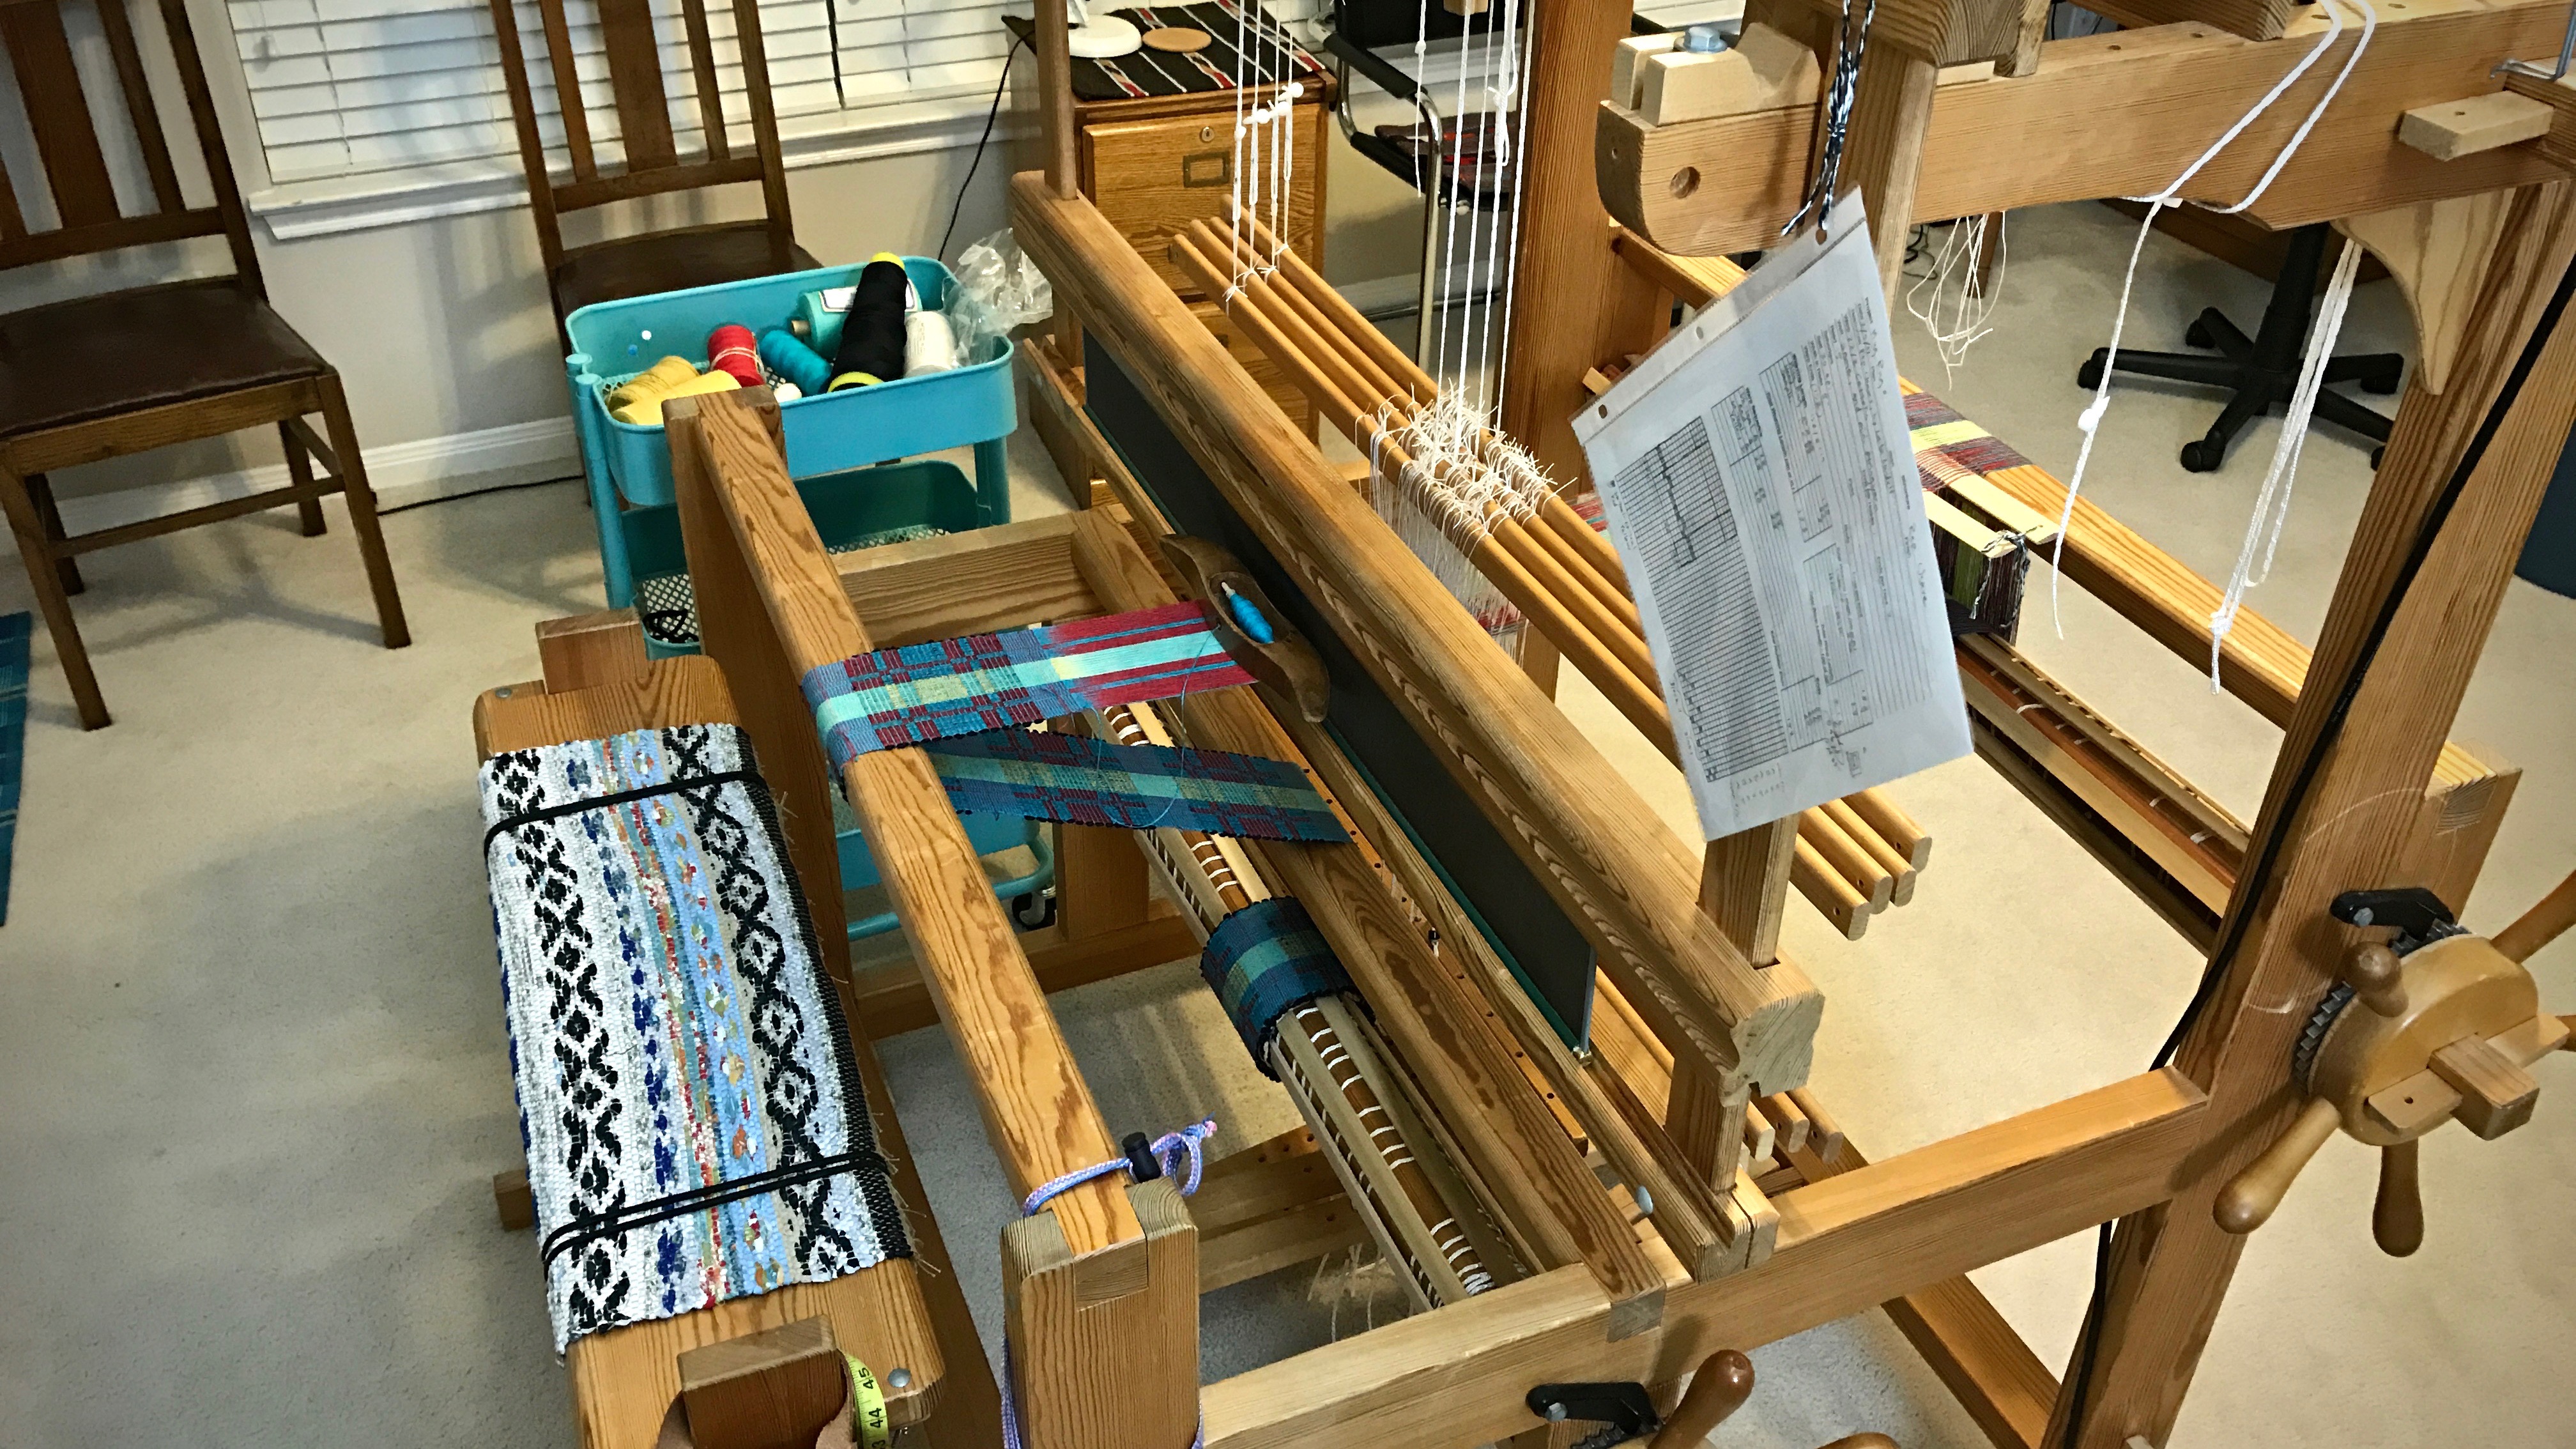
Guess what? I added another loom. You might think I already have plenty of looms. This one is a beautiful, well-cared-for 120 cm Glimåkra Standard countermarch loom. It’s the first real step toward another big dream—drawloom weaving. What a pleasant surprise for me to find out that the dear person handing off this loom is one of my blog friends from right here at Warped for Good! And not far from our Texas hill country home. Thank you, friend!
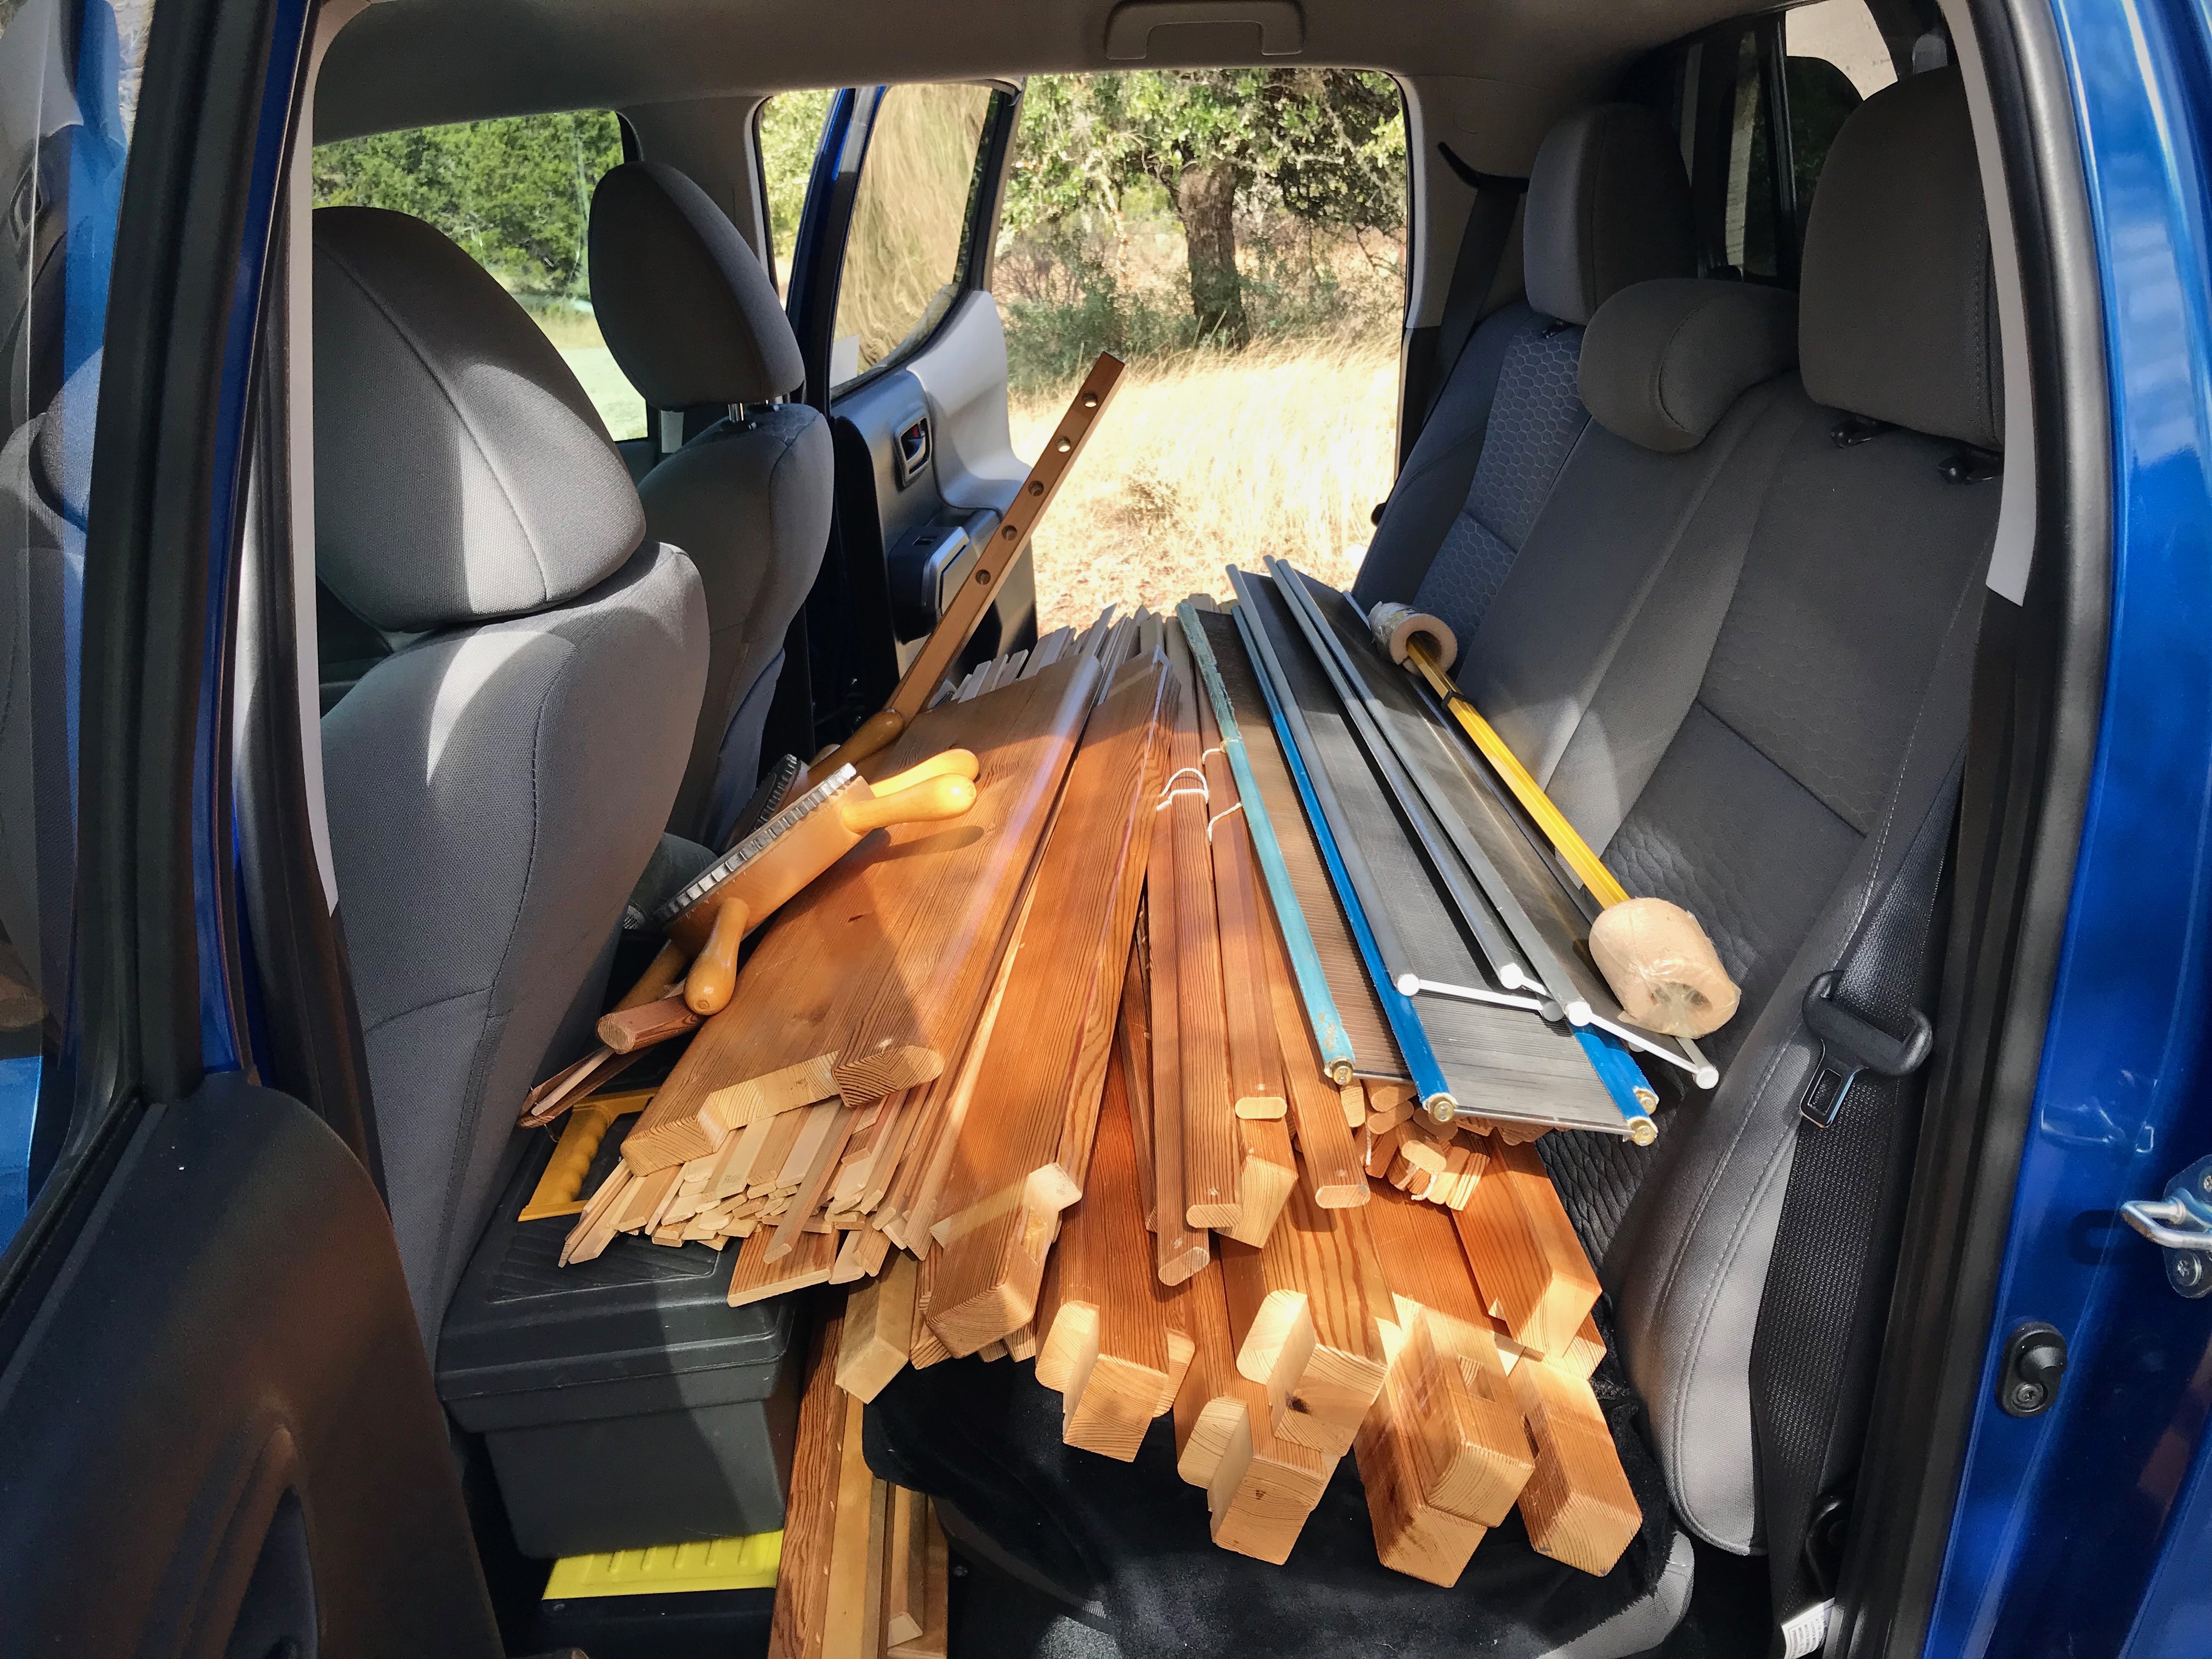
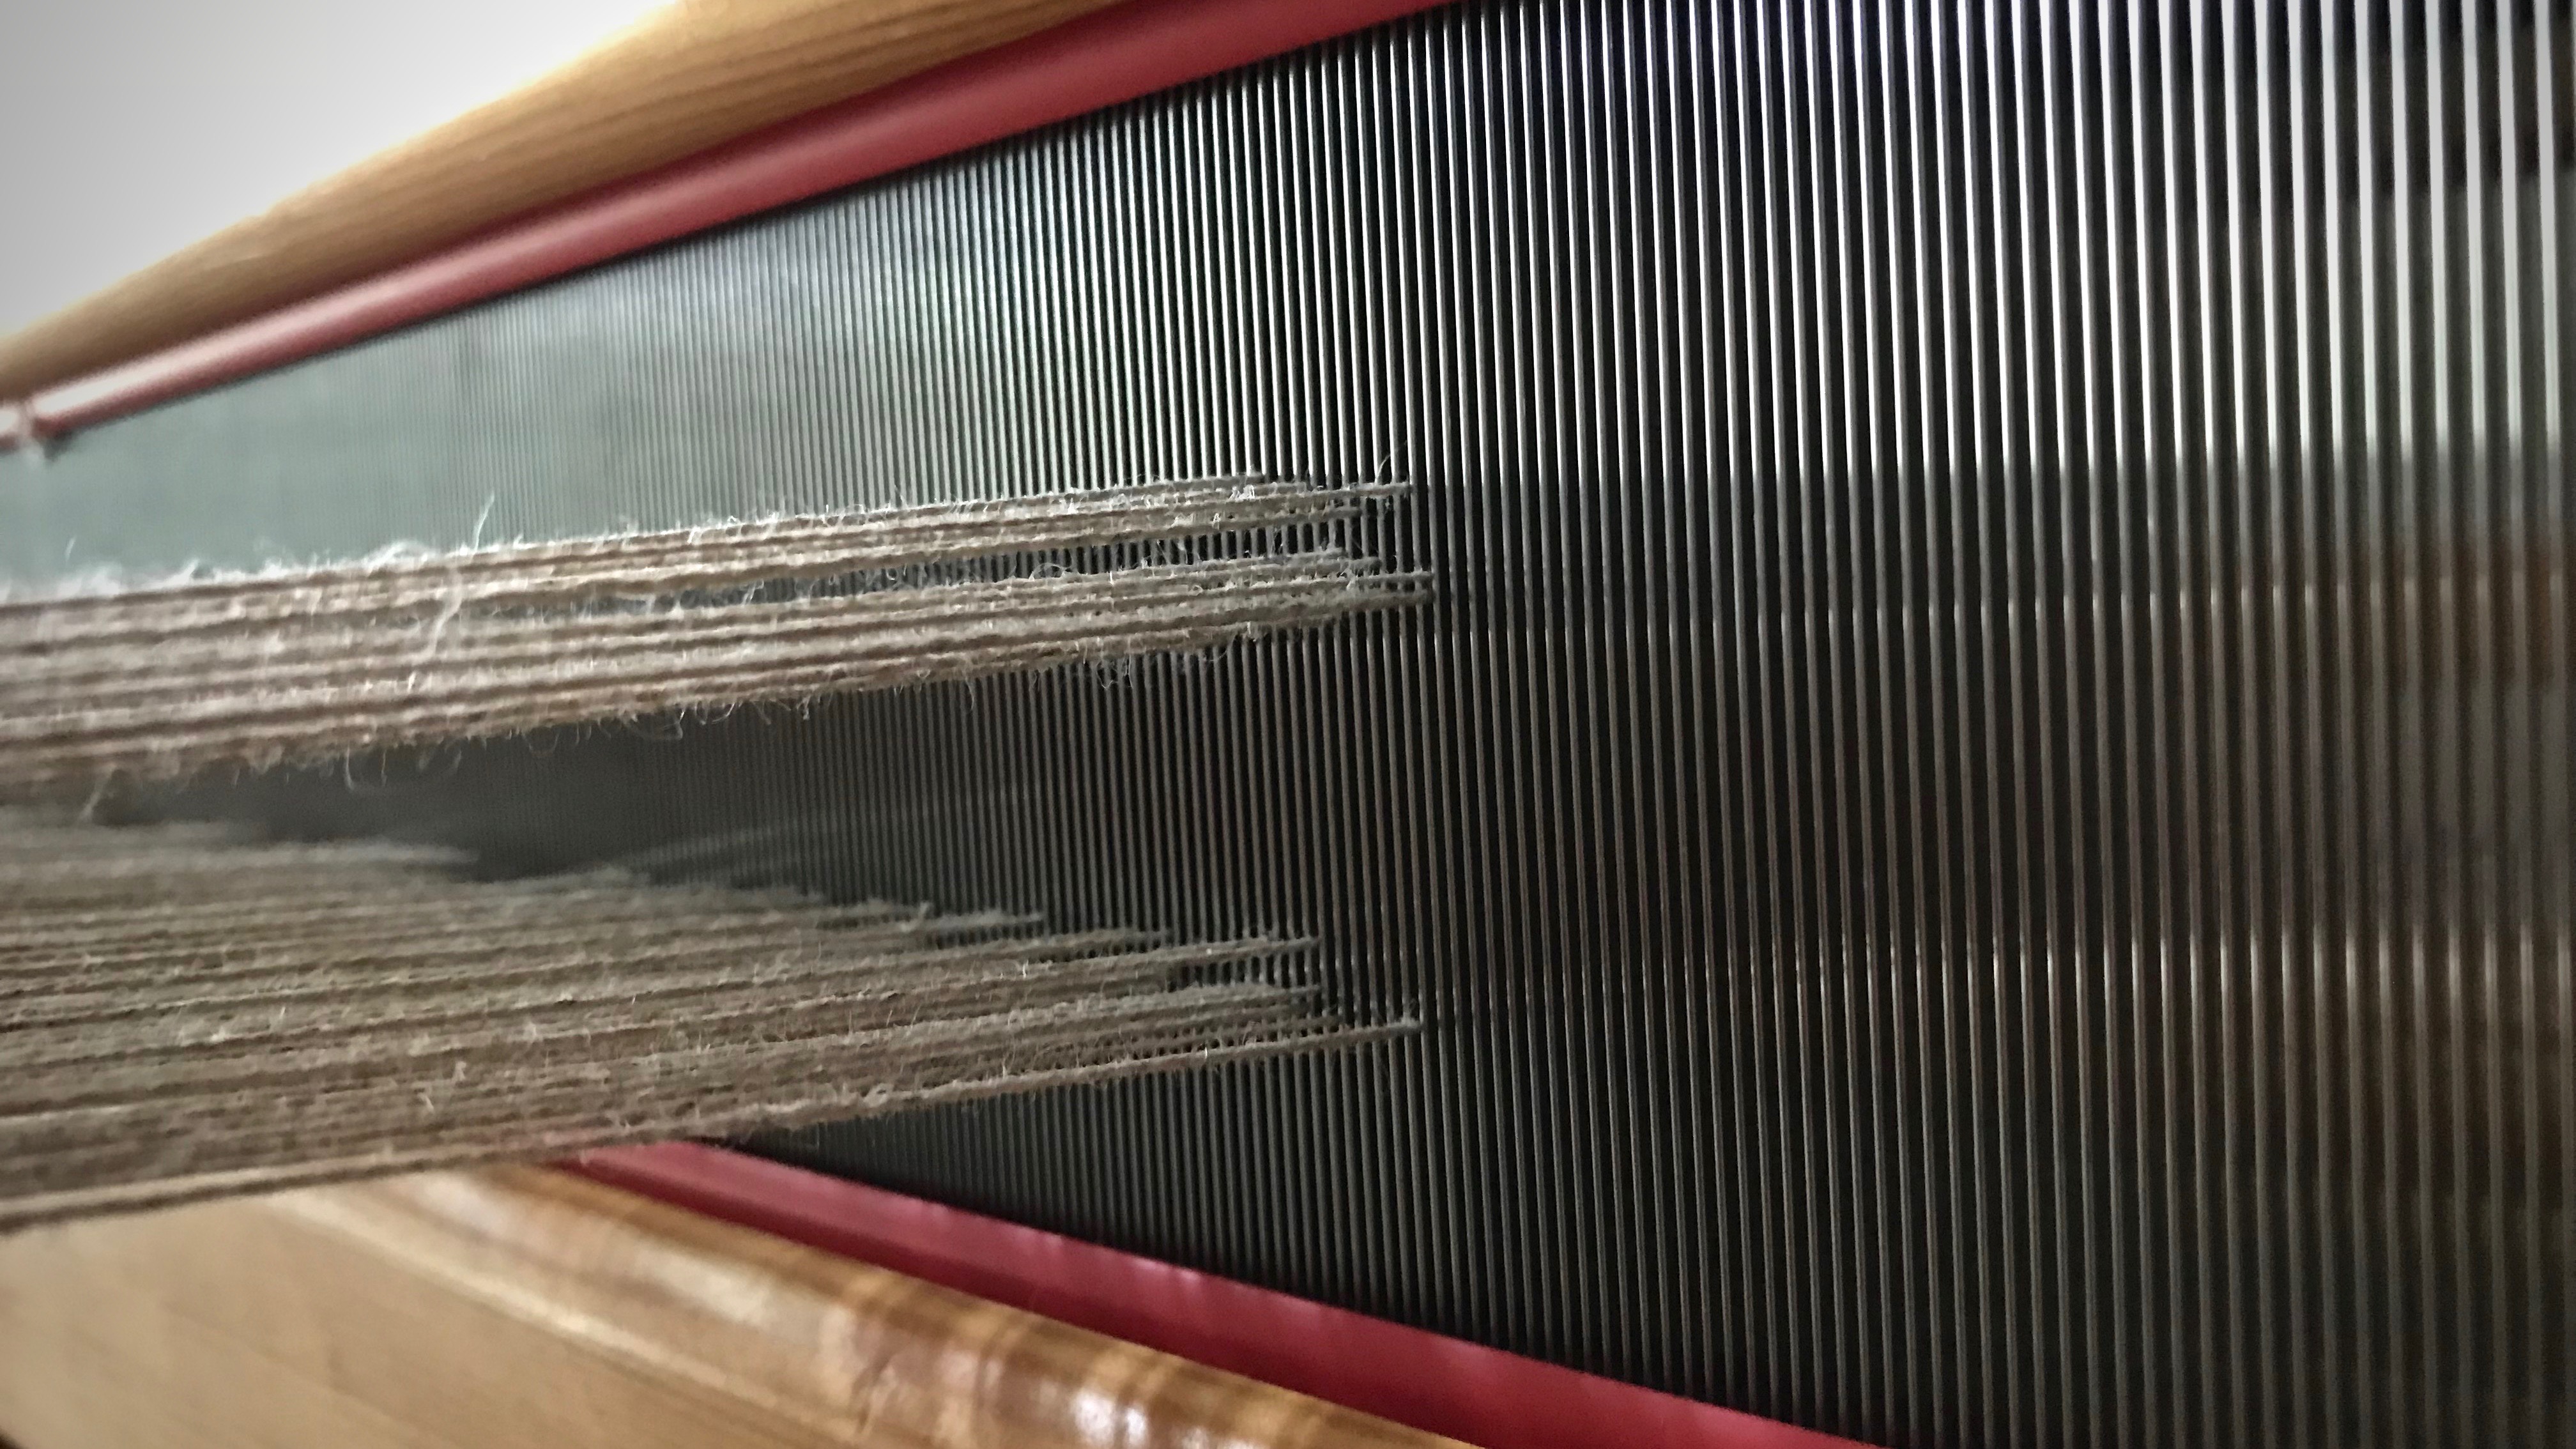
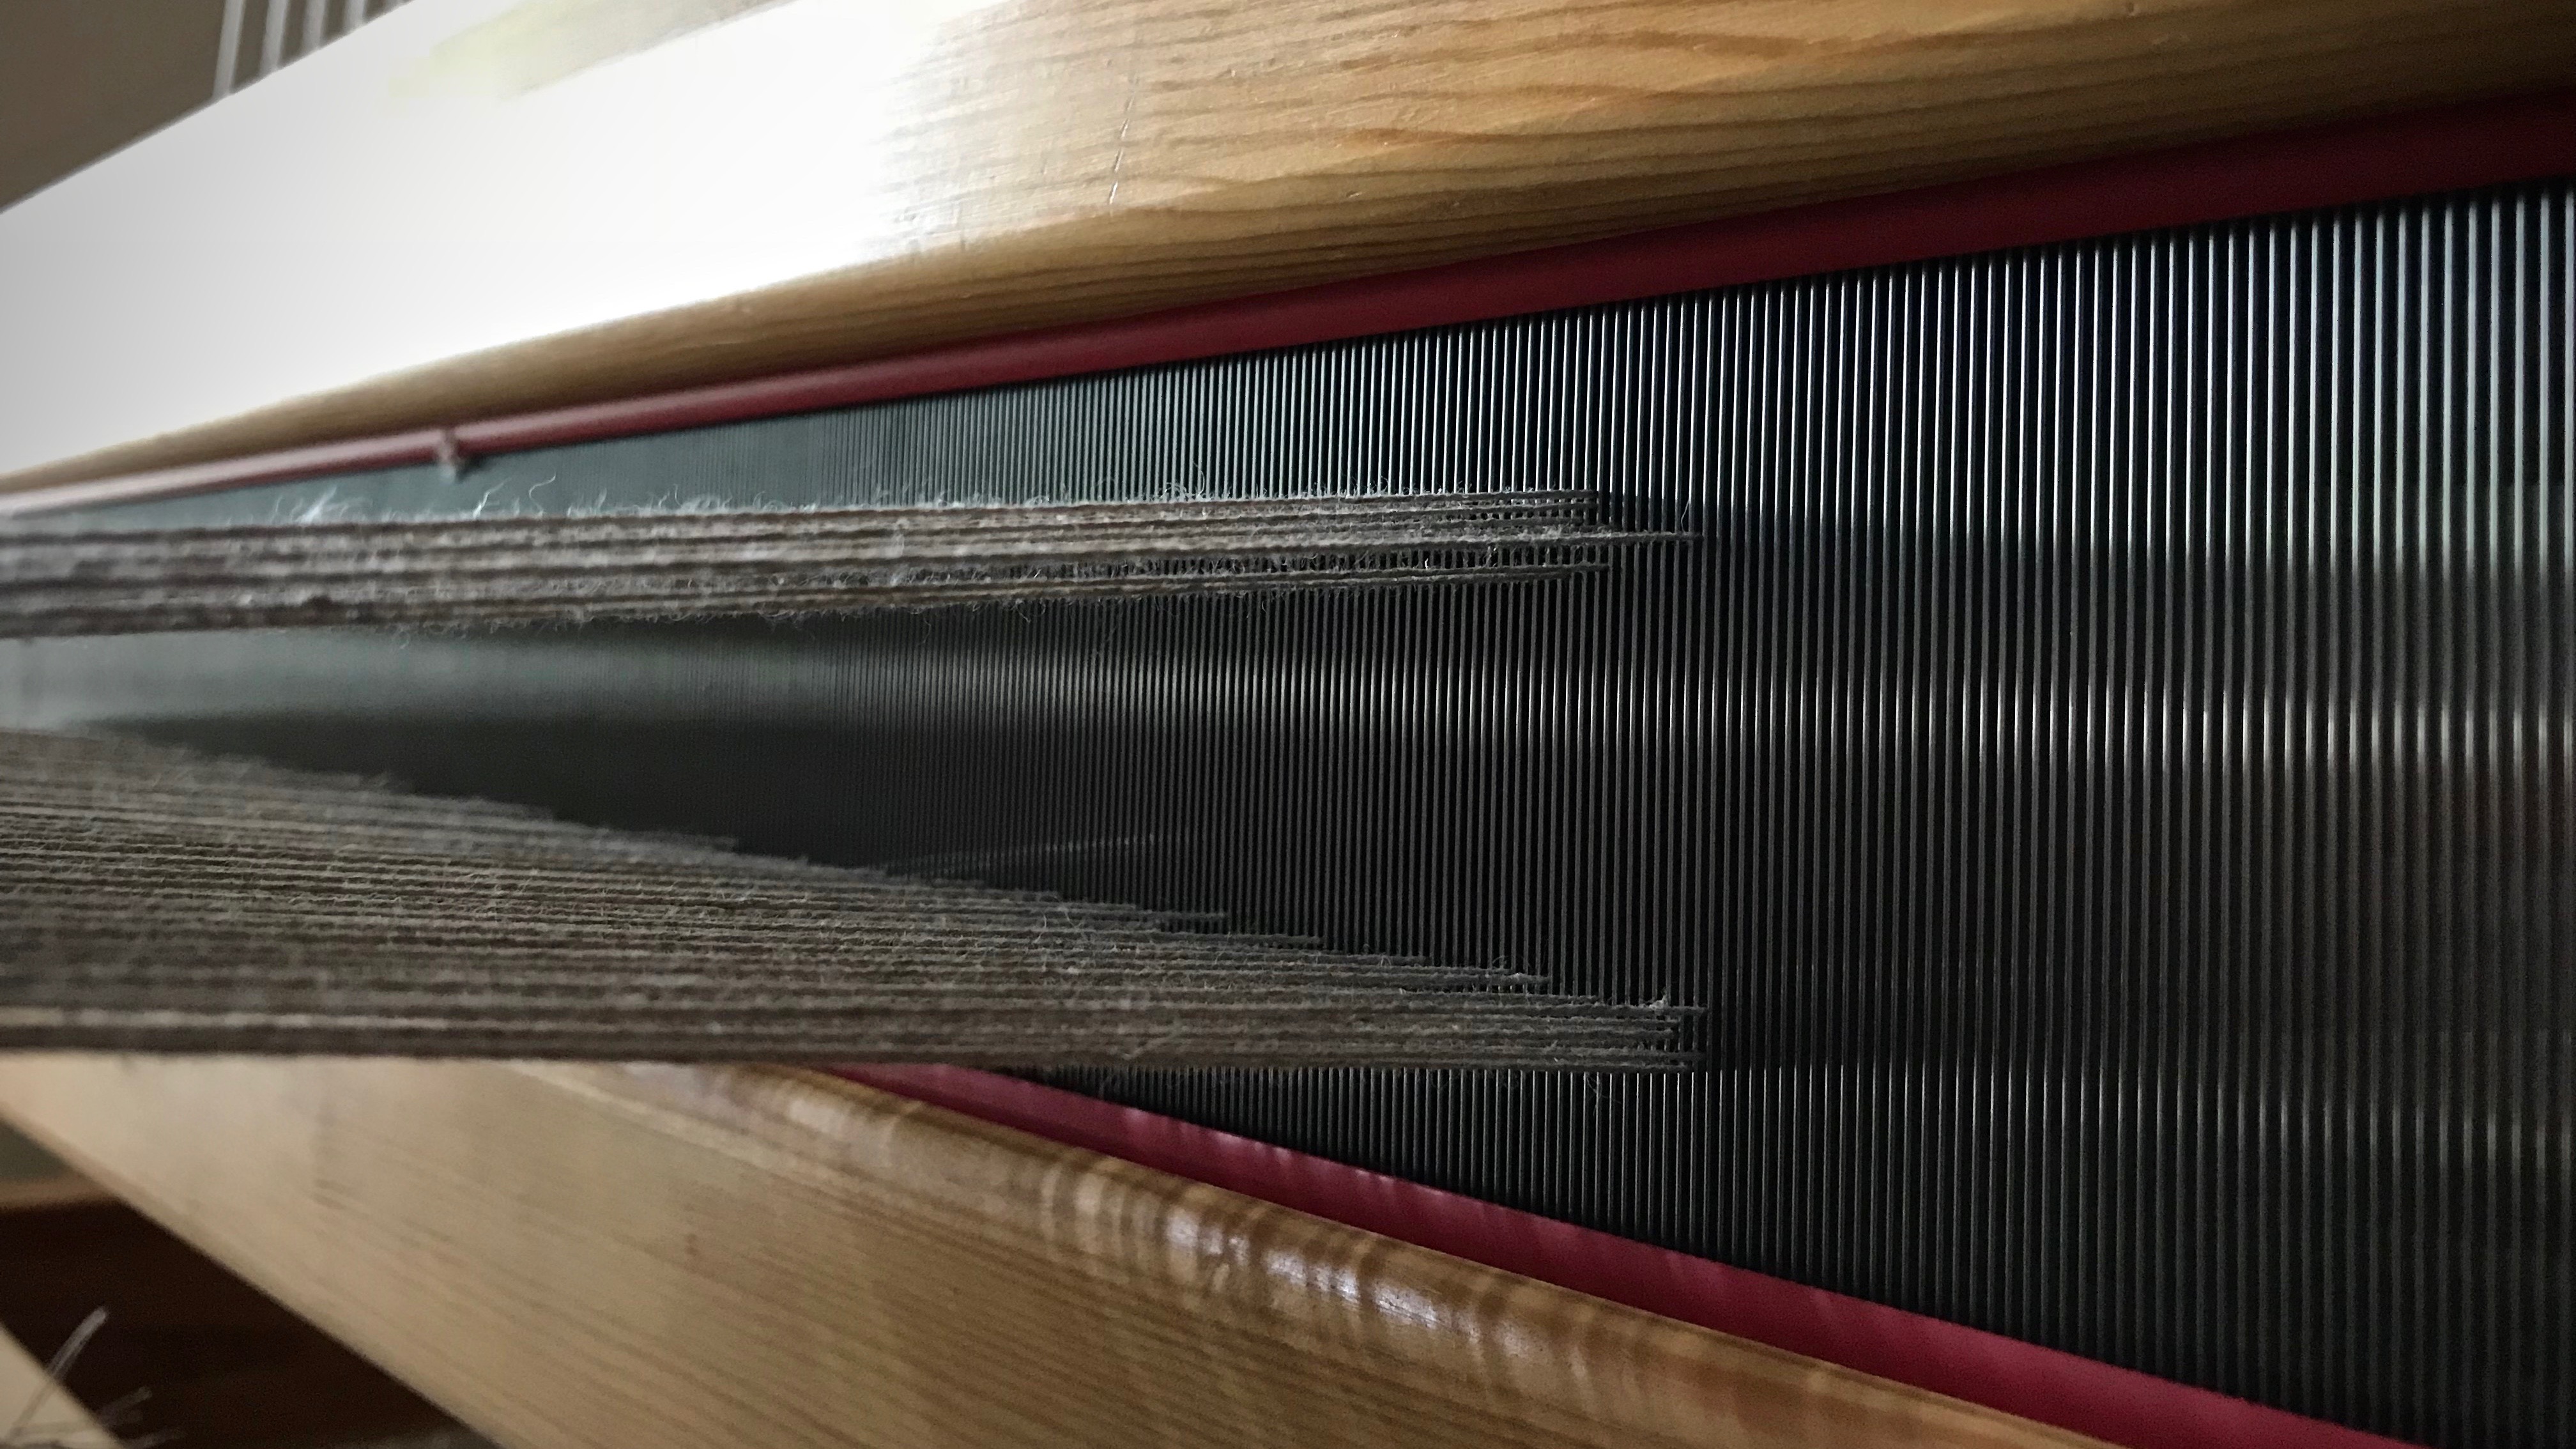
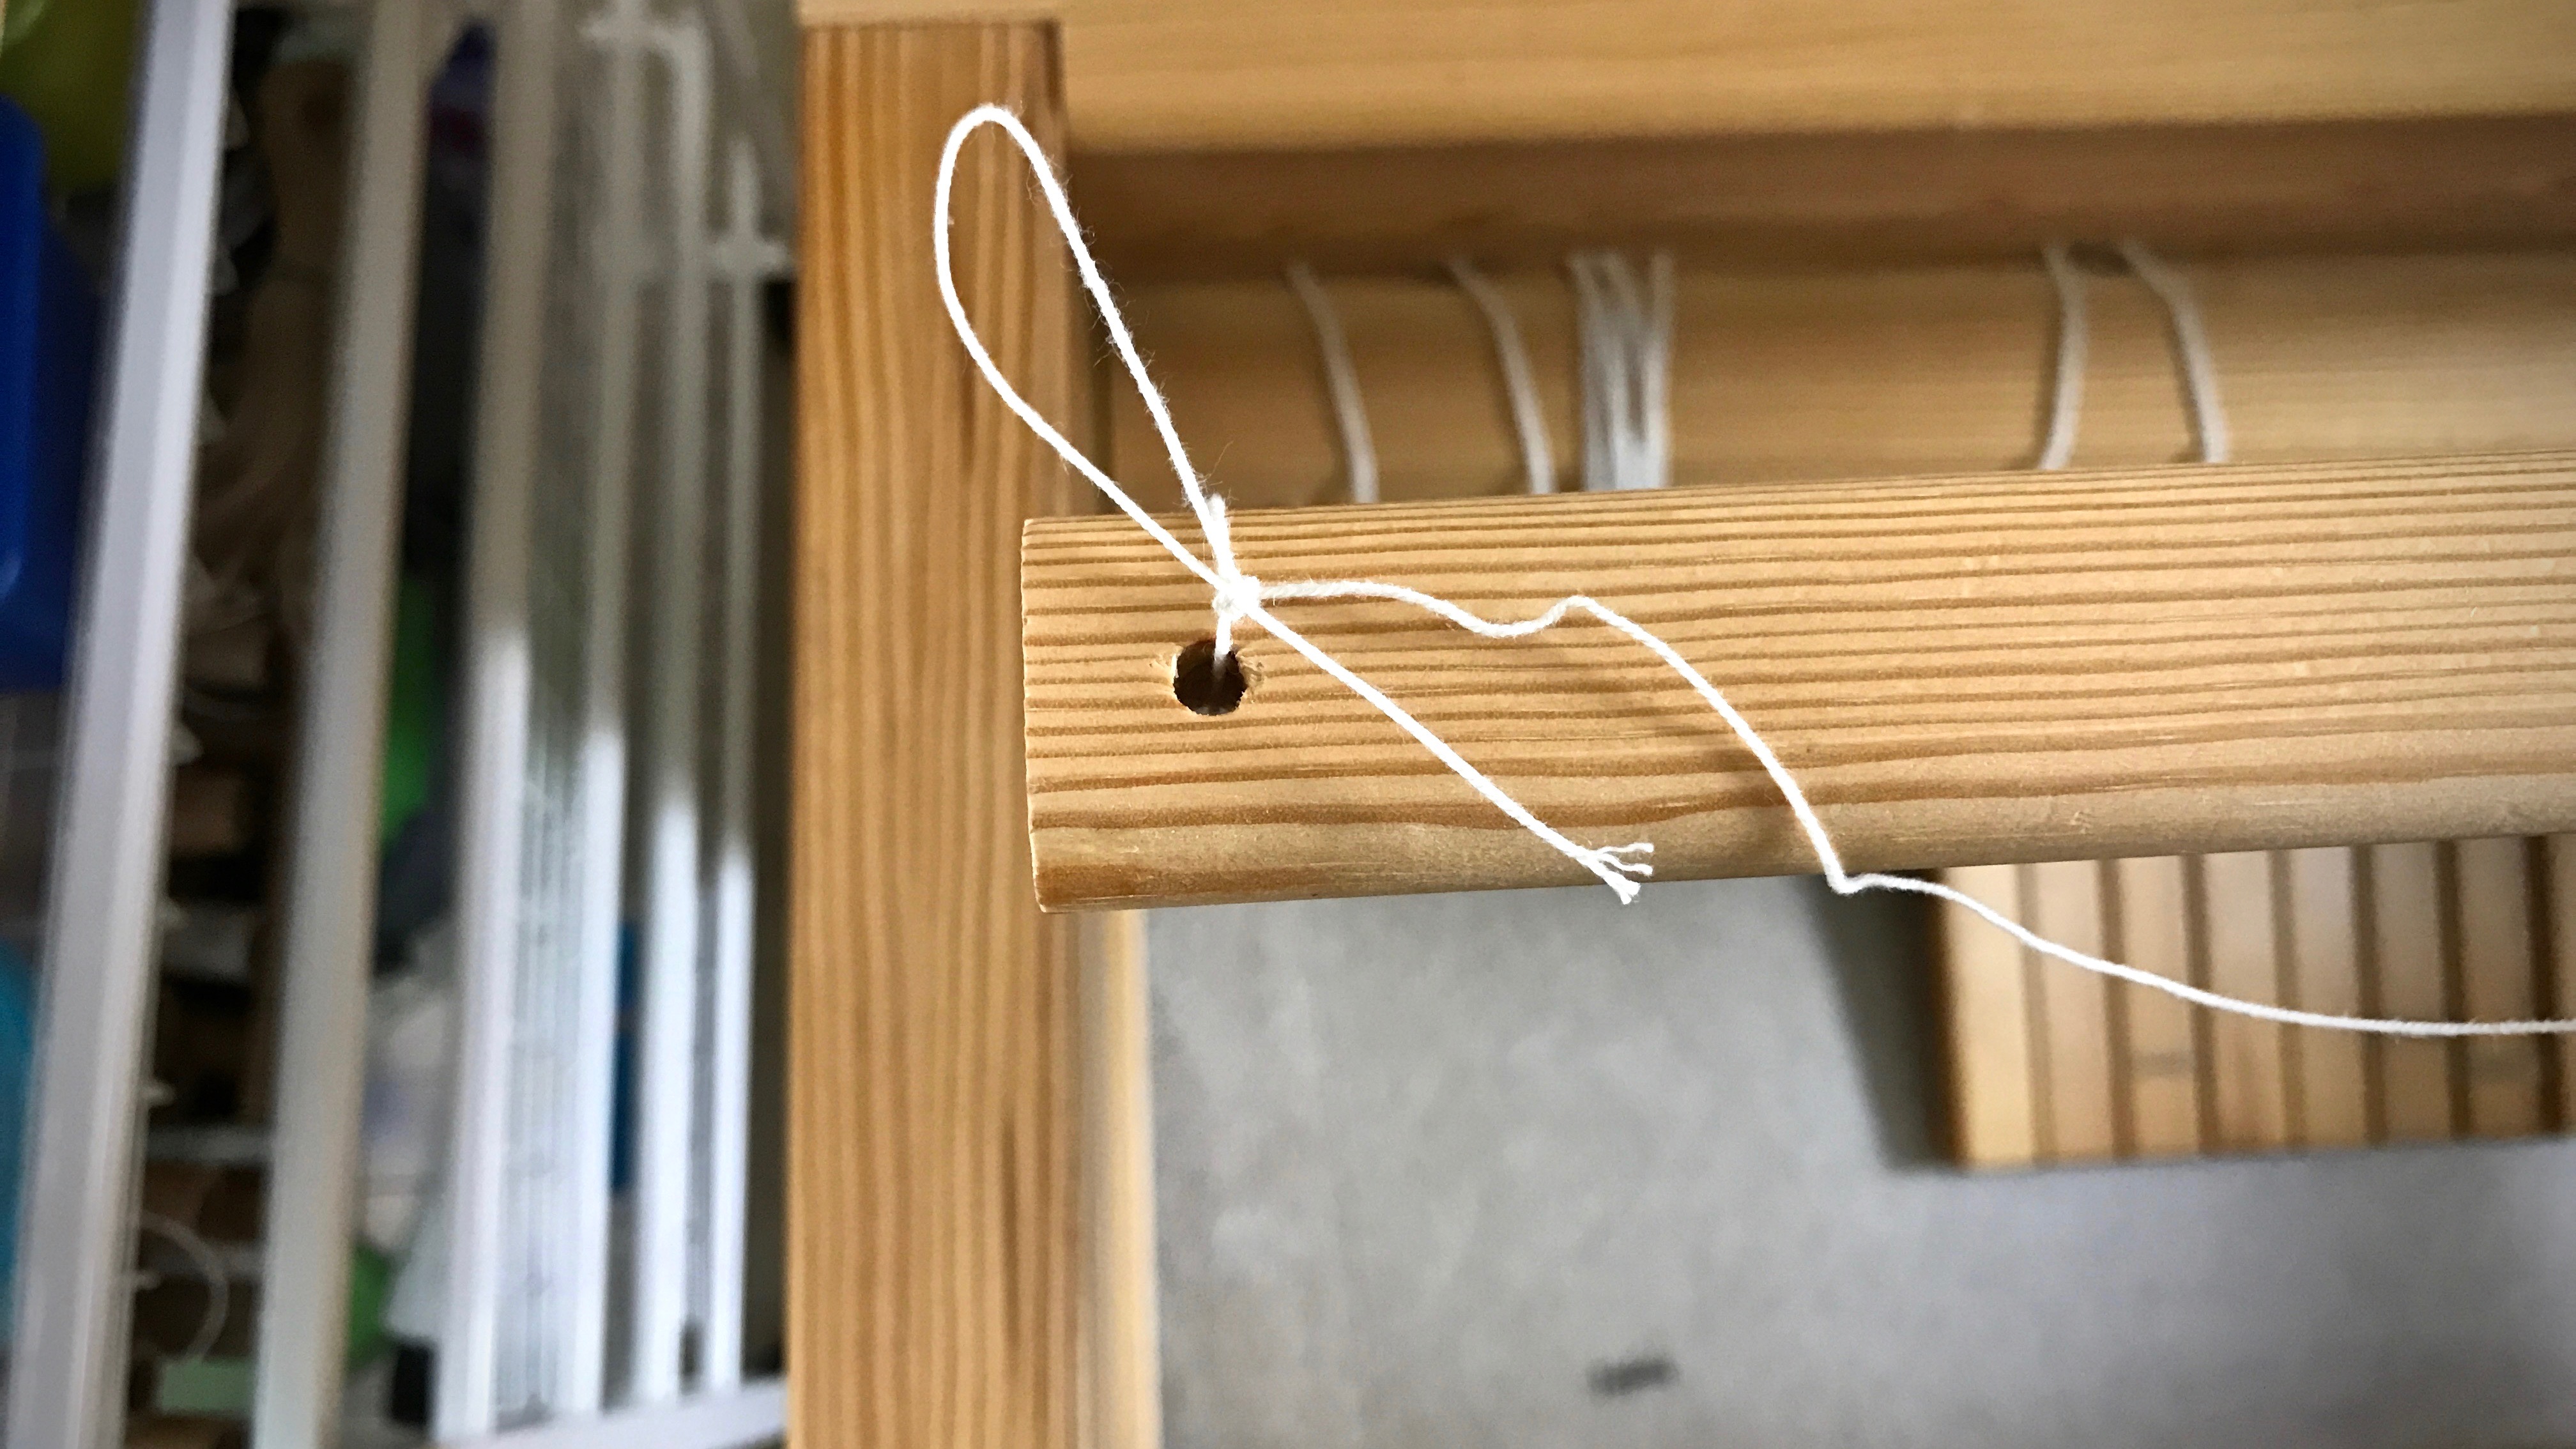
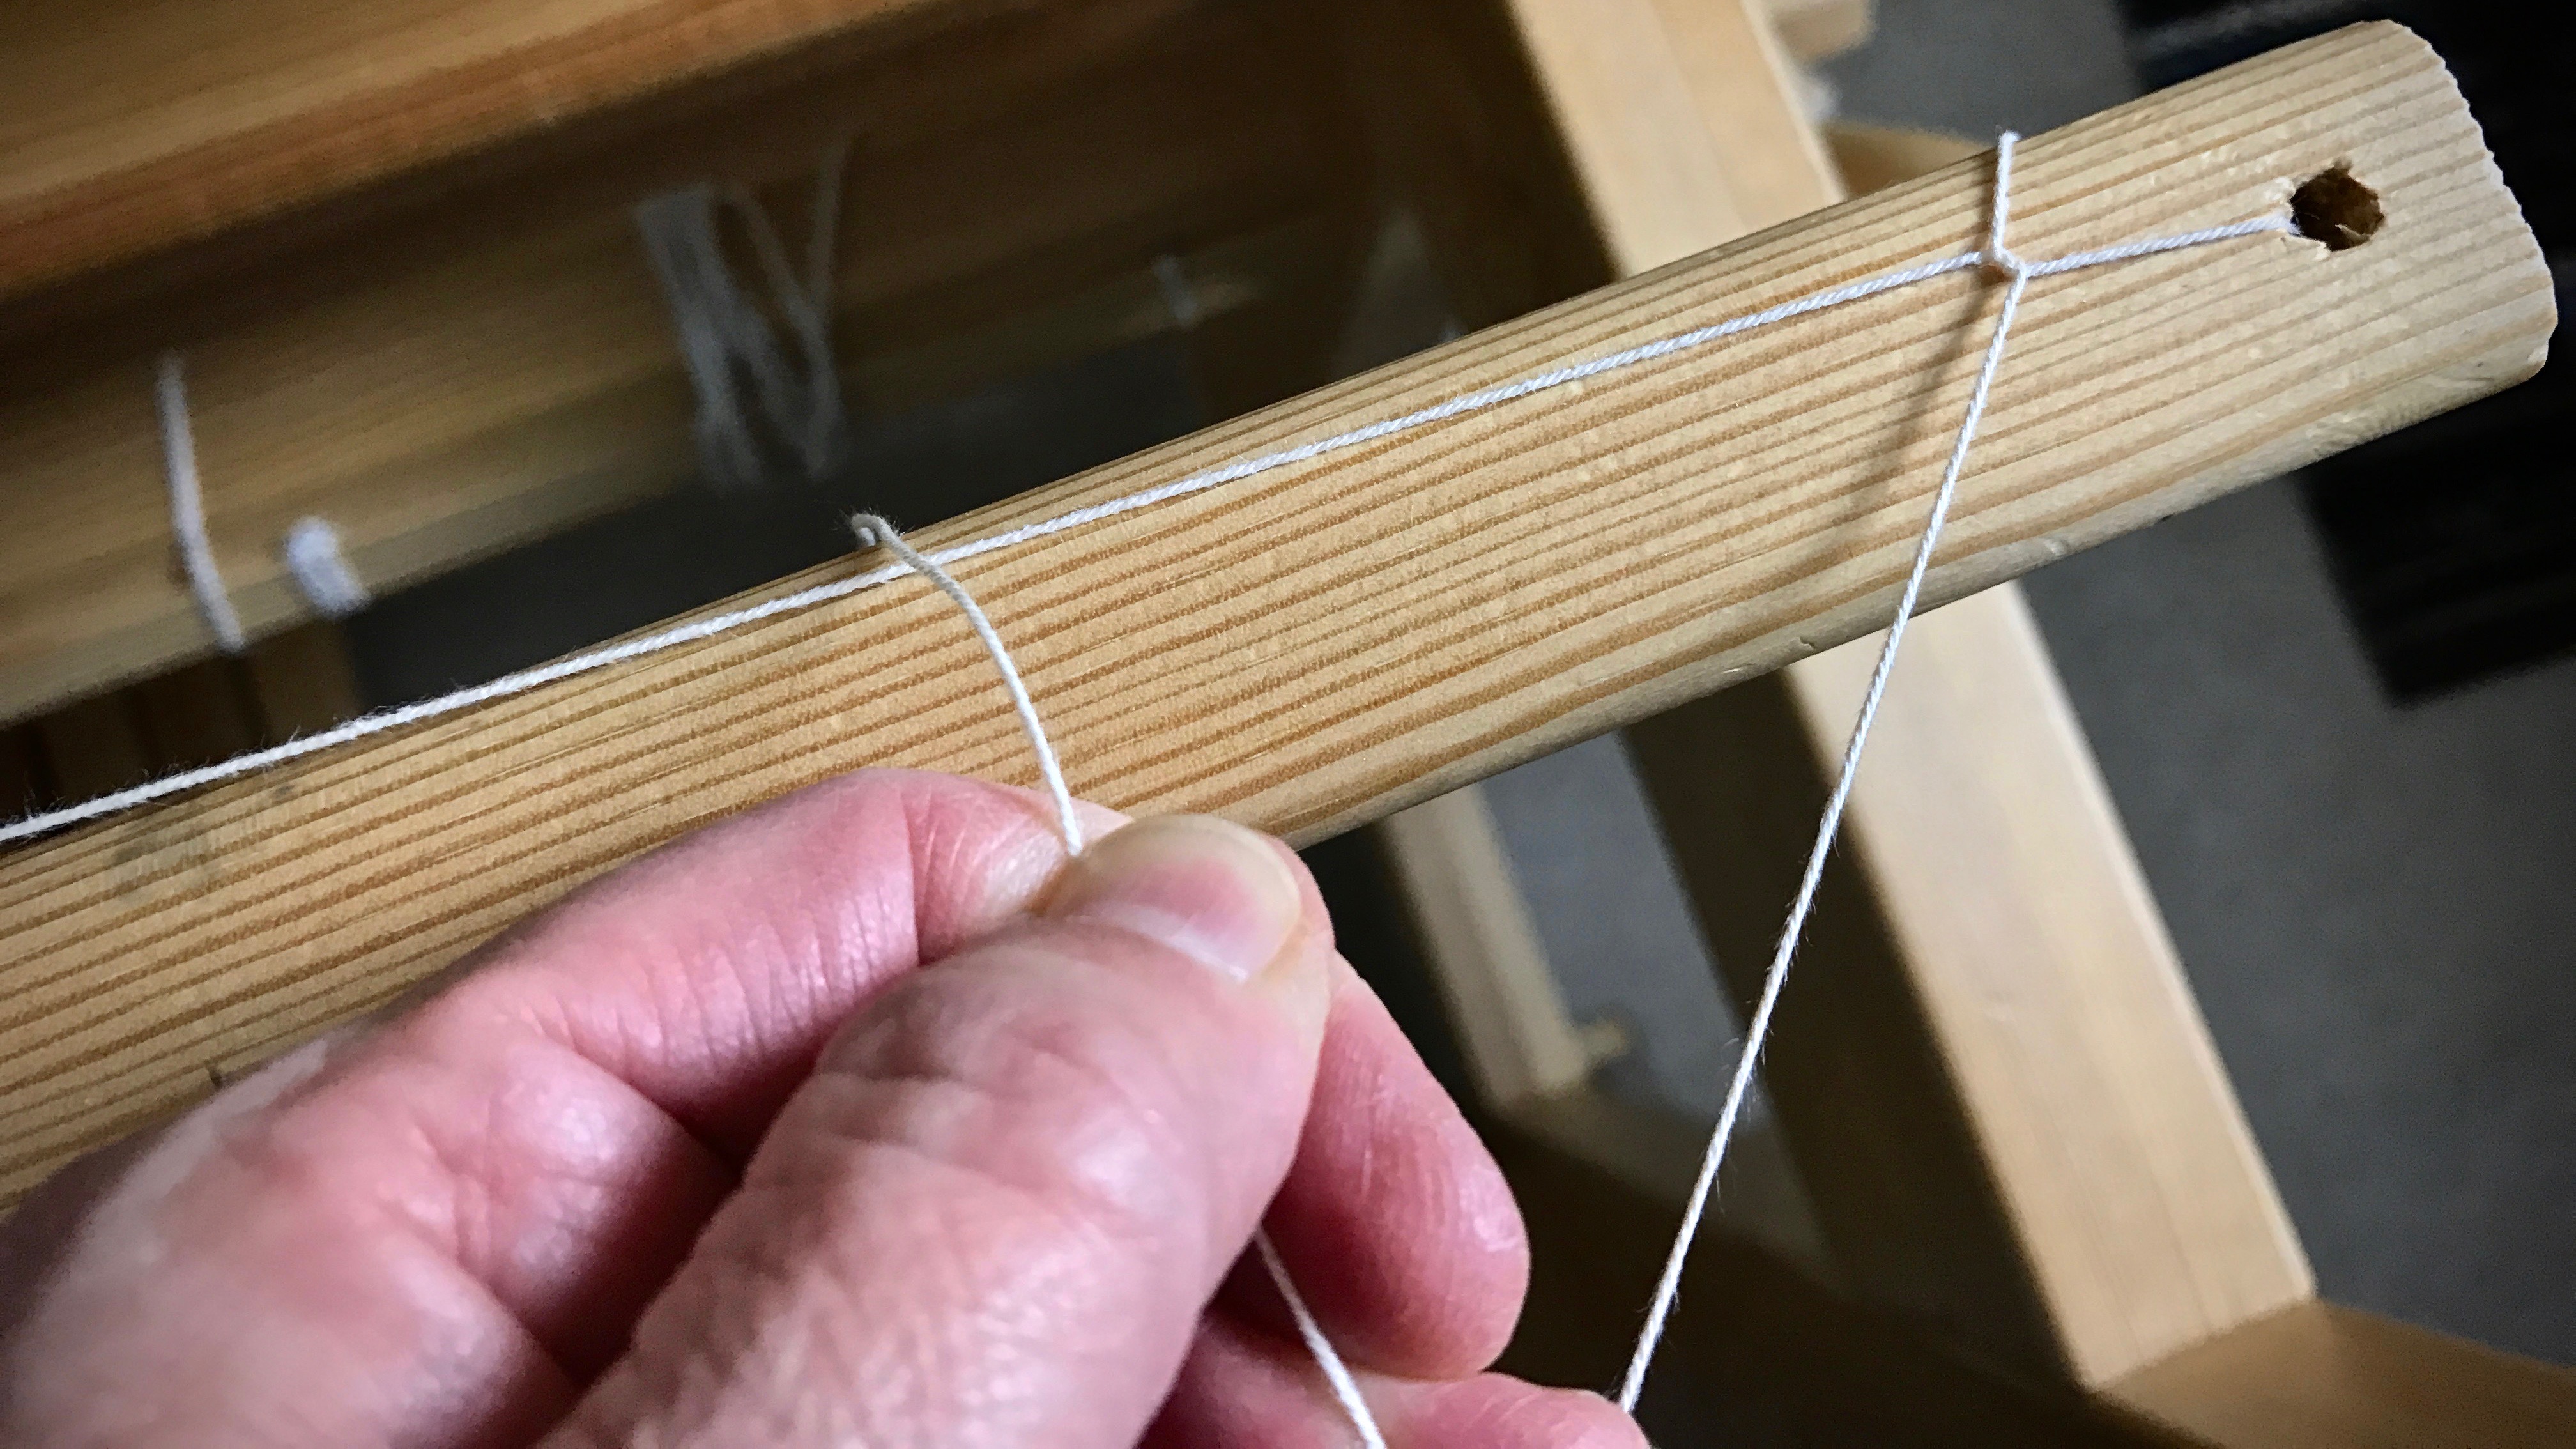
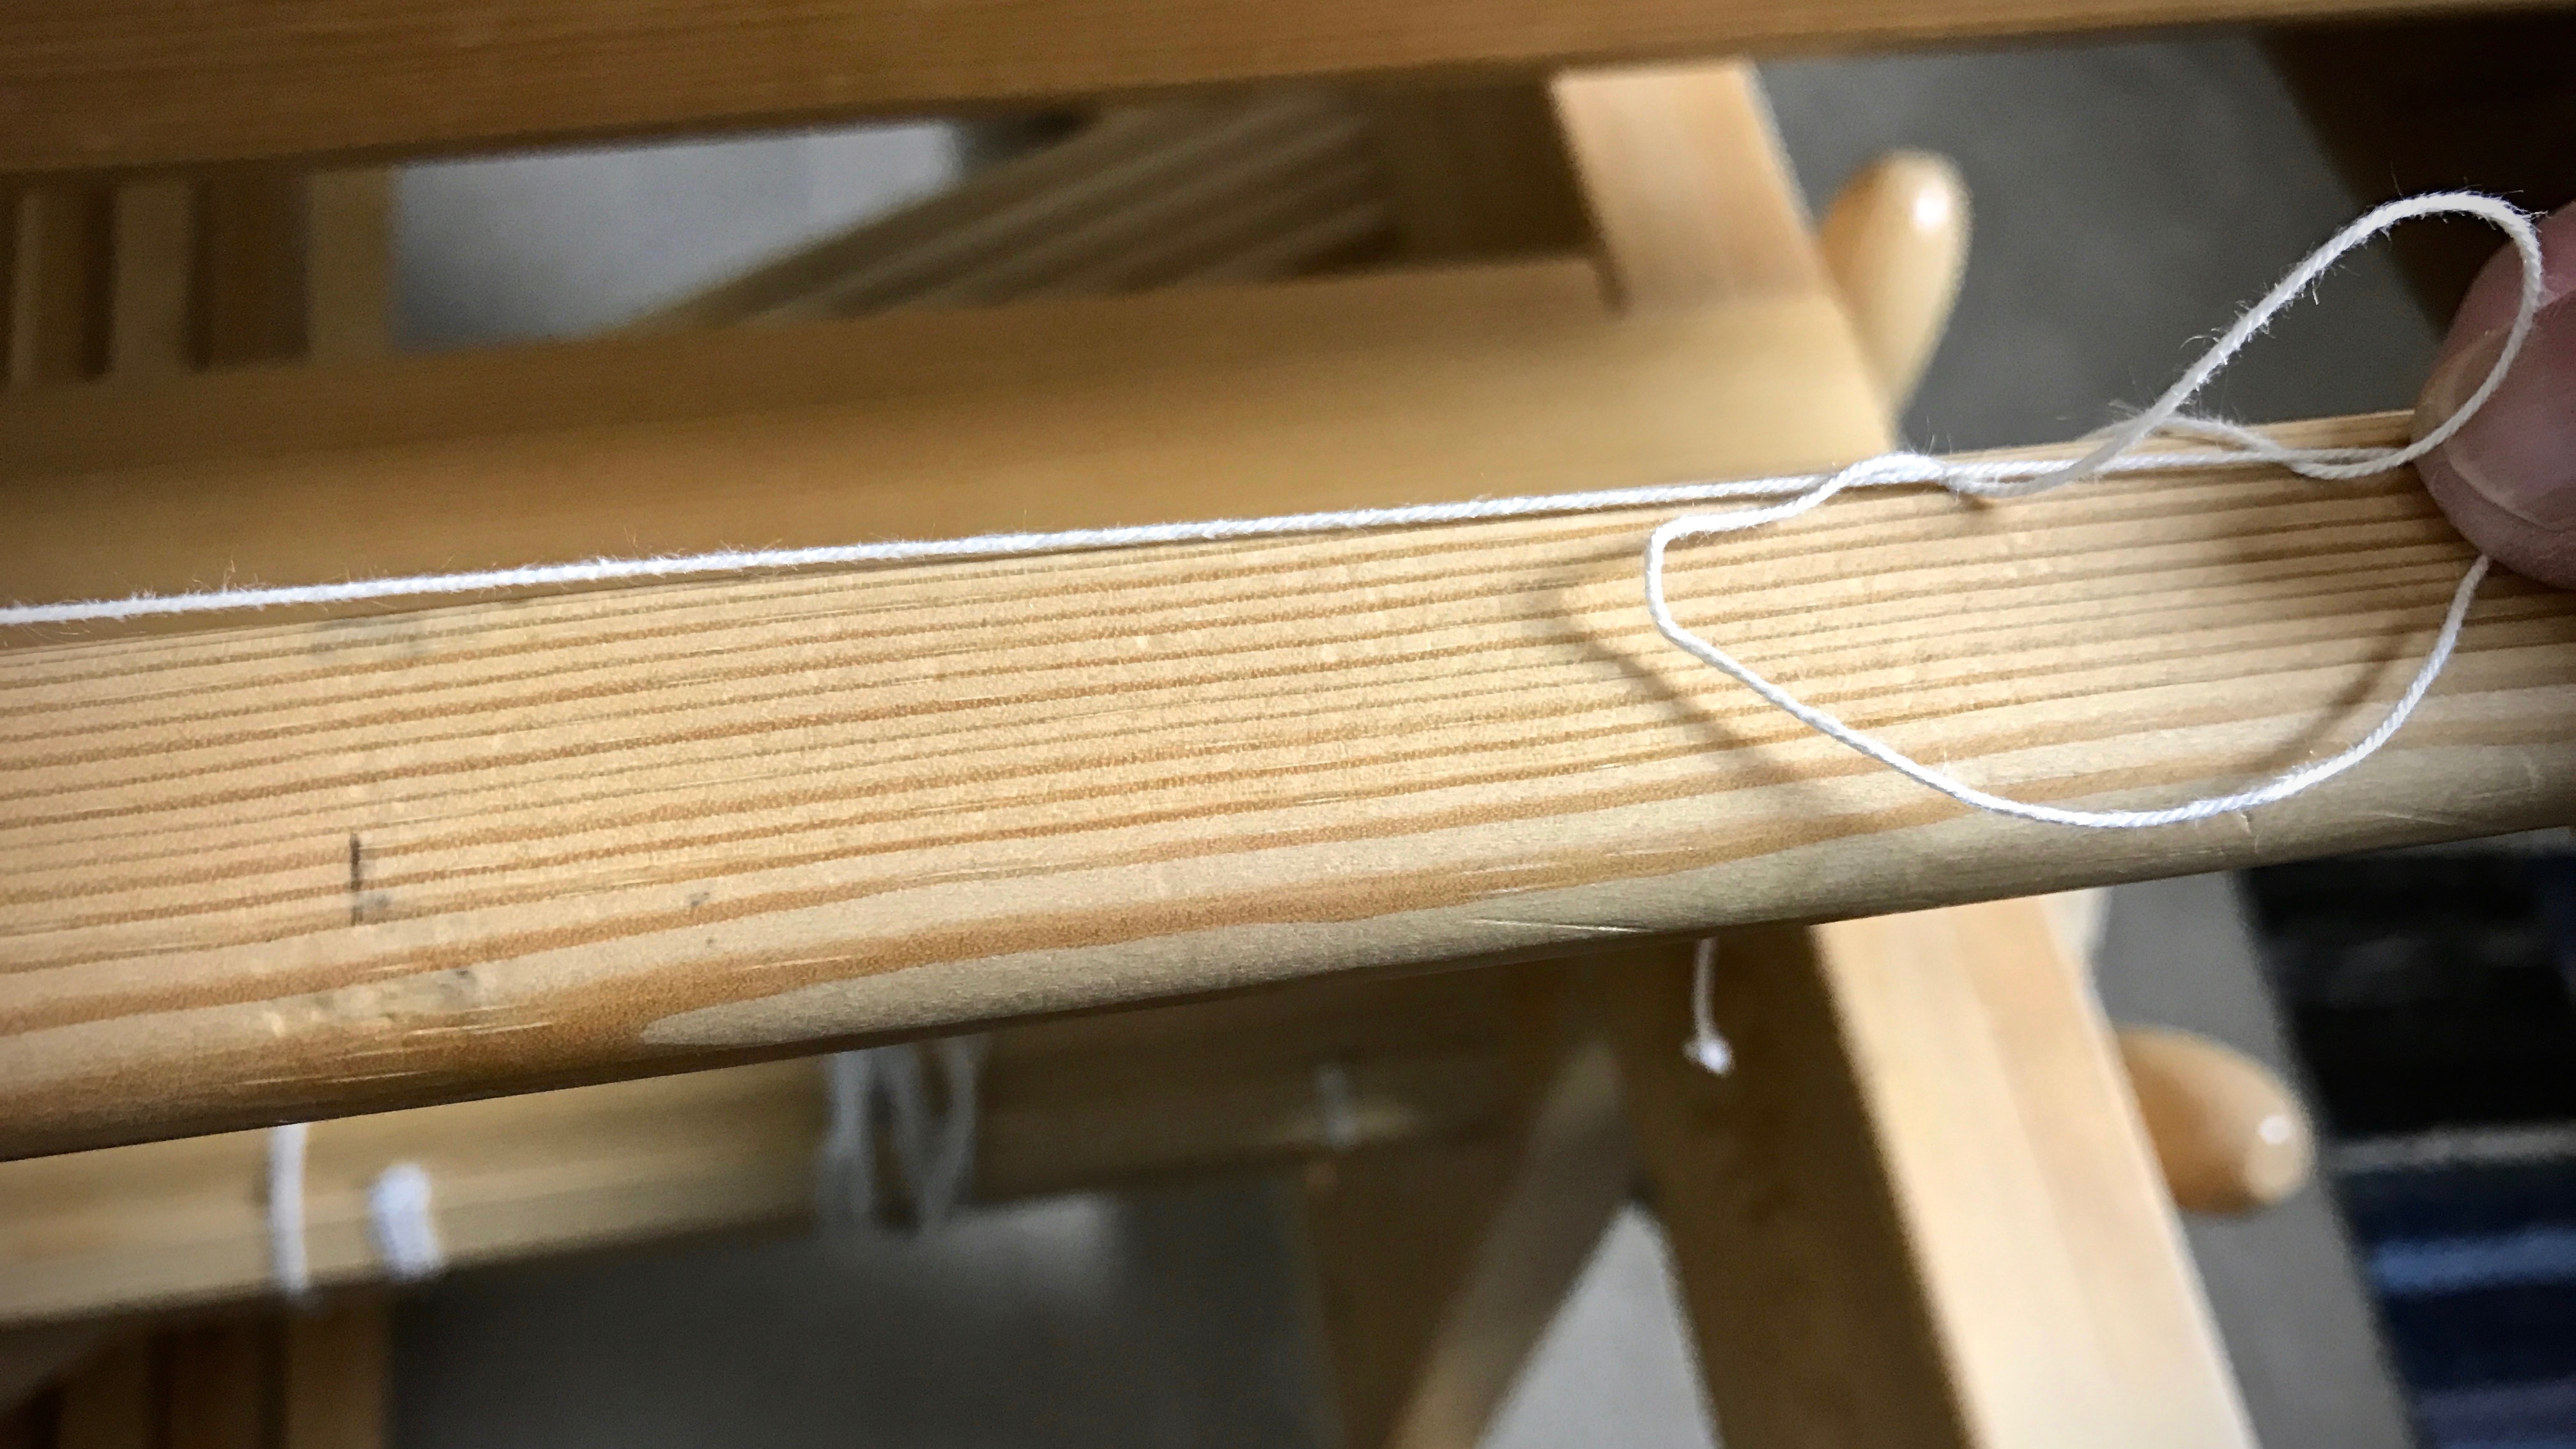
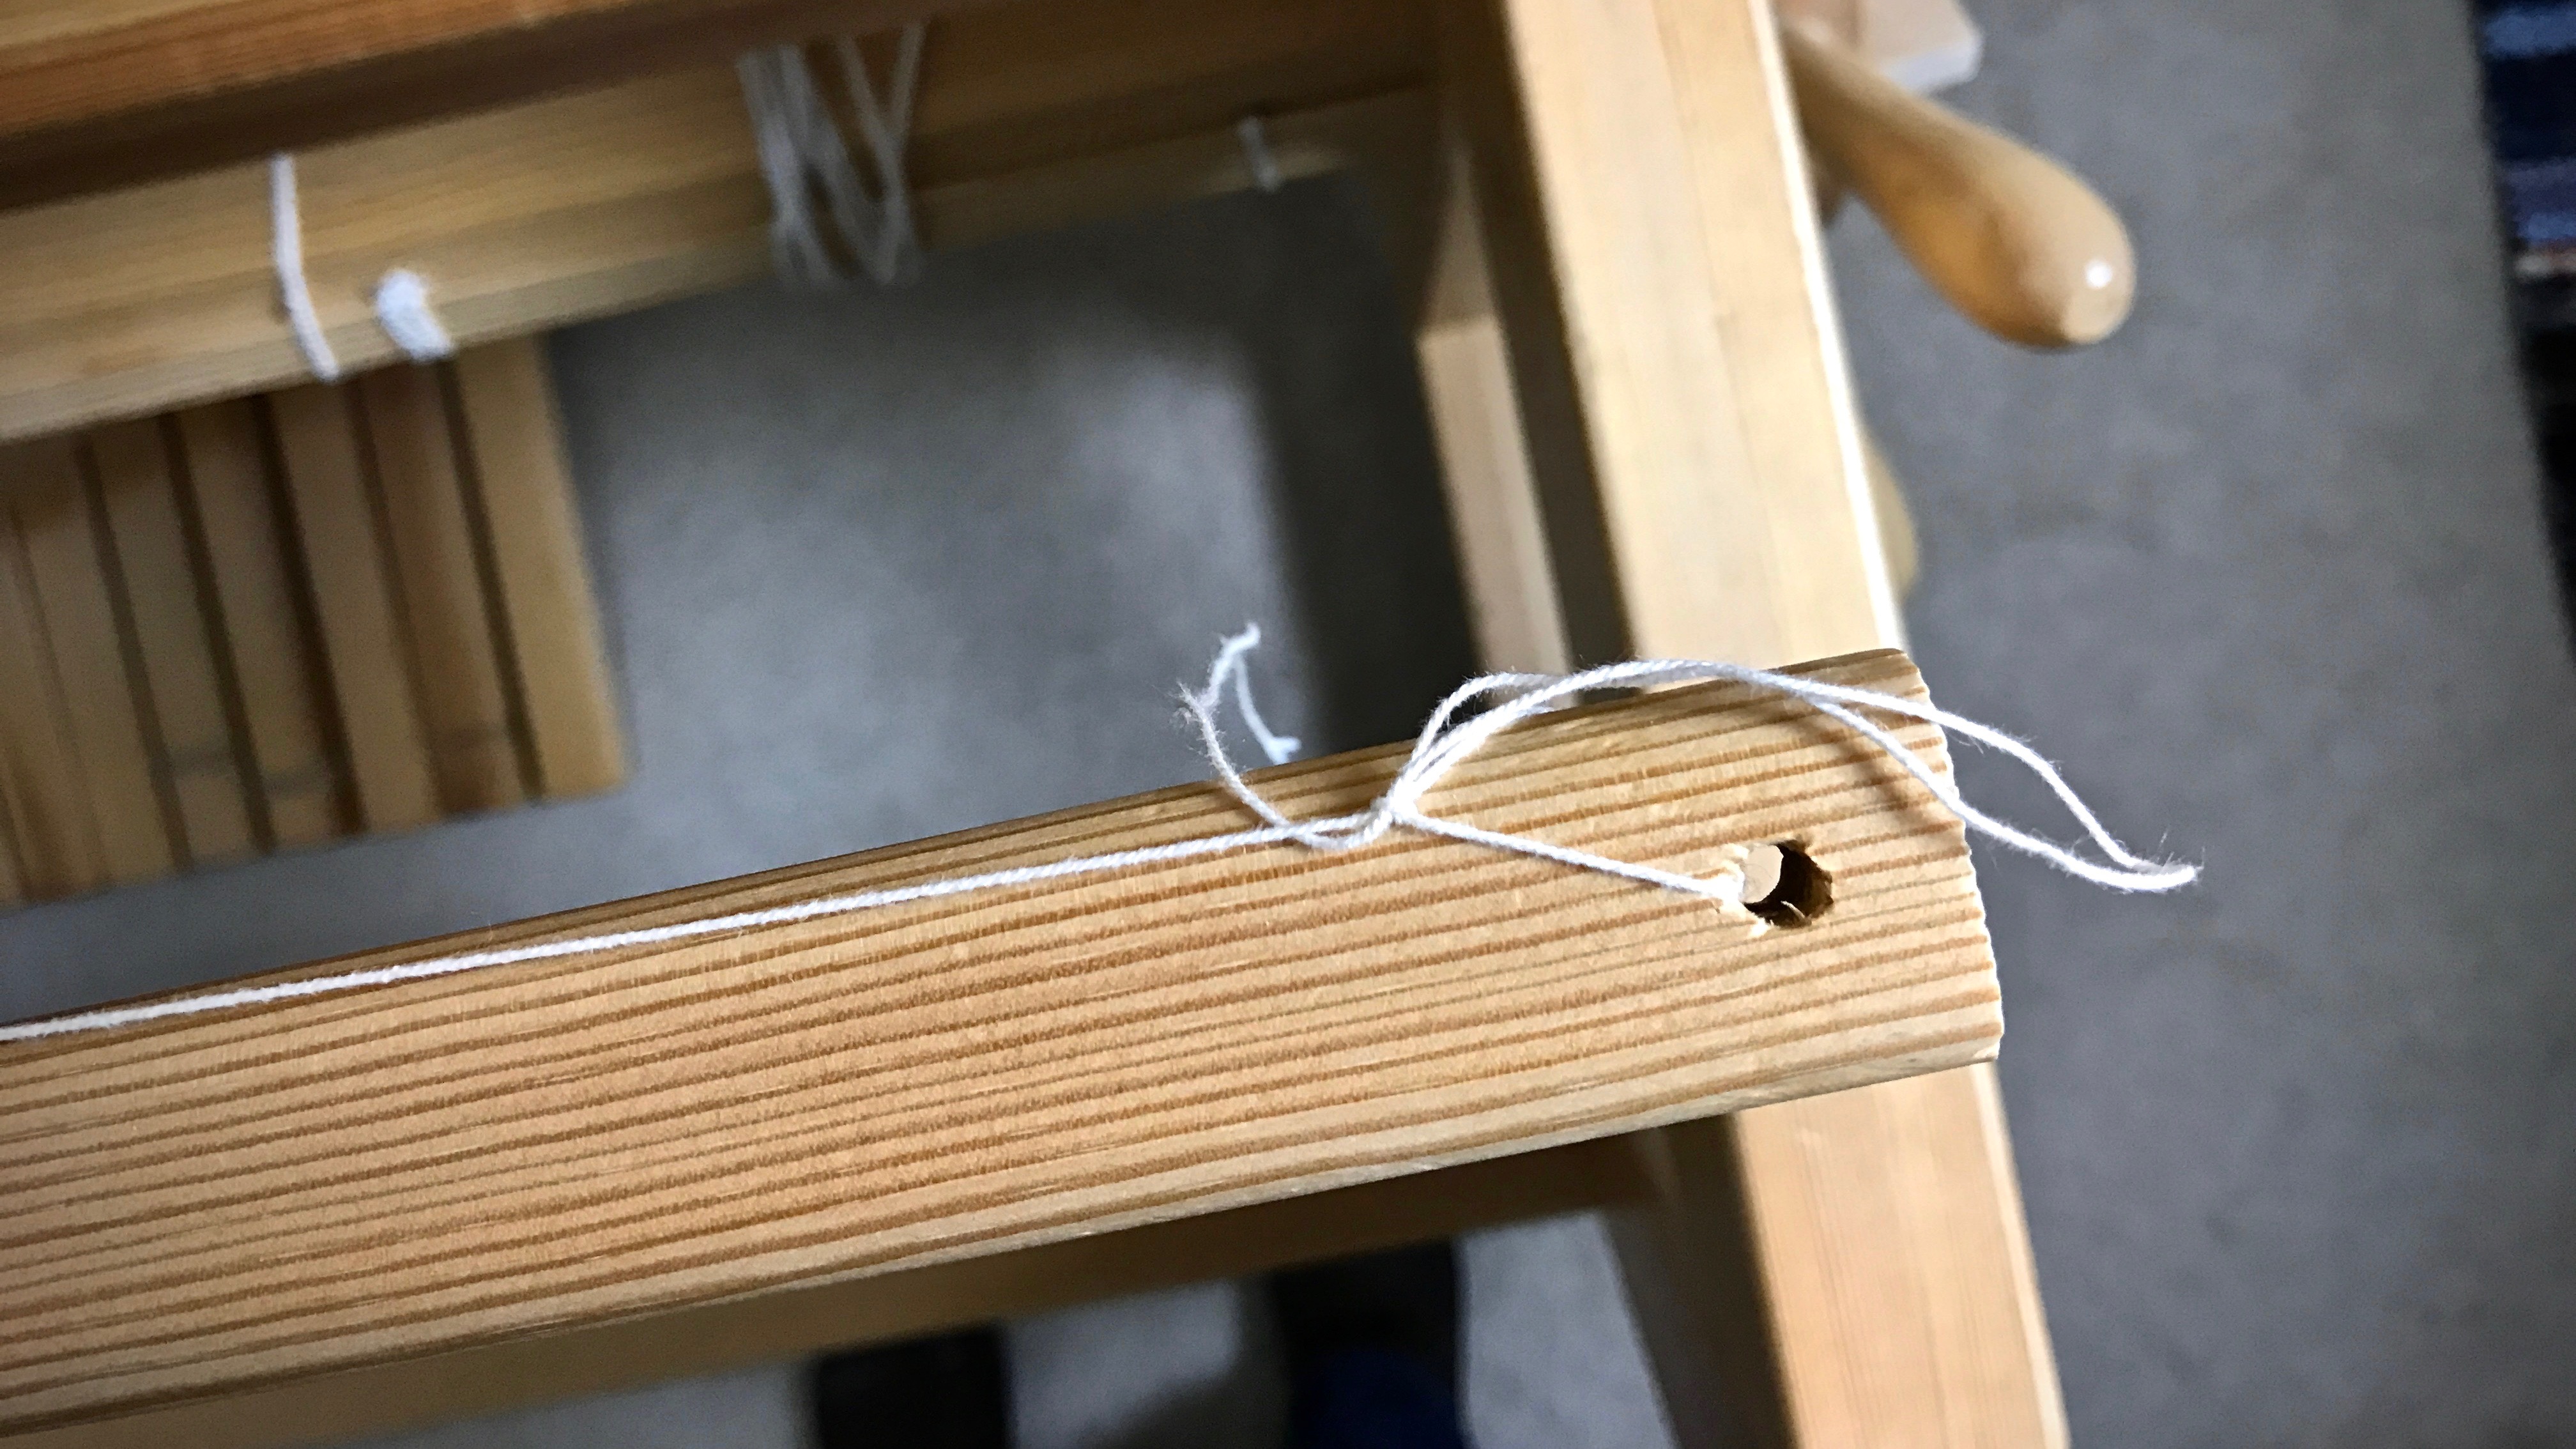
Glimakra Standard, 120 cm. The side gables fit, but just barely, in the covered bed of our Tacoma pickup truck.Sticks. A Swedish loom is mostly a pile of sticks all fitted together just so.
There are a few things to be done before drawloom weaving becomes a reality for me.
Read, re-read, and review everything I can get my hands on about drawlooms and drawloom weaving, especially Joanne Hall’s new book, Drawloom Weaving, and Becky Ashenden’s DVD, Dress Your Swedish Drawloom.
Fix up the light-filled room in the hangar (did I tell you we have an airplane hangar on our property?) where there is ample room for the extended-length drawloom.
Order the drawloom attachment and supplies.
Move the loom to its special room in the hangar.
Assemble the drawloom.
In the meantime, I’ll weave a couple projects on this loom while it sits in a prized corner in our home. In our little piece of hill country. (We make our final move there next week!)
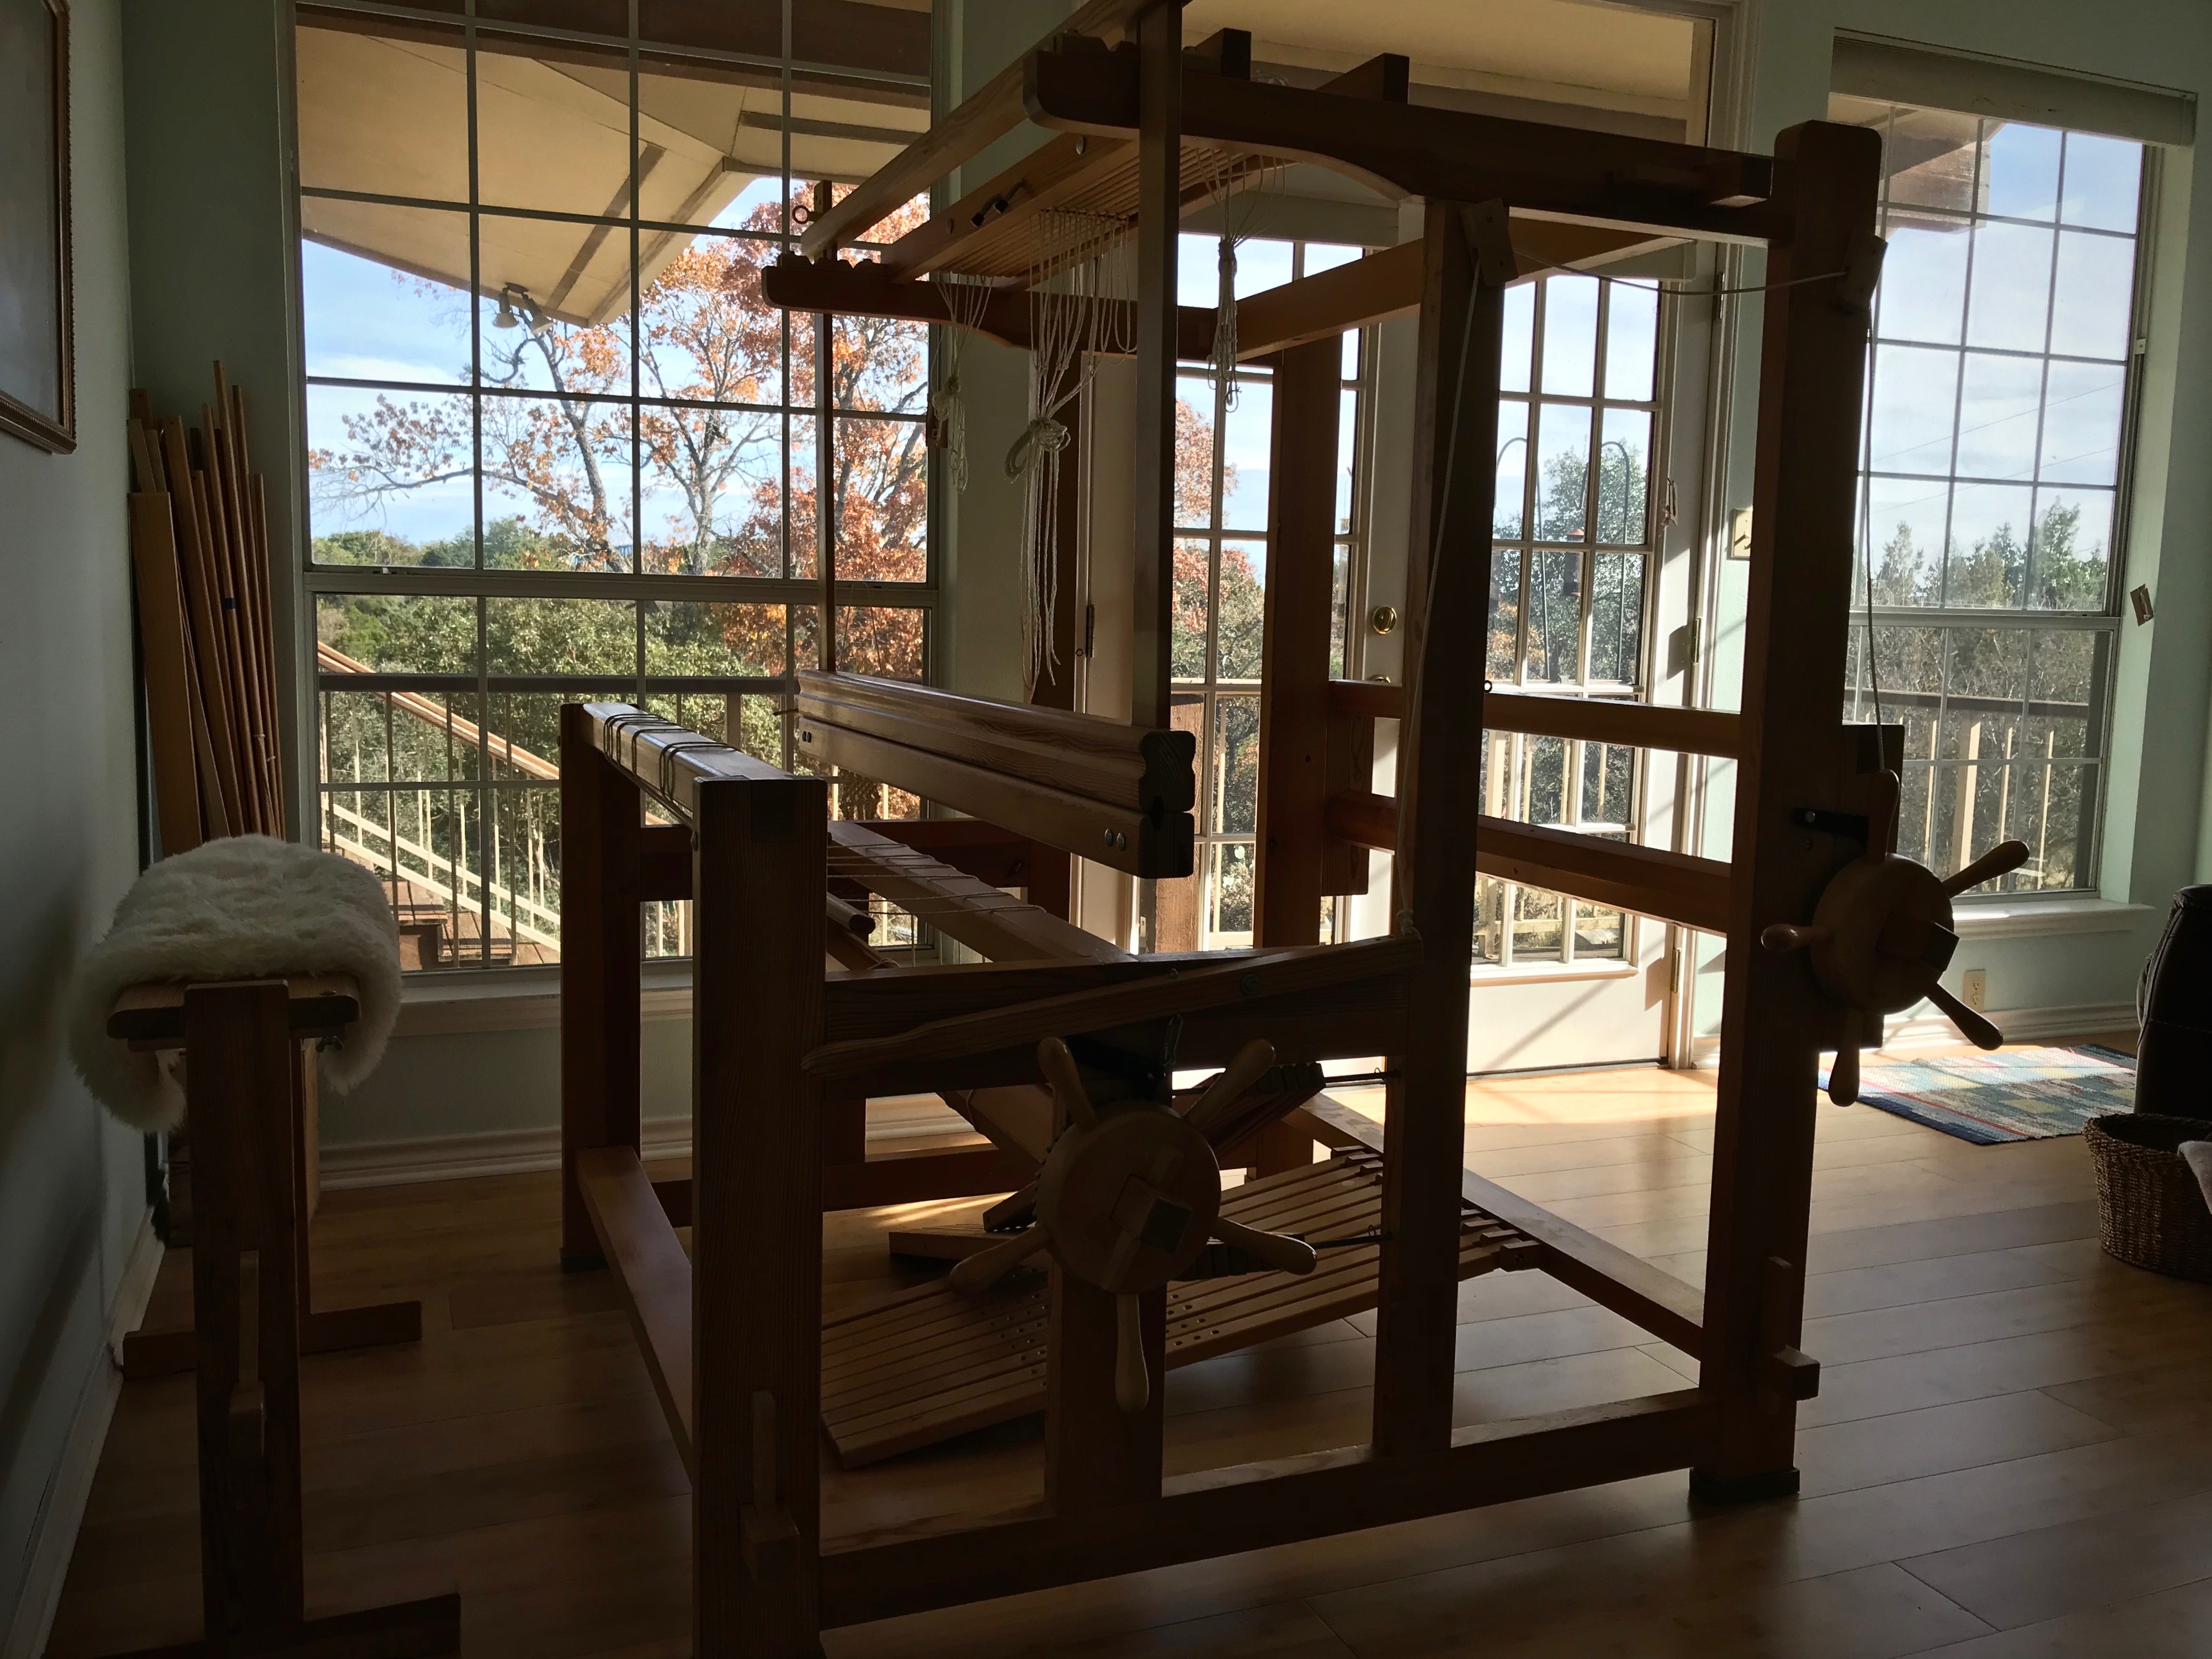
Setting up the loom.Ready and waiting.Loom with a view of Texas hill country. Perfect temporary spot.
May you take a step closer to your biggest dreams.
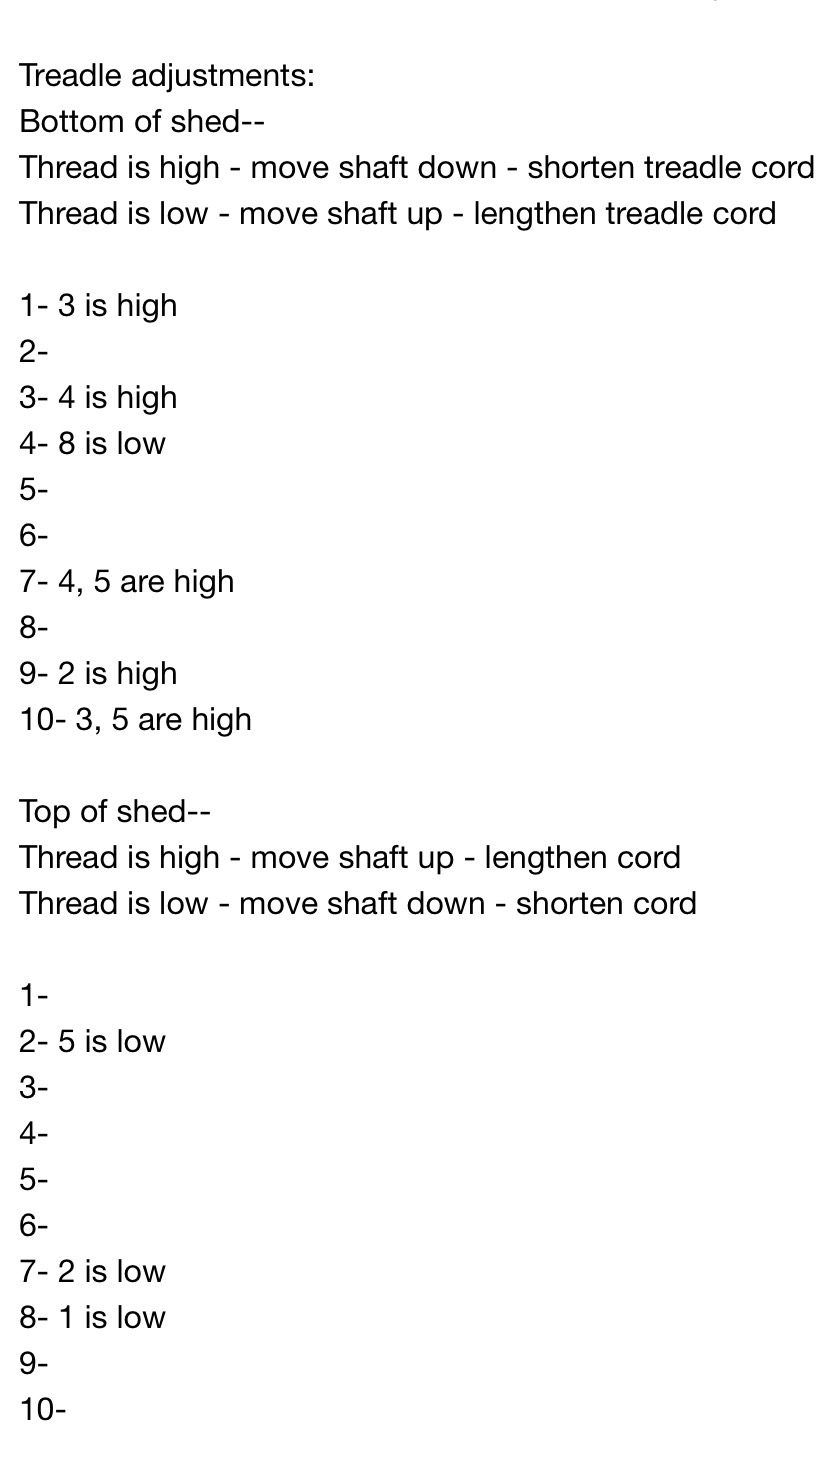
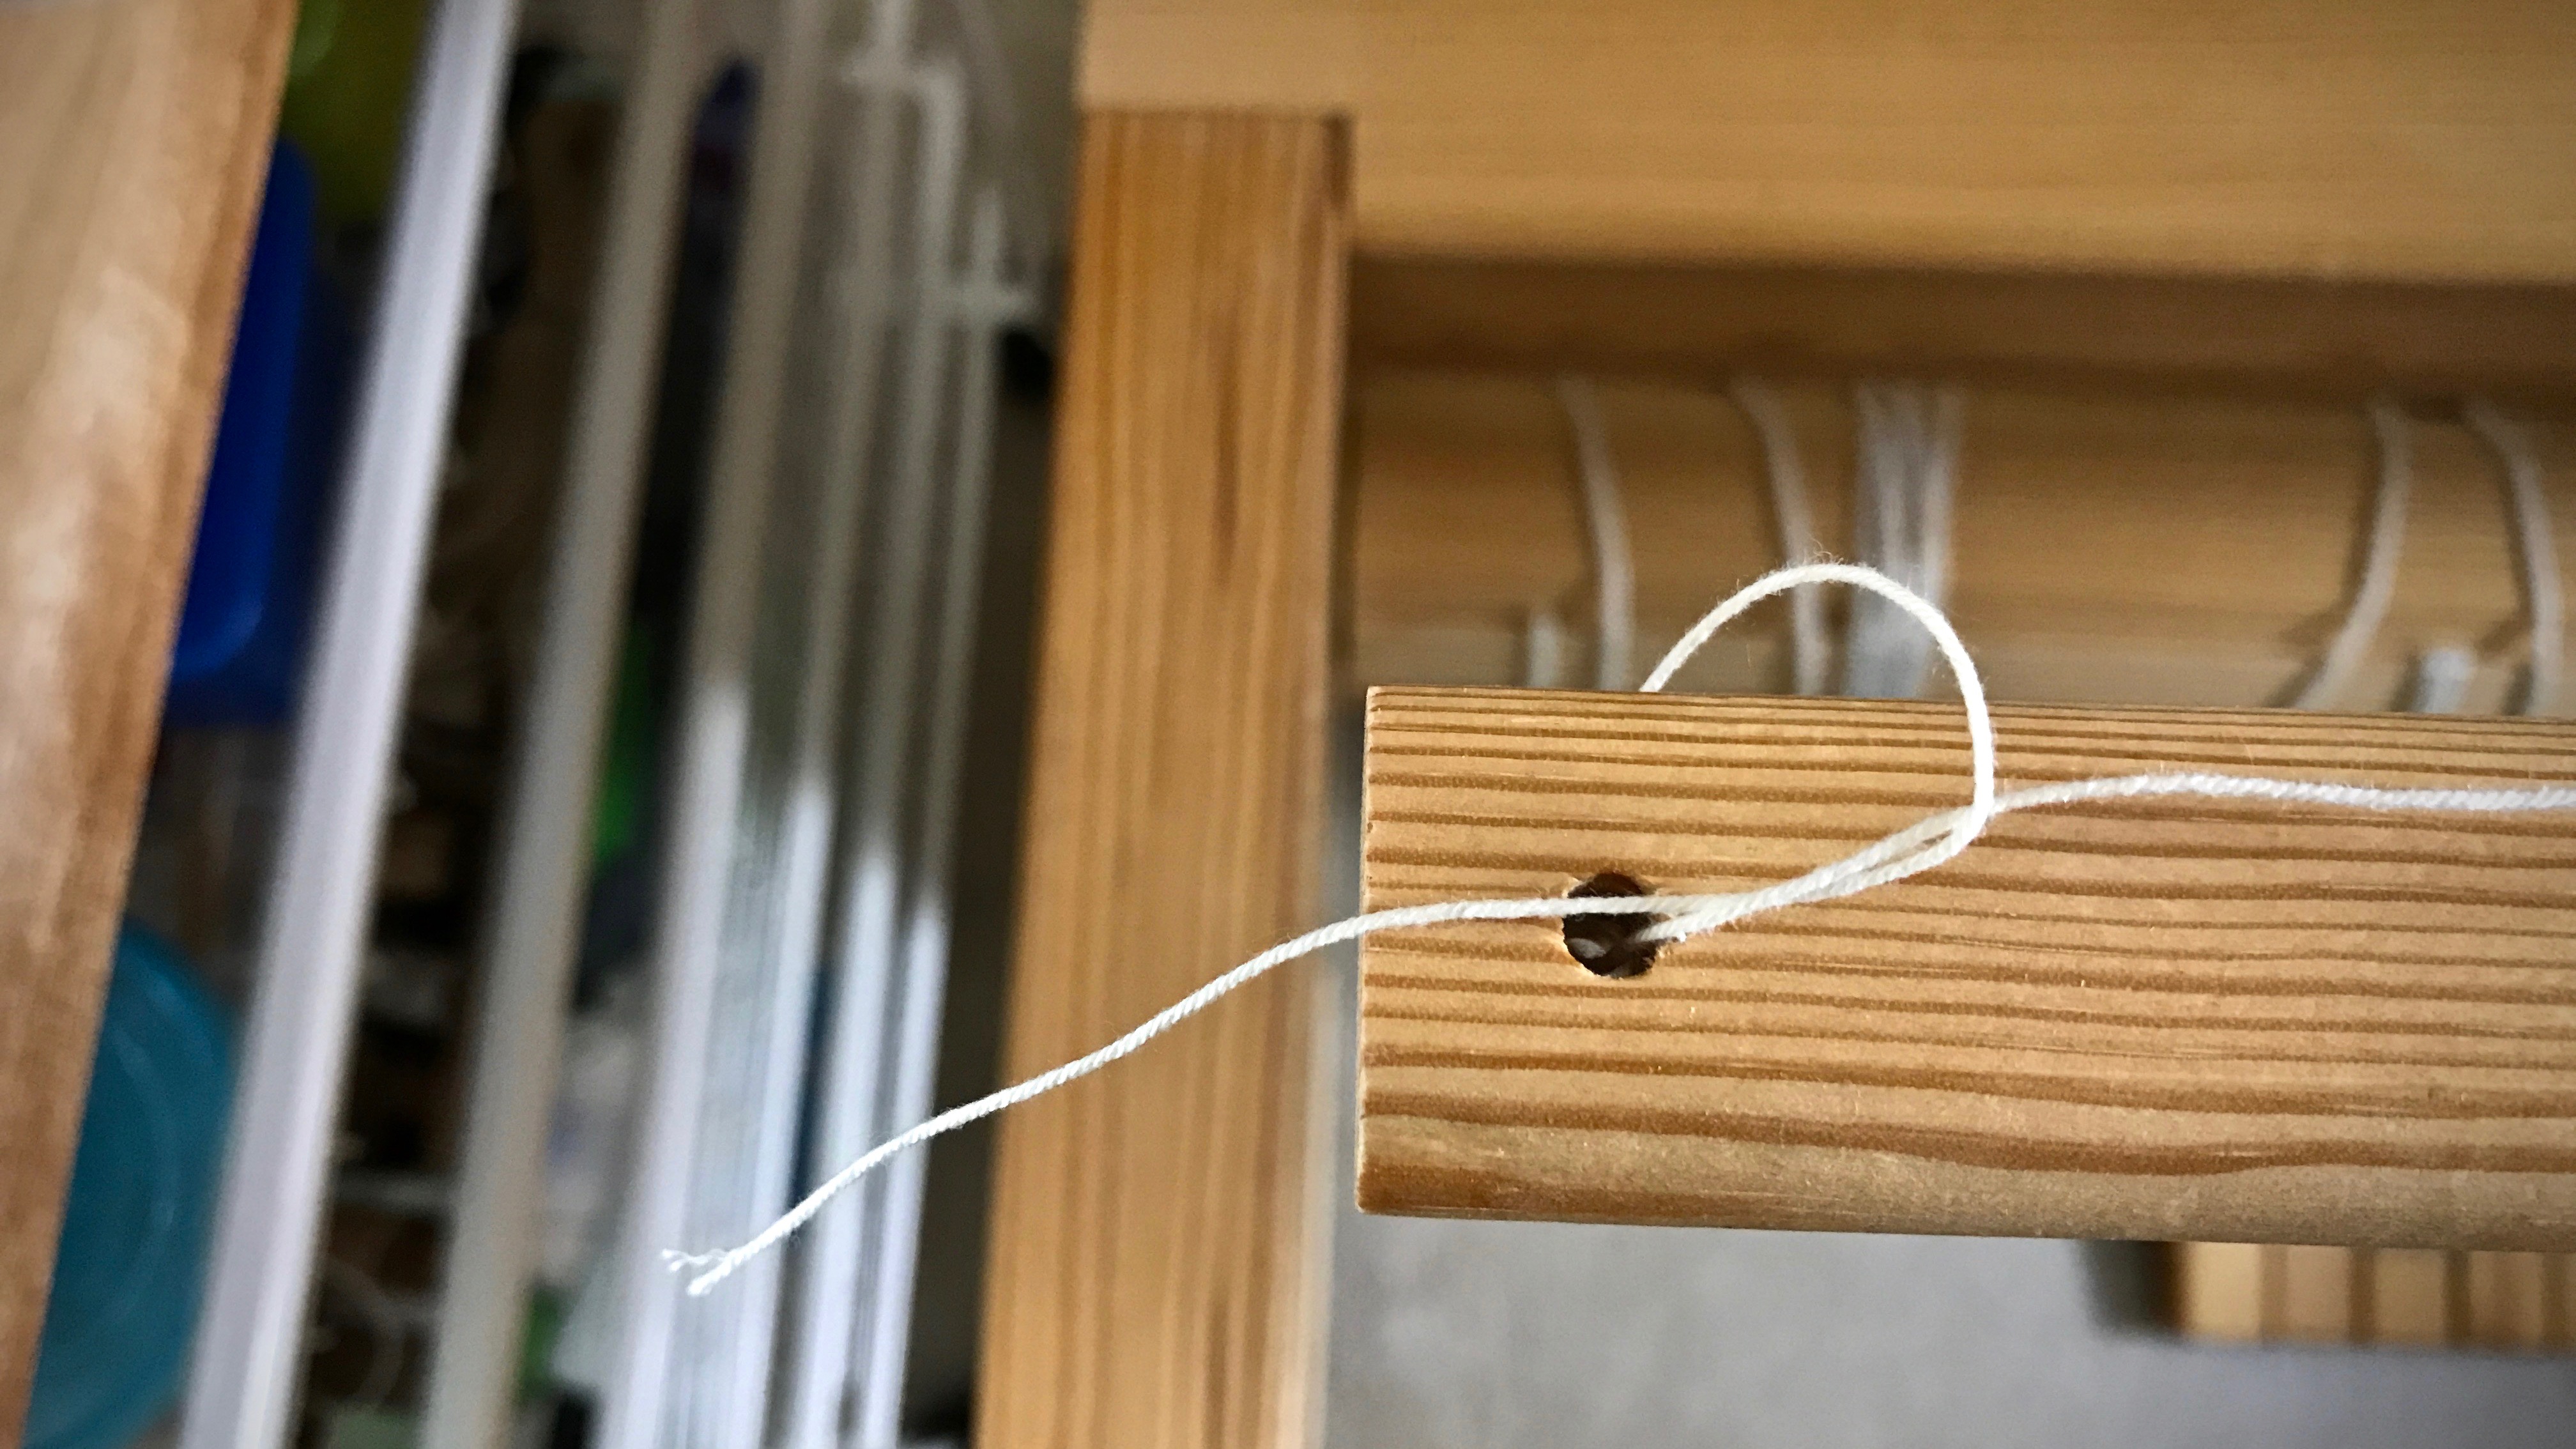
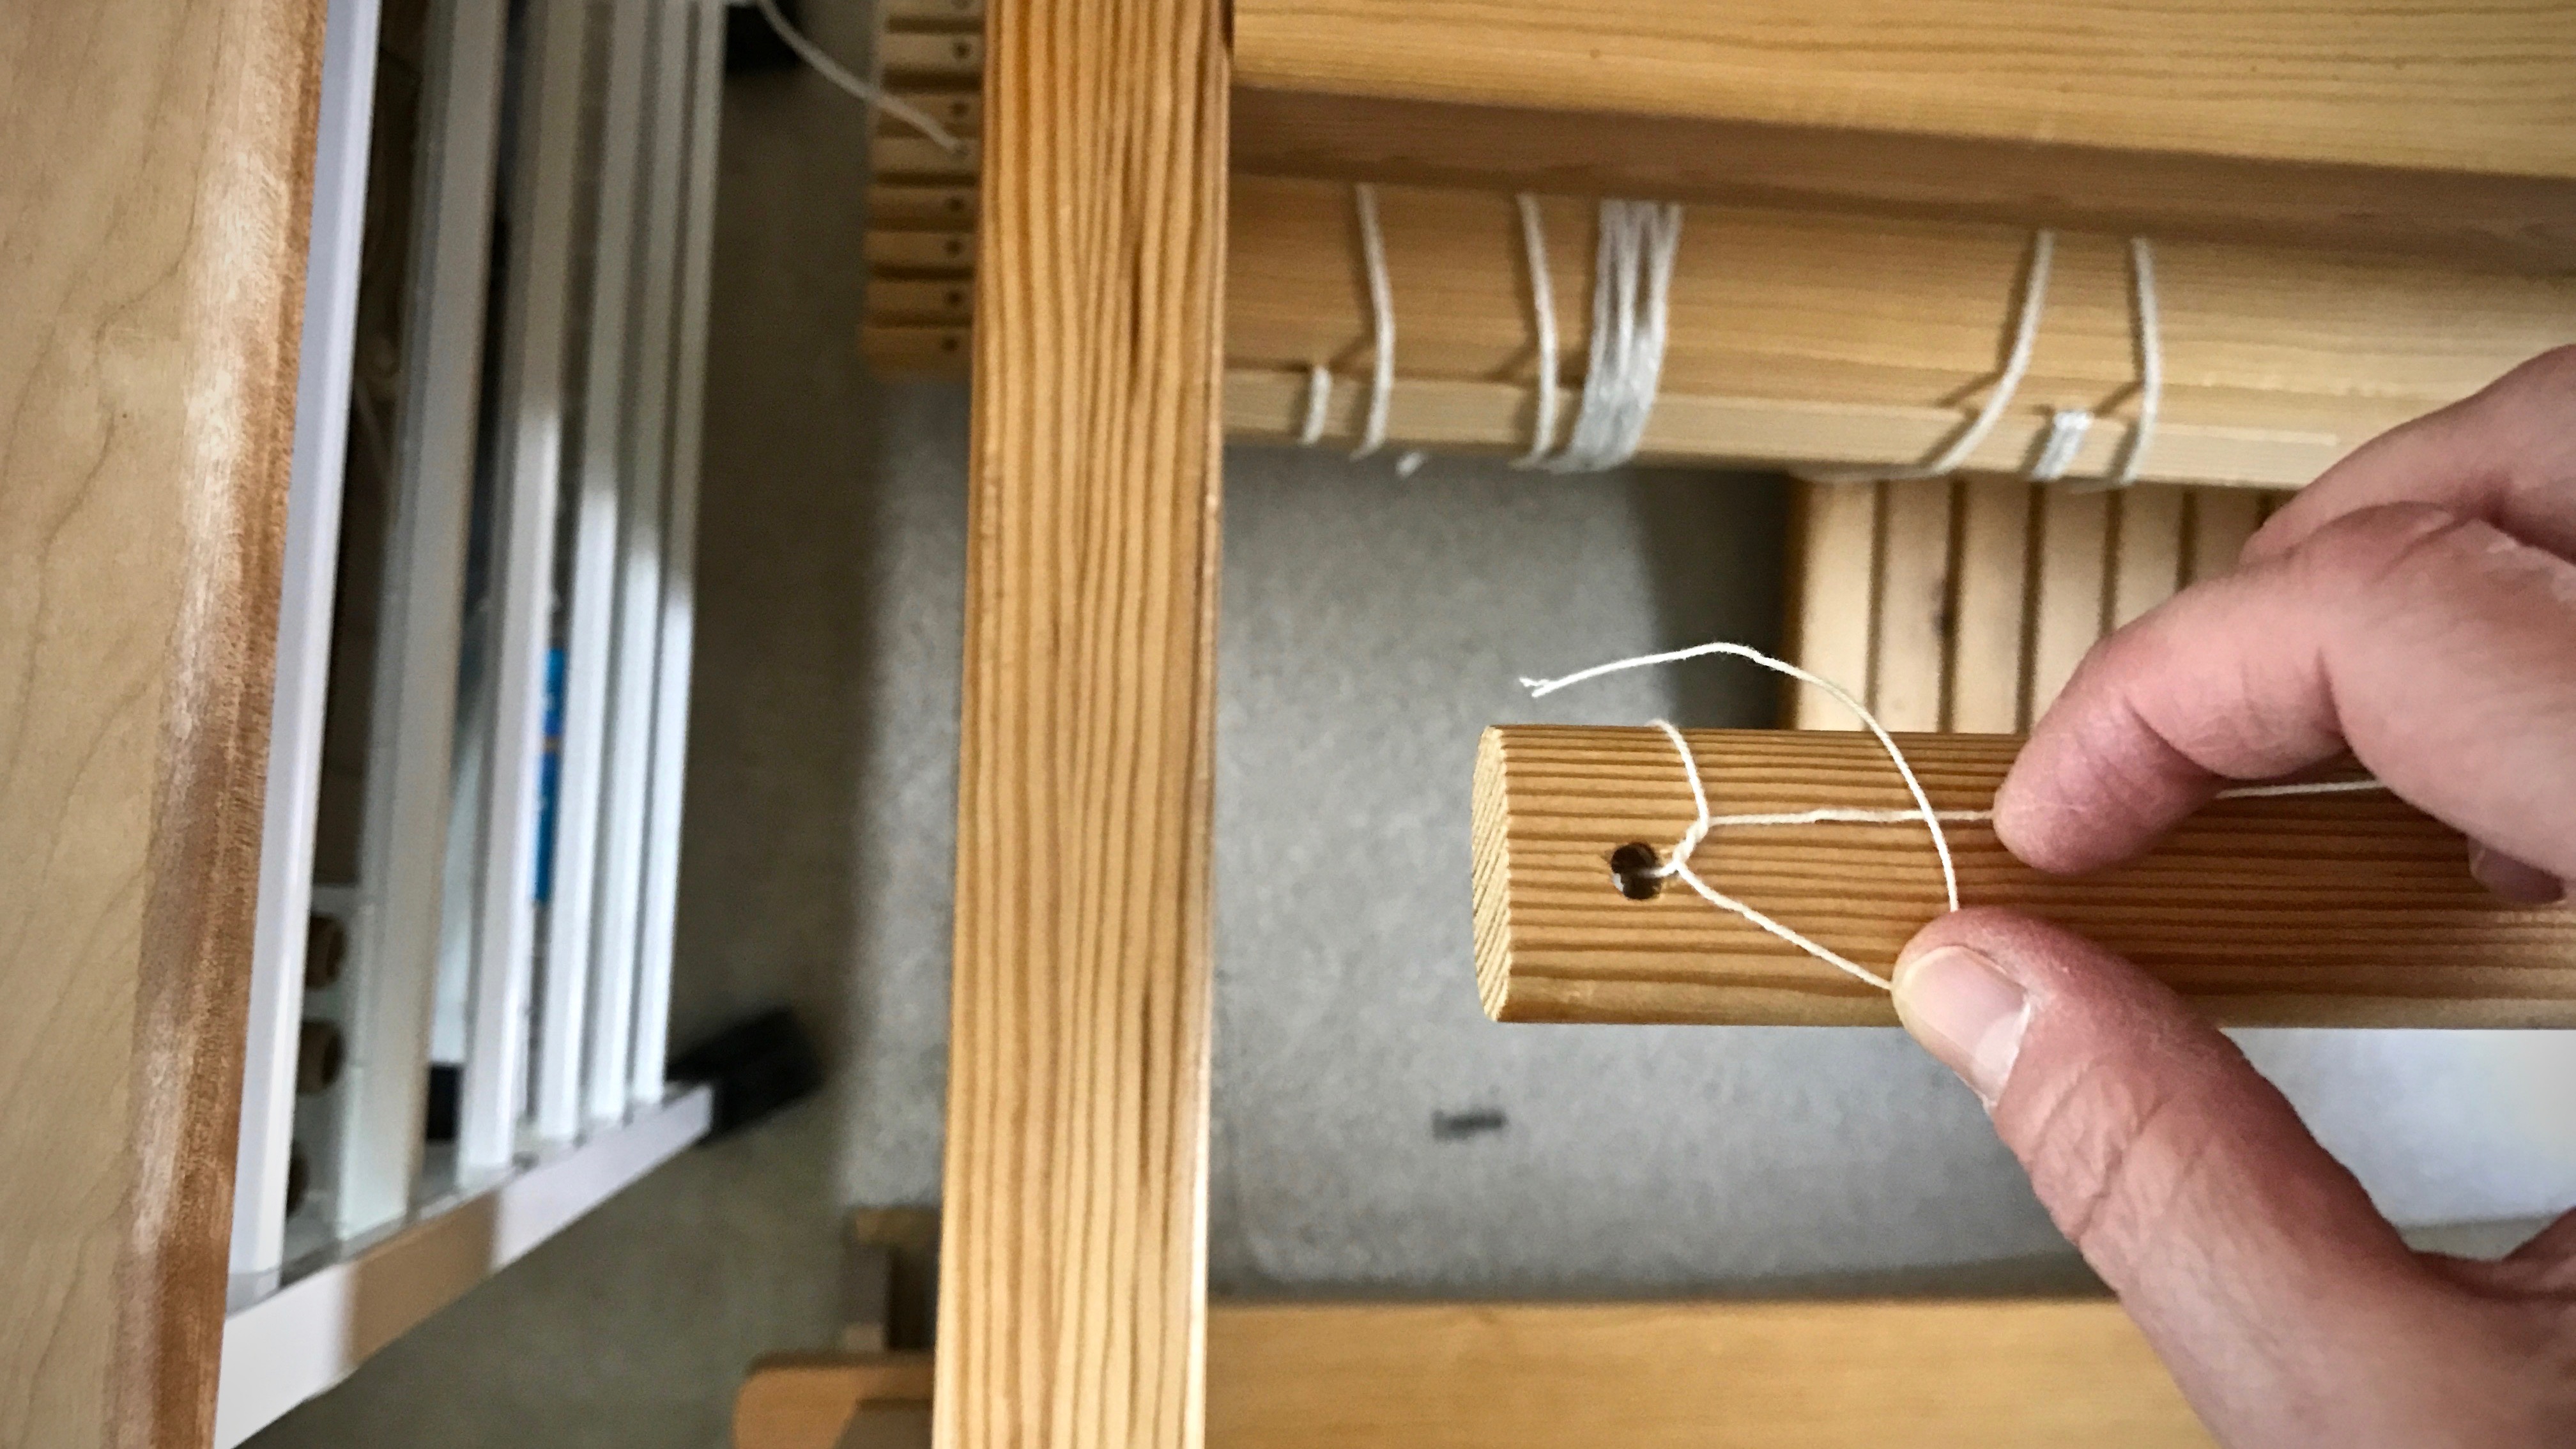
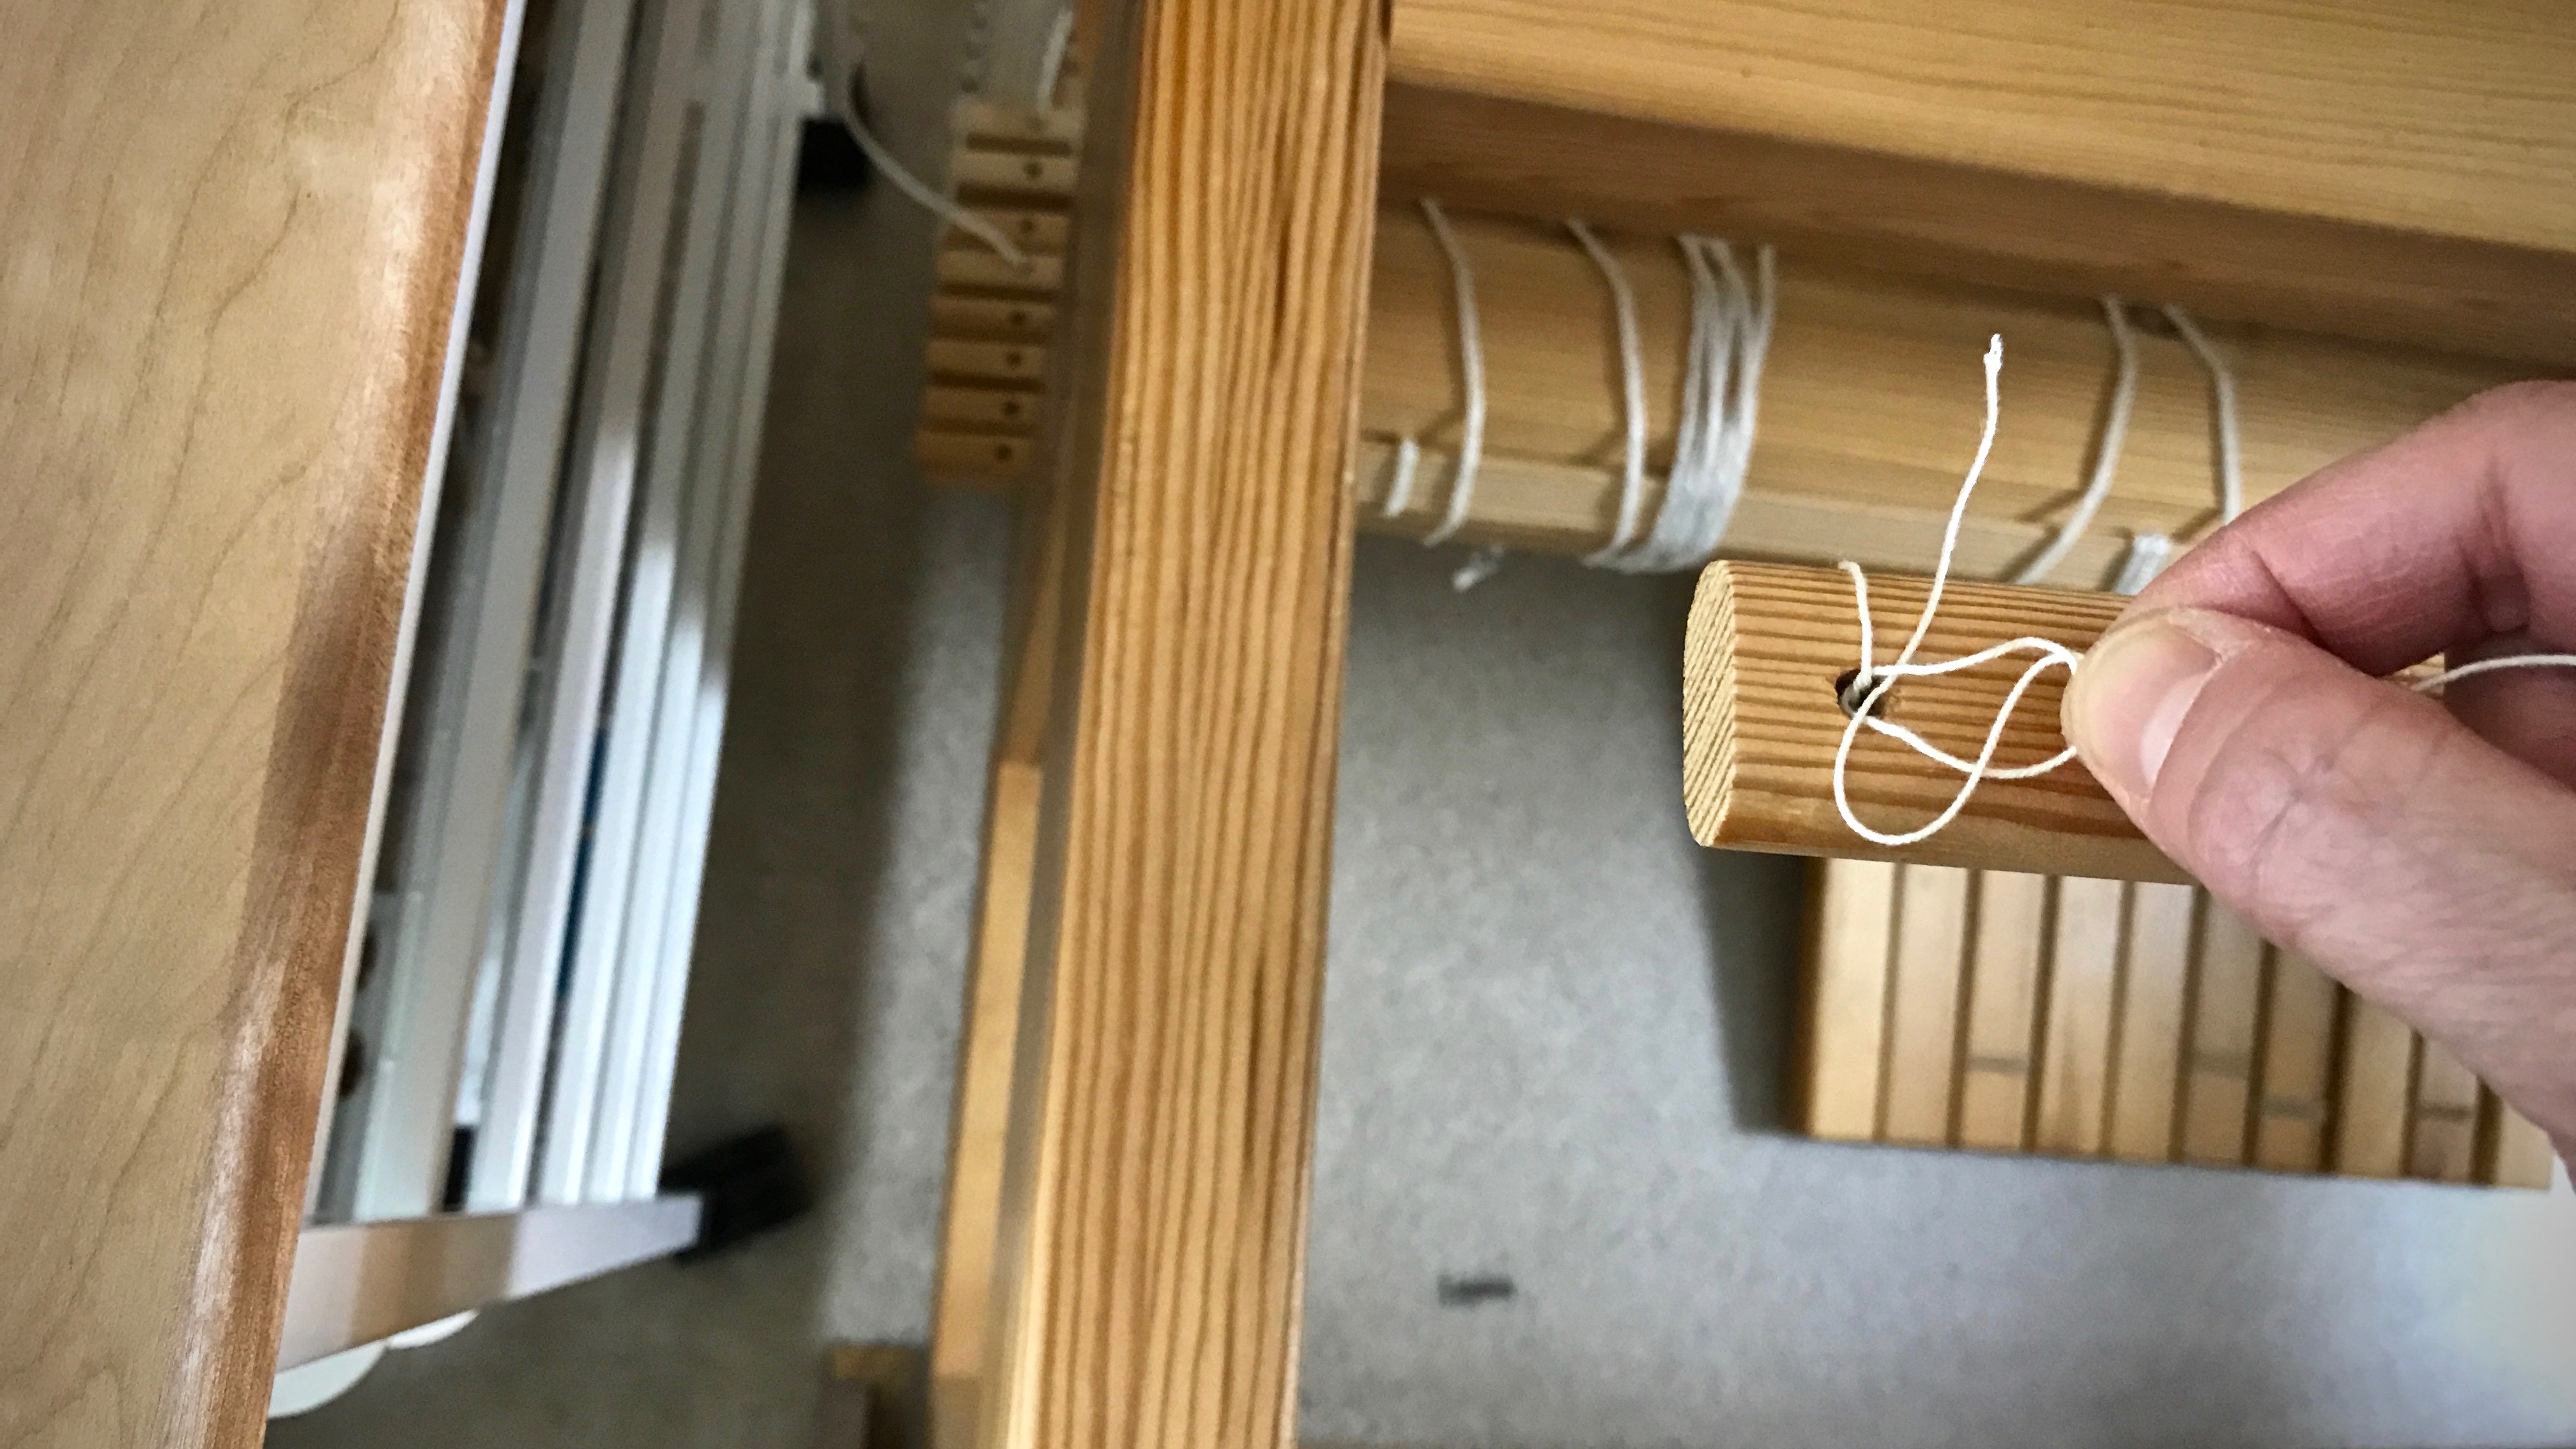
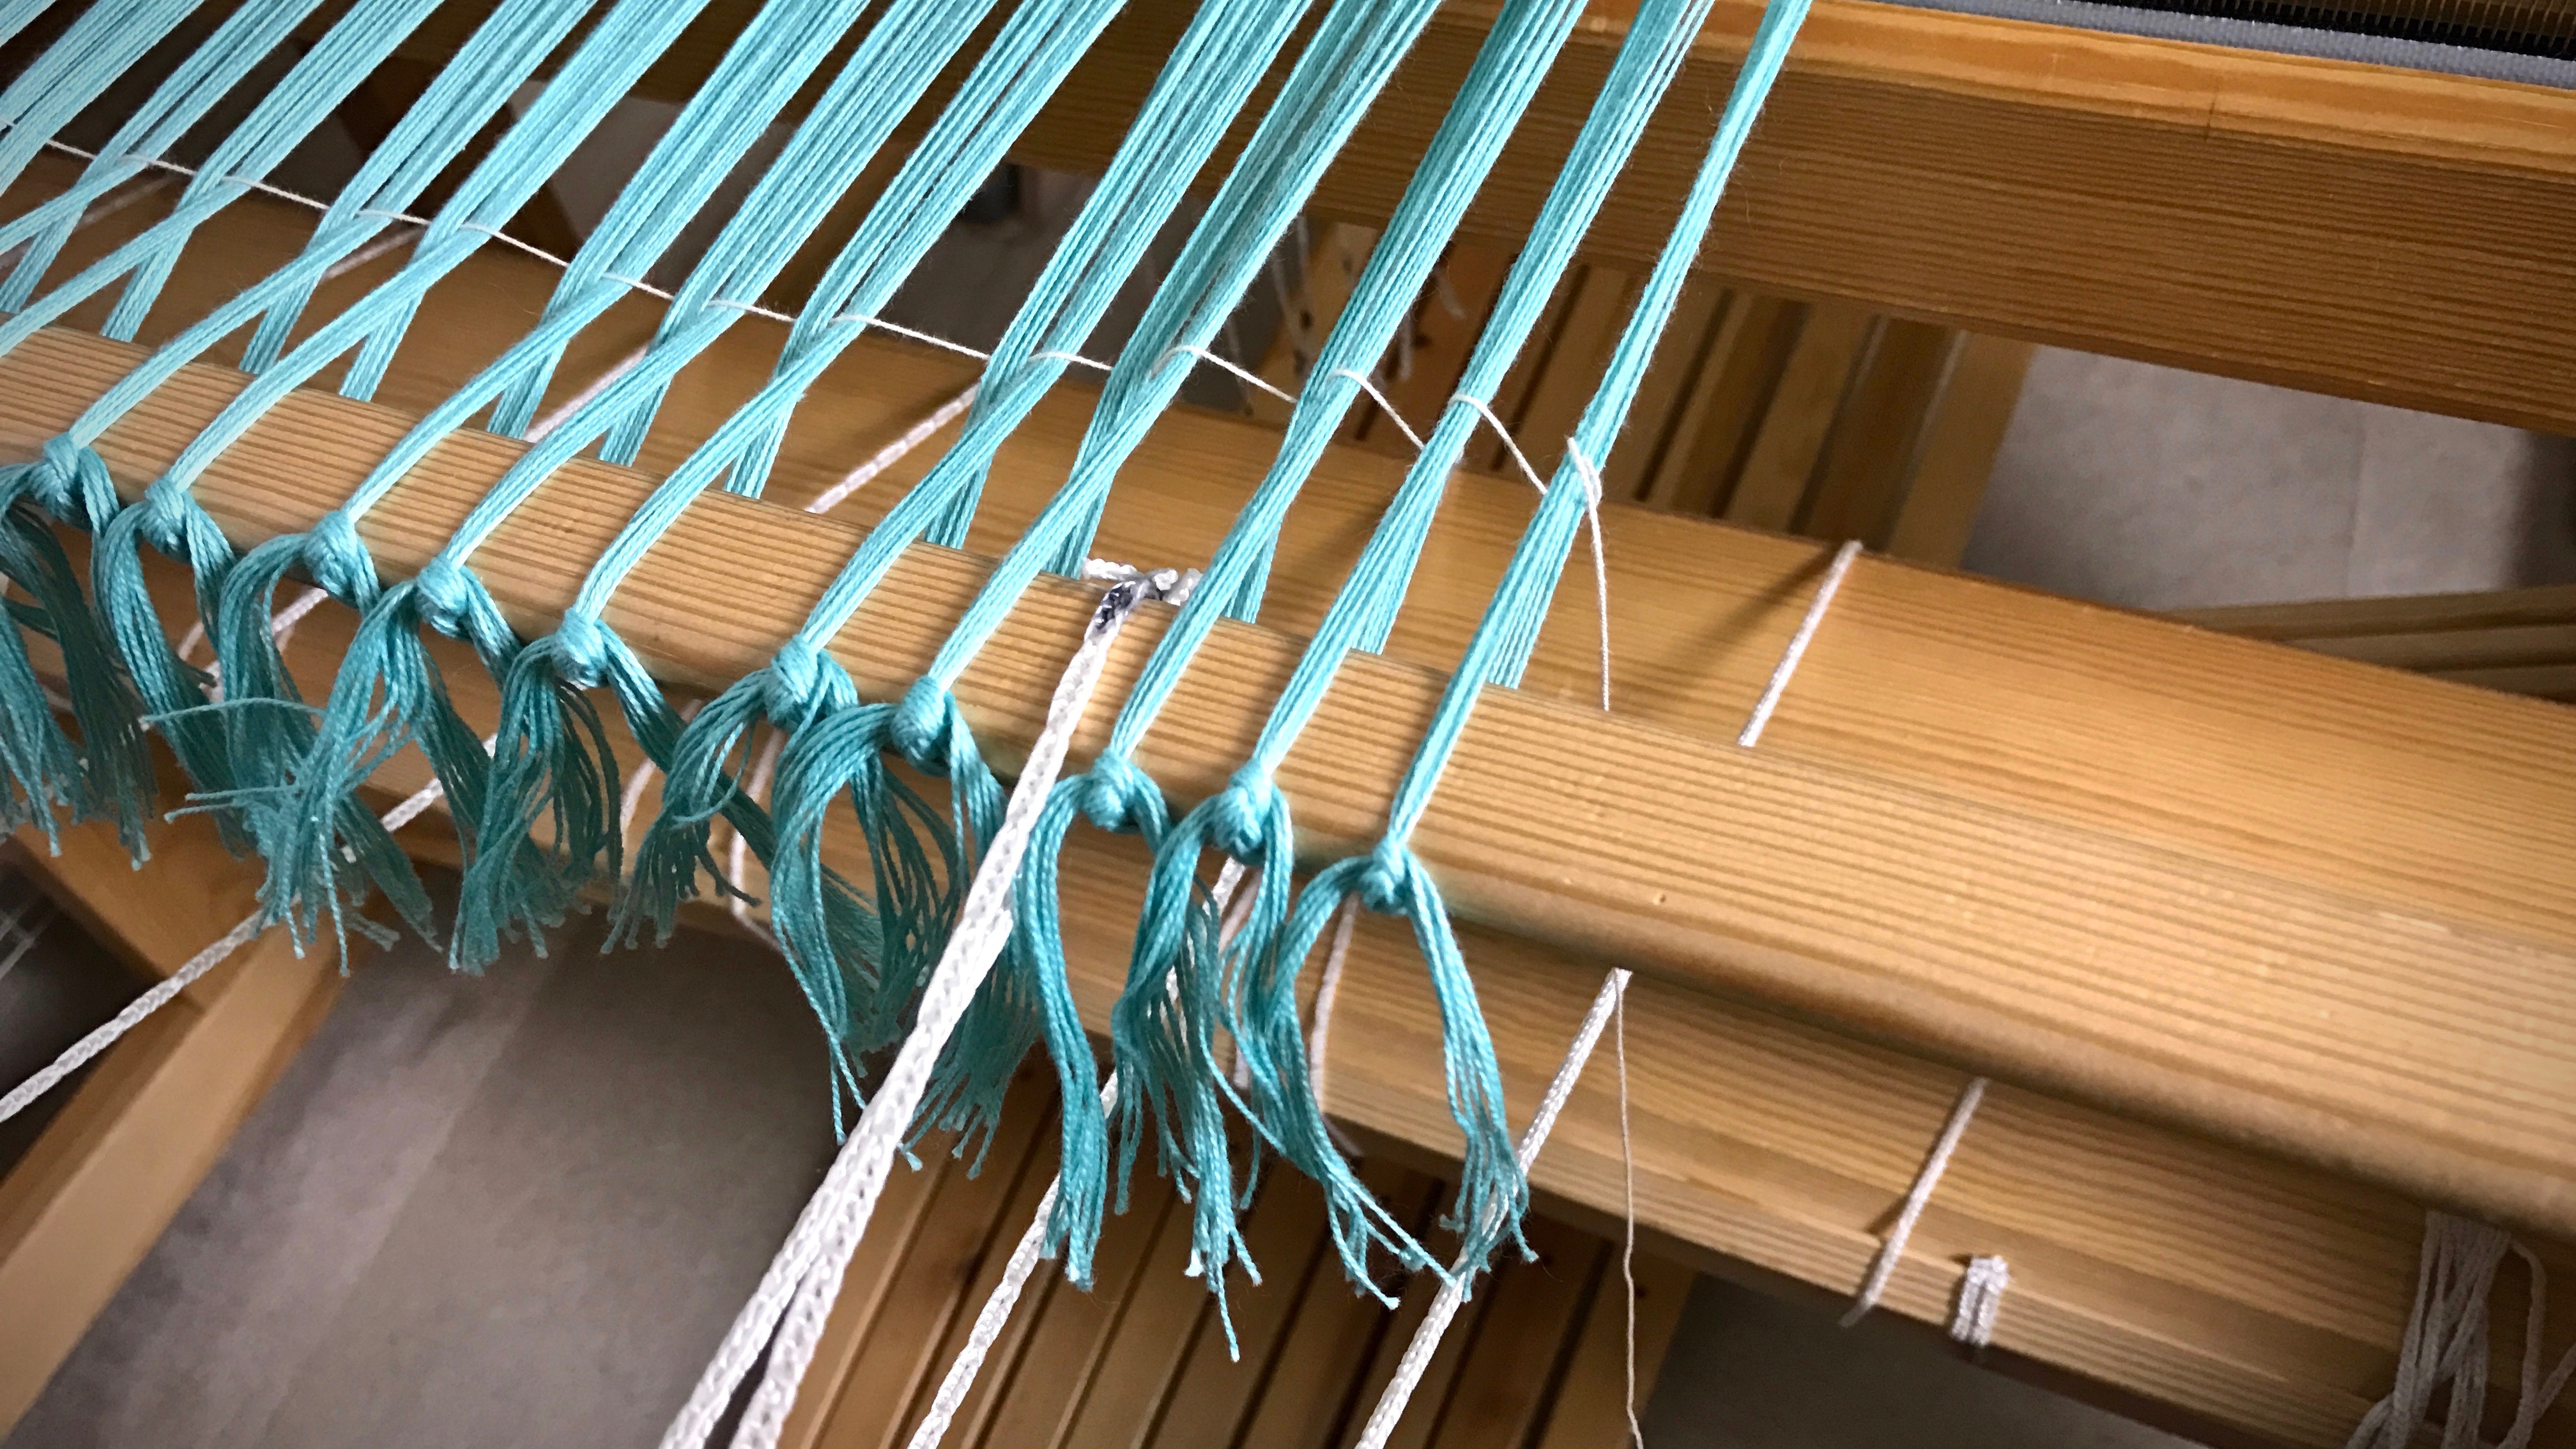
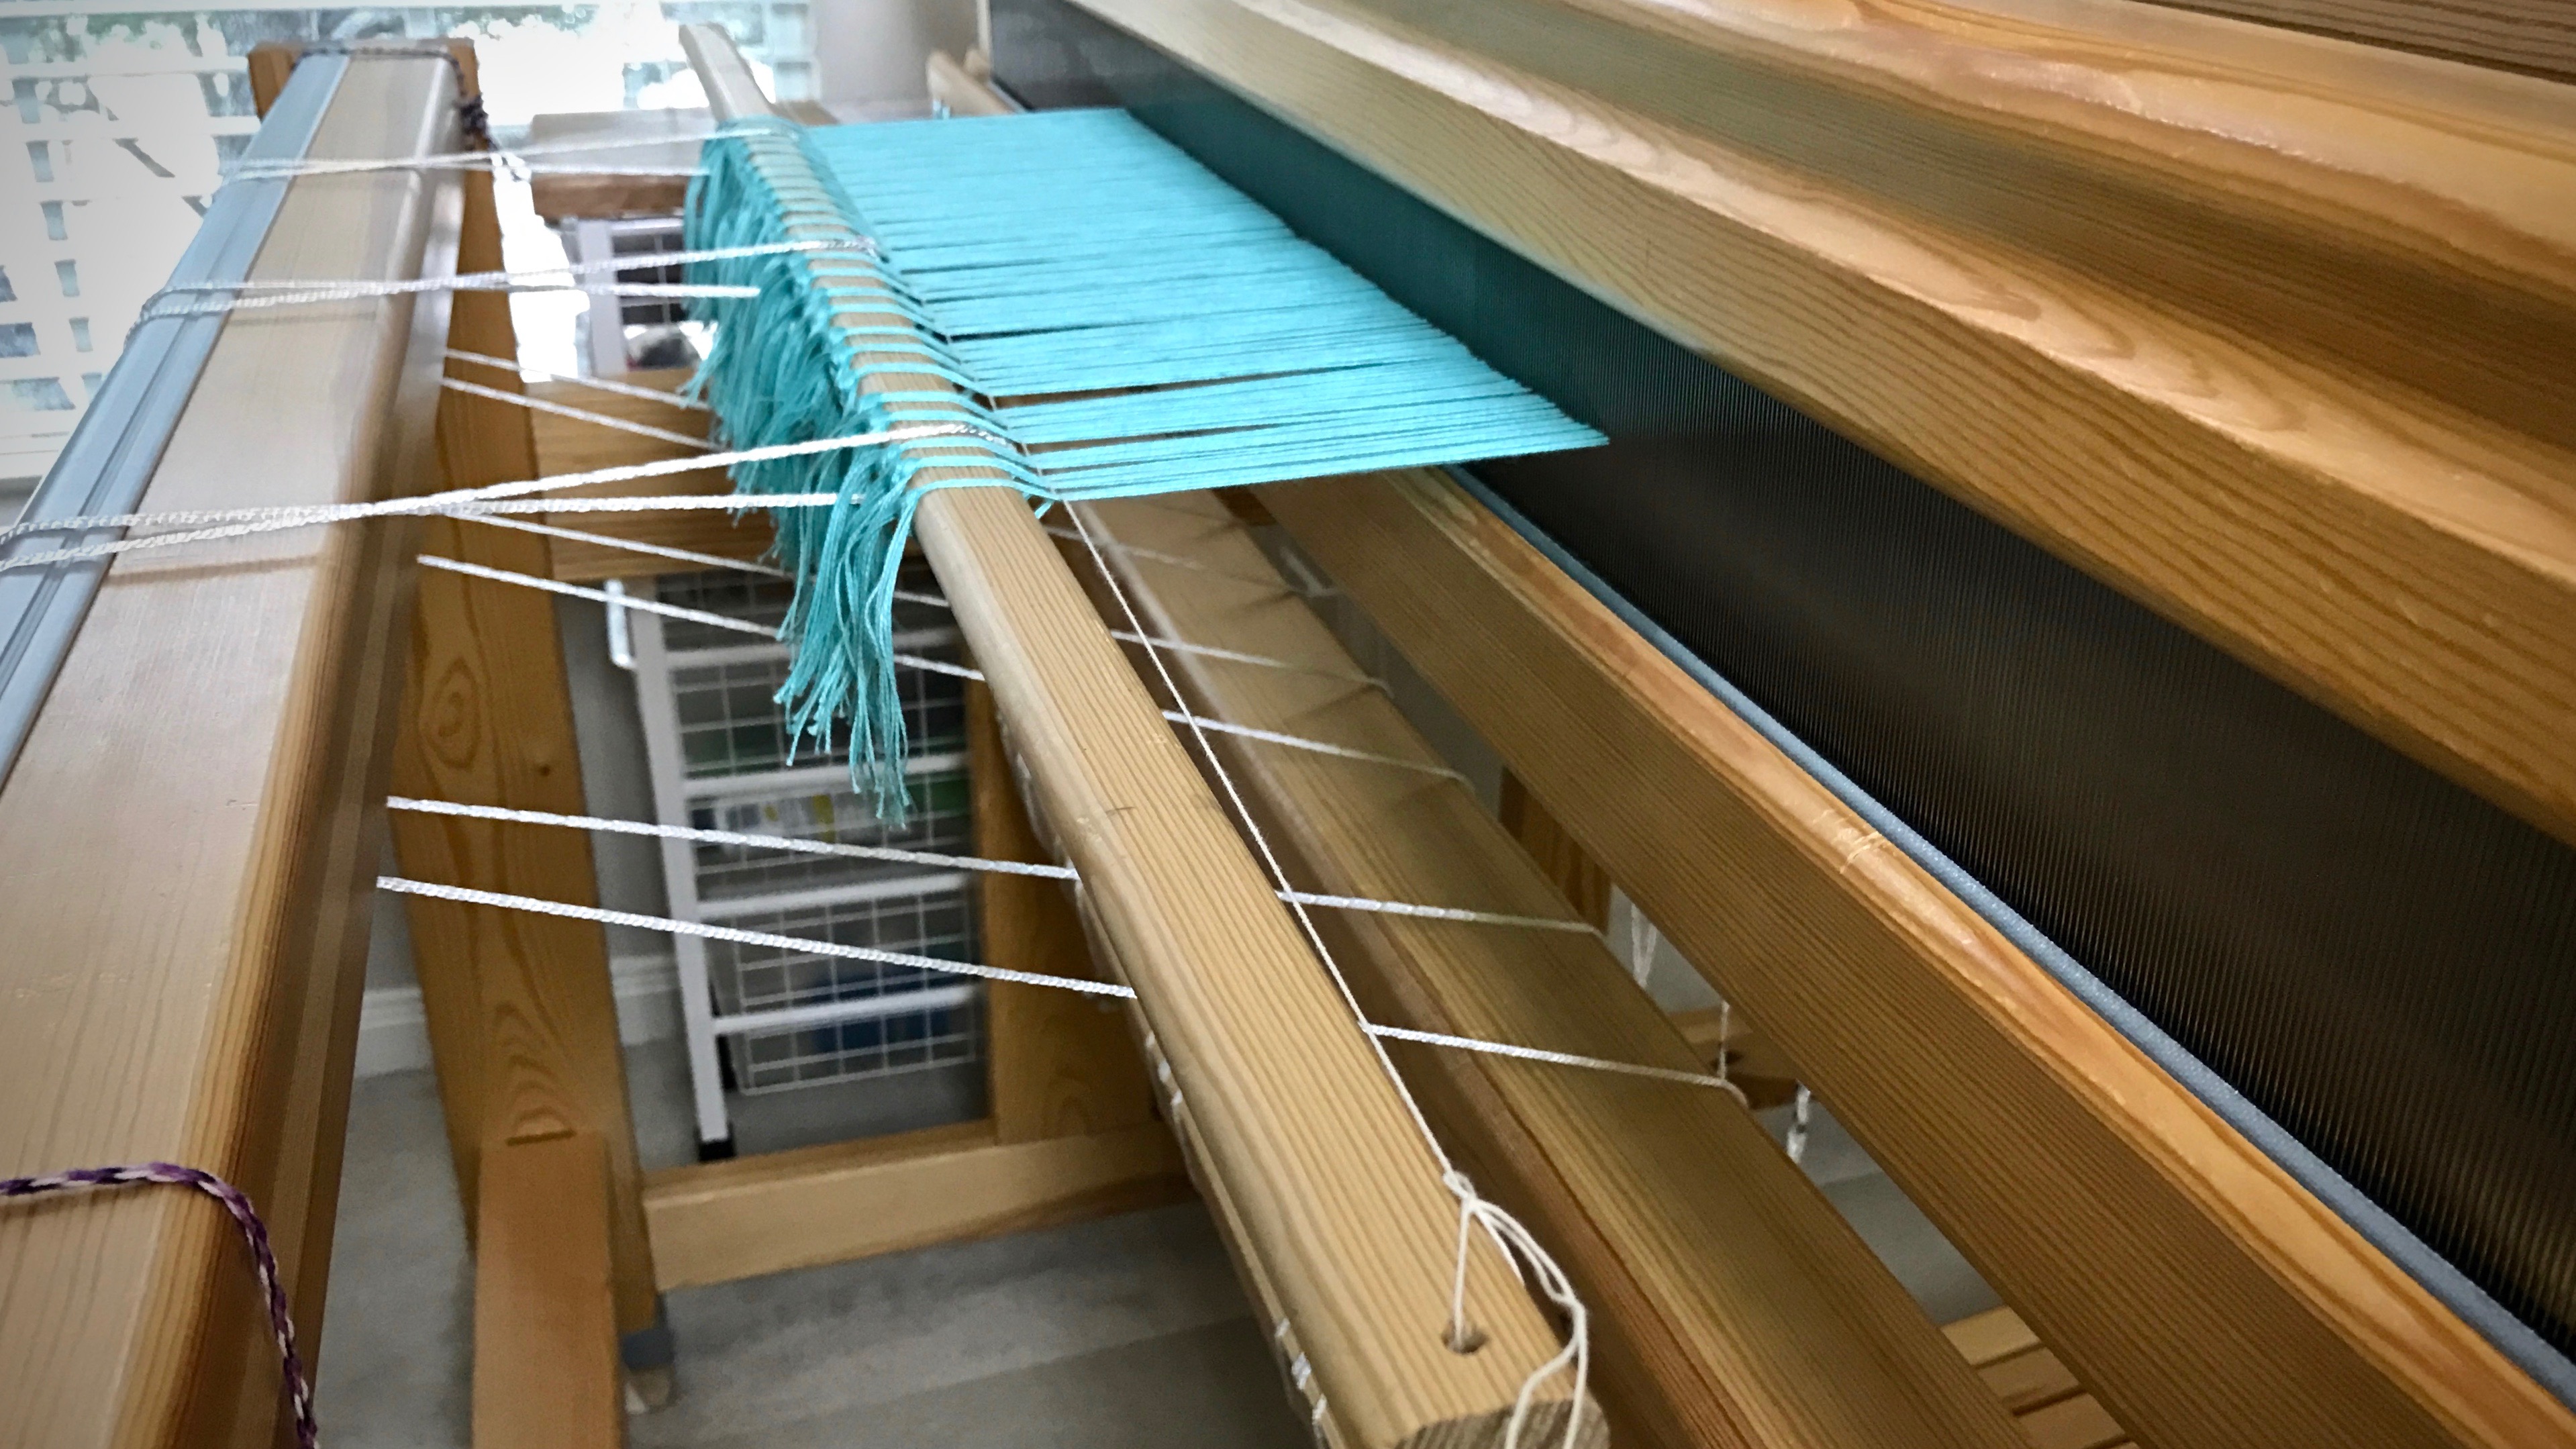
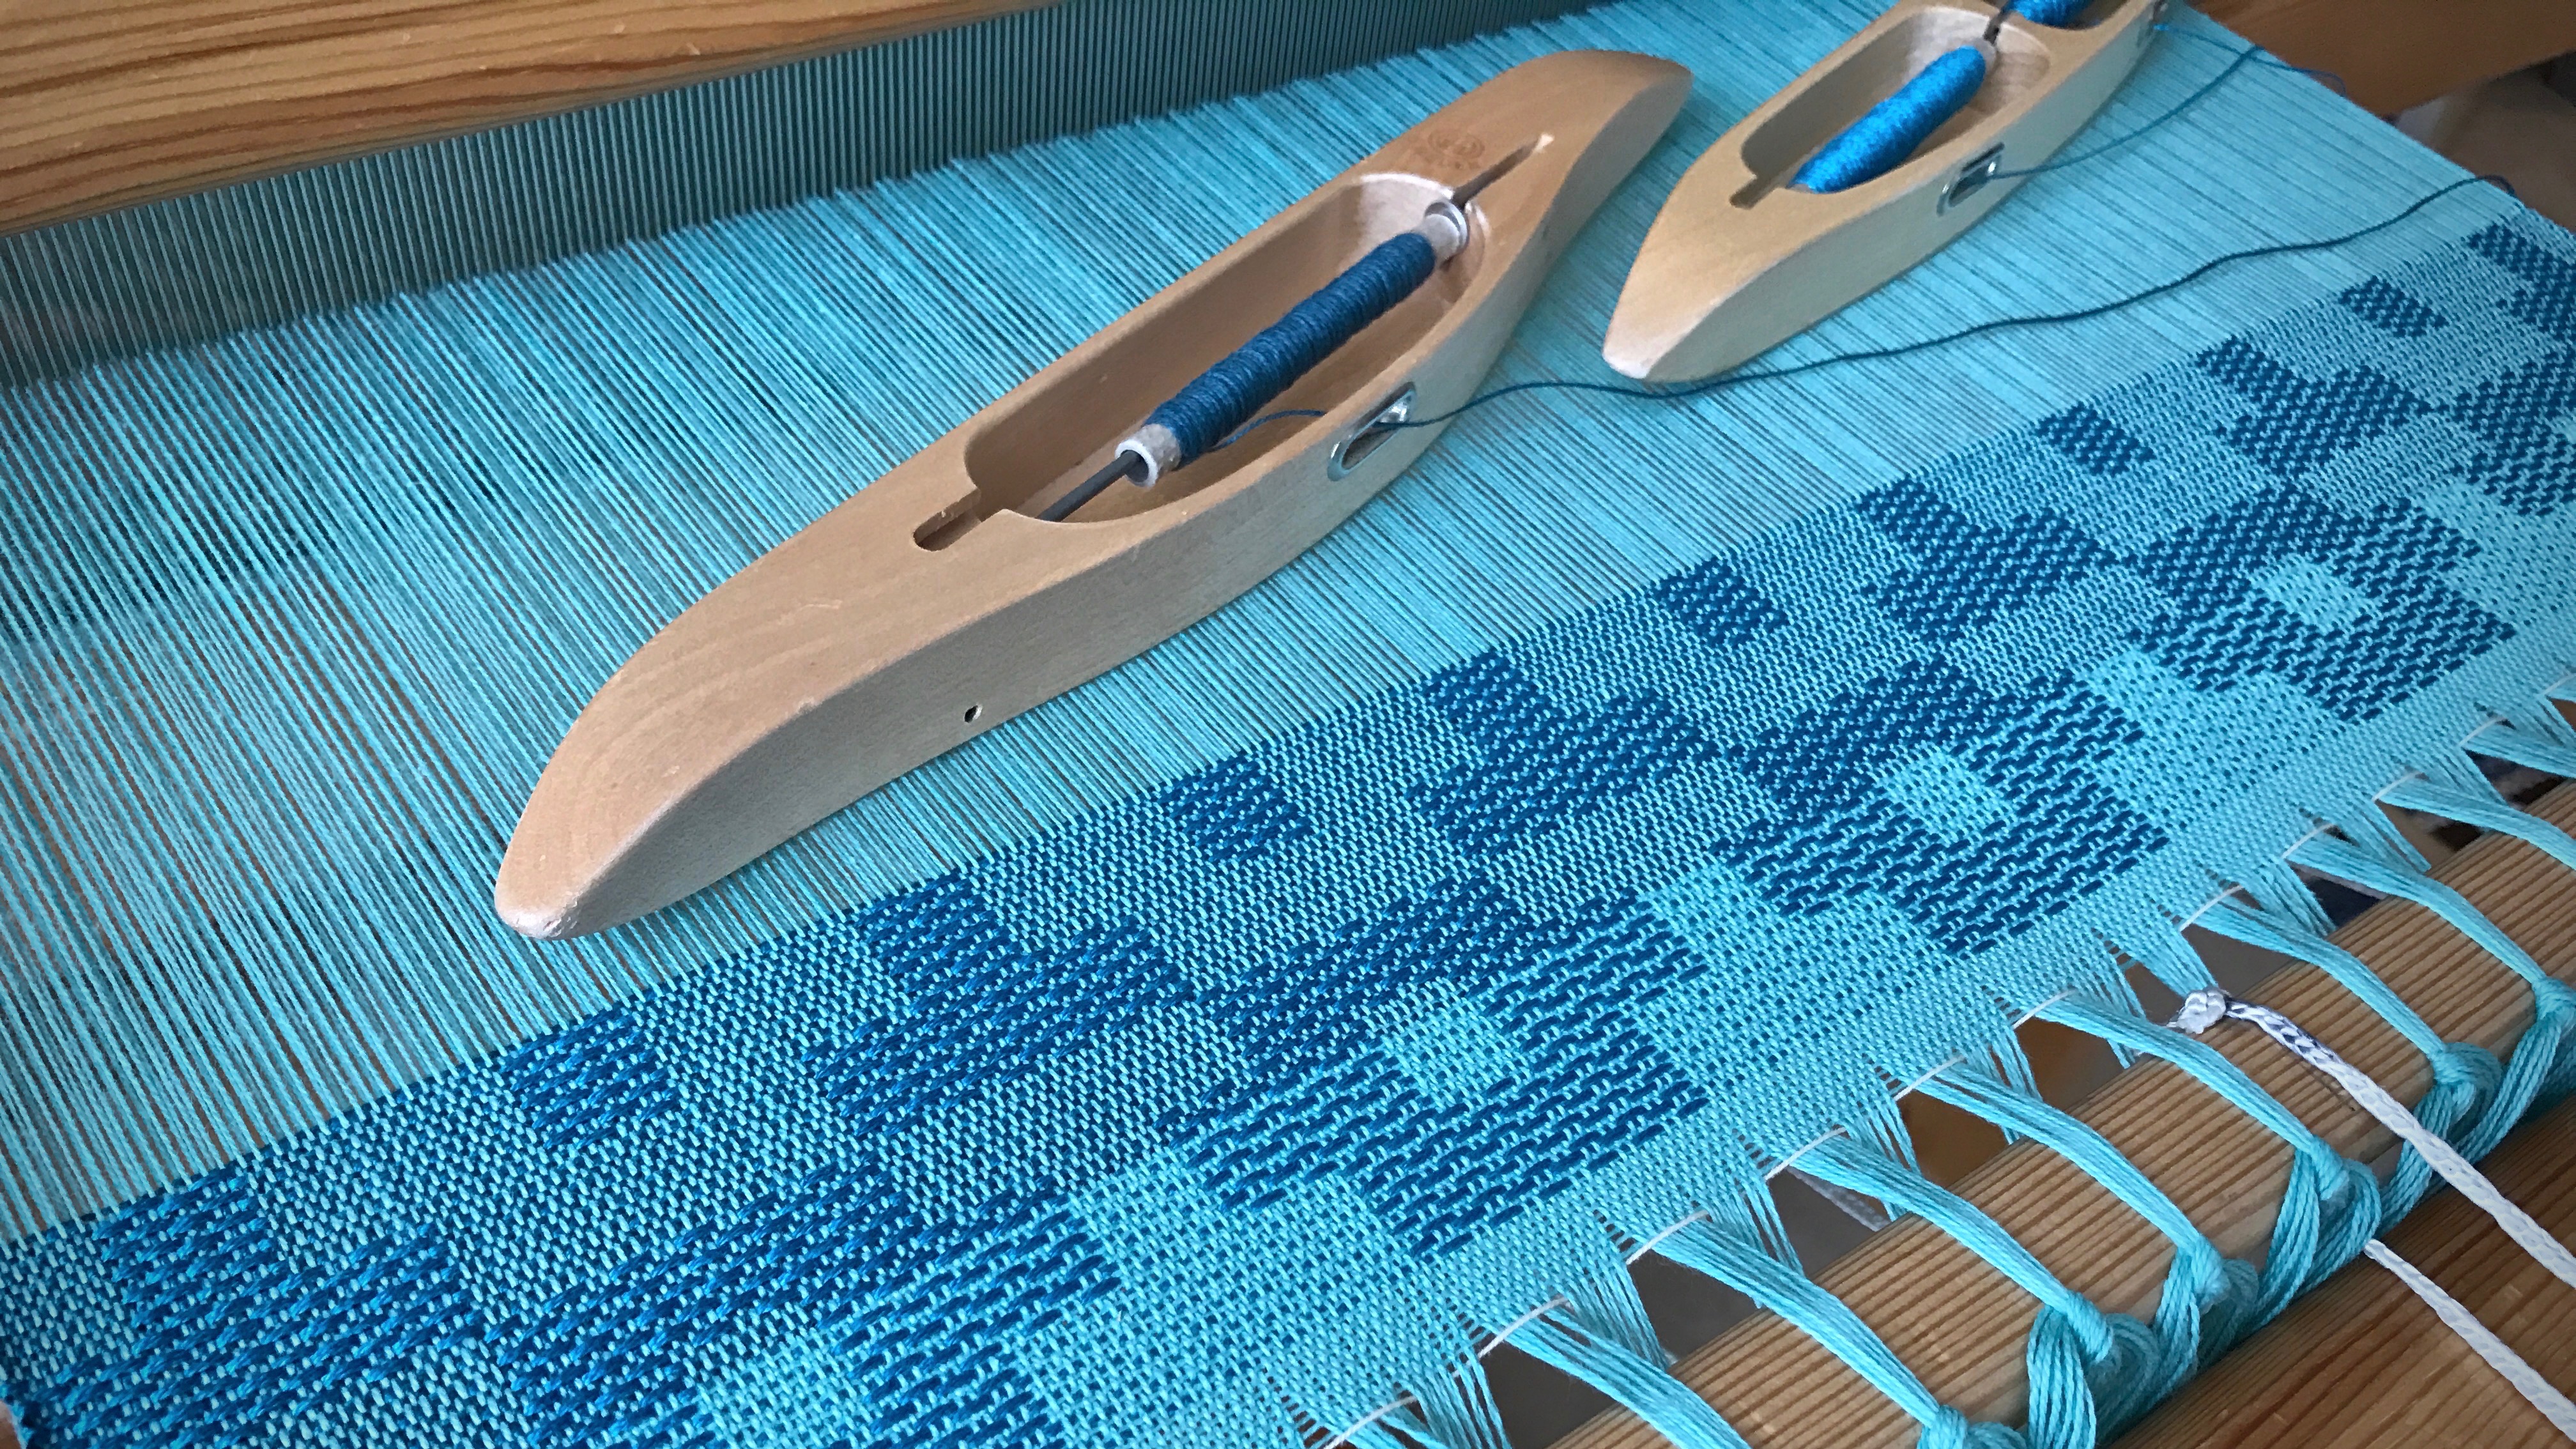
The countermarch loom is known for having a clean shed, so that is my goal. Is that possible for ten shafts and ten treadles? The first treadle I step on reveals that treadle cord adjustments are definitely needed!
Before making any adjustments, a few of the sheds look impassable, like this one.
I learned the basics of making adjustments to treadle cords from Learning to Warp Your Loom, by Joanne Hall, and The Big Book of Weaving, by Laila Lundell. I also gained valuable experience from Vävstuga Basics, with Becky Ashenden.
Here’s how the process looks for me, with this ten-shaft, ten-treadle project as an example.
I keep the following note on my iPhone. It helps me remember how things work.
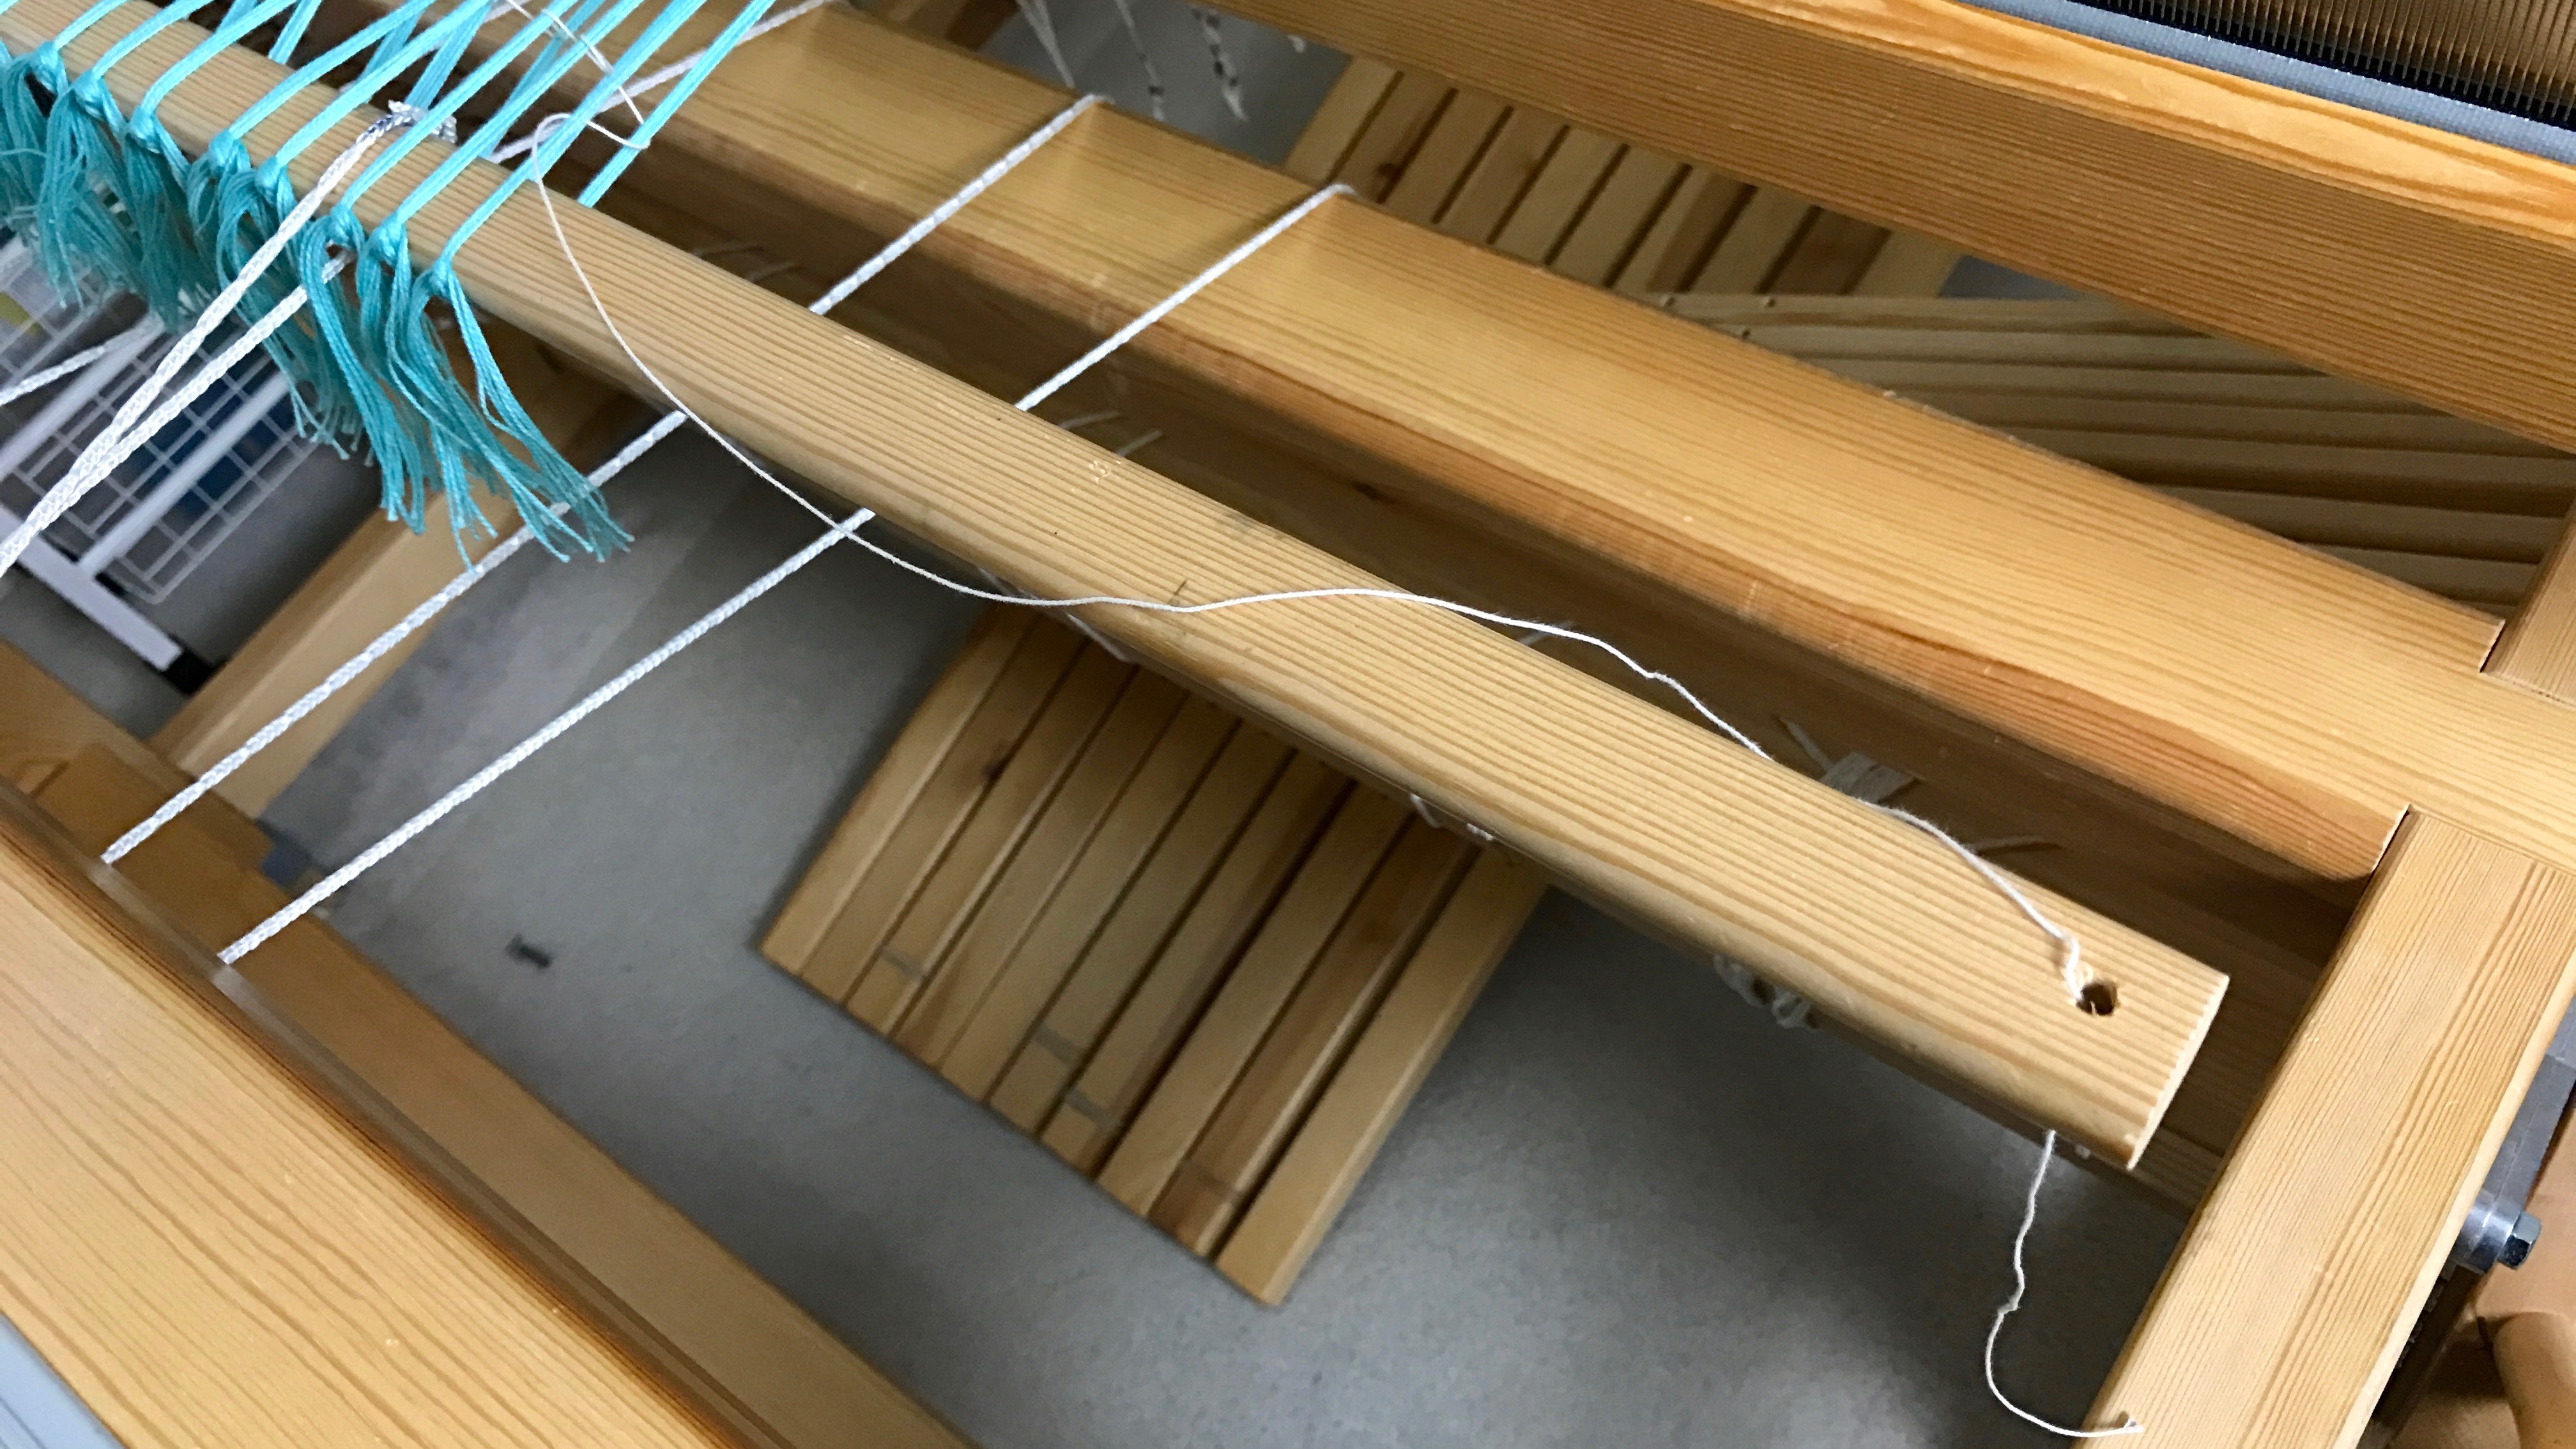
I fill in the blanks for each treadle, noting which shafts are too high or too low. Then, using my iPhone note for reference, I make the needed adjustments.
The first time through, I am primarily interested in the bottom of the shed. I make adjustments to clear the shed enough to be able to weave a little bit.
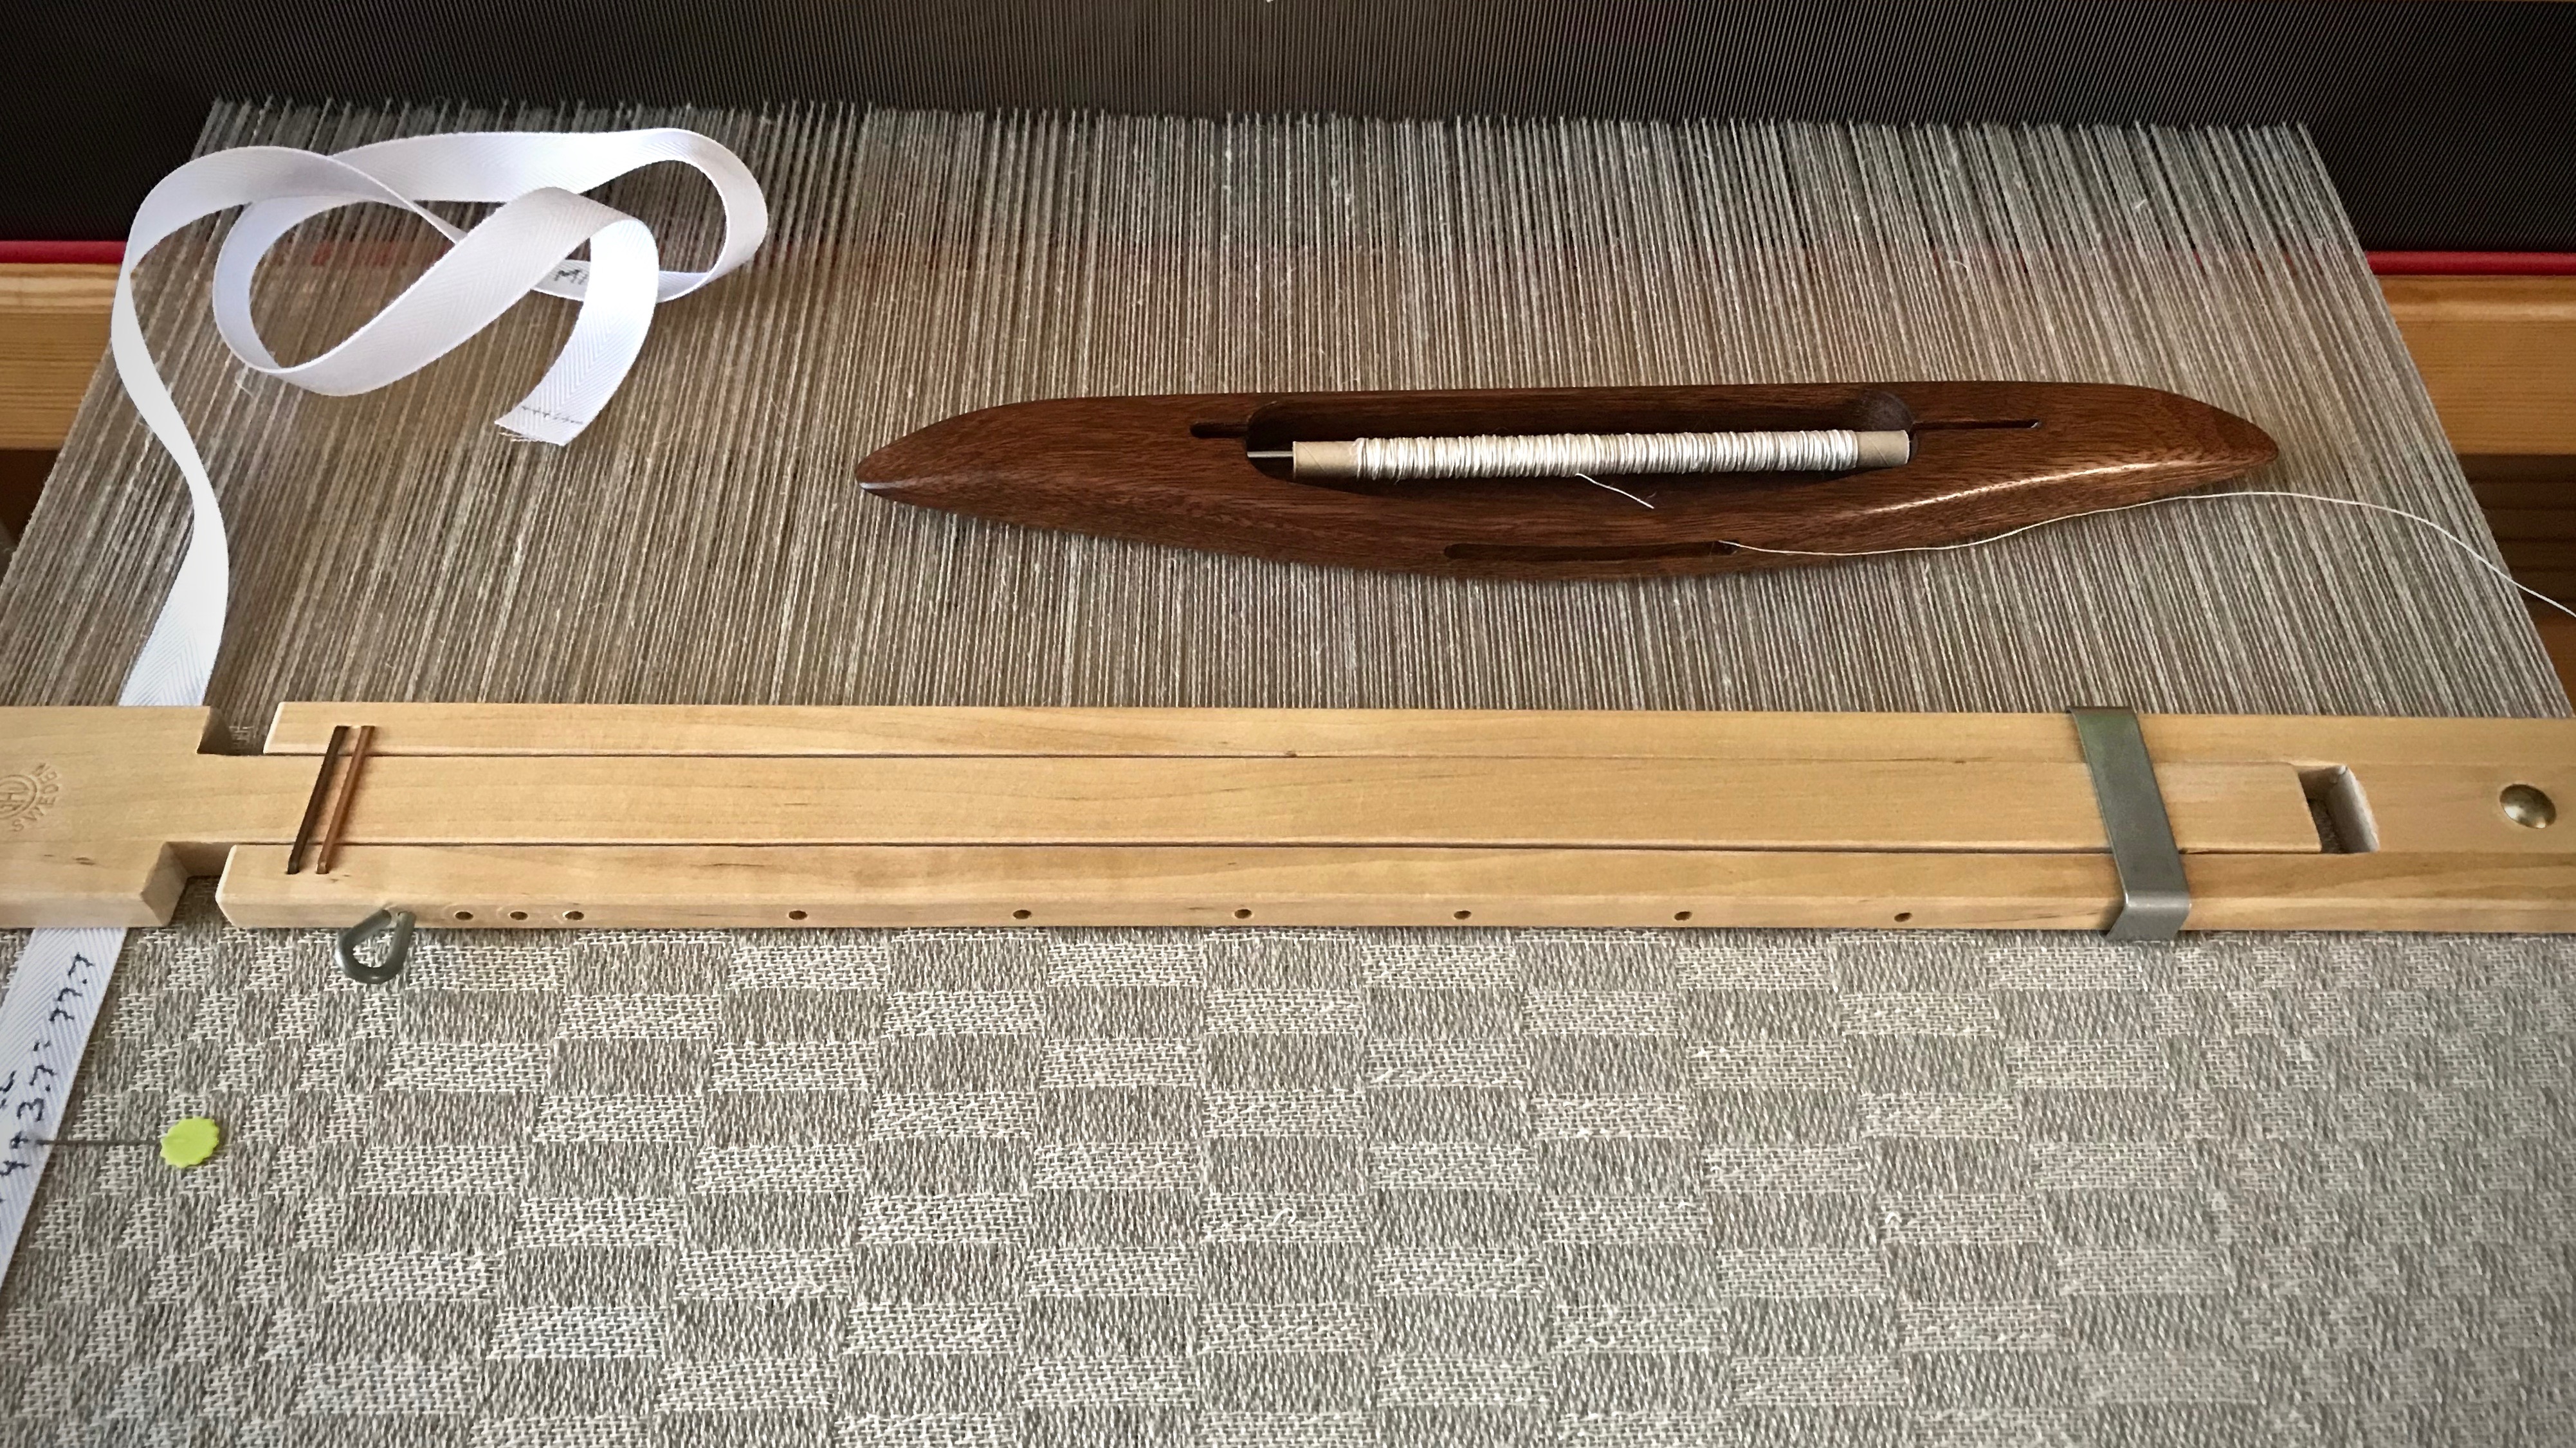
Weave an inch or two. It is surprising how the shed cleans up with a little bit of weaving.
Bottom of the shed has threads on one or two shafts that need to be lowered. After making those adjustments, this treadle will have a clean shed for weaving.
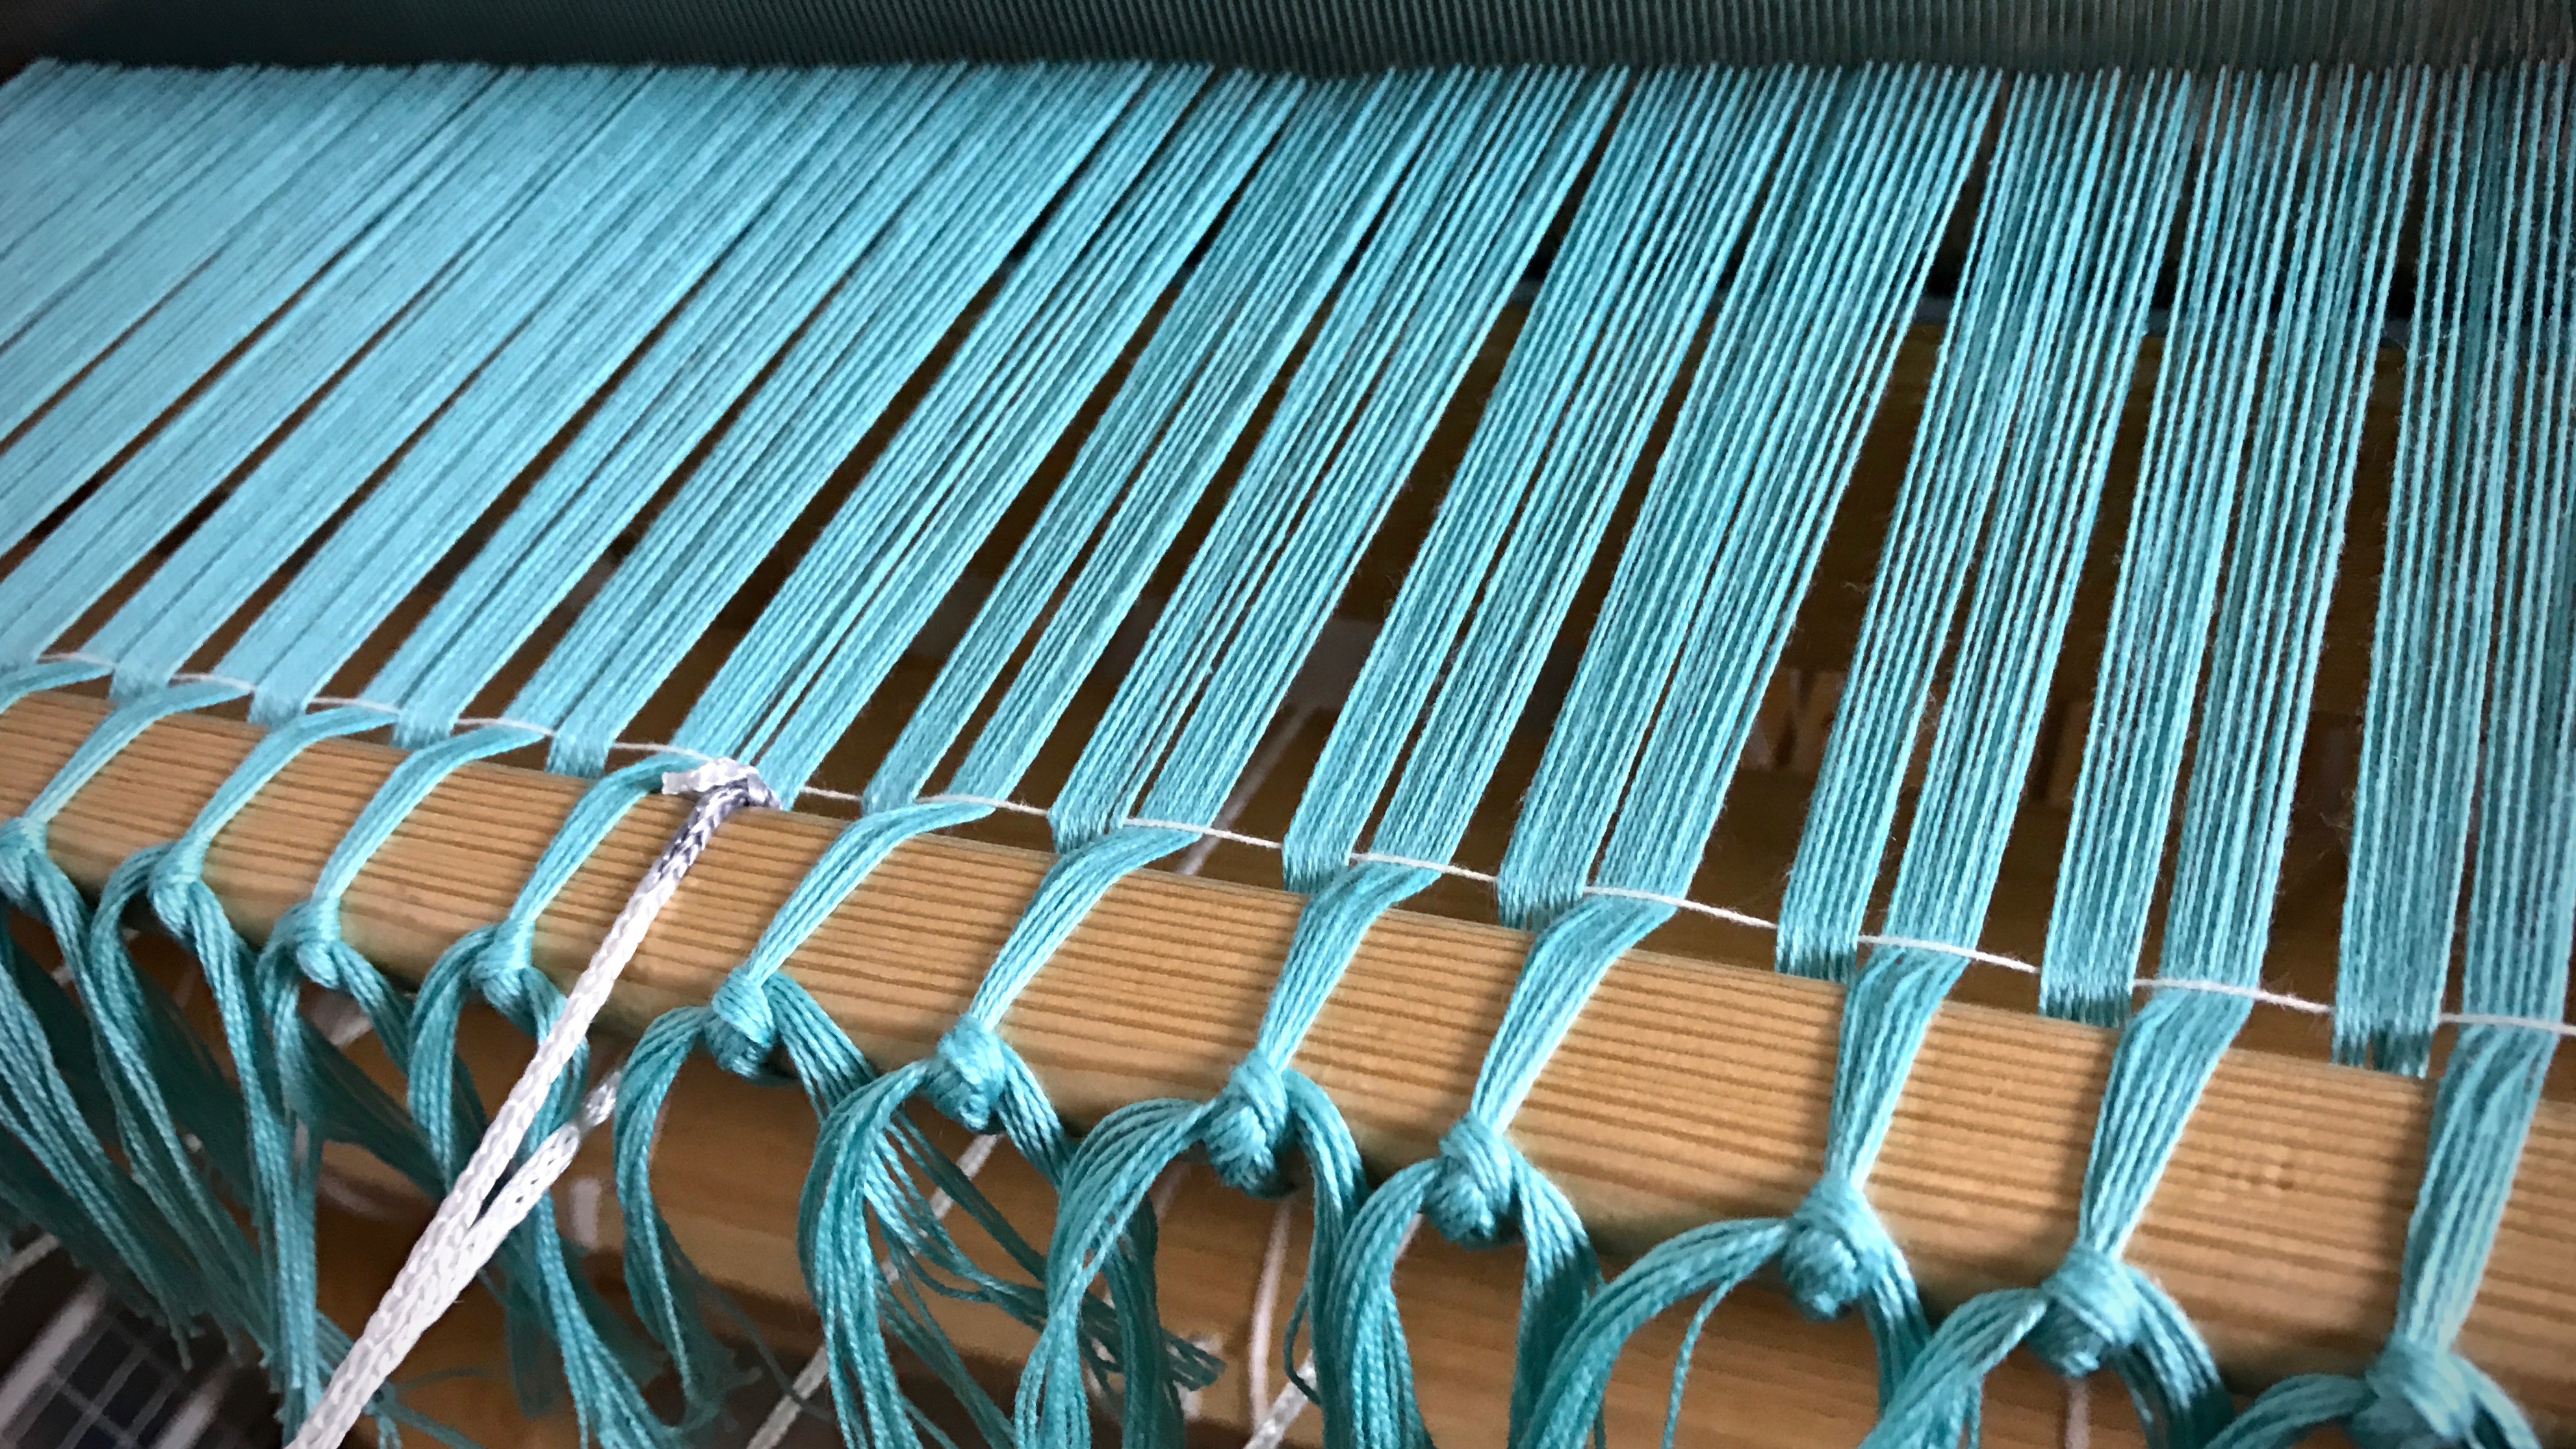
After weaving that first inch or so, I go through a second, and a third time, if needed, to get a clean shed on each treadle. Adjustments for the top of the shed are only needed if there are threads that will interfere with the shuttle.
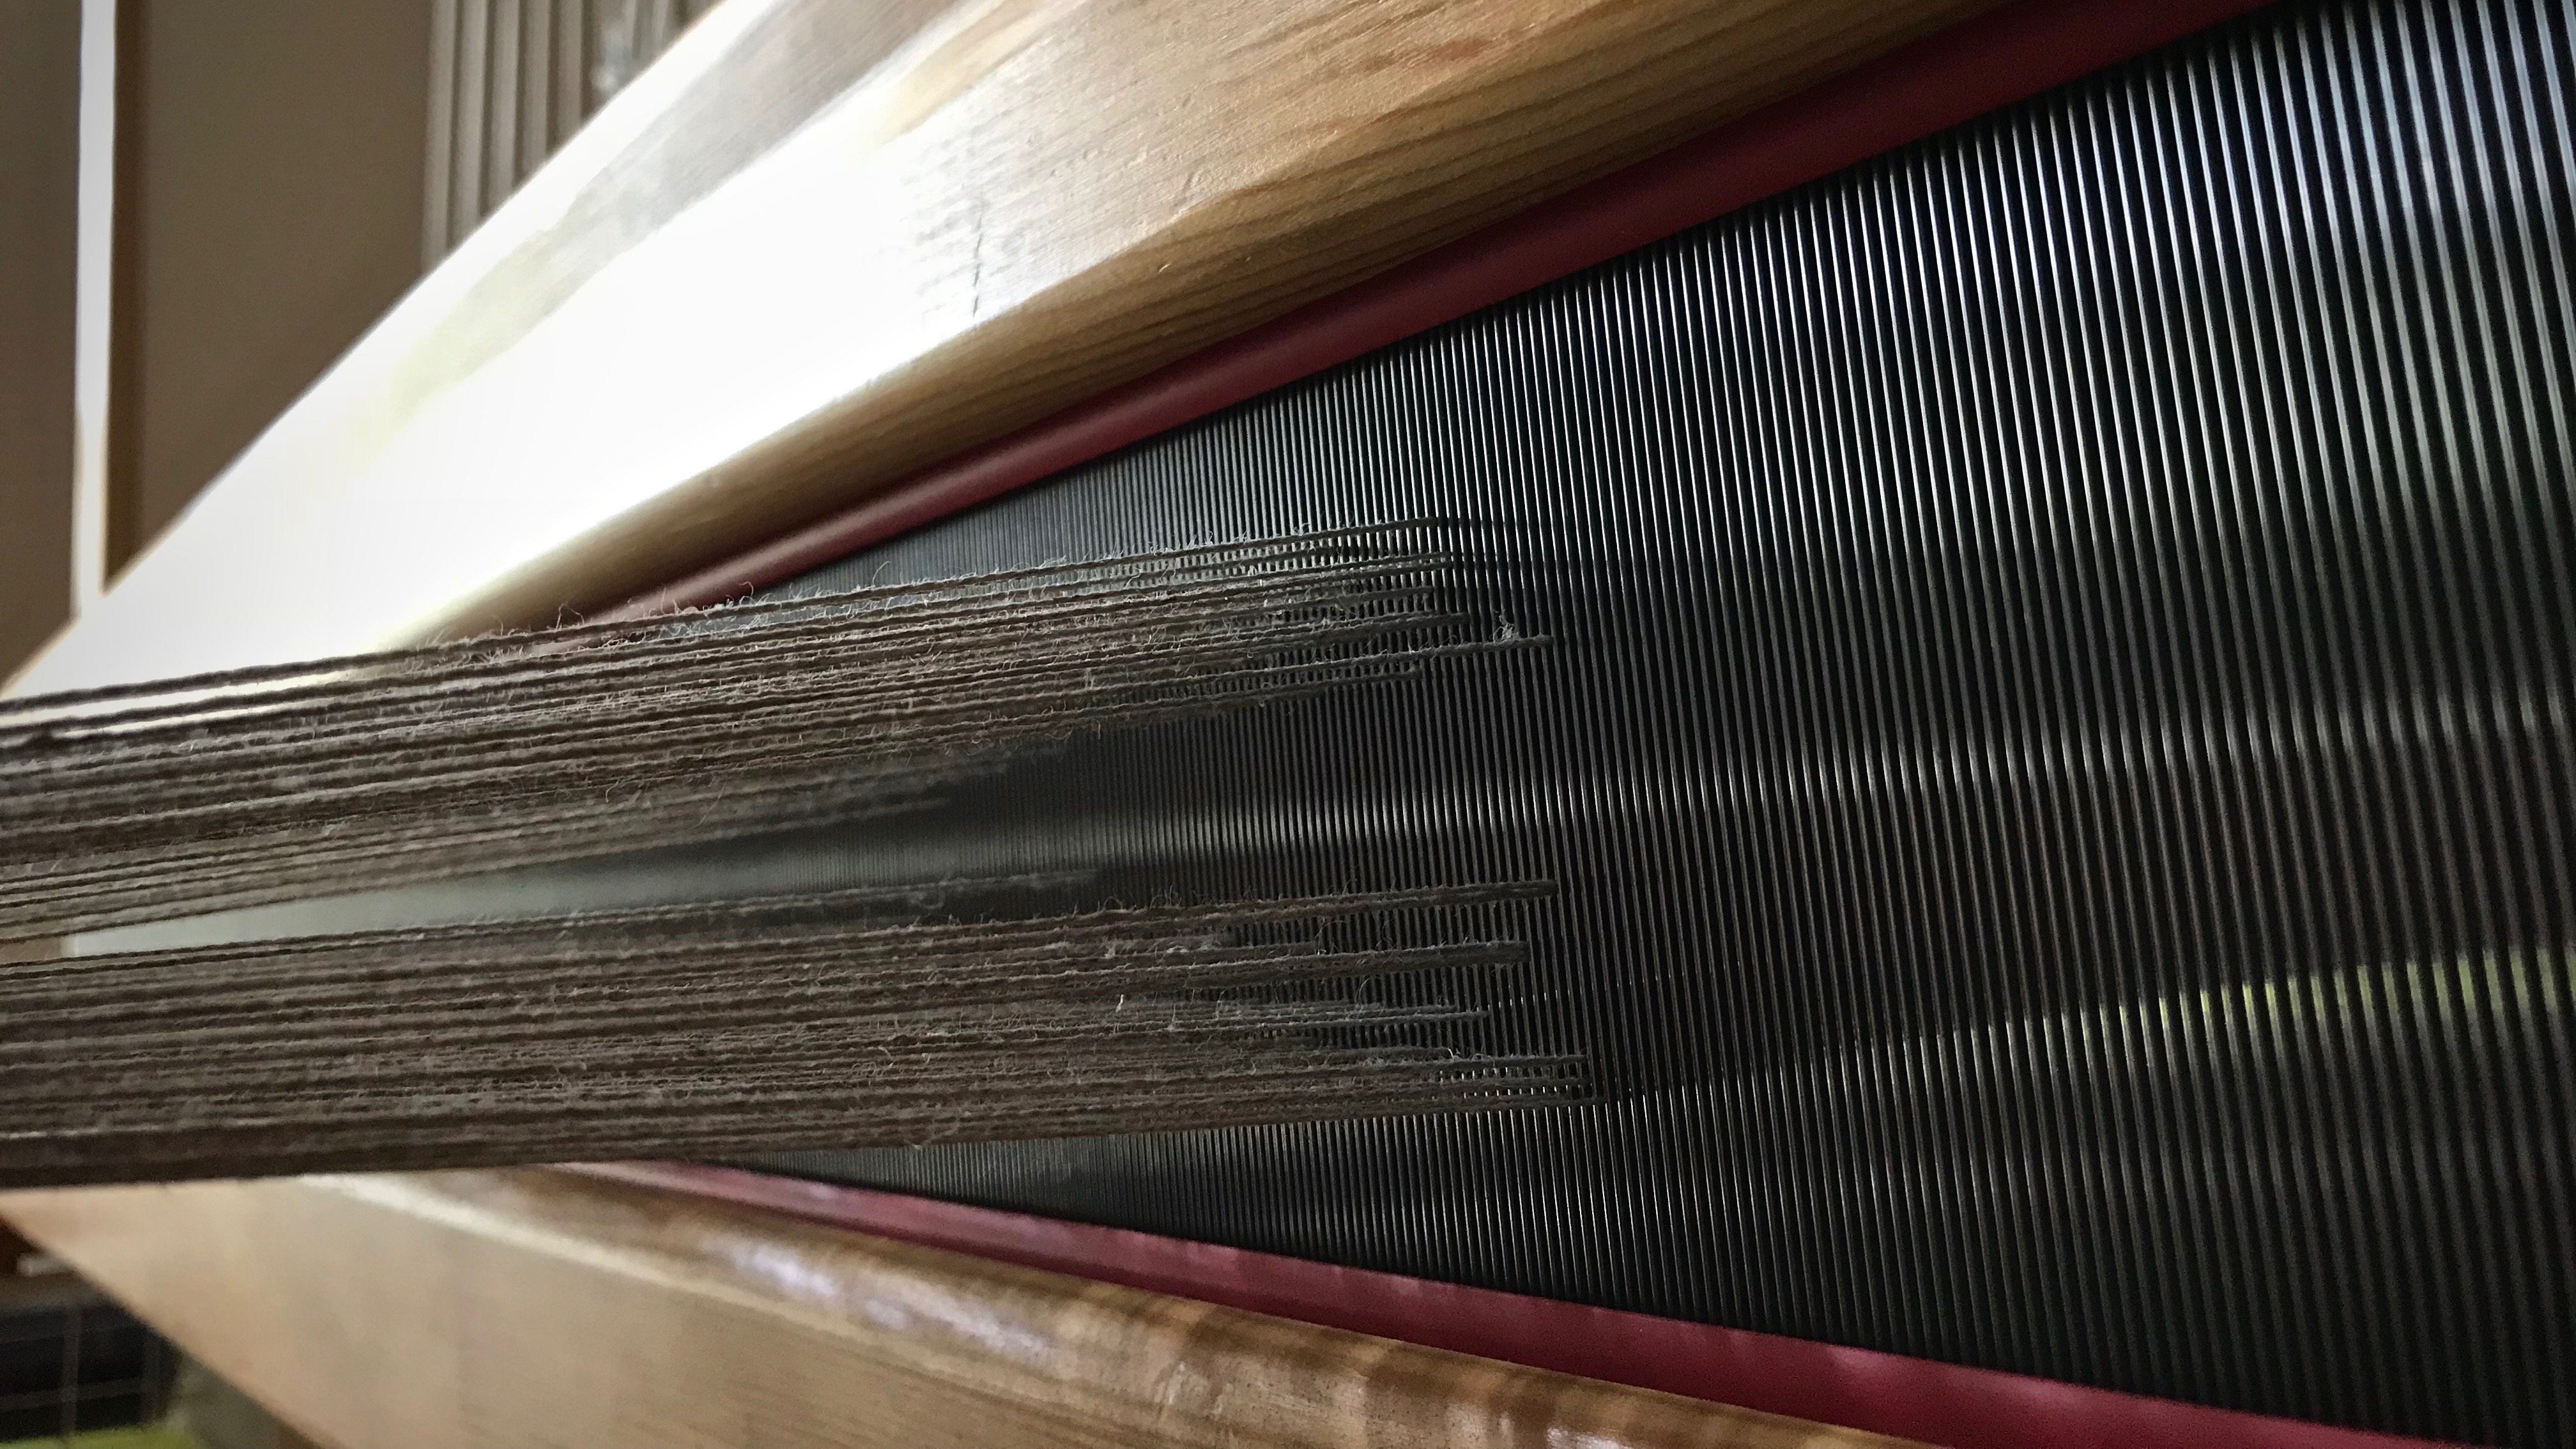
No hindrance for the shuttle here. This is the kind of shed I hope to see on every treadle.
When I first see a messy shed, I think, “How will I ever get my shuttle through that?” But it turns out to be little adjustments here and there. It’s not too difficult if you understand the loom.
After all treadle adjustments have been made, the shuttle glides freely through the shed. And pick by pick, linen threads become cloth.
Nothing is too difficult for the one who made heaven and earth. Our Creator knows how to help us. He hears our prayers for help, and little by little, we see what He is doing as the shed clears and the shuttle glides through, unhindered.
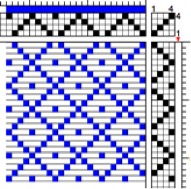
Cooks have recipes, builders have blueprints, and handweavers have weaving drafts. There are a few different formats, but all drafts carry the same essential information. There is the tie-up box, the threading pattern, and the treadling sequence. Finally, there’s the drawdown, a graphic representation of how all the threads intersect.
The two formats I see most often are the typical American draft (e.g., Handwoven), and the Swedish draft (e.g., VÄV Magasinet). Many American drafts assume jack looms; whereas, Swedish drafts usually assume counterbalance or countermarch looms. However, any loom can weave from any draft.
As Madelyn van der Hoogt says in The Complete Book of Drafting, “Any tie-up can be used for any type of loom. Discover from the tie-up which shafts must be up and which down for each shed, and do to the loom whatever is required to get them there.”
All the draft formats have this in common: The tie-up box is the starting point. The threading pattern and treadling sequence begin at that point, and go out from there.
The Swedish draft makes perfect sense (remember, of course, I weave on Swedish countermarch looms). I picture the draft as if it is lying flat in front of me.
Becky Ashenden says in the forward to Weave Structures the Swedish Way, “With this orientation of tie-up, treadling, and threading, the draft has a direct relationship to the weaving of the fabric. The tie-up’s location in the lower right-hand corner of the draft allows all other information to match as closely as possible the physical aspects of the loom.”
Here is a comparison of the Swedish and American draft formats:
Tie-up is in upper right corner, and uses numerals to designate shafts that rise / white squares for shafts that sink
Threading is above the drawdown
Shafts are numbered from front of loom to the back, with the first shaft the closest to the weaver seated at the loom
Treadling sequence is on the right, and reads from top to bottom
Treadles are numbered from left to right
For a “sinking shed” loom (countermarch or counterbalance loom), use the white squares to tie up sinking shafts
For a “rising shed loom” (jack loom), use the squares with numerals to tie up rising shafts
Similarities between Swedish and American Drafts
Threading reads right to left
Squares in the tie-up box represent treadle cords that attach treadles to corresponding shafts
Draft is hanging at the corner of the loom. The fabric logically grows in the same direction as the sequence of weft picks as seen on the treadling draft.
Resources
Getzmann, Ulla, and Becky Ashenden. Weave Structures the Swedish Way. Shelburne, MA: Väv Stuga Press, 2006.
Hoogt, Madelyn Van der. The Complete Book of Drafting for Handweavers. Coupeville, WA: Shuttle-Craft Books, 1993.
Thirty-five years ago, I took a beginner rigid heddle loom class. Our teacher taught us to use strips of toilet paper (or fat scrap yarn) as weft at the beginning of the weaving to space the warp. After several inches of weaving, the warp ends would fall into alignment. Unless fringe is planned, that beginning warp goes to waste, not to mention the unsightly aspect of the throwaway weft. Here comes the leveling string to the rescue! This piece of 12/6 cotton seine twine is just what we need to get off to a good start with every project we put on the loom. The leveling string levels out the warp ends, and delivers a nice, flat weaving surface. It is superb to be able to weave fabric right from the very beginning of the warp!
The use of a leveling string is also described in my three favorite books that detail how to warp a loom:
The Big Book of Weaving, by Laila Lundell
Learning to Warp Your Loom, by Joanne Hall
Dress Your Loom the Vävstuga Way: A Benchside Photo Guide, by Becky Ashenden
Tools:
Front tie-on bar with a hole at each end (Joanne Hall writes, “If there are no holes in your bar, replace the cord with a thin stick.” I have not tried this, but I trust anything Joanne says!)
12/6 cotton seine twine, the length of front tie-on bar, plus about 20 inches (I like to have plenty of string to tie the knots on the ends)
Steps:
1. Tie on warp in small bundles, about 1″ each, with half of the bundle’s ends going over, and half going under, the front tie-on bar (as seen in Step 3 pictures). Tie the ends together with a bow knot or other tie-on knot. (TIP – If you do not tie the knots too tight, it is easier to get even tension across the warp, and it is easier to tighten the leveling string in Step 4.)
2. Tie one end of the leveling string to one end of the front tie-on bar, using a slip knot with half bow.
3. Thread the leveling string over and under the tie-on bundles, going over the raised ends and under the lowered ends.
4. Tighten the leveling string while tapping it in with the beater.
5. Tie the end of the leveling string to the end of the front tie-on bar, using a slip knot with half bow, as before.
6. Weave to your heart’s content.
When you get to the end of the warp, and are ready for cutting off, simply tug the loose end of the string at one end of the bar to release the slip knot, and pull the leveling string out of the warp.
Do you ever go out on a limb? I’ve been known to play it safe. But not today! My excitement for weaving this kuvikas structure was severely dampened when I saw that the pattern in the cloth was not the pattern I intended. What happened? I had switched the threading for shafts 1 and 2! Consistently, too–all the way across the warp.
While testing weft color options, I realize that this is NOT the pattern for which I thought I had threaded. Even though this pattern does reveal an “I” for “Isenhower,” I had my heart set on a square within a square.
I could leave the threading as is. No one would know. Oh, the arguments I had with myself at this point. “Take it out, and re-thread.” “You’d be crazy to take it out and re-thread.” The crazy self won. (I did find myself asking, “What solution would Becky Ashenden, the weaving solution genius, come up with?”) Here is the stupendous thing: I was able to correct the pattern by doing shaft-bar gymnastics. And no re-threading! What?! (I documented the process and will bring it to you in my Quiet Friday post at the end of the month.)
The sight of these little squares within squares makes me extraordinarily happy! 8/2 cotton tabby weft. Doubled 8/2 Tencel pattern weft. Kuvikas, as this weaver intended it to be.
There are times when we are called to go out on a limb. It’s the right thing to do. But the prospect is overwhelming. We ask, “Who? Me?” And “How, Lord?” Trust the Lord, one step at a time. He will be with you. Marvelous things will happen, catching even you by surprise.