Big Squishy Warp Chains for Christmas

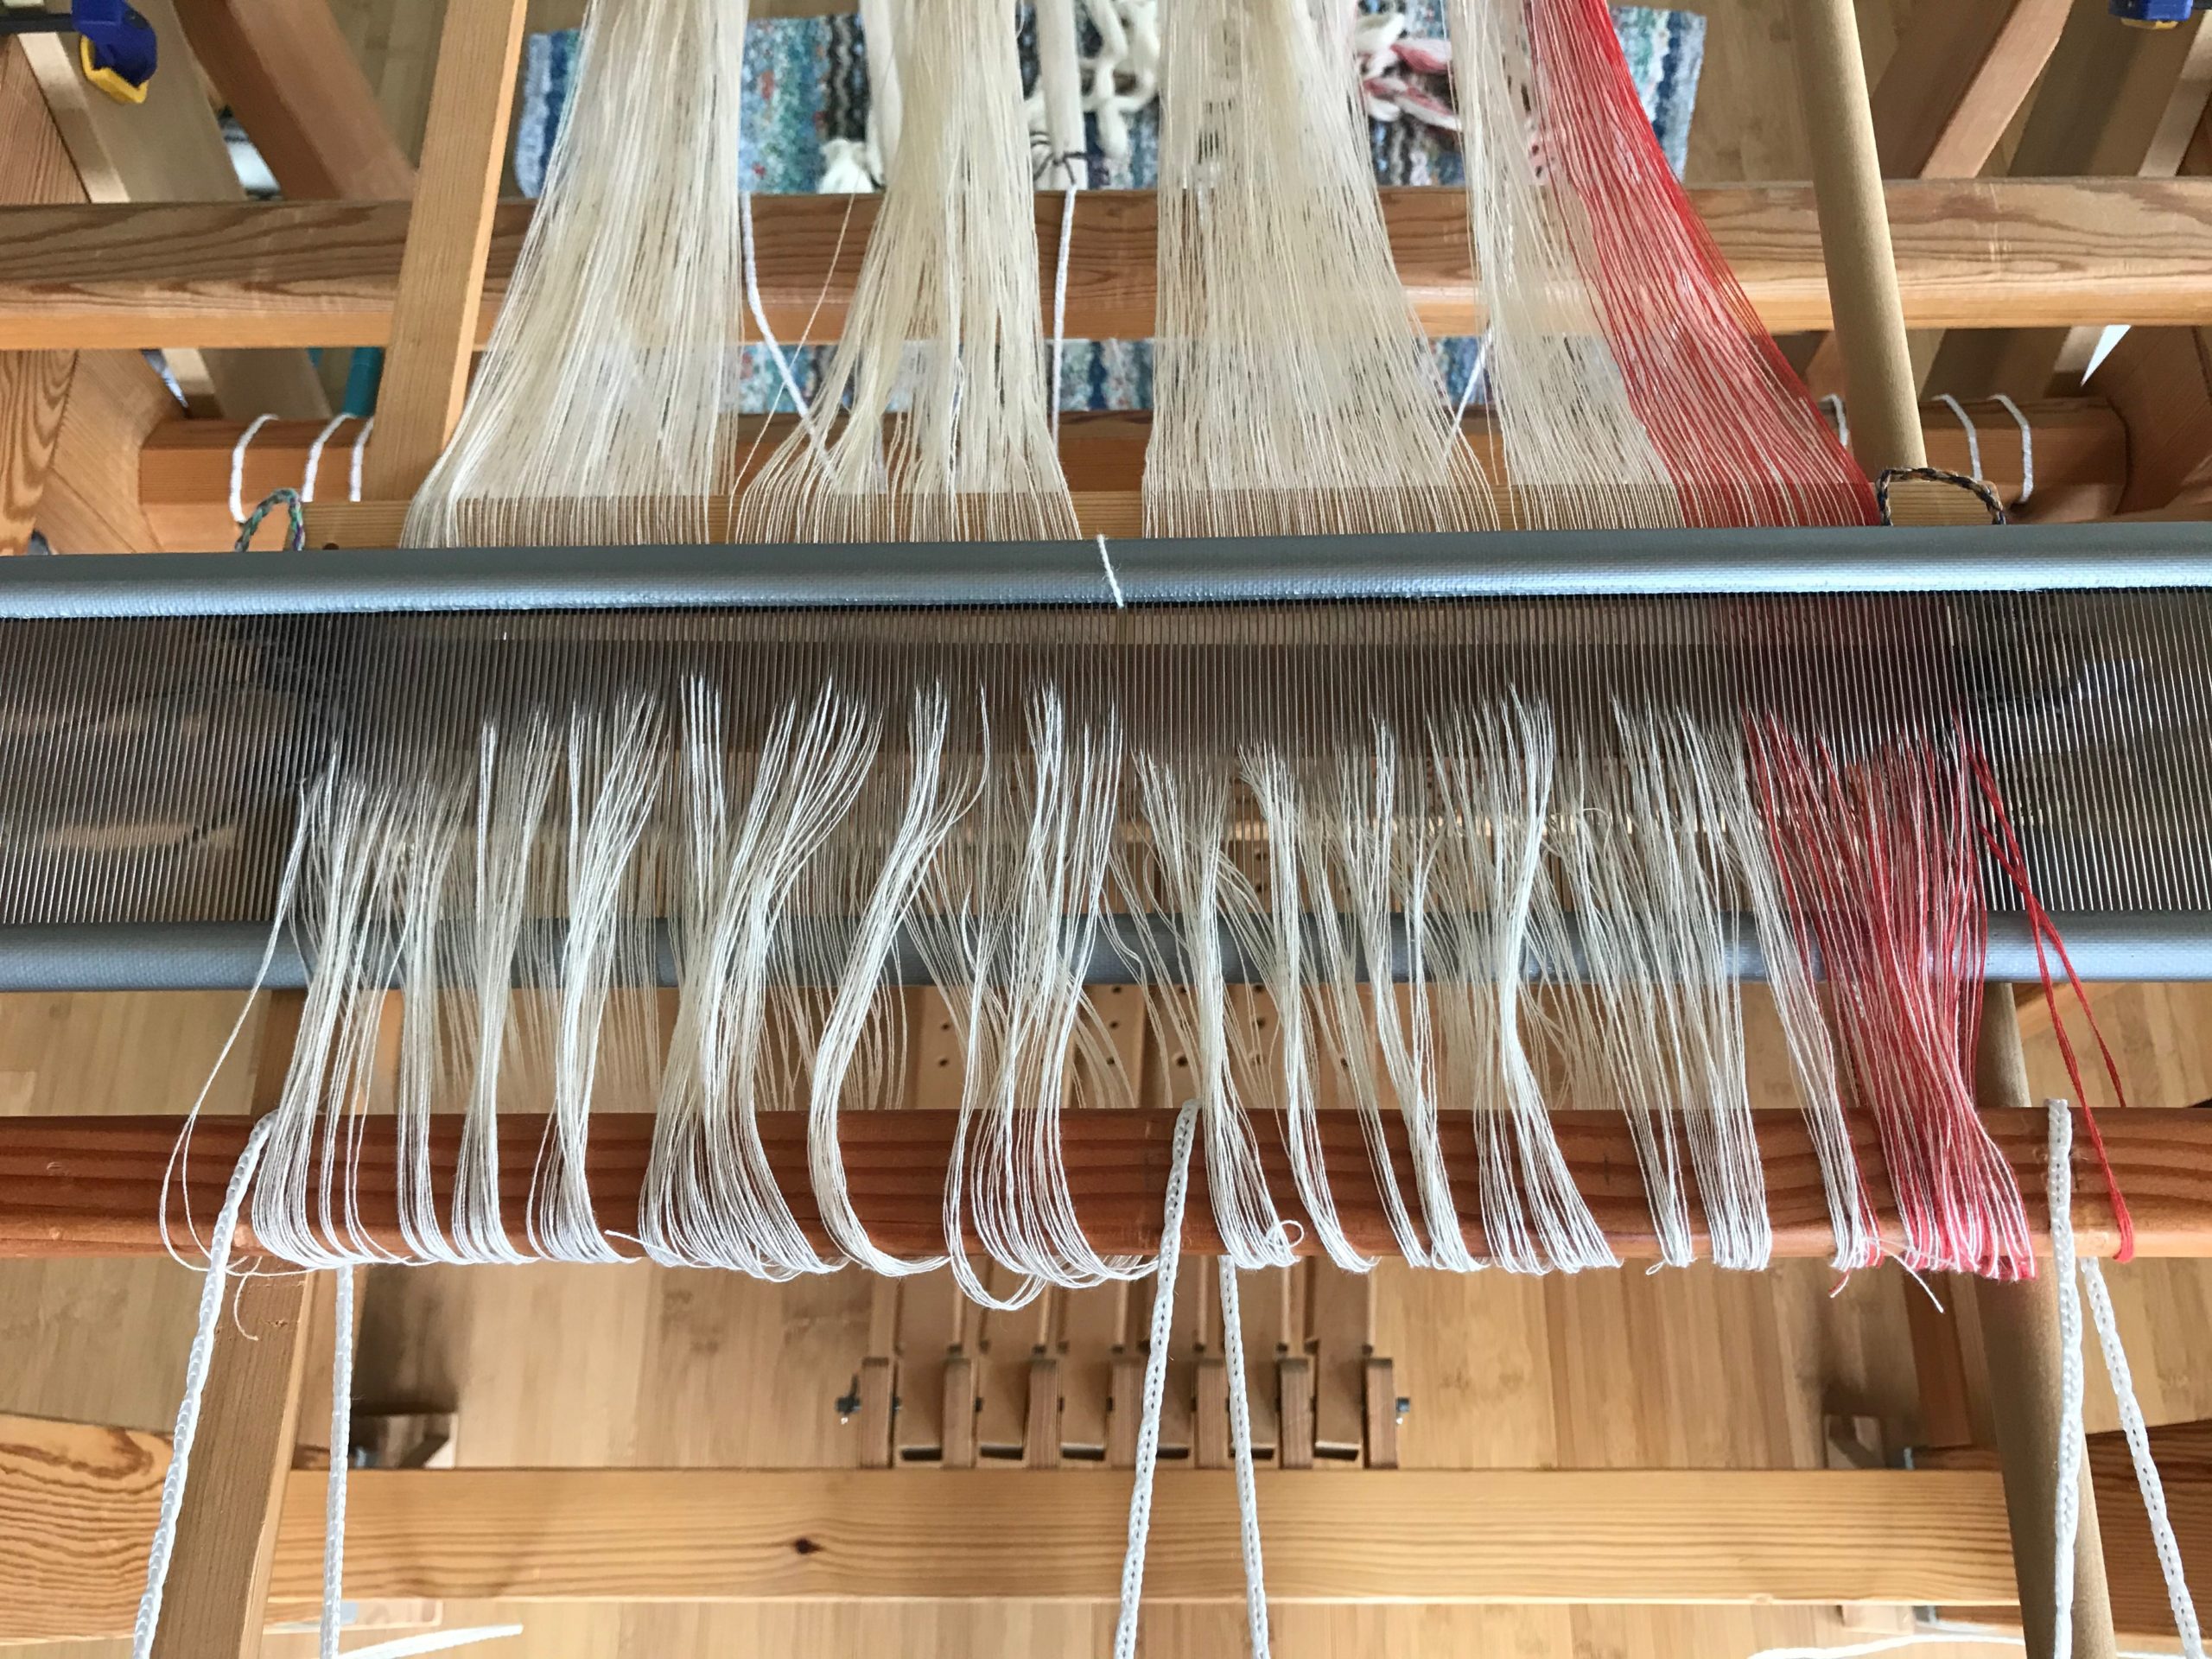
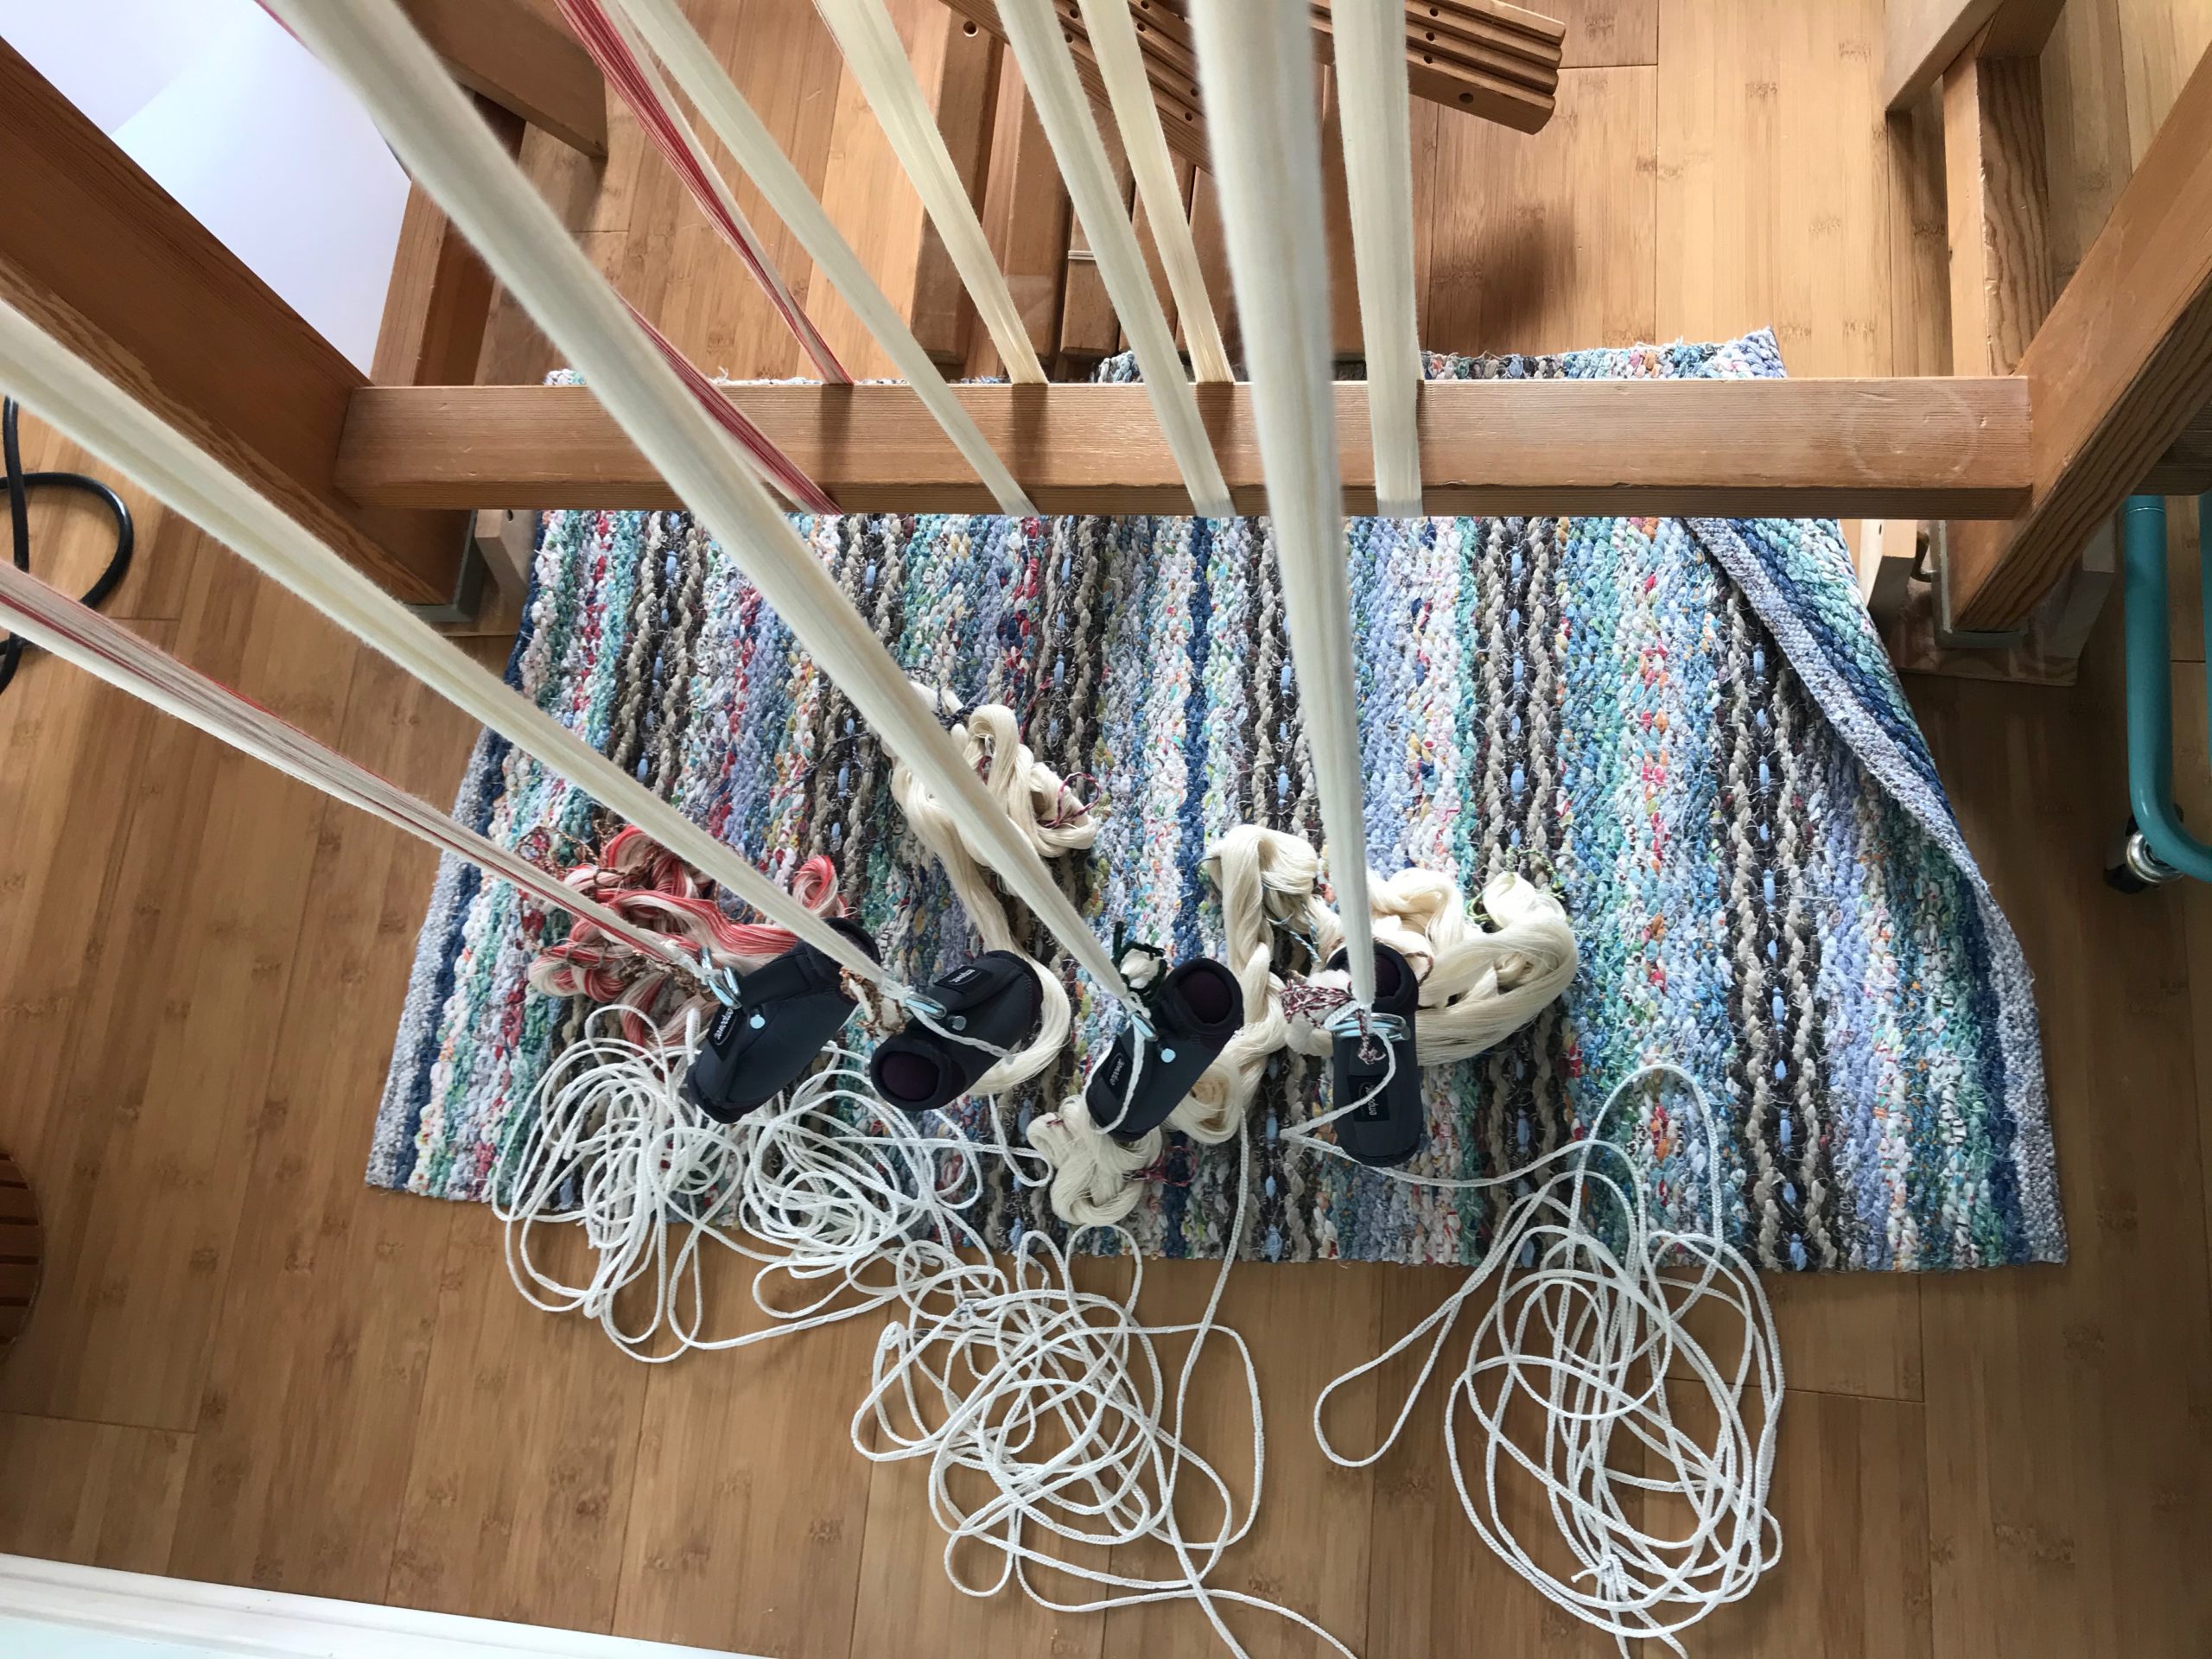
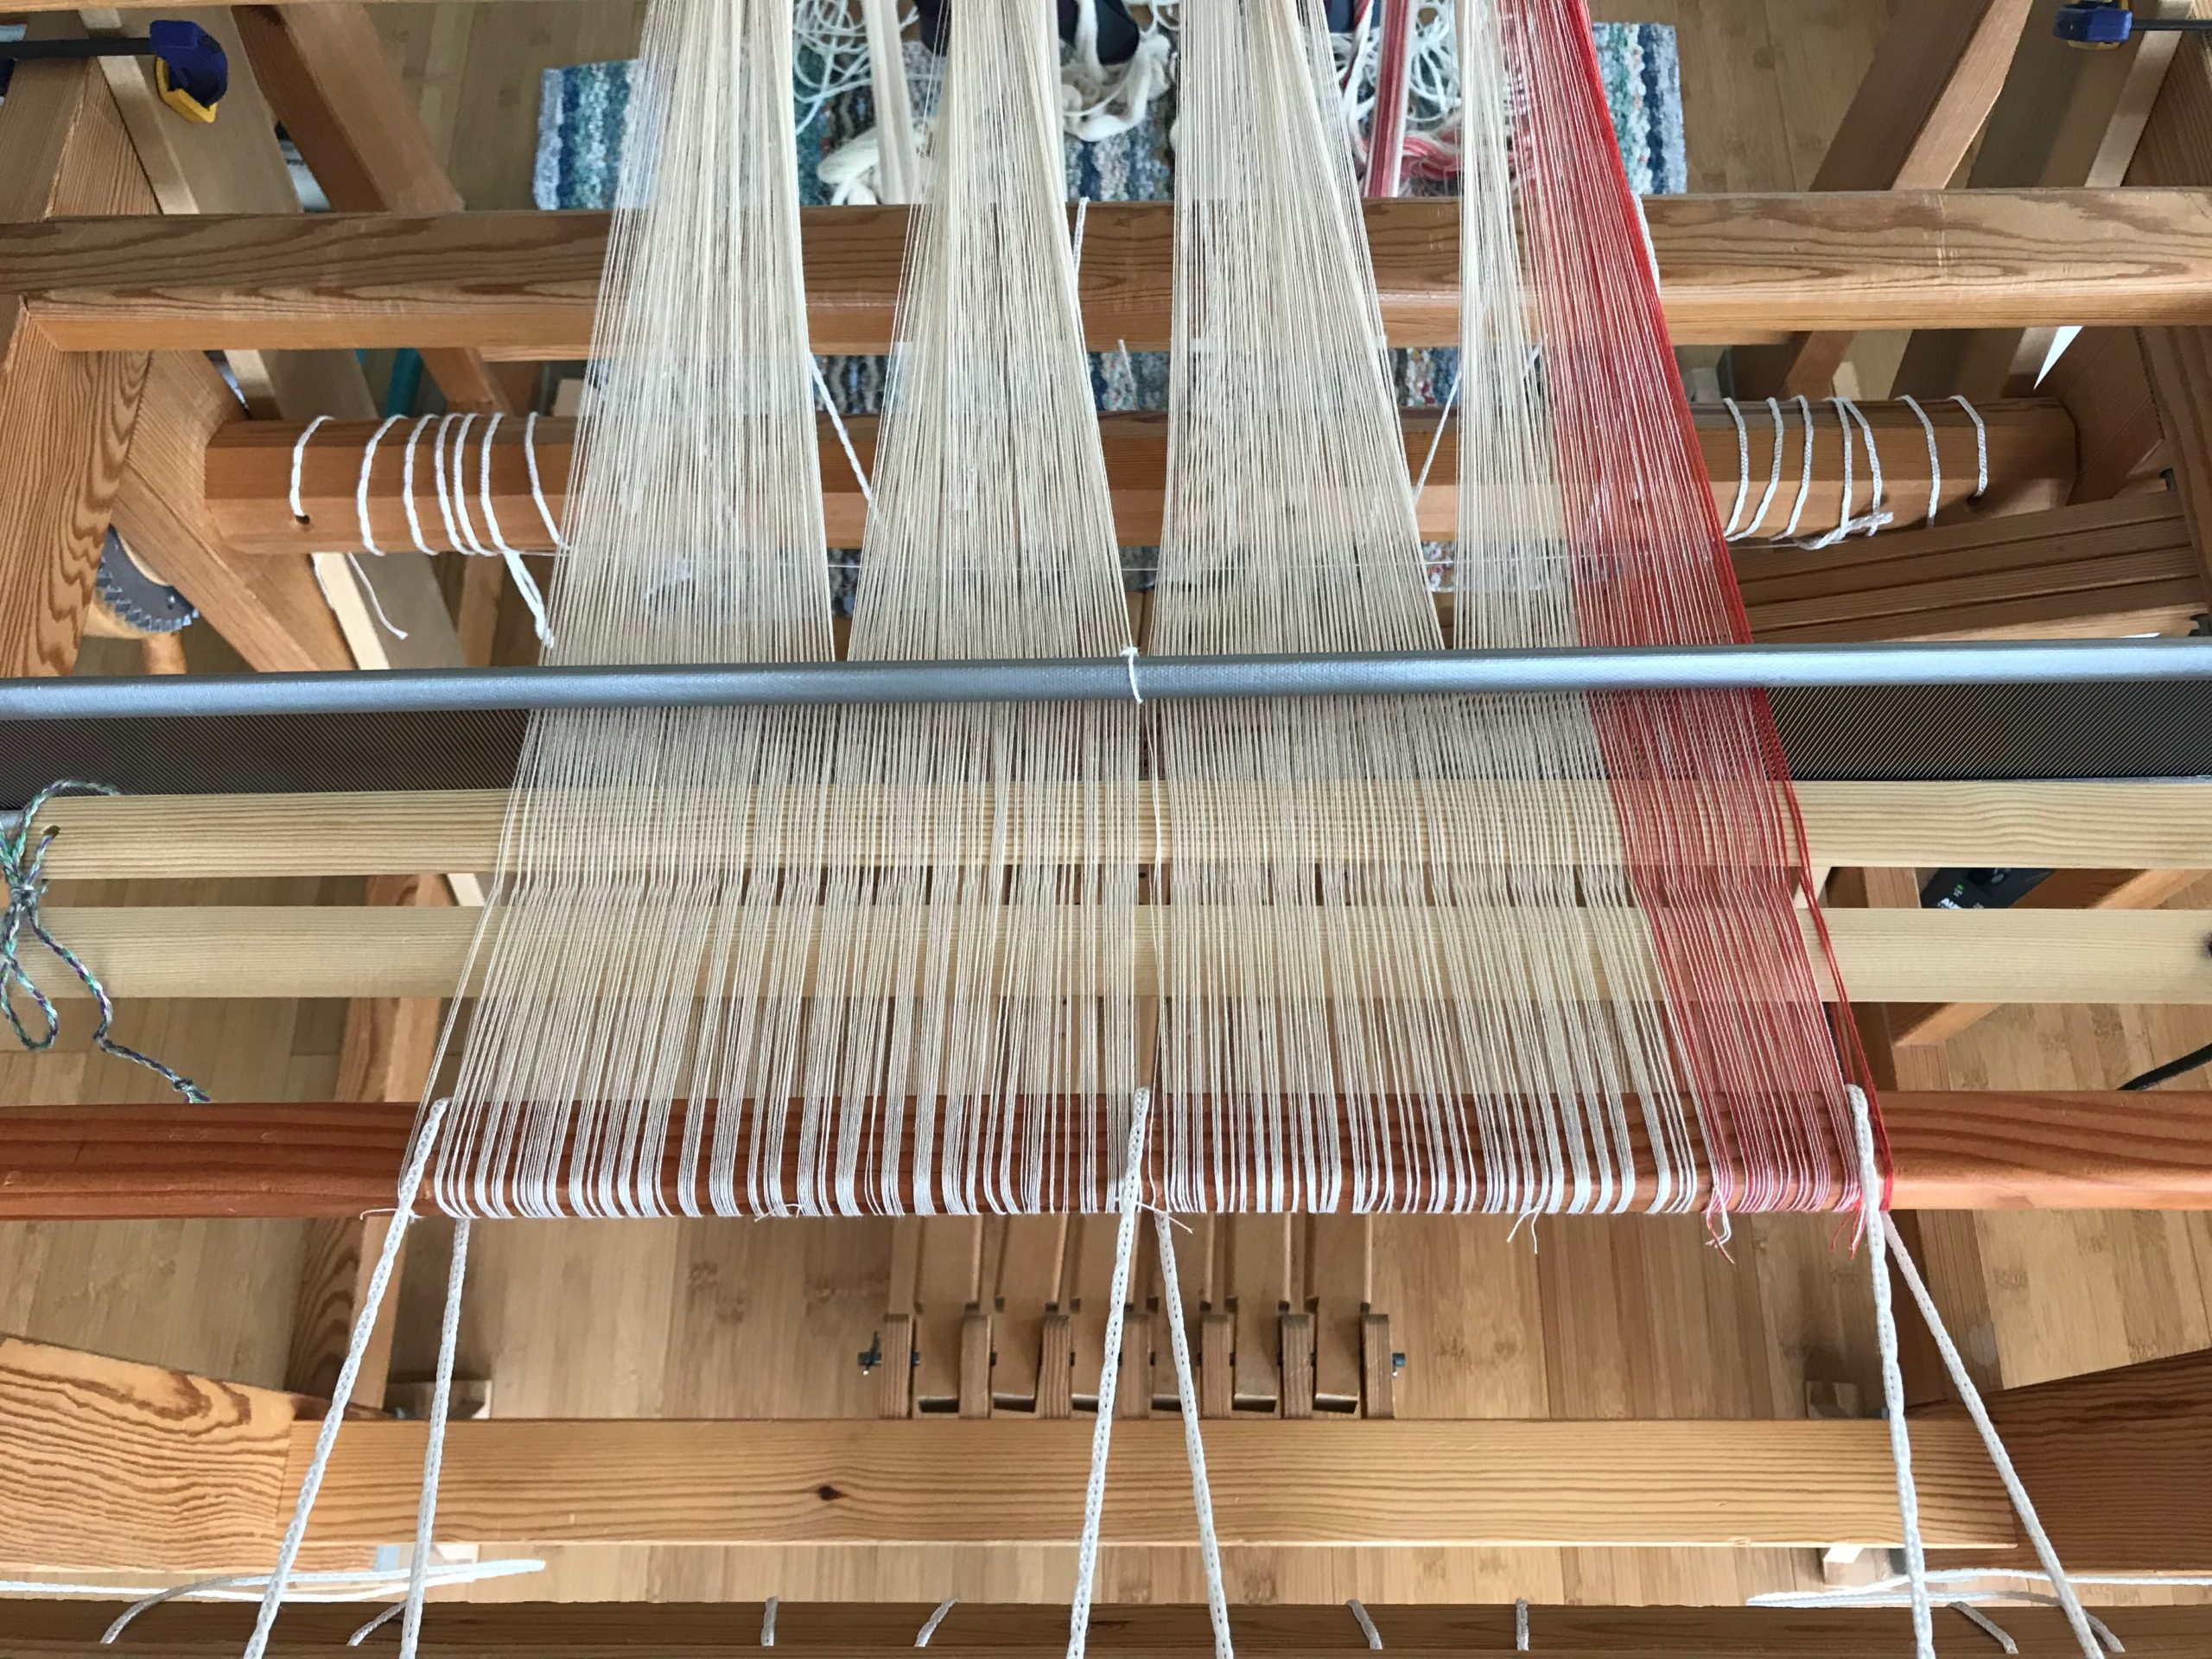
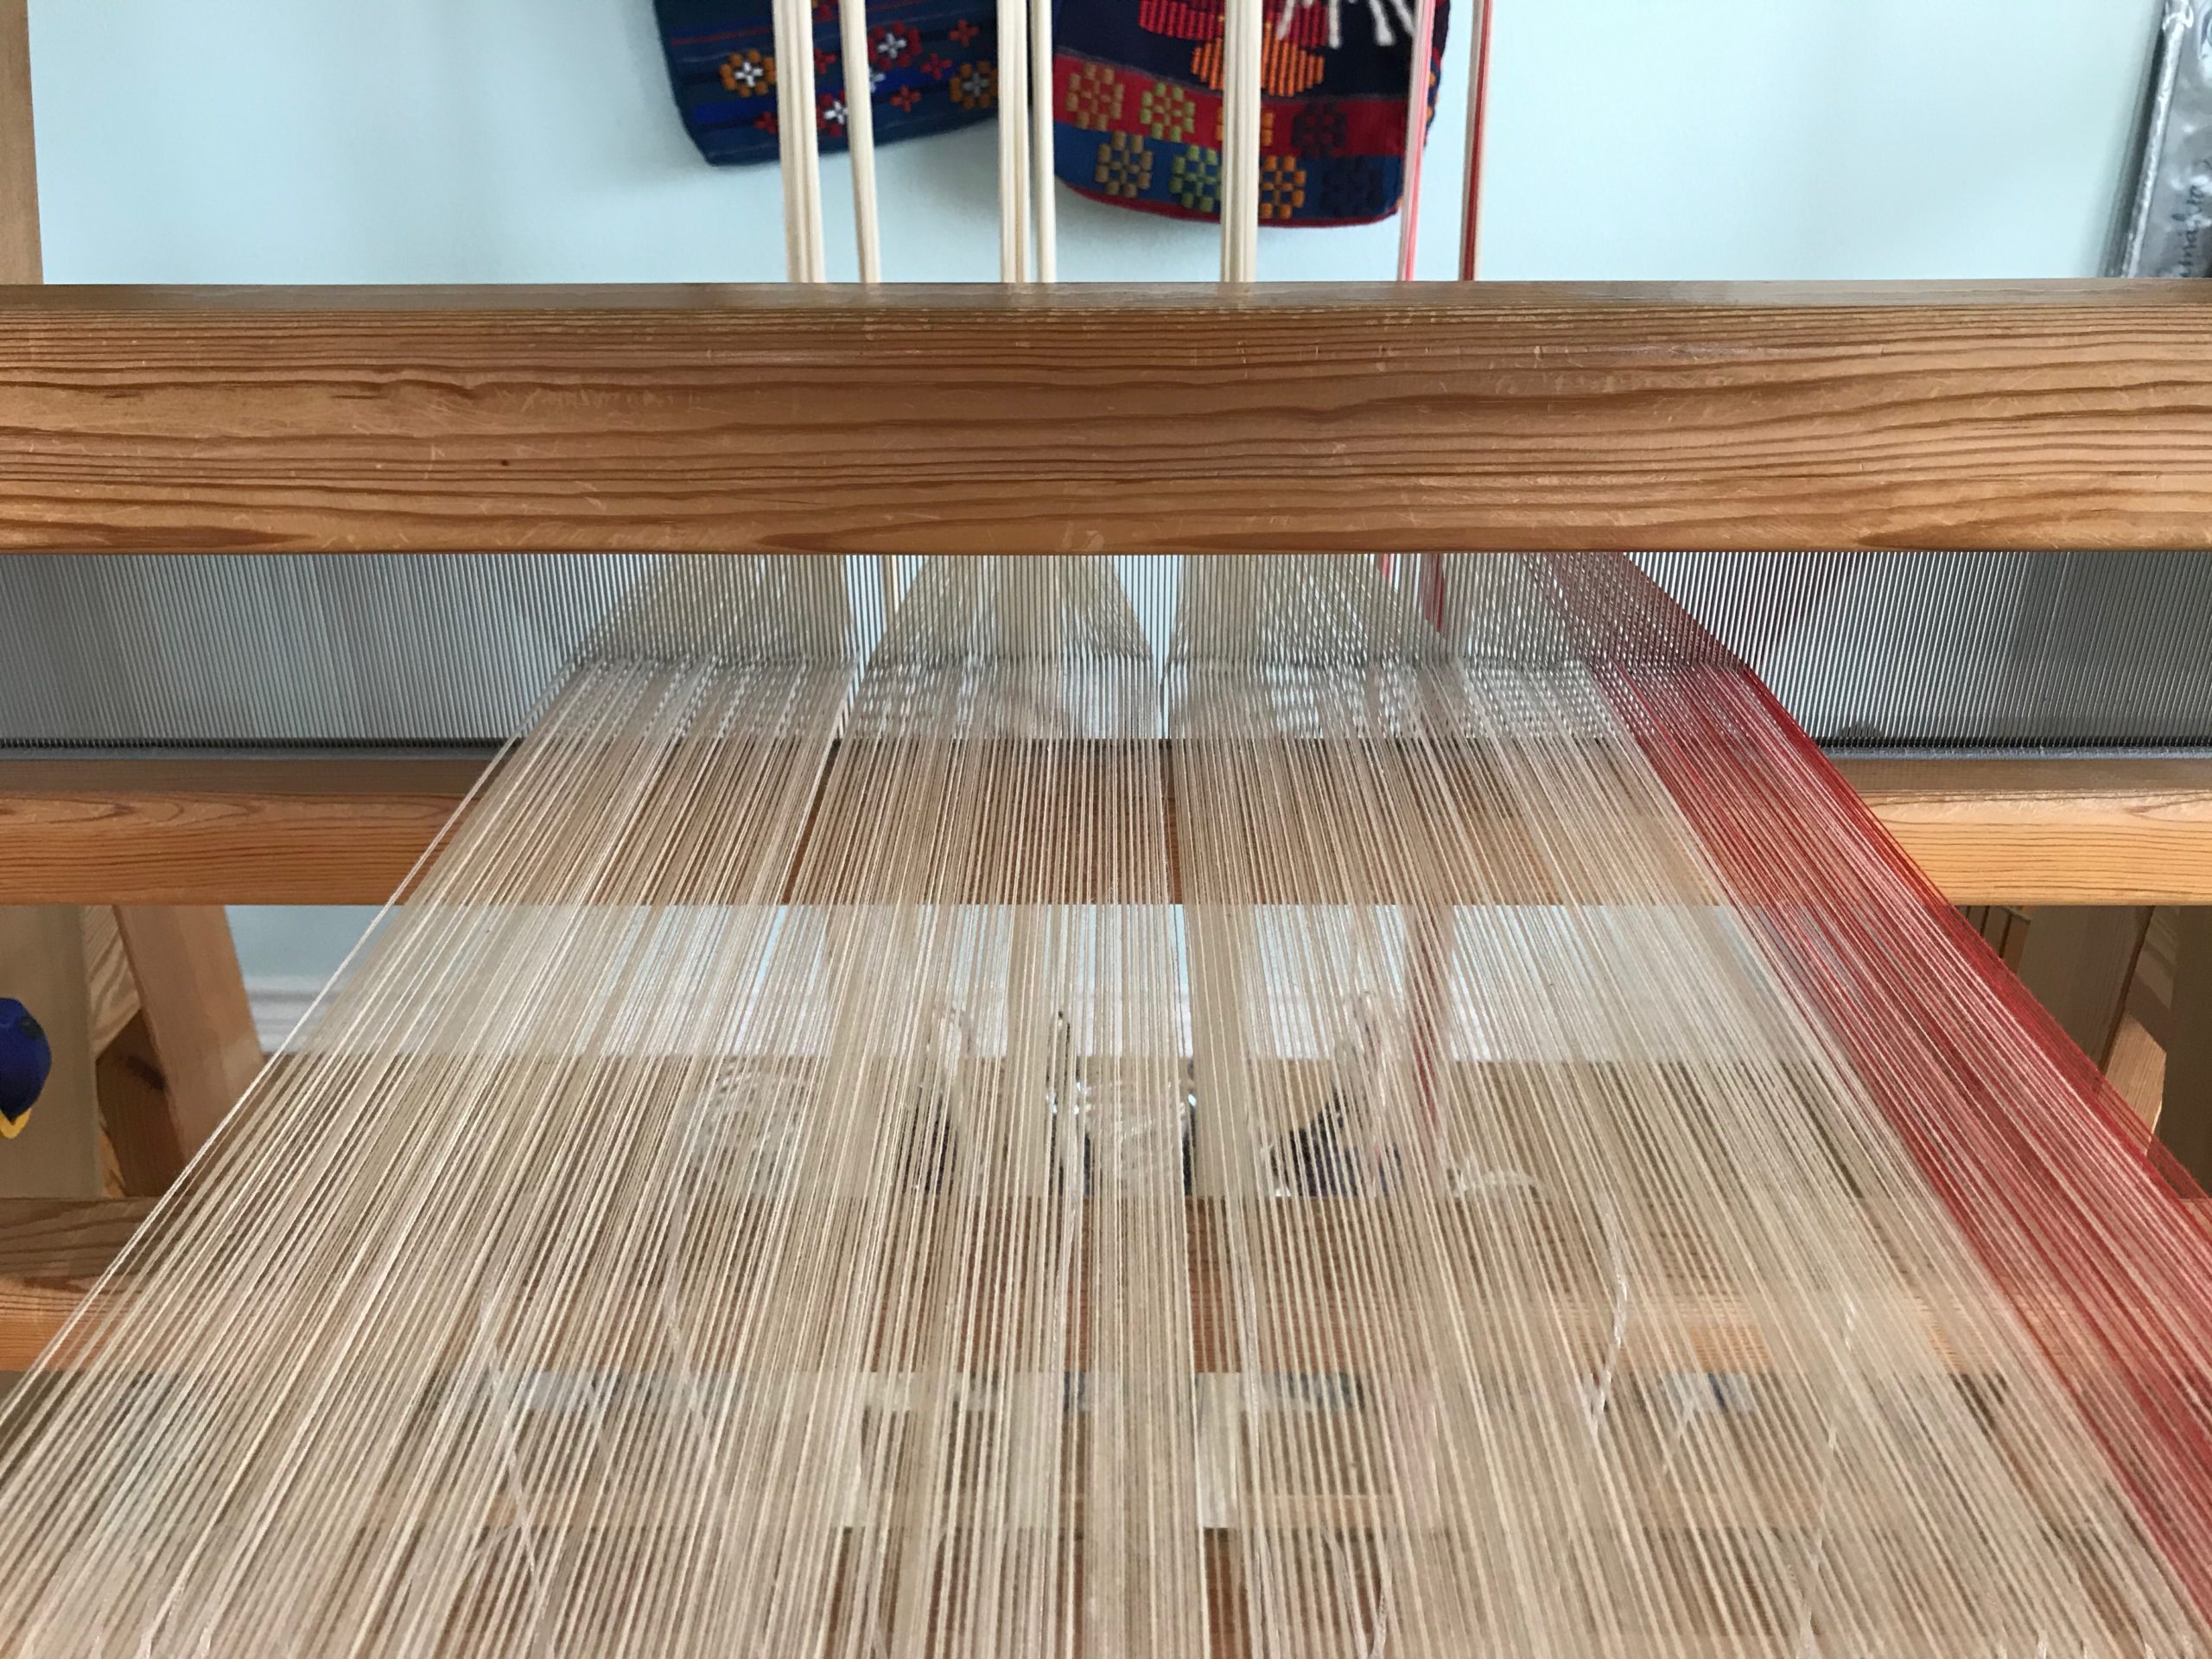
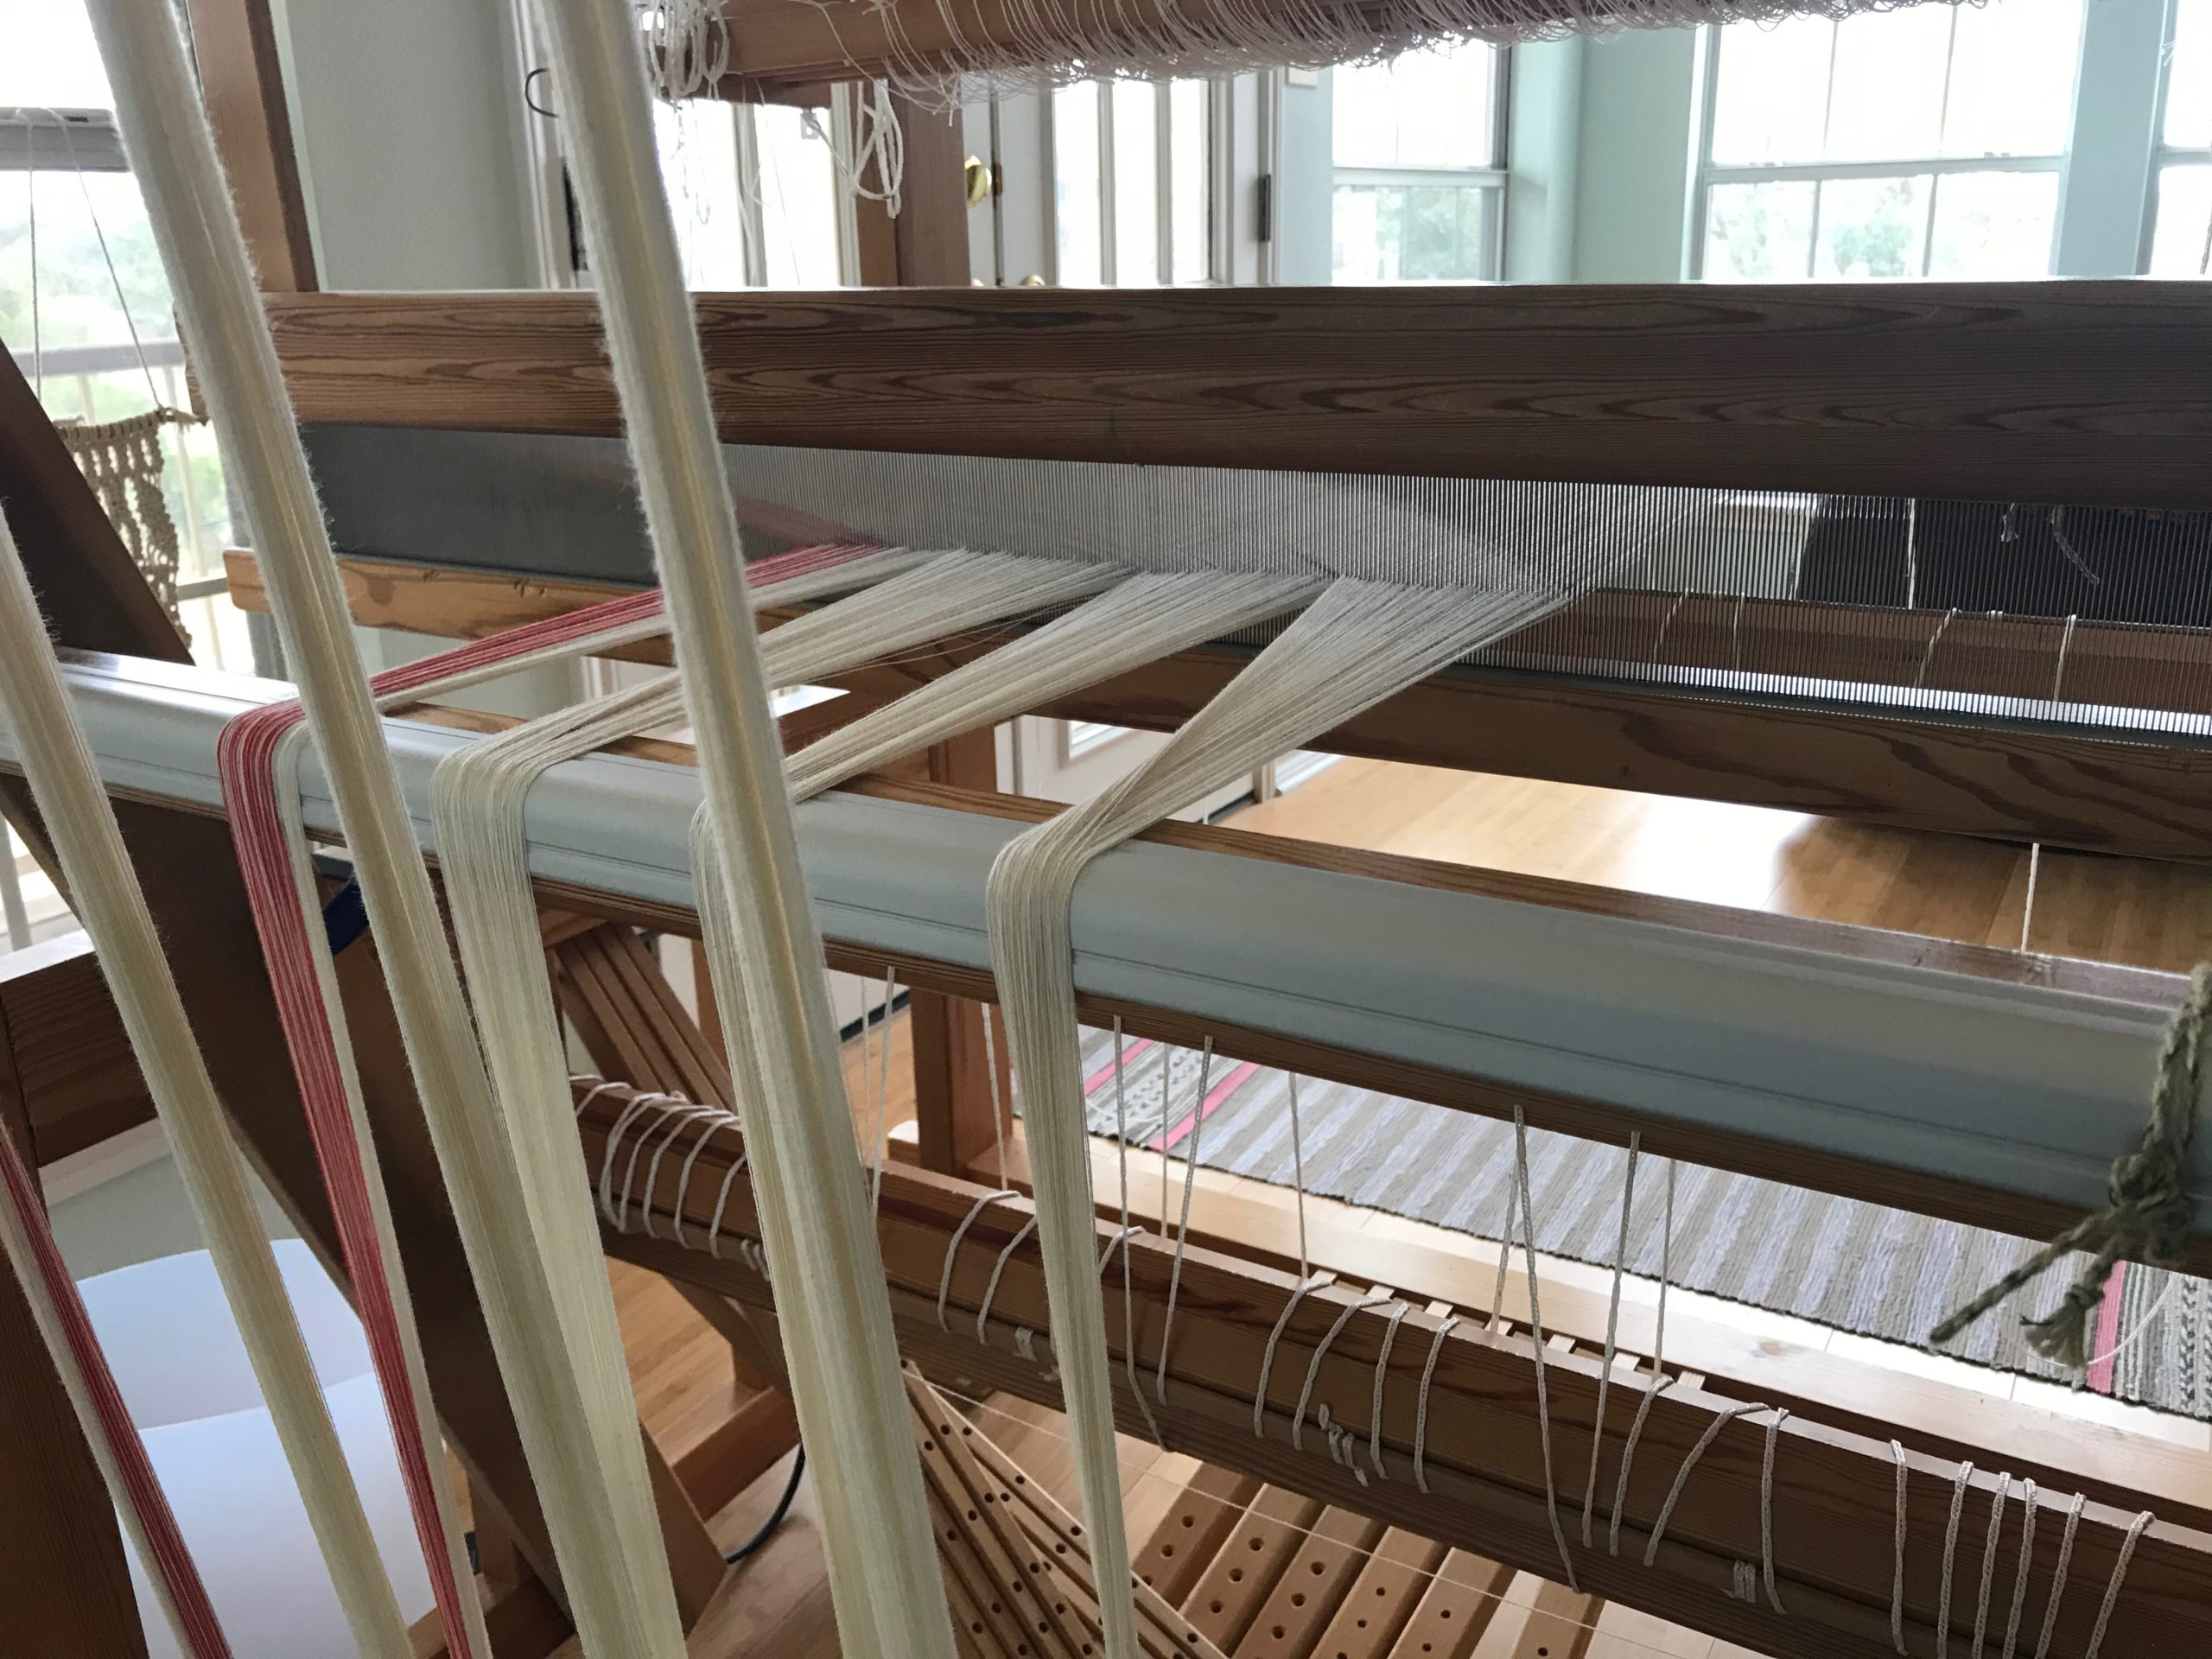
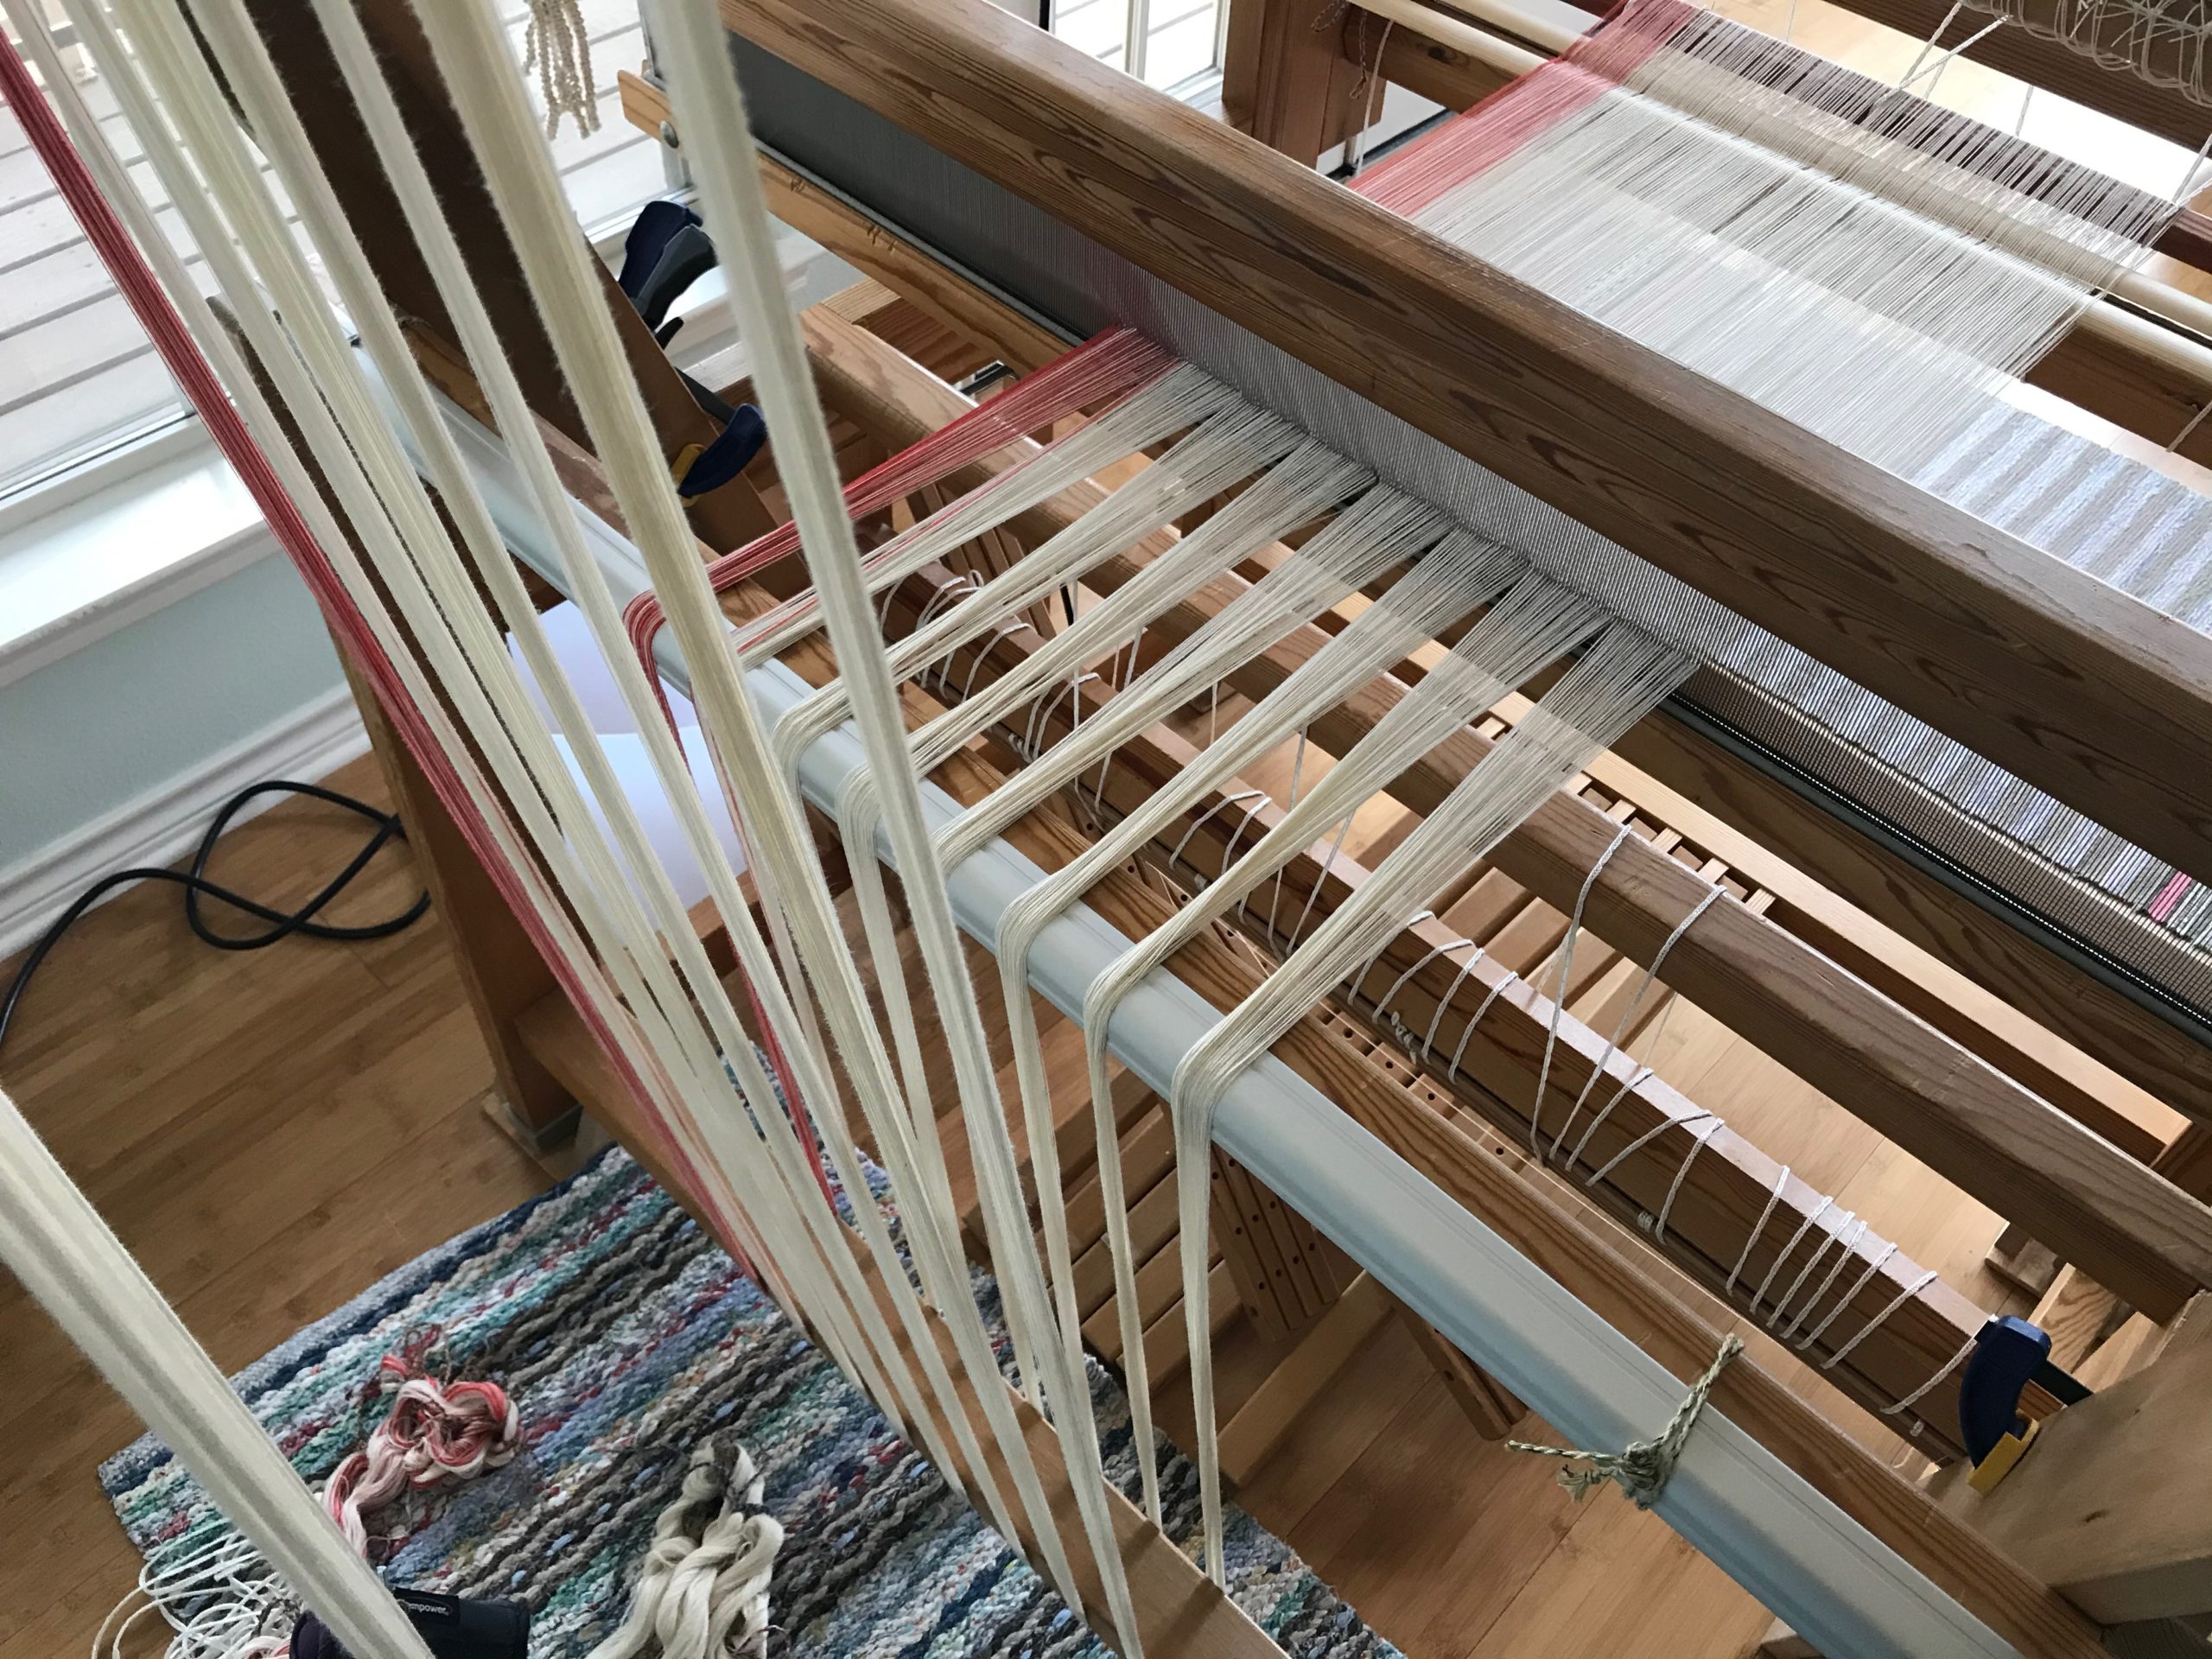
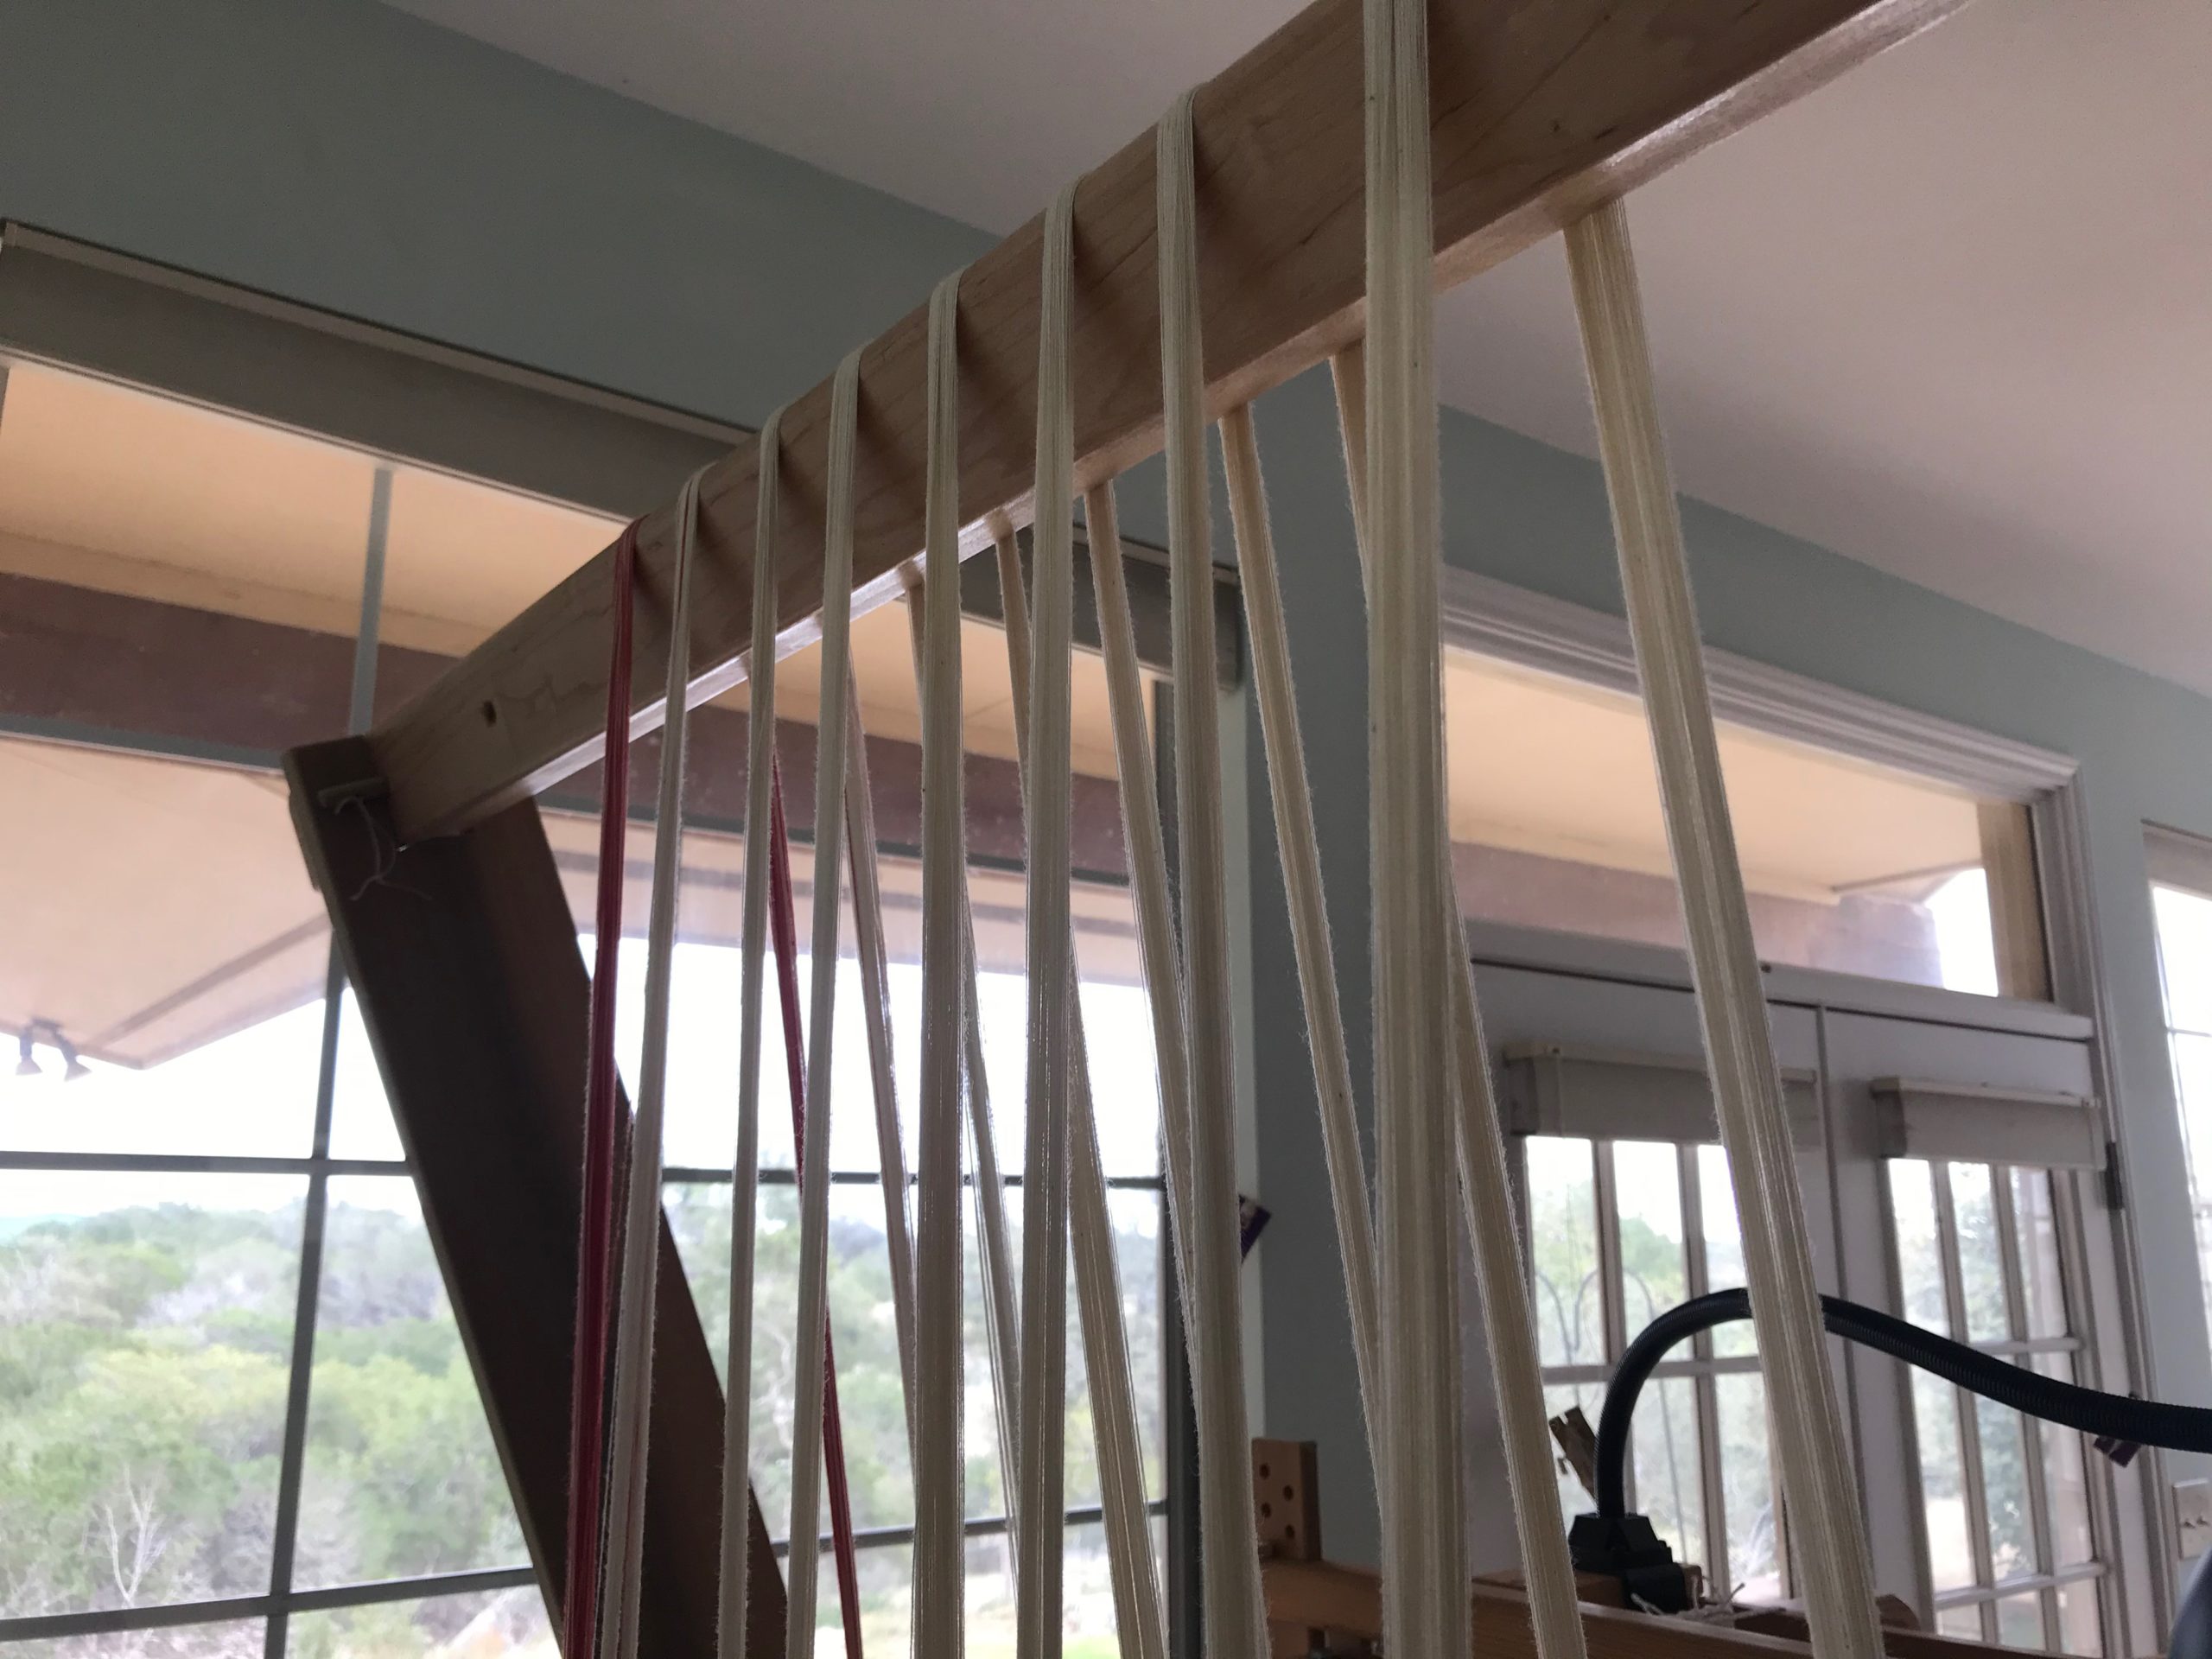
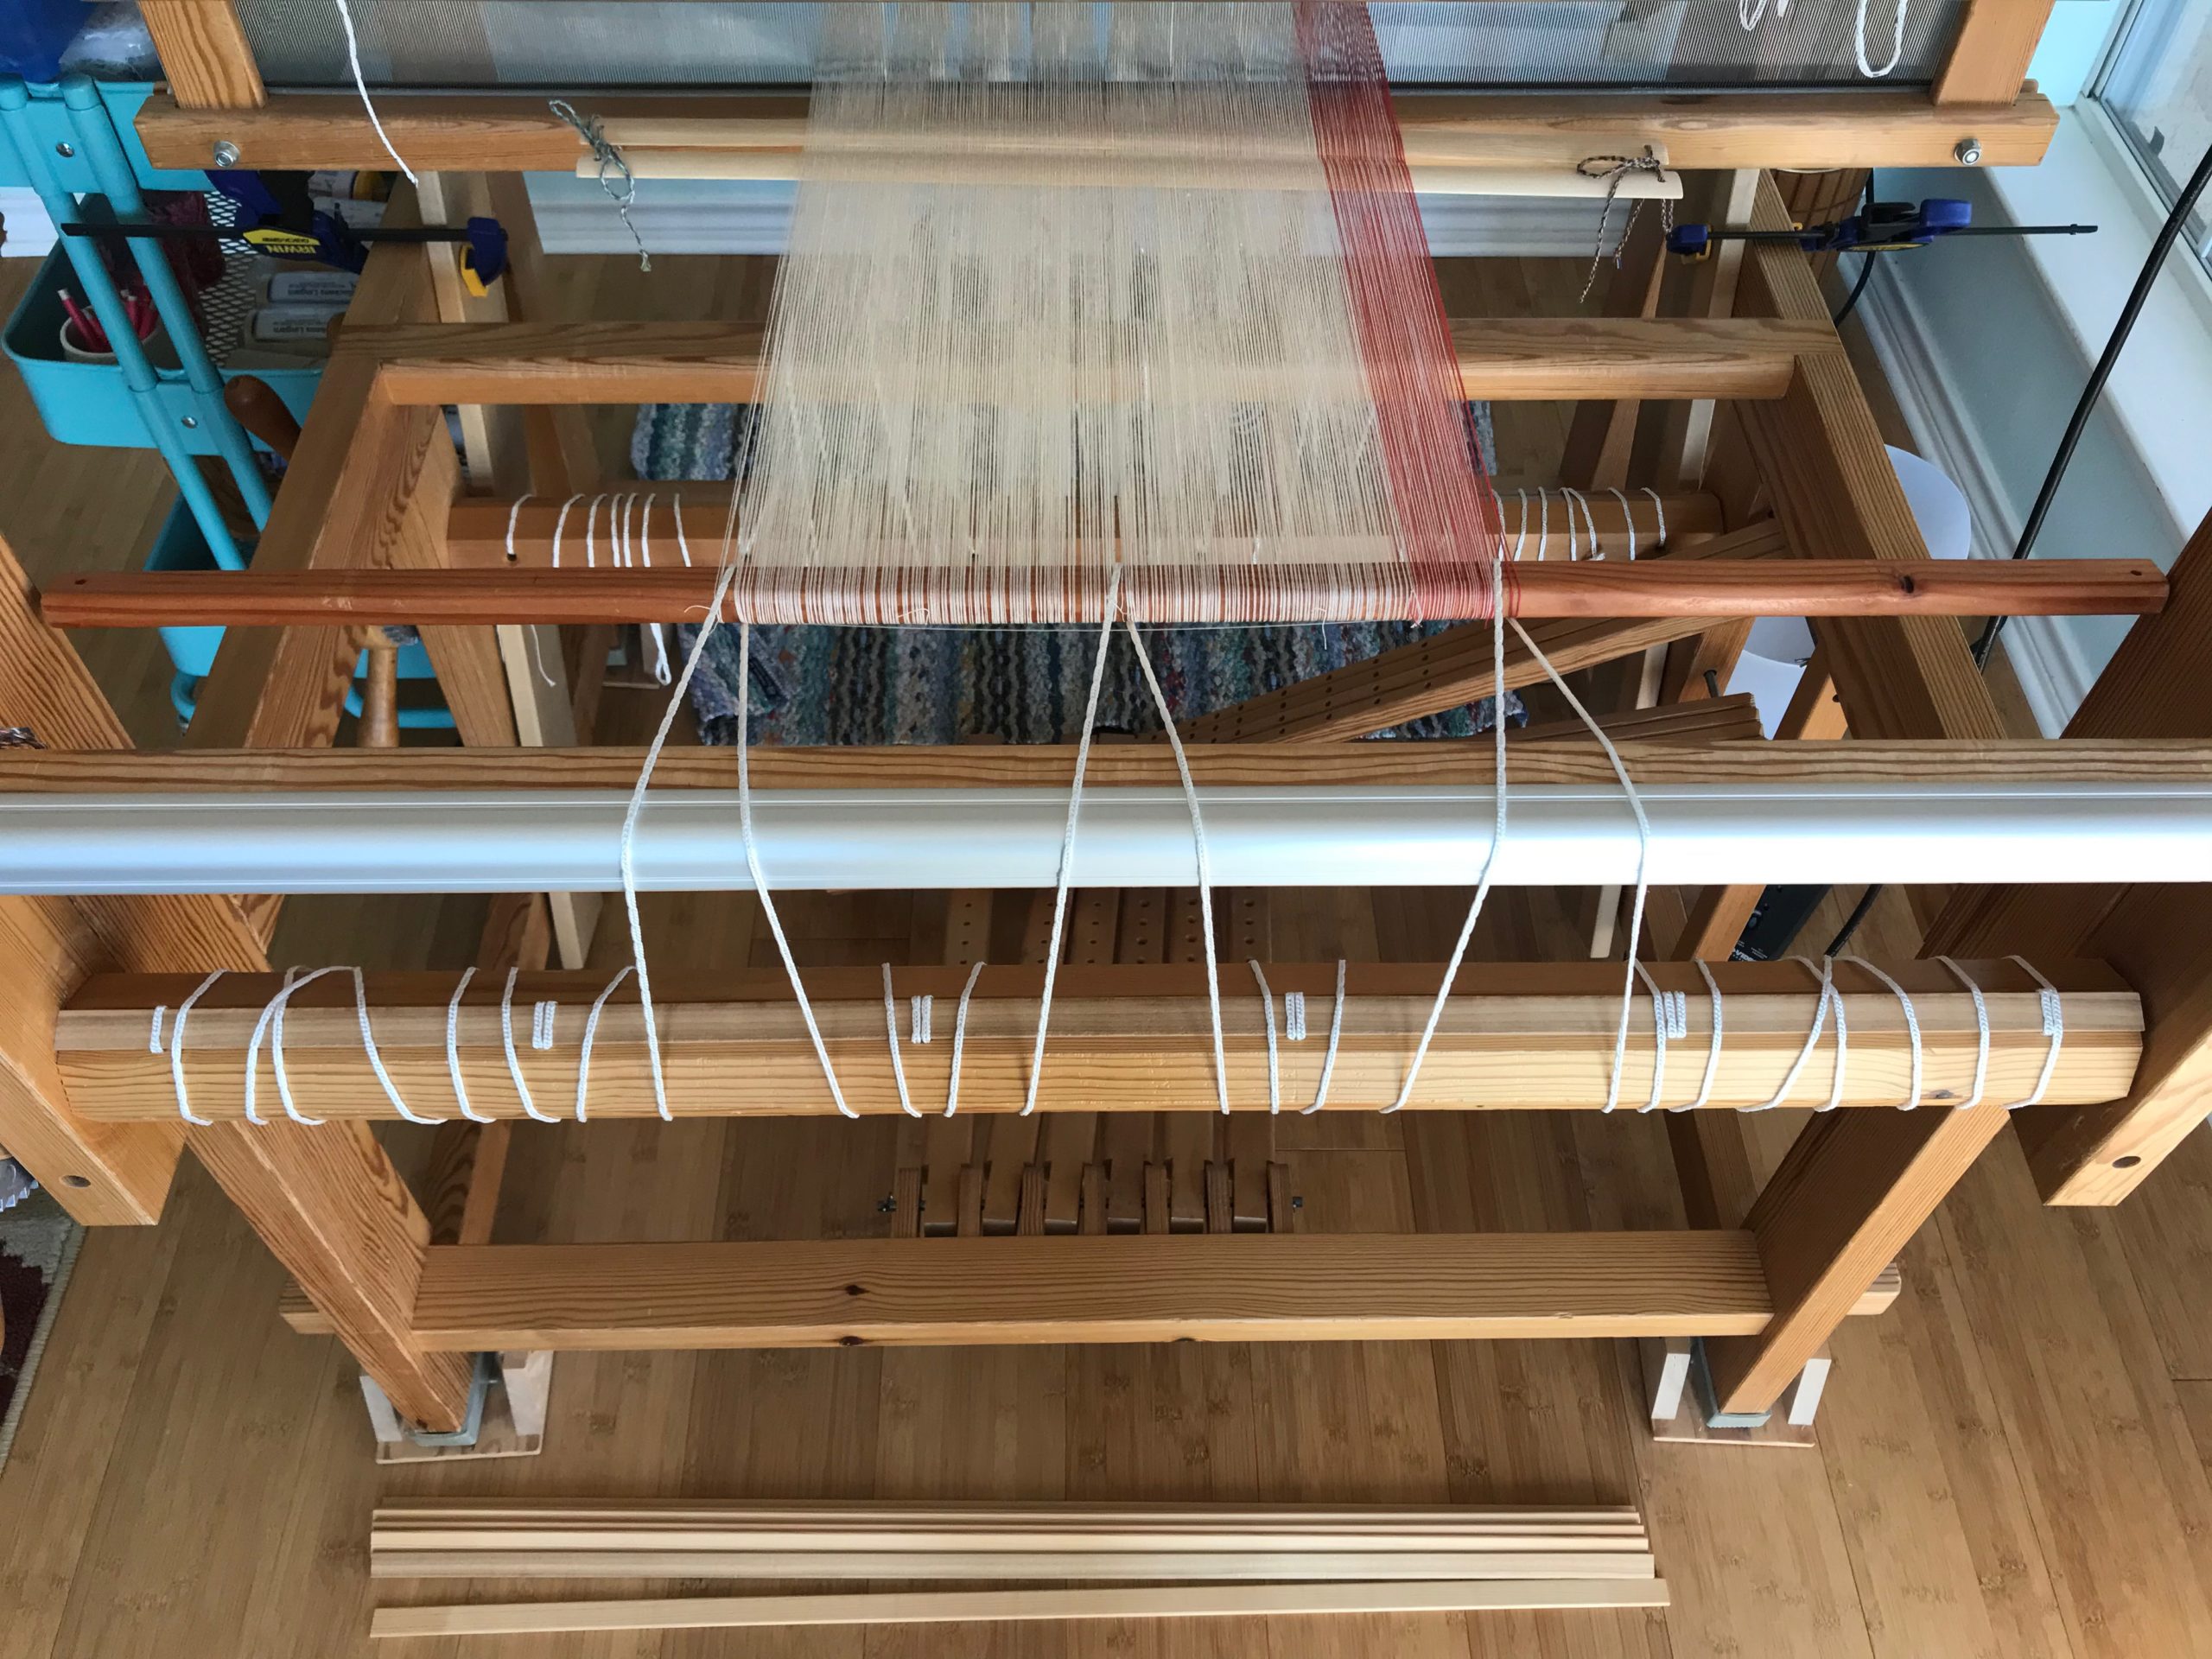
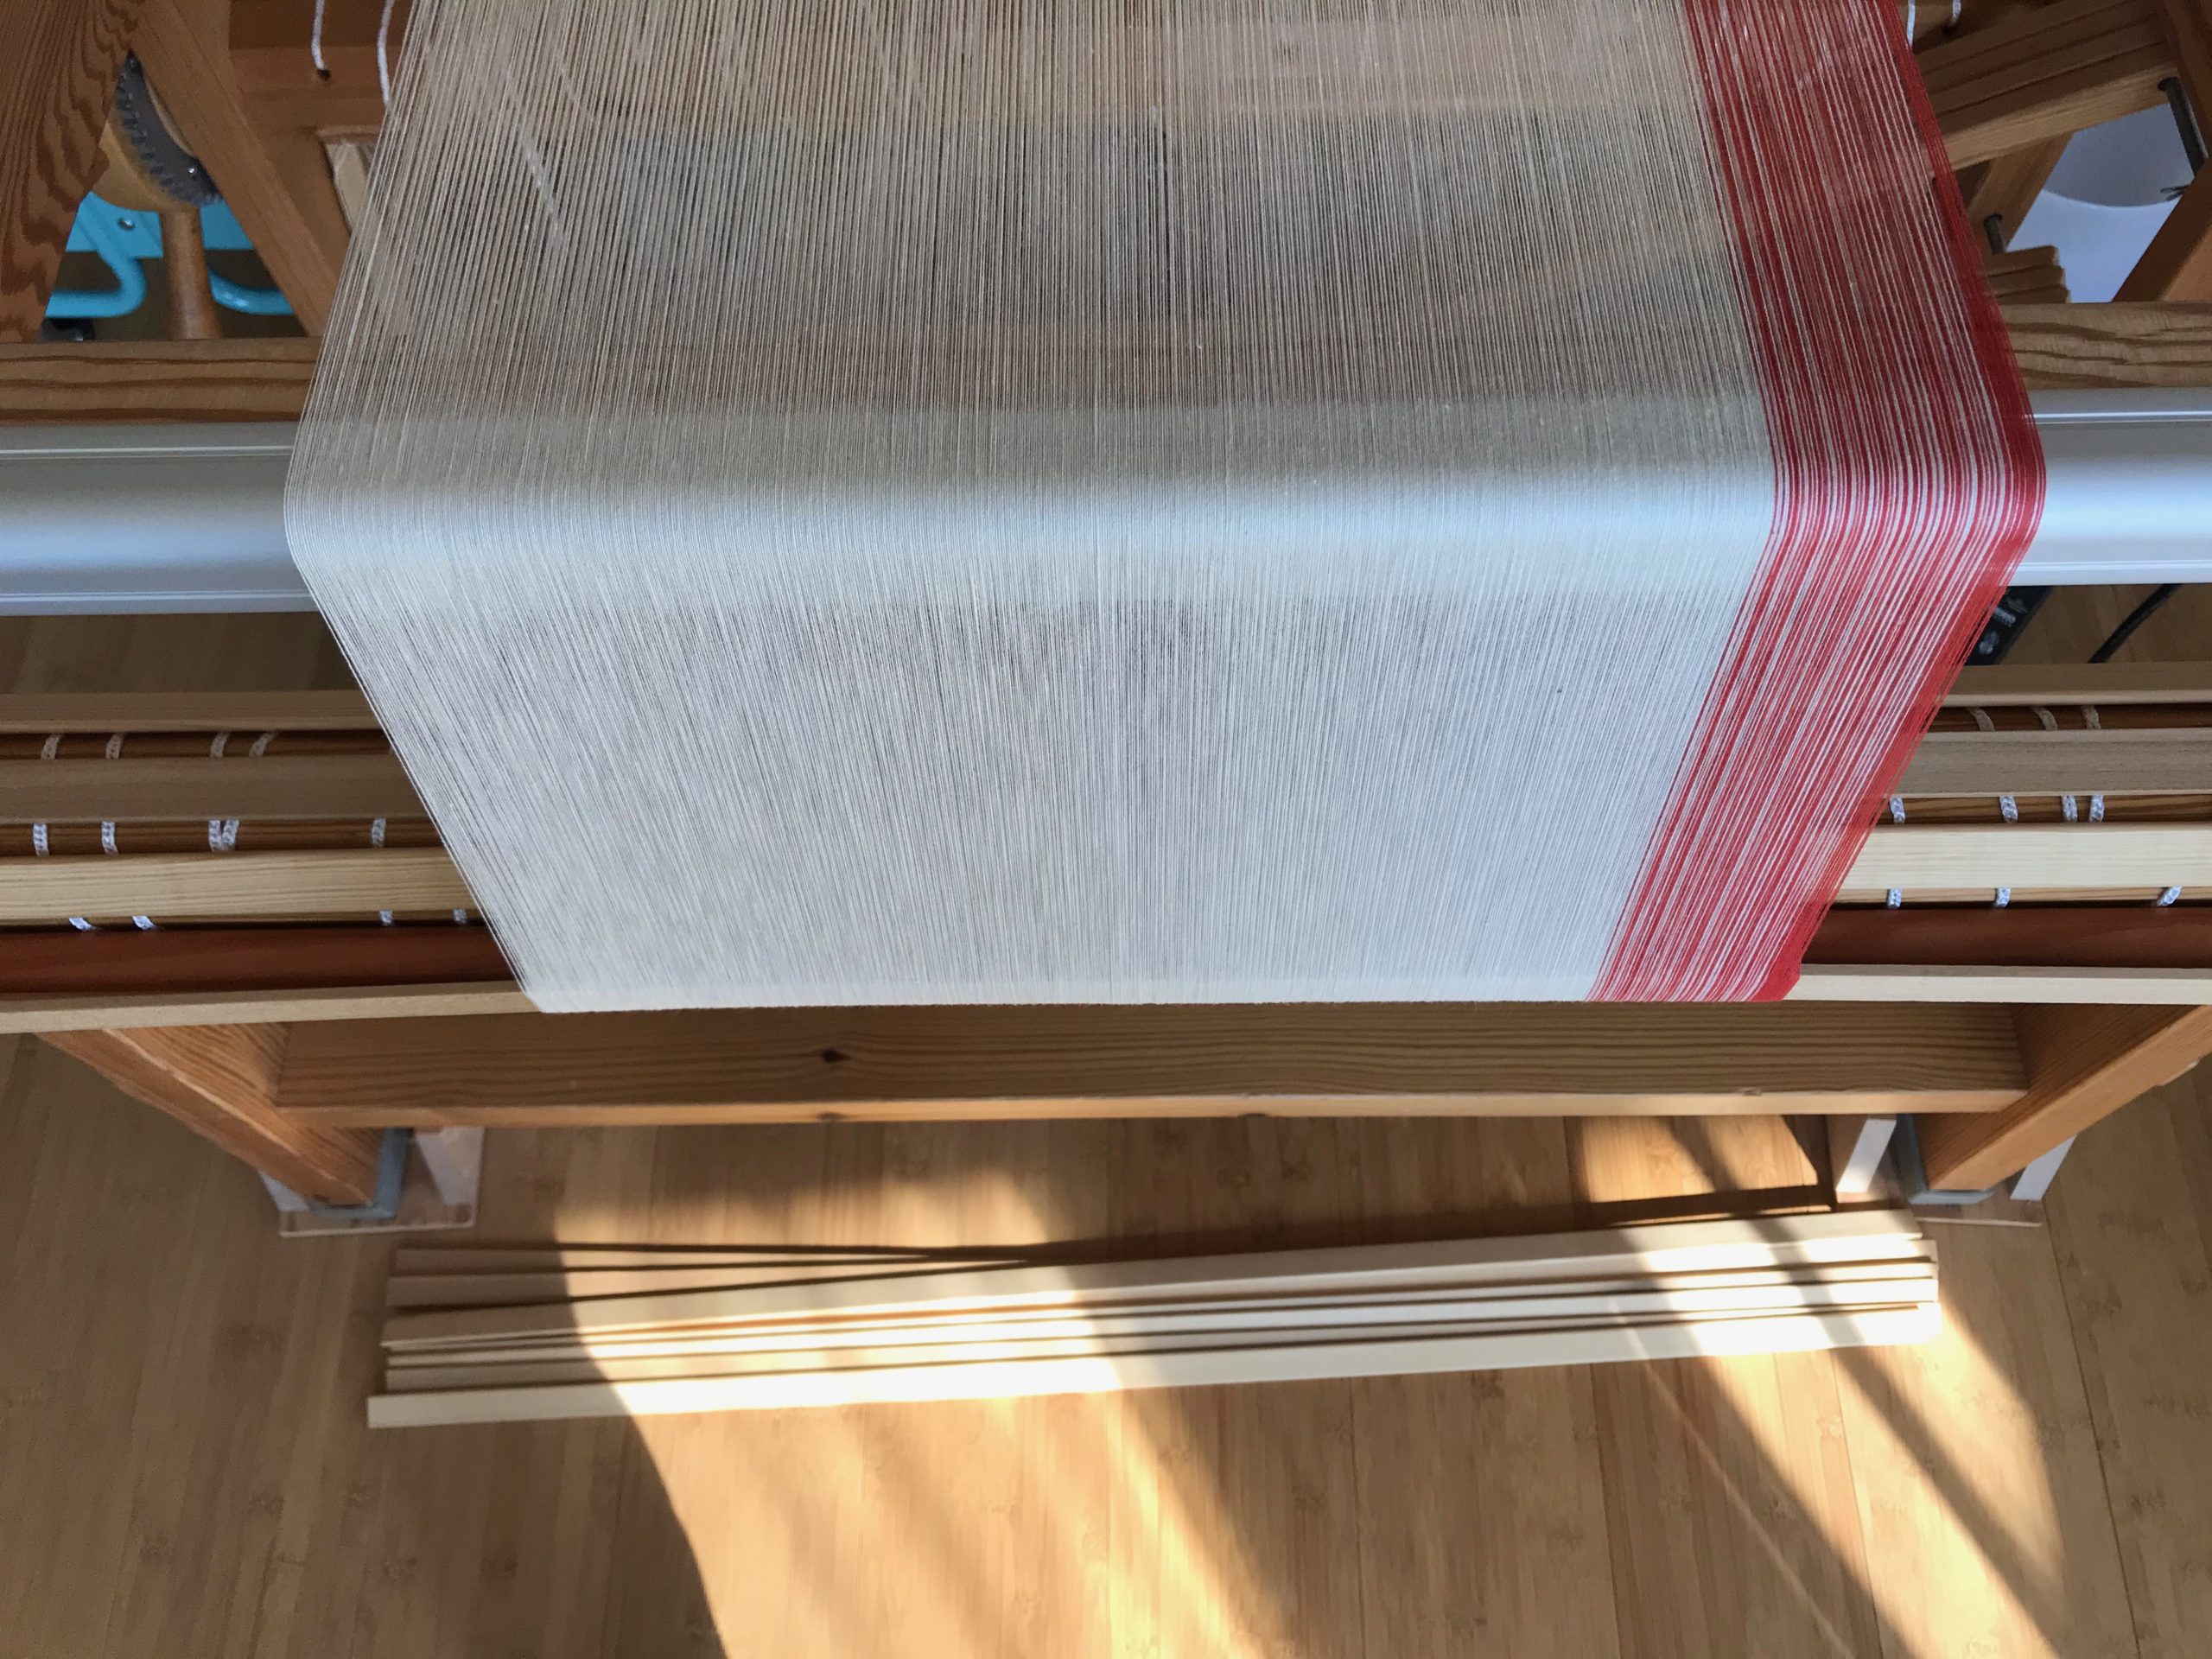
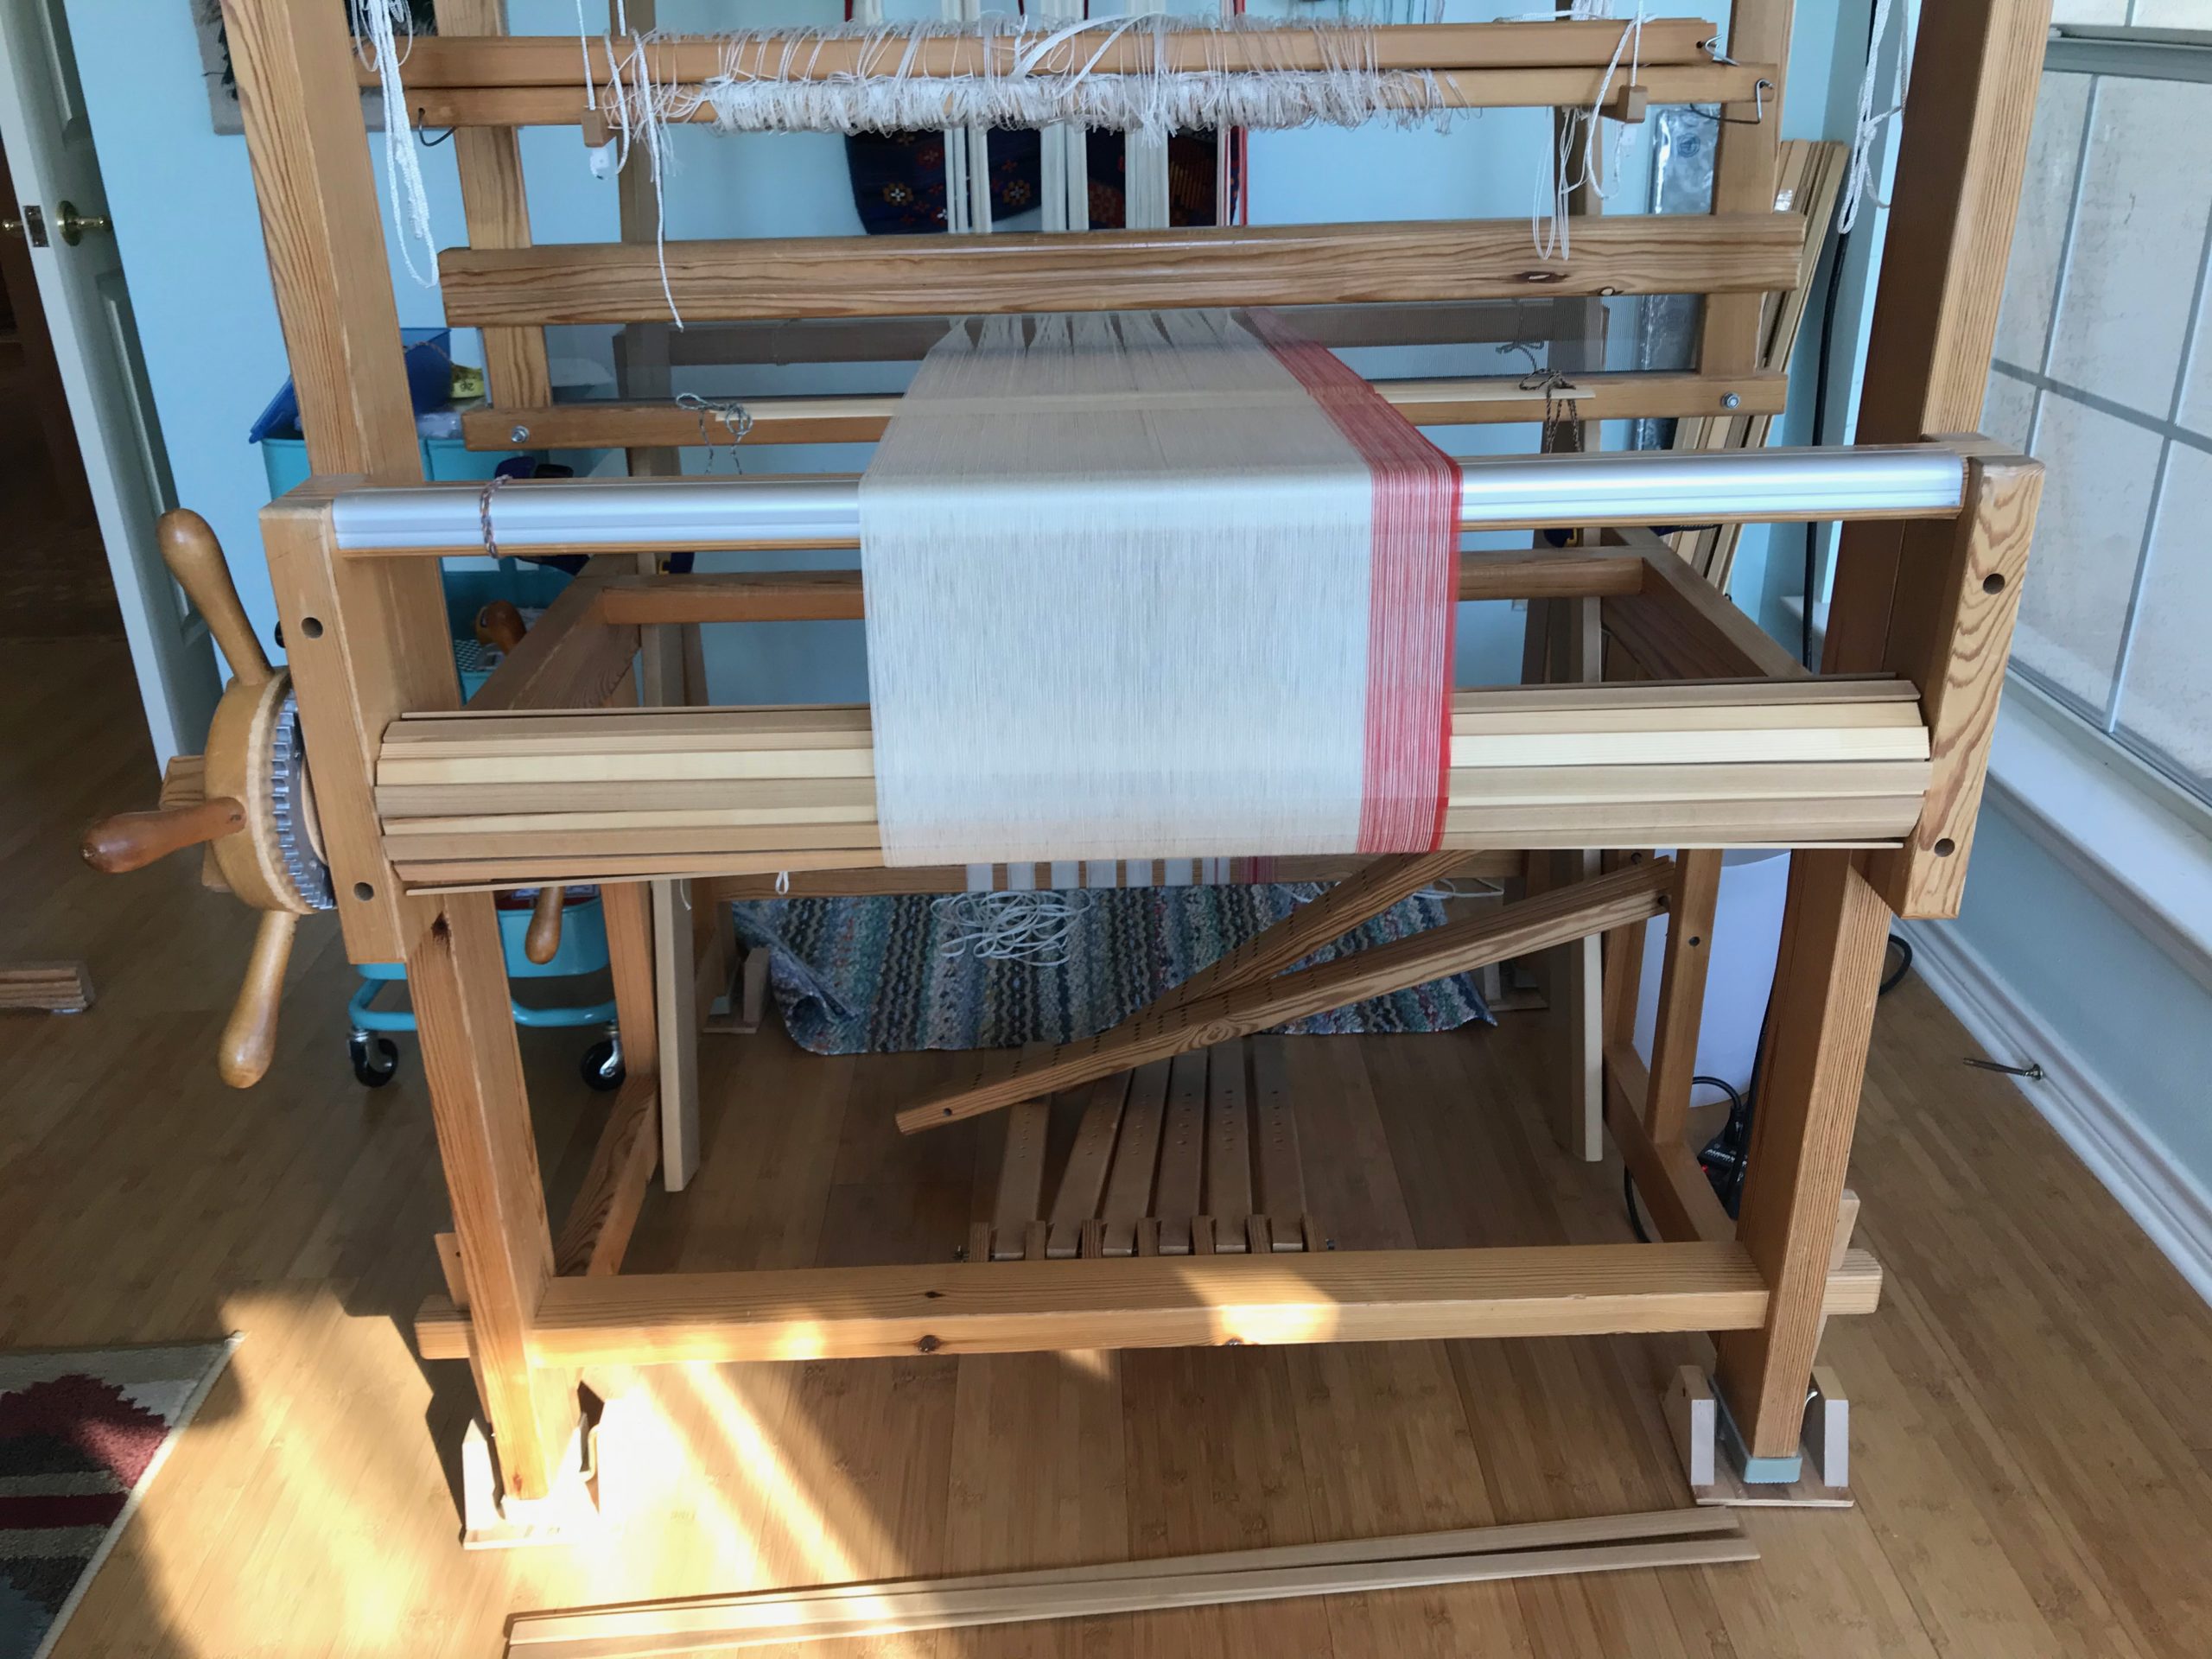
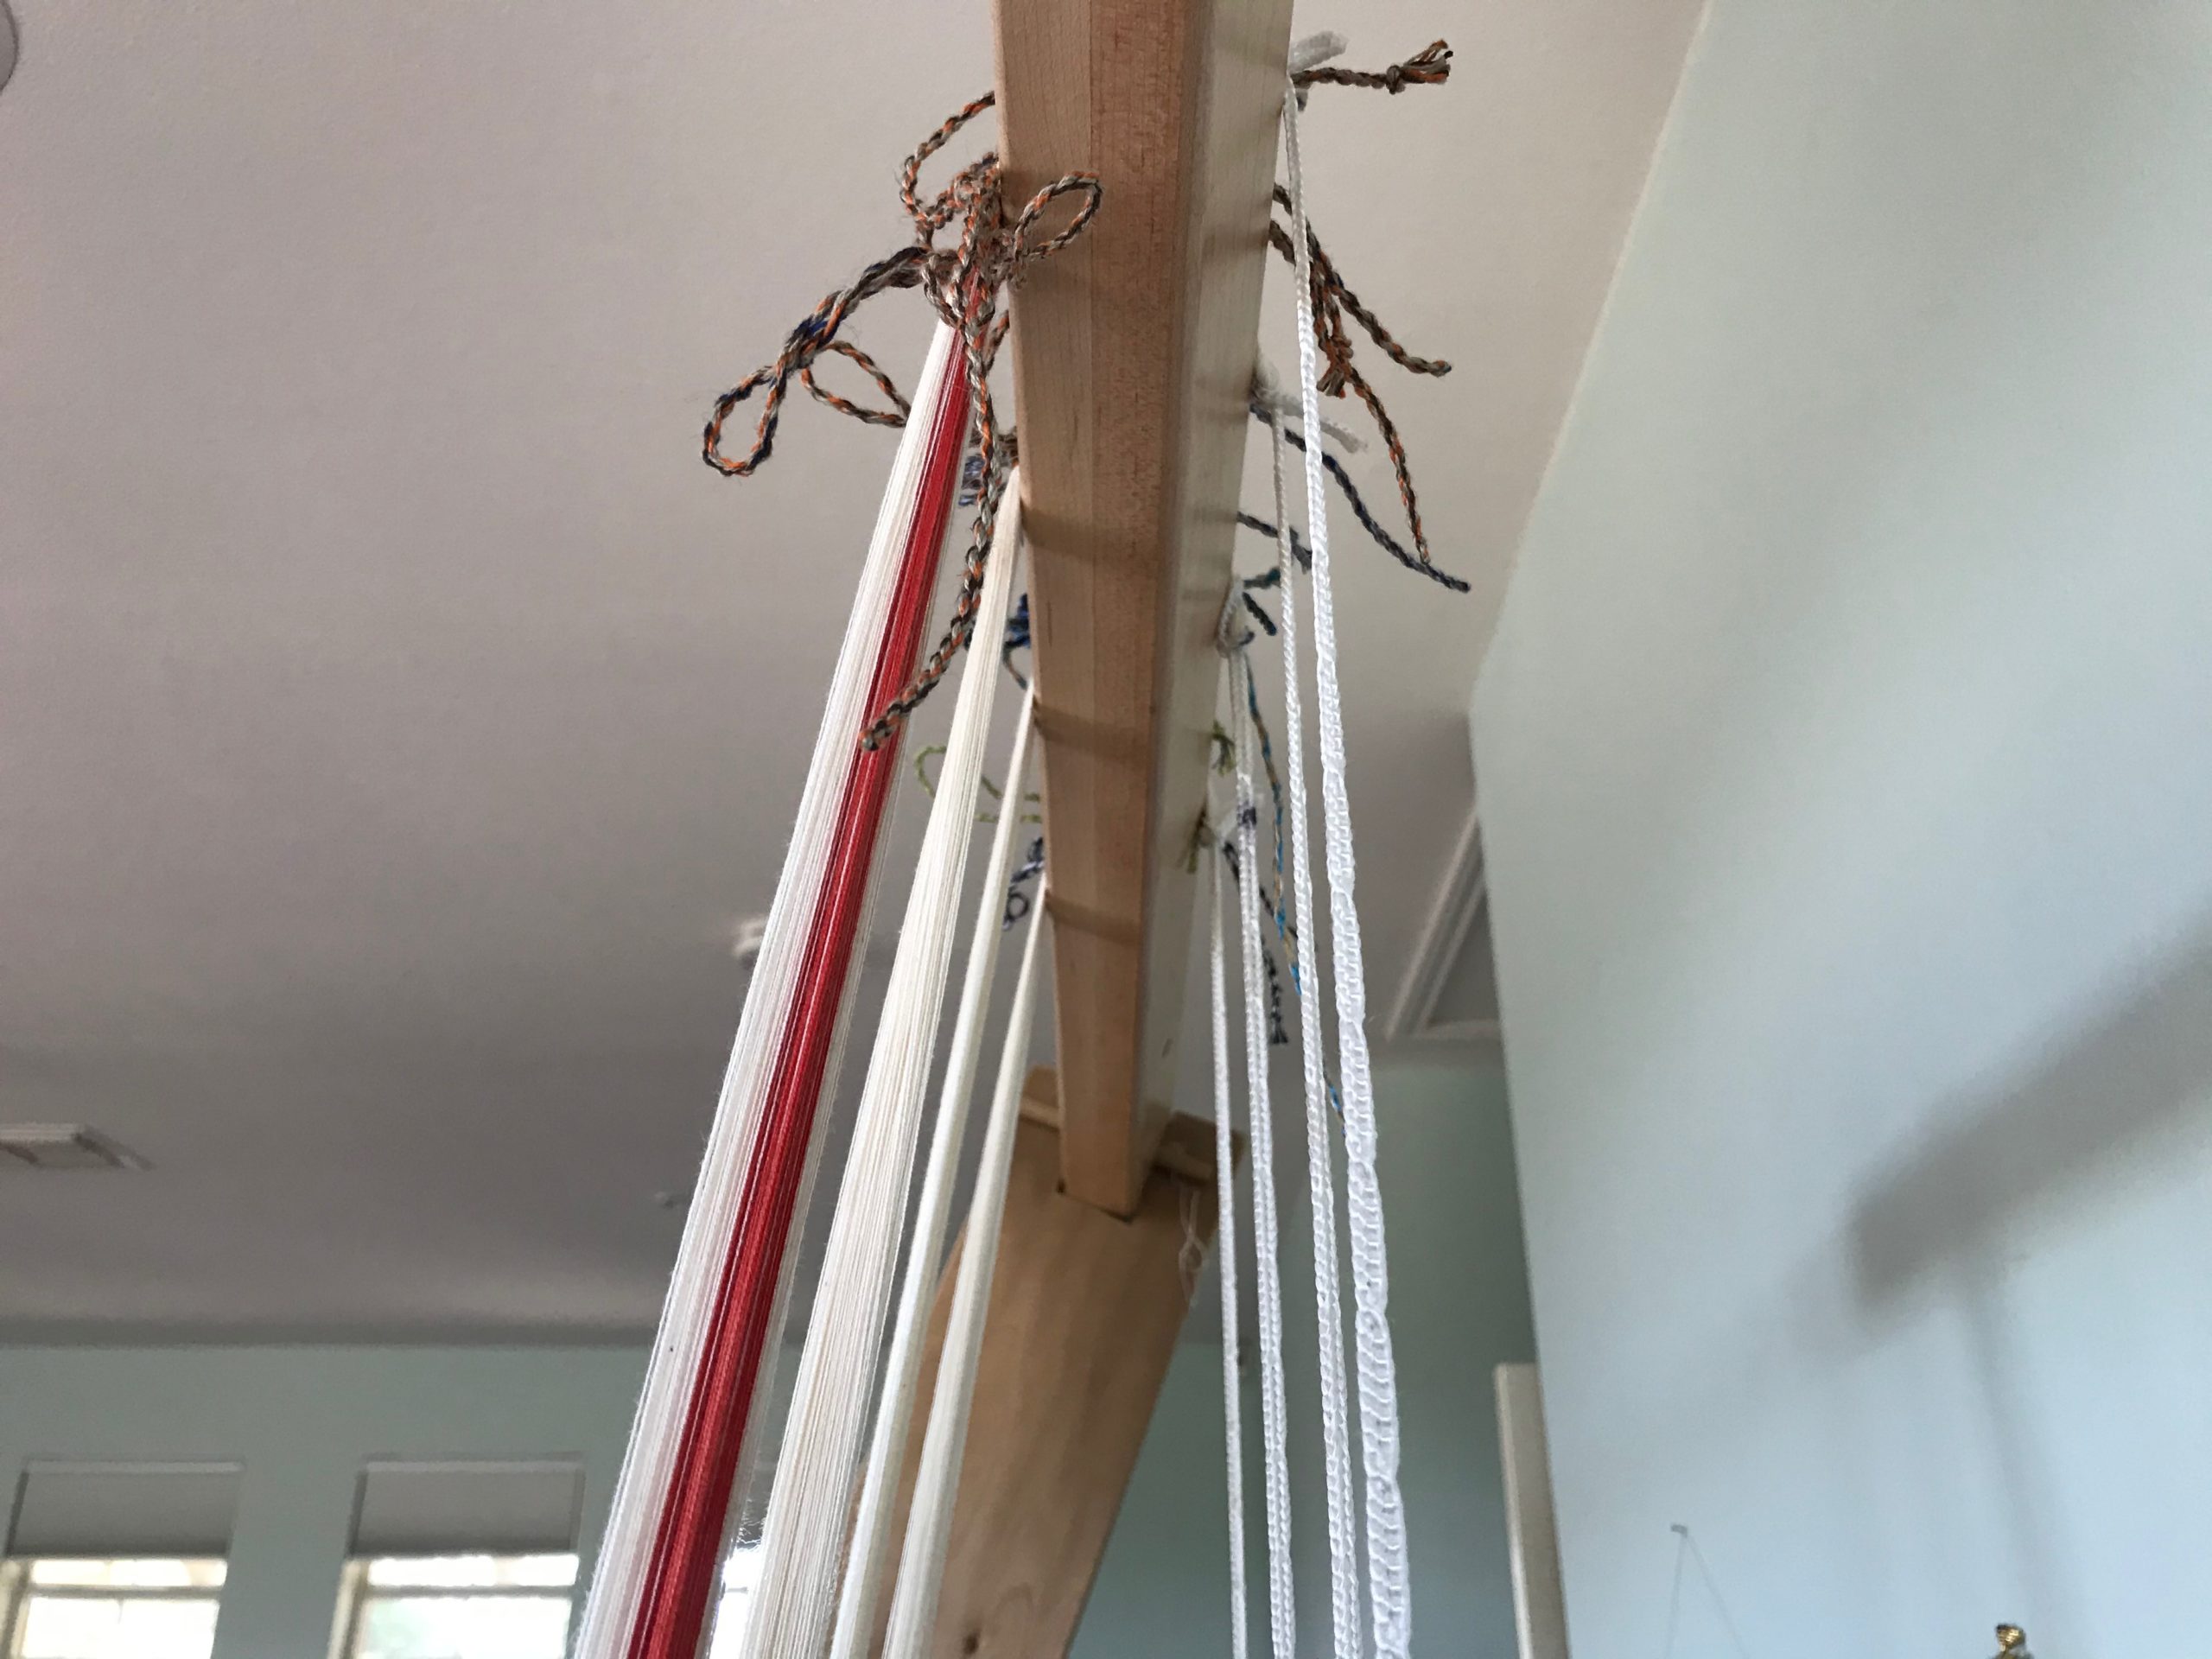
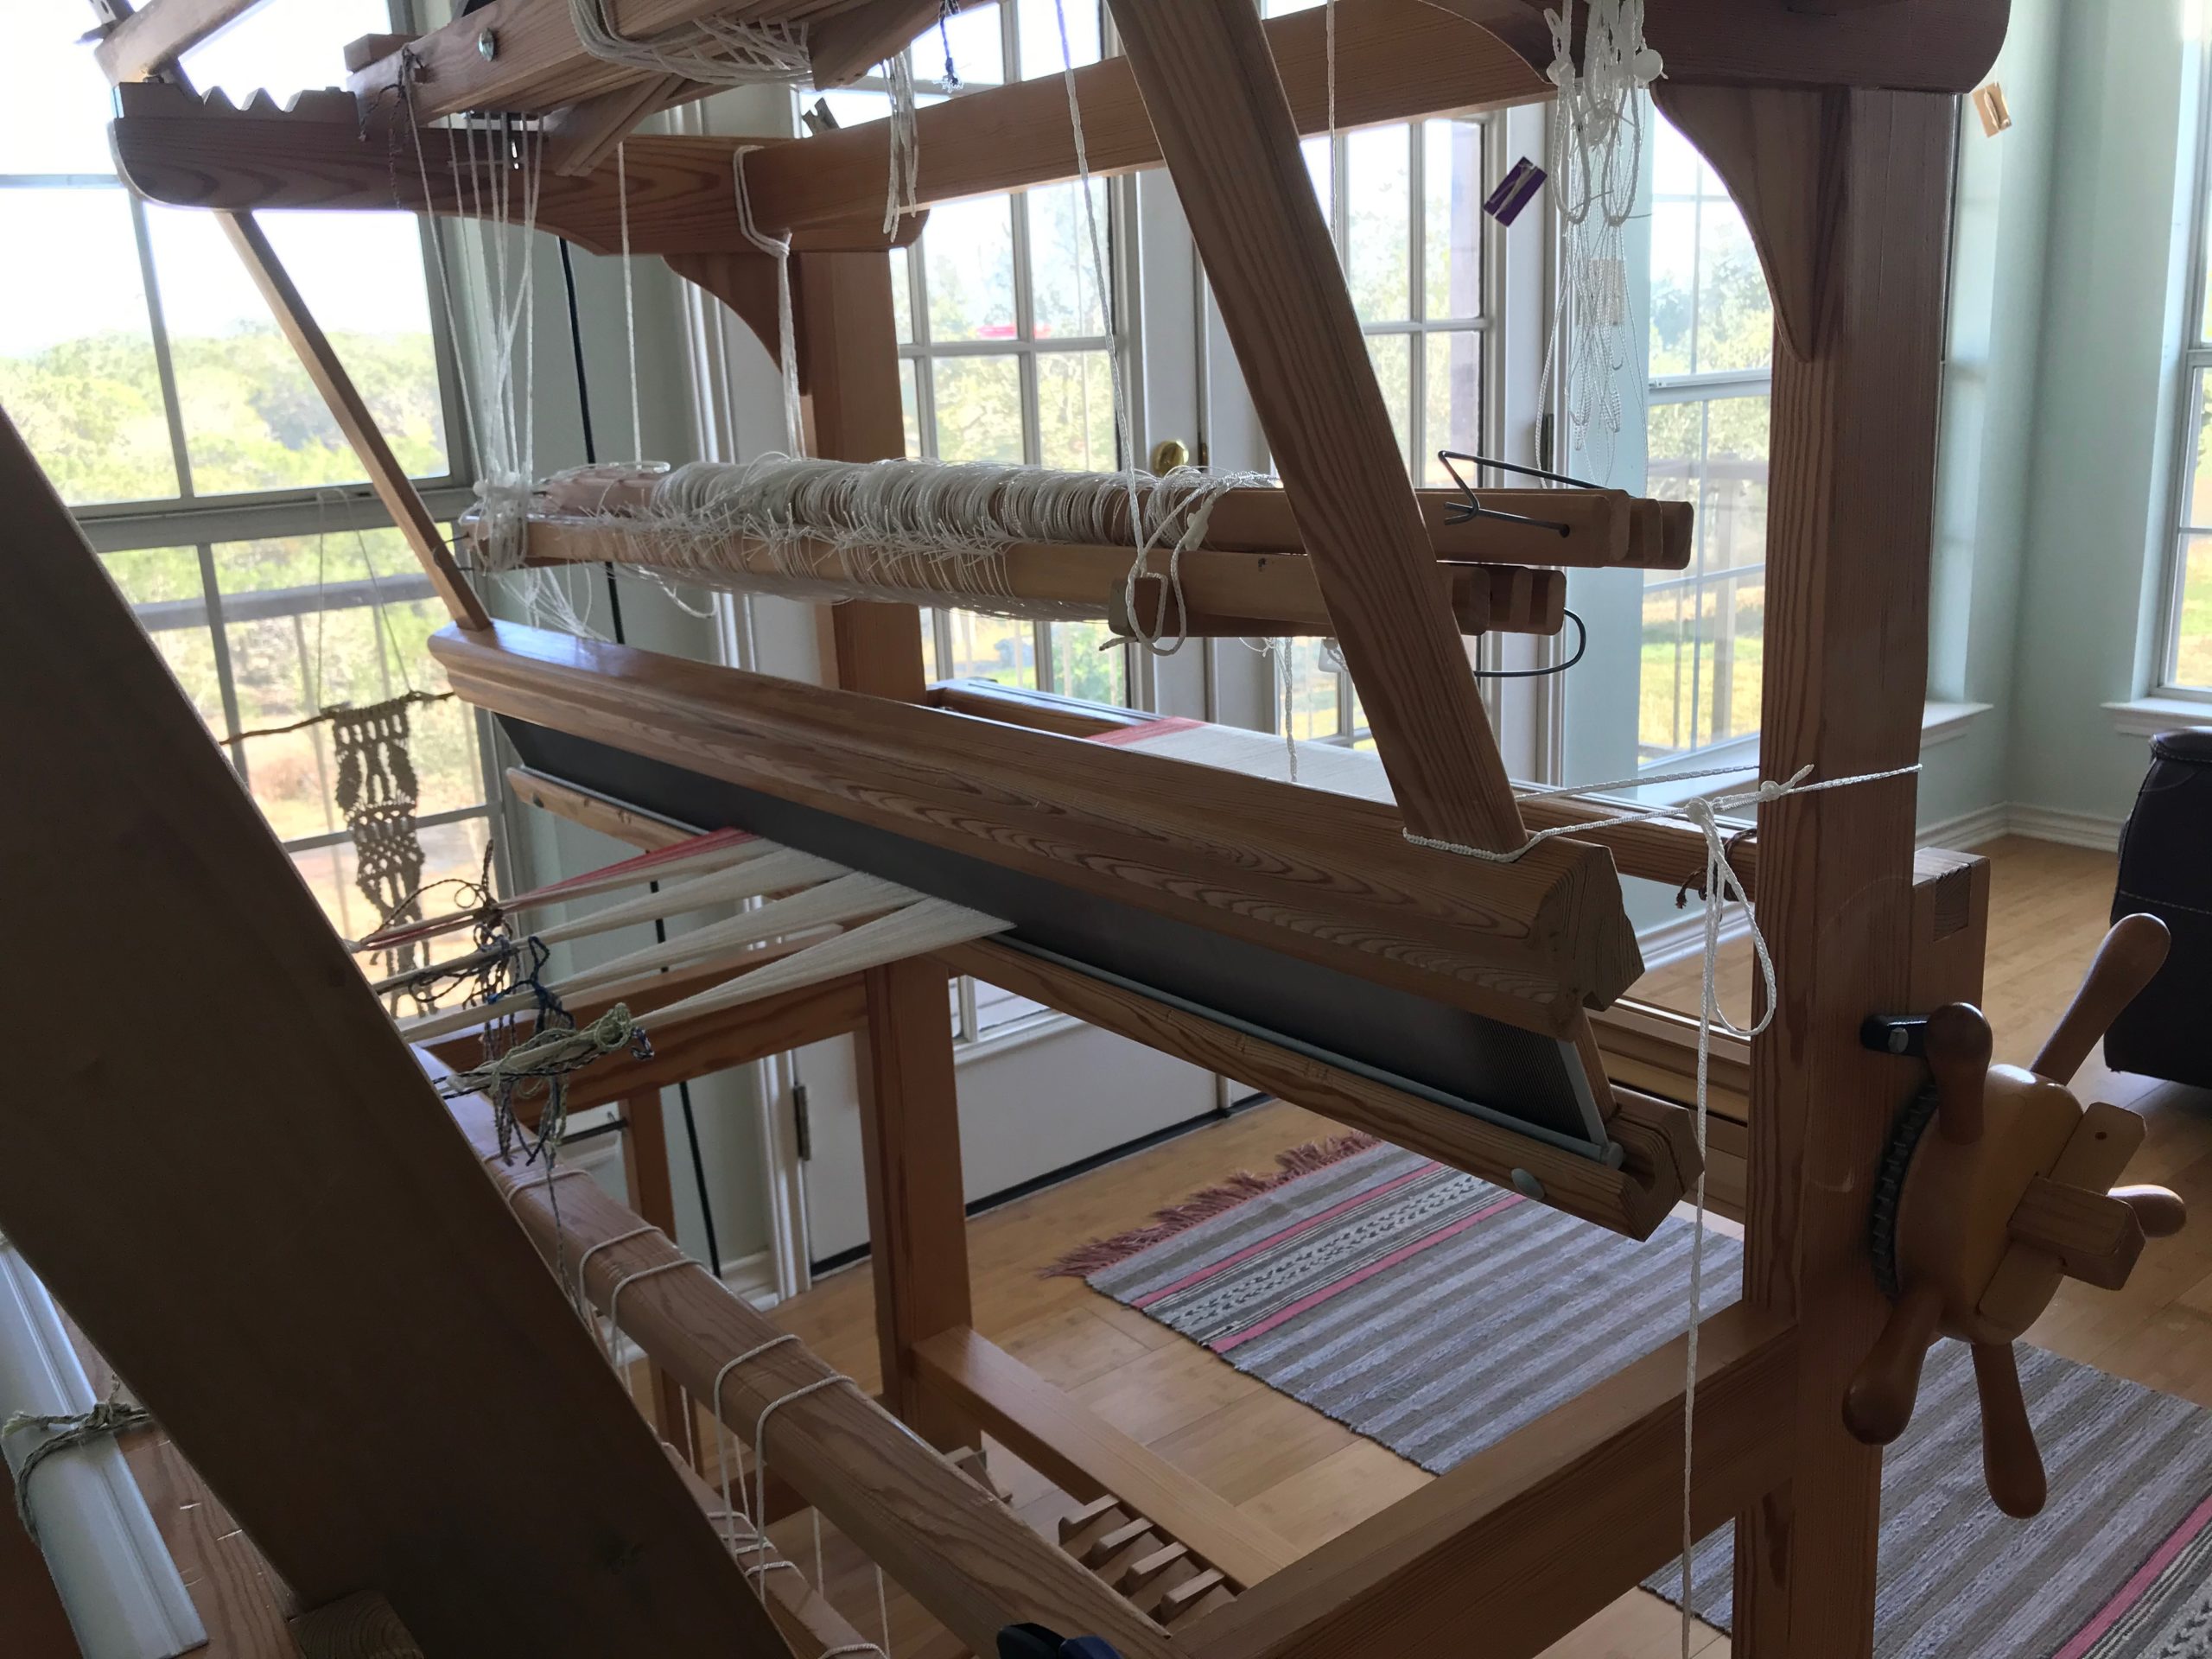
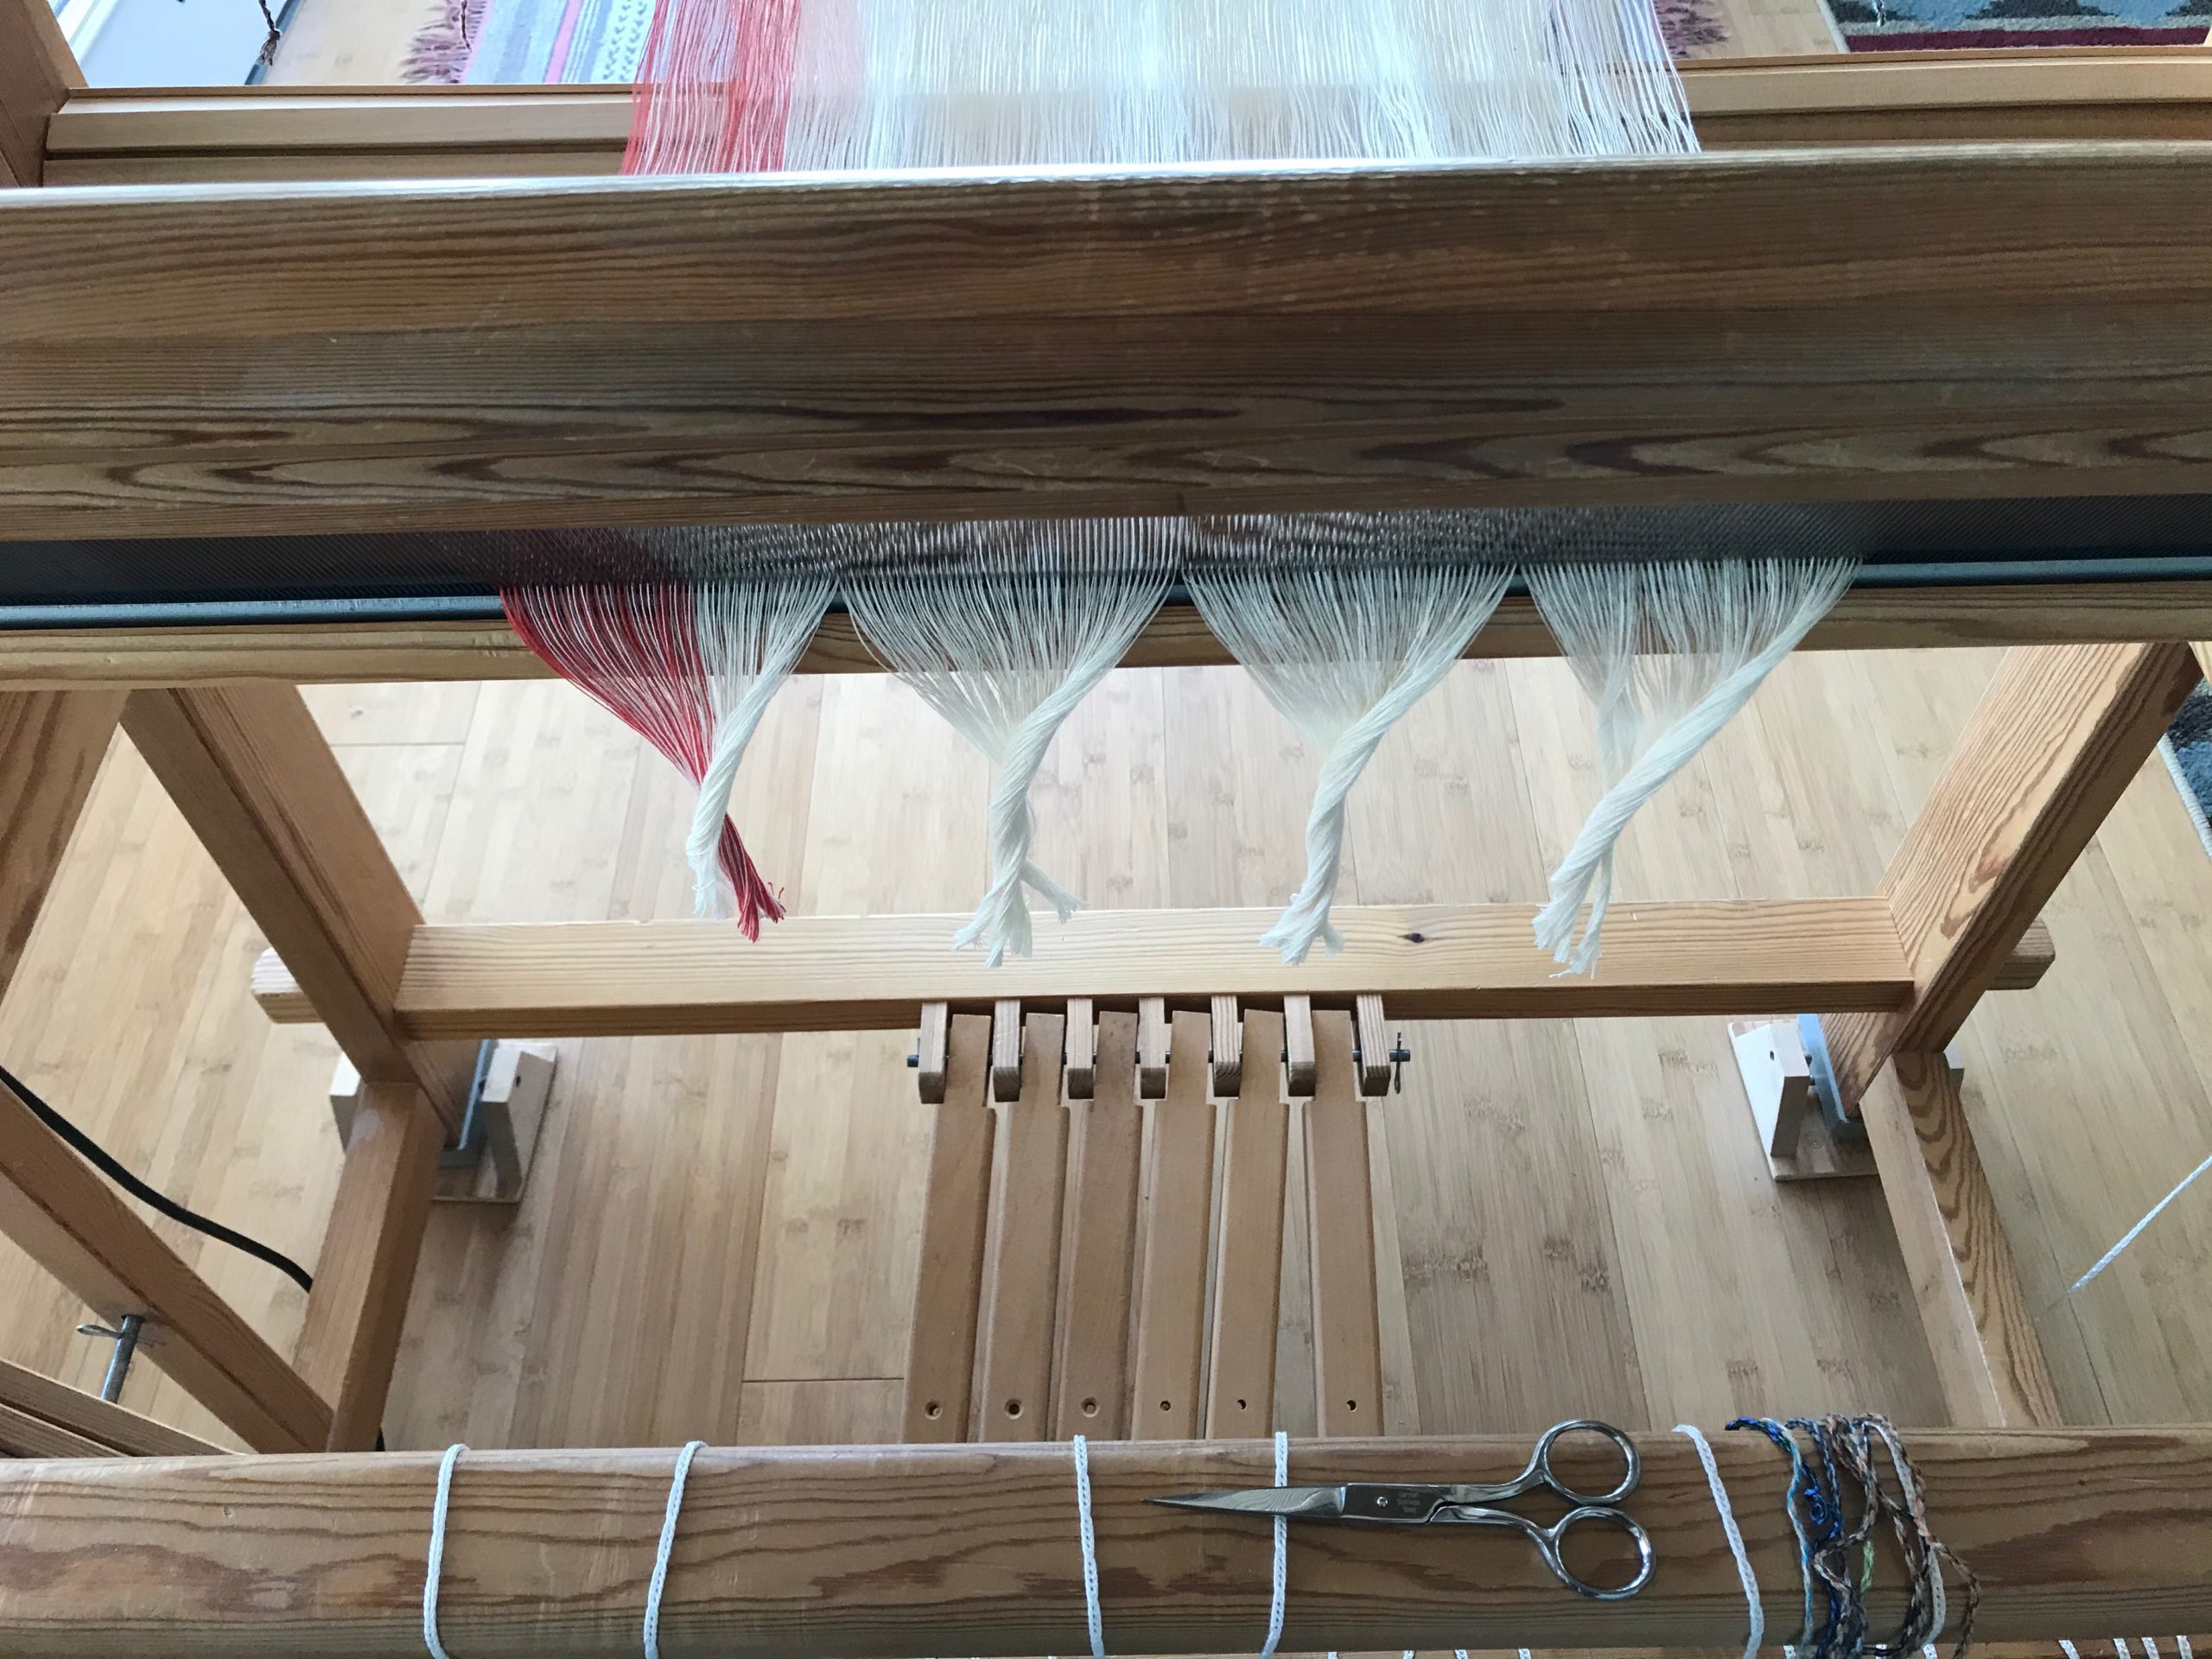
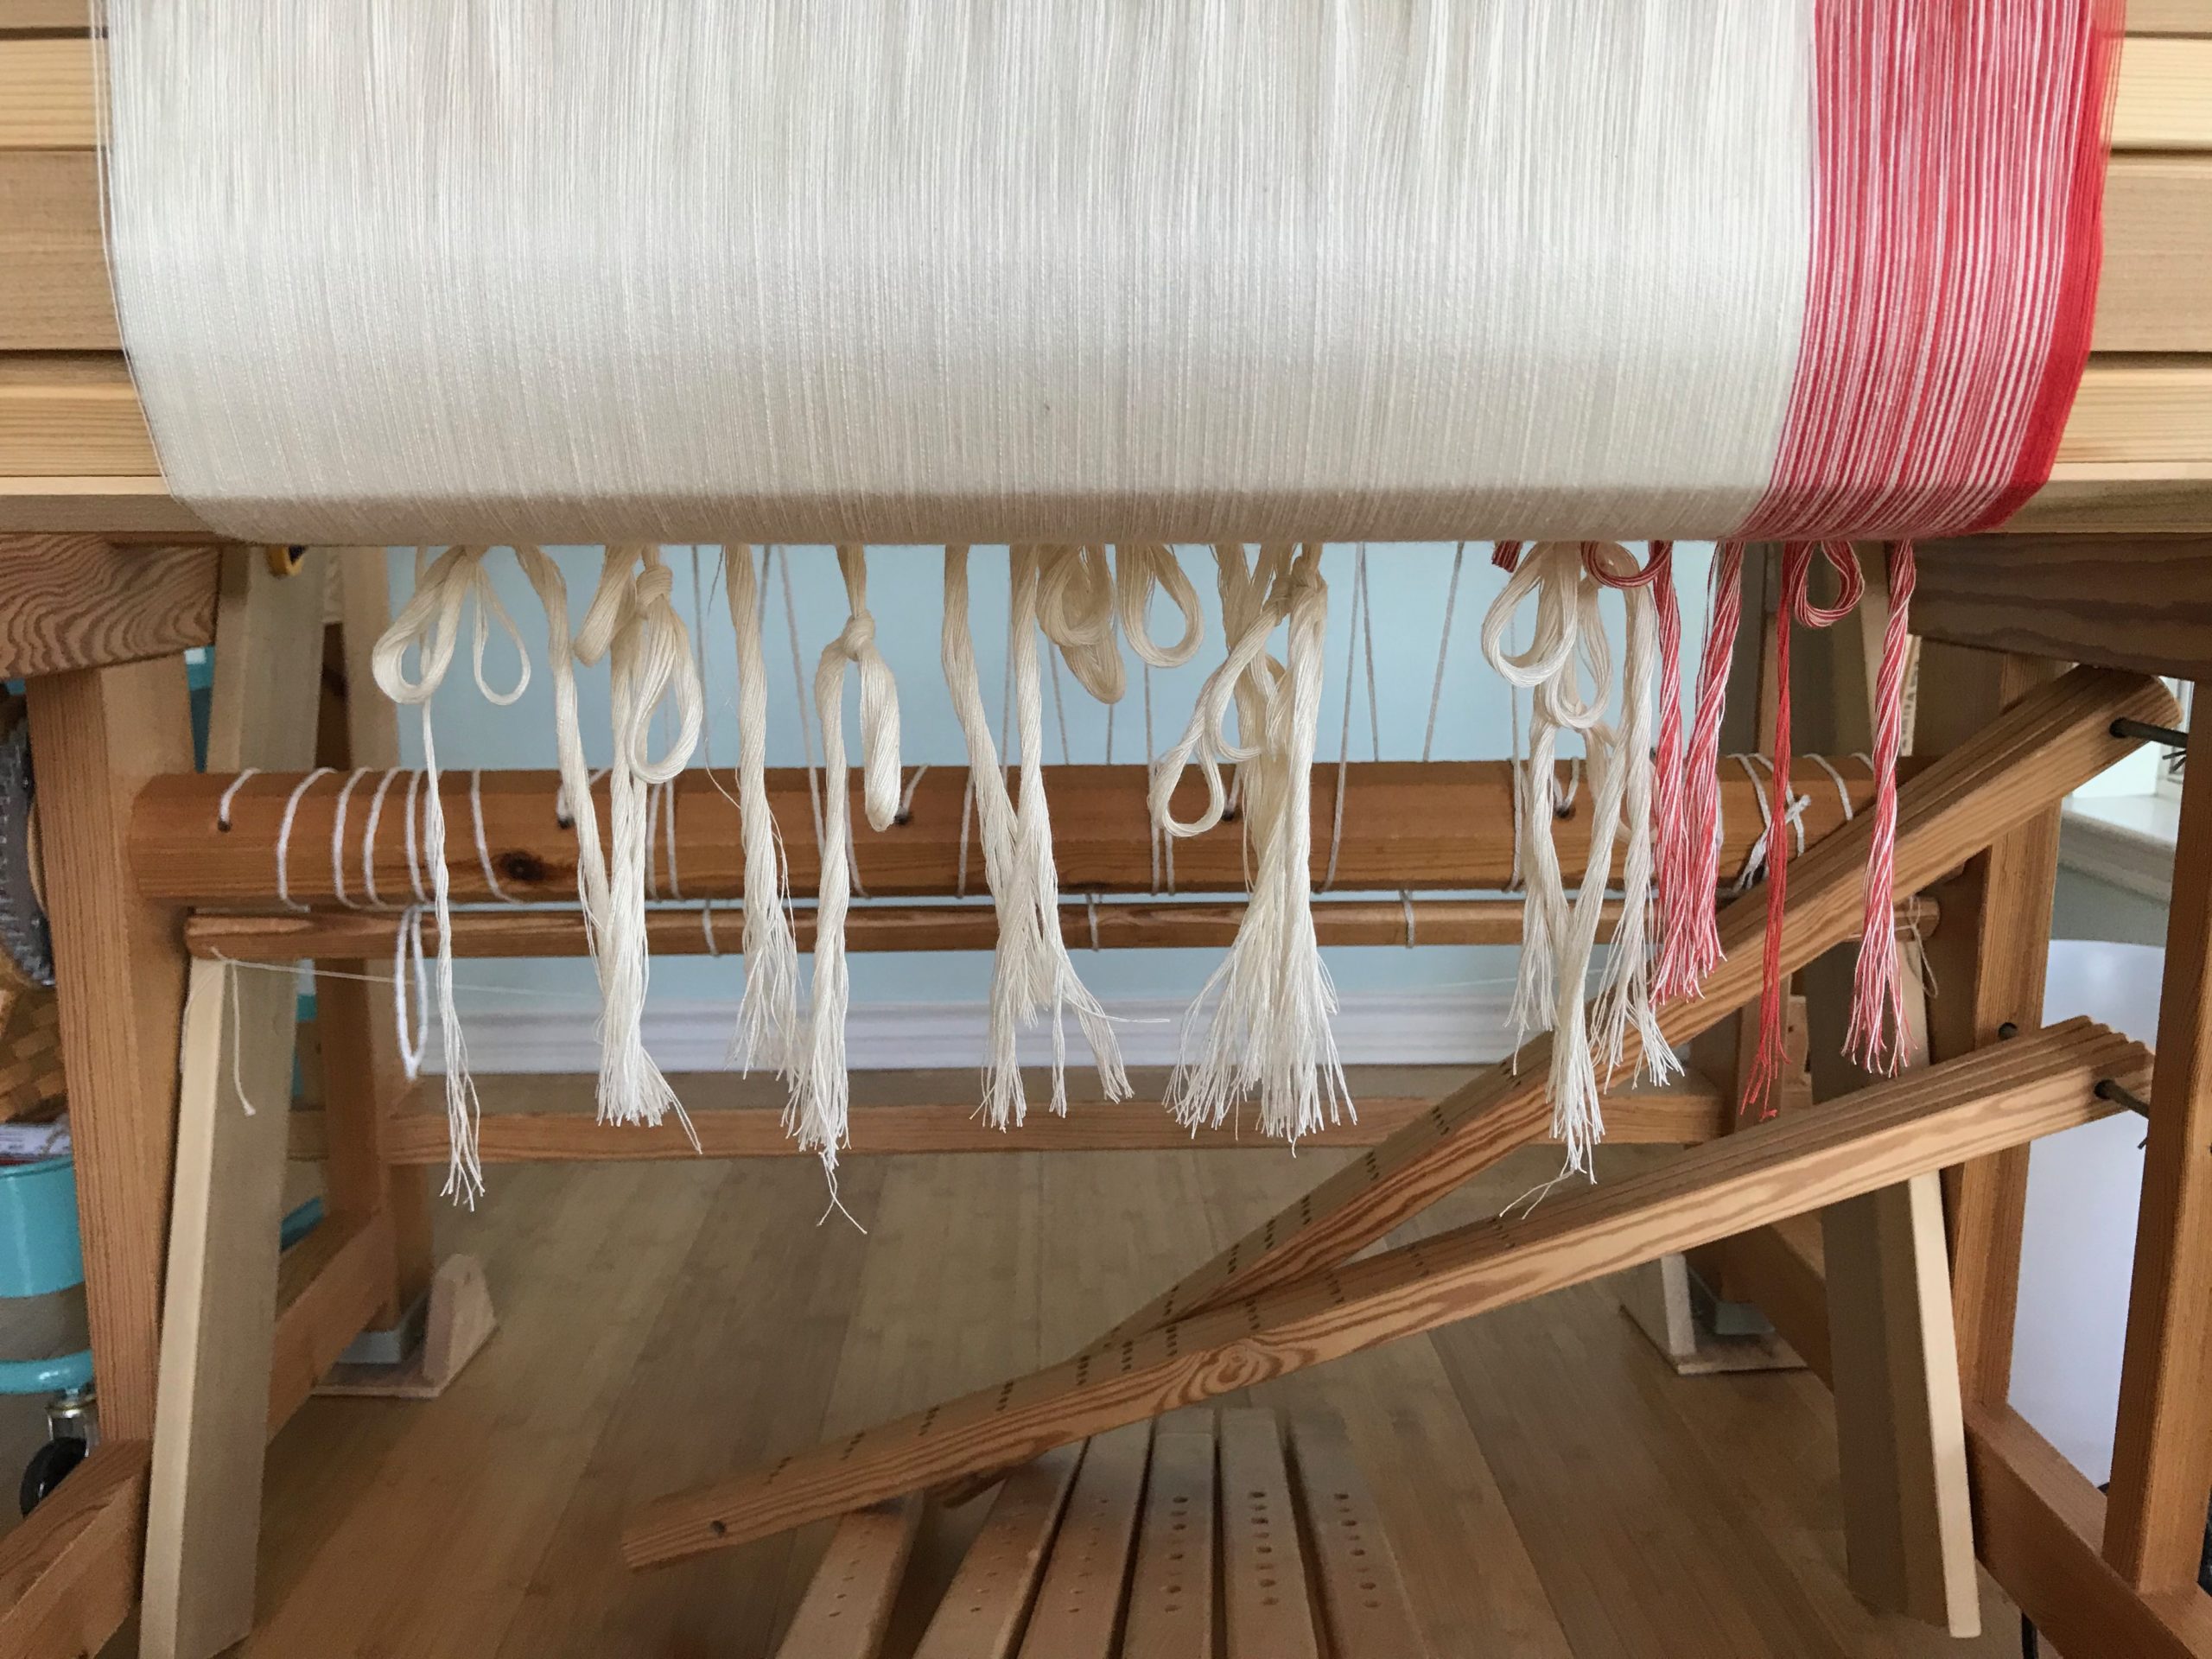
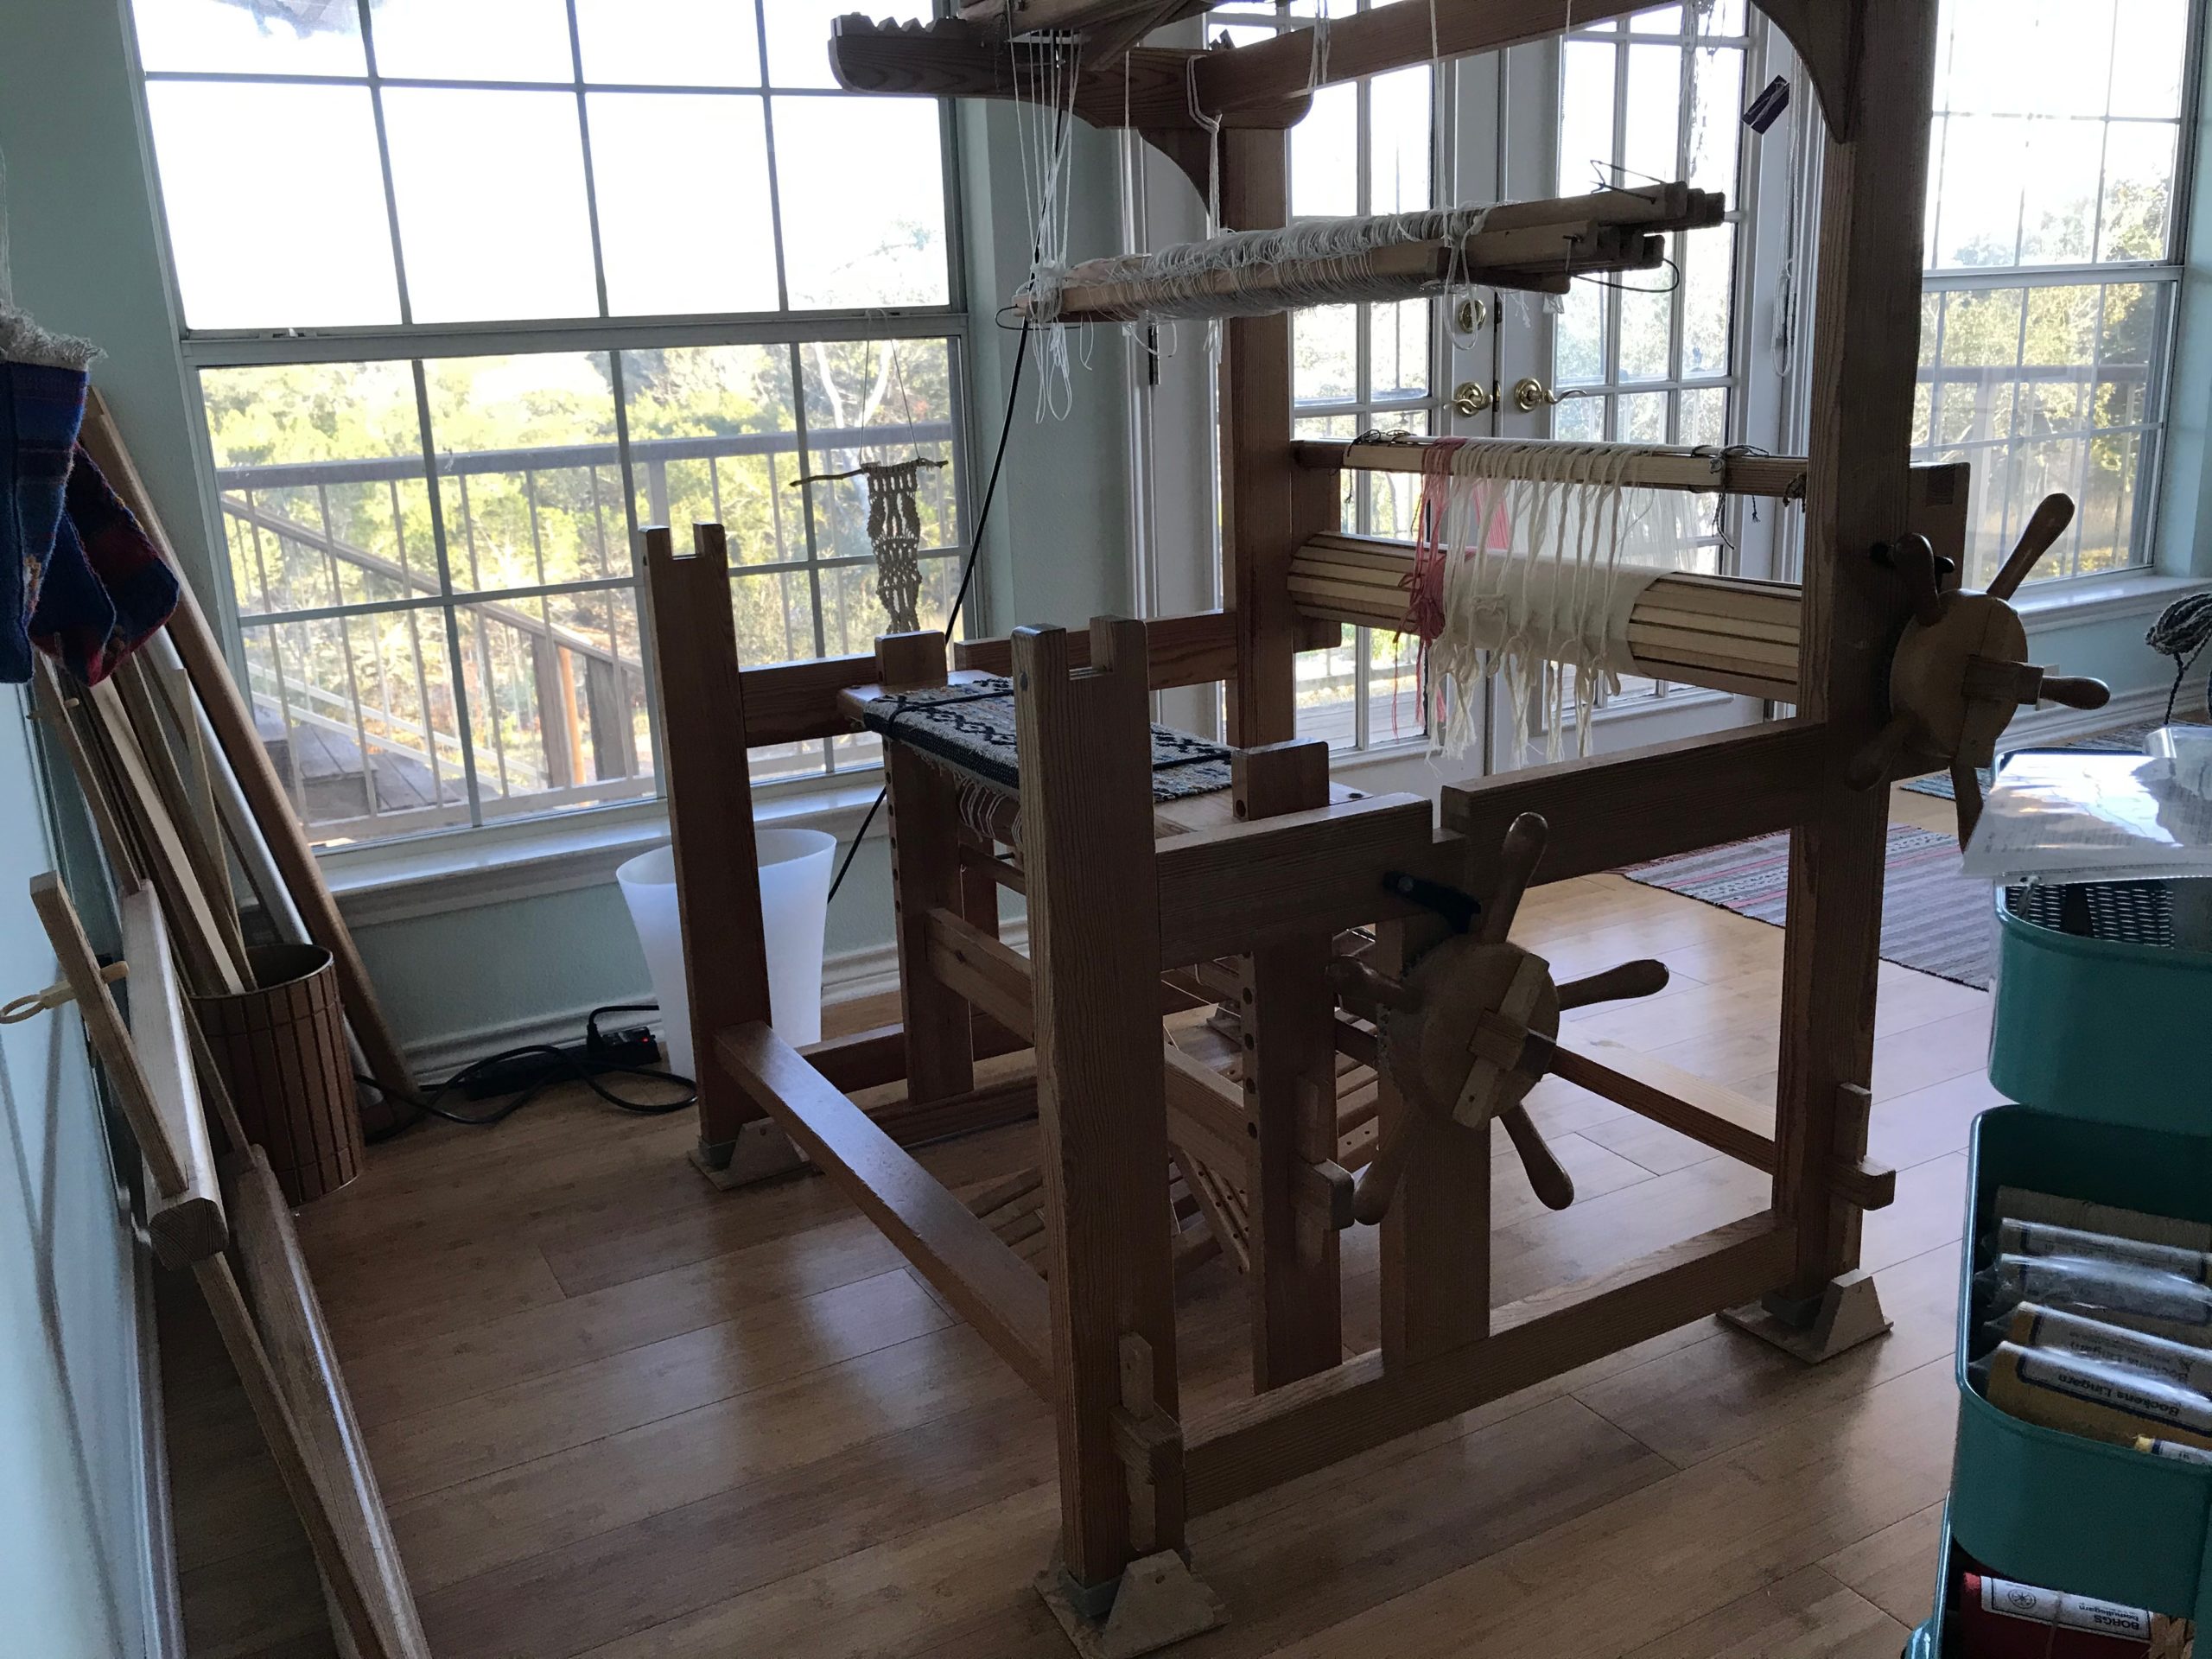
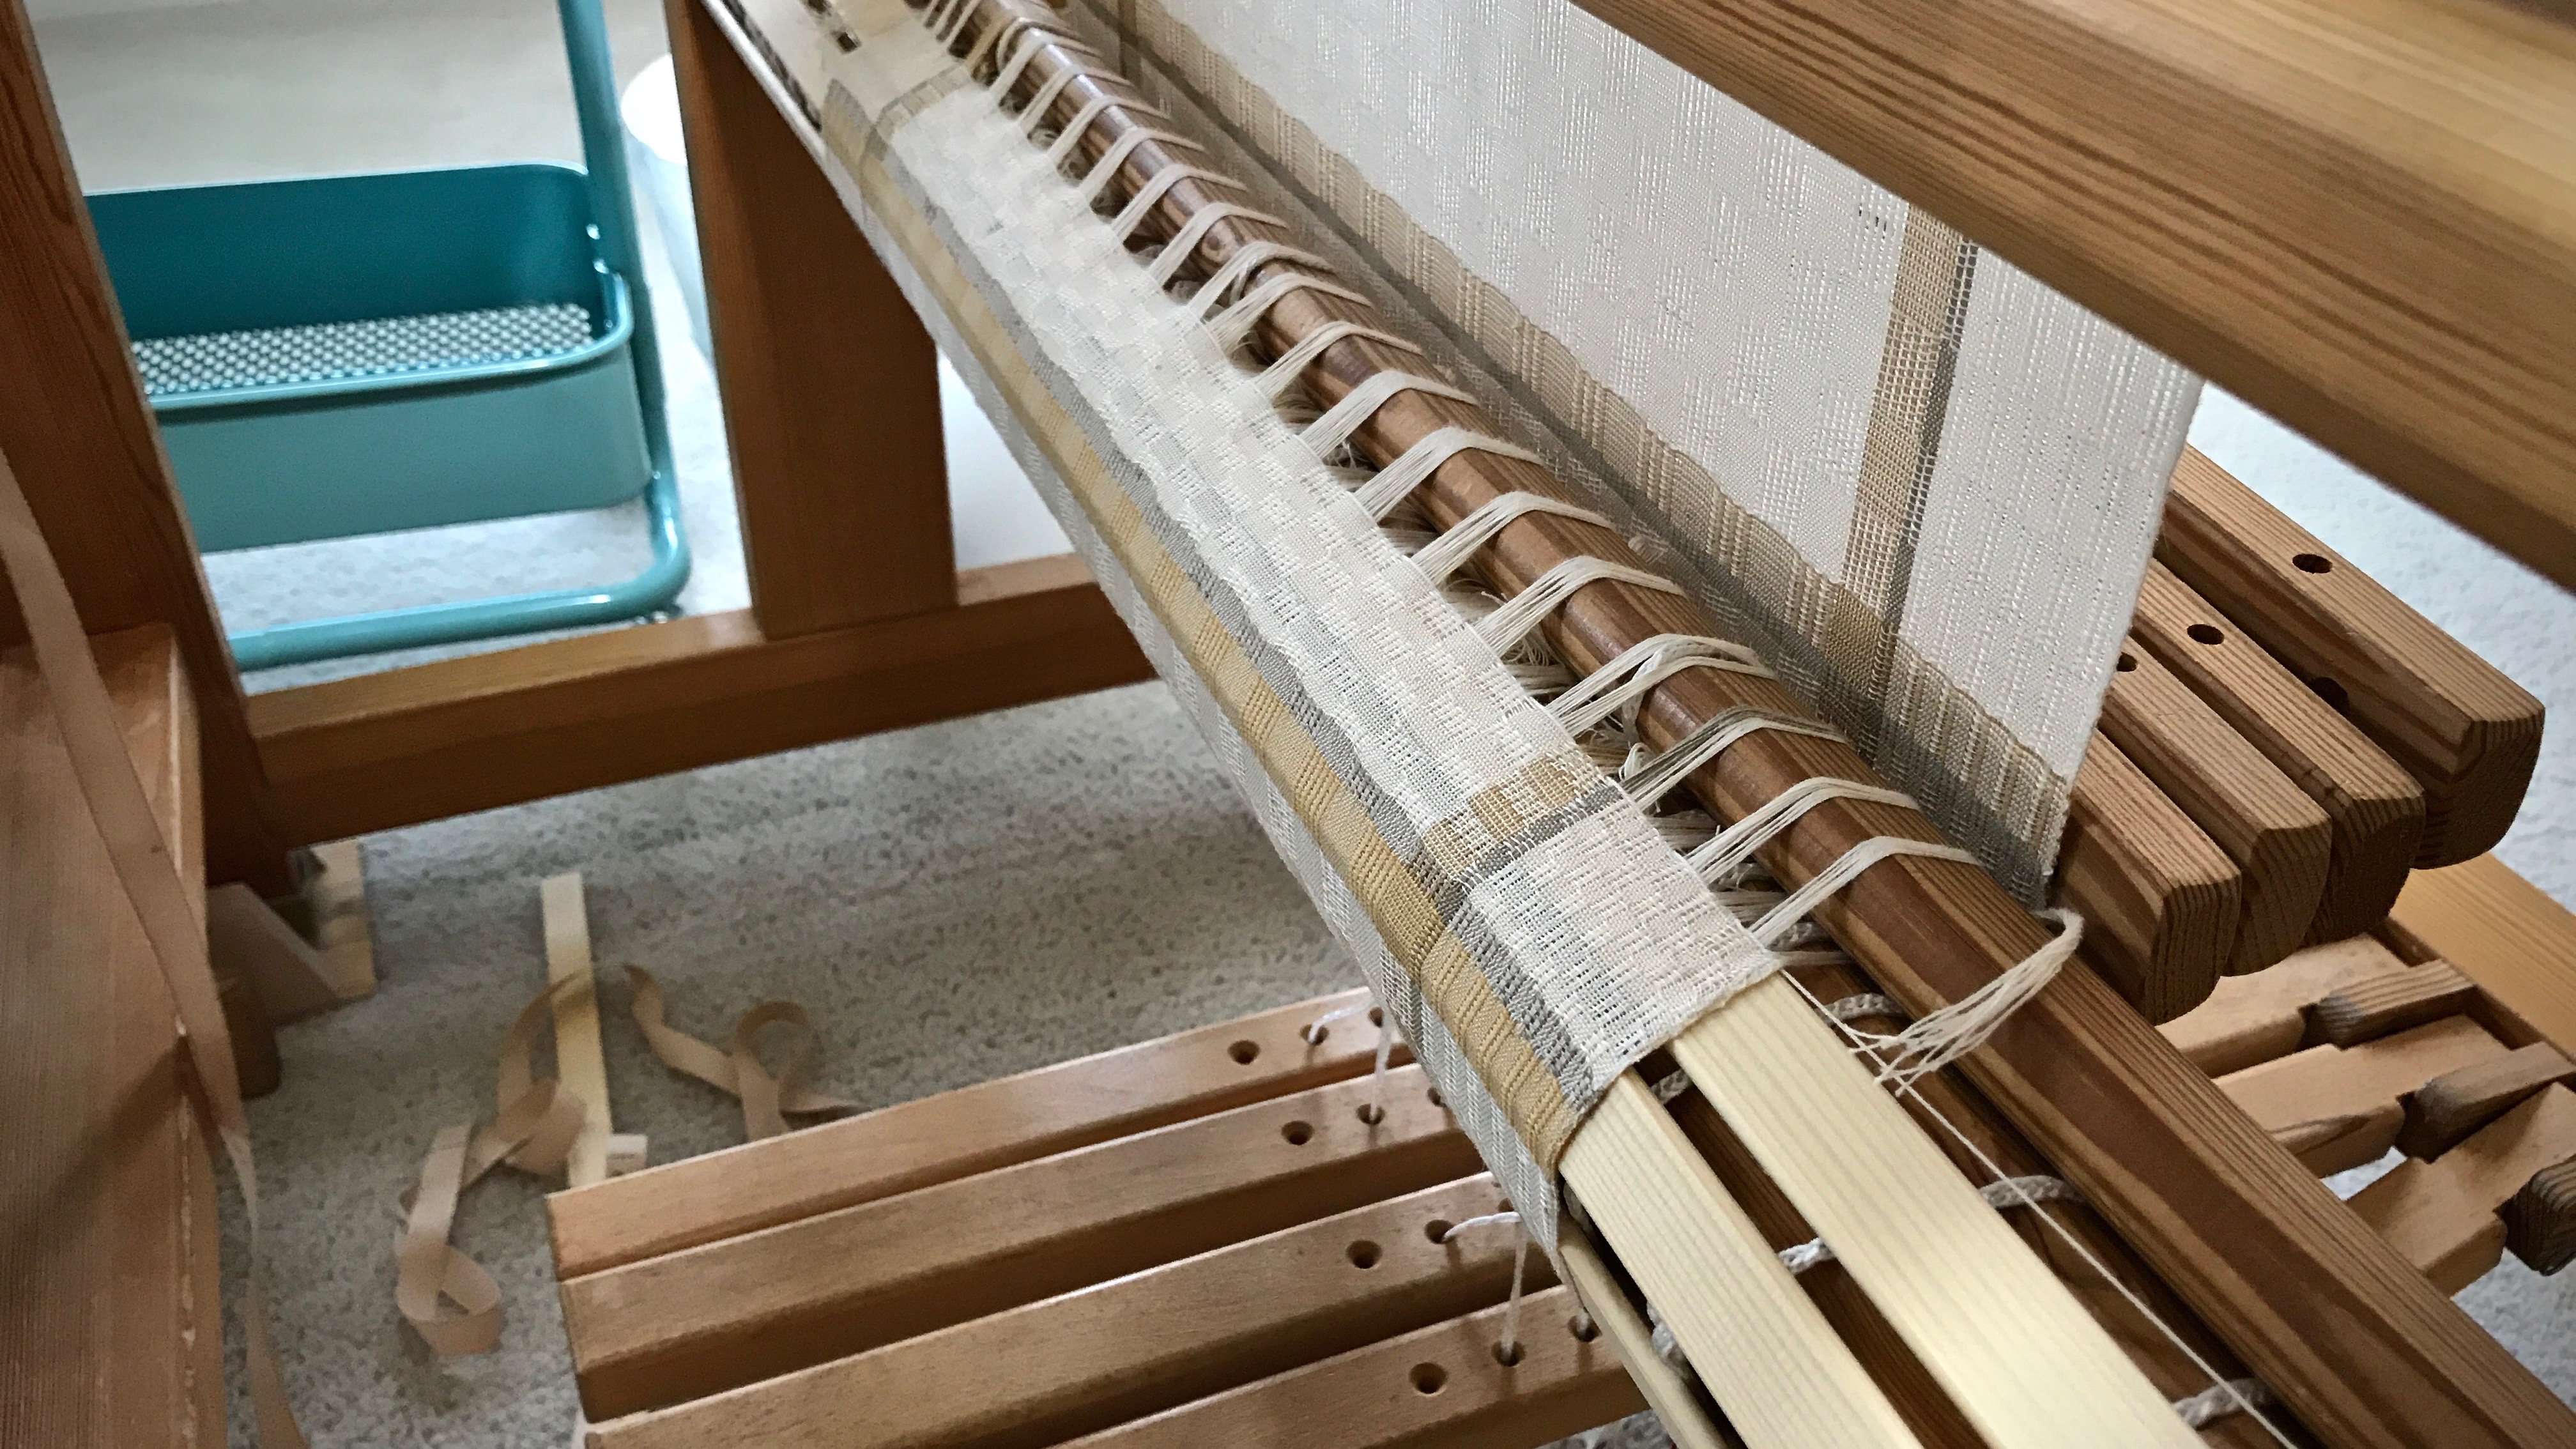
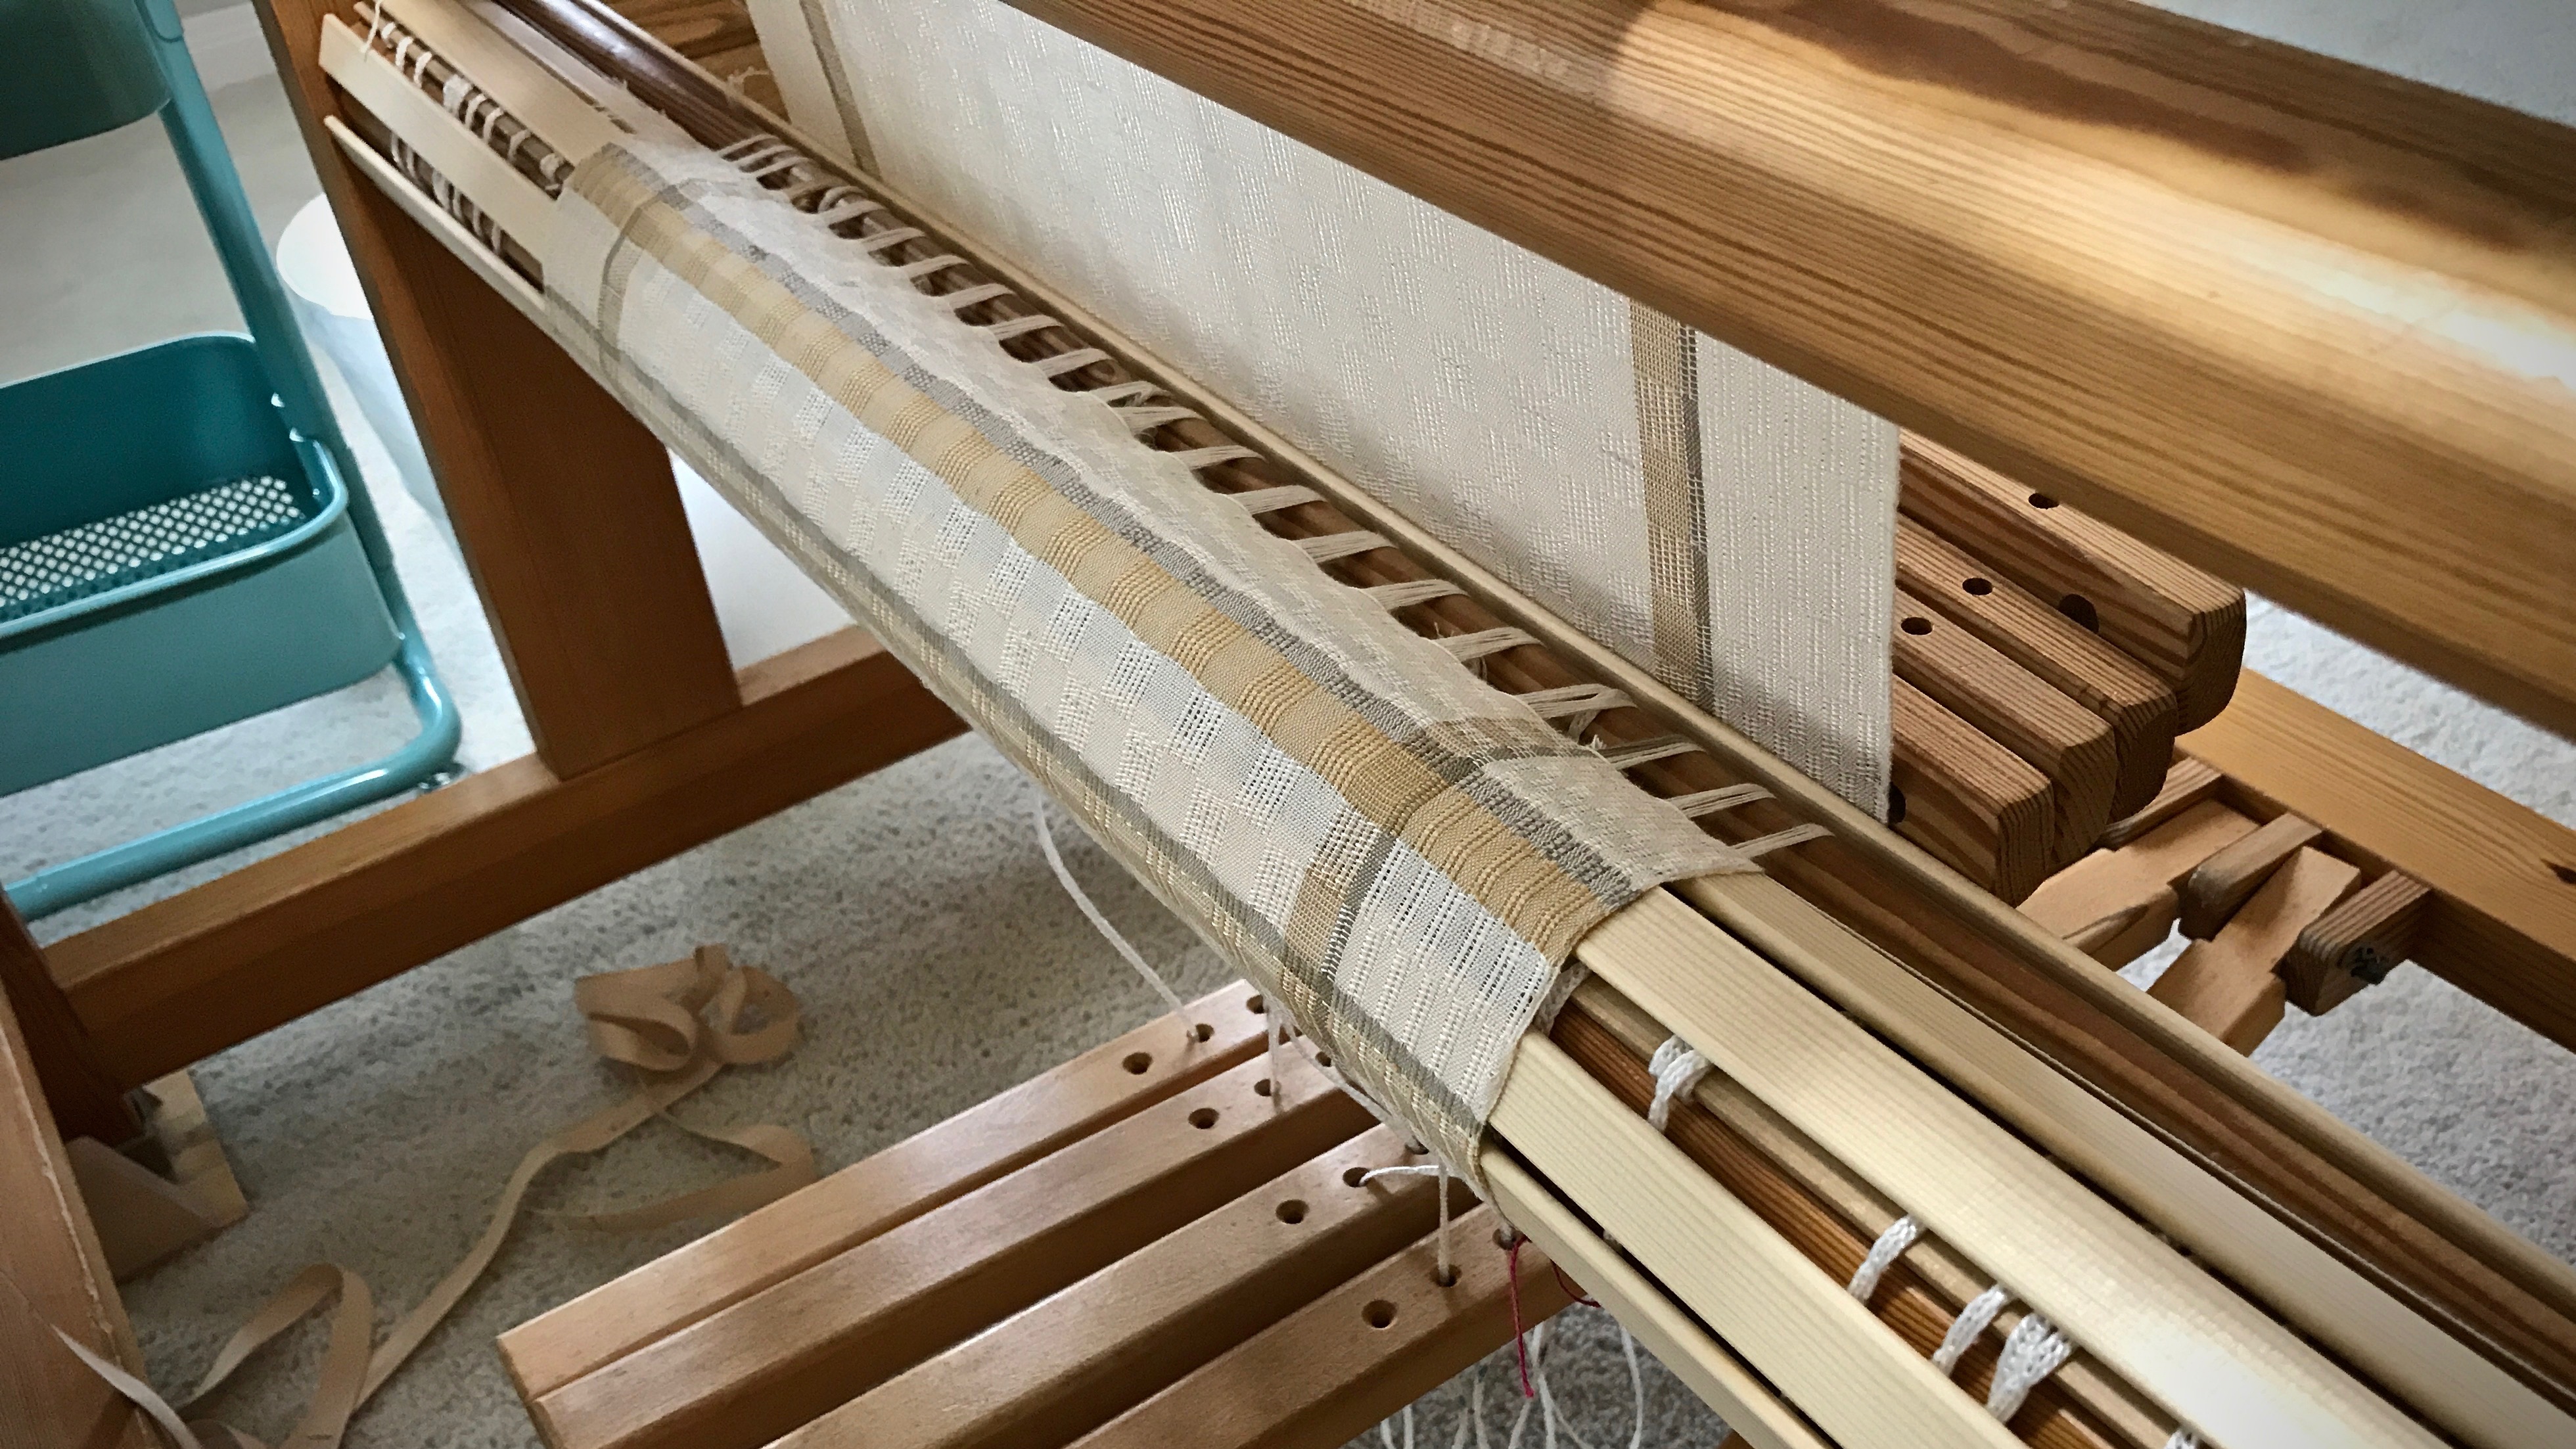
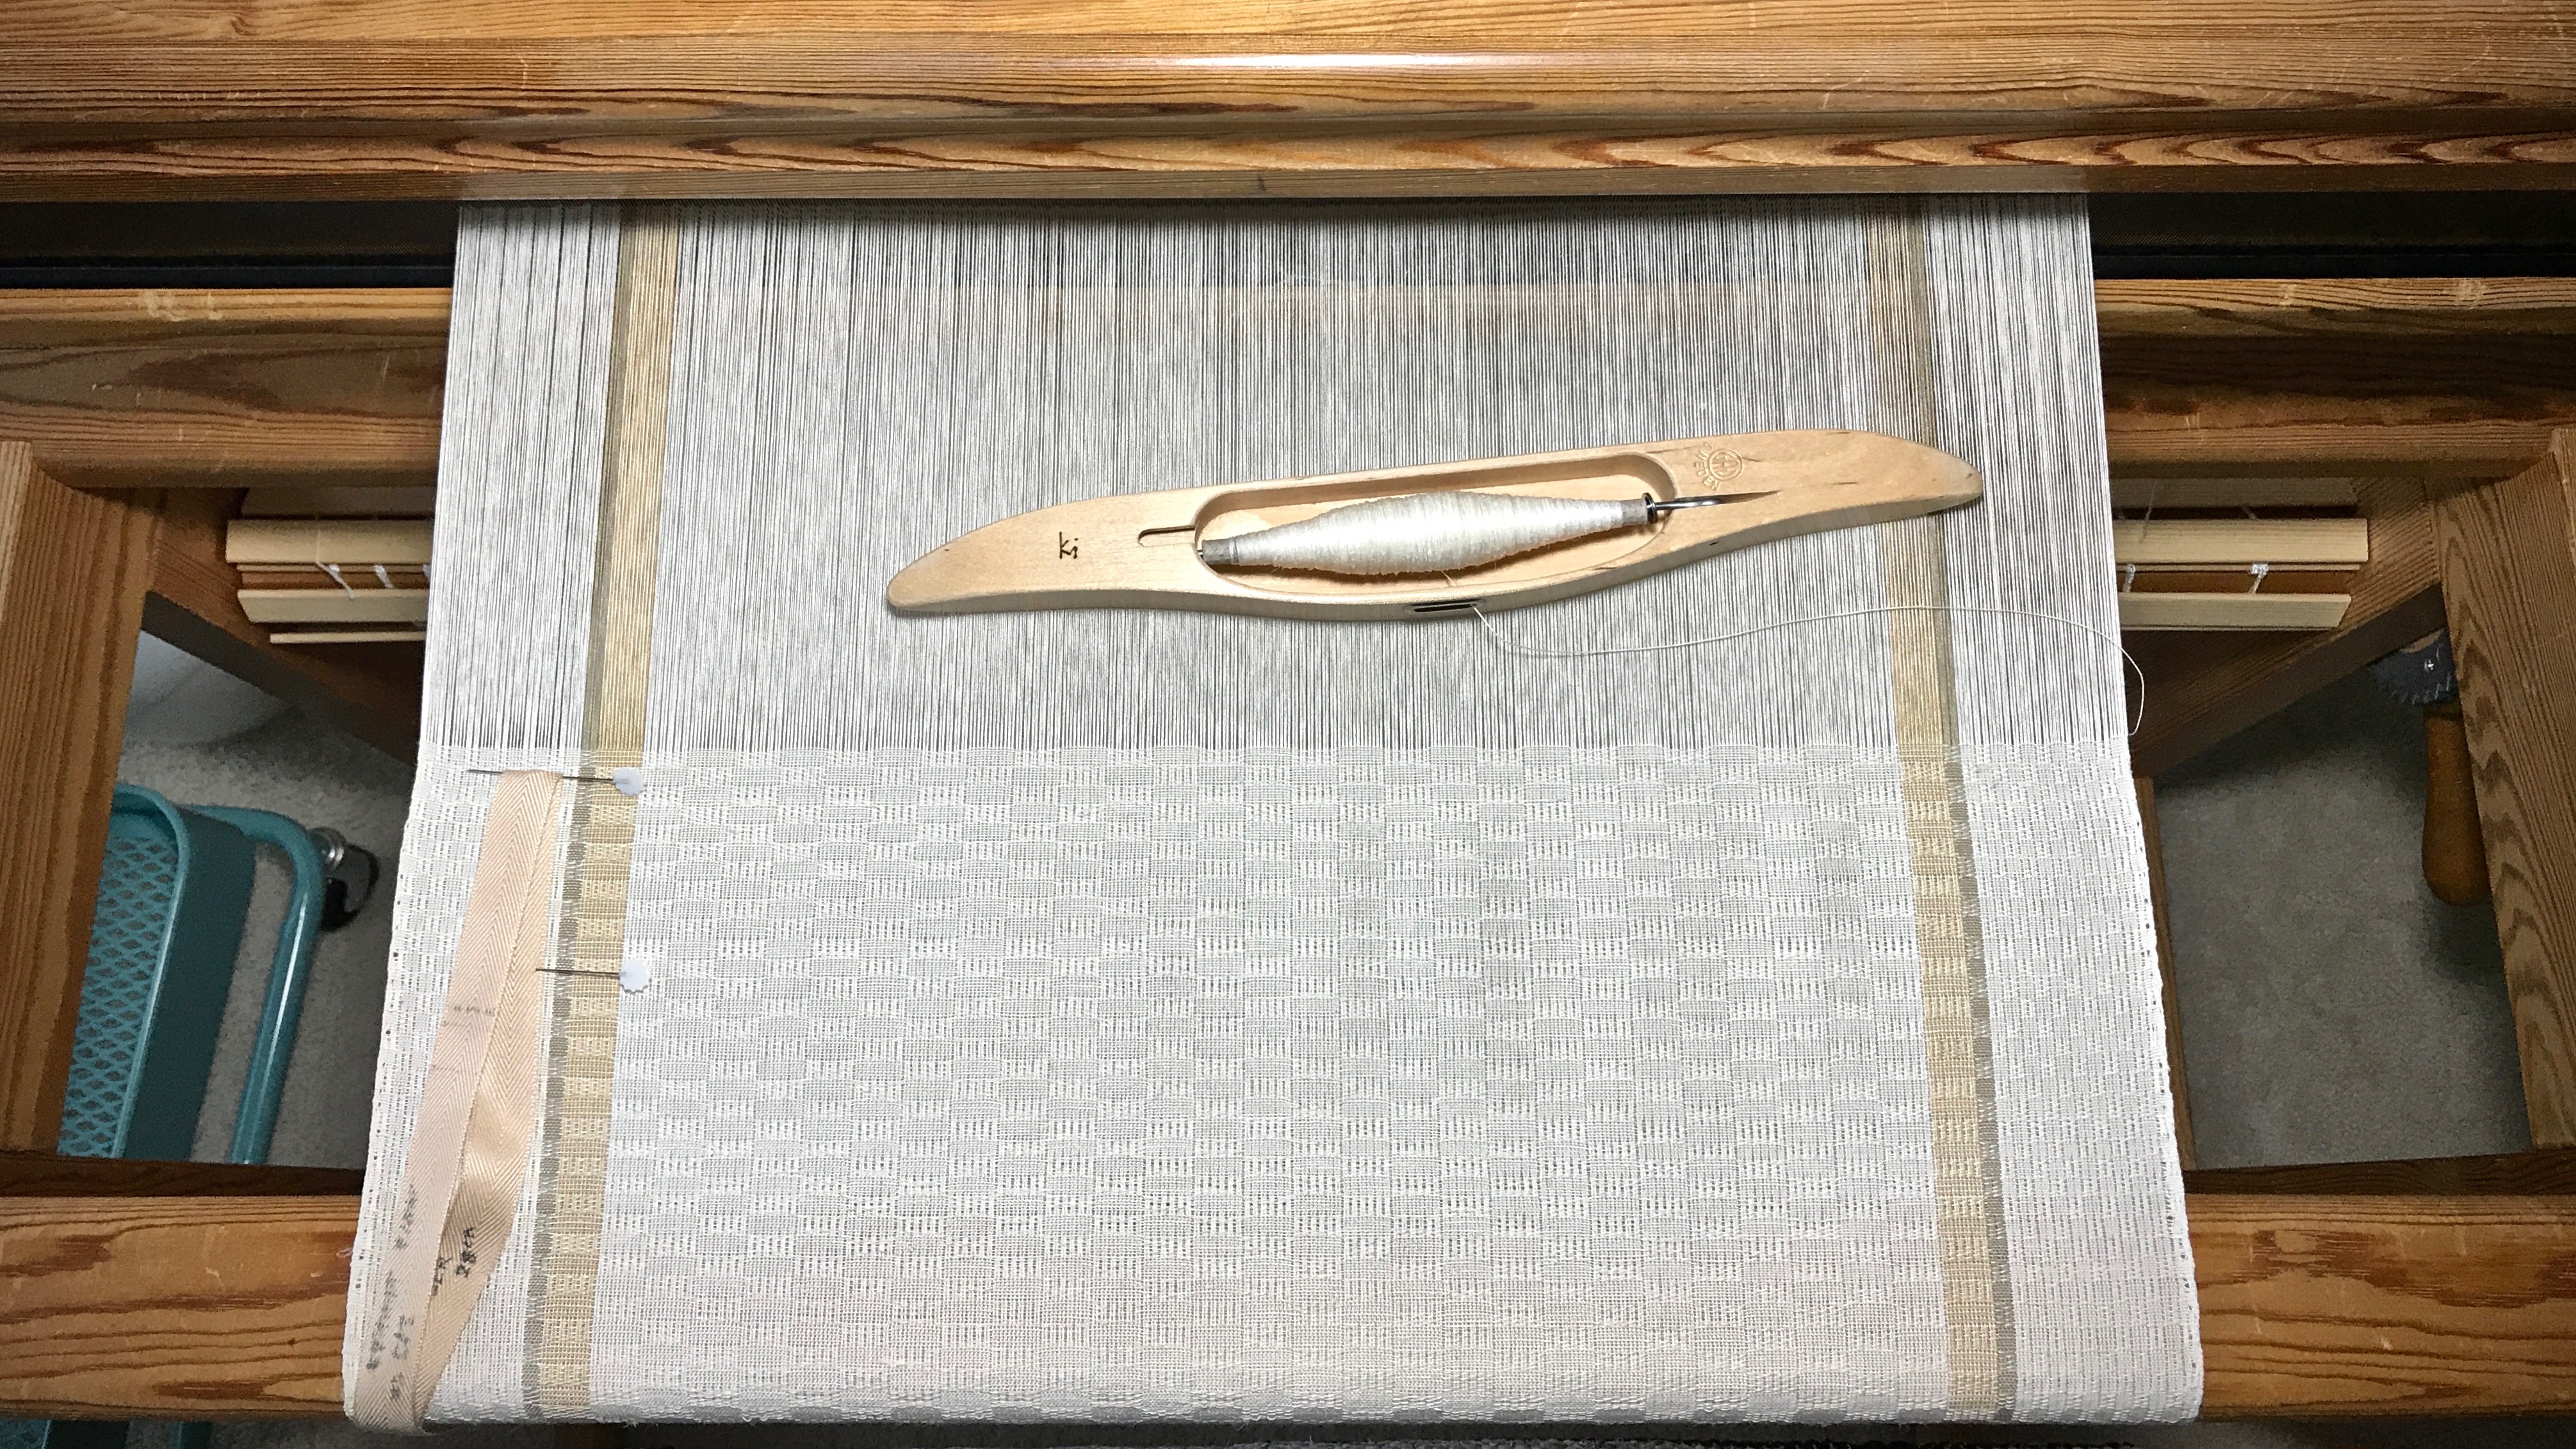
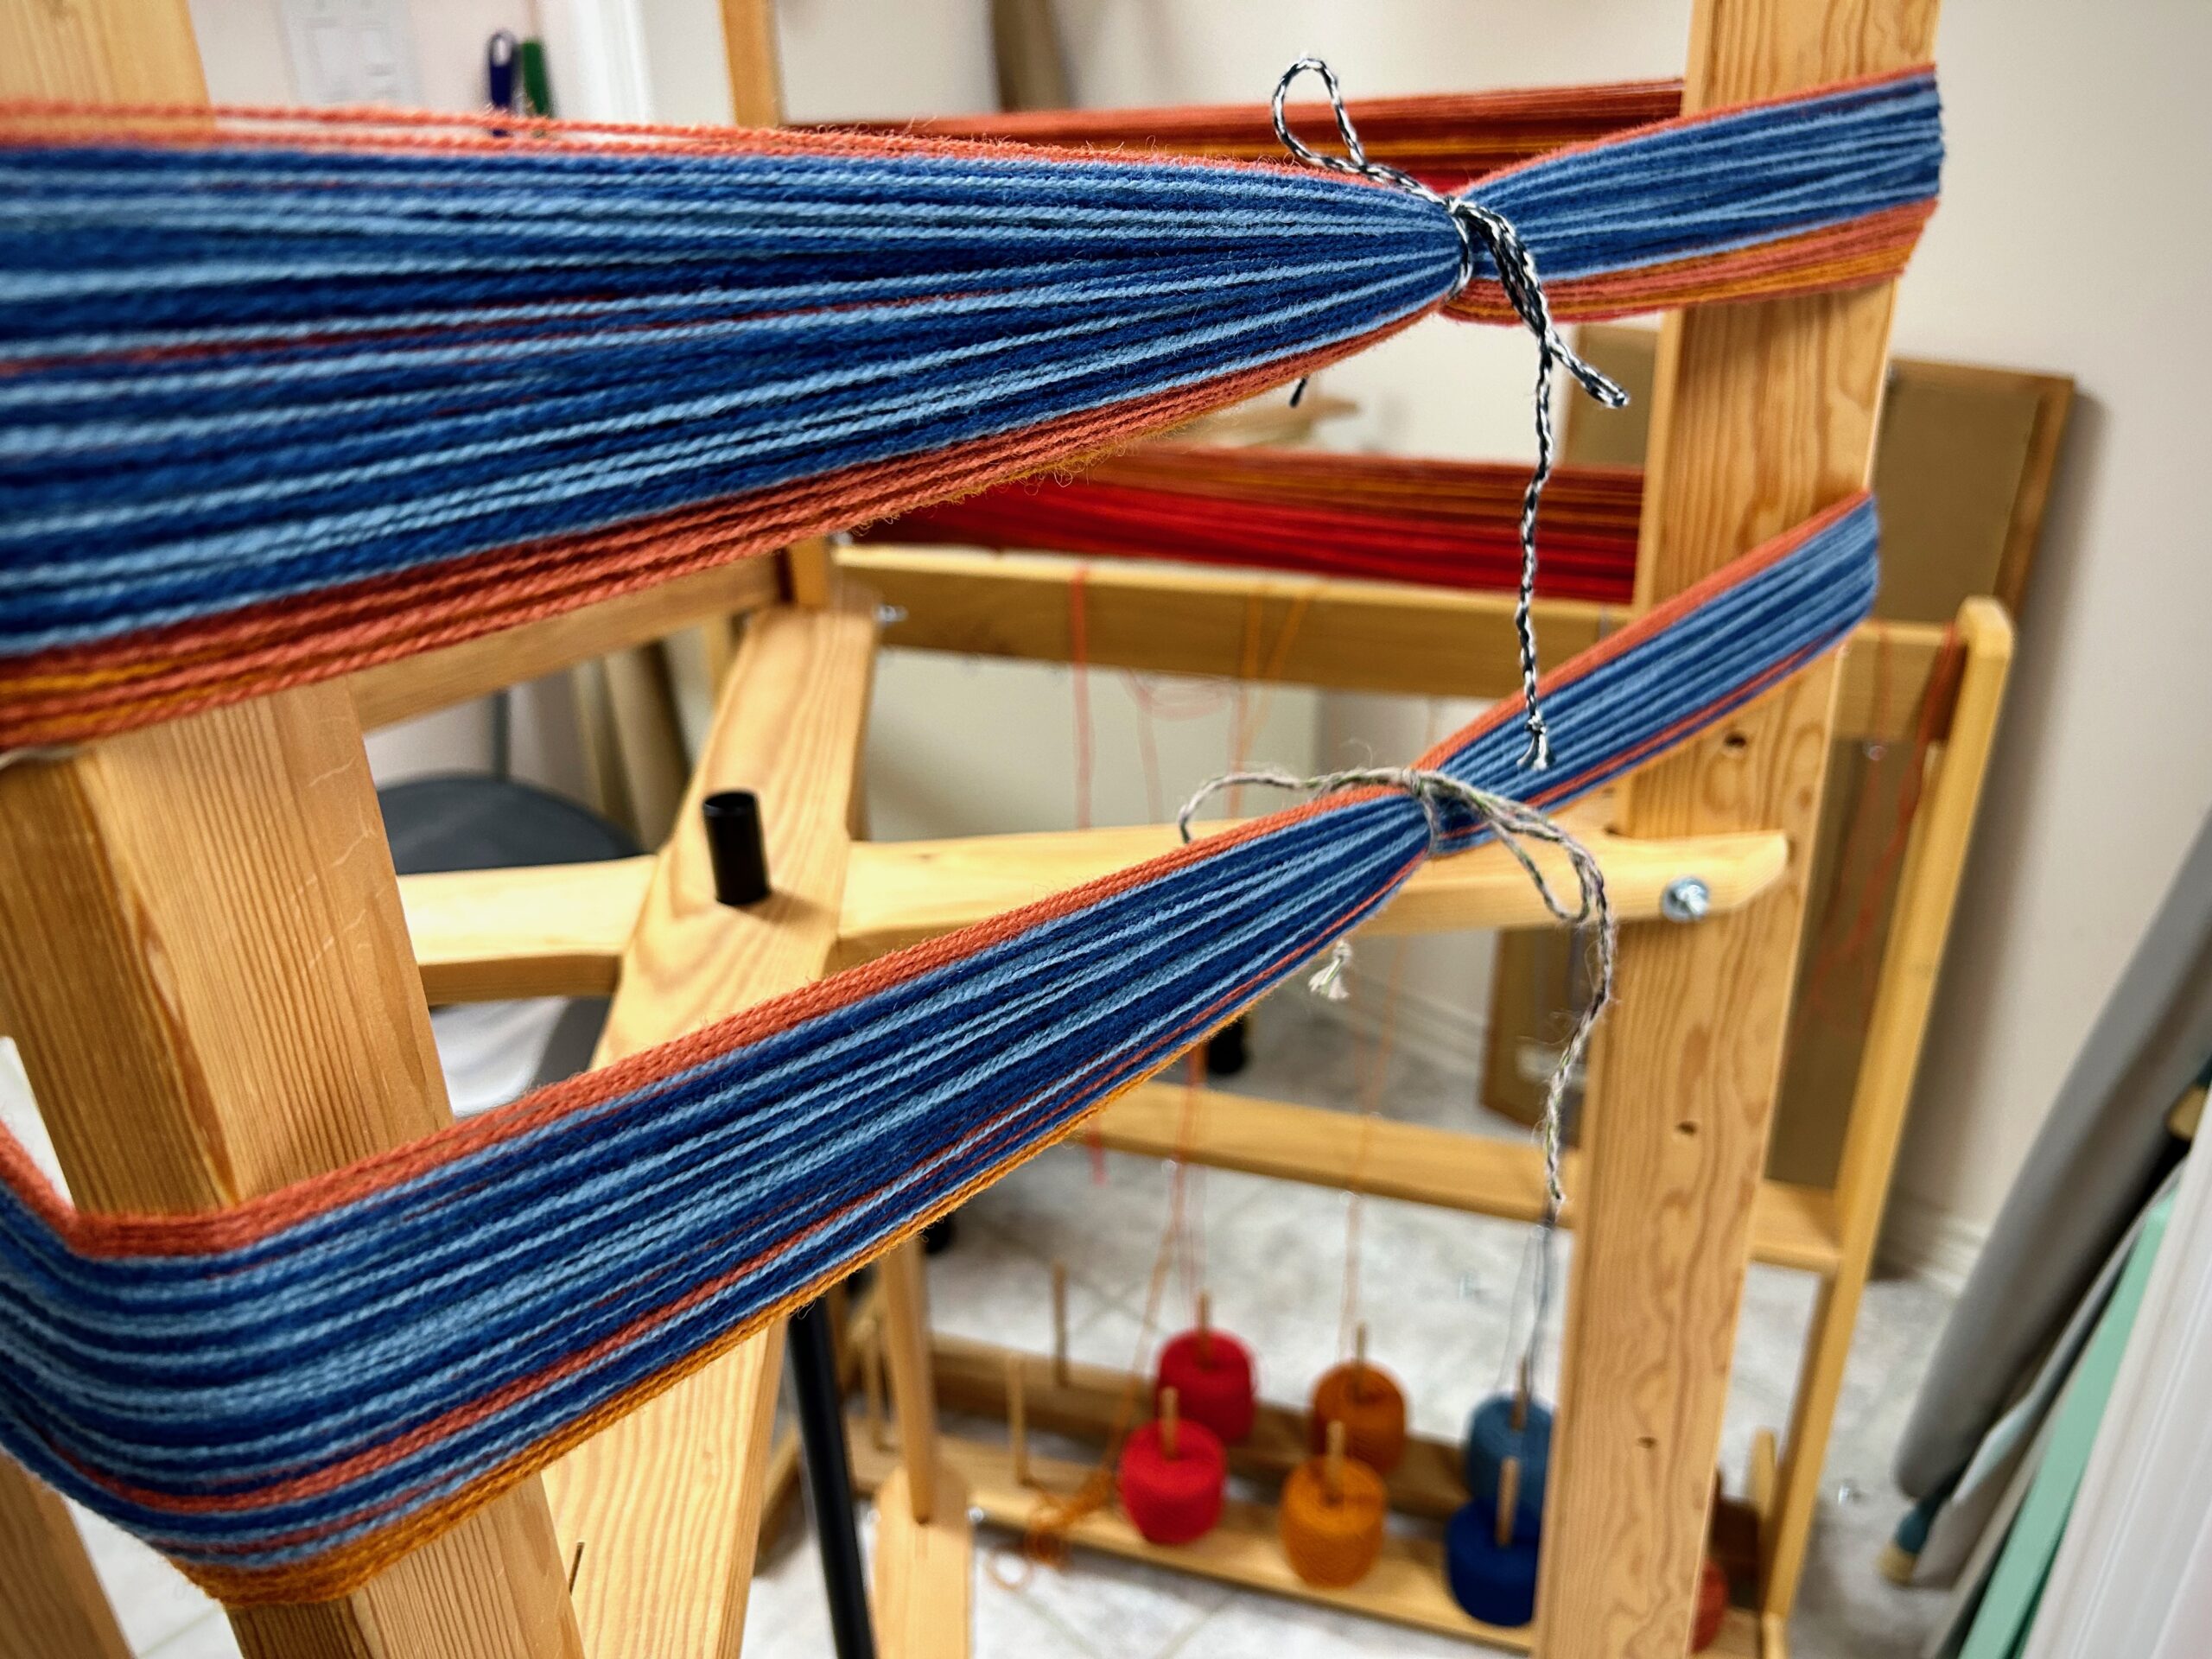
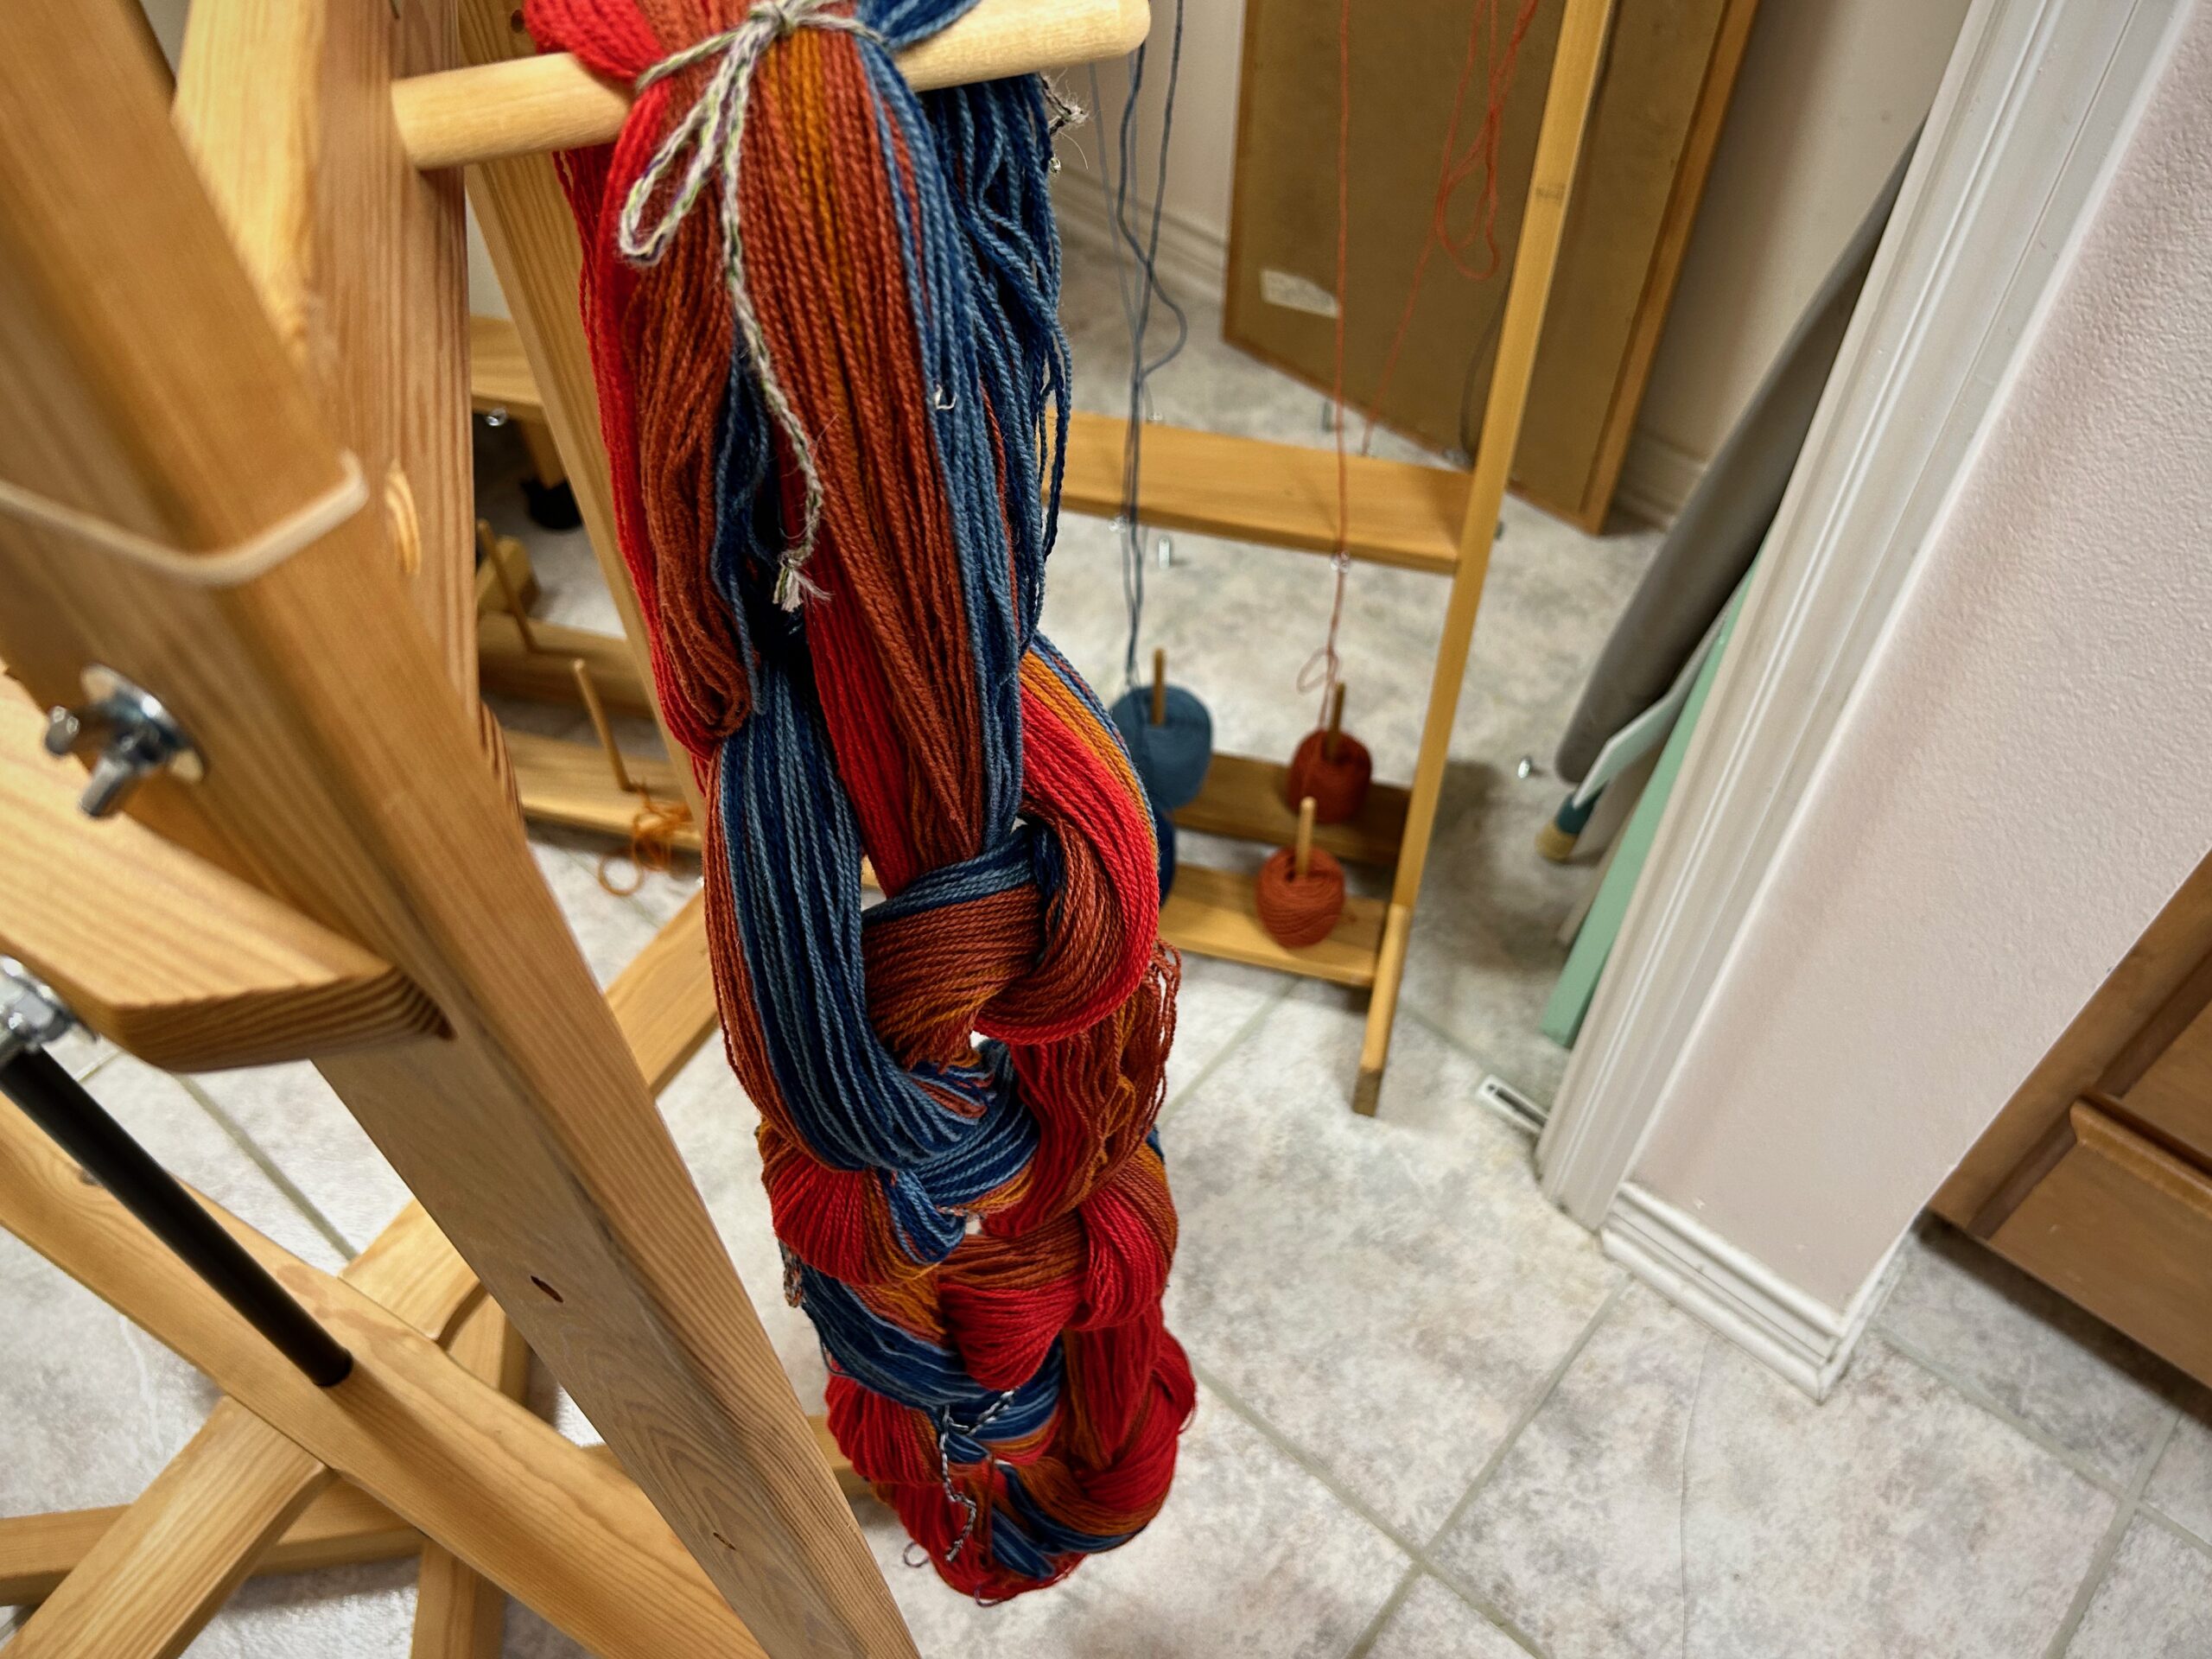
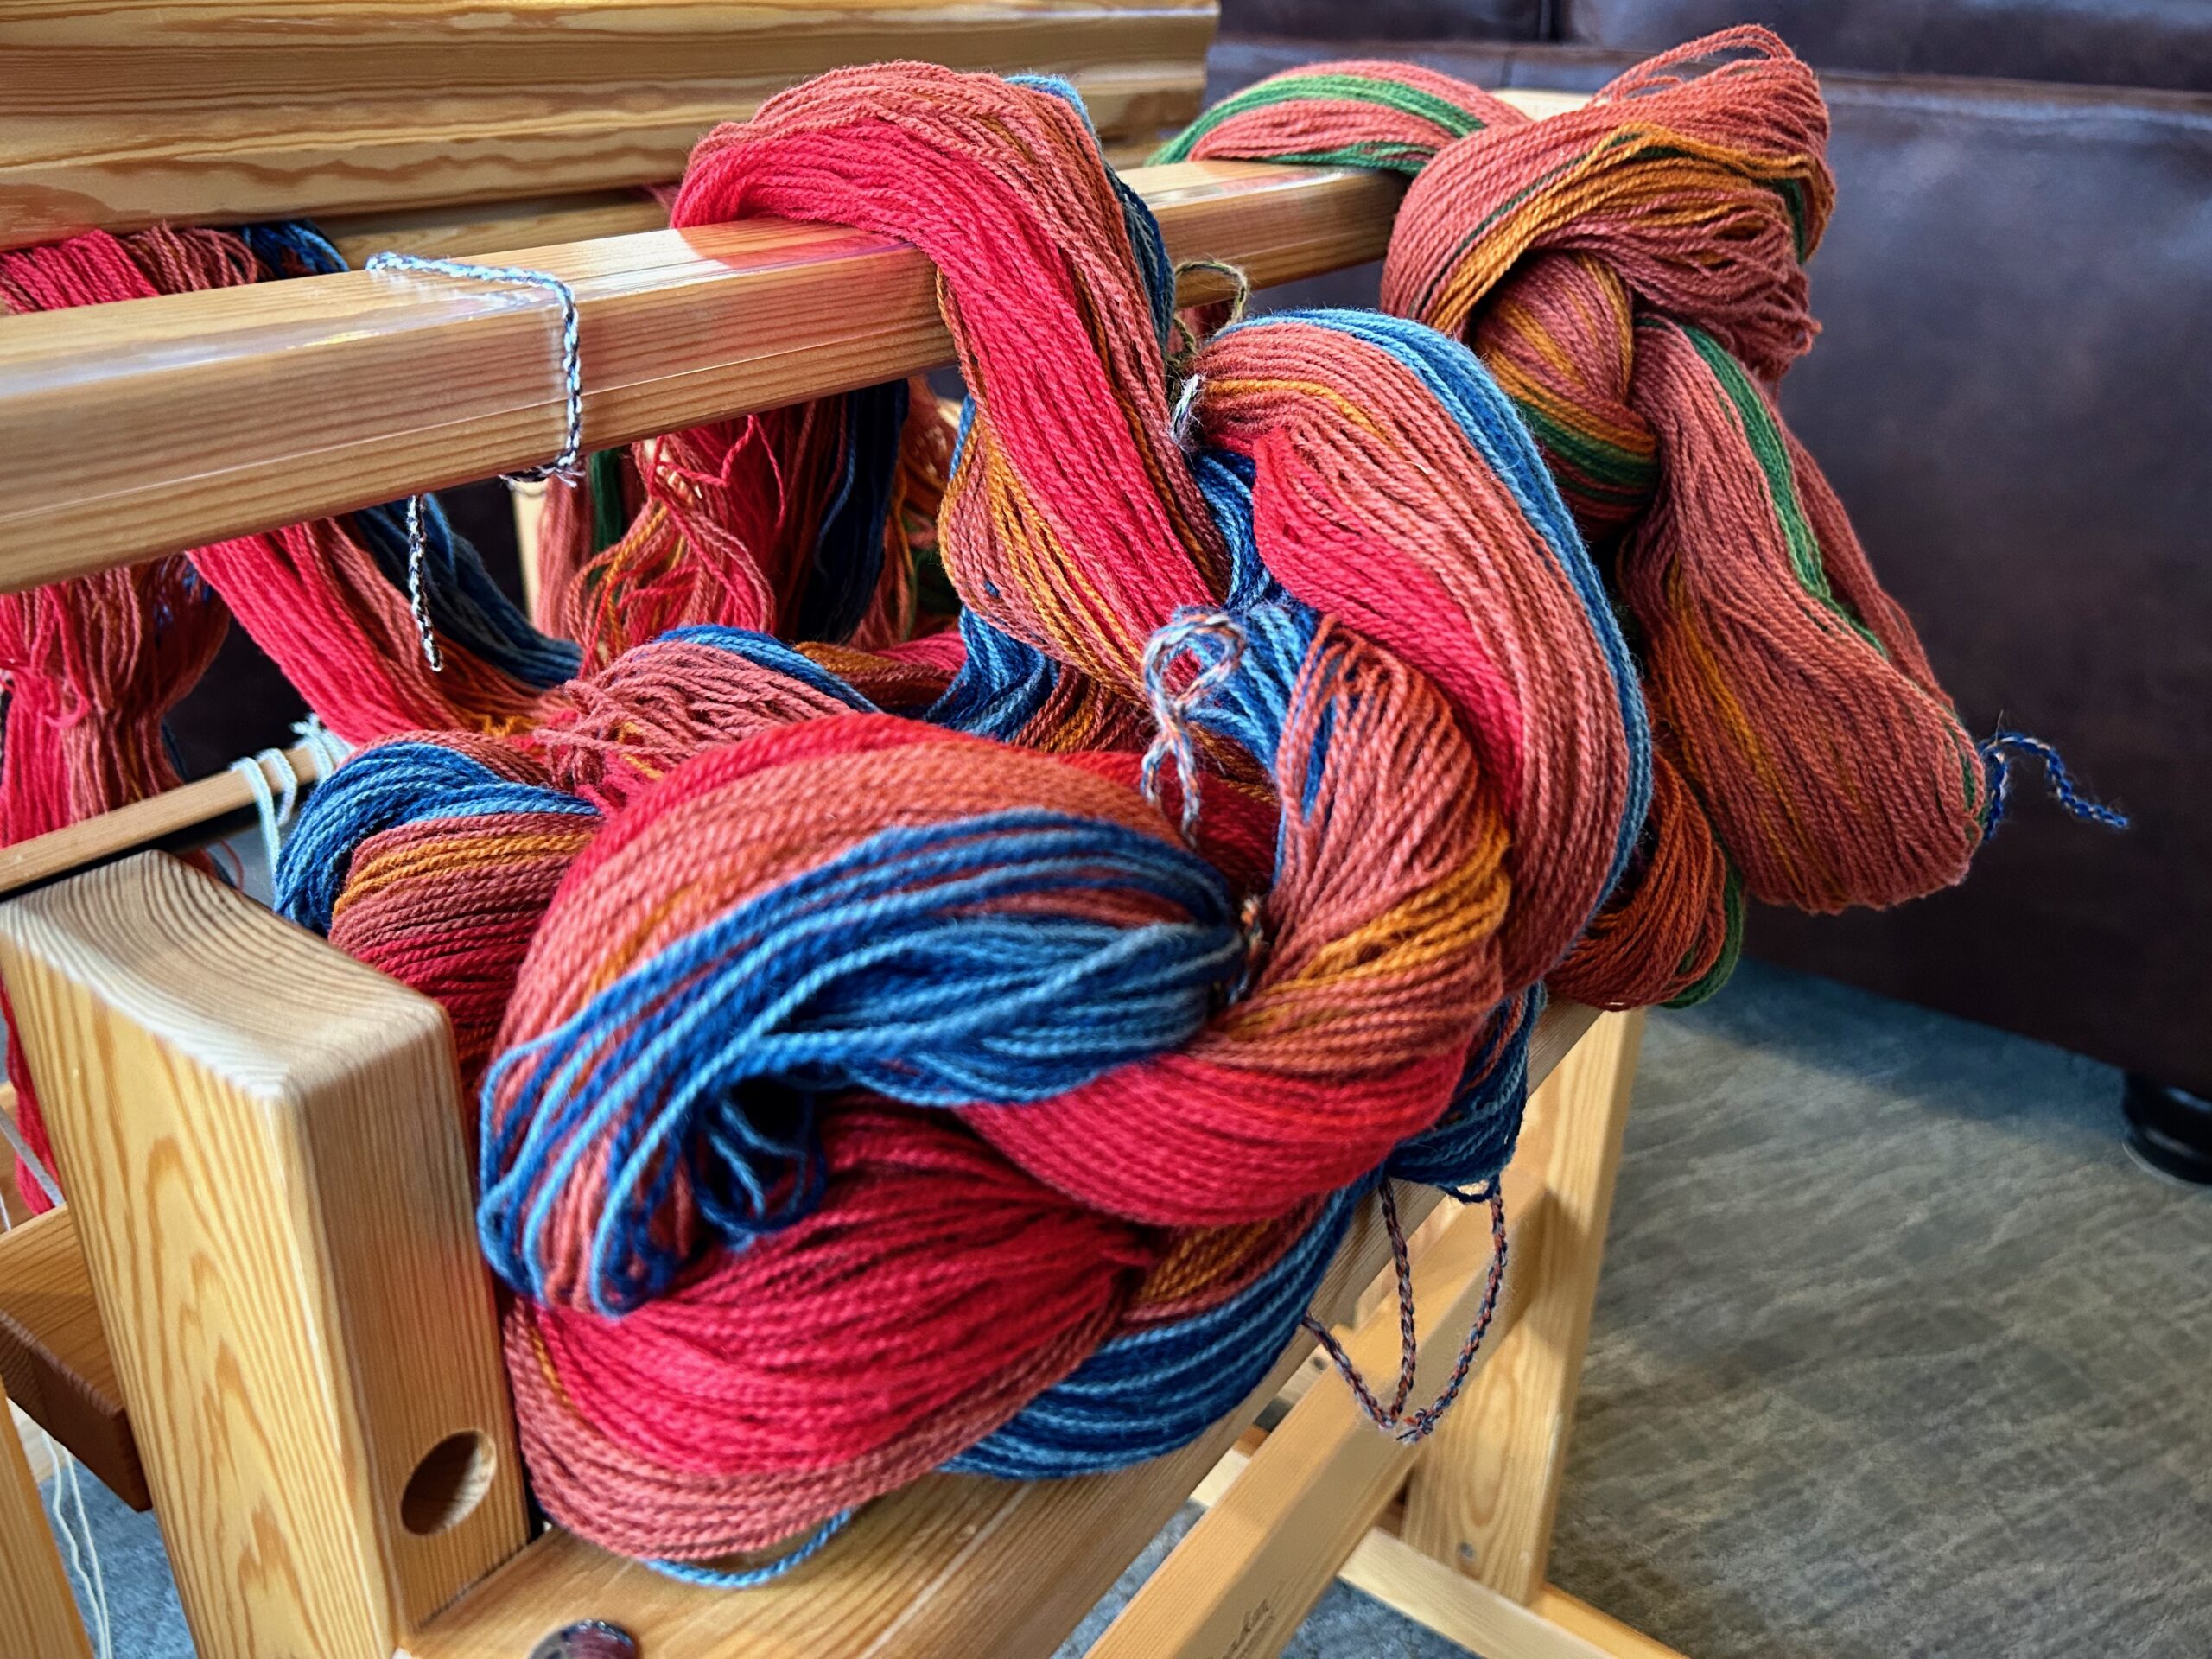
Merry Christmas! Julia is getting dressed with 7/2 Brage wool for a lovely goose-eye twill. Warp chains like this are big and squishy, just begging to be hugged.

Winding the first of two warp bouts.
Thick and fluffy warp chain of 7/2 Brage wool.
Getting ready to beam the warp. Wool in five colors for goose-eye twill.
Getting things ready to spread the warp and then beam it on.

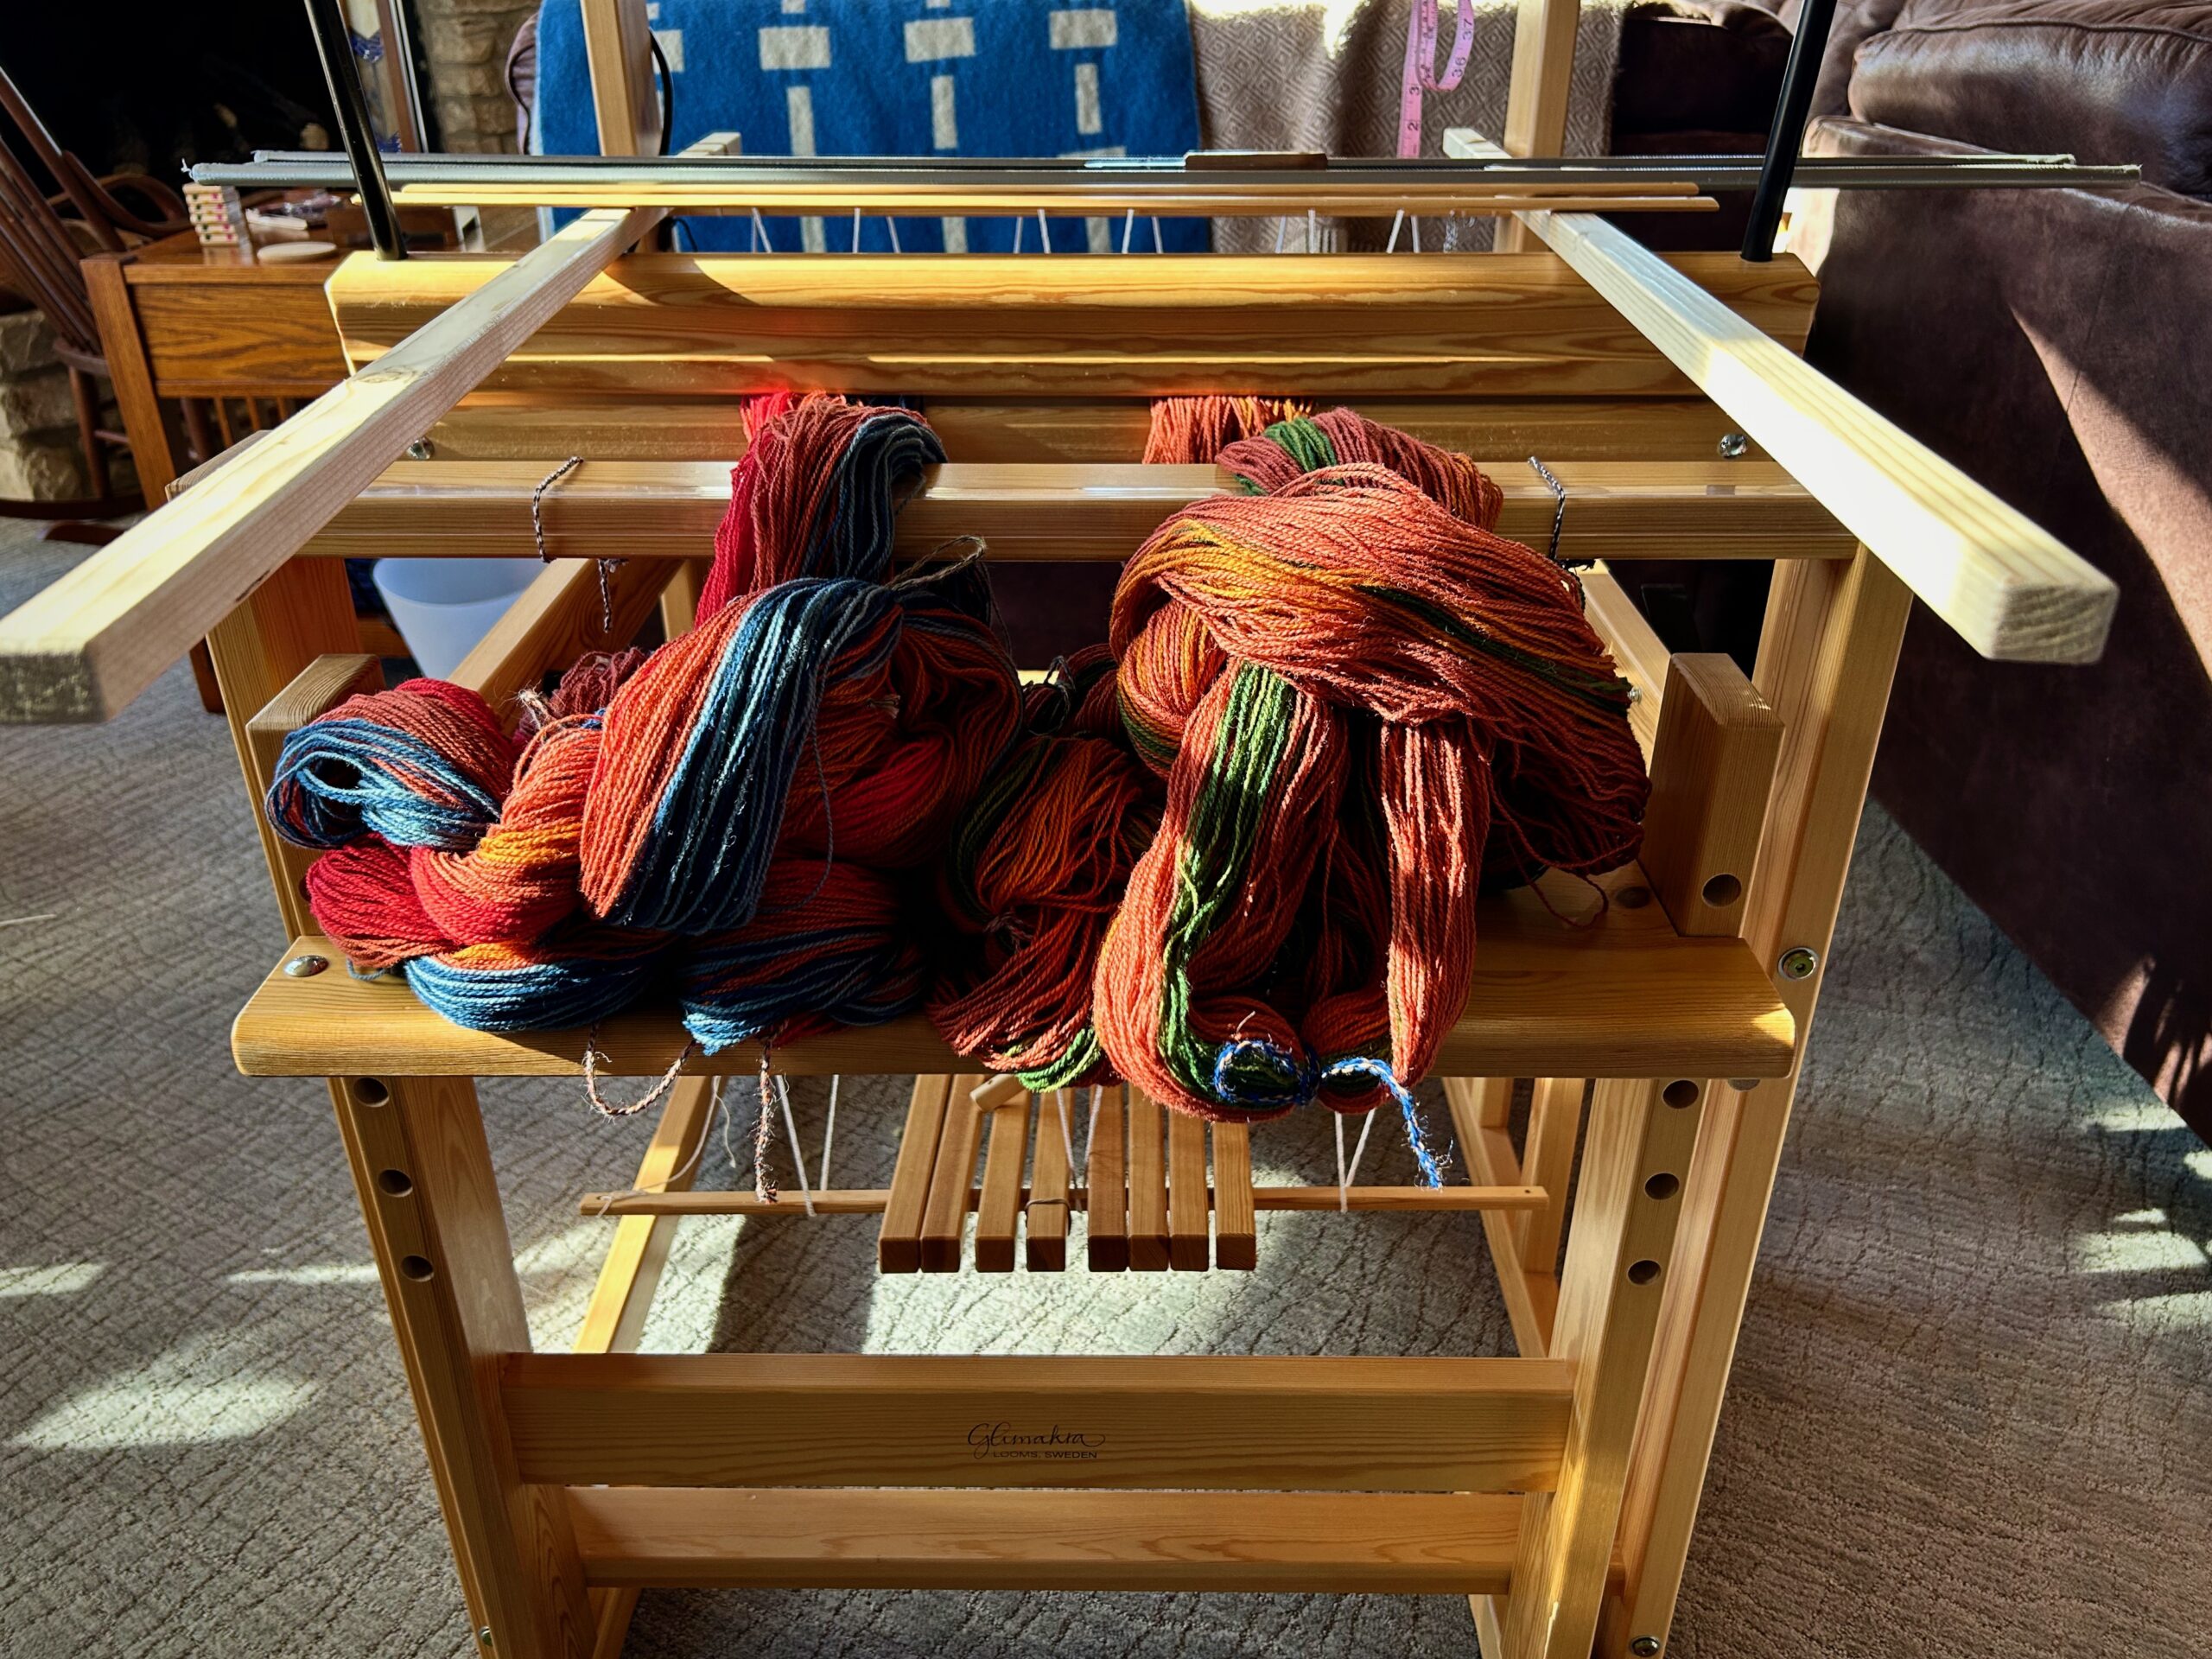
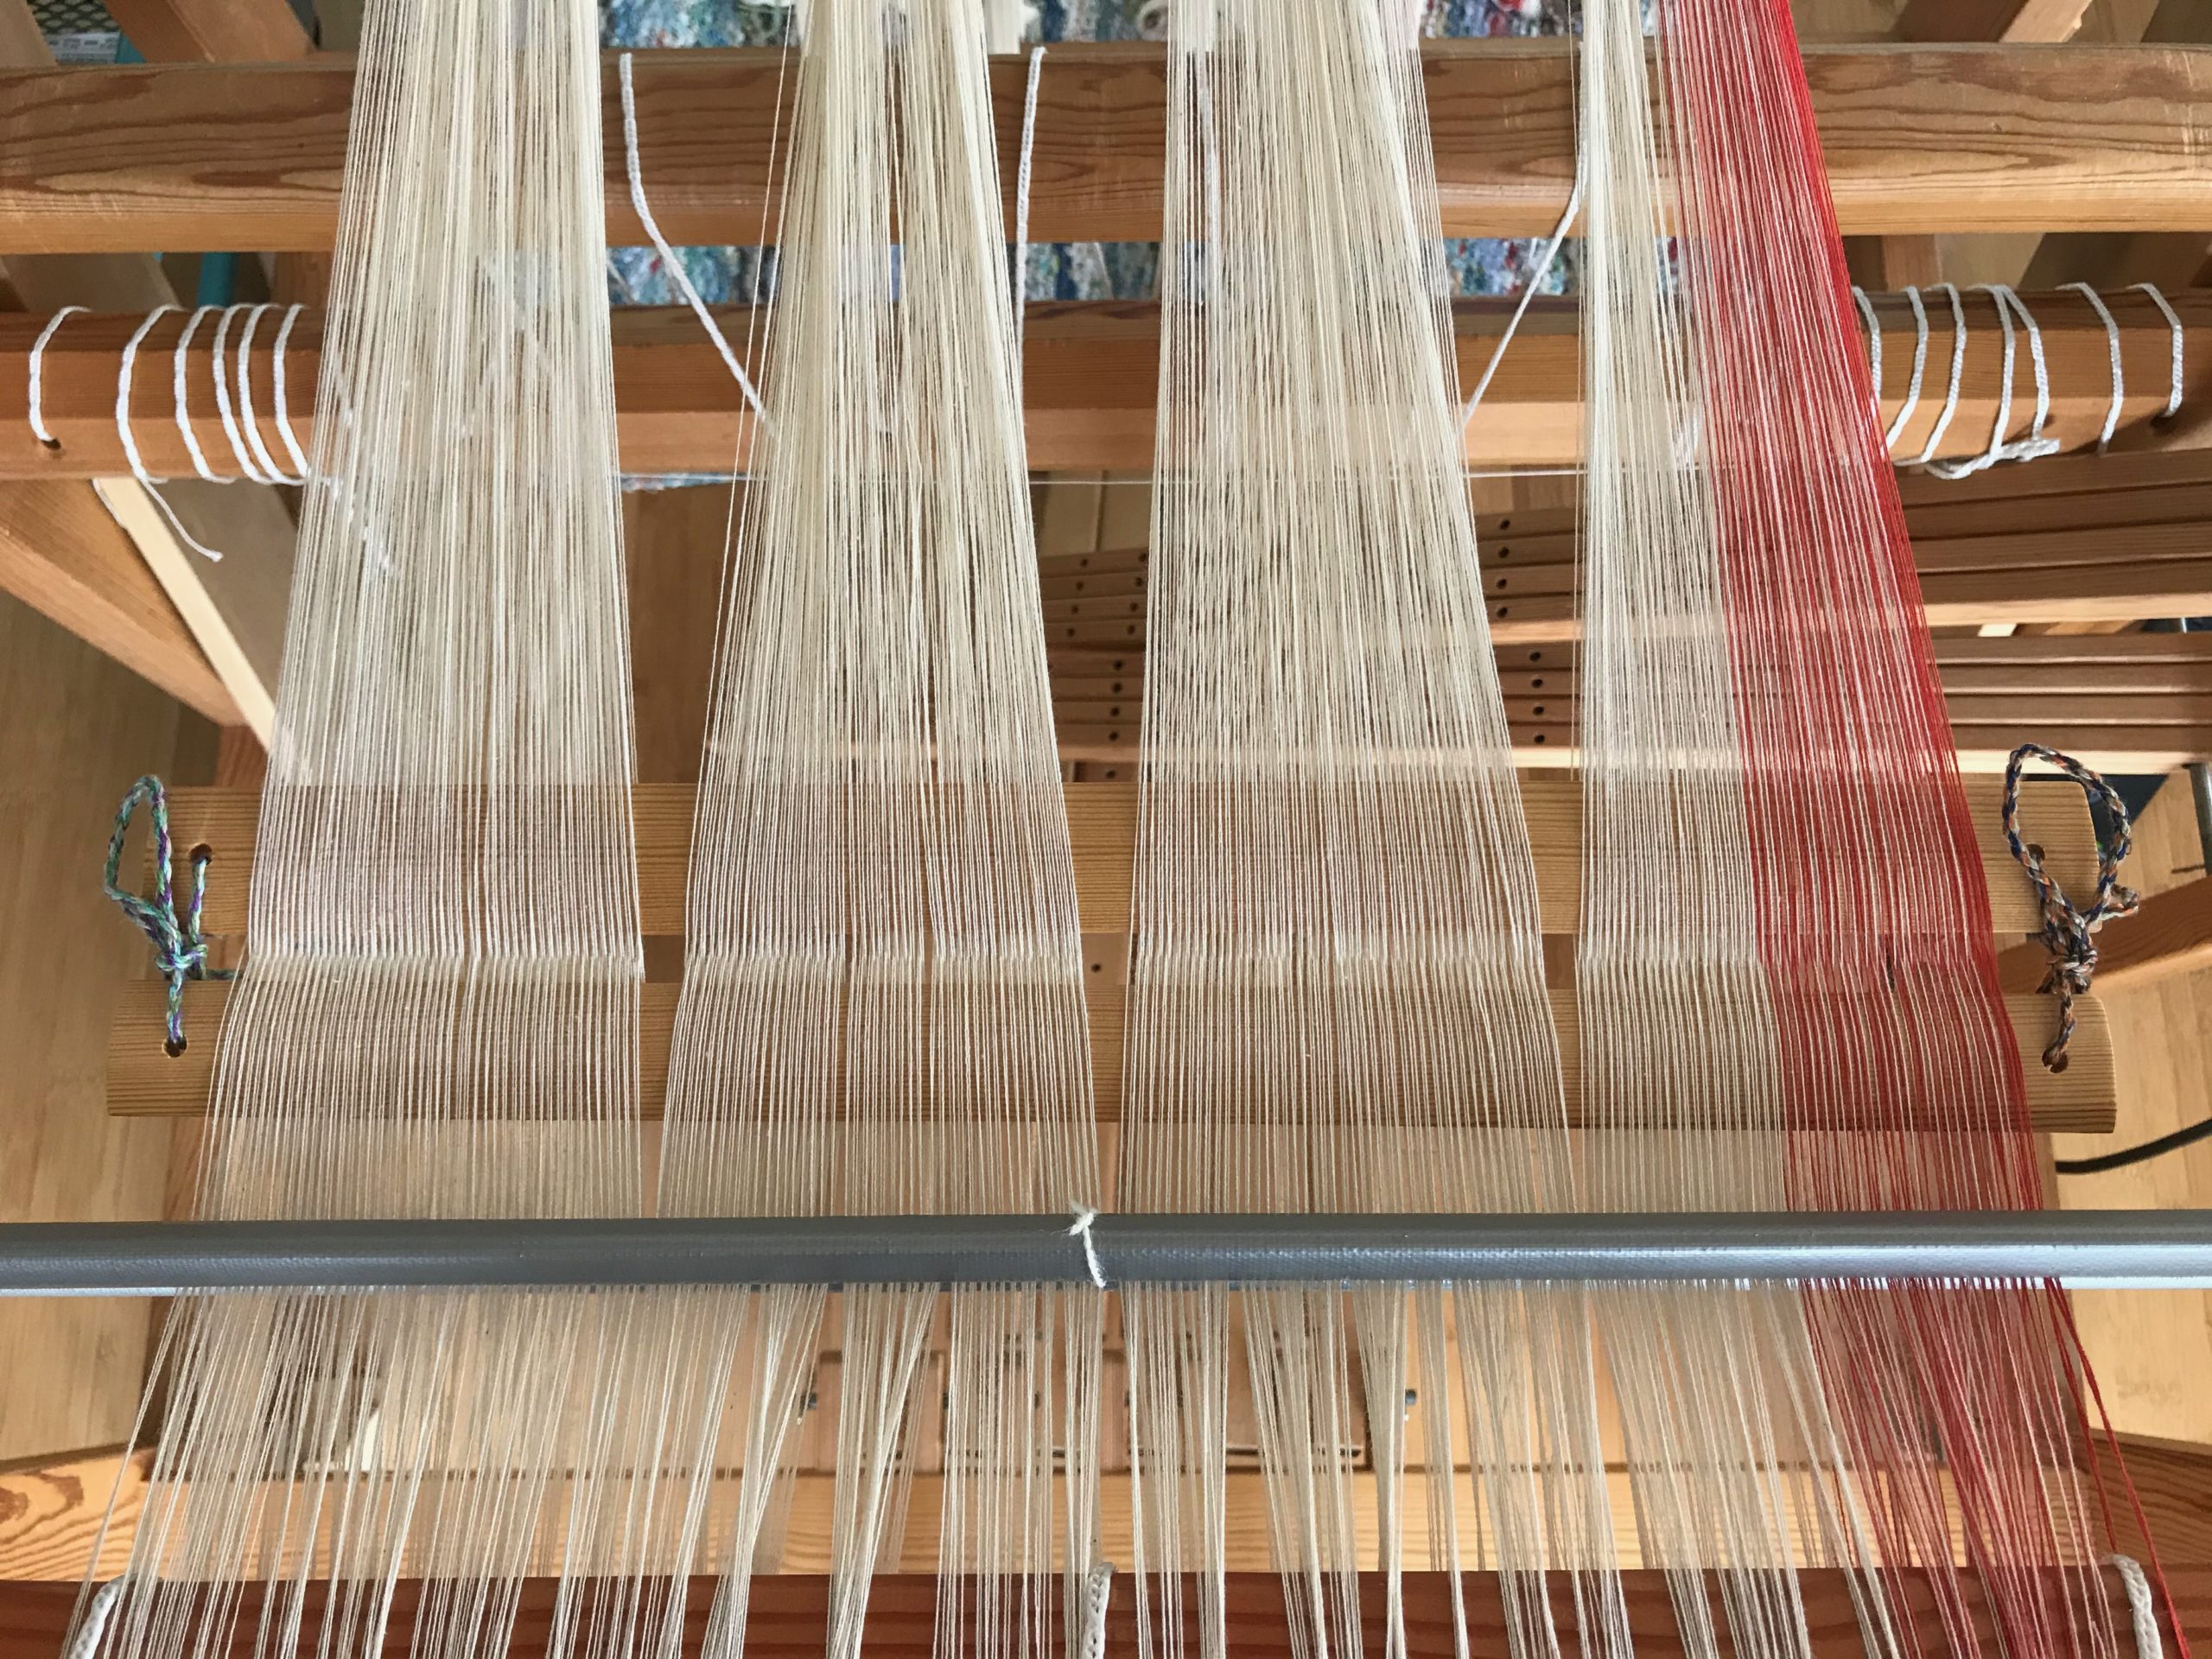
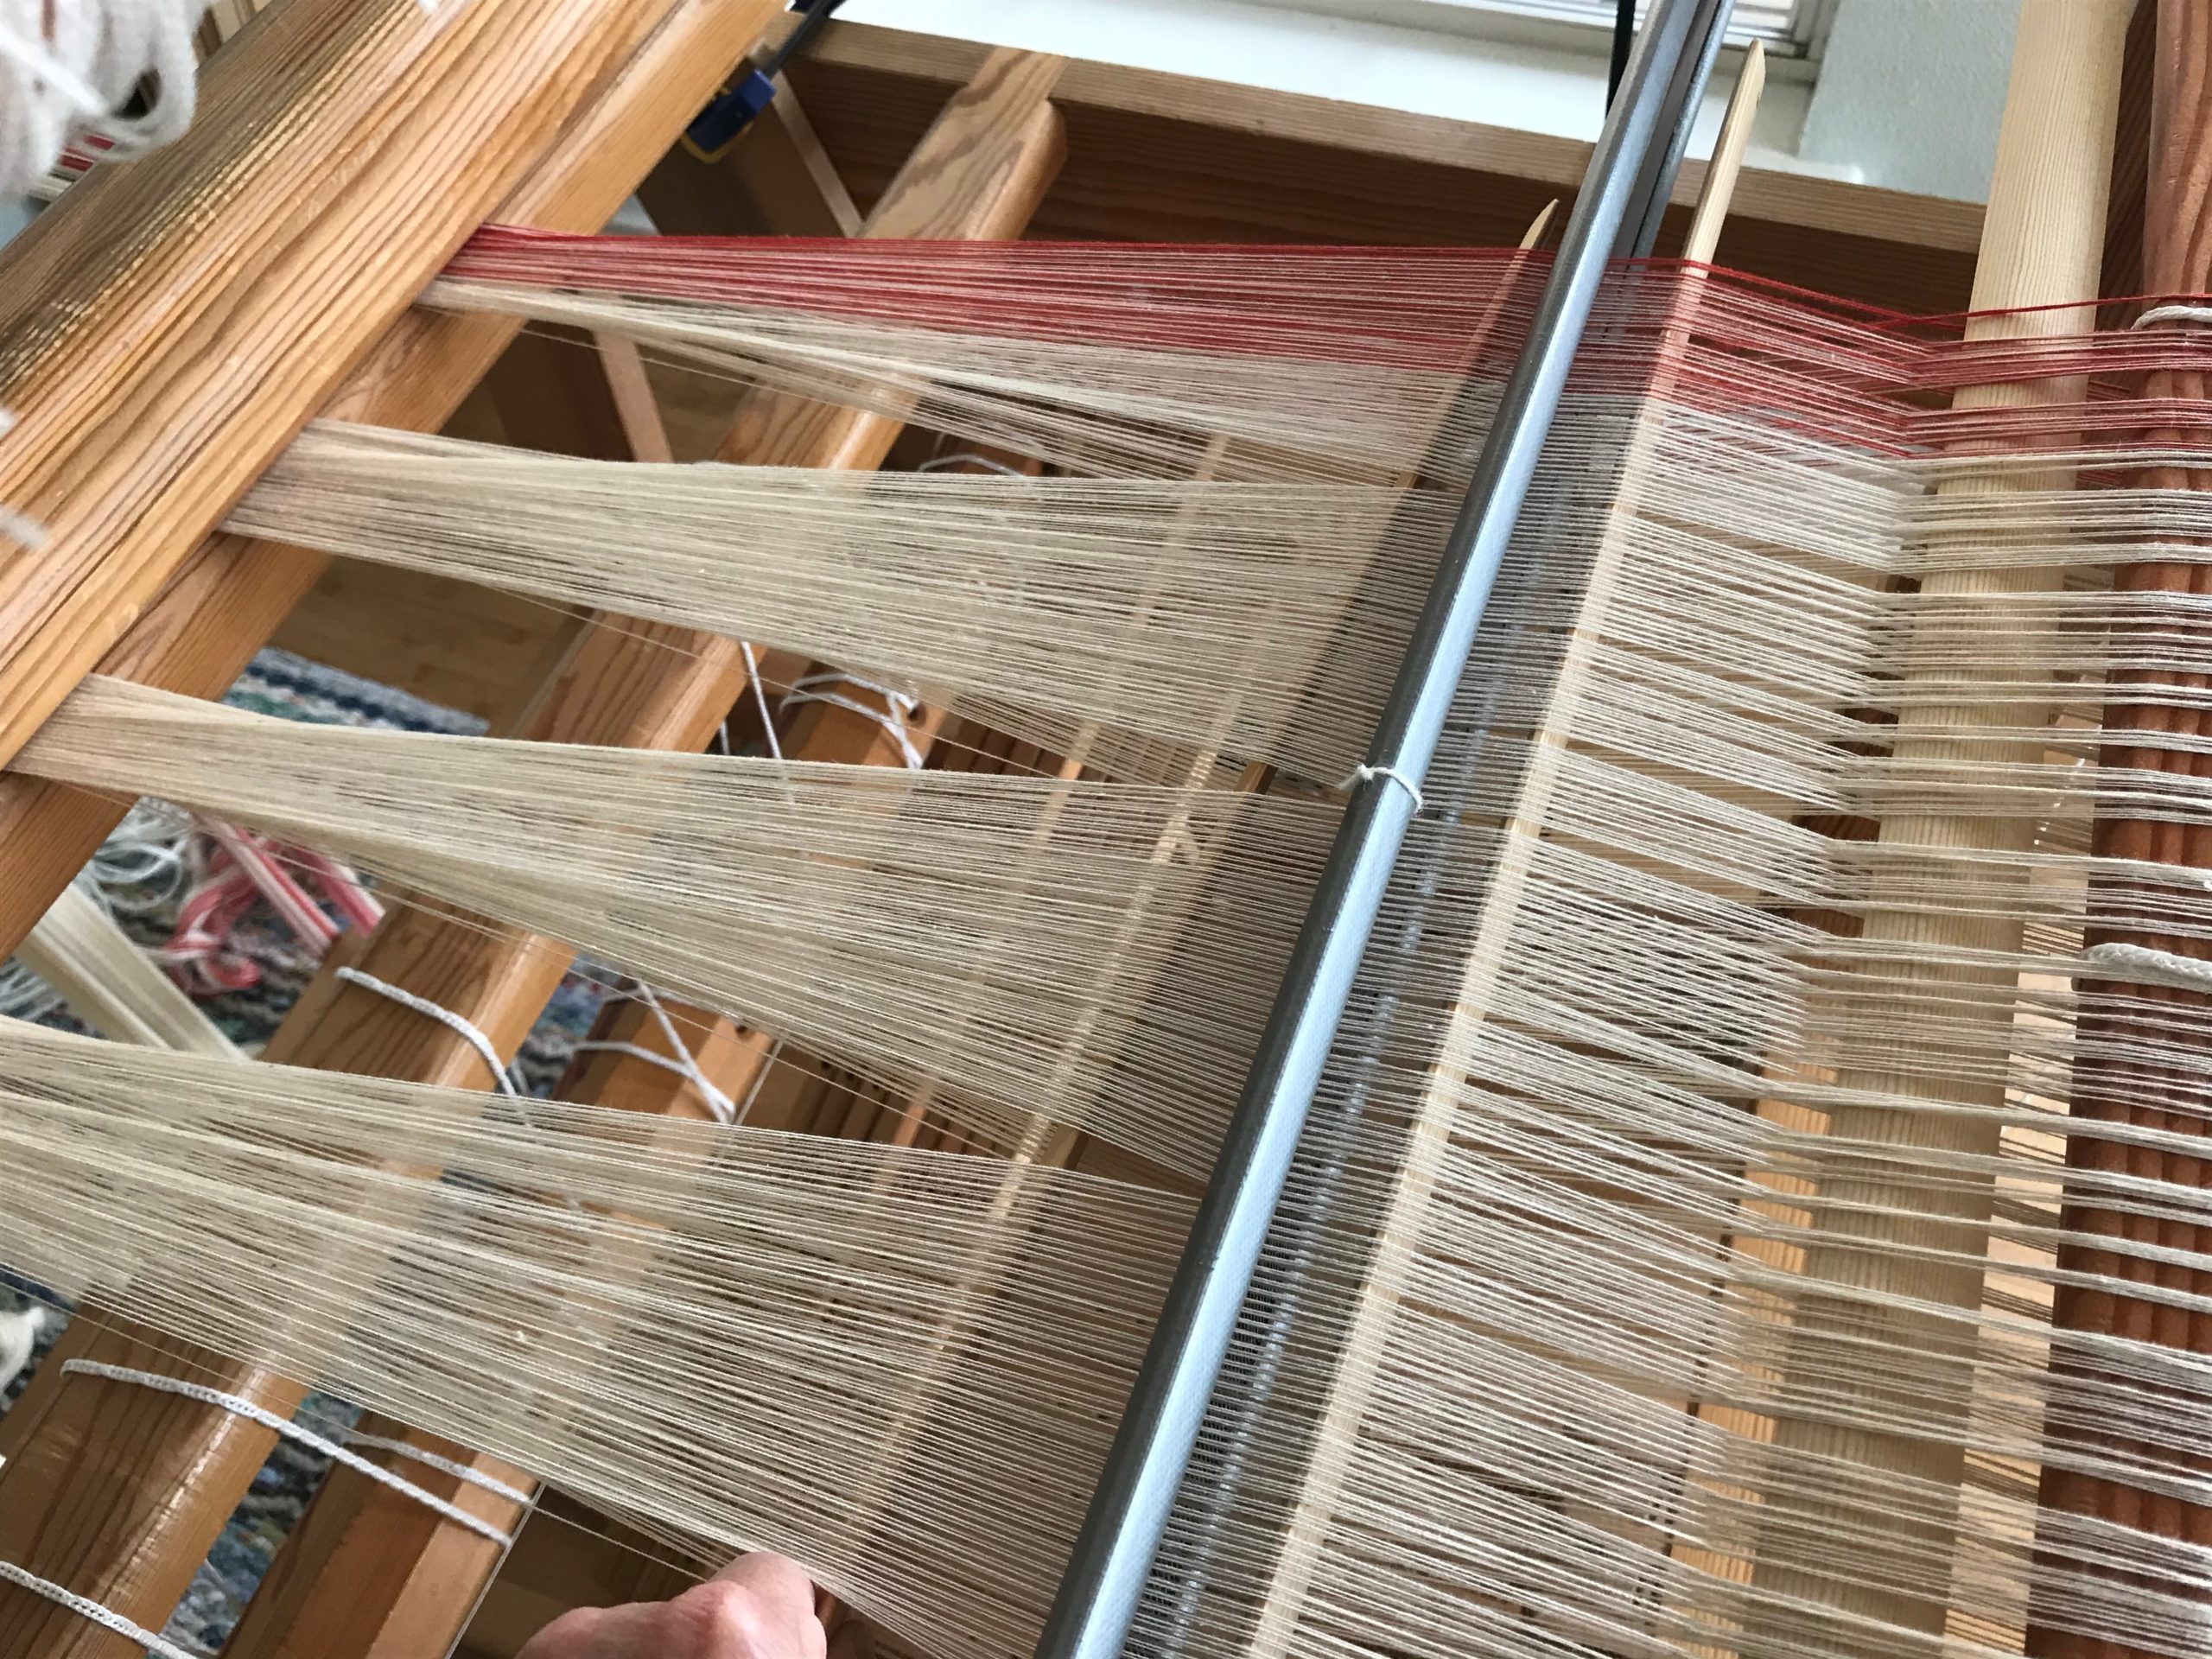
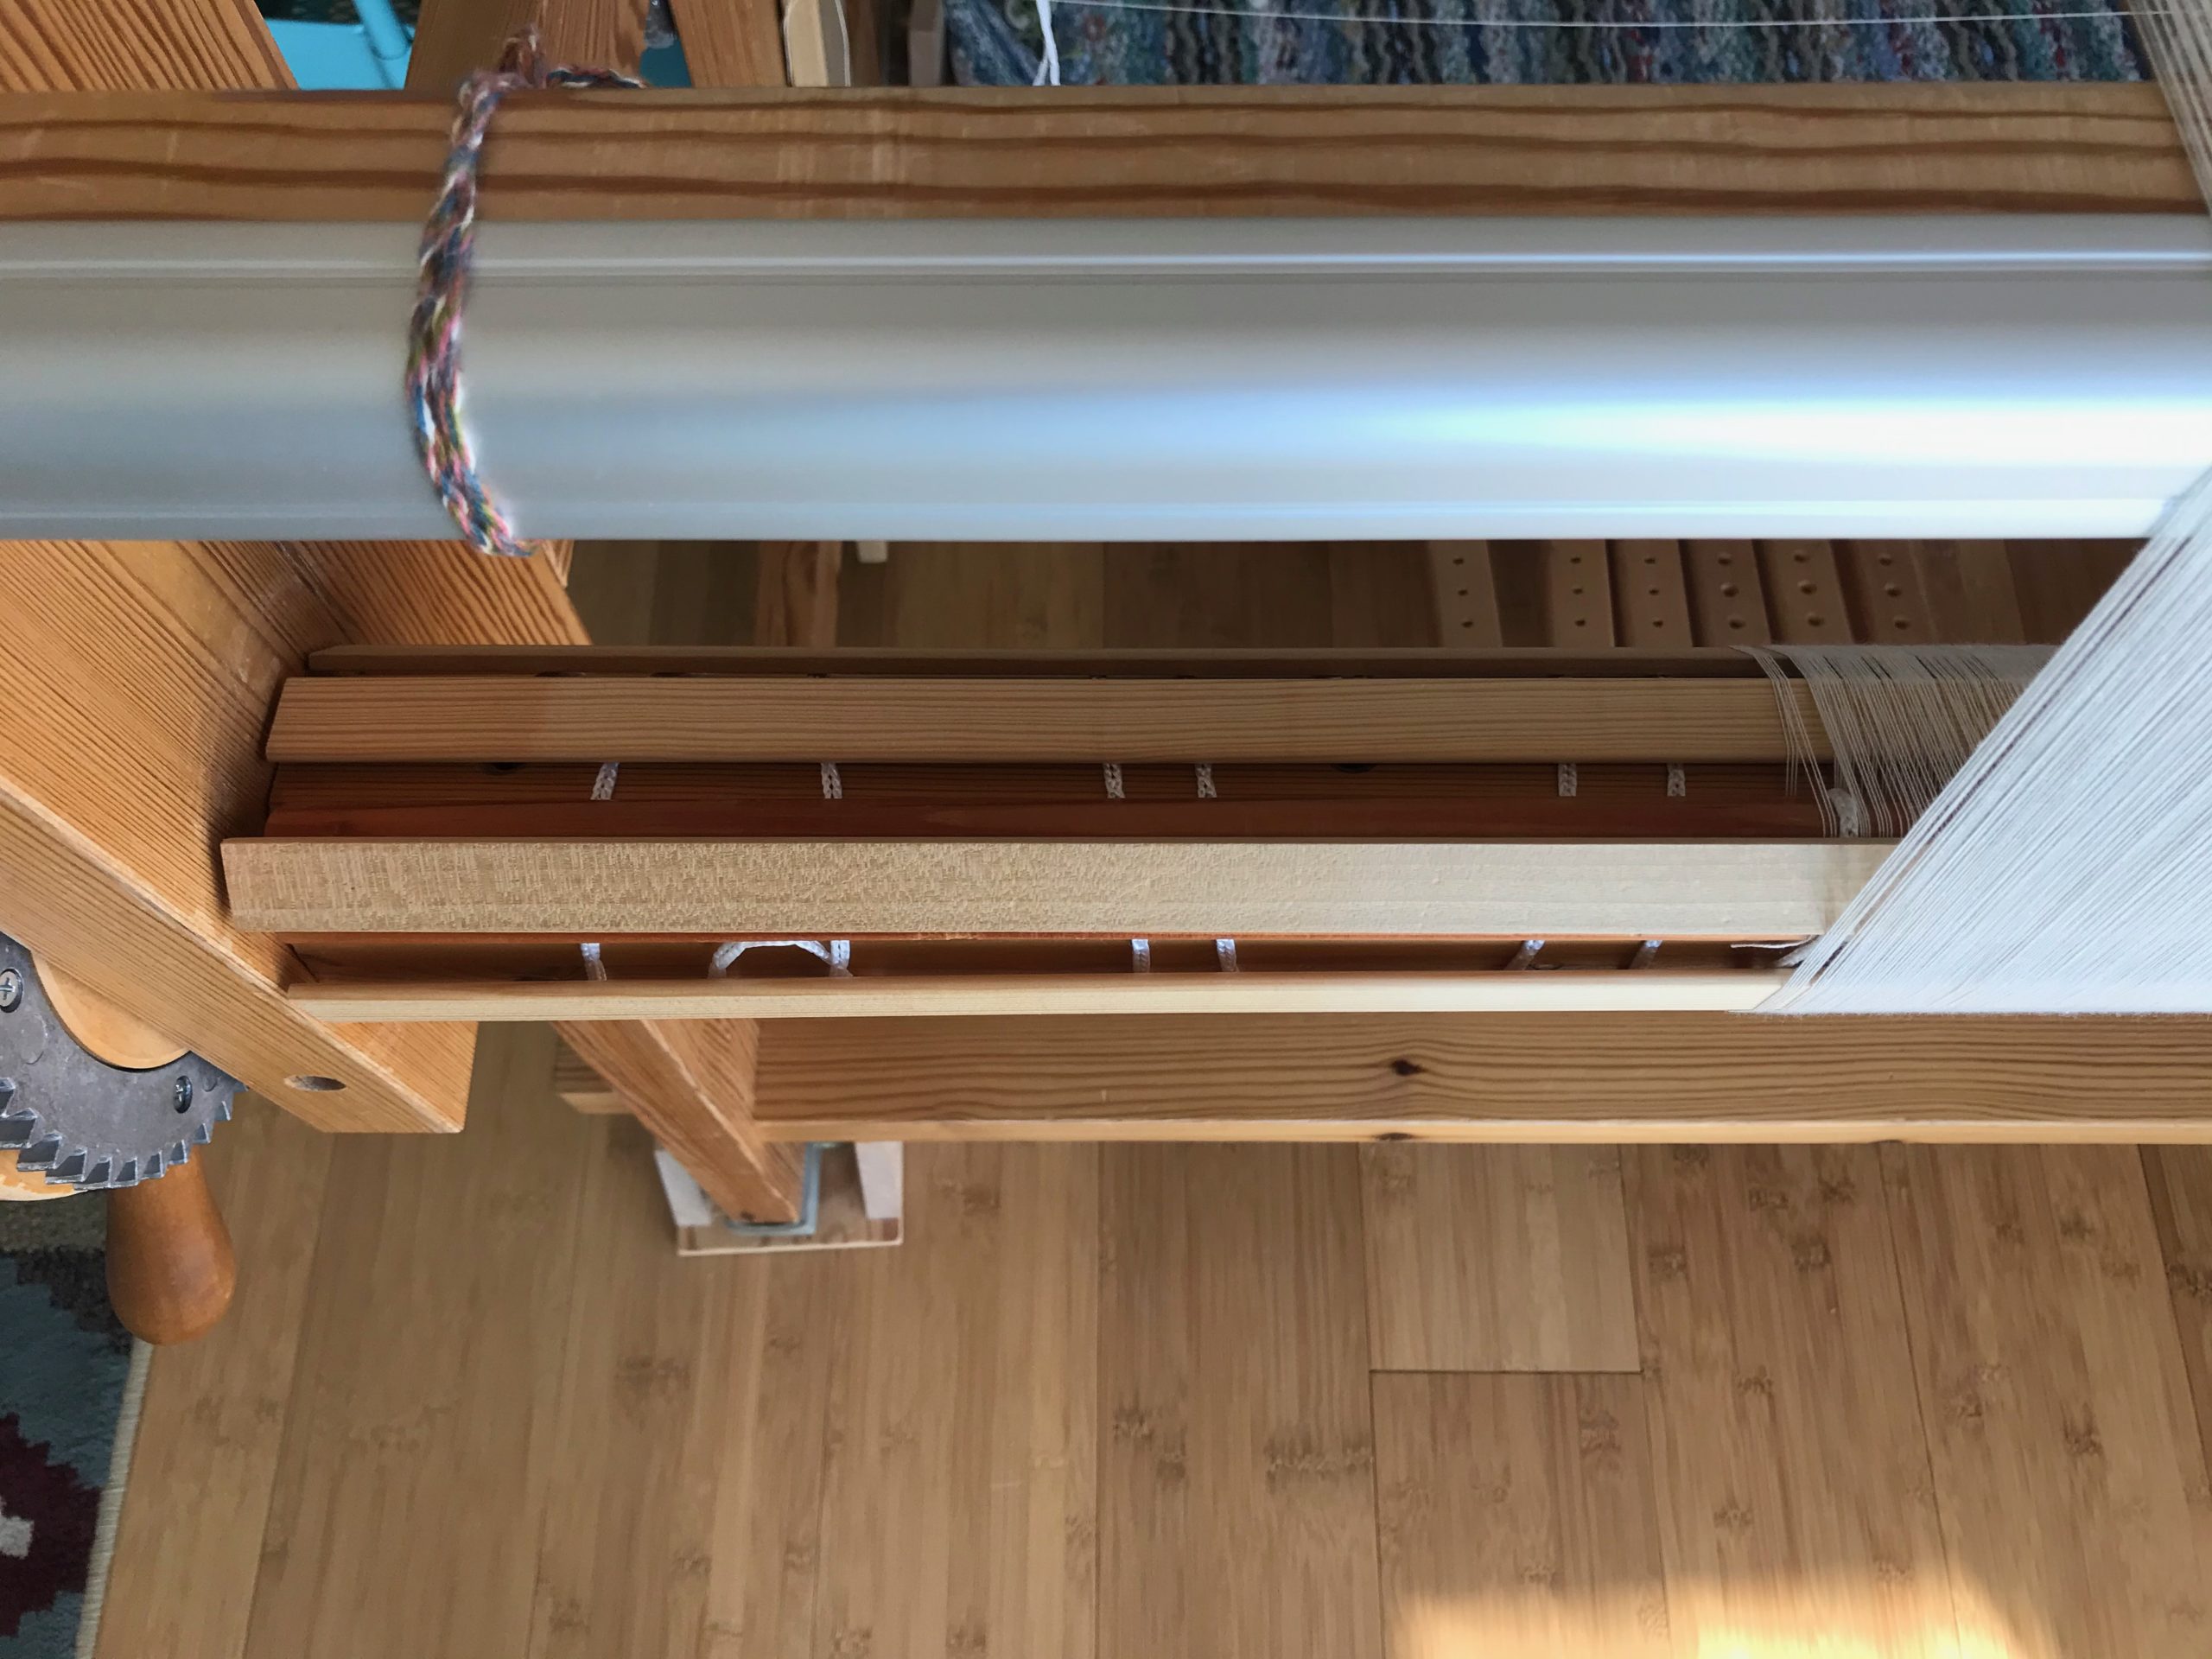
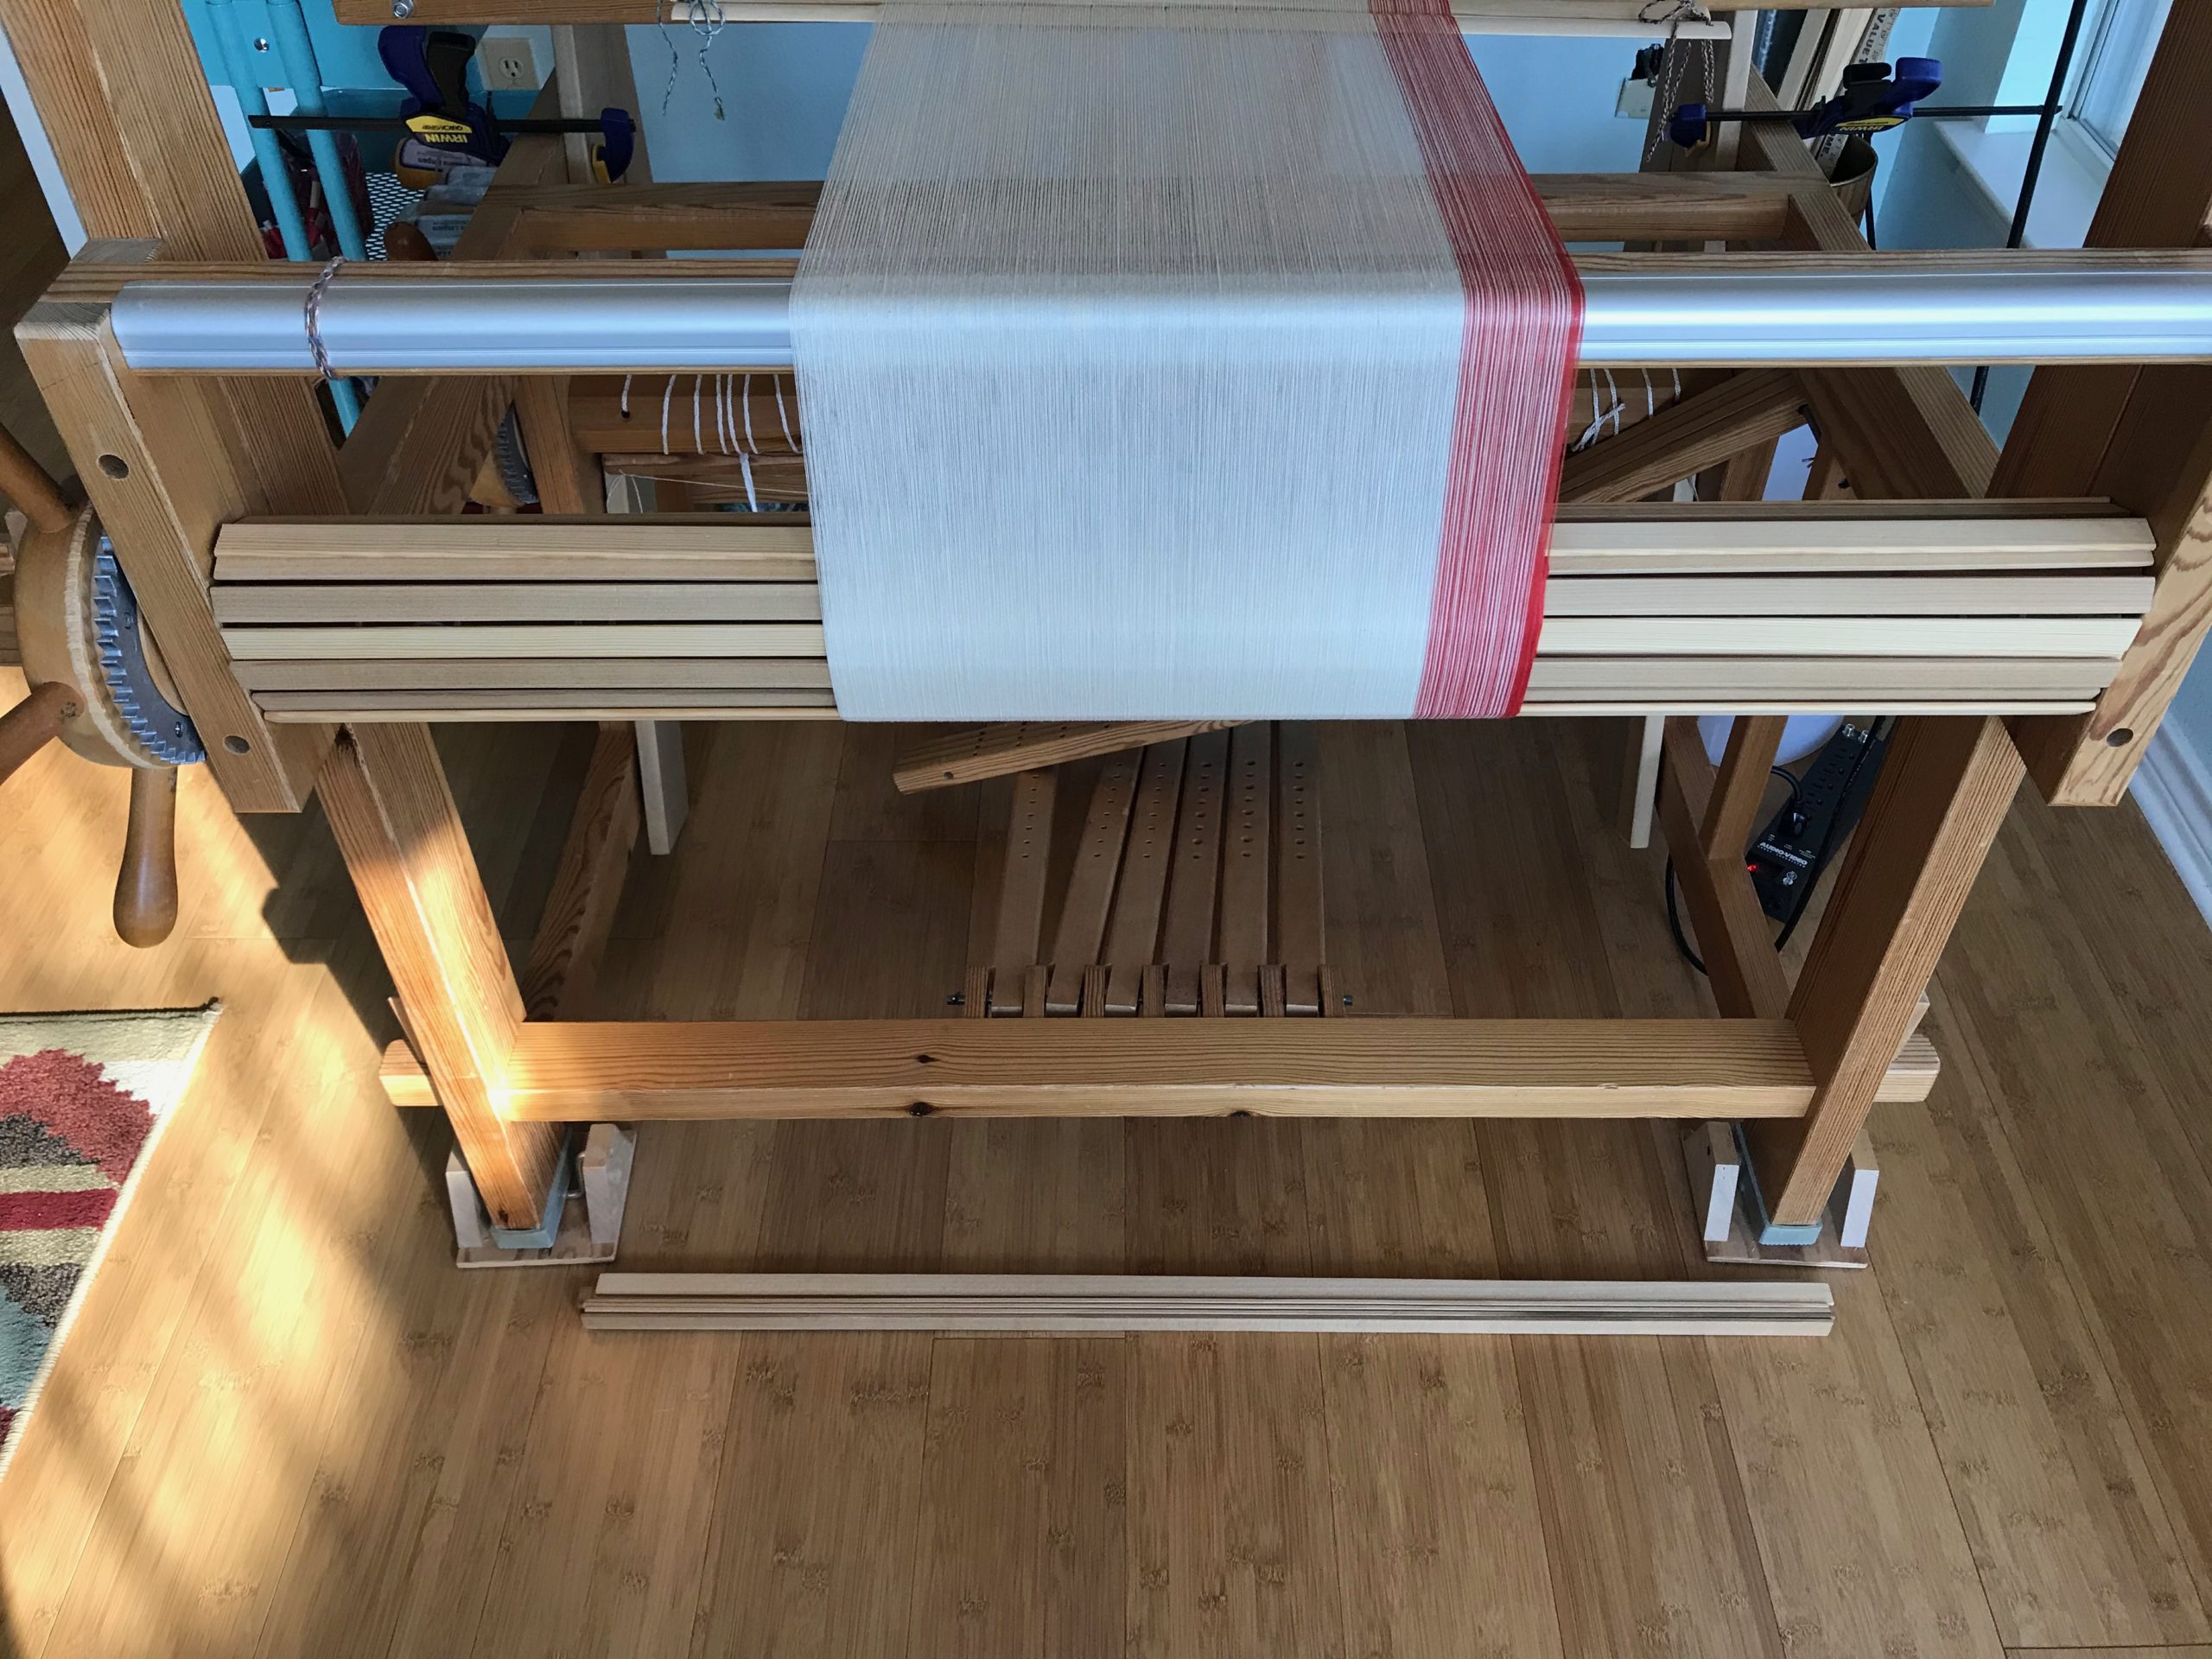
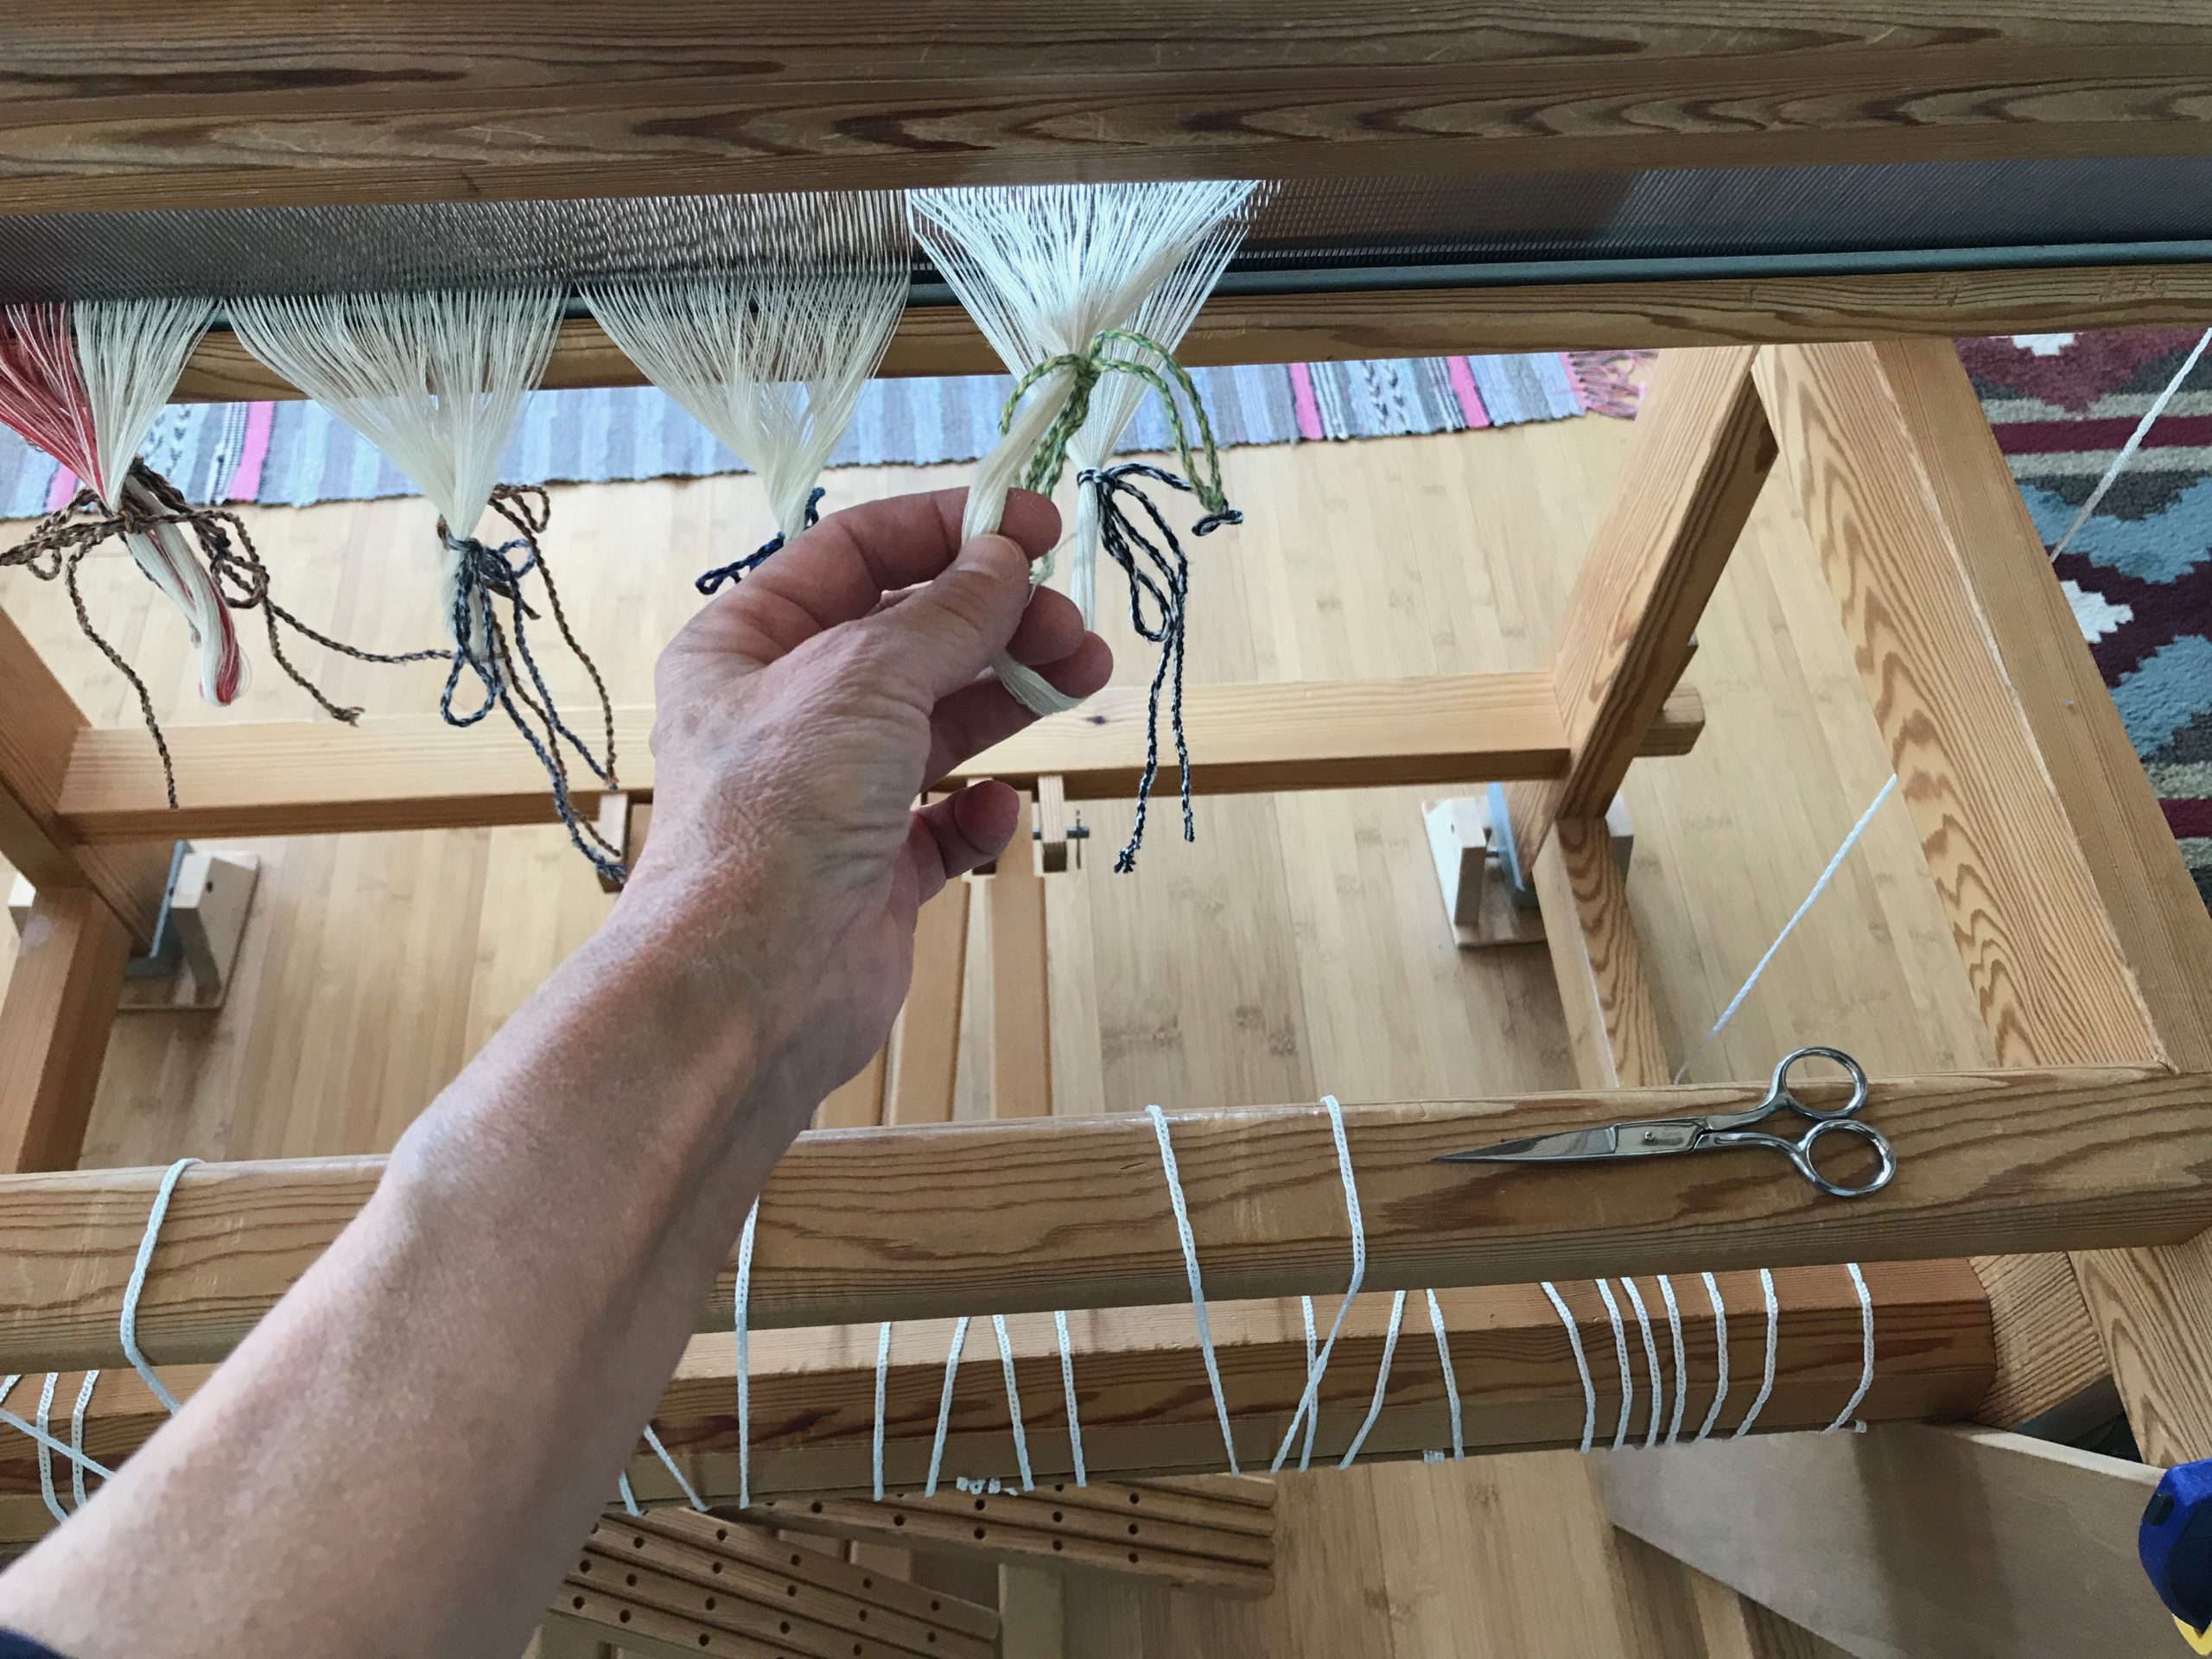
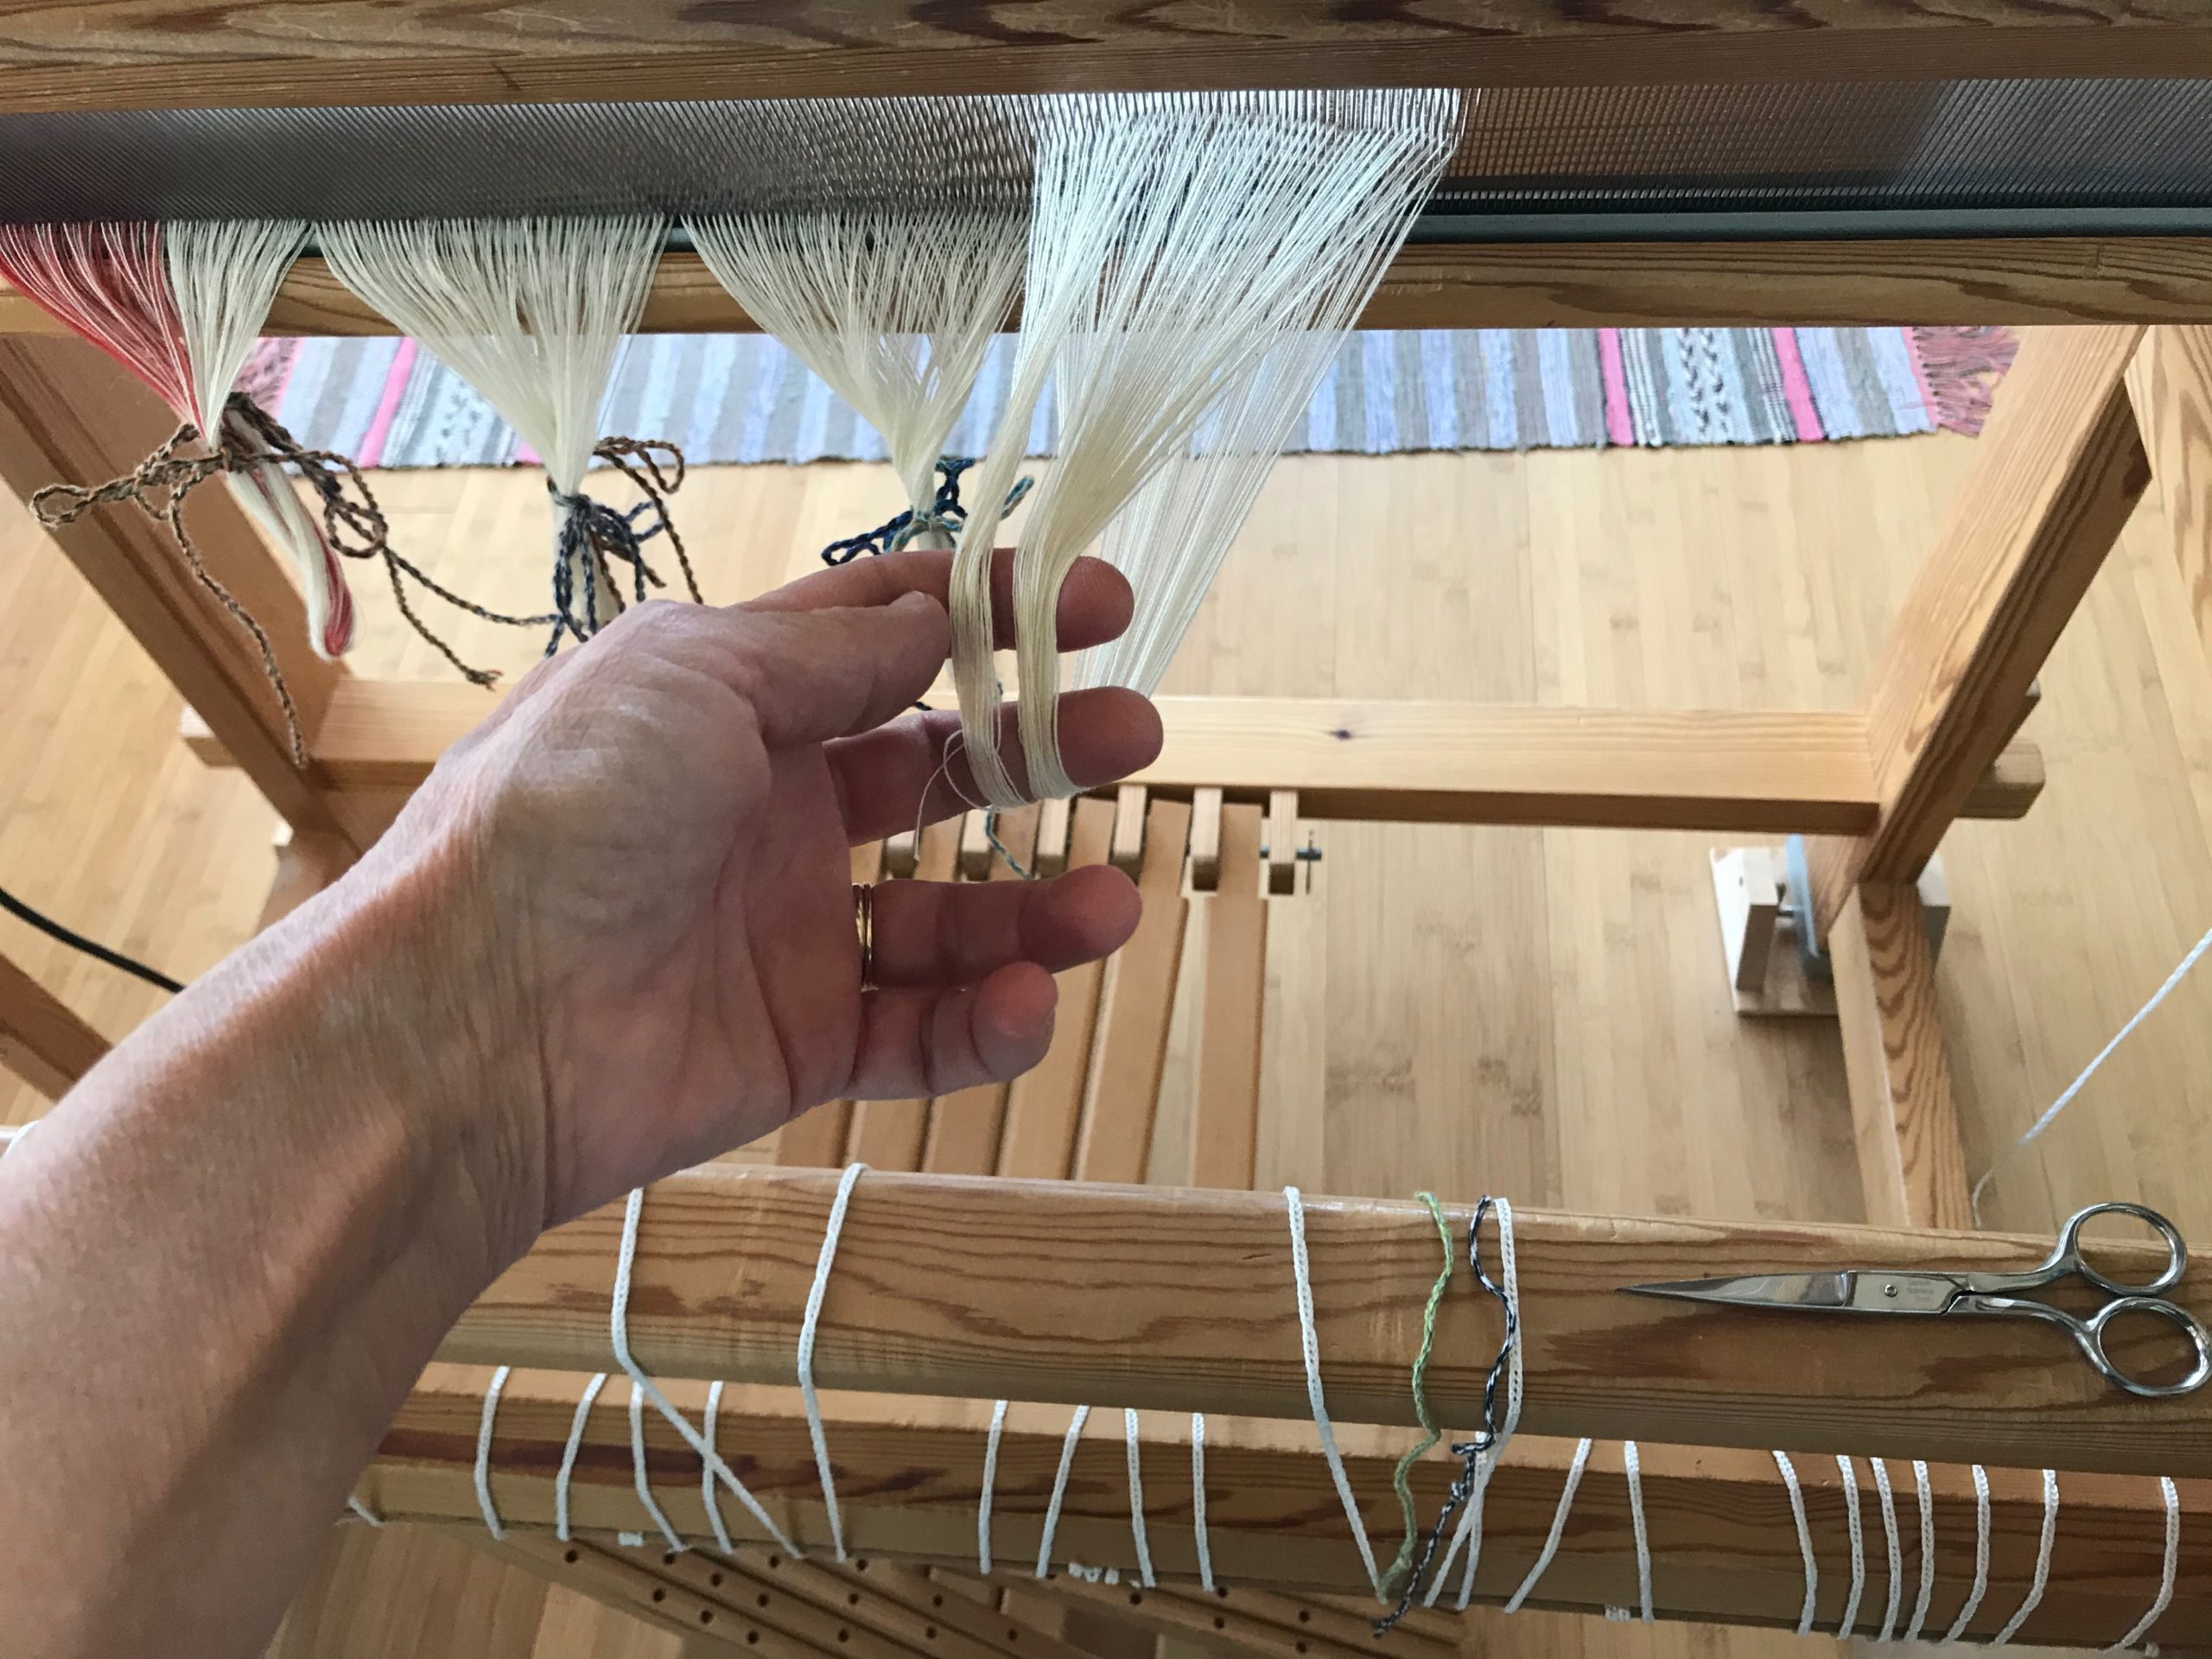
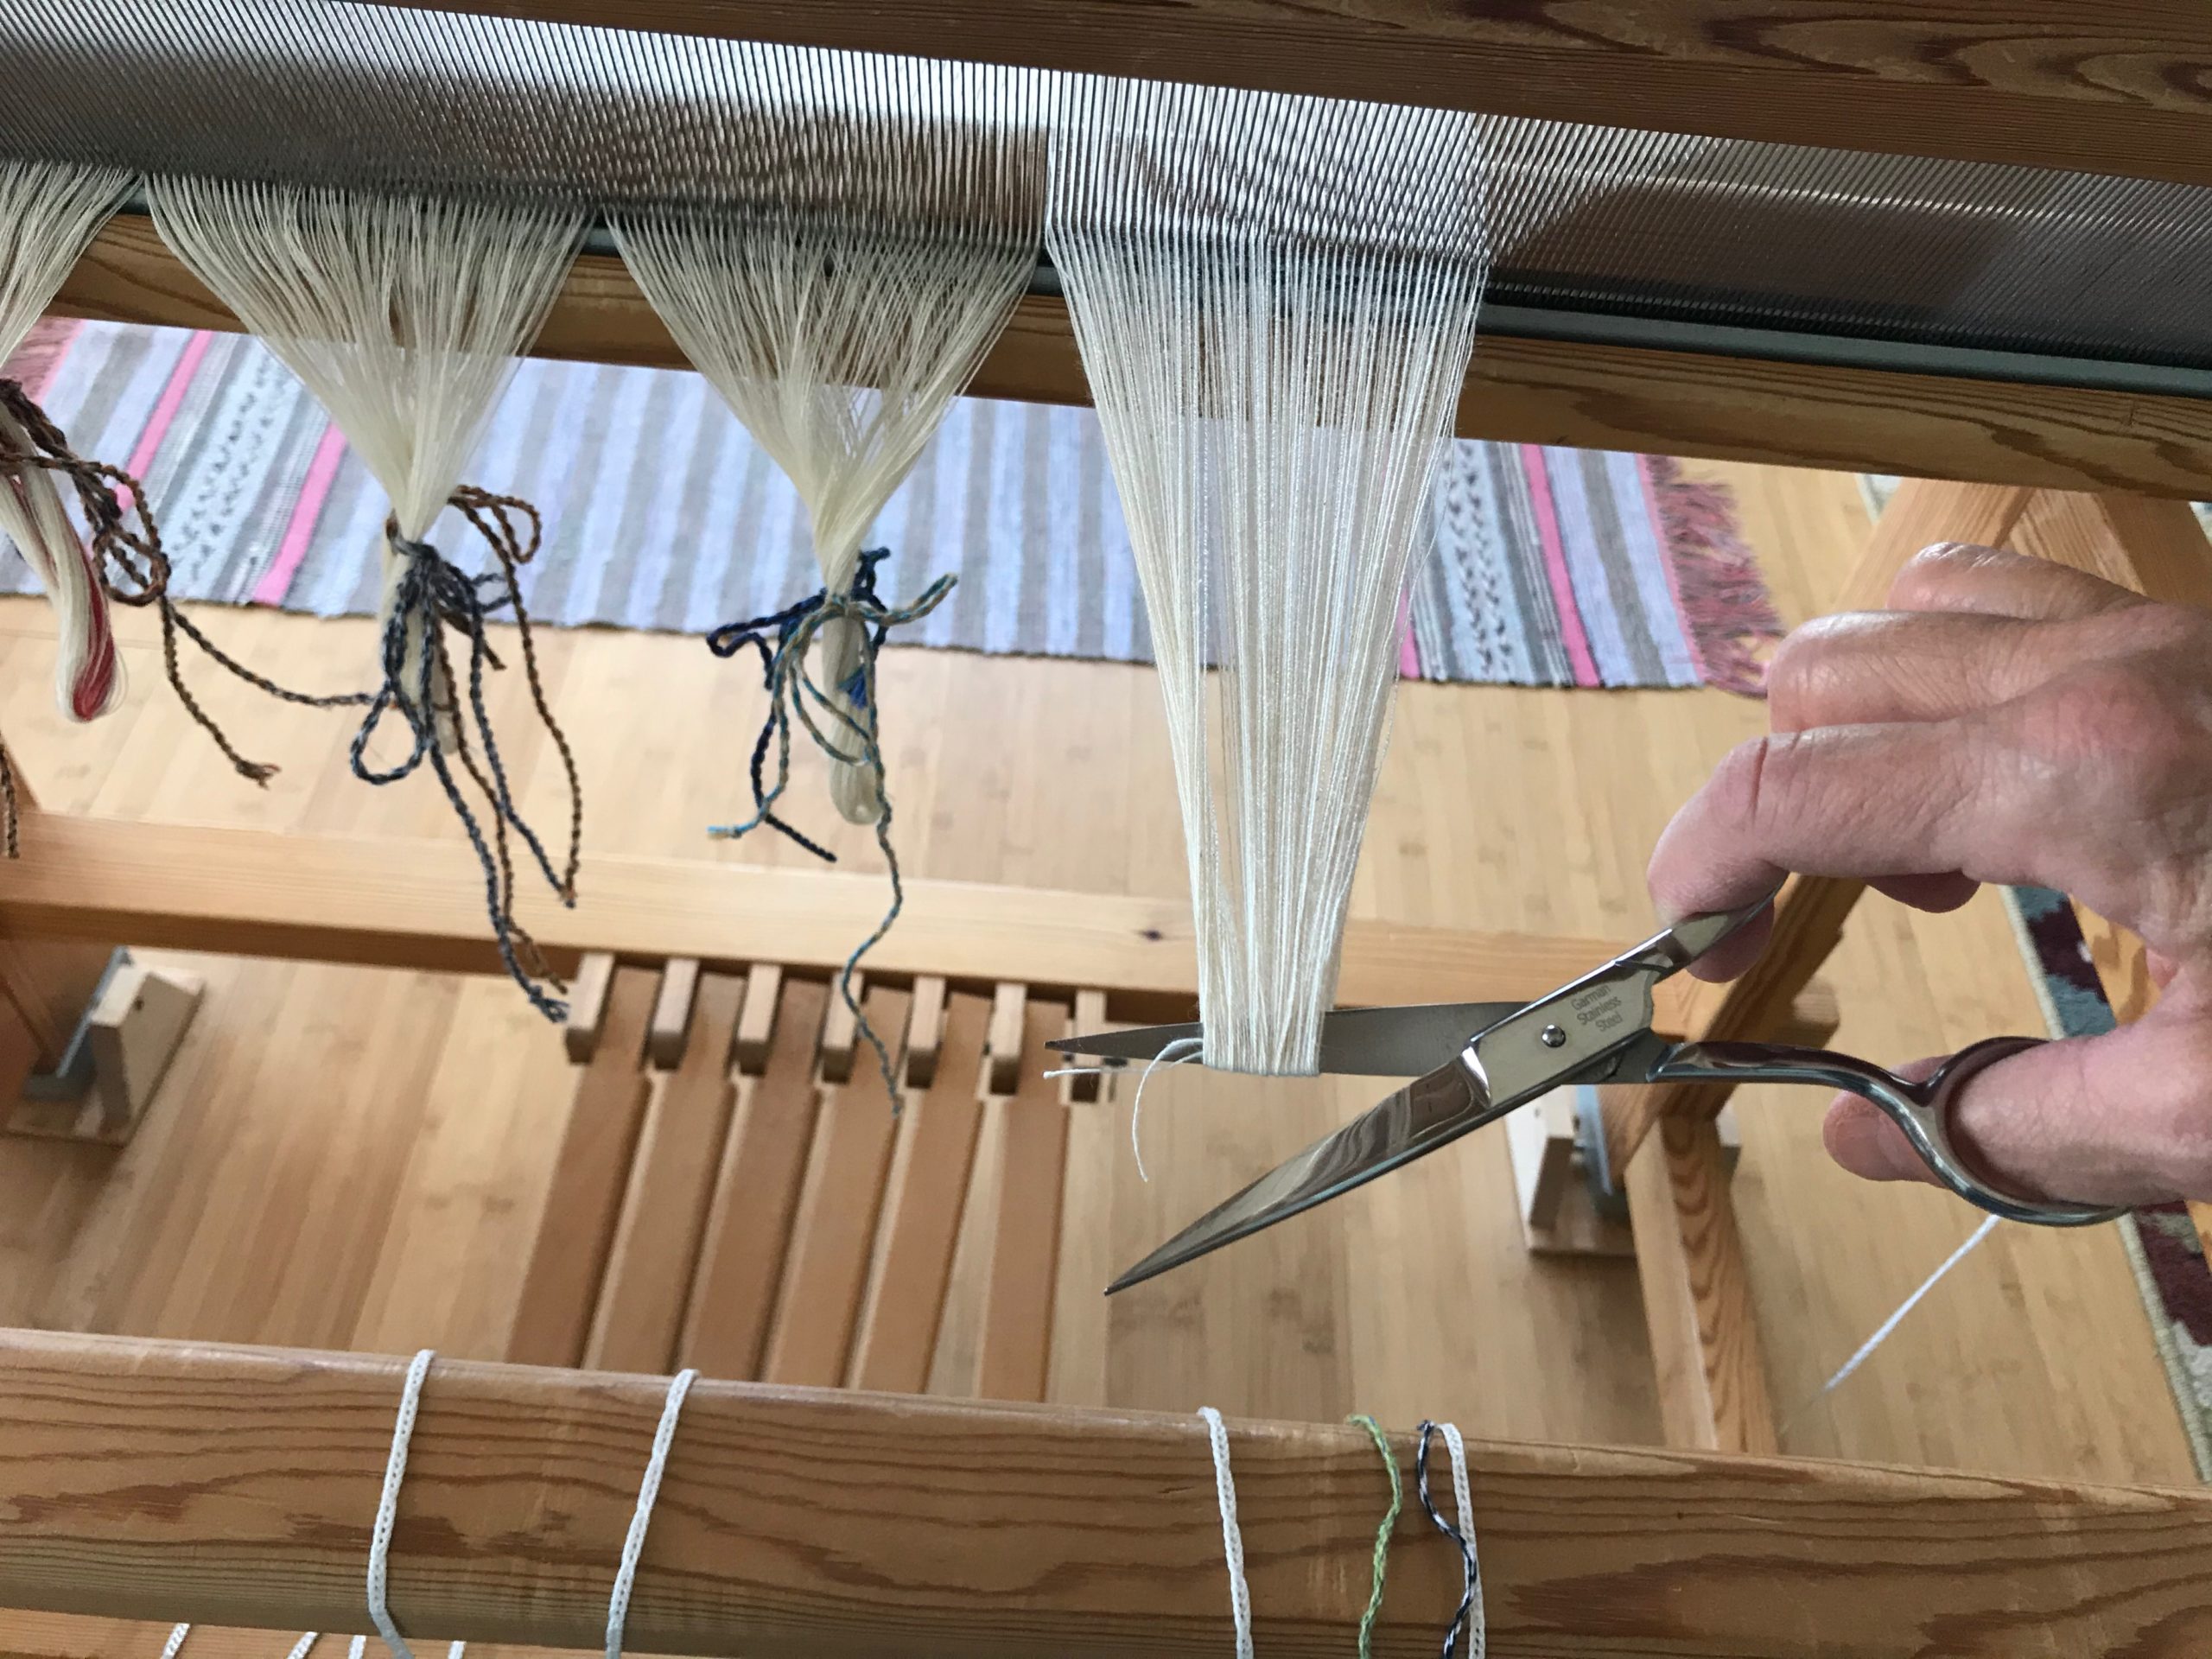
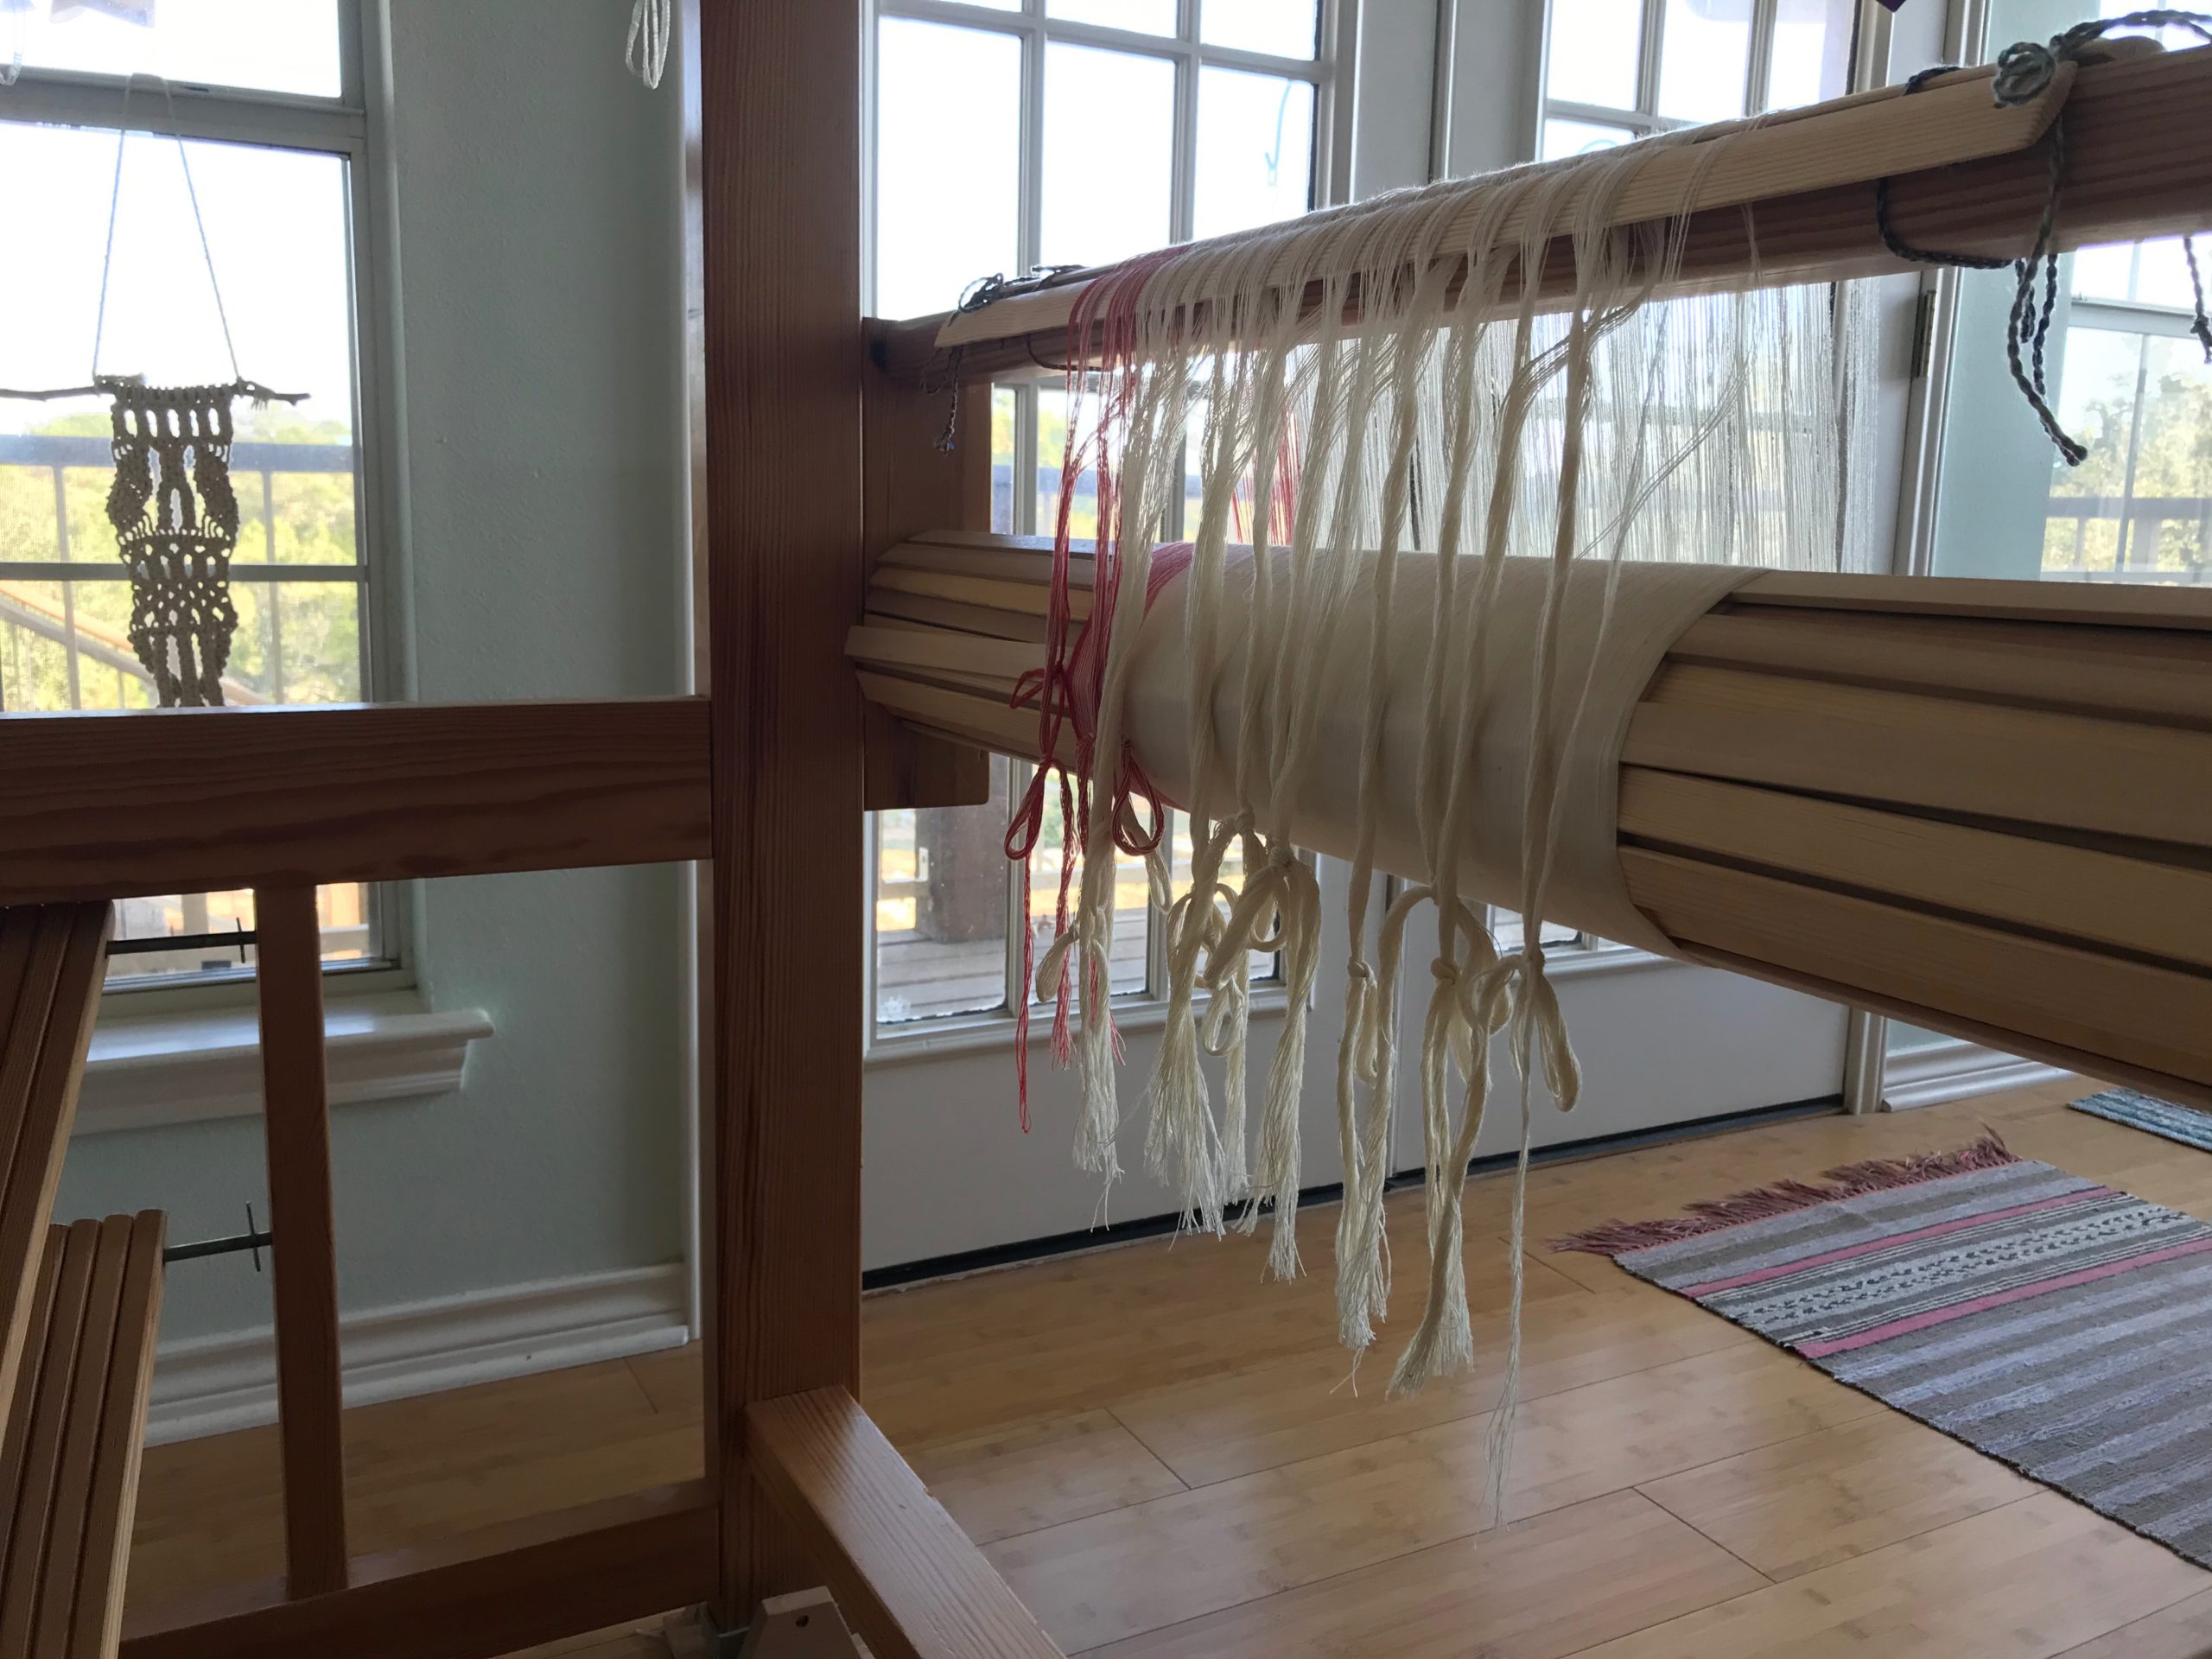
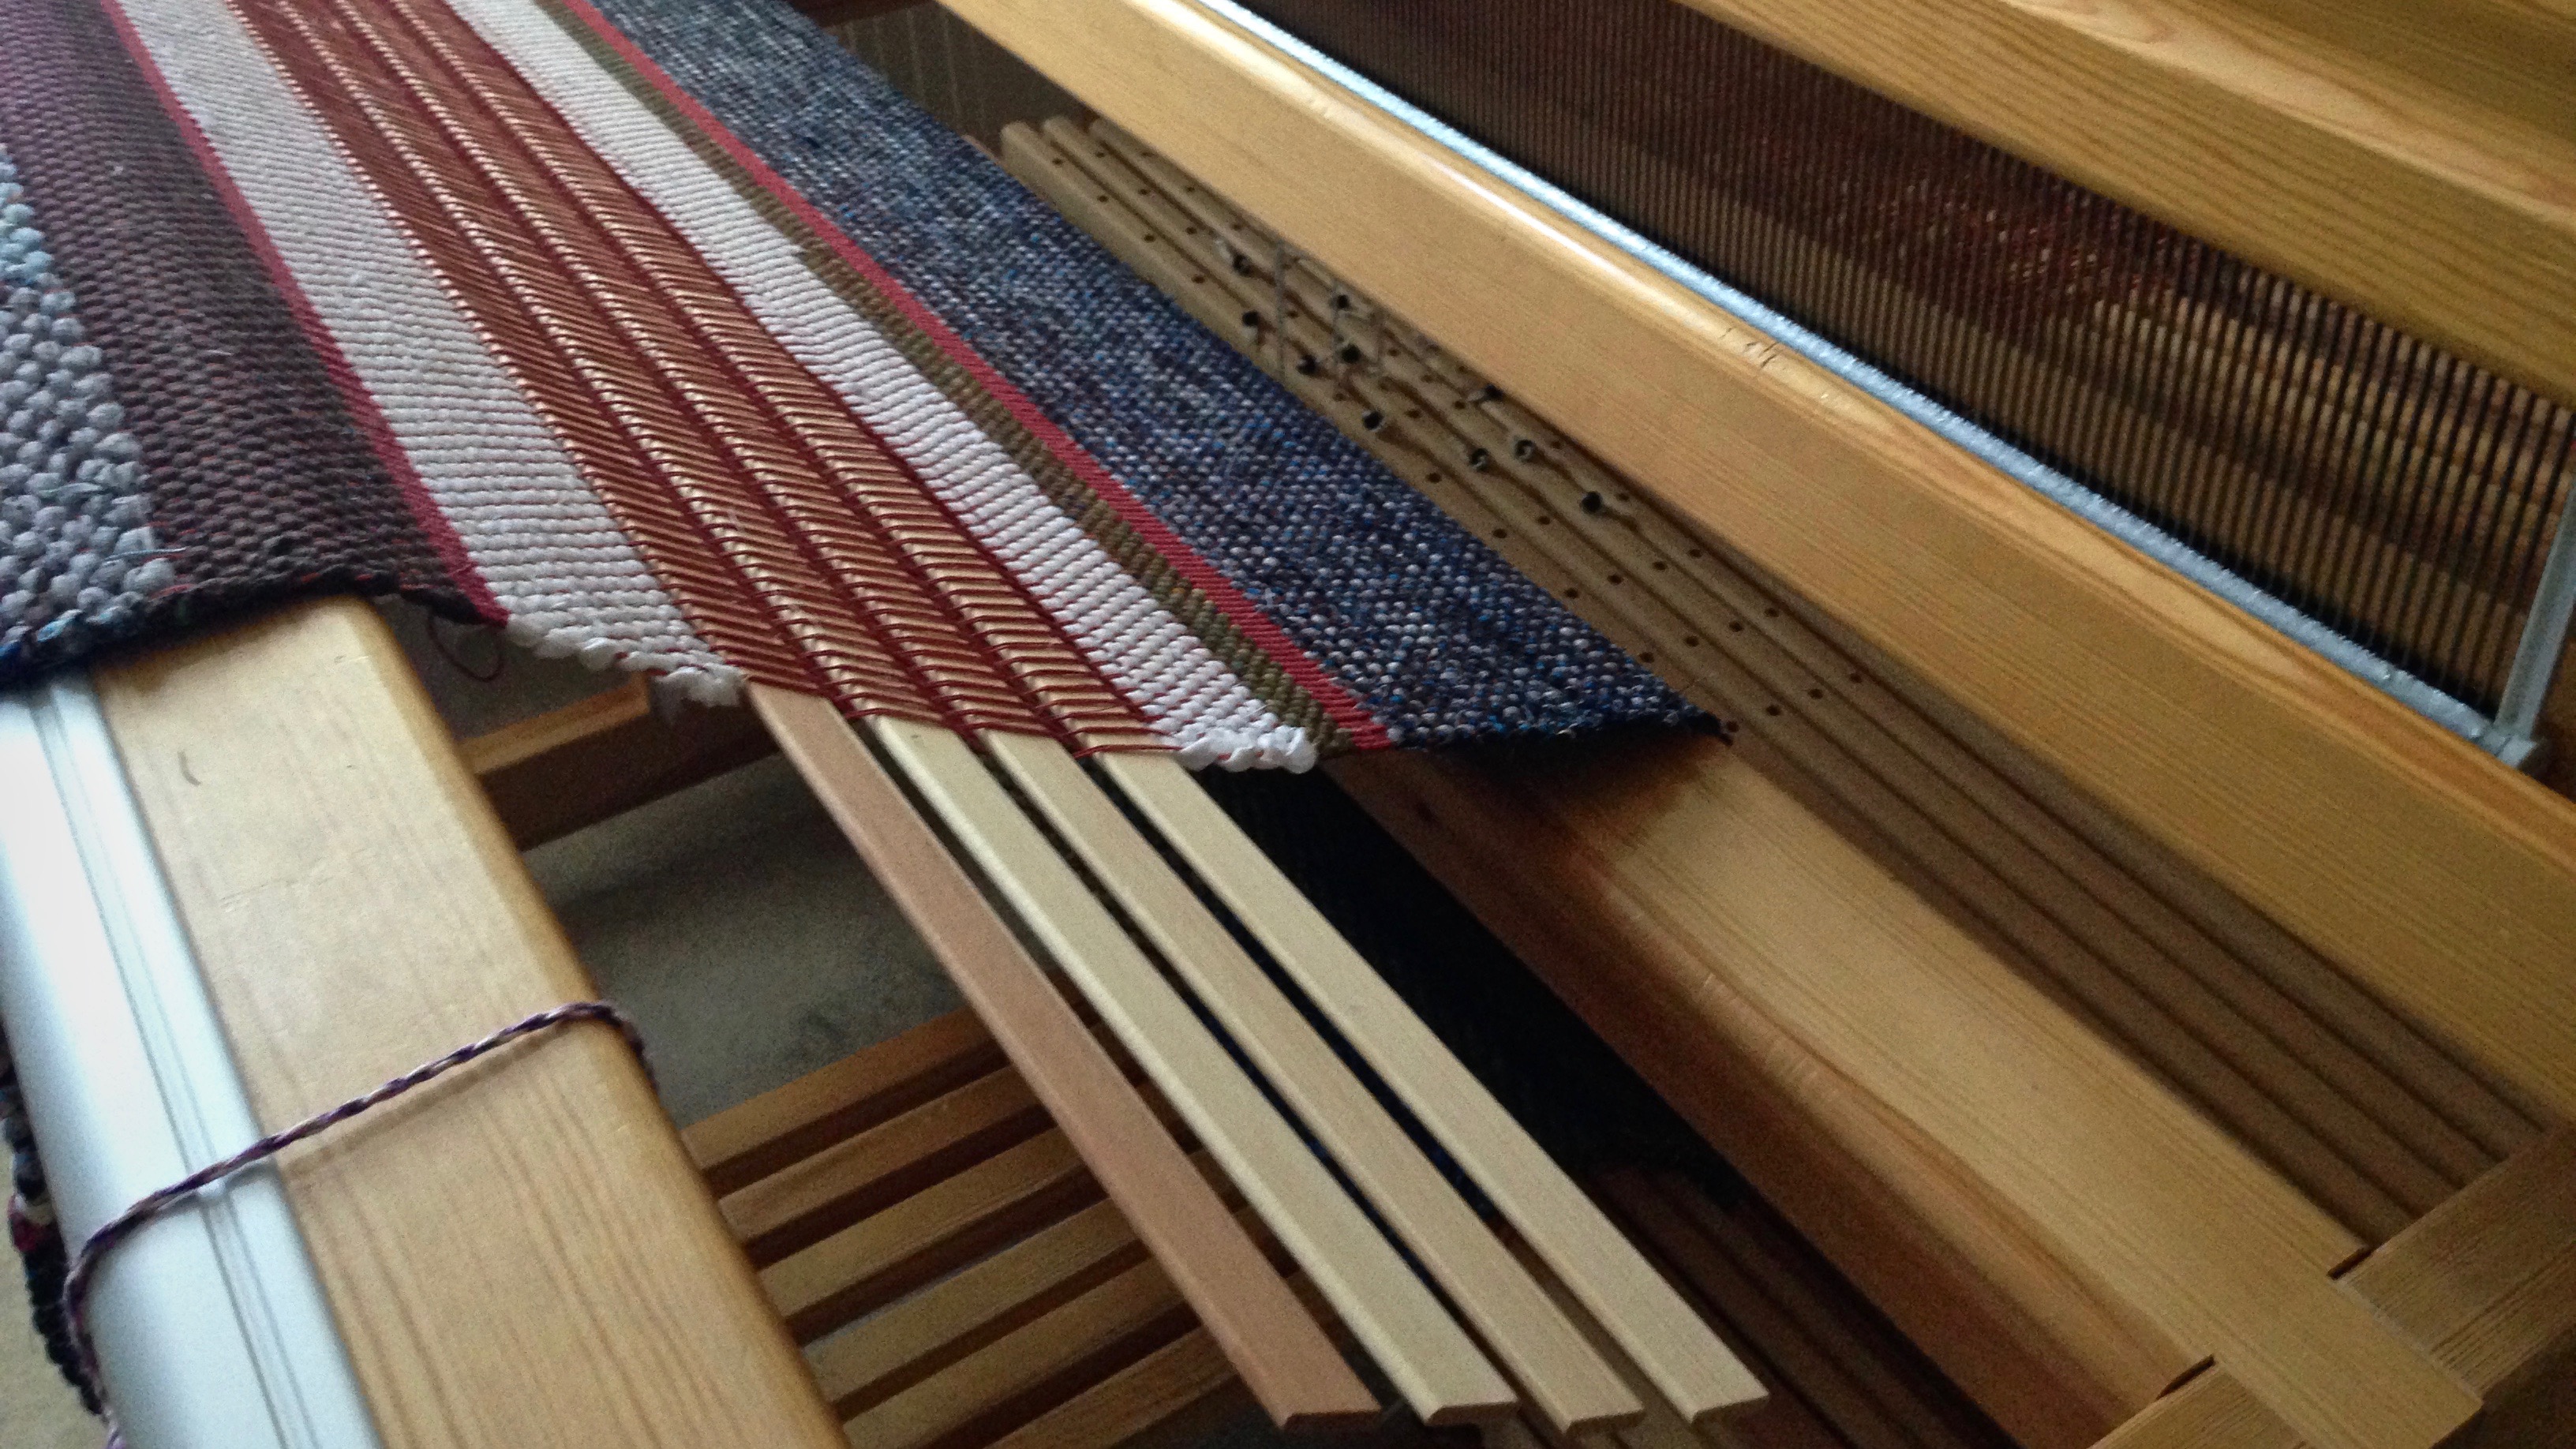
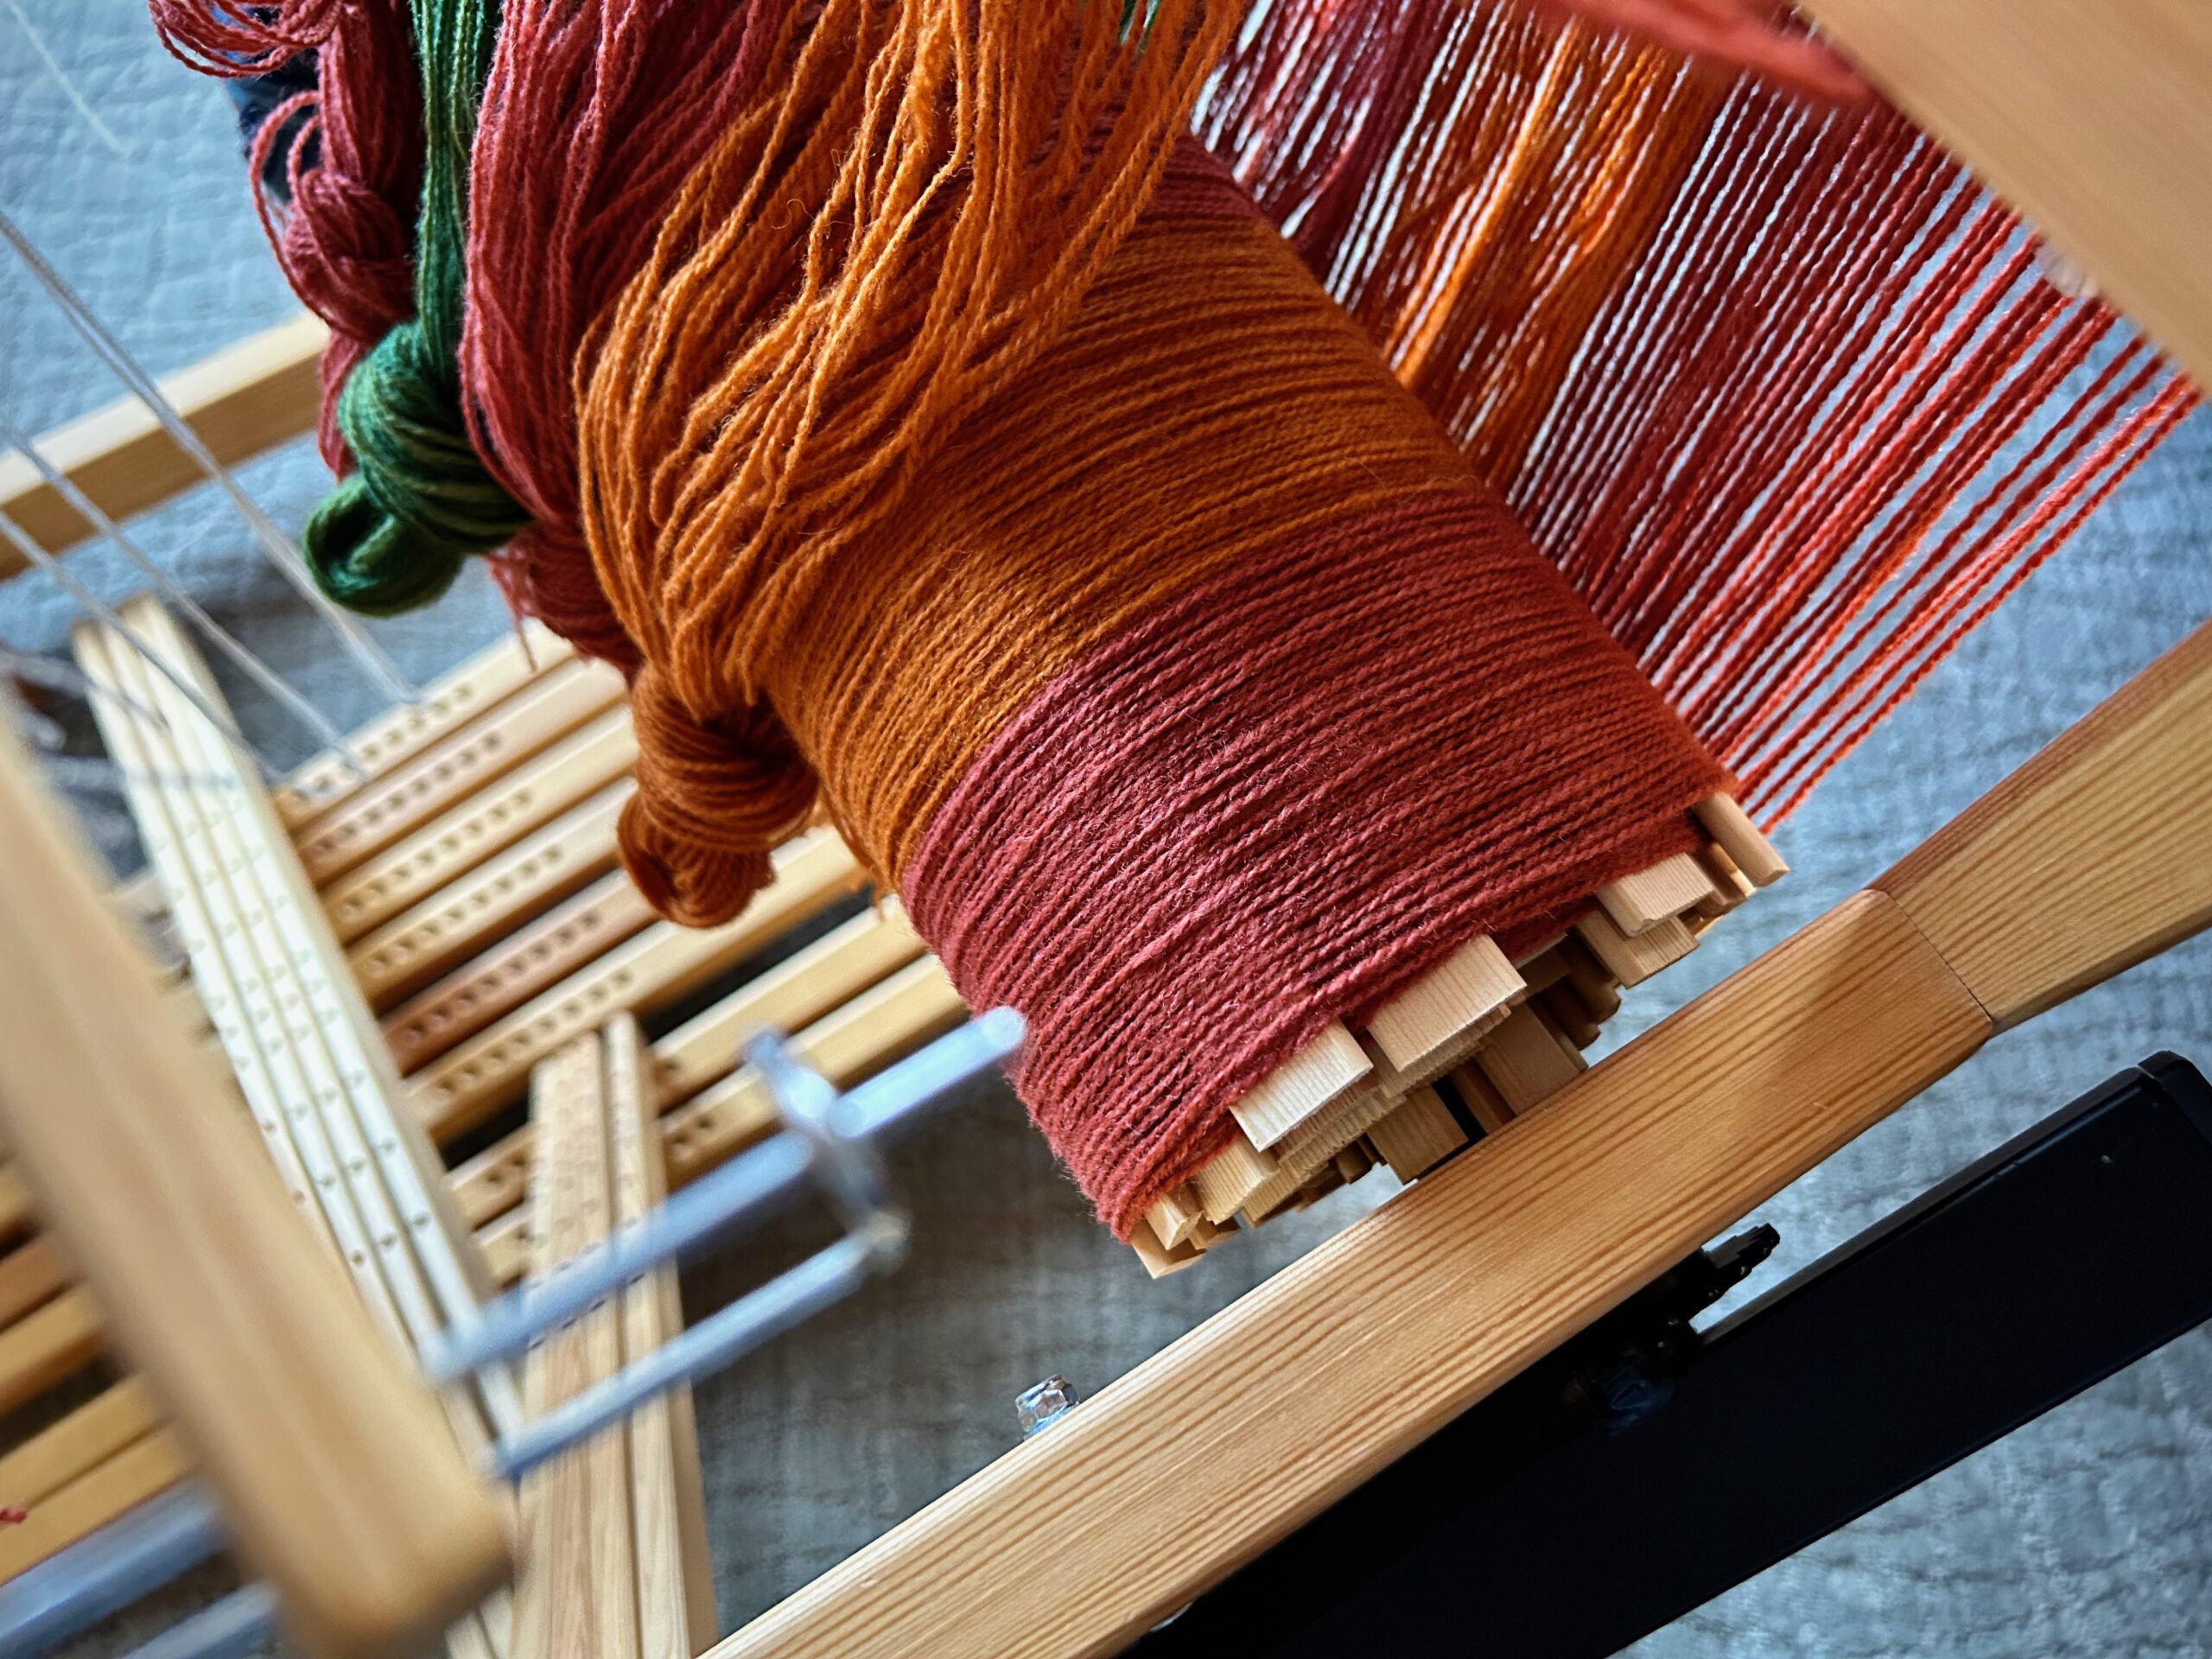
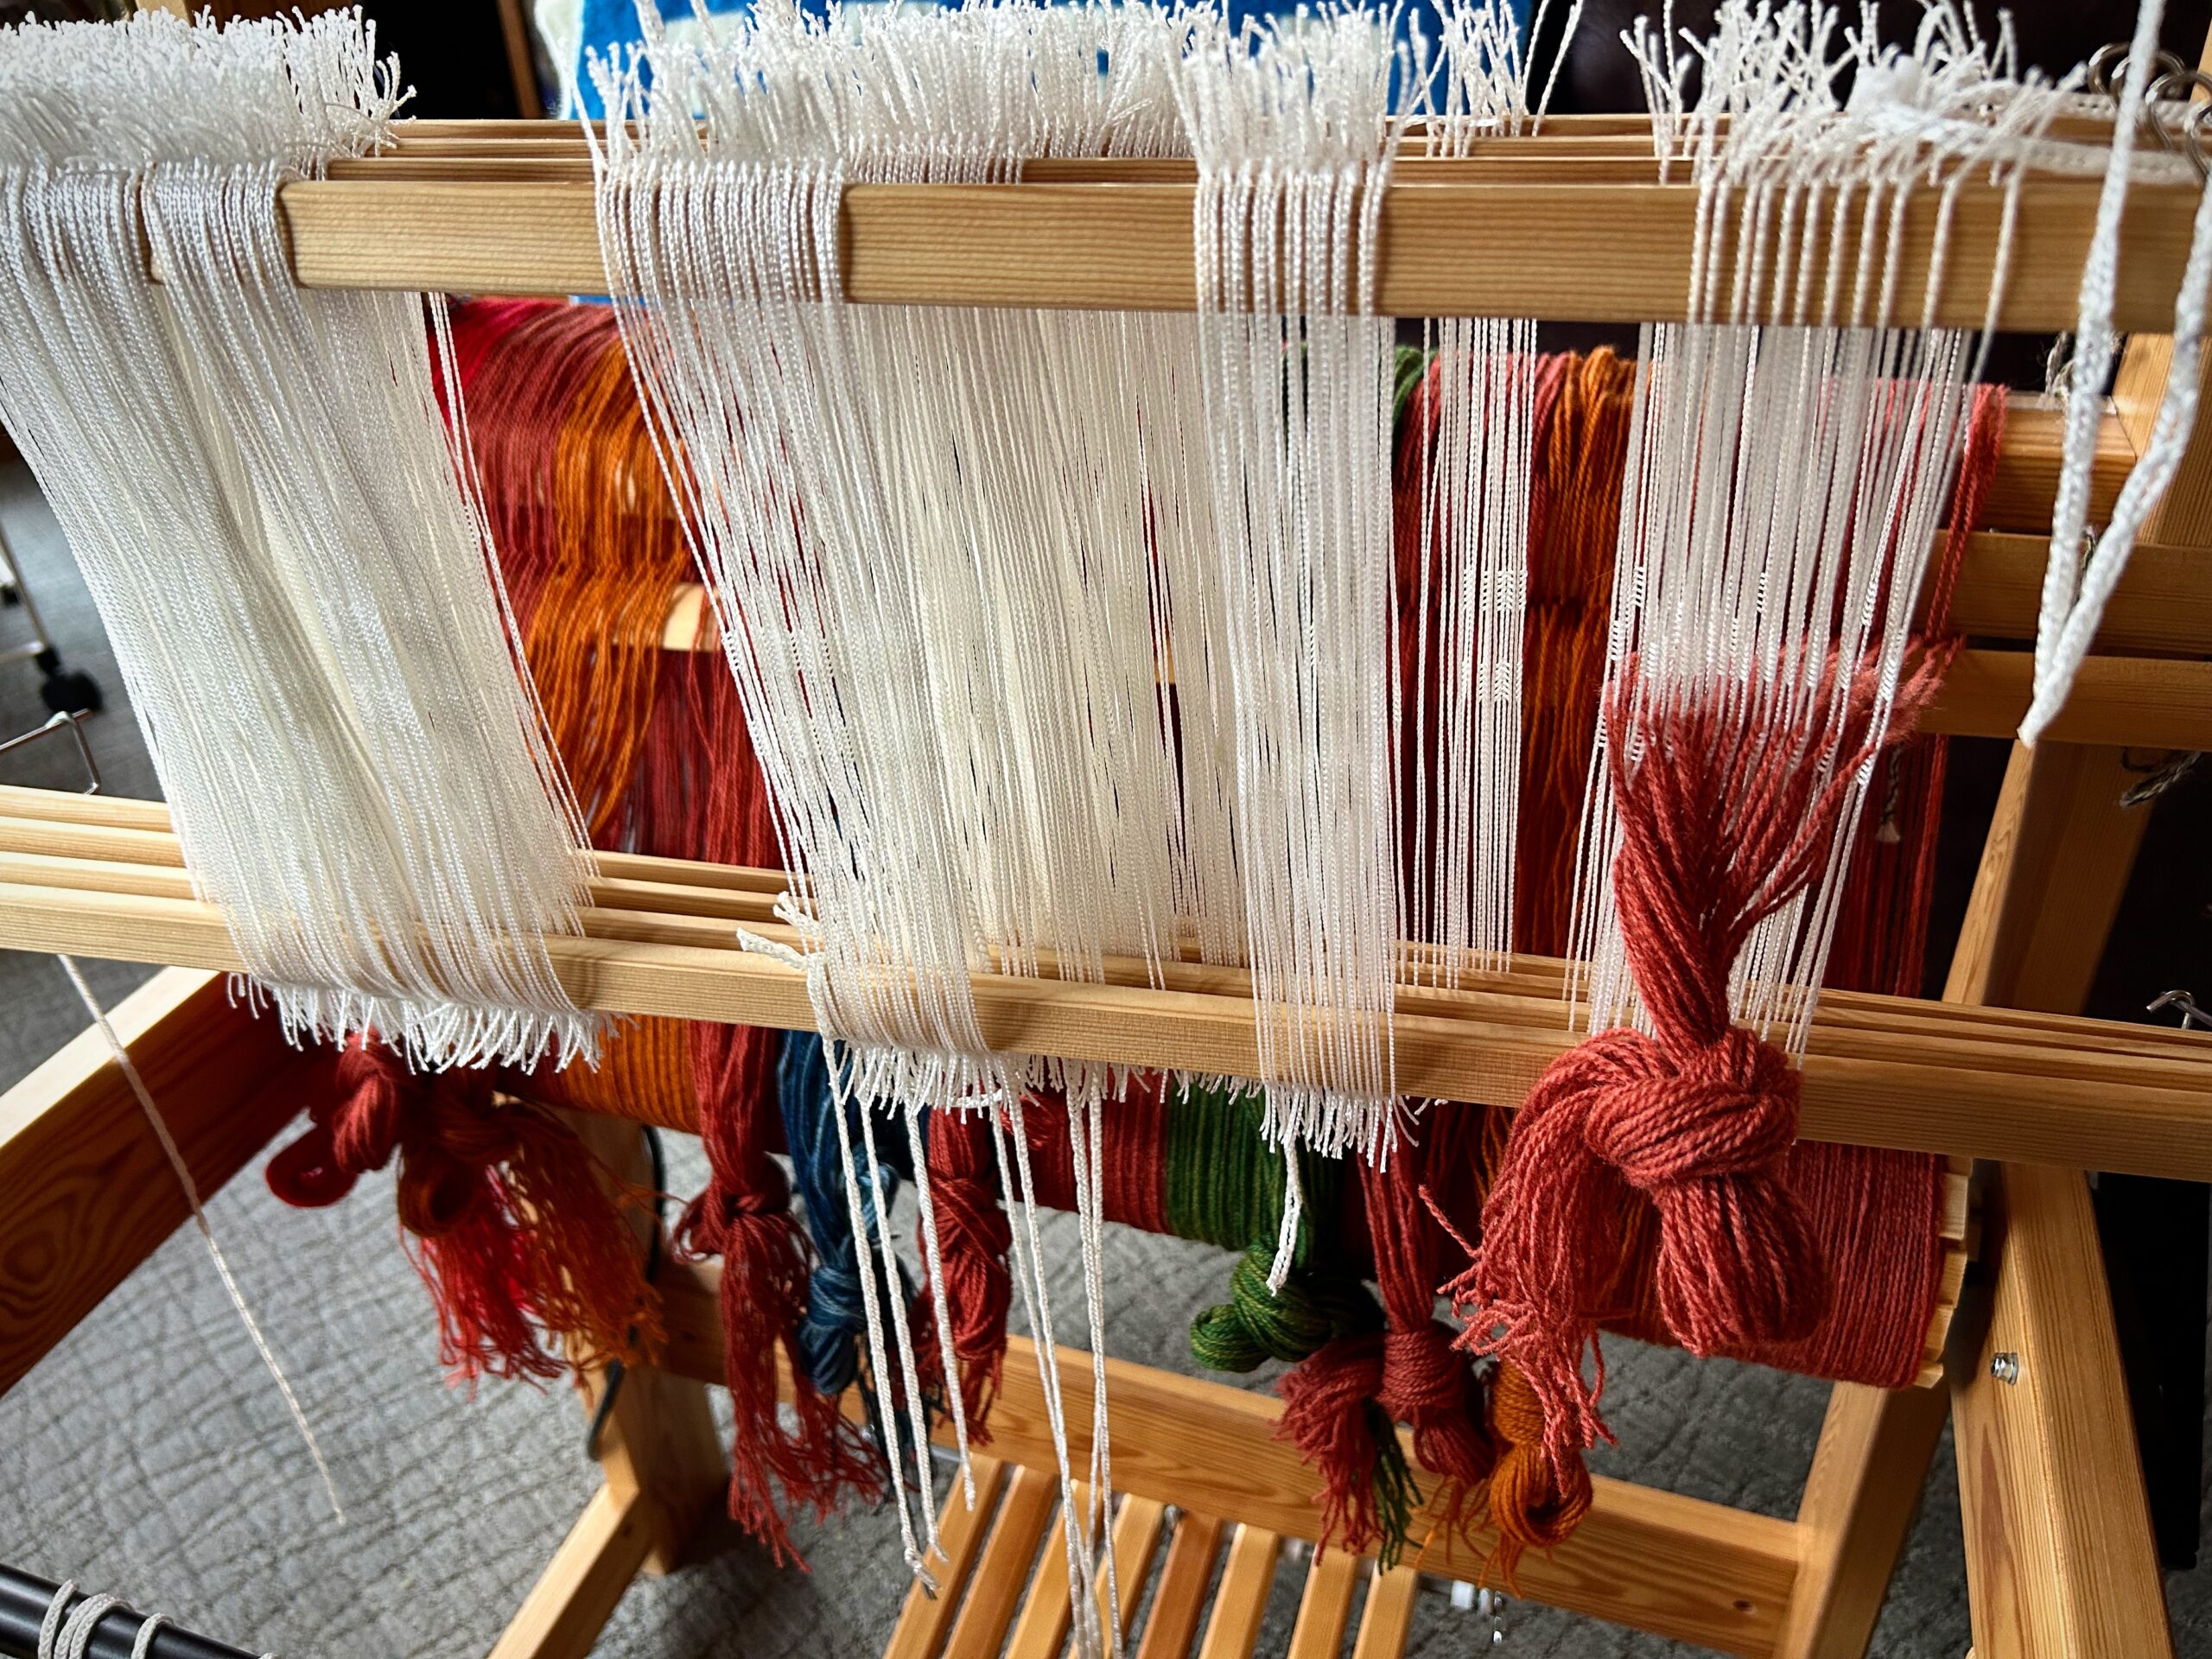
This project is going nearly full width on this 70 cm Glimåkra Julia countermarch loom. My warping slats are exactly 67 cm. (I should have measured the warping slats before I started.) At 65.7 cm weaving width I’m asking for trouble. You can see the problem, right? Those ends can slip right off the edge of the warping slats on the warp beam. I got ‘er beamed, though, with the help of a friend. Hallelujah! The warp ends all ended up in the right place at the right time.

Successfully beamed, with less than a centimeter to spare on each end of the warping slats.
Threading the heddles is a restful, enjoyable part of dressing the loom, especially with wool this soft and squishy.

If we mortals celebrate such earthly victories, imagine the hallelujah’s that all heaven expressed when the Son of God came down to us in the right place at precisely the right time as baby Jesus. That manger in a stable in Bethlehem was not a centimeter nor a millisecond off. This was God’s plan from the beginning to come in person to bring back to himself all who would receive his offer of lasting grace. Hallelujah! The angel chorus rings out, “Glory to God in highest heaven, and peace on earth to those with whom God is pleased.”

May you see the Christmas story in a meaningful way.

Have a truly blessed Christmas,
Karen

Process Review: Beaming the Warp

I am making a new ‘cello skirt (a tiered skirt), starting from scratch. The warp is 24/2 cotton, most of it unbleached. Each tier will be edged with a narrow Poppy border. The pattern in the cloth will be a huckaback (huck lace) design, adapted from Little Tablecloth in Huckaback on p.10 in Happy Weaving from VävMagisinet.

Preparing to beam the warp.

Today, I’m beaming the warp. My method includes a combination of things I have learned from these three excellent sources: Learning to Warp Your Loom, by Joanne Hall, Dress Your Loom the Vävstuga Way, by Becky Ashenden, and The Big Book of Weaving, by Laila Lundell.

I’ll let the pictures speak for themselves.

Using warping trapeze to beam the warp.
Transferring the lease sticks.
Transferring lease sticks.
Transferring lease sticks. Beaming.
Beaming a new warp.
Beaming the warp with a trapeze.
Warping trapeze in use.
Using warping slats.
Placing warping slats.
Beaming with warping slats.
Warping trapeze in use.
Warping slats for beaming the warp.
Last step in beaming the warp.
Tie the lease sticks to the back beam.
Lease sticks tied to back beam.
Ready to cut the end-of-warp loops.
Cutting loops at end of the warp.
Cutting the loops at the end of the warp.
Beaming a new warp.
All Counted into Threading Groups
Newly beamed warp. Complete process pictures.
Newly beamed warp ready for threading.
Beaming process in pictures.

Do you have any questions about my beaming process? If you warp back to front, like I do, what do you do differently?

May you find yourself beaming.

Happy Weaving,
Karen

Cloth Beam Matters

Does it matter what happens at the cloth beam? Why not let the woven fabric go around the beam as is and forget about it? You have worked diligently at every stage to ensure an even warp. Now, preparing the cloth beam for cloth will ensure the warp remains even.

Warping slats are placed on the cloth beam.
Warping slats cover the cords and knots on the cloth beam so the handwoven fabric has a flat surface to lay against.

Warping slat over the tie-on bar prevents the tie-on threads from putting bulges in the fabric. Bulges can distort the fabric and put uneven tension on warp ends.

Warping slats around the cloth beam for a smooth start.
When the warping slats have covered one full revolution of the cloth beam, no more slats are needed. The twill pre-measured tape on the floor gives a clue to the extended length of this table runner on the loom.

The cloth beam holds obstacles that threaten the evenness of your warp. Any raised surface on the beam, like beam cords and tie-on knots, will distort the warp tension as the woven fabric wraps around it. Warping slats solve the problem. I lay in the slats around the beam, one by one, as I advance the warp. This forms a flat surface around which my freshly-woven fabric can hug as the cloth beam turns.

M's and O's long table runner. Linen weft.
Long M’s and O’s table runner on the loom. The sample piece and towel that preceded the table runner have already reached the cloth beam.

Fear makes obstacles for our path that disturb our peace and threaten our well-being. Trust in the Lord. Trust pushes fear aside. The day you are afraid–the moment you are afraid–put your trust in God. Know that the Lord is for you. Your trust in Him forms a firm layer to build your life on. Like the warping slats that are in place for your handwoven cloth, your trust in God is a foundation on which to roll the fabric of your life.

May you walk without fear.

Peace,
Karen

Tools Day: Warping Slat Spacers

Rag rugs are not finished when you cut them from the loom. In fact, they can fall apart if you are not careful. A rag rug is not secure until warp ends are tied into knots. You need to leave space on the warp between rag rugs to make room for the eventual knots.

One way to leave space on the warp is by using warping slats as spacers. Simply weave about two inches of scrap header after the end of a rug. Then, insert warping slats in alternating plain weave sheds. And then, weave another scrap header. Now, you’re ready to start the next rug.

Warping slats as spacers between rag rugs.
Weaving is finished. It is time to cut these rugs from the loom. Four warping slats are seen between two rag rugs as the rugs are being pulled off the loom.

I leave about eight inches (20 cm) of warp between rugs. This gives me enough length for tying the needed square knots. If you are leaving fringe, add enough to include the desired fringe length. When you insert the warping slats, keep them centered so that they can go around the breast beam and cloth beam without catching on the sides of the loom.

Warping slats are used as spacers between rag rugs.
Full-width warping slats are placed carefully so that they do not extend beyond the weaving width on the right or on the left. This view is looking down on the end of the breast beam.

It is easy to separate the rugs after they are off the loom. Cut between slats using a rotary cutter, with a cutting mat underneath.

Warping slats are used as spacers between two rag rugs on the loom.
Double binding rag rugs are ready to be removed from the loom. The two rugs will be cut apart by slicing the warp between the middle two warping slats.

May you make the best use of your time and tools.

All the best,
Karen