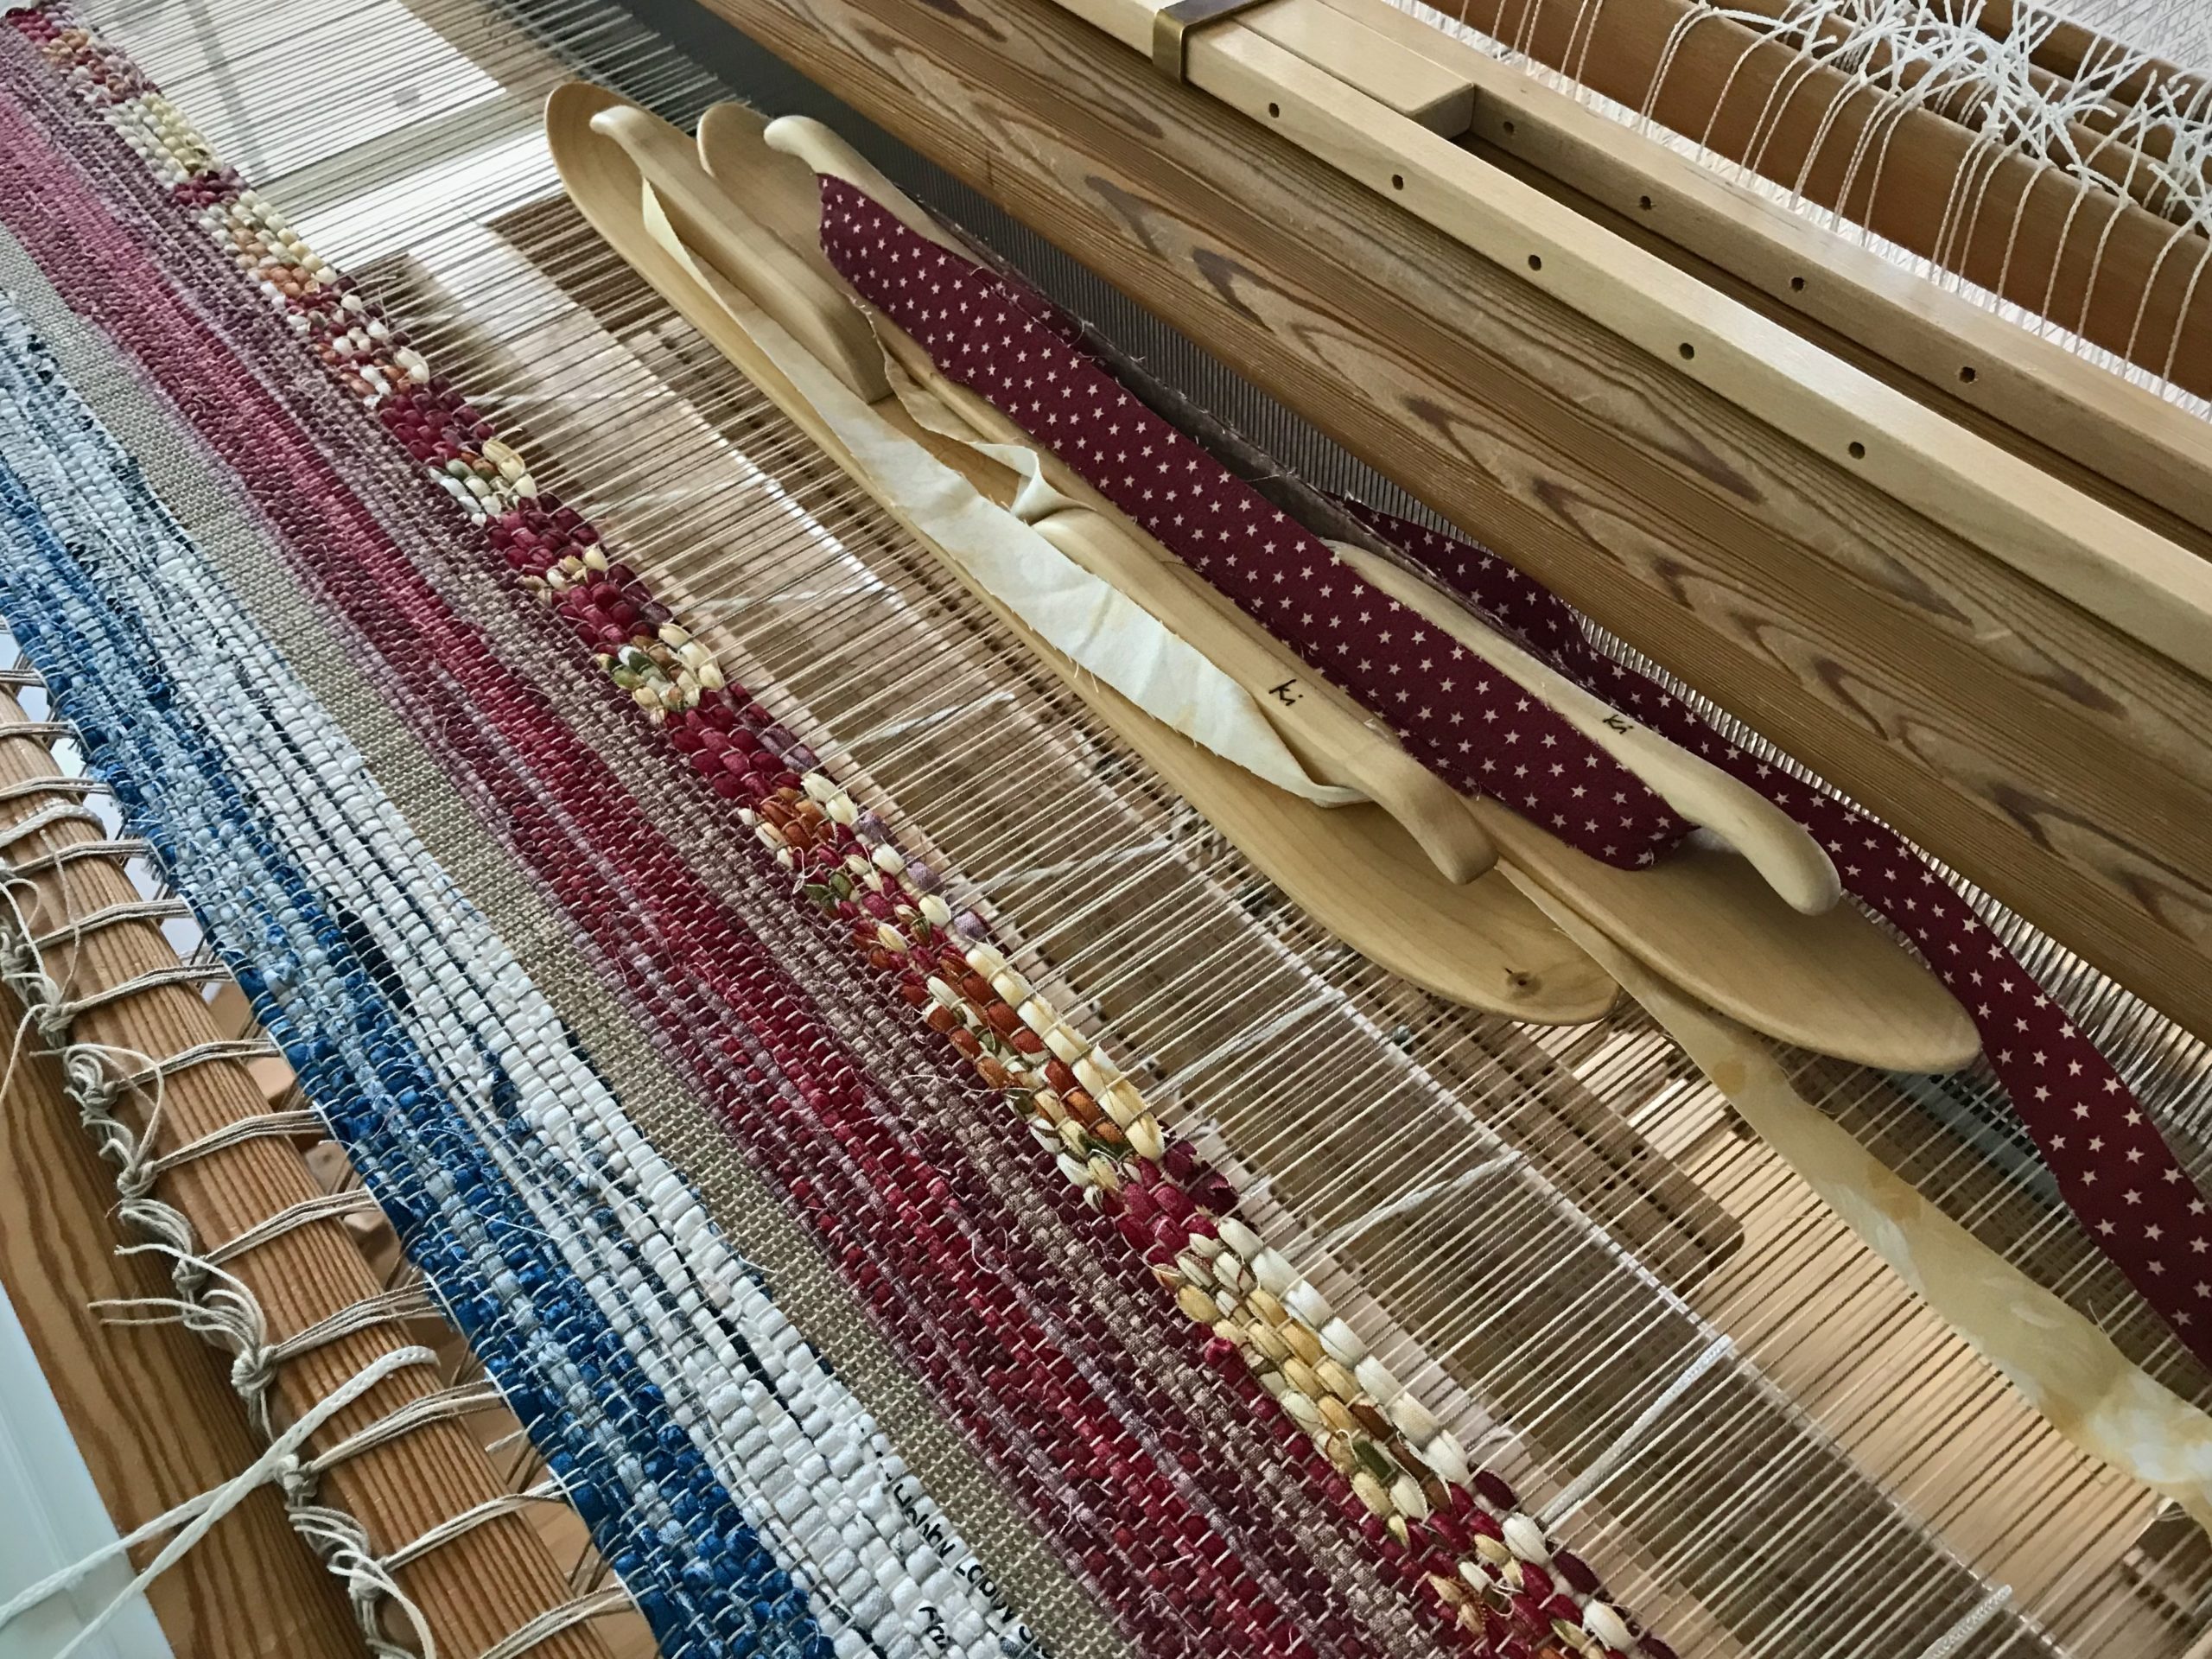
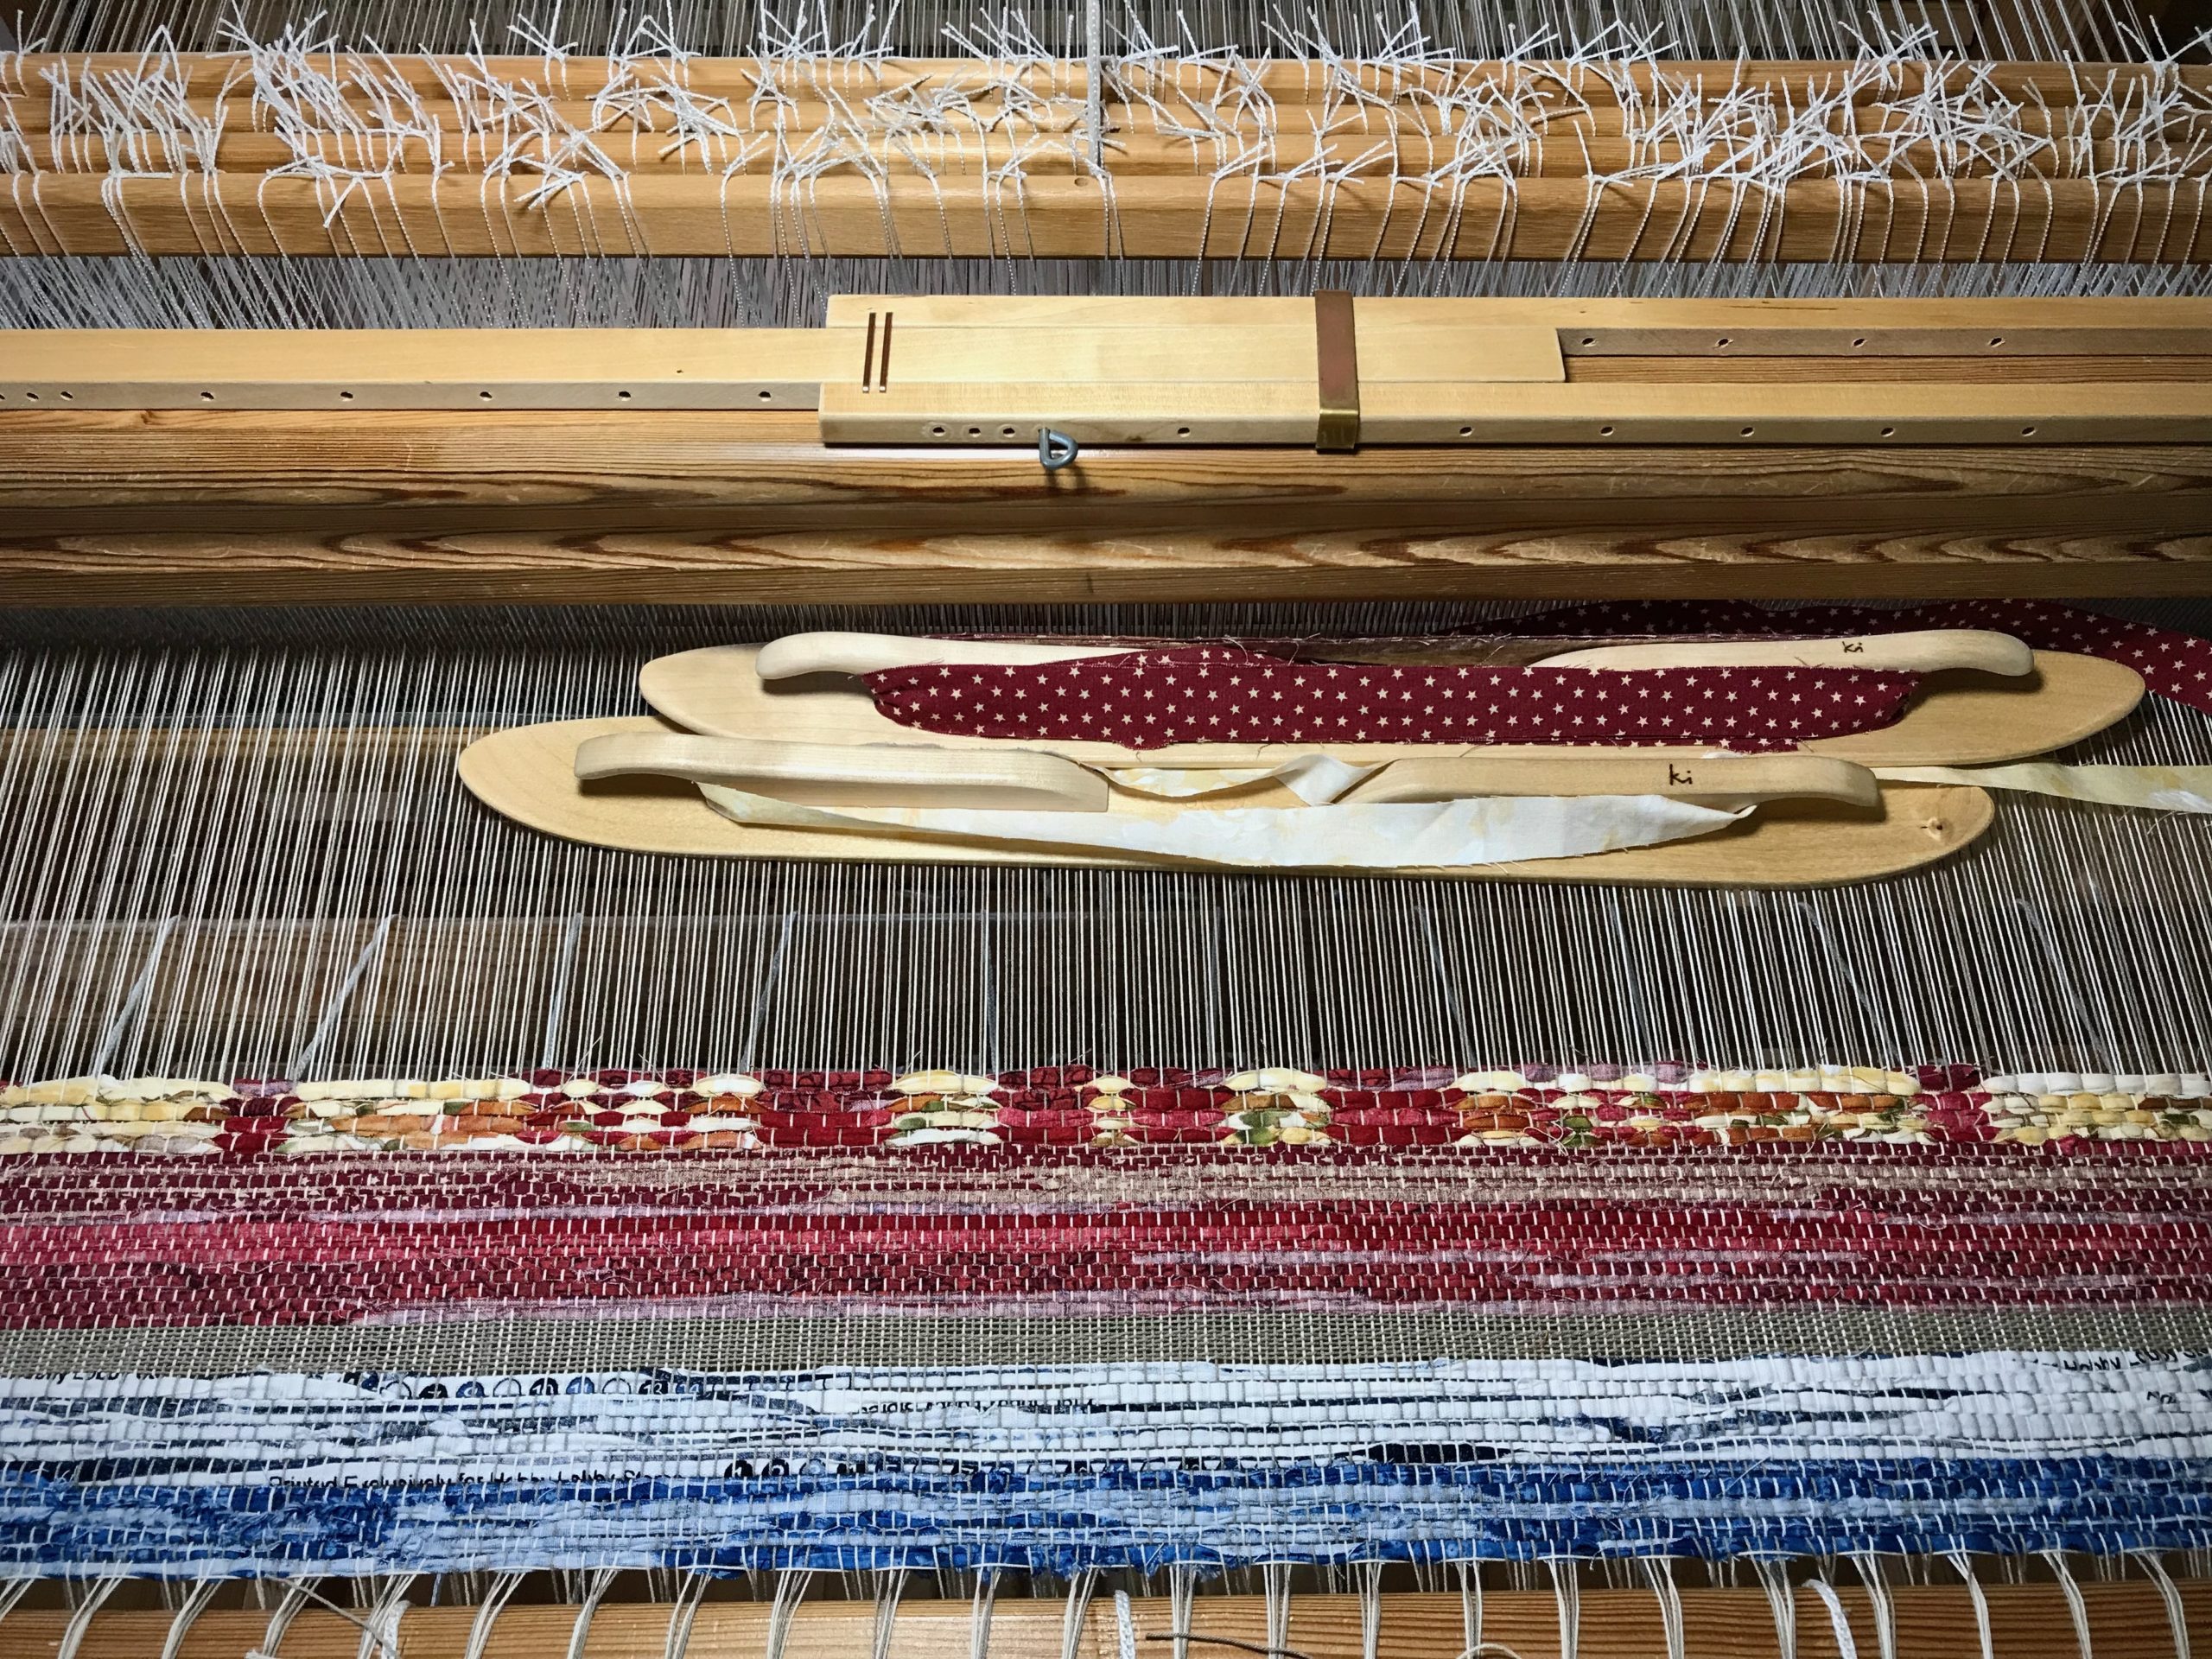
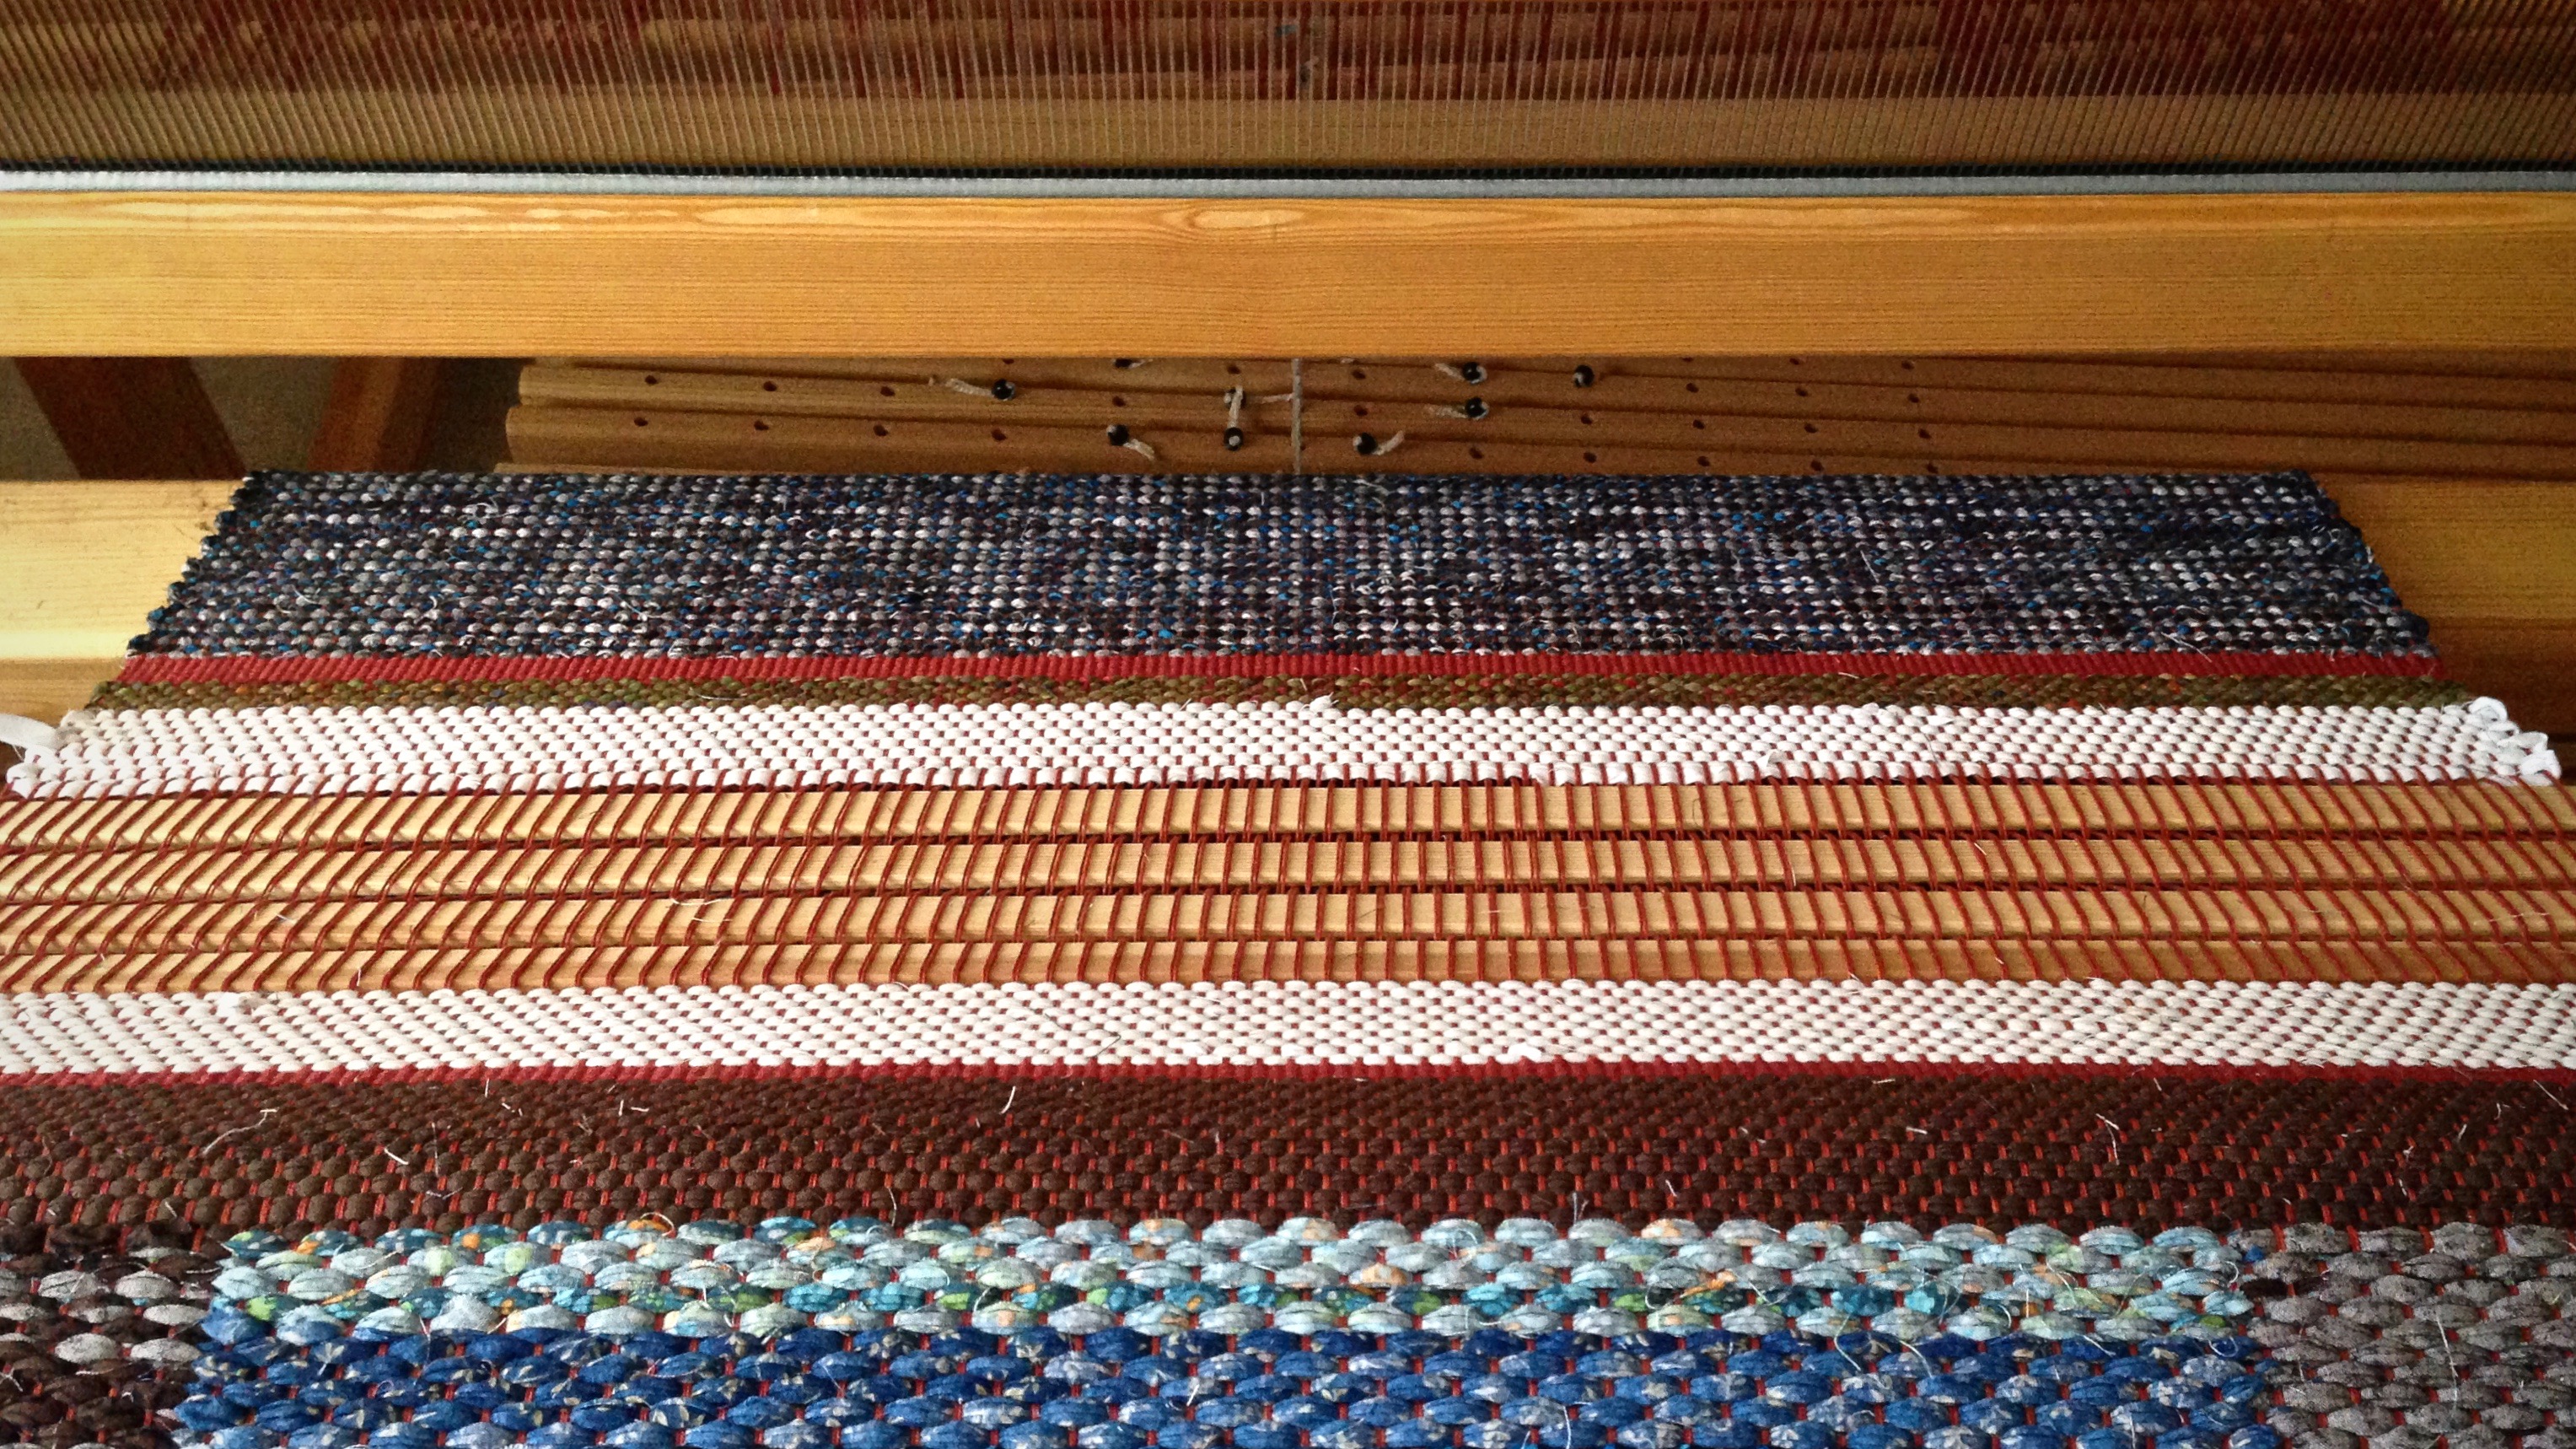
I am not fiddling with the weft fabric strips. Instead of making the right side of the fabric always show on top, I am letting the fabric strips fall as they may. The resulting variance in the weft gives the rug a vintage-like appearance. Also, I am using print fabric for some of the the light color of the double binding that purposely obscures the contrast of dark and light in some places. This is to give the rug a softer, more playful appearance.
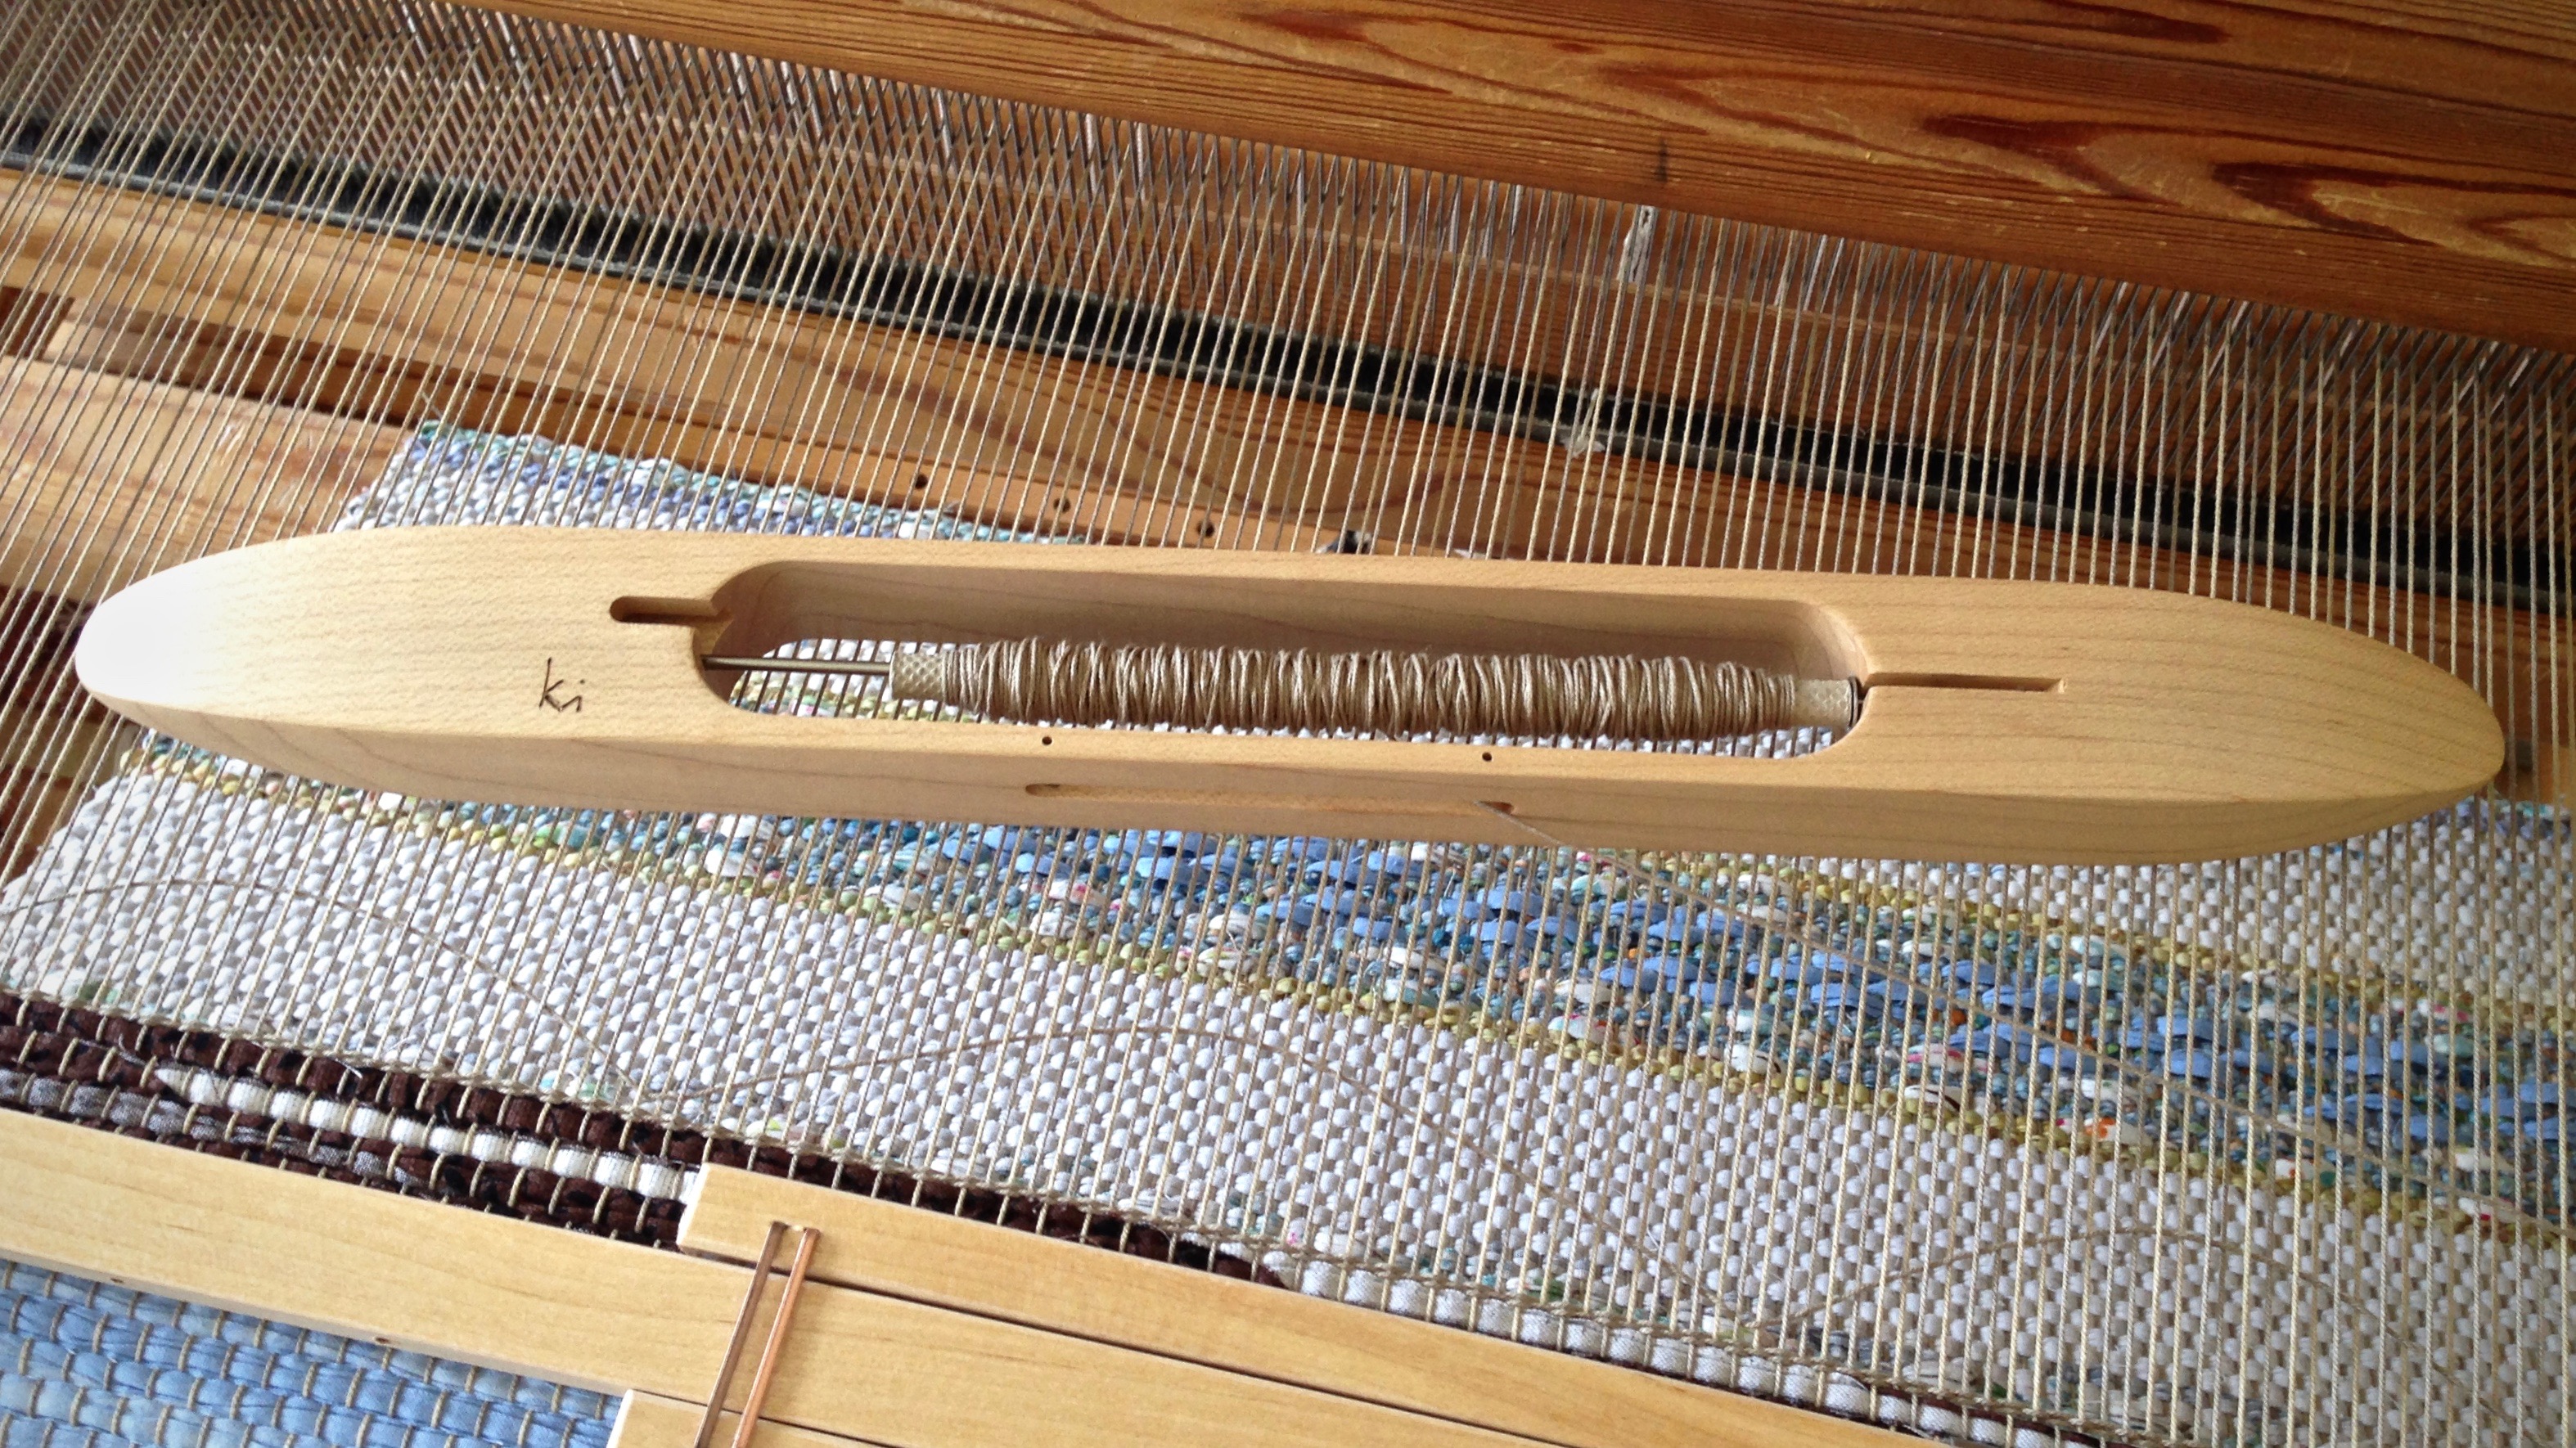
Some of the red fabric for the rug’s hem has a wrong side that is much lighter than its right side. I am letting some of that lighter fabric show on top. Besides giving the rug a vintage-like appearance, this variance also makes the rug more reversible. The front and back side of the rug will be similar to each other, instead of one dark side and one light side.Glimåkra Ideal, with the beginning of a burst-of-color short rug to be used as a bath mat.
Home is where we make our true expression. The textiles from our hands speak without saying a word.
I have good reasons for cutting off this first double-binding rag rug before proceeding with the rest of the warp. This pause and reset ensures happy weaving to the end. Cutting off gives me a fresh start for the next rug.
Reasons for cutting off rag rug before end of warp
Uneven warp tension. I can improve the warp by tying back on.
Large rag rag. I can get a tighter warp tension by removing the rug’s bulk from the cloth beam.
New design. It helps me to see the completed rug before starting the next one, since this is a brand-new design.
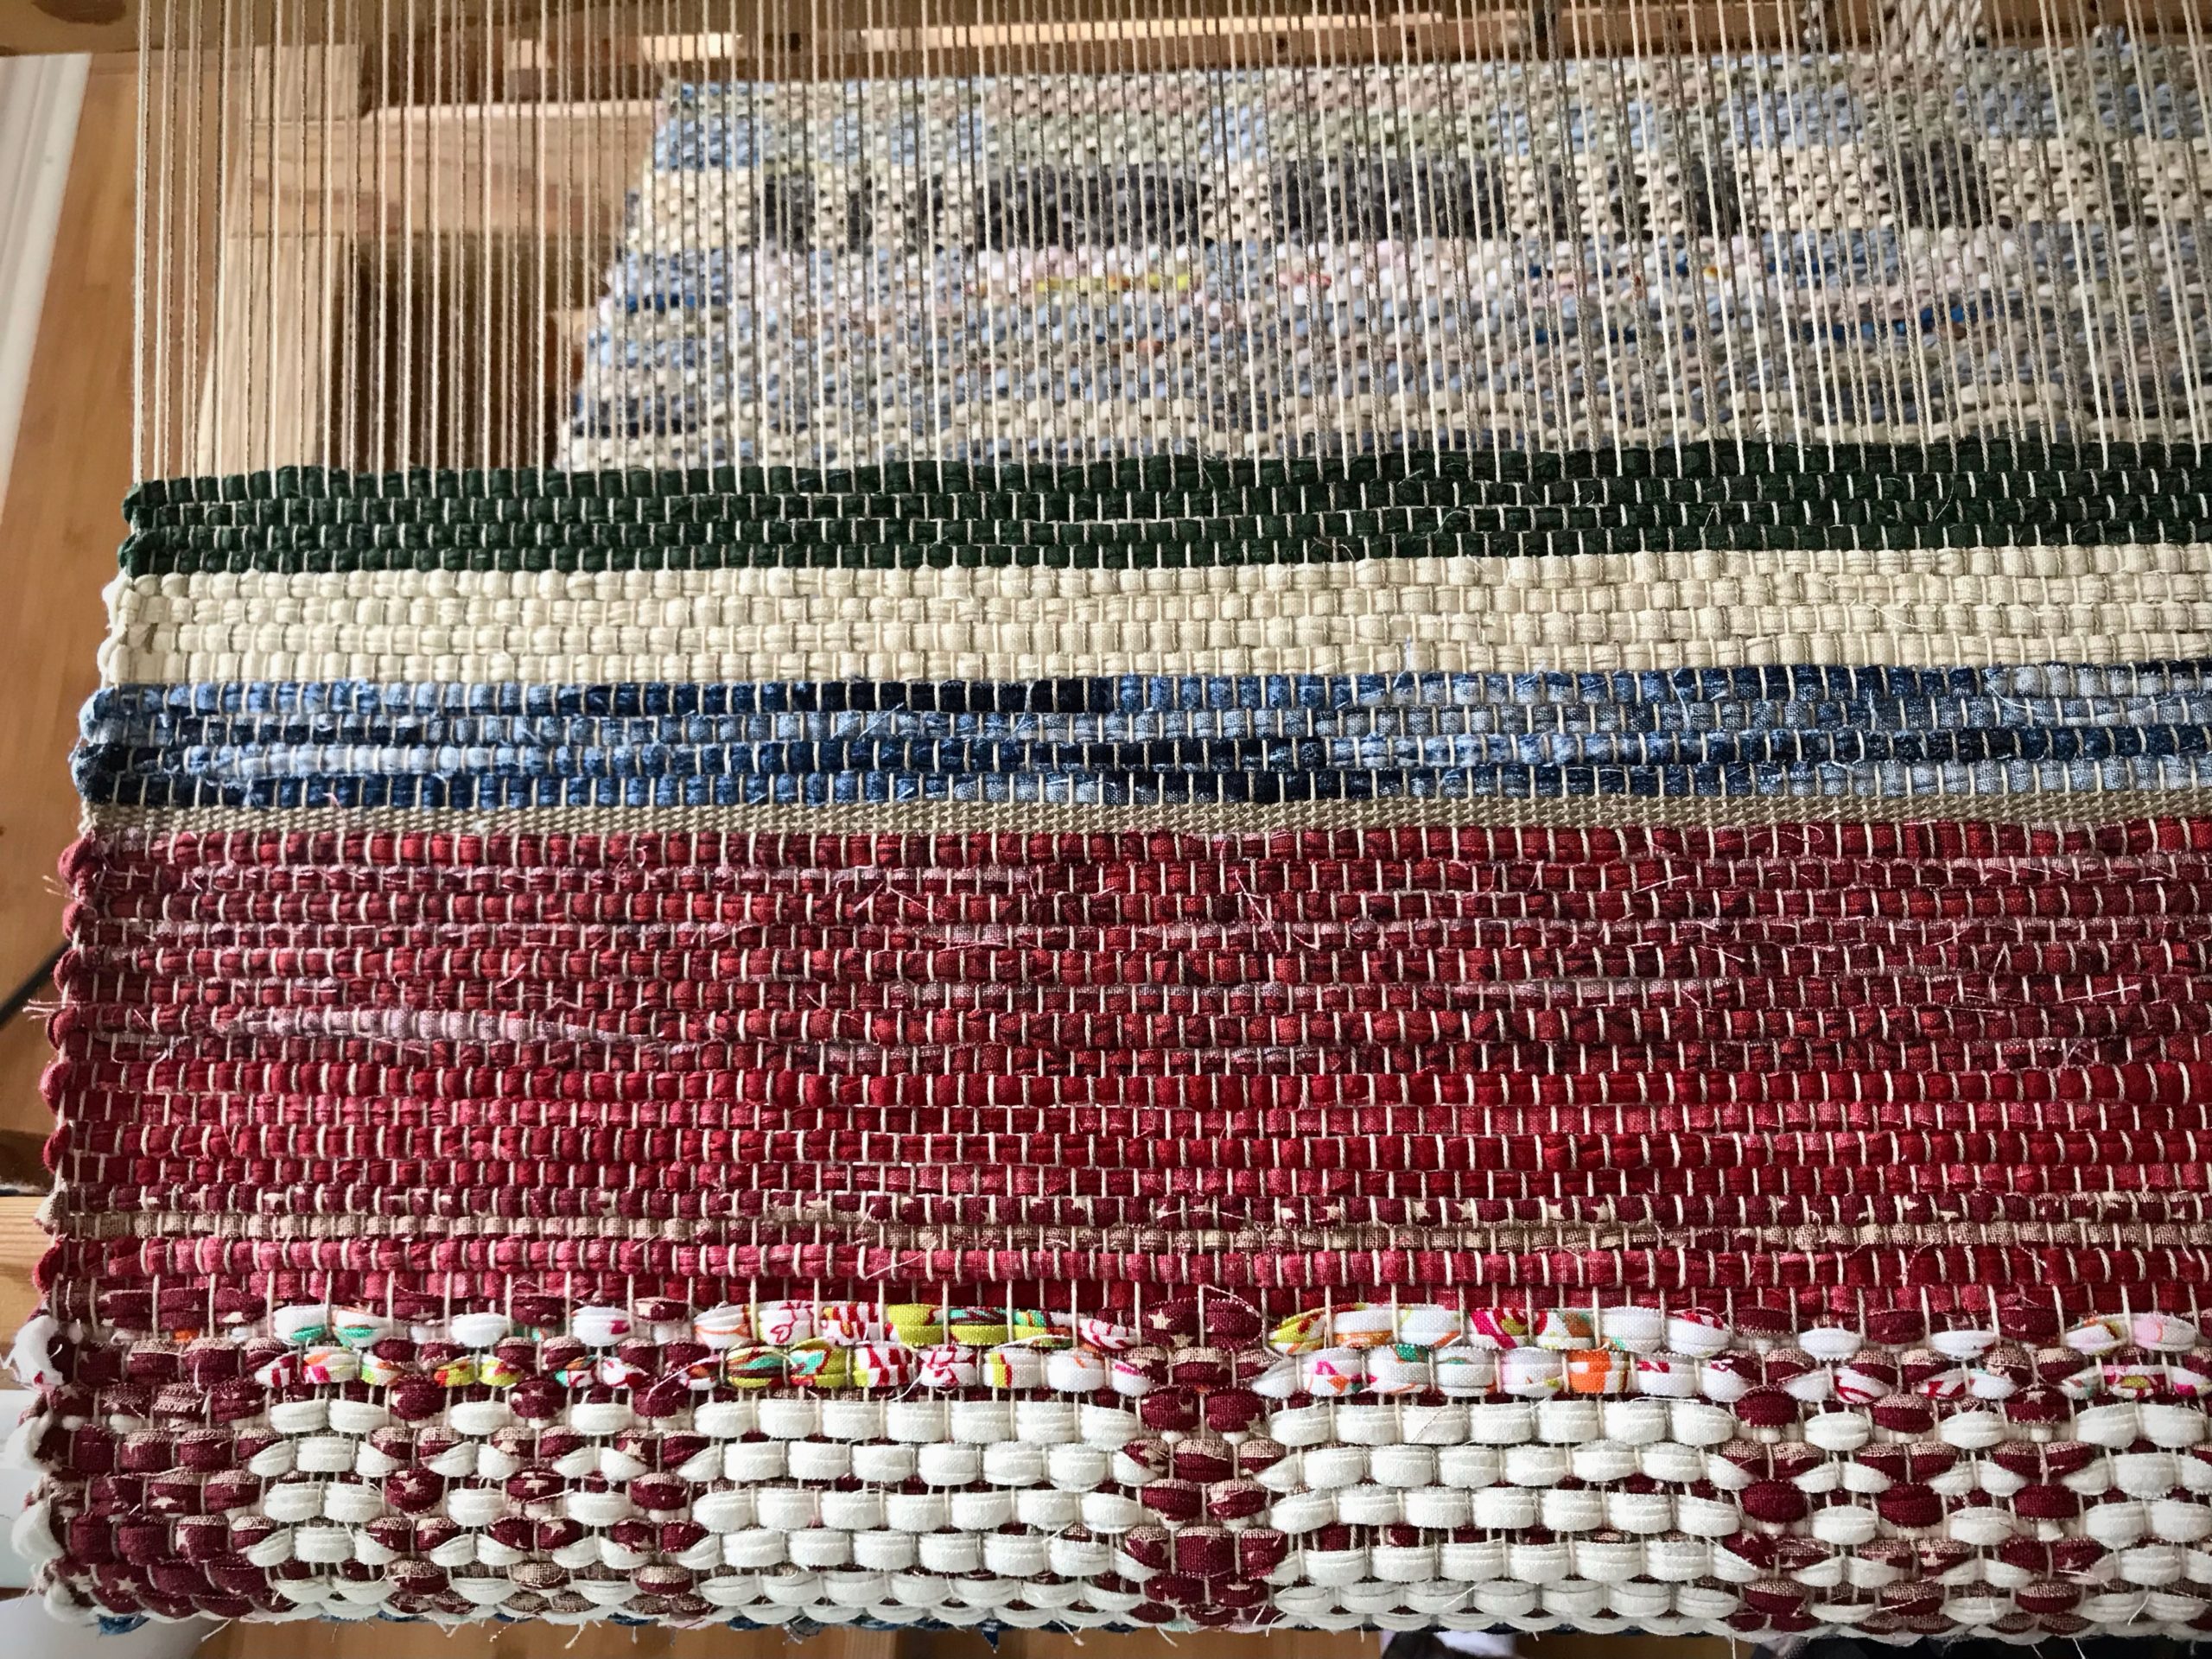
Rug comes to an end with a red border/hem. A warp-thread header follows, and then a few rows of scrap header to help secure the weft until finishing knots are tied.
Steps for cutting off rag rug before end of warp (countermarch loom)
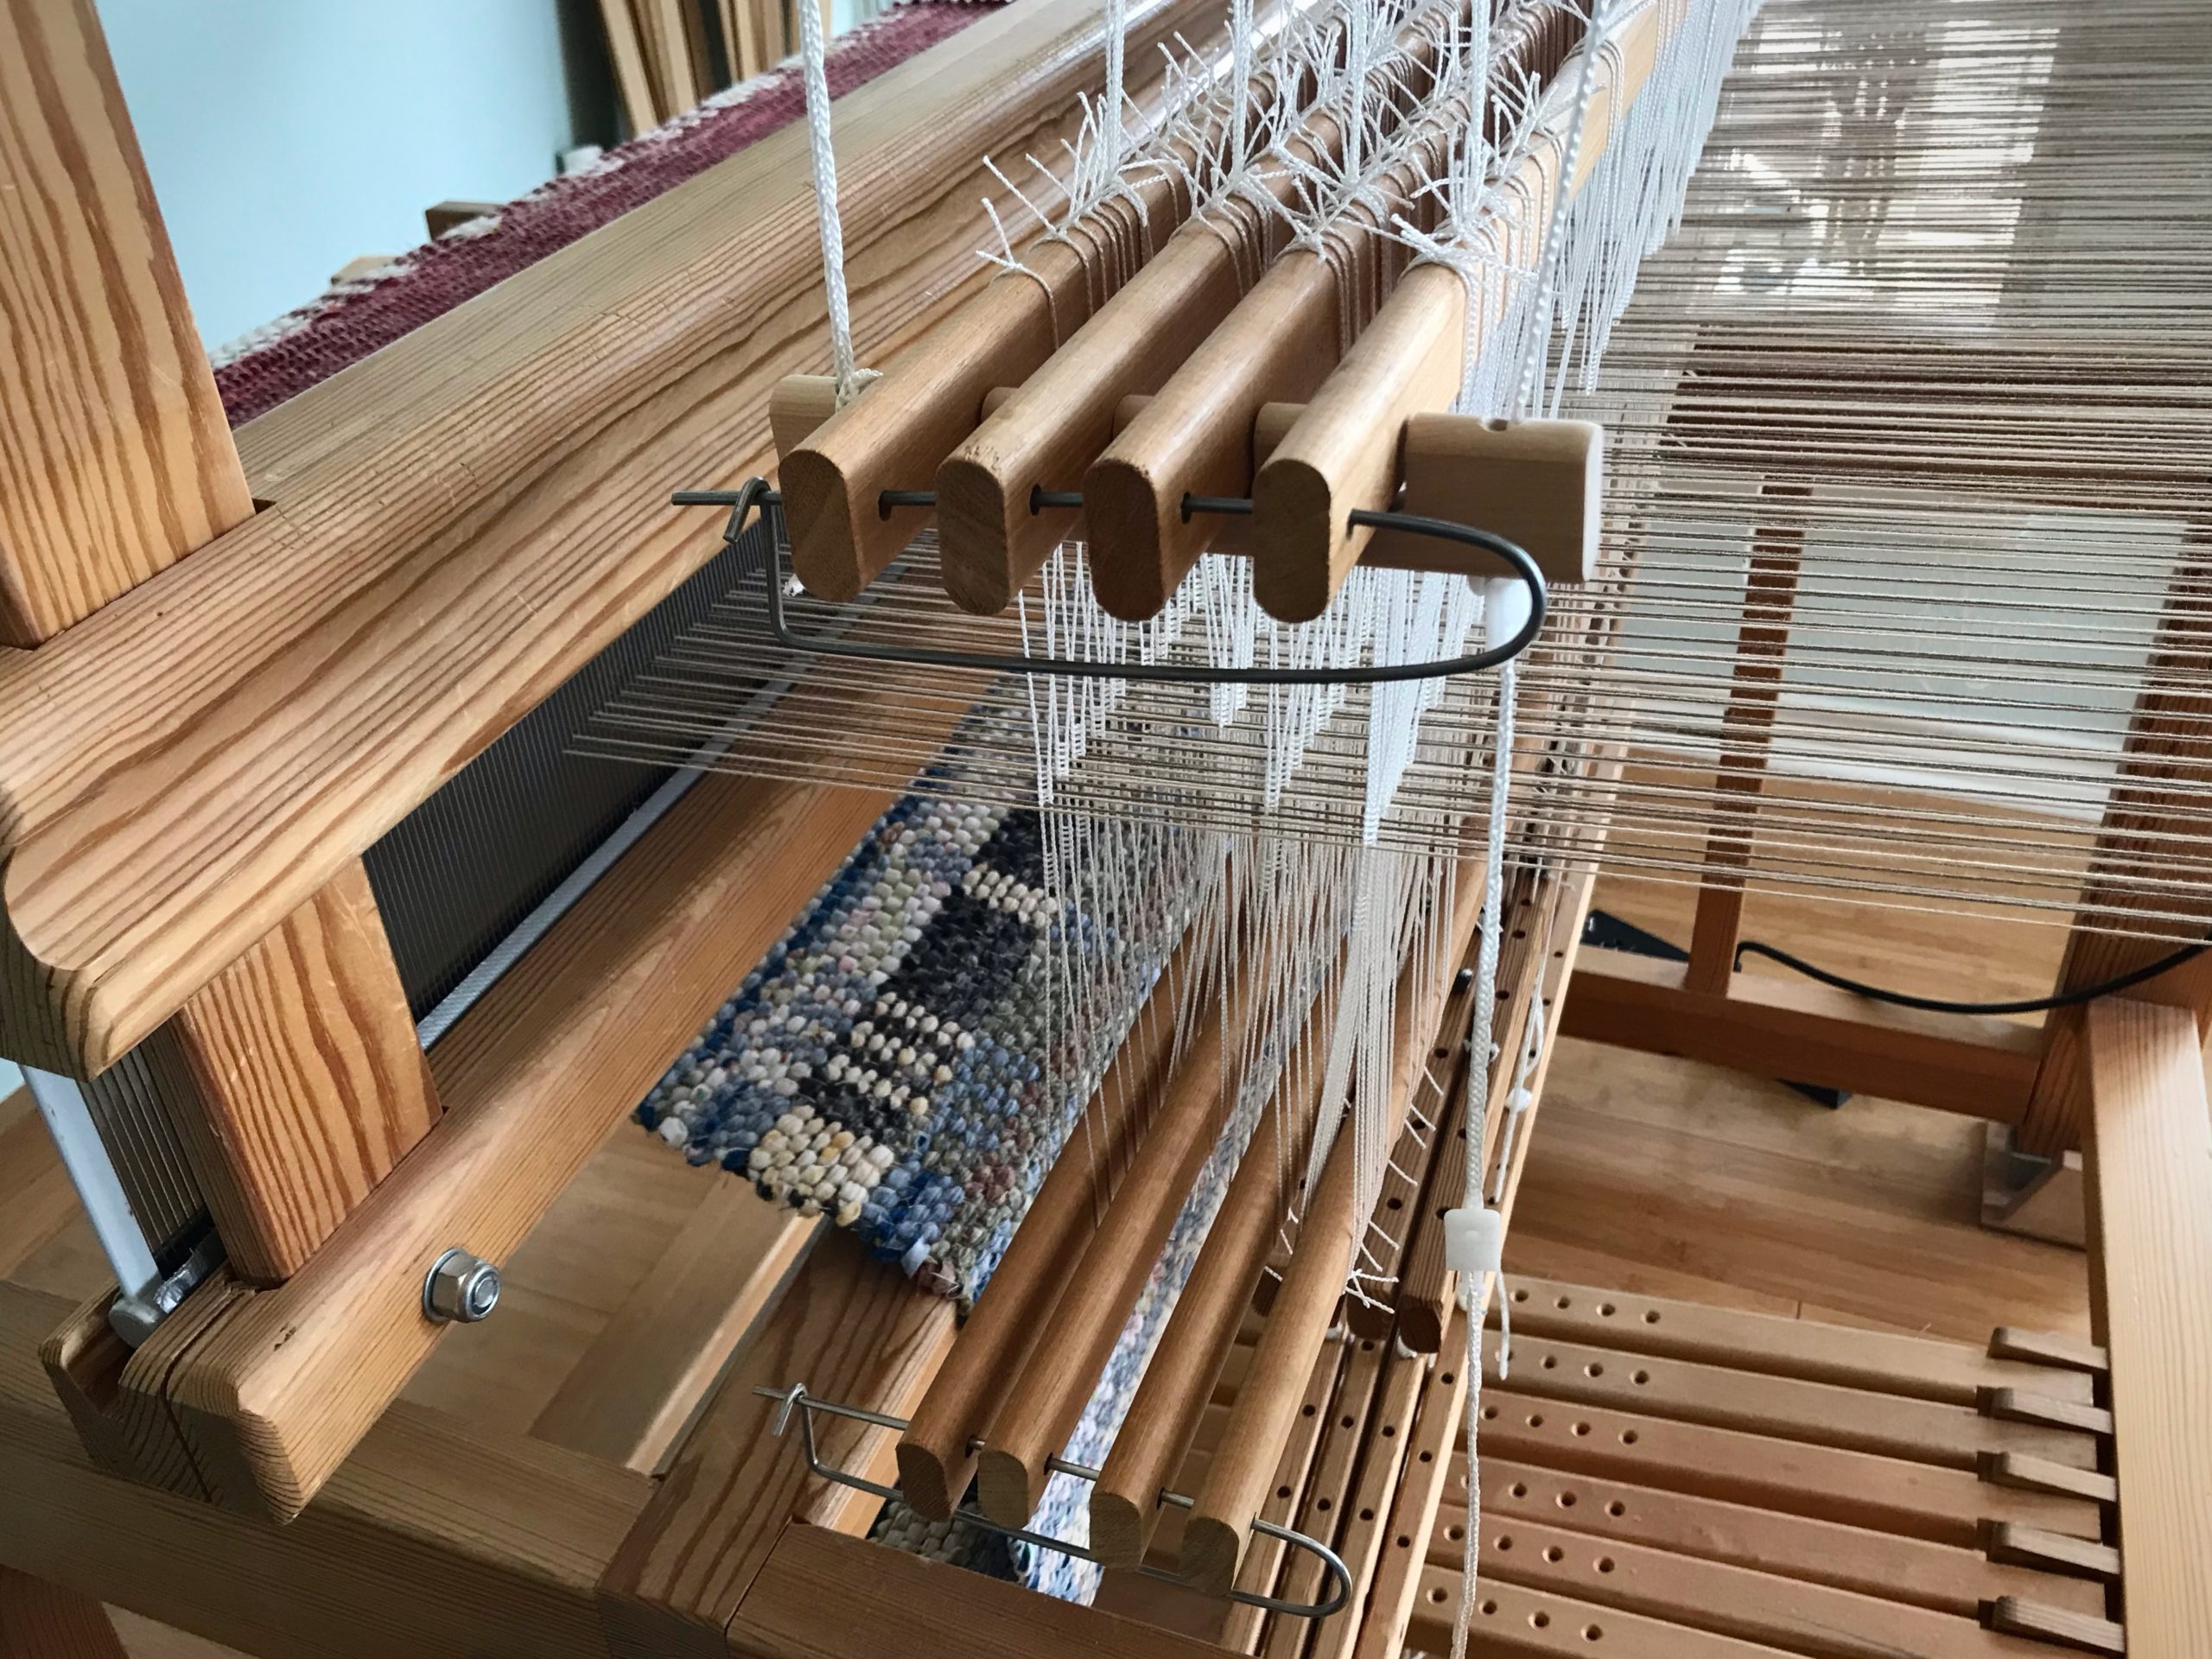
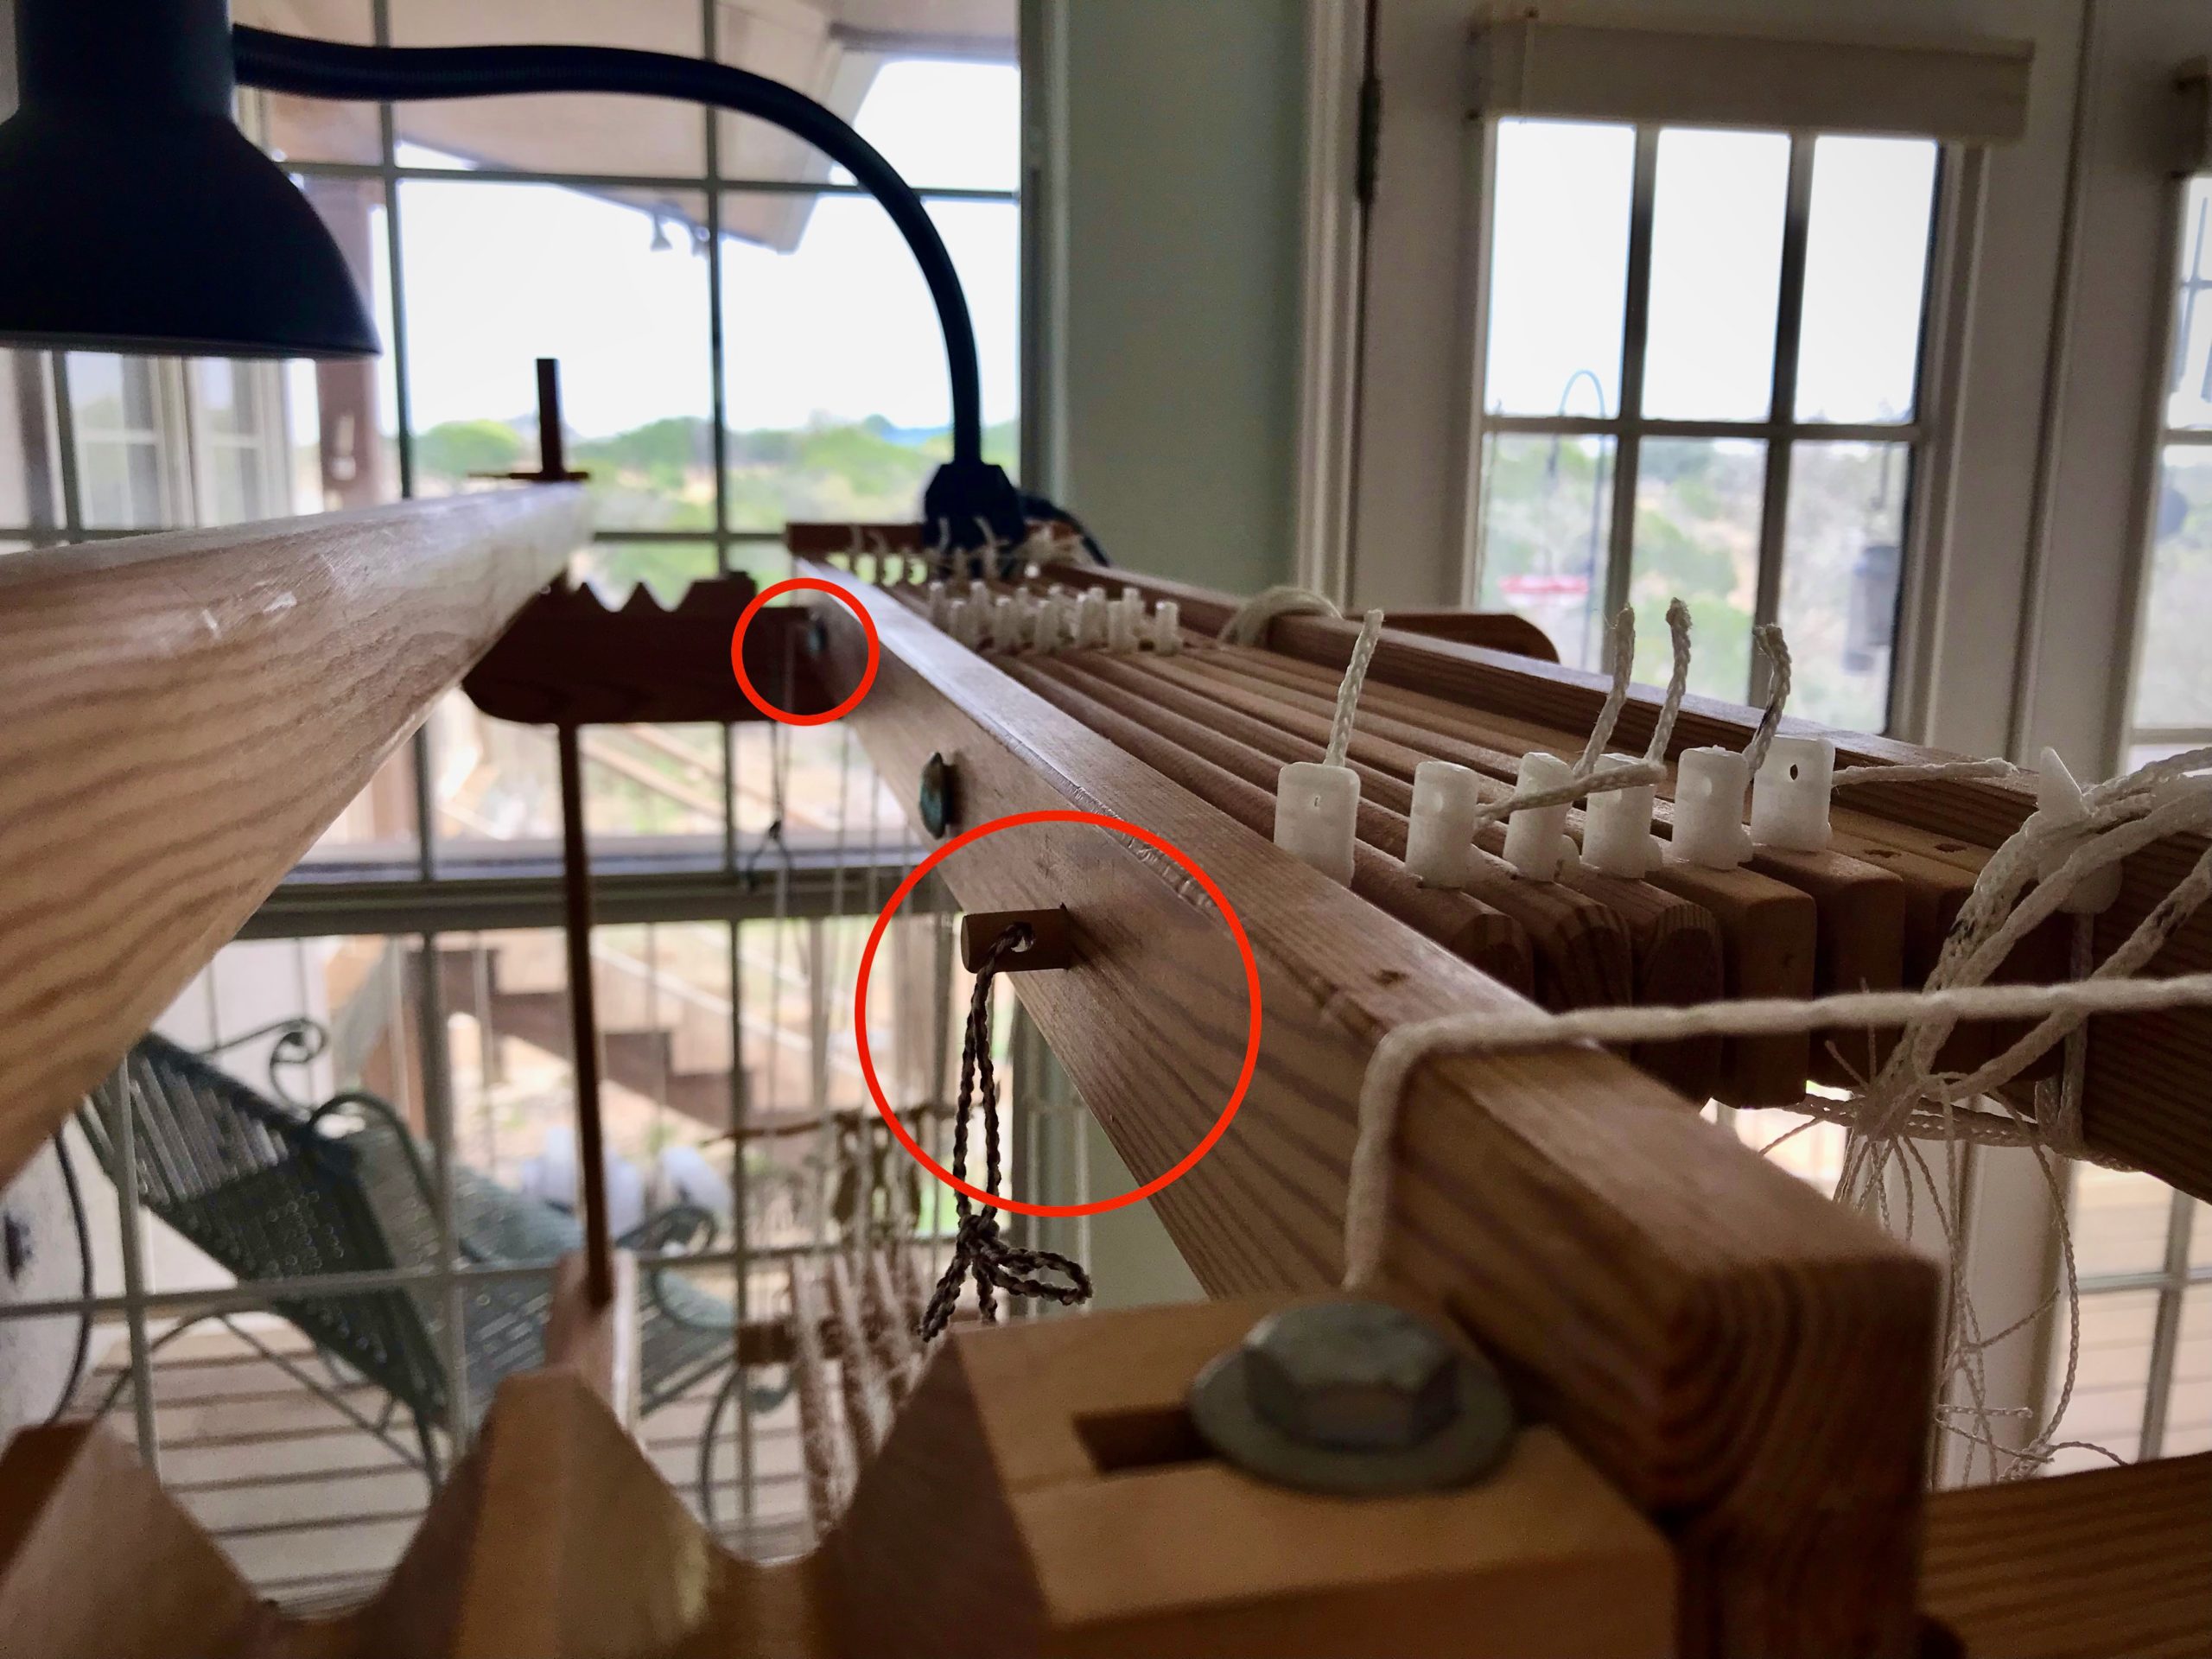
Tension on the warp is released at the back ratchet and front ratchet.
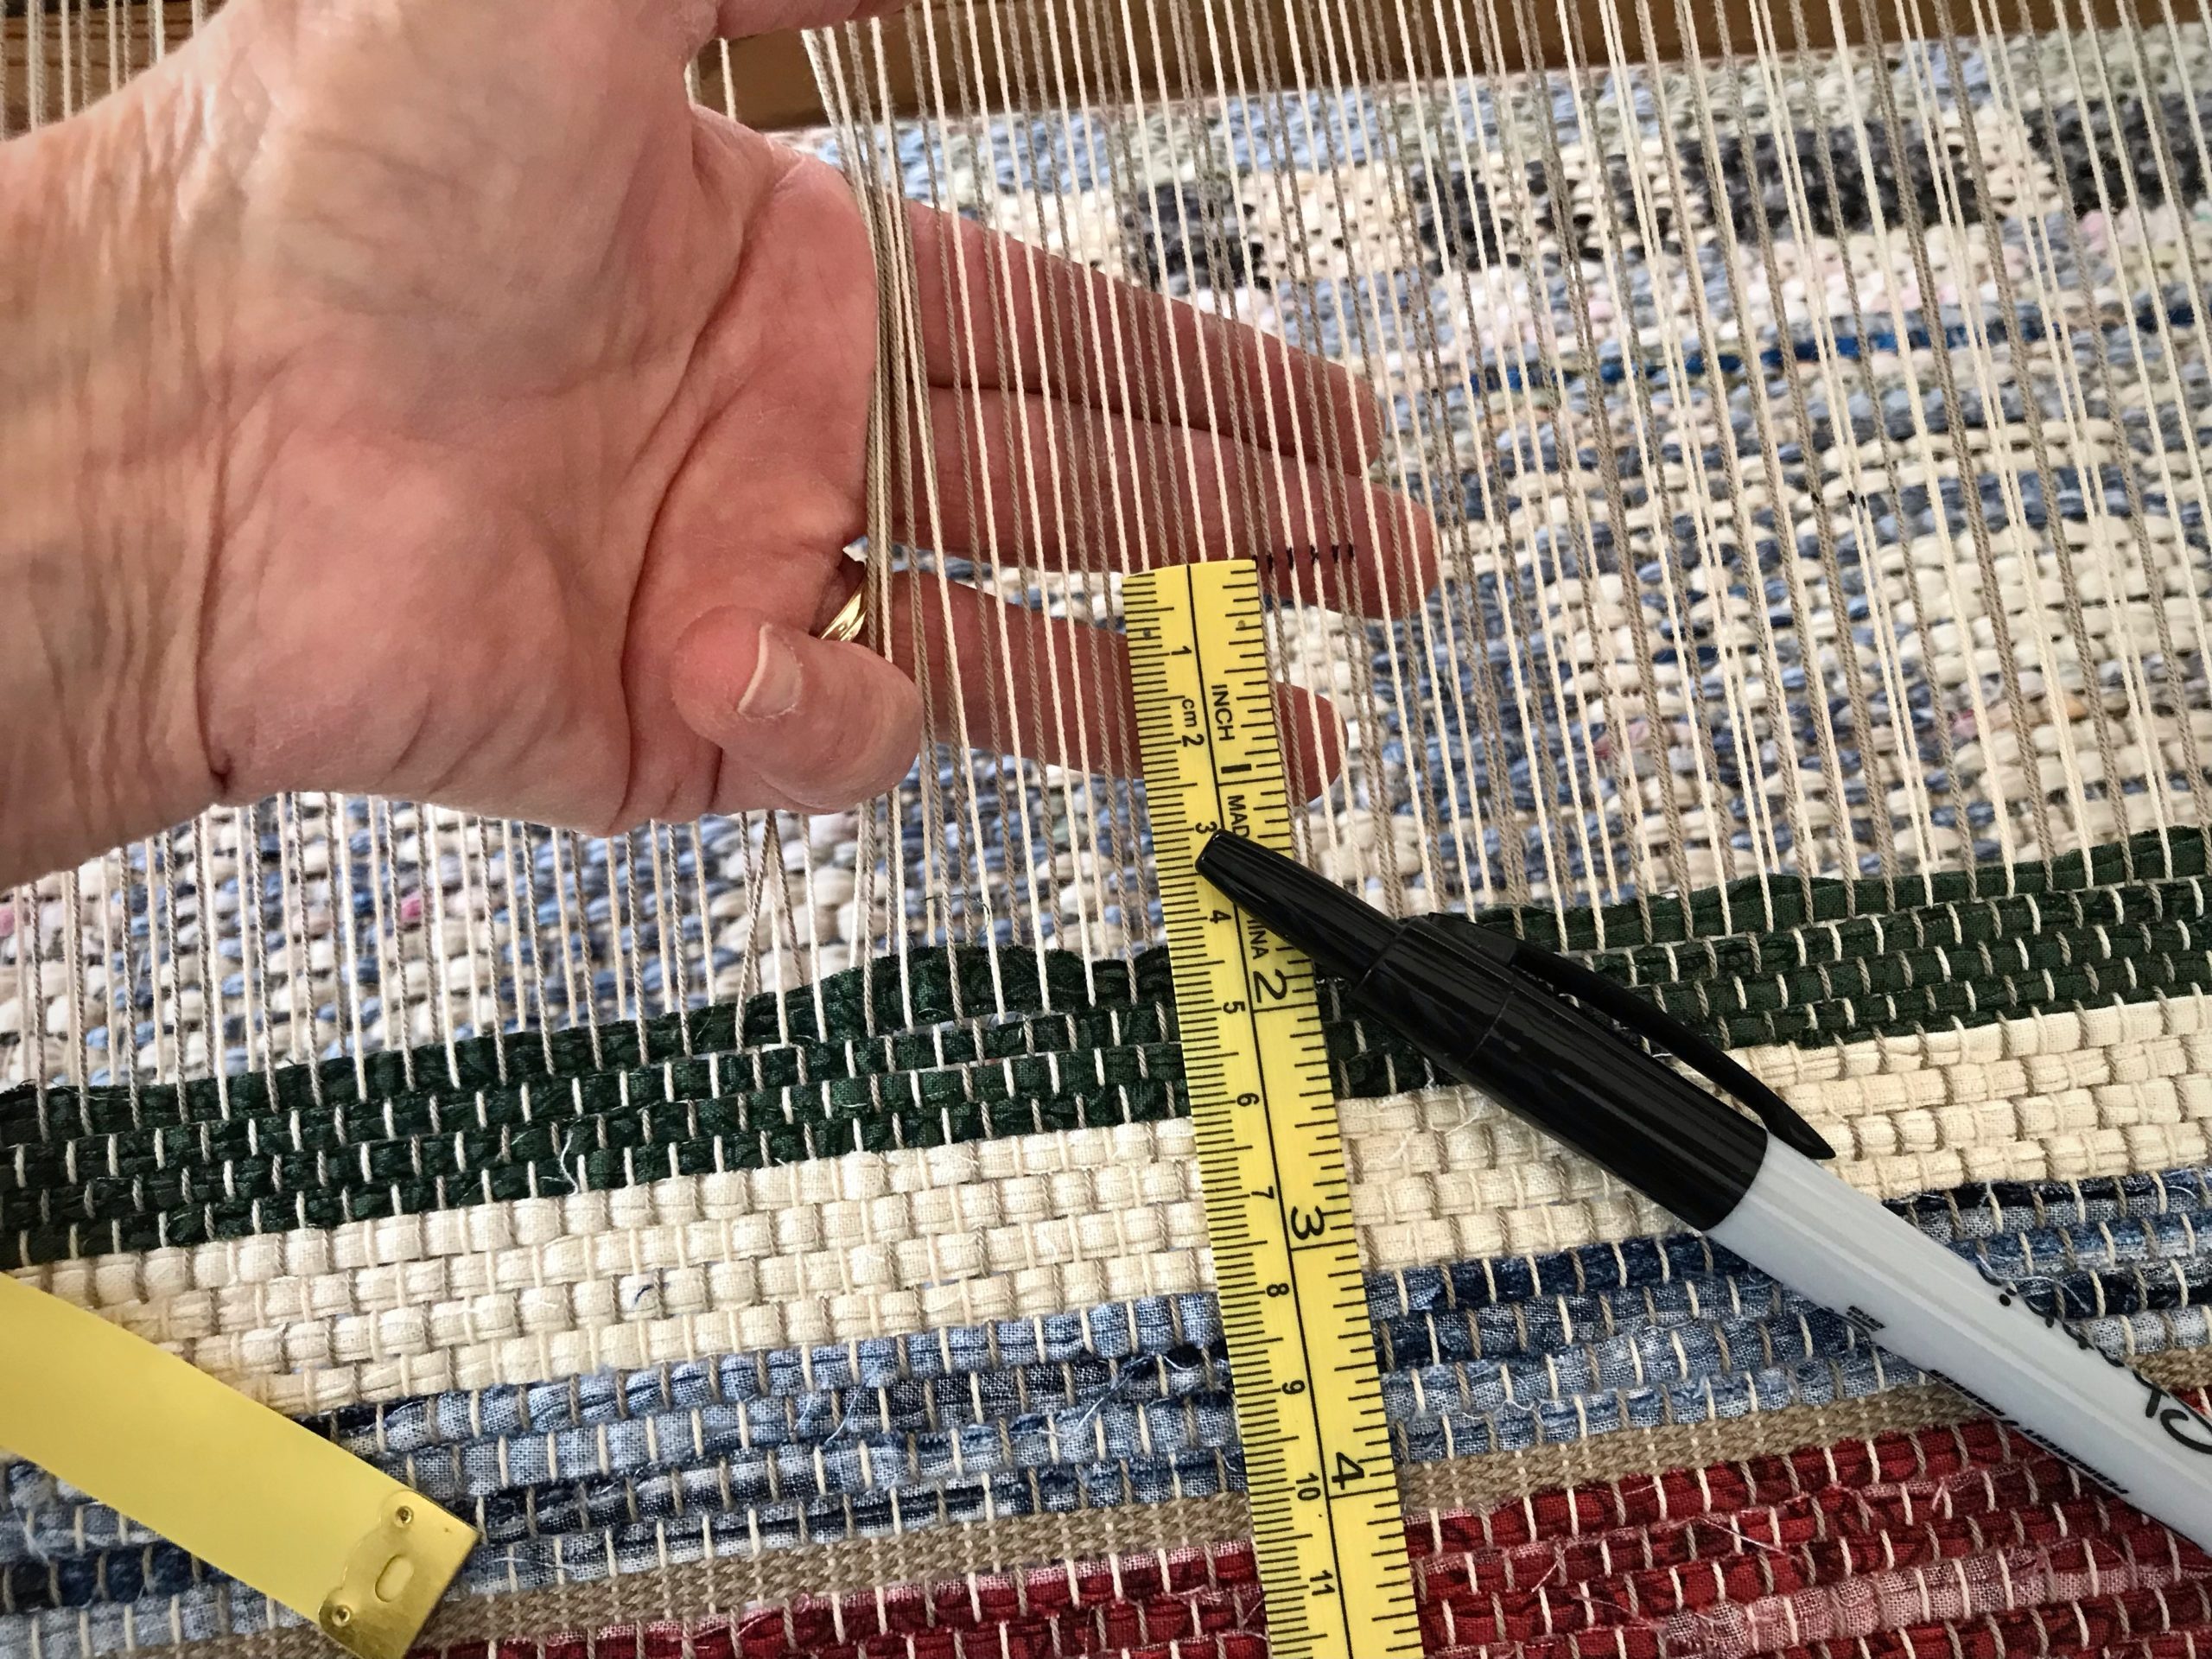
Mark a cutting line across the warp with a black marker. Allow at least 10 centimeters (4 inches) beyond the rug’s warp-thread header for tying knots later that will secure the weft.
Mark a cutting line across the warp. Leave enough warp at the end of the rug to tie overhand knots to secure the weft.
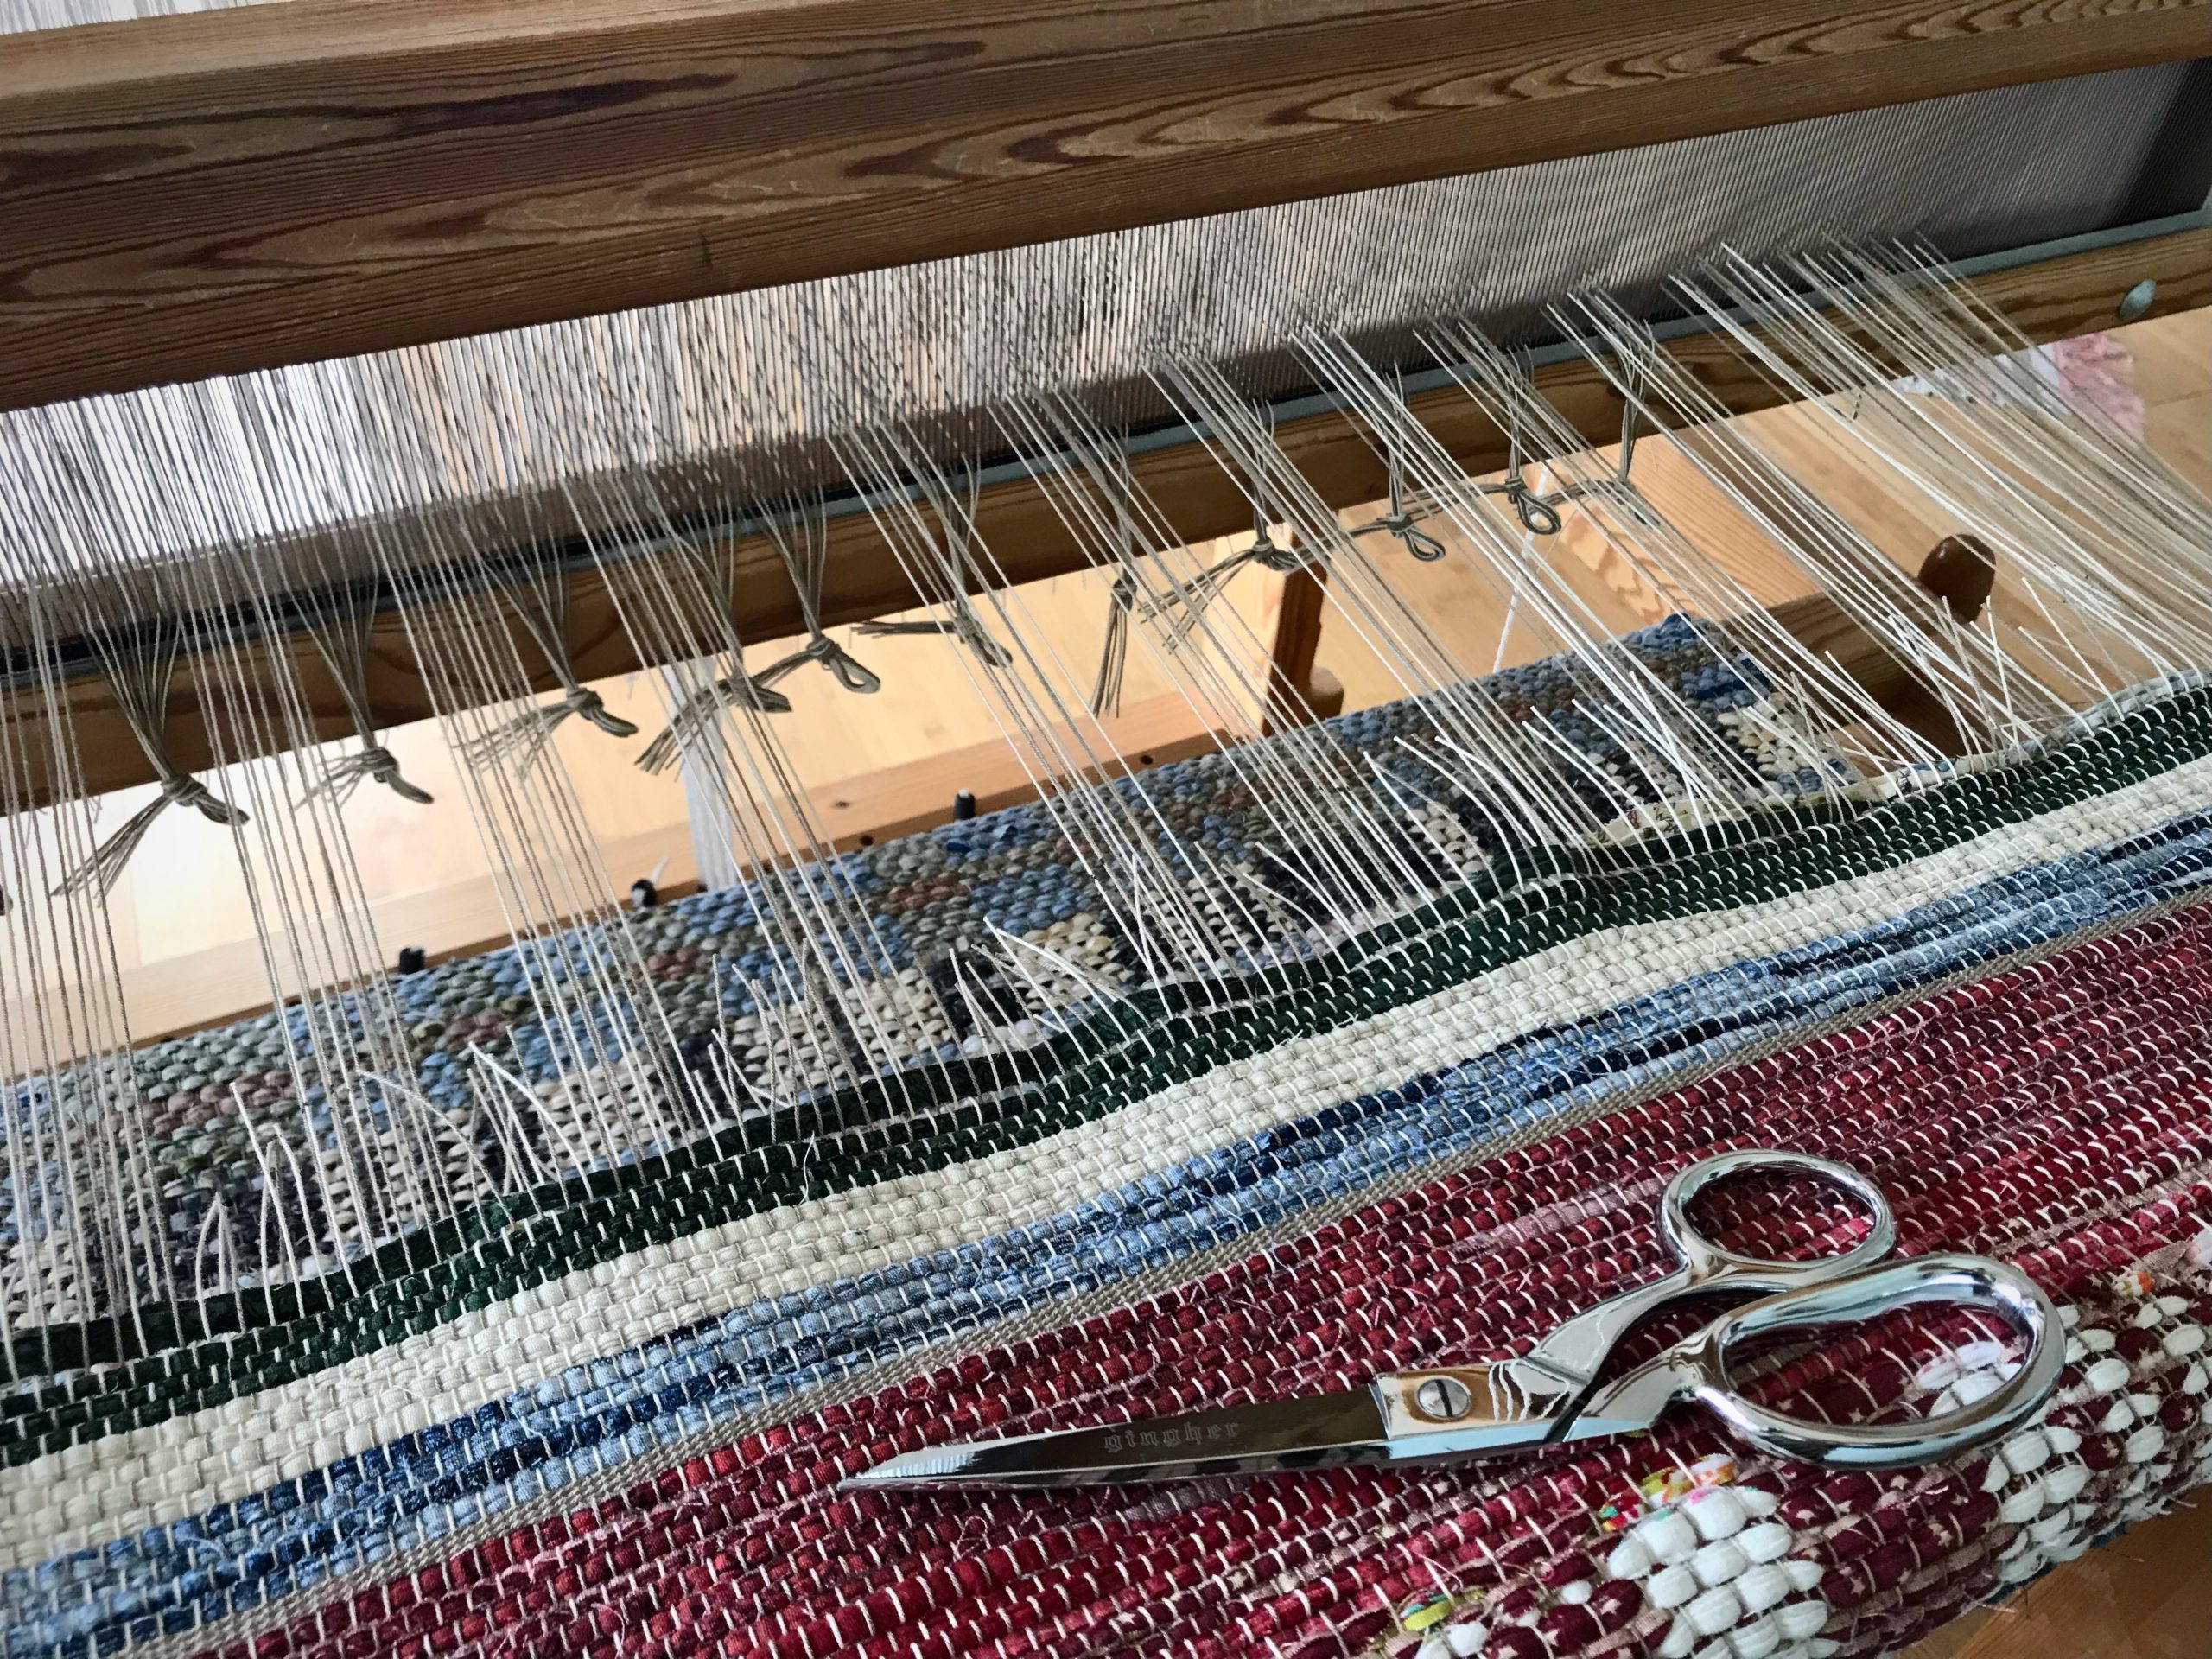
With tying back on in mind, cut one group of ends and skip the next group of ends. Continue across the warp, alternating cut and uncut groups of ends. Tie groups of cut ends in slipknots as you go.
By spacing out the cut ends, the weight of the rug is evenly distributed. There is less pulling and distortion while cutting off. At the same time I am preparing groups of ends for tying back on.
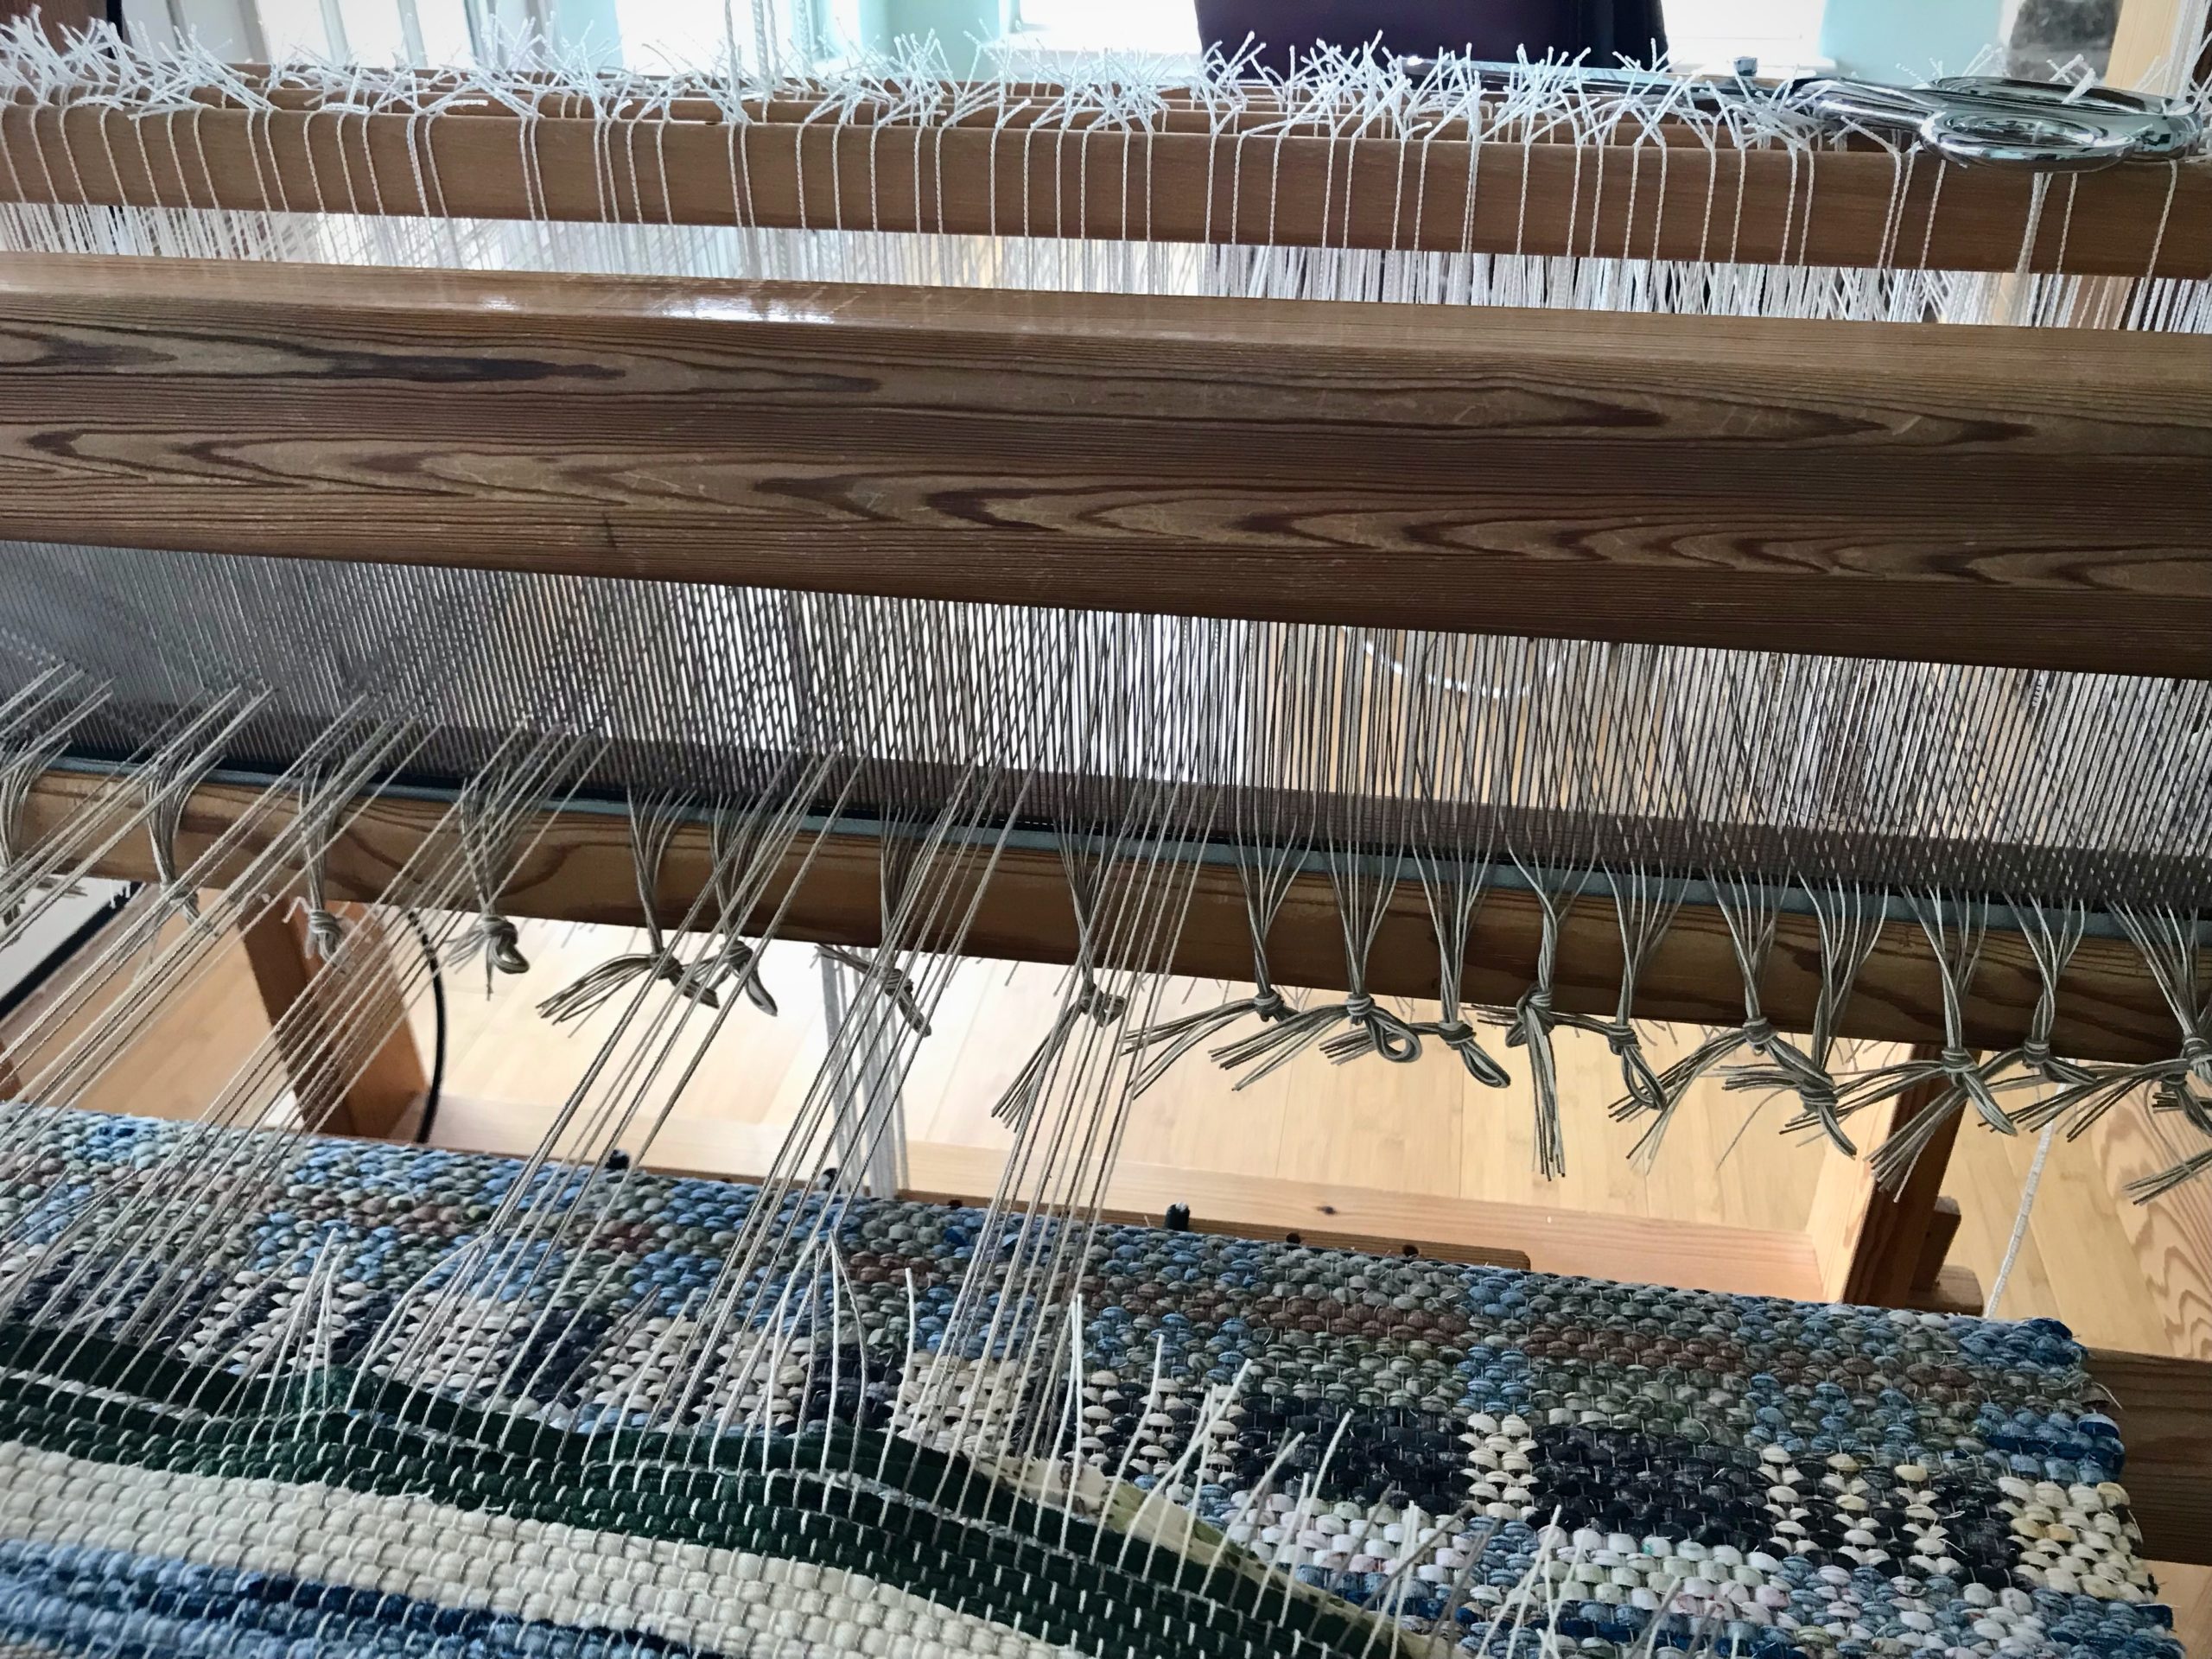
Make a second pass, cutting the remaining groups of ends, and tying them in slipknots.
Continue cutting off groups of ends.
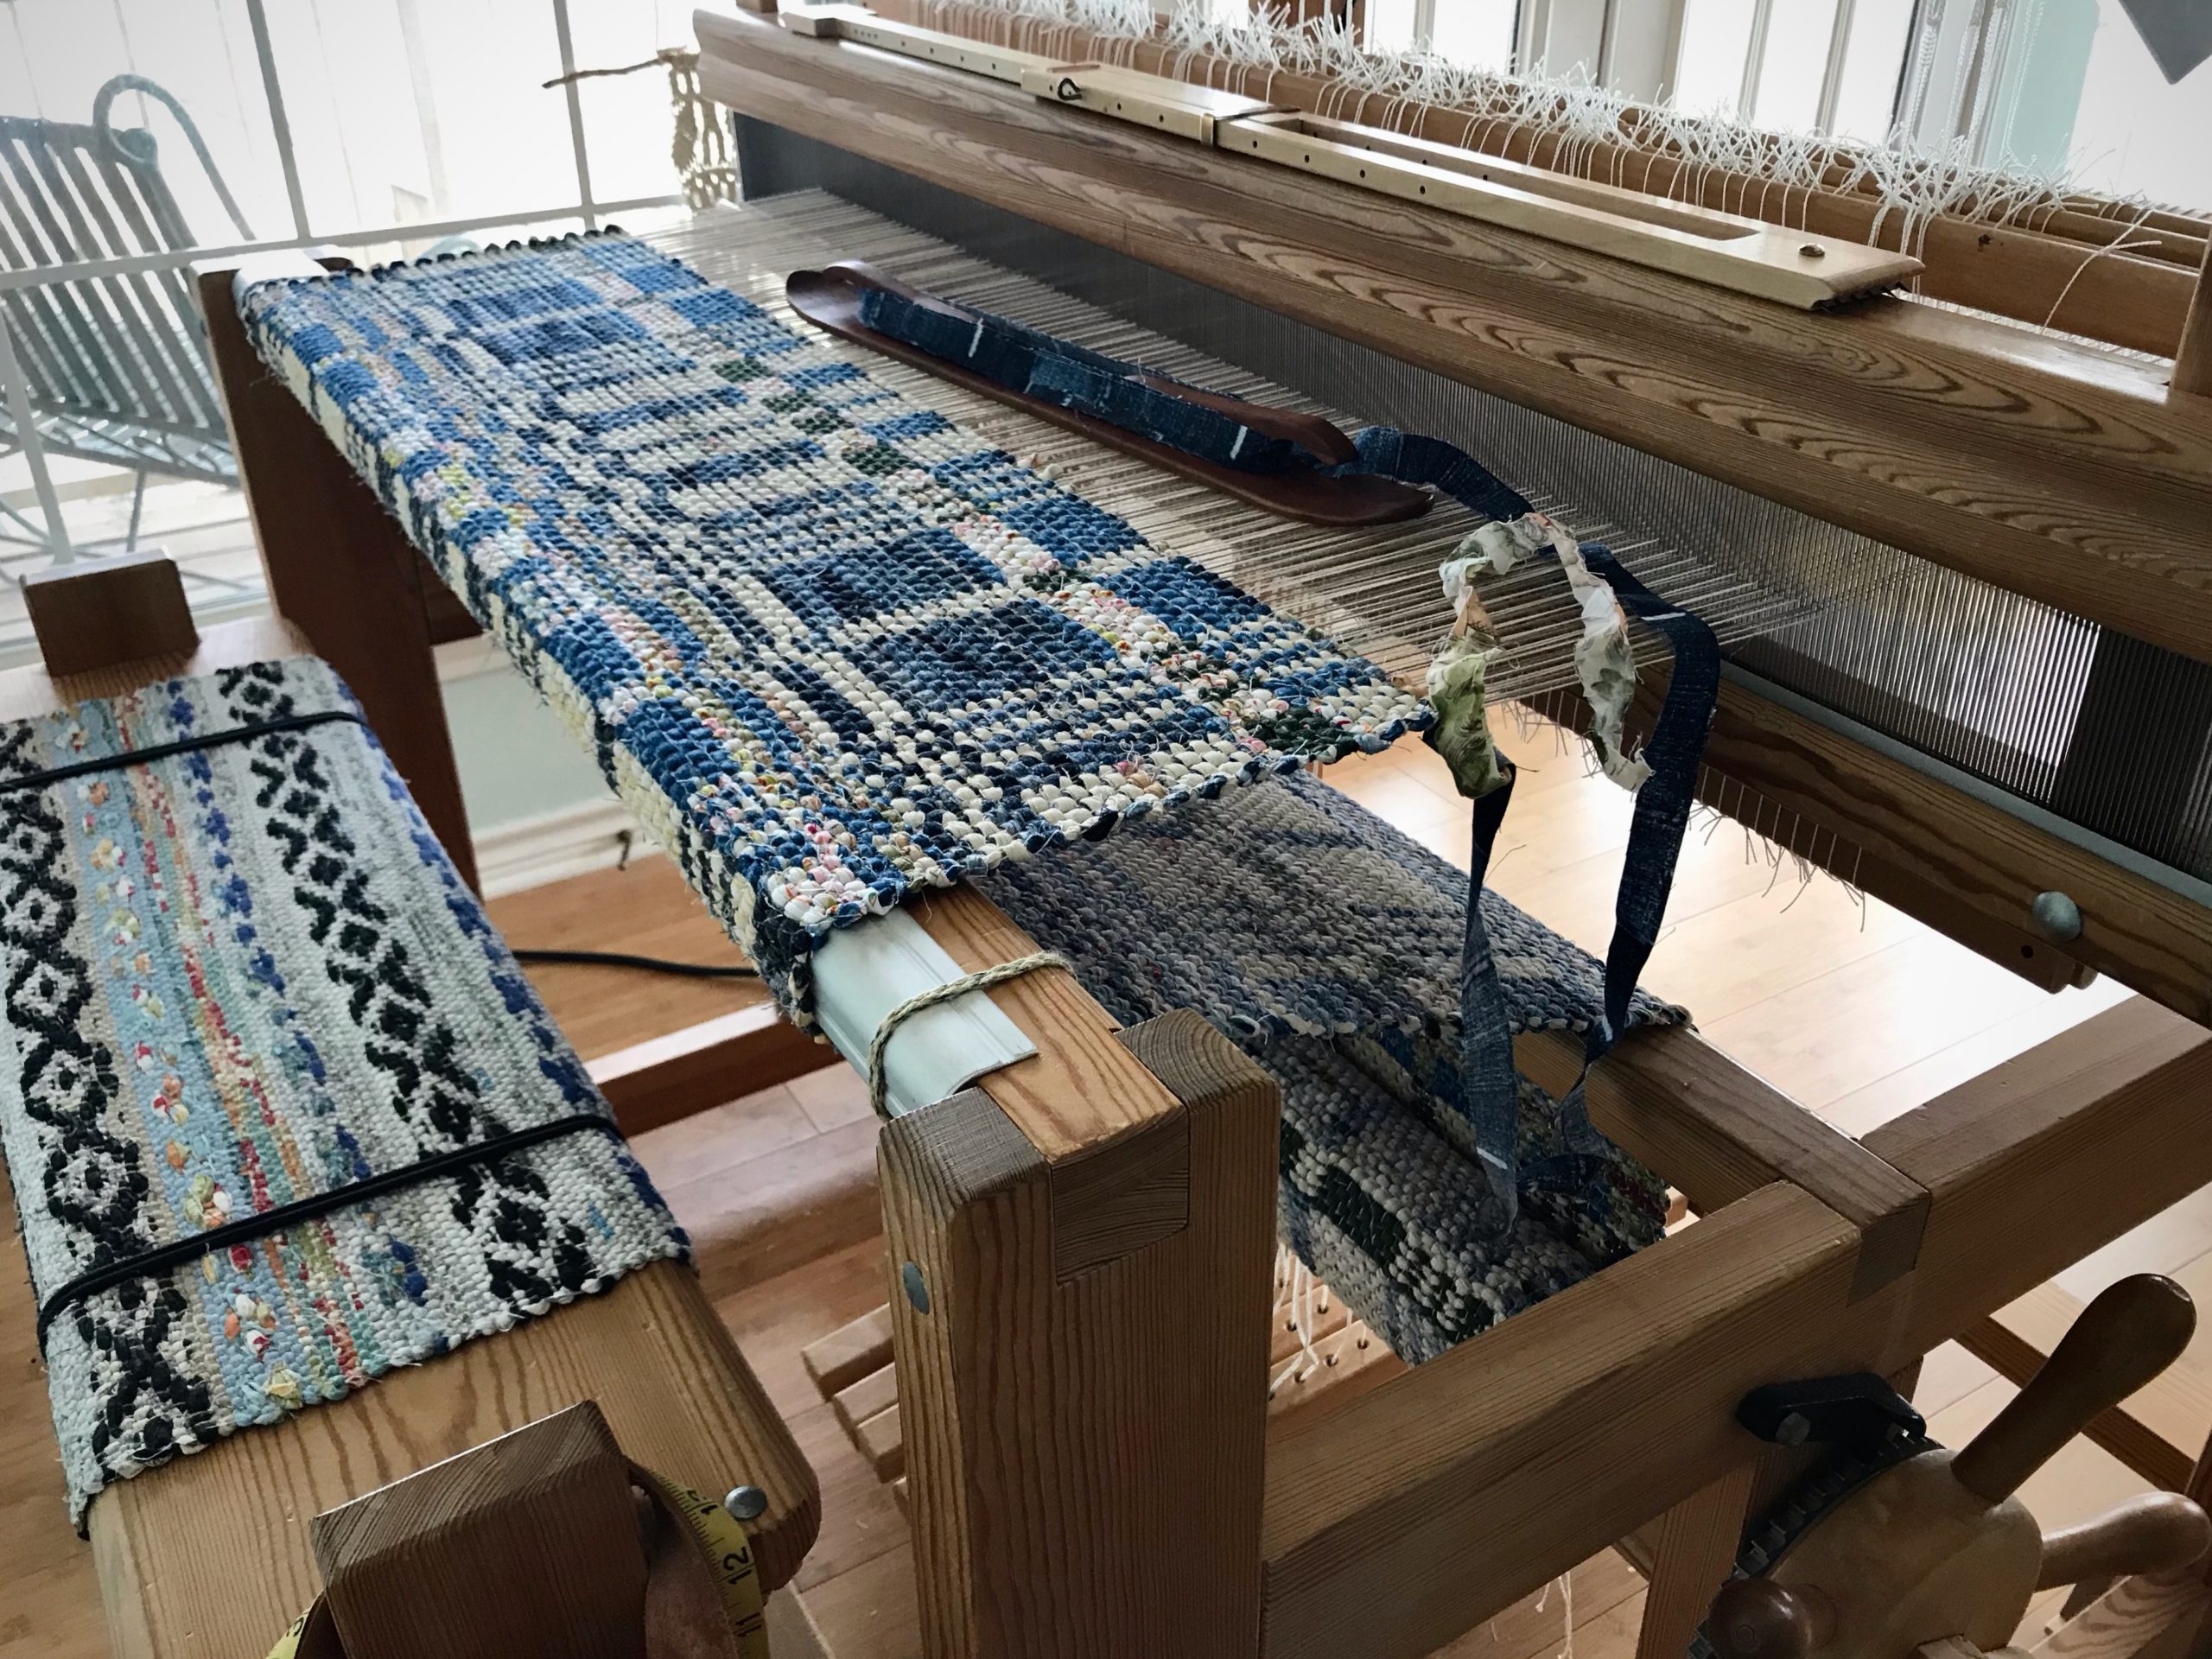
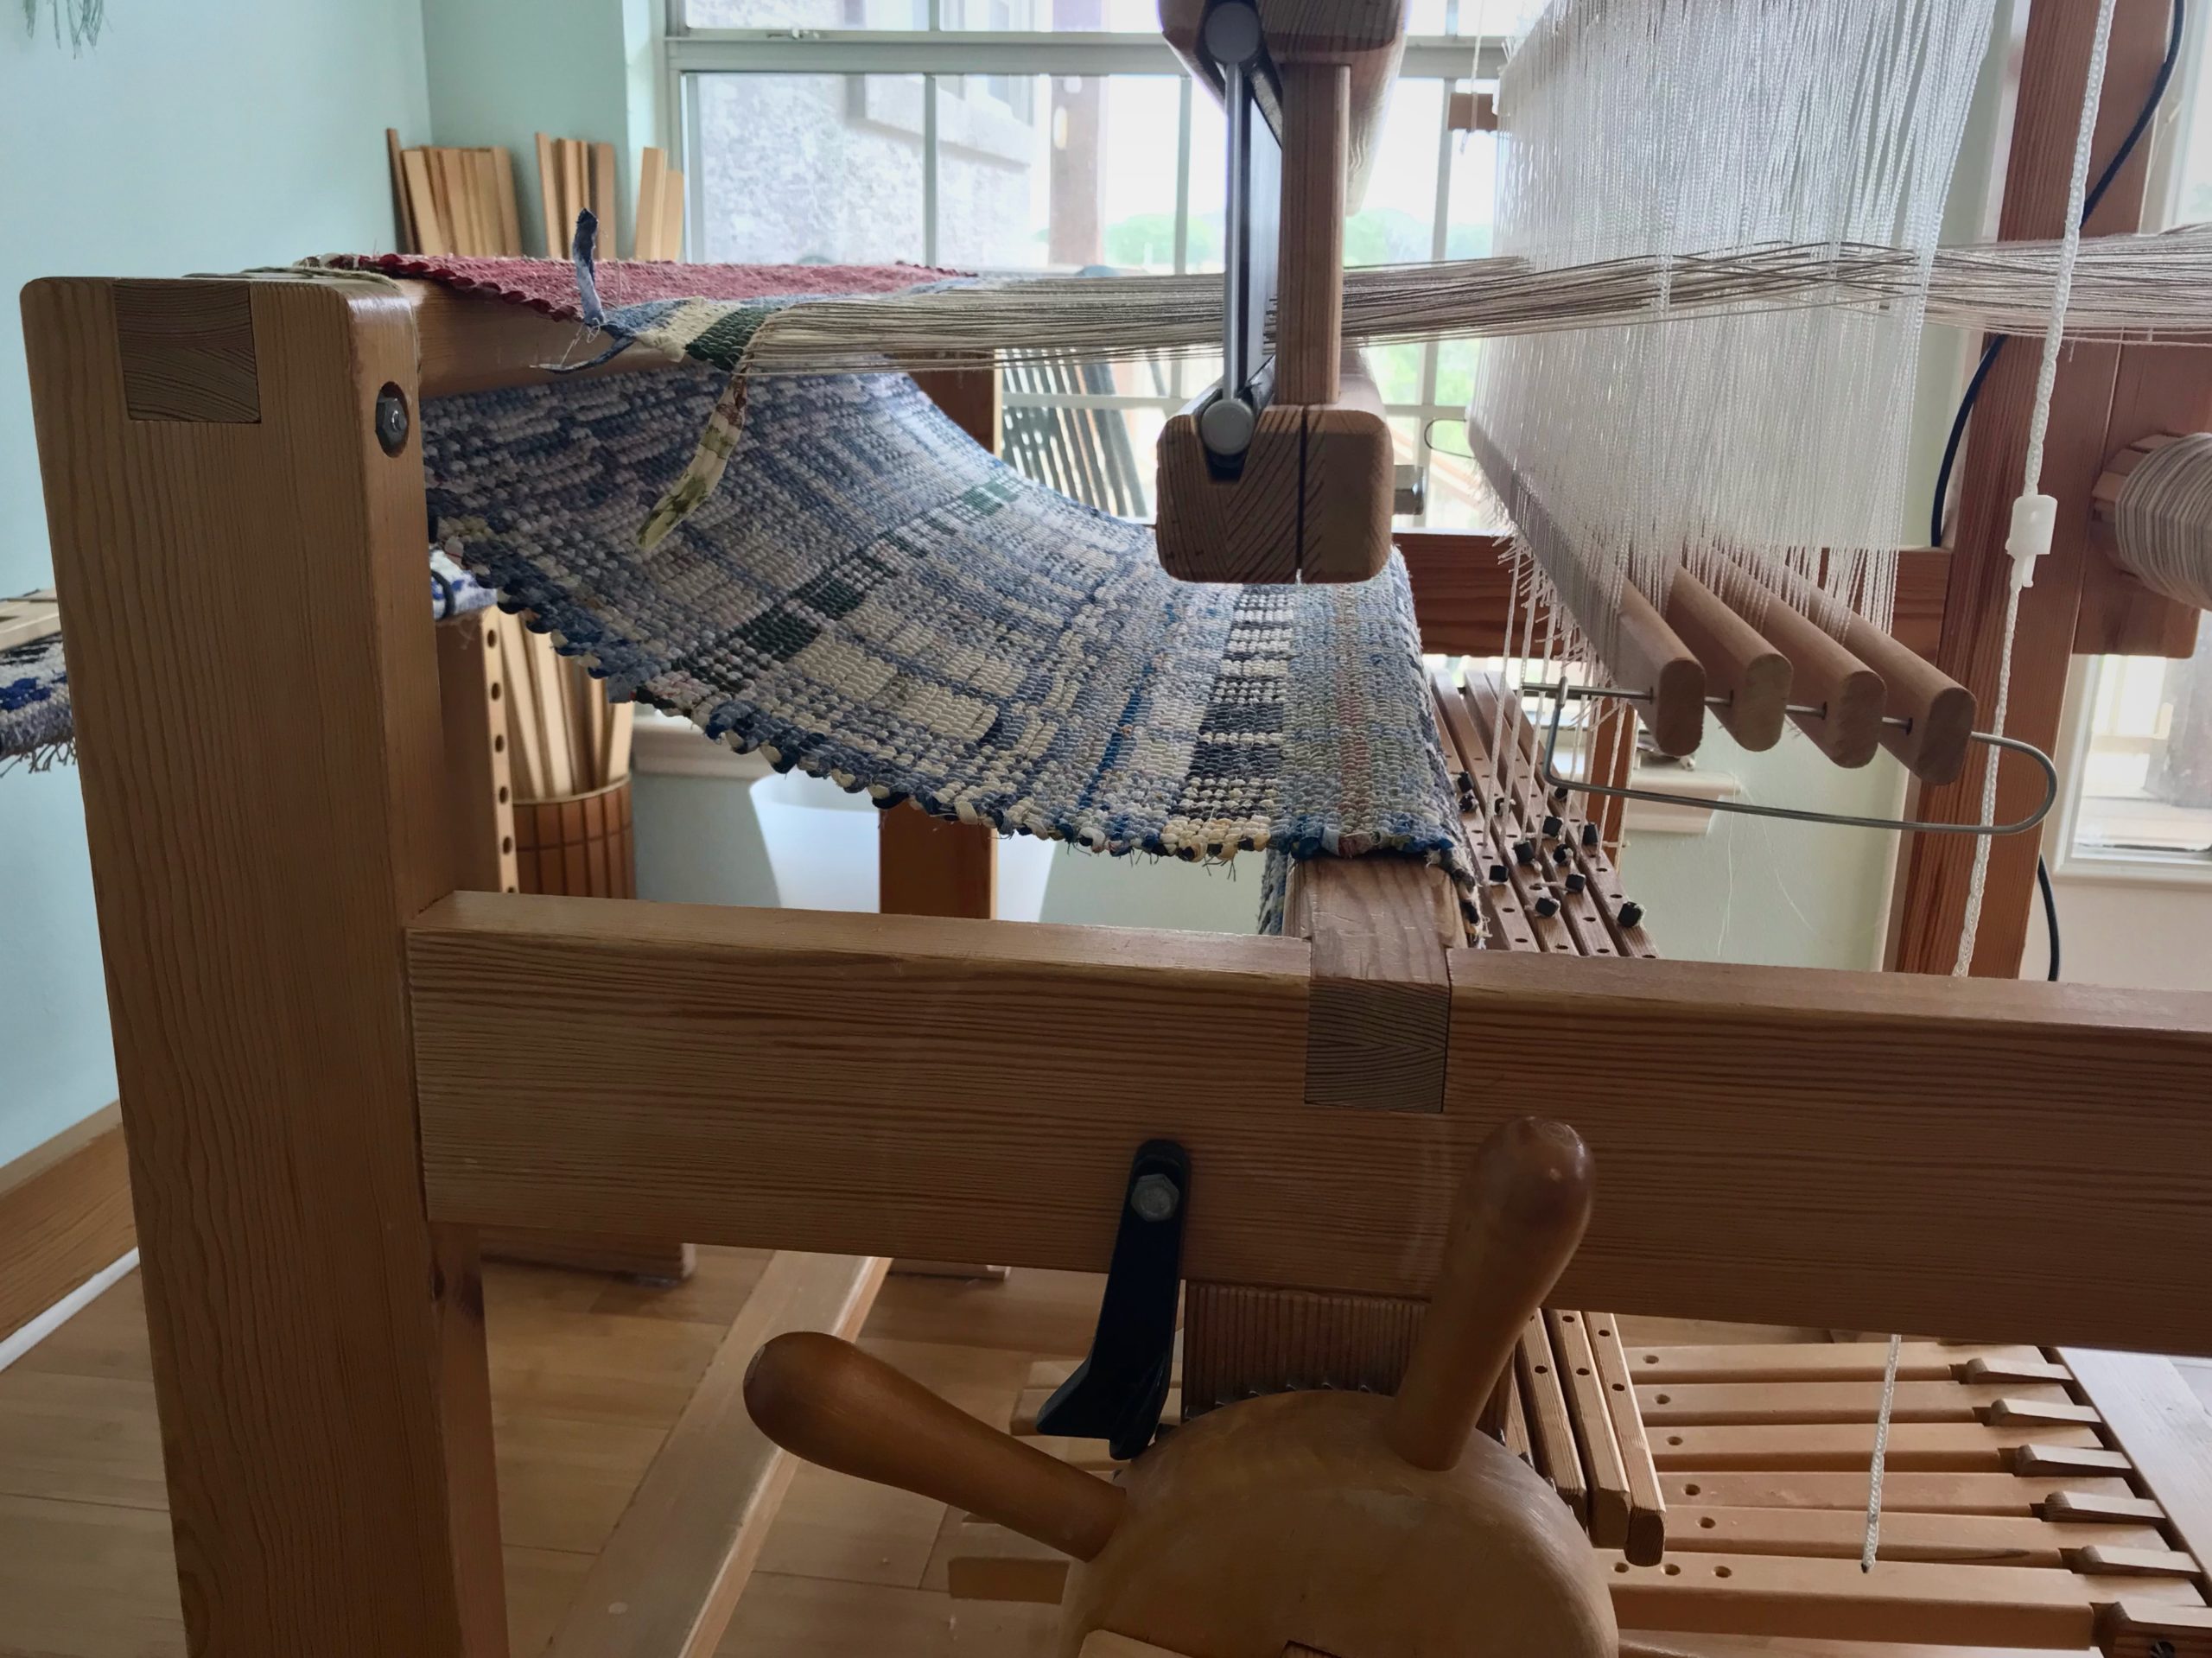
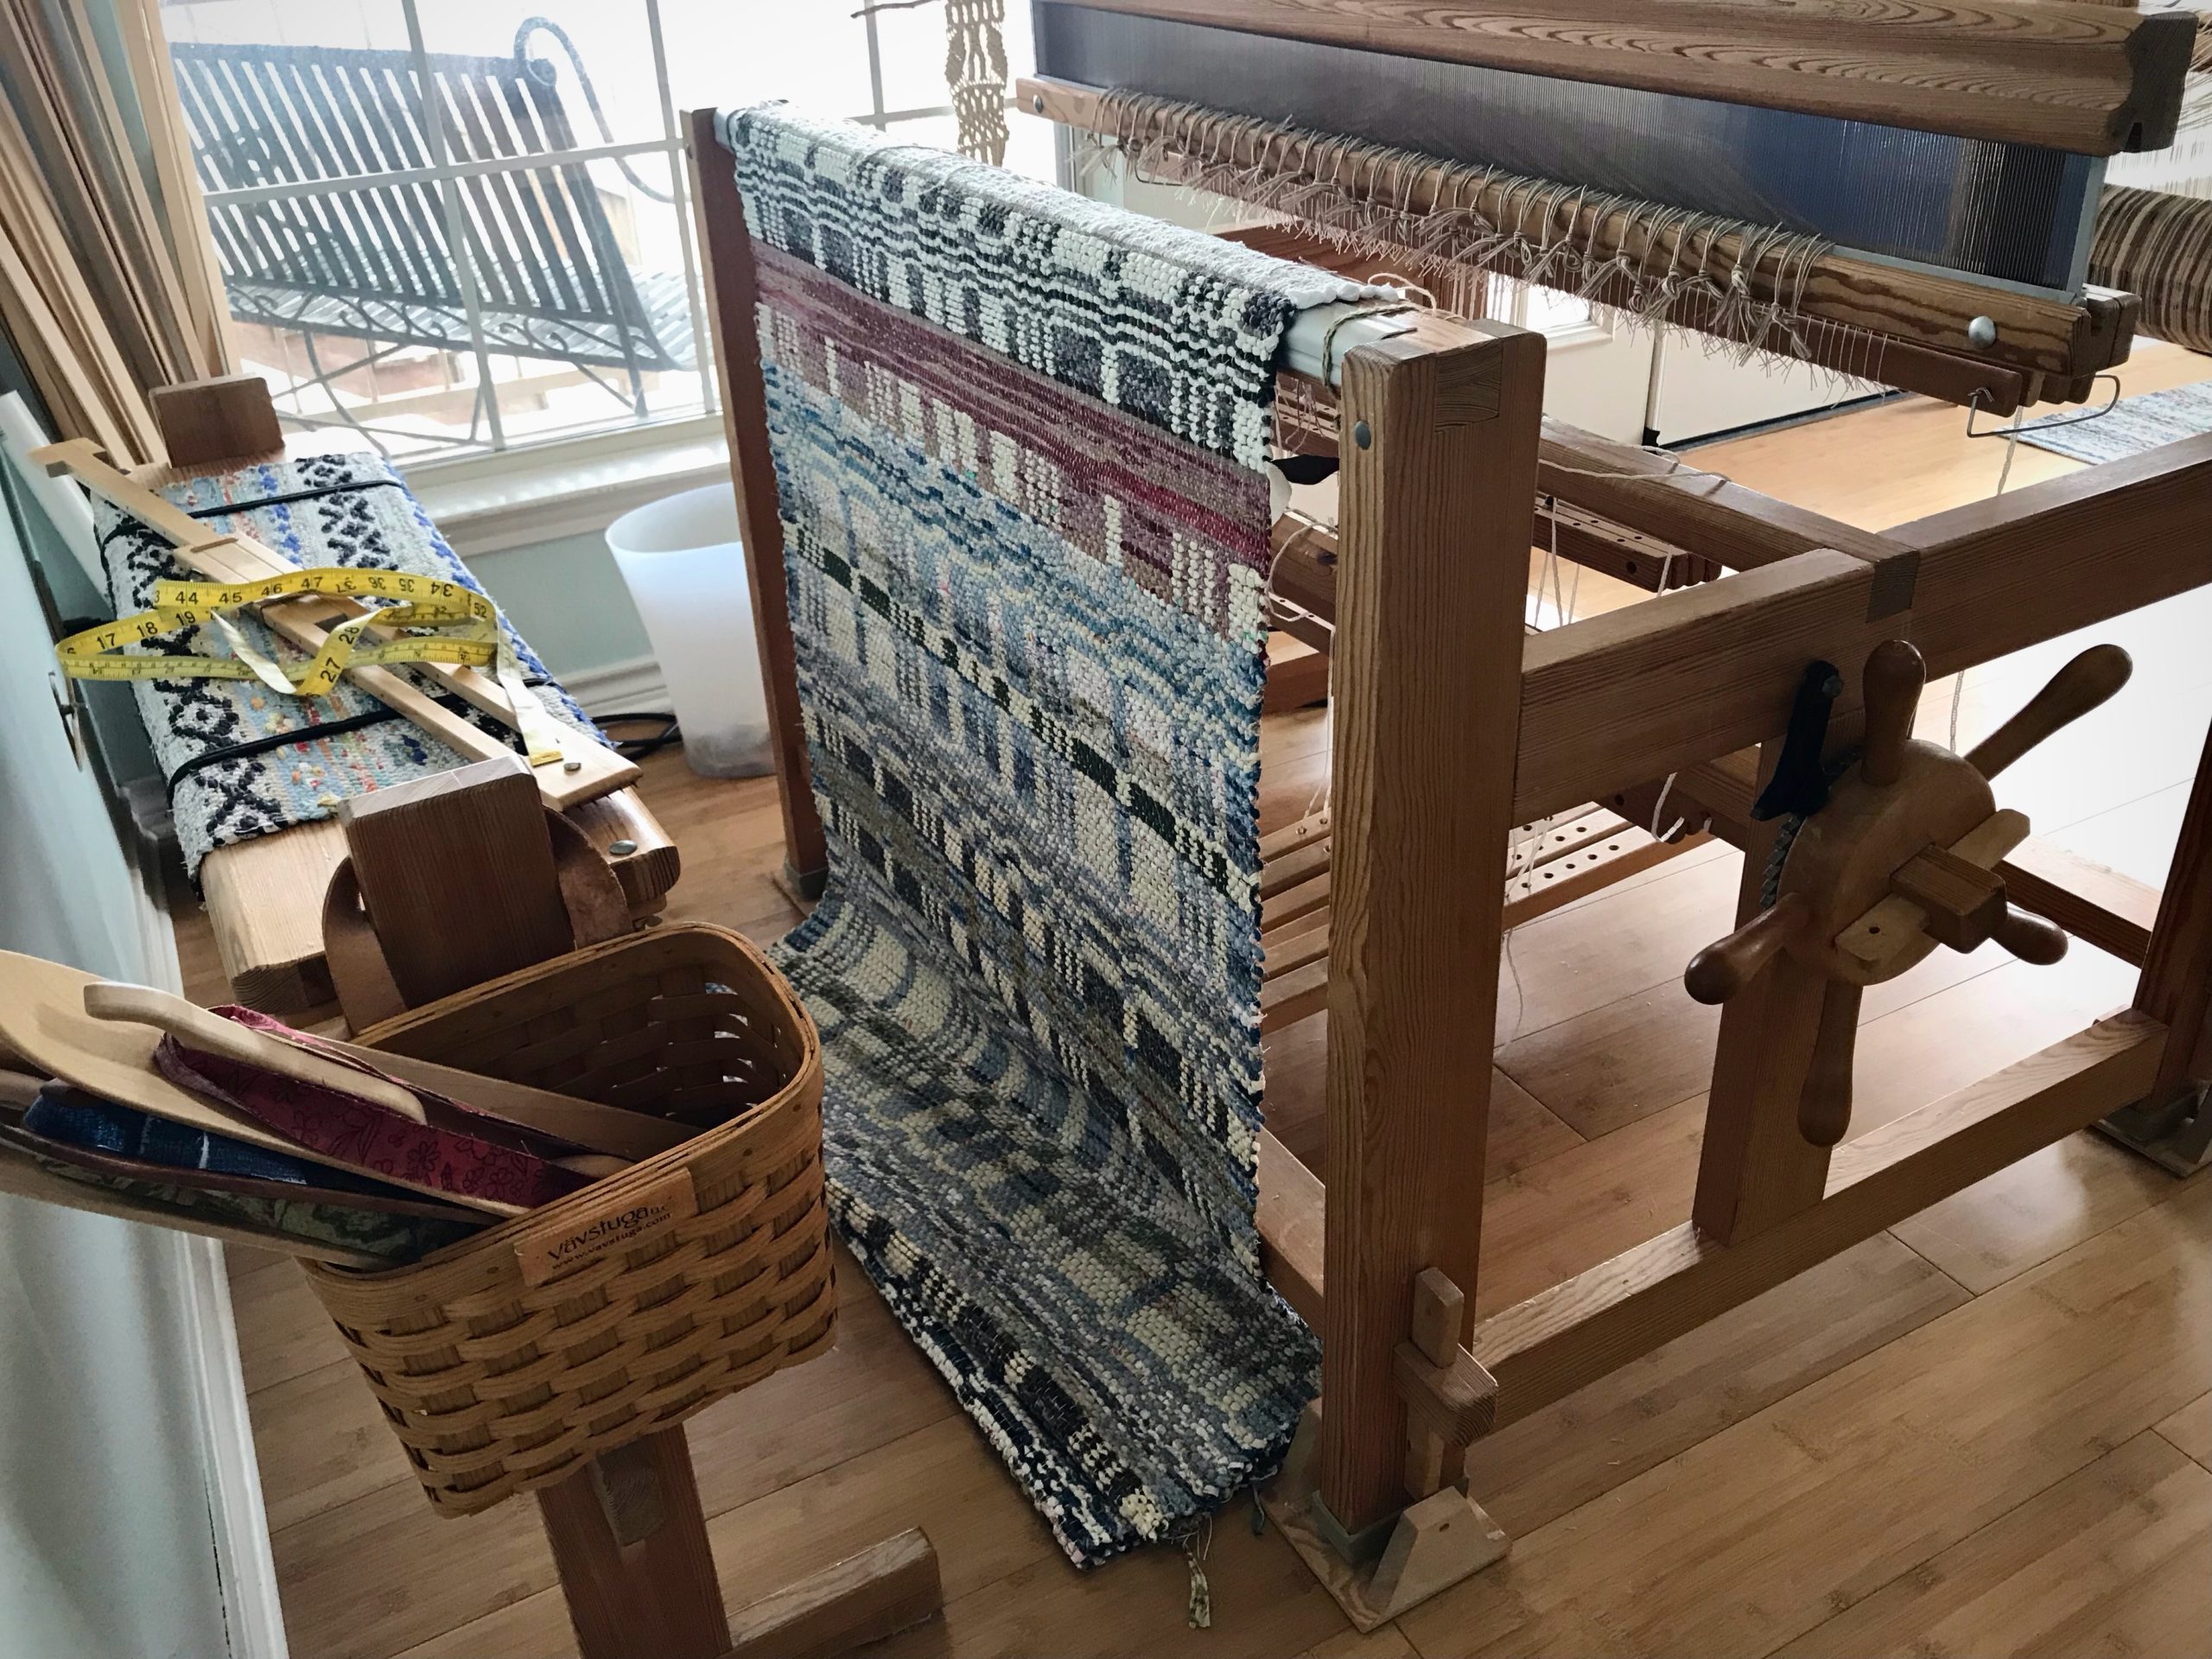
Unroll the rug from the cloth beam. Take a photograph.
First look at the back of the rug.
Lay the rug out on the floor. Ooh and aah.
Double-binding rag rug, ready for finishing and hemming! I let the rug rest on the floor for a couple days to let the warp and weft relax. Next step is to tie ends into overhand knots.
“With so many looms, how do you decide what to weave every day?,” I was asked. The answer lies in my Weaving Rhythm. I have five floor looms. I happily aspire to meet the challenge of keeping all of them active.
Glossary
Weaving Rhythm ~ A pattern created across time, through a regular succession of weaving-related tasks.
Arrange individual tasks to keep each loom consistently moving forward in the weaving continuum.
Weaving Continuum ~ The cycle for each loom that is continually repeated.
When the first few centimeters are woven on a new project, begin planning the next project. When finishing is completed for the current project, wind a new warp and dress the loom for the next project.
First Things First ~ Prioritize daily tasks to maintain the Weaving Rhythm.
Finishing
Dressing
Weaving
Do some finishing work first. Do some loom-dressing tasks next. The reward, then, is sitting at one of the dressed looms and freely weaving for the pleasure of it.
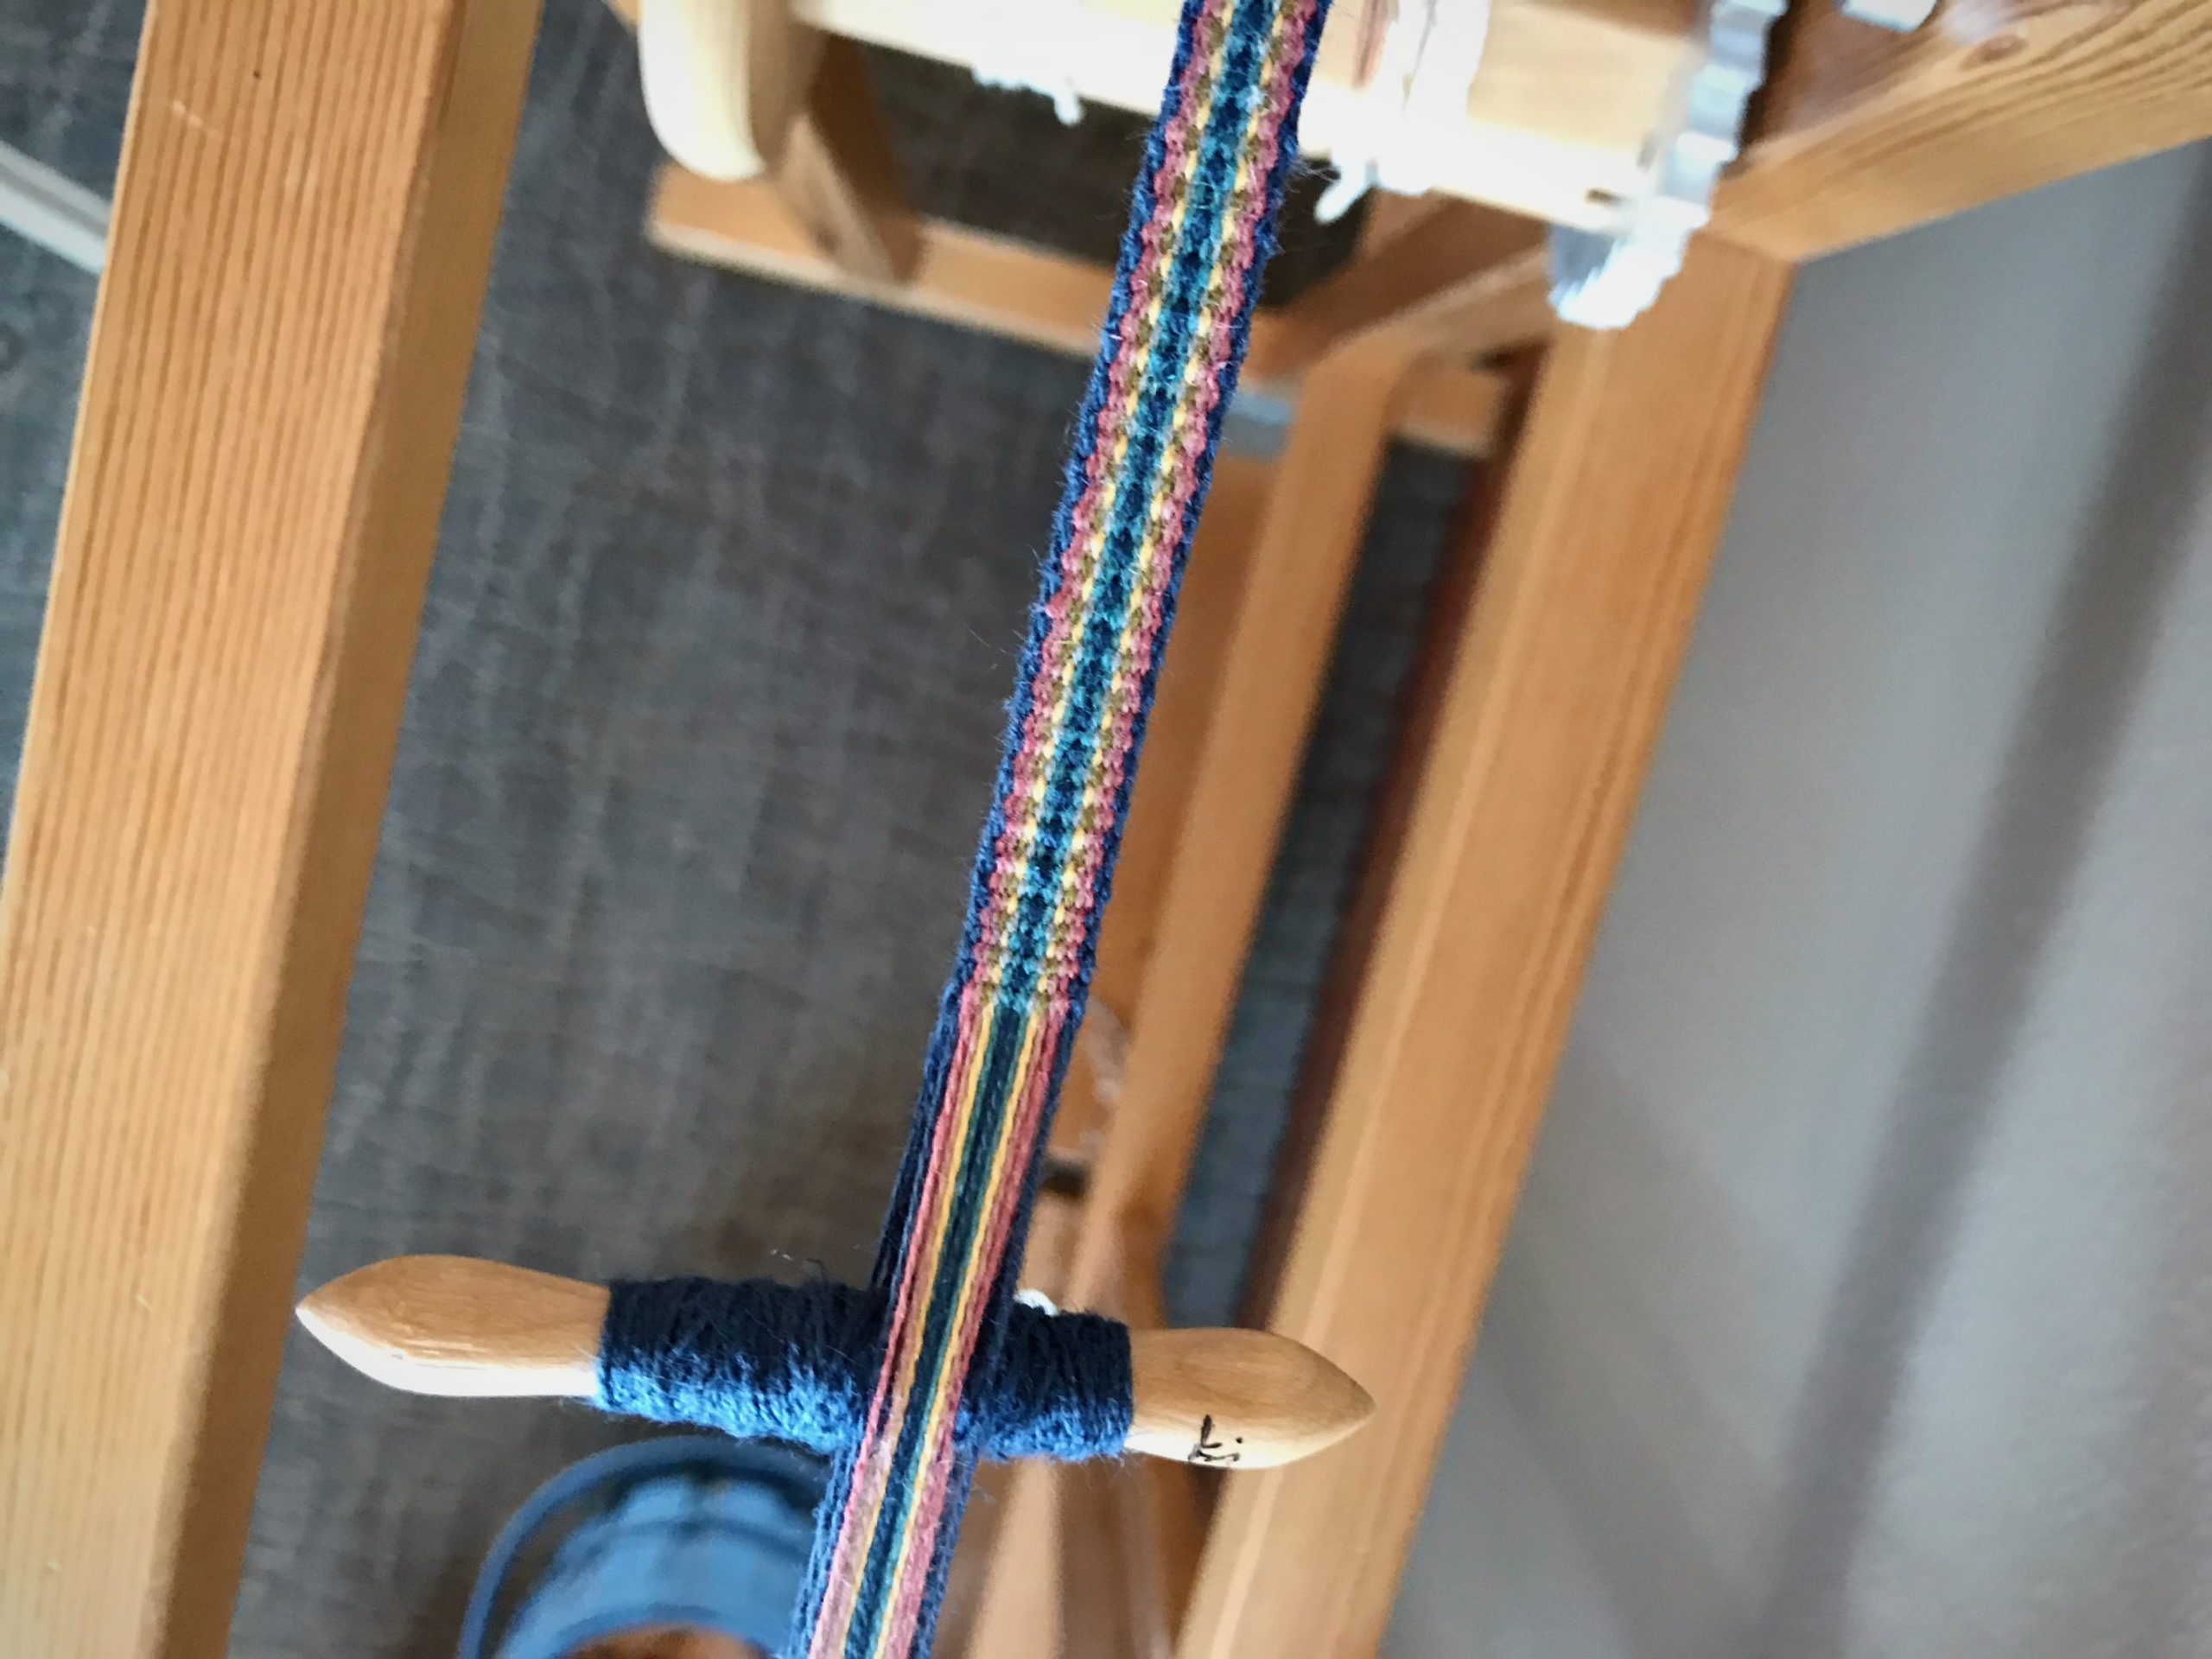
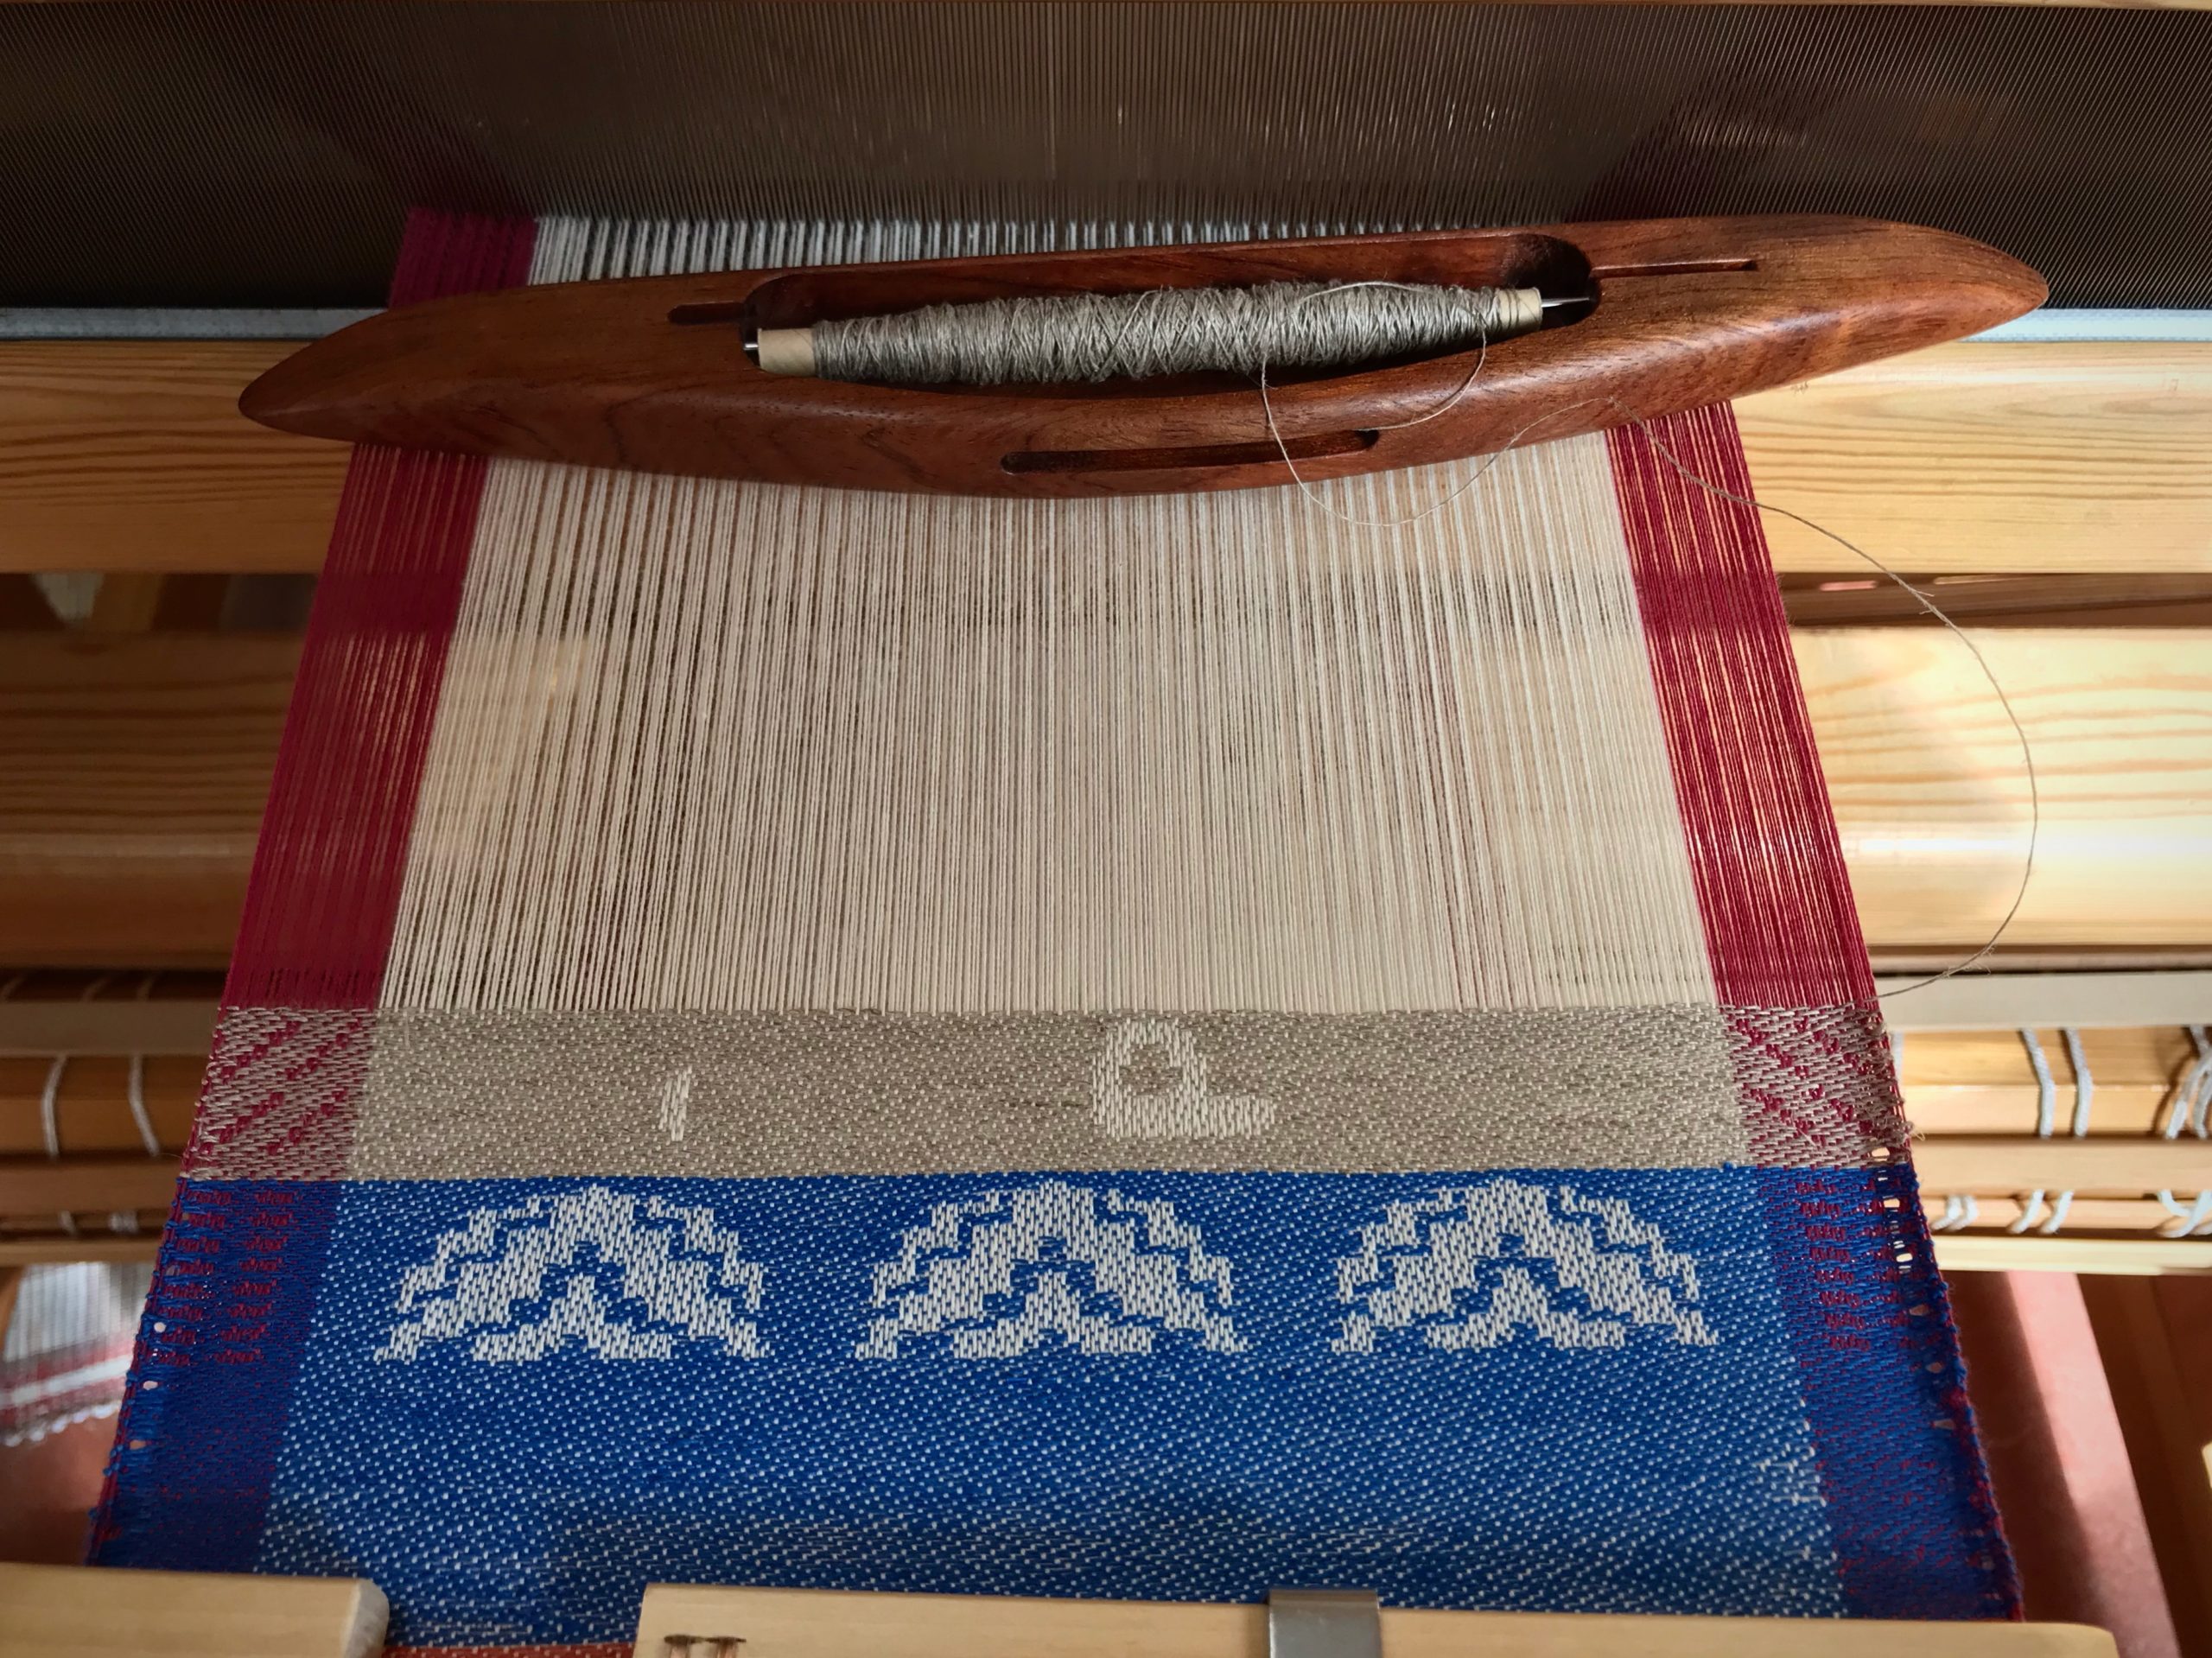
Glimåkra Standard, 120cm (47″), vertical countermarch. My first floor loom. Weaving the third of four bath towels, 6-shaft broken and reverse twill, 22/2 cottolin warp and weft.Glimåkra two-treadleband loom. Weaving hanging tabs for bath towels. 22/2 cottolin warp and weft.Glimåkra Ideal, 100cm (39″), horizontal countermarch. My second floor loom. Dressing the loom in 24/2 cotton, five-shaft huckaback, for fabric to make a tiered skirt. Ready to start sleying the reed.Loom that Steve built, 70cm (27″), horizontal countermarch. My third floor loom. Weaving the header for a pictorial tapestrysample, four-shaft rosepath, 16/2 linen warp, Tuna/Fårö wool and 6/1 tow linen weft.Glimåkra Julia, 70cm (27″), horizontal countermarch. This is my fifth (and final?) floor loom. Weaving the first of two scarves, eight-shaft deflected double weave, 8/1 Mora wool warp and weft.Glimåkra Standard, 120cm (47″), horizontal countermarch, with Myrehed combination drawloom attachment. This is my fourth floor loom. Weaving some lettering for the seventh pattern on this sample warp, six-shaft irregular satin, 16/2 cotton warp, 16/1 linen weft. 35 pattern shafts, 132 single unit draw cords.
Give Thanks ~ Live with a thankful heart.
Every day I thank the Lord for granting me the joy of being in this handweaving journey. And I thank him for bringing friends like you along with me.
Rag rugs are not finished when you cut them from the loom. In fact, they can fall apart if you are not careful. A rag rug is not secure until warpends are tied into knots. You need to leave space on the warp between rag rugs to make room for the eventual knots.
One way to leave space on the warp is by using warping slats as spacers. Simply weave about two inches of scrap header after the end of a rug. Then, insert warping slats in alternating plain weavesheds. And then, weave another scrap header. Now, you’re ready to start the next rug.
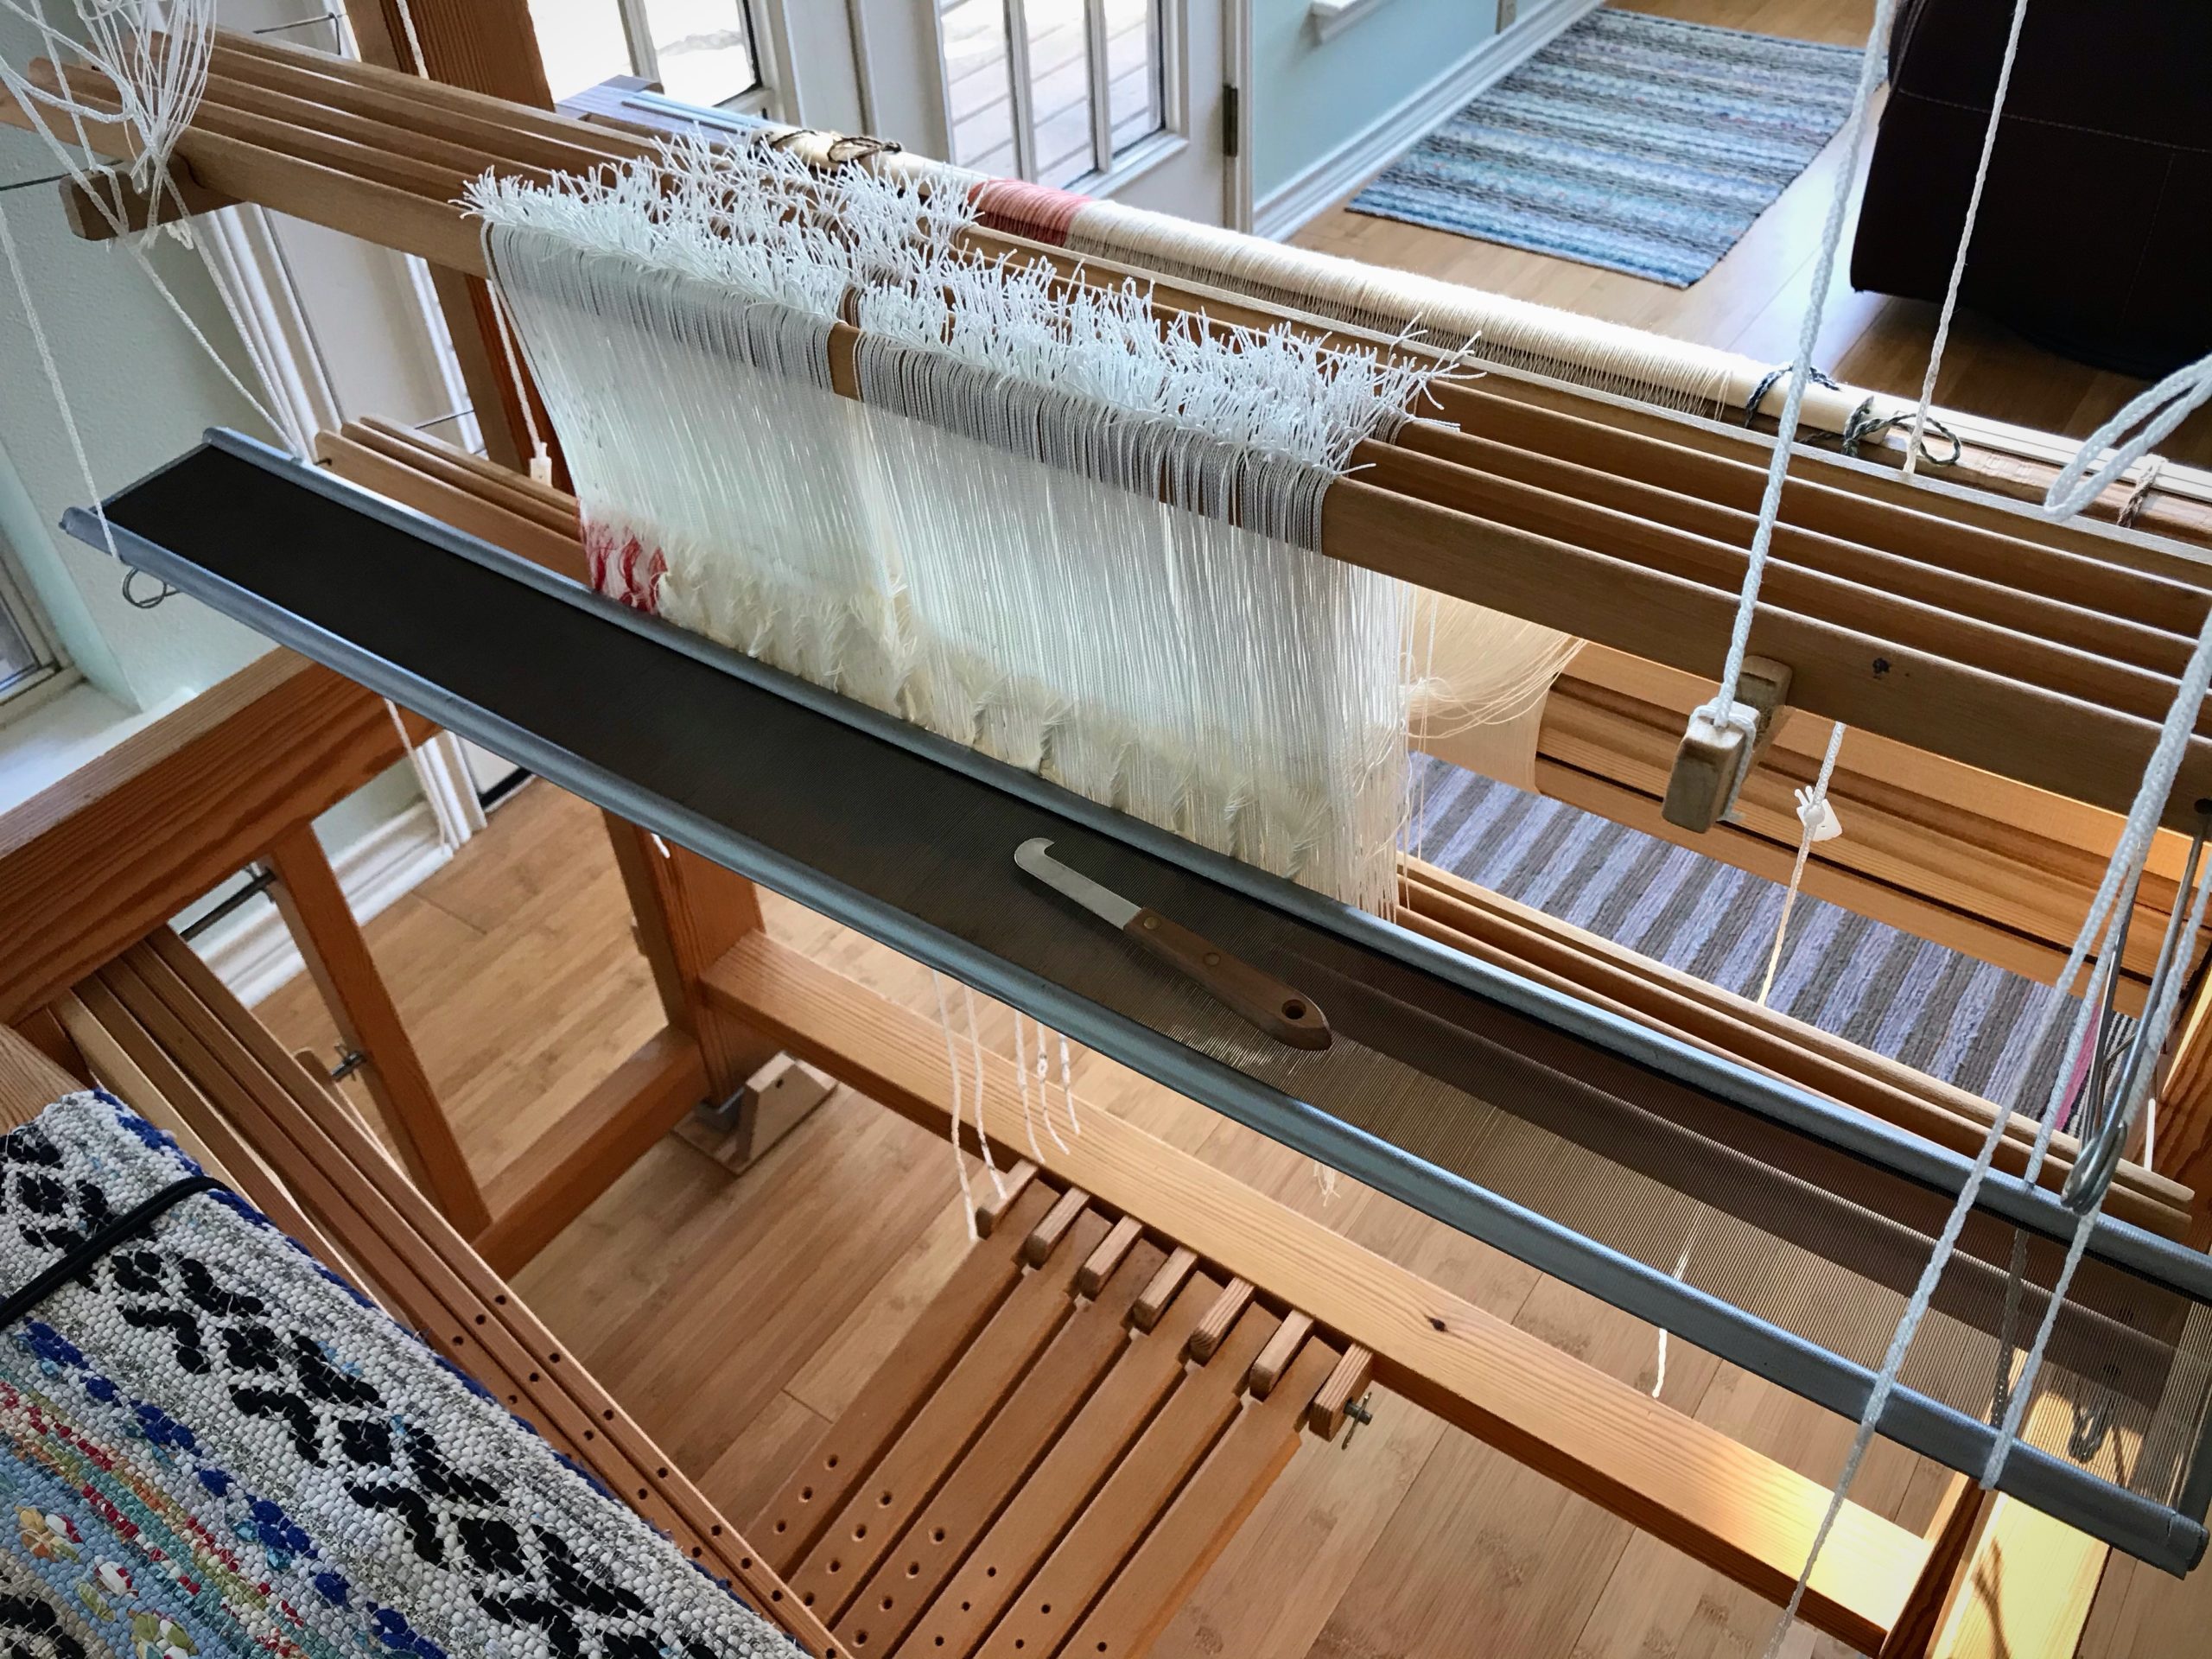
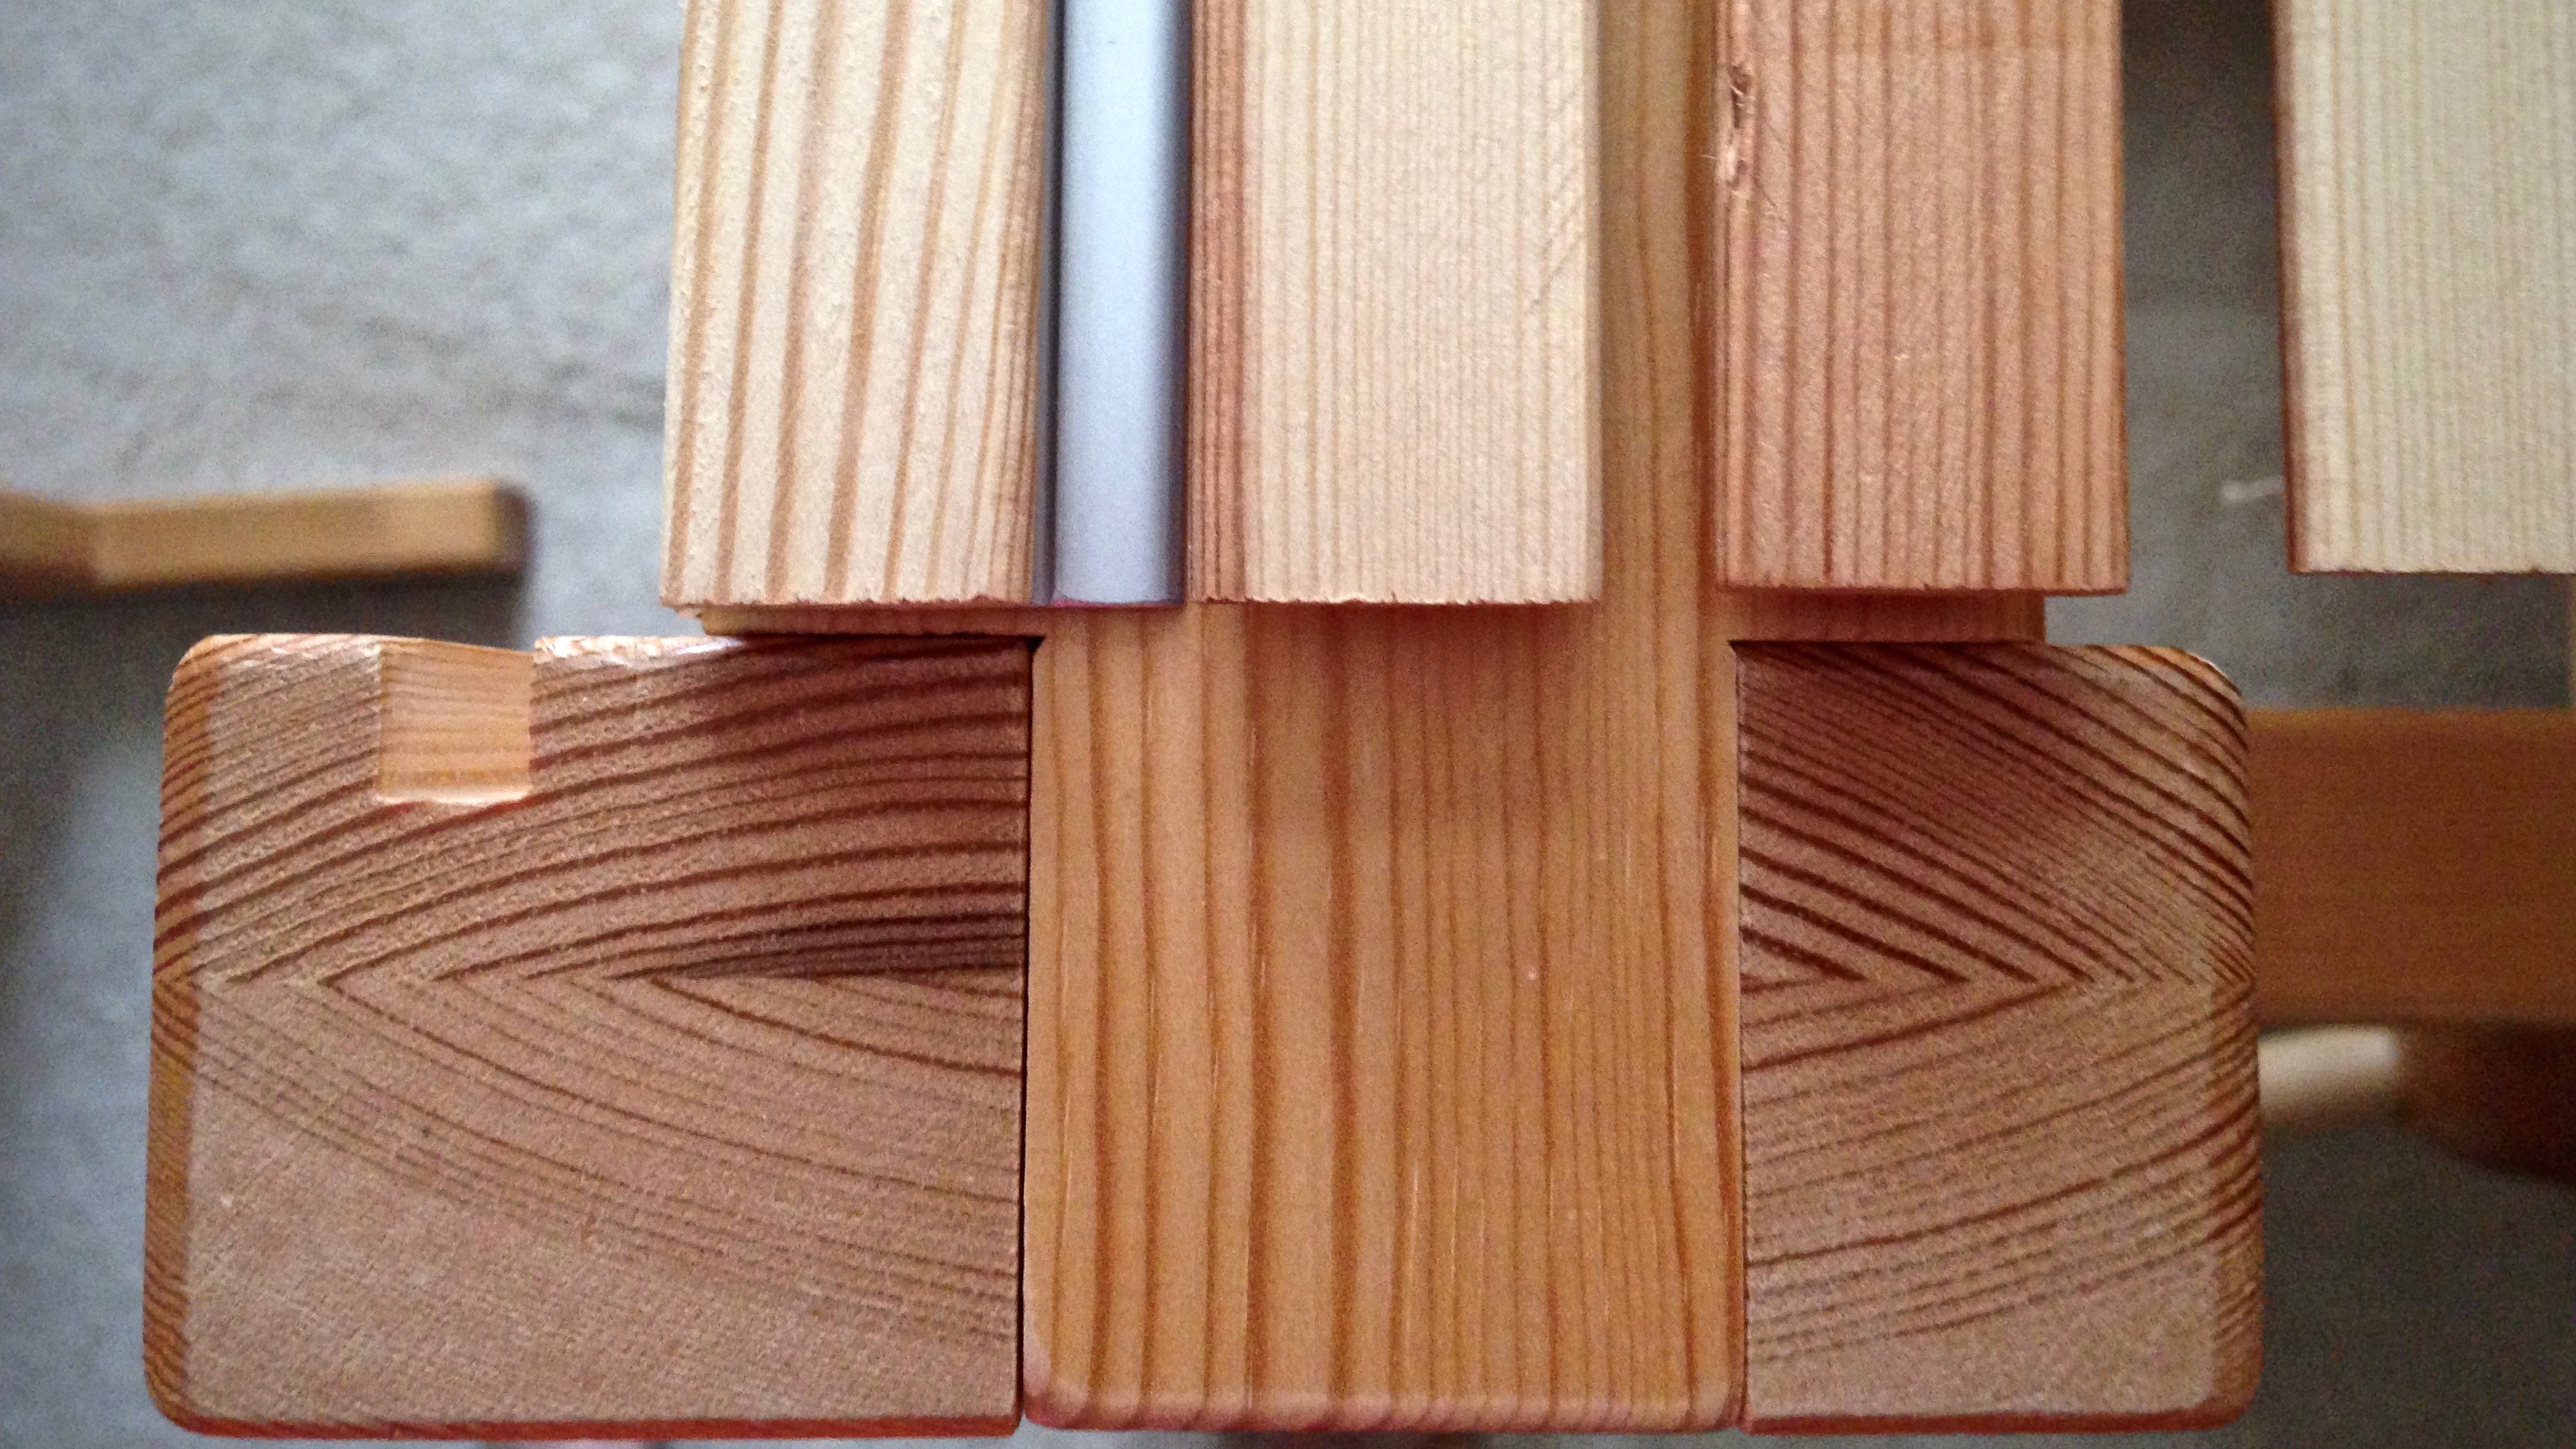
Weaving is finished. It is time to cut these rugs from the loom. Four warping slats are seen between two rag rugs as the rugs are being pulled off the loom.
I leave about eight inches (20 cm) of warp between rugs. This gives me enough length for tying the needed square knots. If you are leaving fringe, add enough to include the desired fringe length. When you insert the warping slats, keep them centered so that they can go around the breast beam and cloth beam without catching on the sides of the loom.
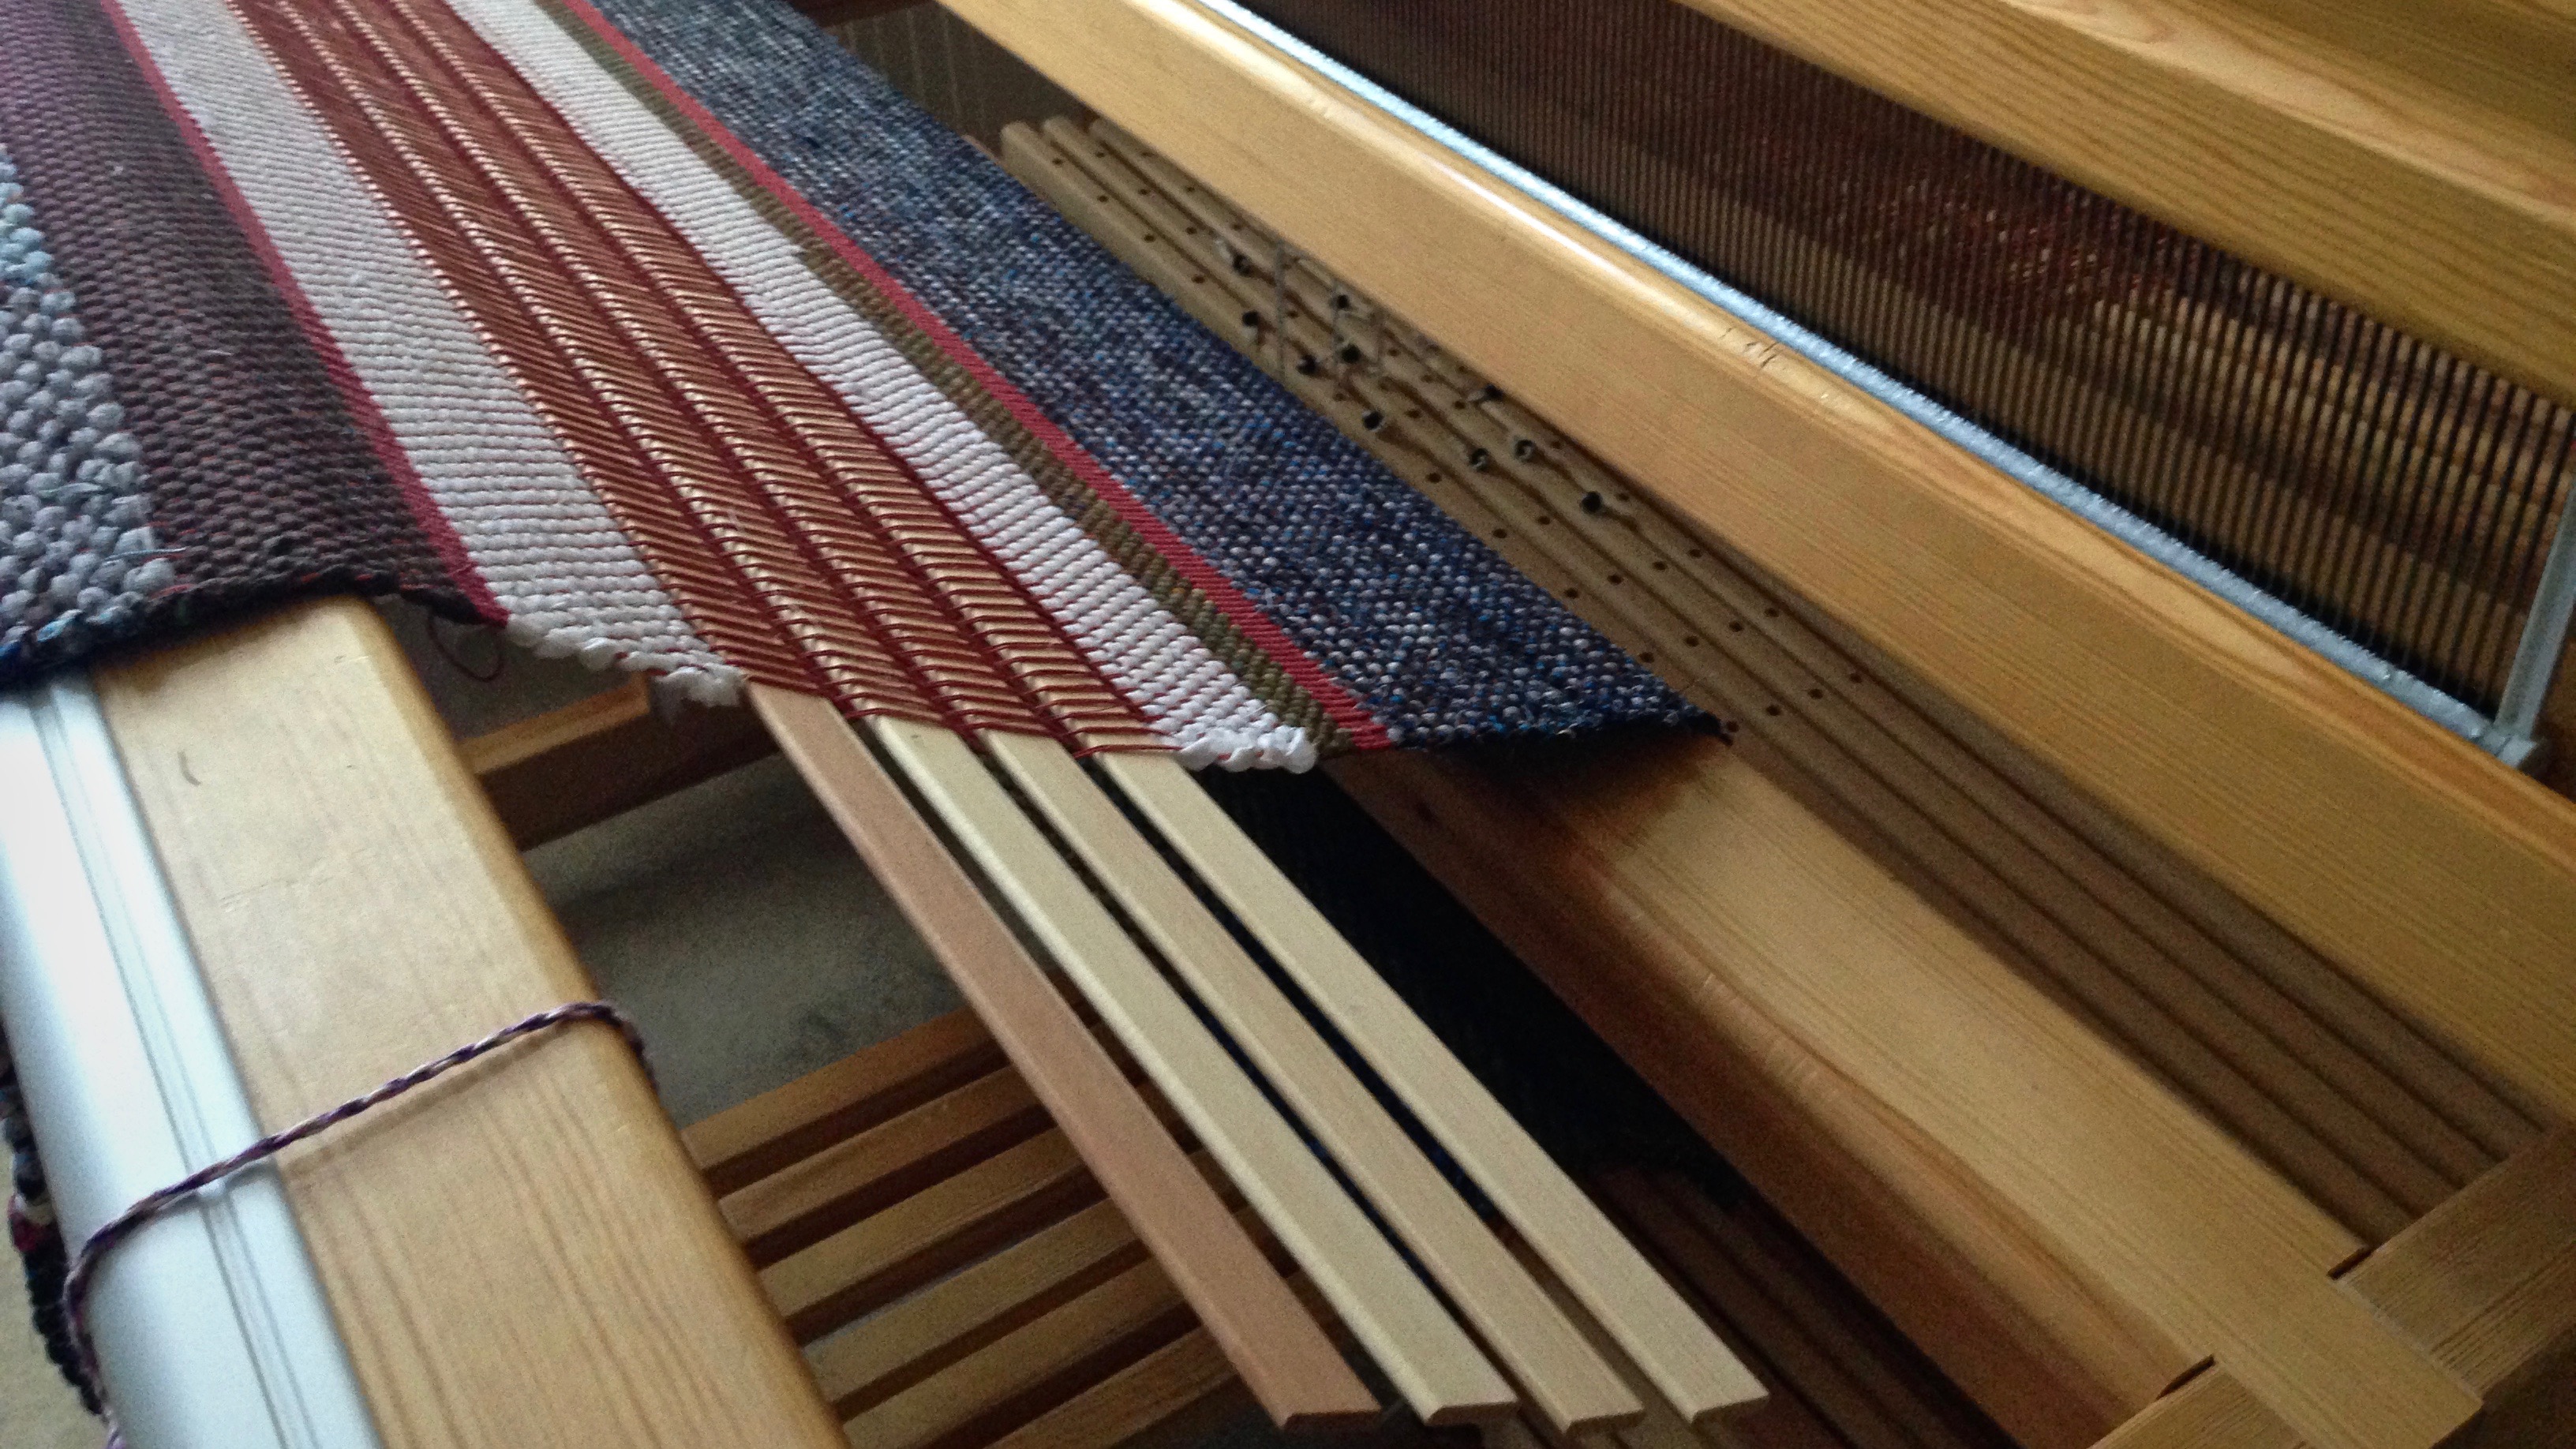
Full-width warping slats are placed carefully so that they do not extend beyond the weaving width on the right or on the left. This view is looking down on the end of the breast beam.
It is easy to separate the rugs after they are off the loom. Cut between slats using a rotary cutter, with a cutting mat underneath.
Double binding rag rugs are ready to be removed from the loom. The two rugs will be cut apart by slicing the warp between the middle two warping slats.
It is not enough to be pretty; a good rag rug must also be sturdy. Four crucial steps give a rag rug the solid foundation it needs to get off to a great start, and to be ready for the strong beat required to make a rug that lasts.
How to Begin a Rag Rug
1 Space
leave enough warp to tie and finish ends after the rug is cut from the loom
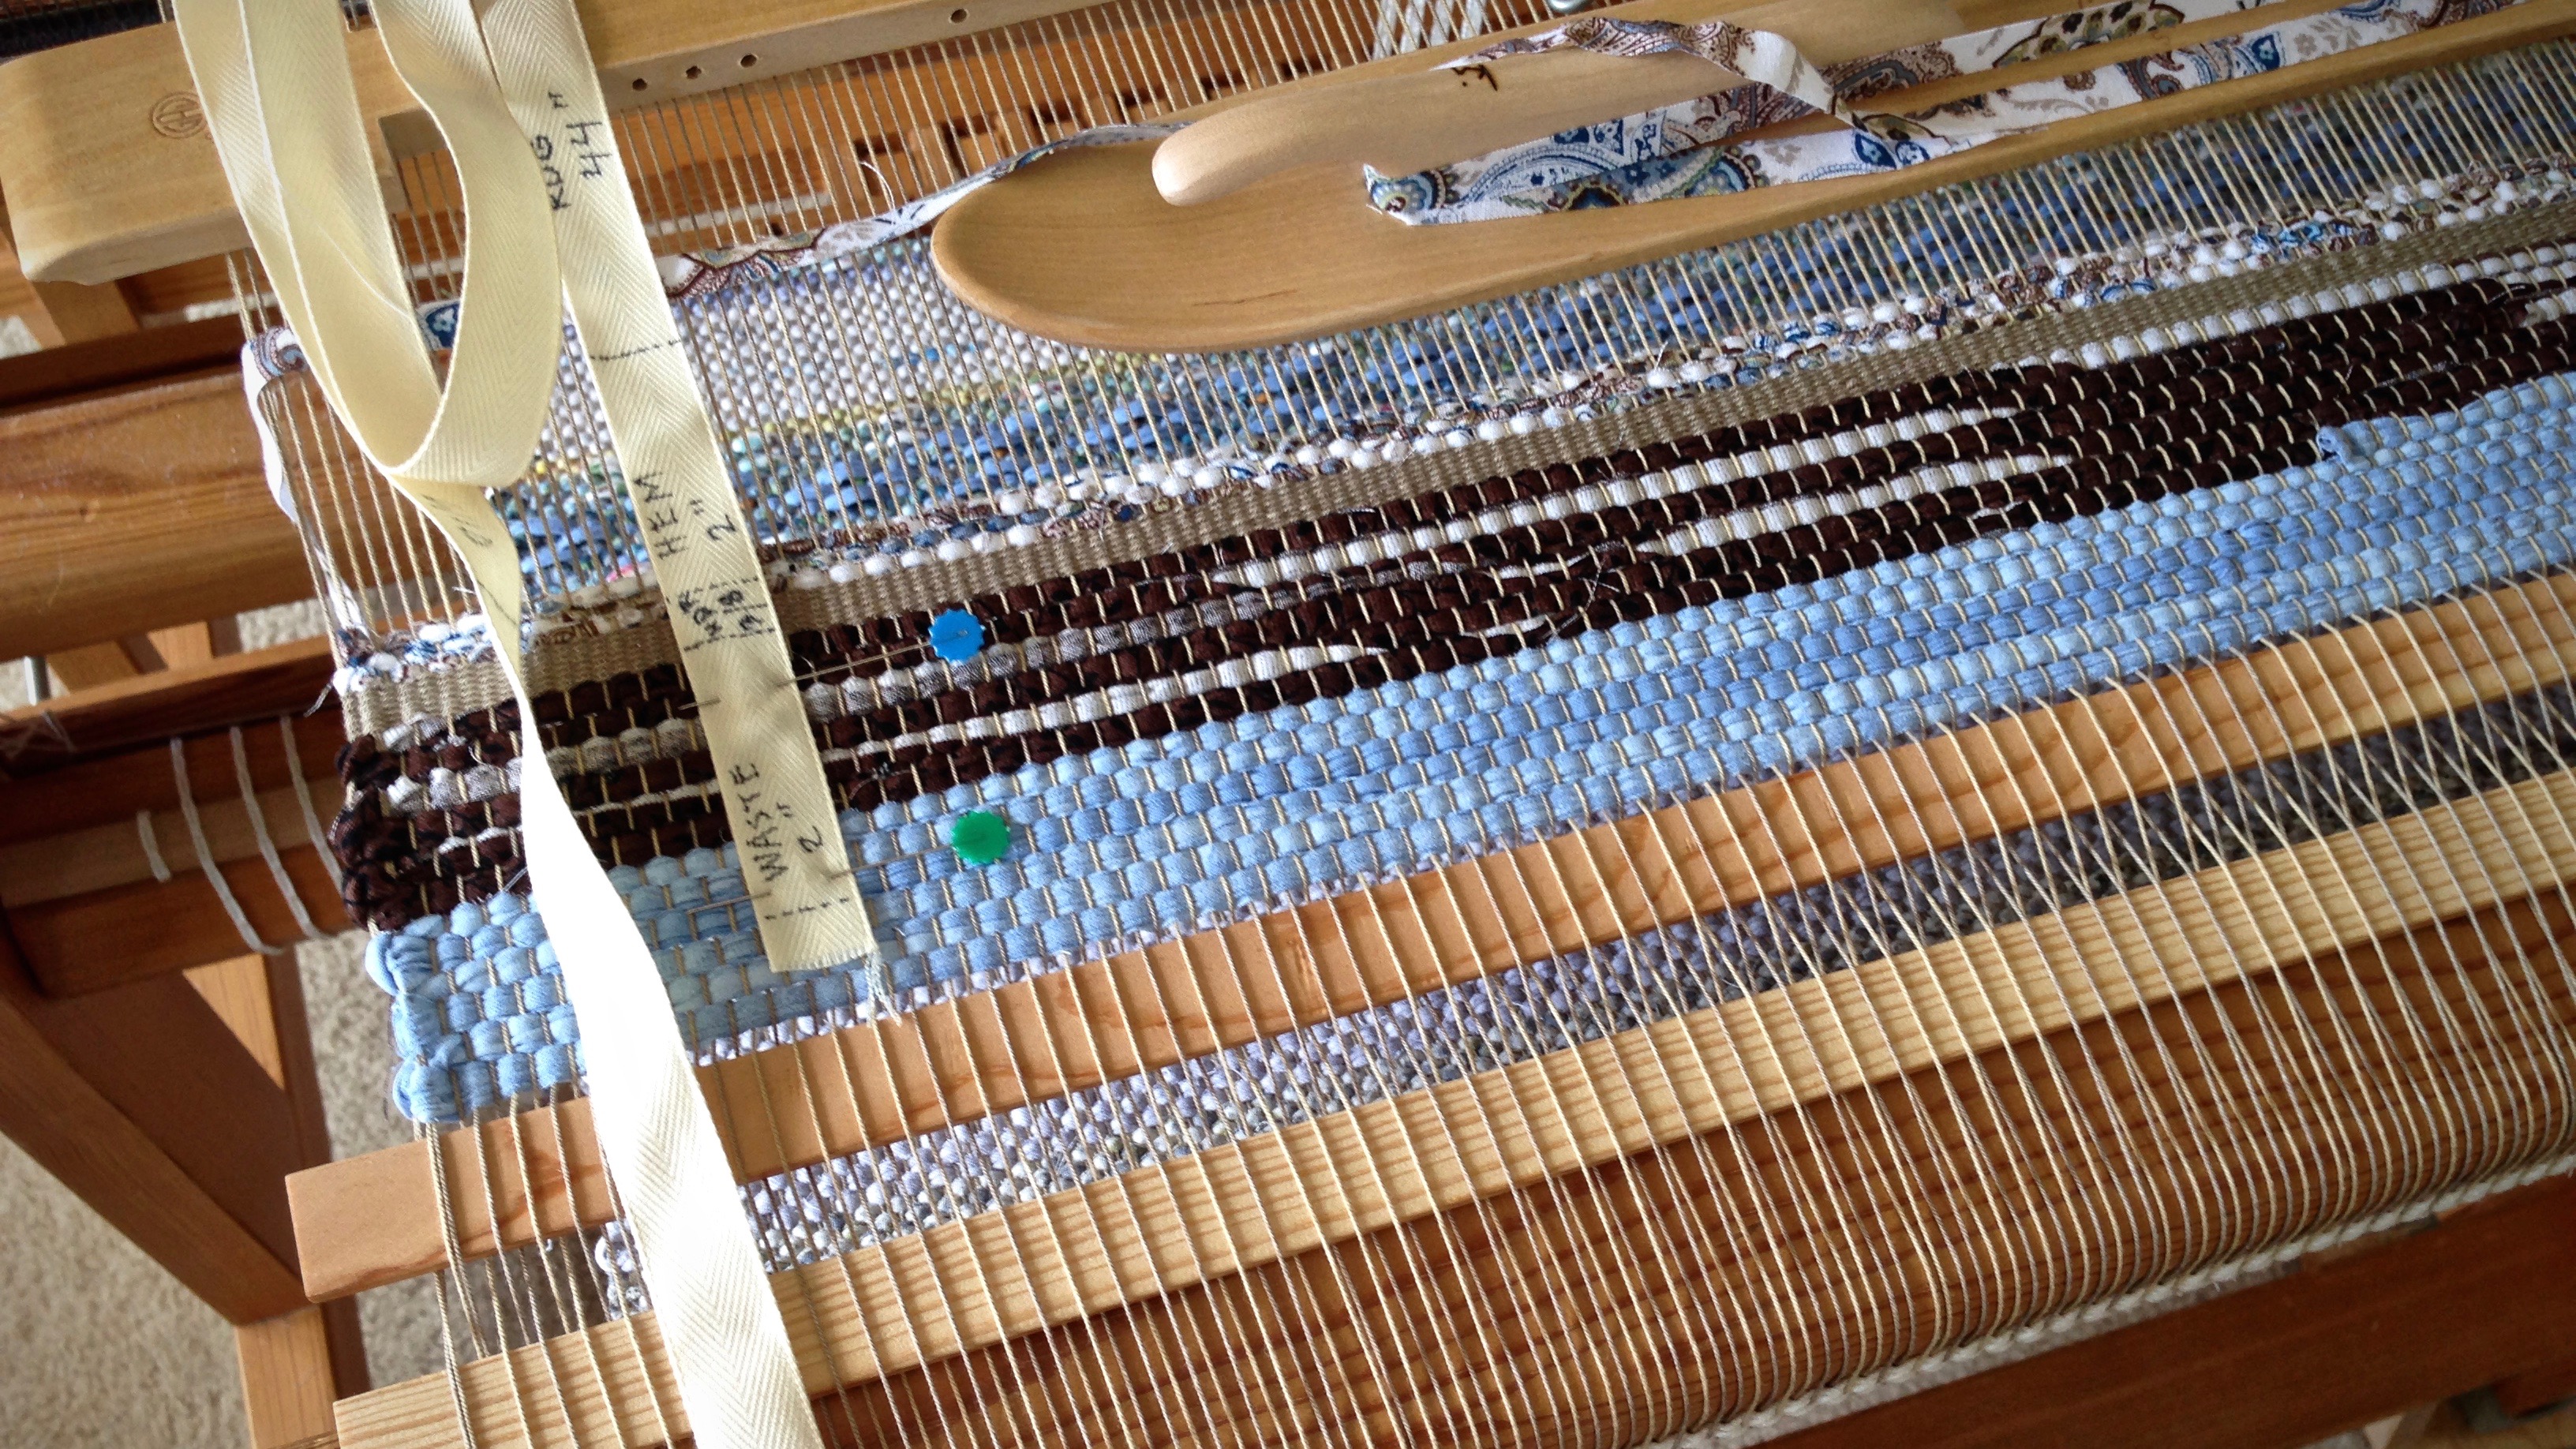
Assuming there is a sample at the beginning of the warp, leave space after the sample. Leave about 4″ (10 cm) of empty warp. Then, using two warping slats, place one slat in each plain weaveshed. The slats act as a spacer, and as a firm backstop for beating in the waste rags. (Leave about 8″ / 20 cm of space between each rug, from header to header.)
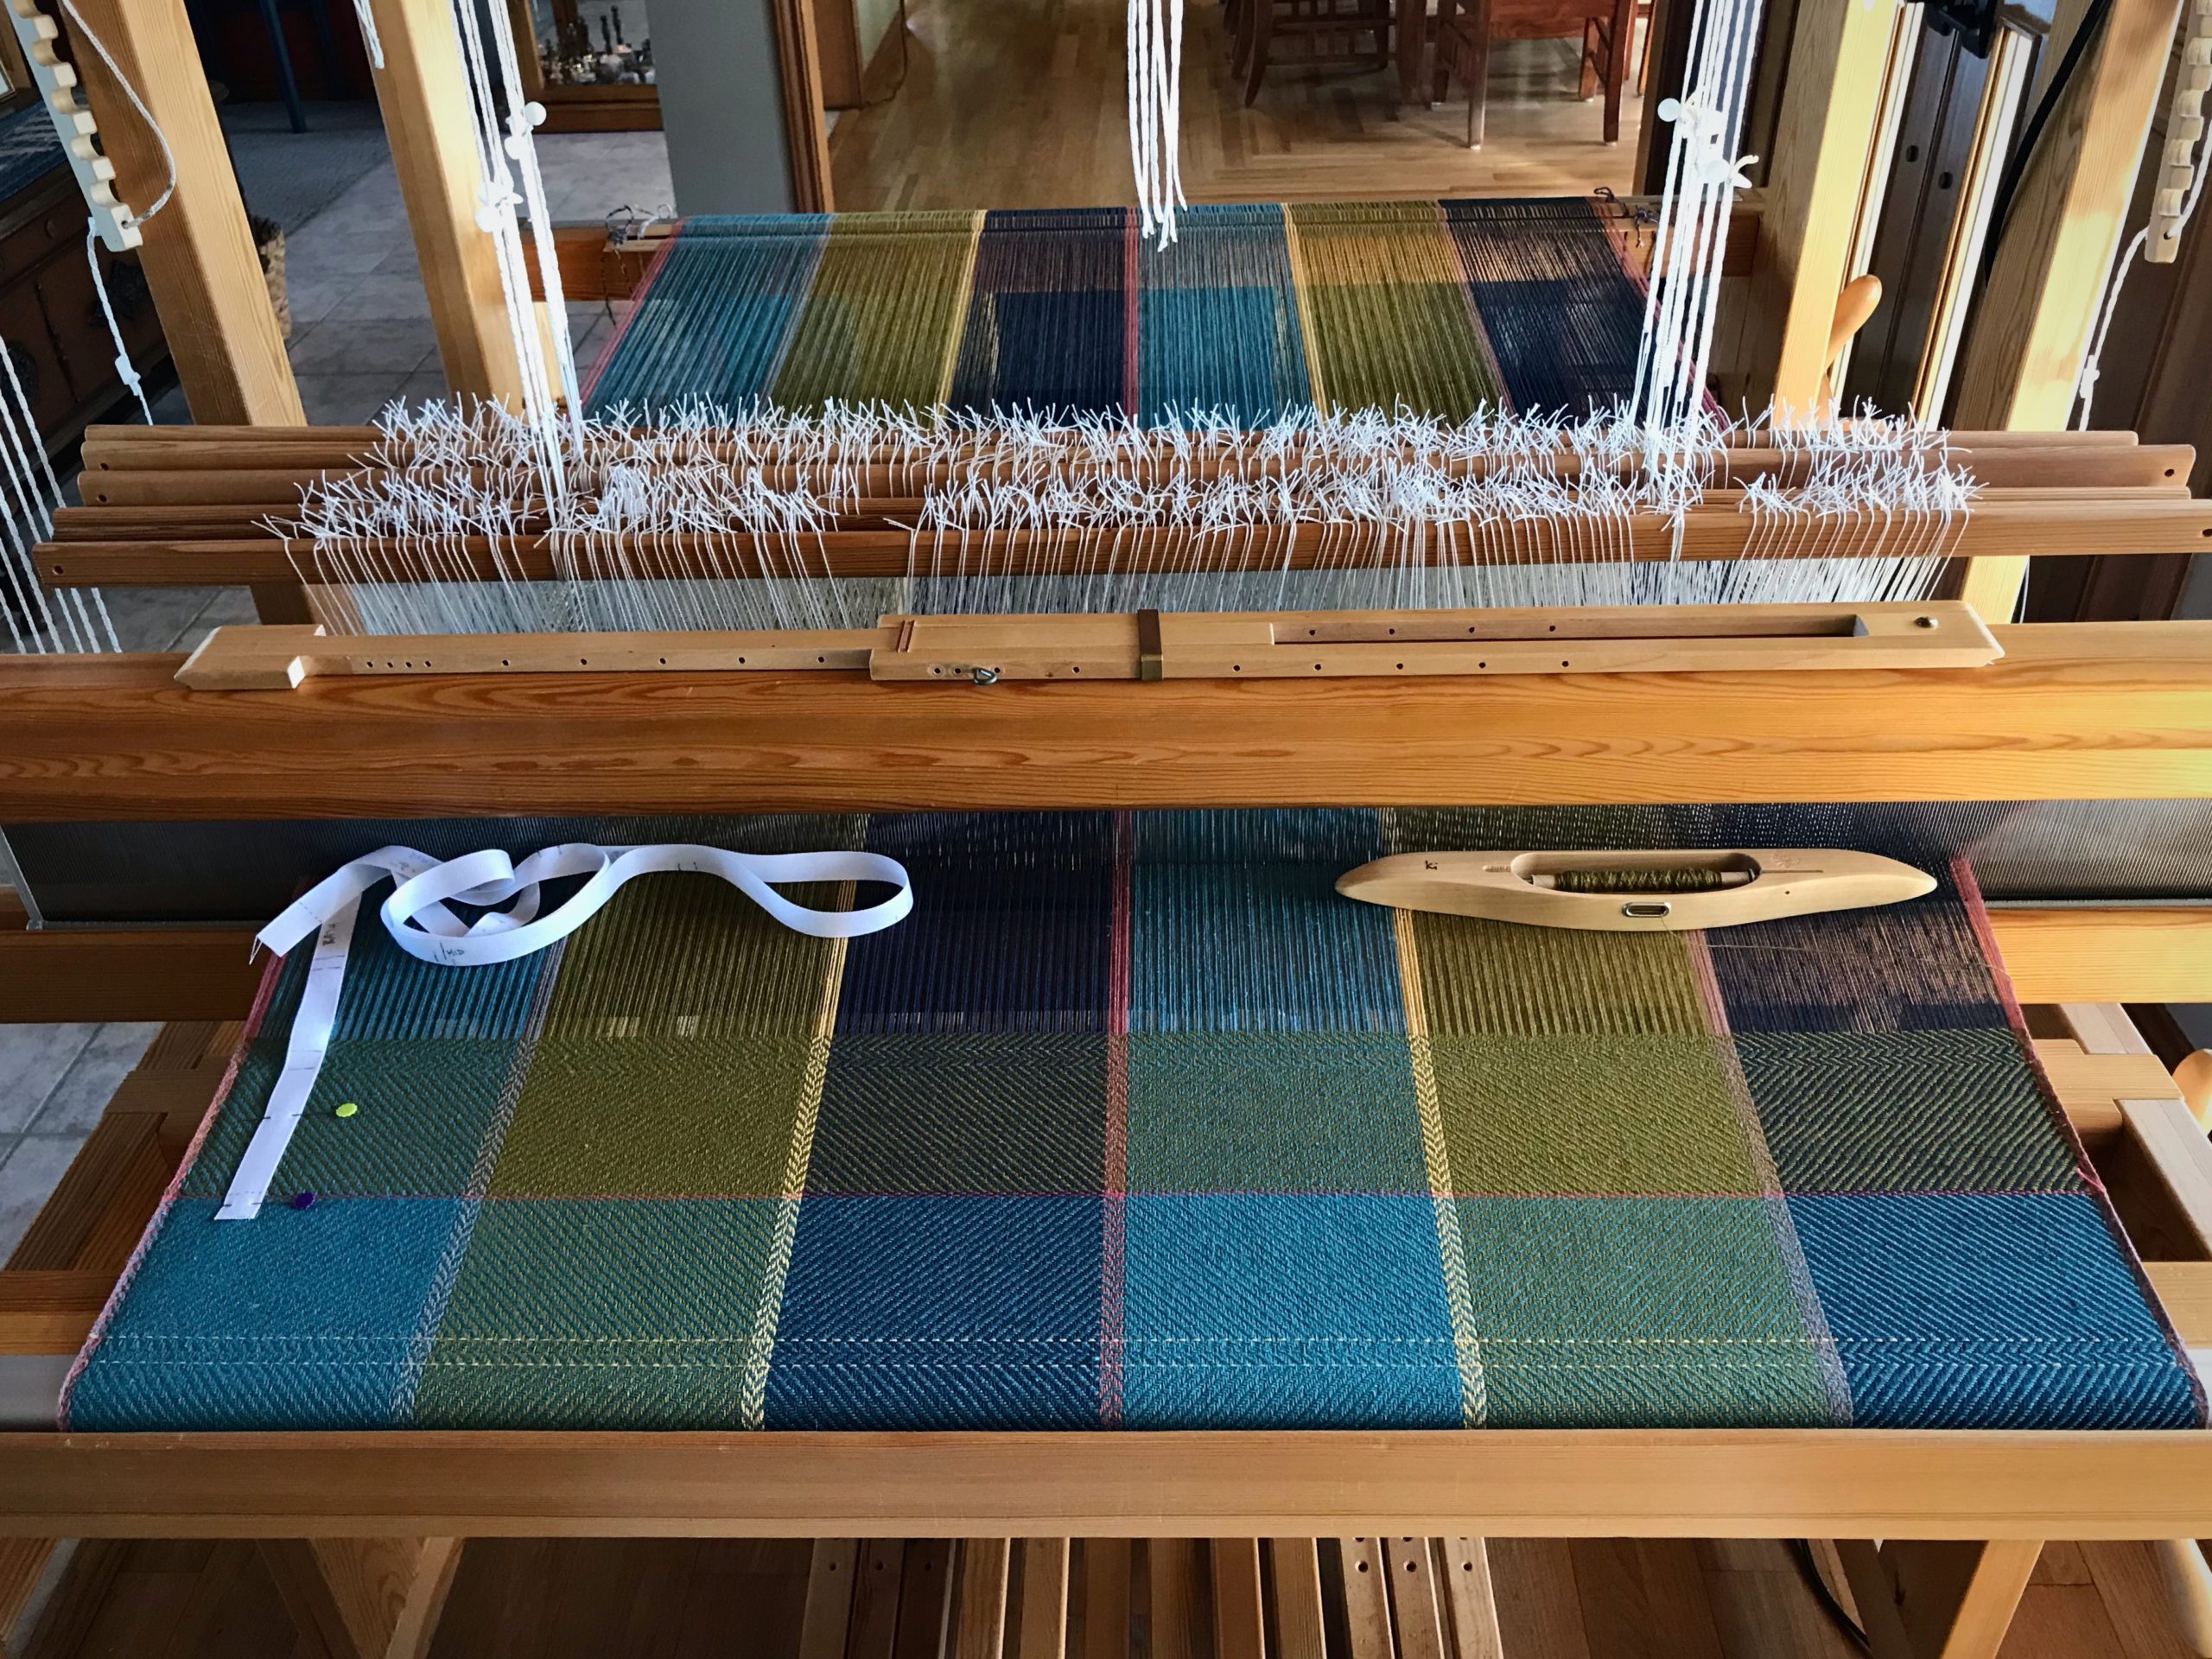
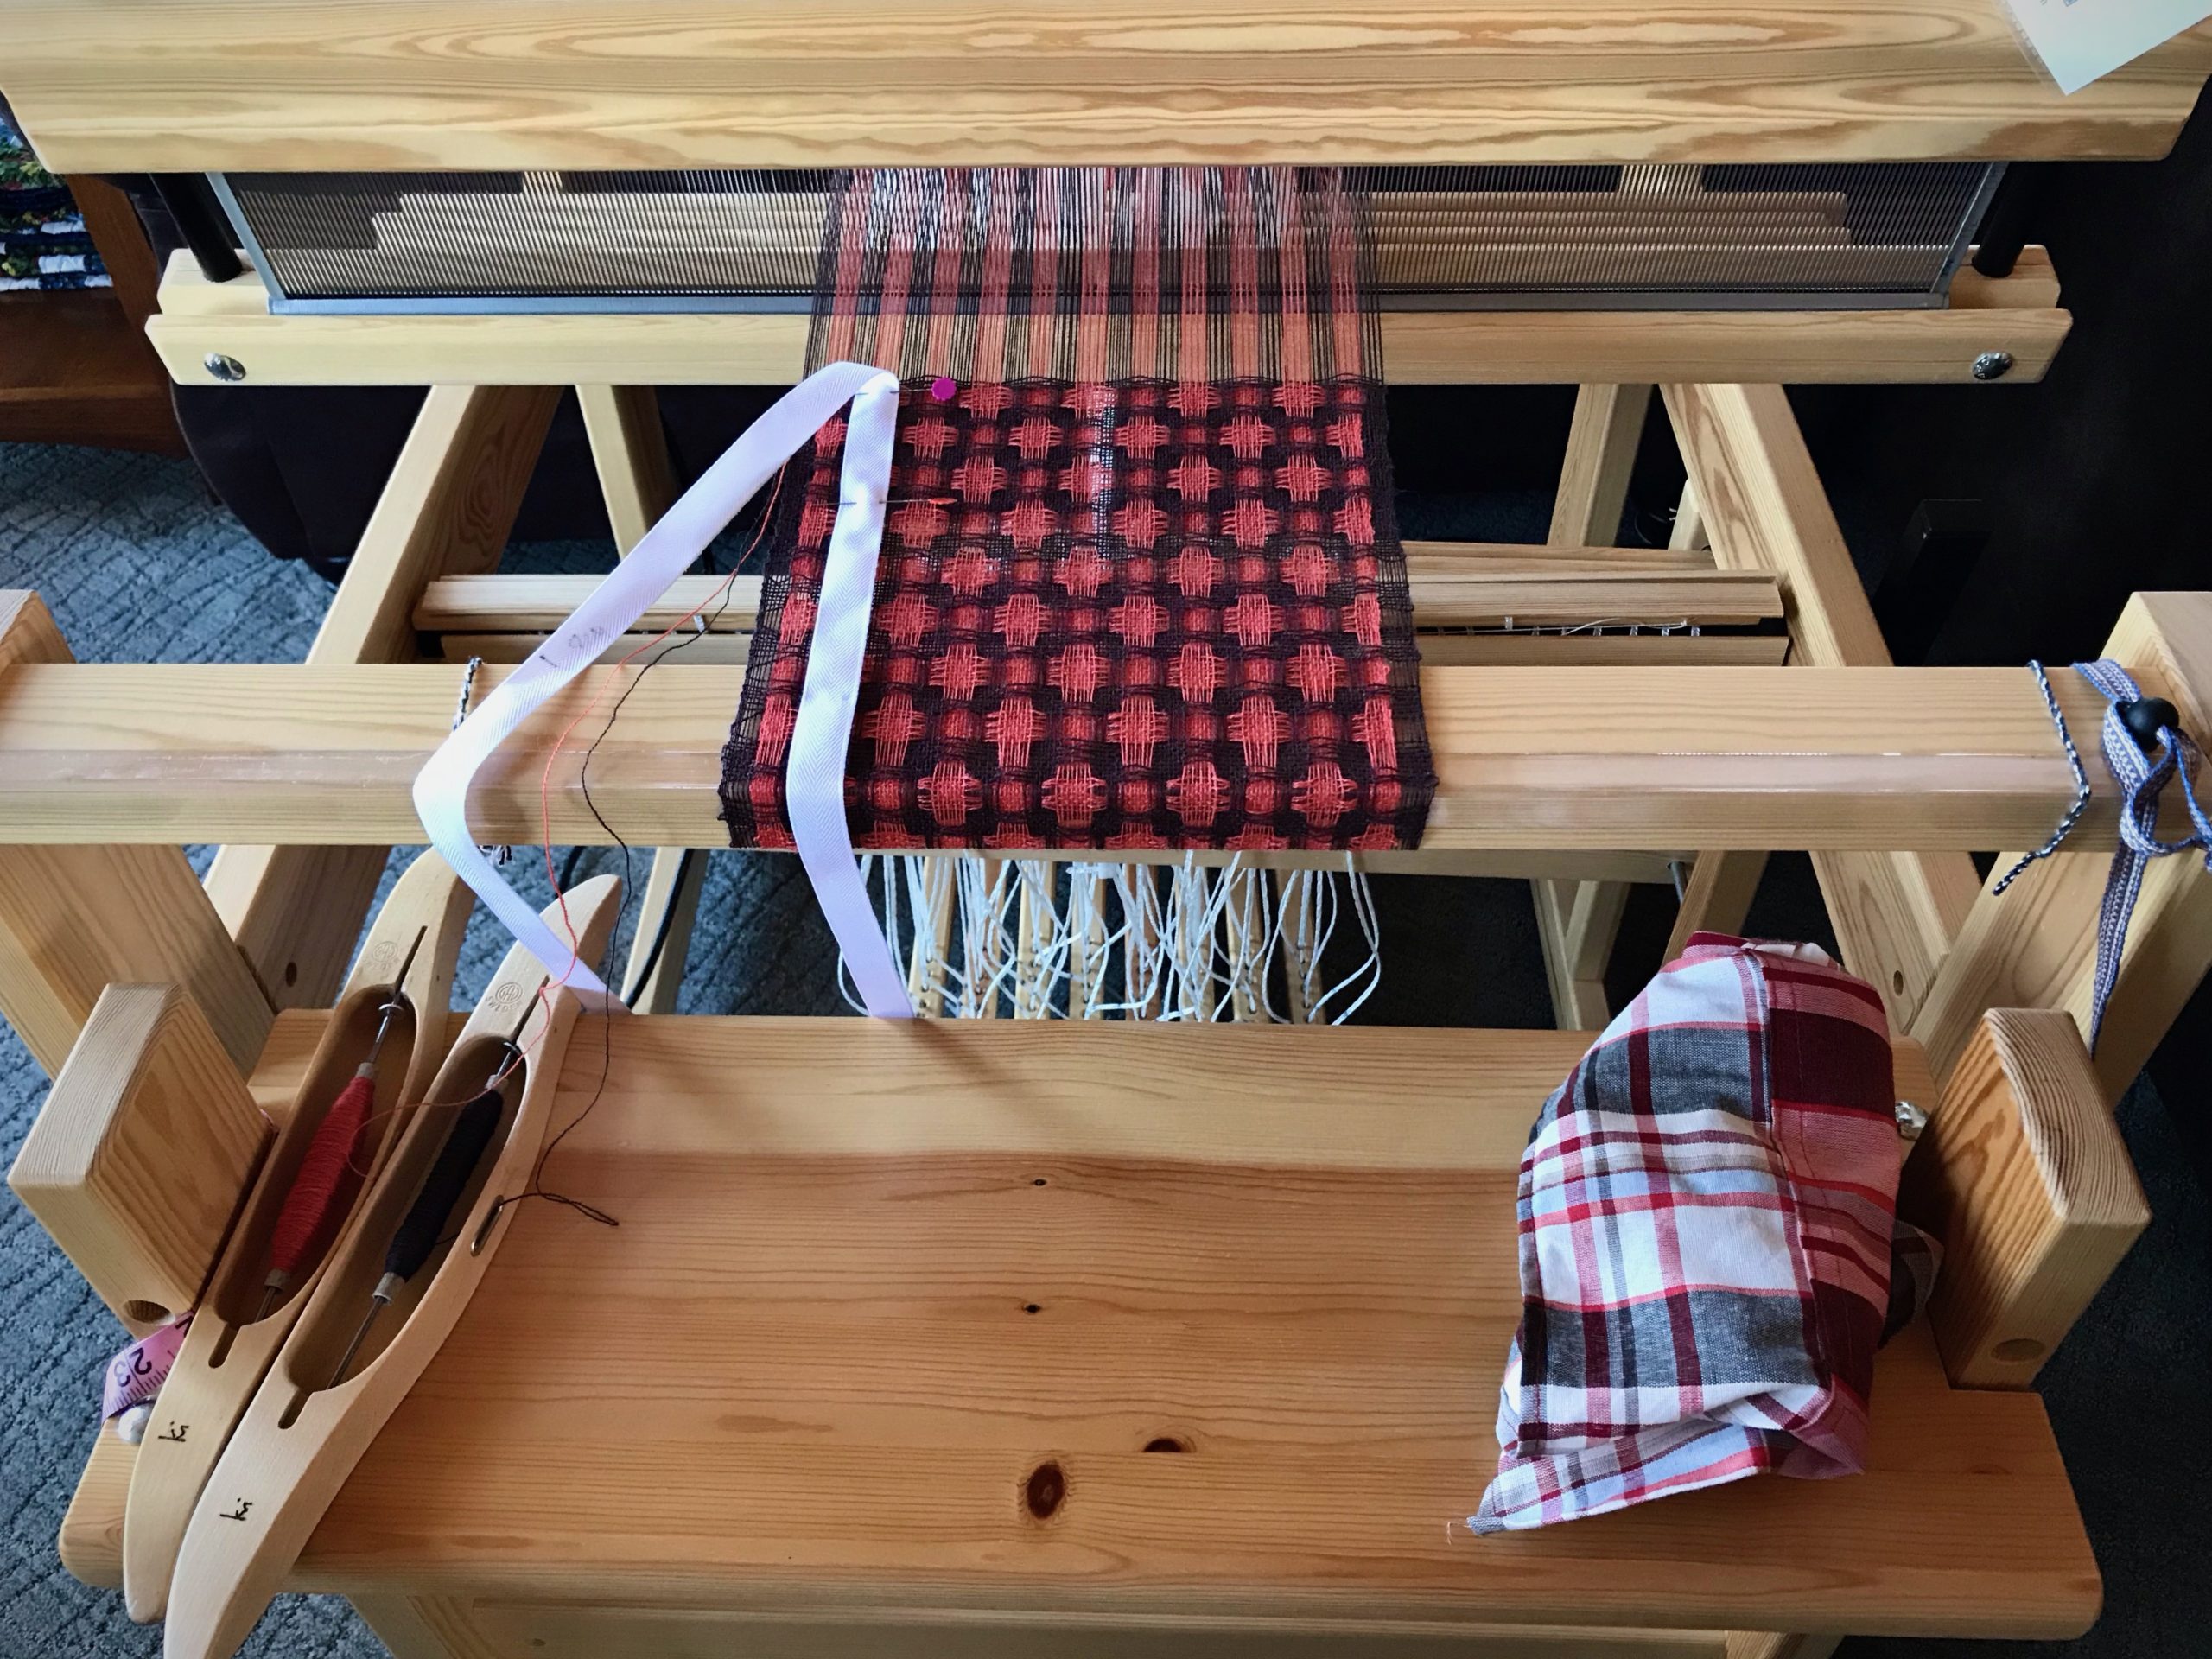
Empty warp is followed by a pair of warping slats, scrap weft, warp yarn header, and beginning of hem. Measurements are marked on twill tape for reference while weaving.
Use warp yarn to weave a 3/8″ (1 cm) weft-faced header. Arrange the weft in small arcs across the width of the shed. Treadle the next shed and beat in the weft.
With temple in place, the header is woven with 12/6 cotton, the warp yarn. Forming small waves in the weft places more weft in the shed, which helps prevent draw-in.
4 Hem
thinner rag weave, to be turned under and stitched
Cut fabric into narrow strips, 1/4″ (.5 cm) wide. Weave hem to desired length, with enough to fold under itself for finishing.
–Repeat the four steps in reverse order at the end of the rug.–
Ready for the body of the rug! A good, strong beat will not disturb this layered foundation.
It takes courage to live by faith. Courage is the backbone against which life circumstances can push. Faith is knowing God has a higher purpose for the circumstances we find ourselves in. A rag rug with this firm starting point will not only look good, but be ready for a purpose. And so will we.