Jubilation Bath Towels are completed, just in time for Christmas! They go with the Jubilation Hand Towels I wove earlier this year, named with my father in mind. (See Process Review: Jubilation Hand Towels.) Nothing deterred my father from deep abiding joy. These bath towels are a tribute, as well, to my husband’s patience. He requested handwoven bath towels a few years ago. Laughably, my first eager attempt resulted in towels scratchy enough to be used as sandpaper back scratchers. Now, finally, we have absorbent and soft handwoven cottolin bath towels suitable for my Prince Charming.
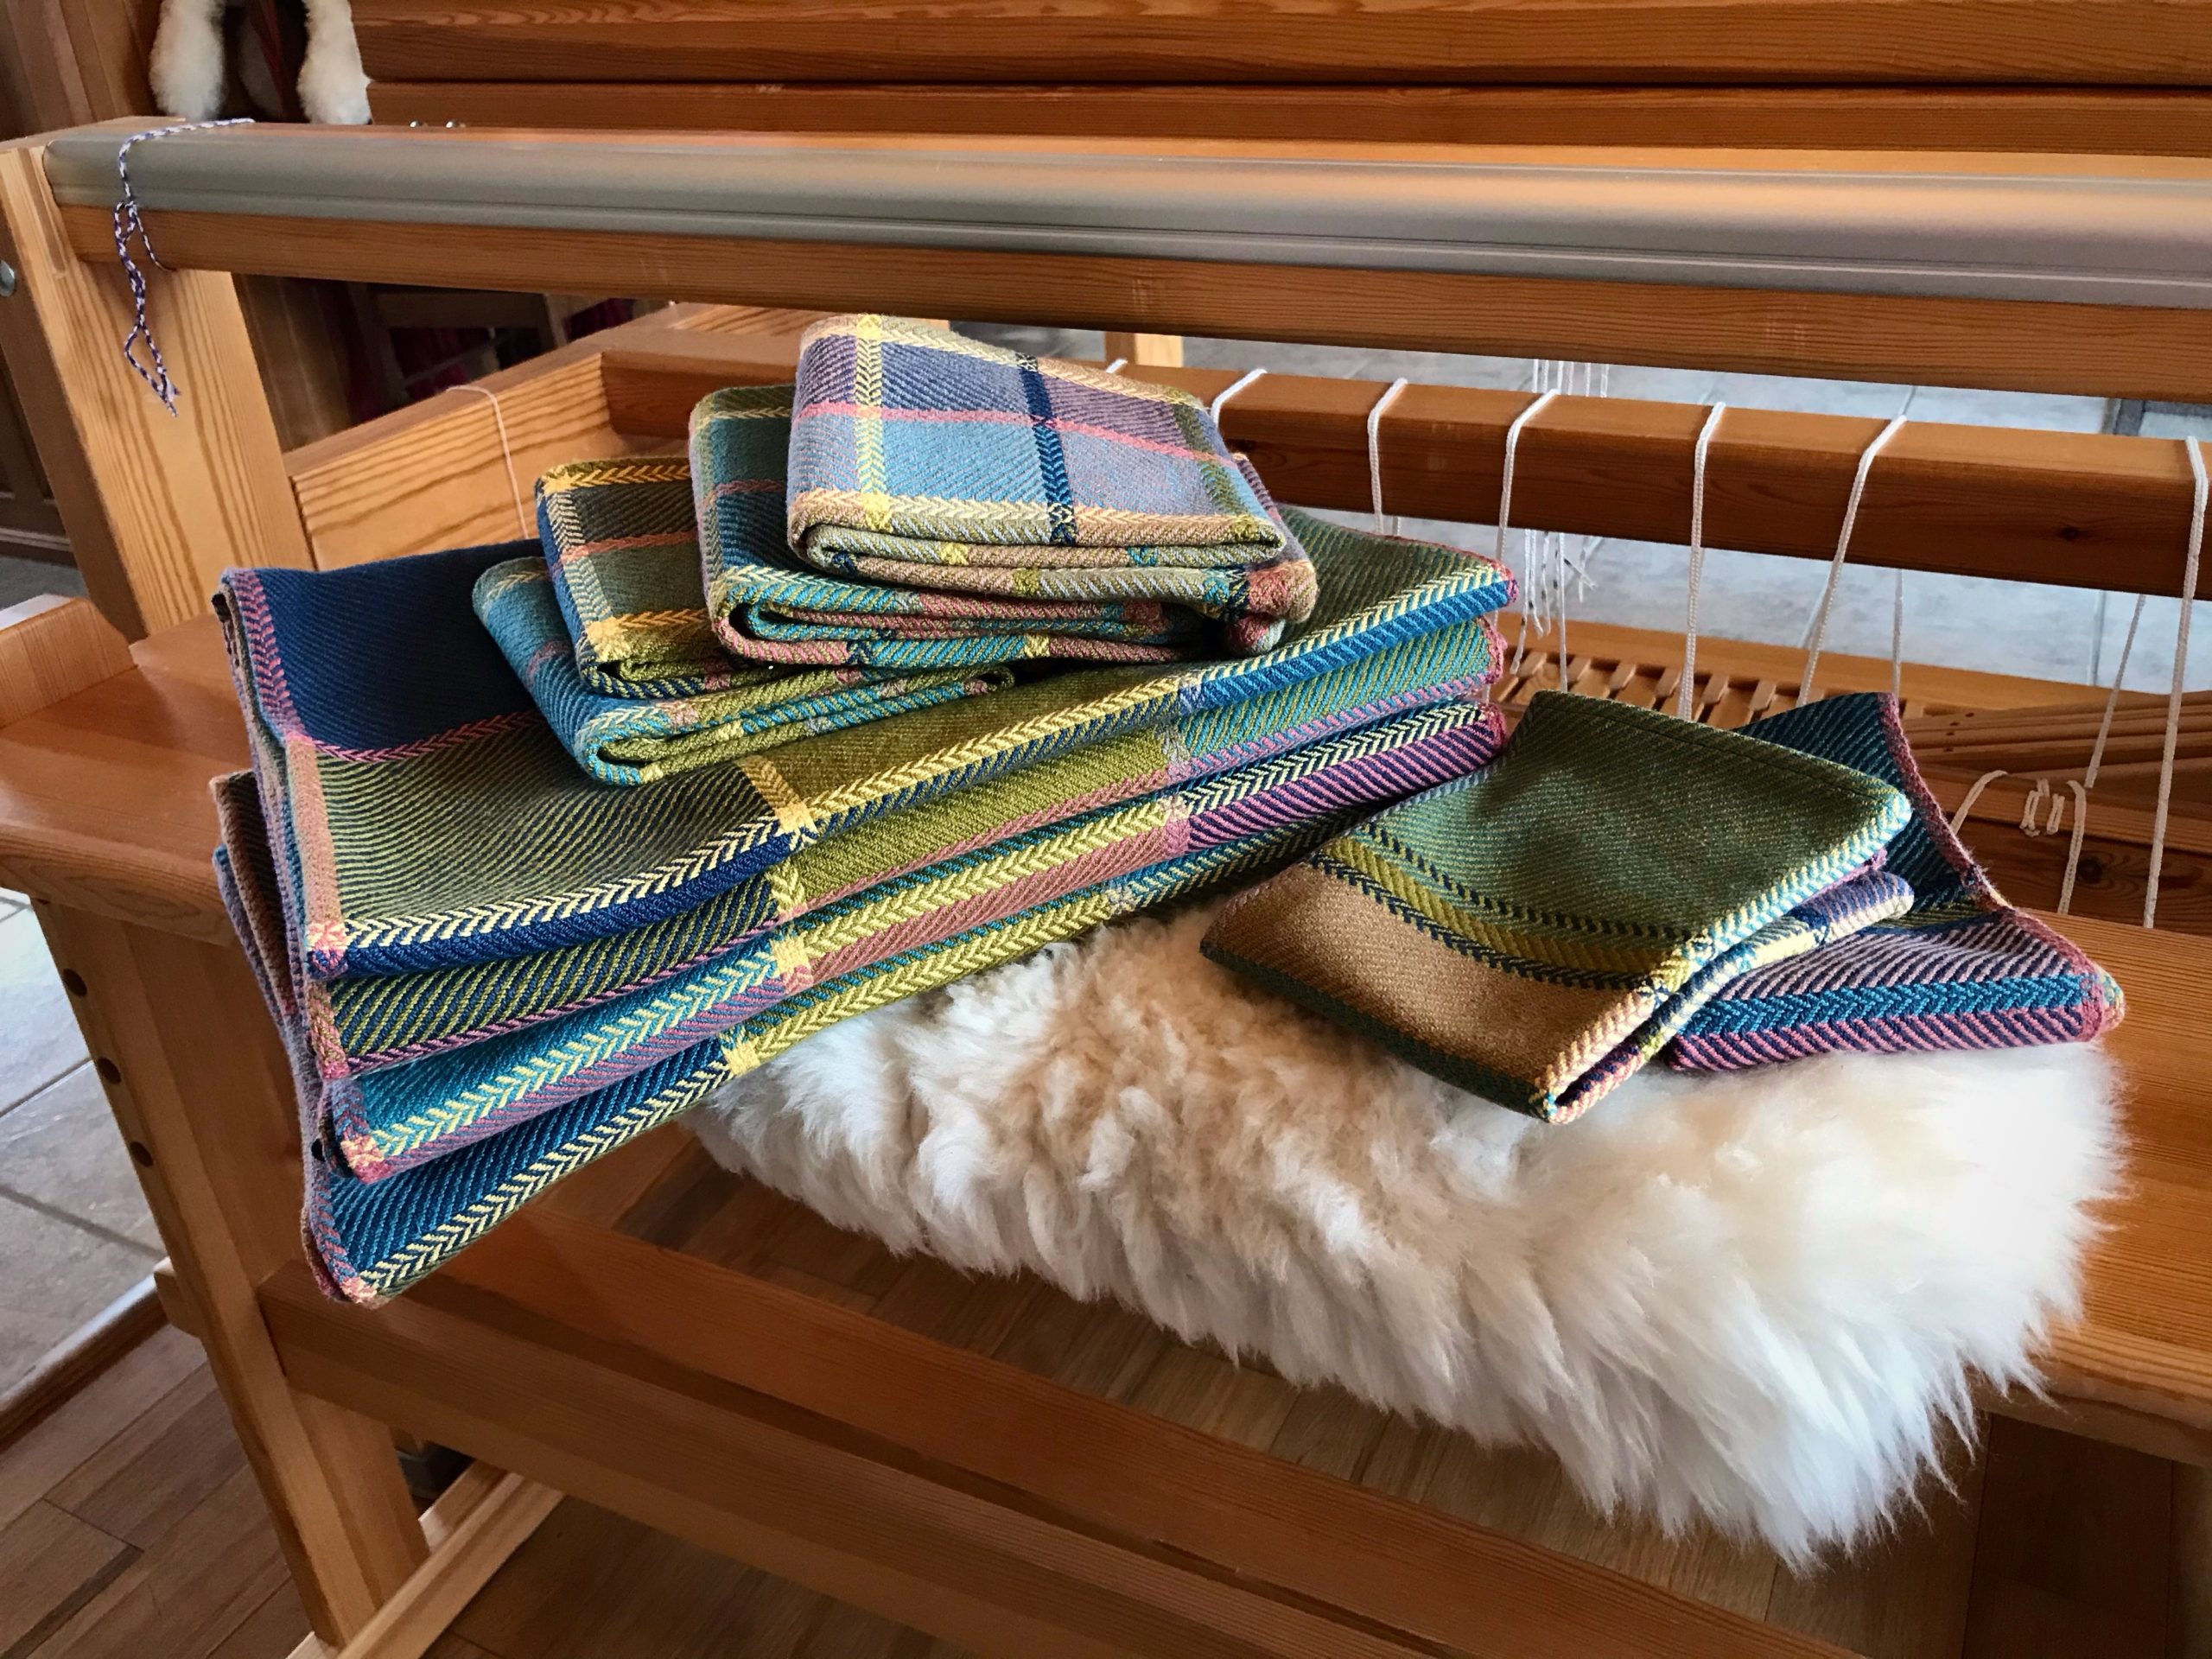
Jubilation Bath Set. Four bath towels, four hand towels, two wash cloths. Cottolin warp and weft. Six-shaft broken and reverse twill.
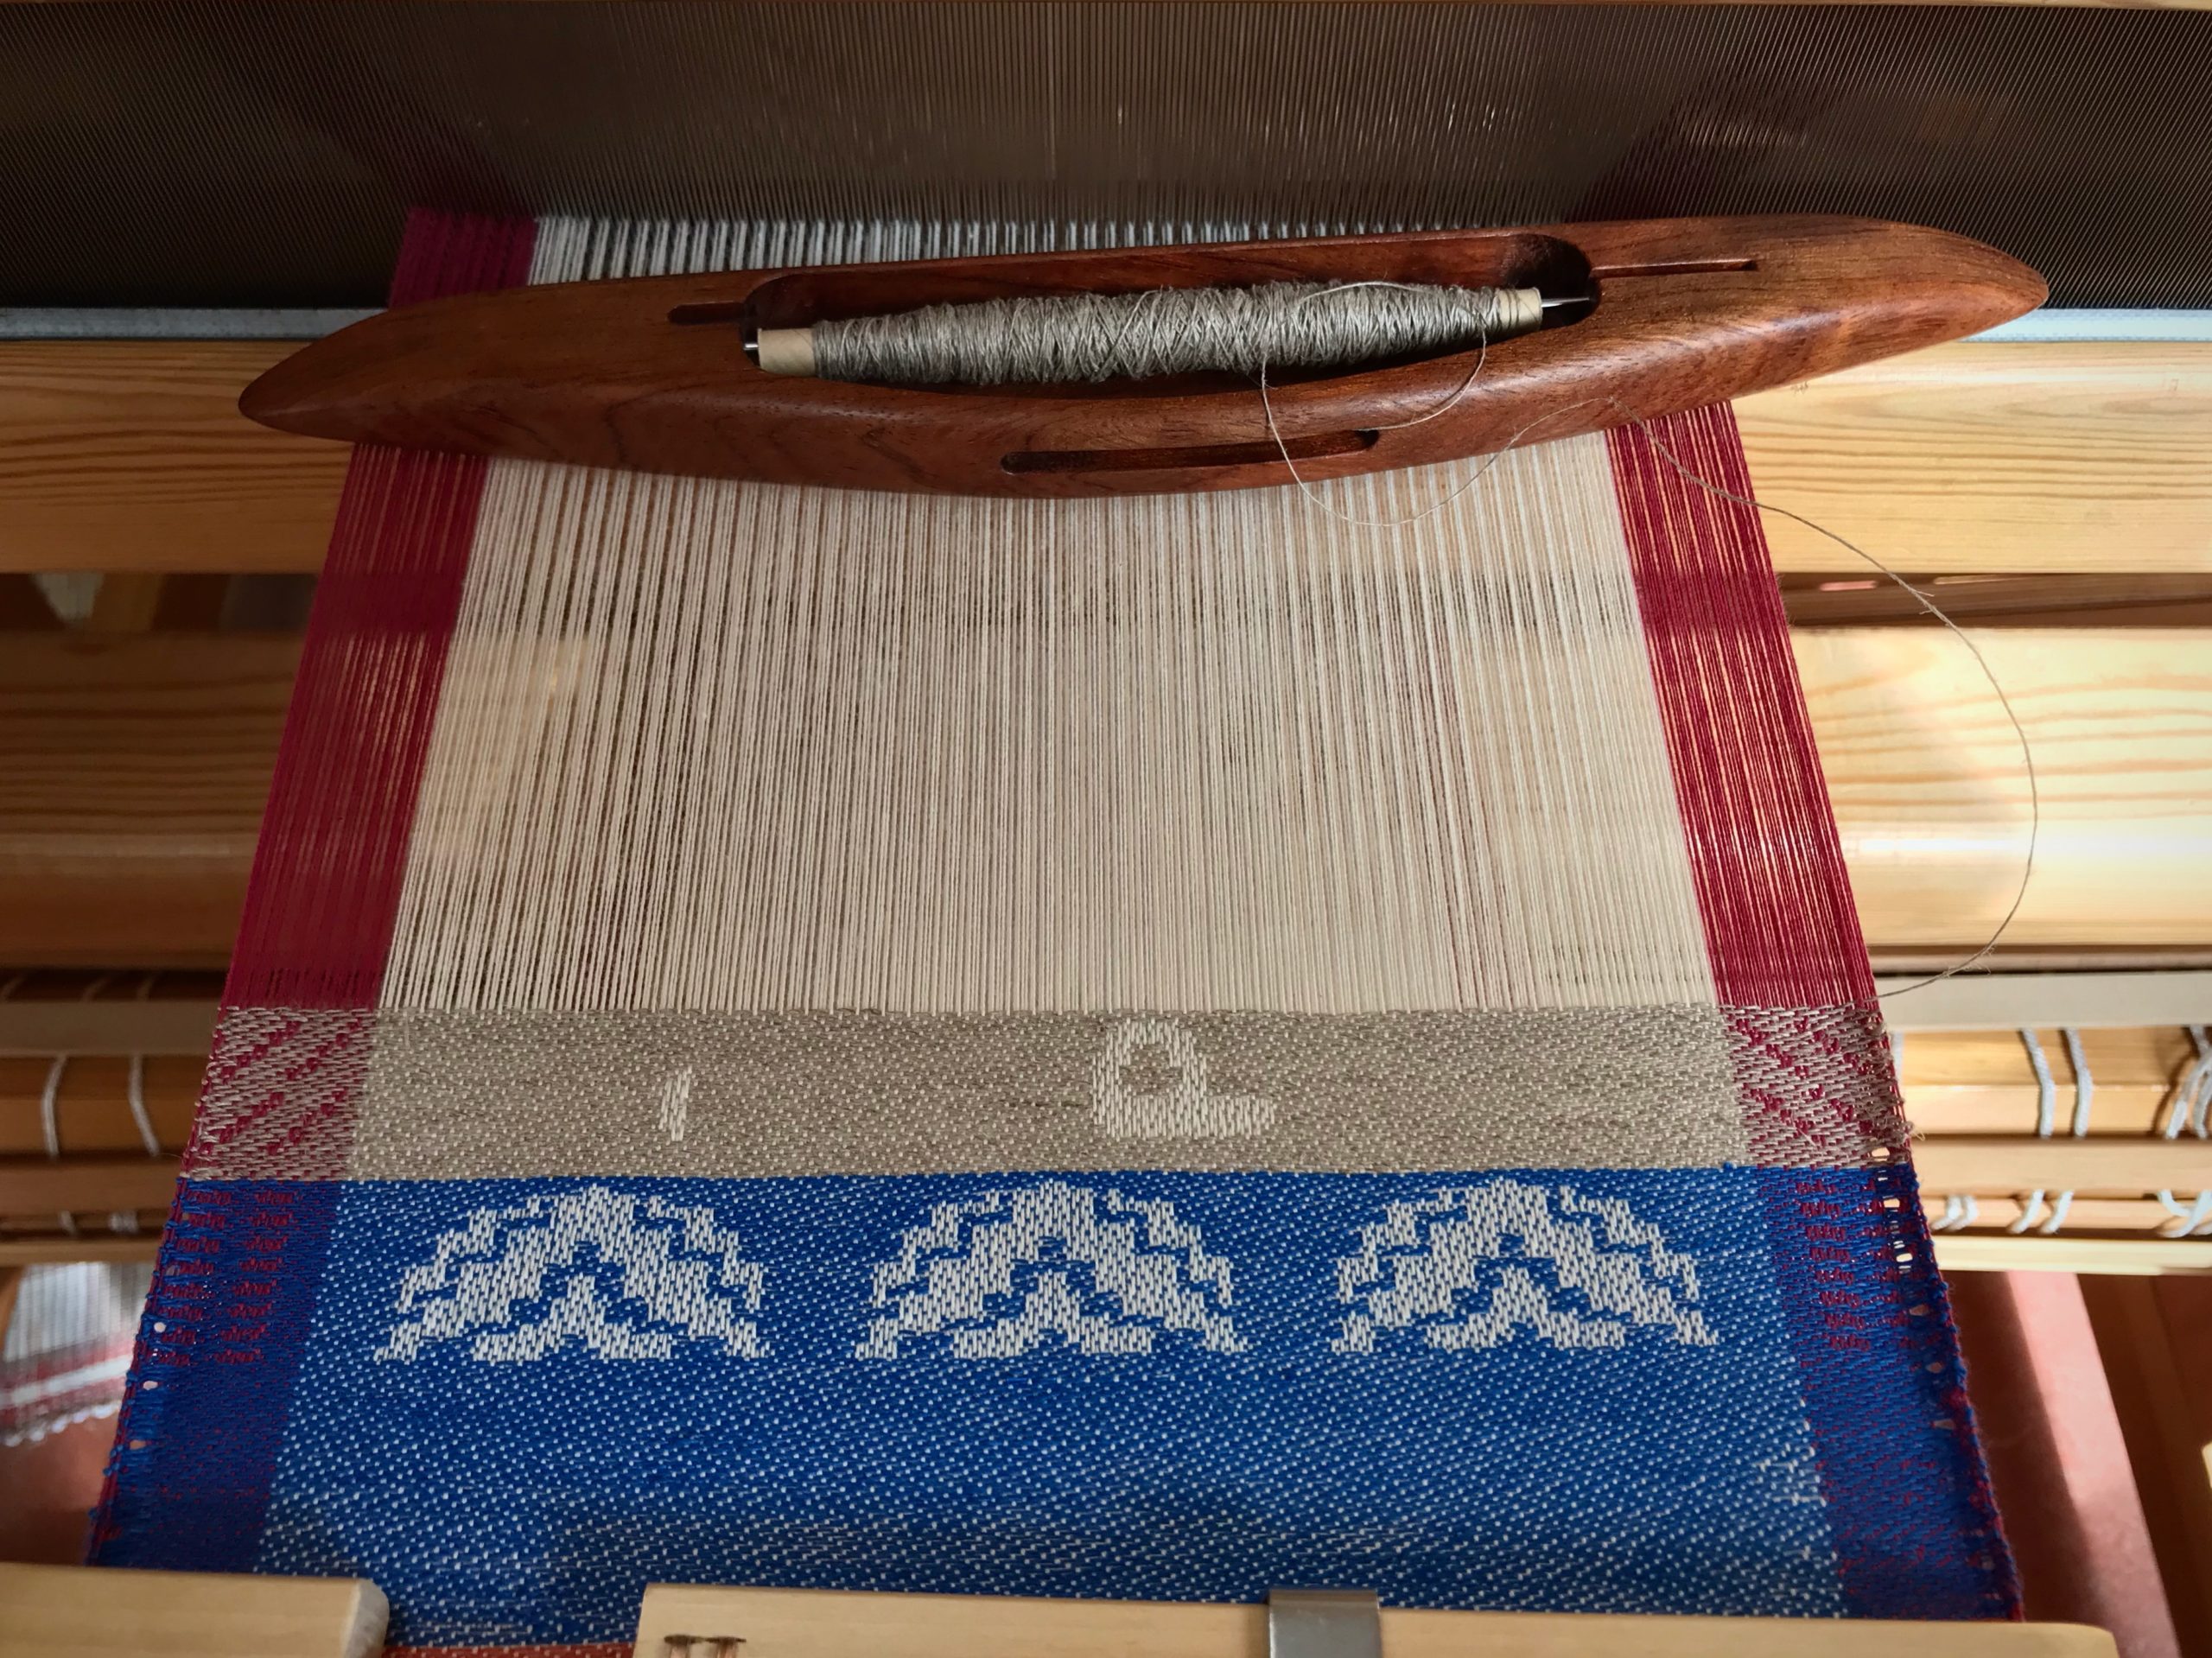
Don’t you love it when the end of the warp yields bonus results? Just enough warp to make a pair of wash cloths, in which every one of the seven colors of quills was emptied. Hurrah!
Cottolin bath towel set, soft and absorbent. All quills were emptied off in the final length of warp, making colorful wash cloths.
Enjoy the start-to-finish process with me in this slideshow video:
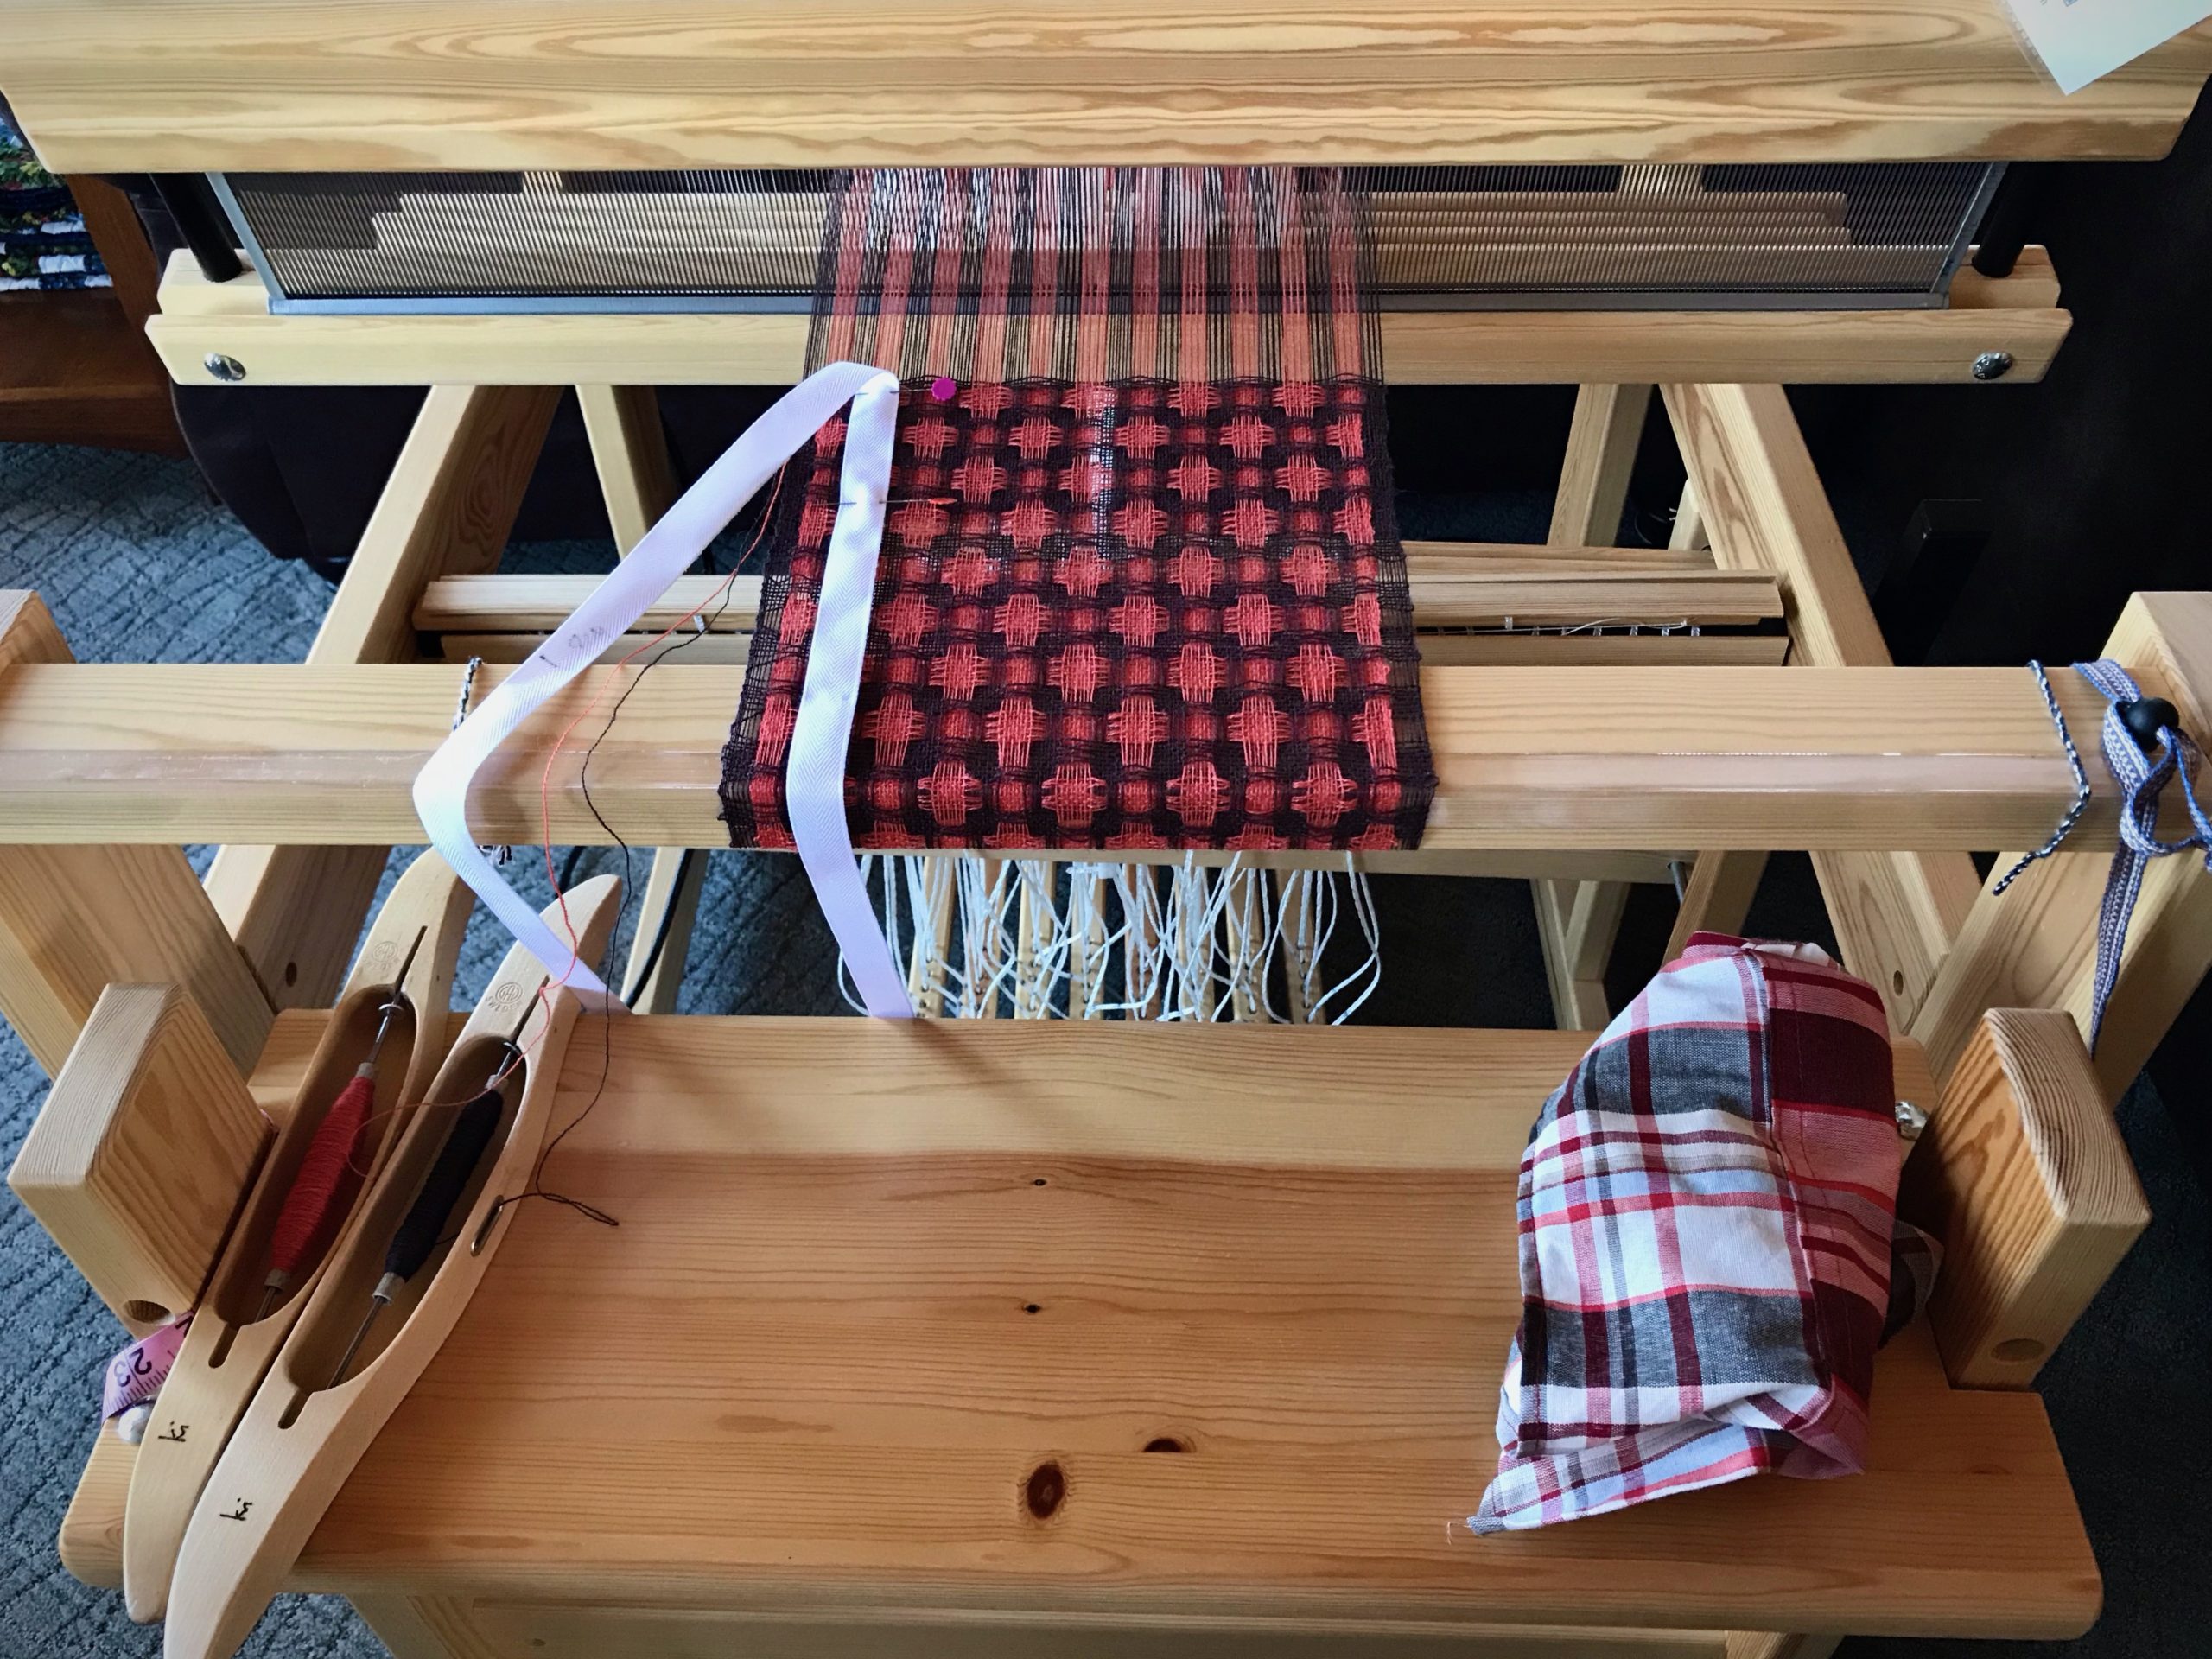
I have an efficient way to handle weft color changes. It’s very simple. This is for those instances when I need to end one weft thread and start a new one. As a rule, I take care of weft tails as I go. I don’t want to come back to them later if I don’t have to. If I tuck in each weft tail at the beginning of the row, thickness from the extra wefts builds up at the selvedge, especially if I’m weaving horizontal stripes. The method I describe reduces the extra wefts, and eliminates having to tuck any tails in.
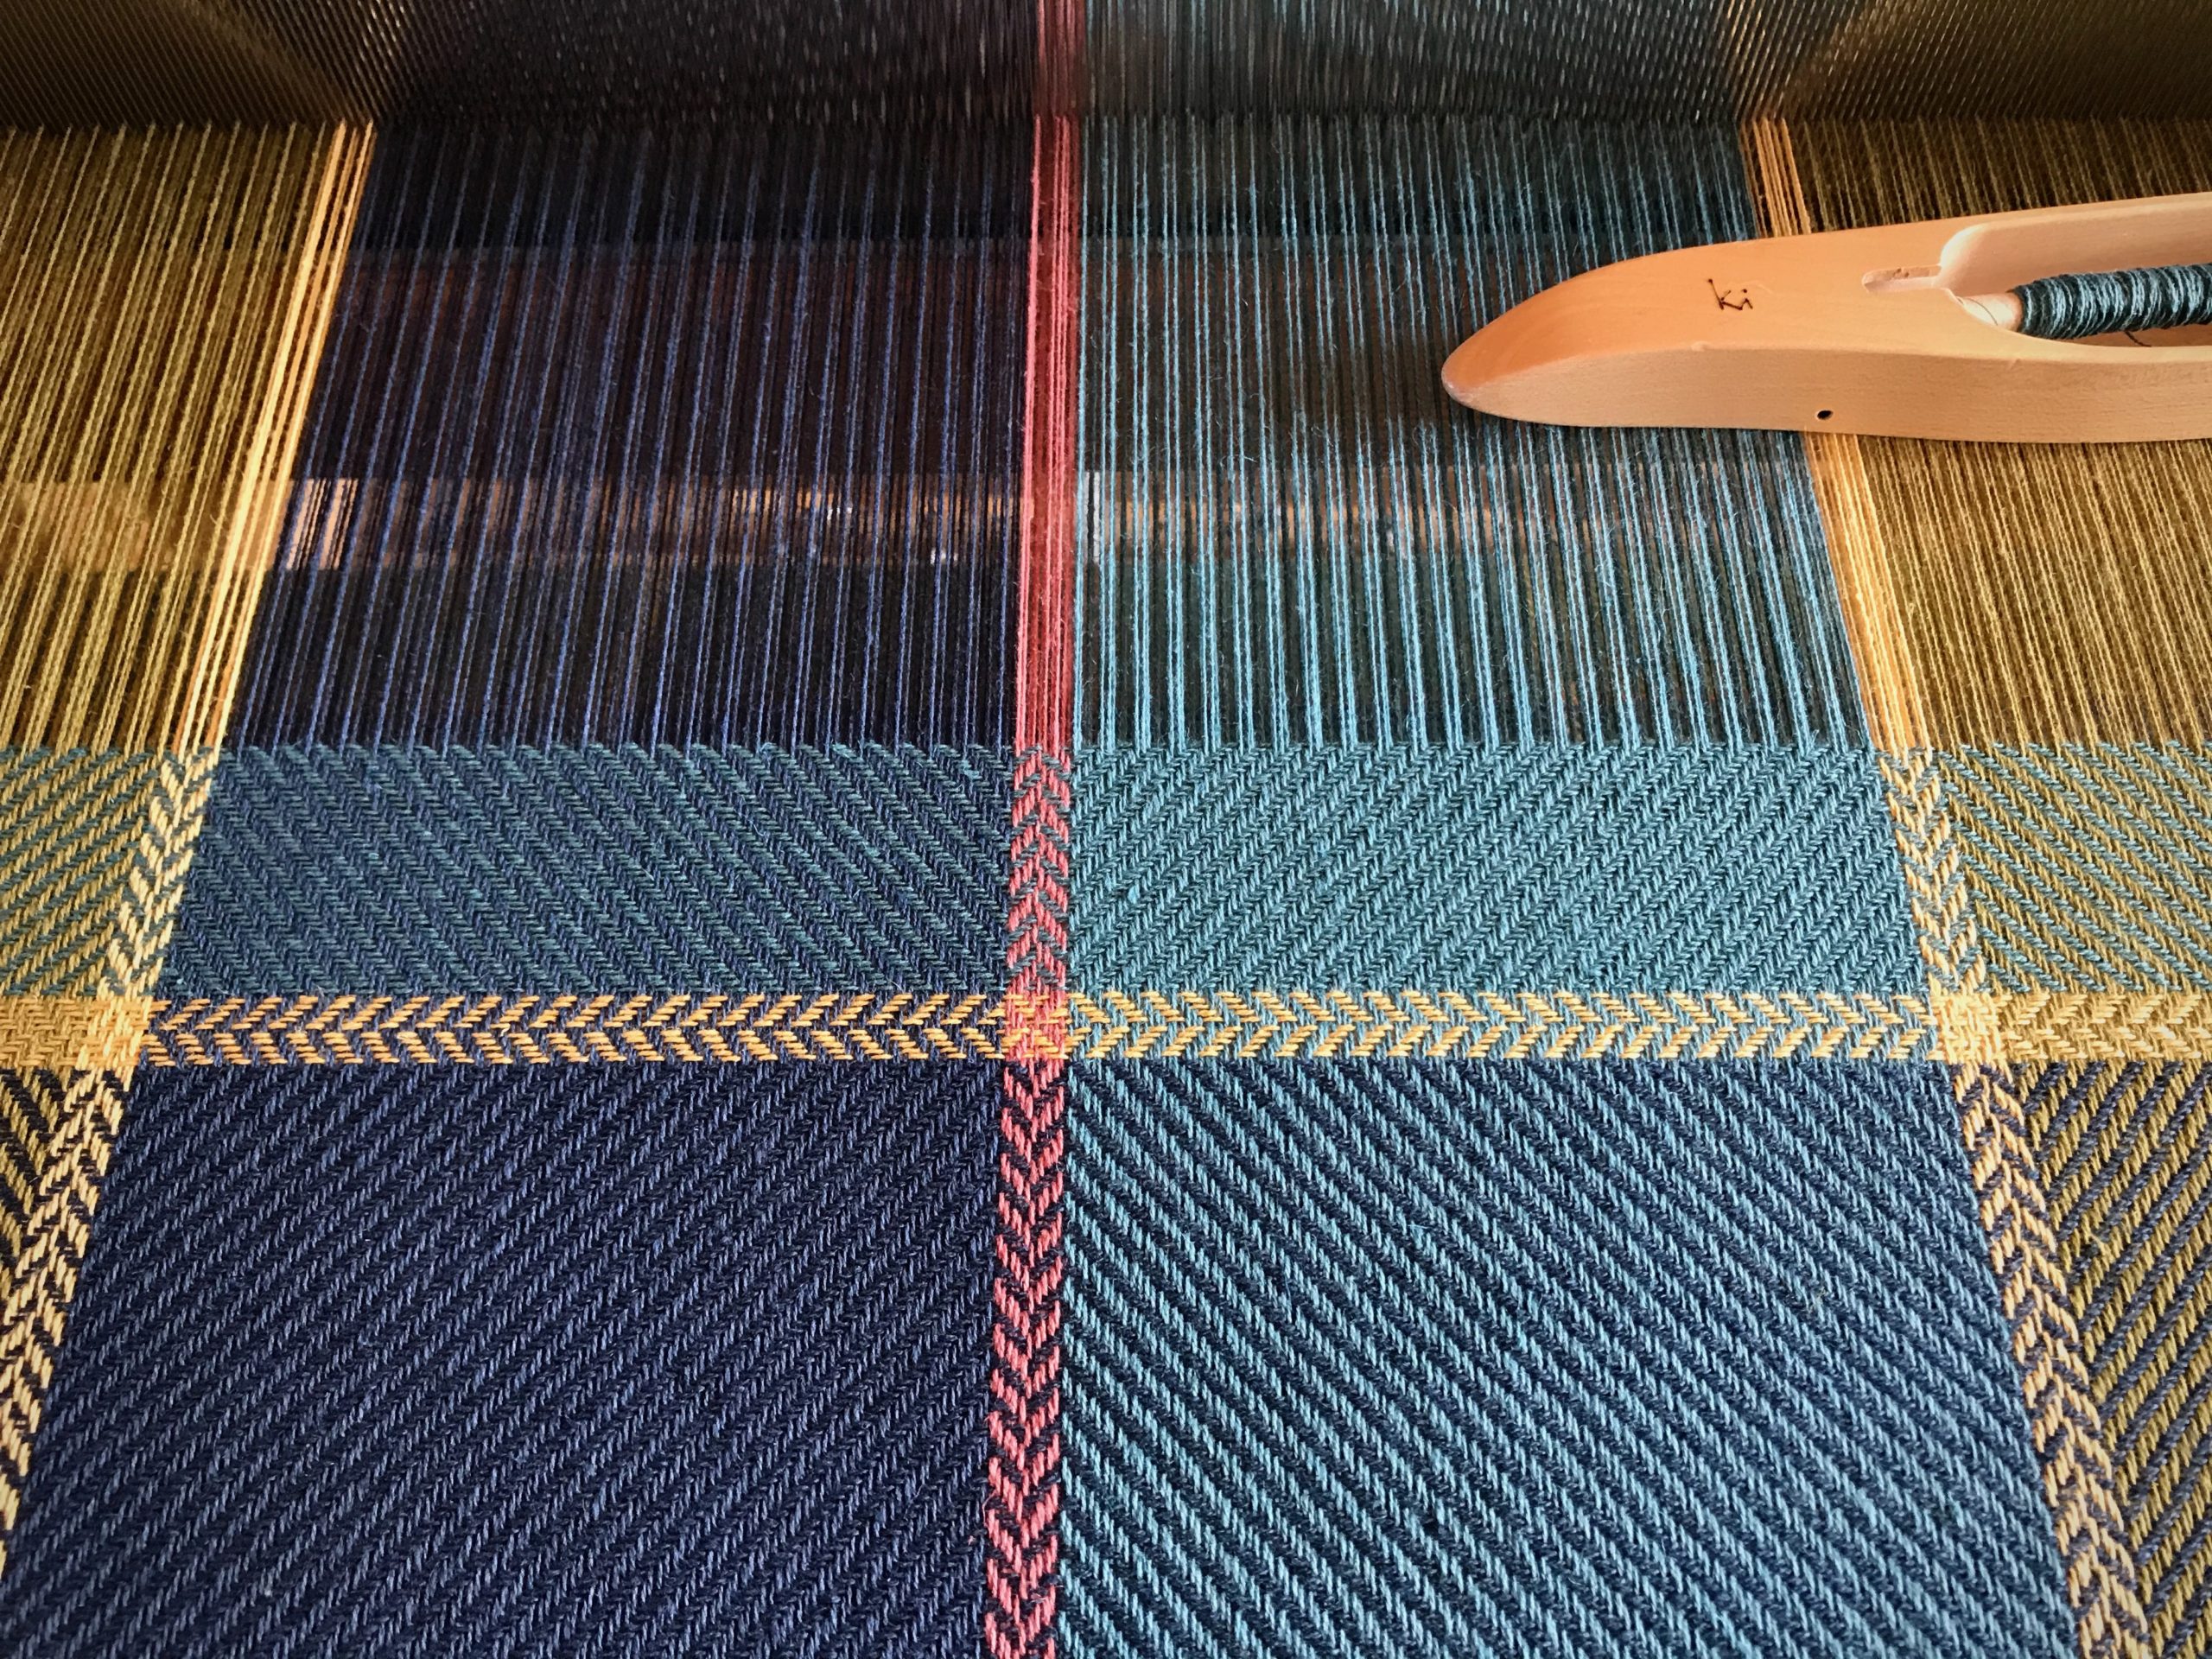
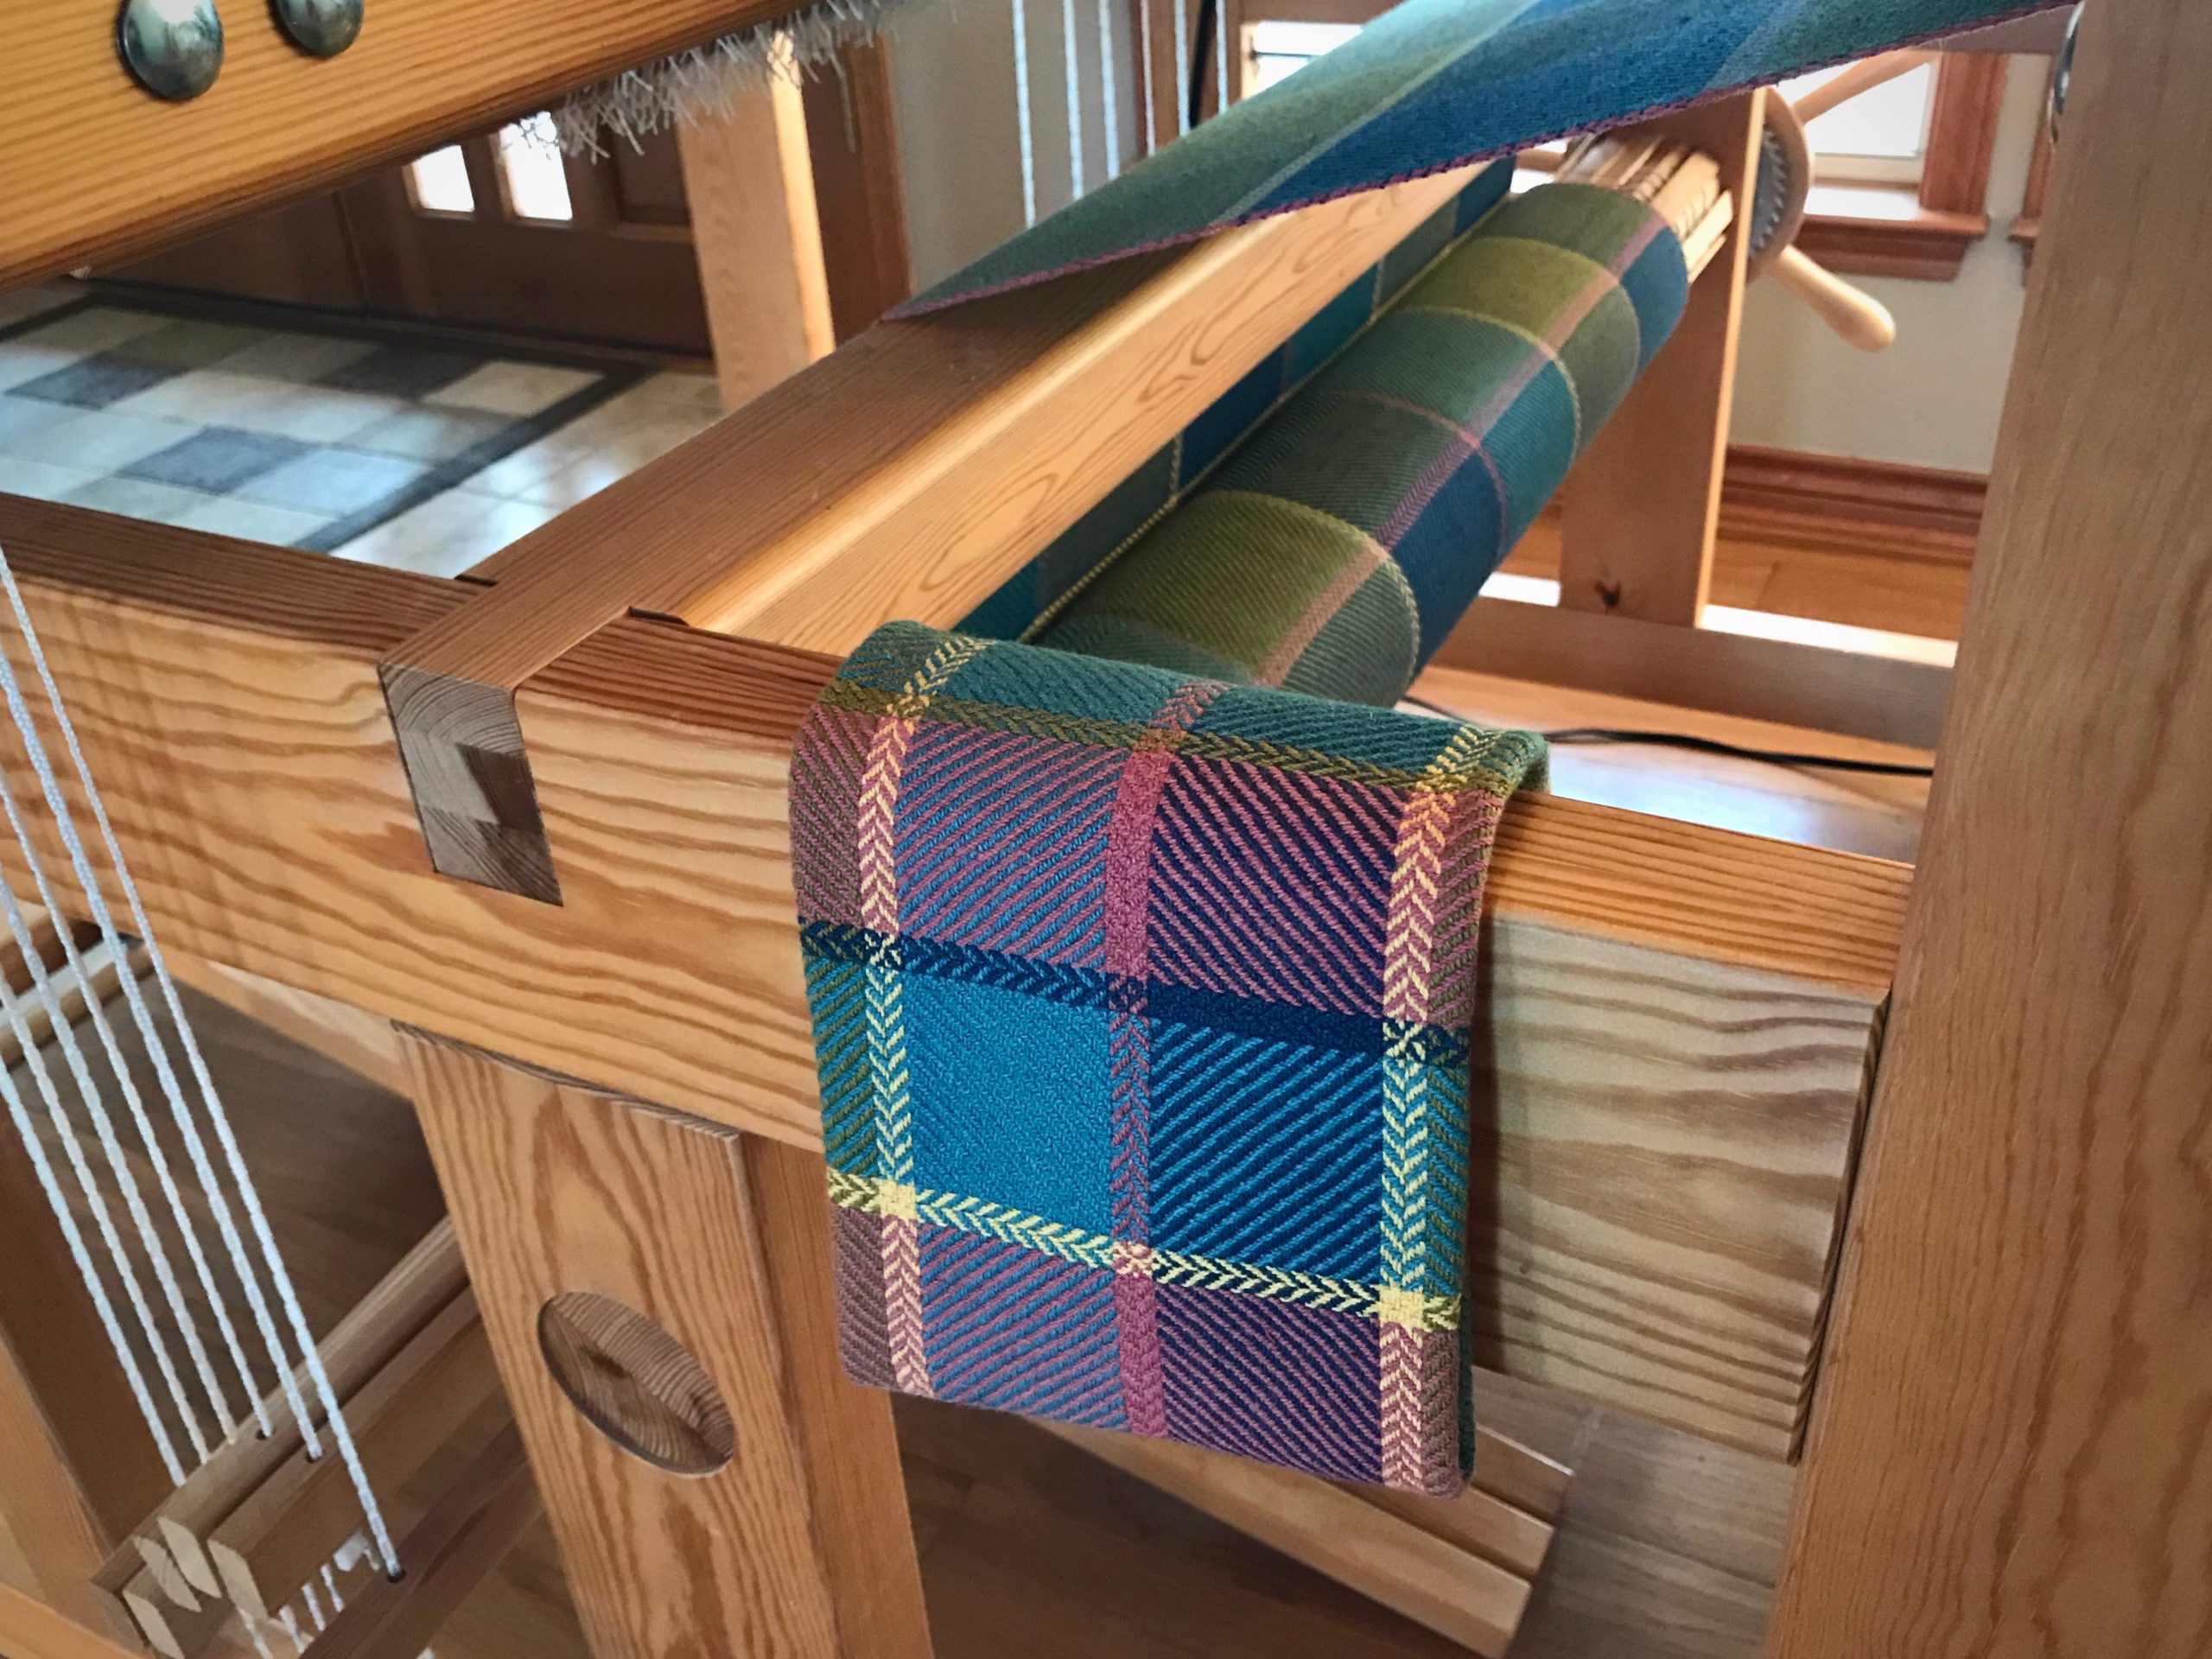
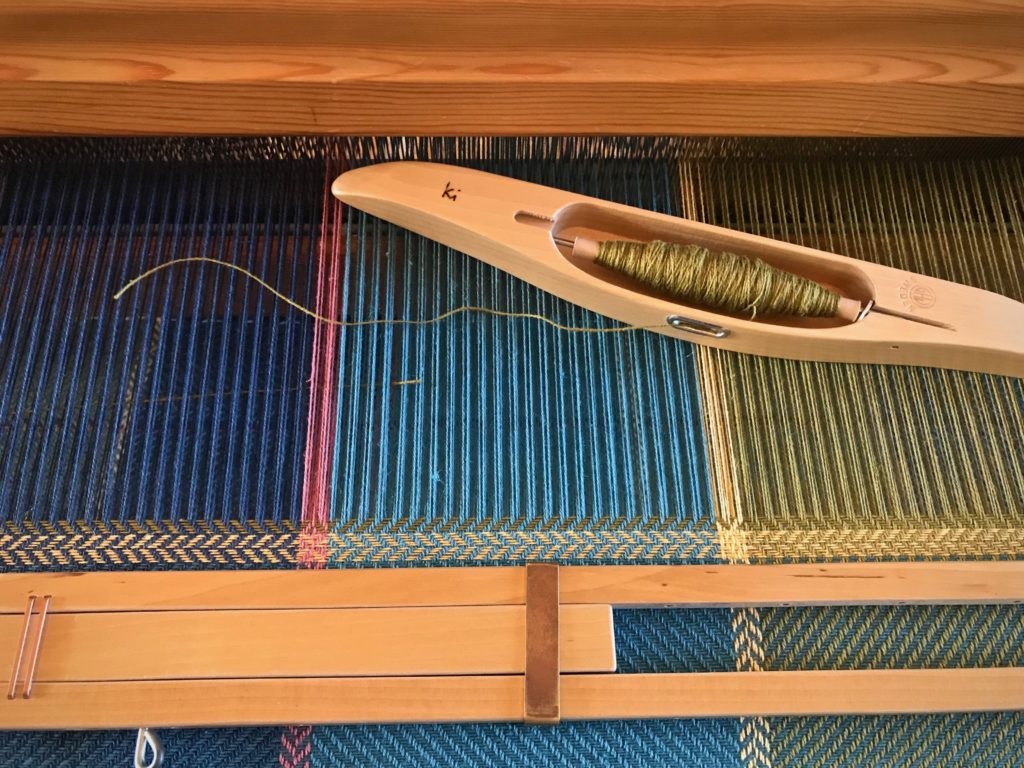
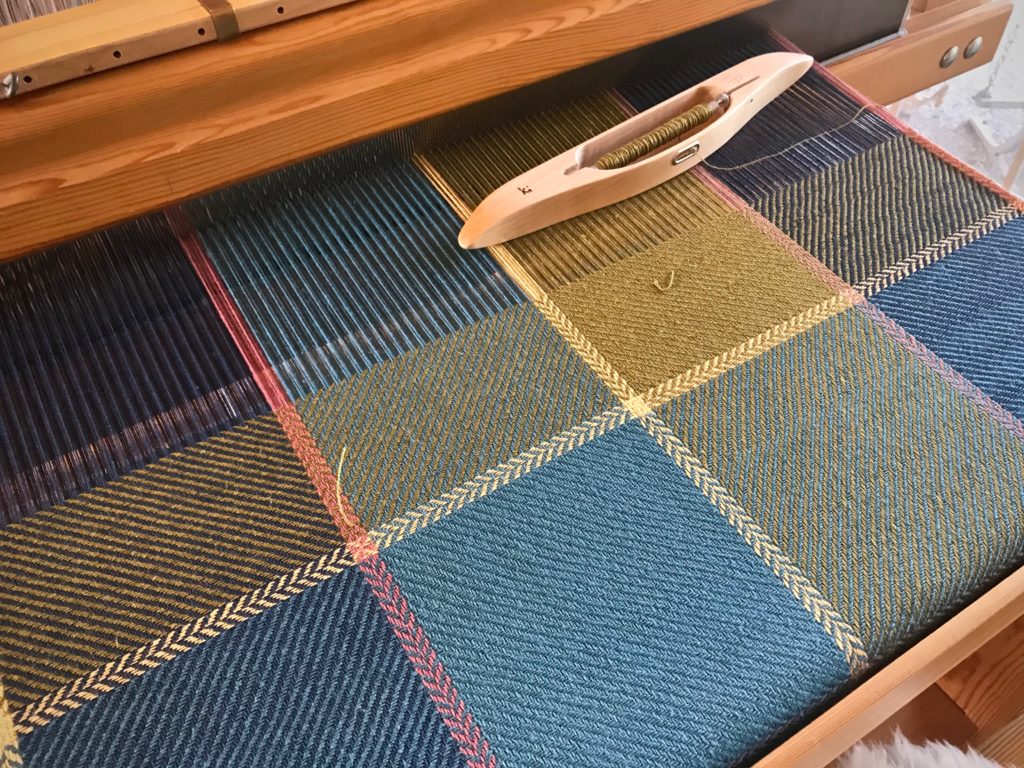
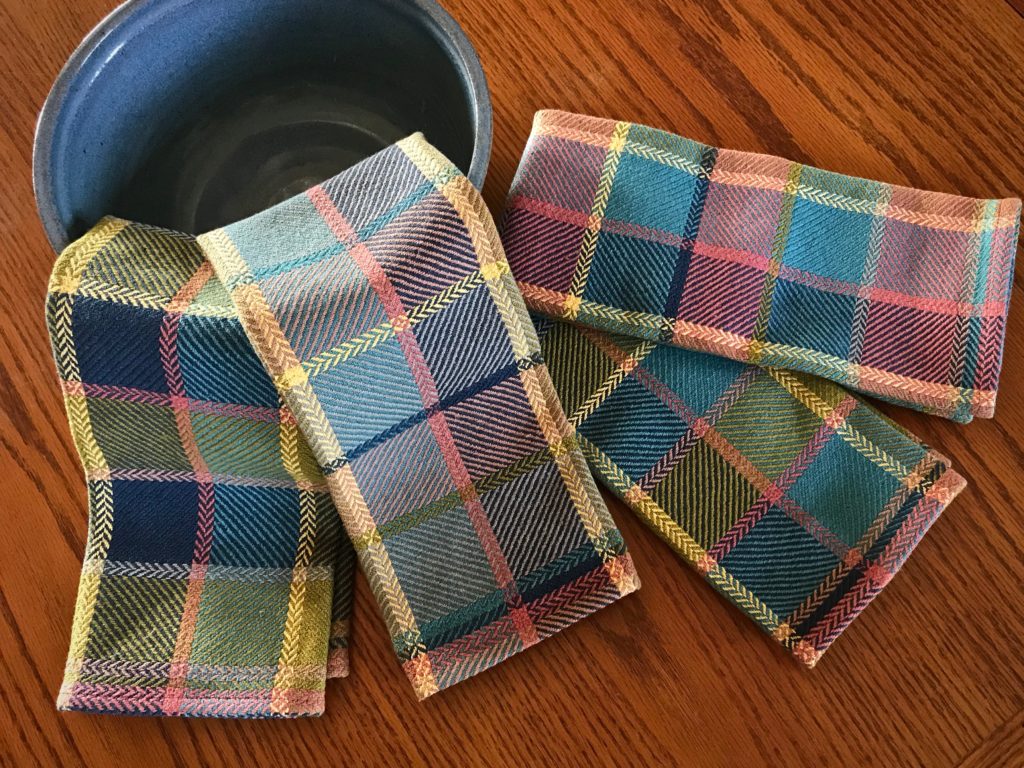
Color changes add to the movement and excitement of the design.Vertical and horizontal narrow stripes in six-shaft broken twill.
Change to the shed needed for the next color. Take the shuttle with the first color into the shed for about about 3 cm (1 1/8”), and bring the shuttle up and out through the top of the warp.
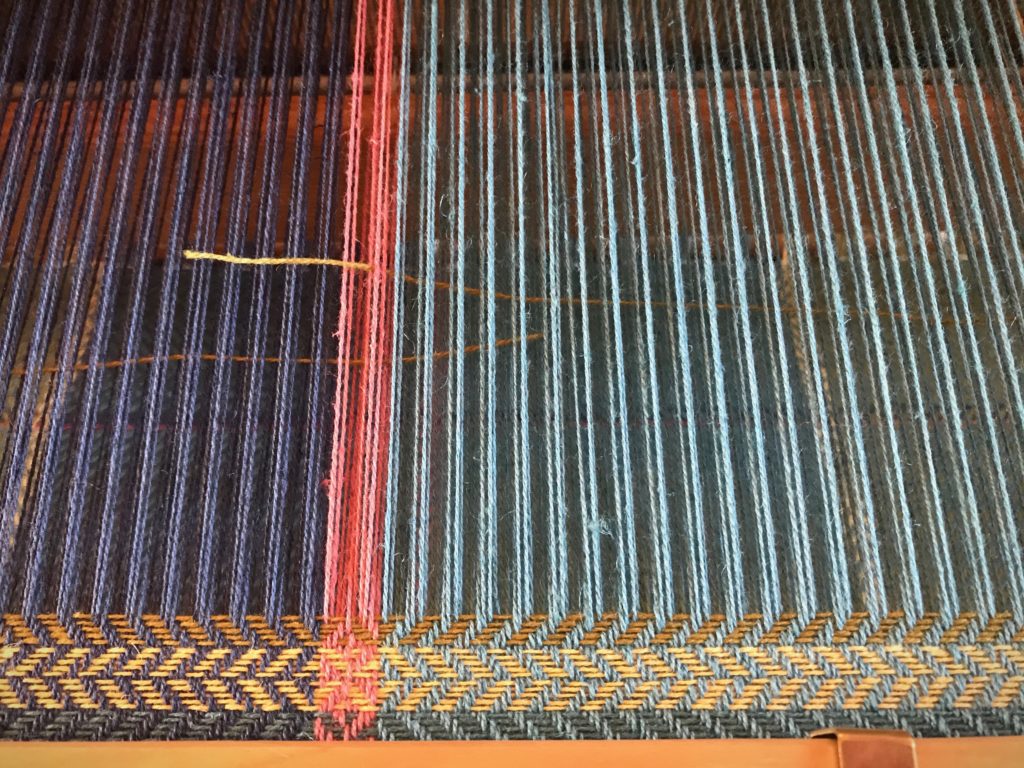
Lightly beat (tap) in the 3 cm (1 1/8”) of thread. Carefully snip off the thread close to the warp.
Weave a pick of the next color, with the end of the new thread overlapping the 3 cm (1 1/8”) of the previous color thread. Position the new thread such that the end is outside the selvedge just a hair.
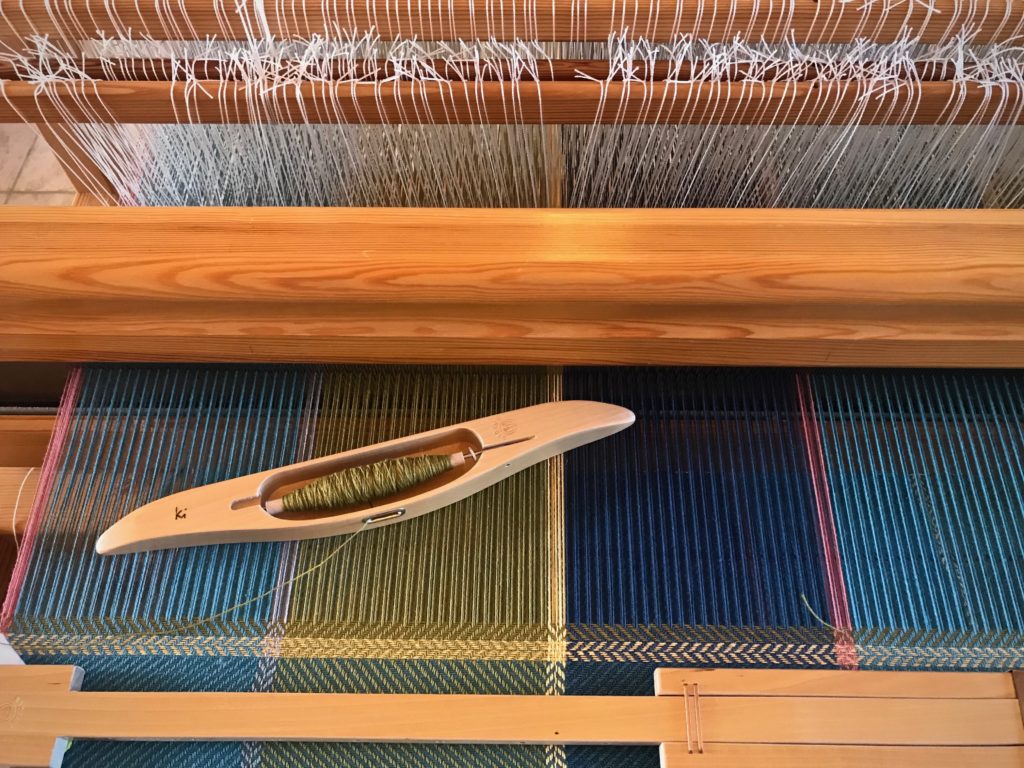
Beat in the new weft and continue weaving until the next color change.
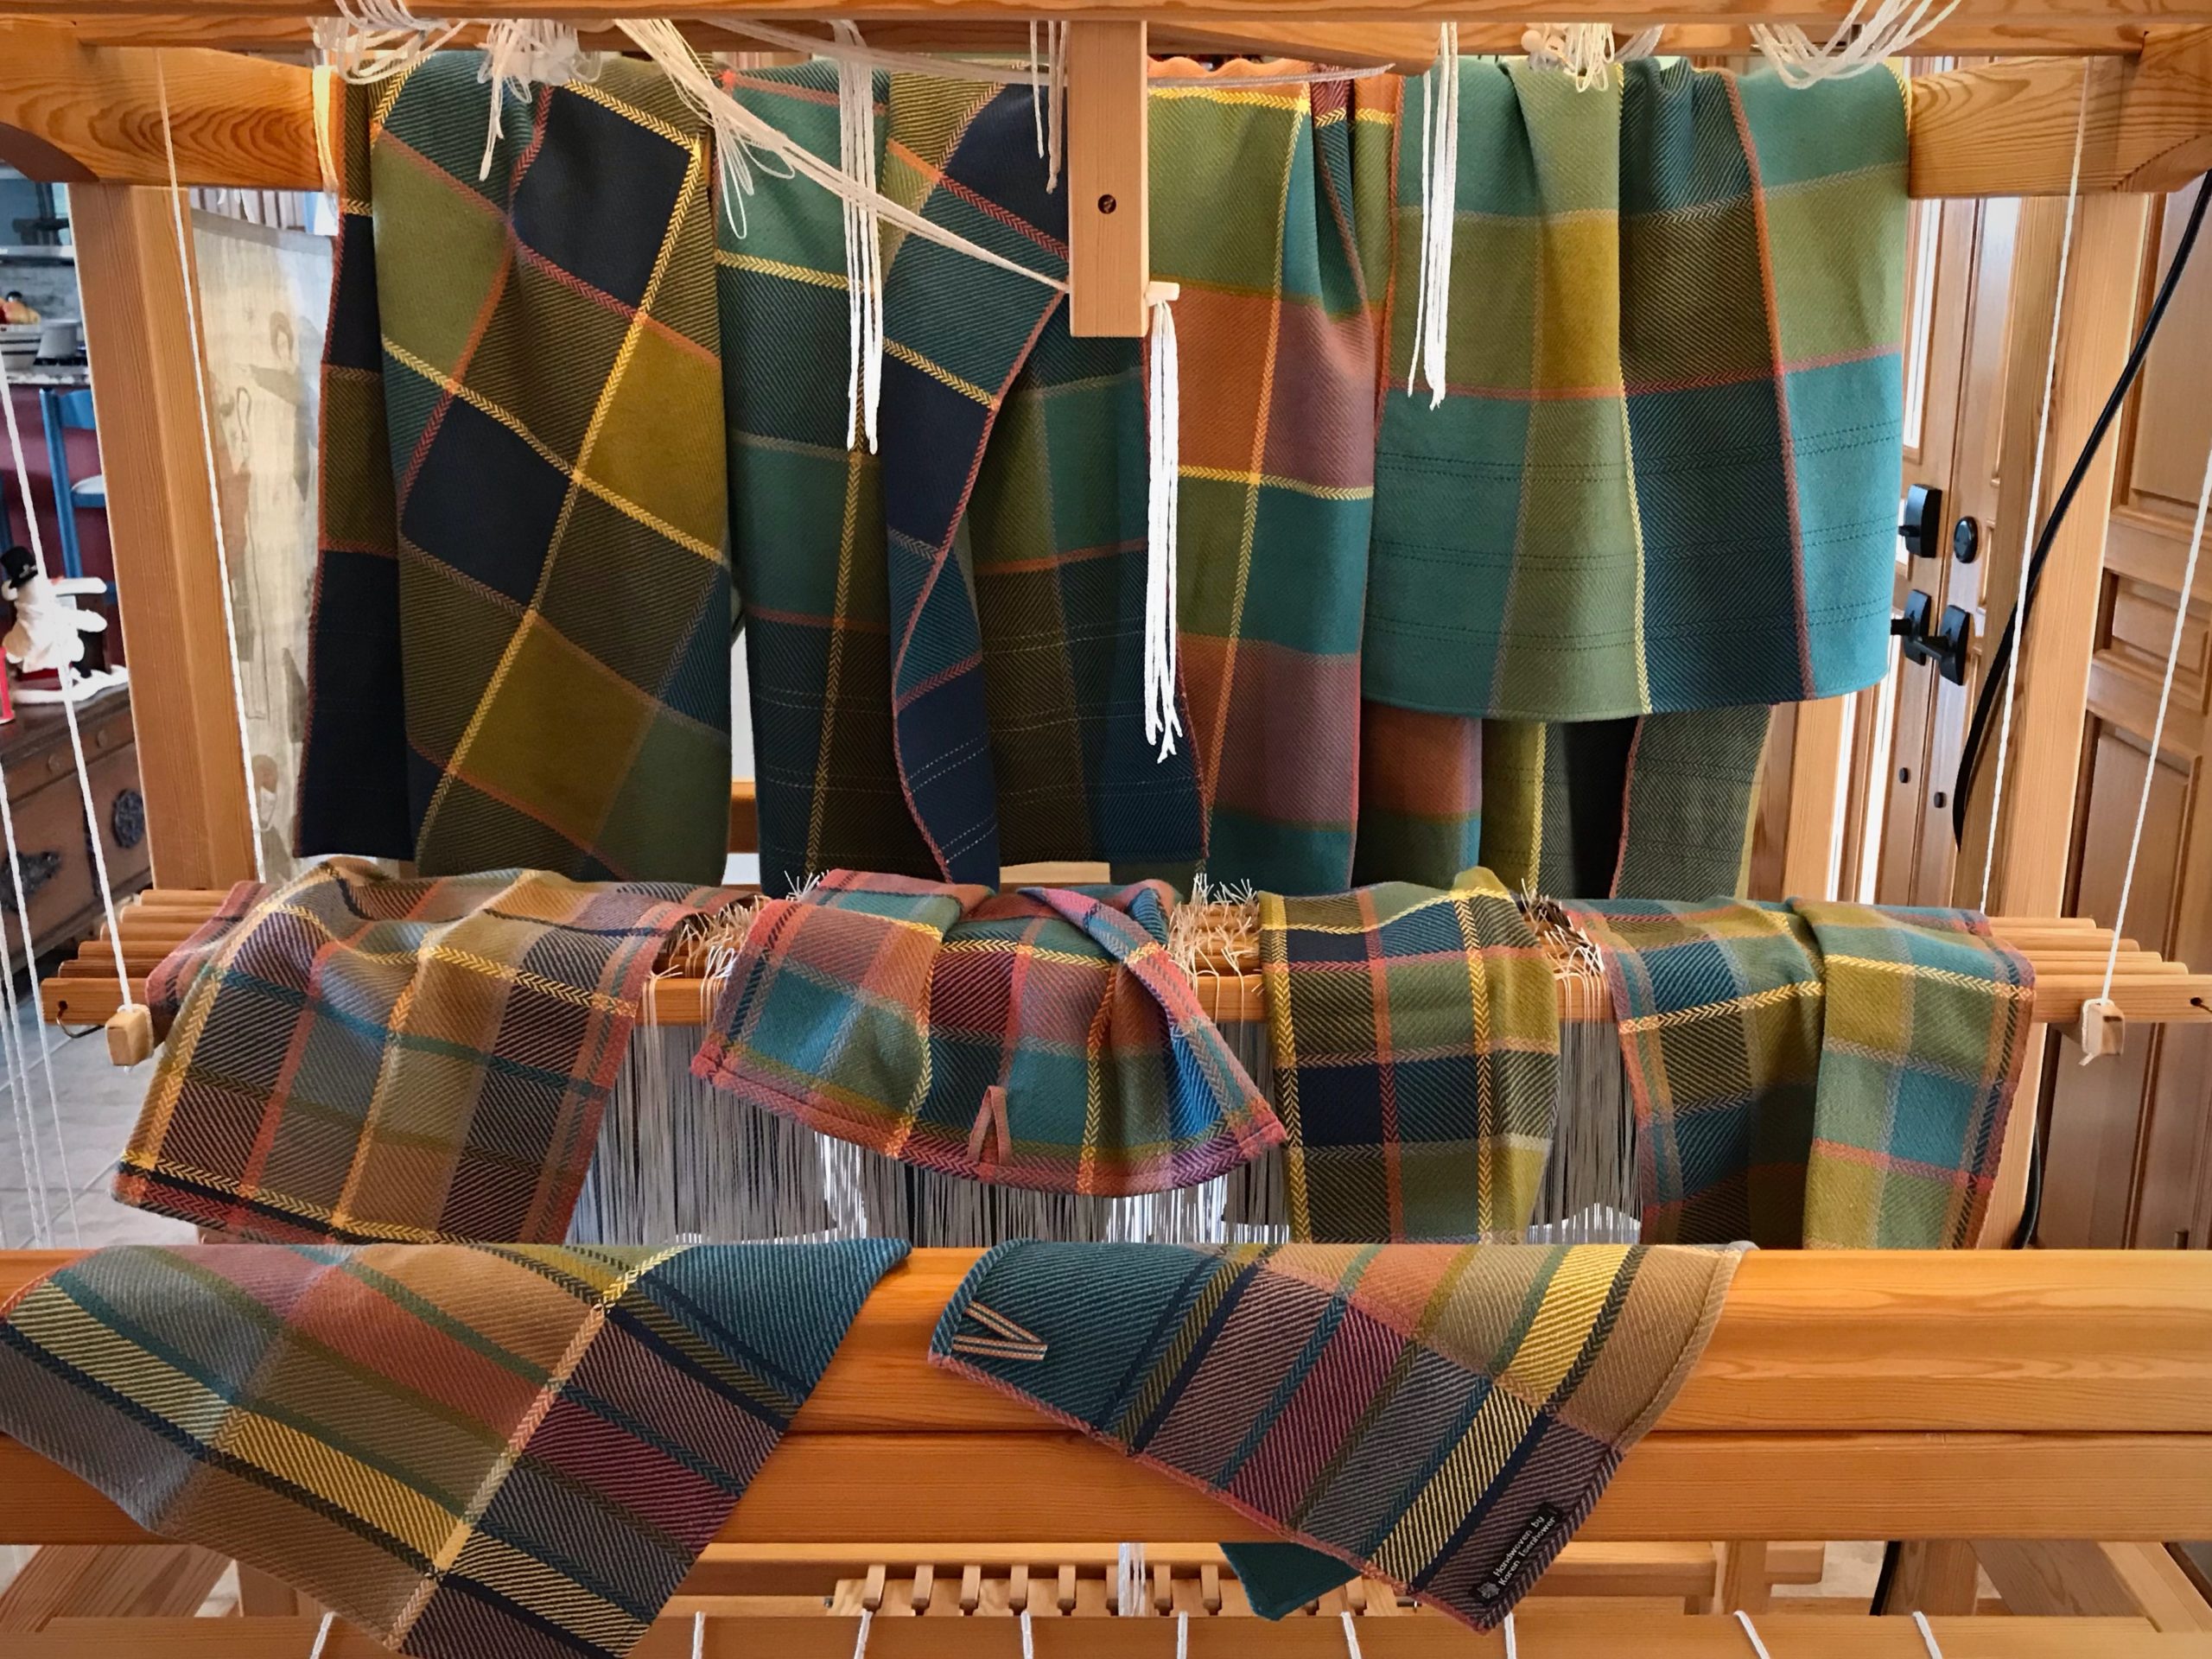
Ending the third of four bath towels.Hand towels waiting to be paired up with the bath towels…hopefully, before Christmas!
Watch this short video to see me demonstrate this method of changing the weft colors.
May your choice of weft colors give a glimpse of your best qualities.
“With so many looms, how do you decide what to weave every day?,” I was asked. The answer lies in my Weaving Rhythm. I have five floor looms. I happily aspire to meet the challenge of keeping all of them active.
Glossary
Weaving Rhythm ~ A pattern created across time, through a regular succession of weaving-related tasks.
Arrange individual tasks to keep each loom consistently moving forward in the weaving continuum.
Weaving Continuum ~ The cycle for each loom that is continually repeated.
When the first few centimeters are woven on a new project, begin planning the next project. When finishing is completed for the current project, wind a new warp and dress the loom for the next project.
First Things First ~ Prioritize daily tasks to maintain the Weaving Rhythm.
Finishing
Dressing
Weaving
Do some finishing work first. Do some loom-dressing tasks next. The reward, then, is sitting at one of the dressed looms and freely weaving for the pleasure of it.
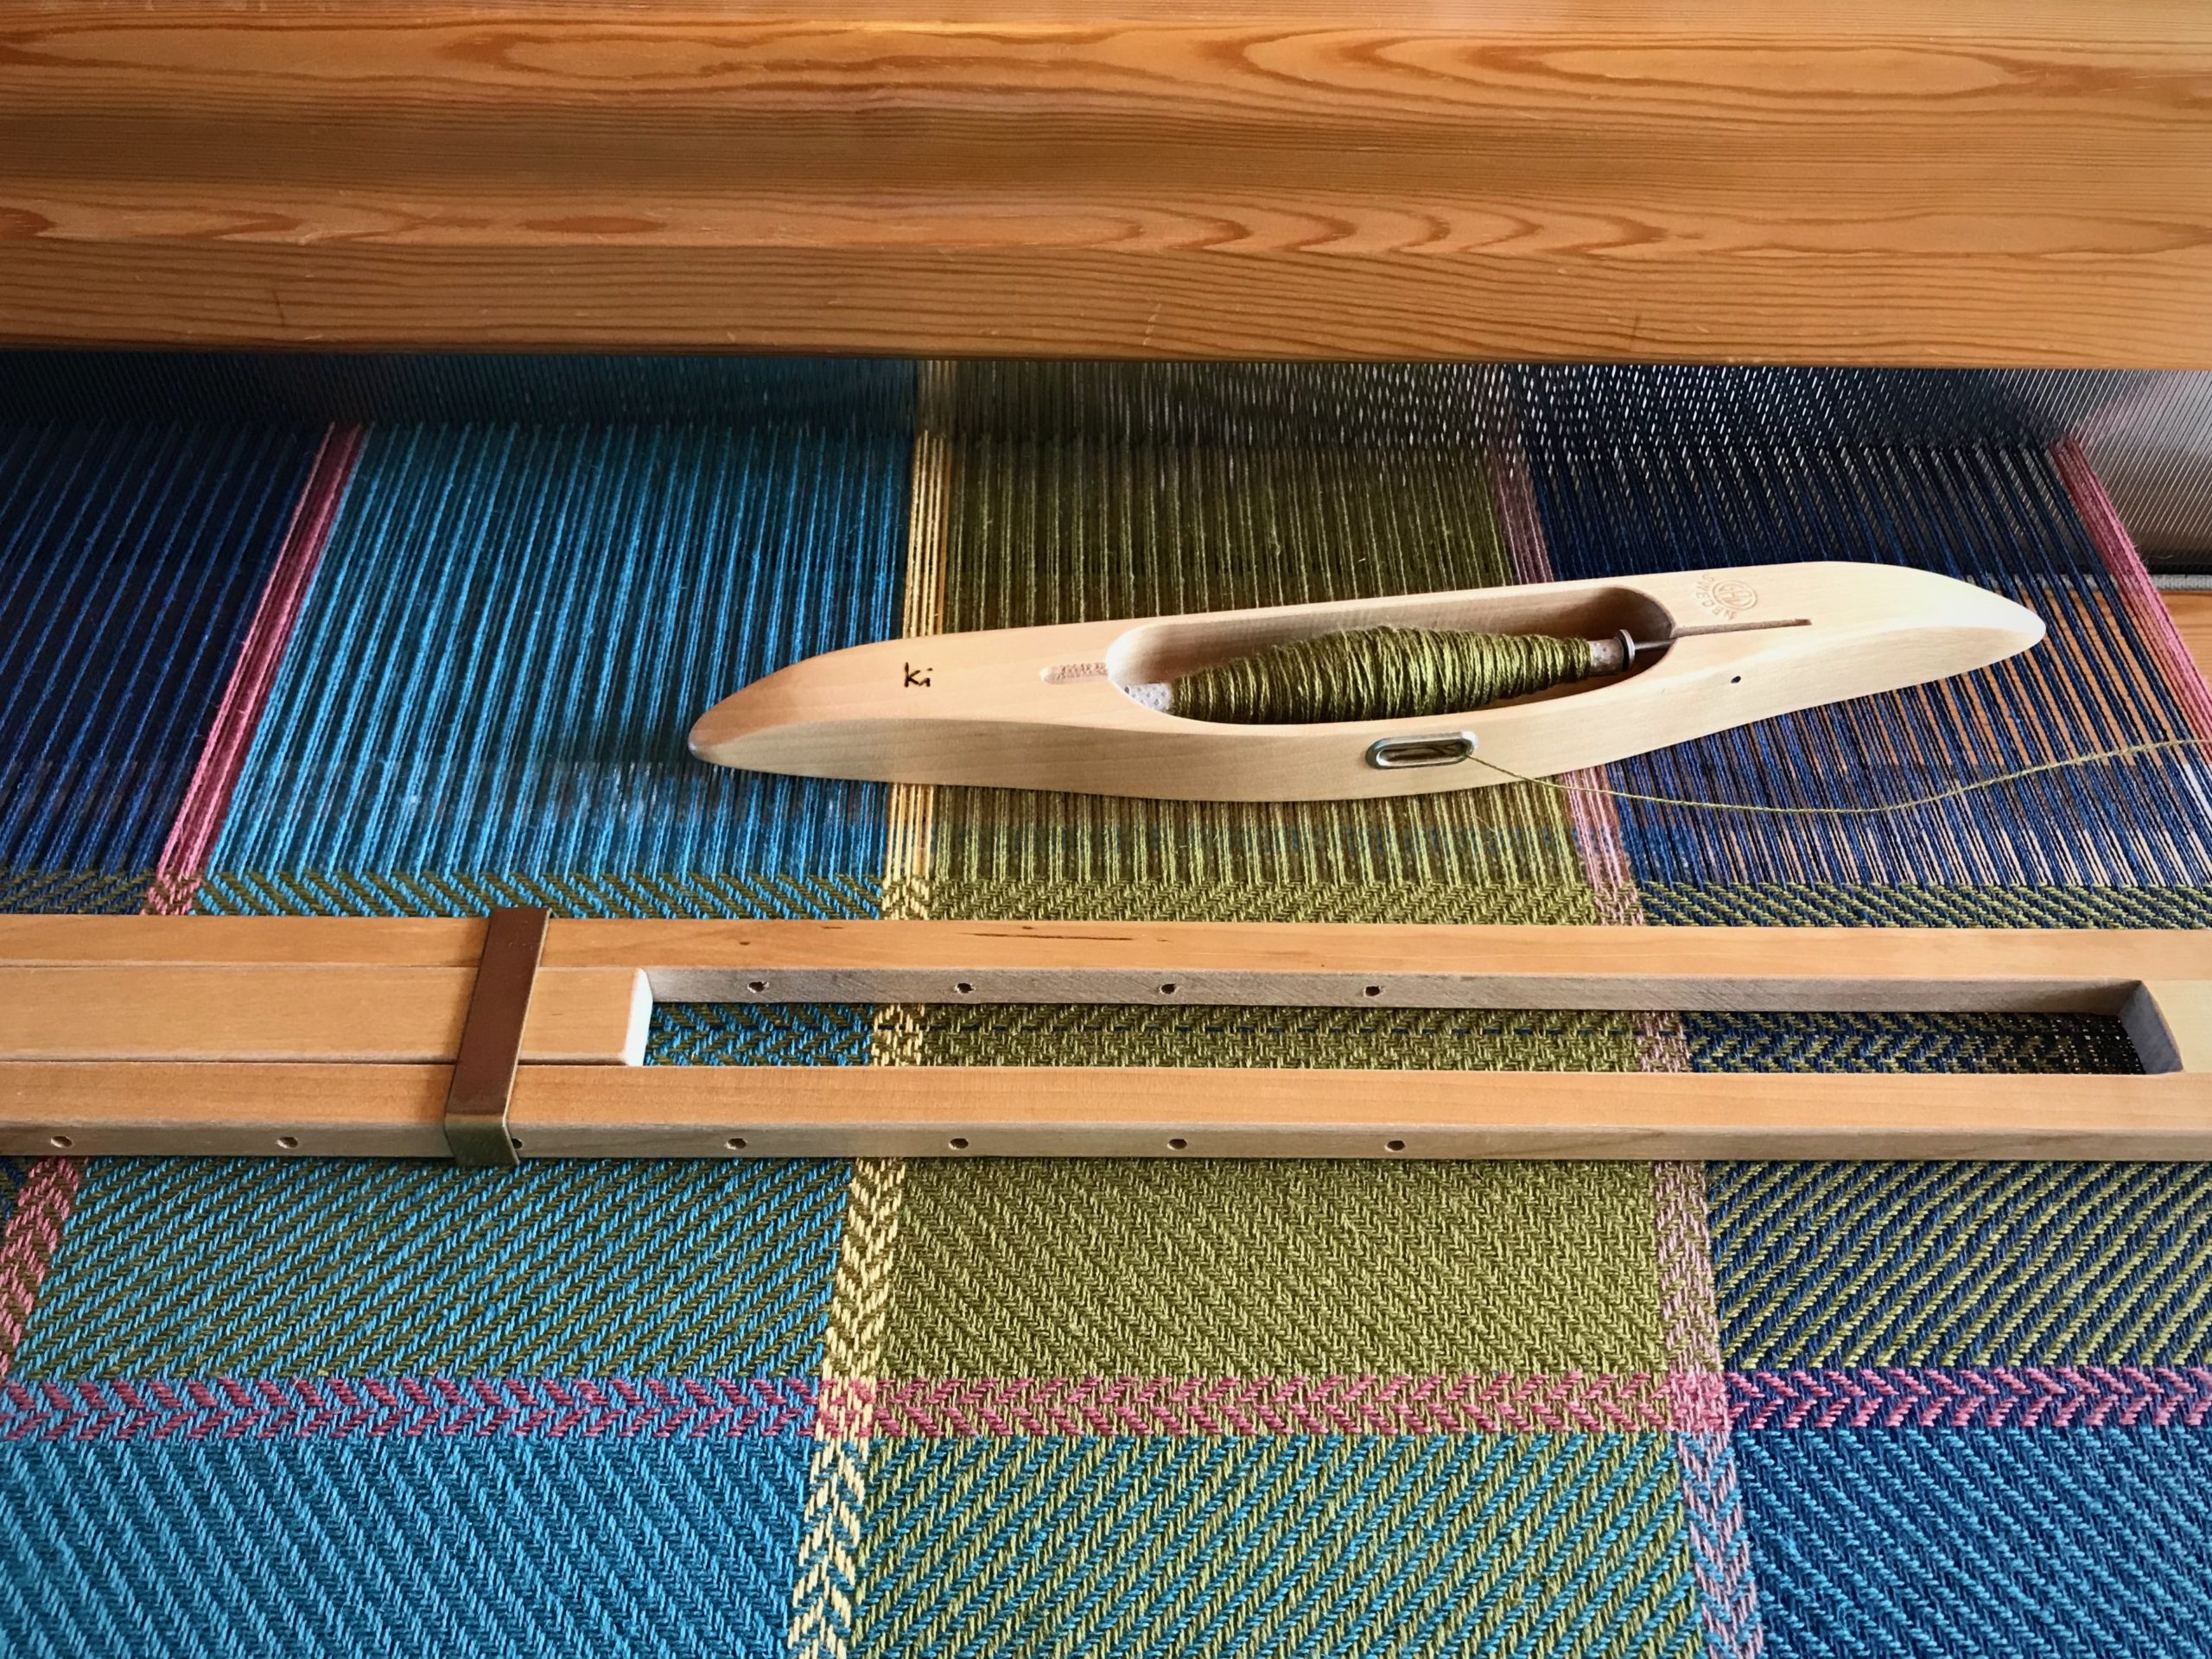
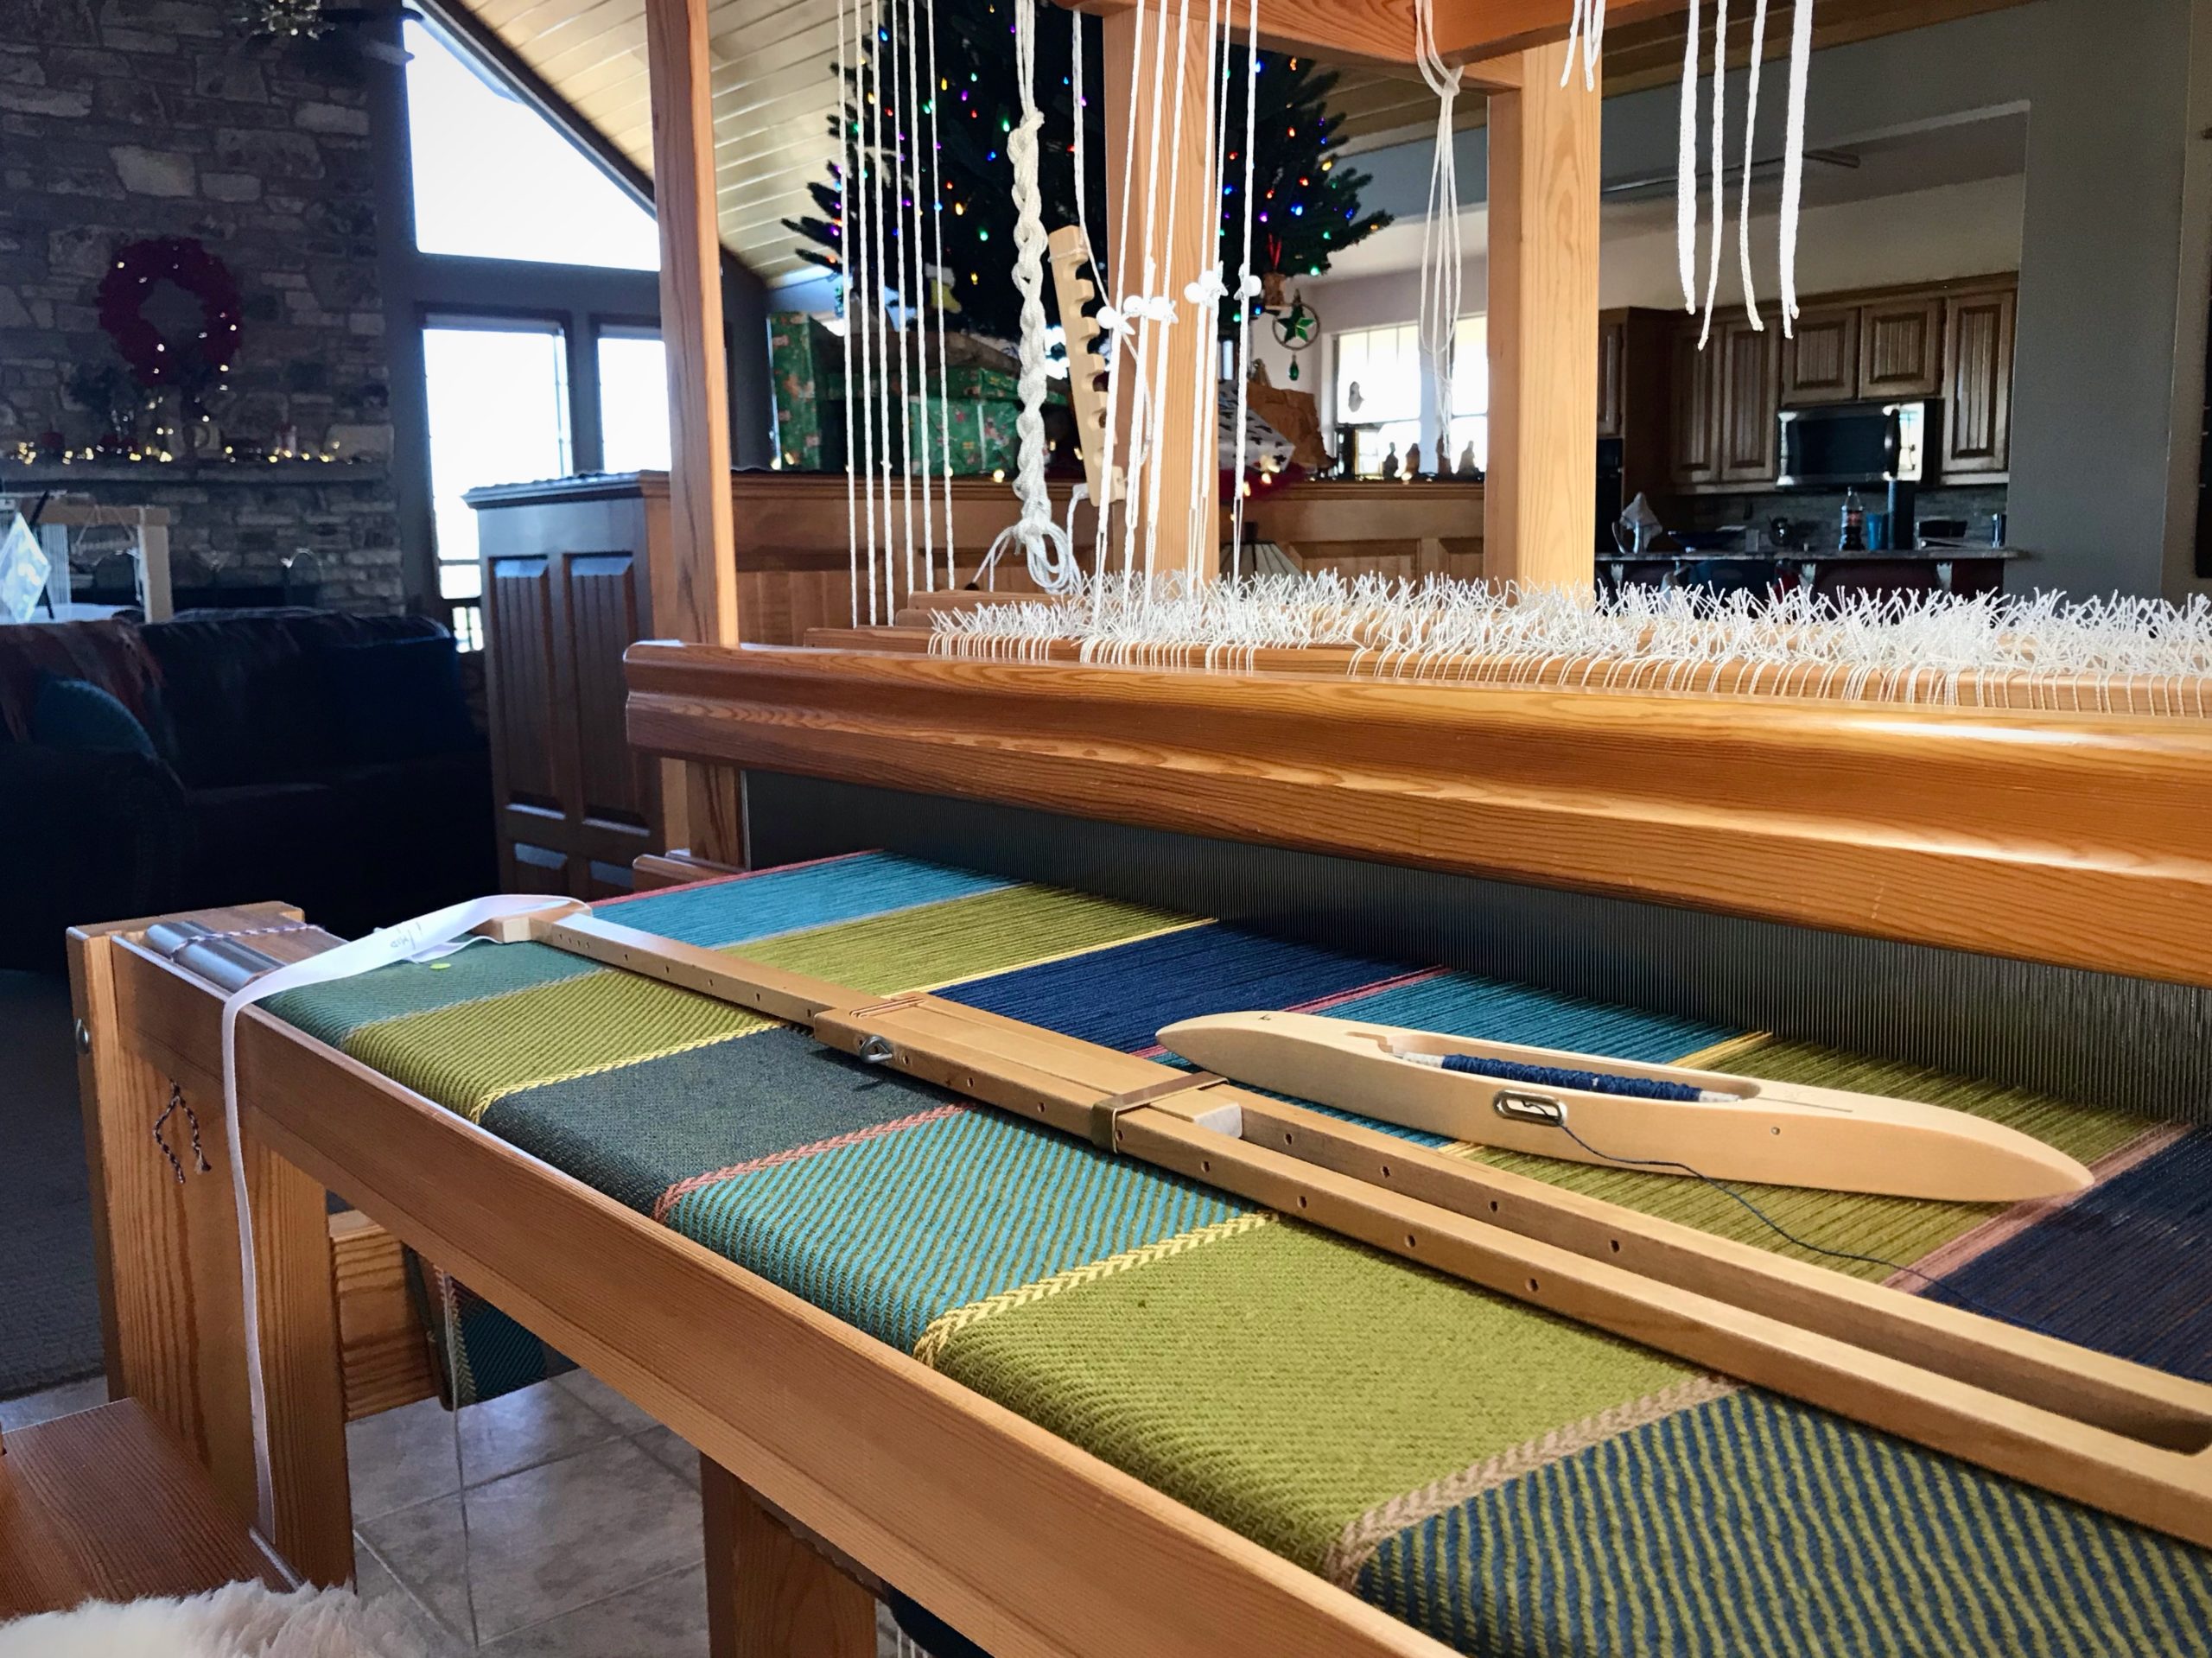
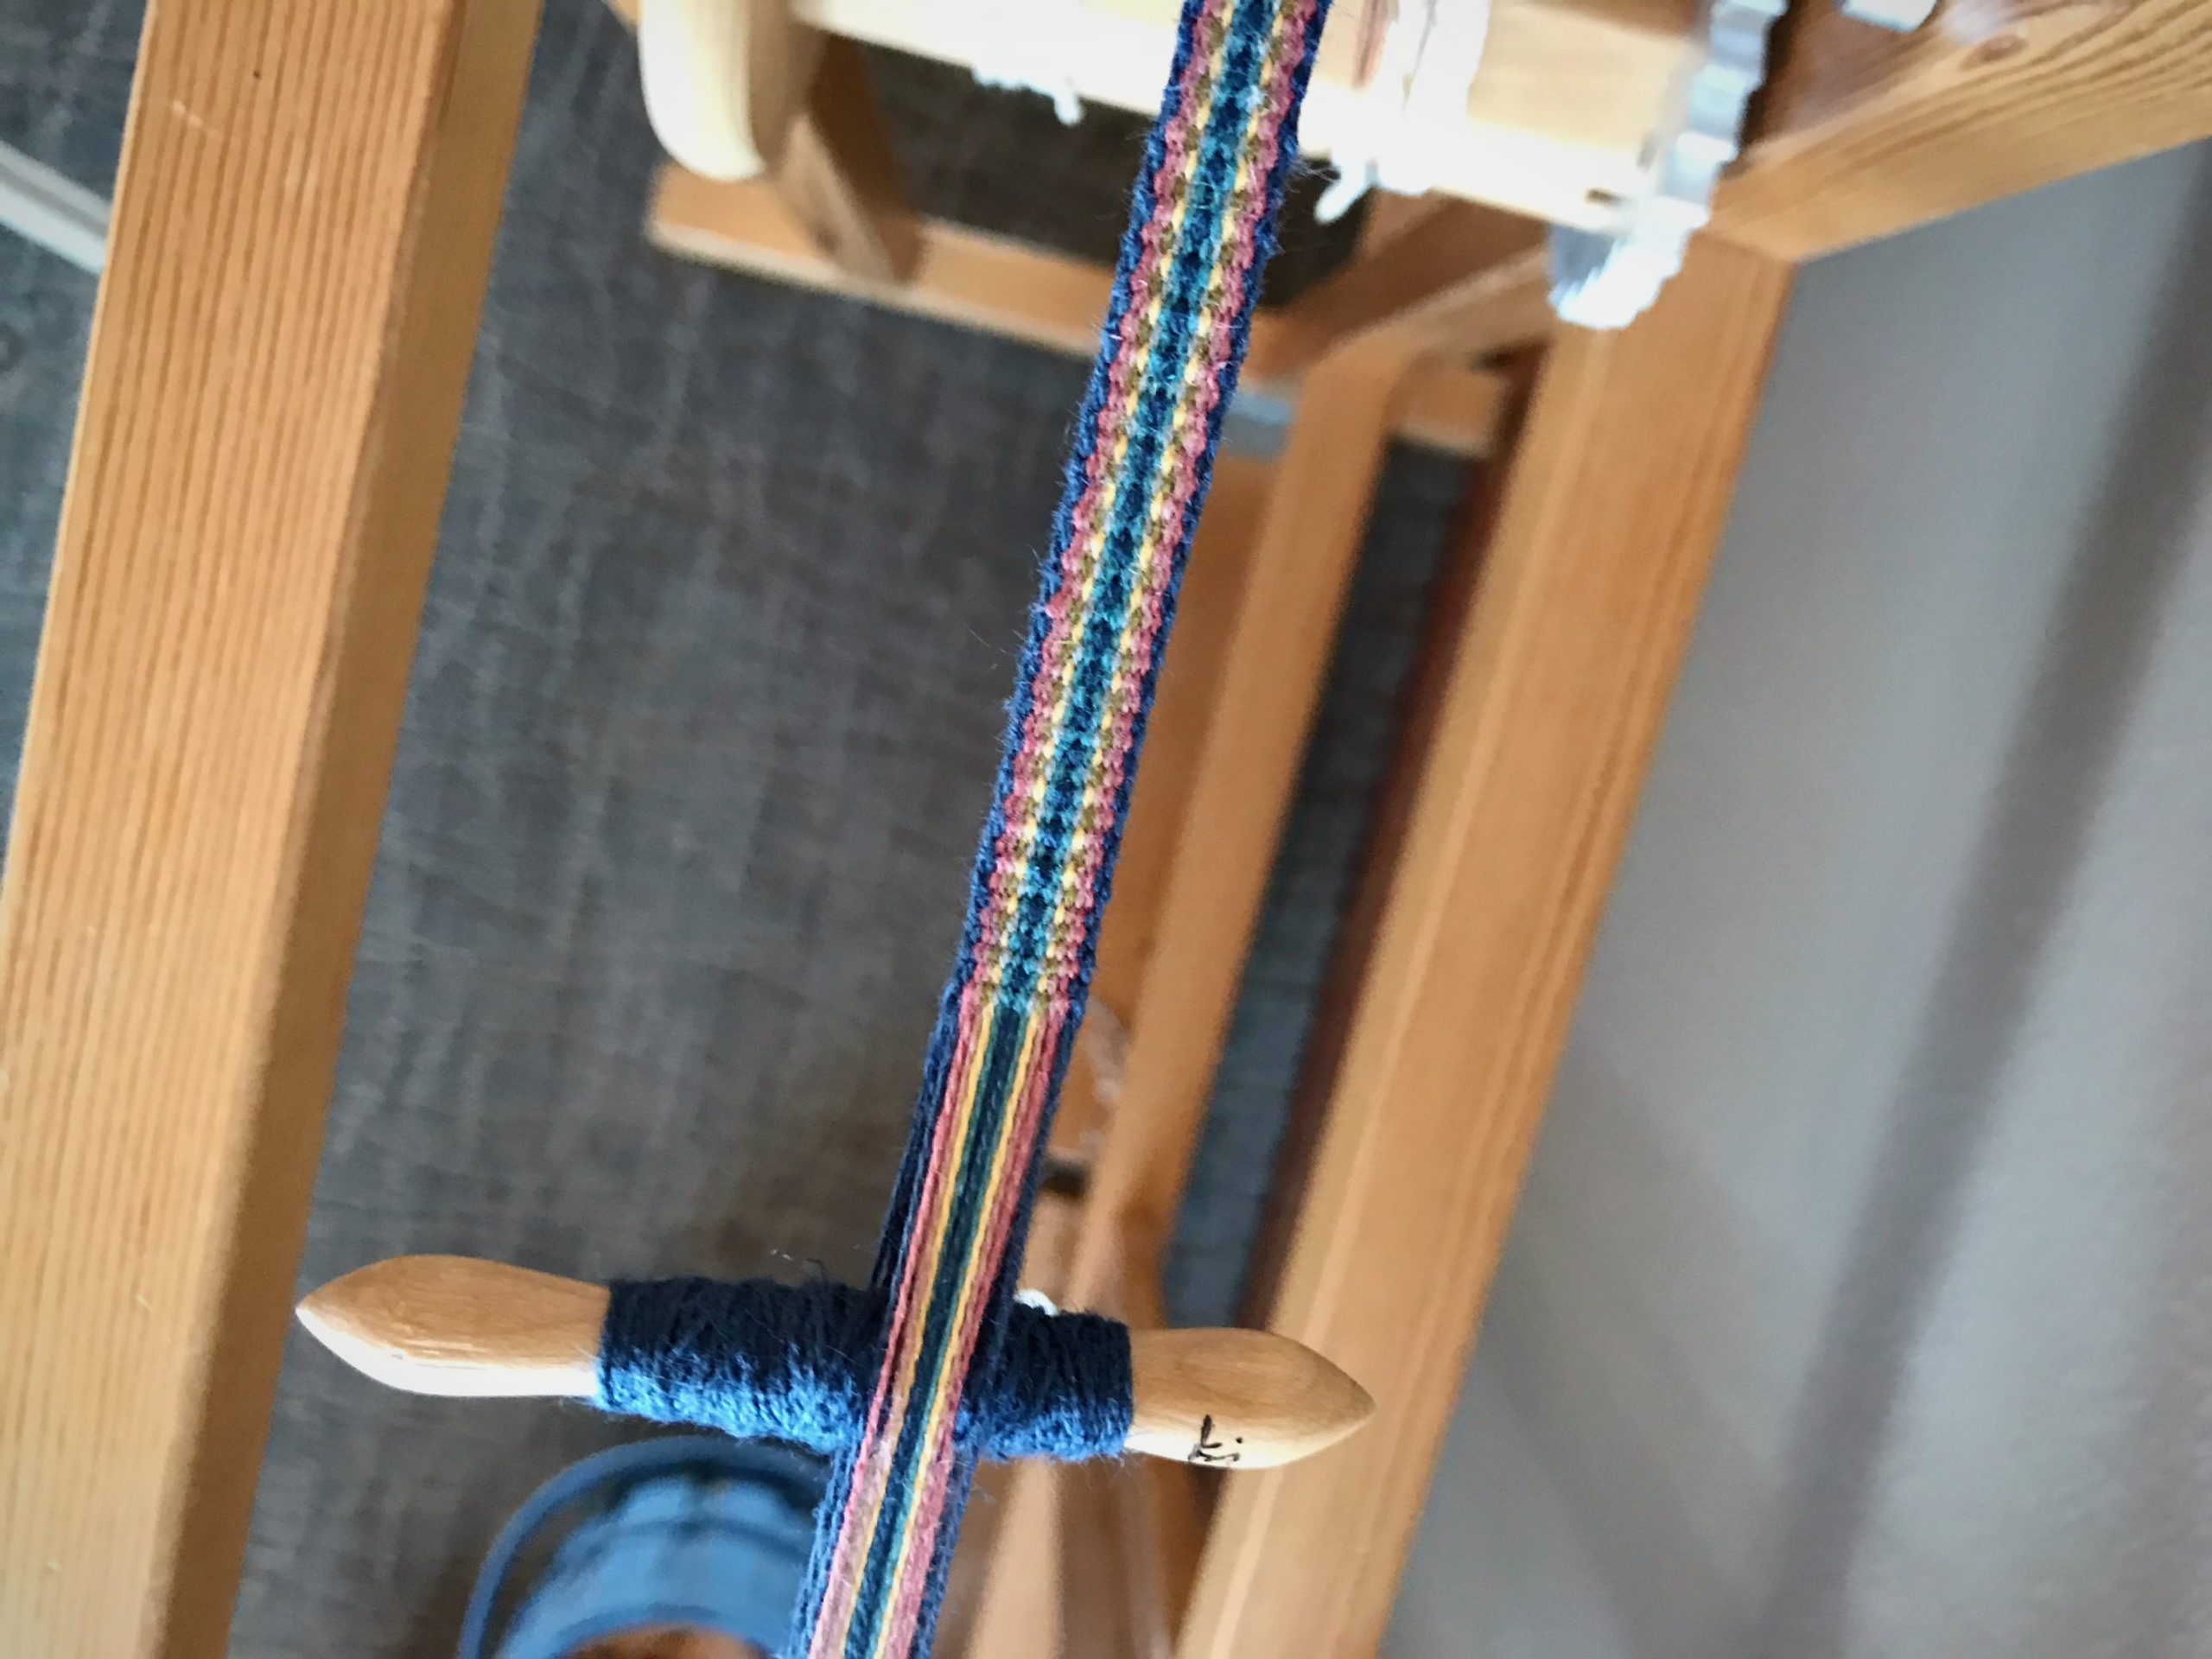
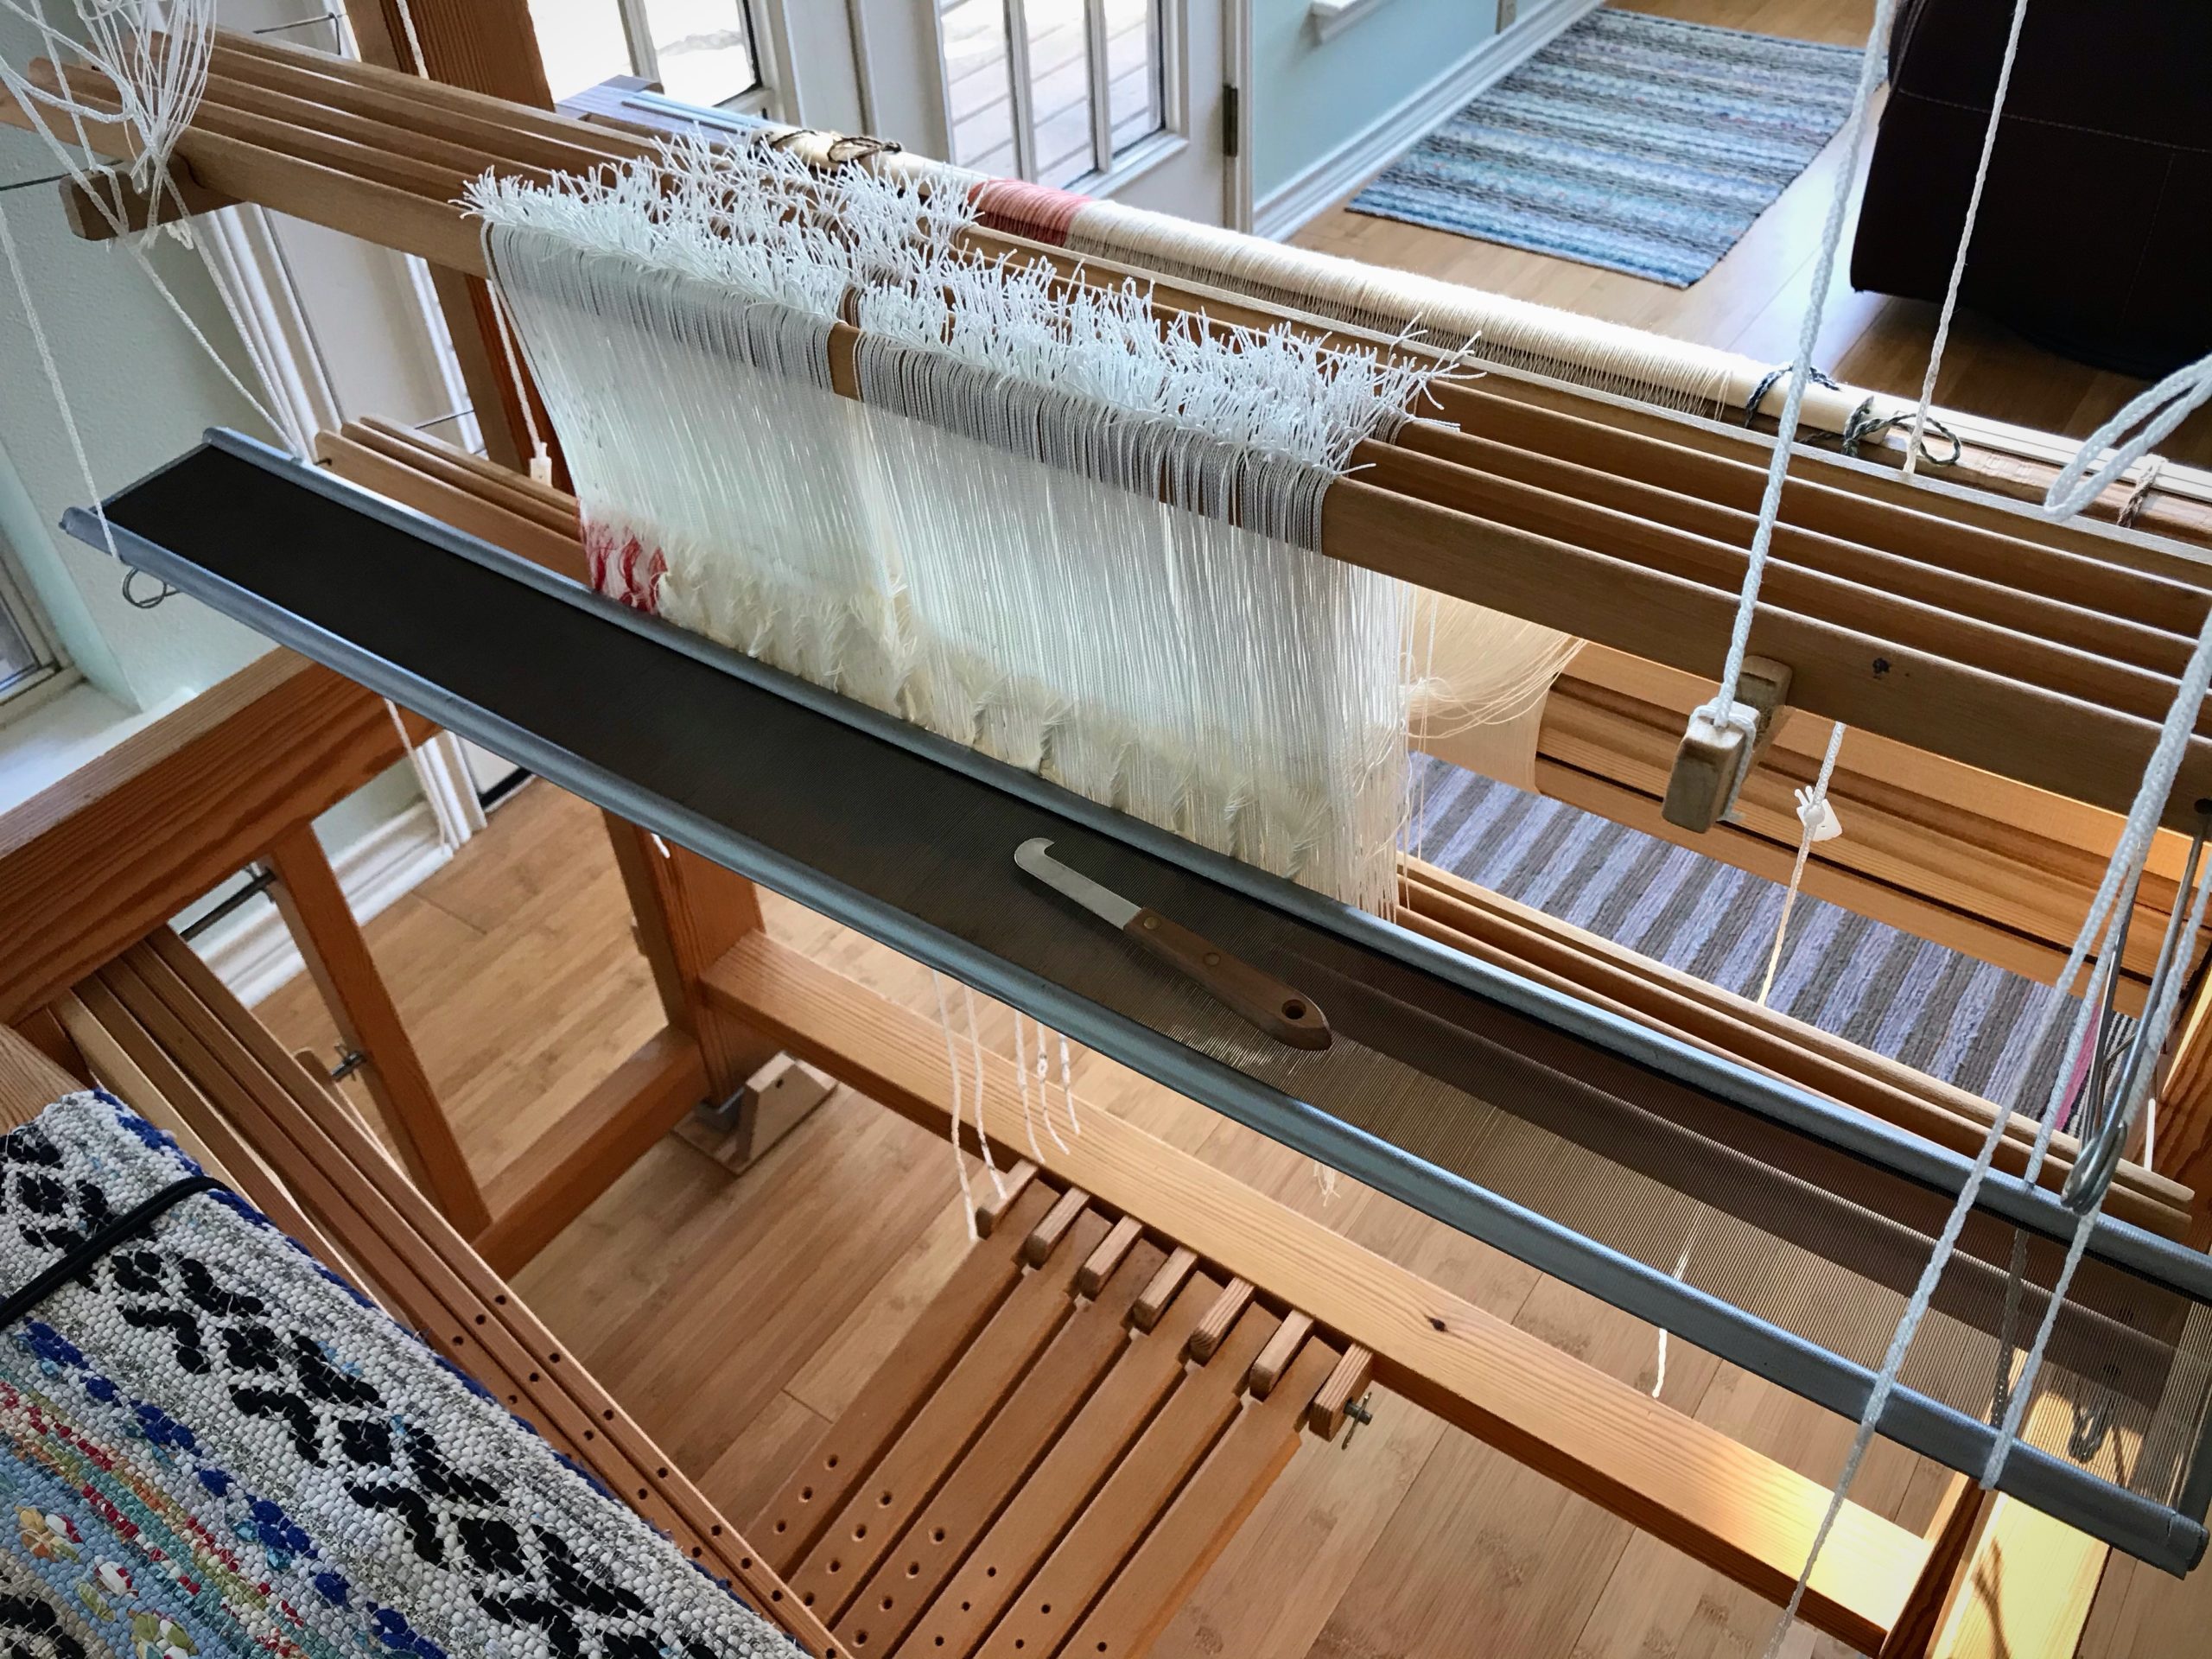
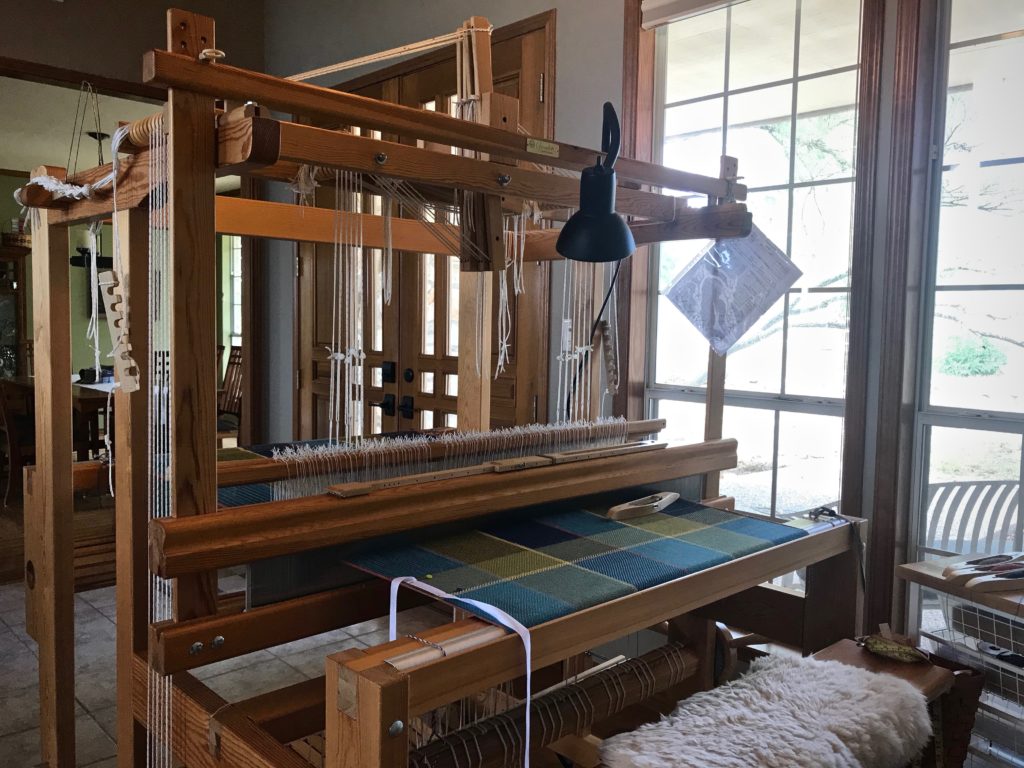
Glimåkra Standard, 120cm (47″), vertical countermarch. My first floor loom. Weaving the third of four bath towels, 6-shaft broken and reverse twill, 22/2 cottolin warp and weft.Glimåkra two-treadleband loom. Weaving hanging tabs for bath towels. 22/2 cottolin warp and weft.Glimåkra Ideal, 100cm (39″), horizontal countermarch. My second floor loom. Dressing the loom in 24/2 cotton, five-shaft huckaback, for fabric to make a tiered skirt. Ready to start sleying the reed.Loom that Steve built, 70cm (27″), horizontal countermarch. My third floor loom. Weaving the header for a pictorial tapestrysample, four-shaft rosepath, 16/2 linen warp, Tuna/Fårö wool and 6/1 tow linen weft.Glimåkra Julia, 70cm (27″), horizontal countermarch. This is my fifth (and final?) floor loom. Weaving the first of two scarves, eight-shaft deflected double weave, 8/1 Mora wool warp and weft.Glimåkra Standard, 120cm (47″), horizontal countermarch, with Myrehed combination drawloom attachment. This is my fourth floor loom. Weaving some lettering for the seventh pattern on this sample warp, six-shaft irregular satin, 16/2 cotton warp, 16/1 linen weft. 35 pattern shafts, 132 single unit draw cords.
Give Thanks ~ Live with a thankful heart.
Every day I thank the Lord for granting me the joy of being in this handweaving journey. And I thank him for bringing friends like you along with me.
Do not overfill your quills. It may seem efficient to load the quill as much as possible so you can weave as far as possible. Like me, you may have to learn this the hard way. A too-chubby quill that has to be coaxed through the shed takes more time and effort than winding a few extra quills. So much for efficiency.
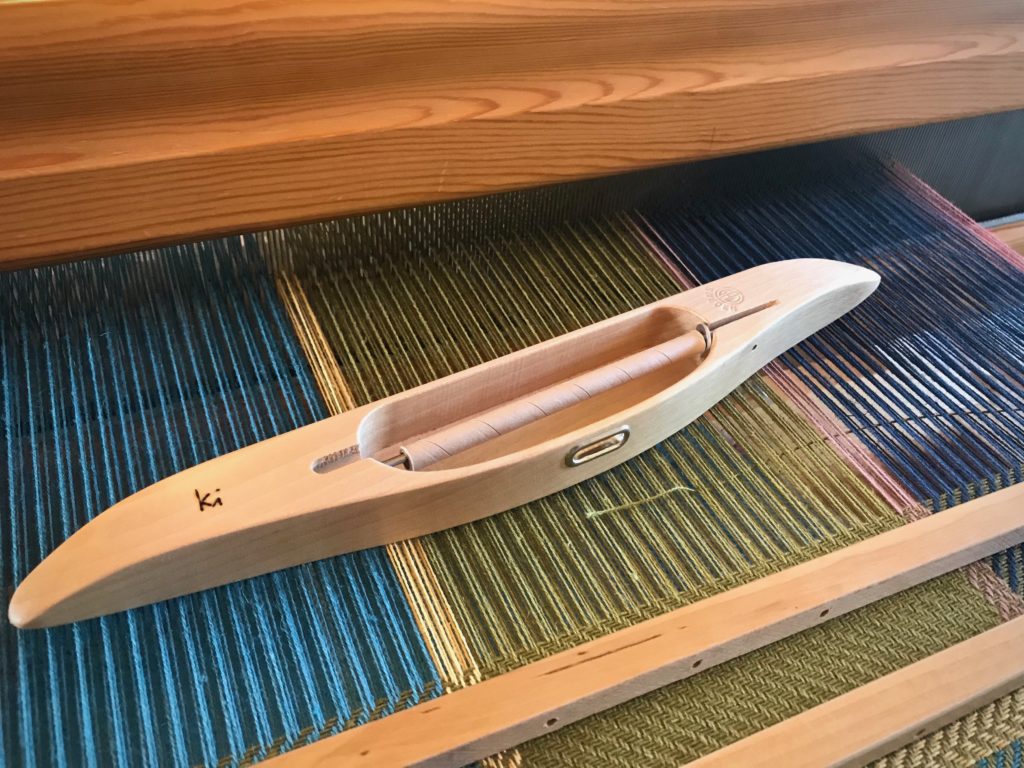
Cottolin bath towels on the Glimåkra Standard, in twill, broken twill, and reverse twill.
It helps to have an idea of how far the thread on a quill will go. With this information, you can wind a few in advance without ending up with an excess of wound quills at the end of your project. I like to have the next quill ready to go when I am weaving so that I can put the new quill in my shuttle and keep weaving with very little interruption. This is especially helpful when the treadling sequence is tricky, like with the reverse twill in every other large color block on these cottolin bath towels. 3-2-1-6-5-4
How to Estimate Weaving Distance for Filled Quills
1Start a new quill, leaving a 4 – 5 cm tail on the surface of the cloth. Or, start a new quill at the beginning of a color change.
End of one thread. Ready for a new quill.With the threads overlapping in the shed, the tail of the thread on the new quill lies on the surface.
2 Weave until the quill has emptied. Leave a 4-5 cm tail on the surface of the cloth.
Quill has emptied. Tail is brought out to the surface of the cloth.
3 Replace the empty quill in the shuttle with a new quill and continue weaving 1 – 2 cm further.
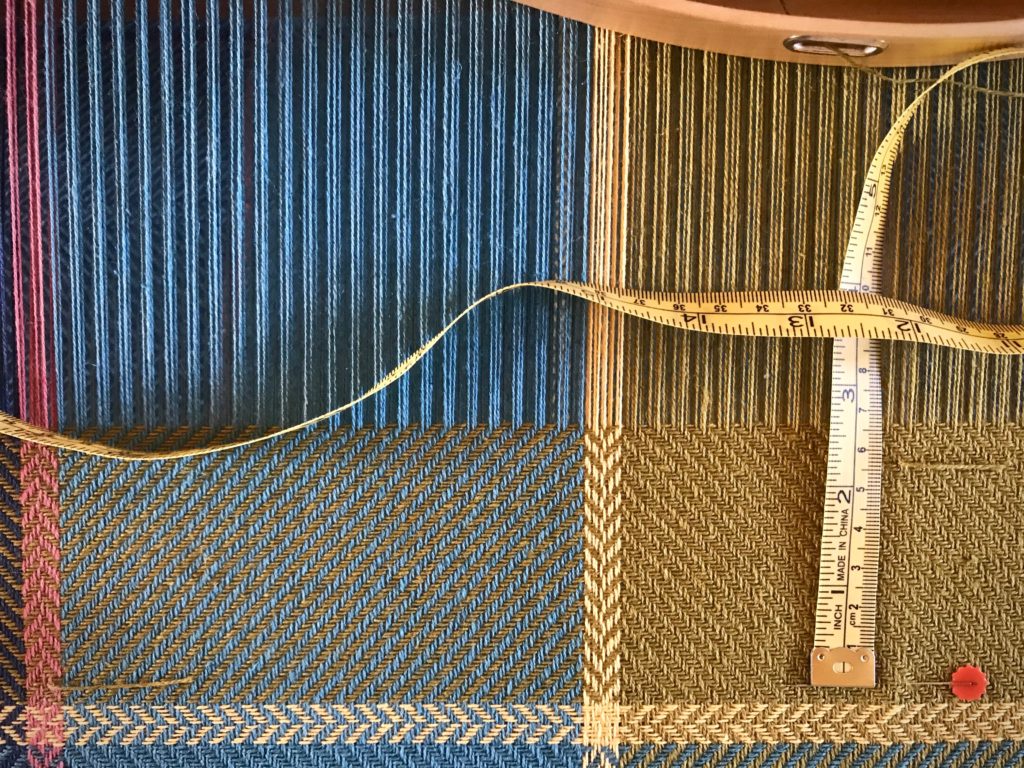
4 Measure the distance from the first weft tail, or line of color change, to the second weft tail. Place a straight pin, in line with the first weft tail, directly under the second weft tail. Measure from the pin to the second weft tail. This is the approximate weaving distance you can expect to cover with a new quill. Notate the quill’s estimated weaving distance on your project notes for future reference.
Measure the woven distance.
5 Trim the weft tails close to the surface.
6 Increase accuracy by repeating the process three times, and then use the average as your quill’s estimated weaving distance.
The large color blocks on this bath towel are 14 cm long. A single full quill will weave 5 1/2 – 6 cm; therefore, I make sure I have 2 full quills, plus at least another half-filled quill before I start a new color block section. It’s nice to be able to leave my foot on the treadle while I change out quills, so I don’t lose my place.
These towels make me think of my father. He was a brilliant architect. As an architect’s daughter, I learned to appreciate the interaction of structure, design, and color. This fabric has it all! These towels are also an expression of joy, a prominent aspect of my dad’s personality. If you could create a tangible article of jubilation, this would be it.
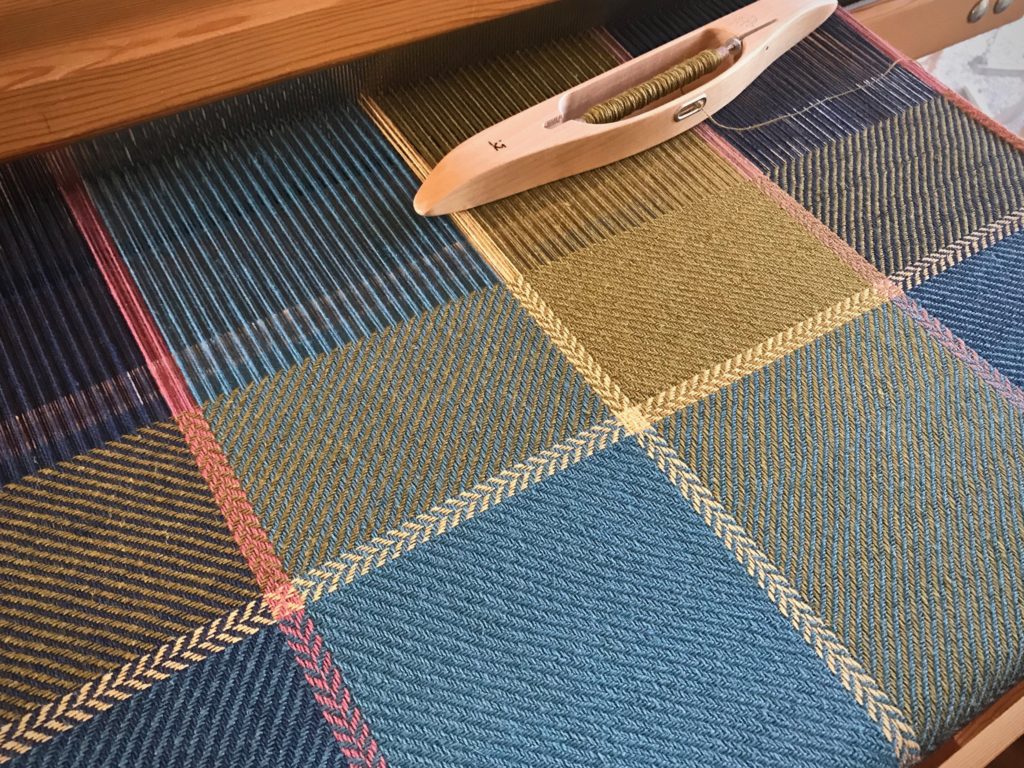
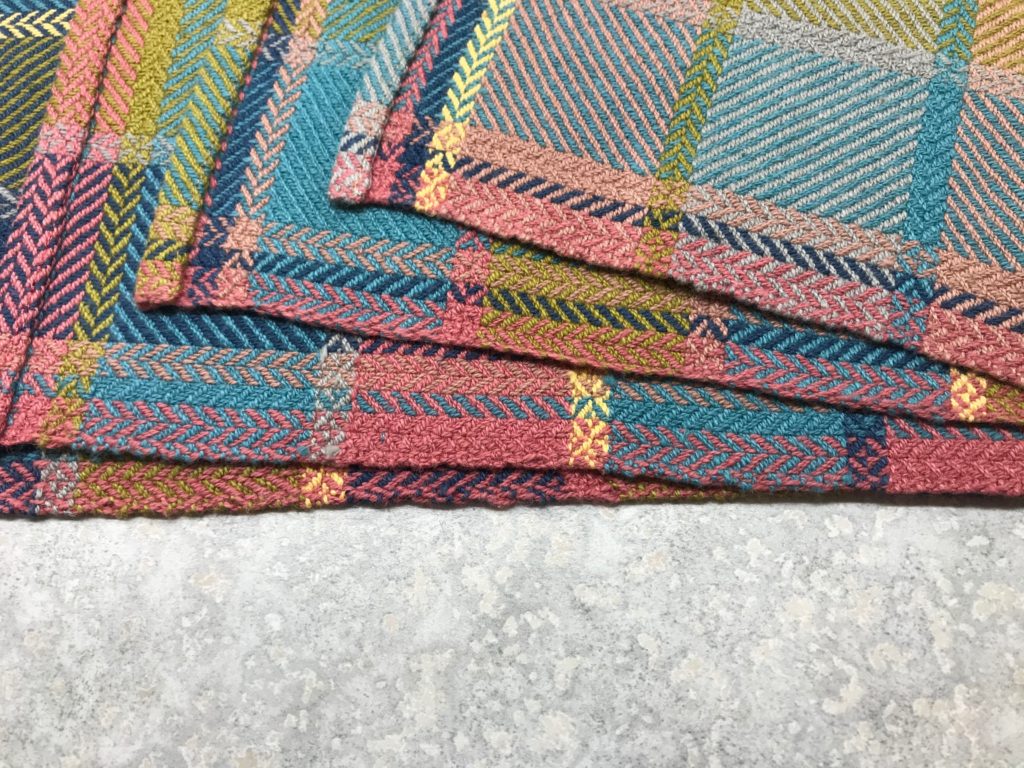
Broken and reverse twill structure. Using all the same colors, each towel has a different sequence of weft color order.
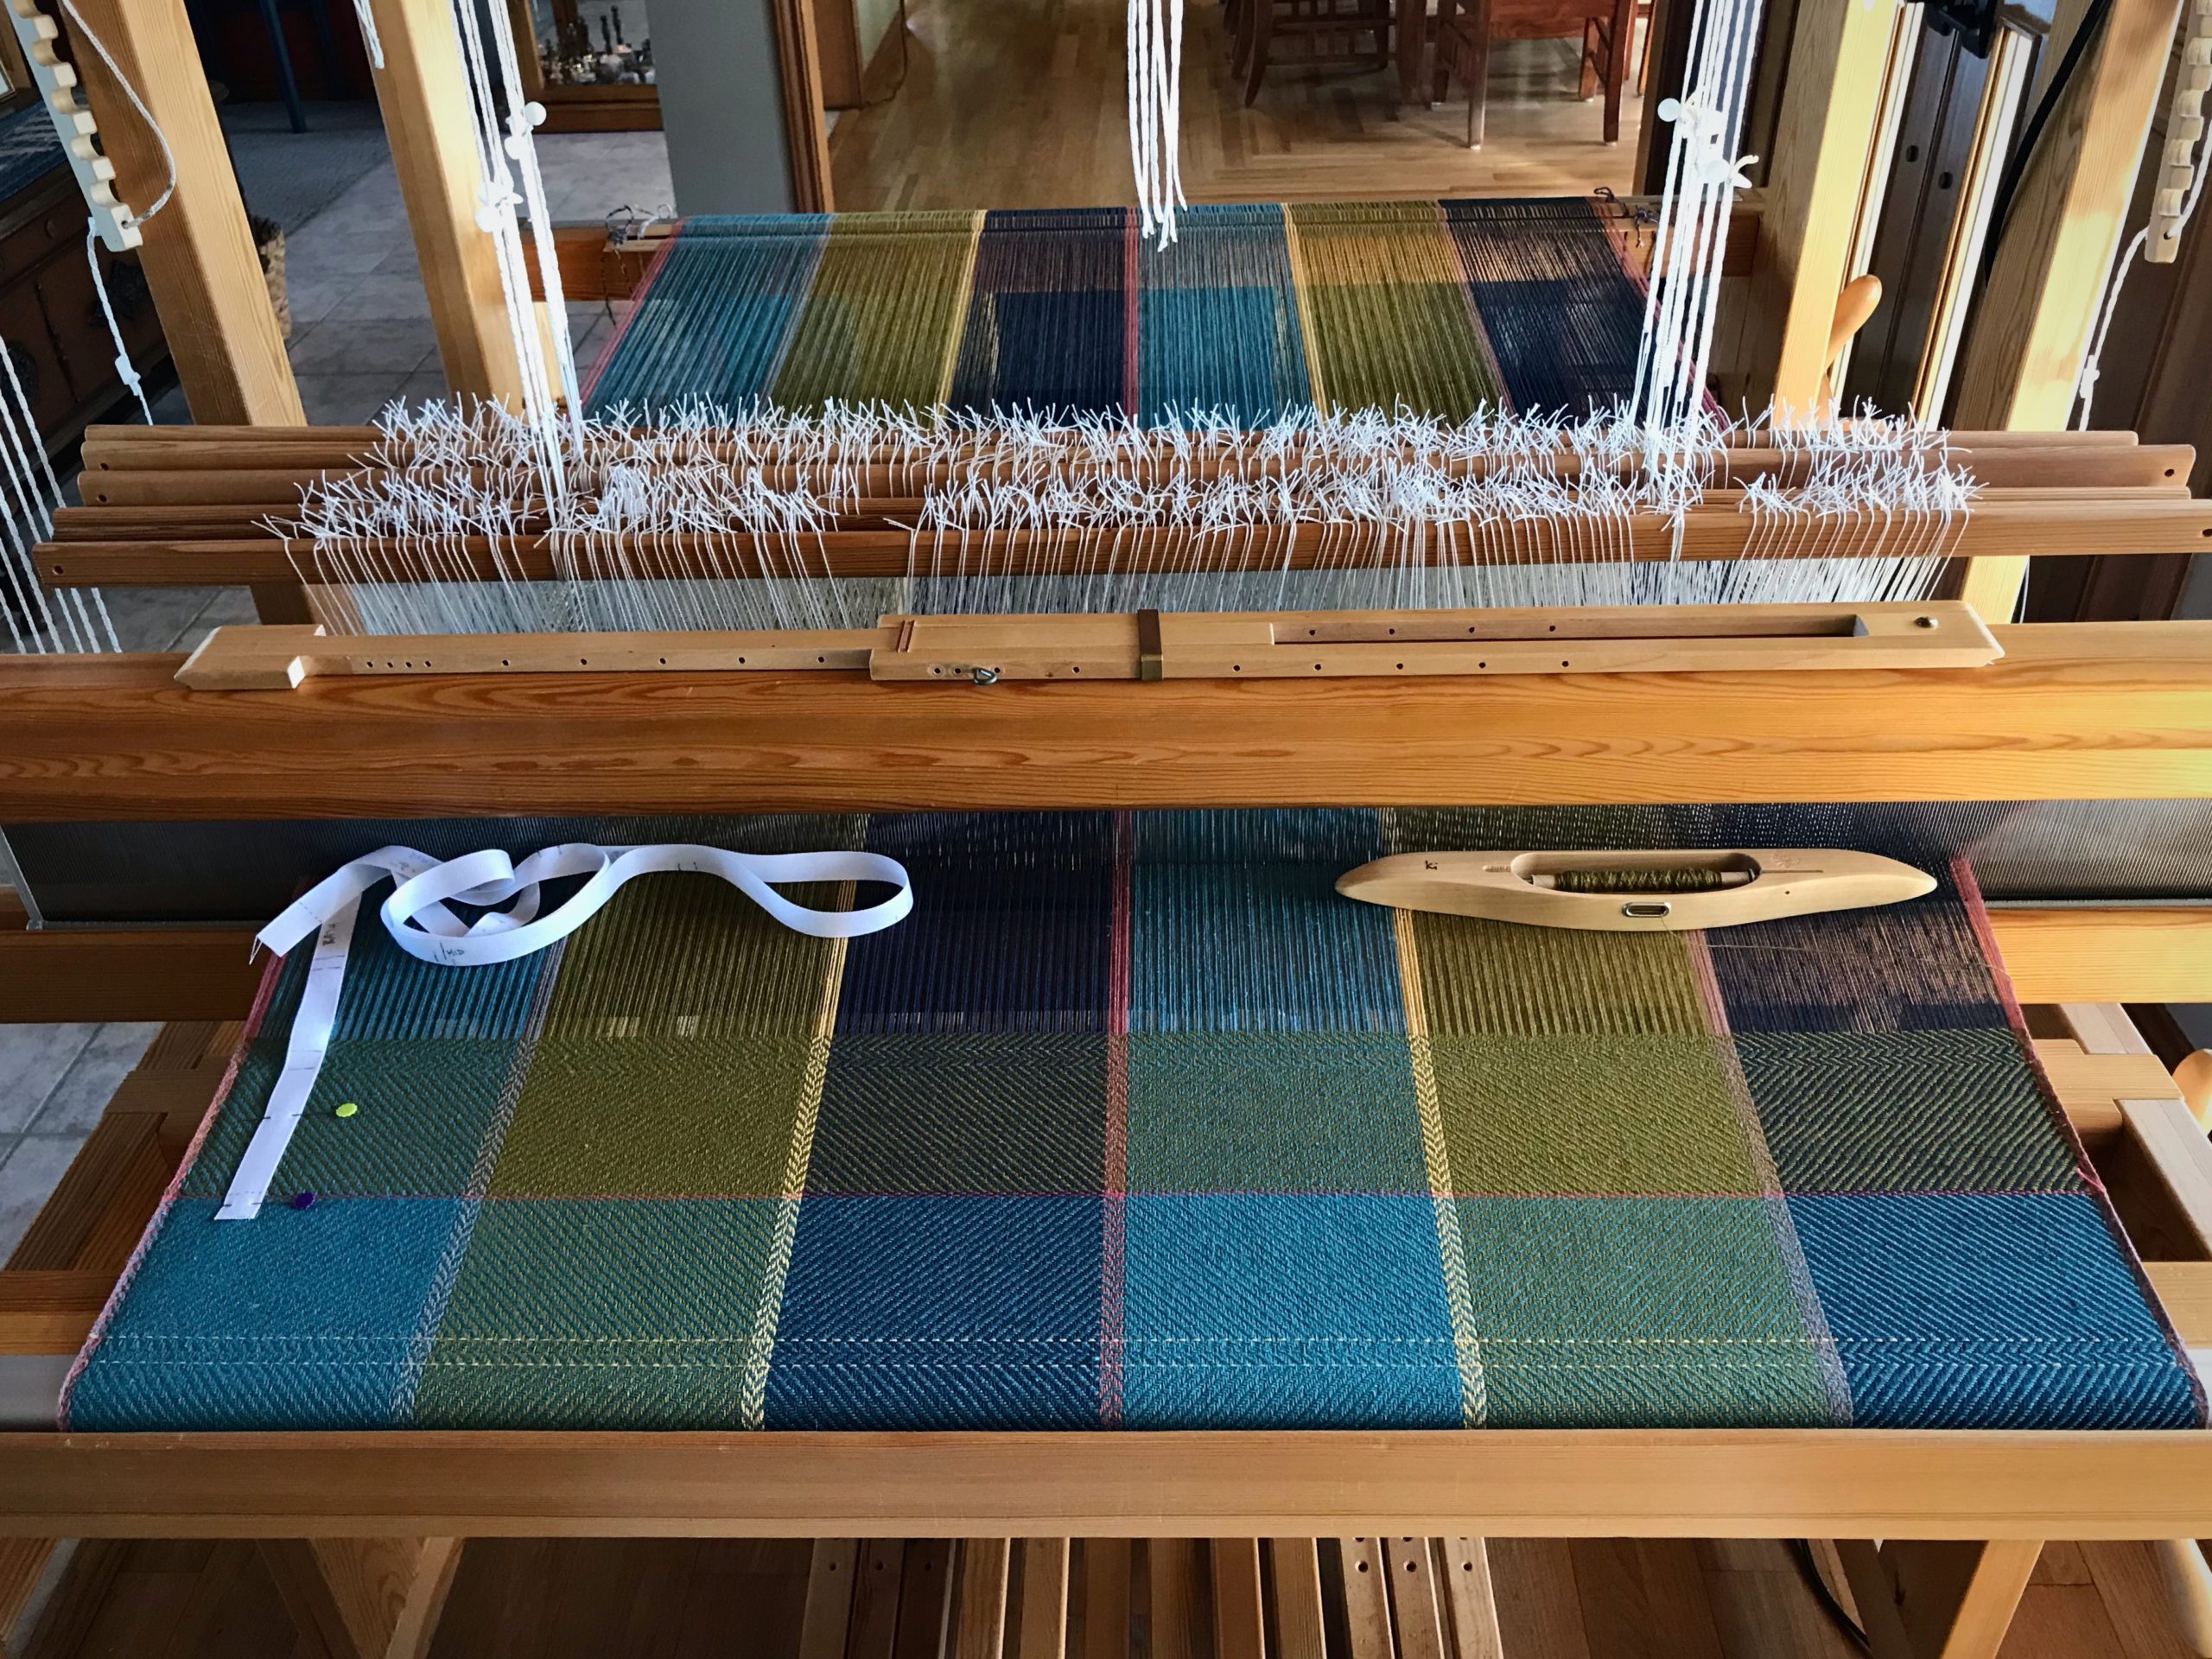
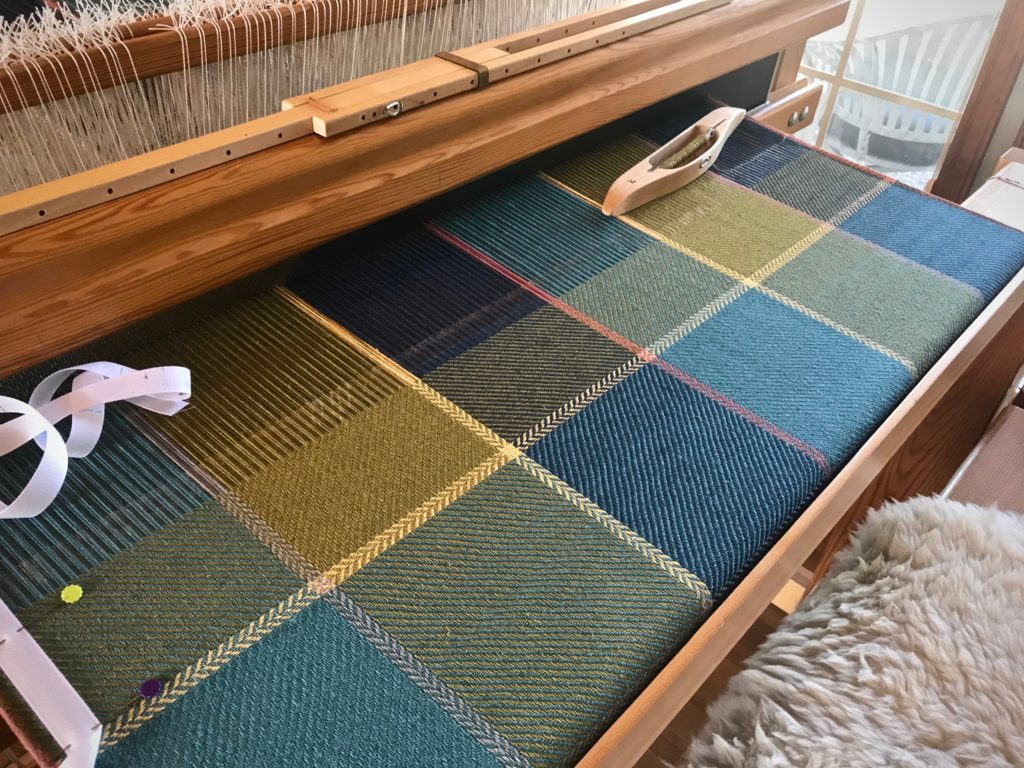
After weaving three towels, I eliminated the floating selvedges. Which one of the four towels do you think was woven without floating selvedges? Leave your answer in the comments. (1 – 4, with the towel on top as #1.)
Three of the four towels were woven with floating selvedges.
Here’s a short slideshow video that shows the process from start to finish:
Jubilation bath towels are up next on the Glimåkra Standard!
May your jubilation rub off on your family and friends.