Tried and True: How to Count to Three – and Other Weaving Tips

We weavers are resourceful. We enjoy finding solutions that make our time at the loom more efficient, while raising the quality of our weaving. We’ve done some of these little tricks so much we don’t think about them anymore. And then, some innovations are things we think up on the spot because necessity, as you know, is the mother of invention.
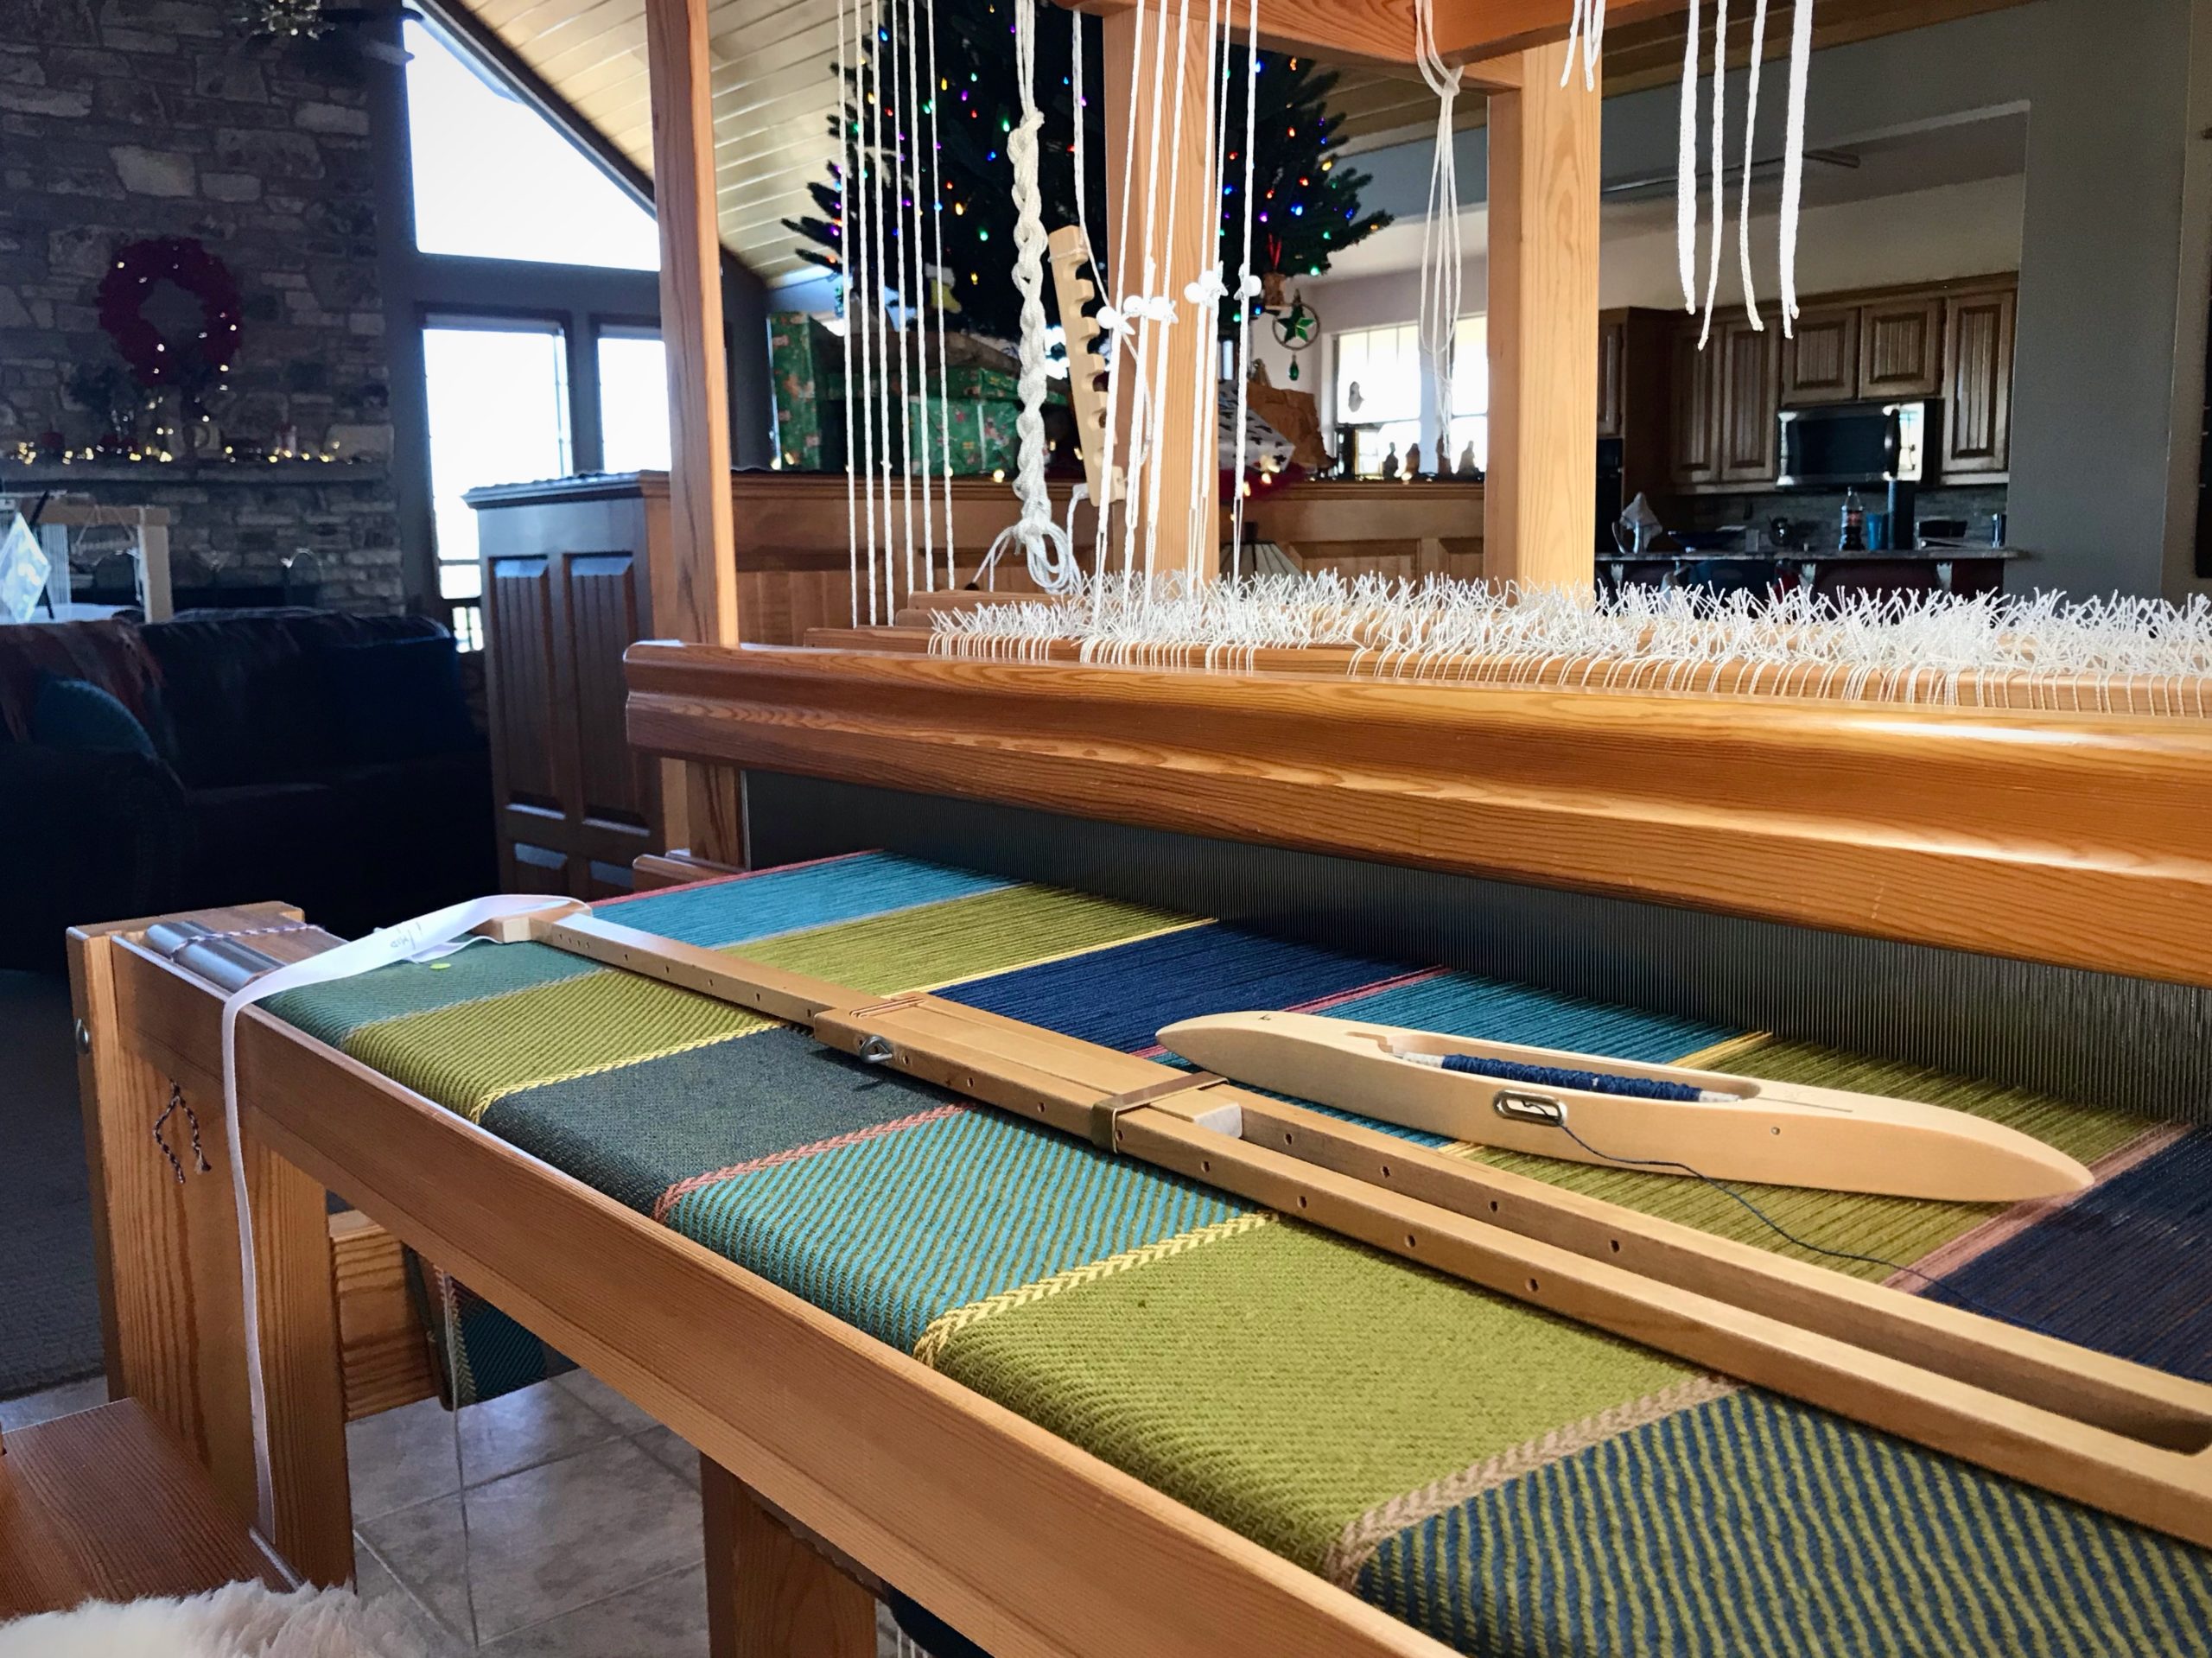
Keep Count

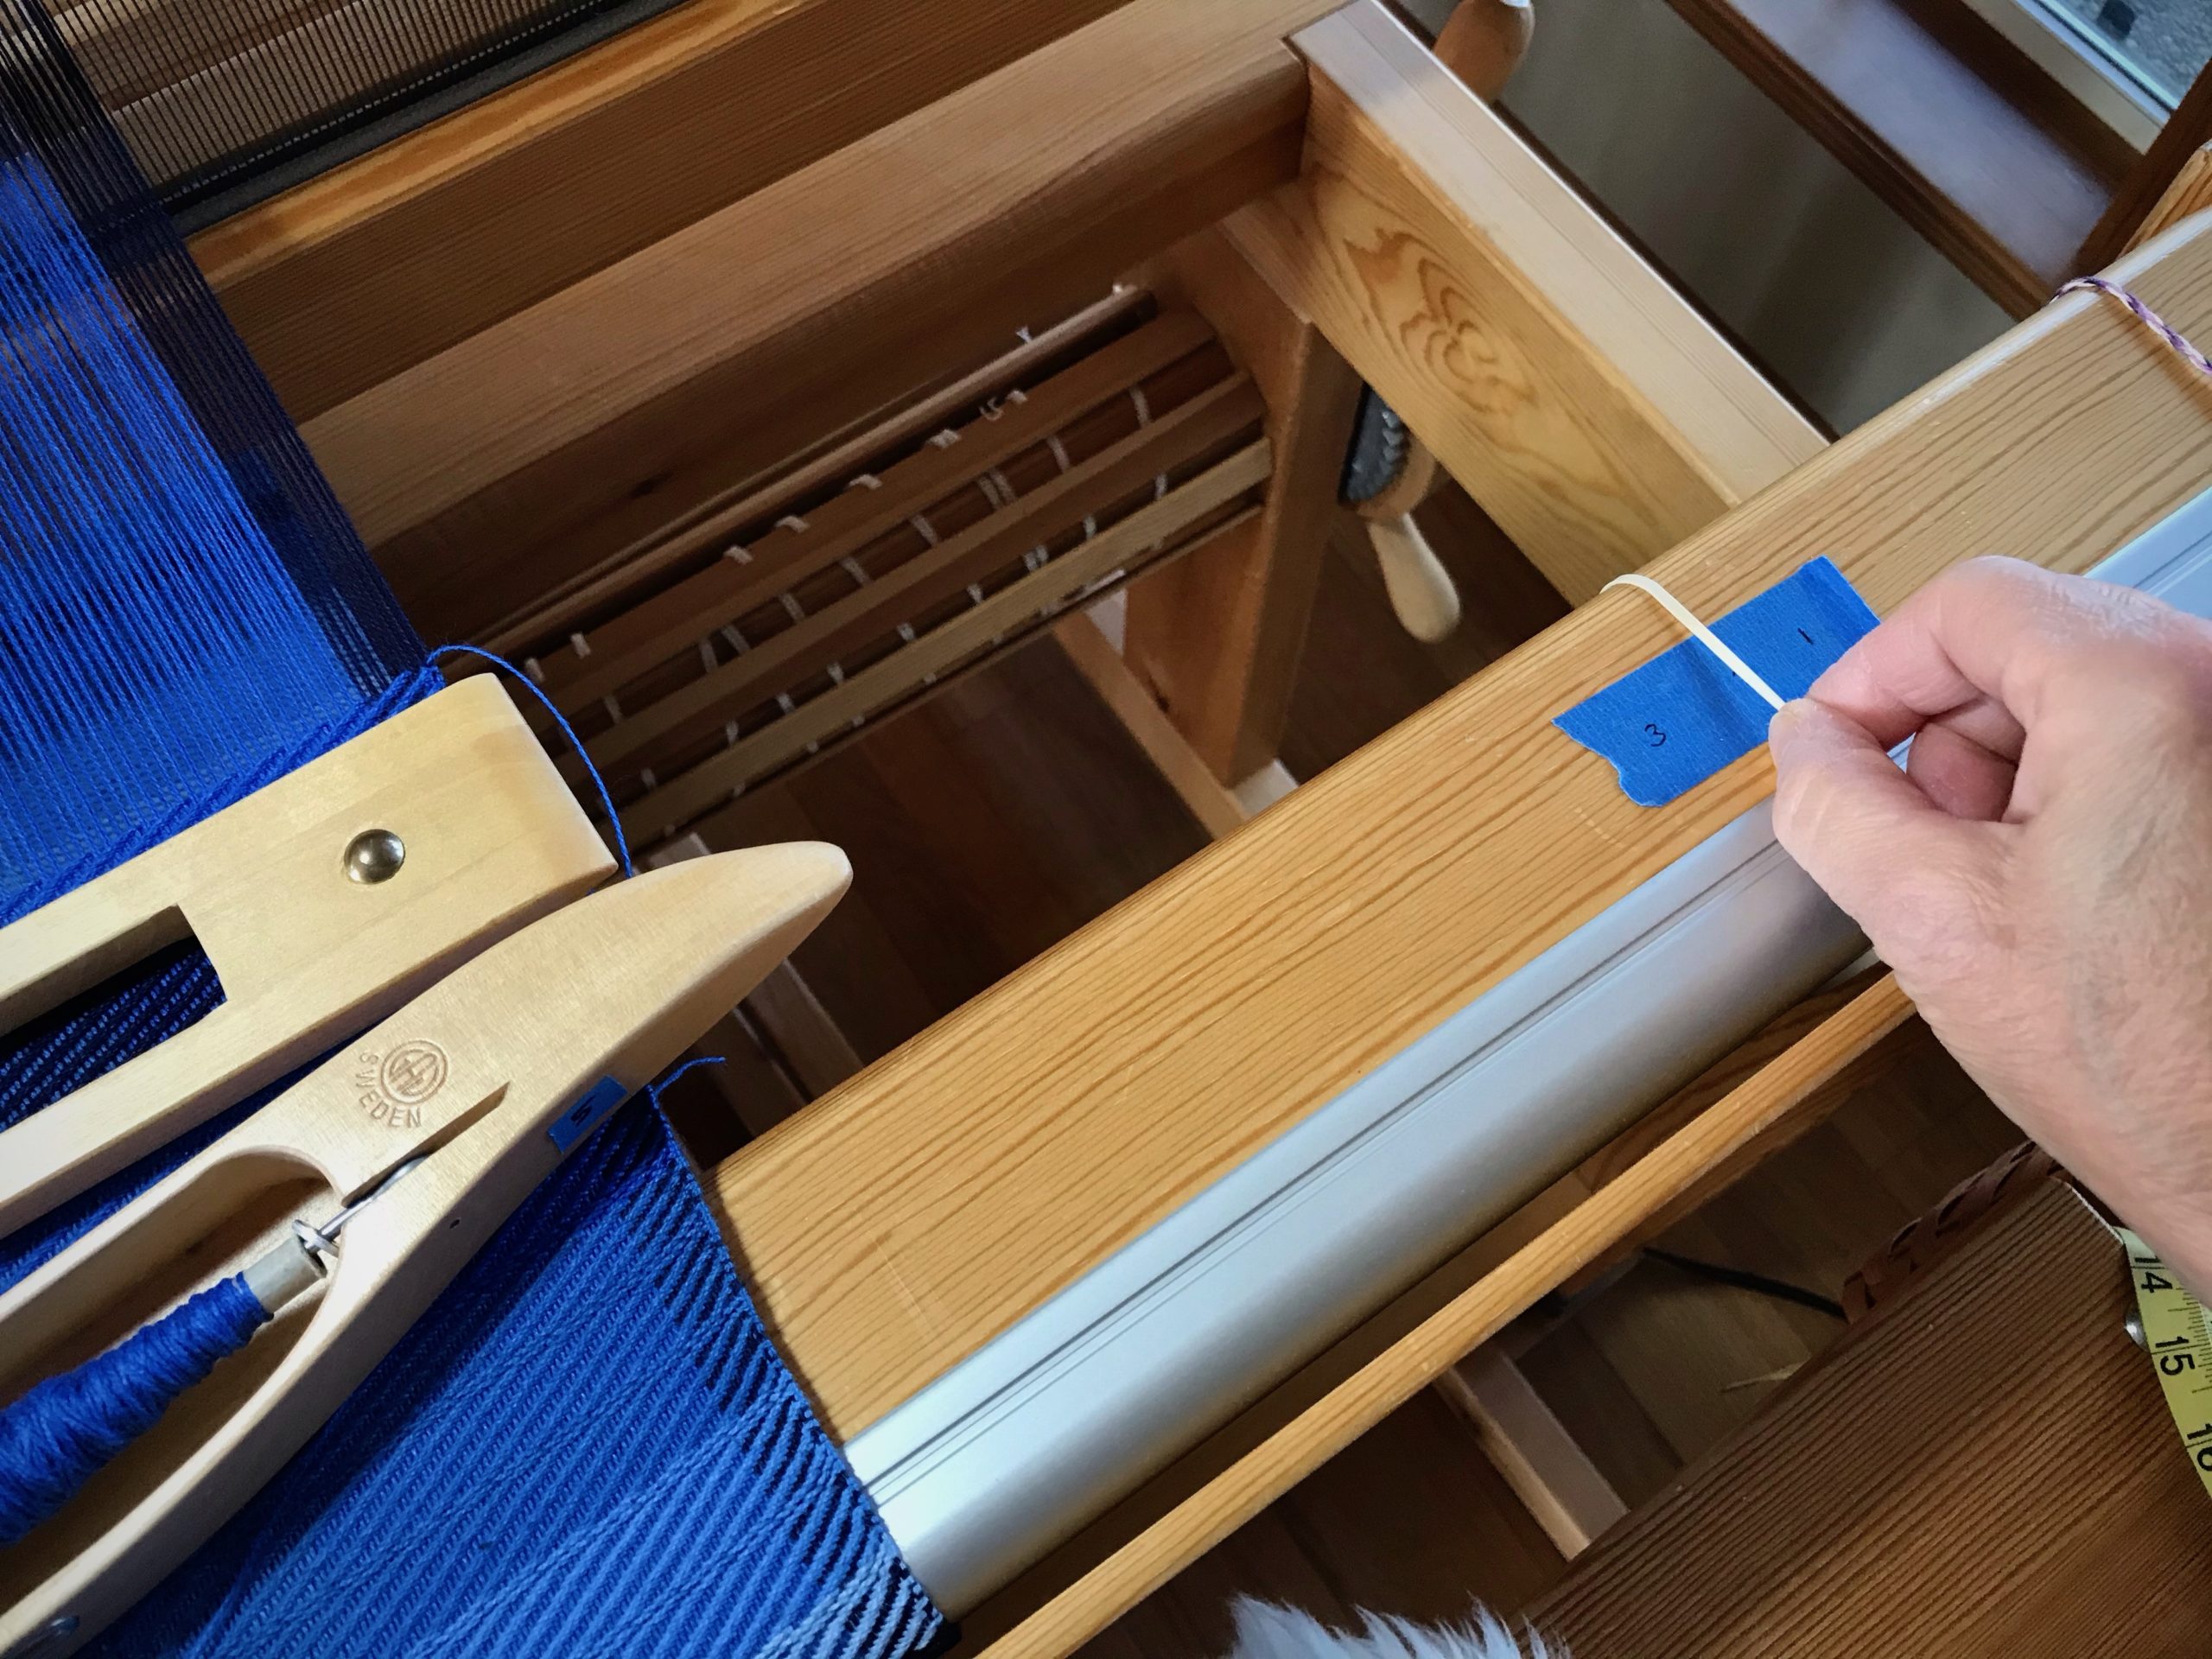
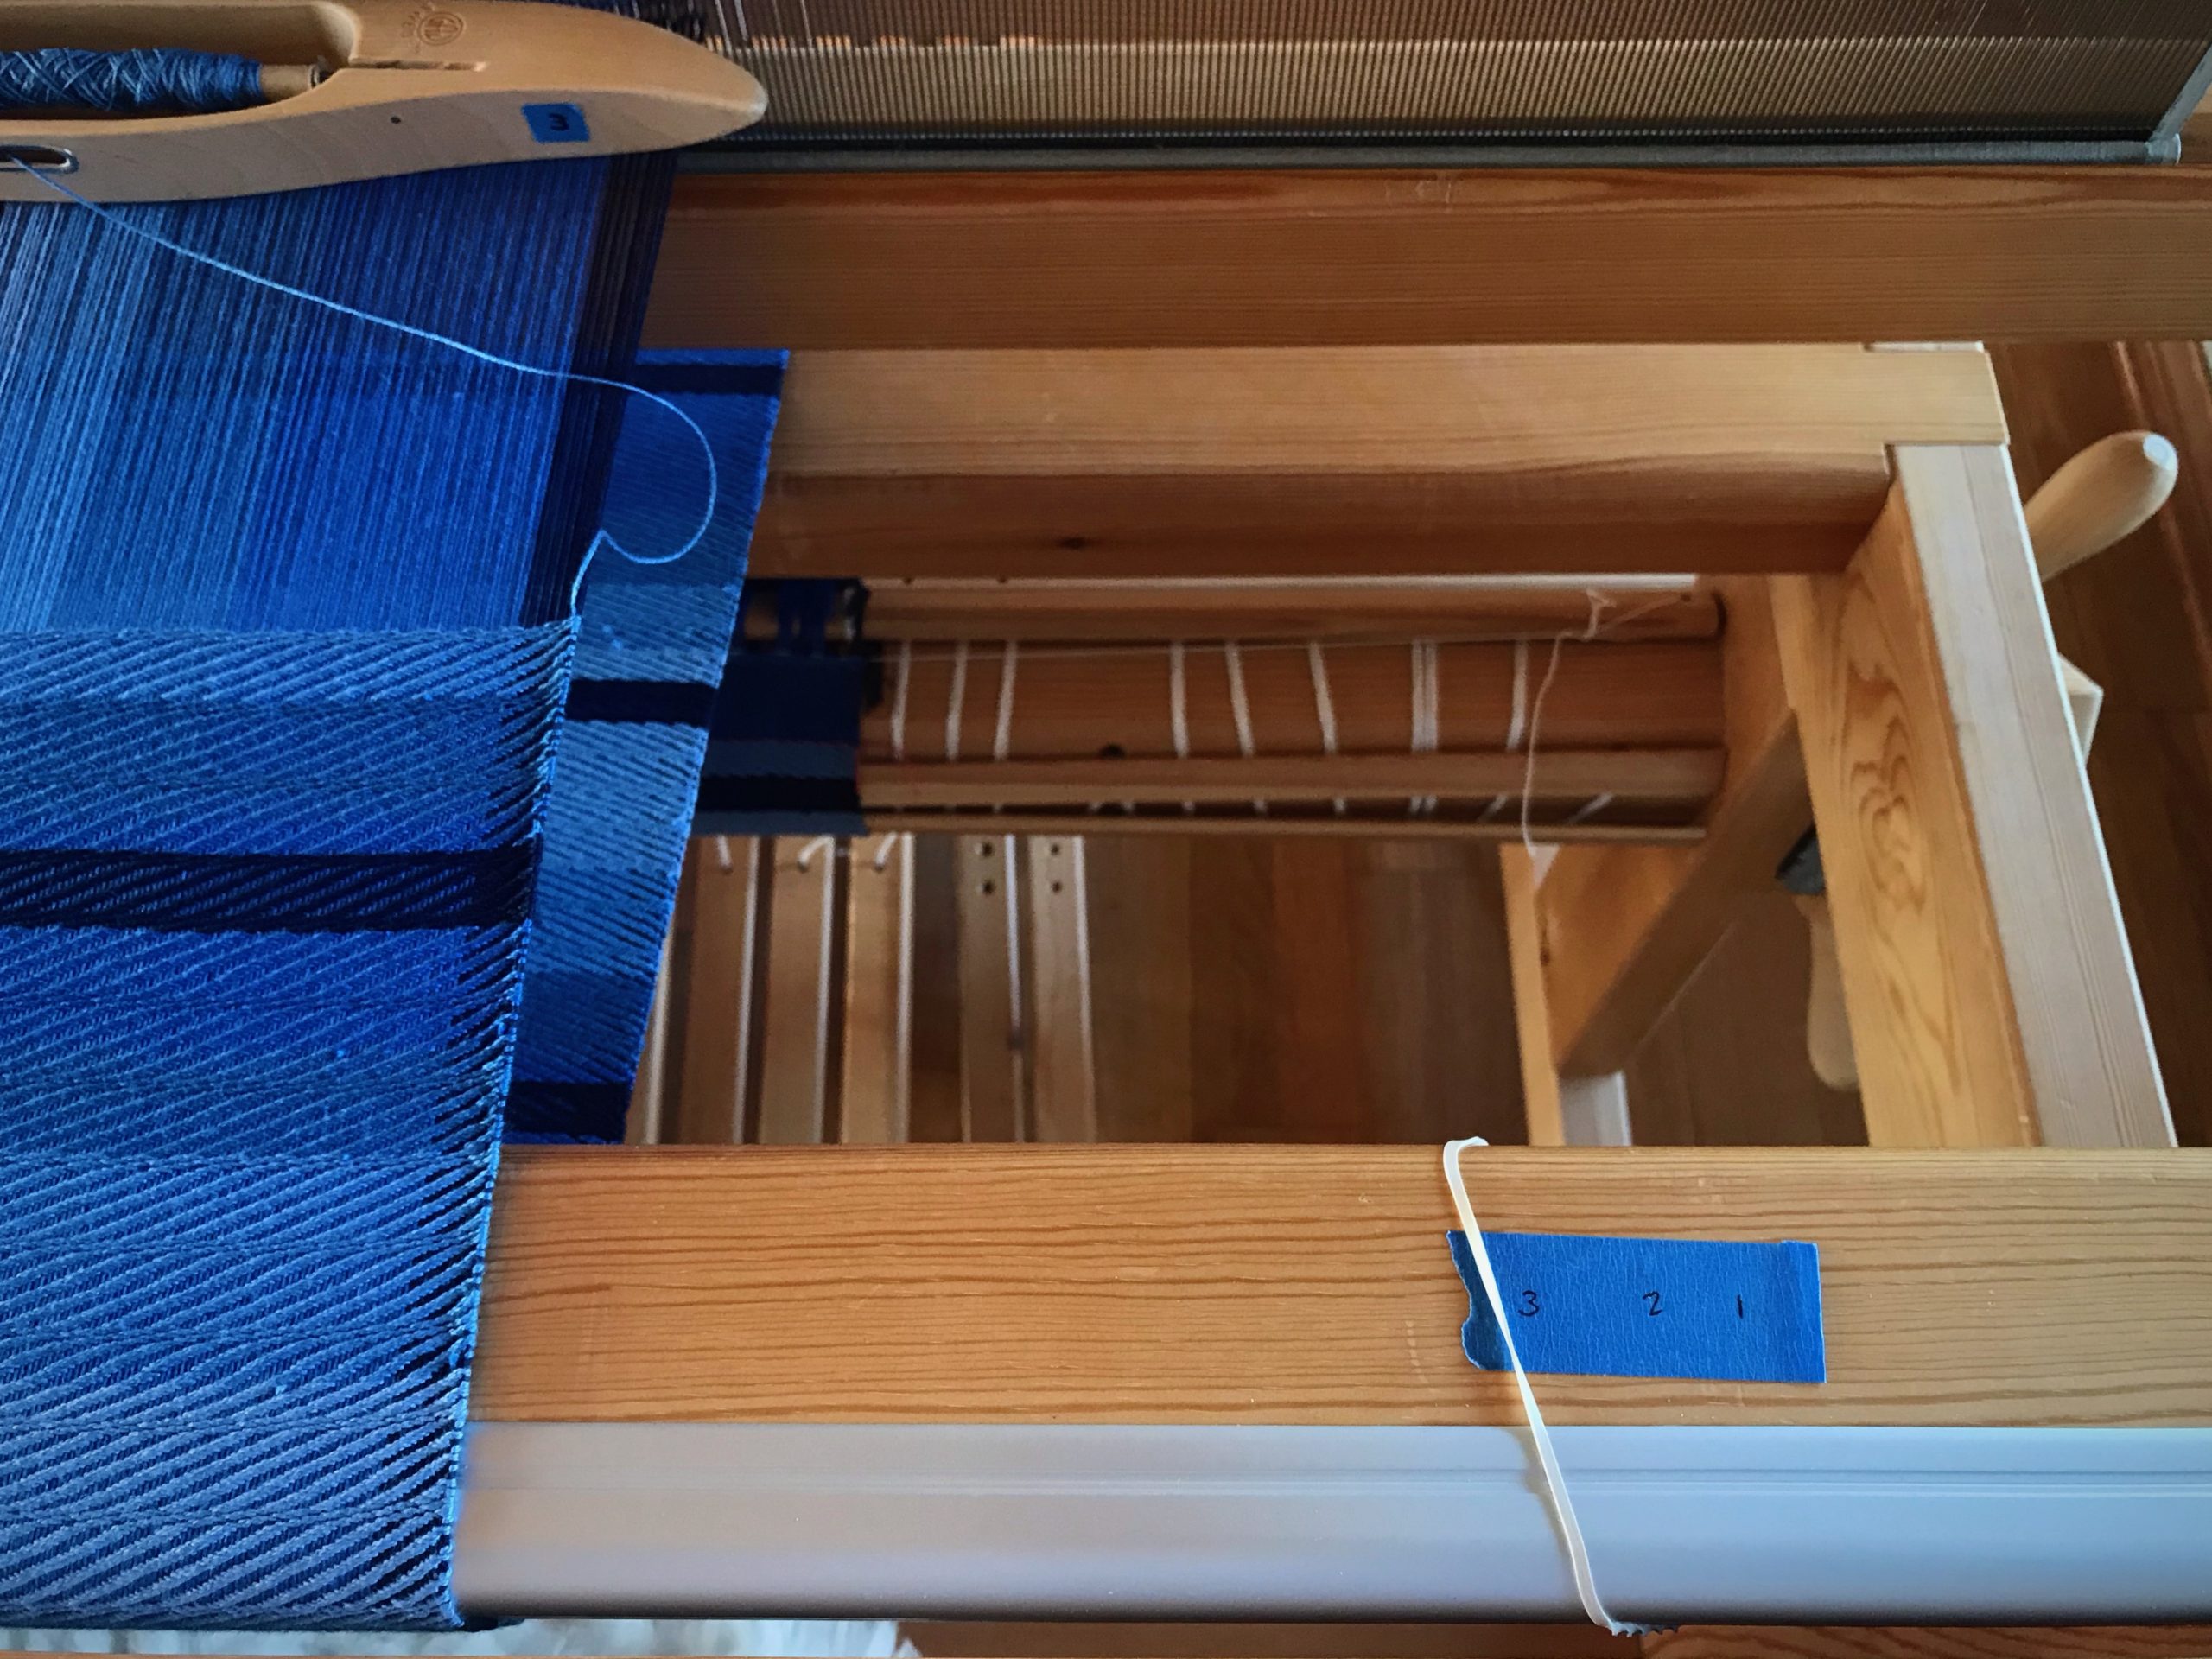
Necessity: Keep from losing my place with treadling repeats.
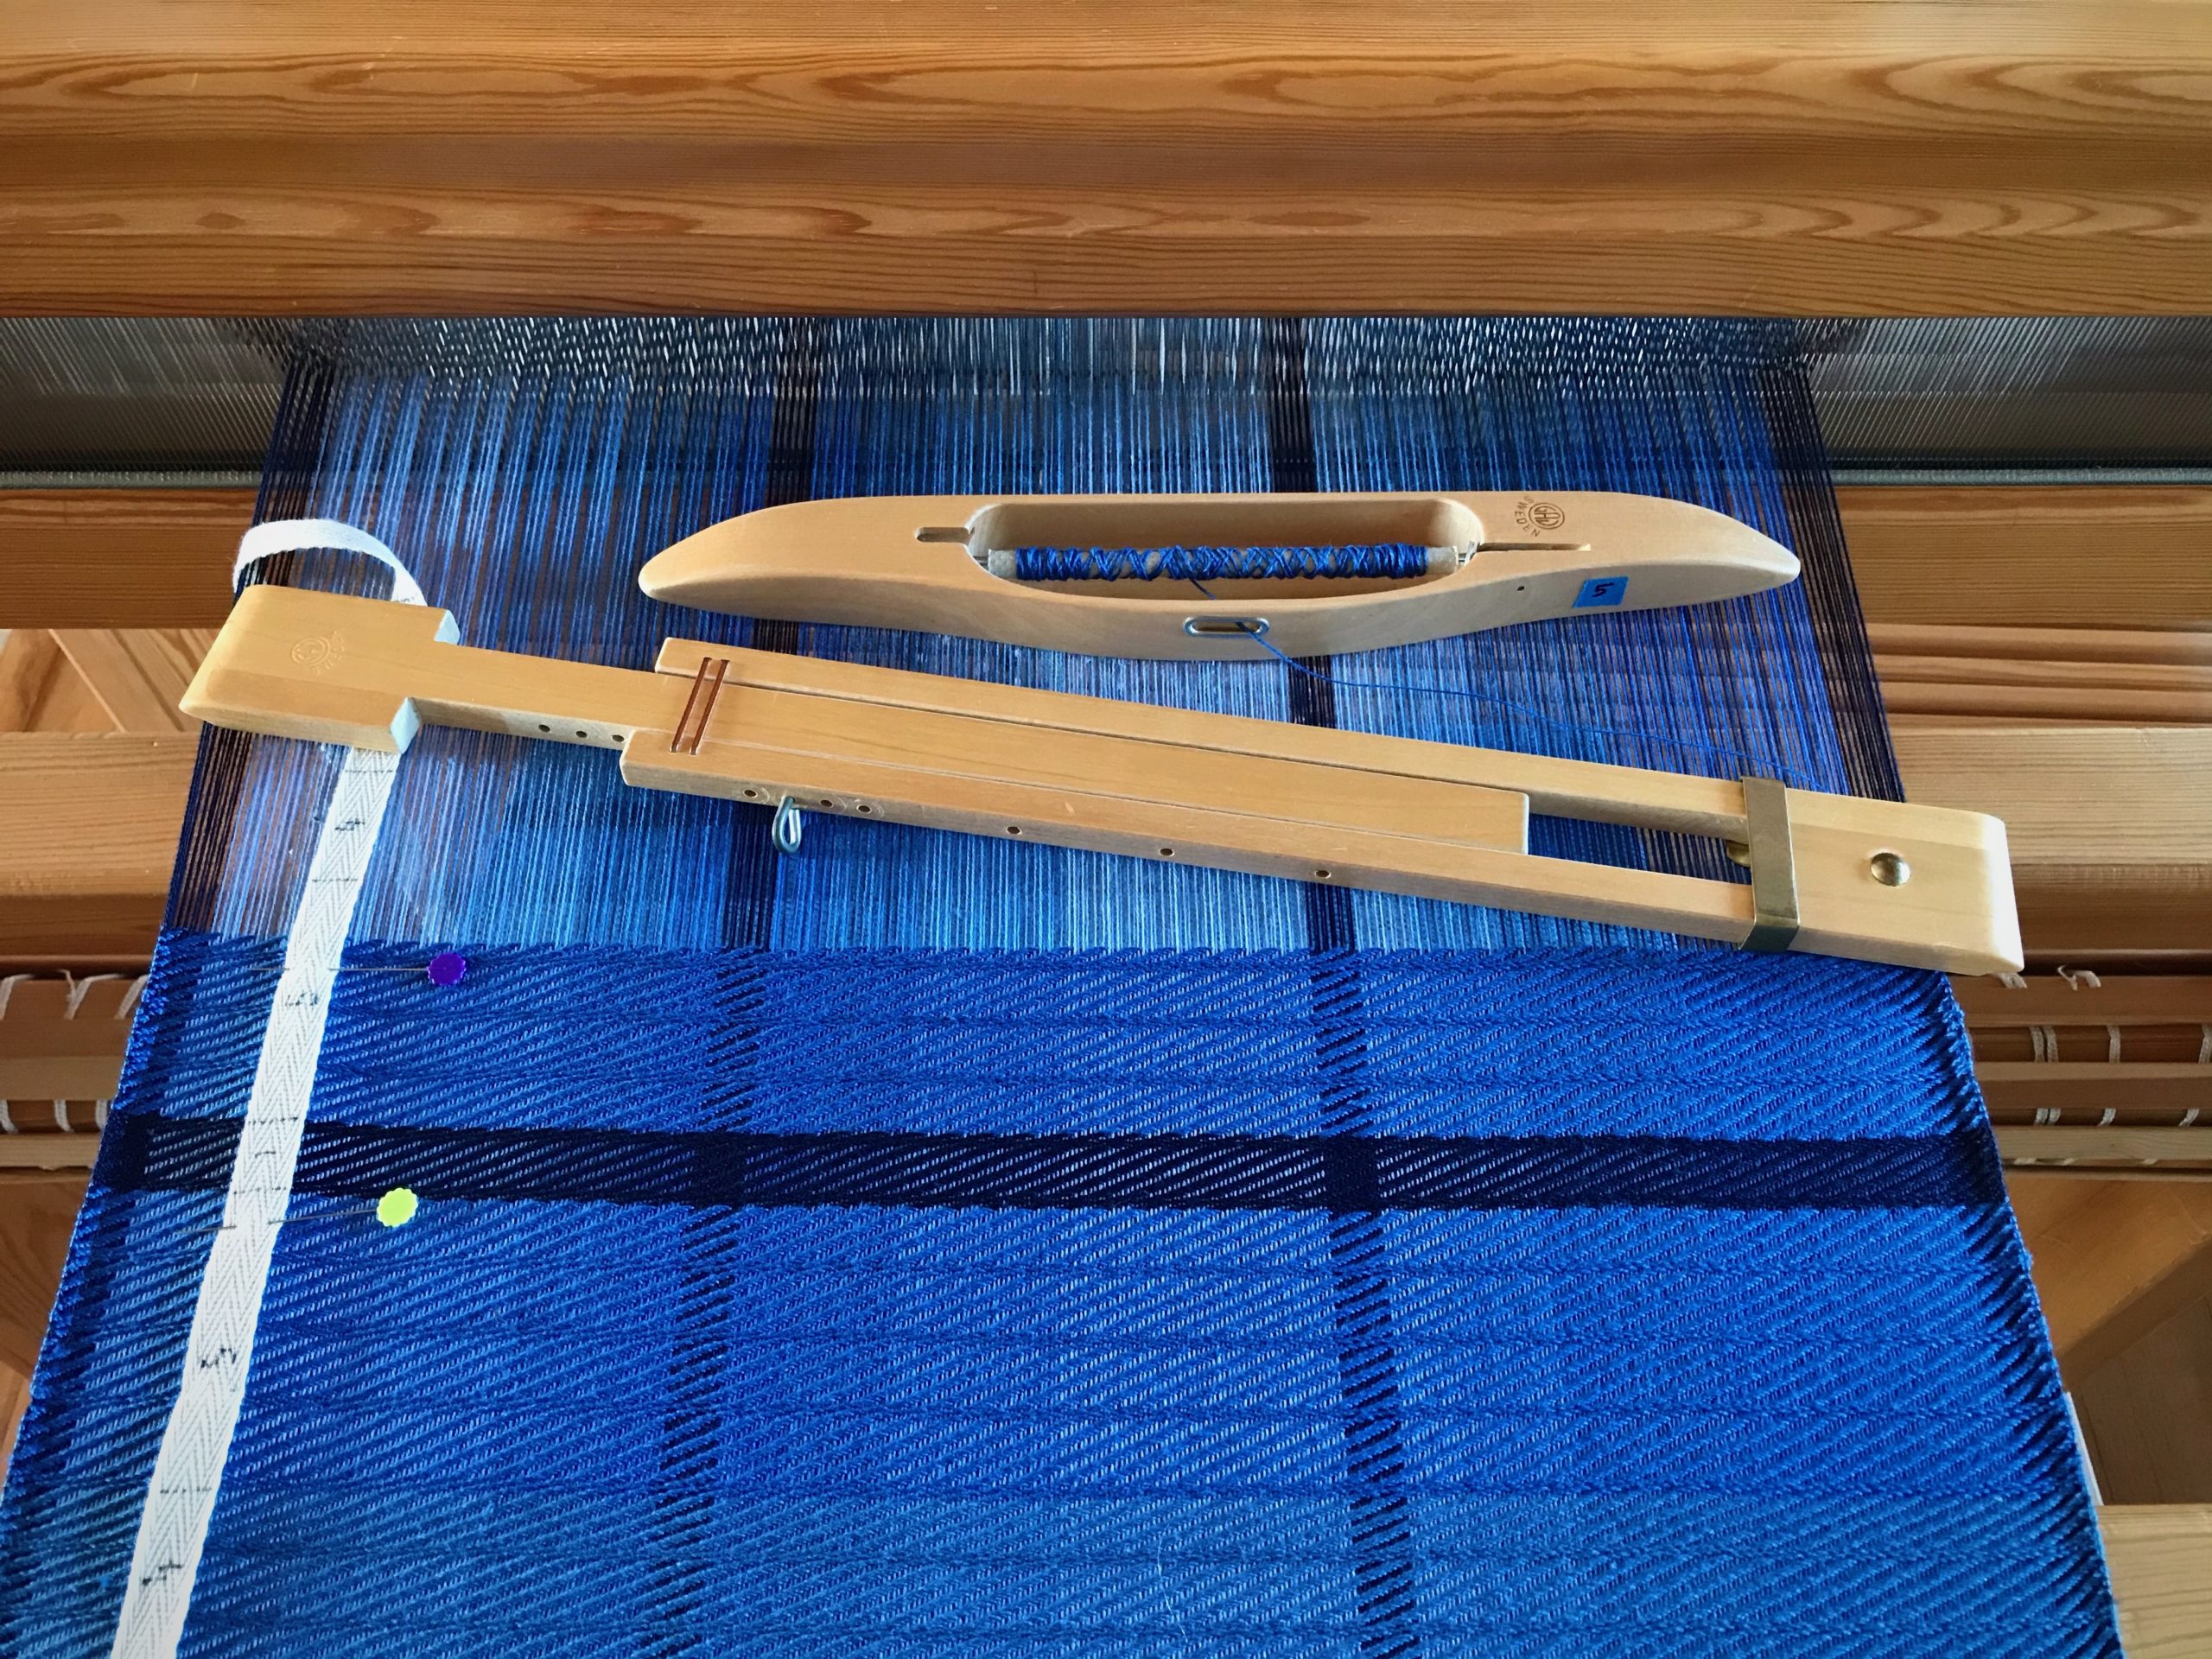
Solution: A strip of blue painter’s tape with “3 2 1” and a rubber band, placed on the breast beam. Move the rubber band on the tape (from right to left) to track repeats.
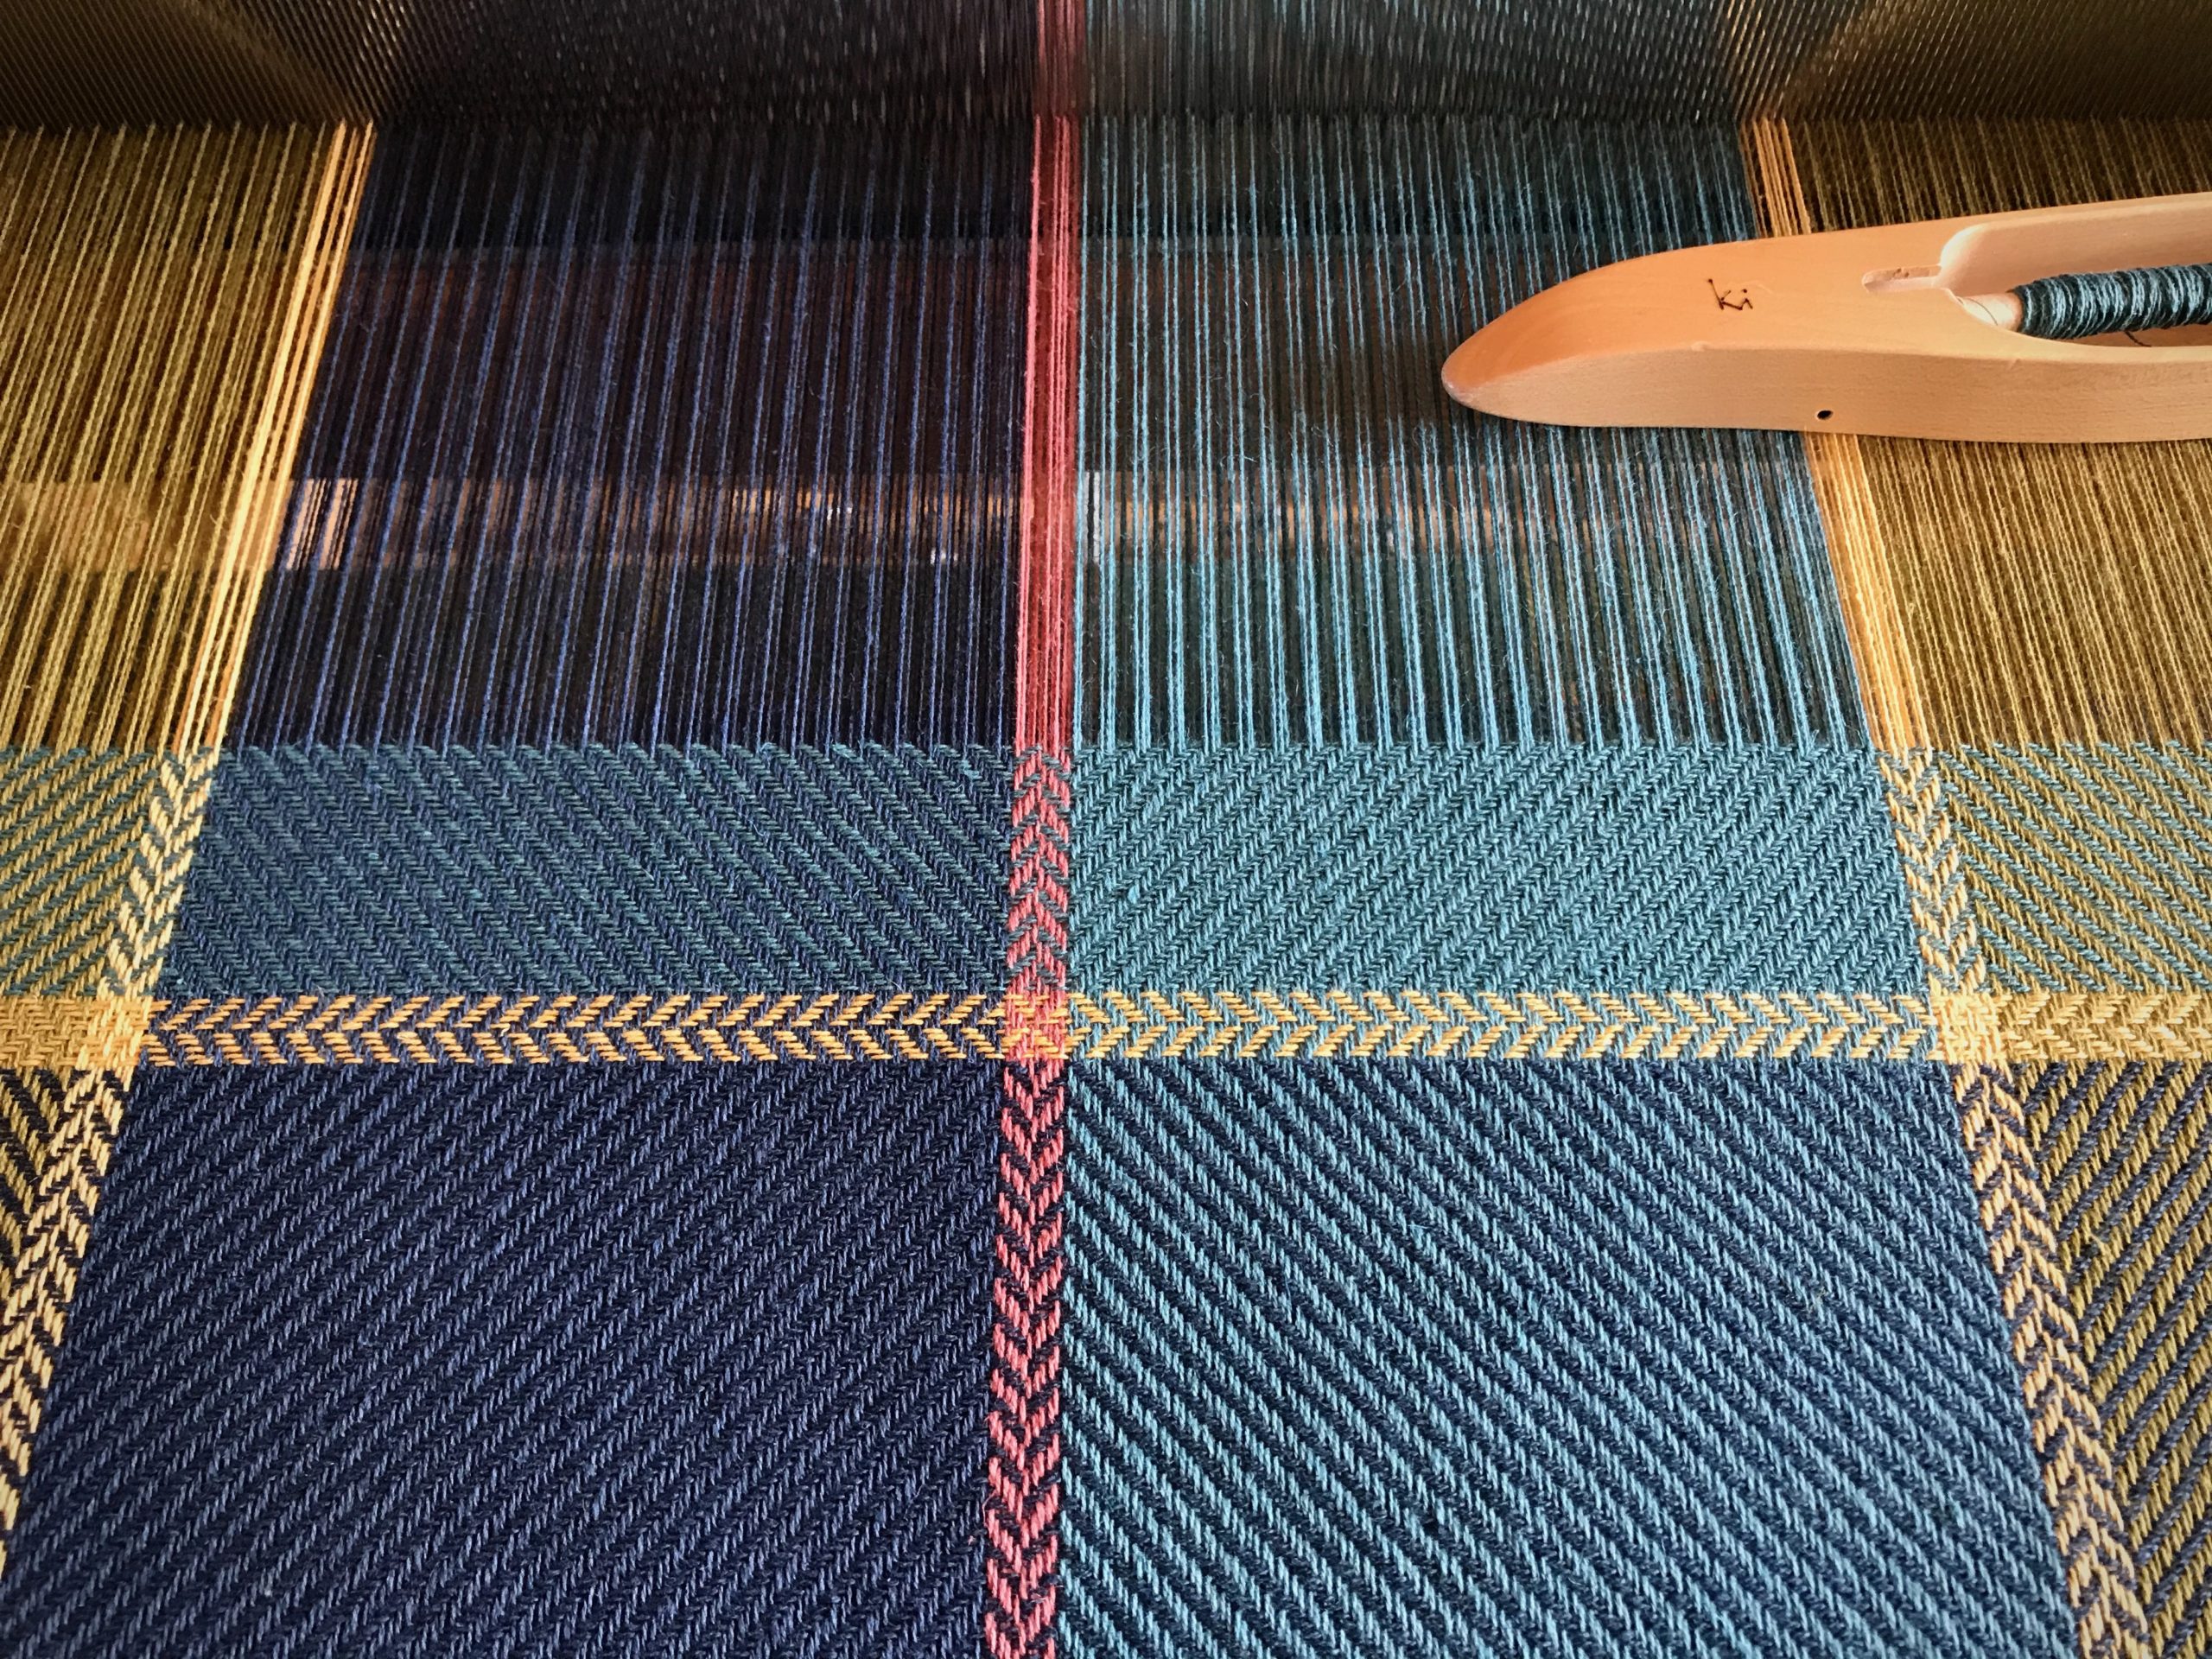
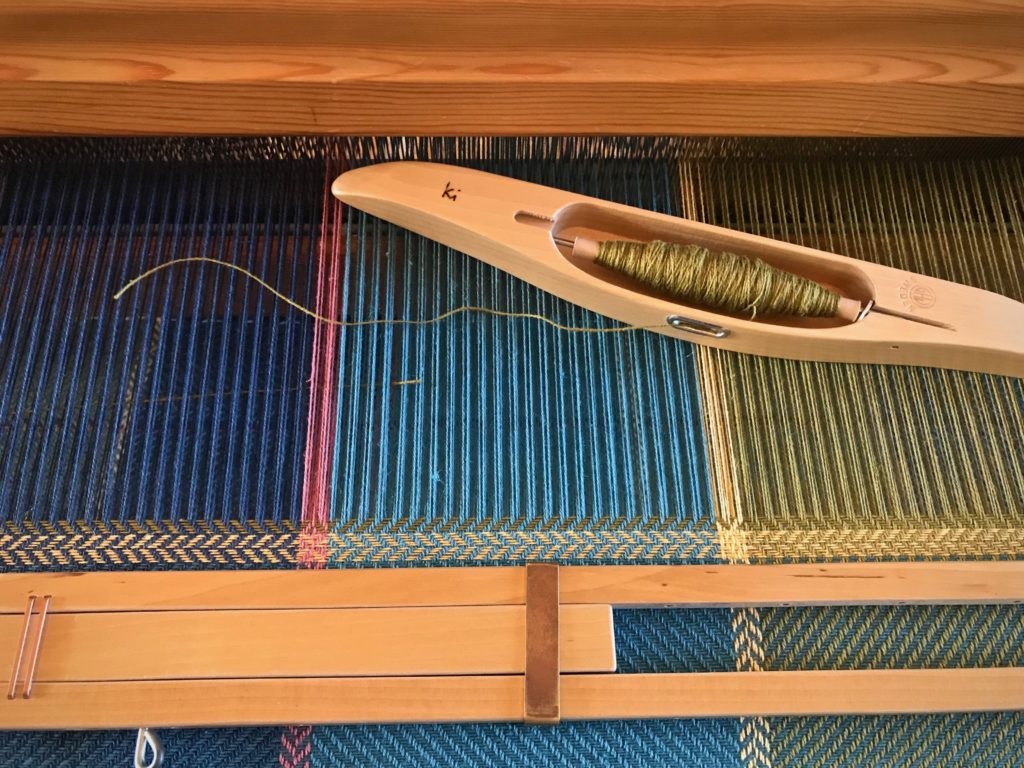
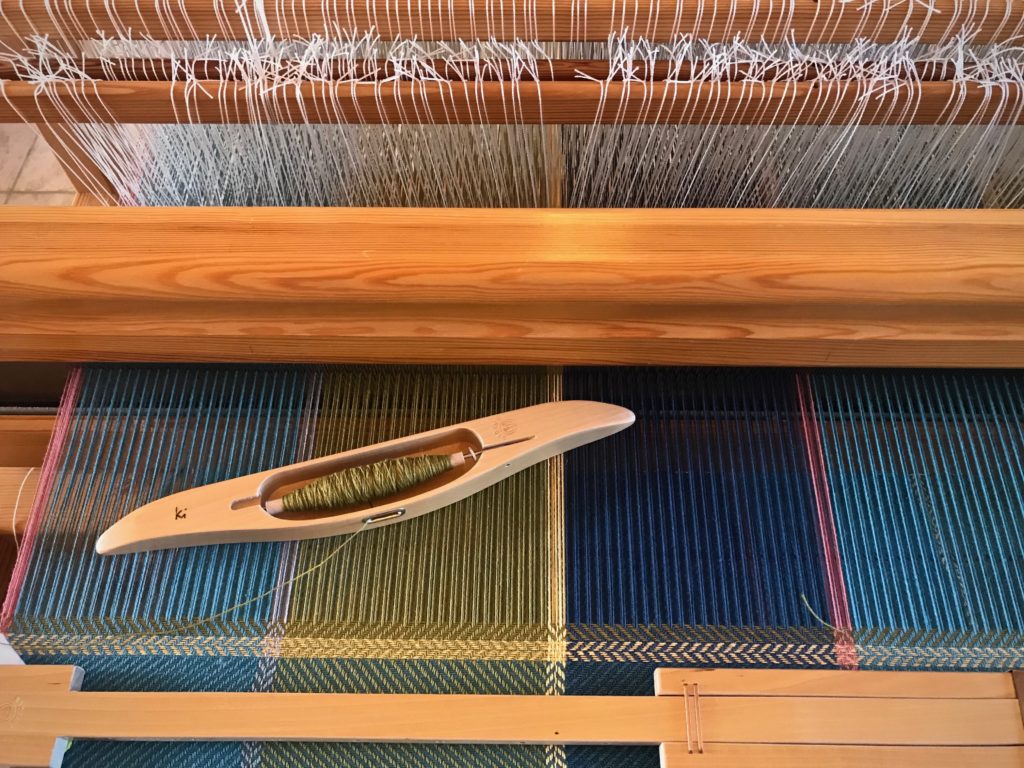
Weaving tips - low tech solutions.
I need help counting to 3 when it comes to treadling repeats. On the Glimåkra Standard loom, I am able to loosen the warp enough to lift the breast beam so I can put a rubber band on it. Without a removable breast beam, one could use a separate small piece of tape instead of a rubber band to keep track.
Keep track of repeats. Blog post with tips and tricks.
Low tech solution for keeping track.

Shuttle Catch

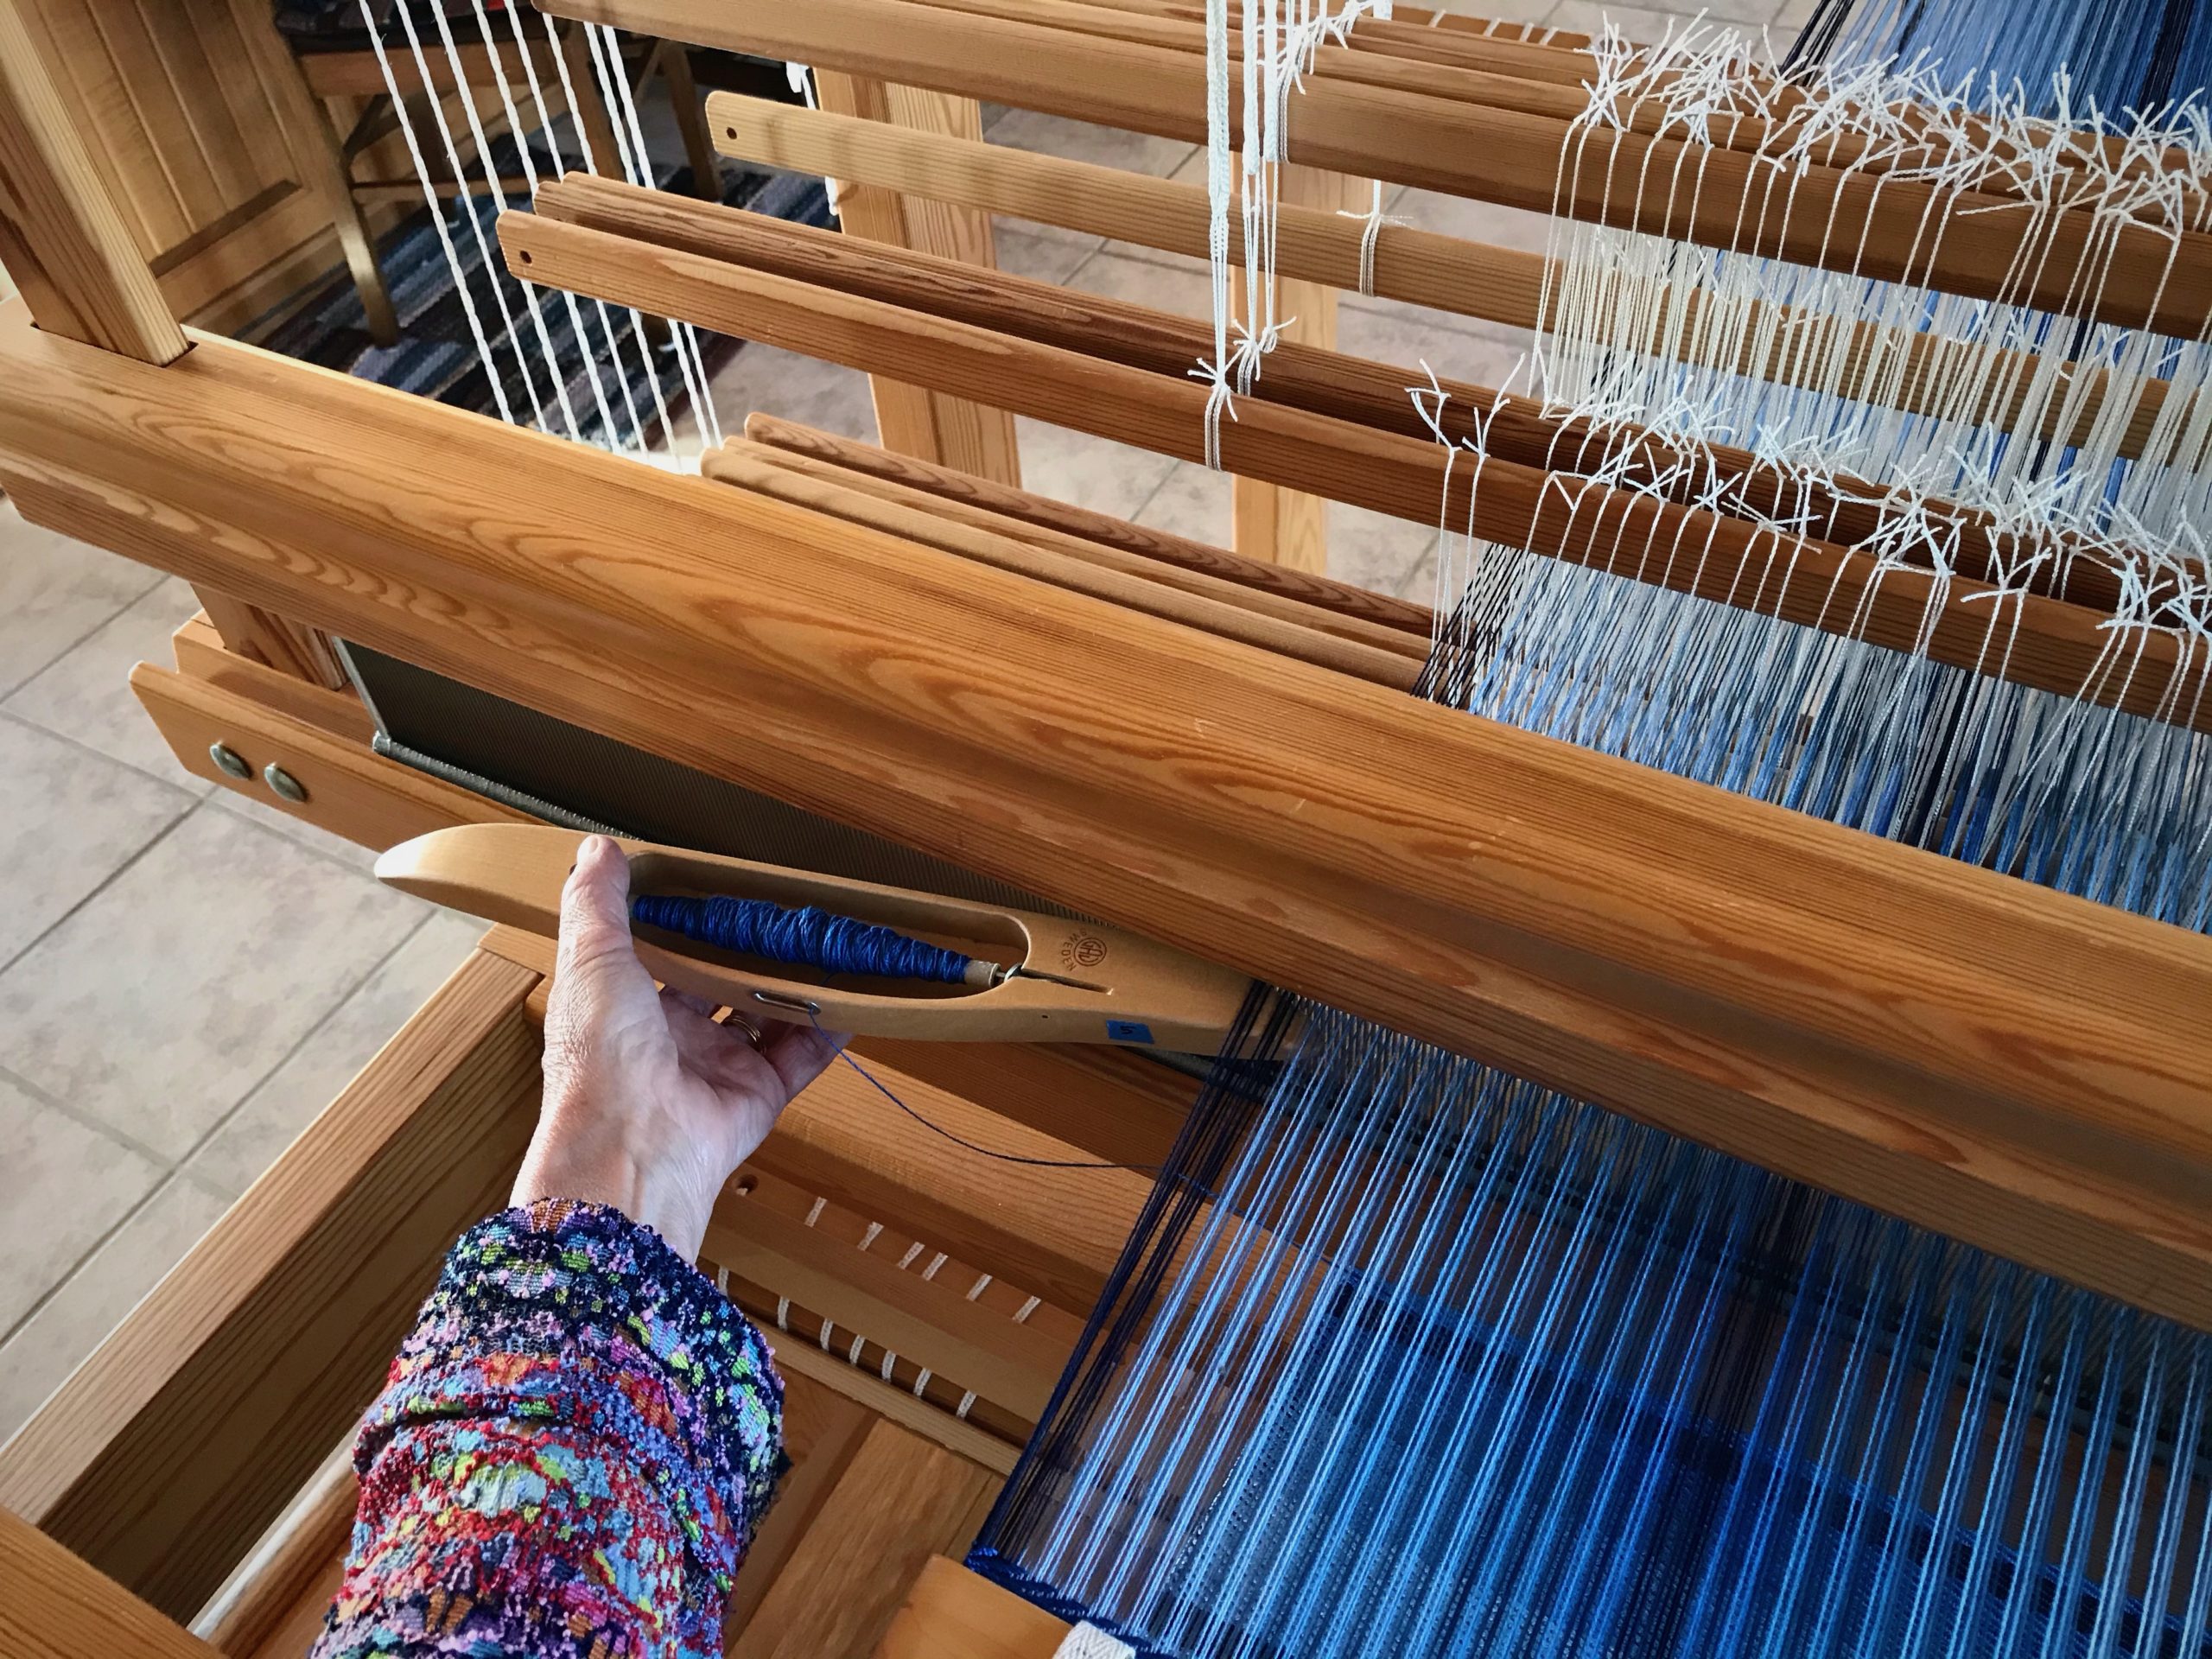
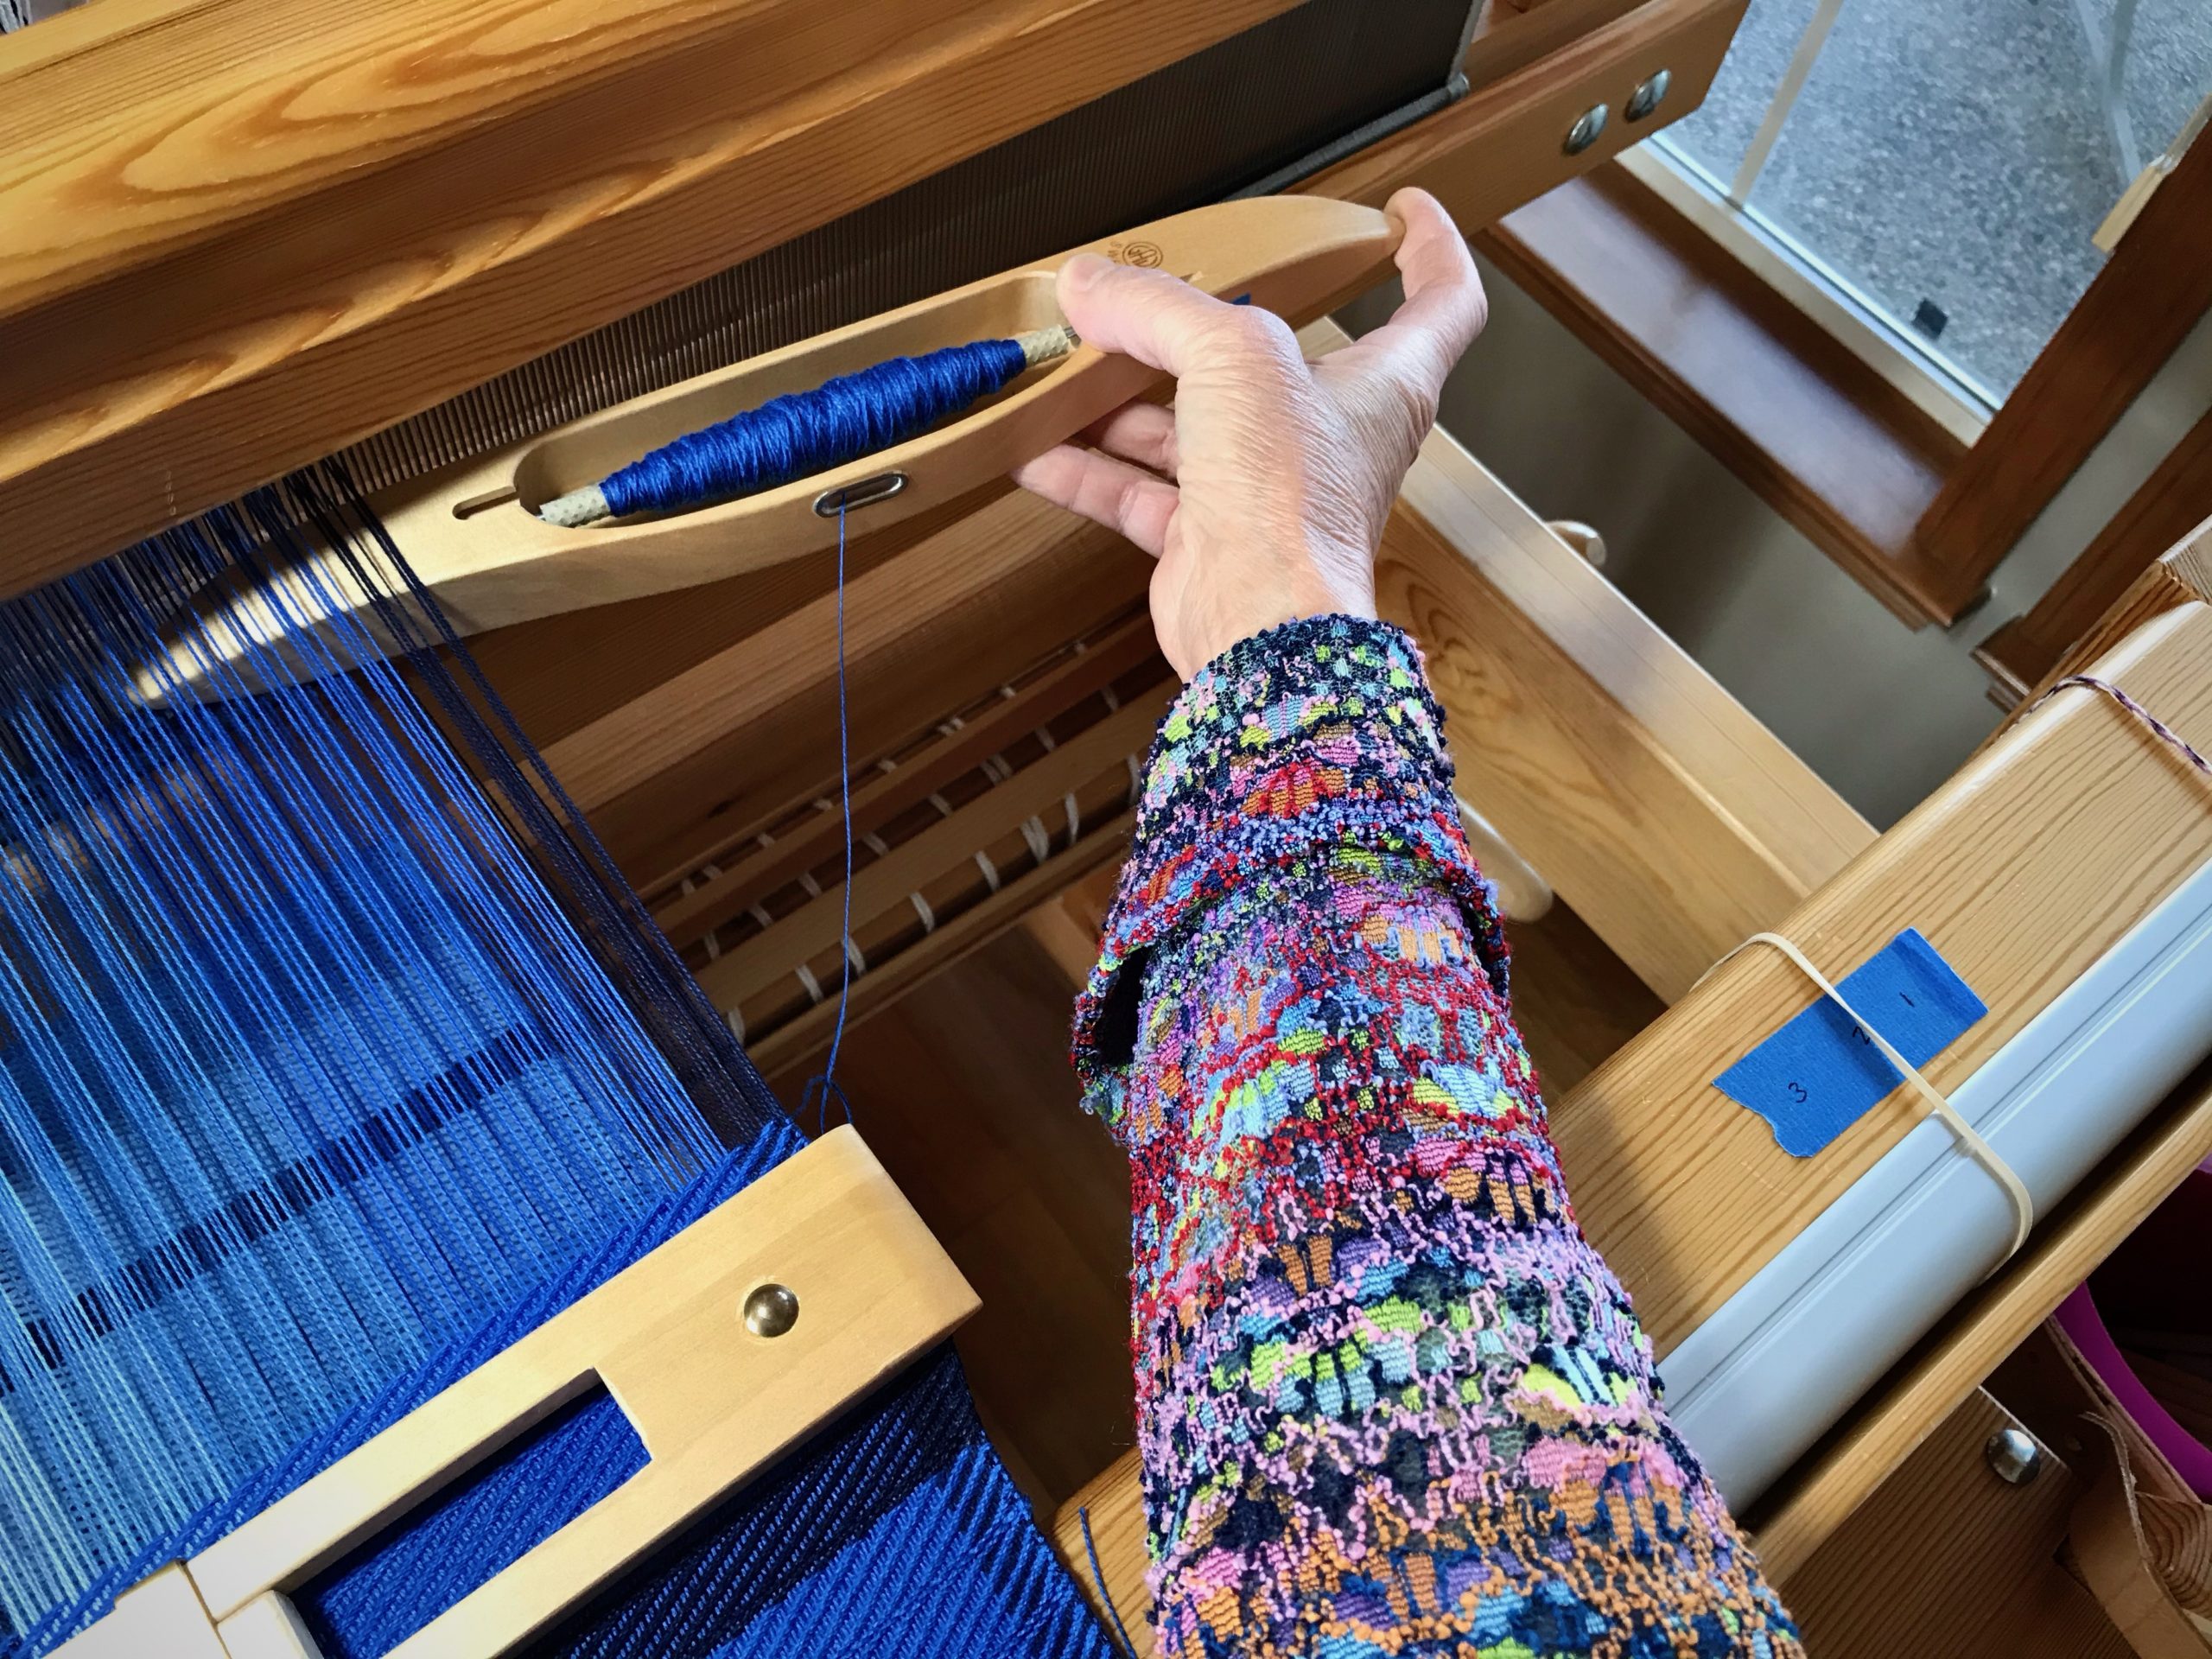
Necessity: Keep from fumbling the catch, having to reposition the shuttle in my hand to send it back across the warp.
Solution: Keep my eye on the shuttle. If I turn my head to watch the movement of the shuttle, my catching and throwing improves immediately. This makes my selvedges improve, too.
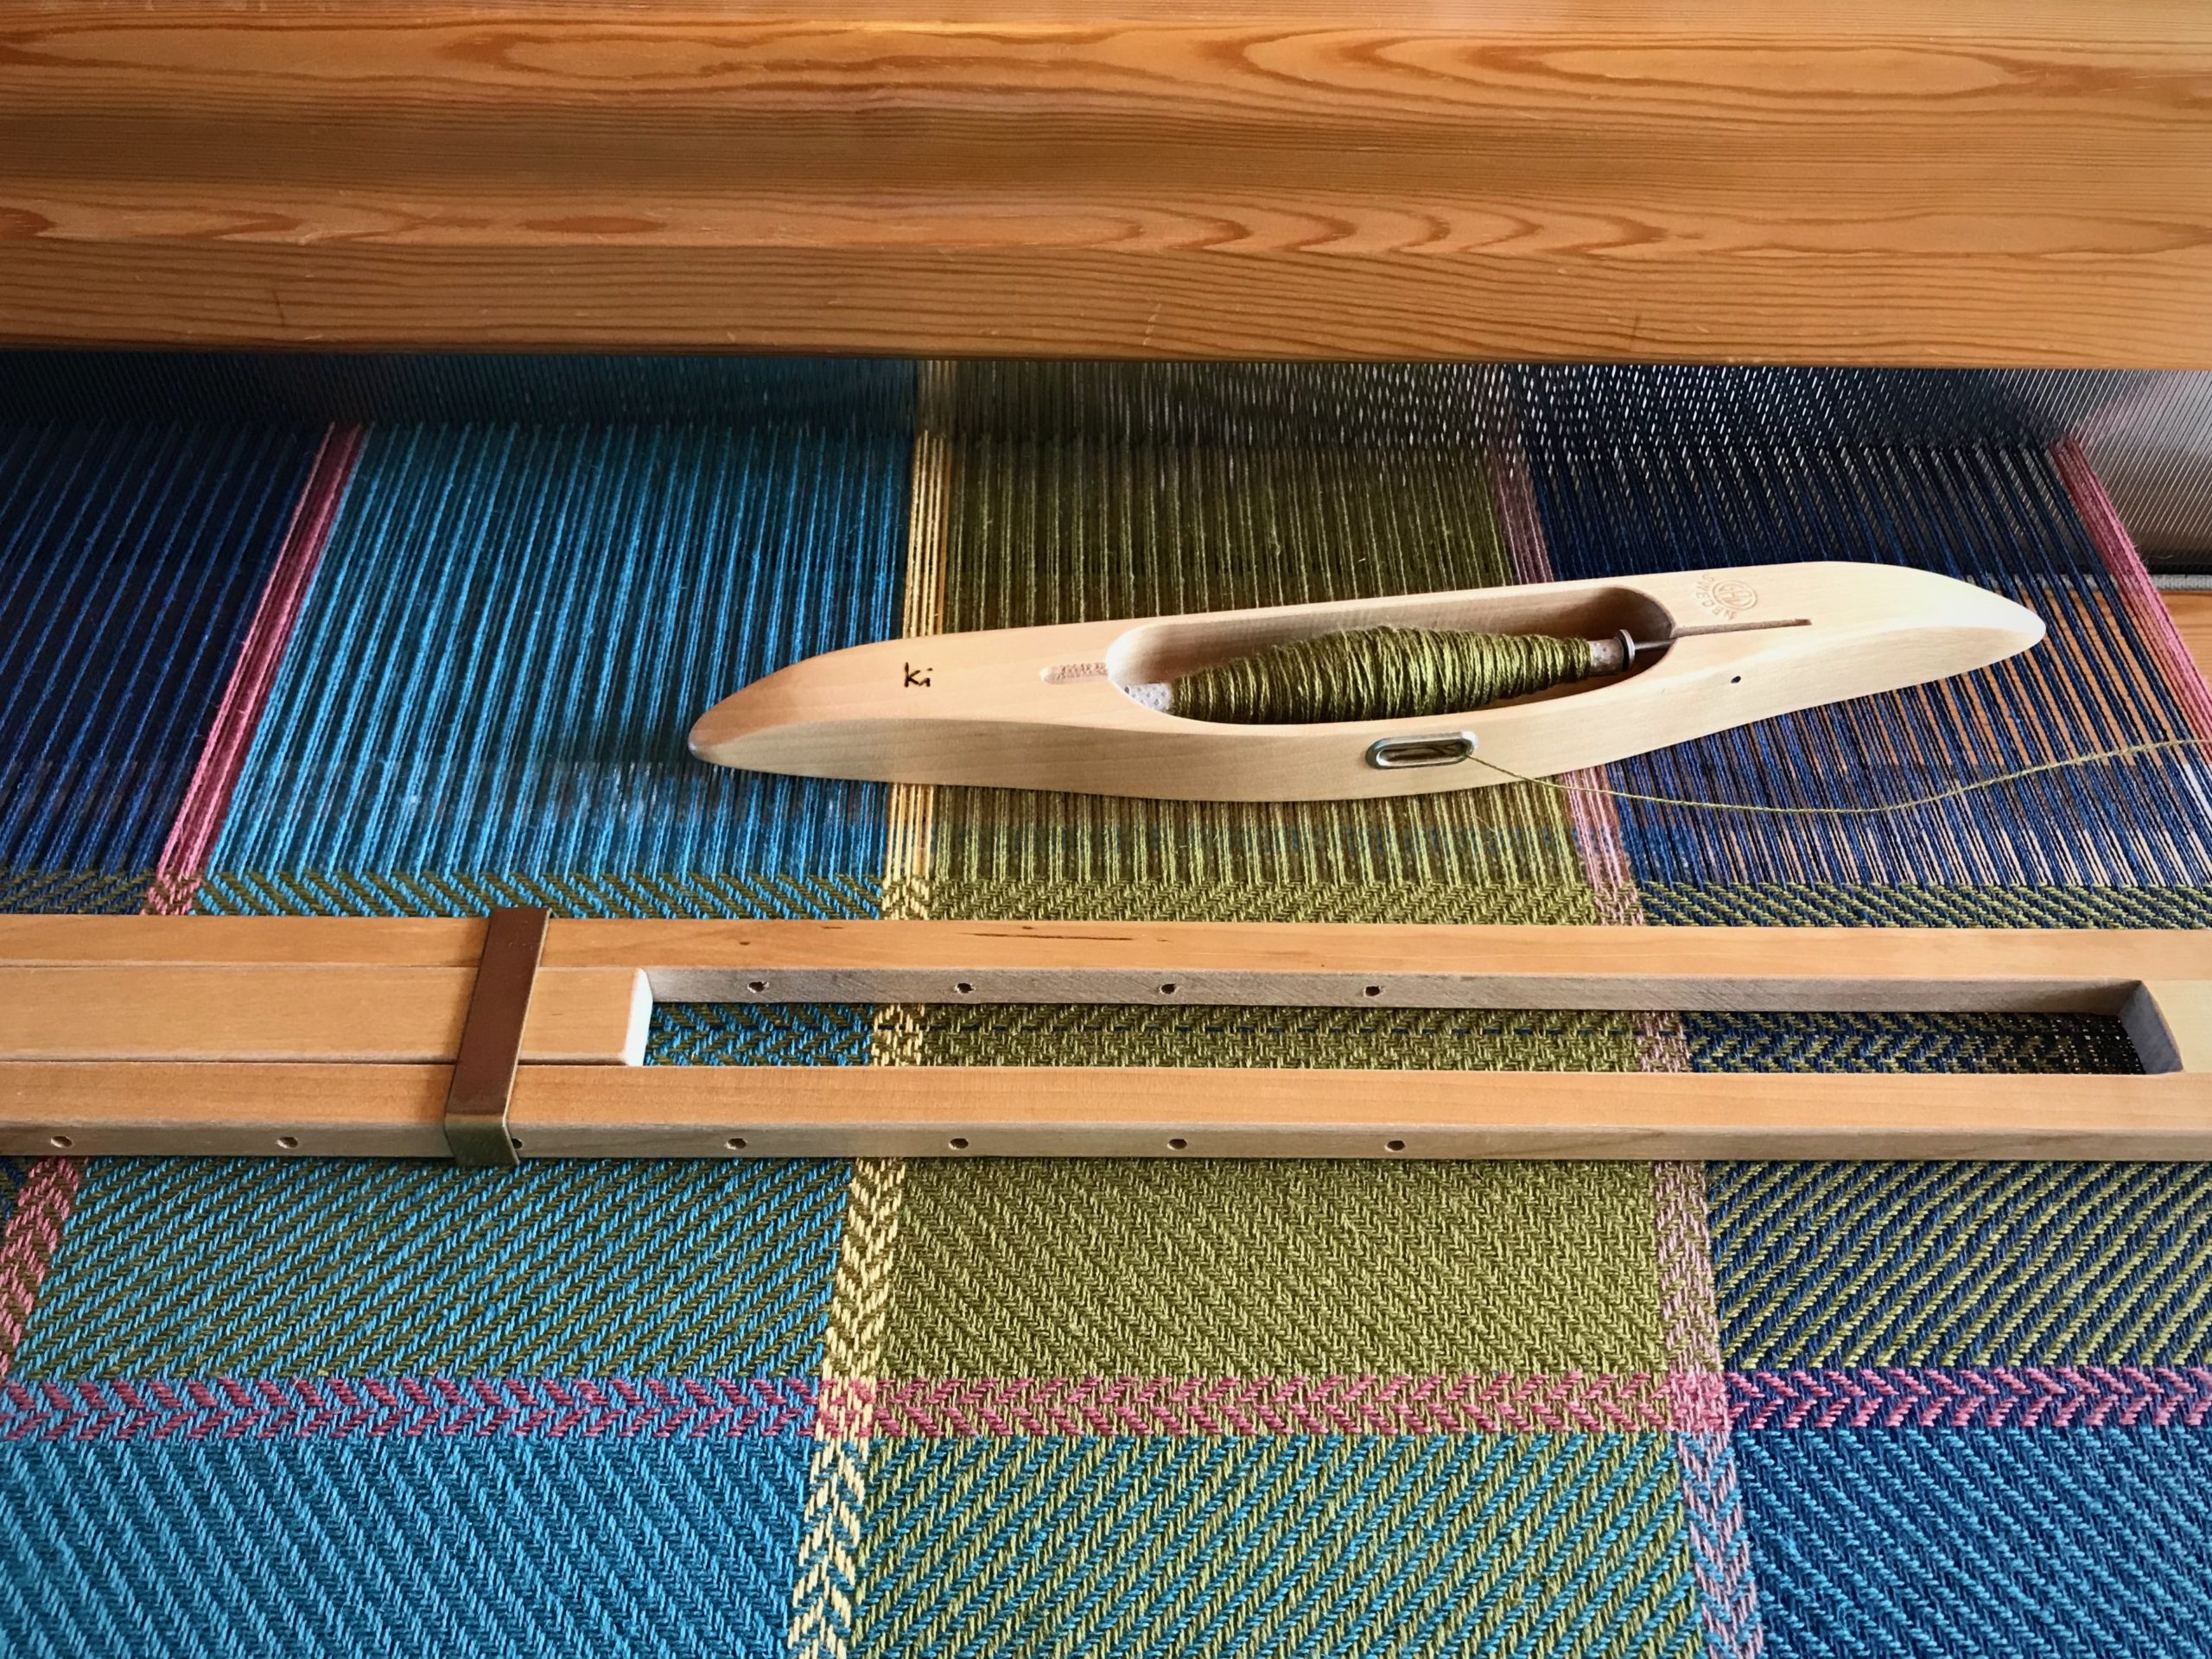
Weaving tips and tricks. Easy tip on how to catch the shuttle perfectly.
It is easy to throw and catch the shuttle without actually looking at your hands. I have to consciously remember to turn my head to follow the shuttle with my eyes.

Leave No Trace

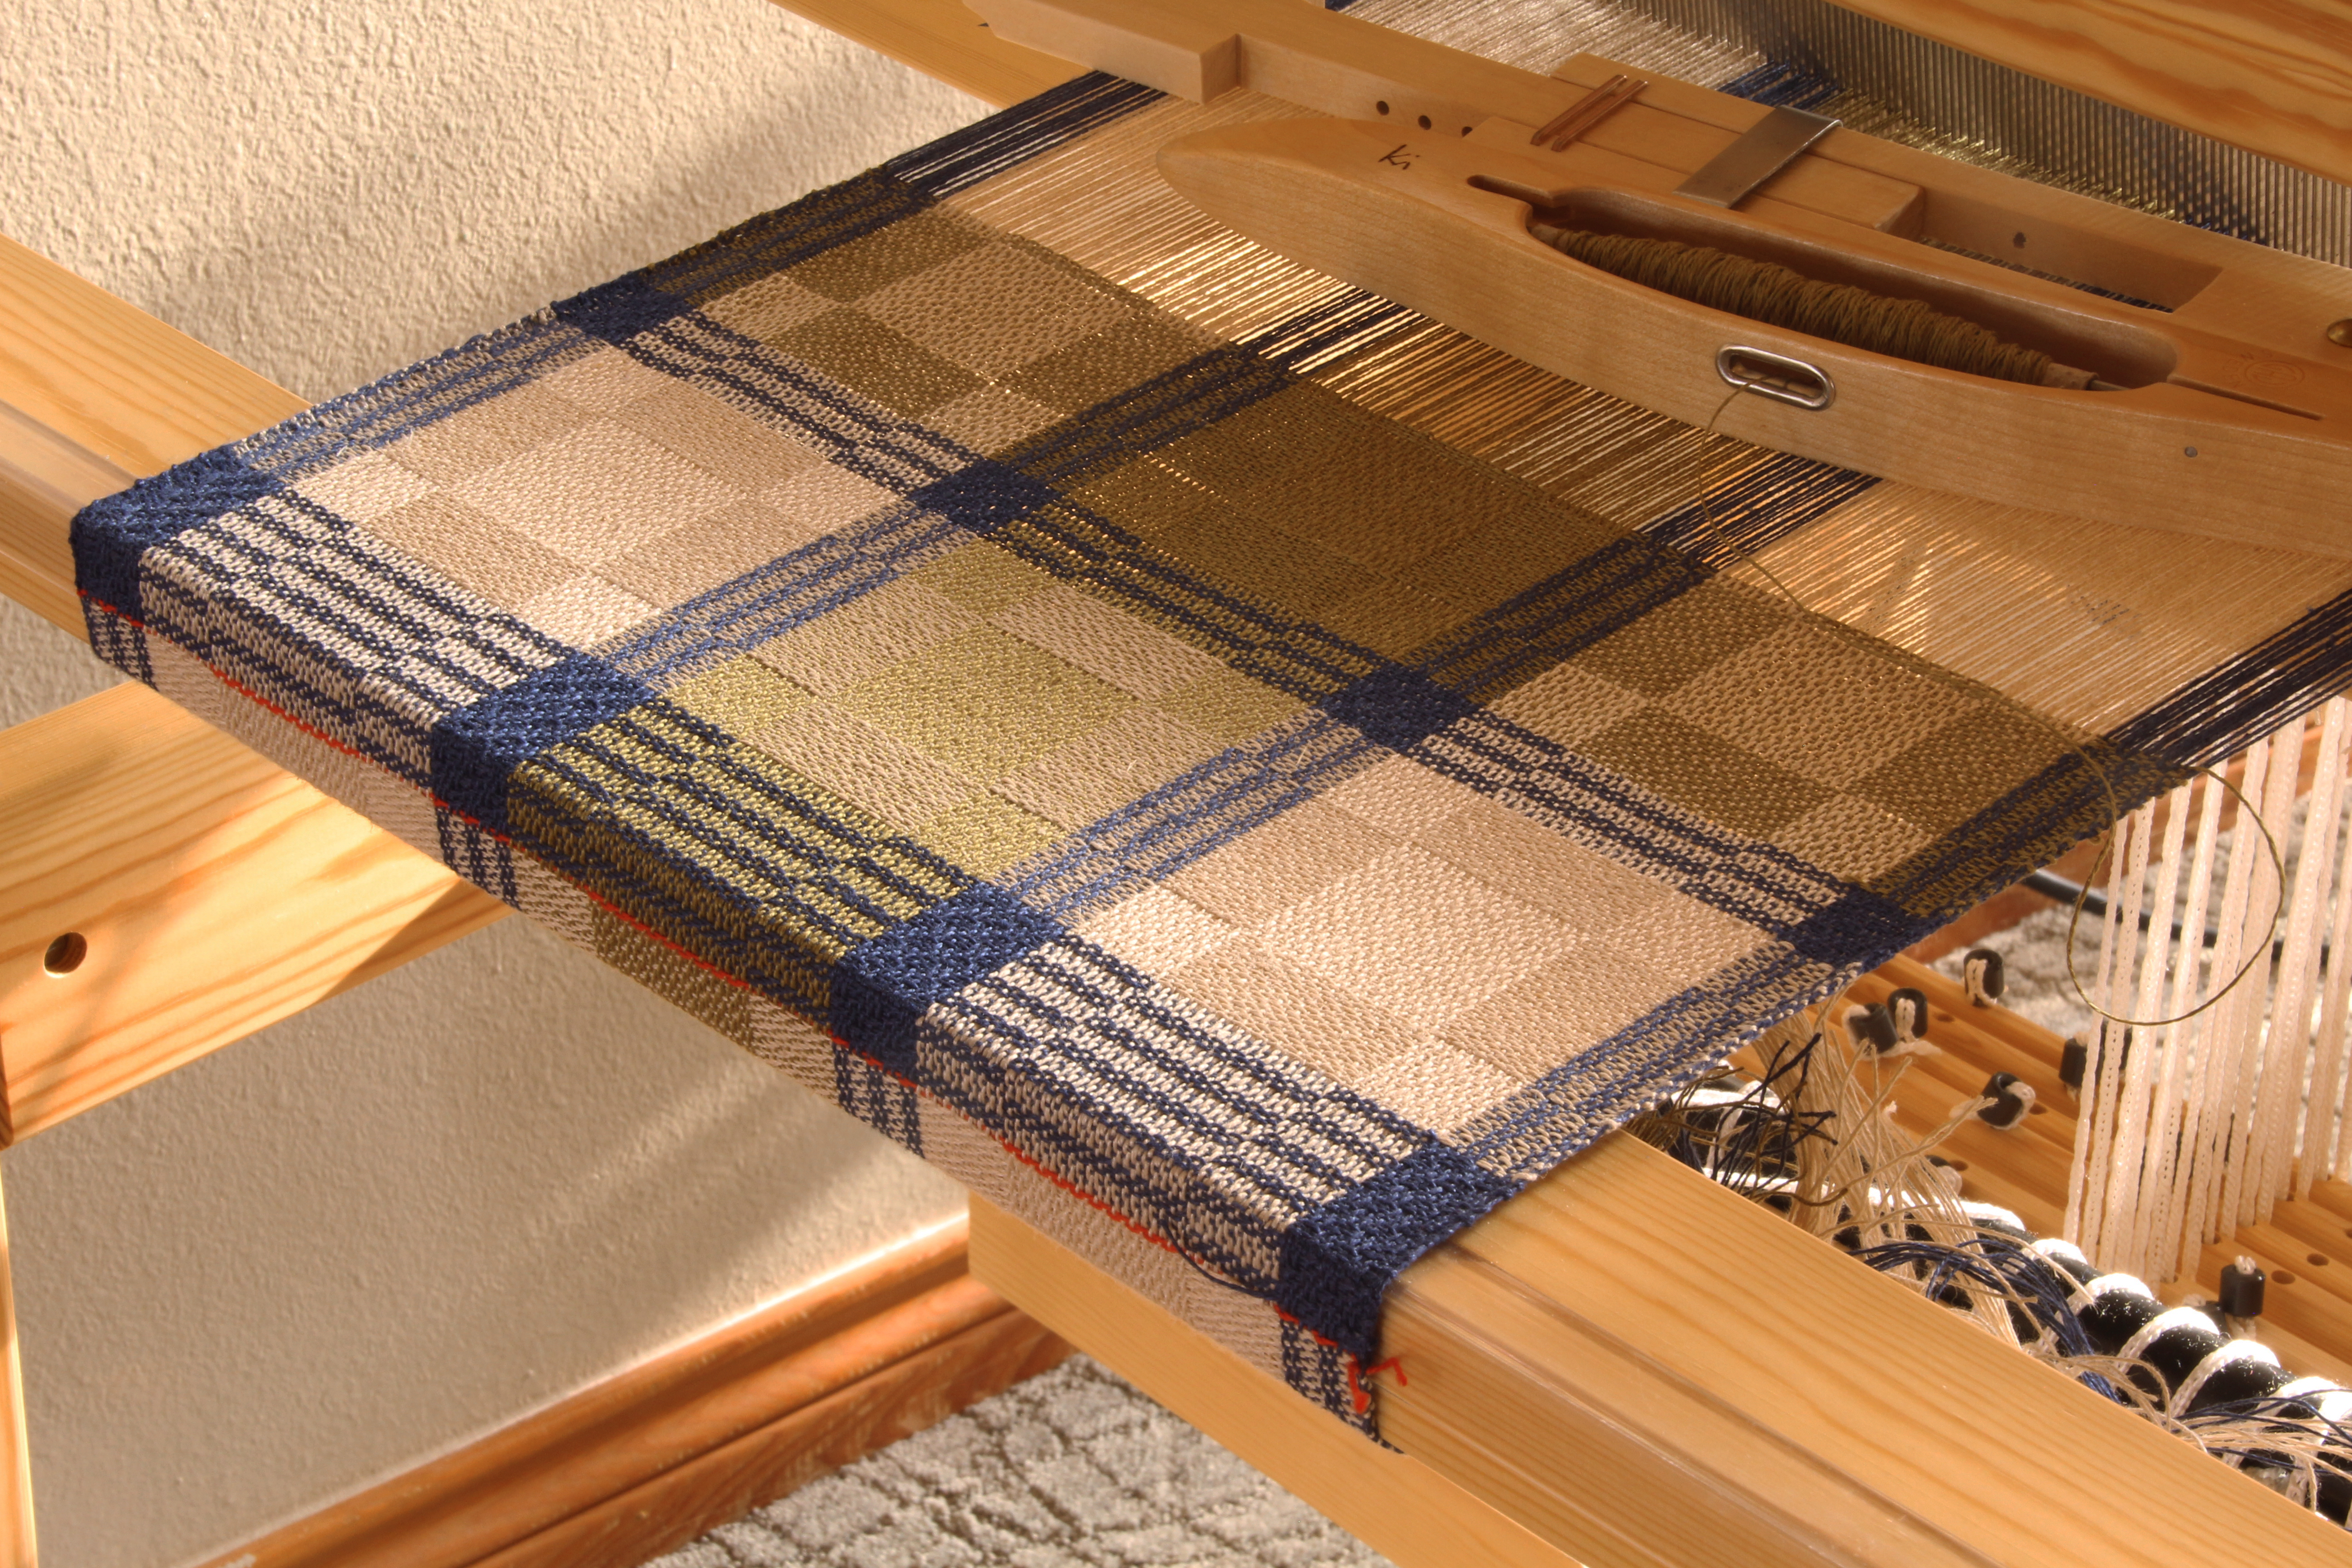
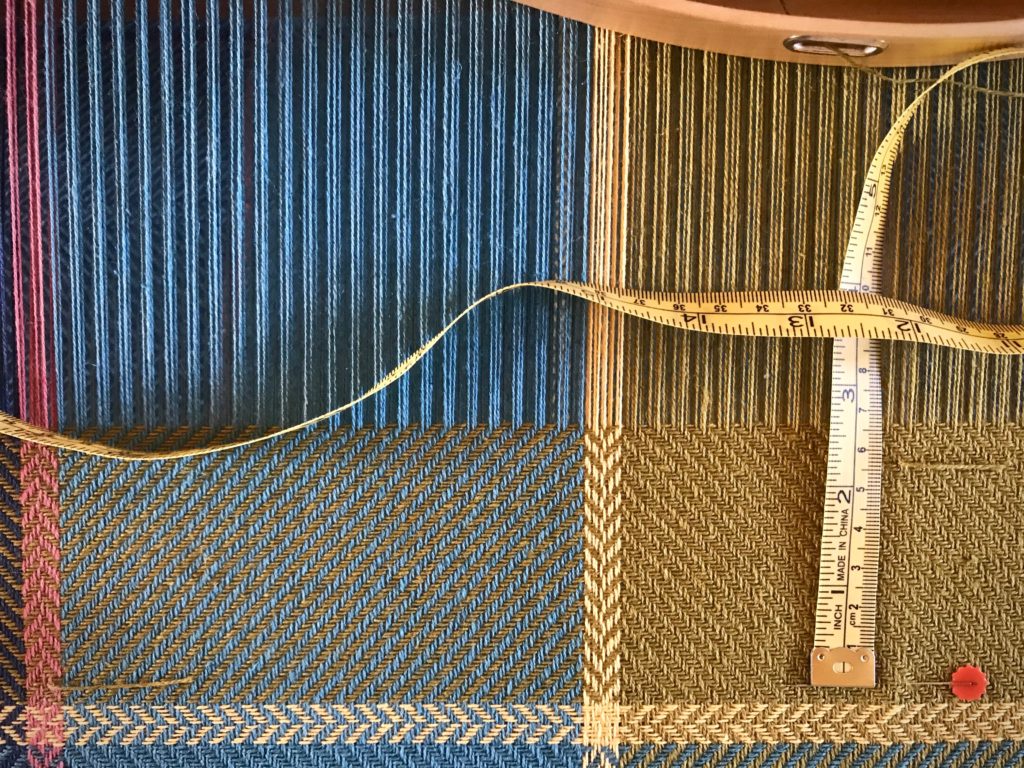
Necessity: Keep from leaving slightly perceptible lines in the woven cloth that reveal every time I stop to move the temple and advance the warp.
Solution: When it is almost time to advance the warp, I move the temple and then weave one or more pattern sequence(s) before advancing the warp. This helps me leave no trace of starting and stopping.

Tips and tricks for the weaving loom.
Almost ready to advance the warp, I remove the temple and reposition the pins on my guide tape. Then, I put the temple back on, near the fell line.
Tips about when to advance the warp.
After moving the temple, I weave one or more complete treadling sequences before advancing the warp.
Three simple weaving tips for efficiency and quality!
After advancing the warp, I know exactly where I left off because of my tape-and-rubber-band counter. My eyes are on the shuttle to continue this segment of weaving.

Do you have a simple tip that improves your efficiency and/or quality at the loom? Please share in the comments.

May you notice what you’re doing.

Happy Weaving,
Karen

Palms Up

I distinctly remember the thrill of weaving my first two-block twill on eight shafts. It was a linen table square woven on a Glimåkra Standard loom in Joanne Hall’s delightful Montana studio. That classy linen table square came home with me, …and my first floor loom came soon after–a Glimåkra Standard of my own!

Two-block twill linen table square.
Linen table square, woven at Joanne Hall’s studio.

I can still hear Joanne’s gentle instruction about holding the shuttle. “Palms up.” This way is easy on the hands and wrists. I’ve had considerable practice since those lessons in Montana. Now, I send the shuttle across the warp and catch it securely with ease. That same two-block twill “Linne” pattern is on my Julia loom now, bringing back those fond memories. It comes as no surprise that watching threads on eight shafts become woven cloth is just as thrilling now as it was that very first time.

Linen table runner on 8 shafts.
Linne Table Runner on the Julia in golden bleached, olive green, and midnight blue 16/2 line linen.

Deliberate hands send the shuttle through the shed, and receive it as it comes through to the other side. God’s hand is faithful. Trust-worthy. Think of his hand as open, palm up. Carrying, sustaining, and holding us securely. Trust puts us into the Lord’s faithful hand.

May you remember what you’ve been taught.

Happy Weaving, Karen

Process Review: Perfectly Imperfect

I waded into deflected double weave for the first time. It took me one full scarf to figure out what I was doing. By the second scarf, I had a much better sense of how the pattern fits together and what to do with the shuttles (most of the time). Both scarves are quite imperfect (no one will ever know…). The loom behaved perfectly, though. This is my Julia’s first project using all eight shafts. Now, I know that this sweet loom is up to any challenge I give her.

20/2 Mora wool by Borgs for a lovely scarf.
20/2 Mora wool by Borgs. Yarn is temporarily secured by pulling a loop behind the warp at the nearest upright on the warping reel.
Putting a new warp on the 8-shaft Glimakra Julia.
Preparing to dress the loom. The lease cross end of the warp chain is placed through the beater.
Glimakra Julia 8- shaft loom is ready to weave!
Warp is beamed and tied on, and the treadles and lamms are tied up.
Wool deflected double weave.
First scarf gives me a chance to learn. Beat consistency is getting better with practice.
Learning ins and outs of deflected double weave.
Trickiest part about deflected double weave is understanding how the shuttles interact so that the color from one shuttle (the salmon color) never goes to the selvedge.
Trying to learn deflected double weave.
Gaining confidence and consistency on the second scarf.
My first deflected double weave!
Stiff Mora wool will soon soften in the wash. After cutting off, I discover that a tiny misunderstanding gave me a consistent wrong thread all along one selvedge on the back side. Maybe we should call this defective double weave. (But, really, no one will ever know.)
O, the joy of twisting fringe!
Bundles of light and dark threads are twisted into swinging fringes before the scarves are washed.

By the way, I like the finished airy scarves, even with their flaws.

Deflected double weave scarf in Mora wool.
Finished scarf has delightful pattern and character. Mora wool is sufficiently softened through washing and drying, to make a supple fabric.
Texas hill country foggy day and new handwoven scarf to go with it.
Perfect (imperfect) scarf to brighten up a foggy day in Texas hill country.

May you wade into a new experience.

Happy Weaving,
Karen

Tried and True: Weft Color Changes and Video

I have an efficient way to handle weft color changes. It’s very simple. This is for those instances when I need to end one weft thread and start a new one. As a rule, I take care of weft tails as I go. I don’t want to come back to them later if I don’t have to. If I tuck in each weft tail at the beginning of the row, thickness from the extra wefts builds up at the selvedge, especially if I’m weaving horizontal stripes. The method I describe reduces the extra wefts, and eliminates having to tuck any tails in.

Weaving tutorial about weft color changes.
Color changes add to the movement and excitement of the design.
How to change weft colors - simple!
Vertical and horizontal narrow stripes in six-shaft broken twill.

How to Start a New Weft Color

  1. Weave the last pick of one color.
  2. Change to the shed needed for the next color. Take the shuttle with the first color into the shed for about about 3 cm (1 1/8”), and bring the shuttle up and out through the top of the warp.
  3. Lightly beat (tap) in the 3 cm (1 1/8”) of thread. Carefully snip off the thread close to the warp.
  4. Weave a pick of the next color, with the end of the new thread overlapping the 3 cm (1 1/8”) of the previous color thread. Position the new thread such that the end is outside the selvedge just a hair.
  5. Beat in the new weft and continue weaving until the next color change.
Tutorial about efficient way to change weft colors.
Ending the third of four bath towels.
Stripes in towels. How to!
Hand towels waiting to be paired up with the bath towels…hopefully, before Christmas!

Watch this short video to see me demonstrate this method of changing the weft colors.

May your choice of weft colors give a glimpse of your best qualities.

Simply Weaving,
Karen

Tried and True: How Far Will Your Quill Go?

Do not overfill your quills. It may seem efficient to load the quill as much as possible so you can weave as far as possible. Like me, you may have to learn this the hard way. A too-chubby quill that has to be coaxed through the shed takes more time and effort than winding a few extra quills. So much for efficiency.

Cottolin bath towels on the Glimåkra Standard.
Cottolin bath towels on the Glimåkra Standard, in twill, broken twill, and reverse twill.

It helps to have an idea of how far the thread on a quill will go. With this information, you can wind a few in advance without ending up with an excess of wound quills at the end of your project. I like to have the next quill ready to go when I am weaving so that I can put the new quill in my shuttle and keep weaving with very little interruption. This is especially helpful when the treadling sequence is tricky, like with the reverse twill in every other large color block on these cottolin bath towels. 3-2-1-6-5-4

How to Estimate Weaving Distance for Filled Quills

1 Start a new quill, leaving a 4 – 5 cm tail on the surface of the cloth. Or, start a new quill at the beginning of a color change.

How to measure how far a quill will weave.
End of one thread. Ready for a new quill.
How to know how far a quill will weave. Tutorial.
With the threads overlapping in the shed, the tail of the thread on the new quill lies on the surface.

2 Weave until the quill has emptied. Leave a 4-5 cm tail on the surface of the cloth.

How to know how far a full quill will weave.
Quill has emptied. Tail is brought out to the surface of the cloth.

3 Replace the empty quill in the shuttle with a new quill and continue weaving 1 – 2 cm further.

4 Measure the distance from the first weft tail, or line of color change, to the second weft tail. Place a straight pin, in line with the first weft tail, directly under the second weft tail. Measure from the pin to the second weft tail. This is the approximate weaving distance you can expect to cover with a new quill. Notate the quill’s estimated weaving distance on your project notes for future reference.

Tutorial on how to know how many quills you need to wind.
Measure the woven distance.

5 Trim the weft tails close to the surface.

6 Increase accuracy by repeating the process three times, and then use the average as your quill’s estimated weaving distance.

The large color blocks on this bath towel are 14 cm long. A single full quill will weave 5 1/2 – 6 cm; therefore, I make sure I have 2 full quills, plus at least another half-filled quill before I start a new color block section. It’s nice to be able to leave my foot on the treadle while I change out quills, so I don’t lose my place.

Cottolin bath towels.

May your efforts prove to be efficient.

Happy Weaving,
Karen