
Knots show up in the warp. It’s a normal part of weaving. Weaving over the knot is almost never a good idea. You have to deal with the little obstacle. This is why it is handy to know how to splice the warp. Thankfully, it’s not hard to do. There are a few standard variations on how to perform this operation. I use a method that I first came across here, by Kirsten Froberg, that makes sense to me. And, hooray, there are no tails to weave in later!
I made a new video to demonstrate how I do it. You can watch it below…
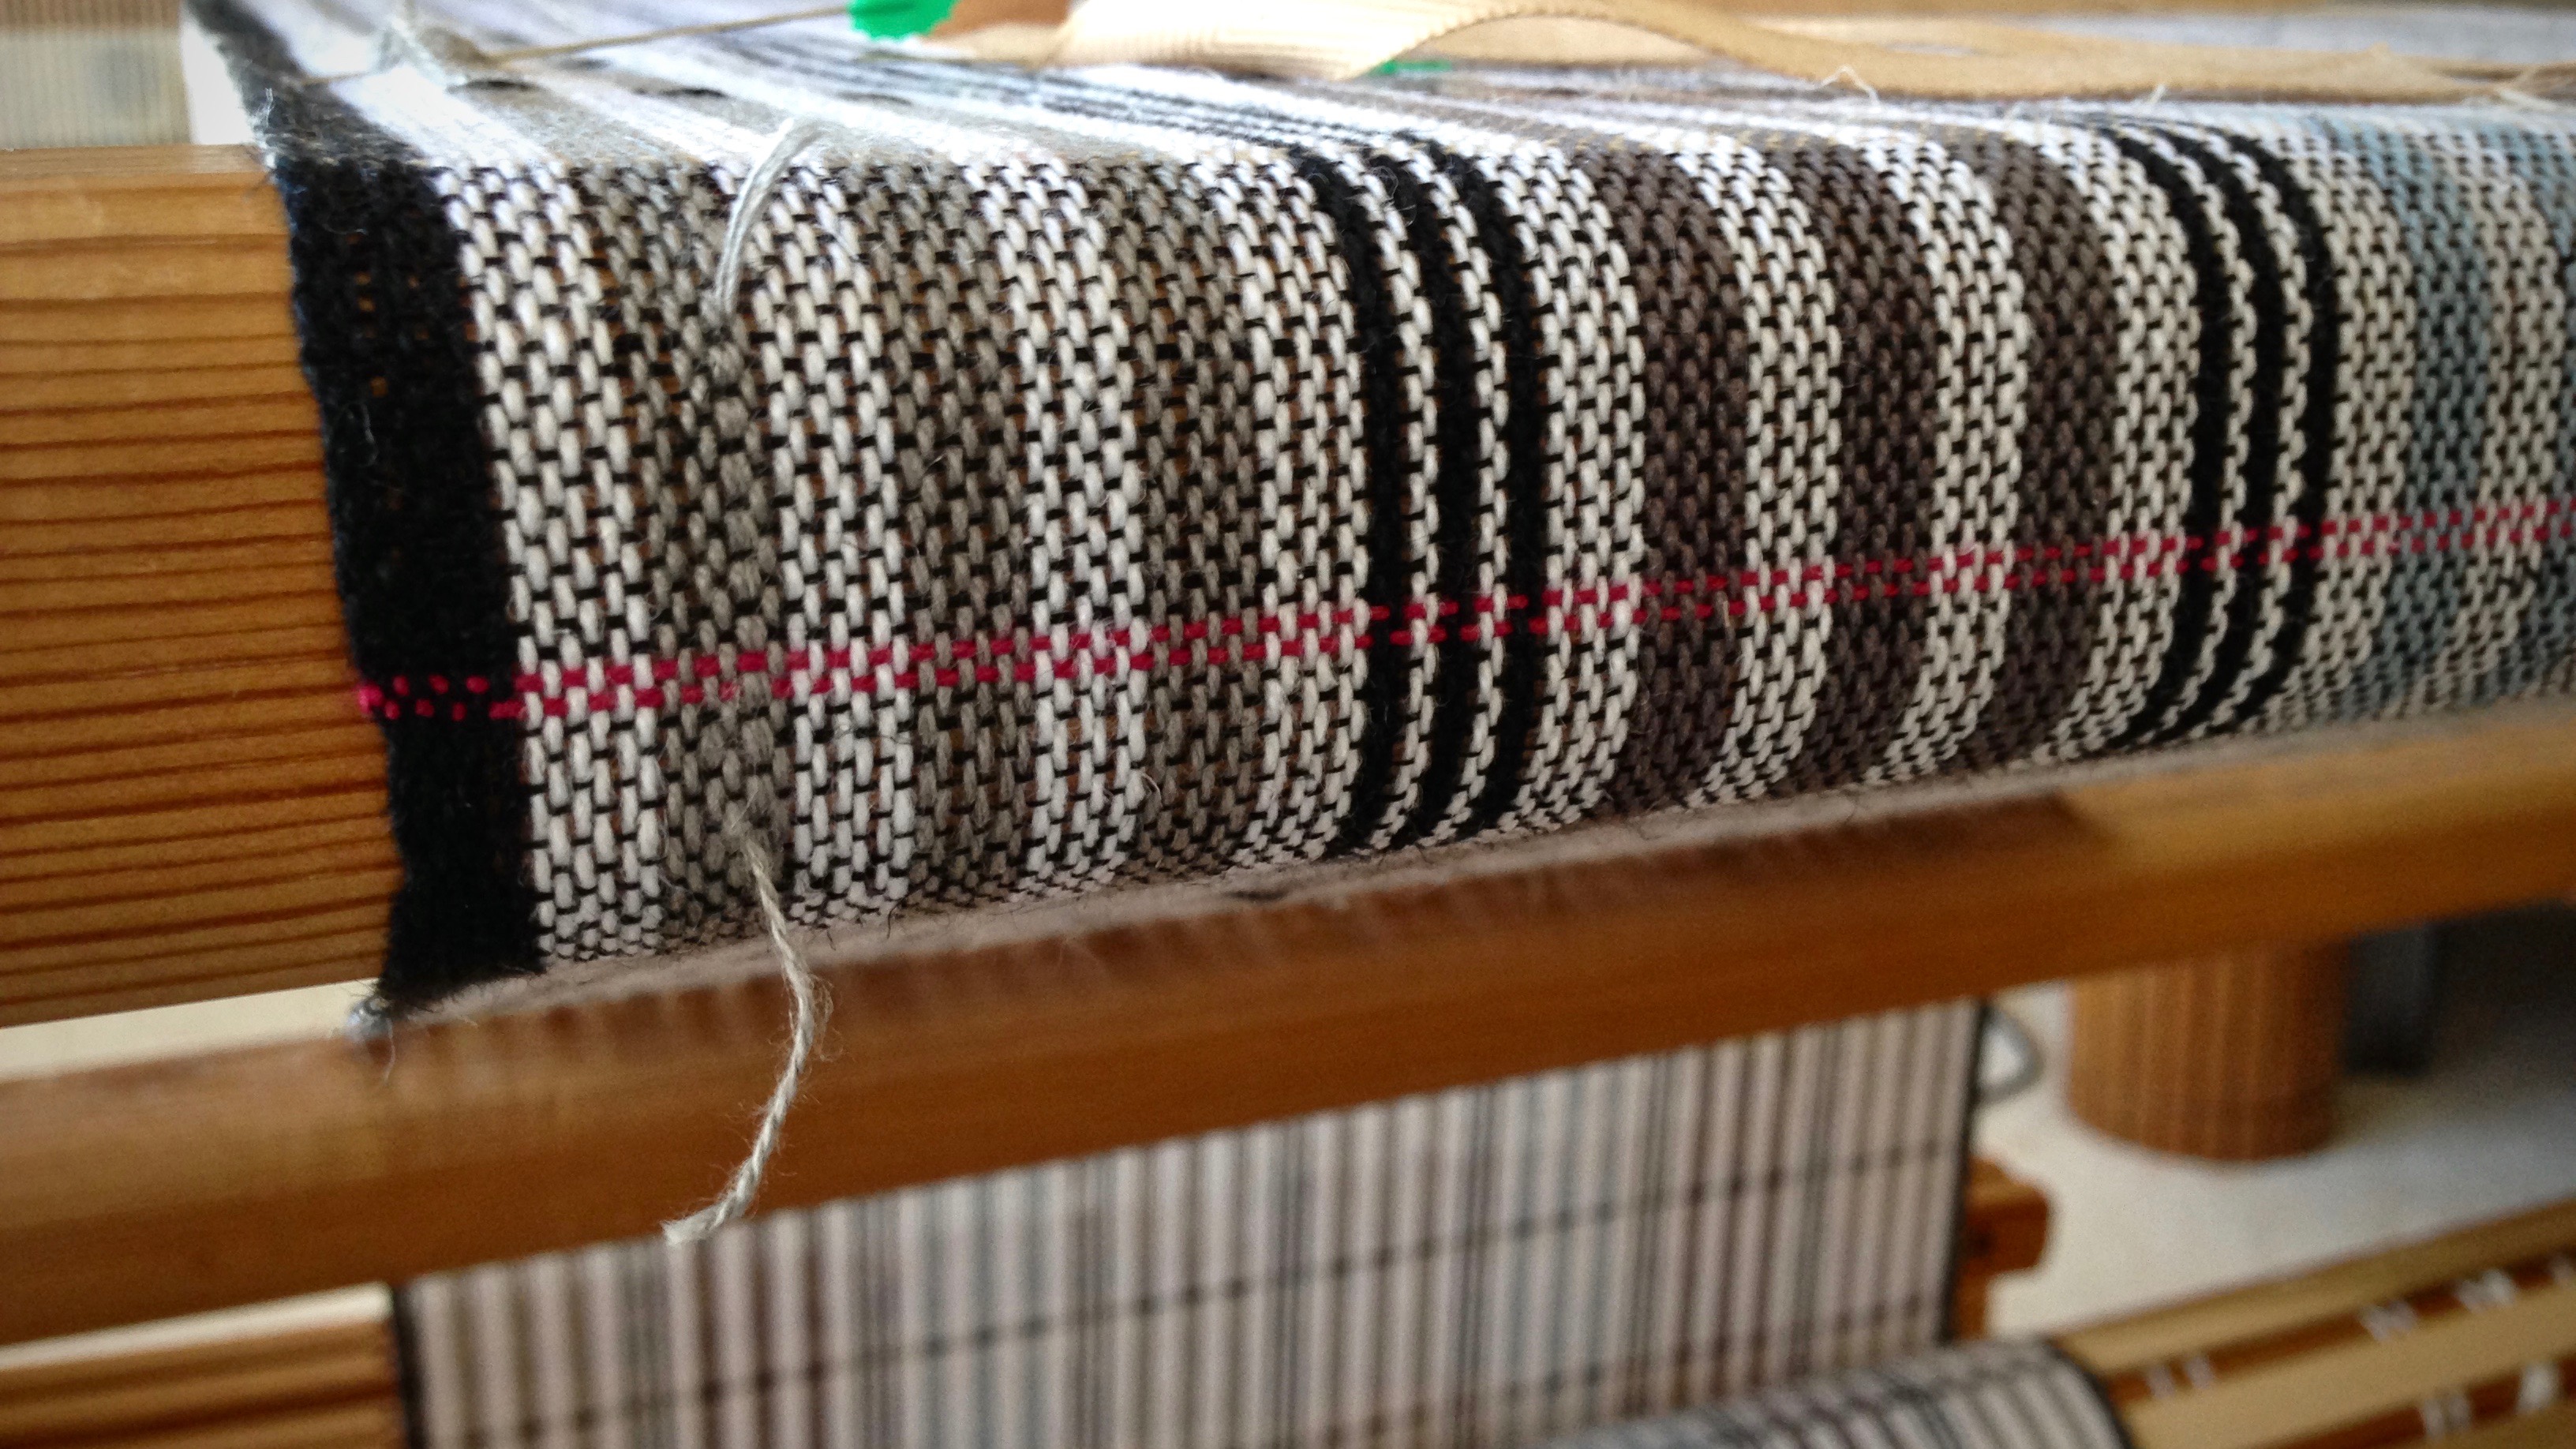
How to Remove a Knot in the Warp
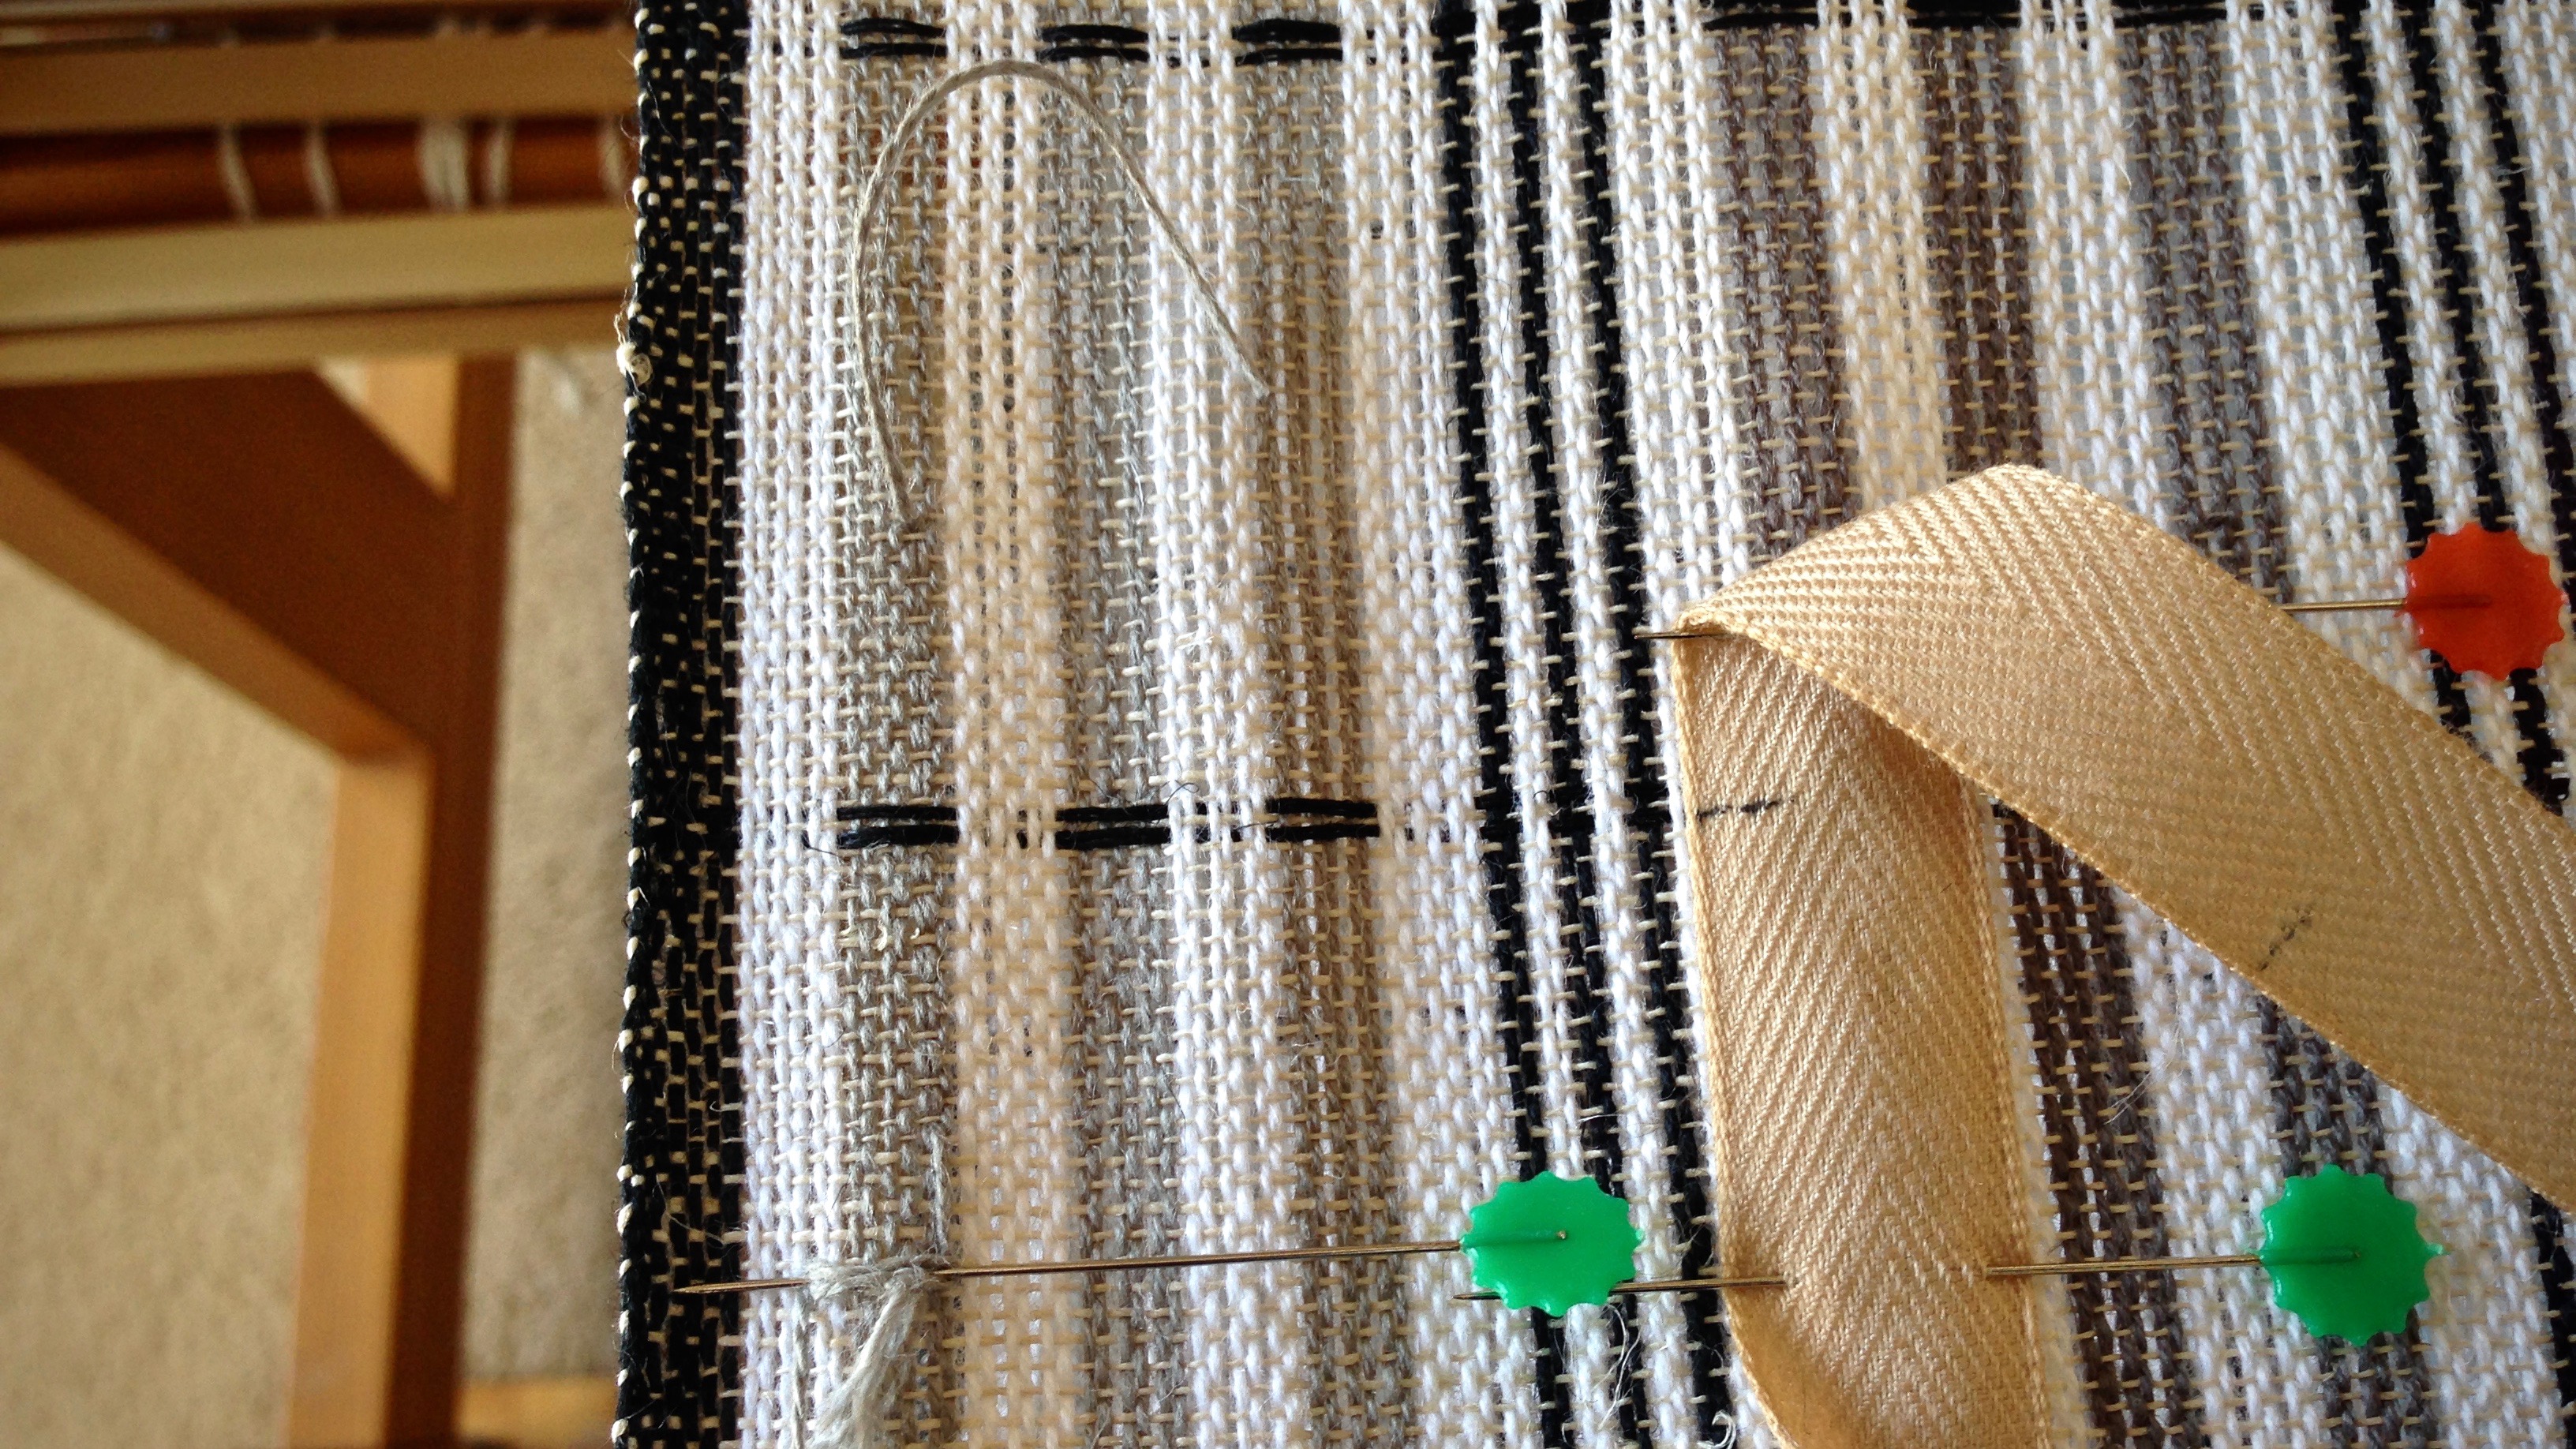
- Insert a replacement warp end. Attach with a pin.
- Weave an inch with original and replacement warp ends in place.
- Cut original warp end. Hang it over the back beam.
- Weave until original warp end is long enough to reinsert.
- Insert original warp end. Attach with a pin.
- Weave an inch with replacement and original warp ends in place.
- Cut and remove replacement warp end.
- Trim cut warp ends after wet finishing.
May the knots that get in your way be easy to remove.
Happy Weaving,
Karen