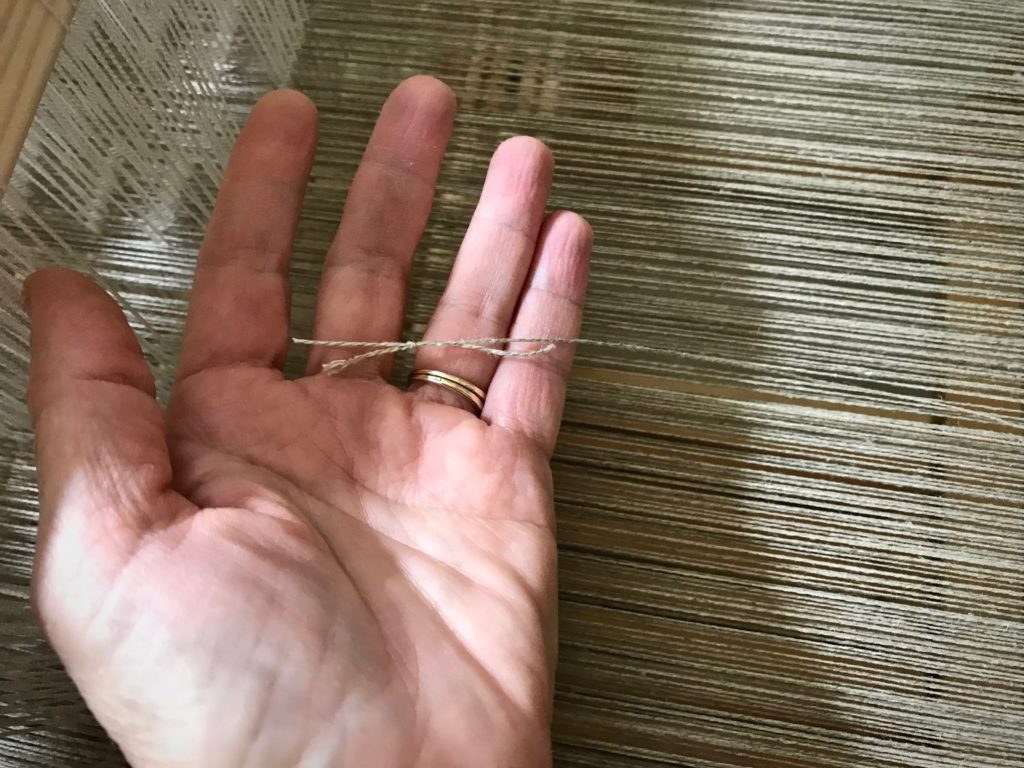
You are not going to believe how many knots I came across in this 16/2 linen warp! Too many. As I wound the warp I made the decision to leave most of the knots, and deal with them on the loom. (I did remove knots that were close to the beginning or ending peg on the warping reel.) I lost count, but I’m sure I have spliced the warp on this five-and-a-half-meter project at least a dozen times. (To see more details about how I splice the warp, visit this blog post and video: How To Splice the Warp – Video.)
I do not weave over warp knots. A knot introduces a spot of vulnerability to the fabric. Knots can fray, loosen, or come undone over time, even if the knot is originally imperceptible.
In a couple instances, a knot distorted the tension of the warp end because of catching on a heddle or passing through the reed. For that reason, I now try to eliminate knots in the warp before they reach the heddles.
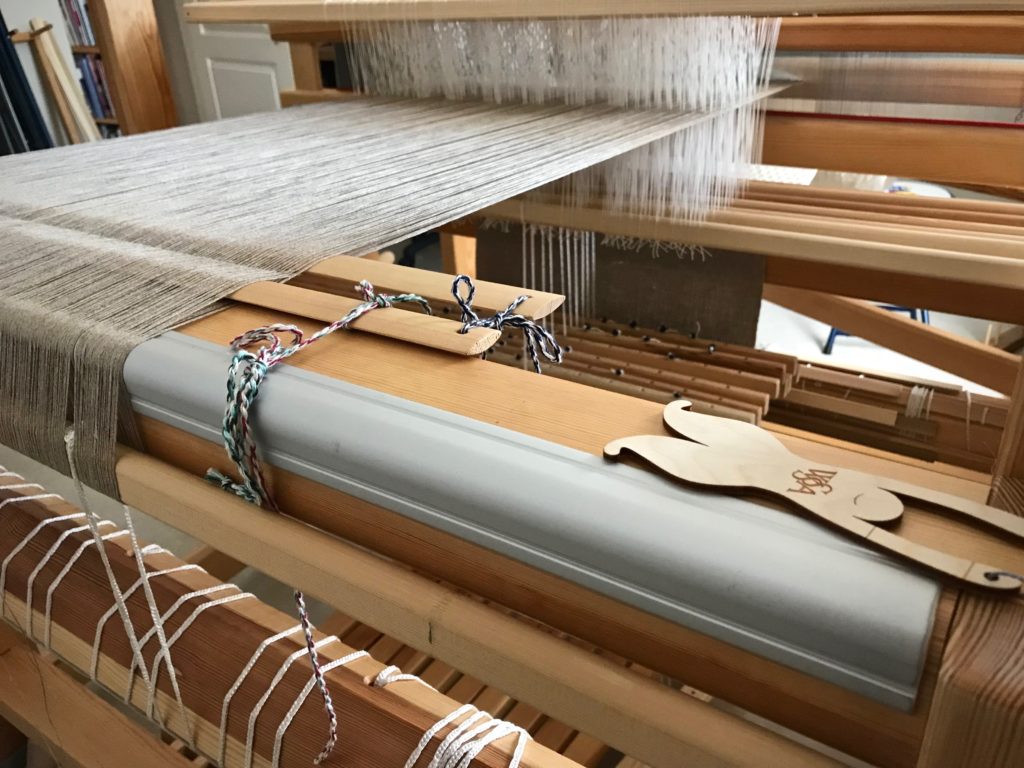
Tool: Warp Separator
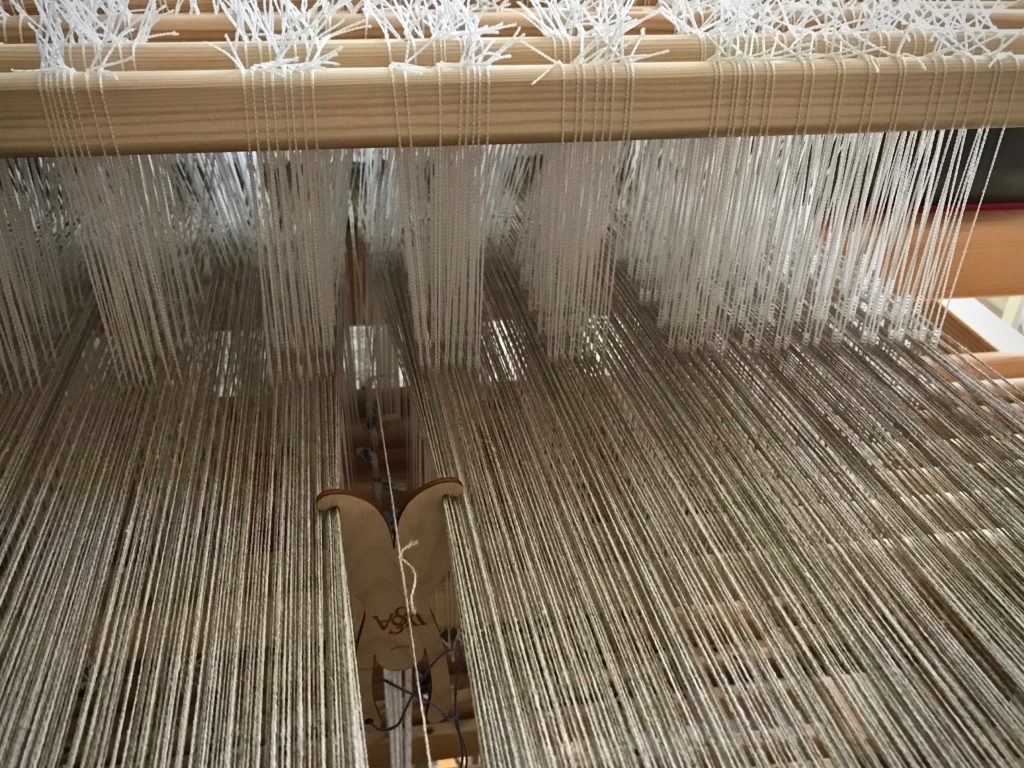
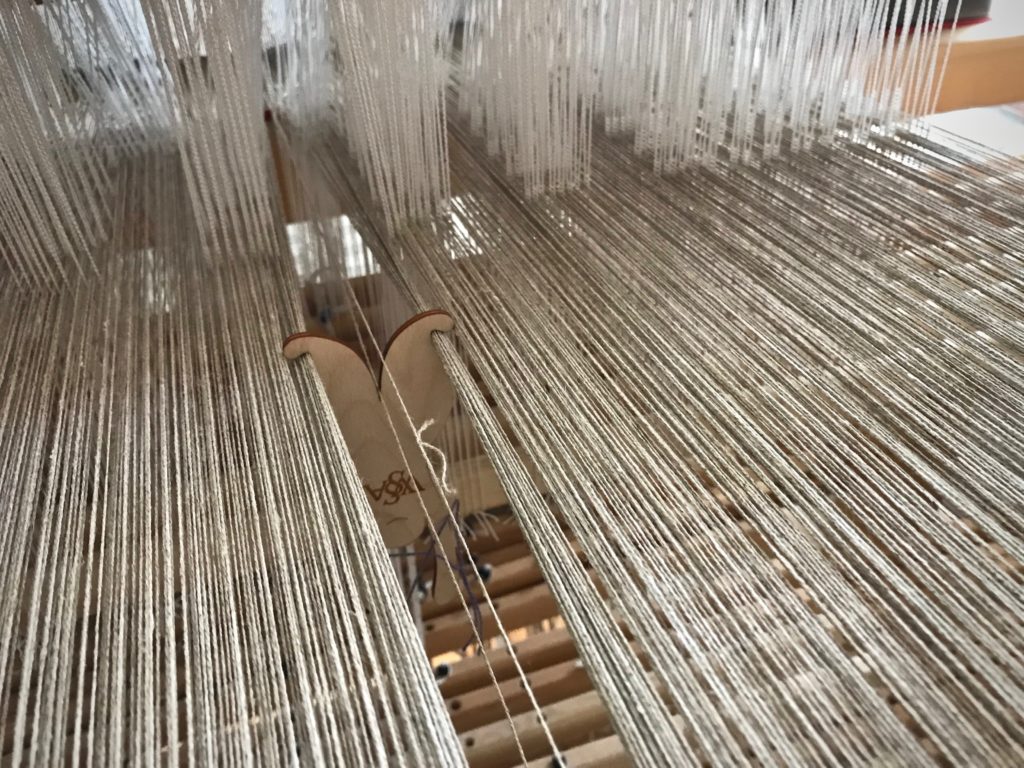
- Identify the warp end that has a knot, and insert the warp separator between warp ends to isolate the thread.
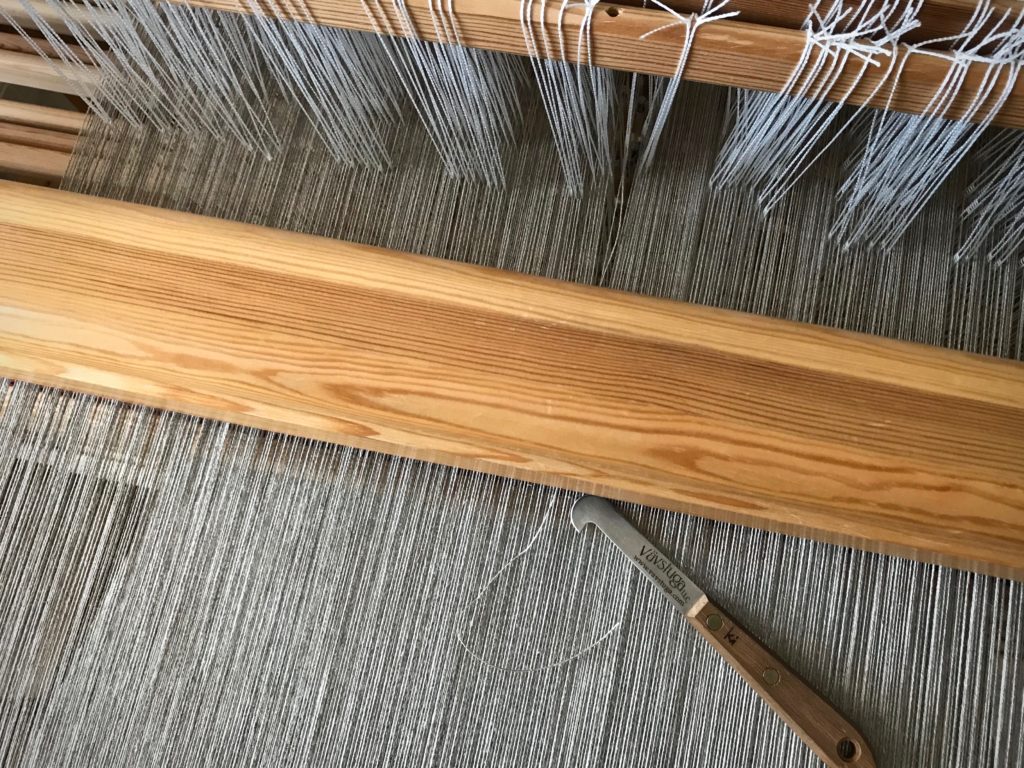
- With a length of repair warp thread, follow the path of the original thread to splice in the new warp end, feeding it through the heddle of the original warp end.
- Bring the repair warp thread through the reed in the same dent as the warp end that has a knot.
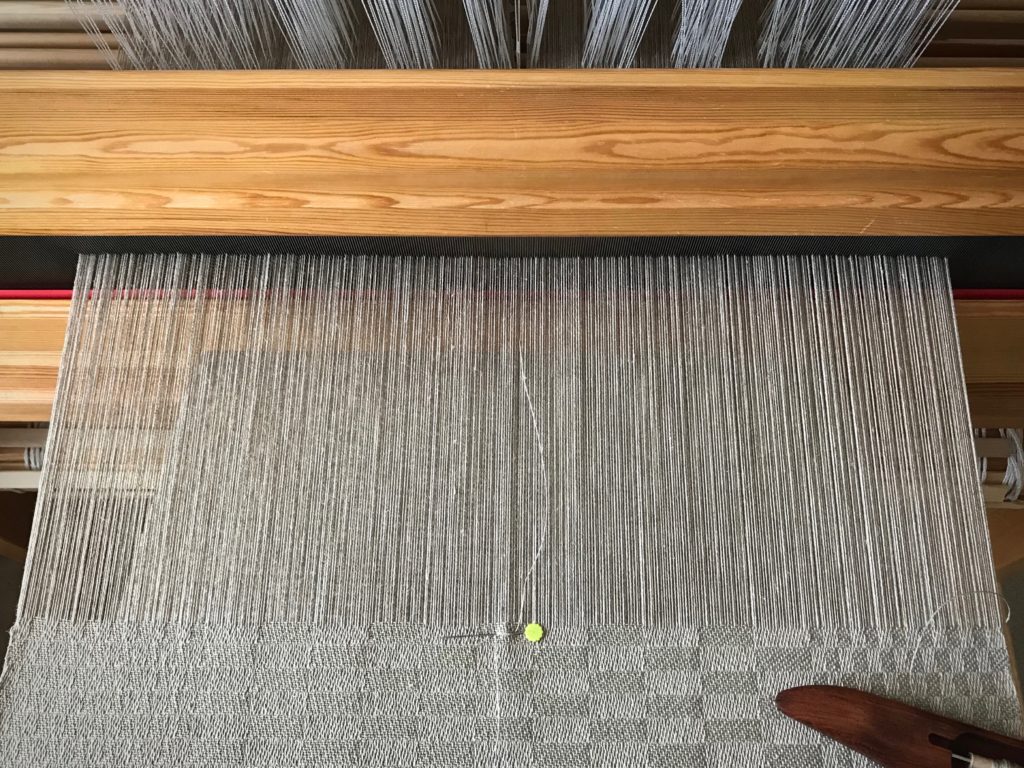
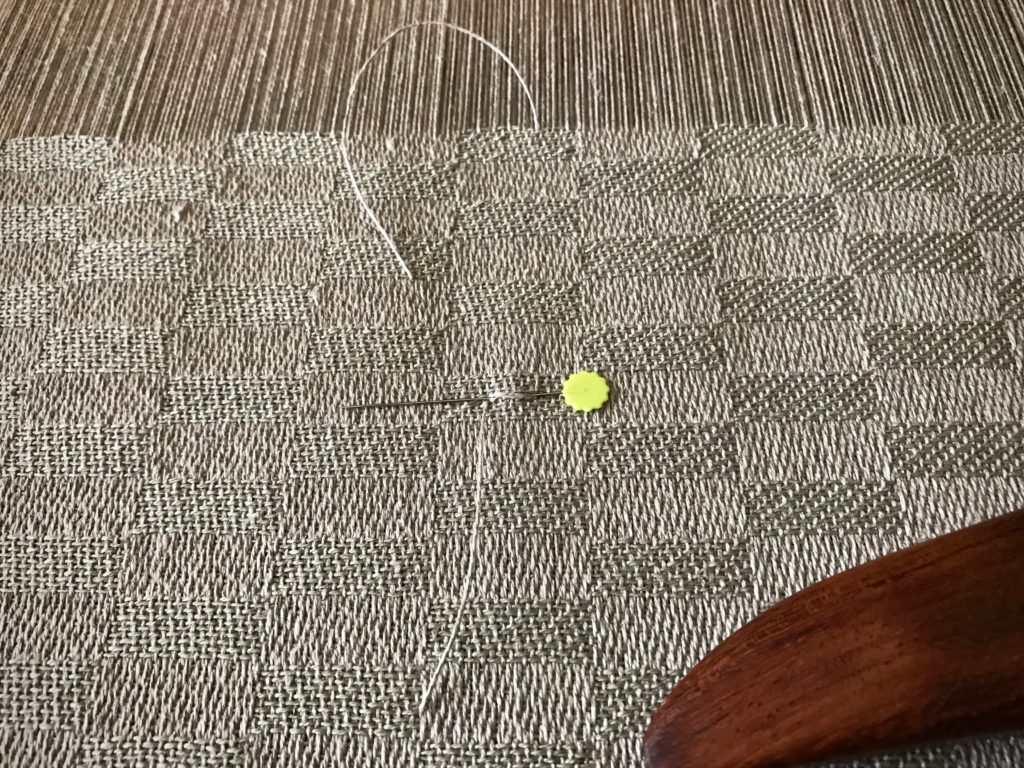
- Attach the repair warp thread near the fell by wrapping it around a flat straight pin.
- Remove the warp separator from between the warp ends.
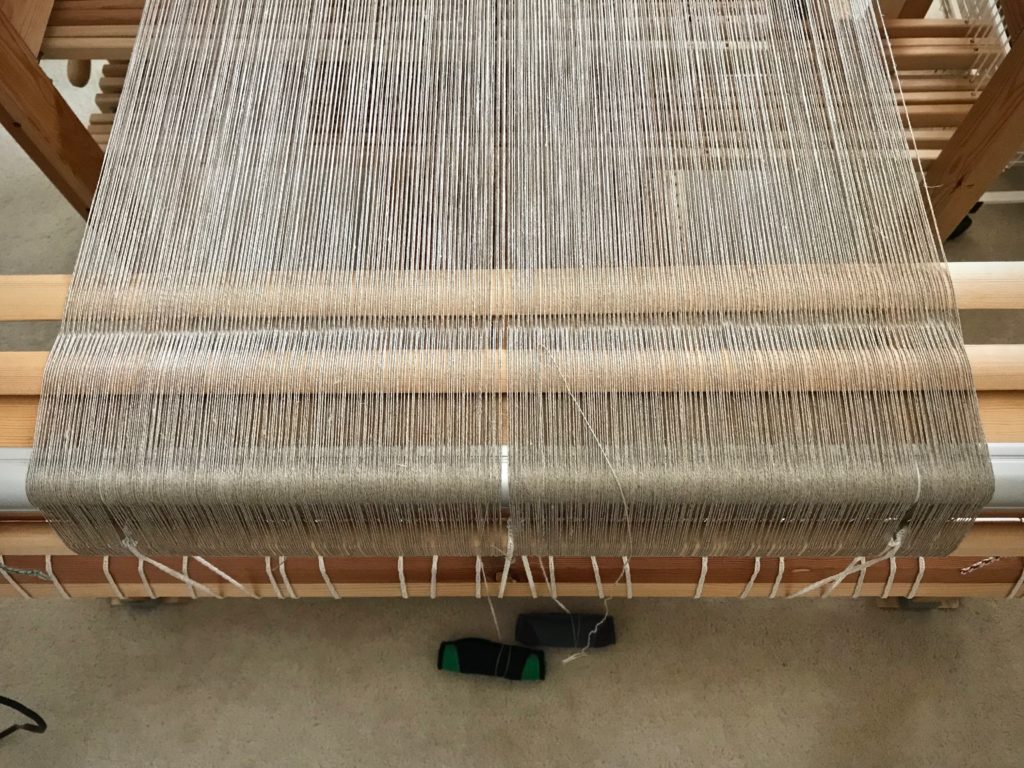
- Place a weight on the floor below the back beam. Wrap the repair thread around the weight two or three times to hold the thread at tension that matches the rest of the warp. Loosen the wrapped-around thread before advancing the warp, and then re-tighten before resuming weaving.
- Weave one to two inches with both the original warp end and the repair warp thread in place.
- Then, cut the original warp end with the knot (behind the heddles) and let it hang over the back beam.
- The original and replacement warp ends overlap in the weaving for about one to two inches.
- Remove the straight pin when it reaches the breast beam.
- Re-attach the original warp end when it is long enough to secure in front of the fell line with a flat straight pin.
- And then, cut and remove the replacement warp thread.
- Trim all the spliced warp tails after wet finishing.
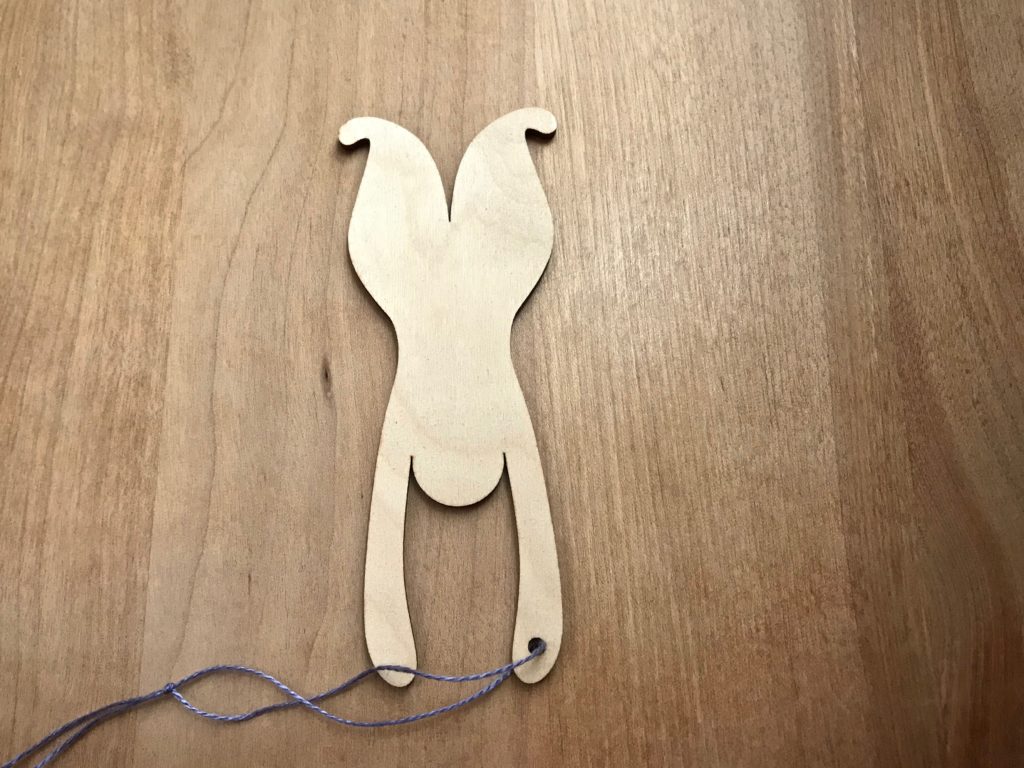
This warp separator was a gift from The Weavers and Spinners Society of Austin, included in the goodie bag from last summer’s Contemporary Handweavers of Texas Conference. It would not be hard to make a warp separator like this from wood or sturdy cardboard. I have not been able to locate a supplier online.
If you know where to find a warp separator tool, please put a link in the comments.
May you have very few warp knots.
All the best,
Karen

Here’s one! Do you think the “handle” on yours makes it easier to manage?
https://www.etsy.com/listing/250890539/warp-string-separator-for-isolating?ref=shop_home_active_6
Hi Beth, That’s perfect! I don’t think the “handle” makes any difference.
Thanks!
Karen
Great! I love seeing that other creative minds are up early with me.
Hi Karen,
Great post as always. I found one at Windhaven Fiber Tools on Etsy. Yours is cuter, though.
Thank you for all you do.
Pam Graham
Hi Pam, Thanks for the input. I don’t know how I missed the one from Windhaven Fiber Tools. Yes, the one I have certainly has the cuteness factor.
Happy weaving,
Karen
I took Basics at Vavstuga last summer. We had knots in the wool blanket warp, and Becky taught us to fix them. I’d see one coming and get ready, and at 5 PPI, and working so fast, by the time I thought about it again it was long past the fell line. In a fulled wool blanket that doesn’t get a lot of use in South Texas, hopefully it will be okay.
I have the same warp separator tool. 🙂 That was my first conference and the goodie bag blew me away.
Hi Betsy, Oh yes, I had the same experience at Vavstuga, and my wool blanket has knots hidden in it, too! If only knots in linen were that easy to fix.
This is the first weaving conference I’ve been to in about 30 years, and the goodie bag was incredible! Yay, you have the same cute warp separator guy!
Happy weaving,
Karen
What a great tool – I can see a great gift for weaver friends for this coming year!
Hi Cindie, It would be a super gift for weaver friends!
Karen
How long and wide is your warp separator guy? He’s really cute!
Hi Jane, My little guy is about 4 7/8″ long and 2″ at the widest part at the top. He gets the job done, and he brings a smile!
Karen
Thanks!
Jane
Heres a link for a video on the Windhaven warp tool. My daughter makes them, its her shop. thanks for the interest!
https://youtu.be/VSDp13Eeay4
Hi Sherri, Thank you so much! It’s wonderful to know where to get this useful little tool. I appreciate the informative video!
Happy Weaving,
Karen
Thanks! I do like yours though! What a cute little guy! We started making them because I’m a weaver and I could not find one anywhere. I saw a picture of one a long time ago and thought it would be so handy! And I showed Maggie and she played around and made the design just nice and clean and simple. They are fairly popular! Thanks a bunch…
I found ghis on Etsy. https://www.etsy.com/listing/250890539/warp-string-separator-for-isolating?ga_order=most_relevant&ga_search_type=all&ga_view_type=gallery&ga_search_query=warp%20separator&ref=sr_gallery-1-5
Hi Kitty, Thanks! I think the Windhaven warp tool wins! It’s the only shop I’ve seen so far that makes these.
Karen
Hi! Excellent post. Handywoman on Etsy has the cutest warp separators with alpacas, dogs, and cats! https://www.etsy.com/listing/587756163/warp-spreader-separator?ref=shop_home_active_10
Hi Christina, Thank you so much! I am very happy to know of another resource!
Happy weaving,
Karen
hi karen, i made those for the wssa using the lasers at makeatx, my laser cutting studio in east austin. the wssa may have some spares they are selling, but if not, i am happy to make more! our website is makeatx.com, and inquiries can be sent to workshop@makeatx.com.
Hi Kristen, I am very happy to know where to get more of these warp separators! Thank you for letting us know.
All the best,
Karen
So where can I get one and how much?
I had seen it before and liked the idea then. But did not have my loom up and running at that time.
Hi d m, You can try sending an email to wssaustin.org@gmail.com and ask if they have any more warp separators. Or try one of the resources other people have mentioned in the comments above. I don’t know what the prices are.
Happy weaving,
Karen