You can measure what you are weaving. A set of towels will all be the same length. A table runner will fit the table as planned. A rug will be the right size for the designated floor space. All it takes is a dependable way to measure. (Thanks to Elisabeth S. for writing me, “I’d love to have a better way to measure my work as I’m weaving it.”)
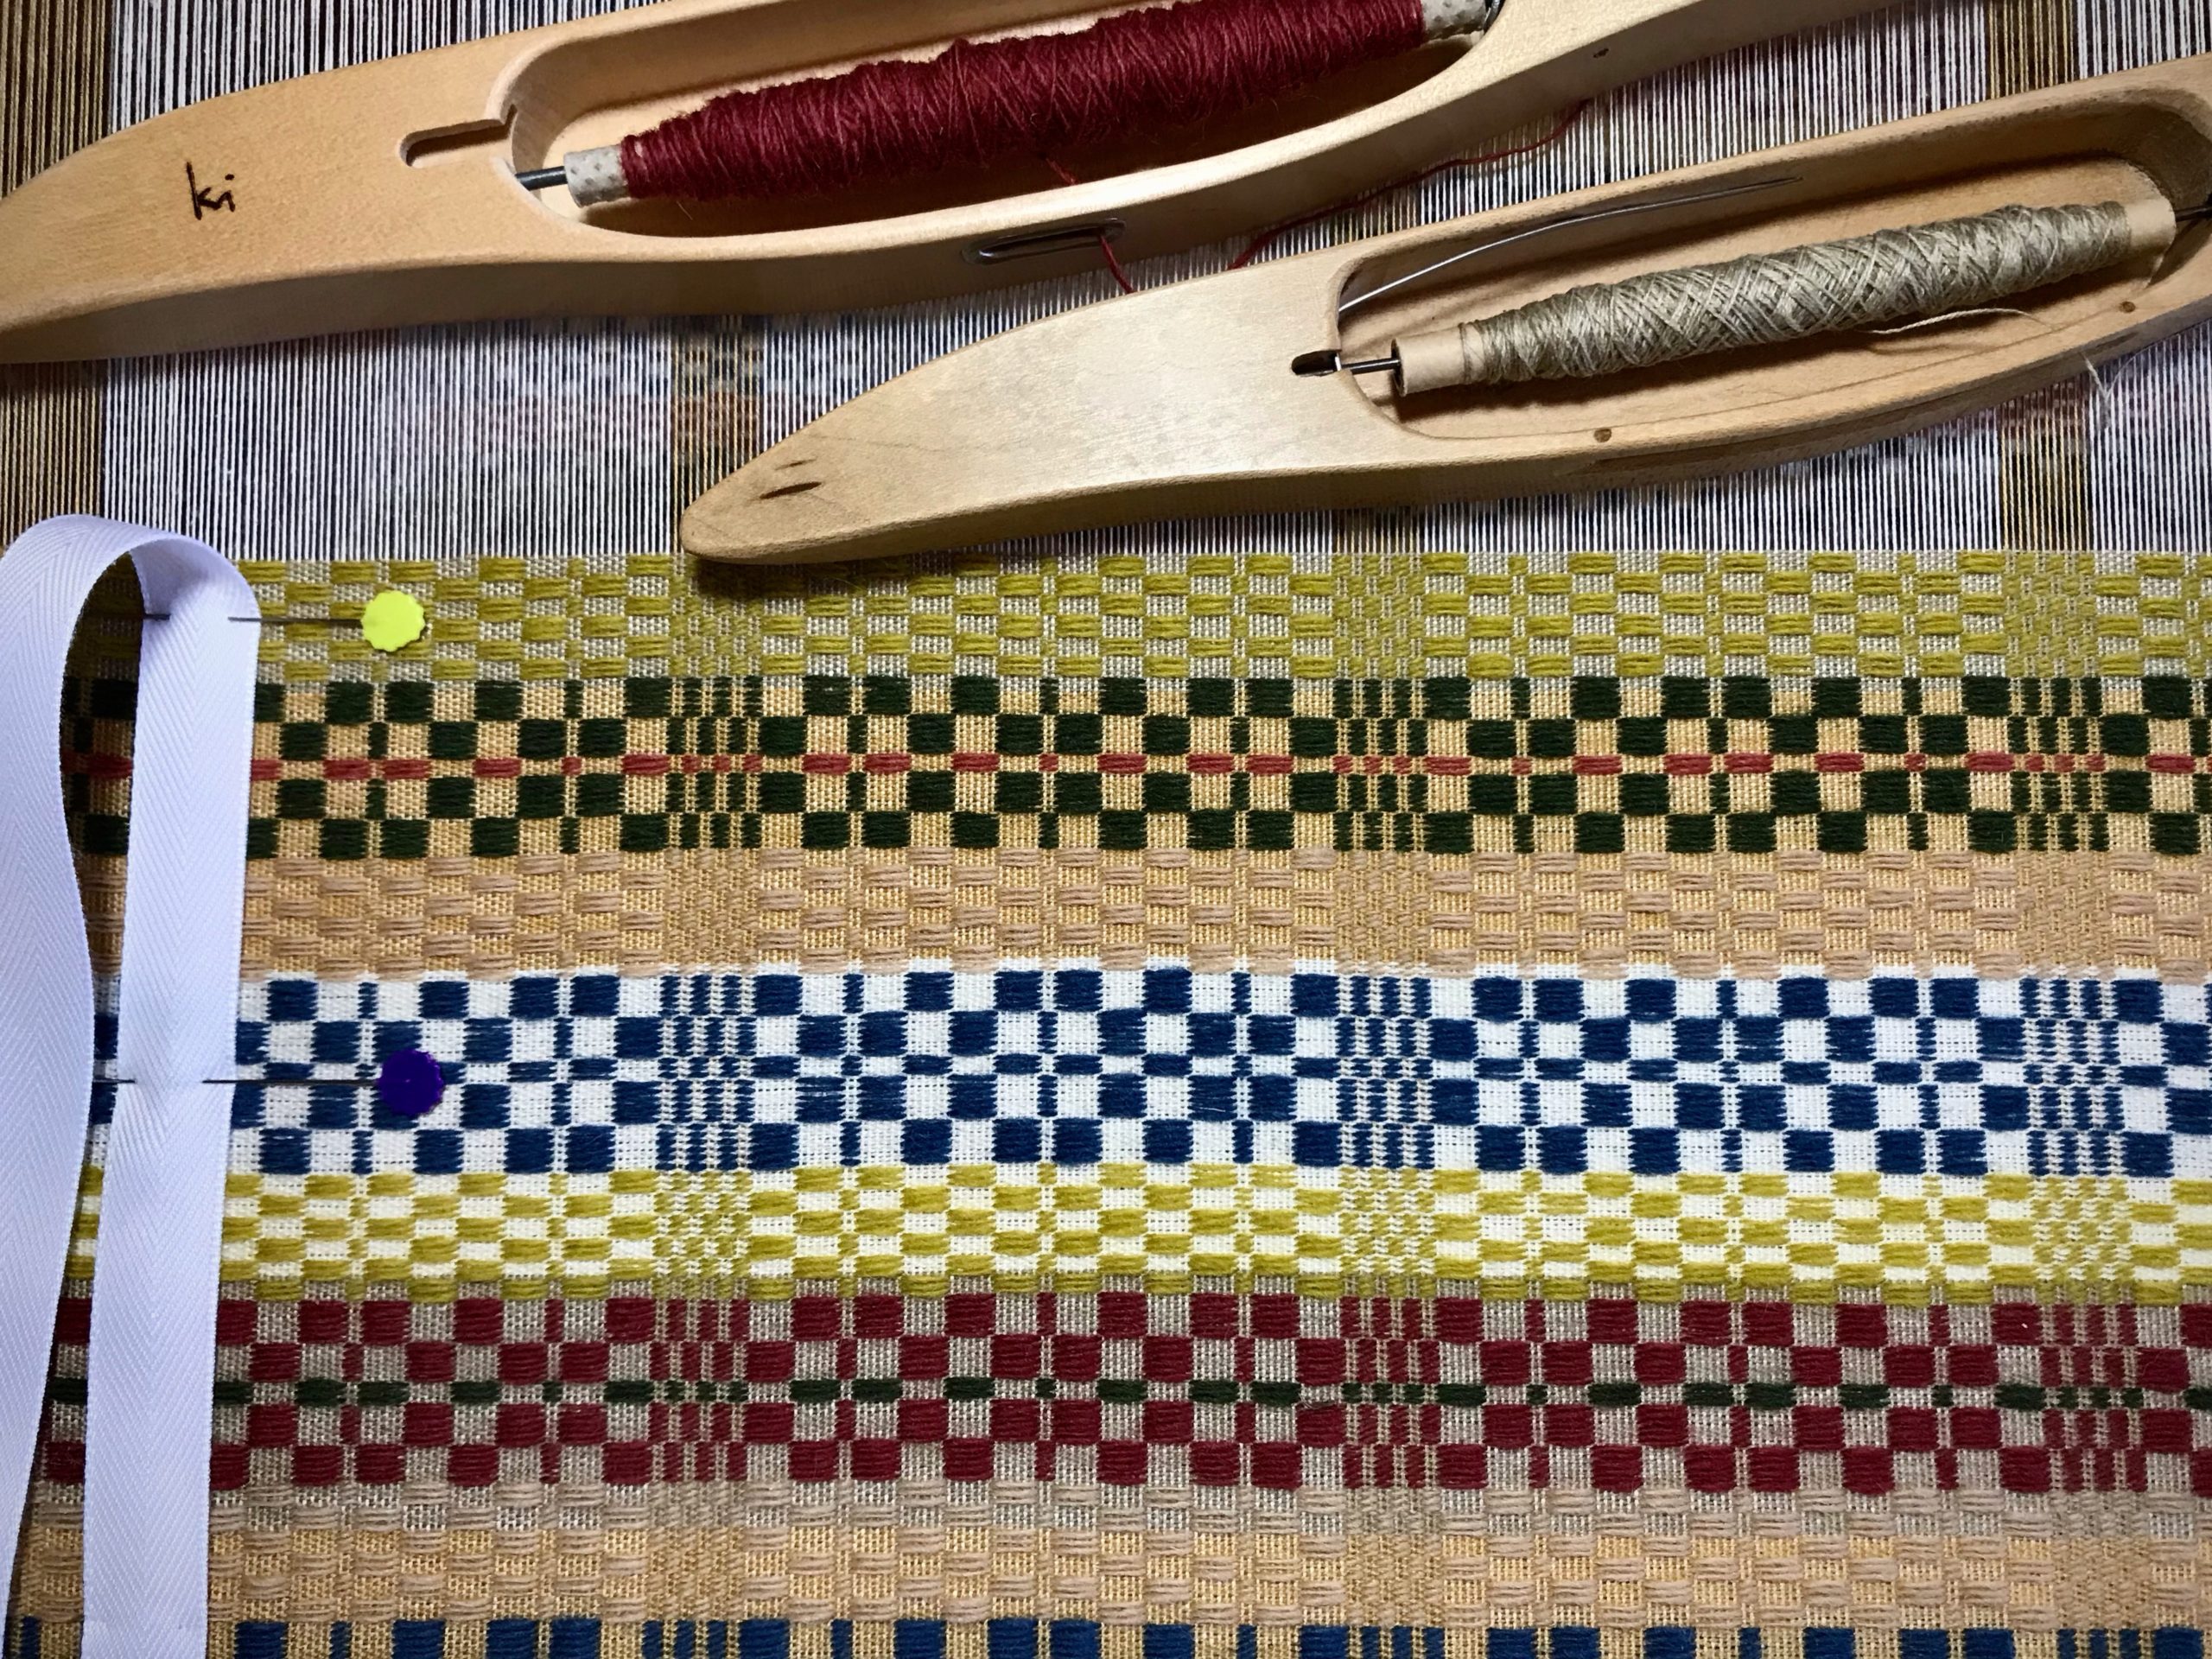
Measurement Tape (accompanying video below)
Supplies:
- Calculator
- Project notes
- 5/8” polyester twill tape
- Fine point indelible marker
- Tape measure
- 2 flat-head straight pins
Make Calculations
- Determine the finished length.
- Consider the Golden Ratio, 1:6.
- Consider where the finished textile will be placed.
- Estimate take-up and shrinkage.
- Include these measurements in your project notes.
Prepare a Measurement Tape
- Draw the beginning line about 2 cm from the end of the tape. If there is a hem, draw a second line to mark the hem’s length.
- Write the item description on the tape.
- Write ” ___ (finished length) + ___ (take-up and shrinkage) = ___ (total length)” on the tape.
- Measure the total length from the first line (or from the hem) on the tape. Draw a line at the end (add hem, if needed).
- Cut the tape about 2 cm after the ending line.
- Find the middle of the tape. Draw a line and write “MID”.
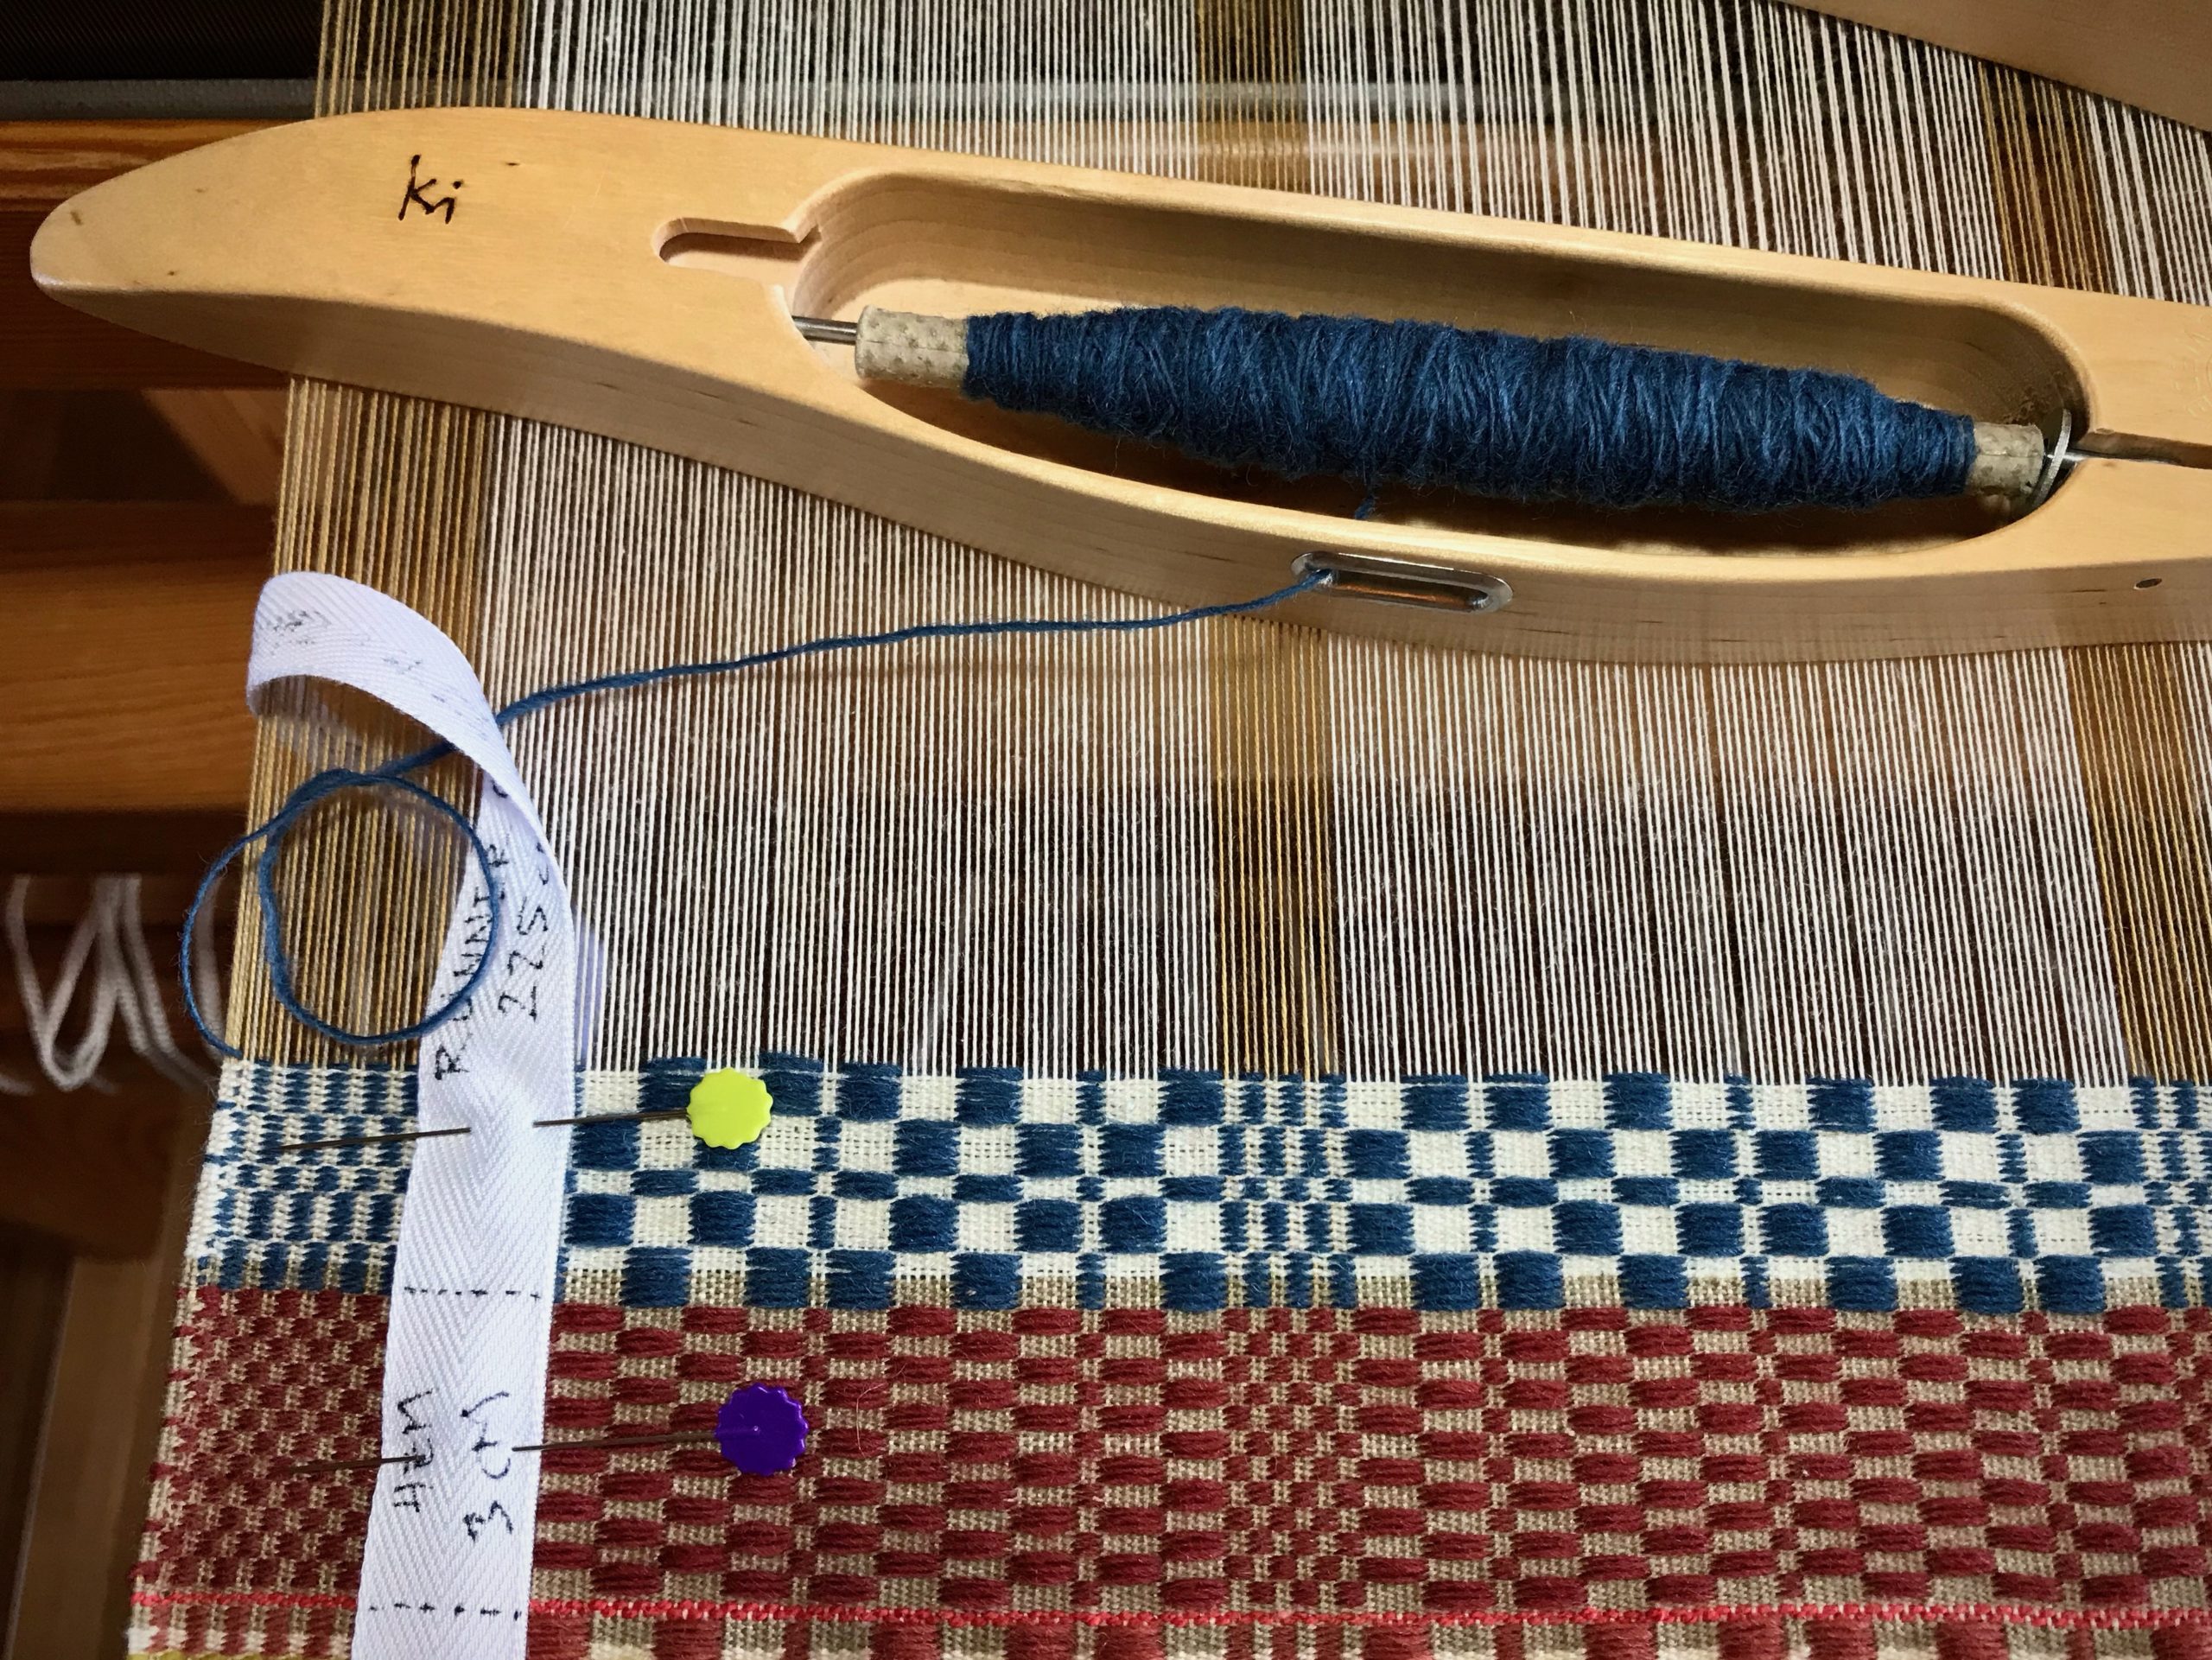
Prepare a Half Measurement Tape
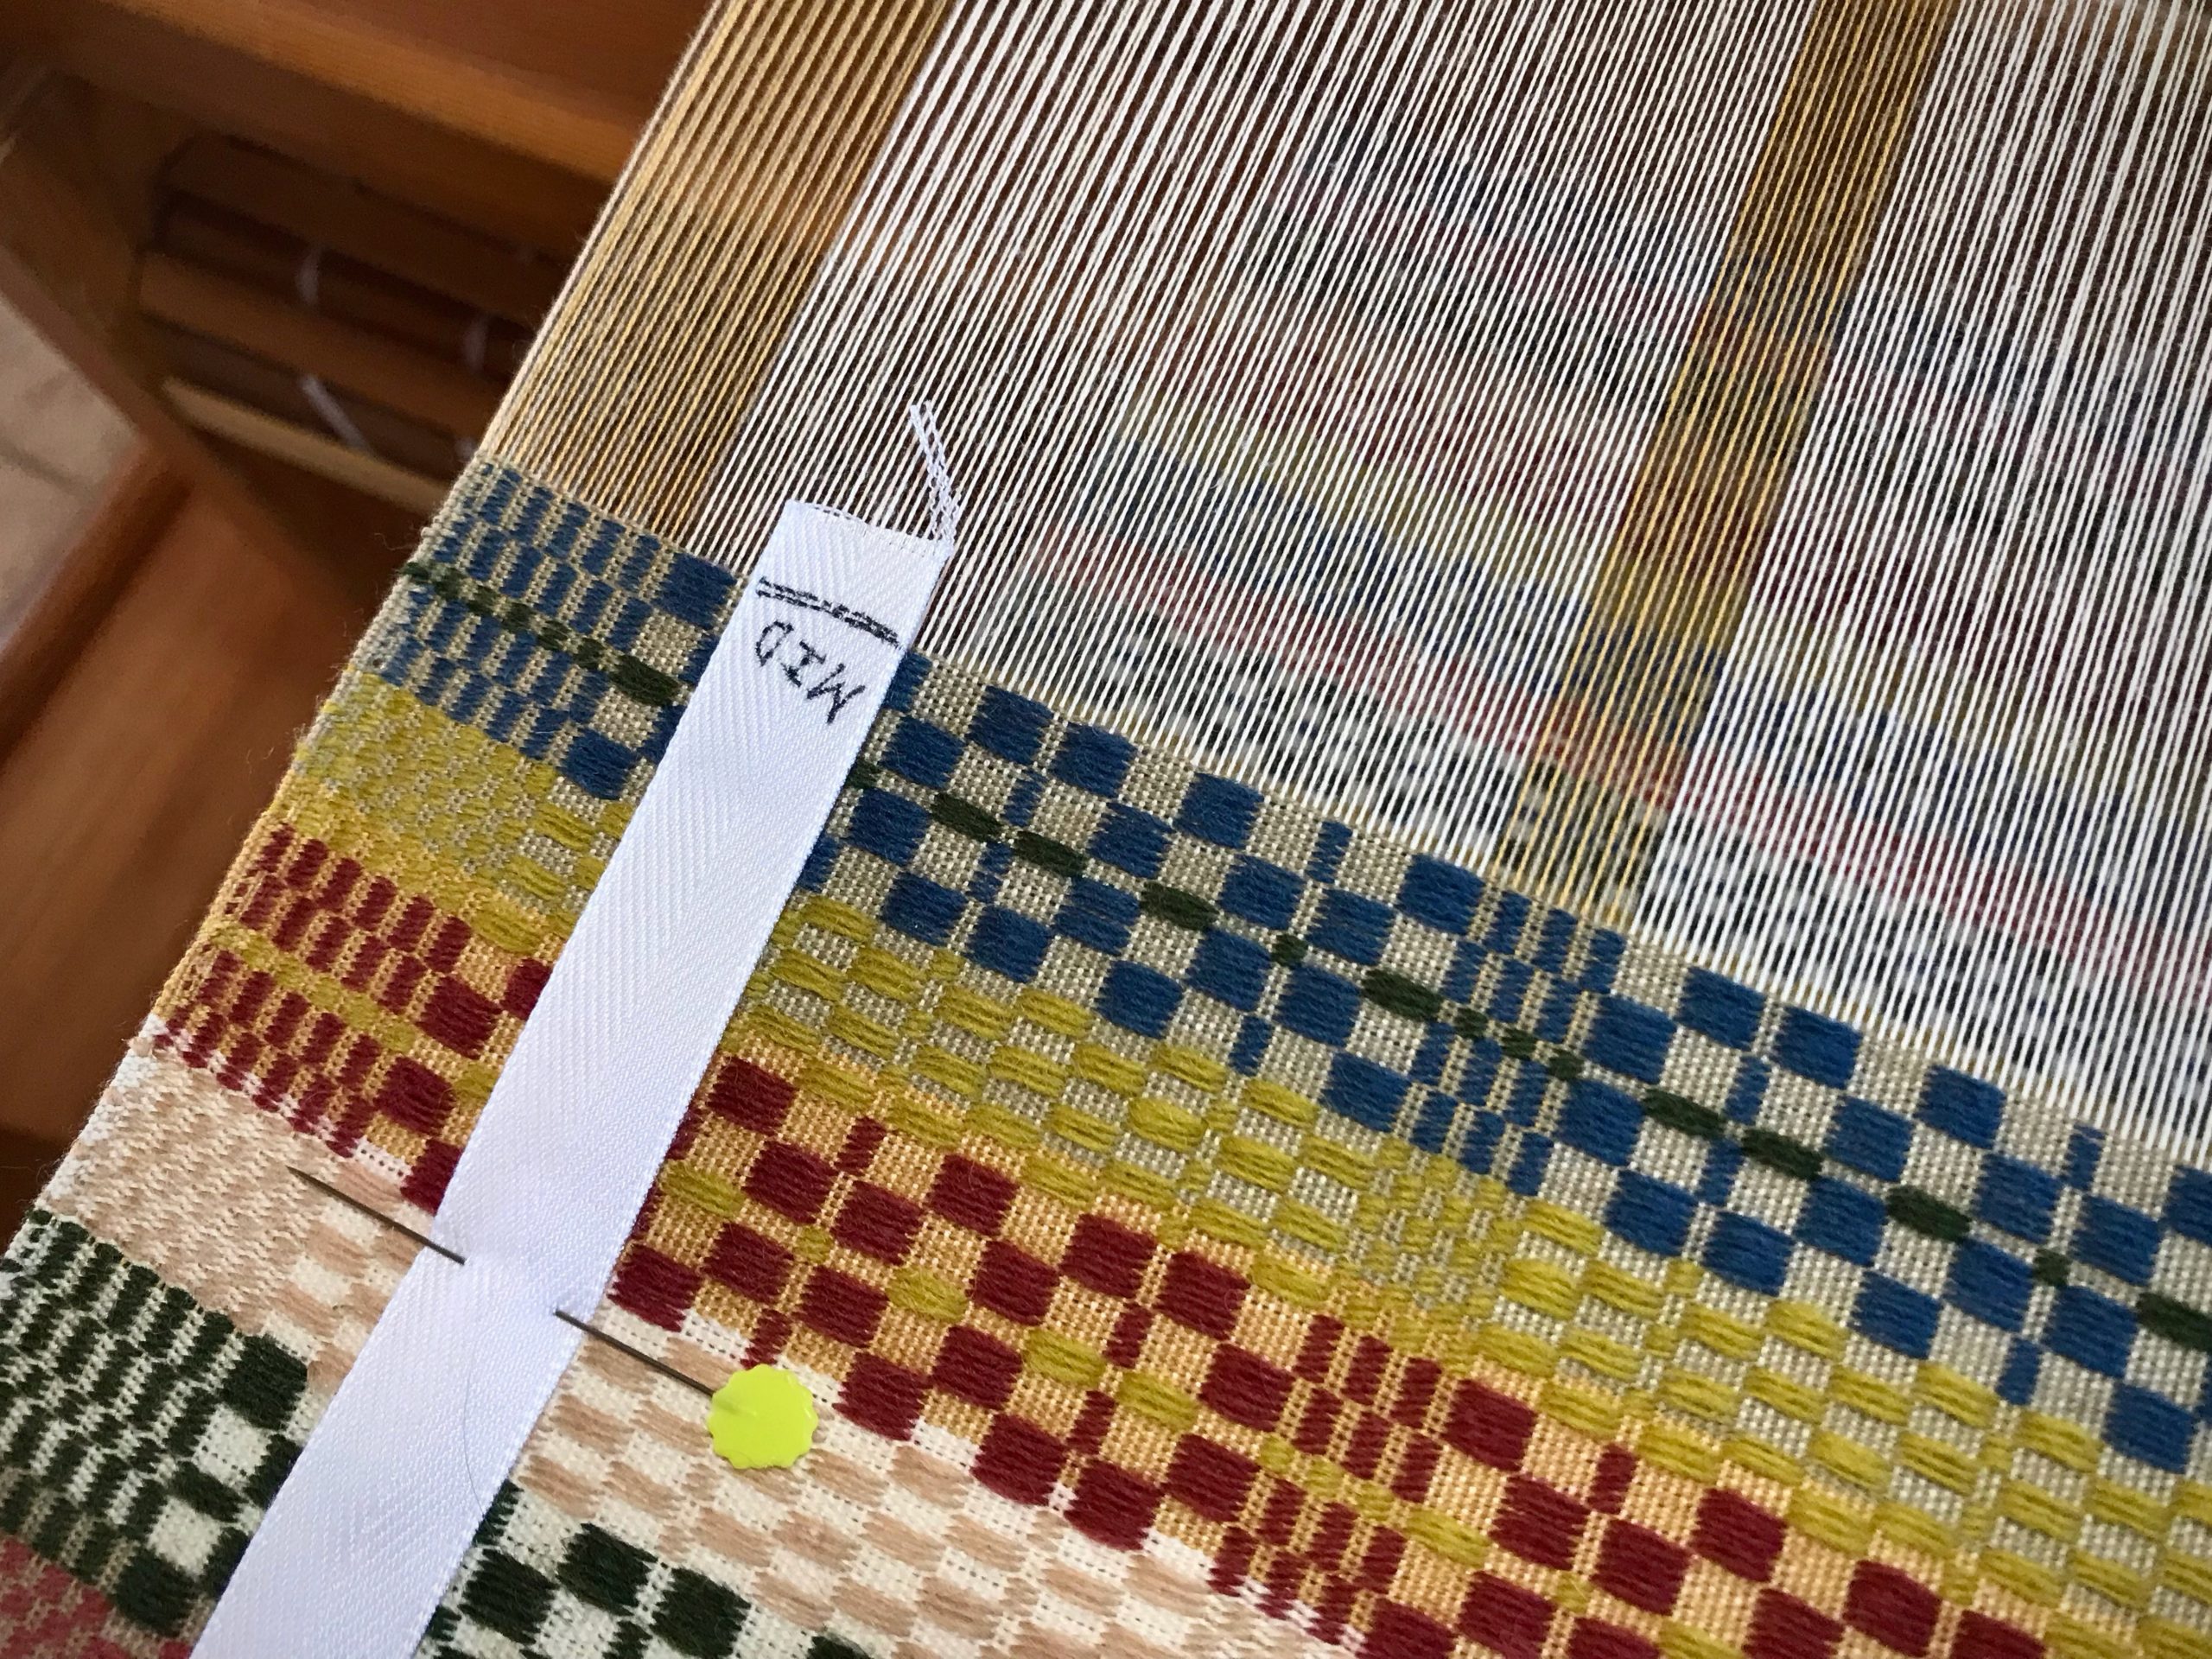
- Do the same as for a full-length measurement tape, except divide the total length measurement in half. Draw a line on the tape at the halfway point. Write “MID” before the line.
- Cut the tape about 2 cm after the MID line.
Weave and Measure (Always with the warp under tension)
- Use two straight pins to pin the measurement tape to the weaving near one selvedge. Place the beginning line of the tape directly over the beginning of the woven article.
- As weaving progresses, remove the pin closest to the breast beam. Leapfrog over the remaining pin. Reinsert the removed pin through the tape near the fell line.
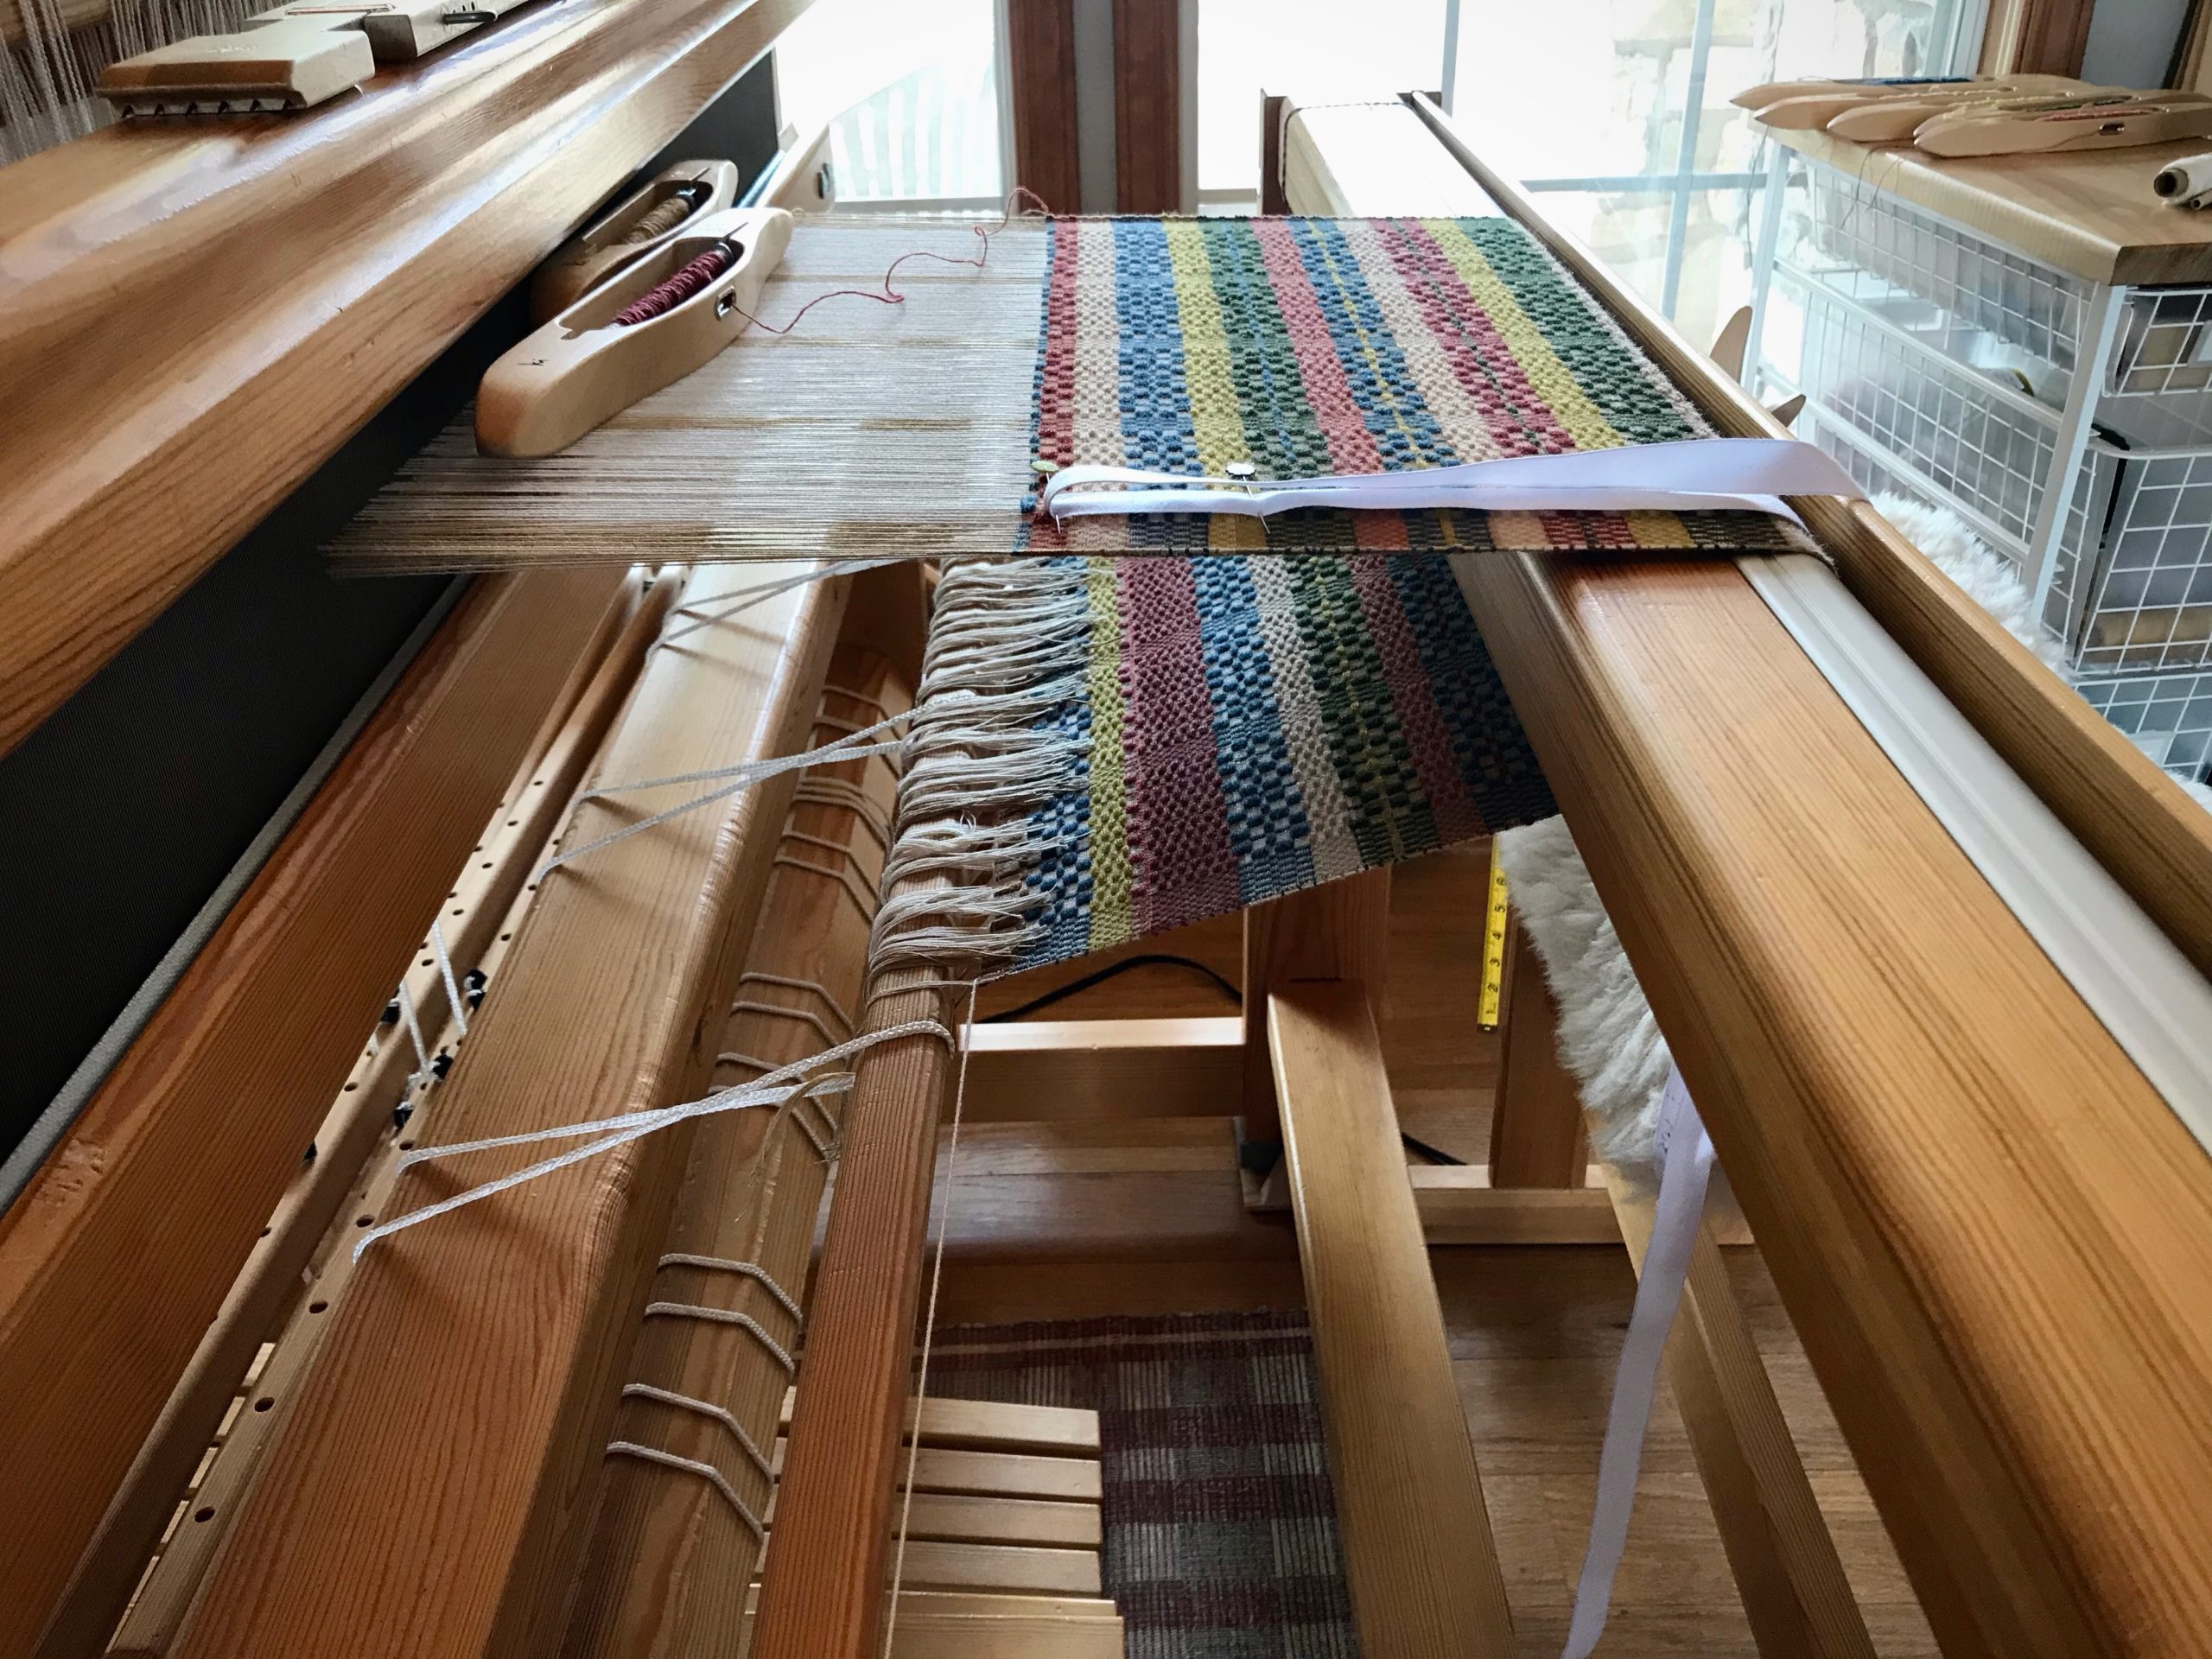
- If using a half measurement tape, weave past the MID line. Mark the spot with a pin. Remove the measurement tape. Turn the tape and pin into place to weave the second half.
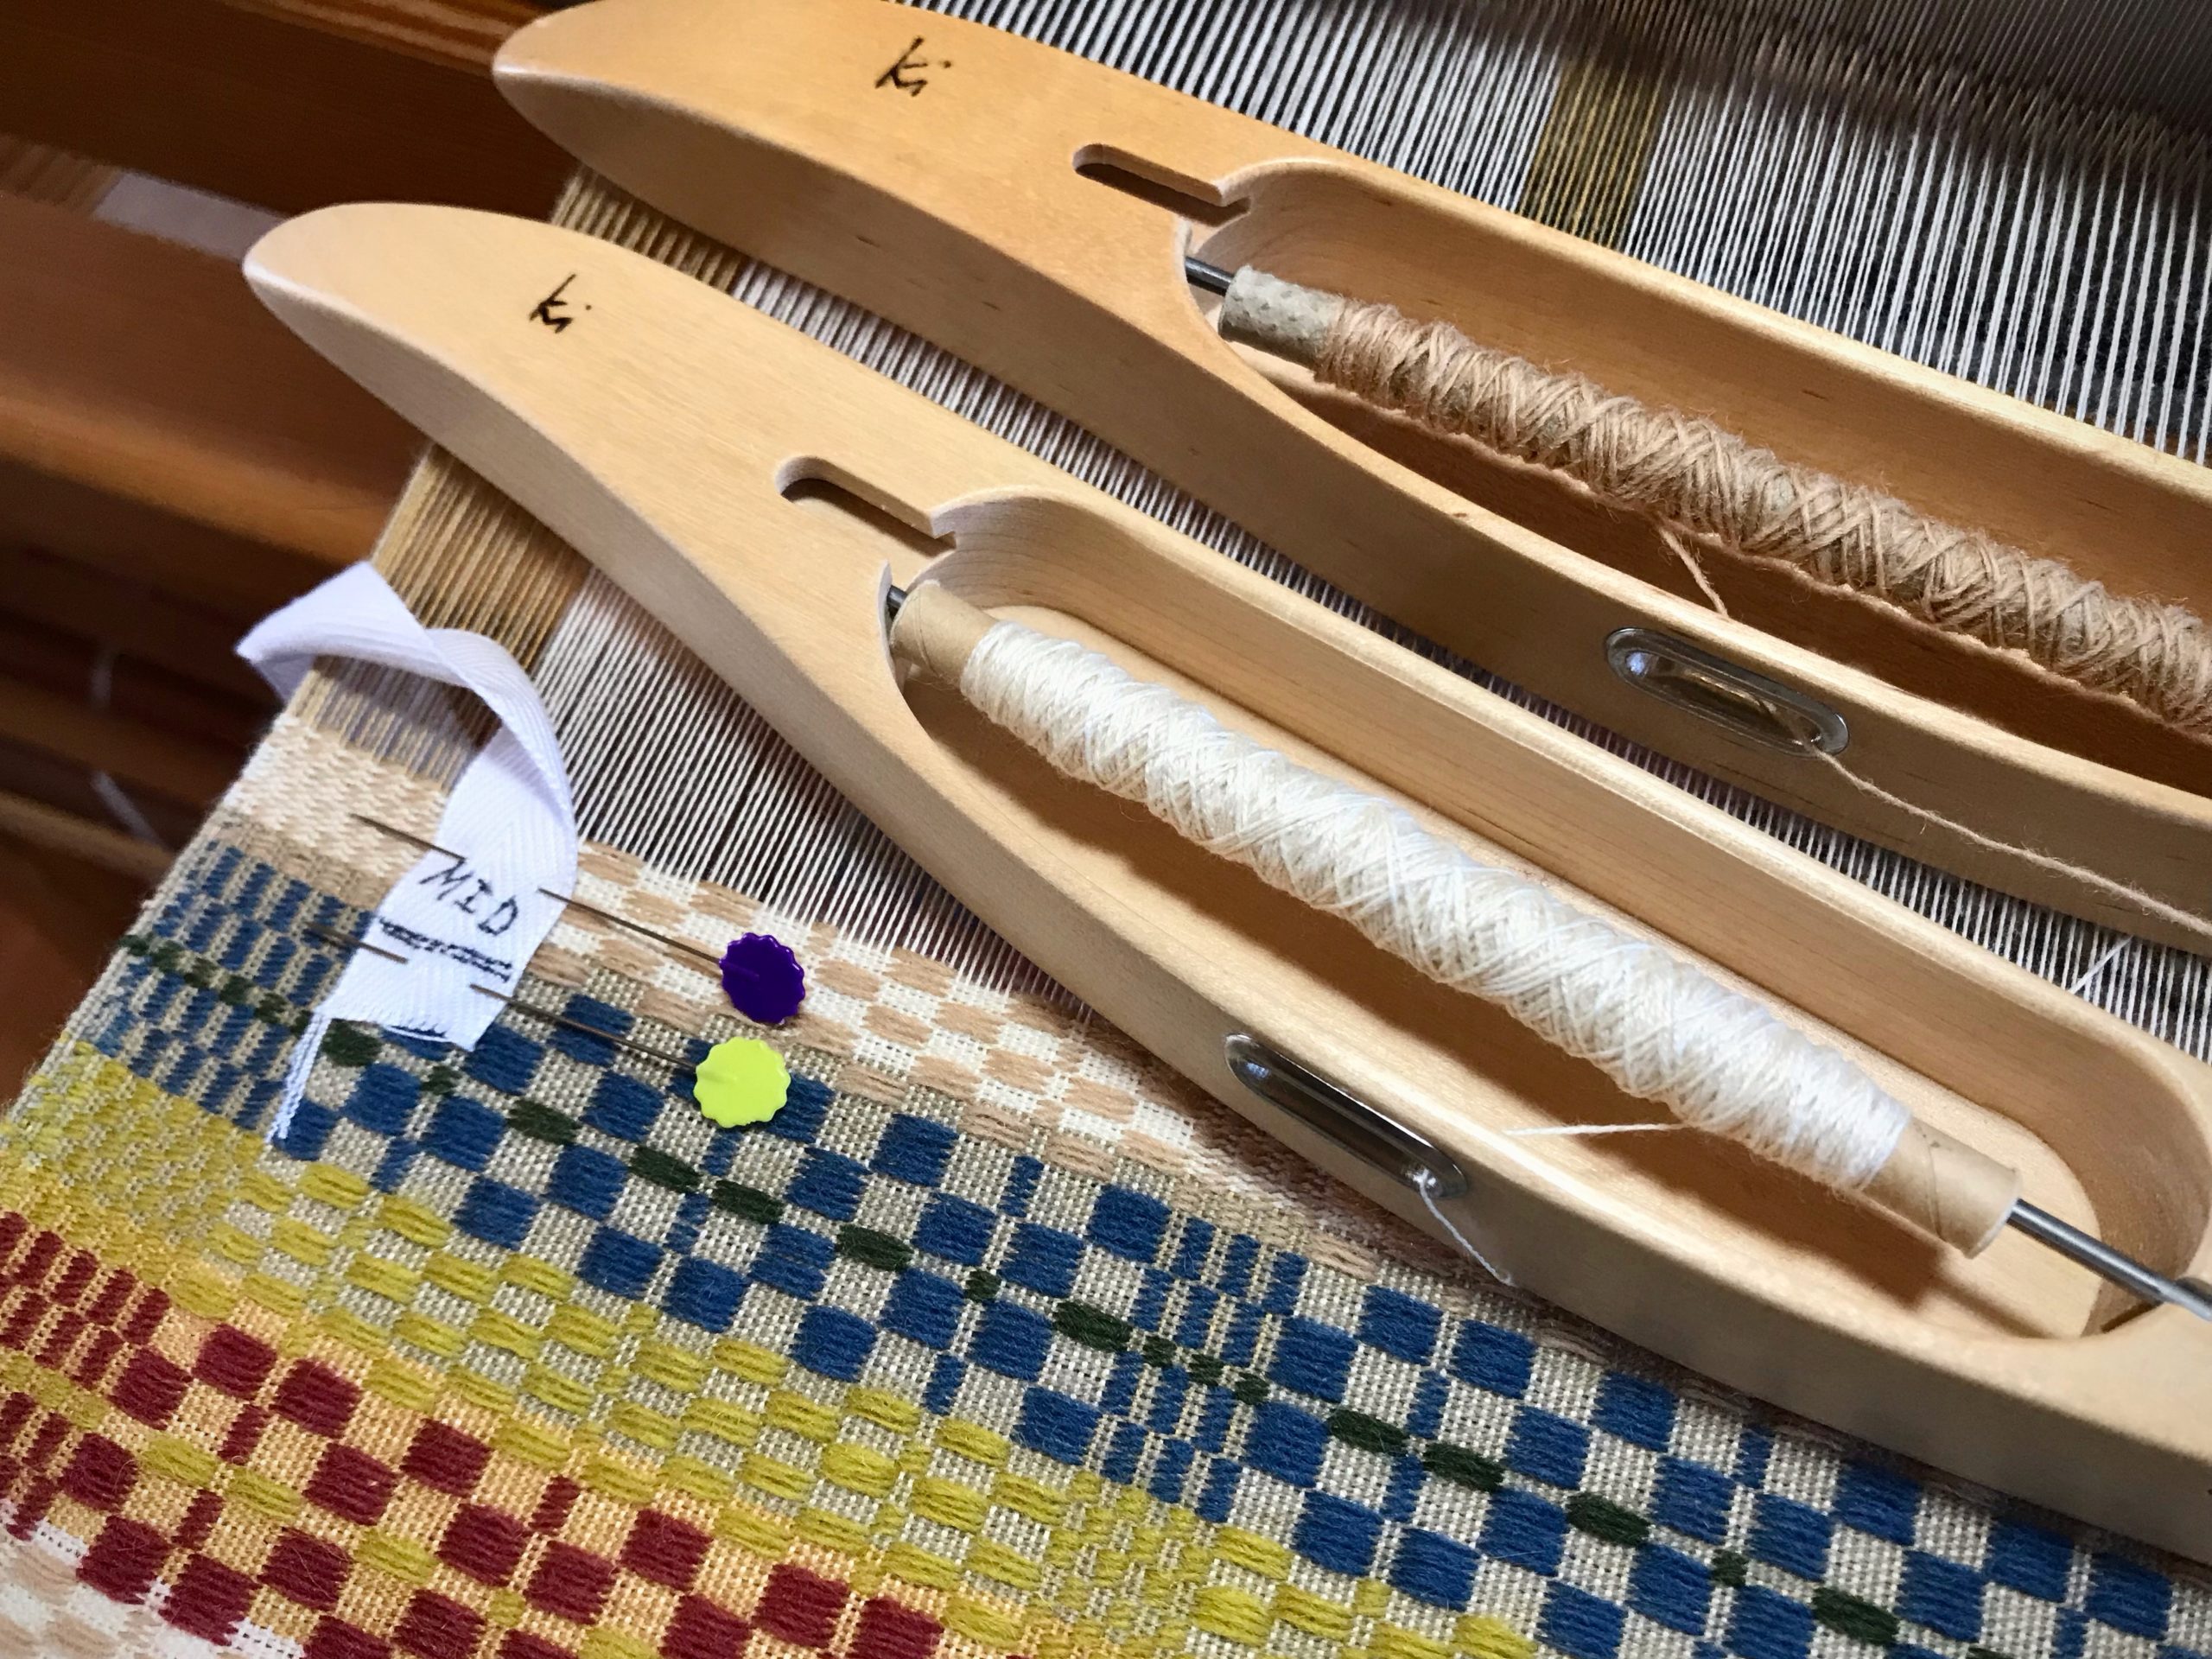
Here’s a demonstration of making and using a measurement tape:
(For a previous discussion of this topic, see Tools Day: Measured Weaving.)
Since you can measure what you are weaving, do relax and enjoy the ride.
May you reach the mid point at just the right time.
Happy Weaving,
Karen
