
Knots show up in the warp. It’s a normal part of weaving. Weaving over the knot is almost never a good idea. You have to deal with the little obstacle. This is why it is handy to know how to splice the warp. Thankfully, it’s not hard to do. There are a few standard variations on how to perform this operation. I use a method that I first came across here, by Kirsten Froberg, that makes sense to me. And, hooray, there are no tails to weave in later!
I made a new video to demonstrate how I do it. You can watch it below…
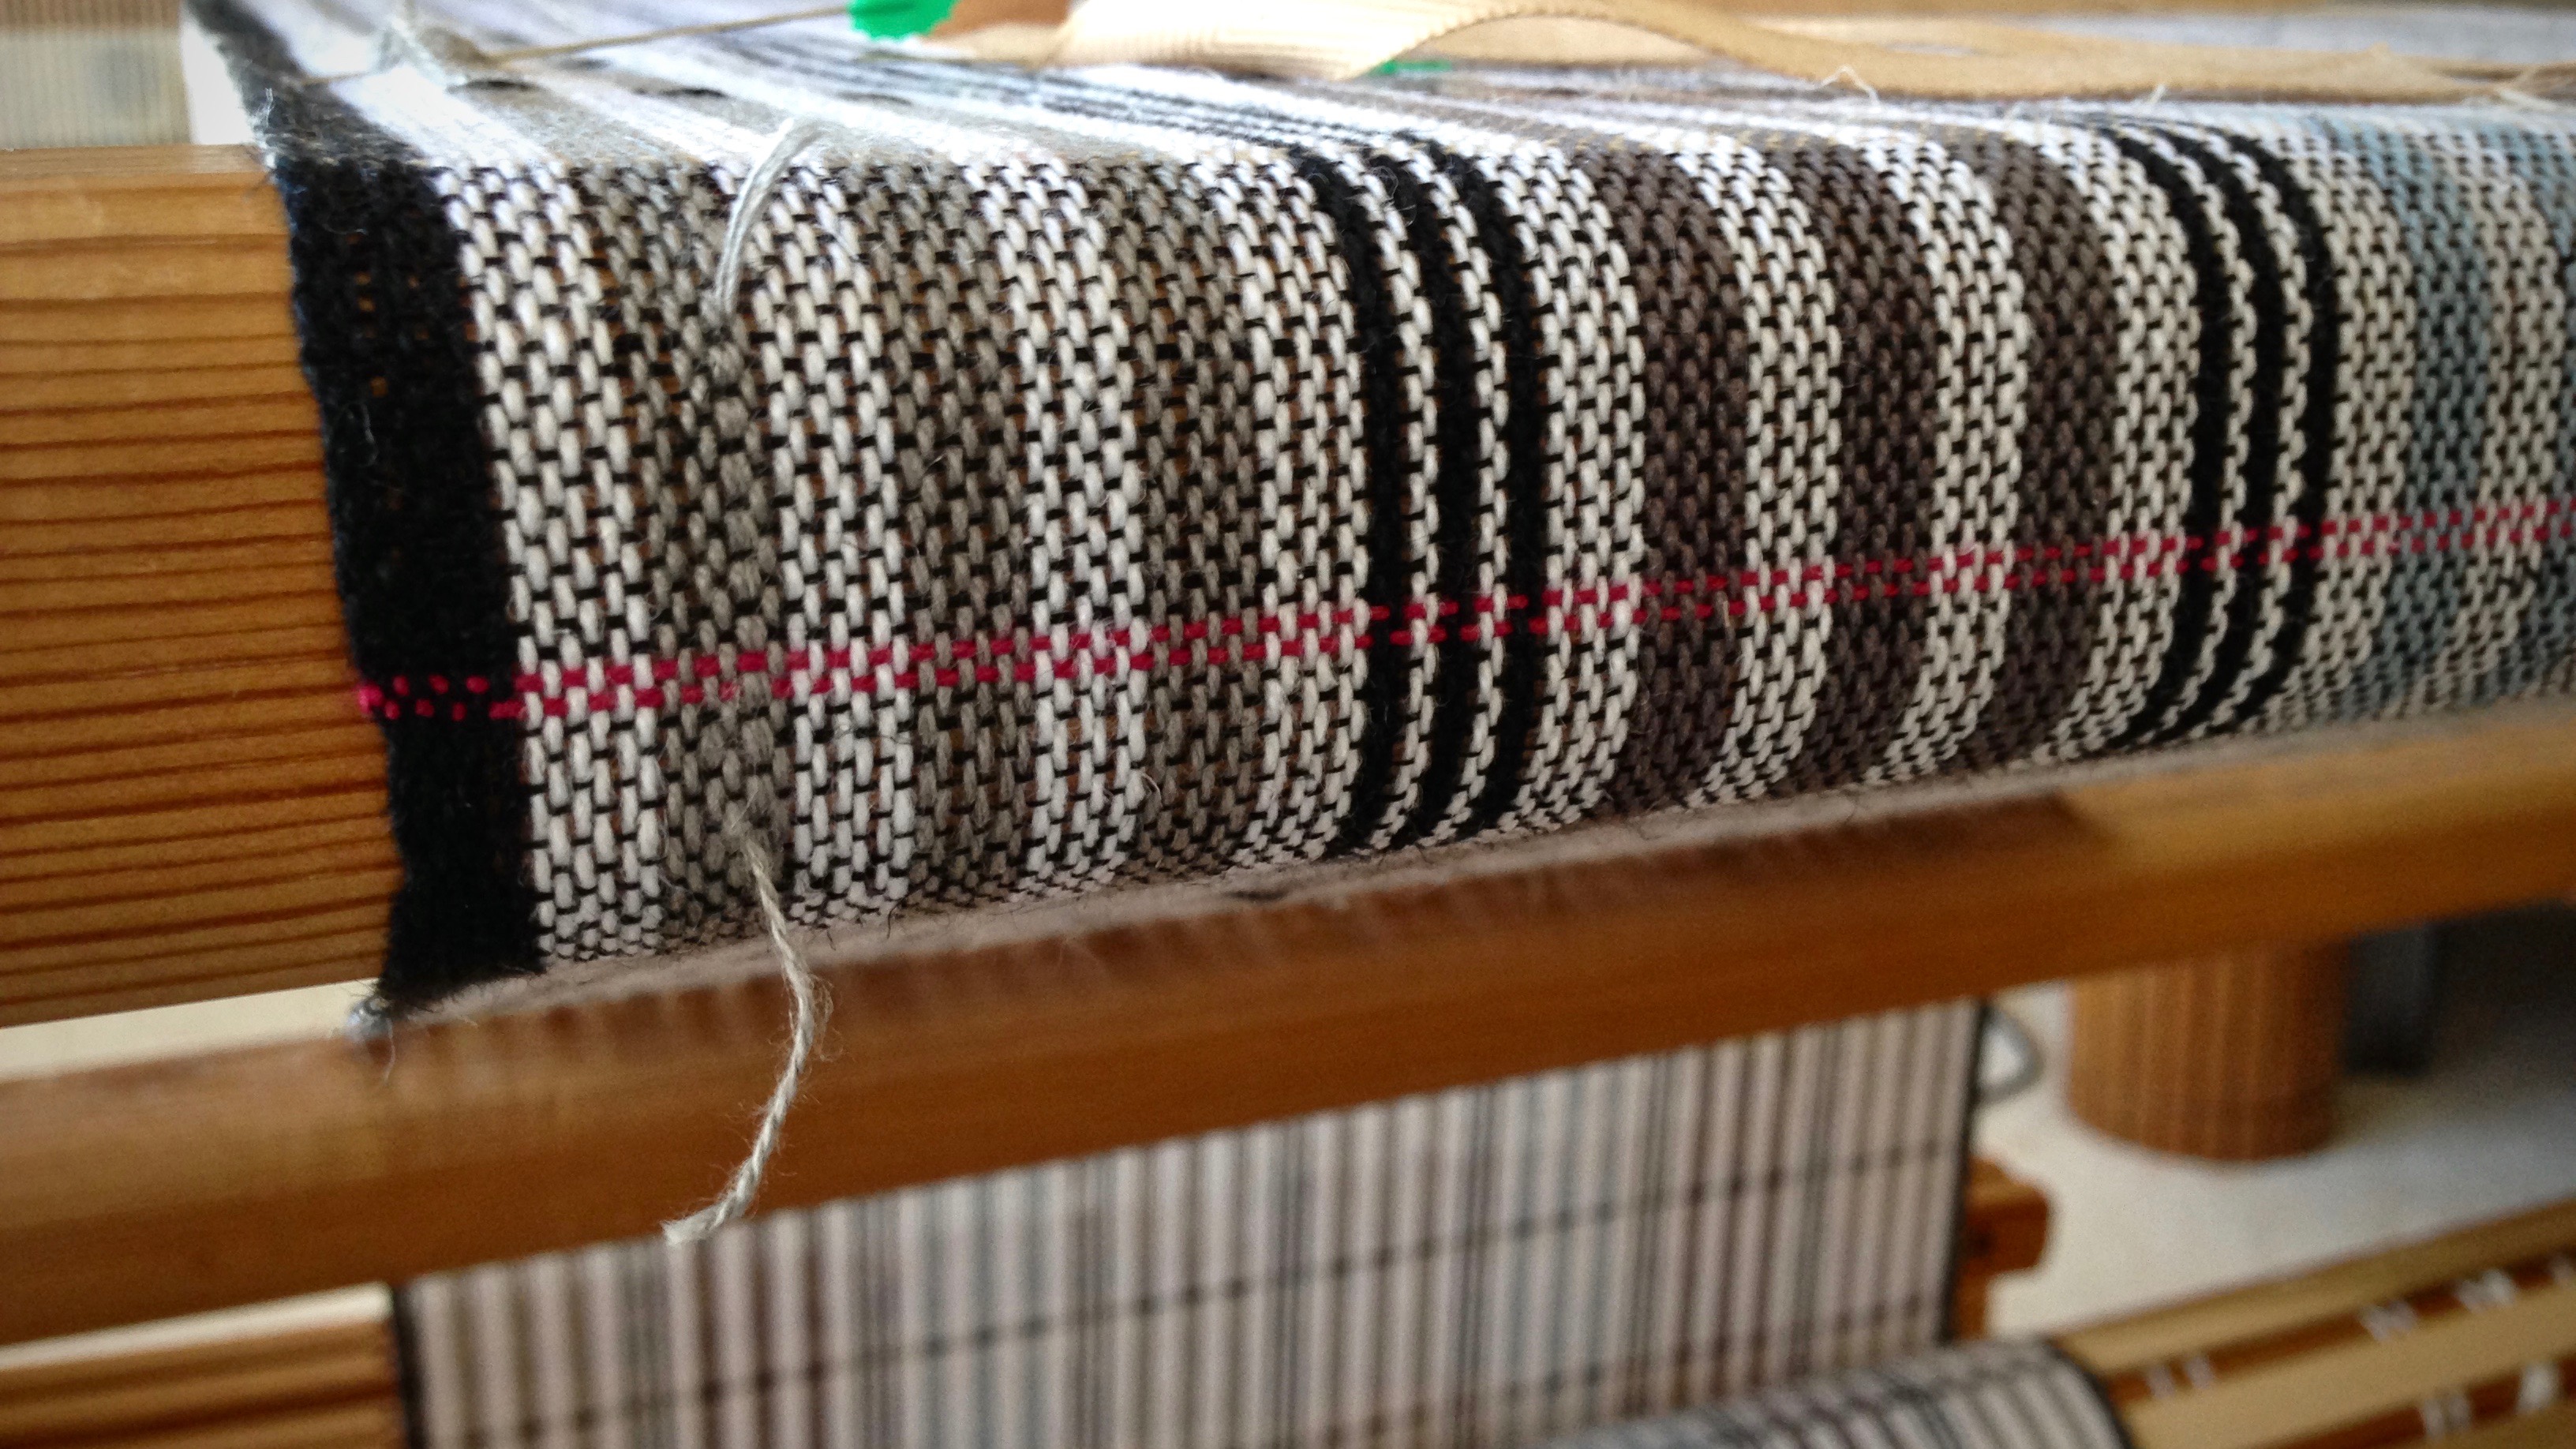
How to Remove a Knot in the Warp
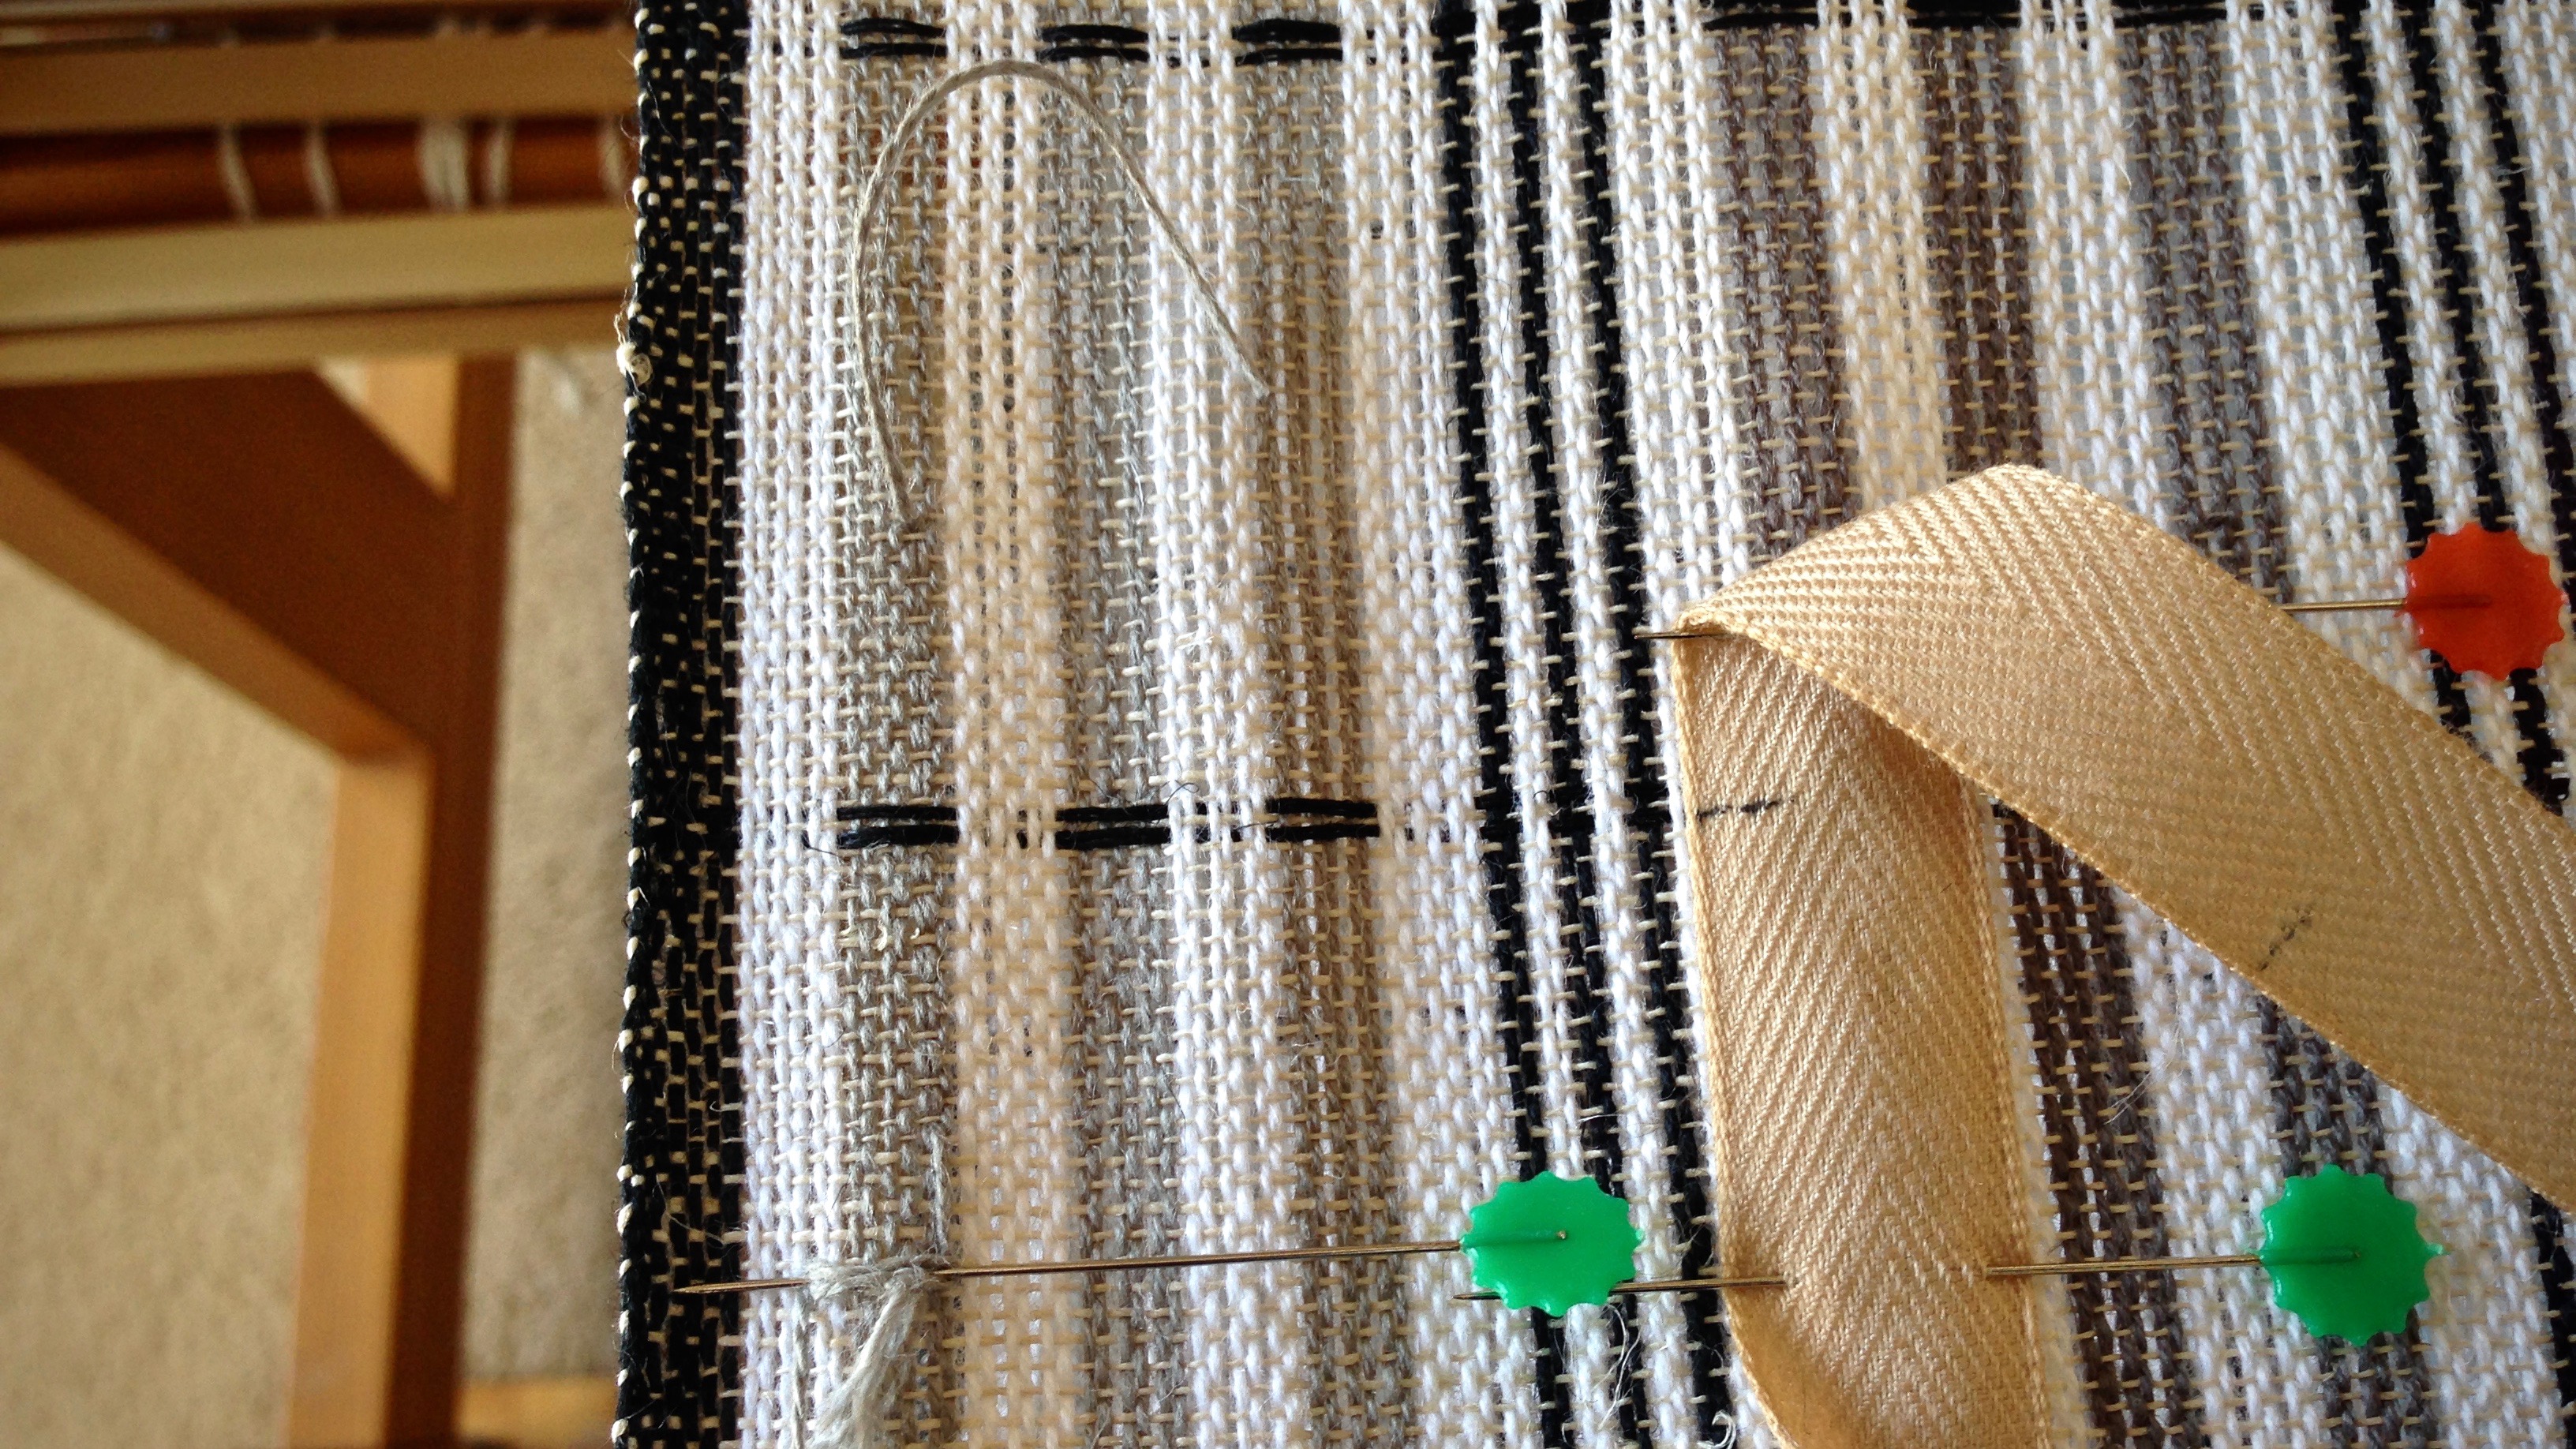
- Insert a replacement warp end. Attach with a pin.
- Weave an inch with original and replacement warp ends in place.
- Cut original warp end. Hang it over the back beam.
- Weave until original warp end is long enough to reinsert.
- Insert original warp end. Attach with a pin.
- Weave an inch with replacement and original warp ends in place.
- Cut and remove replacement warp end.
- Trim cut warp ends after wet finishing.
May the knots that get in your way be easy to remove.
Happy Weaving,
Karen
Karen,
This is great! I do it the same way except, I never thought of reattaching the original warp thread; a brilliant way to avoid a possible tension issue.
Thank you!
Beth, You’re right, this does avoid the possible tension issue of having a single weighted thread hanging at the back. Besides, I like the idea of putting everything back in order so there’s nothing to fidget with at the back.
Happy weaving!
Karen
Thanks. Very instructive. And I like your towels.
Hi Kathy, I’m glad you found the video helpful. That makes me so happy!
I’m in the process of developing a kit for these towels. Stay tuned…
Happy weaving,
Karen
Thank you for posting such a wonderful video.
& thank you for encouraging us to do the good thing, maybe not the easiest, but the best. Our wovens & our lives are stronger & more beautiful when we attend to our “knots”
Have a blessed day 🙂
Hi Sandy, What a sweet way to put it! Yes, we must attend to our “knots” in a good way. 🙂
Thanks for the encouragement,
Karen
Thanks for showing us this! I also hadn’t thought to reattach the original thread. It makes so much sense now that I’ve seen you do it!
Cindy, It does make sense, doesn’t it? Sometimes common sense methods are hidden in plain sight. We just have to discover them.
Happy weaving,
Karen
Brilliant solution, and as usual, so well photographed. You have the soul of a teacher and we, your “students” are so grateful for that. Thanks for helping us to become better weavers, Karen.
Hi tsw, What a kind word! I can’t think of a better compliment than to be told I have the soul of a teacher.
Thank you,
Karen