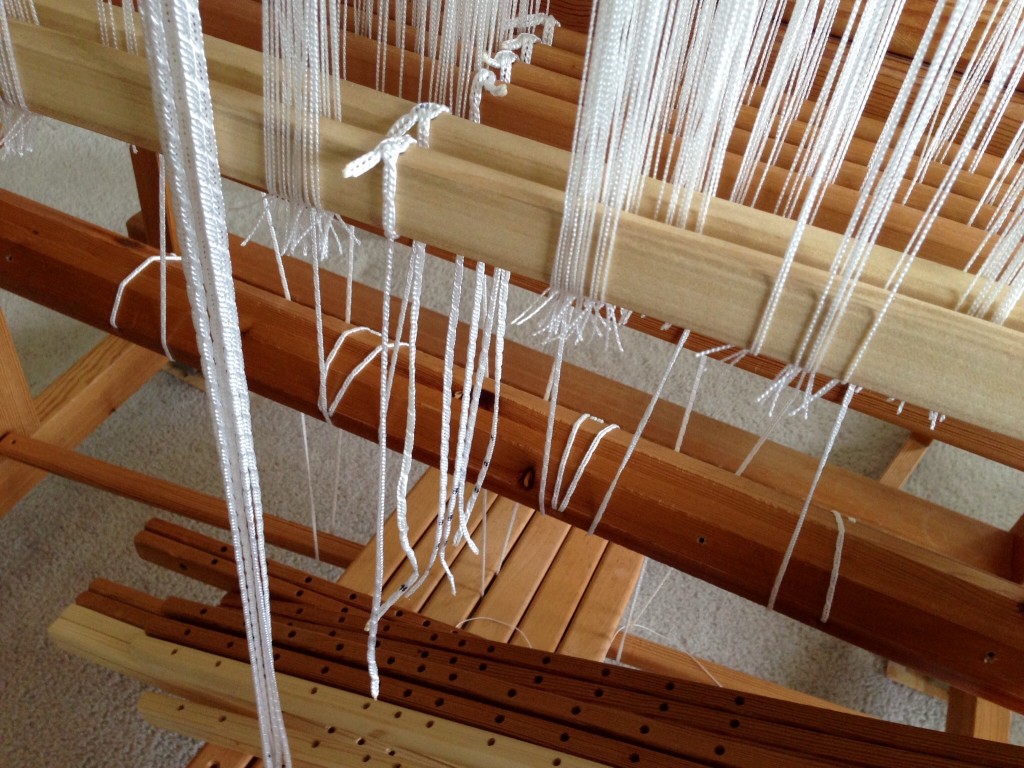
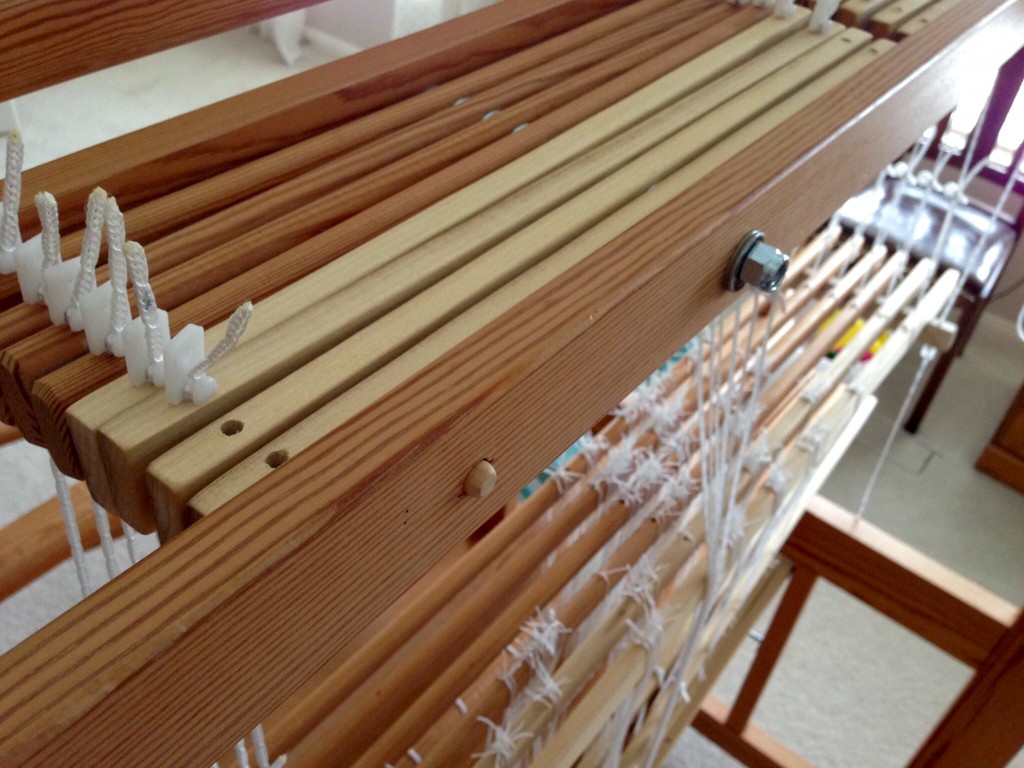
I am upgrading my “baby loom” from four shafts to six shafts. My woodworker husband fashioned the new pieces for this 100 cm / 39″ Glimakra Ideal countermarch loom. Since I need to add new Texsolv cords to the two new pairs of shafts and accompanying horizontal jacks, I decided to replace the thirty-year-old cords that are on the original pieces at the same time.

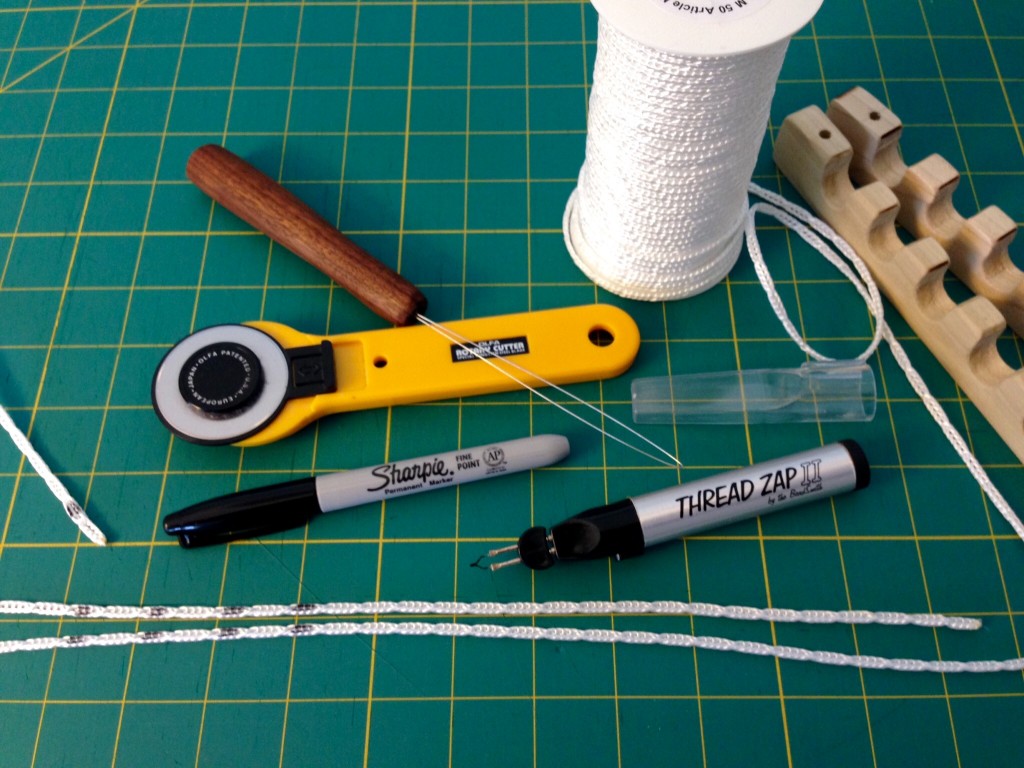
Tools:
- Spool of Texsolv cord
- Rotary cutter with sharp blade, and cutting mat; or, sharp scissors
- Permanent marker
- Cordless thread zapper (I got my Thread Zap II at Hobby Lobby)
- Cord threader (Steve made mine; GlimakraUSA carries a similar one)


Texsolv Tips:
- Measure length of Texsolv cord. “Measure twice; cut once.”
- Cut with very sharp blade on the “line” between holes. A sharp blade reduces the cord’s tendency to fray apart when cut.
- Use thread zapper tool to melt the cut ends. Roll melted end between fingers to form a firm tip at the cut end.
- Especially for countermarch looms: This one tip greatly simplifies countermarch loom tie-ups because it eliminates guessing about getting everything even. Use permanent marker to make consistent marks on like cords, to enable even tie-ups; e.g., with the marker, put a mark on the second hole from the top, and on four holes (alternate with unmarked holes) near the bottom end of shaft-to-lamm cord, so that when you attach shafts to lamms, all the cords can be precisely aligned. (All my cords are measured and marked. I keep one of each marked cord in a labeled Baggie as a sample to make it easy to replace or add any cord.)
- Use threader, if needed, to thread cord through holes in the loom parts.
Quiet Friday: Cutest Loom Ever is a look back to the first renovation this little old loom experienced.
May you find new ways to do old things.
Getting ready,
Karen
