Quiet Friday: Rag Rug Finishing

How many people get to have a handmade article right under their feet? You come in from the world, with your feet dusty and weary; you look down, and the rug says, “Welcome home.”

After the weaving is complete, the only thing left is finishing. For rags rugs, that means securing the warp ends, and finishing the ends with fringe or stitched hems. I prefer the look of hems over fringe, so my rugs usually have turned-under hems (occasionally, I do a bound hem, but I’ll save that for another time). The hem area is woven with narrower strips (about 1/4 in. or 1/2 cm) than the rest of the rag rug, to make it less bulky for turning under, and it lays nice and flat on the floor. Ah, rosepath rag rugs, I shall truly miss seeing you on the loom!

Rosepath Rag Rugs rolled up on cloth beam. Karen Isenhower
The end is the beginning. The end of the warp means the rugs are ready to be unrolled from the cloth beam.
Rosepath rag rugs unfurled from the loom.
Rosepath rag rugs being unrolled and cut from the loom. This always feels like the moment of truth: I ask myself, “How do they look?” (Note, this view is the underside of the rugs.)
Upholstery needle helps separate warp ends from header to secure ends of rag rug.
Step 1. An upholstery needle helps separate warp ends from the header. A clothespin keeps finished ends out of the way.
Securing rag rug hem with square knots.
Step 2. Secure the hem with square knots. Four ends at a time, pulled out of the header, are firmly tied into knots.
Finishing rag rug with square knots, and trimming warp ends.
Step 3. Trim the warp ends about 3/4 in / 2 cm from the knots.
Steps for finishing rag rug hems. How-to pics.
Step 4. Fold hem edge to the back side of the rug, keeping the knotted ends inside the fold. Press. Fold again to complete the turned hem. Press.
Stitching rag rug hem. Steps for finishing rag rugs.
Step 5. Stitch close to the fold of the hem. Stitch the side edges of the hem closed. Be sure to use sewing thread in the needle that matches the underside of the rug, and bobbin thread that matches the top of the rug.
Rosepath rag rug. Karen Isenhower
Rosepath rag rug, hemmed and ready, with the look of a breath of fresh air.
Rosepath Rag Rug. Welcome home! Karen Isenhower
Let’s call this one the “Welcome Home” rug. We’d love to have you stay a while.

May weary feet find your home to be a welcoming place.

Still being finished,
Karen

The Secret to Making Lattice Fringe

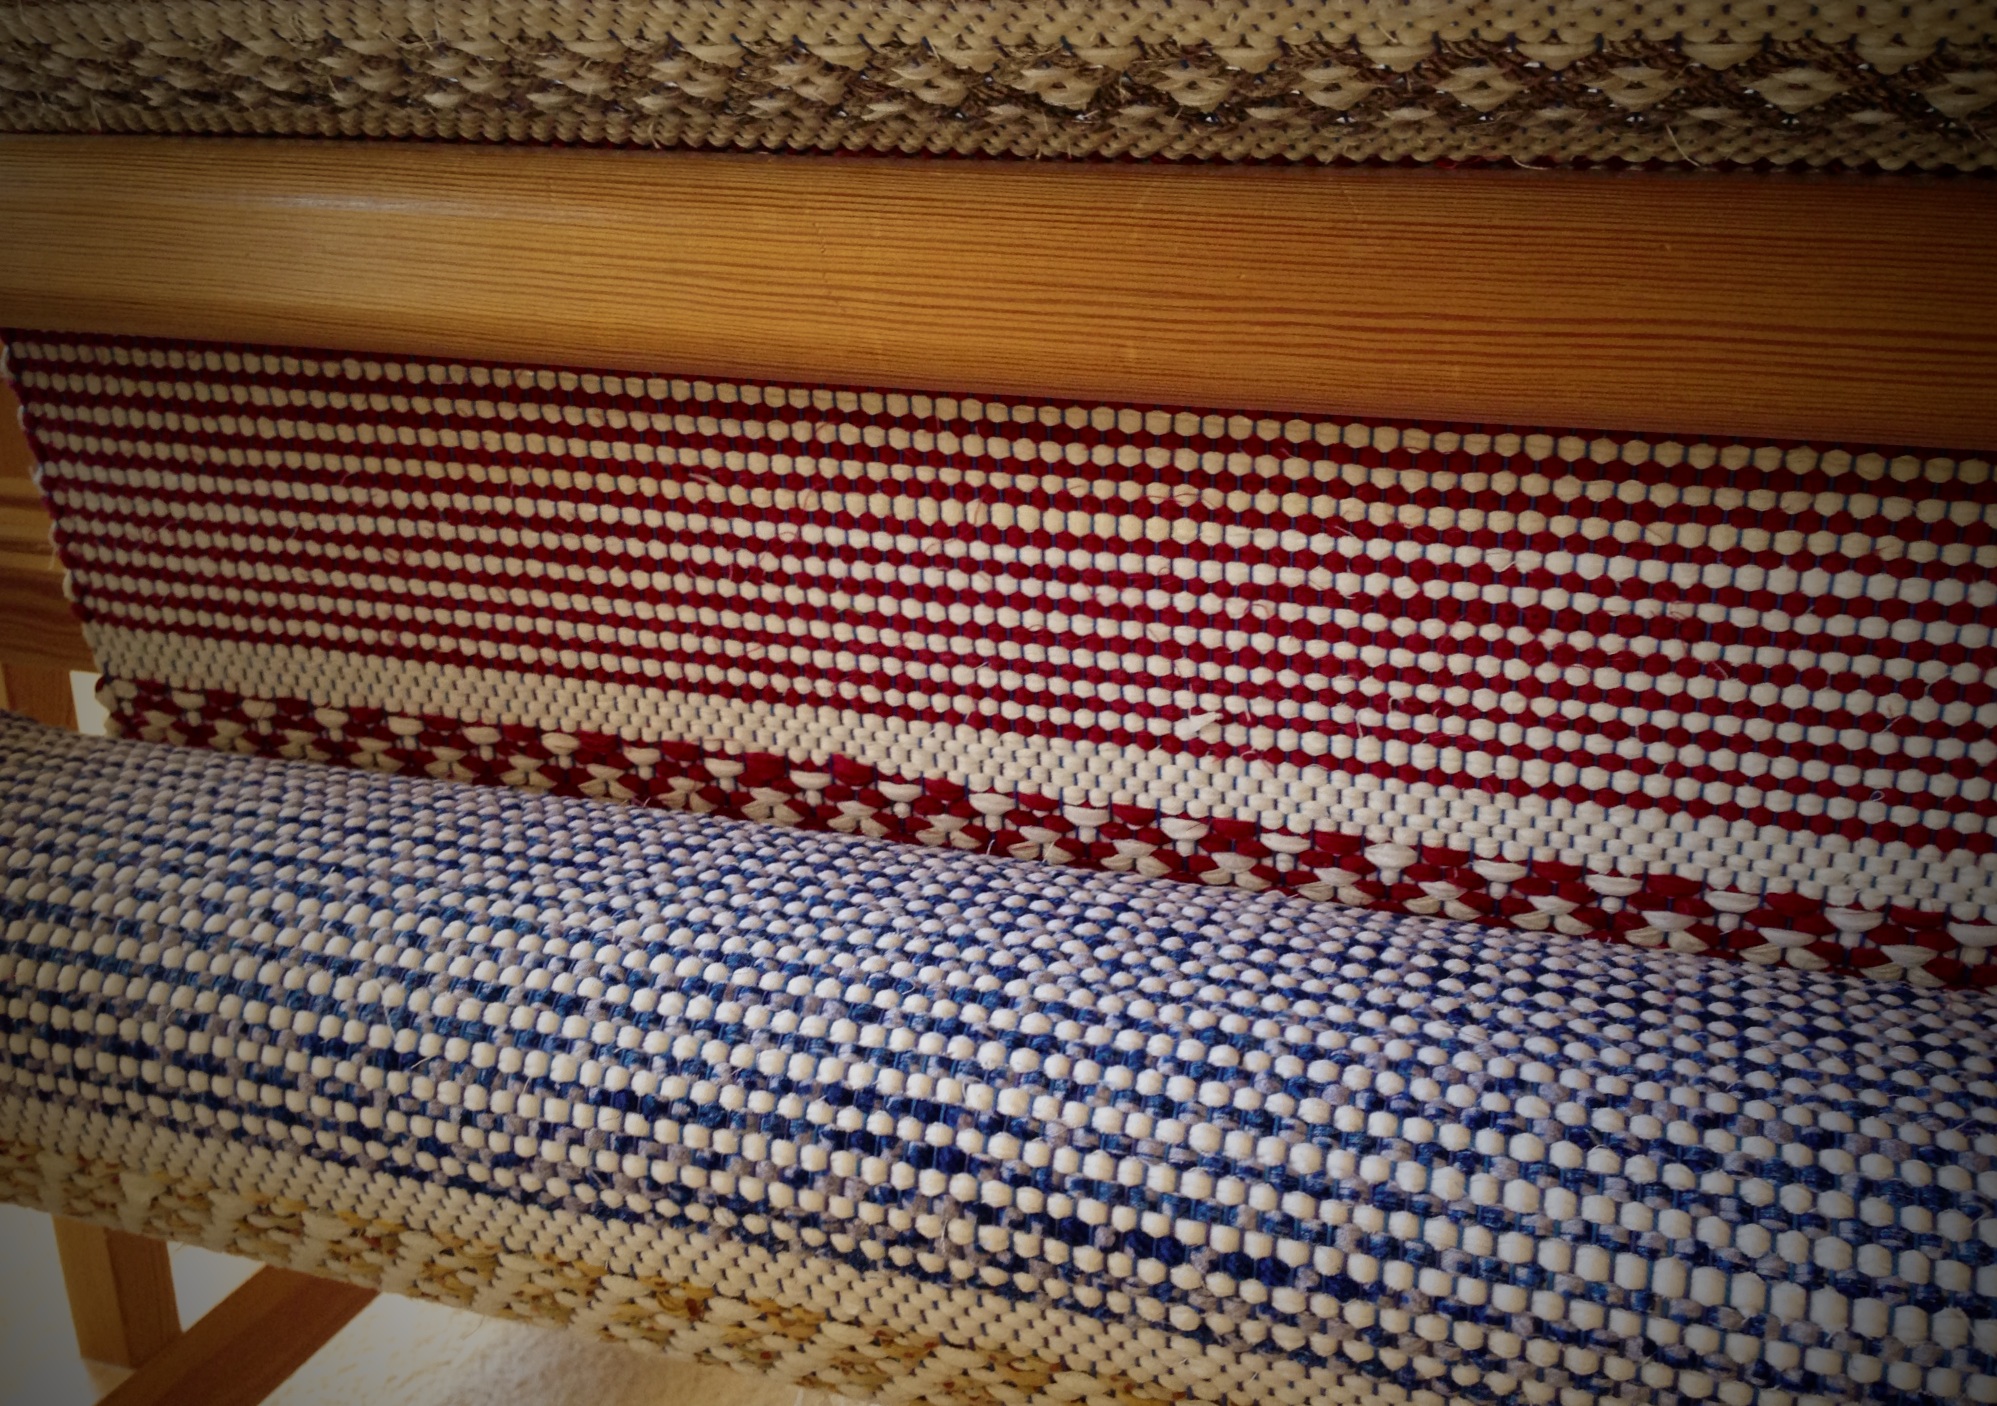
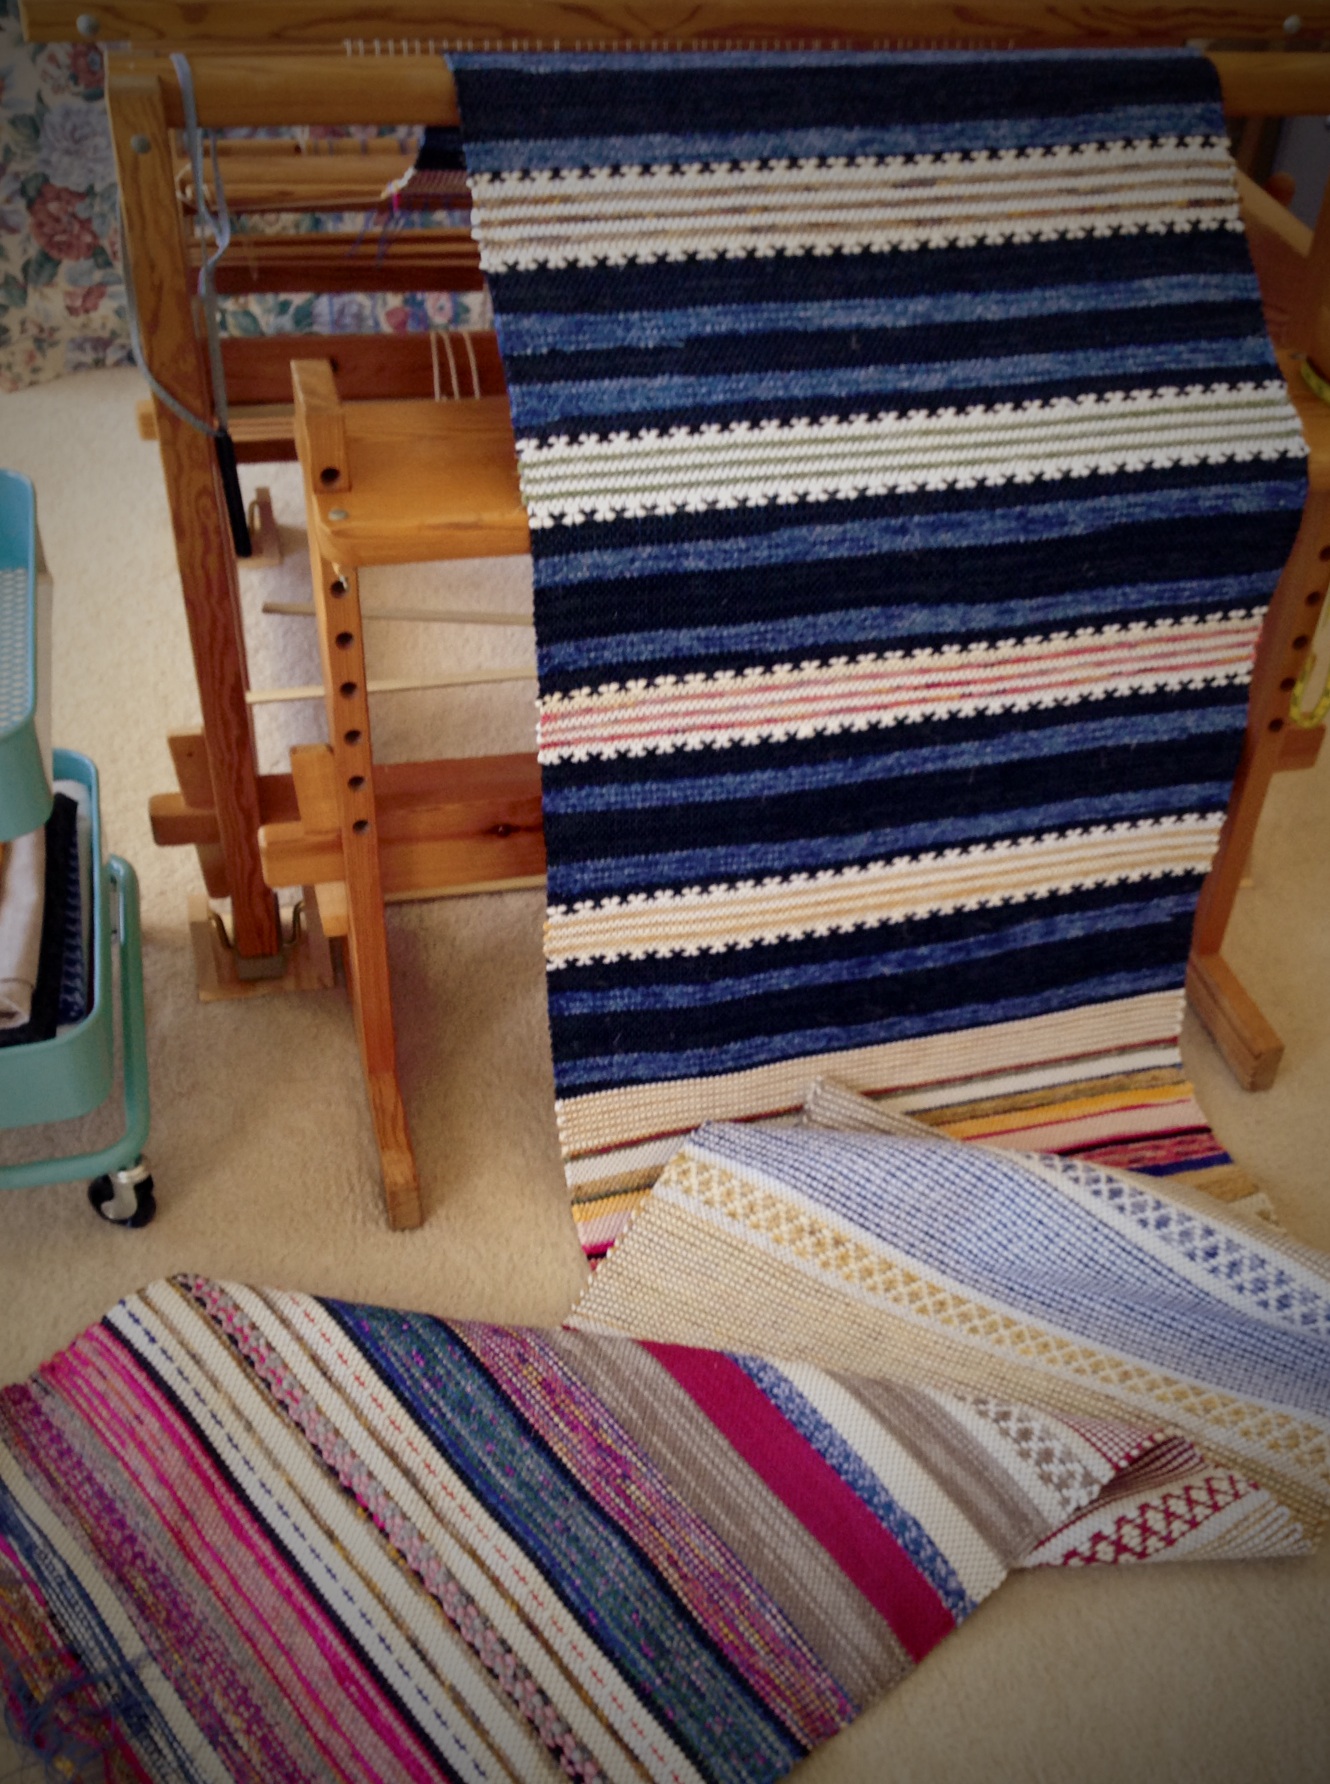
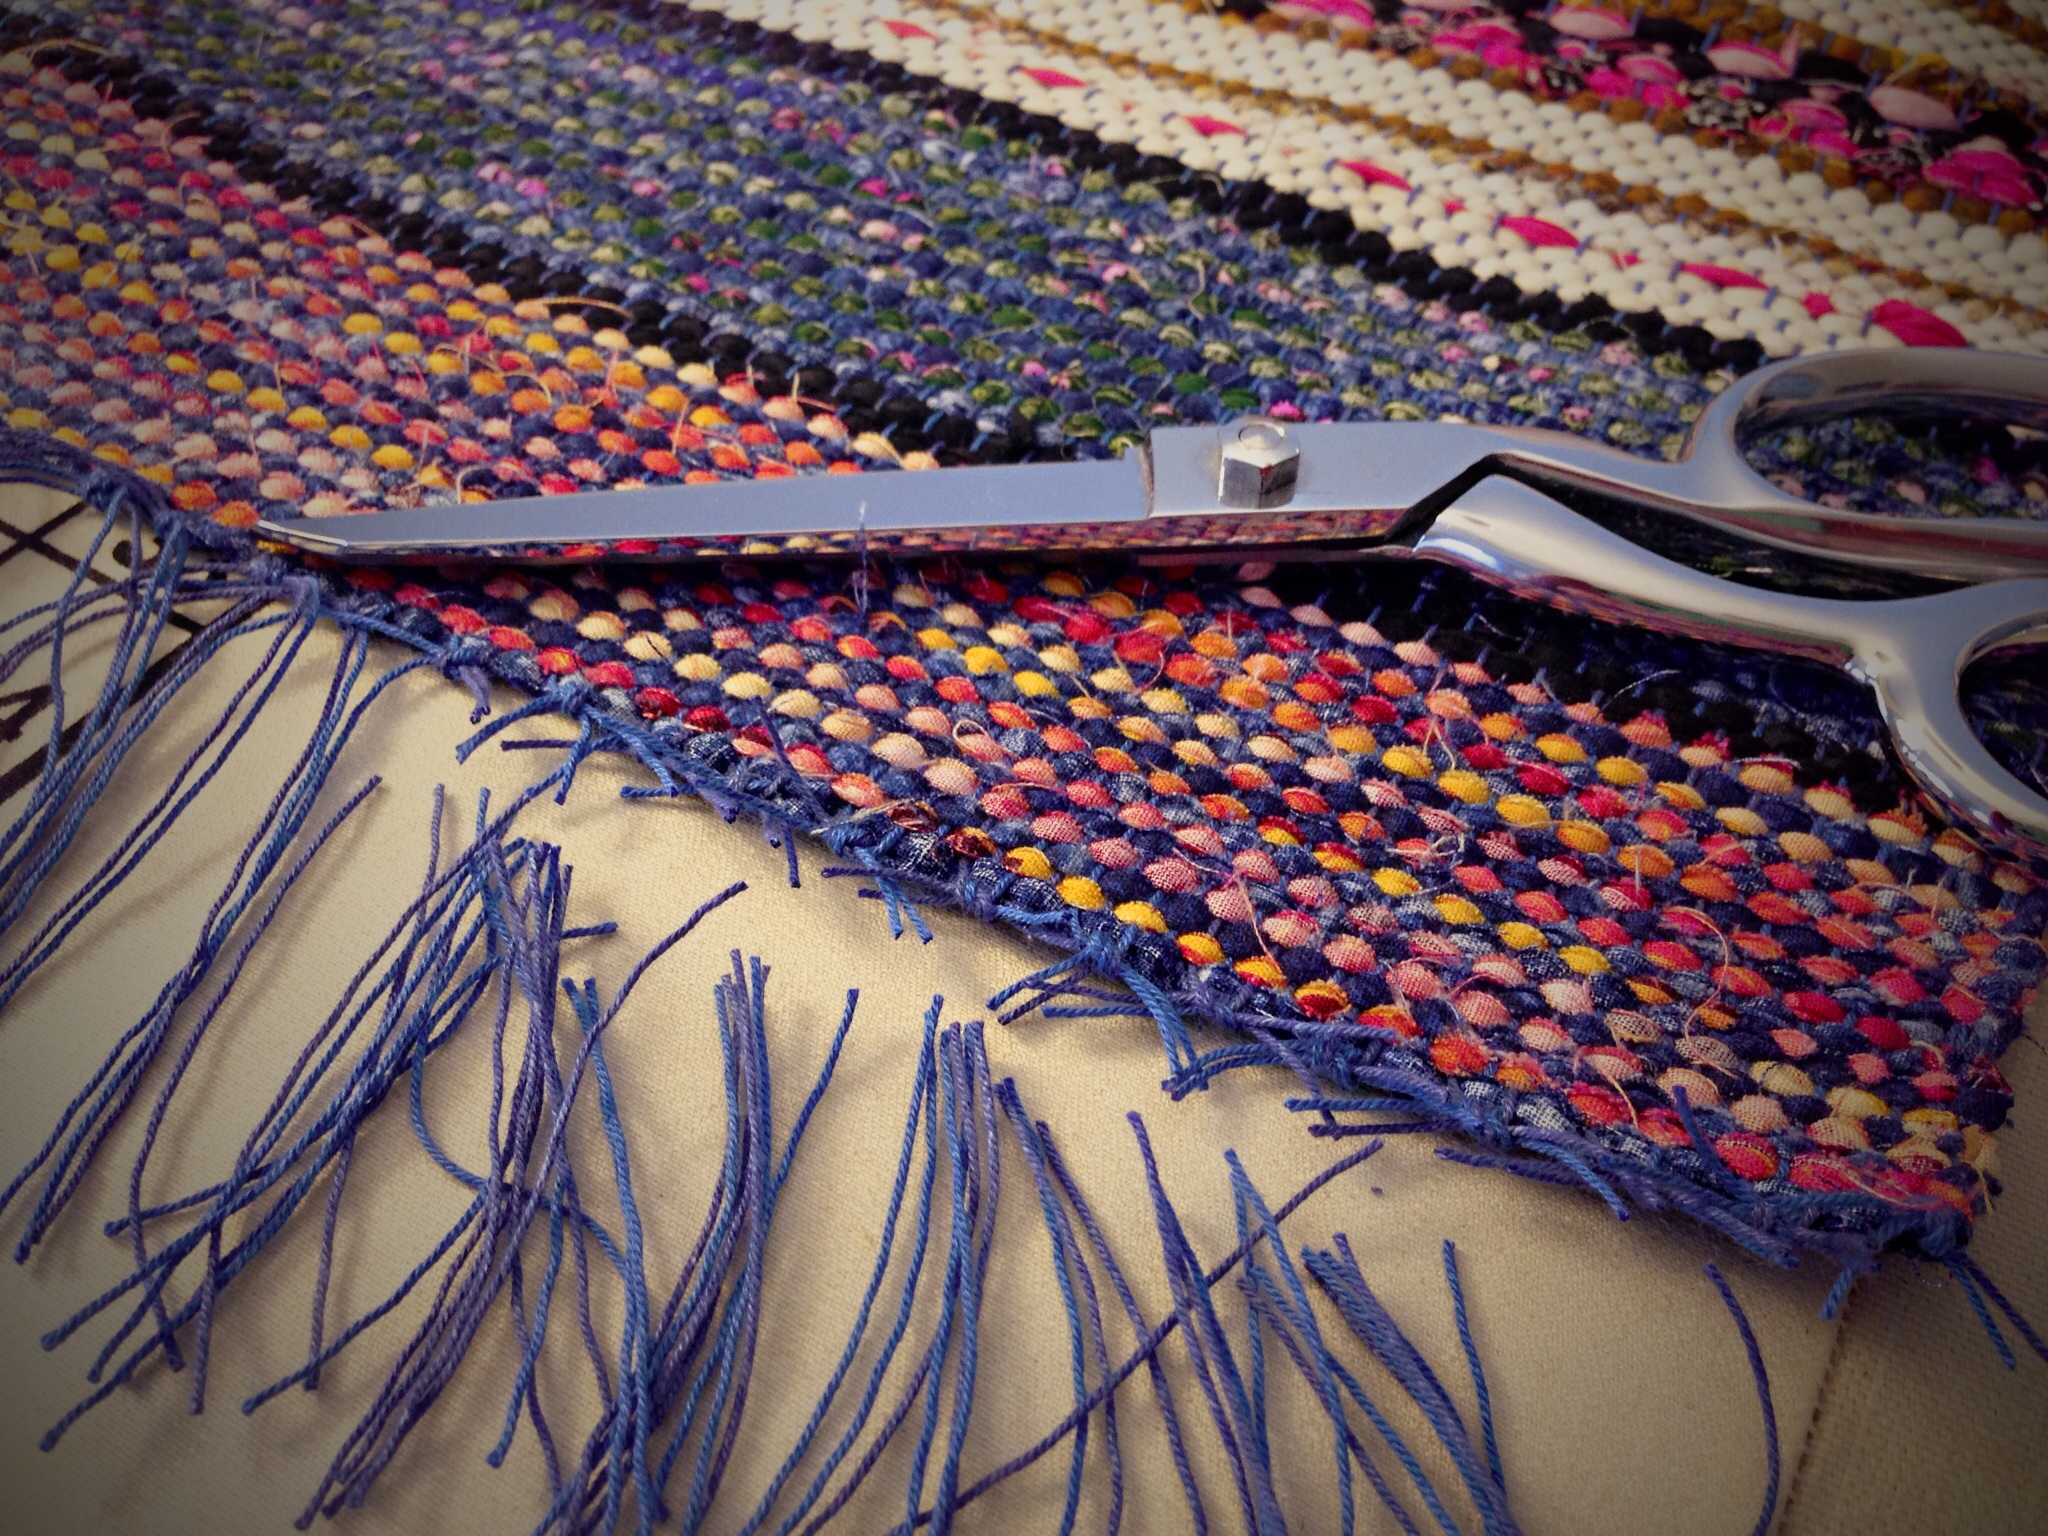
First, a short tutorial for tying perfect lattice fringe, and then some thoughts about keeping our eyes open to reality. I decided to tie three rows of knots with this fringe for a pretty lattice effect, knowing the results are worth the time it takes.

How to Tie Lattice Fringe – Step-by-Step Tutorial

Supplies:

  • 7/8″ (2 cm) blue rigid foam insulation (mine is Dow Styrofoam Residential Sheathing Insulation, found at The Home Depot or Lowes), cut to 32 x 36″ (81 x 91 cm) (This great idea came from Thrums, one of my favorite weaving blogs.)
  • 16 straight pins
  • 7/8″ (2 cm) warping slat (or template of desired width)

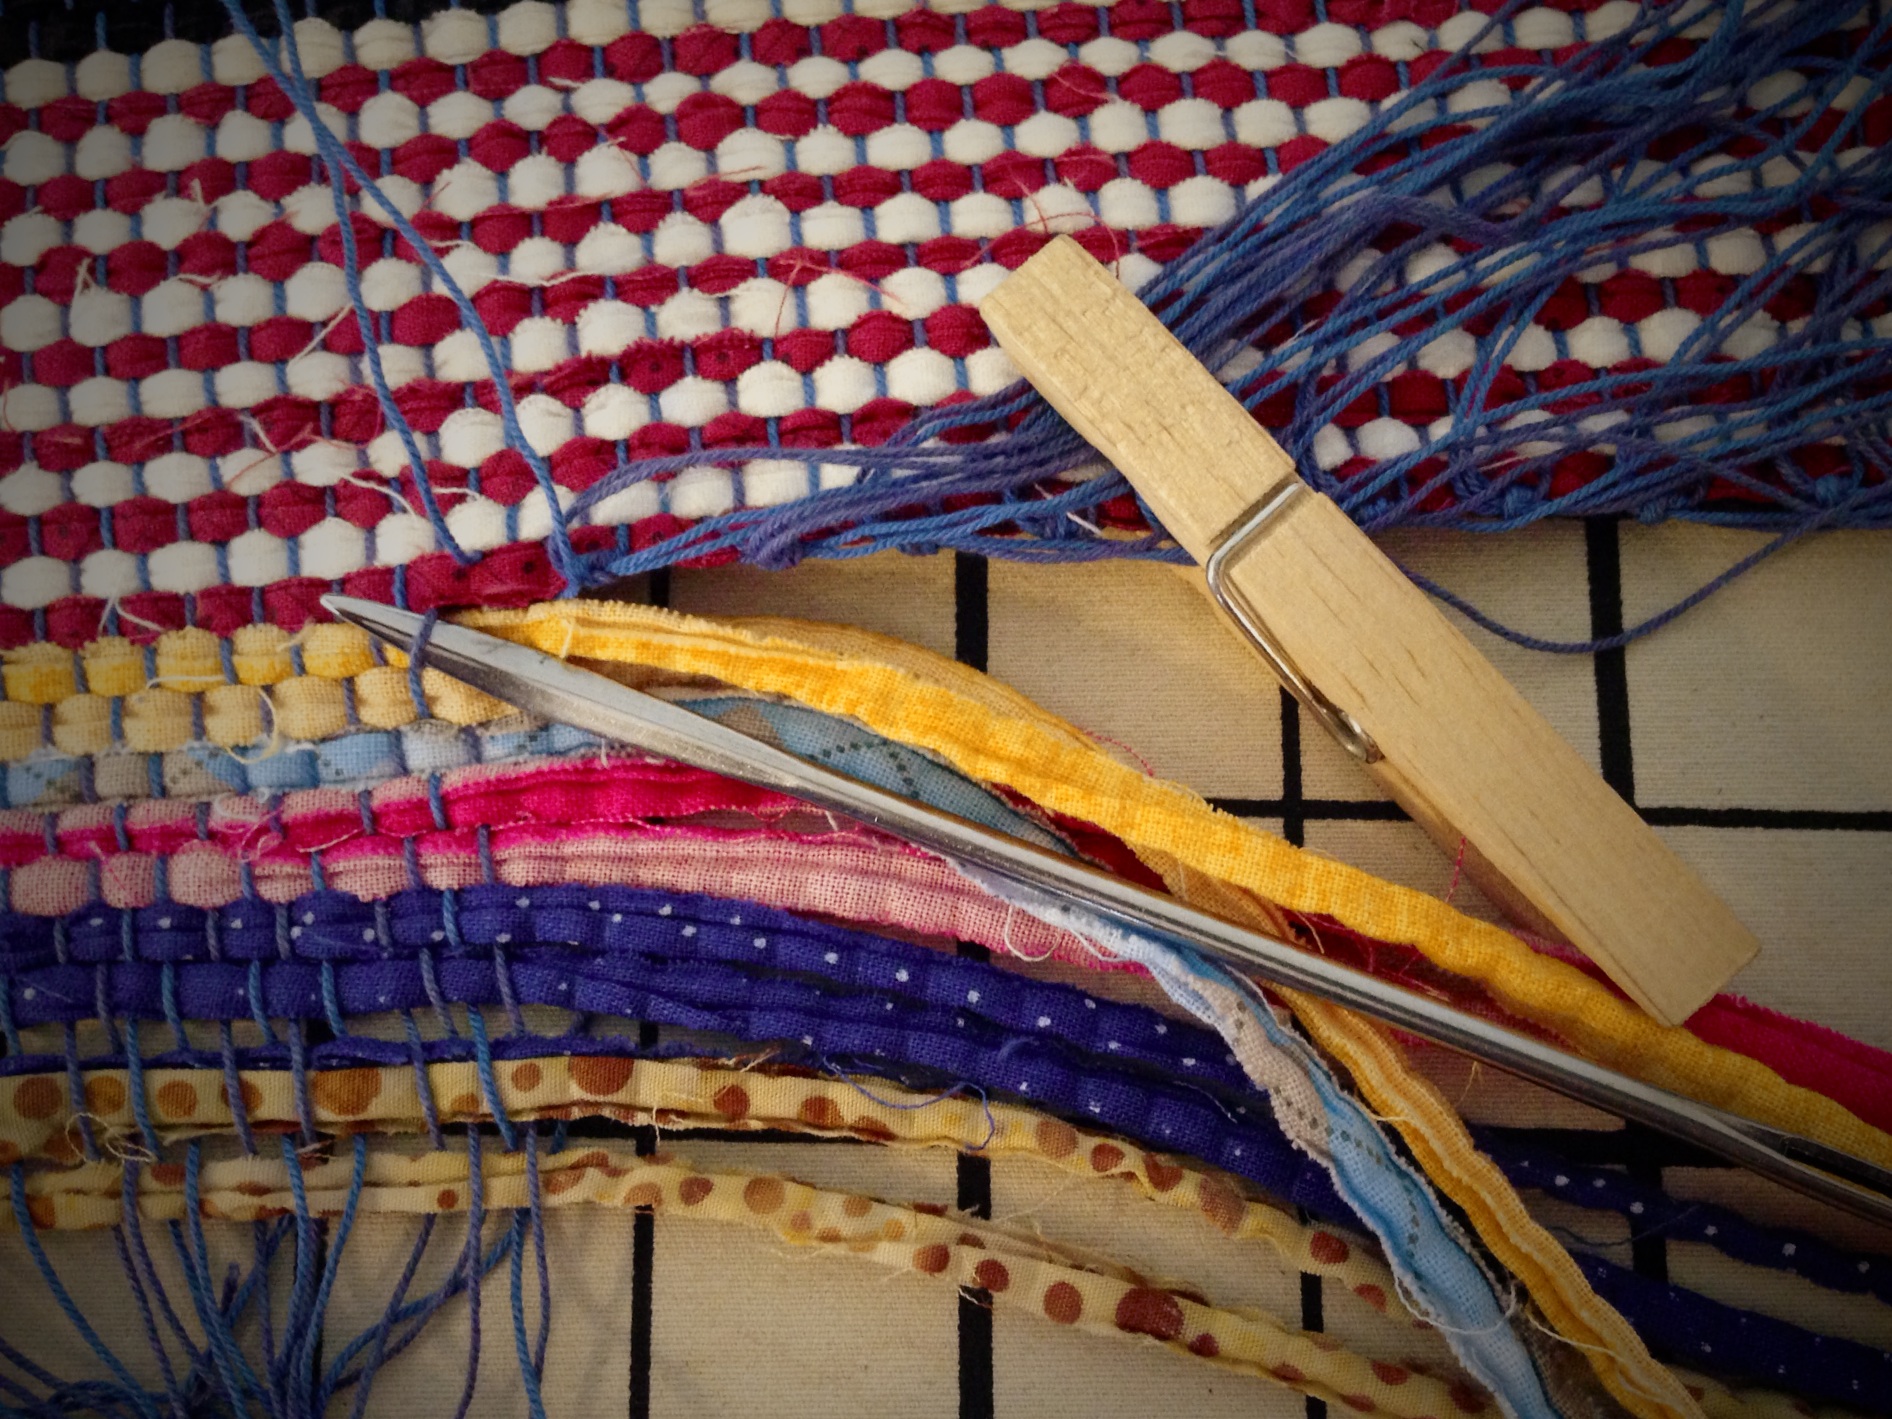
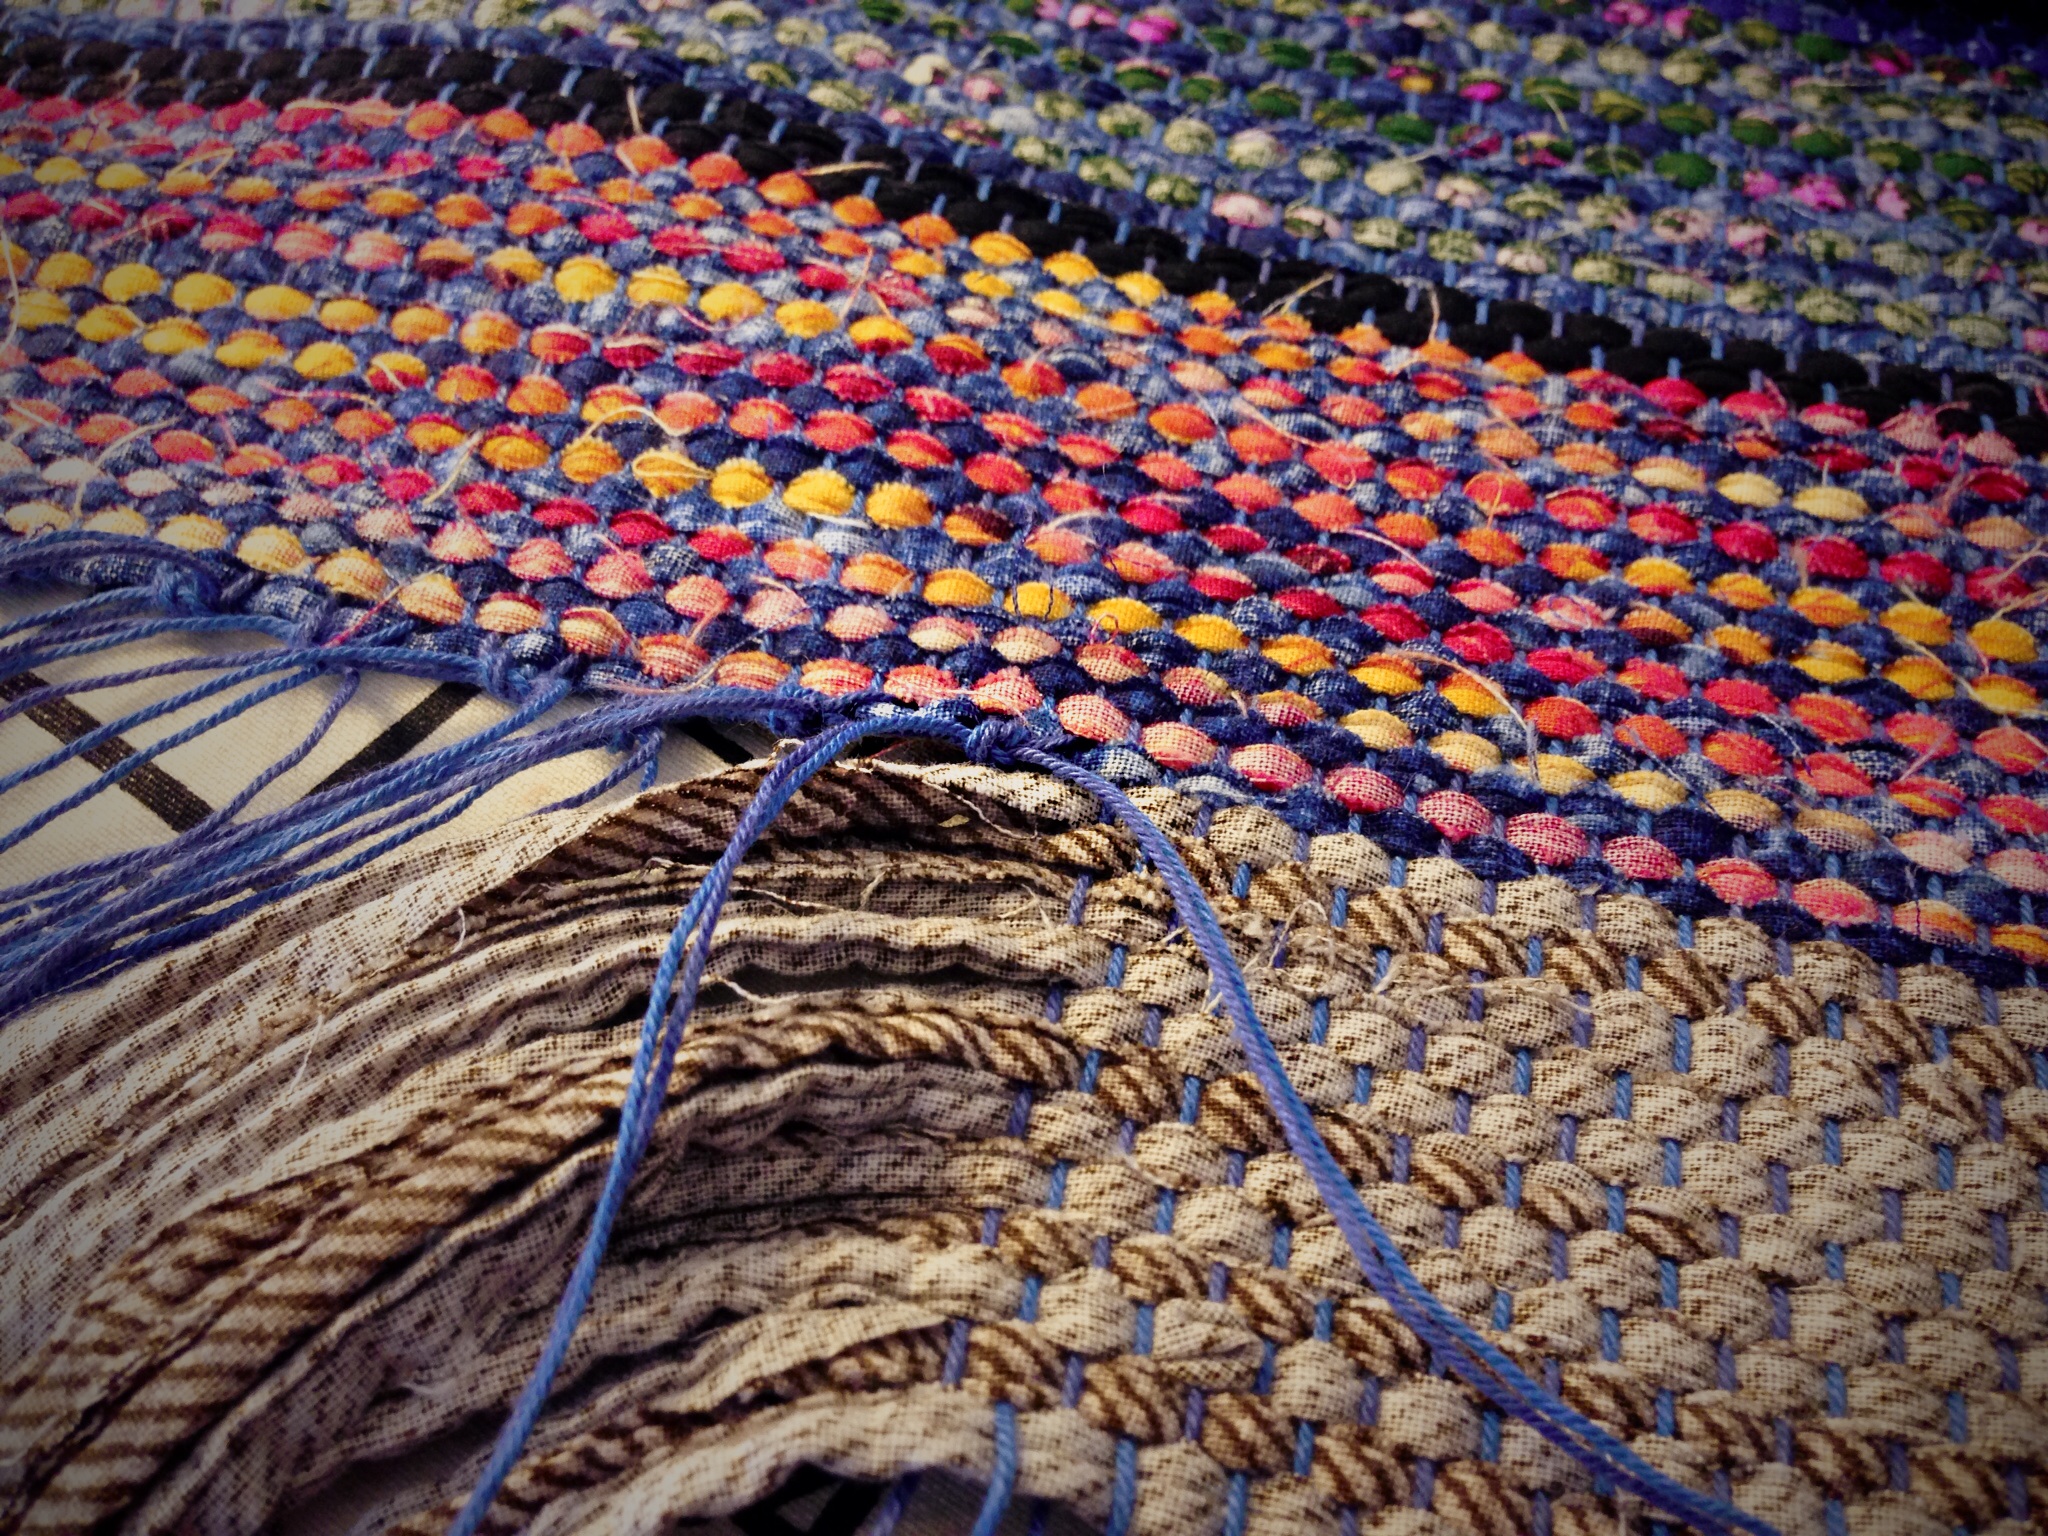
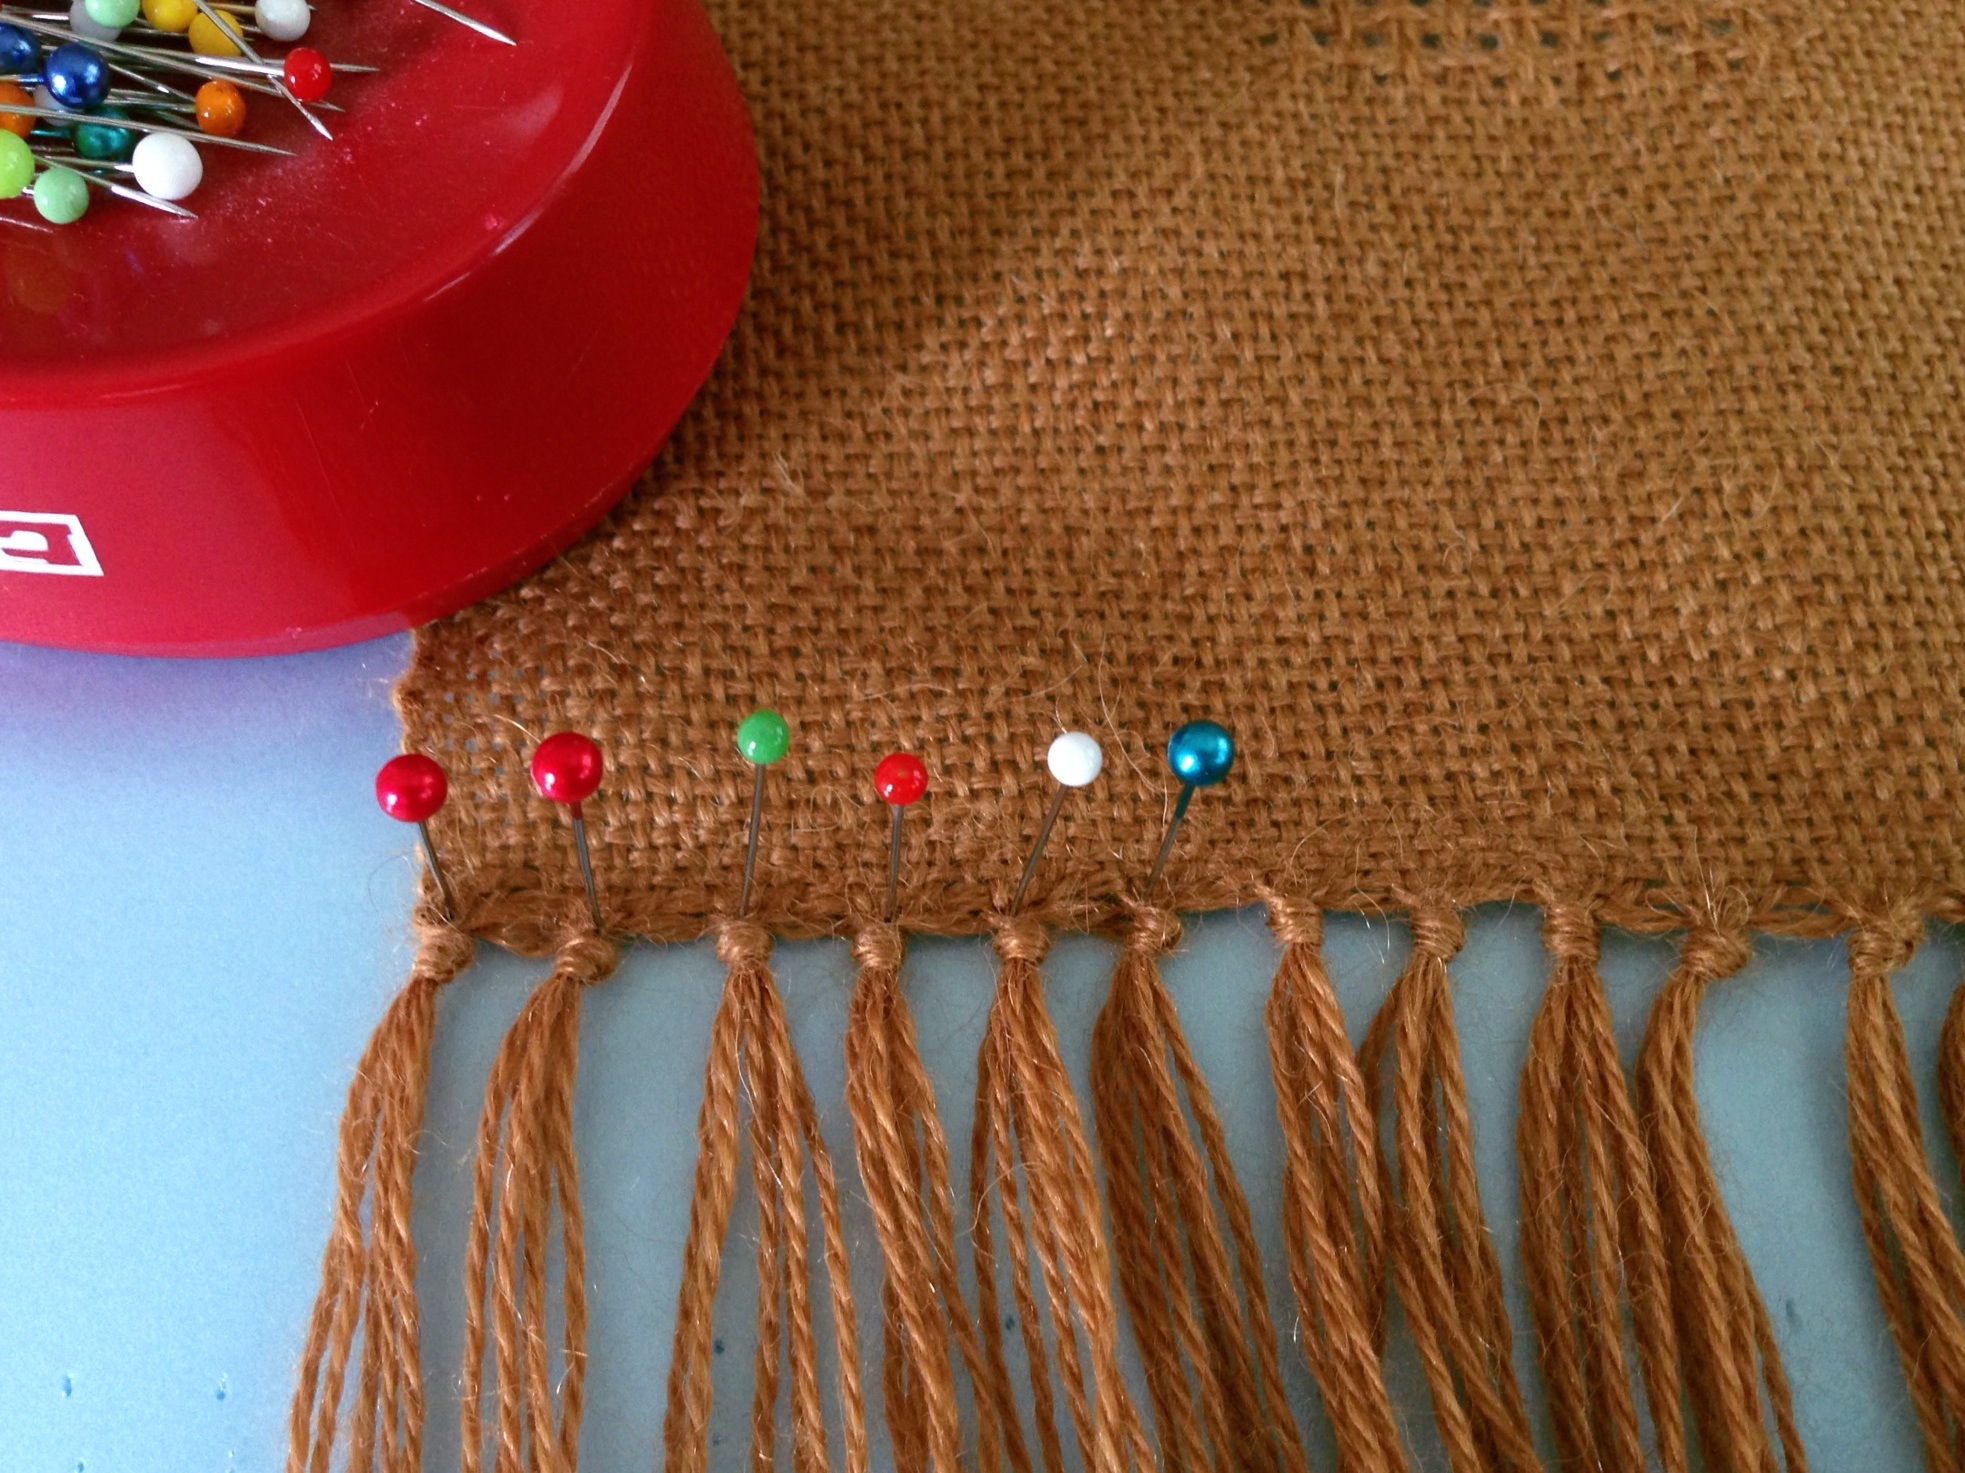
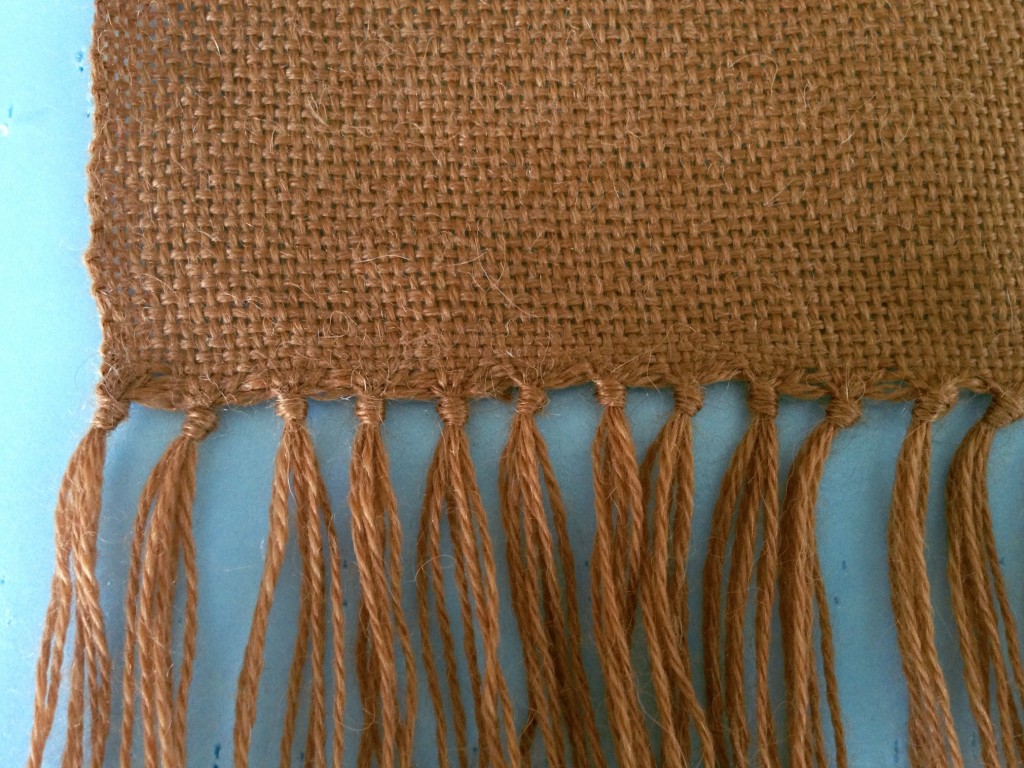
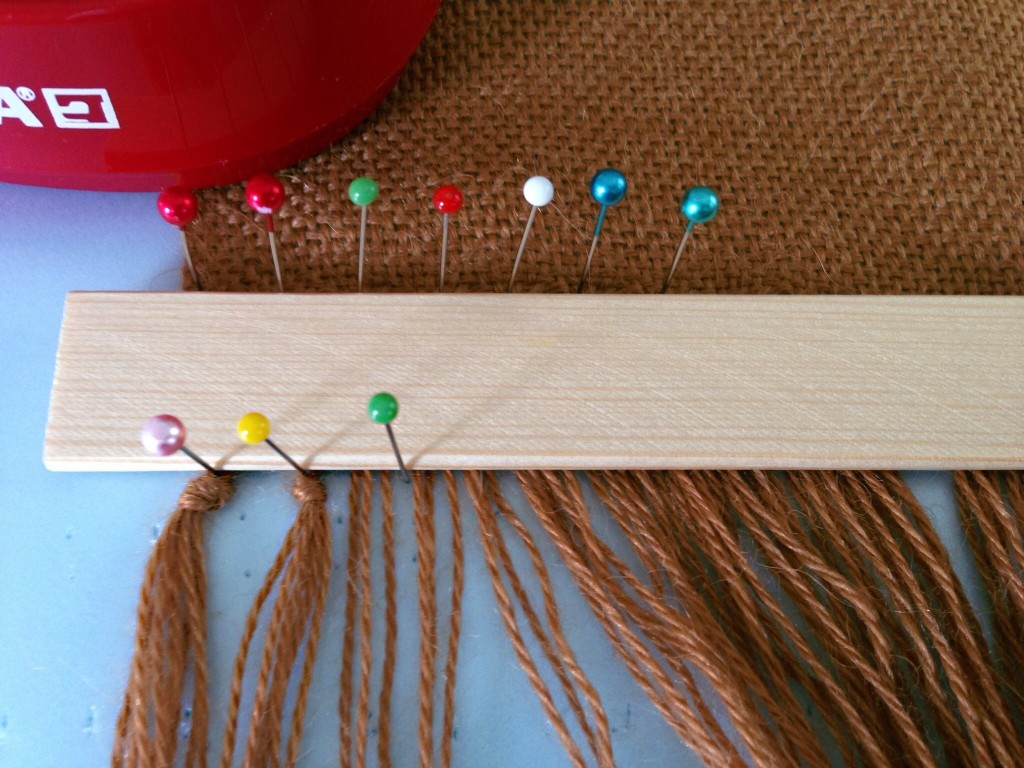
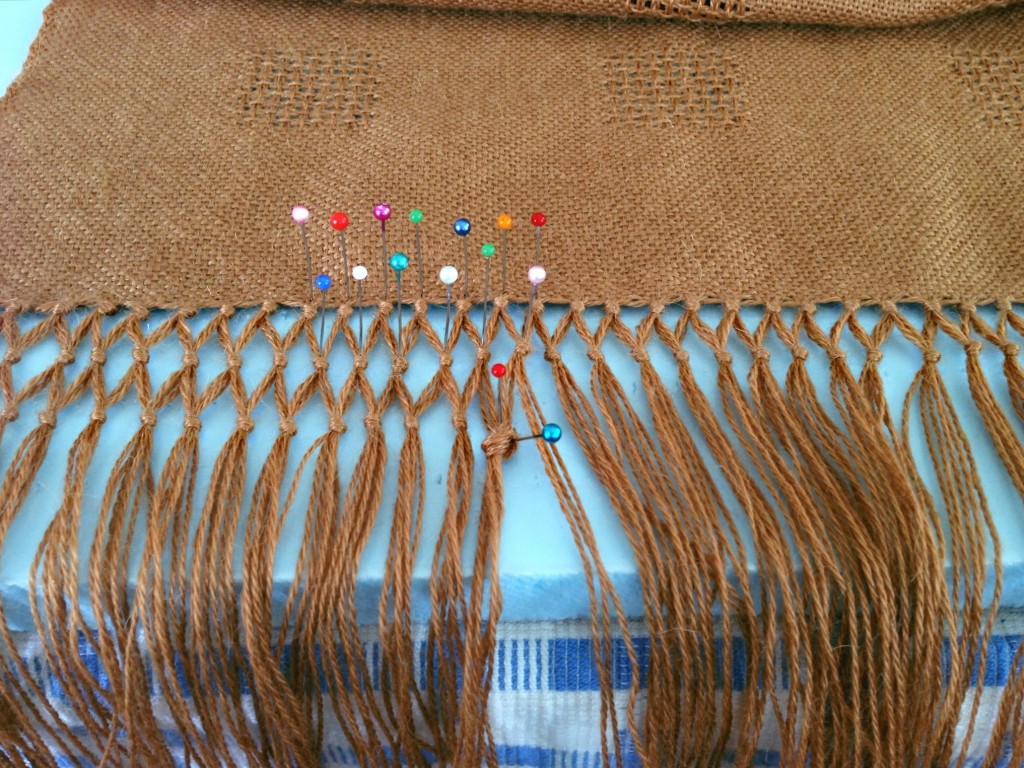
1. The first row of overhand knots has been tied. (More detail HERE.) Lay the fabric over the foam board, with the fringe laying toward you at the front of the board.

How to add lattice fringe to a row of knotted fringe. Step-by-step tutorial with pics.


2. Place a straight pin through the top thread of each of several knots in a row, into the foam board under the fabric.

Lattice Fringe Tutorial. Step-by-step, with pics.


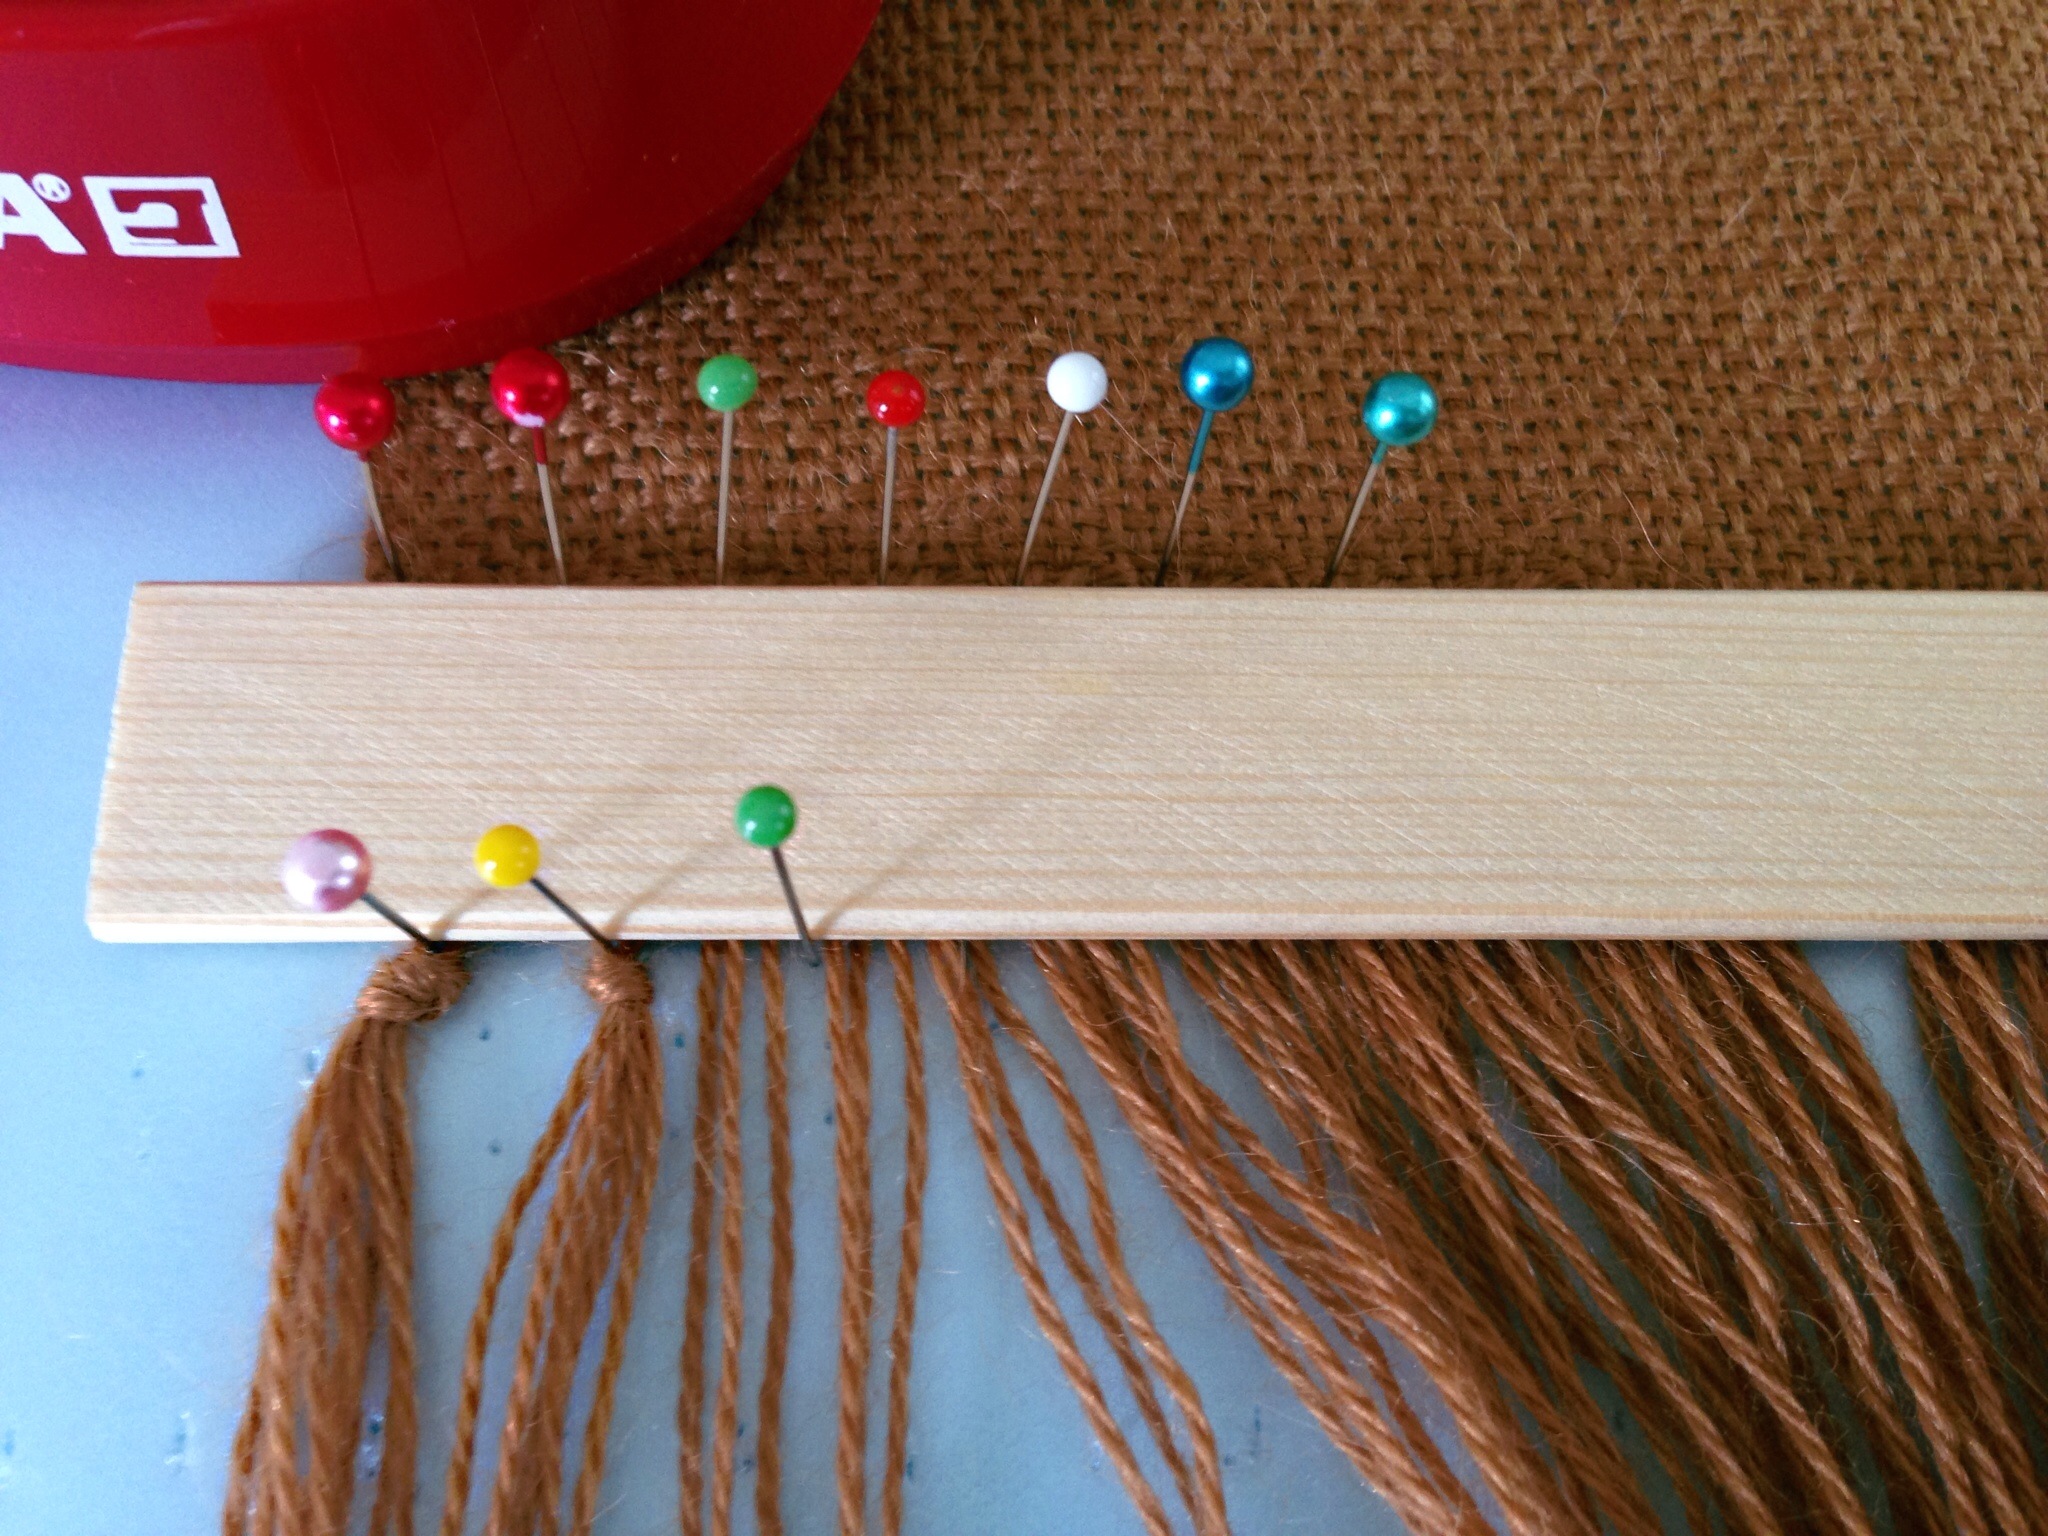
3. Use warping slat (or other template) as as spacing guide for the second row of knots. Lay warping slat flat, and place it flush against the row of pins. Using the width of the warping slat as a spacer, place a pin in the second row just below the slat, at the point where the knot will be formed.

Lattice Fringe Tutorial. Step-by-step with pics.


4. Remove warping slat. Loosely tie an overhand knot below the just-placed pin in the second row, leaving the center of the knot wide open.

Overhand knot in lattice fringe tutorial. Step-by-step with pics.


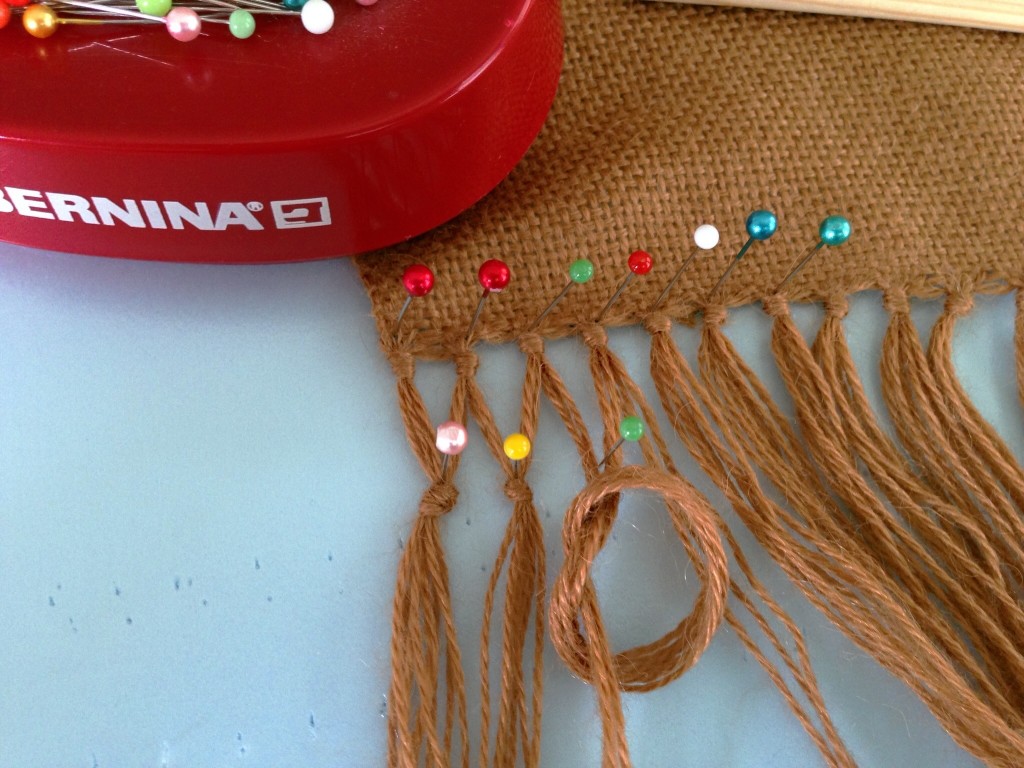
5. Insert another pin through the center of the knot just a fraction below the point of the first pin.

Making Lattice Fringe. Step-by-step tutorial with pics.


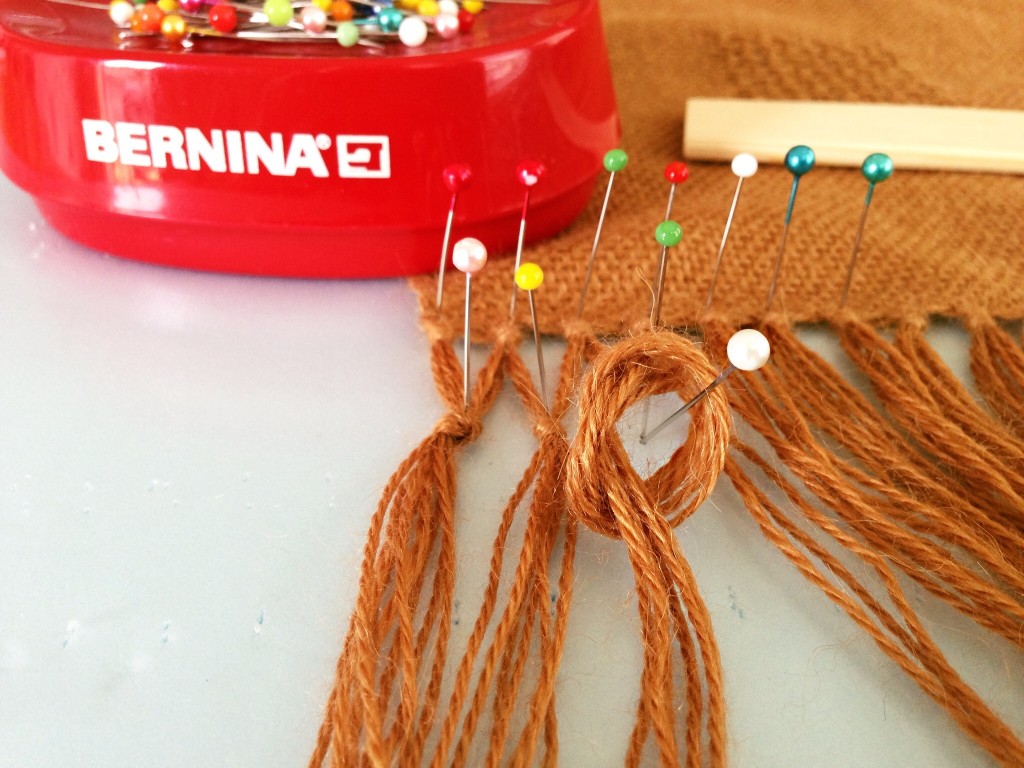
6. Slowly pull the knot to cinch it up to the point of the second pin.

Cinching the knot for lattice fringe. Tutorial with pics.


7. Holding the knot firmly between the fingers of one hand, with your other hand gently tug each strand of the knot to its full length.

Making lattice fringe - tutorial with pics.


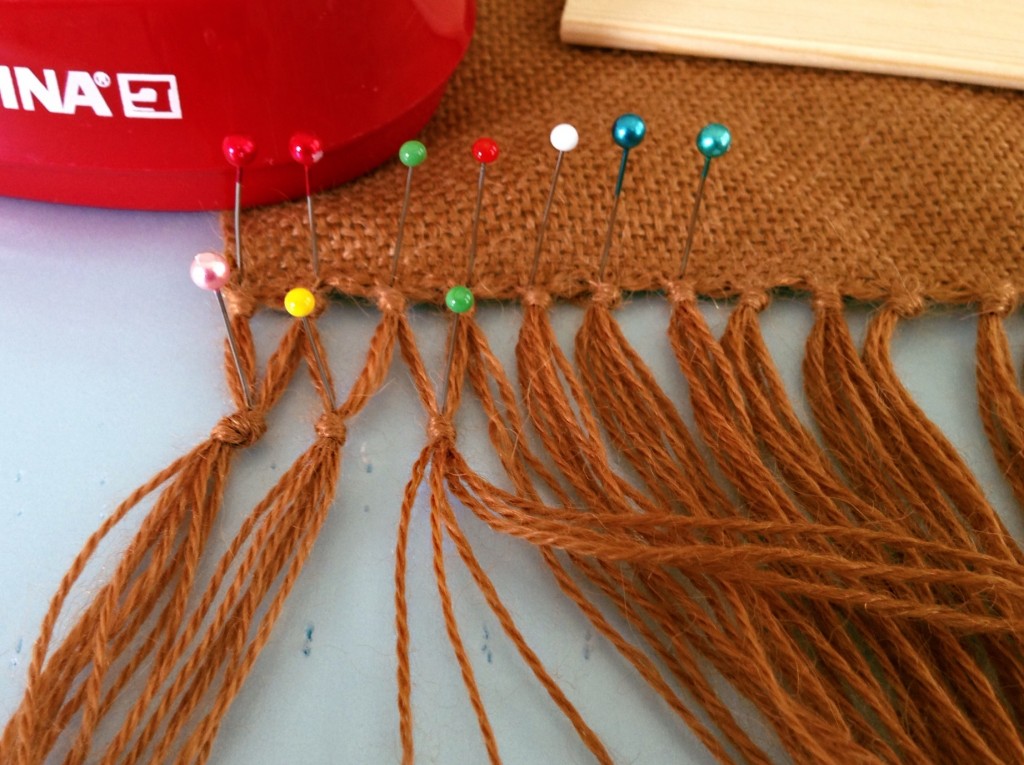
8. Continue tying knots across the entire row.

First row of lattice fringe. Tutorial step-by-step with pics.


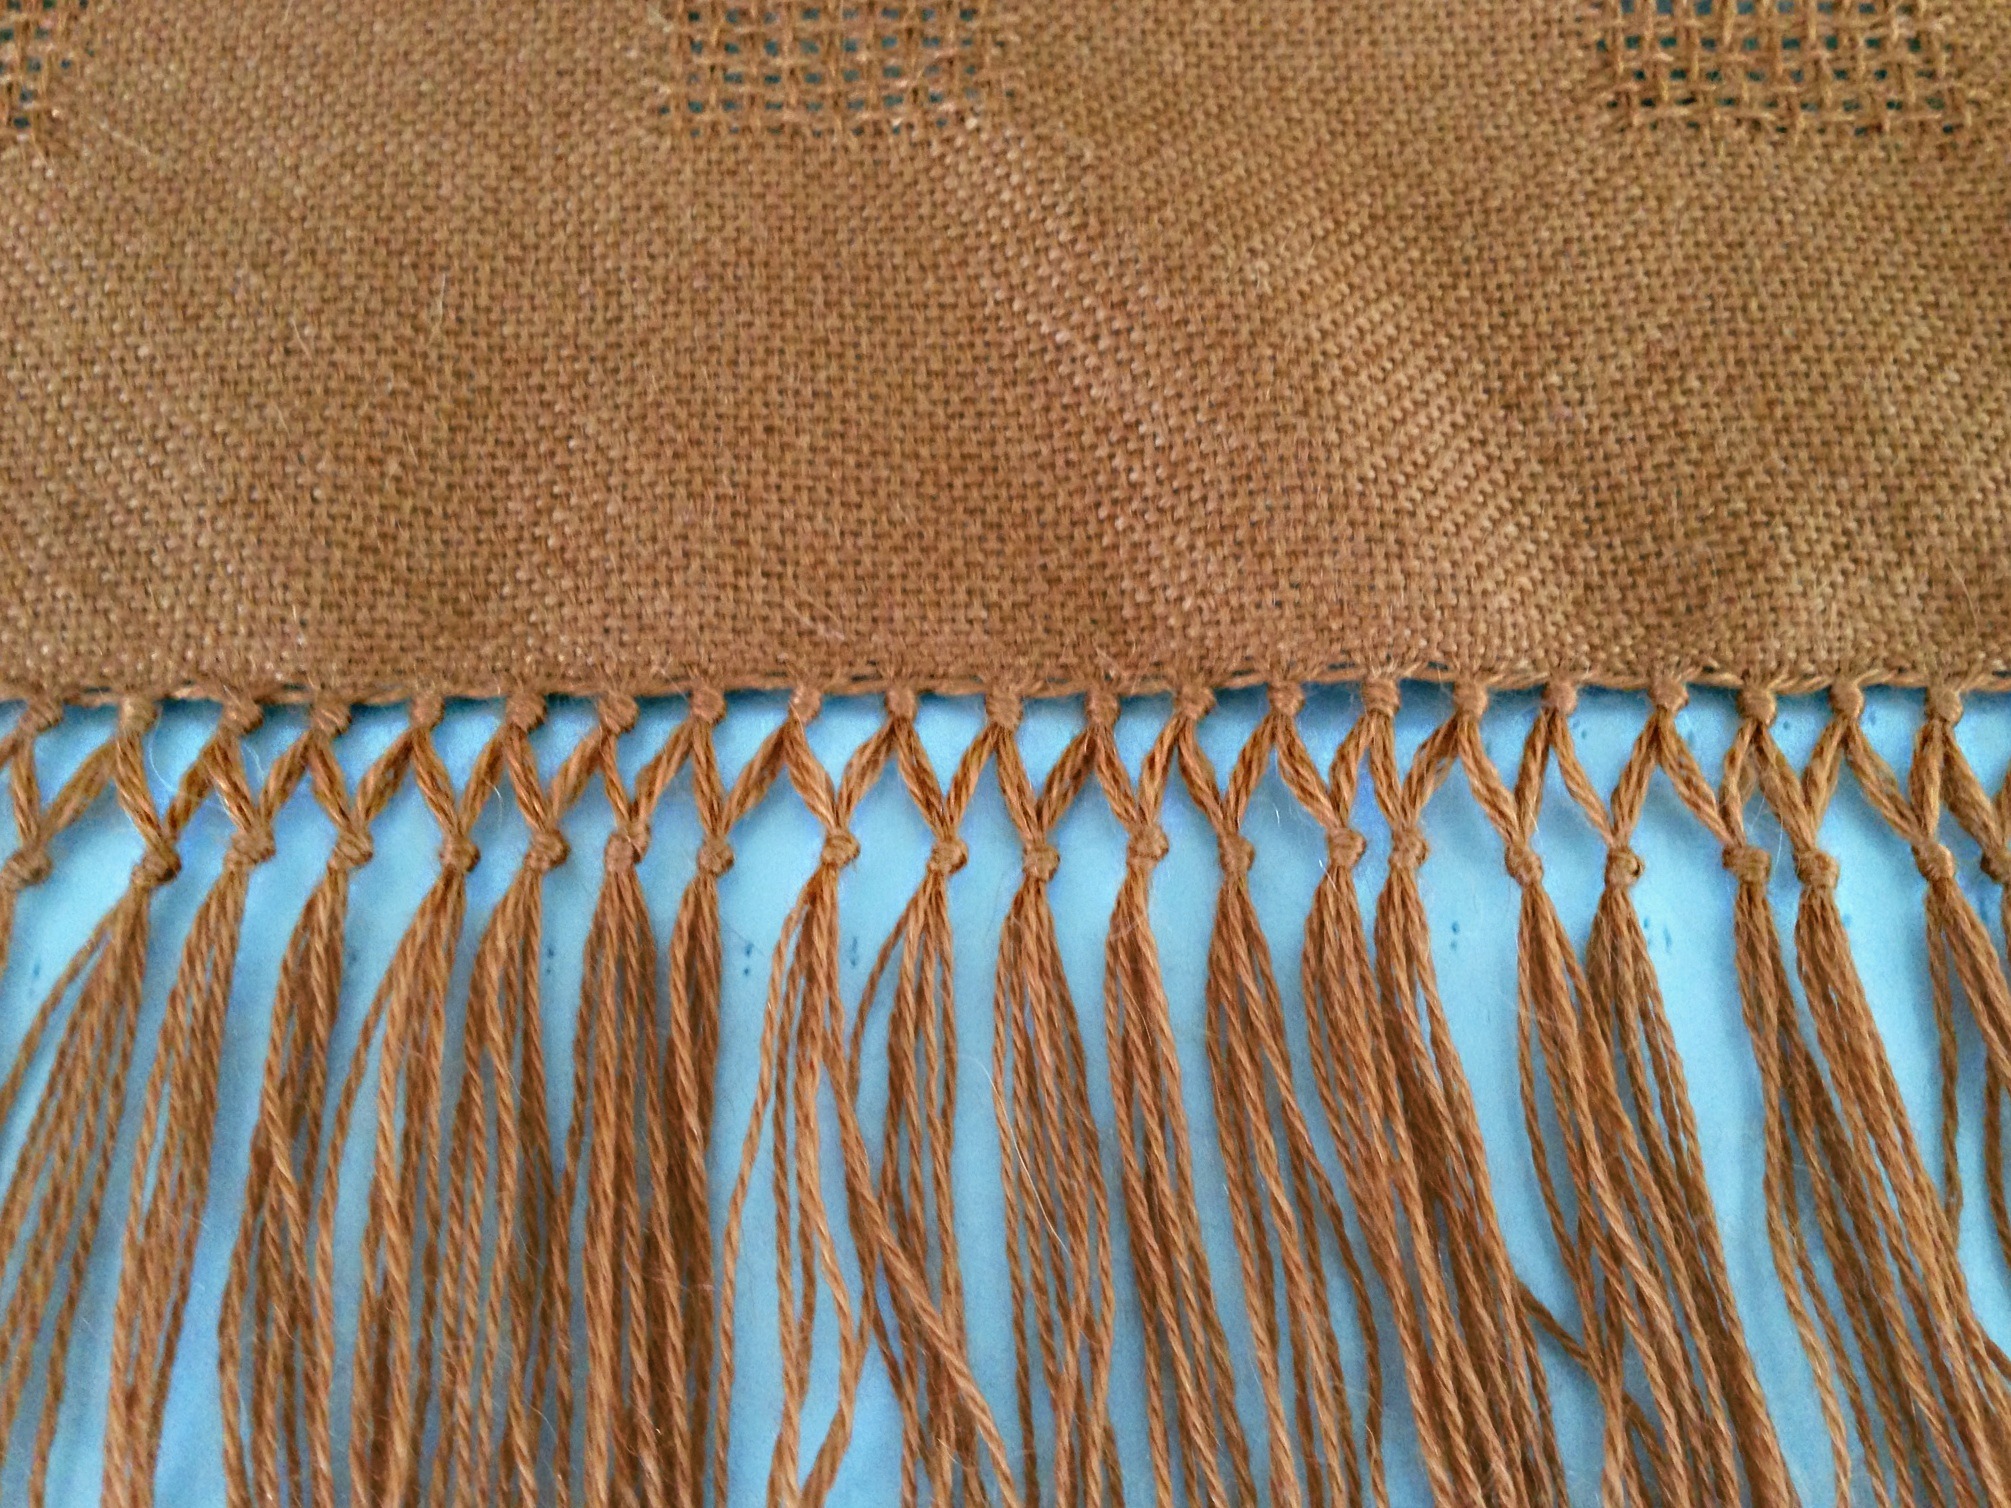
9. Repeat the process to add another row of knots.

Tutorial for Making Lattice Fringe. Step-by-step with pics.


My confidence in my ability to tie these knots can drift into careless thinking. Maybe I’m good enough at this that I can leave out some steps. Do I really need that guide stick for spacing the rows? I think I can eyeball it. Pulling each strand to close the knot takes too much time. Why don’t I just skip that part? And soon, I am blind to the haphazard results I am creating. Pride is like that. In relationships and in life circumstances, though, the consequences are more severe than in fringe-tying.

Pride keeps me from seeing my own vulnerabilities. Pride puts me in harm’s way because it blinds me to the reality of my own shortcomings, and makes me think I’m above it all. I want to keep my eyes open to my need to learn and grow. Who wants to drift into haphazard results in life? Not I. Not you, either?

May you never be blind to the things that matter.

Feeling vulnerable,
Karen