Tools Day: Lease Sticks

What can you do with a pair of flat beveled wood sticks, with a hole at each end? Use them for lease sticks, of course! This is an example of efficient simplicity. By slipping these two sticks through the opening of the lease cross made while winding a warp, and tying the ends of the sticks together, all the warp ends stay perfectly in order throughout the process of dressing the loom. After beaming the warp, with the warp still under tension, I tie the back lease stick to the back beam. Then, when threading the heddles, I simply take each thread in order by going to the cross in between the two lease sticks and picking up the next thread. I always weave with the lease sticks in. I don’t remove them until the end of the warp comes over the back beam.

Pairs of lease sticks, various lengths.
I keep several lengths of lease sticks on hand. Some were purchased from Glimakra, and some were fashioned by my skilled hubby.
Striped cotton warp for tea towels. Lease sticks tied to back beam.
Striped warp threaded and ready to weave cotton tea towels. Pair of lease sticks are tied together at the ends with choke ties, and back lease stick is tied to back beam.
8/2 linen warp ready for threading.
Linen warp is ready for threading. Lease sticks are tied together at the ends, and secured to the back beam. This warp is for another rya project.
Threading 8/2 linen warp. Lease sticks show which thread is next.
Threading the last grouping of threads in this 8/2 linen warp. The lease sticks separate the threads in a way that clearly shows which thread is next.

May you encounter simplicity in your creative process.

Happy Weaving,
Karen

How I Make a Bound Hem

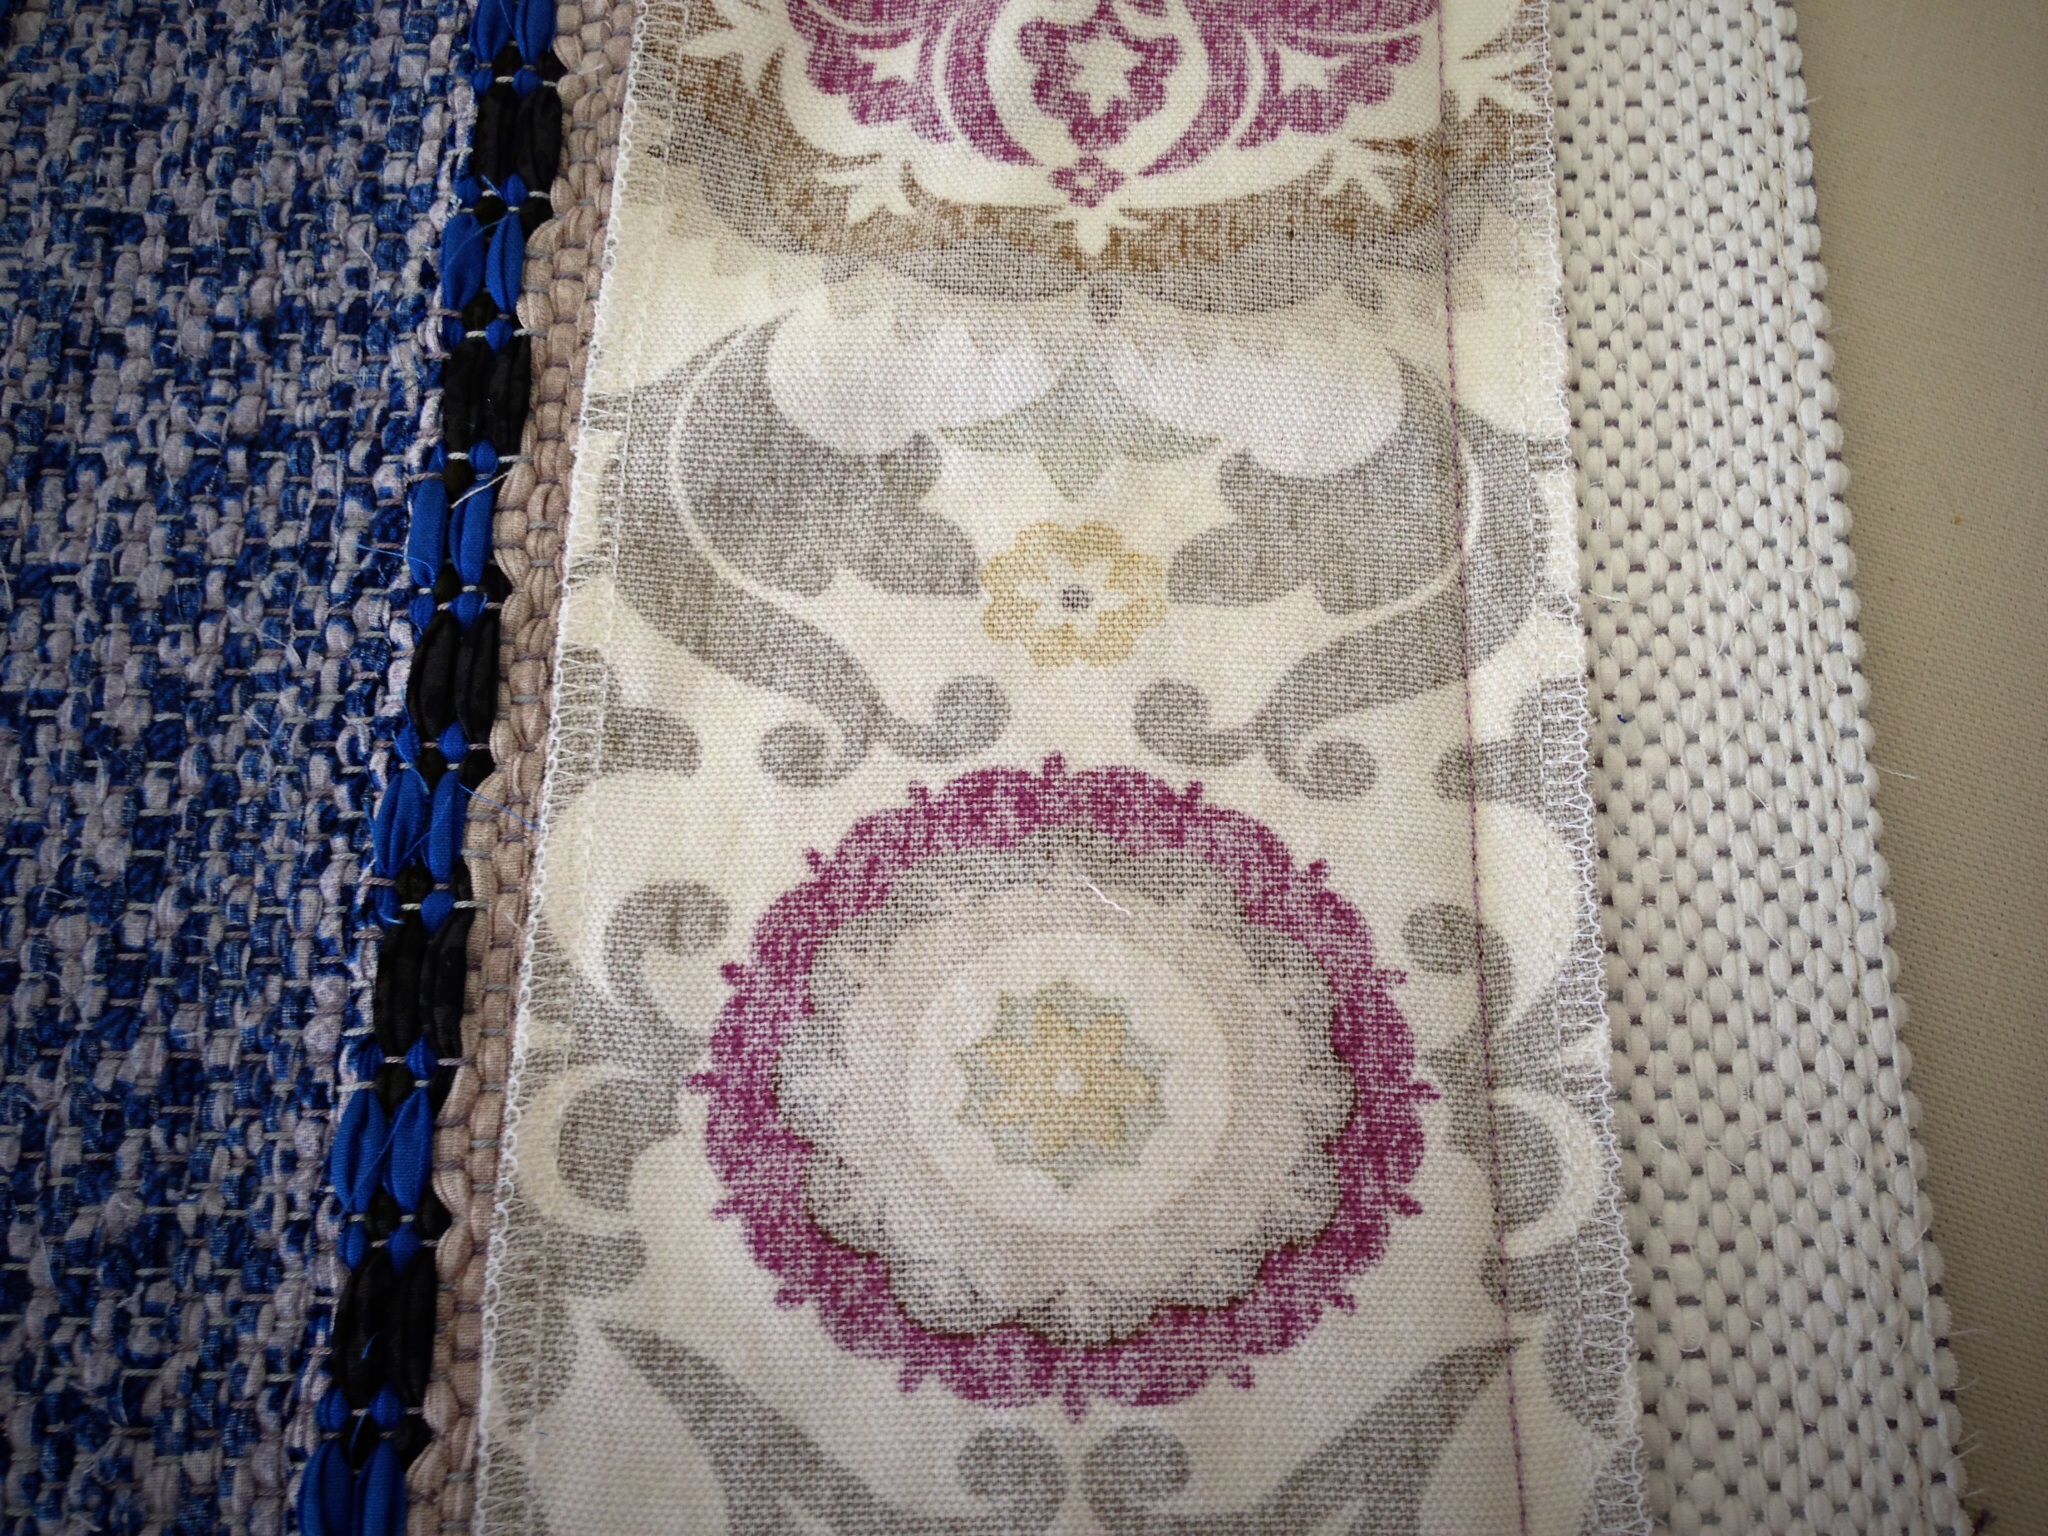
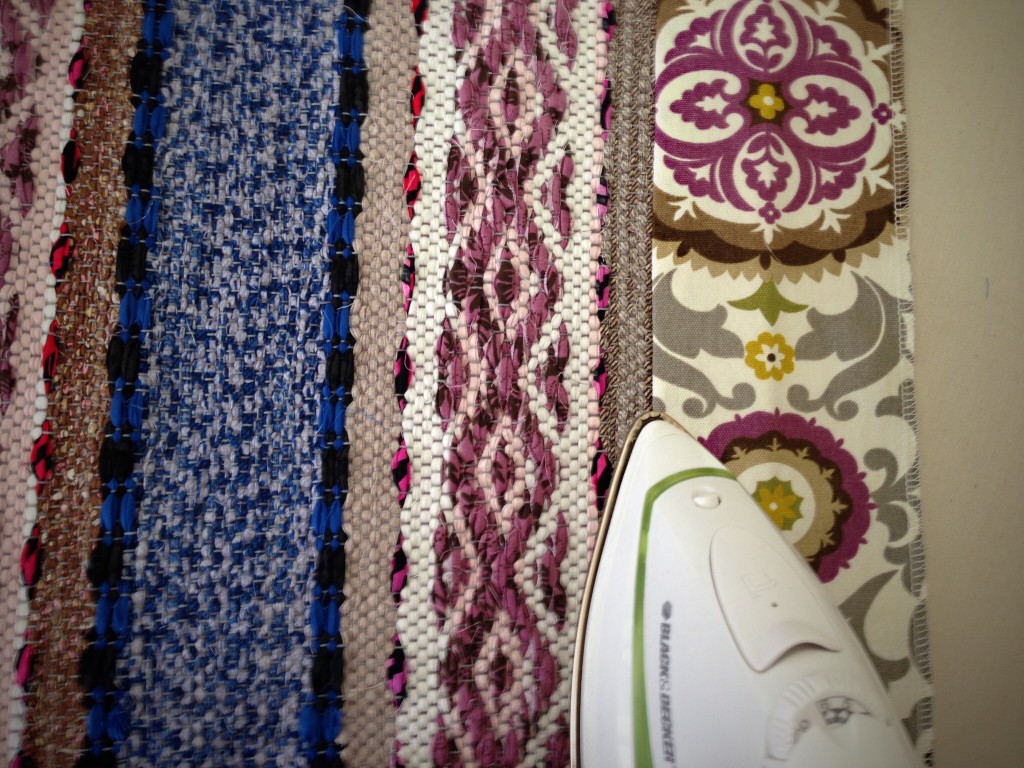
I intended simple woven turned hems. When this rug came off the loom, however, the white ends of the rug didn’t look as I expected. I was frustrated trying to make these hems work. Was there another way to finish the rug? Yes. A compatible cotton duck print was just what I needed to sew bound hems!

When circumstances don’t go our way, we can get stuck in frustration. I cannot control my circumstances, but I can control my own behavior and attitudes. Give up control to gain control. Isn’t it interesting that options become apparent when we let go of how we thought it should be?

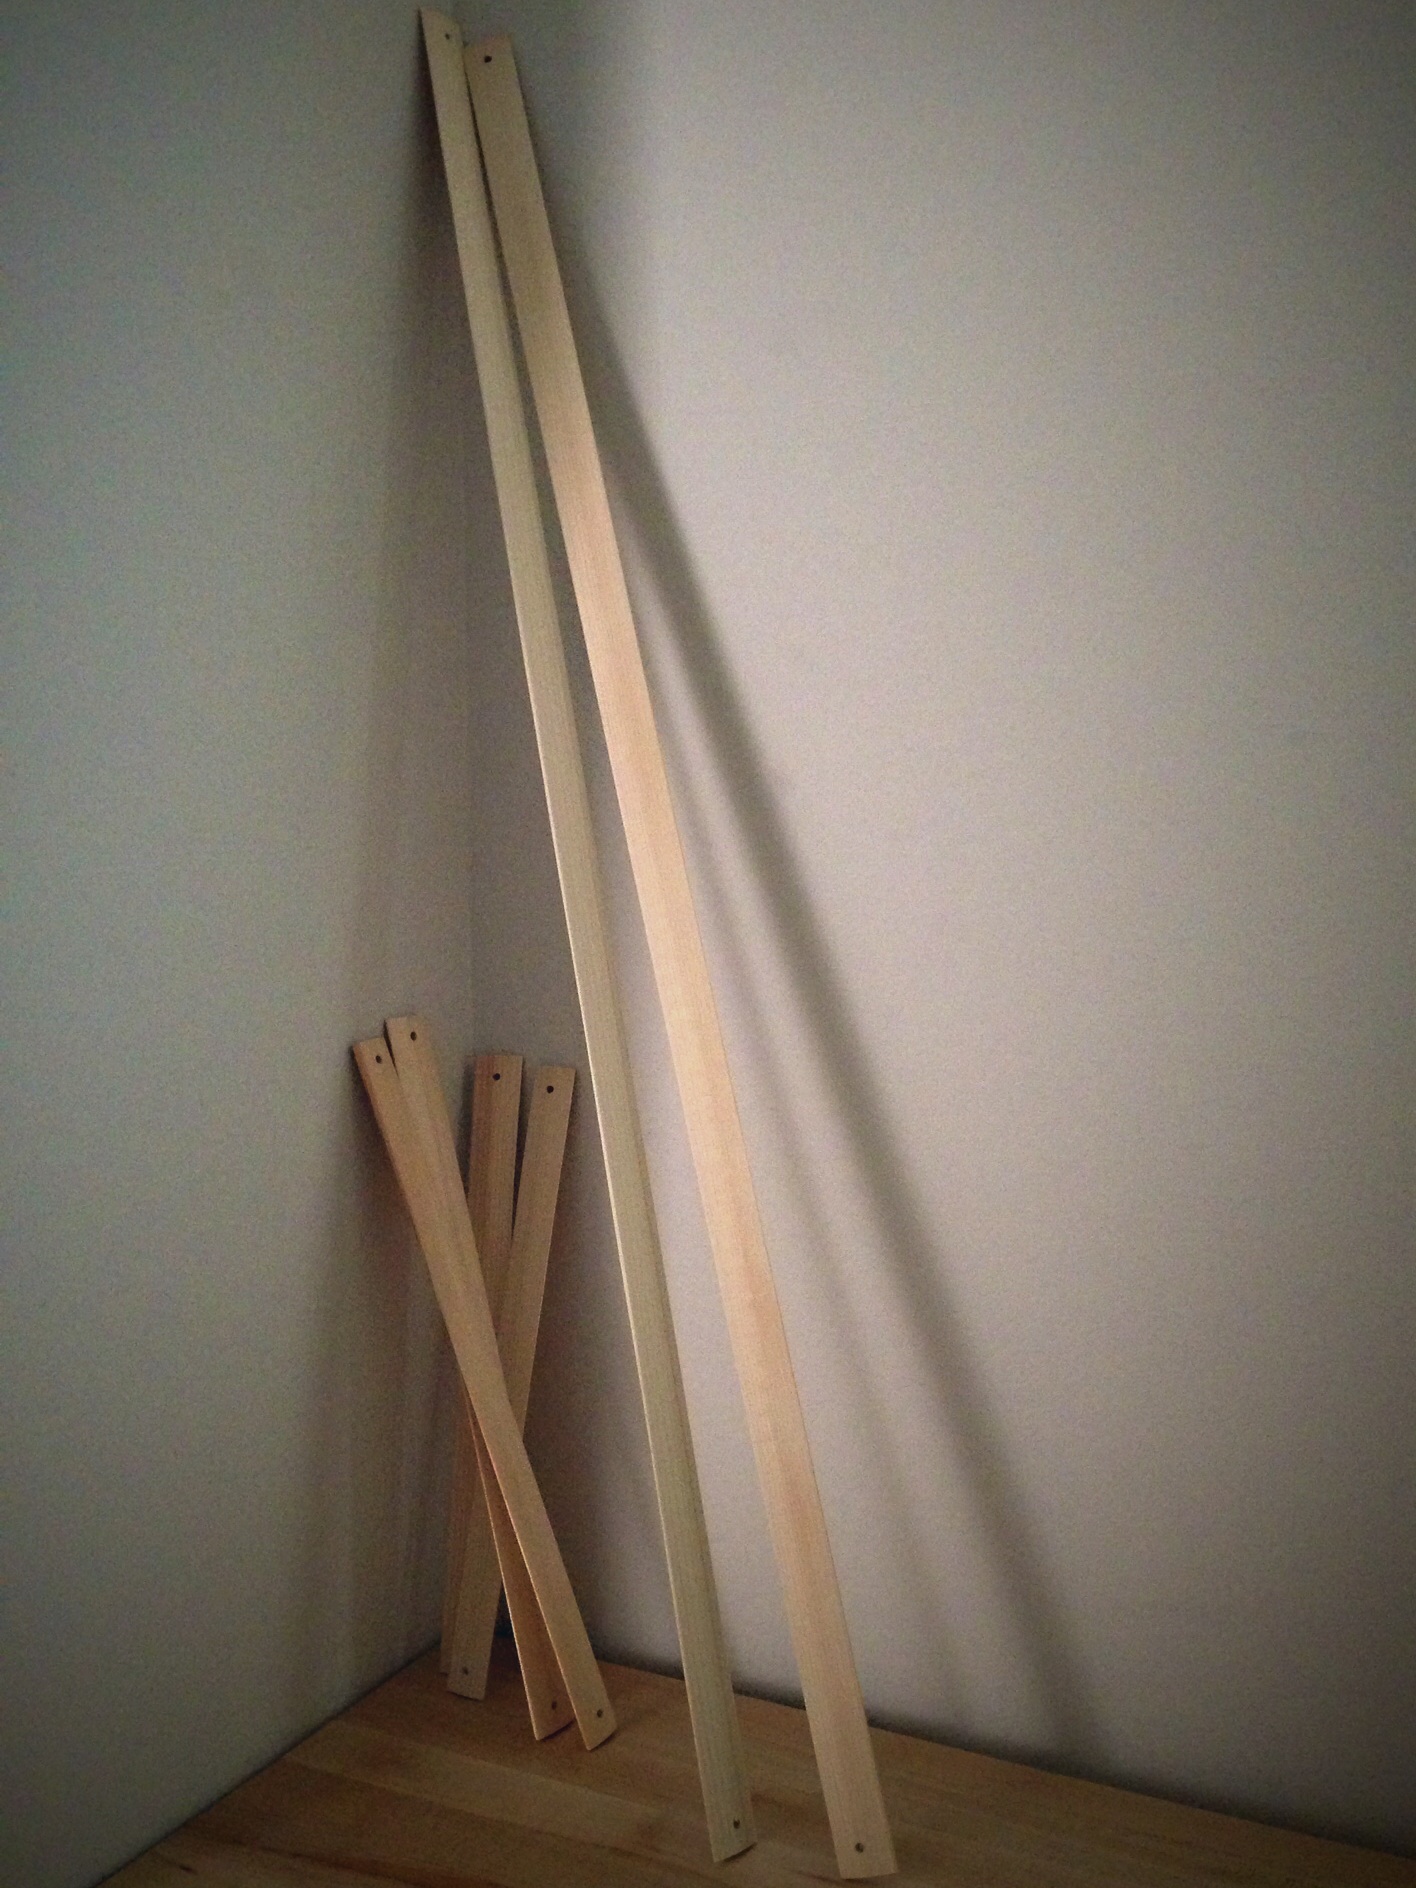
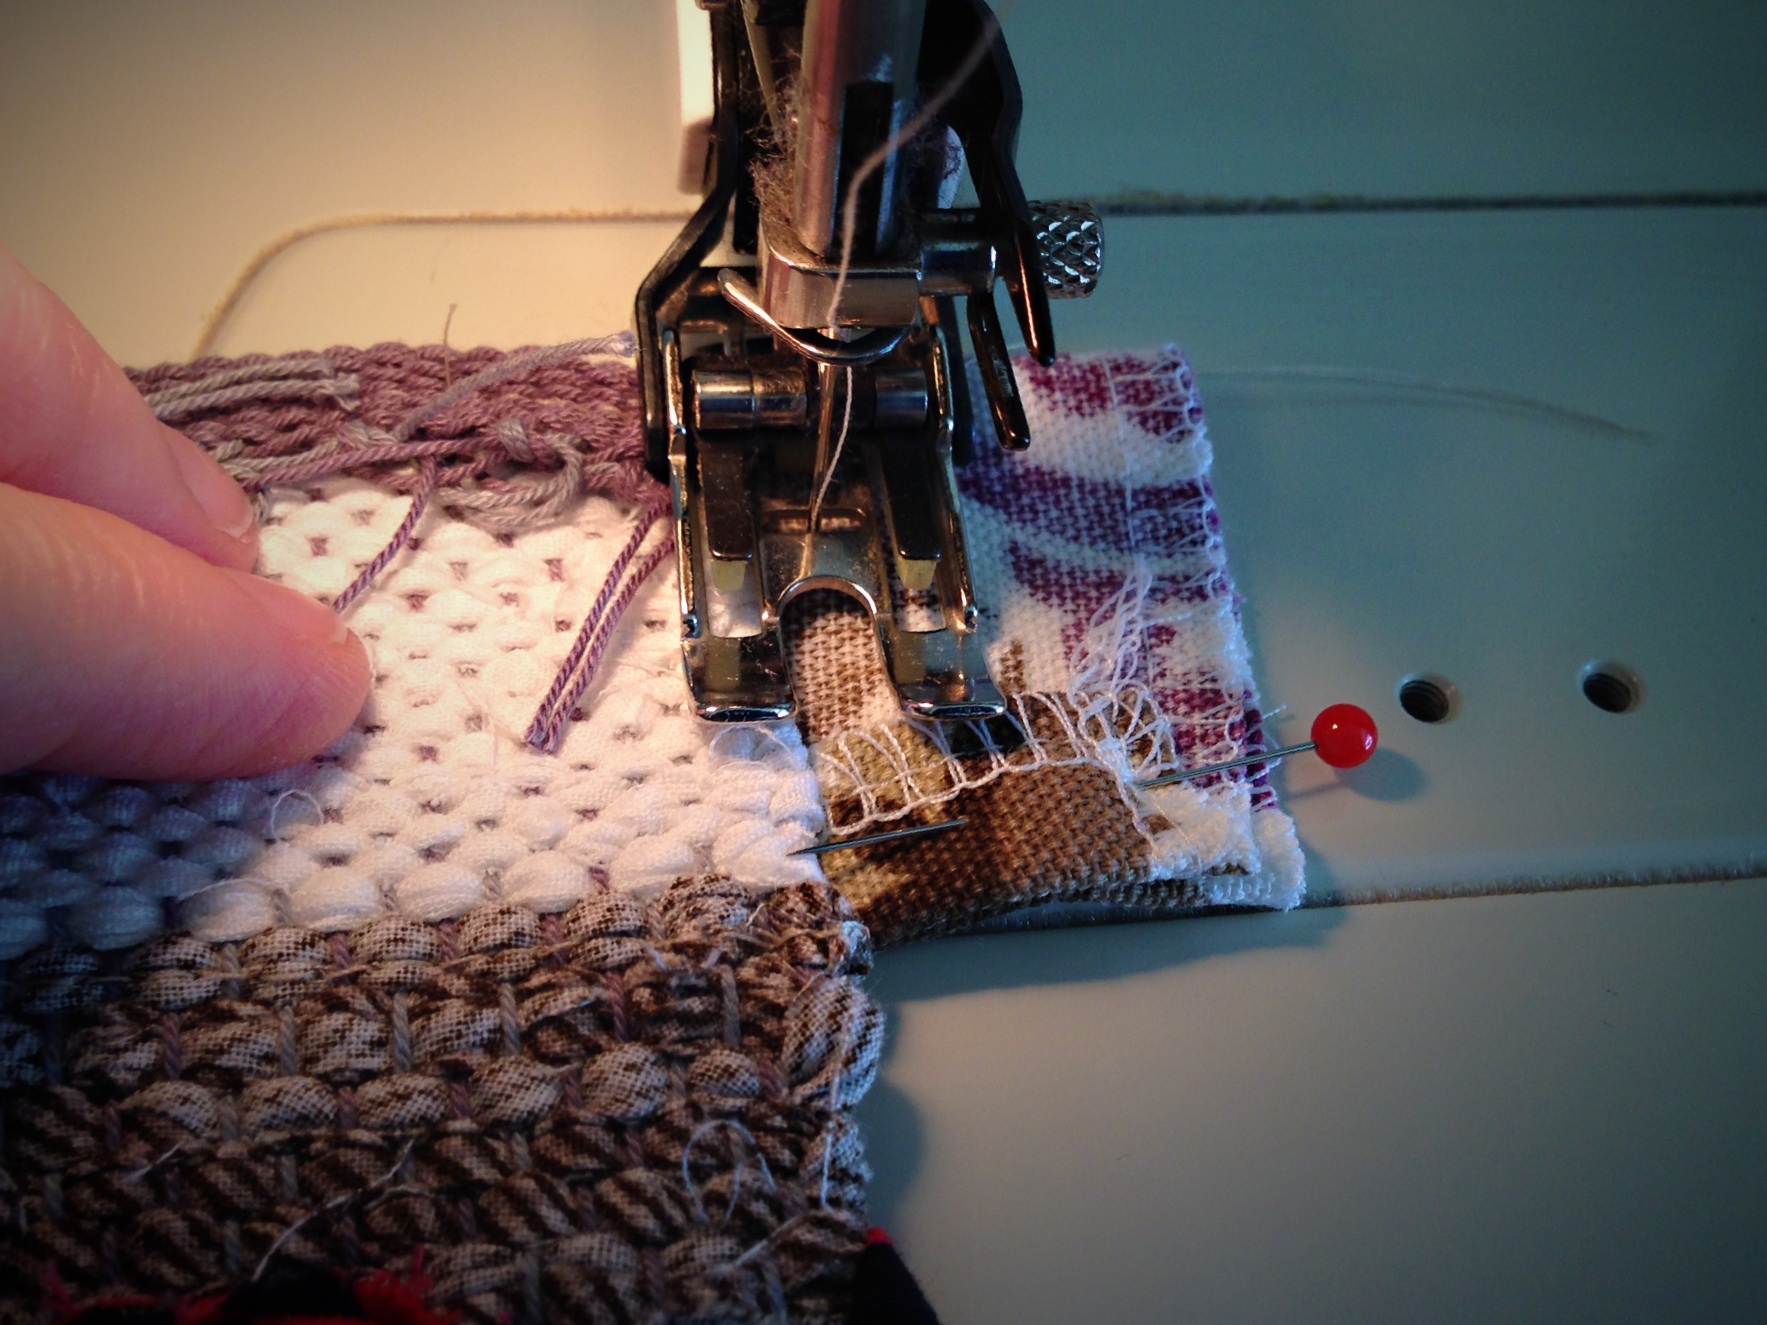
How I make a bound hem:

1. Cut hem fabric the width of the rug plus 2 inches /5 cm by hem depth plus 1 inch / 2.5 cm. Serge all edges of hem fabric to eliminate fraying. With right sides facing, center hem fabric from side to side on rug, with fabric seam allowance toward the end of the rug. Stitch along hem line, 1/2 inch / 1 cm from edge of hem fabric.

How to make bound hem for rag rug.


2. Fold hem fabric over, and press flat.

Steps for making bound hems on rag rugs.


3. Fold the hem fabric back on itself, right sides together. Fold remaining long edge outward, adjusting to match the width of the hem. Stitch through folded hem fabric 1/8 inch / 3 mm away from side of rug.

Stitching bound hem on rug. Tutorial.


4. Turn the corner right side out, straightening out the point with a straight pin, if necessary. Press corner. Fold long edge under 1/2 inch / 1 cm across the width of the rug. Press.

5 Steps to make bound hems on rag rugs.


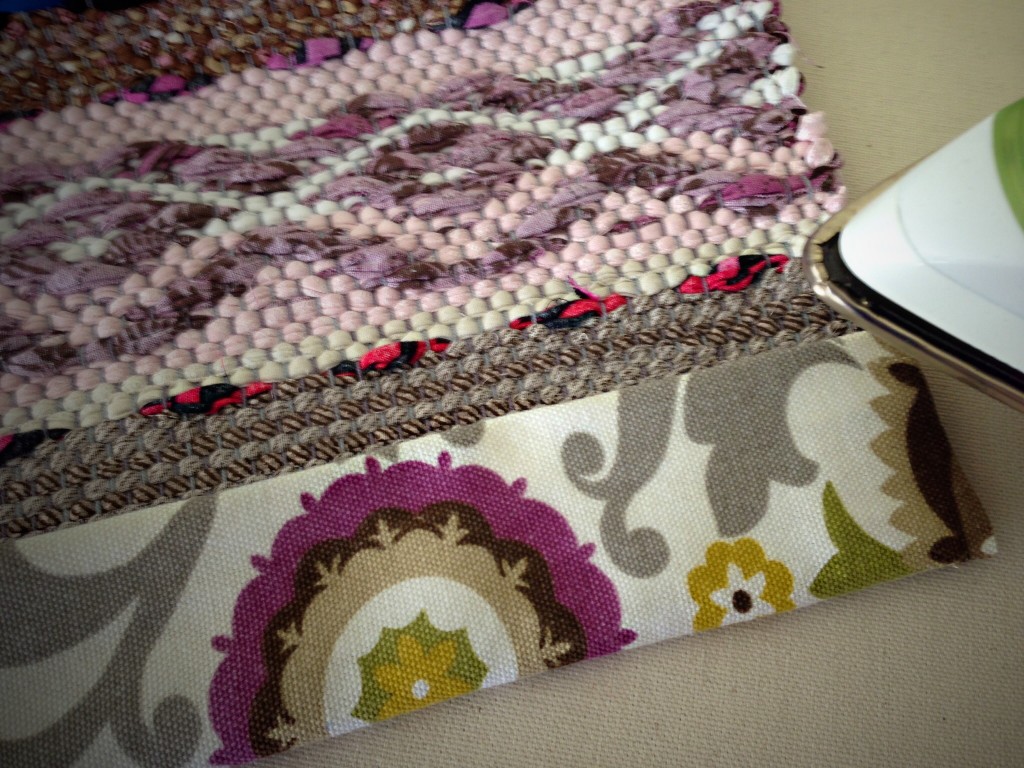
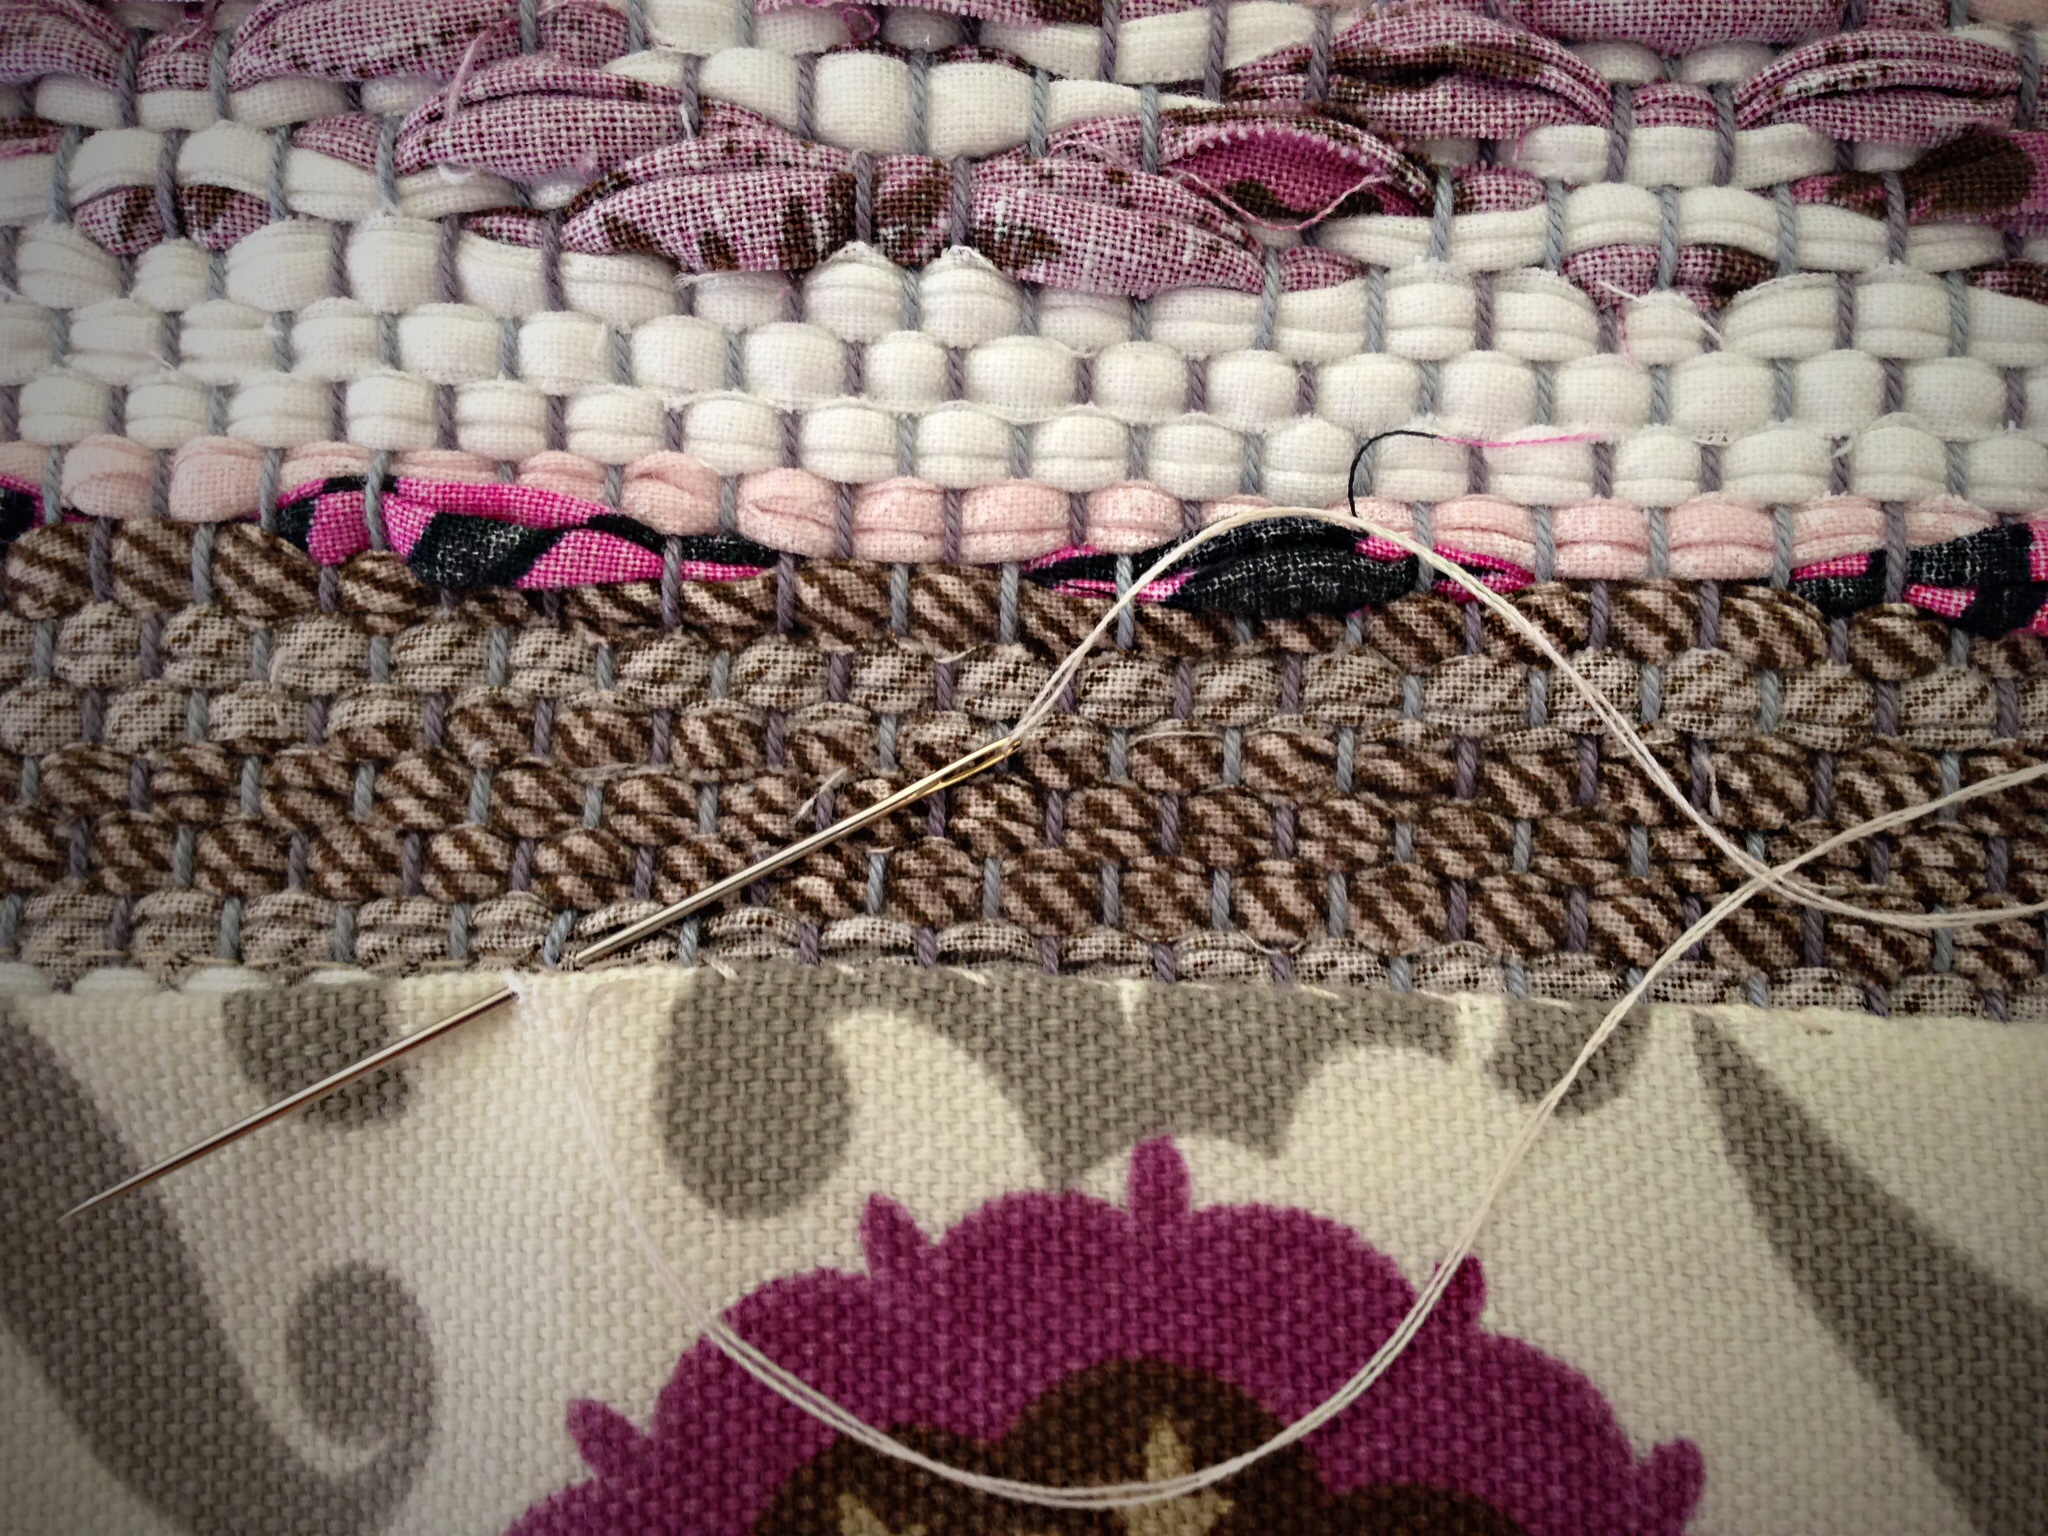
5. Use doubled sewing thread to stitch the folded edge to the rug. Use a whip stitch, catching a warp end in each stitch. End with final pressing of top and underside of hem.

Last step in tutorial for making bound hem on rug.


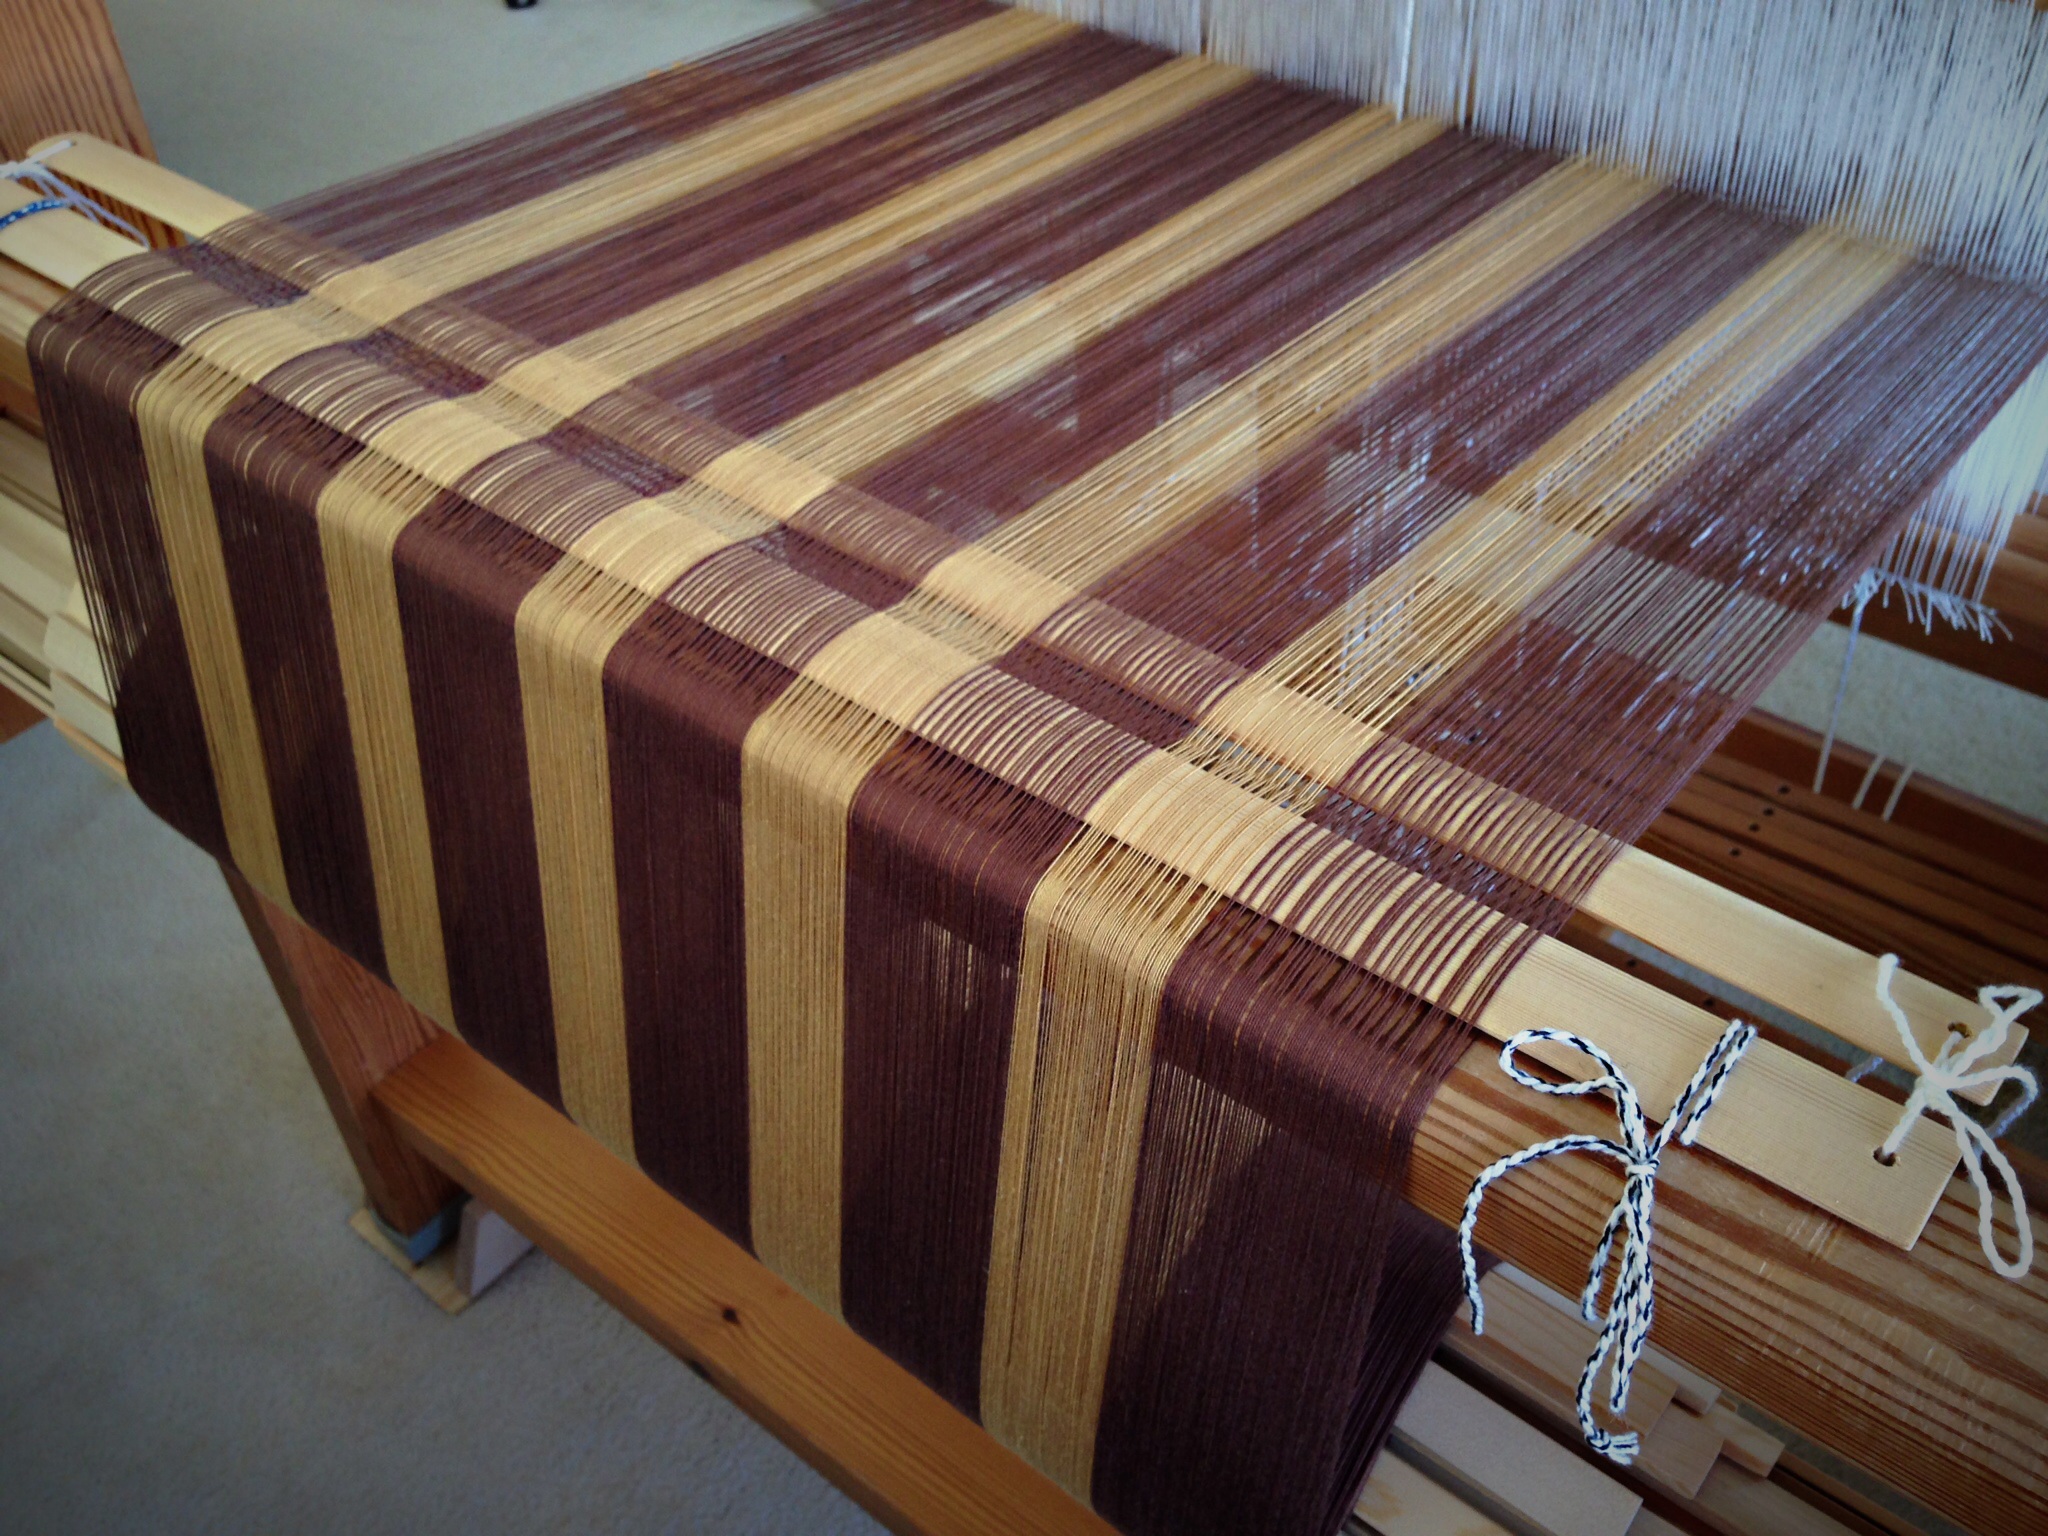
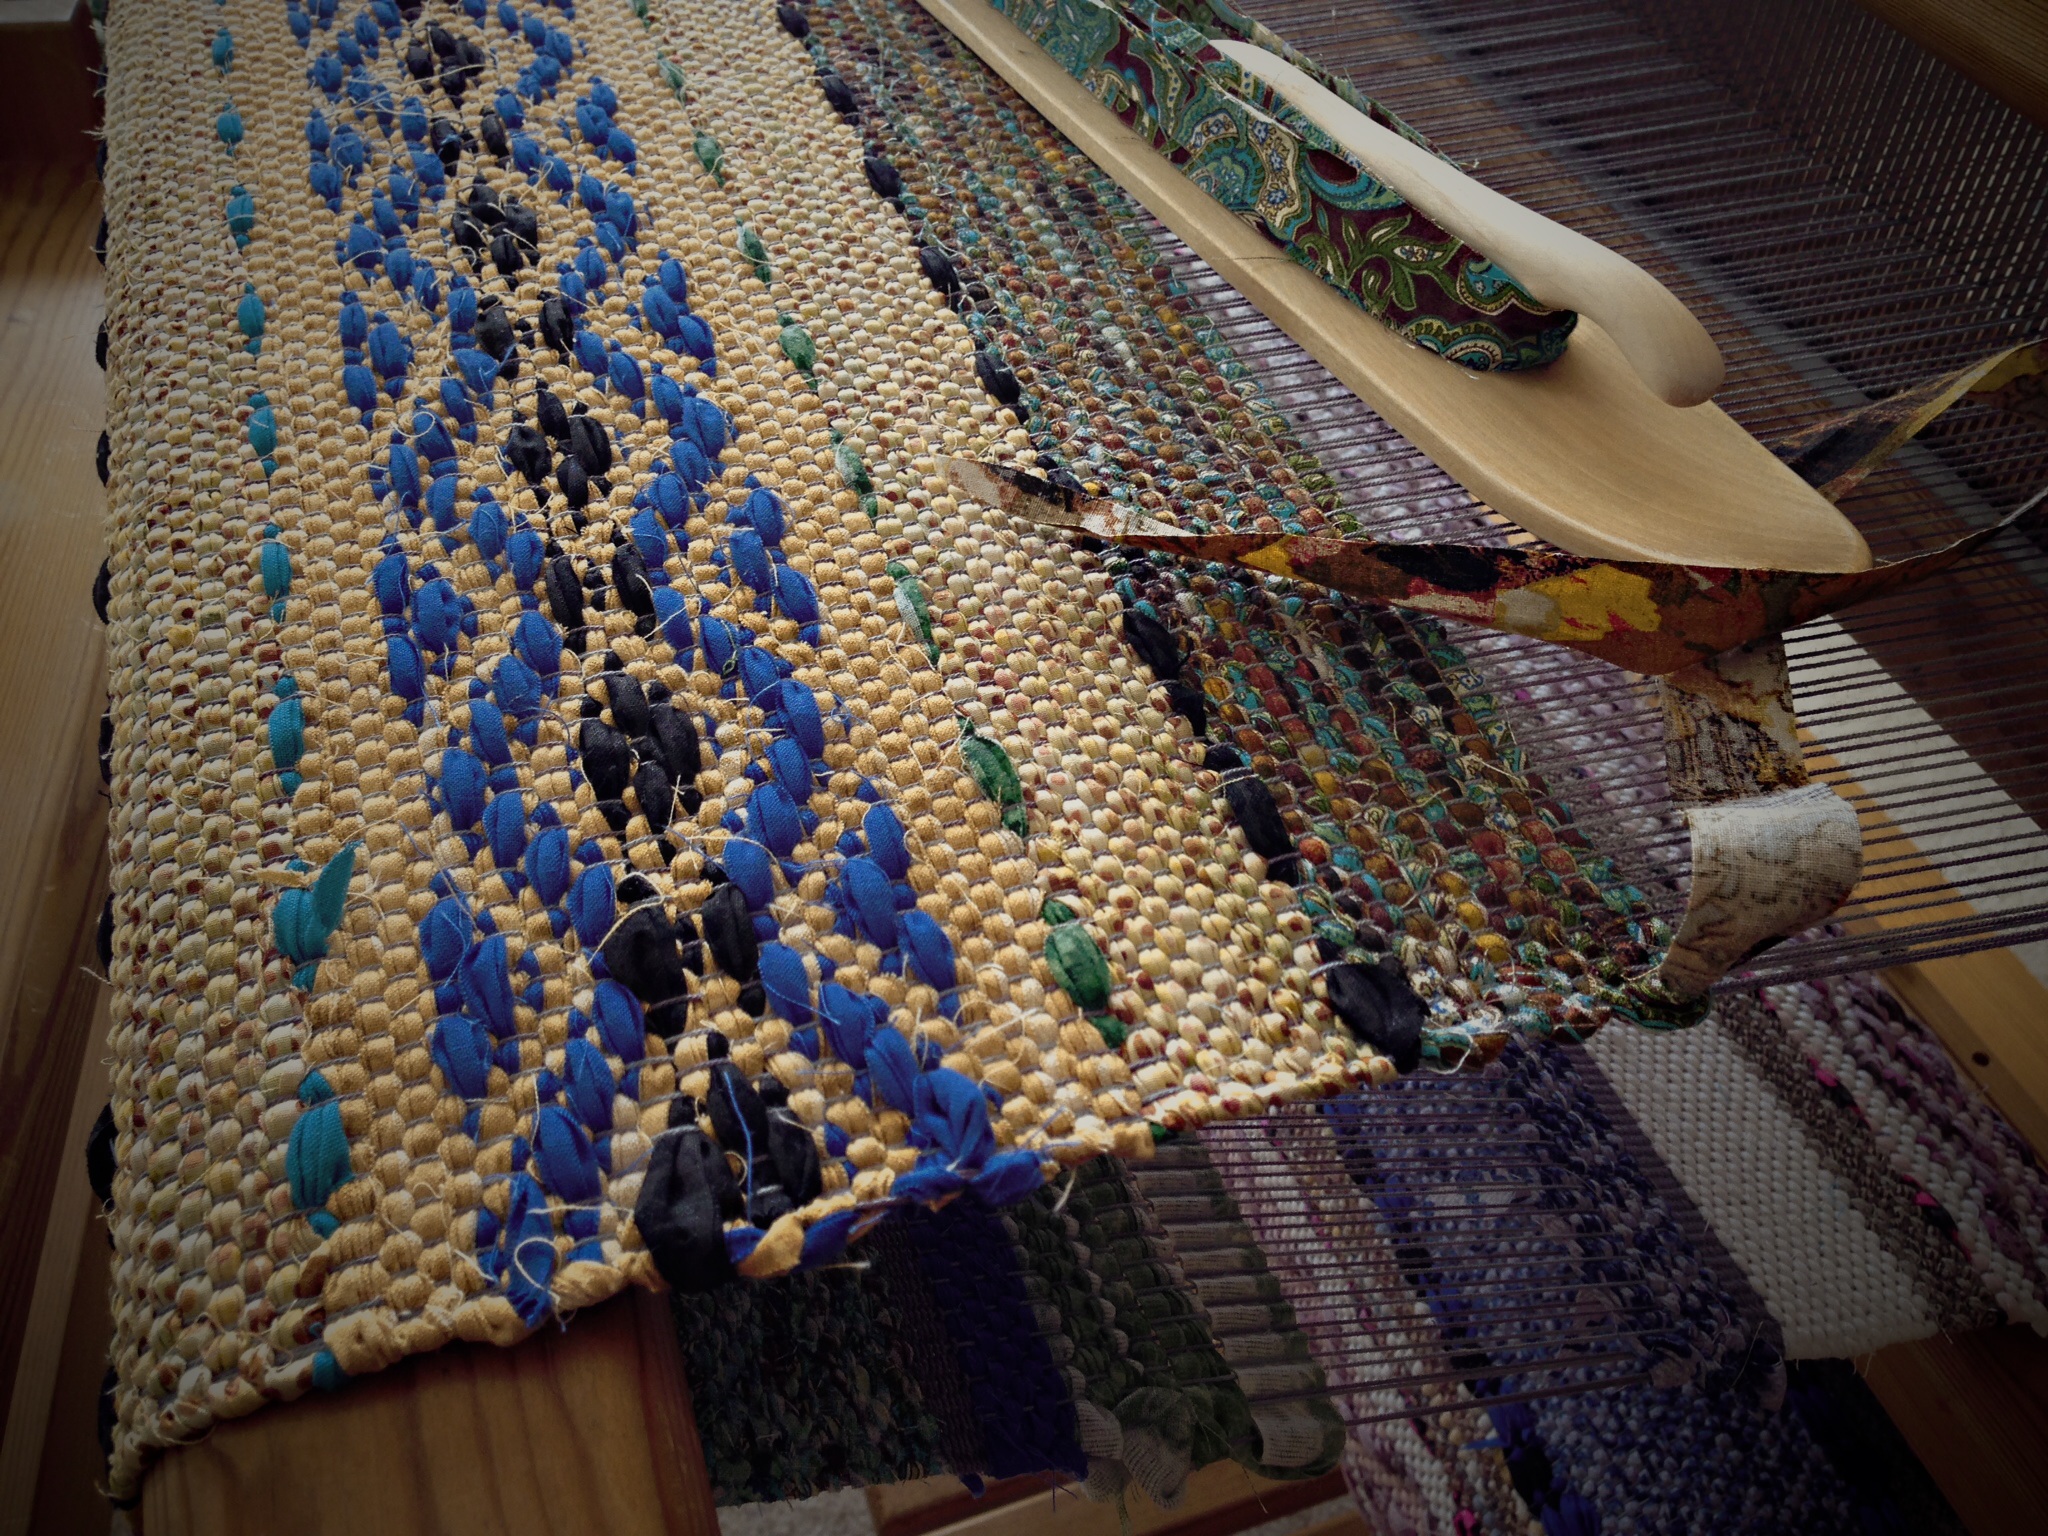
To see this rug on the loom, view this post, Made to Be Noticed. To see the finished rug, view “Made to Be Noticed” Rag Rug in my Etsy Shop. Or, simply visit my Etsy Shop to see all my new rugs. (You saw them on this blog first!)

May you see all your options.

Making things,
Karen

Rag Rug Selvedges Made Easy

The goal is to weave a firm selvedge on a rag rug. This is especially challenging when the weave changes, like it does with this rug. Plain weave in a single color, a lone weft in a contrasting color, rosepath with tabby in between, and plain weave with alternating colors. It helps to have a few guiding principles.

A few guidelines for weaving firm rag rug selvedges:
1. Make sure the weft going into the shed catches the outermost warp end. If needed, manipulate the outermost warp end up or down to make this happen.
2. When using two shuttles, start the second shuttle going in the same direction as the first shuttle.
3. When using two shuttles, be sure to catch the “idle” weft at the selvedge by crossing over or under it with the “working” weft.
4. Turn the fabric strip under twice at the selvedge.
5. Pull the weft snug at the selvedge. (A tight warp tension helps with this.)

Tips for firm rag rug selvedges.
Coming to the end of the last rag rug on this warp. Weaving plain weave with two alternating wefts gives the tidiest selvedge because of the way the wefts interlock as they cross at the edge.

I can handle any rag rug selvedge if I pay attention to these guidelines. Similarly, are there guiding principles that help us maneuver the daily challenges of life?

Following God’s ways gives needed structure to our days on this earth. His faithful guidance is that of a loving father. By practicing his principles we can be mentally prepared for action, emotionally stable, and spiritually focused. And we find we are well able to handle all of life’s twists and turns.

May you meet your challenges with success.

On purpose,
Karen

Tools Day: Rubber Bands

At the risk of telling you something you already know, I am going to show two ways I use rubber bands in my weaving studio. Yes, rubber bands. Simple, to the point of being simplistic. But I sheepishly admit, I didn’t know to do these things until I saw someone else do them; and then I expanded (pun intended) their practices to suit the way I like to work.

1. While it is common to put a rubber band on one treadle to act as a marker for your feet, I find it helpful to put rubber bands on two treadles for even greater efficiency. I put one rubber band on the first pattern treadle, and a second rubber band on the third pattern treadle. My feet never have to guess where to step. (With the rosepath tie-up for the rag rugs on the Glimakra Ideal loom, there are two plain weave treadles on the right, and then four pattern treadles. The rya weaving on the Glimakra Standard loom has one treadle on the right that lifts the warp ends for the rya knots, and four pattern treadles.)

Treadles marked with rubber bands for efficiency.
Plain weave, like the solid blue section, and the band of brown, uses the two treadles on the right on this Glimakra Ideal loom. The rosepath pattern, in orchid, and the dots and dashes, in dark pink and blue/black, uses the remaining four treadles.
Treadles with rubber bands for easy treadling.
Five treadles are used for this rya weaving on the Glimakra Standard loom. The treadle on the right lifts the warp ends on the second shaft, onto which the rya strands are tied. The remaining four treadles are used to weave a rosepath pattern in the cloth.

2. Rubber band the thread label around the tube of thread. This is the simplest way to keep track of fiber information–fiber content, weight, color number, brand. I also cut a short length of the thread and stick it to the sticky side of the label. This helps me get the labels back on the correct tubes, especially when using several threads of different colors.

One way to keep thread labels from getting mixed up.
With similar colors, like these two tubes of 12/6 cotton rug warp, it helps to keep an identifying strand attached to the label. I always try to put the label back on its tube as soon as possible to prevent mix-ups.

May you find simple solutions to do what you do better.

(Have you checked out my new Etsy shop yet?)

Happy Weaving,
Karen

Quiet Friday: Making Rya Knots

One at a time. Like anything else, you do get faster as you get the hang of it. I select and arrange the colors for the upcoming row, and then I settle into a rhythm. With my right foot pressing the treadle, I use both hands to manipulate both the raised warp ends and the loose wool strands. It is a relaxing and satisfying trek from the right-hand side of the warp to the left, one rya knot at a time.

I am letting the pictures speak for themselves. I forgot to take a picture of the completed rya knot pillow top square while it was still in view on top, so you get to crawl under the breast beam with me at the end to see it from underneath.

Ready for another row of rya knots.

Cardboard template for cutting rya strands. How-to pics.

Cut yarn for rya at both ends of template. More how-to pics.

Clothespin keeps cut yarn colors together for rya knots. More rya how-to pics.

Assortment of wool yarn separated for planning rya knots. How-to pics.

Mixing blue wool strands for rya knots. Pics with rya knots.

Rya first step - around 2 doubled warp ends.

Rya second step - Under and through.

Rya third step - Pull the "legs" down.

Rya fourth step - Pull the yarn evenly into place.

Rya fifth step - Snug it up to the fell line. Rya knots how-to pics.

Pillow top with rya knots, viewed from under loom, looking up. Karen Isenhower

May you enjoy taking your sweet time.

Little by little,
Karen

Other popular Quiet Friday posts you may like:

Quiet Friday: Warping Trapeze

Quiet Friday: Rag Rugs

Quiet Friday: Cutest Loom Ever