Tools Day: Texsolv Secrets

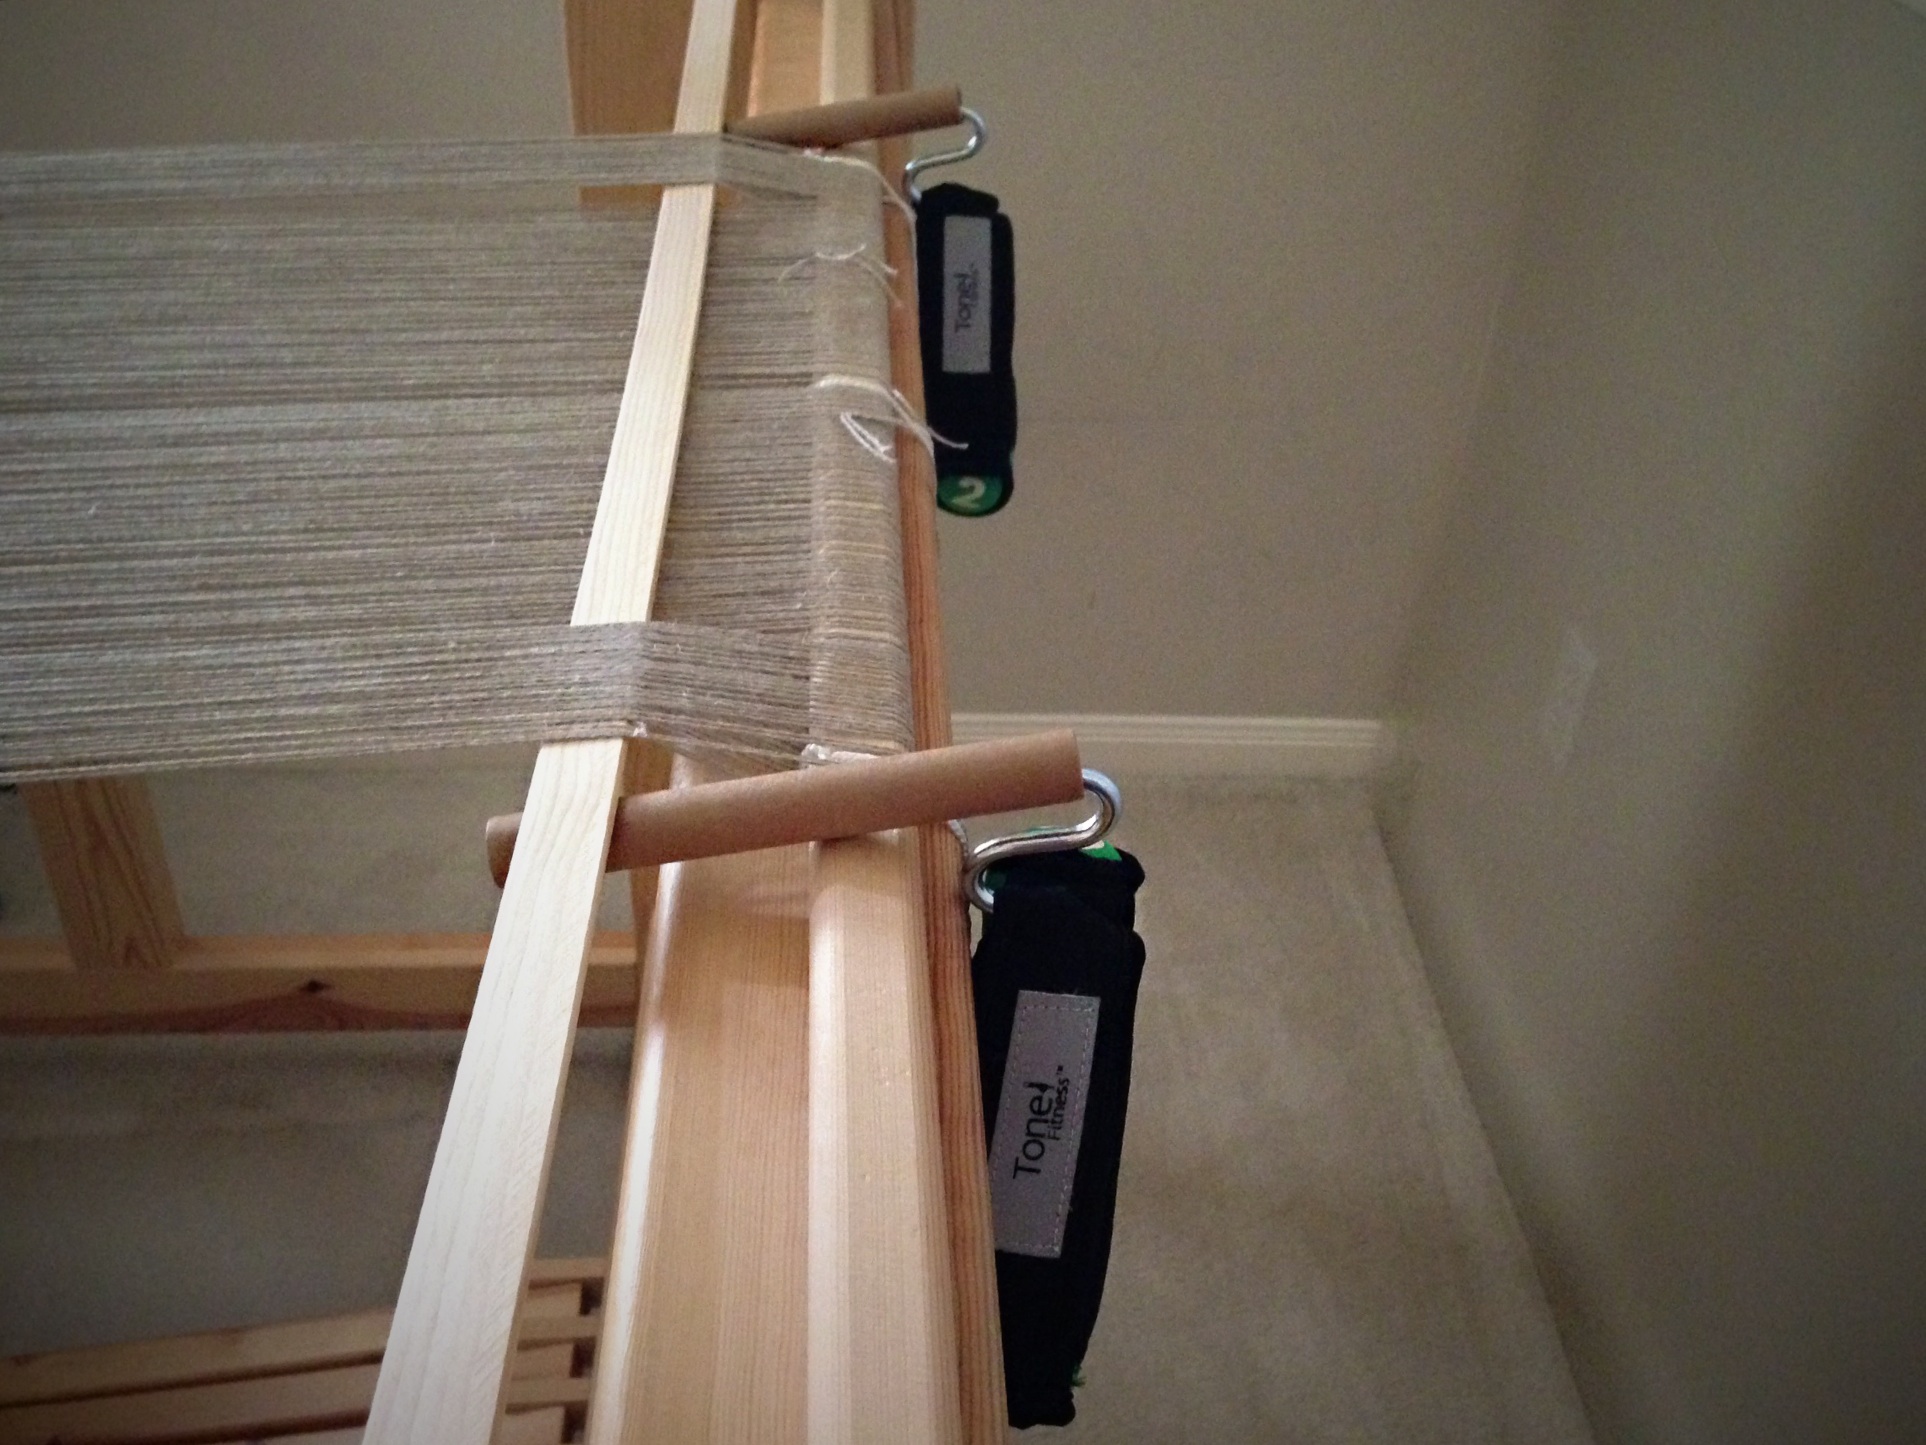
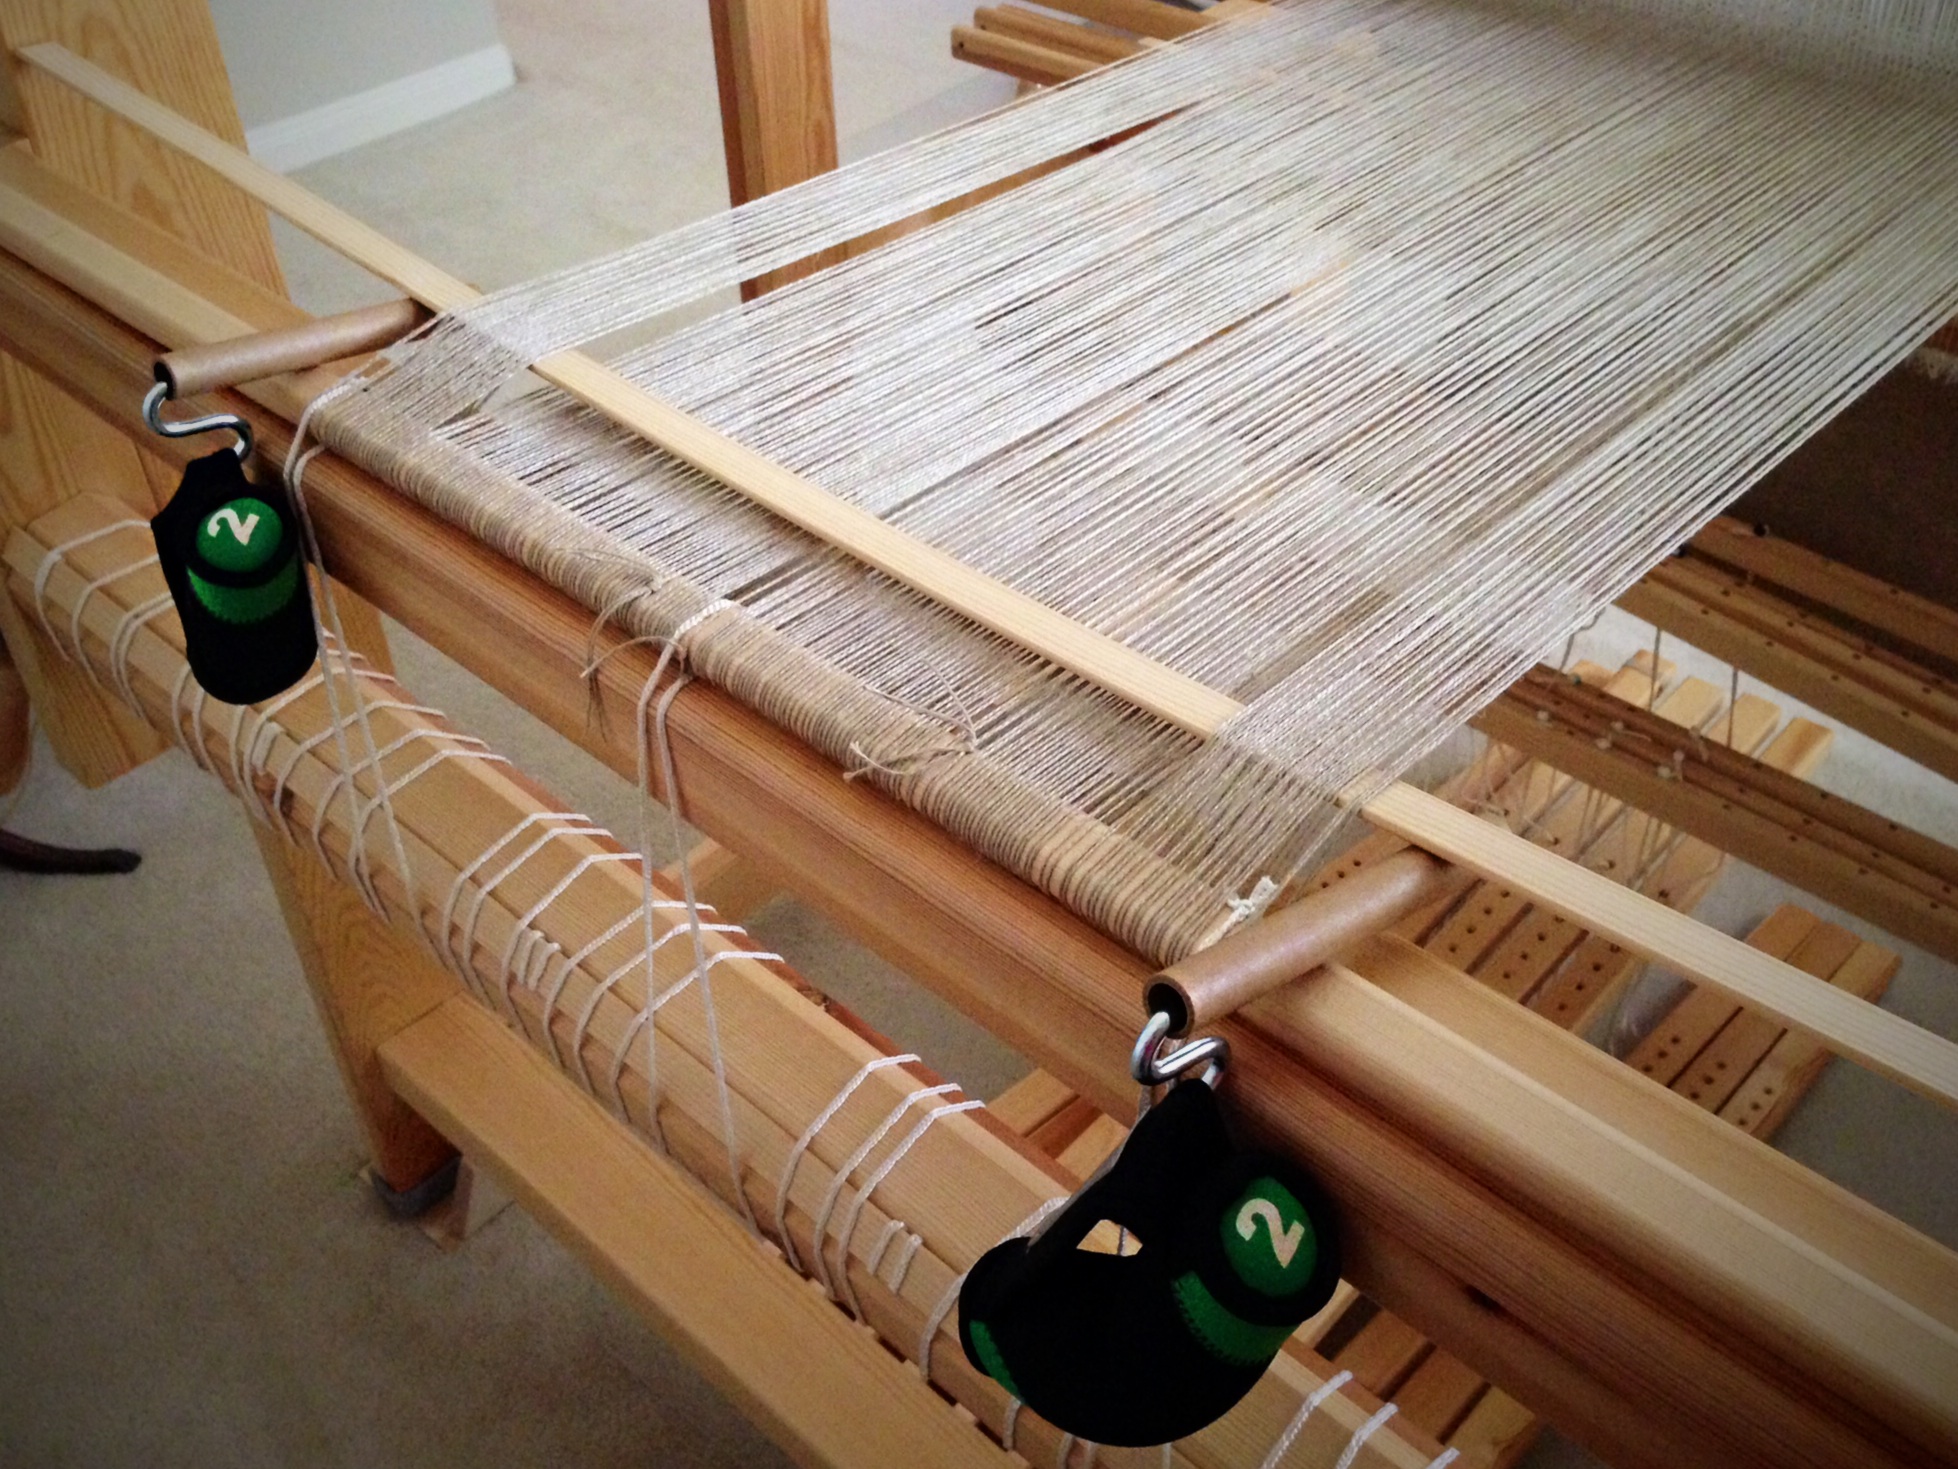
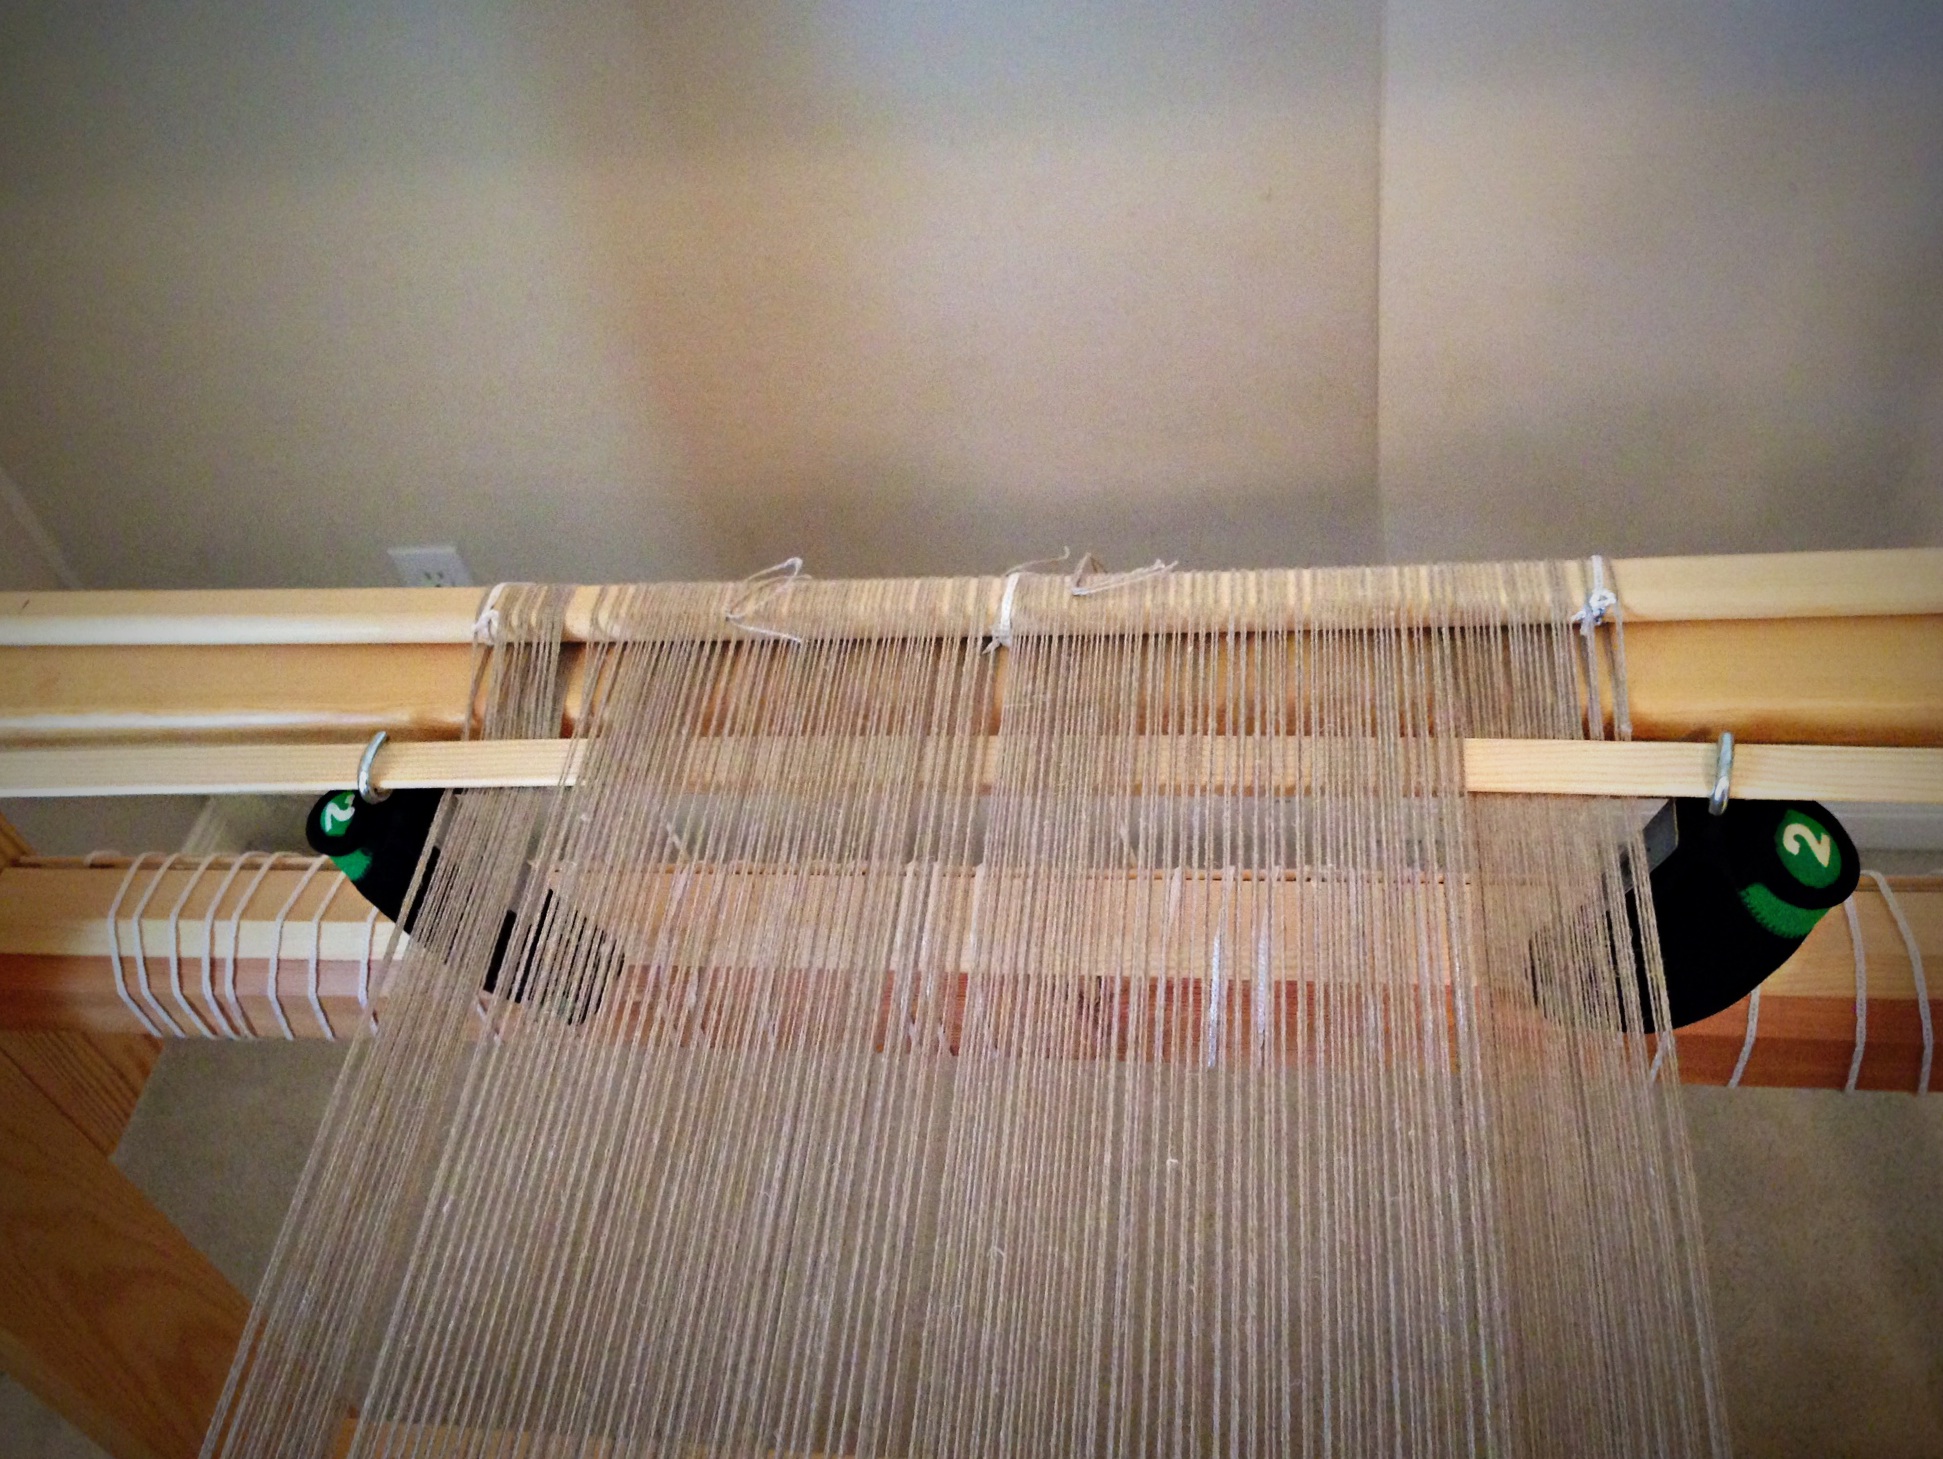
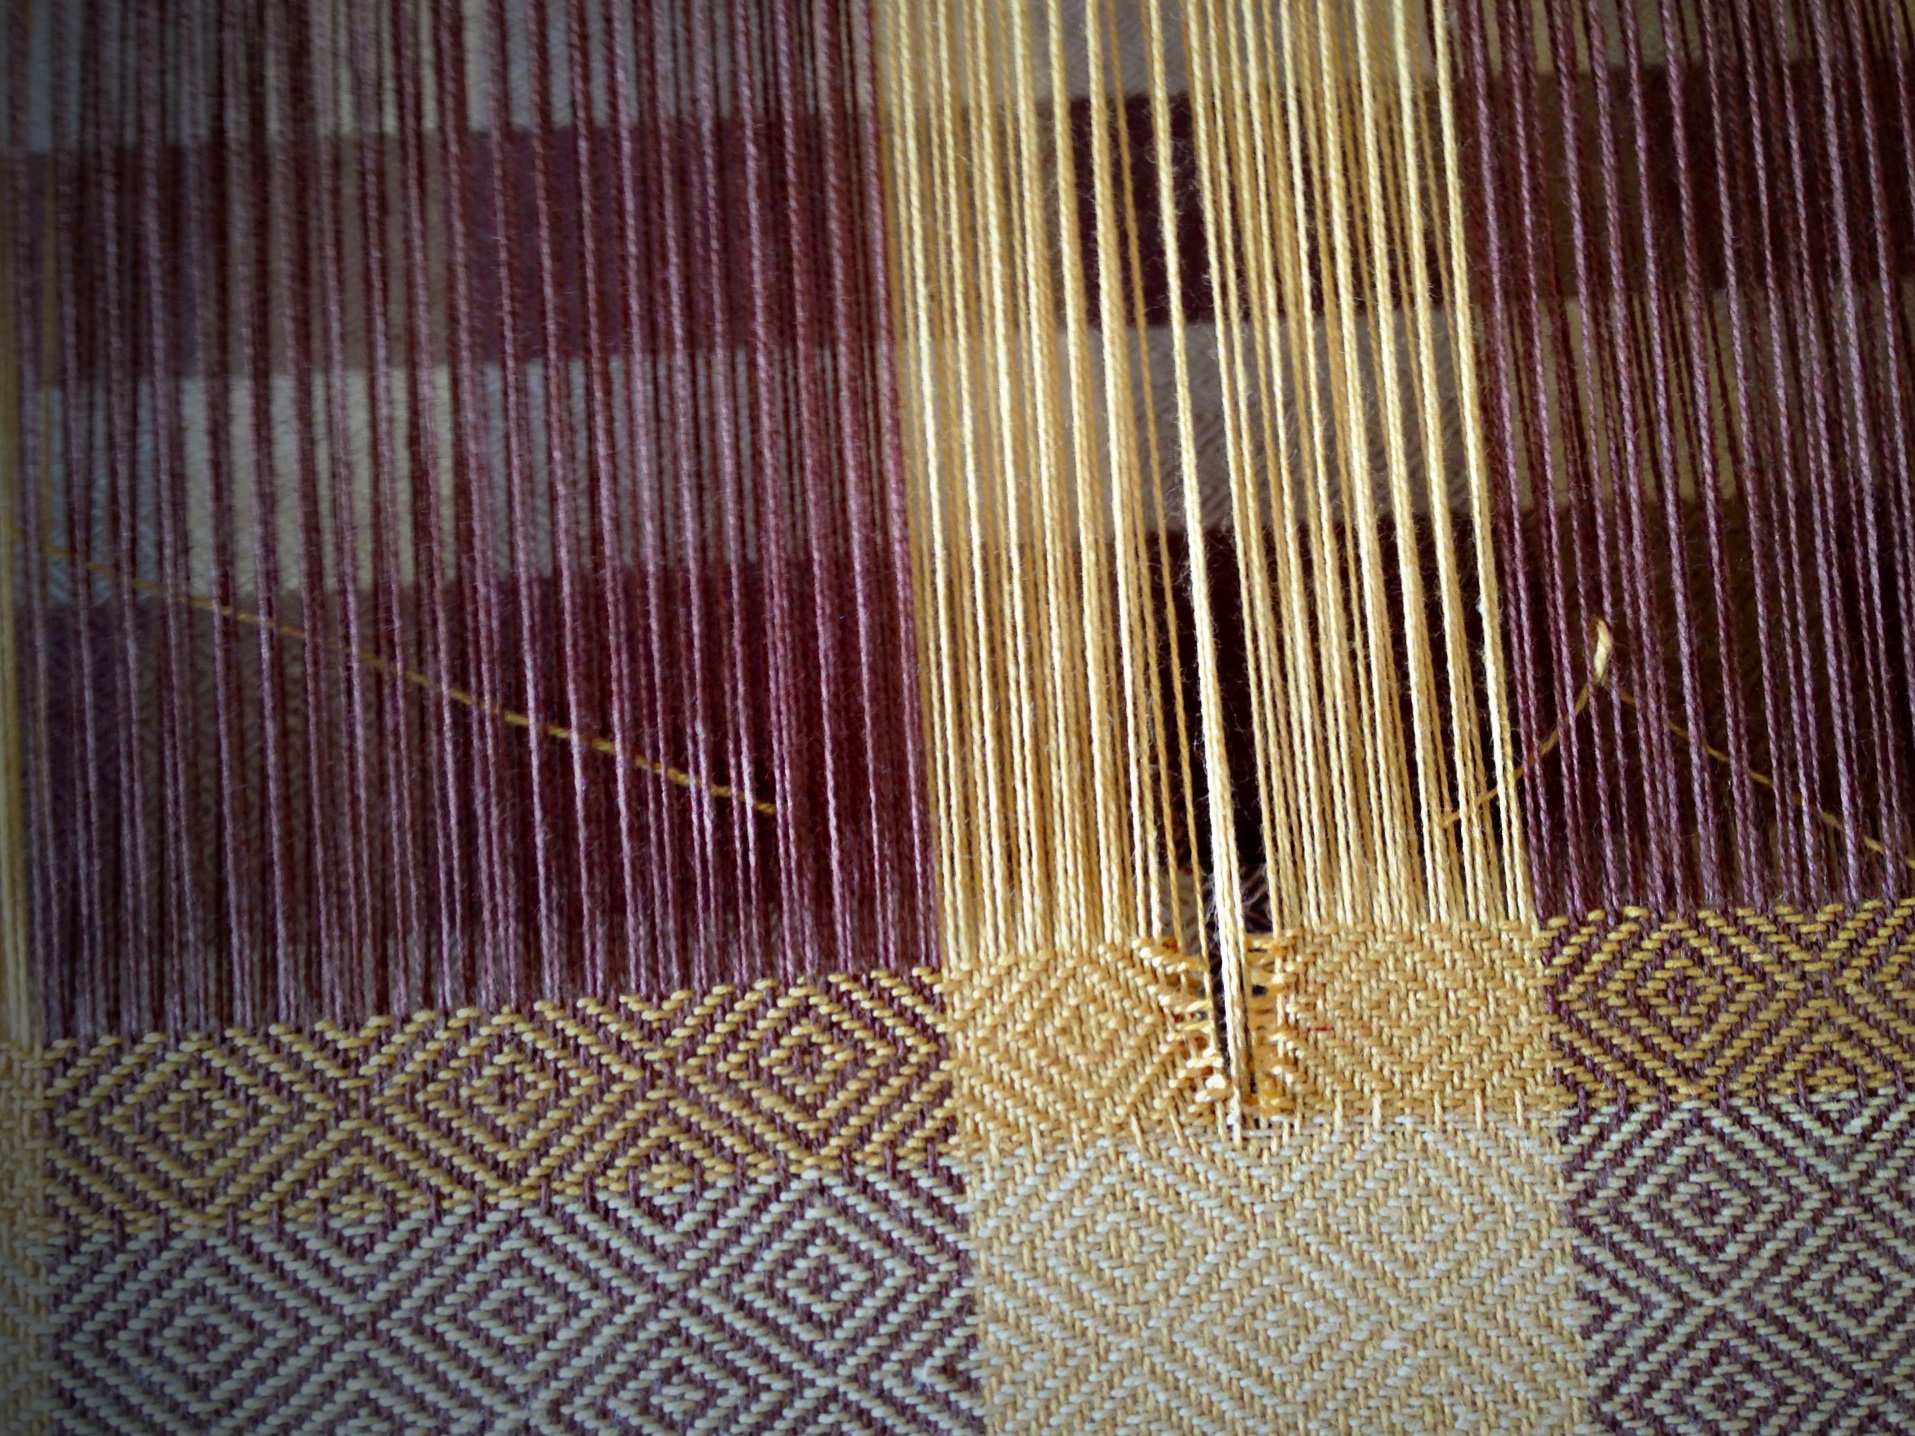
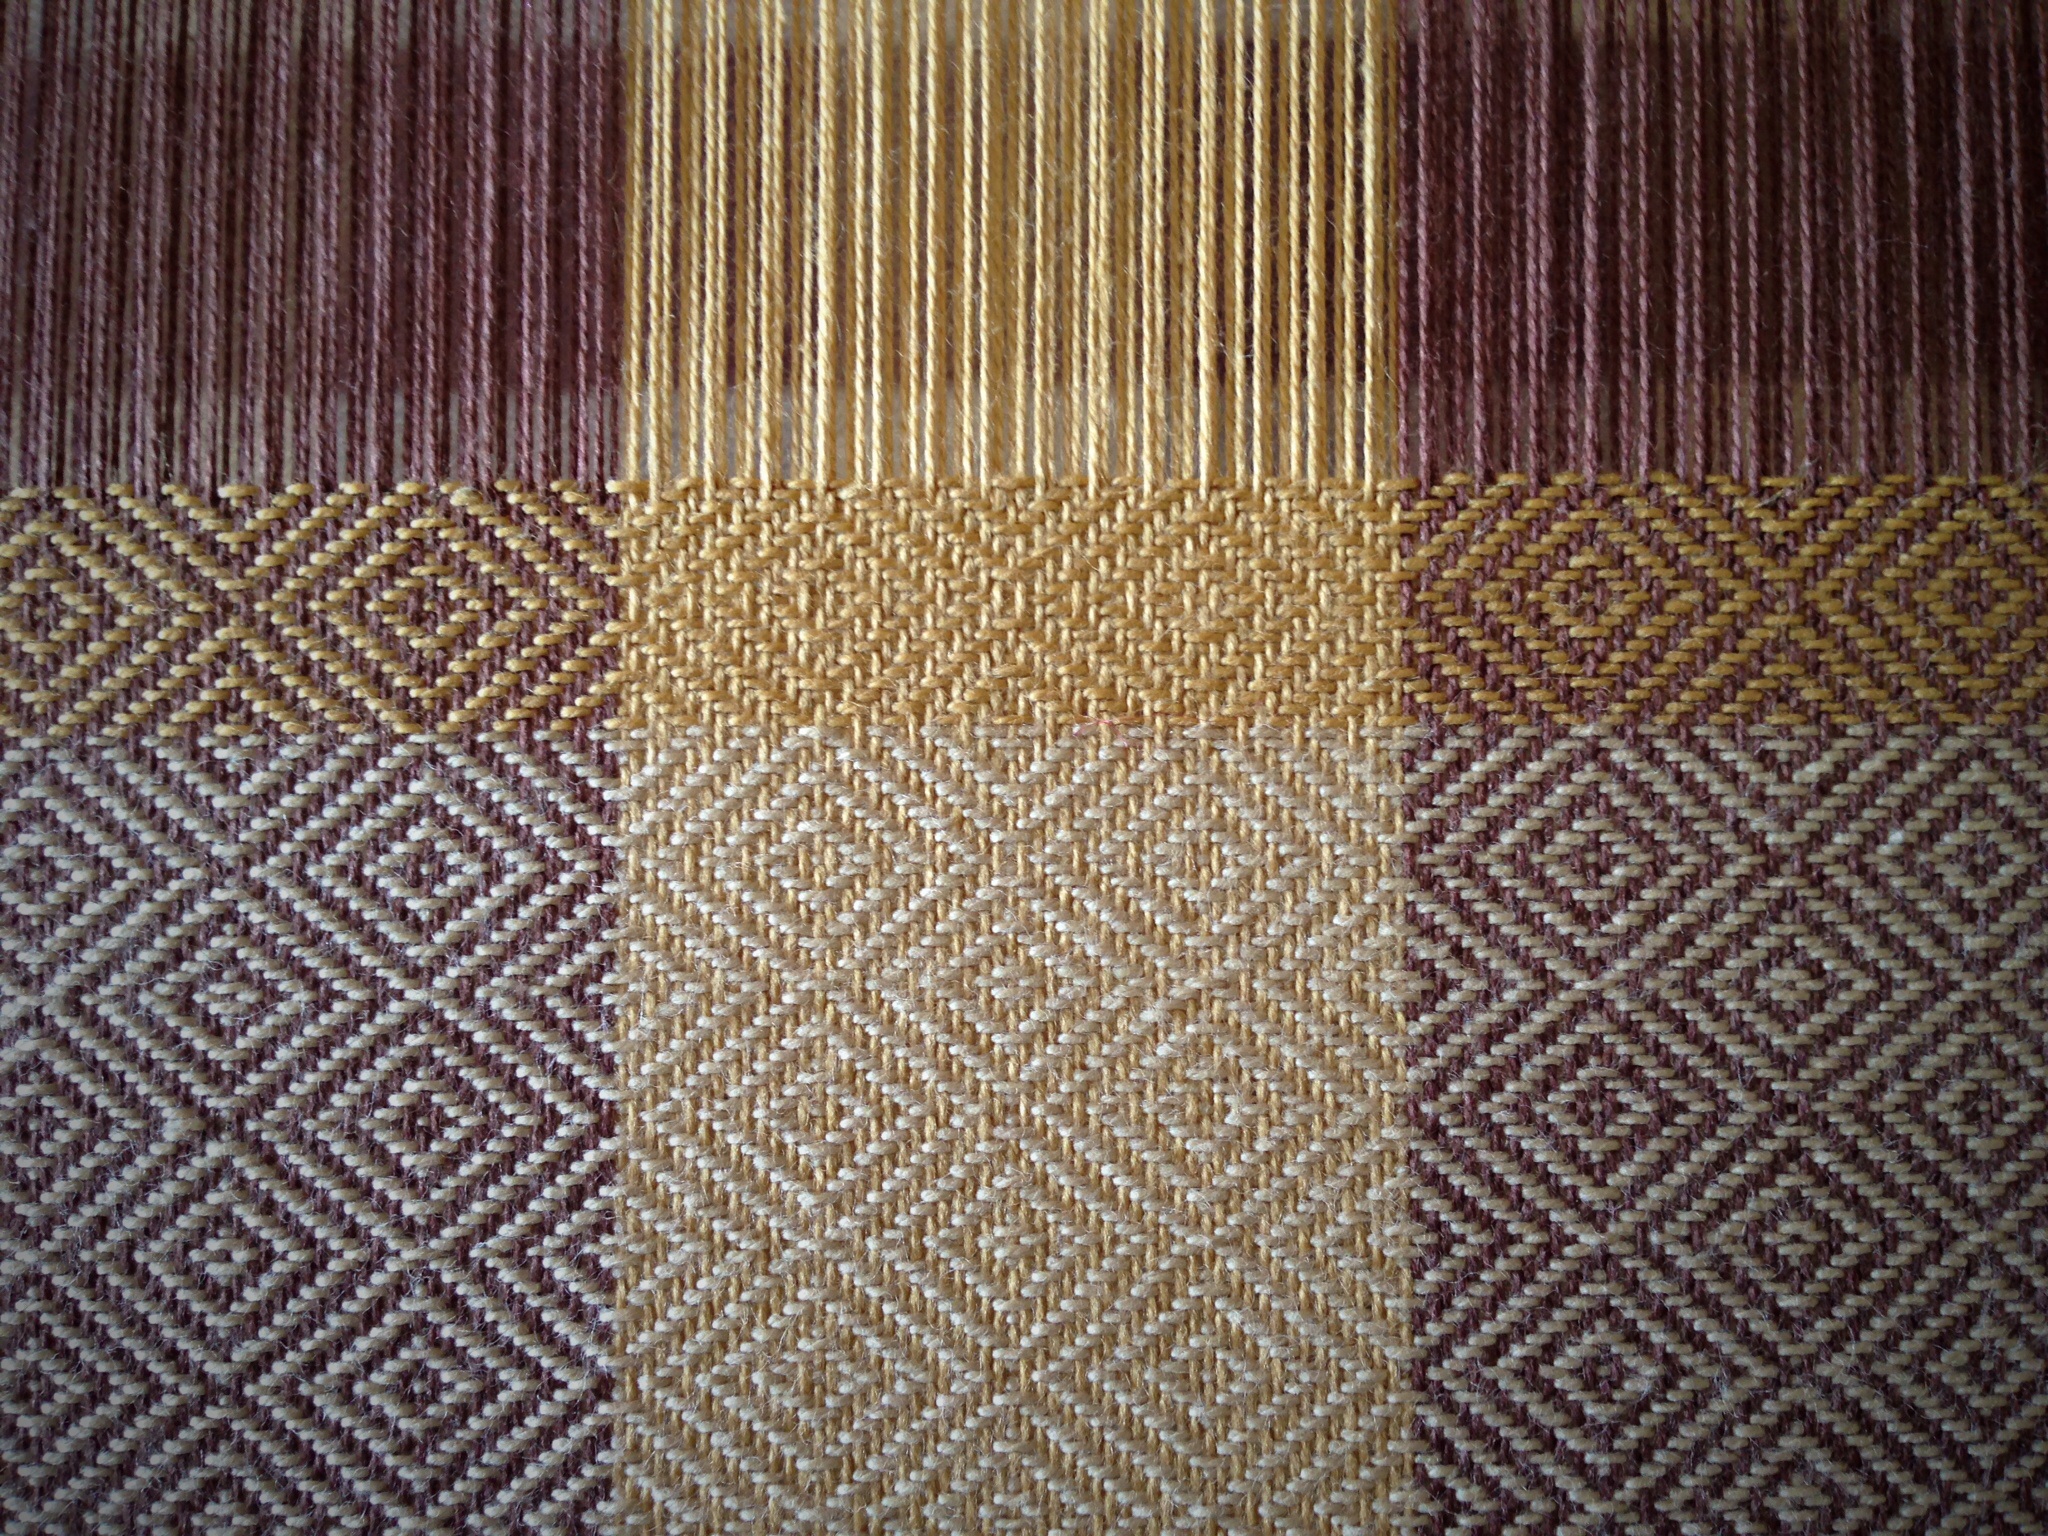
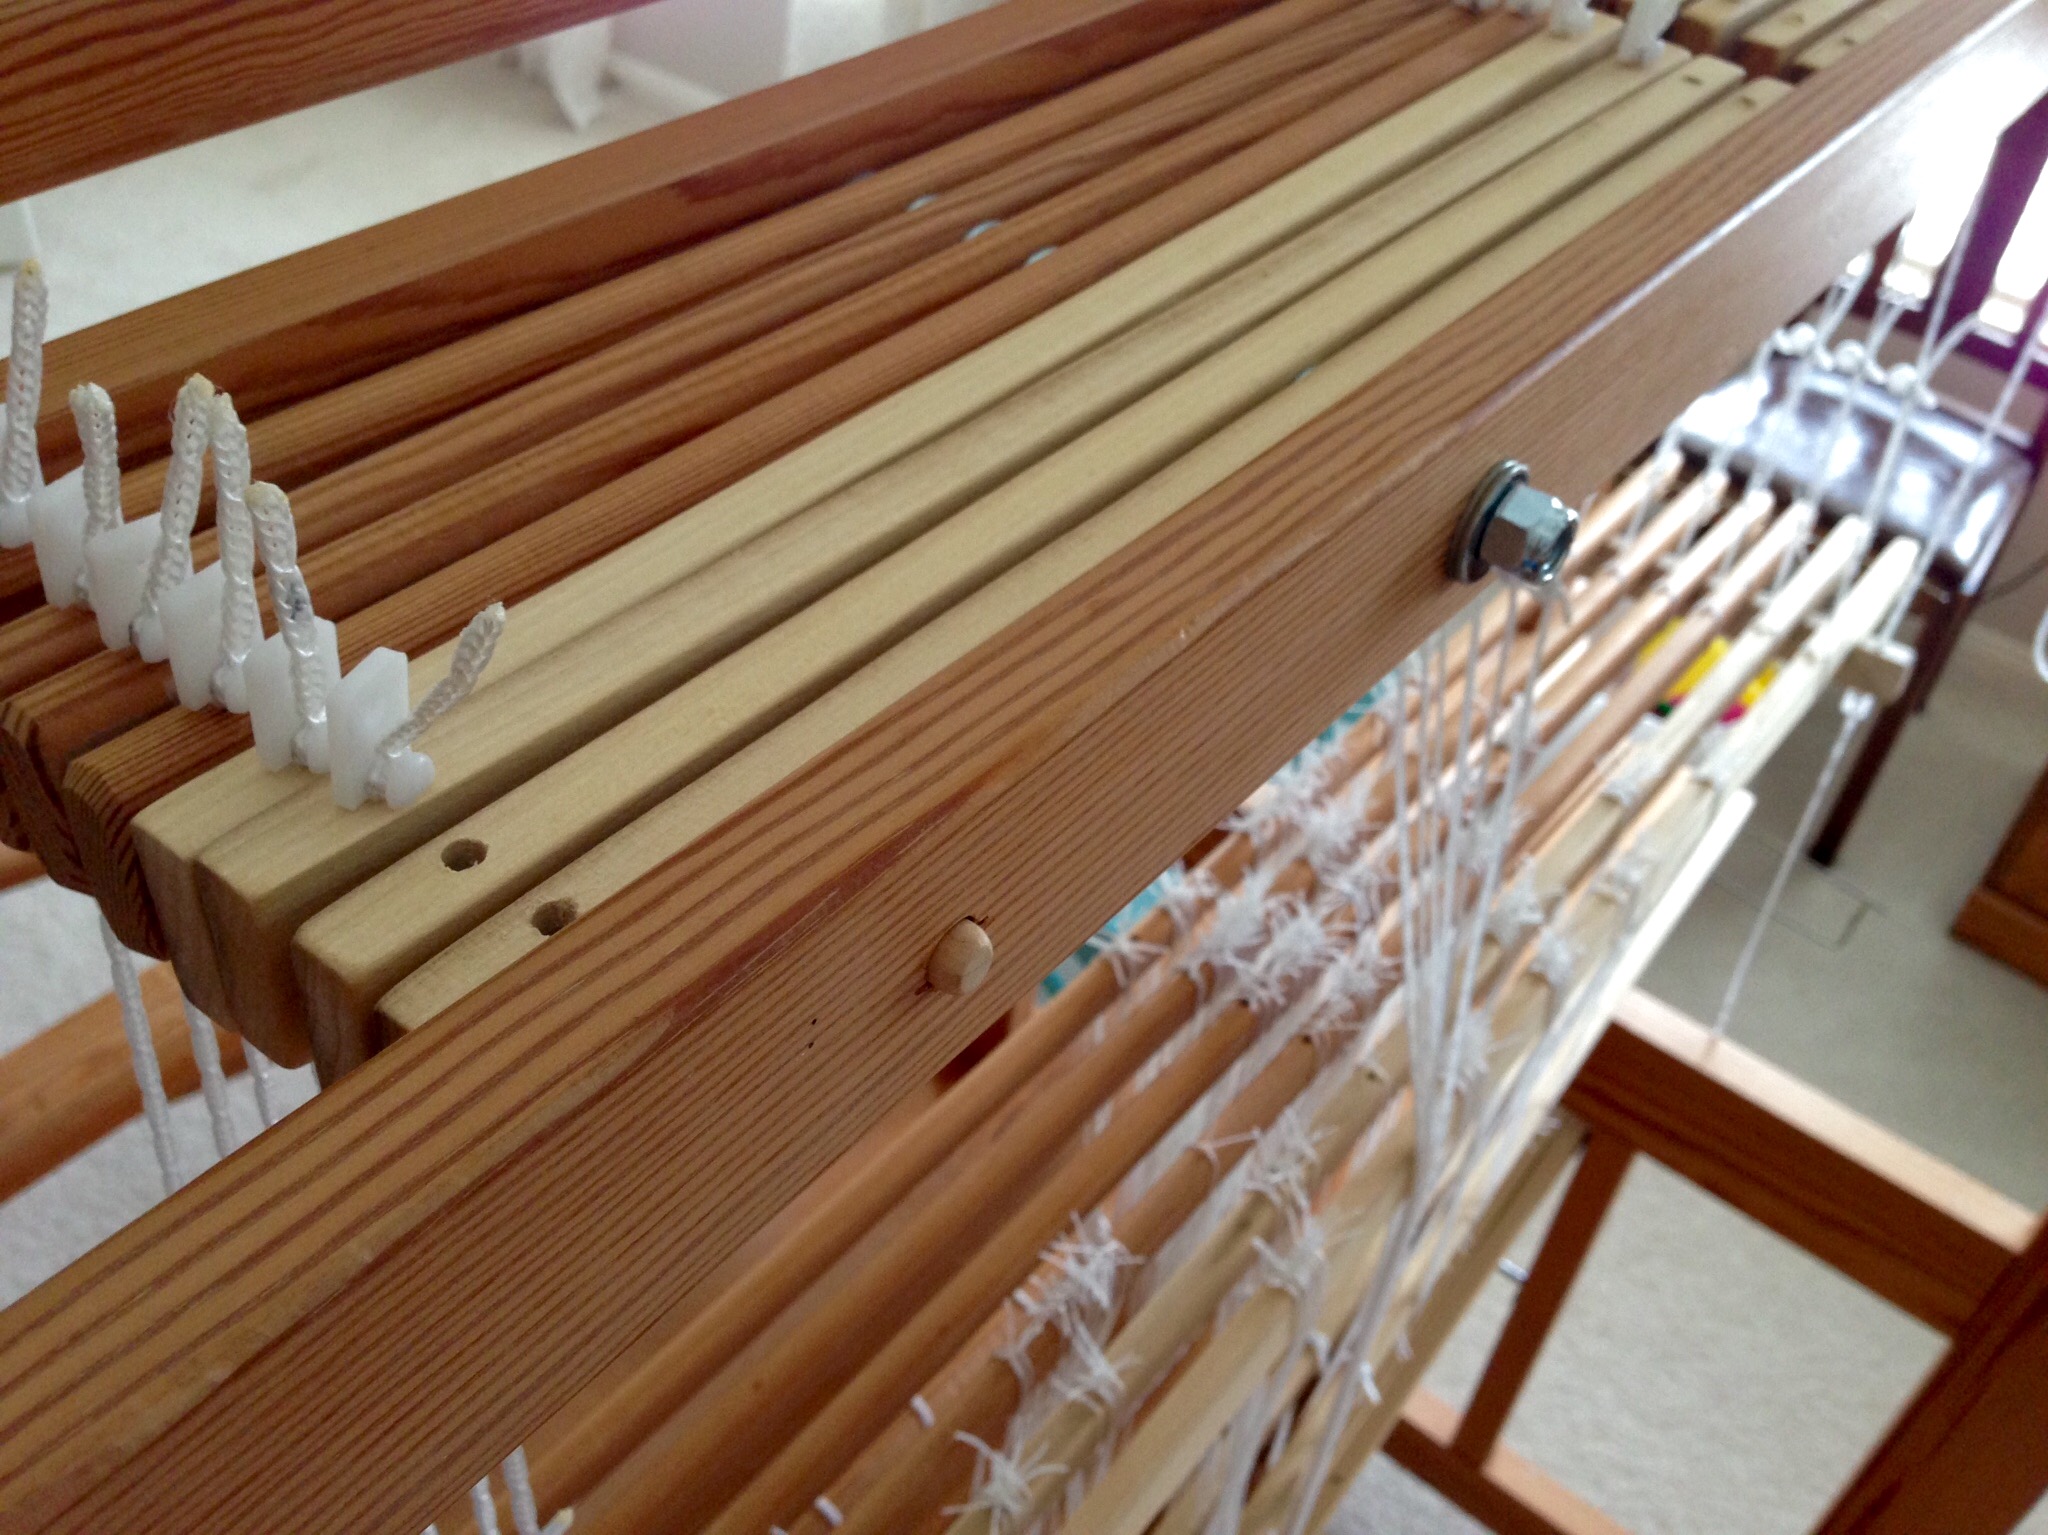
I am upgrading my “baby loom” from four shafts to six shafts. My woodworker husband fashioned the new pieces for this 100 cm / 39″ Glimakra Ideal countermarch loom. Since I need to add new Texsolv cords to the two new pairs of shafts and accompanying horizontal jacks, I decided to replace the thirty-year-old cords that are on the original pieces at the same time.
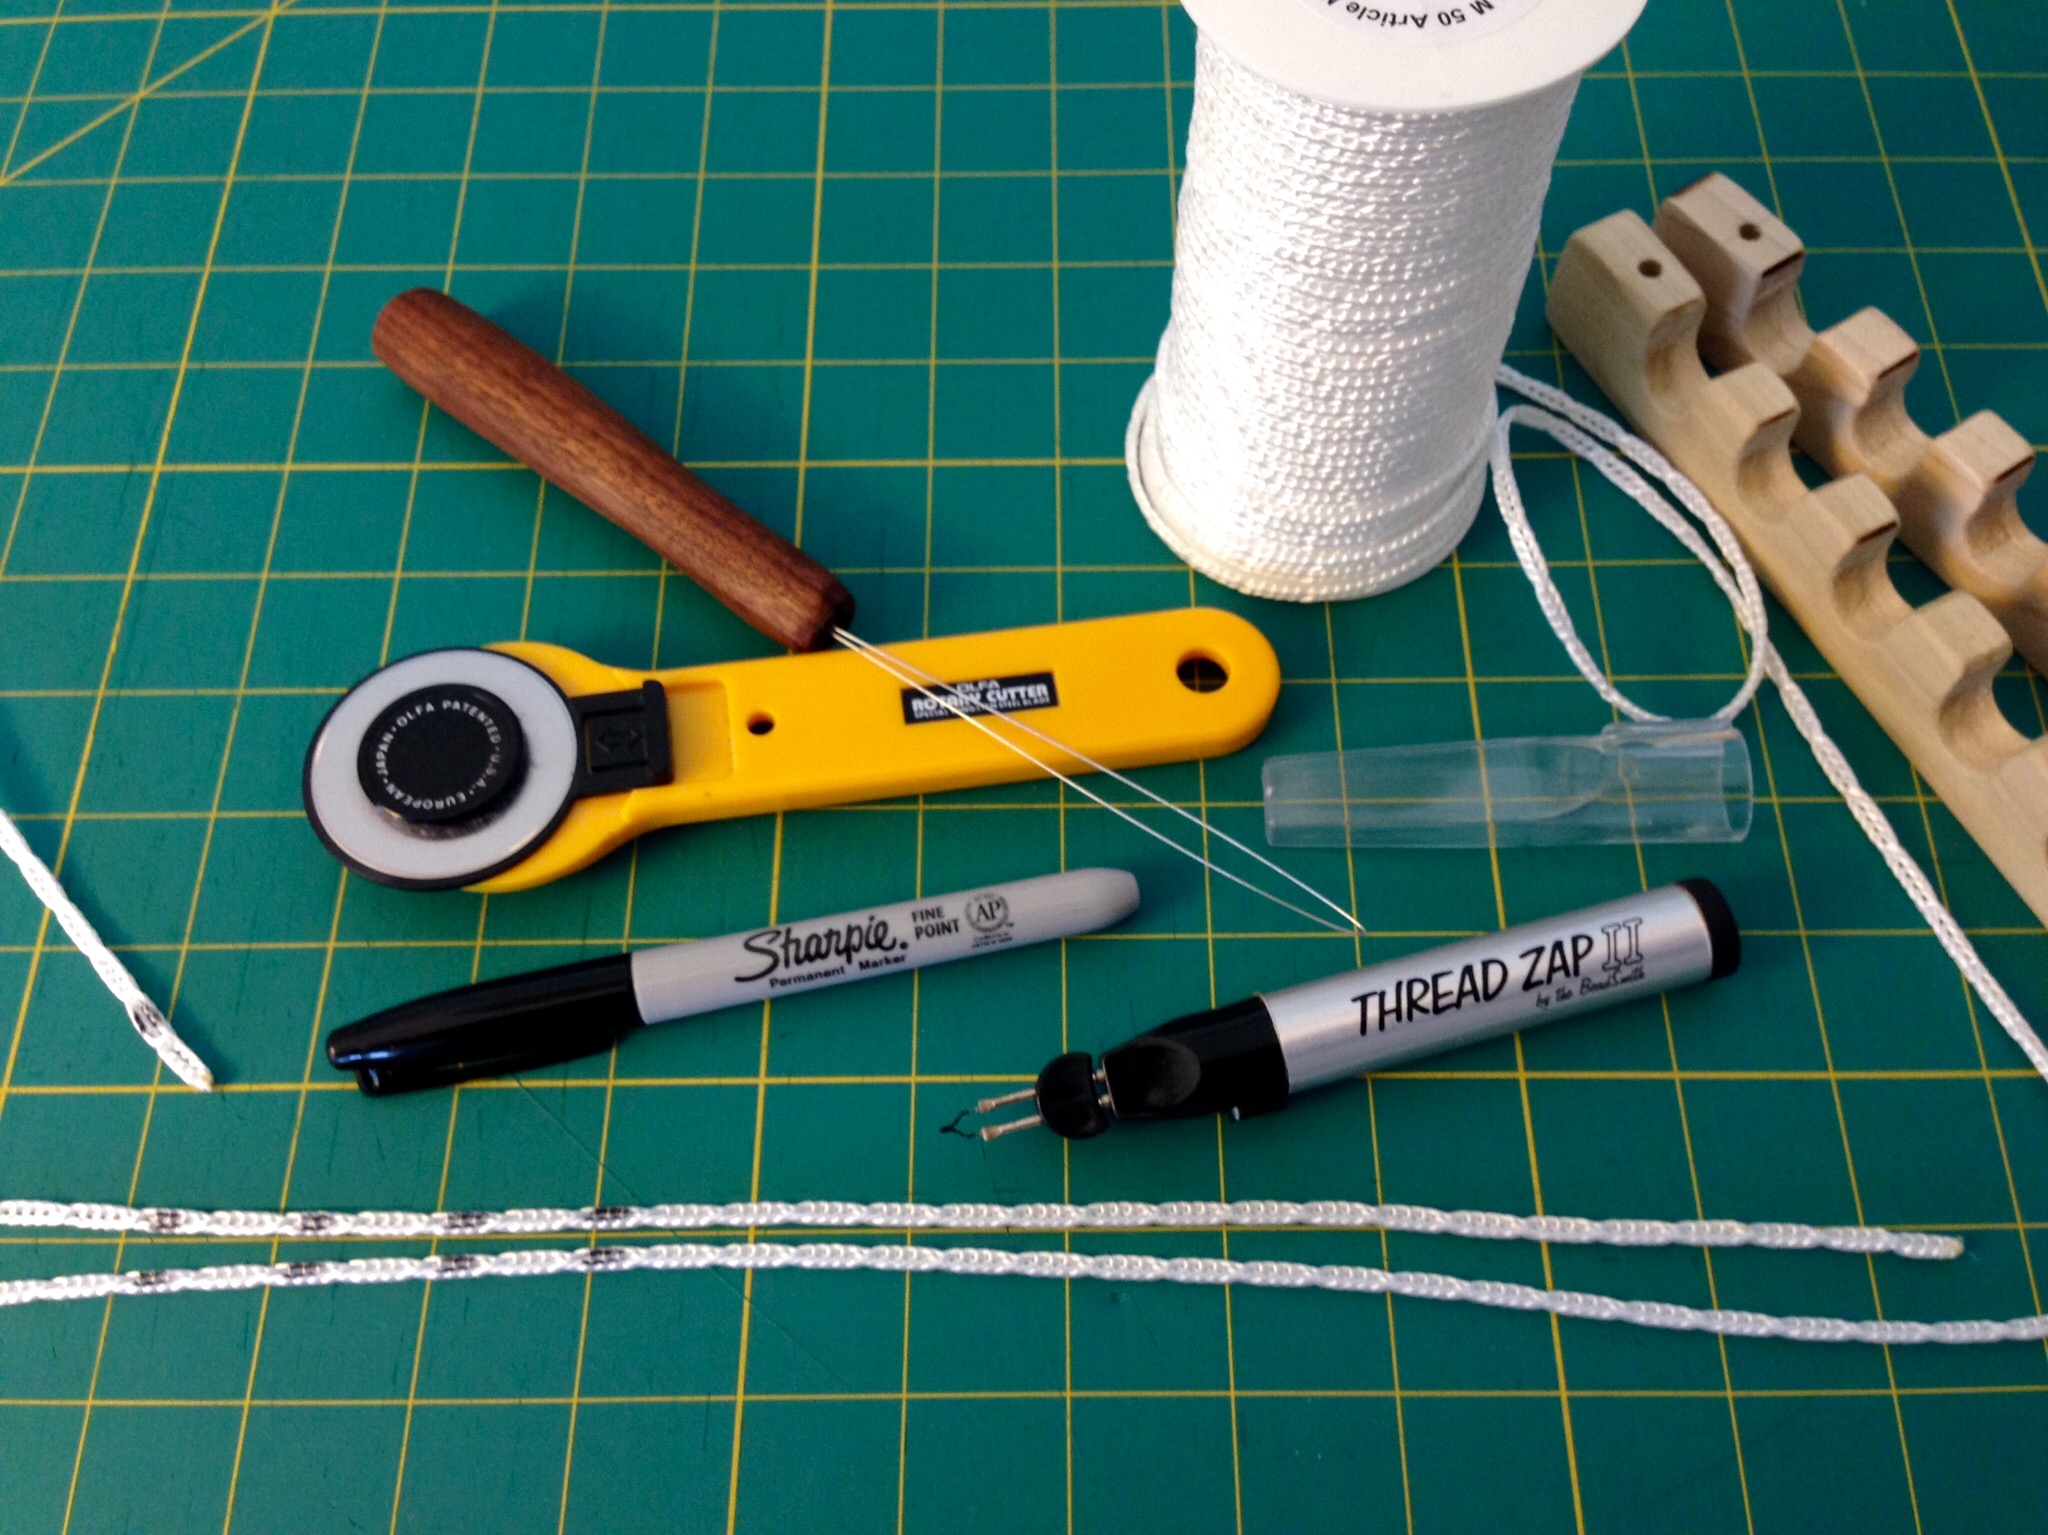
Tips for preparing Texsolv cord.
Measuring, marking, and cutting Texsolv cord for new six-shaft shaft holders. Tools, from top to bottom: Cord threader, rotary cutter, black Sharpie, Thread Zapp II.

Tools:

  • Spool of Texsolv cord
  • Rotary cutter with sharp blade, and cutting mat; or, sharp scissors
  • Permanent marker
  • Cordless thread zapper (I got my Thread Zap II at Hobby Lobby)
  • Cord threader (Steve made mine; GlimakraUSA carries a similar one)
Adding new Texsolv cord to updated countermarch loom. Texsolv tips.
Upgrade to six shafts from four meant adding two pairs of shaft bars, two upper lamms, and two lower lamms, plus expanding the jacks at the top of the loom. New Texsolv cord was measured, marked, and cut the same for all six shafts. The cords seen on the lower shaft bars connect to the center hole in the upper (shorter) lamms when the loom is tied up.
Top of Glimakra Ideal horizontal countermarch.
Viewed from above, the horizontal countermarch now has 8-shaft capability. Steve guessed I might eventually want a total of eight shafts, and decided to get the hard part out of the way now. The six jacks in use are connected via a long center Texsolv cord to the lower lamms below when the loom is tied up. The outer ends of the jacks in view have cords that connect to the top shaft bars. Countermarch is a nifty mechanism. Simple, really.

Texsolv Tips:

  • Measure length of Texsolv cord. “Measure twice; cut once.”
  • Cut with very sharp blade on the “line” between holes. A sharp blade reduces the cord’s tendency to fray apart when cut.
  • Use thread zapper tool to melt the cut ends. Roll melted end between fingers to form a firm tip at the cut end.
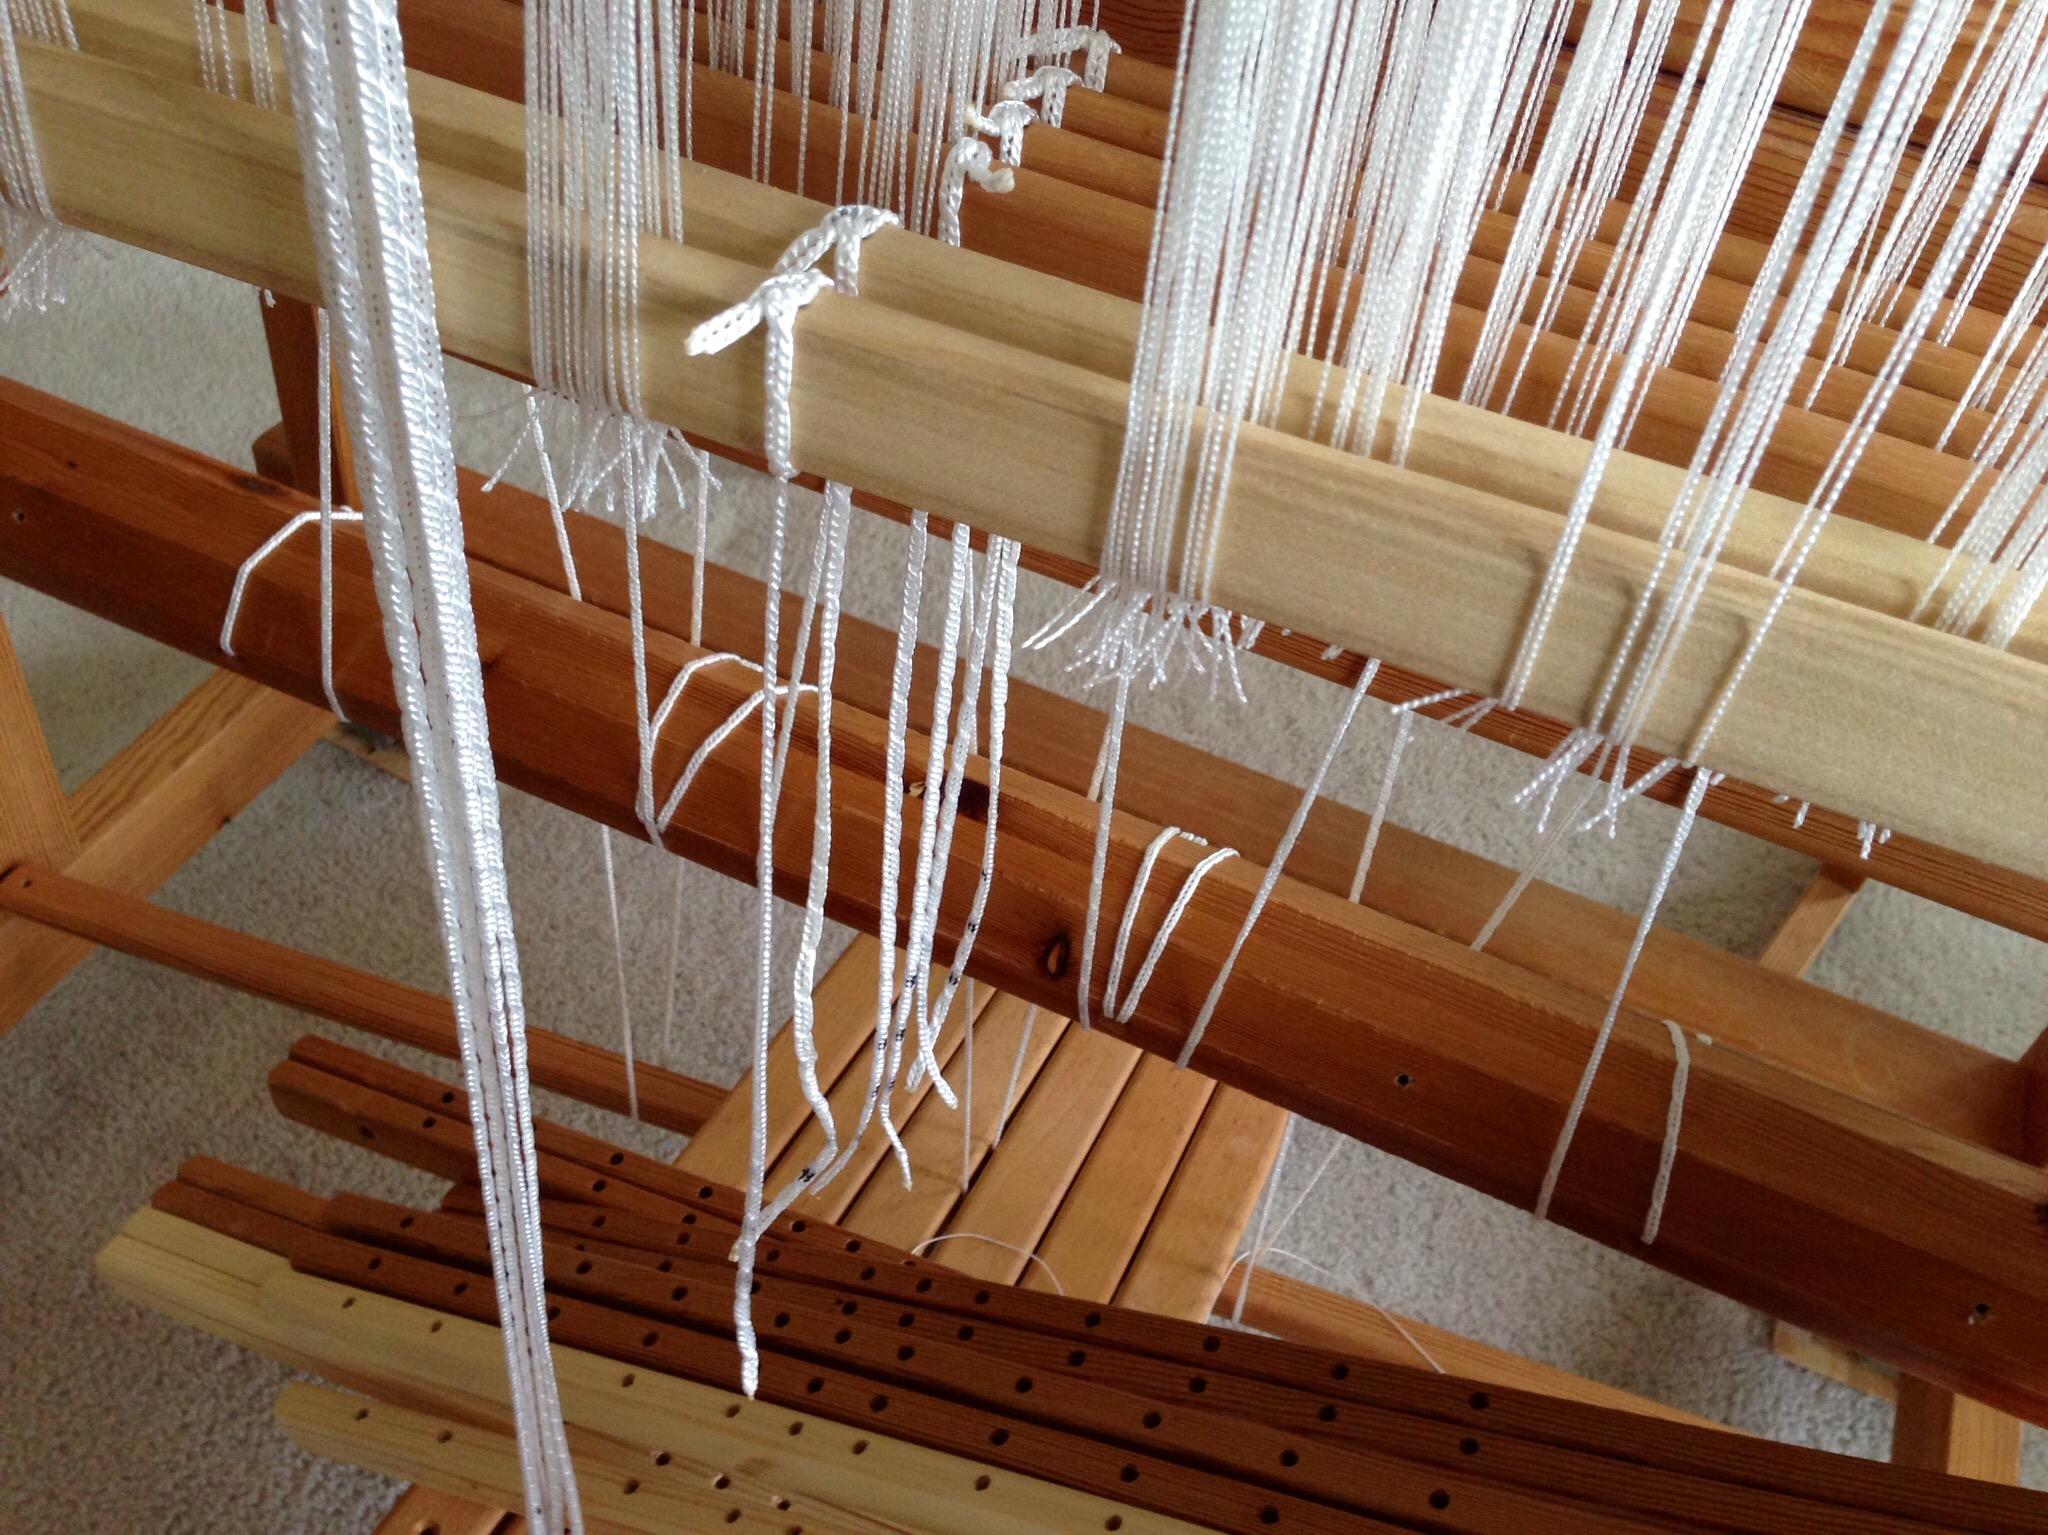
  • Especially for countermarch looms: This one tip greatly simplifies countermarch loom tie-ups because it eliminates guessing about getting everything even. Use permanent marker to make consistent marks on like cords, to enable even tie-ups; e.g., with the marker, put a mark on the second hole from the top, and on four holes (alternate with unmarked holes) near the bottom end of shaft-to-lamm cord, so that when you attach shafts to lamms, all the cords can be precisely aligned. (All my cords are measured and marked. I keep one of each marked cord in a labeled Baggie as a sample to make it easy to replace or add any cord.)
  • Use threader, if needed, to thread cord through holes in the loom parts.

Quiet Friday: Cutest Loom Ever is a look back to the first renovation this little old loom experienced.

May you find new ways to do old things.

Getting ready,
Karen

Colorful Cozy Blanket and a Video

Blanket is finished! I am calling it a success. Double width, decent results in the fold, perfectly coiled fringe (twisted on the loom), and stellar colors. I wish I could do it again. Did I tell you I put on enough warp for two blankets? Wish come true!

Double width blanket, just off the loom!
First time to see the blanket opened up! All eleven colors showing off.

Weaving Details
Warp: 6/2 Tuna Wool, eleven colors
Weft: 6/2 Tuna Wool, doubled
Reed: 30/10 metric [8/in]
EPC: 6 on each layer = 12 ends altogether [EPI: 16 on each layer = 32 altogether] Total number of warp ends: 922
Warp width on the loom (1/2 of full width): 77 centimeters / 30 1/4 inches
Weave length on the loom: 220 centimeters / 86 1/2 inches + fringe

After Wet Finishing, Air Drying, and Brushing
Finished full width: 138.5 centimeters / 54 1/2 inches
Finished length: 186 centimeters / 73 1/4 inches, plus fringe, 10 centimeters / 4 inches on each end

Richly colored handwoven double width wool blanket. Karen Isenhower
Just in time for a cold winter evening. This richly colored wool blanket is cozy and warm.

Are you interested in seeing how I twisted the fringe on the loom? This Twisting Fringe on the Loom tutorial video shows you how I did it. See the finished blanket at the end of the video, too.

May you get to do more of what you love to do.

Back to the loom,
Karen

Tools Day: Handwoven Photography Simplified

If you take pictures, does that make you a photographer? I enjoy taking pictures at the loom. Besides the creative challenge of finding a good shot, I like the aspect of letting a picture tell a story. The Warped for Good Etsy shop is another avenue to expand my photo skills. My goal is to take photos that showcase finished handwoven articles, while keeping the process as simple as possible. Typically, I take fifteen to twenty pictures of an item, and then choose the best five shots to upload on Etsy. When I have new items to add to Etsy, I do a photo marathon on a good sunshiny day.

Tips for taking photos of handwovens.
Single towel photo from photo marathon.

TOOLS:

iPhone 5
– I take all my photos with my phone. I know that is crazy! I never use my husband’s fancy digital SLR camera. My phone is always in my pocket, and there is nothing for me to figure out.

Tripod
– I do not actually attach the camera (iPhone) to the tripod. By leaning my hand on the tripod, I can get a steady shot; and I change the angle or height simply by moving my hand.

Natural light
– Colors are not true if I use any artificial lighting. Colors will vary on computer monitors and mobile screens, but natural light gives the best chance of capturing the colors as I see them.

Sunshine, not cloudy
– With the iPhone camera, I find it impossible to get true colors if the sky is overcast. Sometimes an overcast sky in the afternoon still seems bright, not dark. Even so, I find the colors are distorted. If the conditions are not favorable, it is worth waiting.

Long roll of white paper
– A white background appeals to me. I think it conveys simplicity and elegance.

Four walking weights
– There is no end to the usefulness of two-pound walking weights. These soft weights are perfect for holding the roll of paper out to size, without creasing. (You’ll find me using walking weights for just about everything …except walking.)

White poster board
– Sometimes a white poster board or two is needed to provide background for a shot from a lower angle.

Tips for simplified photo shoot for handwovens.
Simple set up for photo shoot. Testing lighting with first shot.
Tips for setting up simple textile photo shoot.
First few practice shots show me what adjustments to make with lighting, focus, and white paper and poster board background arrangement.
Three of a kind. Simple photo tips.
Three of a kind. I like to photograph complimentary pieces together.

May your photos show your best moments.

Say cheese,
Karen

Tools Day: Jury Rigging

Resourcefulness, make-do ability, outside-the-box thinking, solution-minded questions, and a little stubbornness. These are some of the best things to keep in the weaver’s toolbox. Jury rigging is an old nautical term having to do with sailors improvising the replacement of a damaged mast and sails, using only tools and materials that happen to be on hand. You could call it makeshift repairs or temporary contrivances. That describes what I did this week as I came near the end of the linen warp. And, like a sailor, I was working with wood, strings, and cloth.

Rya knots in linen cloth.
Warp ends on the sides have become looser than the warp that has the rya knots in it. That’s not good. Tension needs to be even across the warp.

I needed to even out the tension across the warp ends, because the outer edges were not taking up at the same rate as the warp in the center, because of the rya knots. The pictures show how I jury rigged a warping slat, empty thread tubes, S-hooks, and 2-pound walking weights to adjust the tension so I could continue weaving.

Jury rigged warp tensioning.
Adding weight to the loose sections of the warp.
Jury rigged warp tensioning
Two-pound walking weights are easy to hang from S-hooks. Using empty thread spools was a short-lived solution. That had to change when I advanced the warp.
Evening out warp tension with weights
Changing the slat so it is over the loose warp ends enables me to hang the weights directly on the slat with S-hooks.
Walking weights to tighten loose warp ends.
View from underneath, walking weights hang from warping slat to increase tension on the loose warp ends.

May you know when to make a temporary, but useful, contraption.

All the best,
Karen

(~My thank-you to you, my reader friends–a discount coupon good during August 2014 toward anything in my Etsy Shop. Find the coupon code on my About Page.~)

Quiet Friday: Undoing

I see a treadling error about 24 picks back. Don’t you hate it when that happens? Backing up is not hard, but it does take some guts if you do it the way I propose. (I first observed it done this way by Becky Ashenden at Vavstuga, though I don’t claim to enjoy it nearly as much as she does.) It is time for some undoing.

Disclaimer: Try at your own risk. Do not attempt the following if you do not know how to repair a broken (or cut) warp end. And do have fun! (I have not cut any warp ends with this method… yet, but it could happen.)

1. Notice the error as soon as possible. Stop weaving. Loosen the warp tension enough to make it easy to spread the warp ends apart.

Treadling error detected. Steps show how to fix it.


2. With one hand, spread the warp ends apart at the center of the warp’s width. With your other hand, begin clipping the weft threads between the spread warp ends. Do not try to do this without good lighting. And if you must have coffee first, no more than one cup.

Tutorial for removing weaving errors.


4. Continue carefully clipping the weft threads. Only clip as far as you can easily insert the point of the clippers.

A bold way to fix weaving errors!


5. Treadle as for the last pick woven, and pull out the top weft thread on each side of the cut. Treadle the pattern in reverse, and with each step on the treadle pull out the top thread on each side.

Removing weft threads to fix an error. Step by step.


6. Continue treadling in reverse and pulling out the top thread on each side. Repeat steps 2 through 6 until you have removed the weft error.

Undoing a weaving mistake. Tutorial.


7. Tighten the warp tension for weaving. Weave as if nothing ever happened. Except, pay attention this time!

Goose eye twill towel on the loom. Karen Isenhower


May you have all the do-overs you ever need.

(Please visit my updated About Page to find a special coupon code to use in the Warped for Good Etsy Shop.)

Happy Weaving,
Karen