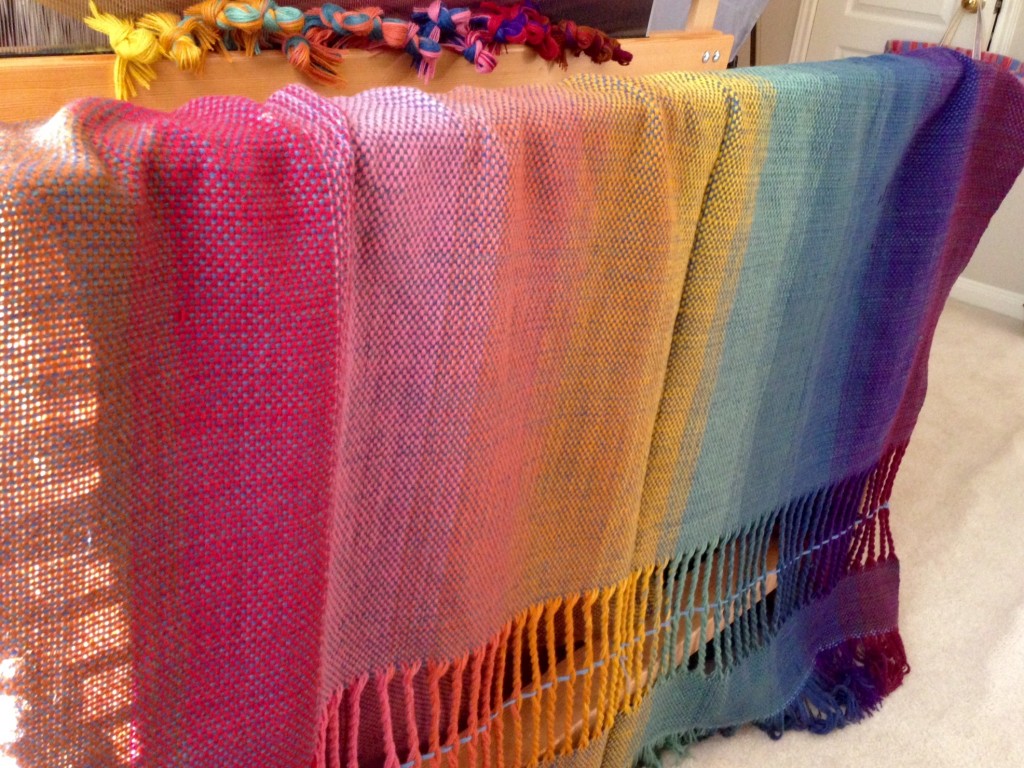
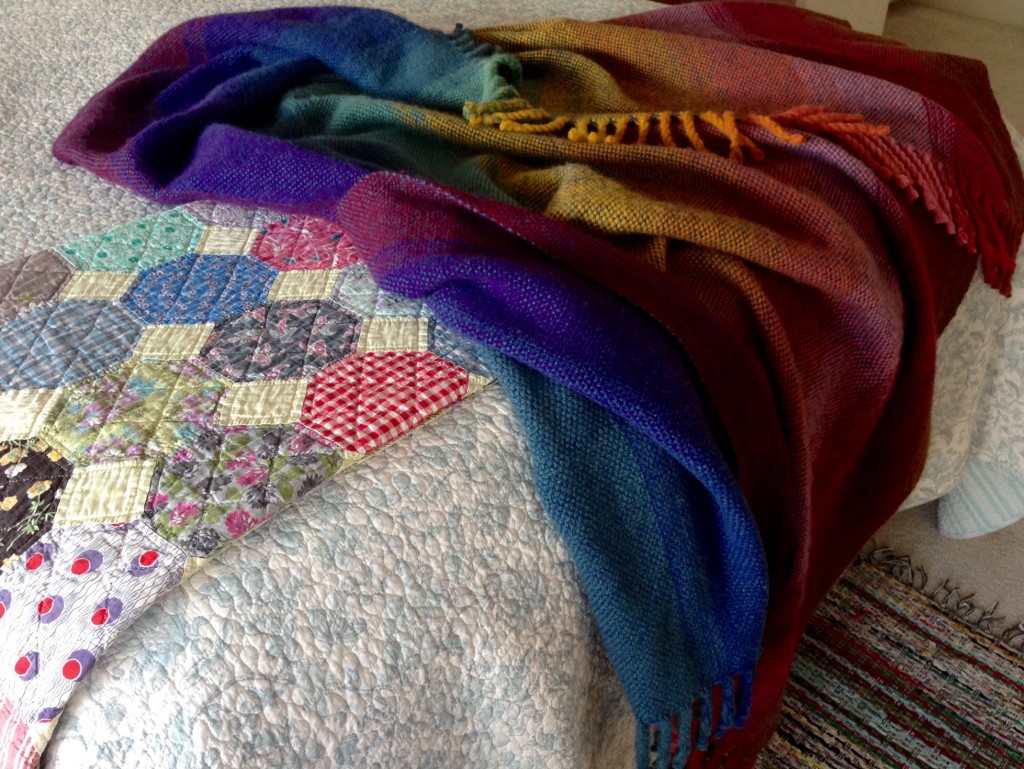
Blanket is finished! I am calling it a success. Double width, decent results in the fold, perfectly coiled fringe (twisted on the loom), and stellar colors. I wish I could do it again. Did I tell you I put on enough warp for two blankets? Wish come true!

Weaving Details
Warp: 6/2 Tuna Wool, eleven colors
Weft: 6/2 Tuna Wool, doubled
Reed: 30/10 metric [8/in]
EPC: 6 on each layer = 12 ends altogether [EPI: 16 on each layer = 32 altogether]
Total number of warp ends: 922
Warp width on the loom (1/2 of full width): 77 centimeters / 30 1/4 inches
Weave length on the loom: 220 centimeters / 86 1/2 inches + fringe
After Wet Finishing, Air Drying, and Brushing
Finished full width: 138.5 centimeters / 54 1/2 inches
Finished length: 186 centimeters / 73 1/4 inches, plus fringe, 10 centimeters / 4 inches on each end

Are you interested in seeing how I twisted the fringe on the loom? This Twisting Fringe on the Loom tutorial video shows you how I did it. See the finished blanket at the end of the video, too.
May you get to do more of what you love to do.
Back to the loom,
Karen

Karen, the blanket is wonderful. May we see how you cut off and finished the fringe? And does this technique requires weaving extra fabric at each and of the project?
Sandy, yes, you will see how I cut off and finished the fringe, either in a follow-up post, or perhaps a “part 2” video.
Yes, this technique does require weaving fabric at each end; however, some projects can “share” the fringe between two pieces. I cut mine off so there wouldn’t be warp tension distortion from the cloth beam being too full with the squishy blanket.
Thanks for asking!
Karen
Beautiful blanket. It looks so soft!
This is the first time I have seen fringe twisted on the loom. Very nice blanket! I would like to see how you cut the fringe apart and finished after blanket came off of the loom.
Will do!
The blanket is beautiful!
Your blanket is beautiful. I have always wondered how that was done so thank you for making the video. Could you please explain how you cut it off the loom and tied the knots before the wet finish process? Did you cut one fringe at a time and tie? Just wondering!
Thanks again!
Chris
Chris, Great question!
I cut the fringe and tied the knots AFTER wet finishing. Yes, I cut one fringe at a time and tied it, so I could leave the securing cord in place, removing it as I went down the row. However, the fringes were slightly fulled from the wet finishing, so I don’t think anything was in danger of coming untwisted. But still, I didn’t want to find out the hard way.
Thanks,
Karen
Thanks Karen! Again, I am so glad you posted this video! Your work is beautiful!
chris b
I appreciate your kind comments, Chris.
I’m working on a part two video – showing the actual finishing process of the blanket and the fringe. Stay tuned…
Karen
Absolutely gorgeous, Karen! I, too, am curious about the cutting off process, but am I correct that this was done just between the two blankets? Or is something else going on? It’s a cool technique, for sure, and when I get my Standard up and running, the first project is going to be blankets for the grandkids so I’ll be using this technique!
Marcia,
I twisted the fringe like this at the beginning AND the end of the blanket. You certainly could use both parts of the fringe between two blankets. If so, I would leave the unwoven warp a little longer to give enough to tie the ends in knots.
This works especially well with wool, because of the slight fulling in the wet finishing process. I would be interested to find out how it would work with other fibers.
Thanks for chiming in!
Karen
Dear Warped for Good friends, Thank you for all the lovely comments and questions! You know I love questions.
I have one or two posts planned that will detail the finishing process, including the fringe completion. Now, because of your questions, I think I may do a “part 2” that shows how I finished off the fringe. I can do that when I finish the second blanket that I am starting now.
For now, I will reply individually to some of the questions asked.
Karen
Karen, I love your videos and blog. I’m learning so much from you and am inspired by your work. Thanks so much for sharing!
Wow it came out beautiful, it looks so soft and snuggly!
Someday I will get there!!