
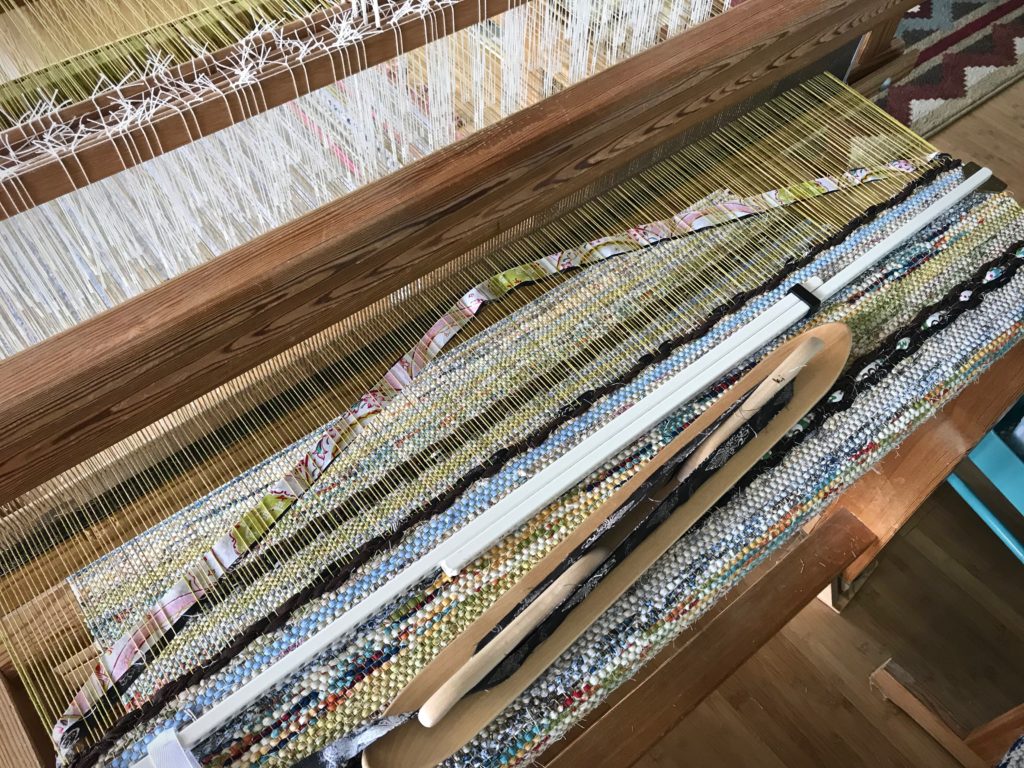
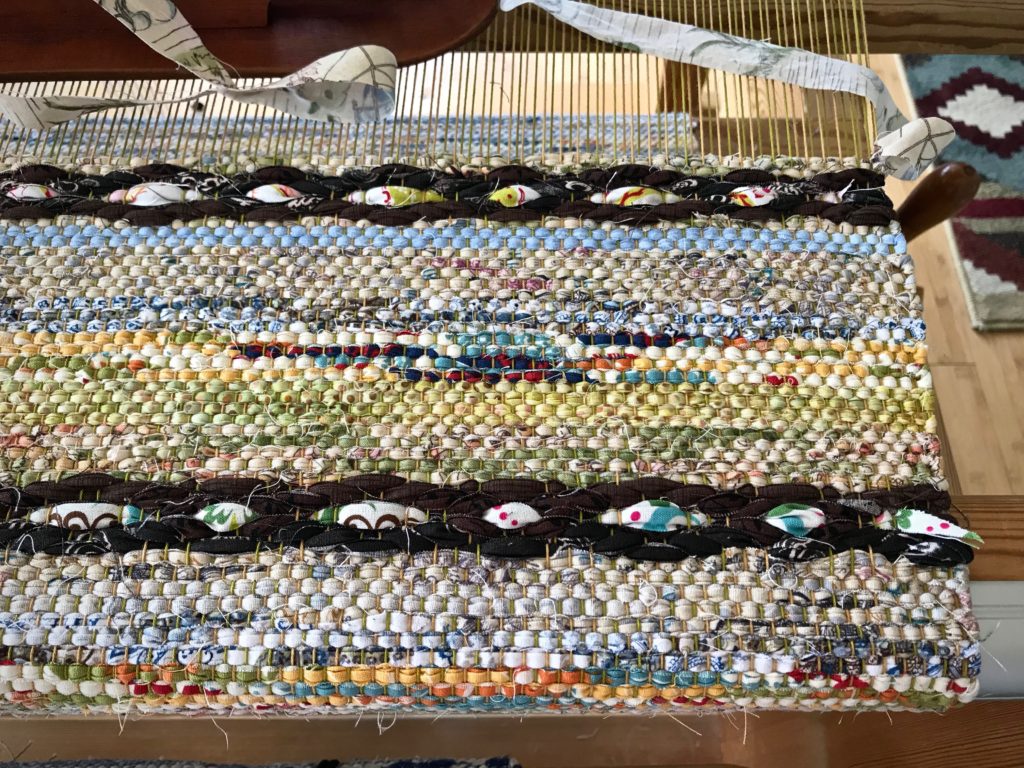
The first rag rug on this 12/6 cotton warp is well underway. This rug is mostly plain weave, with one simple rosepath repeat every ten centimeters. I am weaving the rosepath motif without tabby between pattern picks. The treadling is 1, 2, 3, 4, 1, 4, 3, 2, 1. The dark brown motif contrasts with the surrounding light-colored plain weave. It almost looks as if a thick chain has been laid across the rug. I transform the otherwise dark rosepath “chains” with a simple bright inlay strip.
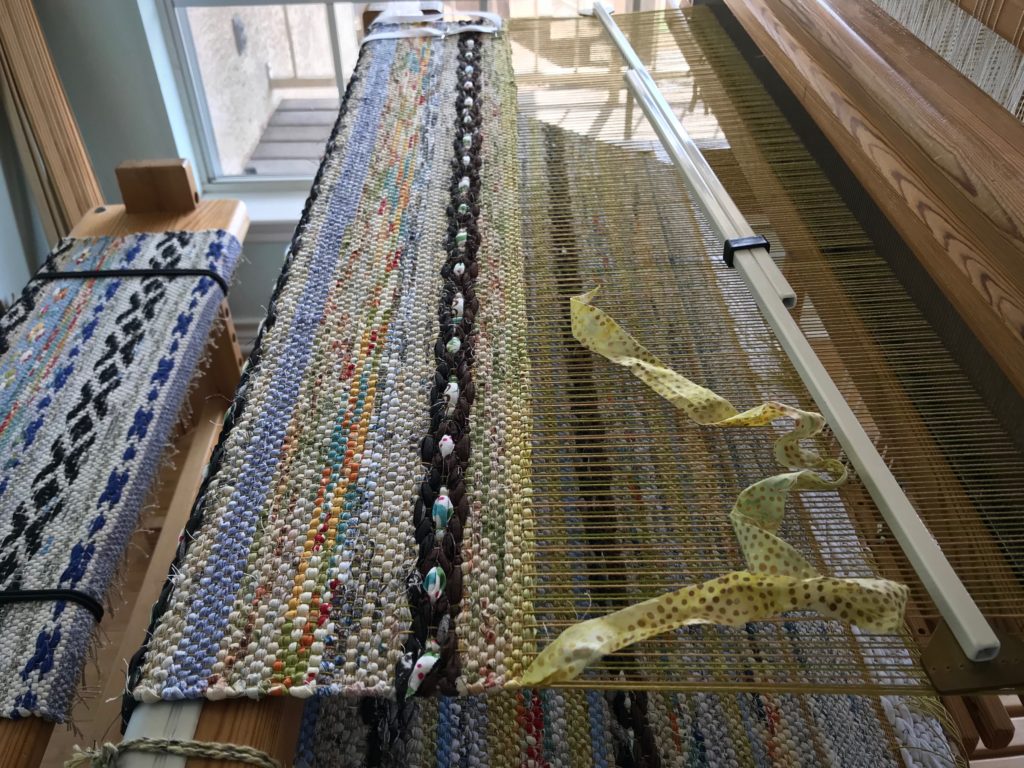
Rosepath with Inlay
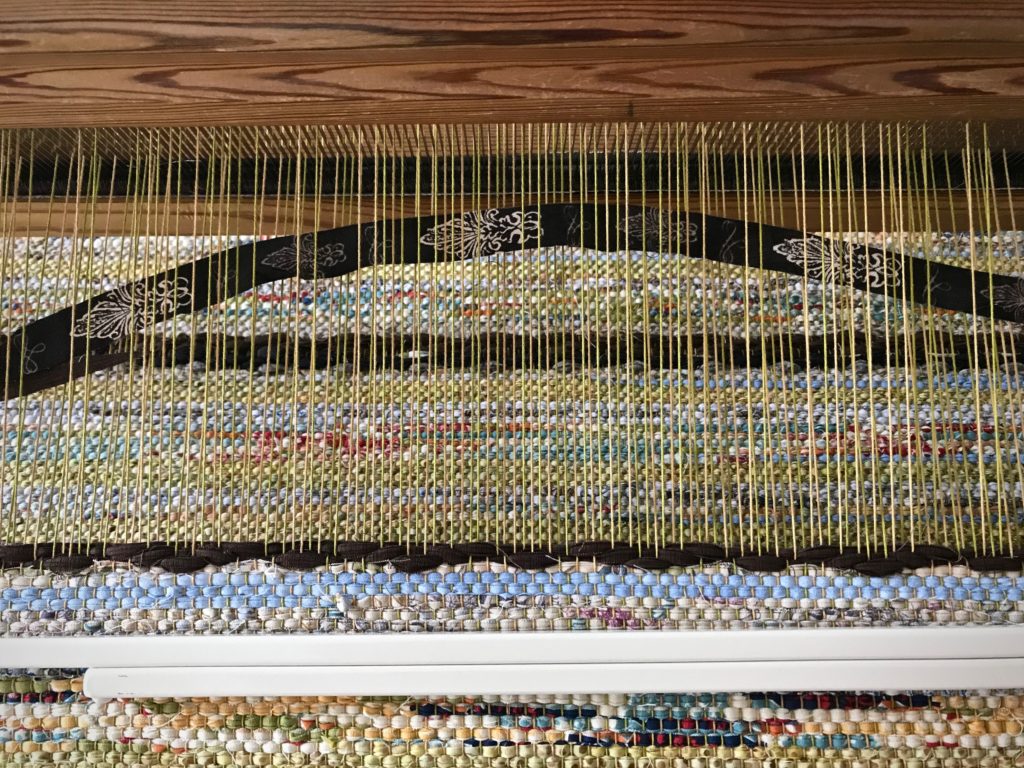
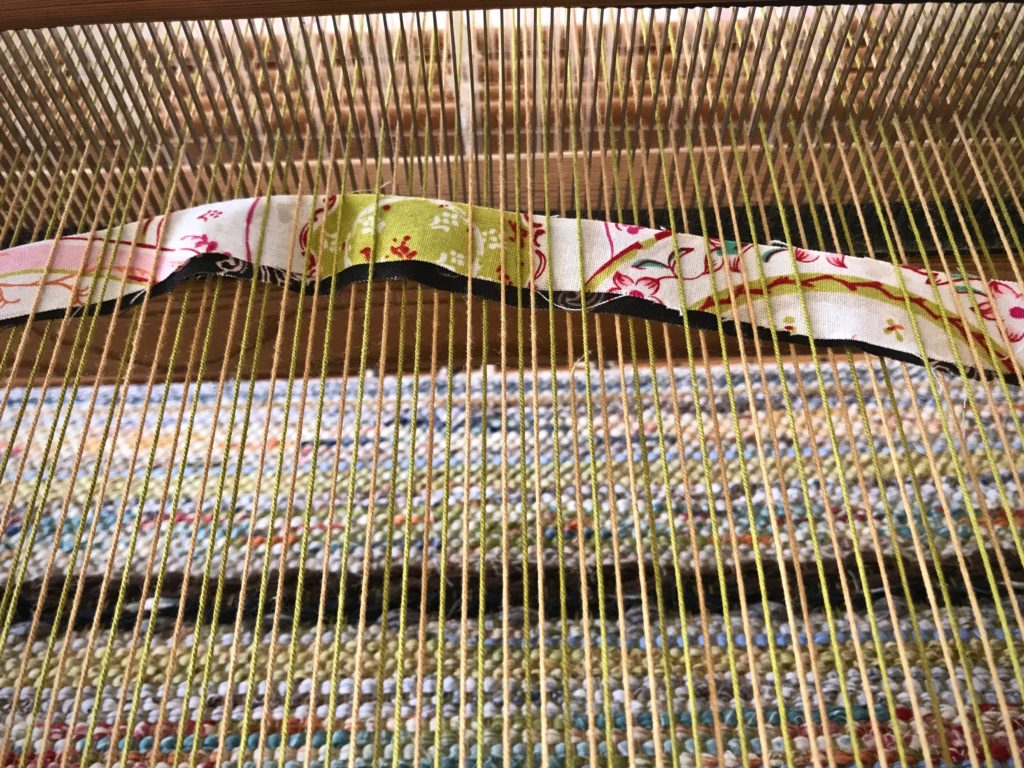
- Weave the first four picks of the rosepath pattern, treadling 1, 2, 3, 4 (or, if using a different treadling sequence, weave up to the center pick).
- Lay in the center pick (treadle 1, in this example). Wait to beat it in.
- Measure and cut the inlay strip to size, tapering the ends.
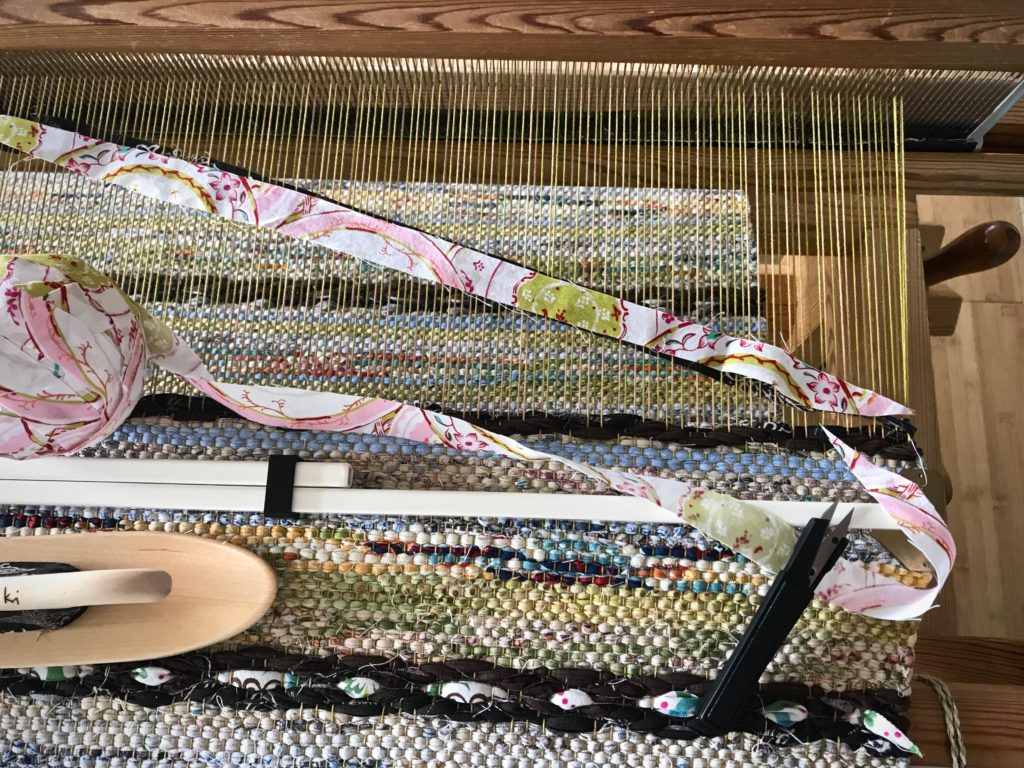
- Put the inlay strip in the shed, laying it directly on top of the fabric strip already there.
- Beat in the weft as usual.
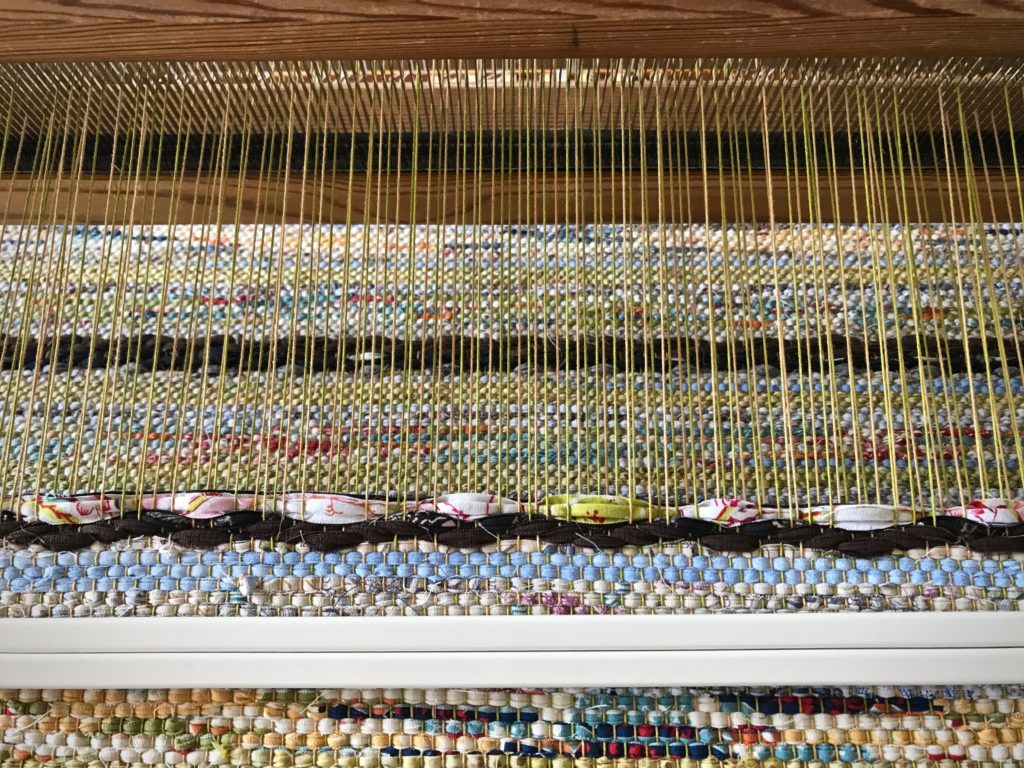
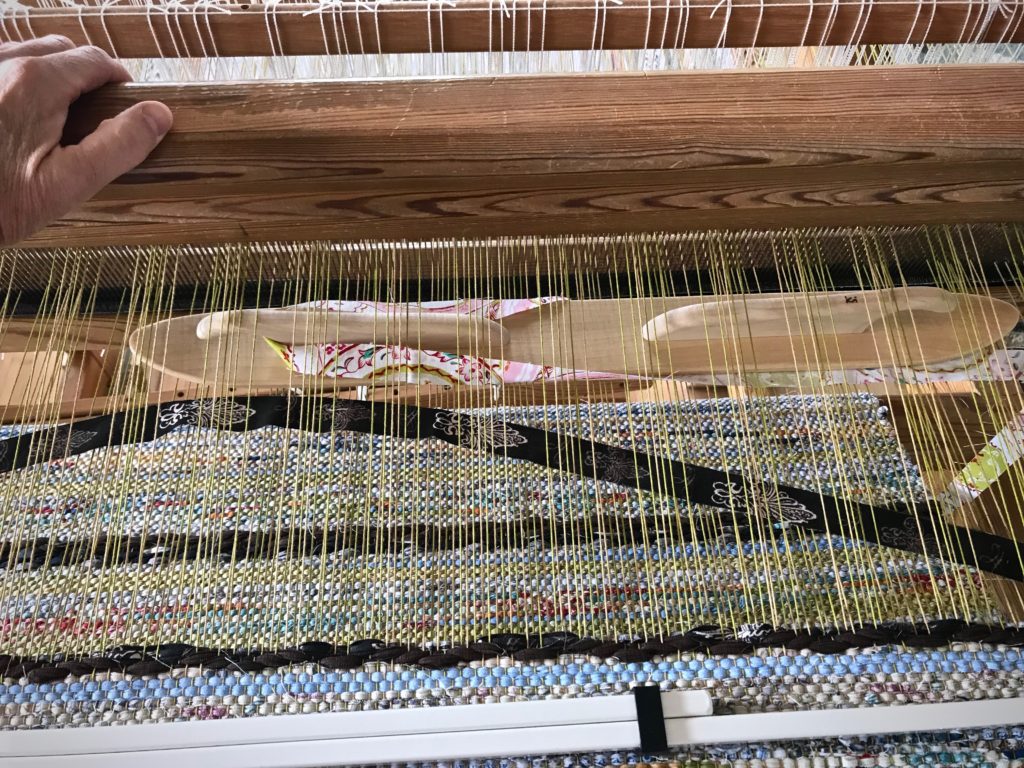
- Continue weaving to complete the rosepath pattern, treadling 4, 3, 2, 1 (or, as needed, for a different sequence).
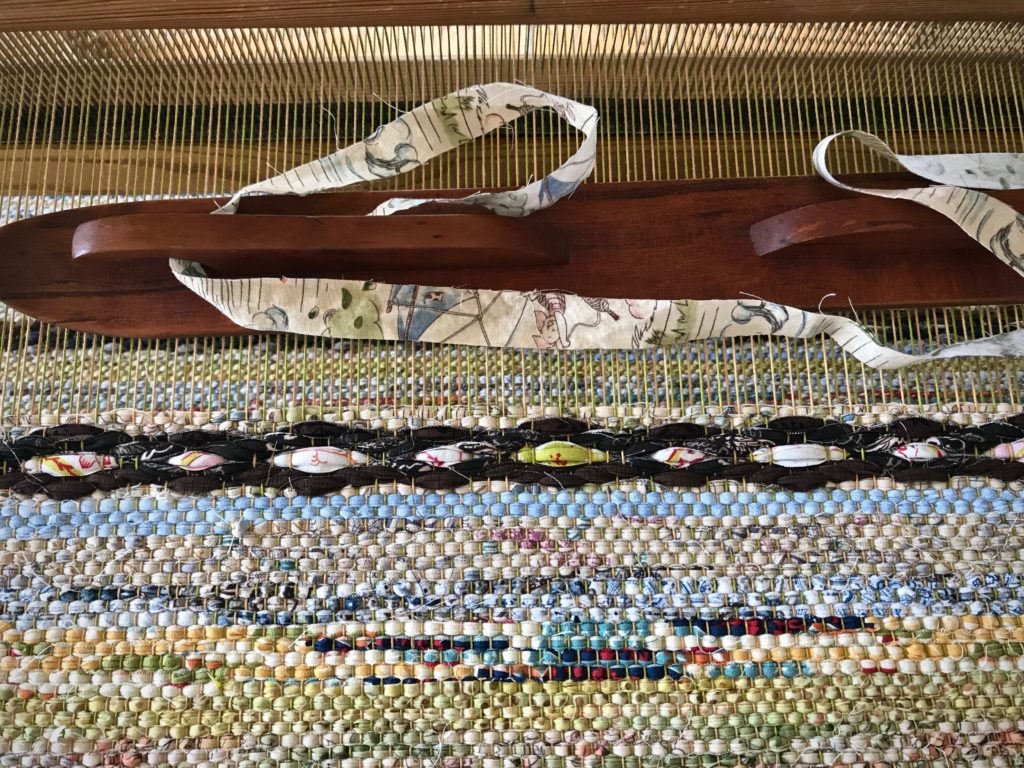
You can accomplish a similar effect by weaving in a separate fabric strip for the center pick. In that case, cut tapered ends that are long enough to twist and tuck back into the shed. And carry the weft strip from the previous pick up the side.
The inlay method eliminates the extra bulk at the selvedges, and adds a slight thickness to the center pick, helping to give it a raised look. I am leaving the inlay weft tails loose, but you could cut them a little longer and tuck the ends in, if you prefer.
May you experience the simple pleasure of doing something unexpected.
Happy Weaving,
Karen
Beautiful! You explain it so well that I’m adding it to my to do list. Thank you
Hi Annie, That’s great! Have fun with it.
Happy weaving,
Karen
How wide is your Ideal? It looks bigger than mine!
I admire your weaving so much! I started too late to achieve such mastery, but I love weaving. Warping, not so much! It is still too much of an adventure!
Marjorie
Hi Marjorie, My Ideal is 100cm (39”). The warp on the loom is almost full weaving width.
Thank you for the compliment! I’m not that much ahead of you. I was also a very late beginner. So it’s certainly not too late for you to gain mastery in the areas you pursue. Maybe someday I can help you to love warping, too, as part of the whole beautiful process.
Happy weaving,
Karen
How pretty! I love the variety of colors in the background stripes, too! When you do it this way, is the bright rose path center fabric visible on the back?
Elisabeth
Hi Elisabeth, I’m using up fabric strips from previous rag rug projects, so I have a mixed assortment that I’m using here. I like the way some of the prints turn out when woven. That center inlay strip really appears only on the top side, except for little bits of color here and there. The reverse side shows the all-brown rosepath motifs, but a little lighter in color because the darkest side of the fabric is facing the top.
Karen
You are amazing. such beautiful colours. I made a couple of rag rugs a few years ago but did it the cheap way using old denim jeans that took forever to prepare. I am currently finishing a throw in alpaca and considering what to weave next. so many weaves to explore. I love warping by the way, it is always a challenge to try to get the perfect warp. Thank you for for your inspirational blog.
Hi Vida, I’m very happy that you like these colors! I’m sure your denim rag rugs are terrific. I’d like to make some denim rag rugs some day. Isn’t weaving an exciting field? There’s no end to what we can explore with our looms!! I agree with you about warping. It’s great to have a continual challenge.
I appreciate your kind words so much!
All the best,
Karen
The loom is waiting a little while longer. There is work to he done on the outside of our primary home and more preparation on the inside of our retirement home.
I look forward to one home and all my crafts under one roof. And finding a way to keep the wild creatures on the out of the basement.
Today a coyote walked though the yard. Something to get used to.
Your weaving provides order in my wild world. It is beautiful and functional.
Blessings
Nannette
Hi Nannette, Transitions are challenging. You have a lot to look forward to. We haven’t seen any coyotes on our property, but plenty of other wildlife – armadillos, roadrunners, gray foxes, blackbuck antelope, and so on.
Making beautiful things that are functional is a huge weaving goal of mine. Thank you for your thoughtful encouragement.
All the best,
Karen
Very pretty rug Karen!
Another technique you can use when weaving a single pick of a color is to cut that strip twice the width of the rug plus overlap but only half the width of the other strips. Lay it in the shed with both ends hanging out. Wrap them around the edge thread and arch them back in the same shed, overlapping the tapered ends. I think it is less fussy than trying to tuck the ends in at the edges.
Jenny
PS:
My loom is working fine, although I did have to stop after weaving a bit and fix one shed that went wonky. I have seven of the twelve table napkins woven for our guild exchange. I’m hoping each warp will become easier to set up the treadling.
Hi Jenny, Thank you for that very useful tip! I will try that.
I’m sure your sheds will get better and better with each successive warp.
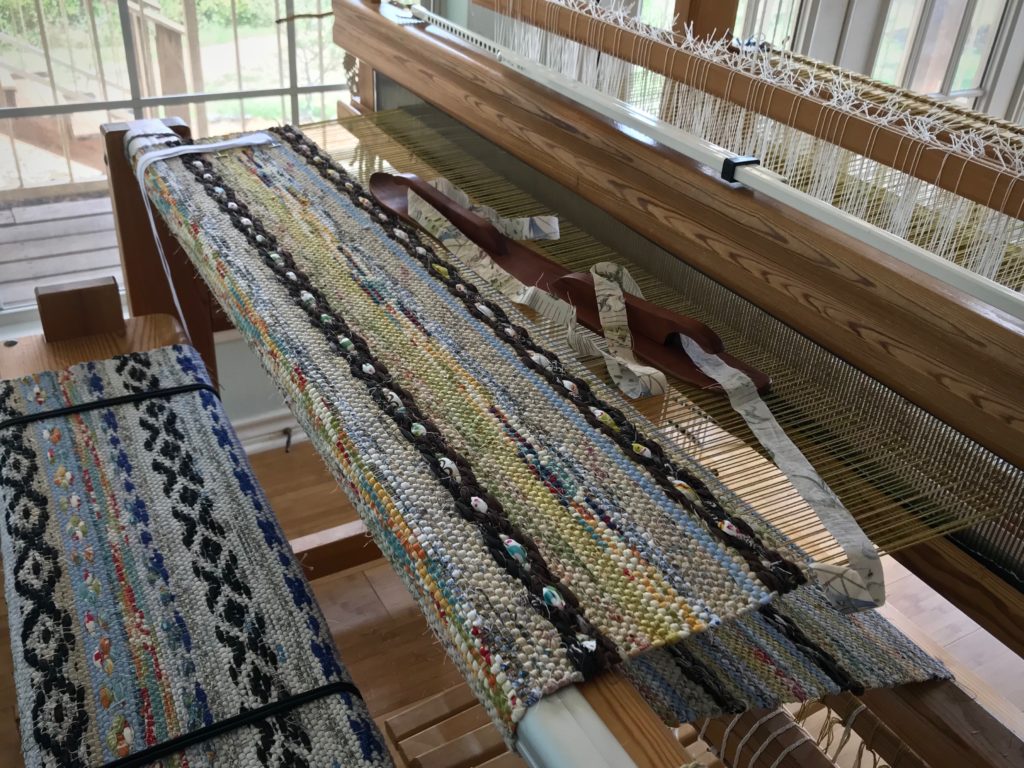
I notice you are using a metal temple on this rug. Do you recommend metal rather than wooden temples for rag rugs?
Hi Joan, I’m glad you asked! I prefer a wooden temple, even for rag rugs, but I don’t have a wooden one the right size for this rug, so I’m using the metal one instead. I like the wooden temple because it is lighter weight, and I can set it closer to the fell line without damaging the beater. The metal temple can gouge the beater if I set it too close to the fell. I’ve done that. Ouch! I guess it’s time for me to order another Glimakra temple. 🙂
Happy weaving,
Karen
i usually understand everything you write but today i am confounded. the bright rag is laid in the same shed as the one before it, the center one? on one of the illustrations you cannot see the bright rag at all. also, unrelated, when you are weaving the entire width of your loom what do you do to keep the heddles from falling off the end of the harness rods? i have the same loomyou do. a little more beat up.. ellen
Hi Ellen, Great questions.
The dark strip was put in place, and not yet beaten in. Then, in the same shed as the dark strip, the bright inlay strip was put in place, laying directly on top of the dark strip. Then, both dark strip and the inlay strip on top of it are beaten in together.
When I weave full width of the loom I tie a cord (12/6 cotton) from one end of the shaft bar to the other end of the shaft bar to keep heddles from slipping off. I do this for each of the top shaft bars. If the heddles start to come off the bottom shaft bars, I tie a cord on each of them, too.
All the best,
Karen