Process Review: Priceless Monksbelt and Video

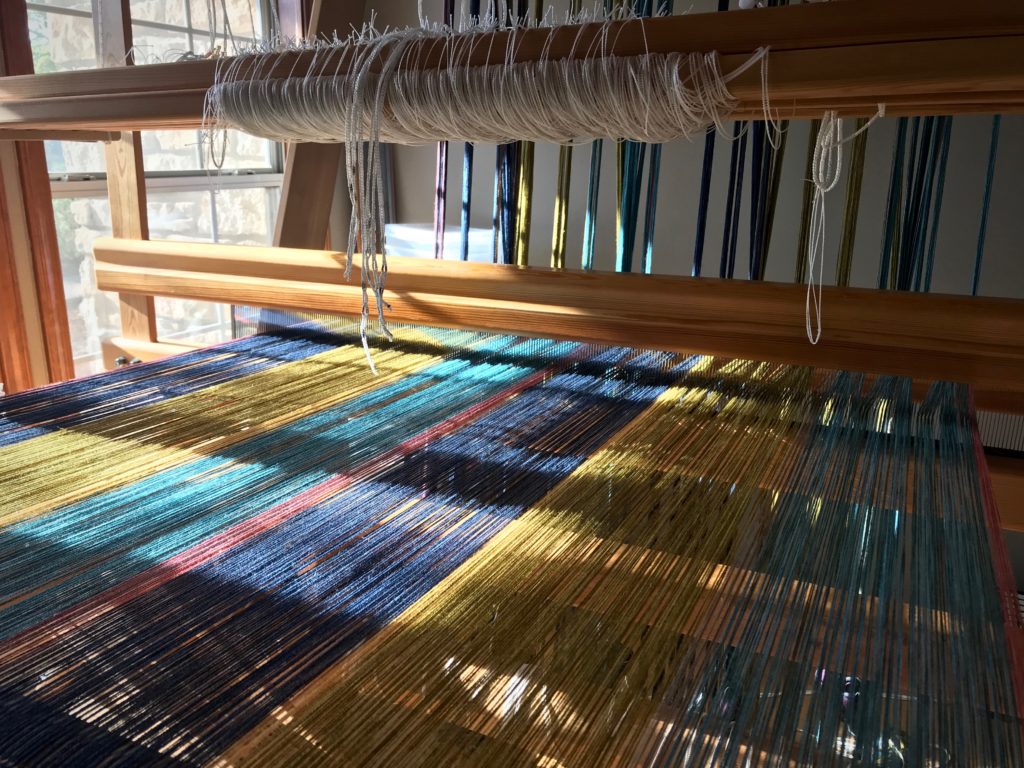
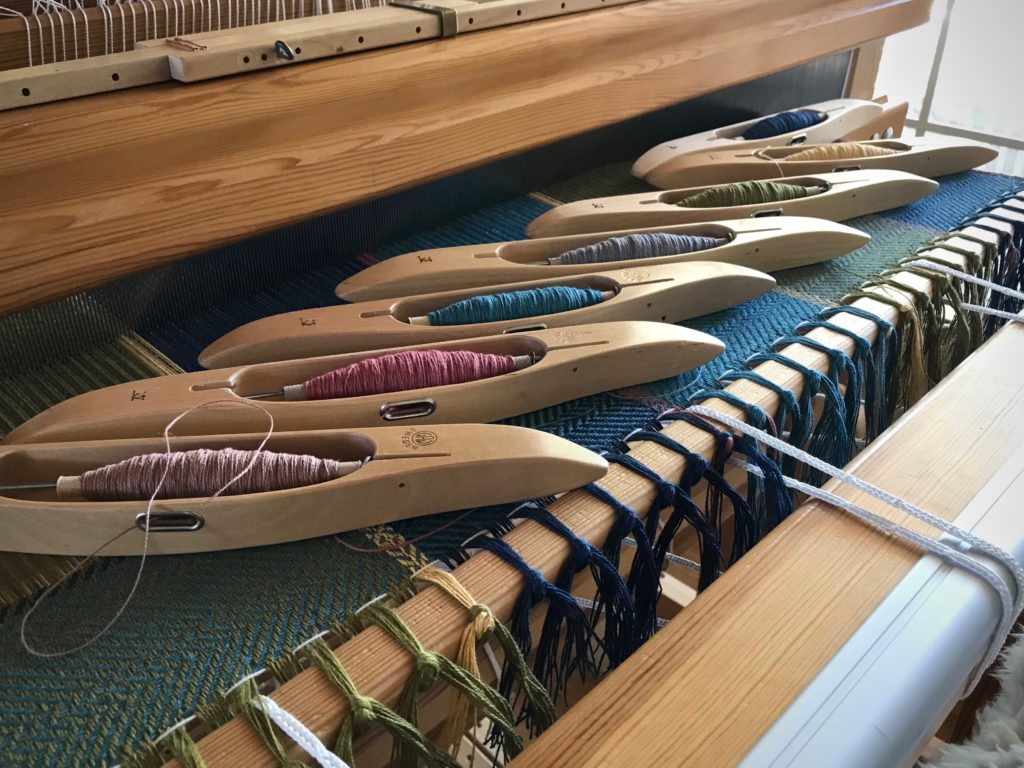
Talk about exciting! When something has been on the loom this long it is indeed exciting when the back tie-on bar comes over the back beam. I finish weaving the final “bonus” towel. And then, I use up all the quills to make a little piece of scrap fabric (because scrap fabric is always better than leftover quills). And then! Then, I start my cutting-off checklist.

After all this time, the moment we’ve been waiting for is here!
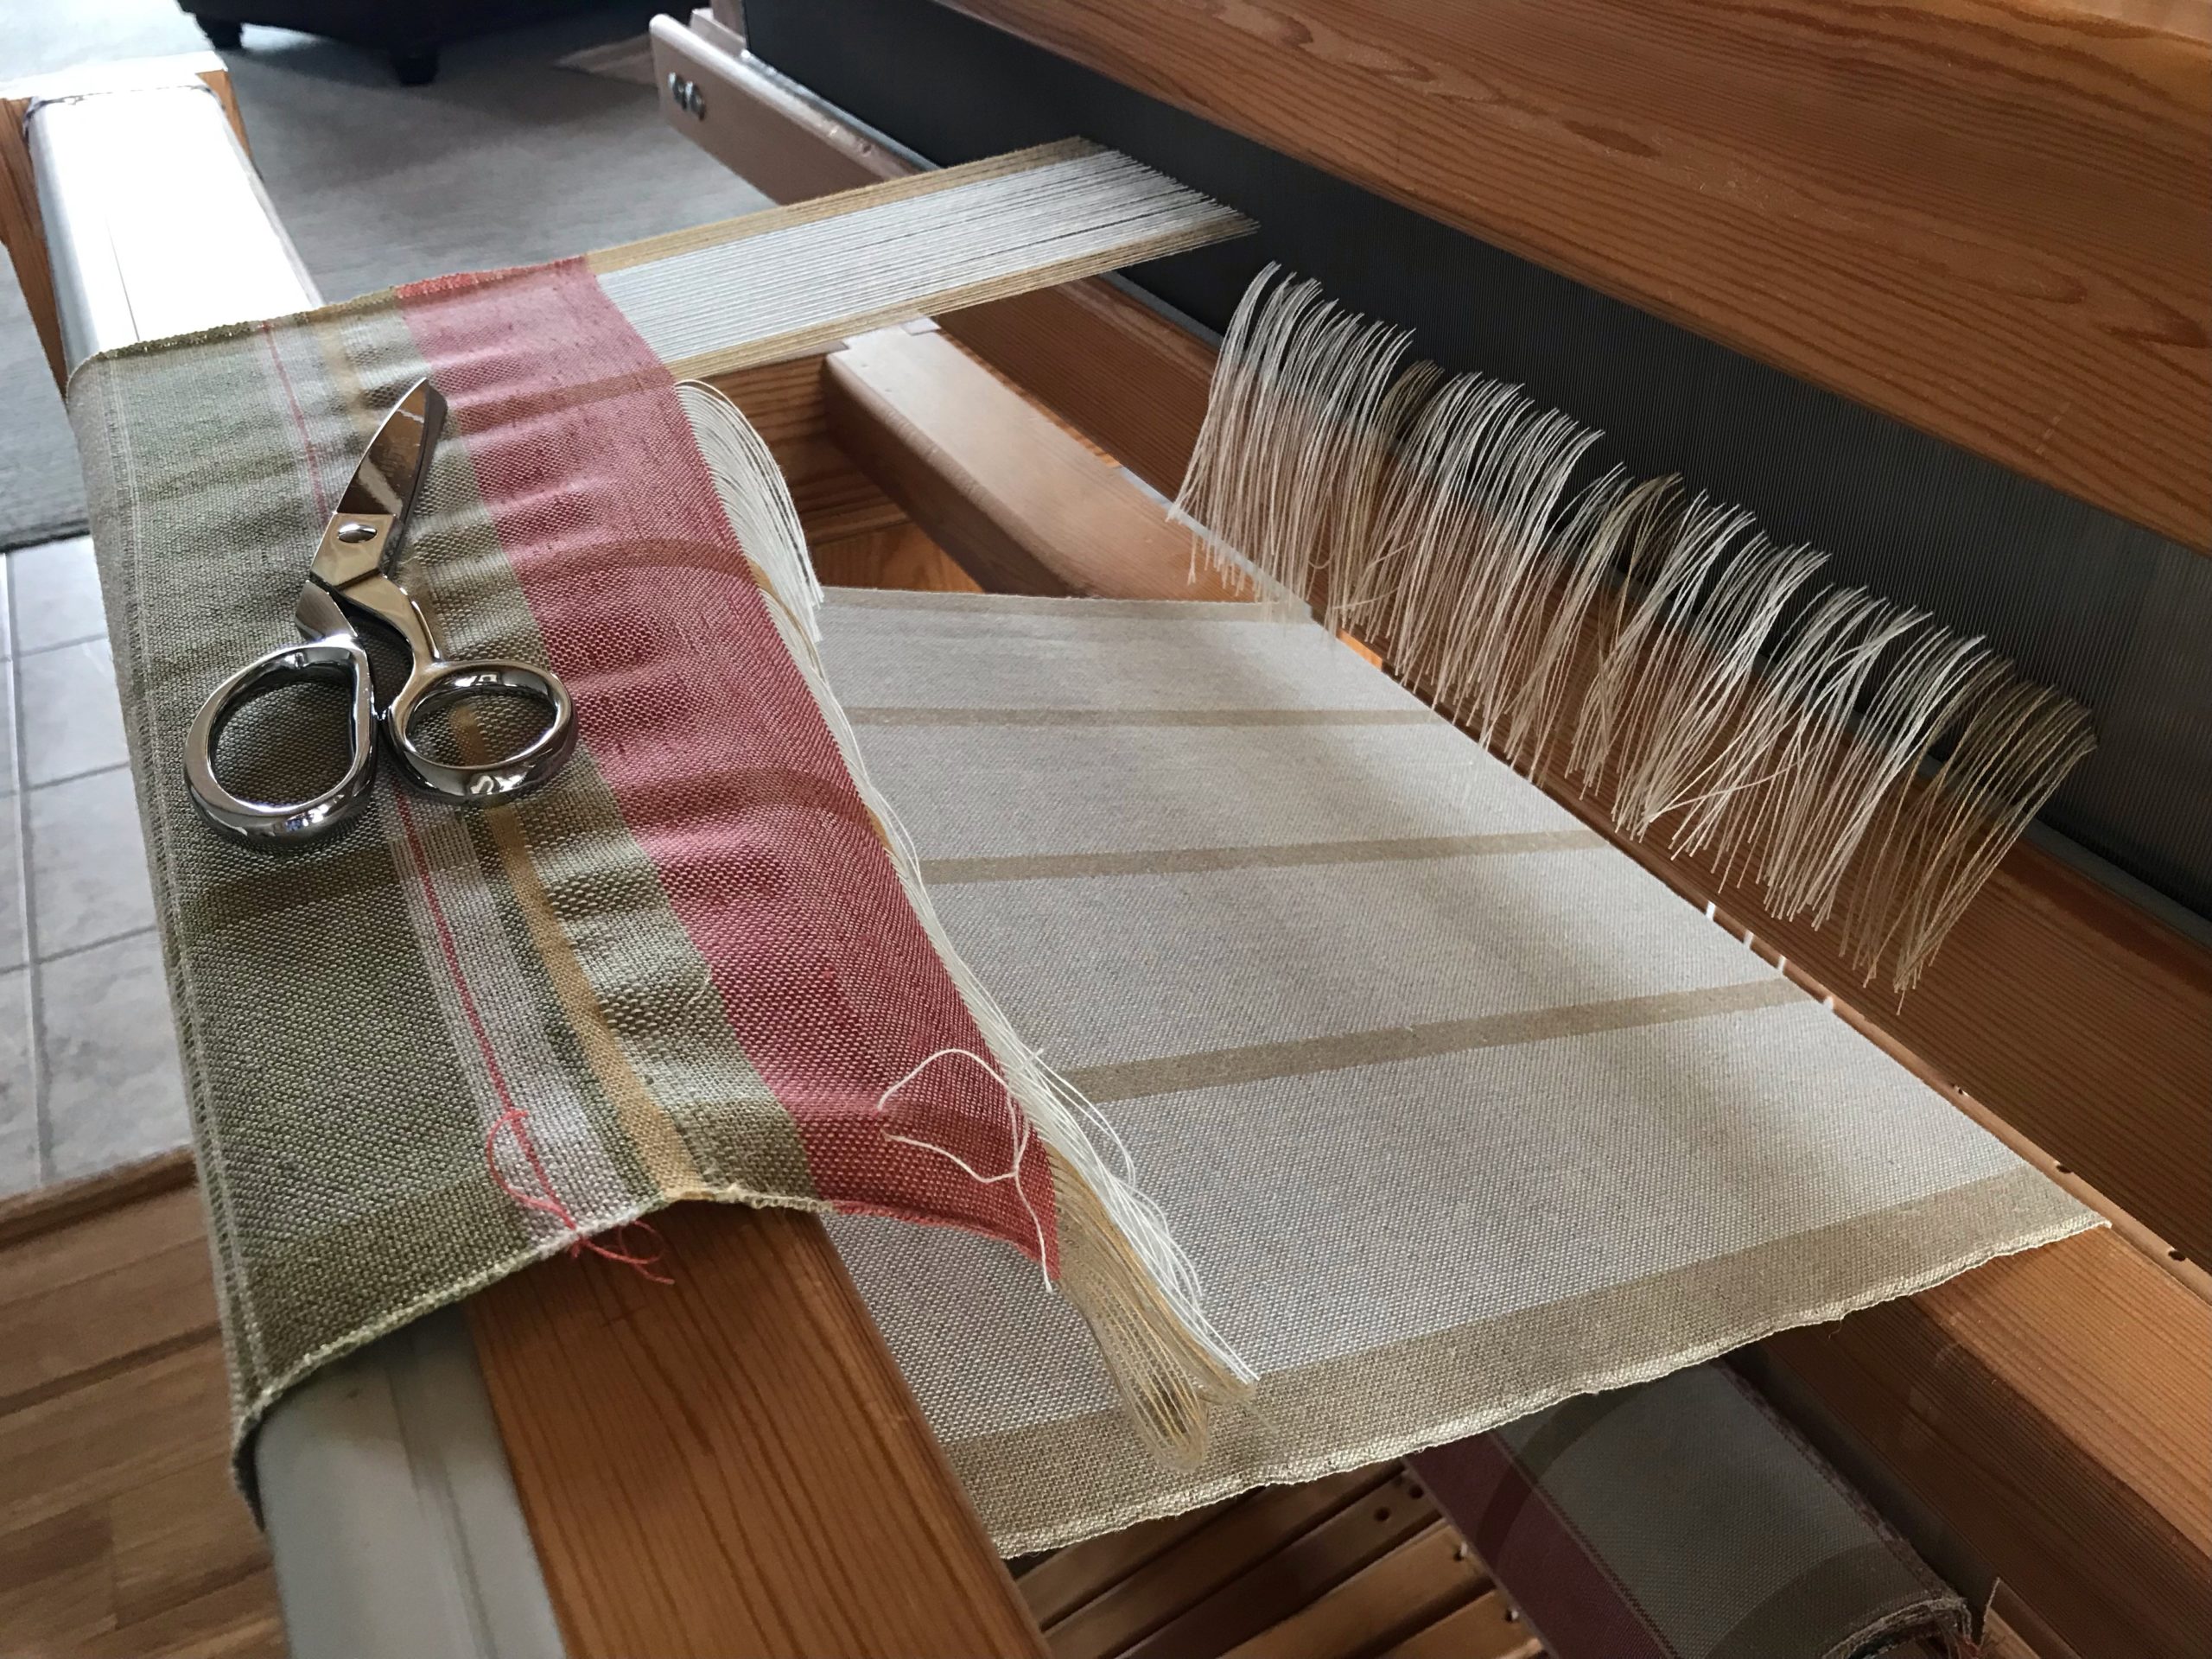
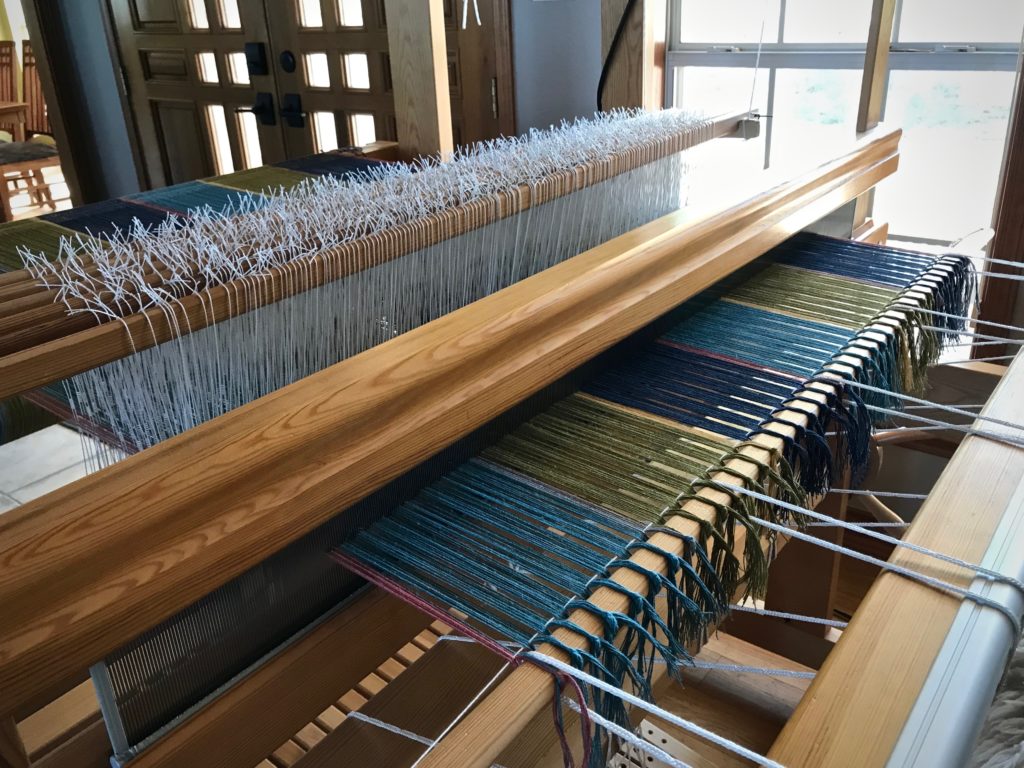
After weaving a short scrap fabric with thread left on quills, it is time for cutting off the long monksbelt runner and two bonus towels.

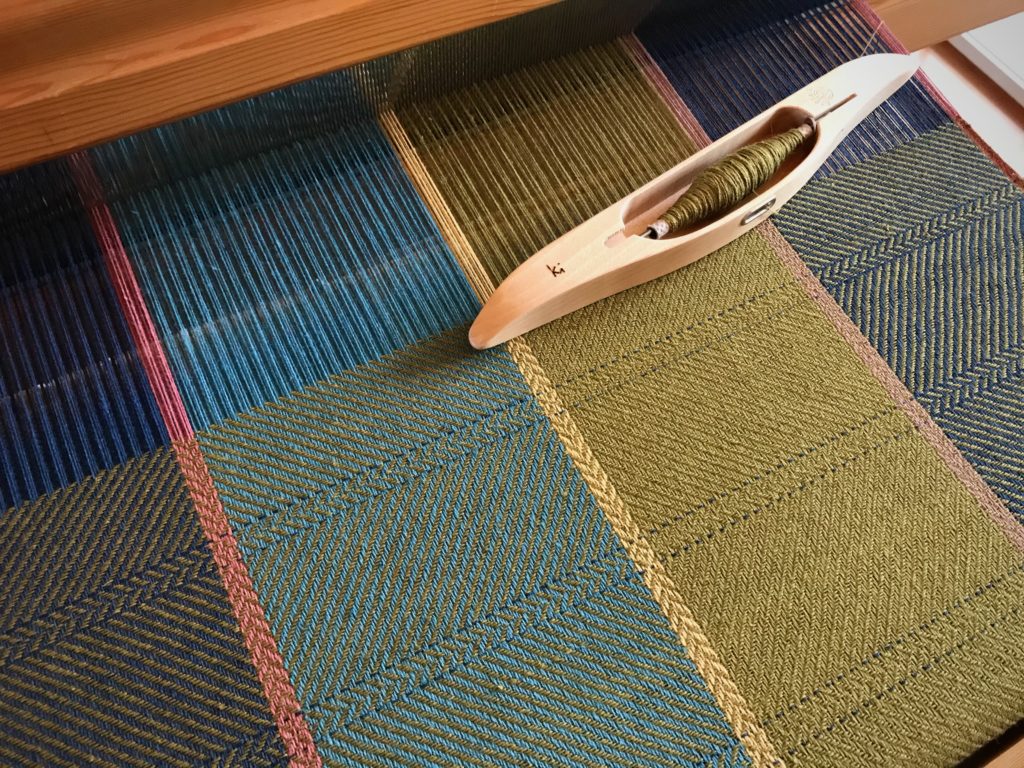
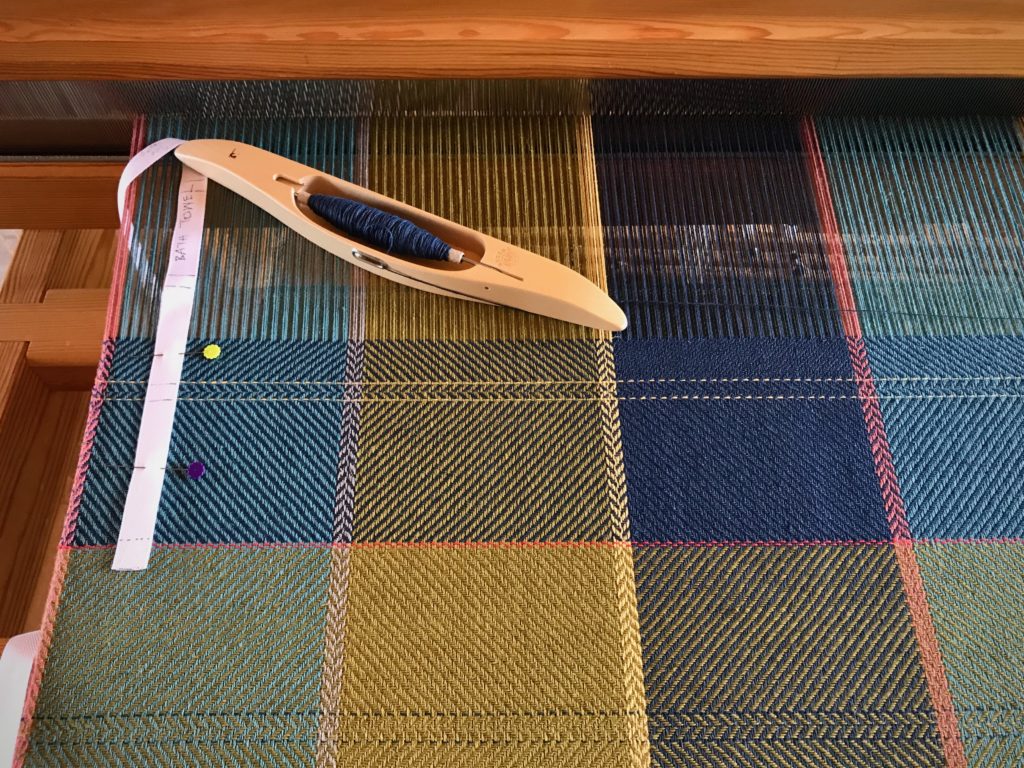
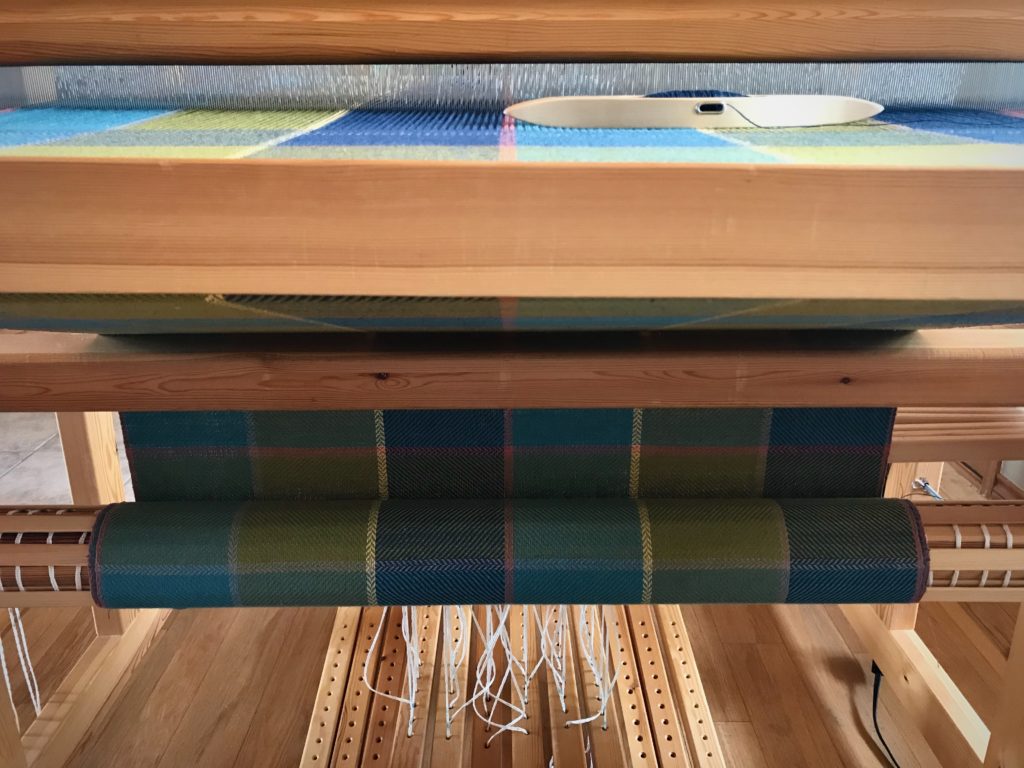
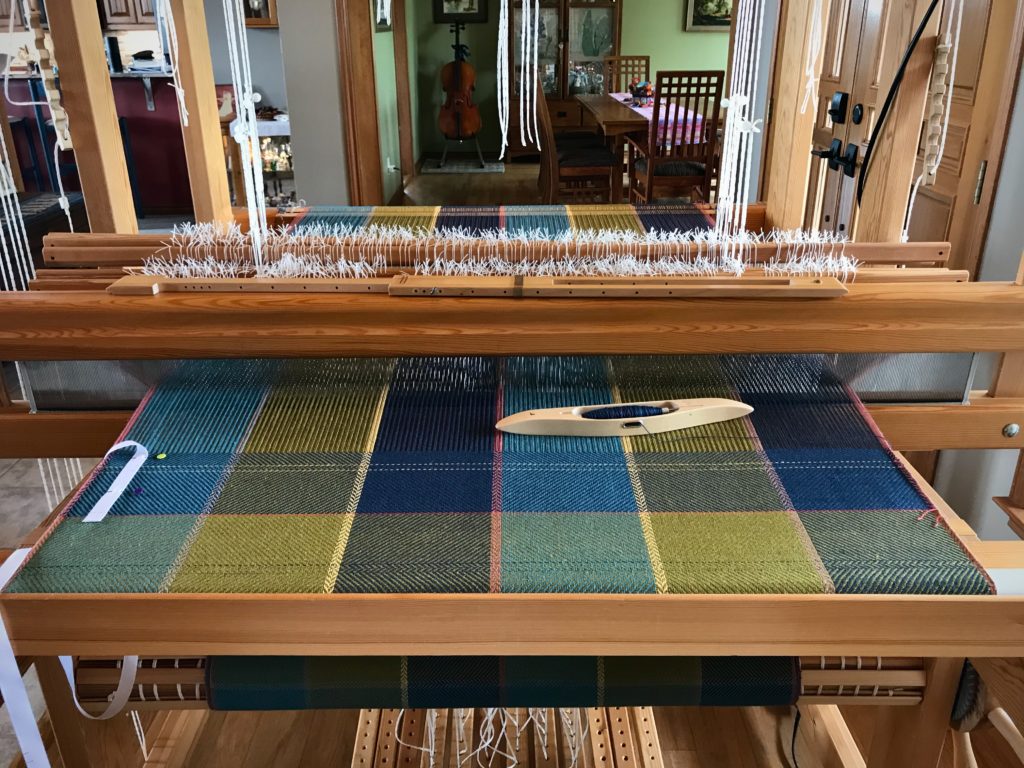
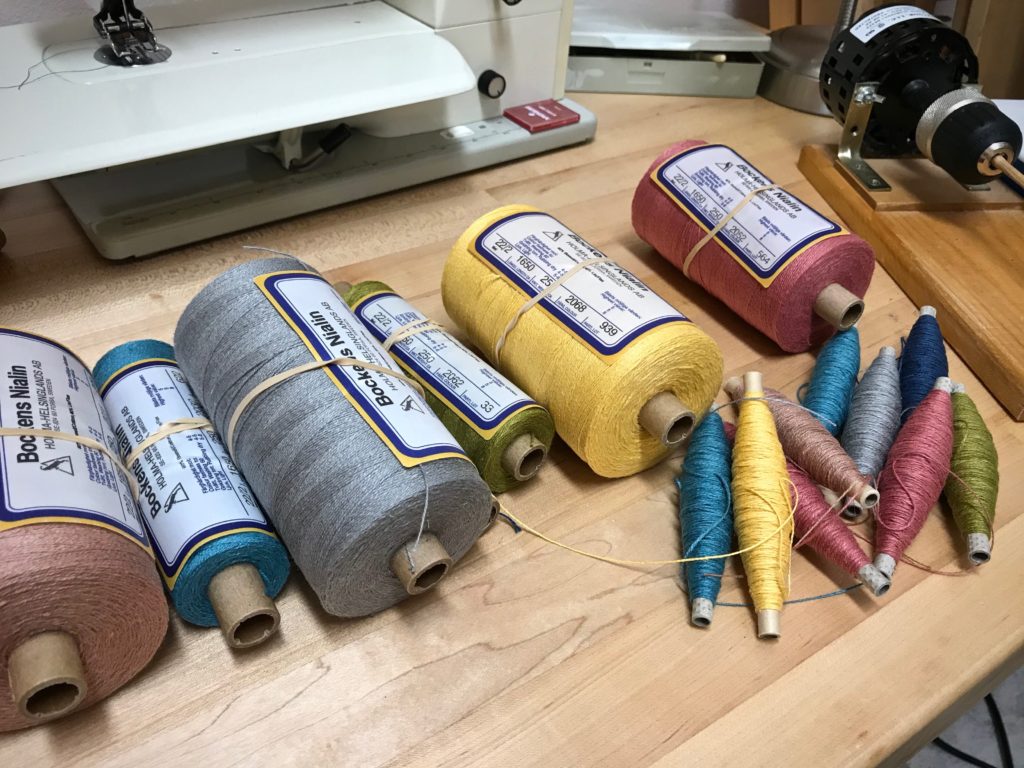
I cut off the warp. And as I unroll the cloth, I am mesmerized by the tactile intricacy that passes through my fingers–Fårö wool for the pattern weft, and 16/2 cotton for slow-as-molasses weft rep ground cloth. Finishing proves to be the easiest and quickest part of this project. I like the crisp pristine state of the monksbelt runner, so I am not going to wet finish this article. I examine for errors (none found!), wet finish the two towels, hem the table runner and towels, and press. The Priceless Monksbelt Runner now graces our dining room table.
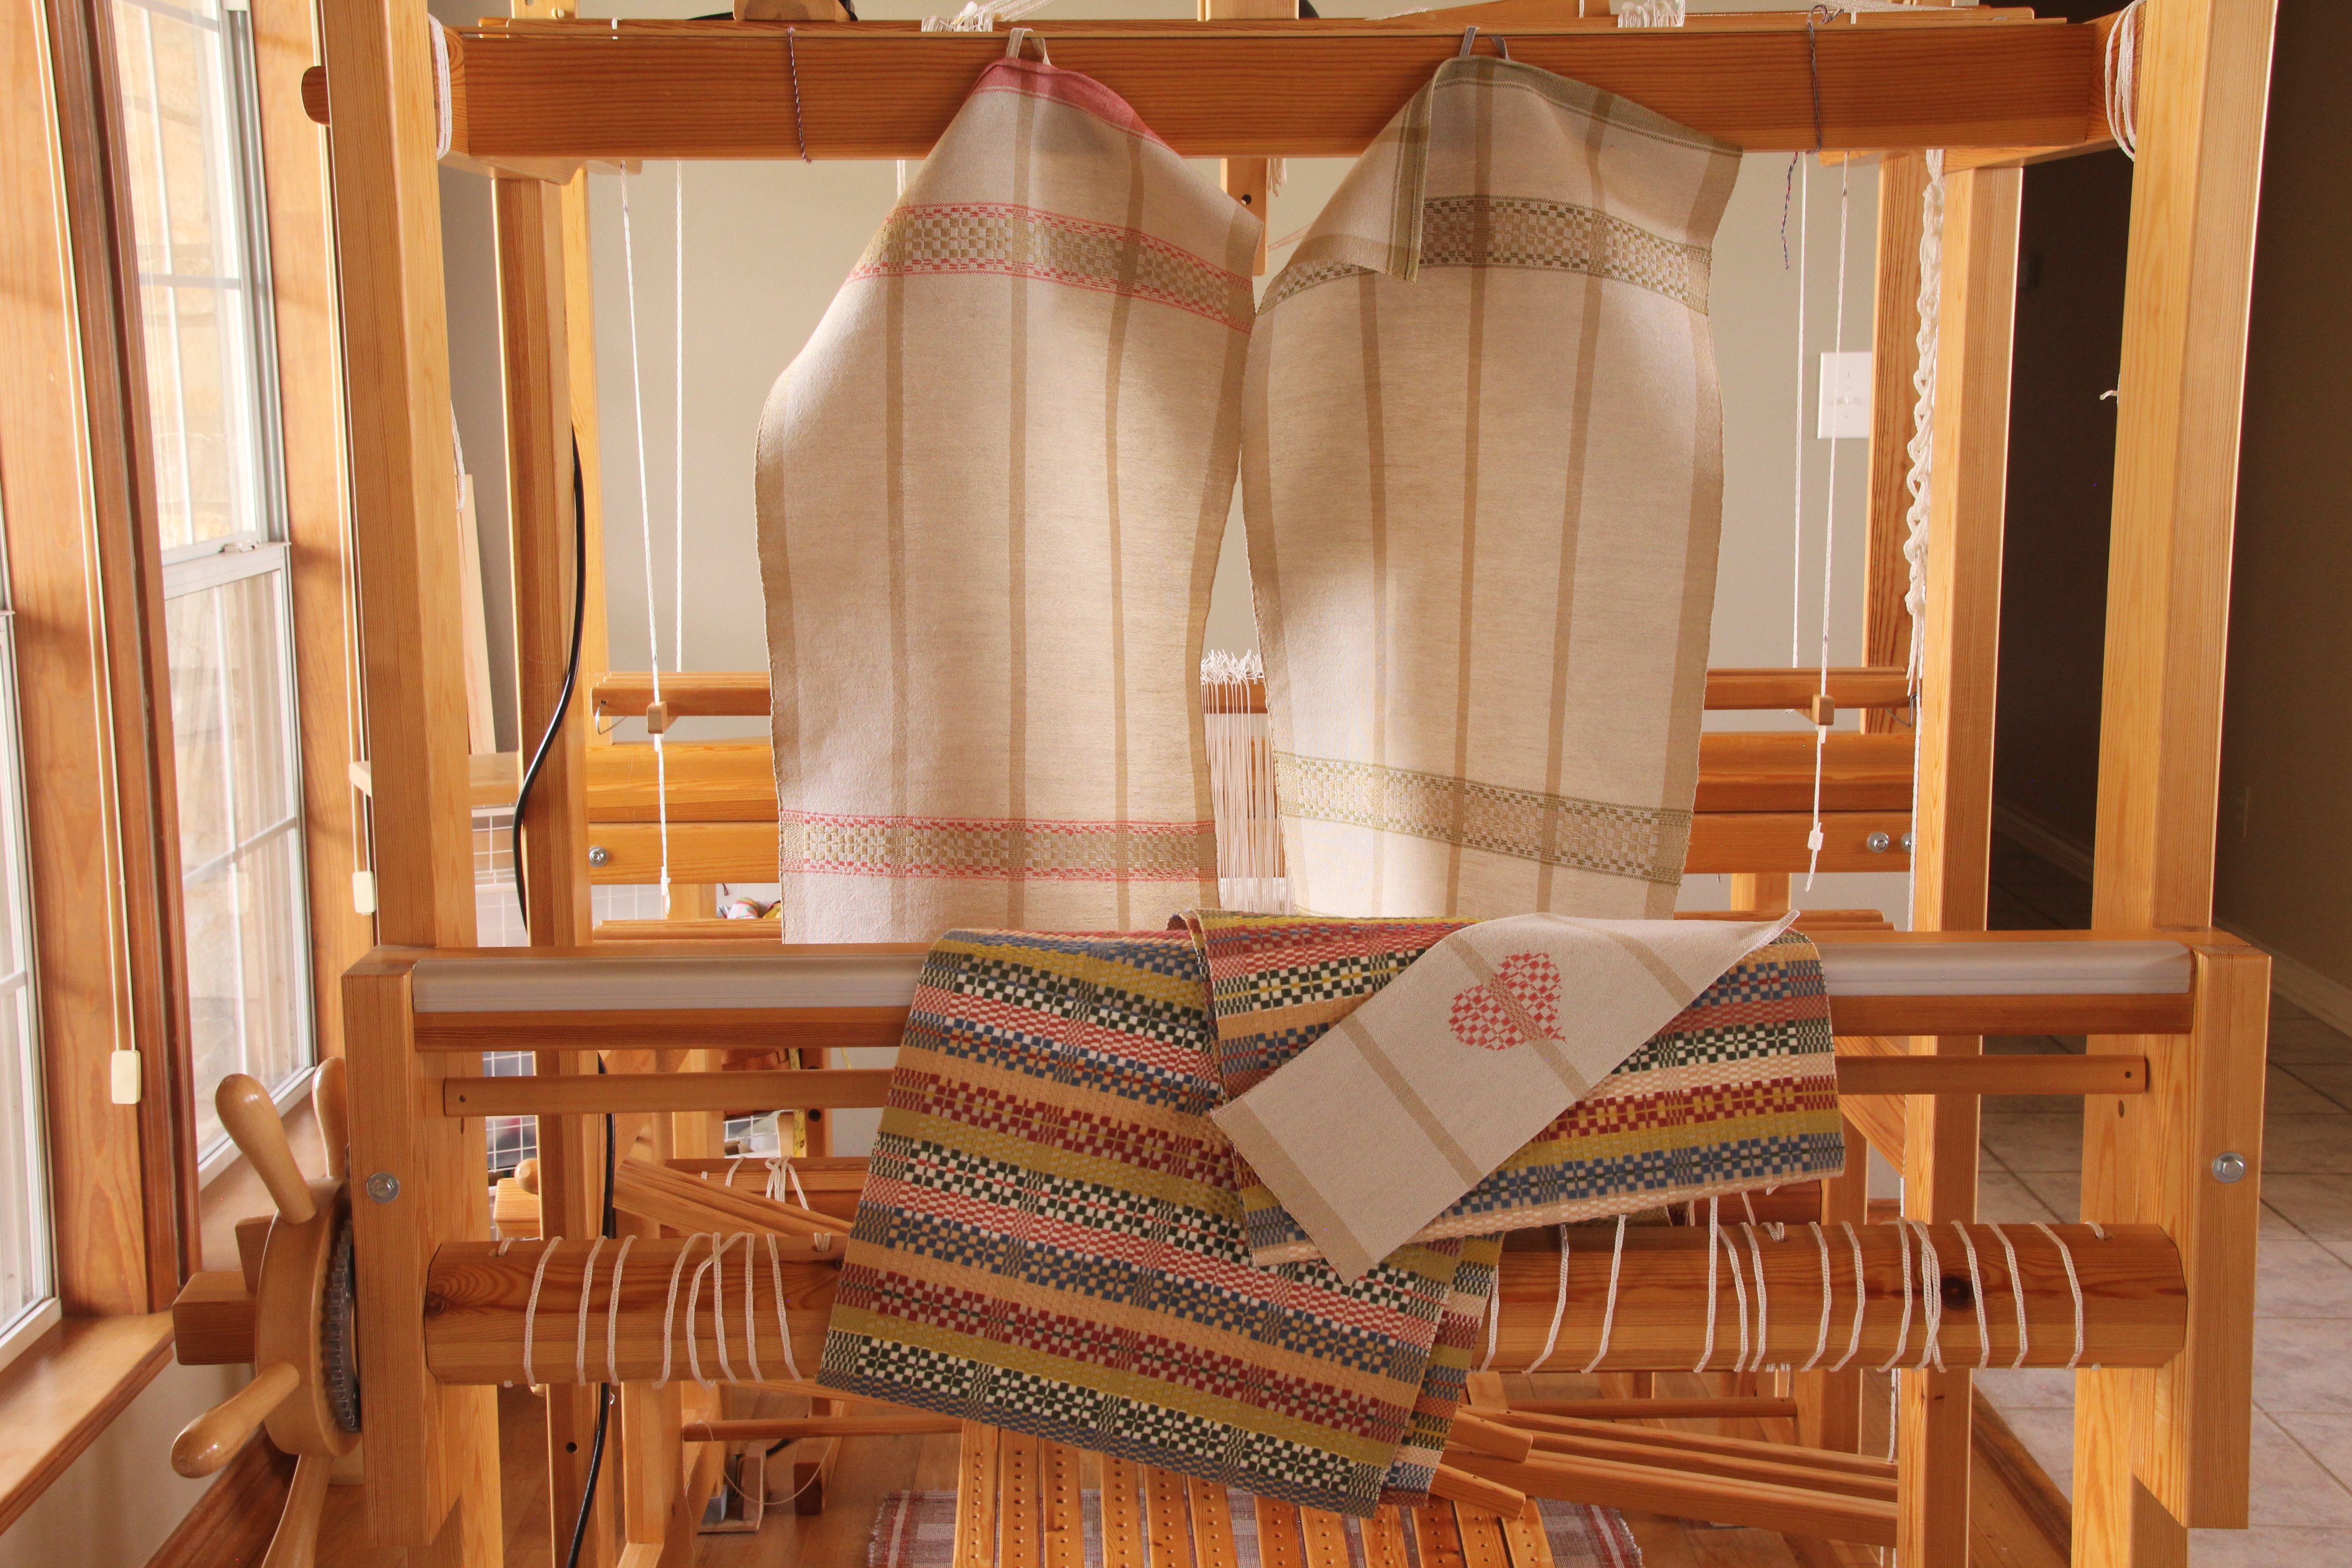
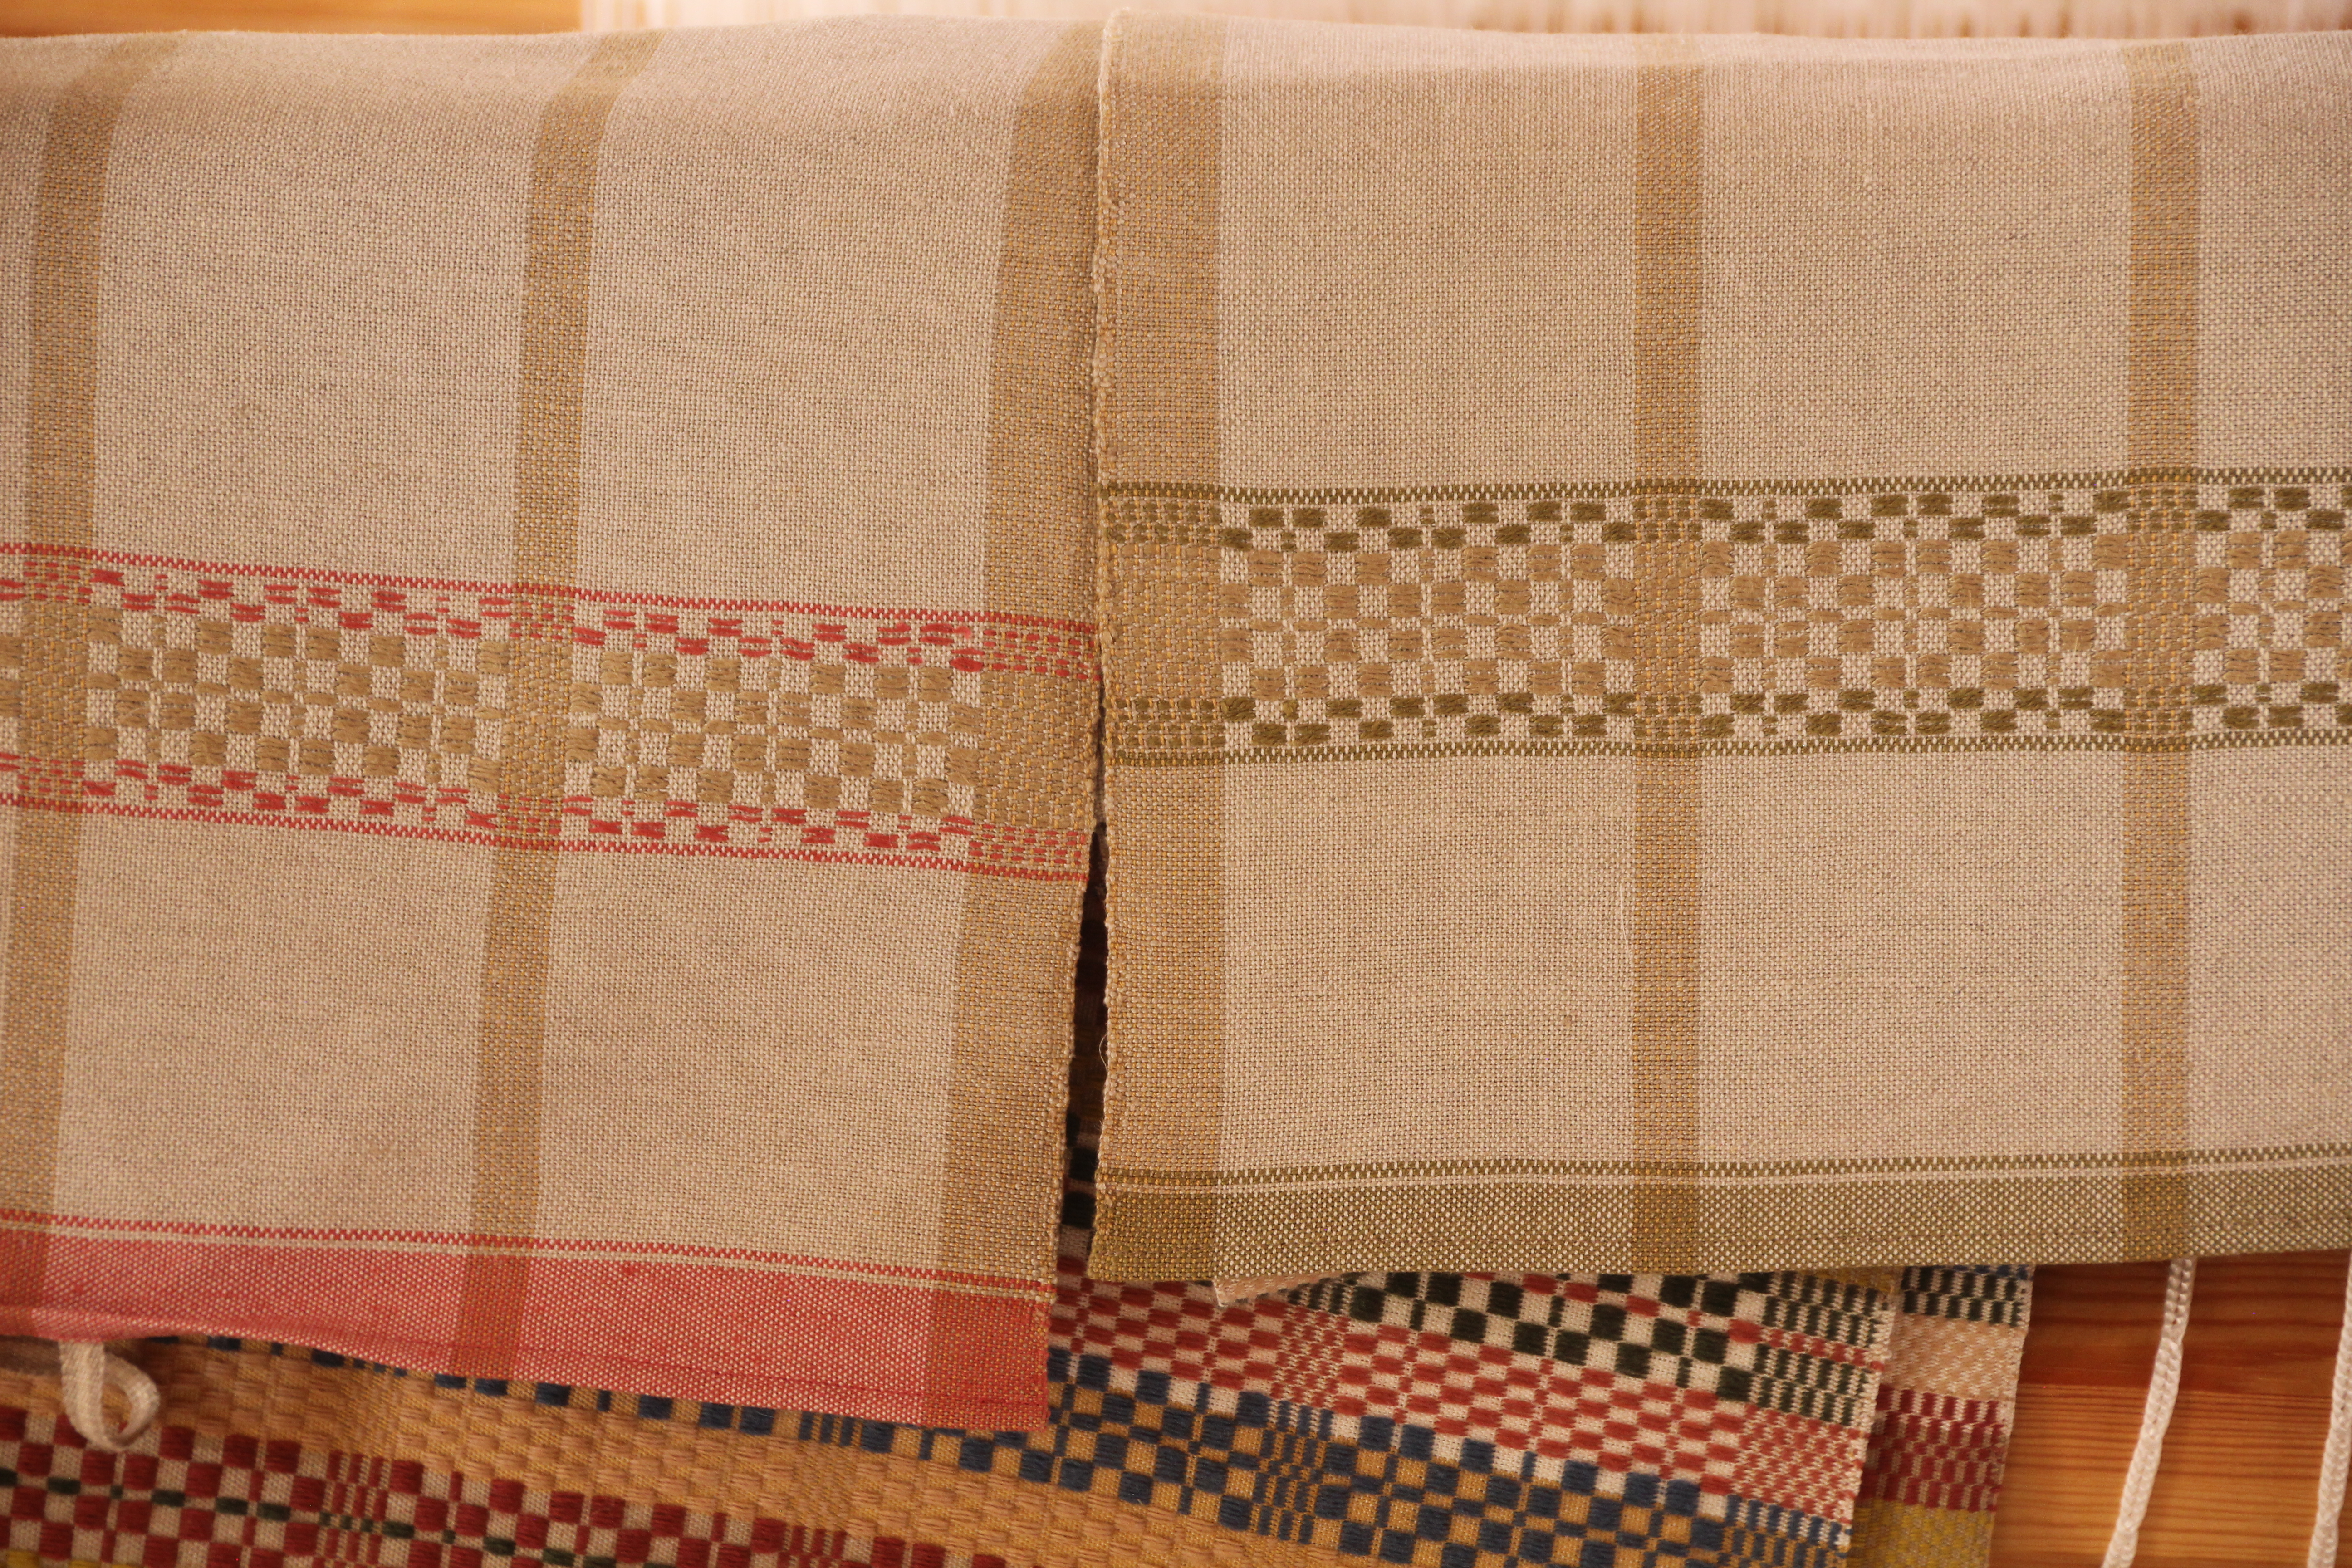
After the Priceless Monksbelt Runner I had enough warp to weave two bonus towels with monksbelt borders. In between the towels I did a small heart-shaped inlay just for play.
Two simple plain weave towels, with monksbelt borders. The tabby weft is 16/2 golden bleached linen. The coral pattern weft and green pattern weft is doubled 16/1 linen. The ecru center pattern weft is doubled 6/1 tow linen. Warp is 16/2 cotton. With only one washing so far, the towels still have a wonderful crisp linen hand.

The exceptional value of handwoven textiles makes your home a welcoming place. Time is one of our most valuable assets. That makes the textiles we create priceless!
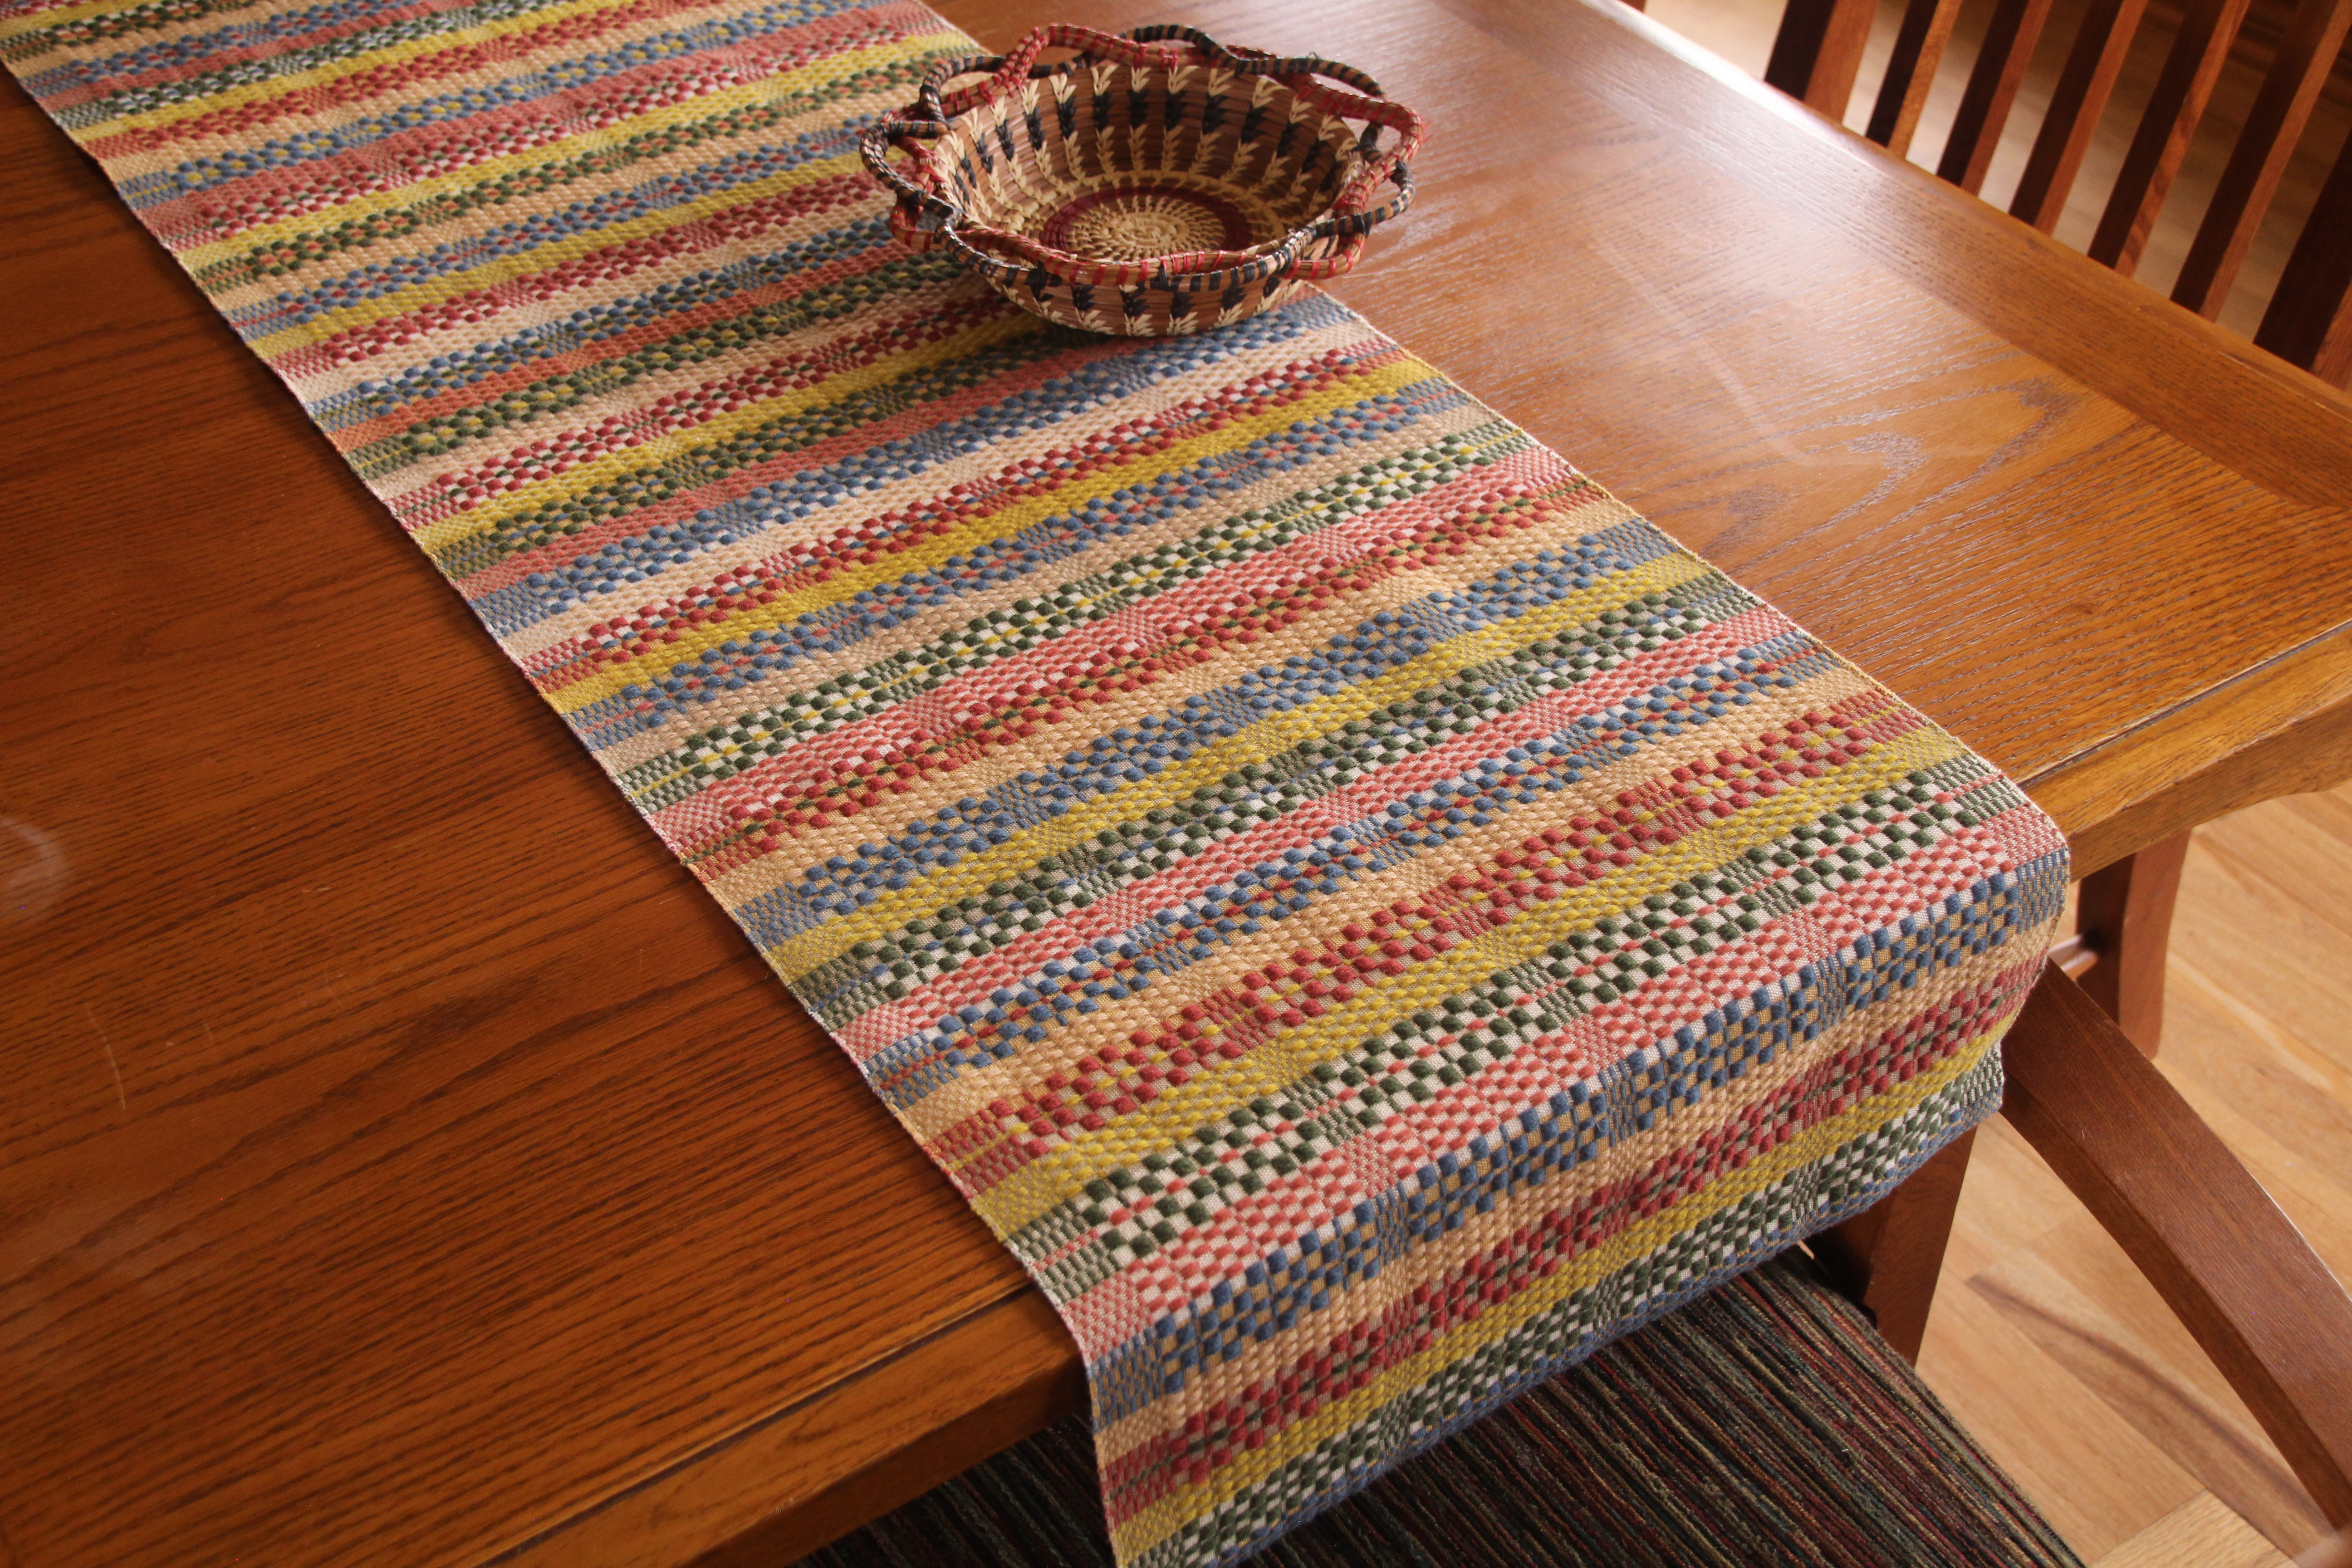
Our dining table is just to the right as you walk through the front door of our home. May all who enter know they are welcome here!

Please enjoy this video review of weaving the Priceless Monksbelt Runner.

May the works of your hands bring exceptional value to your home.

Happy Weaving,
Karen

Slow Me Down with Inlay

I intended to weave this part quickly, and move on. But when I noticed I could see the end of the warp I changed my mind. I’m going to do something that will slow me down—inlay. It’s something I’ve been thinking about doing. Now’s my chance before I run out of warp.

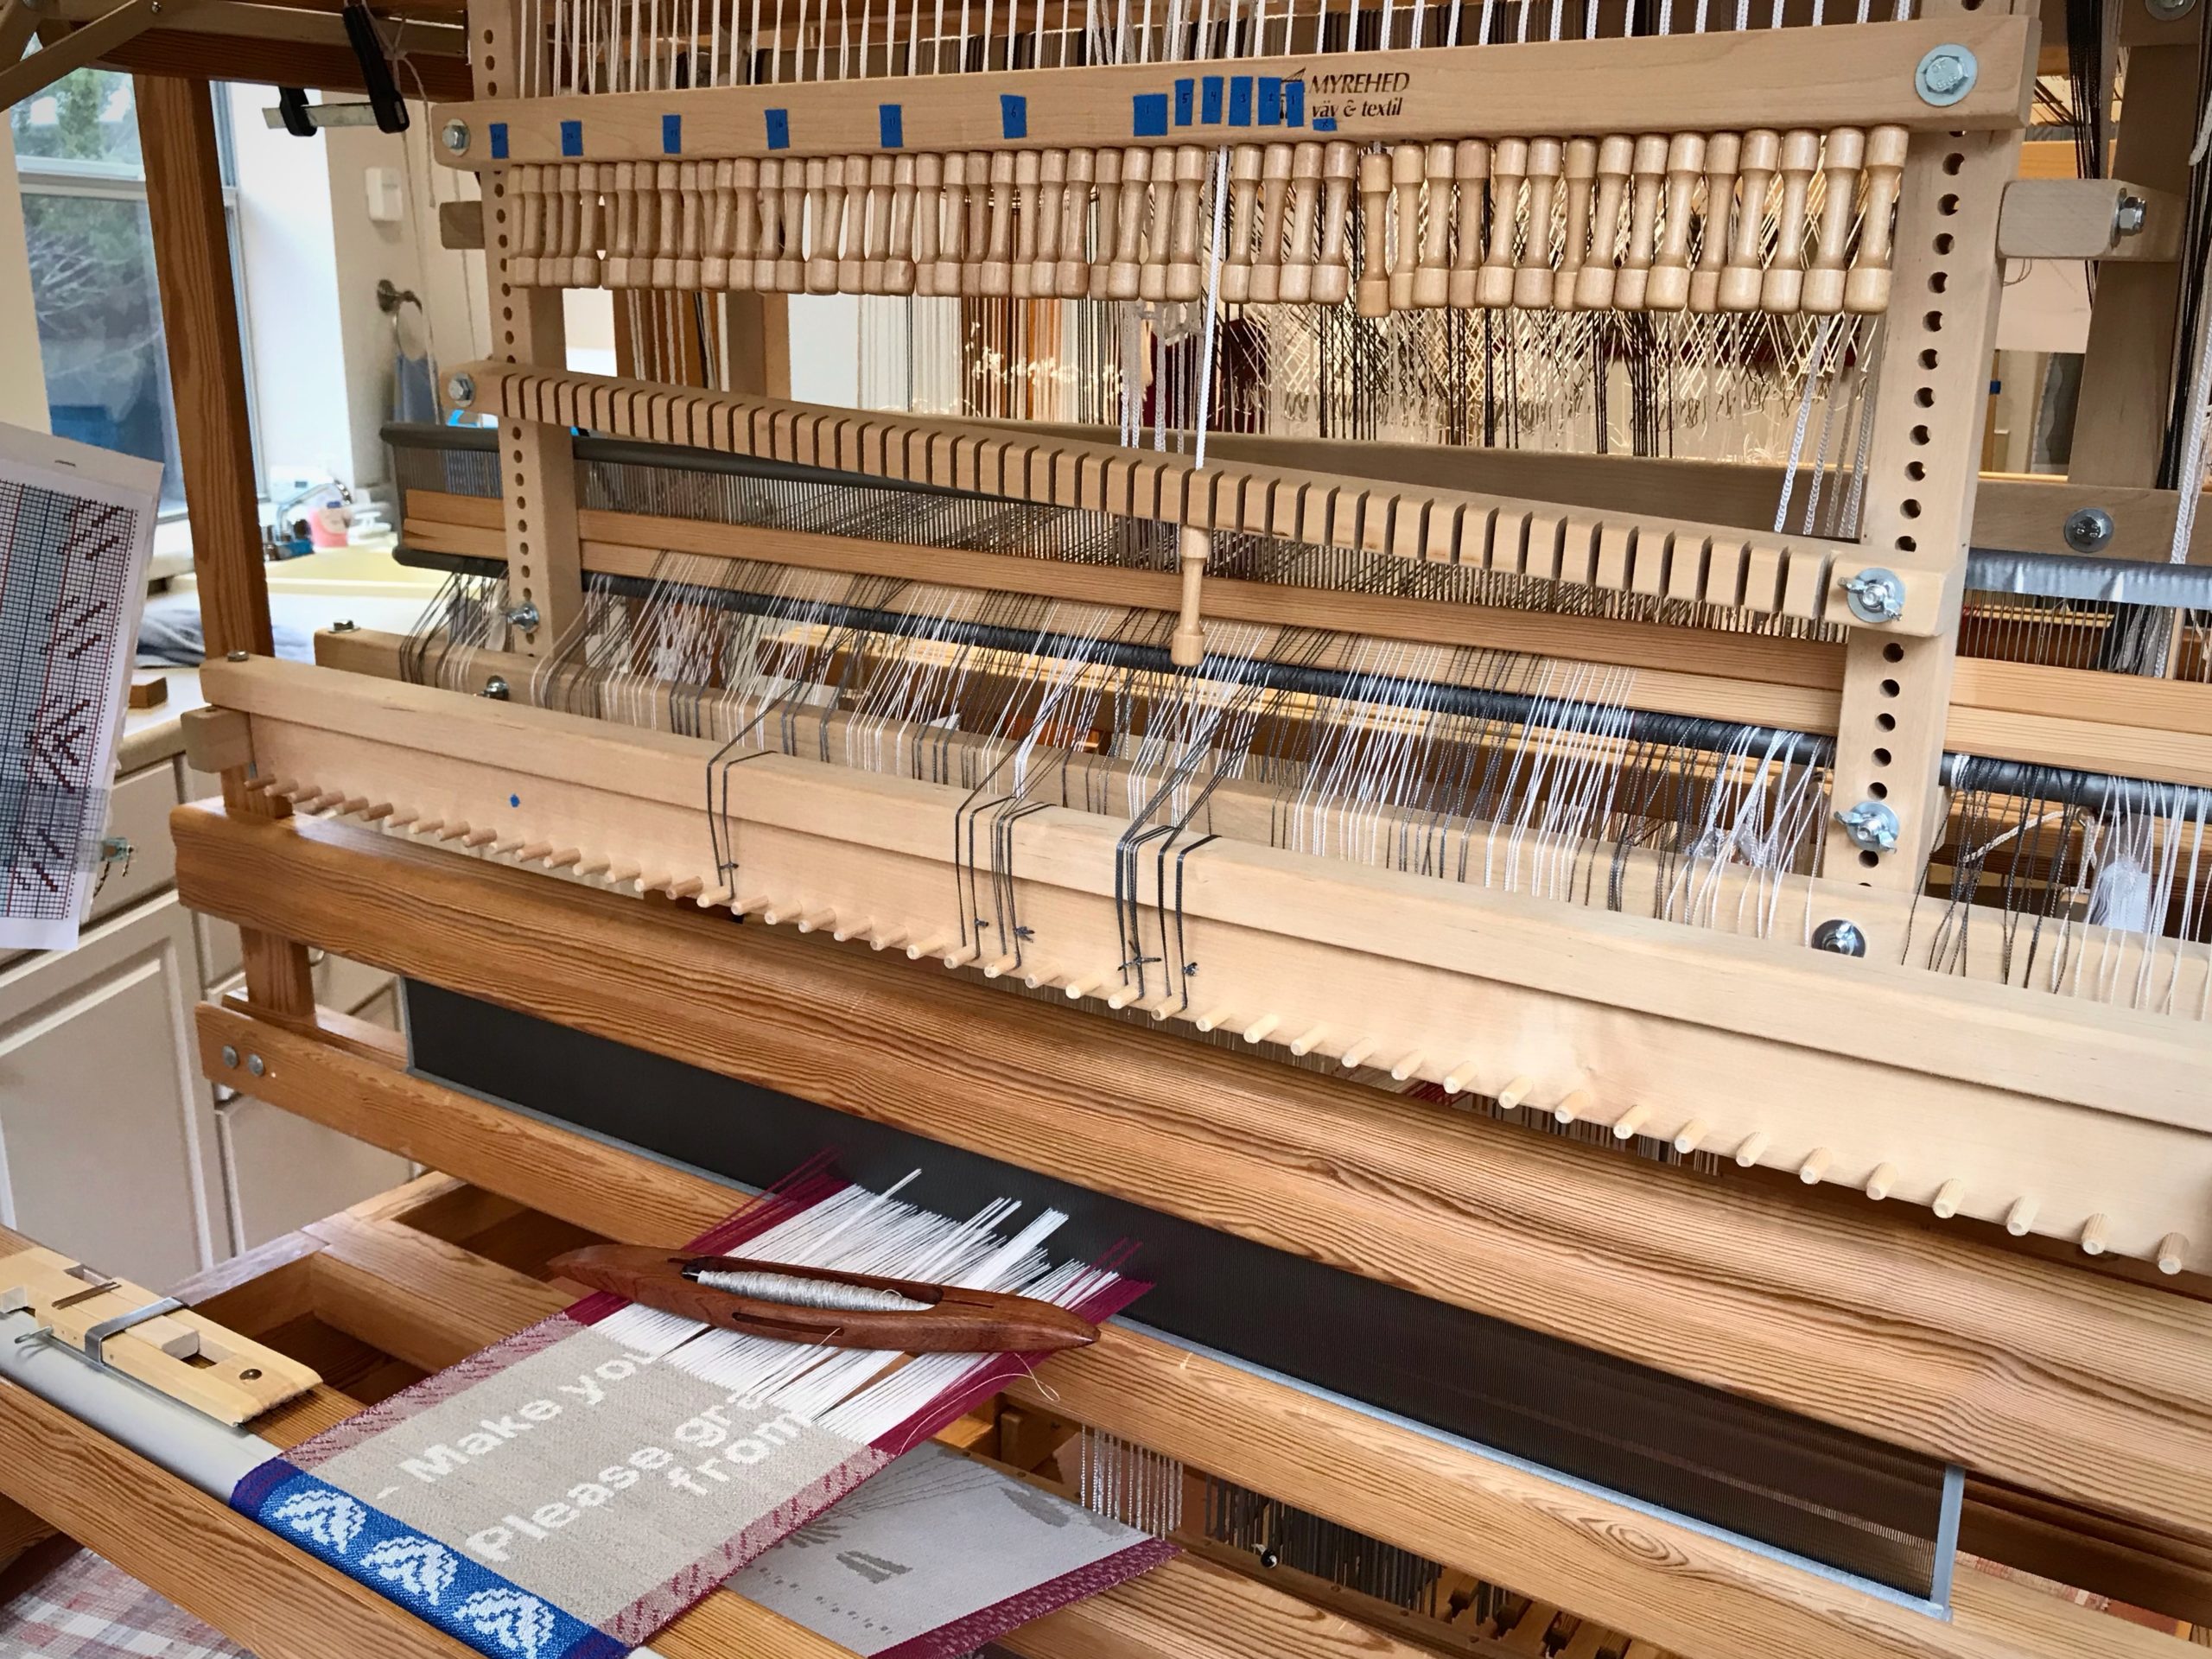
Weaving on the combination drawloom.
One handle is drawn for the simple side borders design. The beginning blue border motifs were also woven using draw handles, connected to pattern shafts.

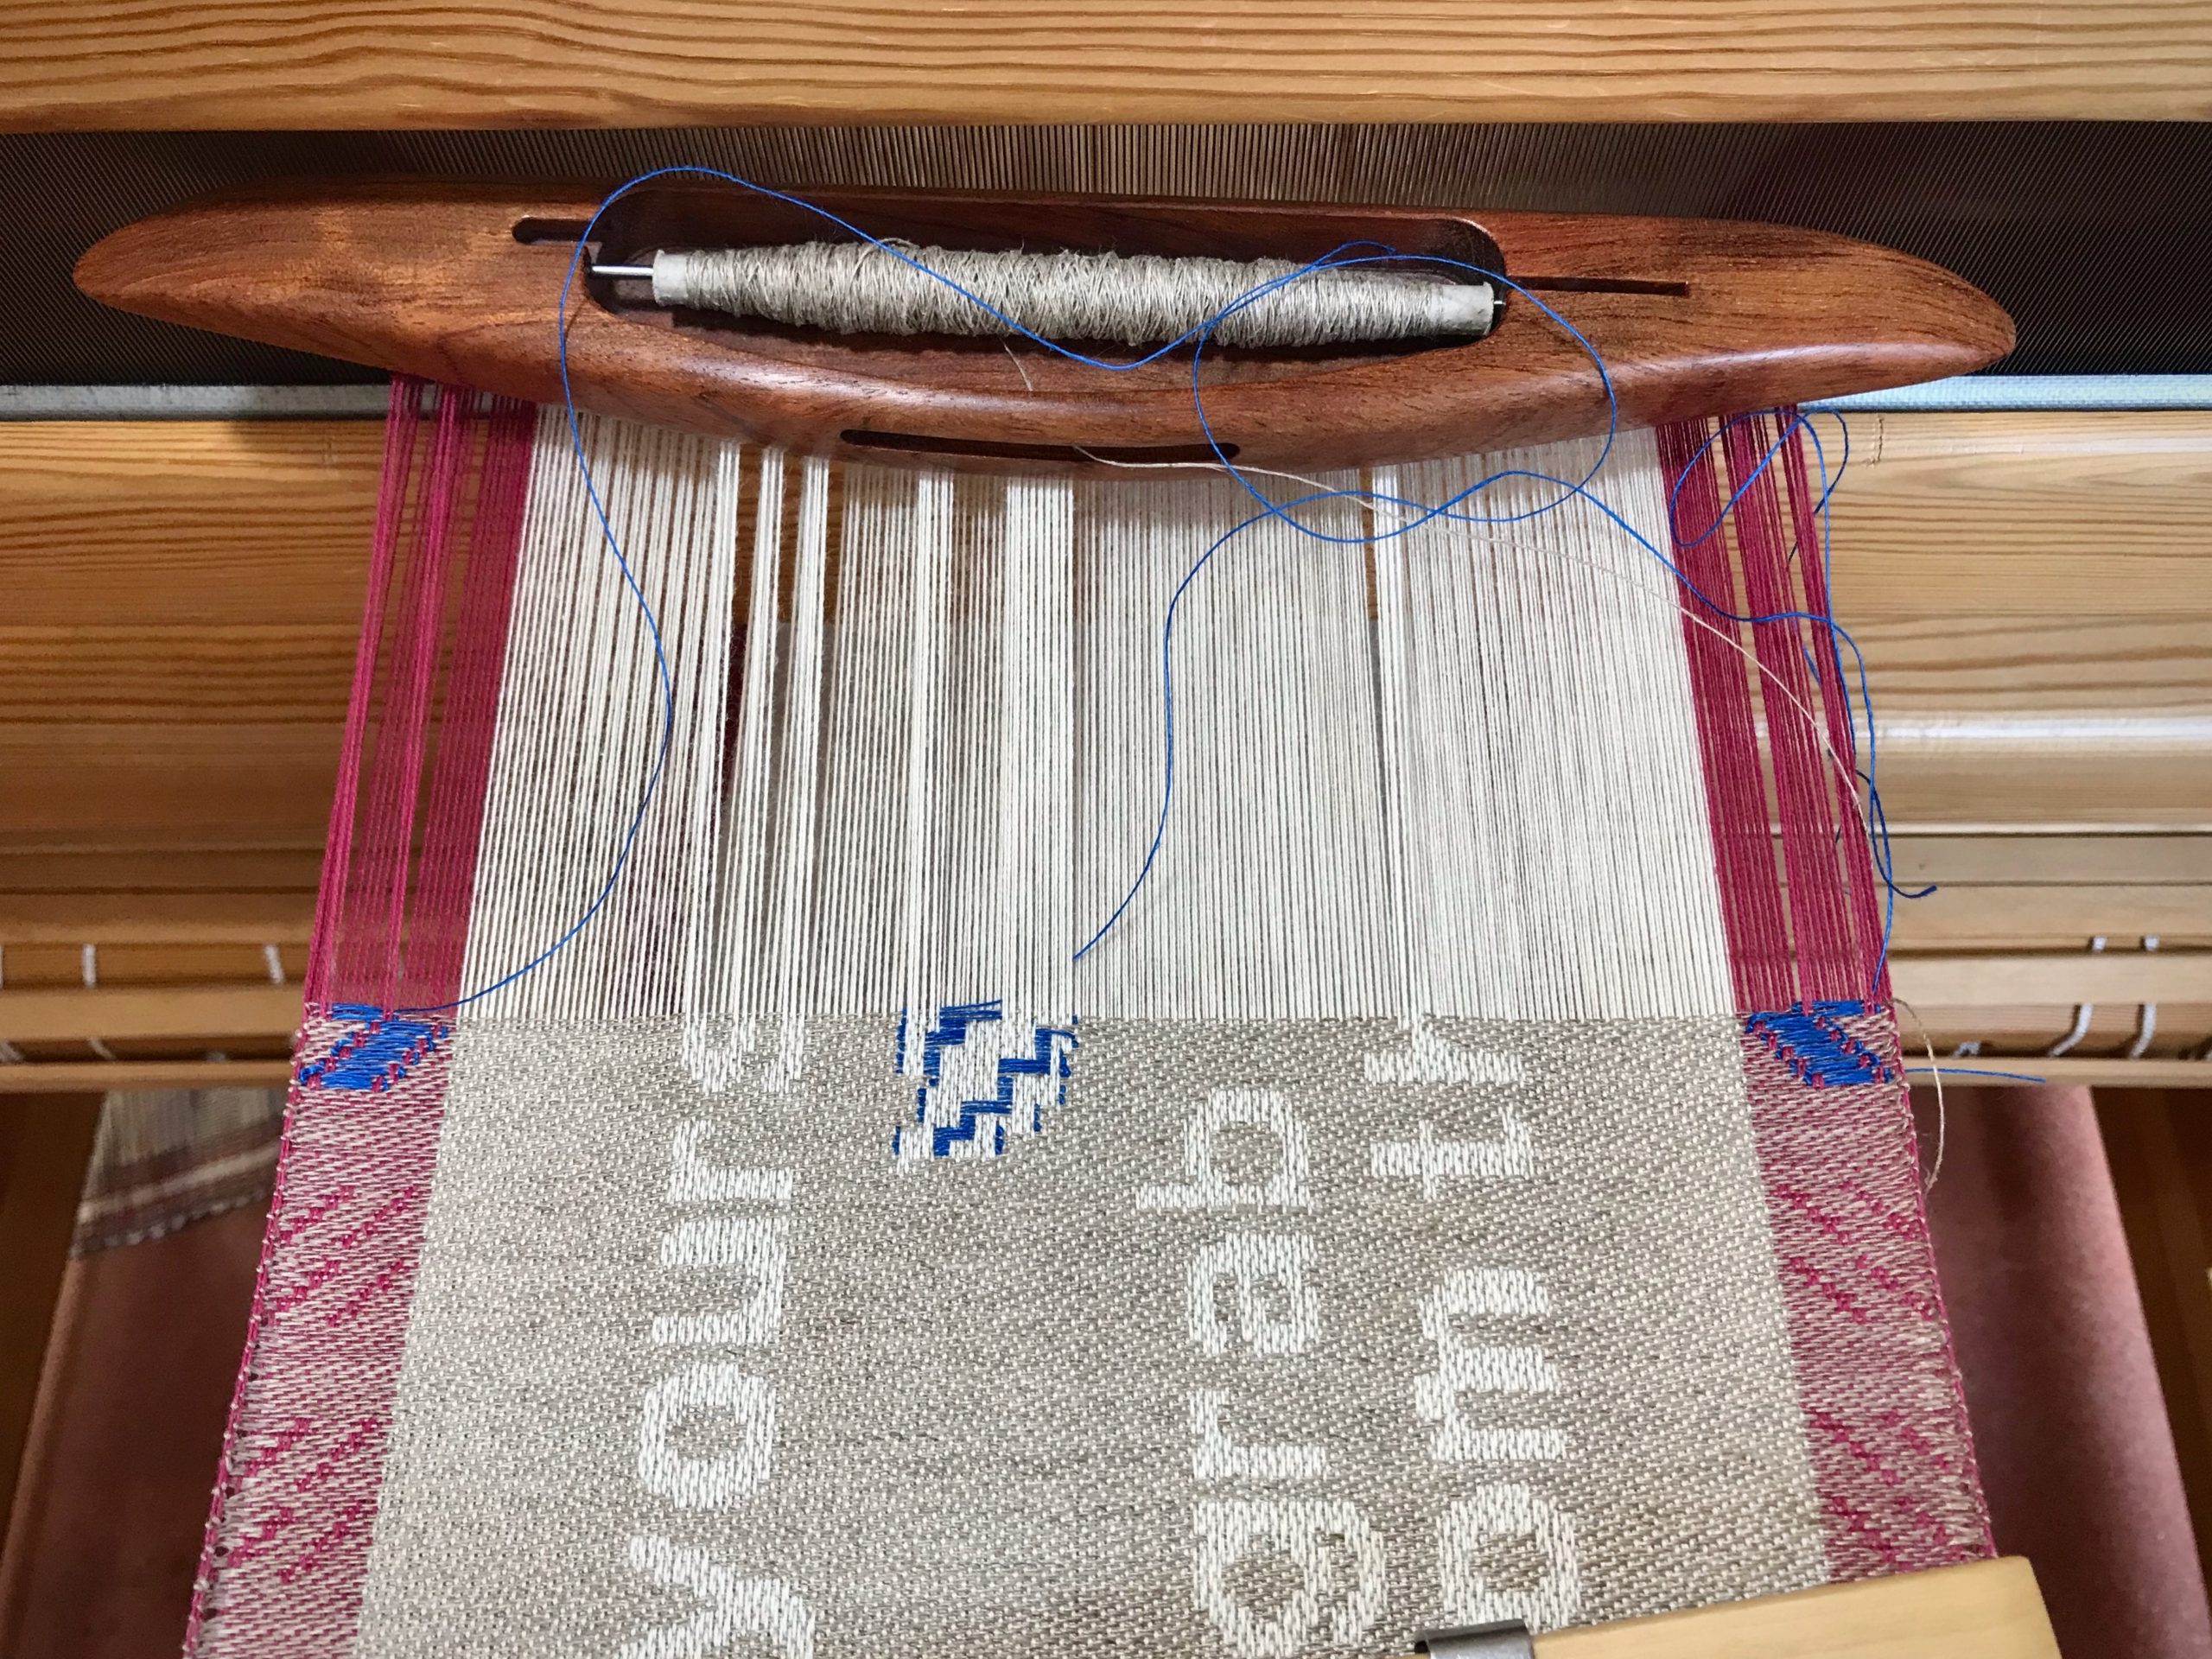
I am adding blue 16/1 linen inlay to the center motif. The same color blue is laid in at the center motif on the side borders, as well.

Blue linen inlay on the combination drawloom.
Blue linen inlay leaves floats between the raised pattern threads.

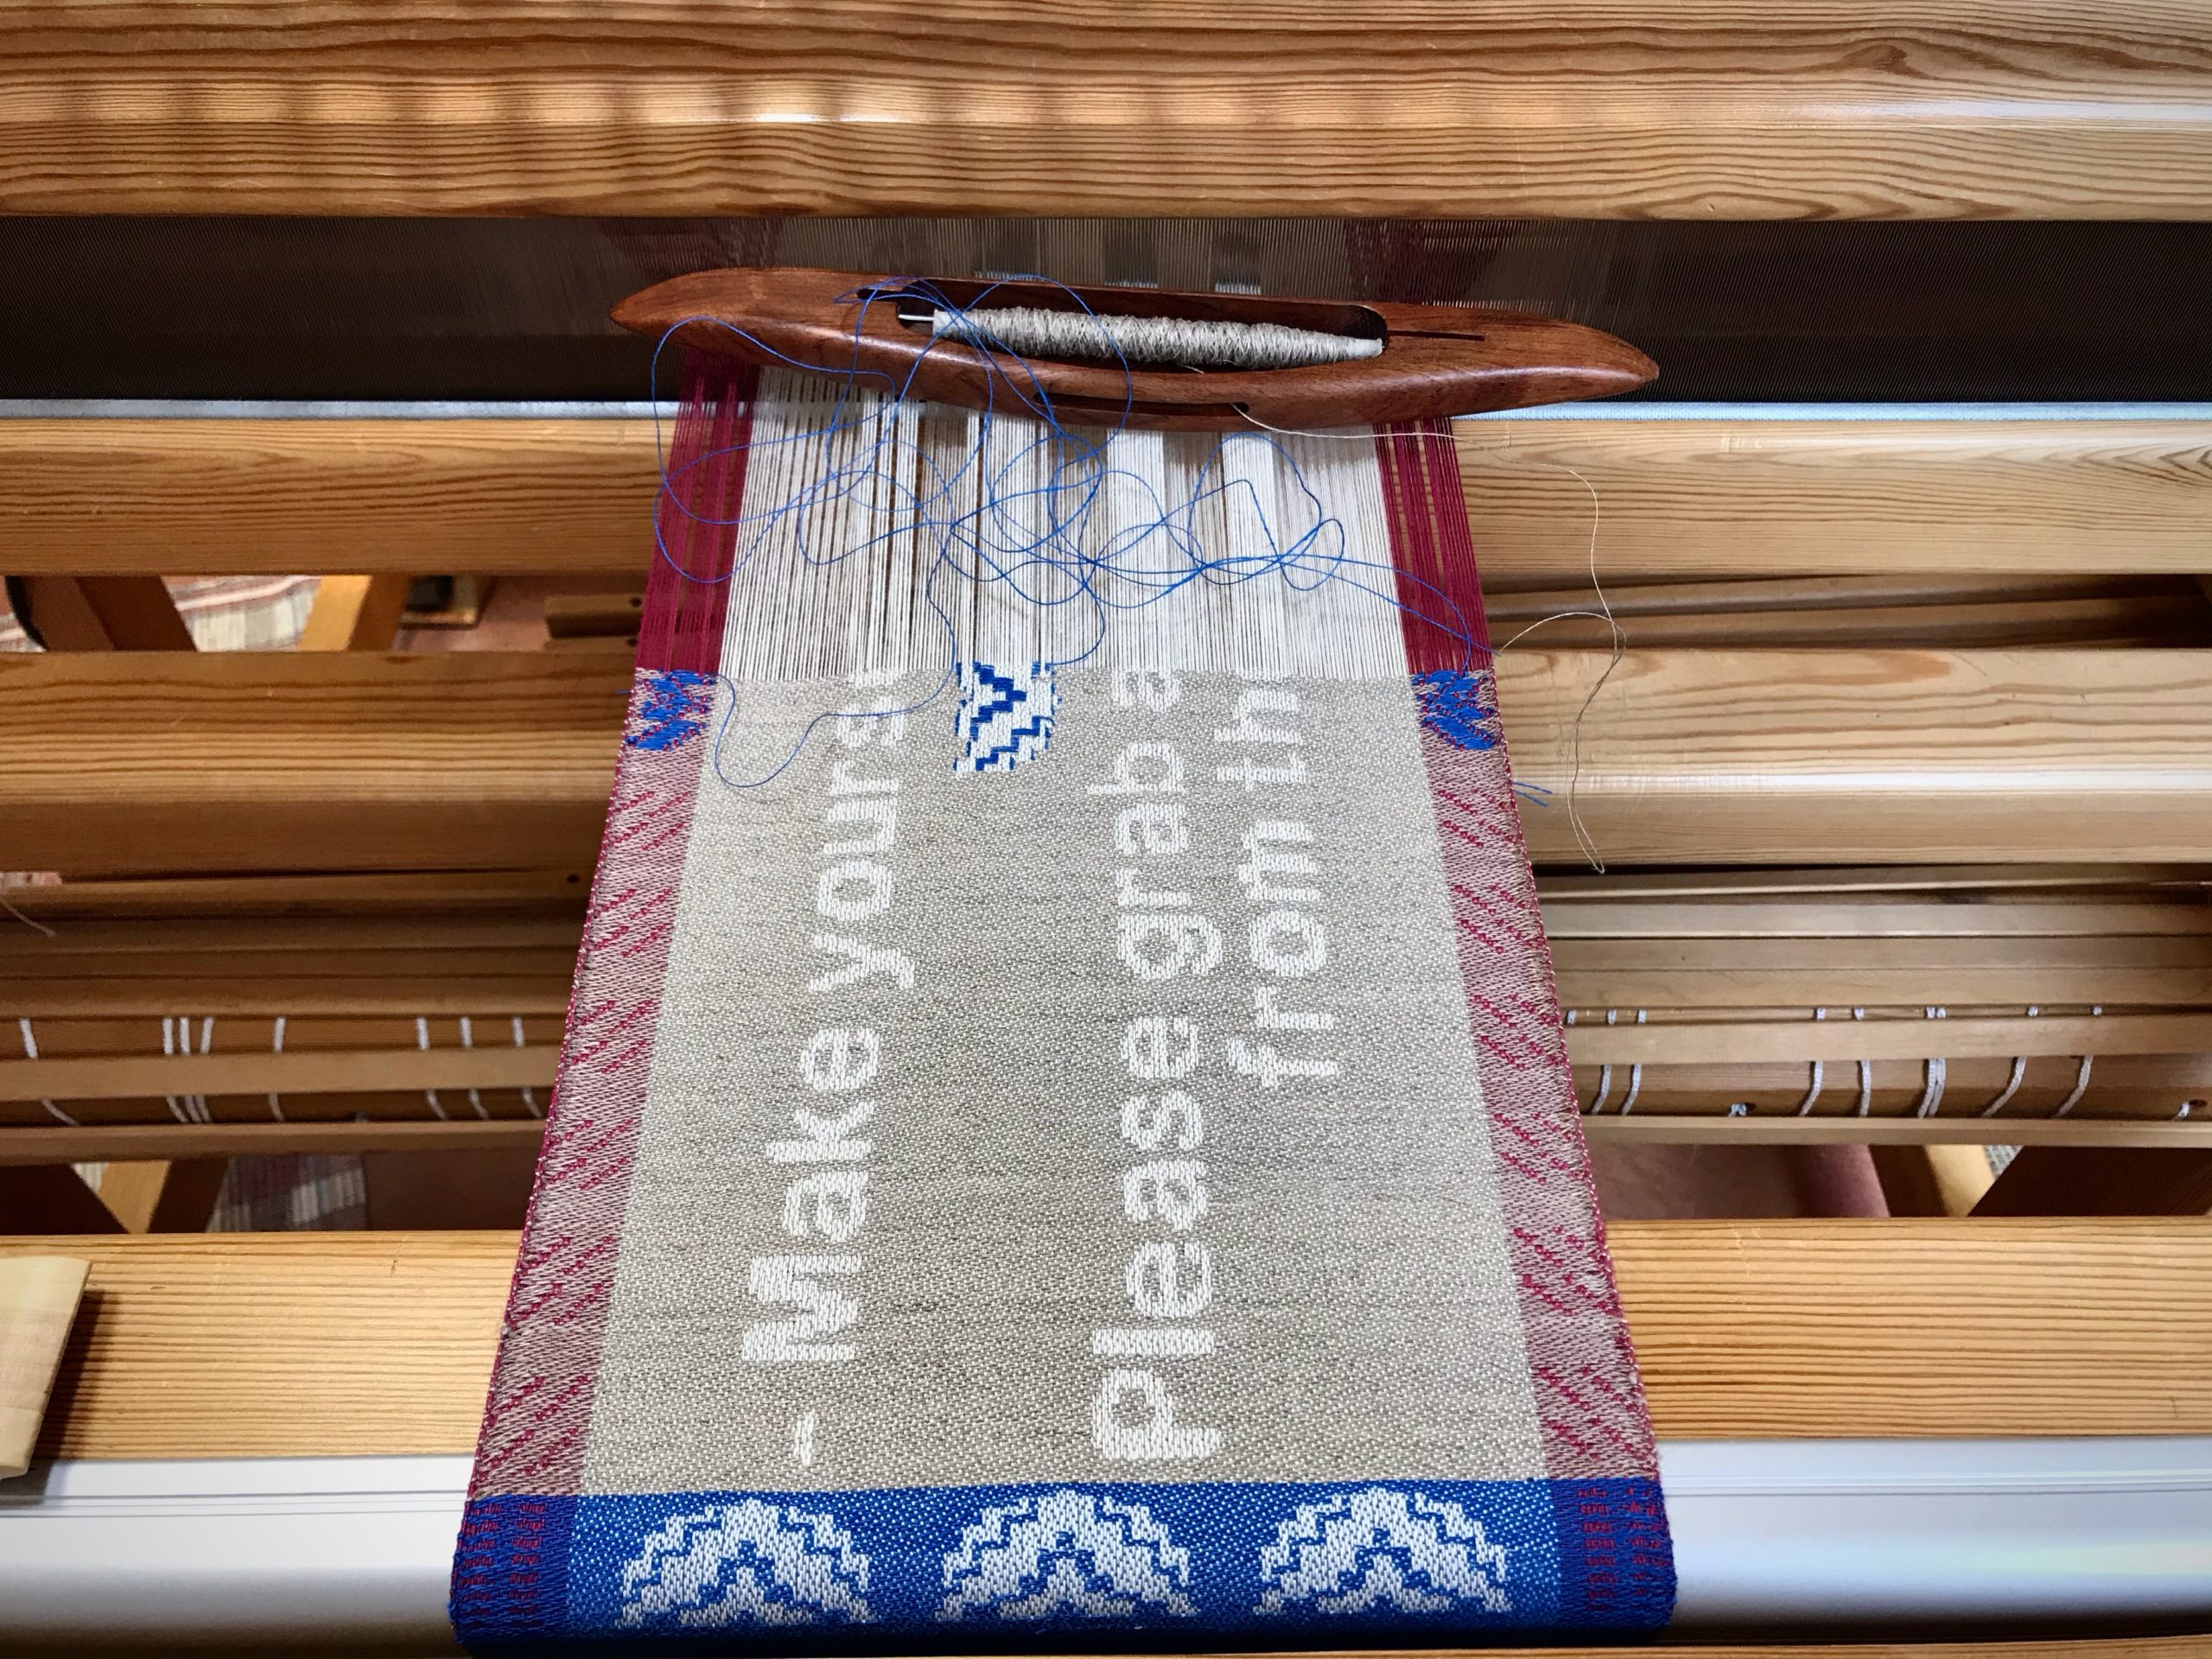
Draw the pull-handles for the borders – draw single unit cords – throw the shuttle – lay in the blue thread – throw the shuttle and lay in the blue thread two more times. Move up one row on the chart, and follow the same sequence as before. Ever so carefully, learning as I go. Delightfully slow as molasses. Intently paying attention, and thinking about what I would do differently next time.

Drawloom. Weaving a sign for house guests.
Draw cord pegs just above the beater create interesting shadows.

Changing your mind changes your direction. When the Lord sees our thoughts turning in his direction, he reveals more and more of himself to us. Like small lines of color added a row at a time, the image becomes more and more distinct. With the warp we have remaining, there is still time to see the Grand Weaver’s image woven in us.

May you know when to change your mind.

Making room for Jesus,
Karen

Welcome to My Loom

The computer is a worthwhile instrument for creating designs to weave. I like the flexibility and repeatability it gives me for drawloom designs. I’m also using the computer to develop the cartoon for my next pictorial tapestry. The computer work takes time—usually more time than I think it should.

Cottolin bath towels on the loom.
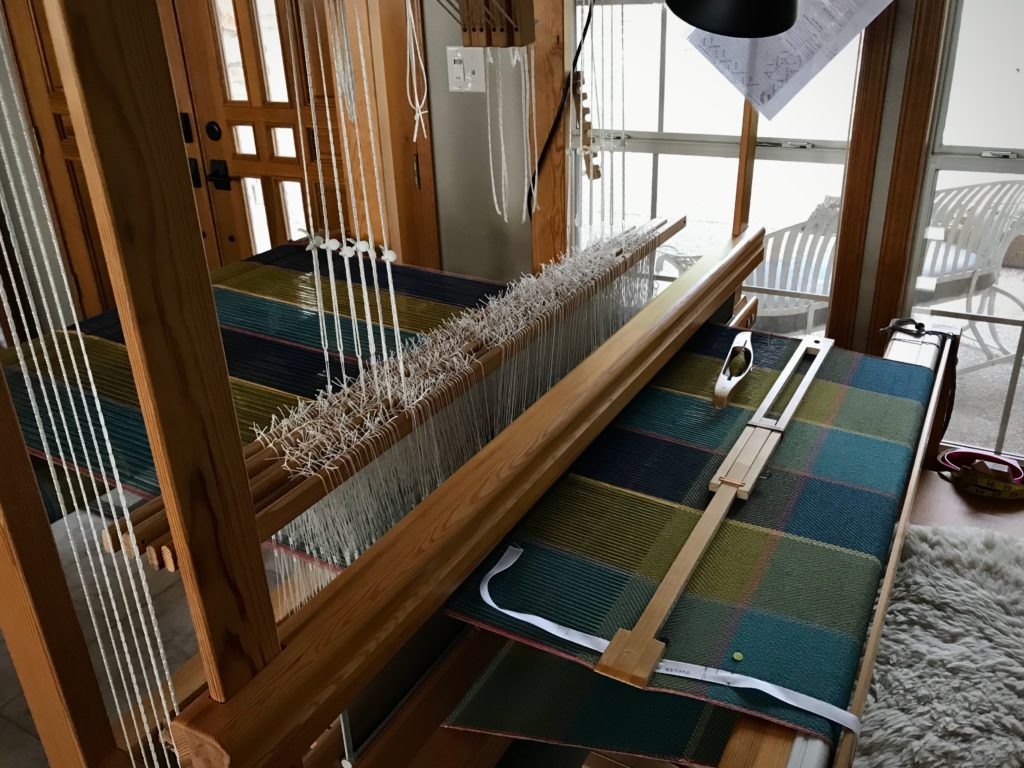
Come in our front door to see what is on the loom. Nearing the end of the first bath towel on this cottolin warp.

When I sit at the loom, though, time slips away unnoticed. This is where I’d rather be.

Cottolin bath towels on the loom.
Deep borders on these towels have treadling changes and contrast-thread inlay for added interest.
Start of the second cottolin bath towel on the loom.
Red cutting line is woven between the first and second towels.
Weaving bath towels on the Glimakra Standard loom.
First bath towel begins to wrap around the cloth beam.

I’m starting the second of four bath towels on my Glimåkra Standard. The loom, with its colored threads and cloth, is the first thing to greet you as you come in our front door. Welcome. Let’s put the computer away for a while and simply enjoy ourselves. There’s no better time than now.

v
Previously woven hand towels that match these bath towels have not yet been used. They are presently folded and displayed in a pottery bowl on the dining room table in the next room.

May you make time for making.

Happy Planning and Weaving,
Karen

Handwoven Detail Notes

It is the smallest of details that set handwoven towels apart from ordinary towels. With that in mind, I am writing some detail notes in the margin of my project notes. Borders: Towel 1 – sea blue, apple green – contrast thread – ultramarine; Towel 2 – ultramarine, sea blue – contrast thread – maize; Towel 3 – apple green, ultramarine – contrast thread – sea blue; Towel 4 – dusty, sea blue – contrast thread – apple green.

Cottolin bath towels coming up!
Beaming the cottolin warp for bath towels.
Warp is tied on and leveling string is attached.
Preparing to weave 7-color bath towels.
Seven different colors of wound quills. All seven colors are in each towel, warp and weft. The weft sequence varies with each towel.
Boat shuttles vie for the starting line, like in a regatta.
One boat shuttle for each color. This reminds me of sailing with my dad and my sisters. Boat captains would vie for the regatta starting line, shouting, “Starboard!”

There are seven colors of cottolin in the warp, and the same seven colors in the weft, just like the accompanying hand towels I completed in April. (See Process Review: Jubilation Hand Towels.) Narrow warp-wise and weft-wise stripes of broken twill produce interesting patterns in the cloth. The deep borders I am planning on the bath towels give me a chance to add simple details that only a handweaver can do.

White ribbon shows where to place details on the handwoven bath towel.
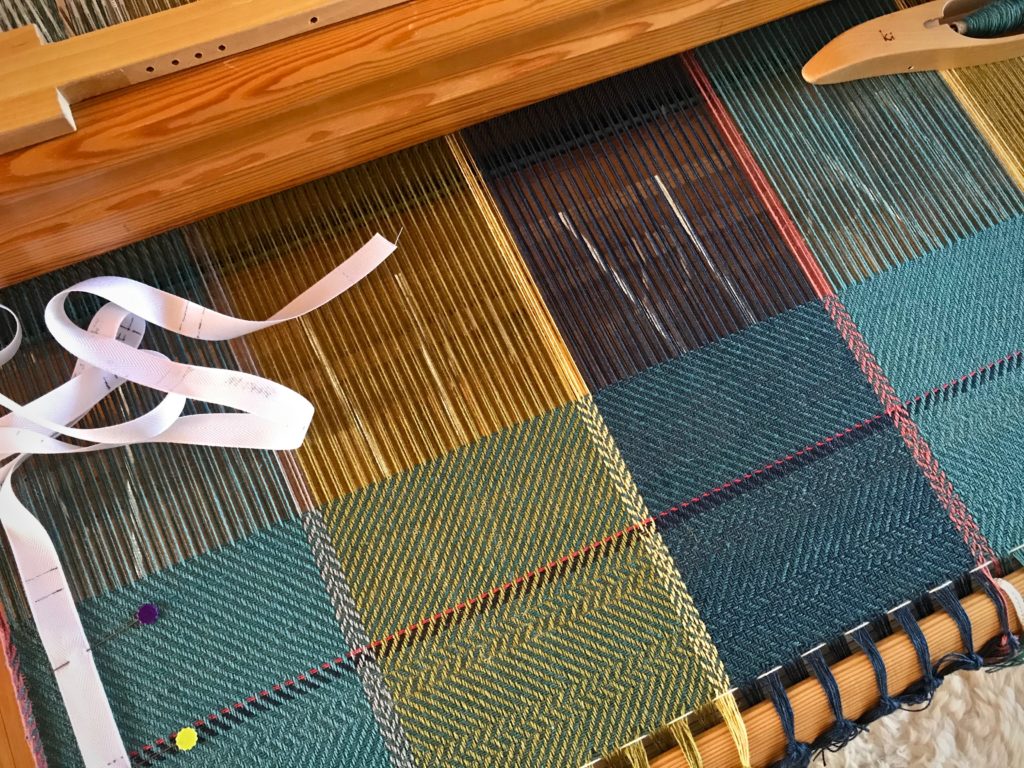
After weaving a short section to test the threading, I start the first towel. A red line, as always, denotes the cutting/starting line. I placed marks on the white ribbon at the left that show me where to place details along the length of the towel.
Simple handwoven details make all the difference.
Single ultramarine thread is laid in with the sea blue to outline a change of treadling. A simple handwoven detail.

Have you ever identified a master craftsman by the specific details that show up in the hand-crafted article? In the same way, we can recognize our Maker’s hand through the magnificence of the details we see in each other. You are his masterpiece. Hand-written instructions guide the details. When we come to the Lord as our Maker and Redeemer, we find his hand-written details woven into our hearts, something only the Grand Weaver can do.

May you attend to the details.

Happy Weaving,
Karen
Tried and True: Rag Rug with Surprising Rosepath Inlay

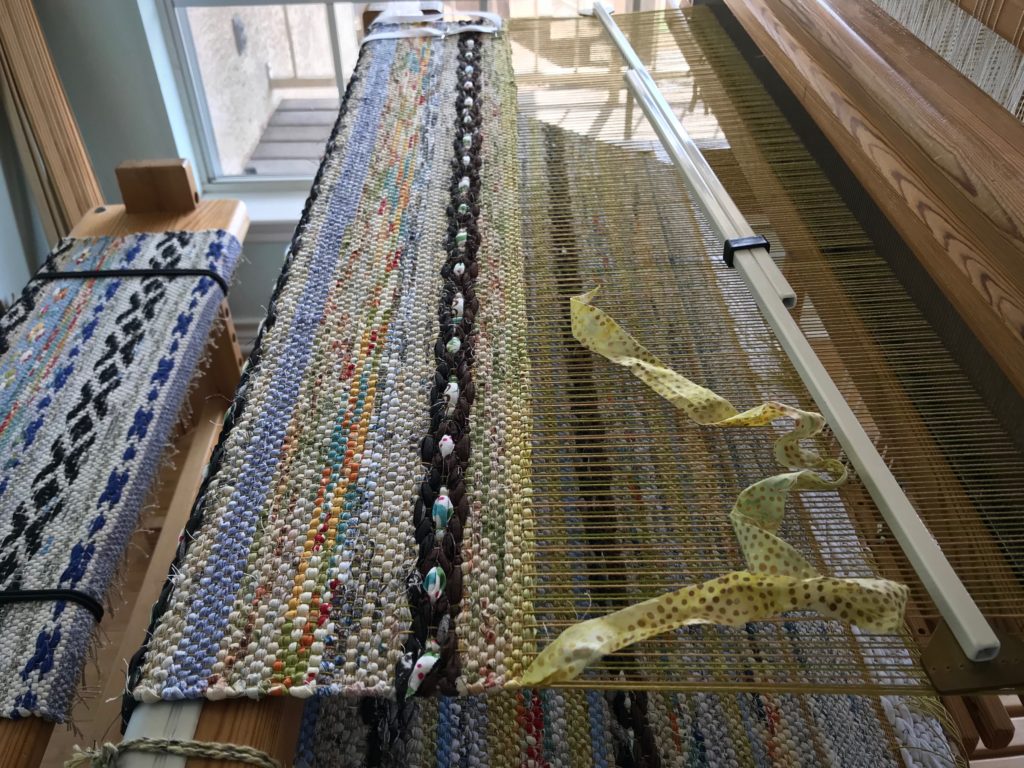
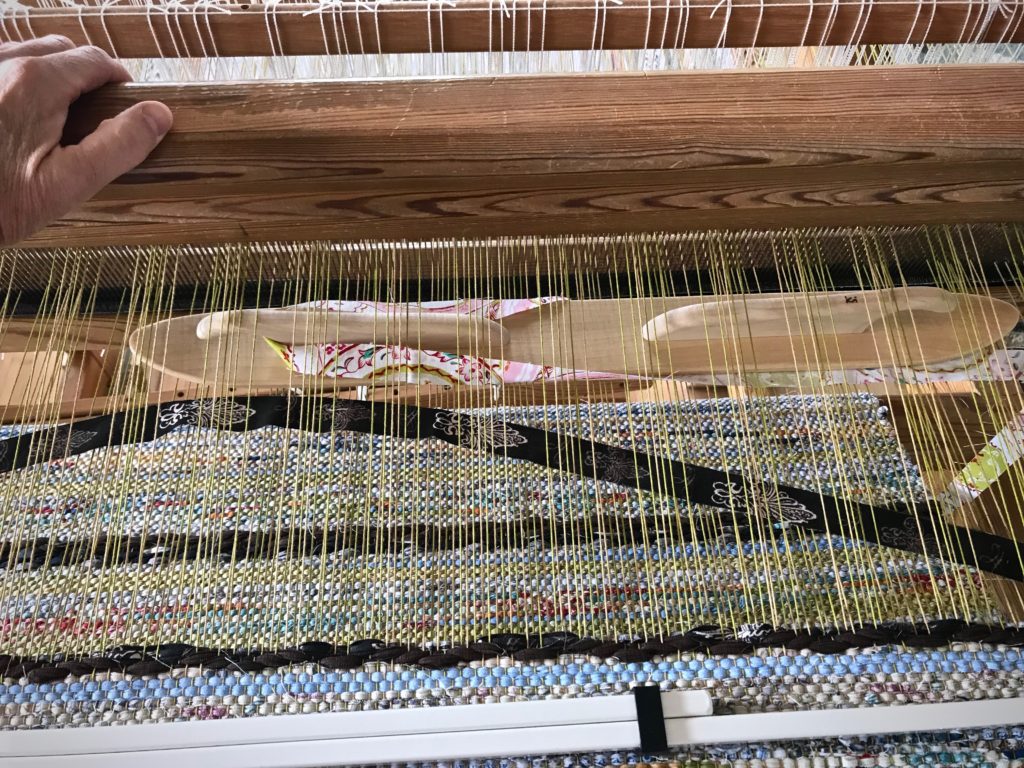
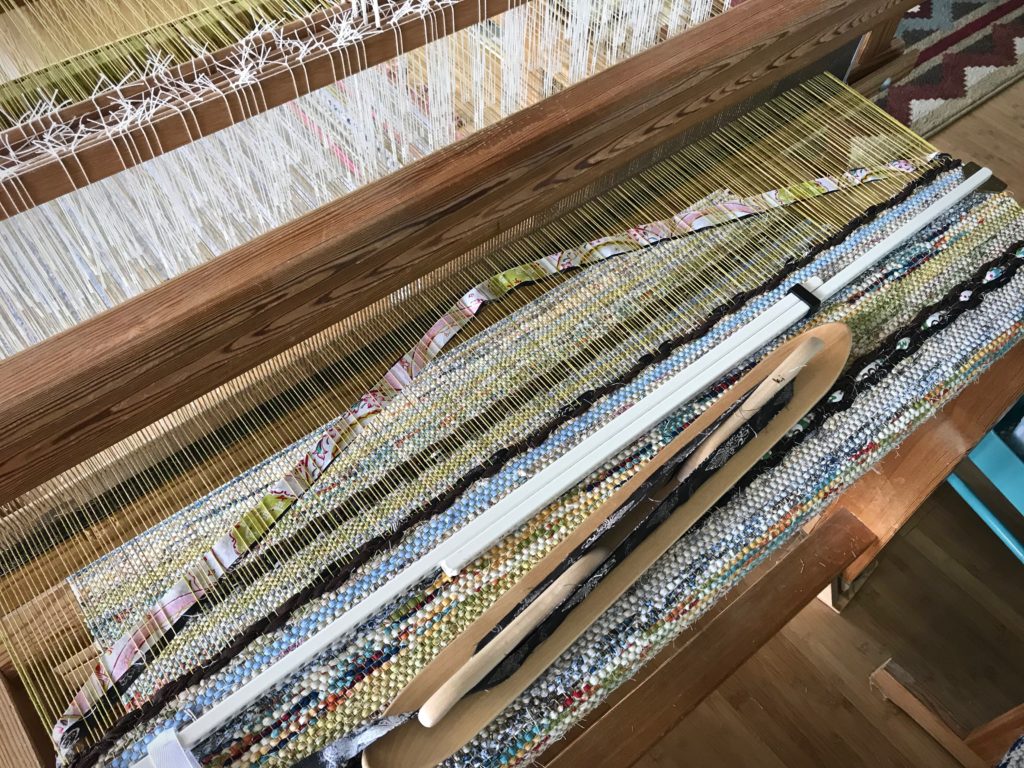
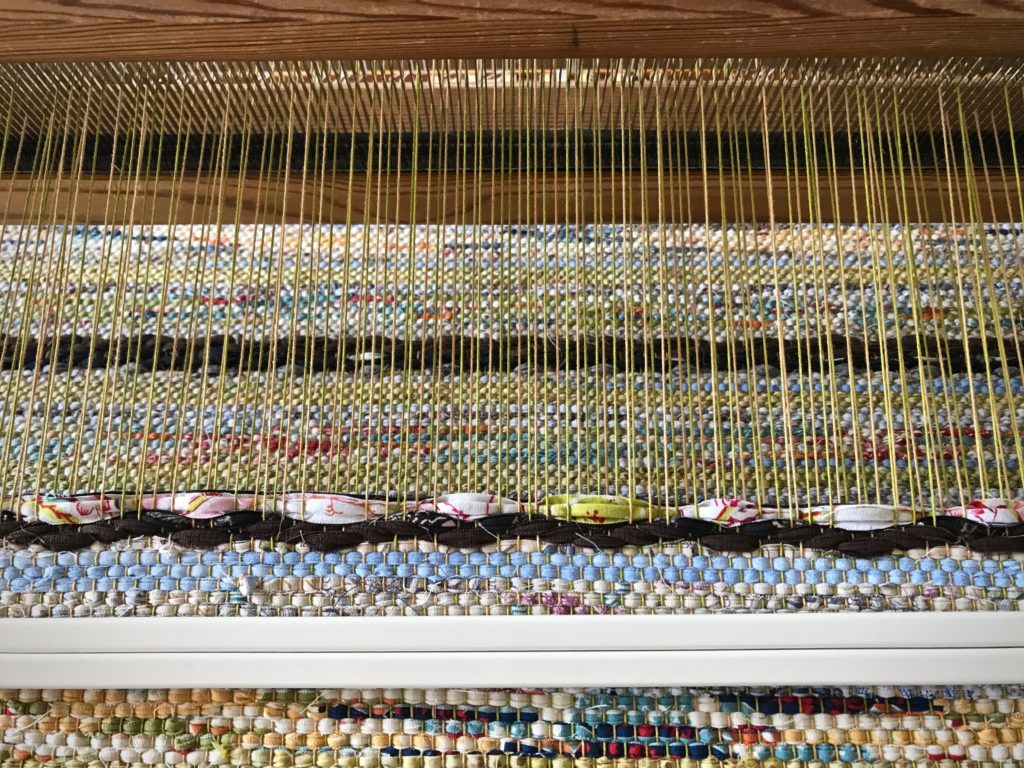
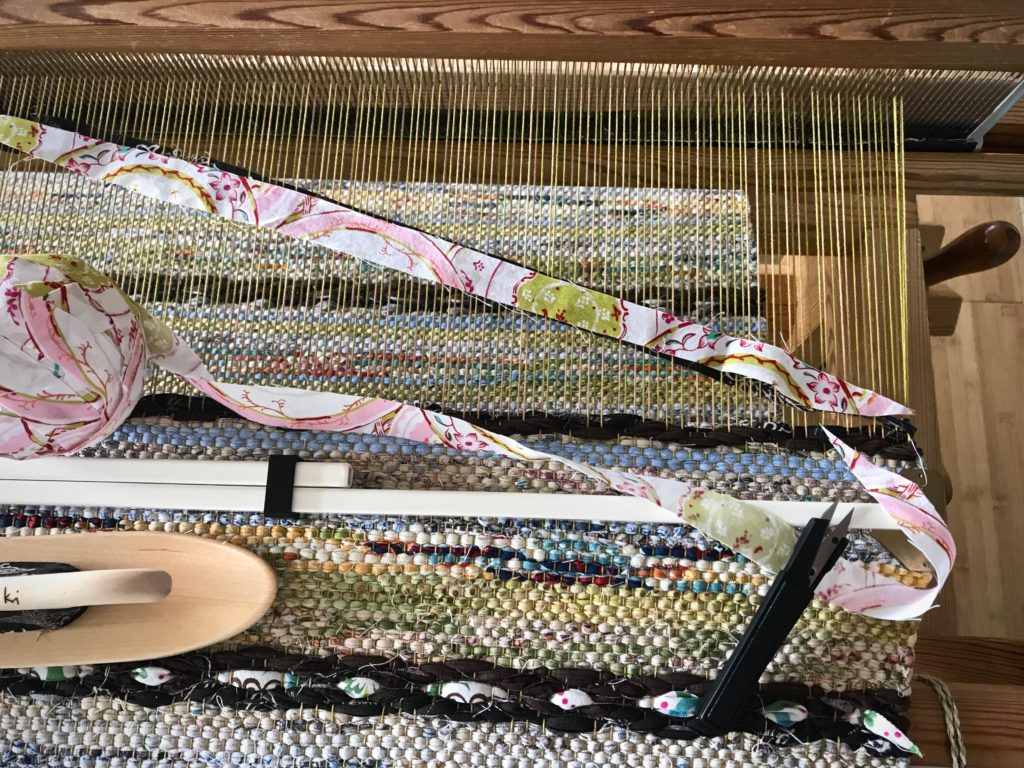
The first rag rug on this 12/6 cotton warp is well underway. This rug is mostly plain weave, with one simple rosepath repeat every ten centimeters. I am weaving the rosepath motif without tabby between pattern picks. The treadling is 1, 2, 3, 4, 1, 4, 3, 2, 1. The dark brown motif contrasts with the surrounding light-colored plain weave. It almost looks as if a thick chain has been laid across the rug. I transform the otherwise dark rosepath “chains” with a simple bright inlay strip.

Rag rug with rosepath motif.
Rosepath motif stretches across the plain weave surface.

Rosepath with Inlay

  • Weave the first four picks of the rosepath pattern, treadling 1, 2, 3, 4 (or, if using a different treadling sequence, weave up to the center pick).
  • Lay in the center pick (treadle 1, in this example). Wait to beat it in.
How to do rosepath with inlay.
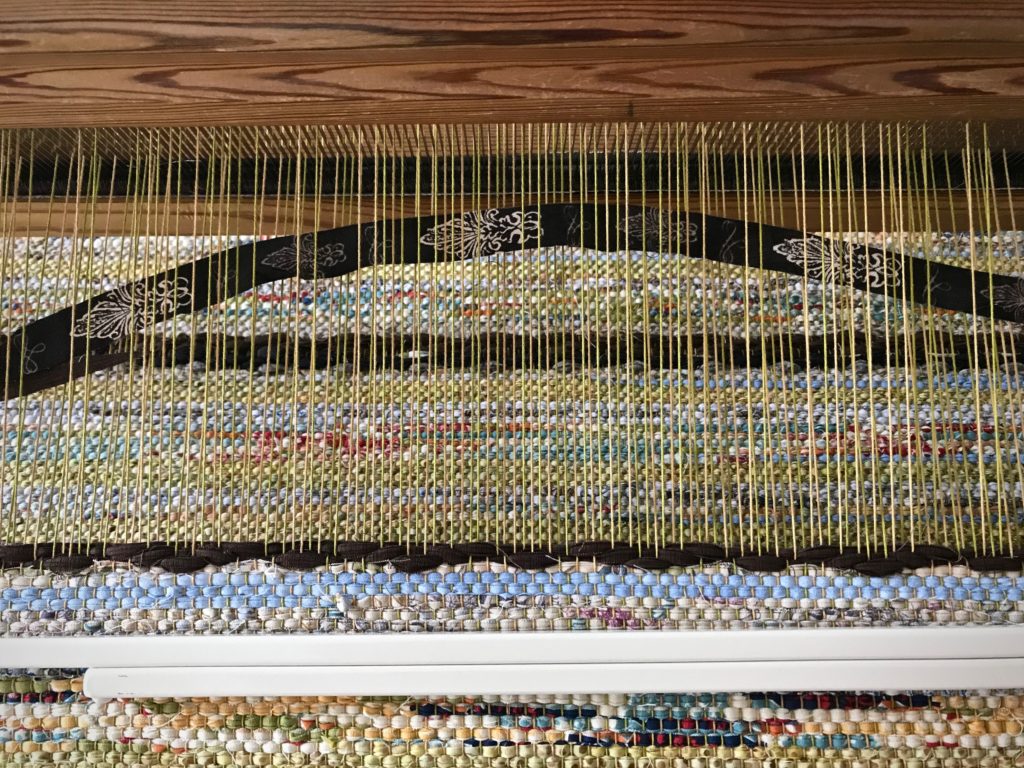
Center pick of the rosepath motif is arched in the shed.
  • Measure and cut the inlay strip to size, tapering the ends.
How to add an inlay strip to rosepath rag rug.
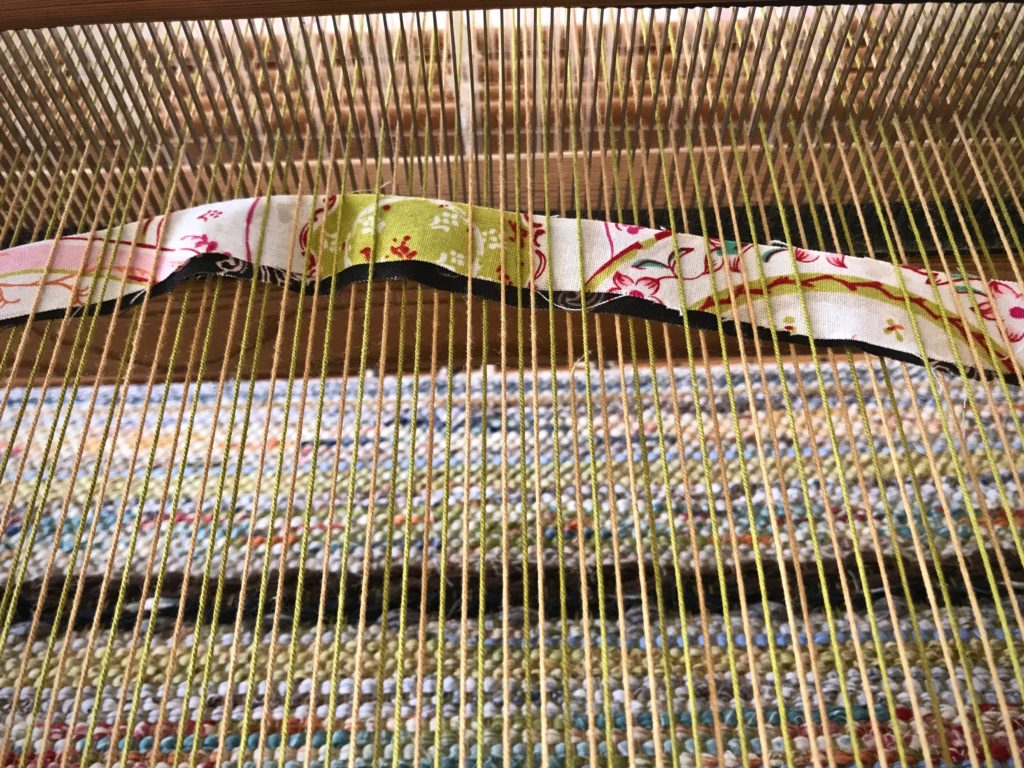
Inlay fabric strip is measured against the weft in the shed and cut to size.
  • Put the inlay strip in the shed, laying it directly on top of the fabric strip already there.
Making a rosepath rag rug with an inlay strip.
By pushing the beater back I can send the inlay fabric strip through the shed with a ski shuttle.
Rag rug with inlay.
Place the inlay fabric strip directly over the fabric strip of the center pick in the motif.
Inlay instructions.
  • Beat in the weft as usual.
One type of inlay on a rag rug.
Both weft layers are beaten in together. The inlay strip stays visible on top.
  • Continue weaving to complete the rosepath pattern, treadling 4, 3, 2, 1 (or, as needed, for a different sequence).
Rosepath with inlay.
Finished rosepath motif.

You can accomplish a similar effect by weaving in a separate fabric strip for the center pick. In that case, cut tapered ends that are long enough to twist and tuck back into the shed. And carry the weft strip from the previous pick up the side.

The inlay method eliminates the extra bulk at the selvedges, and adds a slight thickness to the center pick, helping to give it a raised look. I am leaving the inlay weft tails loose, but you could cut them a little longer and tuck the ends in, if you prefer.

Rag rug with special rosepath motif.
Weft tails are free at the sides, like little flags at the ends of the rosepath rows.
Glimakra Ideal loom--great tool for dreaming up rag rugs!
Glimåkra Ideal loom–great tool for dreaming up rag rugs!

May you experience the simple pleasure of doing something unexpected.

Happy Weaving,
Karen