Tried and True: What a Little Piece of Tape Can Do

You never know when you’ll need a piece of blue tape. A roll of blue painter’s tape is among my essential weaving supplies. My favorite way to temporarily mark just about anything is with a piece of blue tape.

Blue Painters Tape for Temporary Markings

  1. Cut (or tear) the tape to size.
  2. Fold one edge of the tape under. This makes a little tab so that the tape is easy to remove or reposition.
  3. Use a fine point Sharpie to write on the tape.
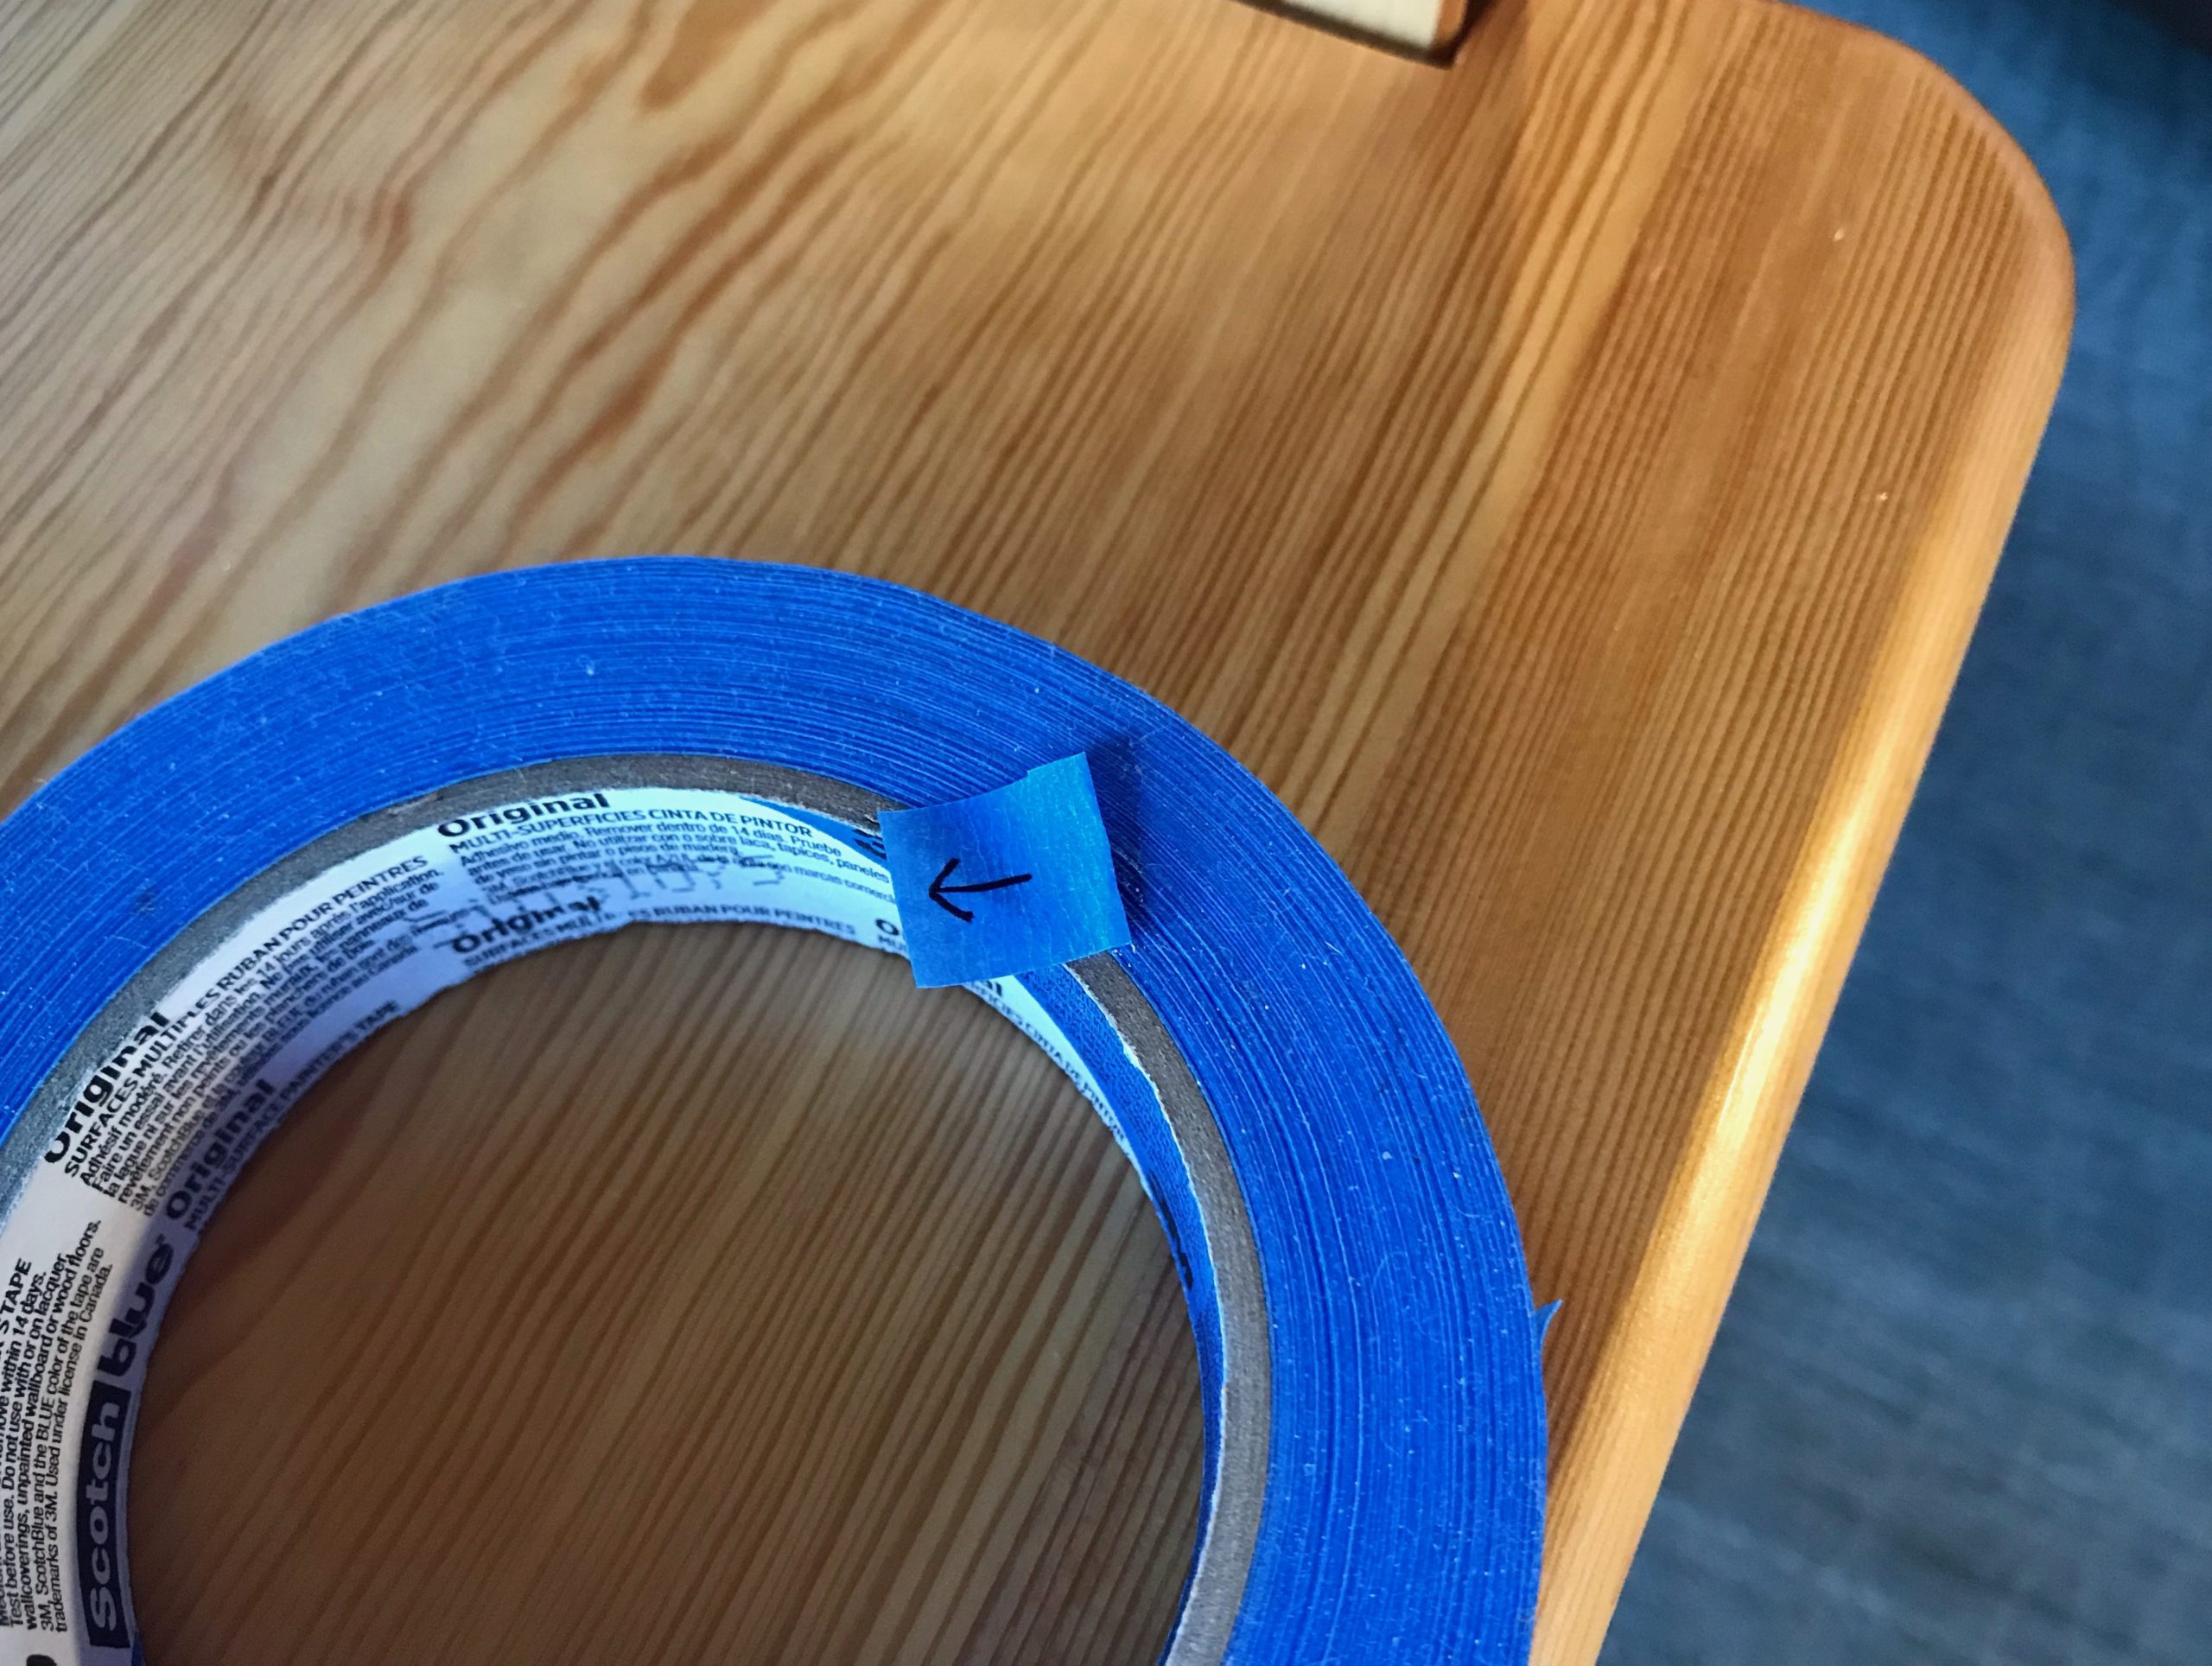
Weaver's uses for blue painter's tape.
Tape prepared for pointing.

Three Examples

  • Keep your place. Draw an arrow on a small piece of blue tape. Use the arrow on the tape to follow along the threading or treadling draft. This eliminates confusion, especially after a pause.
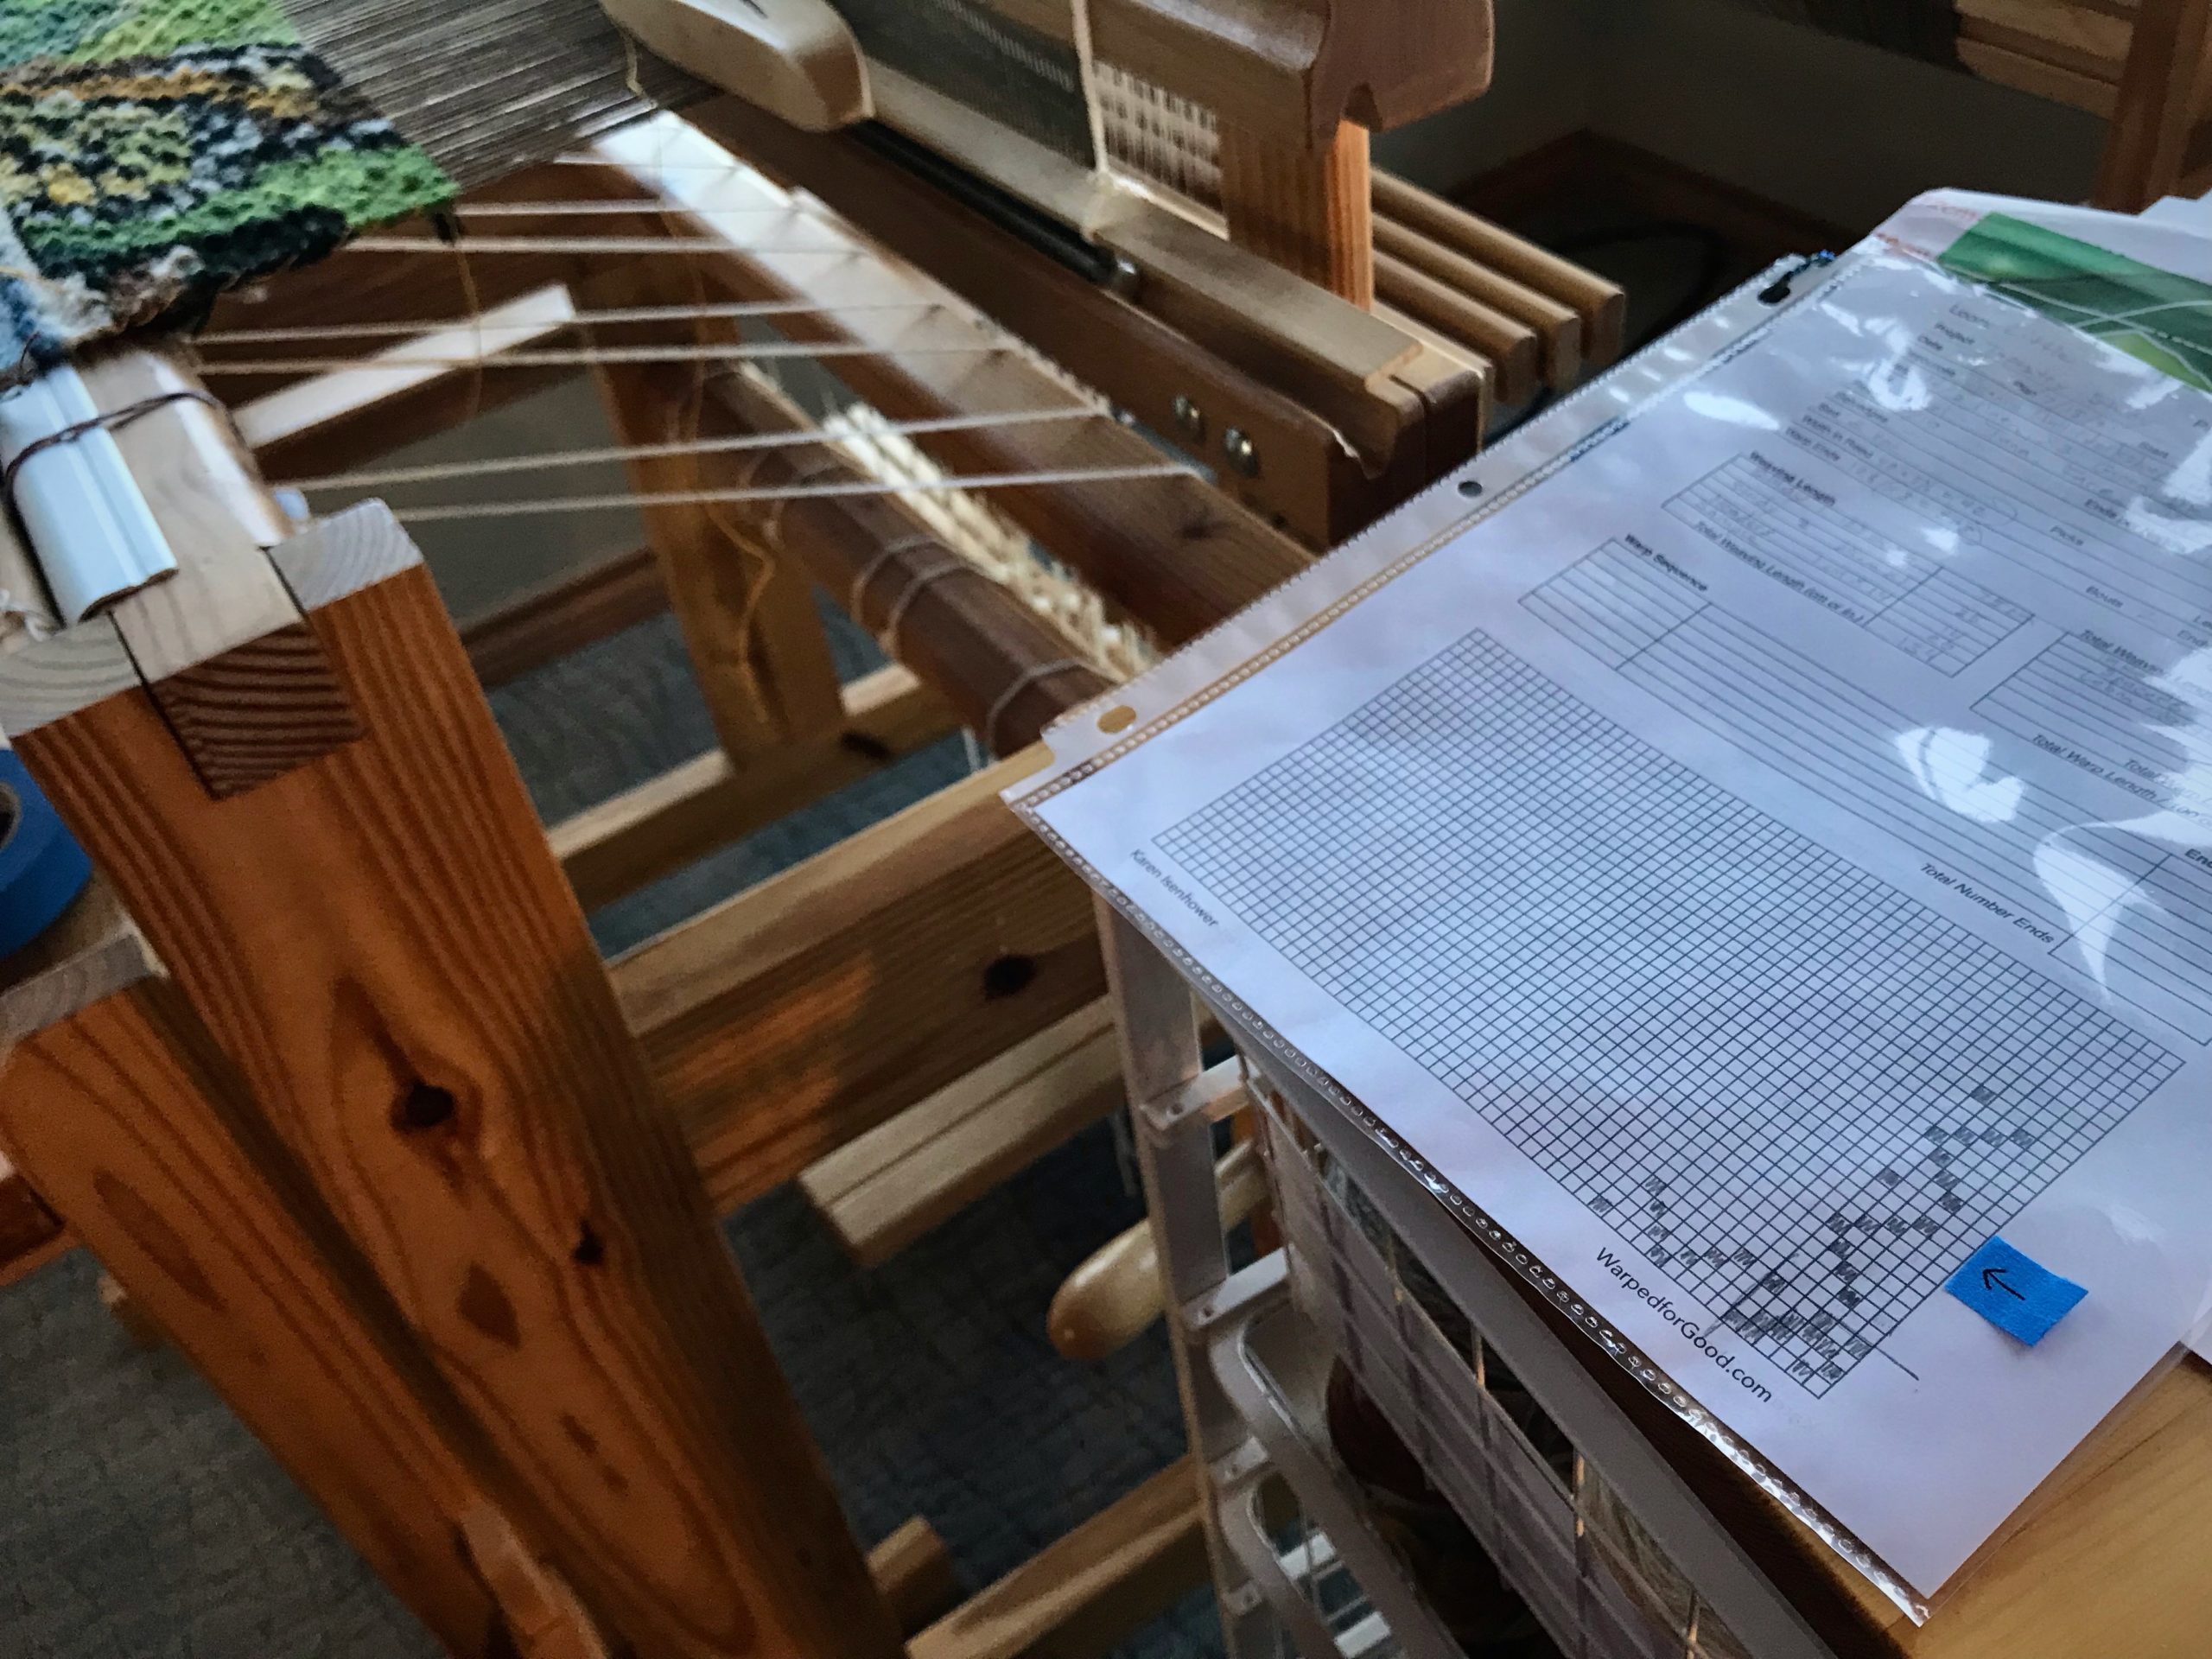
Blue tape uses in the weaving studio.
Rosepath treadling for 4-shaft tapestry. Since there are plain weave picks between each rosepath row, I need something to remind me where I left off.

  • Measure the space. Draw a straight line on small pieces of tape. Measure the warp width on a tapestry frame or rigid heddle loom. Use the lines on the tape to mark where the first and last warp ends should lie on the loom. This eliminates guessing when warping the loom.
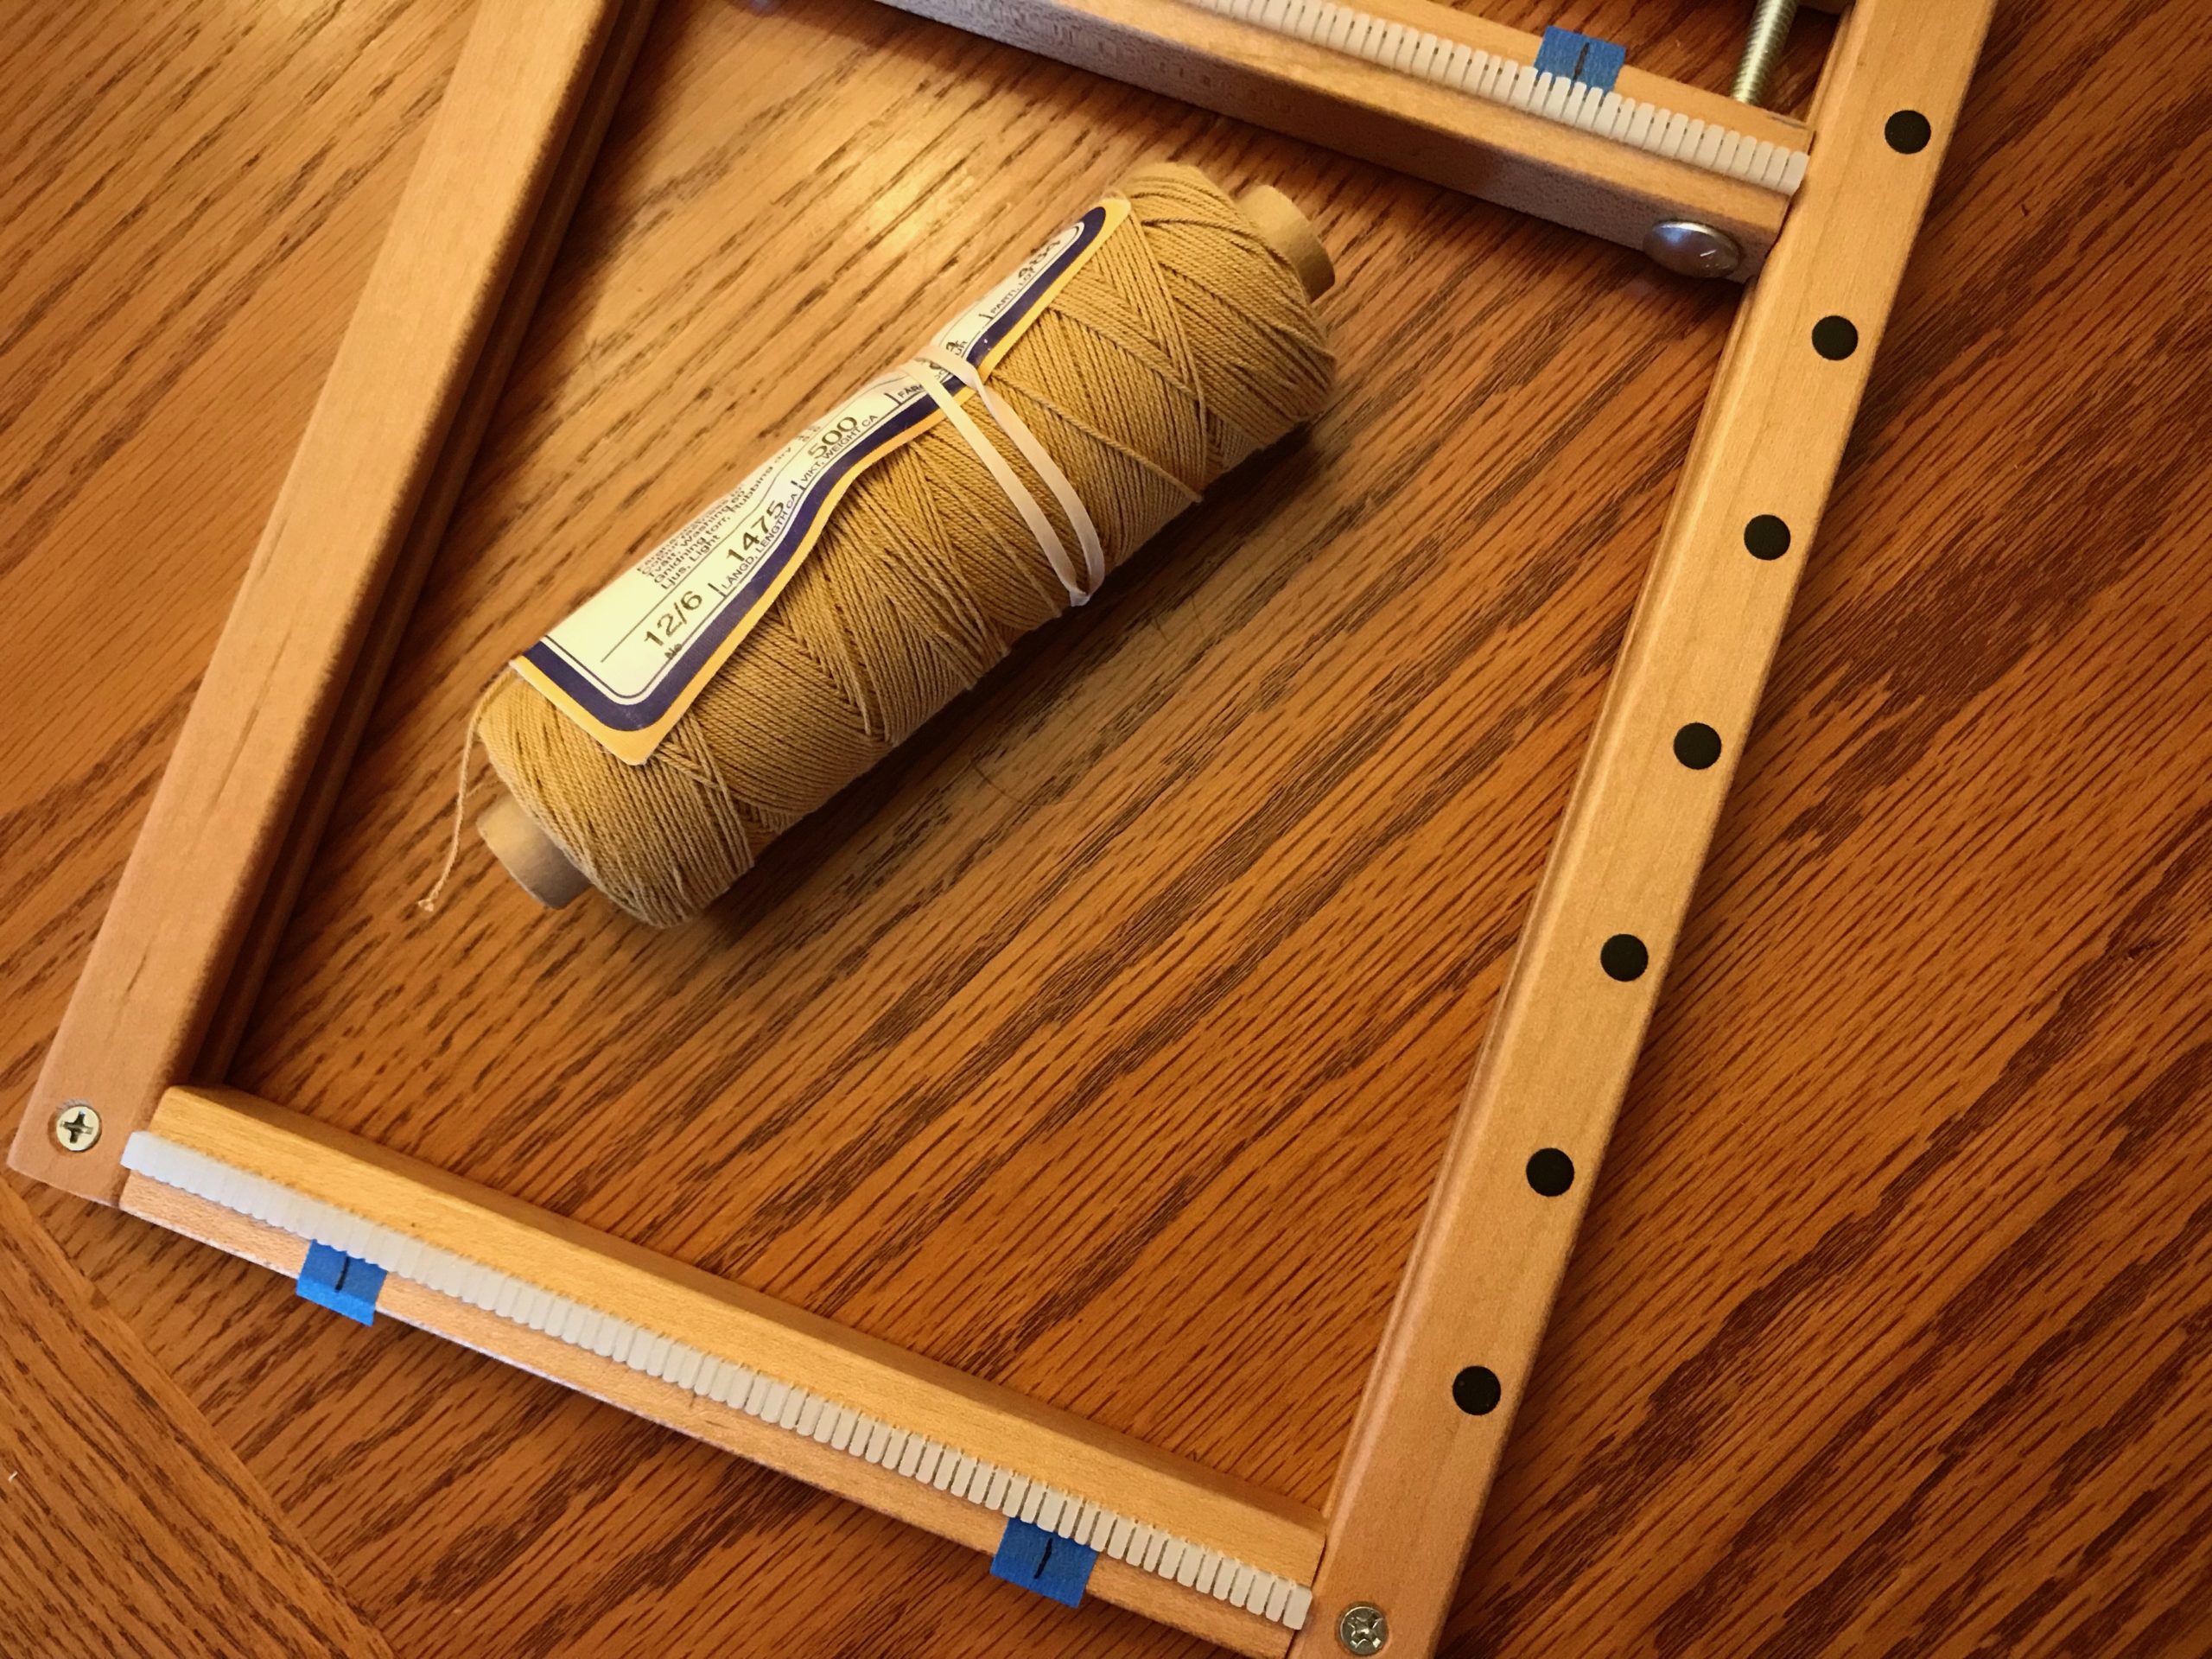
Uses for blue tape in my weaving studio.
Tapestry frame is ready for a new warp. After measuring for weaving width, and counting dents, I mark the dents with tape. No more guessing if I’m “almost there” when putting on the warp.
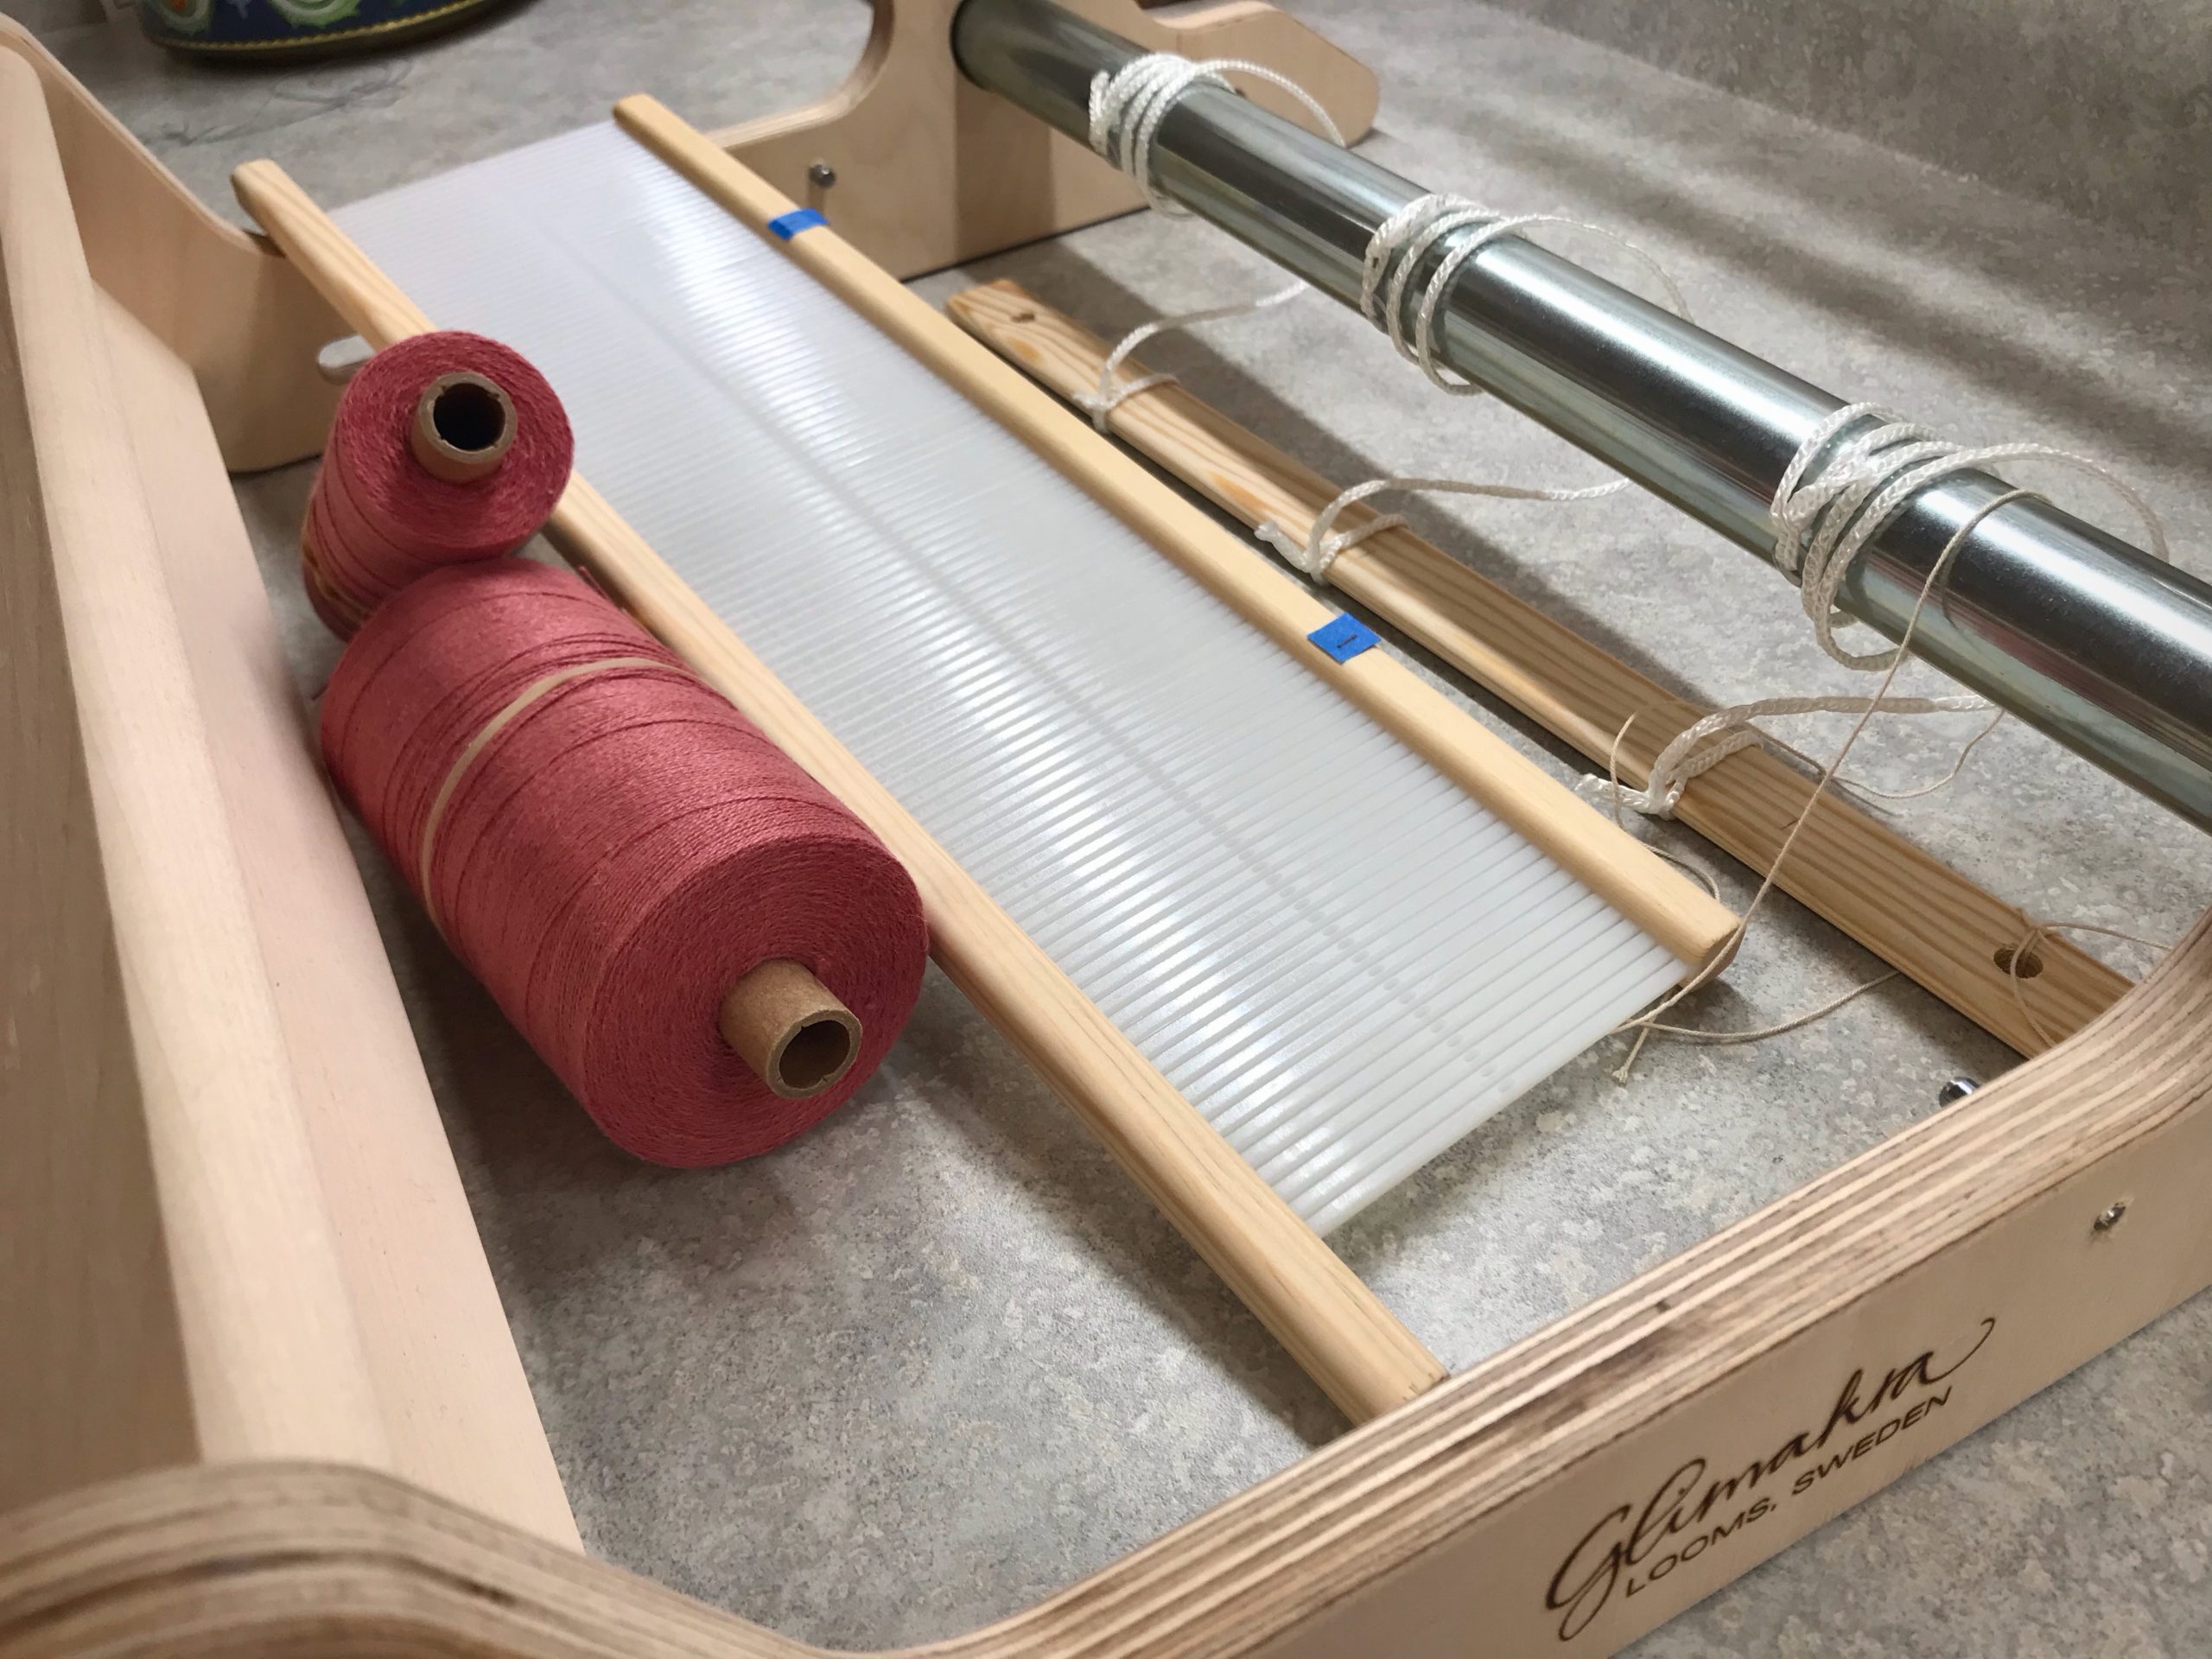
Blue tape to mark the rigid heddle. And other uses for blue tape.
By clearly marking the first and last slots/holes I can verify that my calculations are correct before I start warping the rigid heddle loom. This is helpful for direct warping and for indirect warping methods.

  • Number with Grace. Write out a series of numbers on a long piece of tape, leaving space between the numbers. Cut the numbers apart. Use the numbers to label pattern shaft draw handles on the drawloom. Place the numbers directly above the draw handles, arranged in groups of five for easy visual recognition. Use a separate series of numbers for border pattern shafts, if applicable. This temporary numbering system gives the advantage of being able to customize the numbering for each drawloom draft.
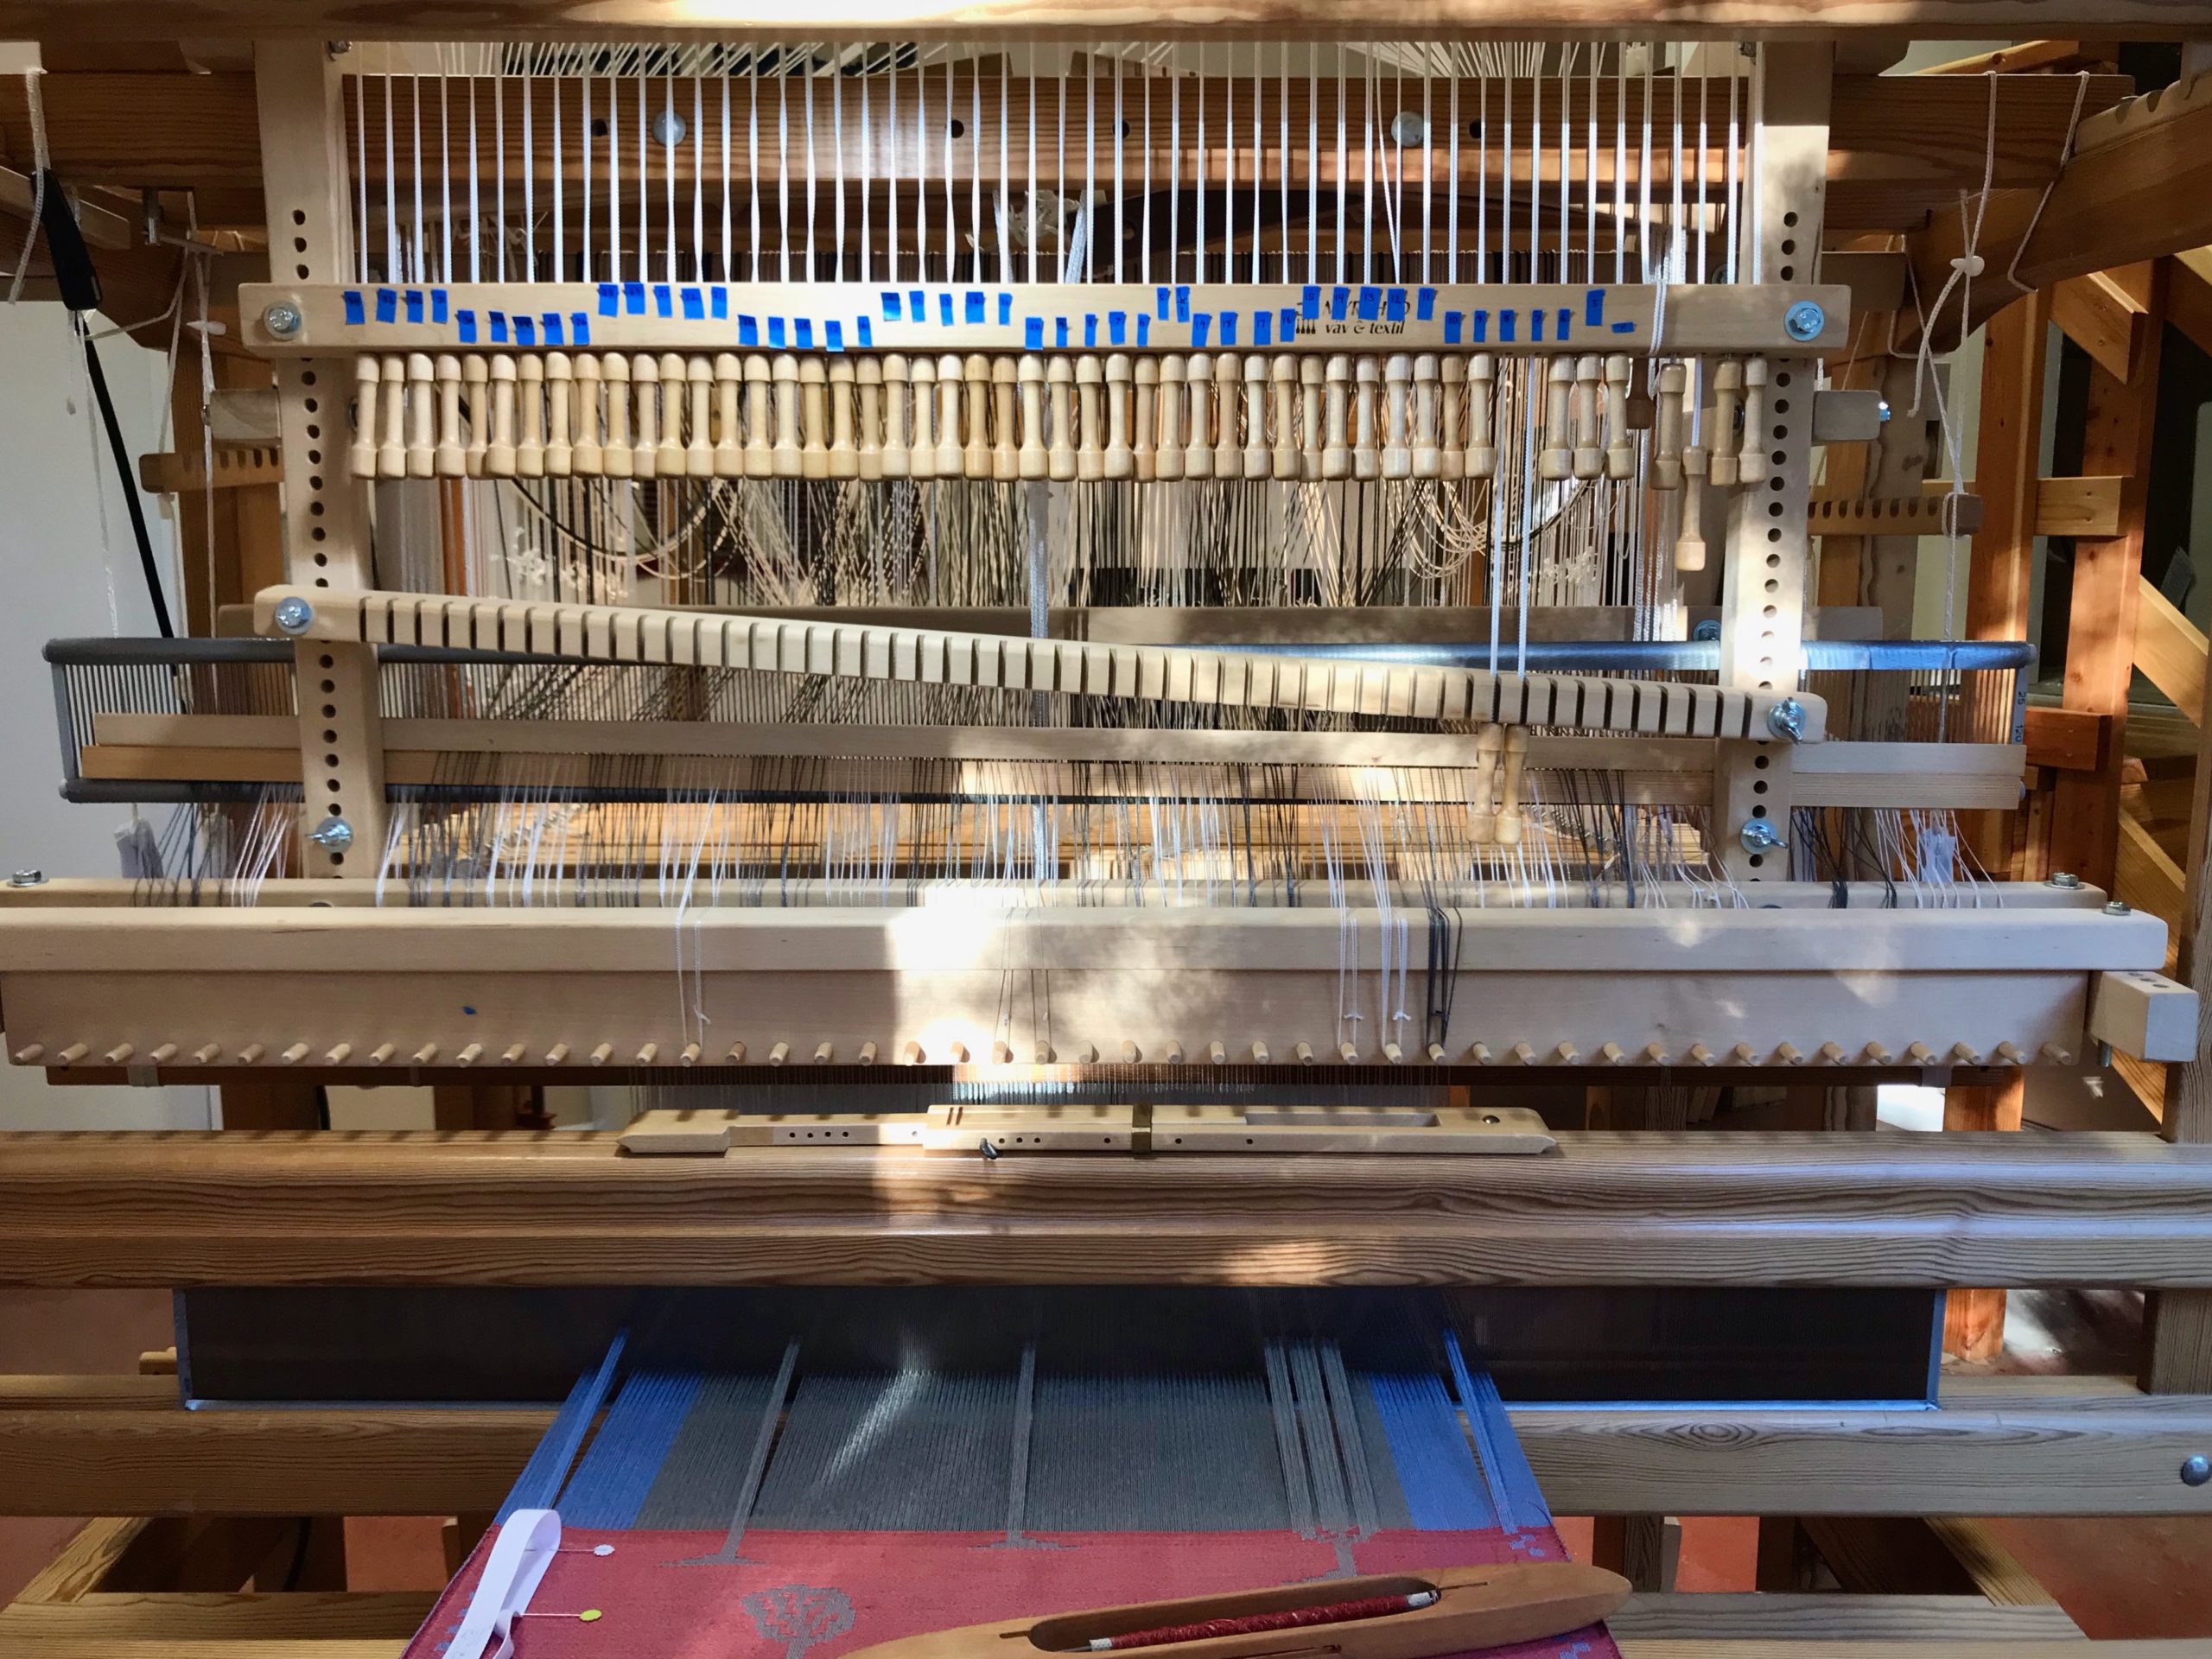
This is how I number my drawloom handles. Blue tape!
Using the Myrehed Combination Drawloom, I configure the numbers for the pattern shaft draw handles to coordinate with the single unit draw cords, which are grouped by tens. This makes my working chart that uses single units and pattern shafts much less complicated. For this reason, it doesn’t make sense to give my draw handles “permanent” numbers.

Have you found ways to use blue painter’s tape in your weaving studio? Share in the comments!

May your life leave marks that are more than temporary.

Have fun,
Karen

Process Review: Glimåkra Siru – First Time Around the Block

This is the completion of my first warp of three shaft twill on a rigid heddle loom. One step beyond plain weave, this opens the door to further exploration of double-heddle weaving on the rigid heddle loom. I already have two 50 cm (12-dent) heddles in hand for my next project, which will enable me to get an even finer/tighter cloth than with the 40 cm (10-dent) heddles I used for this project.

Guadalupe Mountains National Park and weaving outside.
Glimåkra Siru rigid heddle loom, beside the Weber grill on the picnic table. Weaving outside in Guadalupe Mountains National Park, Texas.
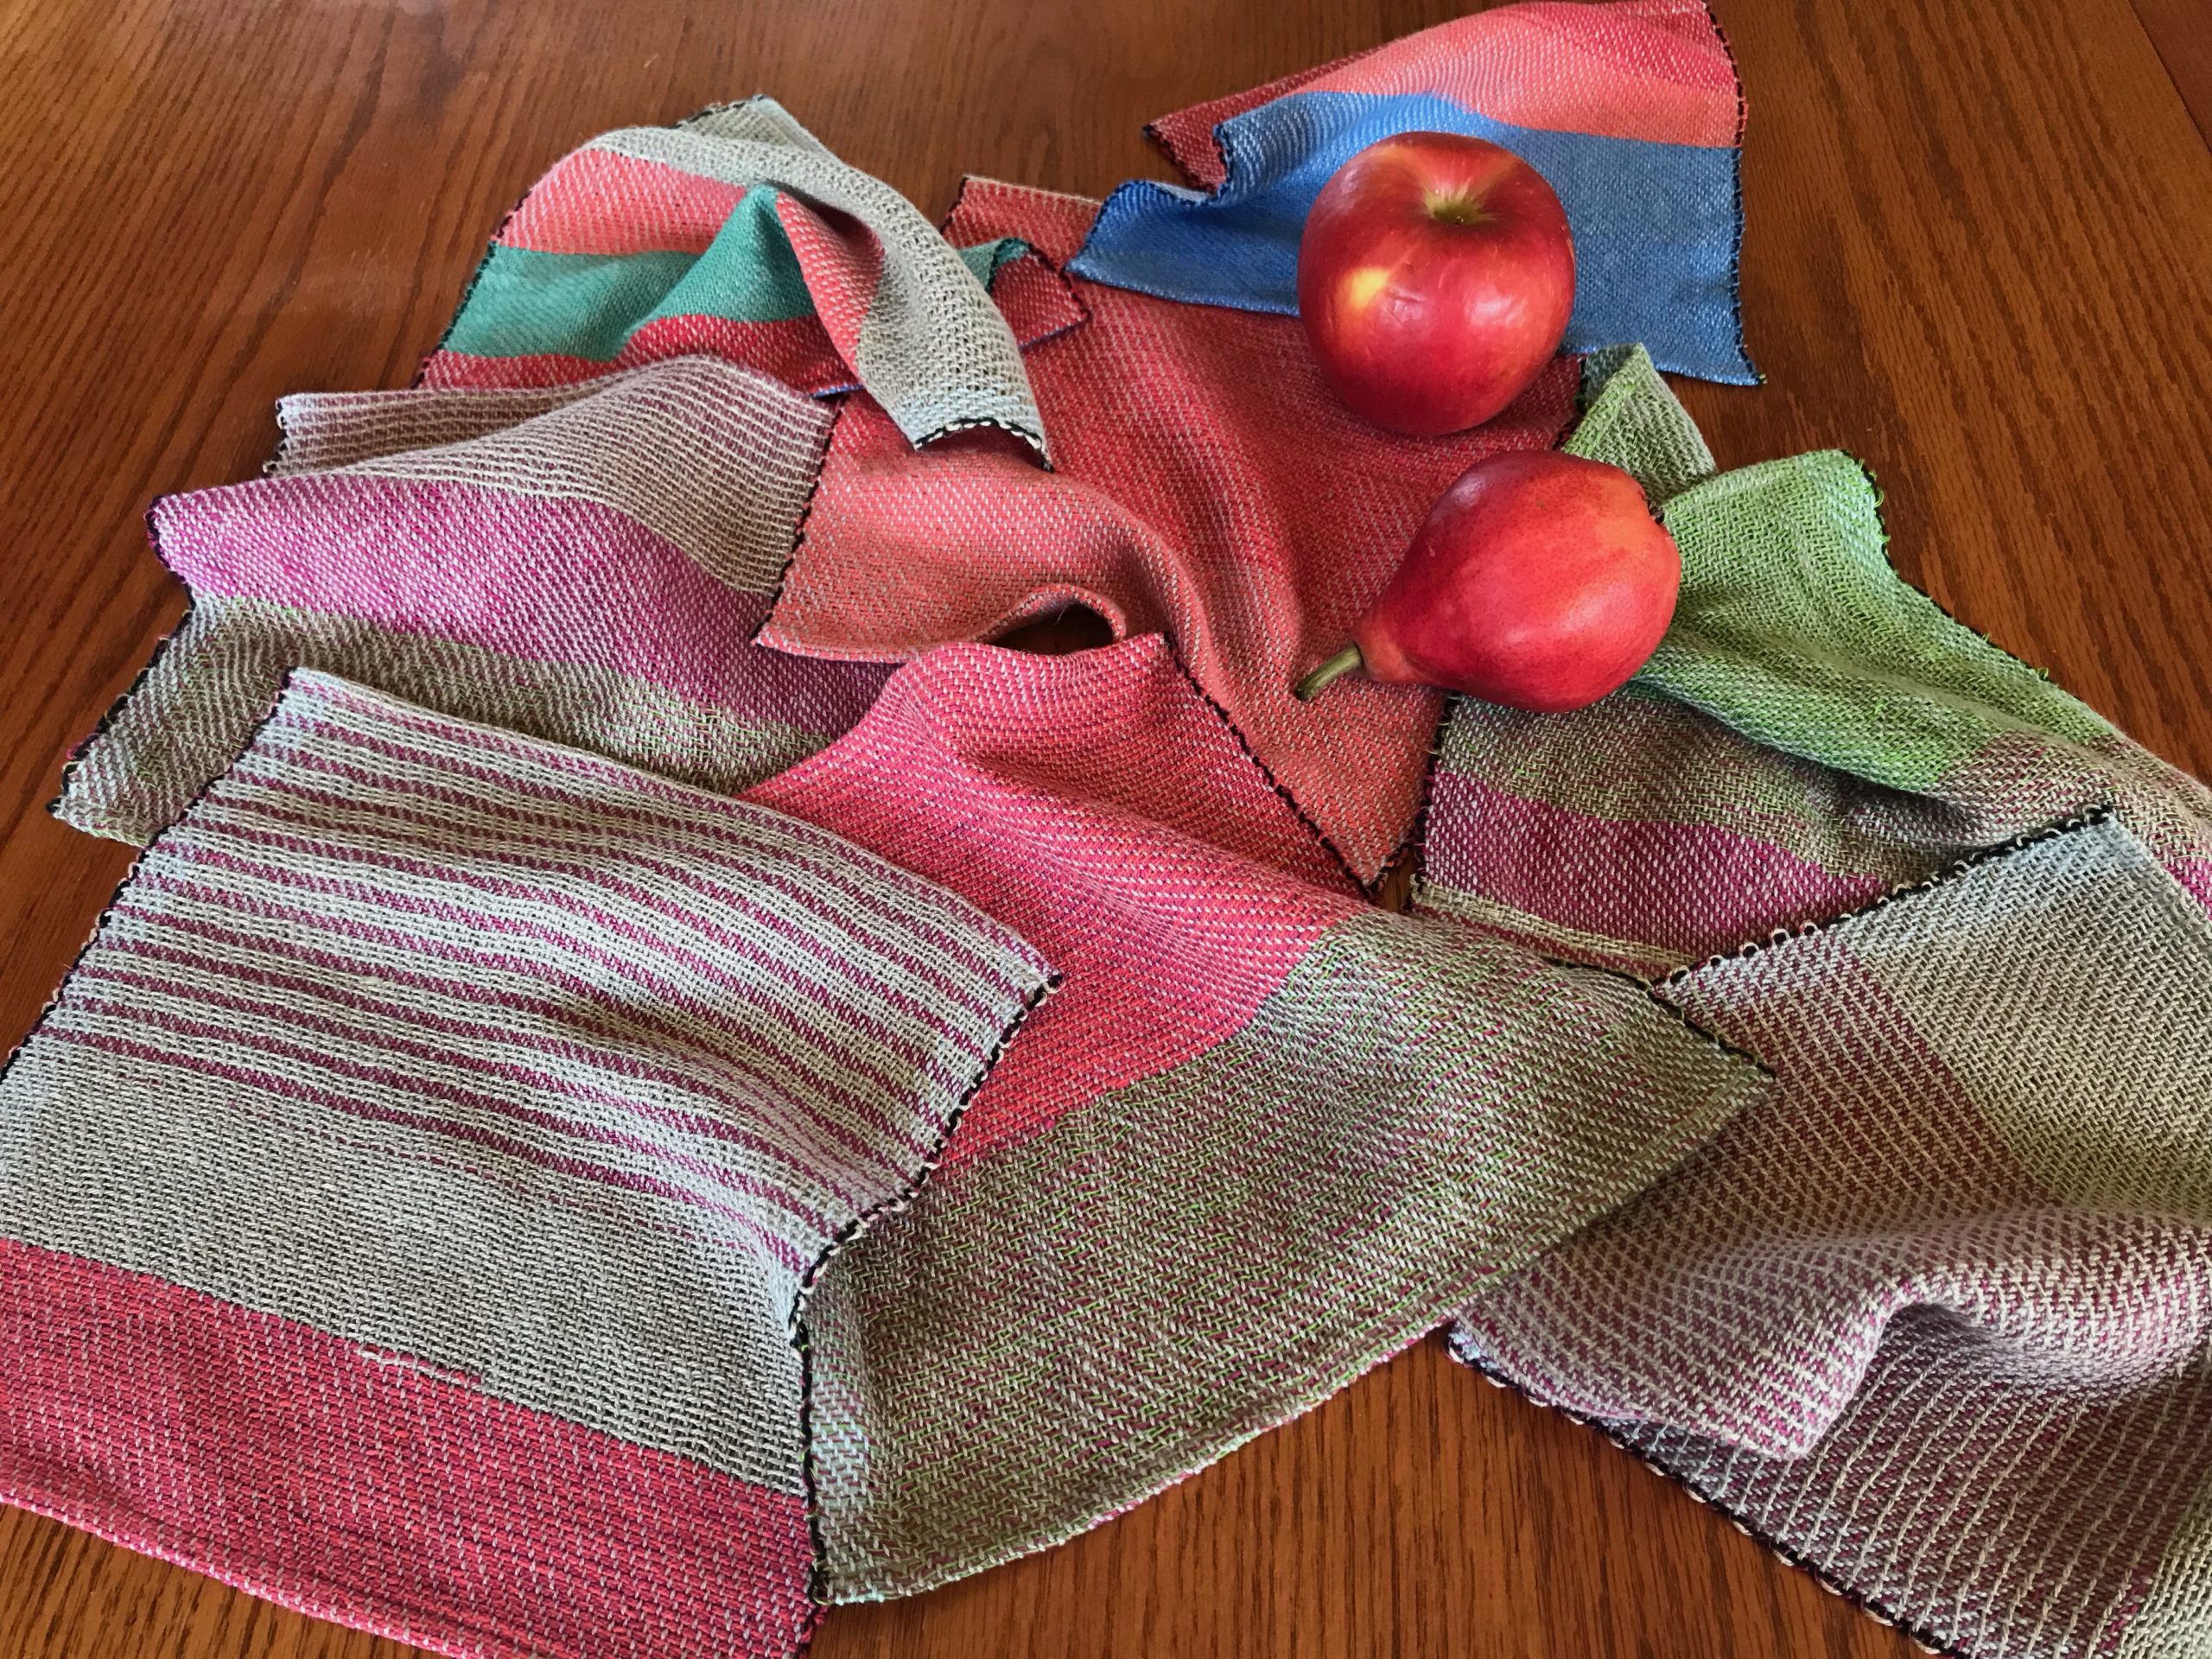
Cottolin warp, and cottolin and linen wefts, make lightweight, but sturdy colorful face cloths. 1/2 weft-faced twill.

The Glimåkra Siru Rigid Heddle loom is the star of this show. Follow along as I take a quick look back through the process of weaving this light fabric. The cotton and linen squares are perfect for face cloths and light wash cloths.

May you be blessed.

Happy Weaving,
Karen

Process Review: Unboxing Siru

Steve and I assembled another loom recently. This 40 cm (15 3/4”) Glimakra Siru Rigid Heddle Loom is going camping with me. It folds and opens effortlessly, even with a warp on it. The Siru loom has built-in support for two heddles. This gives me the perfect excuse to dip my toes into two-heddle weaving on the rigid heddle loom.

Assembling a new Glimakra Siru RH loom.
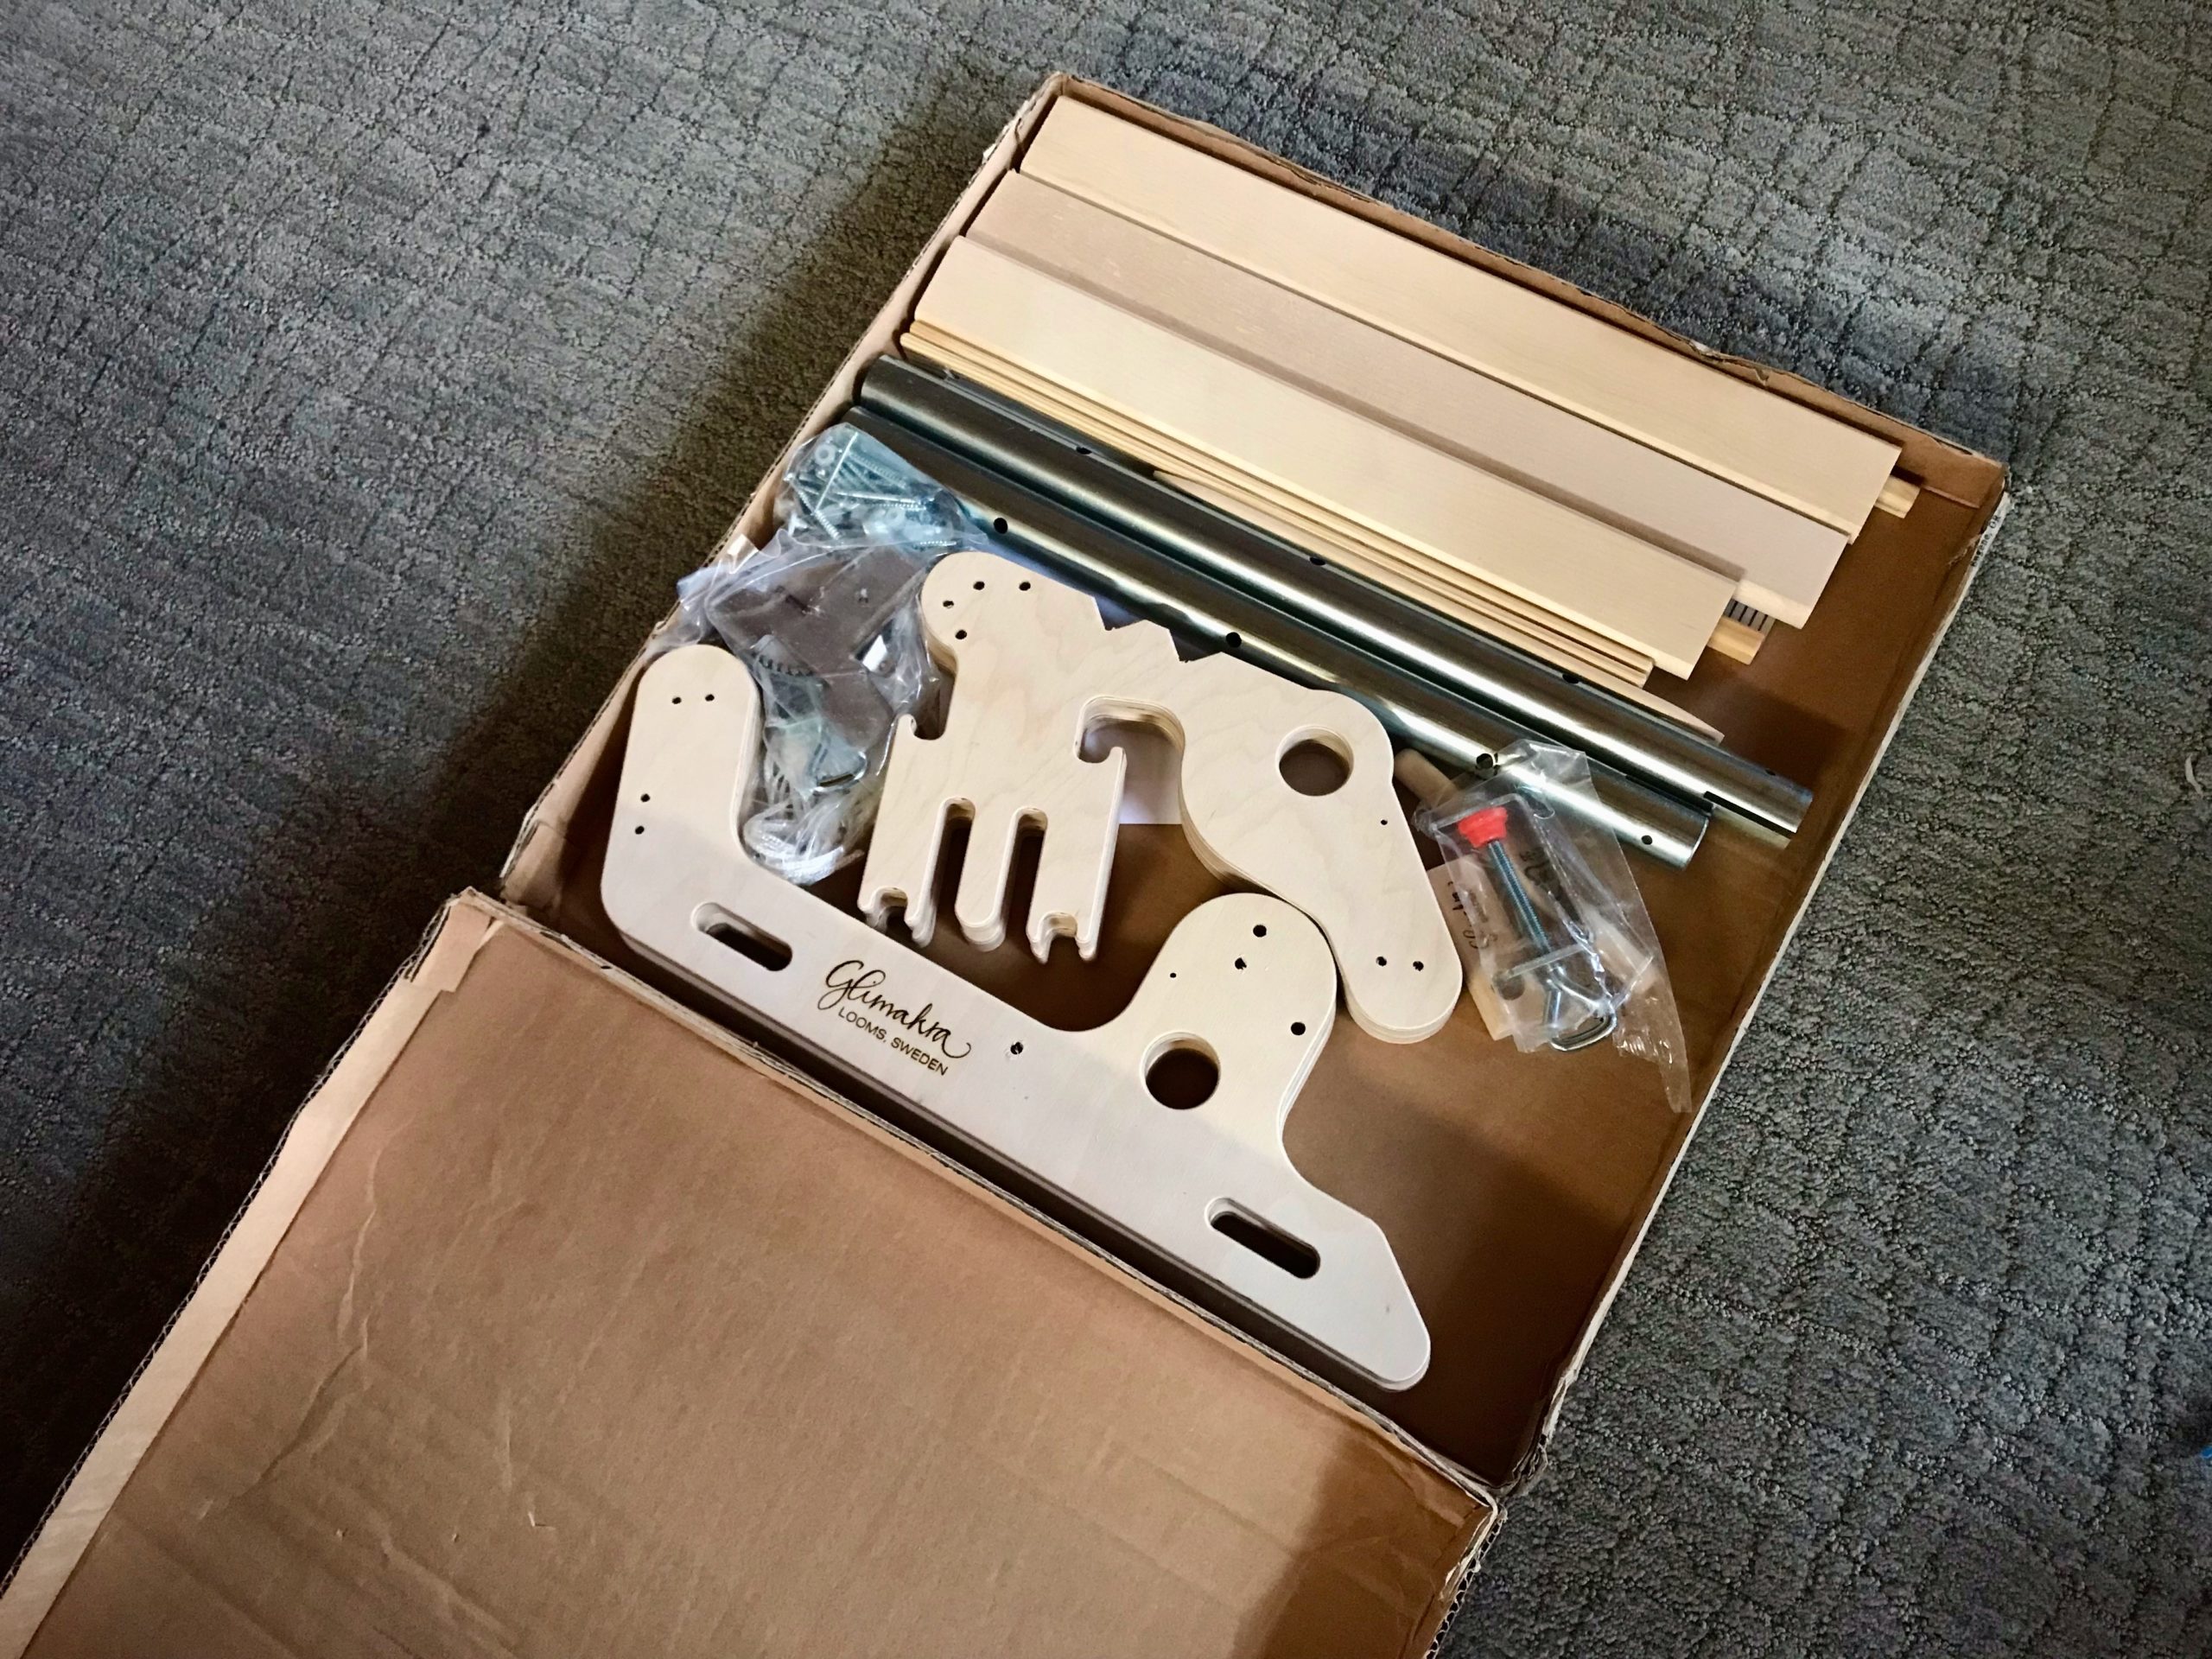
Glimåkra Siru Rigid Heddle Loom in the box. Do I see a little dinosaur? …or is that a pony?
Weaving with 2 heddles on rigid heddle loom.
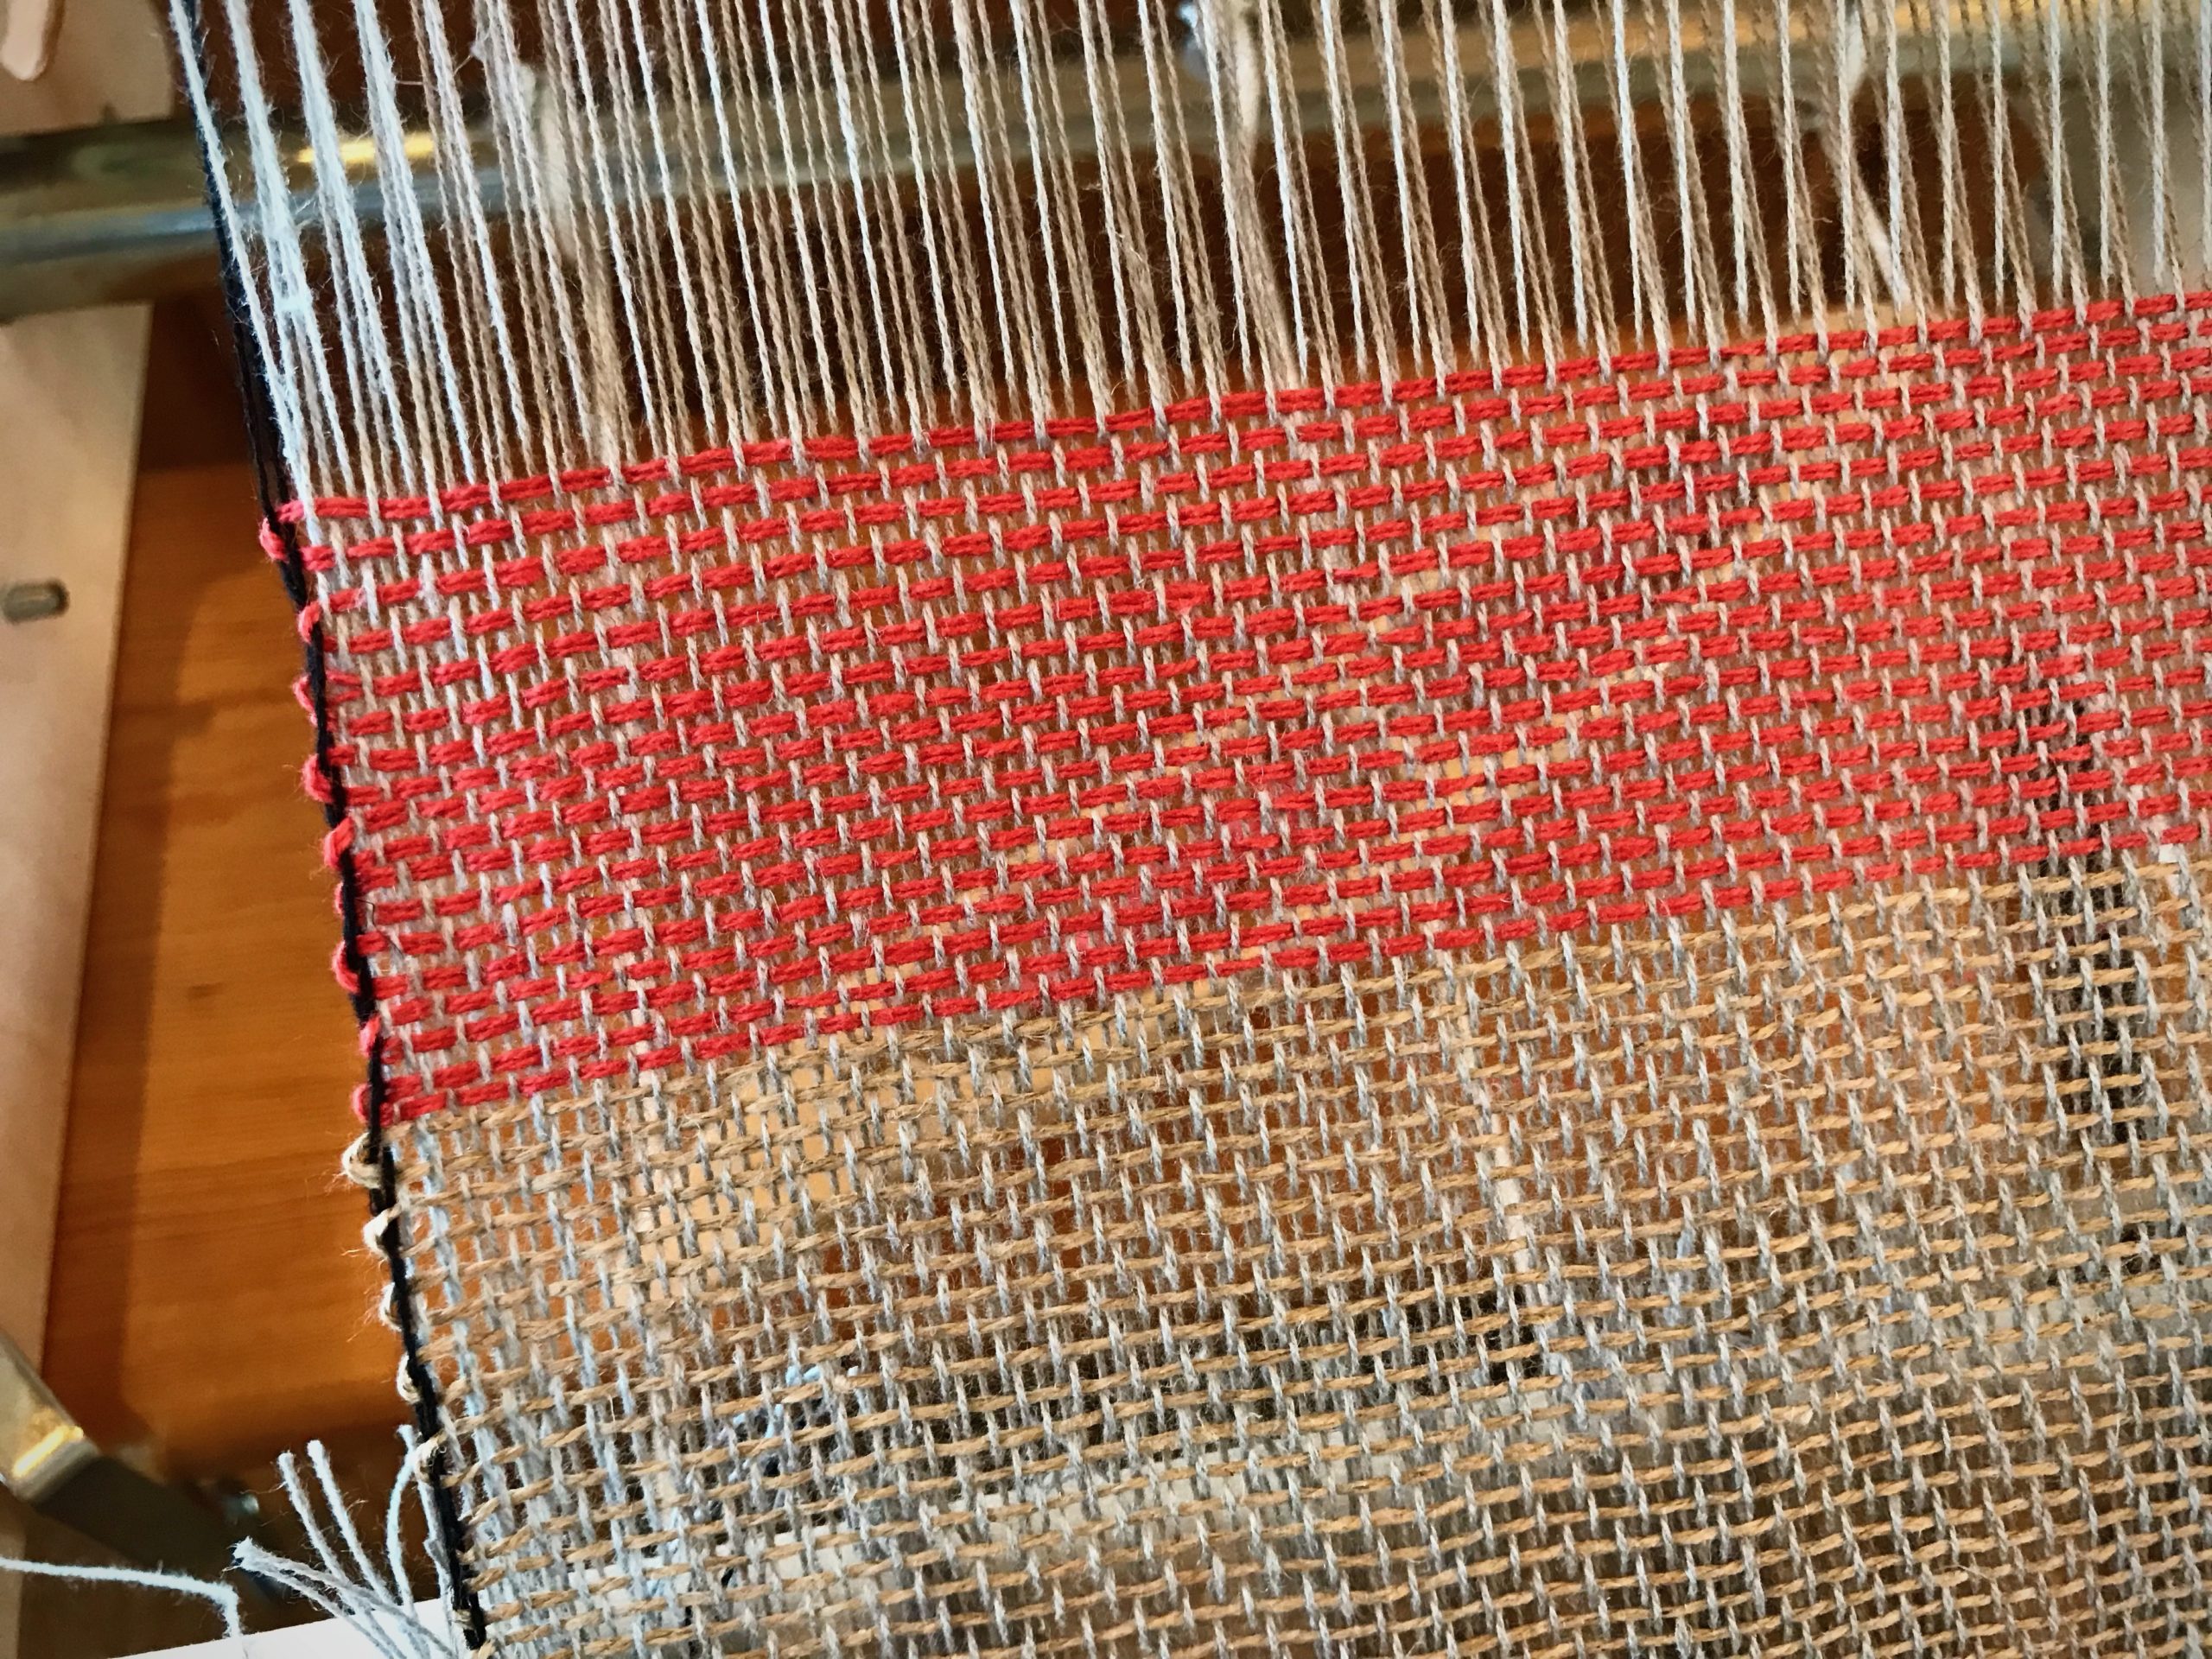
First project is a three-shaft twill, using 2 heddles. Warp is 22/2 cottolin. I am trying an assortment of linen, cotton, and cottolin wefts, with single threads and doubled threads. Everyone wants to know what I am making… Answer – Nothing in particular, I’m just weaving for fun.

As with any loom assembly, Steve and I first lay out all the parts and pieces, putting like things and sizes together. We then mark off the supply list in the instructions to make sure no parts are missing. That prep work simplifies the whole assembly process. The written instructions that come with the loom are sparse, but I found this online video that shows clear assembly steps for the Siru: Siru Assembly

I am impressed with the Siru for its sturdy construction, ease of folding, and smoothly operating ratchets. I will write more on two-heddle weaving on the rigid heddle loom in the future, as I gain experience…

And here is our one-minute version of assembling and weaving on the Glimåkra Siru Rigid Heddle Loom:

May you put your parts and pieces in order.

Happy Travel Weaving,
Karen