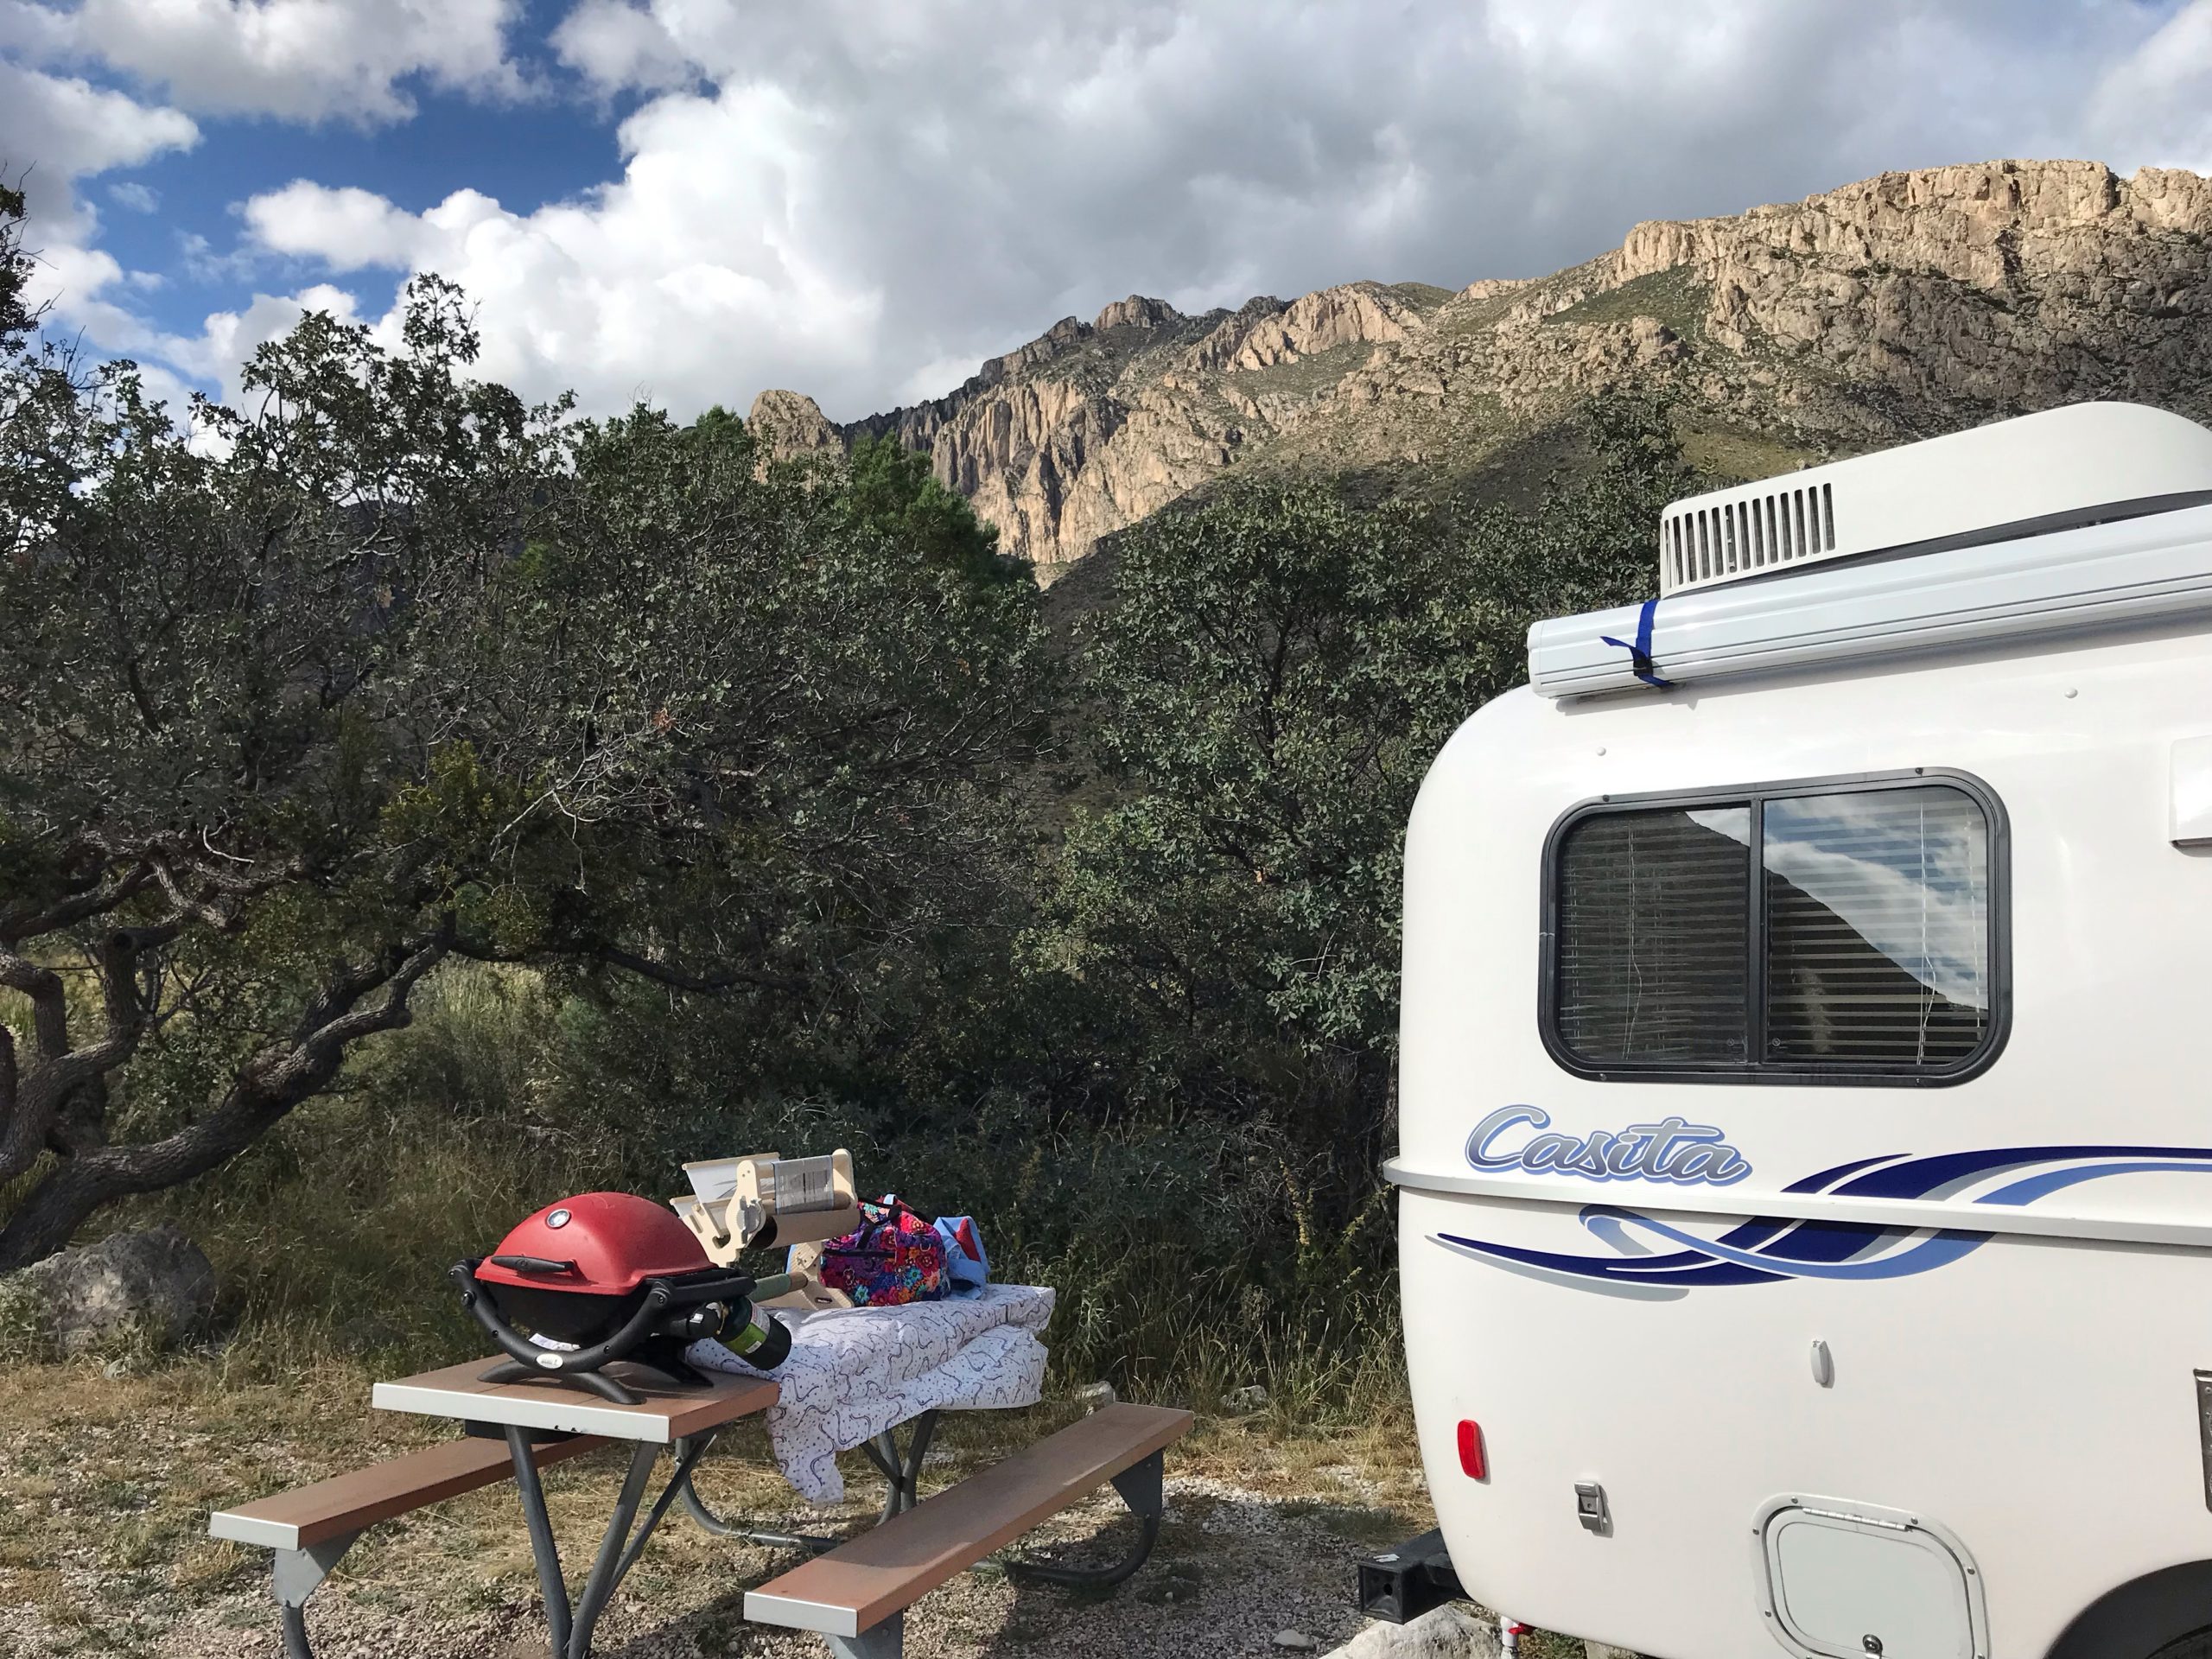
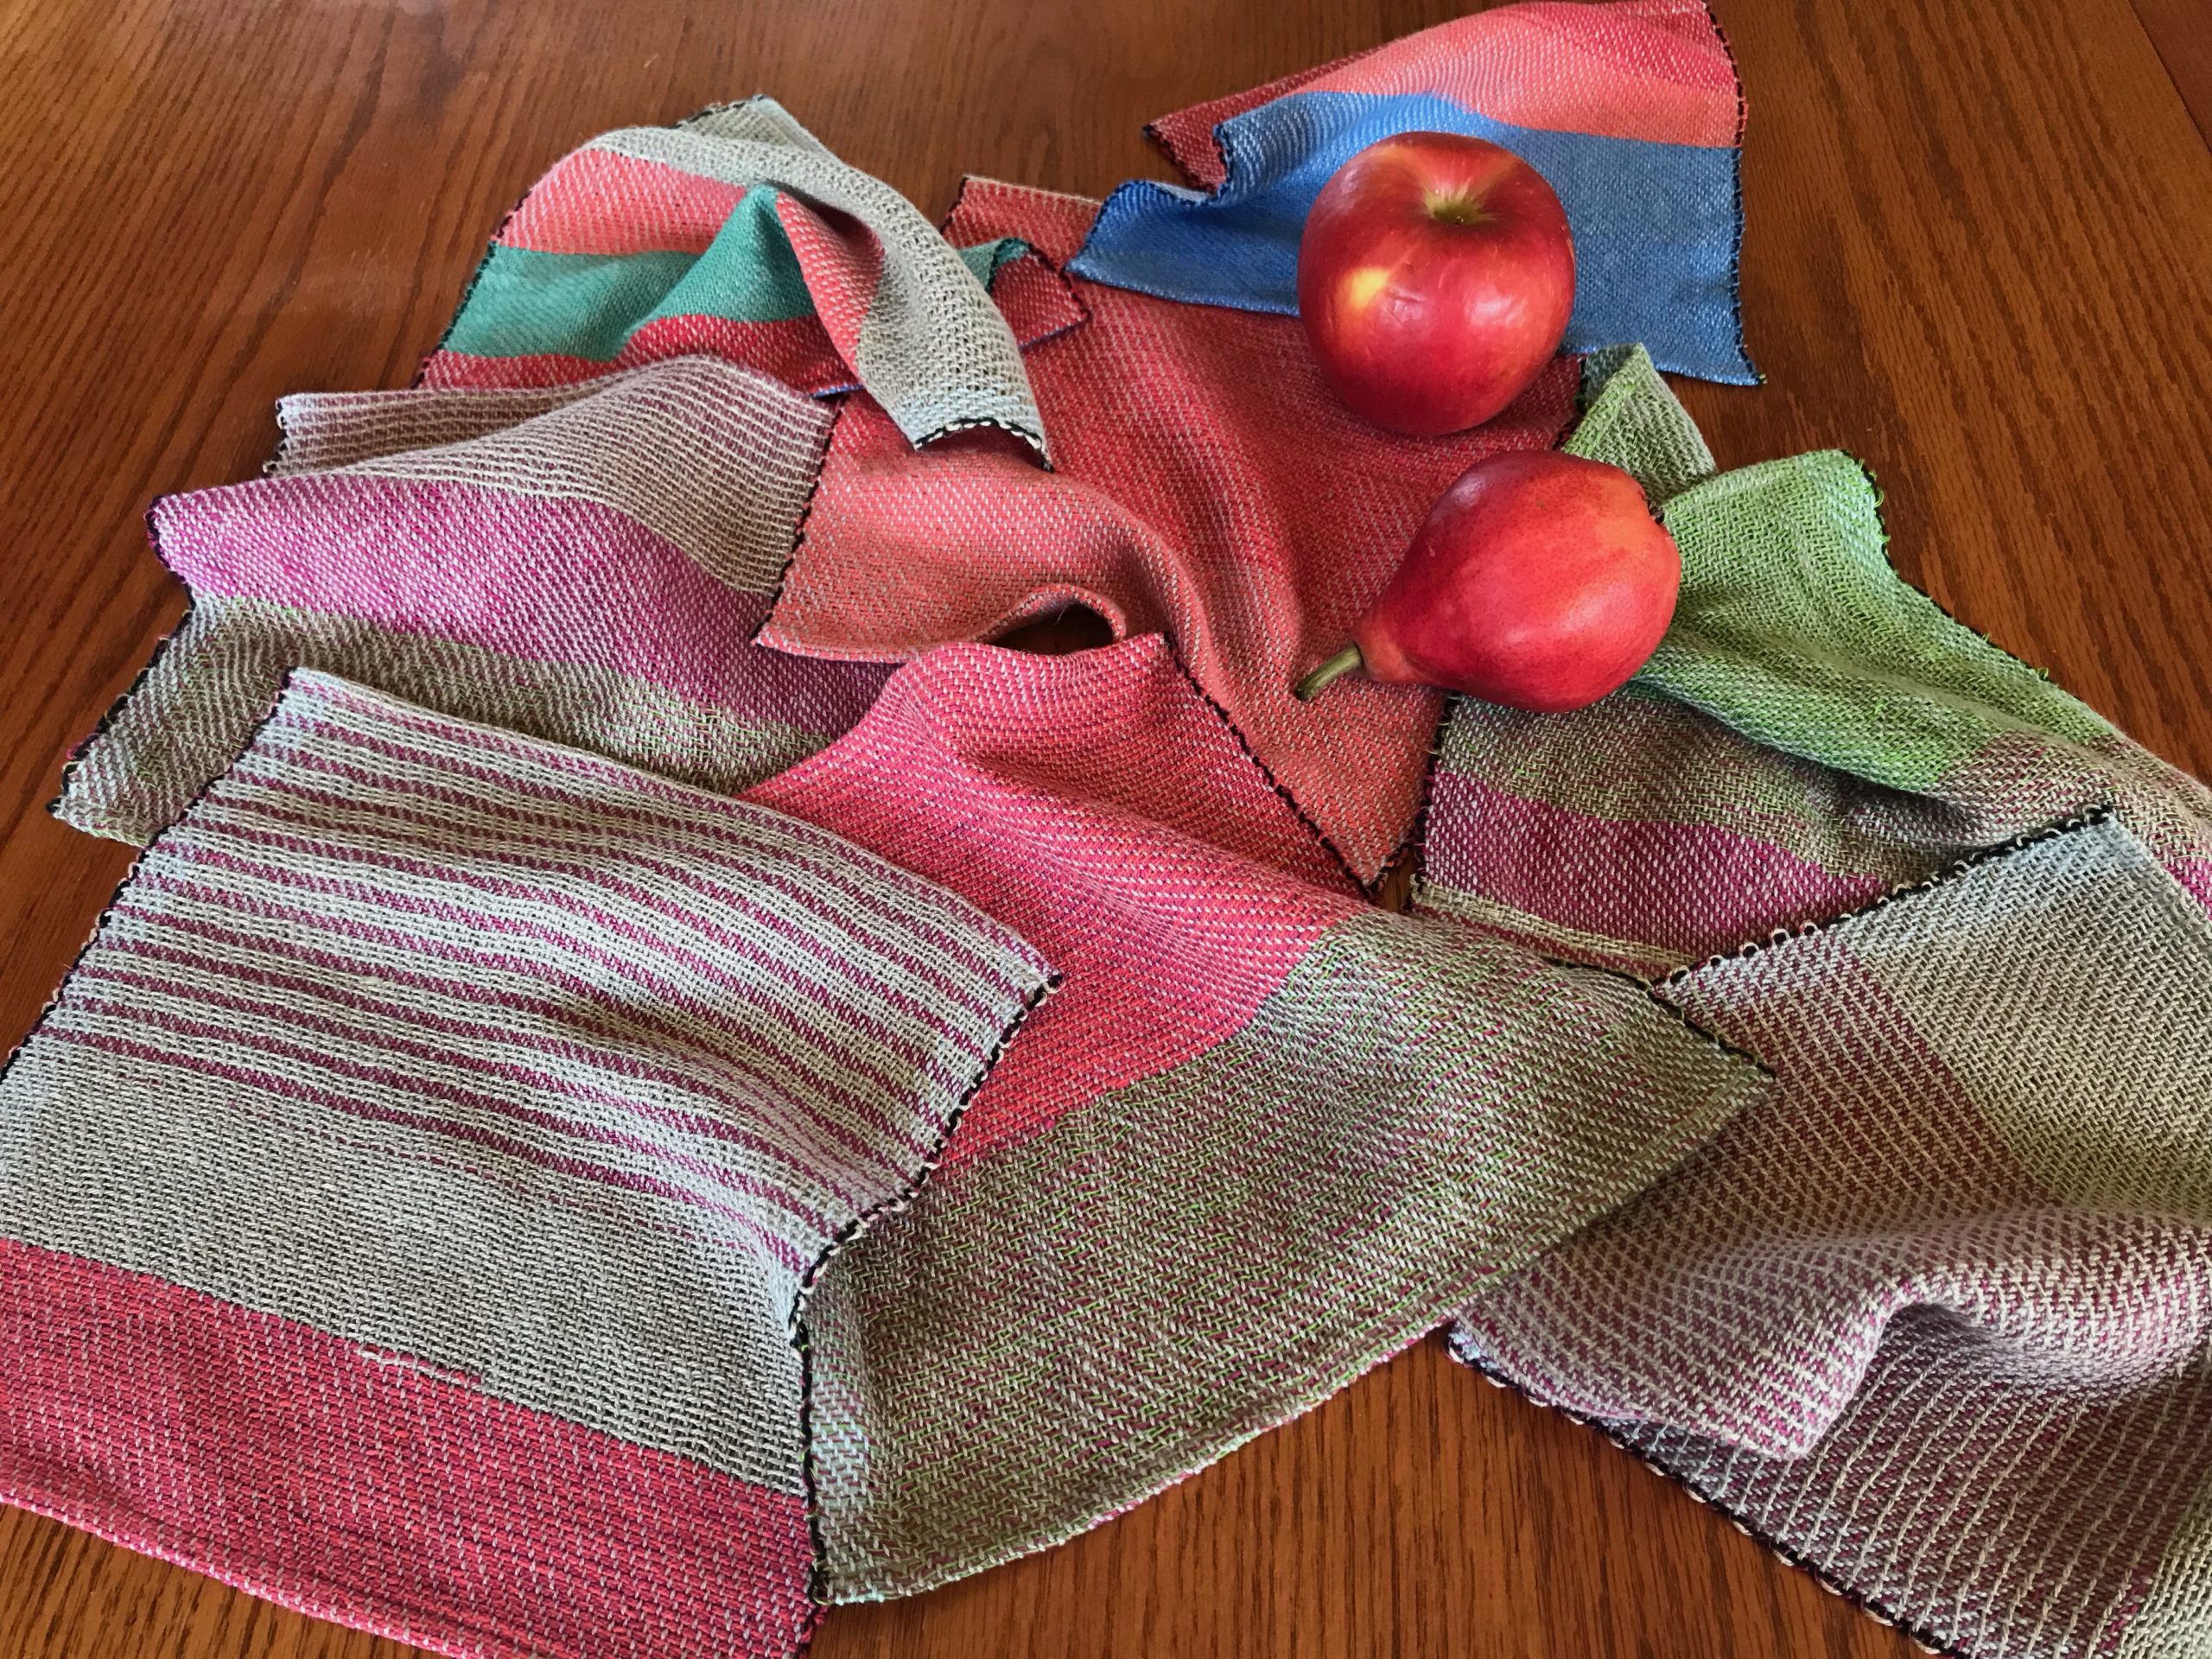
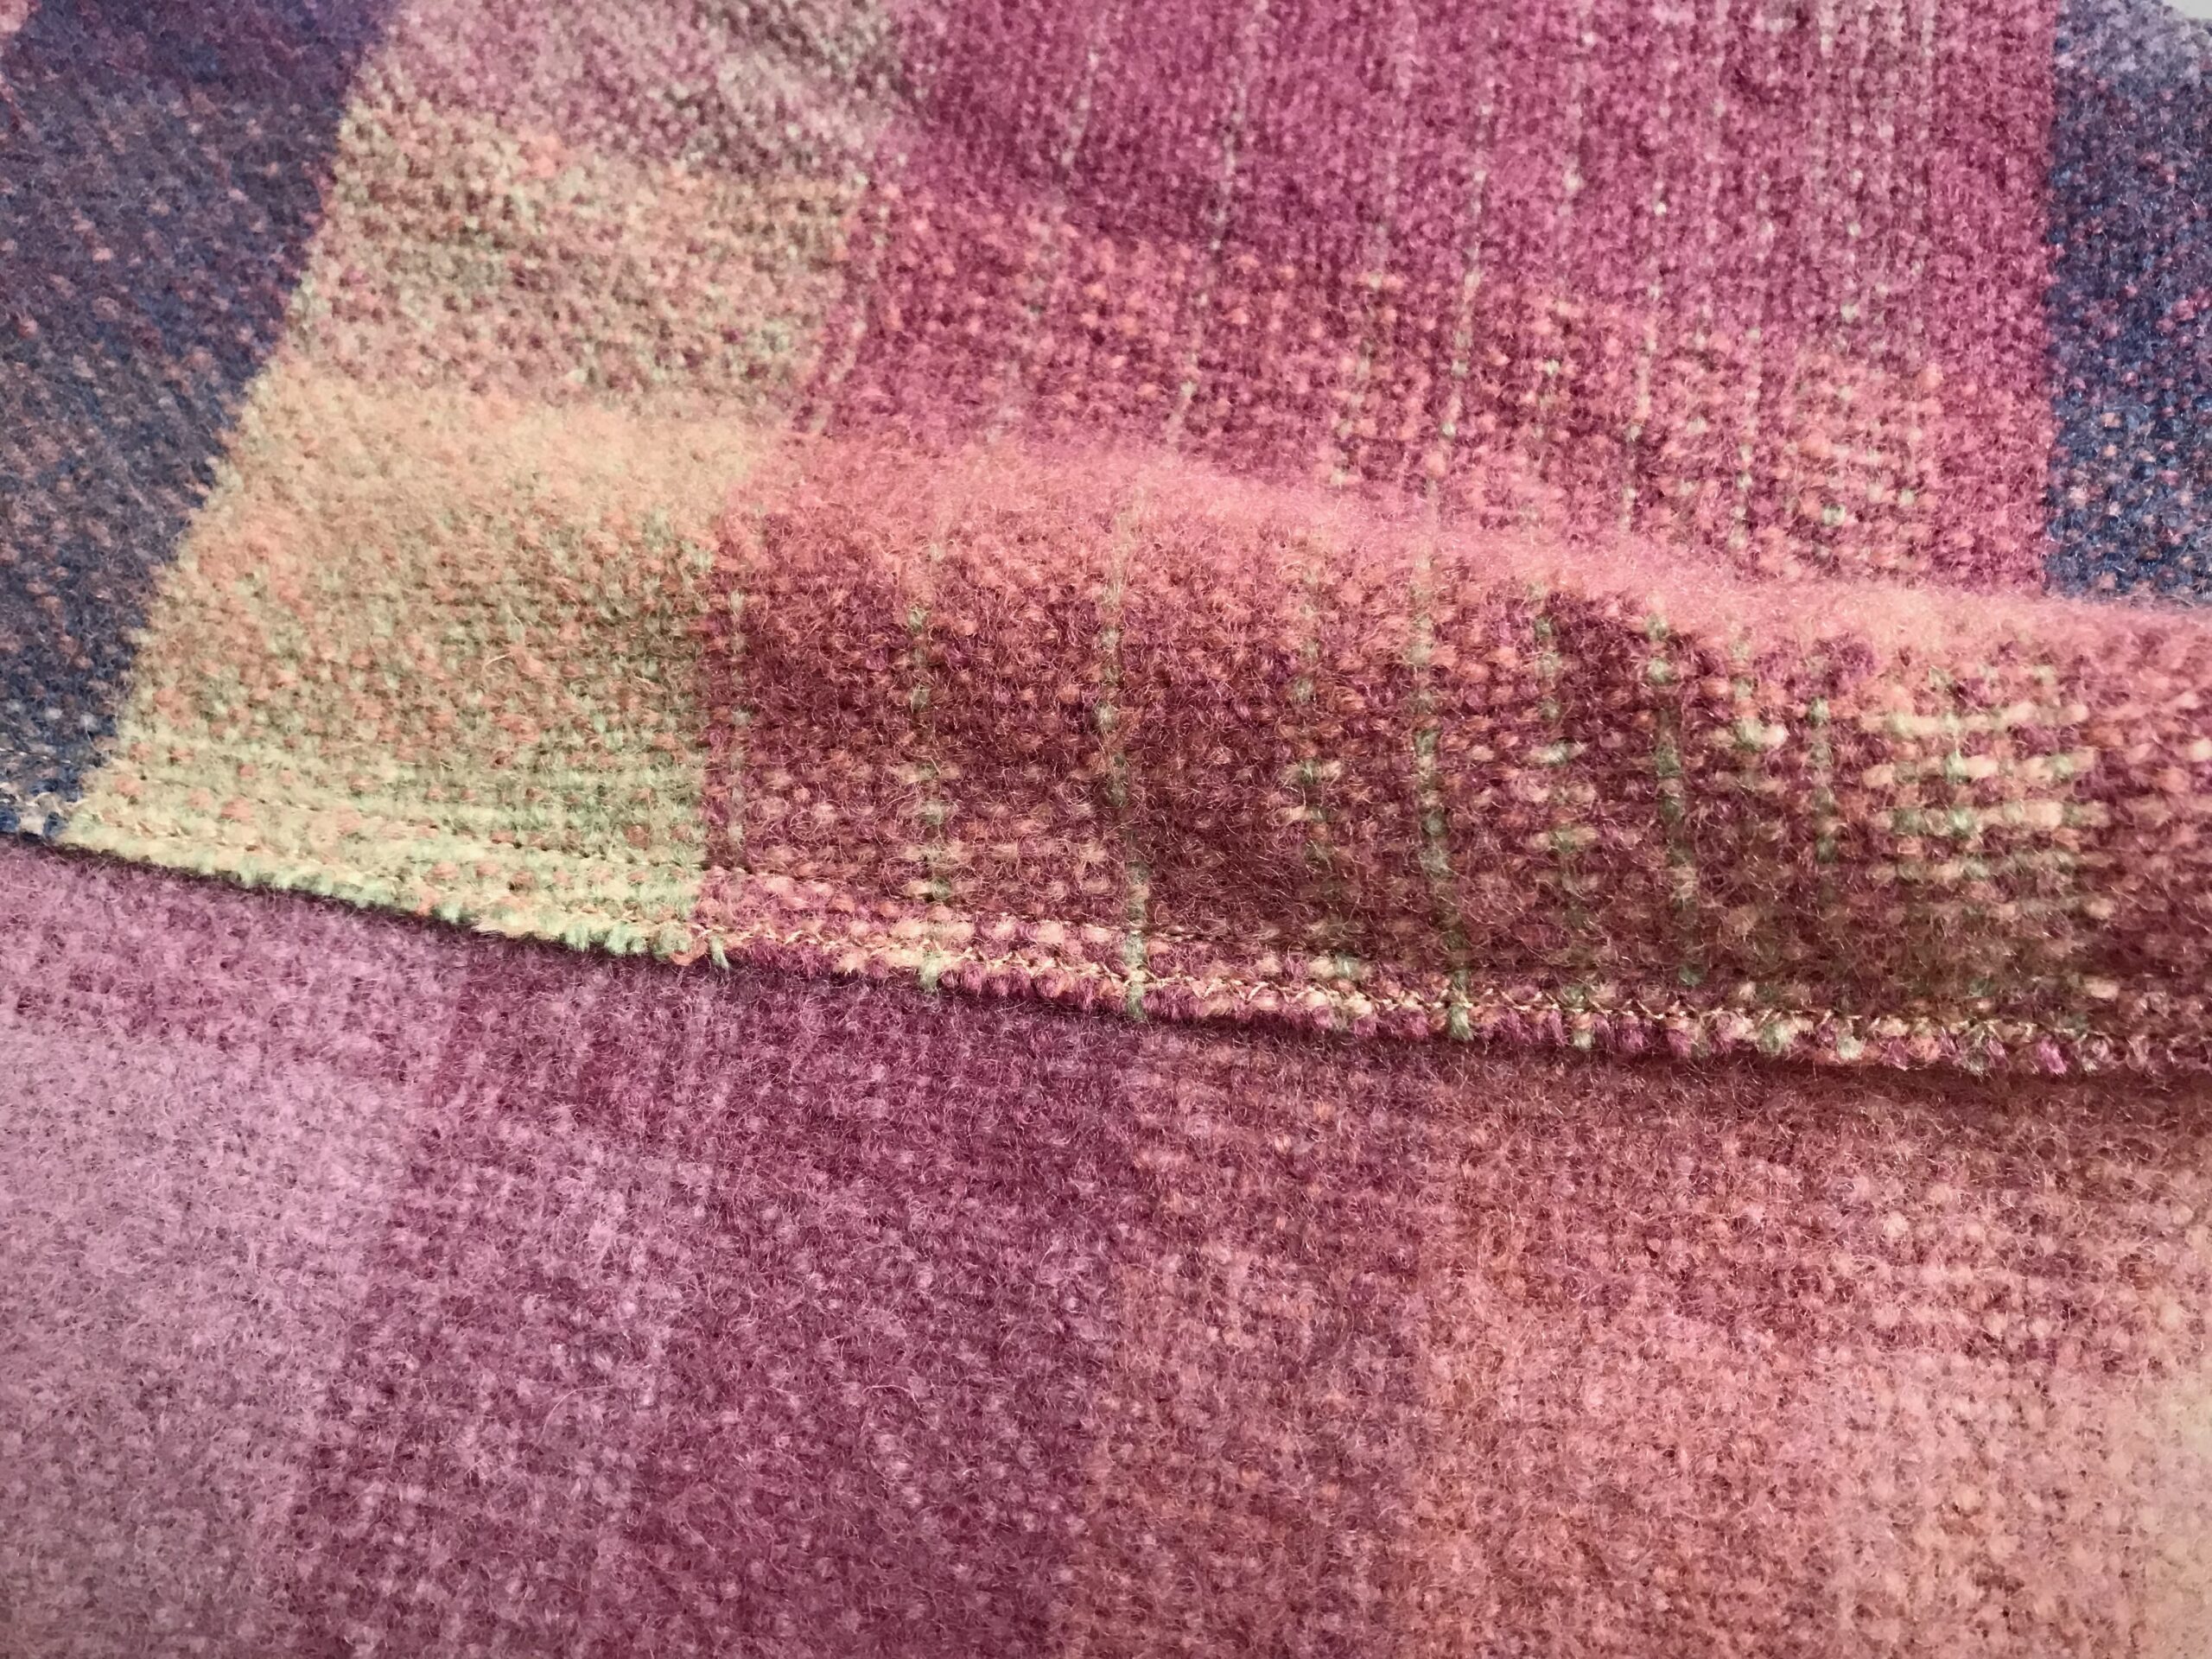
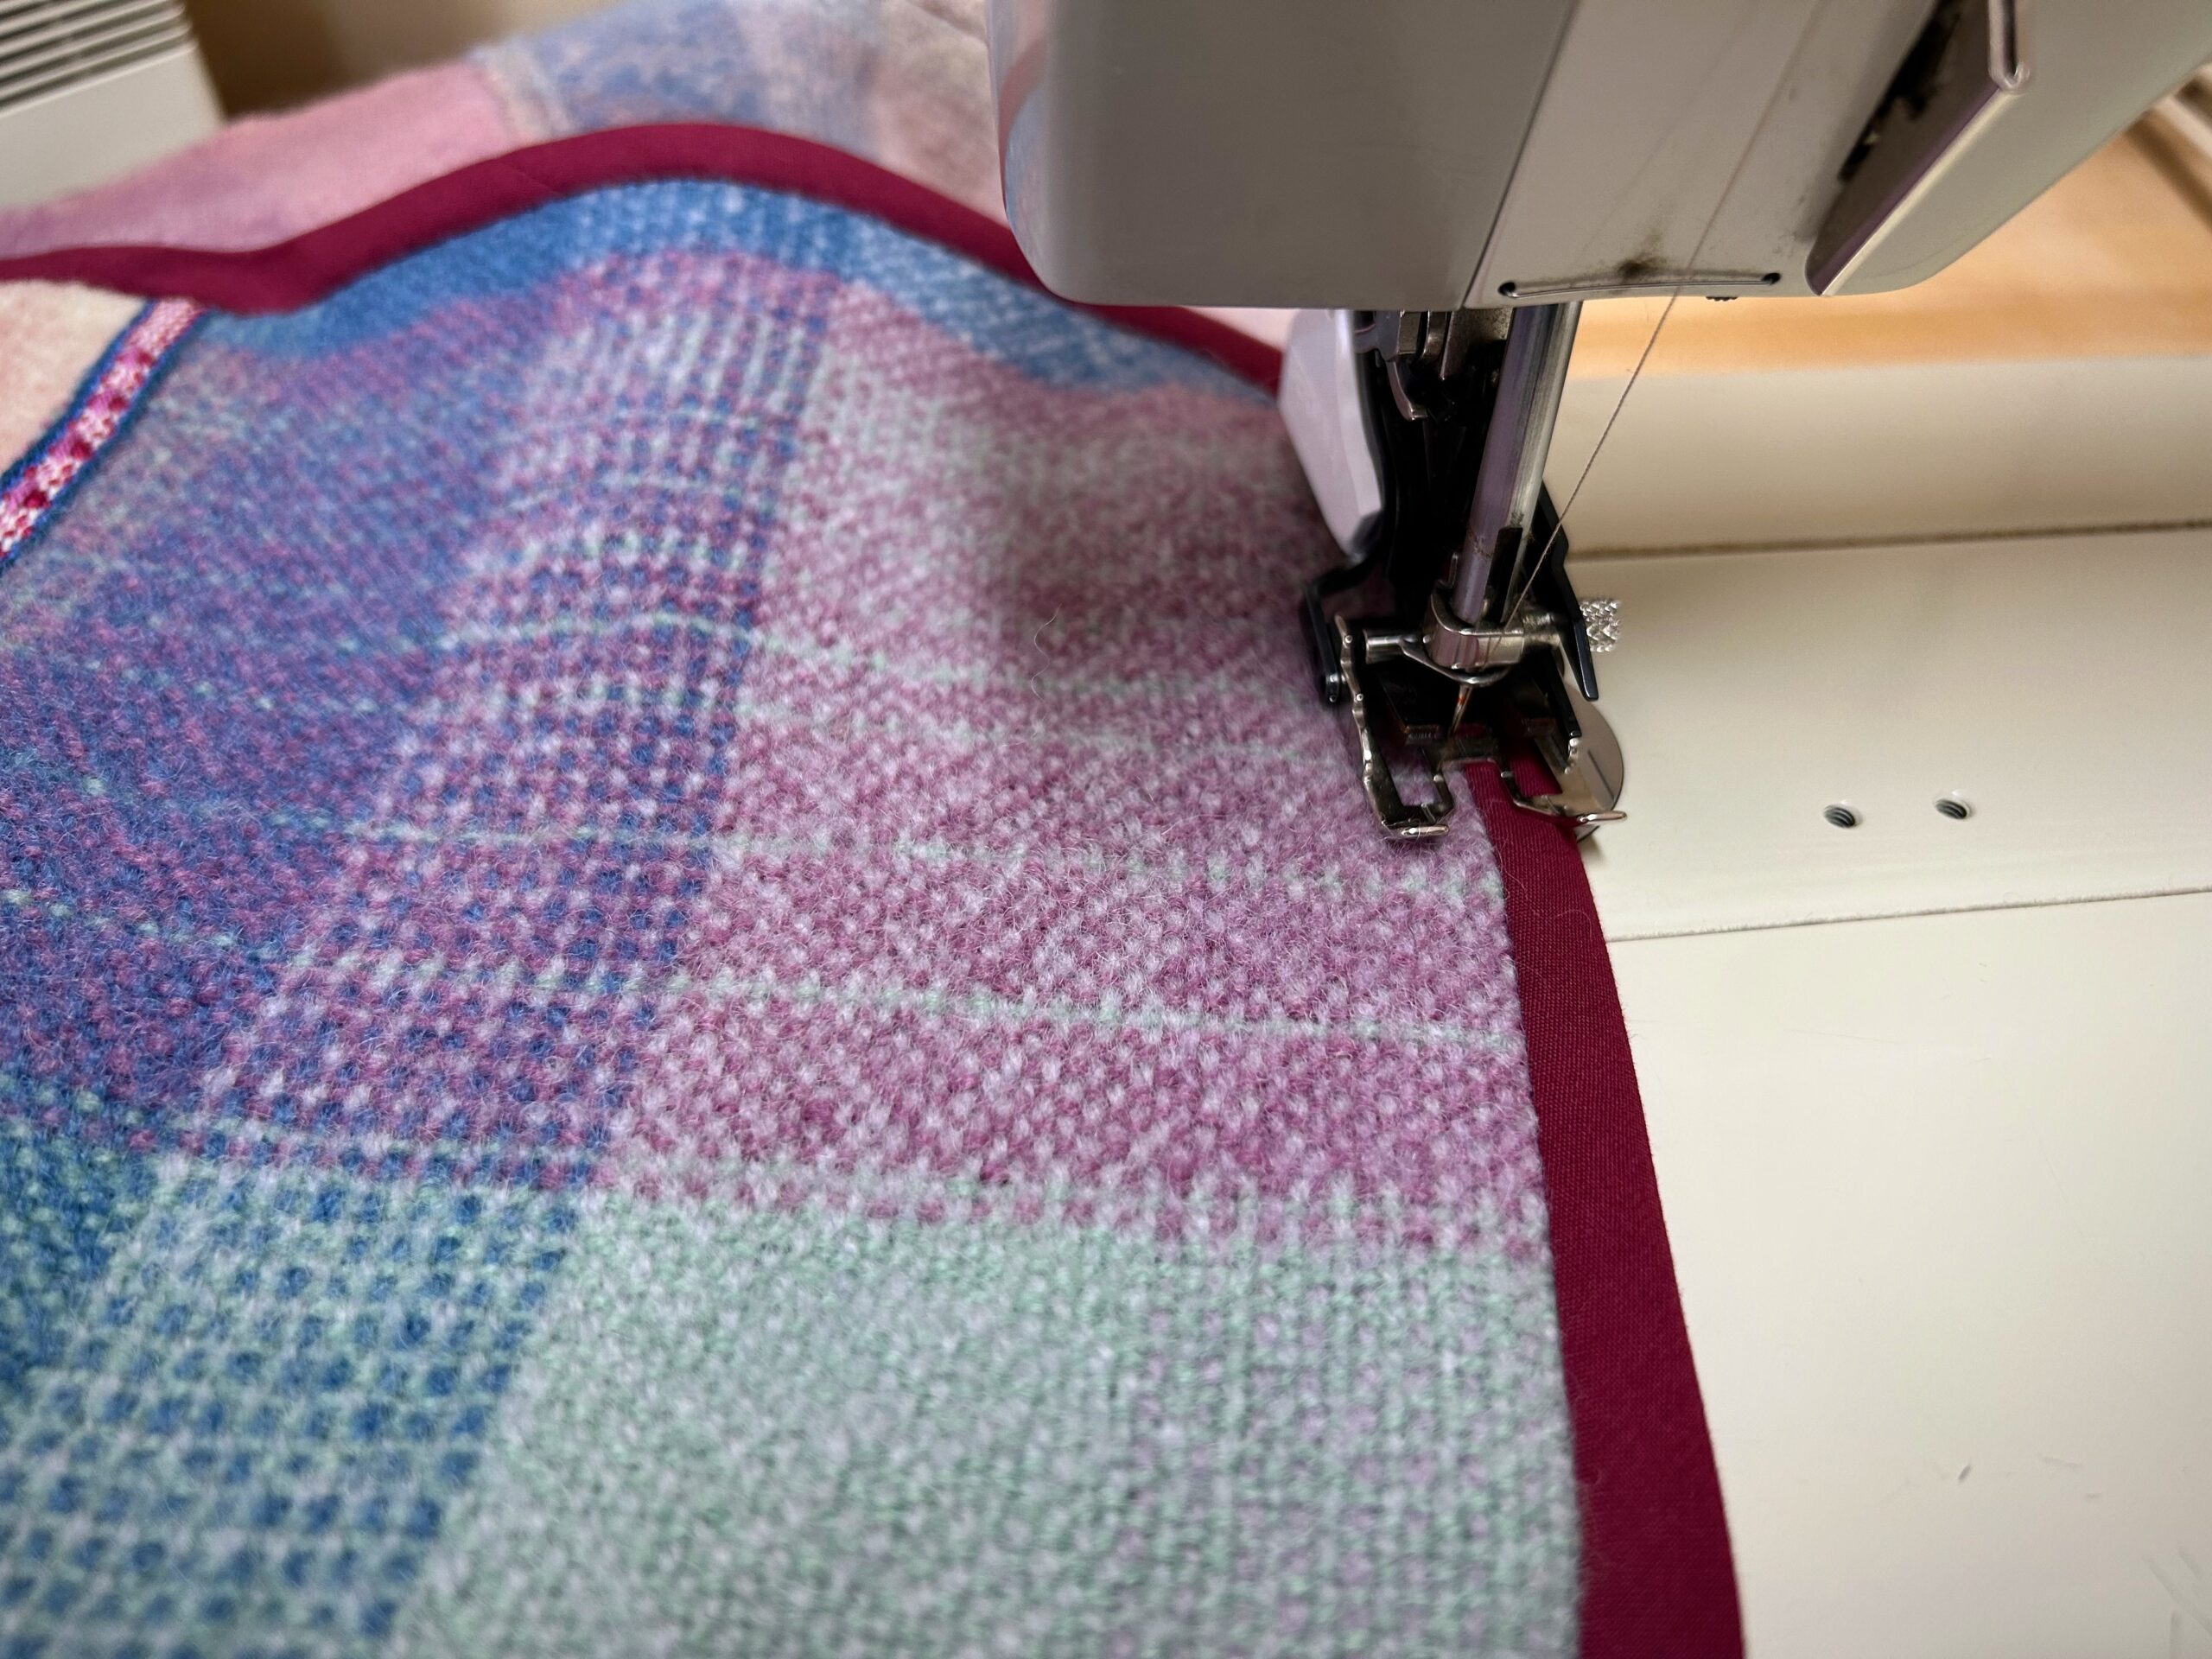
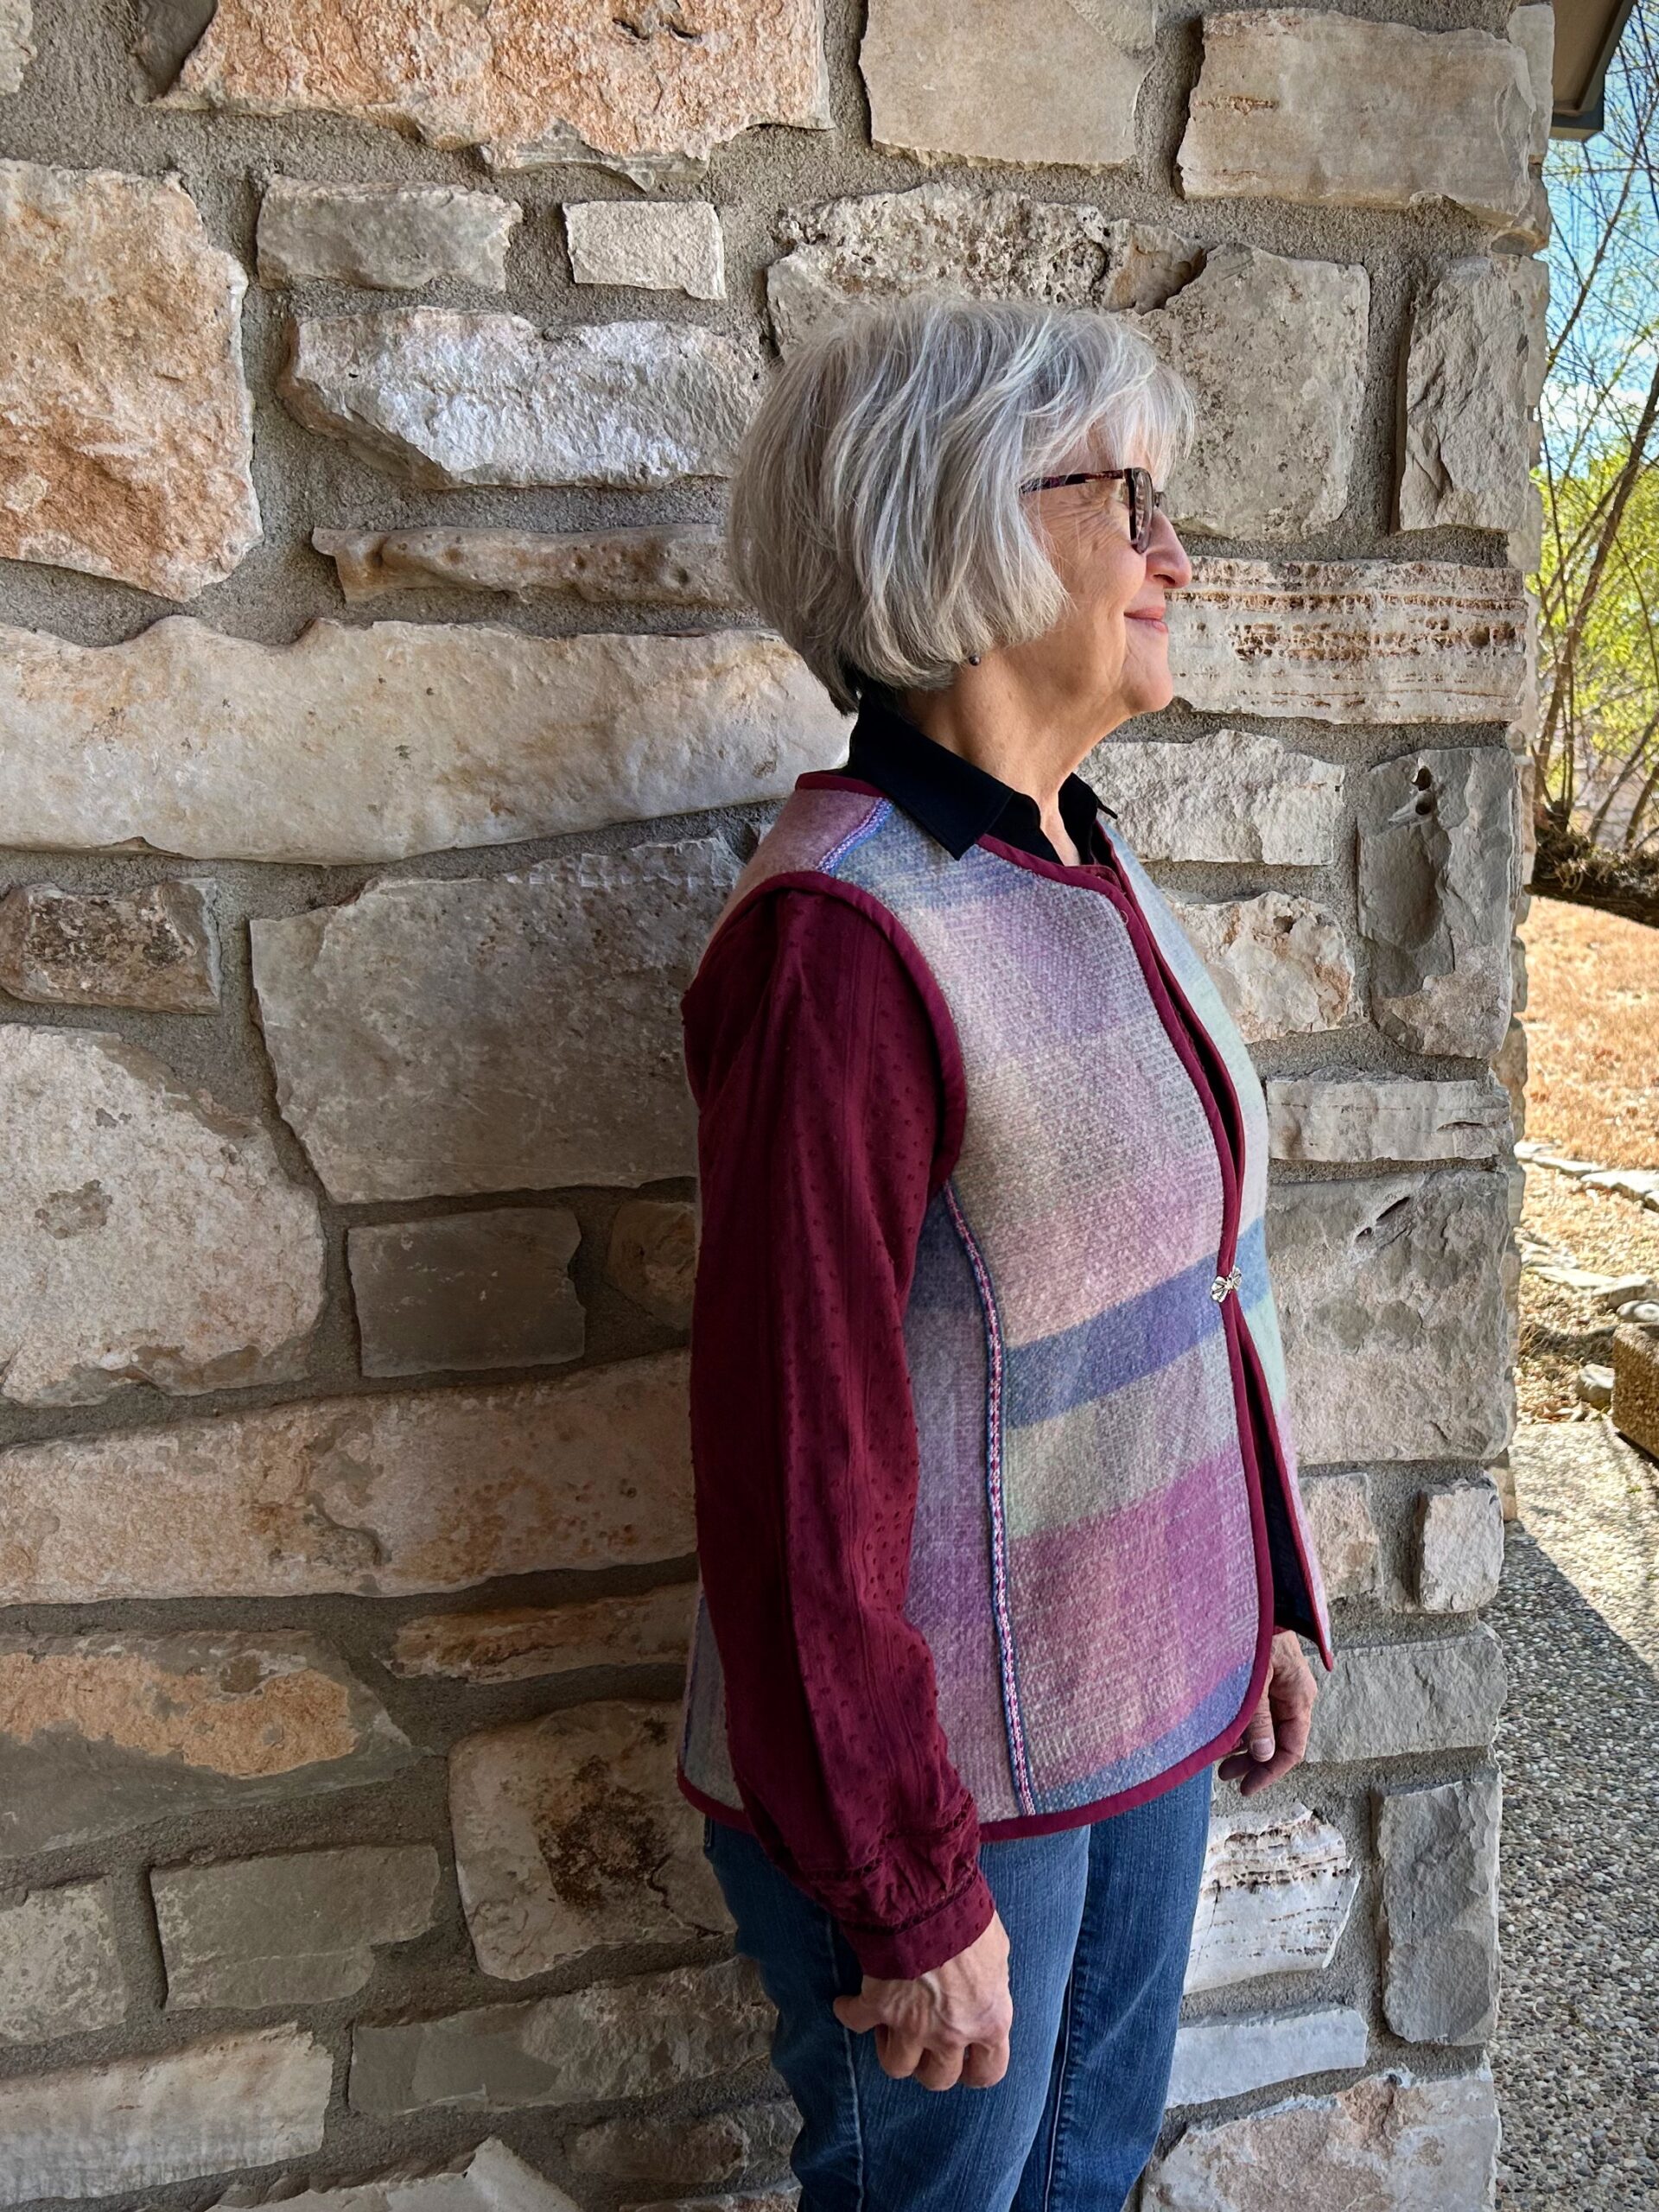
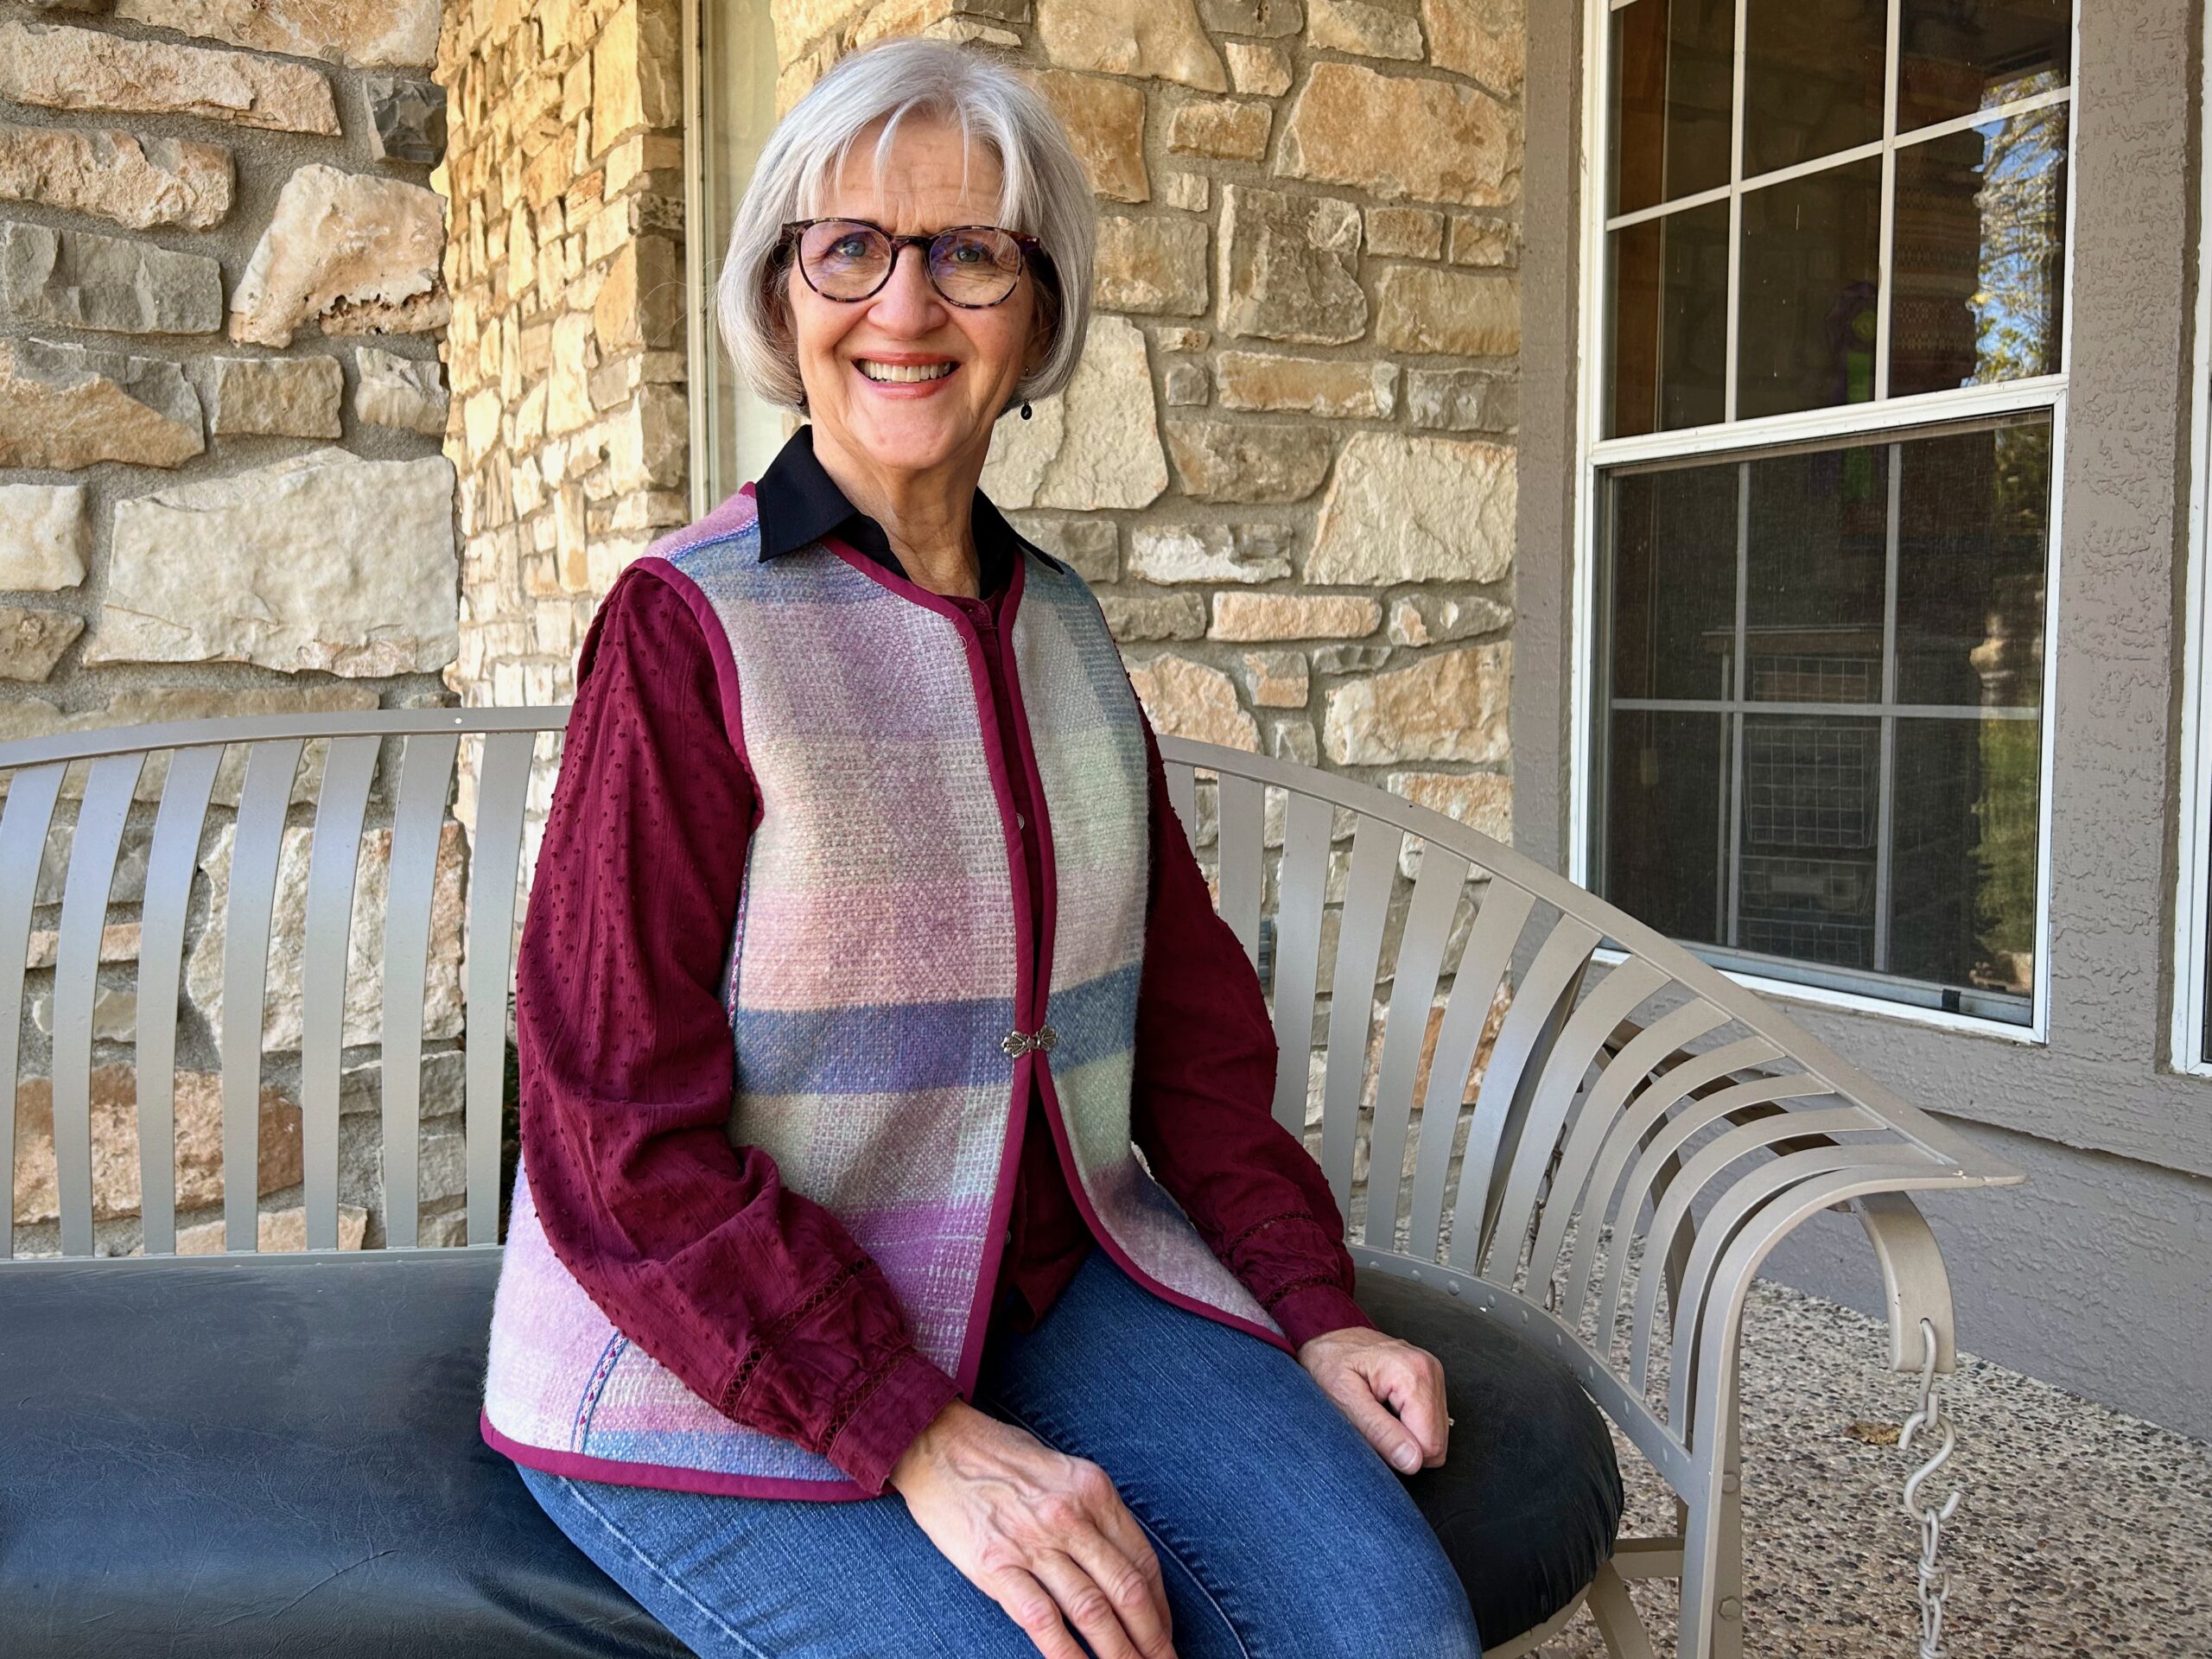
My weaving interest started in 1982 when I happened across a rigid heddle loom class by Lynn Tedder at Johnson Atelier in Tulsa, Oklahoma. I acquired a 32-inch Beka Rigid Heddle Loom and began weaving during snippets of time as I was being a full-time mommy to one, two, and then three little ones. One of my very first projects on that simple loom was a wool color gamp sampler. I wove full width for a length equal to two panels that I then hand-stitched together to make a small blanket. That little blanket got a lot of use and wear, and at some point I packed it away because some of the edges had become a little ragged over time.
In 2019 I finished one of my first warps on the drawloom–Tuna wool fabric in which I wove designs for a simple vest I would make for myself. I created the pattern for the vest, and after doing several muslins, I wanted to do a mockup in similar weight to the wool fabric from the drawloom. I dug out that old rigid heddle loom blanket! Perfect for this assignment as a mockup.
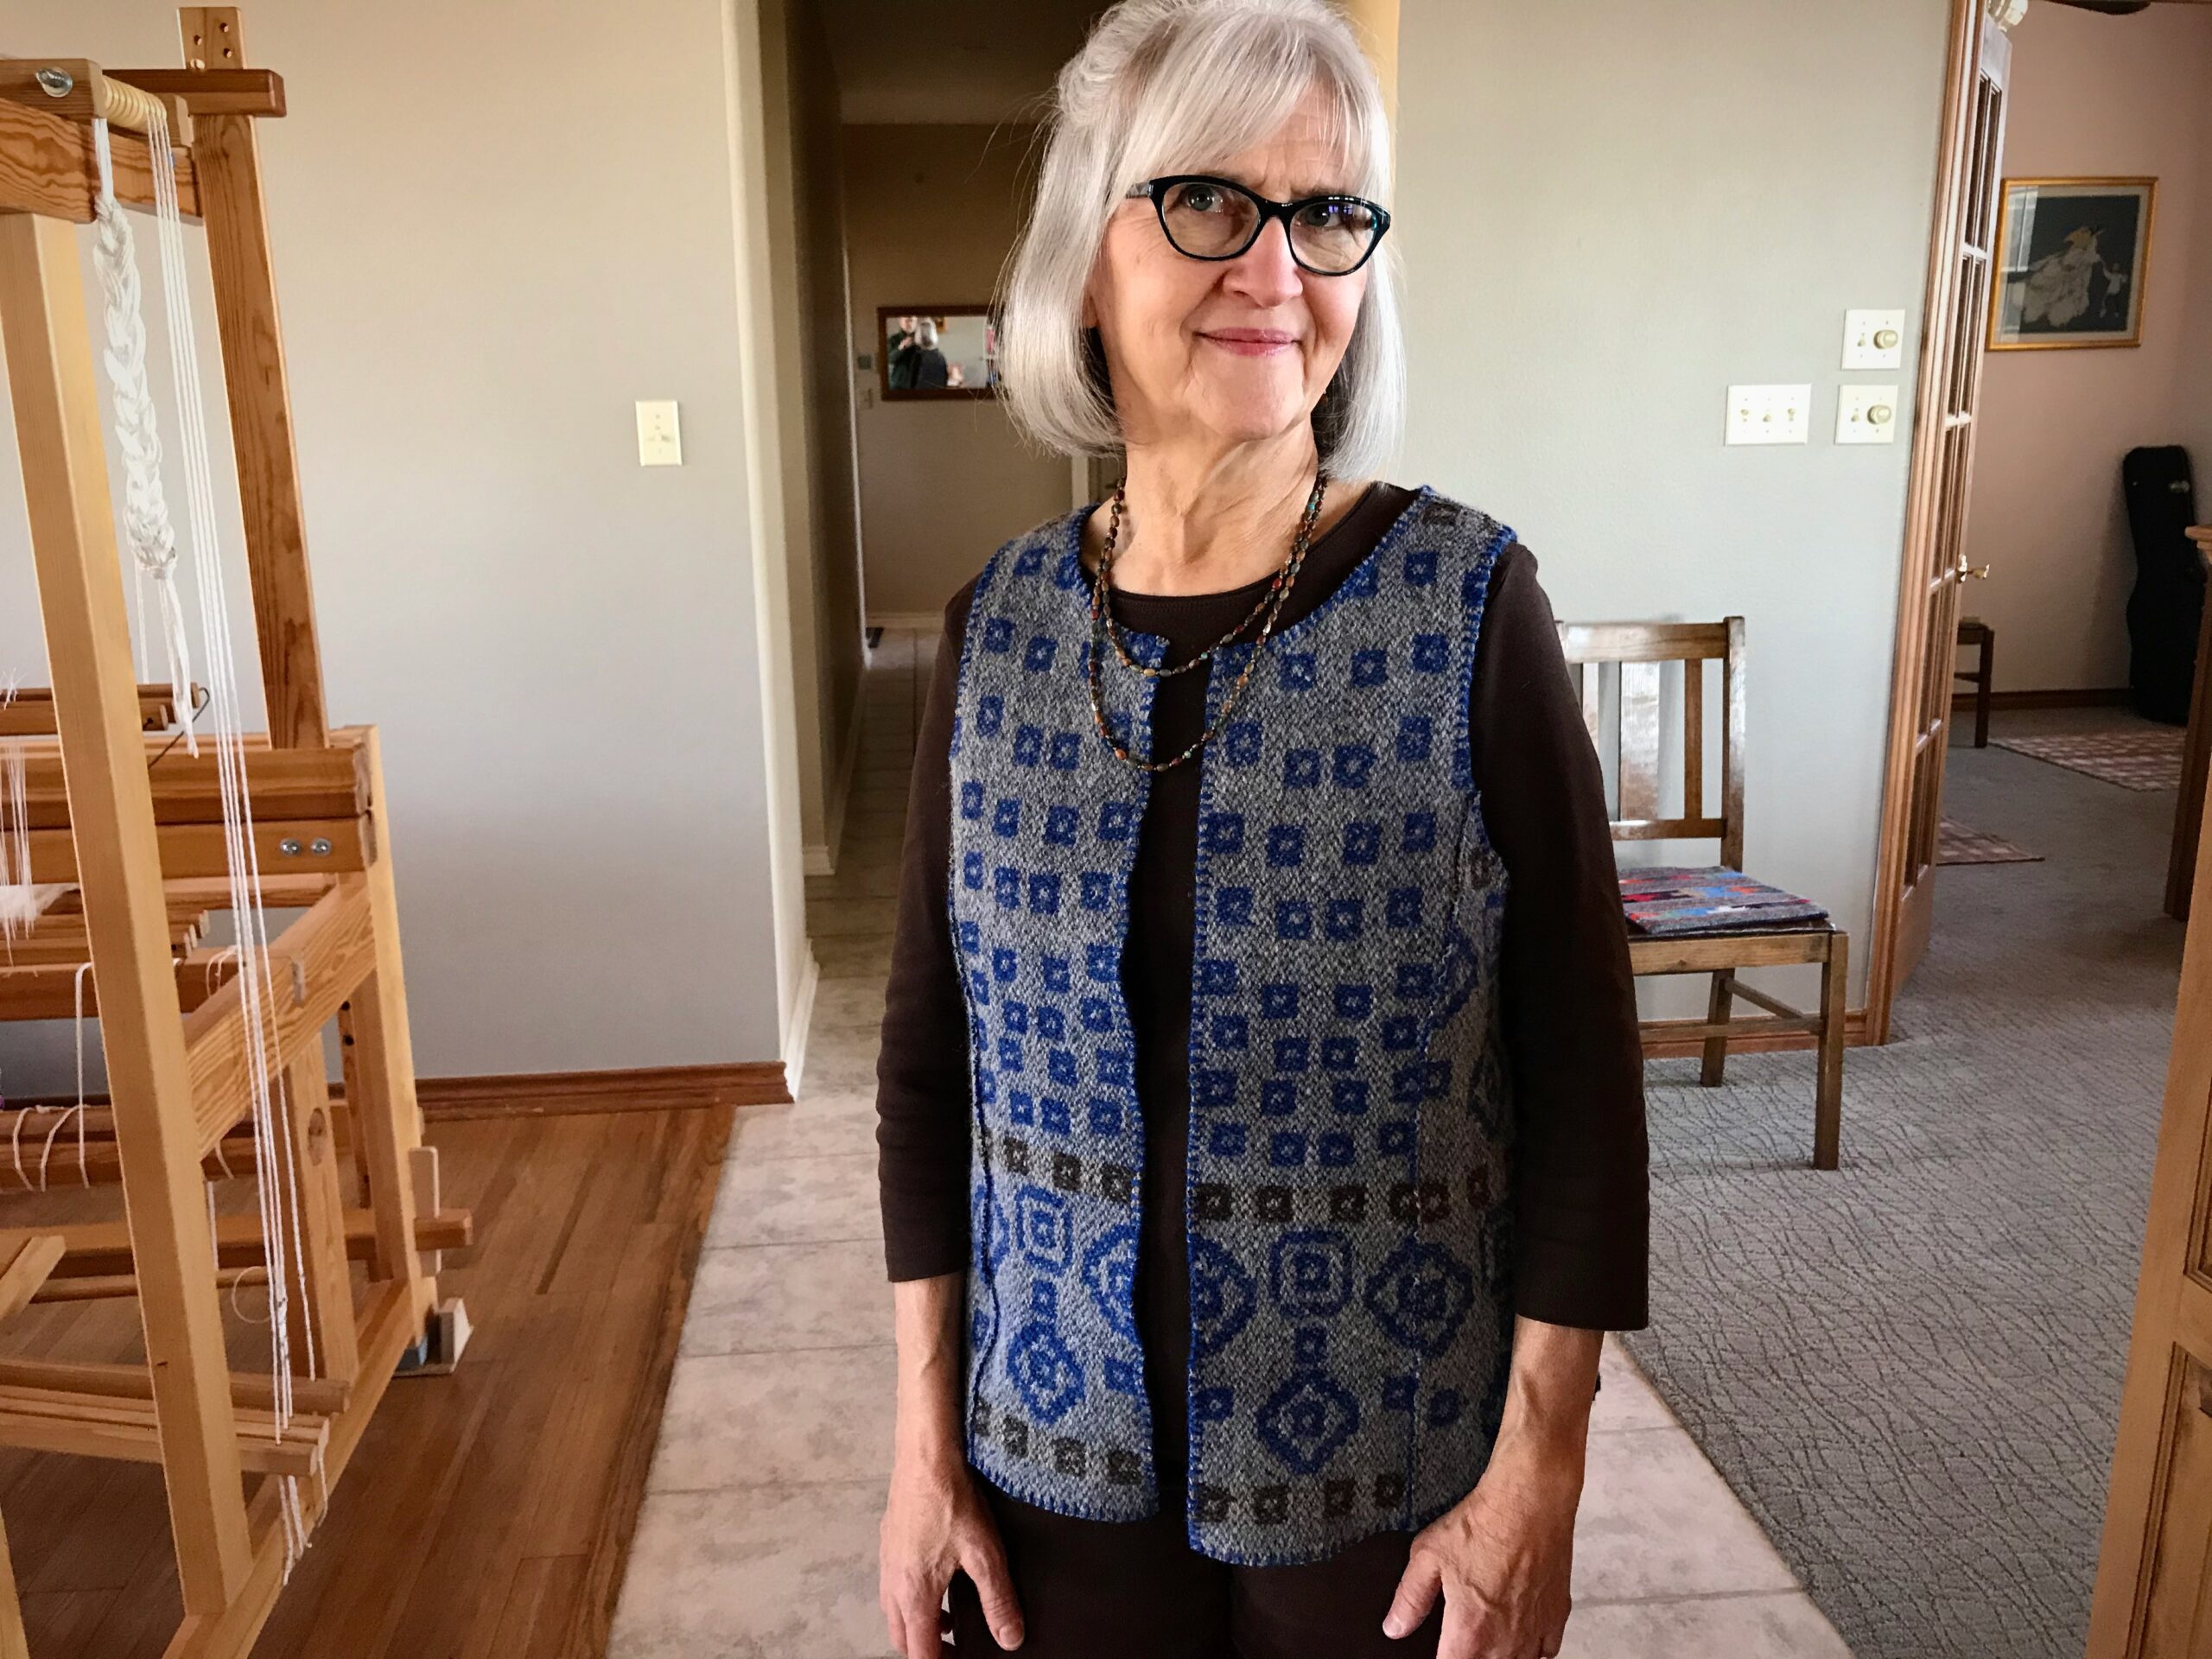
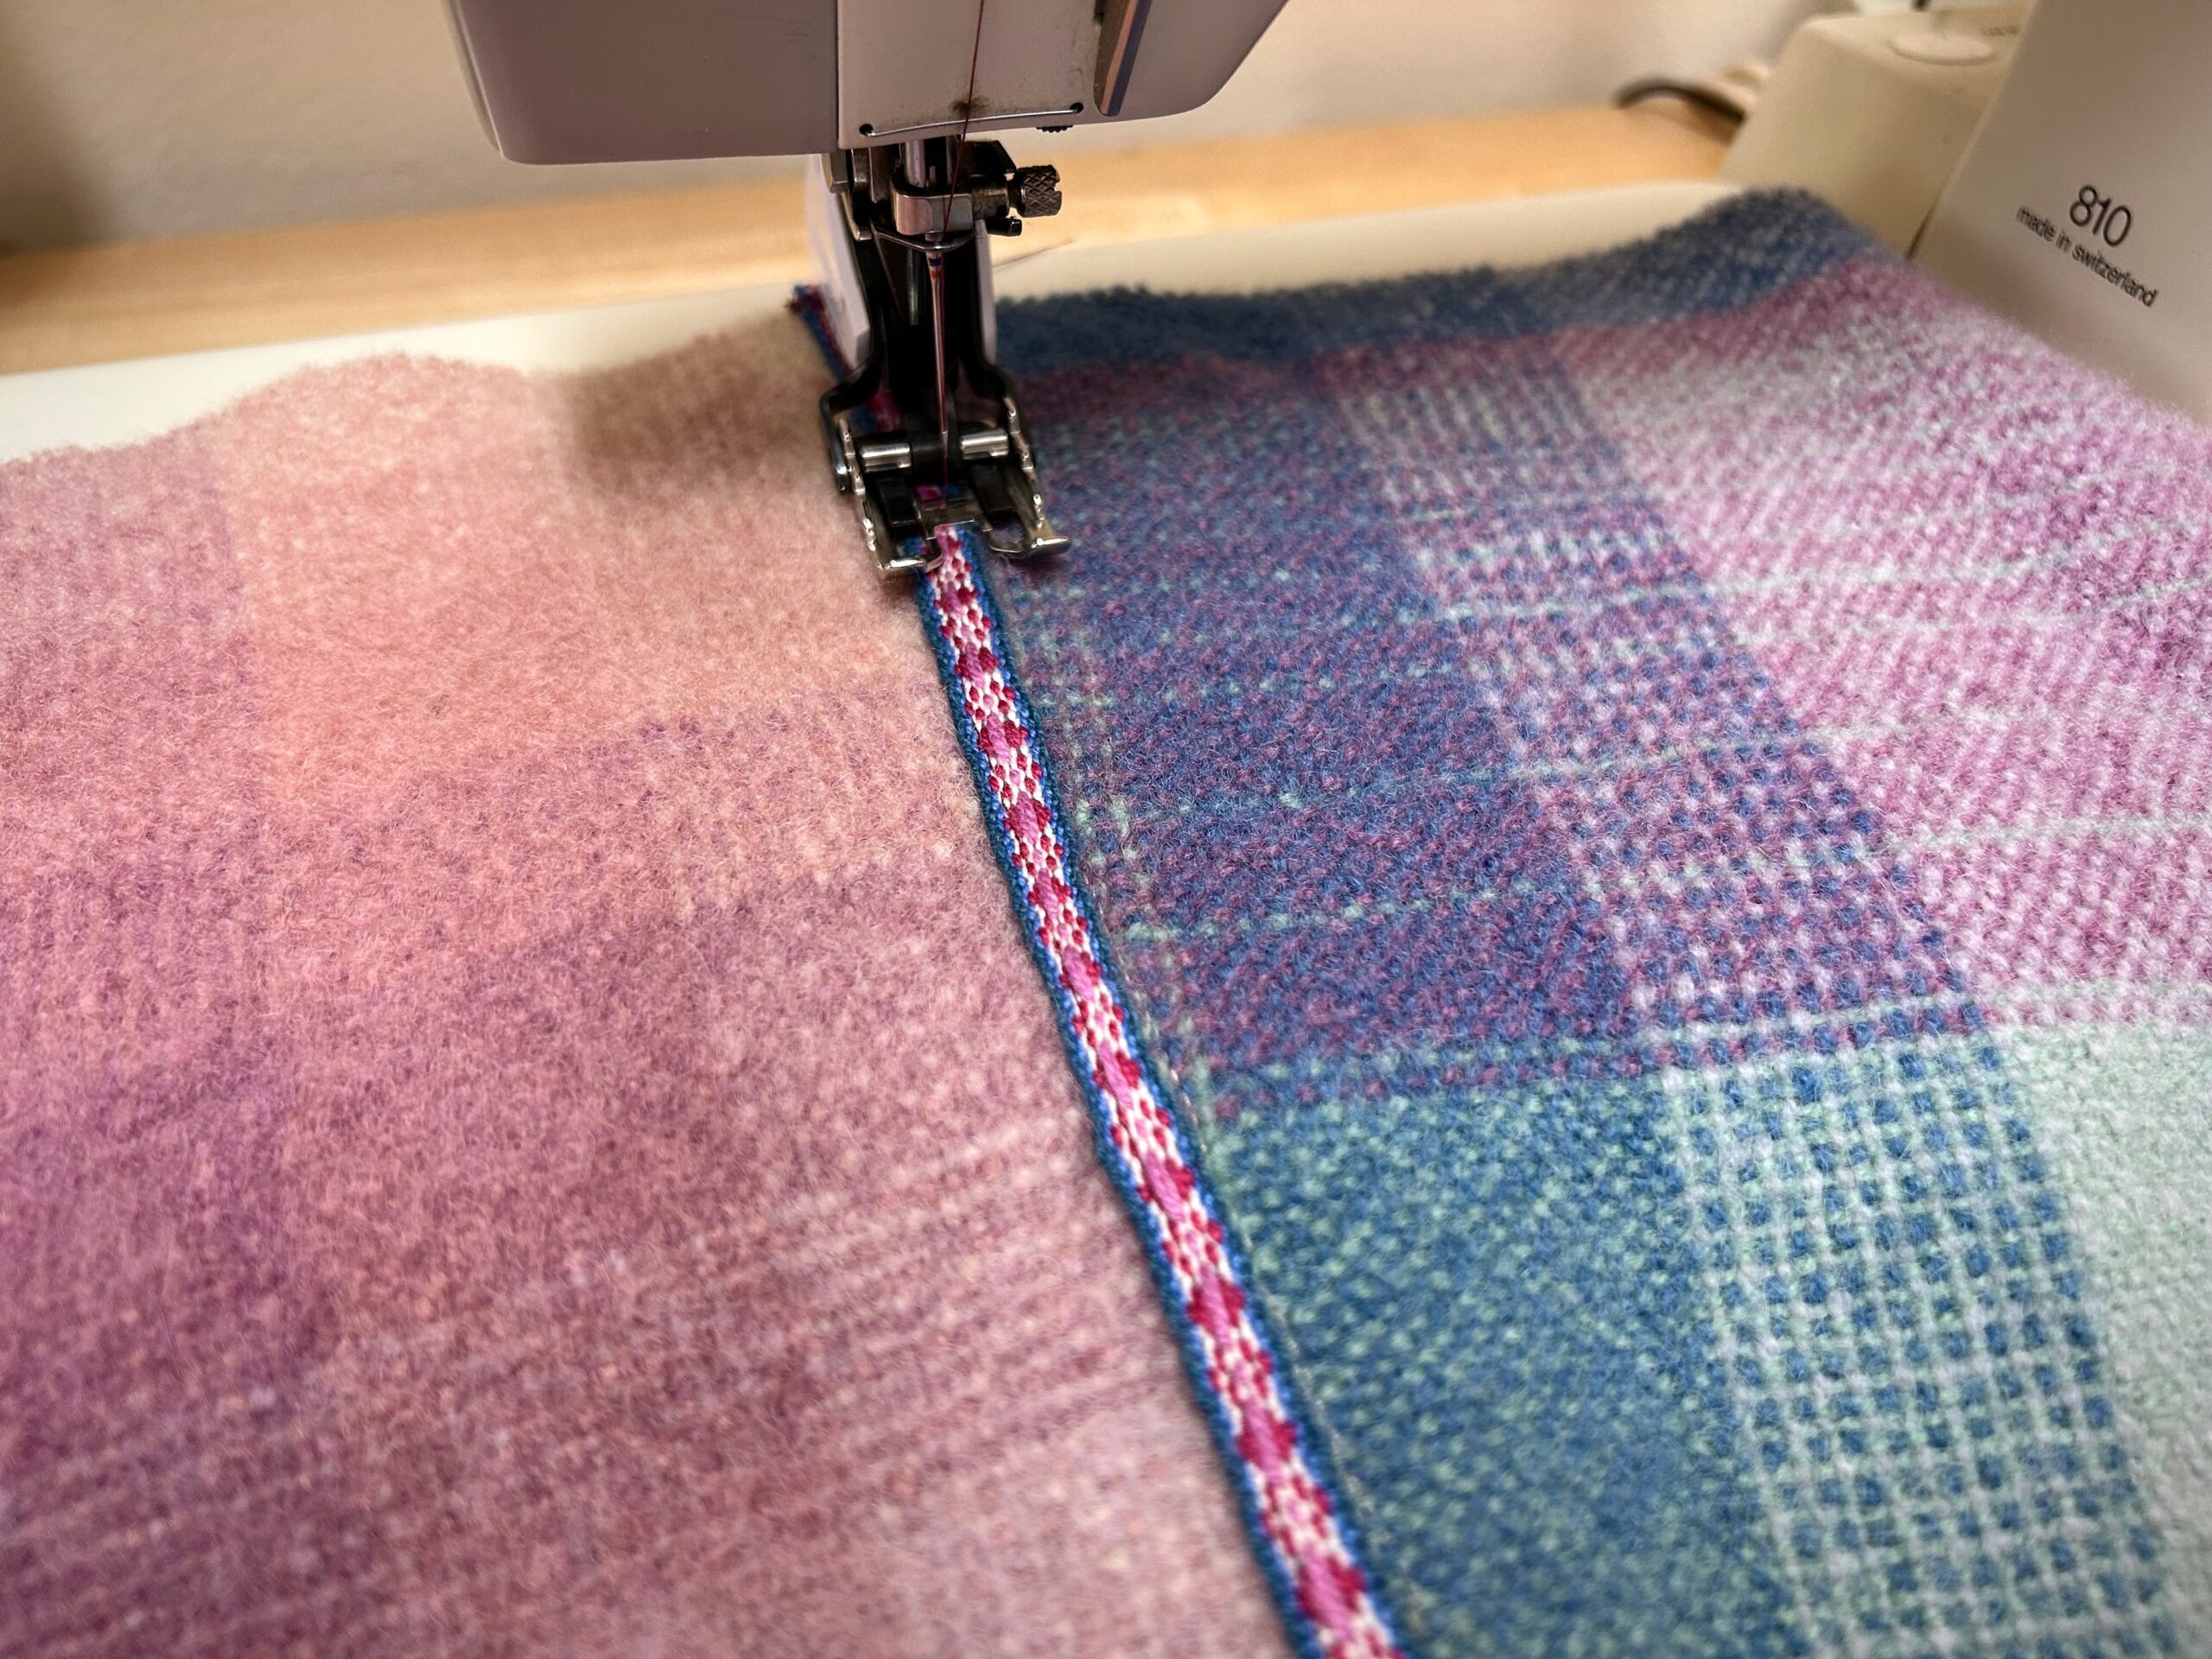
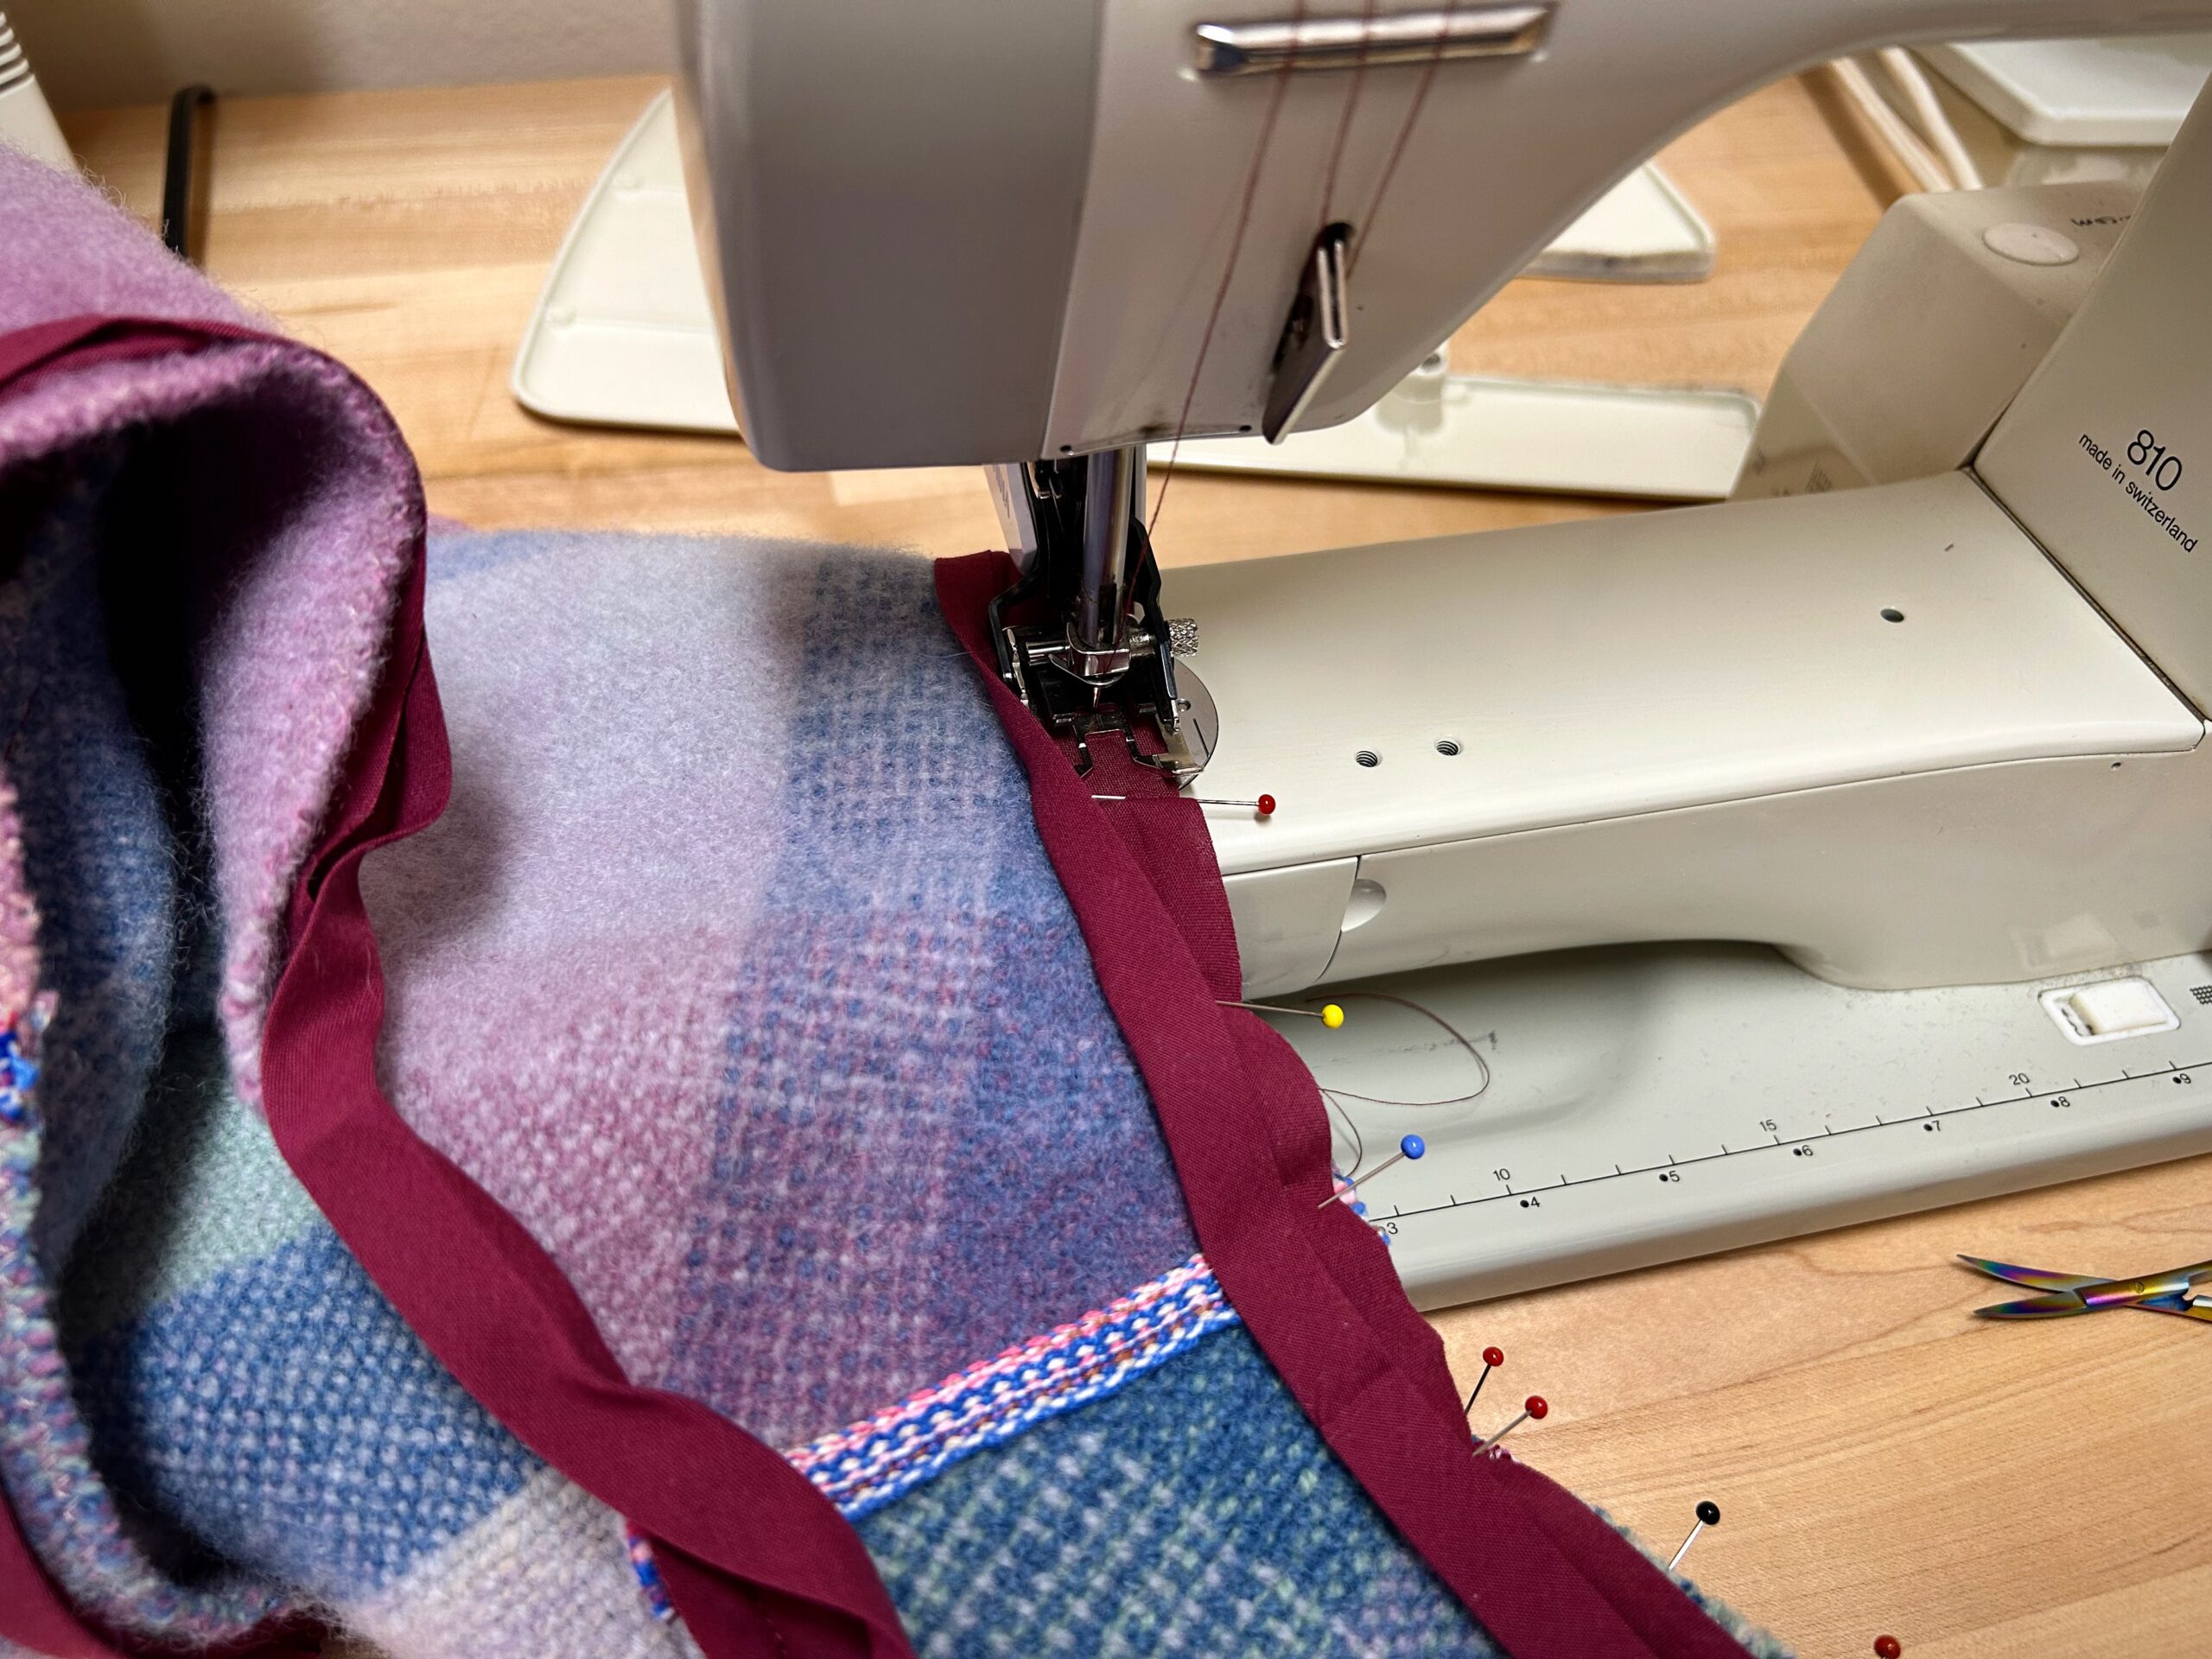
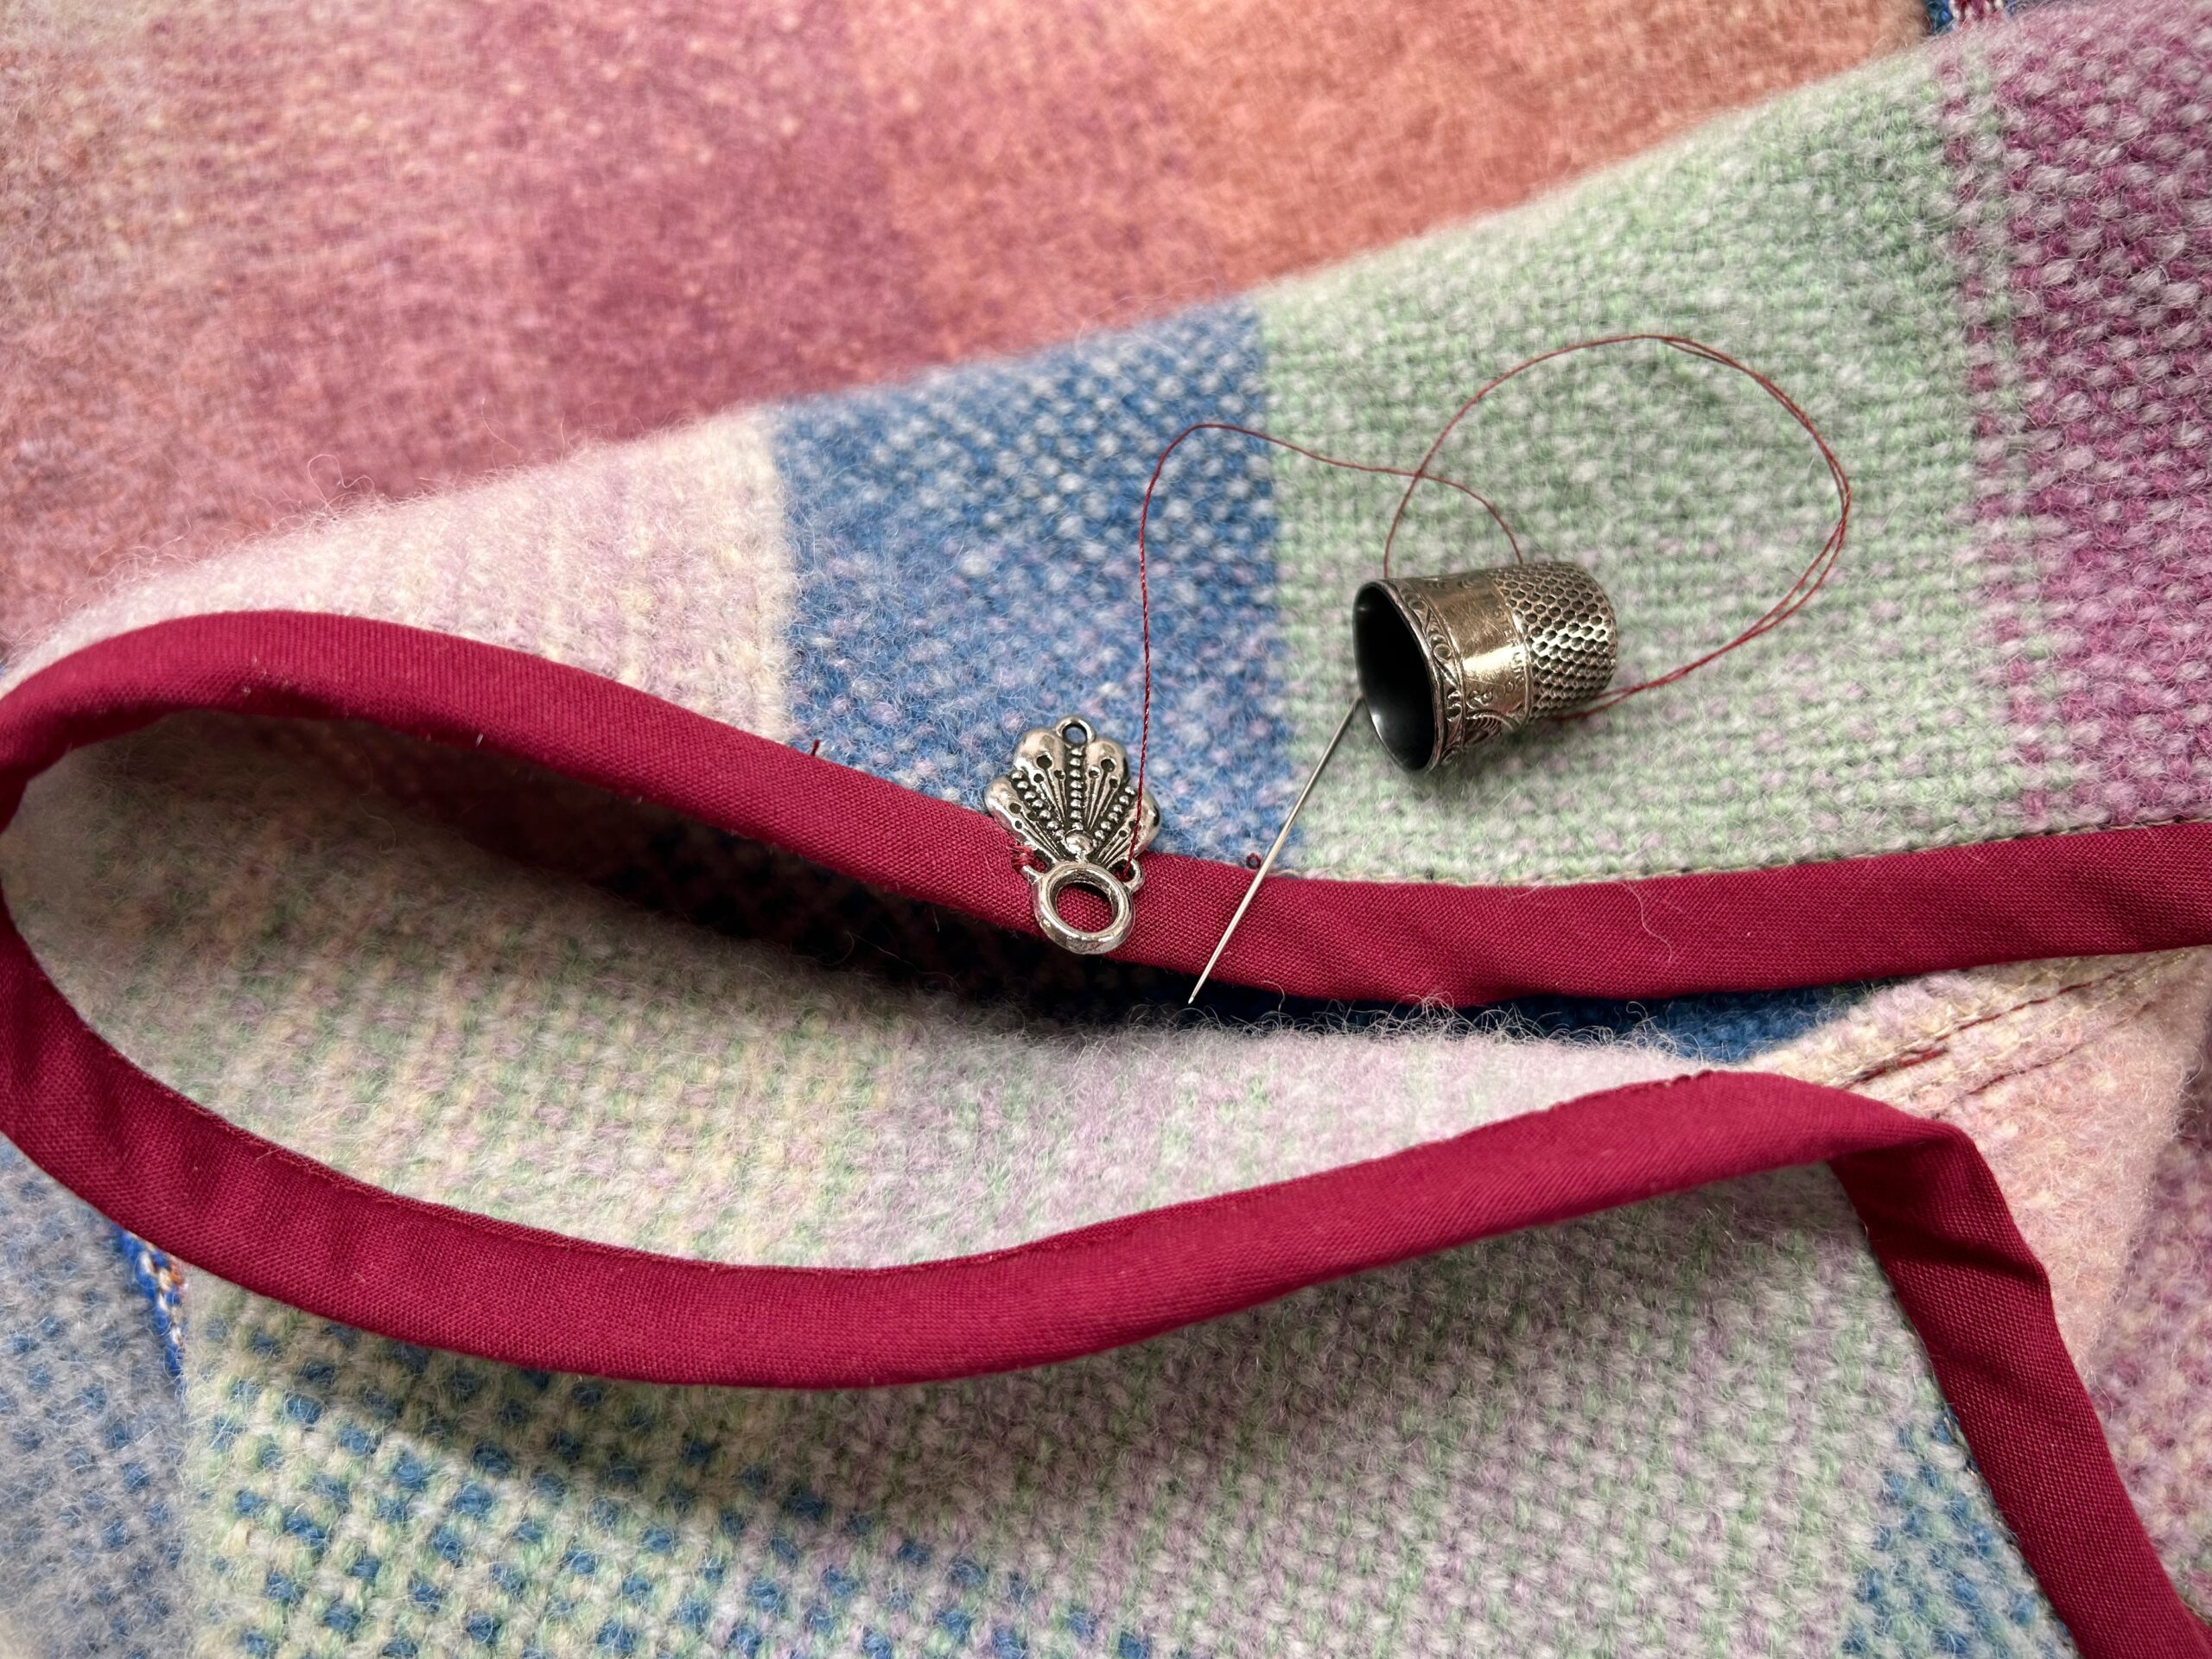
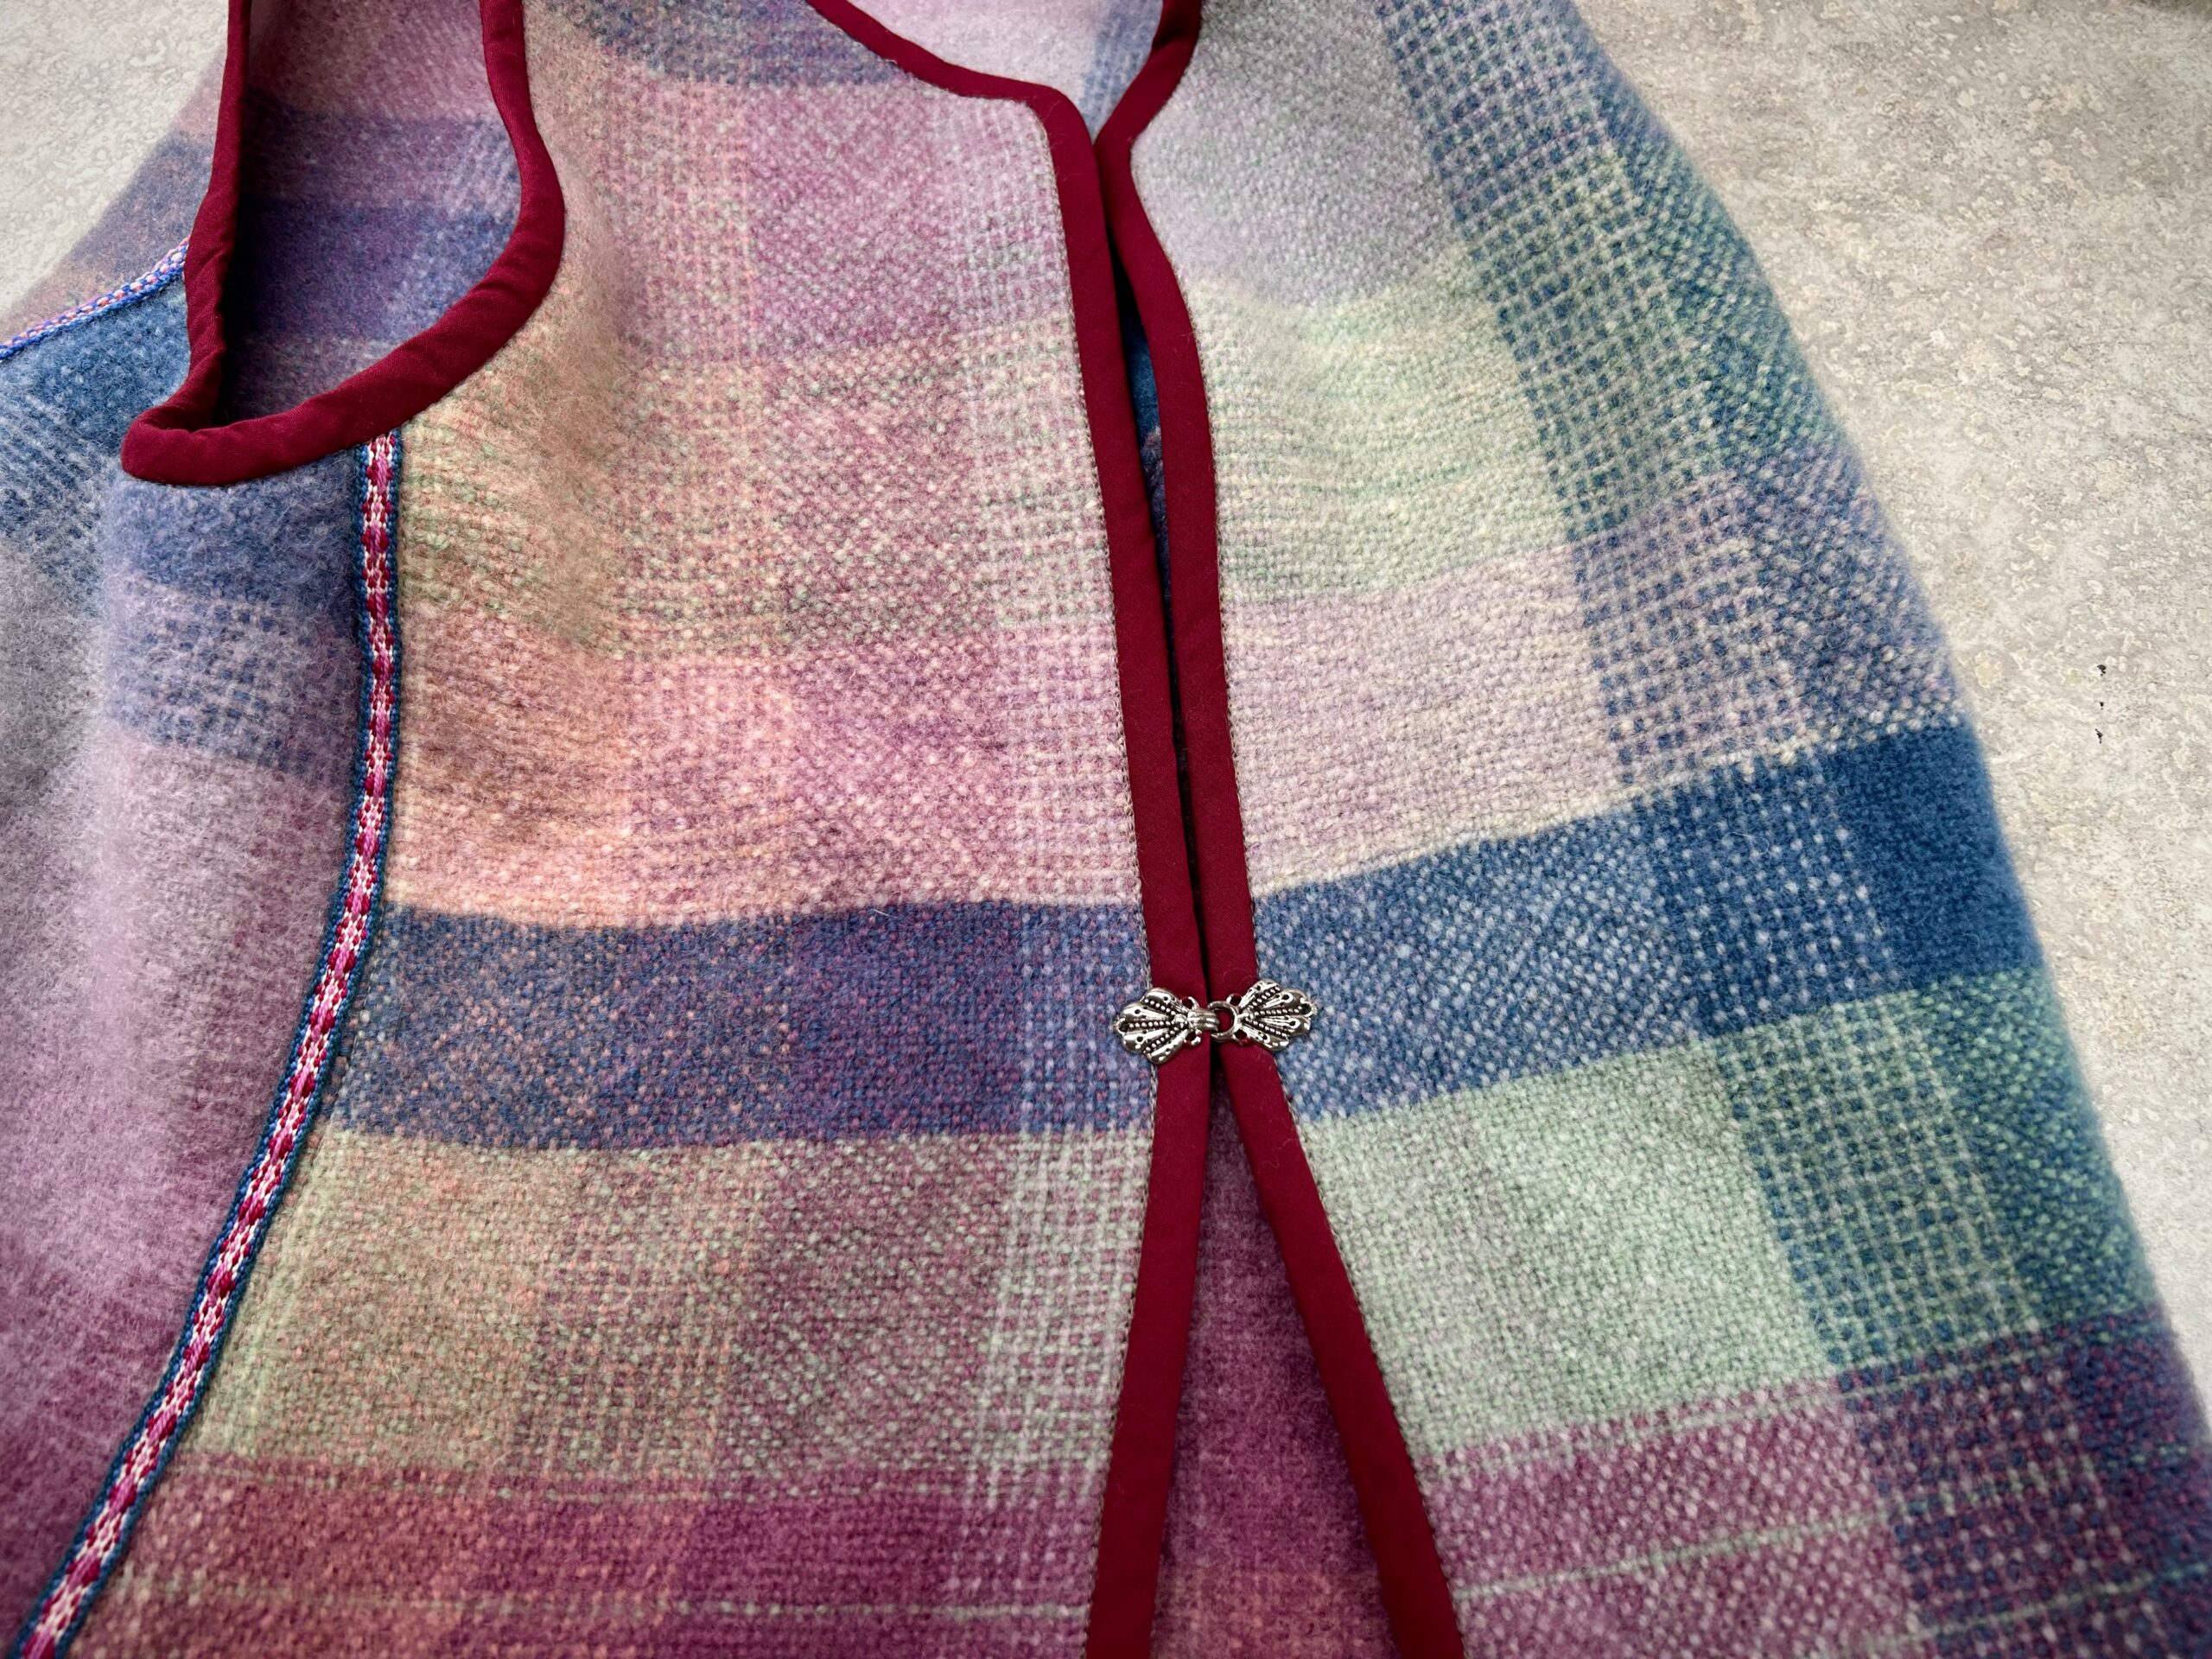
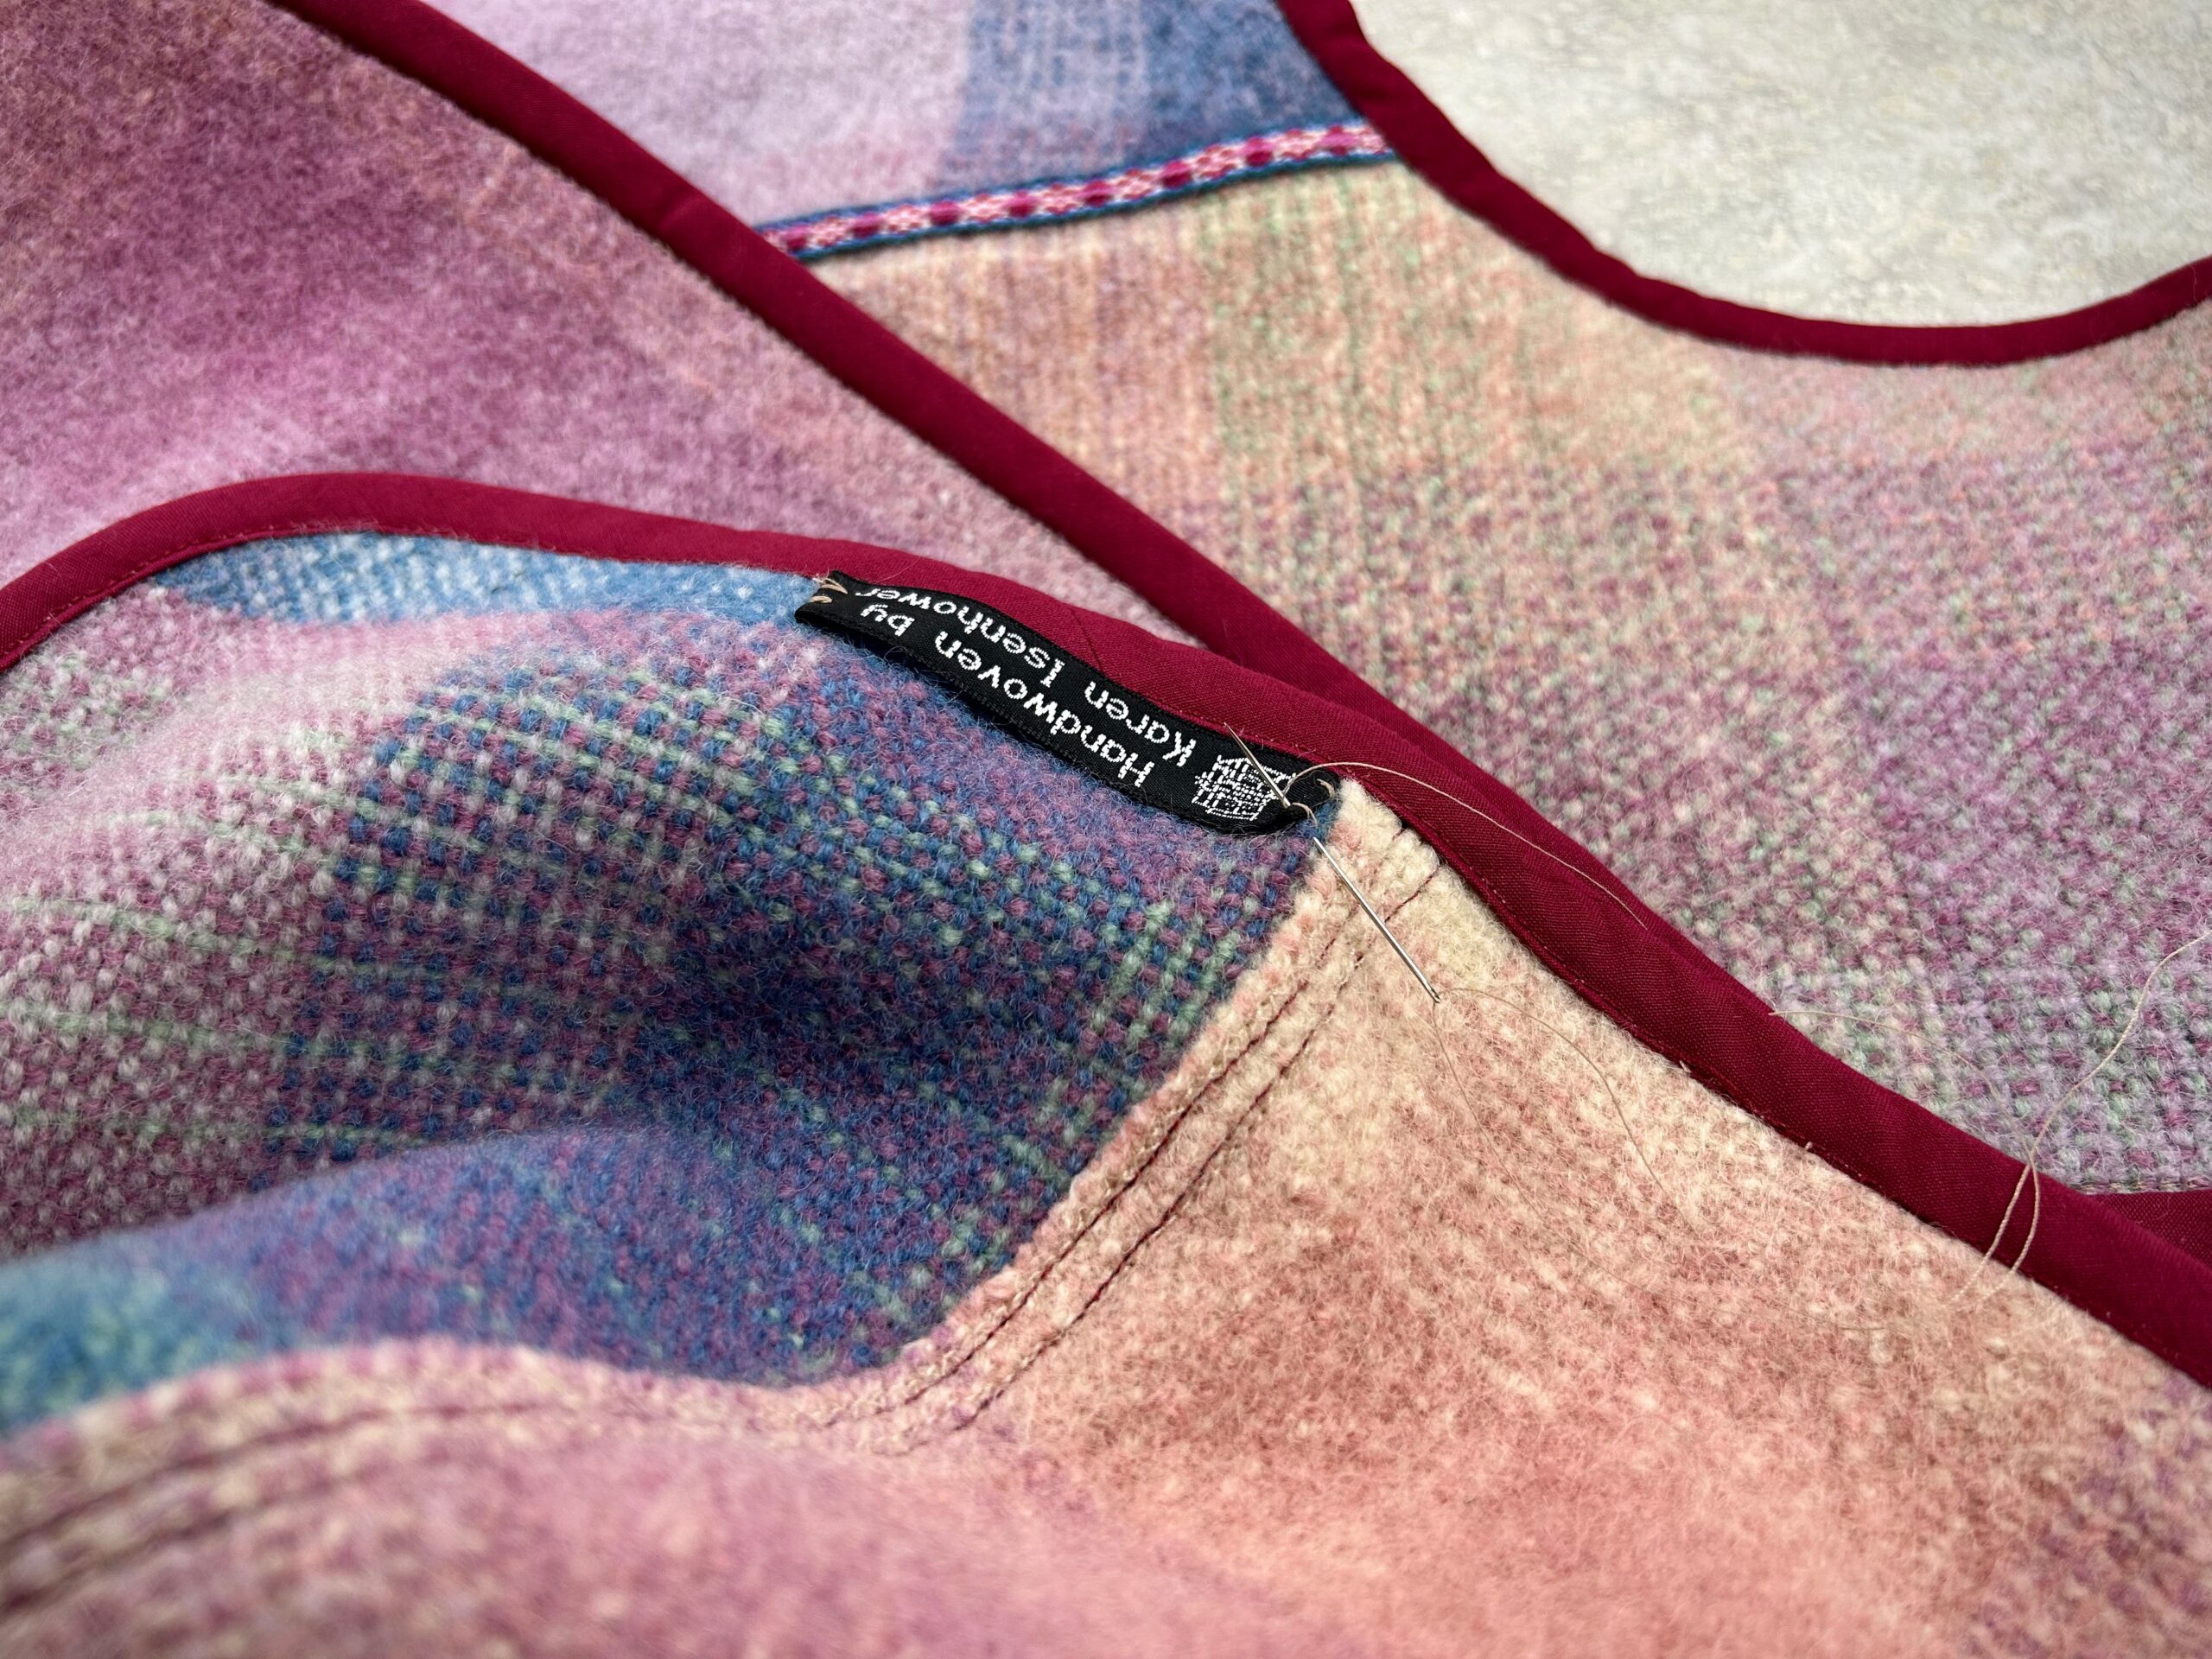
Why not make that color gamp mockup into a wearable vest on its own? That is what I have finished this week. The pictures that follow tell the story.
When I think about how the Lord allowed me to discover the joy of weaving on a simple little frame loom… And how He has allowed me to enjoy growing in these skills, and how I get to have the pleasure of weaving on a not-so-simple large drawloom… It reminds me of Psalm 16:11 “You reveal the path of life to me; in Your presence is abundant joy; at Your right hand are eternal pleasures.”
Thanksgiving: Giving thanks to the Lord for allowing us to know the joy of walking in His path of life.
Happy Thanks Giving, Karen