
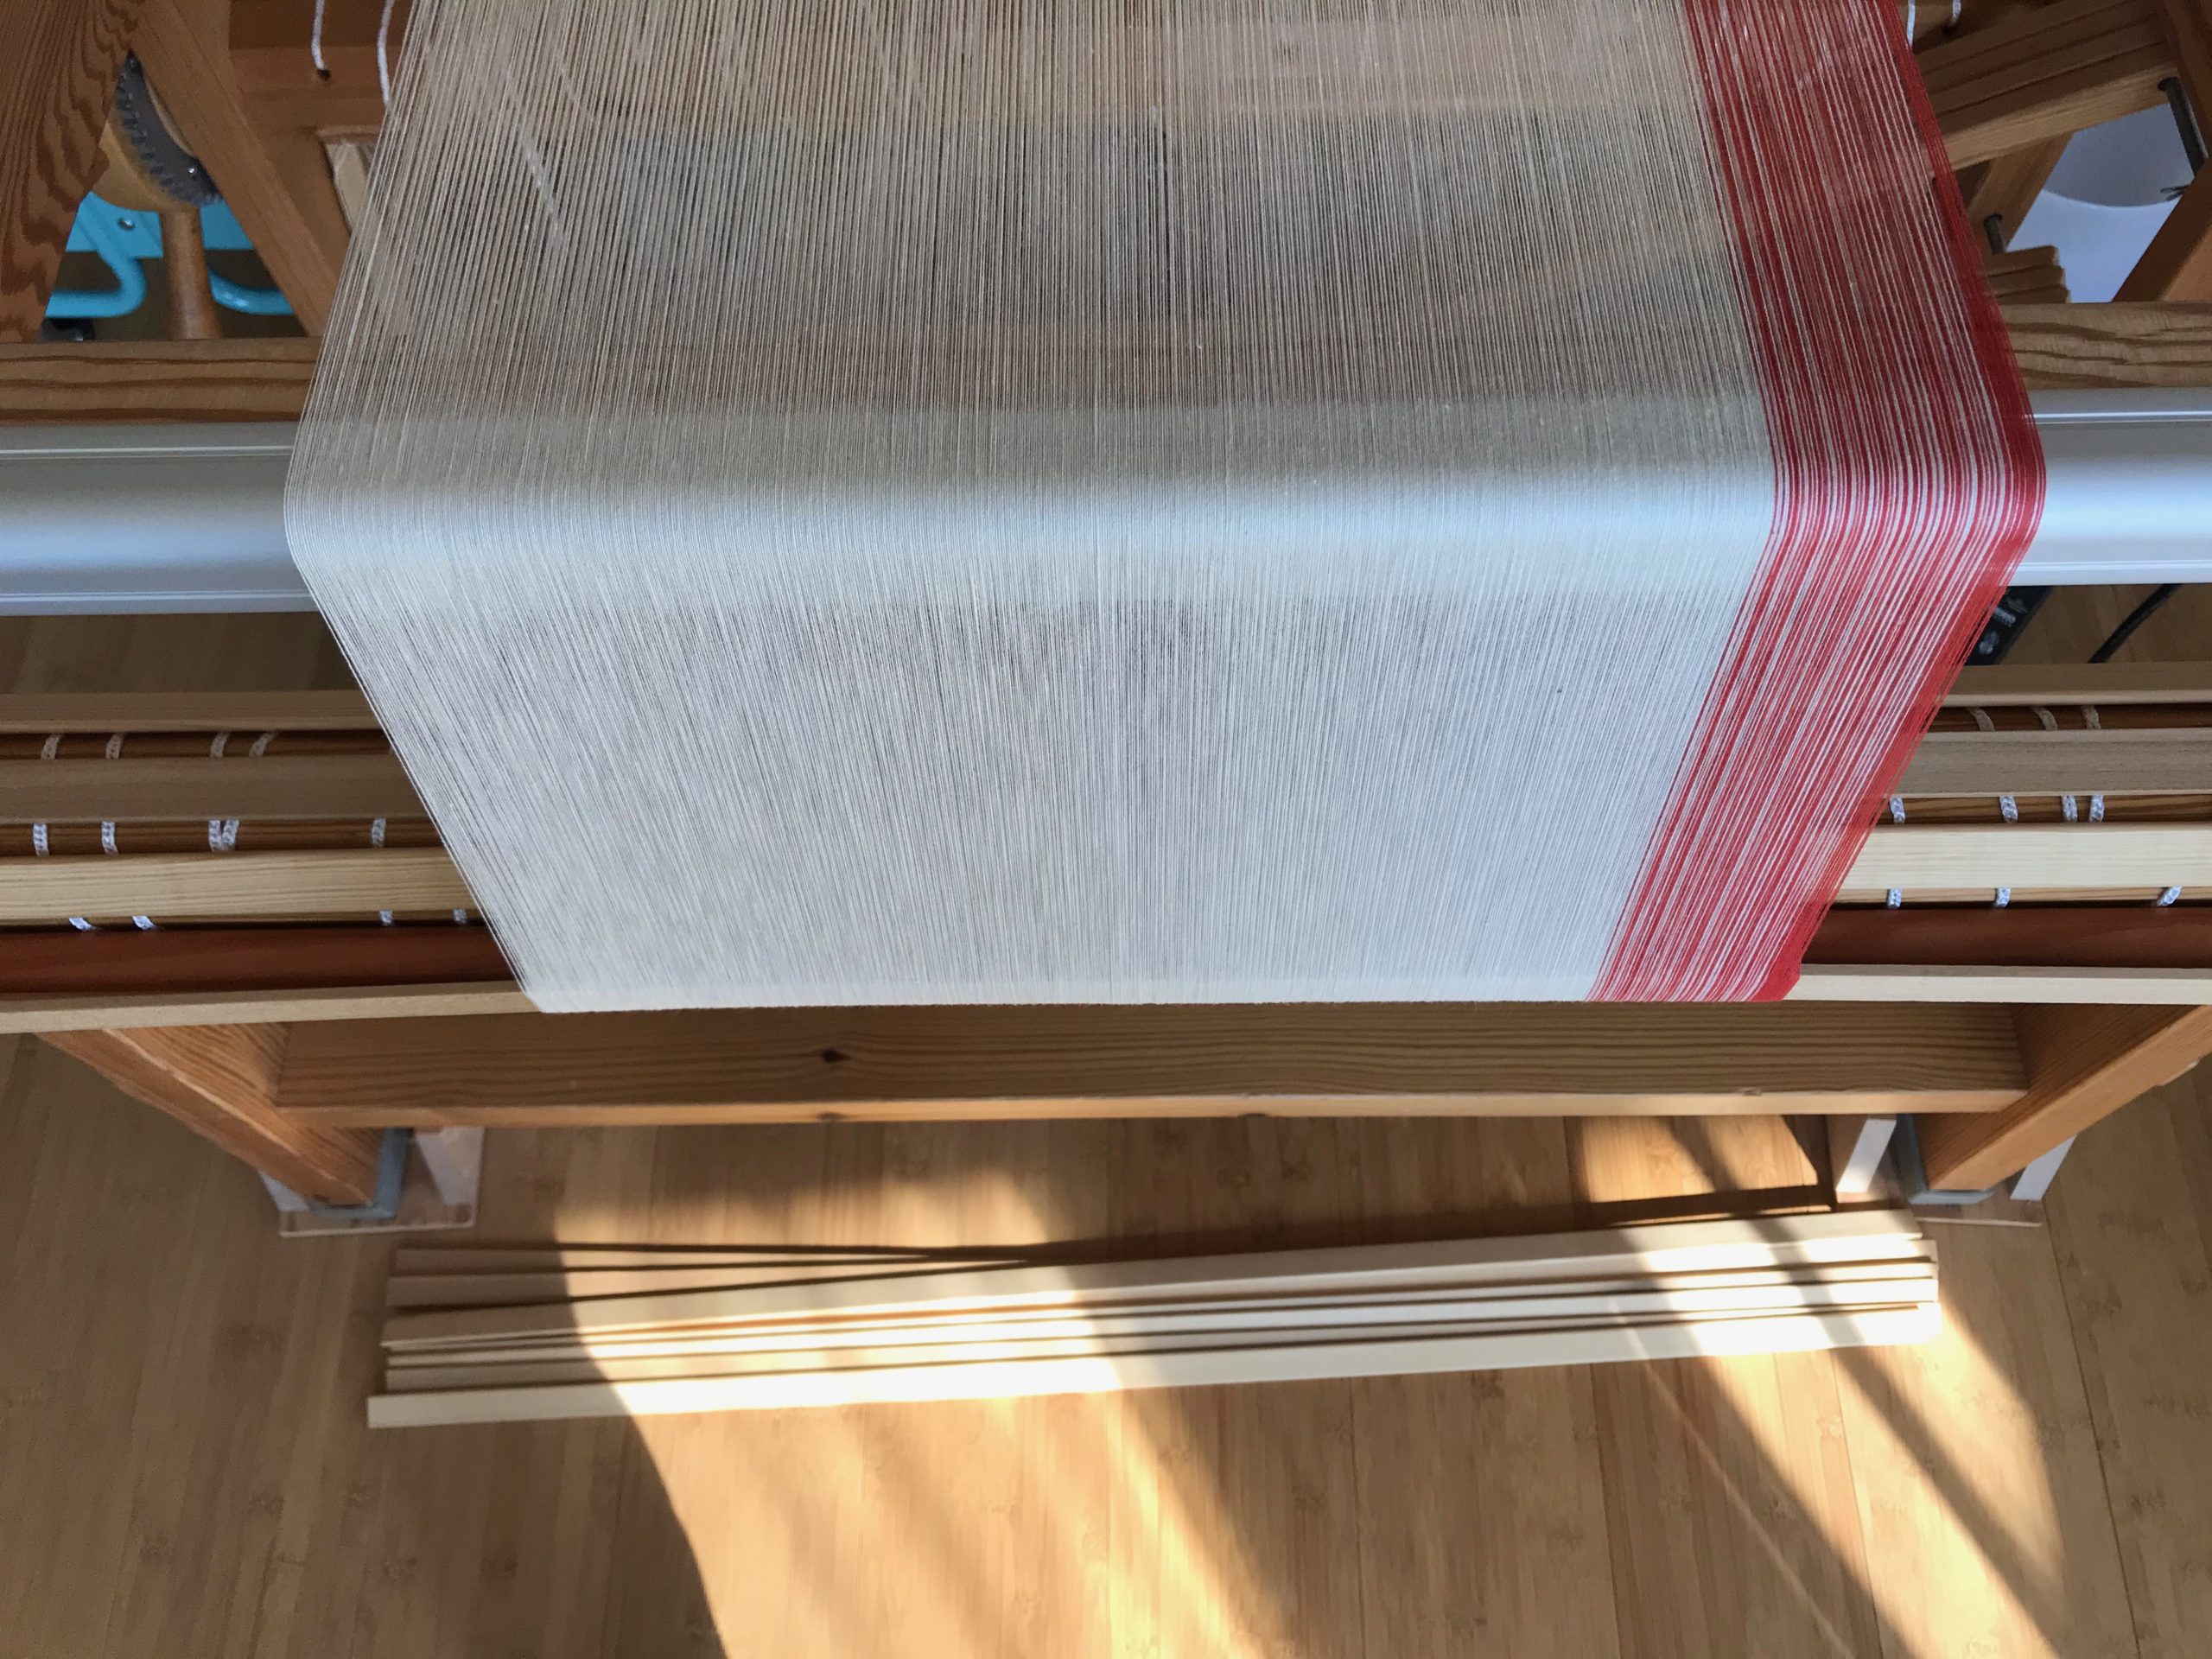
I am making a new ‘cello skirt (a tiered skirt), starting from scratch. The warp is 24/2 cotton, most of it unbleached. Each tier will be edged with a narrow Poppy border. The pattern in the cloth will be a huckaback (huck lace) design, adapted from Little Tablecloth in Huckaback on p.10 in Happy Weaving from VävMagisinet.
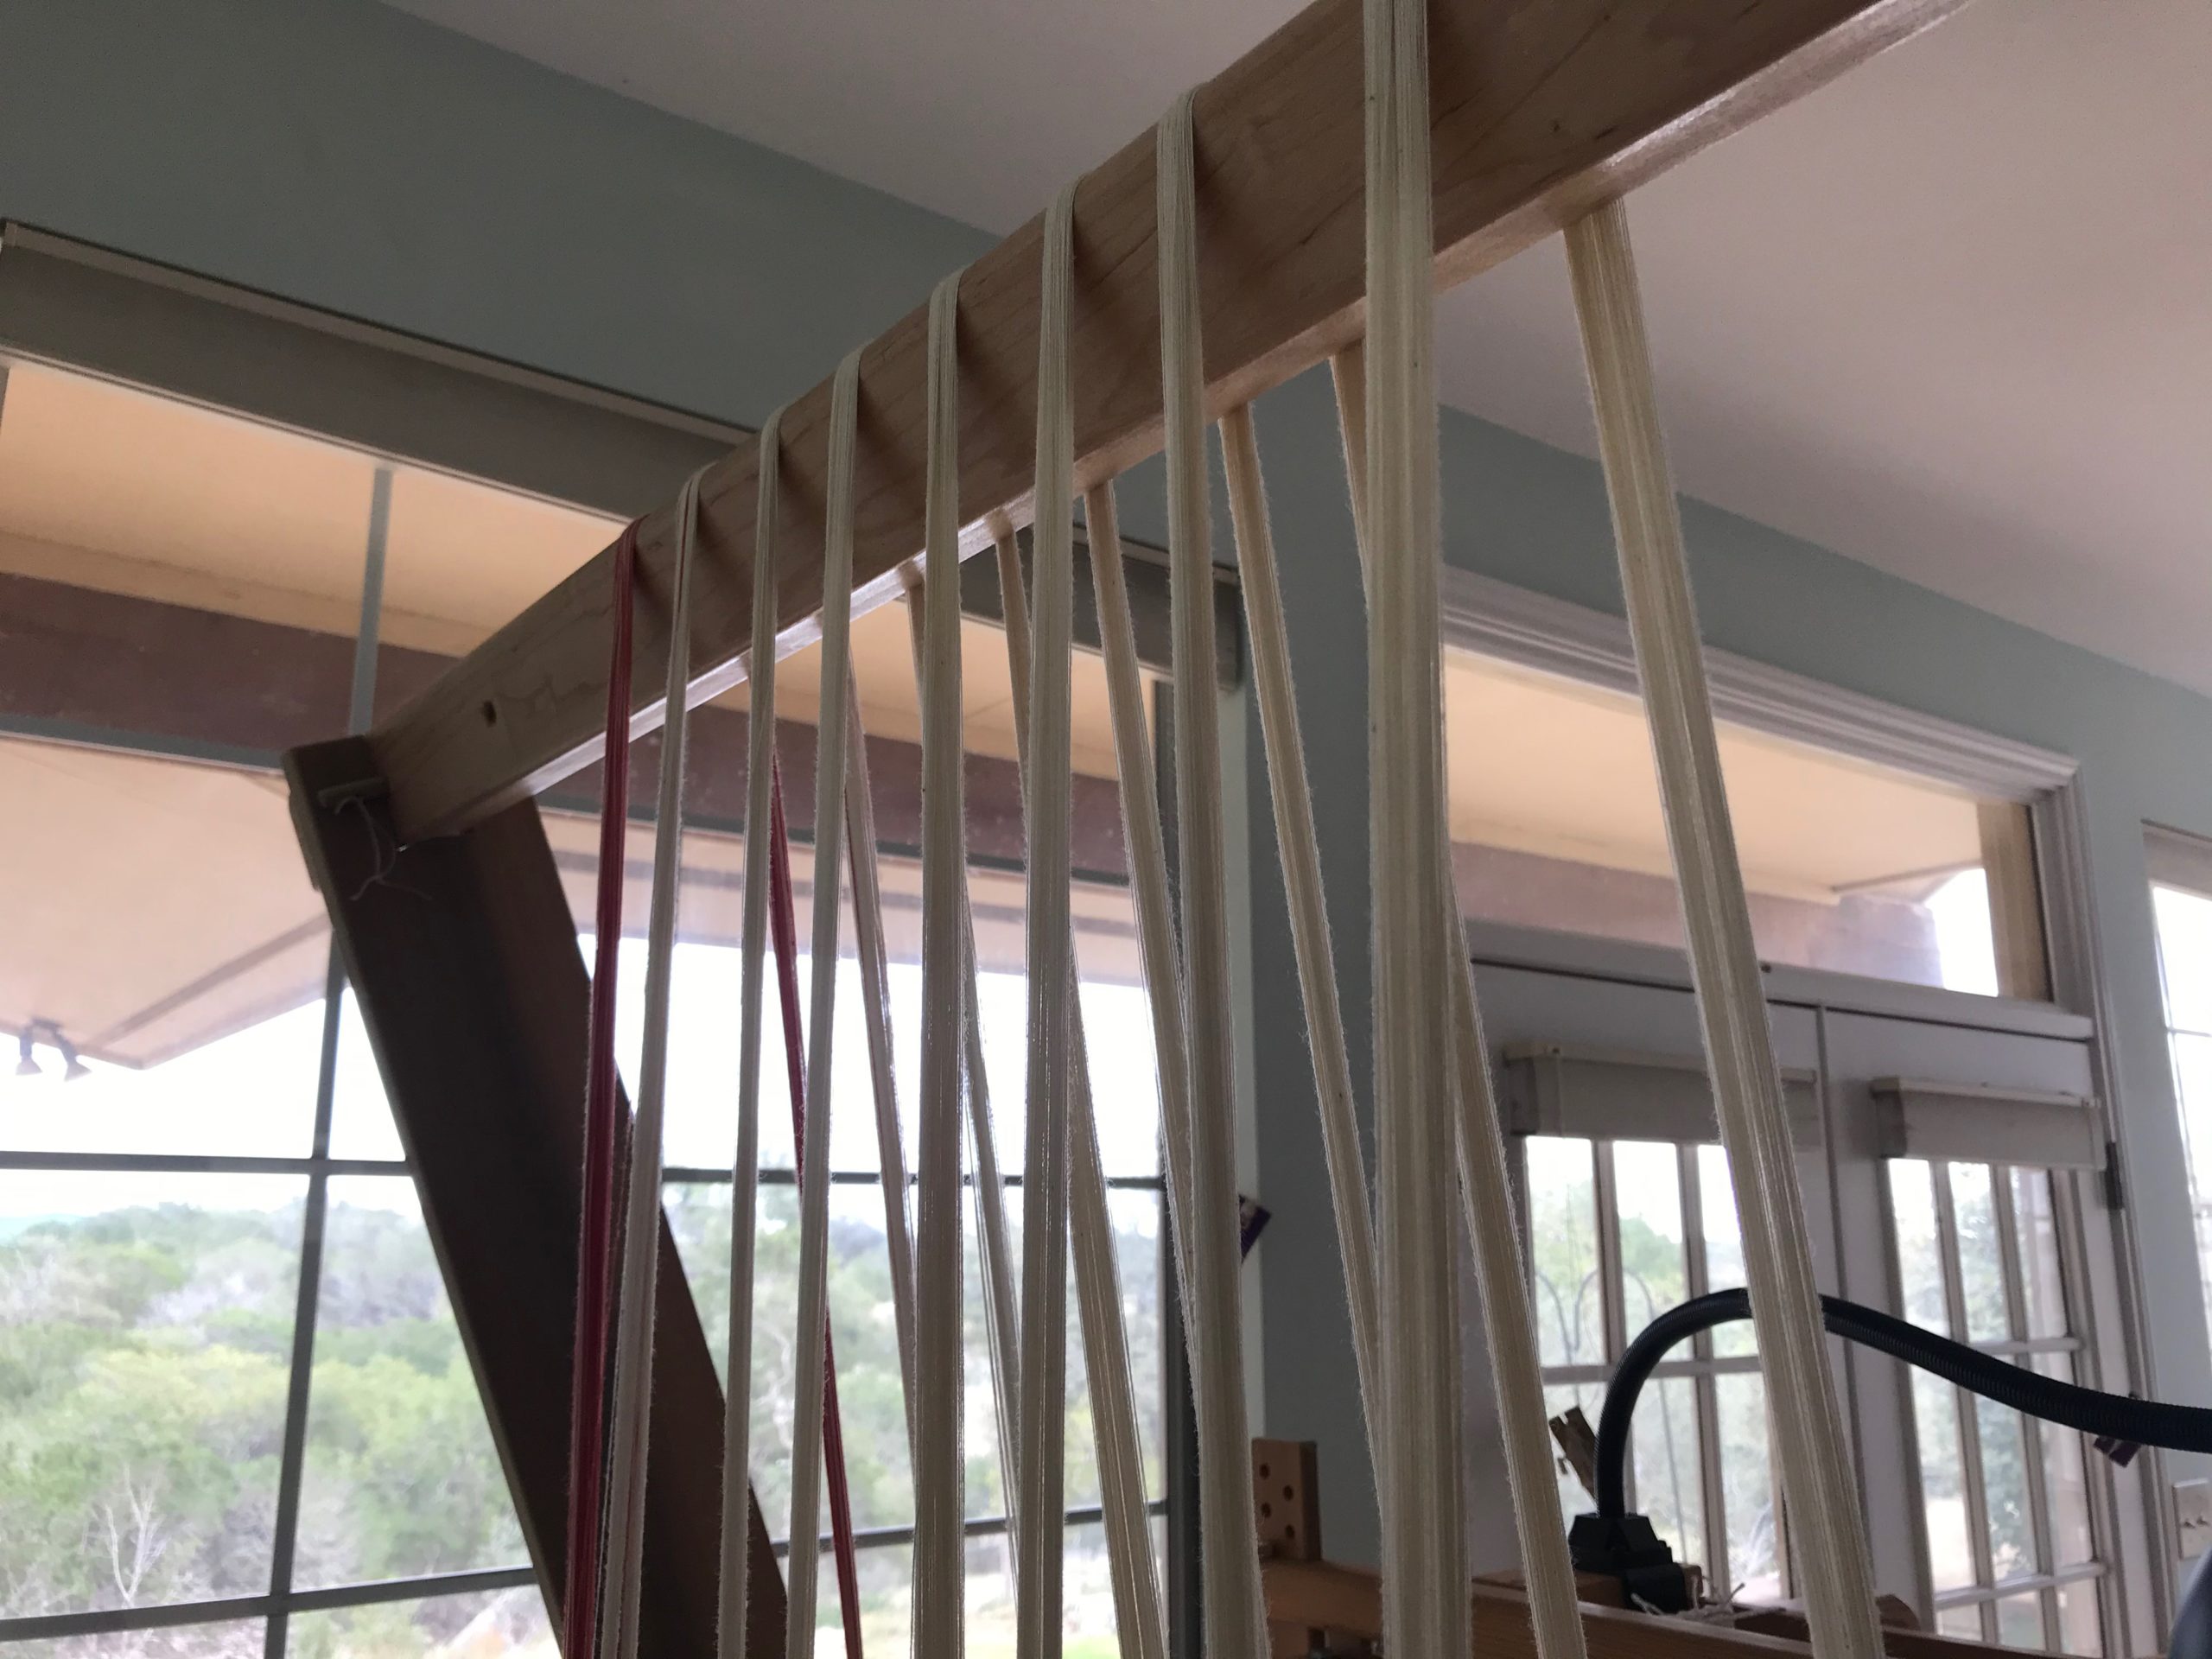
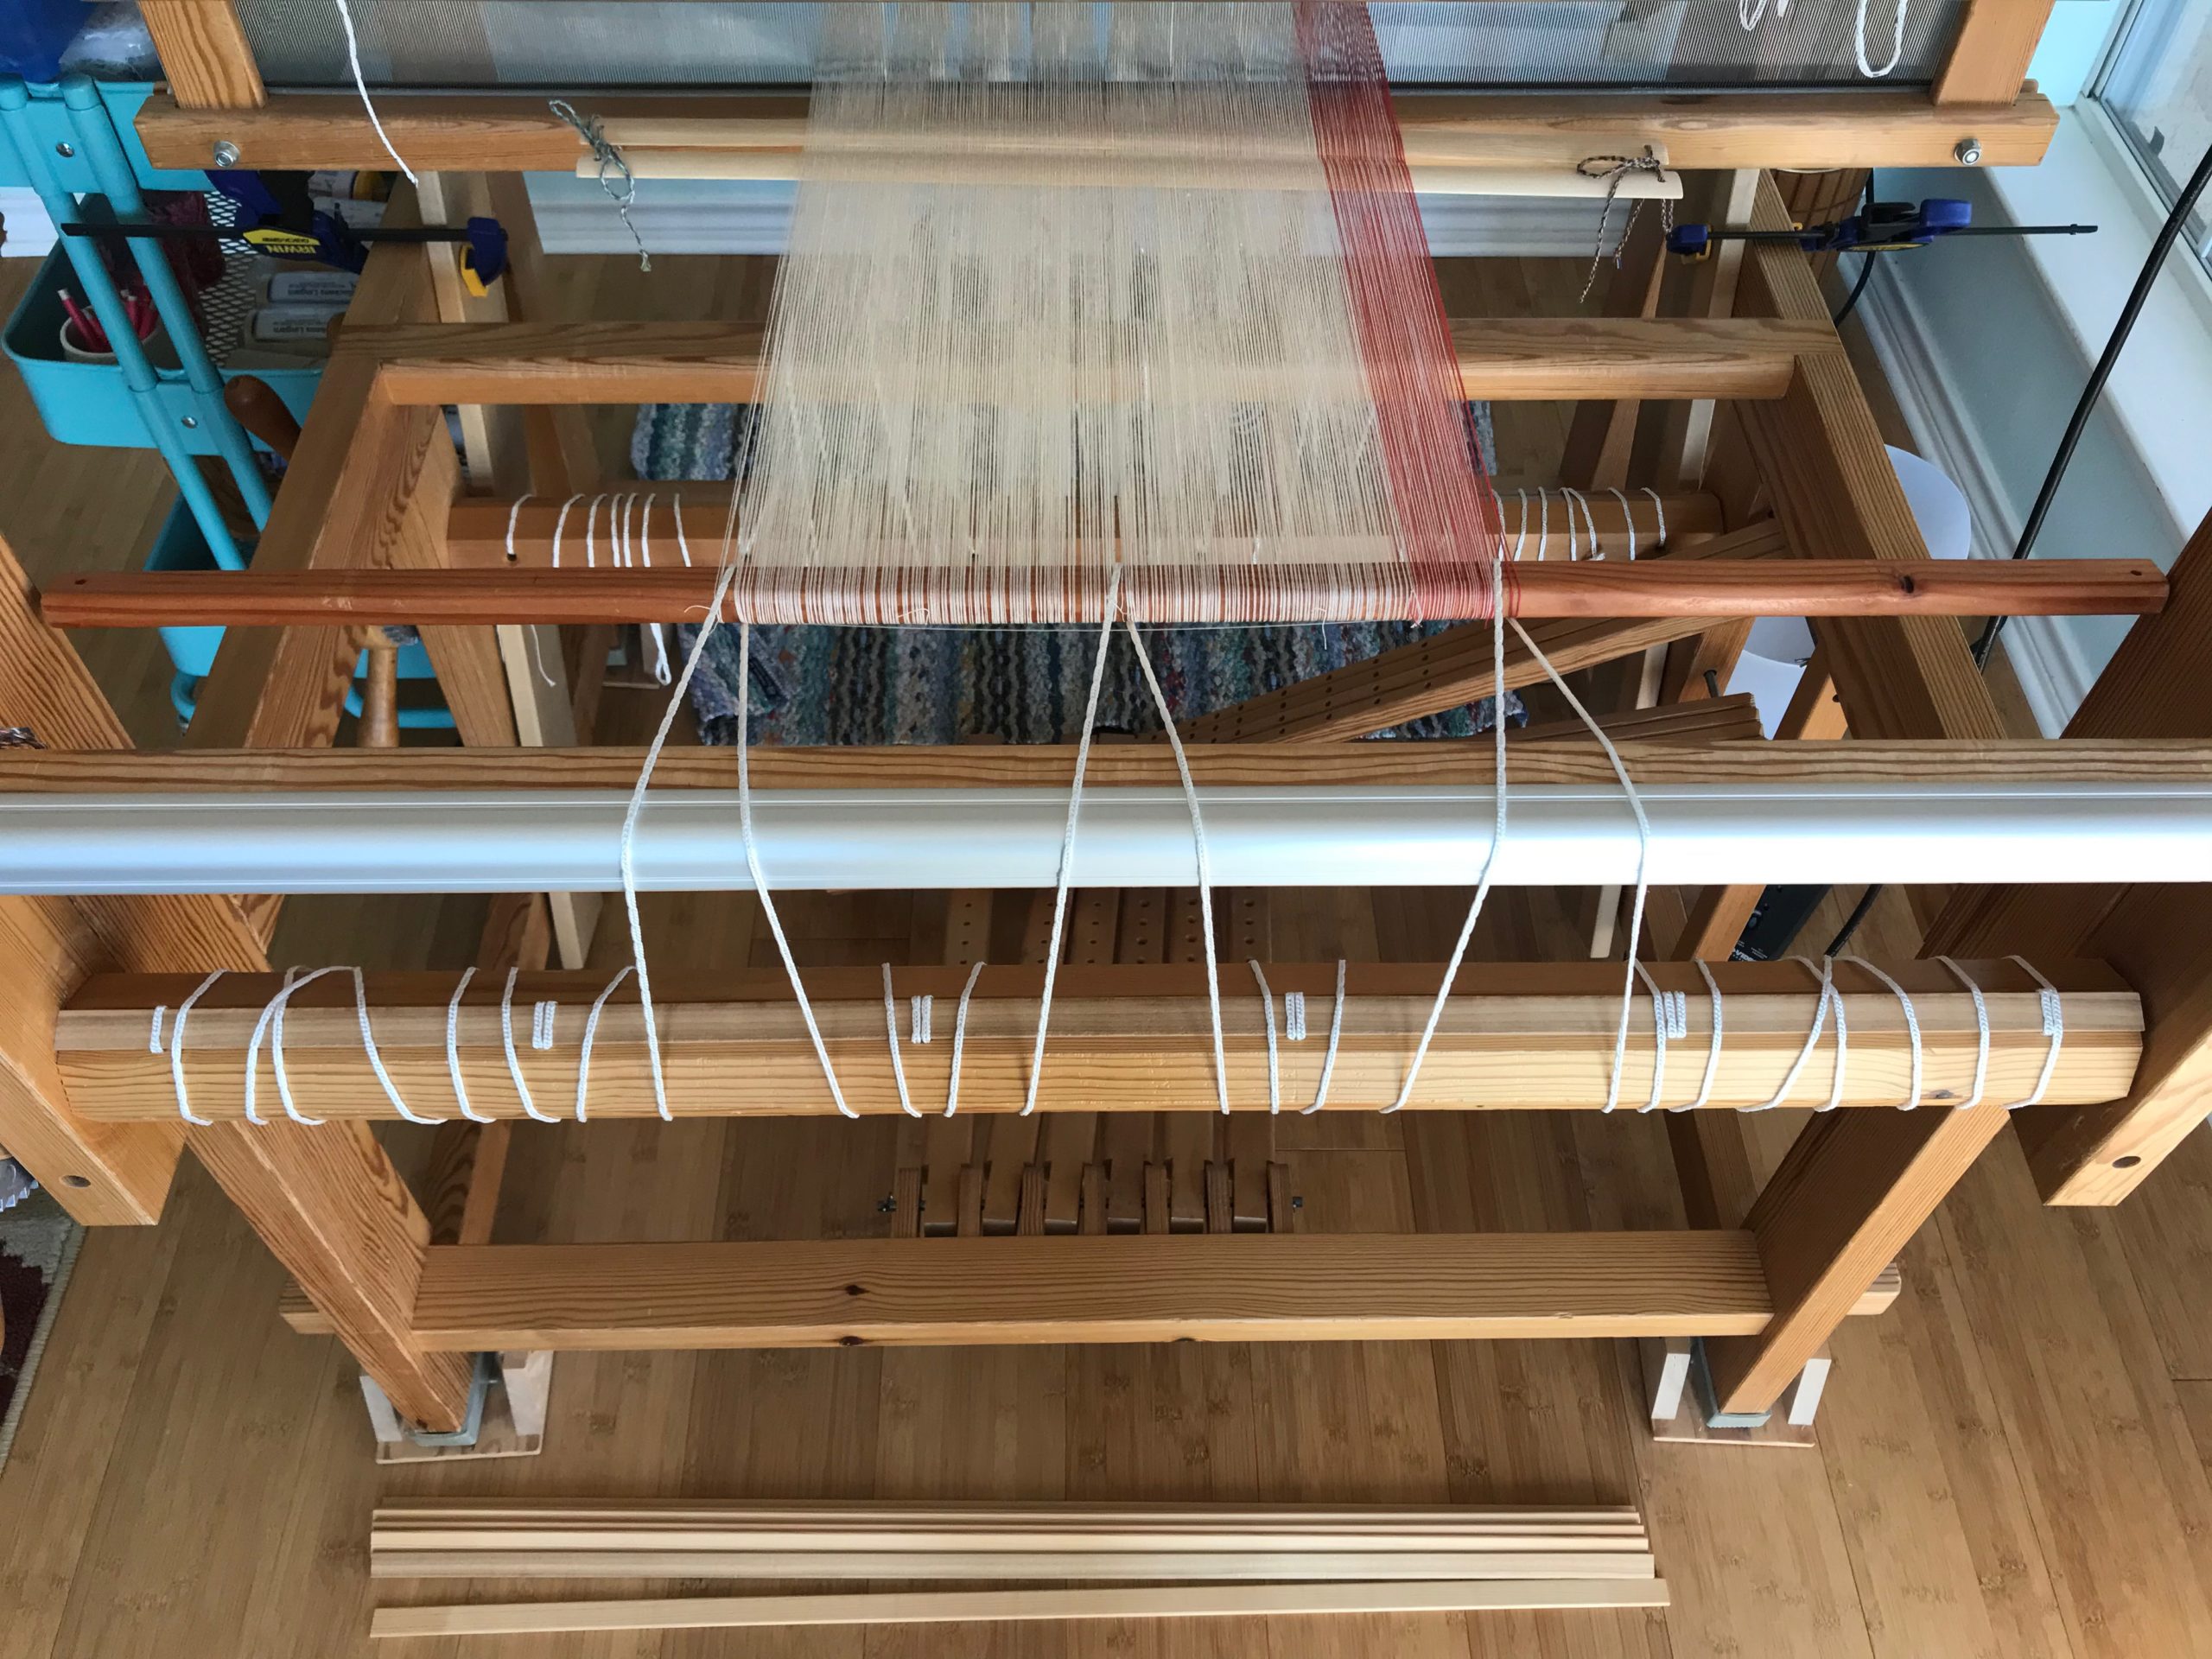
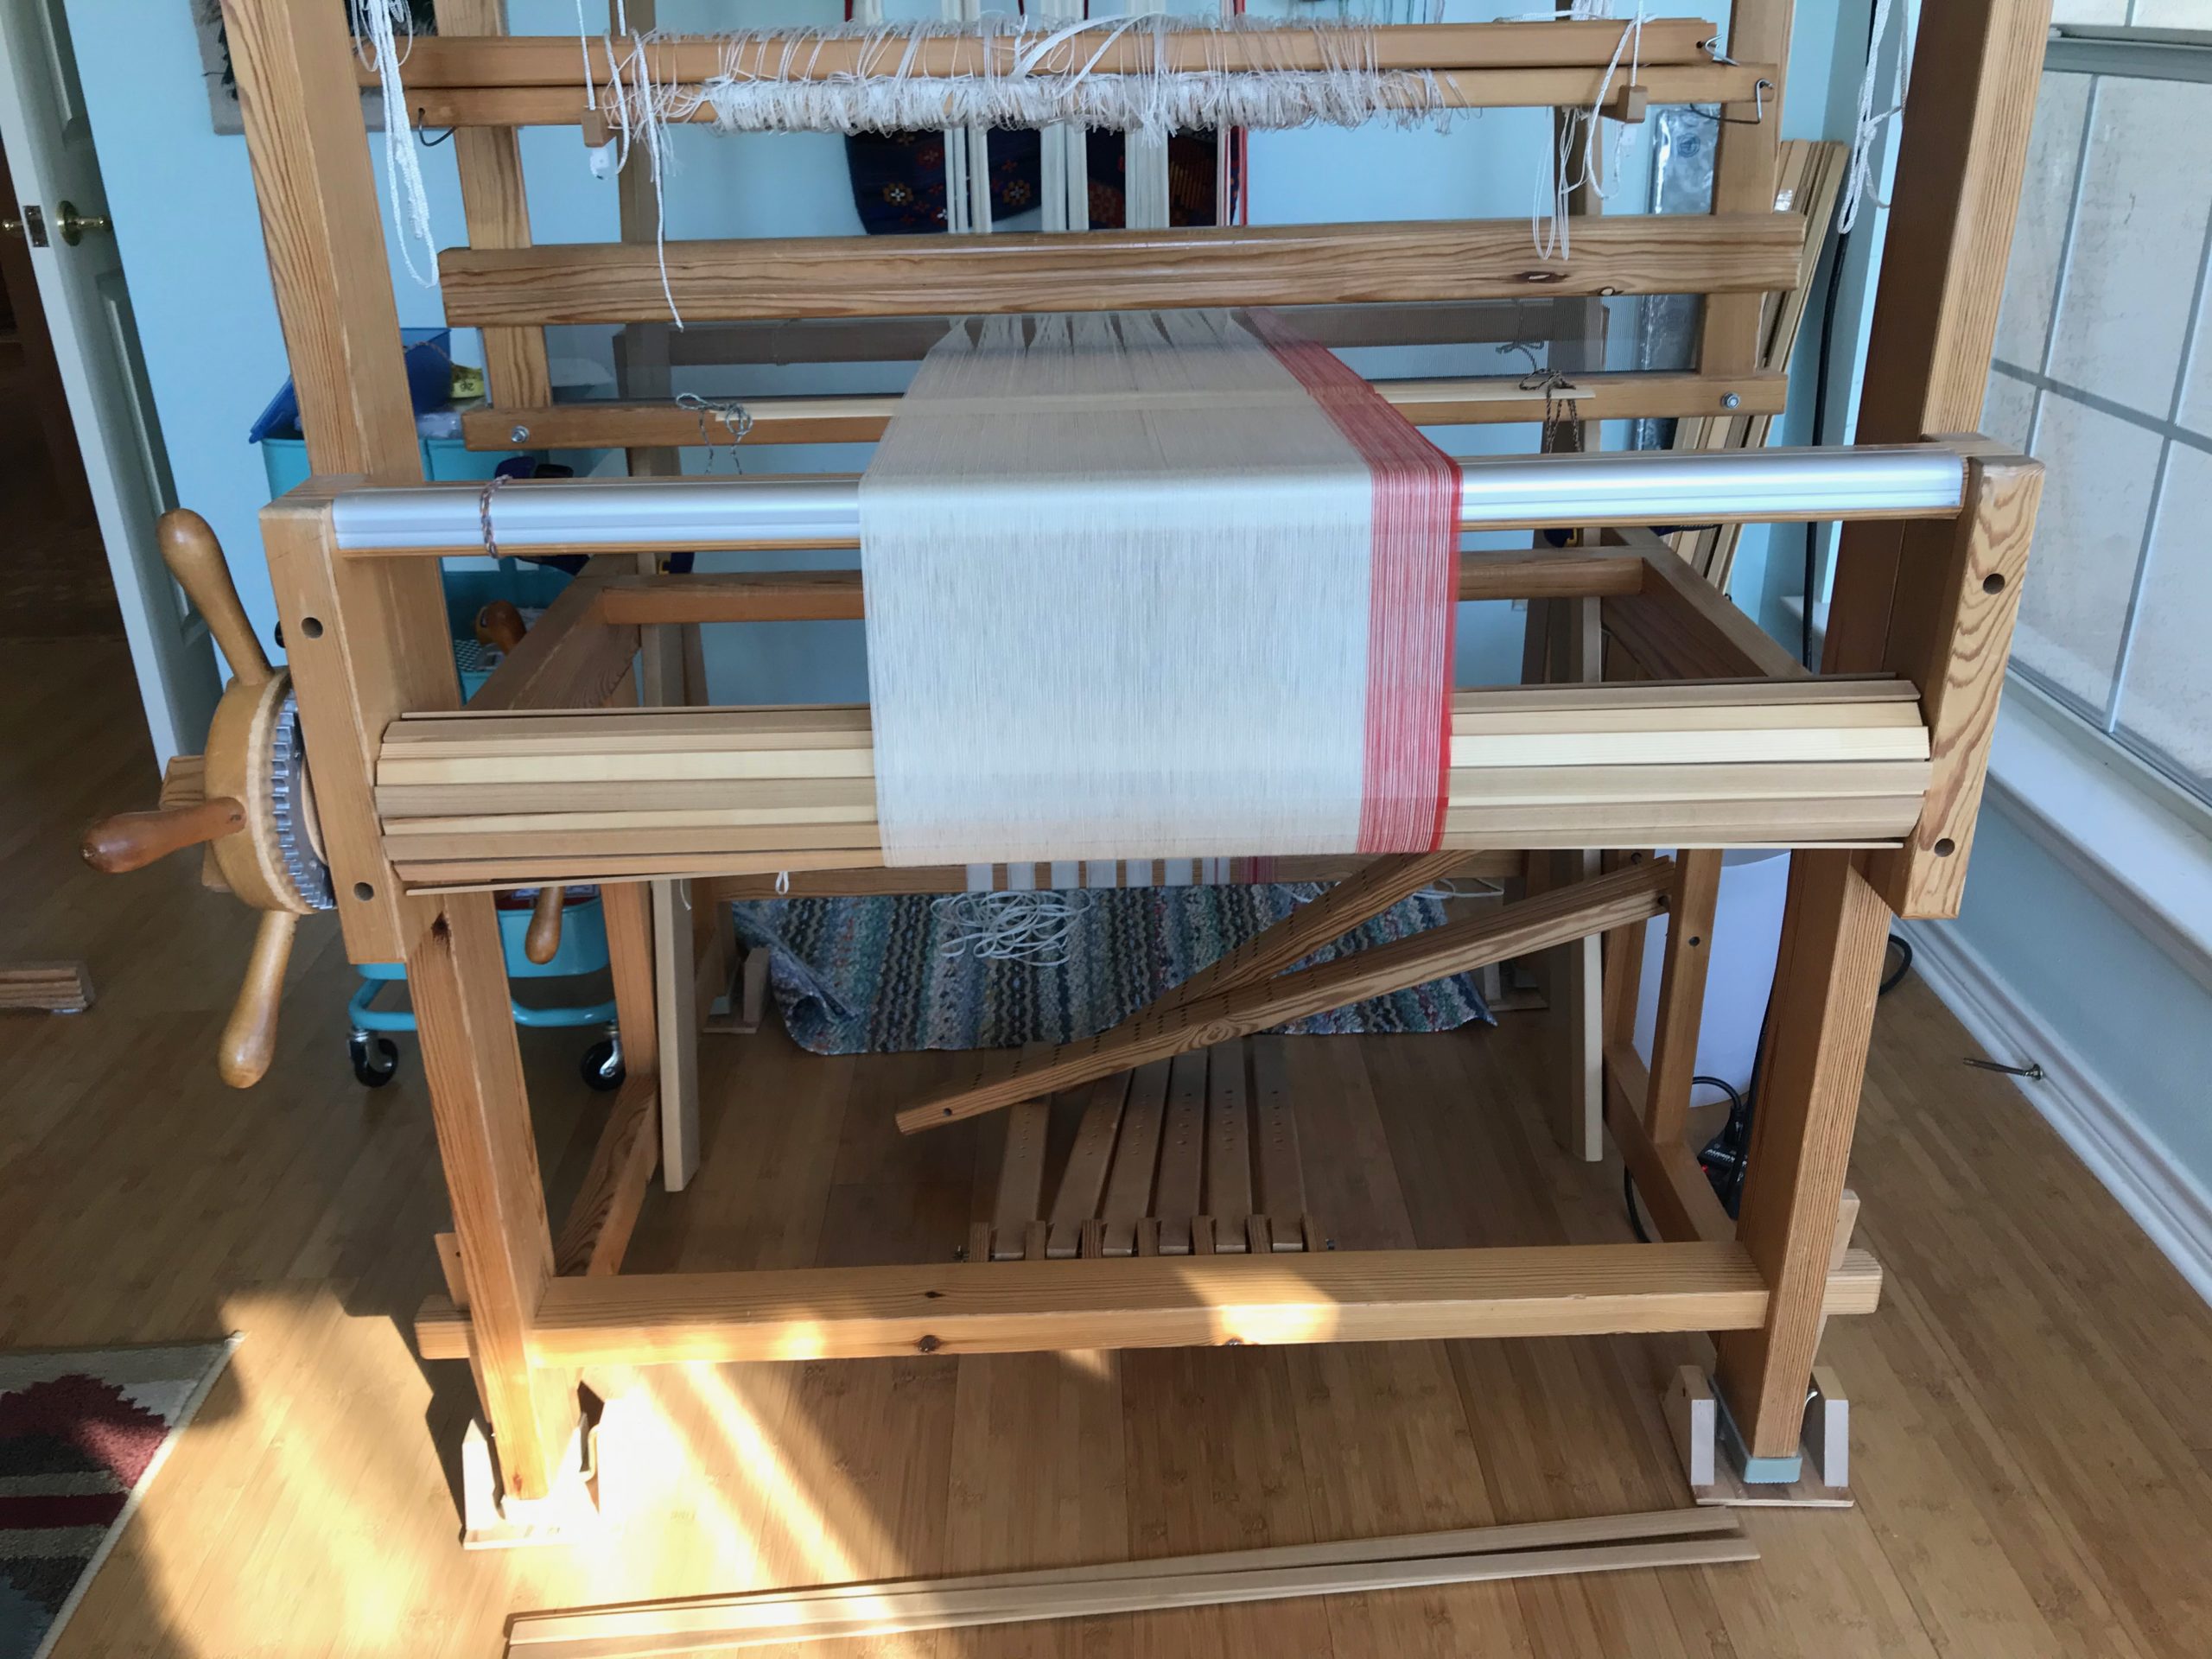
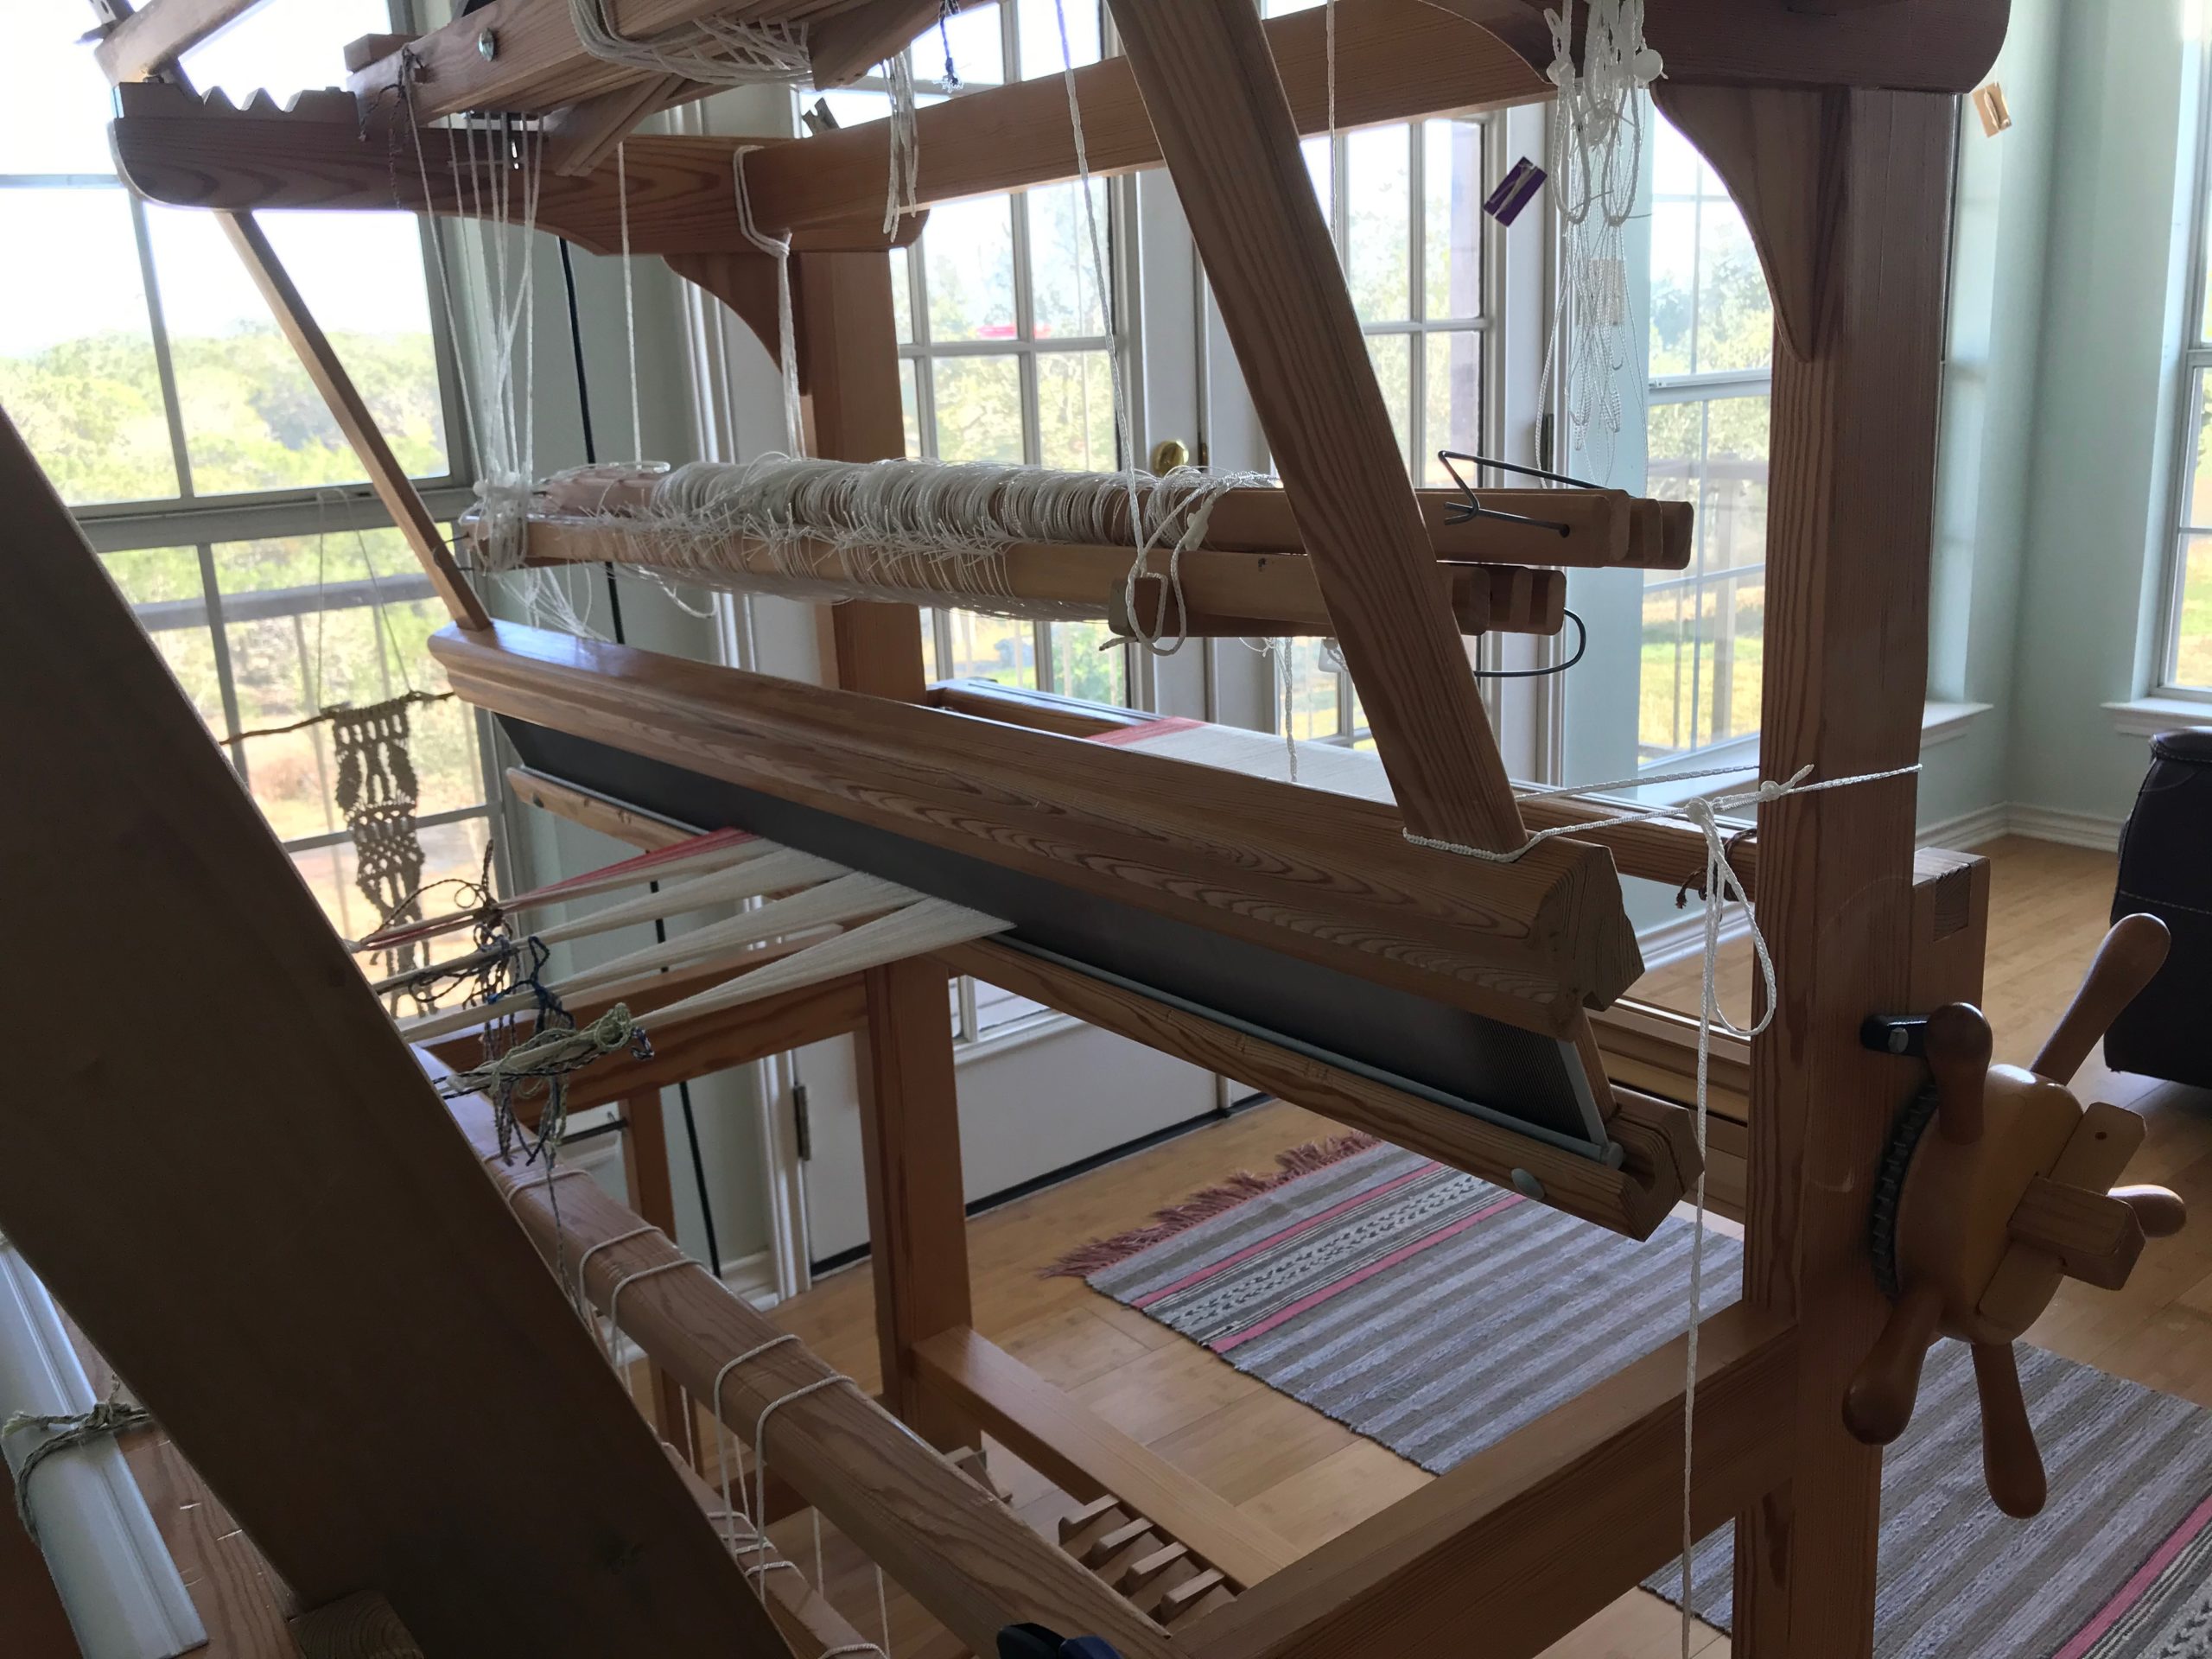
Today, I’m beaming the warp. My method includes a combination of things I have learned from these three excellent sources: Learning to Warp Your Loom, by Joanne Hall, Dress Your Loom the Vävstuga Way, by Becky Ashenden, and The Big Book of Weaving, by Laila Lundell.
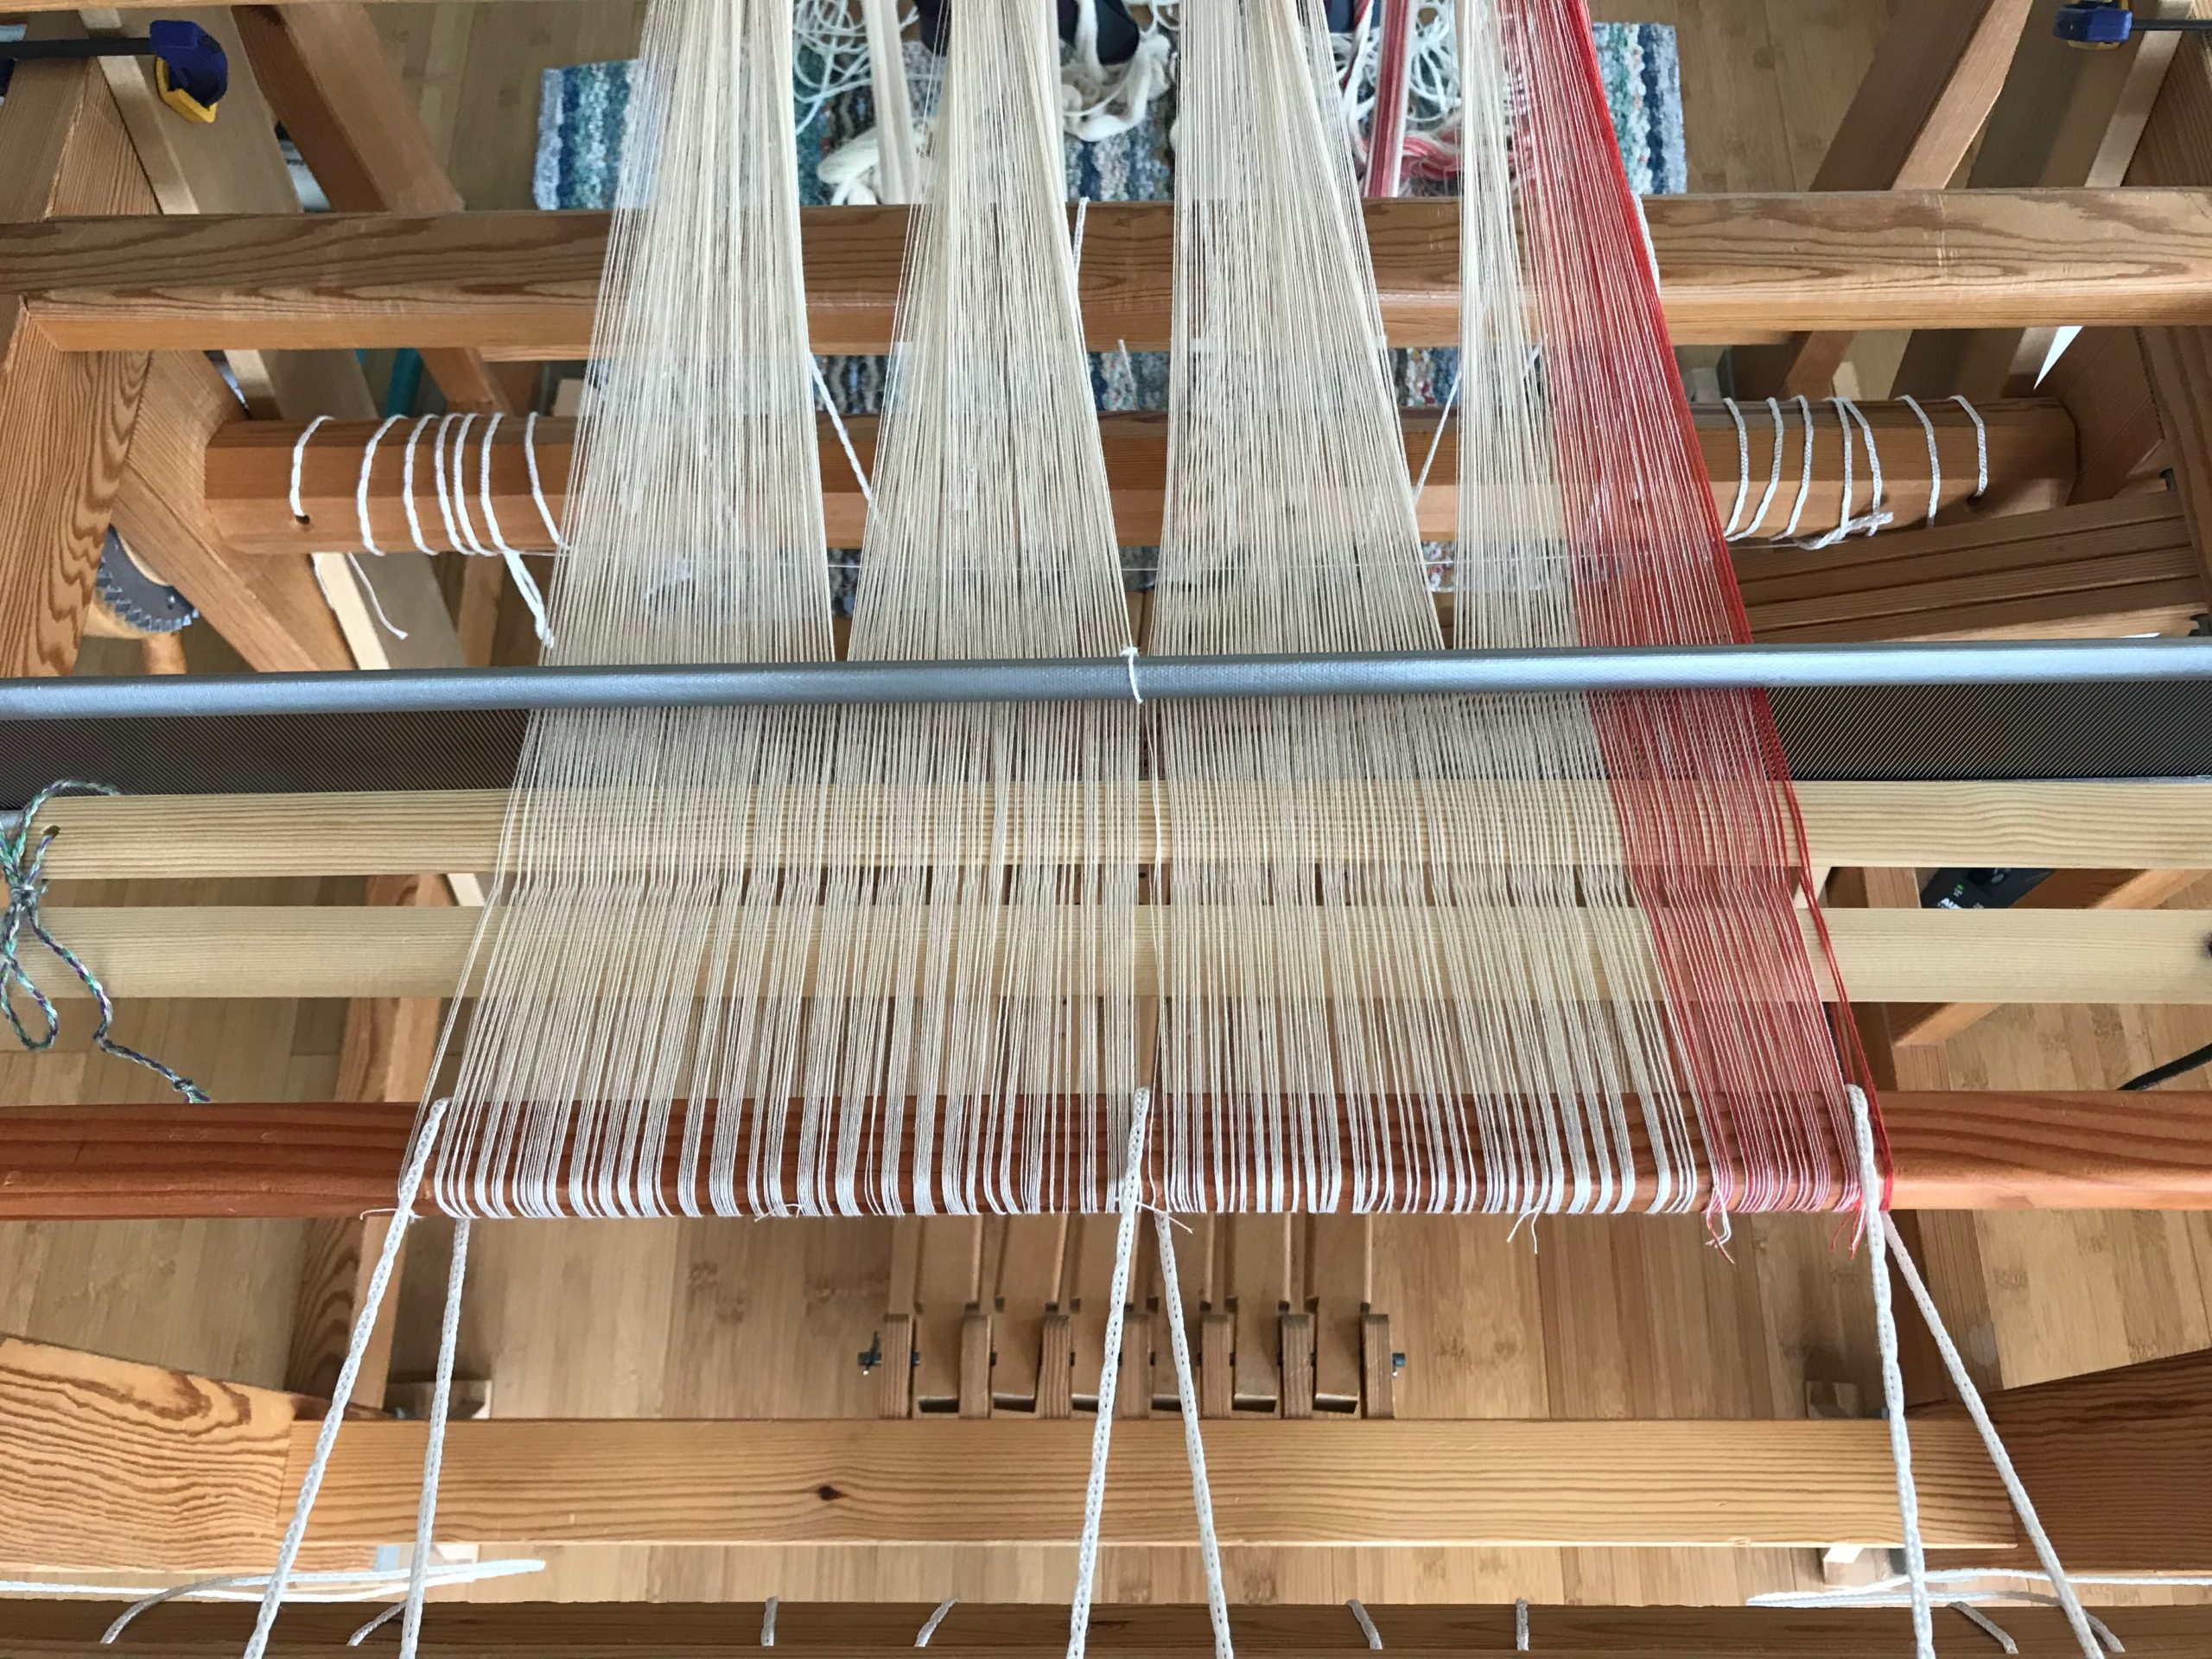
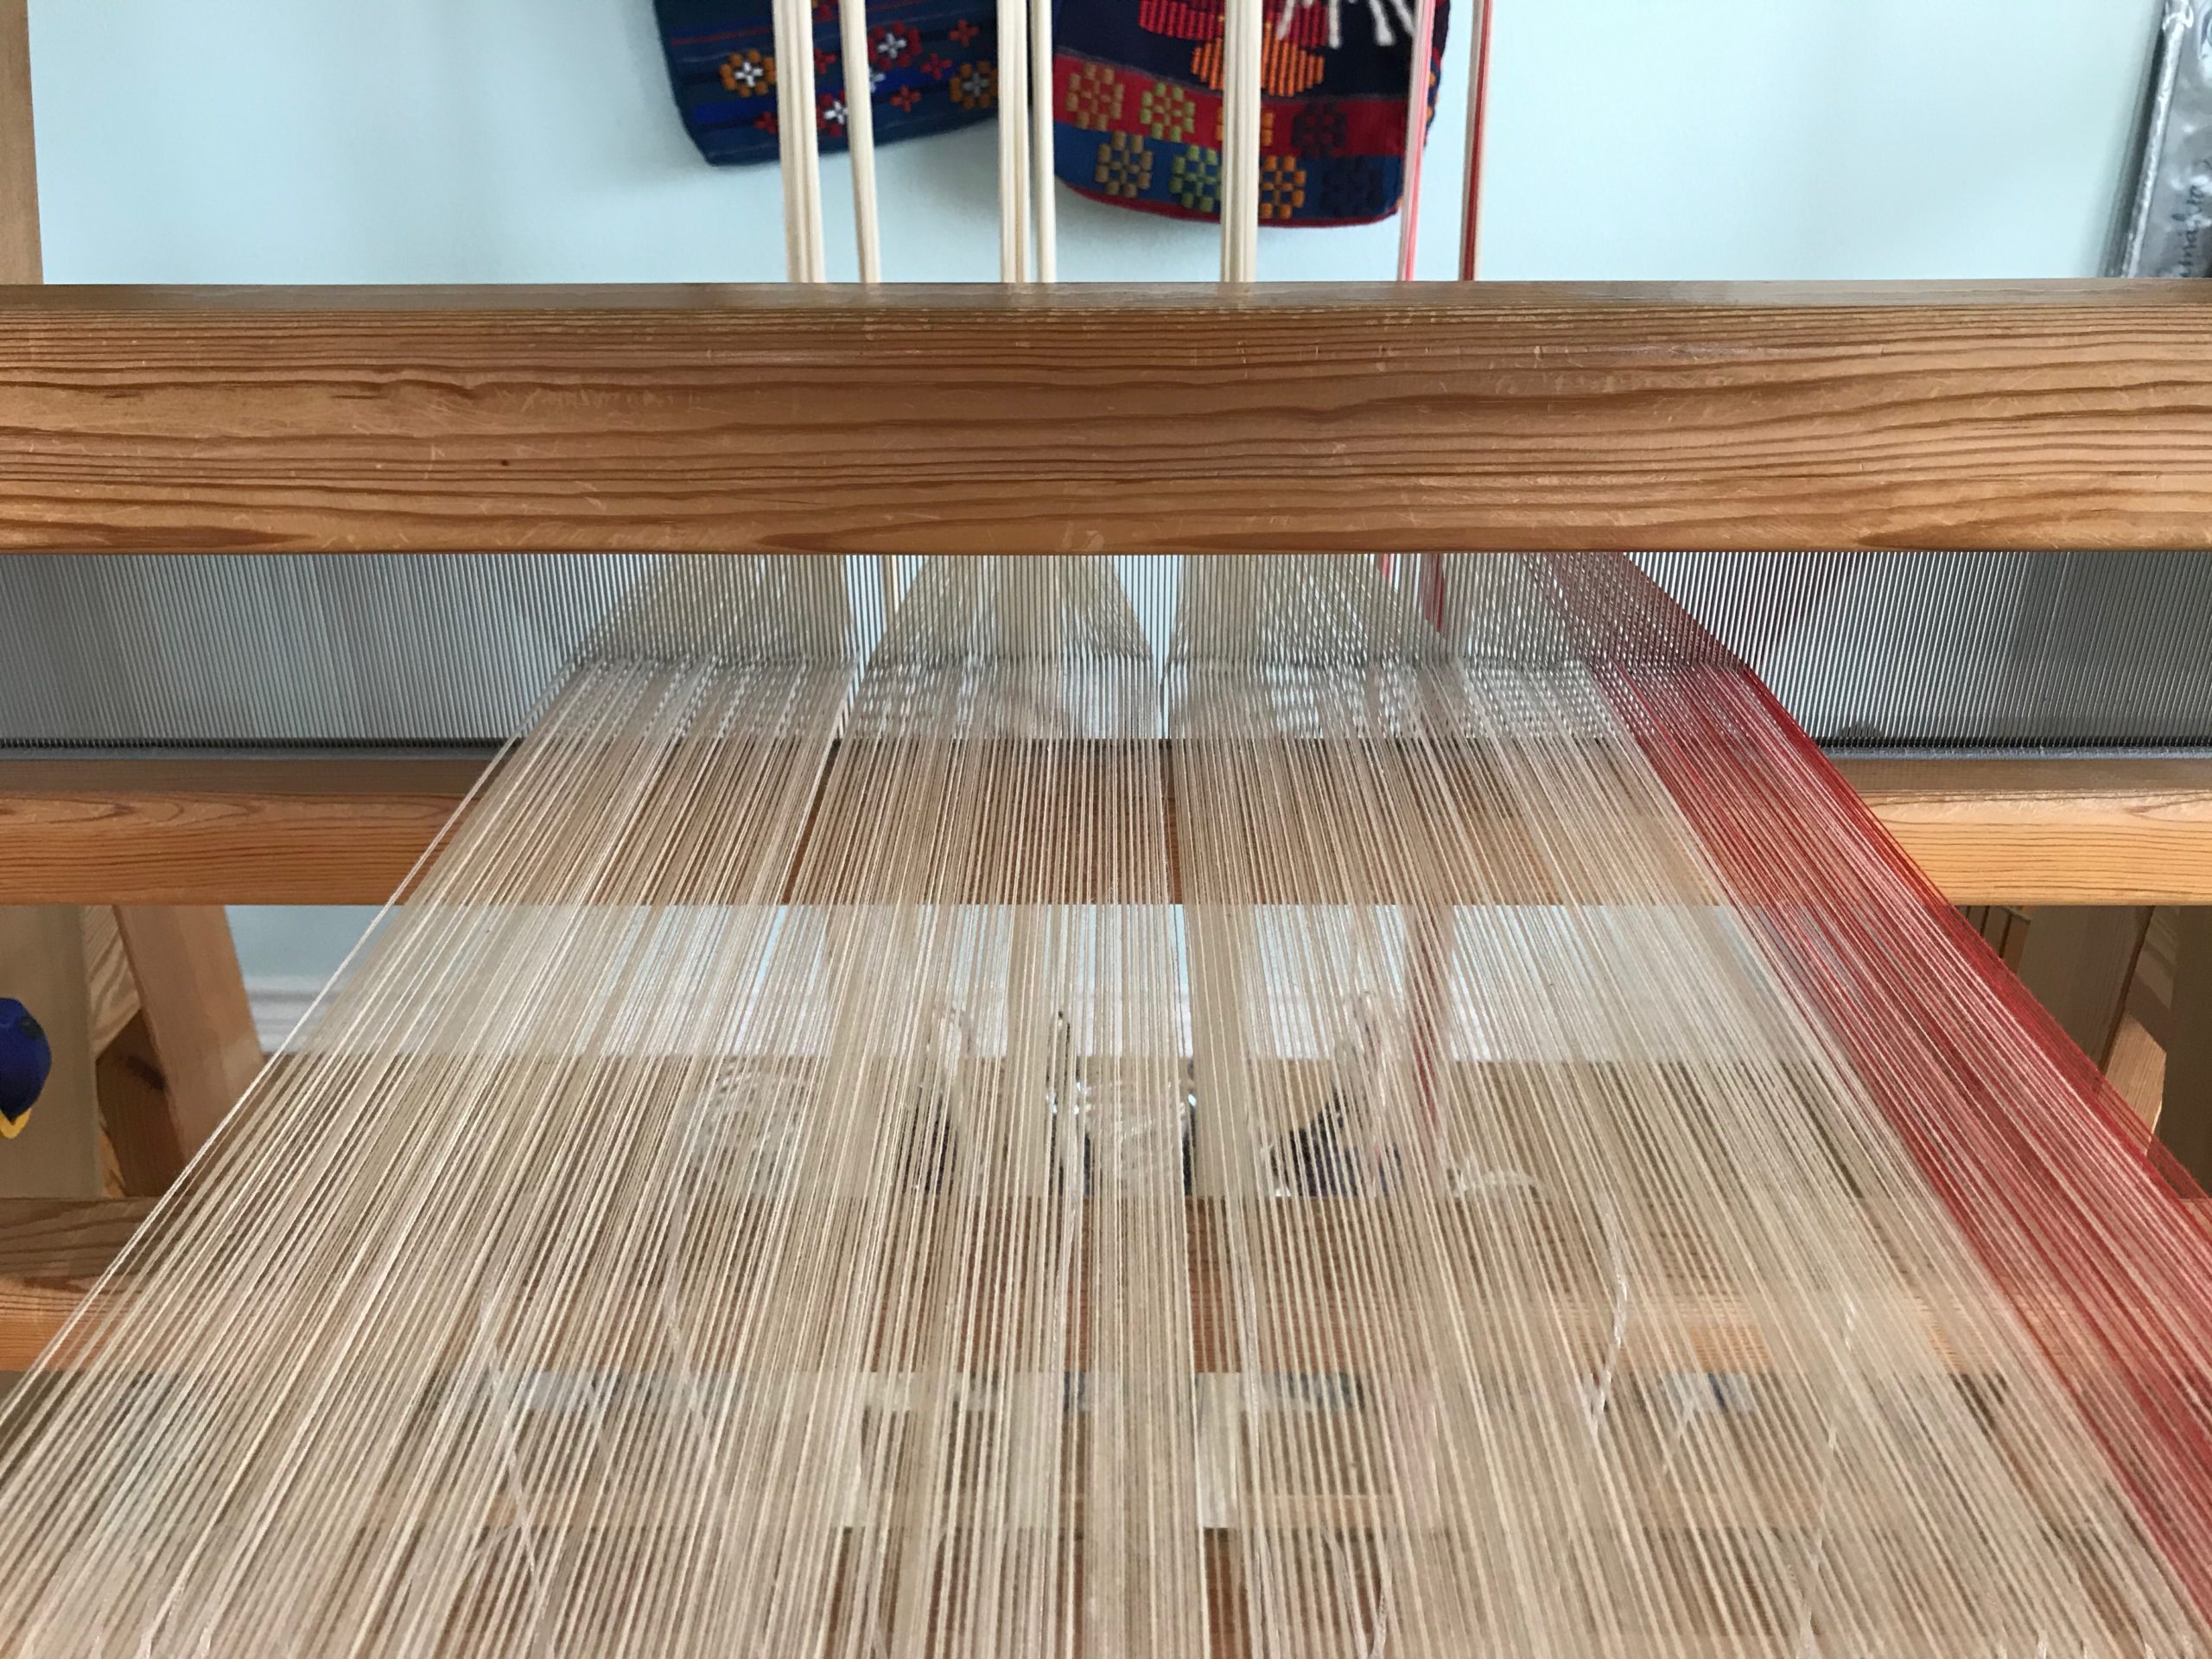
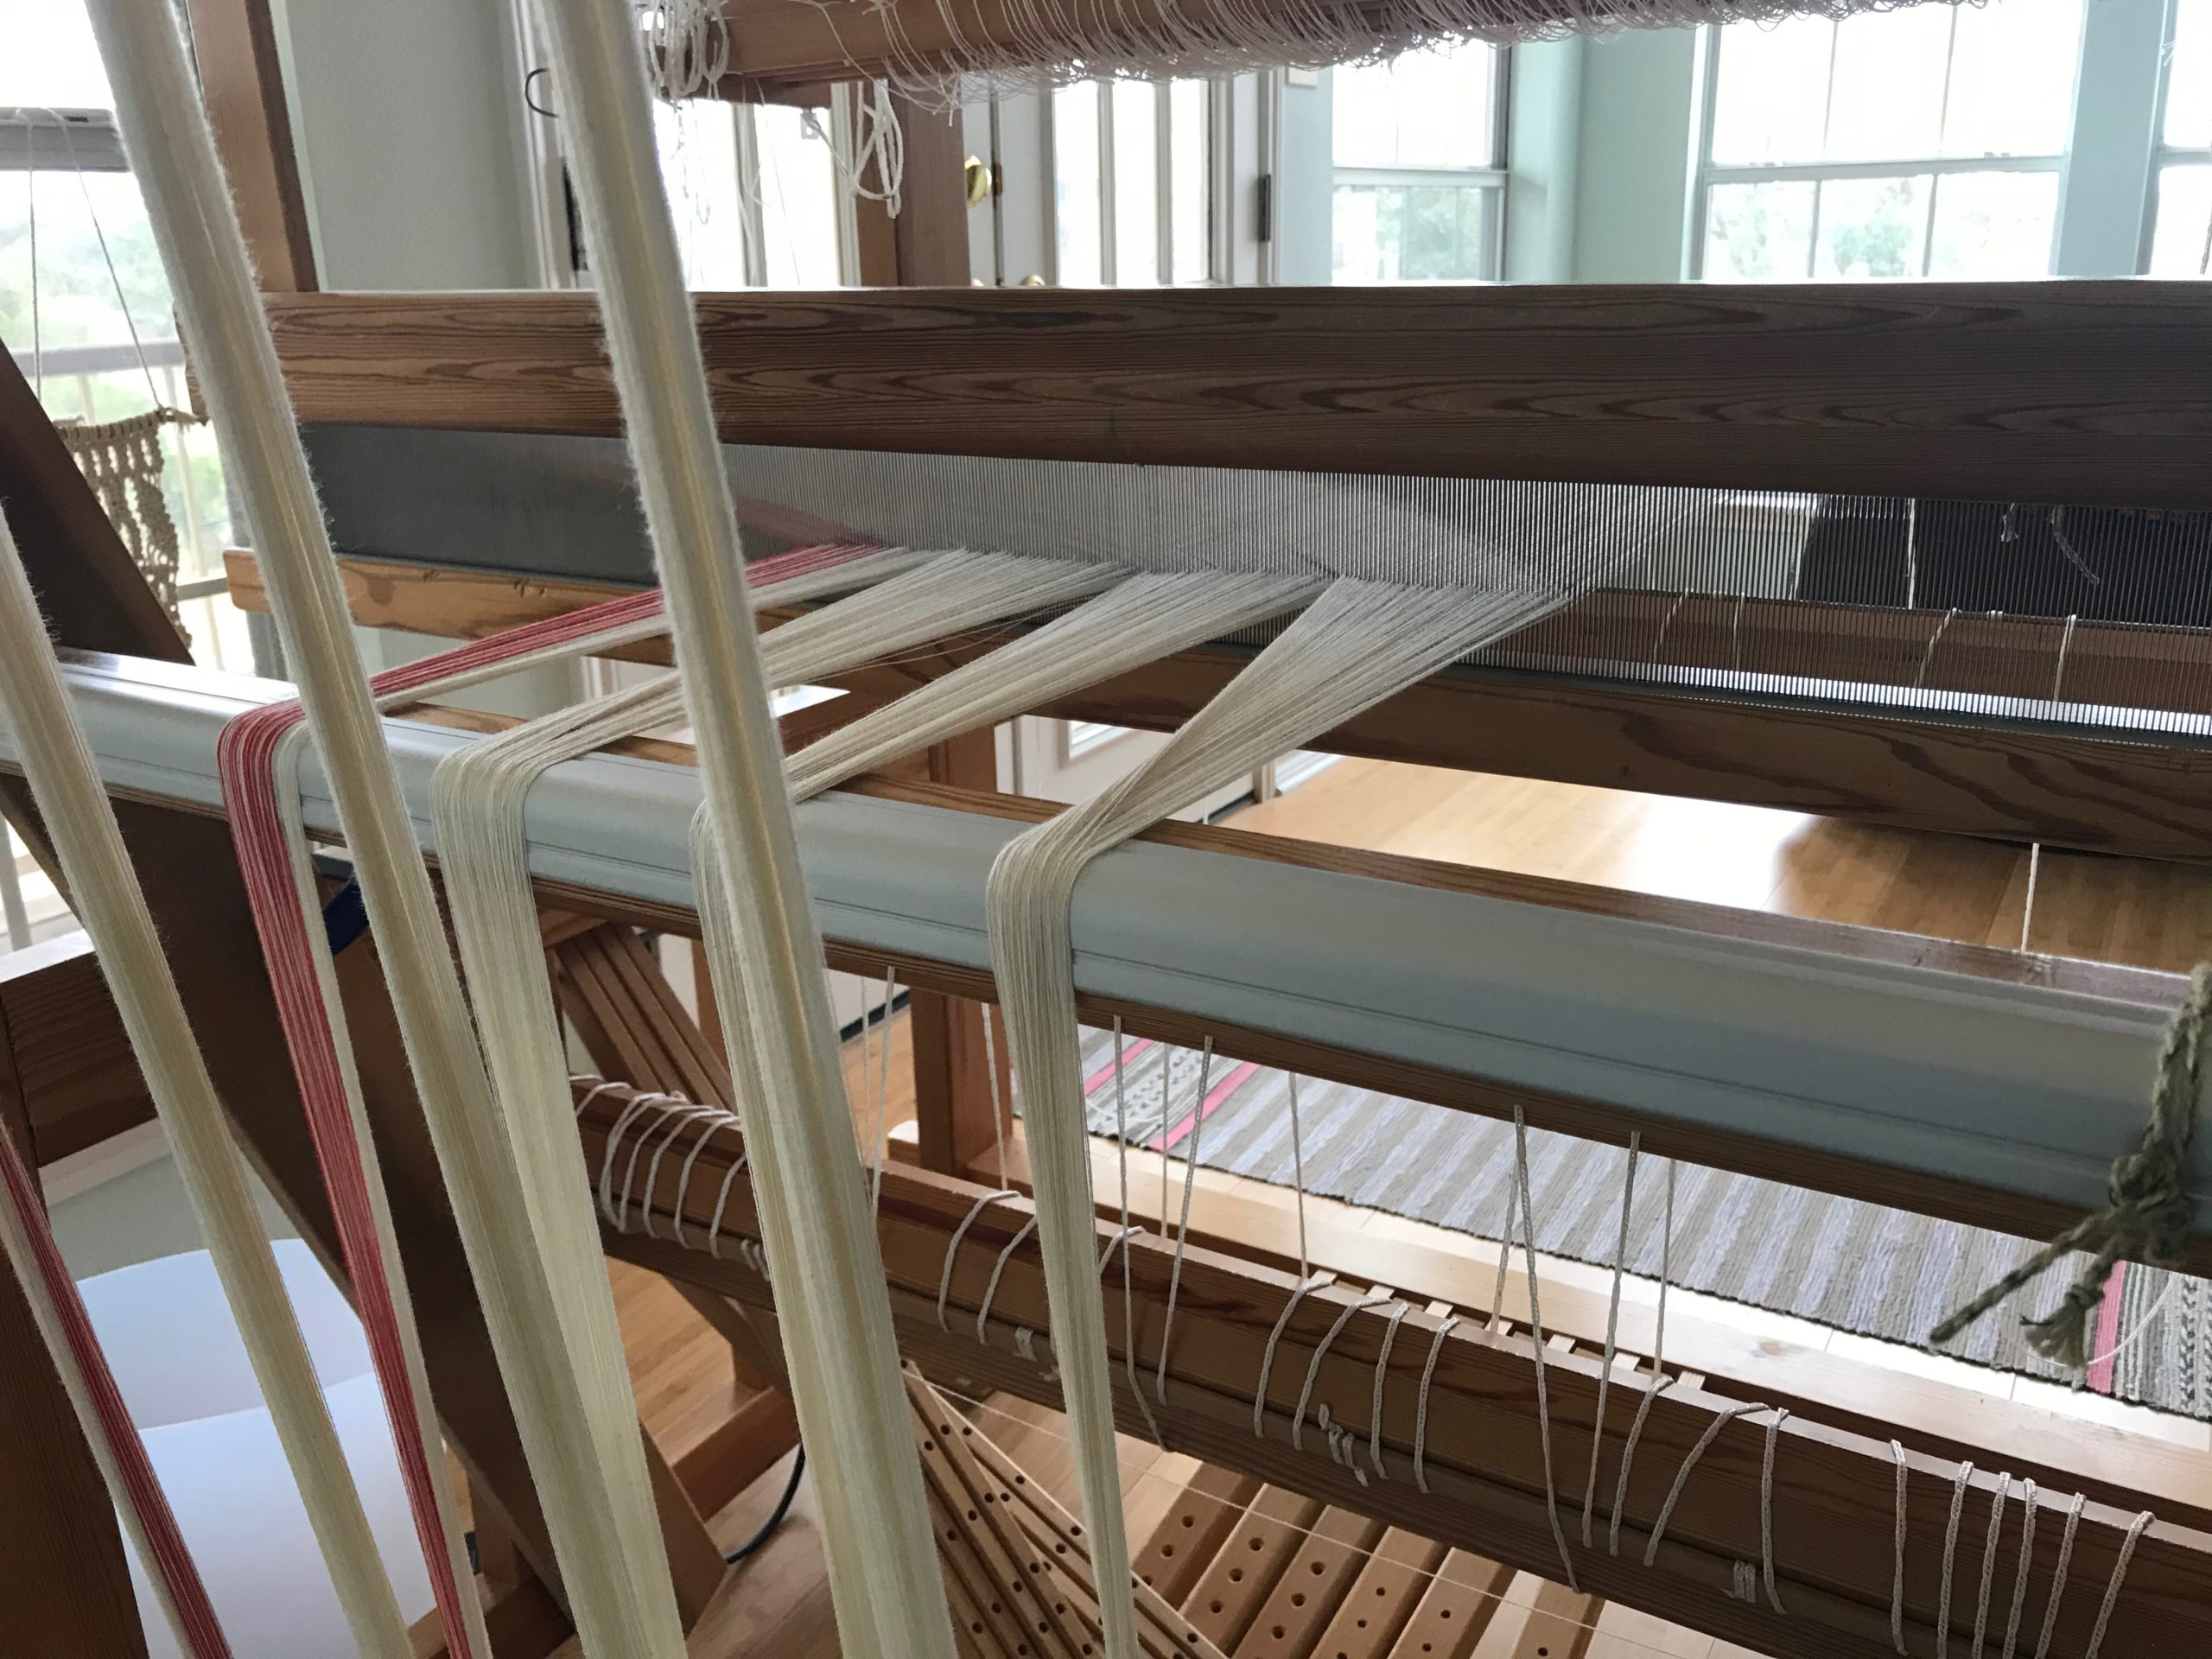
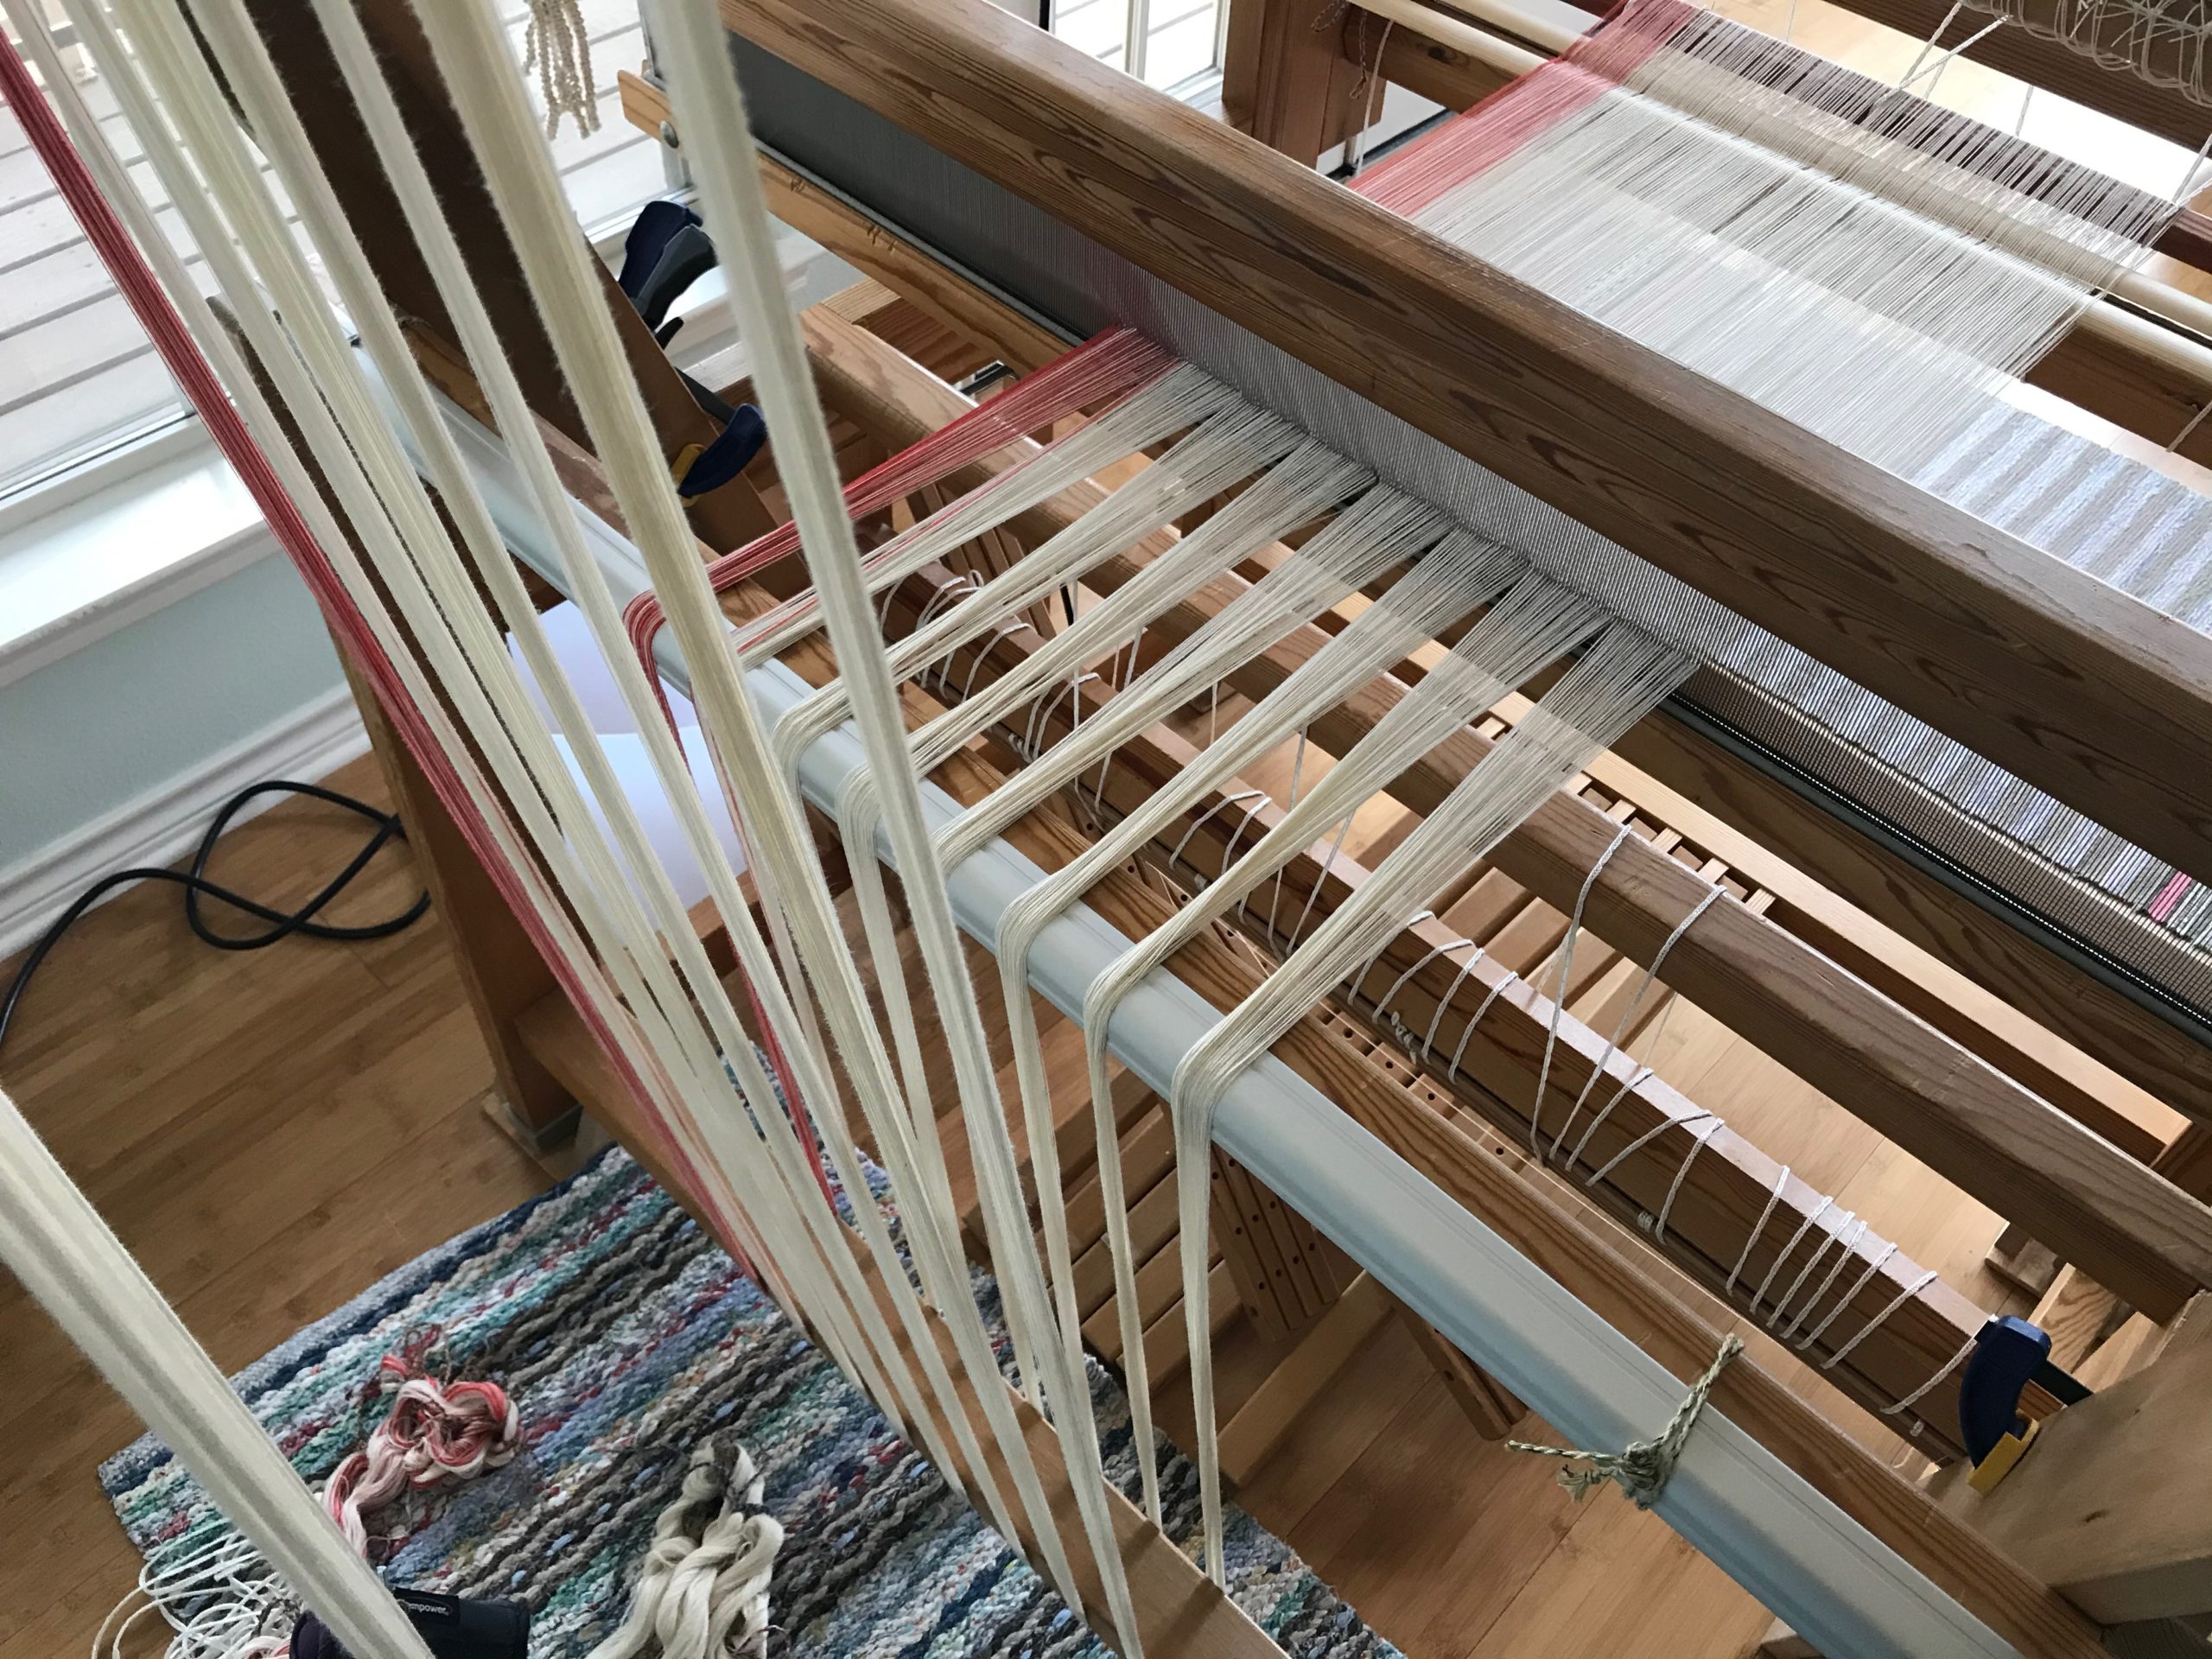
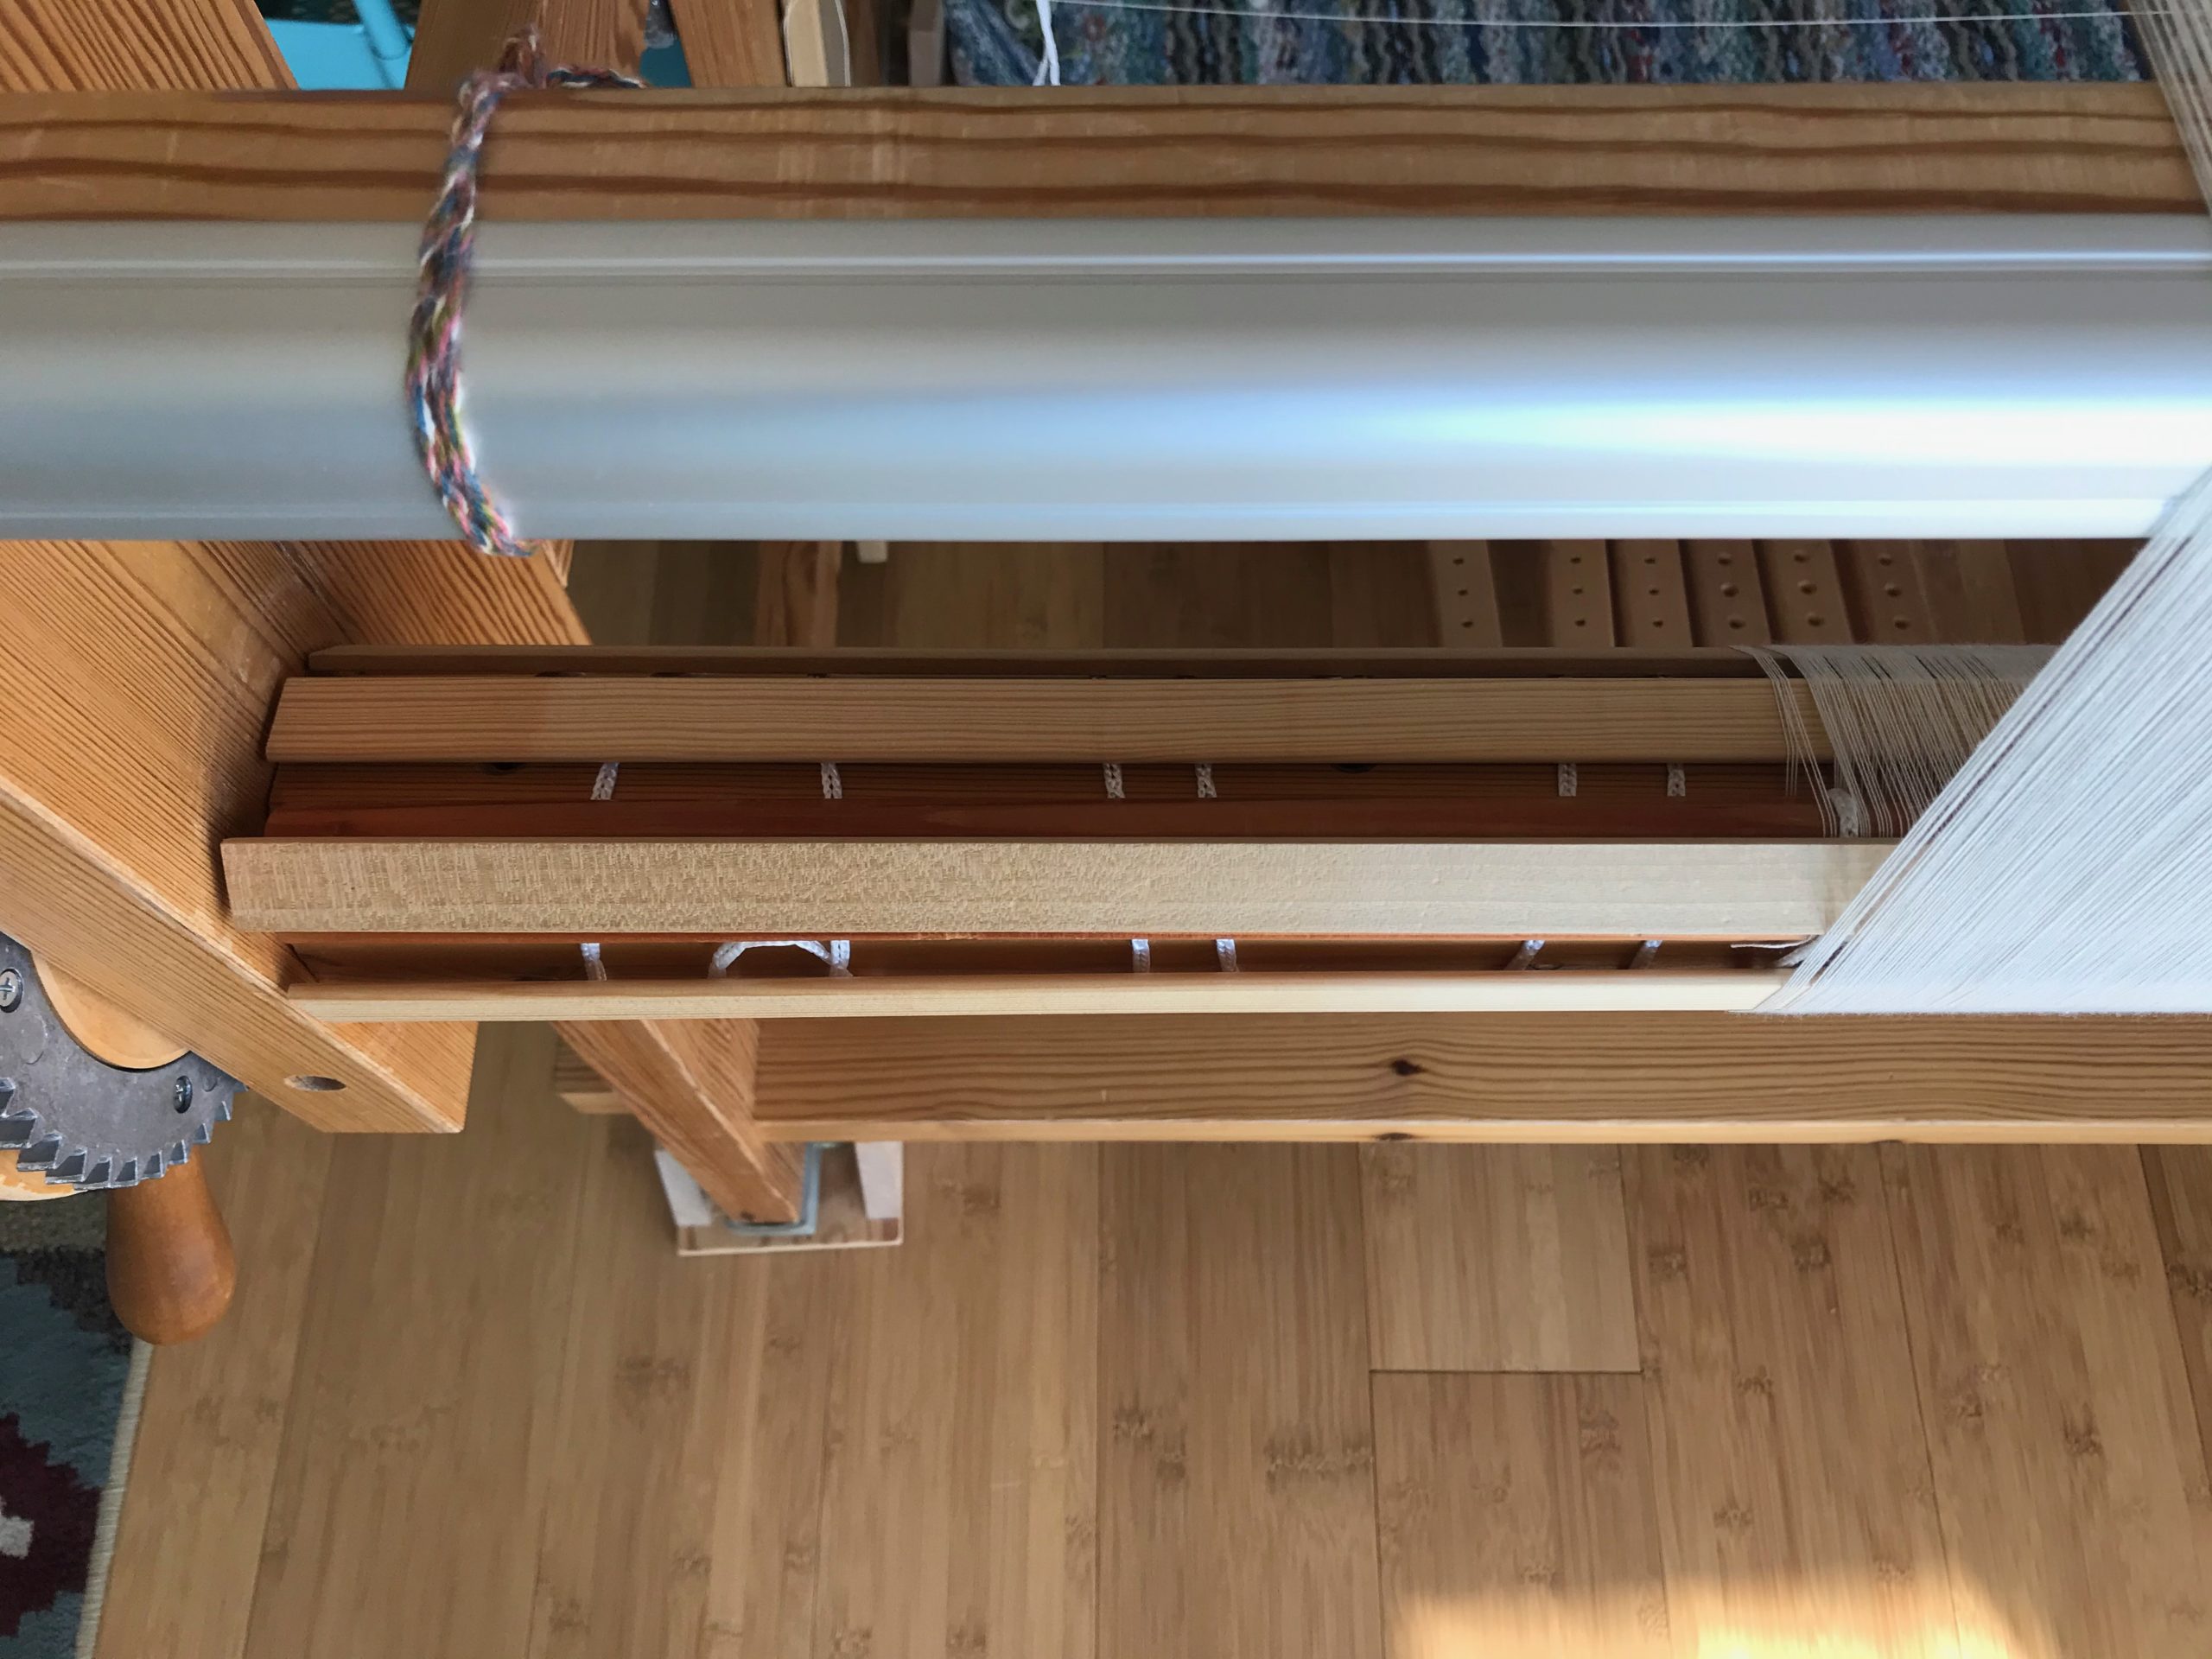
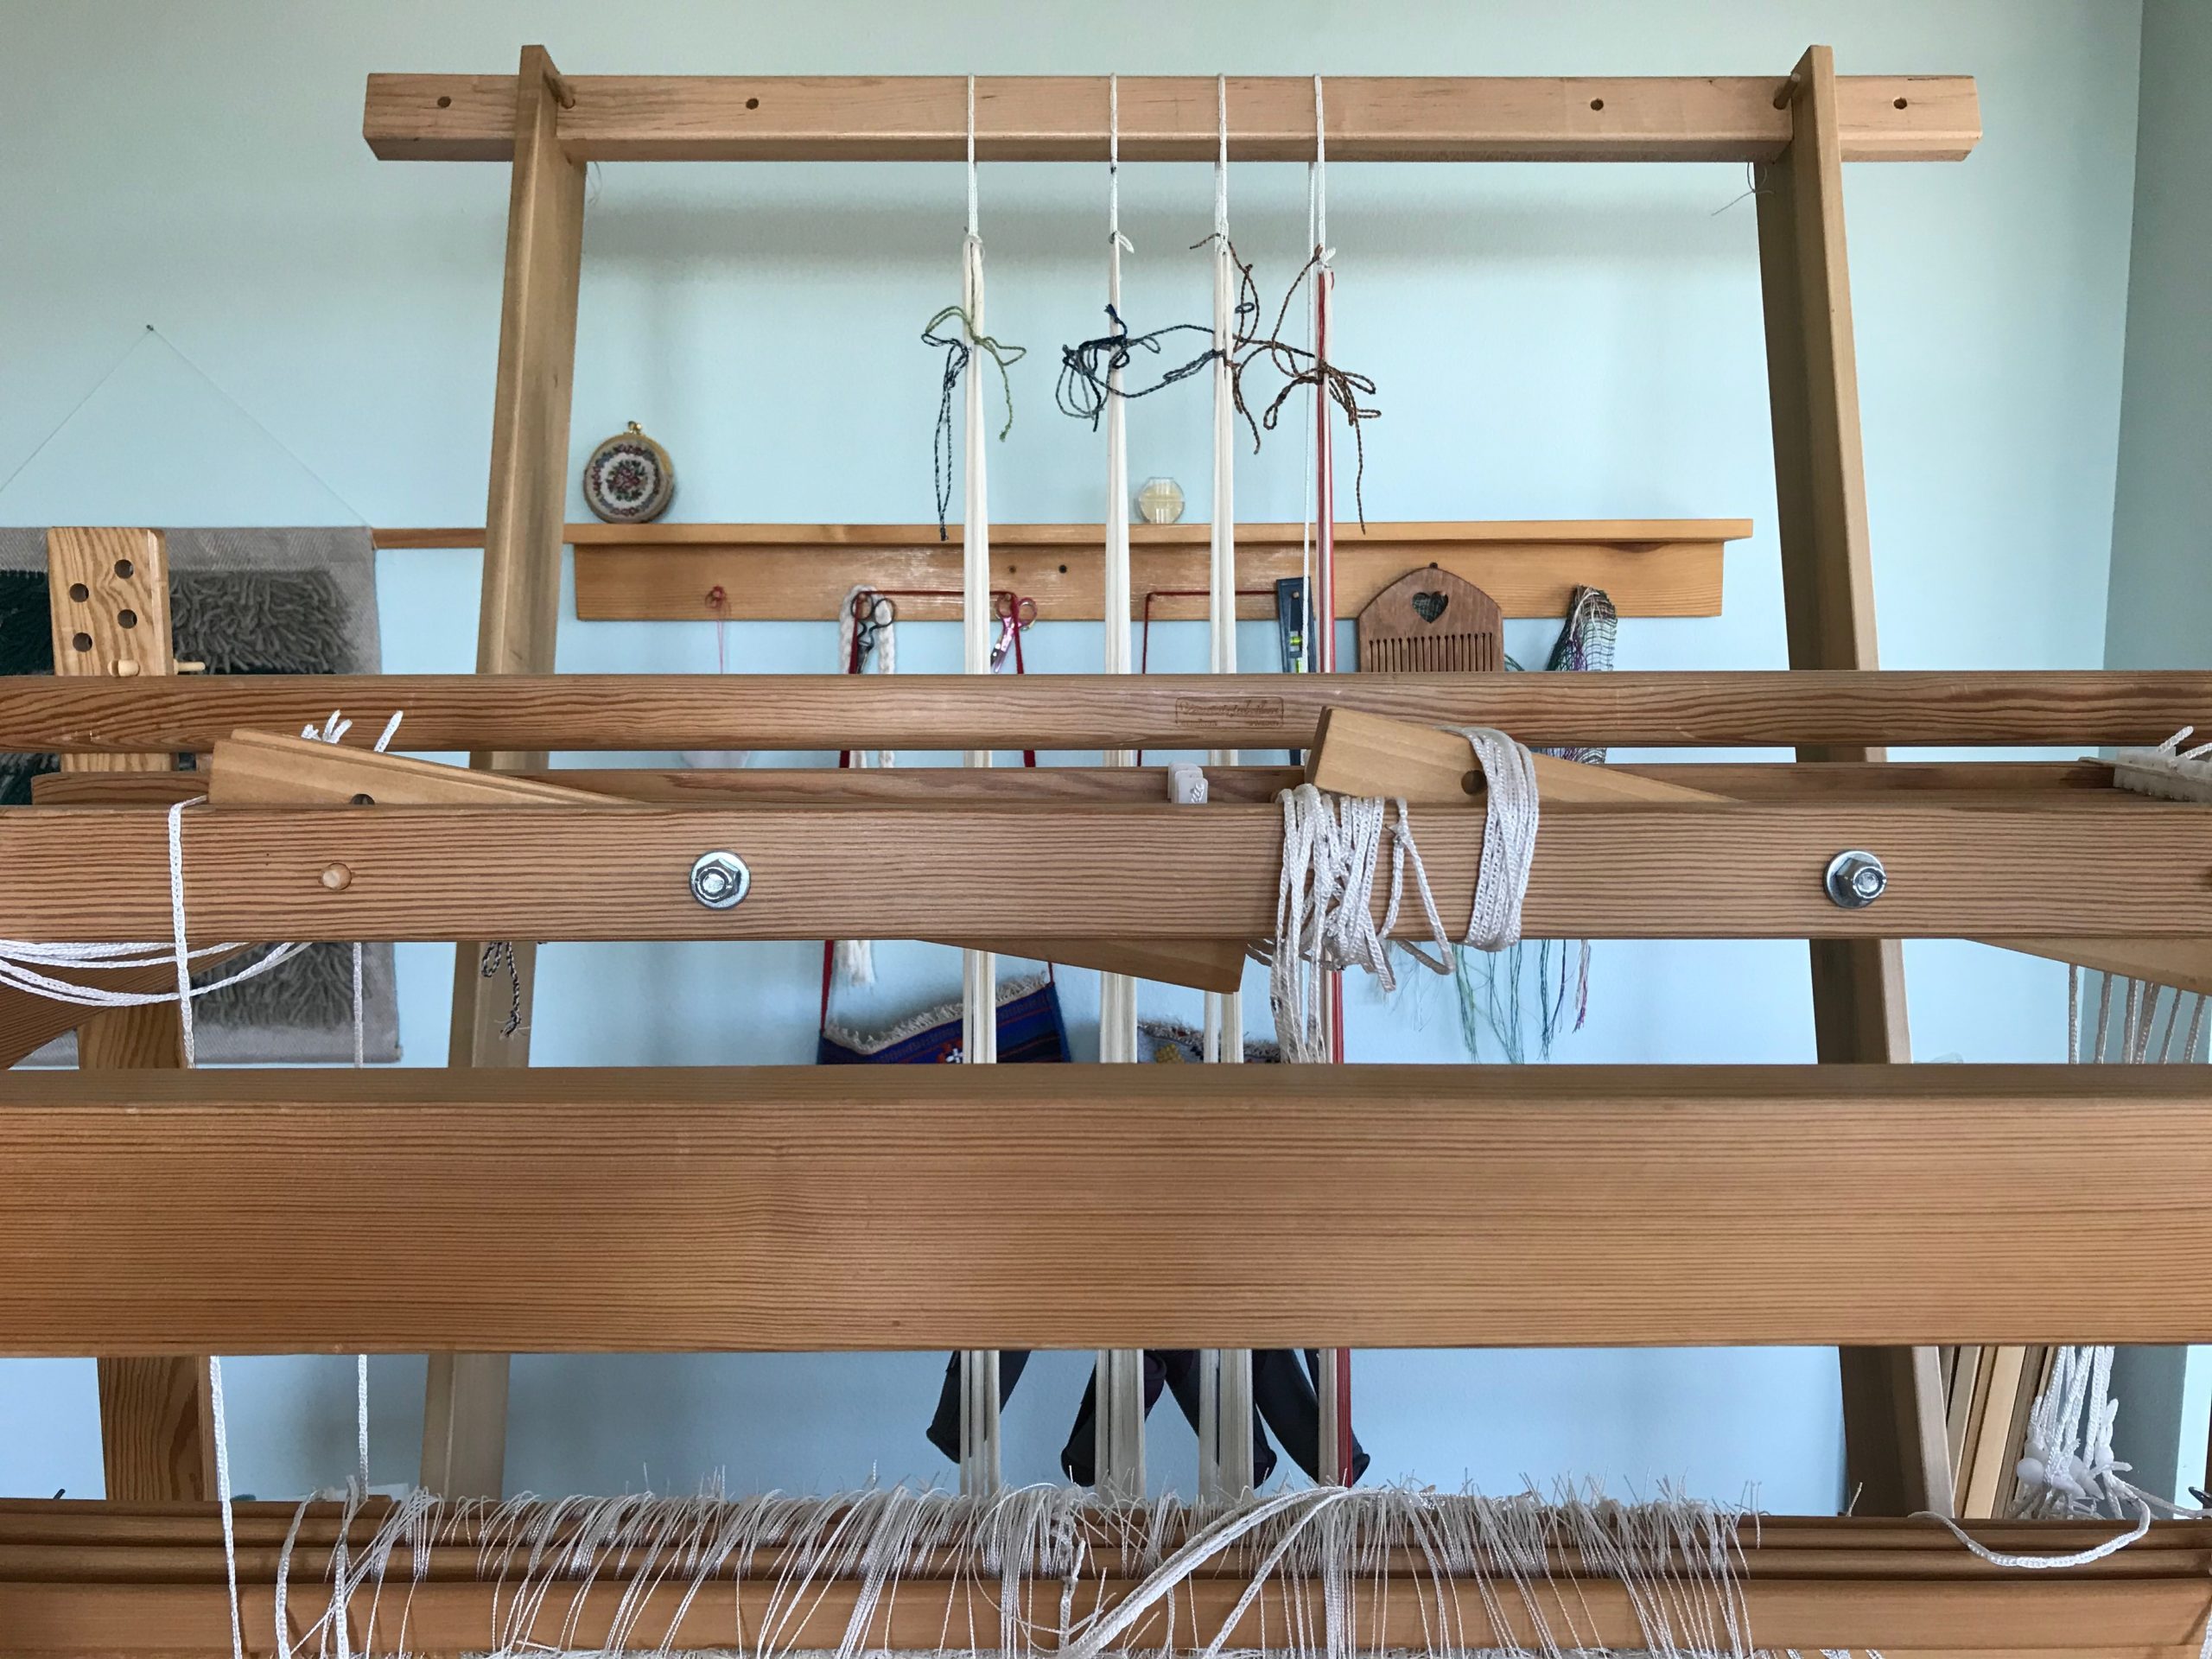
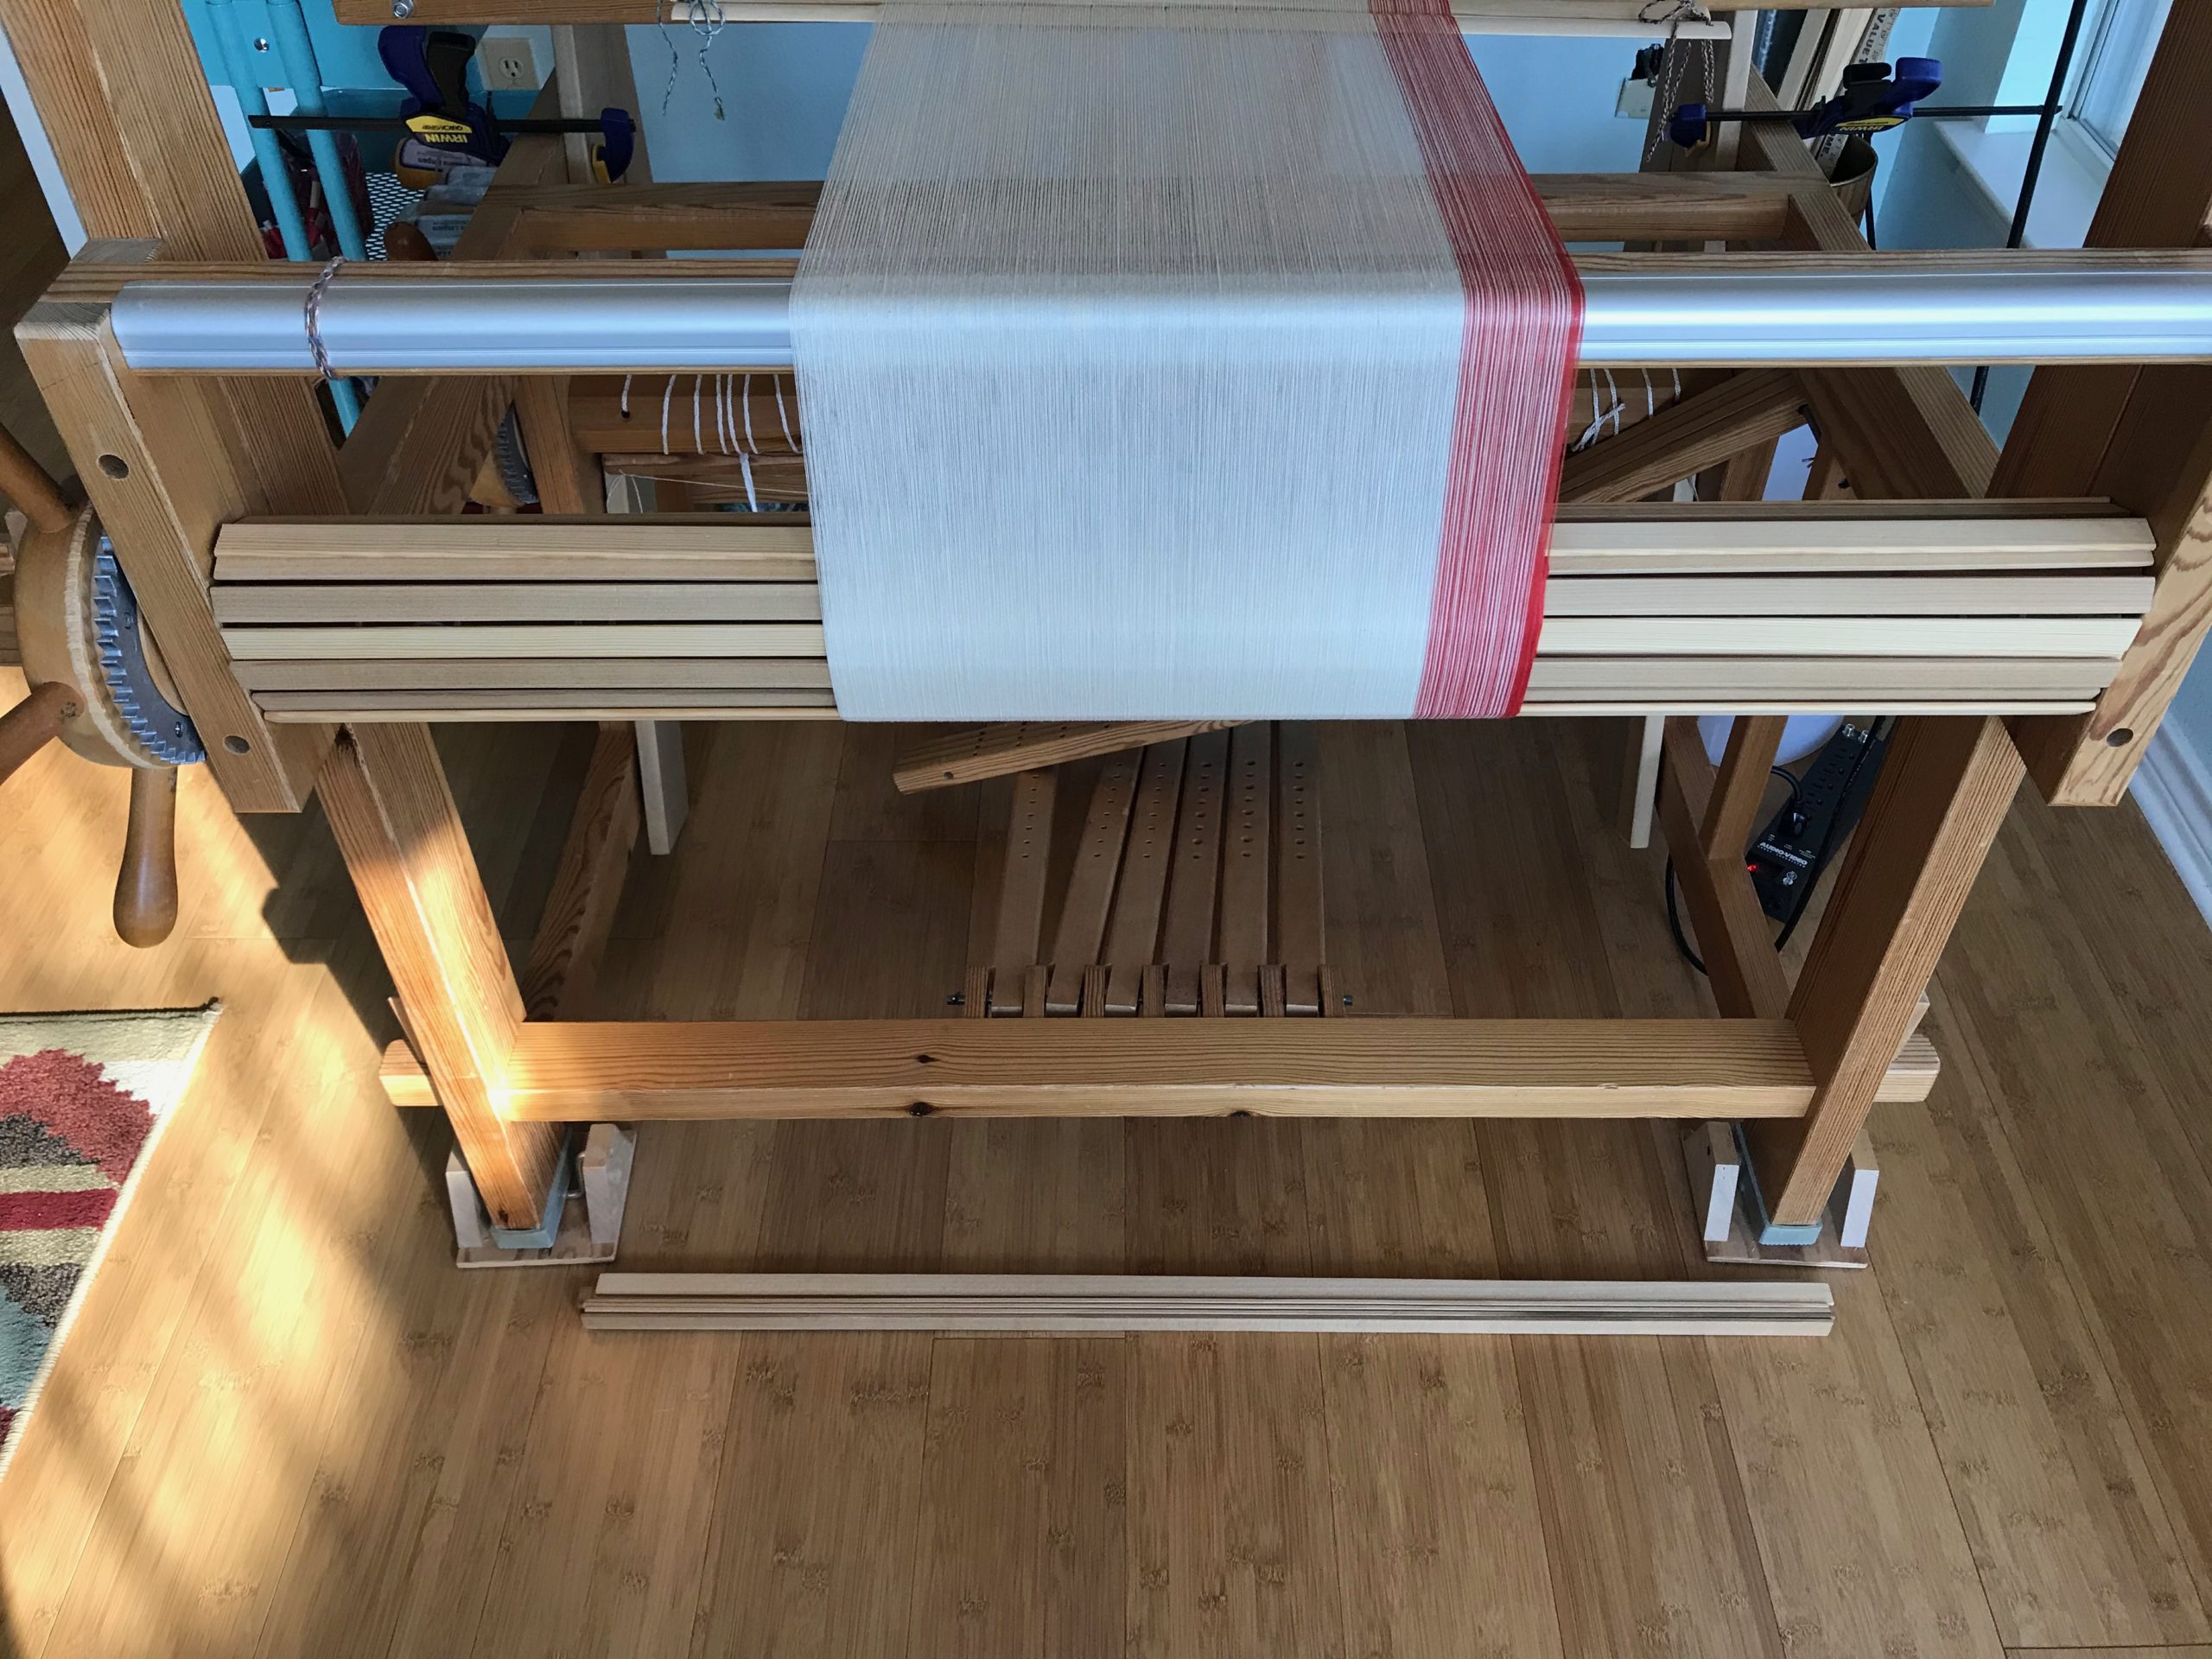
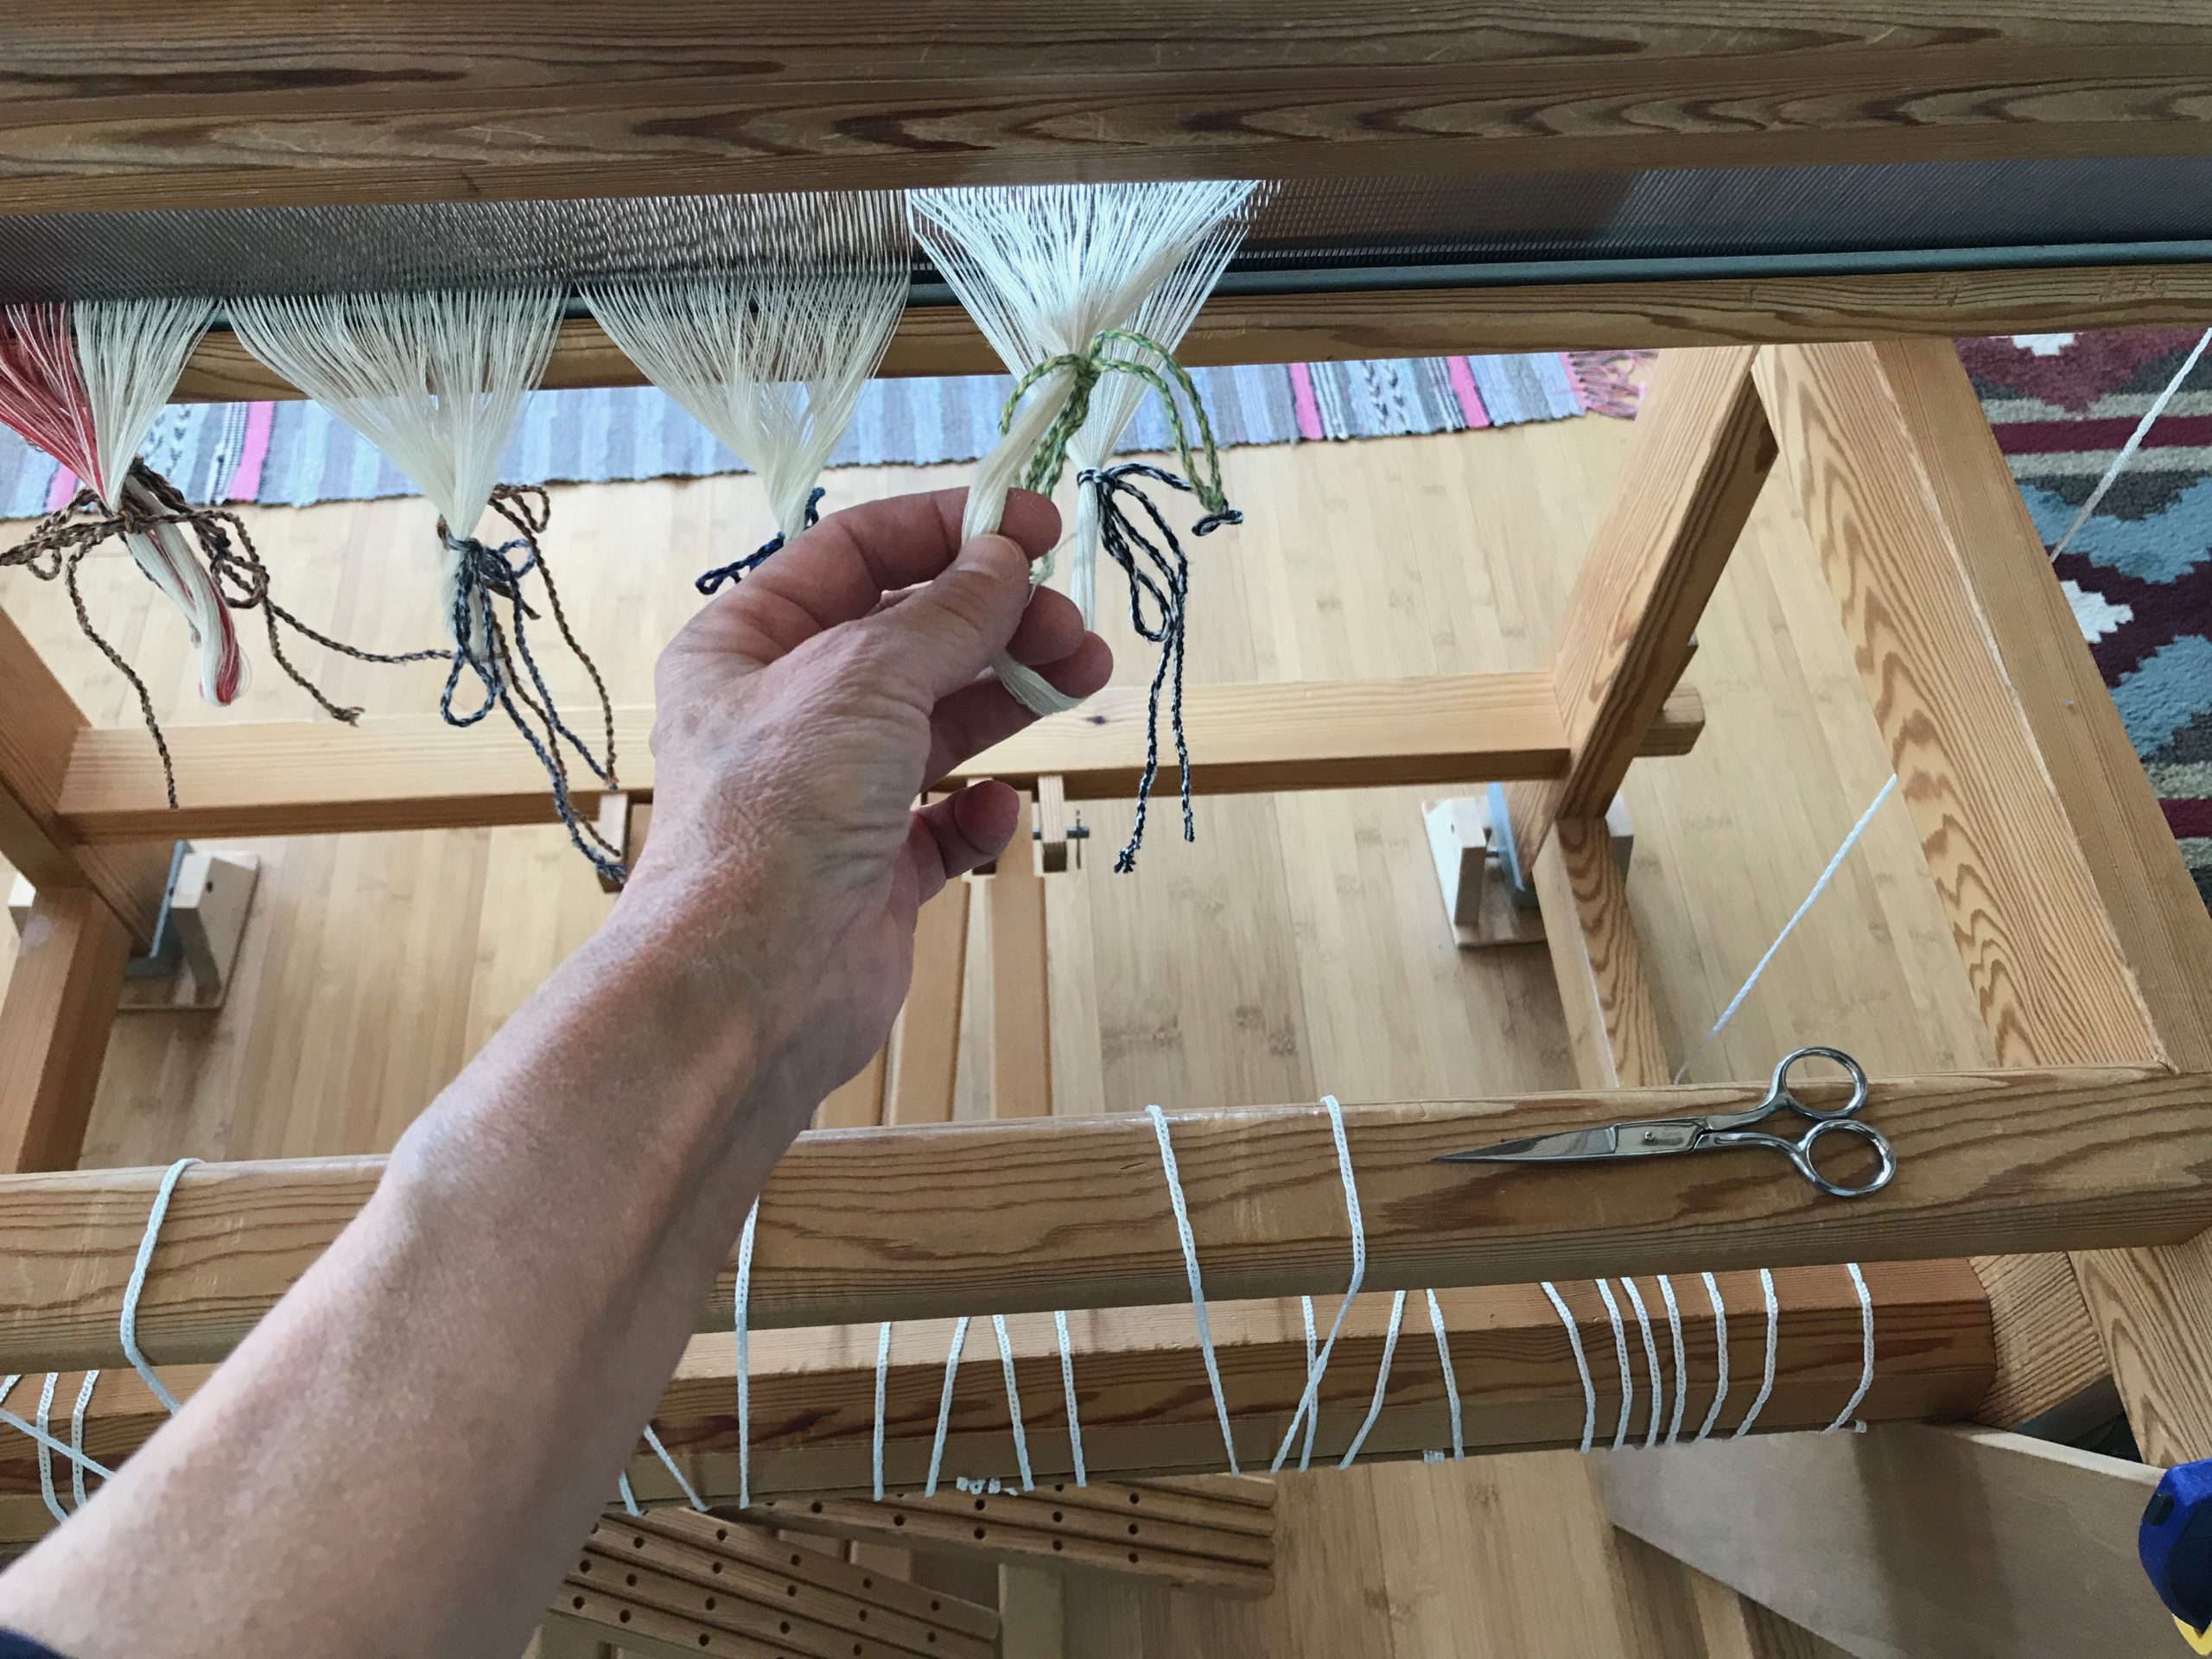
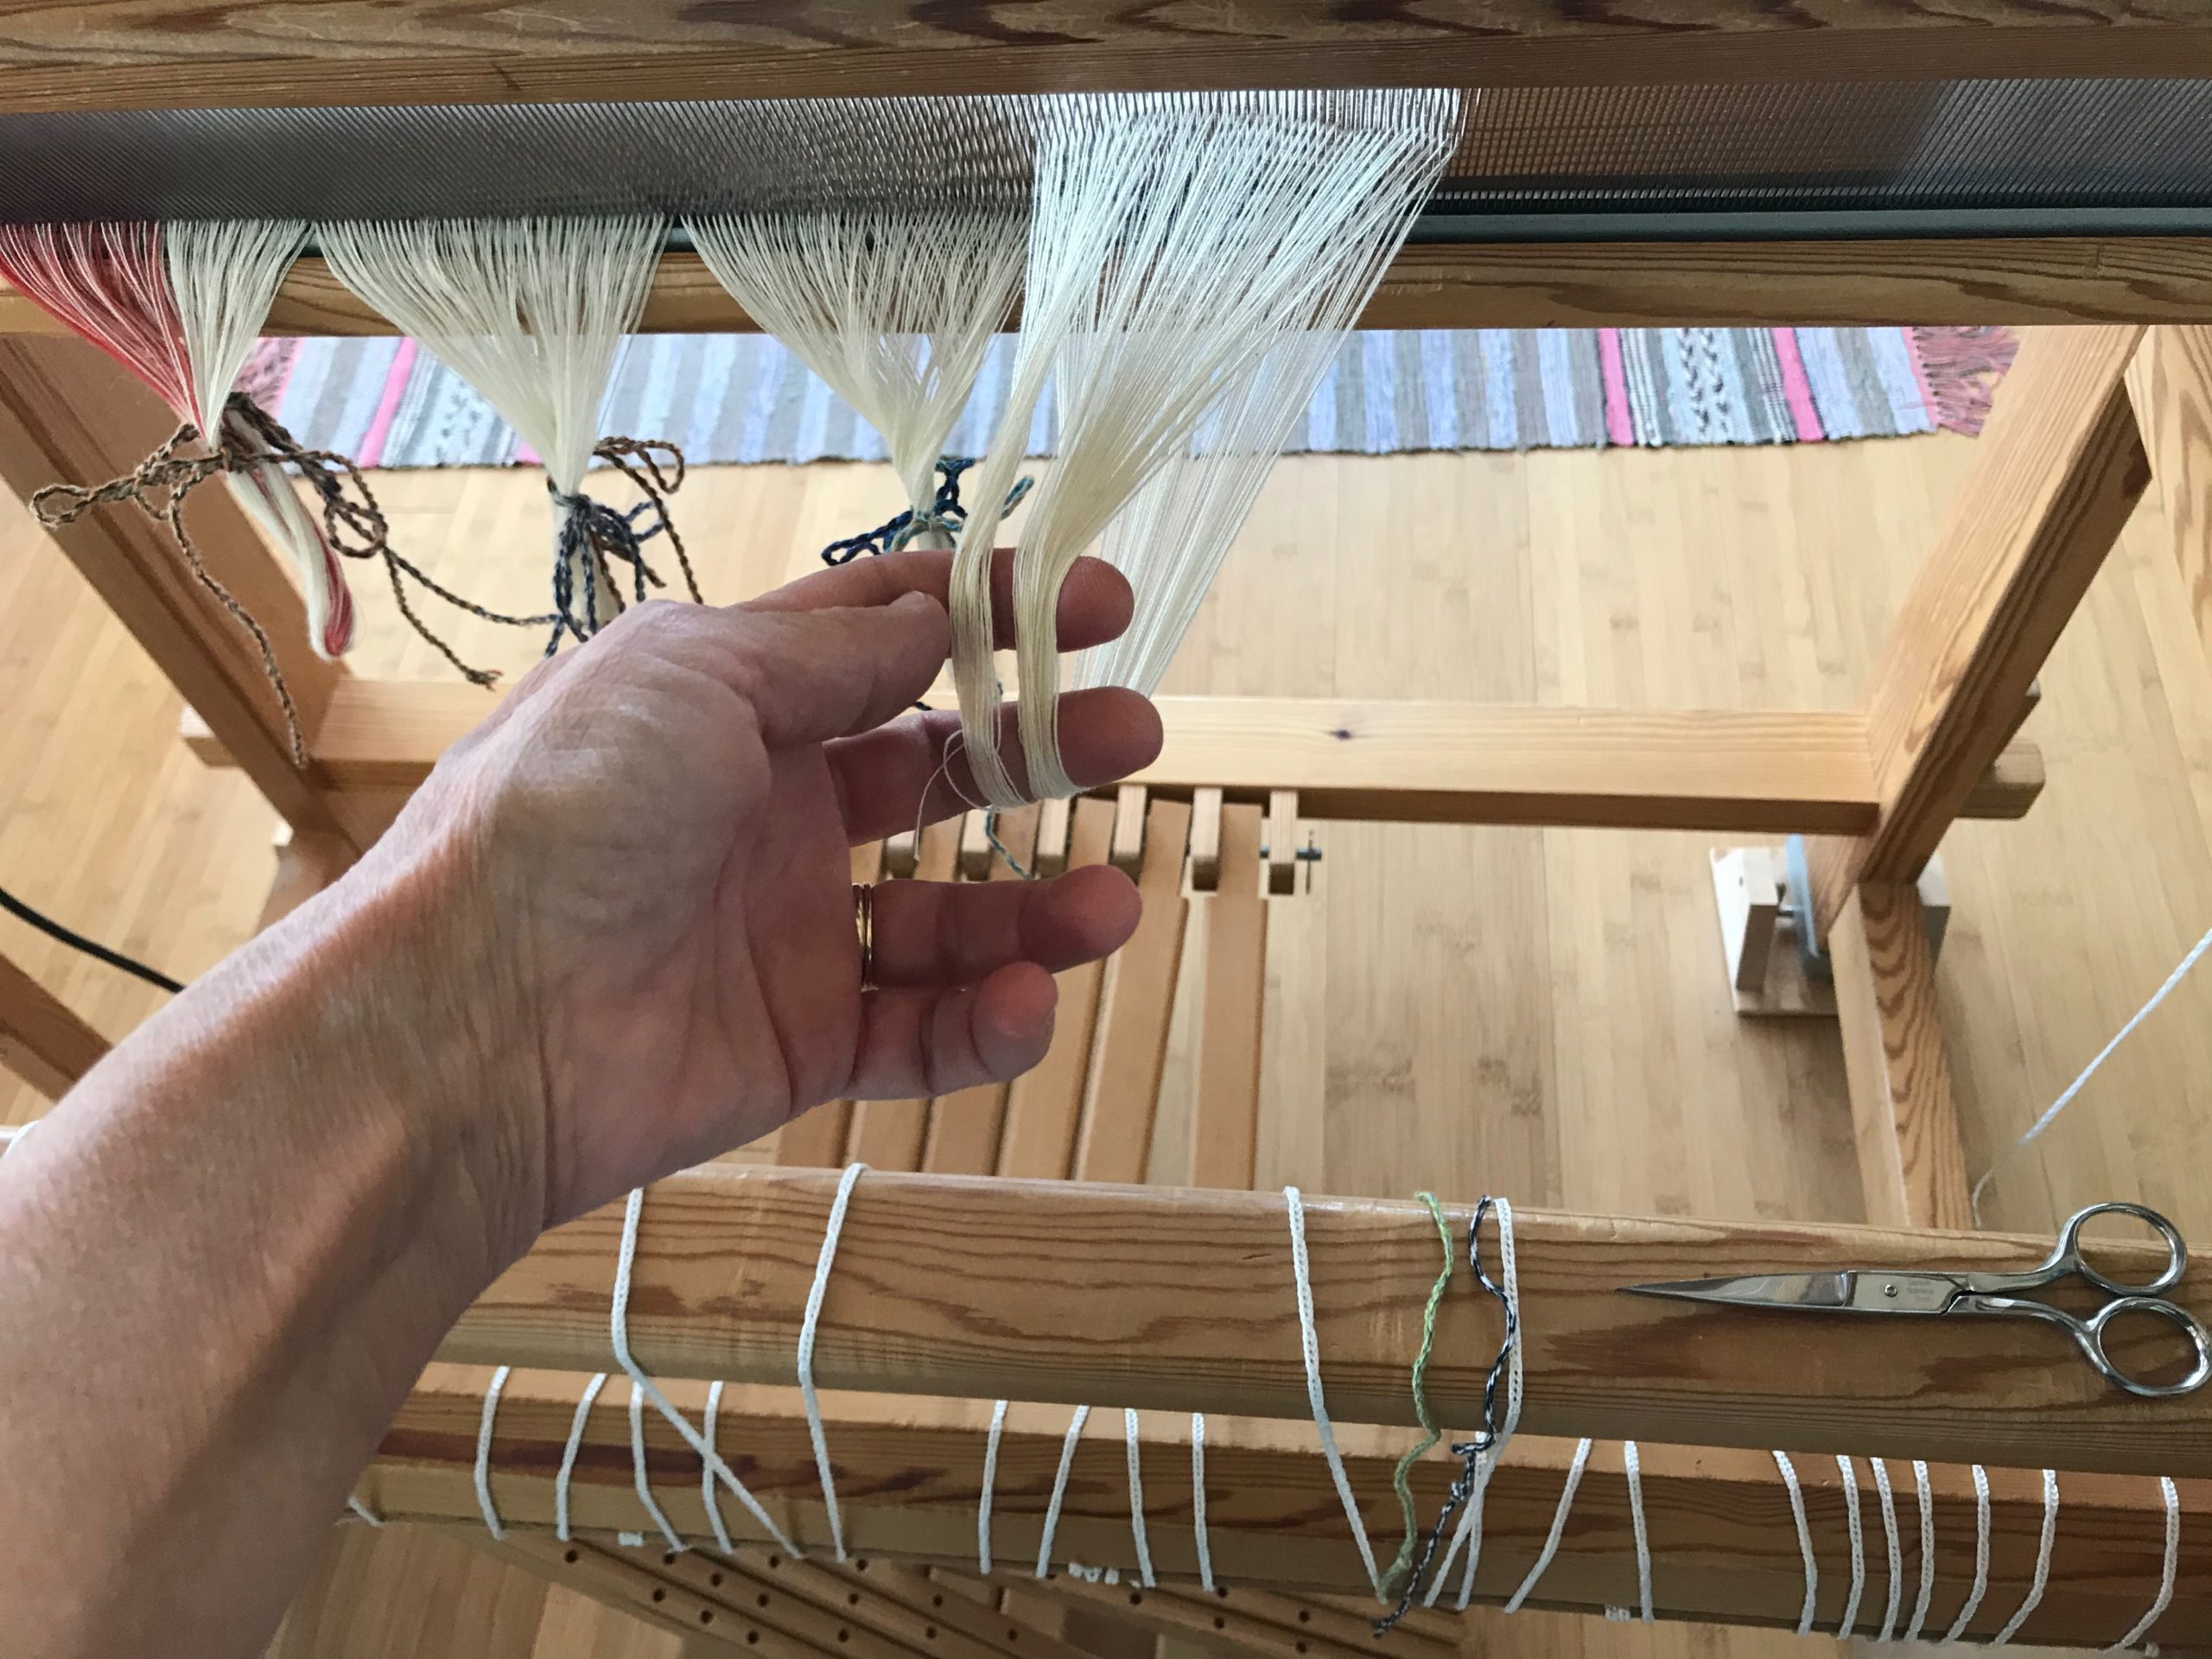
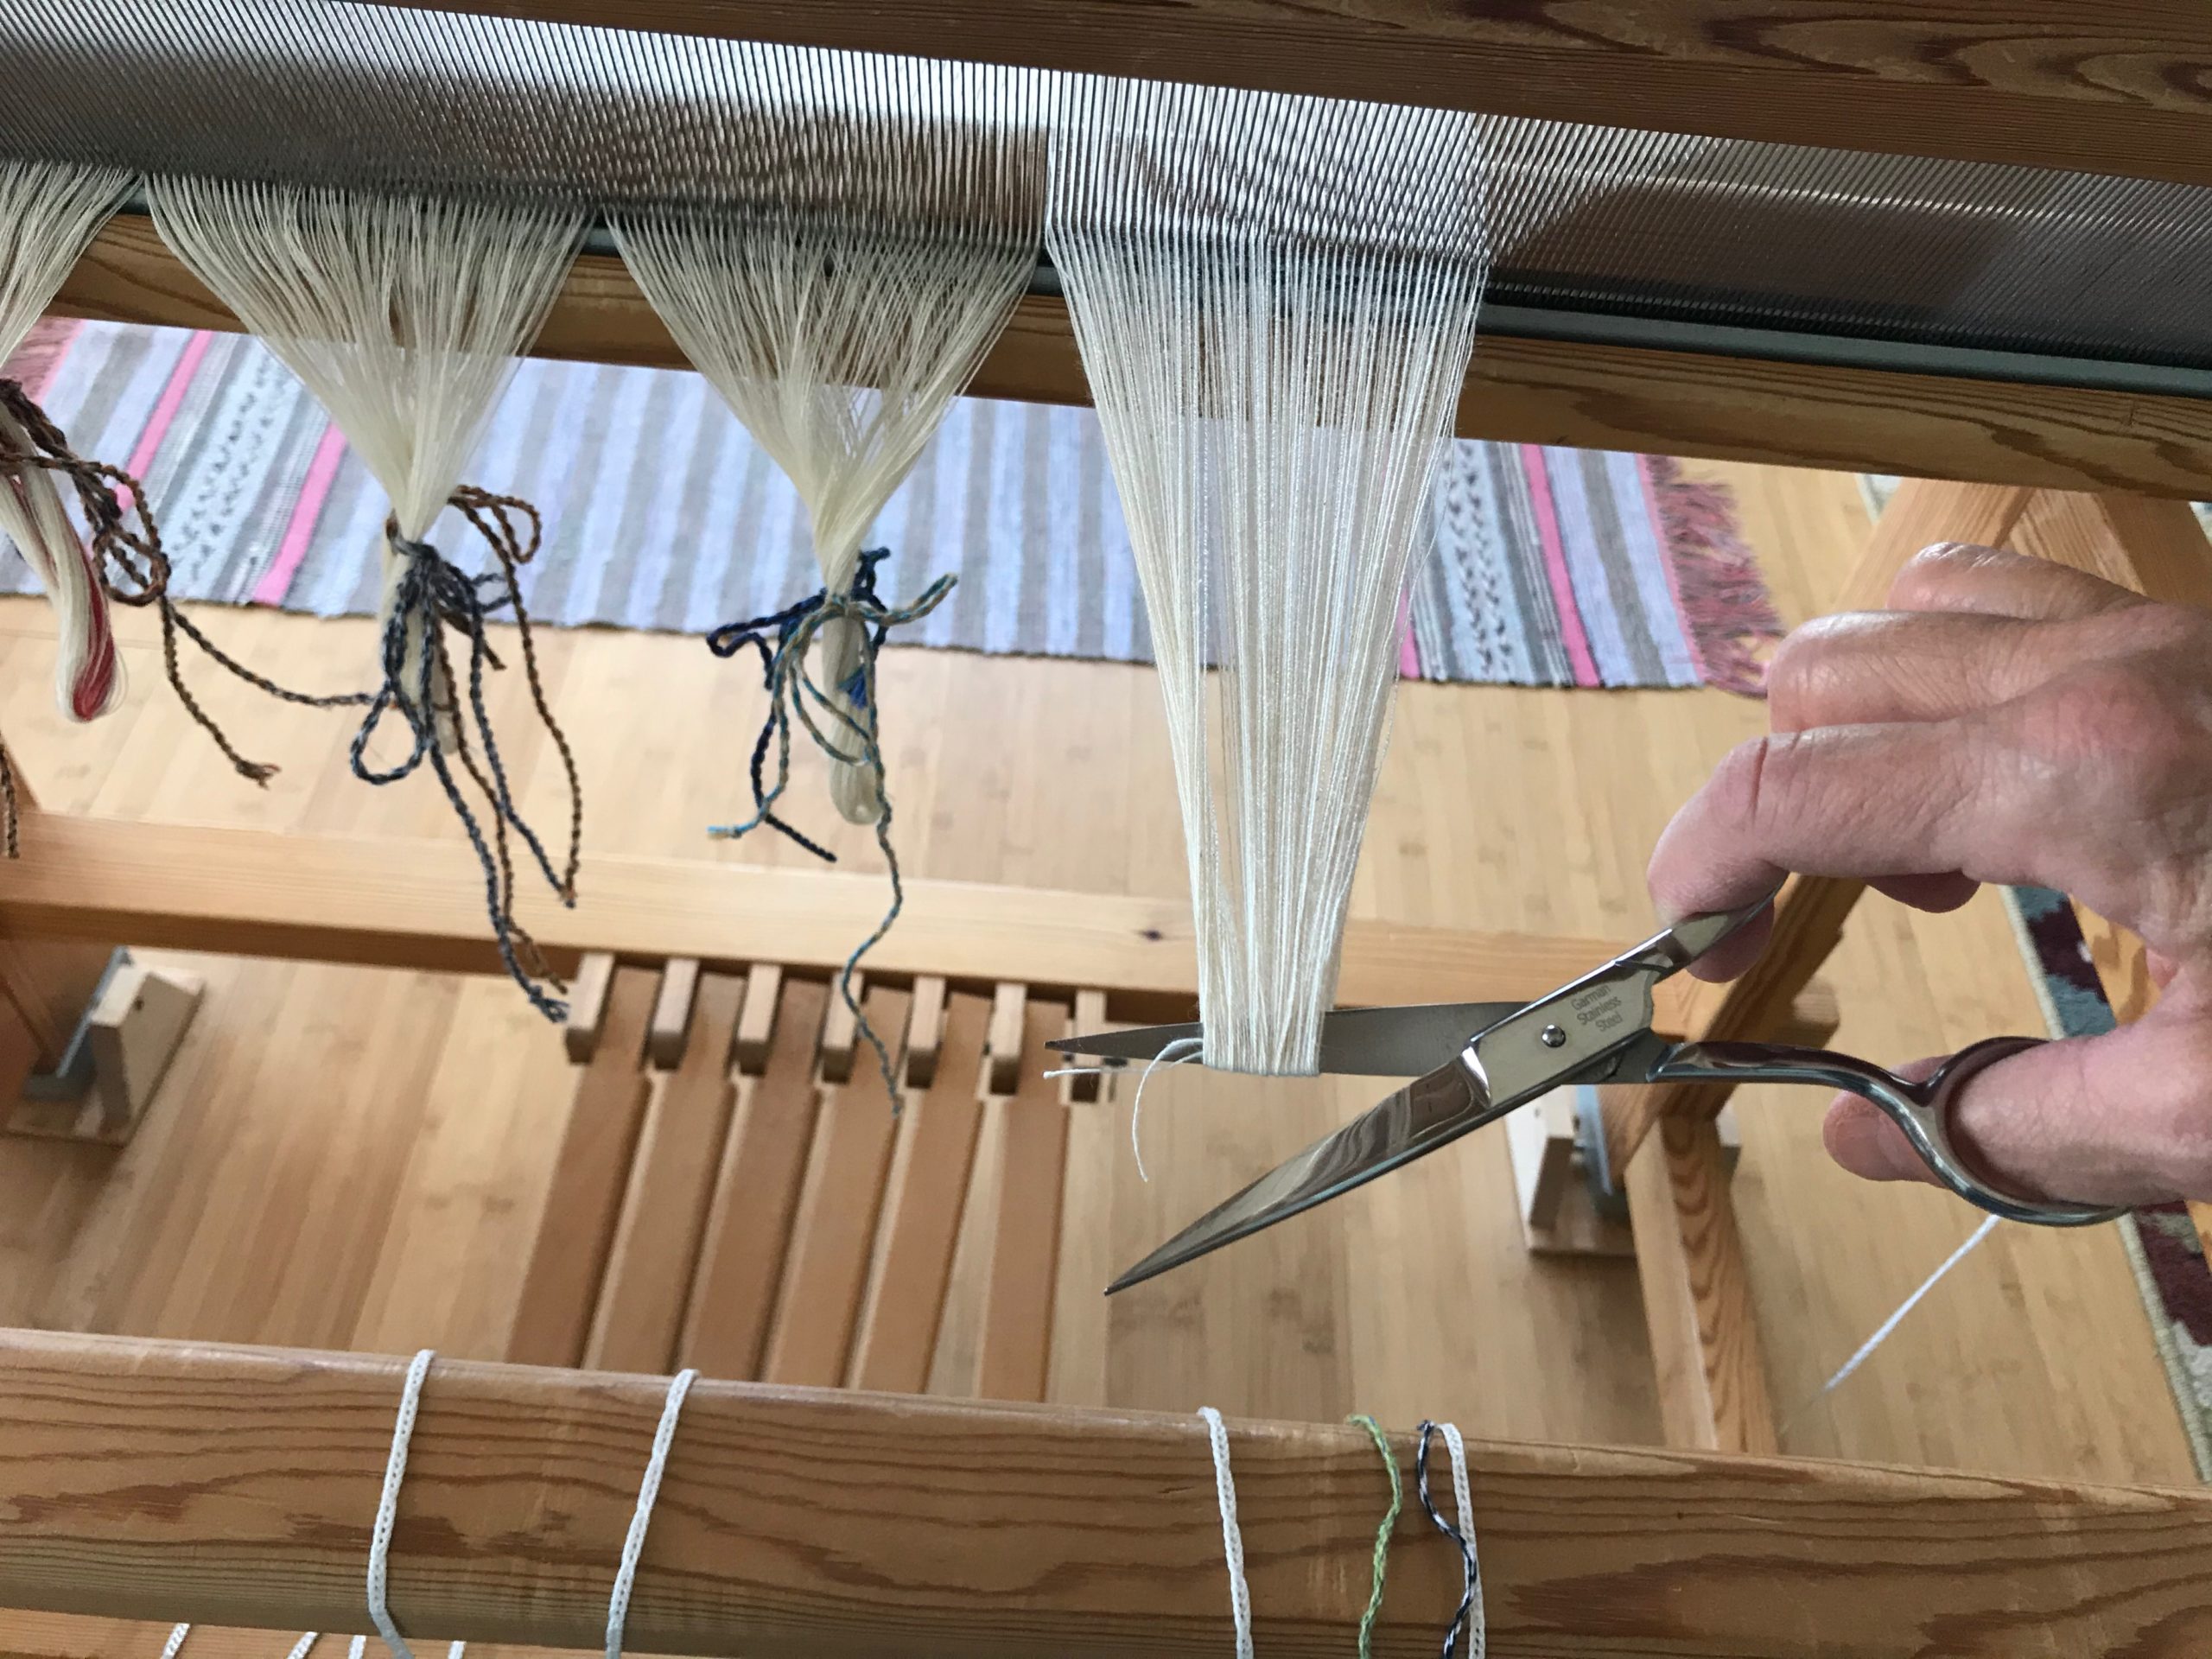
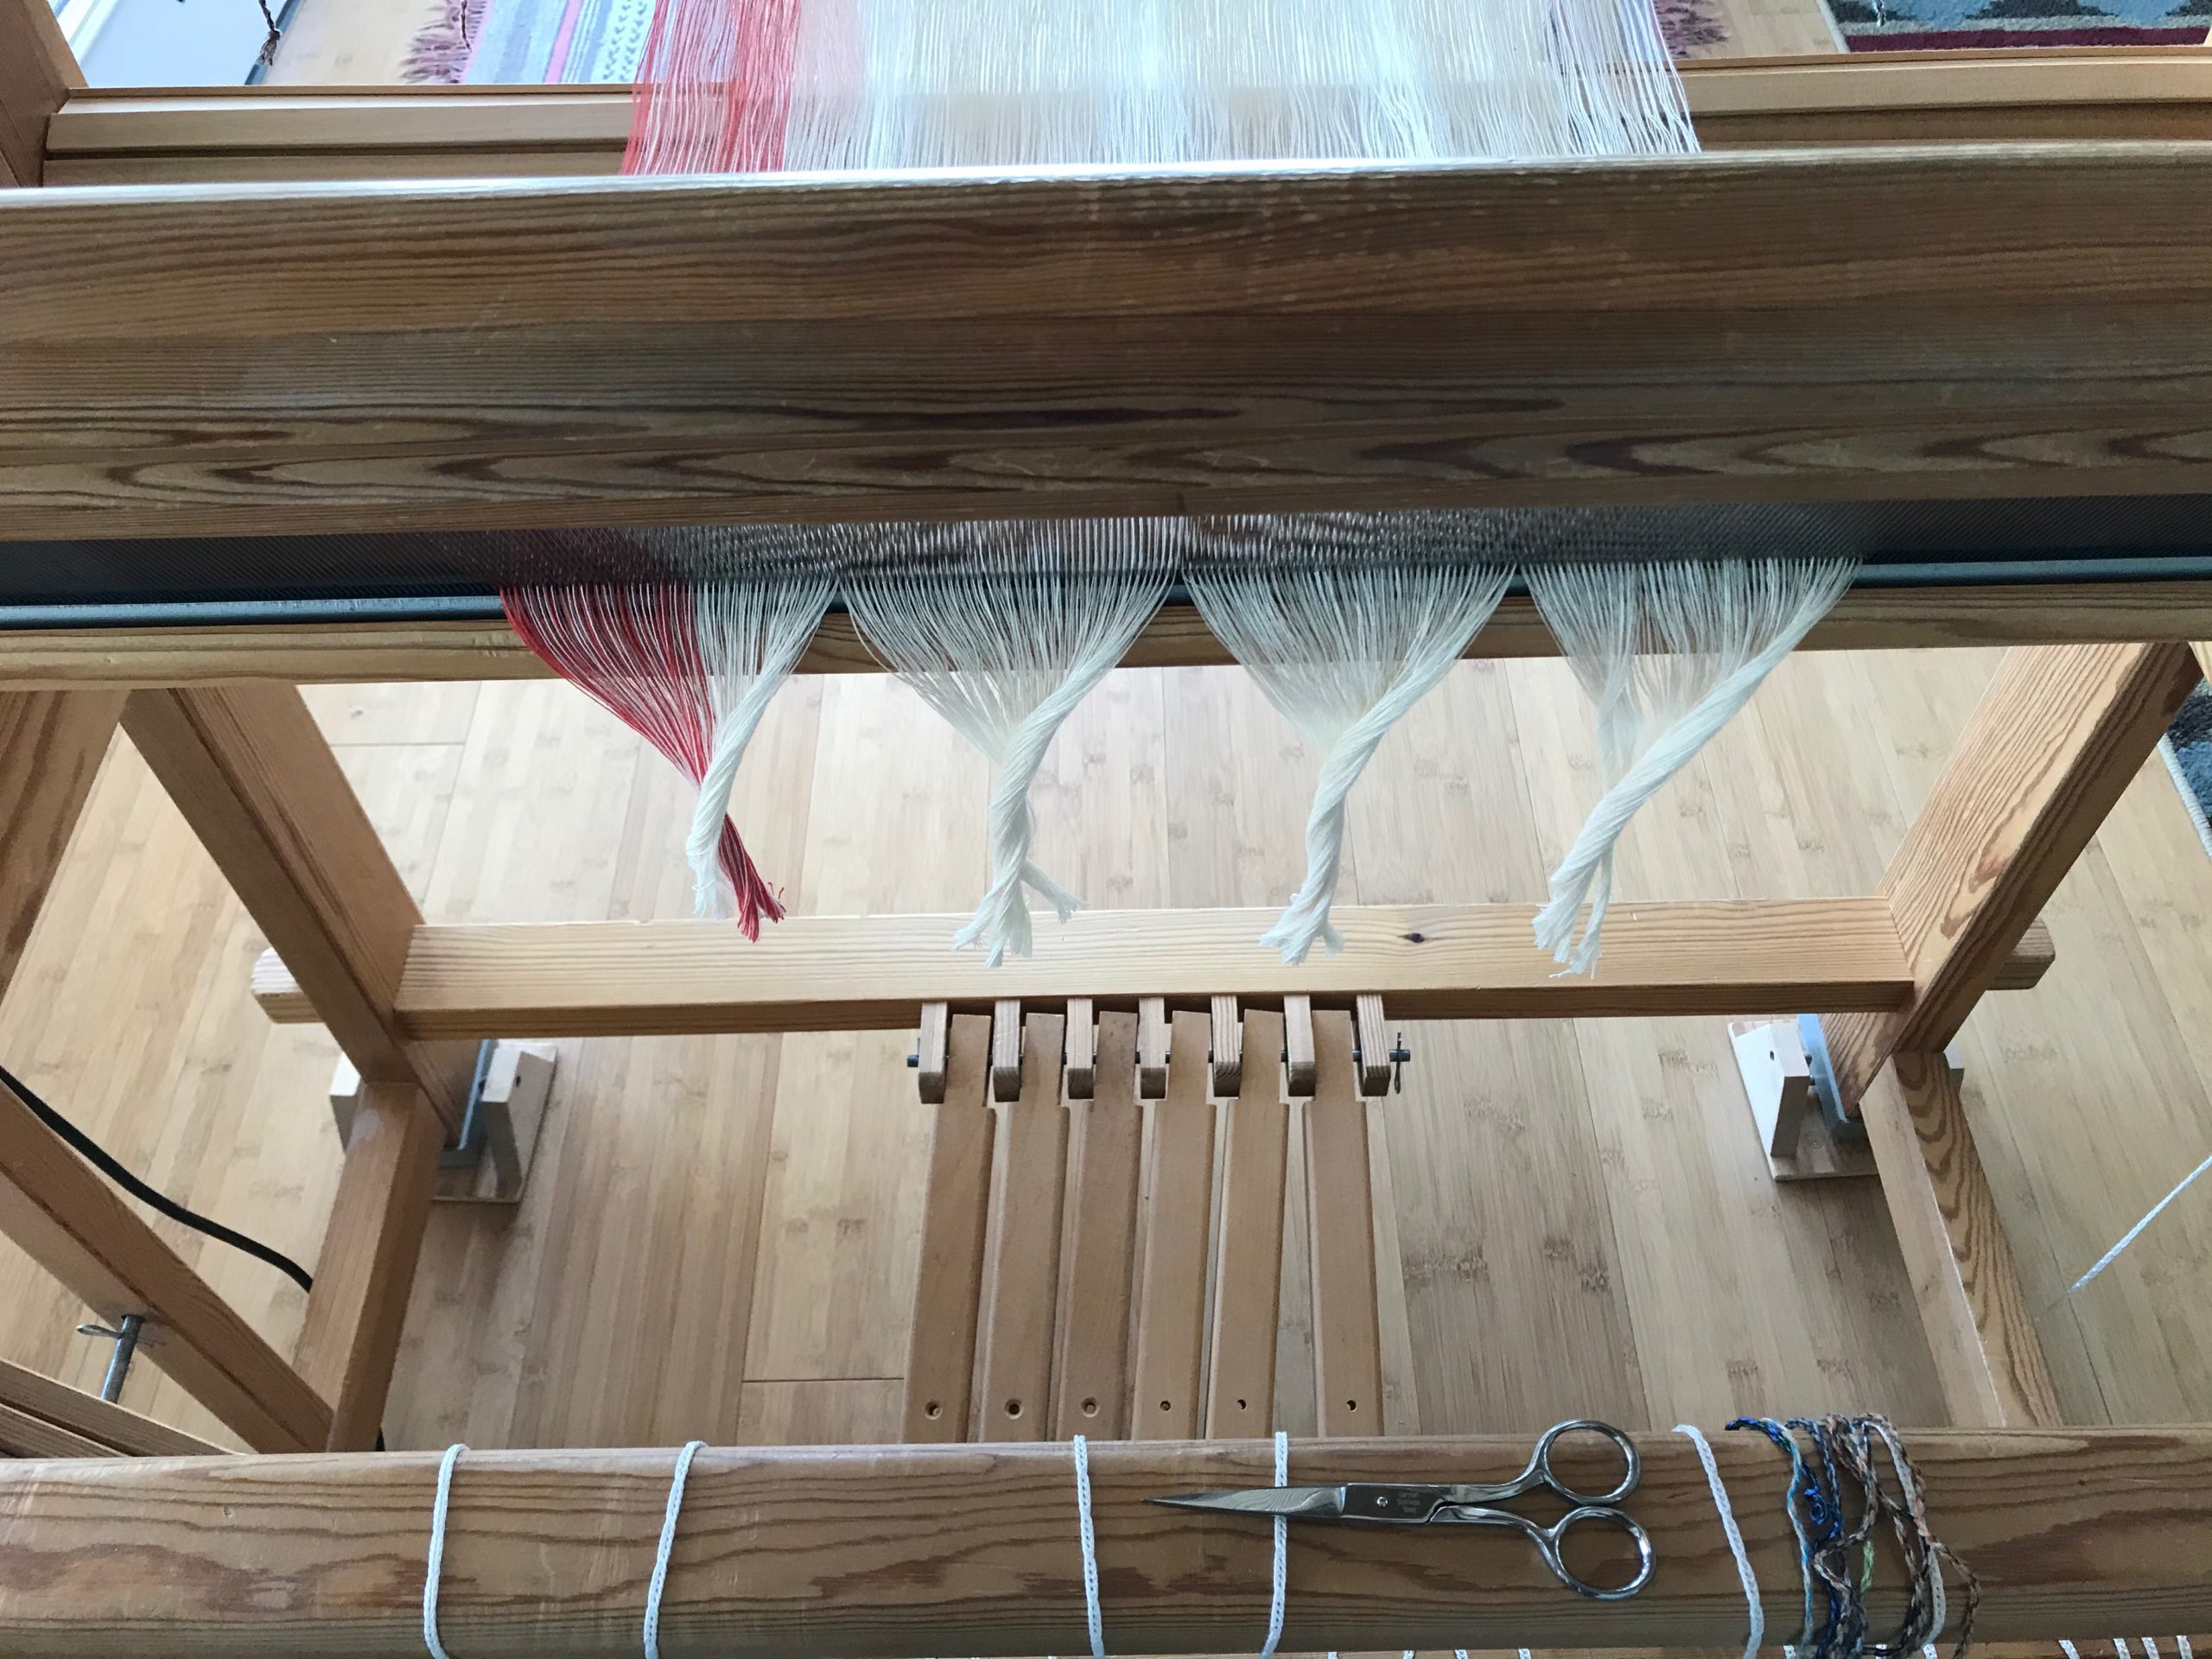
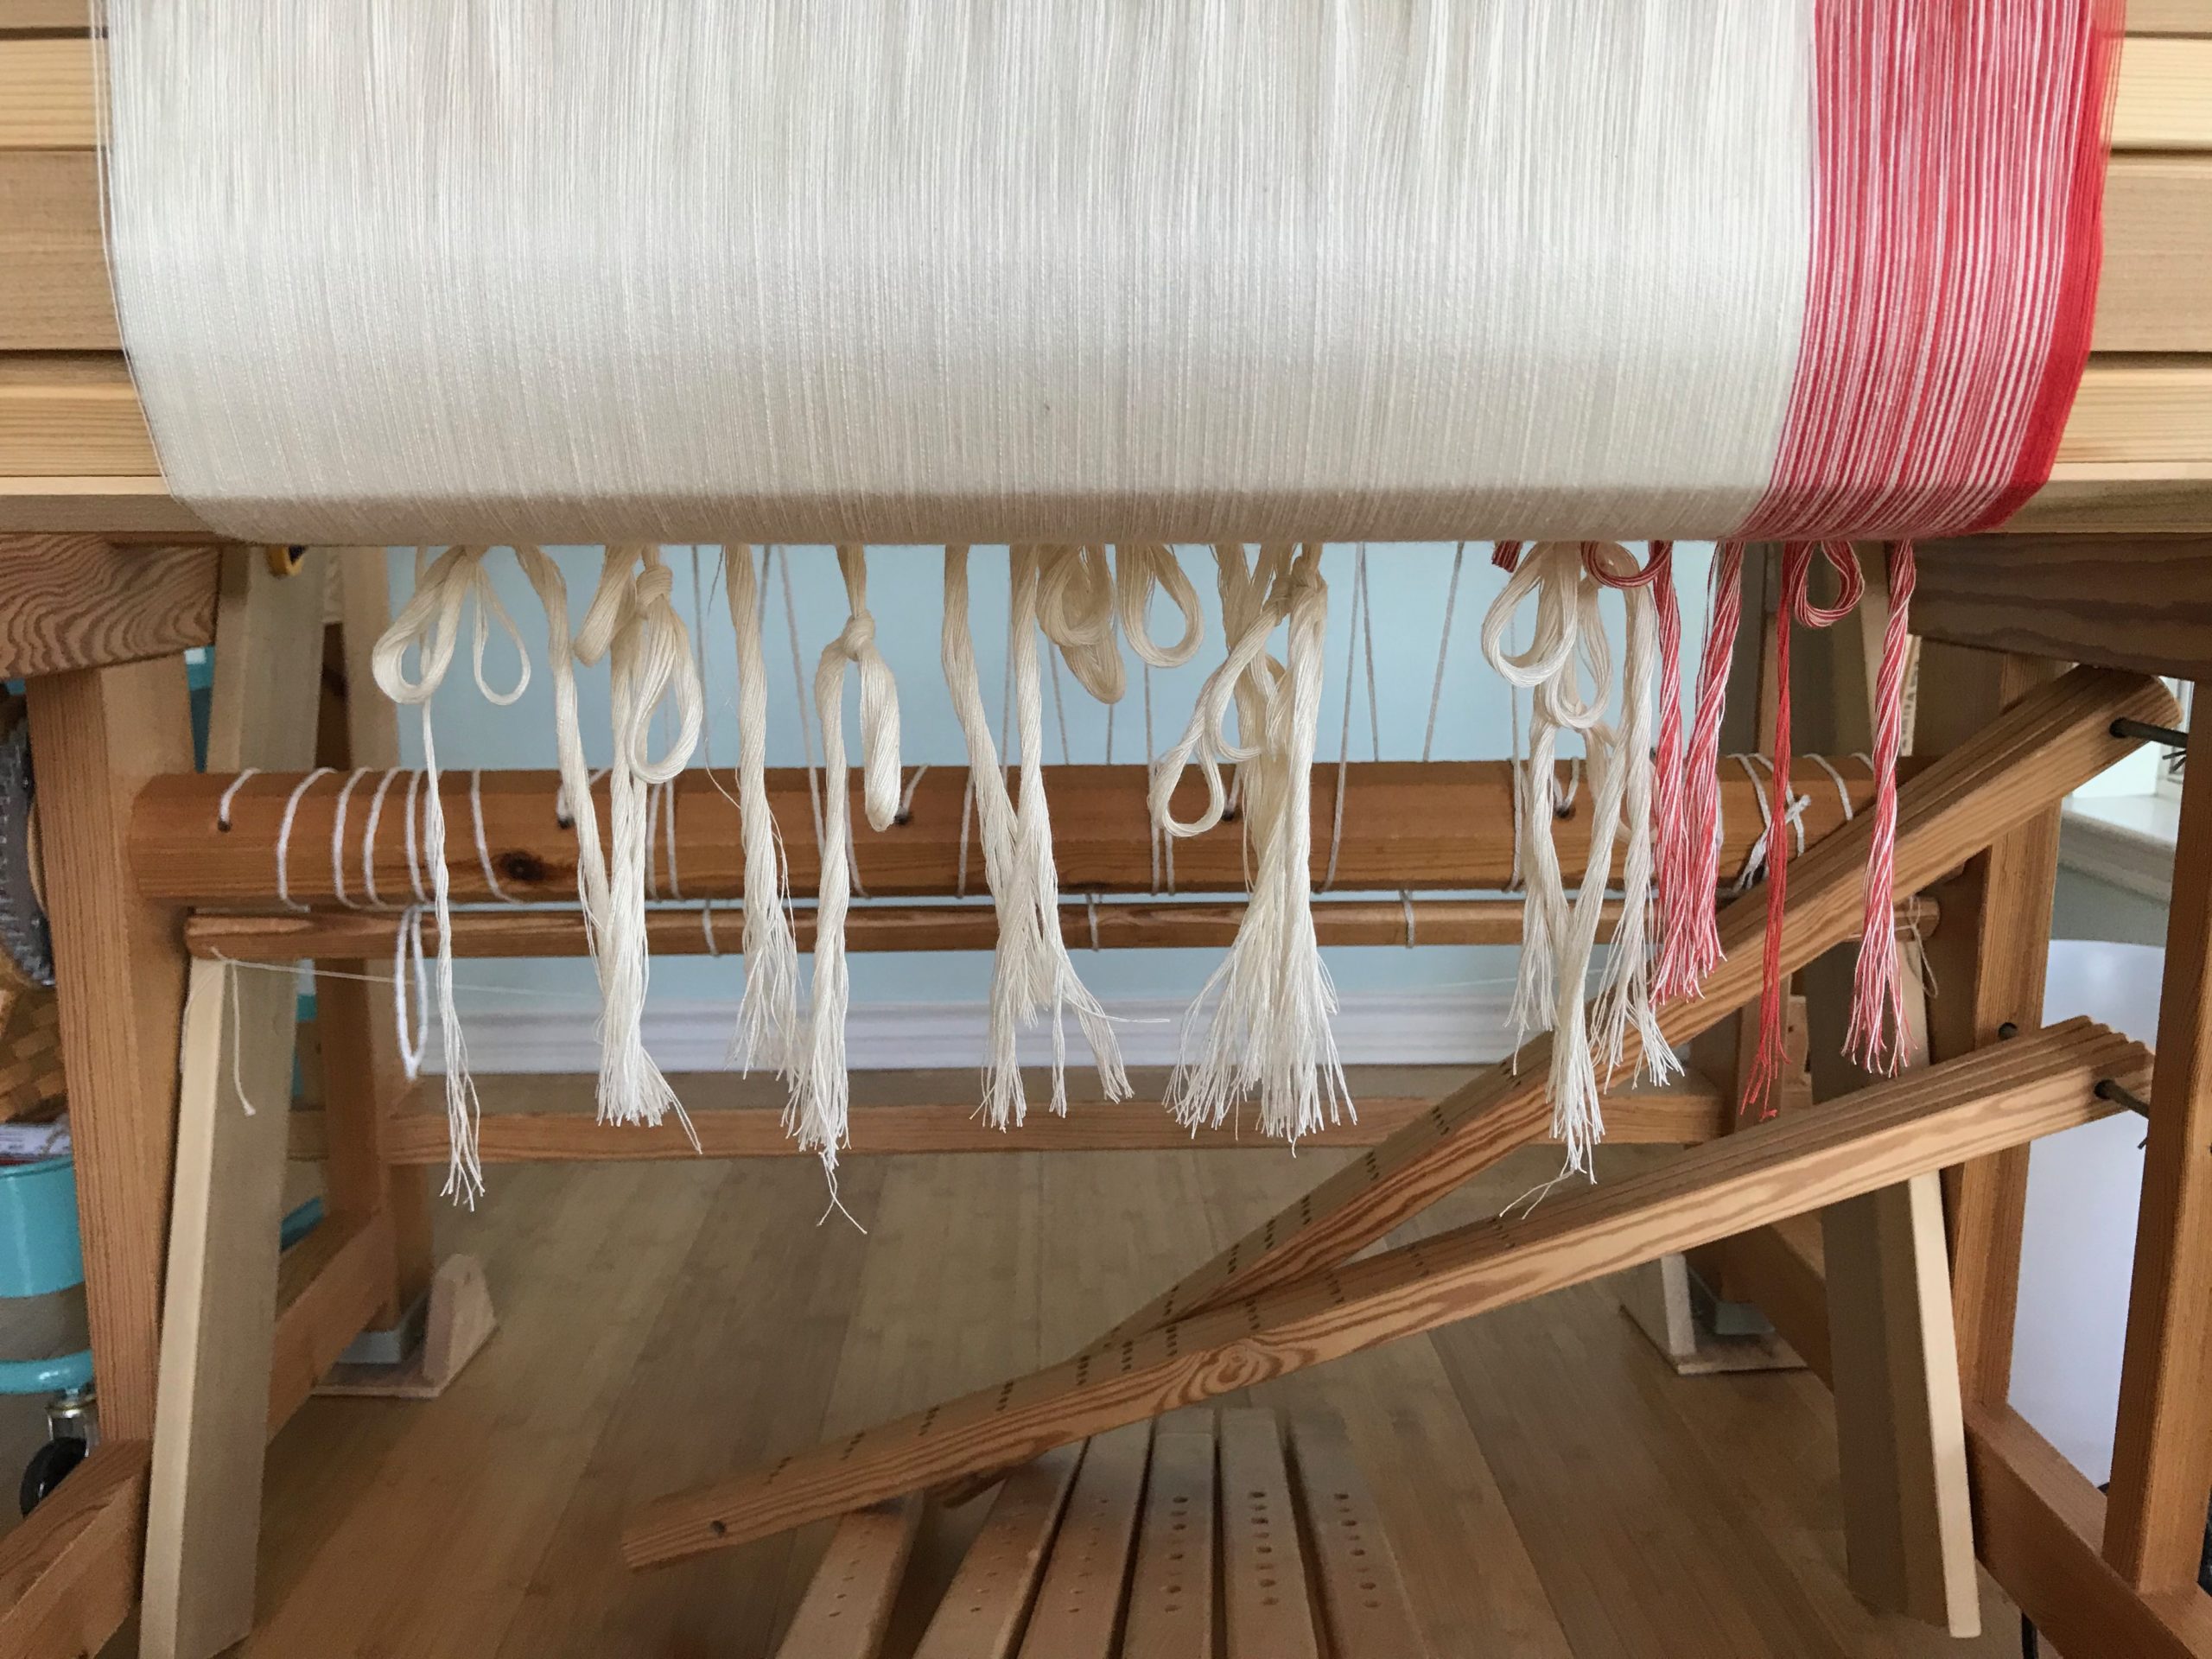
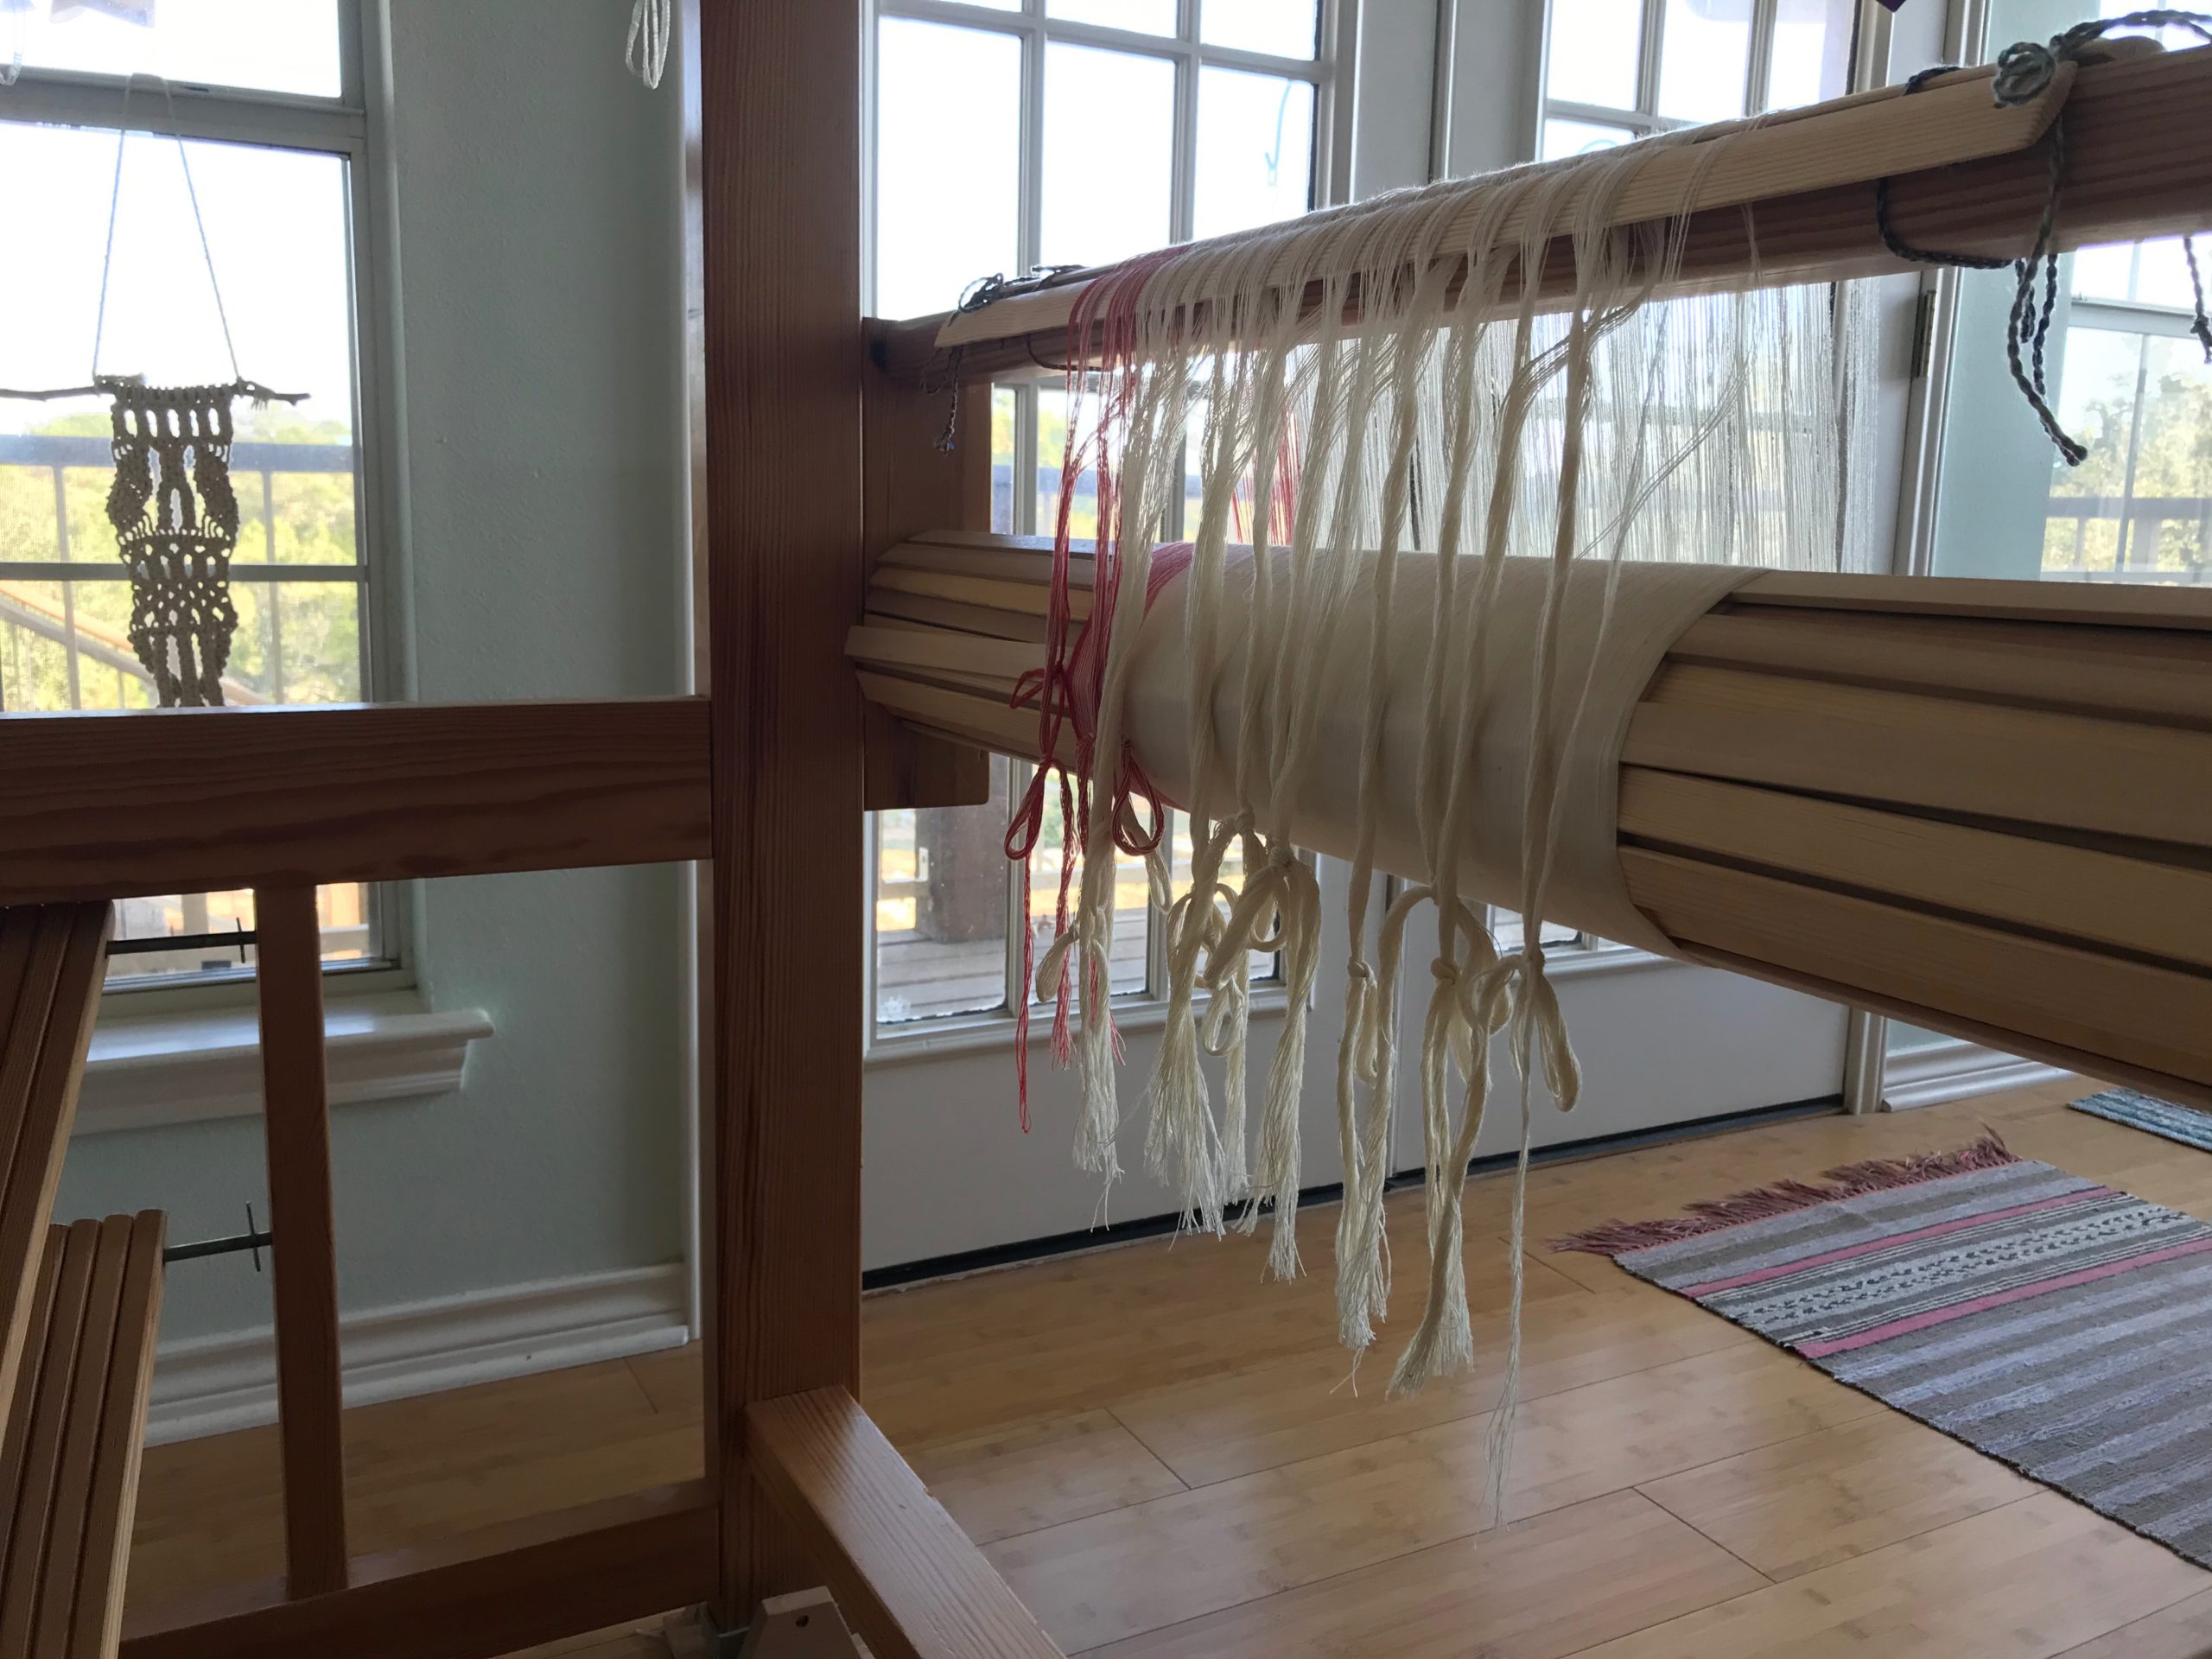
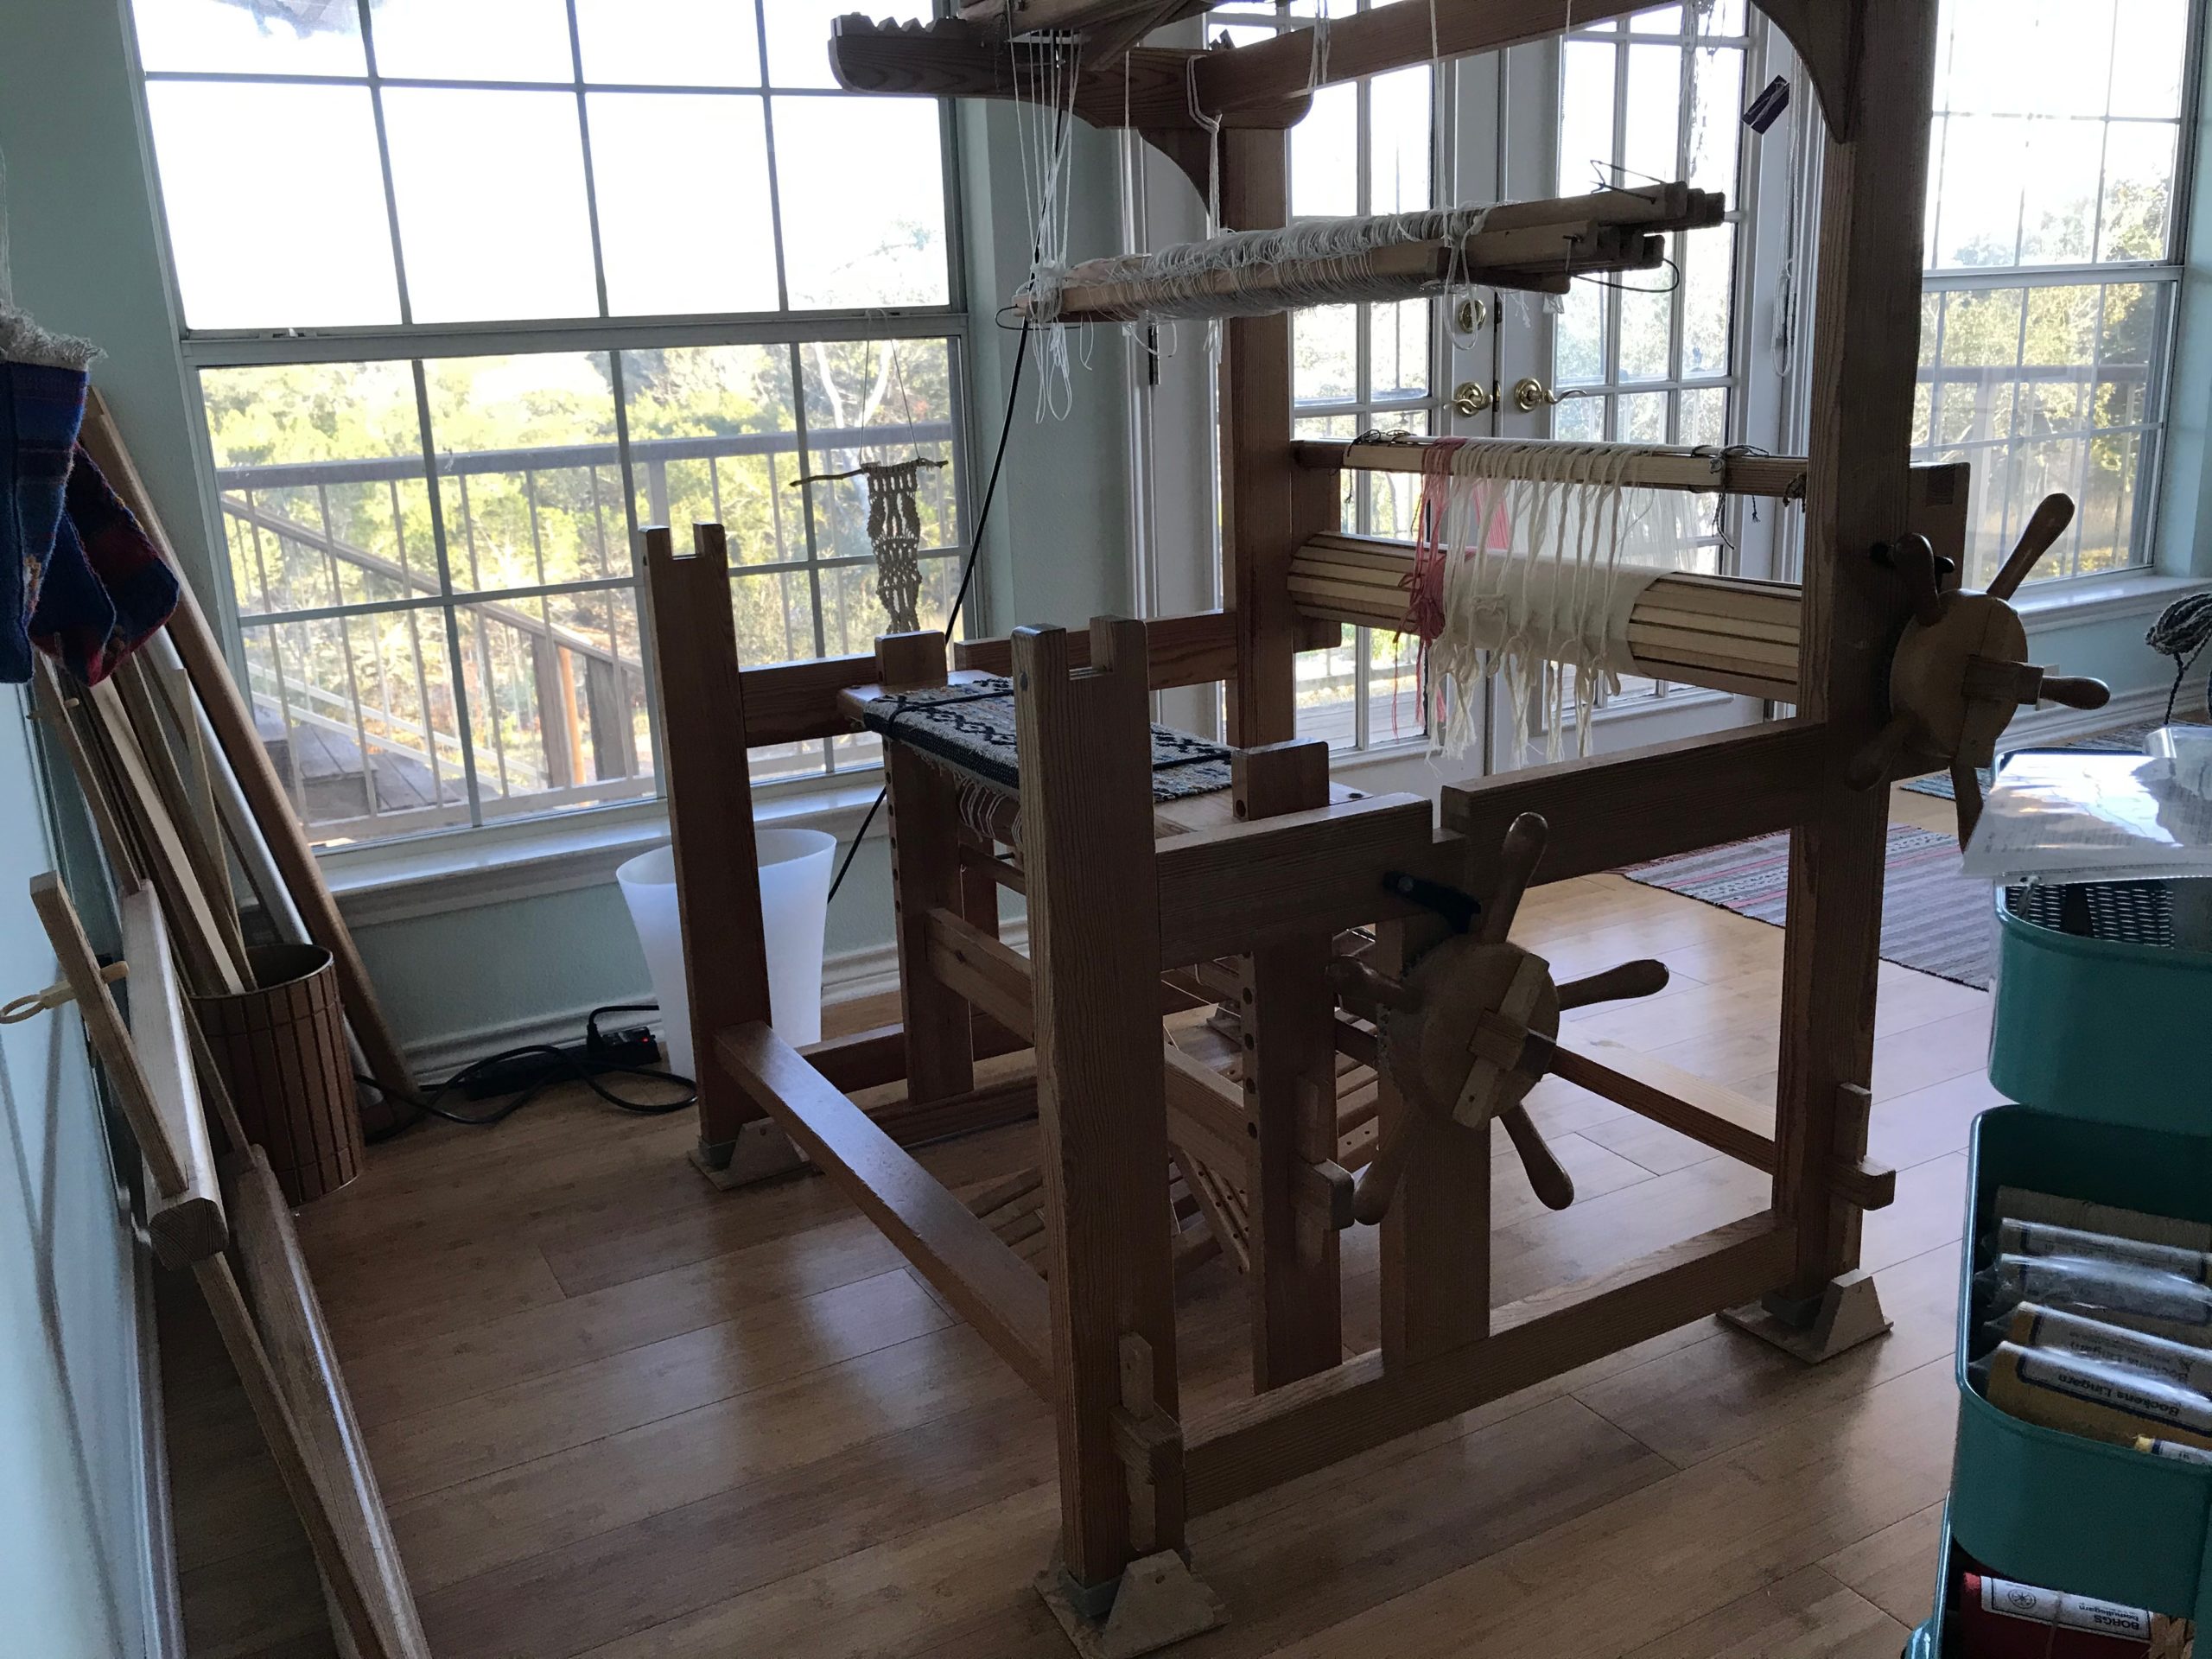
I’ll let the pictures speak for themselves.


Do you have any questions about my beaming process? If you warp back to front, like I do, what do you do differently?
May you find yourself beaming.
Happy Weaving,
Karen
Hello Karen
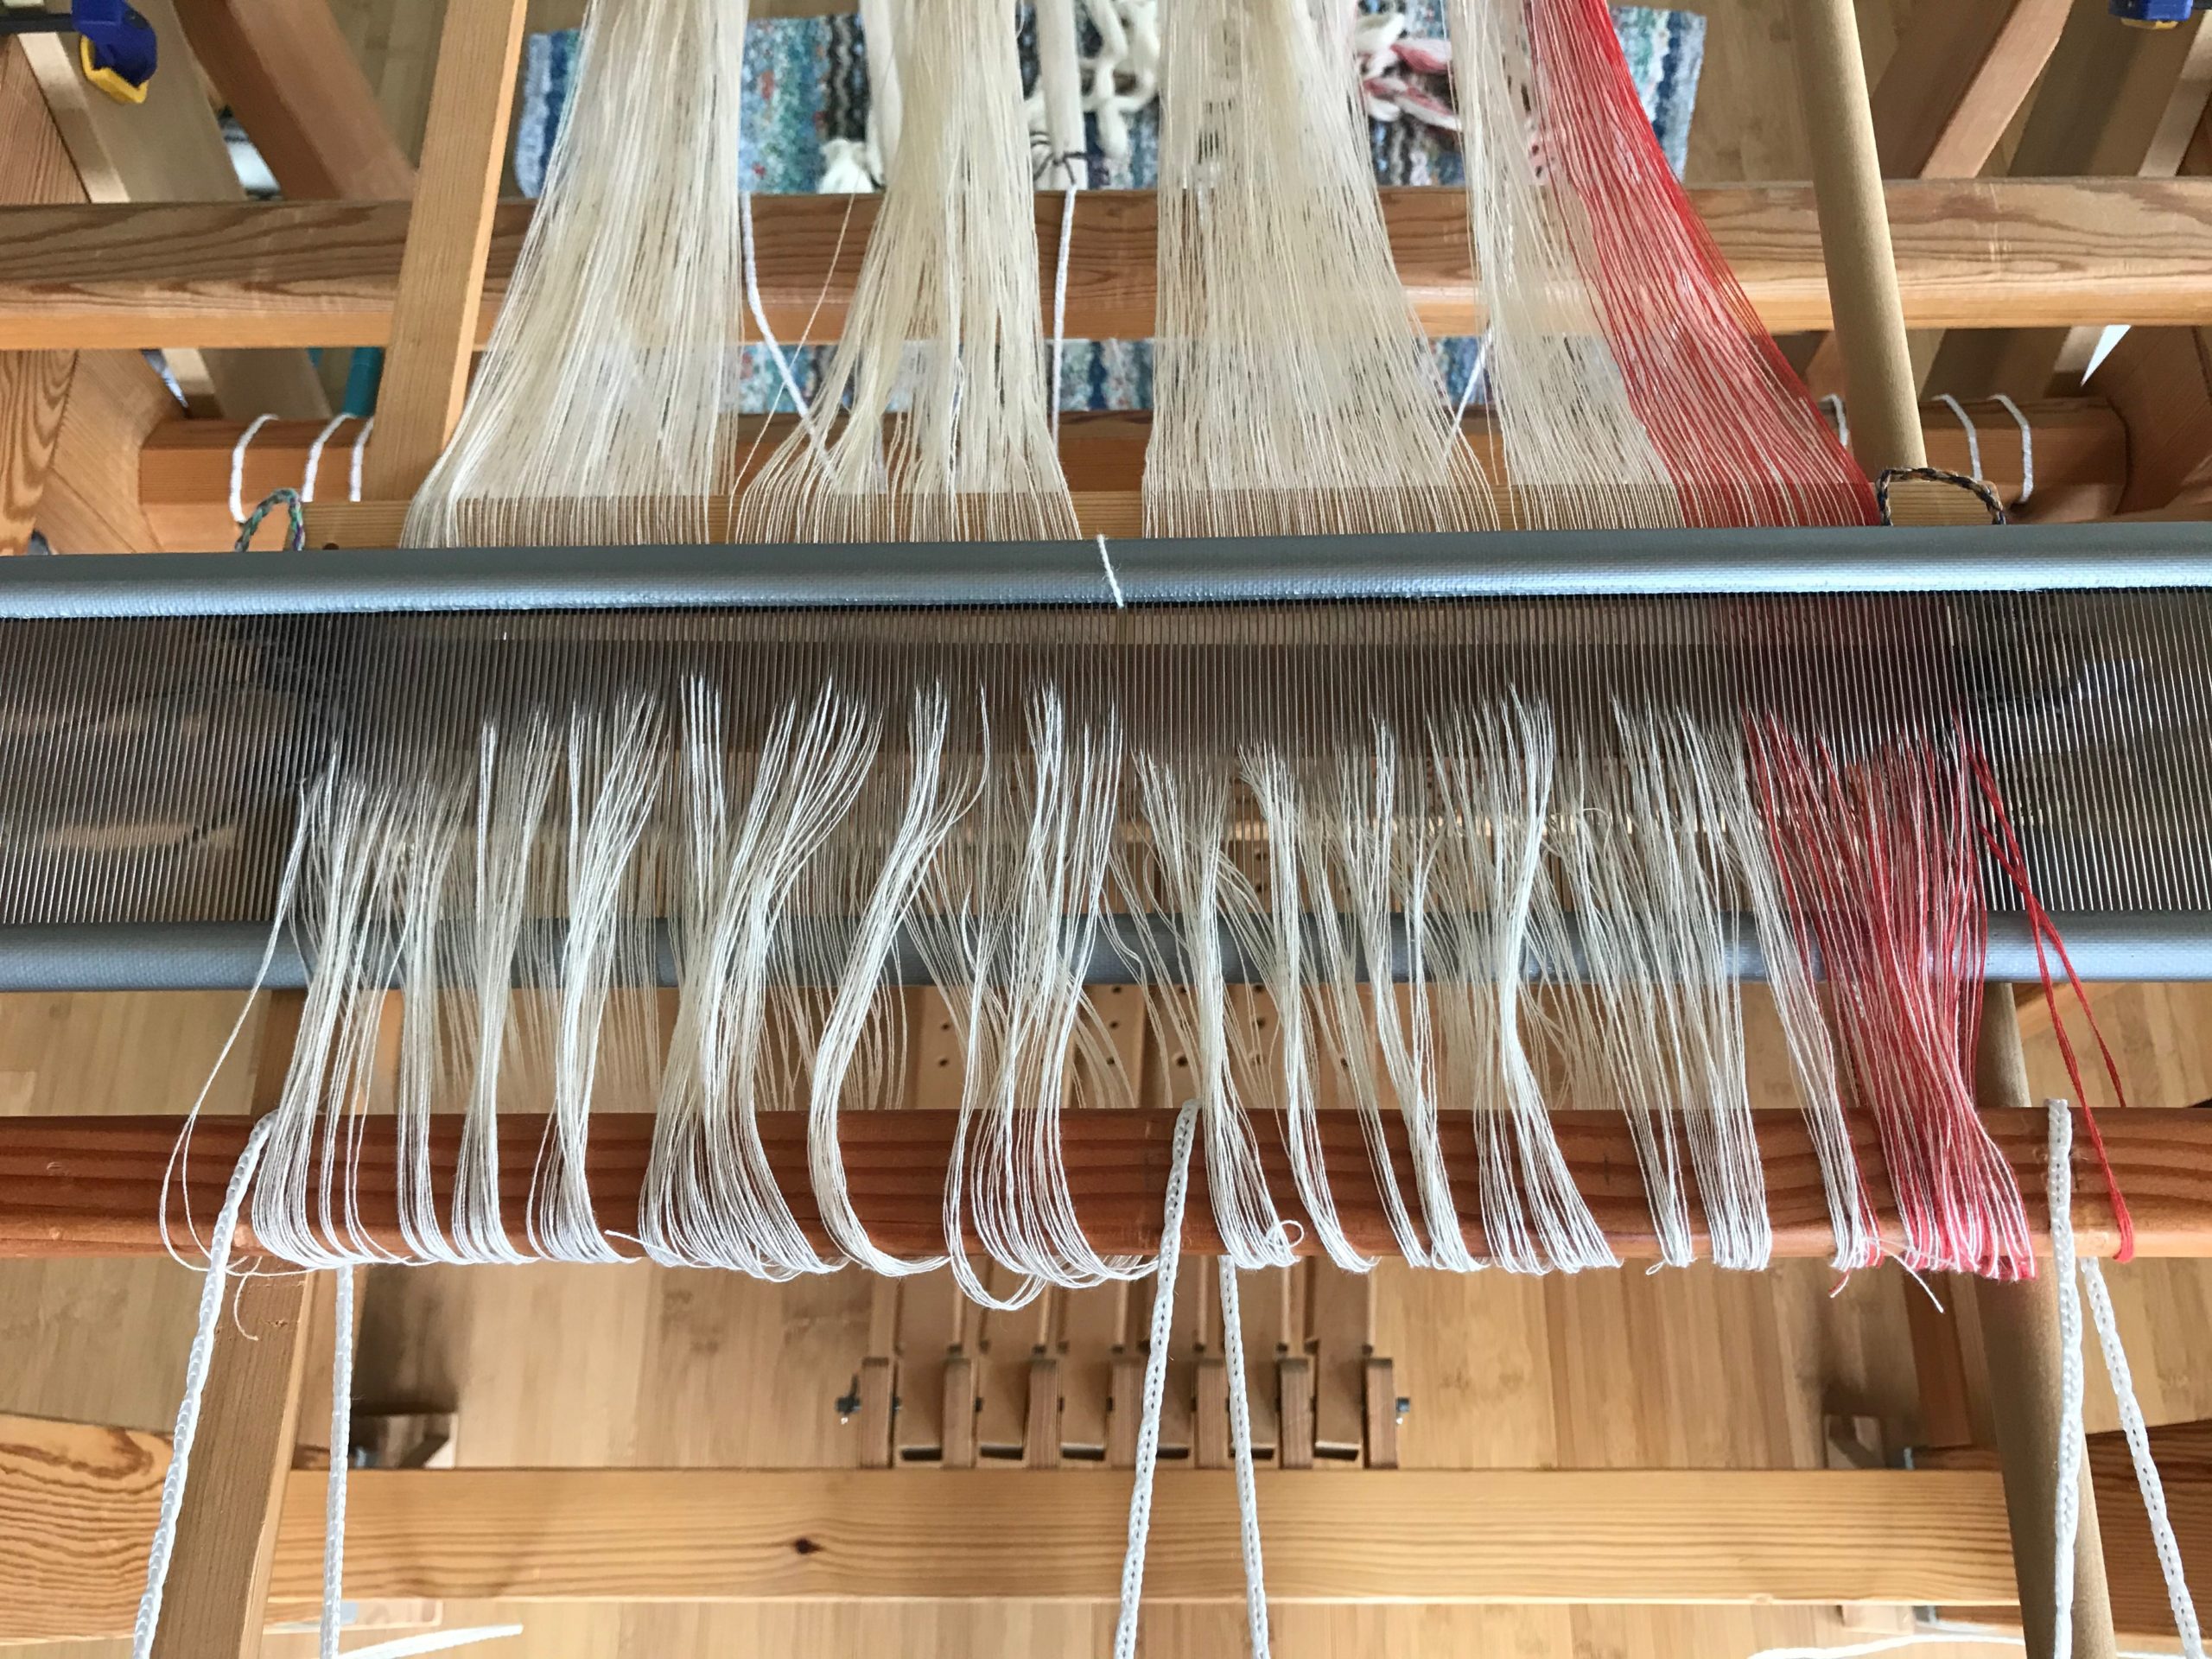
I got confused by the first pictures showing the reed. Do you thread the reed twice – once to accurately spread out the ends and then again after threading the heddles?
And thank you for the time and trouble you take to show your processes!
Ann (in France)
Hi Ann, I’m glad you asked. Yes, I “pre-sley” a reed to spread out the ends. The pre-sley reed is usually coarser than the reed that will be used for the weaving, so putting the threads through the reed goes relatively fast. This pre-sley reed is 50/10 metric and the weaving reed will be 100/10 metric. As you can see in the pictures, the pre-sley reed then goes in the beater while beaming, so the warp is very evenly spread out.
It’s a joy to share.
Happy Weaving,
Karen
Hello Ann. My name is Deborah and I live in France, in the south near Antibes. I have two contremarche looms, one here in Biot, one in Arles. My question is: by any chance, are you near either of these places/areas, and if so, would you be available to help me through the process? I have these wonderful looms, but I do not know how to beam the warp and do the tie-up by myself. I’ve only begun to weave two years ago by participating in various courses in Sweden. On my own, here in France, I am not making progress. With the Covid situation, I haven’t been able to return to Sweden for more training, and I haven’t been able to find anyone locally who has knowledge of the contremarche (mine are a Glimakra 120cm/10 shaft and an Ulla Cyrus/Oxaback 125cm/8 shaft). So, if you are nearby,(PACA region) maybe we could make contact?
I have numerous books and good resources, but I am a hands-on learner. So, I have resources to share with you or anyone else who is interested in weaving, particularly on a contremarche or counterbalance.
PS Your question about pre-sleying/sleying: glad you’ve asked Karen. I, too, await the answer… I have only pre-sleyed (although I have a raddle, which I do not use), but I do not remember how it sits once it is laid on the loom for beaming. Her photos shown here of the process are the most helpful I’ve come across.
Hello Deborah
Unfortunately I am at the other end of France – in Bretagne. Have you thought of joining the Online Guild of Weavers, Spinners and Dyers? I have been a membr for some years and there are others in France who belong. You could ask your question there, and get replies from others who have the same looms as you have. I have a Louet David and a Louet Jane table loom, so different to yours.
Good luck with your quest!
Ann
What a process! I admire your ability to deal with such fine yarn. Can’t wait to see the poppies emerge!
Hi Beth, It’s been a while since I’ve used 24/2 cotton. I need good lighting for this, that’s for sure. You make me imagine poppies dancing along the rim of each tier. 🙂
All the best,
Karen
What are the pipes for. I never saw that before. Can’t what to see the finished product…
Hi Dorothy, You may be referring to the aluminum beam covers. The beam covers are not essential, but they help protect the wood breast beam and back beam from getting indentations and grooves from the cords, especially during beaming.
All the best,
Karen
What are you using for weights. This is amazing. I have a 4 shaft 30” table loom that my husband built for me but I always need his help in winding on the warp.
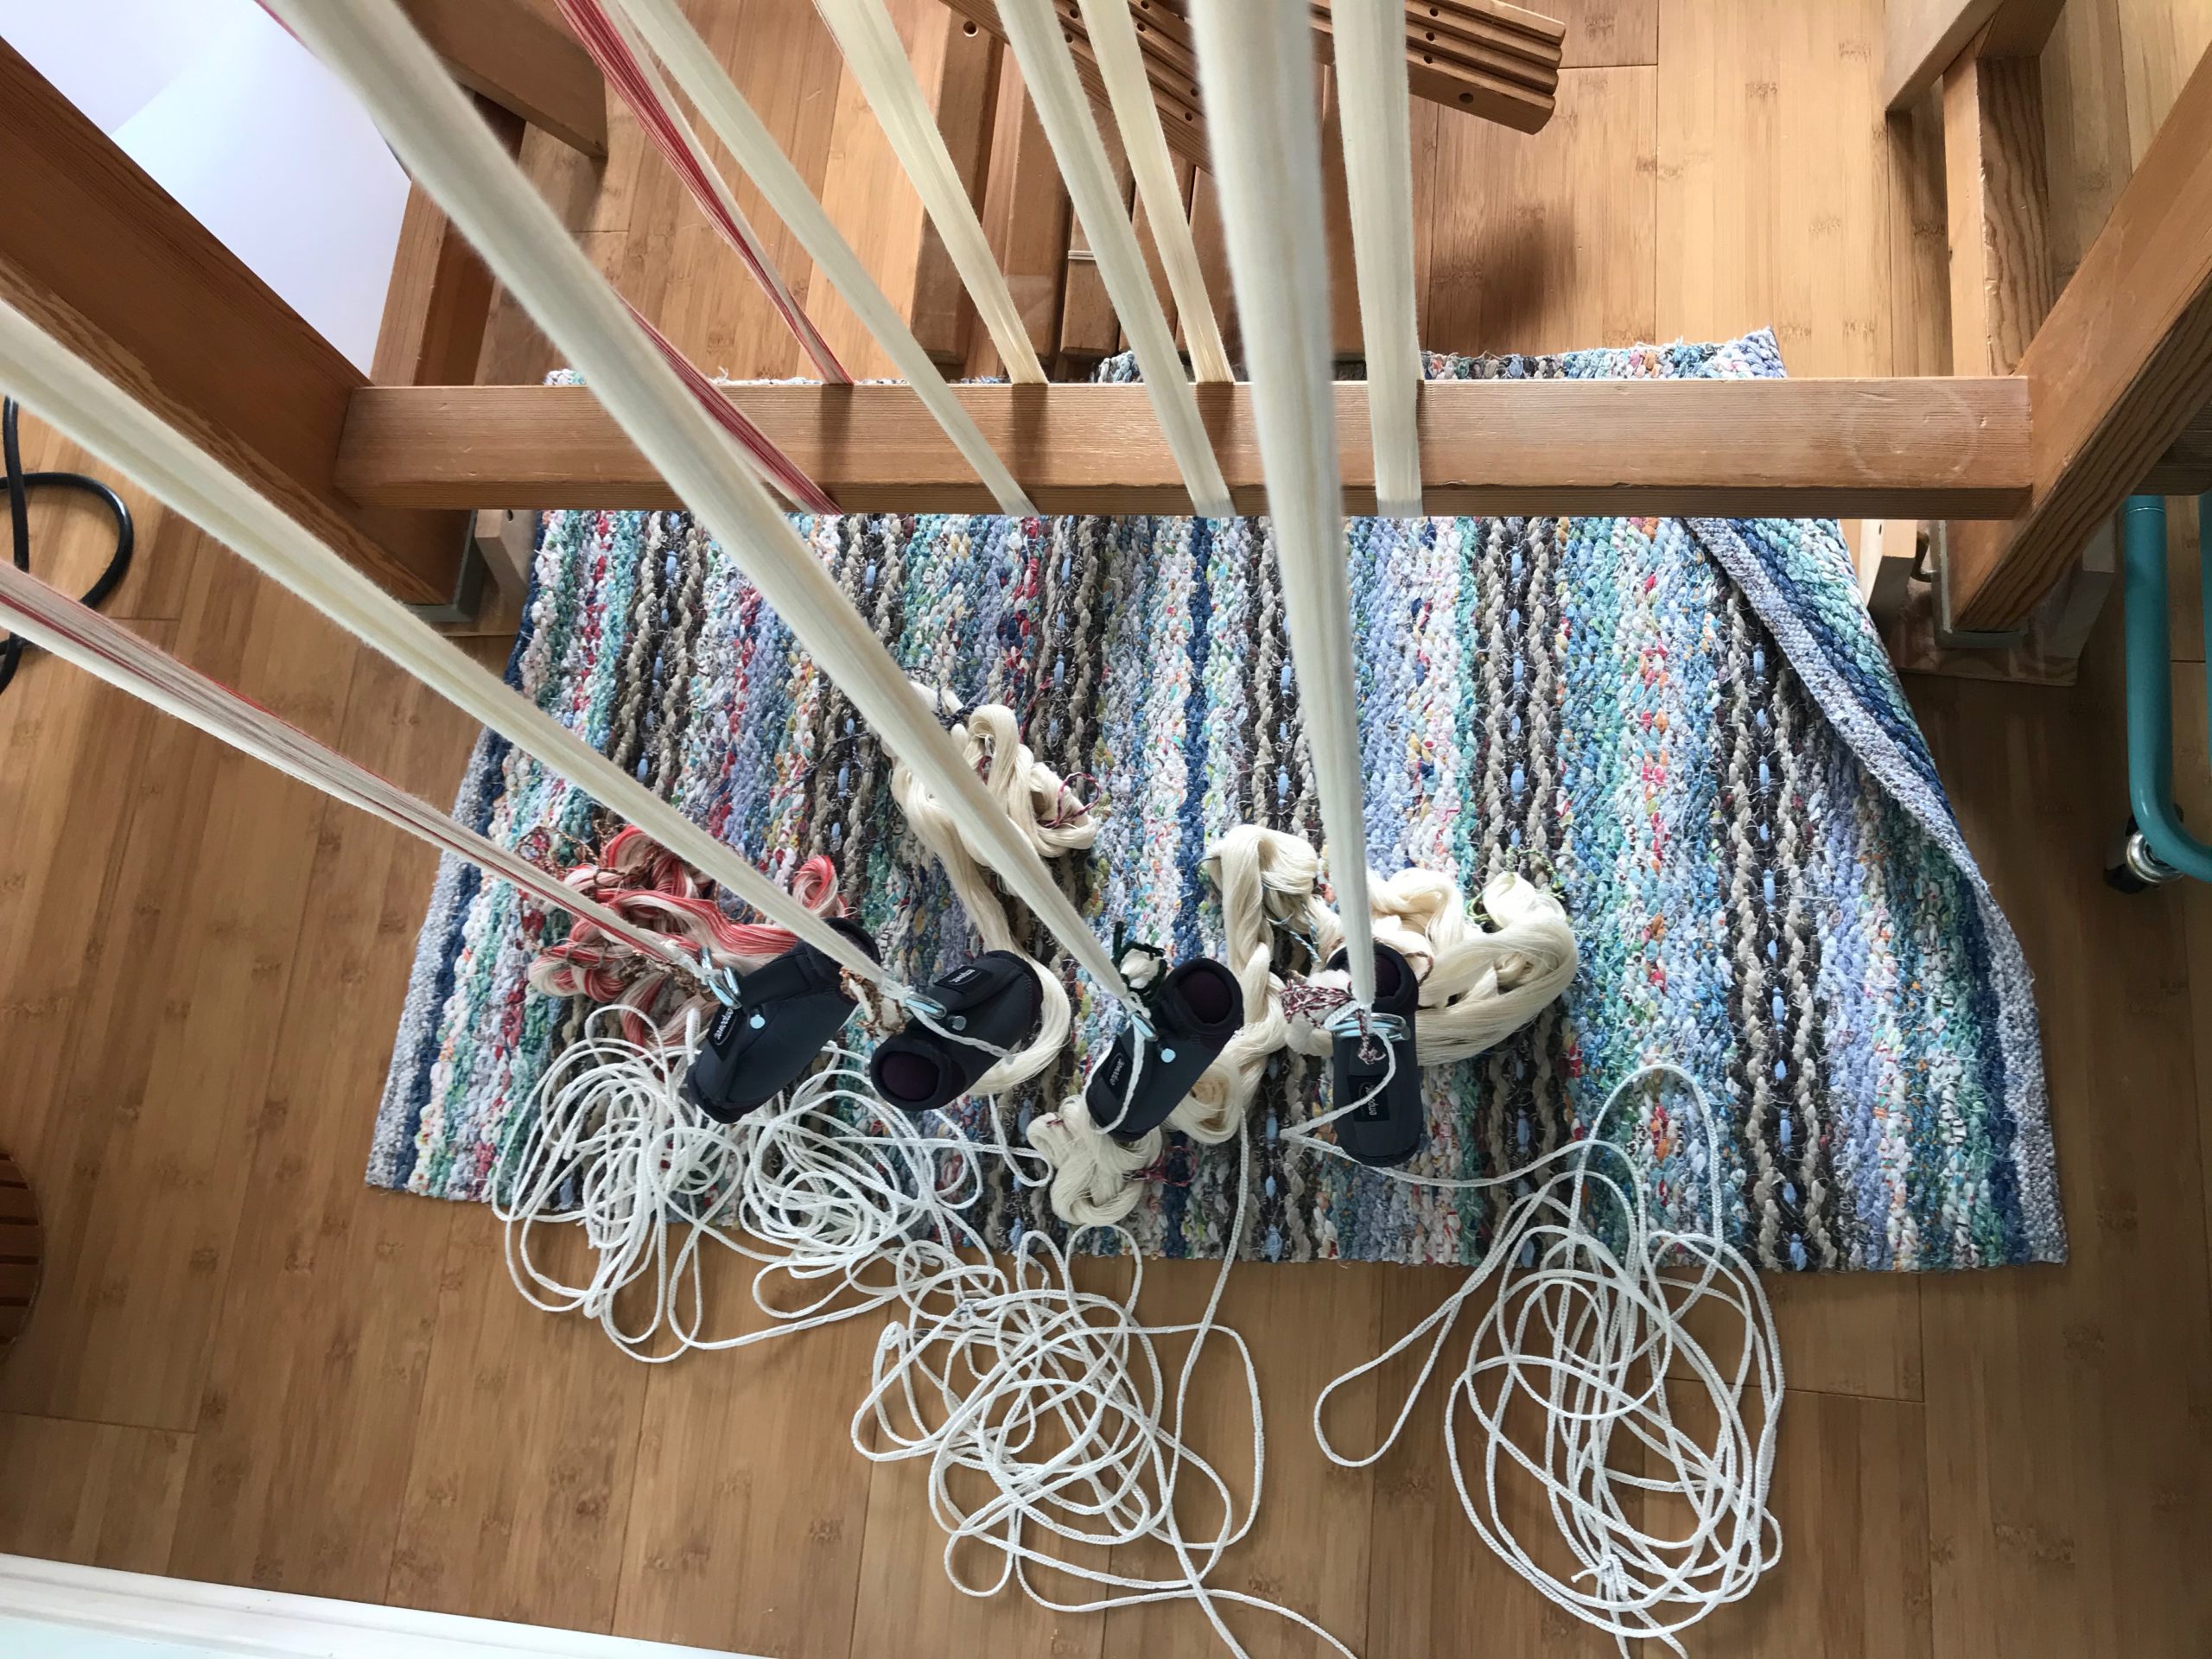
Hi Karen, I use 2-lb walking weights. They are like little bean bags. They’re perfect for this because they have “handles” that easily hang from the S-hooks. I found some at a sporting goods store, and the rest I was able to find on Amazon.
My husband is a really great guy, but I knew I didn’t want to depend on his availability to be able to beam a warp. So, from the beginning, I was determined to learn how to do it single-handedly.
With your table loom, you may be able to stretch the warp out in front of the loom (put a towel under the warp) and put weights on the warp bouts on the floor. That’s what I did before I had a warping trapeze.
Happy weaving,
Karen
Hello Karen,
What a wonderful and useful photo series!
How do you actually attach the weights to the warp sections? I always struggle with that. They always seem to slip down the warp.
Thank you,
Pam
Hi Pam, That’s a great question.
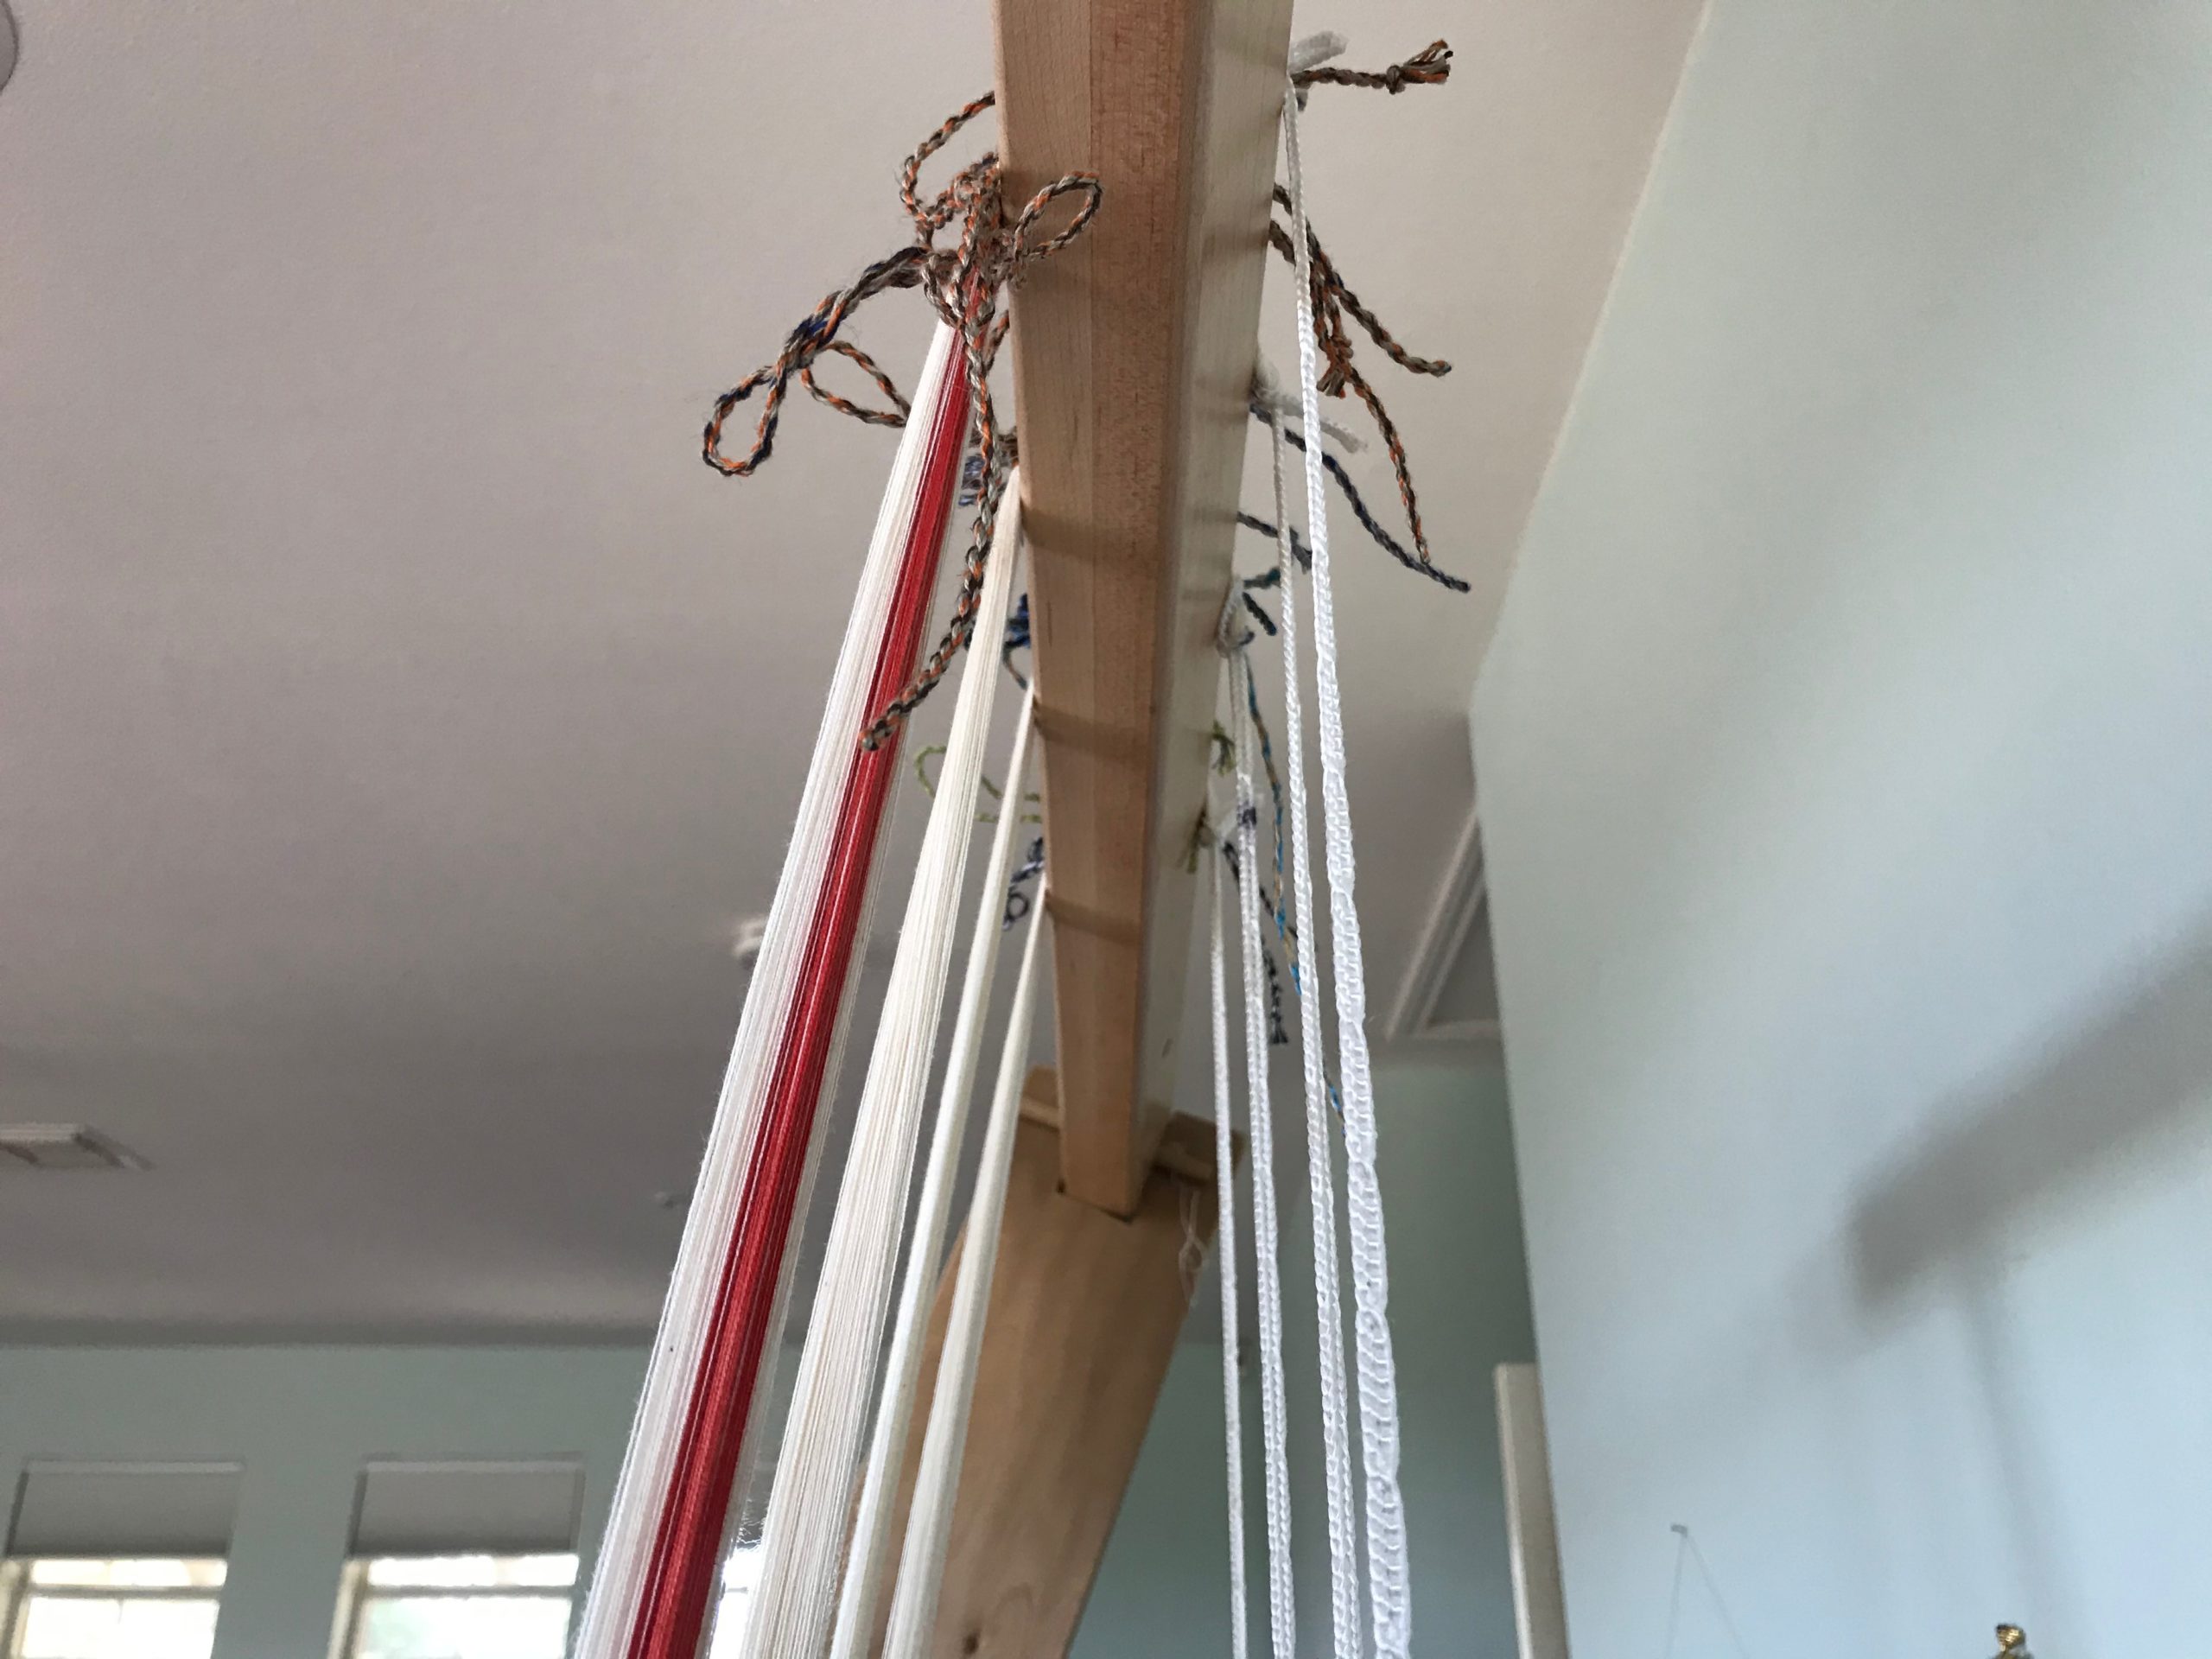
I make a loop in the end of the Texsolv cord (I use beam cord because it has bigger holes than regular Texsolv) and hang that loop just above a choke tie. I have choke ties about every meter of warp. The downward pull of the cord tightens the cord around the warp bout. My choke ties are very tight, as well, so they won’t slip. I hang an S-hook on the Texsolv cord and hang the walking weight on that. As the warp is beamed, I move the position of the Texsolv cord lower, as needed.
I hope that helps.
Karen
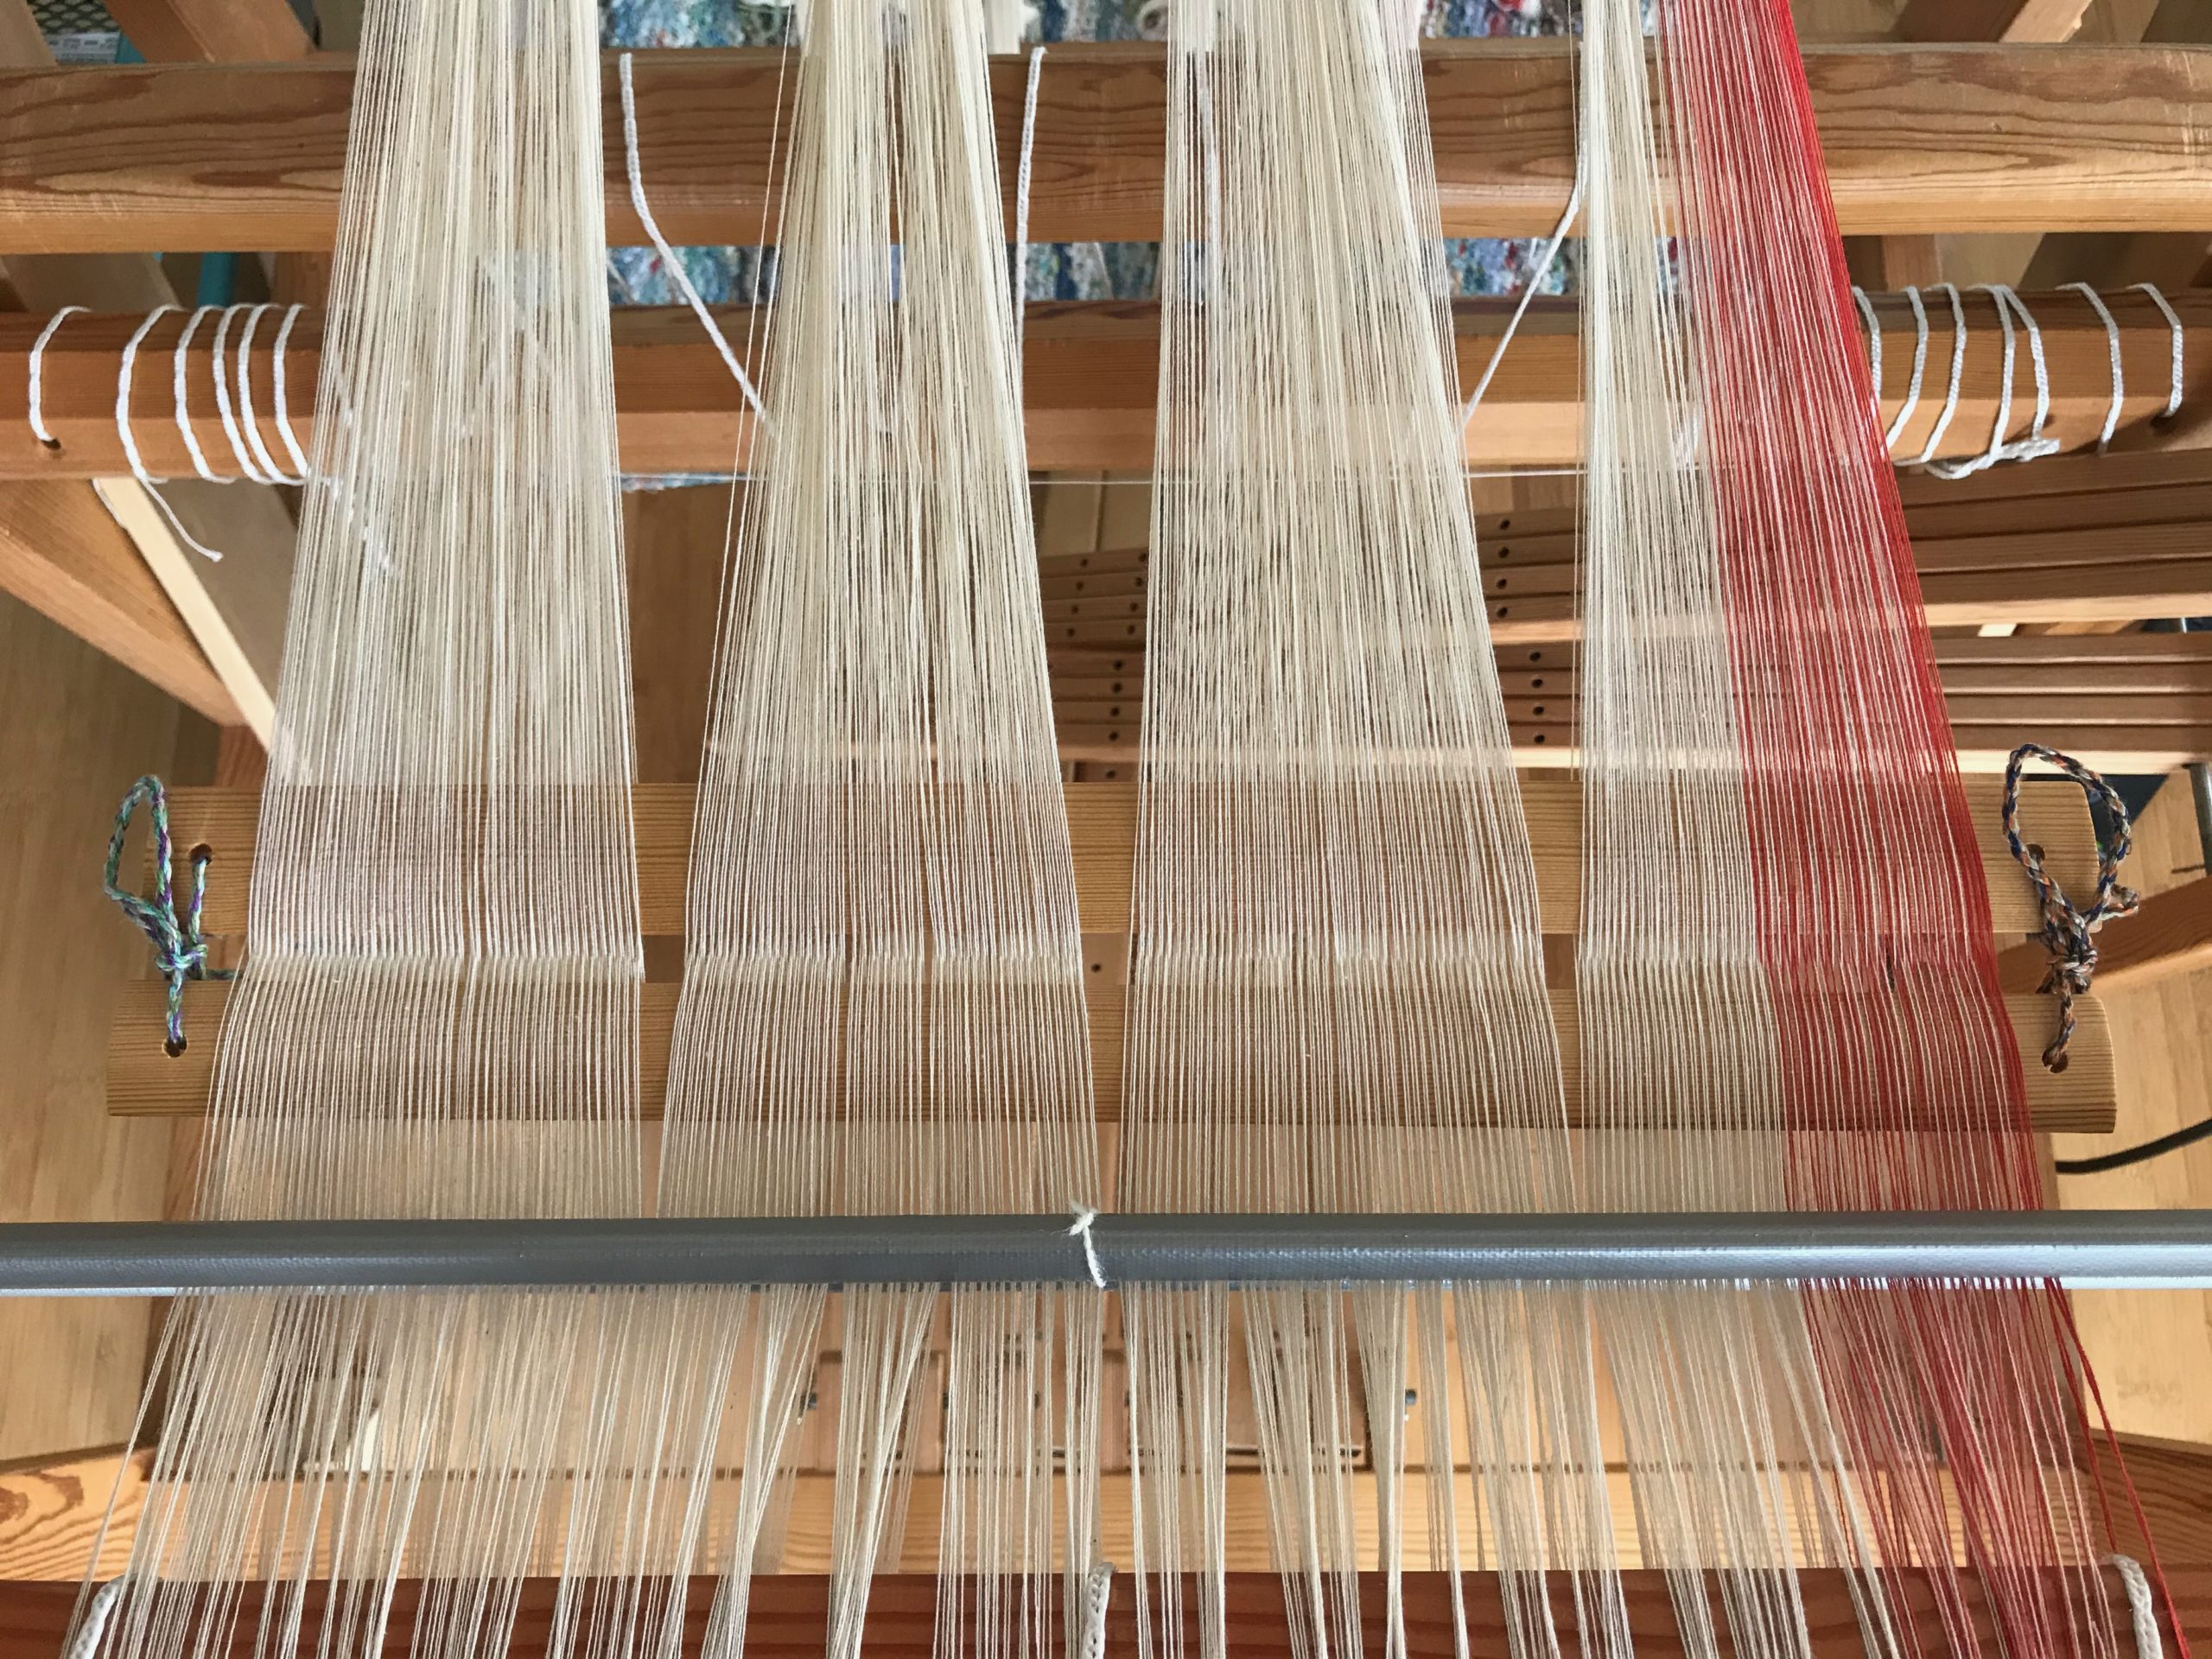
Nothing prettier than a nicely beamed warp. All those threads marching along in order.
Hi Betsy, I agree wholeheartedly!
Happy weaving,
Karen
I agree. Those pictures make me so happy.
I can’t wait to see your weaving and your skirt.
Hi Gail, This will be a very fun project, no doubt. I can already see the special skirt in my mind’s eye.
Thanks,
Karen
Hi Karen,
Can you explain how you manage the cross while pre-sleying the reed so that the cross ends up behind the reed?
Your work and posts are an inspiration-the best way to start my Tuesday’s!
Thank you,
Murlea
Hi Murlea, Ah, your sweet words touch my heart.
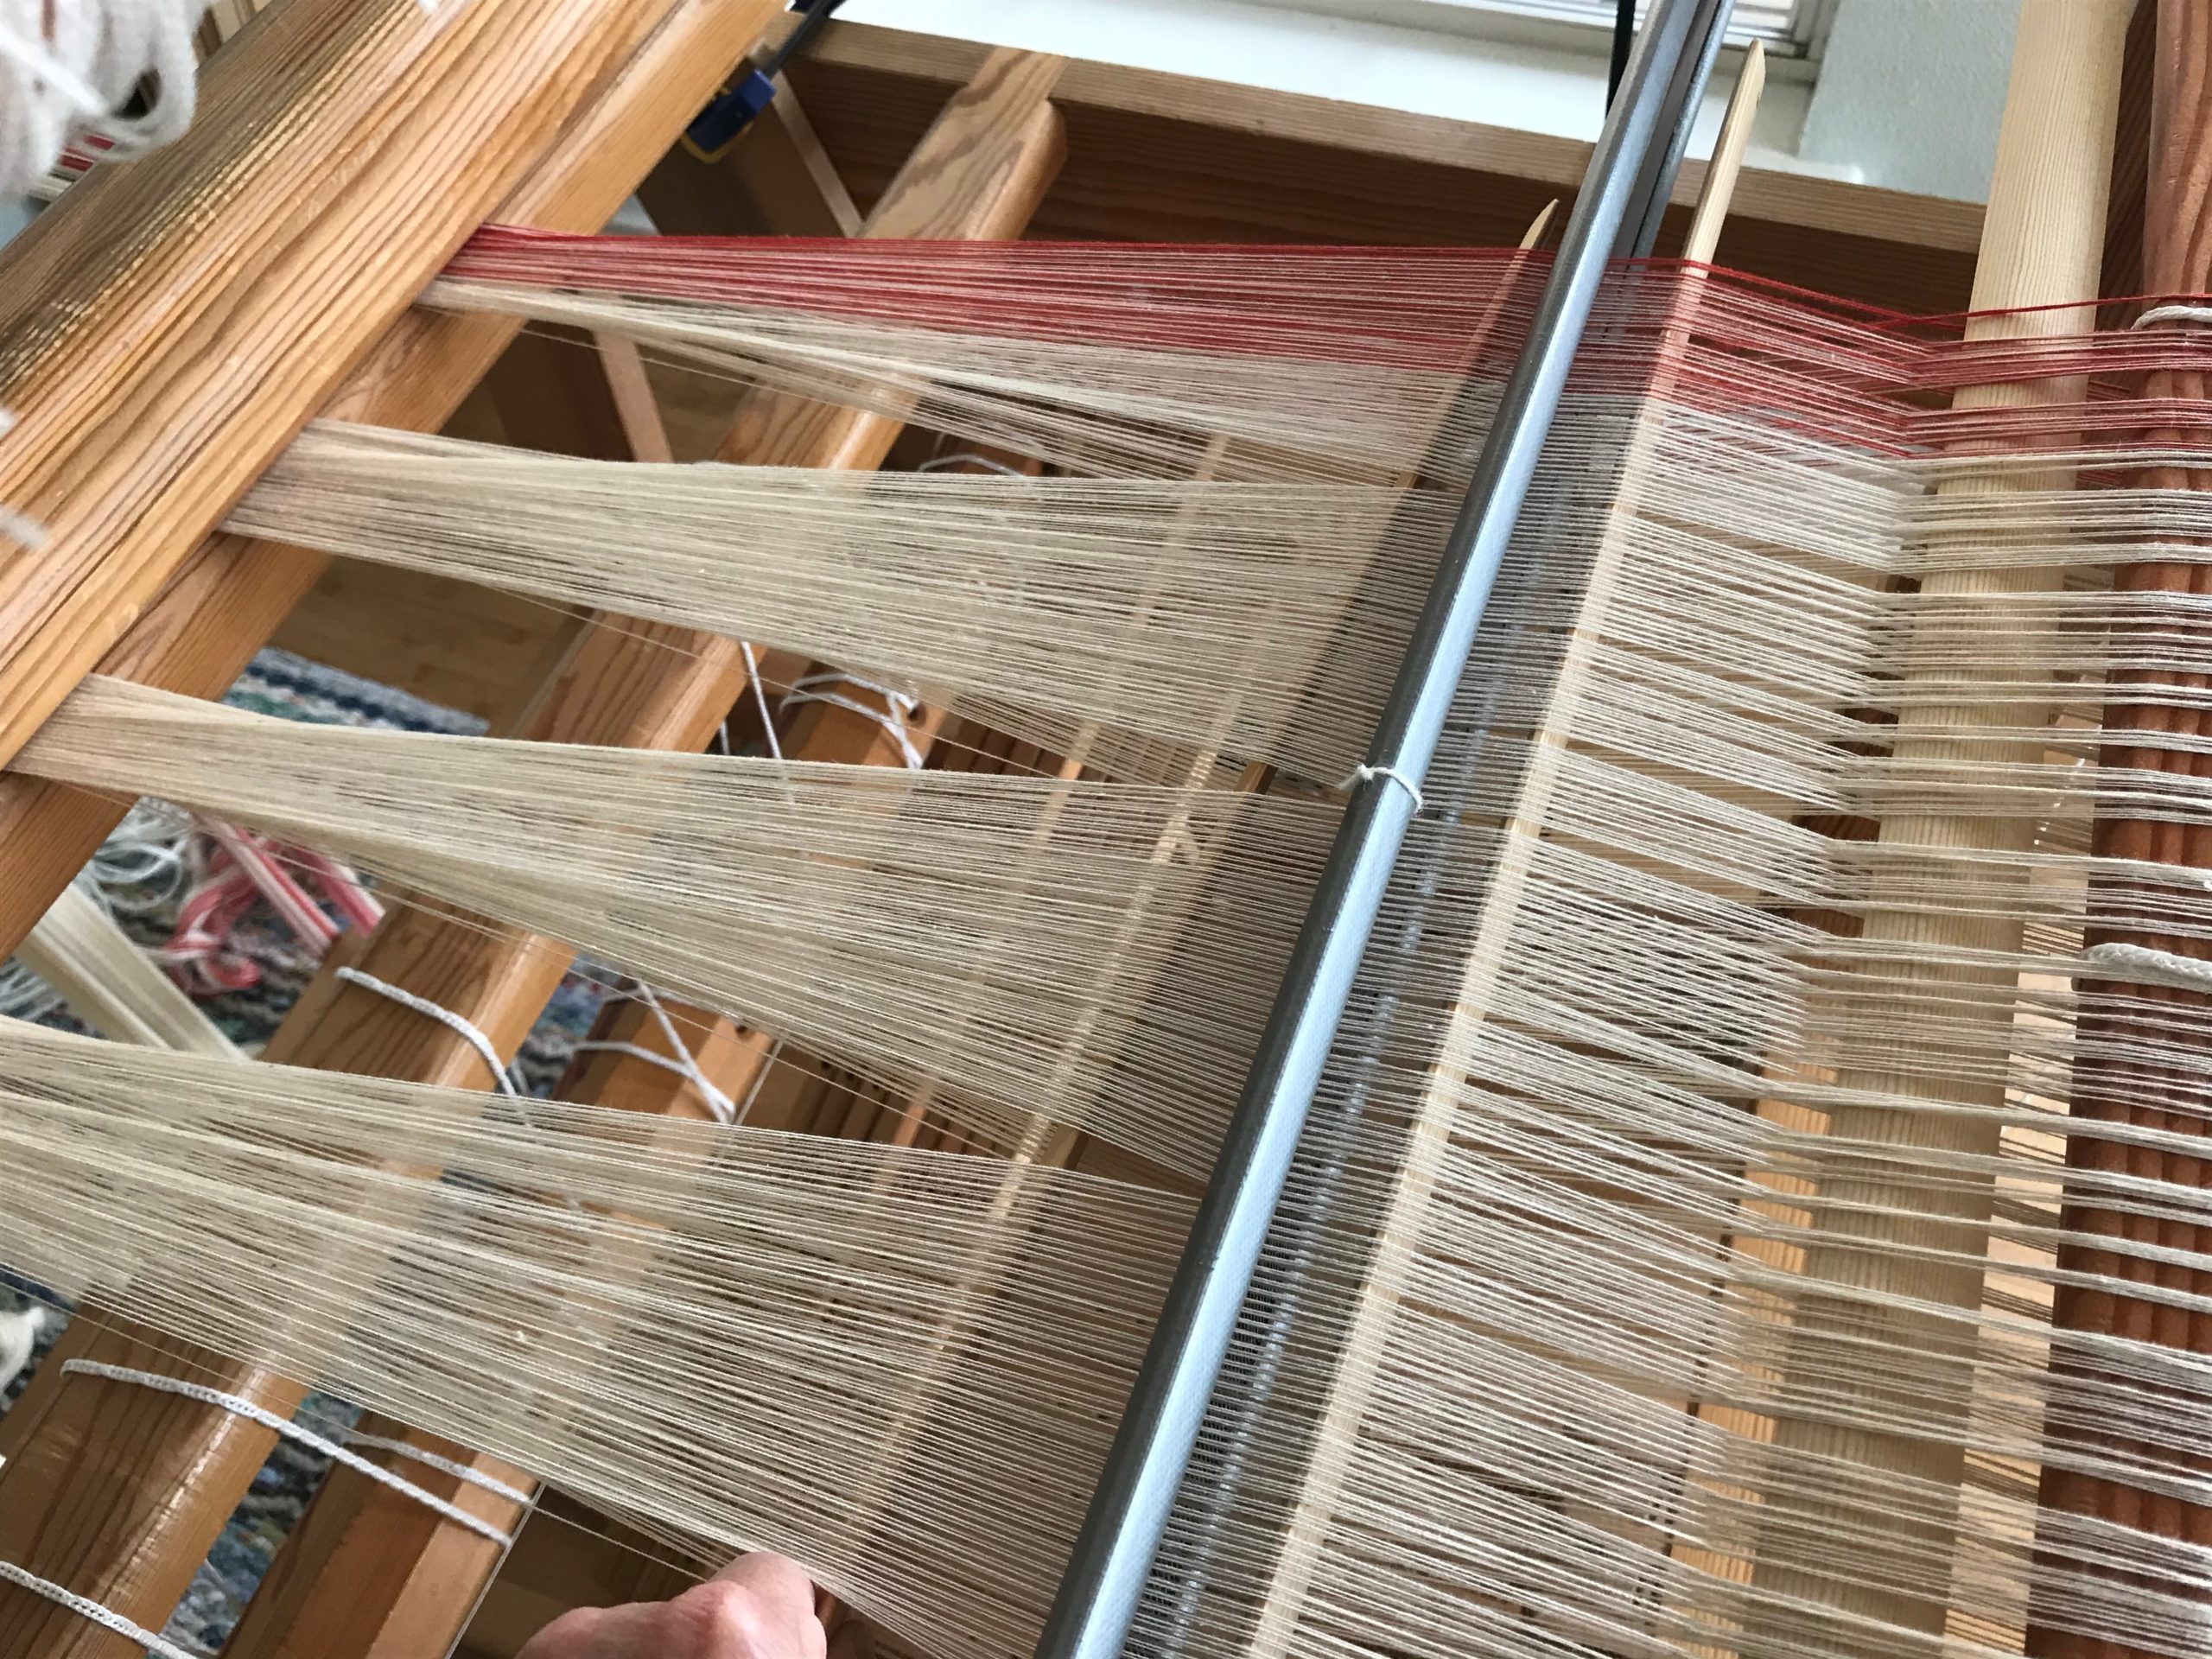
About the cross – The lease sticks are transferred from in front of the reed to behind the reed. This can be done before or after the reed is in the beater. I like to transfer the lease sticks before I put the reed in the beater, but the warp does need to be tensioned. Either way, it’s a similar operation.
1. Untie the lease sticks. 2. Take the lease stick nearest the reed and turn it on its side, up against the reed. This opens a space on the back side of the reed that equals the same shed of that lease stick. Put a third lease stick into that opening behind the reed. 3. Now, you can remove the lease stick directly in front of the reed (that you had turned on its side). 4. Take the remaining lease stick that is in front of the reed and turn it on its side, up against the reed. This forms the opening on the back side of the reed that equals the shed of that lease stick. Put the lease stick you just removed into the new opening behind the reed. 5. Now that both lease sticks are safely behind the reed, tie them securely at both ends. Remove the remaining single lease stick.
Once you get the hang of it, there’s a shortcut method that doesn’t require an extra stick. But it’s best to do it this way first because it helps you understand the process. It’s easy after you’ve done it a couple times.
Happy weaving,
Karen
Thank you Karen, I am completing a weaving class for our guild, which I have been doing just by email. So far, it is working well and many of the weavers have been sending photos to the class paticipants, showing their progress on their warping. Today, I am recommending that they view your warping message, as it shows so well the beaming of the warp. Thank you for putting this up at the best time for my email class. Great photos. Joanne
Hi Joanne, I am so pleased that this post came at the right time for you and your email weaving class. I will never forget the first time you showed me how to warp the loom!
Thanks,
Karen
Thank you Joanne for letting us know about this site. I’ve been reading and re reading.
Thank you Karen for posting this.
Hi Shelley, I’m so pleased to have you along.
Karen
Hi, Karen,
Your warping method is similar to mine except I use a raddle. I love using the 2lb. hand weights you taught me to use. They make warping alone very easy and the tension is so consistent.
Thank you the excellent photos!
D’Anne (Danny)
Hi D’Anne, You and I had fun putting that blue 8/2 cotton warp on my loom once upon a time. I have never used a raddle, but I know that is a helpful method for many.
It’s so nice to be able to warp alone, isn’t it?
Love,
Karen
Karen, what is the size of this loom? And is it an Ideal? How lovely that you can sit inside for threading. Also, the width of your cloth and epi of your thread. Will your weft be the same kind of thread?
I can’t wait to see this project progress.
Thanks, Kim
Hi Kim, This is a 100cm (39”) Ideal. It works great to remove the breast beam, knee beam, and the beater, and then put the bench right in there. The width in the reed is 37.2cm (14 5/8”). The sett is 20 ends per cm (~ 50 epi). The weft will be 16/1 linen.
I’m excited to get it all set up and going.
Happy weaving,
Karen
Thank you! I think this might be my dream loom. Kim
Thank you for postings this! It is always good to be reminded of good methods and habits!! And it looks like I can leave the lamms in place next time.,
I noticed you mentioned your 2 lbs weights in your response to a previous comment, do you find 2 lbs to be sufficient for all kinds of warps, or do you vary the weight depending on the warp quality/weight?
I can’t wait to see this fabric in use, I love the idea of the red border!
Hi Elisabeth, I remove lamms that aren’t needed. For example, I went from 6 shafts to 4 shafts with this project, so I removed 2 upper and lower lamms. Otherwise, there’s no need to remove any more than that.
That’s a really good question about the 2-lb weights. I always put at least one weight on each bout, but depending on the thread or yarn being used, sometimes I put on an additional weight, or even 2 more. That extra weight is usually needed with a linen warp or with rug warp. I test the amount of weight by turning the ratchet. If there is not sufficient resistance, I add more weight. To add more weight, I can usually hang 2 of the walking weights on one S-hook; or I can hang another S-hook on the first S-hook.
Happy weaving,
Karen
Thank you! I have used more weight on some warps, rug warp like you mentioned, and I was afraid it created too much resistance. I now understand this would be appropriate 🙂
I bought (used) a Glimakra Ideal Loom. The instruction books I have state that the warp has to be in the middle/center of the heddles. How do I do this on this particular loom?
Thanks
Hi Corinne, That is an understandable question, especially if you are new to Texsolv heddles. The beauty of Texsolv heddles is that they are easy to move around. I thread the heddles from right to left, starting on the far right. I add heddles on the left side of the shaft if more heddles are needed. When I finish threading all the heddles needed for the project, I tie off any excess heddles in groups of about 50 and remove them from the loom. If the heddles you are using are the only heddles on the loom, they will naturally be centered on the loom.
Here is a blog post and video that gives you an idea of how I thread Texsolv heddles: You Can Prevent Threading Errors.
I hope that helps. Enjoy that Ideal!
Karen