
Slay the dragon. Ride the sleigh. Sley the reed. To succeed in these challenges, you must be prepared, pay attention, and make sure you’re on the right track. Here, I’m going to focus on sleying the reed with success. (For dragon slaying and sleigh riding challenges, I won’t be of much help.) Don’t miss the new video below with tips for sleying the reed.

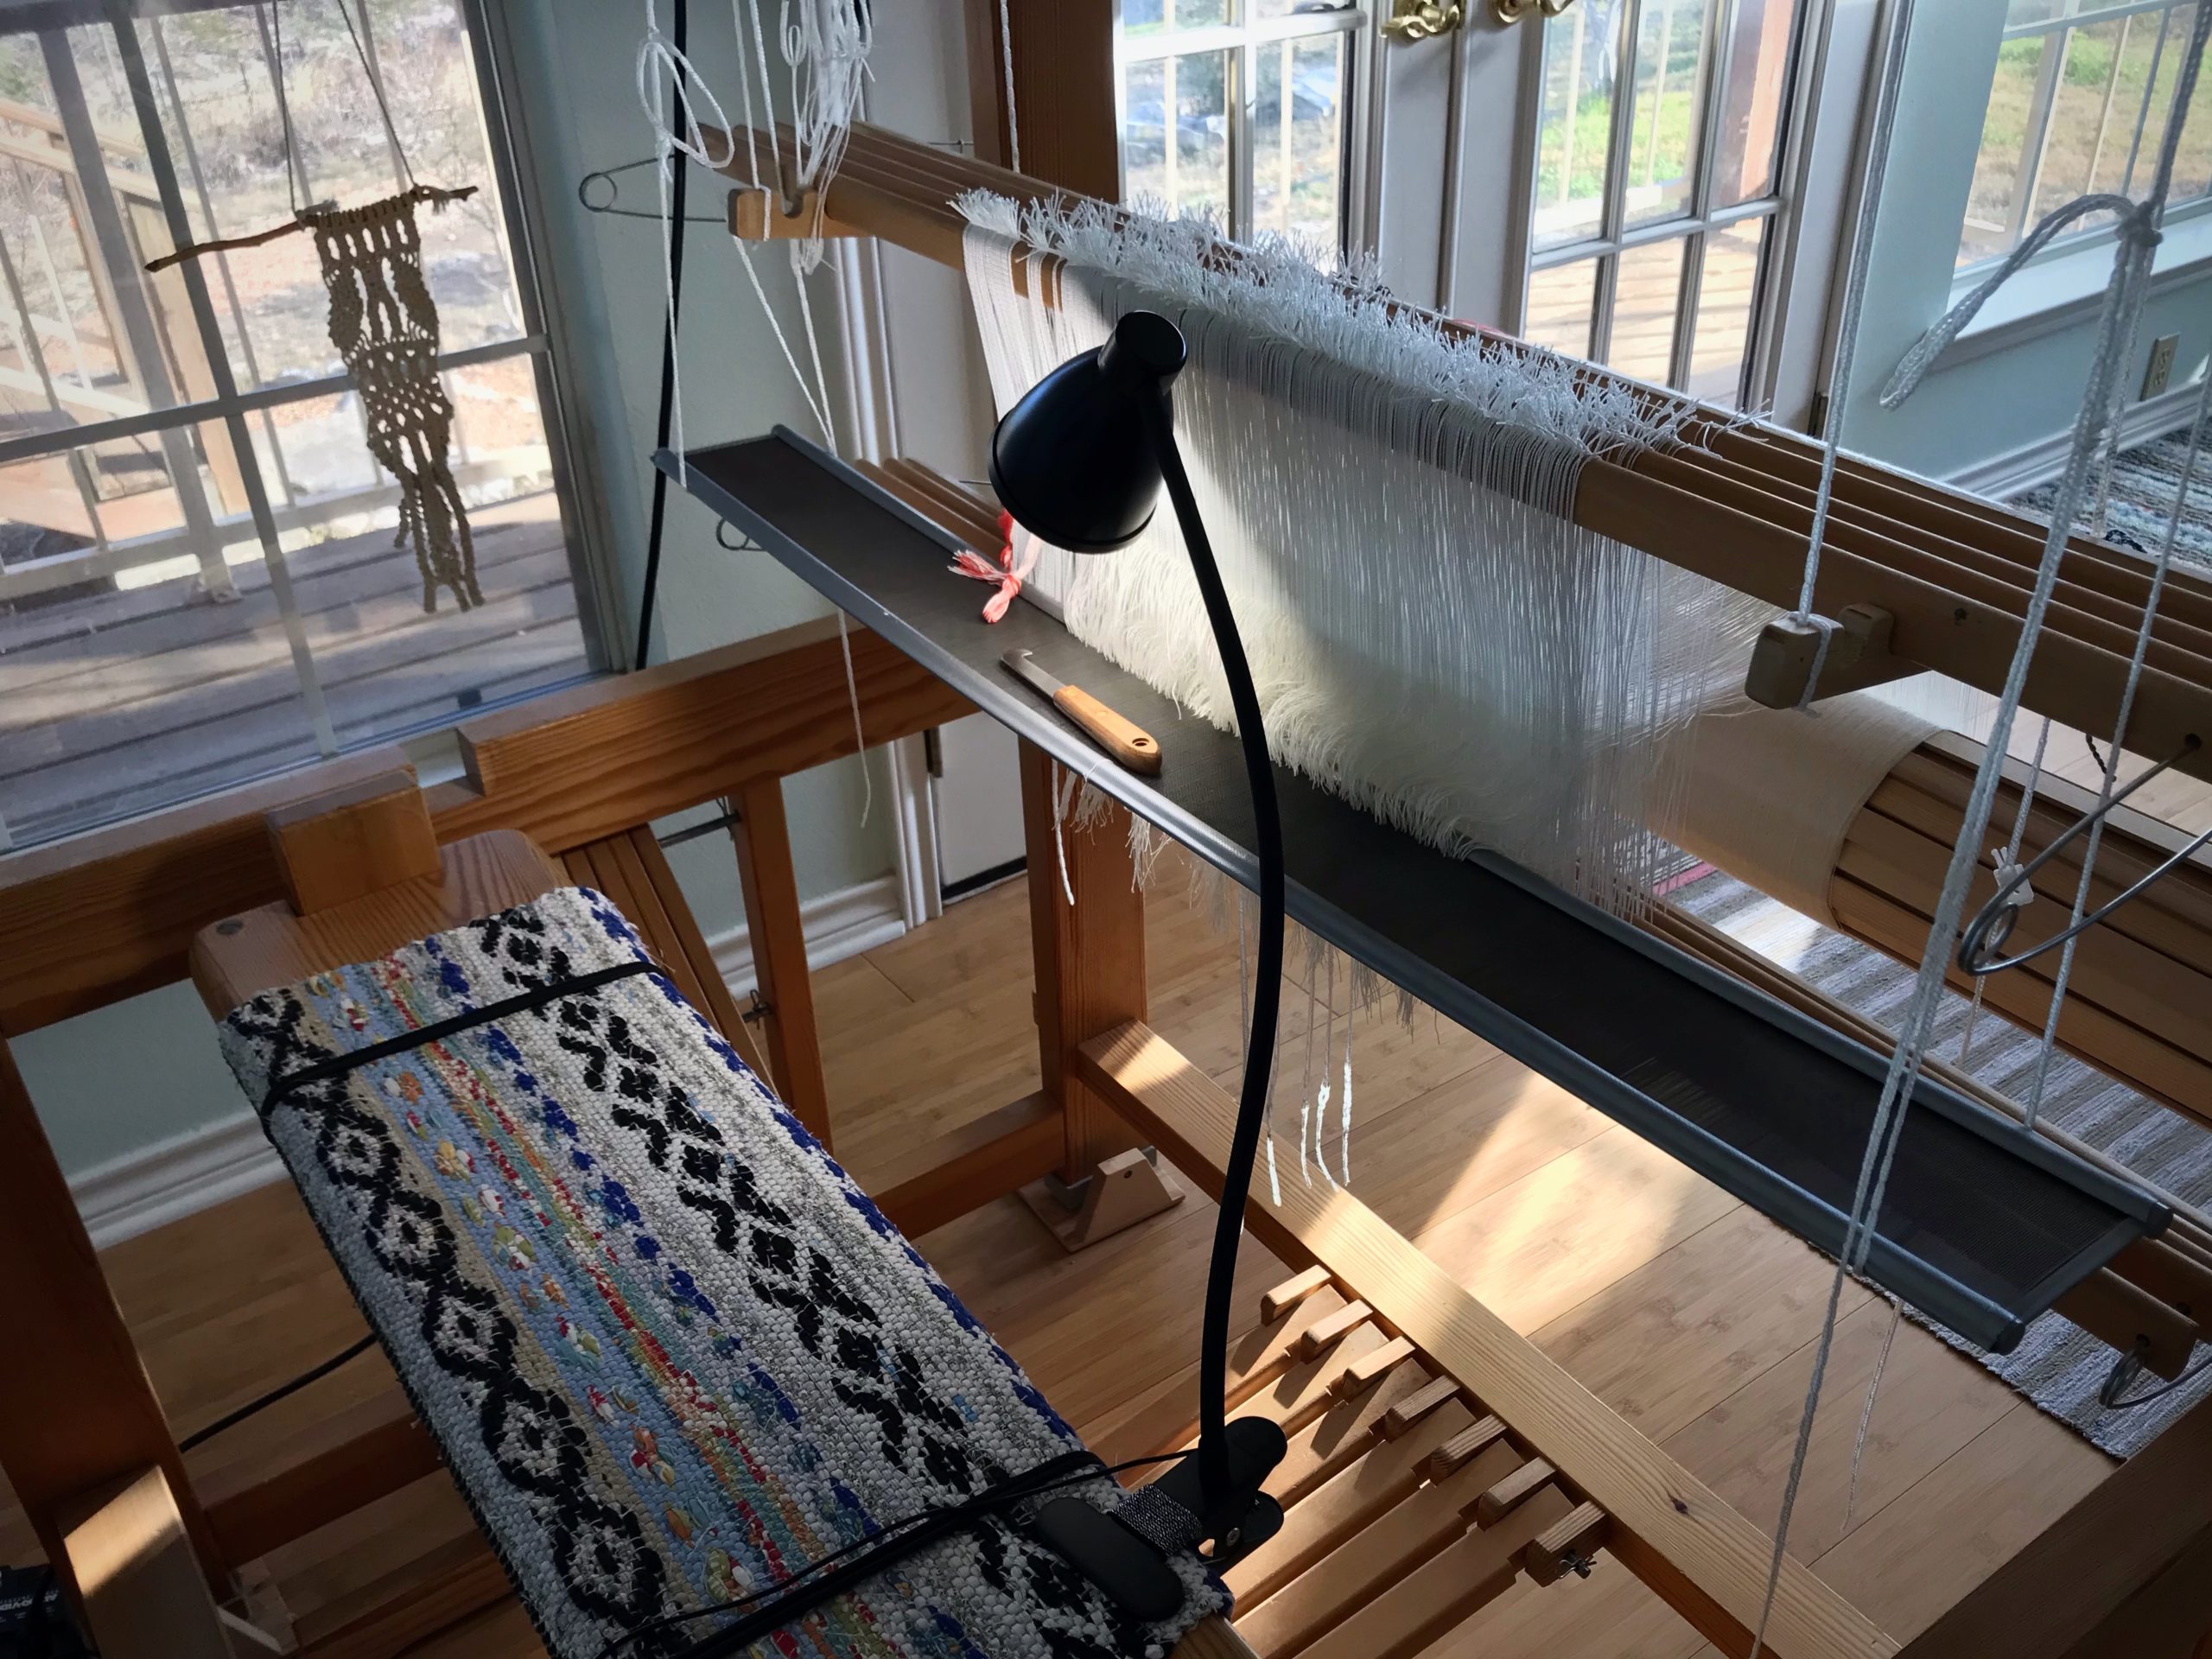
First, make sure you have good lighting. I have a snake arm shop light attached to the top of my loom. (See Tools Day: Loom Lighting for more about loom lighting.) I also have a smaller clip-on gooseneck LED lamp, clipped onto my loom bench, that illuminates my specific working area. With a fine-dent reed, like this metric 100/10- (~ imperial 25-) dent reed, focused lighting makes a difference. It means seeing the dents instead of guessing.

In this video, I share some tips for sleying the reed, with checkpoints to ensure success. (See Tools Day: Click Test for more about the “click test” mentioned in the video.)
May your dragons be few.
Yours truly,
Karen
Your studio looks like there is a lot of natural sunlight. Nice!
Hi Shari, My home is my studio. 🙂 I have looms scattered throughout. I’m thankful for the abundance of natural light in this room!
All the best,
Karen
You are amazing! Thank you for your tips. Especially the one about counting the reed spaces you have just filled! Excellent advice!
Hi Karen, The sooner we can catch errors, the better. No one likes re-sleying after all the ends are sleyed. That’s what pushed me to find a sure-fire way to check sleying as I go.
Thanks!
Karen
Do you do much with small rigid heddle looms? My husband bought me a 24″ Ashford rigid heddle loom. I really like it. I’m afraid the larger one were way out of our budget and not sure where we would even put it in our home 🙂 I love reading your posts and still earn from them.
Hi Lou Ann, I do not do a lot with rigid heddle looms, but many of the weaving skills apply. I’m very happy to have you coming along. We can always learn from each other. If/when you get the point that you’re ready to weave on a floor loom you will find a way. Until then, enjoy weaving!
Happy weaving,
Karen
Such a lovely light filled studio! Thank you for the tips on sleying the reed.
Hi Martha, Like I mentioned to Shari, our home is my studio, with looms here and there (except for the drawloom, which has its own studio). I’m very fortunate to have some light-filled rooms where my looms can live.
Happy weaving,
Karen
Thank you! And your new blog presentation is beautiful!
Hi Karen, Thank you for noticing the new look on the blog. I’m happy you like it!
Happy weaving,
Karen
Hi Karen,
Slaying the dragon… Sleighing the reed.. Small bites seem to be the order of the day.
Lighting is so important. Crossed paths with the electrician in the produce department of the local small town grocer. January 25th is the goal for his guys to put in overhead task lighting above the floor loom. It is too big for the main floor so the basement is now the crafts ‘studio’.
Natural daylight on two sides. How wonderful!! You are blessed.
I am measuring out a chocolate colored warp. The sleighing will wait until the 26th.
Kind regards
Nannette
Hi Nannette, Small bites is the way to go. We do what we can when the time is right. Your lighting is worth the wait.
All the best,
Karen
Good points to help catch small errors before they grow into big headaches!
But I was wondering about your button necklace. Did you make it? What kind of thread are they on? That could be a good future for a handful of old mother-of-pearl buttons from my mother’s and grandma’s stashes!
Hi Lyna, The necklace is unusual. It’s one I got in The Philippines. I’ve never been sure what the “buttons” are, maybe some type of shell, with a single hole drilled in the middle. They are strung on something like nylon fishing line, with seed beads between the round disks. Making a necklace from favorite old buttons sounds like a fun project.
All the best,
Karen
Thank you for sharing your tried and true methods! As always, very helpful 🙂
Elisabeth
Hi Elisabeth, I’m always happy if someone like you finds the information helpful.
Thanks,
Karen
Hi there, I just got a Lilla and your website has already been an invaluable source of help–thank you so much for putting this all together. Your advice on adjusting tie-ups worked like a charm! And then I see your most recent post is about sleying, which is what I was having problems with next.
Also, I always manage to skip a dent or double-sley a dent so I am definitely trying the click test next time. But I did have a question–what happens when I discover the sleying error after weaving a few picks? By that time I’ve already put the reed in the beater, and so it’s not really very easy to resley it seems. (I have a baby wolf, and it was relatively easy to fix then). Especially if I only have the sleying error one or two inches from an edge. I don’t want to un-tie the whole warp from the tie-on rod. Do I still take it out of the beater and re-hang (as if to sley from scratch) and only re-sley the threads that need to be fixed? I’m hoping this will happen less often with your tips but I also know I always manage to make an error 🙂
I realized I skipped a dent close to the left edge when sleying but I decided this is a practice run and didn’t want to bother. Am still wanting to know how to fix a sleying error when I only need to resley say, 2 inches on a side. Do I take it out of the beater again and re-hang?
Hi Sara, You are well on your way to weaving success! Great question about fixing a sleying error. And those errors stand out like a sore thumb in the weaving, don’t they?
The click test will definitely help you reduce or even eliminate those sleying errors before you get to the weaving part. Yes, some pesky errors will still slip through. No worrys! There is no need to untie your warp or put the reed back in the hanging cords. Just take the ends out of the weaving and re-sley them with the beater in place. It’s easier if you only have a few threads to deal with, but even if you find a sleying error further in the width of the warp you can still re-sley. In that case, I only remove a few ends at a time, and work my way across, re-sleying a few threads at a time. Yes, it is awkward to re-sley with the reed in the beater, but it’s not too bad. Before you know it, you’ll be throwing the shuttle and enjoying the error-free cloth.
Happy weaving,
Karen
Thanks! I appreciate your thoughts–not that I’m looking forward to trying that, but I’ll be glad when it inevitably is necessary. What I am looking forward to is perusing your site more and seeing what comes next!
Awesome!