Woven Transparency Cactus

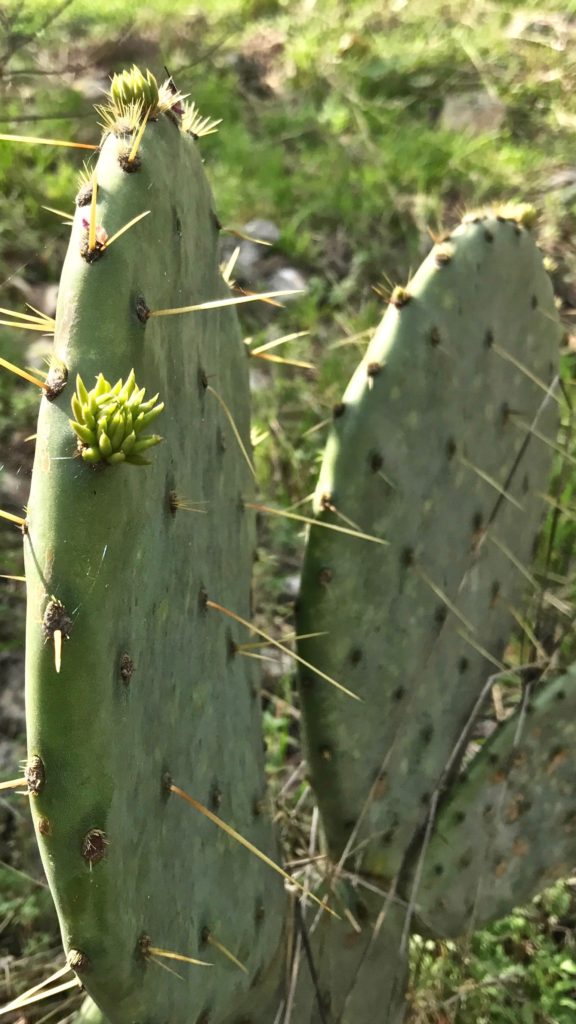
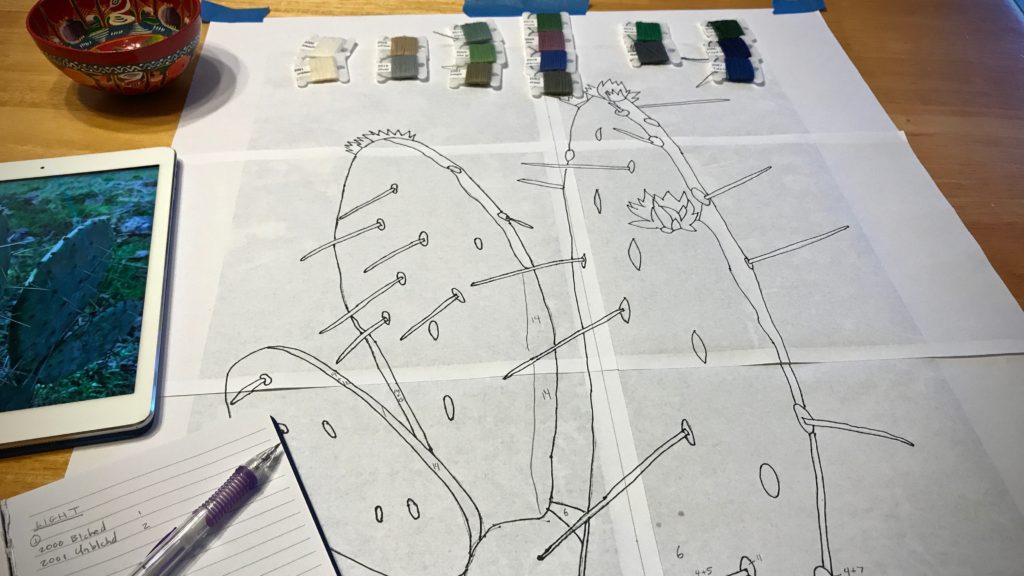
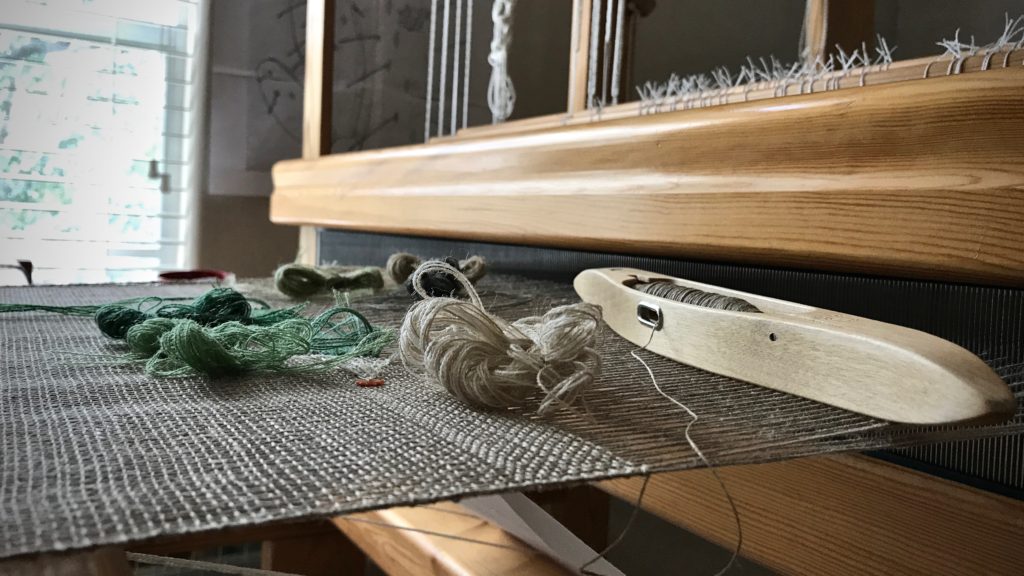
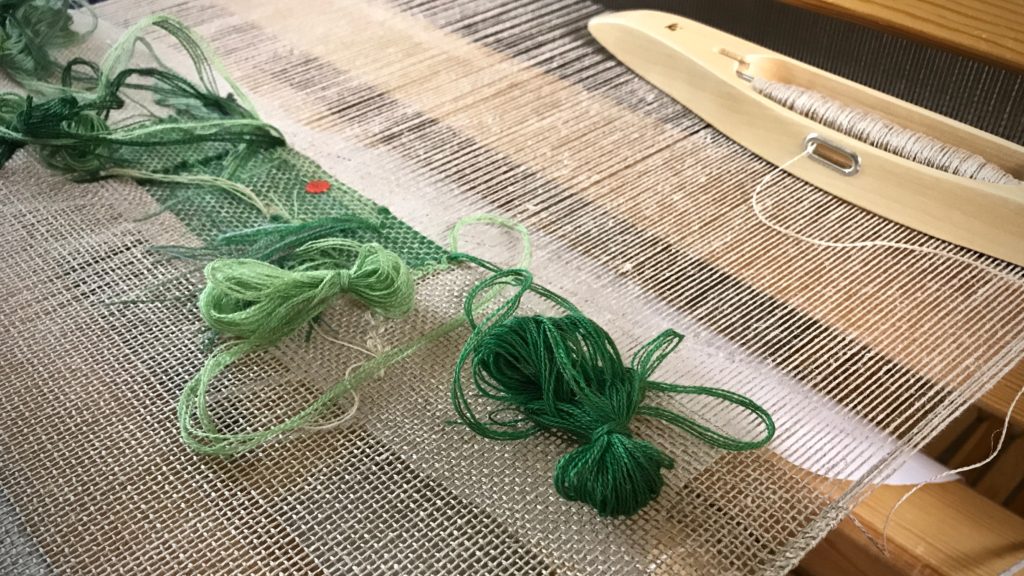
I found a subject for my next transparency. It’s a prickly pear cactus in Texas hill country. Weaving this cactus is a fantastic experience! I started with a photograph, from which I made a cartoon. And I have an outline that shows where to place each color. It’s all based on the timeless beauty of colors in nature. I’m hopeful that when light shines through the final woven transparency we will see a likeness of the original cactus.
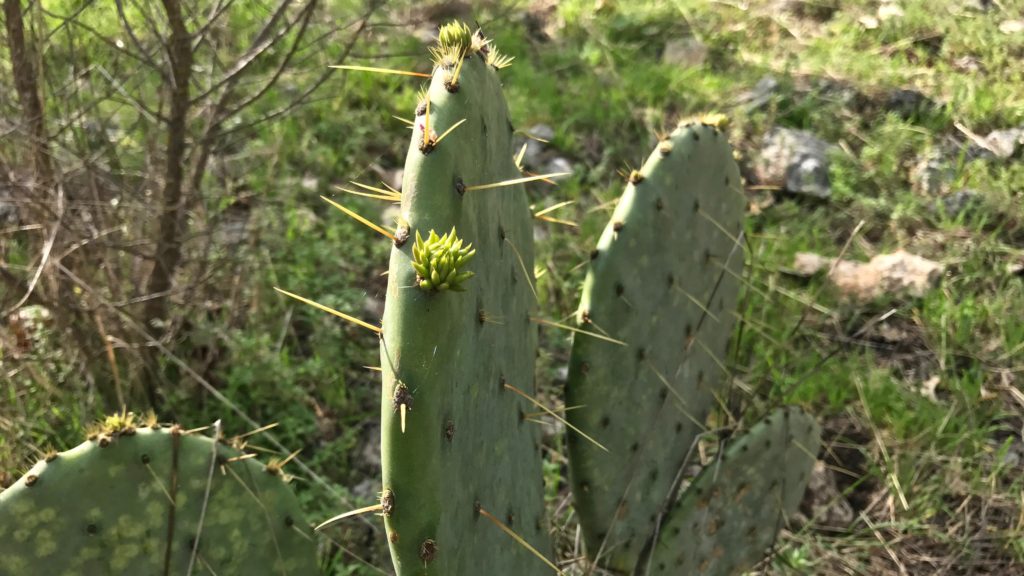
Prickly Pear Cactus in Texas hill country.
Prickly Pear Cactus in the front yard of our Texas hill country home.

Make a Cartoon

  • Crop and enlarge the photo. (I use Acrobat Reader to enlarge and print in multiple pages, and then tape the pages together.)

Prickly Pear Cactus in Texas hill country.

  • Outline the main lines of the picture.
  • Turn the enlarged picture over and draw the traced lines on the back to have the reverse image. (This transparency is woven from the back.)

Photo to sketch to cartoon for woven transparency.

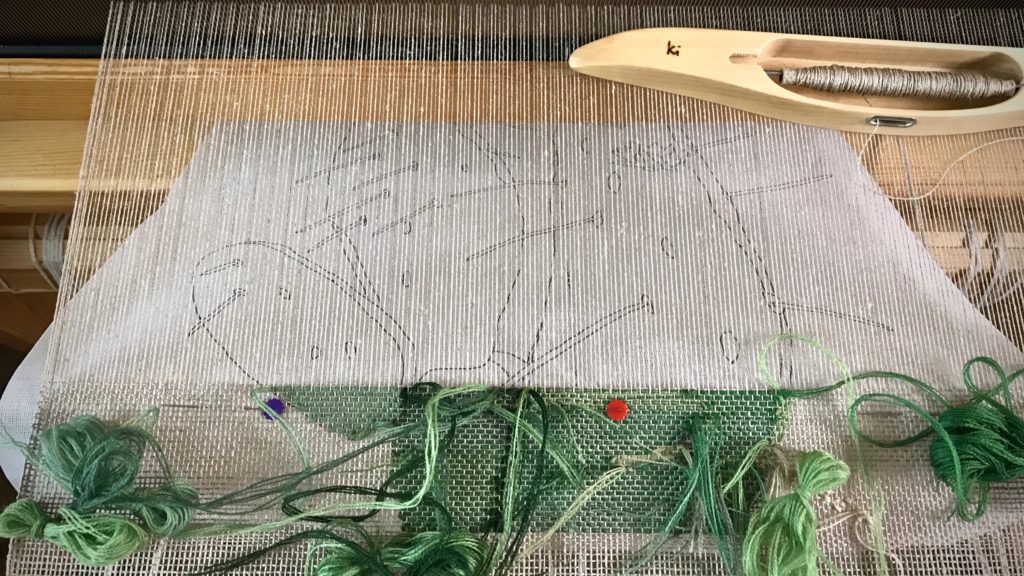
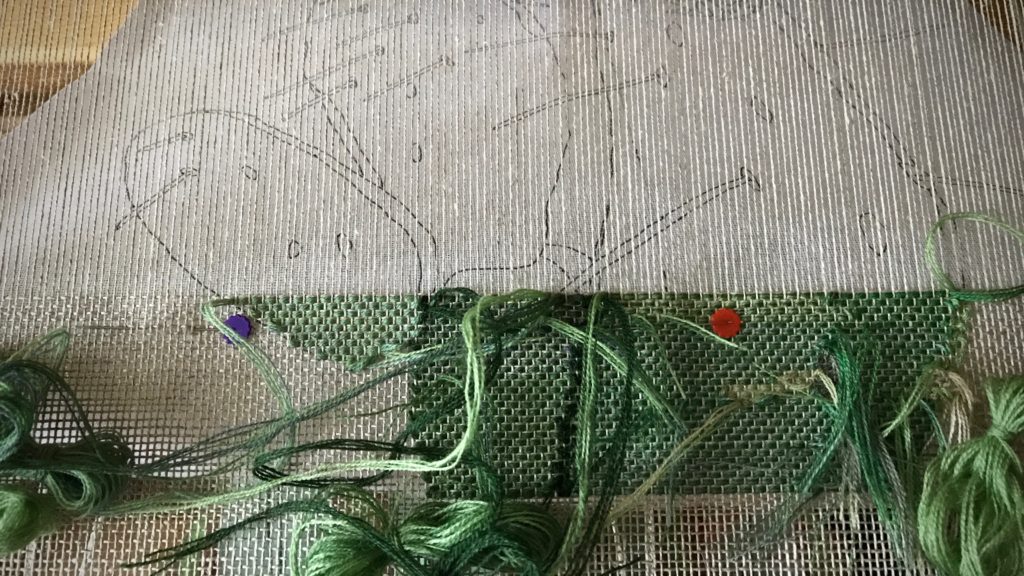
  • Trace the line drawing onto a piece of buckram to use as the cartoon.
  • Draw a vertical dashed line down the center of the buckram cartoon.
  • Pin the cartoon under the weaving, lining up the center line on the cartoon with the center warp end. Move the pins, one at a time, before advancing the warp each time.

Buckram used for transparency cartoon.

Color Selection

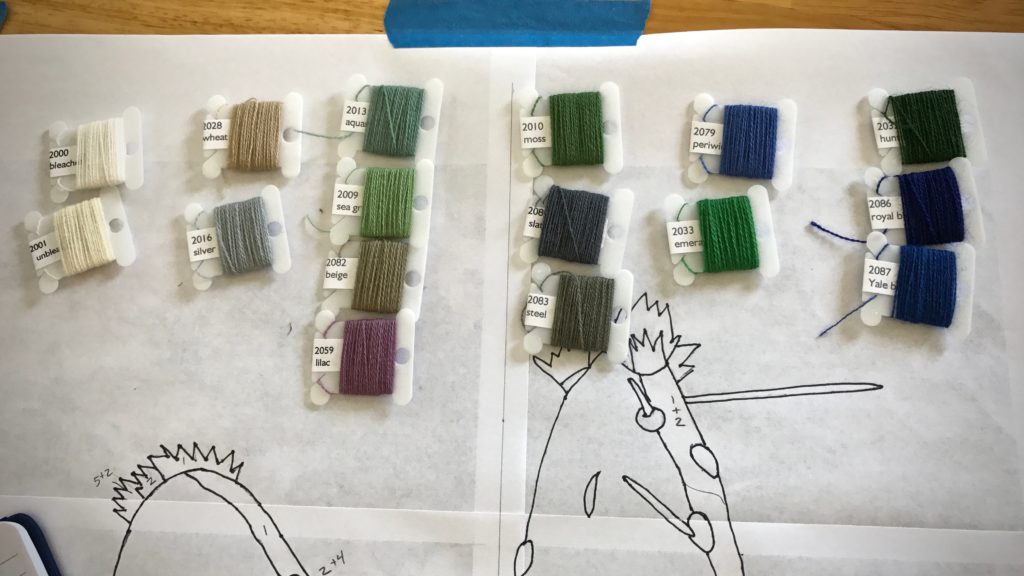
  • Use the photograph to select yarn colors for the transparency. (I used the iPad to view the photo, and selected sixteen shades of 20/2 Mora wool.)
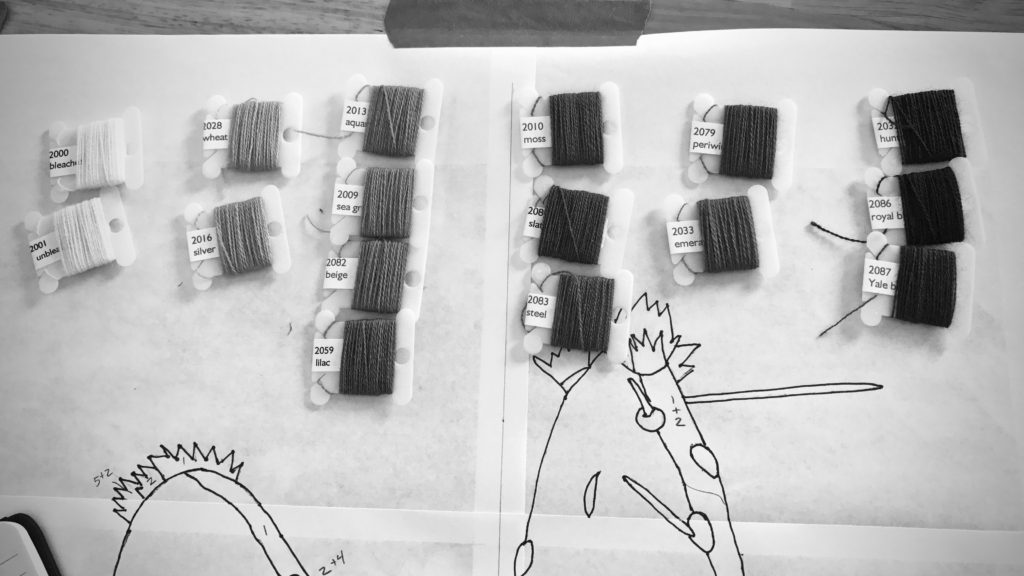
  • Sort the yarn by hues. (I used my iPhone camera black-and-white setting to help in the sorting.) Sorting by hues helps me blend similar-hued colors, and shows me the contrasts that will help define the picture.

Color selection for woven transparency. Sorting by hues.


Sorting colors by hues for woven transparency.

  • Assign a number to each yarn color.
  • Make the enlarged outline into a color-by-number sheet by designating a color or blend of colors for each section. (I taped this sheet to the wall beside my loom, to use as a color guide. The iPad photo also serves as a reference.)

Butterflies of Mora wool for woven transparency.

Virtues are timeless. Virtues are like colors that blend together to weave a masterpiece. When we let the Grand Weaver lay in the weft, these are the colors that appear as light shines through His woven transparency: love, joy, peace, patience, kindness, goodness, faithfulness, gentleness, self-control. And when this occurs, it shows that we are made in His image.

Making a transparency cartoon. Tutorial.


Woven transparency from a photo. How to.

May the next leg of your journey be a fantastic experience.

I’ll meet you back here on Tuesday, August 1st, 2017.
In the meantime, I hope you investigate claims of Jesus. Take time with people. Keep weaving. And the same for me.

Head over to Instagram to stay in touch with my daily journey.

Love,
Karen

Quiet Friday: Cotton Scarves

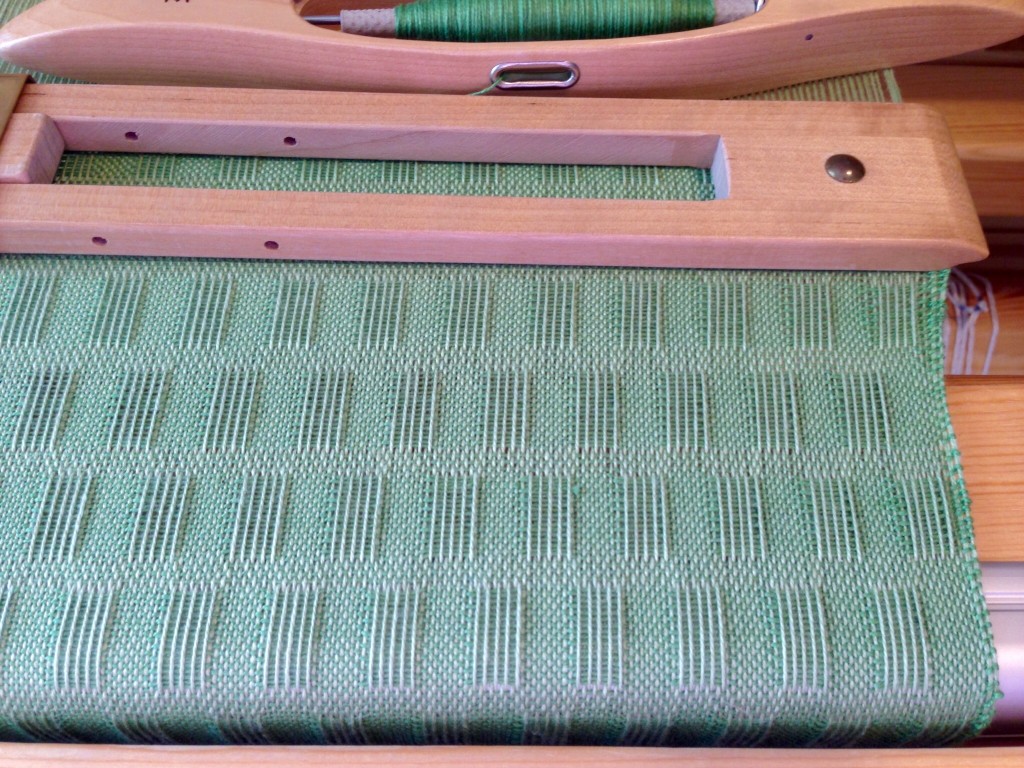
One thing I learned is the scarf with the longest warp floats has the greatest shrinkage rate. Another thing I learned – again – is to plan a longer warp than what I think I need. The third scarf is significantly shorter than the first two because I ran out of warp. Table runner, anyone? I always include length for sampling, but I need to include more, more, more. Still, I am very happy with the finished results. And, you have a new video to watch! (Scroll down to see it.)

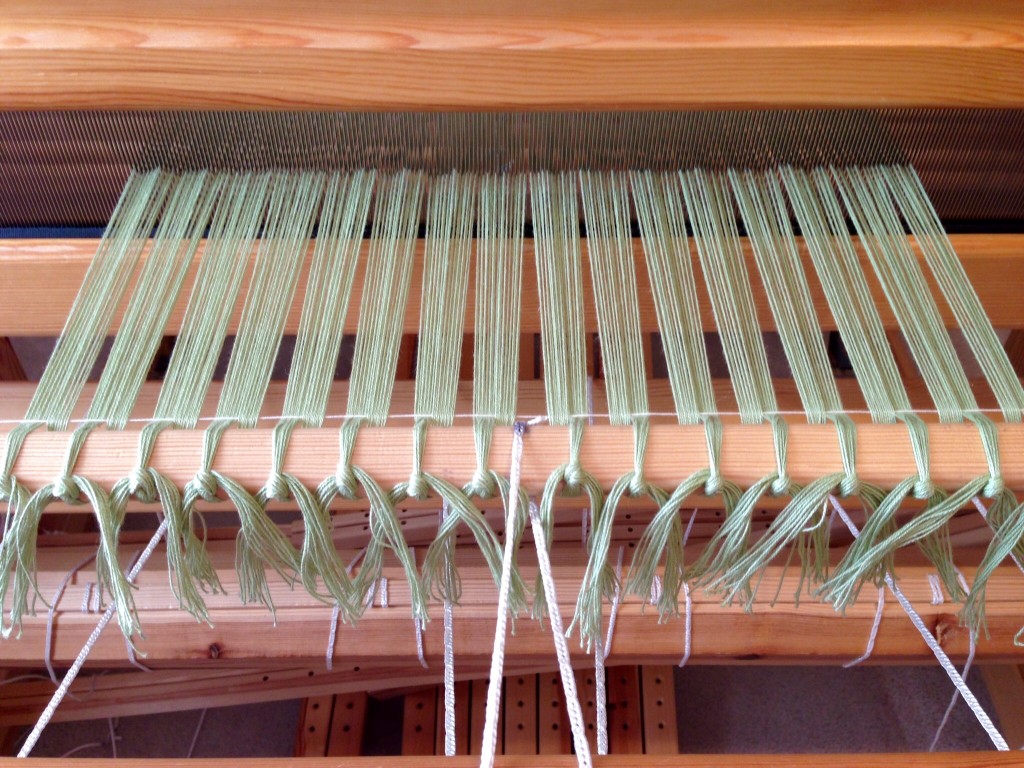
Cotton warp for scarves is tied on.
Warp of 8/2 cotton is tied on in 1-inch/2.5 cm sections. The leveling string evens out the warp for immediate weaving.
Cotton lace weave scarf on the loom. Fringe twister video.
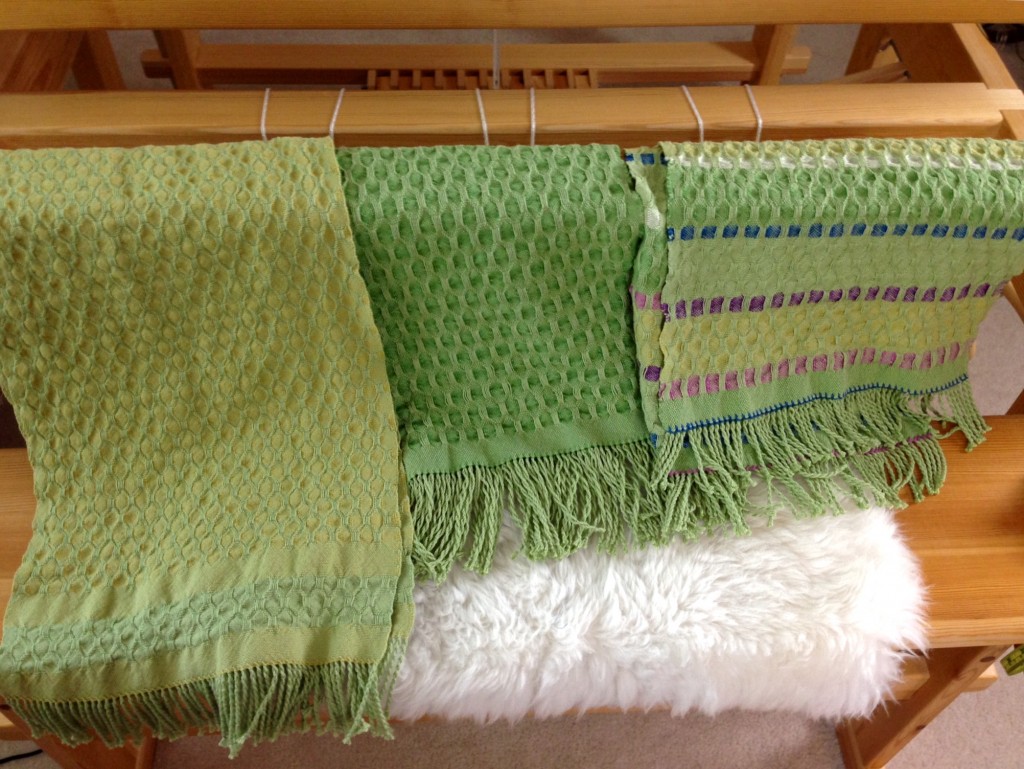
First scarf, with dark green weft, has the longest warp floats. This scarf ended up shorter than the second scarf, even though the first scarf’s length on the loom was longer than the second scarf.
Cotton lace weave scarves on the loom. Fringe twisting info, too.
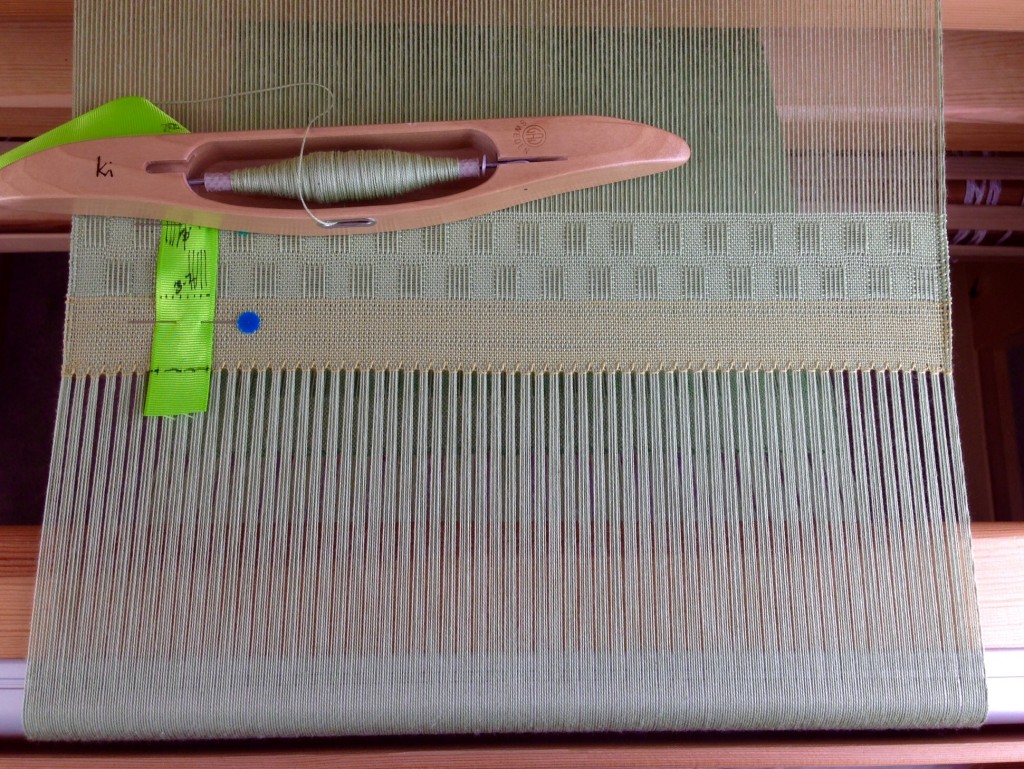
Second scarf, with citrine weft, has a border element created with light green weft (same as the warp), including warp floats. The plain weave before and after the border element helps create a natural ruffle at each end of the finished scarf.
Cotton lace weave scarves on the loom. Springtime colors!
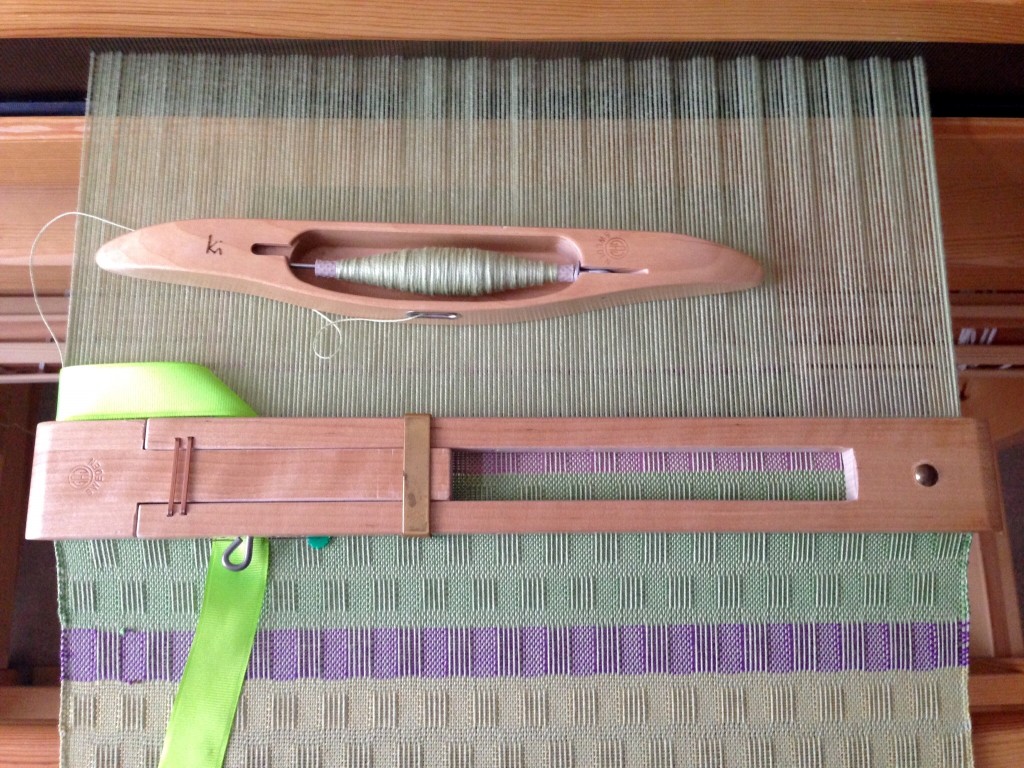
Saving the best for last, I used a series of springtime colors to create this scarf. The varied lengths of the floats give an illusion of colored ribbons crossing the scarf.

I wet finished the scarves in the washing machine, adding a small amount of Eucalan, on the gentle cycle, with warm wash and warm rinse, and very short spin. They went in the dryer on low heat until damp, and then hung to dry the rest of the way. The scarves came out lightly puckered, which is exactly what I had hoped for. I could have washed them in hot water and left them in for a longer amount of time if I had wanted the scarves more dramatically puckered.

Twisting fringe using a fringe twister tool.
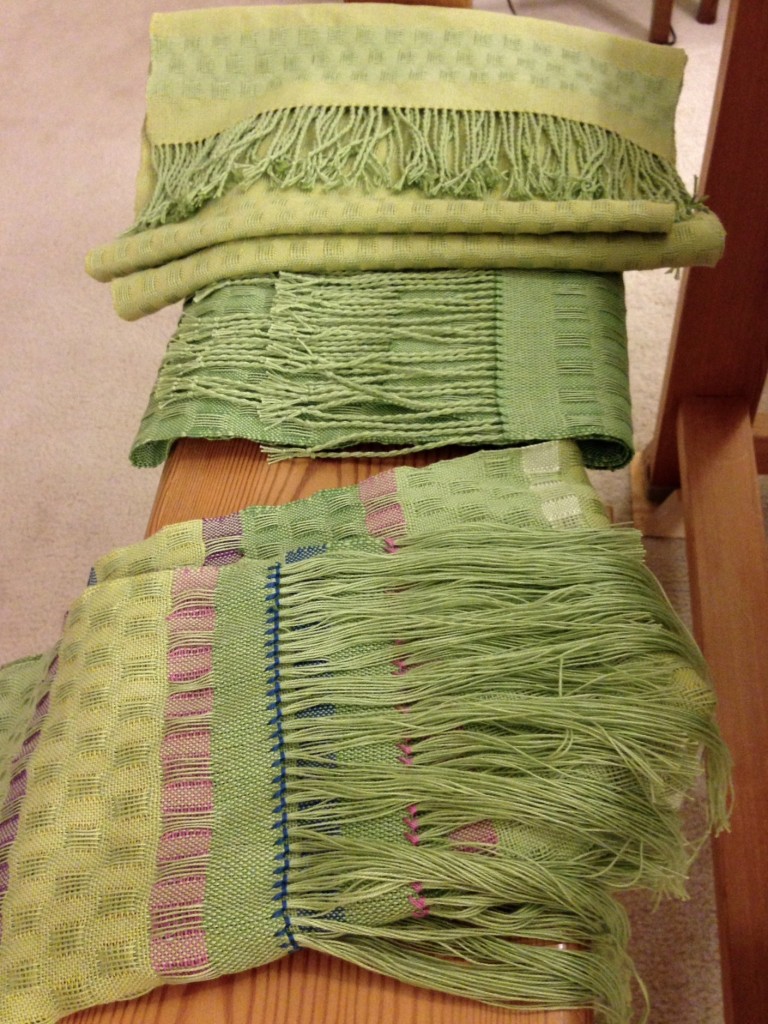
Two scarves with fringes twisted. One waiting to be a film star in “Using a Fringe Twister.” This is before wet finishing.
Three cotton lace weave scarves, and fringe twisting video. Karen Isenhower
Wet finishing happens after the fringe has been twisted. These scarves have done it all. They are finished.
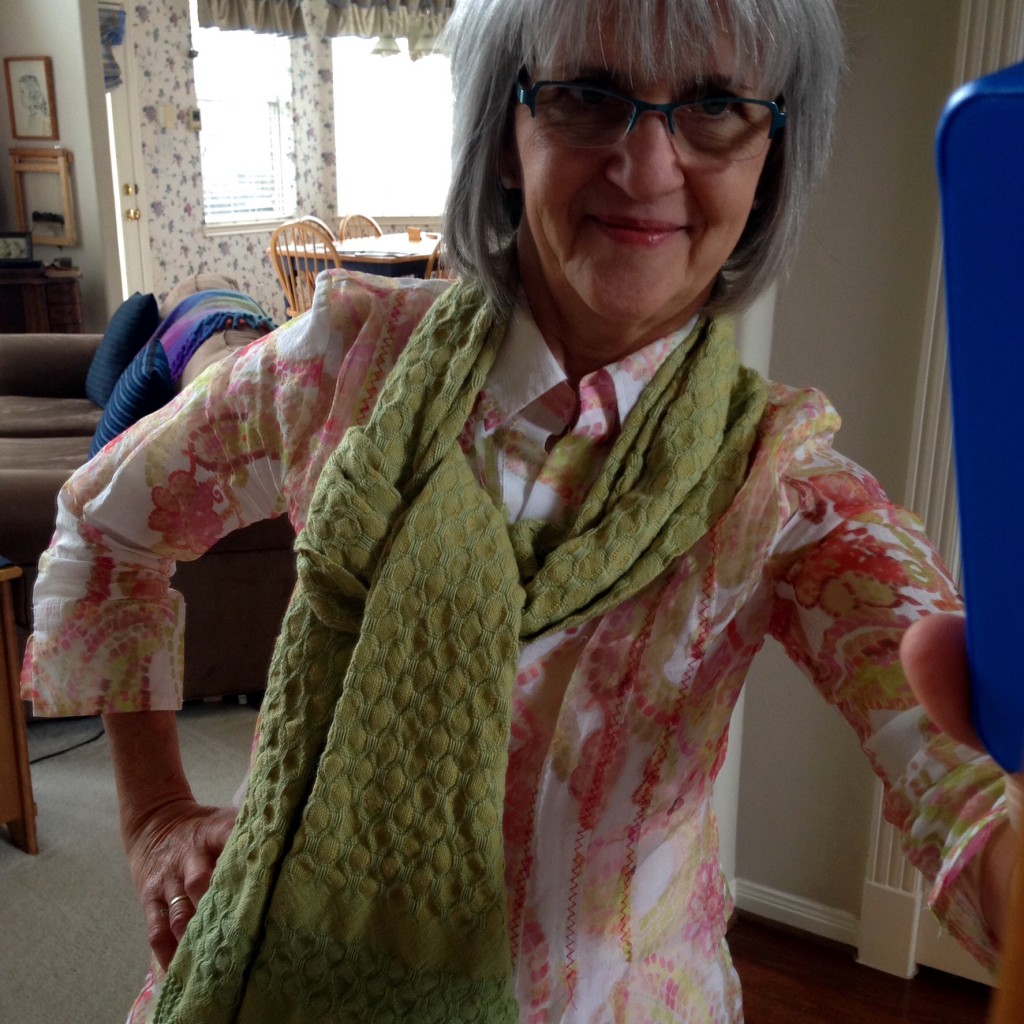
My favorite scarf. For now...
First seen on Instagram @celloweaver #warpedforgood

There’s nothing like finishing a fun project! Clearly, I know what to do next… Dress the big loom and keeping on weaving.

May you learn something new every day.

Happy Weaving,
Karen