Tools Day: Paper and Yarn

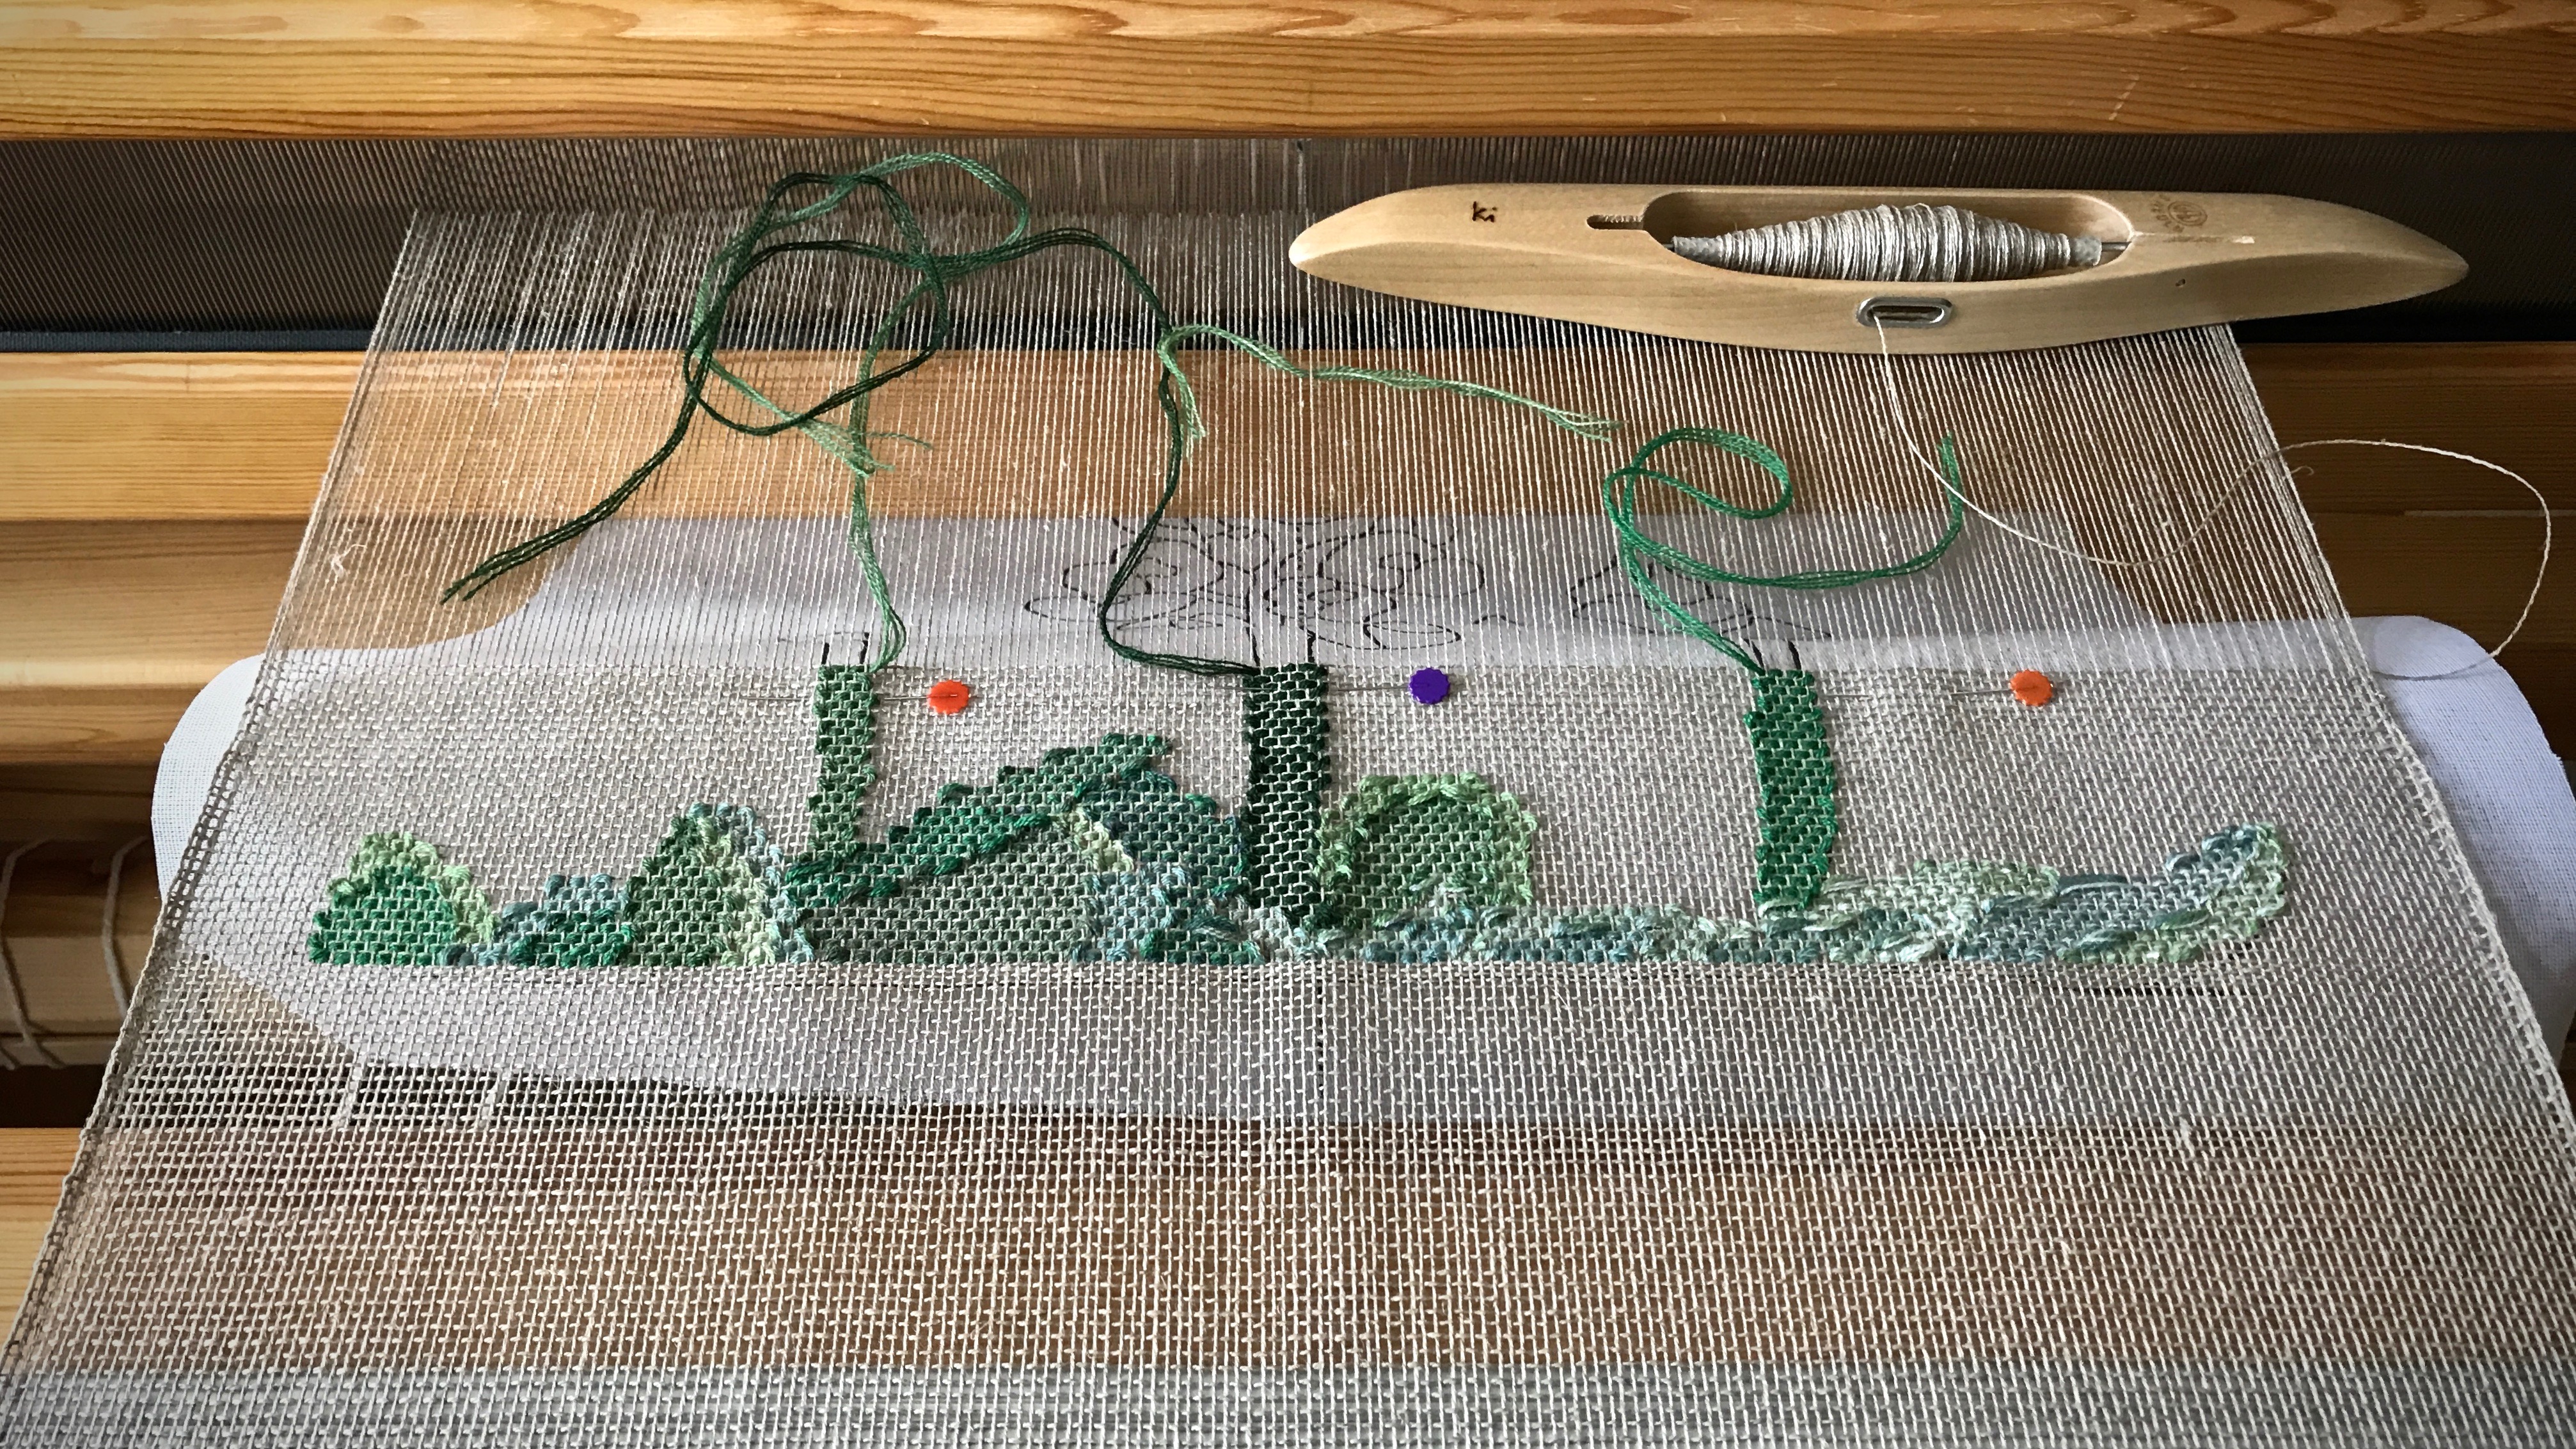
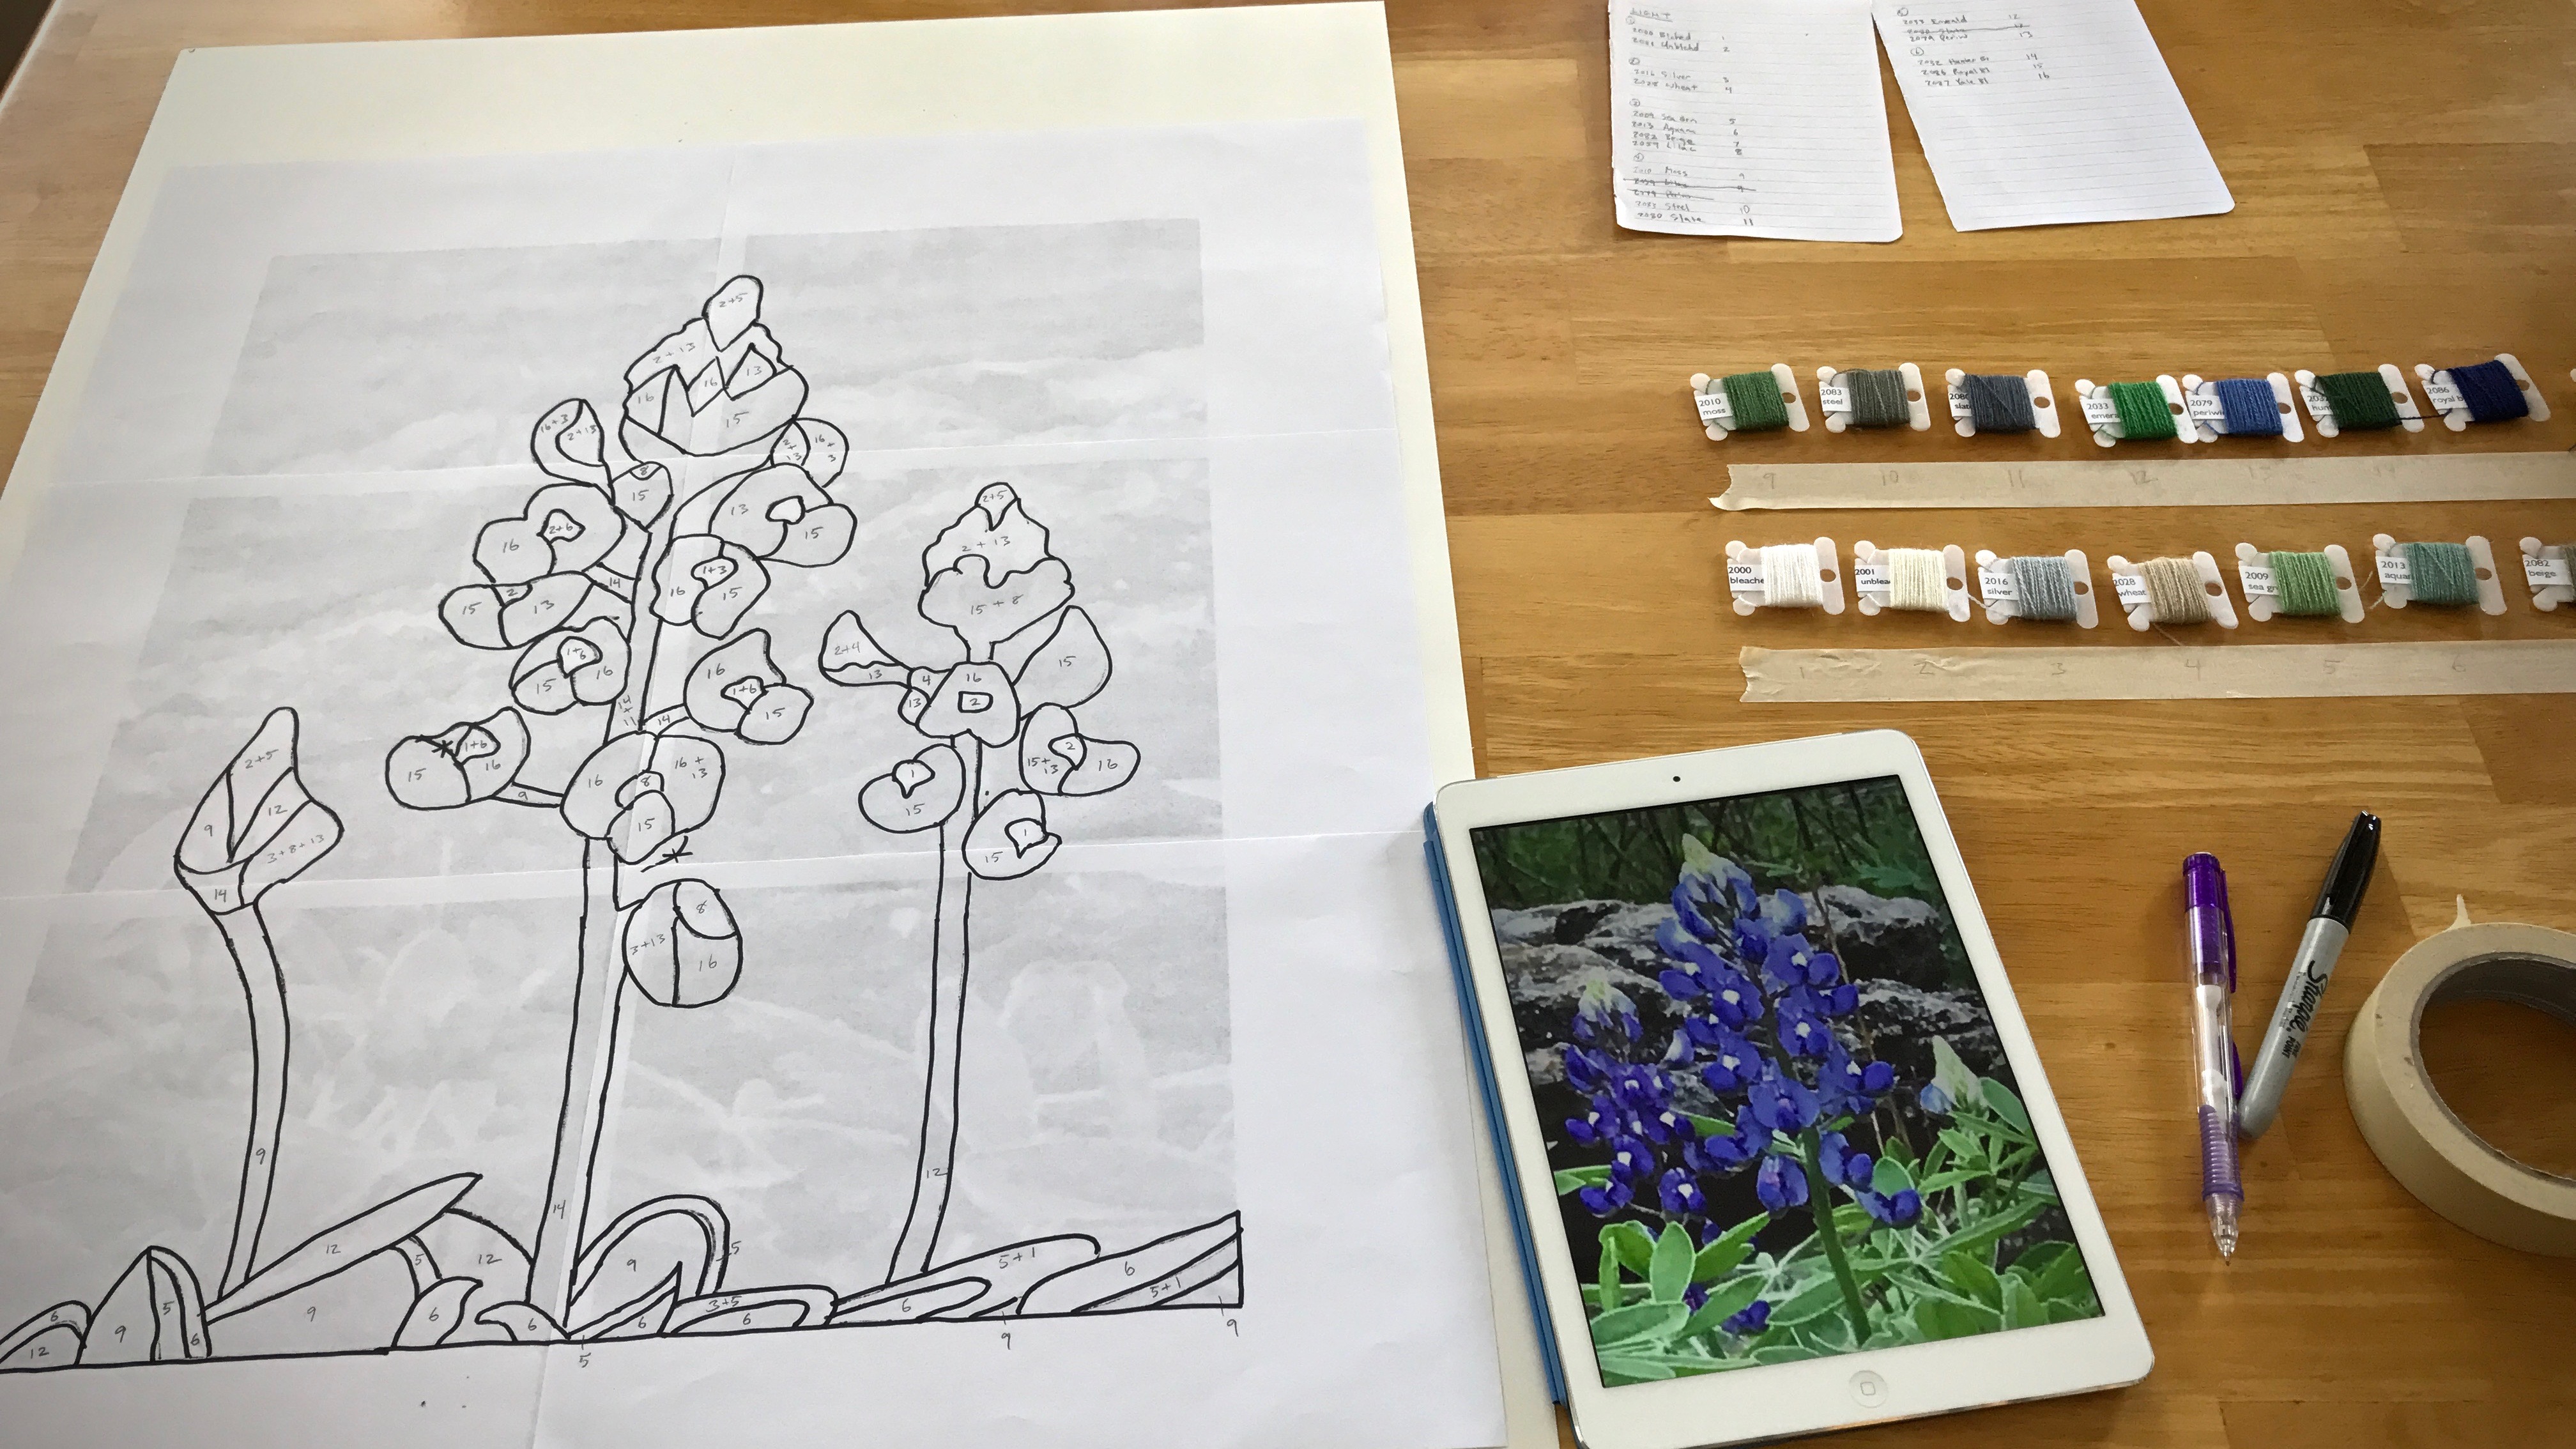
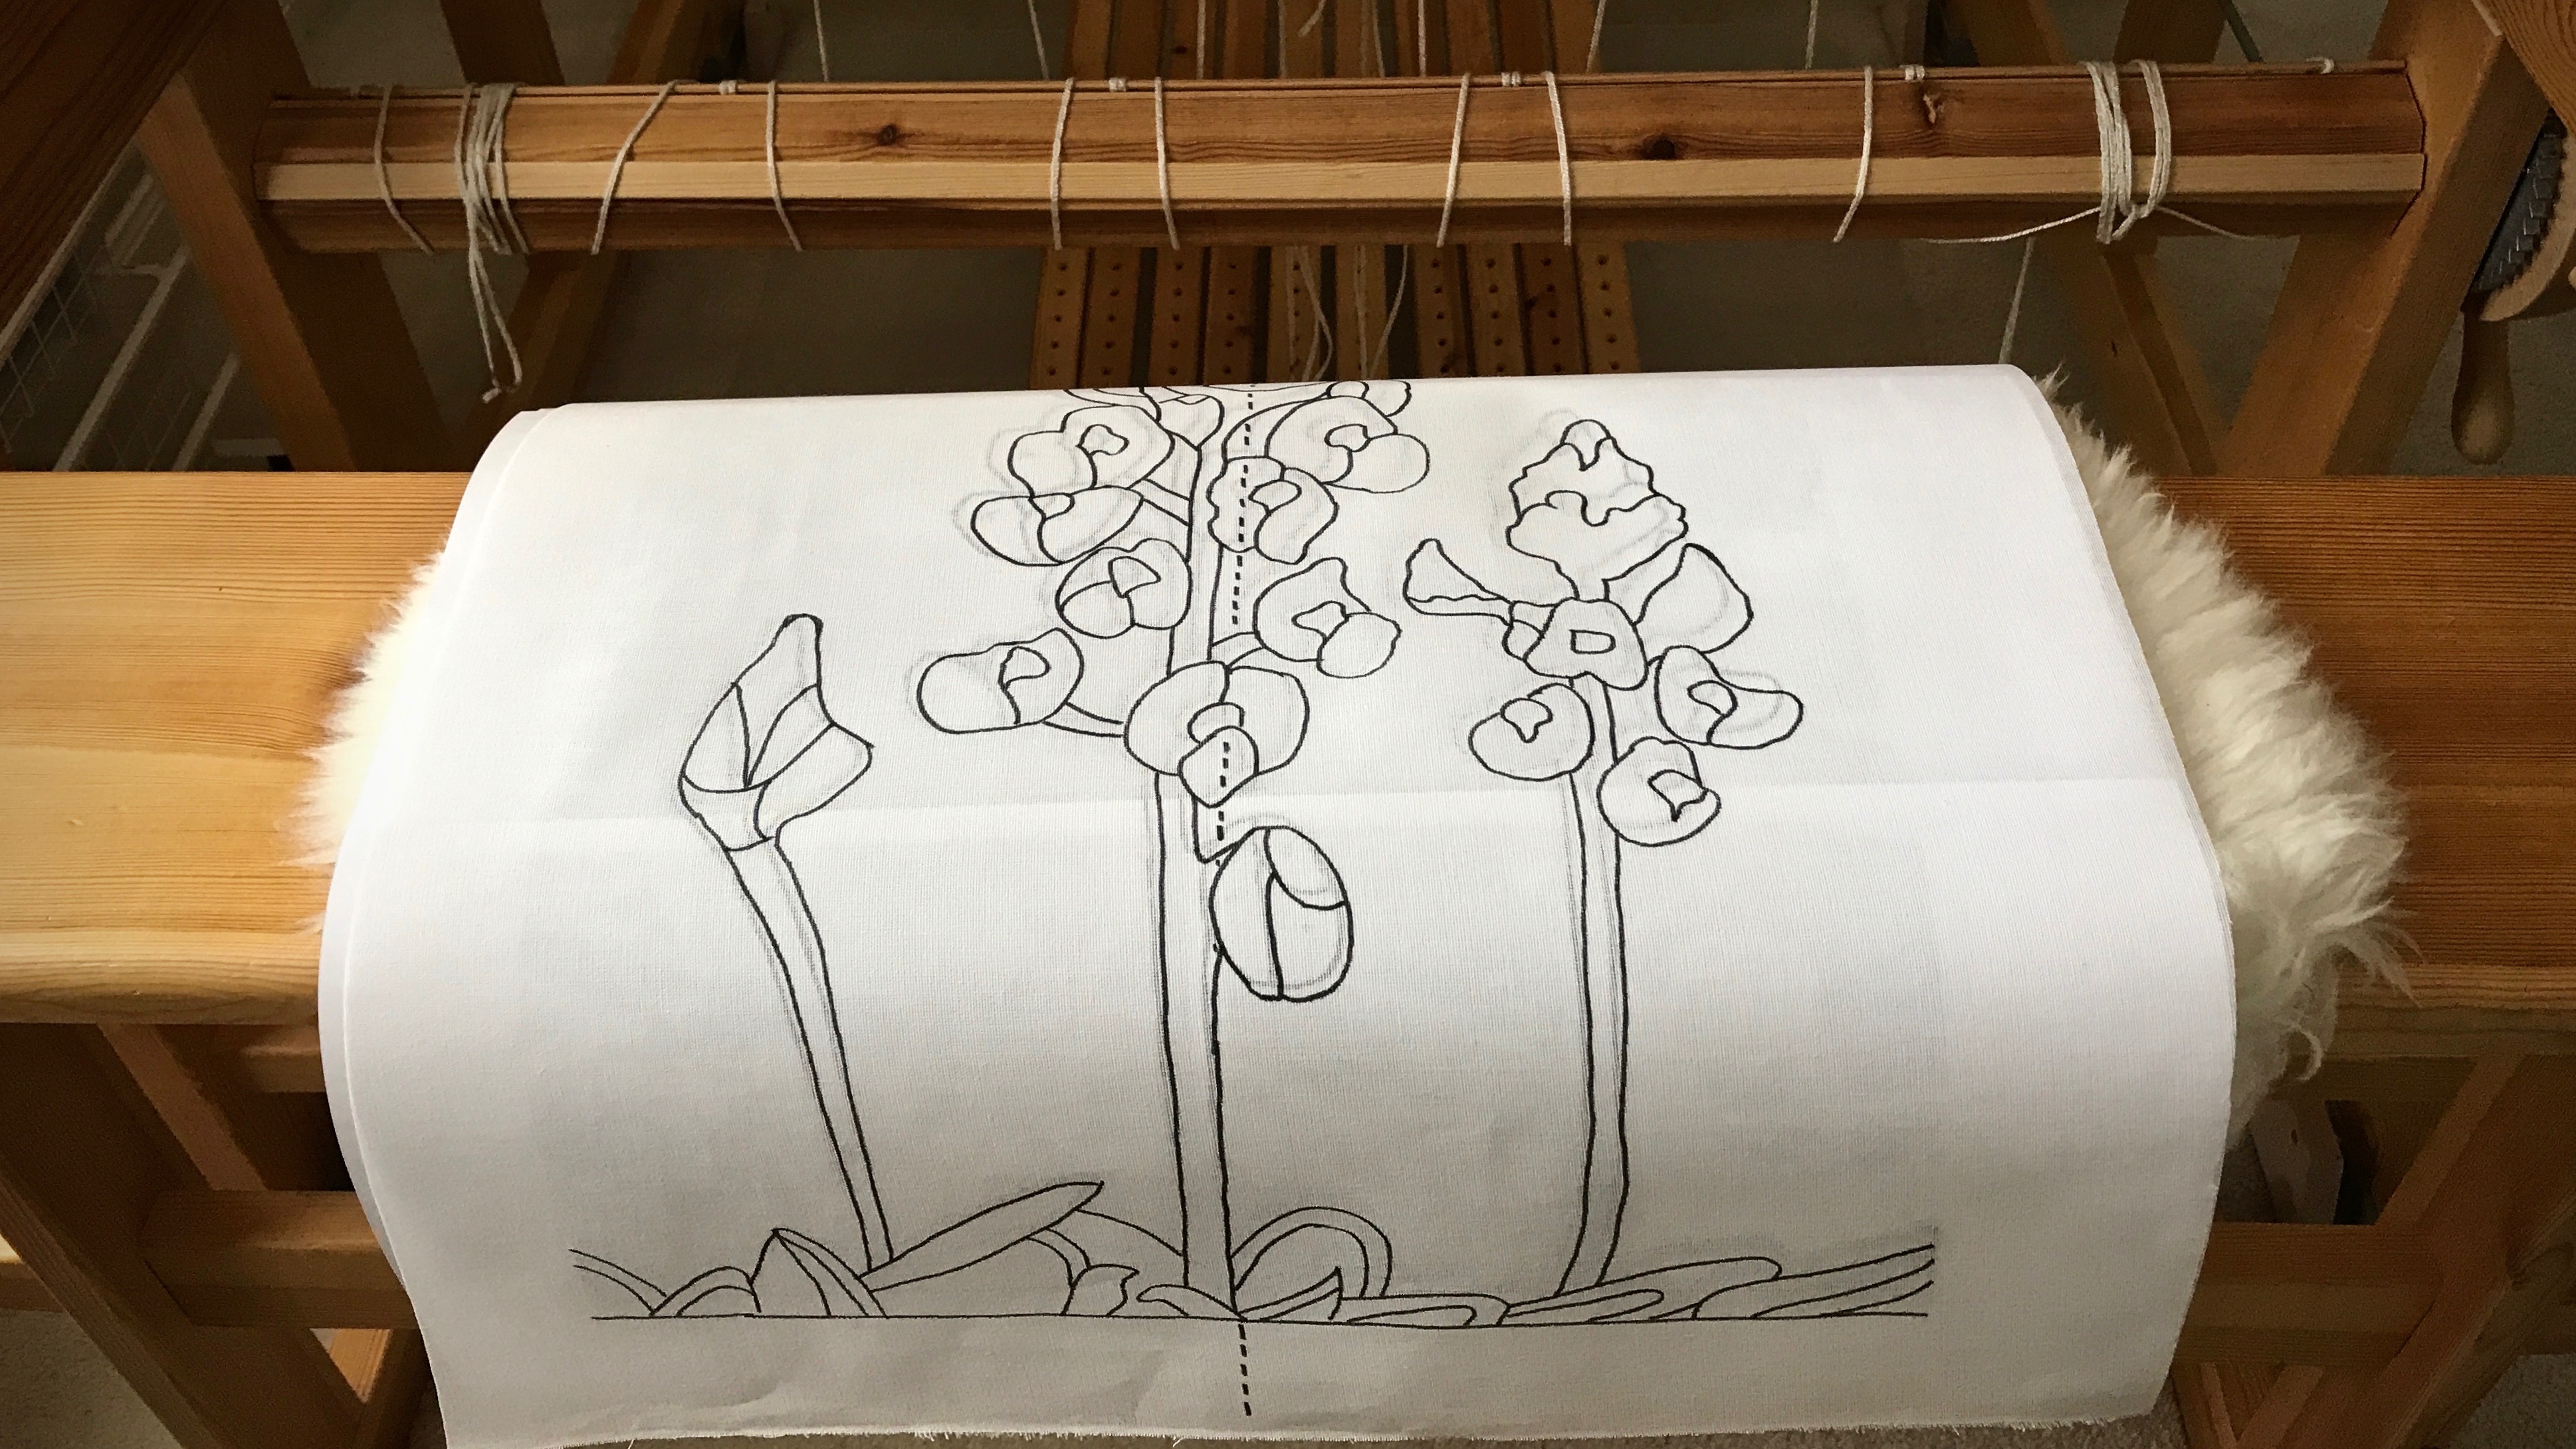
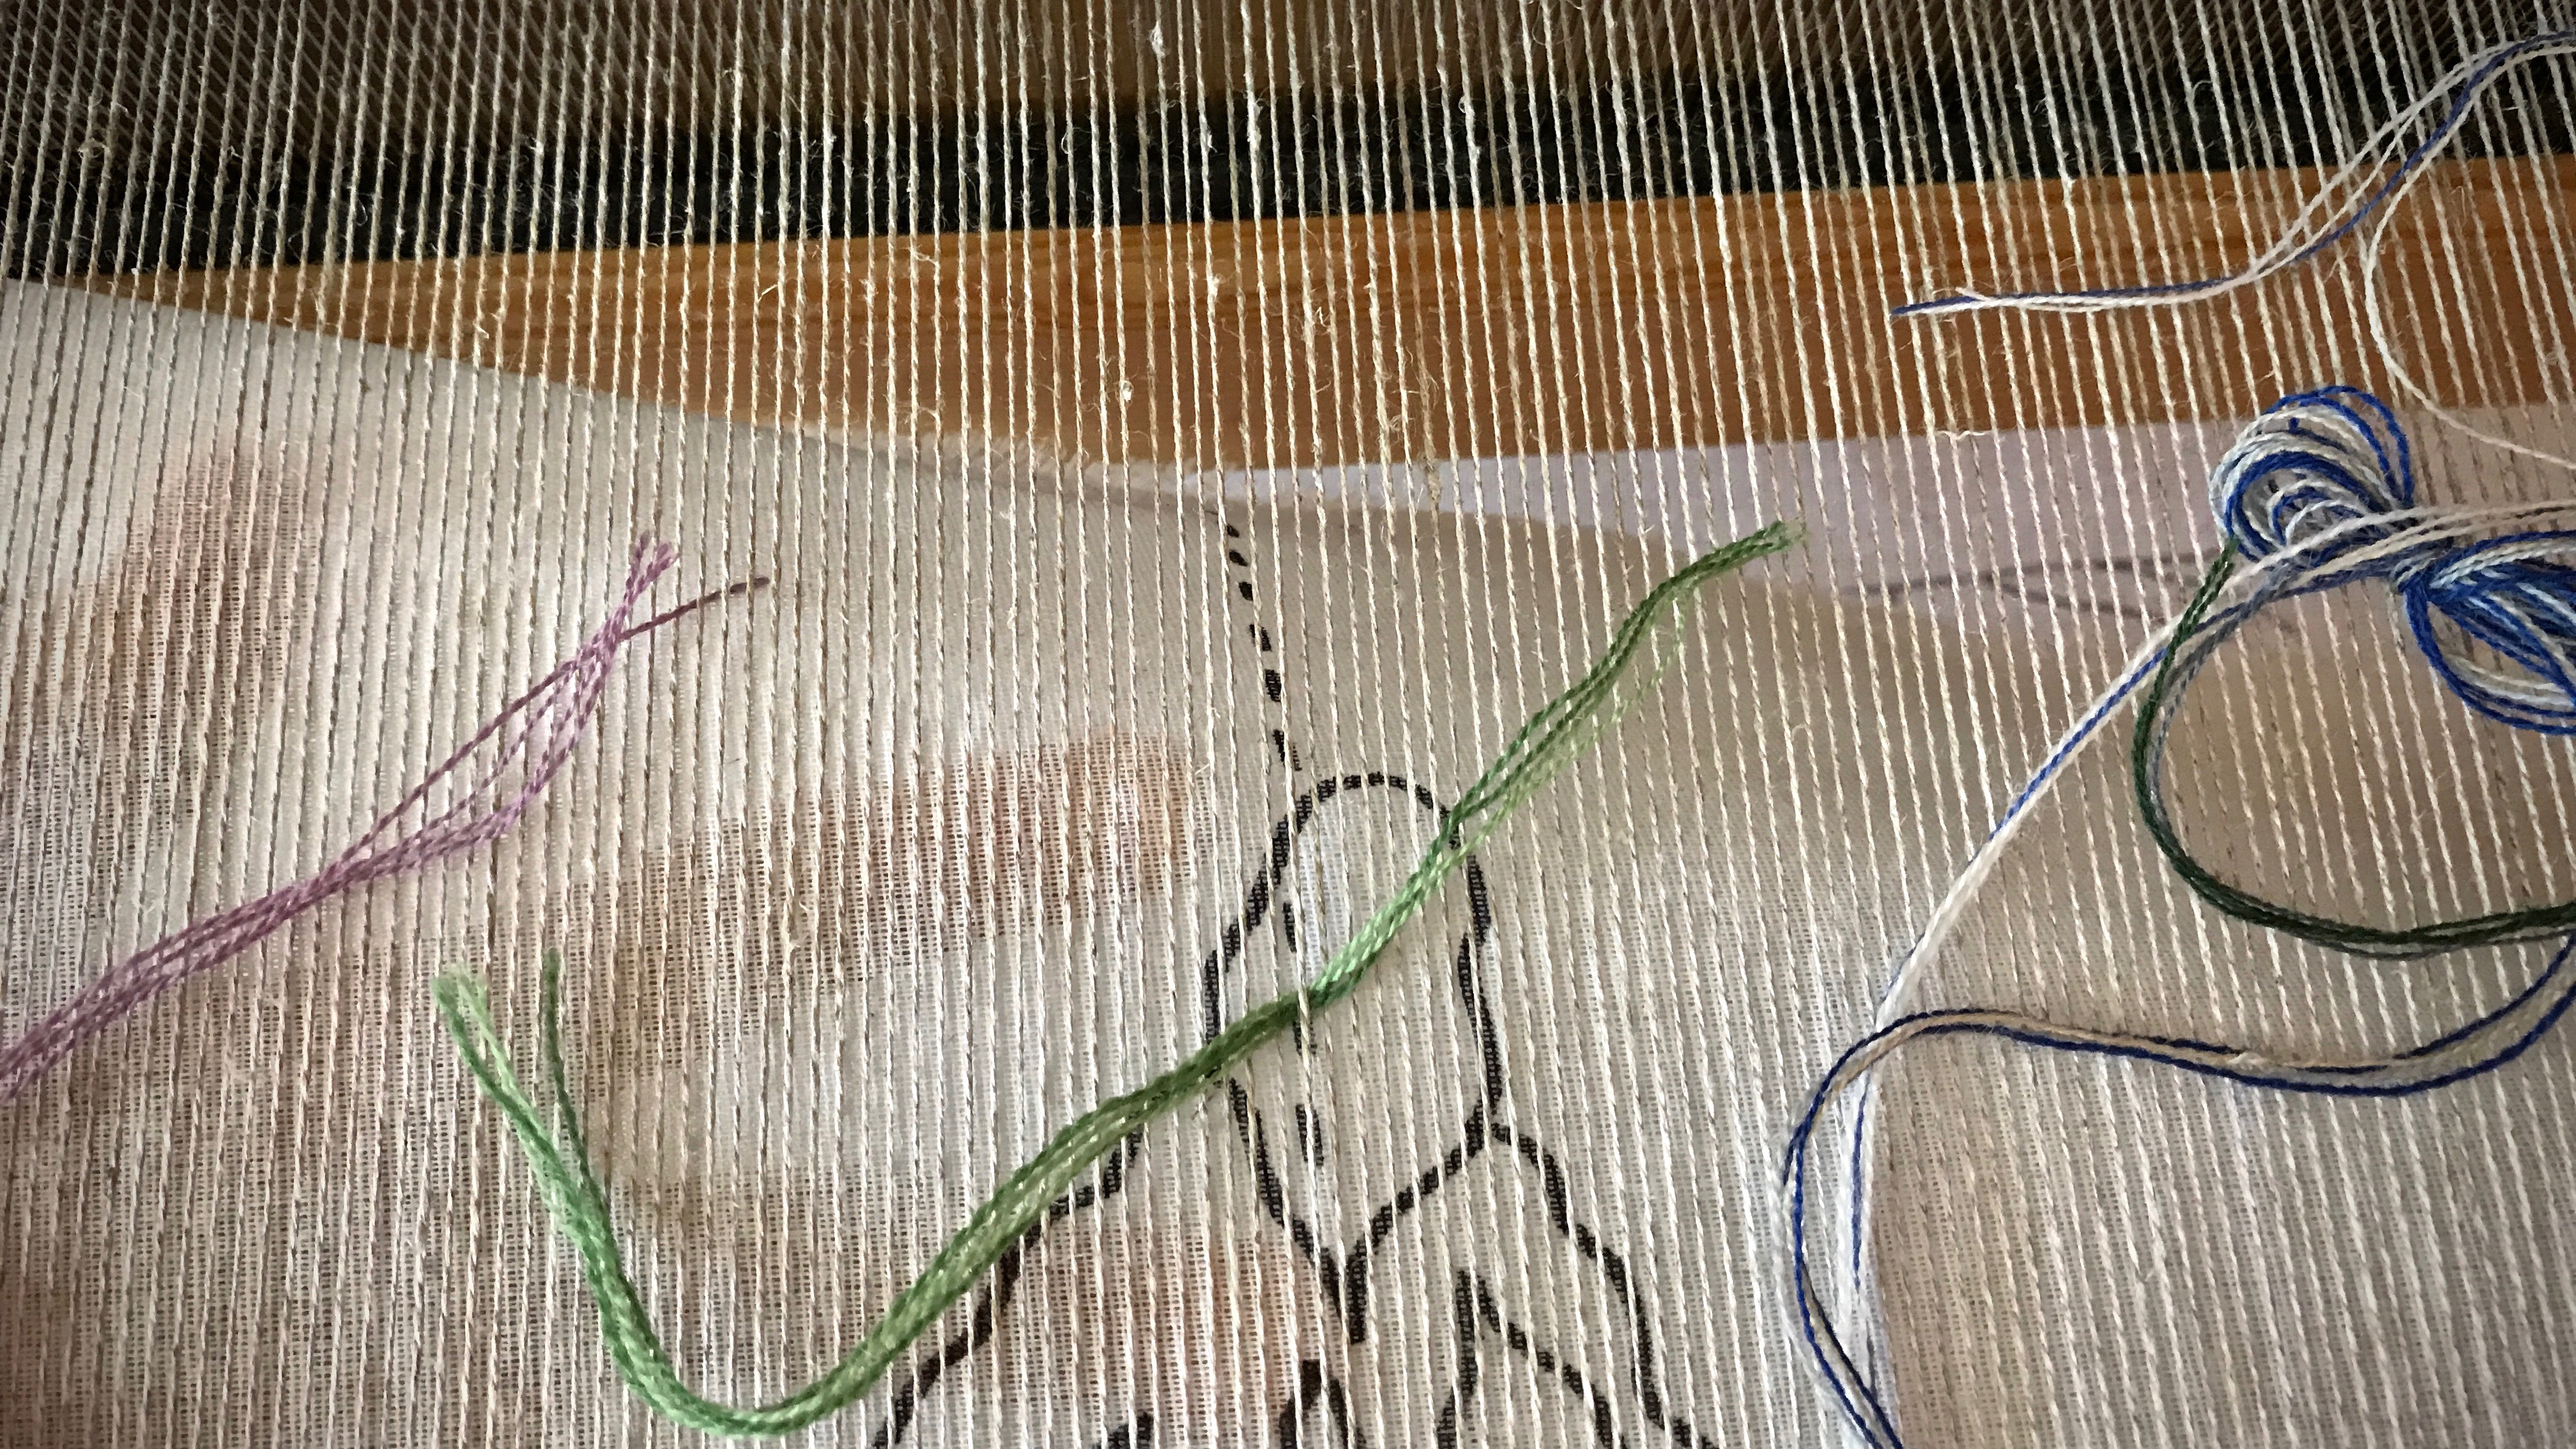
A folded piece of paper and a seven-inch tail from a yarn butterfly become an answer to a small technical problem. When using a cartoon, like I am for this transparency, it’s imperative to identify the center warp end so I can align the dotted-line center of the cartoon with that one end. Finding the center warp end is my technical problem. The paper and yarn work together as the tool that helps remove the guesswork.

Weaving a transparency. Bluebonnets.
I check the alignment of the cartoon about every inch, and move up the pins that hold the cartoon in place.

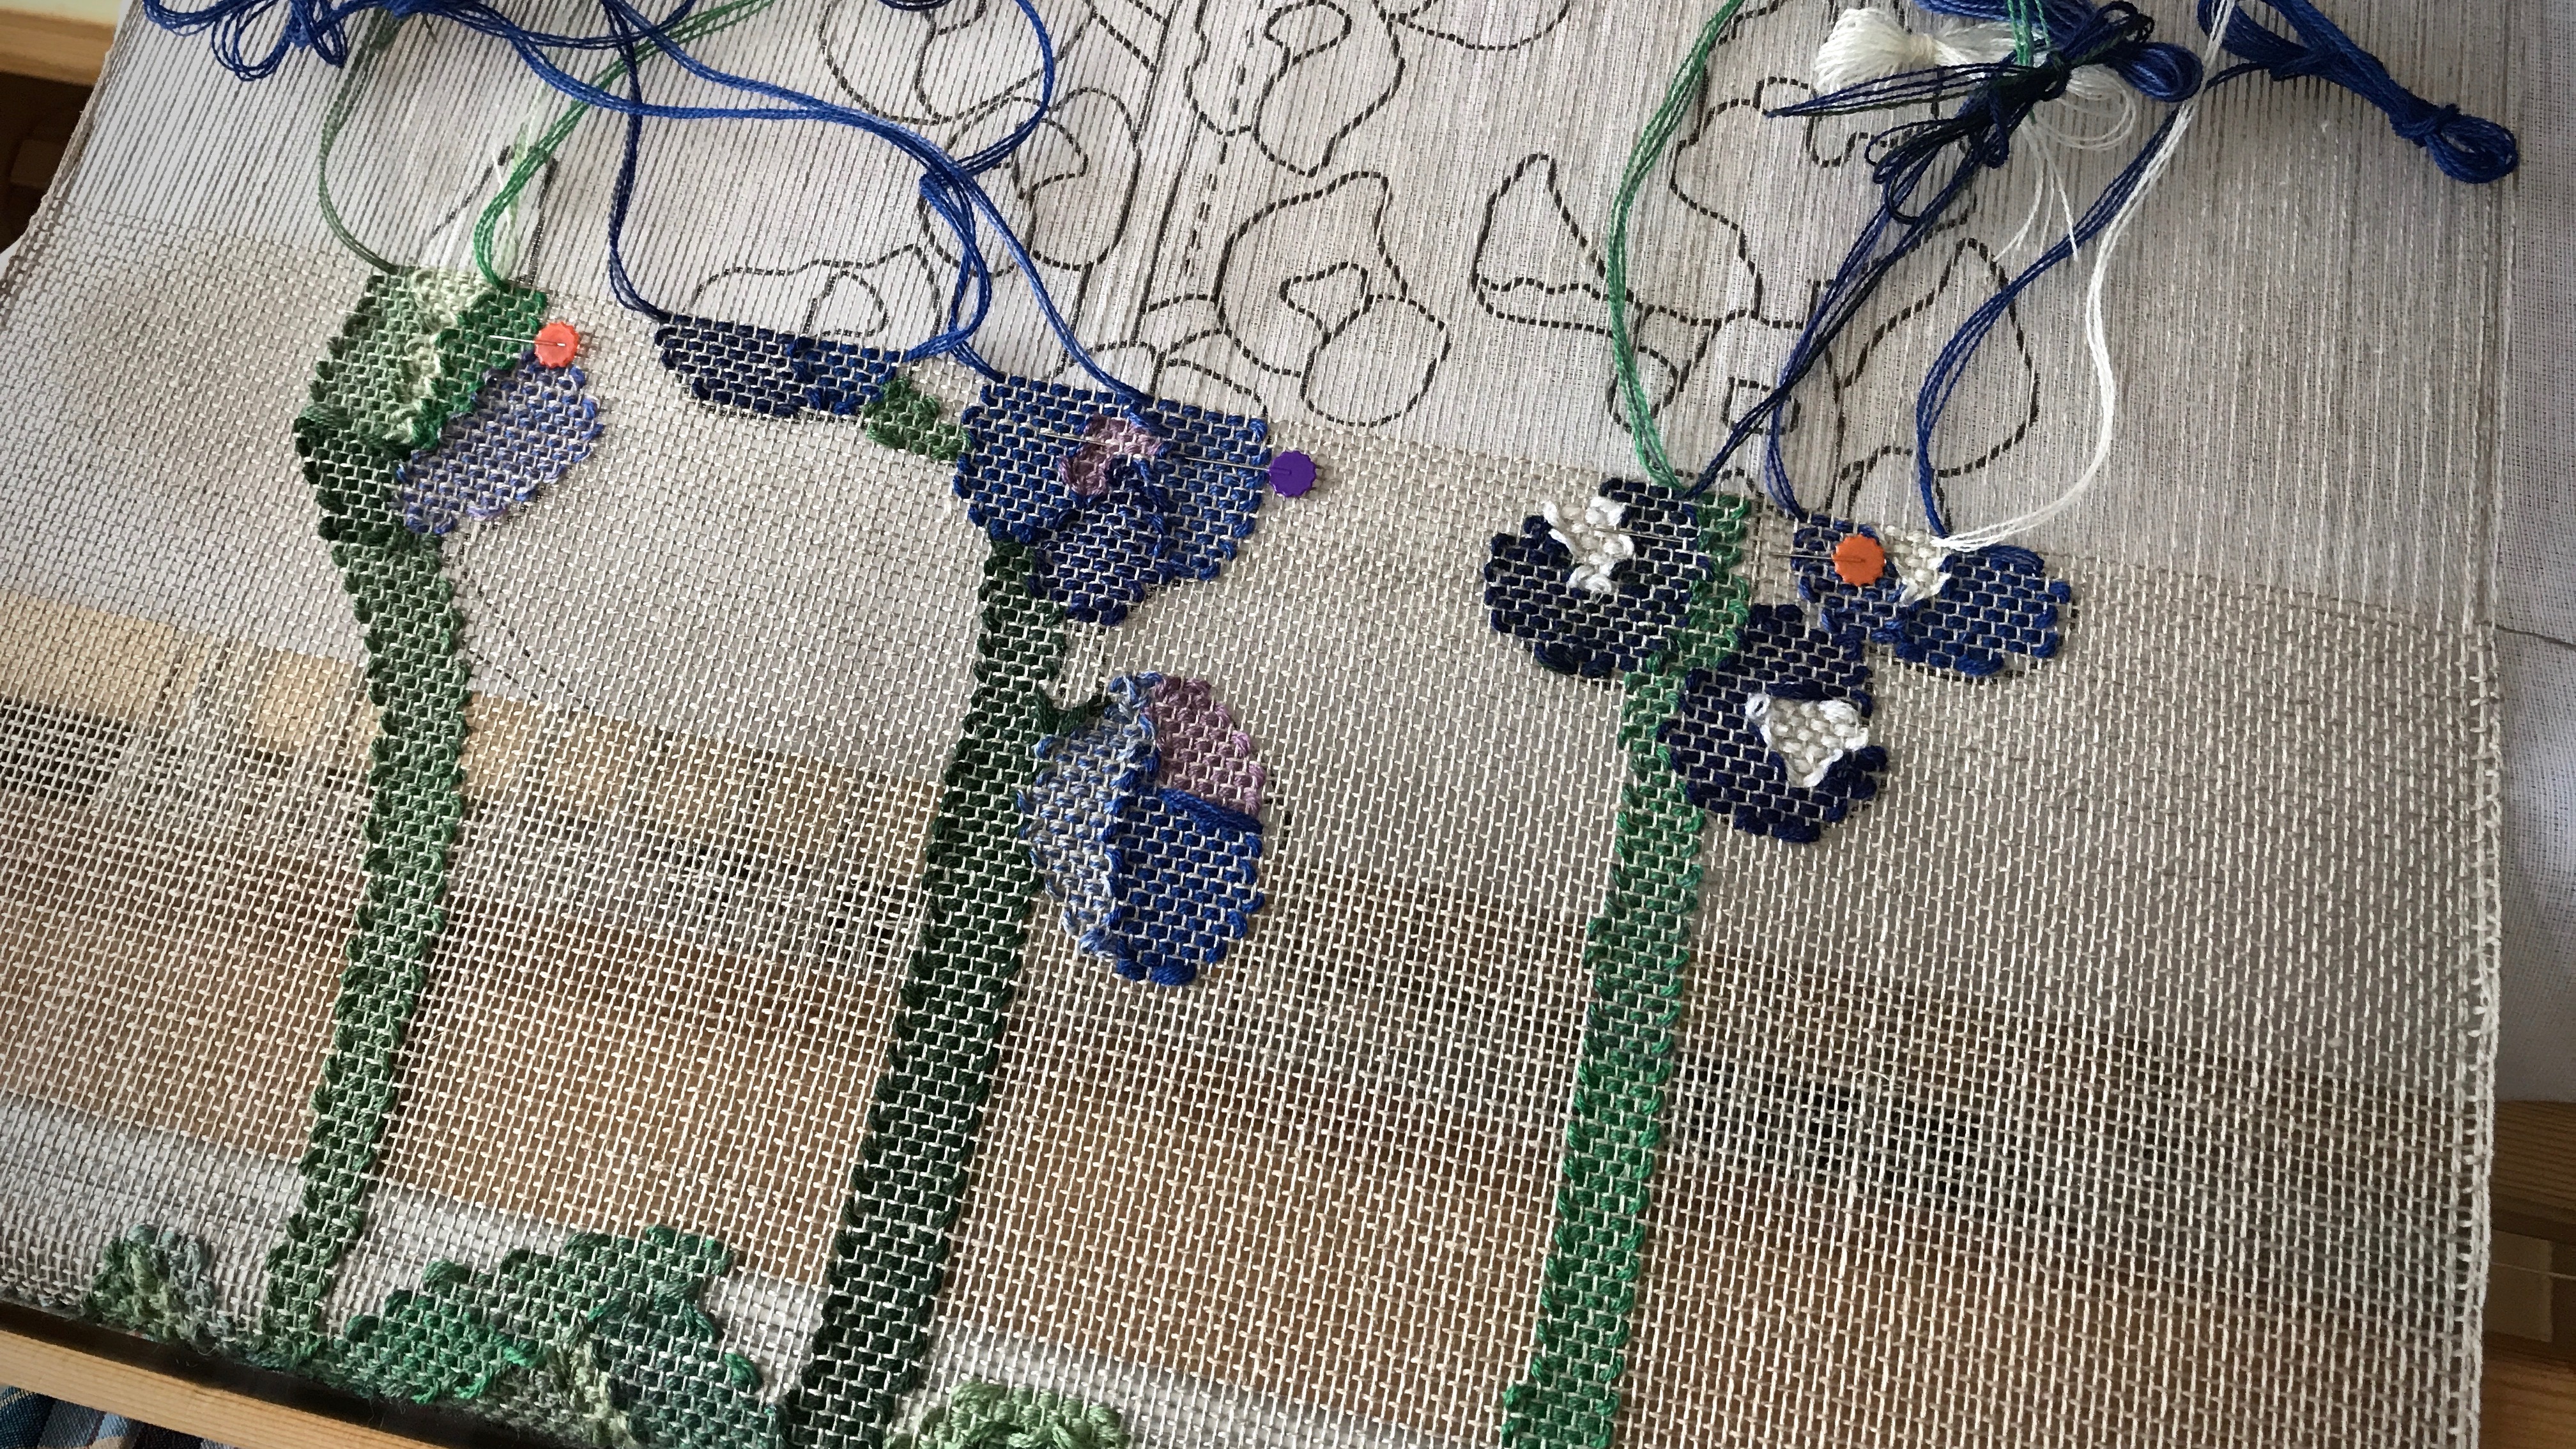
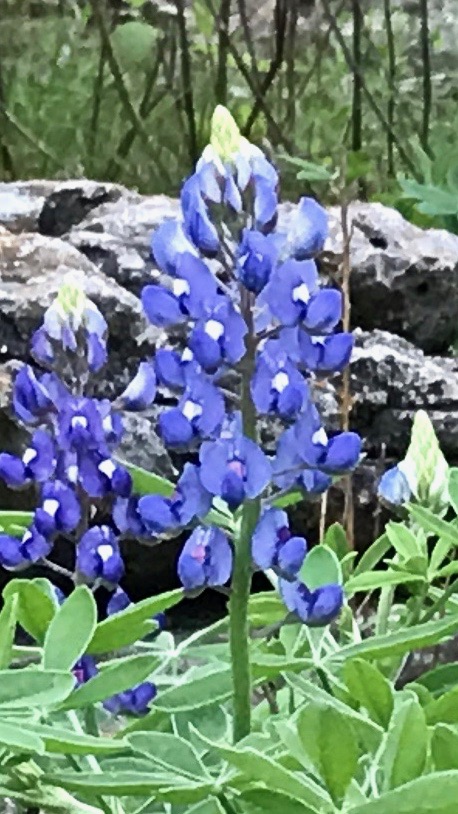
With these bluebonnets, if the cartoon slides to the right or left by even one warp end it distorts the picture. It’s not enough to eyeball it. I need a way to make sure I am finding, and marking, the exact center end every time.

How to Find and Mark the Center Warp End

Supplies:

  • Pencil
  • Subscription card from a magazine, folded in half lengthwise
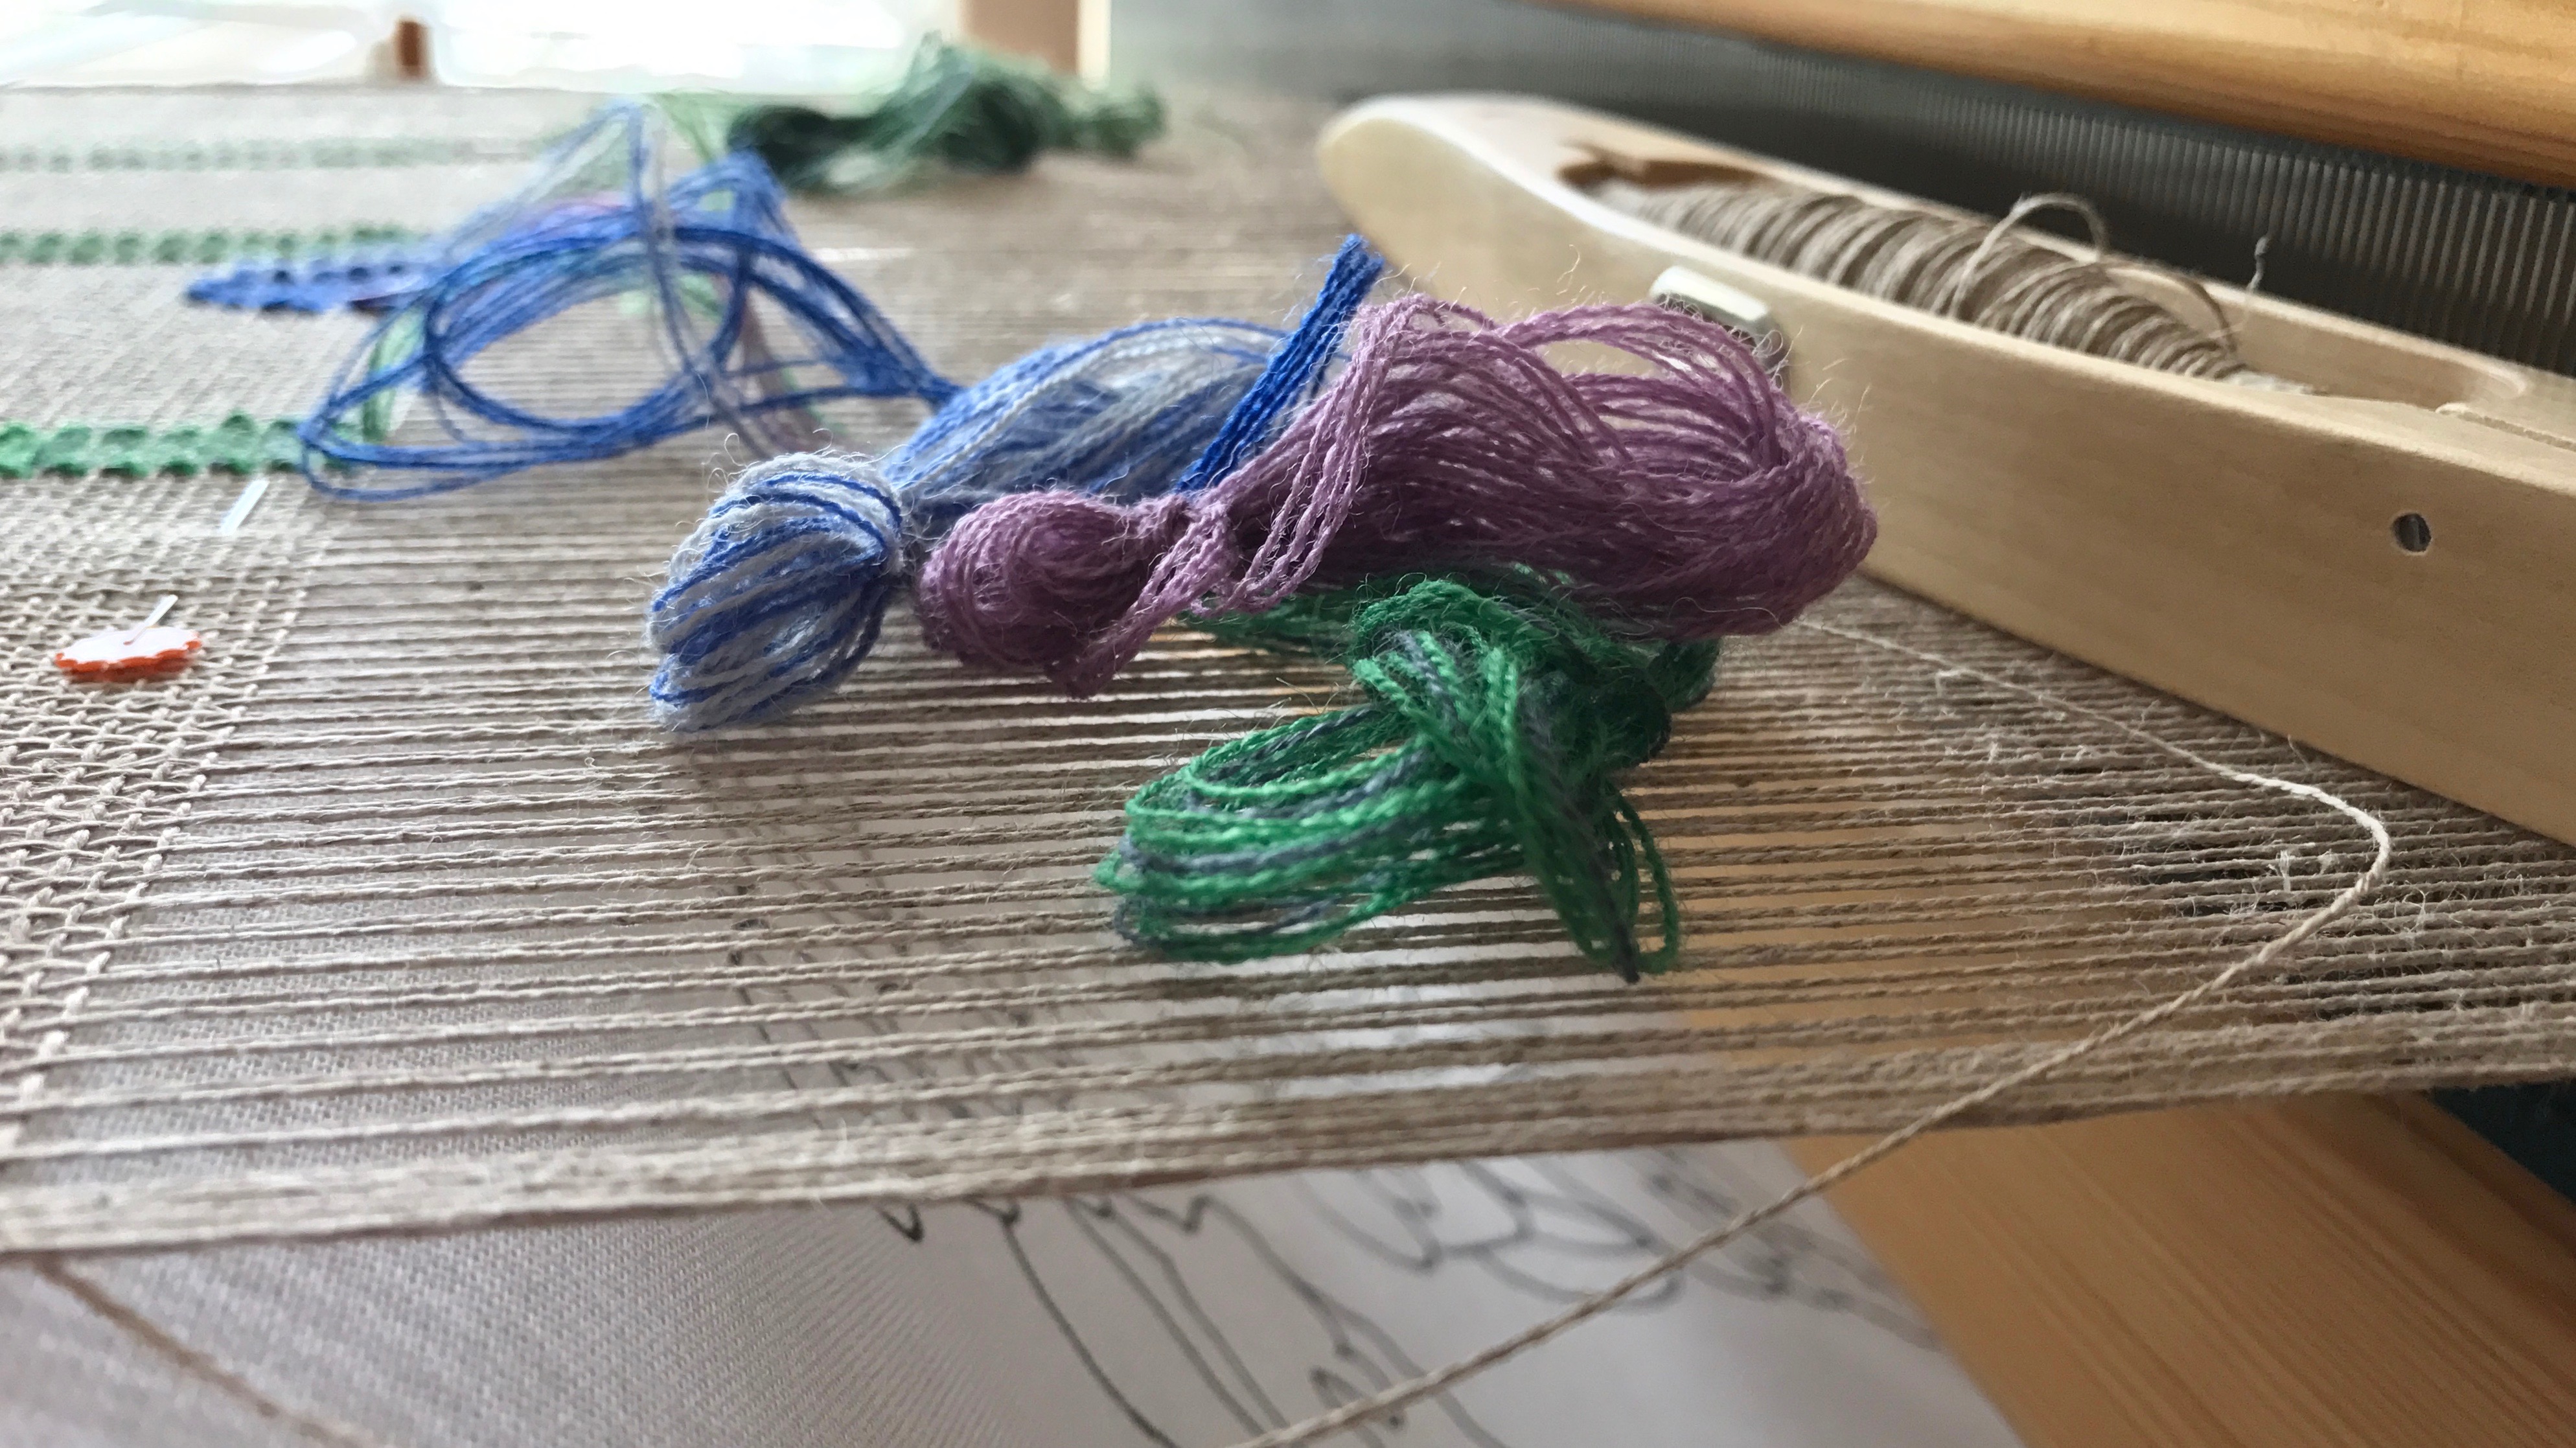
  • Seven-inch tail from a yarn butterfly, or a strand of yarn
  1. Measure the width of the beater and use a pencil to mark the exact center with a vertical line.
  2. Hold the folded edge of the card against the vertical pencil line on the beater, with the bottom edge of the card almost touching the warp.

Finding and marking the center warp end to align with cartoon.

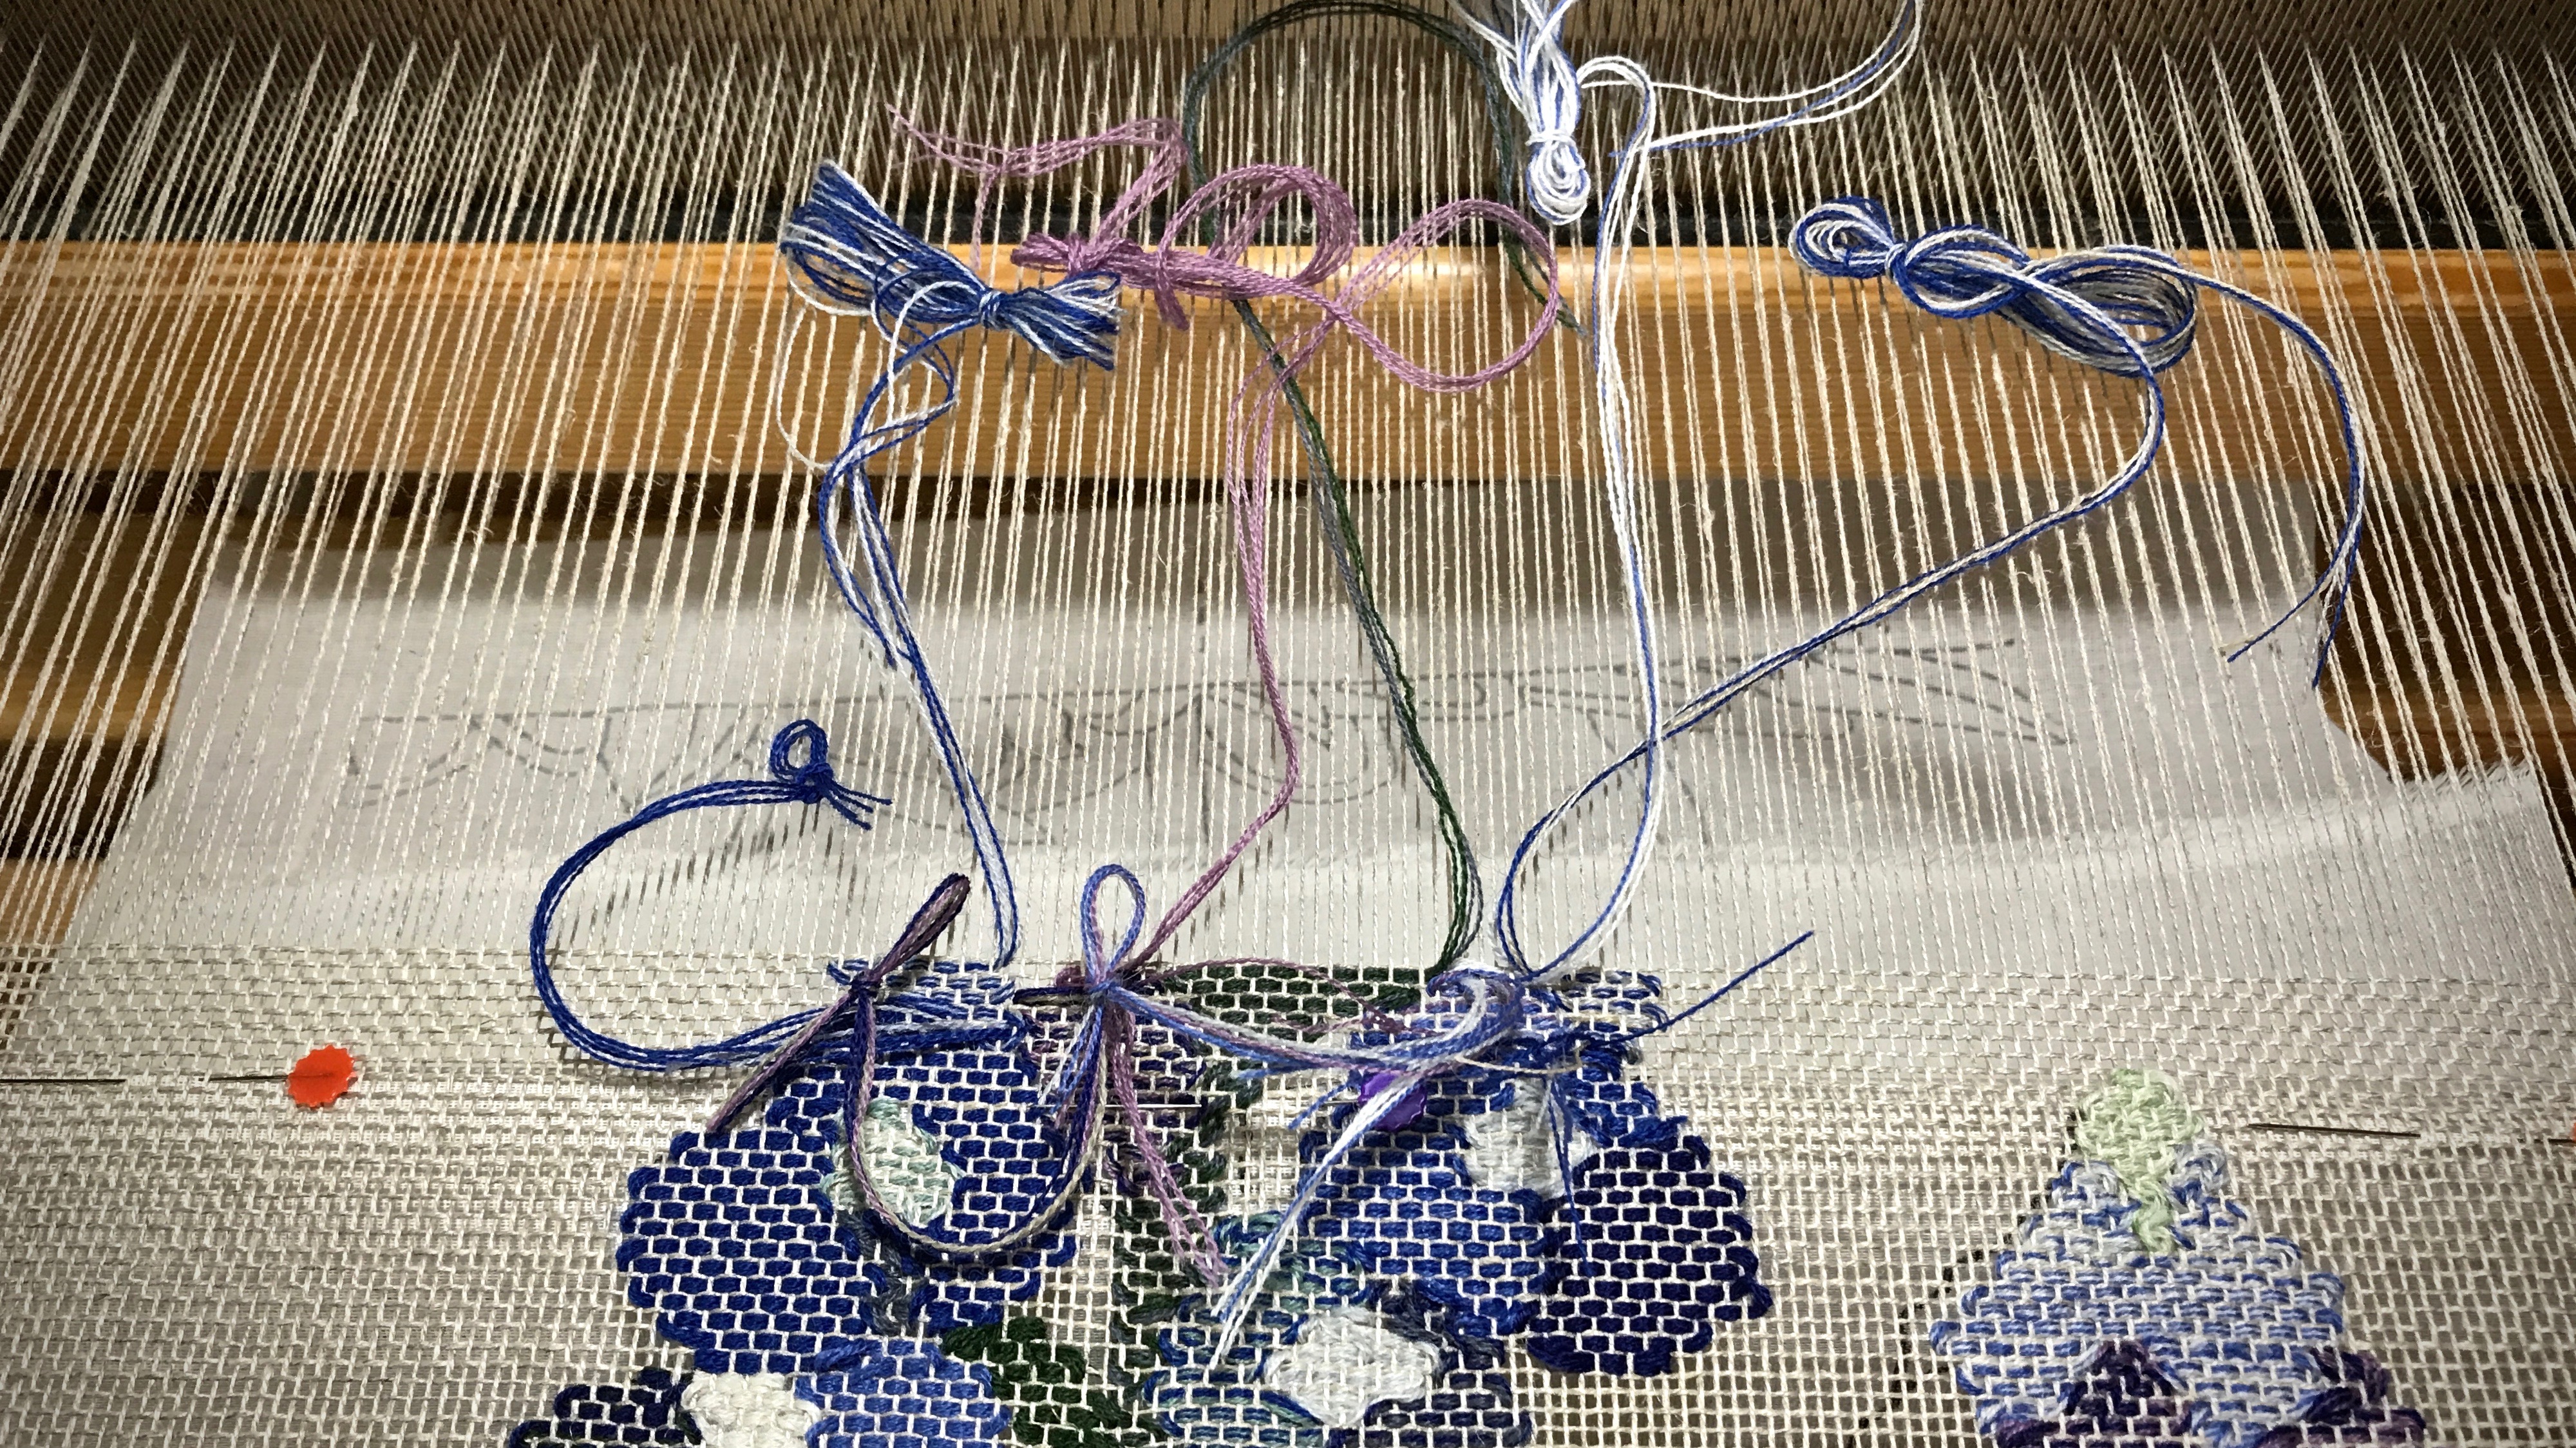
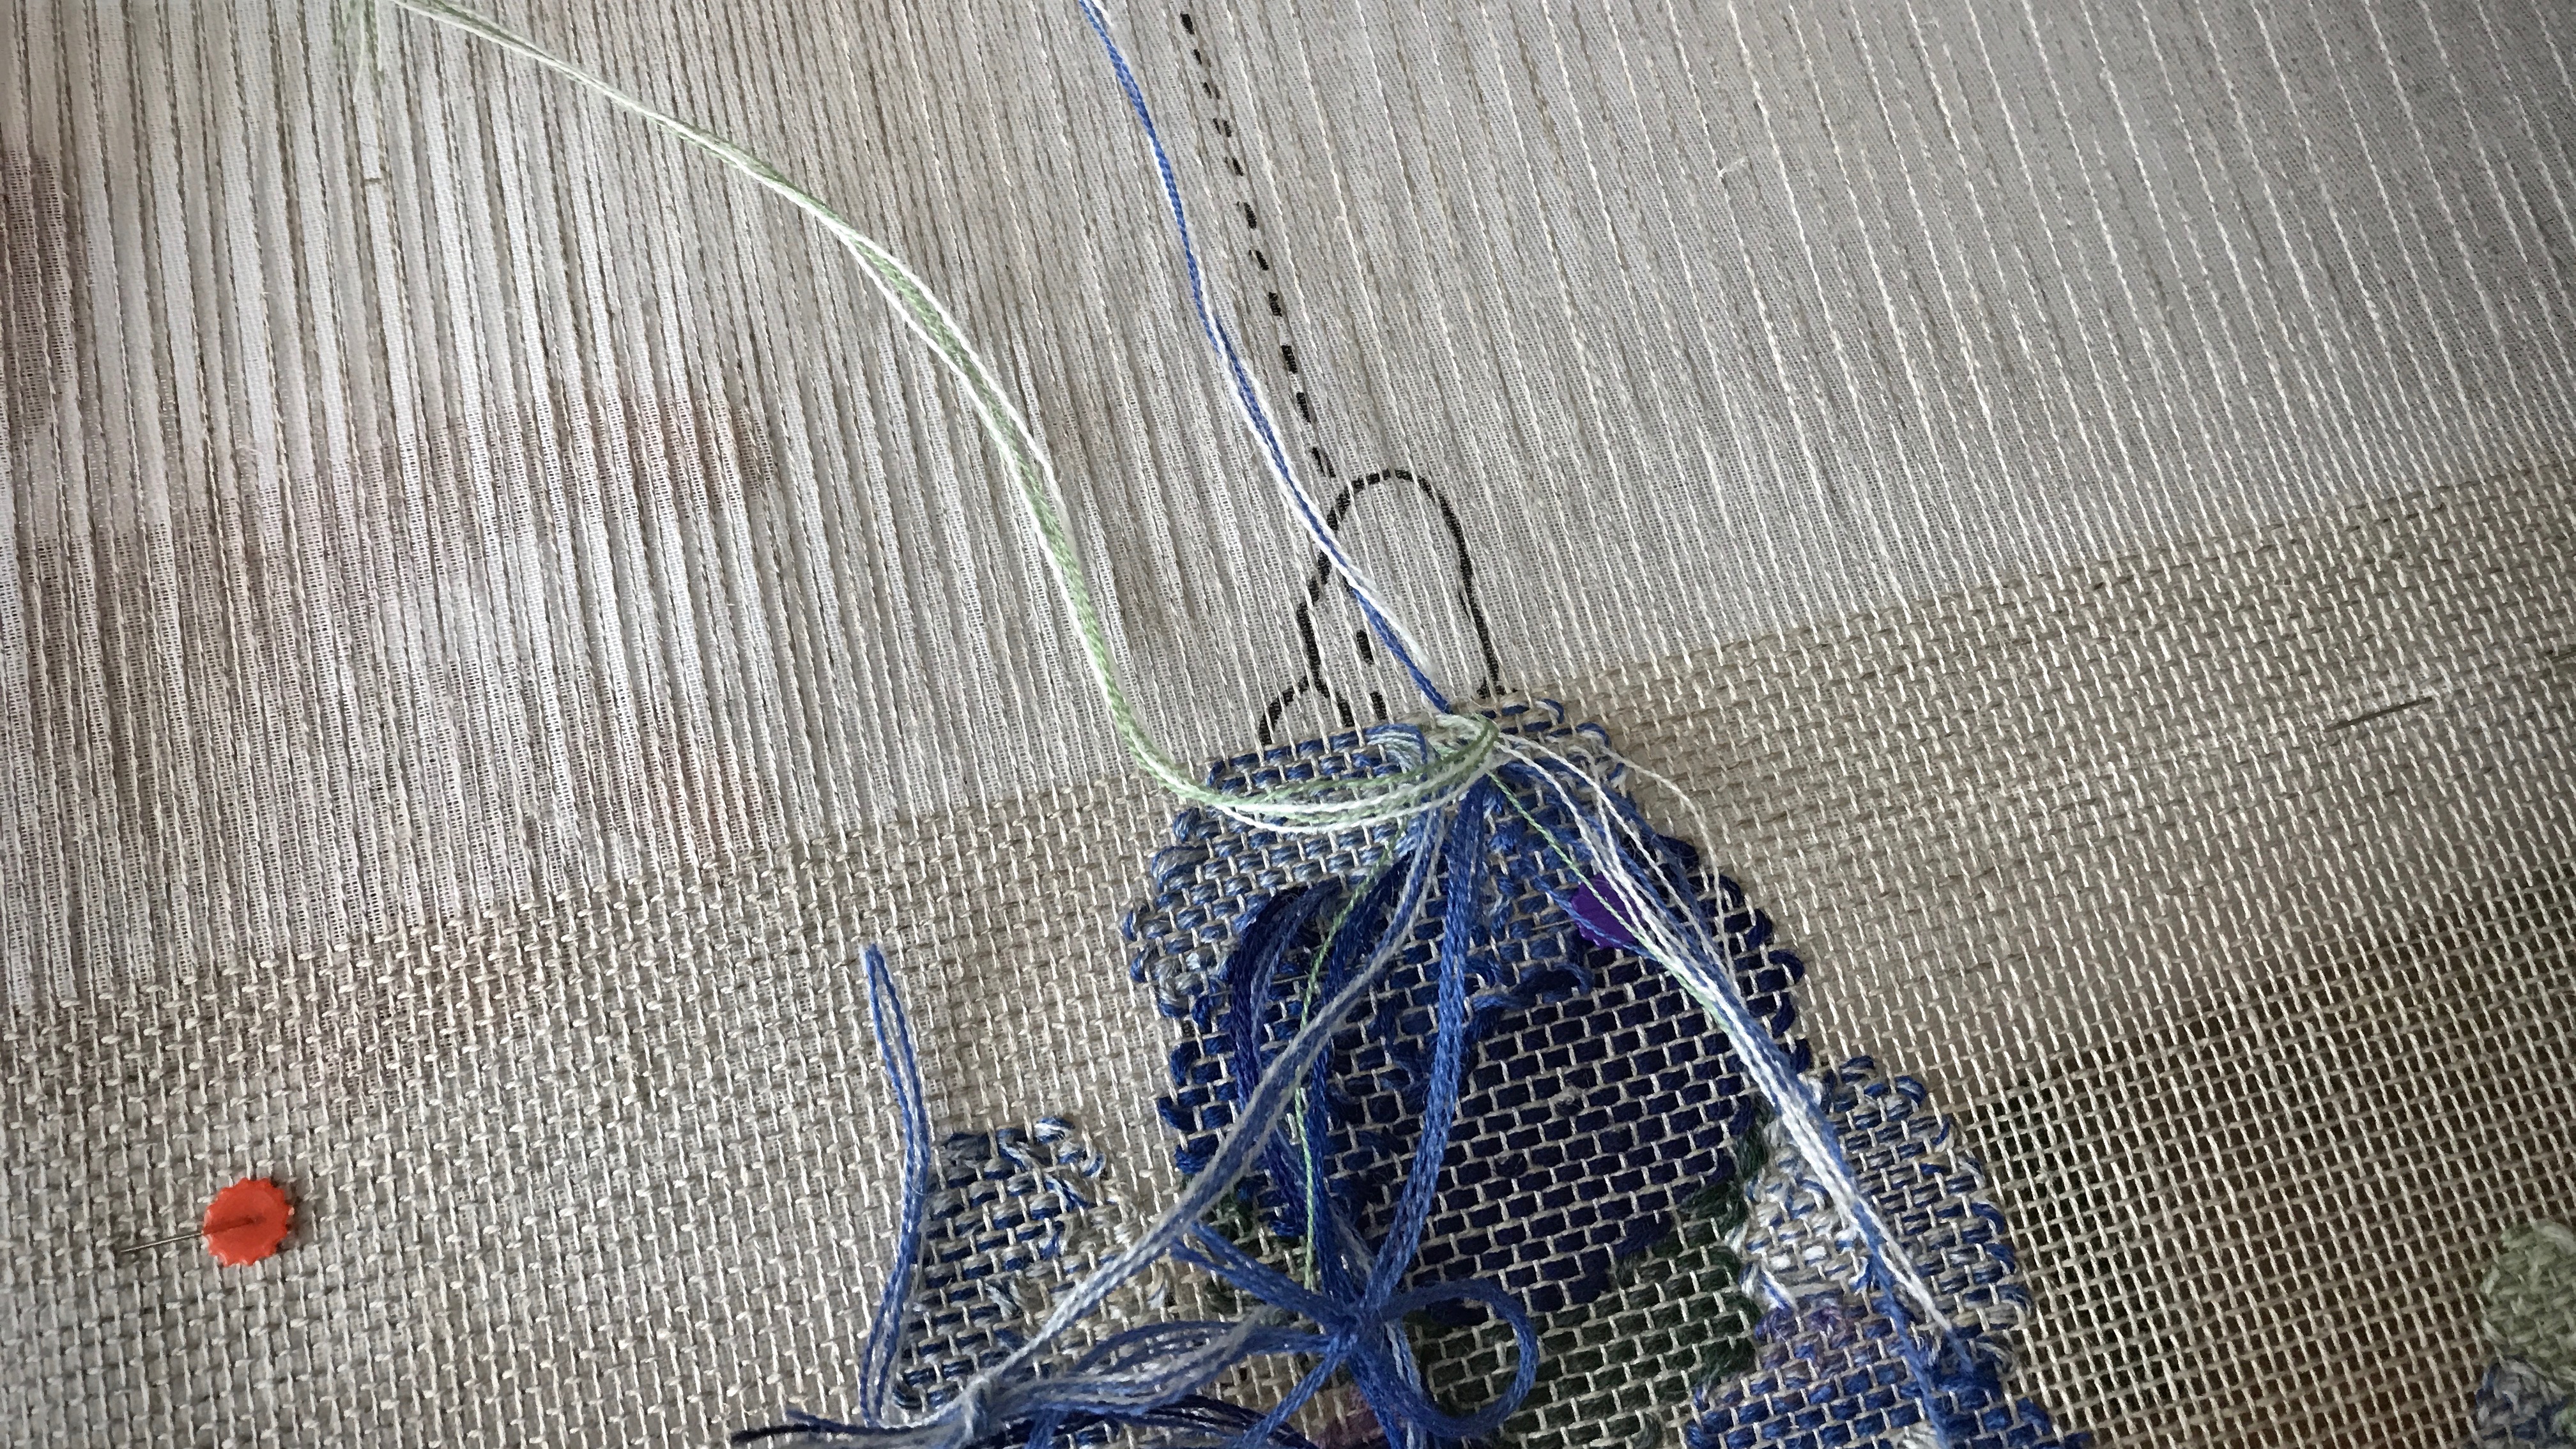
3. Slip the yarn tail under the center warp end, as identified by the bottom corner of the card.

Aligning center warp end with cartoon. Tutorial.

4. Check the alignment of the center line of the cartoon with the center warp end.

How to mark the center warp end.

5. Slide the yarn from the reed to the fell line to check the entire length of the alignment. Reposition the cartoon, if needed.

Aligning cartoon with center warp end. How to.

Bluebonnet woven transparency almost finished!
Ready for one last alignment!

May you find a solution that eliminates guesswork.

All the best,
Karen

Bluebonnets Are Growing on My Loom

I promised a baby blanket to a dear friend whose first grandchild is coming soon. That’s why I am working on this transparency with extra focus. I need the loom. After being away from home longer than expected, I am now trying to make up for lost time.

Weaving a transparency. Flower stems so far.
Flower stems rise out of the “ground.”
Woven transparency in progress.
Weaving from the back. All weft turns are on the back, leaving little bumps and ridges, while the underneath front side stays smooth.

Some sections take an hour or more to weave an inch. But I am finding transparency weaving to be pure enjoyment. I don’t mind lingering. And, if it weren’t for that baby blanket I would slow down even more. This is handweaving at its best. This is good. All I do is select the threads and put them in place, and the woven image magically appears.

Woven transparency in progress. Mora wool pattern weft.
Four strands of 20/2 Mora wool for each butterfly, giving ample opportunity for color blending.
Weaving Texas bluebonnets in a transparency.
Even a simple design like this requires many little butterflies to complete the image (sixteen for this row).
Texas bluebonnets in a woven transparency...in progress!
Cartoon is held in place with three pins. The dotted line on the cartoon is aligned with the center warp end. I love the small spaces of linen between some of the flower petals.

In reality, good things don’t appear by magic, do they? Even with the loom, a plan is made, warp ends are lined up, and the handweaver puts many skills into action. When we experience good in life, it isn’t happenstance or magic. The Lord is good. He is the source of goodness. And it’s by His grace that we are able to see his goodness. Thank you, Lord.

May you be touched by goodness today.

Love,
Karen

Now I Am Weaving Bluebonnets!

Bluebonnets! Another Texas hill country subject for a transparency. I am weaving a simplified imitation of this celebrated wildflower. It starts with a photograph I took of bluebonnets in our hill country backyard this spring.

Texas hill country bluebonnets
Cropped and enlarged photograph of our Texas hill country backyard bluebonnets.

After enlarging the photo to poster size, I outlined the basic shapes that I wanted to include in the transparency. Next, I turned the poster over and transferred the outlines to the back. I traced the lines onto a piece of buckram to use for the cartoon. Everything is ready (the warp has already been tied back on). Let’s get started!

Selecting Mora wool colors for a woven transparency.
Planning colors for the bluebonnet transparency. Photo on the iPad is used for reference in selecting Mora wool colors.
Cartoon for a new transparency weaving.
Pattern is traced onto a piece of buckram to use as the cartoon. Dashed line down the center of the cartoon will be lined up with the center warp end when the cartoon is pinned to the back of the weaving.
Starting a woven transparency. Texas bluebonnets!
Nineteen bundles of Mora wool colors are introduced on the first row of pattern weaving. About three hours of weaving is pictured. After the intricate leaves at the bottom of the picture, it will be smooth sailing! 🙂

We have been given a true picture of love. God shows it to us in Jesus Christ. Christ loved us and gave himself up for us. With child-like fascination, I want to imitate the heart of that kind of love. To walk in love like Christ means to give yourself away for the sake of others. Linen and wool threads are not sufficient to show the living beauty of a bluebonnet. Nor are my efforts to love going to be perfect. But by keeping the picture in front of me as I weave, I hope to convey the delight of springtime Texas bluebonnets. And present a transparent picture of love that’s out of this world.

May you imitate only the best.

With love,
Karen