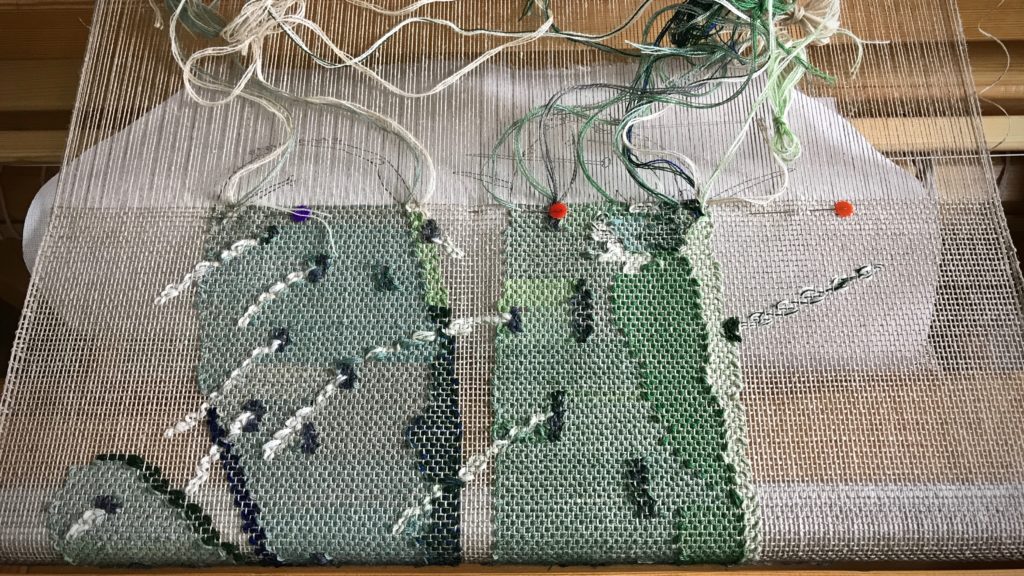
Tools Day: Paper and Yarn

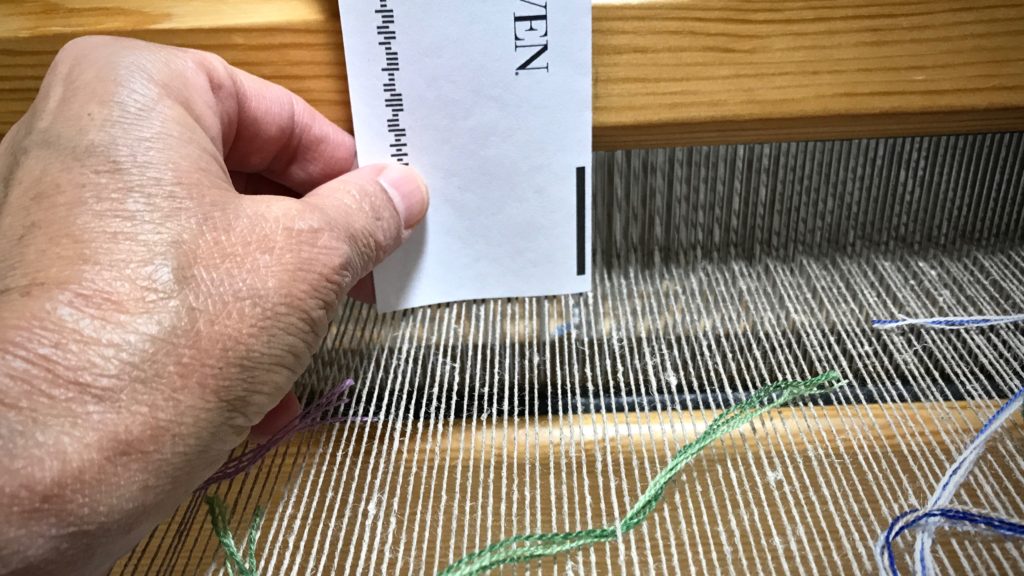
A folded piece of paper and a seven-inch tail from a yarn butterfly become an answer to a small technical problem. When using a cartoon, like I am for this transparency, it’s imperative to identify the center warp end so I can align the dotted-line center of the cartoon with that one end. Finding the center warp end is my technical problem. The paper and yarn work together as the tool that helps remove the guesswork.
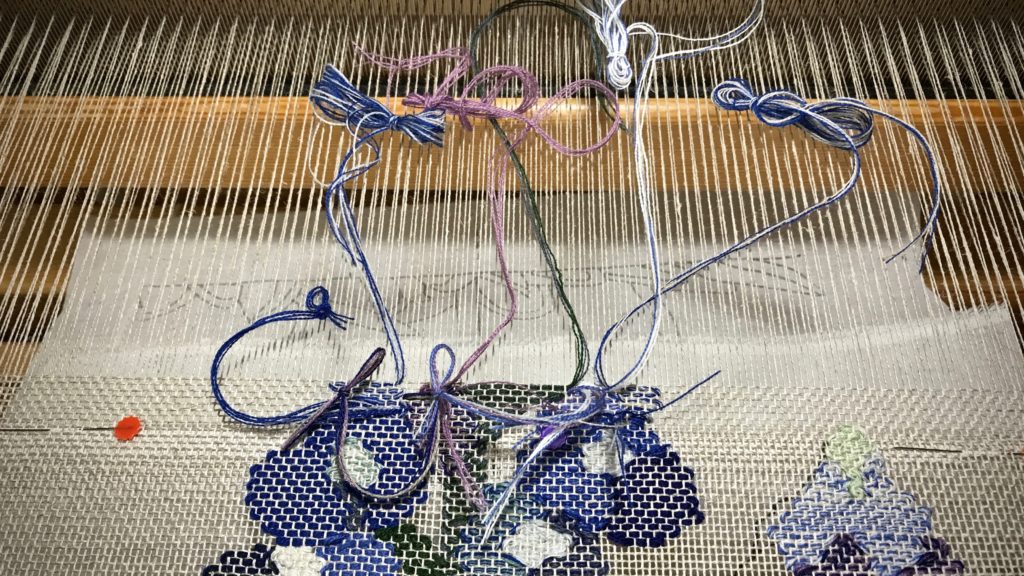
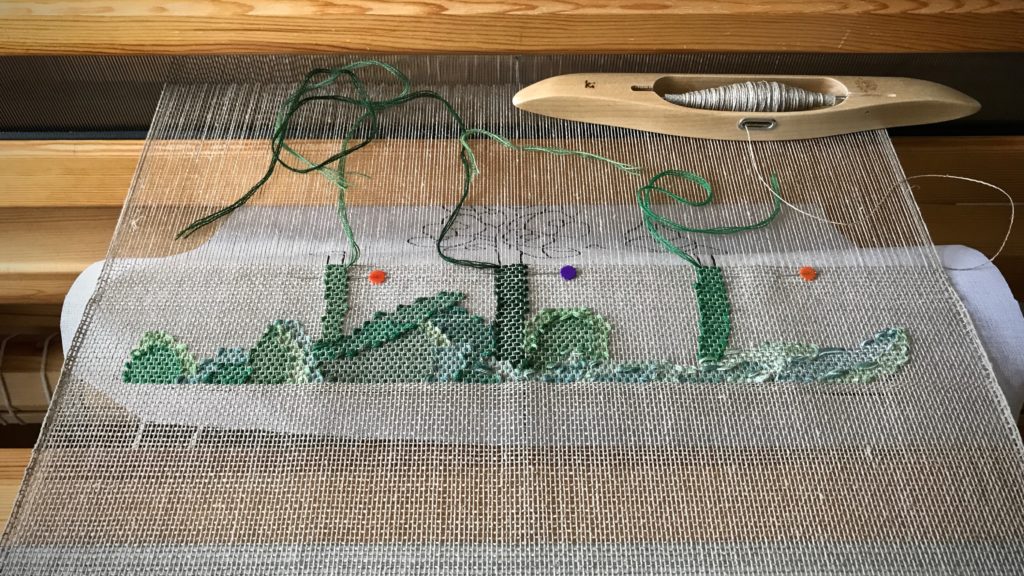
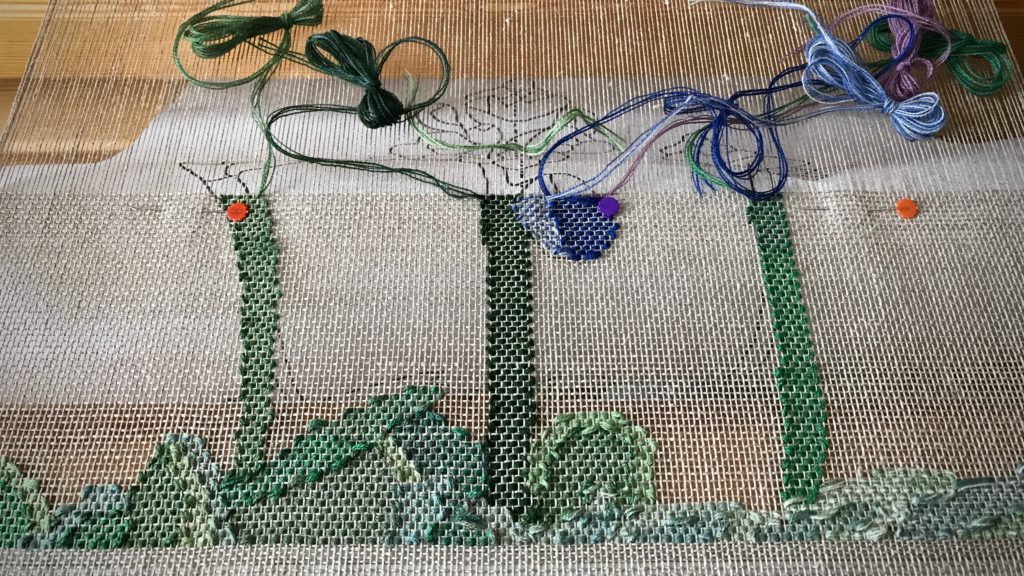
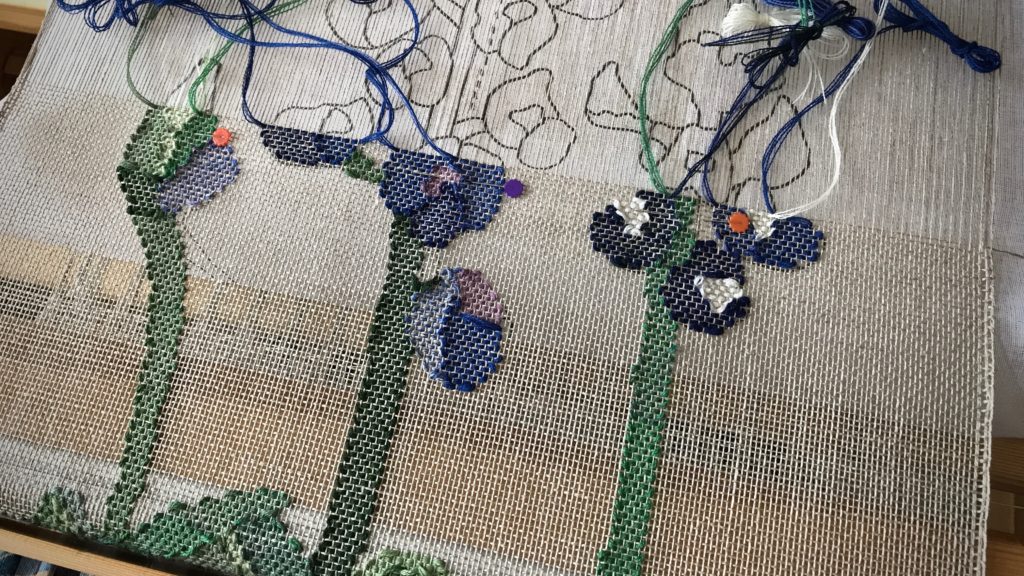
Weaving a transparency. Bluebonnets.
I check the alignment of the cartoon about every inch, and move up the pins that hold the cartoon in place.

With these bluebonnets, if the cartoon slides to the right or left by even one warp end it distorts the picture. It’s not enough to eyeball it. I need a way to make sure I am finding, and marking, the exact center end every time.

How to Find and Mark the Center Warp End

Supplies:

  • Pencil
  • Subscription card from a magazine, folded in half lengthwise
  • Seven-inch tail from a yarn butterfly, or a strand of yarn
  1. Measure the width of the beater and use a pencil to mark the exact center with a vertical line.
  2. Hold the folded edge of the card against the vertical pencil line on the beater, with the bottom edge of the card almost touching the warp.

Finding and marking the center warp end to align with cartoon.

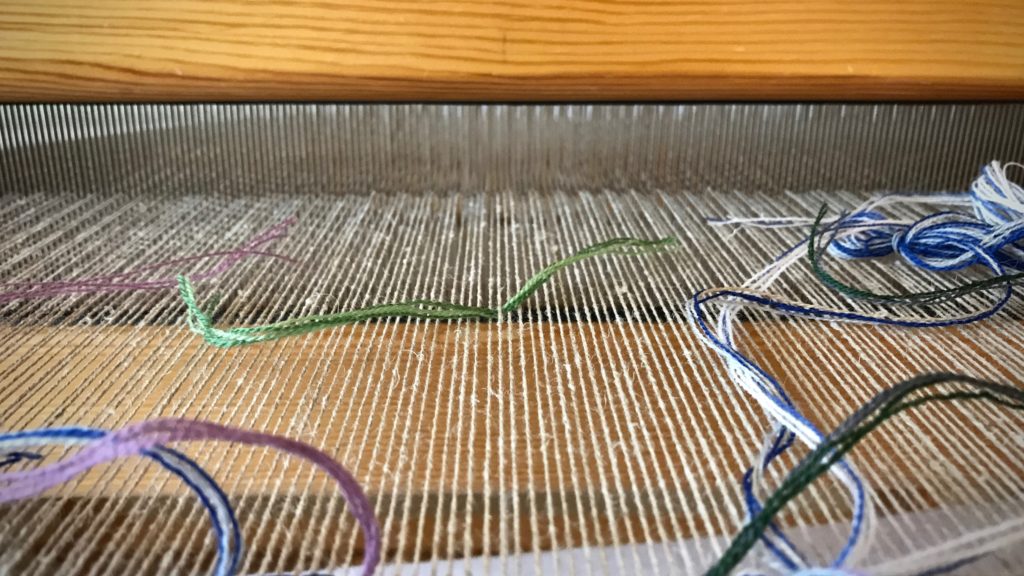
3. Slip the yarn tail under the center warp end, as identified by the bottom corner of the card.

Aligning center warp end with cartoon. Tutorial.

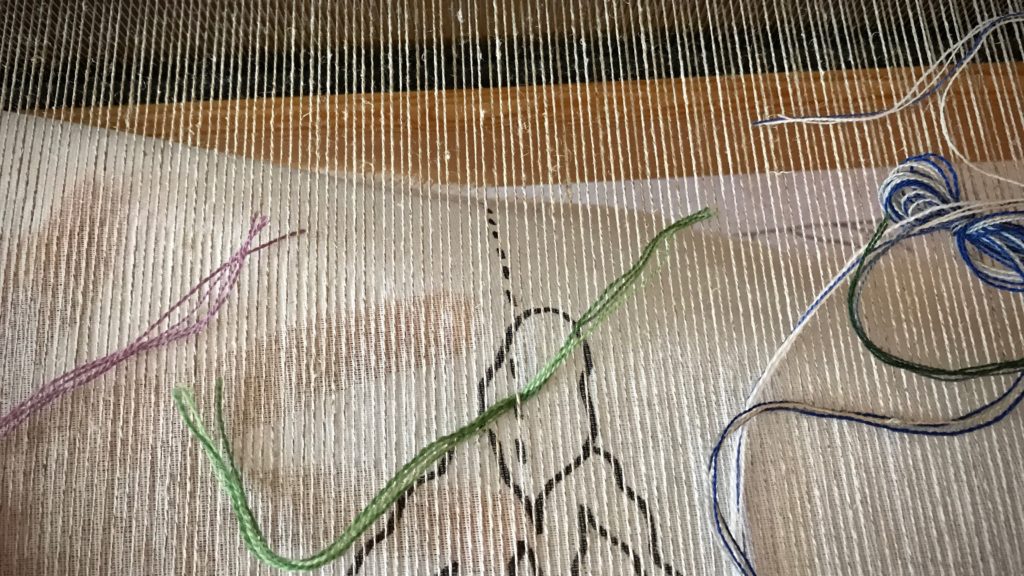
4. Check the alignment of the center line of the cartoon with the center warp end.

How to mark the center warp end.

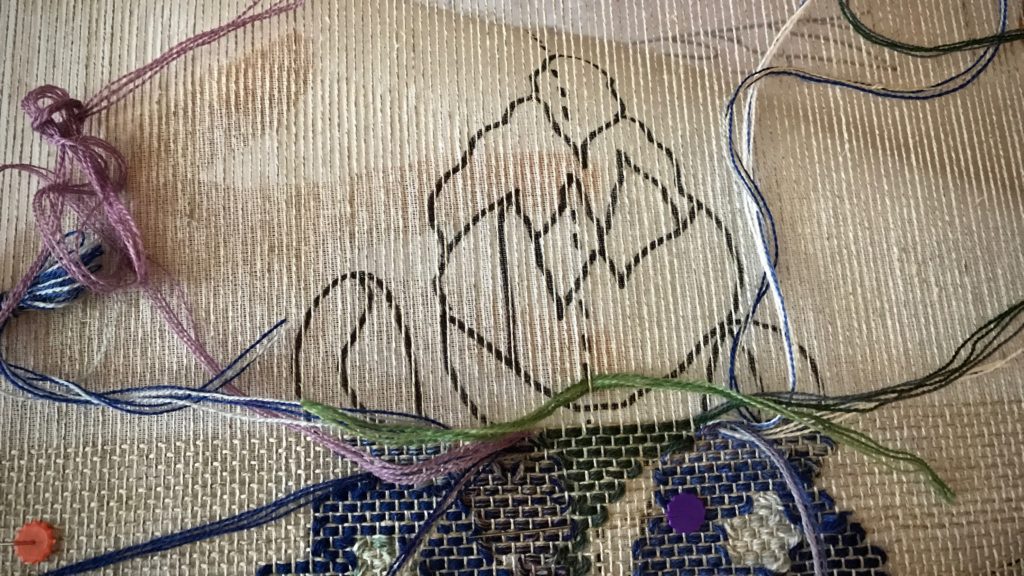
5. Slide the yarn from the reed to the fell line to check the entire length of the alignment. Reposition the cartoon, if needed.
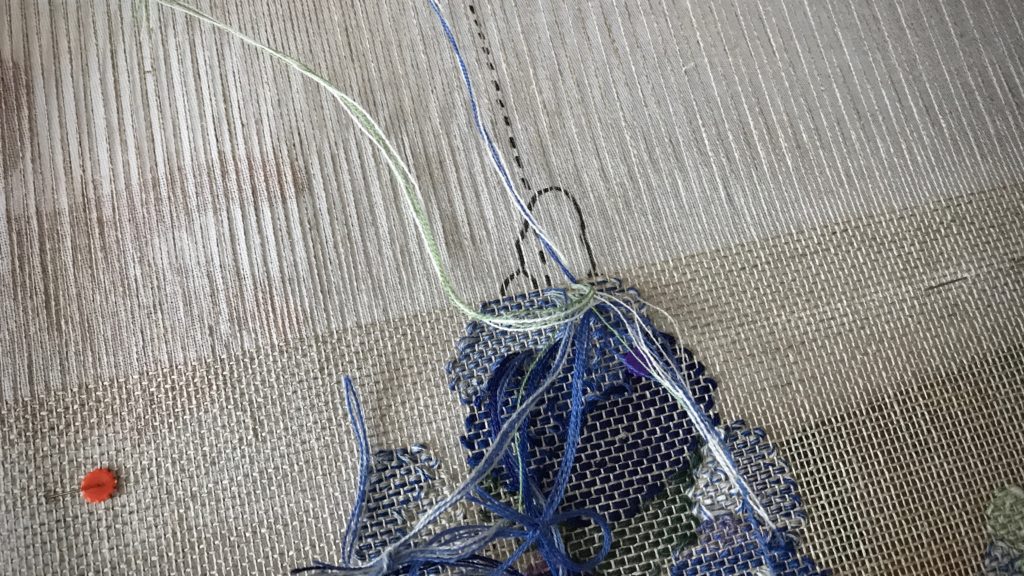
Aligning cartoon with center warp end. How to.

Bluebonnet woven transparency almost finished!
Ready for one last alignment!

May you find a solution that eliminates guesswork.

All the best,
Karen

Bluebonnets Are Growing on My Loom

I promised a baby blanket to a dear friend whose first grandchild is coming soon. That’s why I am working on this transparency with extra focus. I need the loom. After being away from home longer than expected, I am now trying to make up for lost time.

Weaving a transparency. Flower stems so far.
Flower stems rise out of the “ground.”
Woven transparency in progress.
Weaving from the back. All weft turns are on the back, leaving little bumps and ridges, while the underneath front side stays smooth.

Some sections take an hour or more to weave an inch. But I am finding transparency weaving to be pure enjoyment. I don’t mind lingering. And, if it weren’t for that baby blanket I would slow down even more. This is handweaving at its best. This is good. All I do is select the threads and put them in place, and the woven image magically appears.

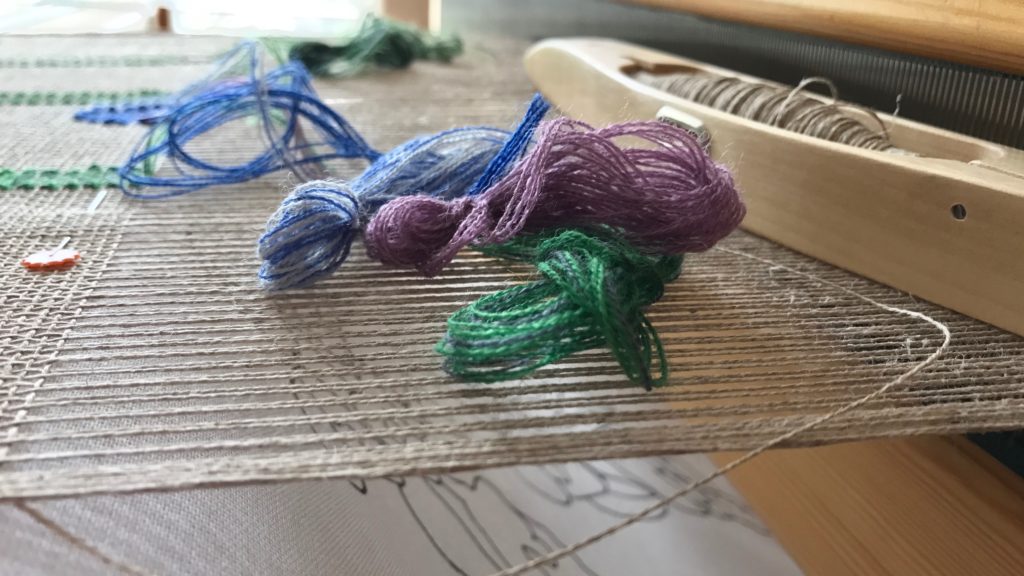
Woven transparency in progress. Mora wool pattern weft.
Four strands of 20/2 Mora wool for each butterfly, giving ample opportunity for color blending.
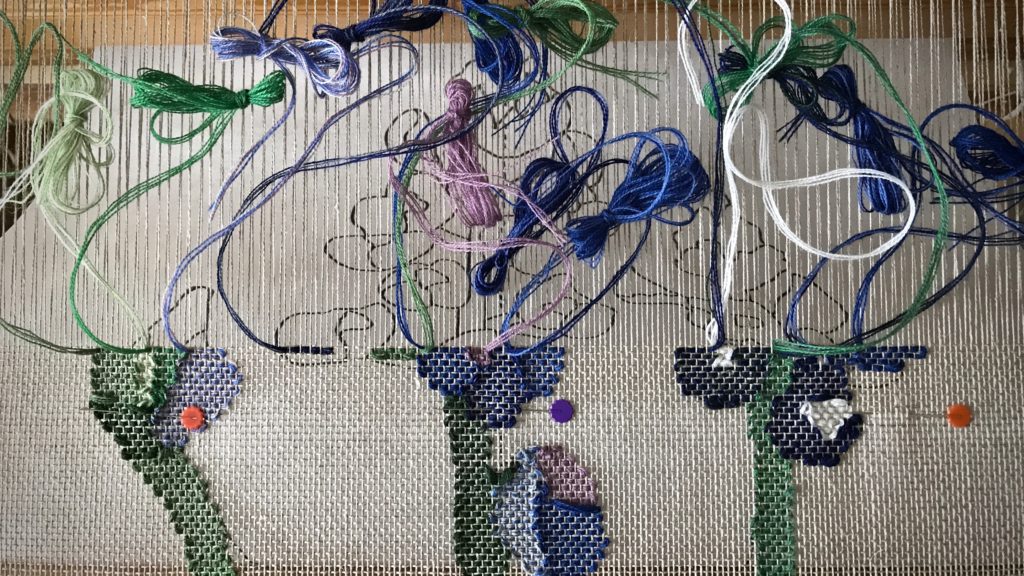
Weaving Texas bluebonnets in a transparency.
Even a simple design like this requires many little butterflies to complete the image (sixteen for this row).
Texas bluebonnets in a woven transparency...in progress!
Cartoon is held in place with three pins. The dotted line on the cartoon is aligned with the center warp end. I love the small spaces of linen between some of the flower petals.

In reality, good things don’t appear by magic, do they? Even with the loom, a plan is made, warp ends are lined up, and the handweaver puts many skills into action. When we experience good in life, it isn’t happenstance or magic. The Lord is good. He is the source of goodness. And it’s by His grace that we are able to see his goodness. Thank you, Lord.

May you be touched by goodness today.

Love,
Karen

Wild Linen Rya

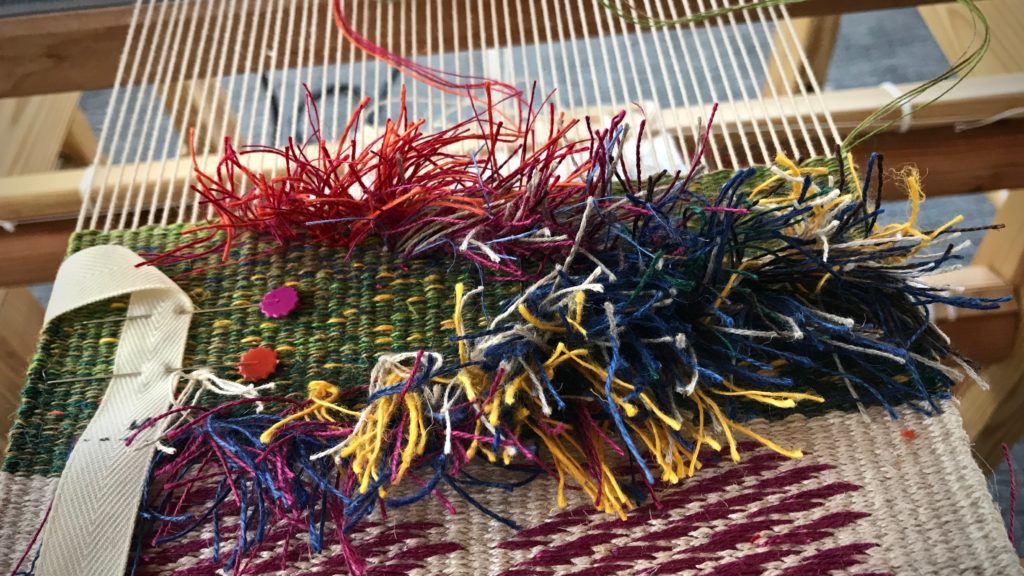
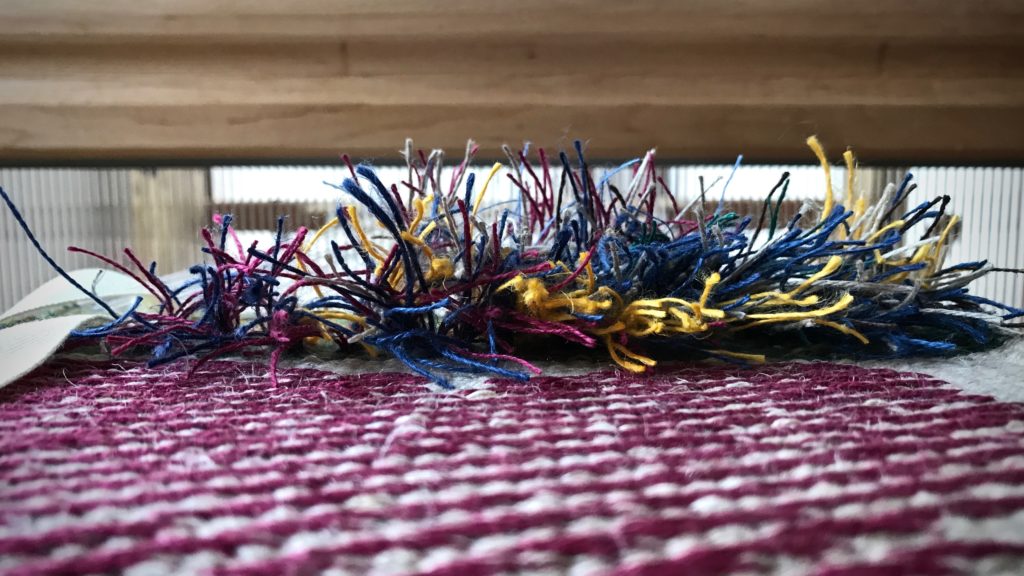
Rya knots and loops of threads look chaotic at first. These linen rya knots will never be tame, but that’s to be expected. Linen butterflies have created a swath of wild rya “flowers” planted in a smooth linen “lawn.”

Making rya knots with a bundle of linen threads.
Continuous weft bundle forms loops between rya knots.
Linen rya knots.
Loops are clipped. Green butterfly is for the background plain weave weft.

Each section of rya starts with a butterfly made of several strands of linen in assorted weights and colors. I tie each rya knot on a pair of warp ends, leaving a loop between knots. There are two to three passes of plain weave between each row of knots. When I finish a butterfly, I go back and clip all the loops. After the loops are cut, I trim the tops of the threads to even out the rya “flower garden.”

Linen rya knots on a linen weft-faced background.
Tops of the rya threads are trimmed. I intentionally leave a few shorter and longer threads, for interest.
Linen rya knots on a weft-faced linen background. Tapestry/inlay sampler.
Linen rya knots on a weft-faced linen background. Wild linen “flowers” growing out of a smooth linen “lawn.”

When things around us look a mess and don’t make sense, full of knots and loops, there is one thing we must do. Keep holding on to faith. Fight to keep your faith strong. Faith in Christ Jesus will carry you through uncertainty and will reveal the first ray of hope. The loops will be clipped, the threads will be trimmed. A garden of color will emerge. Faith waits for that.

May your faith be strong.

All the best,
Karen
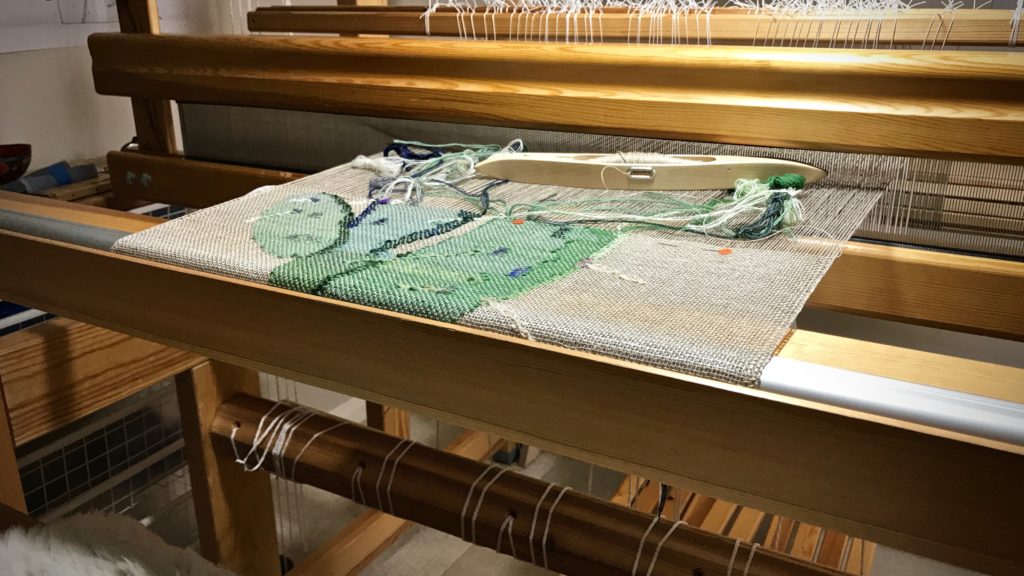
Rya for the Rest

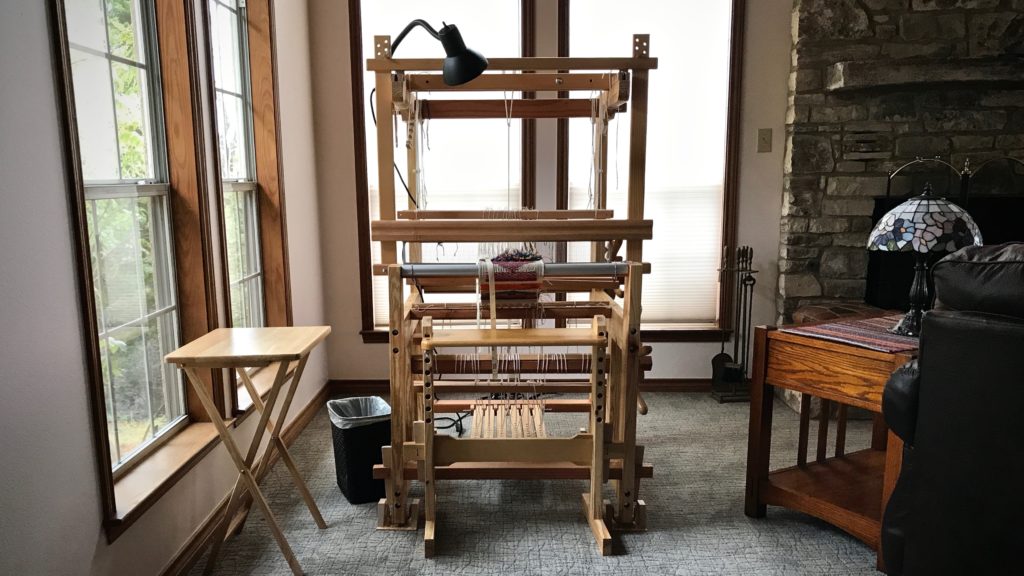
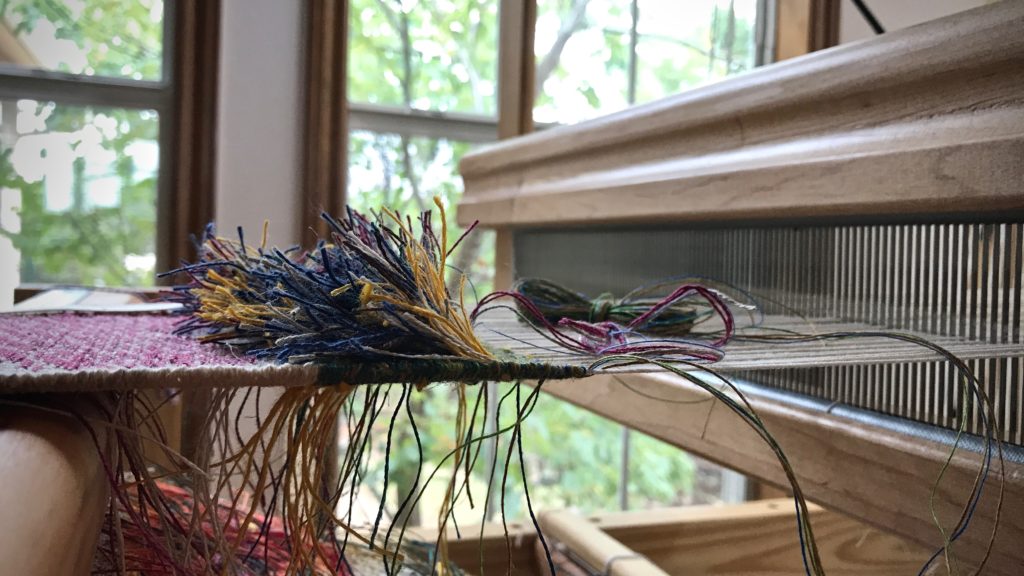
This loom doesn’t get first priority. This sweet little loom is at our Texas hill country getaway. Usually there are several fixer-upper projects to be done around the place. But I’m glad the loom is there. It calls to me to come and sit down, to get absorbed in linen threads and colors. The loom is a resting place for me. A place where ideas take shape and new dreams begin.

Sweet little hand-made loom.
Sweet little loom sits in a corner of the living room beckoning me to come and rest for a while.
Rya knots and inlay. All linen.
Green weft butterfly weaves the background. A yellow bundle, not seen, hangs under the warp and is added here and there for the “dots” in the green. Rya butterflies are in assorted combinations of colors. All linen.

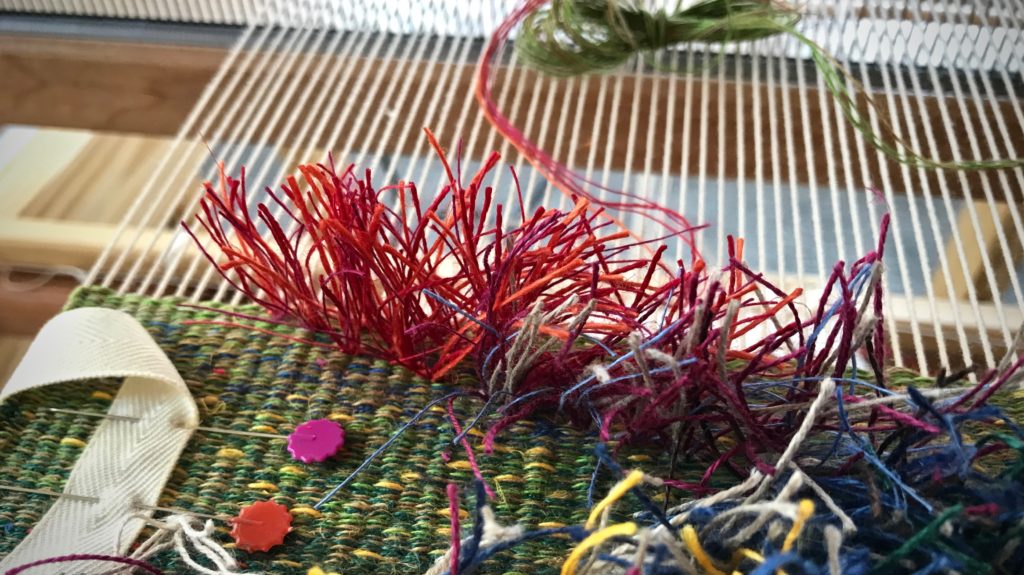
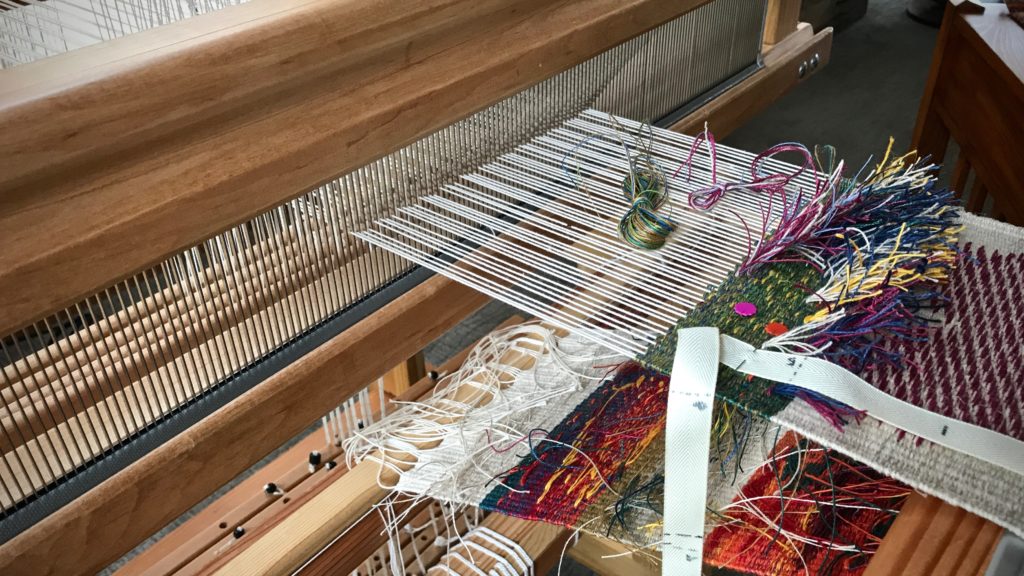
I’m at the rya section of this tapestry and inlay sampler. It is a fun exercise in creativity. The rya knots are tied using a continuous weft bundle. After a few rows are woven I clip the loops that are formed, and trim them down a little to shape the pile.

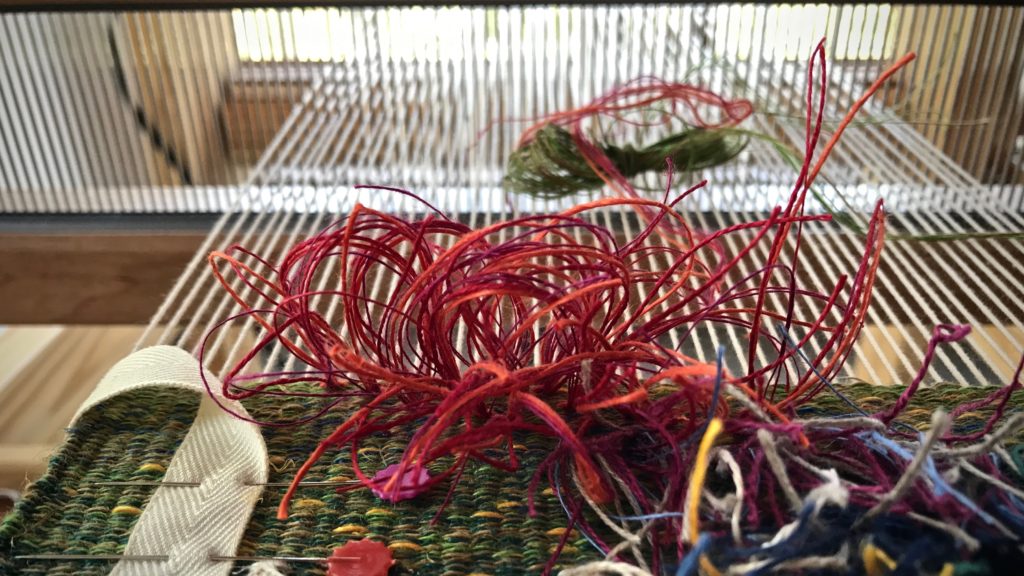
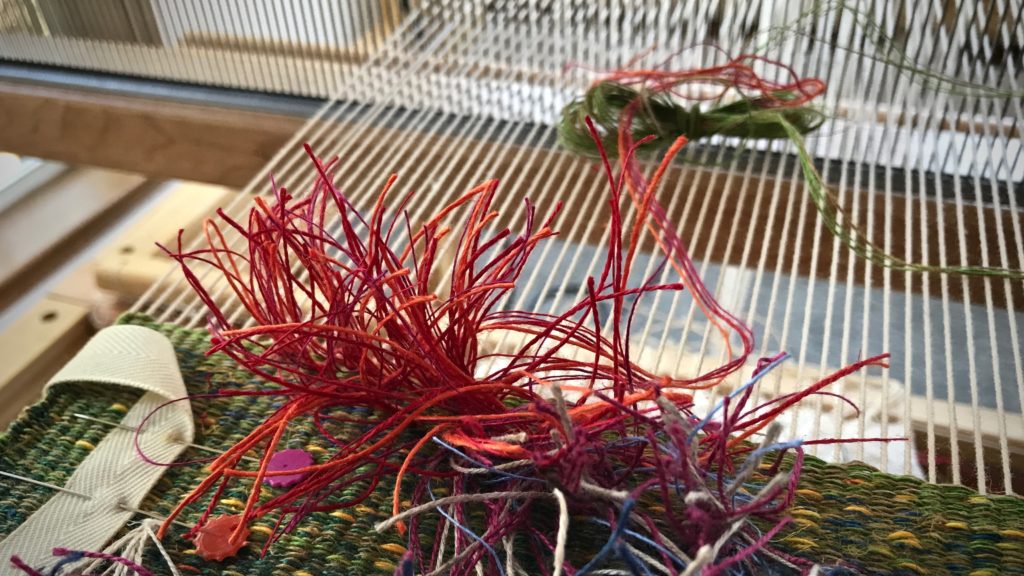
Linen rya knots!
Explosion of linen threads. Several sizes and types of linen are combined in the rya butterflies that are used to make the rya knots.
Weaving linen rya knots. Weaving from the front.
Weaving from the front means that all the loose inlay weft tails, and spliced wefts, are hanging down on the back.

Make time for rest. We need periods of rest built into the rhythm of our lives. Intentional rest acknowledges our human limitations and inadequacy, which leads us to put our trust in the Lord. And that is where the best hopes and dreams get their start.

May you enjoy sweet rest.

With you,
Karen

All Those Weft Tails

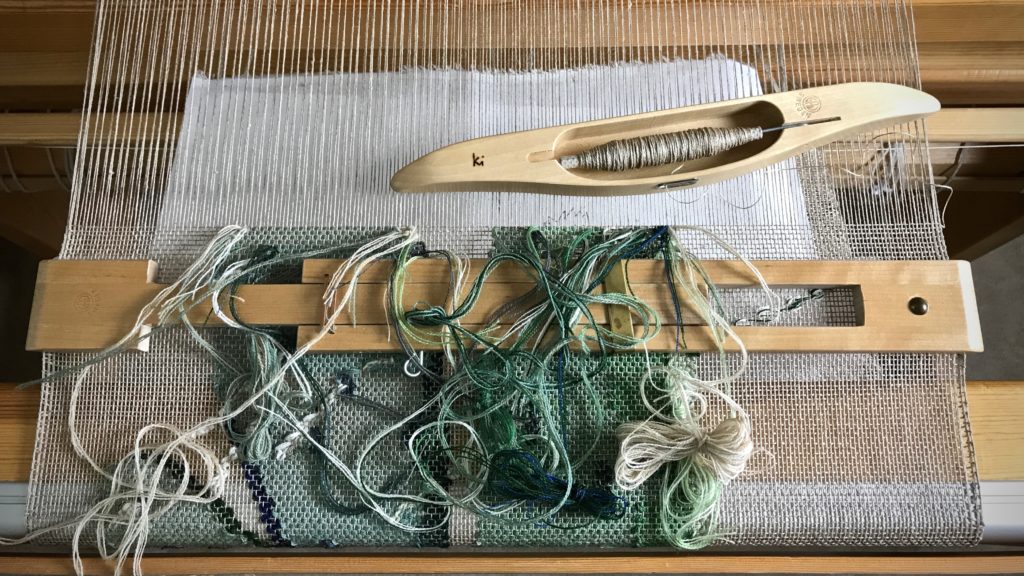
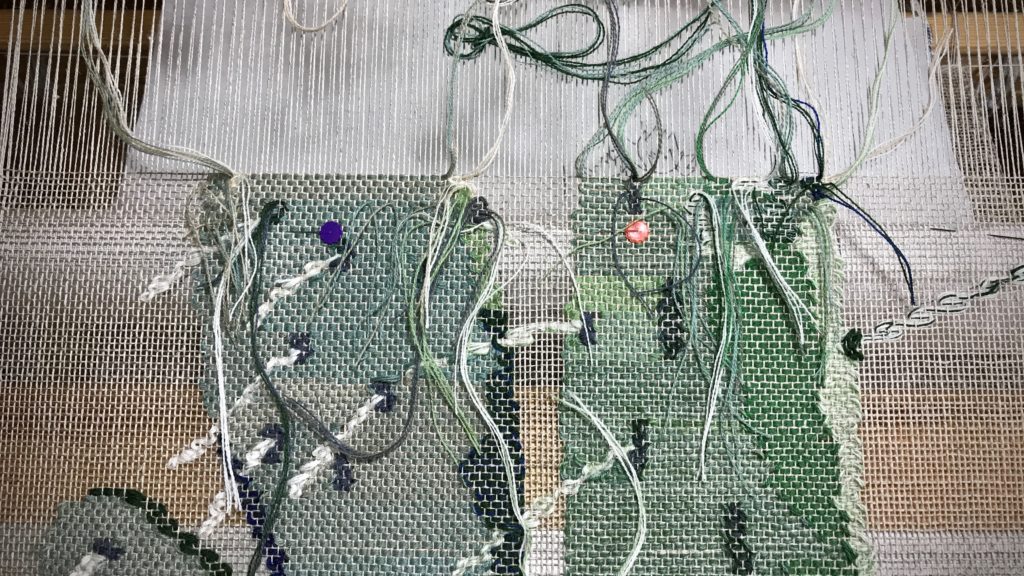
This prickly pear cactus transparency is inching along. I wait for the day when we will get to see this from the front side! Weaving from the back has its advantages, though. I am able to deal with all the weft tails as I go.

Cactus transparency weaving in progress.
In some rows there are as many as twelve or thirteen different weft bundles. Every weft bundle has tails that are either tucked under adjacent warp ends, if possible, or woven in later with a needle.

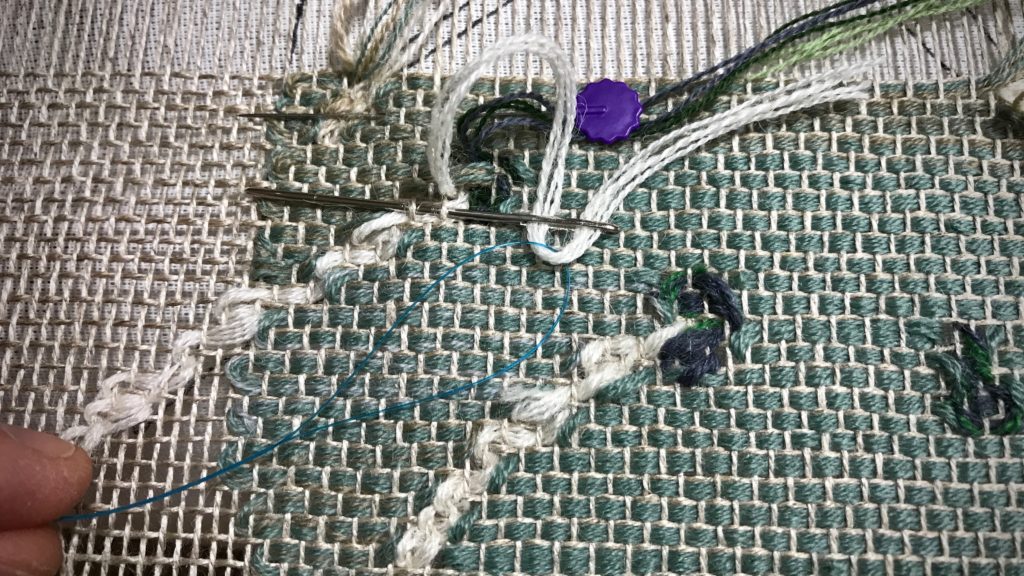
After every inch of weaving, I stop and trim weft tails. I use a blunt needle to weave loose tails in first before trimming them. This part of the process is time consuming. But I do it happily, thankful that I won’t have hours of tedious work at the end of the project.

Transparency weaving in progress. Cactus.
Each pattern row is woven straight across, from left to right, with weft bundles following the lines of the cartoon underneath. The linen tabby weft lies between each pattern row.
Trimming weft tails on the woven transparency.
An inch-worth of weaving, with weft tails to weave in and to trim. Wefts that were spliced while weaving can be trimmed close to the fabric. Tails of weft bundles must be woven in with a needle, and then trimmed.
Weaving hack using dental floss threader!
Sometimes it works best to put the needle through warp ends first and then use a dental floss threader to help thread the weft tail bundle through the eye of the needle.
Woven transparency of a prickly pear cactus.
Cactus keeps growing, inch by inch!

Give thanks. It is right and it is satisfying to give thanks to the Lord. The little things that we get to take care of now, daily inching along, are reminders of the big work in progress that we are in. Eventually, we will see the front side. And what a joy that will be!

May all your loose ends be secured.

Happy weaving,
Karen