Thirty-five years ago, I took a beginner rigid heddle loom class. Our teacher taught us to use strips of toilet paper (or fat scrap yarn) as weft at the beginning of the weaving to space the warp. After several inches of weaving, the warp ends would fall into alignment. Unless fringe is planned, that beginning warp goes to waste, not to mention the unsightly aspect of the throwaway weft. Here comes the leveling string to the rescue! This piece of 12/6 cotton seine twine is just what we need to get off to a good start with every project we put on the loom. The leveling string levels out the warp ends, and delivers a nice, flat weaving surface. It is superb to be able to weave fabric right from the very beginning of the warp!
The use of a leveling string is also described in my three favorite books that detail how to warp a loom:
- The Big Book of Weaving, by Laila Lundell
- Learning to Warp Your Loom, by Joanne Hall
- Dress Your Loom the Vävstuga Way: A Benchside Photo Guide, by Becky Ashenden
Tools:
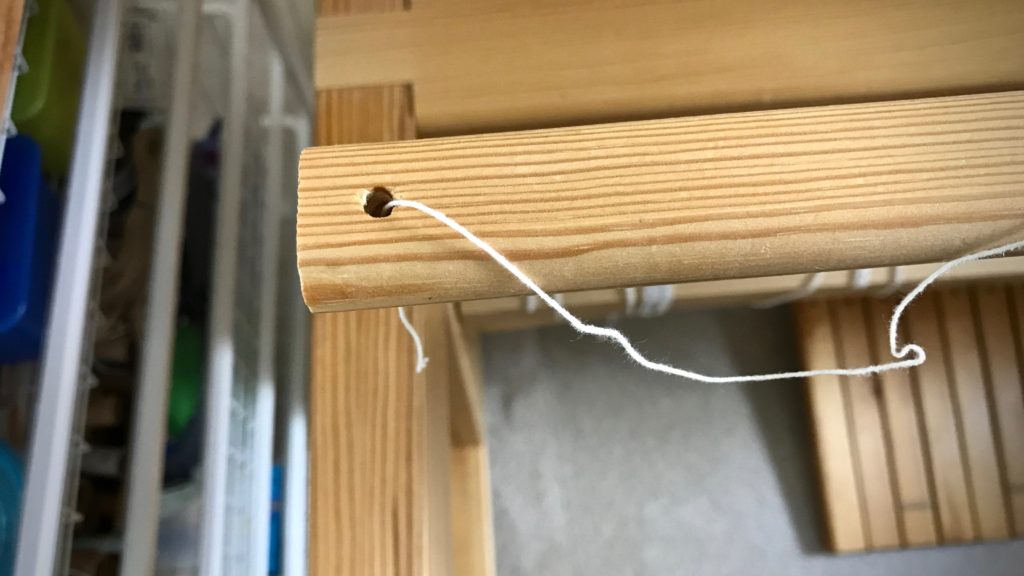
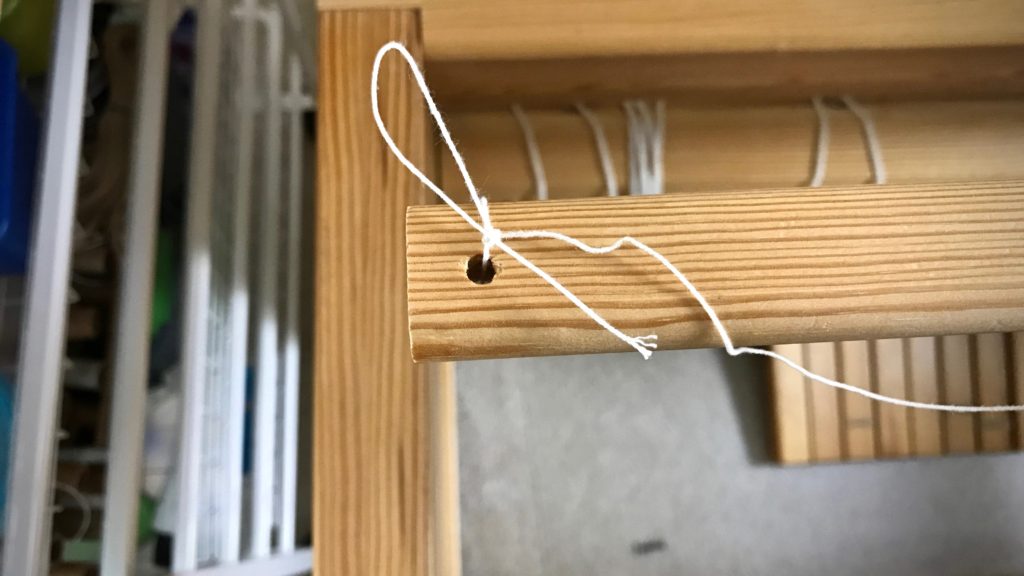
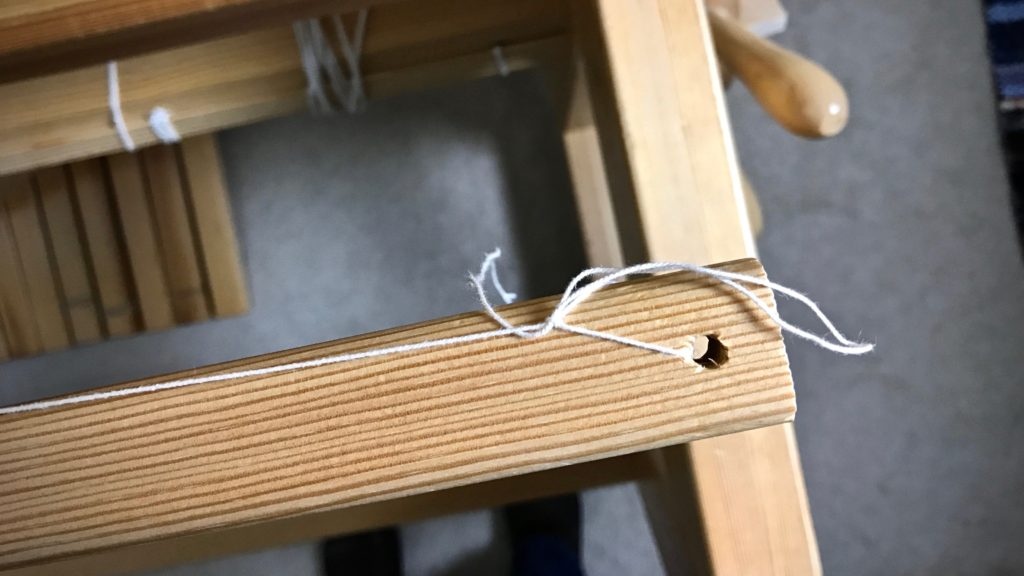
- Front tie-on bar with a hole at each end (Joanne Hall writes, “If there are no holes in your bar, replace the cord with a thin stick.” I have not tried this, but I trust anything Joanne says!)
- 12/6 cotton seine twine, the length of front tie-on bar, plus about 20 inches (I like to have plenty of string to tie the knots on the ends)
Steps:
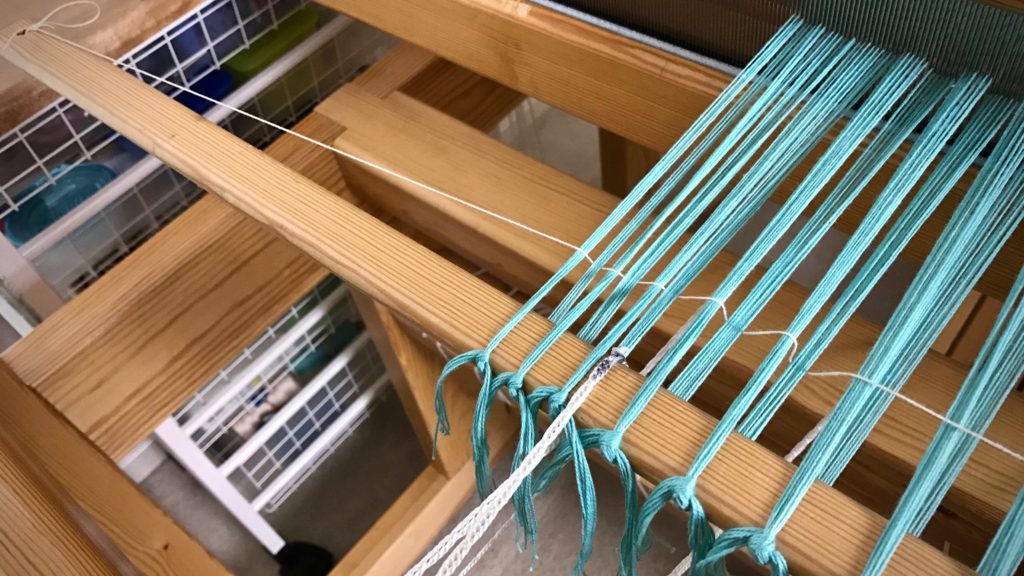
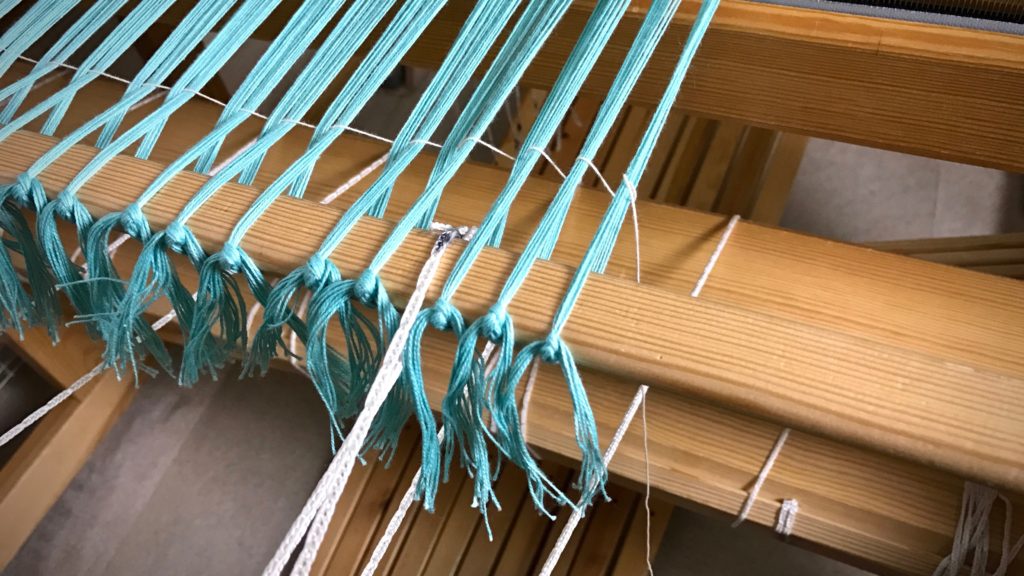
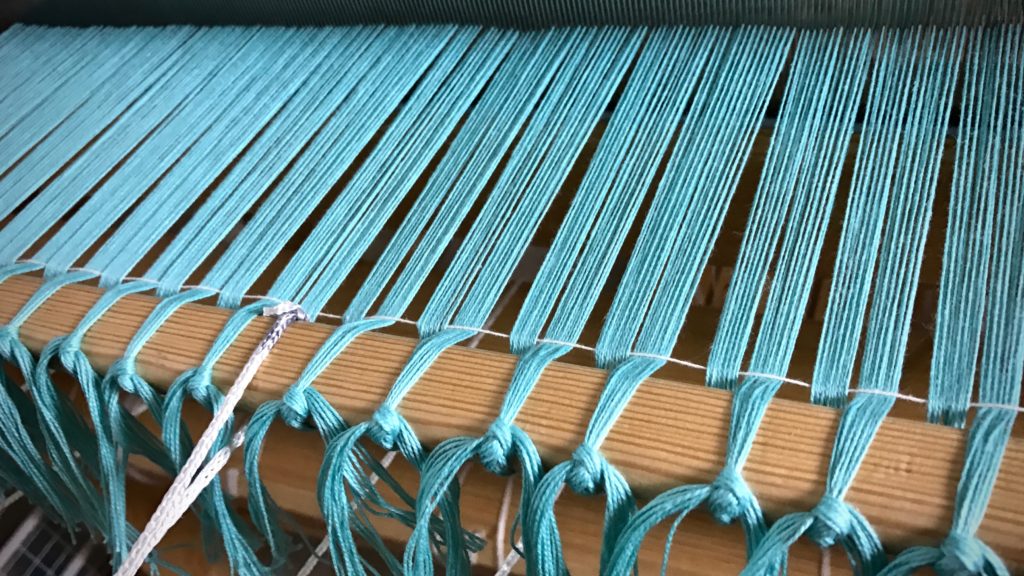
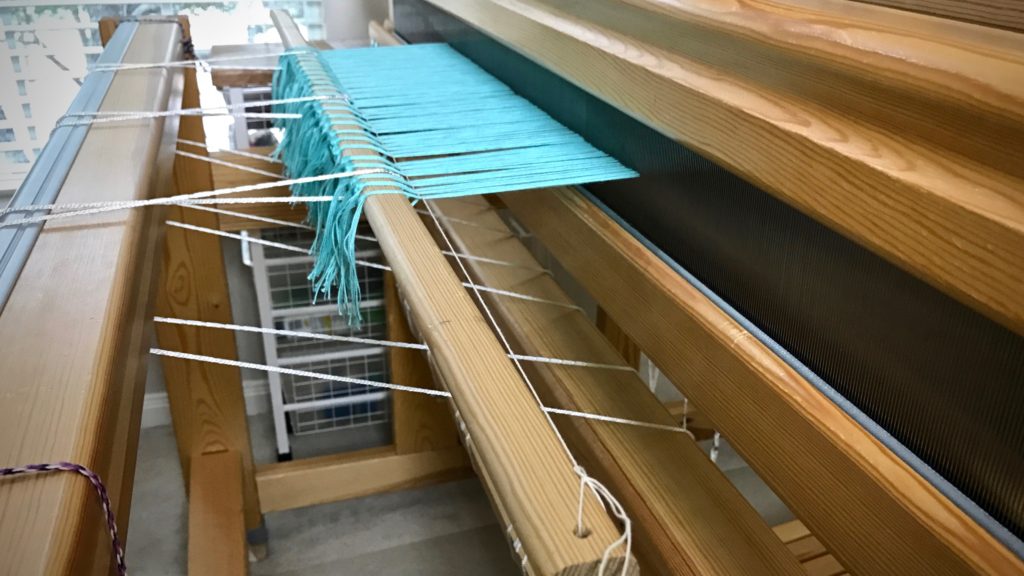
1. Tie on warp in small bundles, about 1″ each, with half of the bundle’s ends going over, and half going under, the front tie-on bar (as seen in Step 3 pictures). Tie the ends together with a bow knot or other tie-on knot. (TIP – If you do not tie the knots too tight, it is easier to get even tension across the warp, and it is easier to tighten the leveling string in Step 4.)
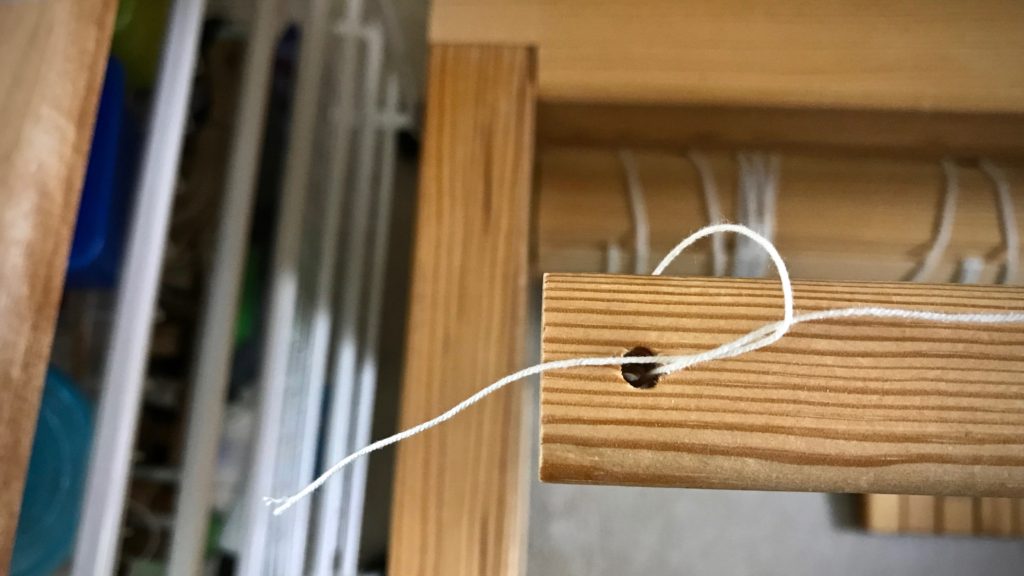
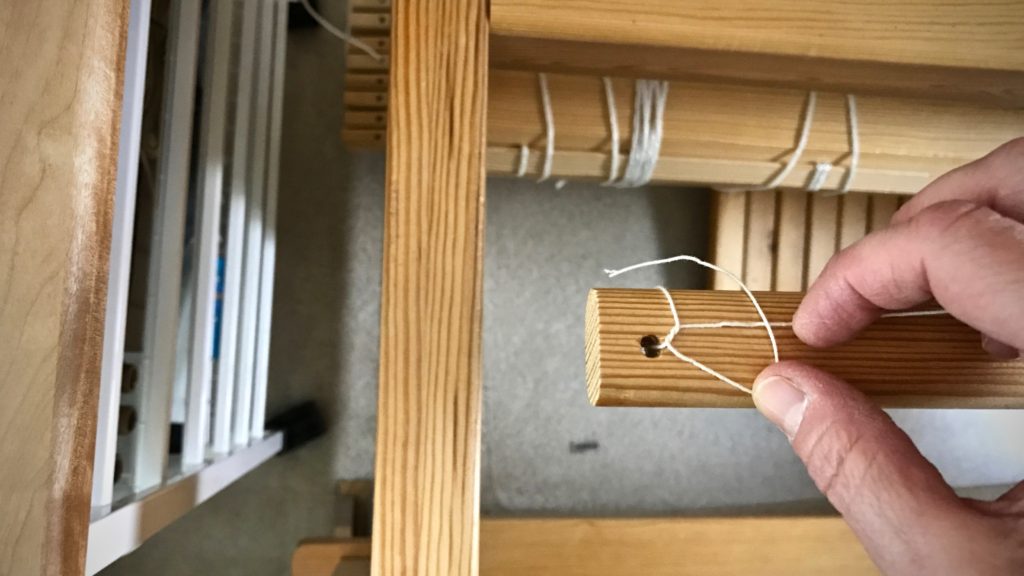
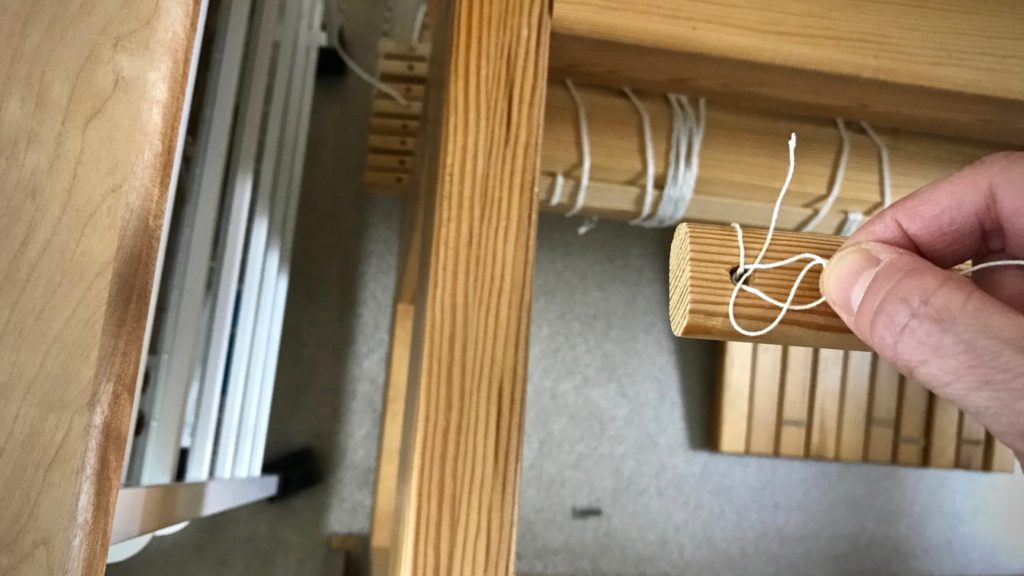
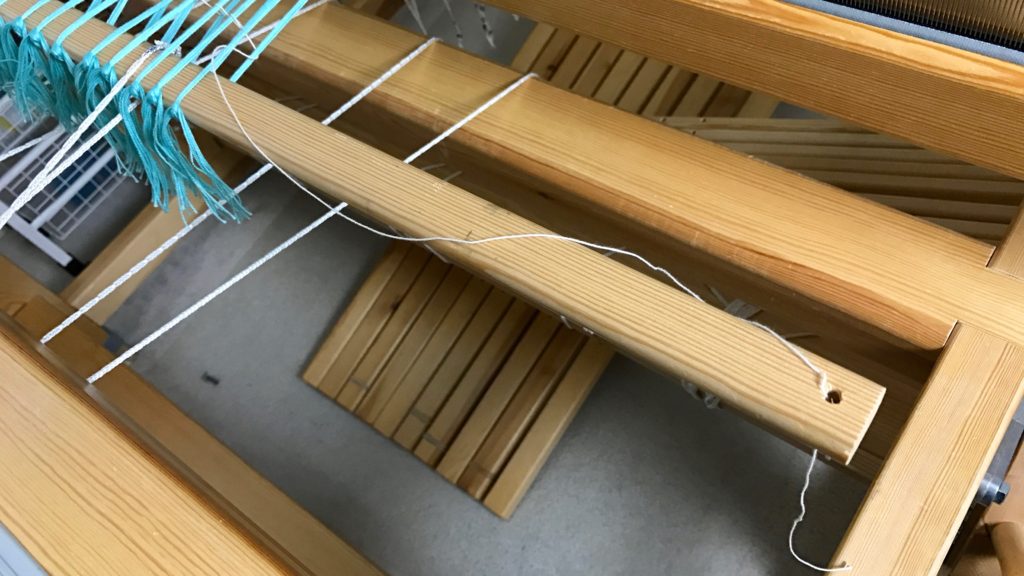
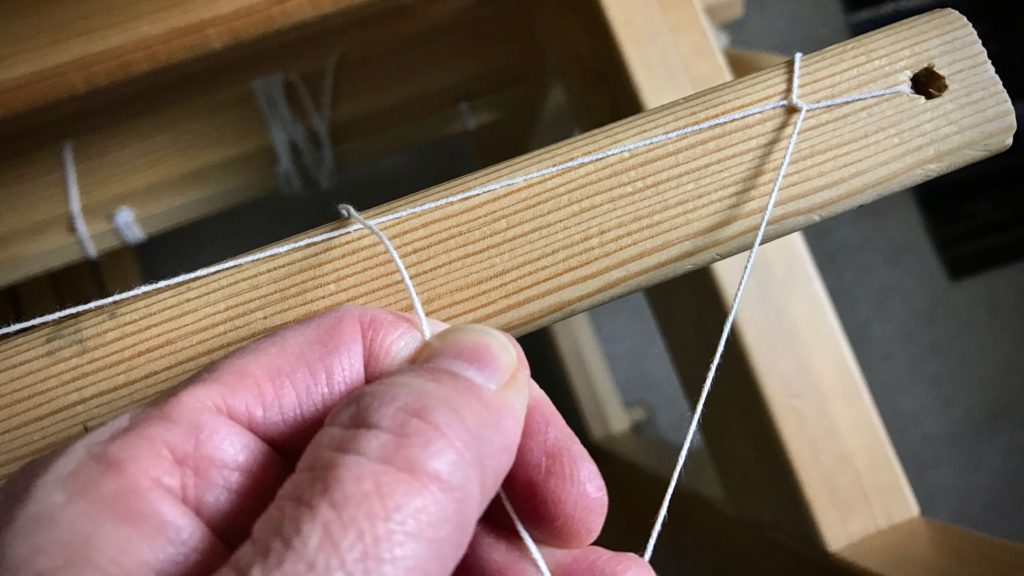
2. Tie one end of the leveling string to one end of the front tie-on bar, using a slip knot with half bow.
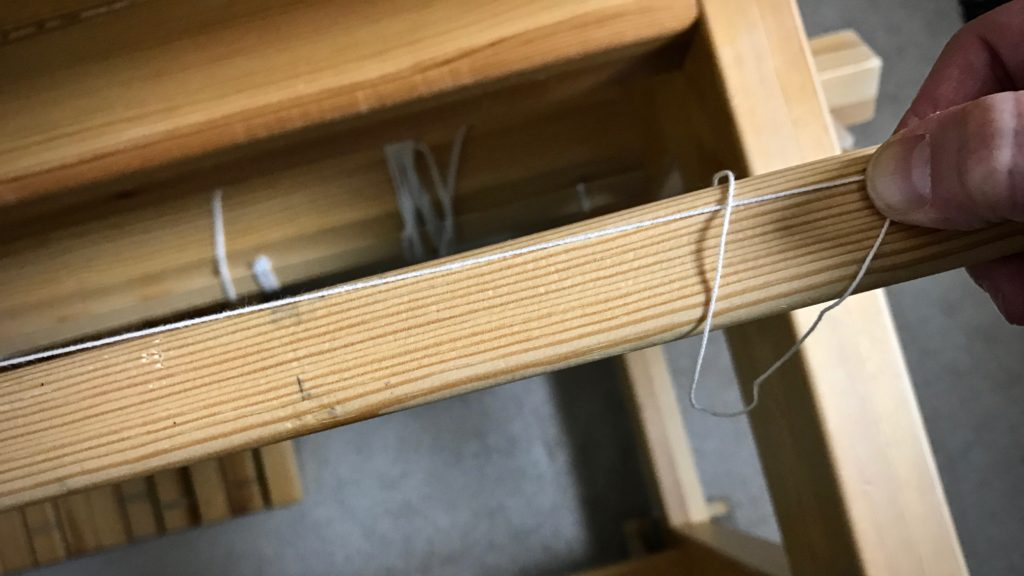
3. Thread the leveling string over and under the tie-on bundles, going over the raised ends and under the lowered ends.
4. Tighten the leveling string while tapping it in with the beater.
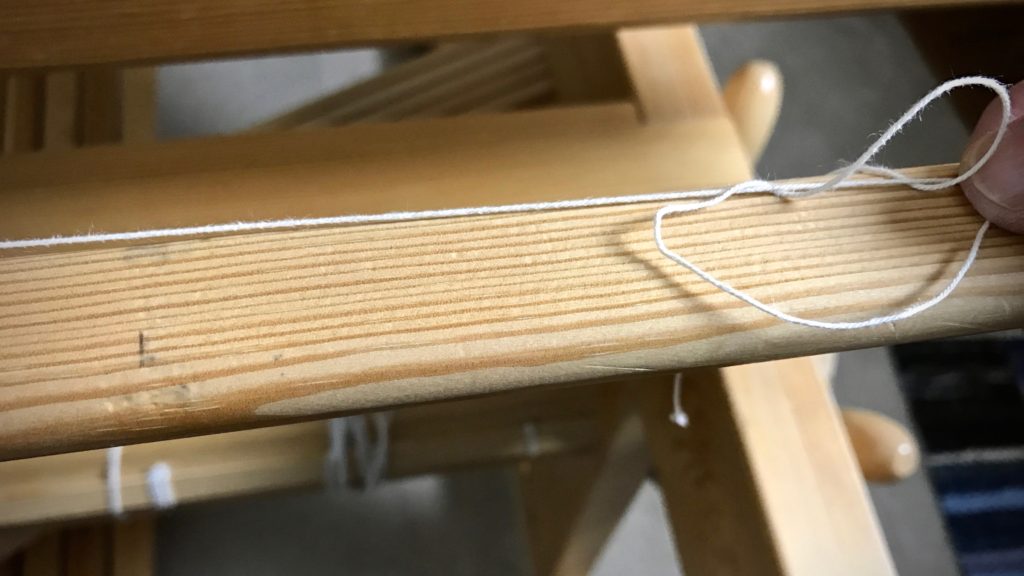
5. Tie the end of the leveling string to the end of the front tie-on bar, using a slip knot with half bow, as before.
6. Weave to your heart’s content.
When you get to the end of the warp, and are ready for cutting off, simply tug the loose end of the string at one end of the bar to release the slip knot, and pull the leveling string out of the warp.
May you weave as soon as possible.
Happy Valentine’s Day,
Karen

